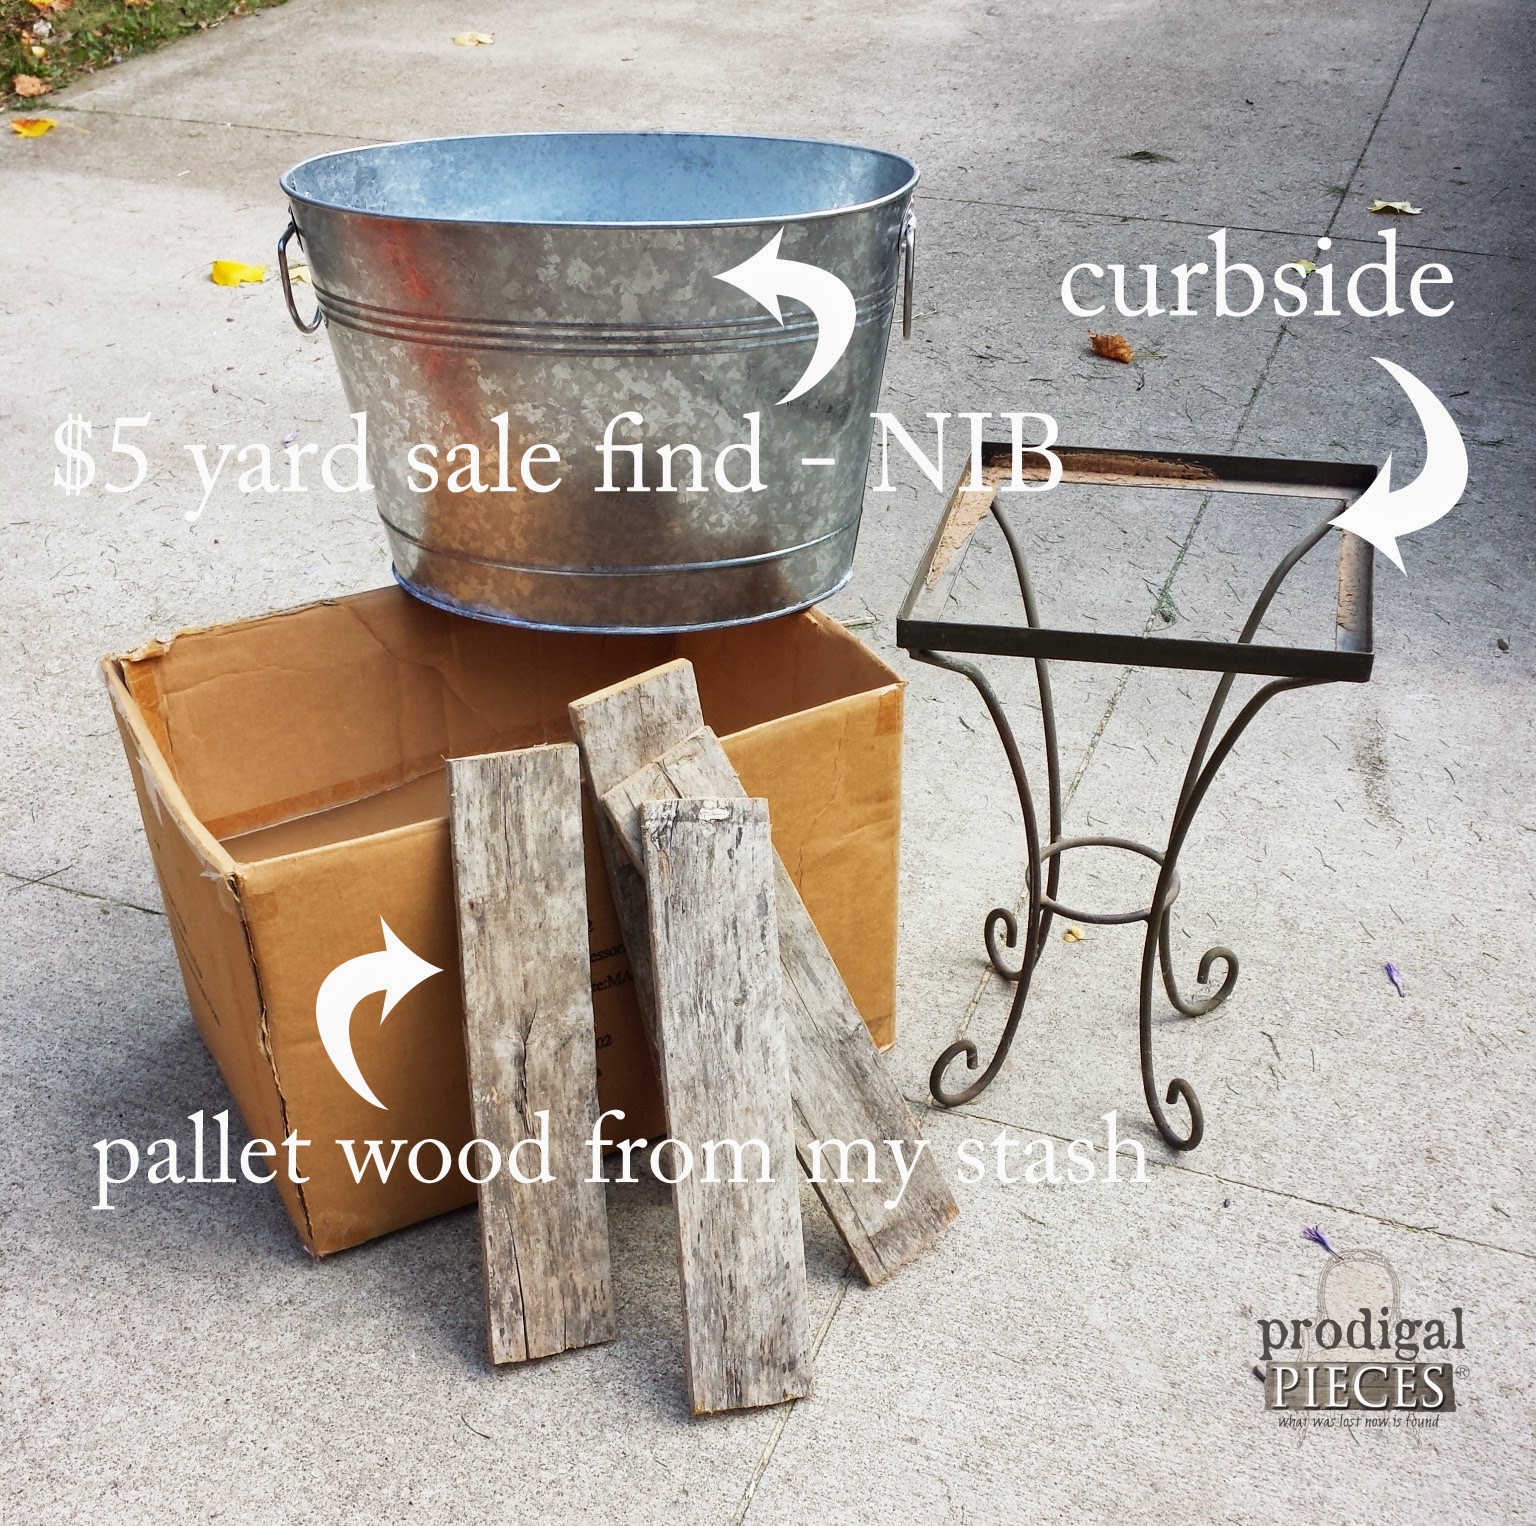
A few weeks ago I shared this picture on my social media, asking what did anyone think these items would become. Who knew it would be a repurposed snack & beverage stand? woot!
DIY TIME
- galvanized tub or bucket
- any slat wood – pallets, fencing, etc.
- stand, table, stump
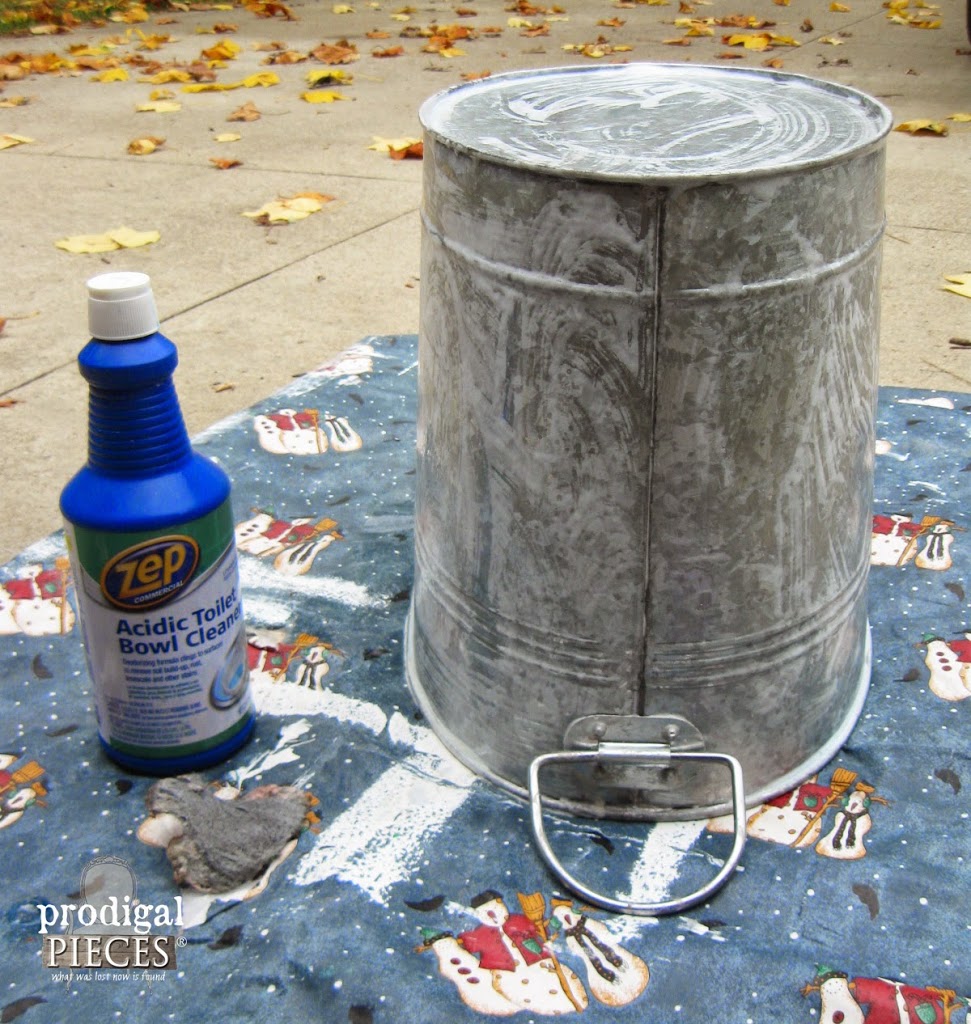
- Zep toilet bowl cleaner or any industrial strength stuff (Home Depot)>
- rubber gloves
- screw
- rubber washers the size of bolt shaft
- bolts & nuts
- drill & bits
- optional items: small piece of wood for sign, hooks, crib parts, paint, brass tee valve, plumber’s putty
NEXT STEPS
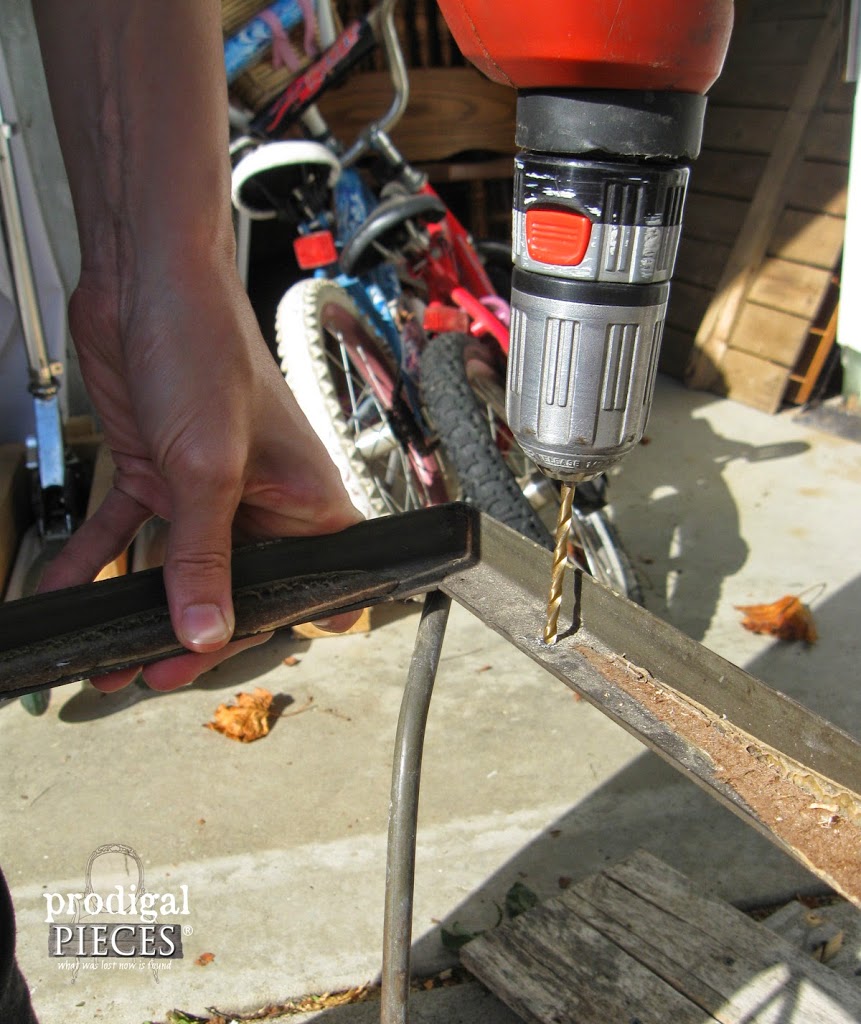
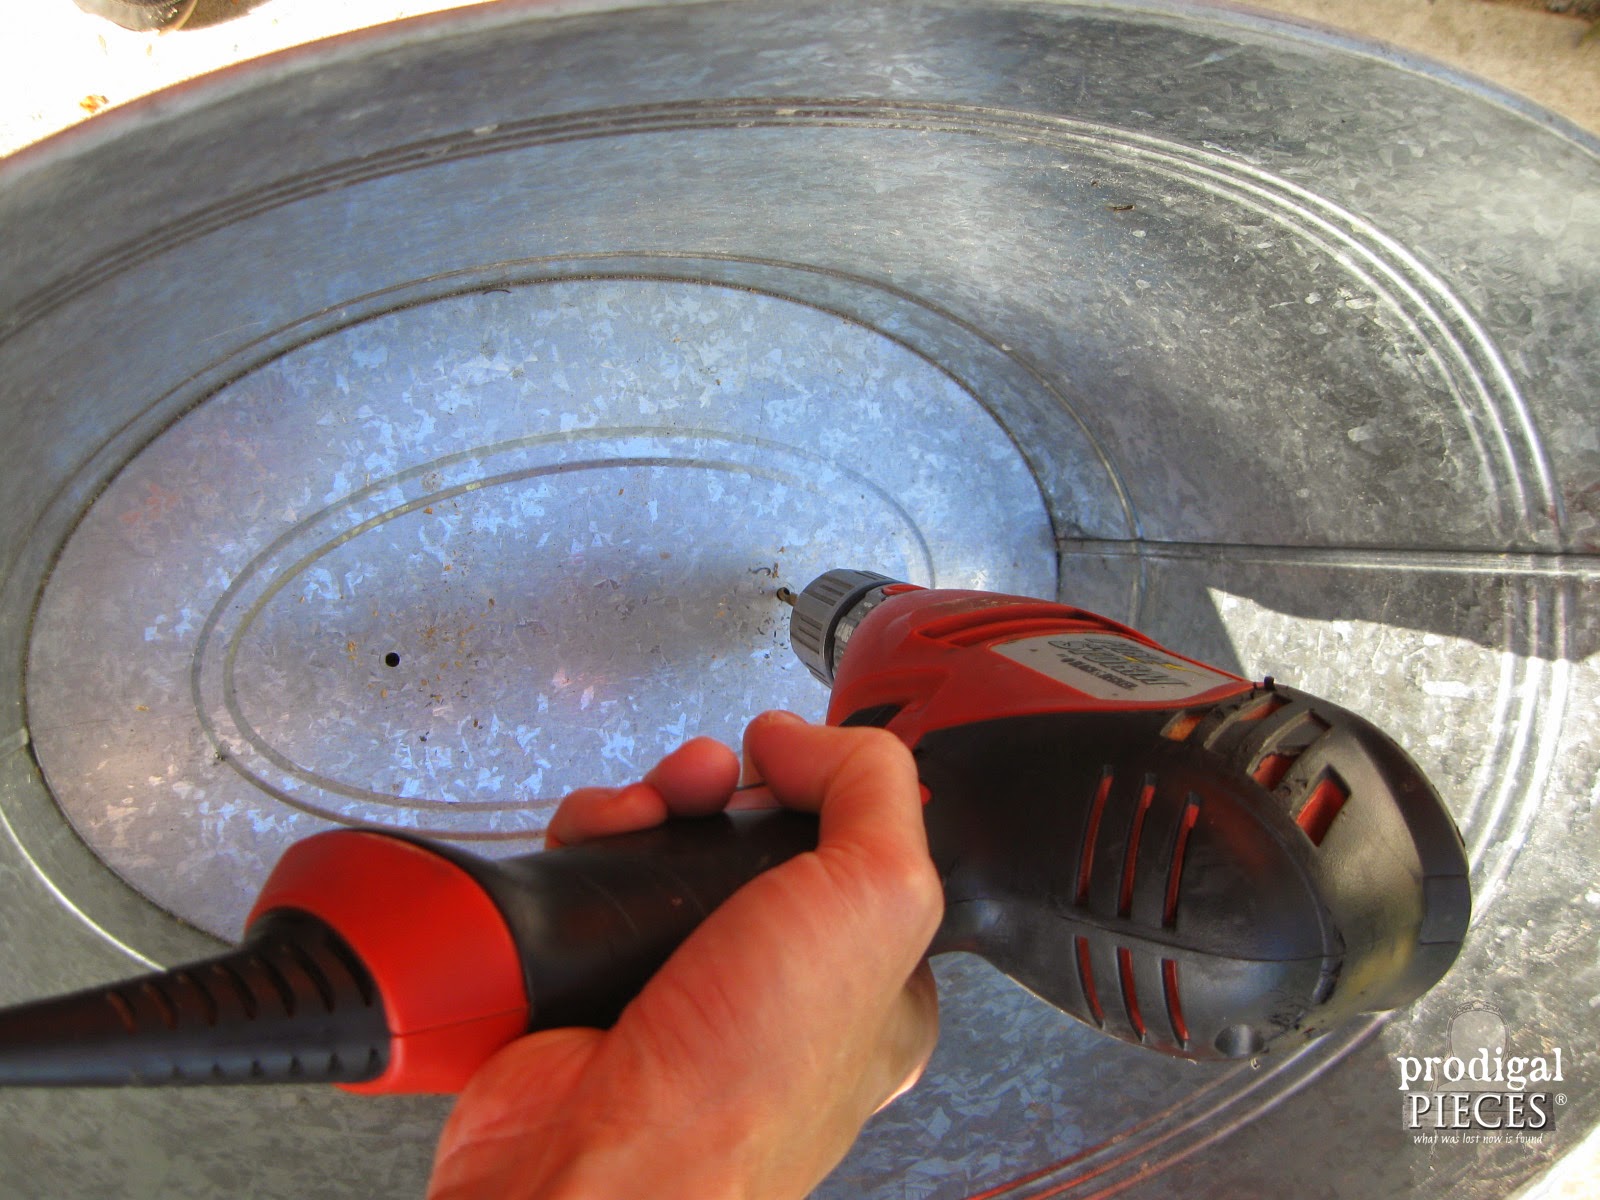
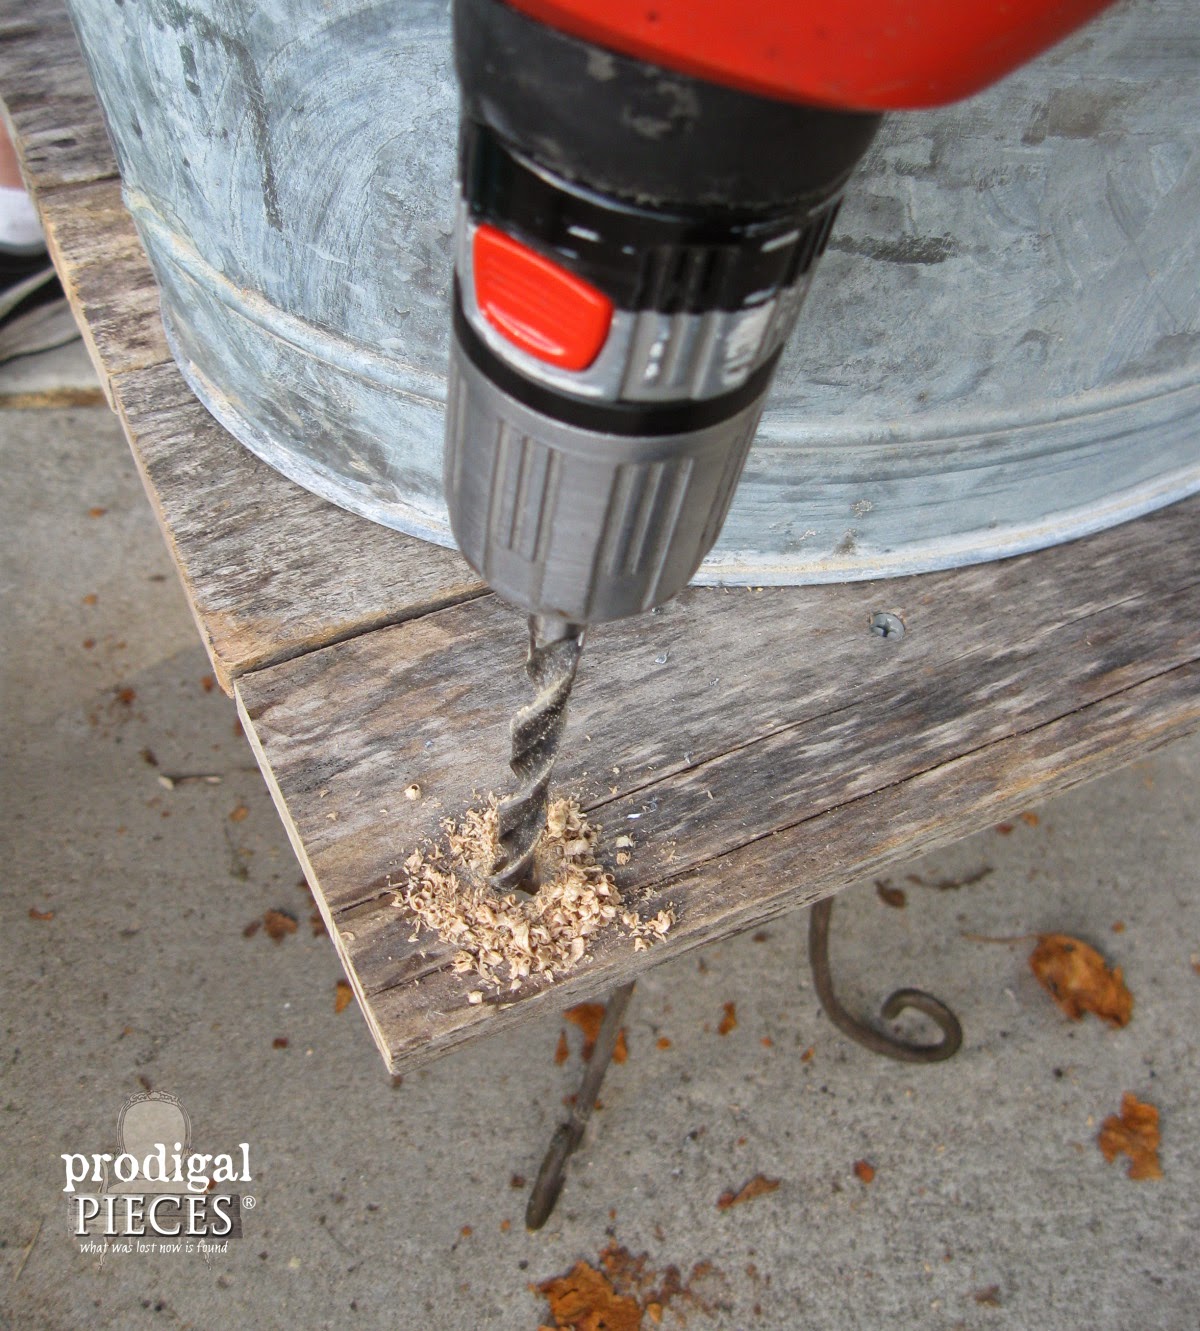
In order to attached the tub to the stand and remain leak-proof, we pre-drilled two holes in the bottom.
Then, using thin bolts long enough to reach through the tub and wood, we added rubber washers on the inside against the head of the bolt.
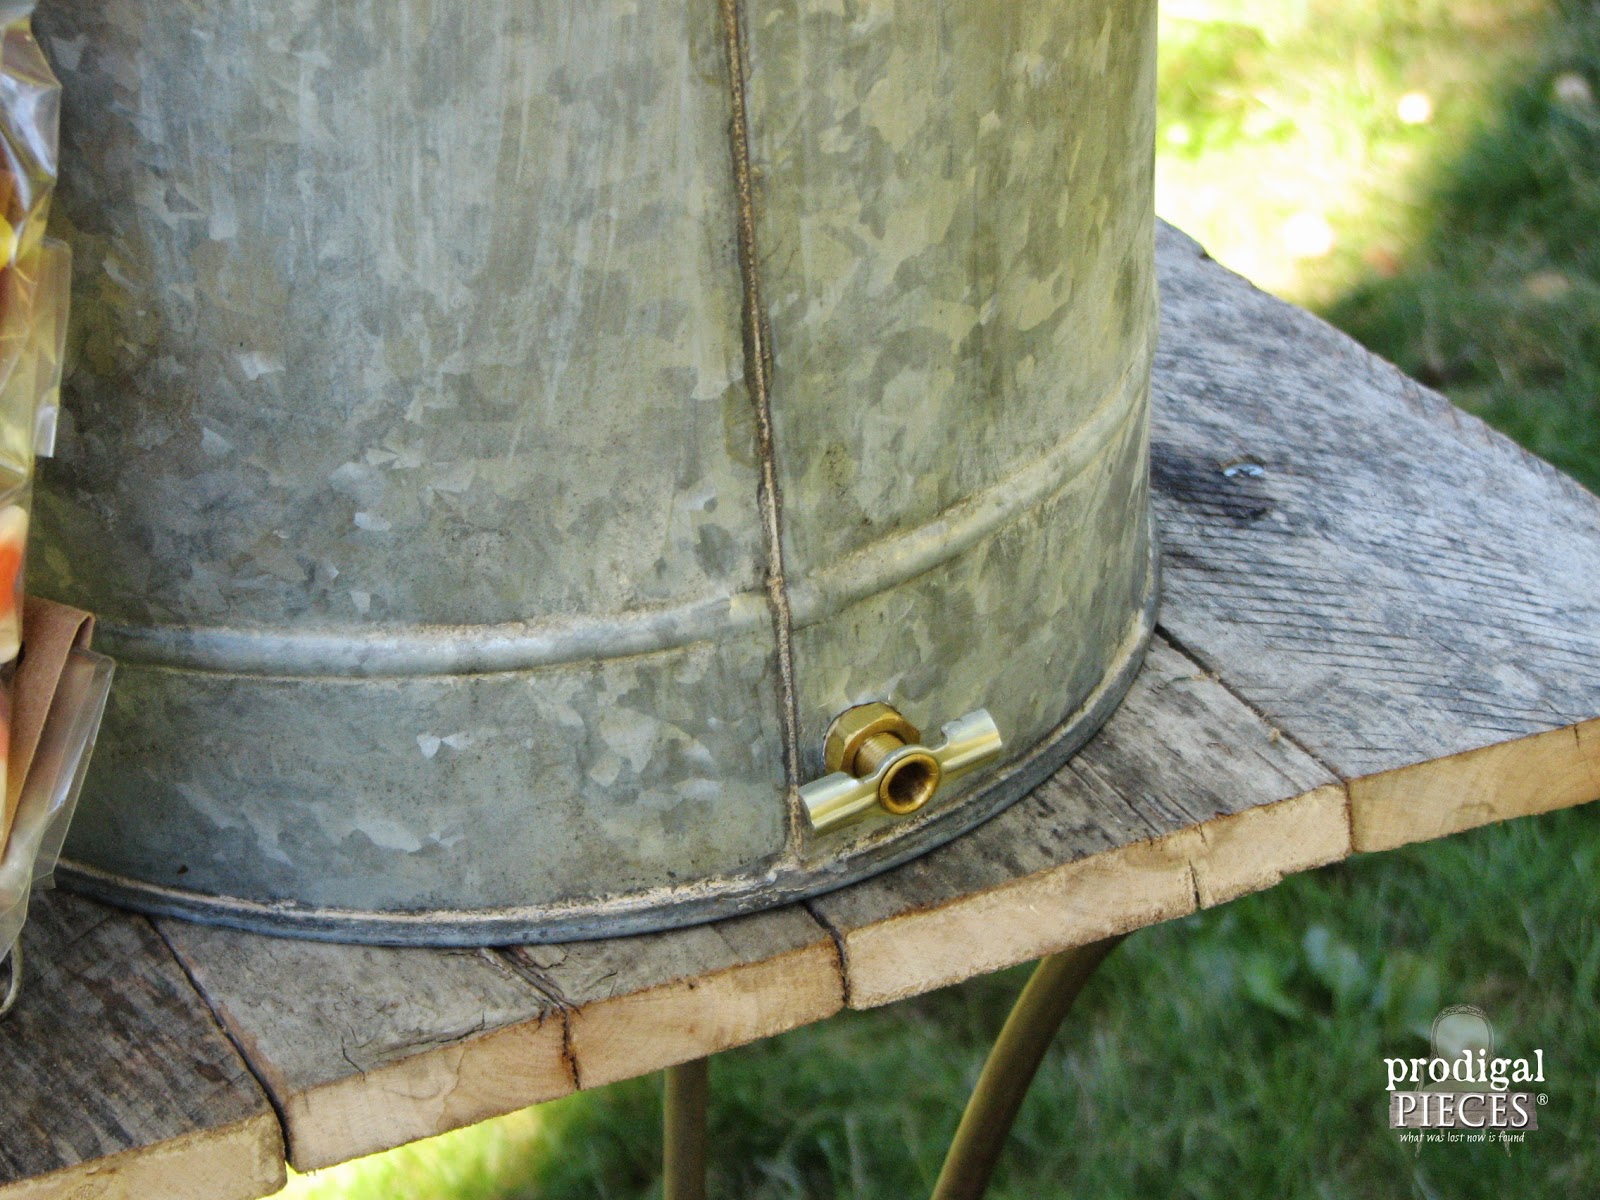
Because the tub is going to be either filled with ice or water (for an apple dunking fest), I wanted to add a drain to make clean up all the easier – I’m all about that.
DRAIN
There’s a handy gadget at your hardware store called a tee valve. It’s made of brass and is threads into whatever you’re adding it to, while reverse threaded to allow water to be let out.
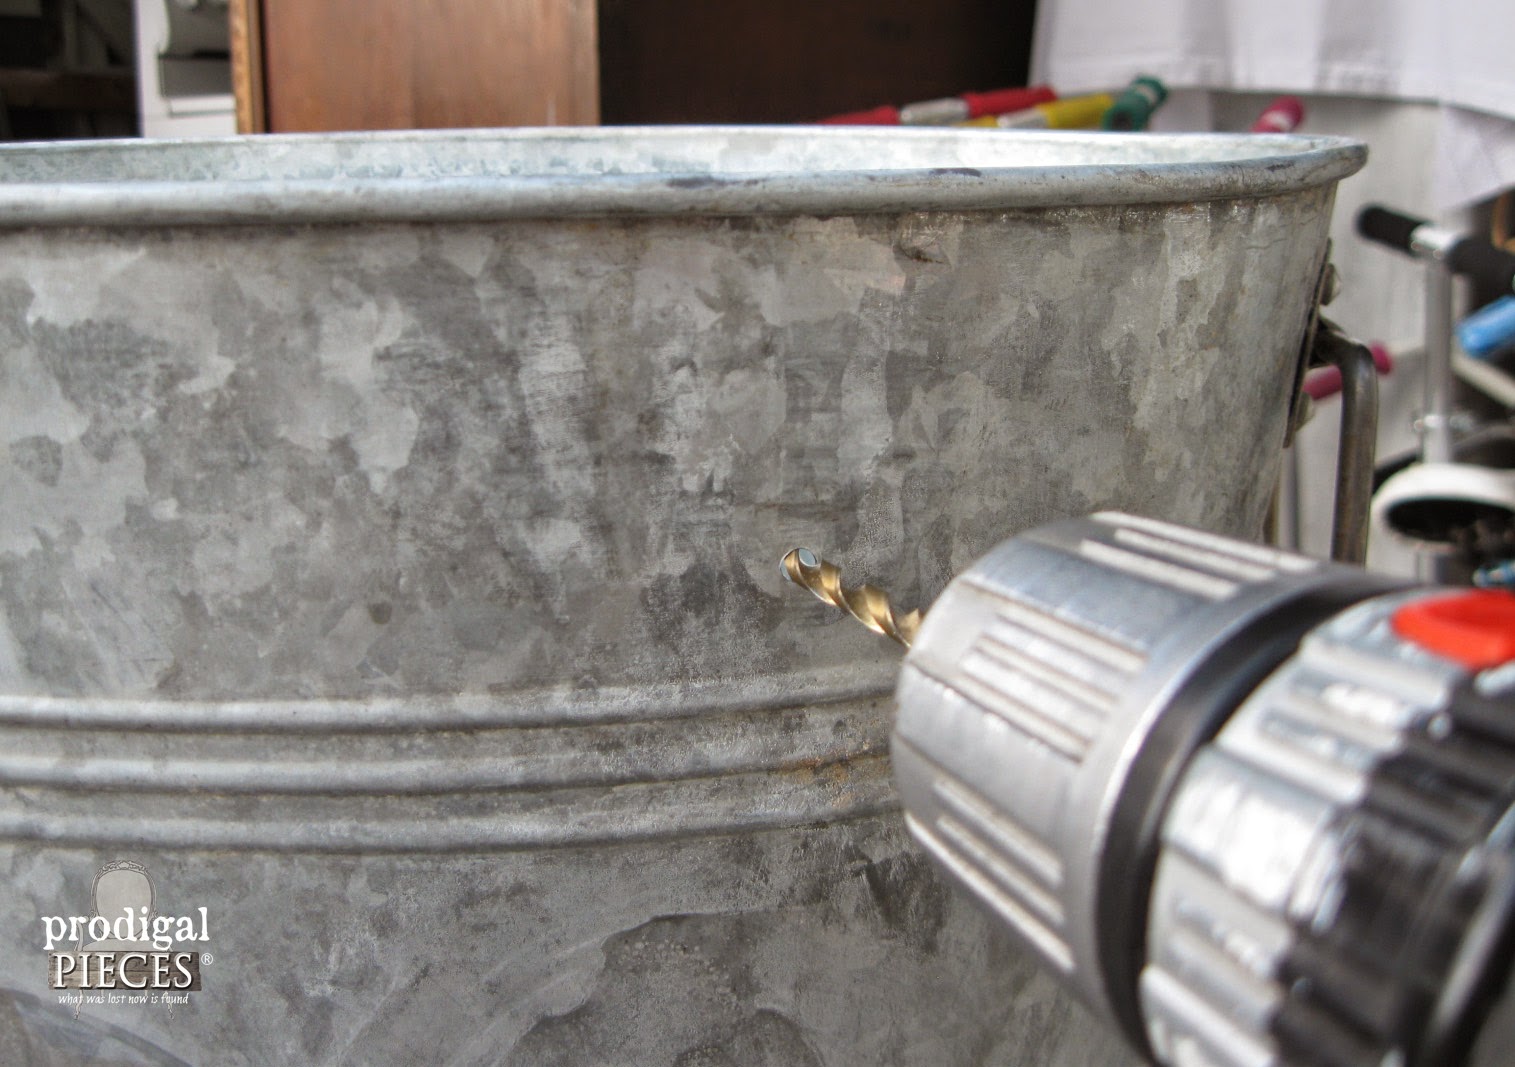
I just drilled a hole the same diameter as the large end of the tee and then added a rubber washer before threading on the nut to hold it in place on the inside. (the tee sizes vary, mine was 1/4″ diameter). A little plumber’s putty helped since my tub has a curved surface.
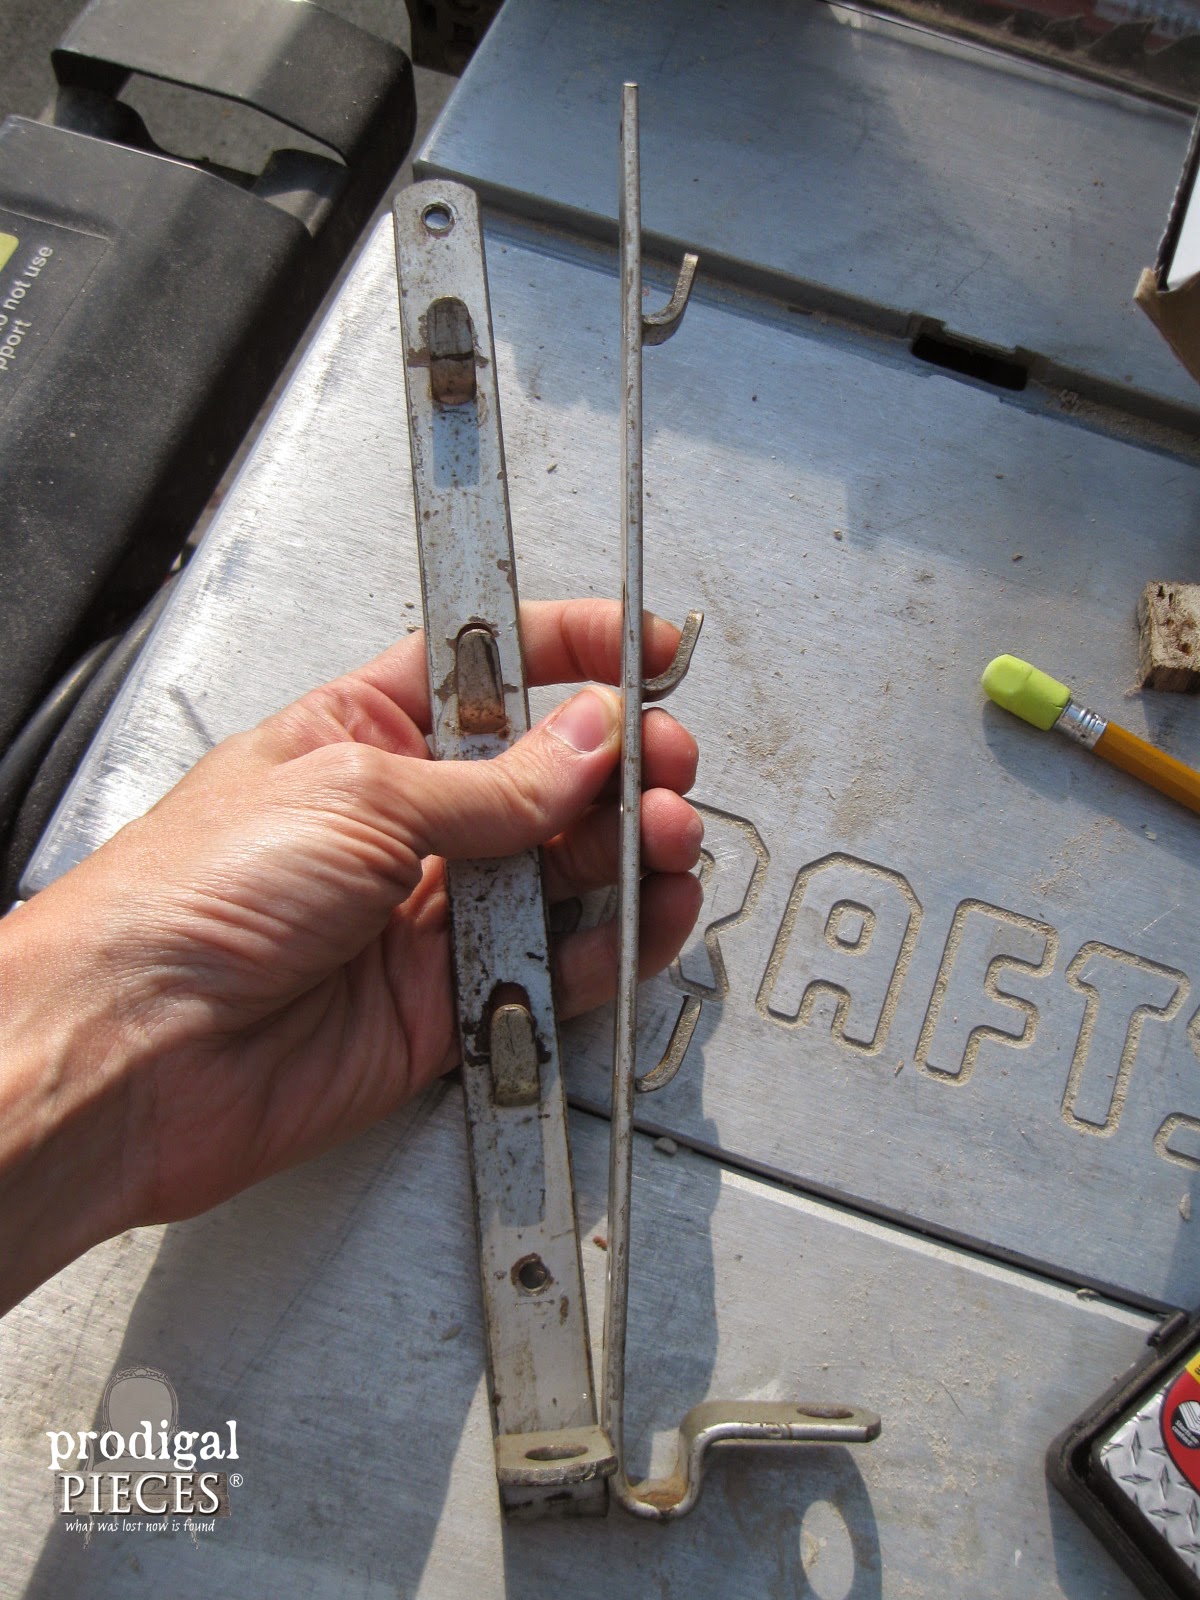
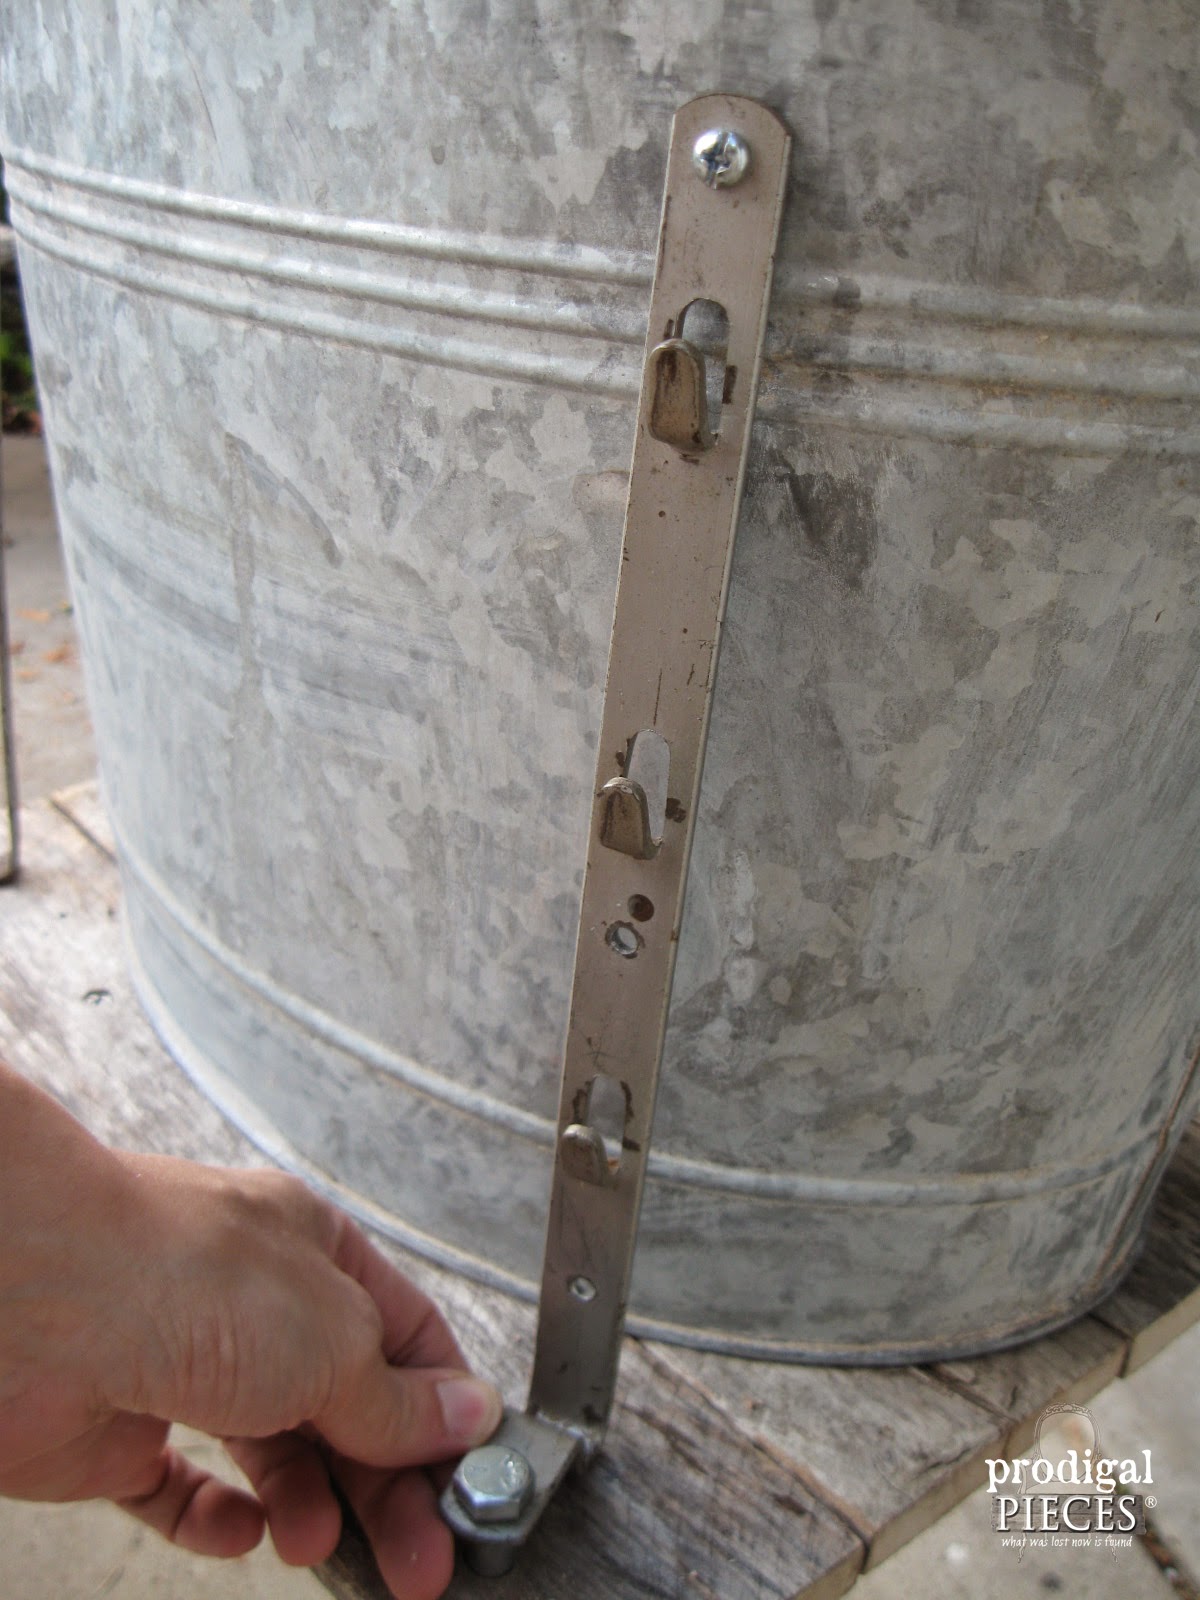
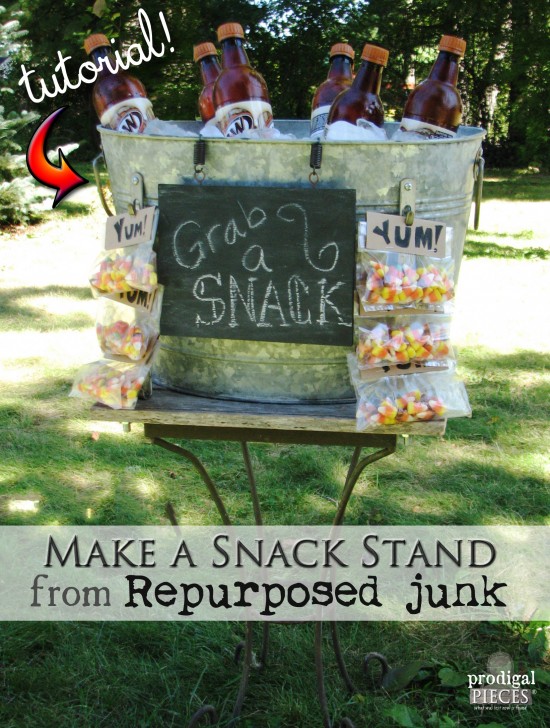
At this point, the beverage stand looked kind of naked and since I have a funky stash of hardware from past projects and junk runs, I dug through my goods and found these pieces off of a baby crib. You know, the parts that hold the crib rails in an adjustable position….look familiar?
Perfect as a snack holder.
LAST STEPS
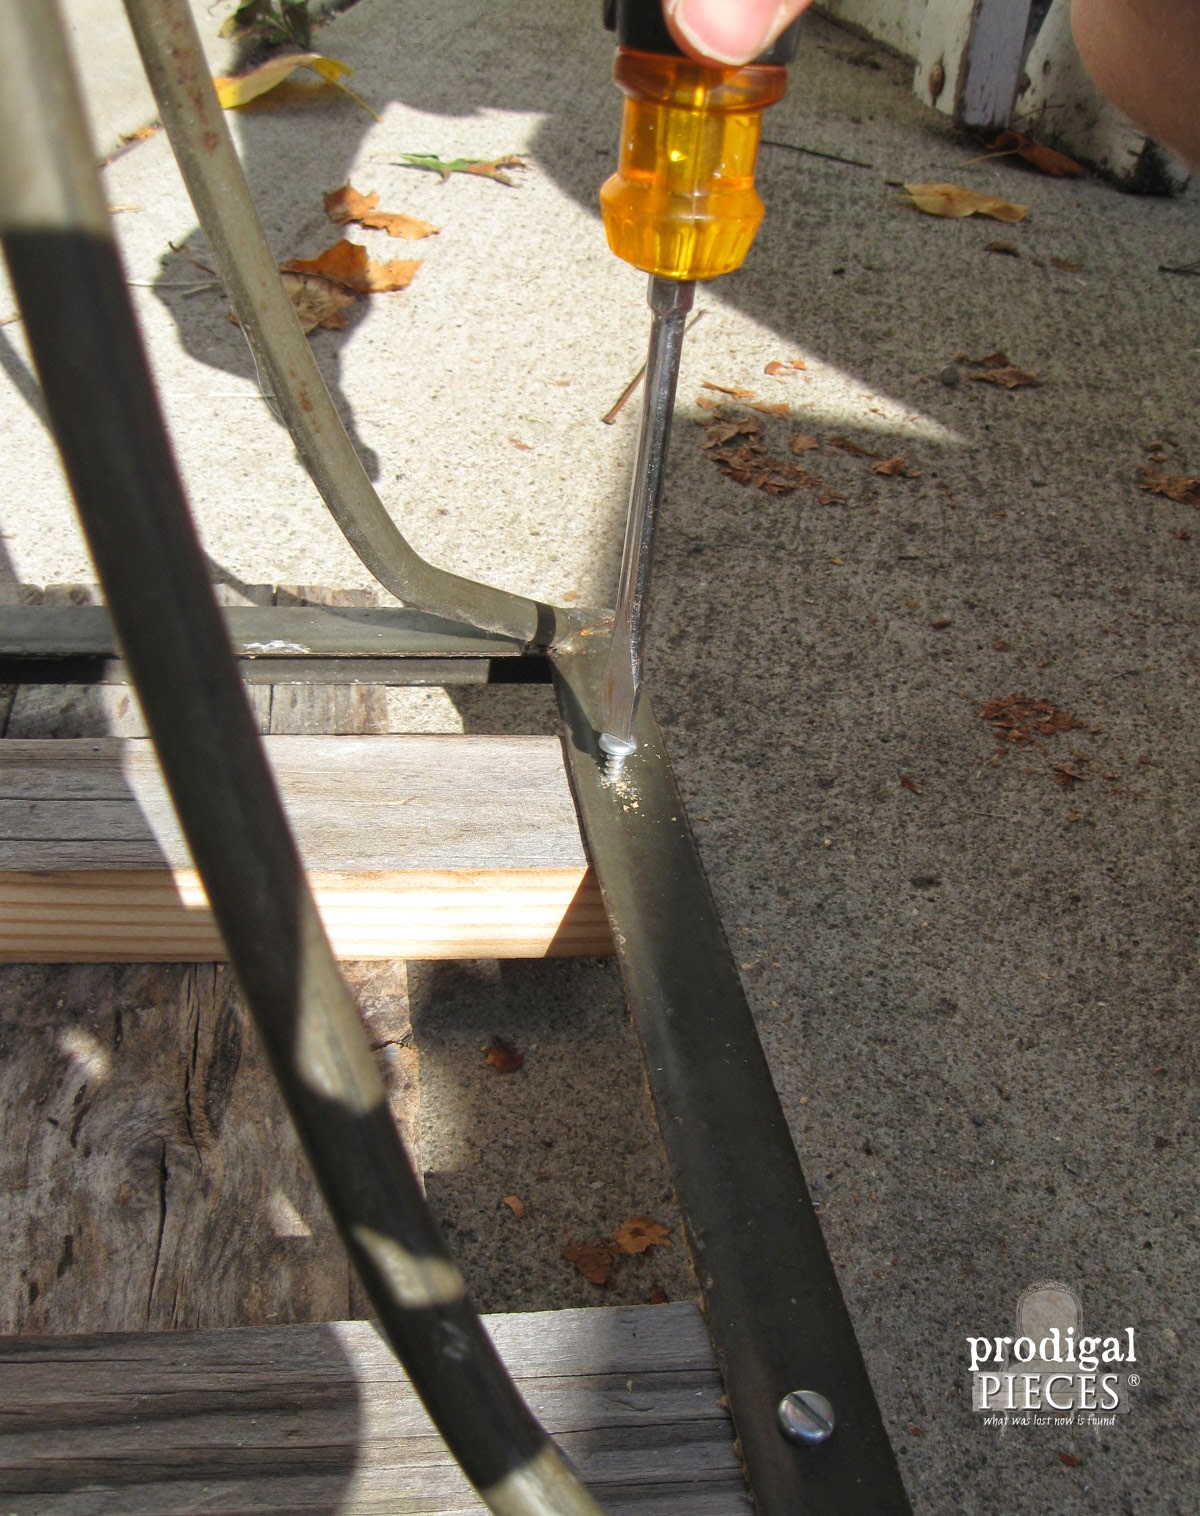
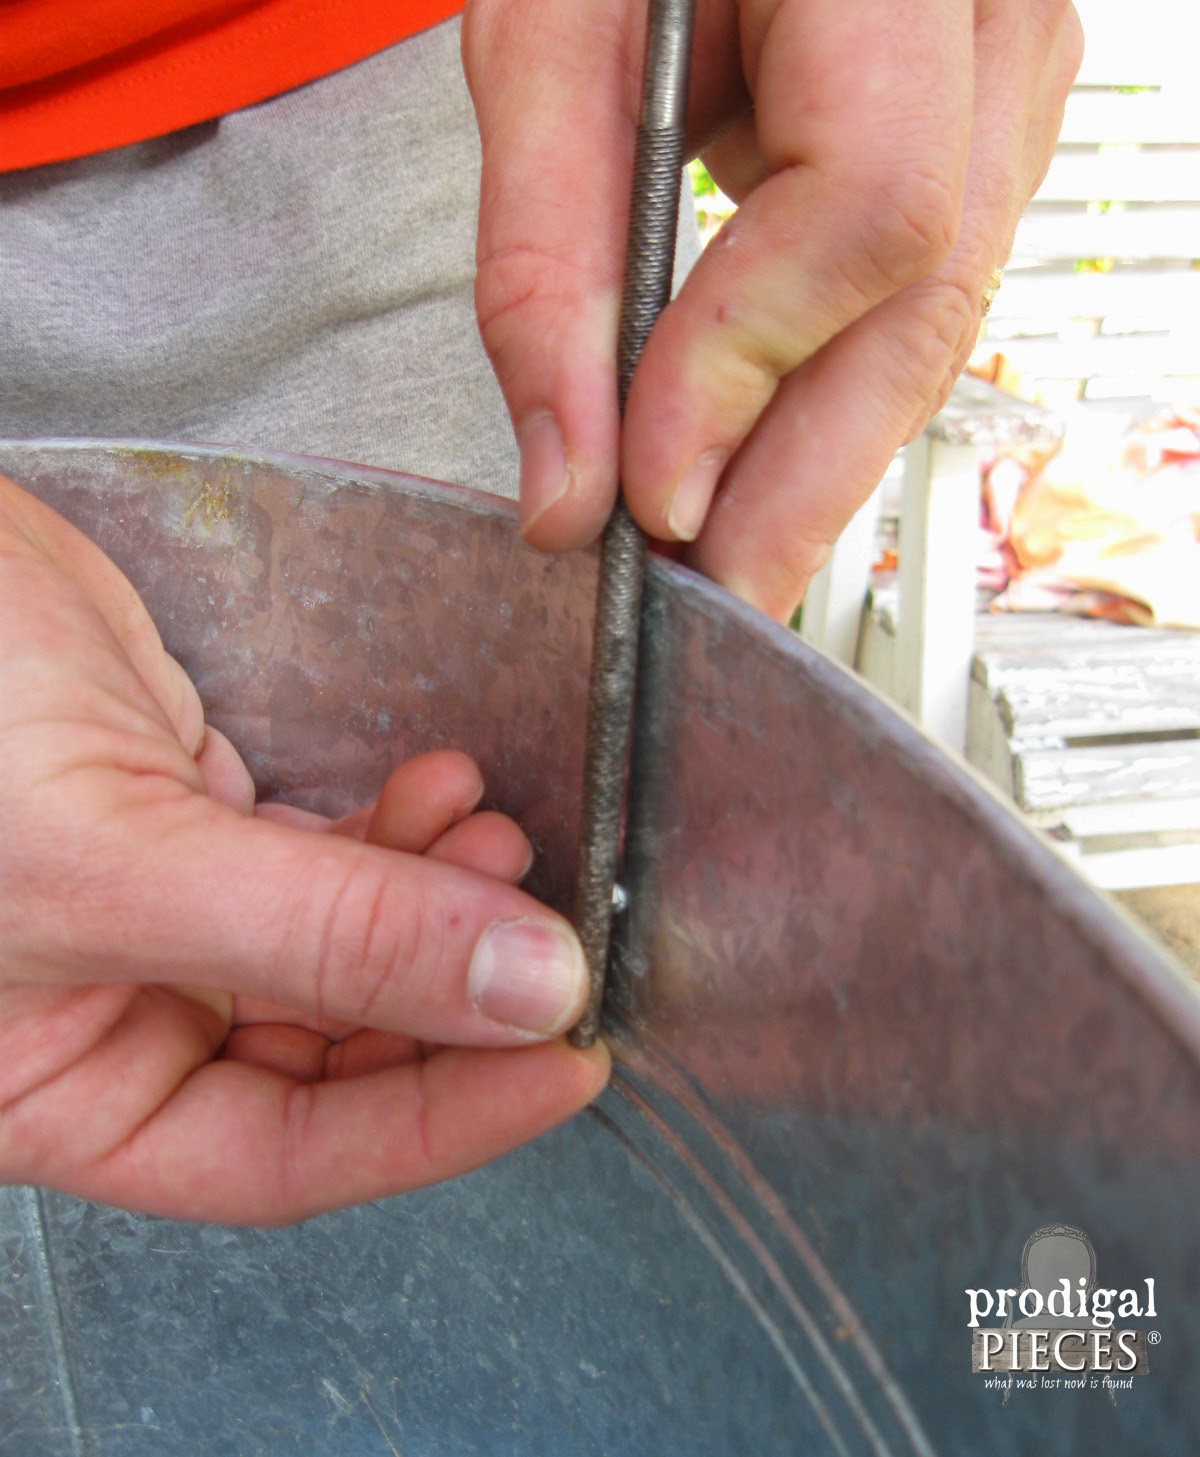
Again, grab that drill and mount the brackets to the base for stability and to the tub so they have something to hold to.
THE REVEAL
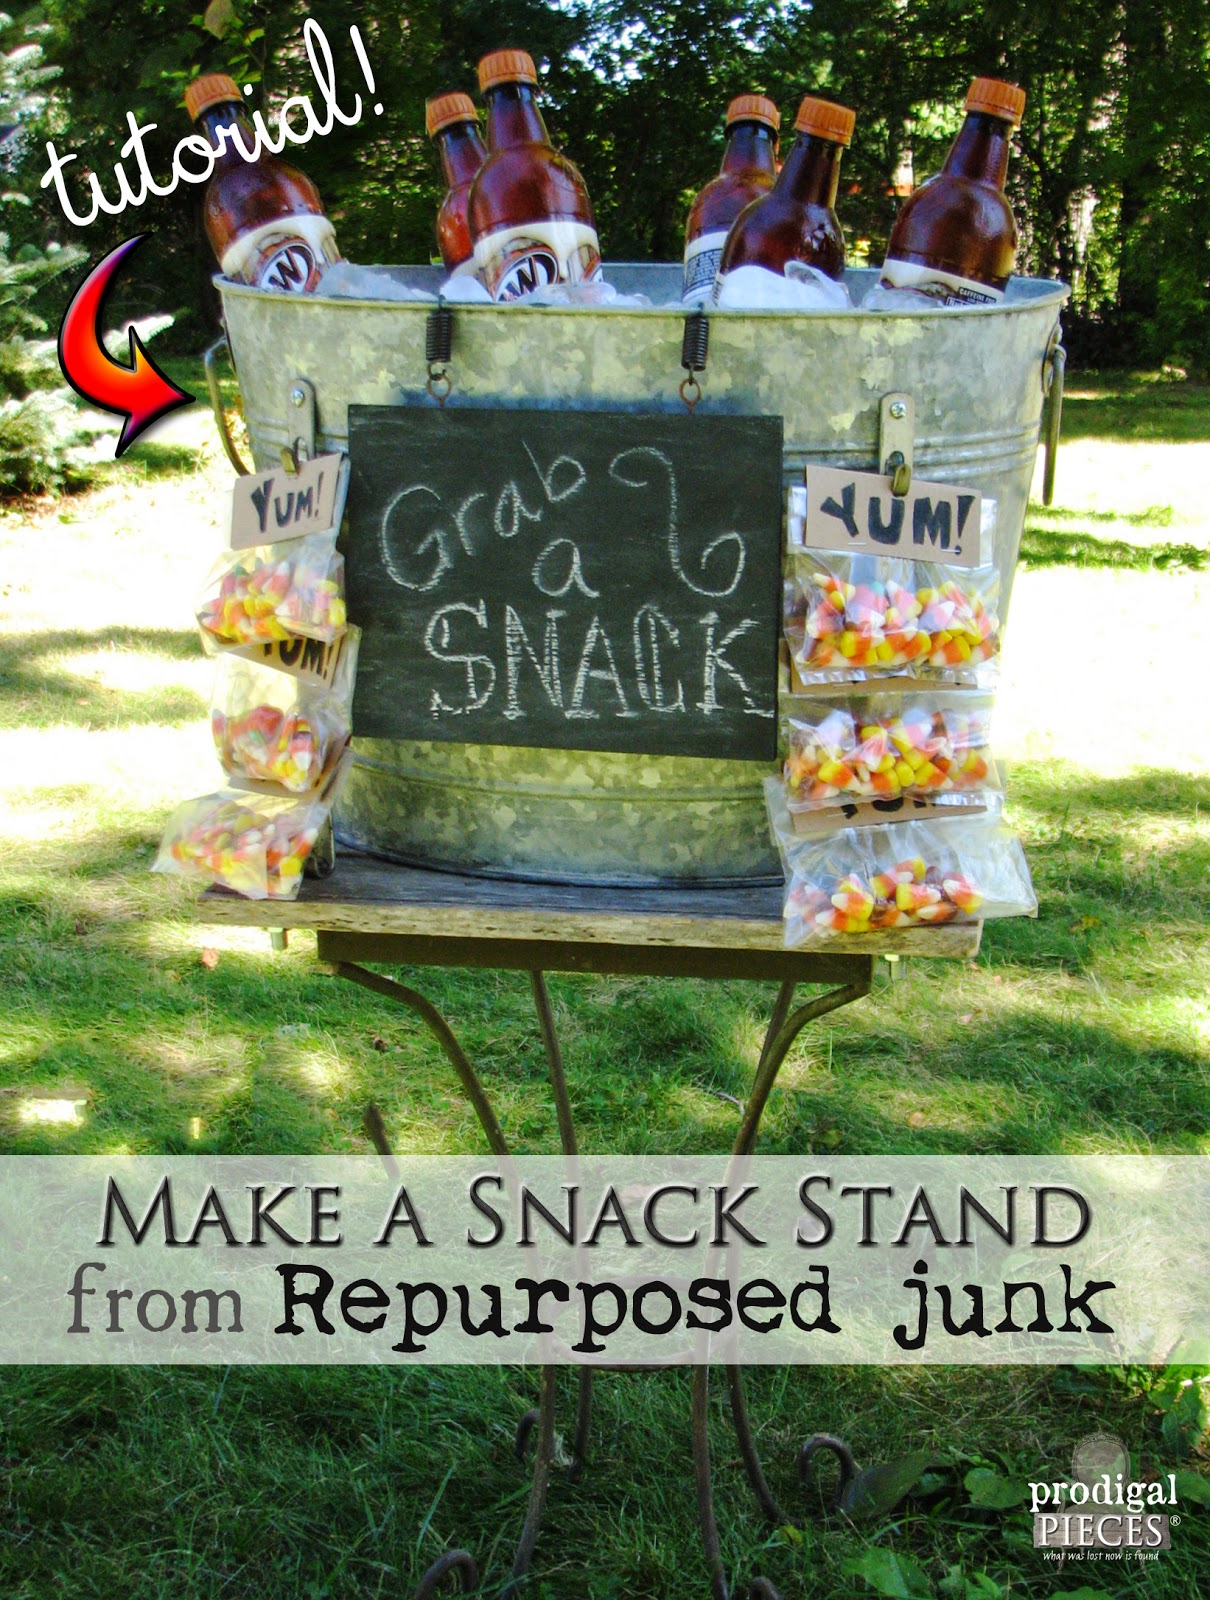
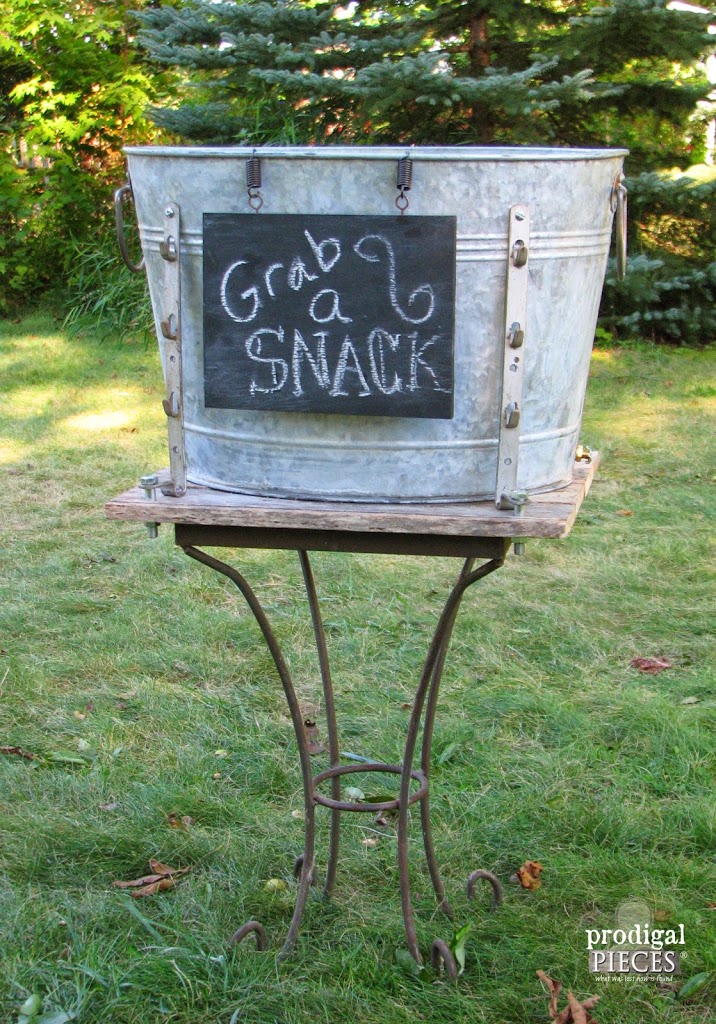
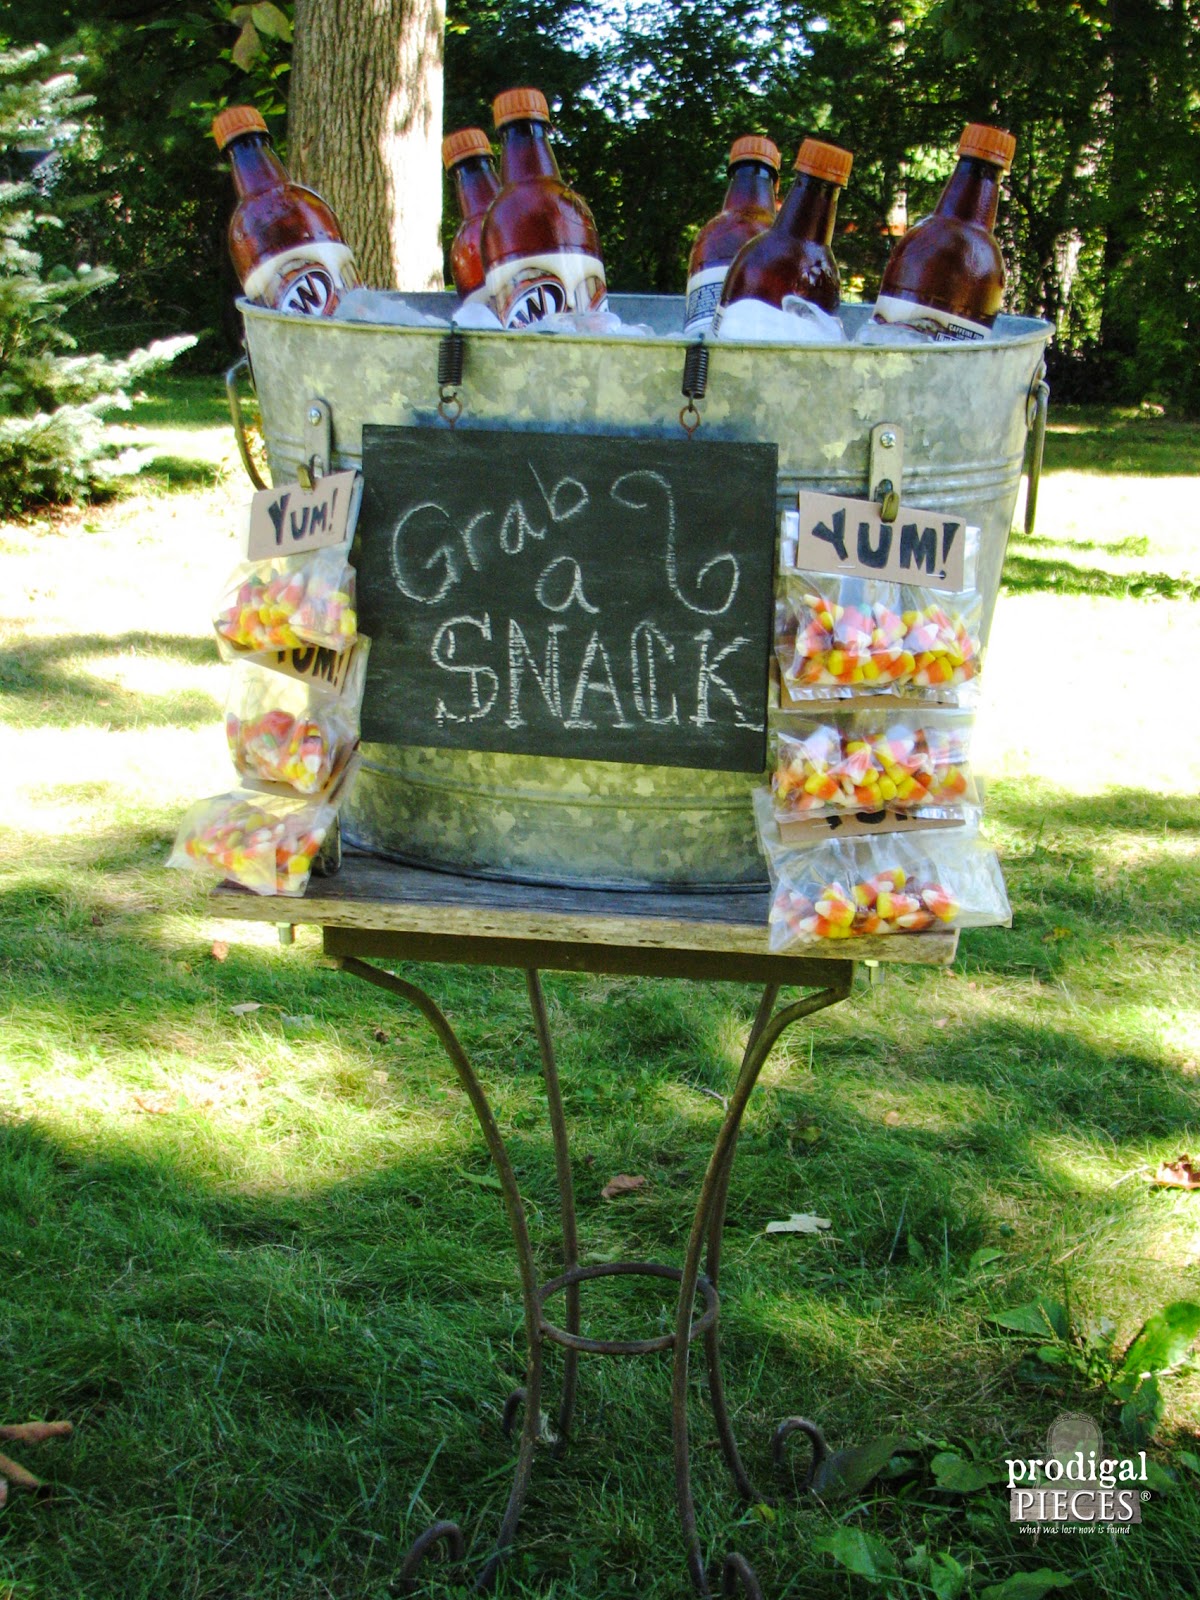
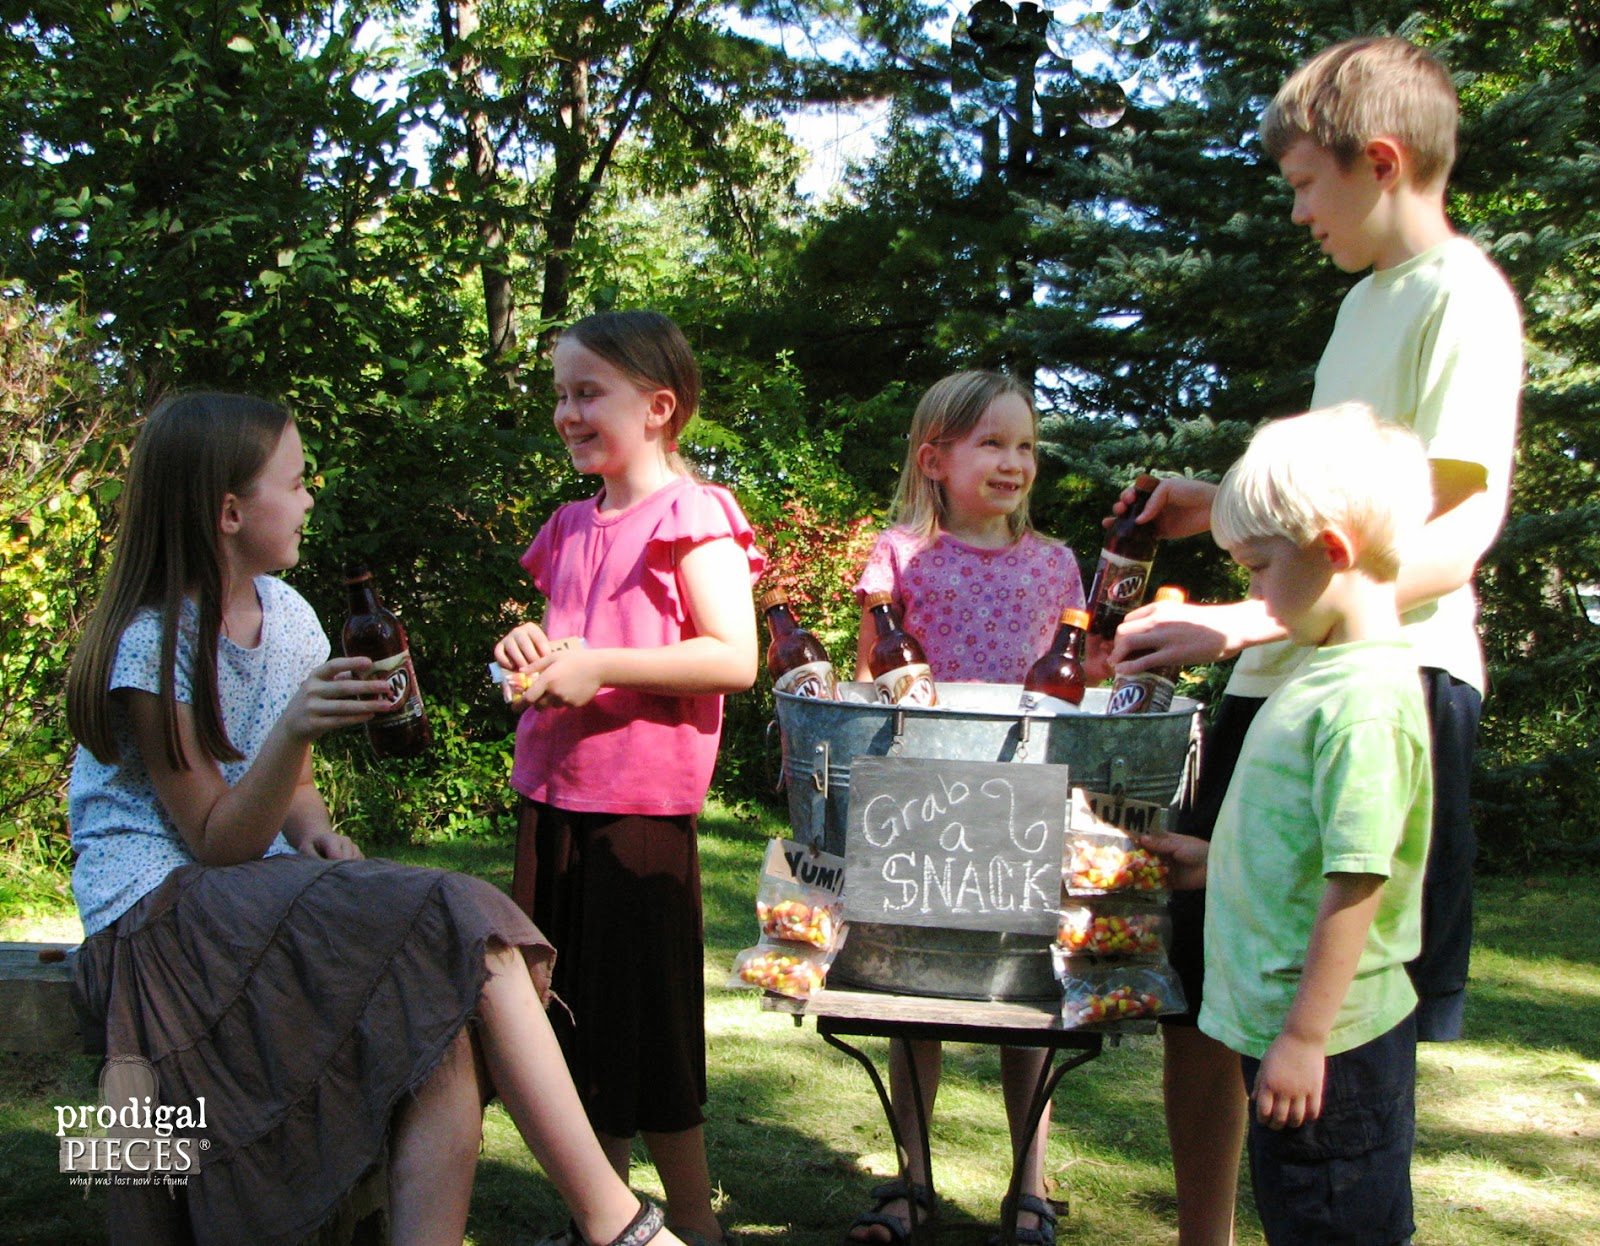
Here is my repurposed snack & beverage stand all finished with a small artistic addition.
You should have seen my kids eye-balling that stash of goods because this type of “food” is rarely, if ever, seen in my house. When I asked them what I should use to take a photo, I suggested popcorn and apple cider. They obviously won out and sugar it is.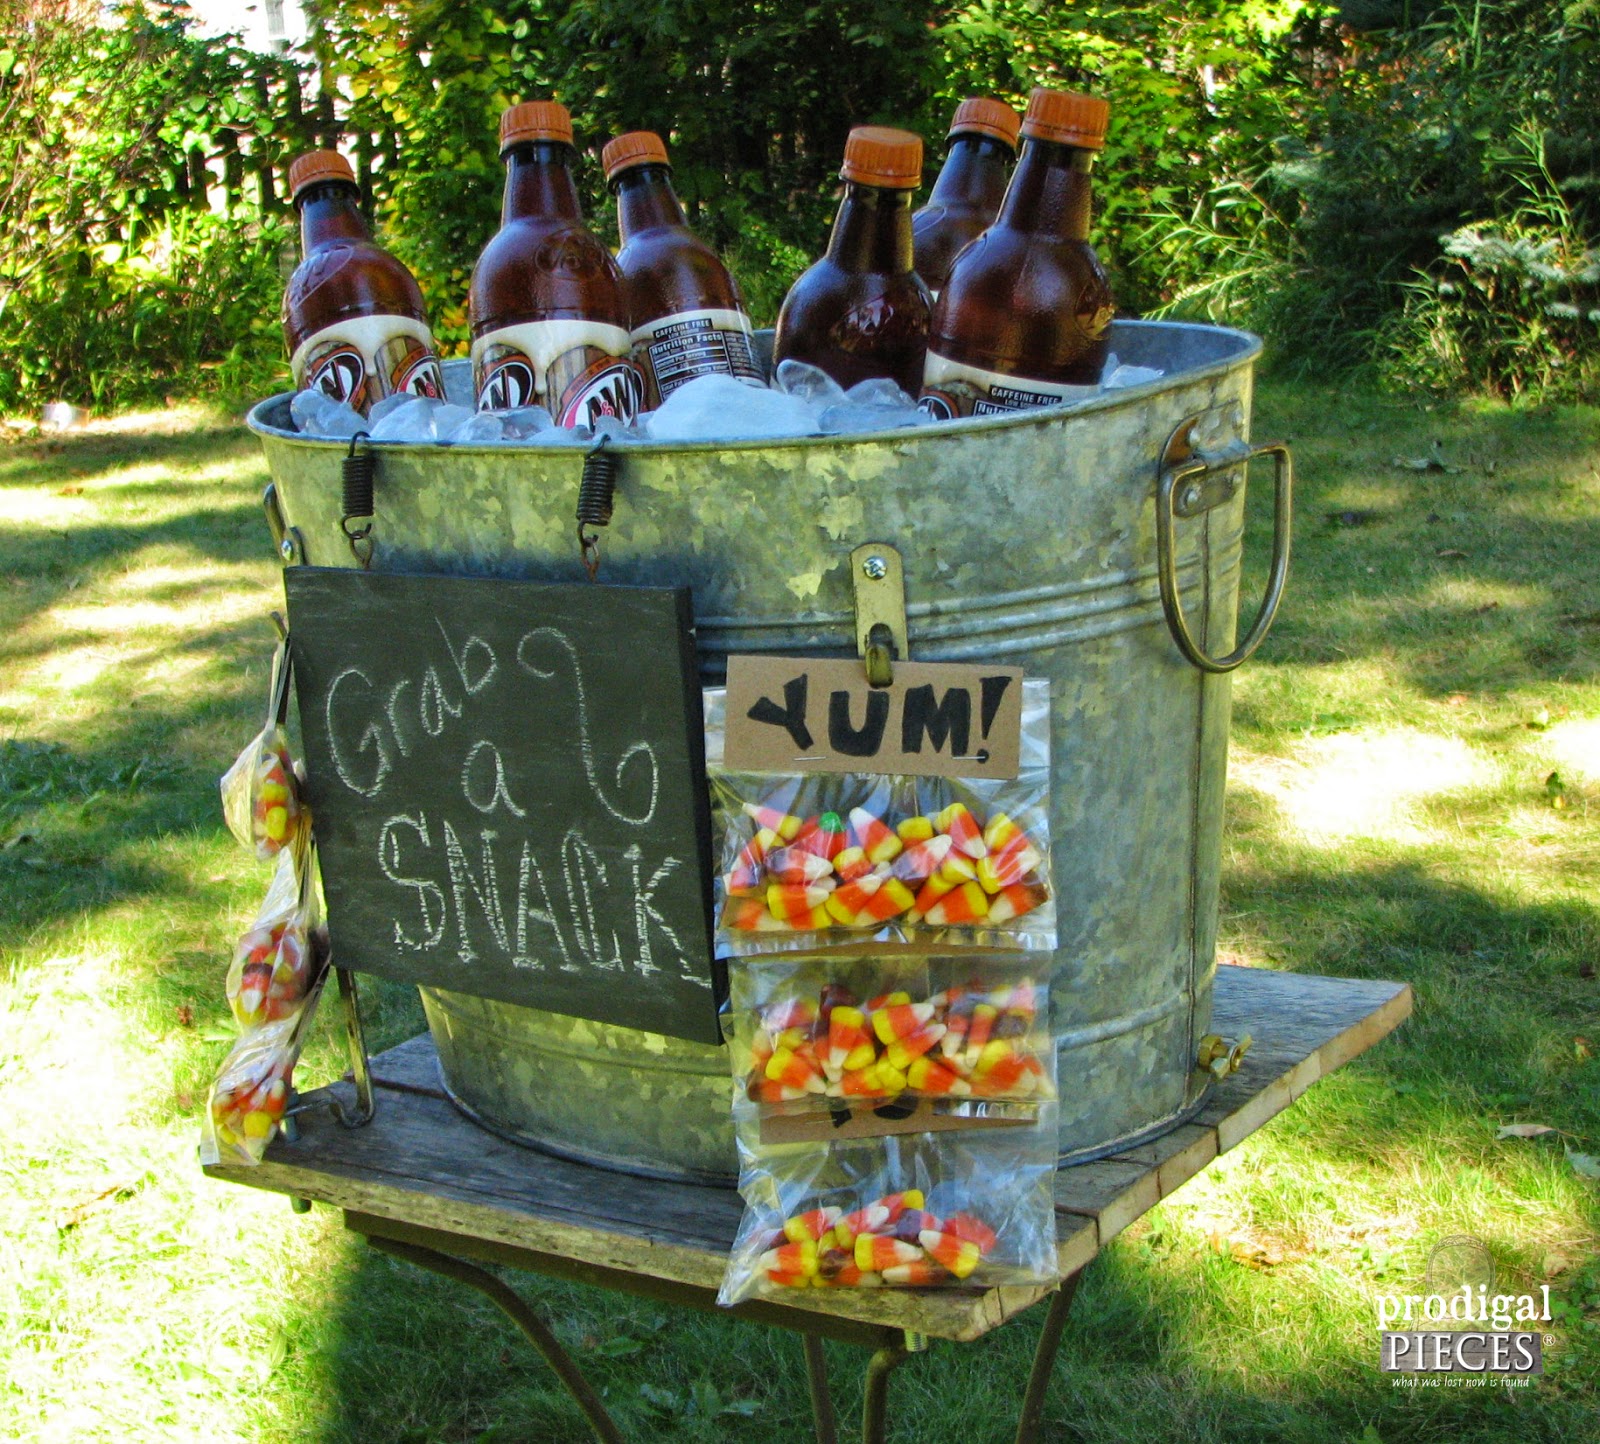
As the saying goes, “If you want it done right, you gotta do it yourself”. Ah well.
In the end I did let my kids have a bit, rationing so as to not create the biggest sugar high this side of the planet. They love it when I create. Me too.
To get these DIY tips & tricks in your inbox, be sure to sign up for my newsletter. PLUS, you will get your FREE Furniture Buying Checklist and special discount to my shop. Until next time!







Excellent project – nicely done.
That is TDC…. too darn cute! And look, instant party when your own kids arrive. Pinned.
Super cool idea — thank you
I always love your creative ideas! My favourite part is seeing your kids enjoying the treat!
This is amazing! It reminds me of something you would see for big bucks in a catalog. Love it ~ and….YOUR kids are soooo cute!
Terrific idea!!
This is a great idea!