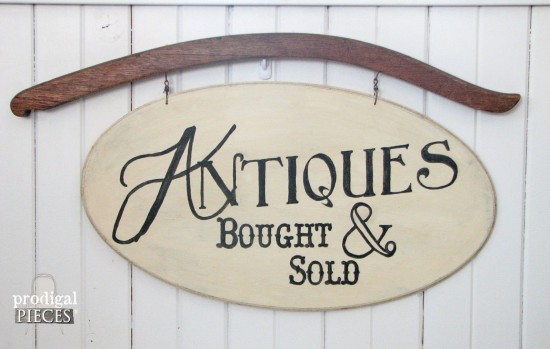
Hi. My name is Larissa, and I’m addicted to old signs. There. I said it. There’s just something about the typography and artistry of old advertisements, name plates, just…whatever. They draw me in, and since it’s hard to find these relics, I like to create my own – especially on cast-off wood. Let me show you how in this simple painted sign tutorial.
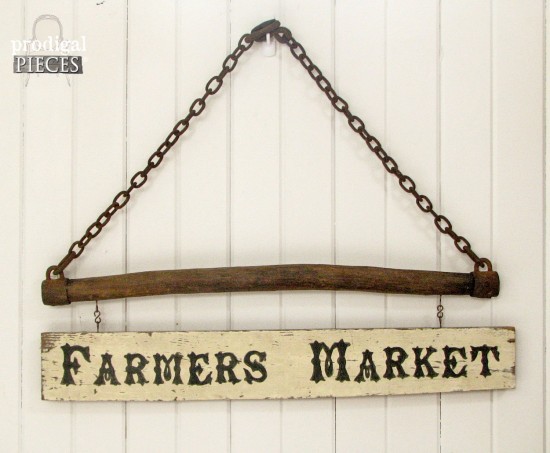
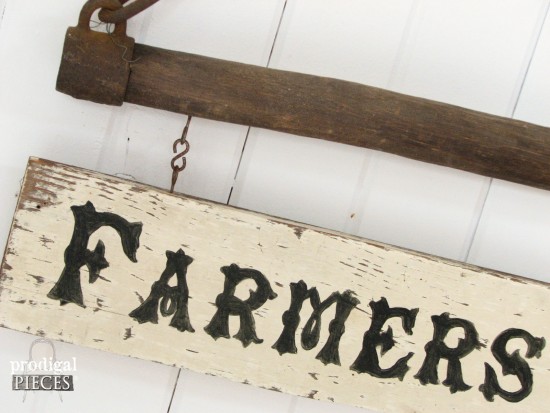
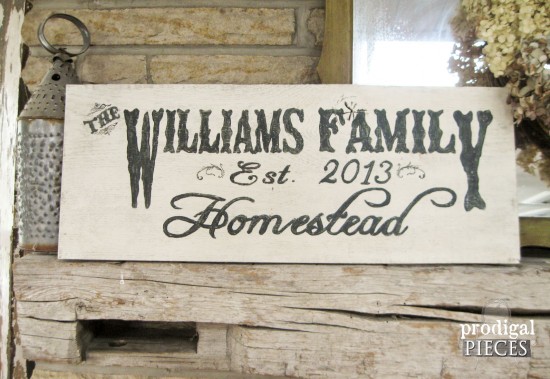 …especially paired with antique treasures like this single tree!
Besides, who can resist the time-worn wear and chippy paint, all telling a story of days gone by?
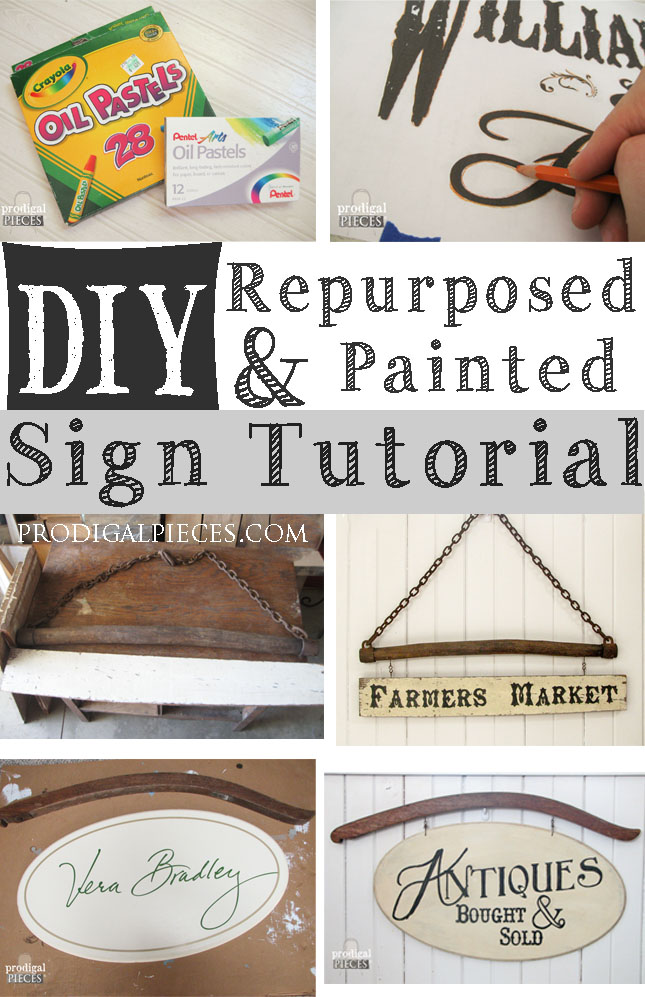
DIY TIME
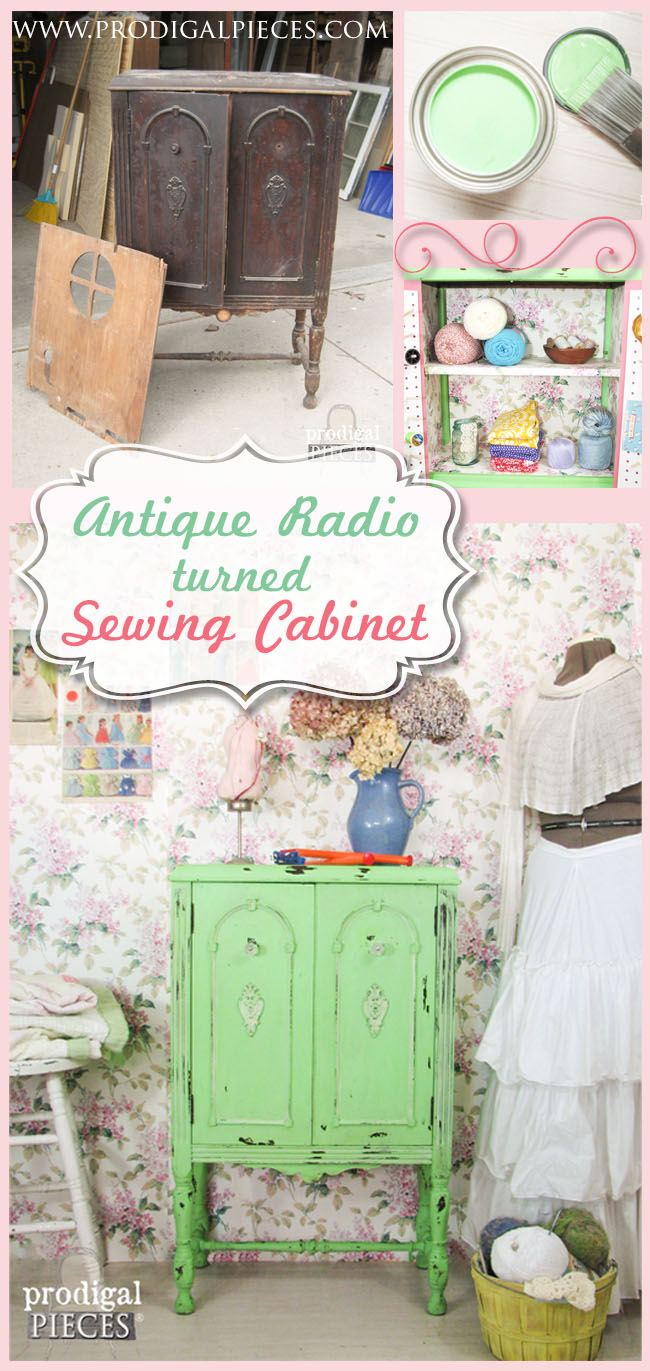
I’d like to show you the transfer method I use to create signs and furniture. I have oodles of examples of how I use this method on my furniture makeovers seen HERE like this chest.

In short, only a couple items needed besides your wood (and an antique anything, if you have something!) to do this painted sign tutorial.
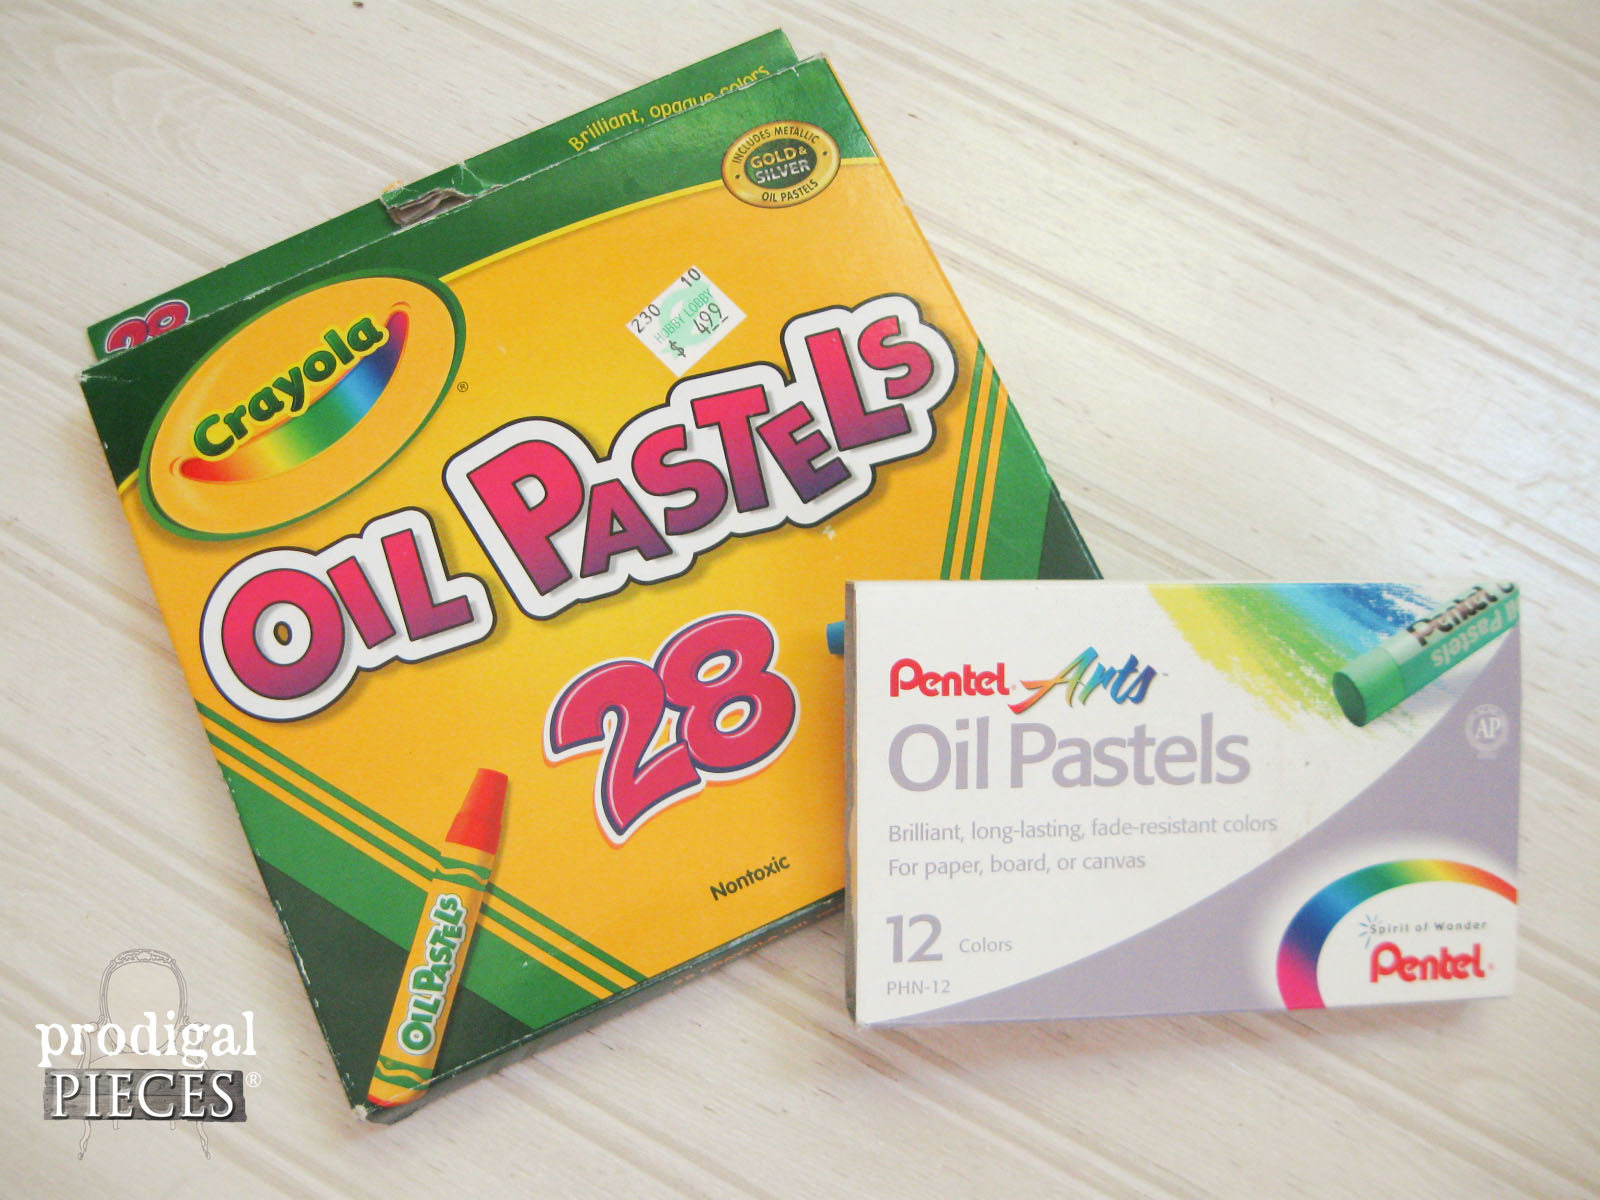
- oil pastels – I mainly use kids pastels (cheap & work just as well), but any will do. You can also use chalk, transfer paper, or graphite paper.
- colored pencil – in a bright color
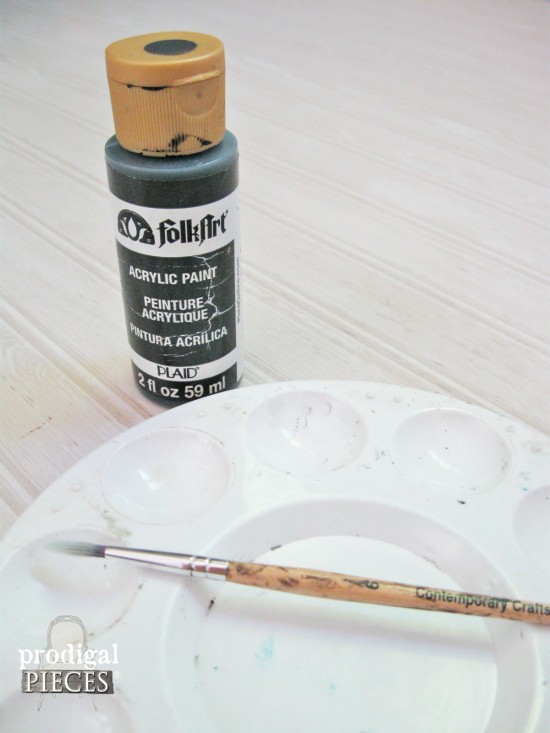
- acrylic craft paint – in color desired
- #5 or #6 round paint brush – you could use any one hand, I prefer these.
- paint tray or plastic lid
- Photoshop, or similar program
- printer
- masking tape, painters’ tape, or similar


First, measure the wood you’re using to get the parameters you need your graphic to fit into. I typically leave about an inch allowance or greater, depending on the design.
Next, I lay out my graphic (you can also use a pre-made design or clip art) in a software program. I used to use Microsoft Word but now love to use Photoshop. No need to reverse the image, just print it out as you read it, and tape it together, if needed.
EASY-PEASY
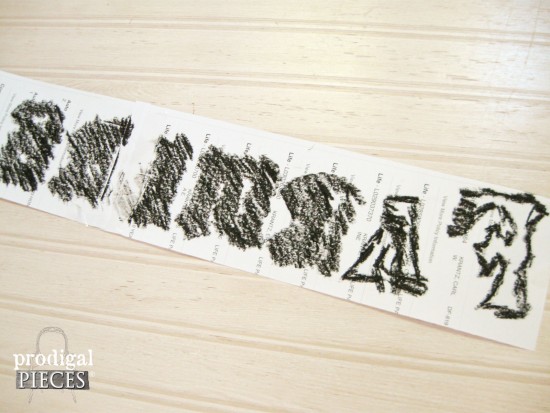
Once your graphic is printed, grab your oil pastel (I like to use the same color as the paint I’m using), and rub the reverse side of the graphic everywhere you want to show up. To be able to see where to rub, a light box is great (I have a homemade one), but I always use my window since I’m too lazy to drag out my light box. ahem.
 Last, center and tape in place your graphic with the right side facing you. Then, take your colored pencil and trace firmly all the parts you coated with the pastel.
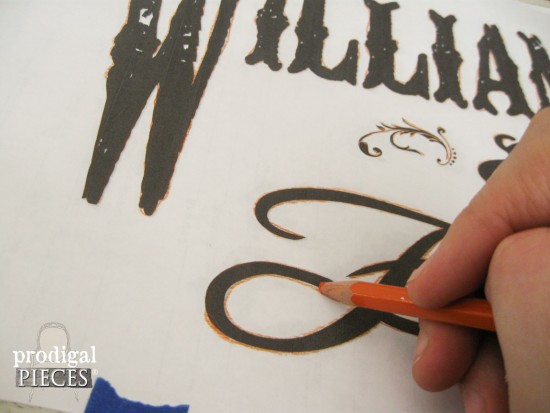 In fact, before completely removing the paper after you’re done tracing, gently lift up a side to see if you’ve traced every part and make any necessary adjustments.
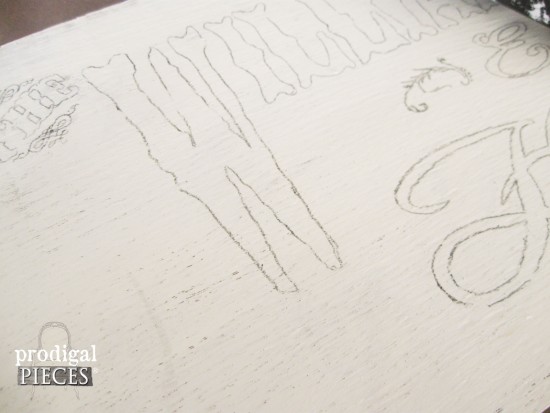
It should look like this…
 Now you’re ready to paint! However, I think you can figure this part out, so I won’t elaborate on this part.
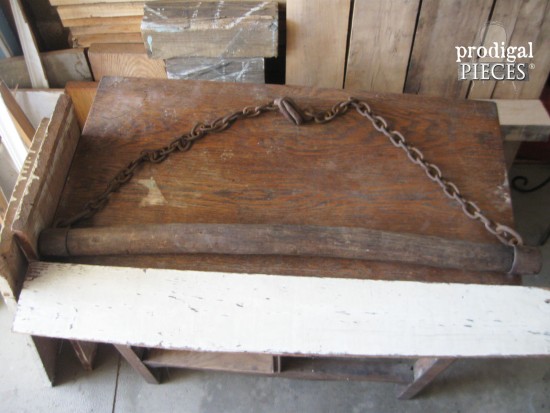
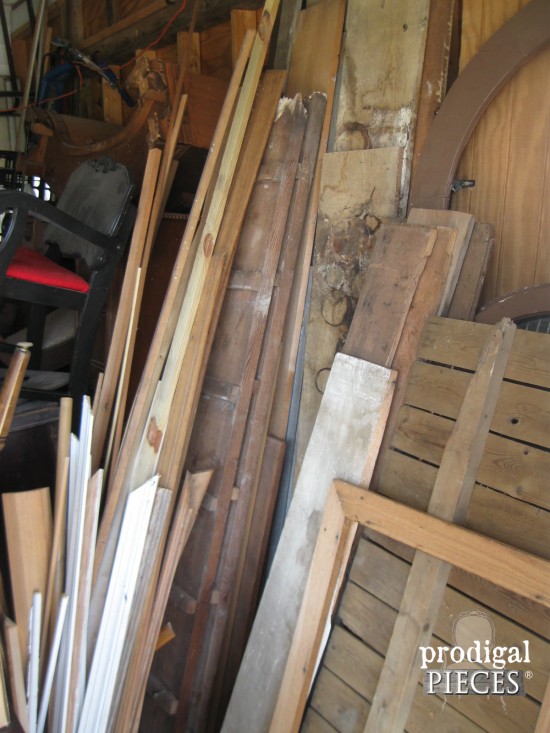
GOOD WOOD
Seriously, any old wood will do. See! Here’s part of my stash:
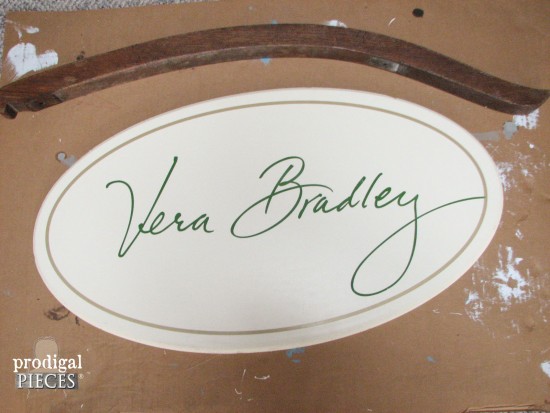
 In addition, here’s another sign using a vintage Morris rocking chair part and a thrown-out Vera Bradley sign made of foam board. (it doesn’t even have to be wood!)
 Got questions? Just let me know! AND… Don’t forget to stop by my online store to see the latest additions.

Finally, to get these DIY tips & tricks in your inbox, be sure to sign up for my newsletter. Until next time!

Also, more projects for you like my painted sign tutorial:
Fast and Easy, just the way I like projects!
I love to make old looking signs too! These turned out great!
Would you please tell me how to get the graphic pattern on Photoshop? I have Photoshop, but I don’t know how to make the graphic and get it large enough for my project. I have a small laundry stool and I want to paint a graphic on the seat that says “The Dirty Dog Laundry”–thanks!
Sindy
Hi Sindy! Sure, the link in my post must have been removed when I moved my blog, but I’ve replaced it for you. If you have any questions, please feel free to ask! 🙂
I am addicted to old signs but have never made one and I can’t wait to try it. I am confused as to why after you print it out do you shade it all in on the opposite side. Can’t u just turn it over and trace the outside without shading it in with an oil pastel? I think I am confusing myself? LOL
Thank you so much.
God Bless
They are very addictive, Stacy. hee hee. Sometimes if the lettering is small it’s just easier/faster to shade the whole thing in. When I do larger text, I only shade the outside edge. 😉
Such a cool project!! I cannot wait to try this myself! thank you for sharing!! http://www.lovesthefind.com/
Thank you, Ashlyn! 🙂
Excellent Job done by Larisaa ….. Thanks 🙂
Thanks for such a great post ! You really did well and described this post very well. Now i can also even make hand made signs 🙂
You bet!
My brain can’t wrap around your instructions although I think they are wonderful. I found a overhead projector at a yard sale and I use transparencies and tape them to white paper. So far so good.
Cute, smart and thrifty. Thanks for showing us!
You bet!
I see to use photoshop,but do you have to get a special paper?Like a long roll paper to put in your printer.ive never done any tranfers or labels.etc.but I would love too
I just divide the image up into 8.5″ x 11″ sections, print and then tape together for a larger image.
I’d love to have the ability to hand letter beautifully as so many others do. As it is I don’t even have nice regular handwriting. I’m definitely going to be trying this method to make my own signs. Thanks so much for sharing, Larissa!
I know what you mean. This makes it super easy and makes for great practice too.