In case you noticed I’ve been a little scattered lately, it’s all for a good reason. Back in August, we finally gutted our bathroom – our one and only bathroom for a family of 8. Yikes! I can’t believe it’s been that long already. And it was high time for a bathroom makeover.
We aren’t just a tad busy, but busy like nobody’s business busy. Do you think it’s done yet? No sirree. By this time I had hope to share with you the completed project, but since that won’t be happening anytime soon, I thought I would share the beginnings of our remodel.
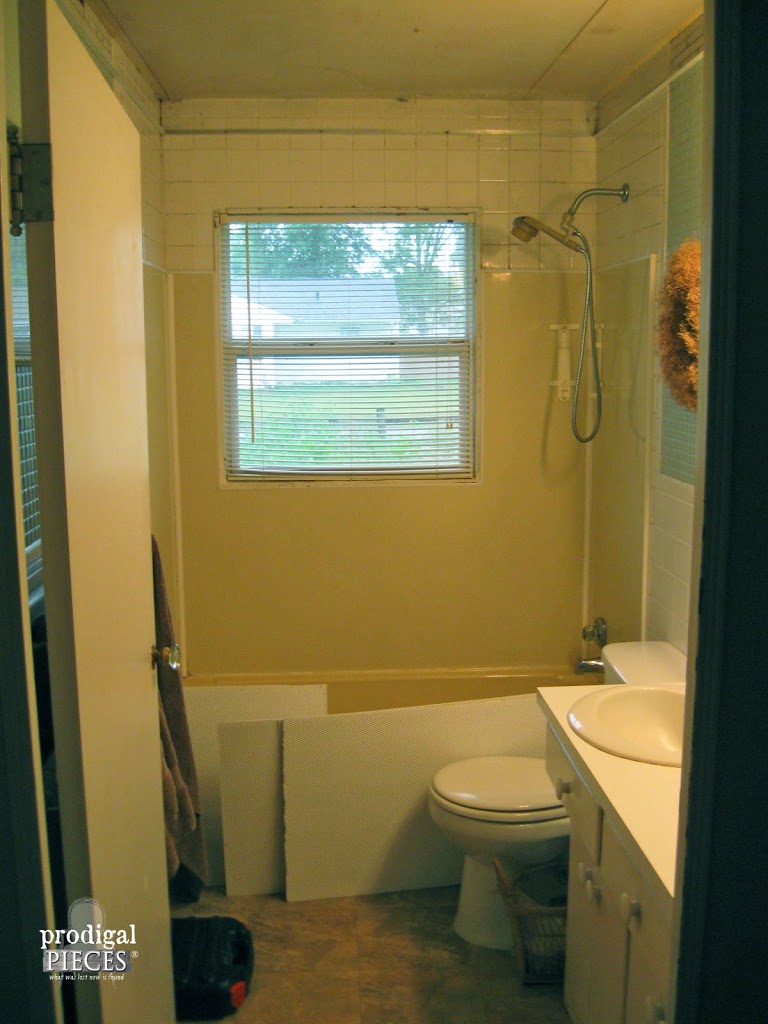
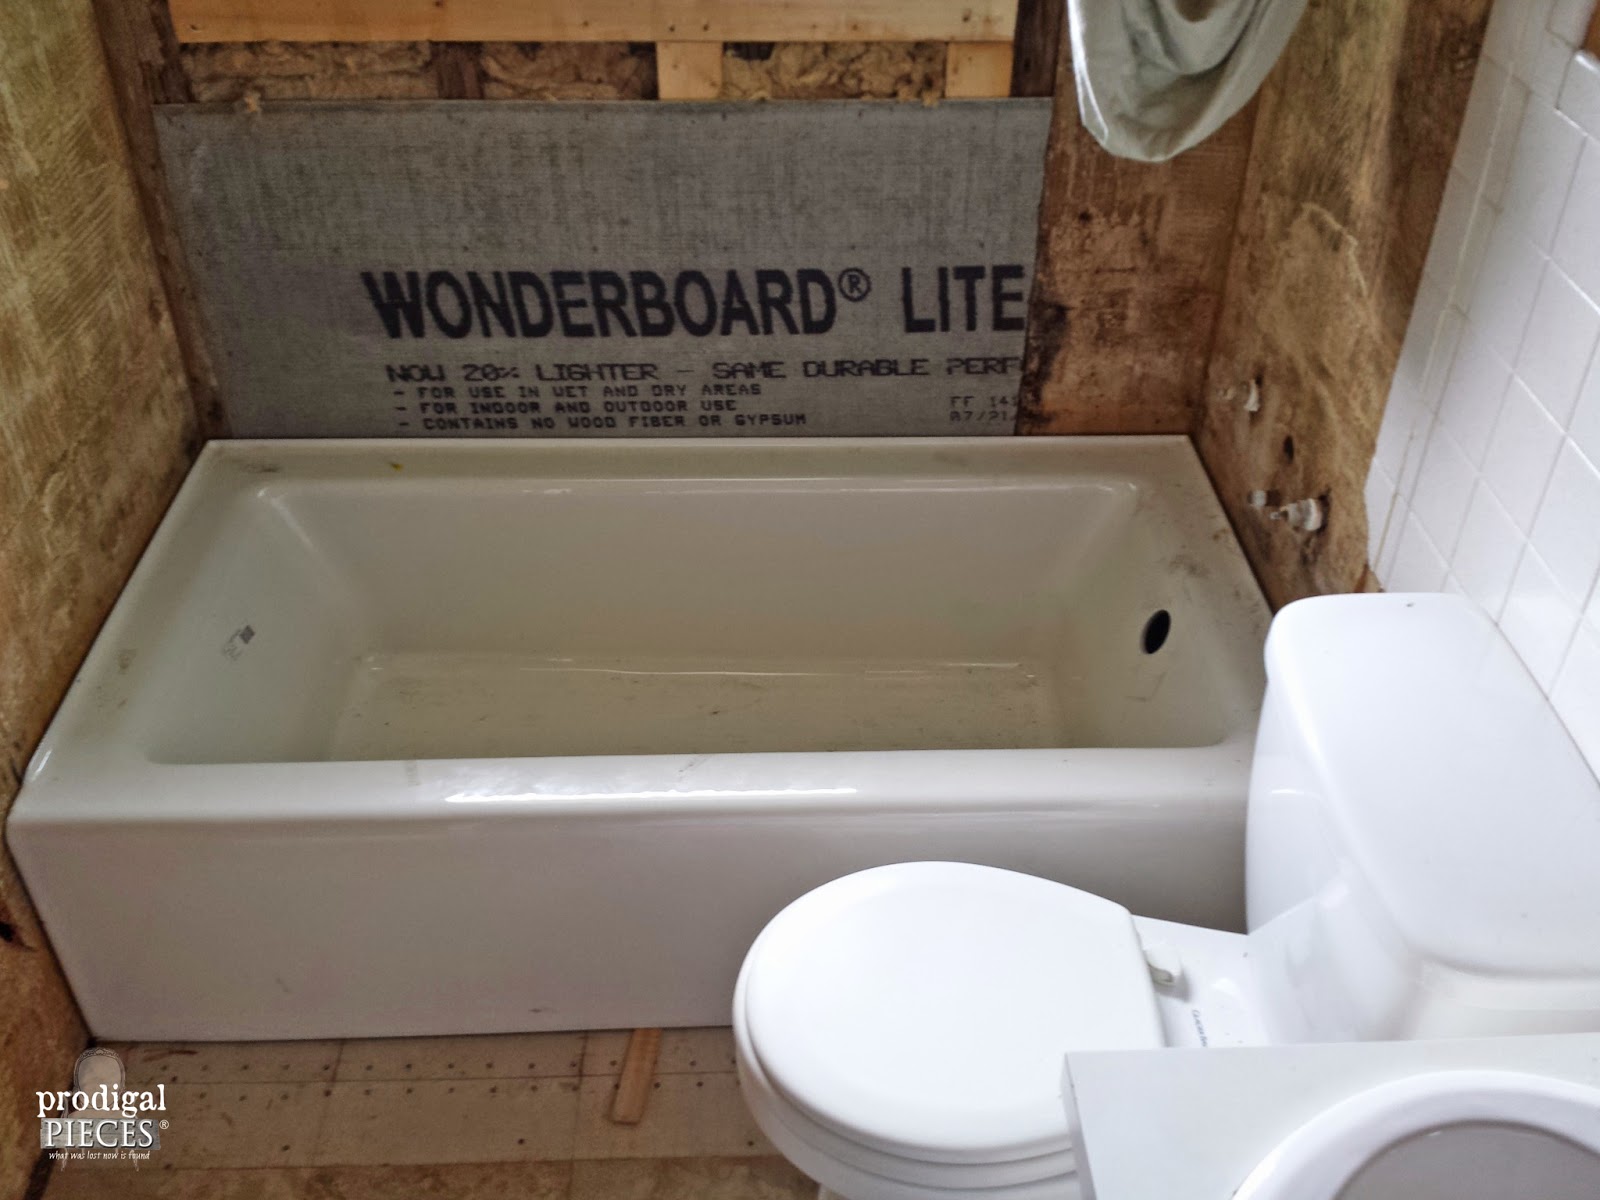
My hubby had already started to tear the bathroom apart before I could snap a good before photo, but just by this one alone I think you can get the idea that an update is overdue.
BACKSTORY
Our home is not your typical stick built home, it’s call a Gunnison home that was built back in the 1950’s. It’s a type of modular home that were being built for soldiers returning from service in the military particularly in our neighborhood. You can read more about them here.
Yes, our home has quirks, but most any home does and we choose to see our blessing for what it is…a blessing. Instead of grumbling about wanting bigger and better, we are choosing to make our home the best there is for us. You can read about our other progress of the master bedroom in Part 1 and Part 2.
The best part is that no one would guess this is a modular home.
One of the perks of this particular package is one lonesome bathroom. Not only that, but also one bathroom with a window in the shower that faces the street. oh yeah, baby.
WHY
Question for builder: Why on earth would ANYONE put a window in their shower??? Does that not pose the problem of water damage not to mention privacy?
Uugh. When we moved in the previous owner had replaced the window at some point with a wooden framed window. Ummm, baaad idea. Of course the sill rotted out and left us with a mess to clean up.
At one point when we really didn’t have a budget, we replaced the commode, the shower stall and tub, and floor (originally it was carpeted and has since had two different tiled floors) and it’s held up for several years.
HOT MESS
So here we are doing it again, and this time we’re yanking everything out and starting over…clean slate. It feels sooo good. I’m going to try to dig up a real before shot for you by the next time I post….promise.
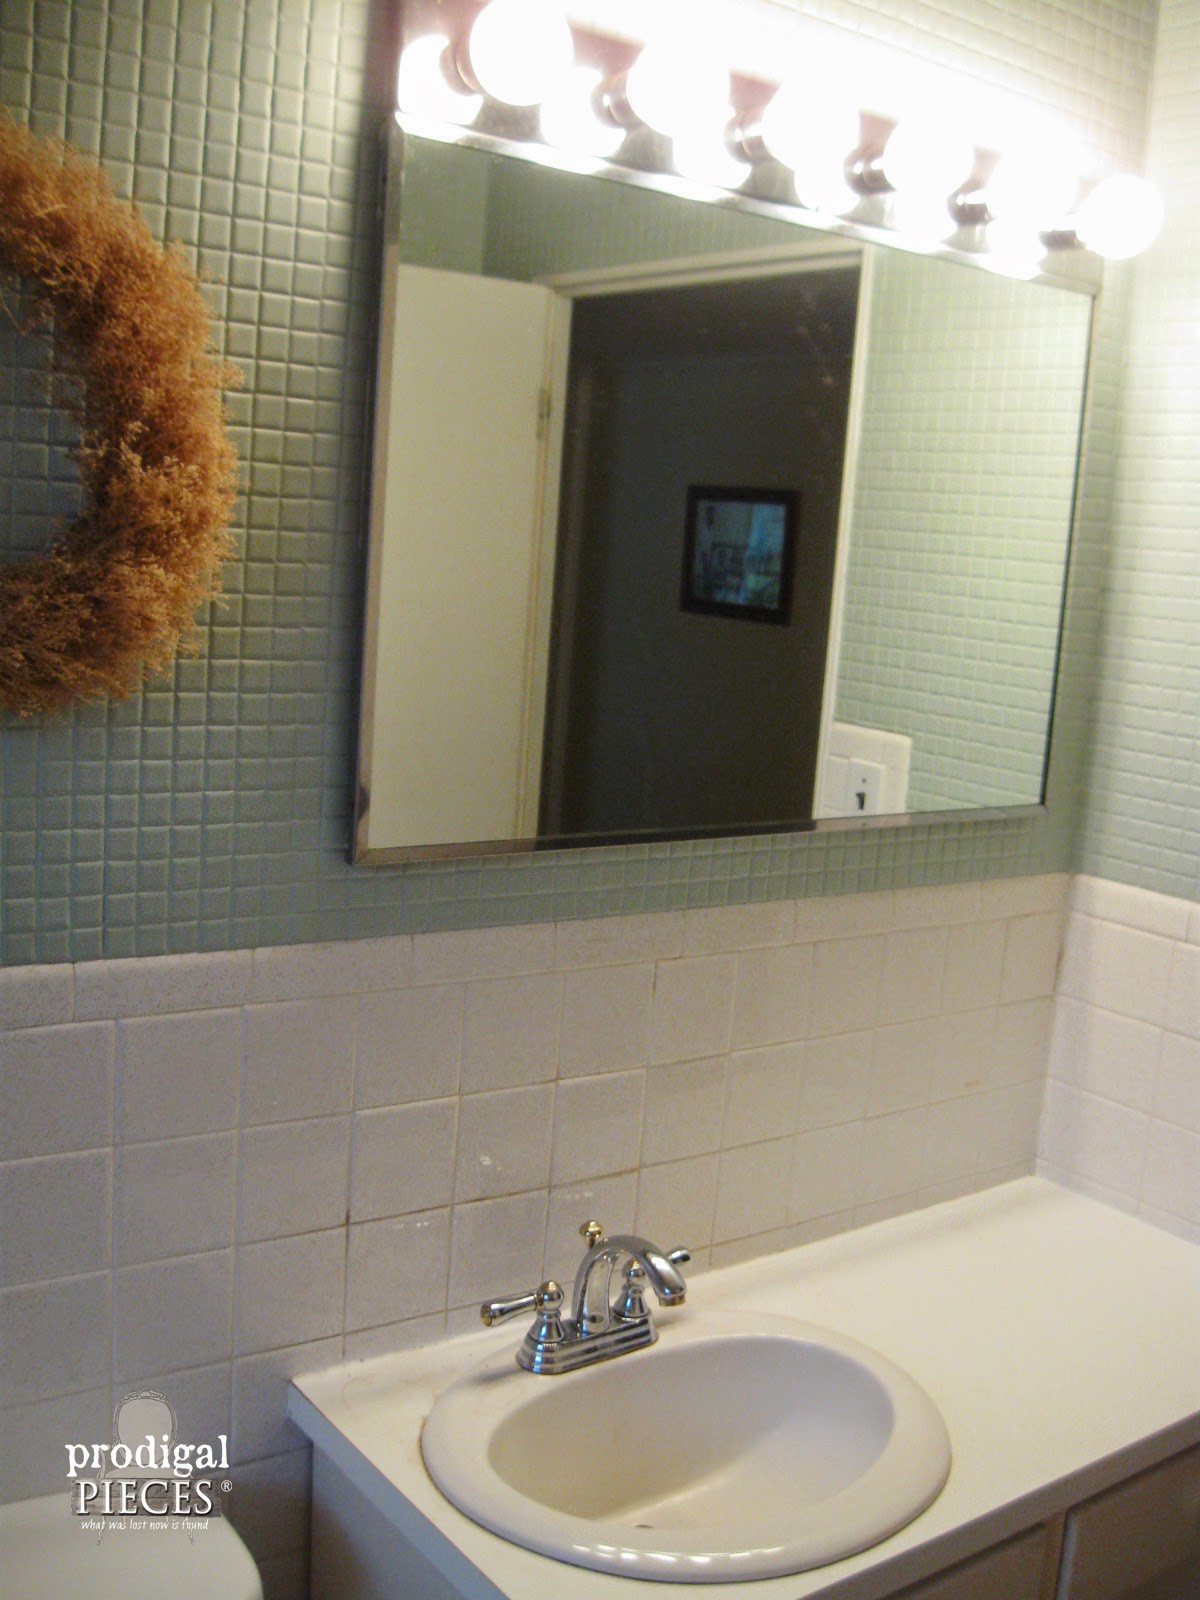
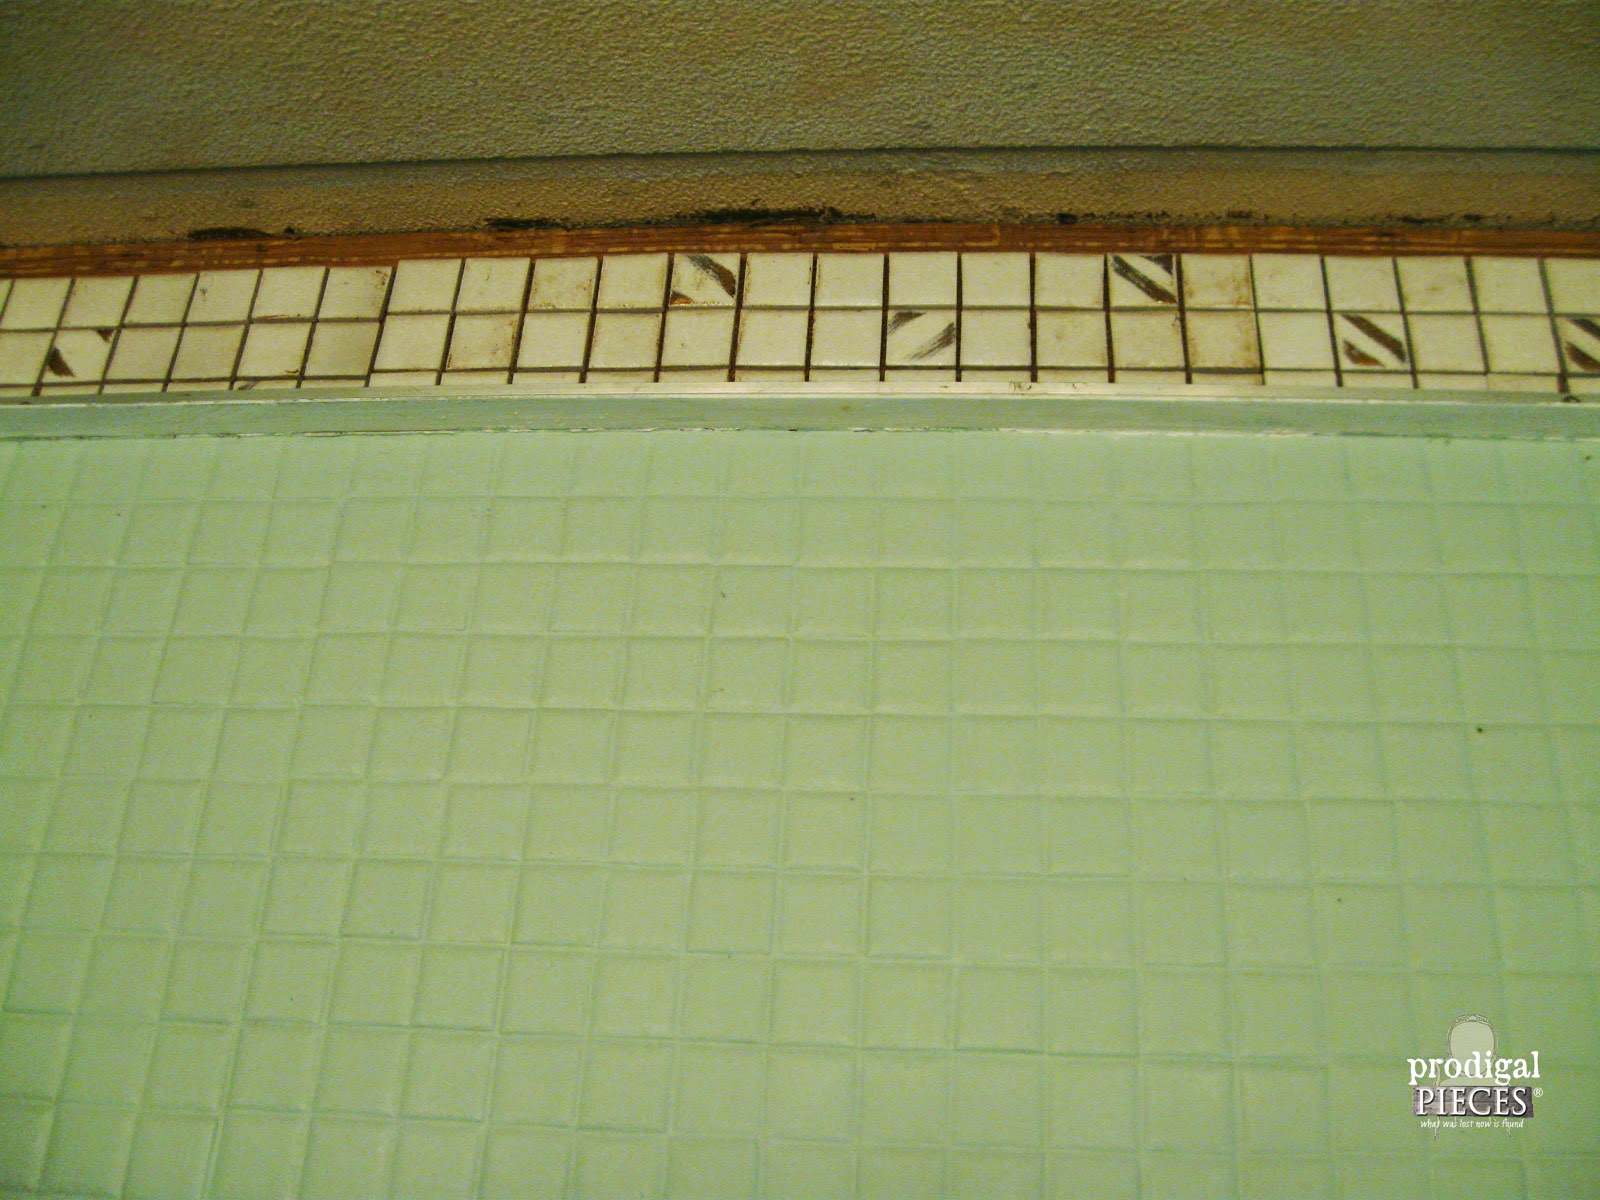
On the walls we have 1″ tiles above 3″ tiles. I’ve painted the 1″ tiles a couple of times over the years because the originals were white with lovely gold streaks in them. The builders didn’t even tile to the ceiling – most likely ran out of tile – and then just added a clear plastic drop ceiling to hide it all. Don’t you love it?
The 3″ tile beneath is also white with gold flecks in it, but at least that was more bearable.
LOOKING UP
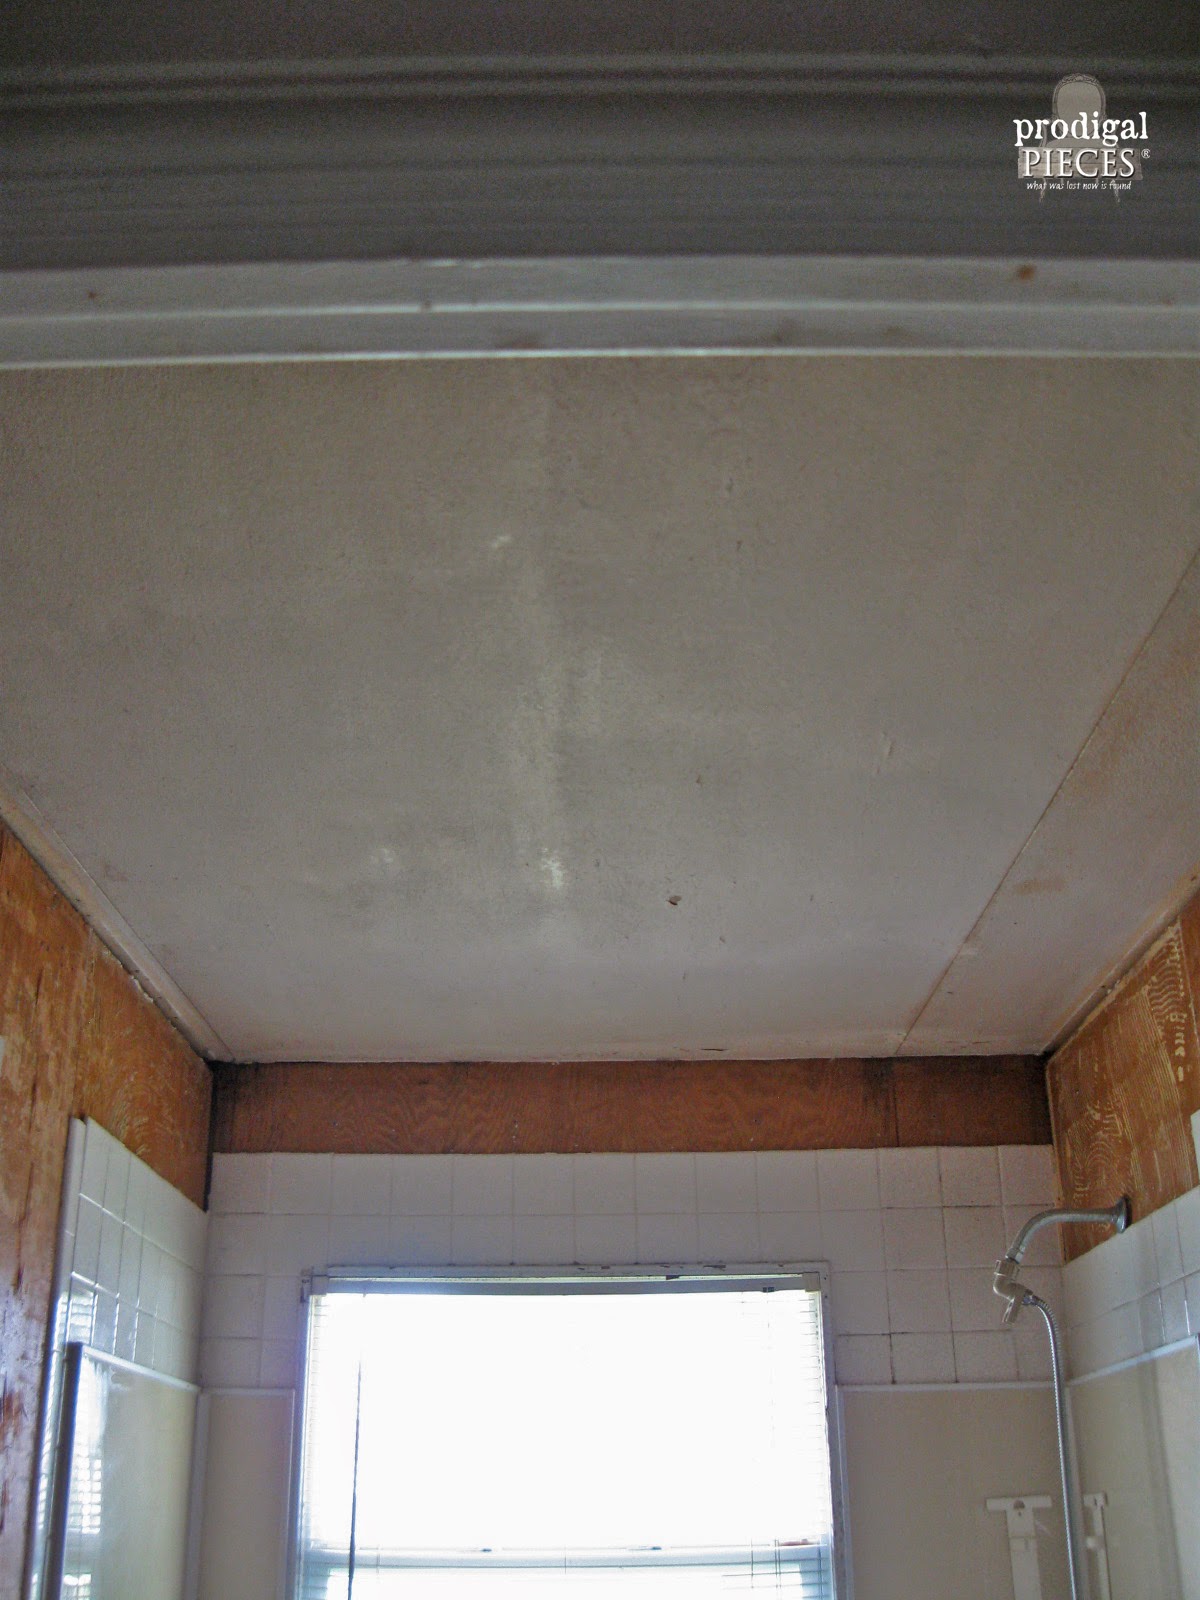
Like I just mentioned, the ceiling was a drop ceiling with clear (that had turned mottled) plastic panels. When we moved in I quickly remedied that problem with some white paint.
After the ceiling is down, here is what we were left with…wood panels.
The ceiling is the easy part, and that is what we tackle first.
I show you more of that later.
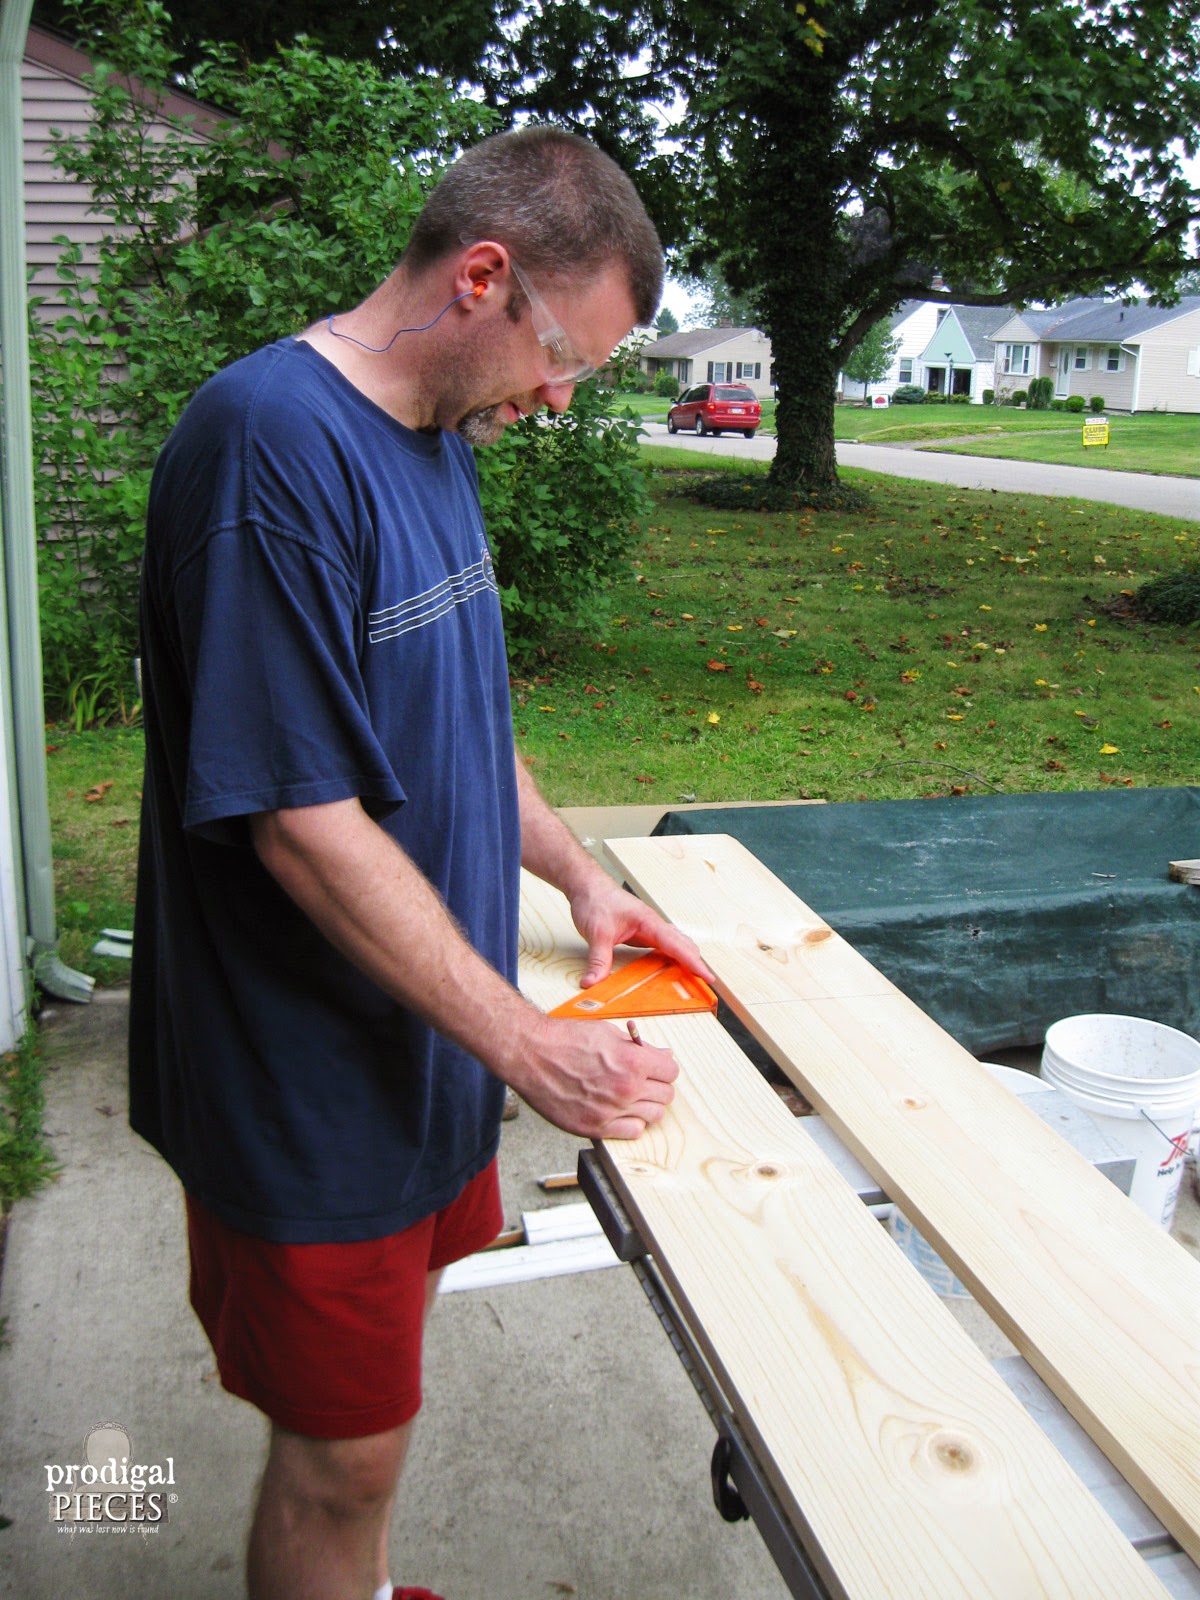
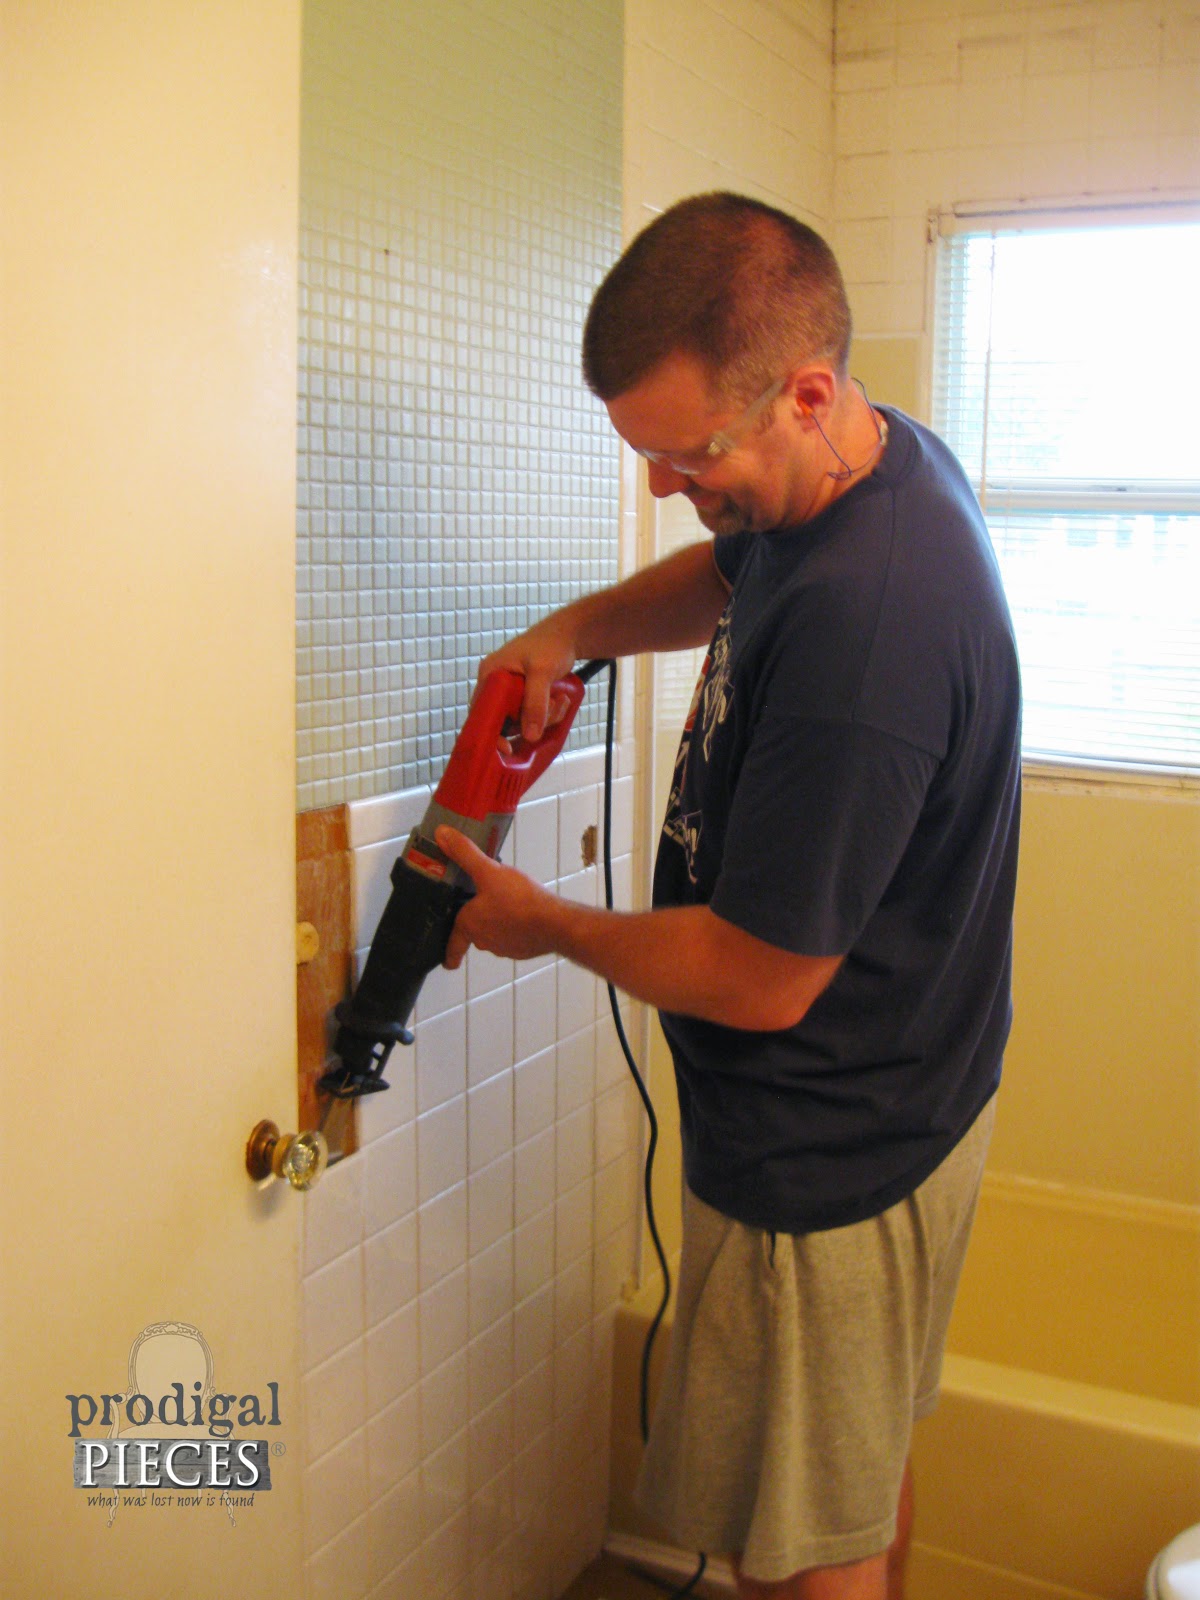
Then it was time for one of my favorite toys…the Sawzall. (enter in “Tim the Tool Man” laugh)
That little gem sent those nasty tiles flying and it’s done in no time. Another good thing about our home is that we don’t have drywall on our walls. Just good old wood sheets, which are actually kind of nice because they can handle dings and bumps from kids, and can handle remodeling well.
UGLY BEFORE
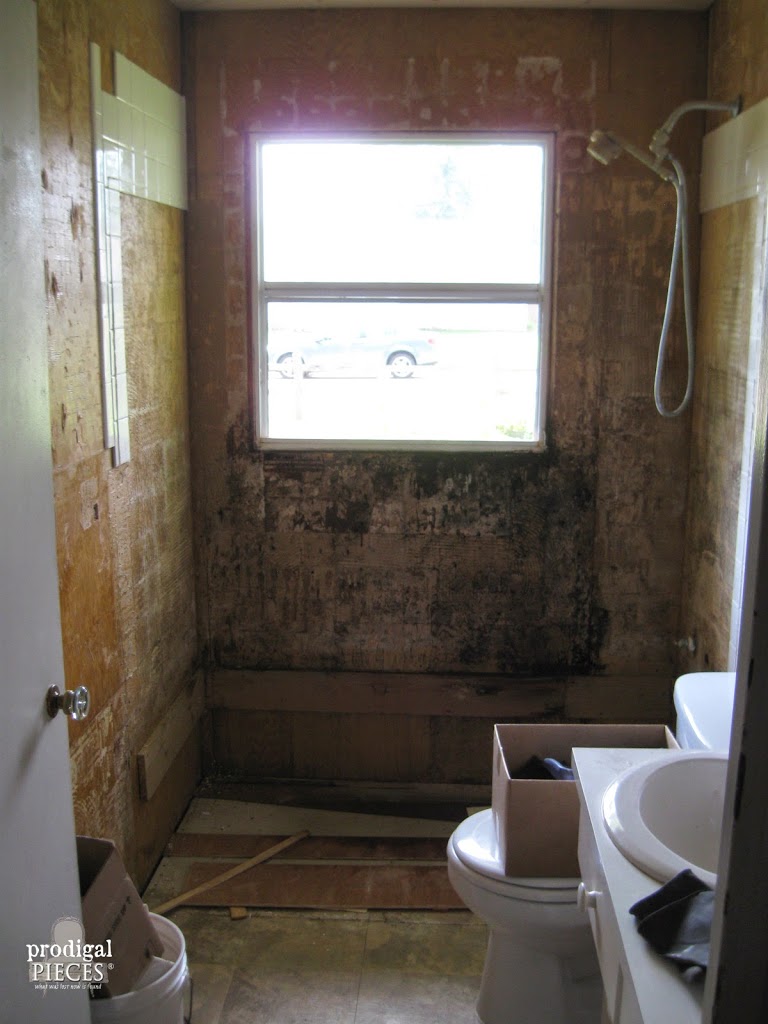
After the removal, here is what we are left with. So ugly isn’t it?
Needless to say we replaced the window with a new one. Can I just say I love Habitat for Humanity’s ReStore! We found 2 new double-hung windows that were the exact fit to our remodel – they are NOT wood. (Since this window is one of our front facing windows, we are also replacing the other front window in a bedroom) Of course, we also remove the damage on interior wall and replace it with cement board used for water purposes.
We seriously wanted to wall the window in or put glass block instead of a double-hung window. However, since this is visible curbside, we don’t want to ruin our curb appeal and lose light.
TUB WORK
In looking to replace our tub, I would have loved to install a claw foot cast iron one, but since we’d like to sell our house at some point, we wanted to make it suit folks of all ages. I found a brand new uninstalled Kohler cast iron bathtub on Craigslist for pennies compared to a new one. It has a small chip on the corner, which deemed it unusable by the owner, but it will hide beautifully with trim.
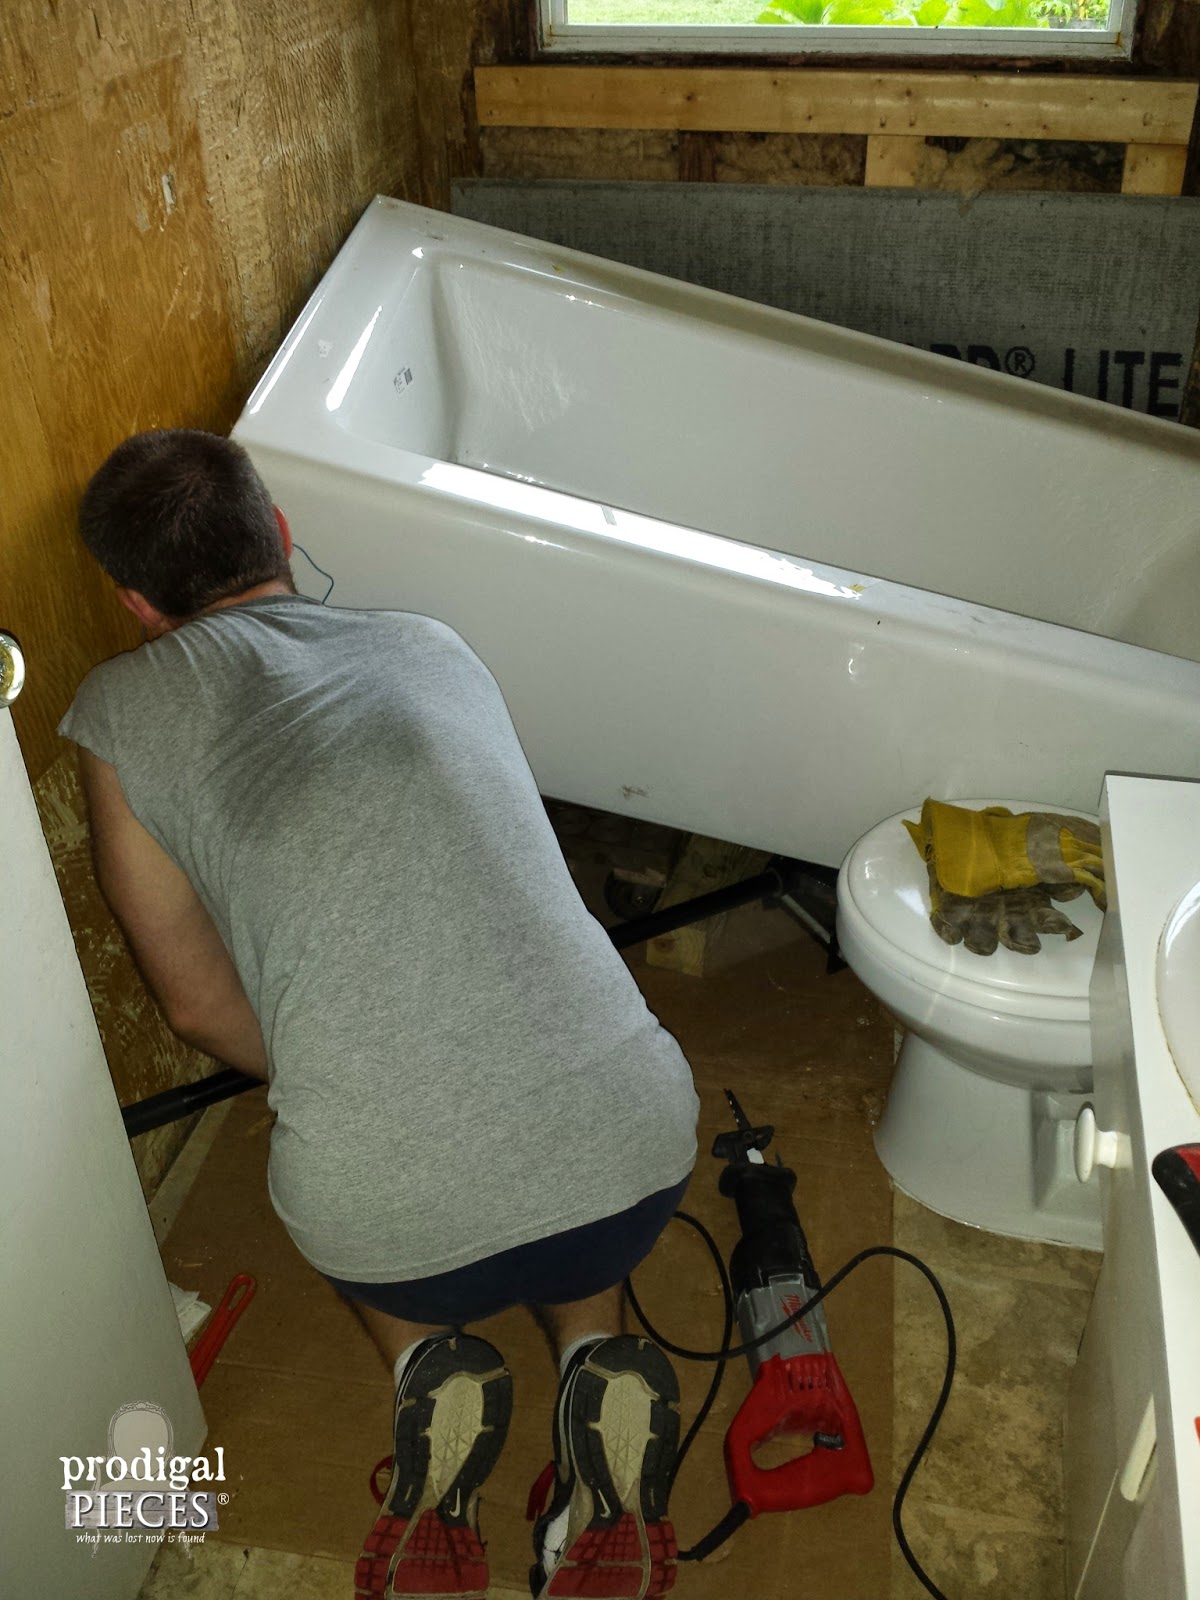
Now, it sounds easy enough to just put the tub in, BUT (there’s always that word!) getting it in place was another issue. Thanks to our good neighbors help, we were able to get the tub into the house and in the bathroom. However, getting it in place was another story.
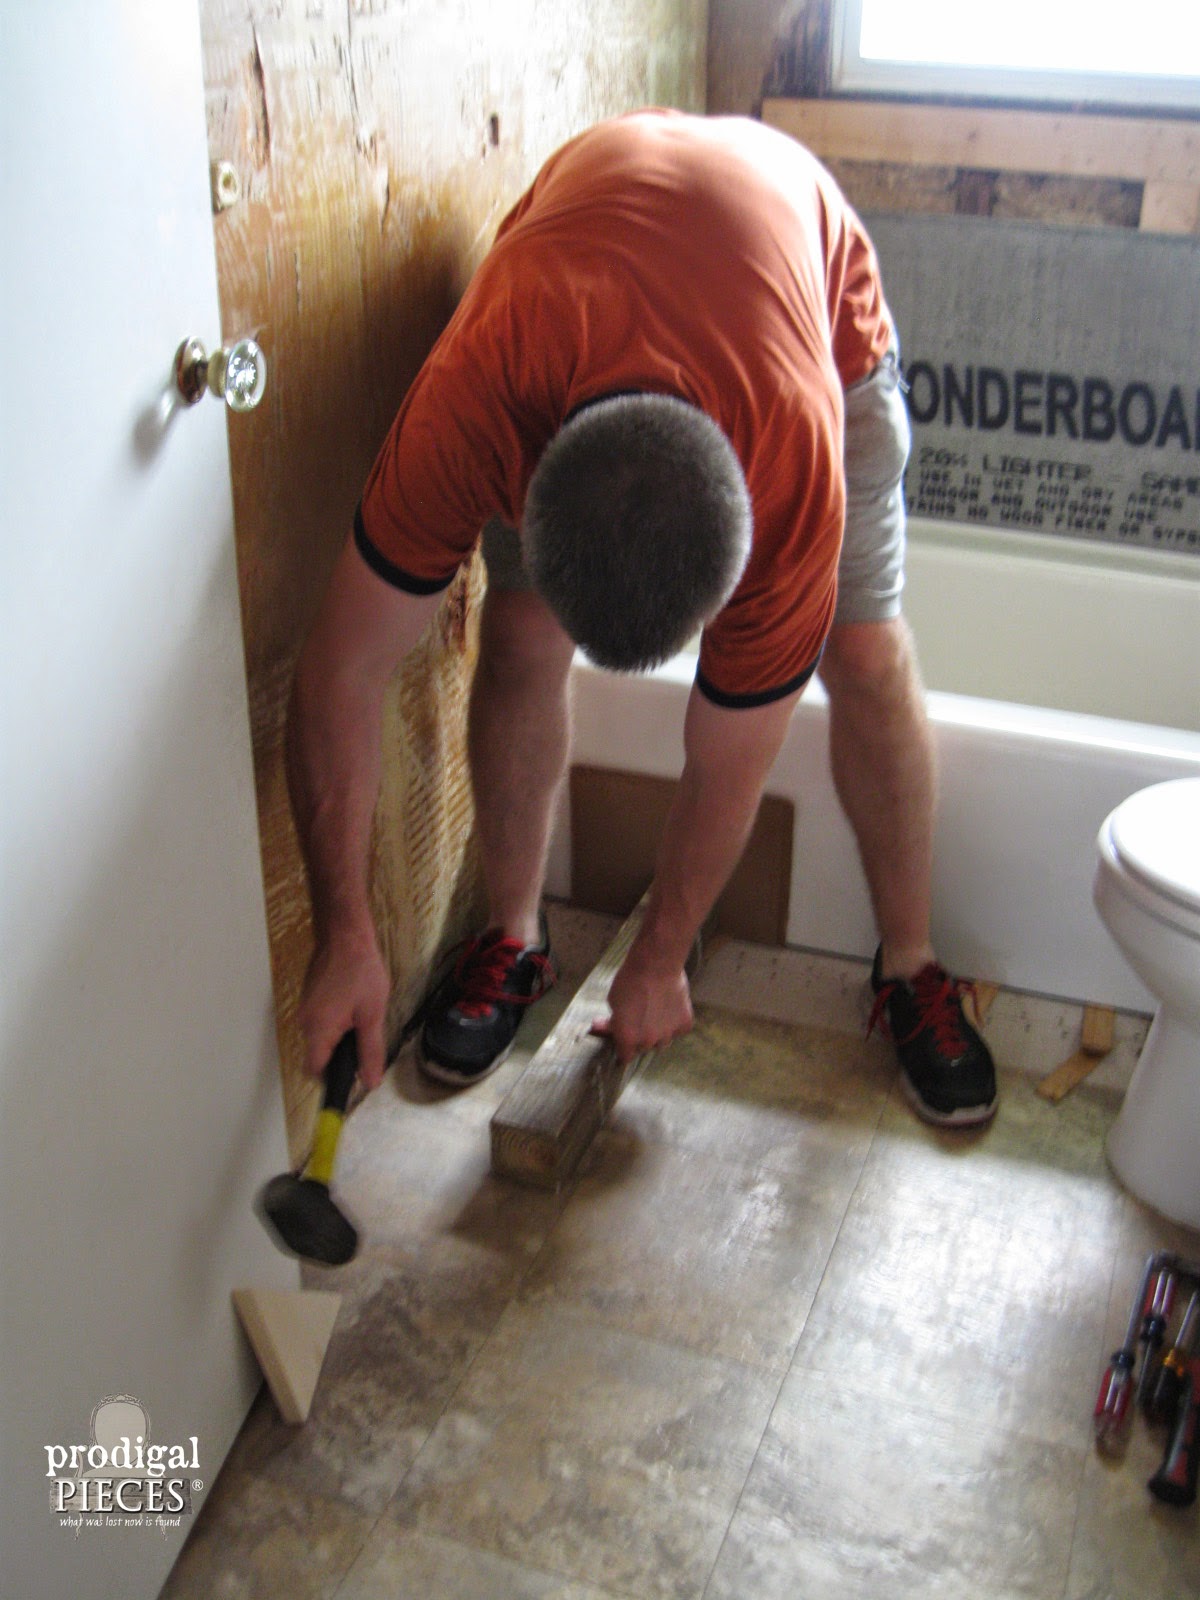
This bad boy weighed over 300 lbs. and was almost exactly the size of our bathroom, so squeezing it in was a chore. My hubs and friend couldn’t get it in for anything because the front apron kept catching on the wall. grrrr…
At this point I am happy to say that I am on this side of the camera during this part of the bathroom makeover.
A CUT UP
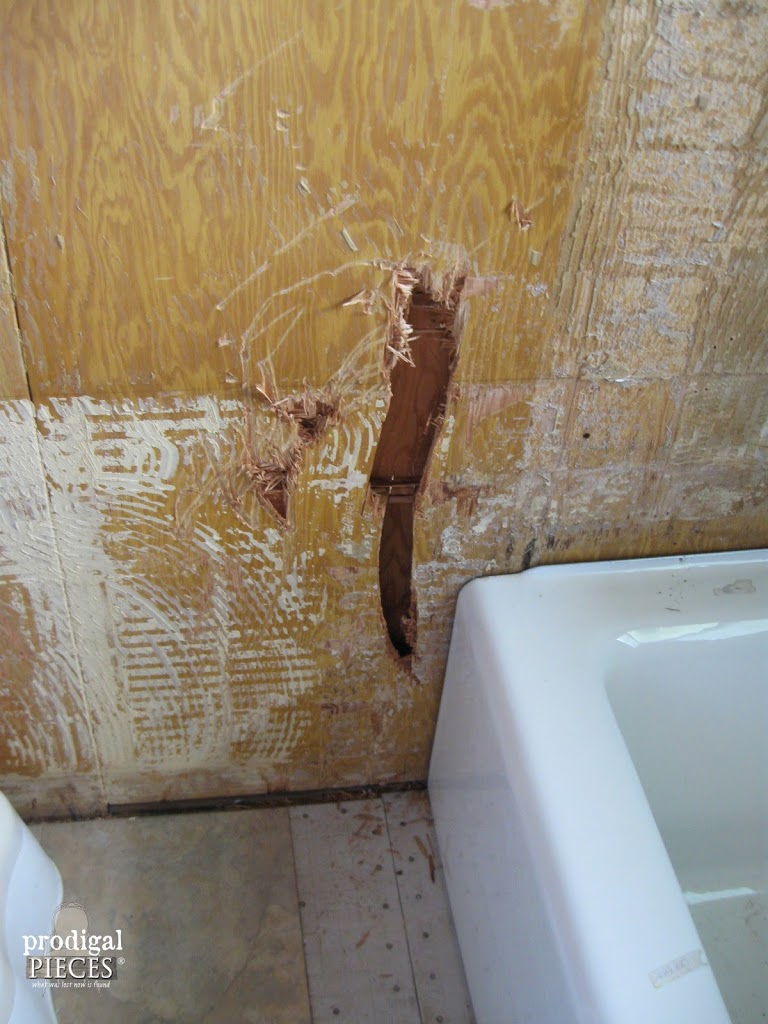
What to do? We whip out the Sawzall and cut the wall that has the hole. Did I mention I love that tool? It was a gift to self a while back and it’s worth every penny.
Alas the tub, is finally in a resting spot. BUT…(there it is again!) we couldn’t get it to move back in to place snug against the wall. My husband tried everything he could think of, but the feet of the tub kept catching on the cement board underneath. grrr…
I told him to let it go and we would tackle it the next day with a fresh brain. I always get wonderful revelations as I’m going to sleep and sometimes that’s a bad thing because then I can’t sleep. That night, bingo.
FINALLY
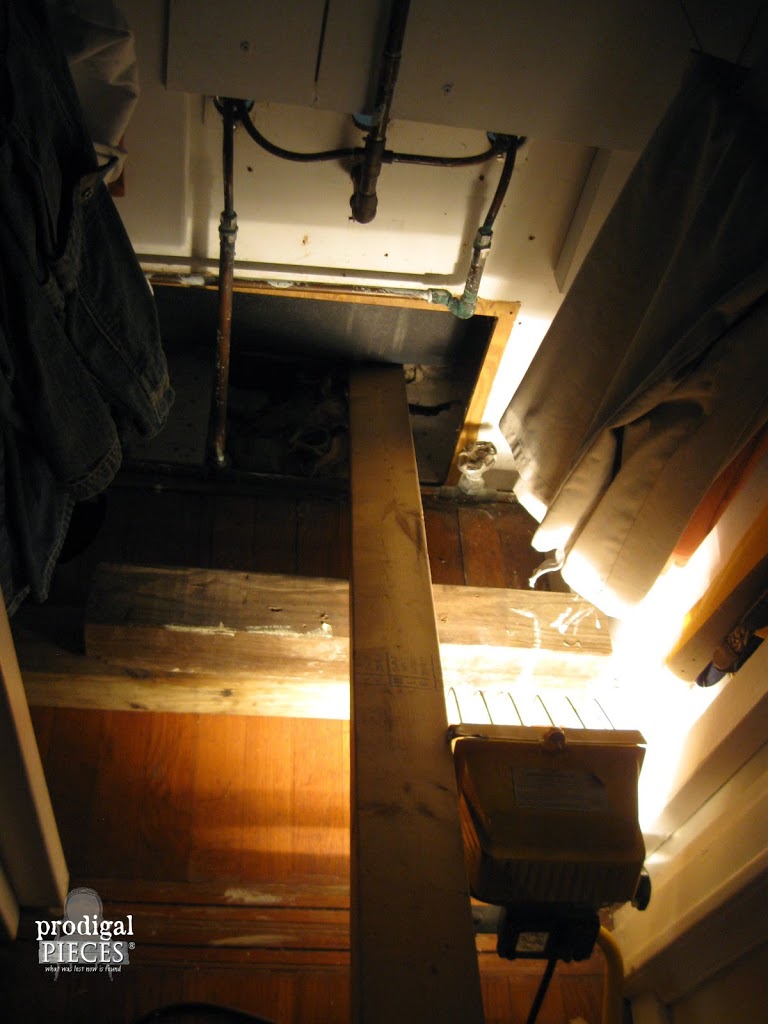
Excitedly, the next morning I asked him if we could try to use a lever to lift the tub on the end, while he pushed from the side. Thank God (seriously) we have access to the pipes and tub on the faucet side of the wall through a closet.
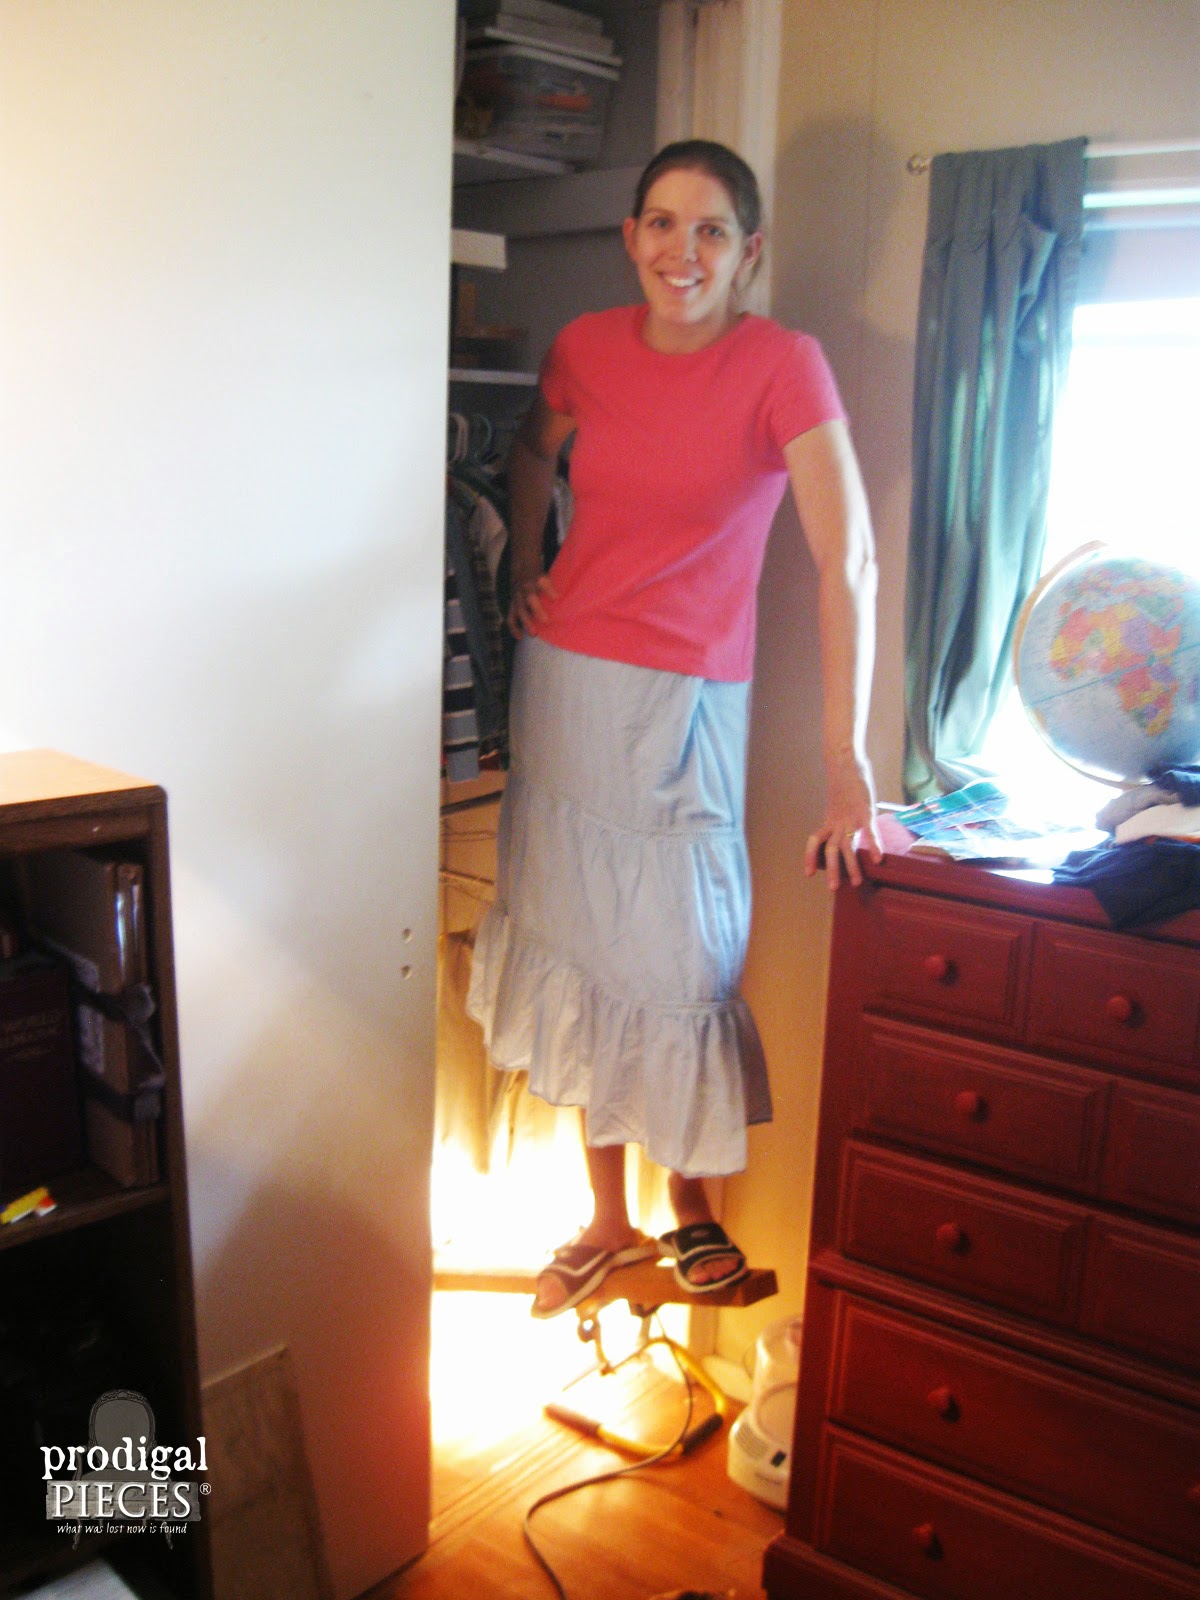
I suggest we stick a 2″ x 4″ under the tub. Then, I would stand on it to lift it up. It worked. Hallelujah!!
Yes, I work in skirts and yes, I’m stunning on that board in this fuzzy photo, eh?
I’m going to stop at this point even though we’re way past this part of the bathroom makeover. But let me tell you, even a tiny bathroom can become a big headache. We tried to pre-plan all the details and even with that effort you will always run into something. At least we can DIY!
If you want to see the next installment of our bathroom makeover. Come on over.



Fun post to read! I’d never heard of a Gunnison home. That’s interesting. I love learning about stuff like that. Sounds like your bathroom has been a challenge but it’s fun seeing how you’ve solved the problems. Yup….that word, but, always seems to creep into projects like that. I’m like you with the middle of the night ideas. lol That’s so great that it worked! Can’t wait to see the finished bathroom. Have an awesome weekend!
I cannot wait to see the finished bathroom. We are currently in the middle of a remodel with five kids. We do have a shower in our master bathroom so we aren’t too inconvenienced. Our house is a 90 year old farmhouse with a street side window in the shower. We have been looking for weeks to find a dresser to make into a vanity. I am encouraged by all your good Craigslist finds! Will be checking back to see the finished bath. Great job!!
I hear you, Dianne! It can be such a treasure hunt, but well worth it when it’s done. I would love to see what you’re working on too. 😉 Thanks for stopping by!
lovely pics. wil be happy to see the outcome.
Thank you. It’s done! You can see it here: http://www.prodigalpieces.com/2015/06/farmhouse-bathroom-remodel-reveal/