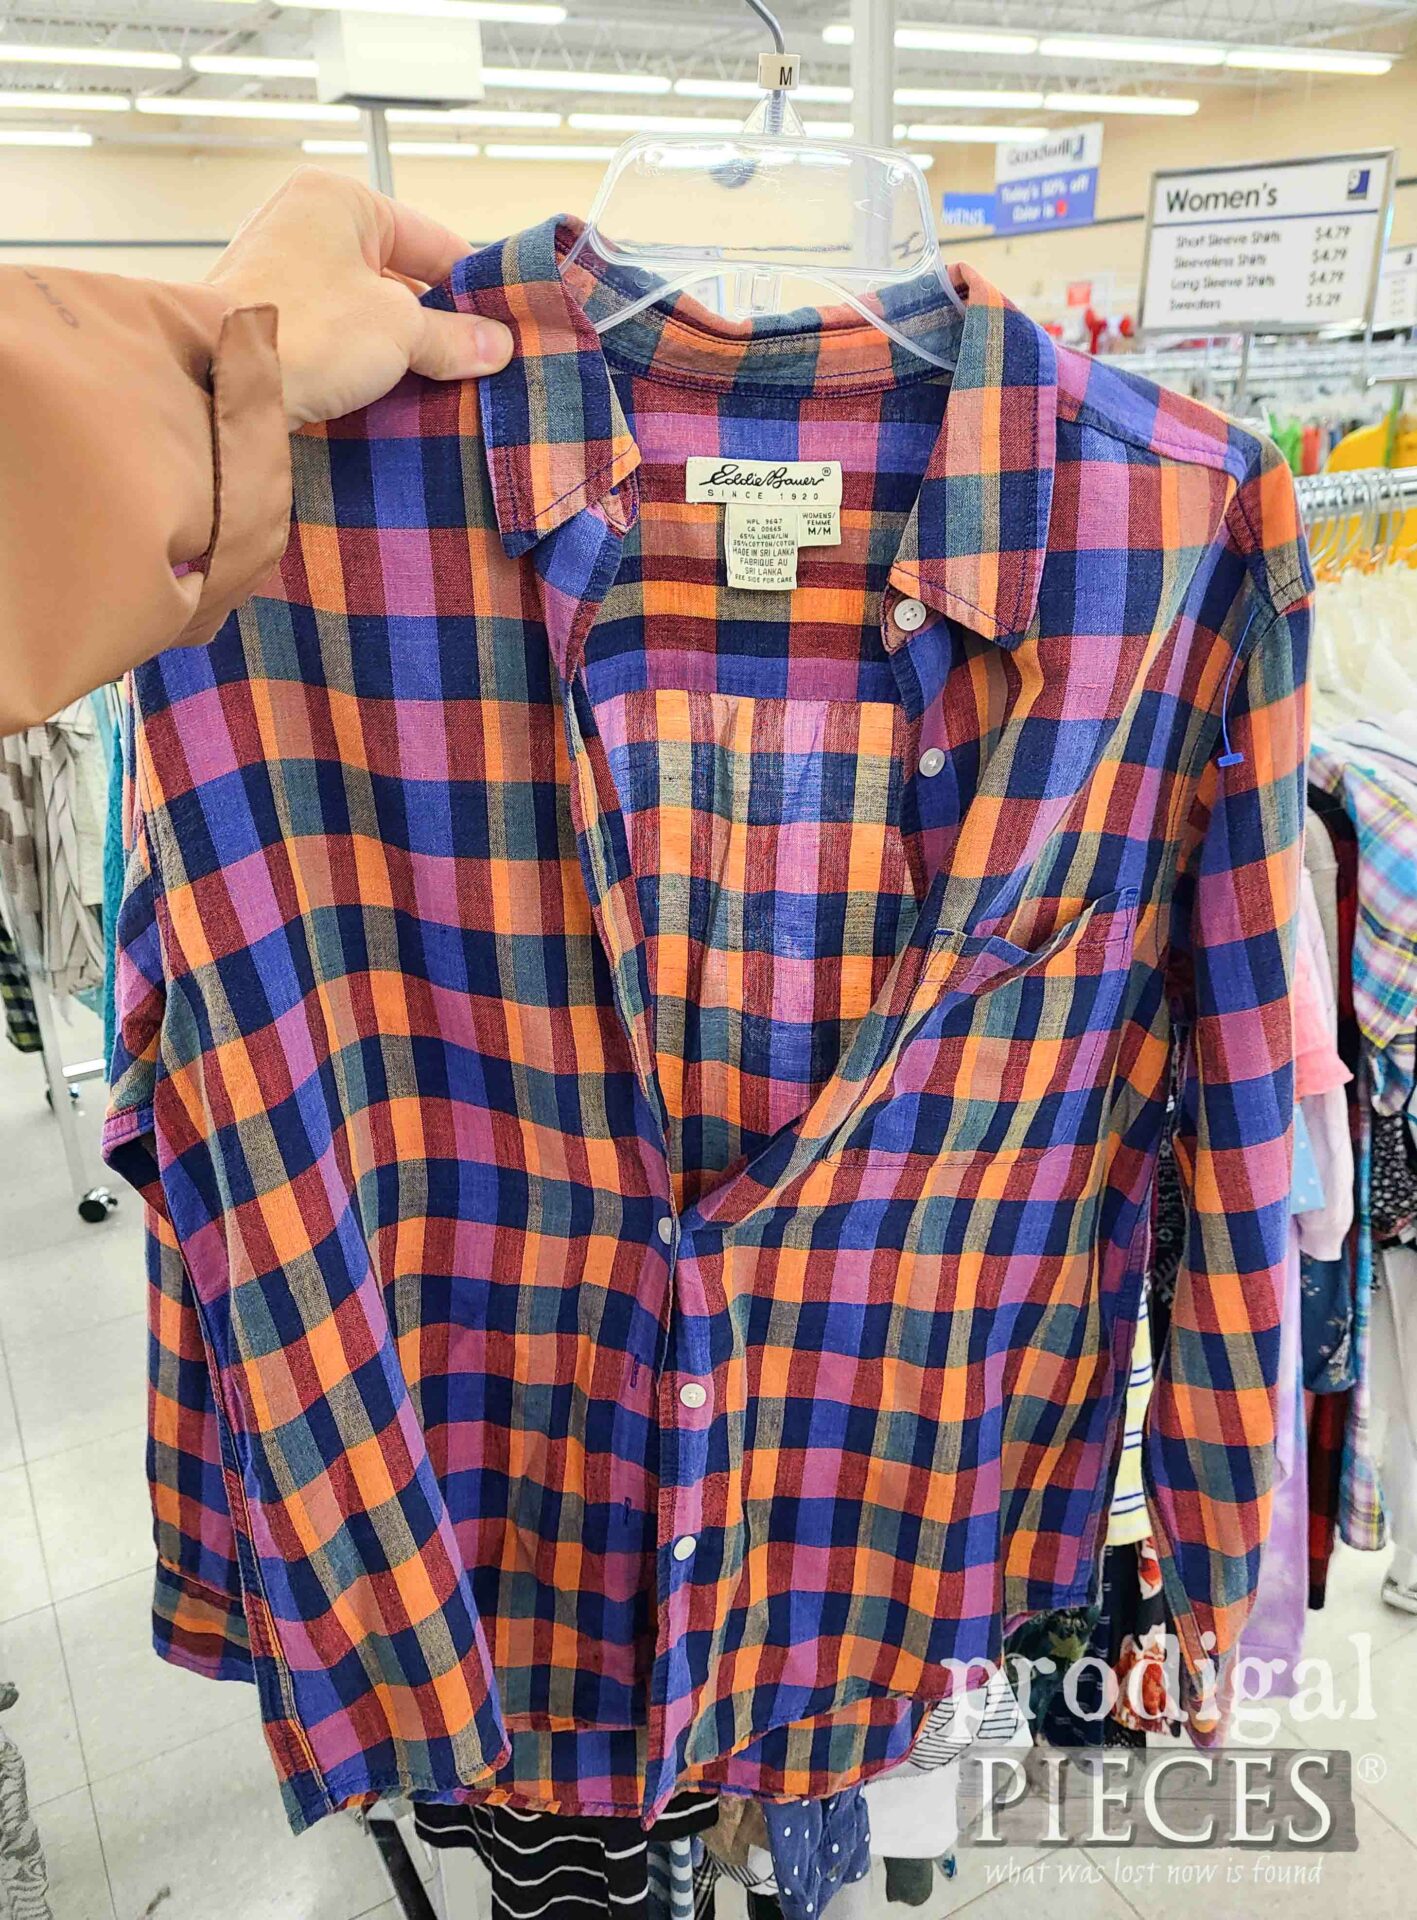
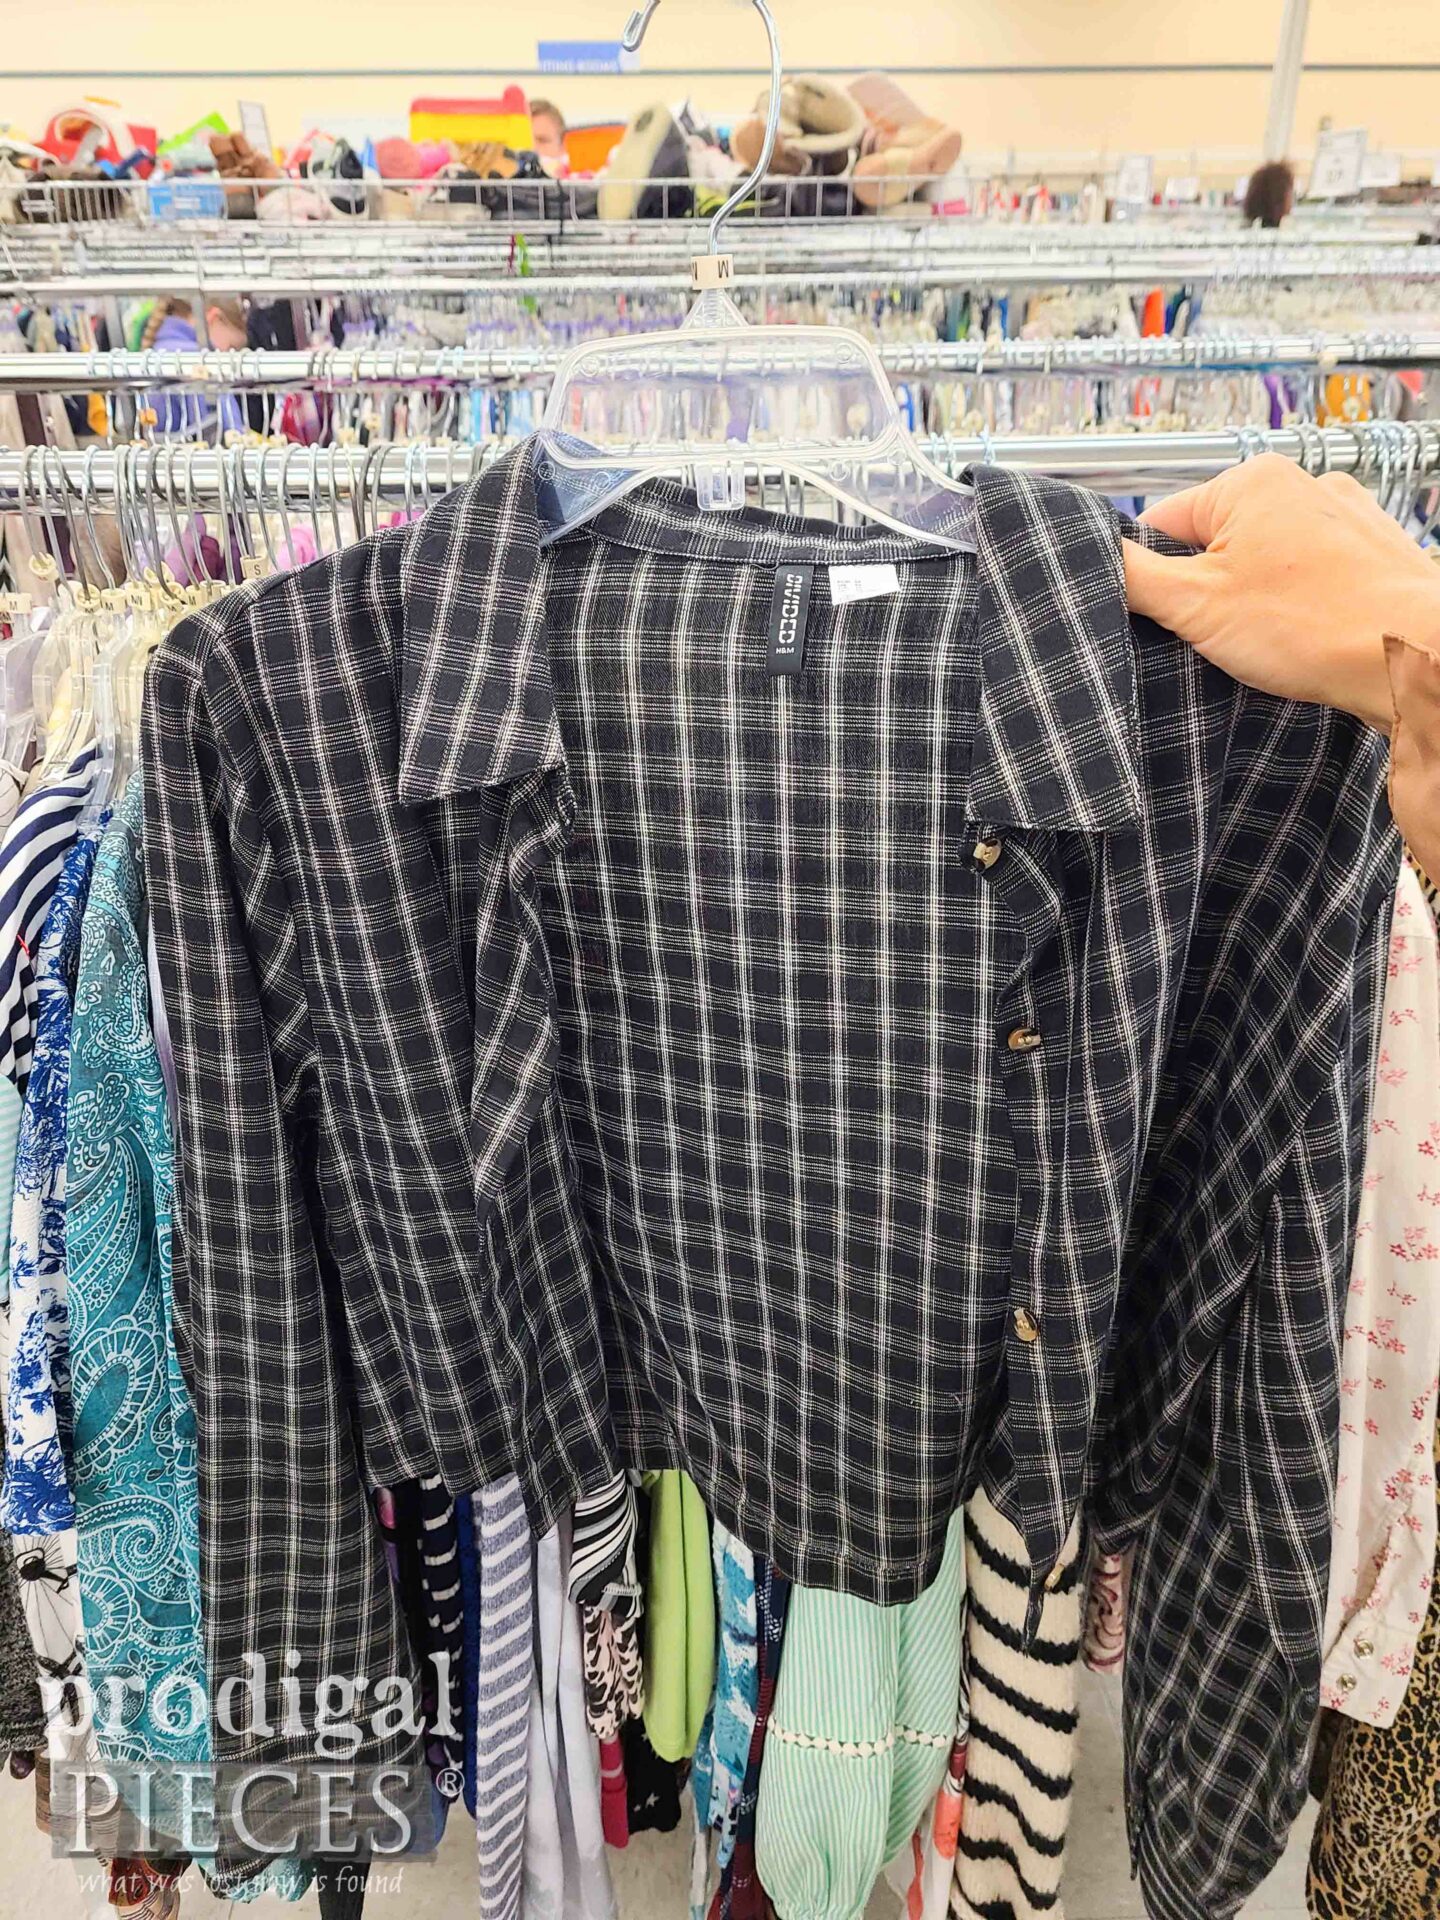
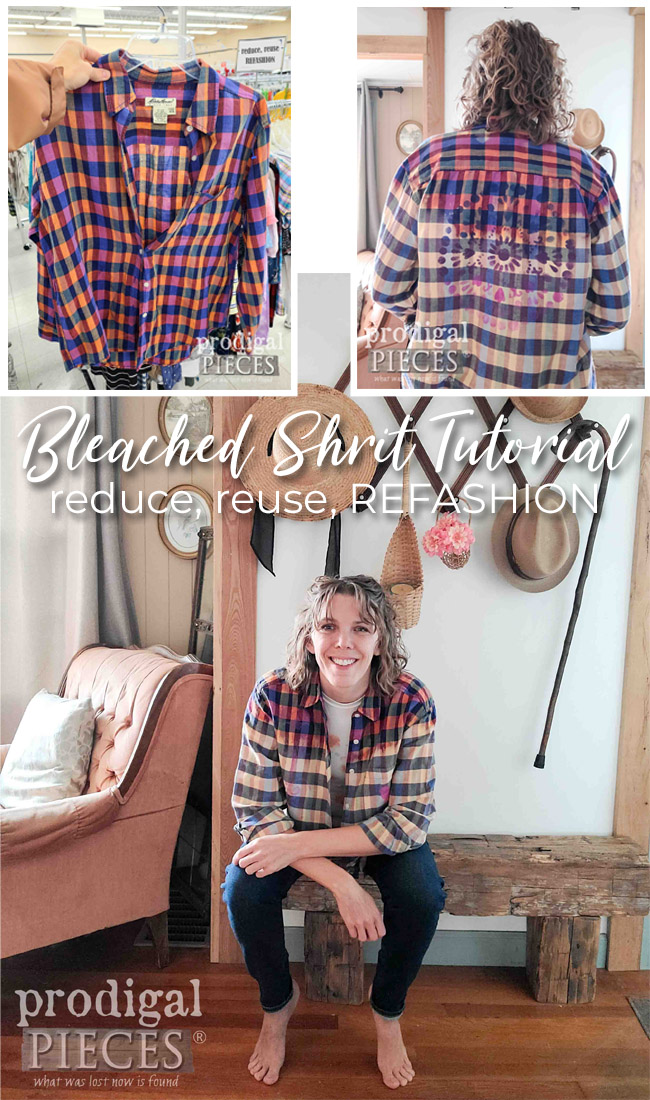
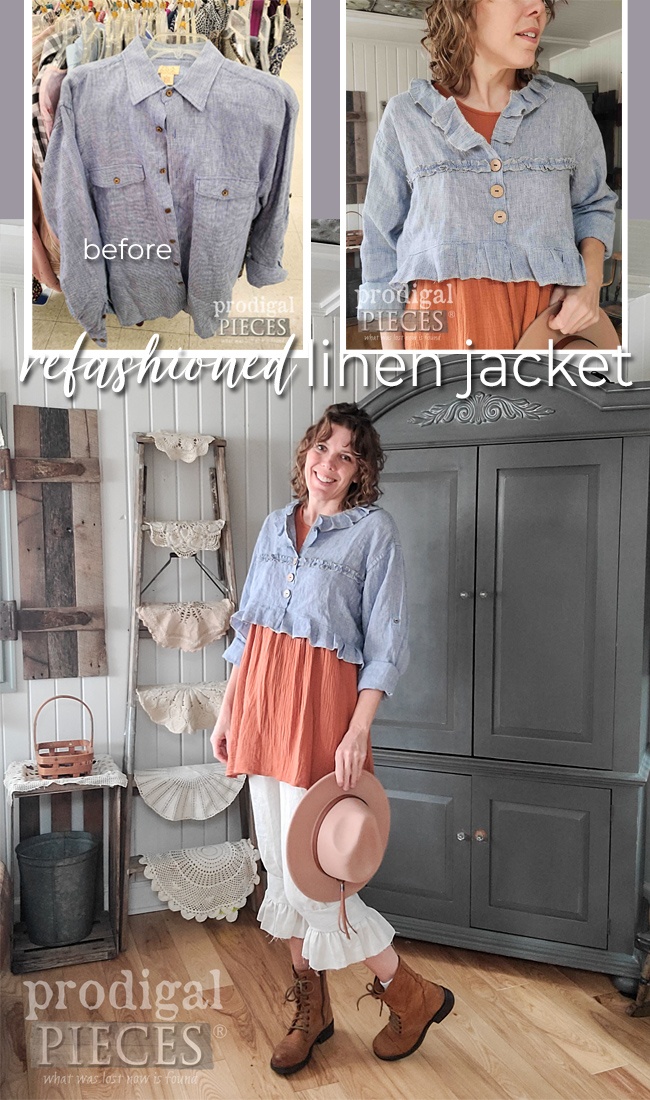
Can you believe it’s already the last Tuesday of the month?! Don’t blink or it’s gonna fly by! With each month, I’m always excited to bring to you a new Reduce, Reuse, REFASHION project for you. These projects don’t always involve sewing and often just show you how to take something you own (or thrift) and make it “new” again. Take a look at this linen and cotton shirt I found, and this cropped cotton one as well. I have been wanting to try a bleached shirt tutorial, so today’s the day! {{fingers crossed!}}
They both look like refashion potential to me! Let’s get our DIY party started, shall we?
STARTING OUT
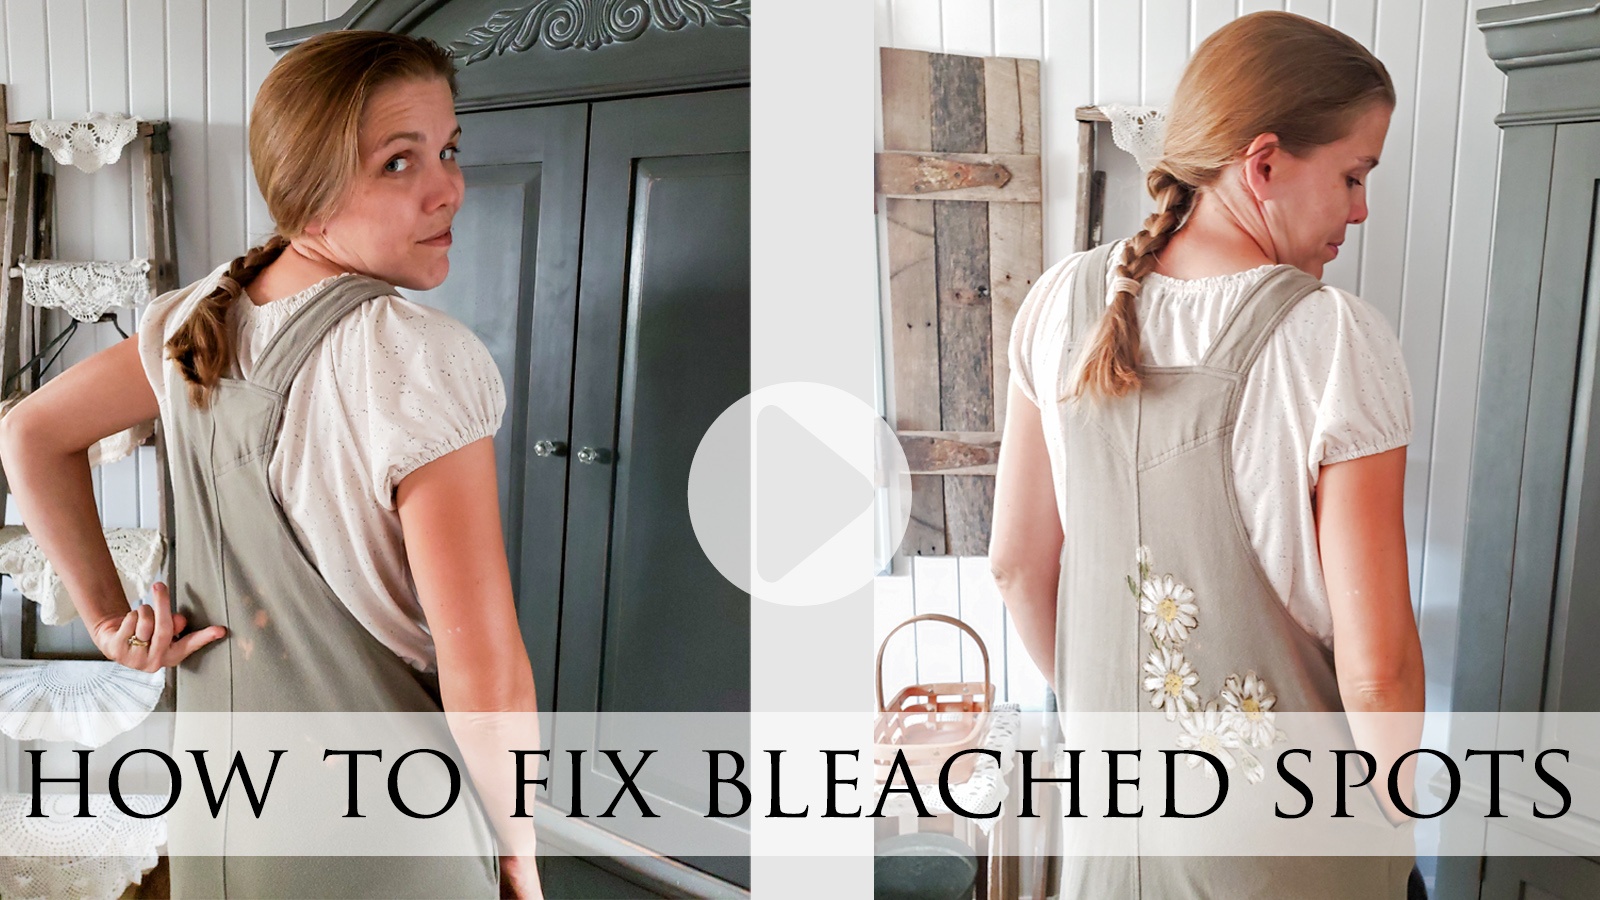
As a matter of fact, if you want to give this a try, you can only imagine the limits to this. As well, you may recall my past post about how I dealt with my favorite bib dress getting accidentally bleached. you know it’s fun to make lemonade from your lemons.
MATERIALS & SUPPLIES
- natural fiber shirt with minimal polyester (cotton and linen blends are best or flannels, but stay clear of wool for the most part)
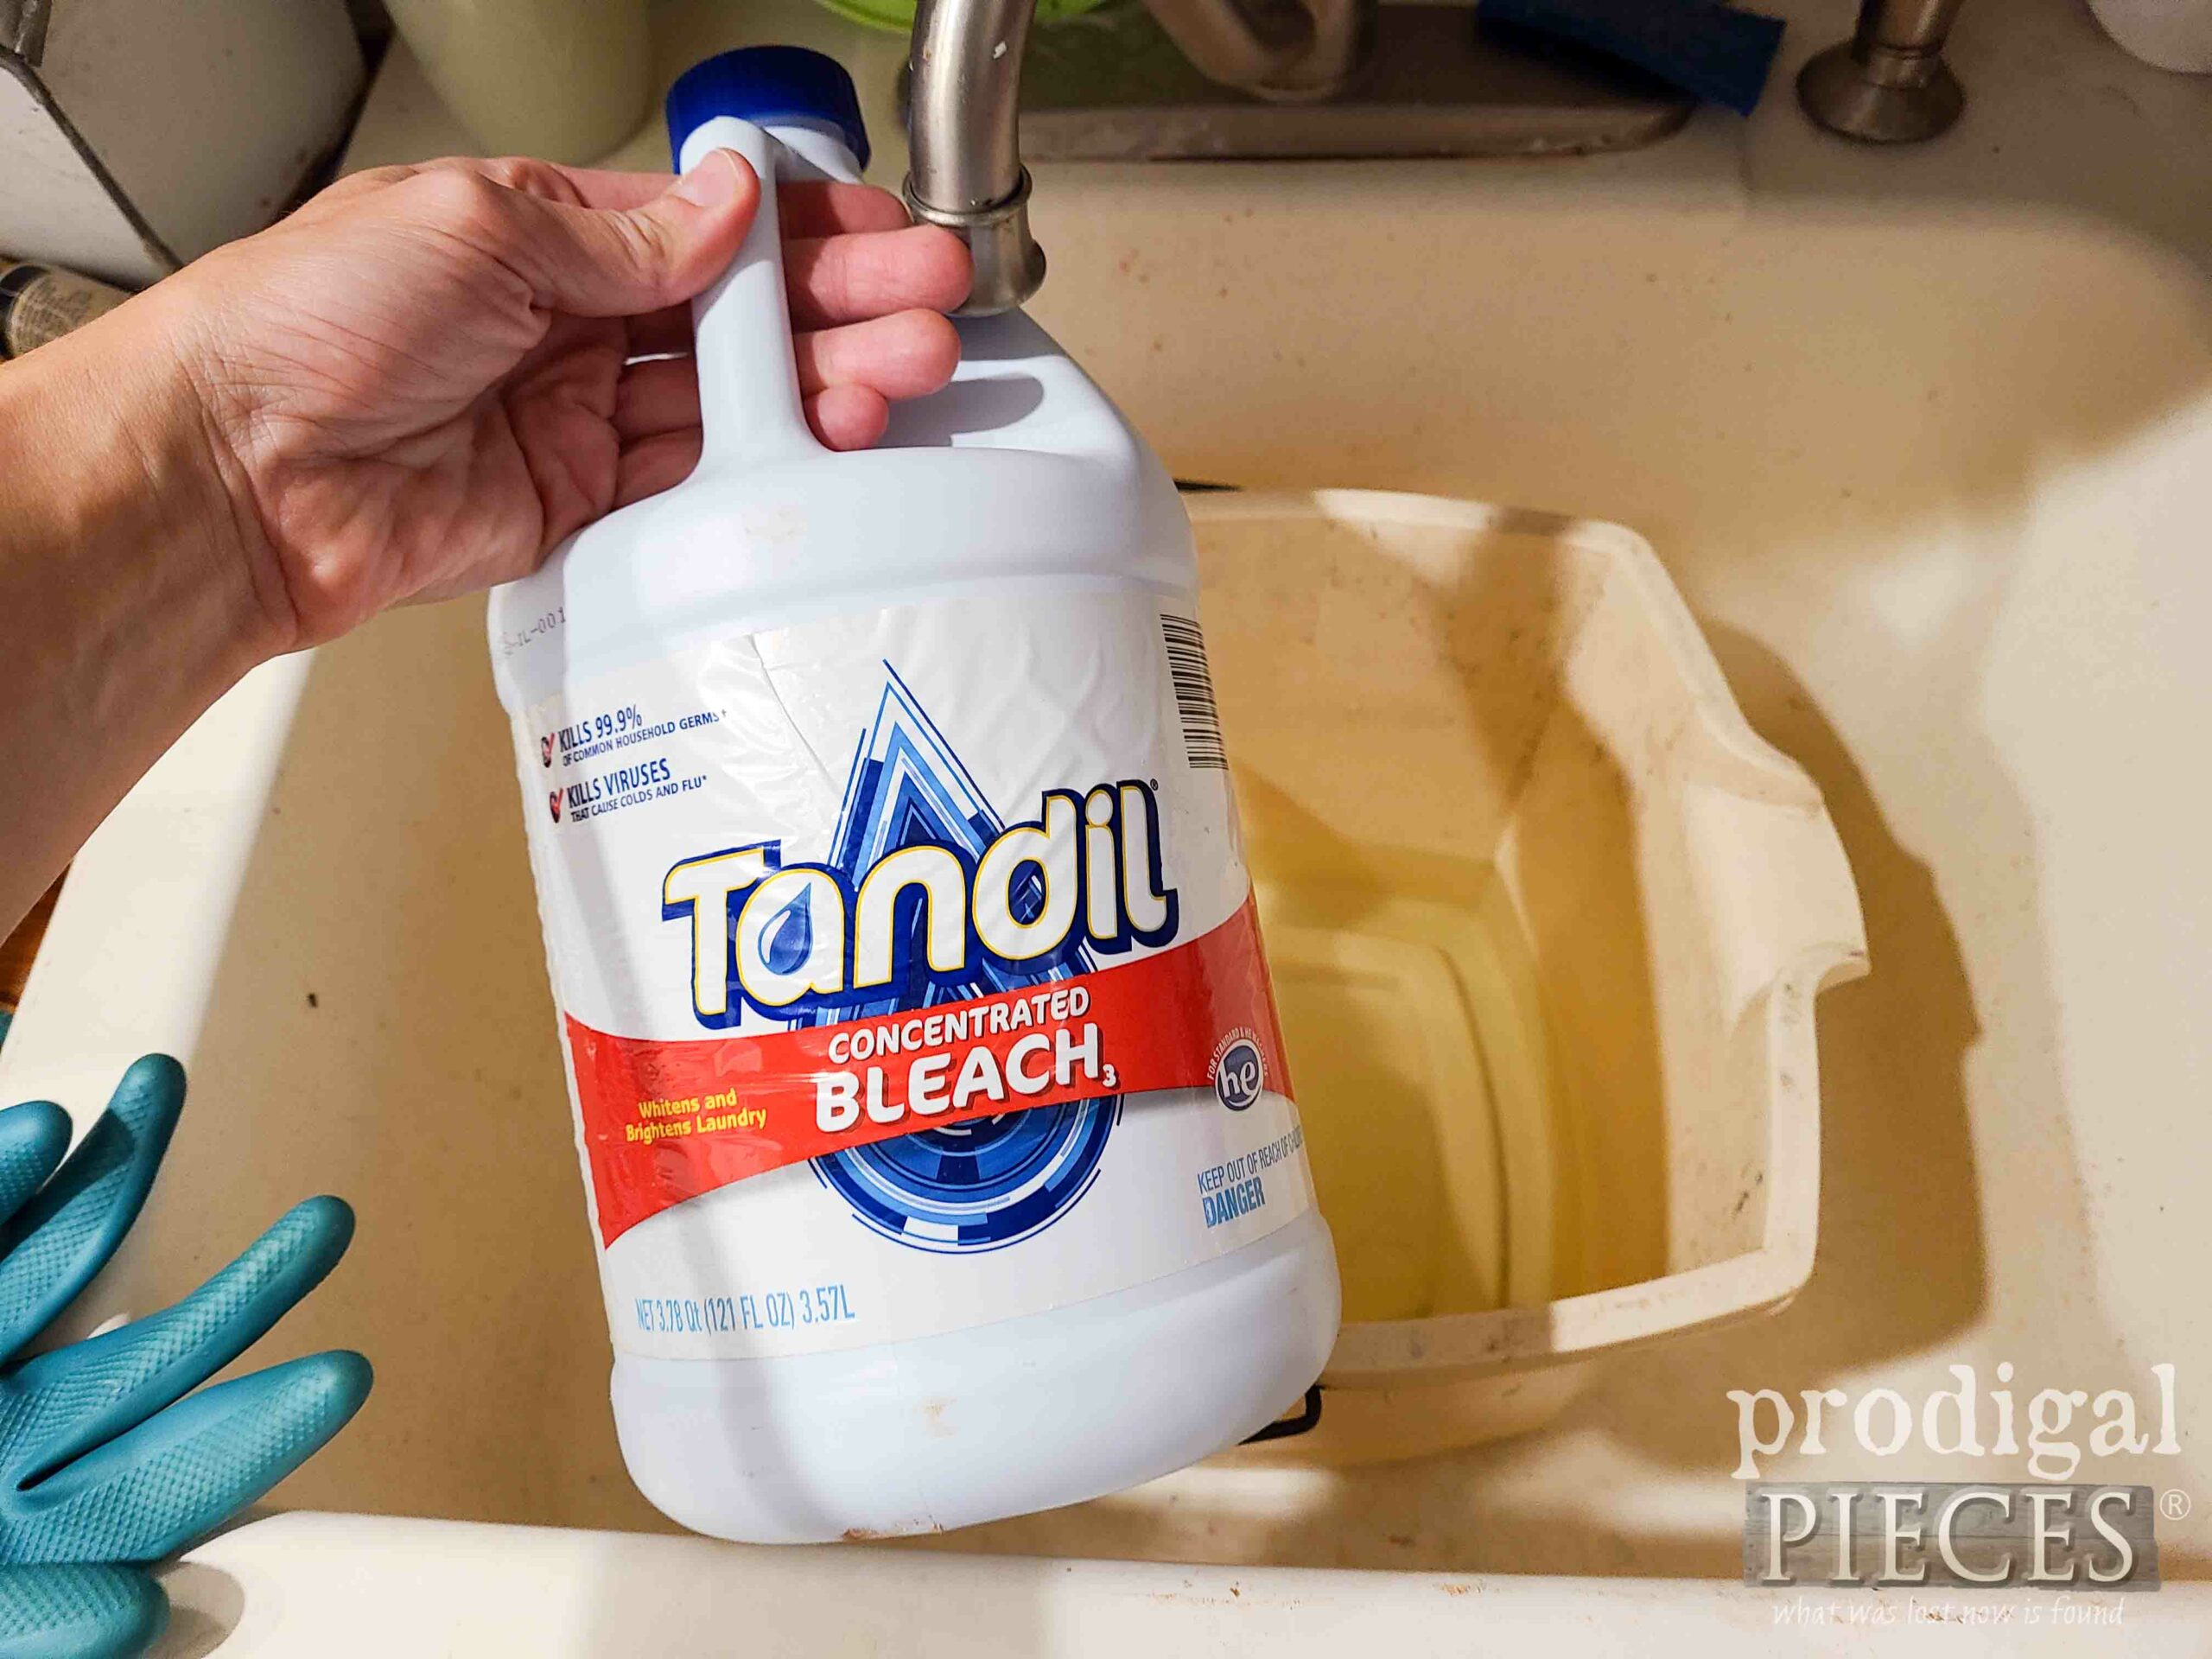
- bleach
- two buckets
- gloves
- apron
- eye protection
- water source
- stencils
- acrylic paint
- textile medium
- foam pouncer
STEP 1
First, find a spot with plenty of ventilation. I was stuck inside because the snow was flying and too dark in my garage, but I had plenty of ventilation. I use one bucket with 50/50 bleach mixture so that it gives about 3″ or so to dip in. Also, I have another bucket nearly full of water to rinse my shirt in after bleach.
STEP 2
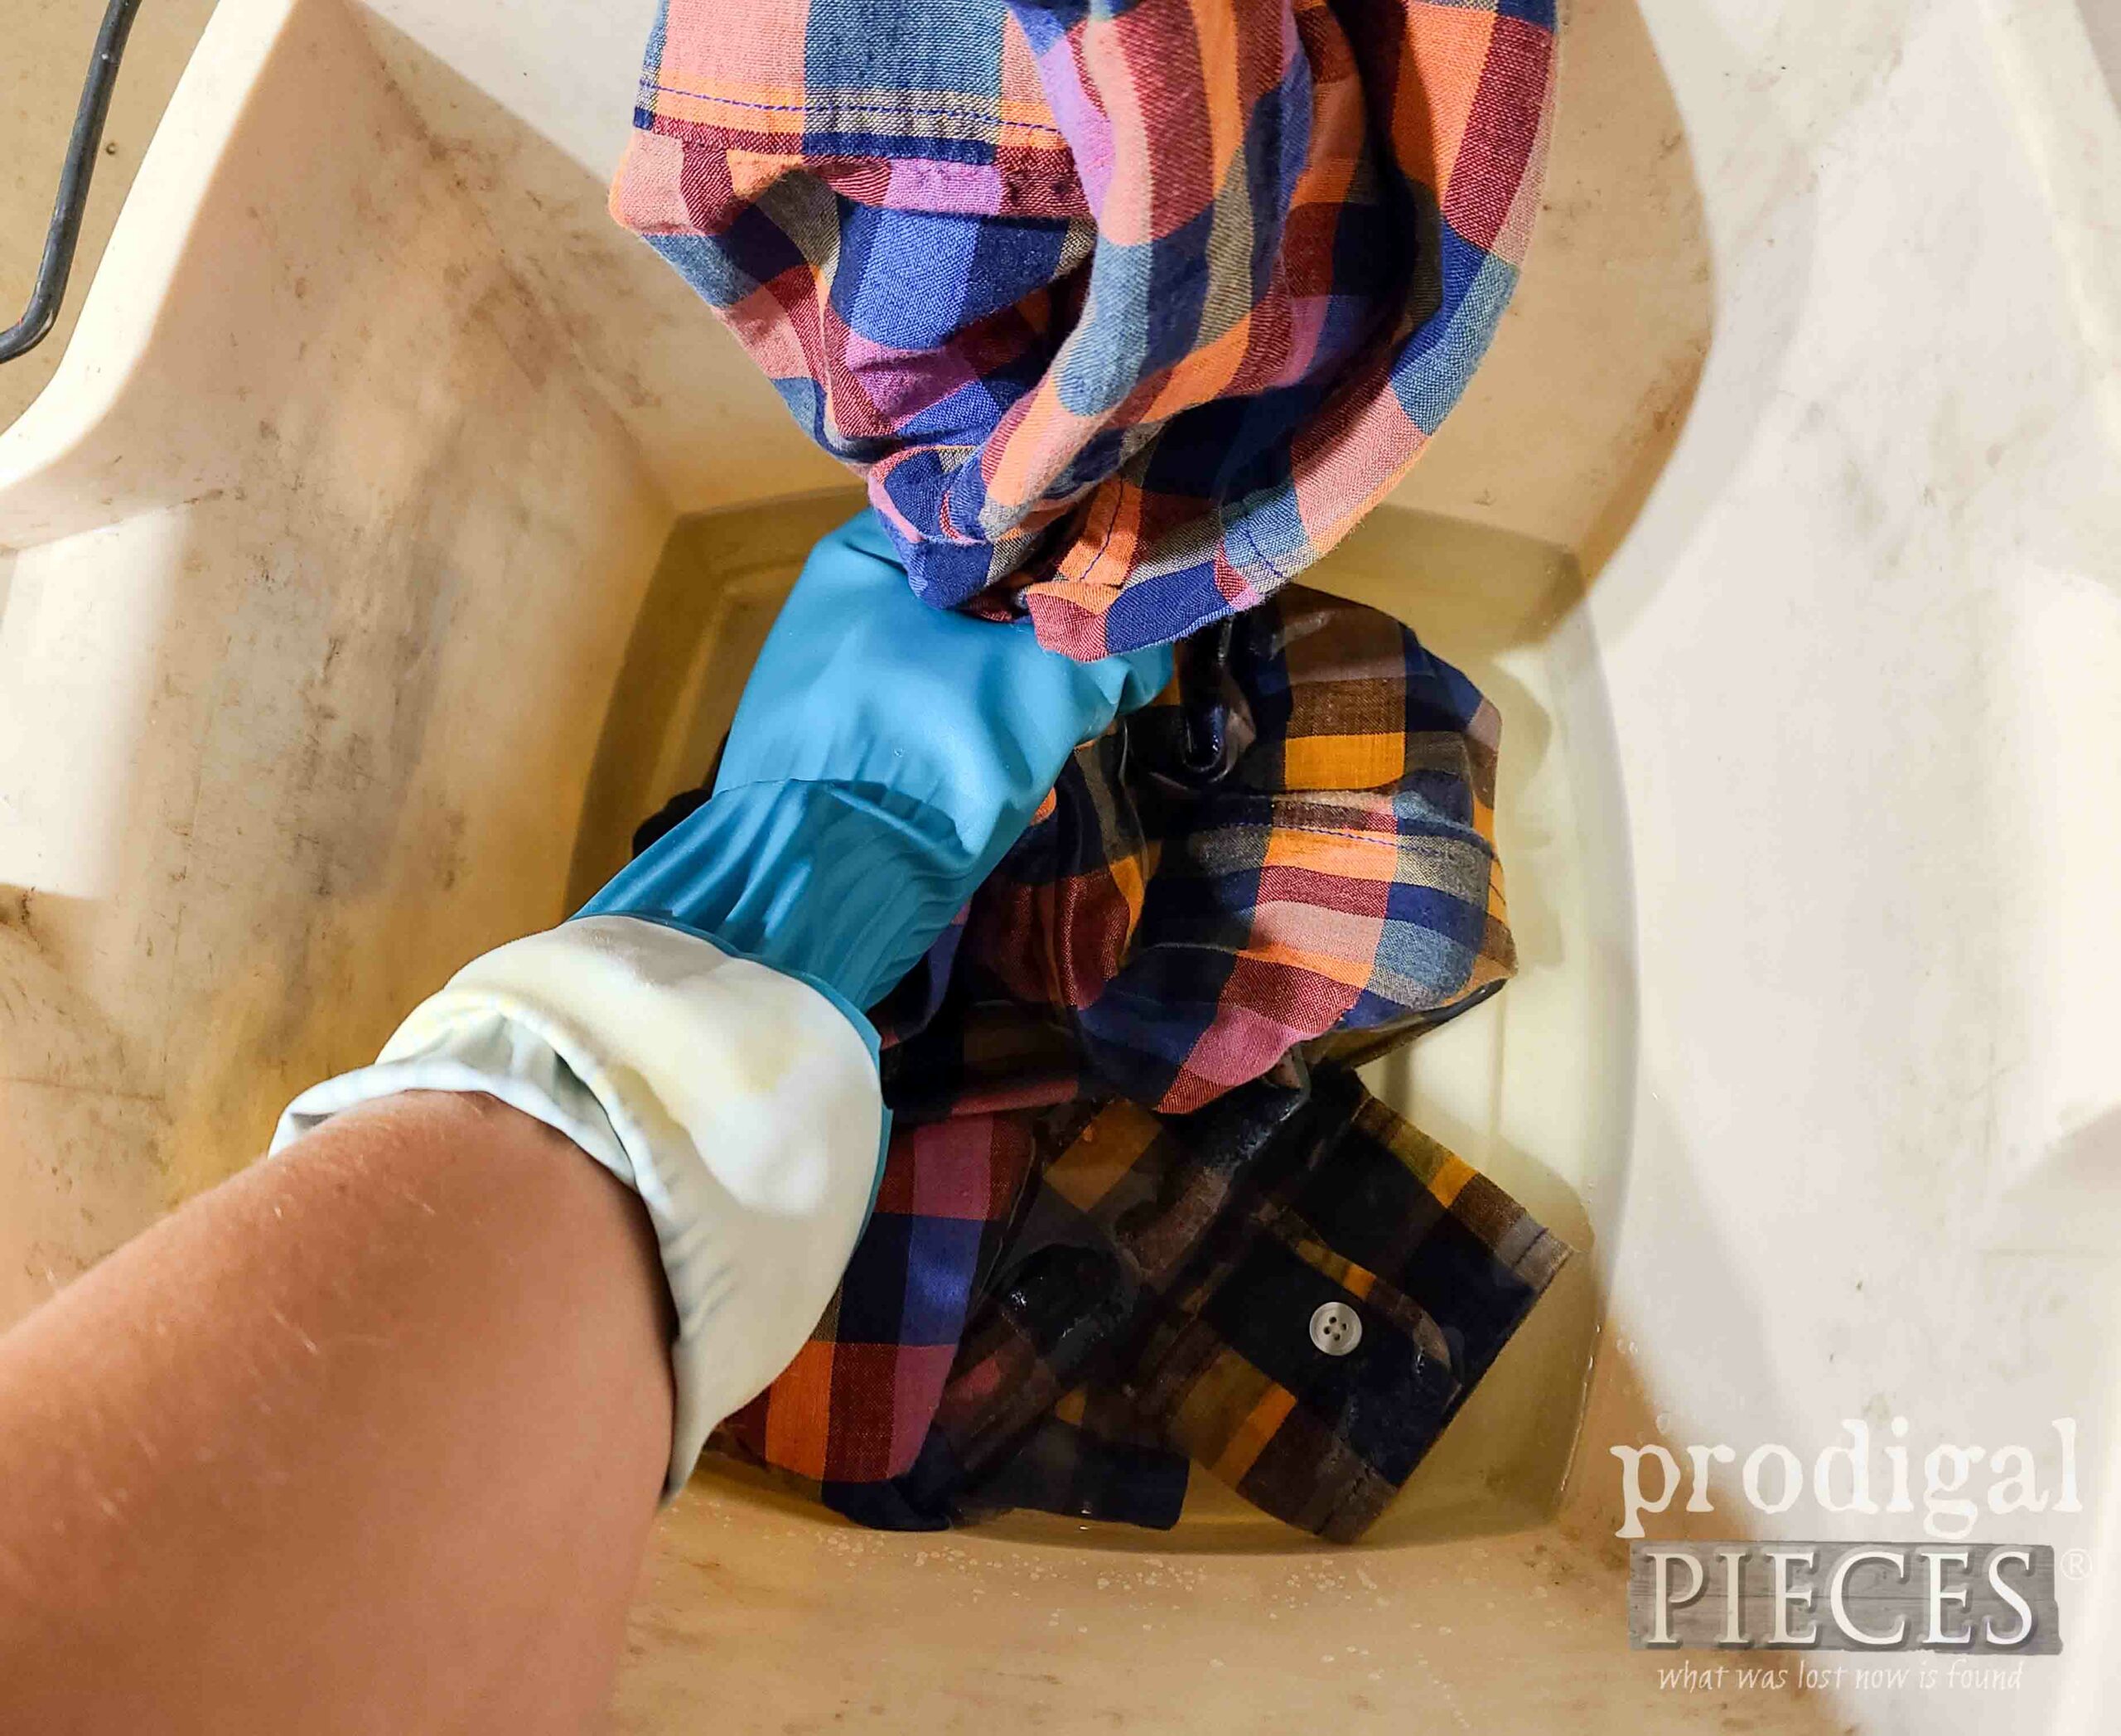
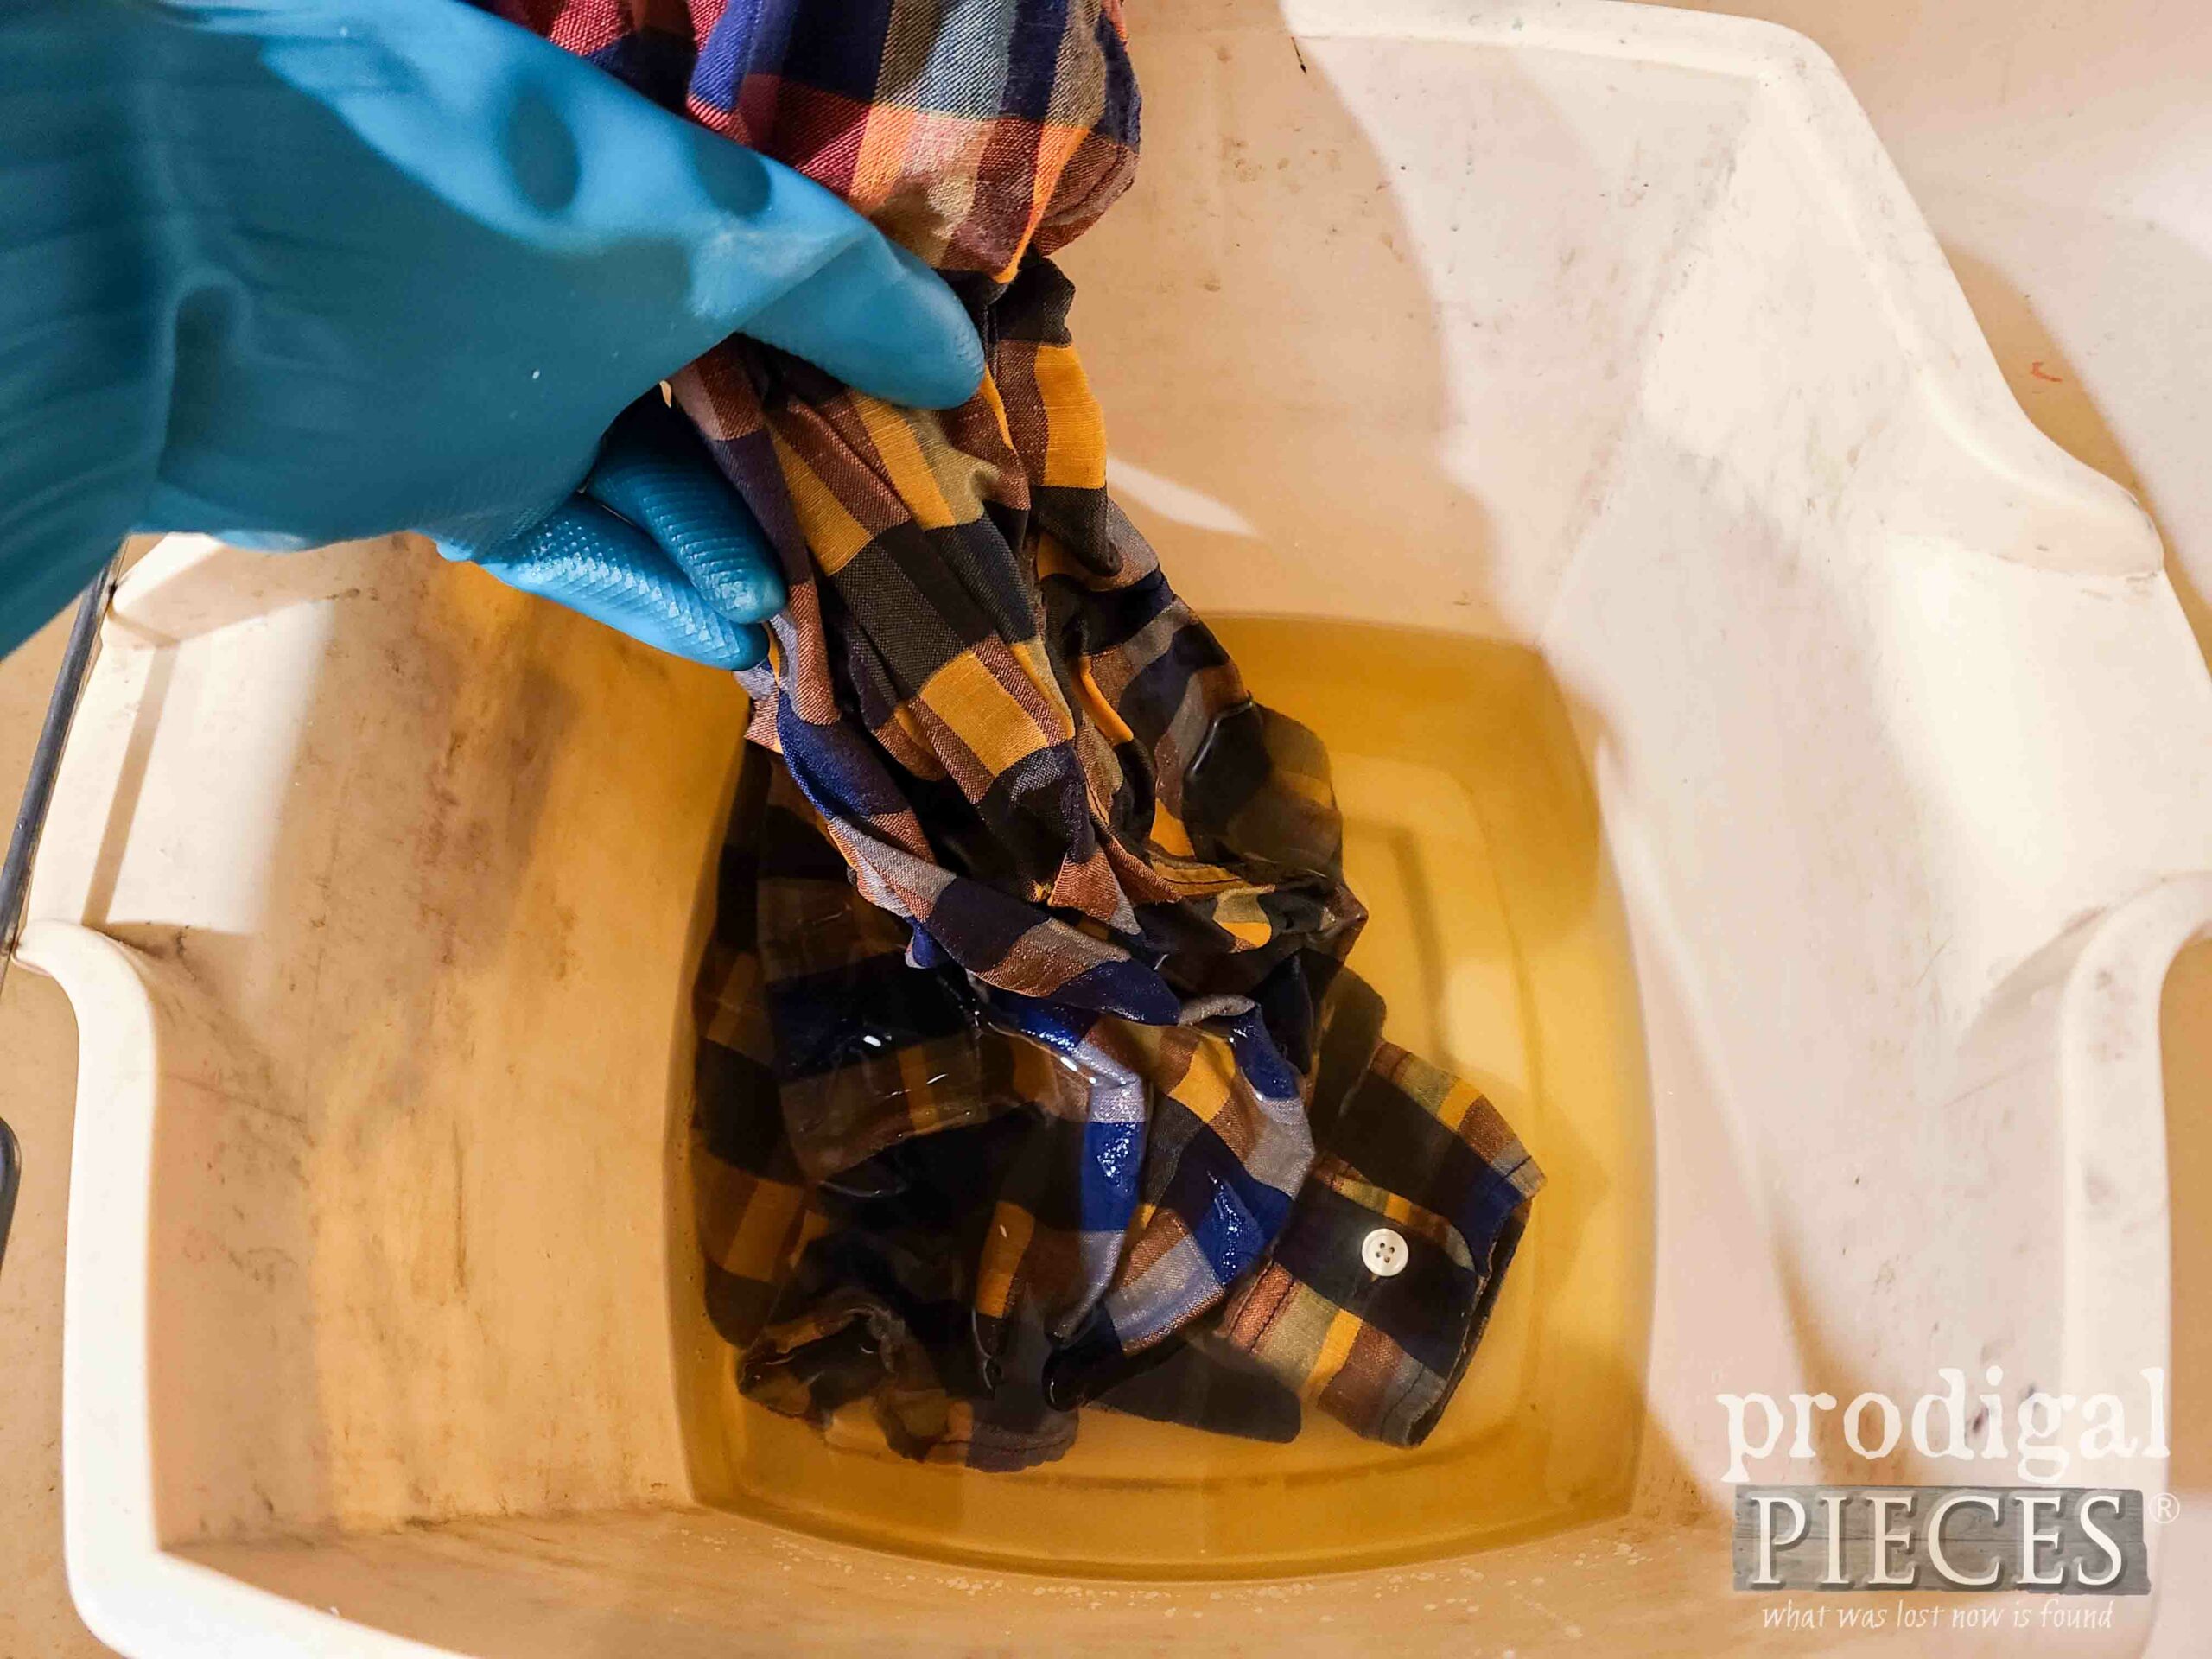
Then, button up your shirt and decide how you want to bleach. I was aiming for an ombre effect by dipping 2/3 in initially letting the bottom sit in the longest and pulling 2/3 out leaving the bottom 1/3 to lighten more. However, you can start with the top to do a reverse effect as well or dip, splatter, spray in any way you want.
With this in mind and depending on the fibers you’re bleaching, there will be different outcomes. My shirt only took a couple of minutes to start to color change. For this reason, just be sure you don’t leave it in very long as it will damage the fabric fibers.
As a result, as soon as you have the color change you’re after, wring out the shirt and then submerge it in your bucket of water. Rinse like you would a mop dipping and wringing it out multiple times. Then, as soon as you have it rinsed, you’re going to want to wash it in a washing machine cycle. TIP: Consider bleaching several shirts at once to save time and have fun seeing the end result.
STEP 3
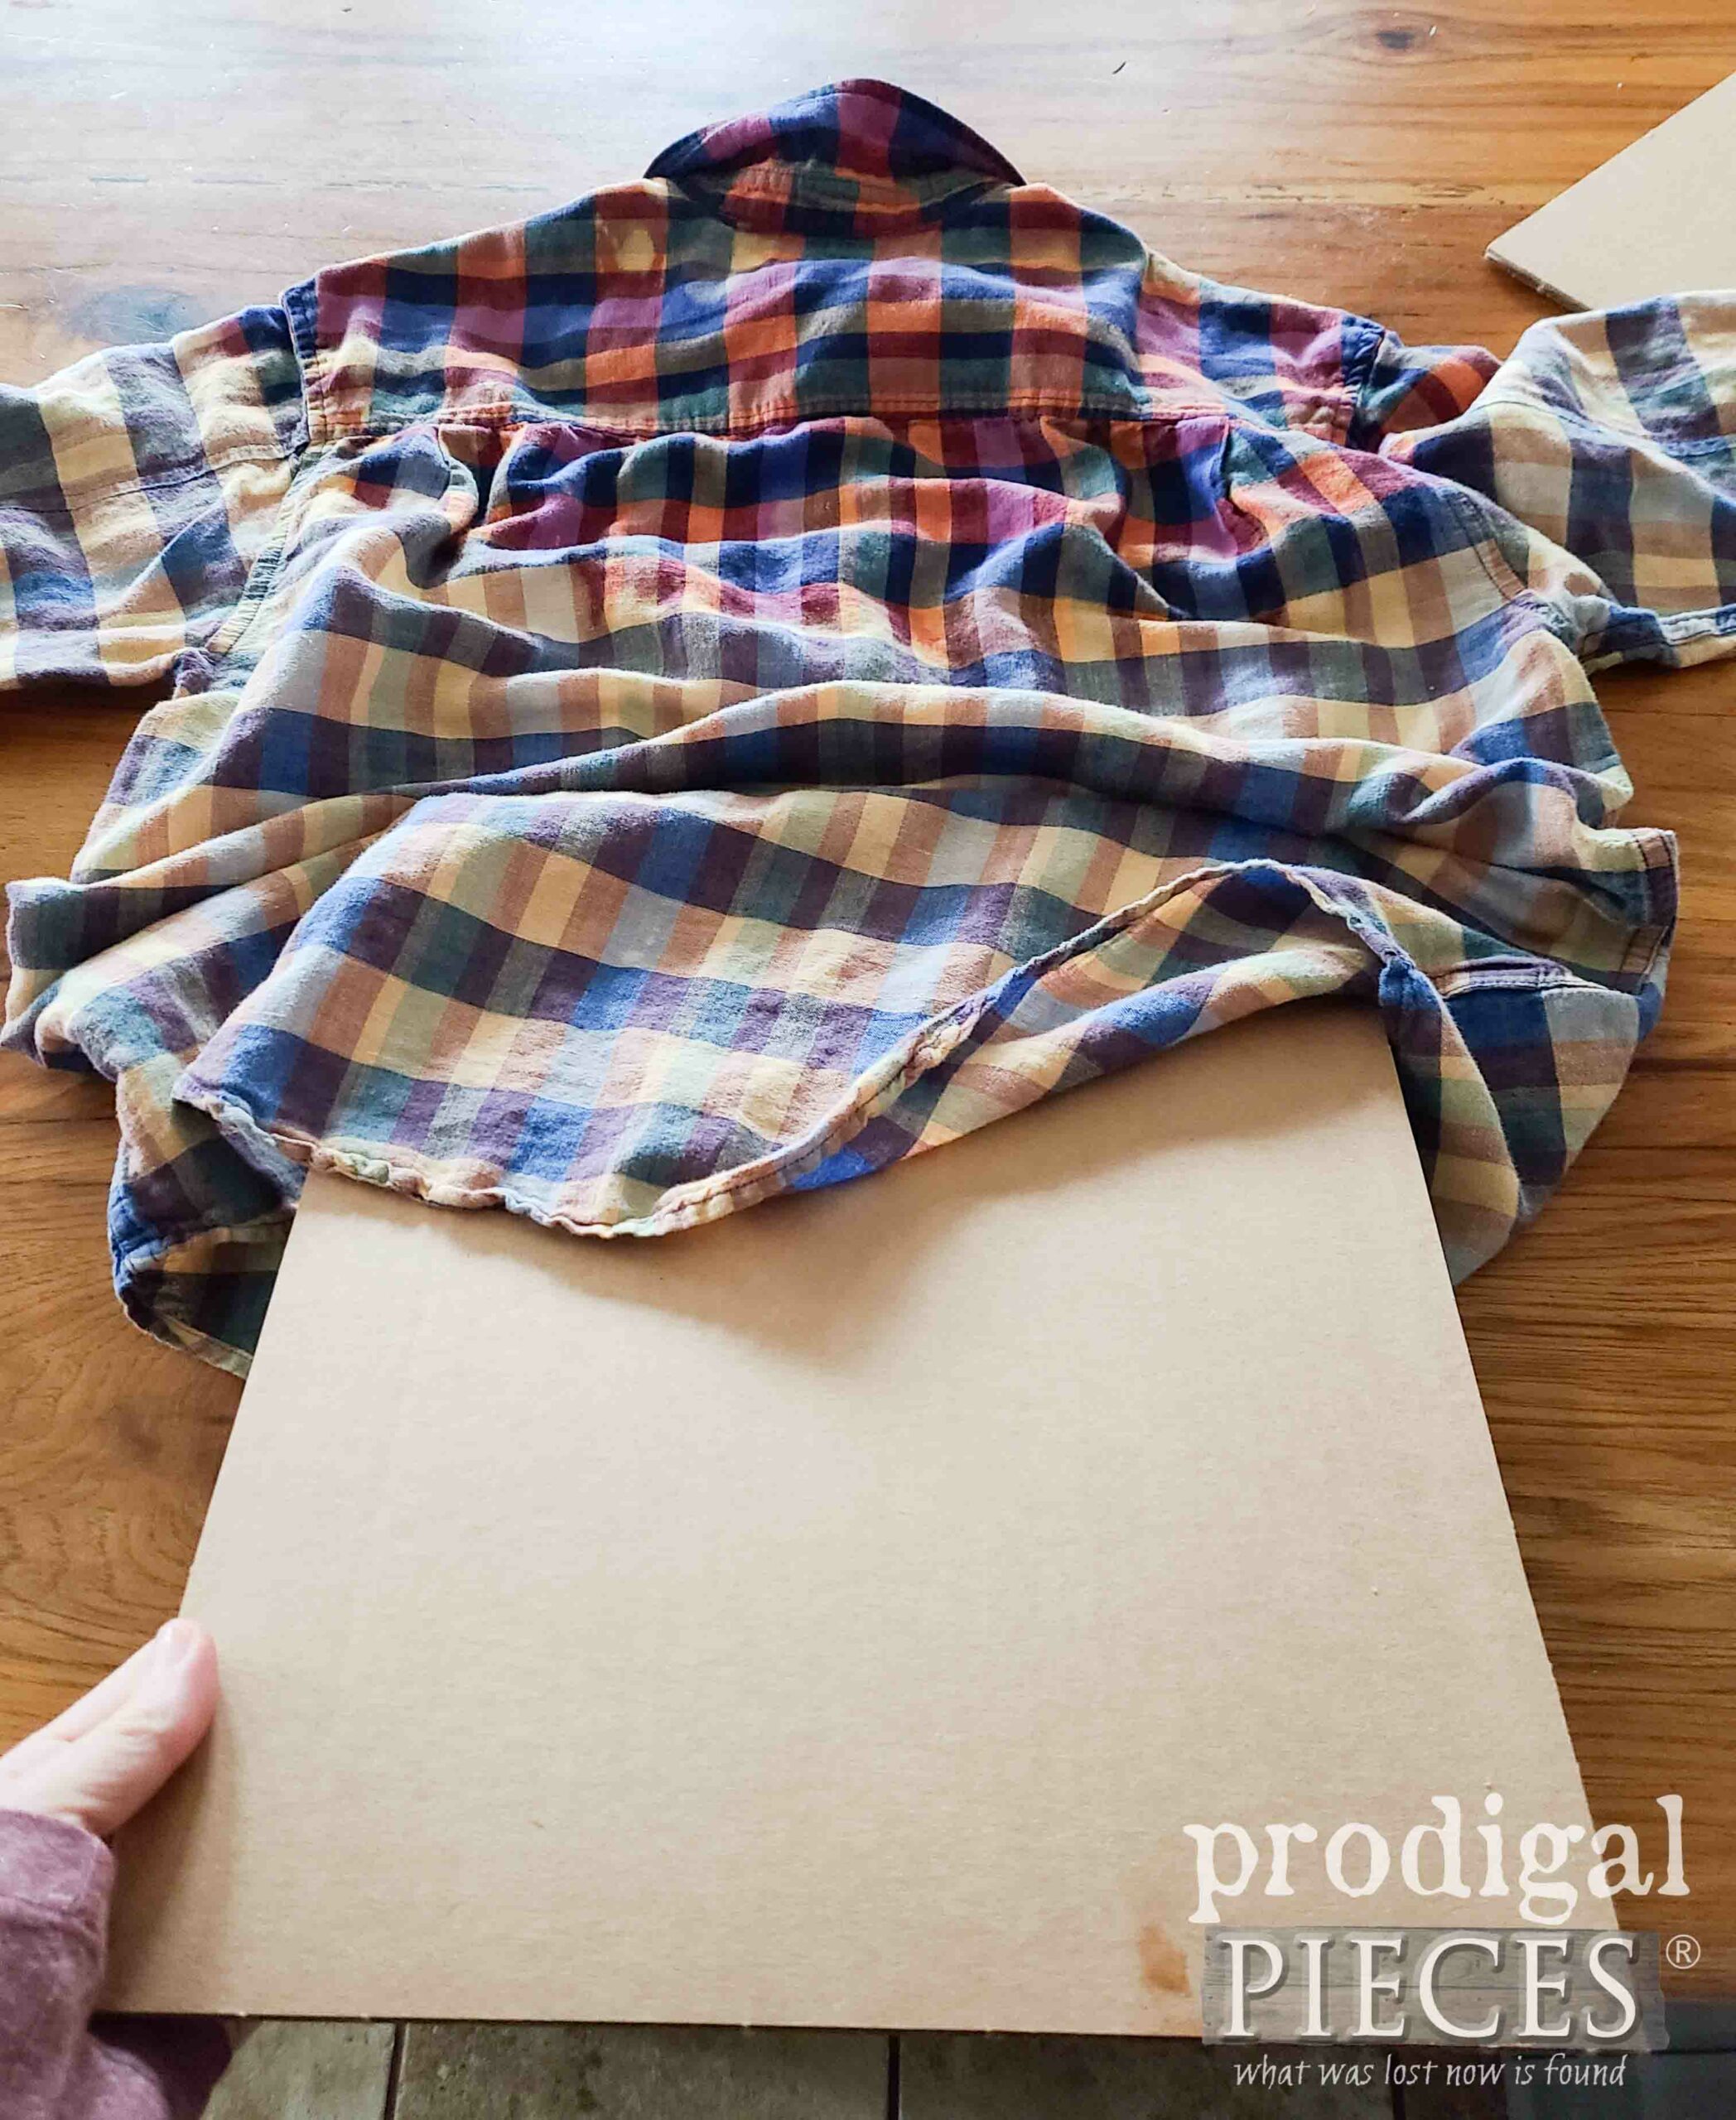
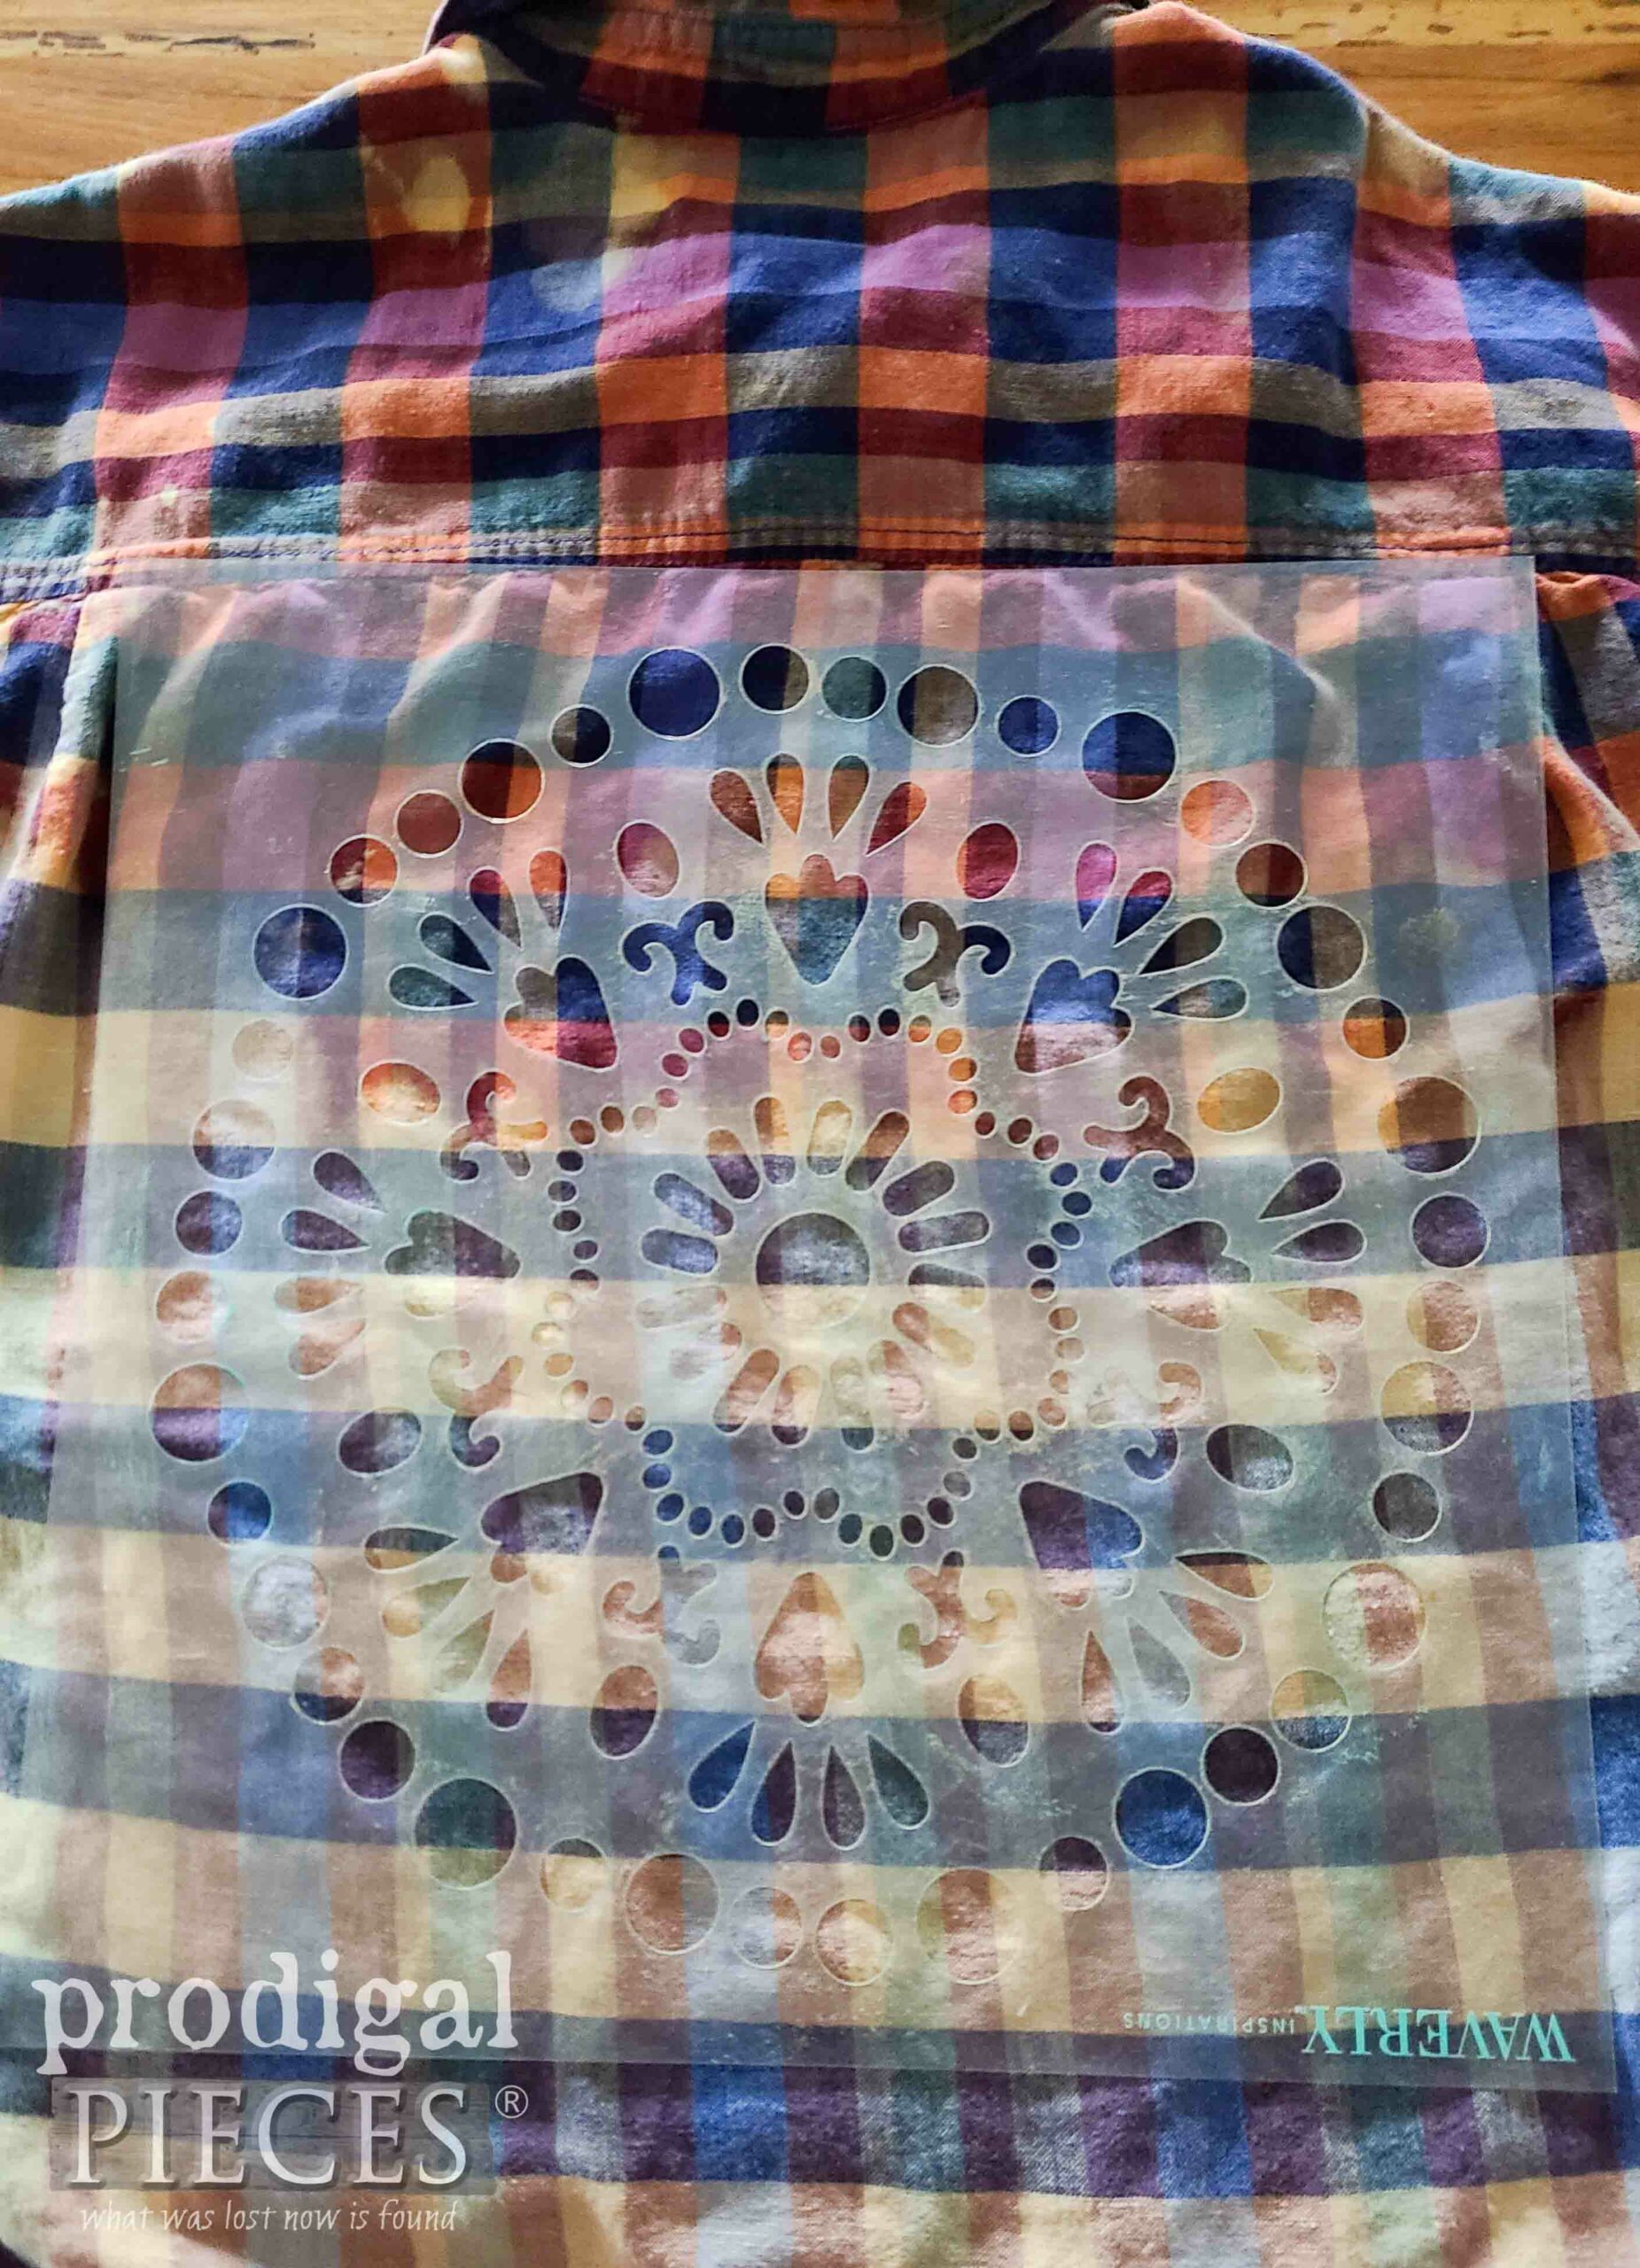
Next, once you have washed and dried your shirt, you can now take it next level. Again, there are many ways you can go with this. You can use a bleach pen with stencils or freehand a design, add other dyes for a fun effect, or, like me, use a stencil and paints. By the way, before beginning stenciling, place a piece of cardboard or similar inside your shirt so you don’t accidentally bleed through to the other side.
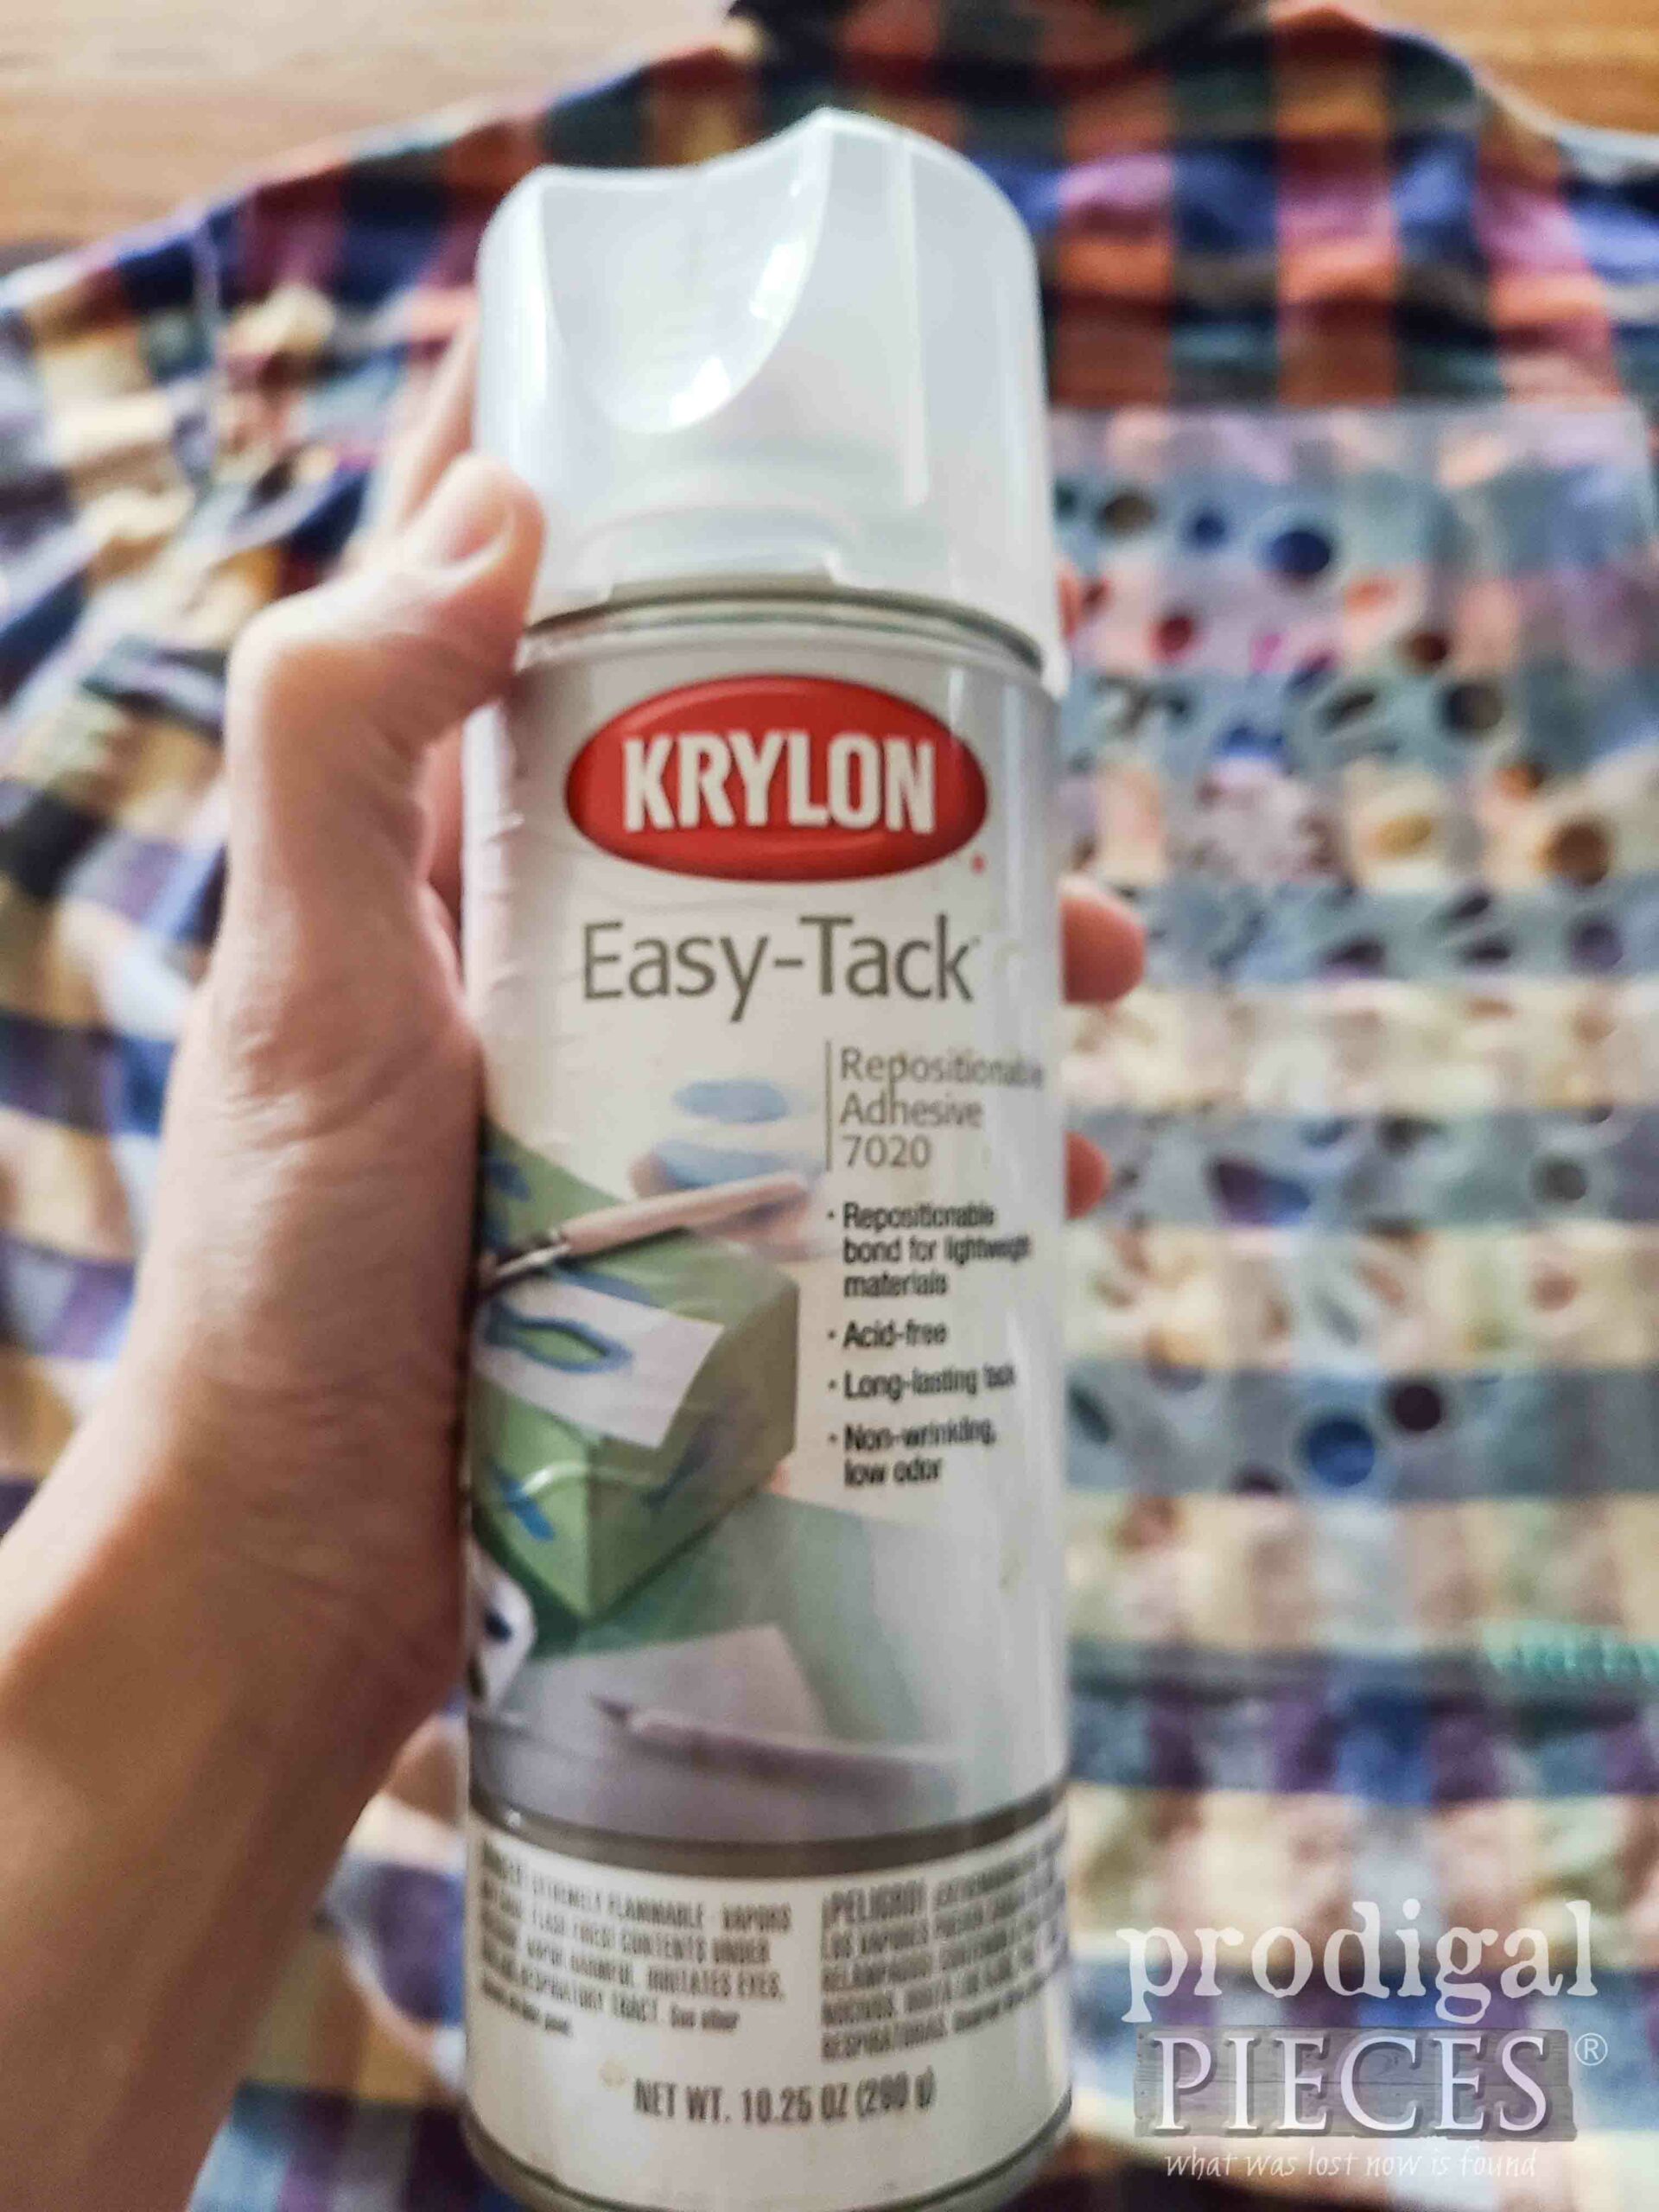
Moreover, if you’re new to using stencils, you may want to pick up some repositionable spray like this Easy-Tack. It will hold your stencil in place and help prevent bleeding under the stencil.
In all honesty, I have enough stencil experience under my belt that I am confident it will go well without it. Just note, however, if you use the adhesive, you will need to clean not only your shirt from the stencil with a bit of detergent (like Dawn) and also your stencils.
STEP 4
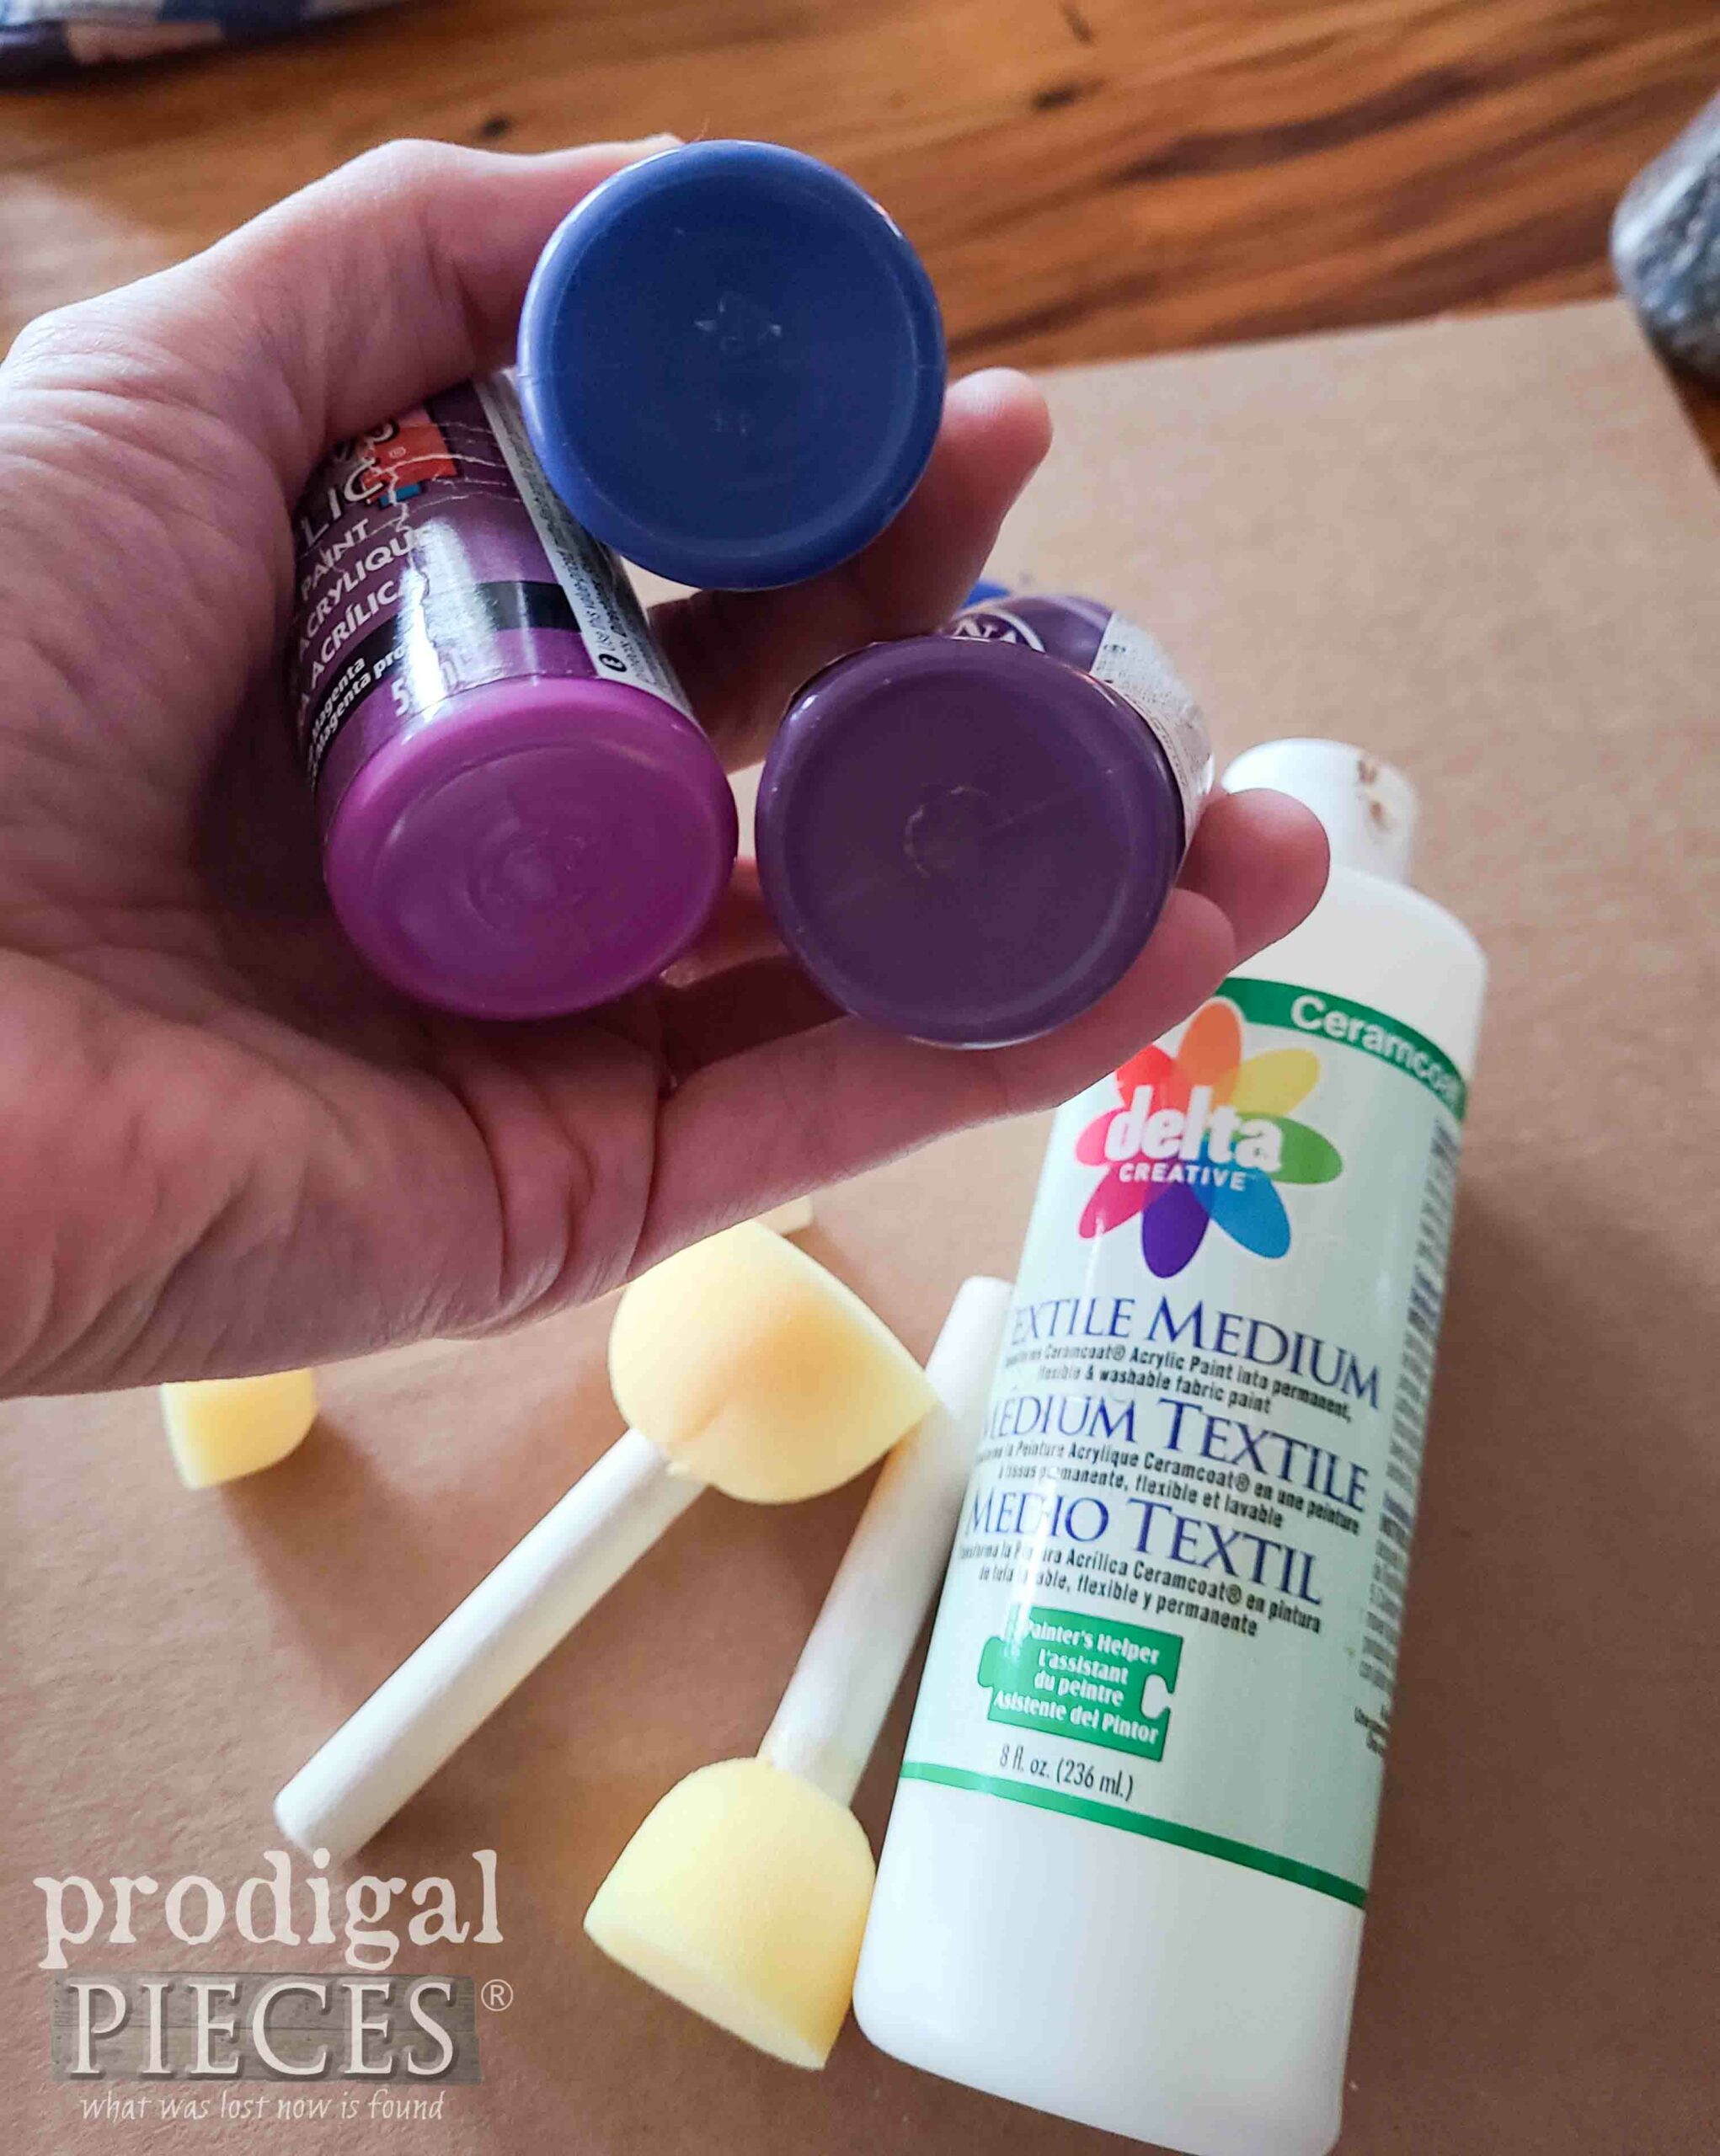
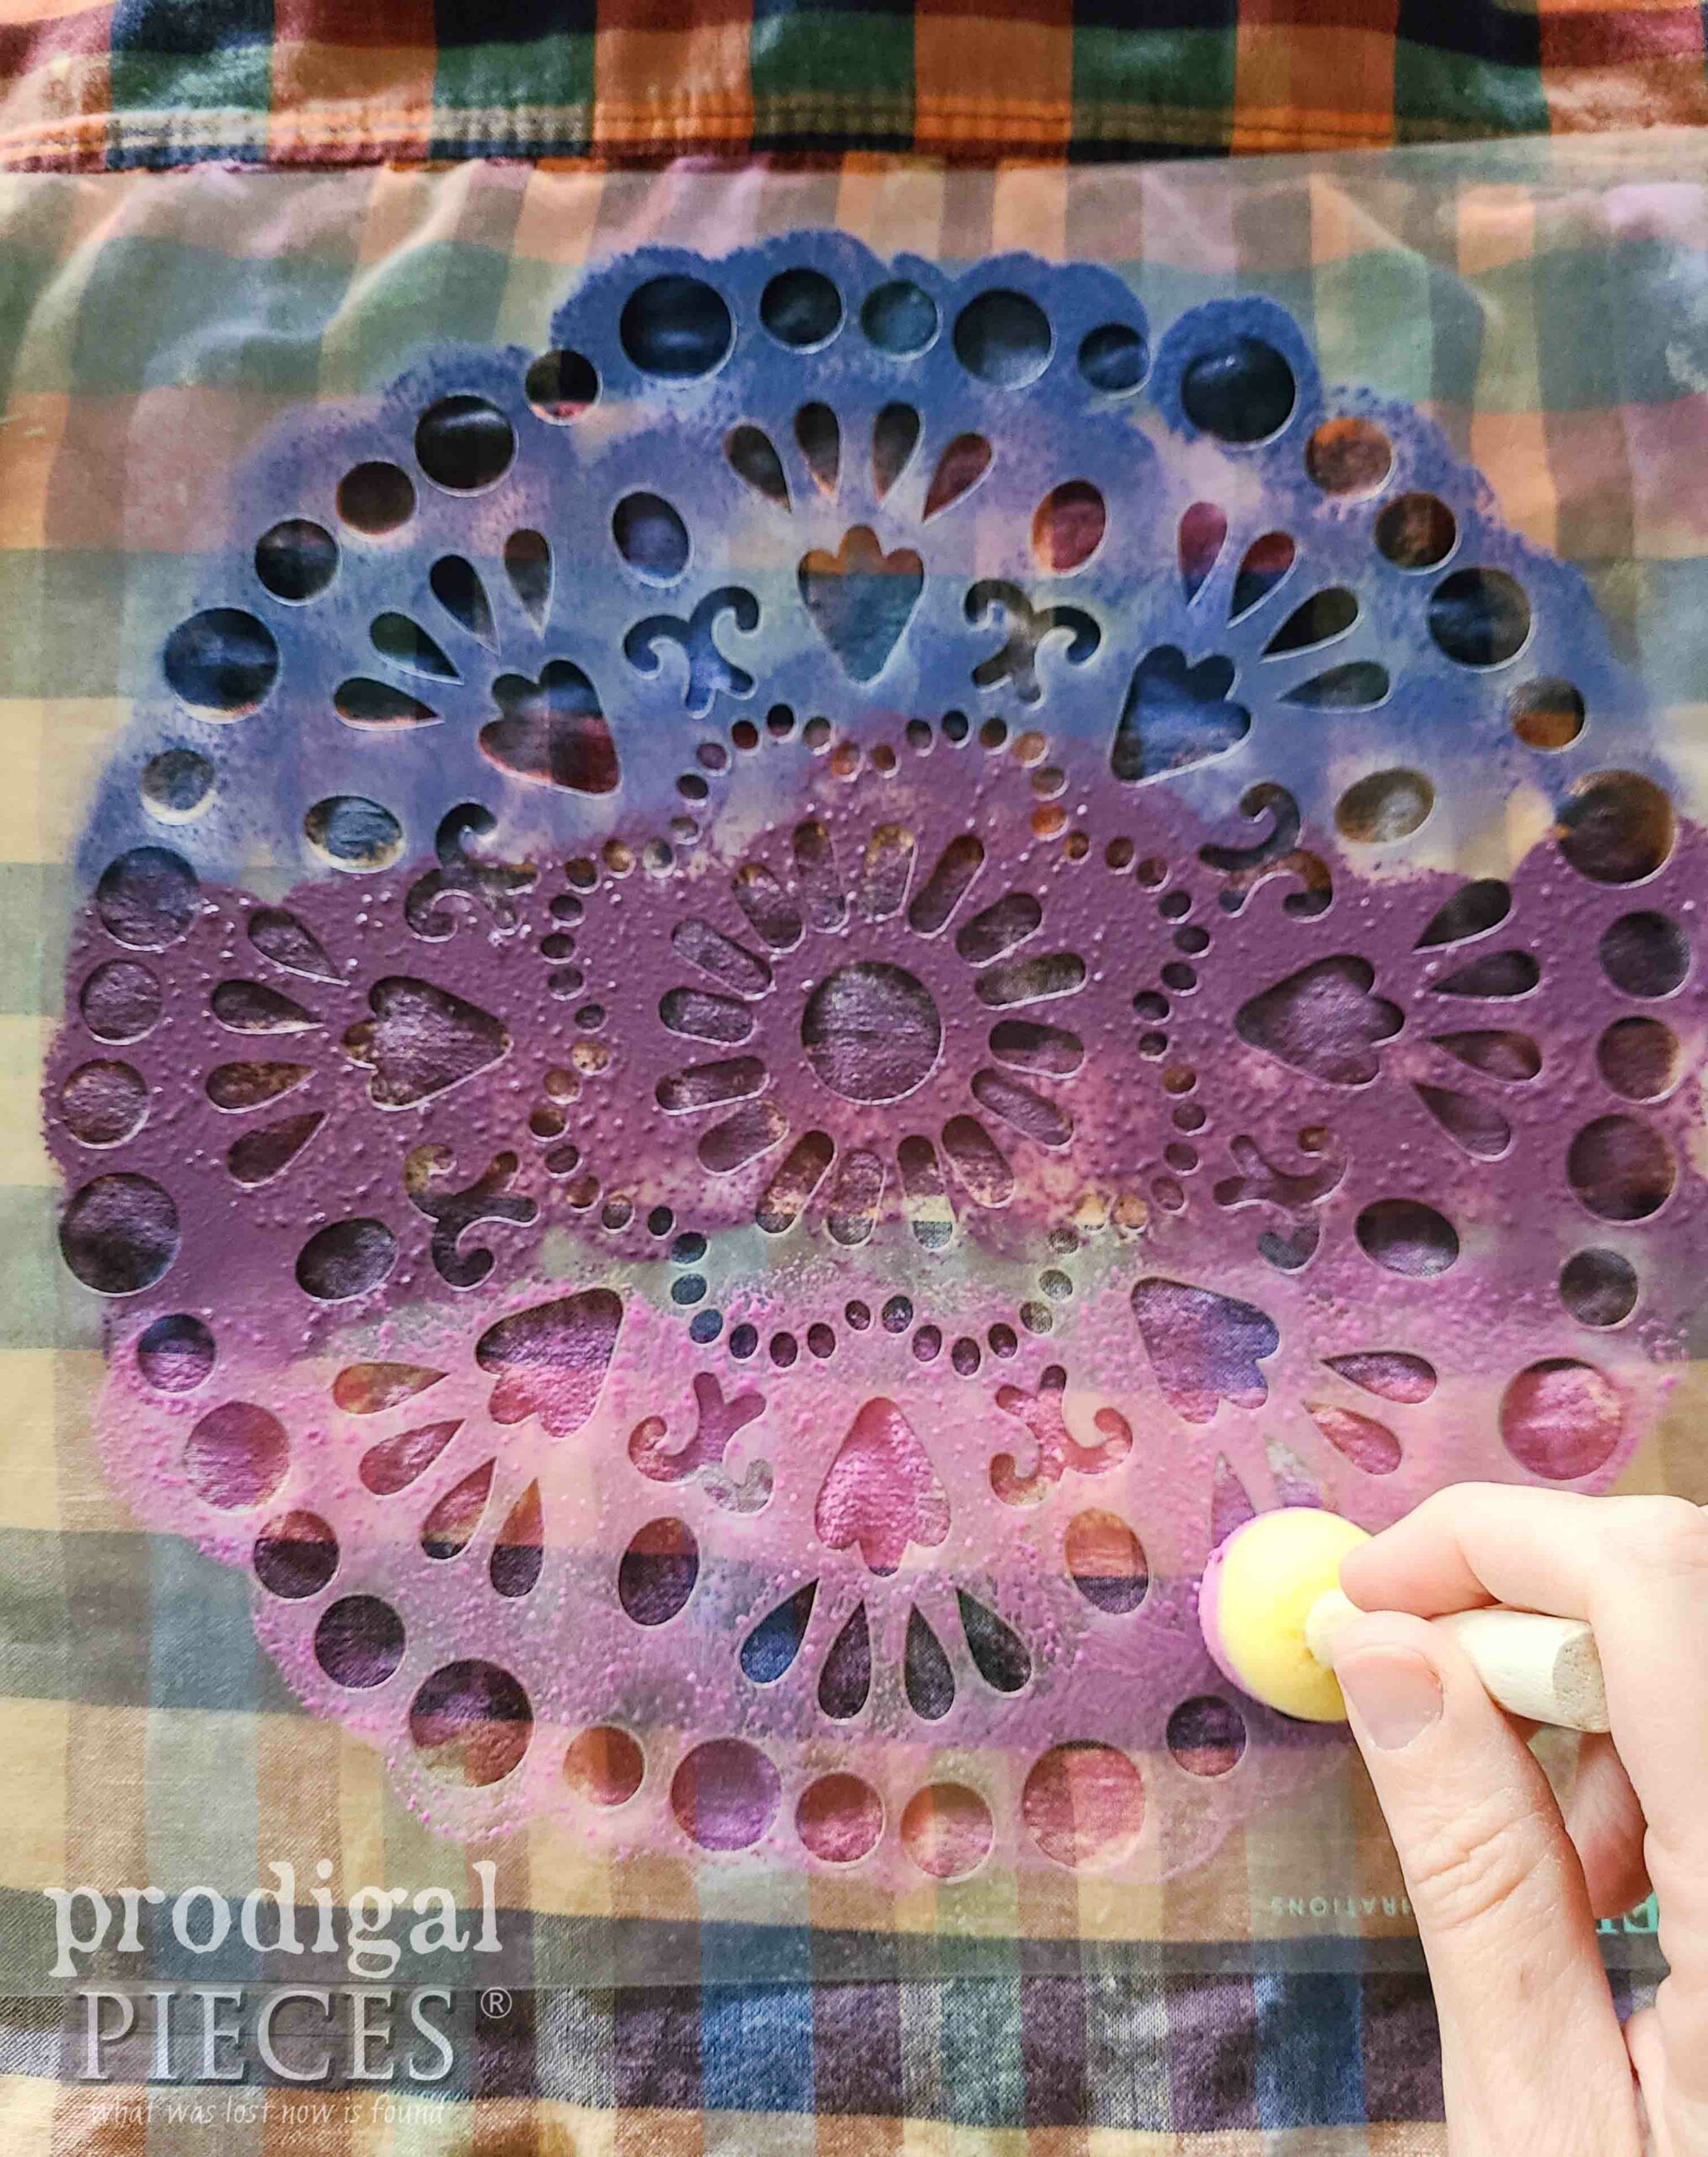
To begin stenciling, have in mind your end result. Earlier, I mentioned wanting an ombre effect in not only the bleaching but my stenciling. With that in mind, I pick these three acrylic colors along with my textile medium, and my foam pouncers.
After that, follow the textile medium instructions to mix your paint and begin to pounce. The key to avoiding bleeding under the stencil is to keep a light hand. Since I’m going for an aged/faded look, I’m using minimal paint in layers. First, I fill my pouncer and then pounce off excess on cardboard. Second, fill in the stencil and then wash up your tools. In addition, you can see my past stenciling projects HERE.
Again, follow the textile medium instructions on how to set the paint and washing etc.
STYLIN’
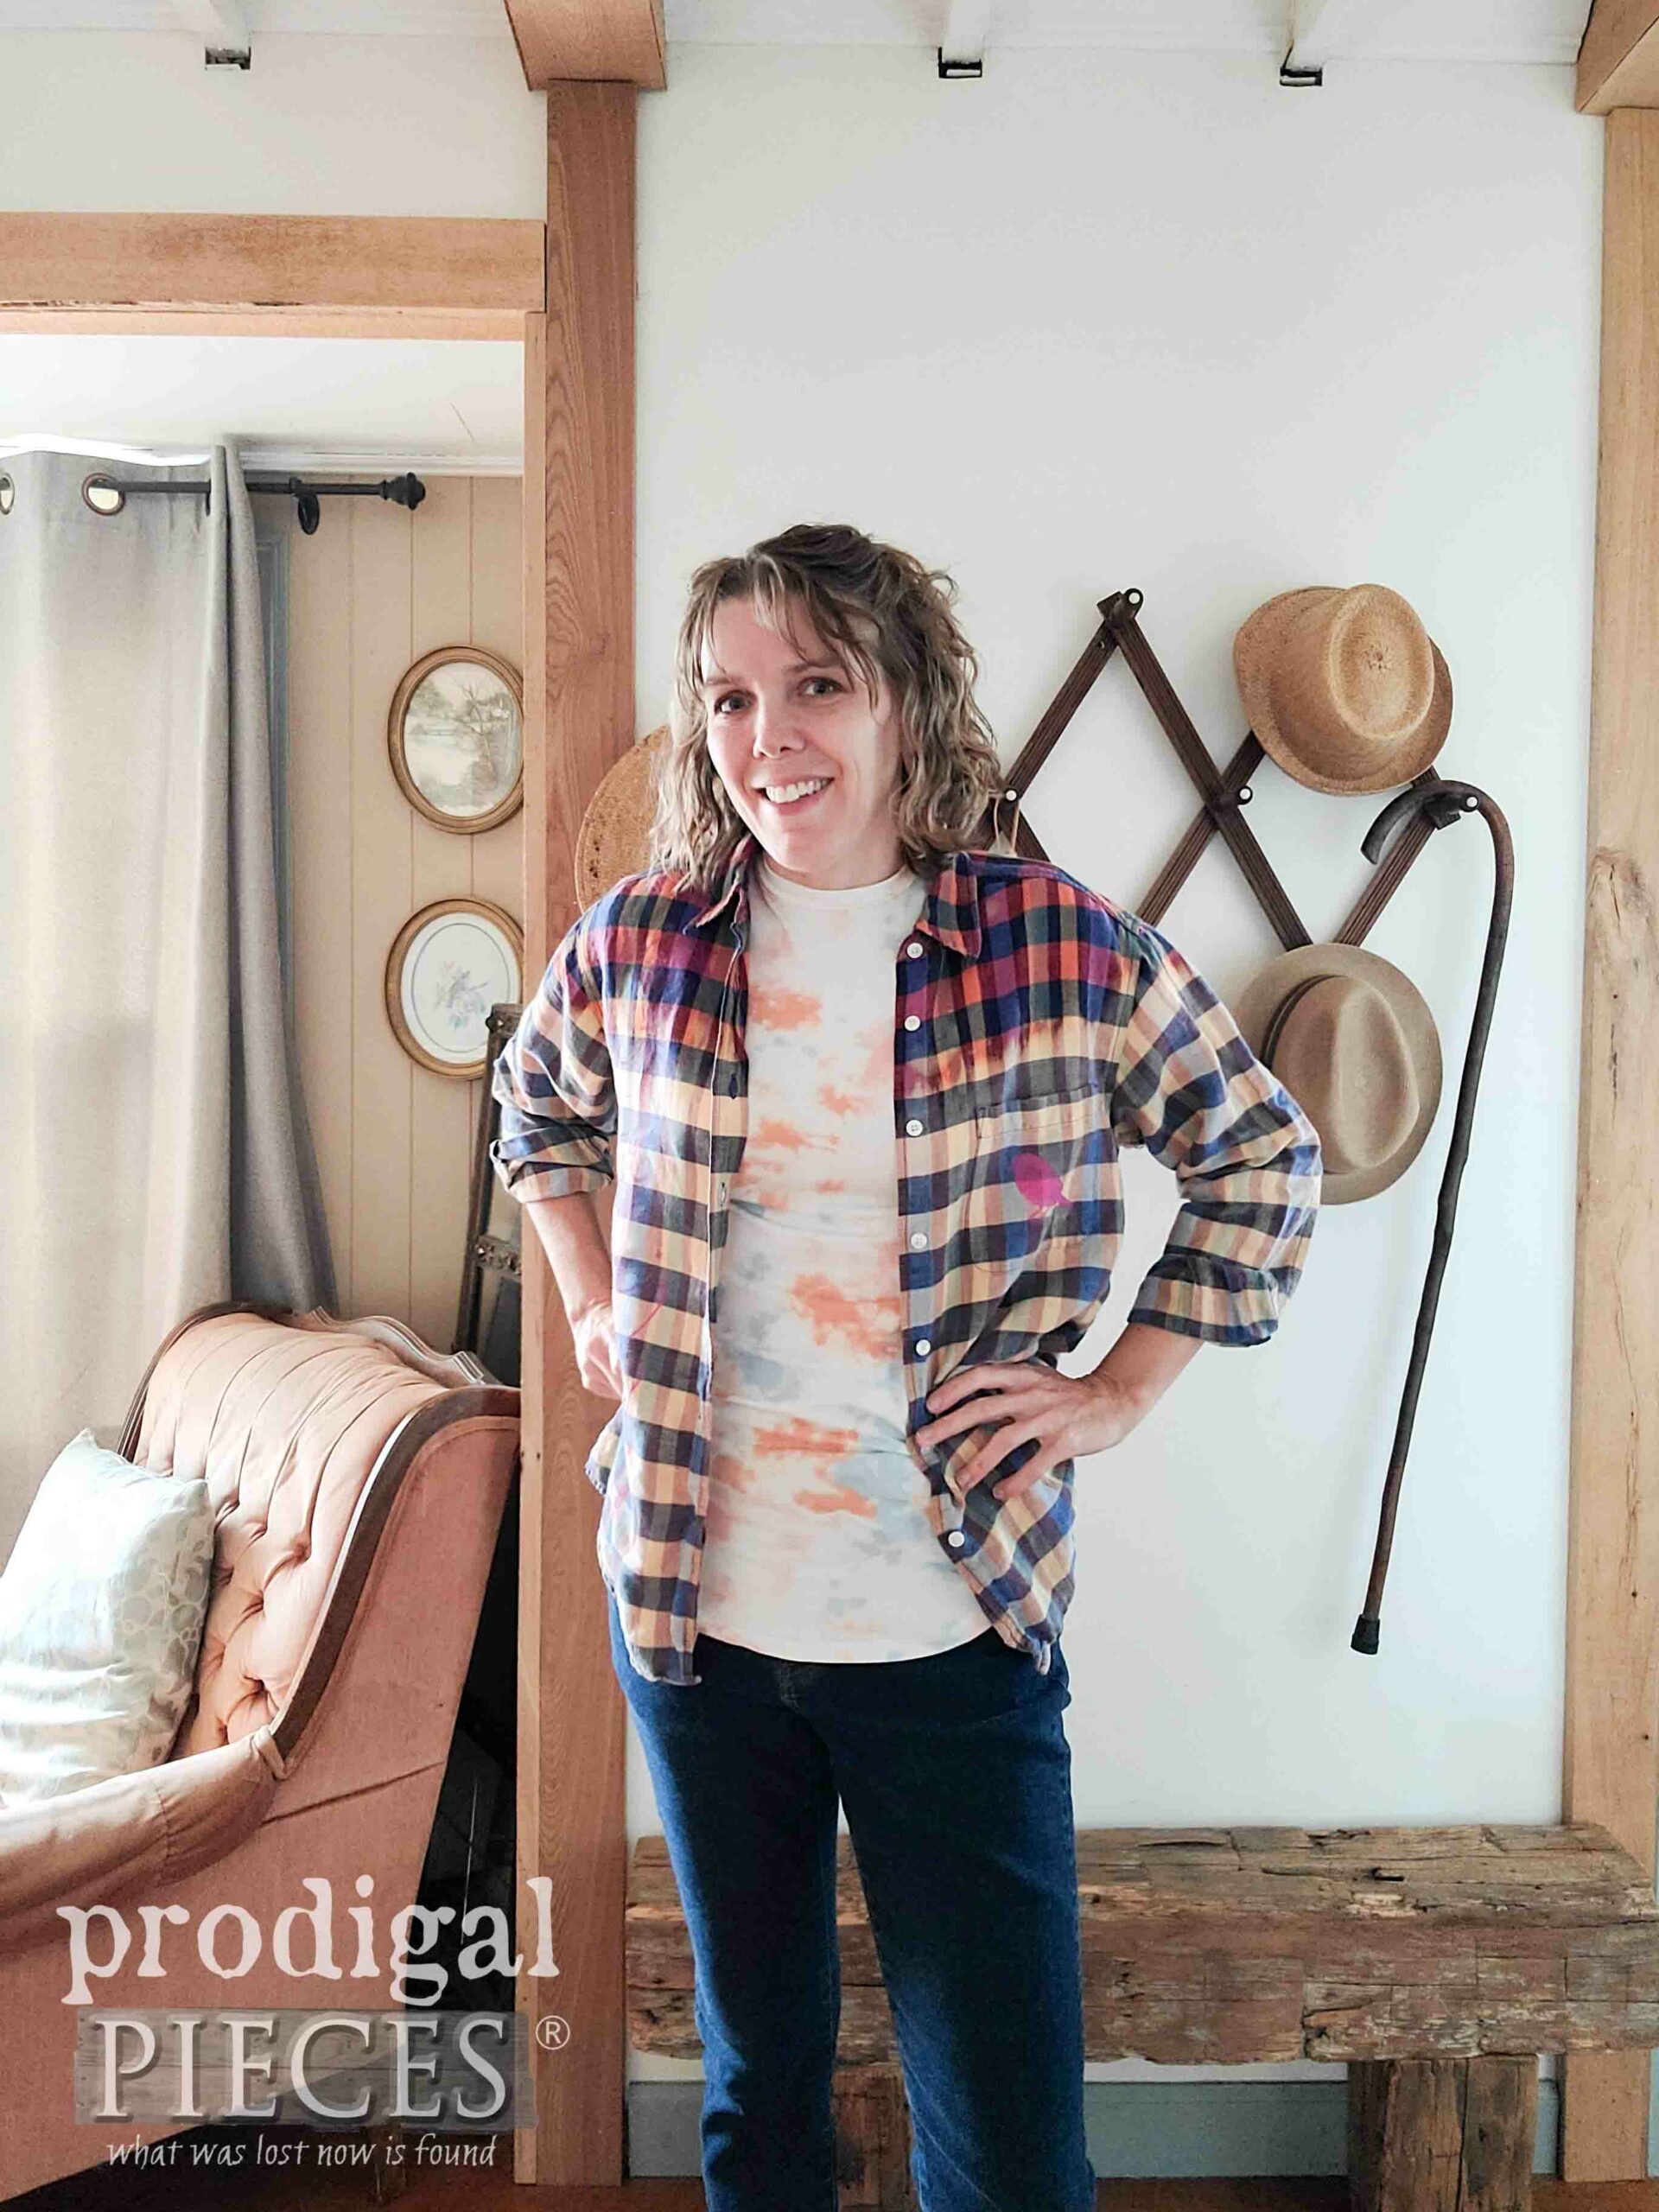
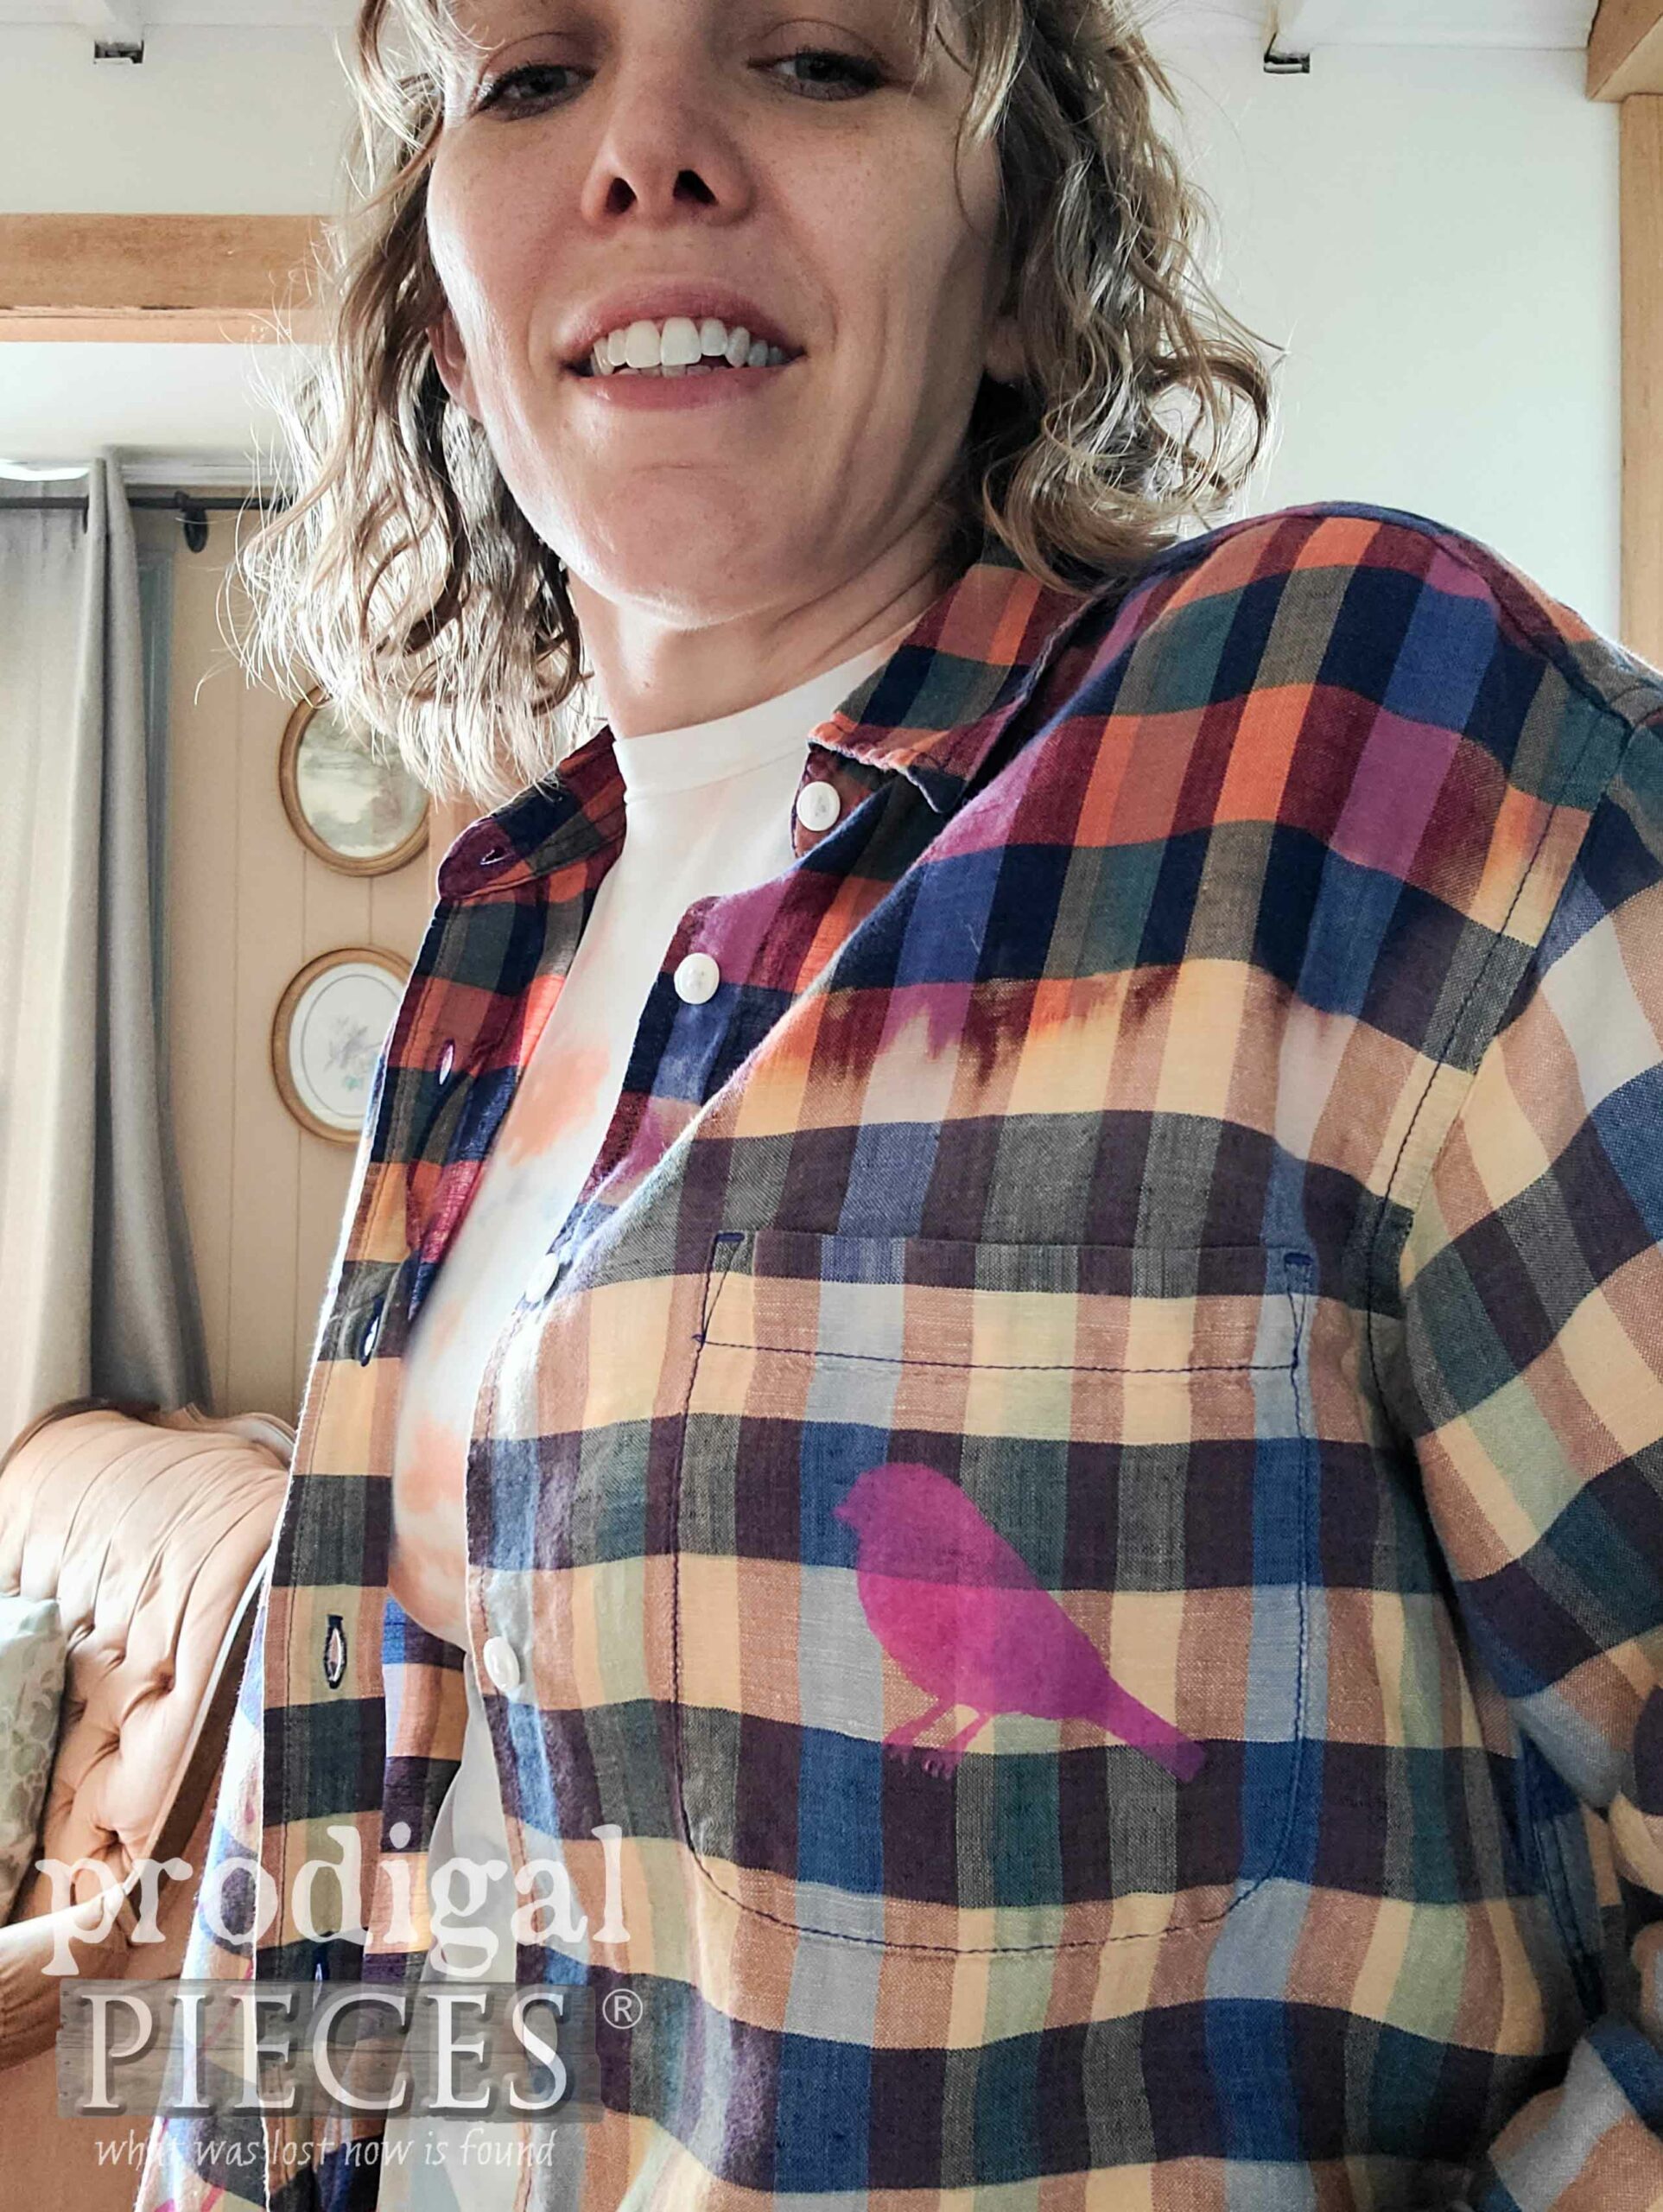
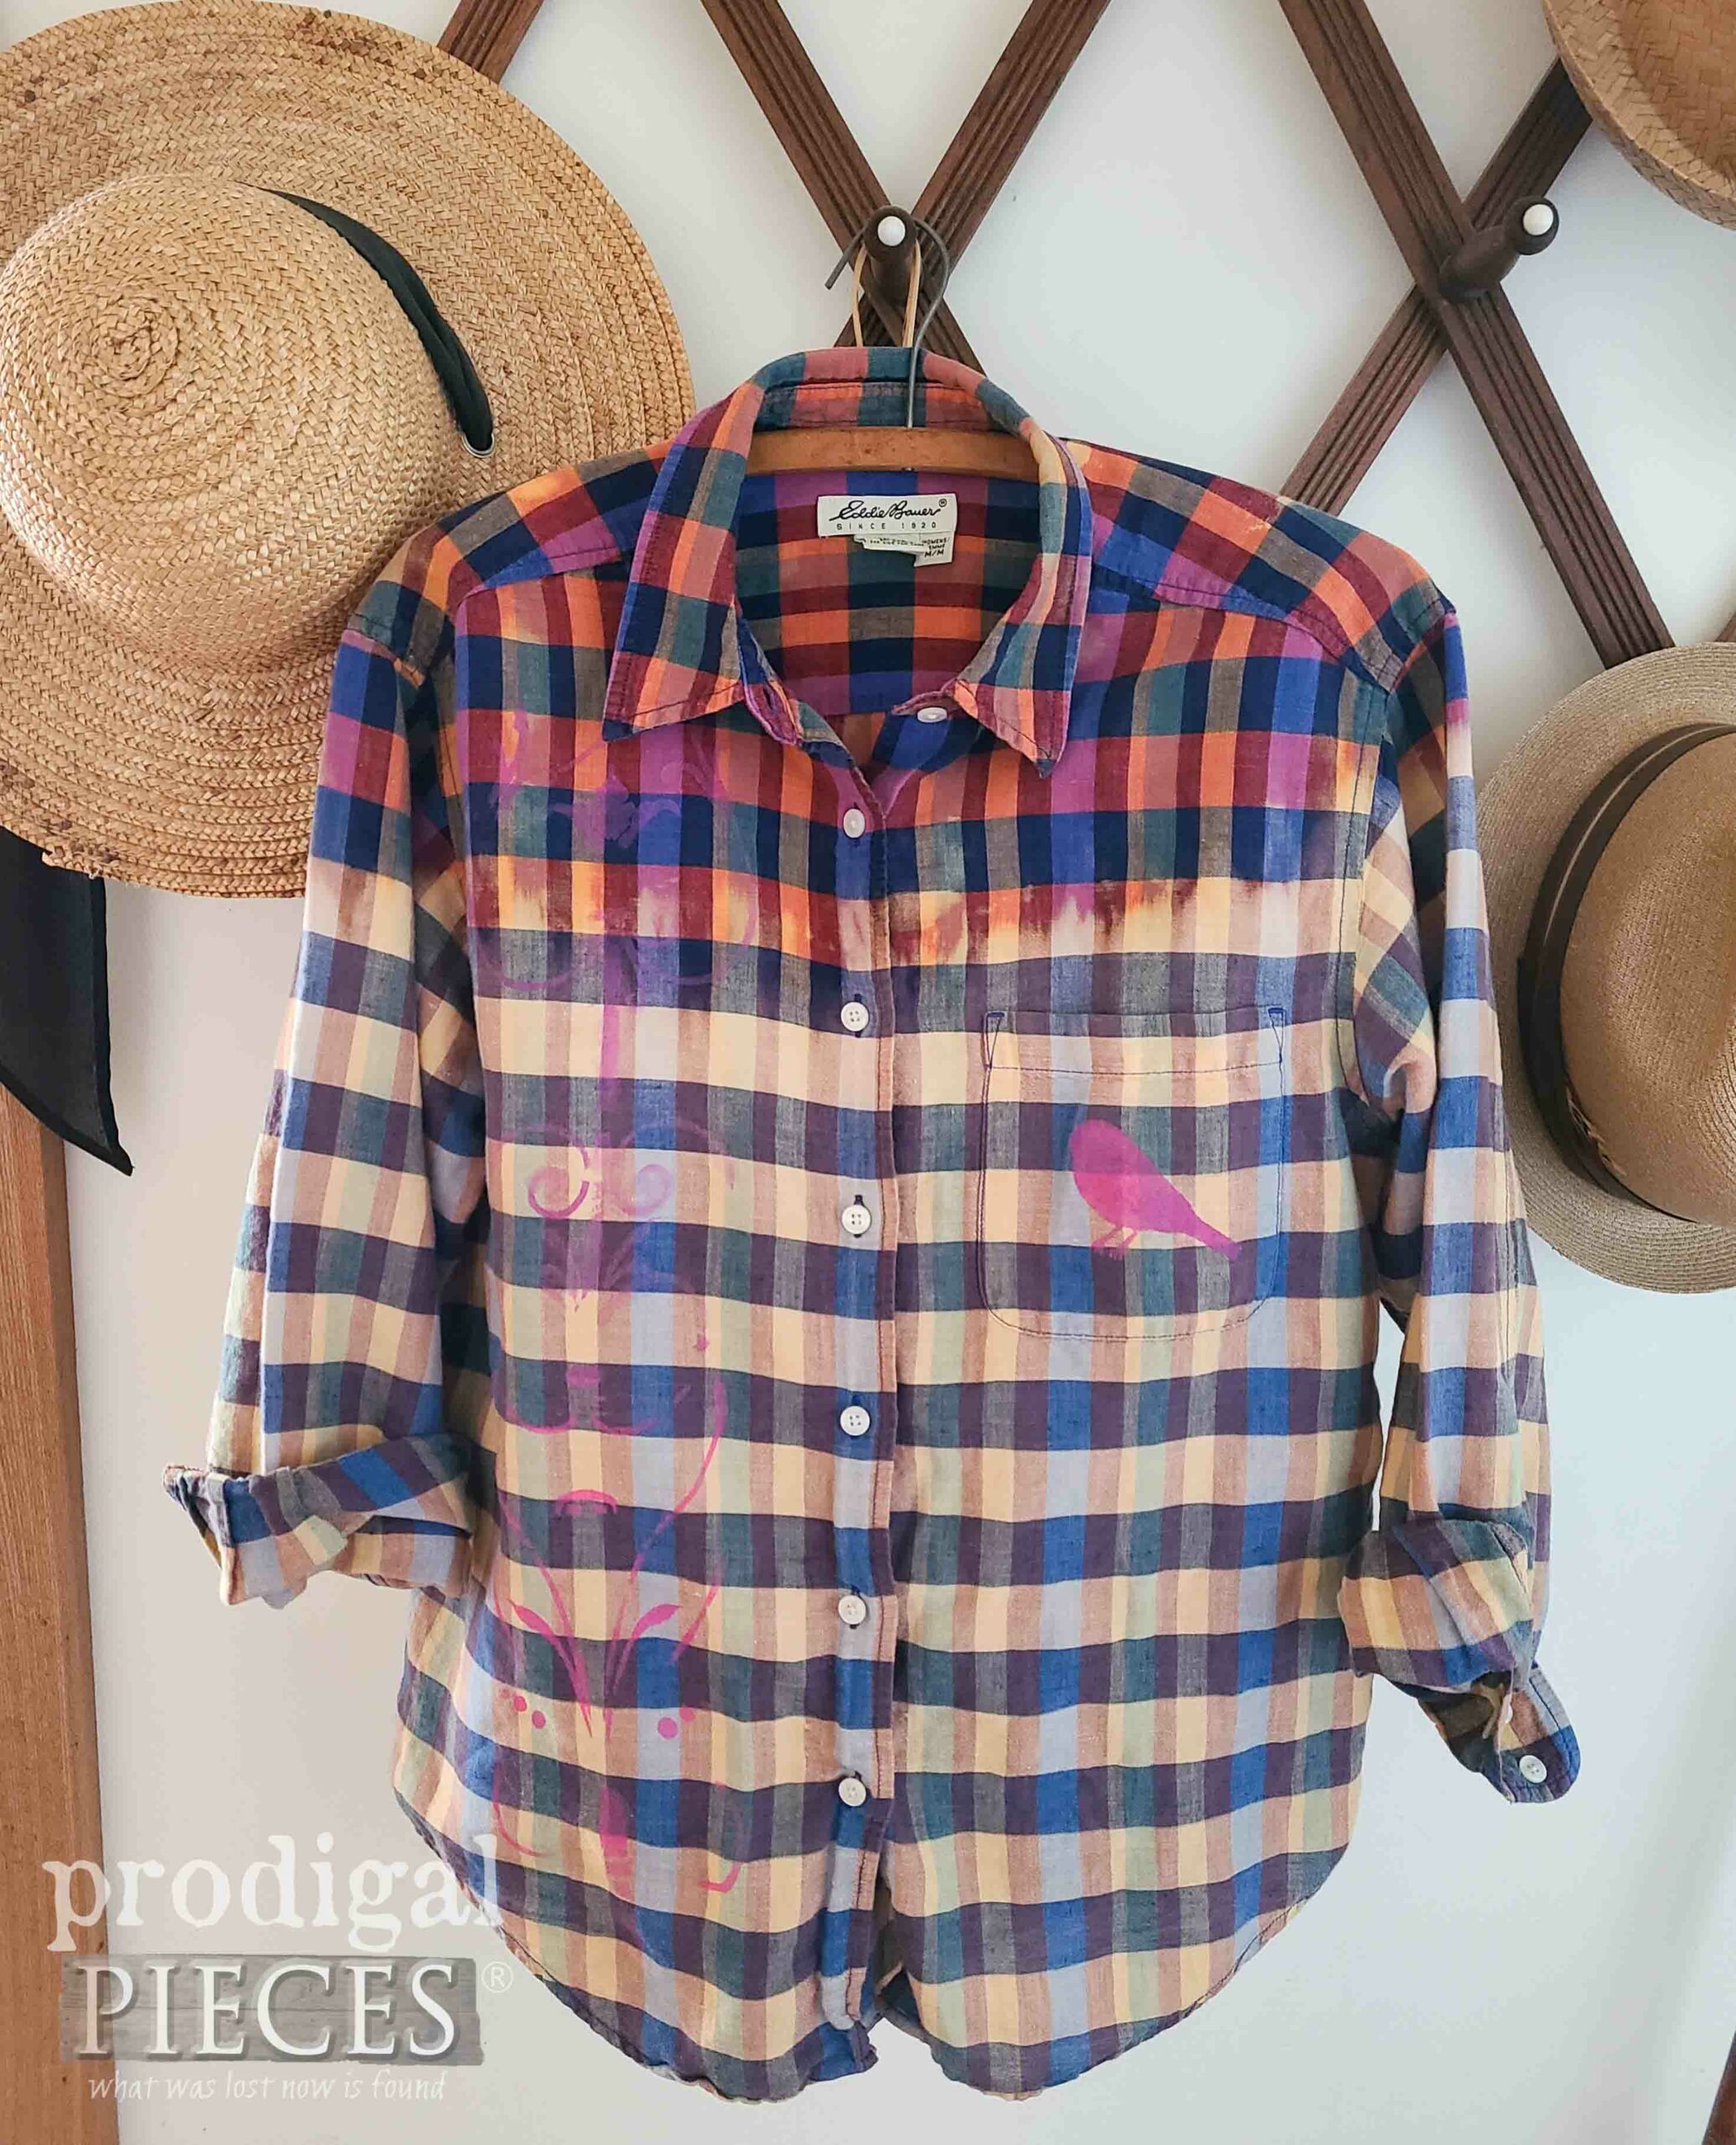
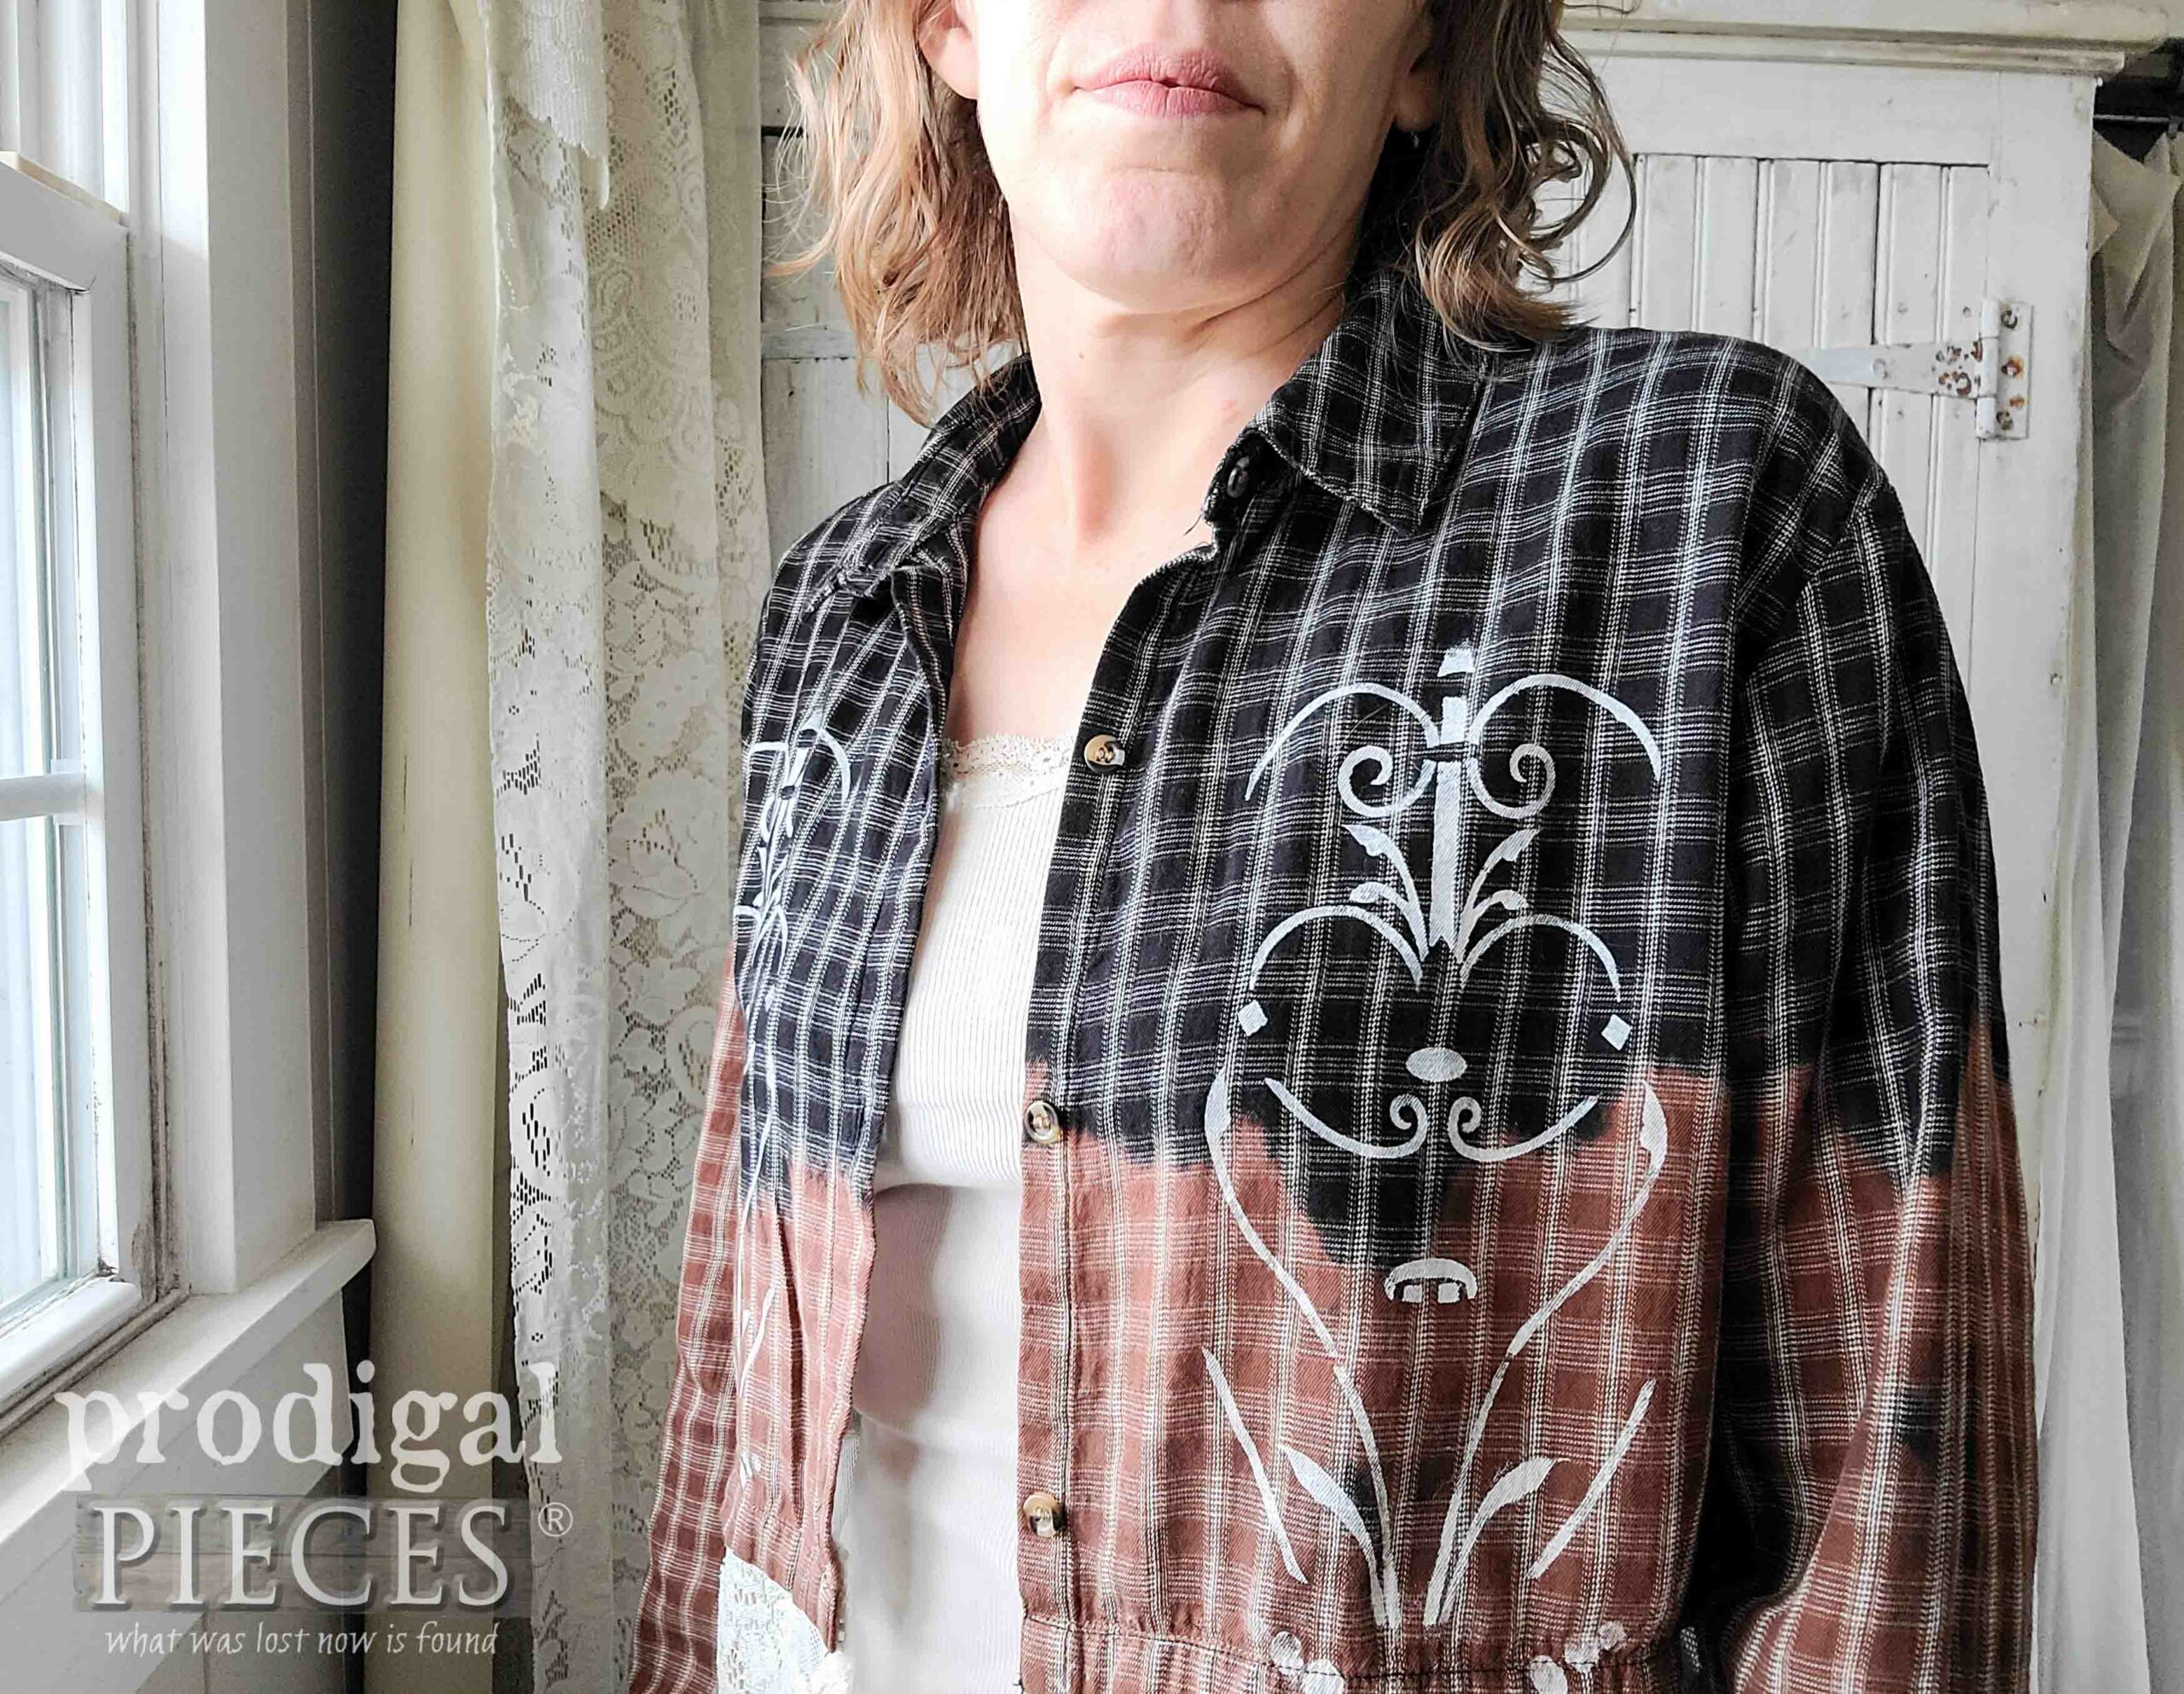
Ta da! My bleached shirt tutorial helps me create this boutique style (and fun) fashion statement for my pure enjoyment.
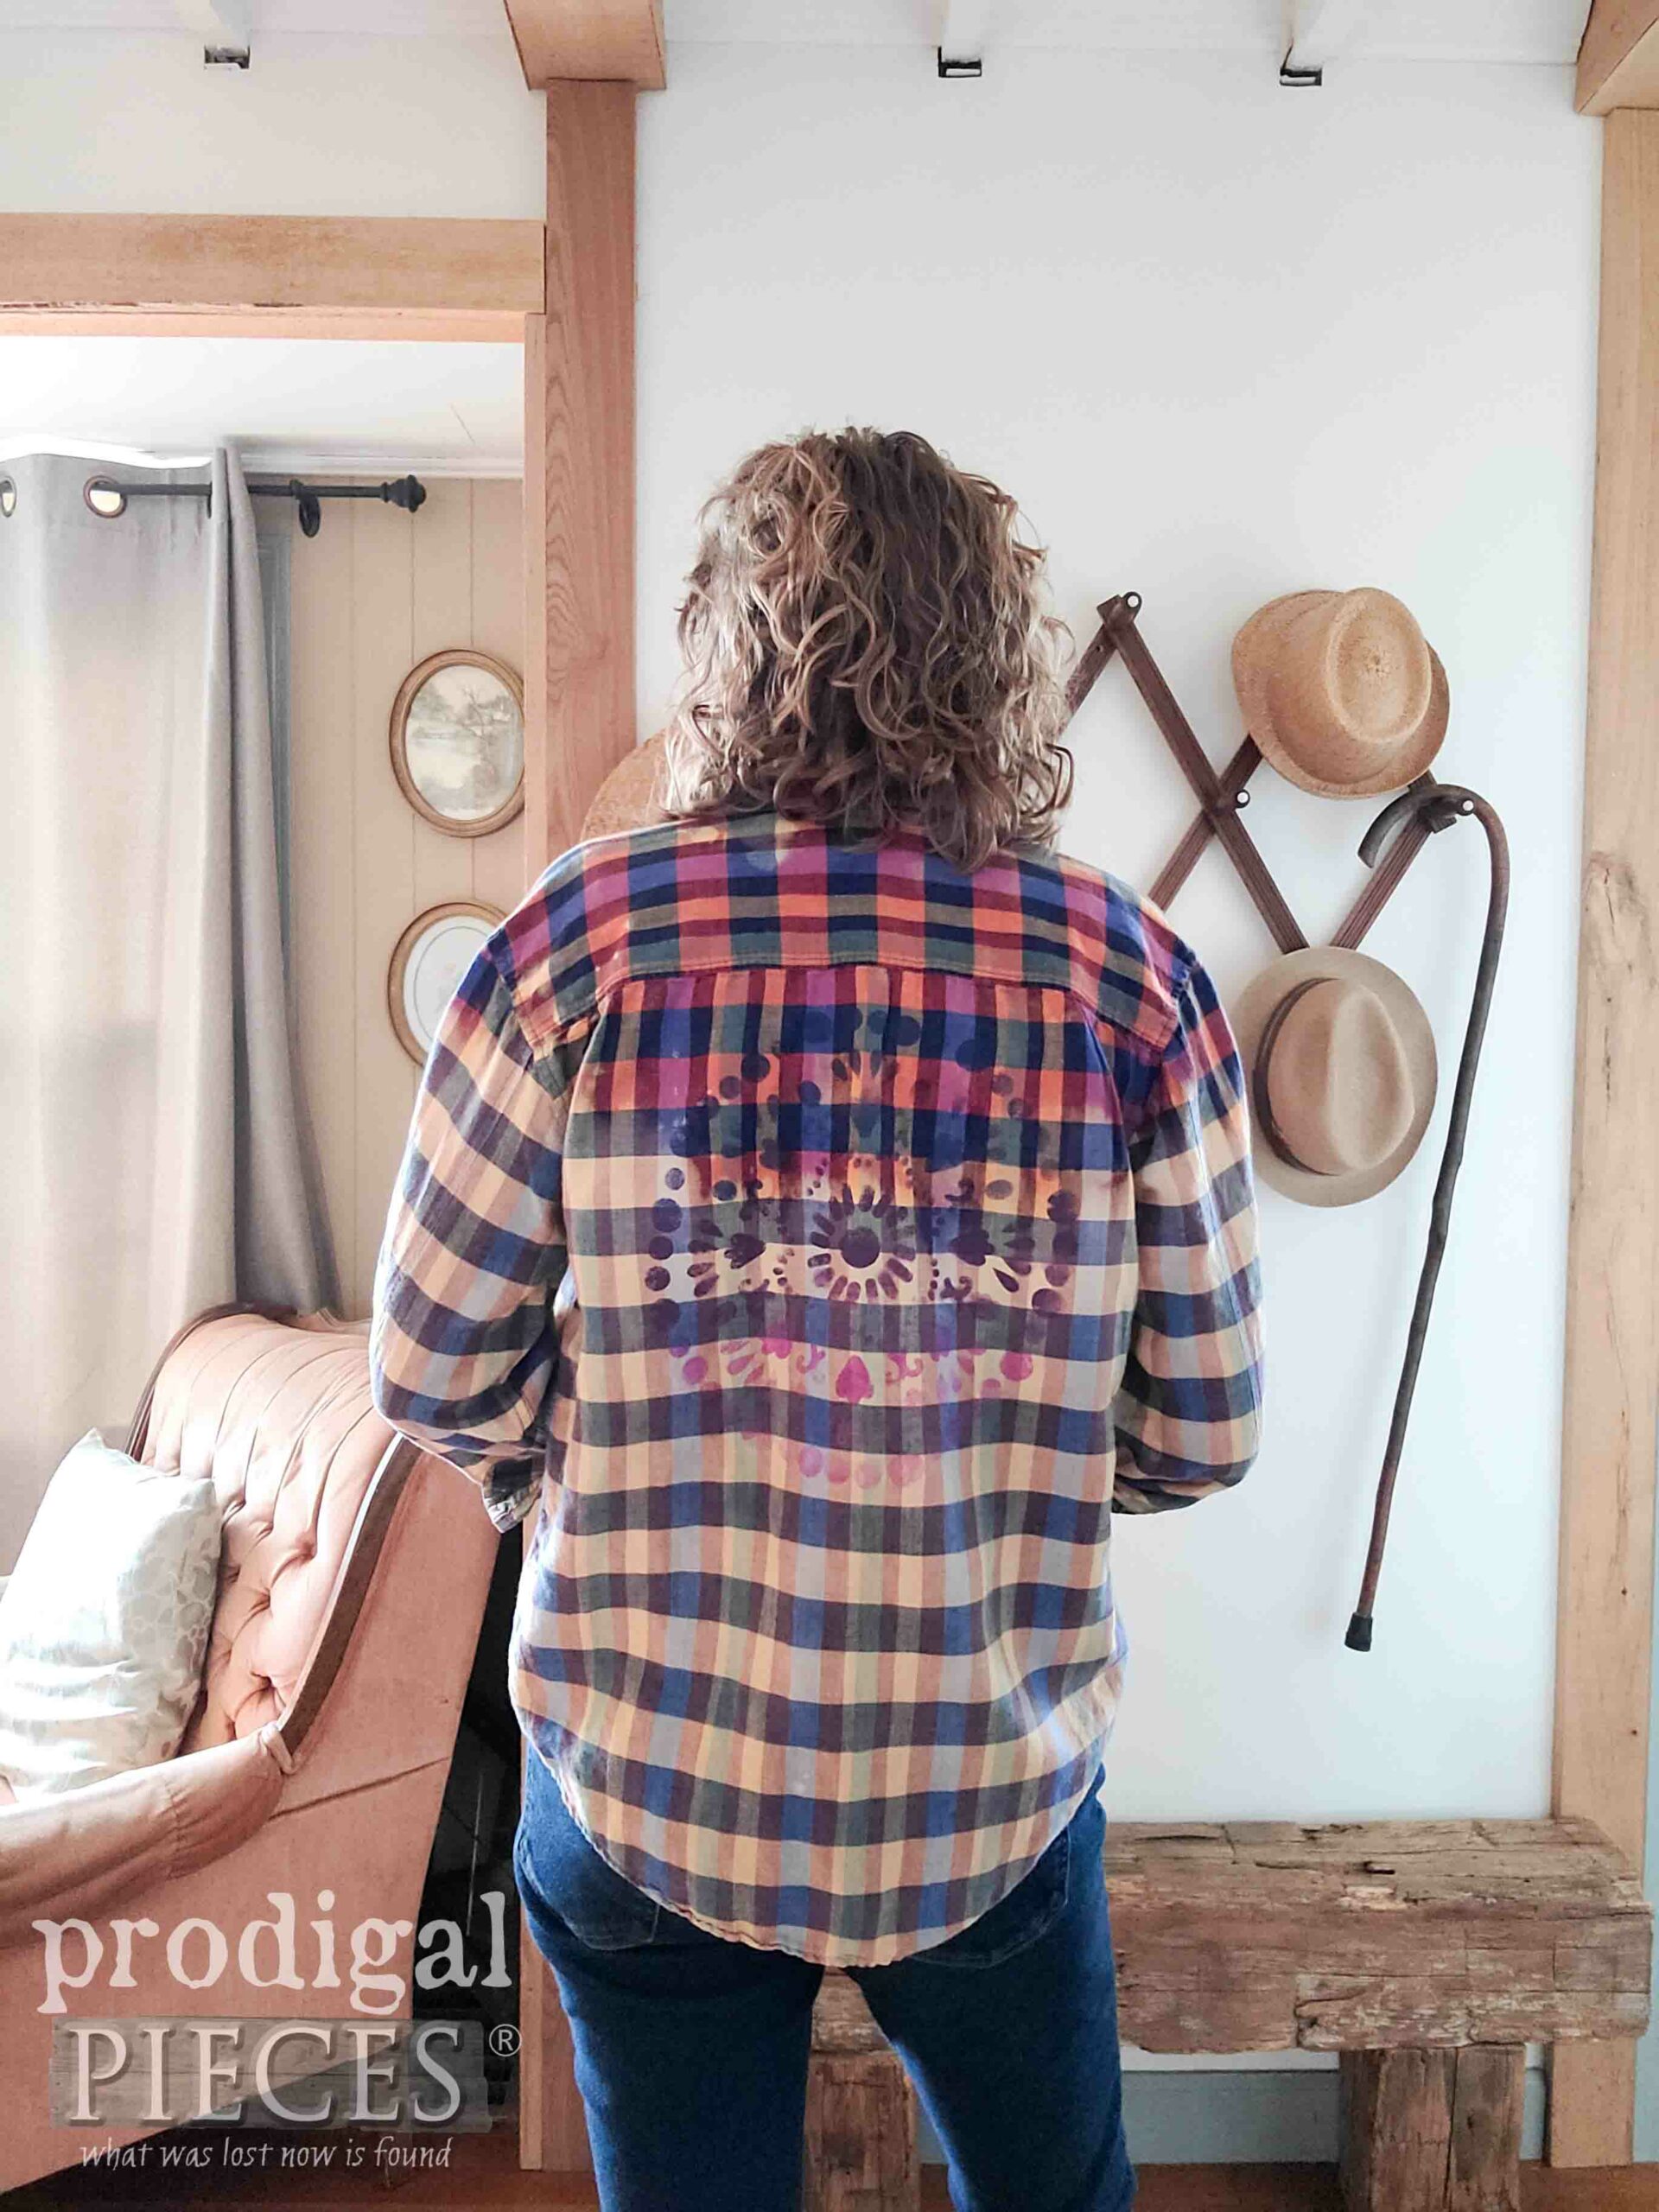
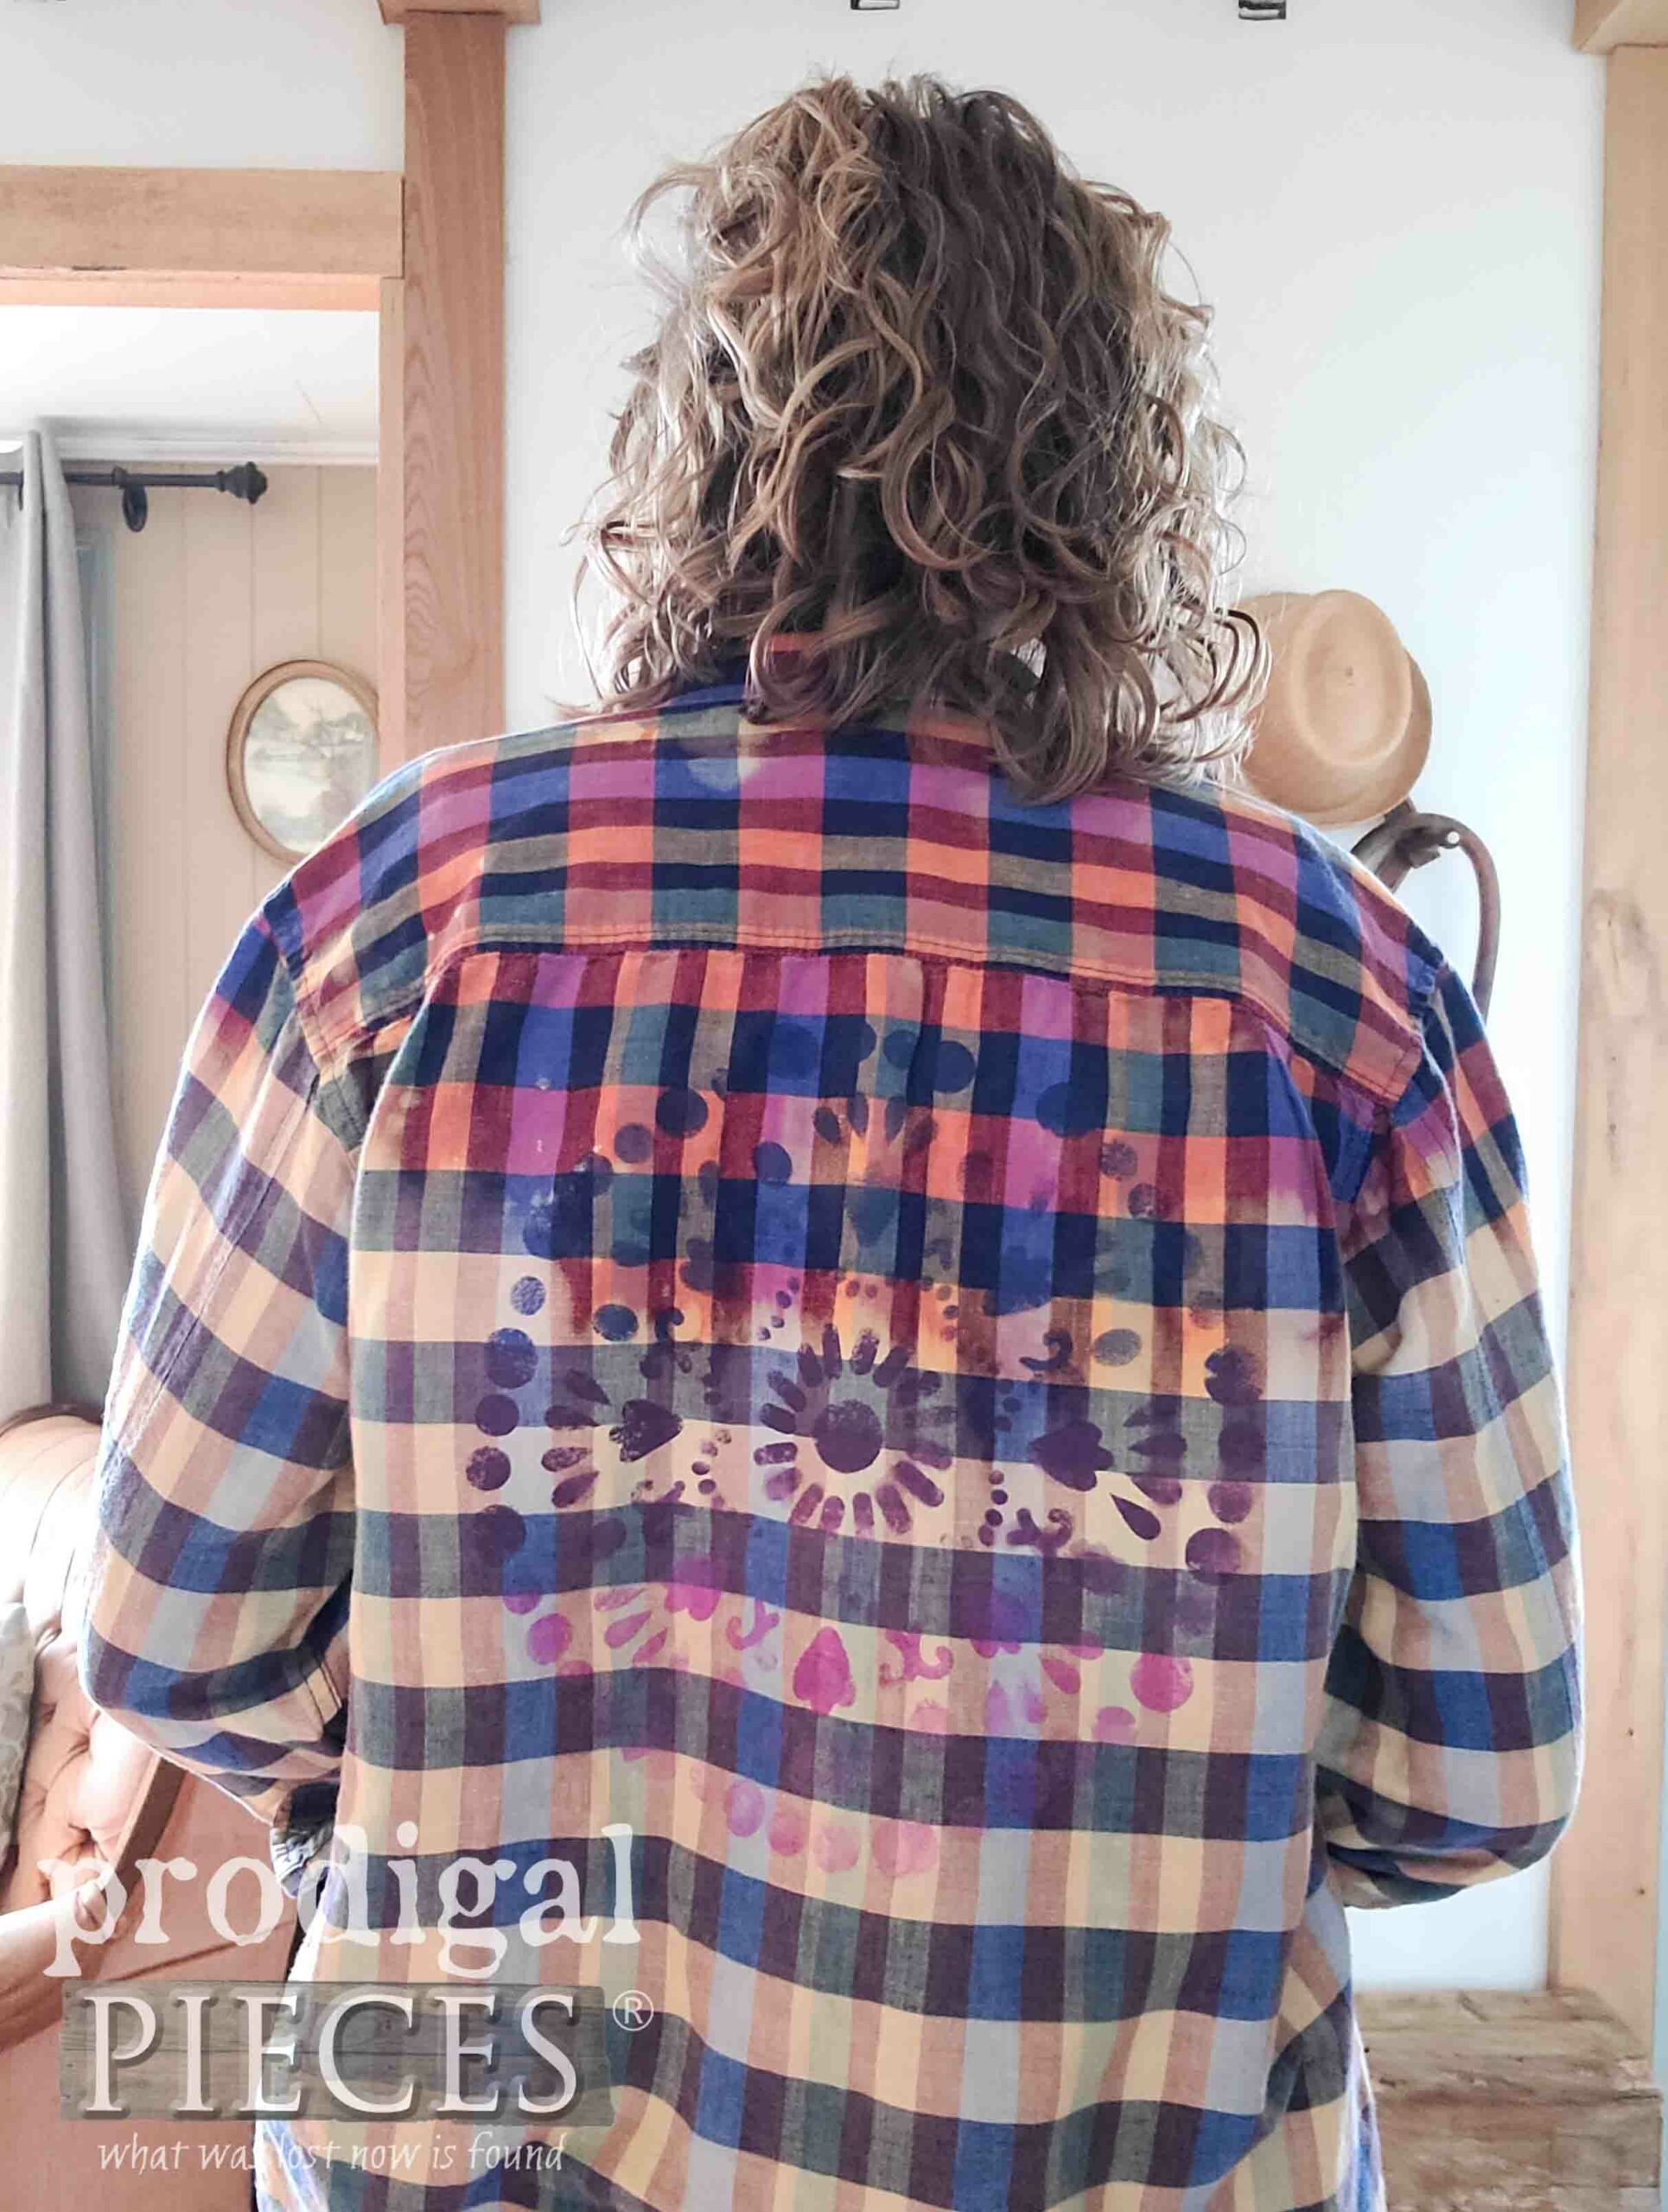
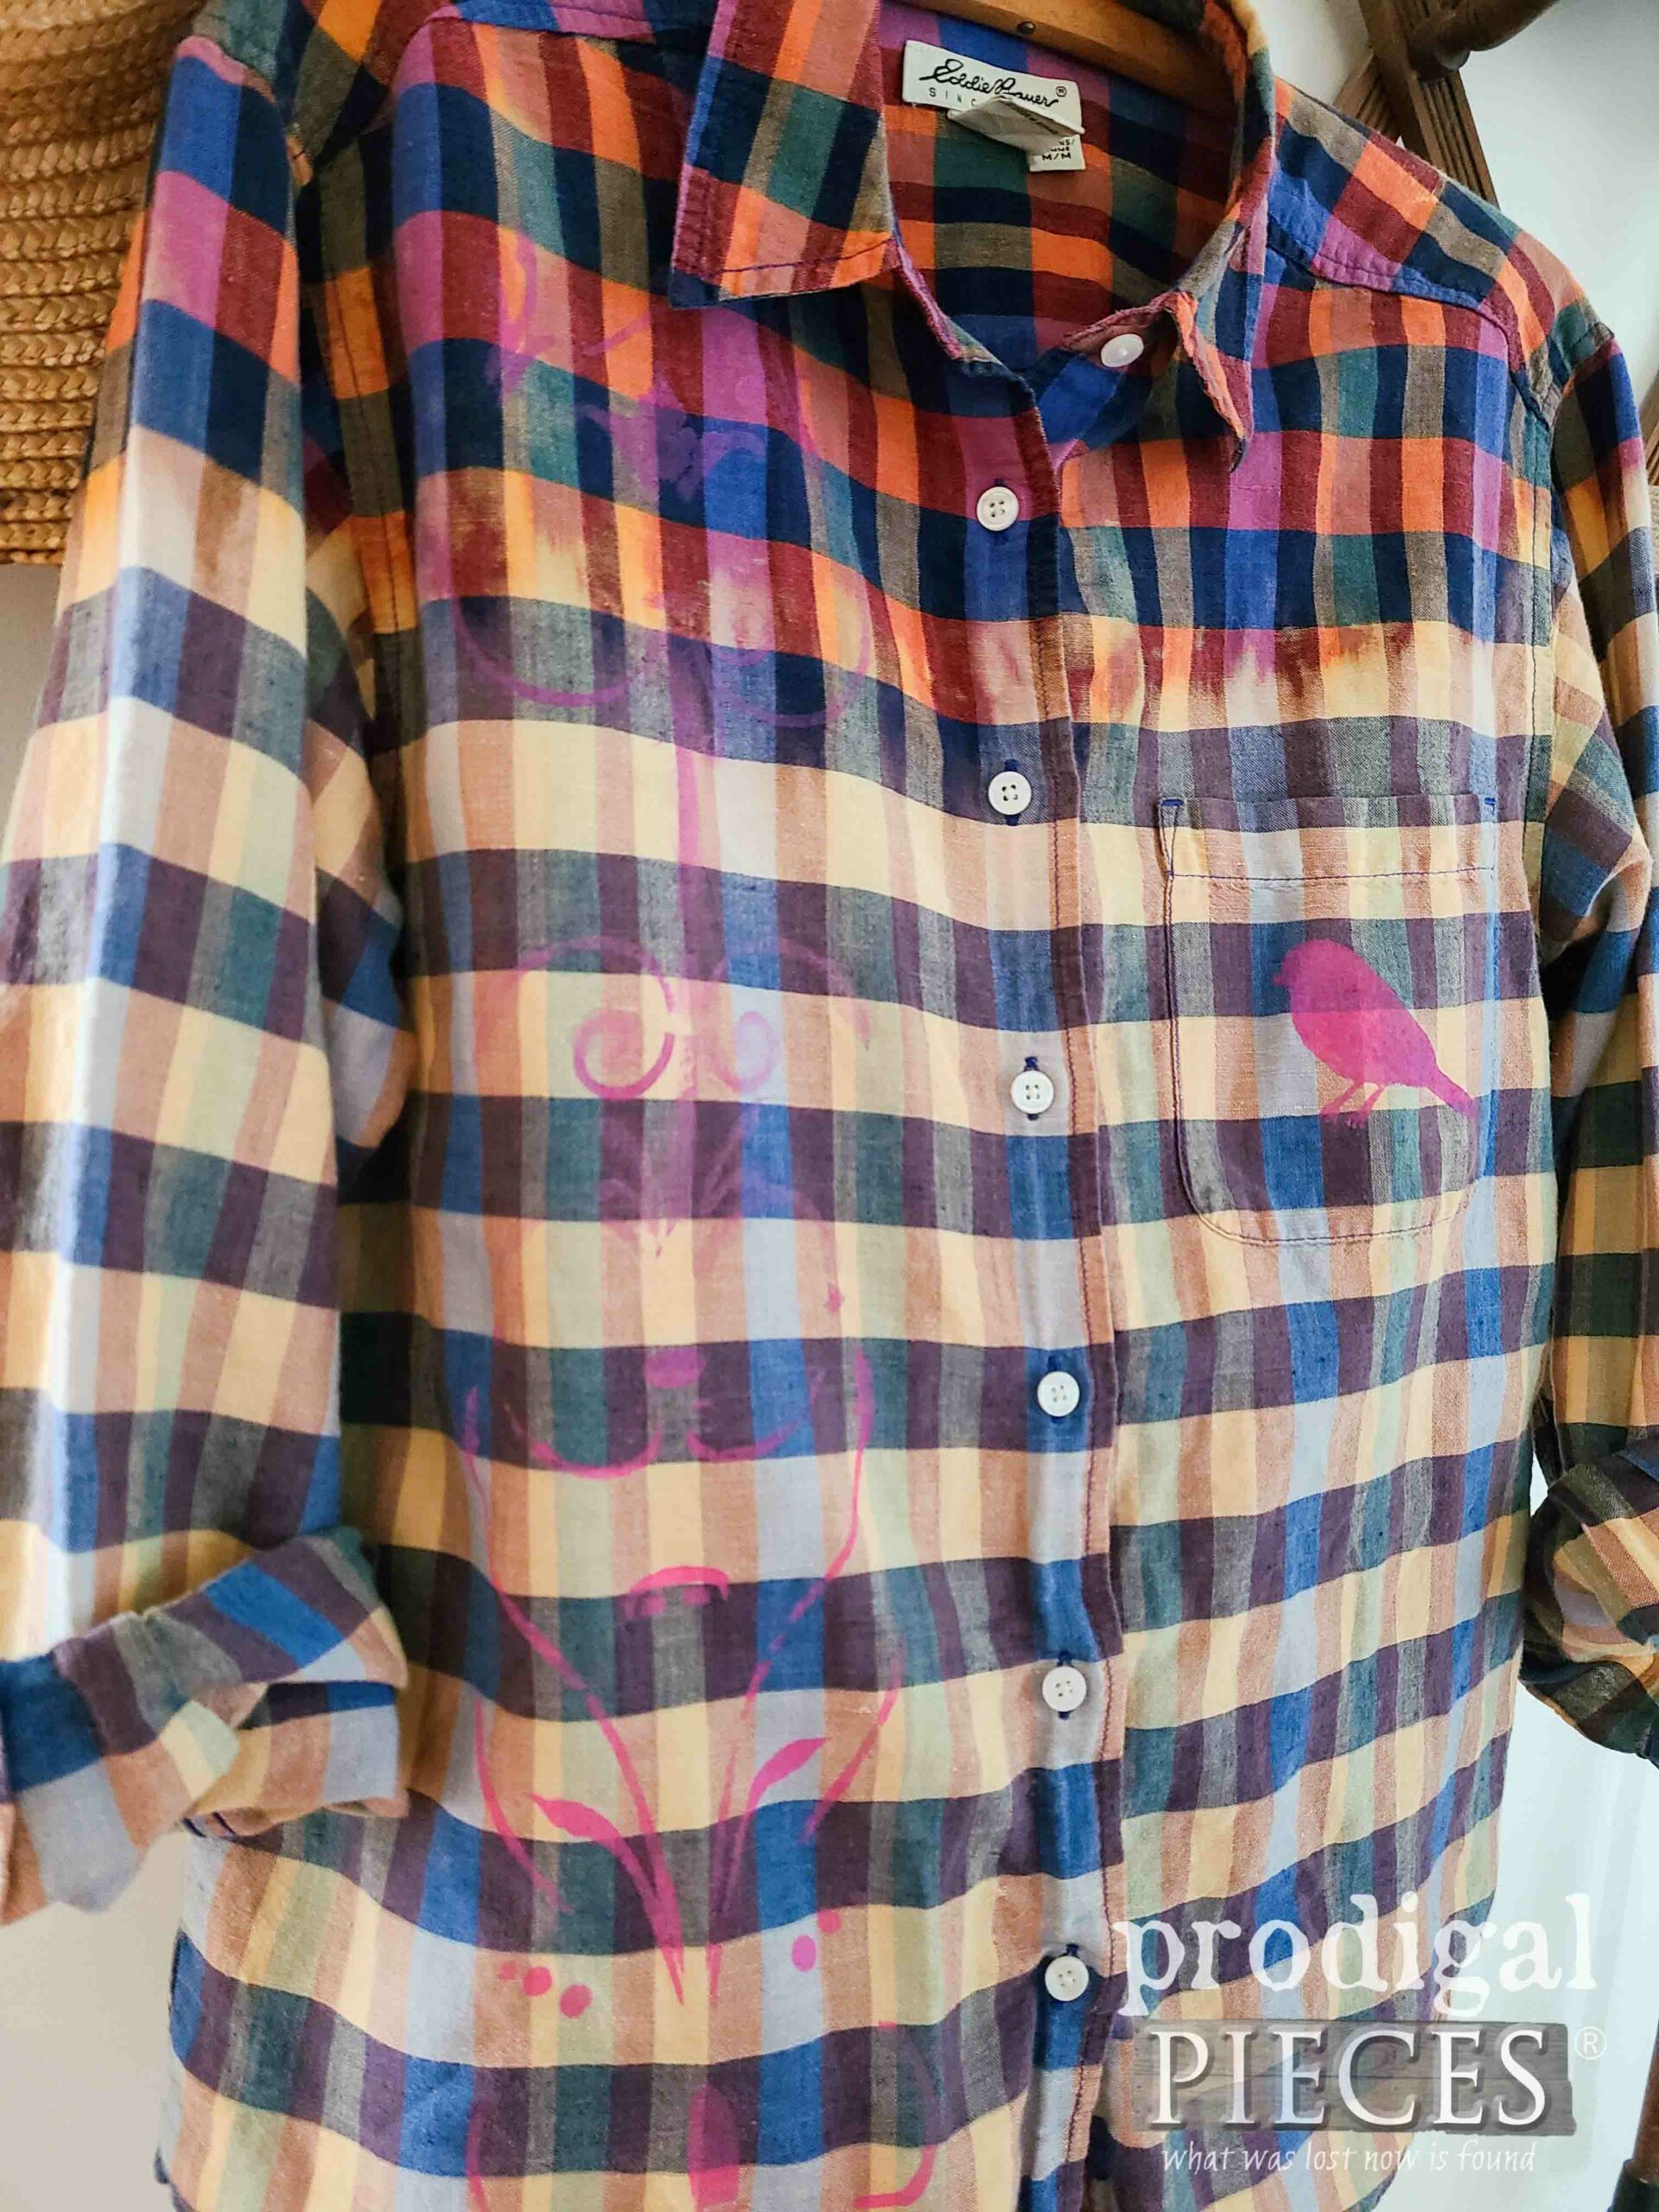
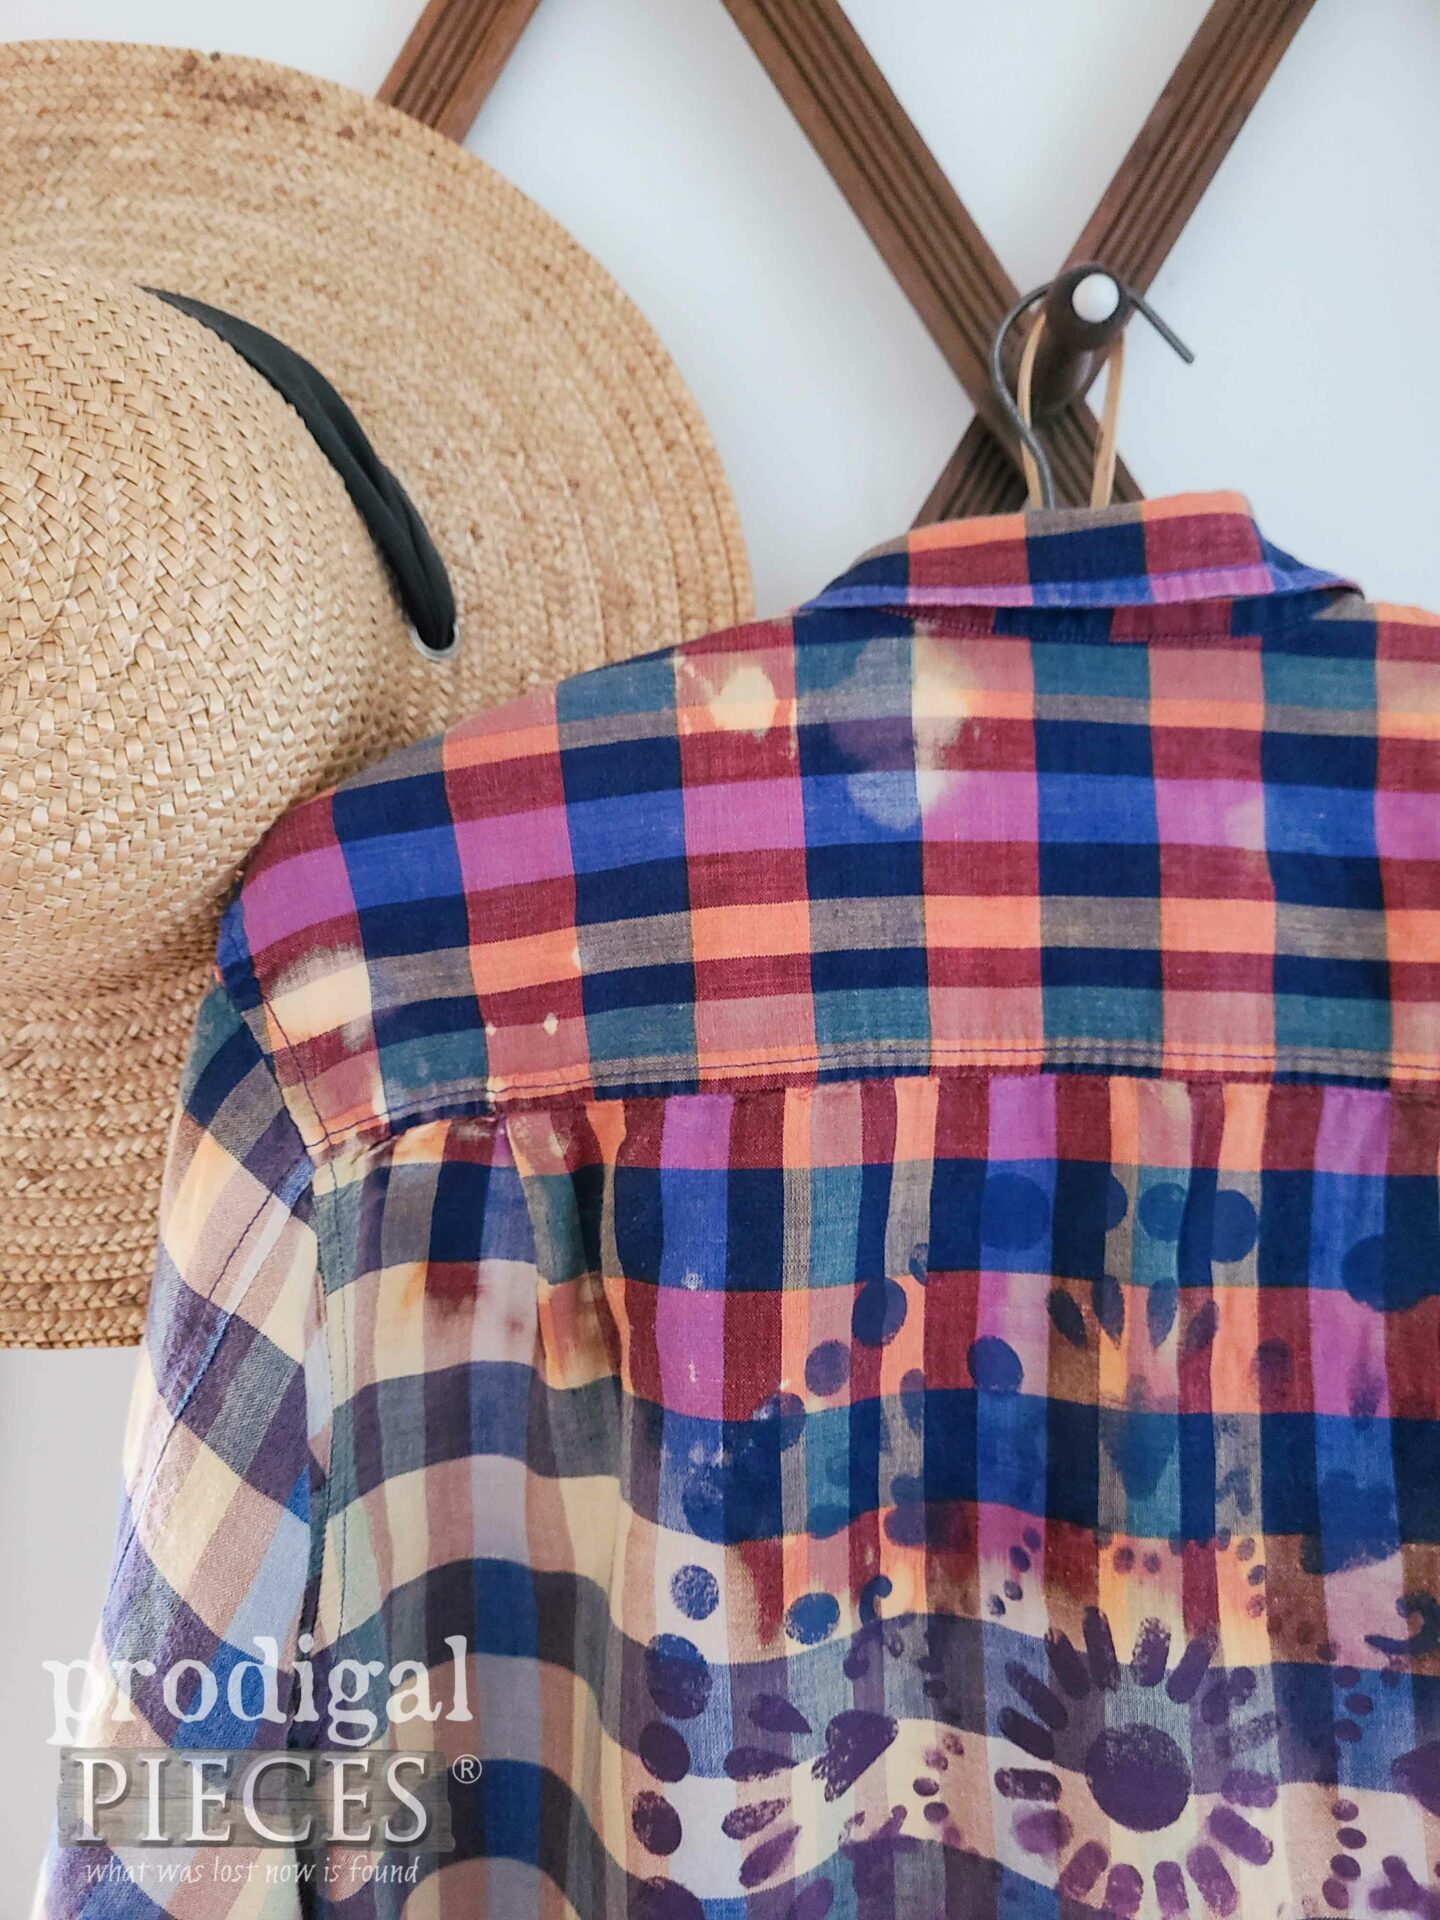
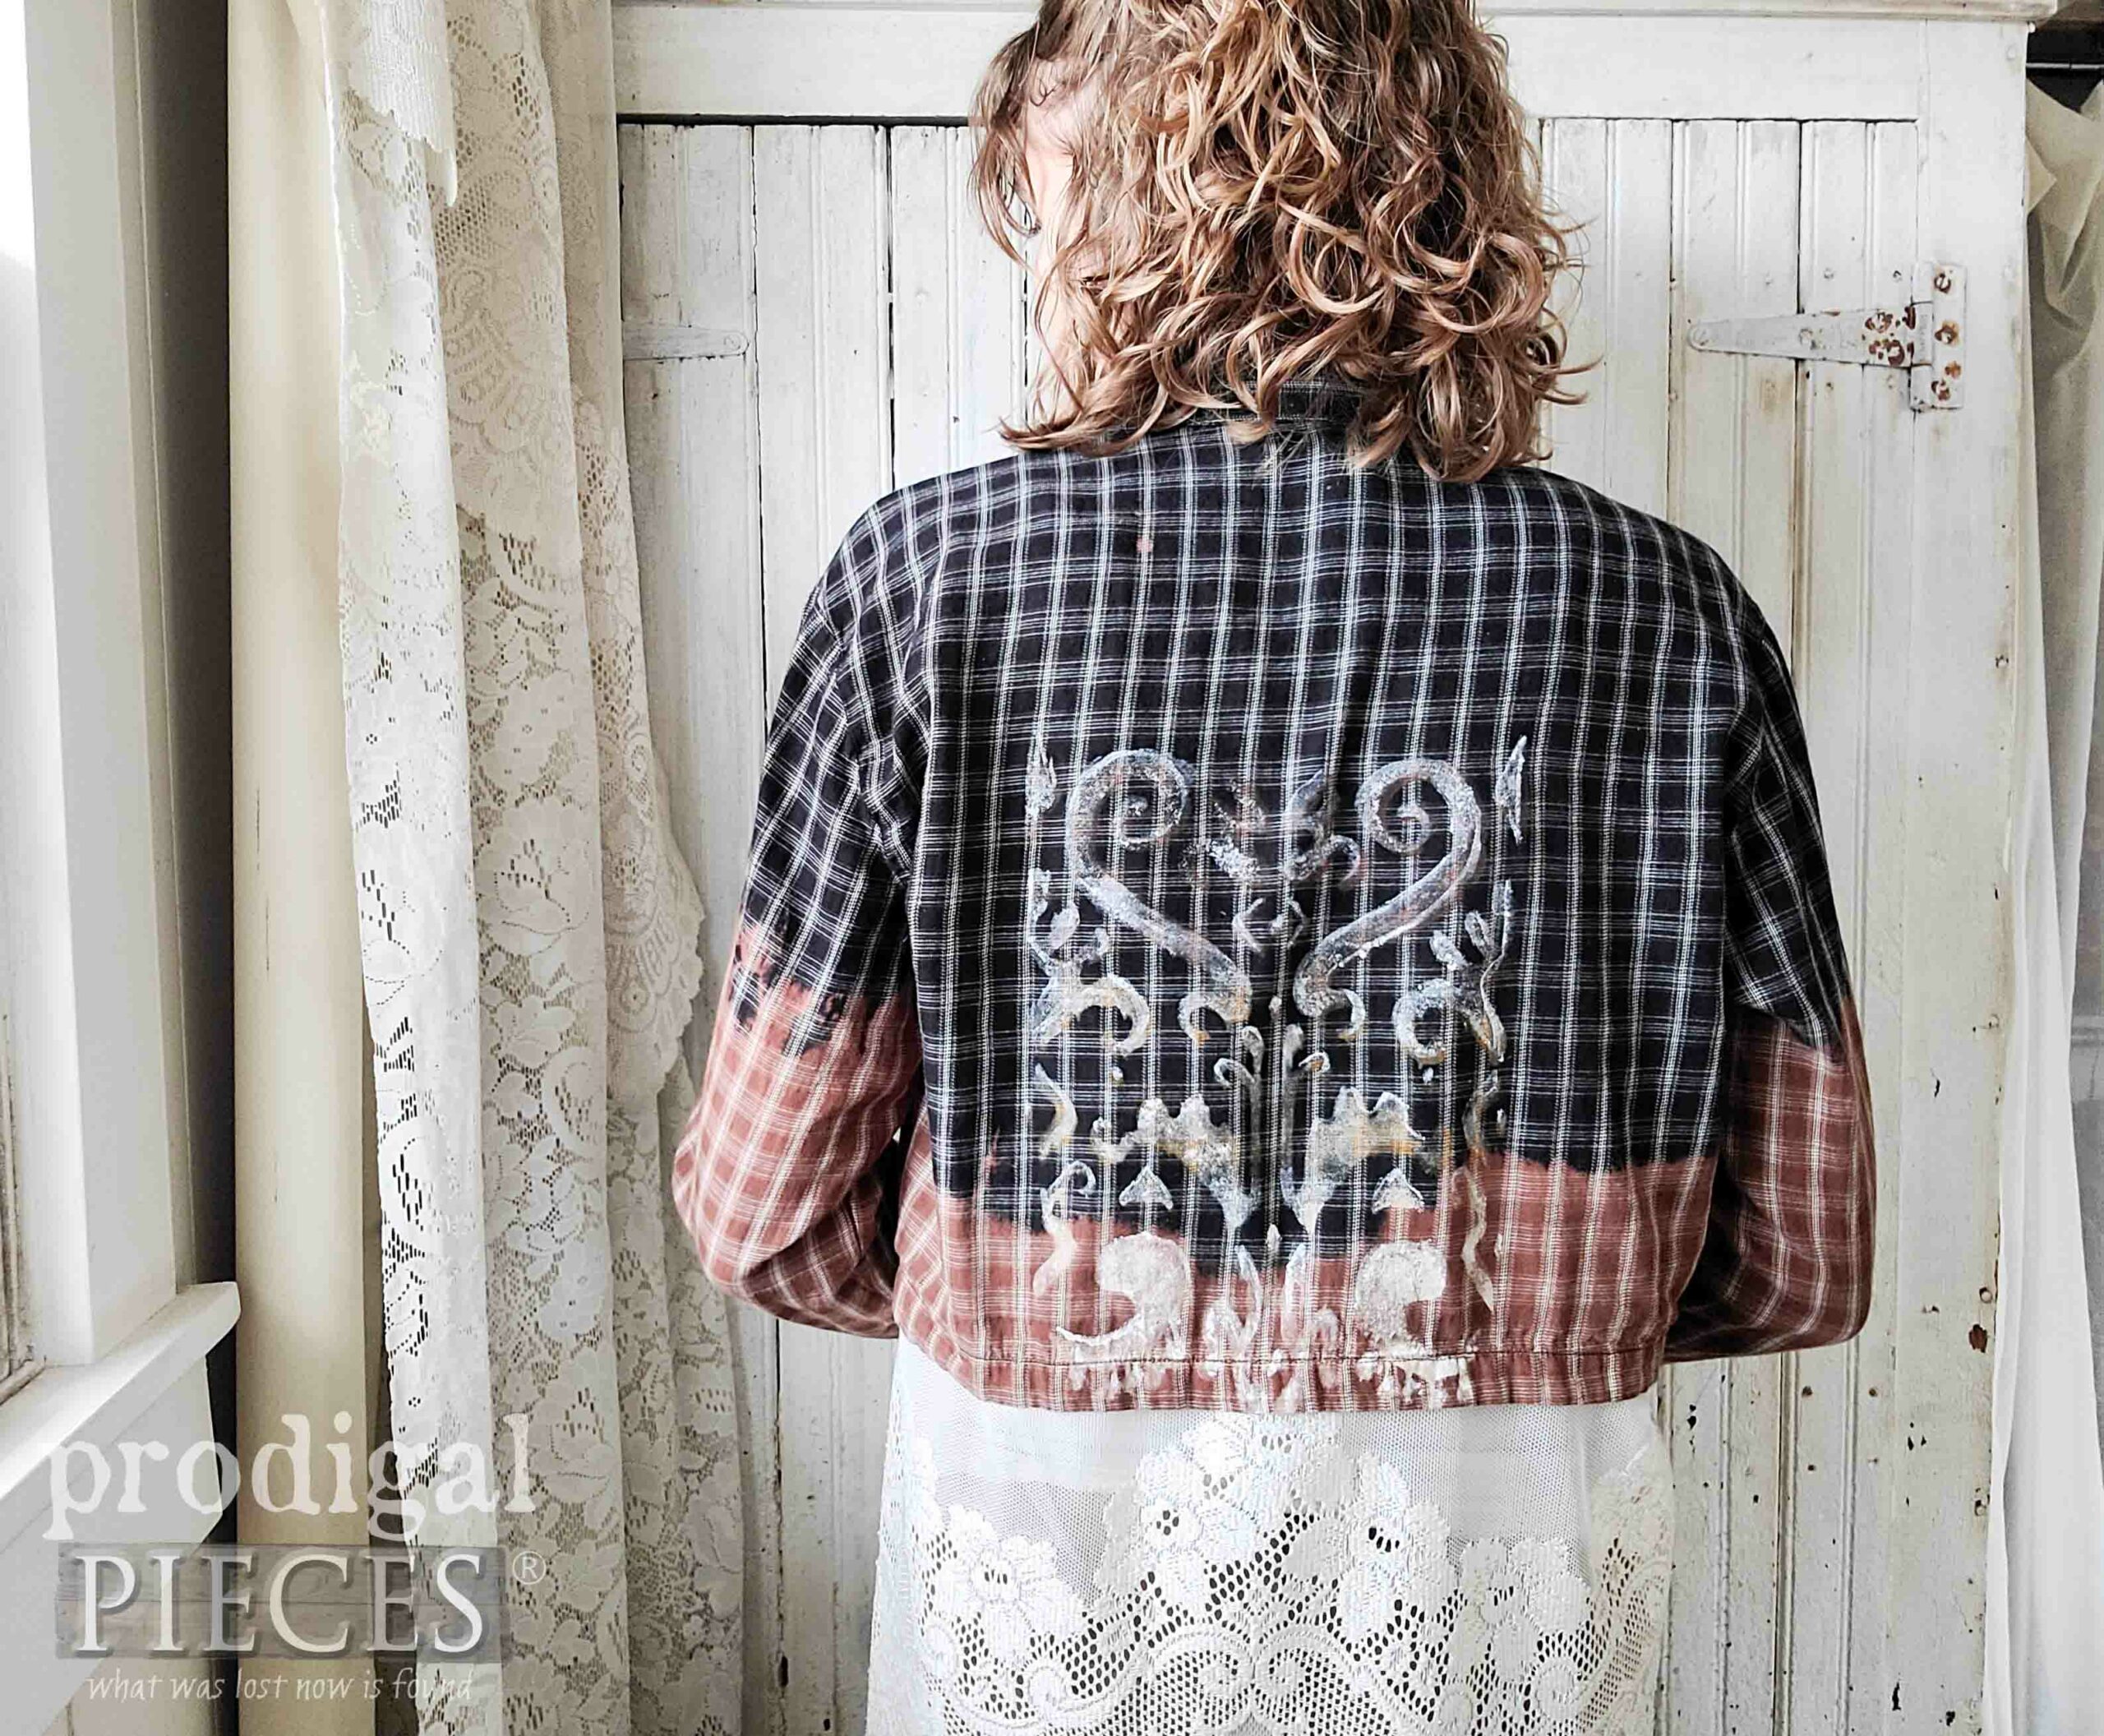
Birdie and fleurs on the front with part on the back. woot!
Isn’t that amazingly fun? Here’s a look at it on a hanger…
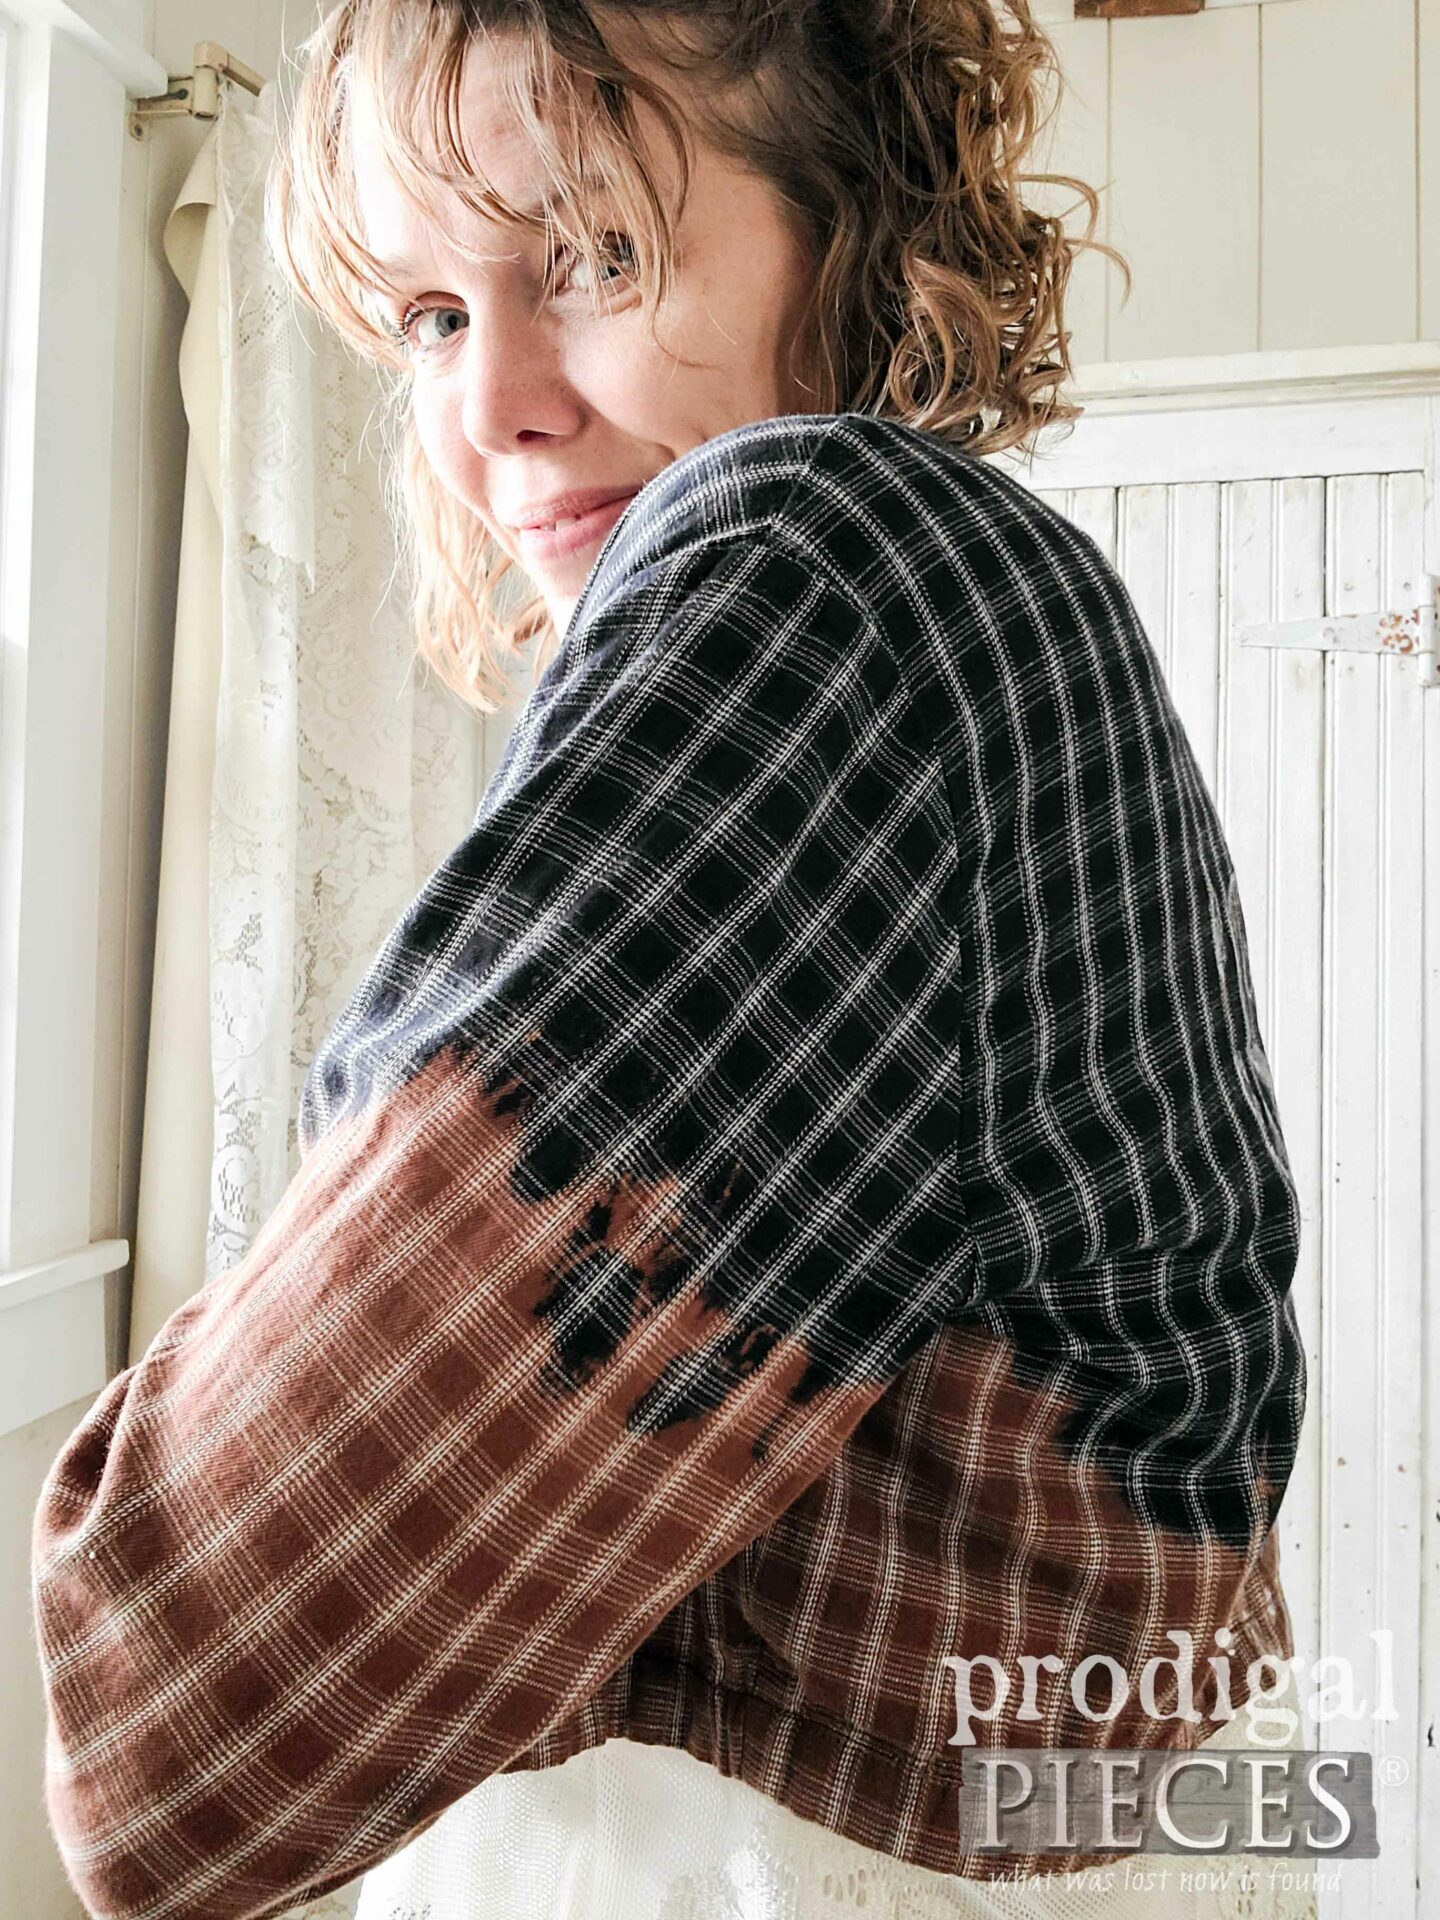
Believe it or not, my favorite part is this oops bleaching on the left shoulder.
What is more, these shirts are great for any season and offer a relaxed vibe. In fact, I even found that underlayer top at the store too and it works for what I’m after perfectly!
ONE MORE
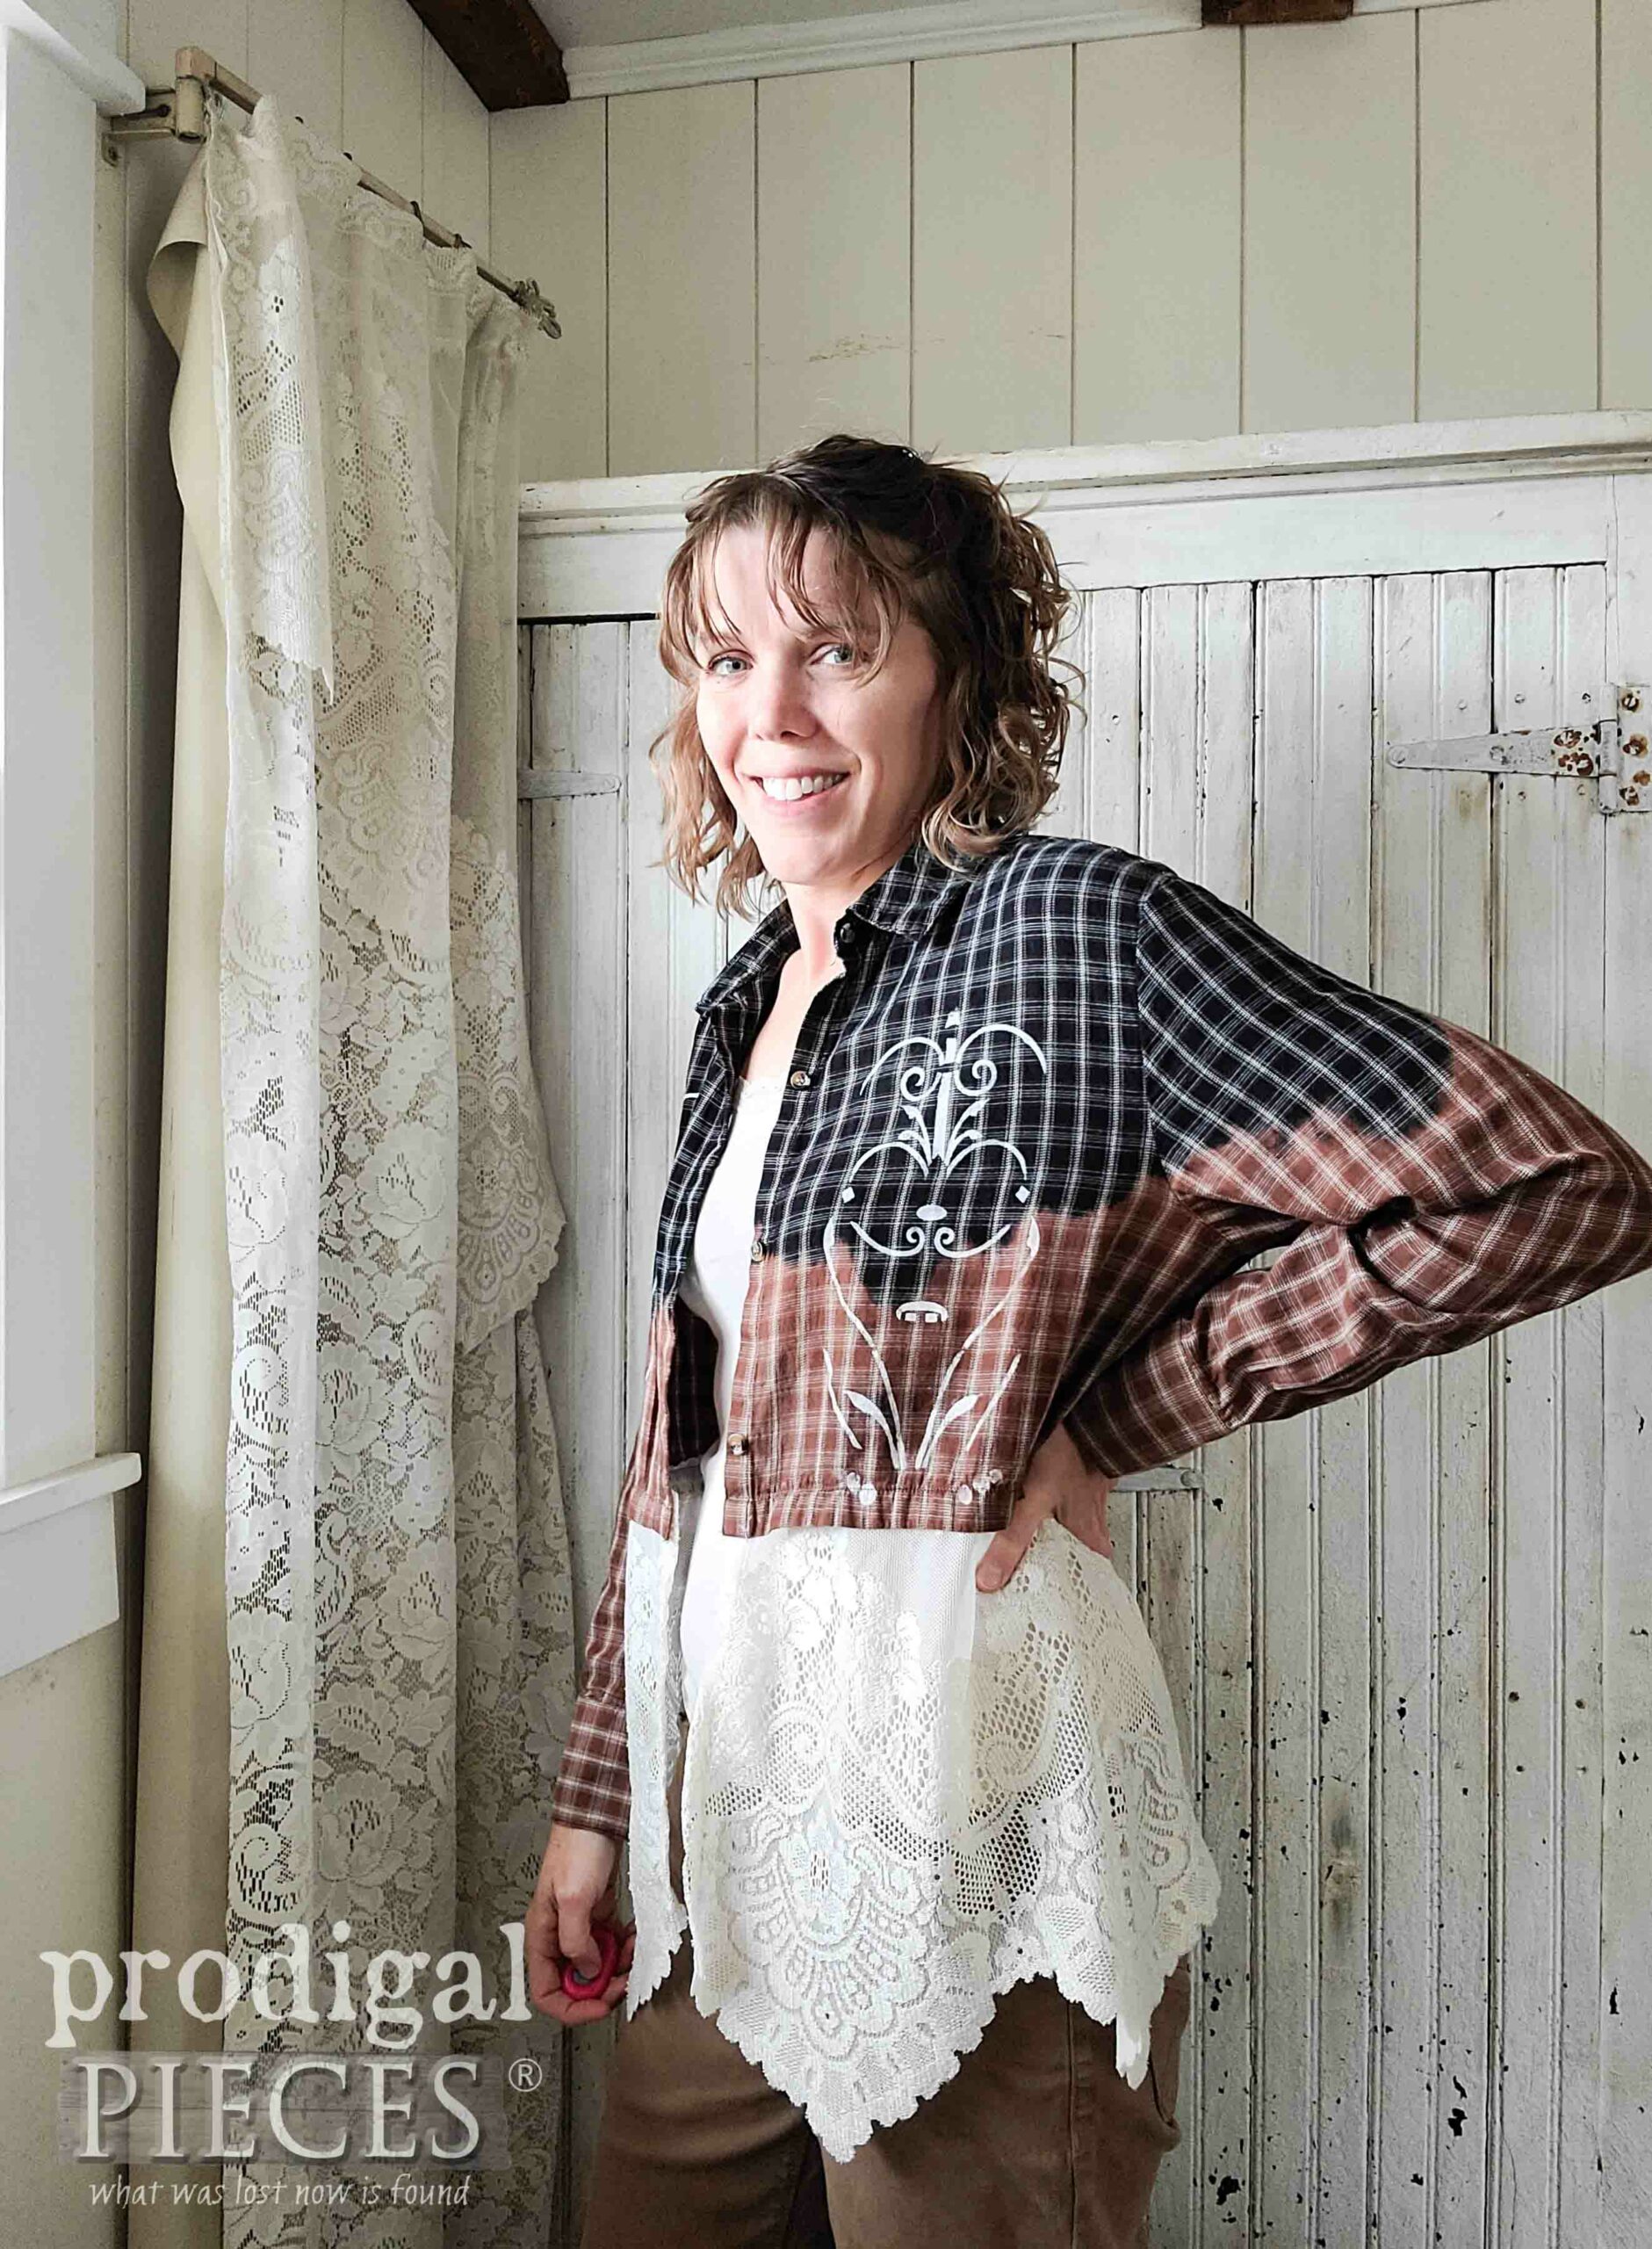
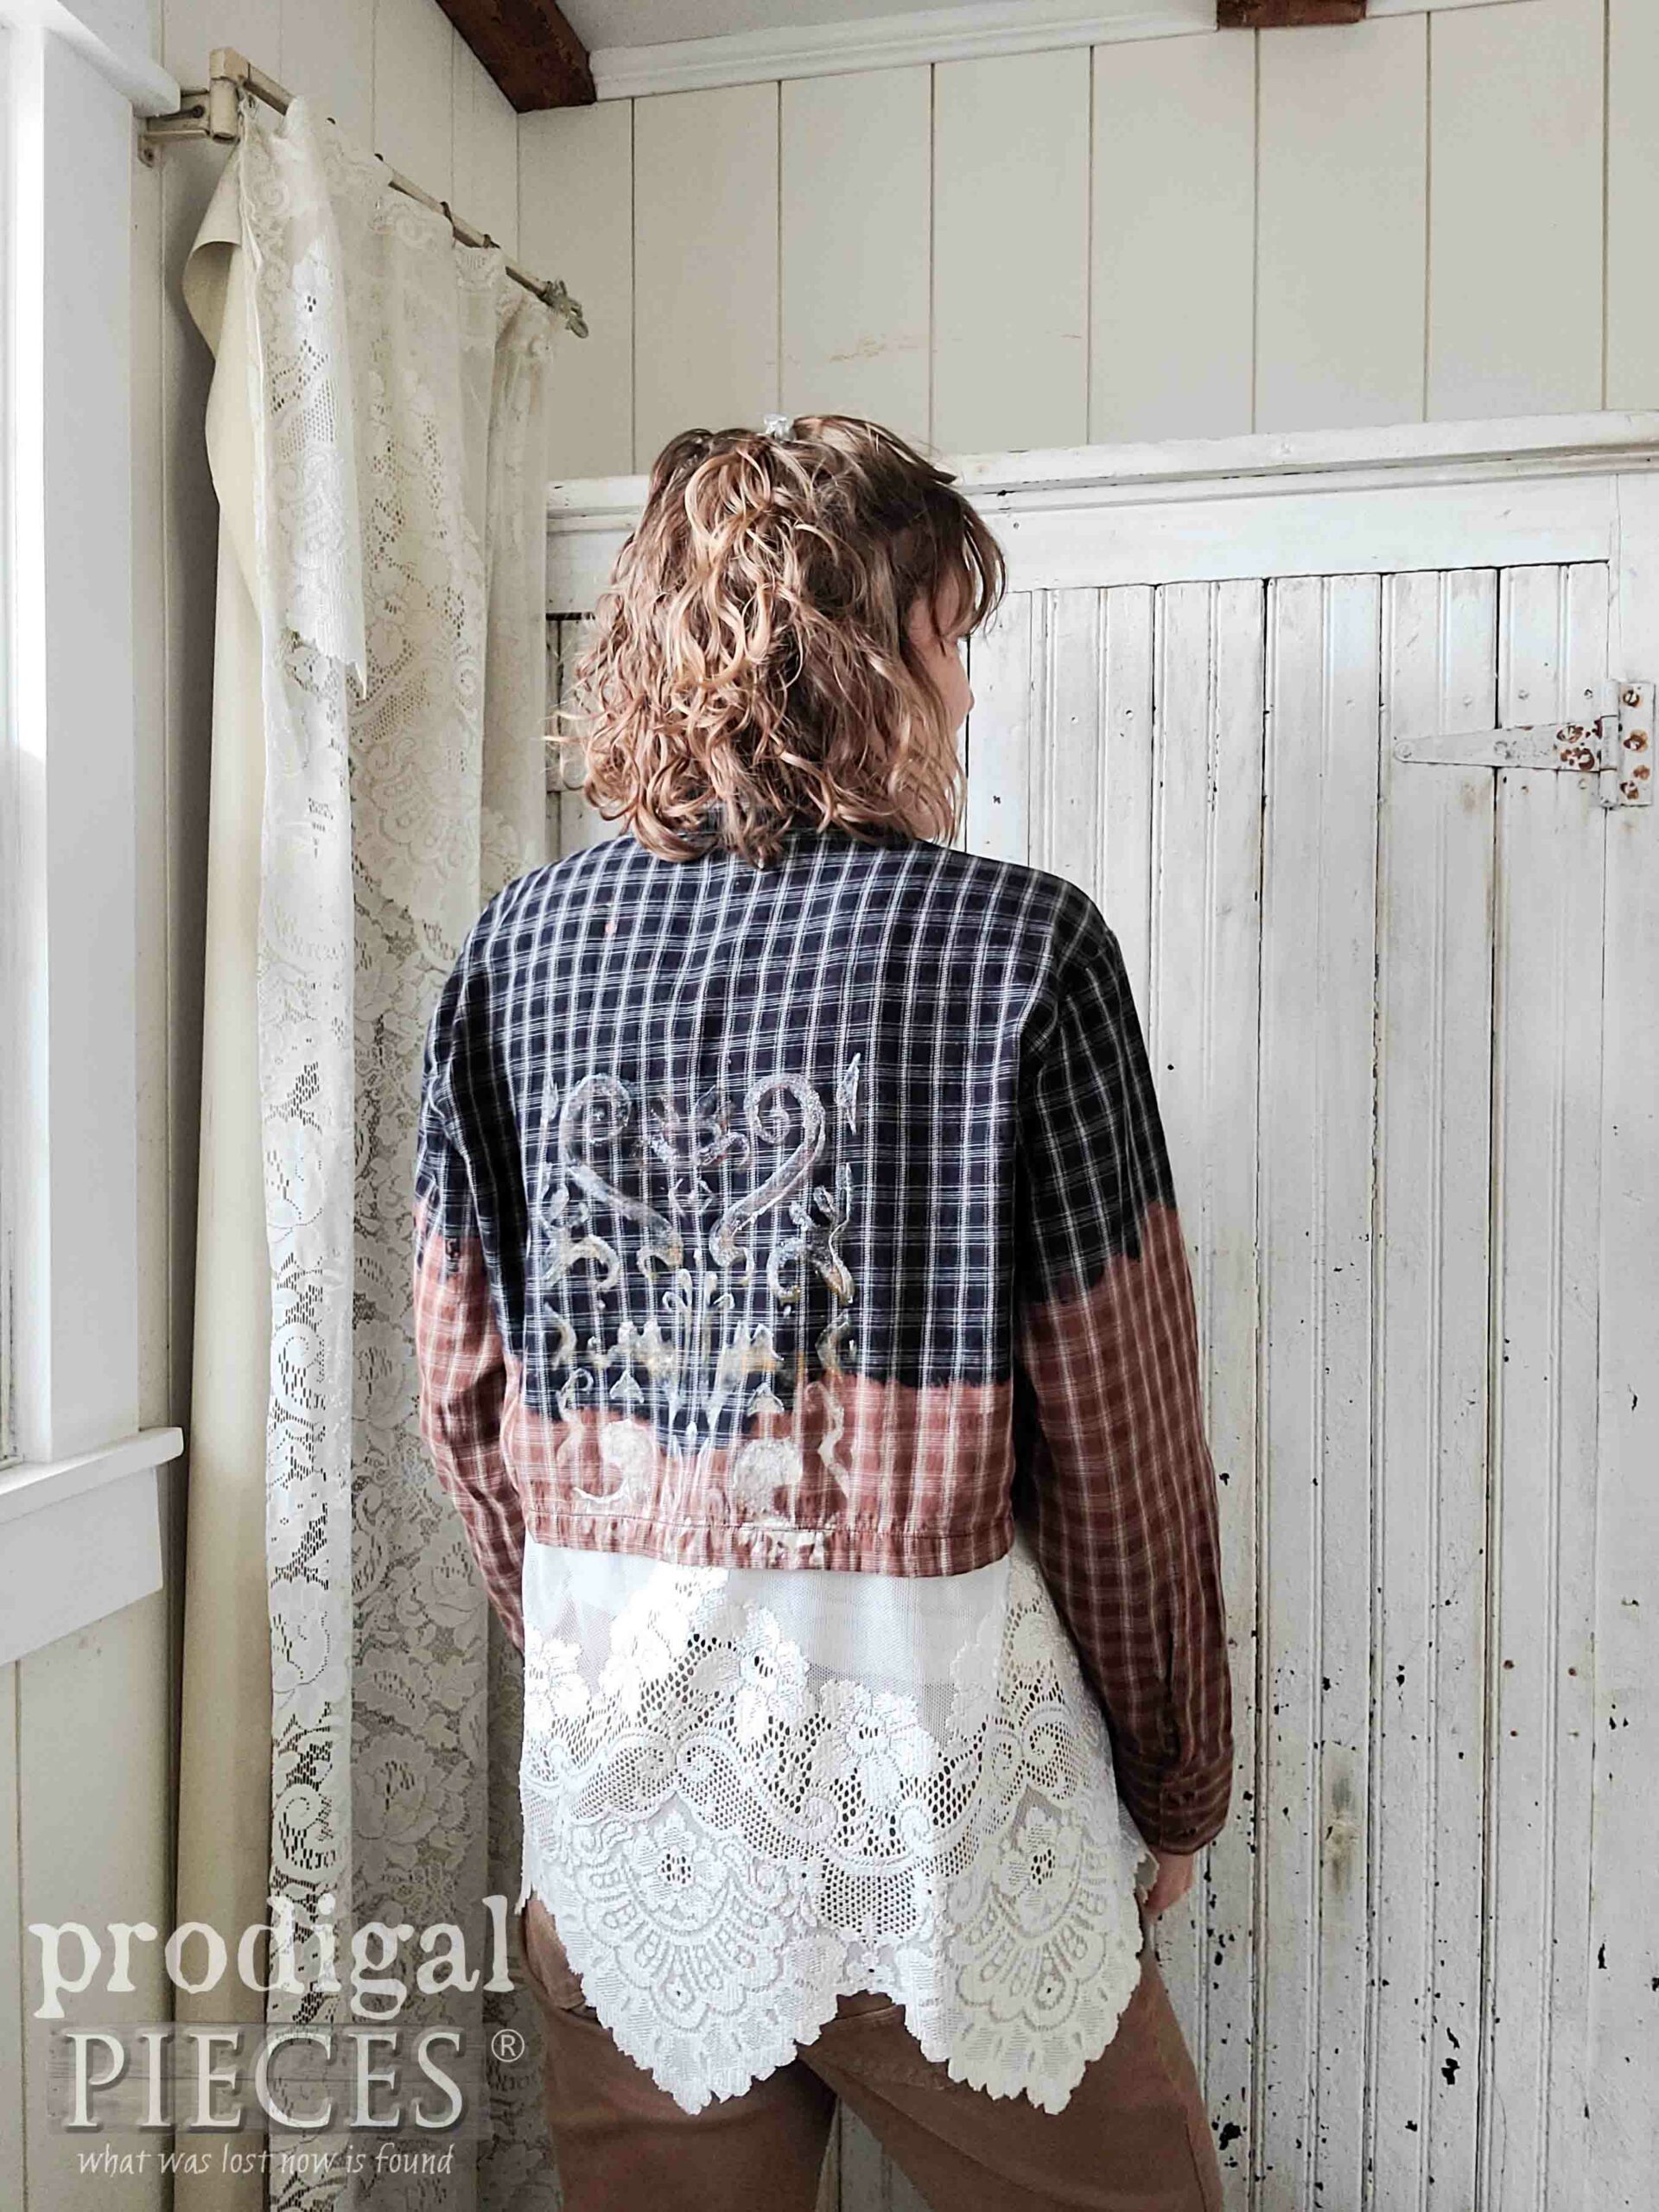
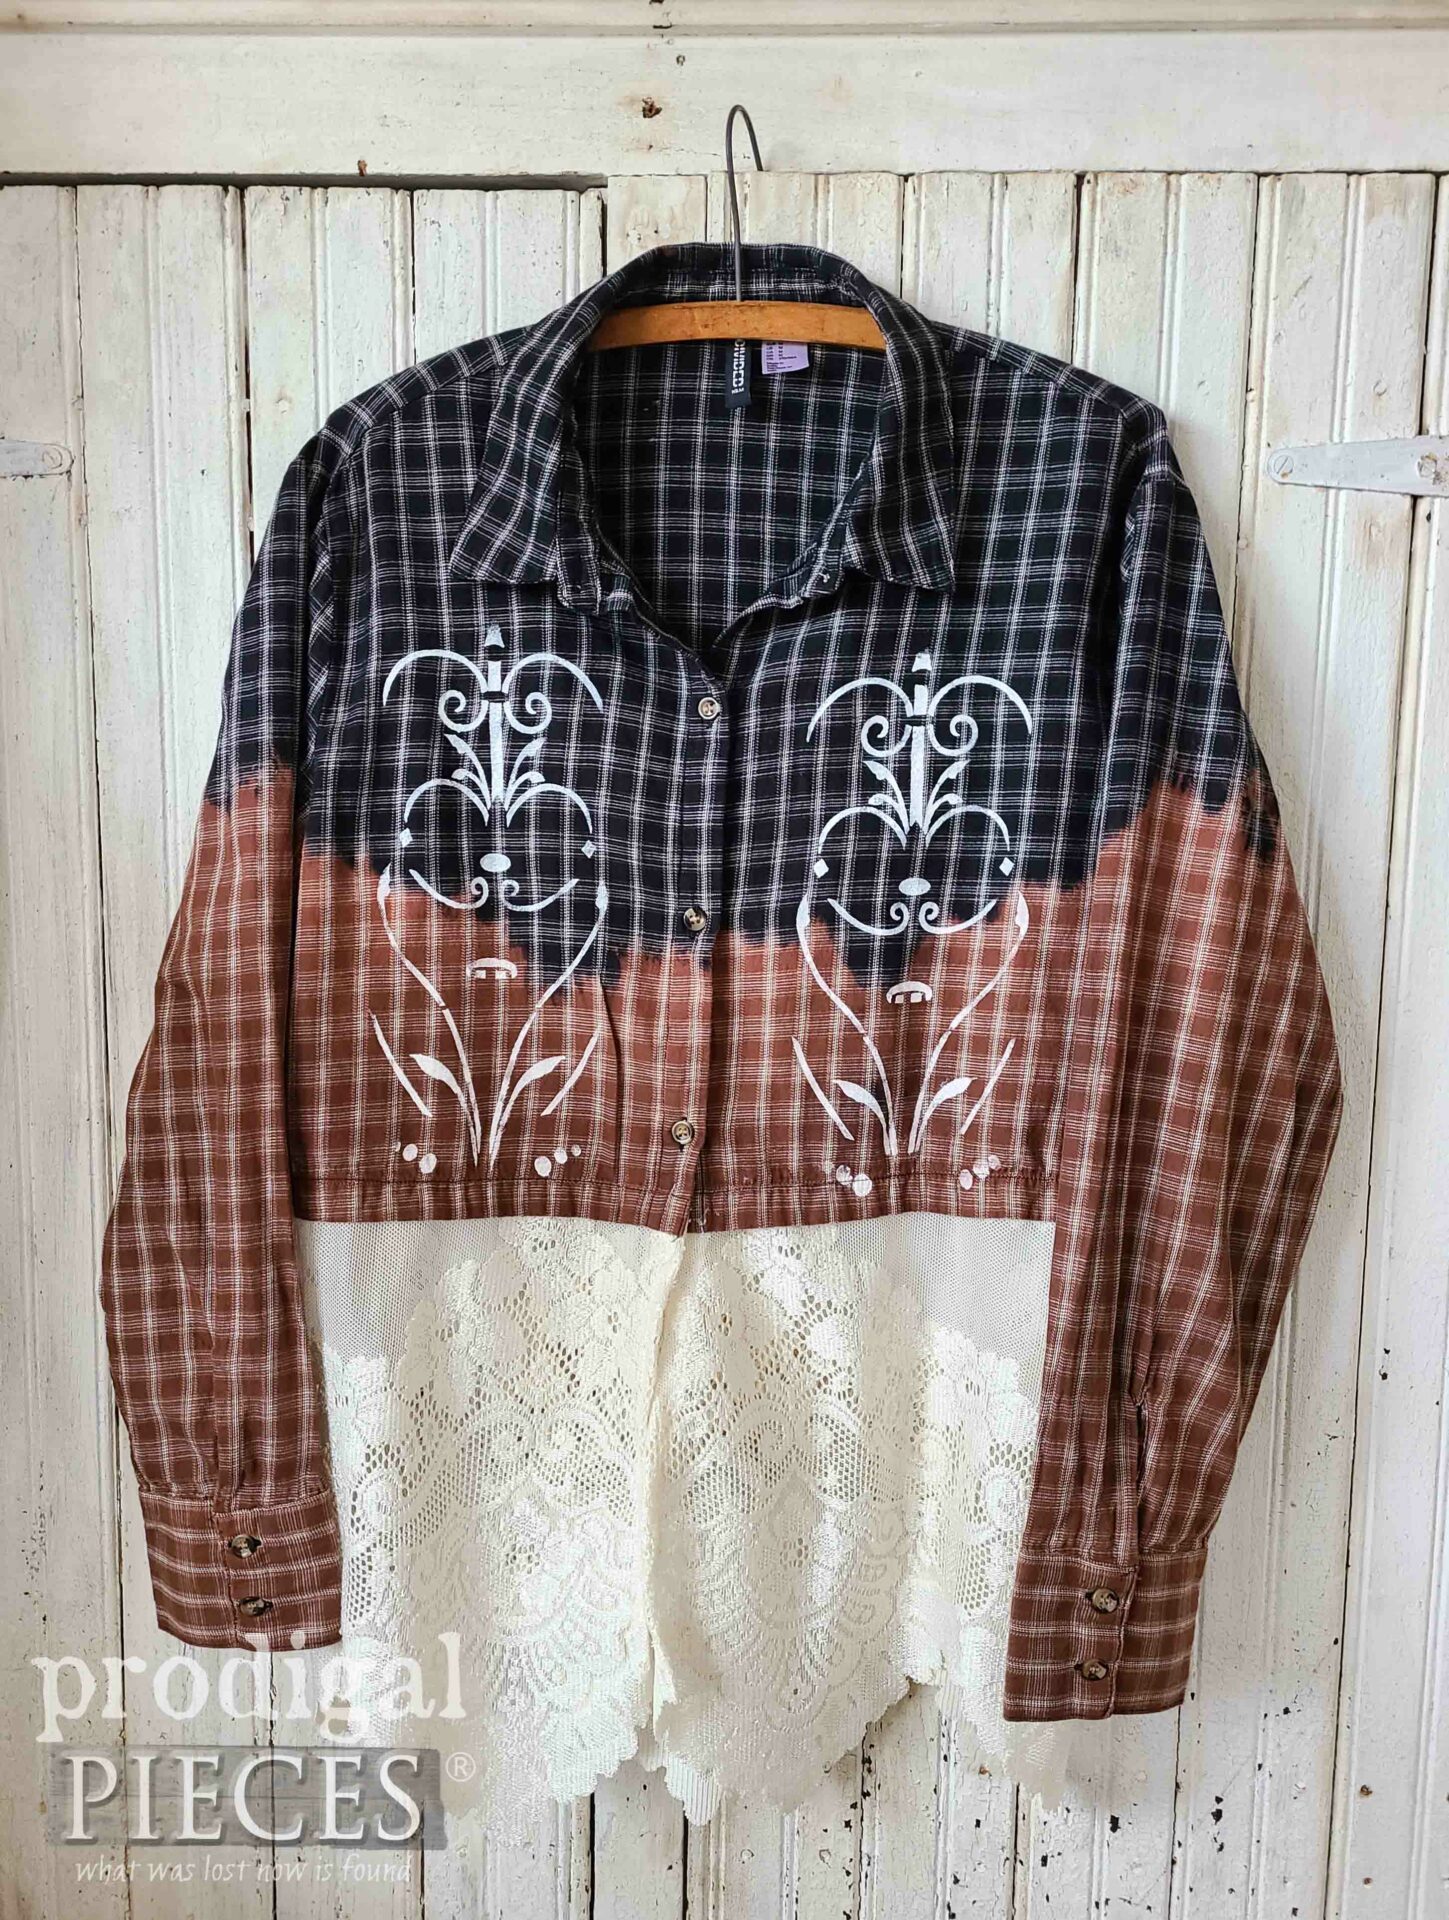
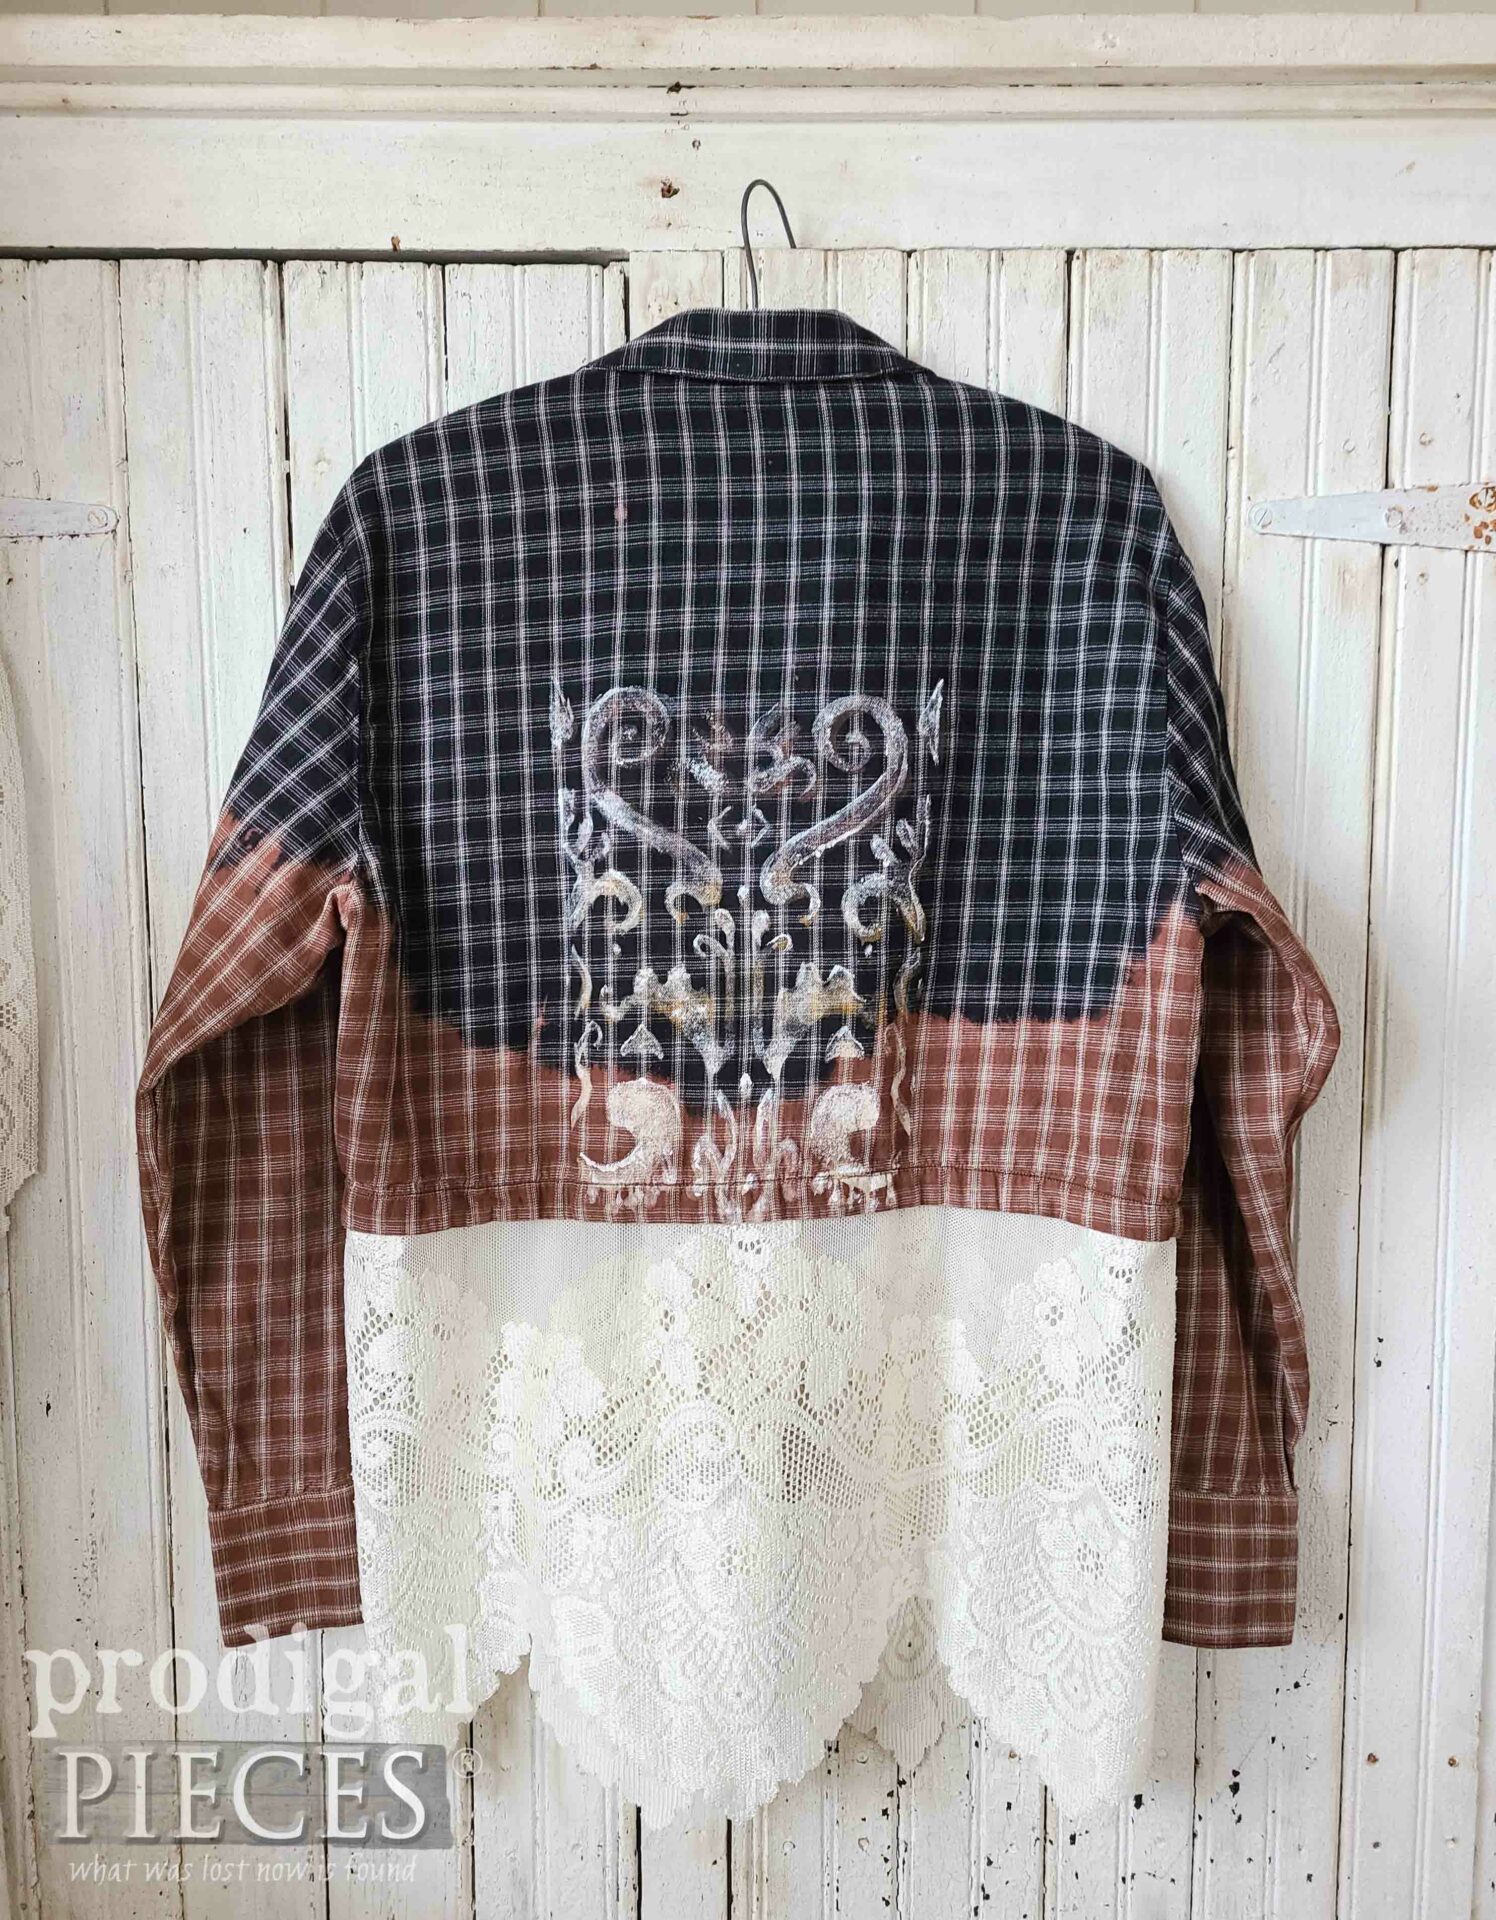
Oh, and in case you think I forgot that cropped shirt. Last but not least, here’s what became of it as well…
Finally, with this one, the black faded into the most gorgeous brown and in such a funky way. I love it!
And what’s that on the bottom, you say? Yes, I’m wearing a vintage curtain valance and feelin’ good about it. tsk.
As a matter of fact, you can find this shirt available in my online store along with oodles of other antique, vintage, and handmade goods.
SHARE
As always, my goal is to get your creative juices flowing, to inspire you to give DIY a try. After leaving some comment love below, (I love to hear from you I write for!) pin and share to inspire others too.
Before you go, be sure to sign up for my FREE newsletter to see my next DIY project for you. Until next time!




Great idea!! Love how they turned out.
I’m smitten with them too. Thank you, Donna!
No way!!! Those are soooo cute!!! What a great way to revitalize old favorites! I’ve GOT to try this now….You’re the best!!!🥰
I’d love to see it when you do! I had a blast and this is certainly addictive. 😀
Just too cute!! You have a couple of winners — but I’m swooning over the first one — you look like n “it” teen in the photo of you wearing it. Fits perfectly with the “new do” and look!! ❤️
I had such fun with these, Marti, and had to make myself stop with alterations as I wanted to add fabric to the collars, cuffs, elbows, etc. Thank you for the compliment! 🙂
I have always wanted to try this! I’m so glad I now have an example to follow! Thanks for sharing- this will make for a fun project with the last bit of sunshine we’re having!
I can’t wait to give this a go! 👚😊
Jill, that just made my day! I have been so eager to try this too and I’m definitely hooked. WARNING: It’s soooo addictive! I hope you have fun experimenting. 😀
That’s pretty cool Larissa! Fun new way to refashion those clothes into something more you. I’m happy just to find something that fits without making me look even more heavy than I am. Hoping 2024 will finally be the year I can get healthy. God bless you my friend for being you and sharing your gifts and talents with us. I am thankful for you.
I’m thankful for you too, Niki. If not for folks leaving comments, I have no way of knowing if I’m reaching anyone. Thank you!