I’m so excited! It’s Reduce, Reuse, REFASHION time! That means it’s the last Tuesday of the month and I get to share with you my latest refashion fun. Today, I’m taking a pair of thrifted sweaters and making a DIY dog coat fit for a dog…well…my dog, Teddy. eep!
If you remember, I’ve used sweaters in many ways before, including my DIY wool dryer balls, and my felted footstool upholstery. So much fun with sweaters!
Today, our cutie pie senior dog Ted E. Bear (aka. Teddy – we didn’t name him) needs a special birthday gift. He is now 14 years old and such a sweetheart.
We adopted him at at 1.5 years old from a lady who was suffering from multiple sclerosis and could no longer care for him. We’ve been blessed beyond measure with him – his allergies and all. Because of his skin issues, we keep his coat short and legs shaved instead of the standard schnauzer trim. However, he does have his adorable beard though!
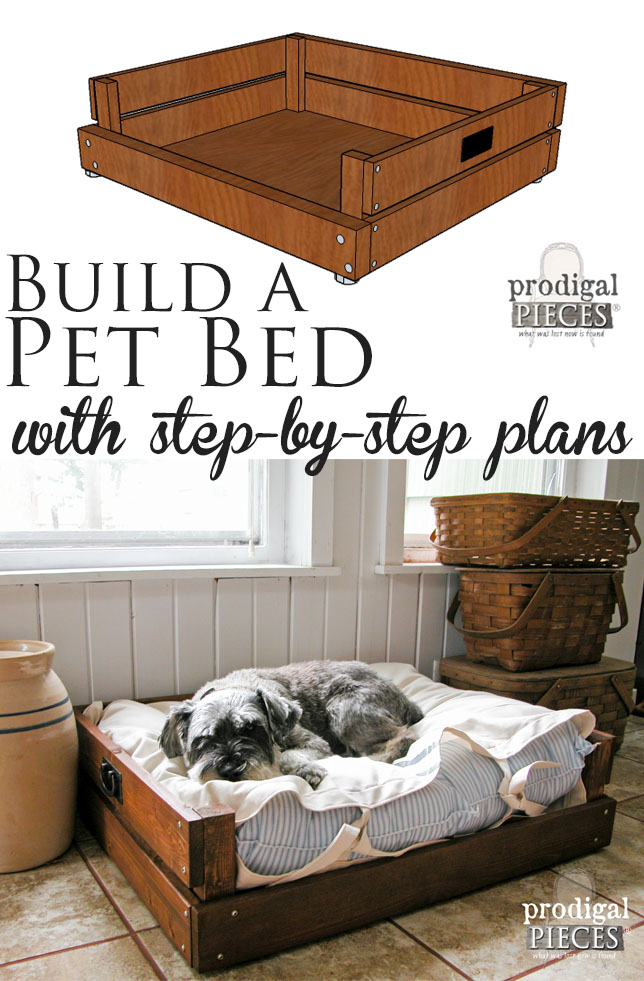
I’m all about having fun creating for pets too. You can see my free pet bed build plans HERE, and my other pet fun in these posts. If you’d like to take a stab at making one of these too, I’ve outlined the steps below.
STEP 1
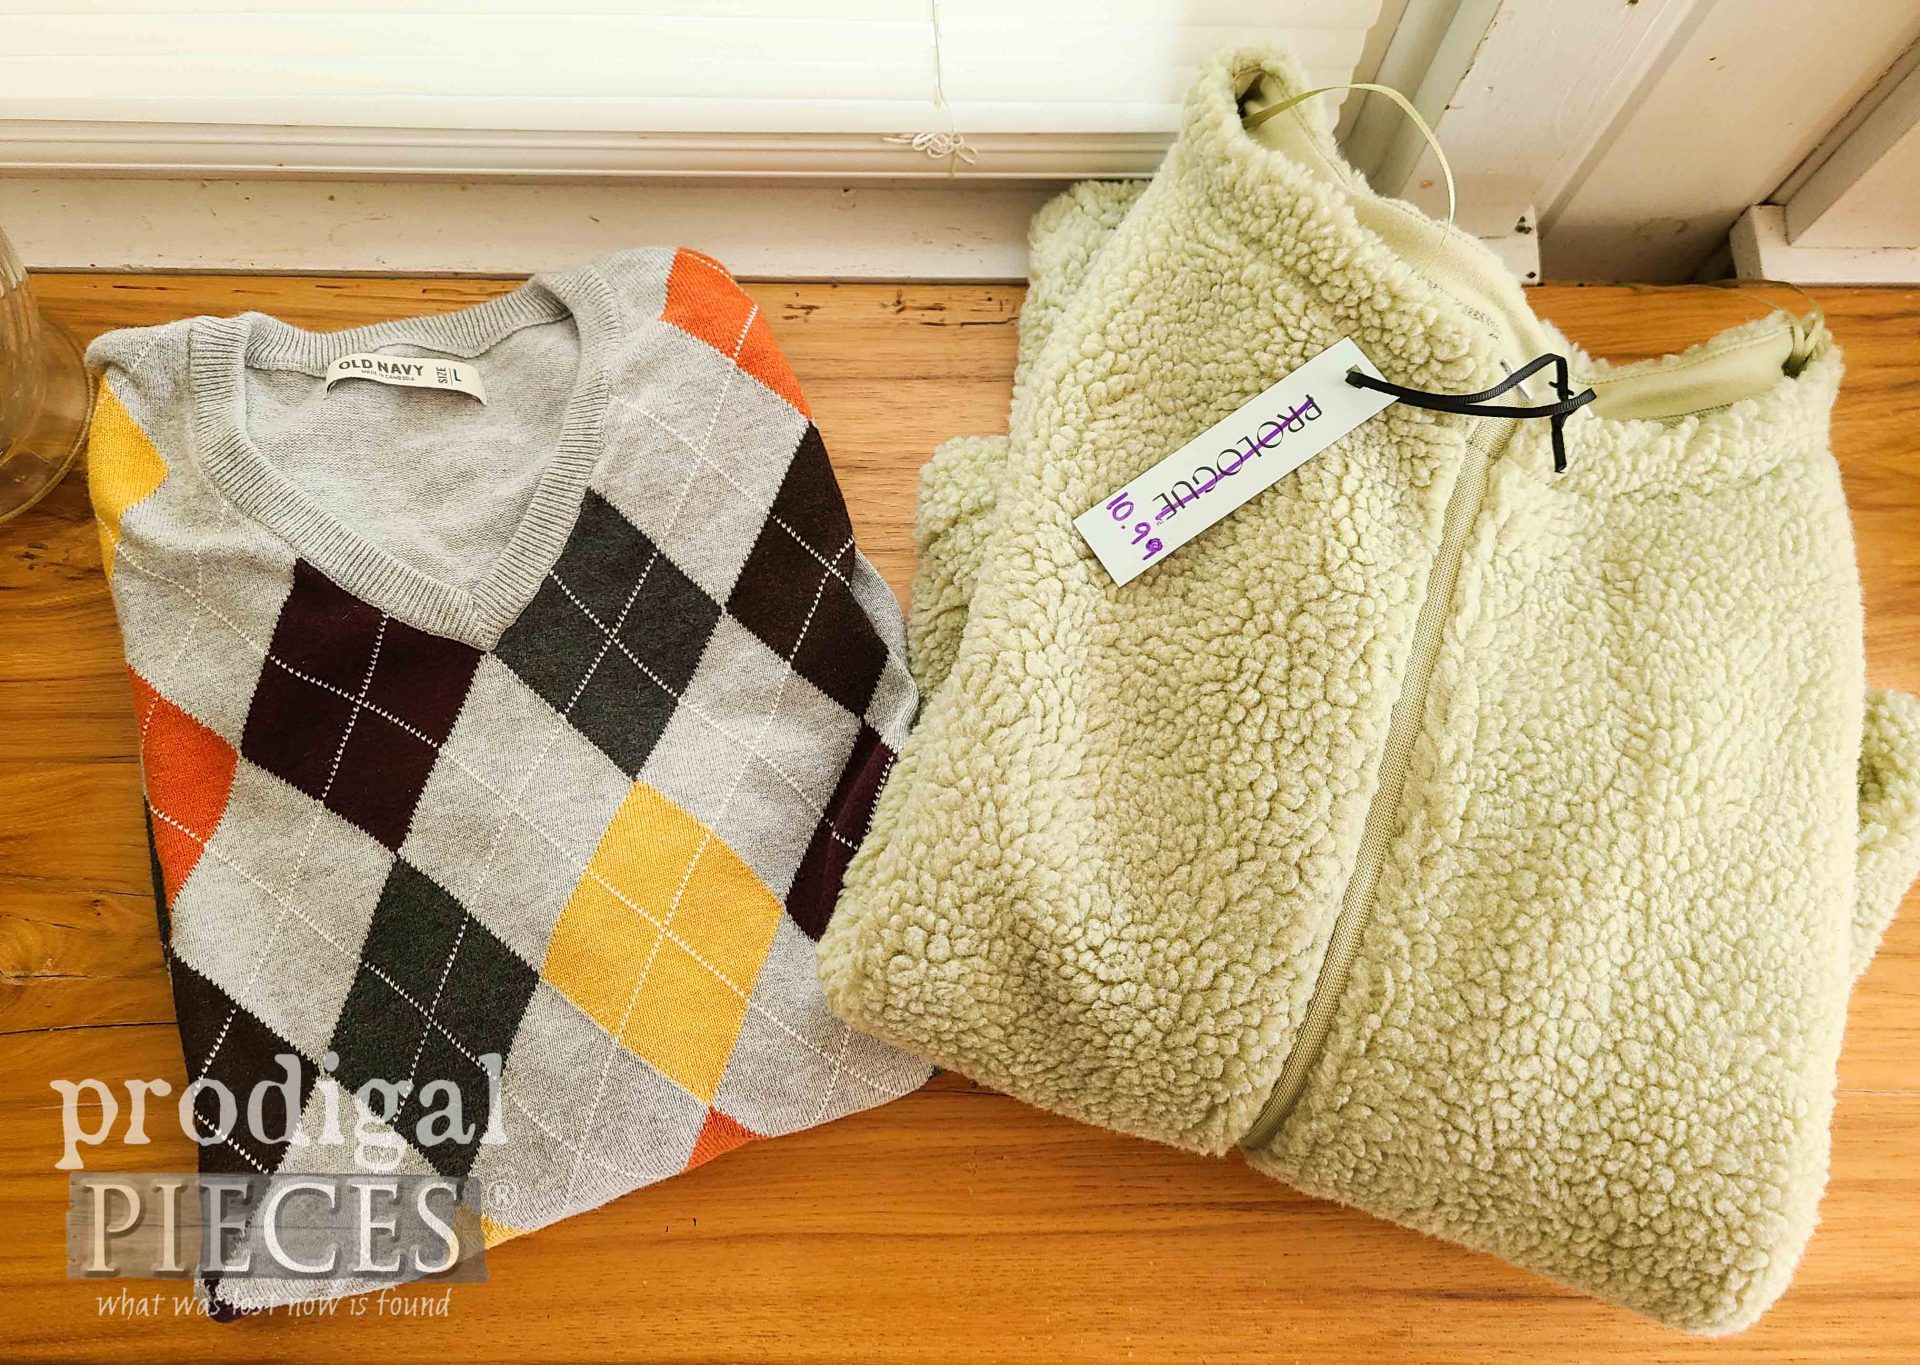
Per my usual, I’m don’t head out to buy yards of fabric. Instead I head to the thrift store (or my closet) and pull out a couple of old sweaters. One of the sweaters is an fun argyle print, while the other is a faux Sherpa style that is actually brand new. I actually was looking for a fur lined coat, but found this sweater that is perfect instead.
Initially, I had to soak the argyle one in Oxiclean because it had stains. Thankfully, they all came out. To get this party started, we need to measure our dog. While it’s fun for me to share my steps, I also want to say there are many other wonderful bloggers who share slight variations of a dog coat too.
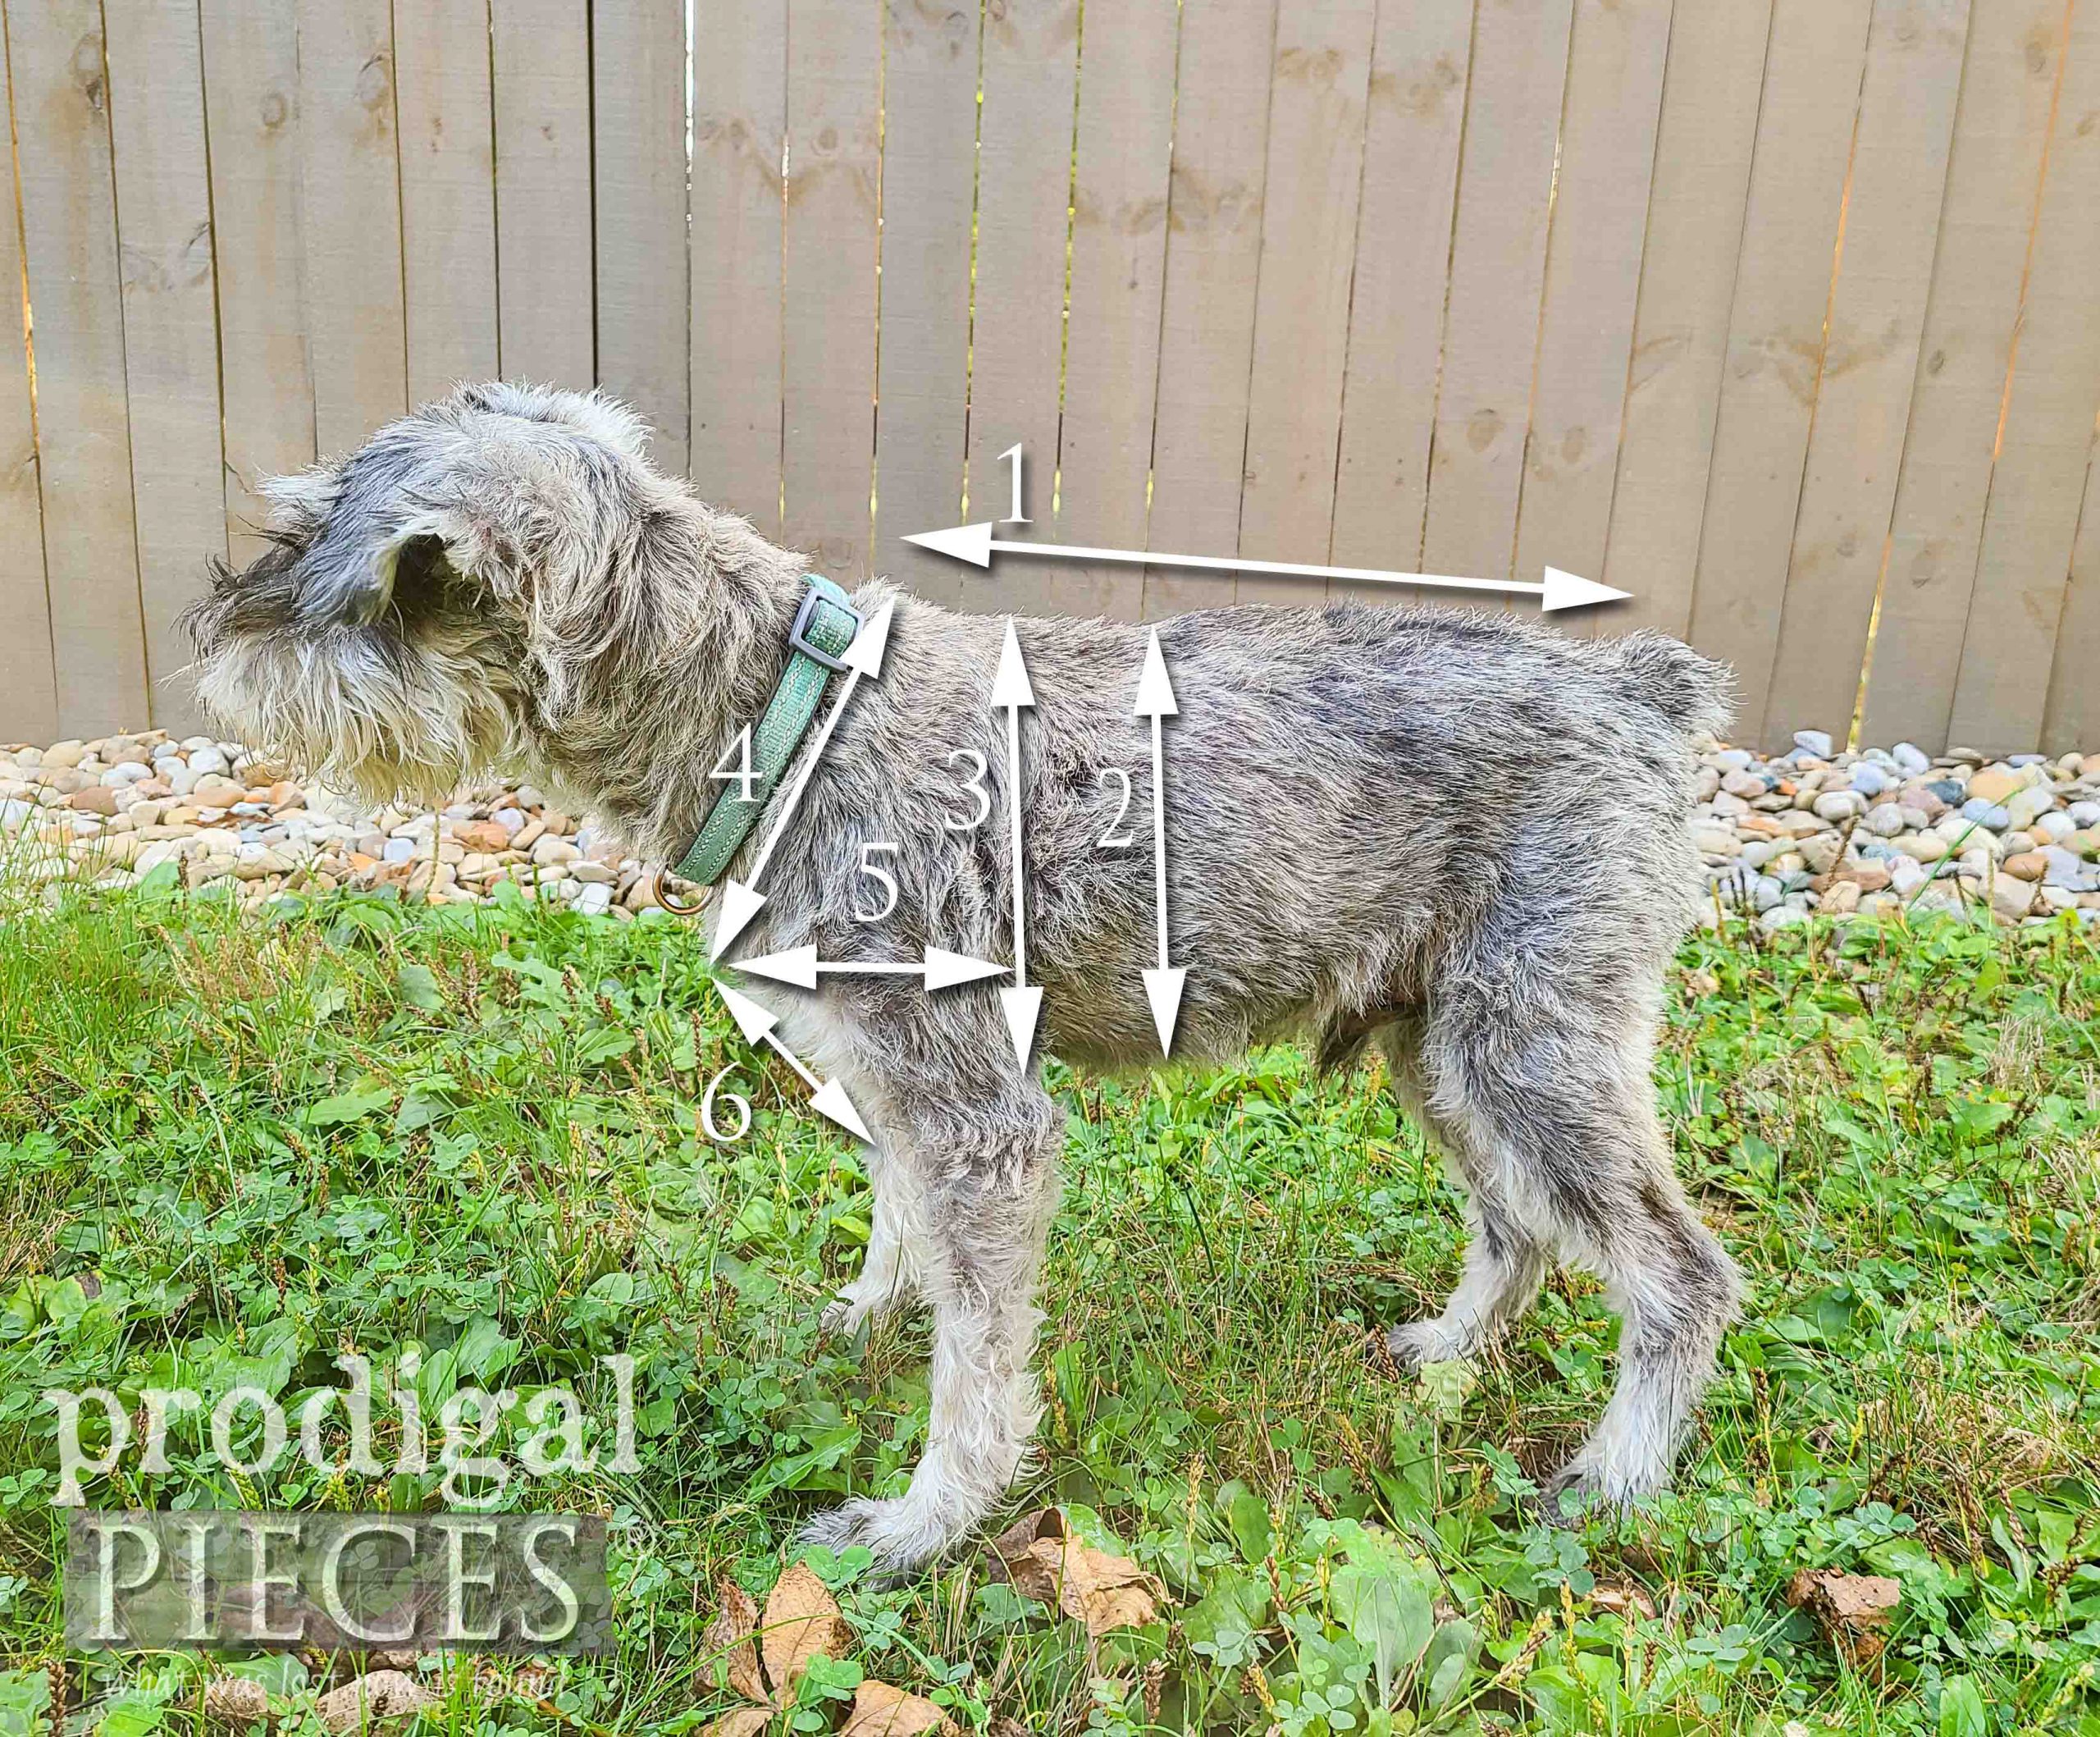
You’ll need to take a few measurements to get started:
- Coat length – from collar to tail
- Coat depth – from shoulder to bottom of rib-cage
- Circumference of rib-cage – measure around the rib-cage
- Circumference of chest – measure around the next just under collar
- Chest length – from chest to rib-cage
- Chest depth – from collar to bottom of chest
*you can also add a buttonhole on the back ridge for a harness, if you prefer. I’ll get to that in a bit.
STEP 1
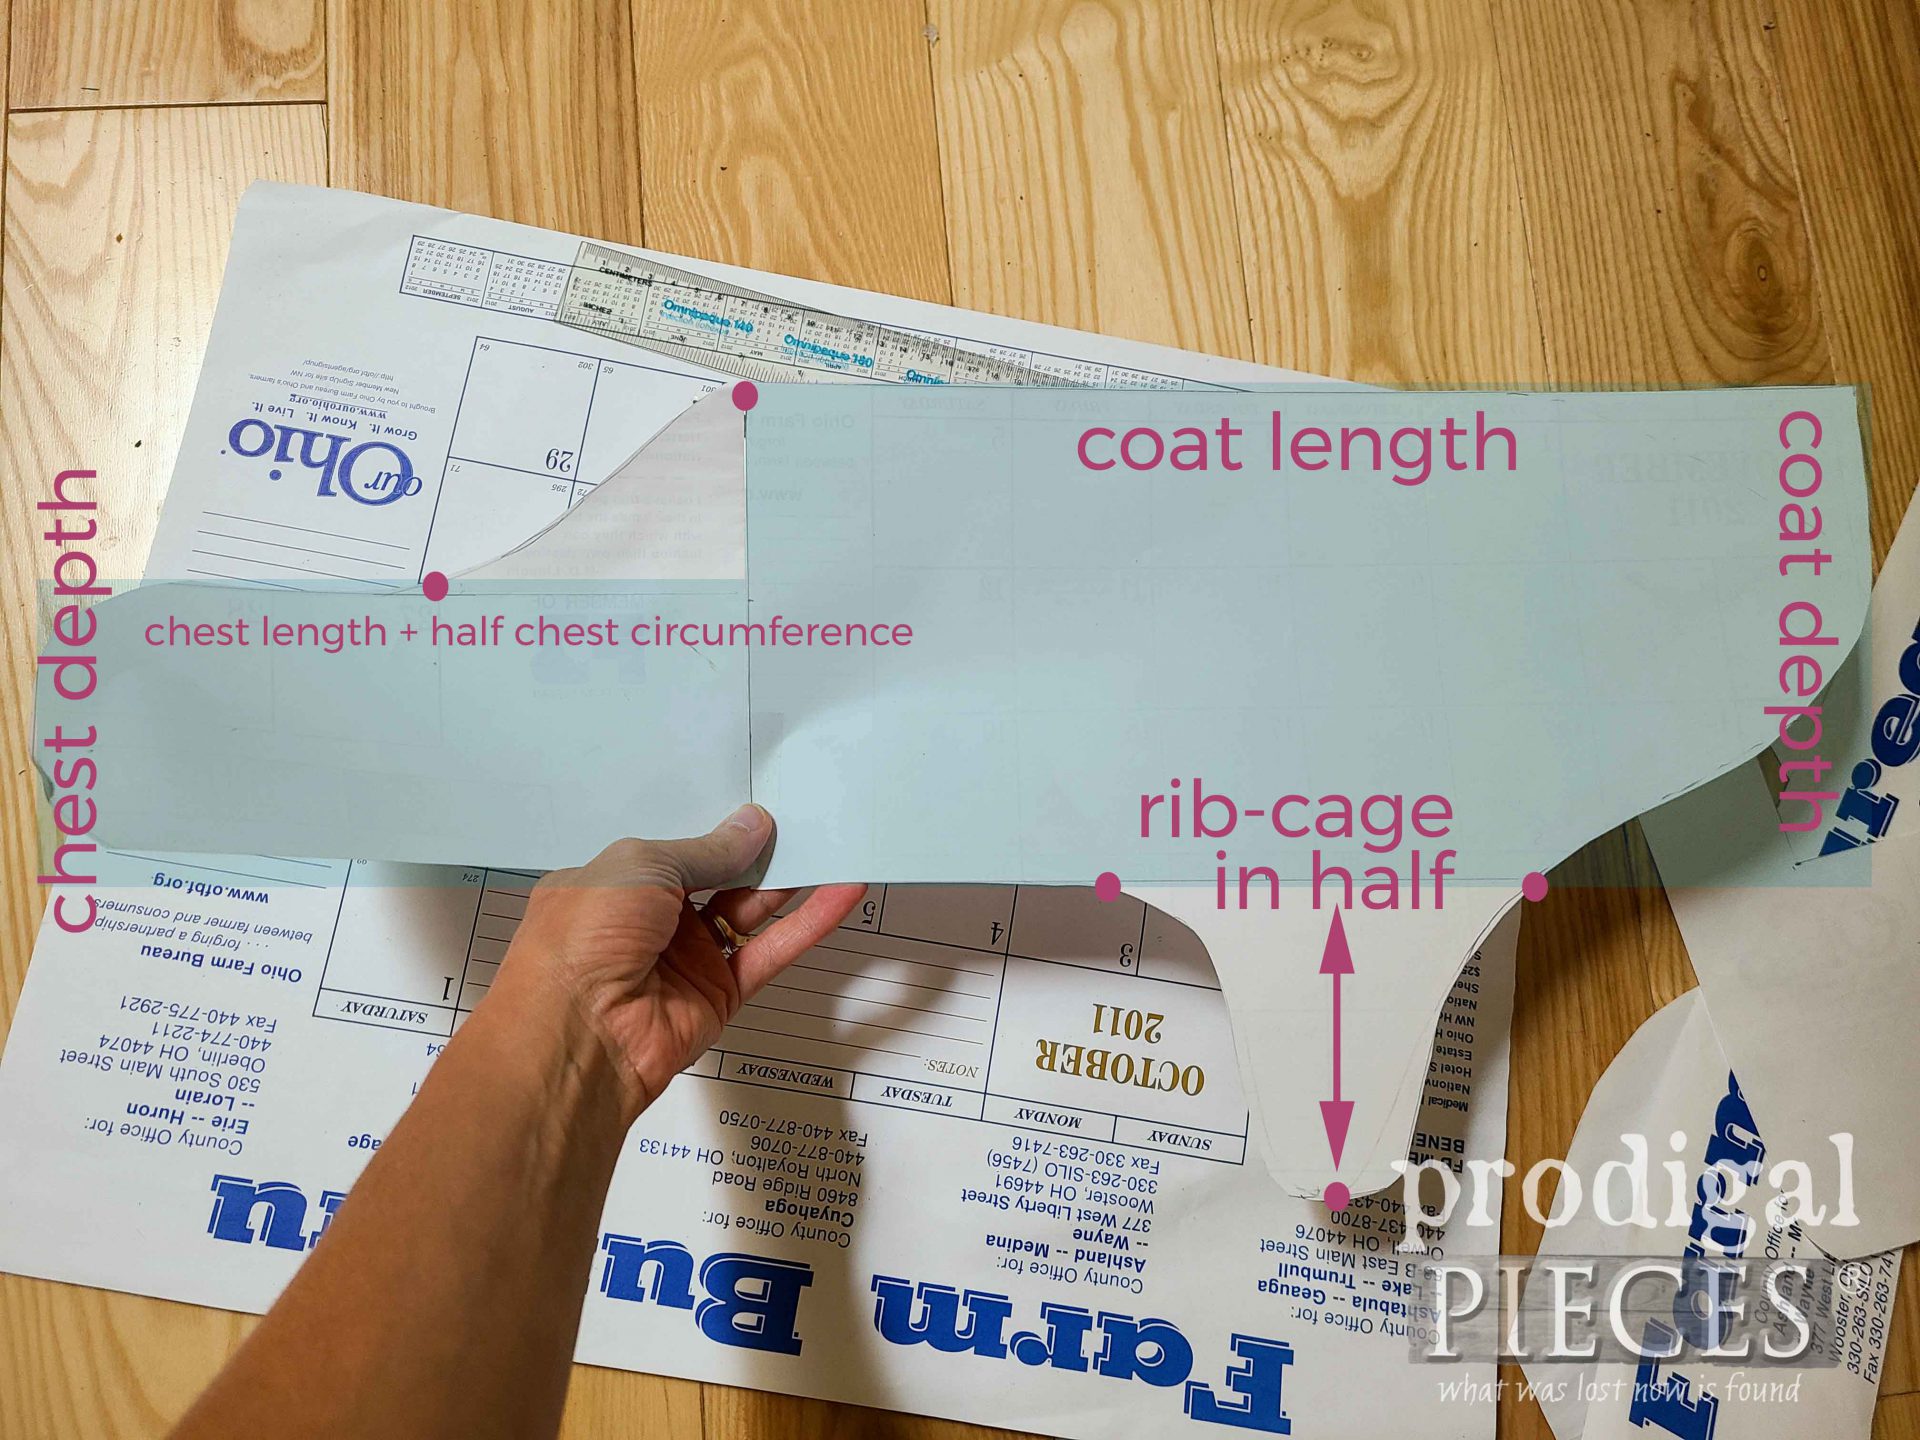
Next, take your measurements and put them together to make a pattern. I use old desktop calendars for my sewing patterns, like I mentioned in my upcycled skirt nightgown post. You can use any paper, just have fun with it.
You’ll need two rectangles comprised of: (1) coat length x coat depth (2) chest depth x (chest length + half chest circumference, plus ¾”).
Then, you’ll add to sloping points: (1) at the “neck” that you can adjust to suit your dog (2) at the “belly” for the closure – this will be approximately half of the rib-cage circumference, plus ¾”. I measured 4″ deep with a span of 6″ for Teddy. Also, note that I create a slope at the back from tail to hip for the rear.
Before you say…oooh…that’s too hard. It isn’t really. Just measure, make a draft, and tweak it to fit. For me, I just needed to adjust that neck slope to be much more shallow. I’ll show you what I mean in a bit.
STEP 2
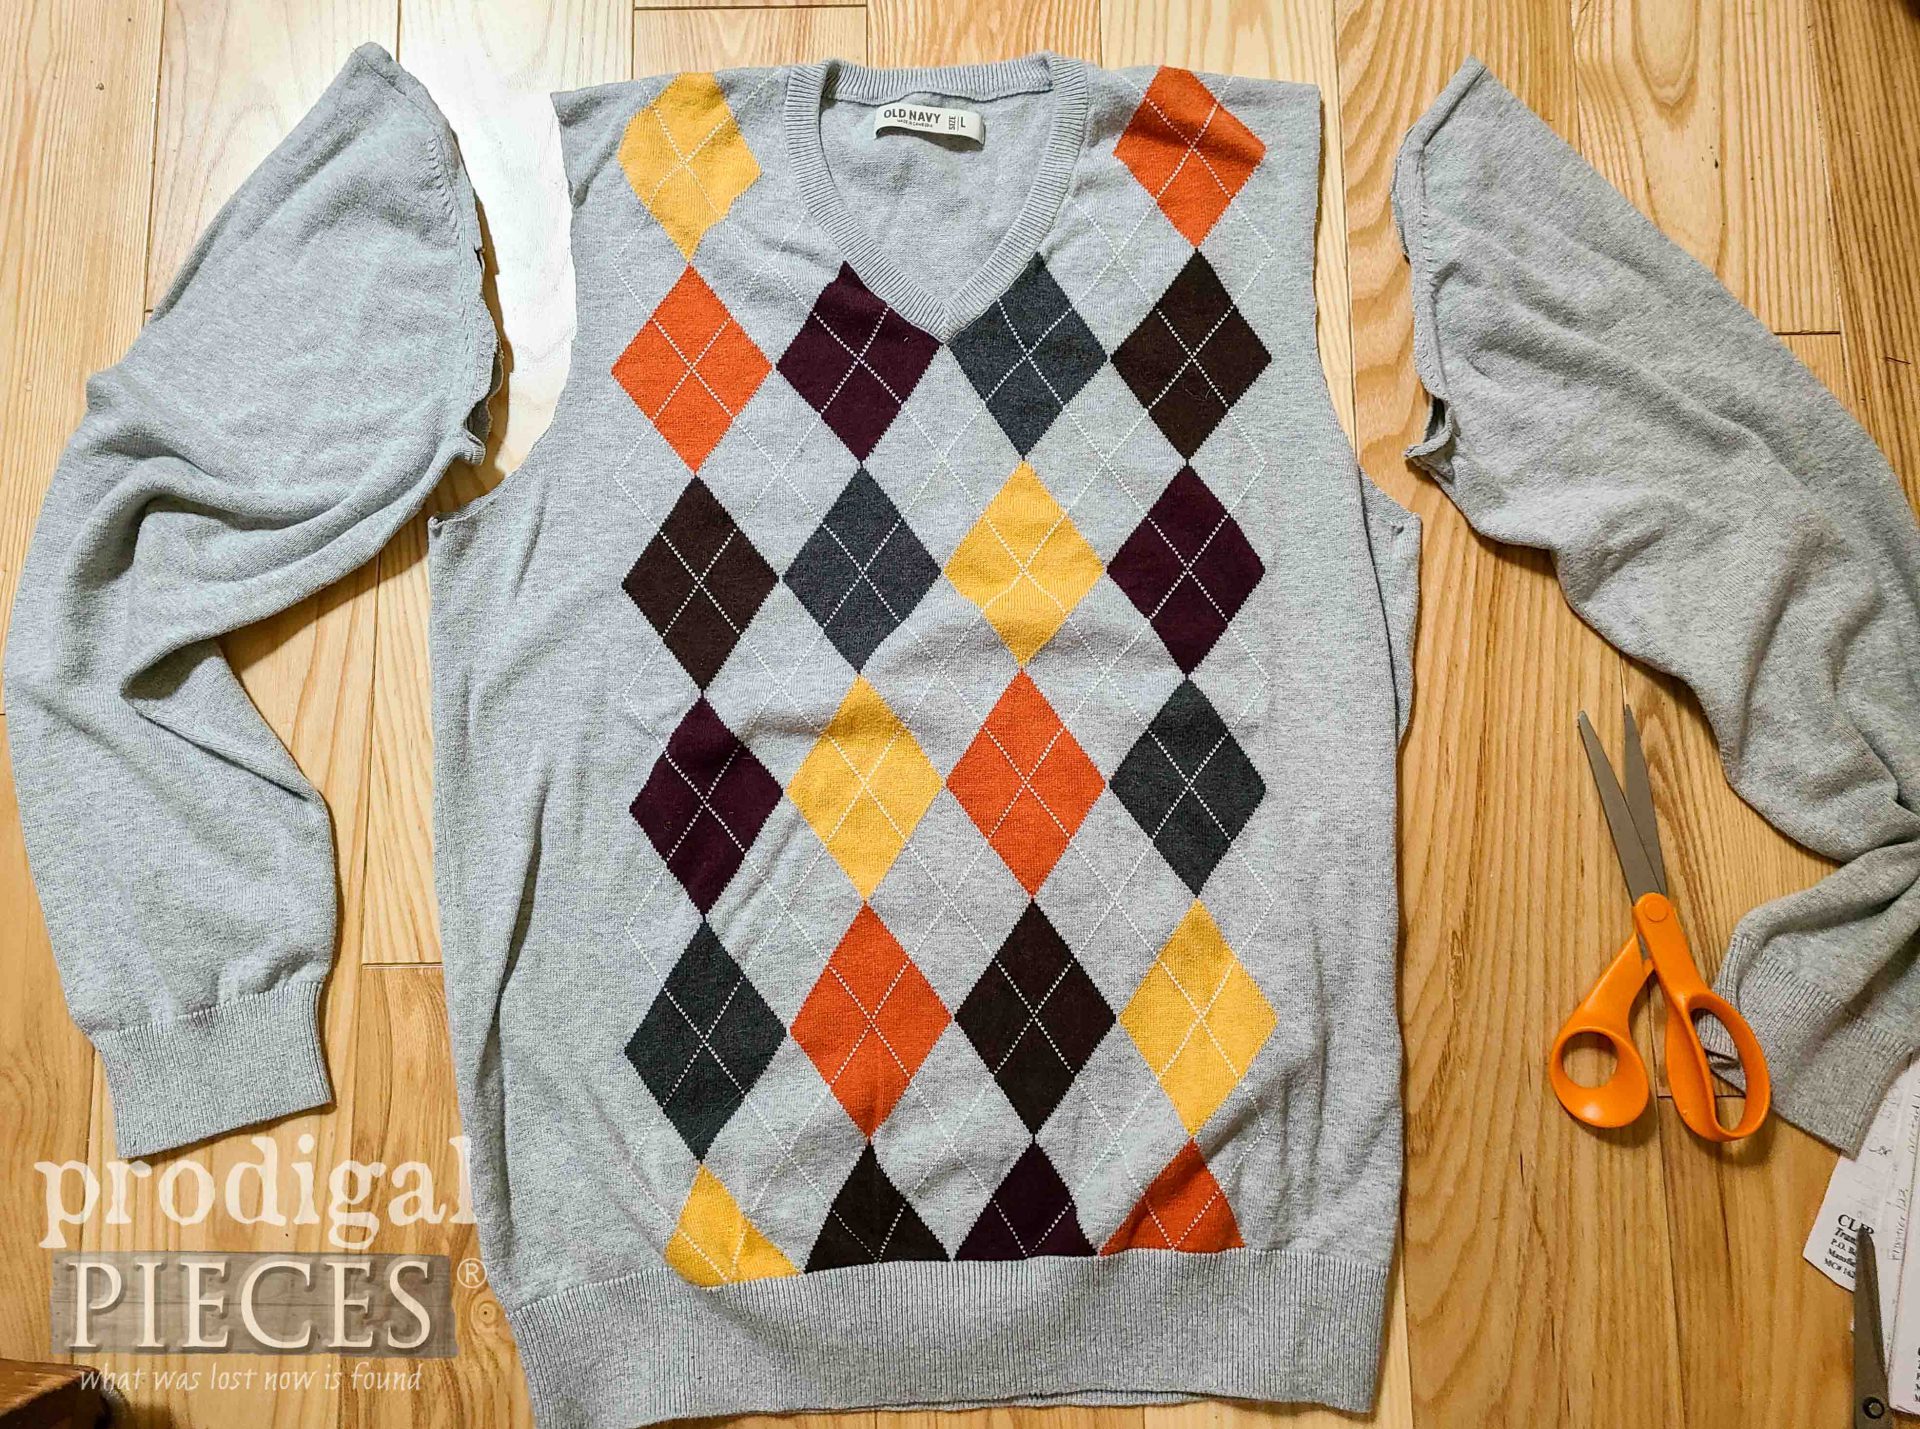
Now time to start cutting. First, I cut off the sleeves.
Save the sleeves for other upcycling fun. These sleeves would be perfect for sock dolls.
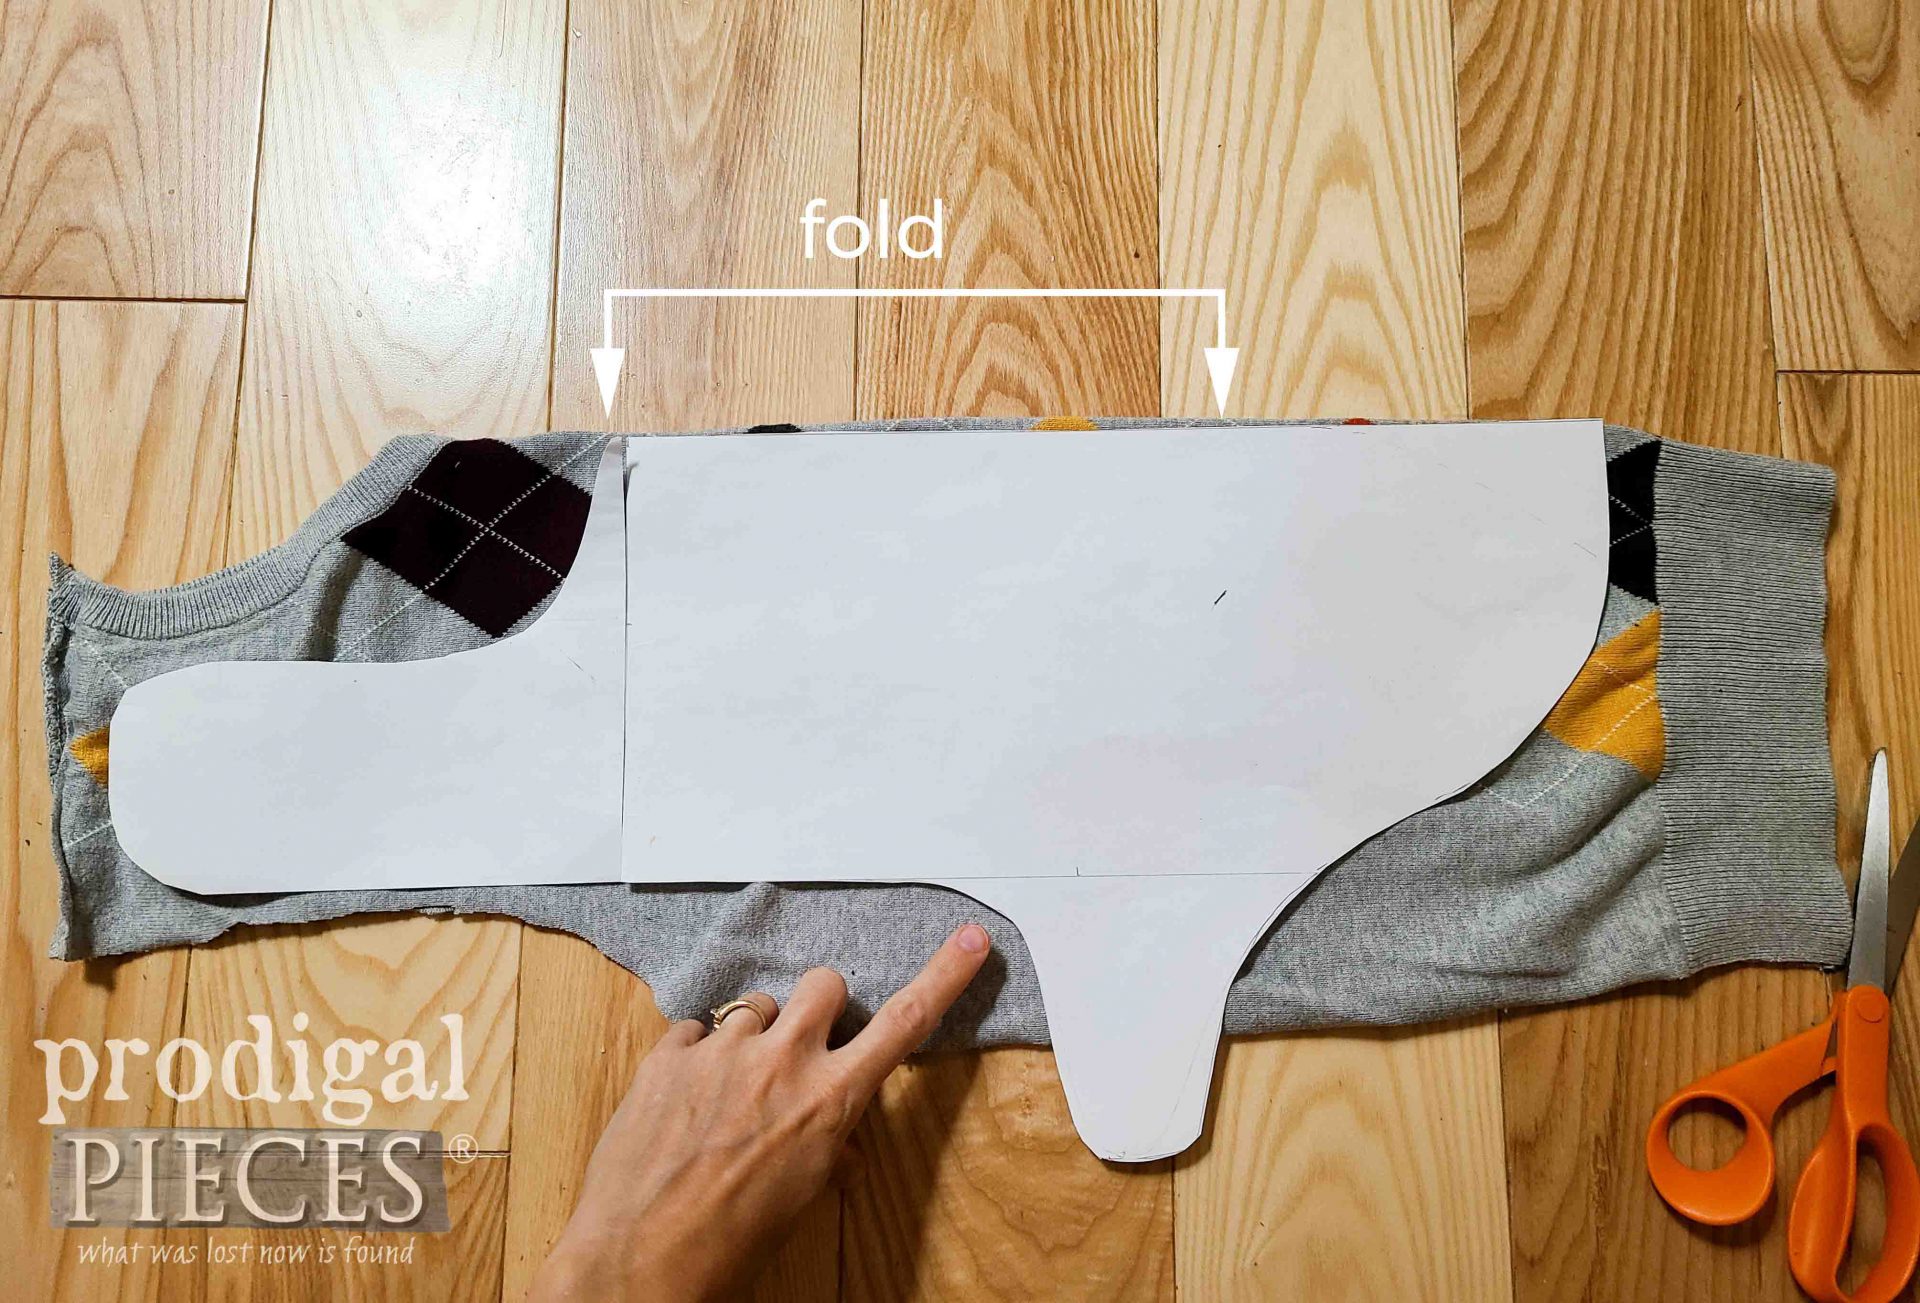
Next, now that we have the sleeves off, we need to take the torso of the sweater and cut up the sides and across the shoulders. Then, fold that front of the sweater in half down the middle. Place your pattern on the fold. Notice the slope for the neck has been adjusted after I did a dry fit.
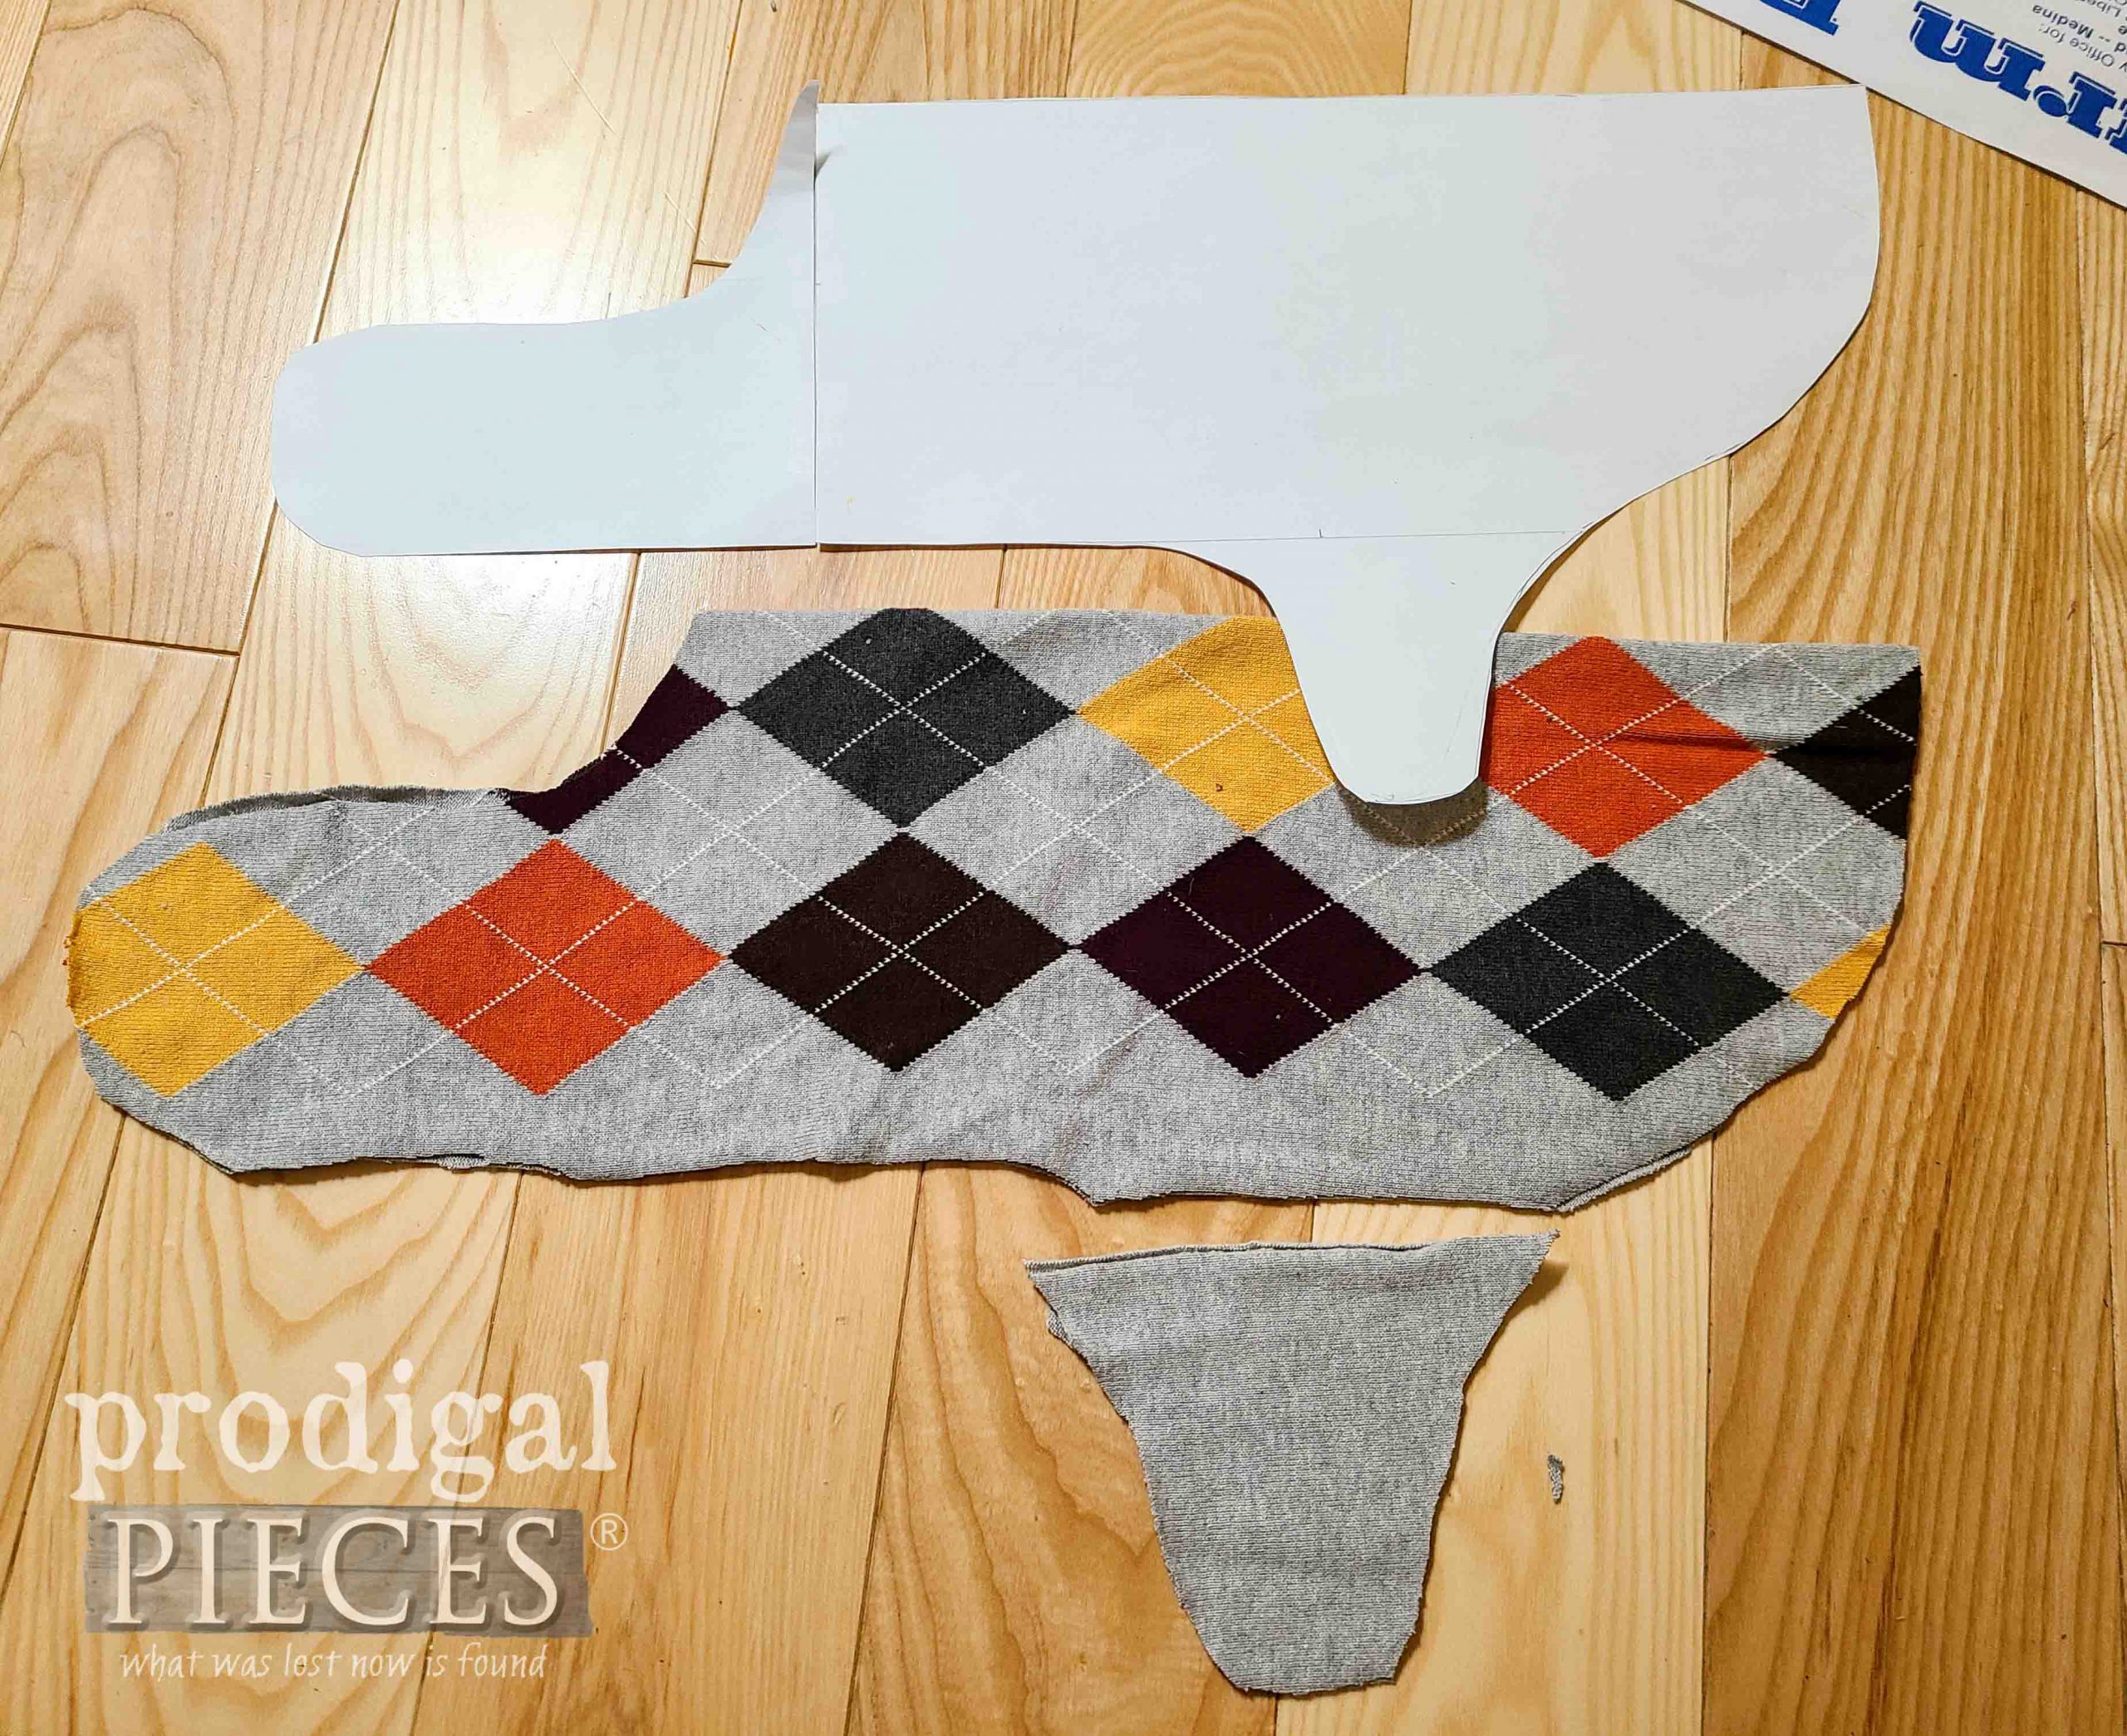
Cut around the pattern allowing for ¼” for seam allowance. Also, because of my sweater size, I leave off the belly tab and cut that out of scraps. That just means I have to sew it on separately, but that’s perfectly fine.
Last, do the same with the second sweater.
STEP 3
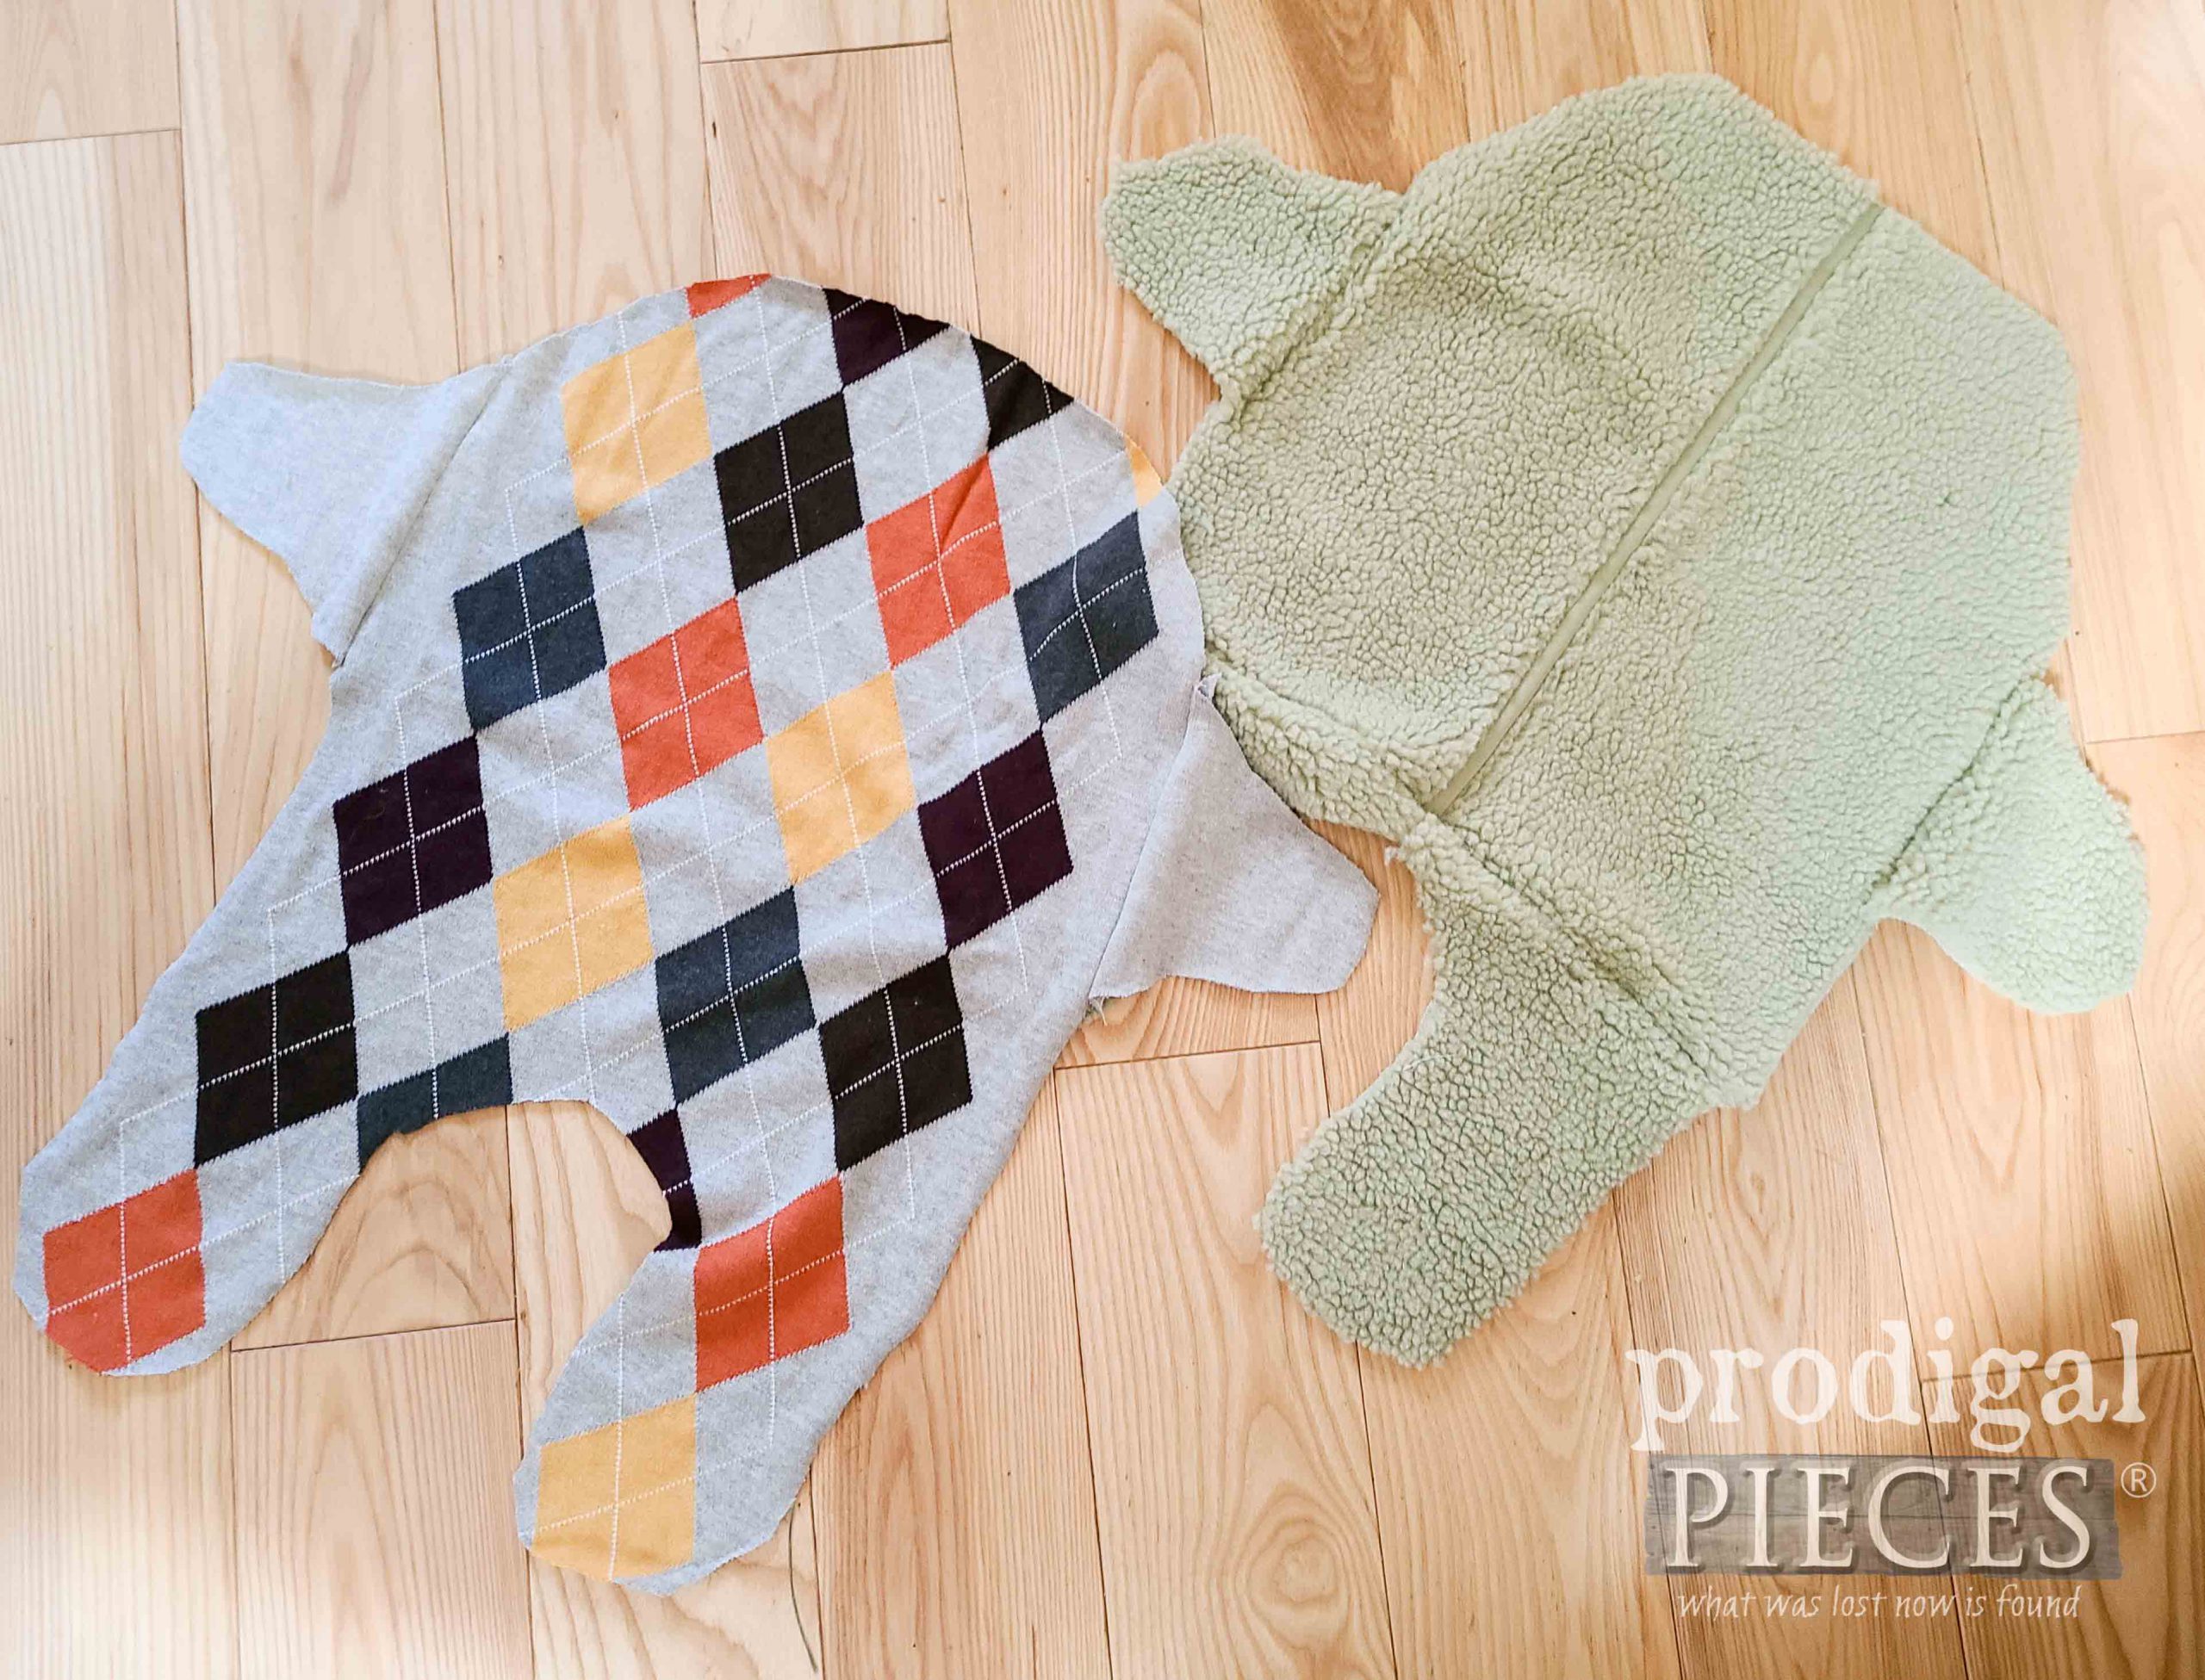
Yay! Now we have our two layers. Don’t they look like baby rompers? haha. Just FYI, you could also make this reversible, so think ahead if that’s what you want to do.
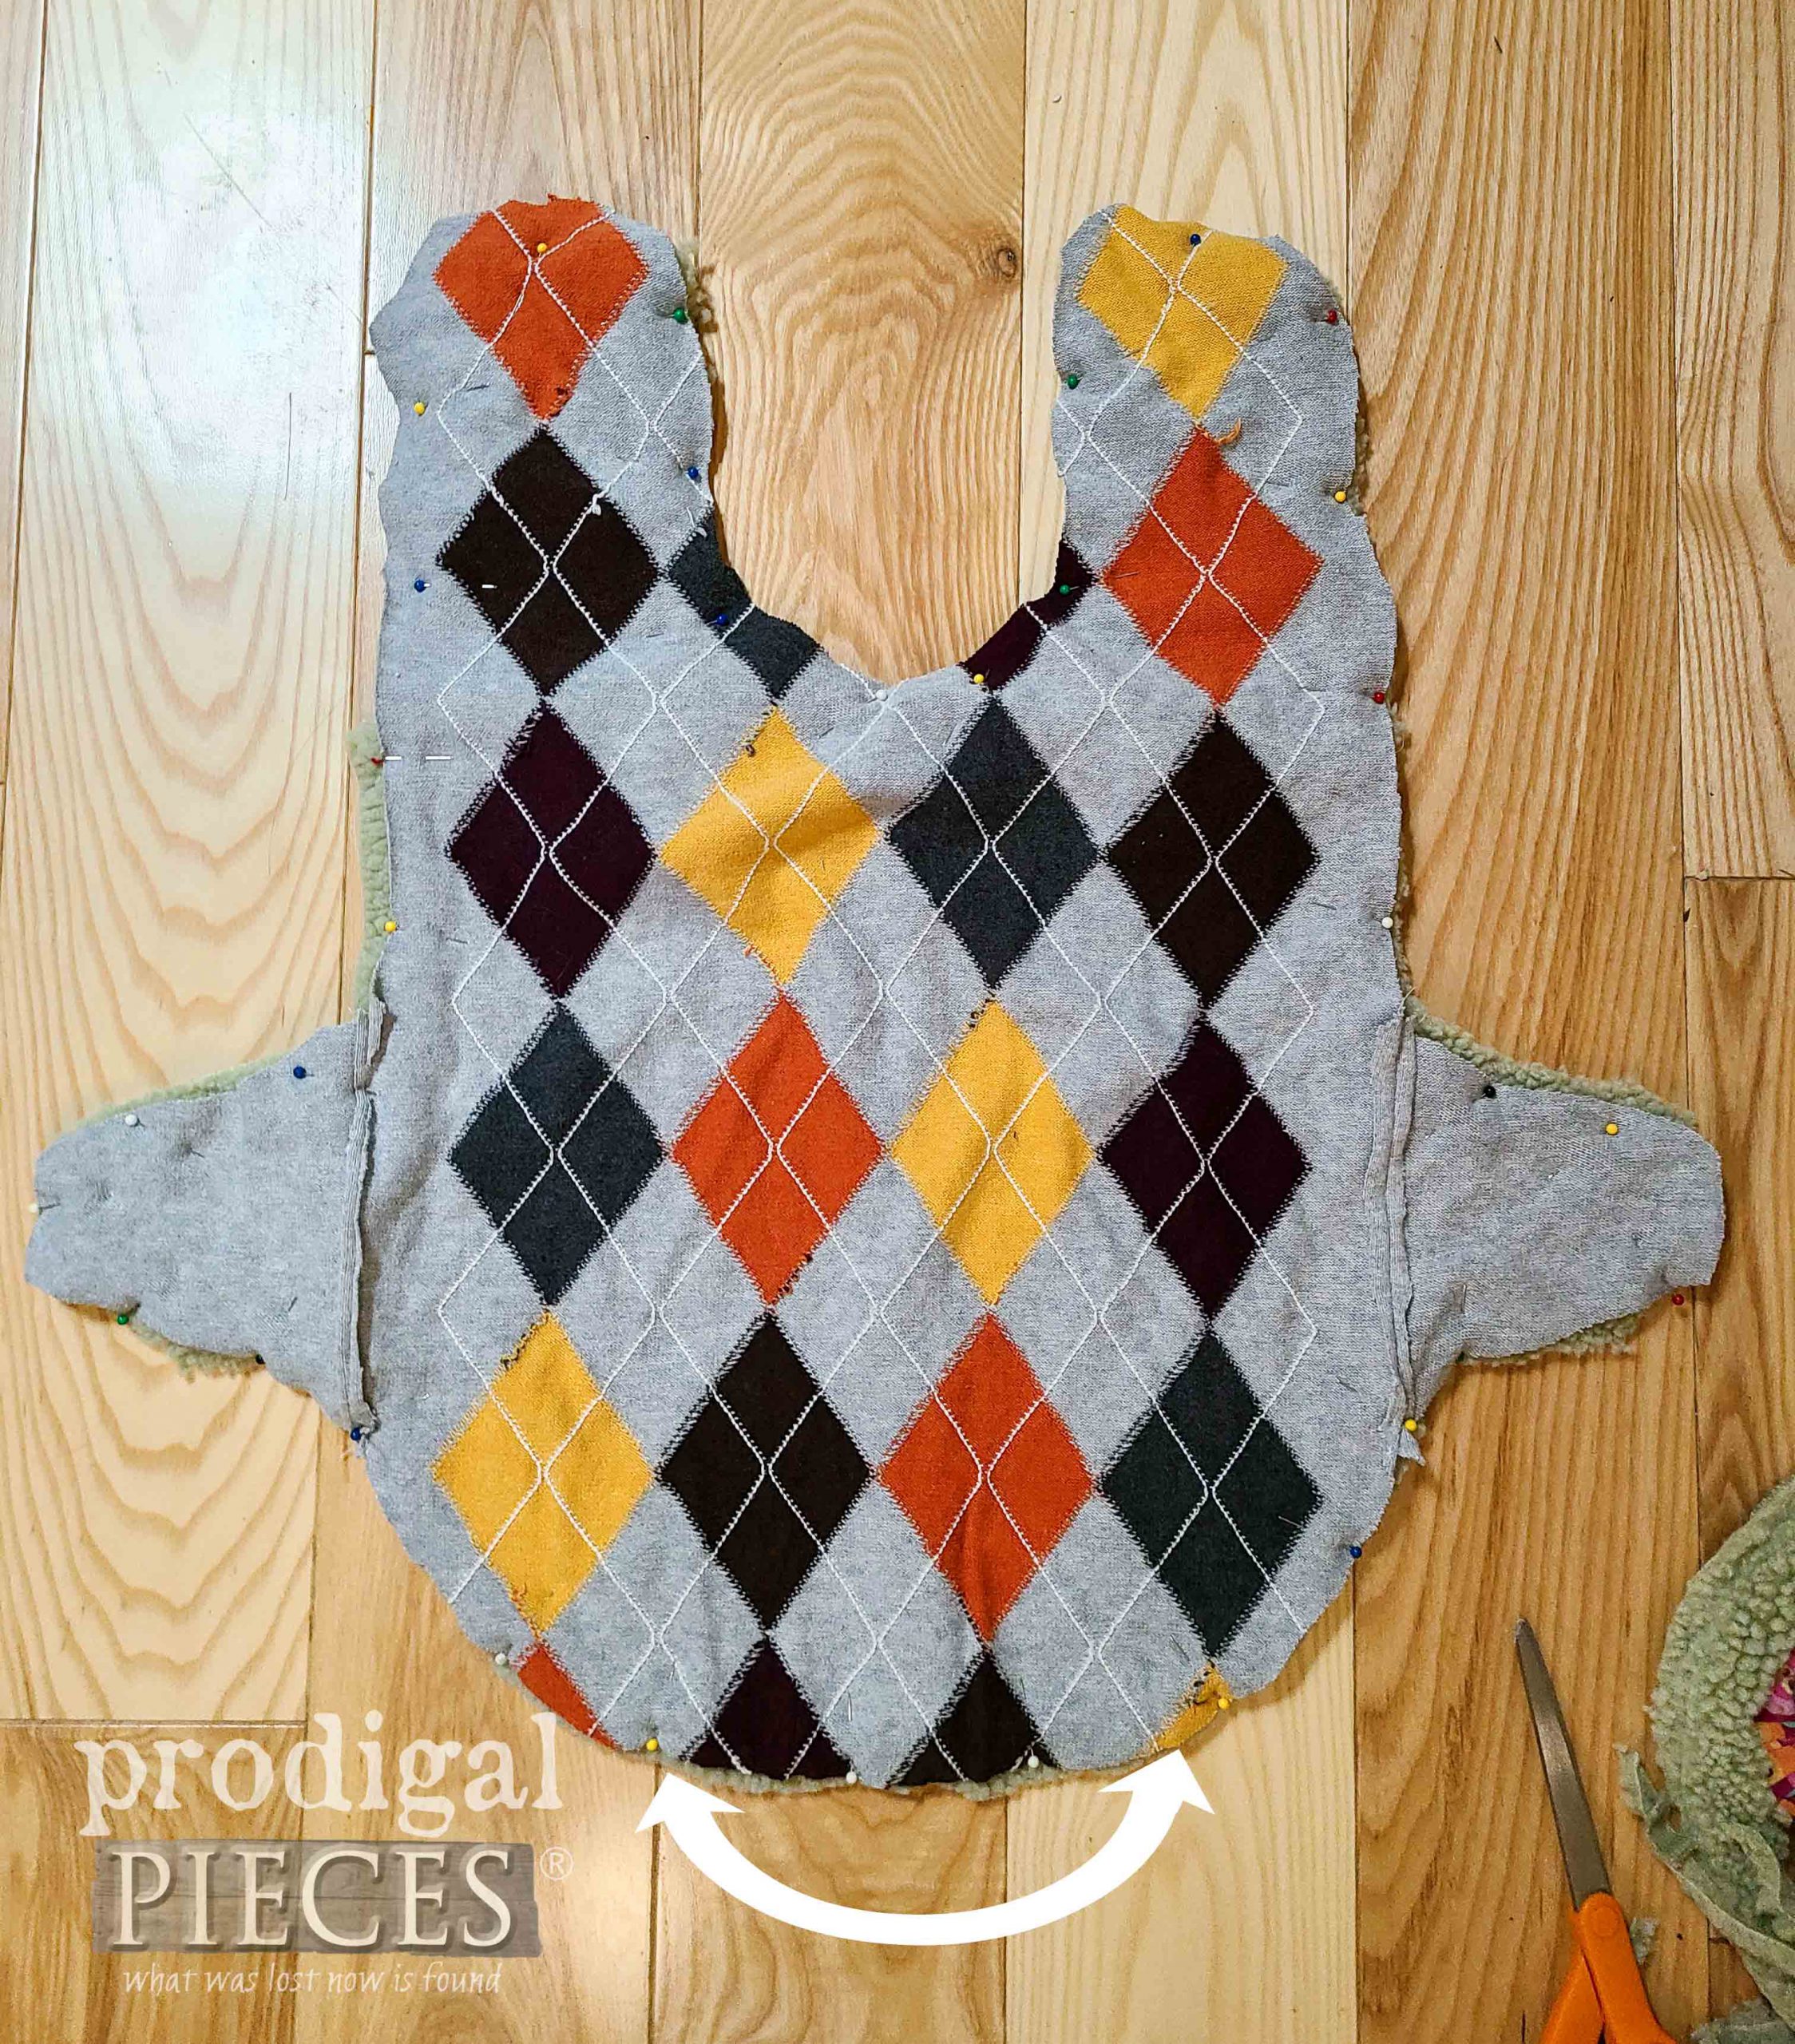
Now, put right sides facing and pin layers together leaving an opening near the tail. A second option would be to just use bias tape to join it all together as well.
At this point, you can either use a sewing machine with zig-zag stitch or a serger (which is what I did). After serging/sewing, turn right side out and top-stitch around the edge at ¼” in from the outer edge. This is when you fold under the opening and top-stitch it as well.
STEP 4
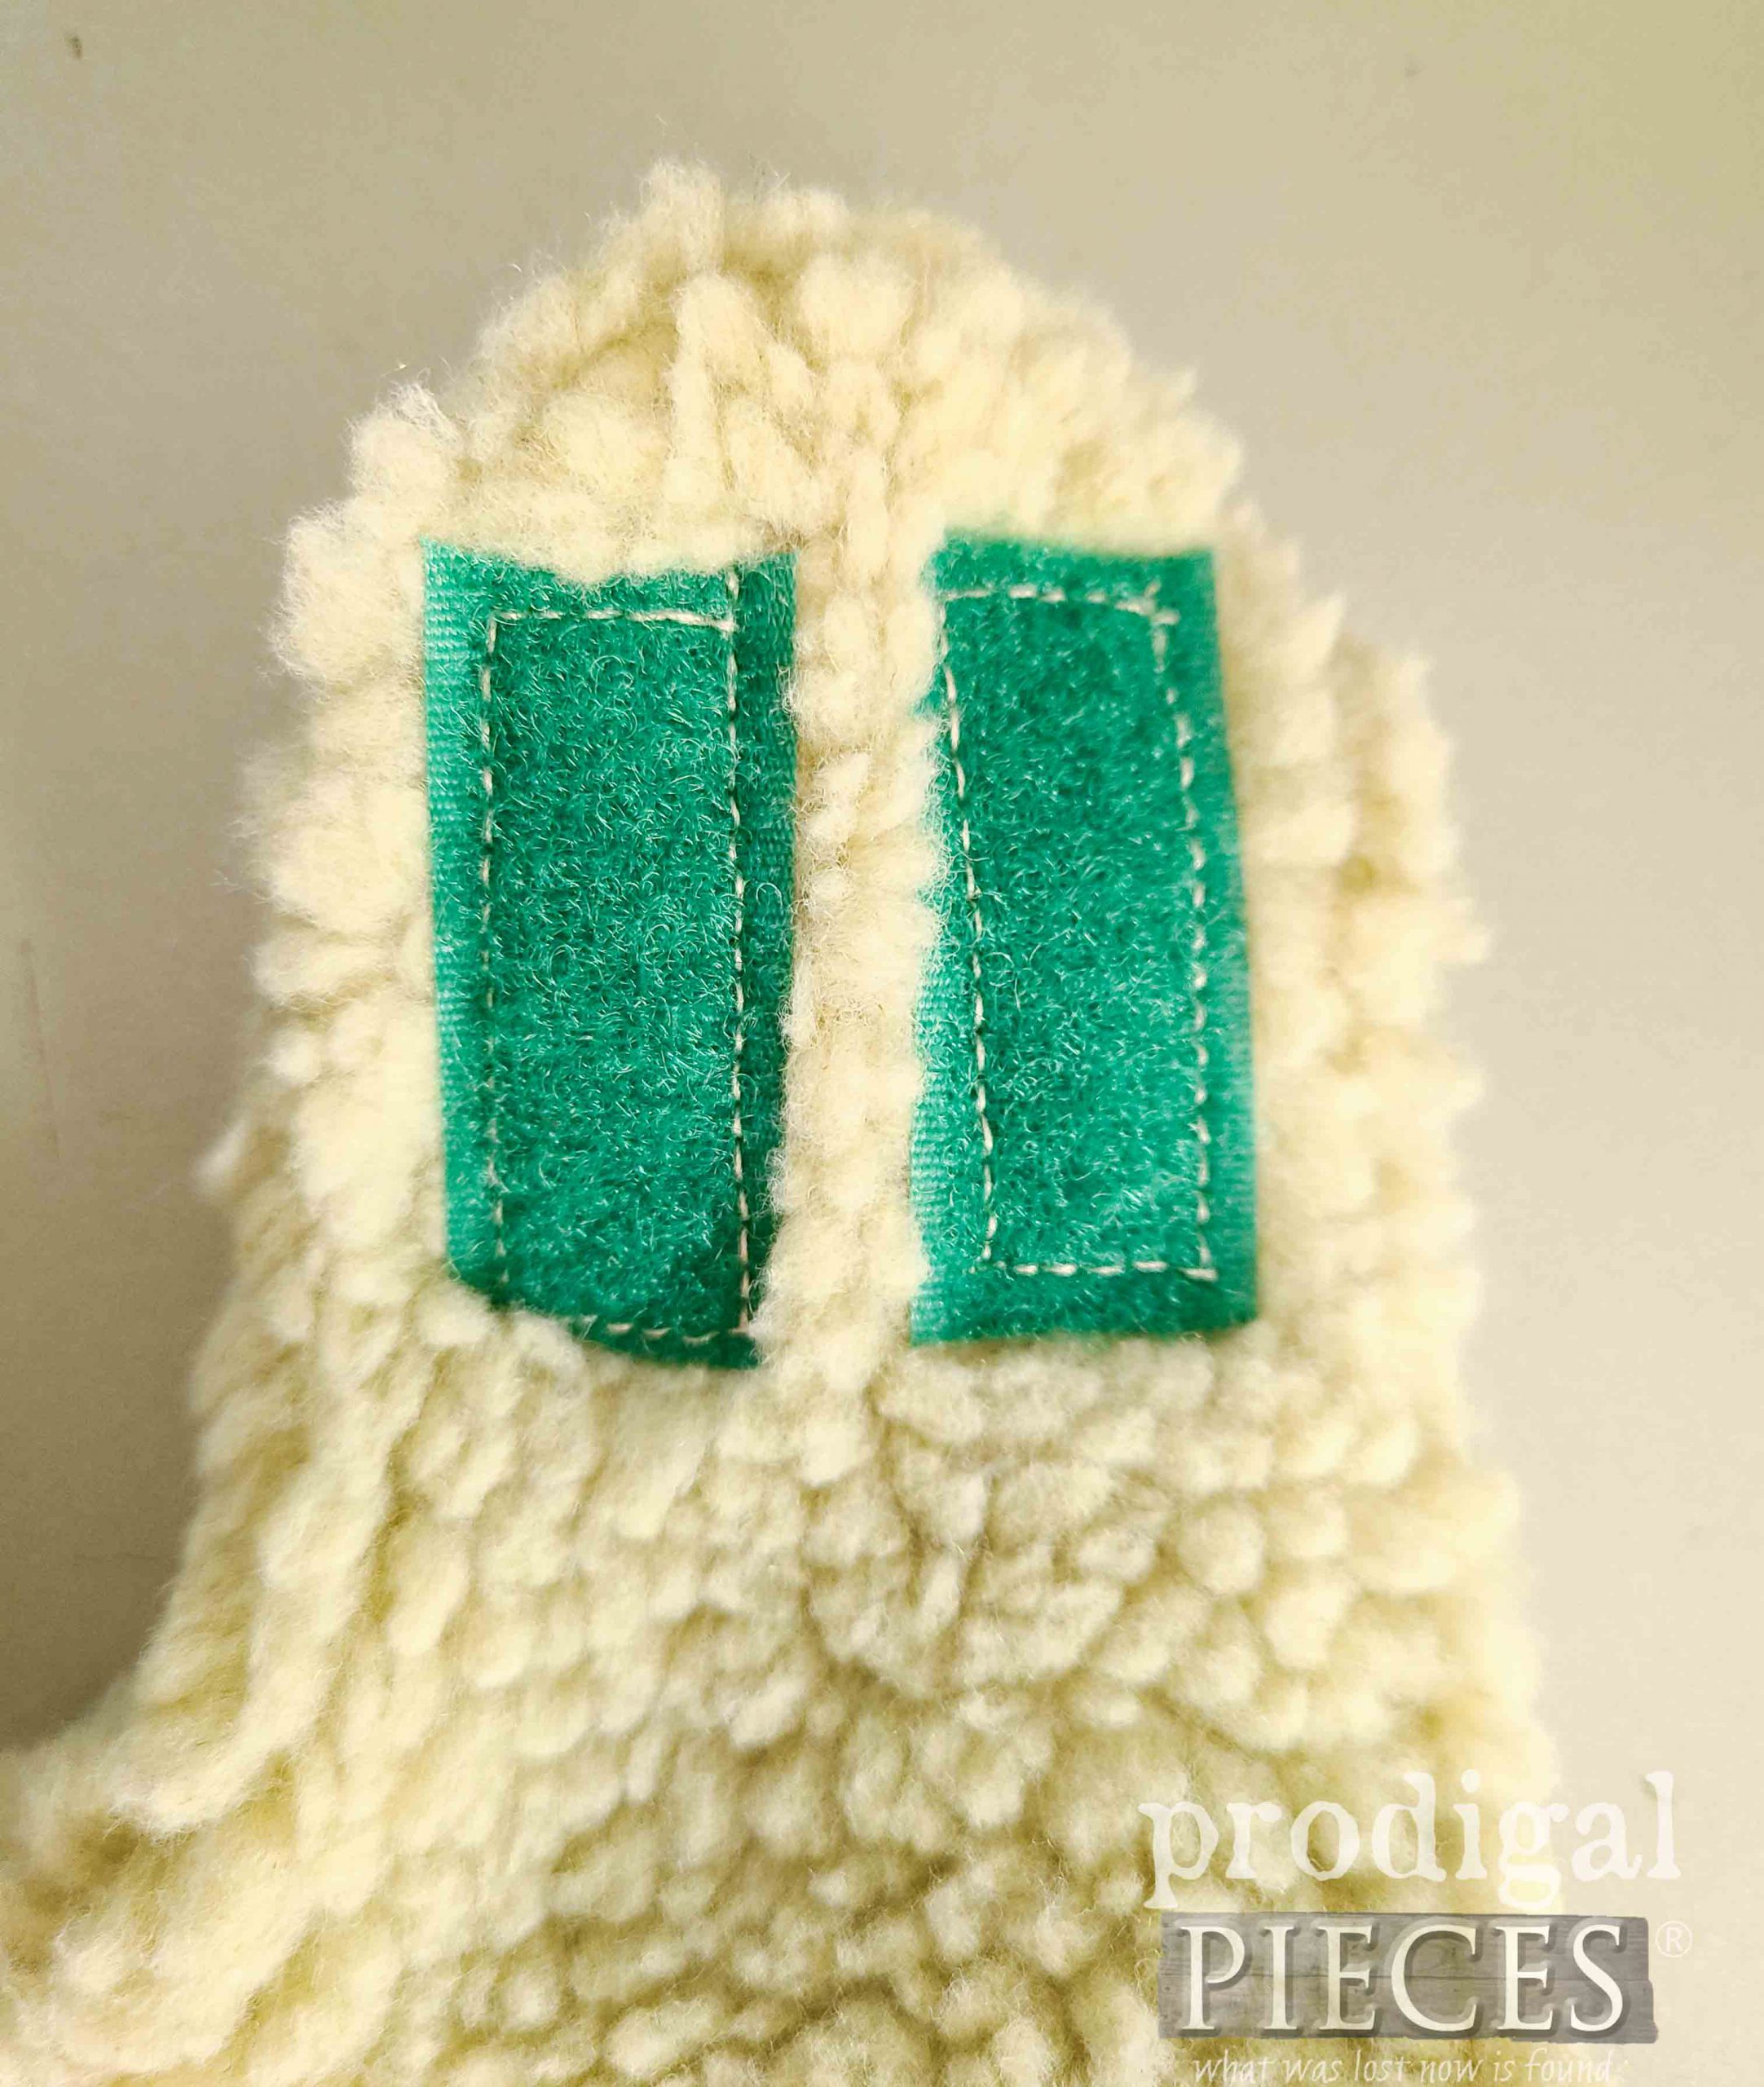
Almost done! Put your DIY dog coat on your pup and see where you want to add hook & loop (or buckle or snaps). I have an awesome snap machine I was going to use, but was in a pinch for time, so I used hook & loop. I added two strips to each of the chest pieces, and two strips to each of the belly pieces.
This is also where you would put on your dog’s harness and mark for a button hole to have access to the hardware. Then, give it a test run and enjoy!
THE REVEAL
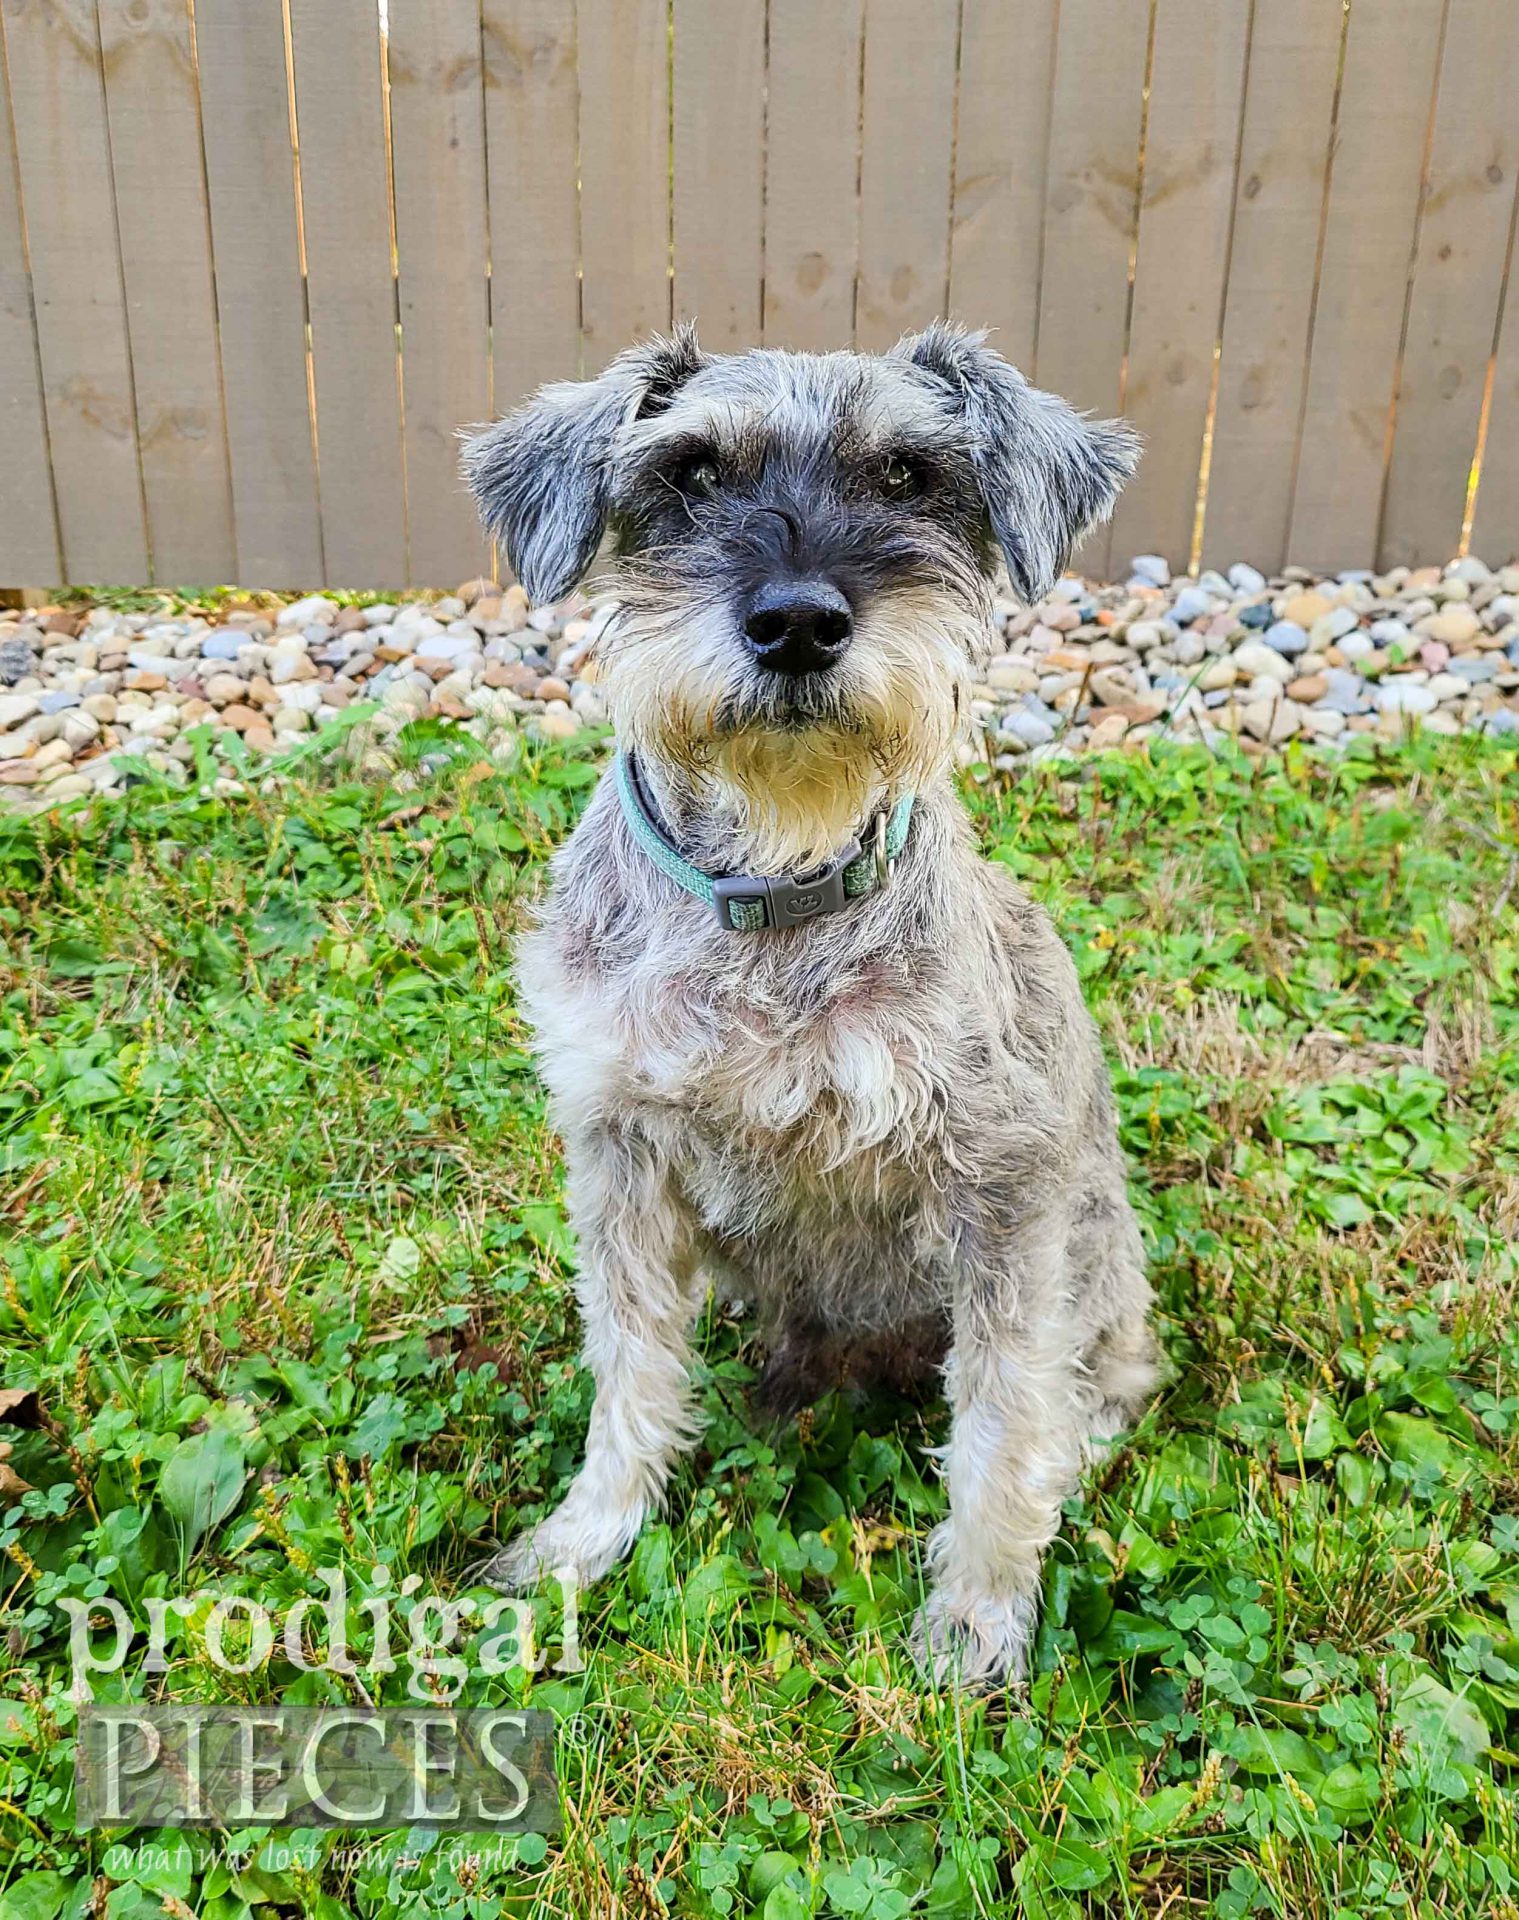
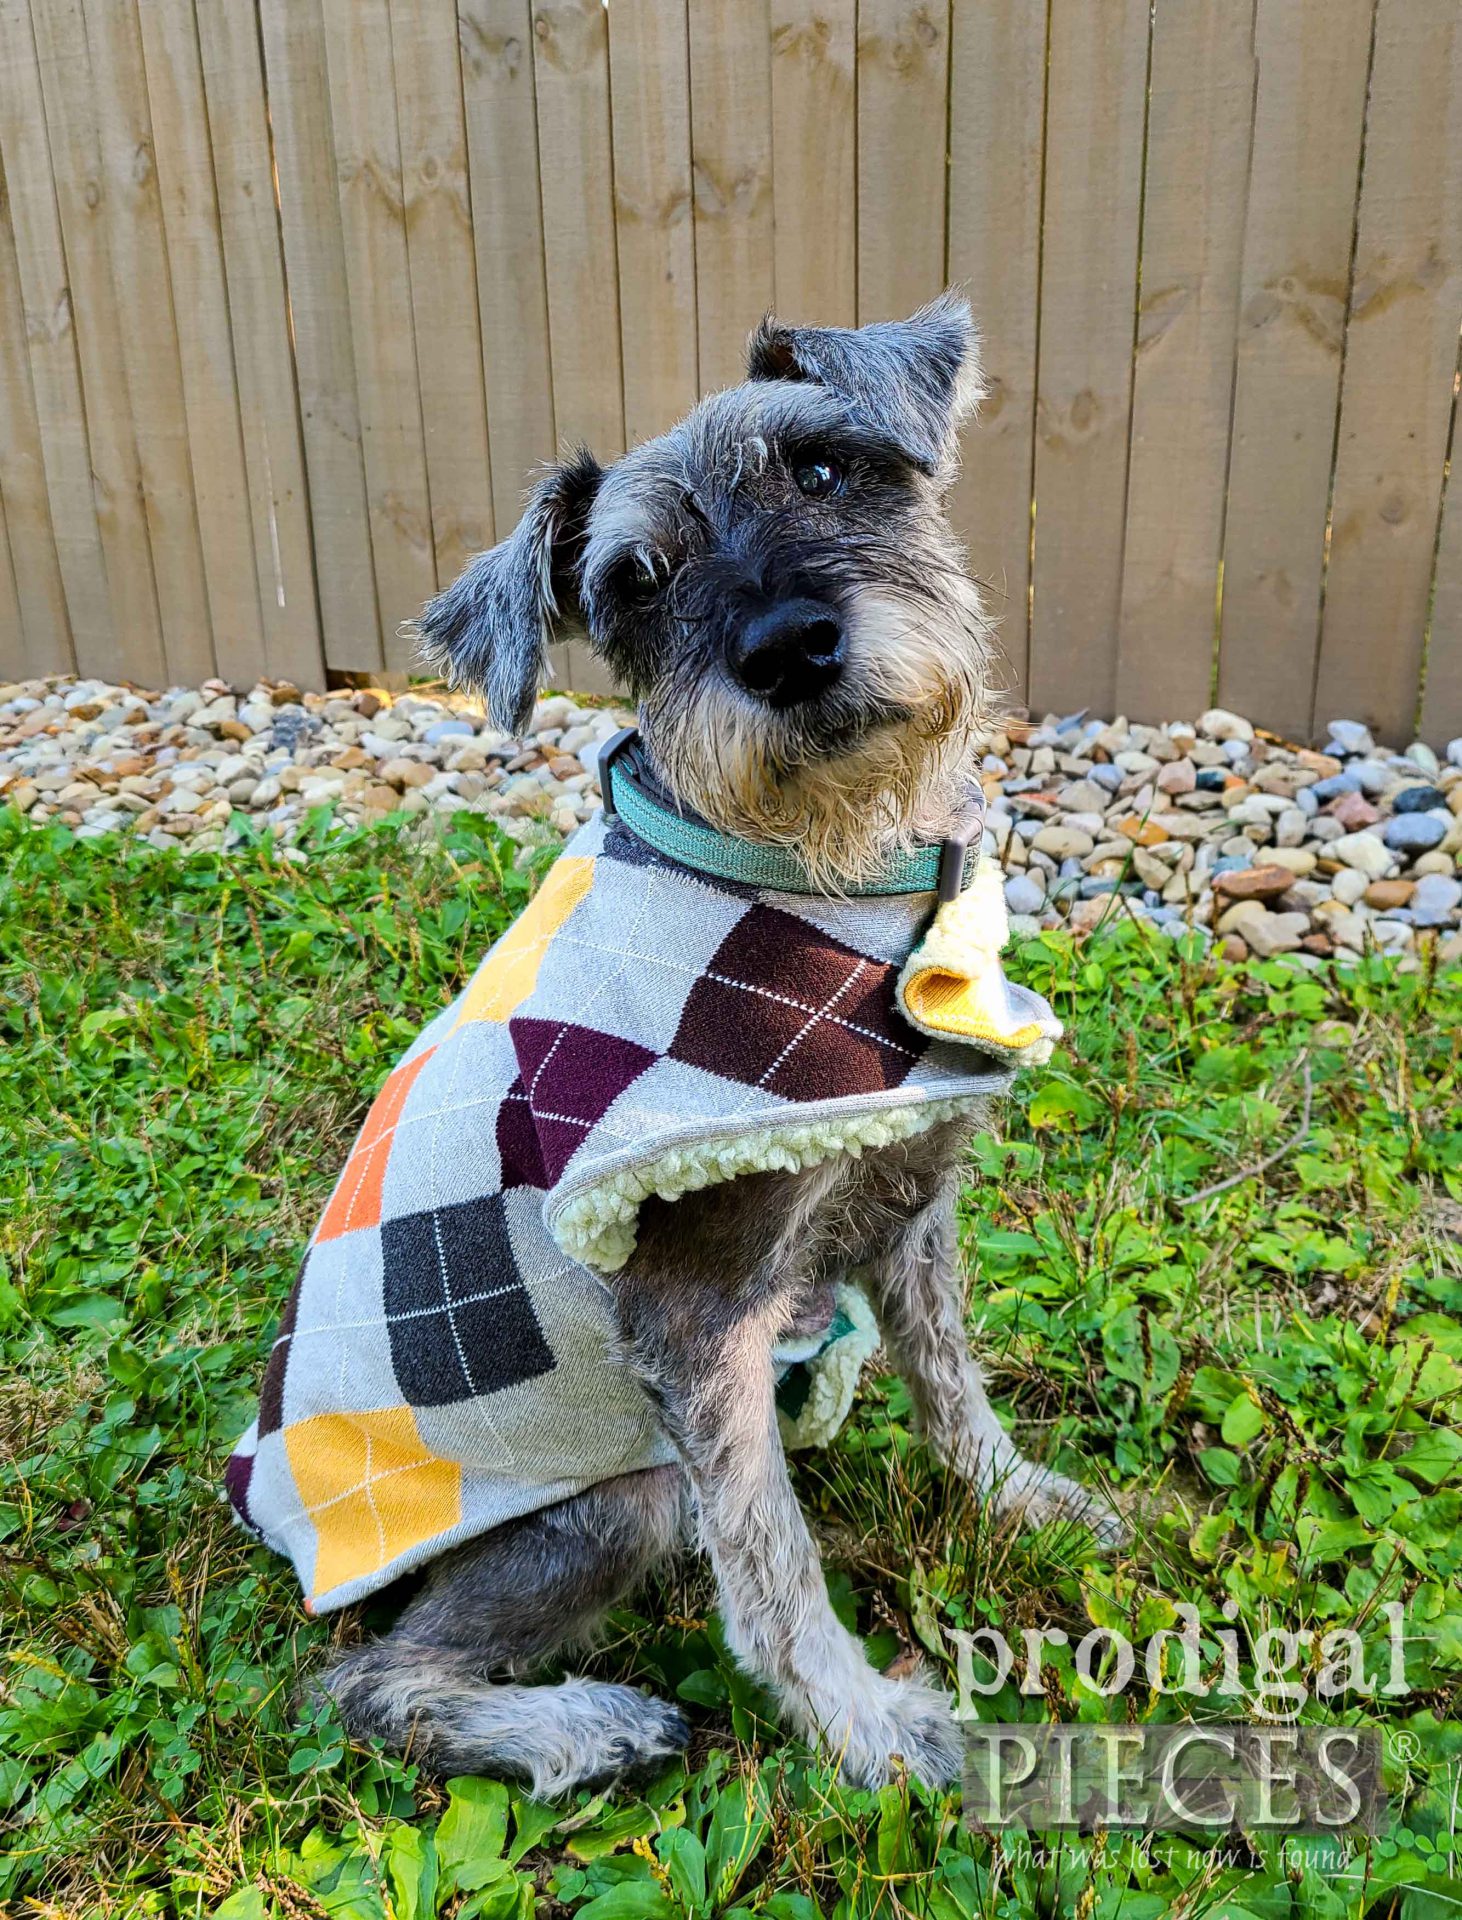
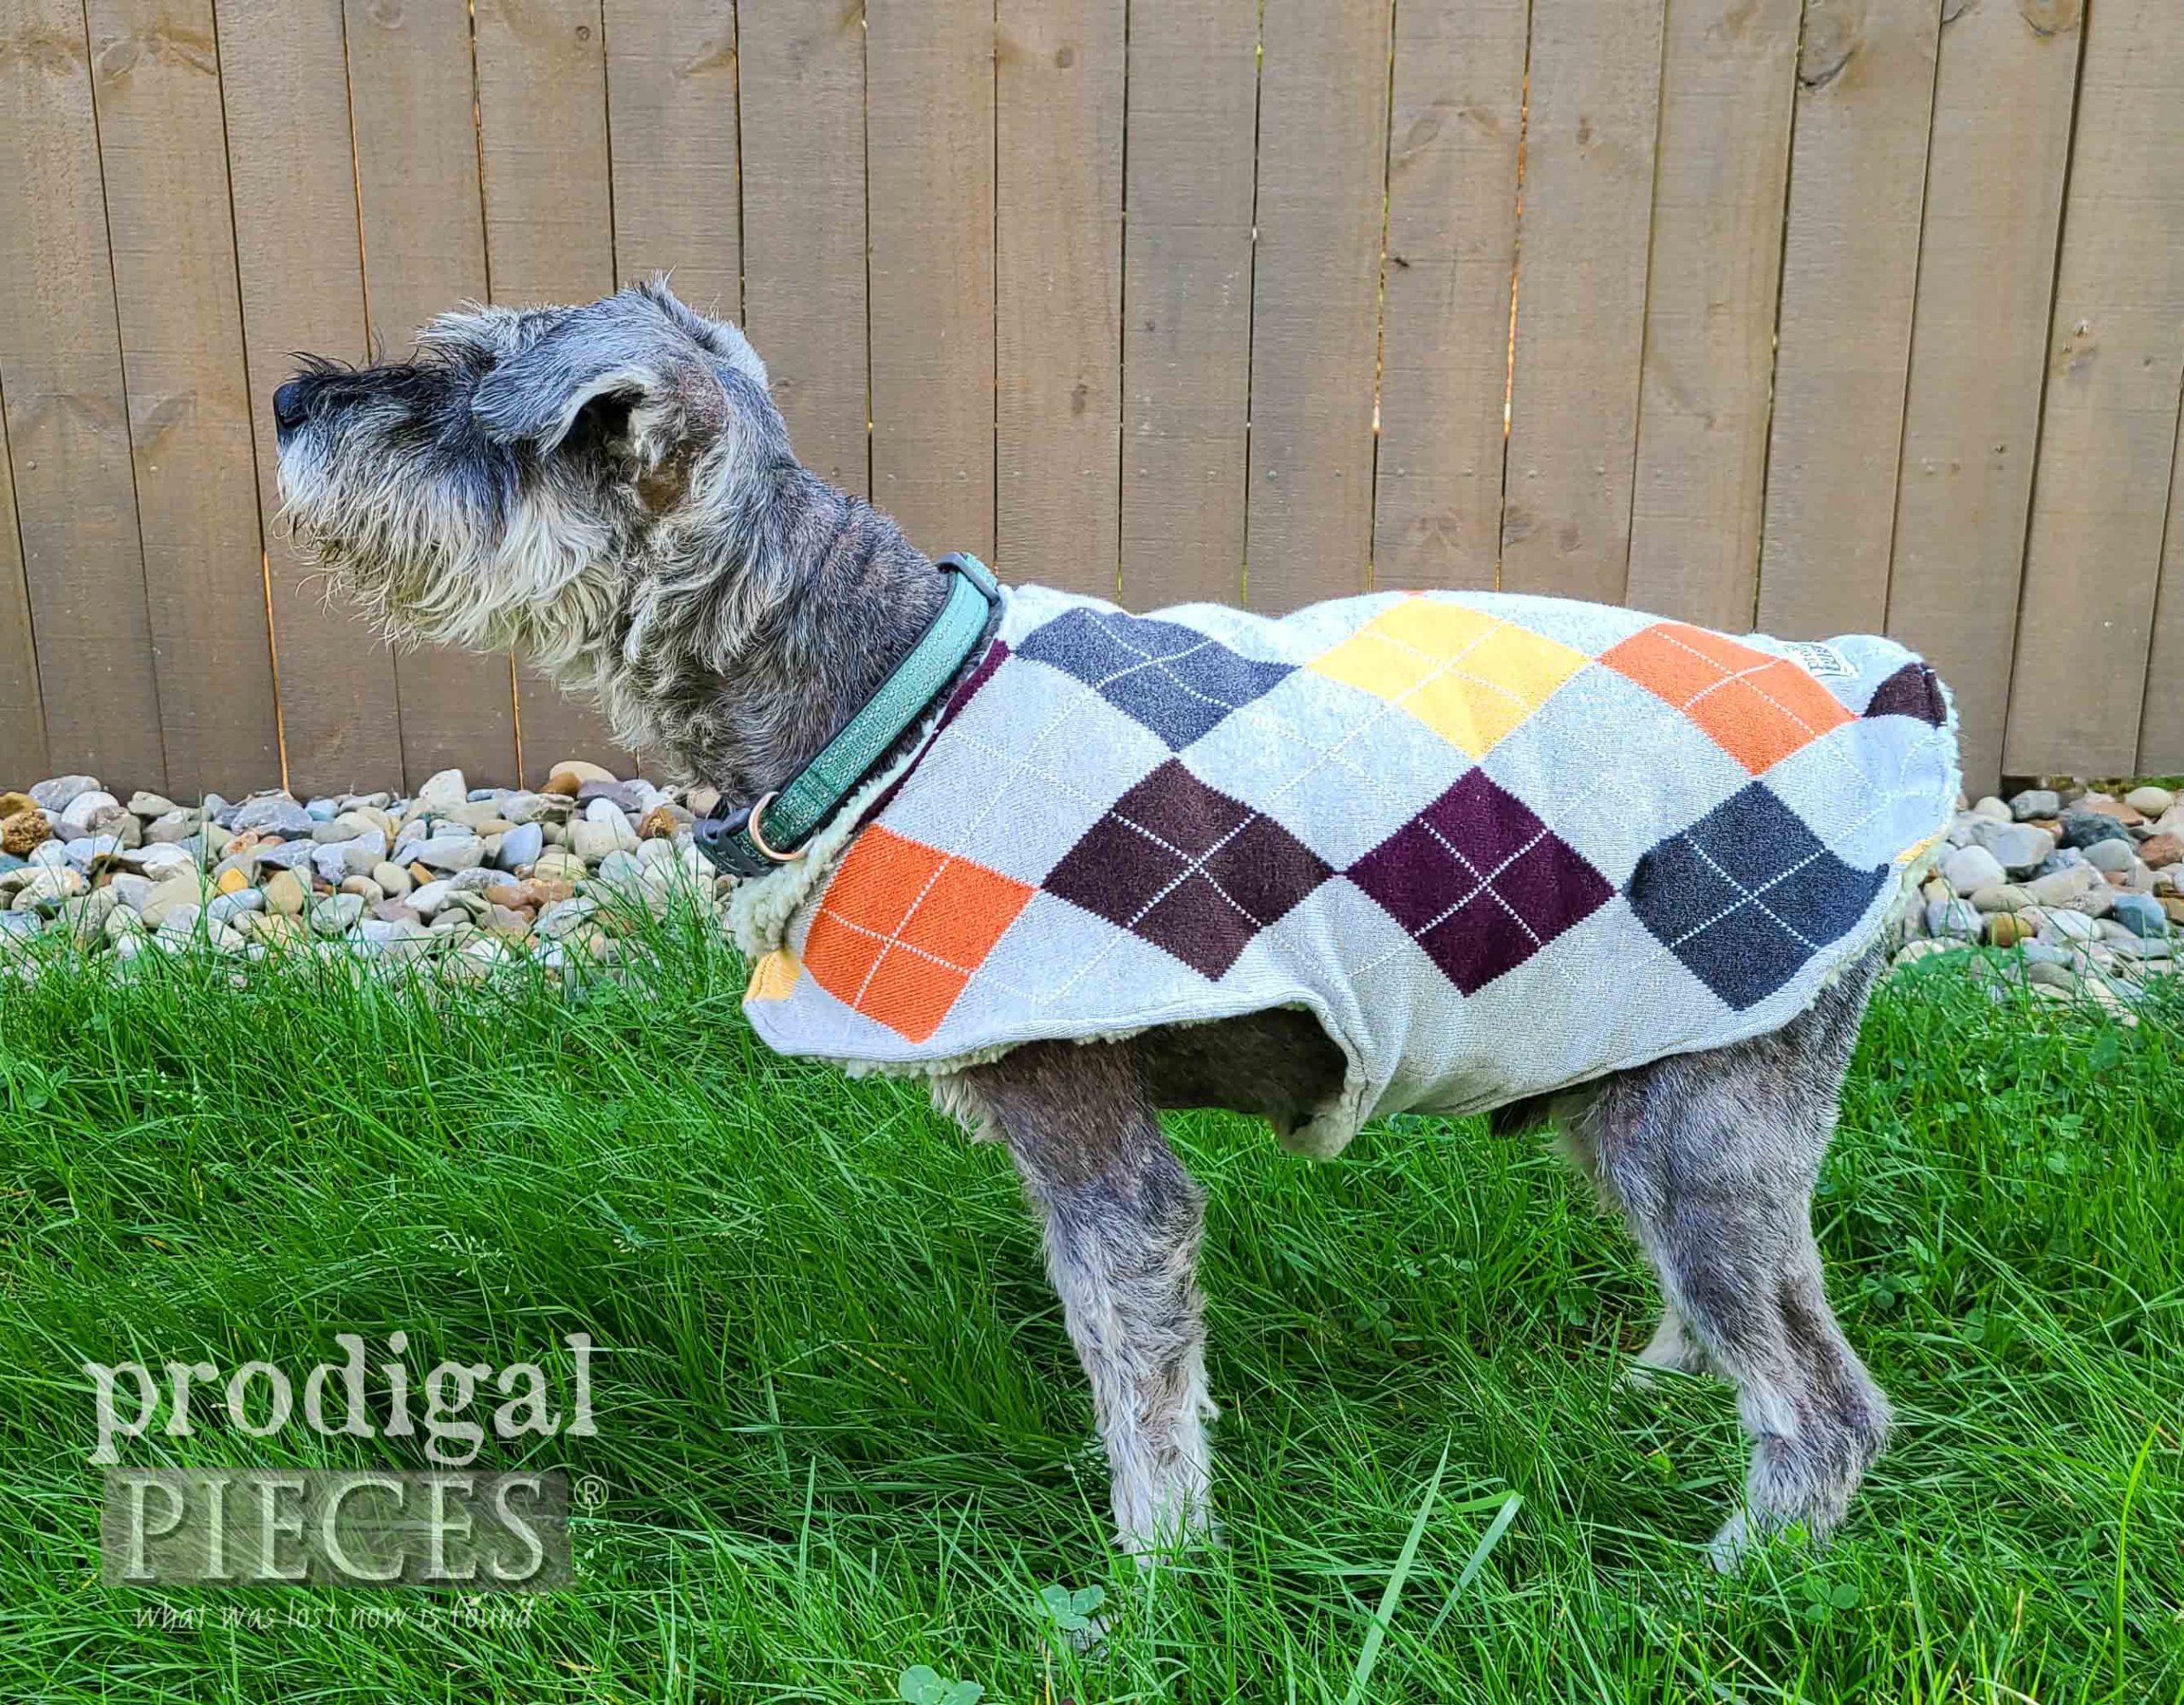
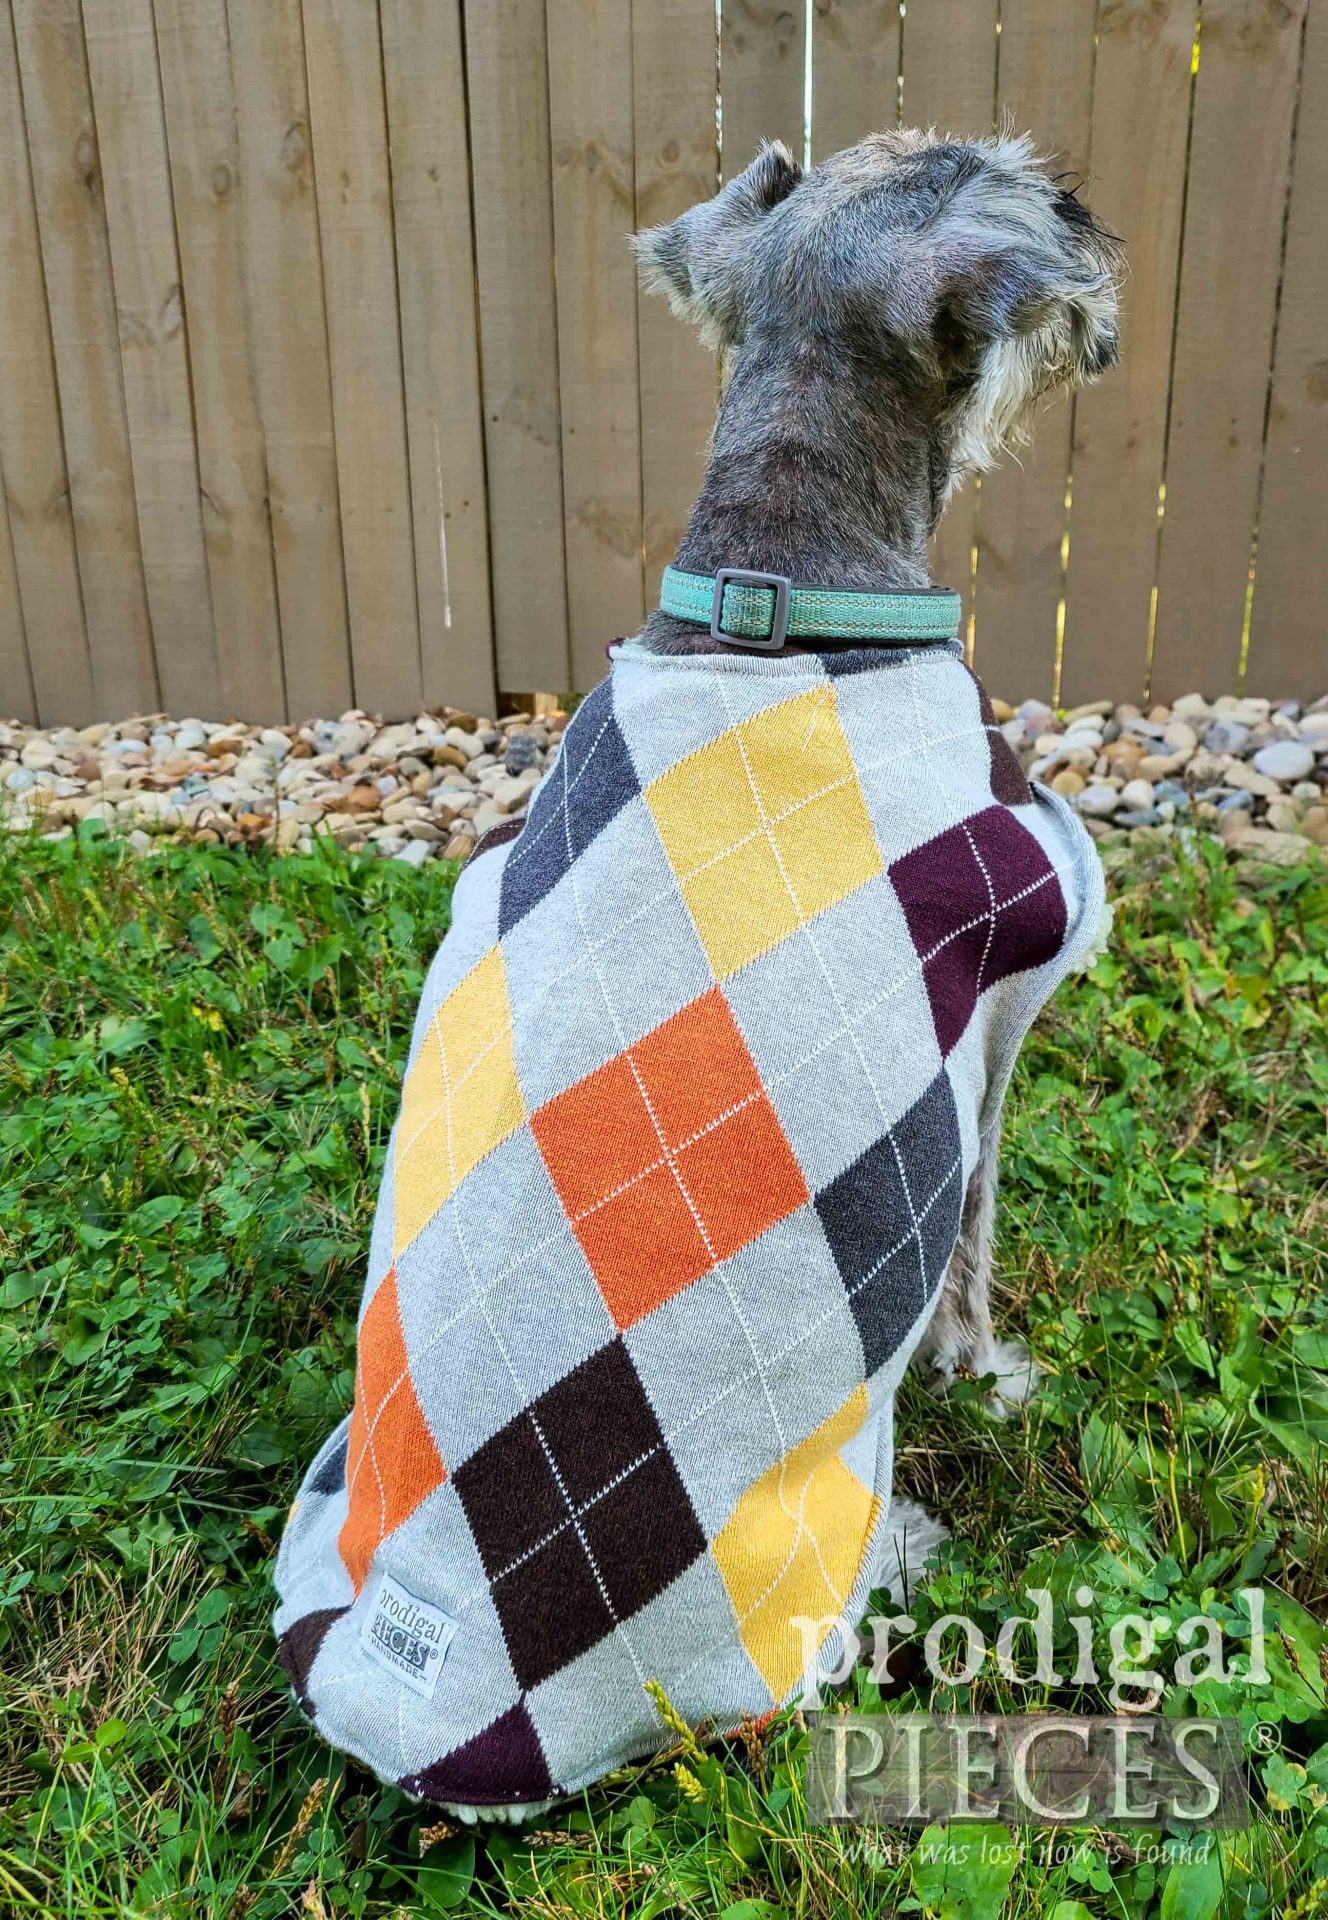
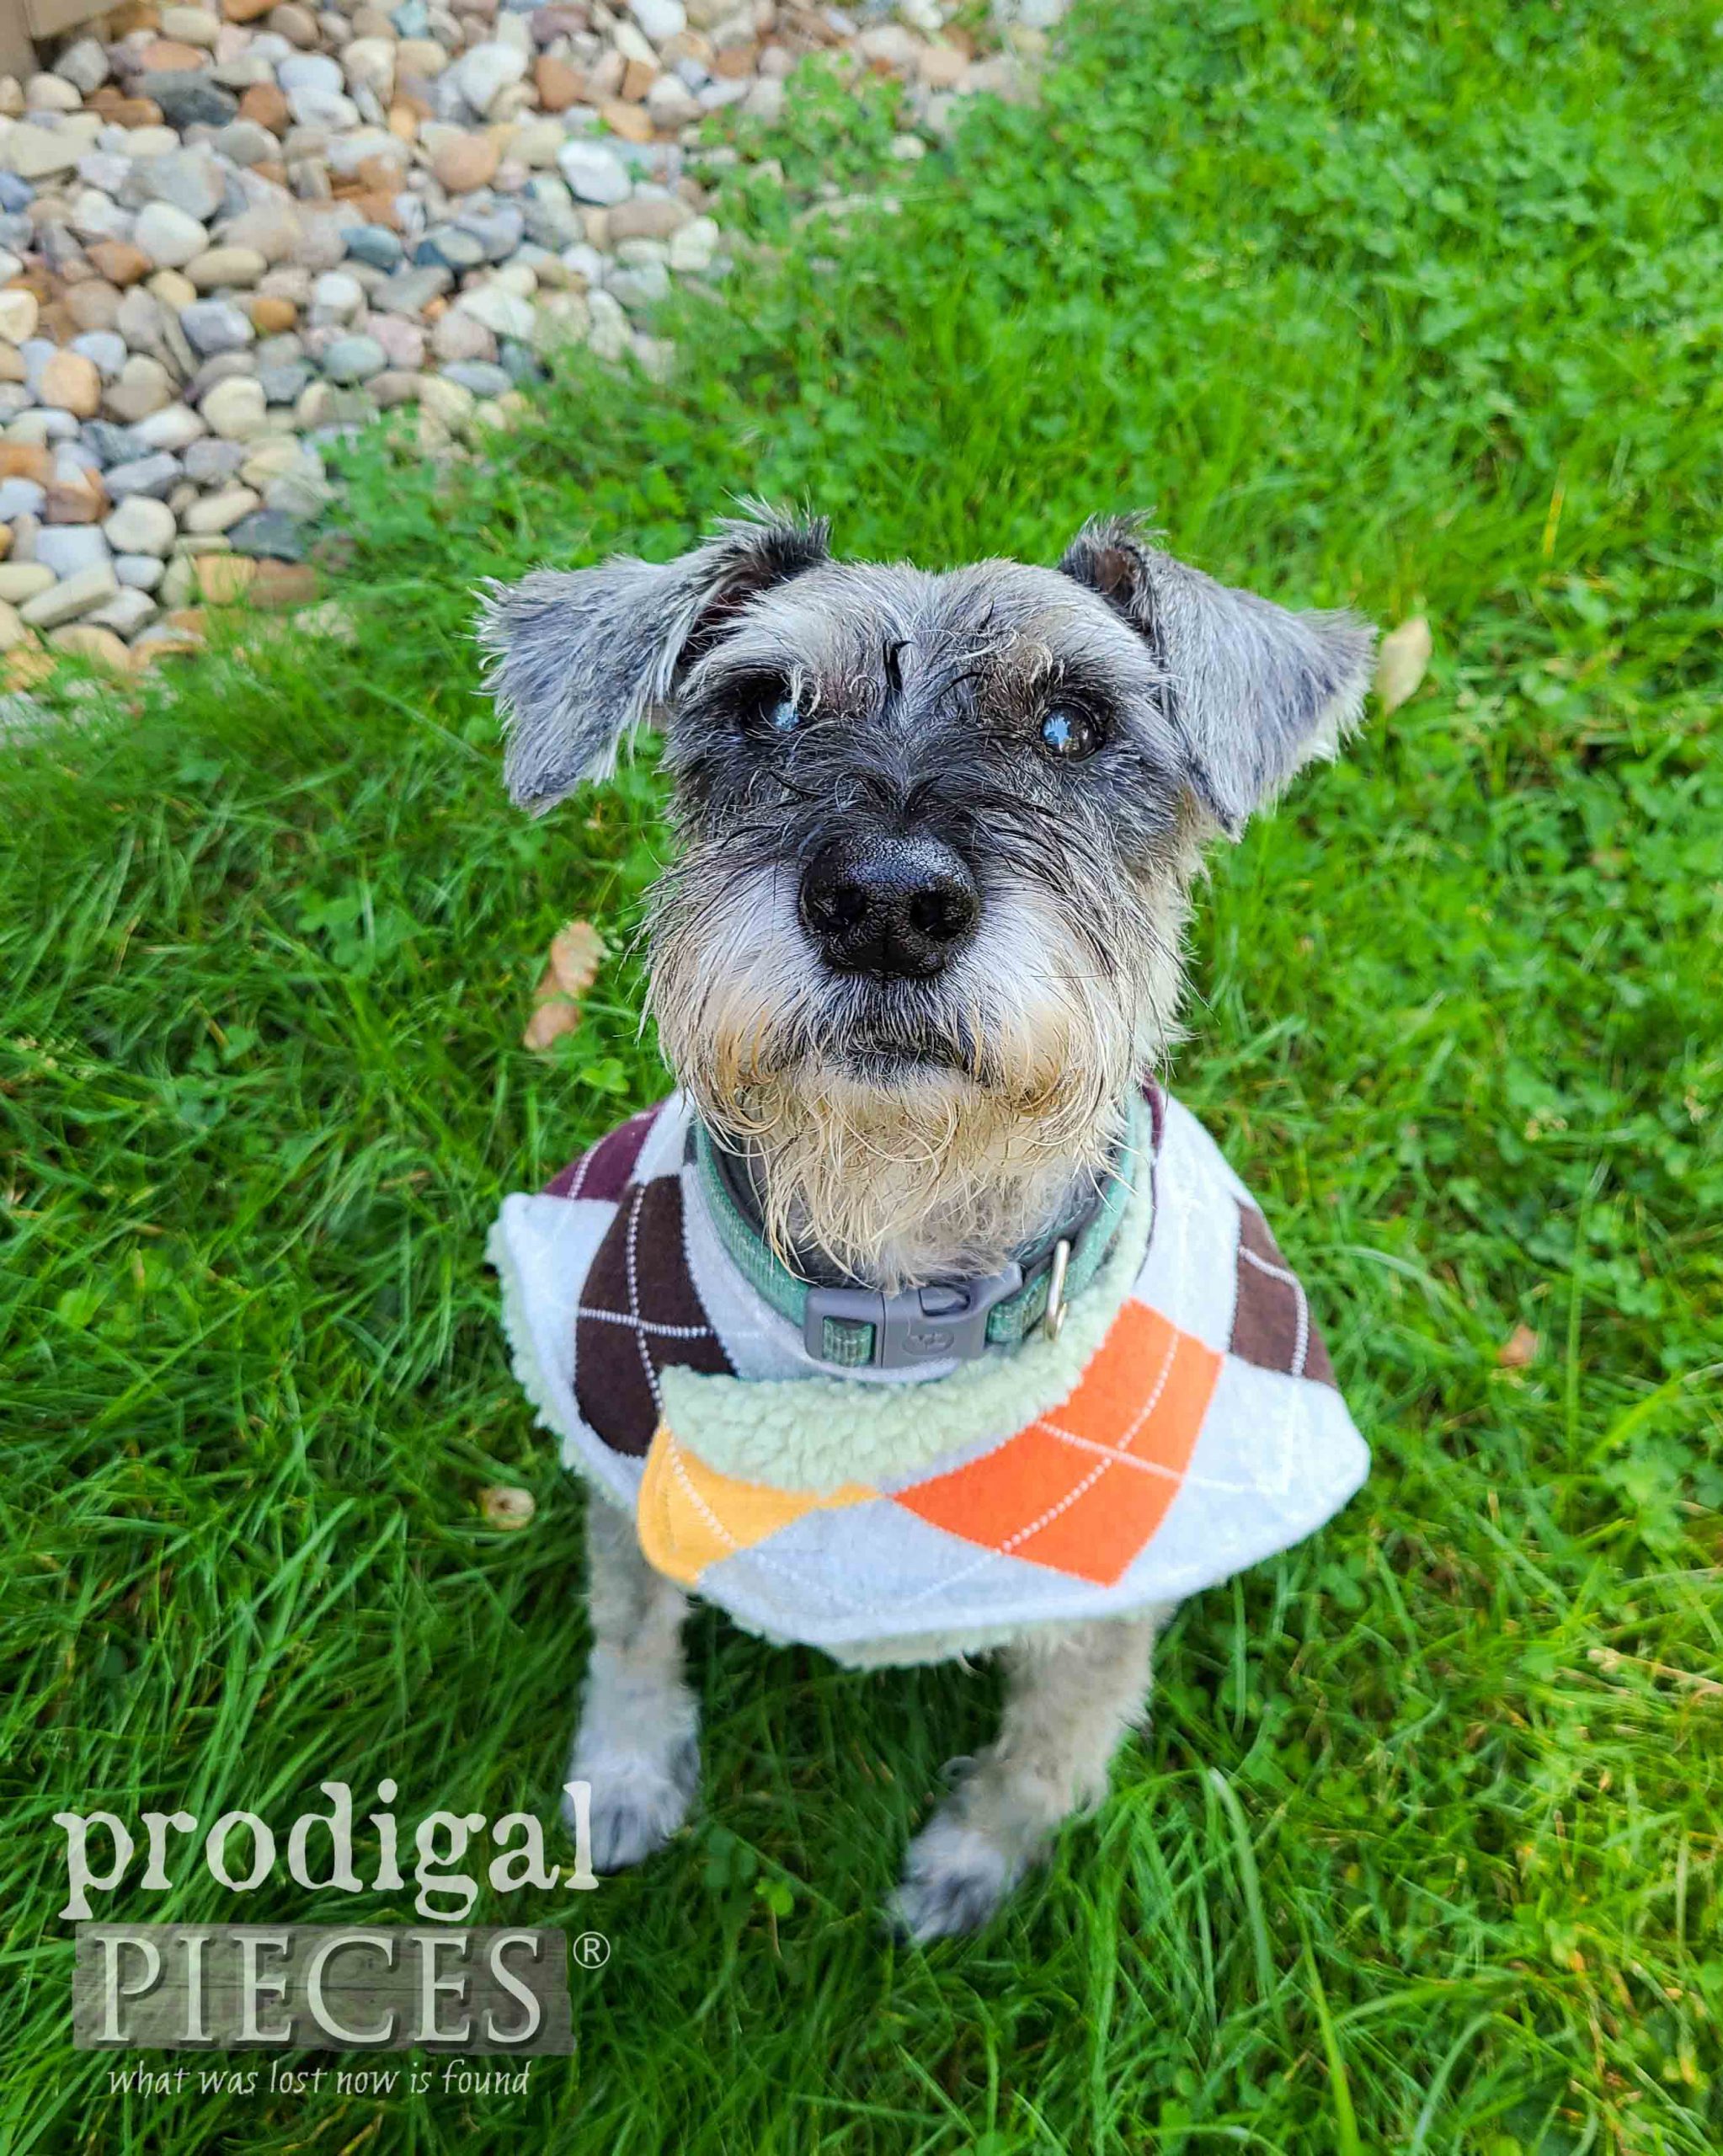
Here’s Teddy with his fresh cut, bath, nail trim, and sporting his spiffy argyle sweater.
Isn’t he the cutest? I just love how it came out and he loves it too. He wouldn’t stop squirming from all the excitement and attention he was getting. awwww!!
Well, Teddy and I hope you love it as much as we do. So fun!! I’m not wishing the cooler weather to come quick, but we are ready when it does! Right, Teddy?
Now I have to stop myself from grabbing all the sweaters and making more cute coats. eep!
Do pin and share my DIY dog coat from upcycled sweaters. Inspire others to get their craft on for their fur babies too!
Up next, I’m taking these scrap pieces of cabinet ply to show you the potential they have. See their new life HERE!
To get these DIY tips & tricks in your inbox, be sure to sign up for my newsletter. PLUS, you will get your FREE Furniture Buying Checklist and special discount to my shop. Until next time!



What a lucky, lucky dog!
Aww…we just love him so. Thanks!
He is just about the cutest thing I’ve ever seen in his new coat!! ? I don’t know how you do it, but even on my darkest days you can raise a smile.?
tee hee! It makes him more cuddly! haha. I’m so glad you’re smiling. Thank you!
Teddy is so adorable. Our dog hates having anything on him unless he puts it there himself. This coat is a great idea and I’m sure it must get really cold in your neck of the woods.
He’s such a sweetheart. Your dog sounds like how I would be as a dog. haha! Yes, pretty arctic at times. 😀
Teddy is adorable! Love the coat and it looks so easy. ! We have one doggie that will wear it proudly and one that likes them but can’t handle them very long, although we finally found one that he just loves which is real soft fur on one side and suede on the other. I think it’s more the cut of it rather than the fabric that he likes. I plan on using it as my next pattern.
Teddy sure doesn’t look 14 but at that age I know he is loving that warmth.
Oh and I love the fall and the cold weather works so much better for me with health issues, so I am thankful that is coming sooner this year.
Have a wonderful fall!
Thanks! He is such a doll baby. Loves attention all.the.time. I don’t blame your dog, I would be the same! haha. Here’s to cooler temps. 😀
Awe, Teddy’s such a cutie! I love how he’s posing for his new sweater photoshoot. Your sewing skills are as amazing as your DIY/Repurpose skills, Larissa! Very cute doggie coat. Pinned
I’m so glad we’ve had him for so long and he’s doing well. He LOVED the attention he was getting. 😀 Thanks, Marie!
How I wish my Louie liked to wear clothes. So so cute!!
aww…haha! That is the cutest name. Maybe a bow-tie collar? I want to make one for Teddy. 😀
Ok! That is so stinking cute! If I didn’t live in a sauna (ie south Texas), I would totally do this for my pup!
tee hee! Love how you put that. And…I totally get it because we lived in Georgia for a few years.
What a precious model!! Ted E. Bear does seem to enjoy having his picture taken – he even poses!! I just love how you transformed the sweaters. Someday I hope to have time to do fun projects like these for my fur babies. #loveschnauzers
He is such a fun little guy, Kathy. And he’s such a ham! 😀 I hope you get to…it’s so fun!
This is a great idea for a DIY dog coat! I love the idea of using upcycled sweaters to create something special for our furry friends.
You’re a kindred spirit, Riya. 😀
I love this so much!
Environmentalist here who is too impatient/not calm enough to follow through a crochet project but measuring and cutting and some sewing, no problem hehe. Now my rescue dog just needs to arrive from Rumania and I can start preparing for winter 😍
He’s a coton/maltese so he definitely needs a coat, thanks for the idea!
I will pair it with a bite attack safety vest on top when off leash.
Awesome, Jay! Congrats on adopting a new family member and for preparing properly for it. I’m excited for you both! And the options are limitless with this design.