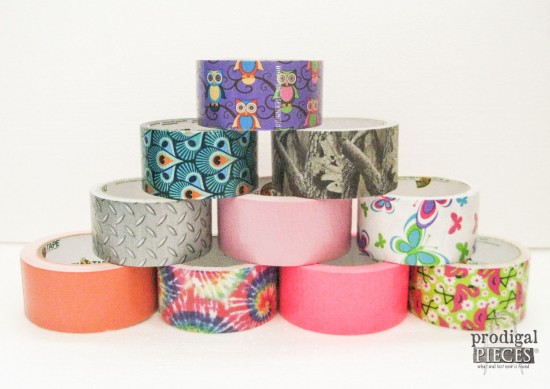
It’s high time I take a break from all my furniture makeovers and get my craft on. You have to understand that I ache to create, and it’s been waaaay to long since I’ve “played”. Used to be I would stay up late into the night creating some treasures to greet my kiddos when they woke up the next morning. Now, I’m so busy and have fallen off track. sigh… Today, I’m getting back on track with a DIY zippered pouch. My choice of media for my fun – duct tape. Yup. You gotta admit, everyone from young to older(er), can have fun with duct tape. Just look at all the colors and designs there are now…it’s amazing! This stuff has gone from Hillbilly Chrome (as it’s called around here), to Designer’s Dream.
Such fun colors, and ooooh….the possibilities! When I see some blogger friends getting crafty with it, I knew I had to have my turn. My kids would love it for a homeschool project, and it would get my craft cup full again. Yay!
Here’s what idea struck me as I was laying in bed one night (doesn’t it always happen that way?), a repurposed duct tape DIY zippered pouch perfect for most any occasion. I dare you to say that 3 times fast. hee hee.
Seriously though, this is a basic craft and so versatile too. This project is simple enough that it can be done by young ones paired with an adult or older child, and completed alone by at least a 7-9 year old and older.
DIY TIME
Ready to get your craft on? Let’s get started!
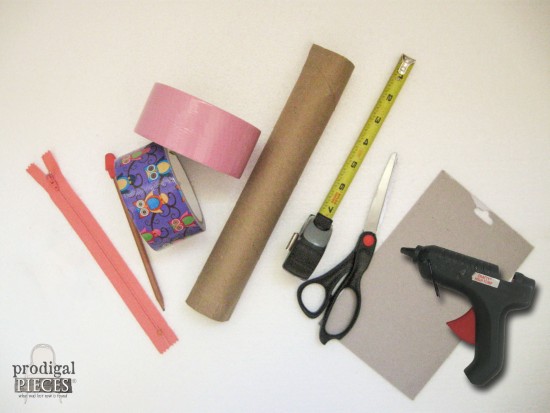
Here’ s what you’ll need: (allow 20-30 minutes to complete)
- duct tape (1 print/color for inside, and 1 print/color for outside)
- scissors
- pencil
- tape measure or ruler
- glue gun/glue sticks
- 8″ zipper
- paperboard tube (from plastic wrap, foil, wrapping paper)
- flat paperboard (from notepad back, thick cereal box, etc)
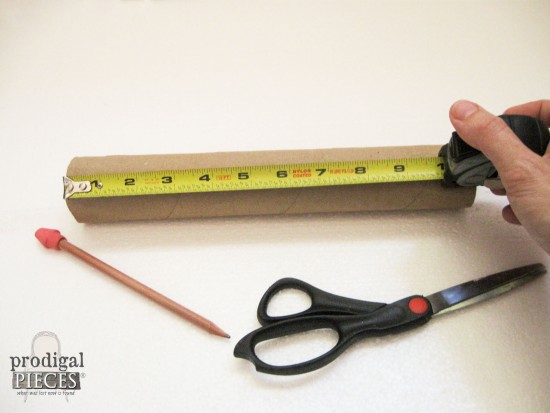
Once you’ve gathered all your materials, you will start by cutting your paperboard tube to 9″ long.
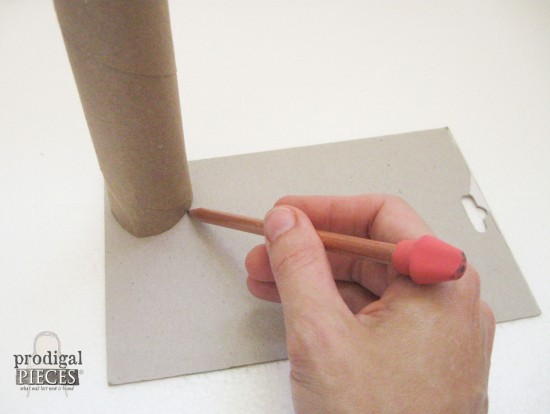
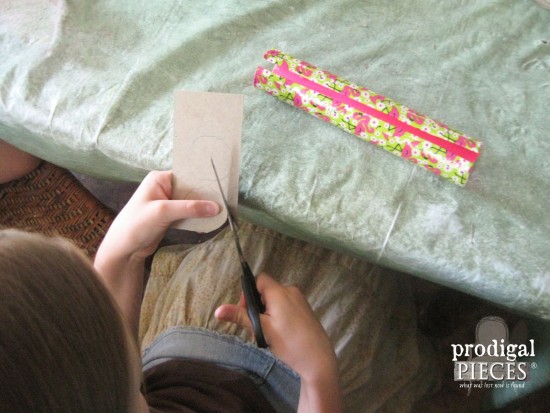
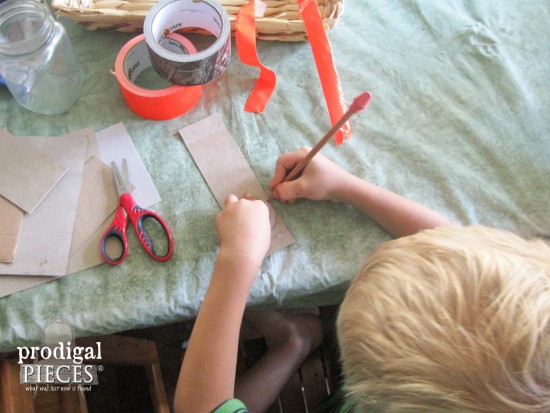
Next, trace the end of your tube onto the flat paperboard, and cut 2 circles. These will be your end pieces.
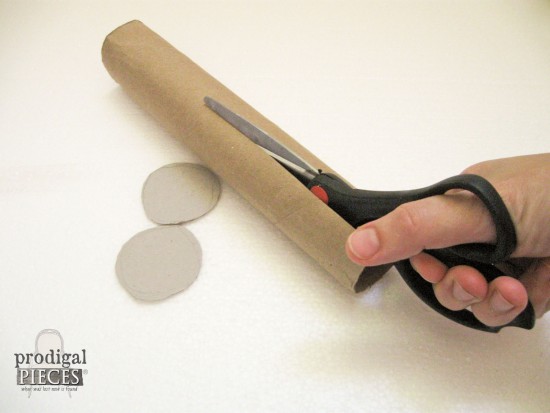
Then, cut down the length of your paperboard tube.
TAPE TIME
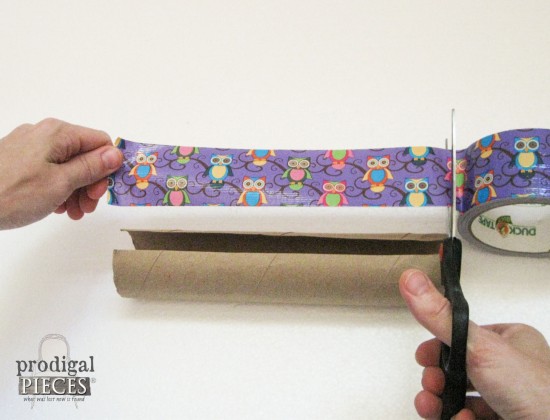
Starting with your interior choice of tape, cut one length the same as the length of the tube. (in the example below I’ve shown my exterior tape being cut first, but it’s easier to start with the interior first. By all means, you do not have to line the interior, but we like a pop of color surprise when we open ours up.) For our demonstration pouch, we used the Retro Owls and Baby Pink. Aren’t they cute?
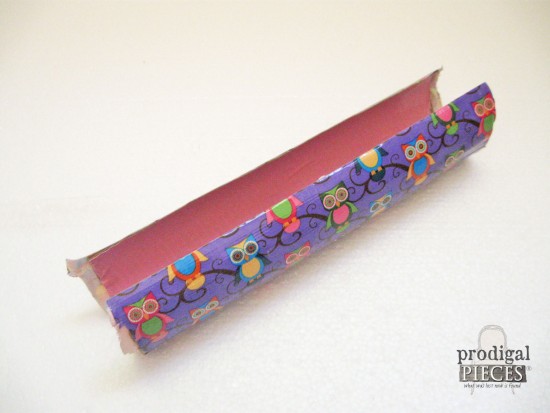
Line up your tape with the top farthest interior edge and smooth down, making sure to get rid of all air bubbles, if possible. Continue to add lengths of tape until you have covered the entire surface, overlapping slightly as you go. Here’s what you should have now…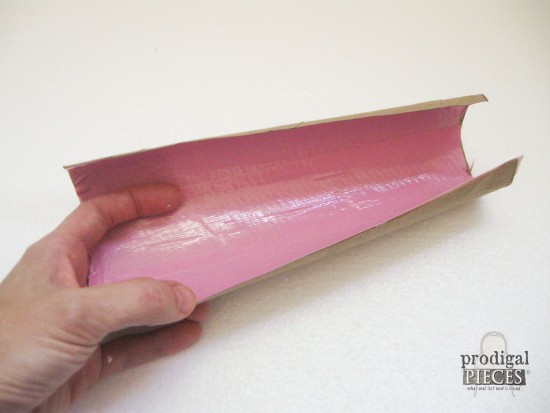
Now for the exterior. Follow the same steps, beginning on one edge and overlapping until you reach the other edge. You can even line up the pattern so it will look seamless too.
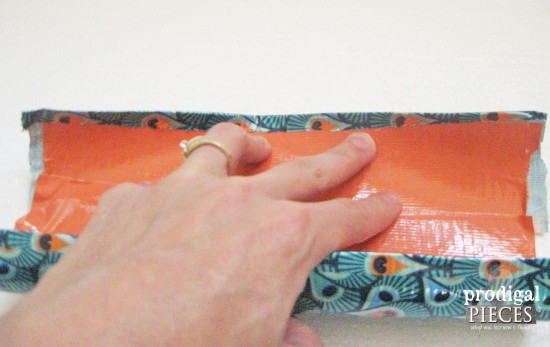
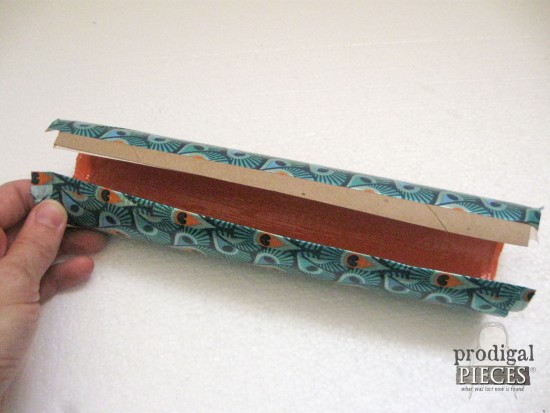
In some instances depending on your tube size, the tape will not meet exactly at the edge.
Because of this, I prefer a clean look, and added a binding strip to cover those edges. I did this by taking another tube-length of tape, and cutting it lengthwise then placing it half on the outer edge, and then folding the other half to the inner edge. If you know about sewing, this is like adding bias tape to your edges. This could be done with either the interior or exterior tapes. We’ve done both variations in the examples – have fun with it!
ADDING ENDS
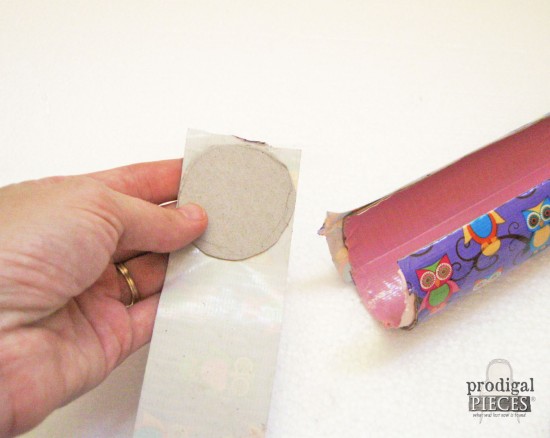
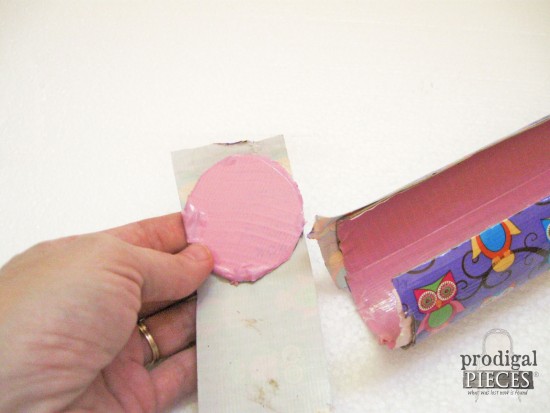
Next, you will grab your two end circles and place them onto your interior color tape, and then cut out.
Flip the taped circle over and place paperboard side down on your printed tape., and cut out. You will then want to trim the end edges of the tube and cirlces to encourage a clean fit.
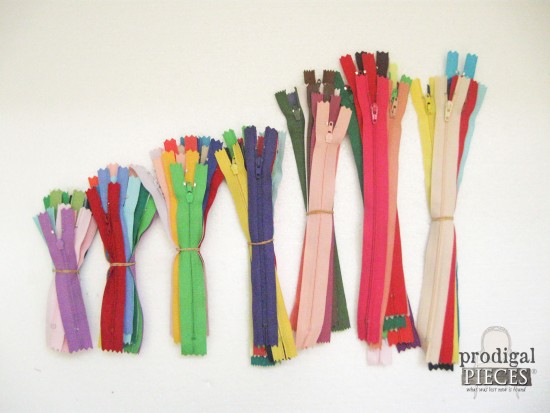
Now, it’s time to add the zipper. I craft and sew most all the time, so I purchase my zippers in bulk from eBay. You get a fun assortment for around $30 – a steal since most zippers can get pricey if purchased individually.
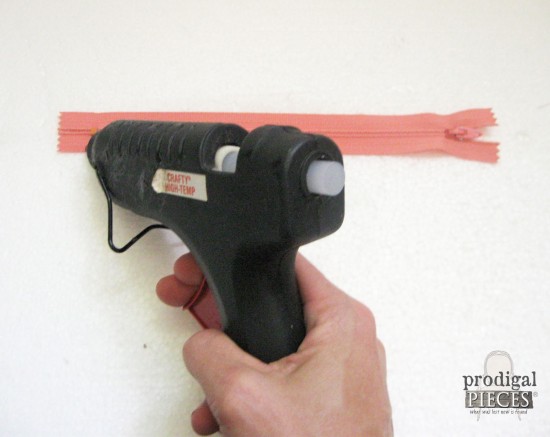
With your glue gun, run a decent size bead of glue down the length of one side of the zipper (caution: I strongly suggest adult supervision if you are using a high temp glue gun – no need for burnt fingers!)
Quickly apply the zipper to one edge of the tube and press firmly to set the zipper. Make sure to leave enough space between the teeth of the zipper and tube edge for the zipper head to pass through – approximately ¼” or less. Let it cool completely, then repeat the glue and attach to the other tube edge.
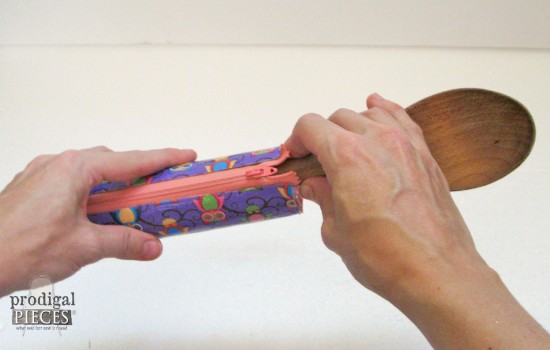
TIP: I used my wooden spoon to reach inside the tube and press the glue down evenly after attaching the second side to encourage good adhesion.
Let the glue cool down completely before preceding. If you happen to not wait long enough and disrupt the glue, just do a bit of touch up and make sure the zipper is firmly attached.
FINISHING UP
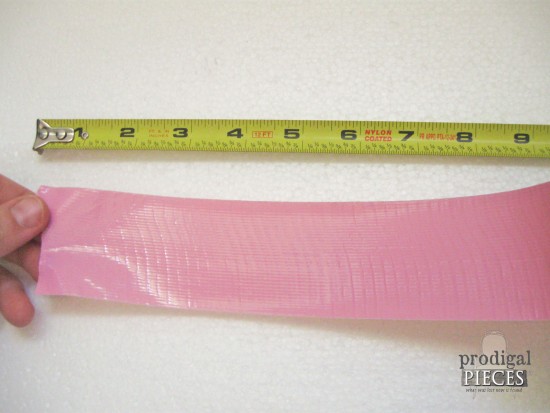
Let’s add the ends. In order to do that, you will need a 7″ length of tape (either same as interior for contrast, or exterior, you choose).
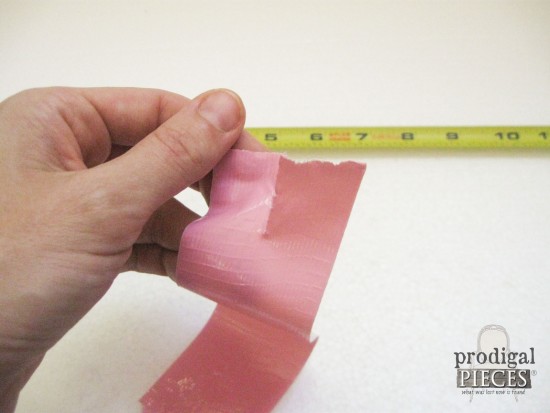
Cut that 7″ piece lengthwise to get to strips as we did for the binding edge earlier.
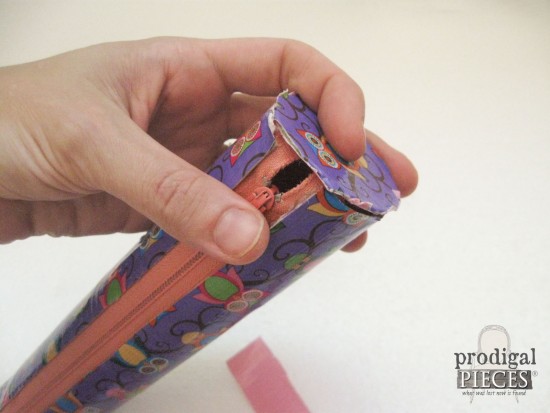
Place your tape-covered circle on the end, making sure your circle is a resting a tad bit larger than your tube.
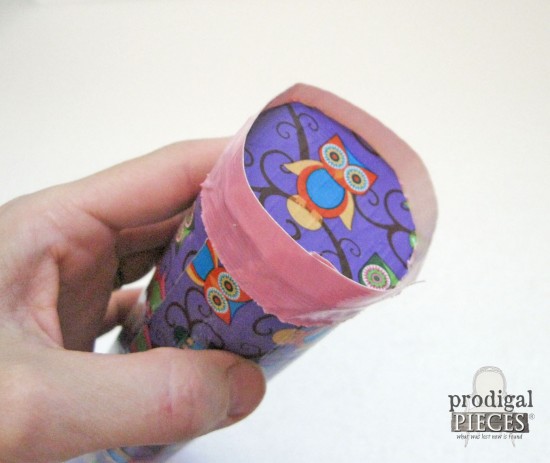
Take one of the 7″ tape strips and wrap around your tube. I like to start at the bottom, so the seams are unseen.
Fold down the tape to secure it to the circle. You could try to cut your strips to a thinner size for less bulk on the end, but I tried to keep this as kid-friendly and durable as possible.
And you’re done! You could add a zipper pull using beads or whatever floats your boat, or leave simply as is.
My kids had fun creating their own design and making something uniquely their own.
POUCHES GALORE
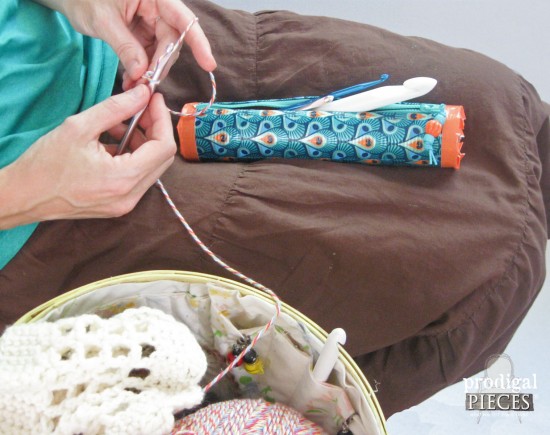
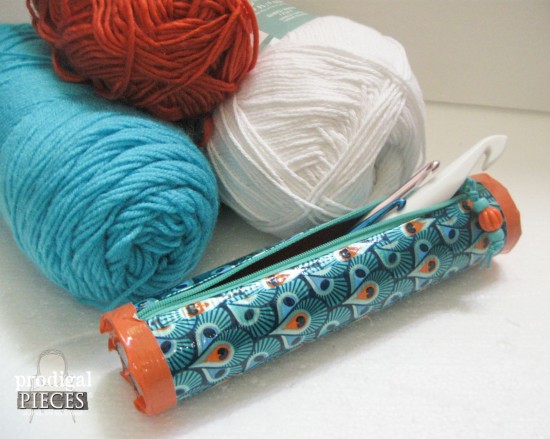
Even I got in on it and made myself a crochet hook pouch. This thing is perfect to keep those hooks from getting lost and rolling all over.
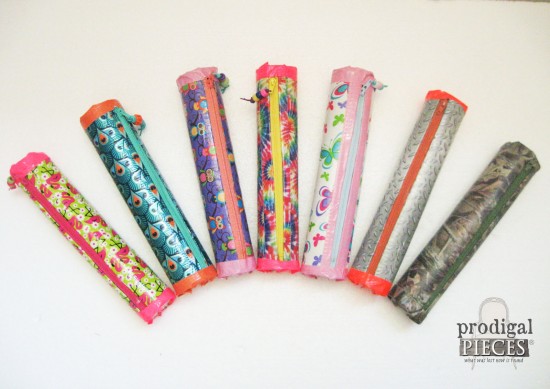
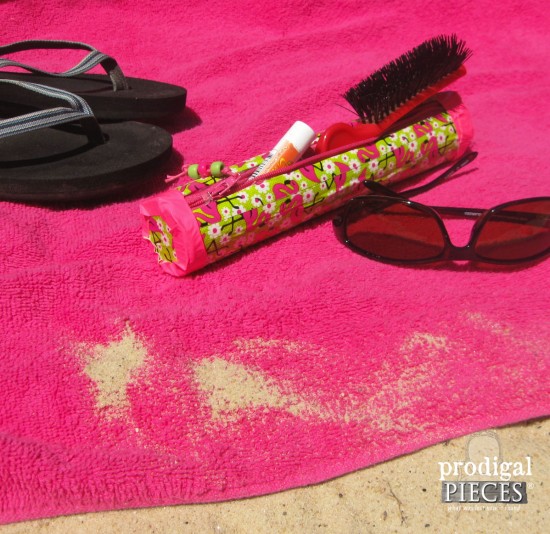
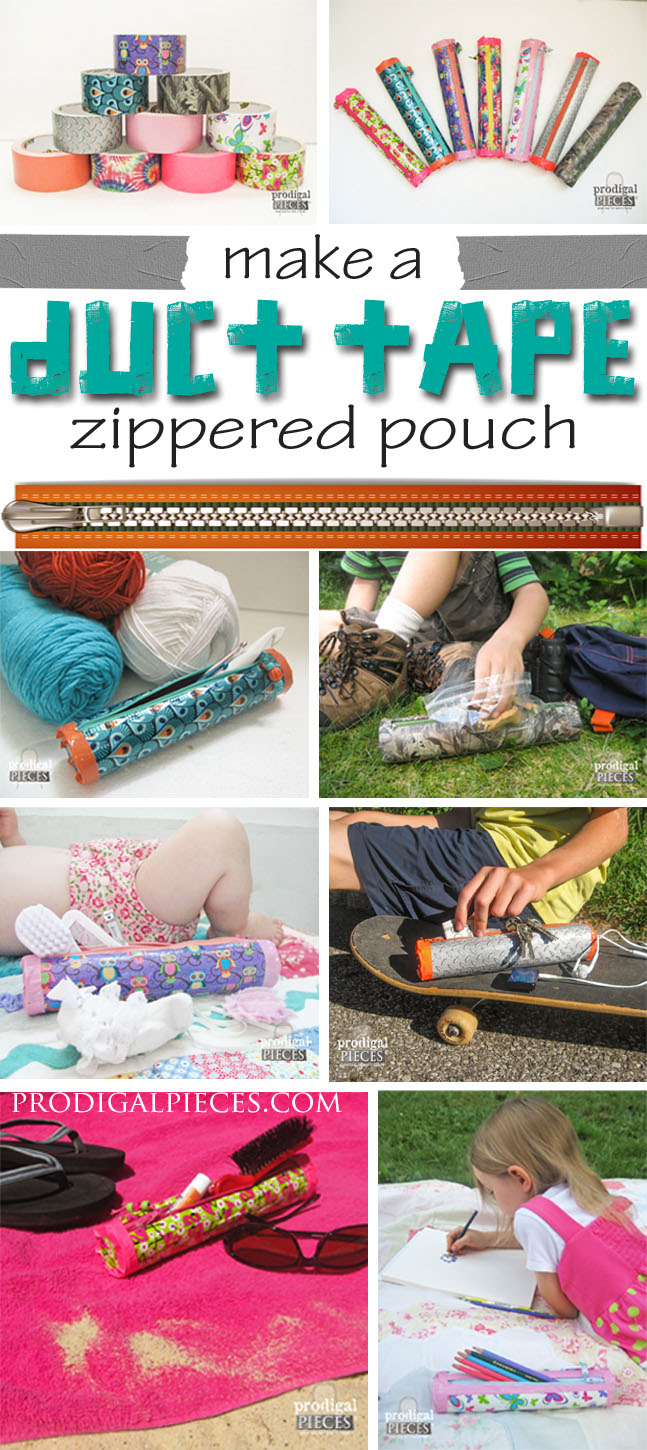
We had fun coming up with all the ways these pouches are useful:
Beach Essentials (Flamingo and Neon Pink)
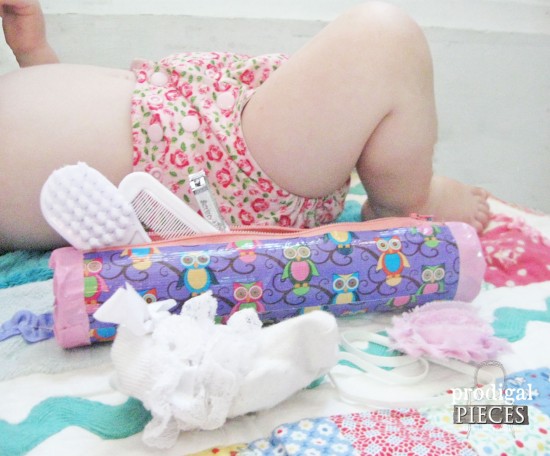
Baby Essentials (Pink and Retro Owls)
Crafts (Blue Peacock/Orange)
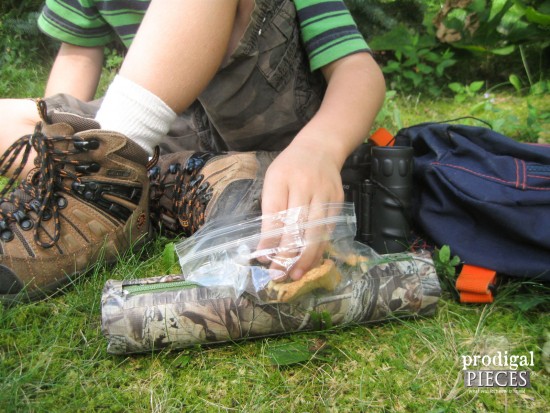
Snacks (Camouflage/Neon Orange)
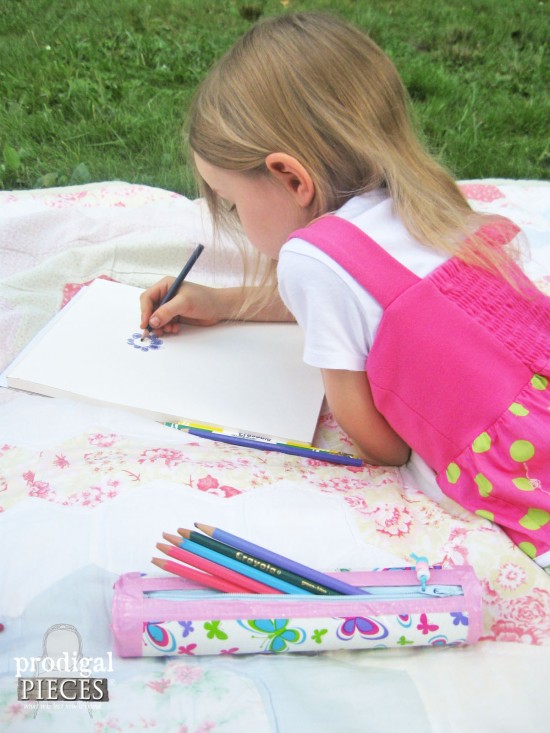
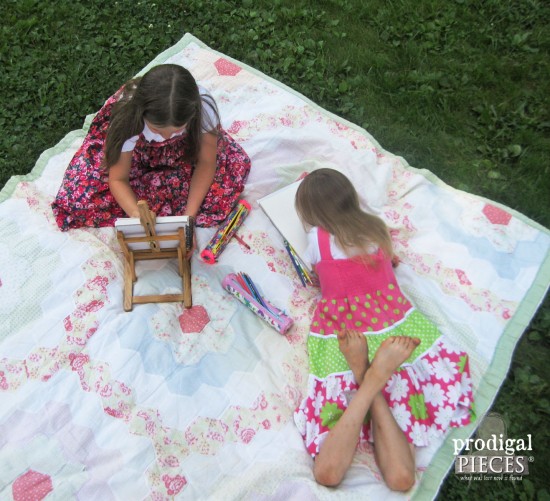
Pencils/Art supplies (Butterfly/ Baby Pink)
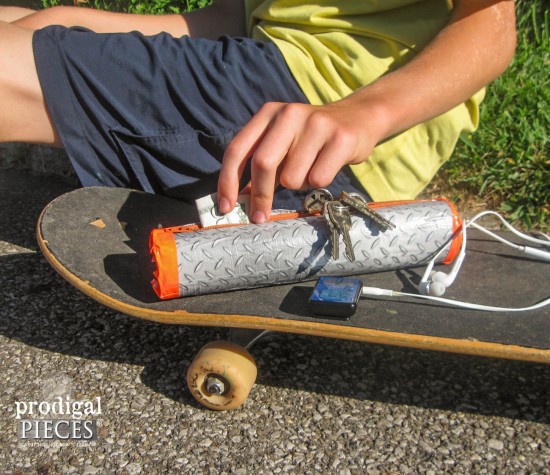
Day Trip Essentials (Diamond Plate/ Neon Orange)
I hope you enjoy making your own pouch and we’d love to see what you do with yours – share your creations with us!
Make sure to pin and share this DIY zippered pouch tutorial so you can find it later!
To get these DIY tips & tricks in your inbox, be sure to sign up for my newsletter. PLUS, you will get your FREE Furniture Buying Checklist and special discount to my shop. Until next time!

so fun! i’m going to share this with our school’s art teacher!
i especially like the step of gluing in the zipper! wish i could do that in the pairs of pants i have in my mending pile!
Yay! You can hot glue anything…just sayin’. 😉
Would I like to tap into that creative genius brain of yours? These are A-D-O-R-A-B-L-E and so is how you staged them for photos.
Creative or crazy? 😀 It’s fun to get to play with other mediums. Thank you, Marie! BTW, what’s a vacation?
I wouldn’t even attempt to sew a zipper on something, but this is doable. I can handle tape and a glue gun! :o) Very creative. I am going to make some with my munchkin. Thanks for the great idea!
Hee hee hee…I’d love to see what your and sweetie create!
Very cute! You could hide the crinkles on the ends with another cardboard circle laid on a larger circle of duct tape, so the crinkles end up on the tube body. Then cover that with a duct tape strip / band to help smooth it over… I’m going to try this! Thanks for the adorable DIY!
Thanks! I actually like the crinkles, but if you want to try that, go for it. And have fun! 😀