When springtime comes, it’s always fun and refreshing time of recovering from winter and watching everything blossom anew. It give us a chance to update and improve so we can sit back and enjoy our summer days to the full. One particular project I’ve been aching to tackle is my garden shed.
It’s long since needed an update along with repair and some major DIY elbow grease. For the previous owners, it is a playhouse for their kids. Apparently they were the coolest kids on the block back in the 70’s because the parents have the shed wired for TV. Too funny!
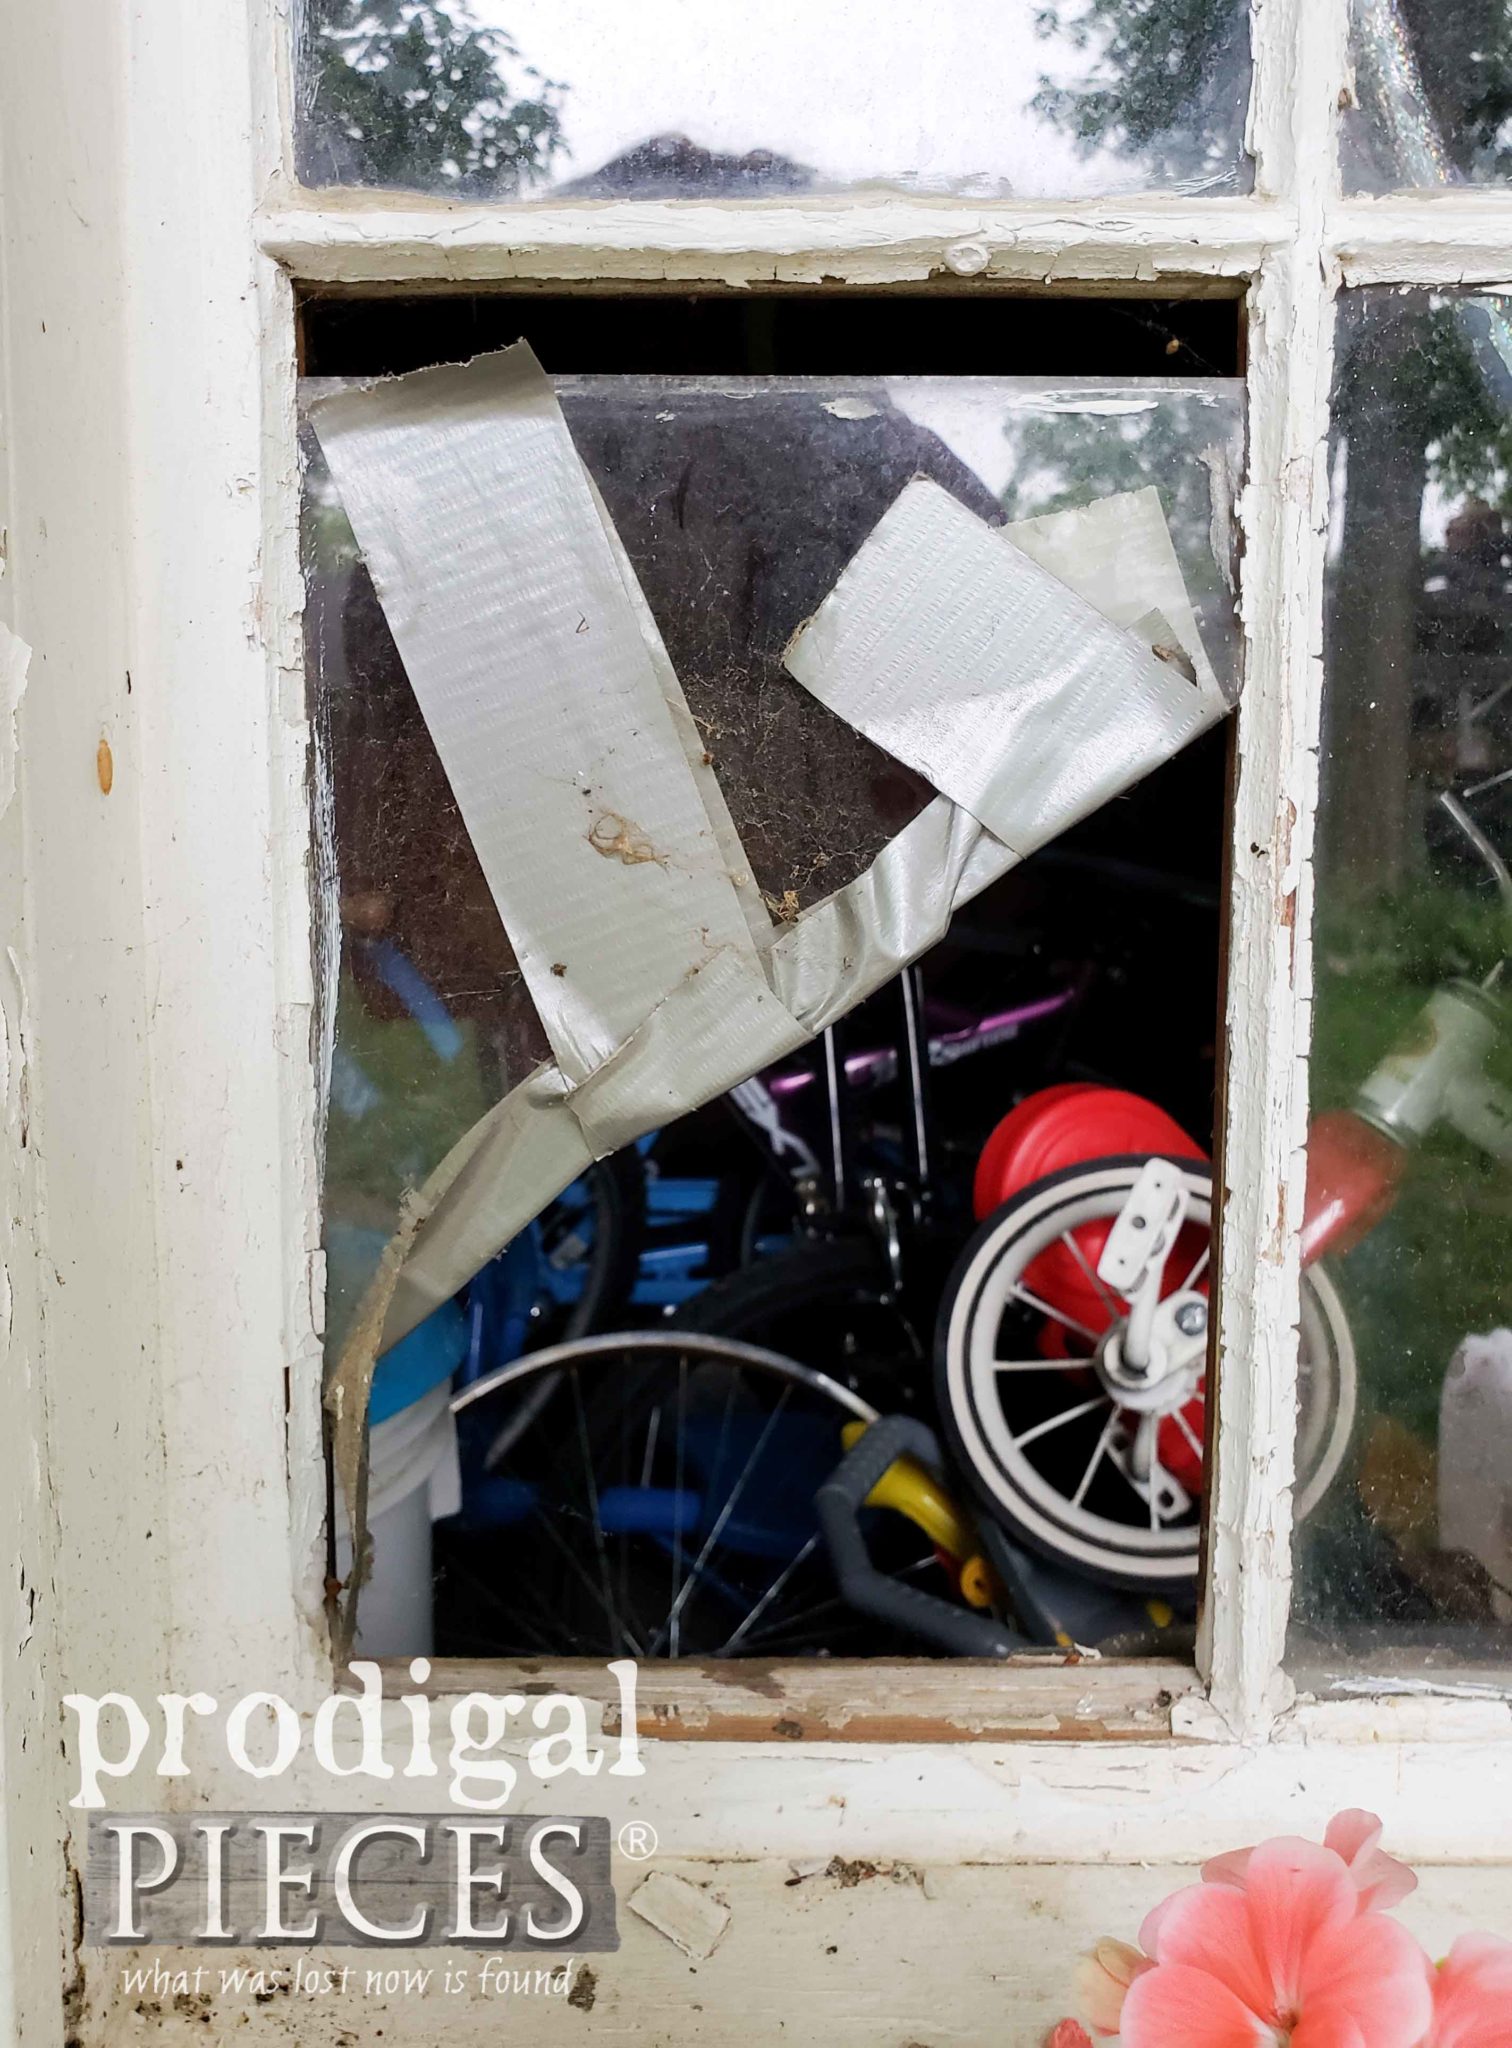
Though I call it a garden shed, it’s more of a storage shed for now. I will refrain from showing you the scary insides as of yet because the floor is rotting out, and my kids have a hot mess. No joke.
BIG JOB
My goal was to tackle it all last summer, but our backyard makeover cup was full with my compost bin build, our fire pit redo, and then our garden arbor area. Both of those posts are fun to read and full of DIY tips and tutorials.
Since we have been feverishly trying to finish our kitchen and have other projects that need done before winter, I’m not sure I’ll get all that I want done with it. I’d love to turn it back into place for my kids to have a quiet place to just be. However, today I’m tackling the front exterior.
BACKSTORY
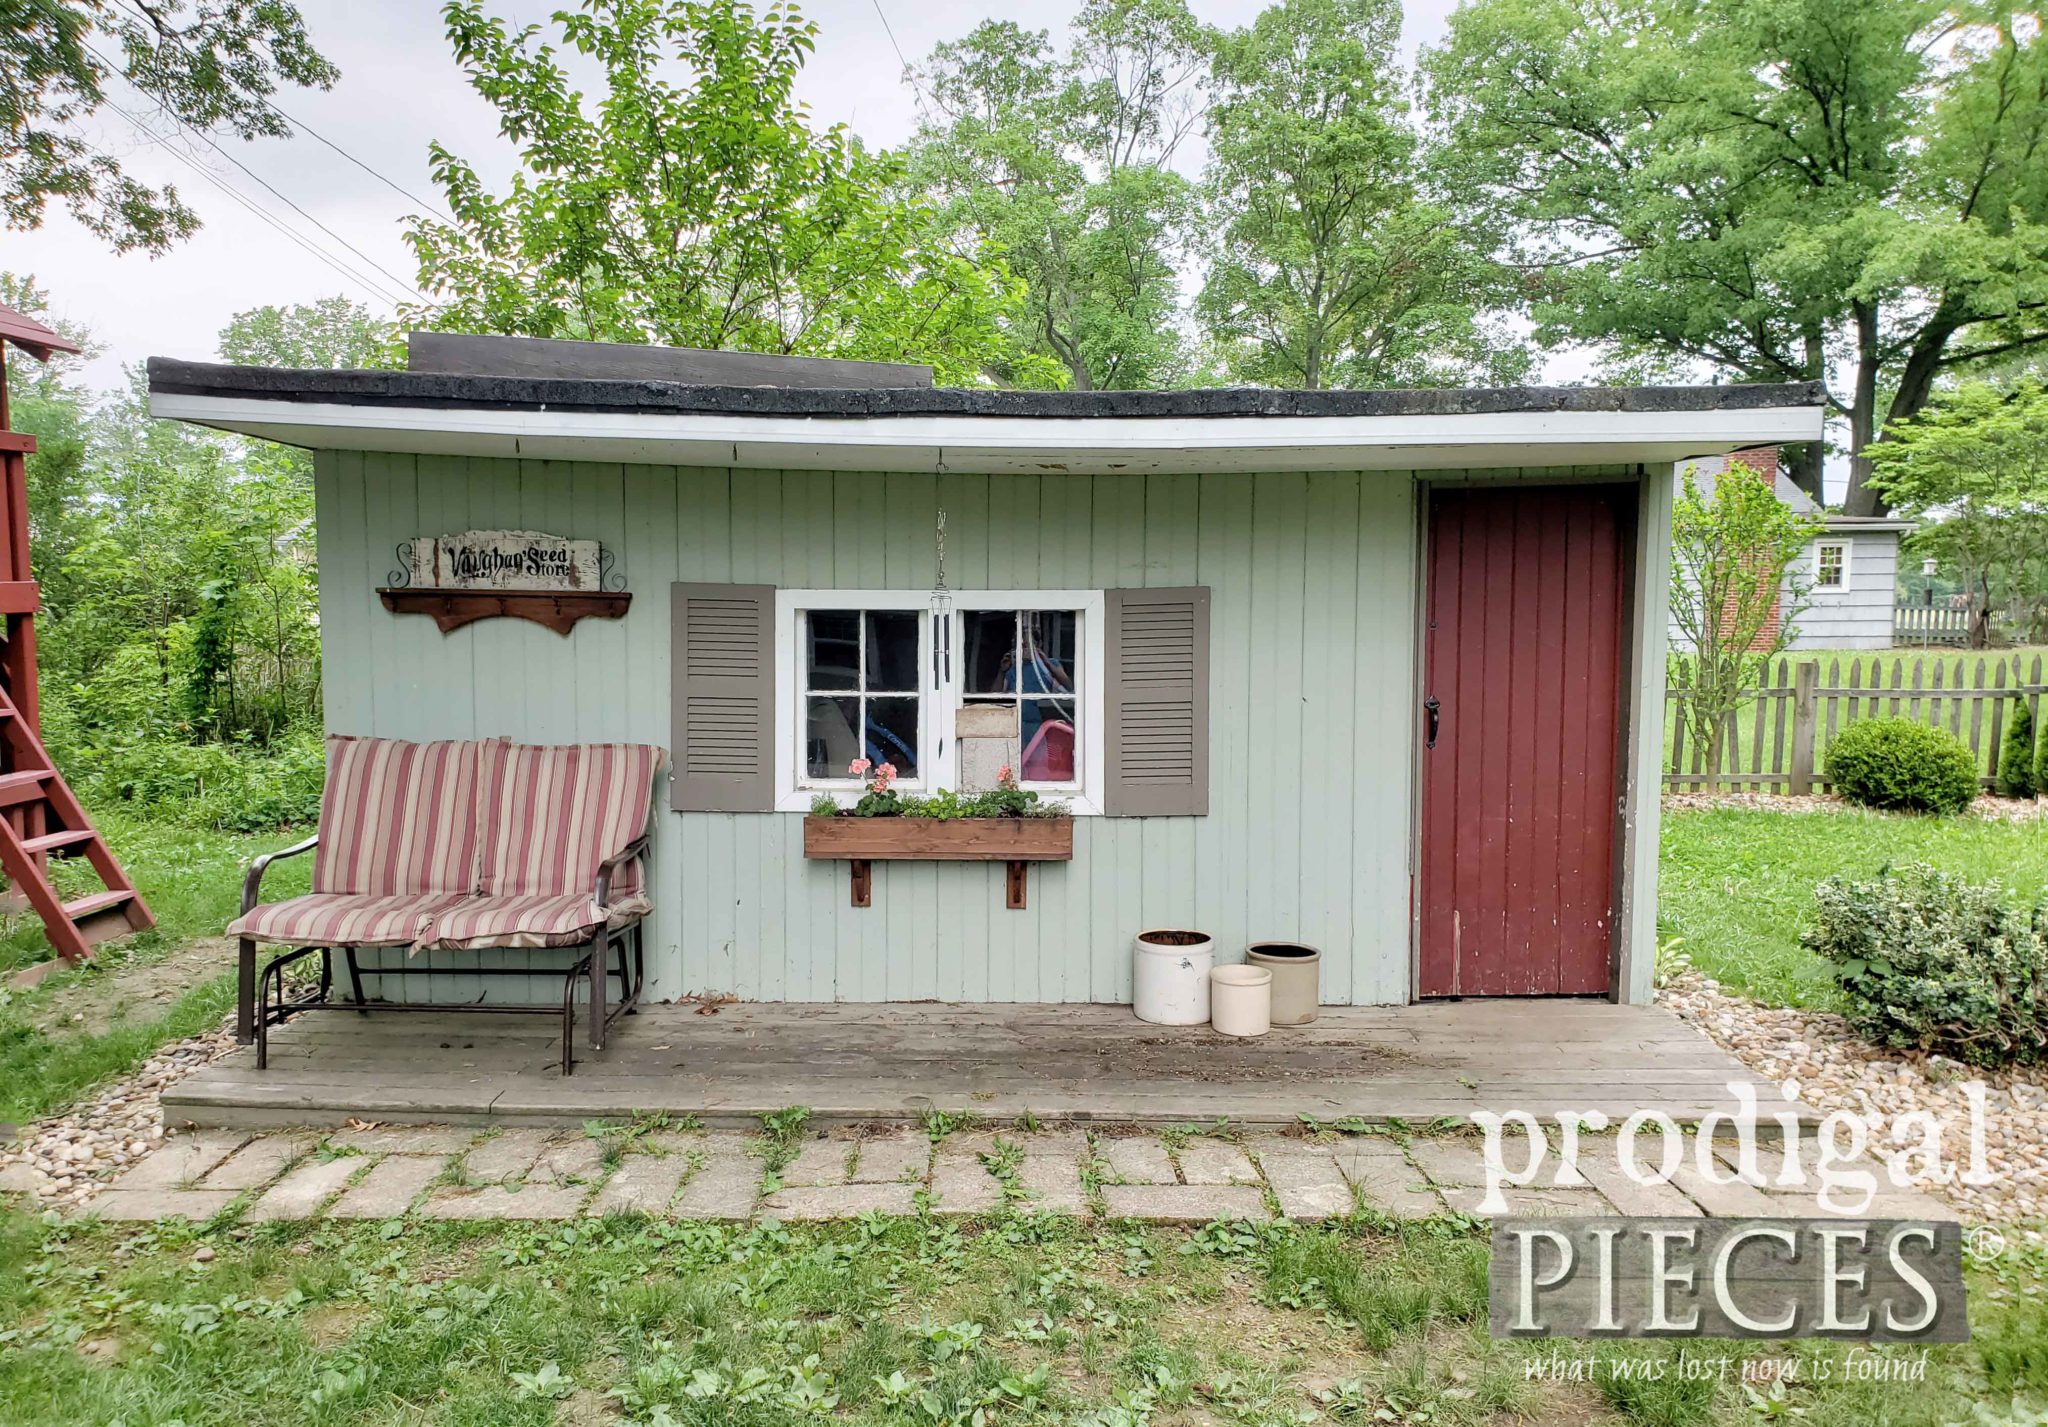
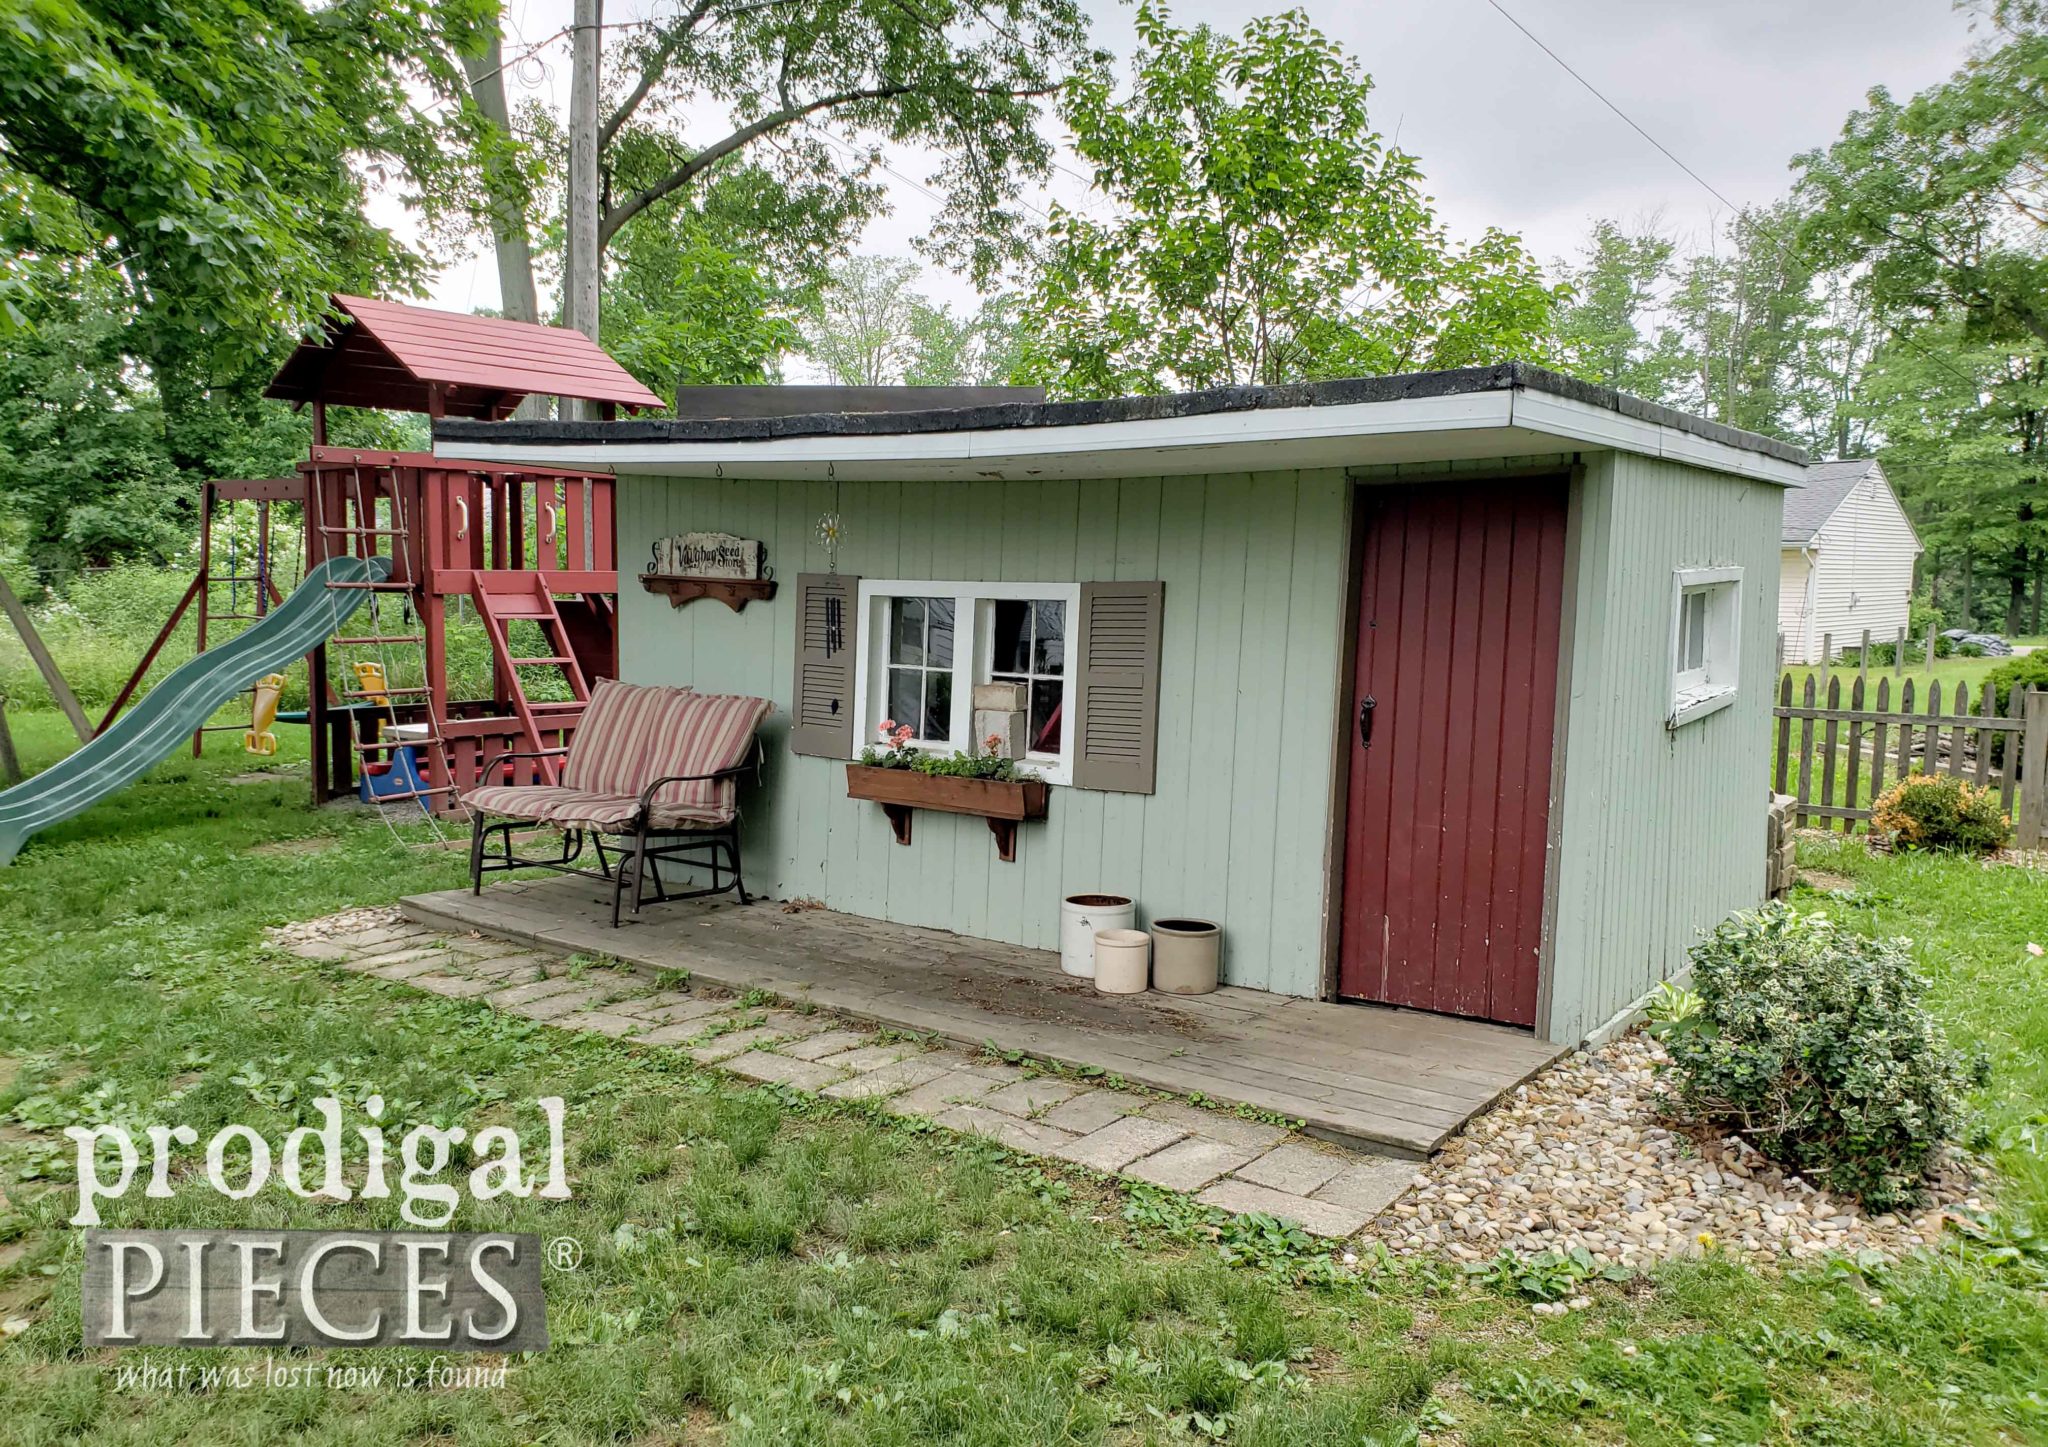
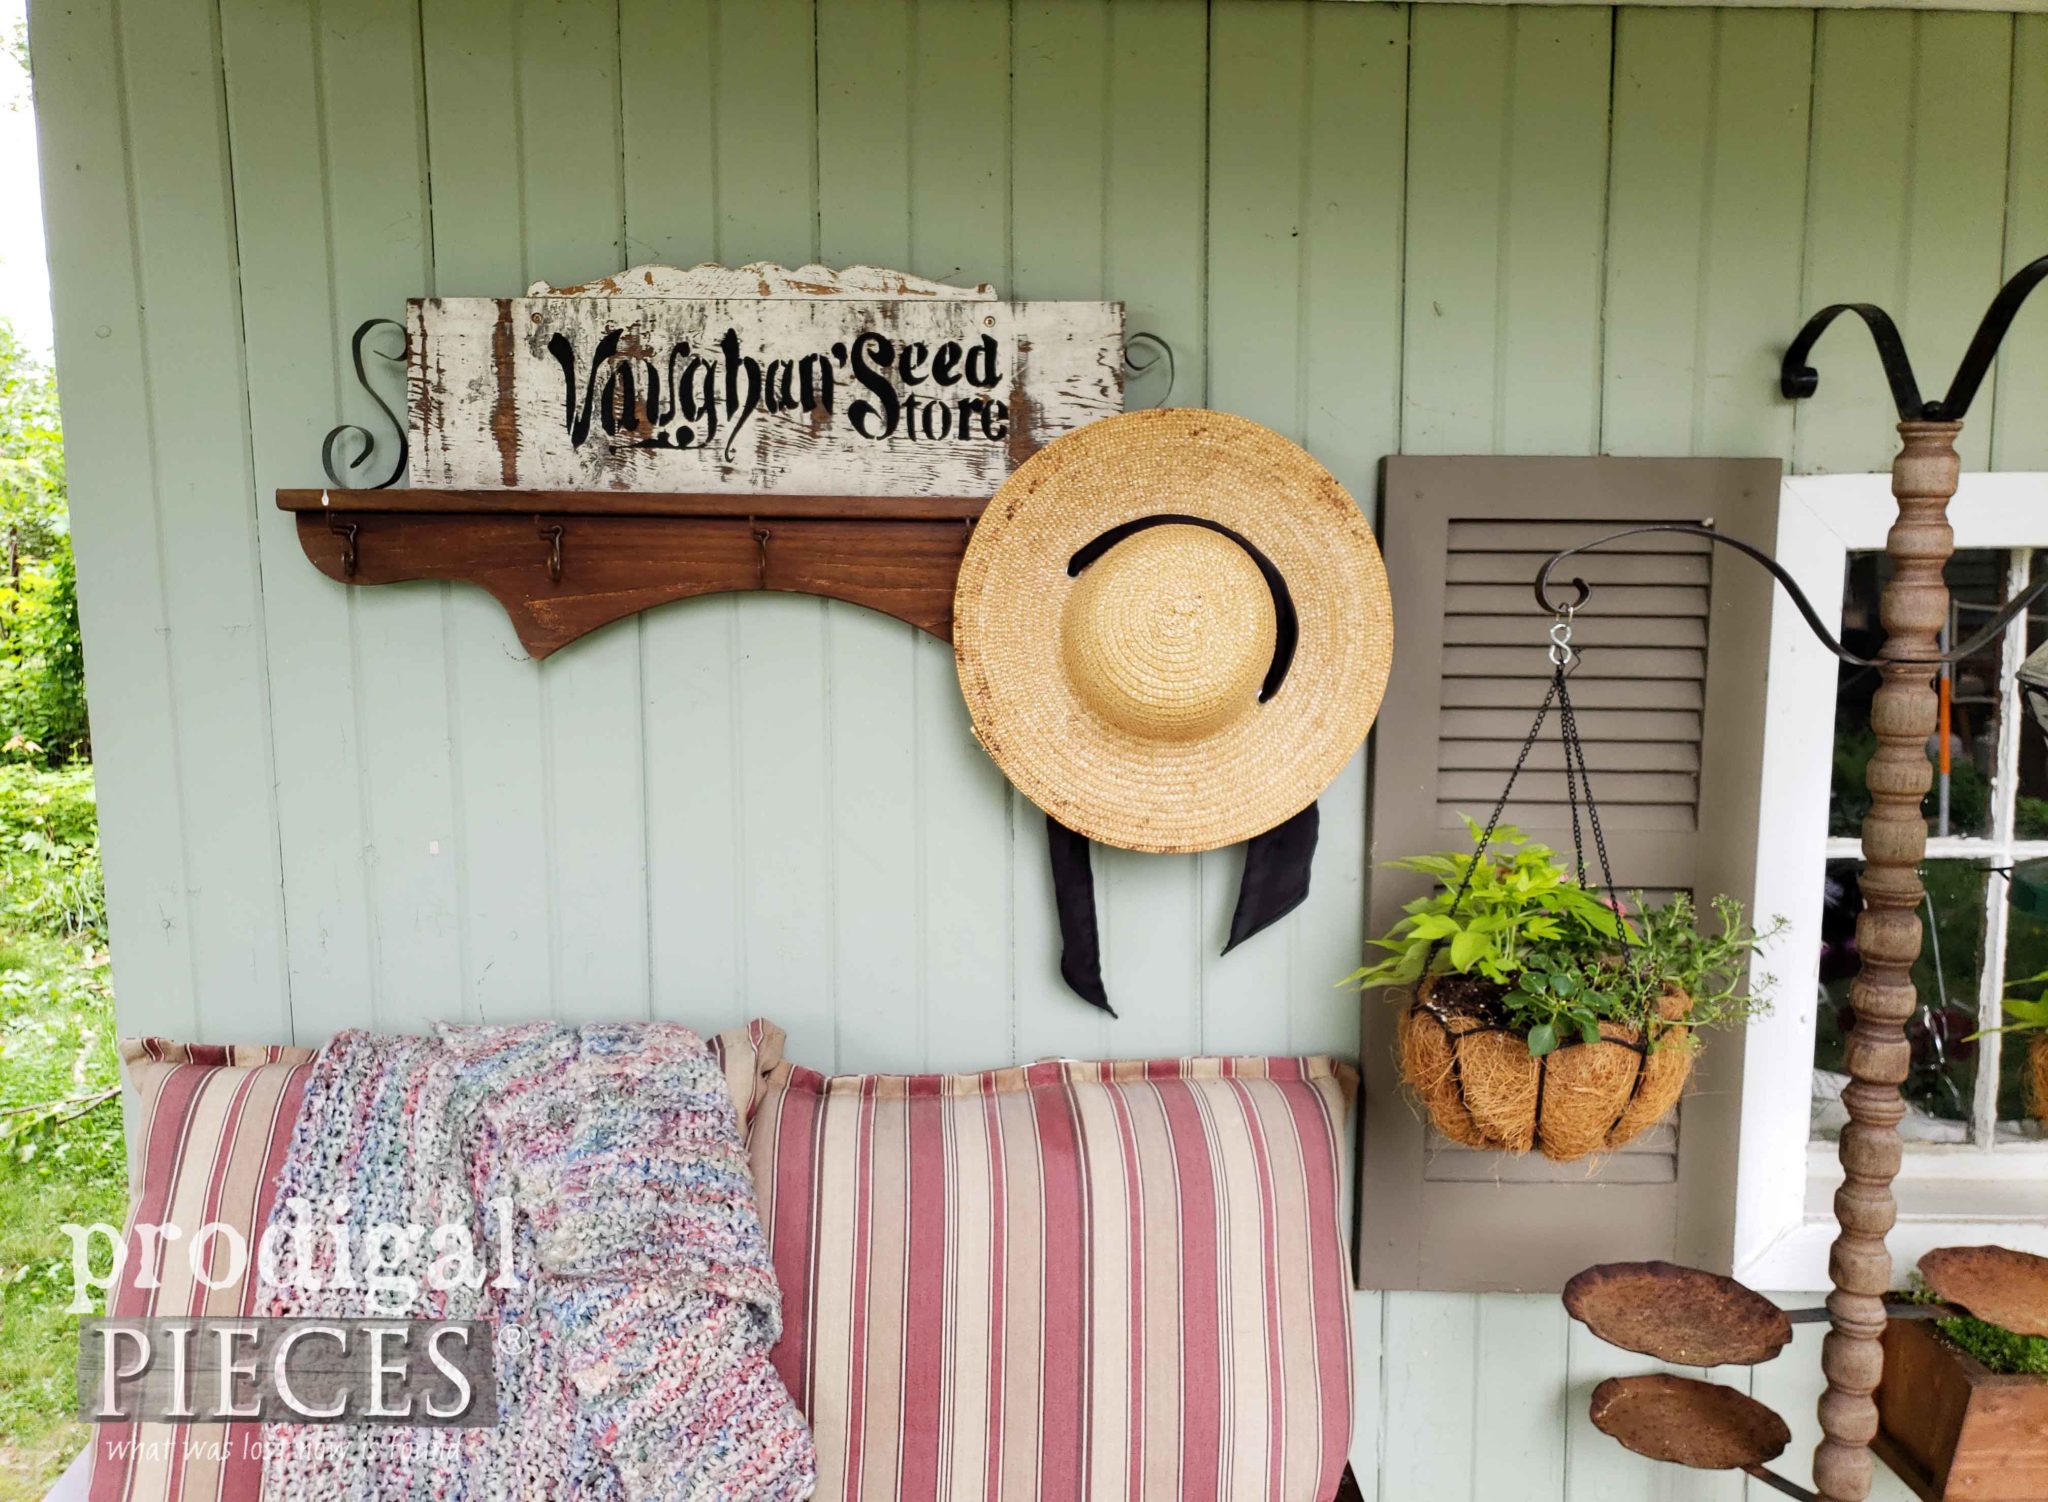
What you’re looking at is how our little shed has looked for the past few years. Last year, I bought the used glider rocker to replace the blanket chest that used to be there and I redid in this post. I plan to make a new cover for the glider cushions when we decide what color of siding we will be using on our house and shed. Until then, it works for now. Last year I dug out everything around the shed, added landscaping fabric, new plants and stone.
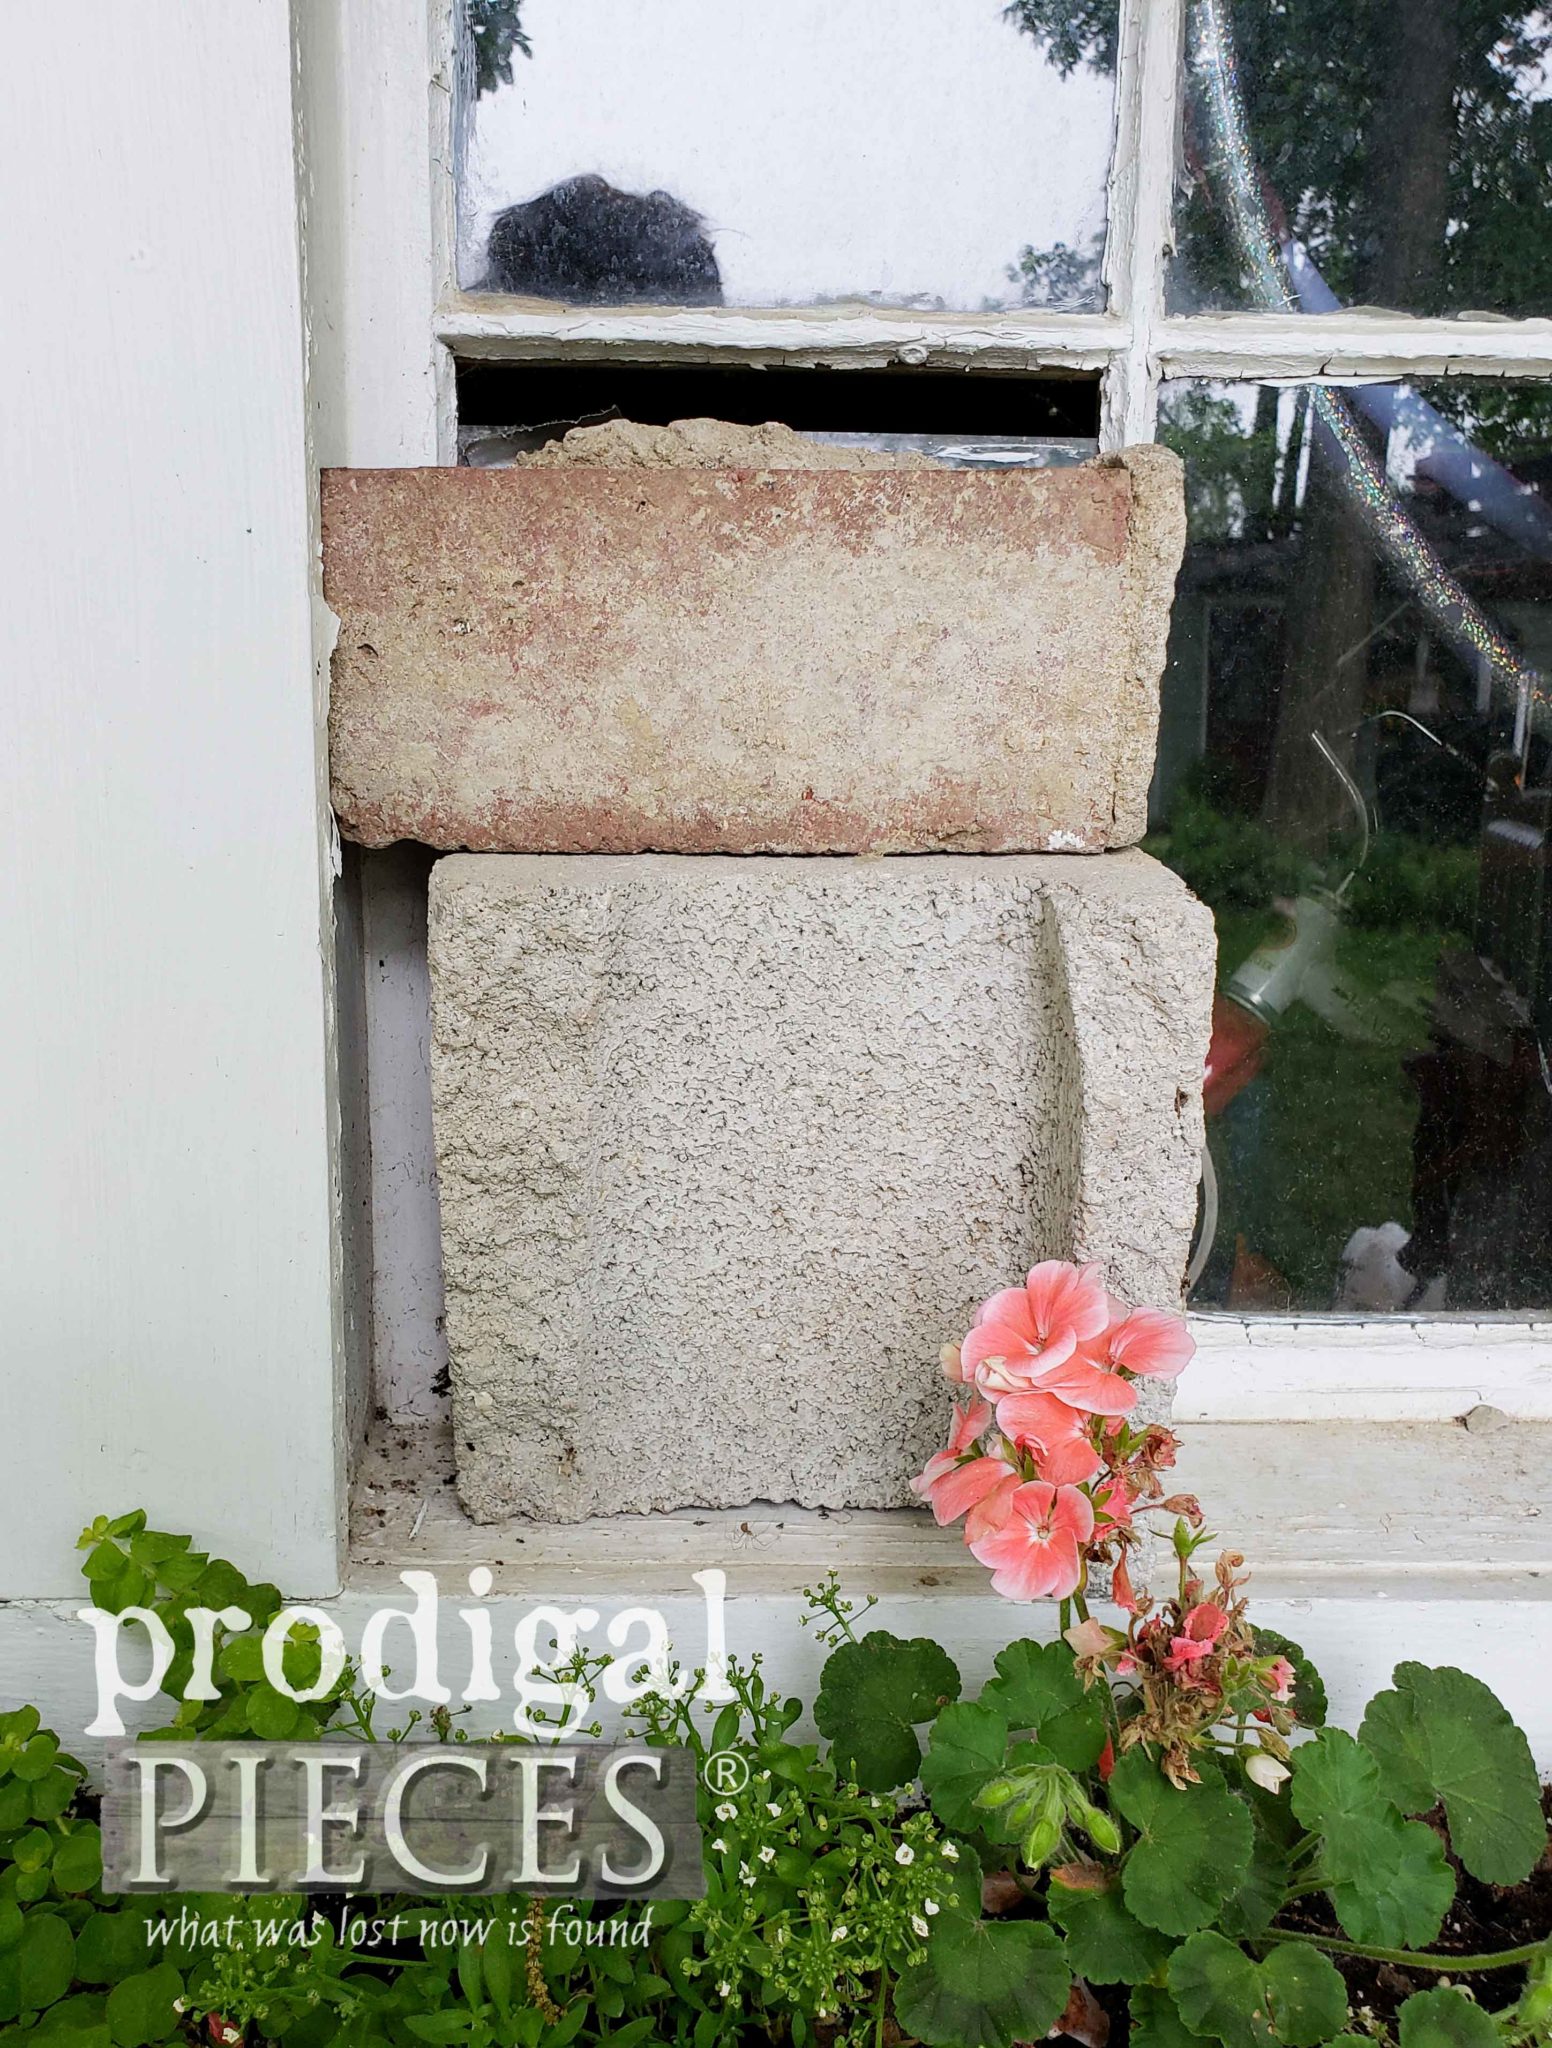
The window has been broken for years and we have bricks up to keep the cats and squirrels out. See the hot mess inside I mentioned? Also, a couple of years ago we replaced the deck, and it needs a good cleaning and update.
So, where do I begin? Well, if you read my arched window post on how to replace glass in a window the old school way, you’ll know replacing that broken pane is a cinch. I just remove the old glazing and broken window, replace the glass, add glaziers points and glazing and I’m done.
DECK
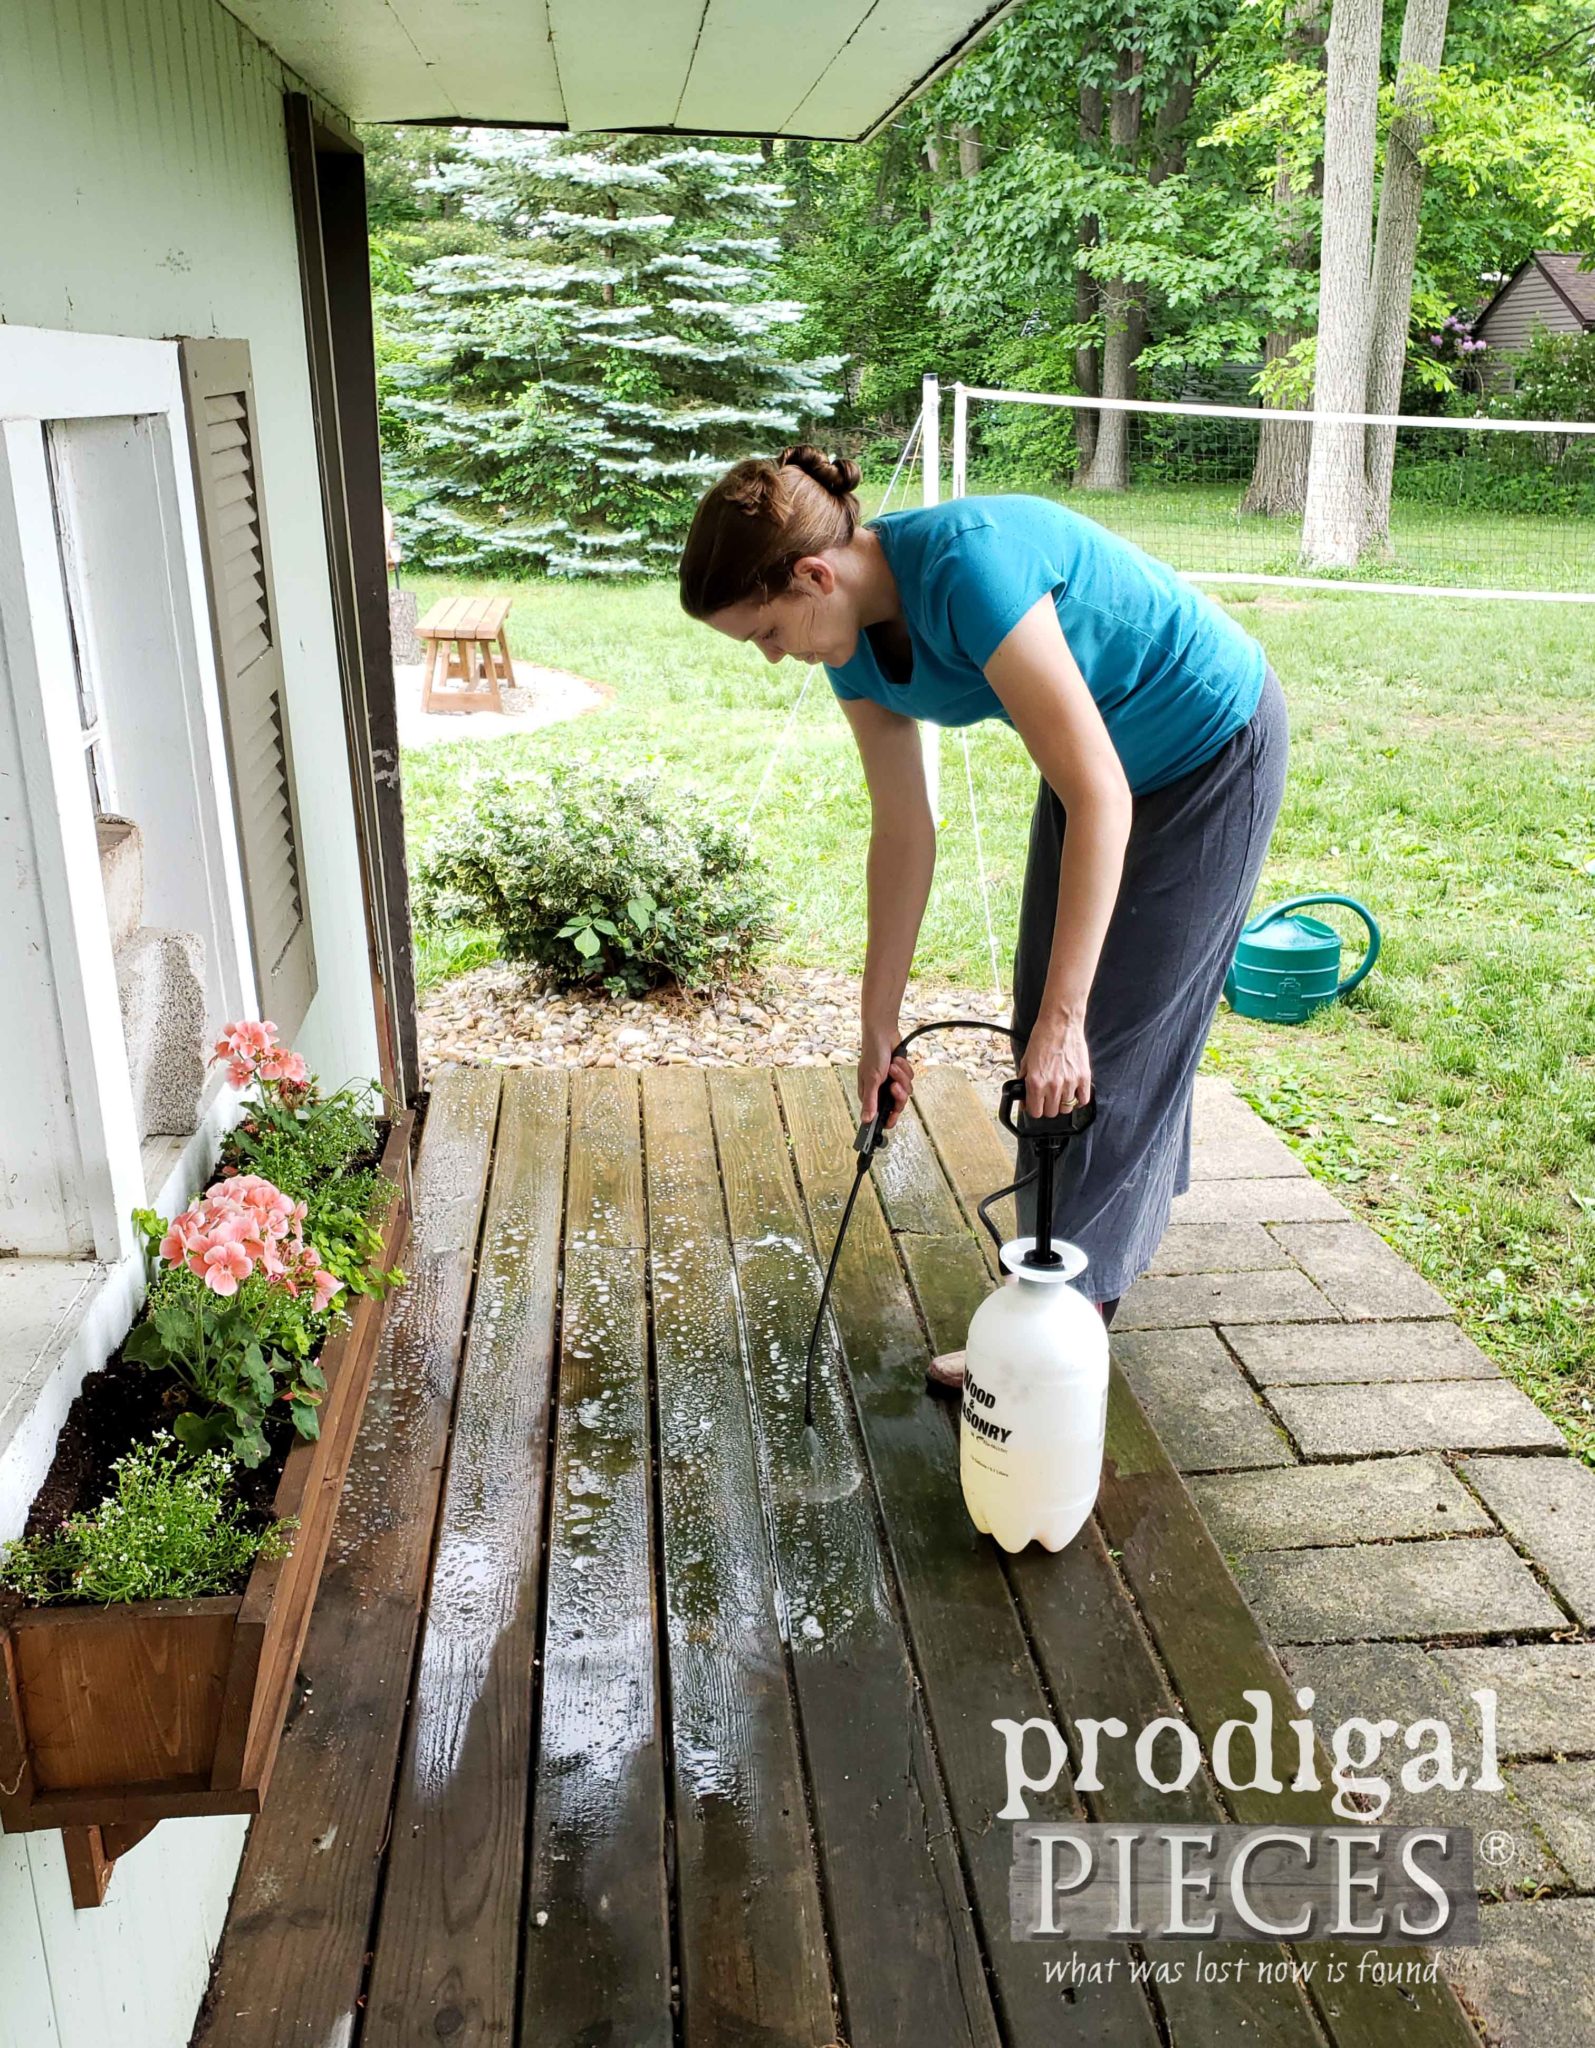
Now, for the deck. I wanted to give it a good cleaning and stain. First, I wet the deck down with a water hose, and used a pump sprayer with deck wash applying it liberally.
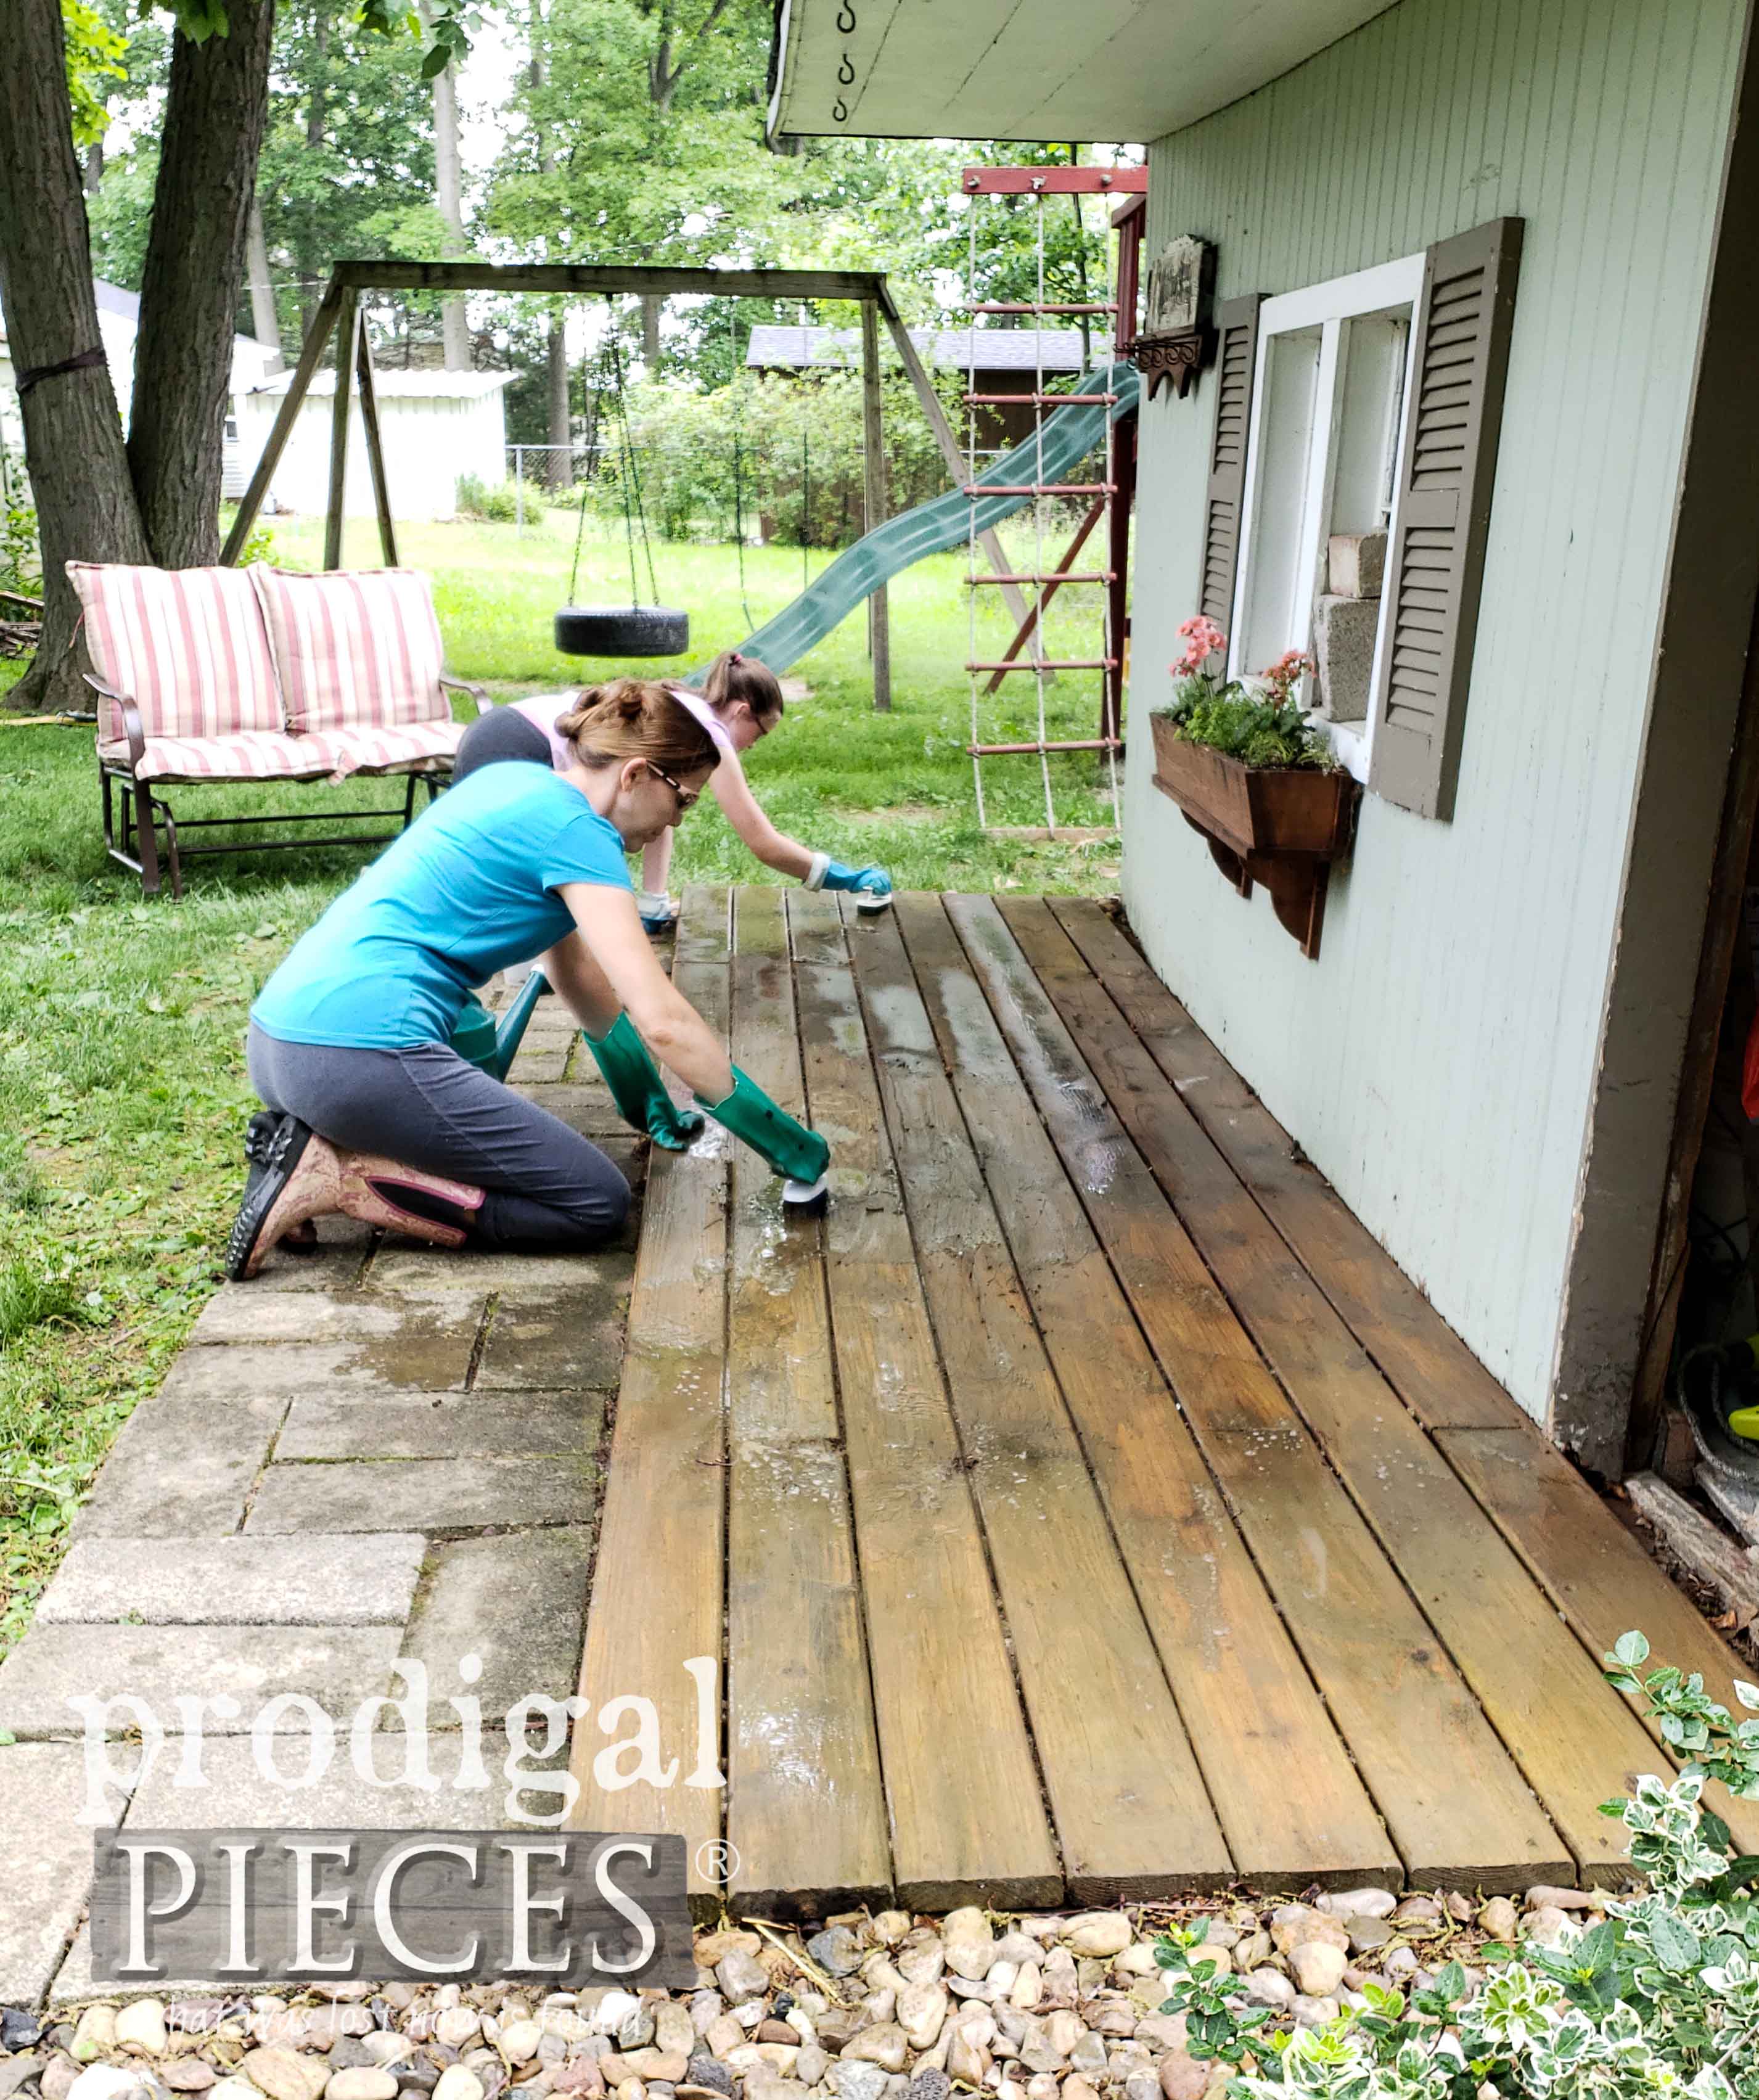
After the deck wash sat for about 10-15 minutes, my daughter and I scrubbed it down.
Once clean, the garden shed deck needed to dry before I applied stain. So, while that is happening, I touch up the paint of the door, trim, shutters, and anything else that needs a refresh.
NEW ADDITIONS
In addition to the paint, I decided to finally put a vision into play for this piece that’s been in my stash since my first days of blogging. Any guesses as to what it is?
Well, if you can’t guess, don’t worry. I don’t think I would have known unless shown. It is the back off an old Morris rocking chair I was given ages ago. You can read the beginning of this chair’s story here in this post where I repurposed most of it. Then for fun, take a peek at these posts to see what happened to the rest of it.
In haste as I was battling the weather, I skipped showing you how I stained the deck, but really it’s not rocket science. I used a 3/8″ roller nap on my paint roller with broom handle attached. First, I cut in with a paint brush along the wall, edges, and cracks. Then, I just rolled it on.
THE REVEAL
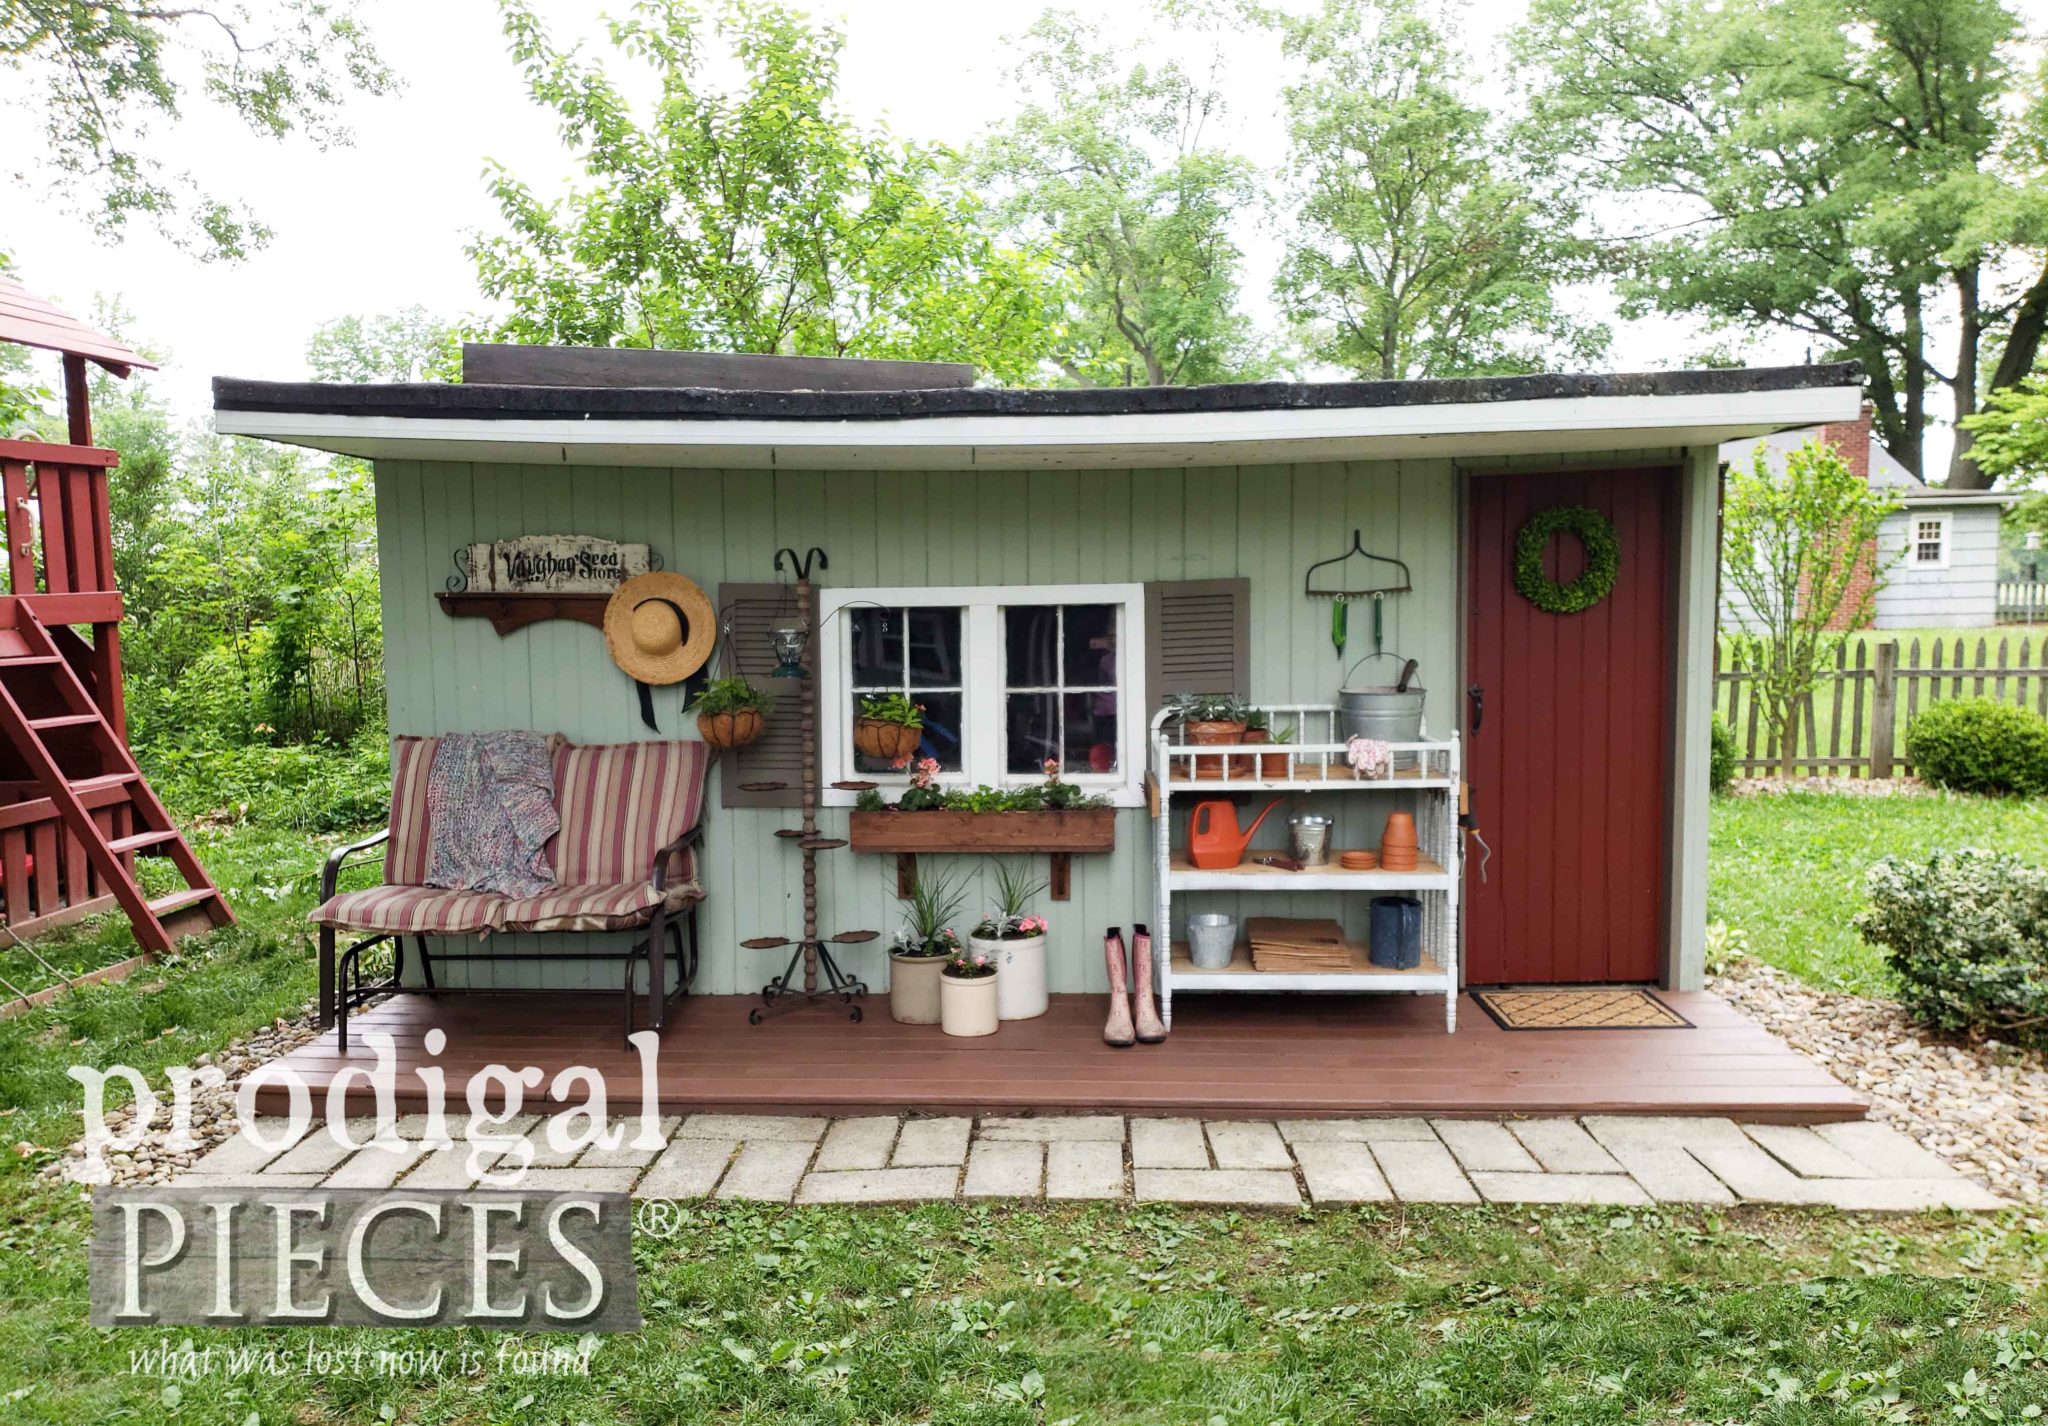
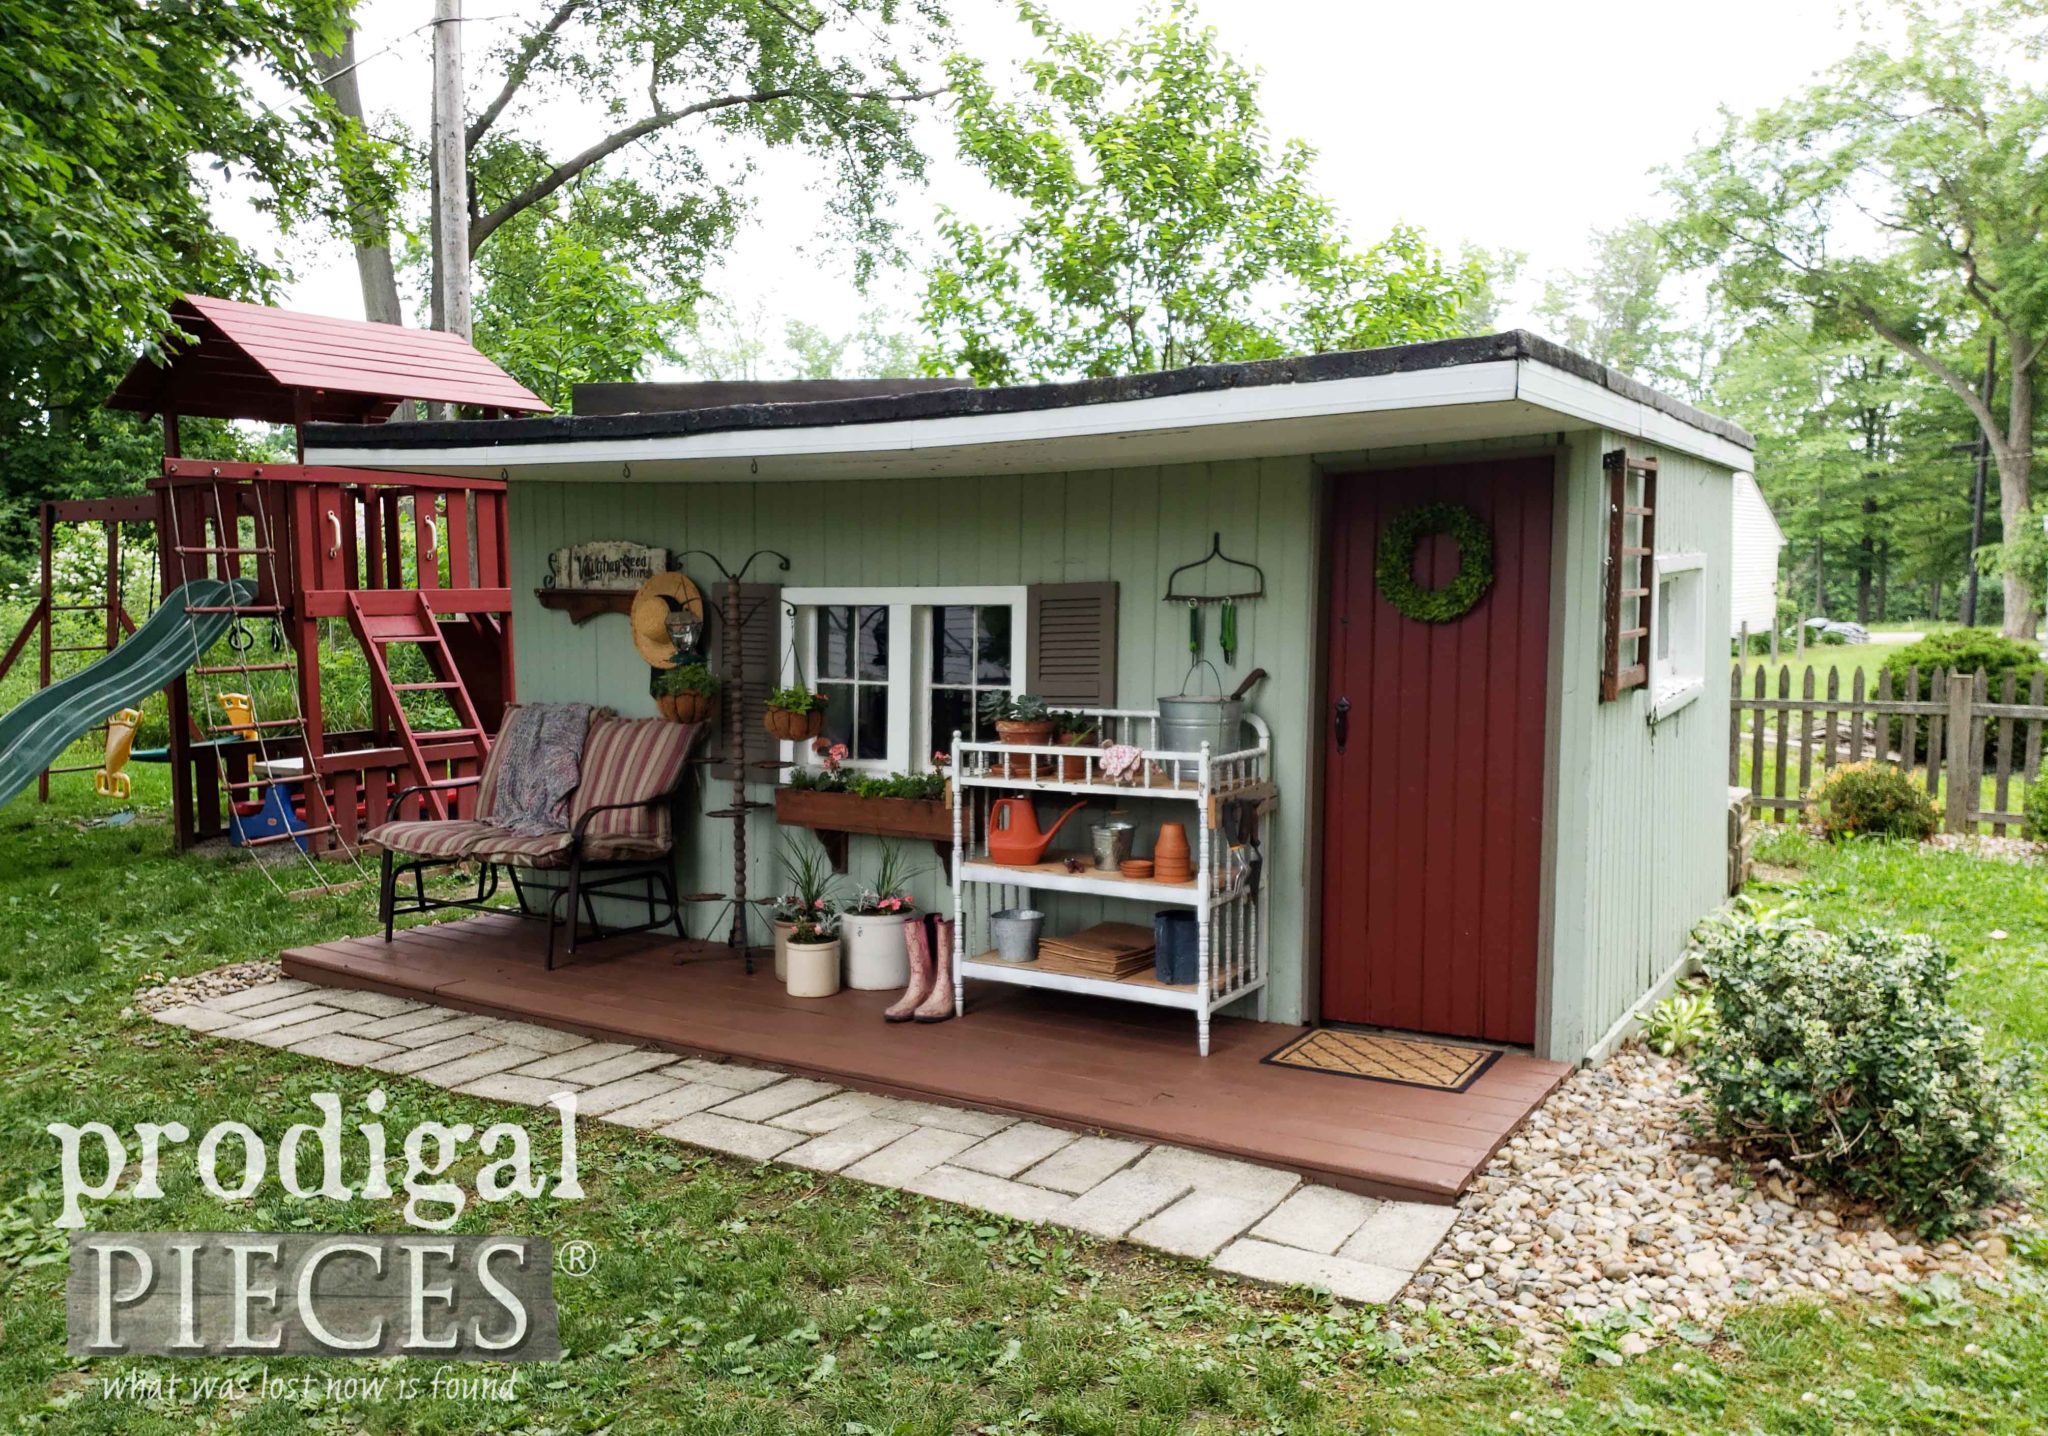
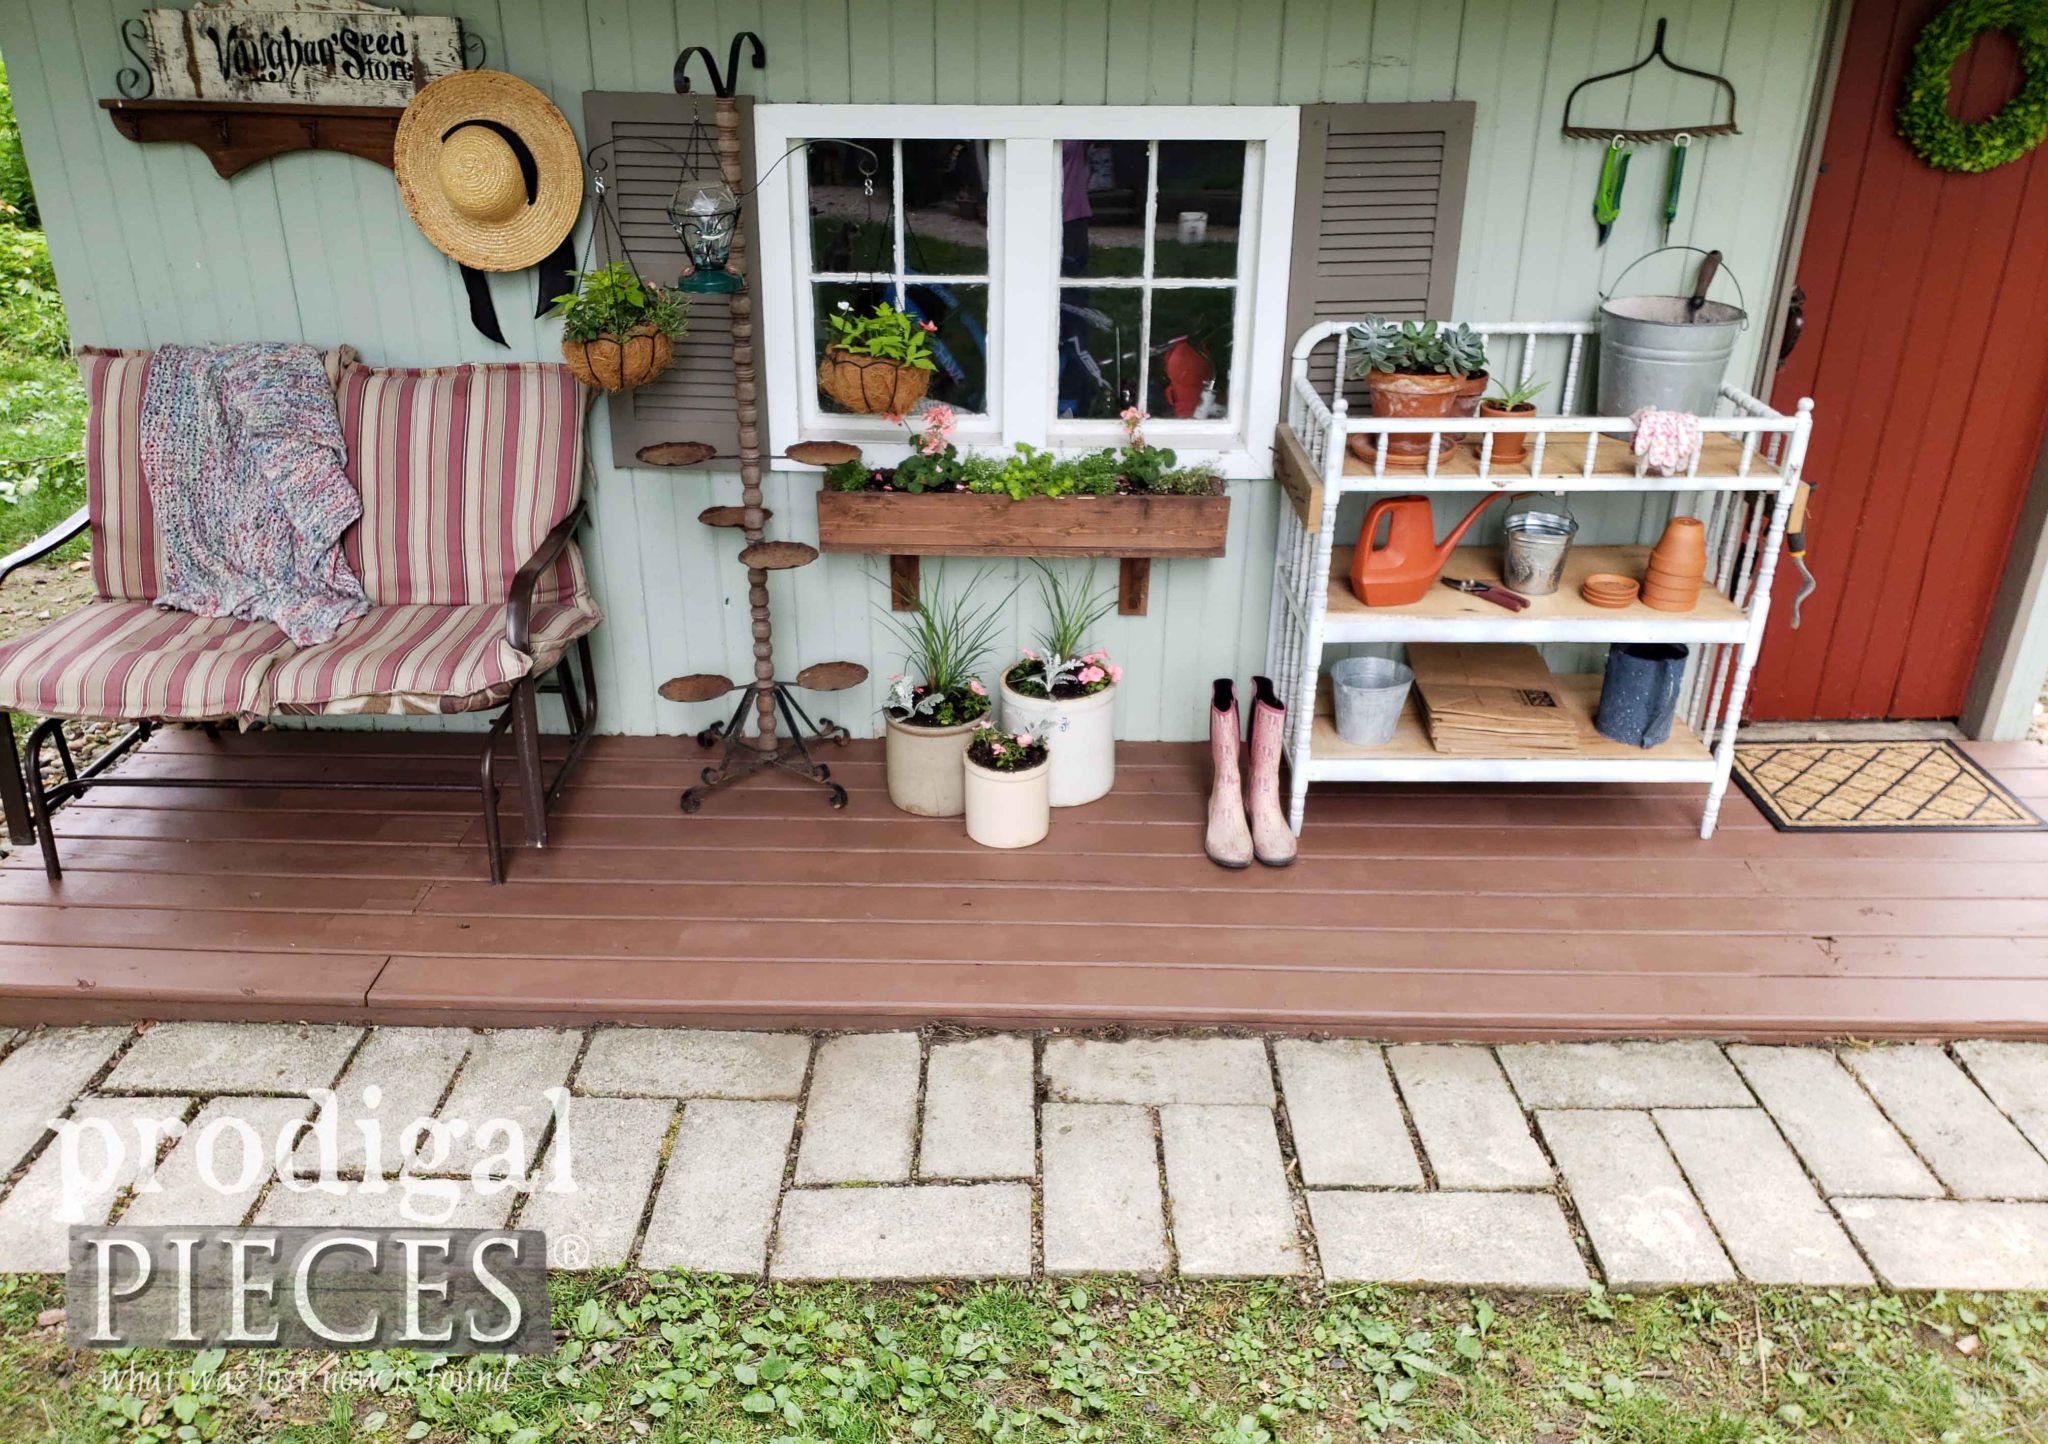
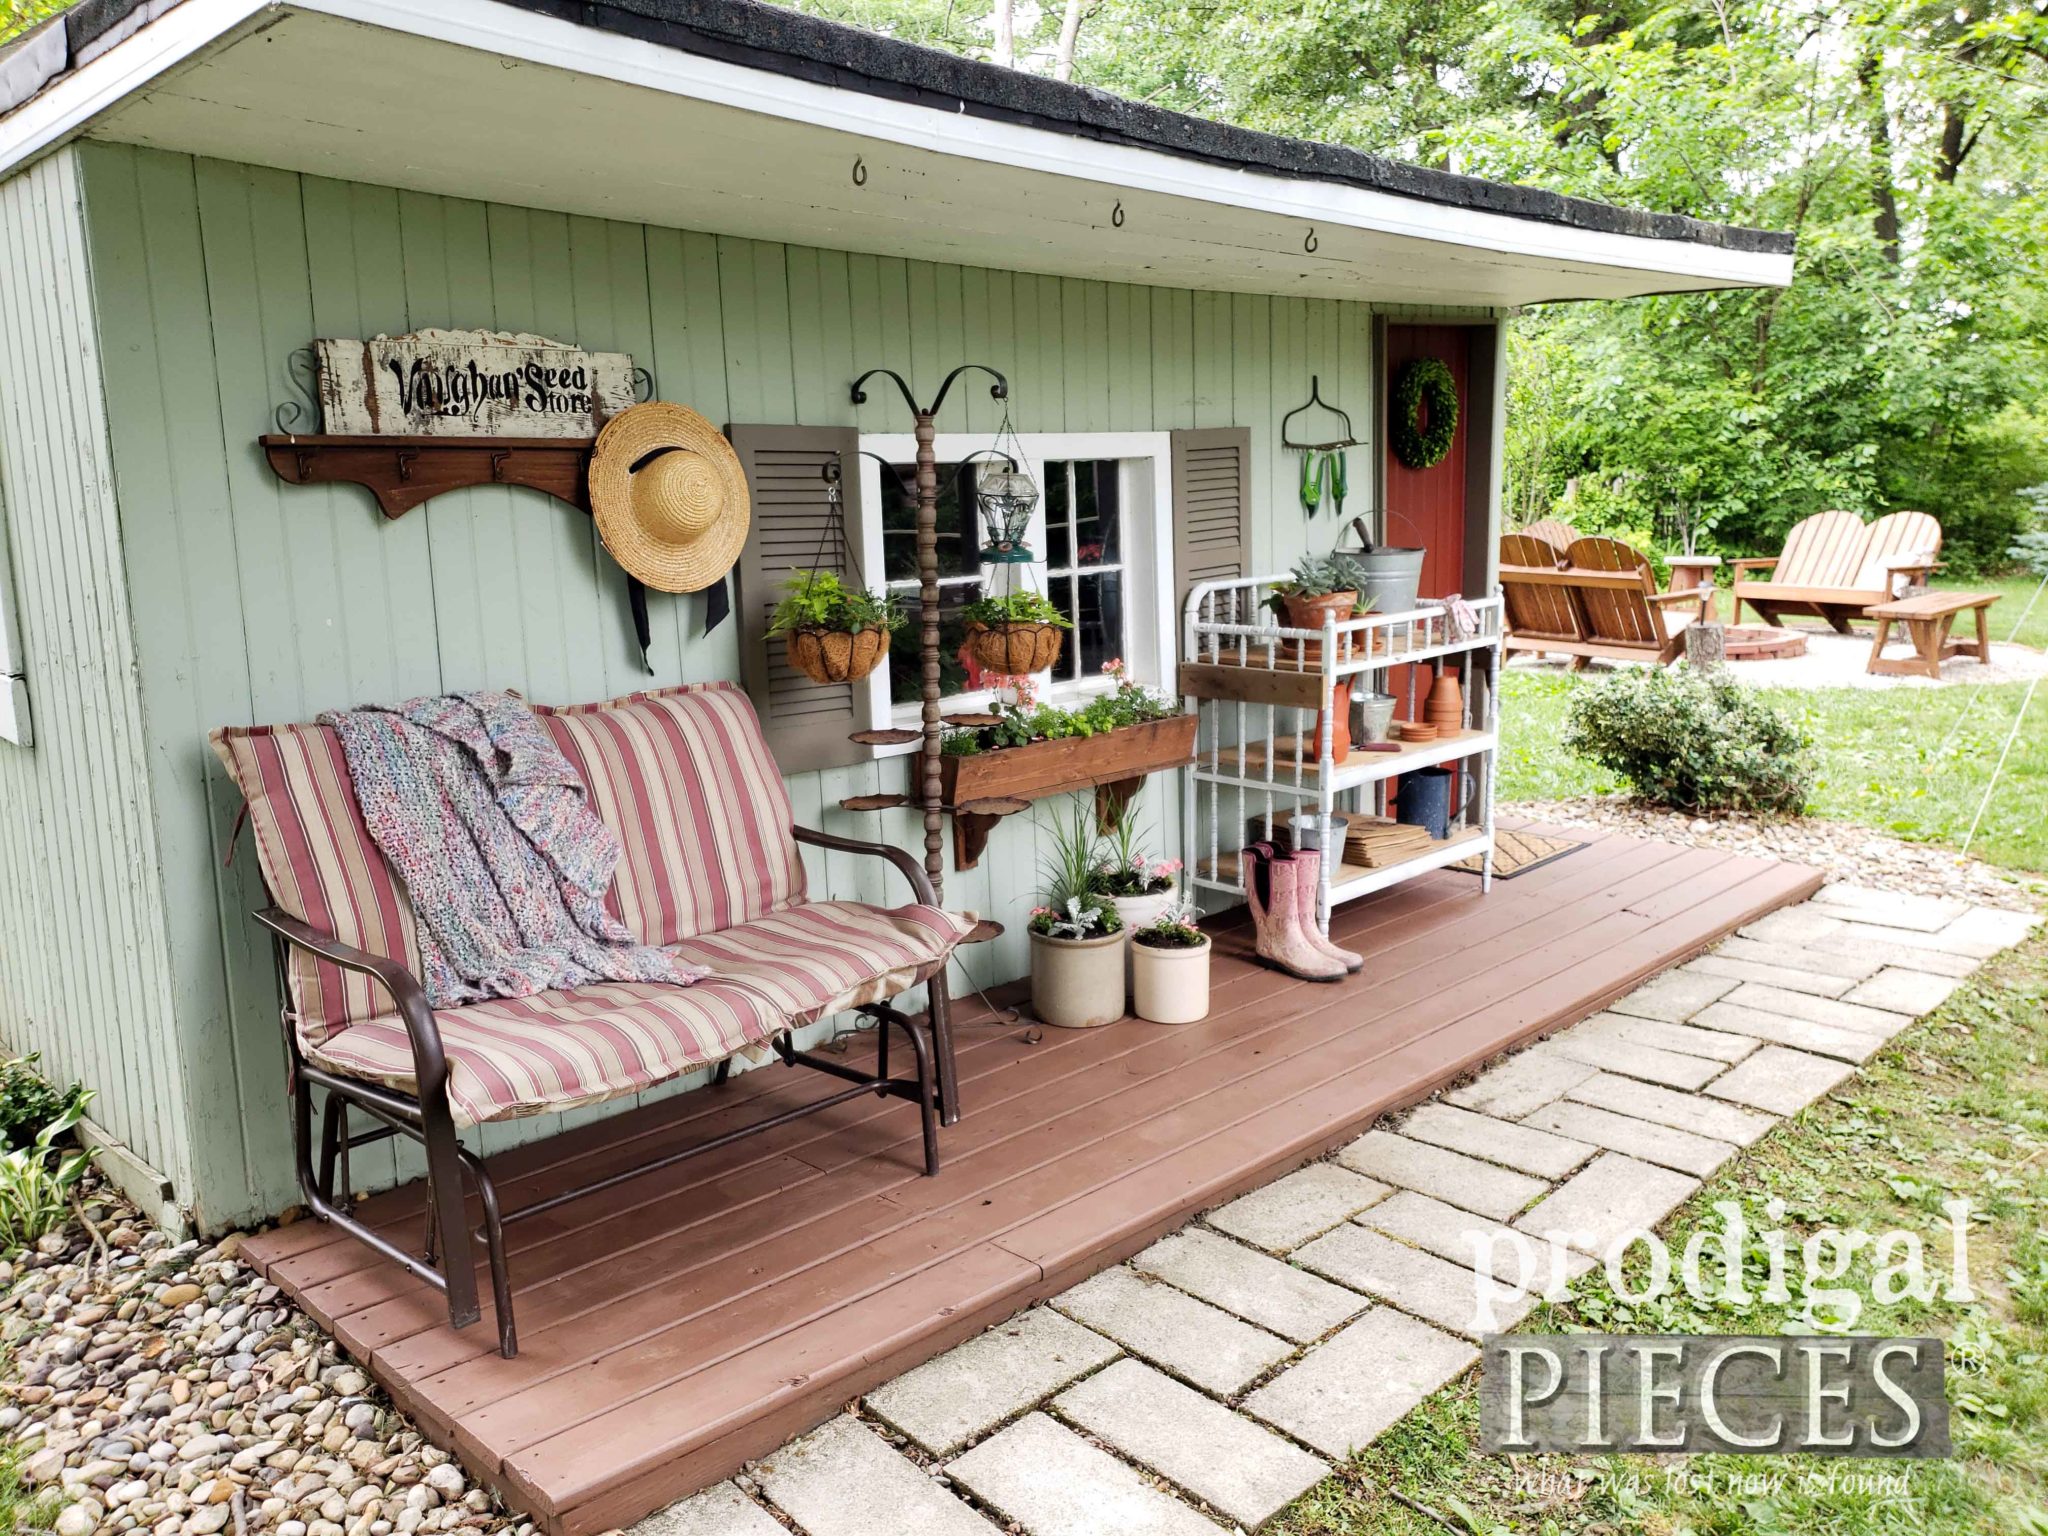
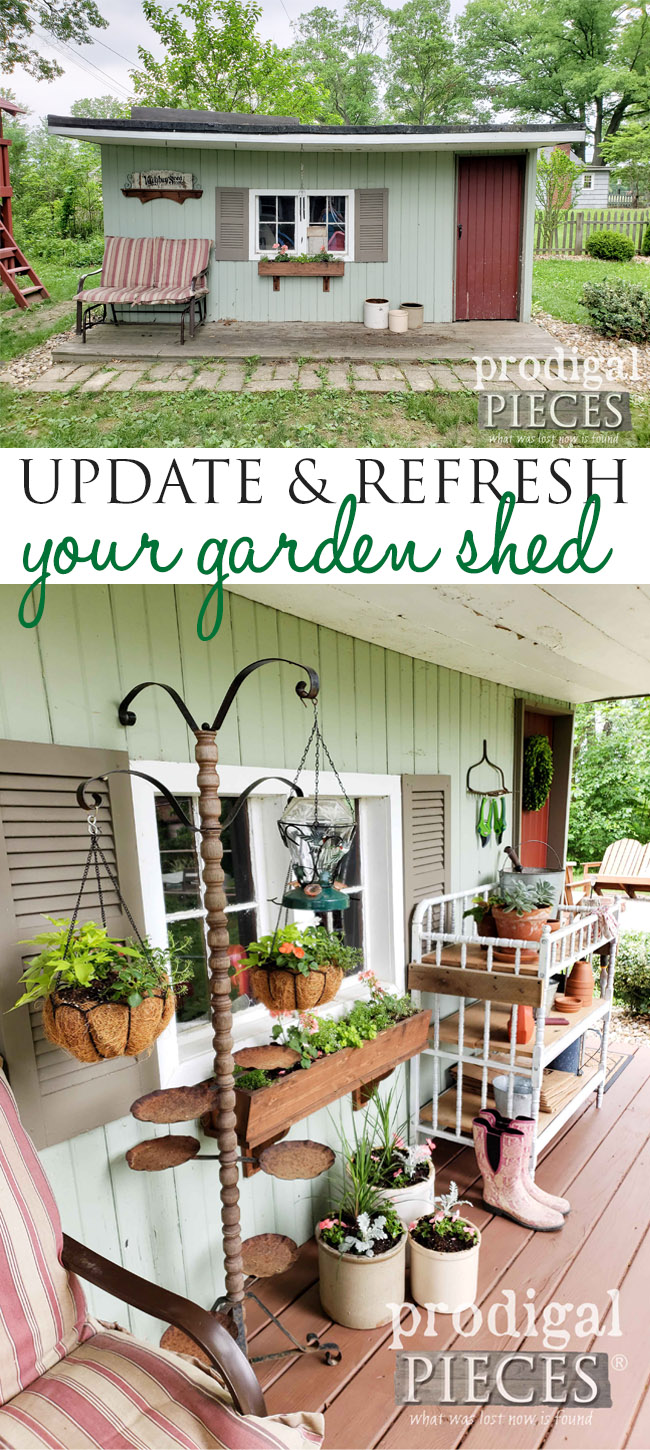
Here is my garden shed all gussied up and ready to go.
You can see in the background the swingset we rebuilt last year. Years ago we were given that giant gift for free from a local person. I rebuilt what was rotted with new wood, but last year the original roof had pretty much rotted through as well as the ladder and climbing wall. My kids are so happy to have it back.
WELCOME
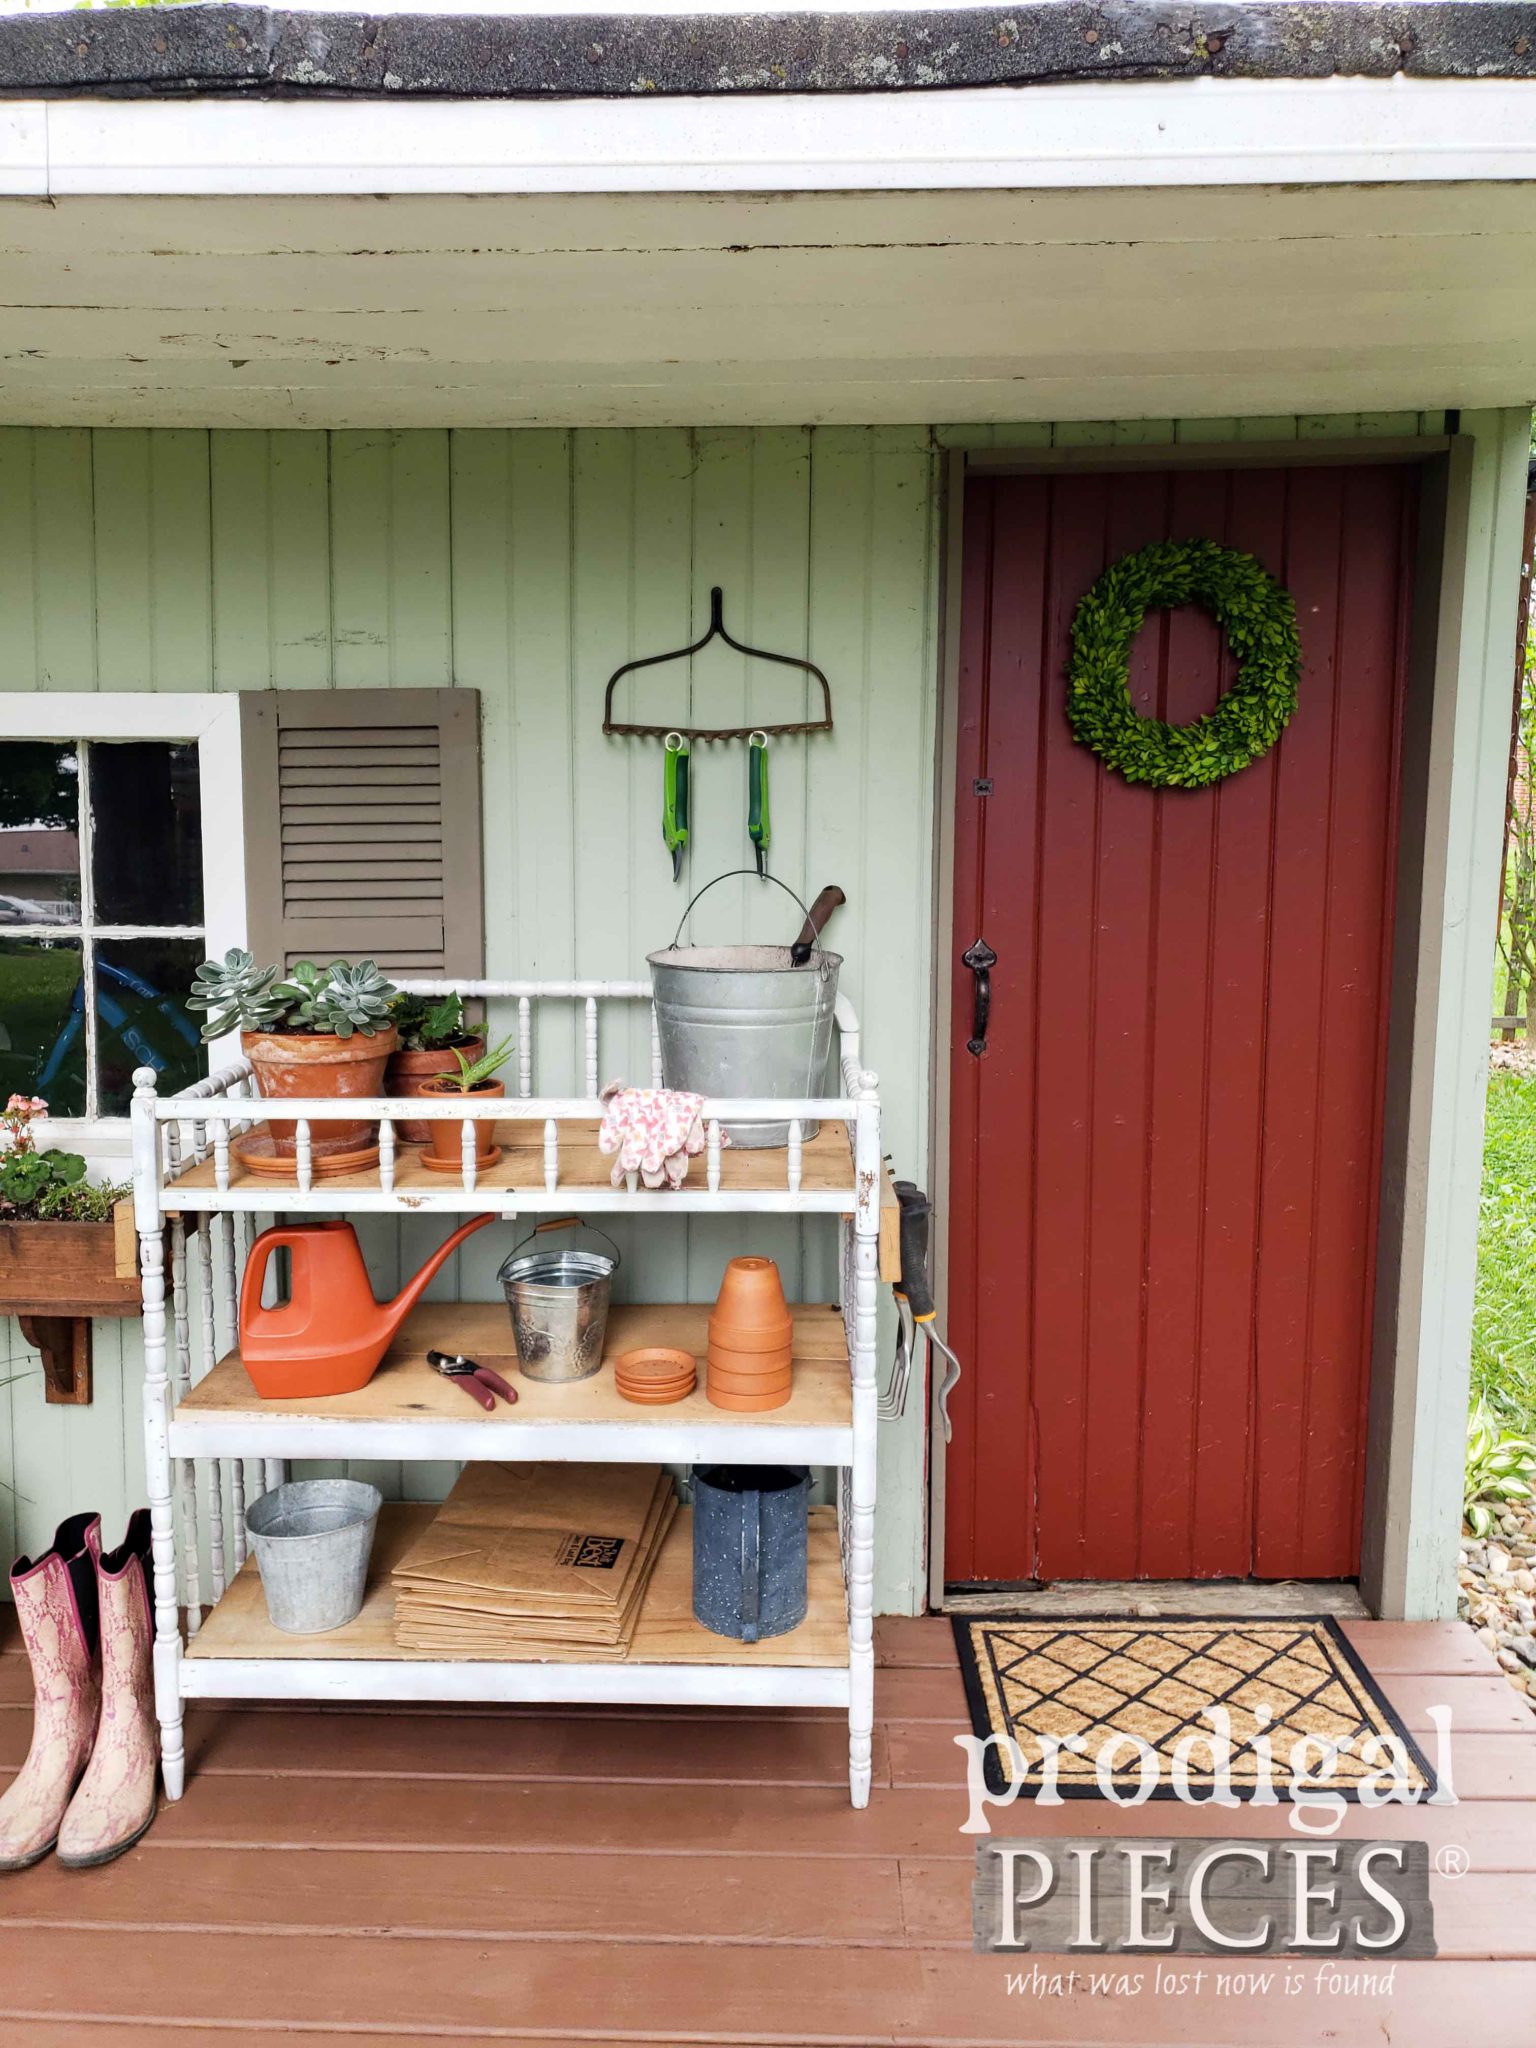
My little door got the love it needed and the best part for me was the addition of the potting bench I created from a curbside changing table I redid a few months back. I had it for sale in my shop, and secretly hoped it wouldn’t sell. What a shame I get to keep it. tee hee!! Even better was I hung the old rake I found in the shed when we moved in. Perfect for my garden tools.
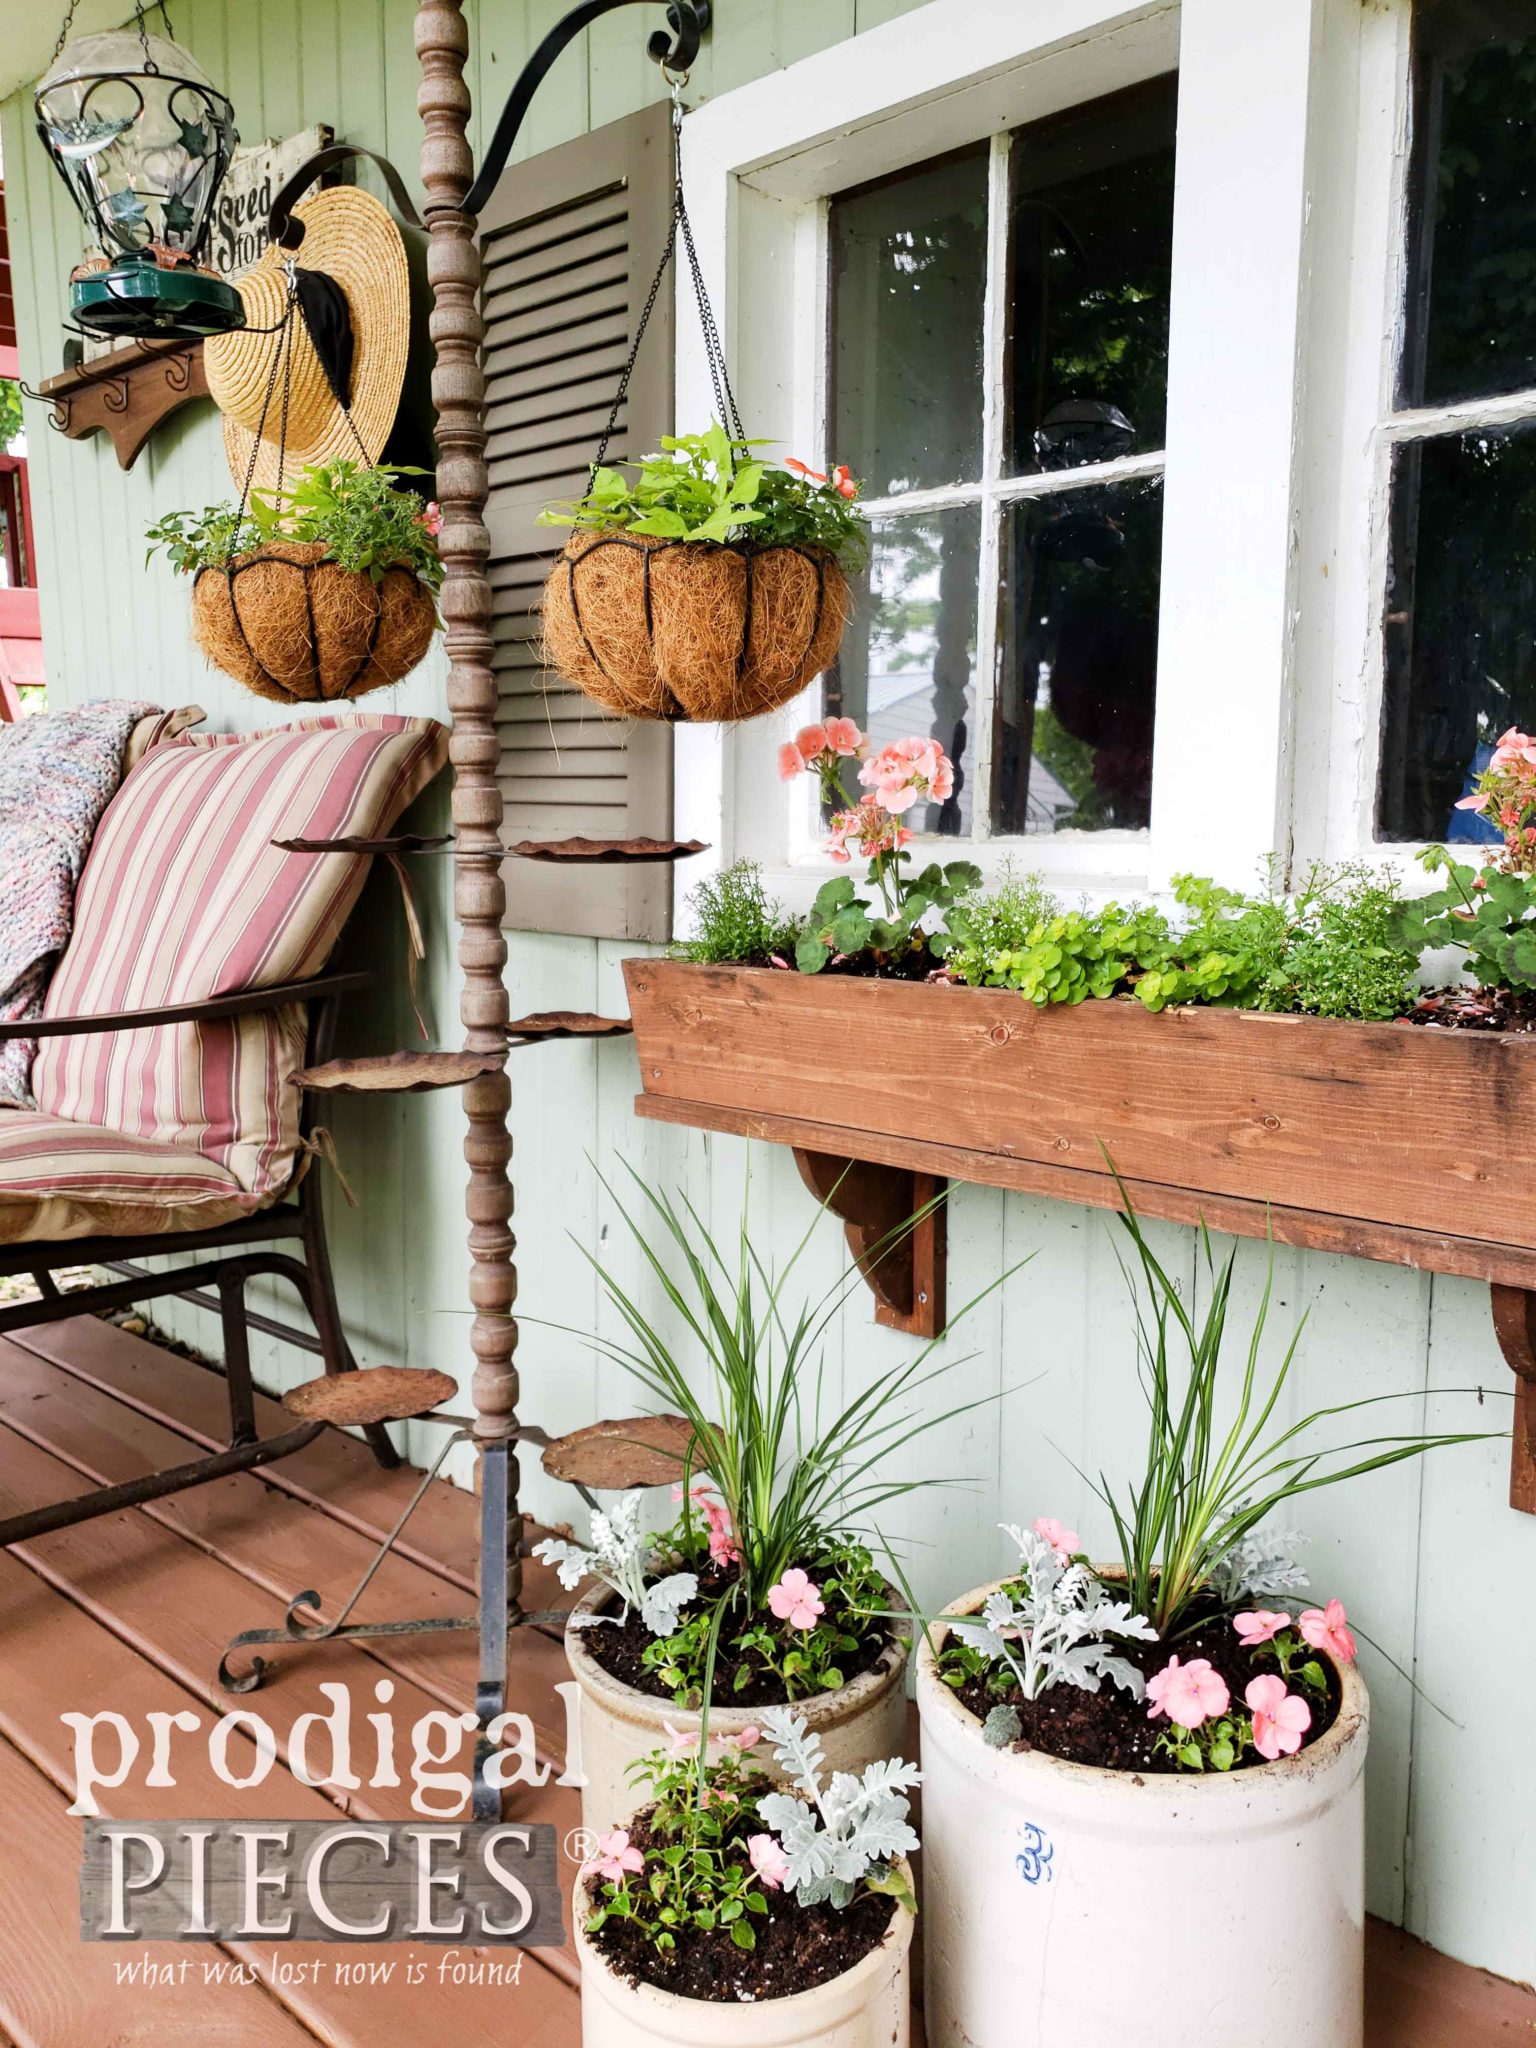
The old cracked crocks were my grandmother’s and mother’s that they handed down to me. They make for wonderful planters. Do you have any? I also got the junky fun plant stand for free and love the height it adds, plus the wire hanging baskets were a fun thrifted find too.
The garden shed floor came out just as planned and it’s always nice when that happens. whew! The Acorn Brown stain by Thompson’s WaterSeal is the same as I used on our patio picnic table and fire-pit set. We even scrubbed the concrete pavers to brighten them up as well.
MORE TO COME
Like I mentioned, the swing bench will be getting a new look at some point, but it works for now. I also still love my coat rack I created from my #trashure stash. You can read all the elements that created it in this post here.
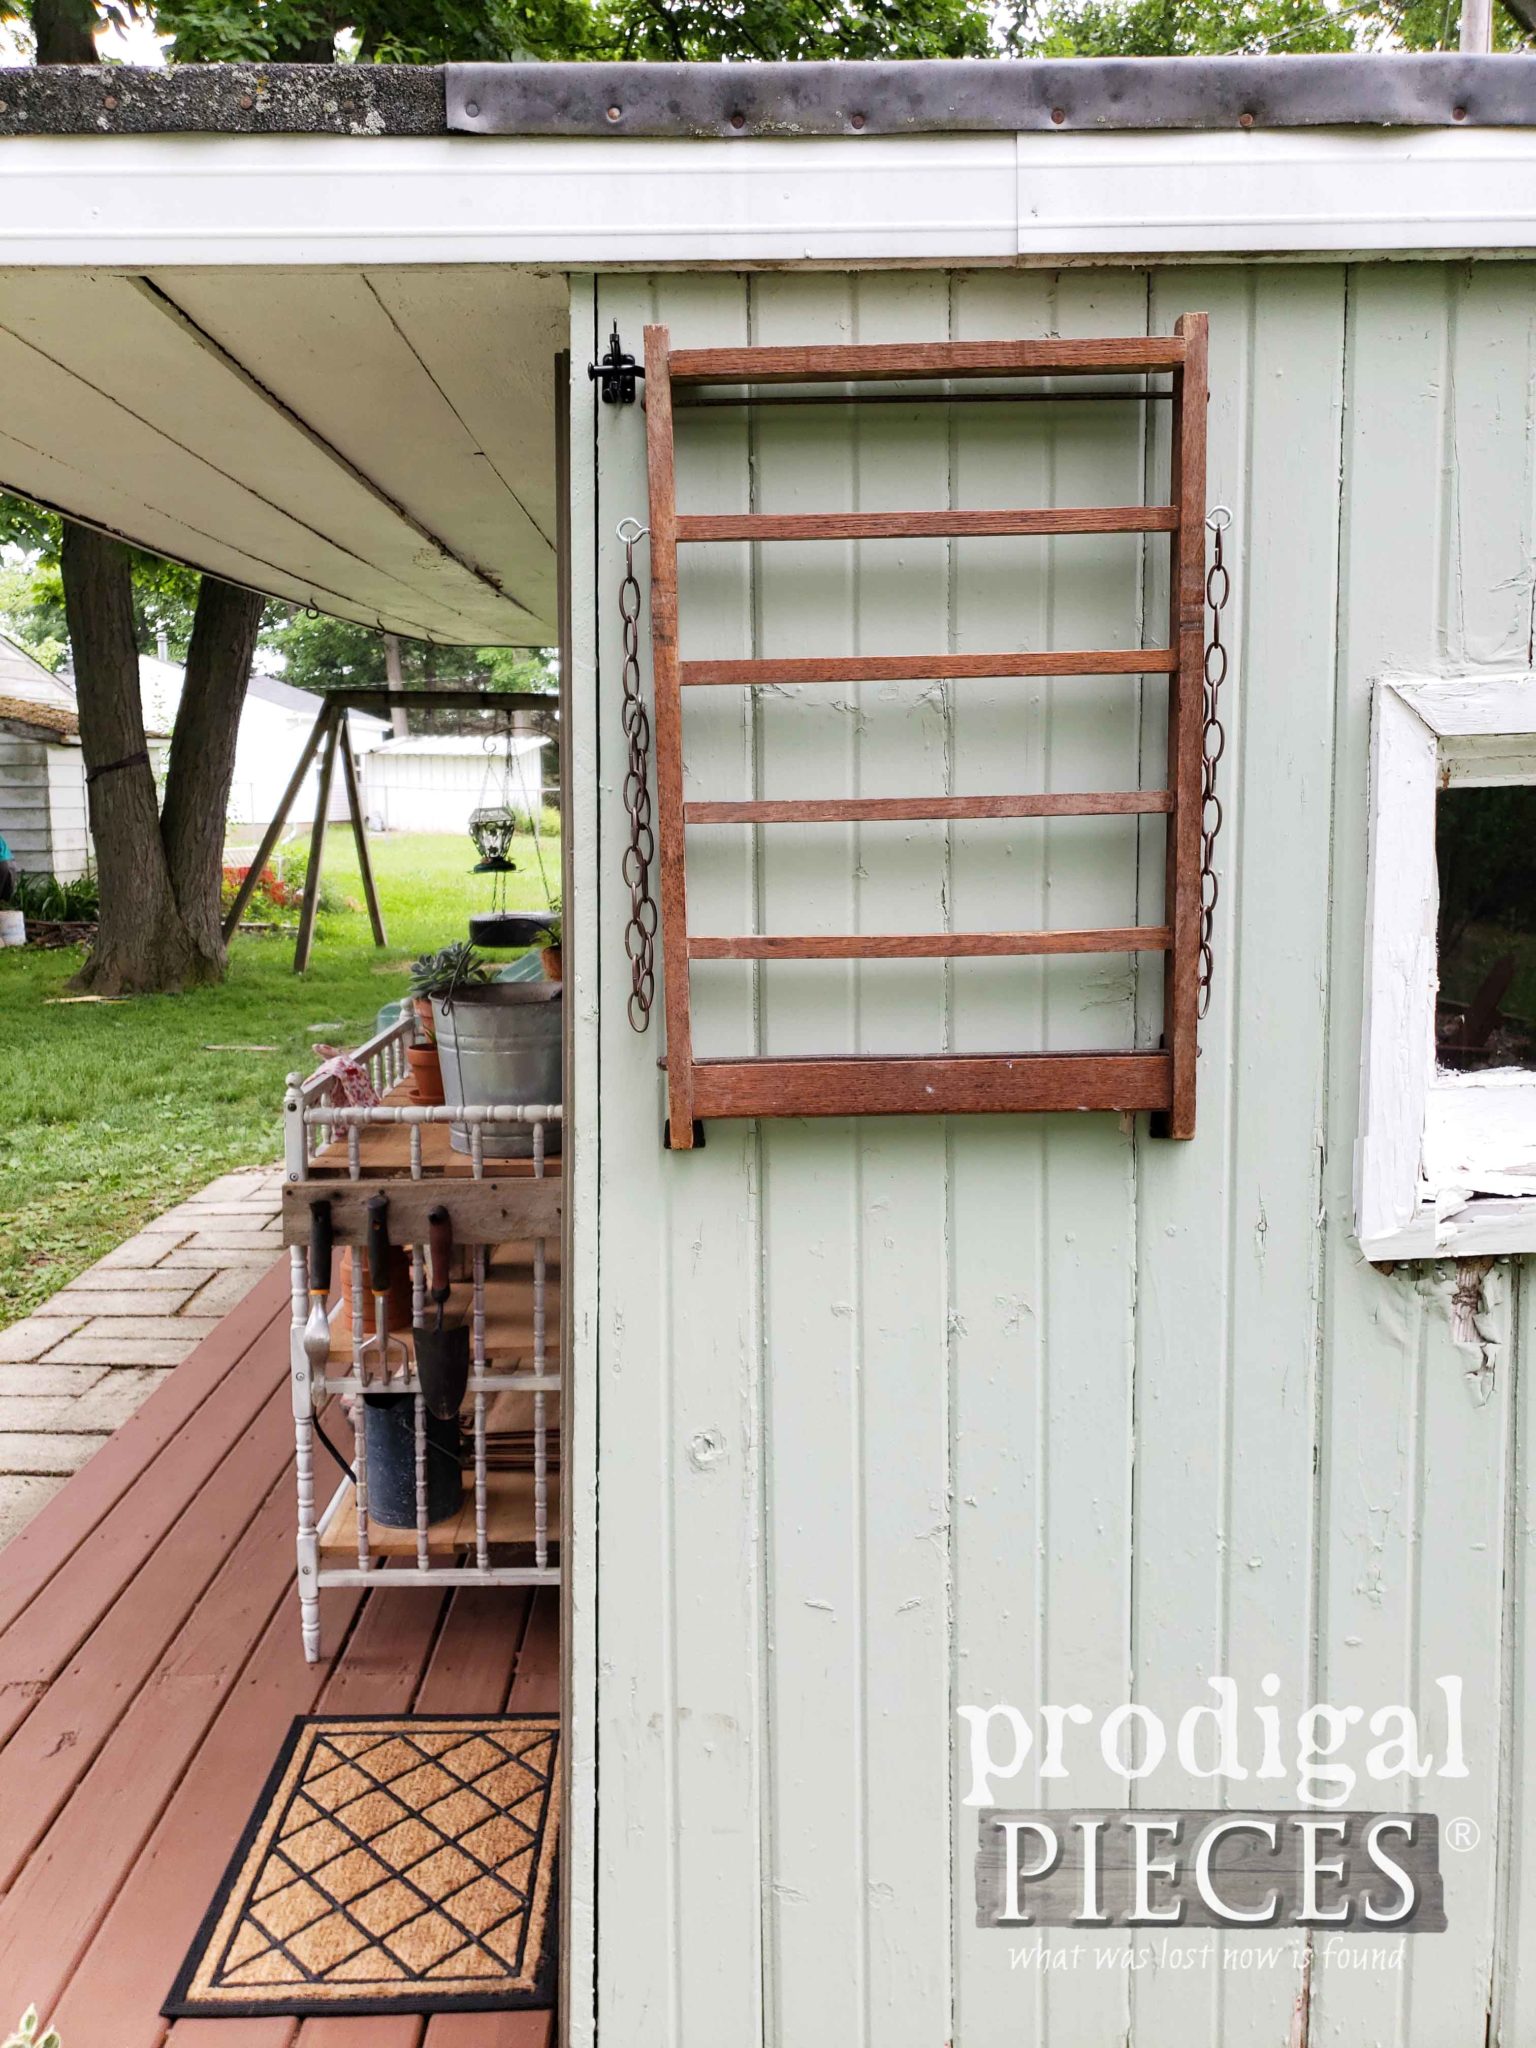
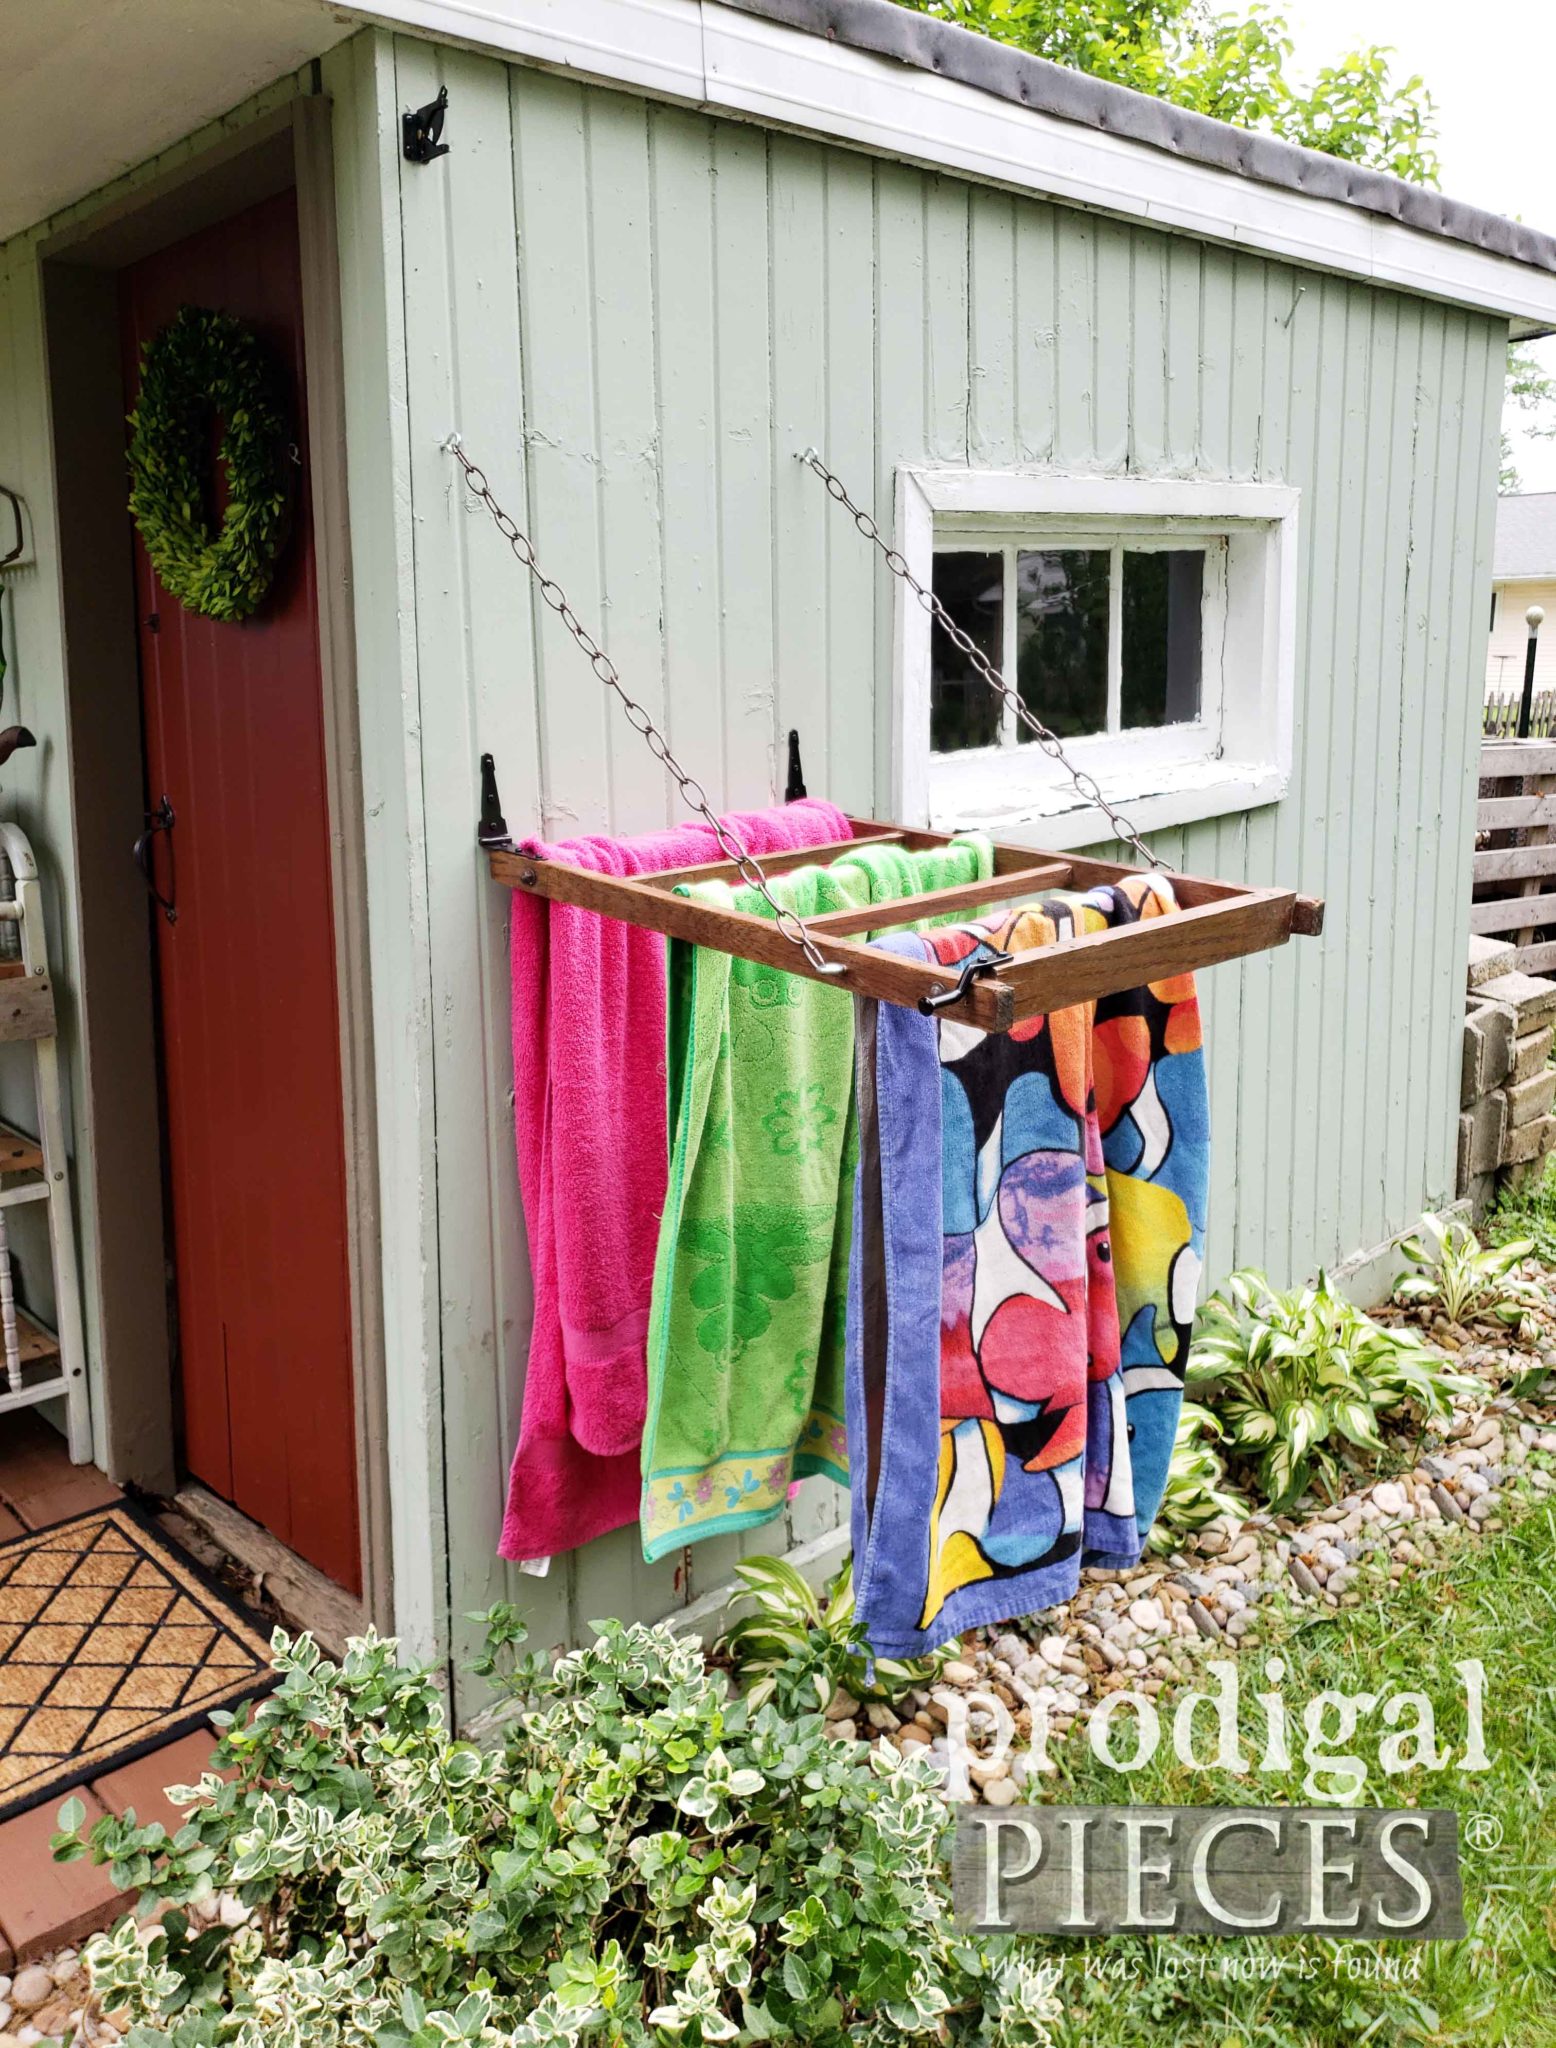
And in case you thought I’d forgotten, I put that wooden Morris rocking chair back to use on the side of my shed. Can you guess it’s new use?
I was fed up with my kids wet beach towels always strewn about, so this puppy is going to save me oodles of time. Woot! With some chain from my stash and a few pieces of hardware, we’re ready to roll…or dry. haha.
My little shed has a long way to go as we need to rebuild the inside, fix the sag in the roof, as well as the replace the roof and windows. However, I’m looking forward to making this a special little place.
FLOWERS
Gardening is my kinda therapy and totally love sharing pictures of my delight blooms and plants all over my home.
The peonies I received from a local gentleman who didn’t want them are one of my all time favorite treasures. He even dug them up for me! wow.
Likewise, I have so many bushes and plants that I love like the honeysuckle I planted a few years ago, followed by the roses. I feel so blessed!
What fun it is to get to enjoy nature’s bounty and to share it with you!
I hope you’ve enjoyed our garden shed makeover and will pin and share to inspire others to do something to their outdoor decor too.
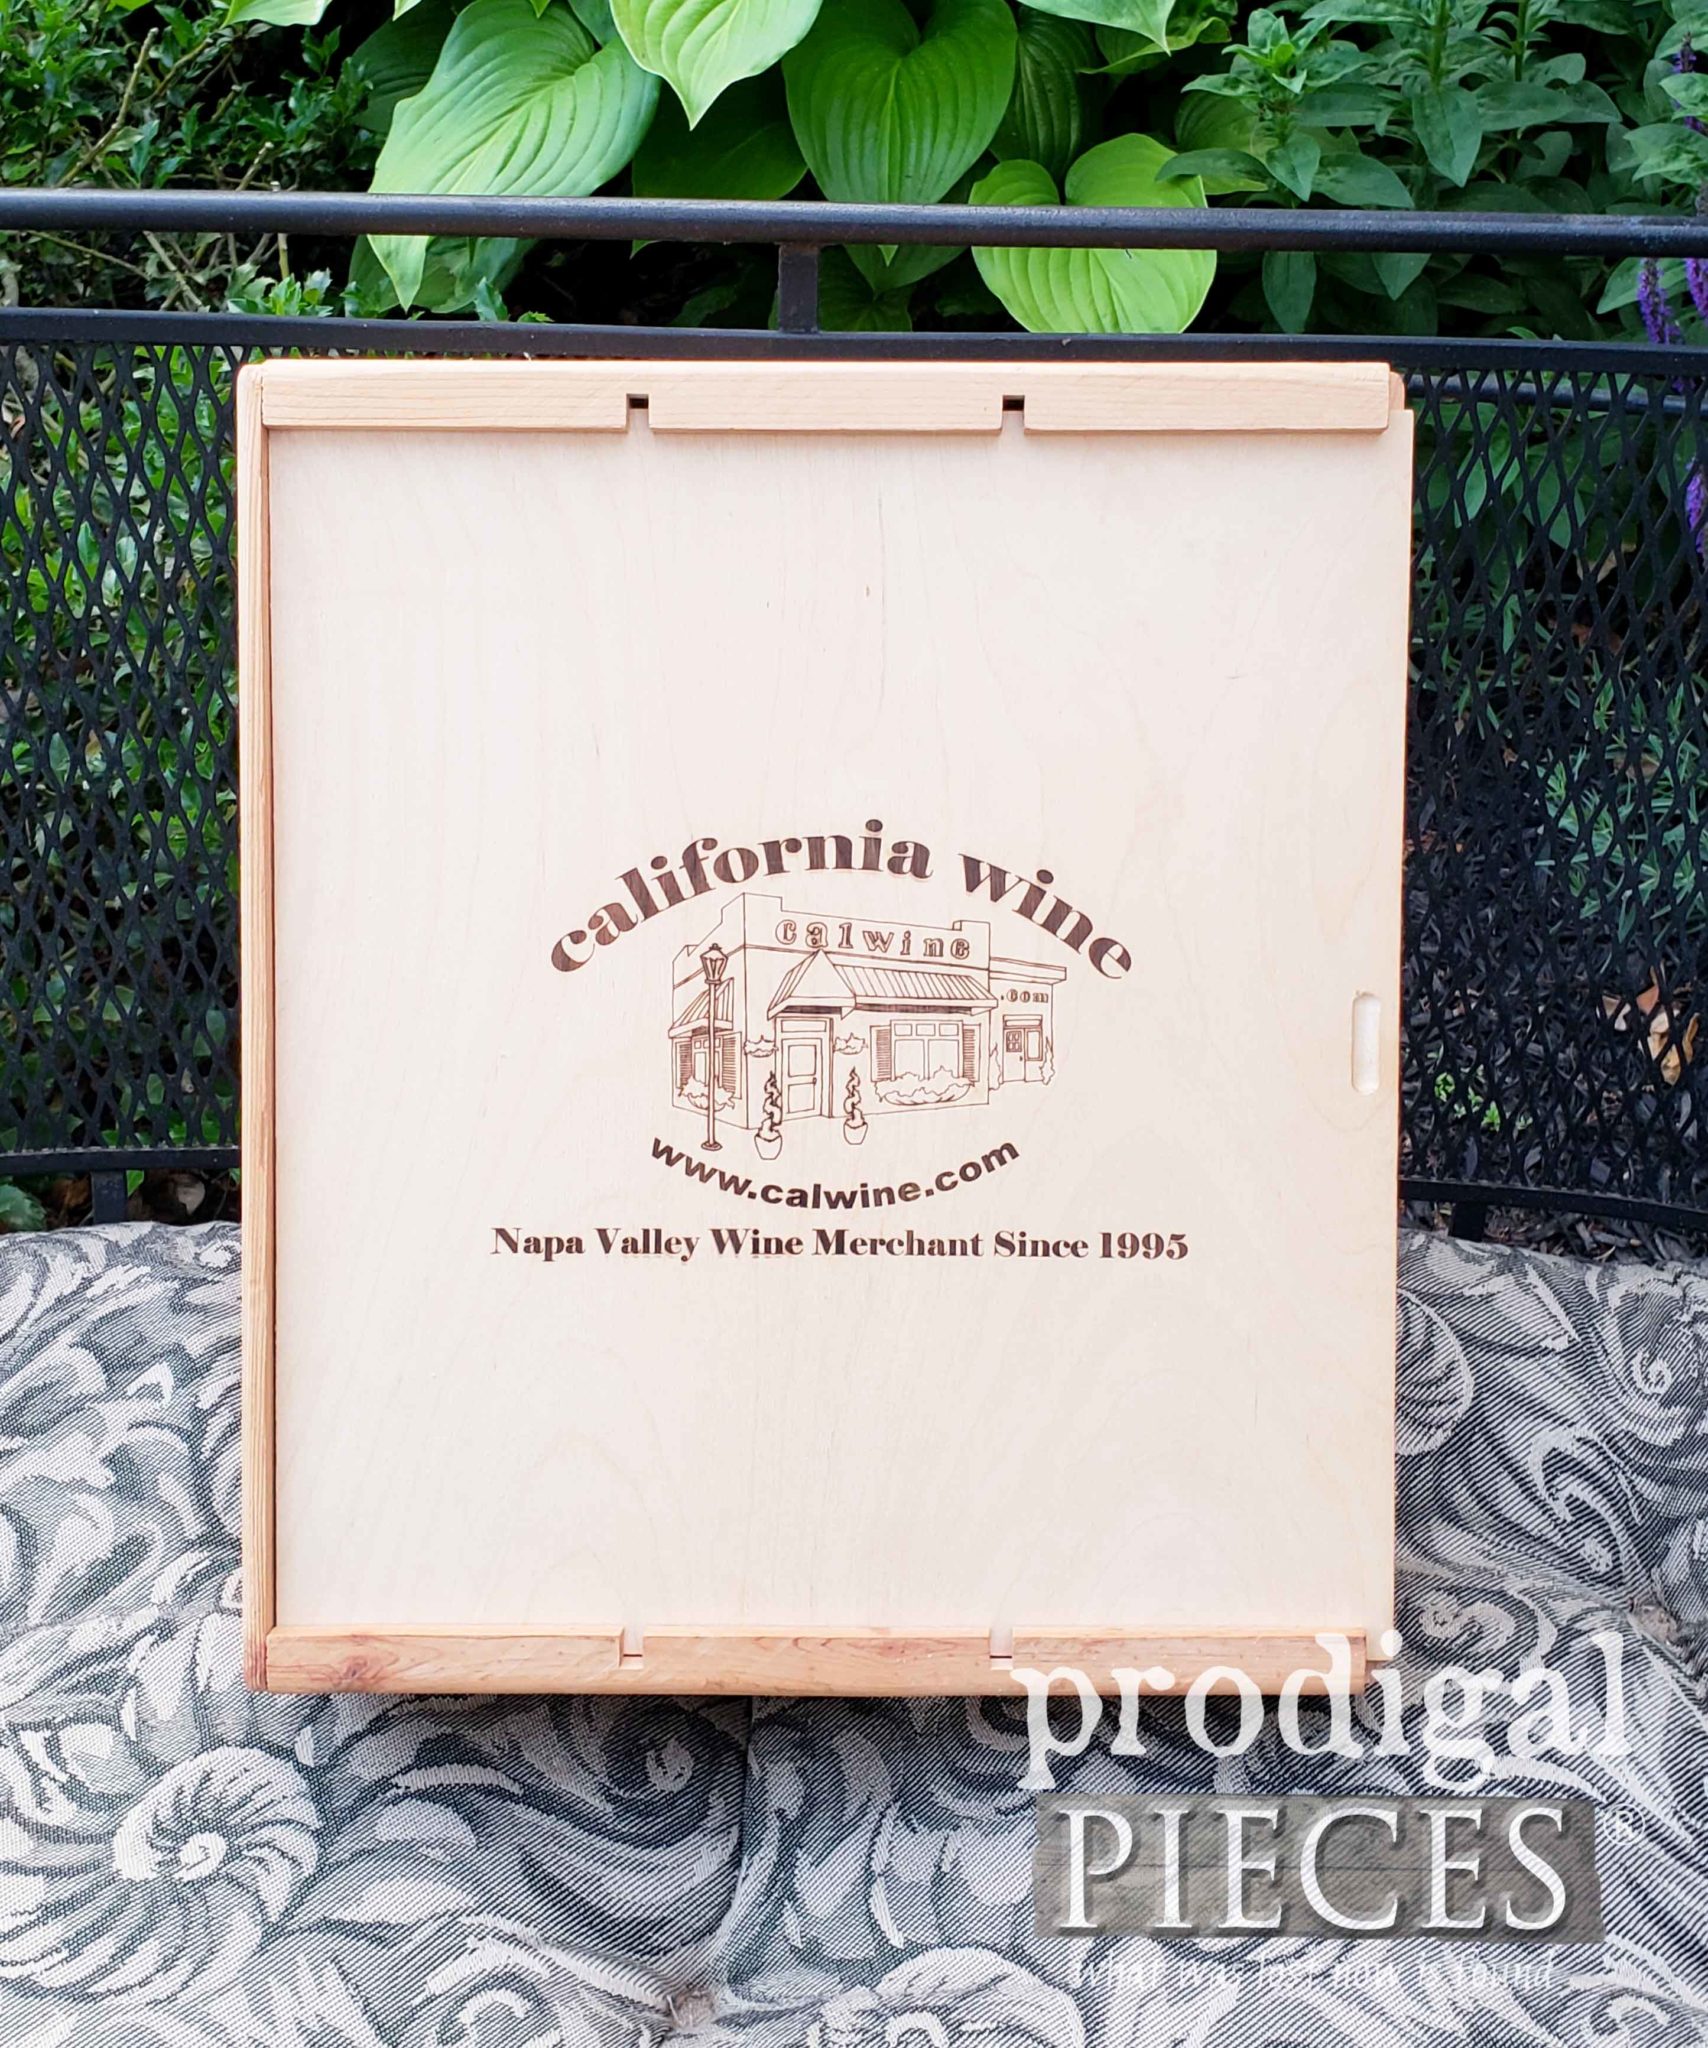
Up next, this thrifted wooden wine crate will have a fun new purpose. Any guesses? See the after HERE.
FINDING HOME
For all of you waiting to hear on the selected Finding Home honoree, we have some exciting news to share as we’ve chosen to go BIG this first time around. I will be announcing the news soon in the next few days. It’s just taking us a bit more to get it all together since we changed things up. Hang tight!
To get these DIY tips & tricks in your inbox, be sure to sign up for my newsletter. PLUS, you will get your FREE Furniture Buying Checklist and special discount to my shop. Until next time!








Your yard looks so fun and beautiful. I can’t wait to have a house again, apartment living is not for me?but my mom constantly reminds me i cant rush gods plan!!
Hang in there, Lori! Hope your answer comes soon.
Lori, Your mom is right…and believe me, I know how hard it is to wait for His timing! Blessings on your heart as you wait and listen for His leading. {hug}
So cute! Great start to a huge project!
Thanks!
The picture of your towel holder just loaded (veeeery slow internet ’round these parts!), and WOW! I’m pinning that for a copycat job! I love the gate latch holder-upper!
Hope you get one done for yourself. We love it!
Love your backyard! Looks like a wonderful place to be with family and friends. Carpe’ Summer!
Love your attitude, Rebecca. Wahoo!!
Love, love, LOVE your garden shed re-do! Inspires me to build a wee place in the good sized yard of our new place. Bonus: Have a super creative daughter who is always full of ideas and two granddaughters who are VERY eager to help! It’s going to be so much fun. <3
Go for it! You will have memories to last generations. How fun! I’m enlisting my kids to help me with the interior of our shed to claim it as their own (and keep it clean). haha!
Larissa, I LOVE each and every one of your posts! I thought it was time to let you know. I am always amazed at your talents. Keep up the great work and keep on bloggin’! I can’t wait for your posts to see what’s happening in Larissa Land!
You just made my day, Linda! I try to do the best I can and your words mean so much. Thank you!
Great start on your garden shed! And I love, love, love your flowers! I haven’t seen the red honeysuckle before. Where did you get them?
Thanks, Debra! We love it. I believe I ordered it at Gardens Alive. 🙂
Also, happy belated birthday to you and a happy birthday to your daughter. Hope both of your days were just as full of blessings as you bless us with your sharing.
Thanks so much!
Great re-do! I love garden sheds, plants and junk! So fun to see this redone and refreshed!
Thanks Sue! Now to get the inside done. 😉
We are currently redoing our garden shed as well as a little apartment for our oldest daughter who moved back home. I love the color of yours! Would you mind sharing the color you used?
How fun! I actually have an updated post to our shed where I repaired, remodeled, and shingled it with cedar shakes: https://prodigalpieces.com/garden-shed-remodel-reveal/
As for the original green, it’s a custom color I mixed for our house, so I honestly have no idea. It’s kinda in the avocado family.