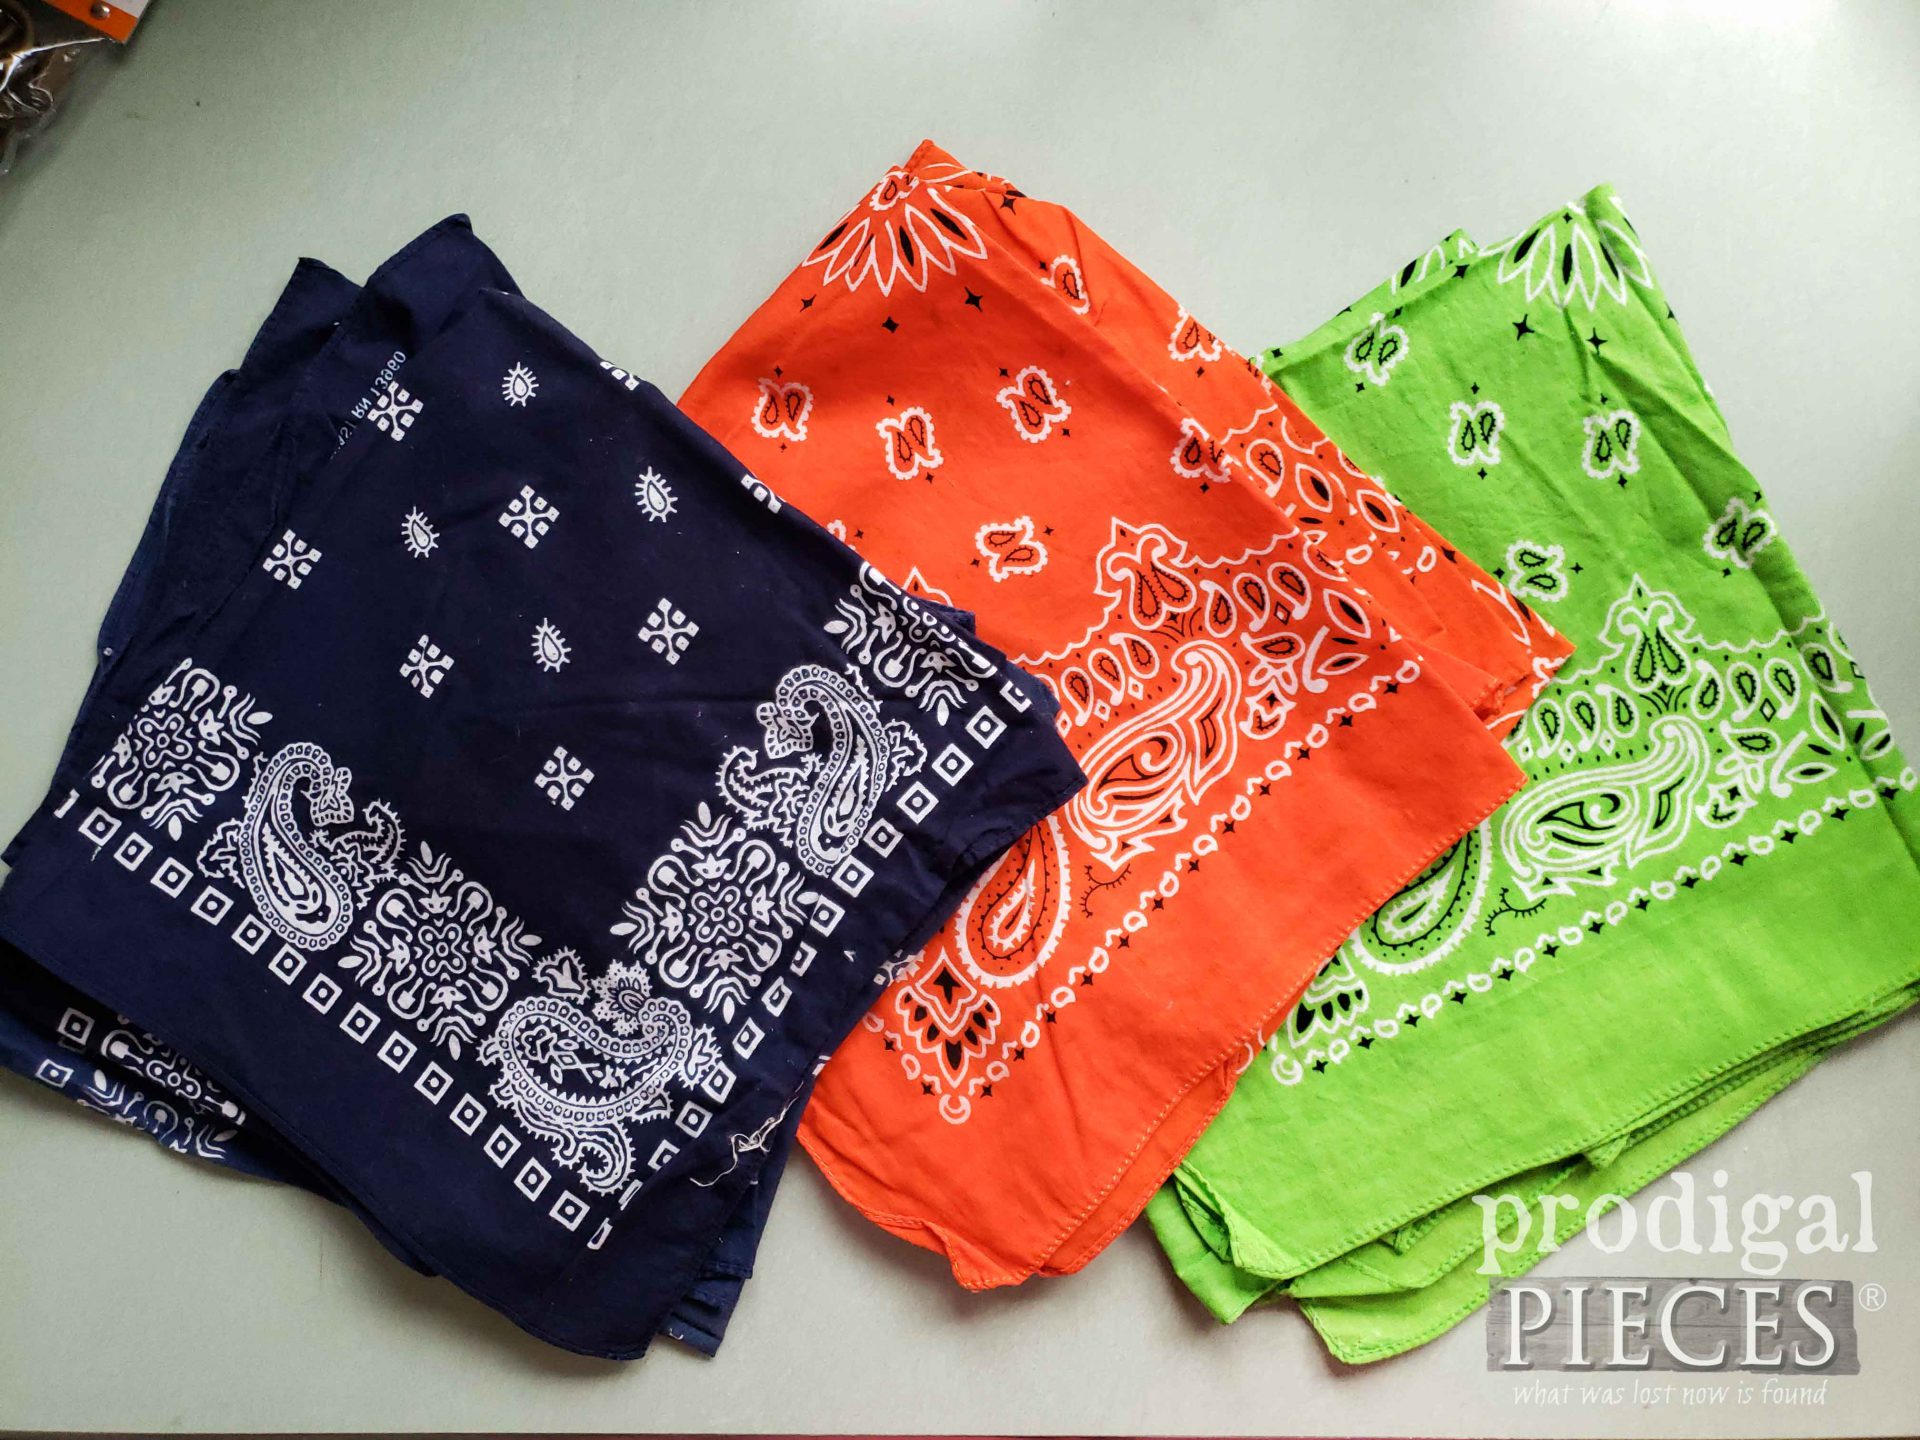
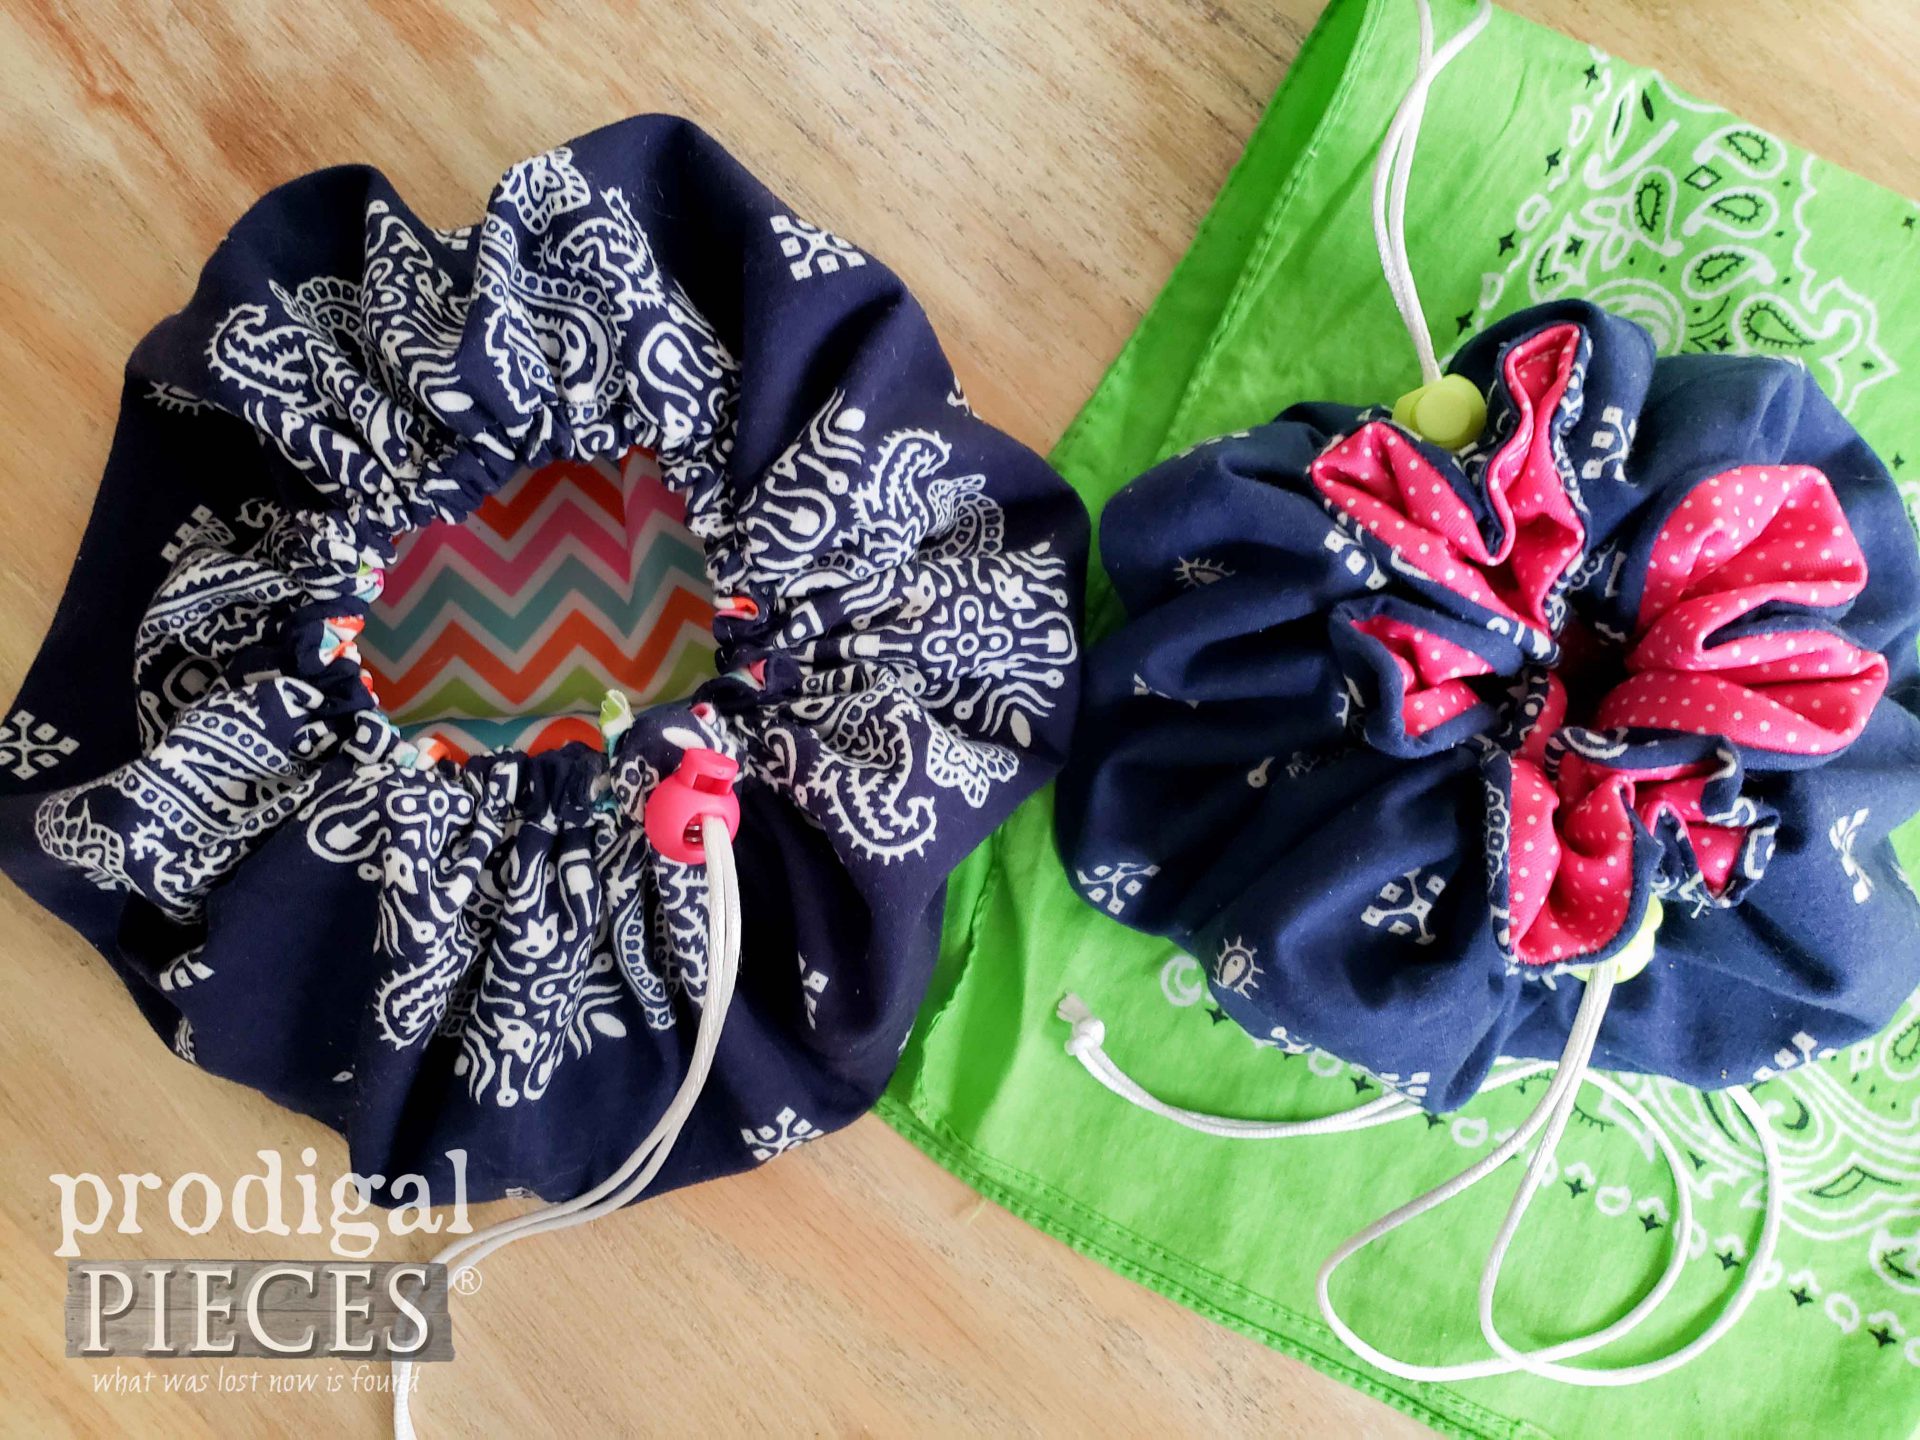
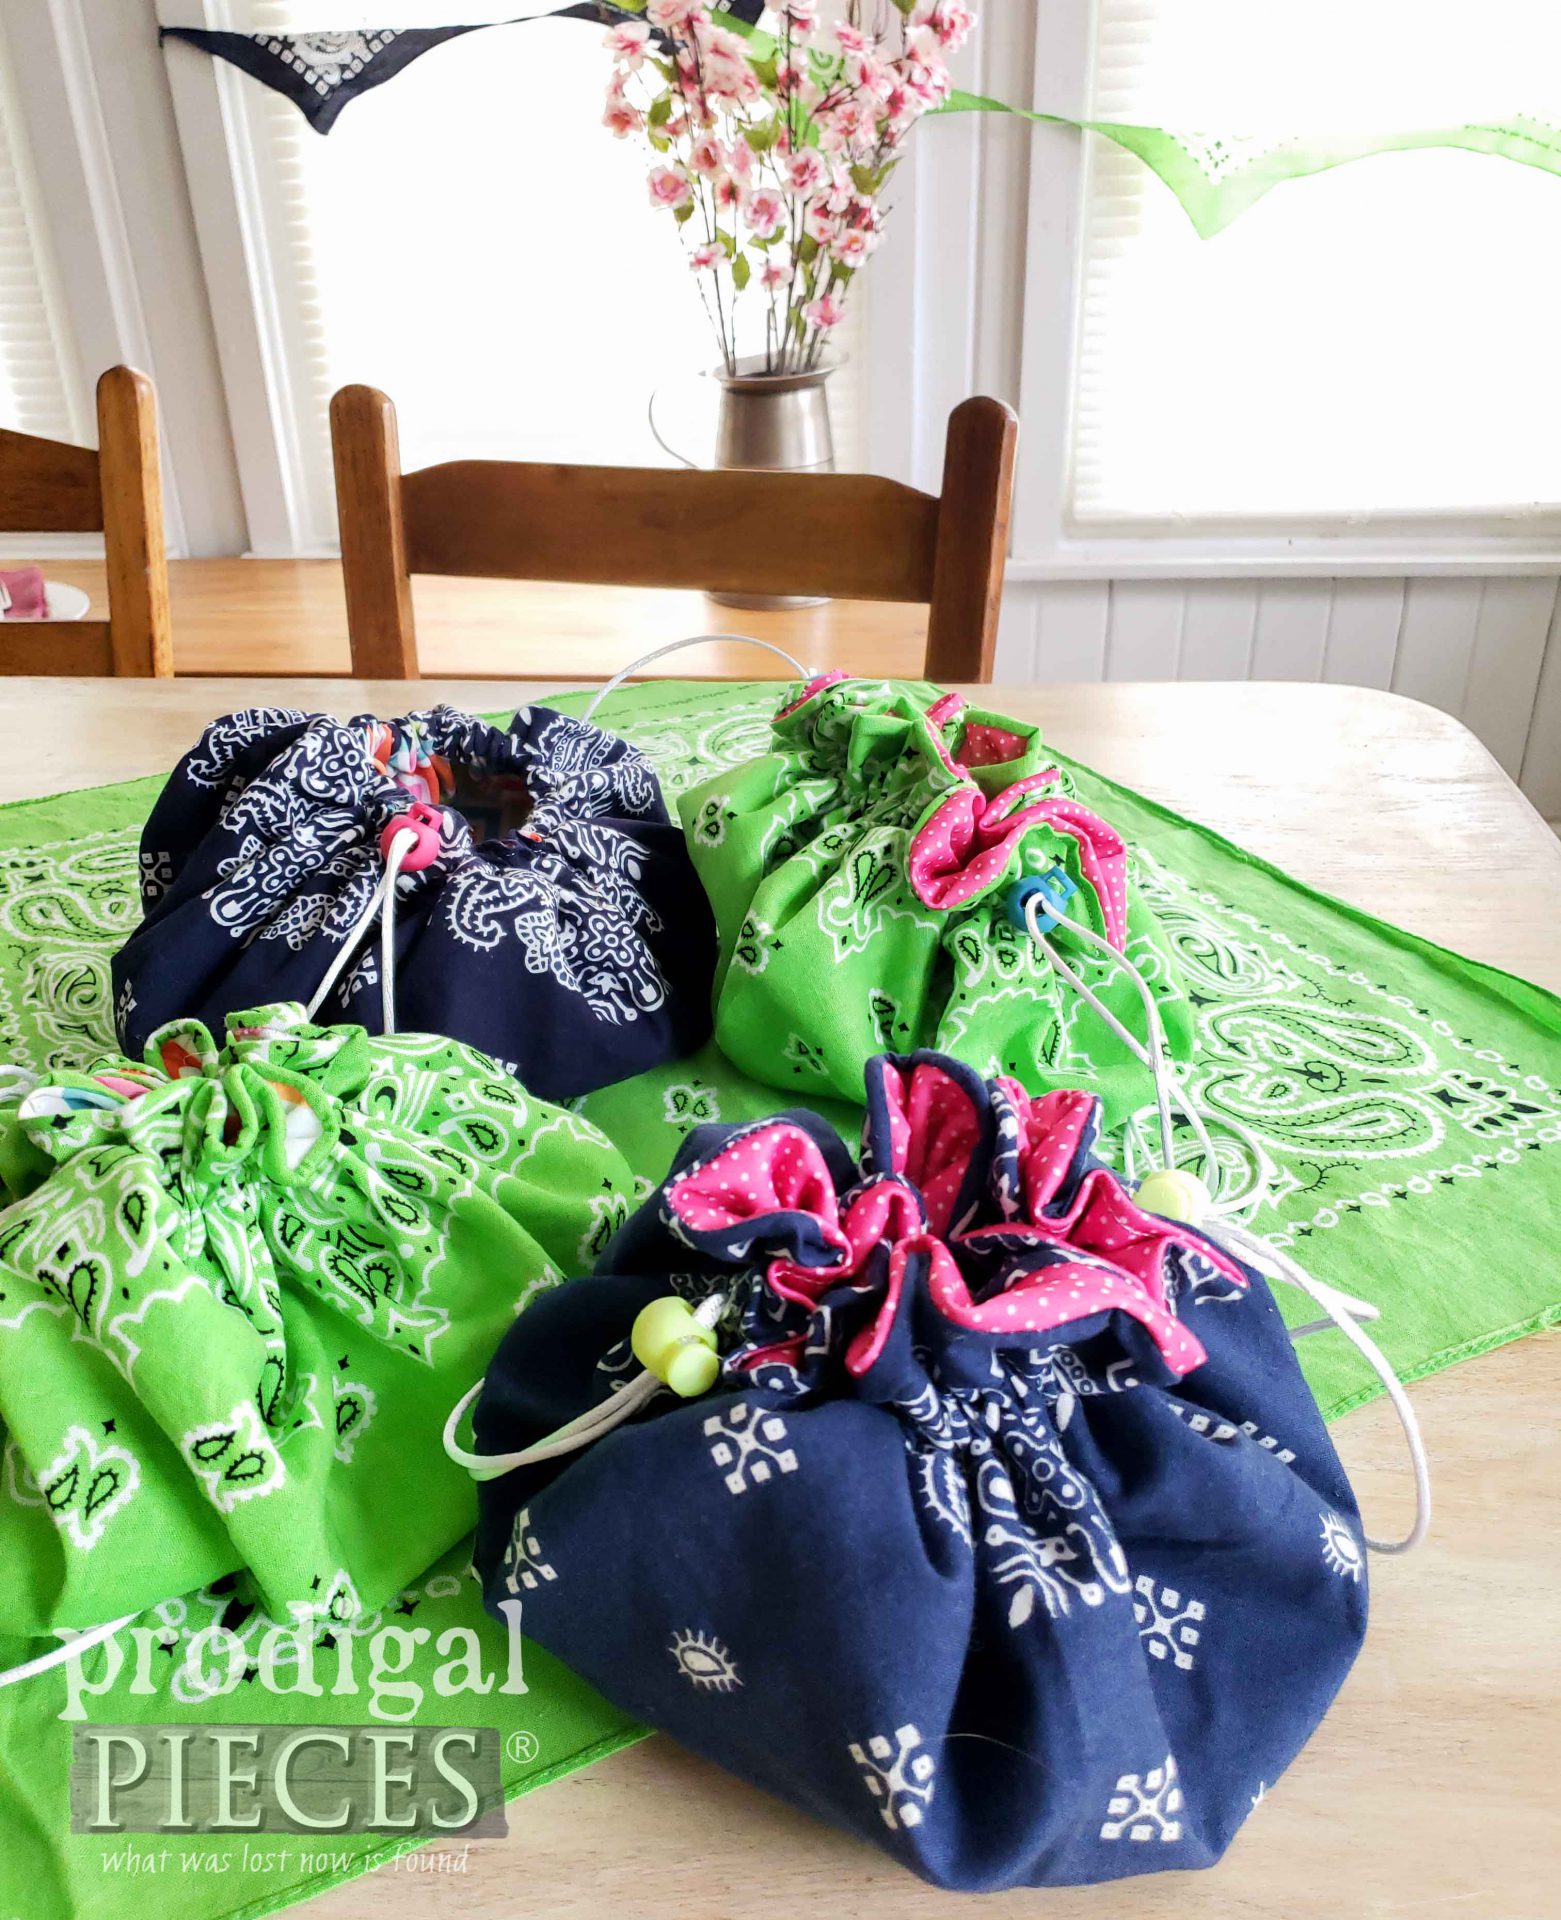
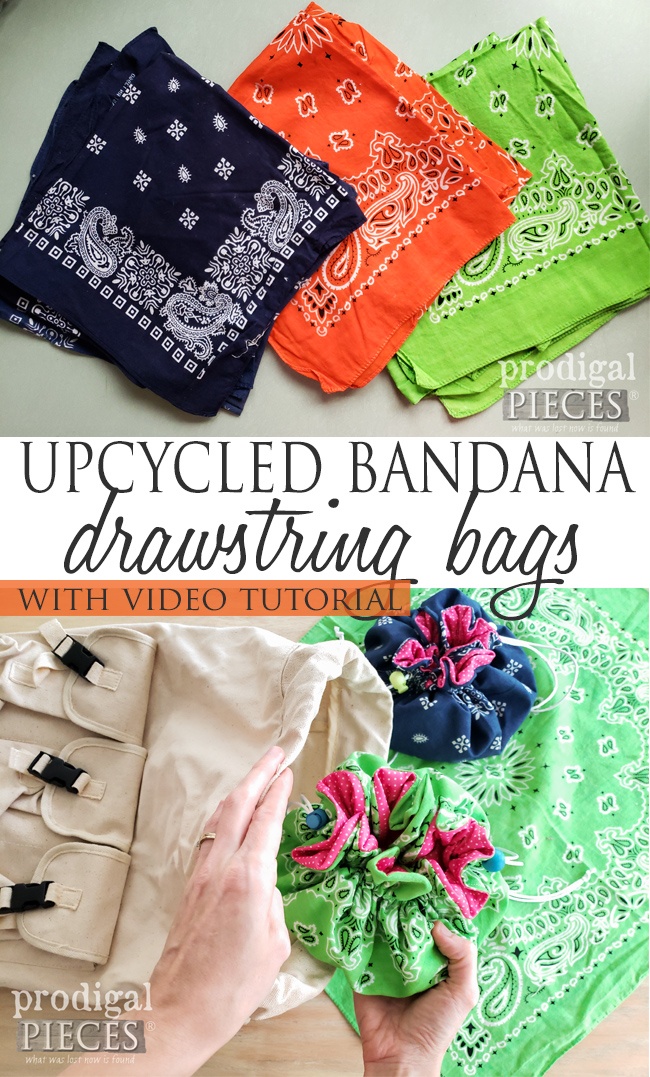
Oh happy day! It’s Reduce, Reuse, REFASHION time! That means is the last Tuesday of the month (gasp…already?!?). Sigh…well time flies when you’re having fun…er…in lockdown. haha. I found a slew of these brand new bandanas at the thrift store and am geared to make upcycled bandana drawstring bags, plus a fun extra project too.
For real tho, I’ve had these in my stash for a few years, yes, YEARS. I bought them when my 3rd daughter was little and had the intention to make play skirts and dresses for her. I blinked and now my 4th daughter is receiving the benefit. Tell me I’m not alone in this, k?
These bandanas were brand new at the thrift store and I’m assuming someone had a party or something and didn’t need these. I love bandanas for hair accessories, cleaning doo-rag, and so much more. They’re a timeless piece of Americana.
DIY TIME
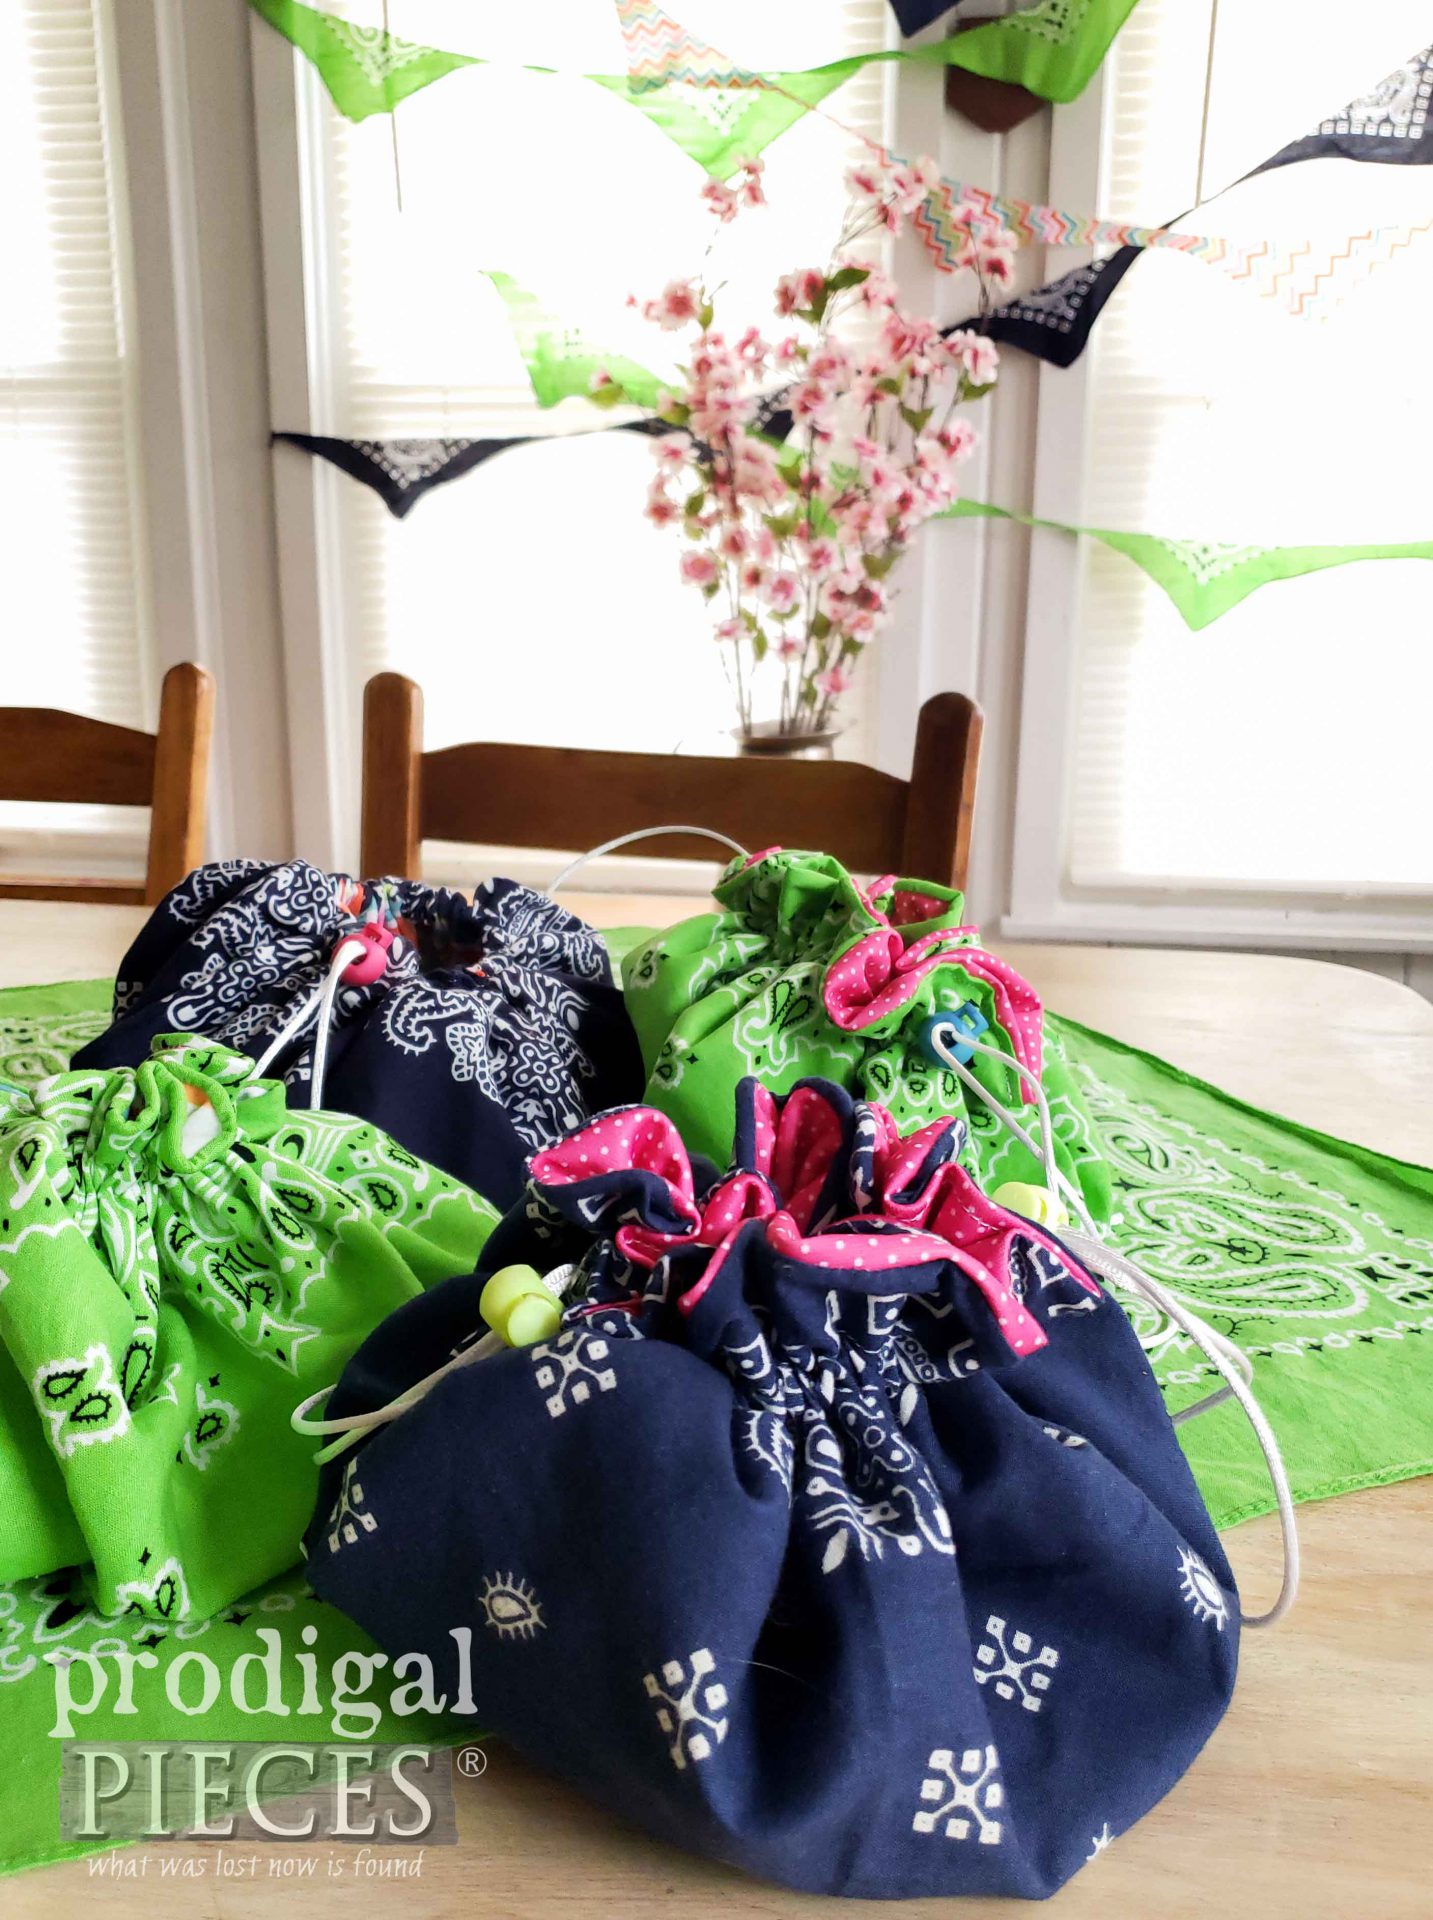
However, because my little doesn’t need more skirts, I decided to make one skirt (I’ll share that at the end), and a few upcycled bandana drawstring bags. Ya know, like the hobo looking kinda thing we used as kids to tie to a stick? Dems da good ol’ days.
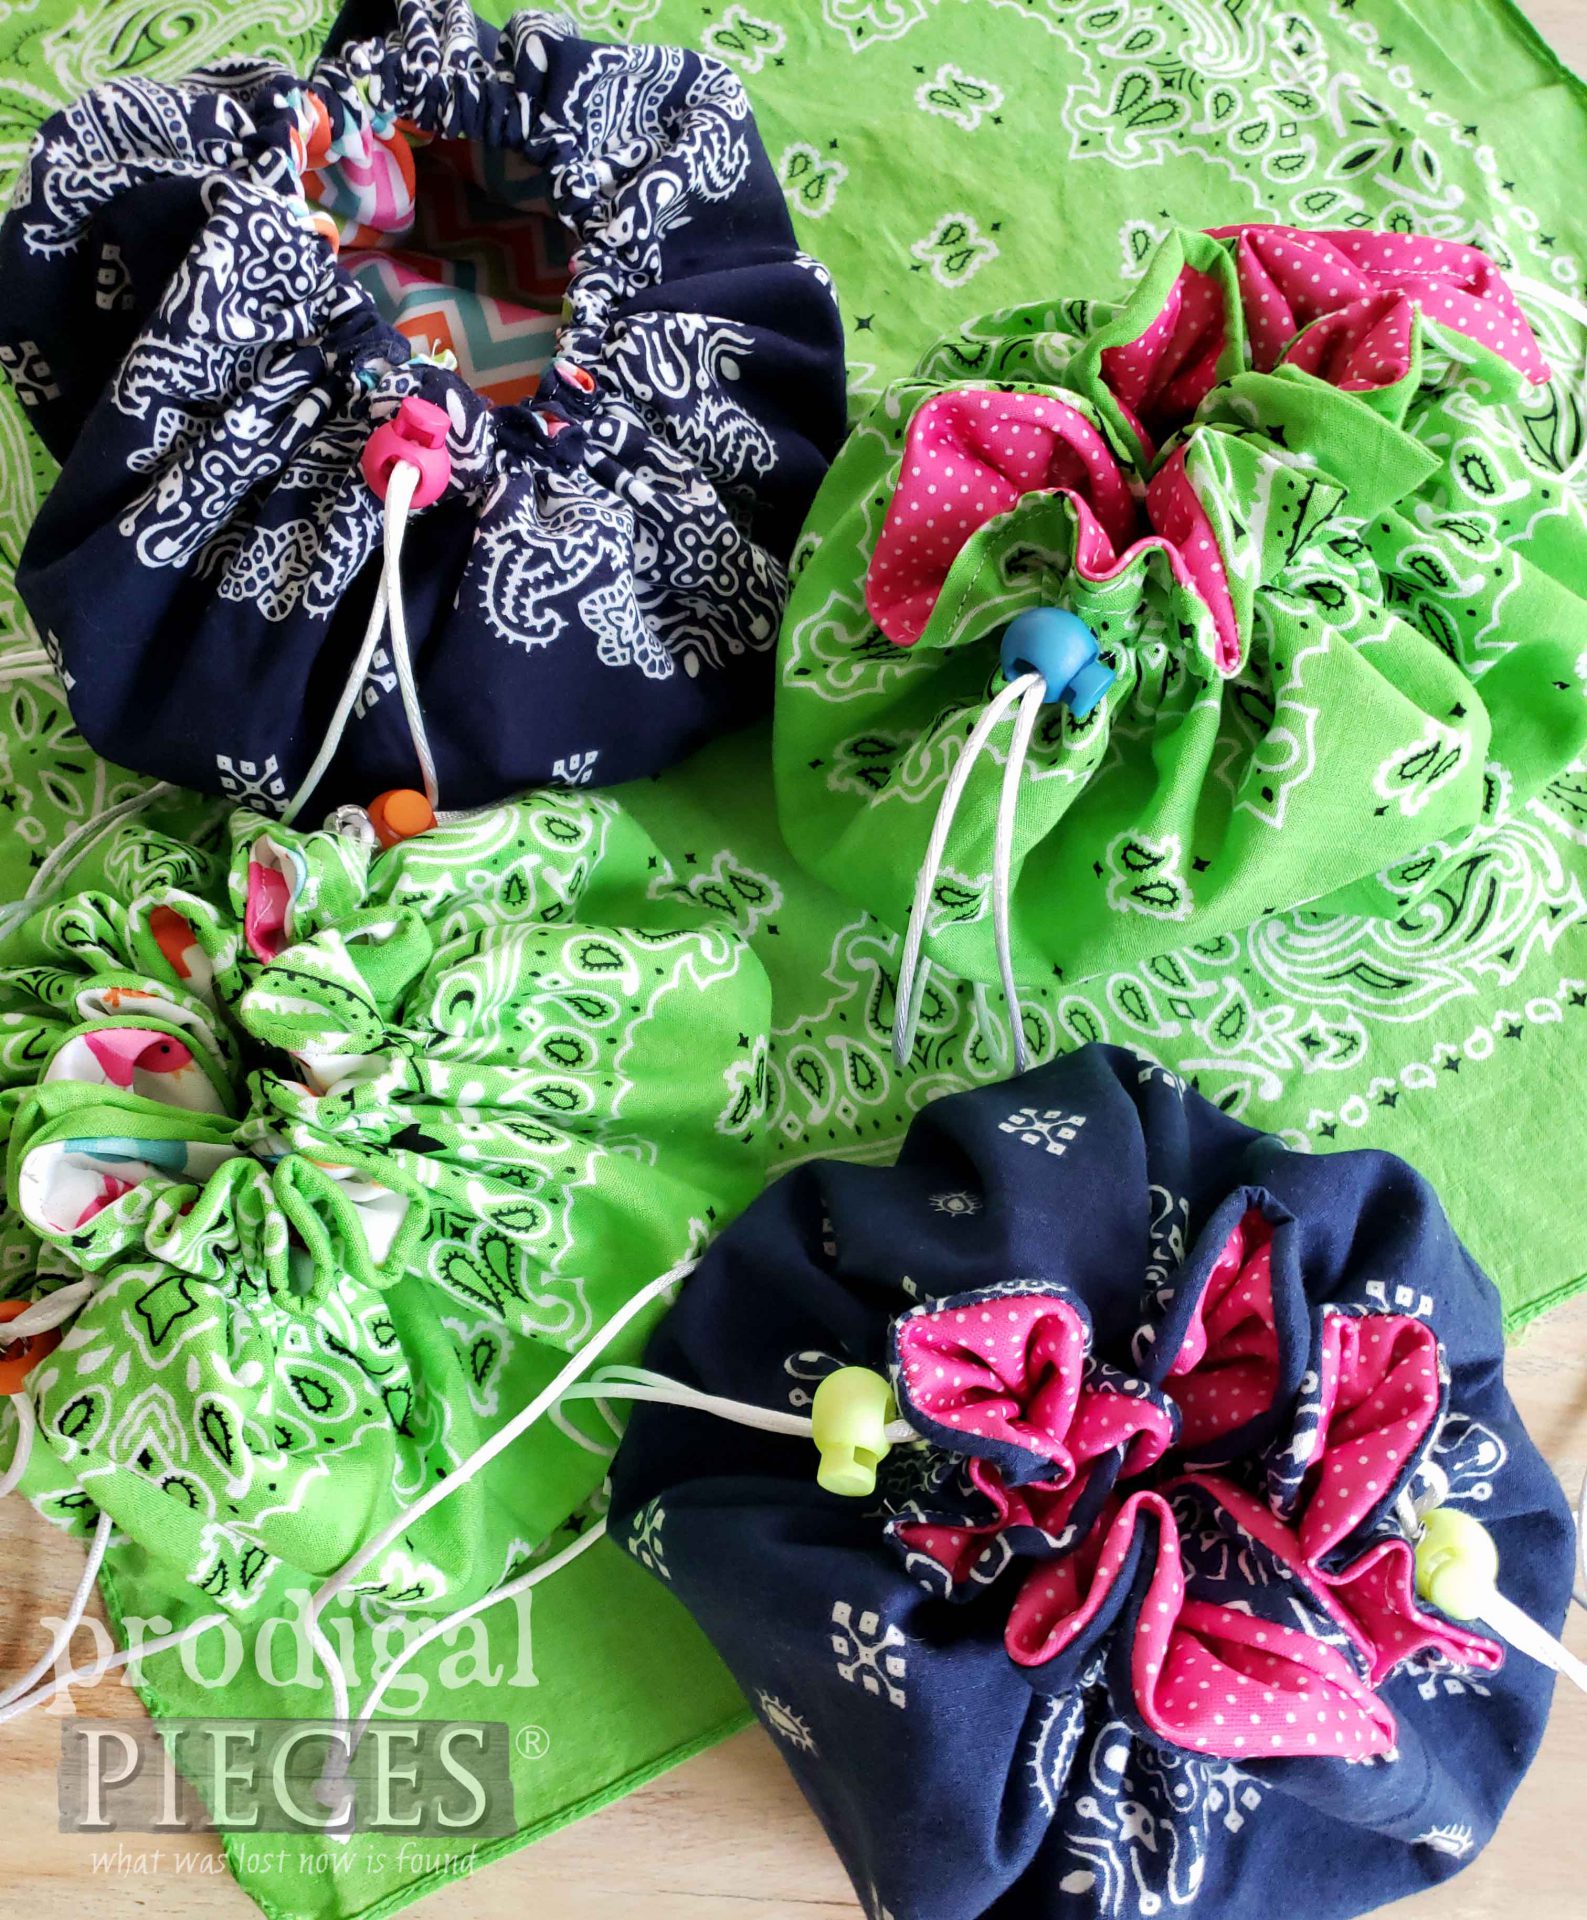
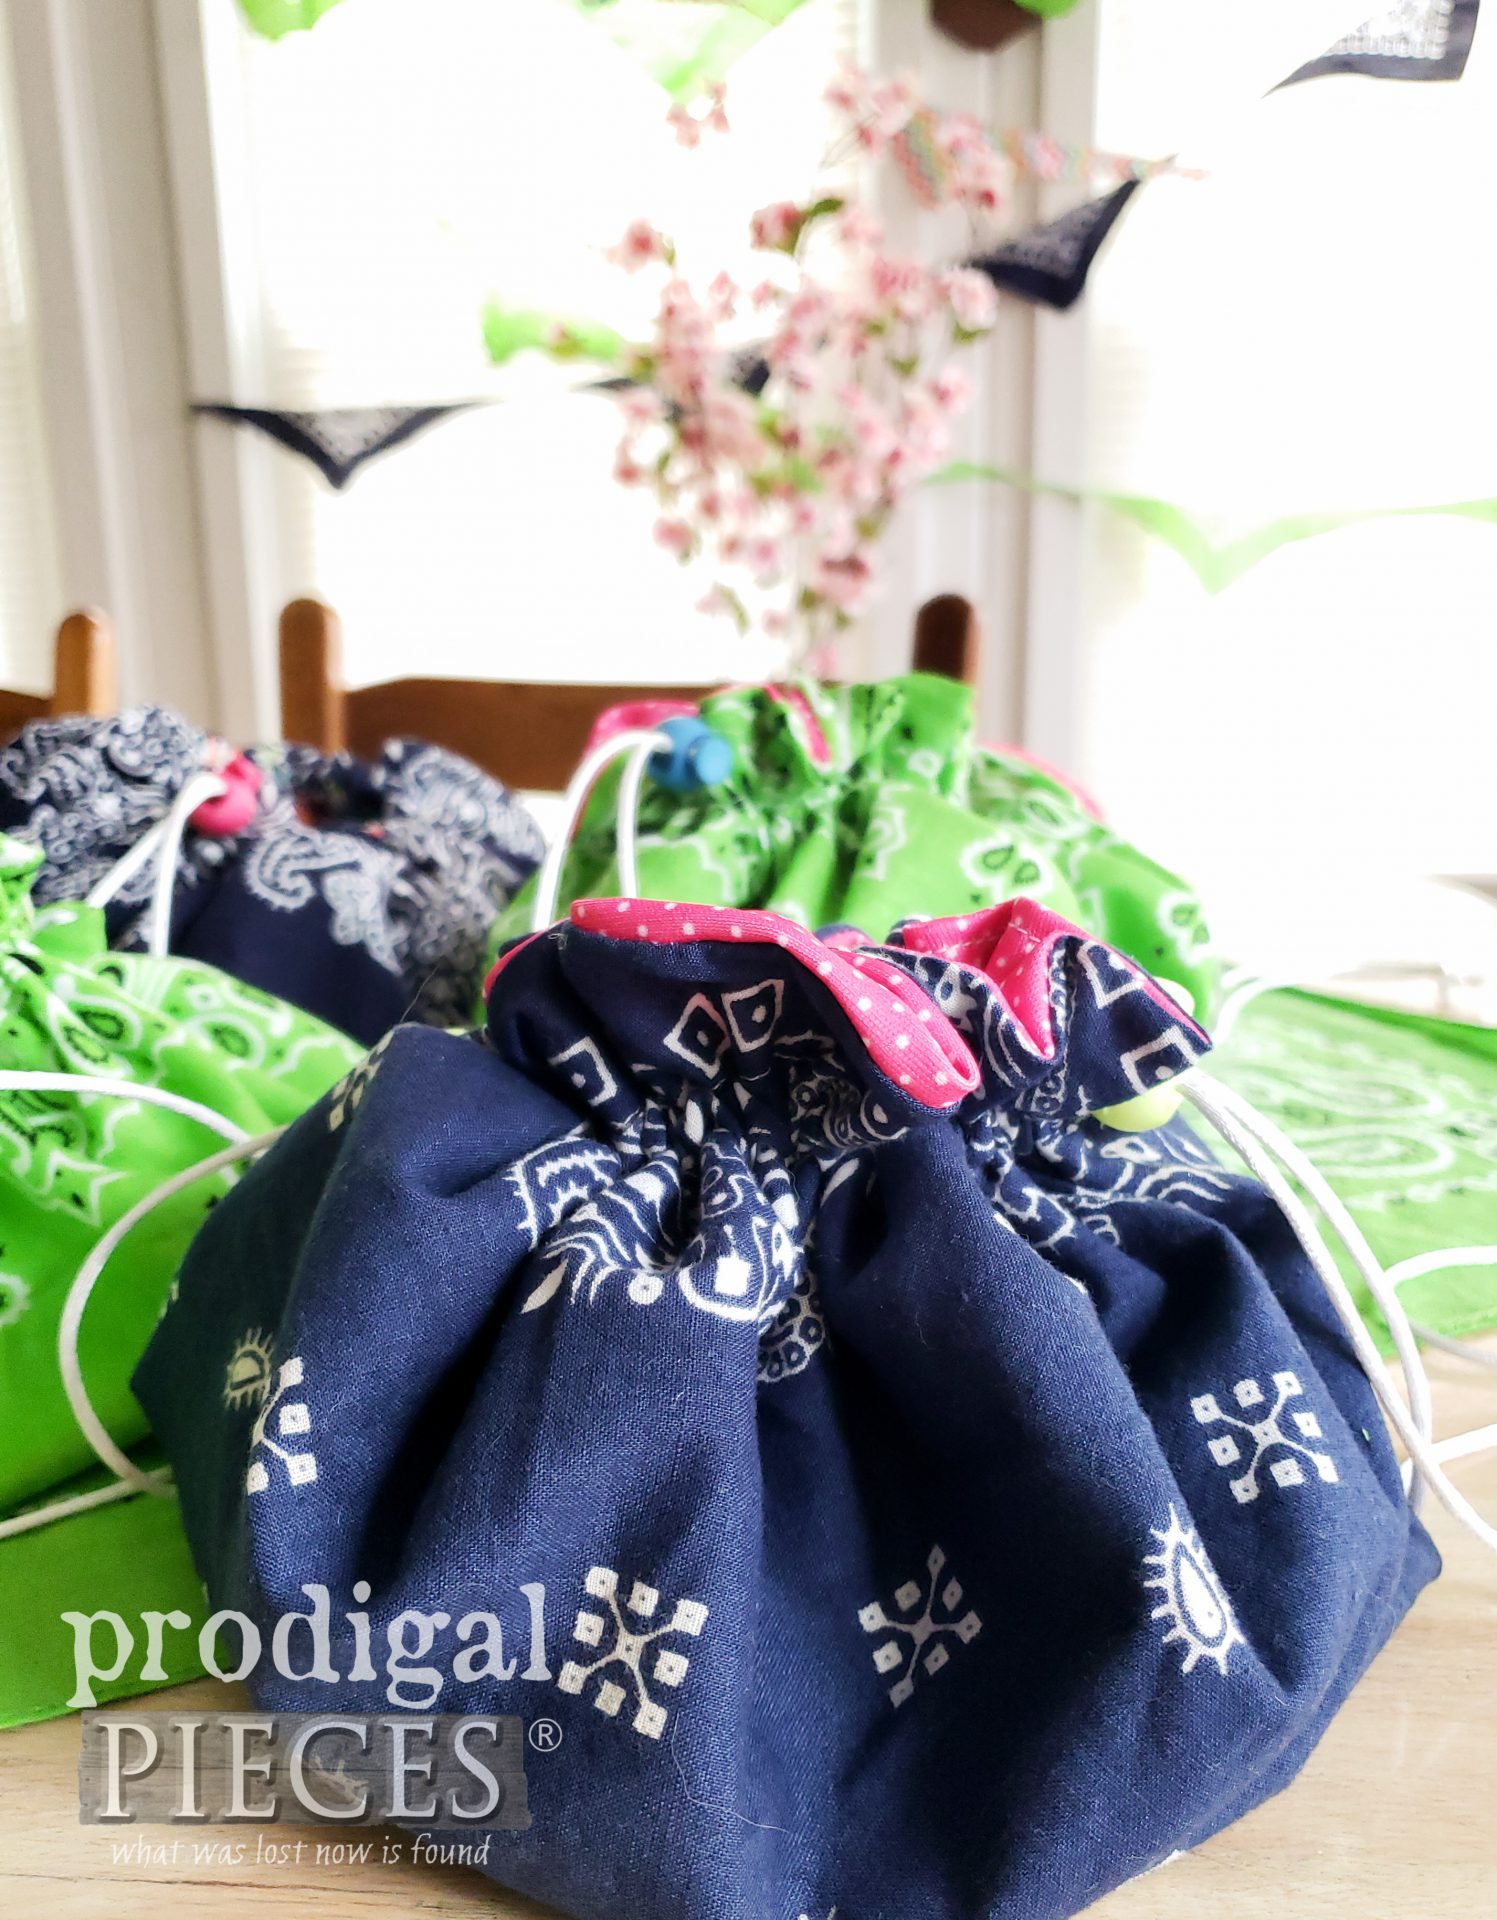
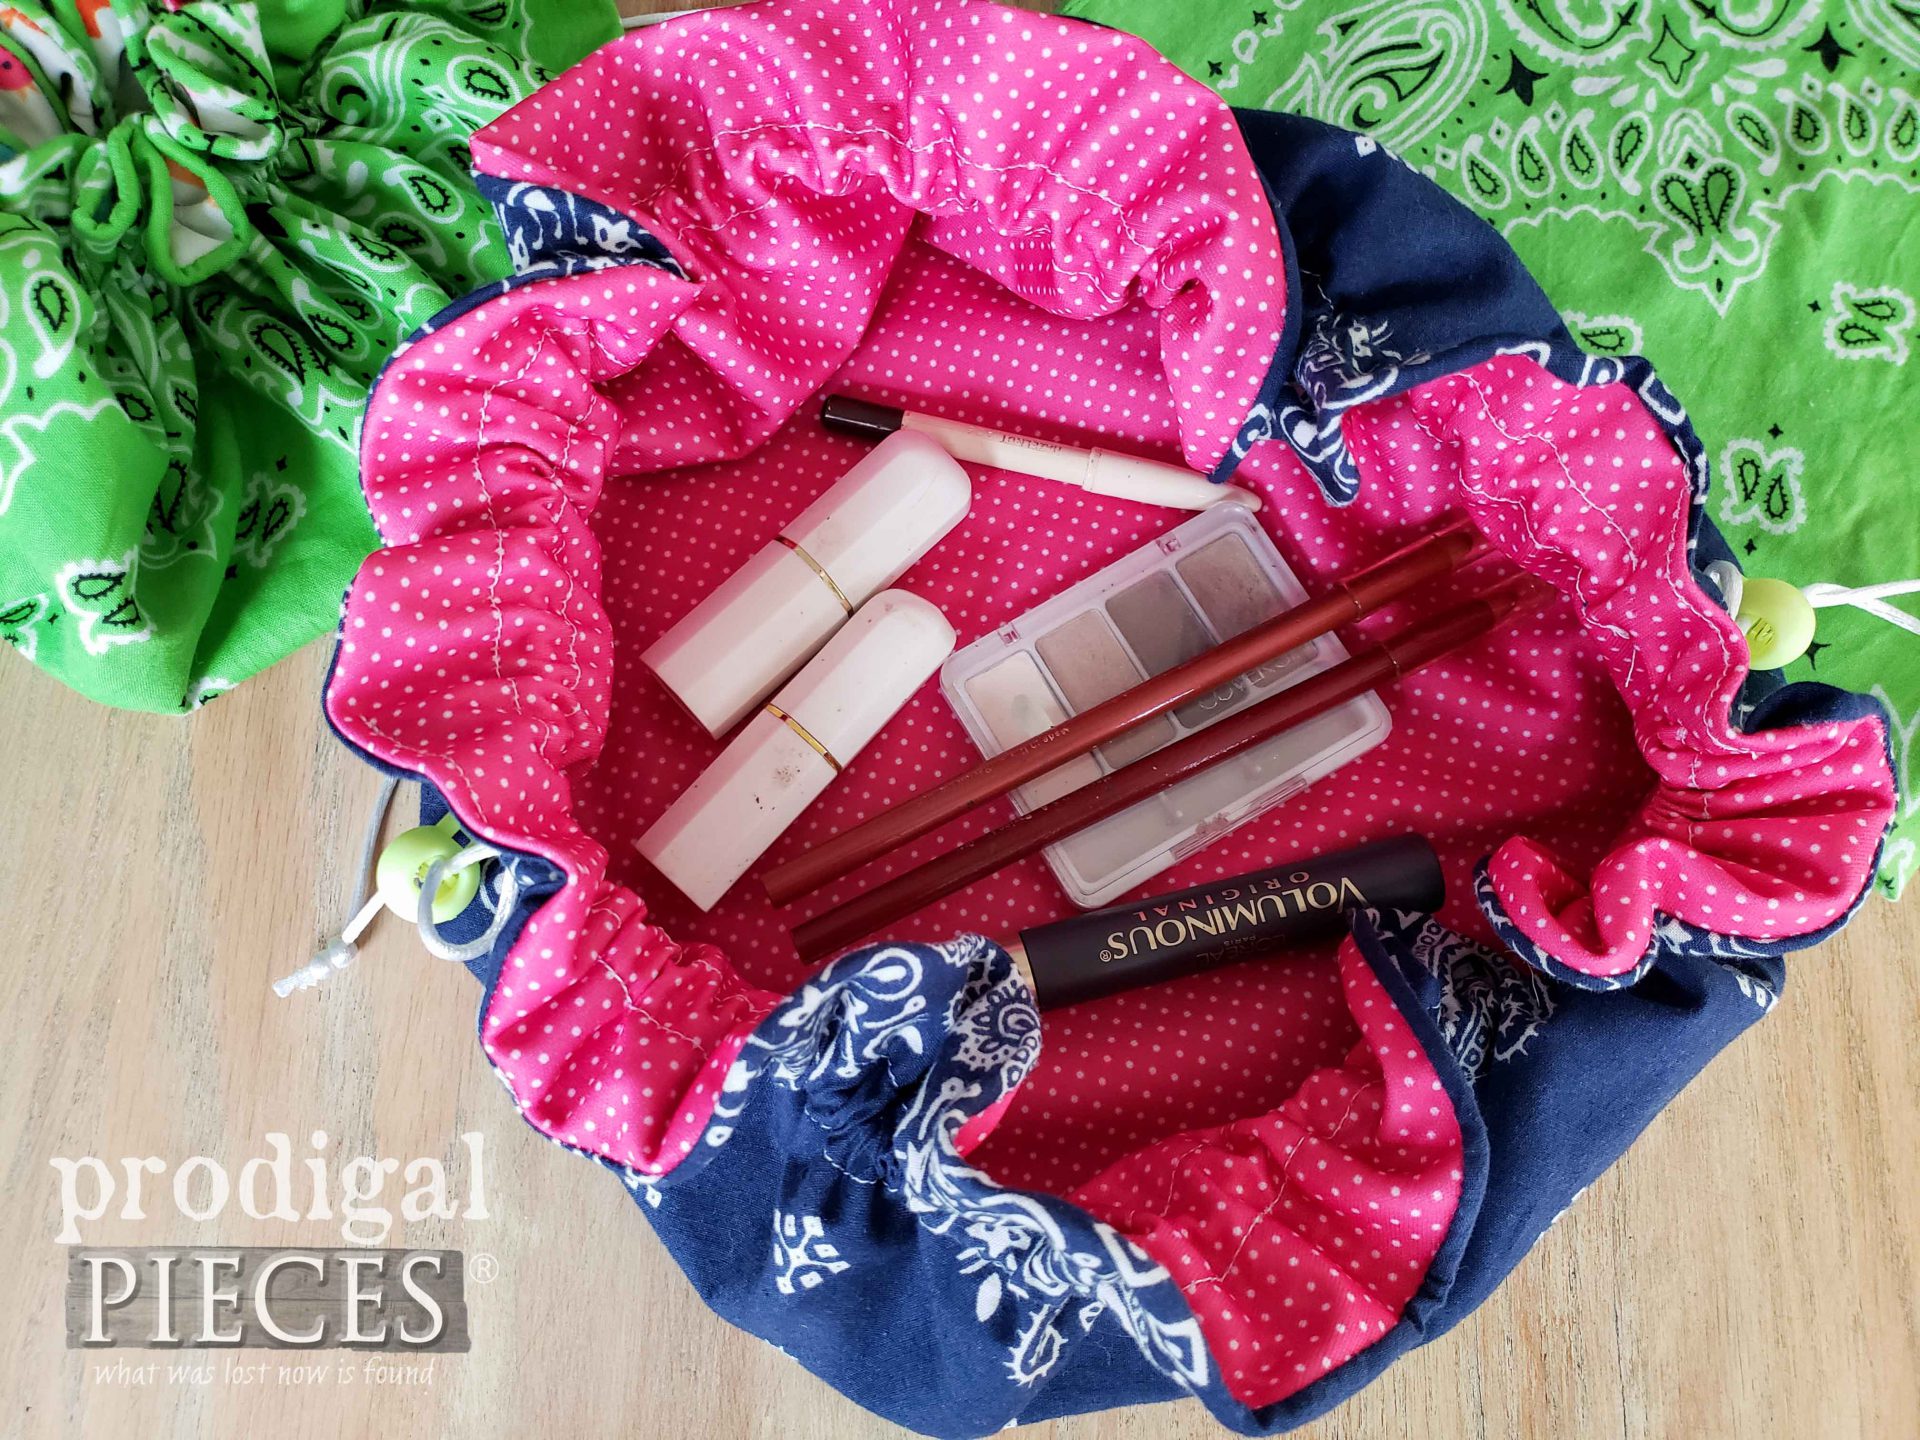
These are perfect for gift-giving, Easter baskets, make-up storage, snack bags…you get the idea. Just adjust the diameter for your needs. Think BIG for kids toys or small for hide-away bags for purses and duffel bags.
If you’d like to create one of these too, I’ve created a video tutorial for you below. In addition, I have the steps written out for you here as well.
Materials:
- Bandana or cotton fabric
- 19″ square PUL fabric + scrap
- satin cord: 2 – 41″ lengths
- 2 cord stops(optional)
- ¼” or larger grommets or eyelets – this kit is awesome or a
- thread – coordinating
TOOLS
-
- serger and/or sewing machine
- fabric scissors
- sewing measuring tape
- sewing clips
- disappearing fabric pen or pen
- crochet hook or large safety pin (for threading cord)
- large paper for circle template
Step 1
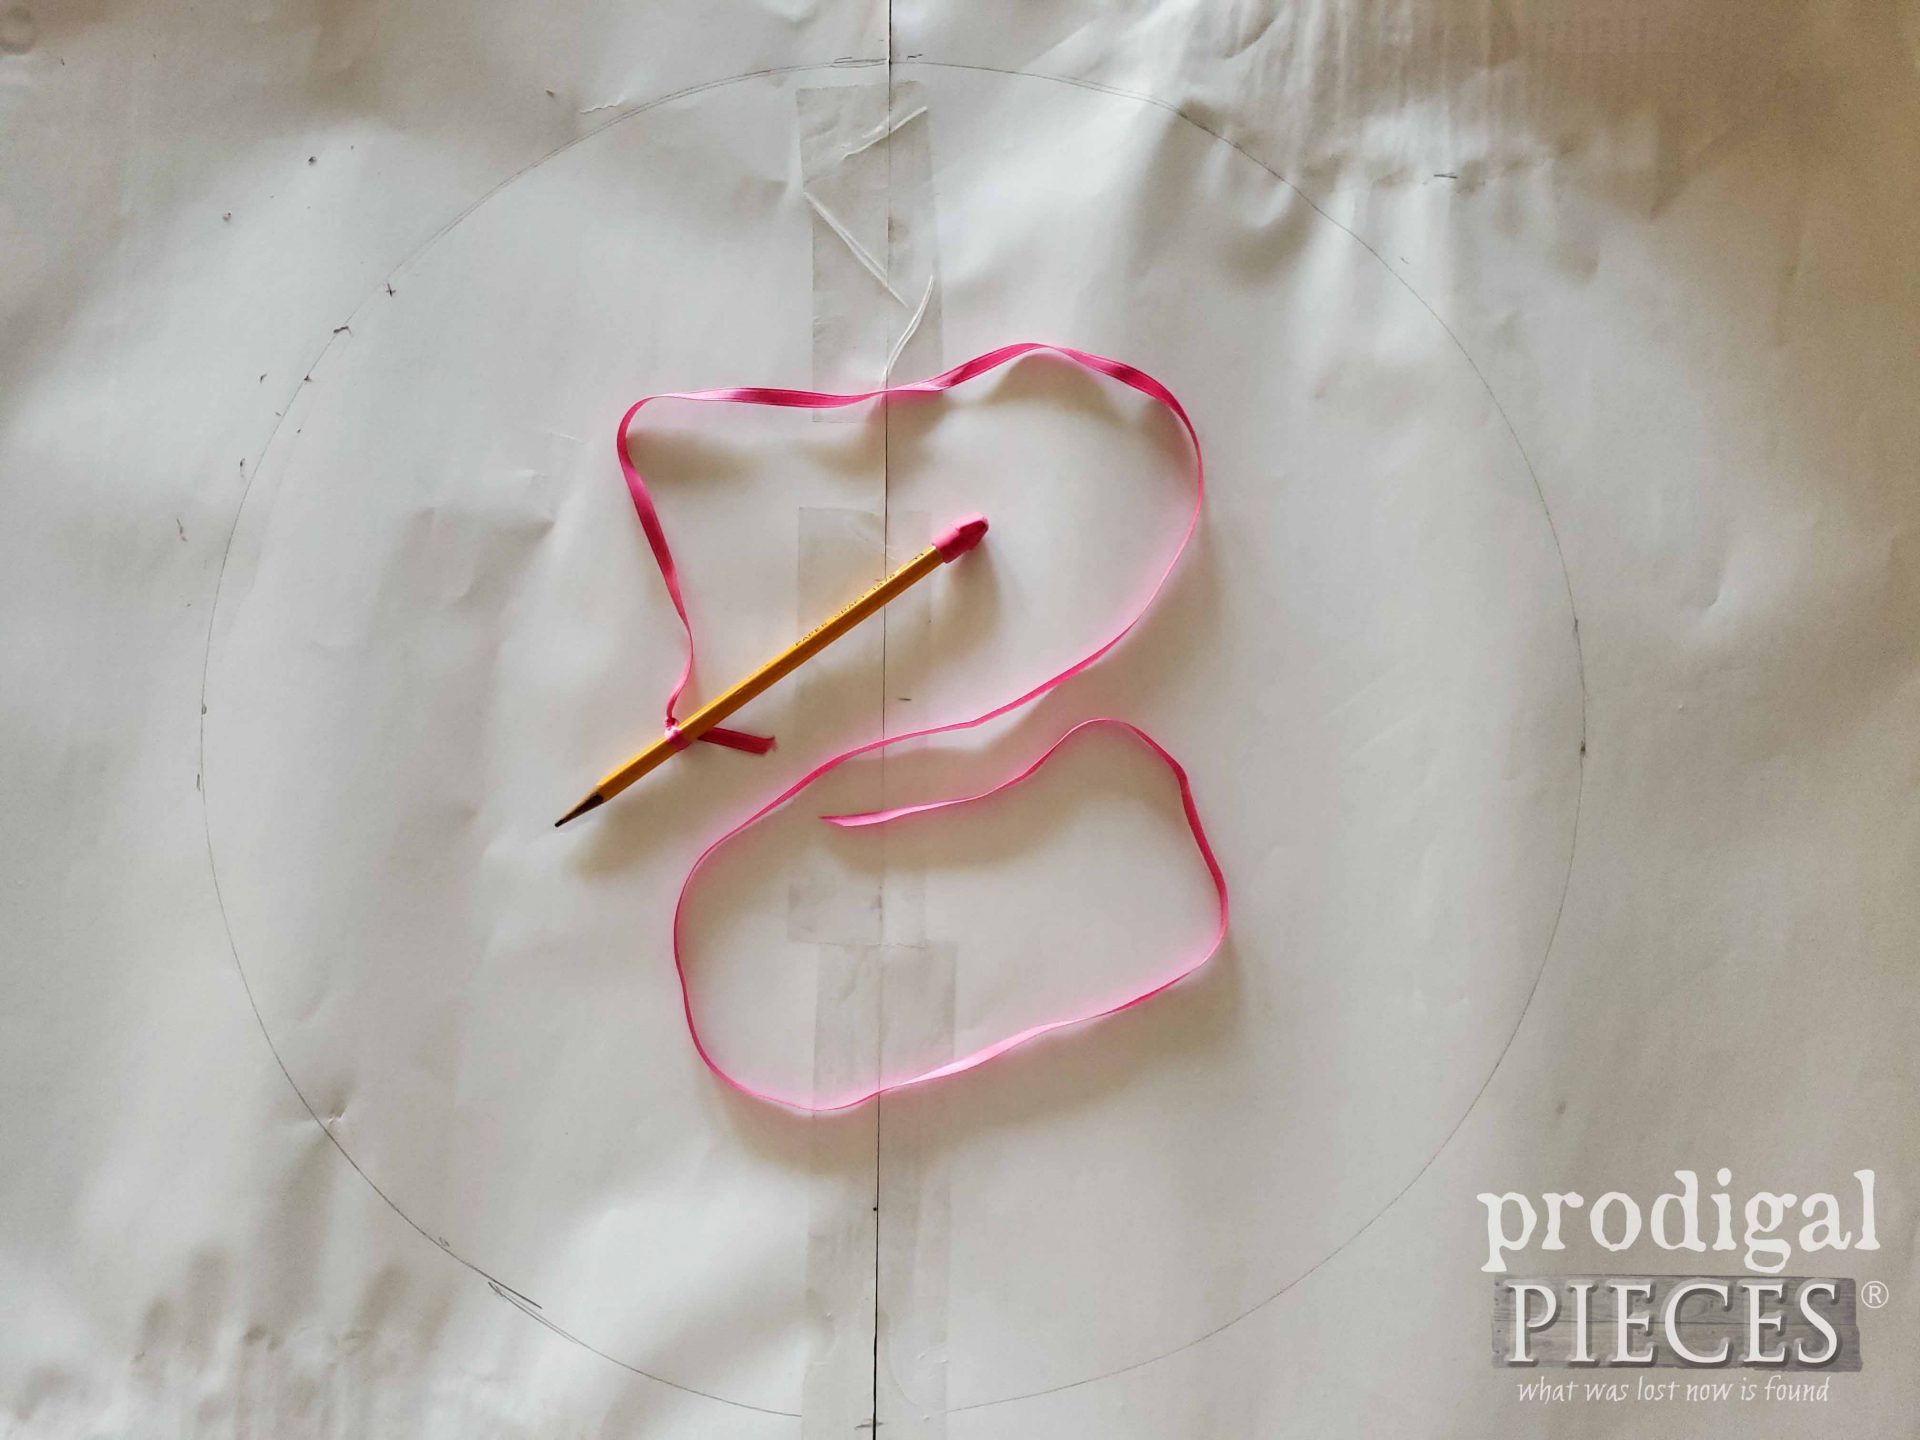
First, you’ll need to create a 19″ circle template. You can use paper, cardboard, hardboard, or even a heavier fabric. I saved old desktop calendars because my kids and I love to draw on the backside of them. Plus, they are awesome for making my patterns. I had to tape two together to make this large of a circle.
To get the perfect circle, I use a pencil and twine or ribbon. Place a pushpin in the center and make the ribbon 9 ½” from pin to pencil. That will give us a 19″ diameter circle. Cut out the circle.
*note: You can make this circle as large or as small as you like. I’m gaming to make use of as much of the bandana as possible. However, you can make it a large 3 ft diameter for Legos or toys, or super small for jewelry. The options are limitless for these.
STEP 2
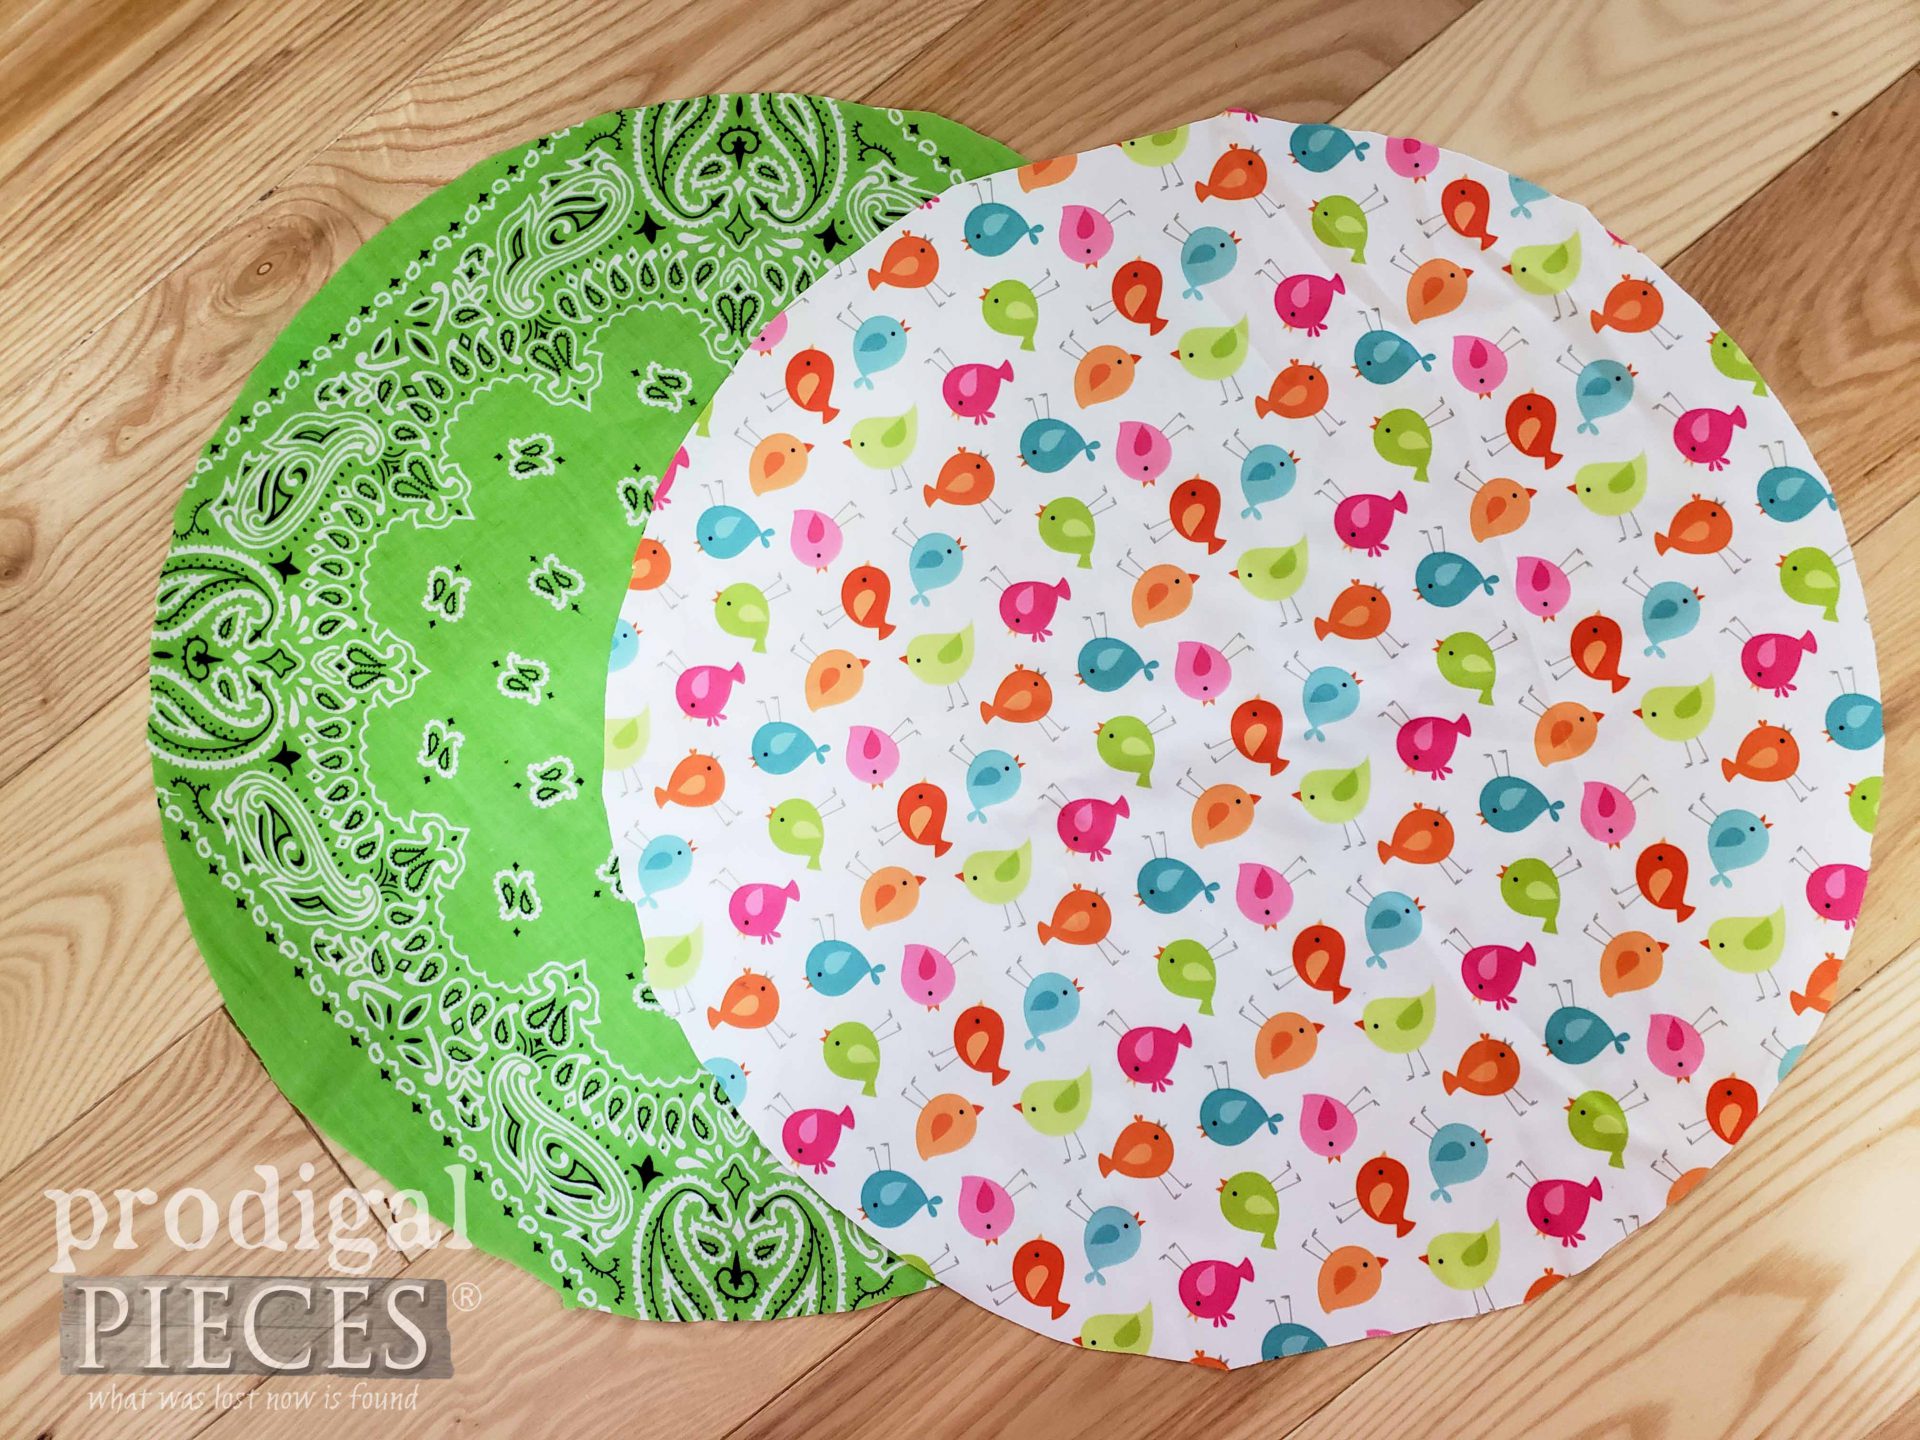
Next, use your paper template to cut out a circle out of the bandana. The round thing in the middle is a stack of 3 large metal washers wrapped in fabric. I LOVE having several sizes of these as my pattern weights. You need to make you some, just sayin’.
Also, use the template and cut out a circle of PUL too.
STEP 3
Now that you have your circles cut, it’s time to add the funk. First, measure 1 ½” from the edge on one side and also on the opposing side and mark.
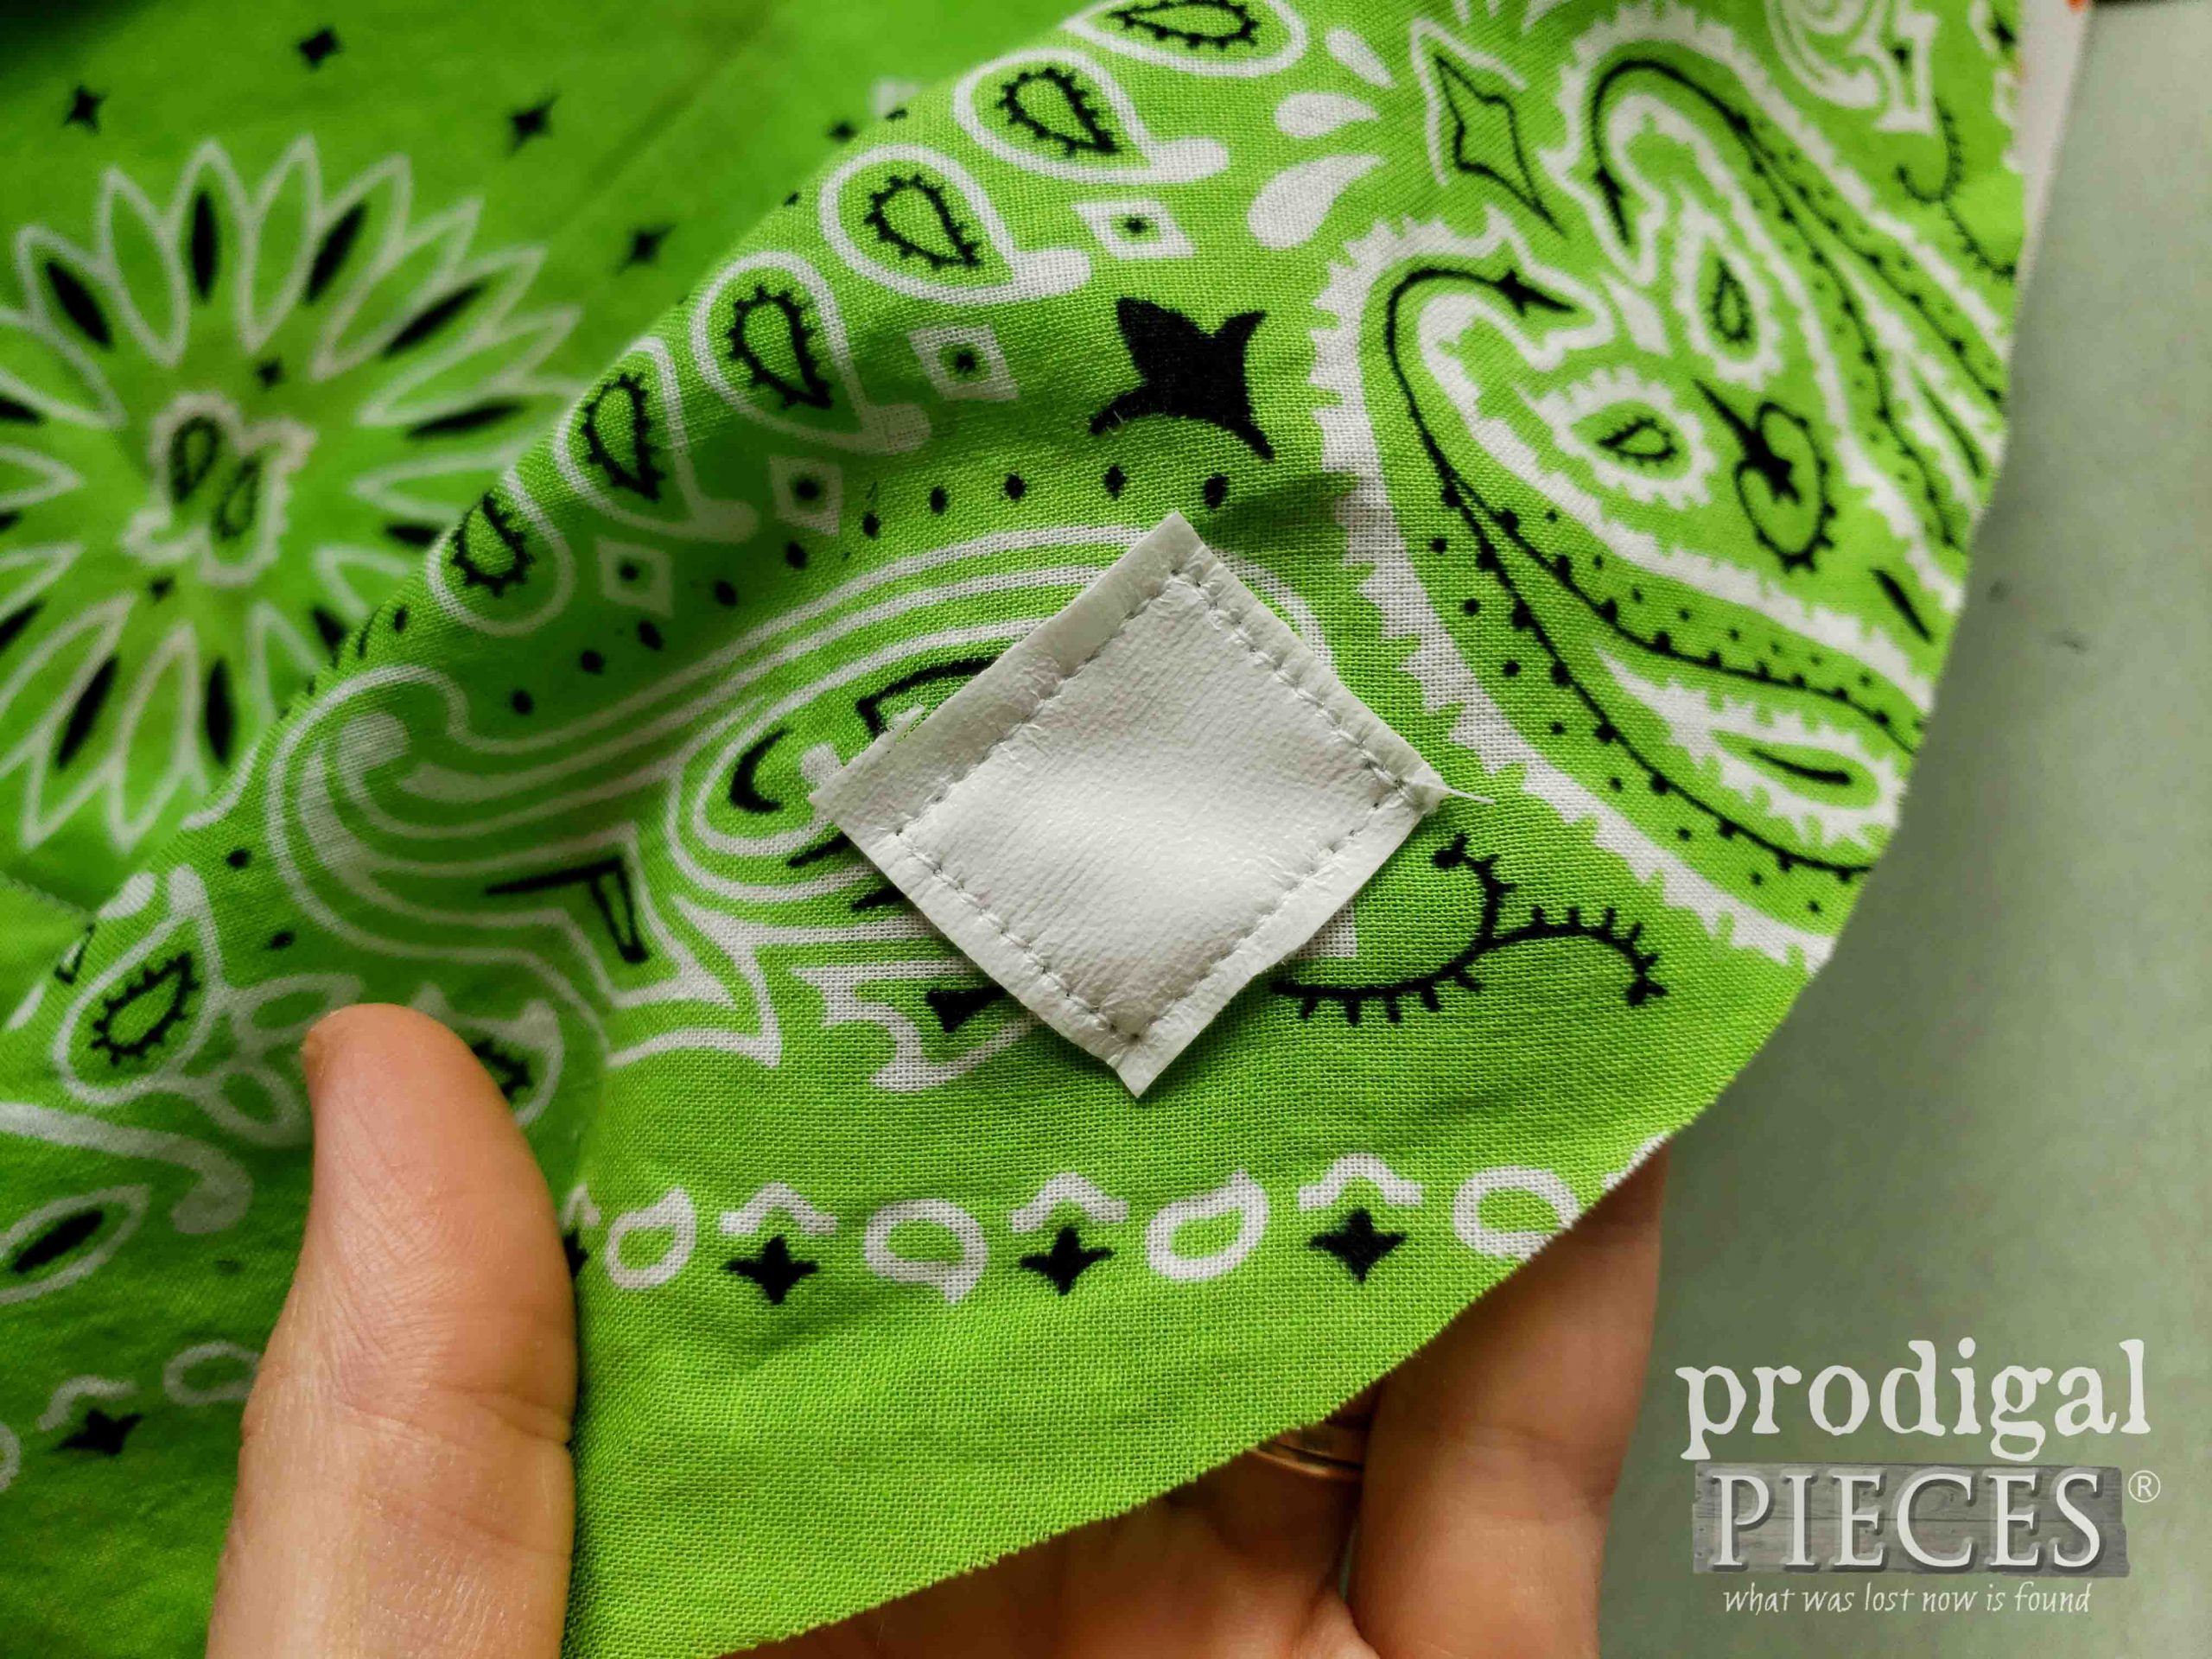
Since I plan to make about a ½” channel for my cord, I cut a scrap of PUL about 1″ x ¾” square and sew it centered over my mark. You can use a standard needle on your machine for sewing the PUL.
STEP 4
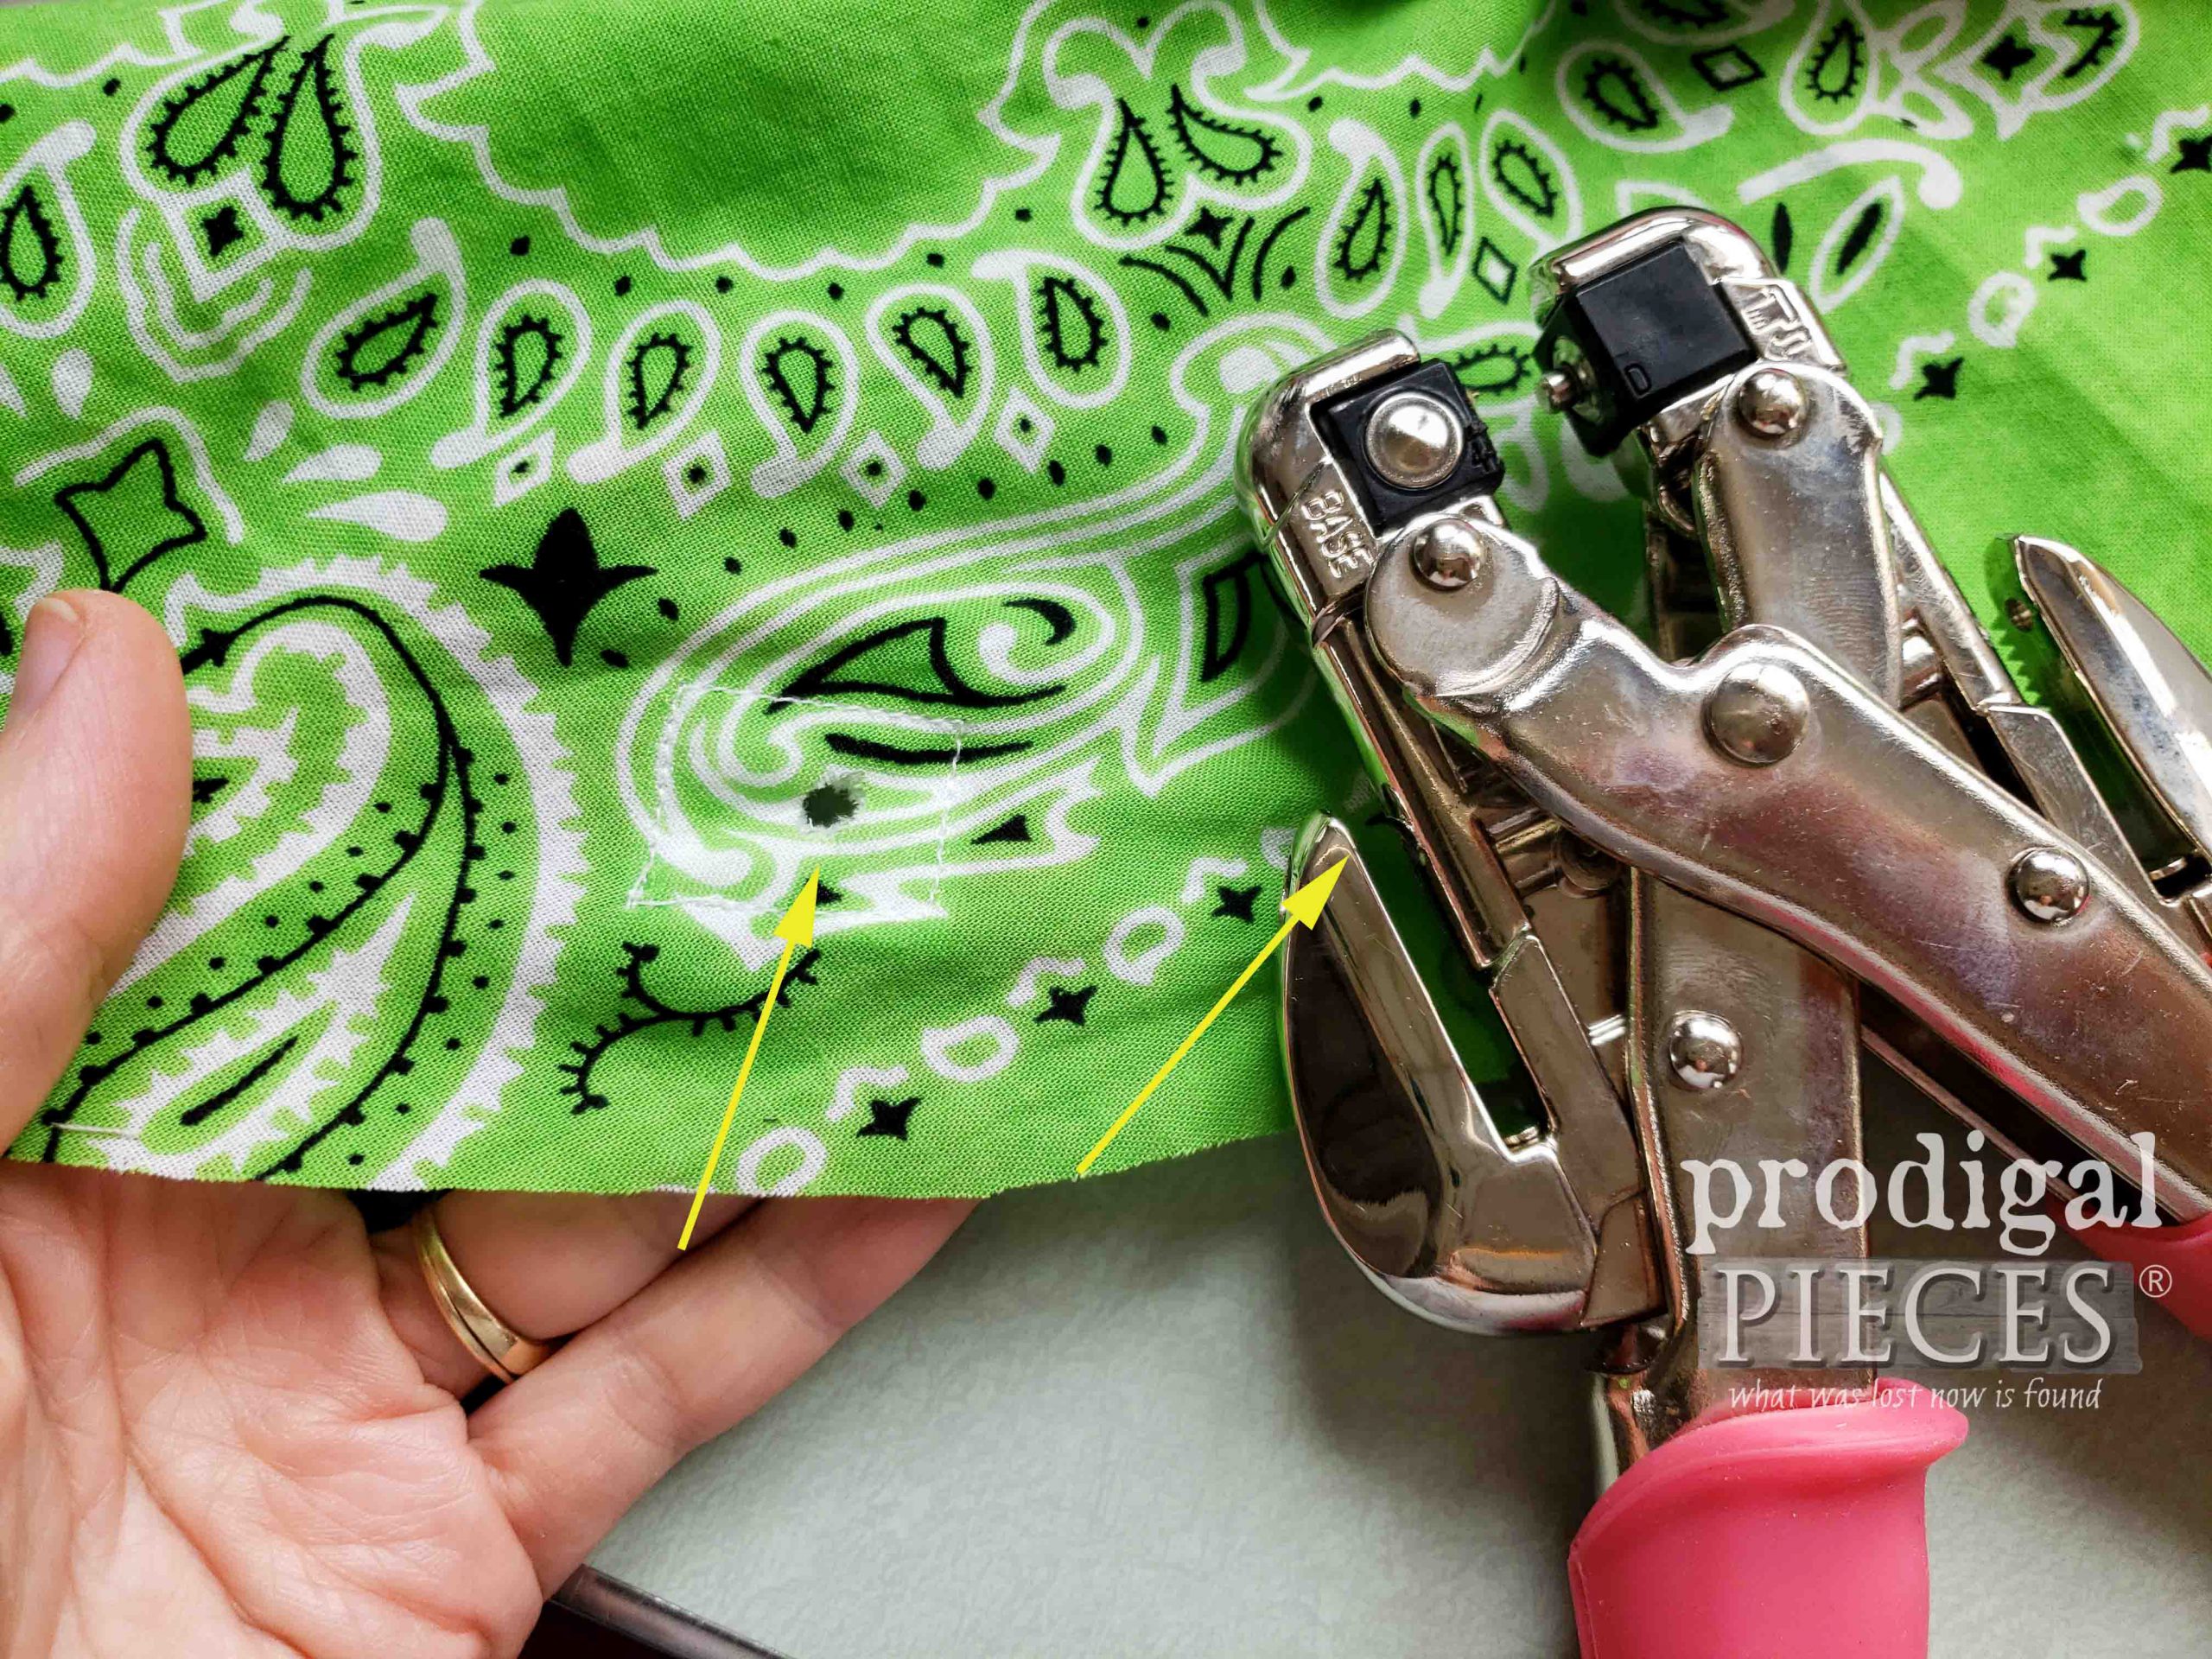
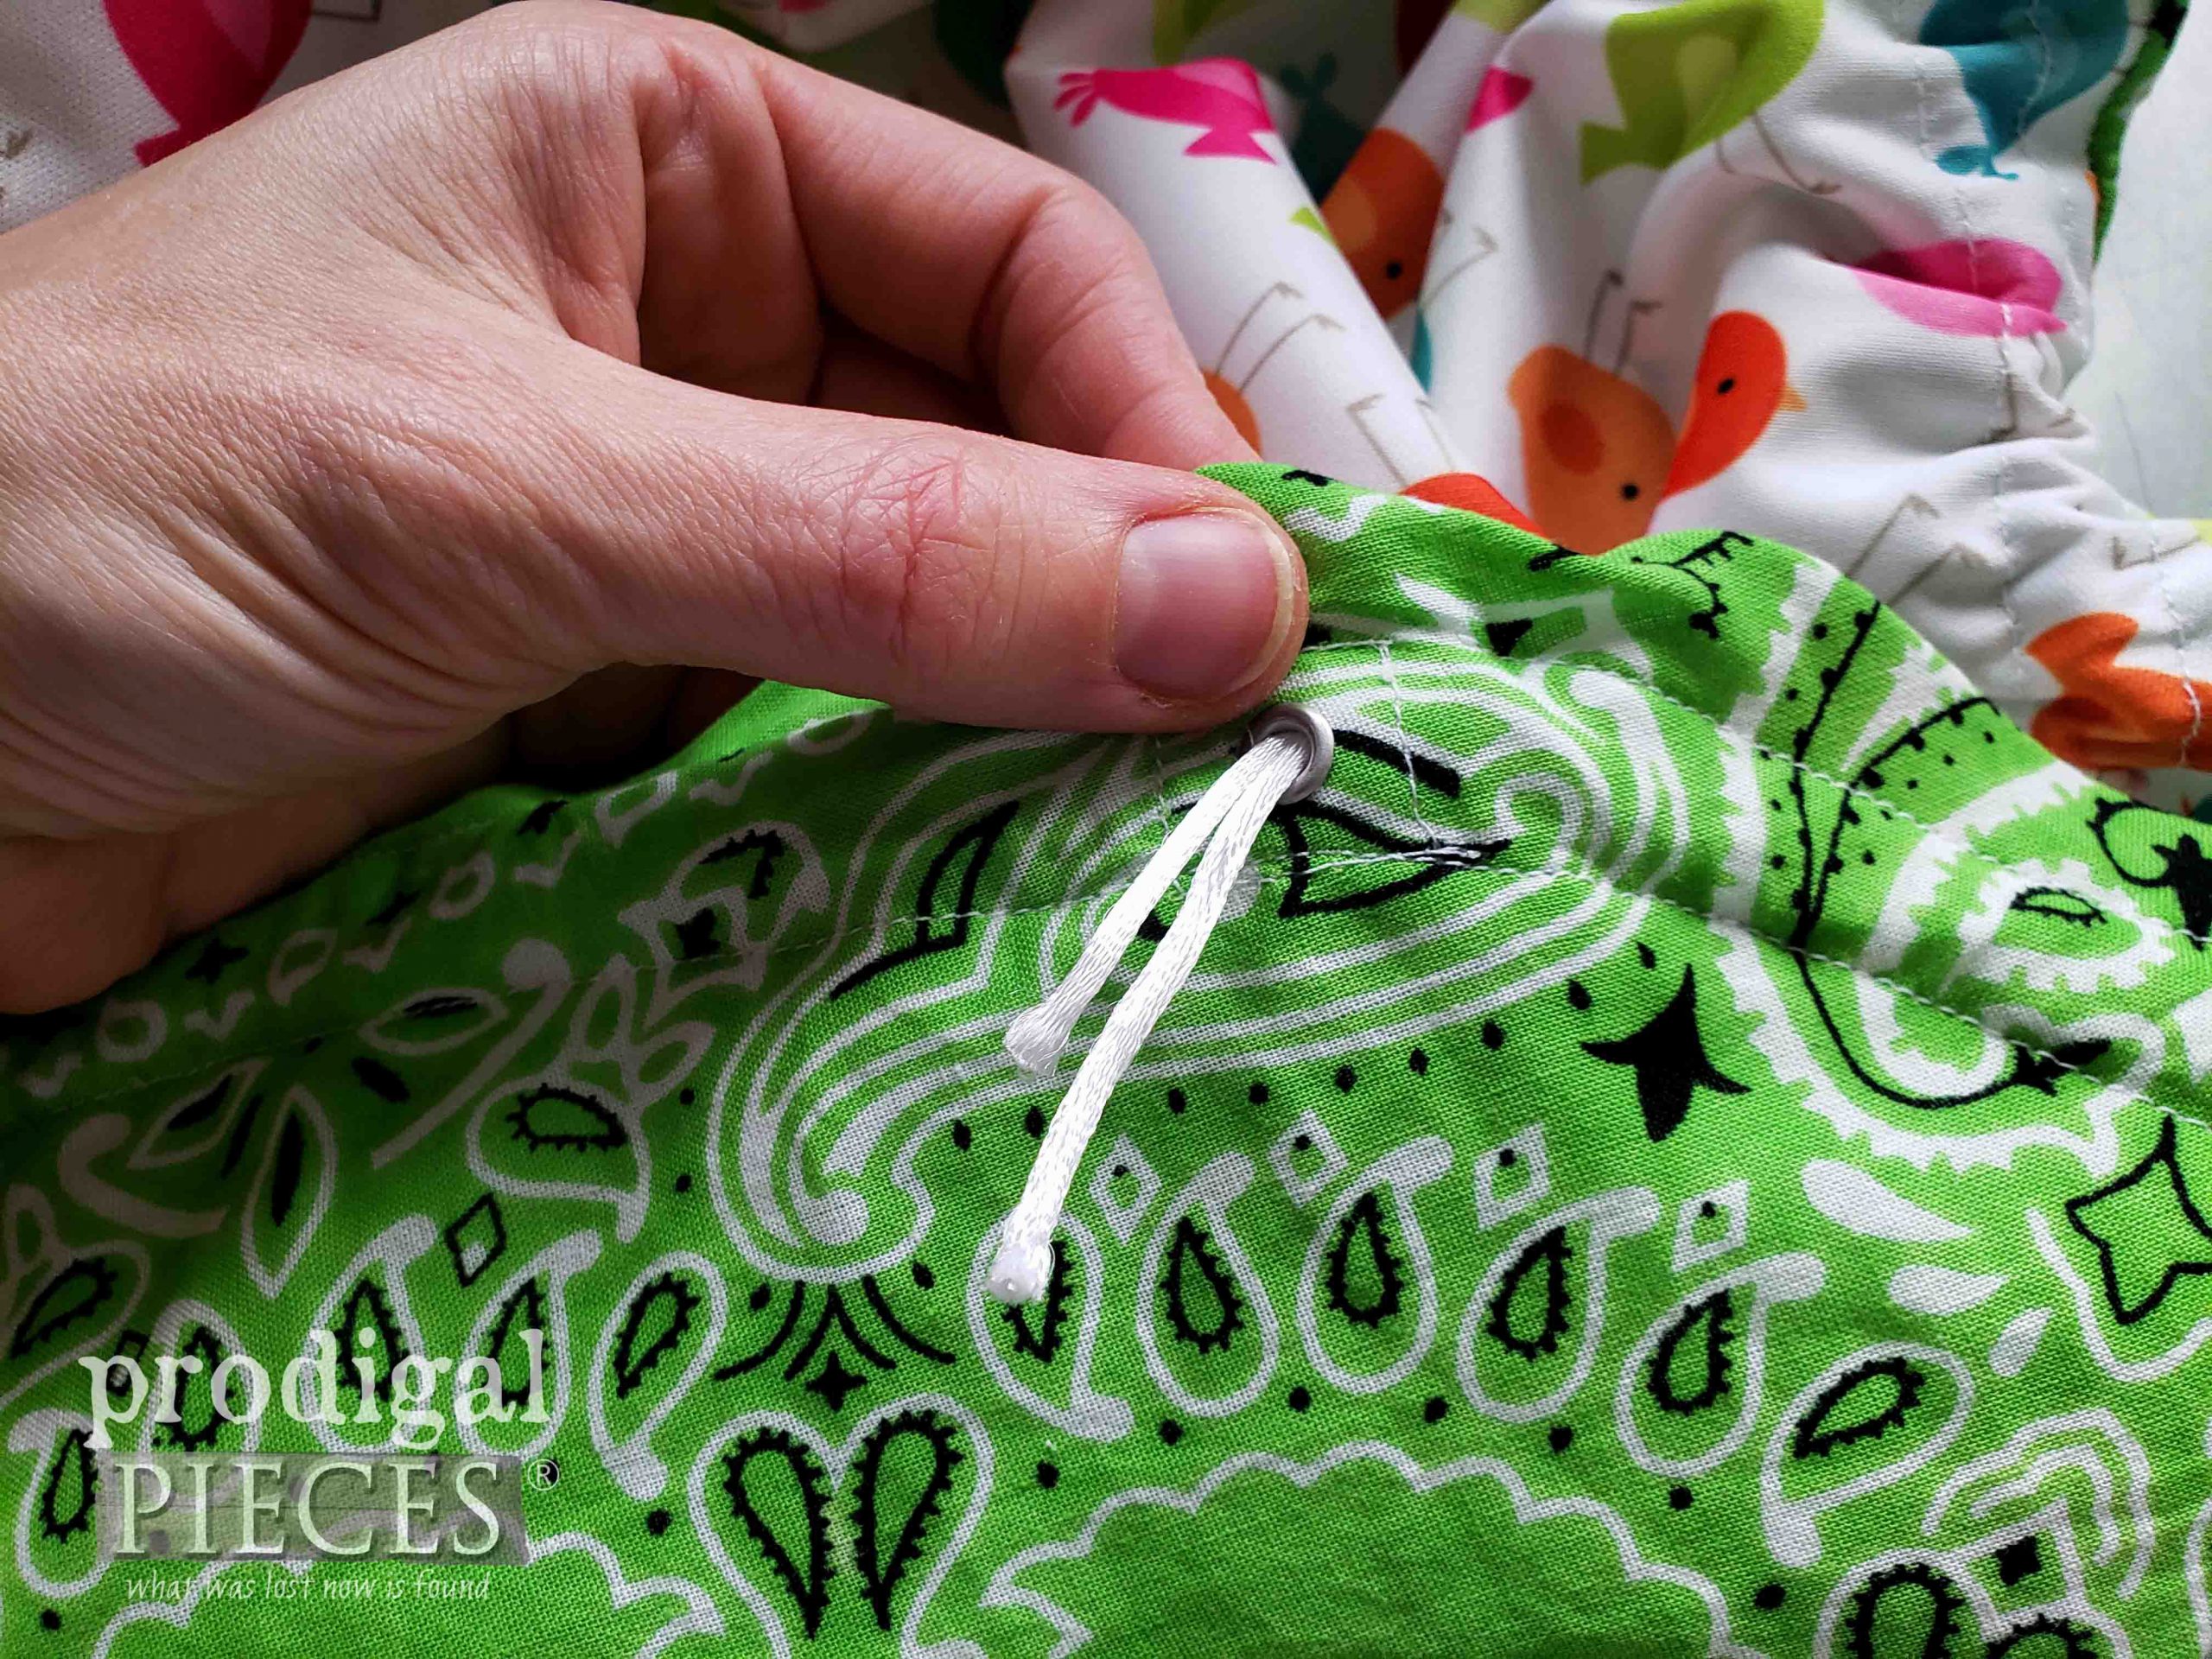
Next, take your grommet set or Crop-a-Dile and punch a centered hole through both layers.
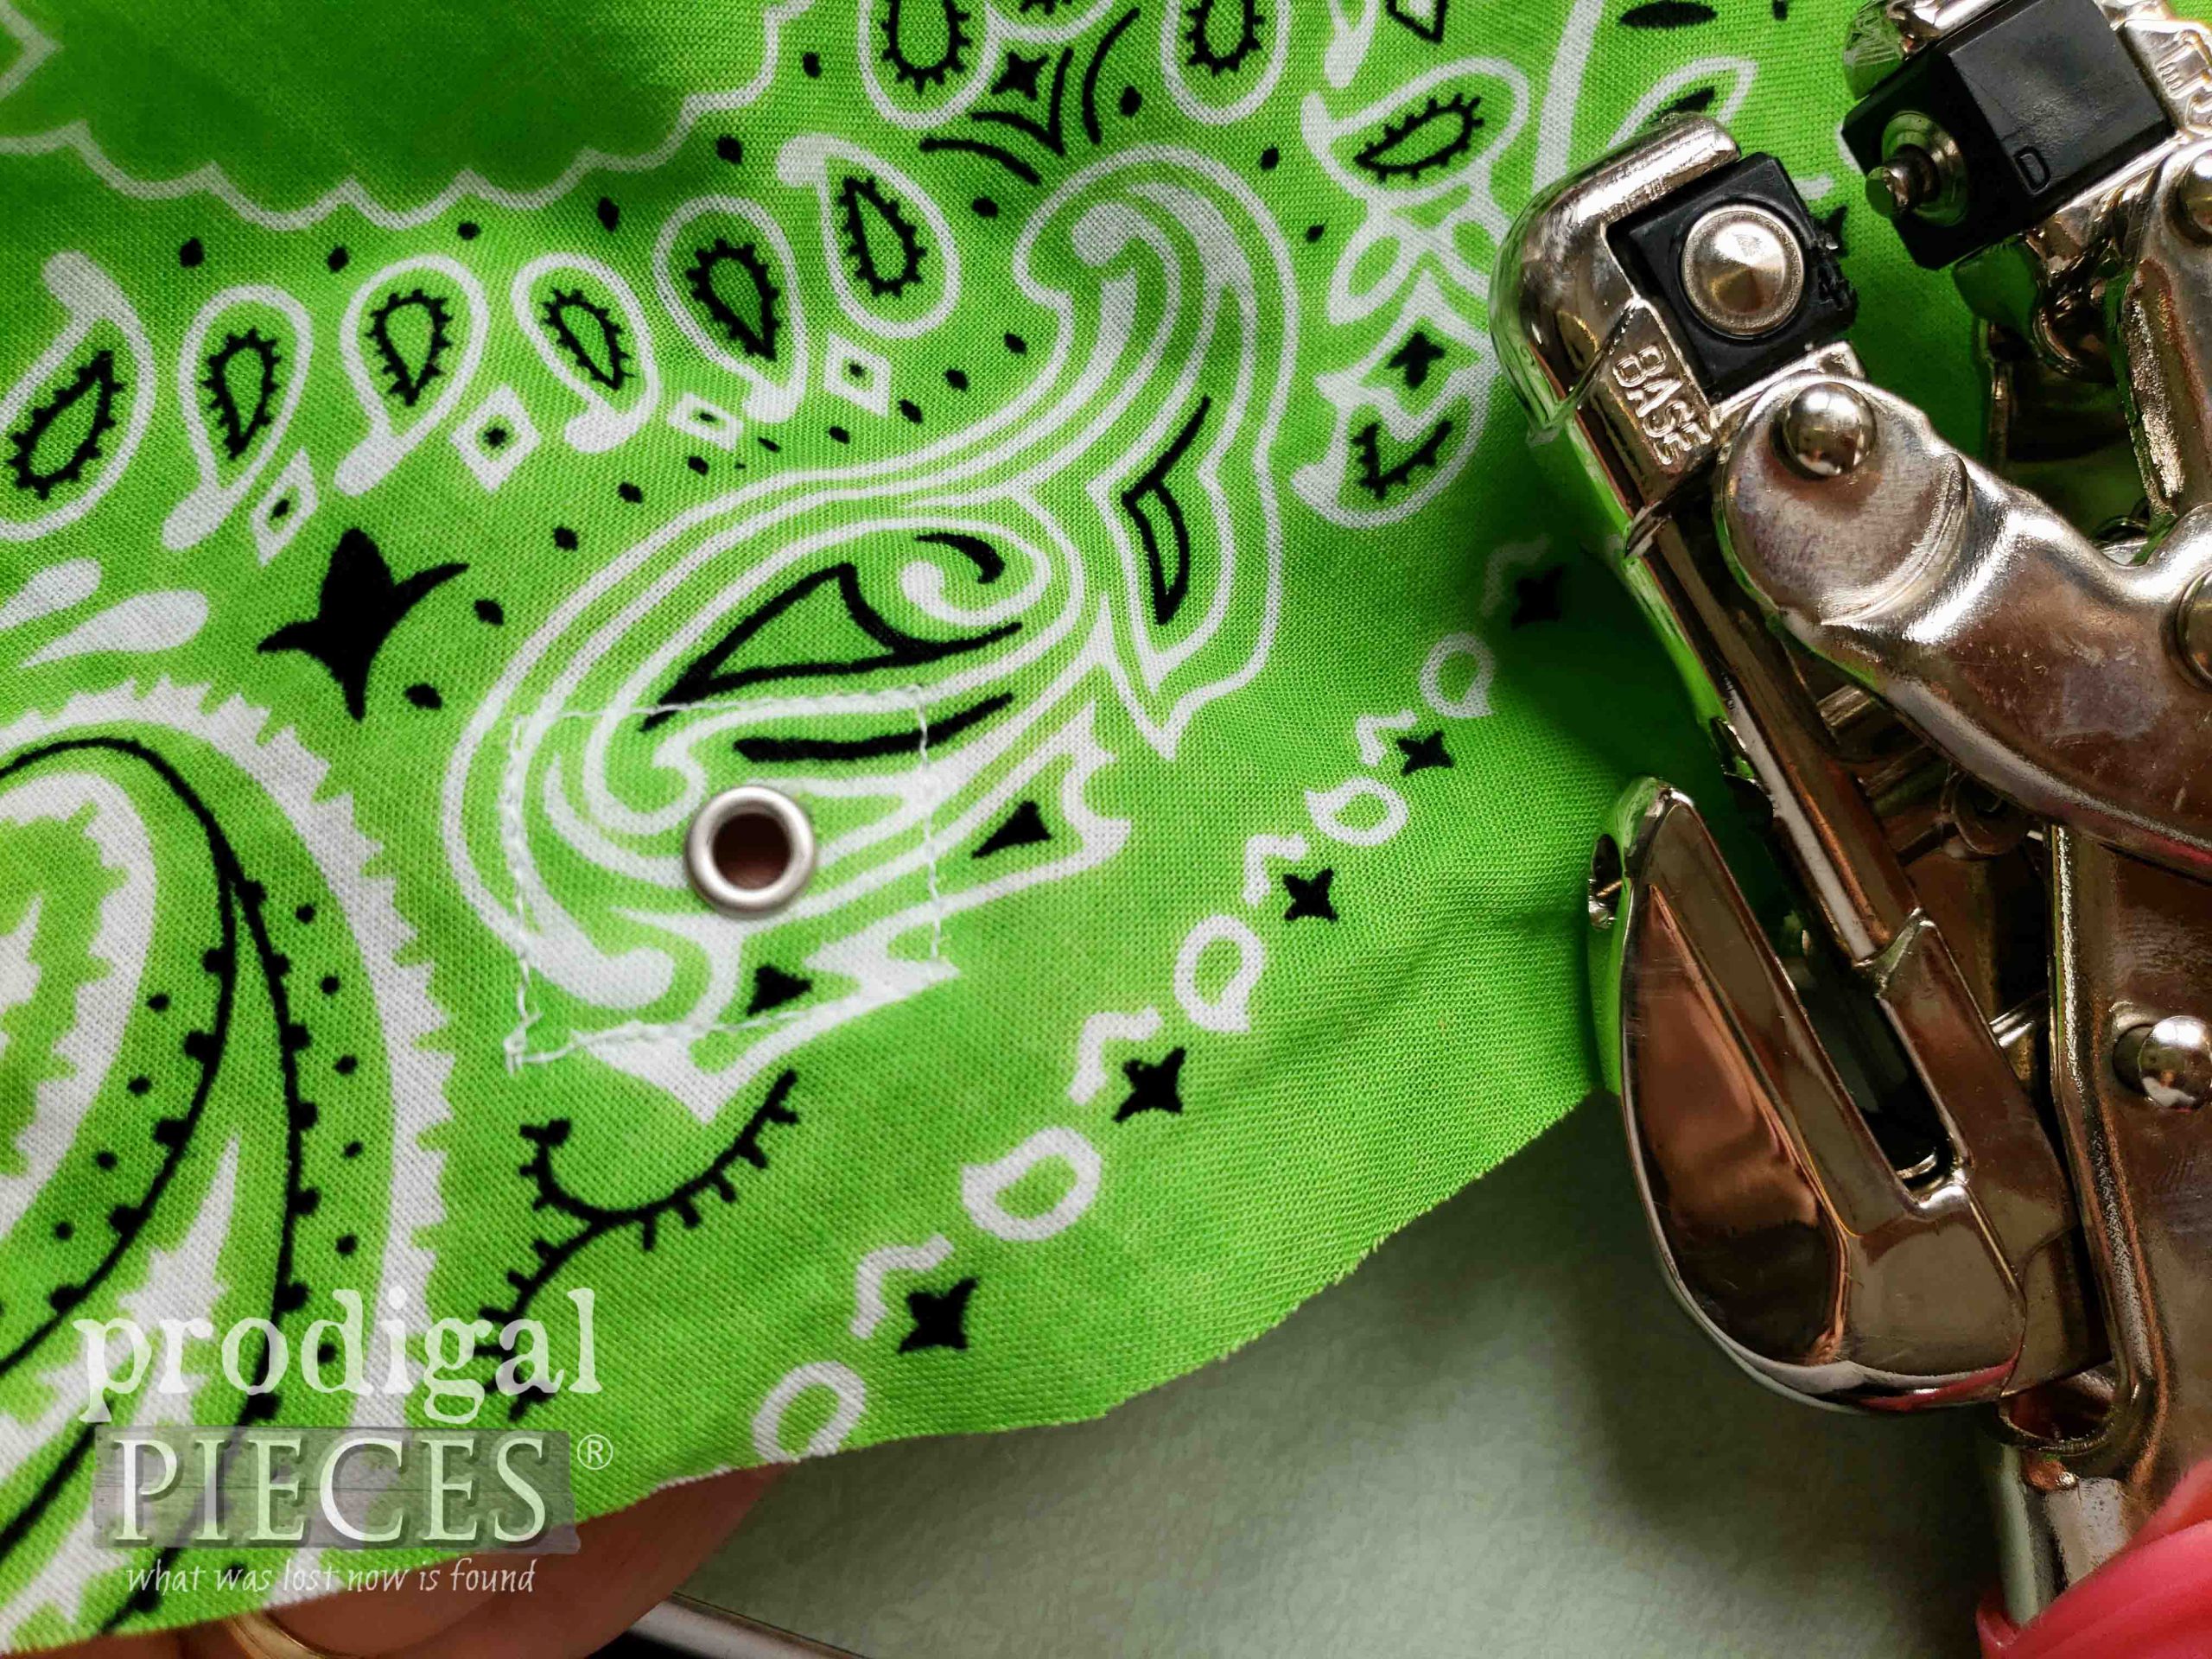
Insert the grommet or eyelet and press with your tool.
STEP 5
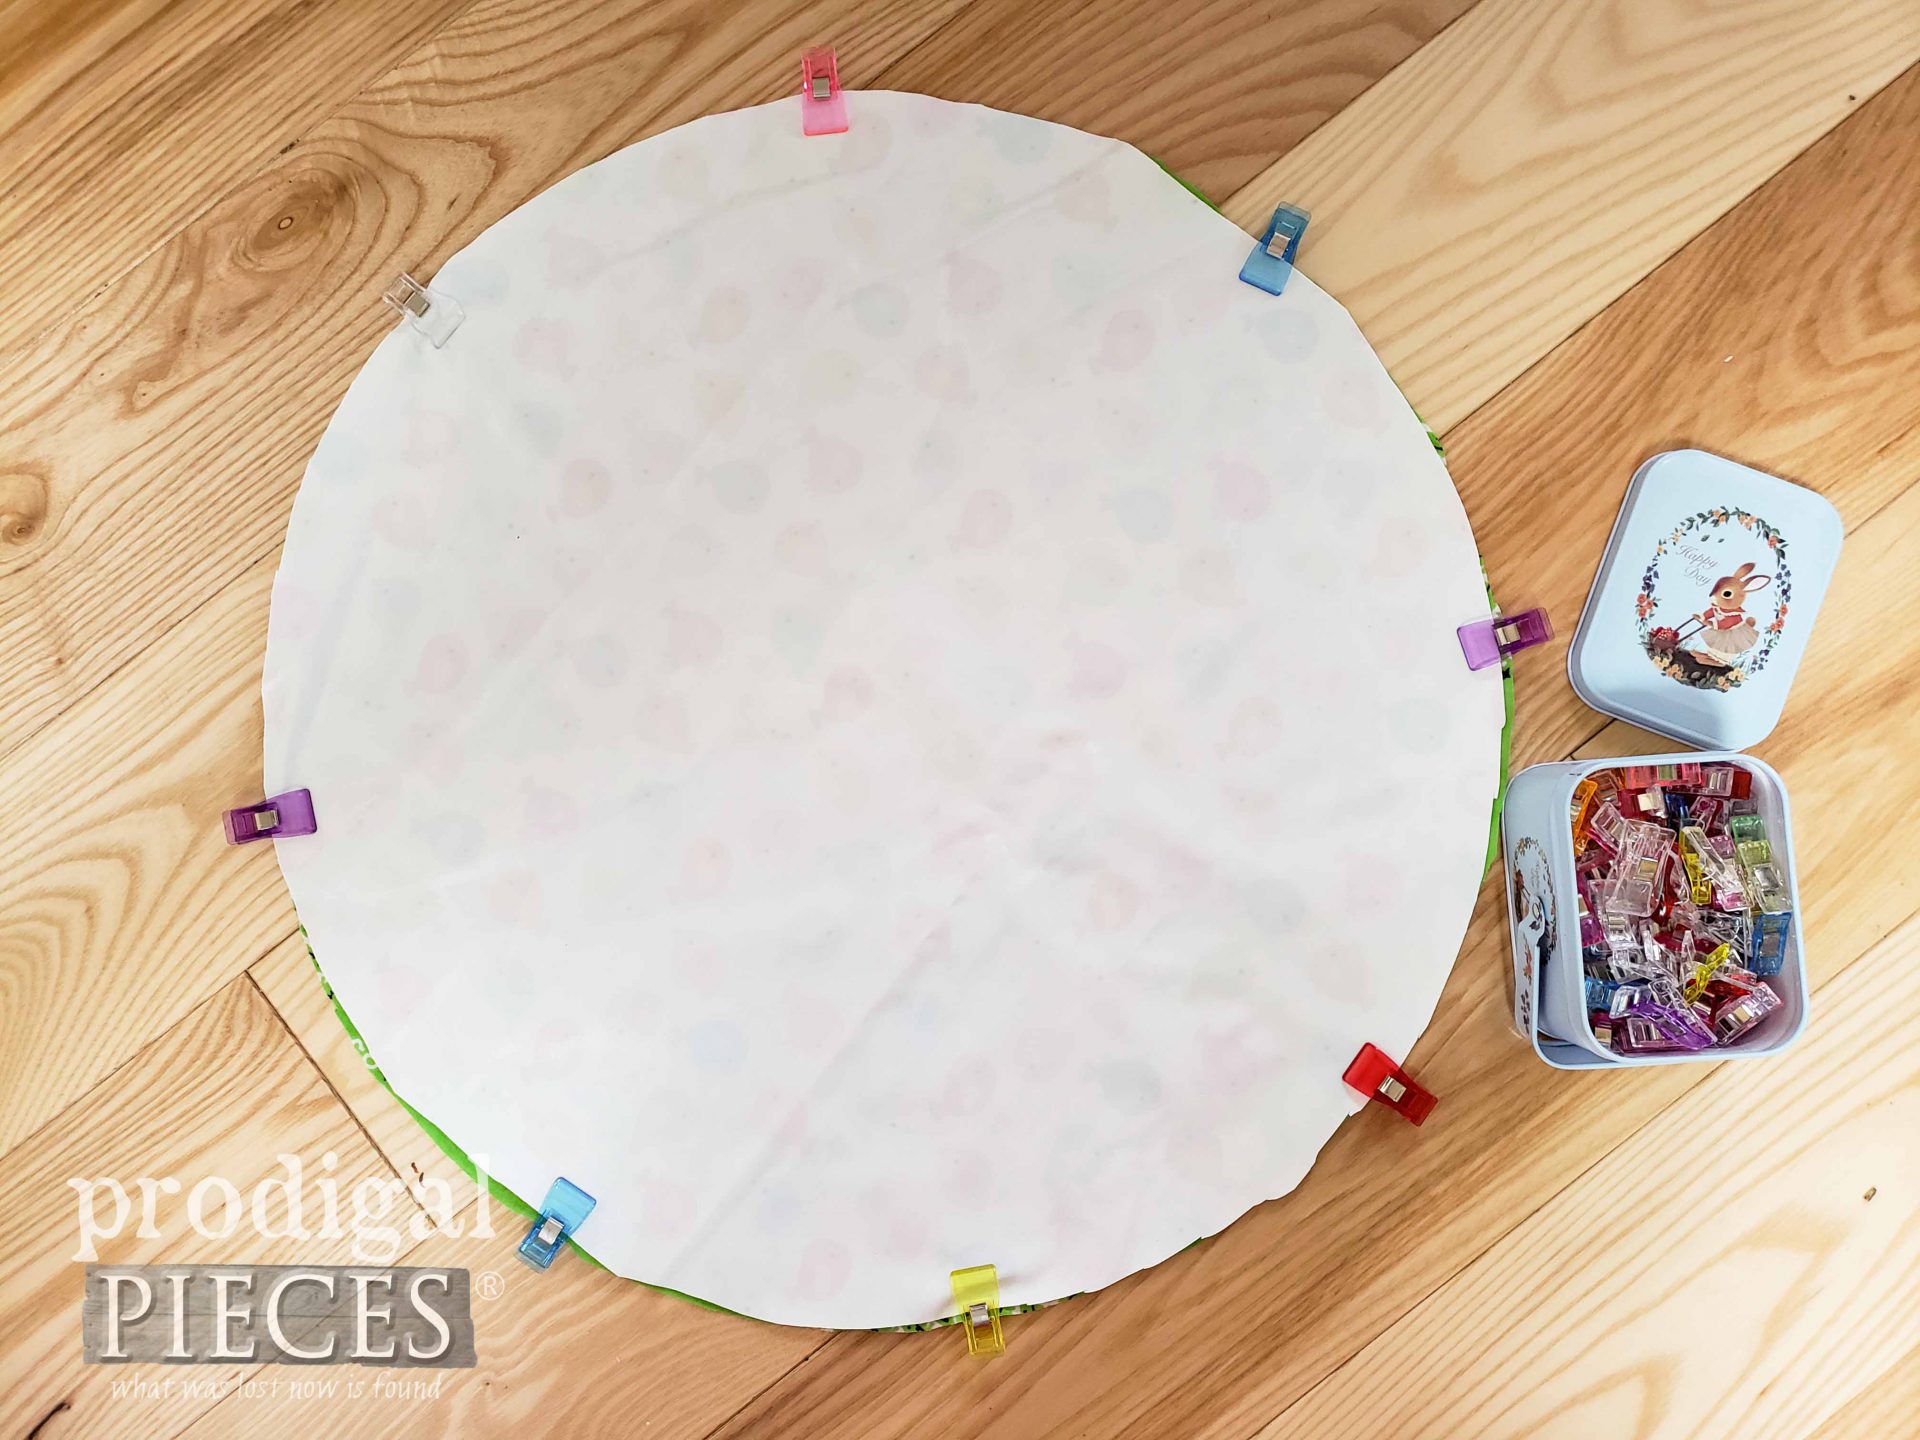
In this step we put the two circles right sides together (the fabric with designs facing). I prefer to use these sewing clips to hold my work. With PUL, the less holes you make the better for moisture control.
Then, we will serge the edges together starting by leaving an opening at each grommet or eyelet. This means you will have two different passes. You can also use a zig-zag stitch on your sewing machine.
Turn the circles right side out through one of the spaces we left open.
STEP 6
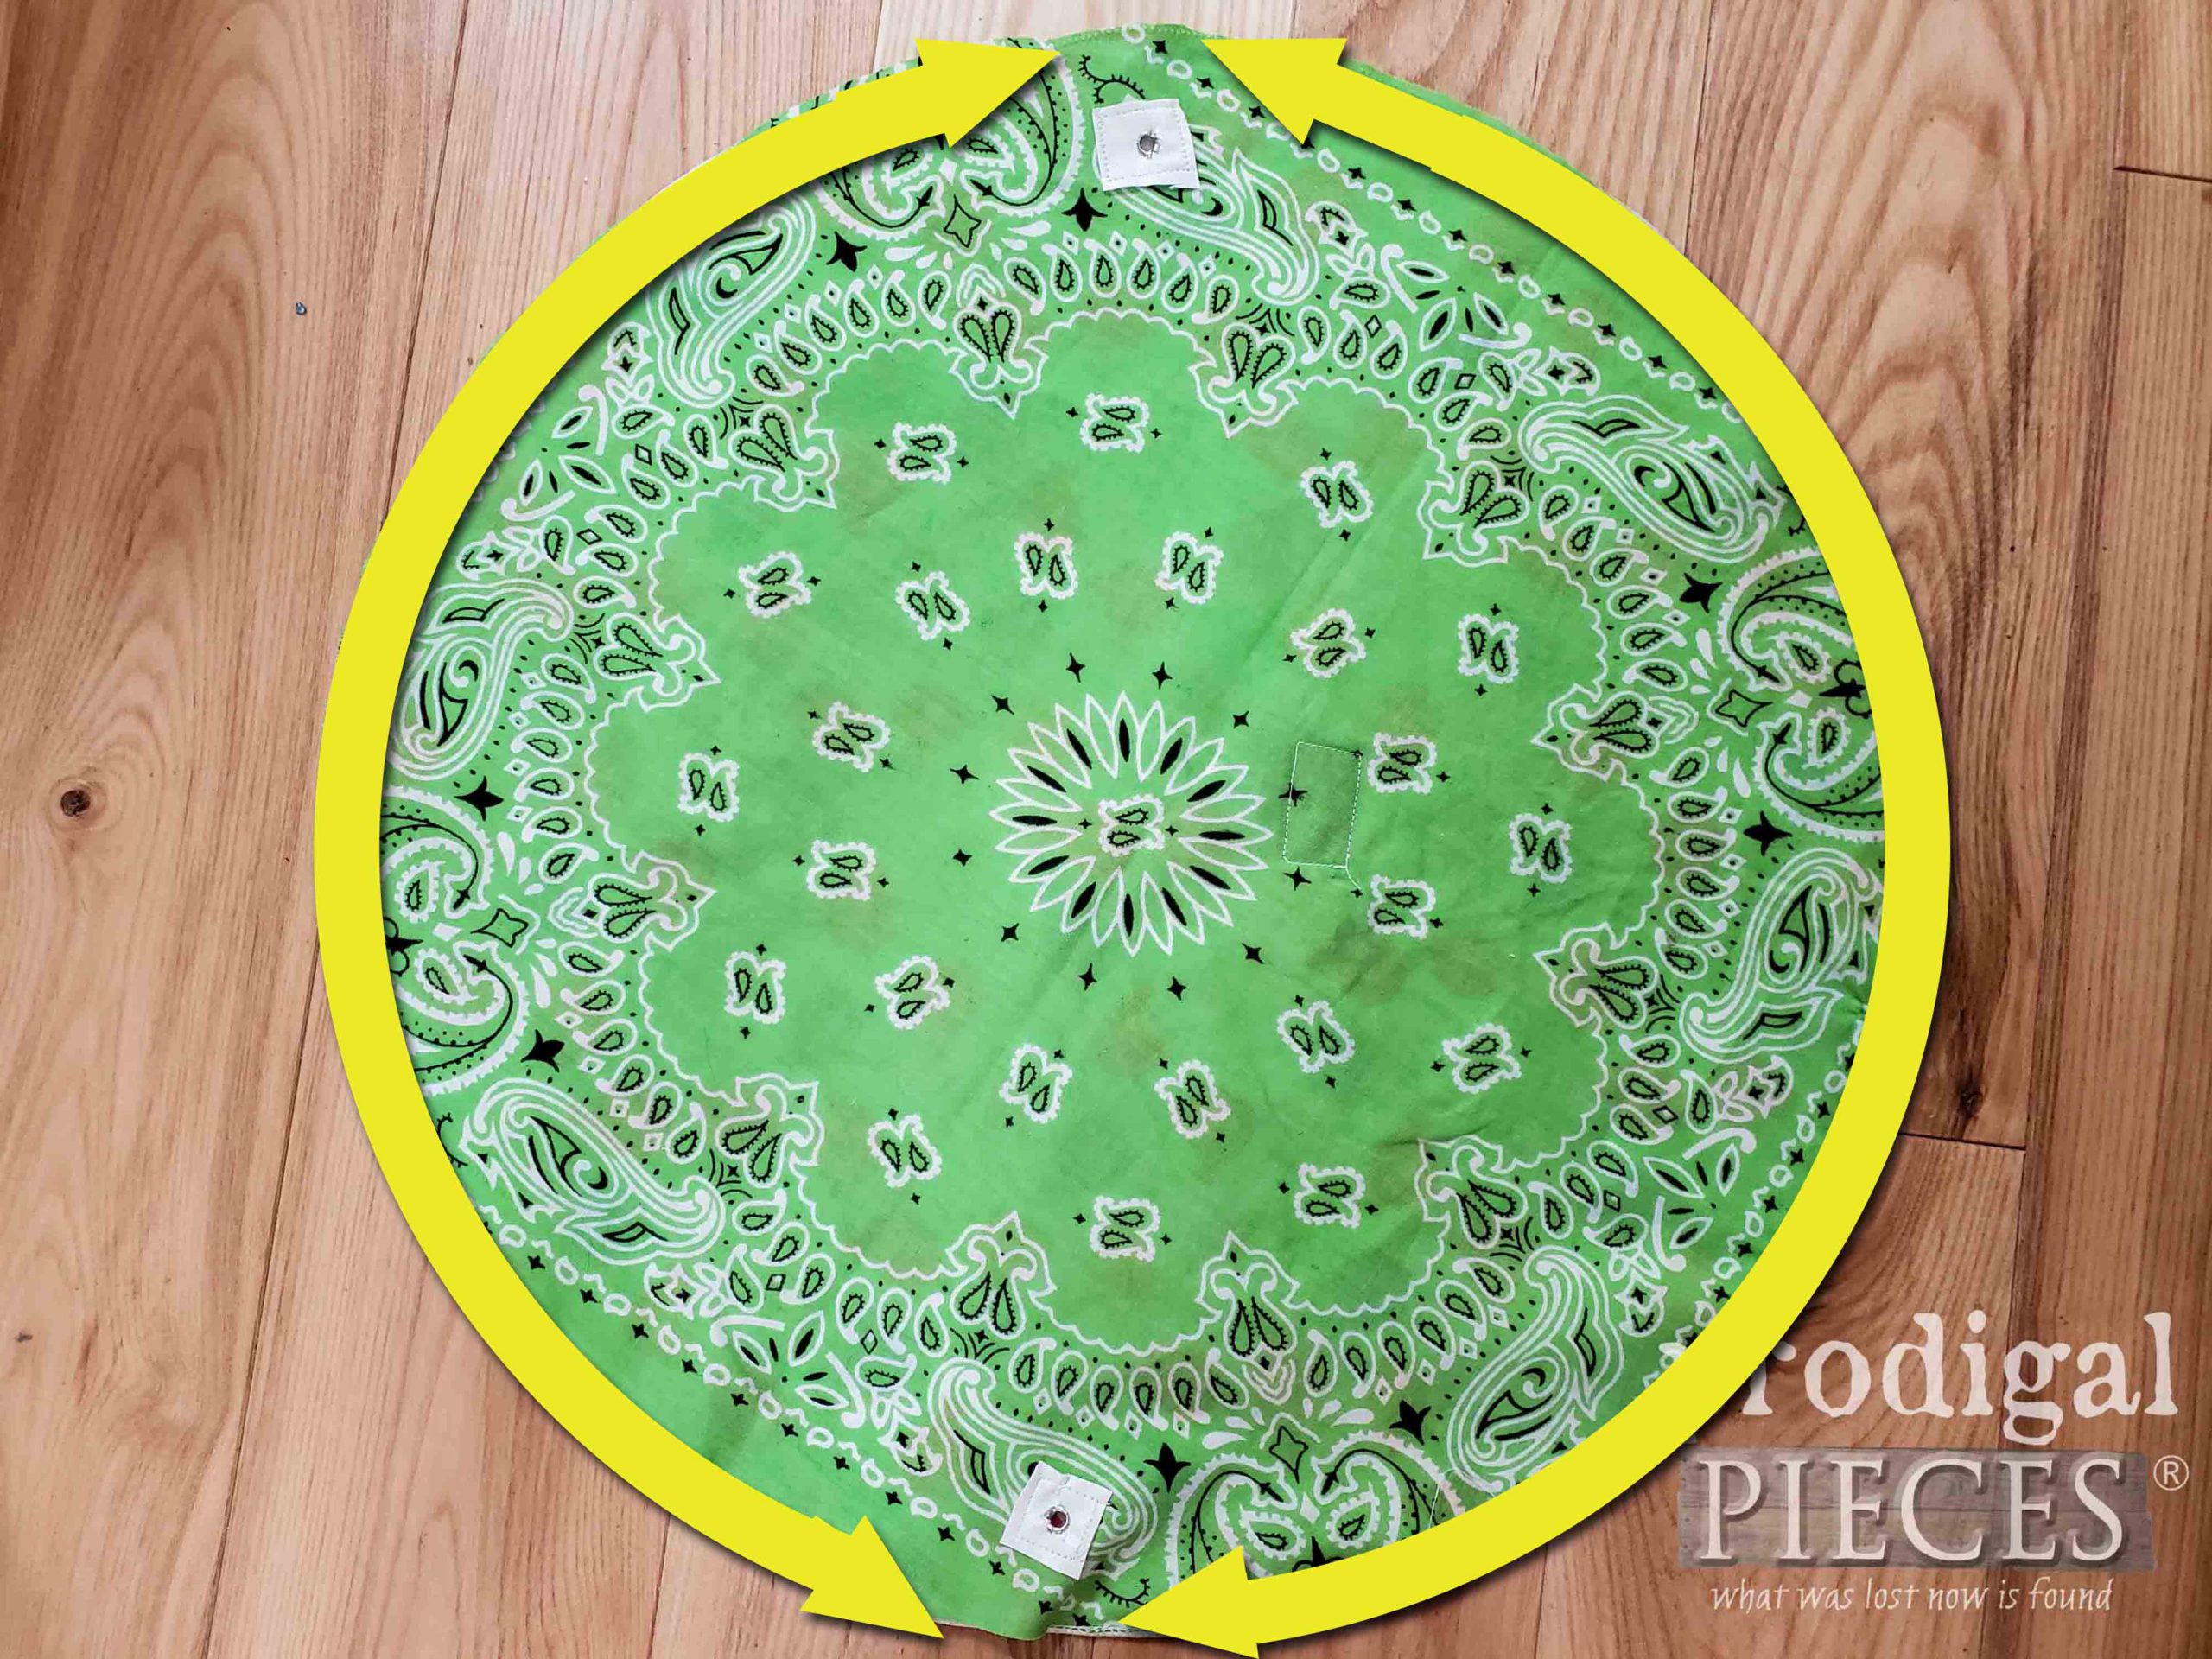
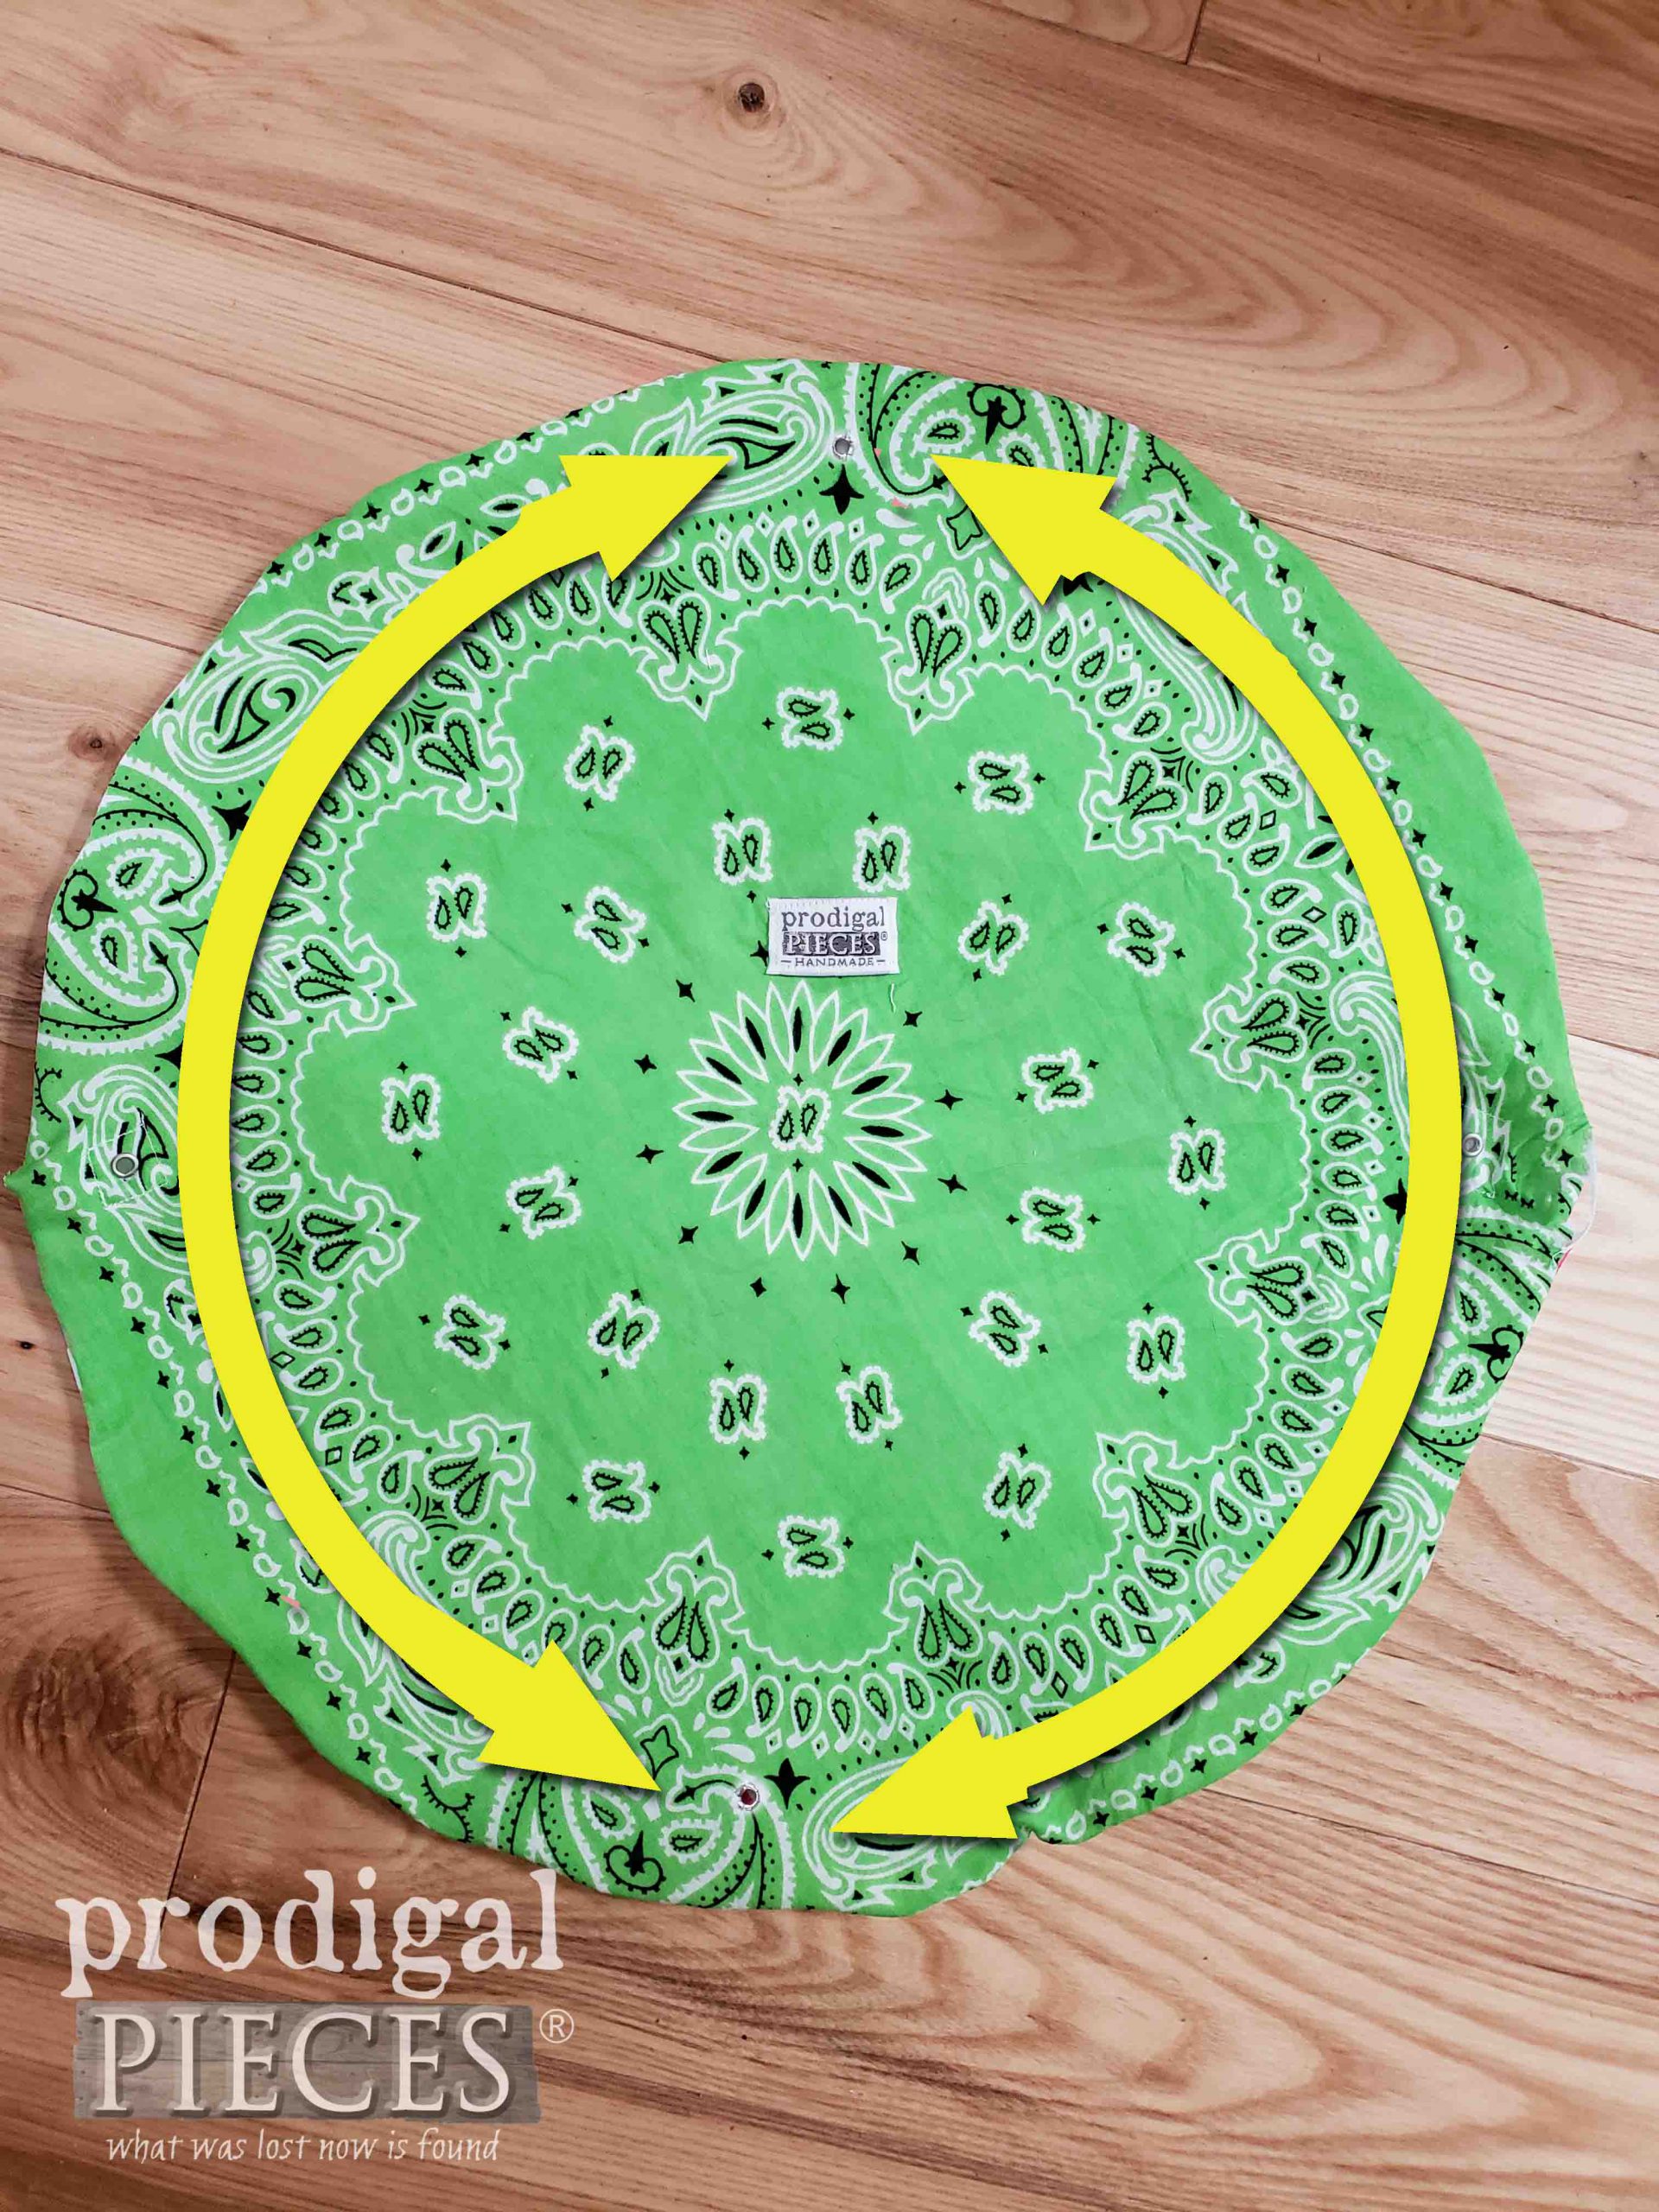
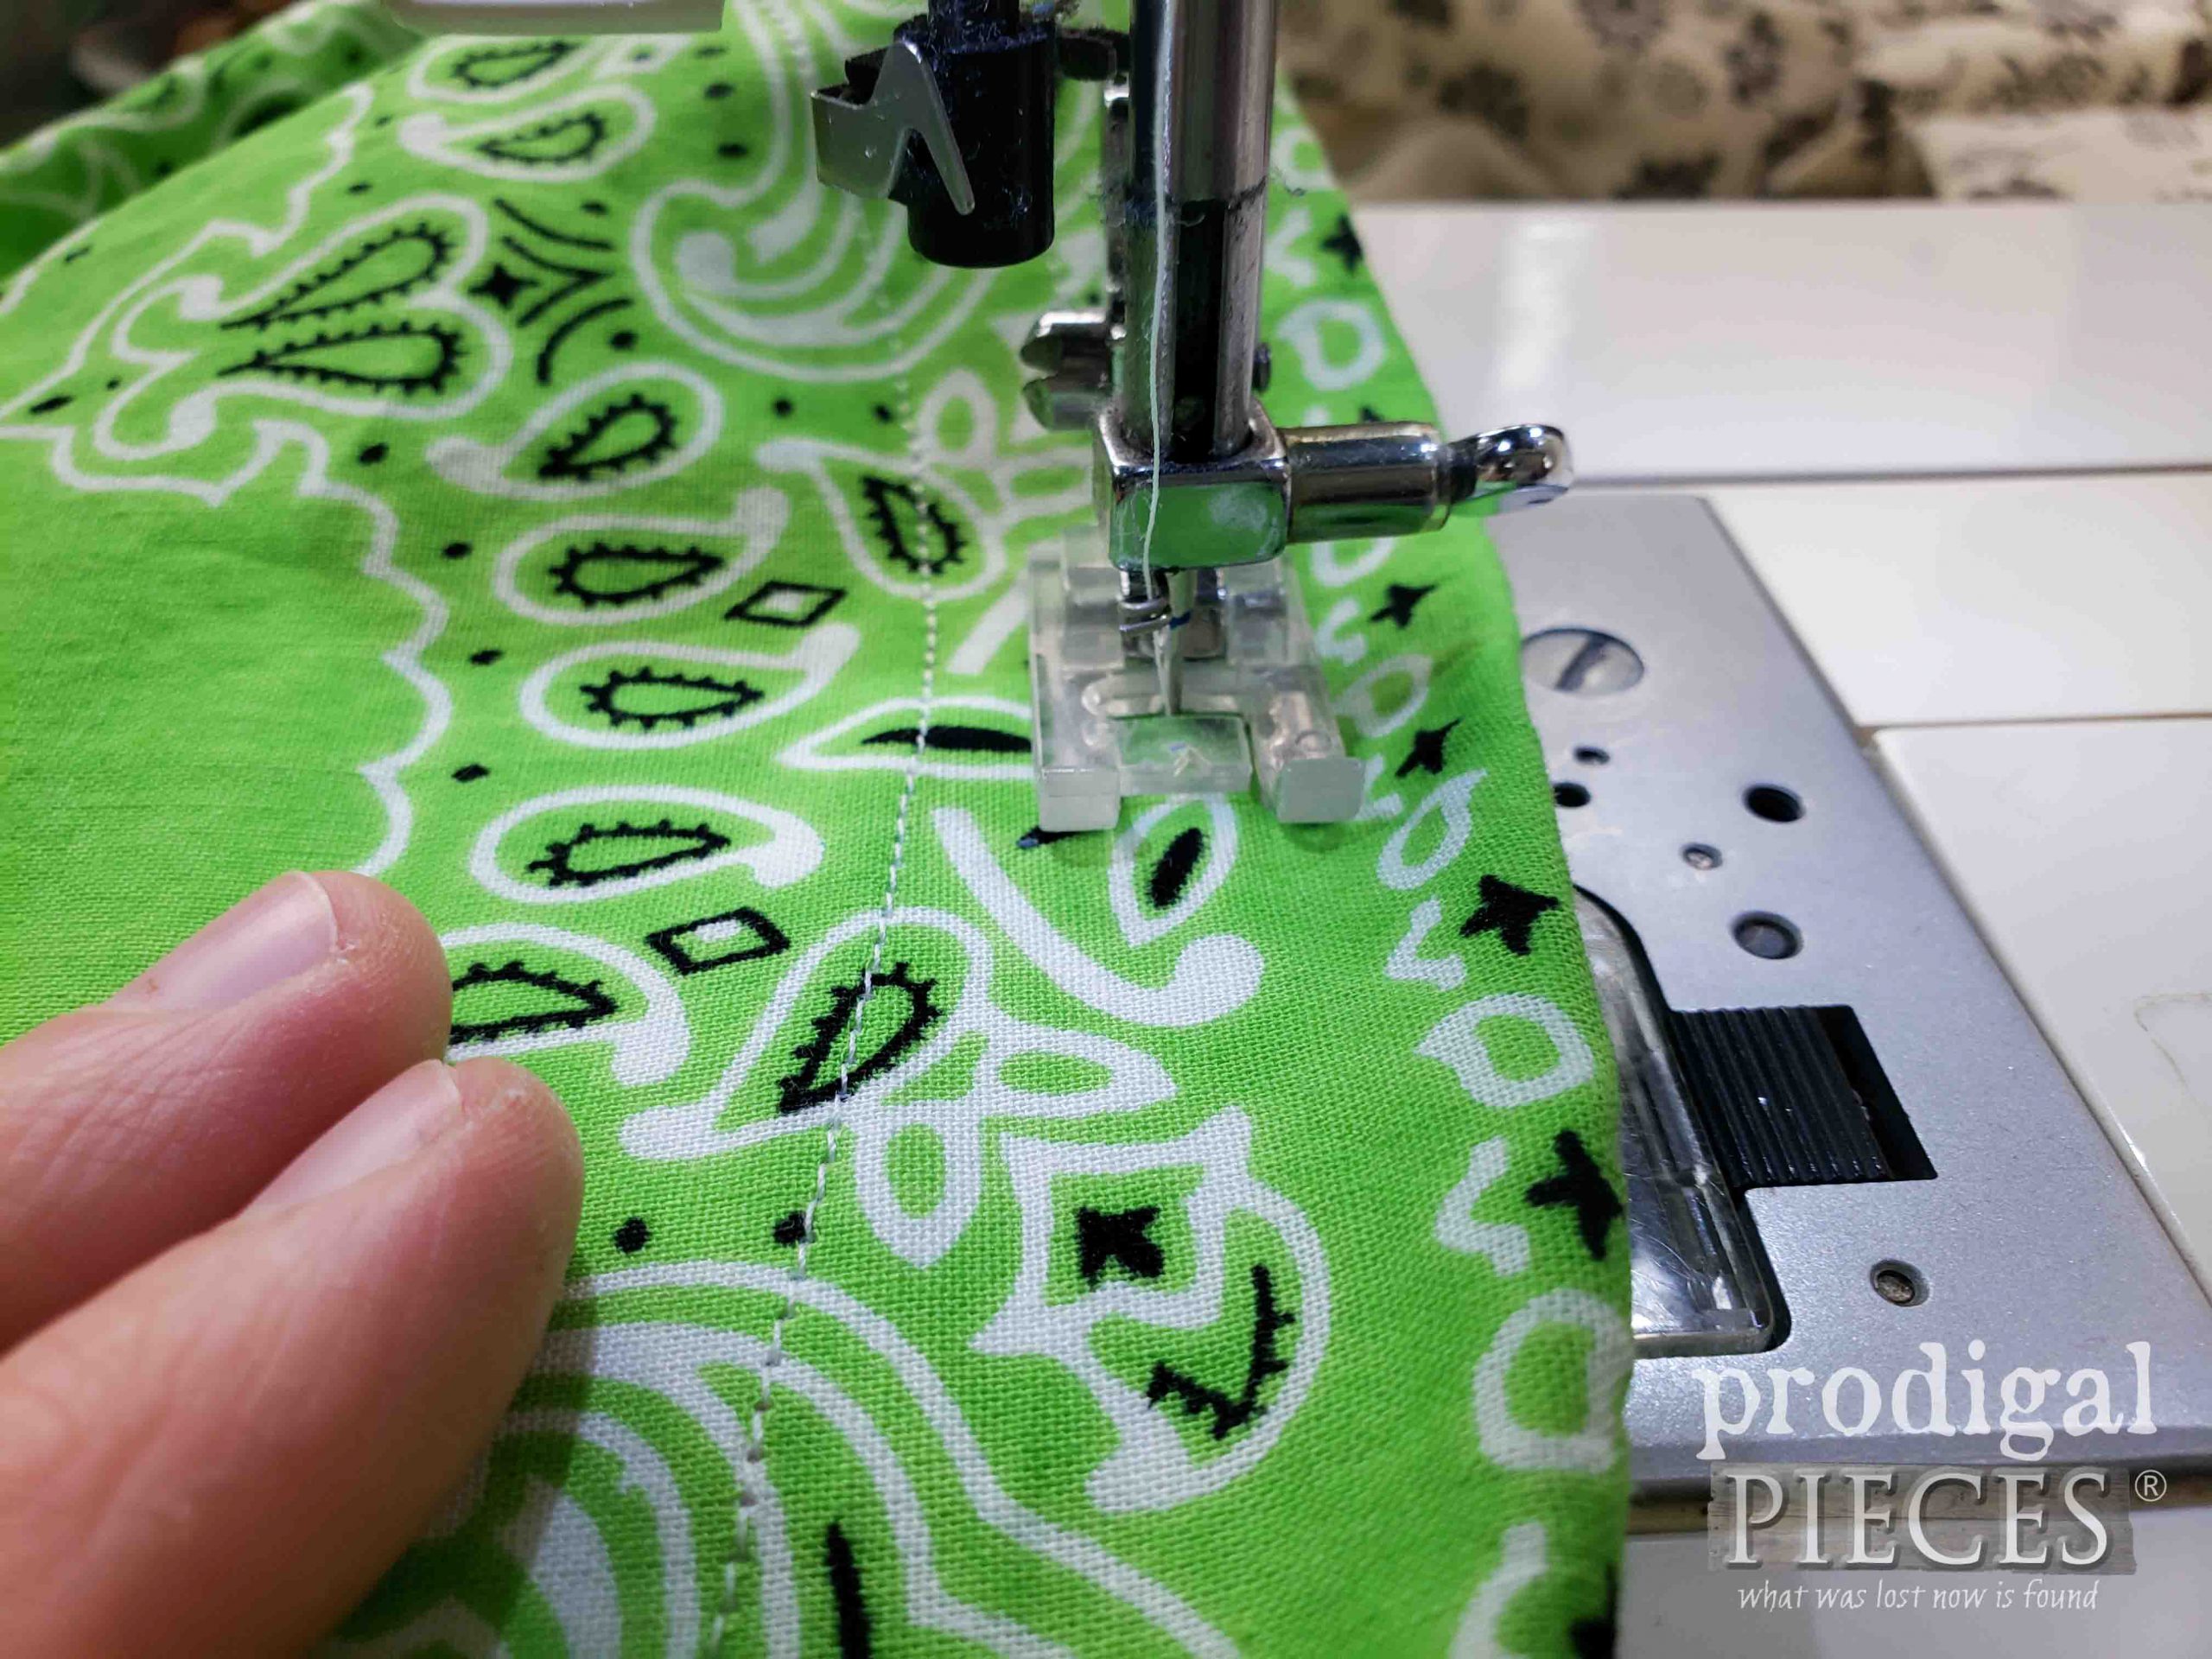
Now, we’re going to create the cord casing by top-stitching. We are creating two stitch passes that will be closed differently.
First, using the stitched box of PUL around the grommet as reference, begin making a curved stitch. However, in this first pass you can close the stitch the entire way around.
Next, you’ll create another stitch pass to create the casing. This will be about ¾” out from your first stitch pass.
However, this time, you will NOT be closing the casing. You’ll want to use the diagram above to start at the grommet and finish at the opposing grommet. Then, do the same for the other side.
STEP 7
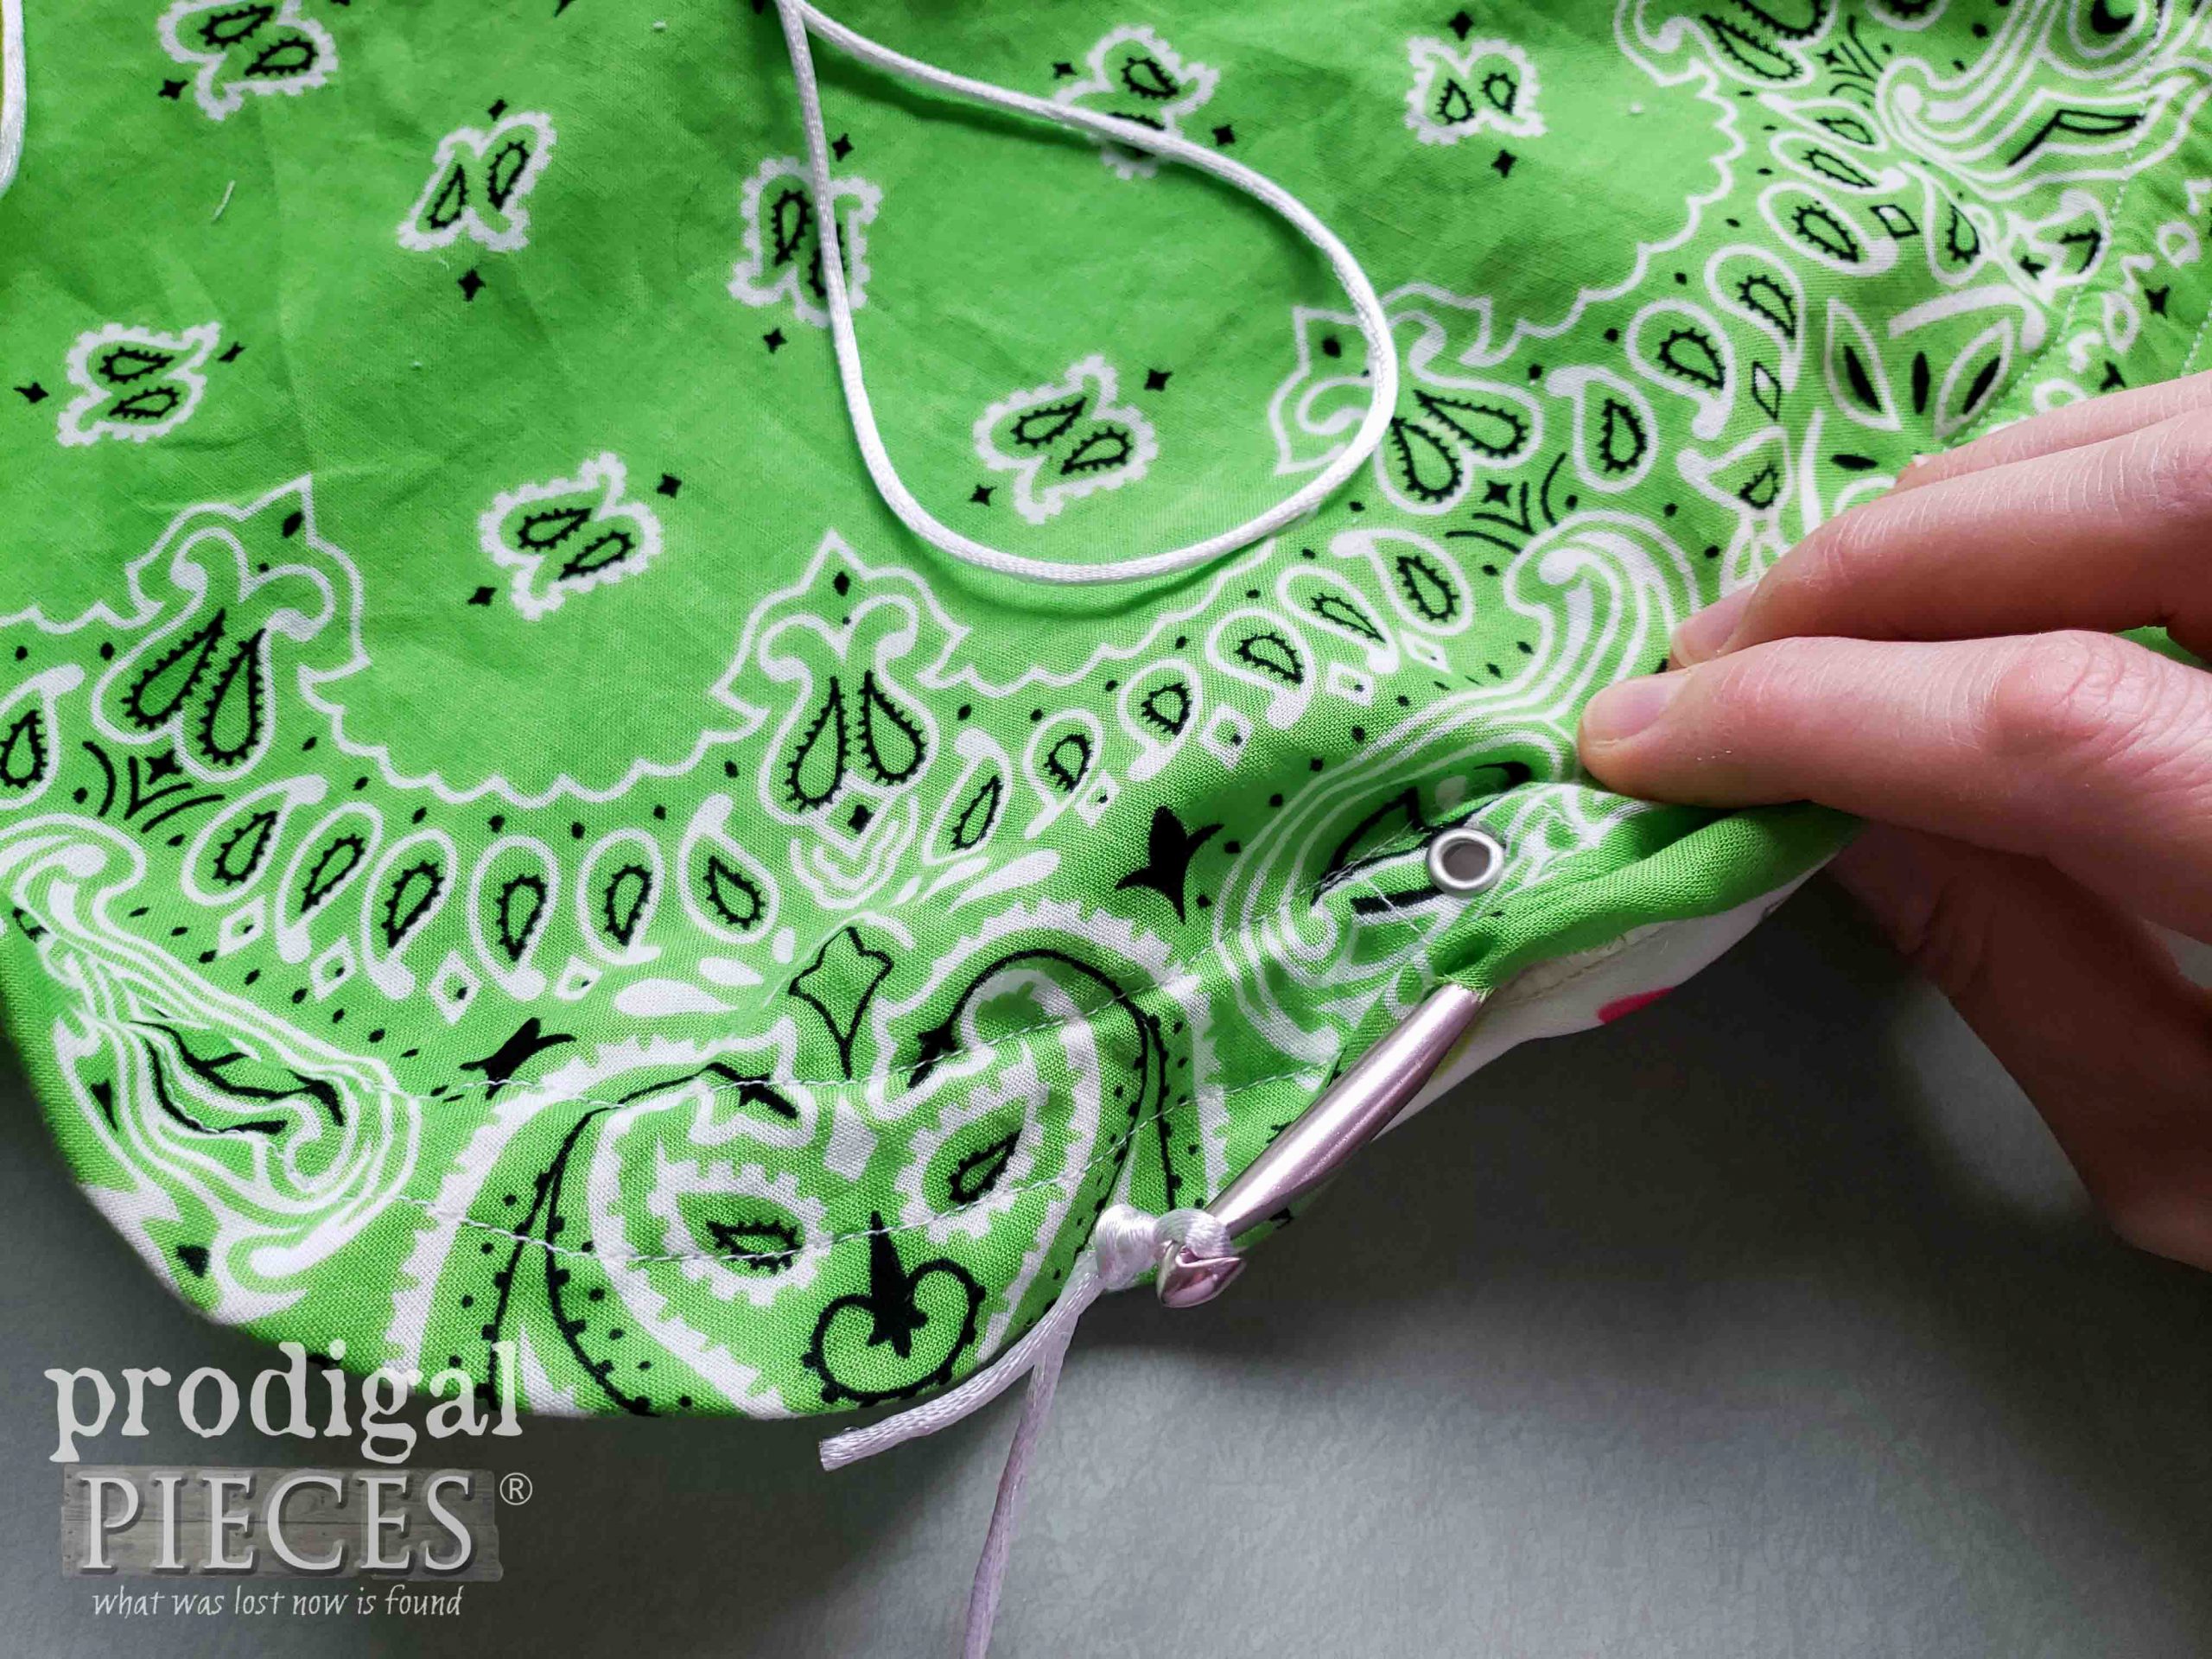
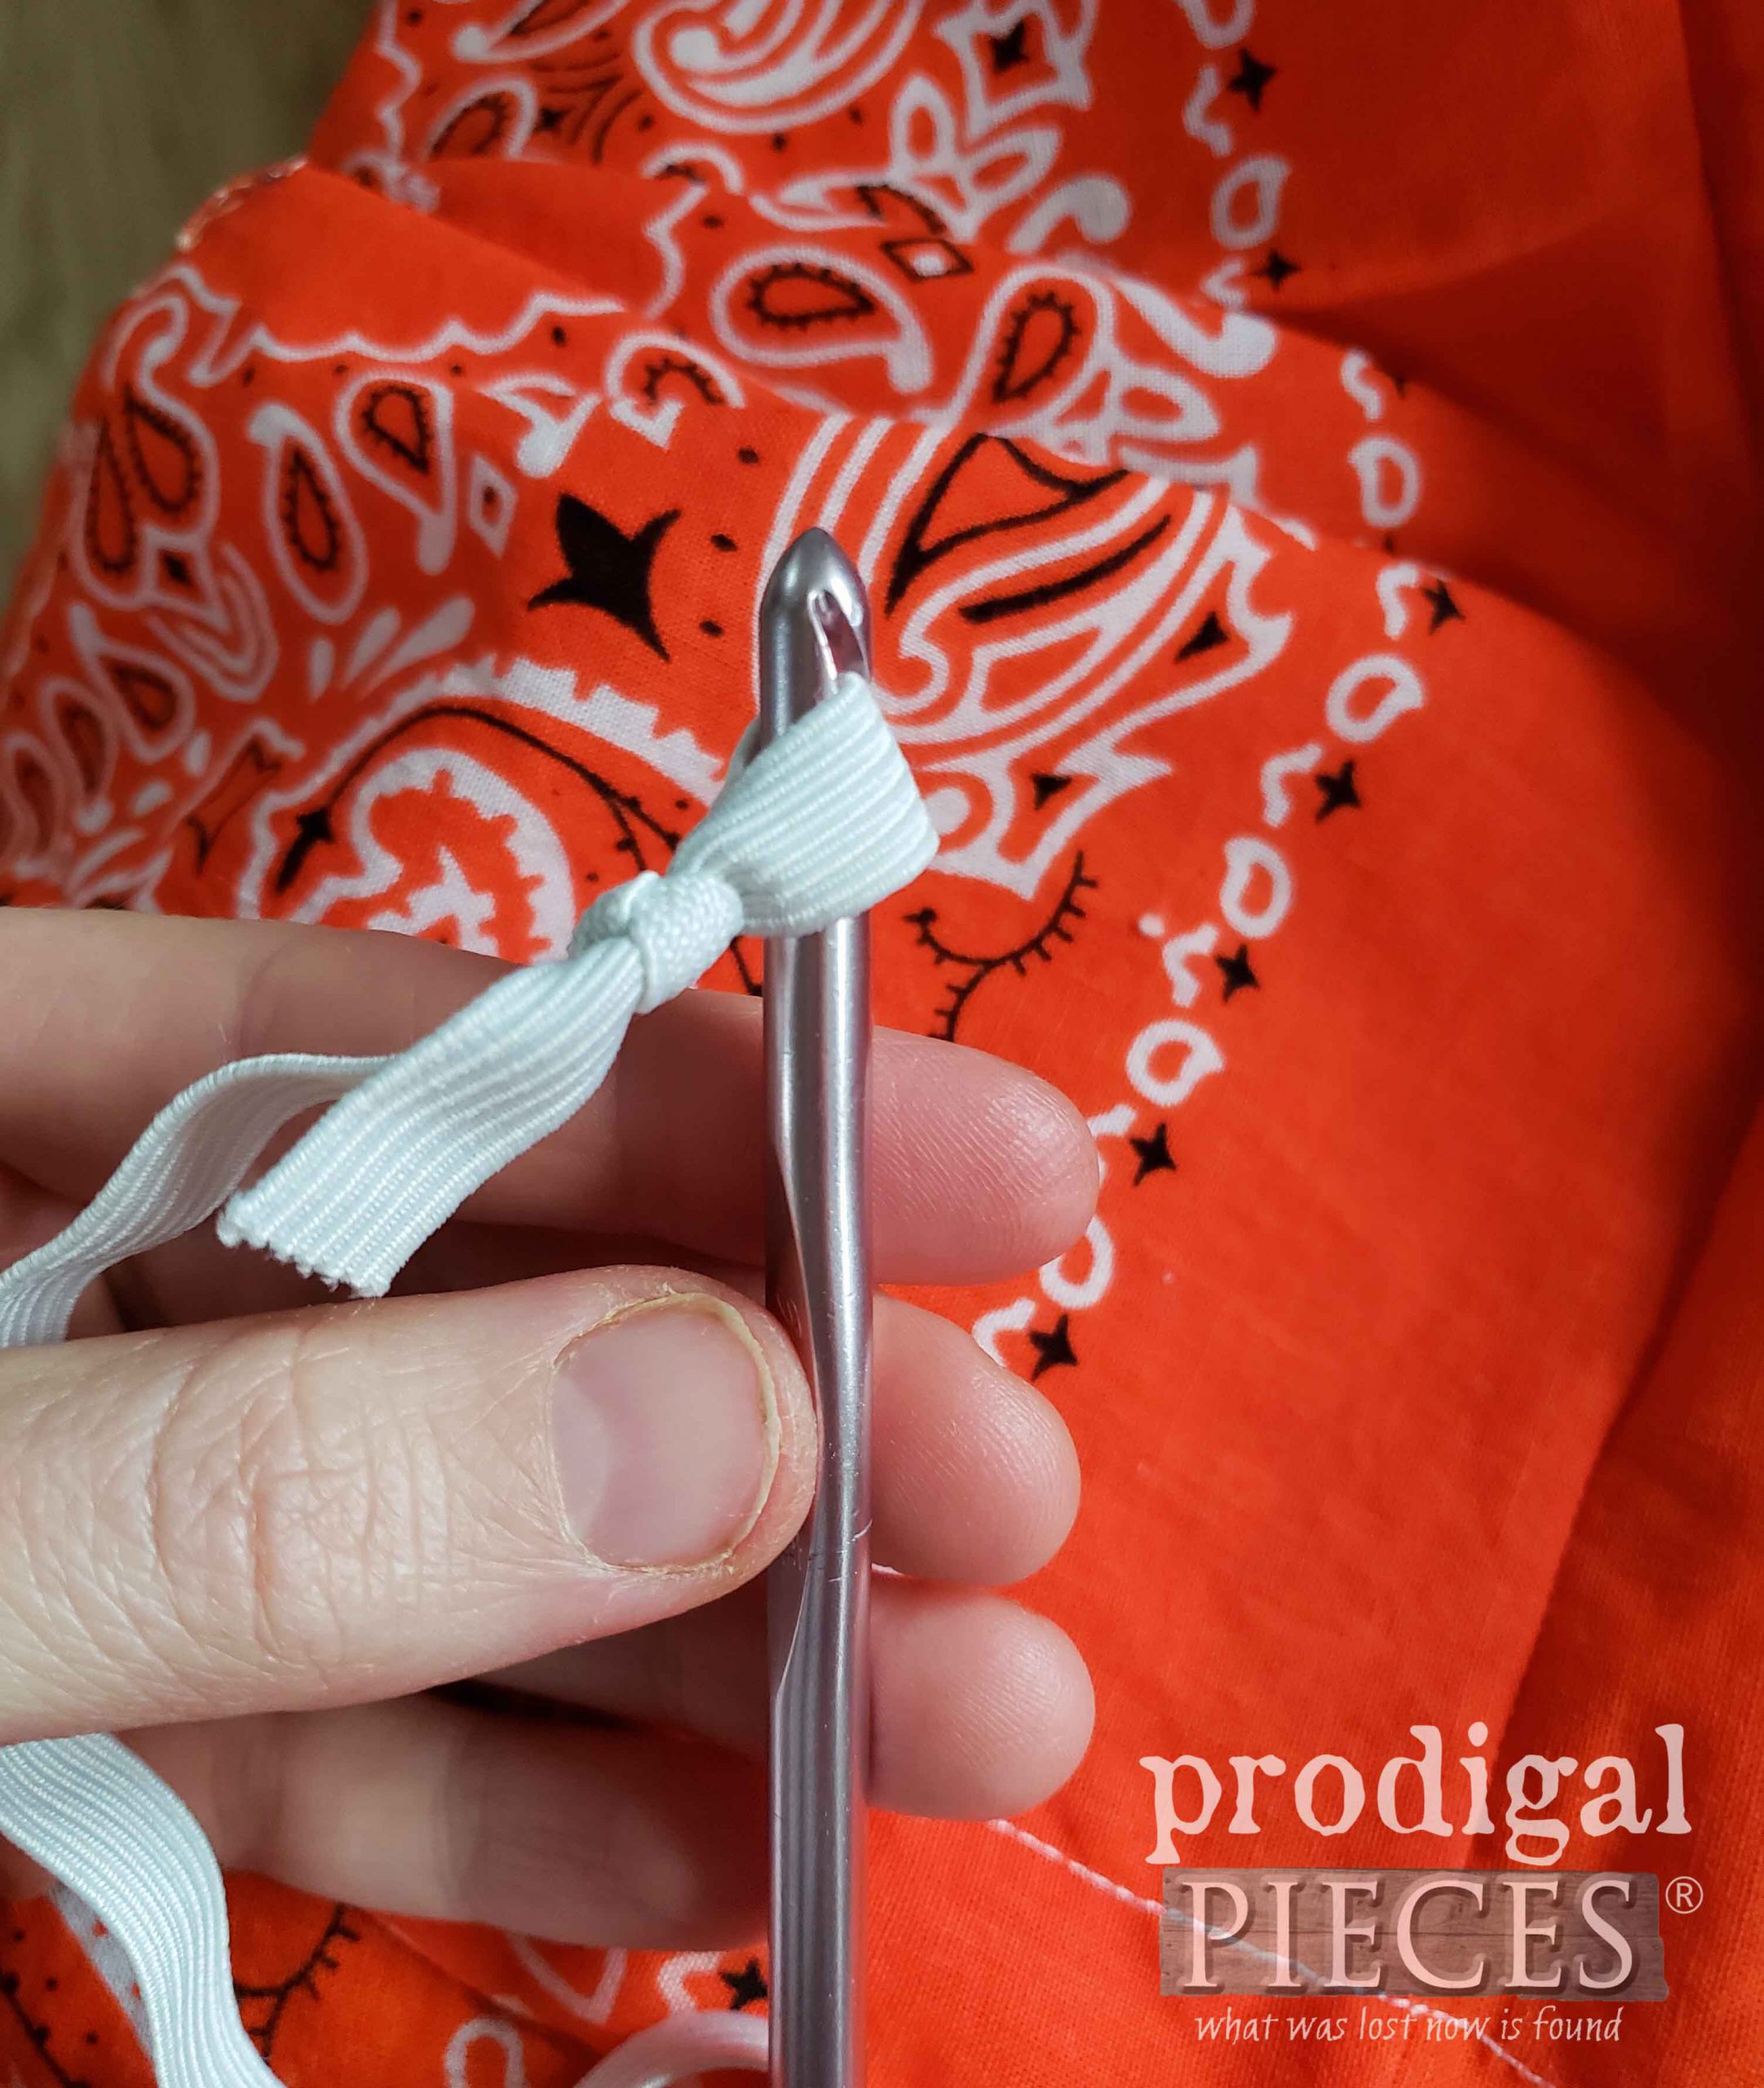
Time to insert the cording. I prefer to use a crochet hook to pull my cording through. I tie a tight know and hook it on. Then, insert the hook with hook end last.
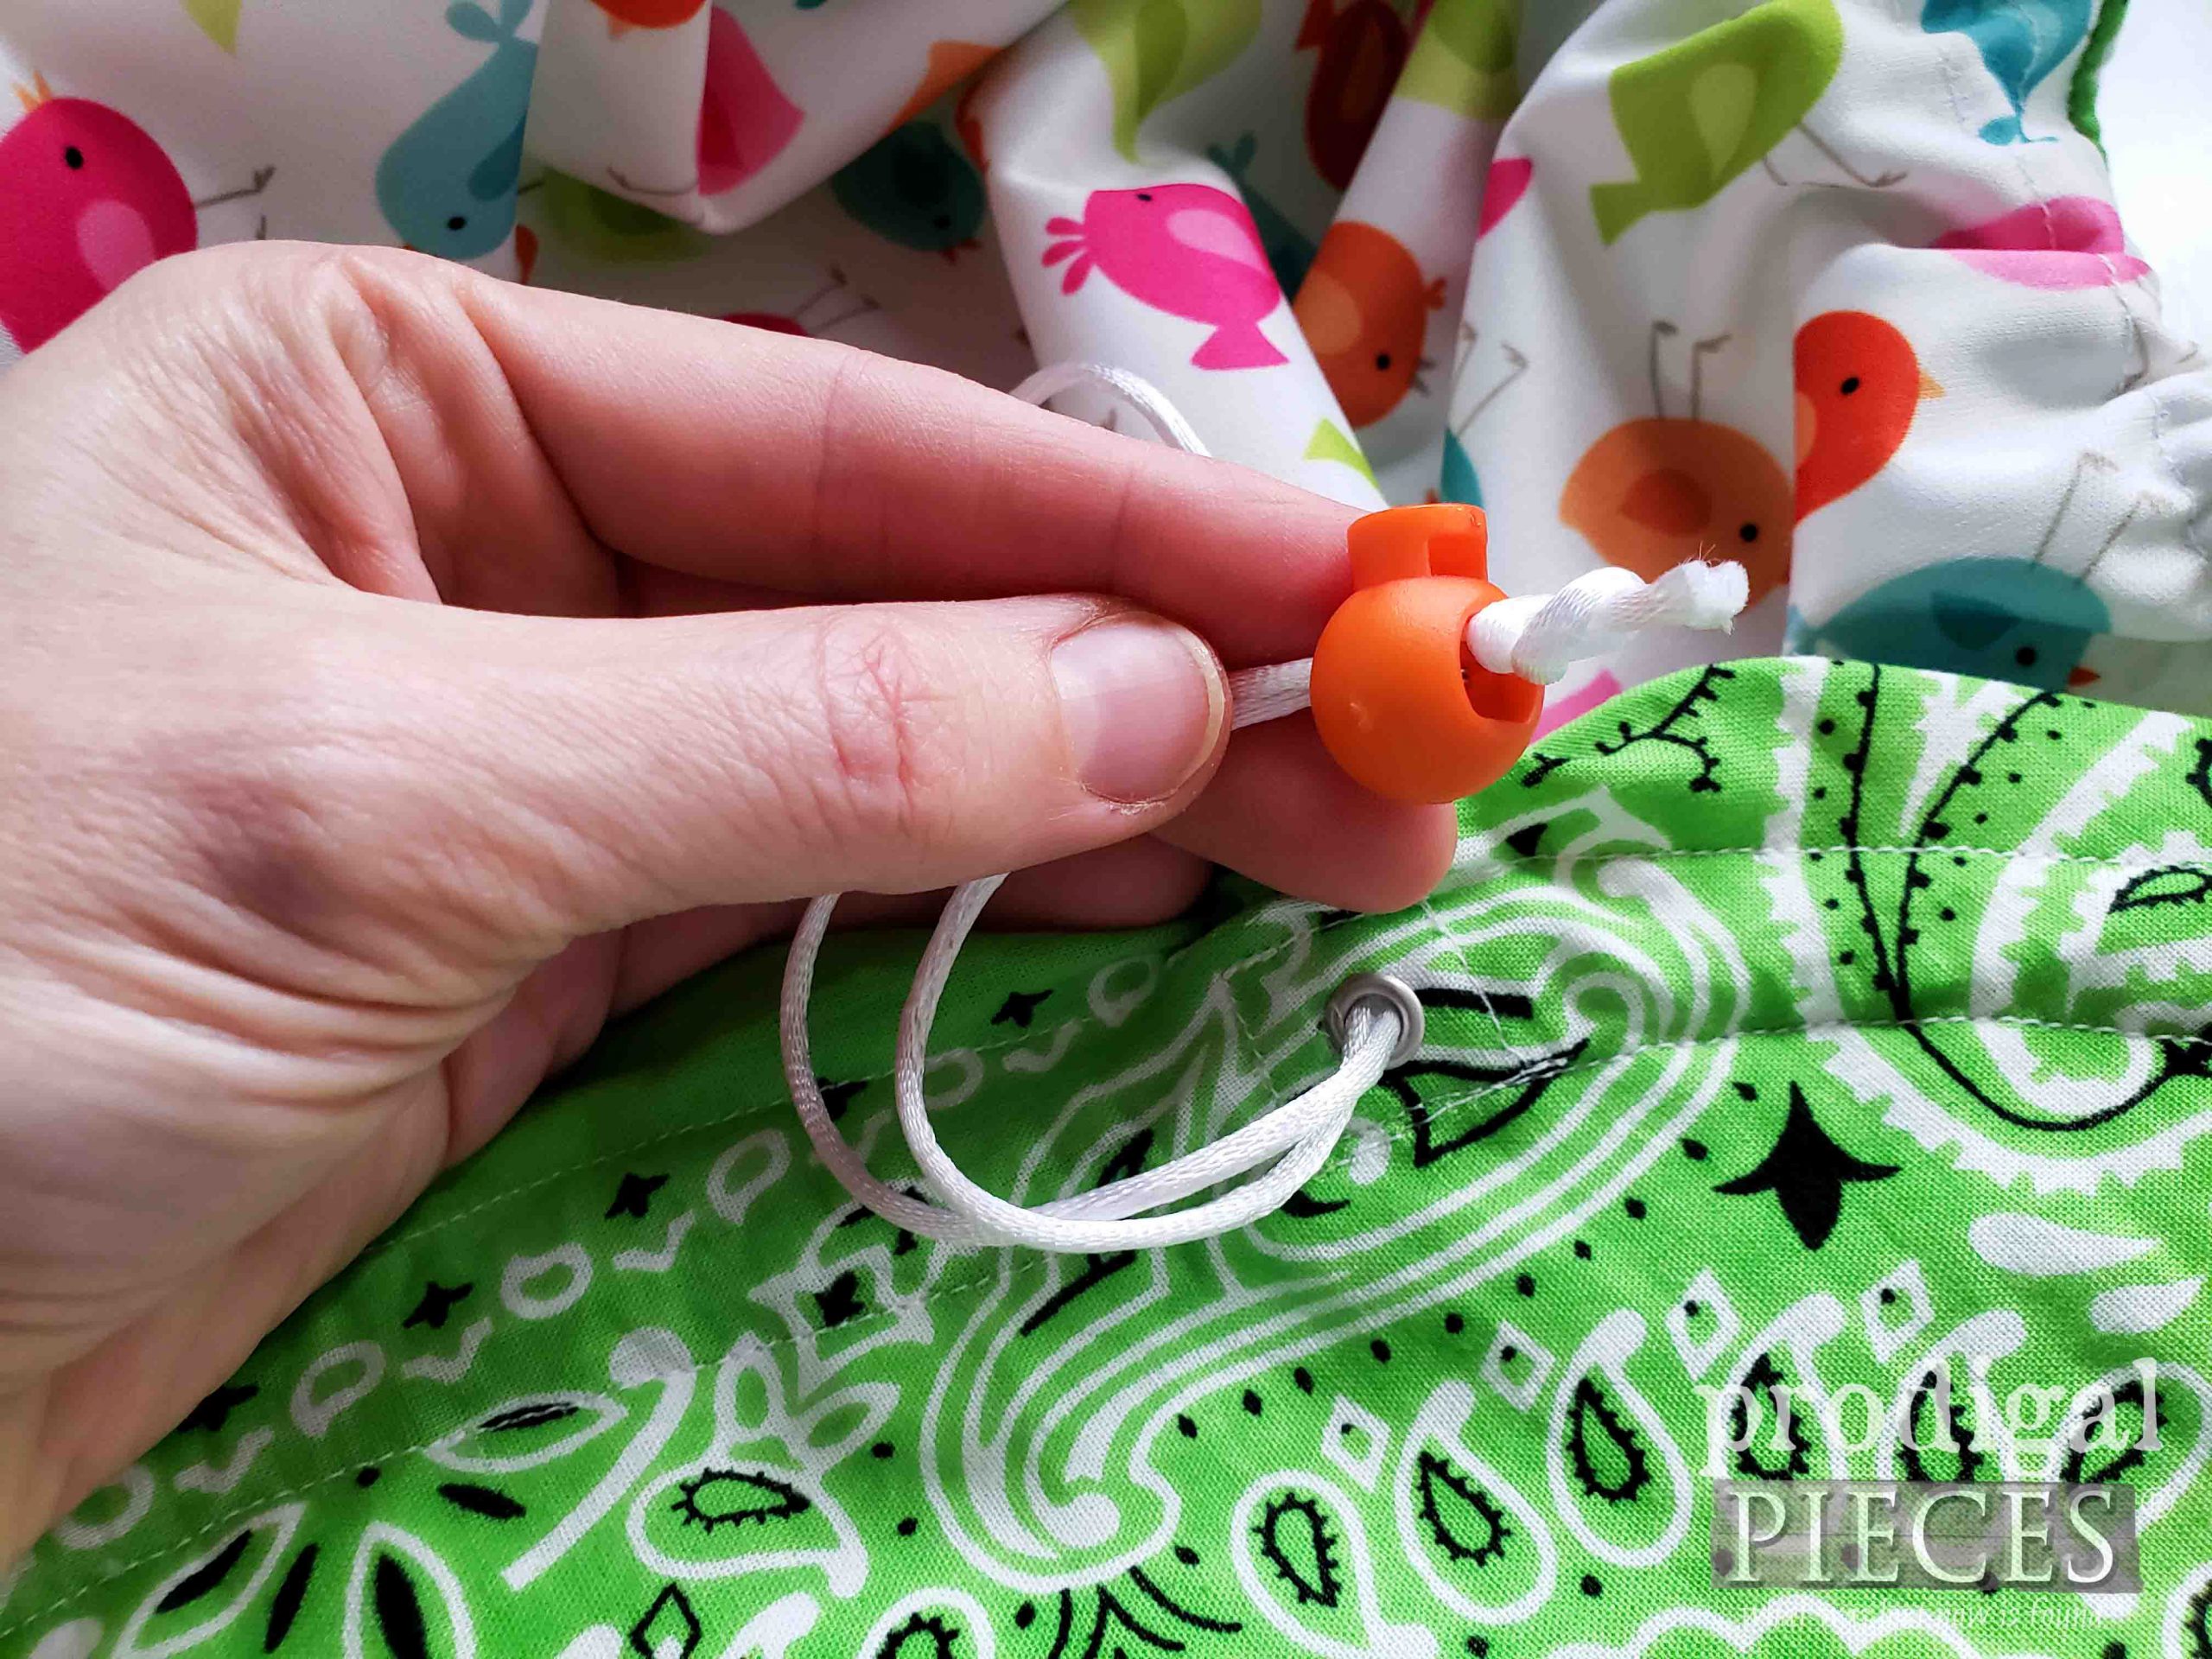
Drag through the casing all the way around until you come back out where you entered. Once you have both ends out, insert them through the grommet.
At this point, you can add the cord stops, but I don’t always find them necessary. It depends on the fabric you’re using.
Then, turn your circle to the other grommet opening and insert the second cord using the same steps.
STEP 8
Last, turn the open edges by your grommets in and top-stitch them closed. You’re done!
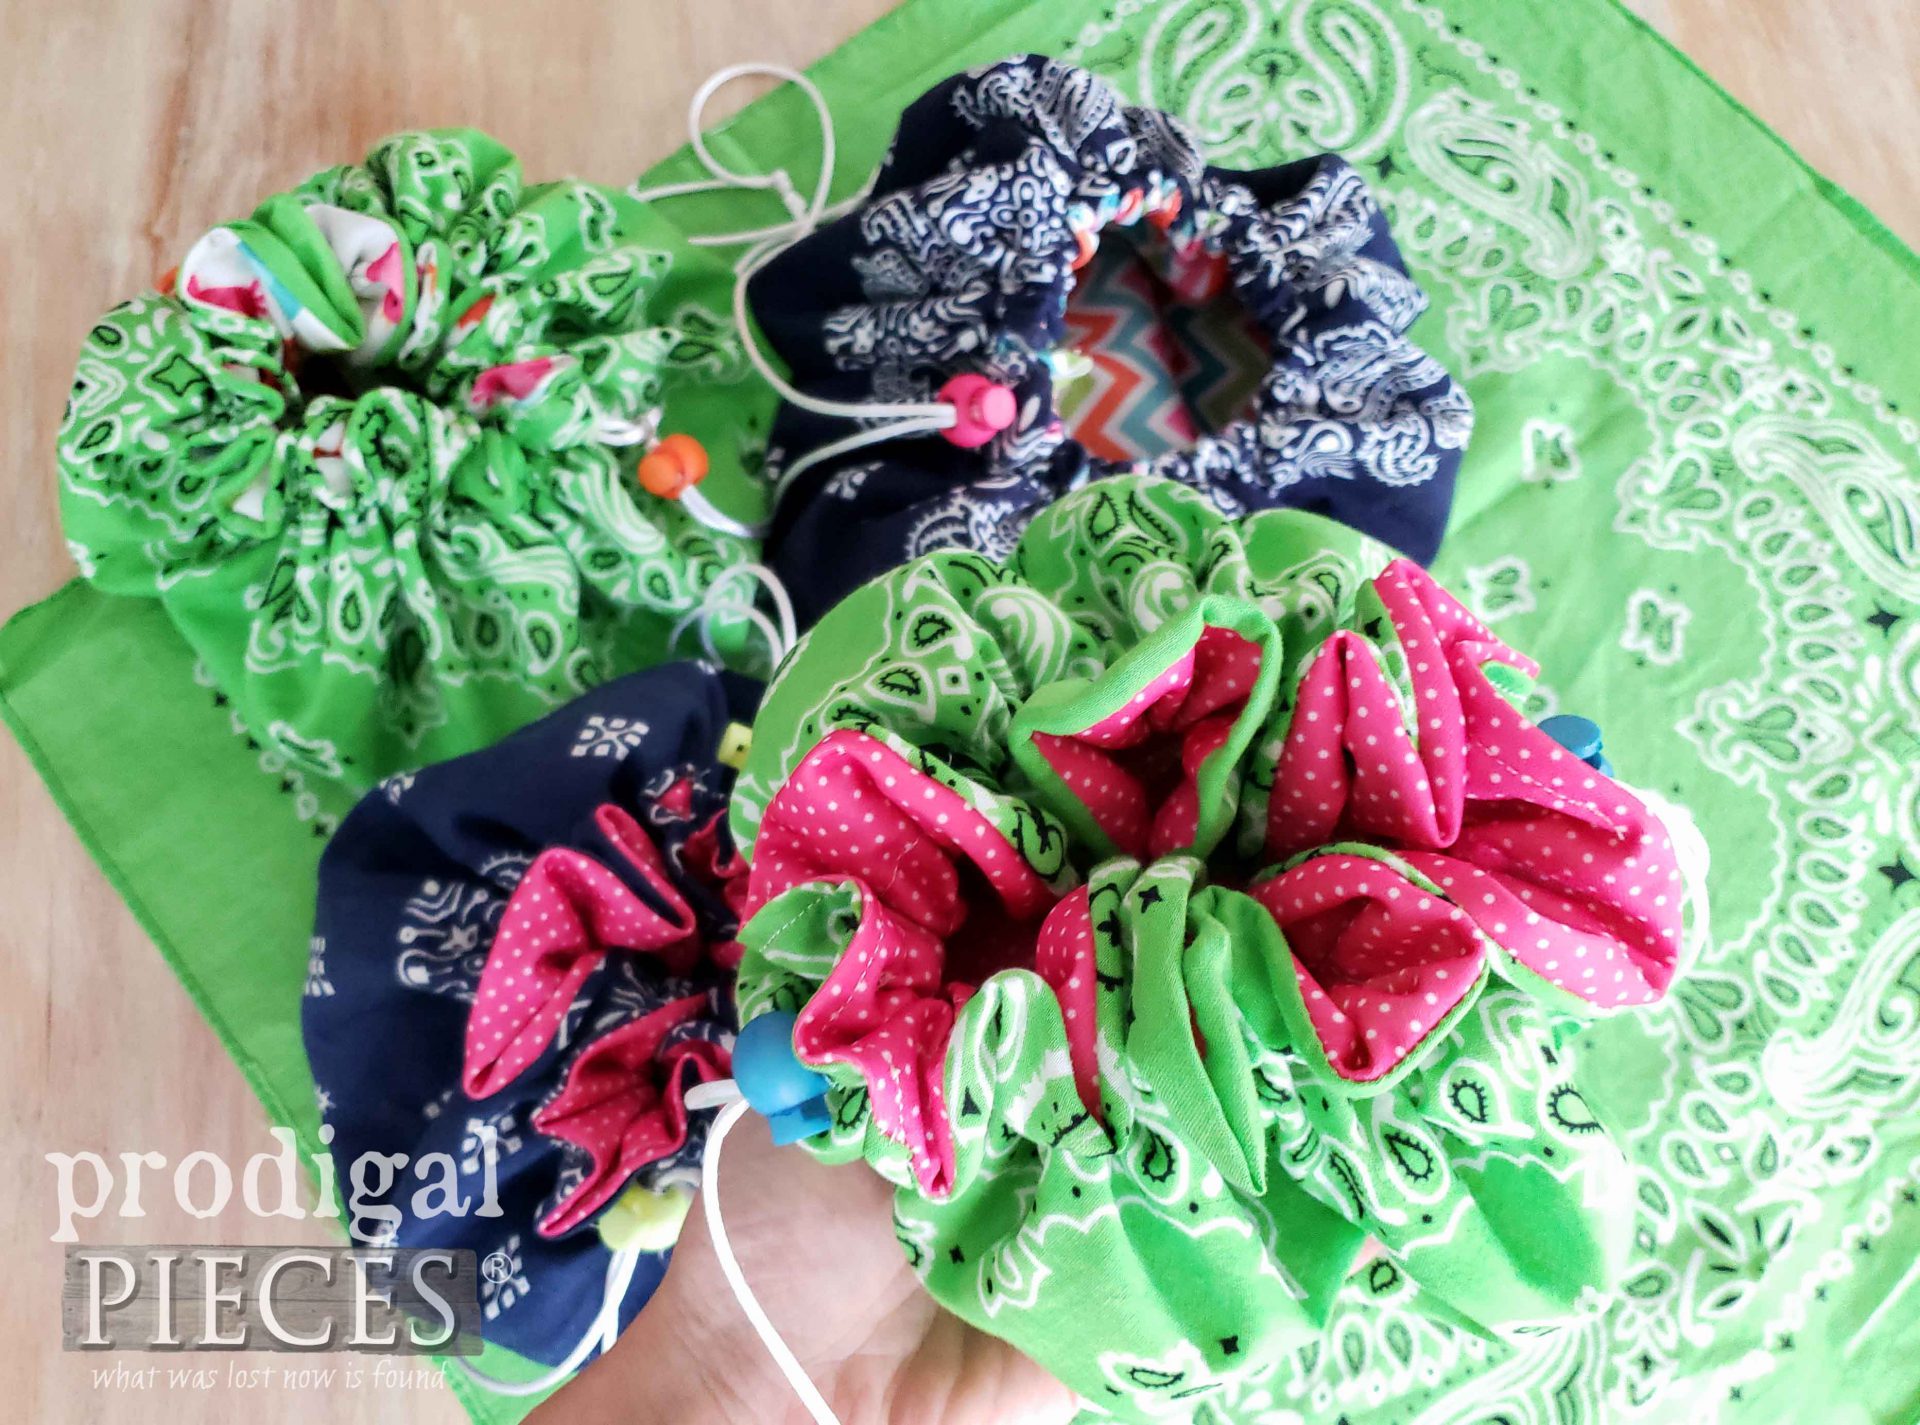
For contrast, I did a bag in the manner I’ve seen others do and I didn’t like the outcome. One cord with stop, plus casing is at the top edge. I explain in my video below. See the difference?
The bag that has the casing down lower creates that ruffle that cinches it up tight with two cords AND also encloses your valuables.
So…are you ready to sew? You can do this! My goal every time I create content is to inspire you in your own DIY journey. In addition, I’m eager to help, so feel free to ask any questions.
ONE LAST THING
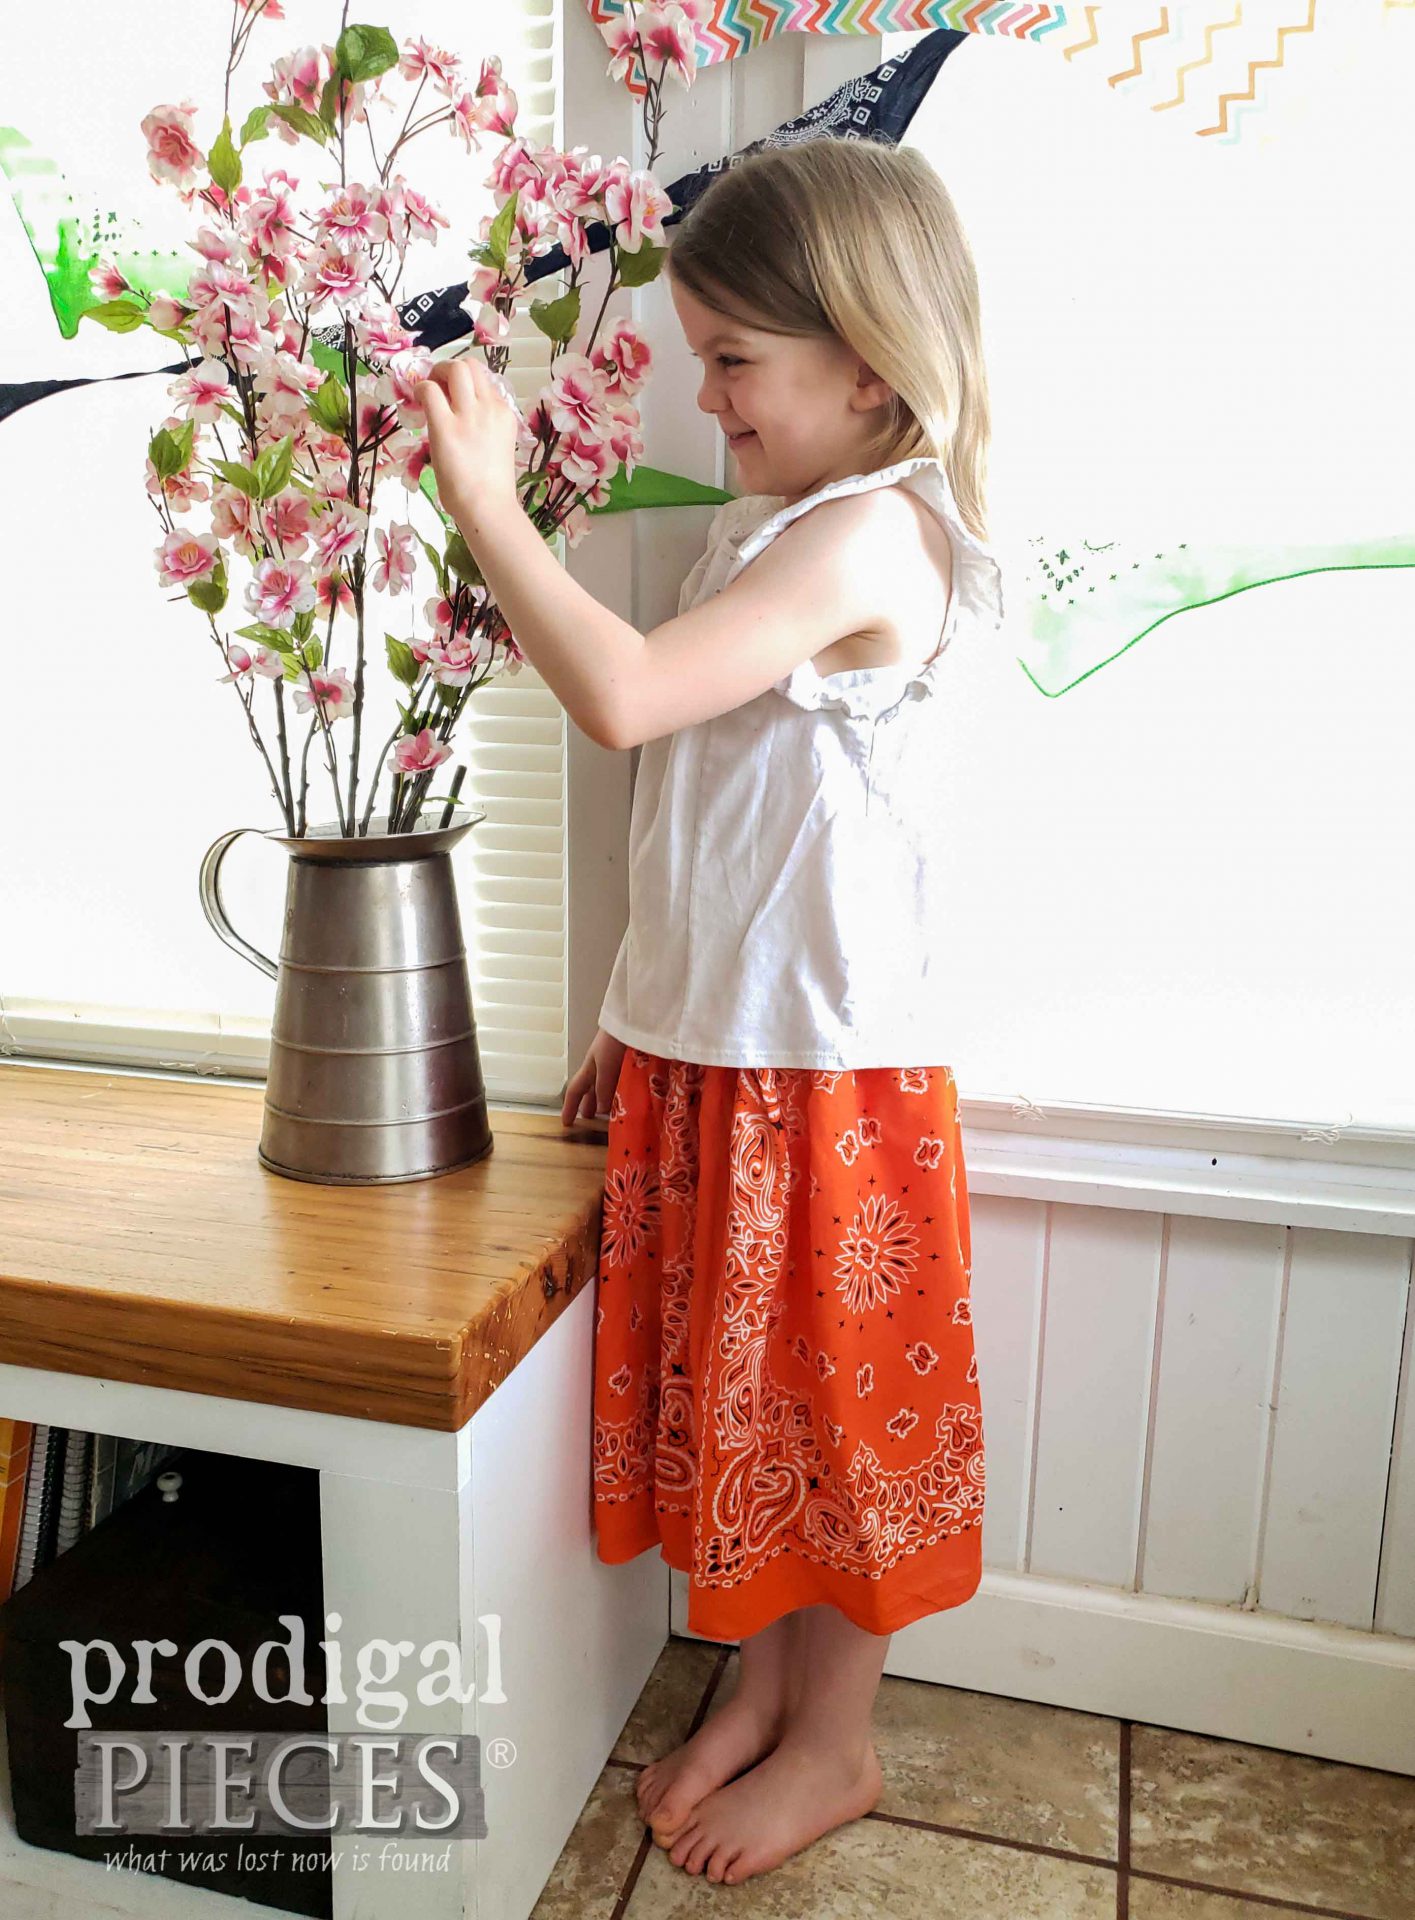
Before I wrap this upcycled bandana fun, I’m going to quickly share how I made a skirt for my littlest.
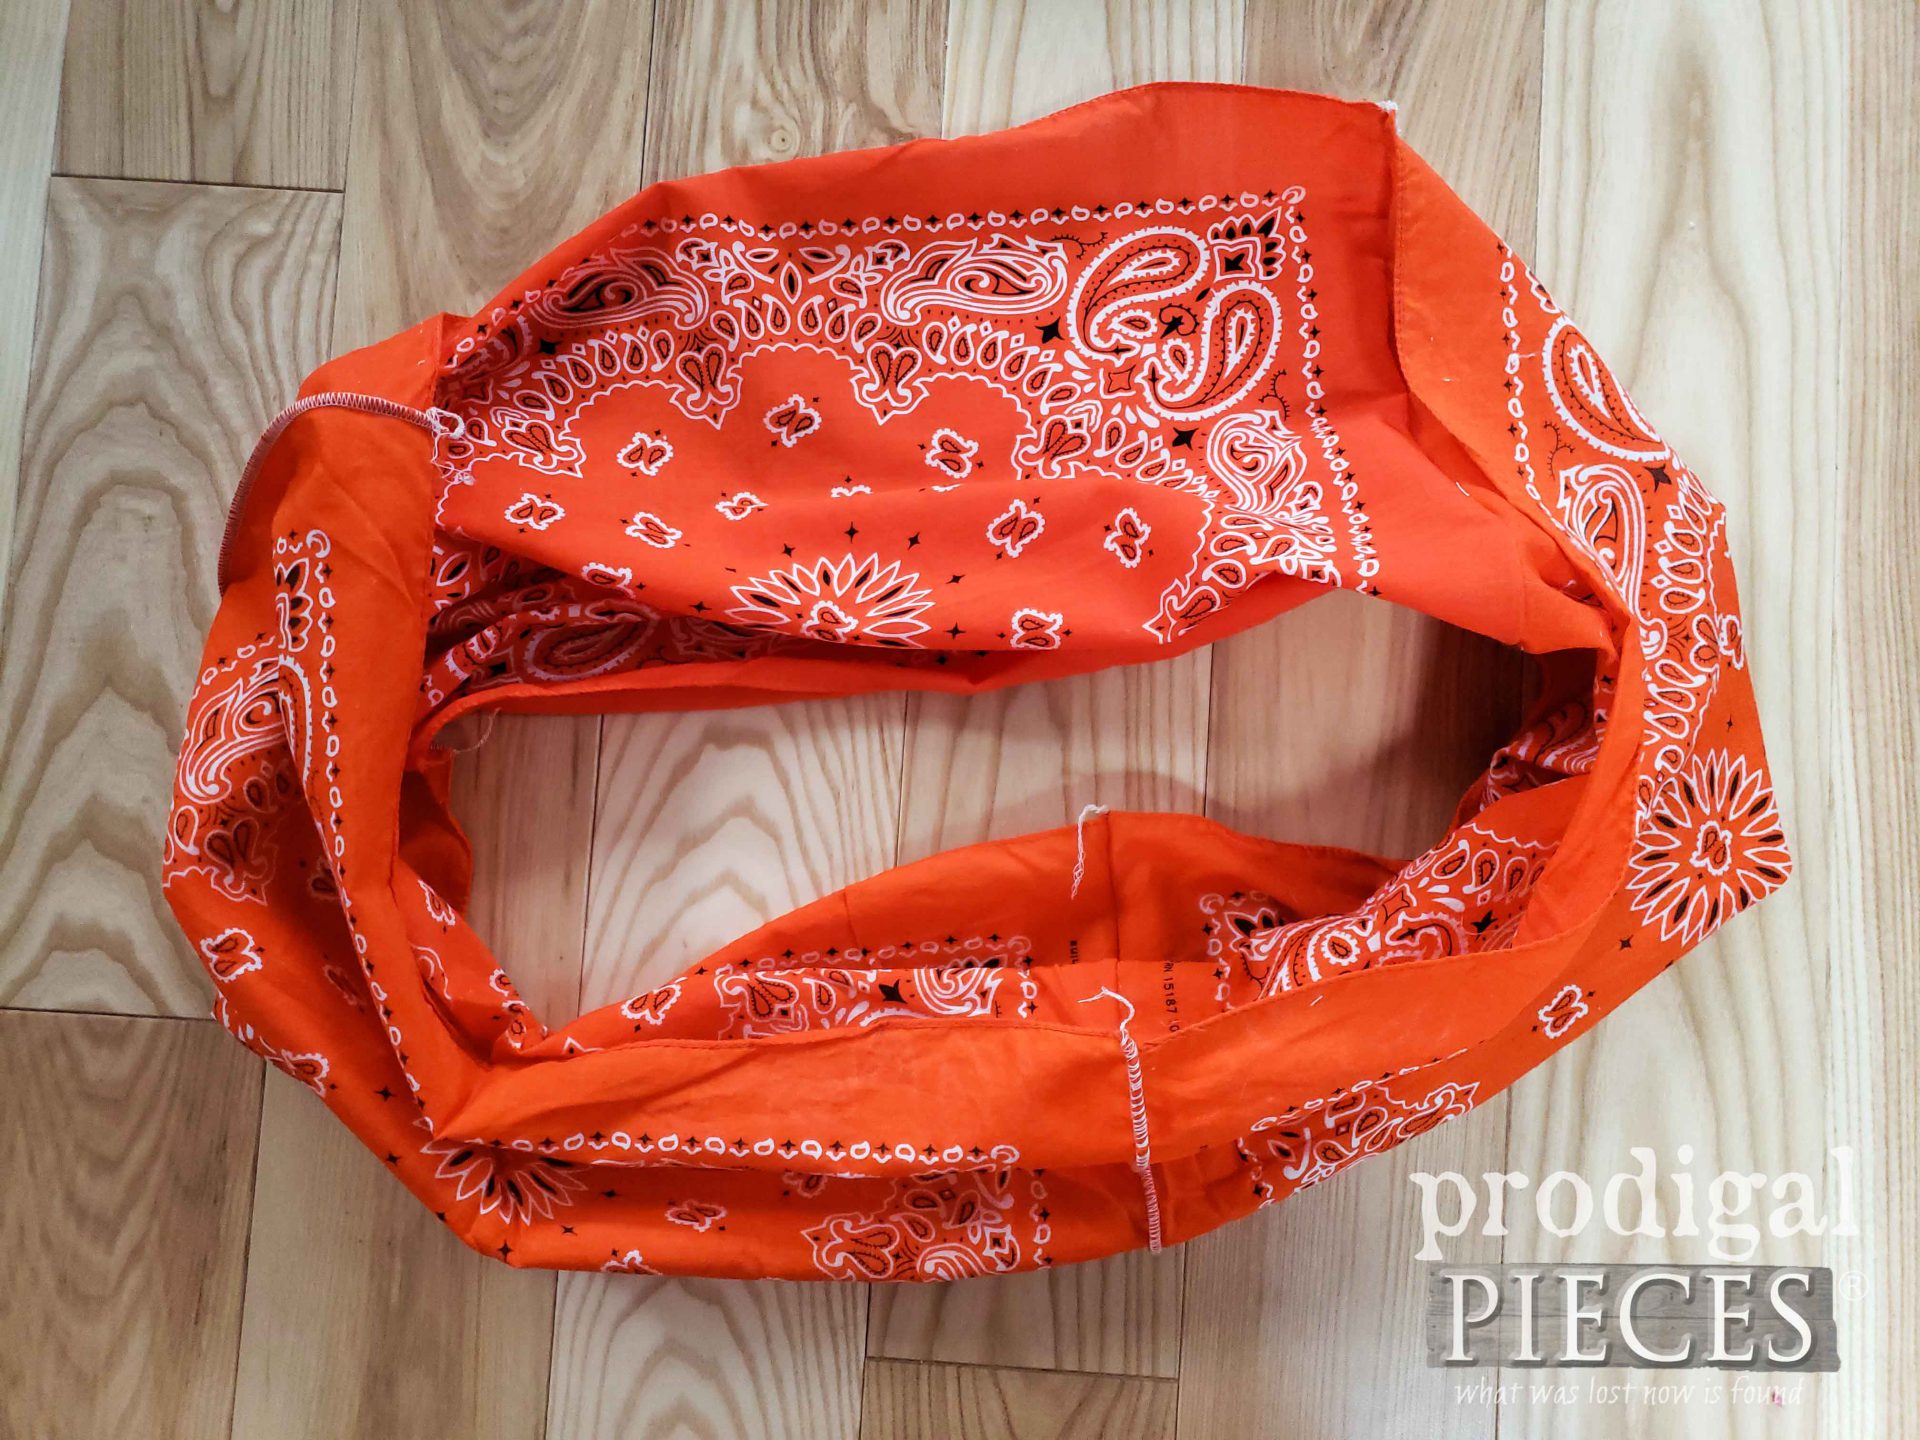
It is so easy to make…really! Here it is in a nutshell. First, I took 3 bandanas and joined them together on their short edge with a serger (or zig-zag) stitch to make a tube.
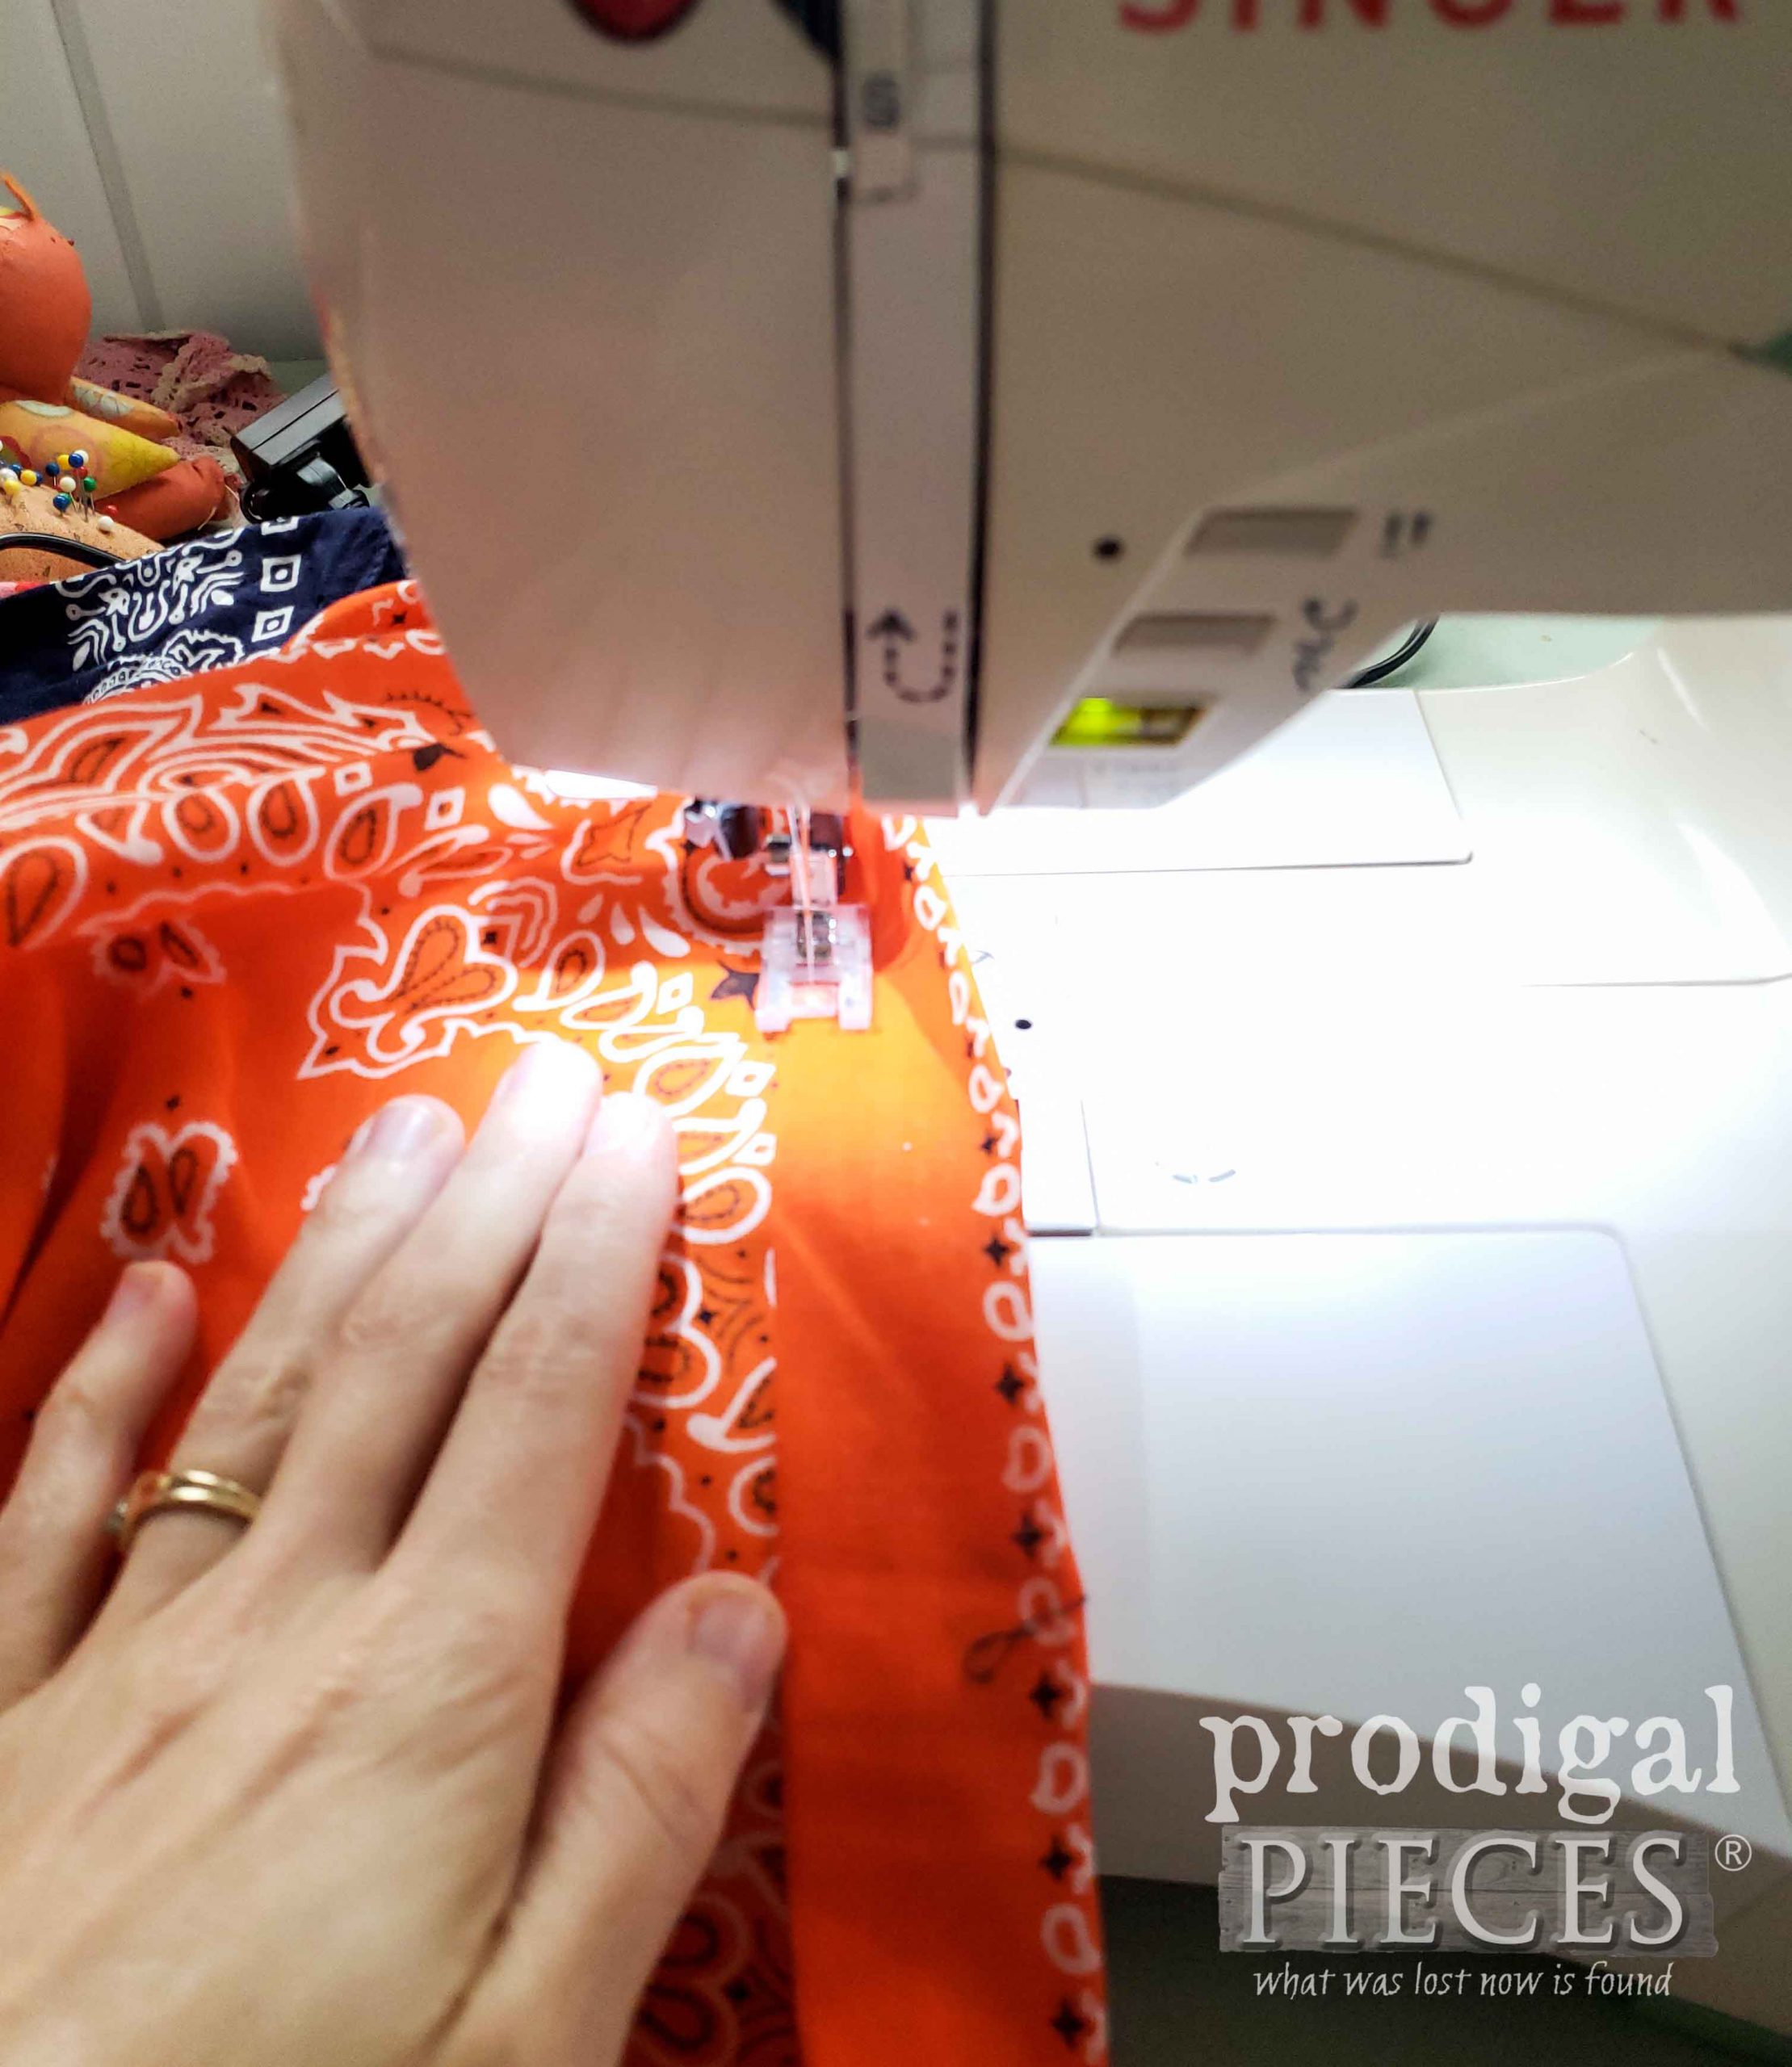
Then, take an edge and fold it down ½”. Next, fold down that fold to make another edge 1″ down. You’re making a casing for the elastic to hold the skirt up.
Sew along the bottom edge of that fold, leaving a space open to be able to insert the elastic.
To know how much elastic, just pull a length around your girls waist and make it tight enough, but not too tight. Insert the elastic with a crochet hook just like for the bags. However, you will need to leave the very end in the opening space and stitch it down with a zig-zag stitch.
Finally, once the elastic is thread through, stitch the other end down. Last, top-stitch your casing opening close. Viola!
And that’s all folks. Leave me a comment telling me what you’d use your bag for. In addition, pin and share my upcycled bandana bags to inspire others too.
To get these DIY tips & tricks in your inbox, be sure to sign up for my newsletter. Until next time!




Thank you! When I locate the bandanas stash I will make a skirt for a wee girl I know! Hugs!
Aww…that is so fun to hear. She will love it!
Love the bags. I kept a bag ready for the hospital when my husband would need to go to the ER and this would be great to keep items separated.
Ooh…that’s a great idea!
Larissa i really love both ideas. It’s hard to chose one over the other. The skirt is so darling though.
aww…thanks so much! She wouldn’t wear it at first when I made it in the fall, but when she finally did she got so many comments she is now wearing it daily. haha! 😀
Such cute projects! Your daughter totally steals the show though…cutie! XO
Thanks! Finally made use of that stash. Now to unload my 5 other tubs. haha!