Oh happy day! It’s the last Tuesday of the month (gasp…already??) and that means it’s Reduce, Reuse, REFASHION time. Each month I prepare a project for you that shows how to upcycle something out of your closet, linens, etc. Today’s fun is focused on an upcycled skirt refashion.
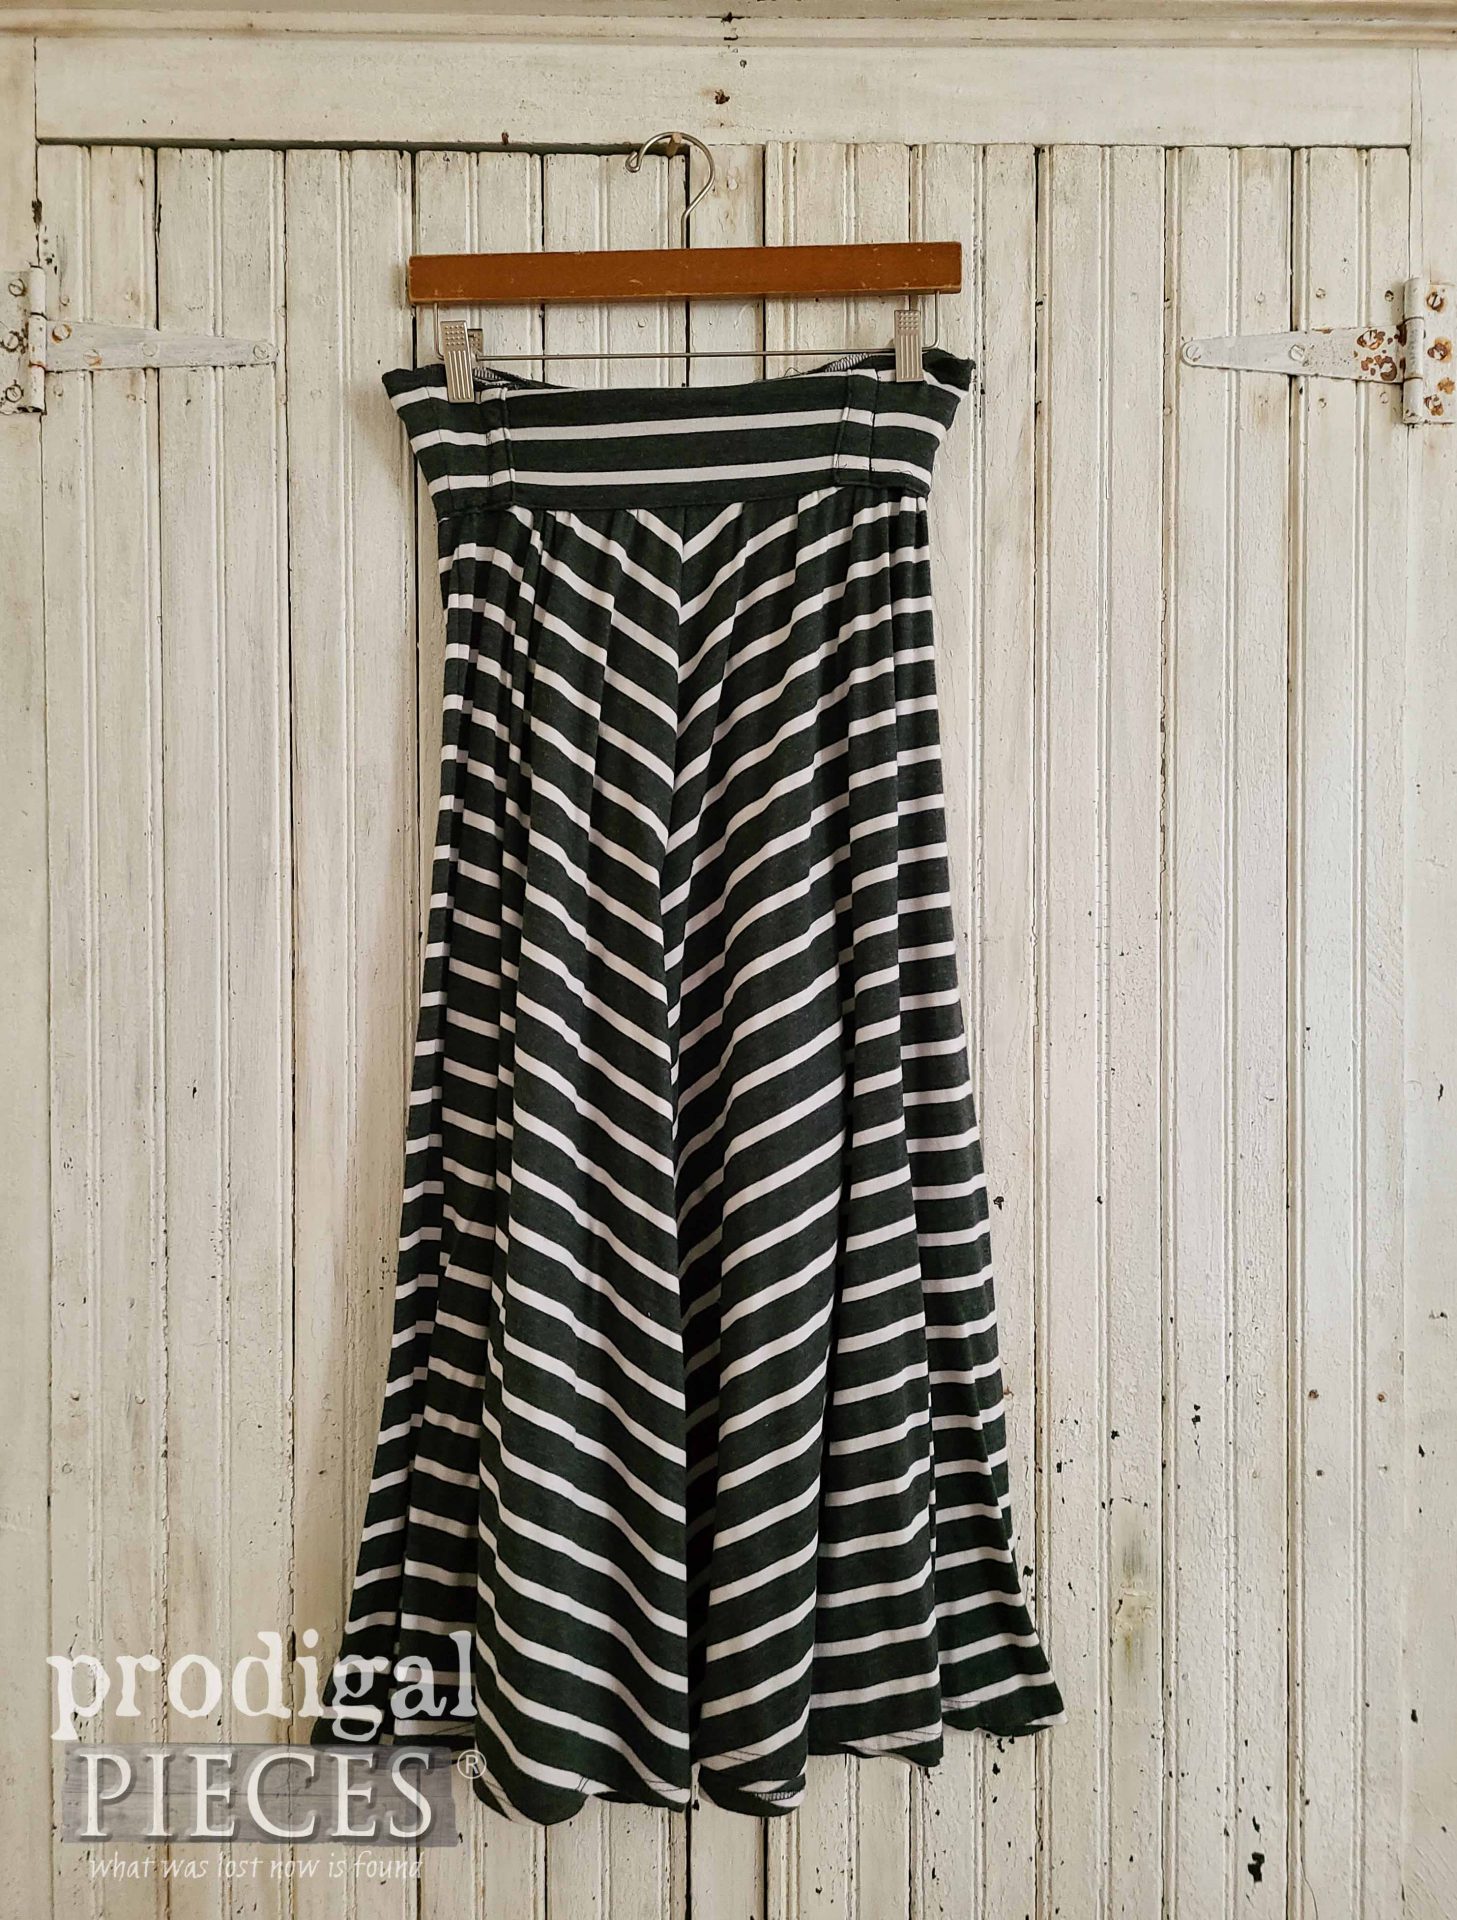
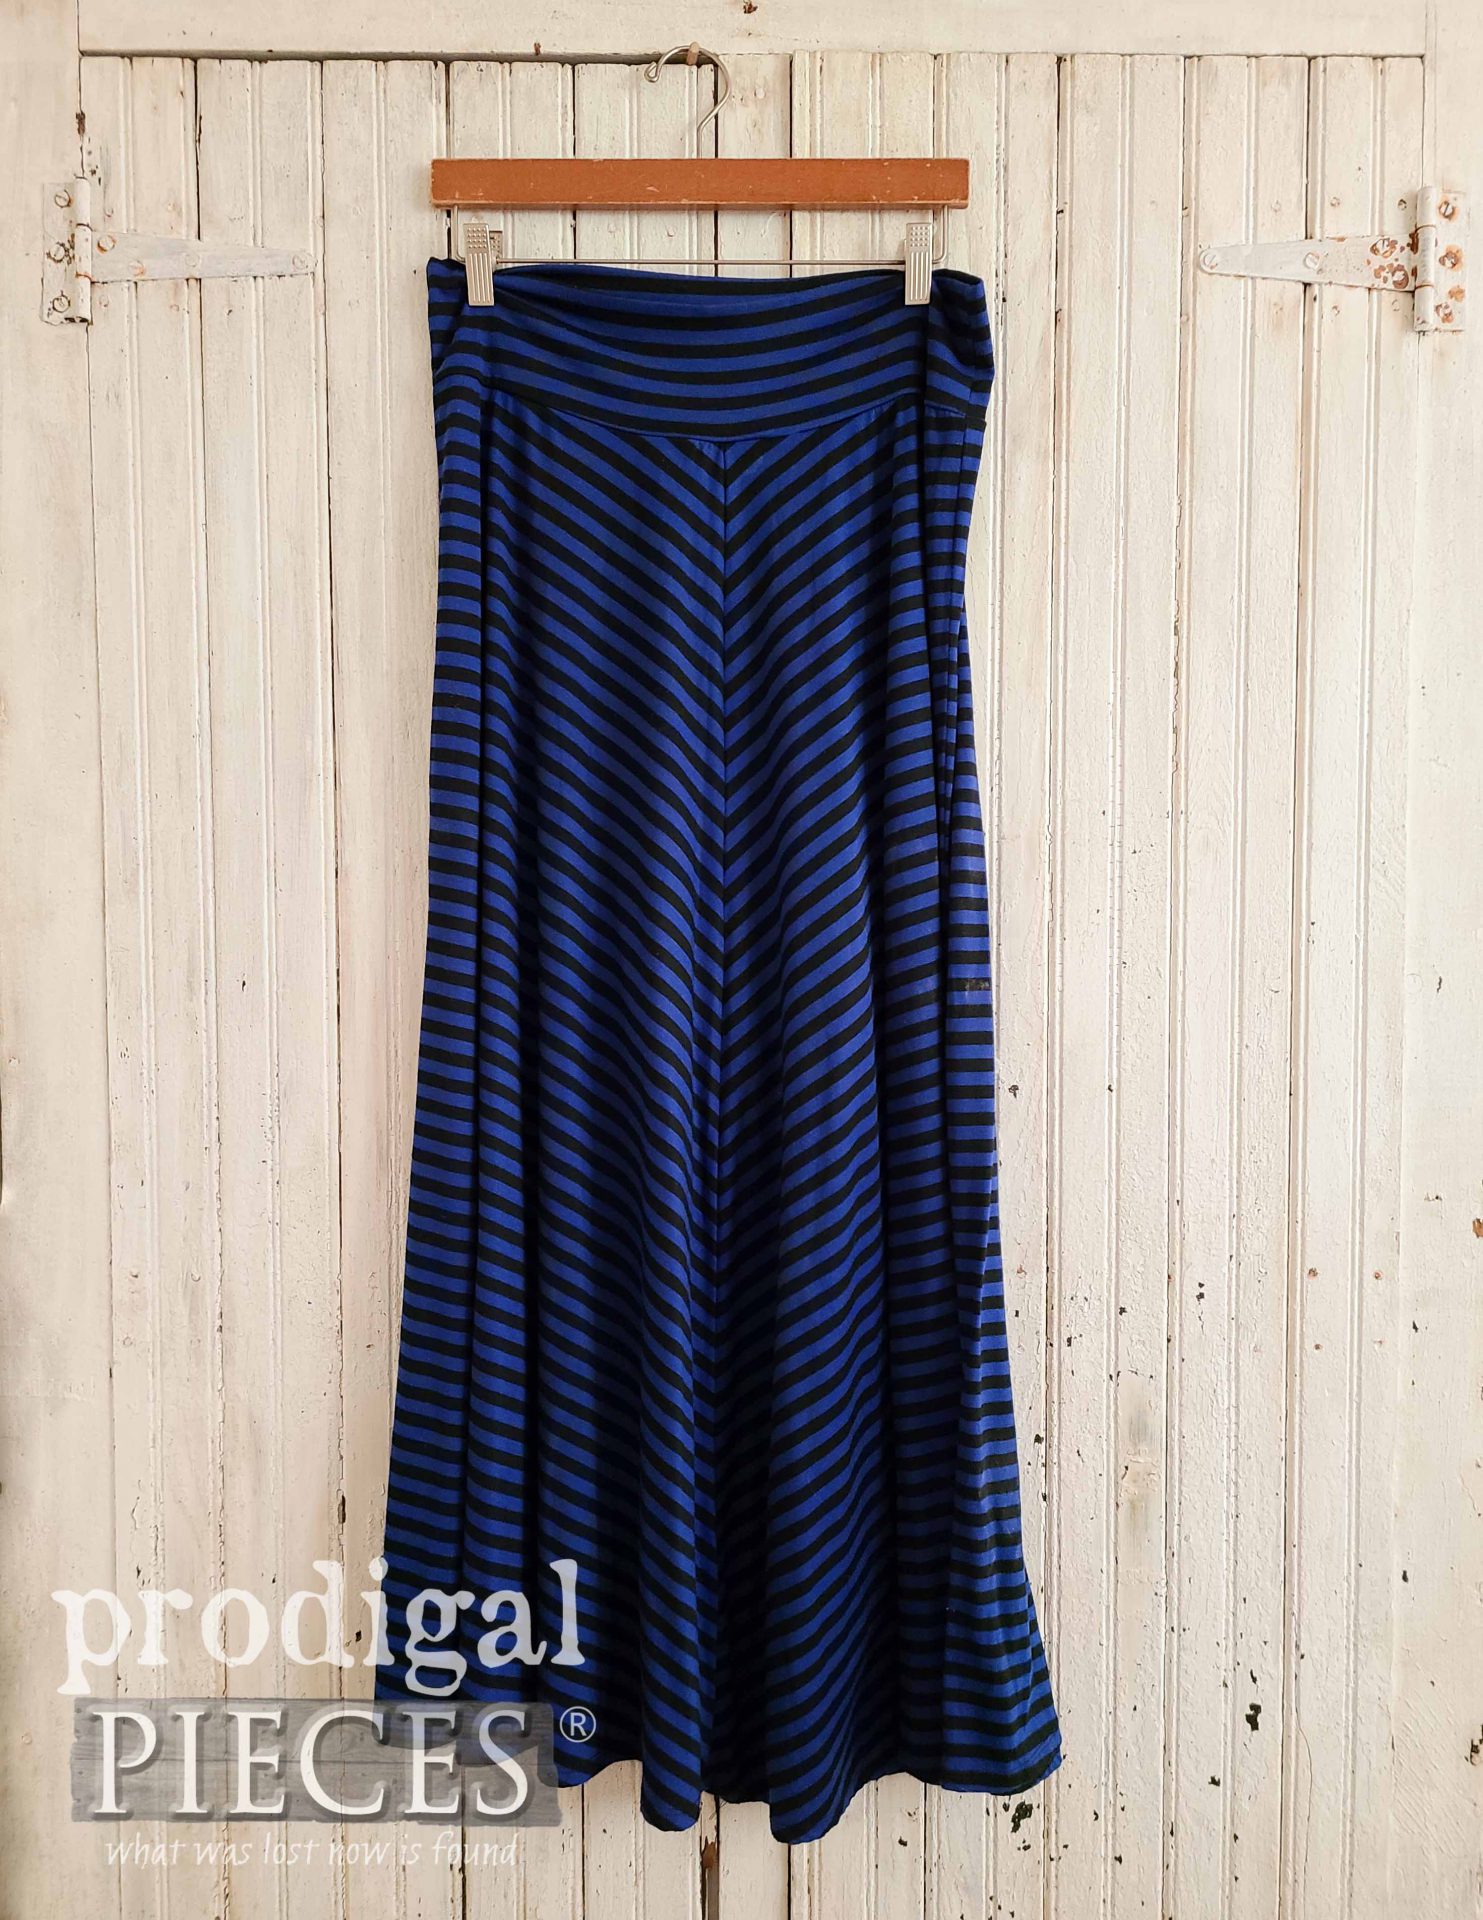
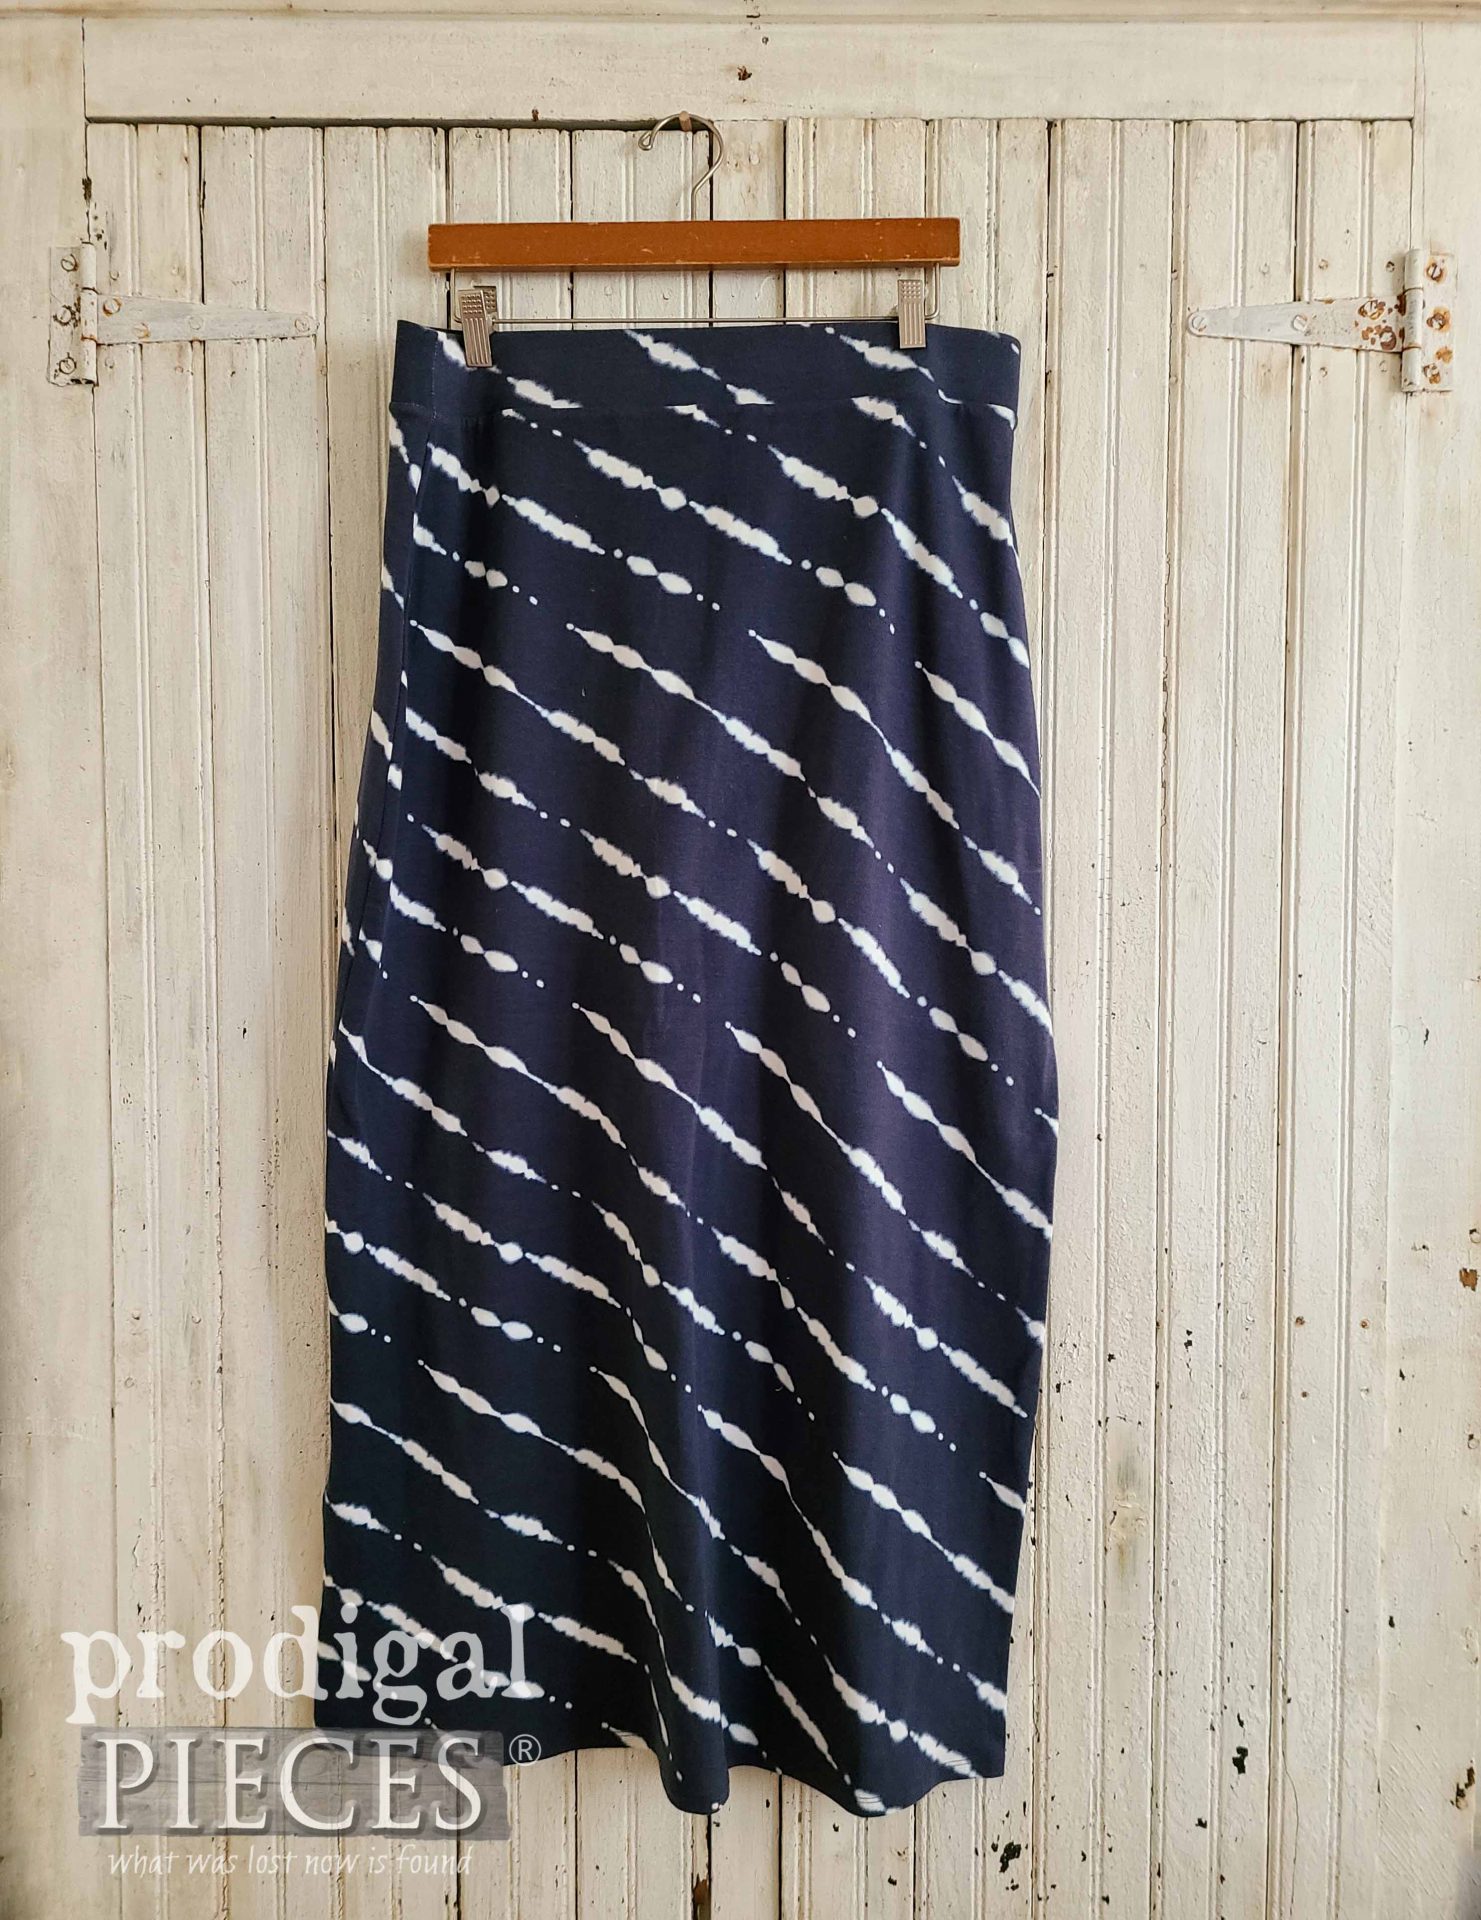
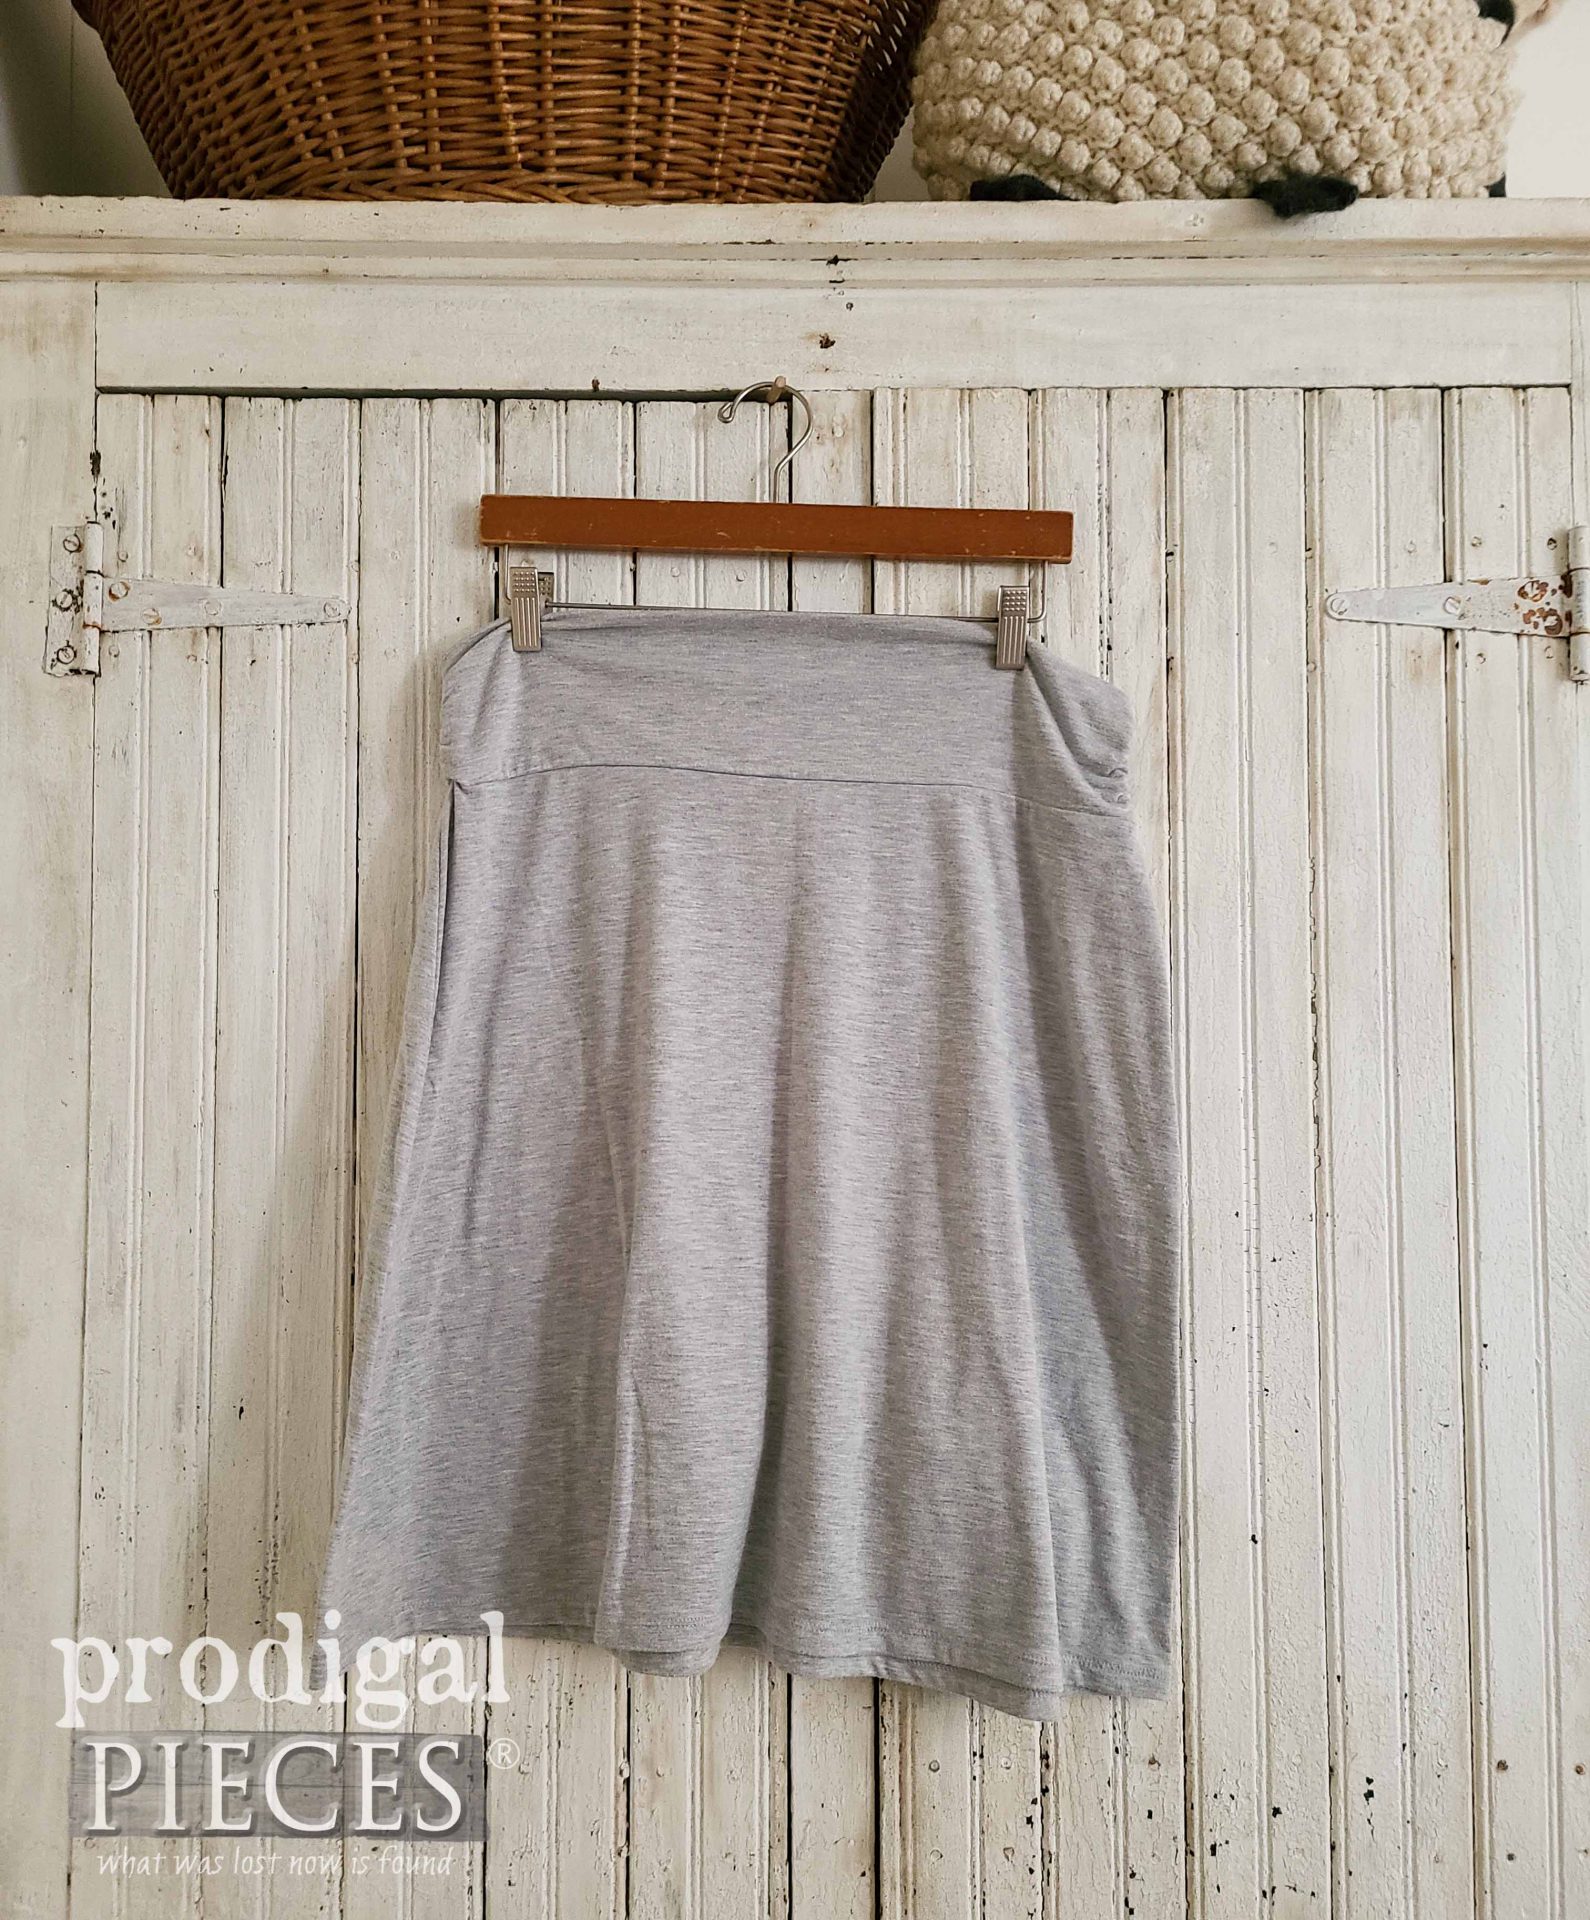
It’s funny how we go thru clothing styles and cycles. My oldest daughter gets to pass on her unwanteds to three younger sisters. This time around, she unloaded a pile of knit skirts that seem to have a common theme. Do you see it?
And this misfit…haha.
Well…long story short (pun intended), her next youngest sister doesn’t fit into these, and my other girls weren’t interested. That’s where I come in. I see yards and yards of soft and comfortable fabric just waiting for a new purpose. You can see how I used my own linen skirts to upcycle into insulated lunch bags HERE.
REFASHION TIME
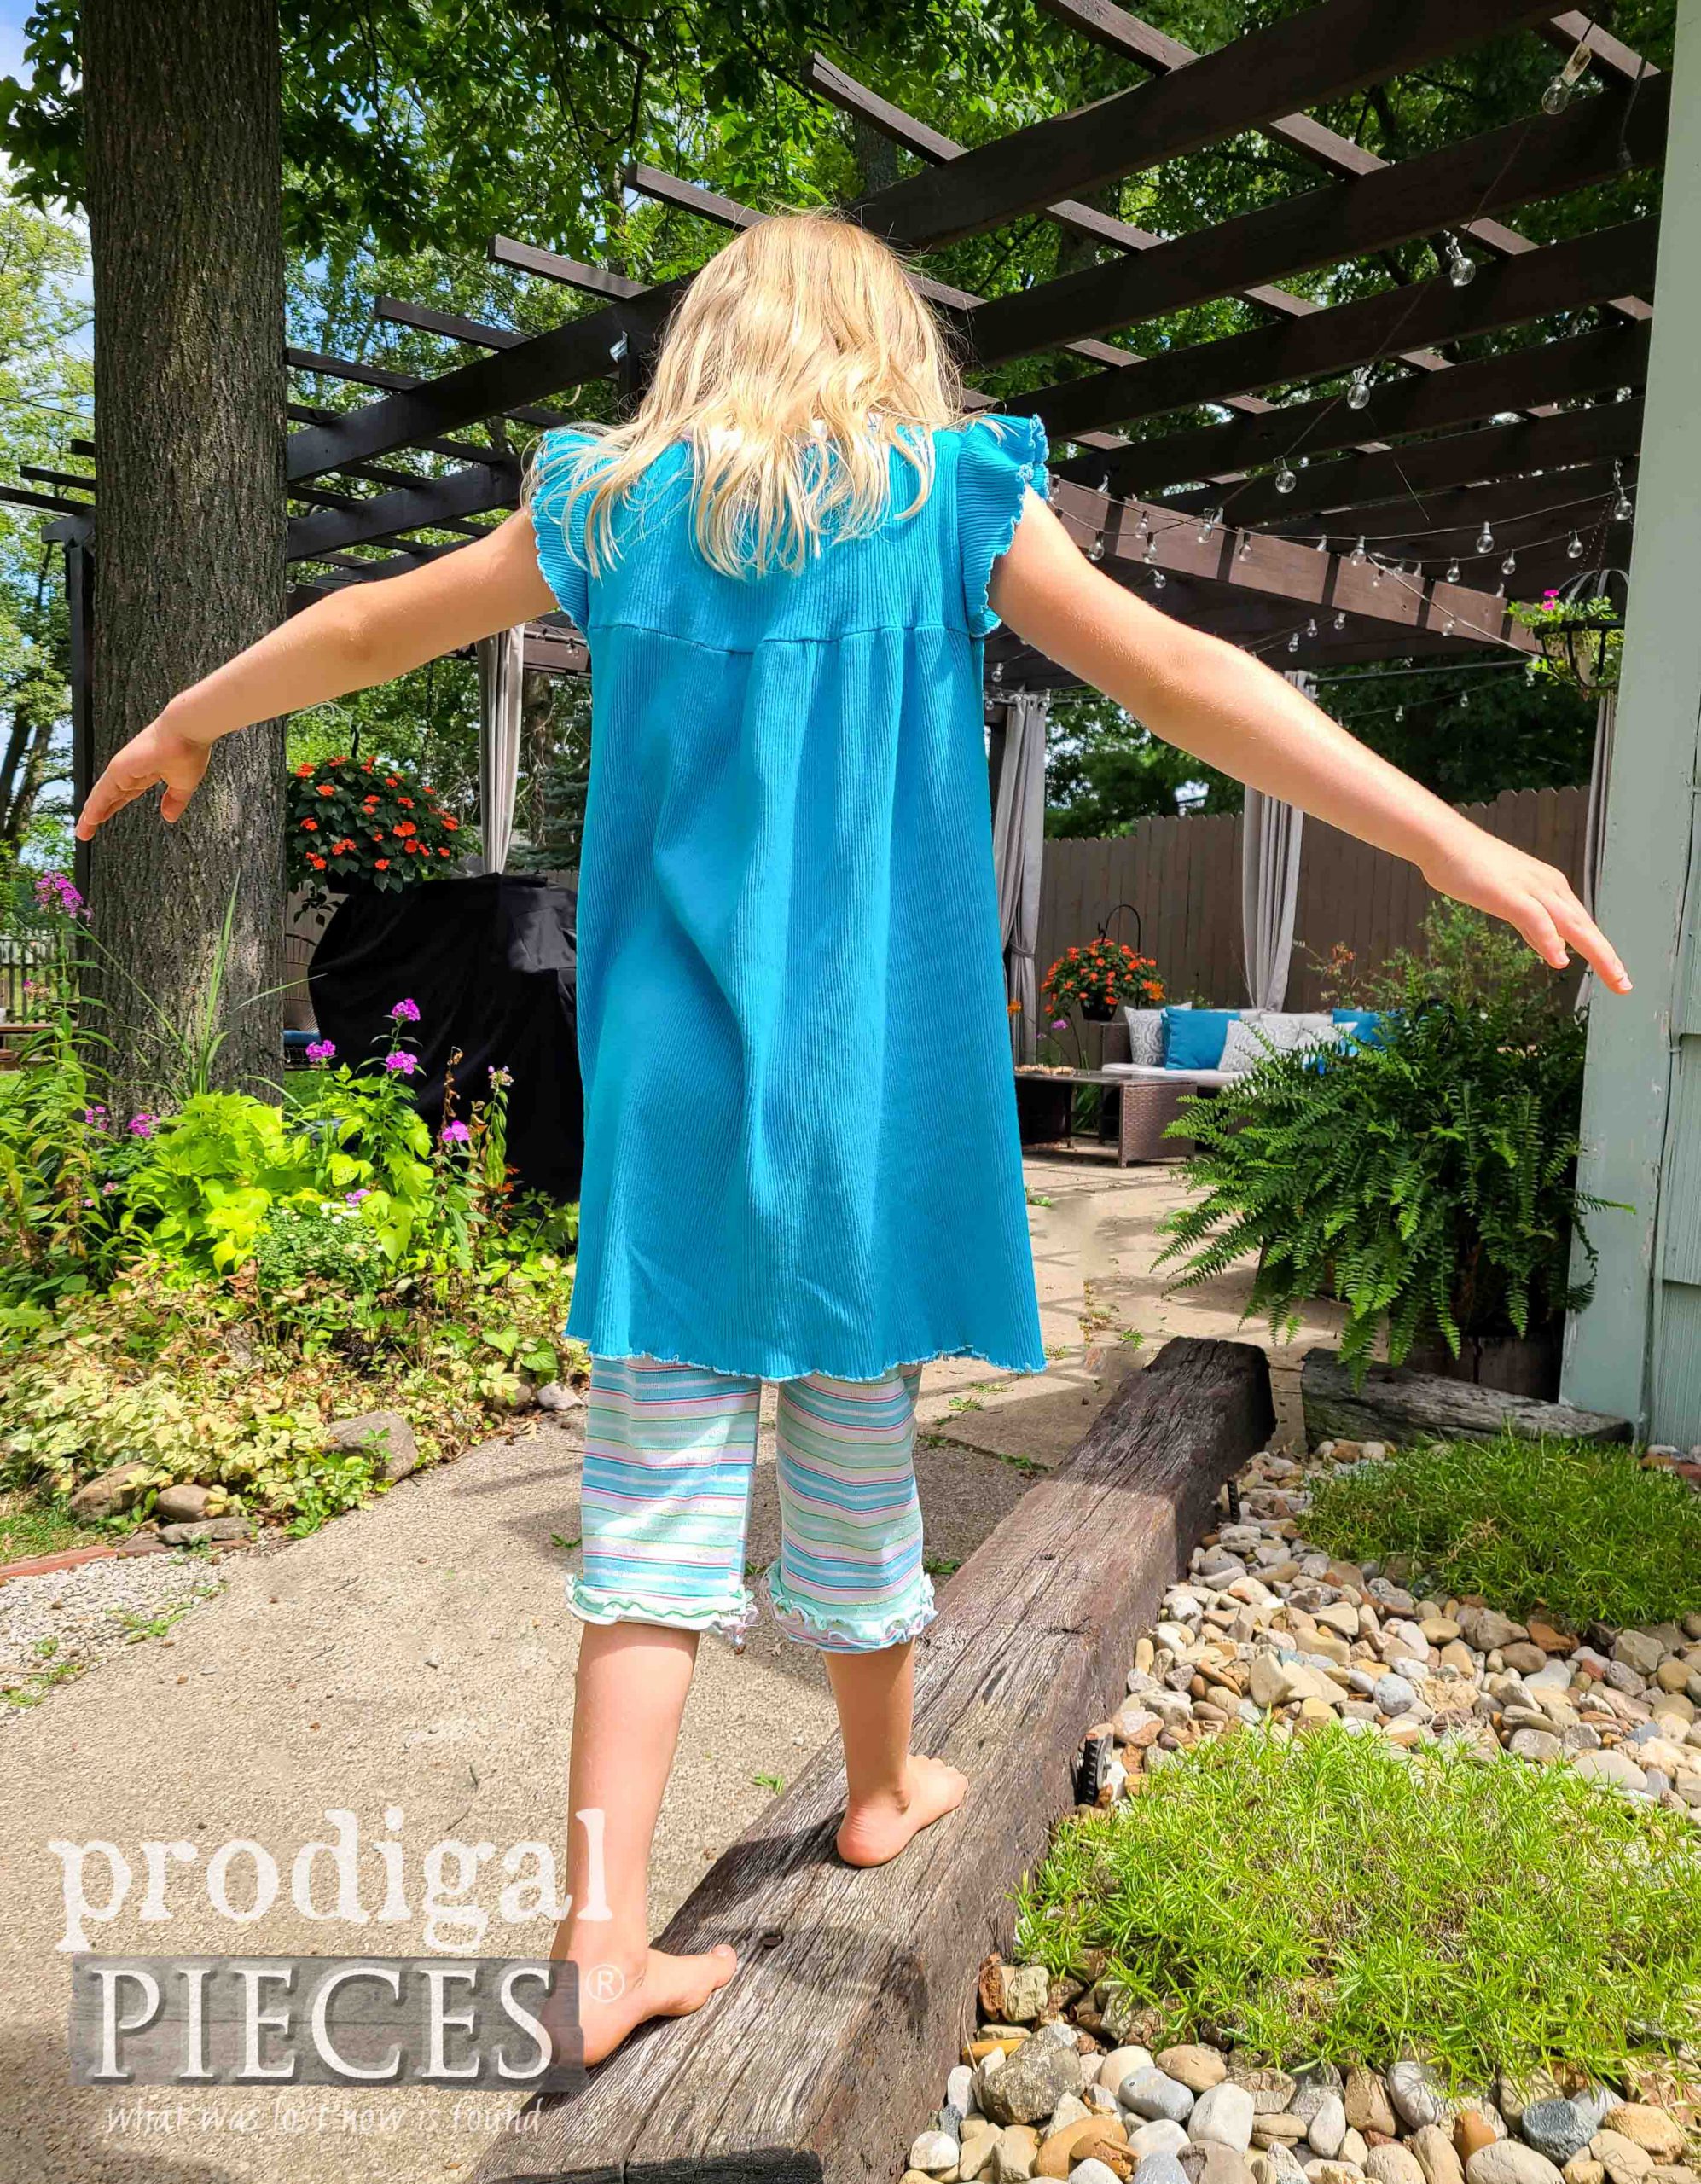
While I normally donate our clothing to a local ministry, this time around I wanted to make use of this stash. One of the things I enjoy doing is making clothes for my kids. My youngest was wearing this outfit the other day that I made for my next oldest daughter from fabric I found at the thrift store. It still looks good and it makes me cringe at how fast time flies. Sigh…
GETTING STARTED
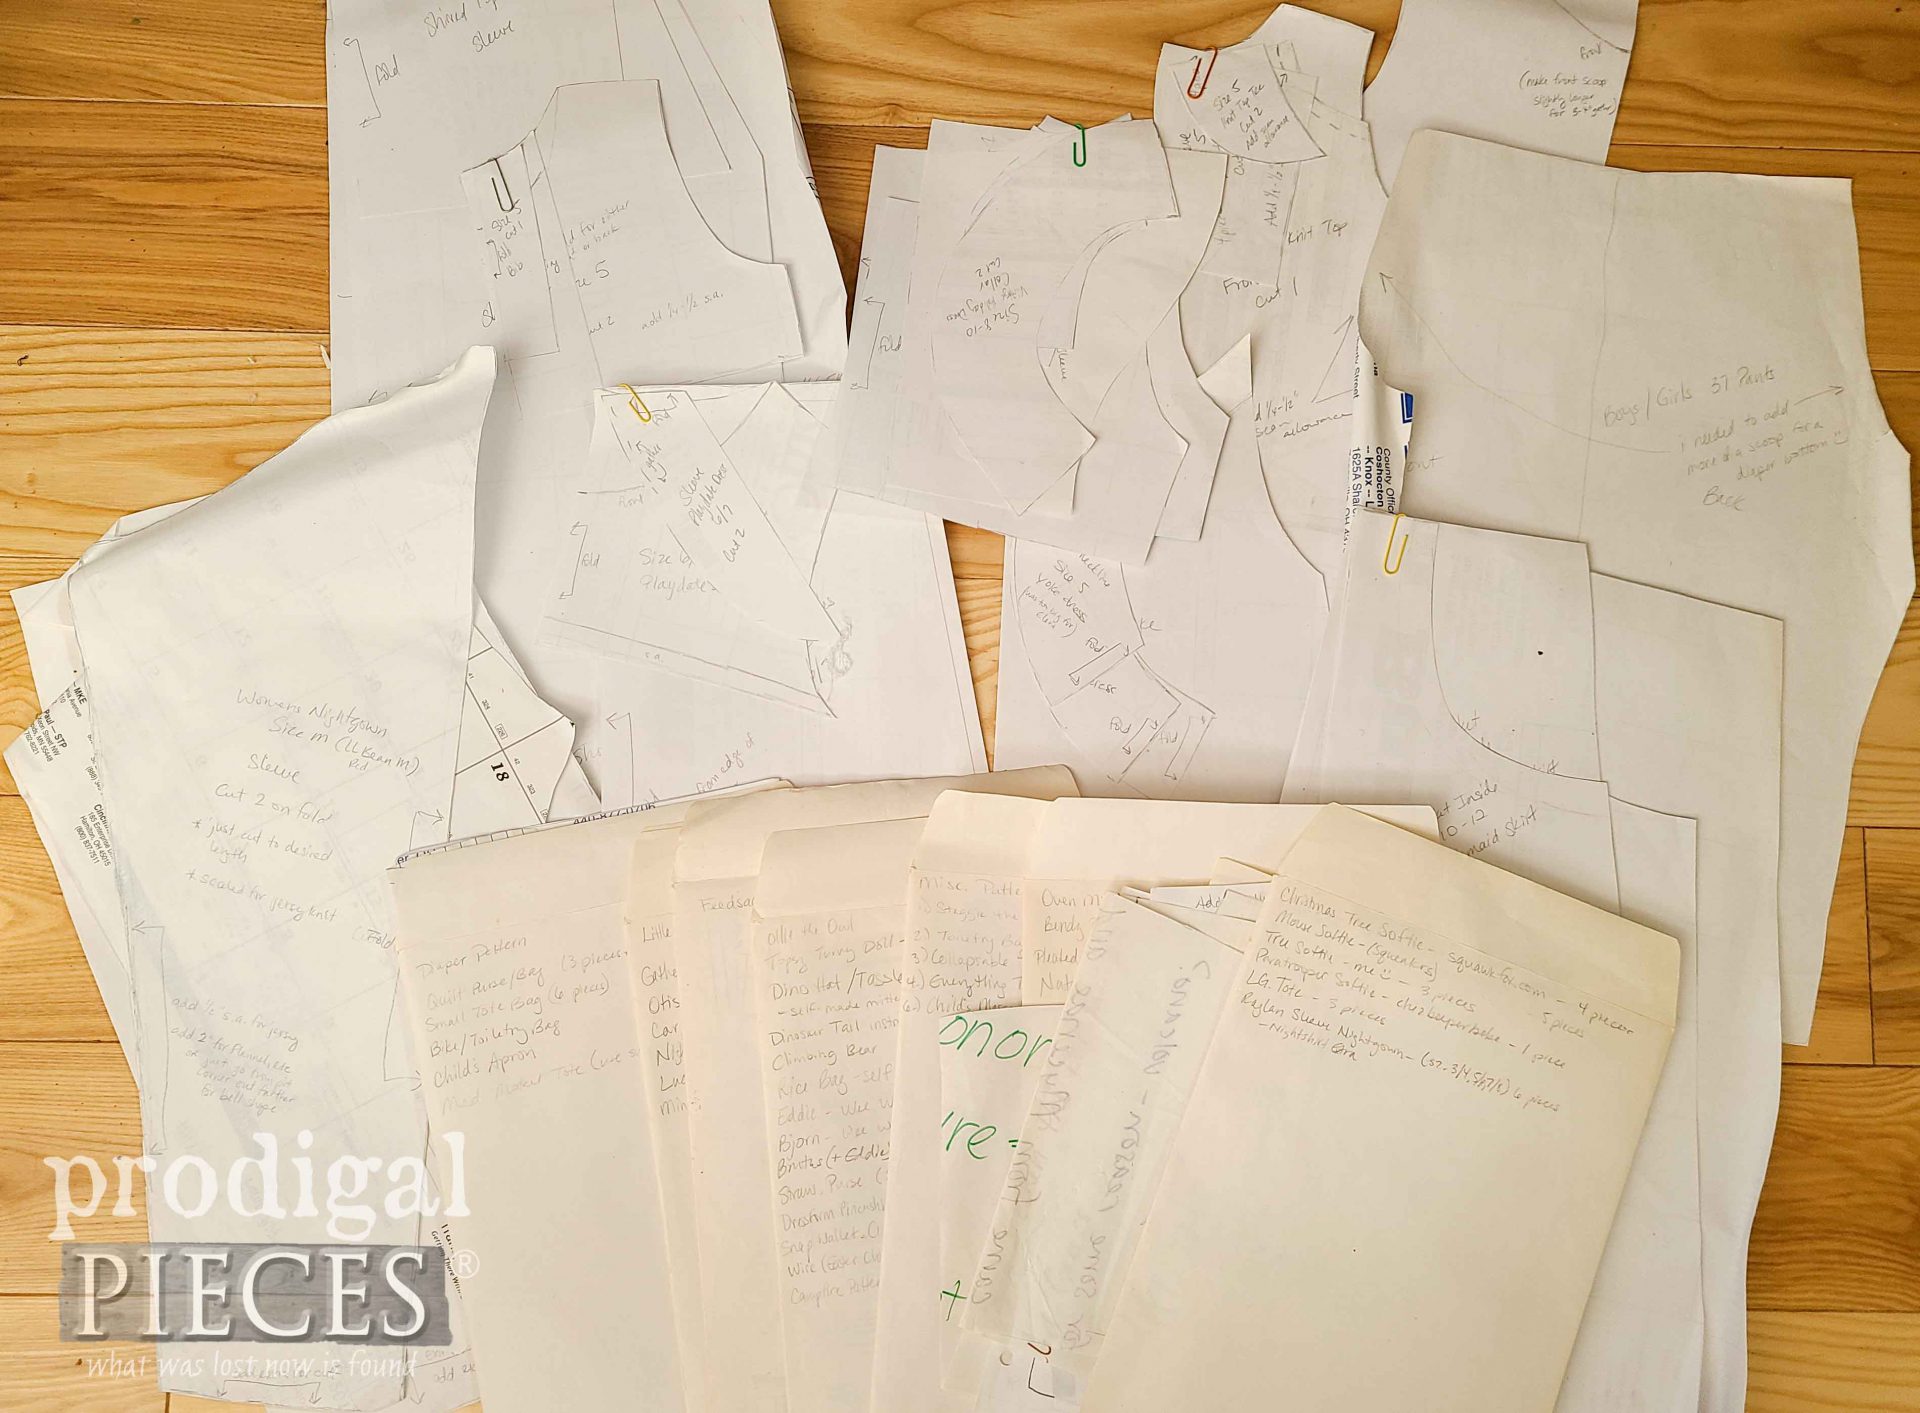
My vision is to take these skirts and refashion them into nightgowns and/or dresses using the patterns I made years ago. If you look close, you’ll see I’ve used desk calendars and my old homeschool notes to make my patterns. haha. Make do or do without, baby! (note: this is a third or less of my patterns…ahem)
*post includes affiliate links so you can find the products I love to use too. (see full disclosure)
I’m not one for box store patterns (yeah I’m weird like that), but rather like to draft my own. The pre-made patterns never fit right and are a pain to me in most instances. Instead, however, I like to take clothing that does fit and use it as a template to create new.
For instance, I take t-shirts or leggings and capris, tighter fitting clothing, and draft a pattern. Just add for seam allowance and we’re good to go when using knit. Instead of reinventing the wheel, I’m going to direct you to one of my favorite blogs: Ikat Bag. Be sure to check out all Lorraine (Lier) has for you, especially her raglan dress pattern. I used her pattern many years ago and even adapted it to make nursing nightgowns for myself. Bonus: her sense of humor rocks!
Here’s what I used for each one:
- knit skirt (or knit fabric)
- sewing scissors
- Serger – you can also use a sewing machine
- coordinating or contrasting thread
CUTTING
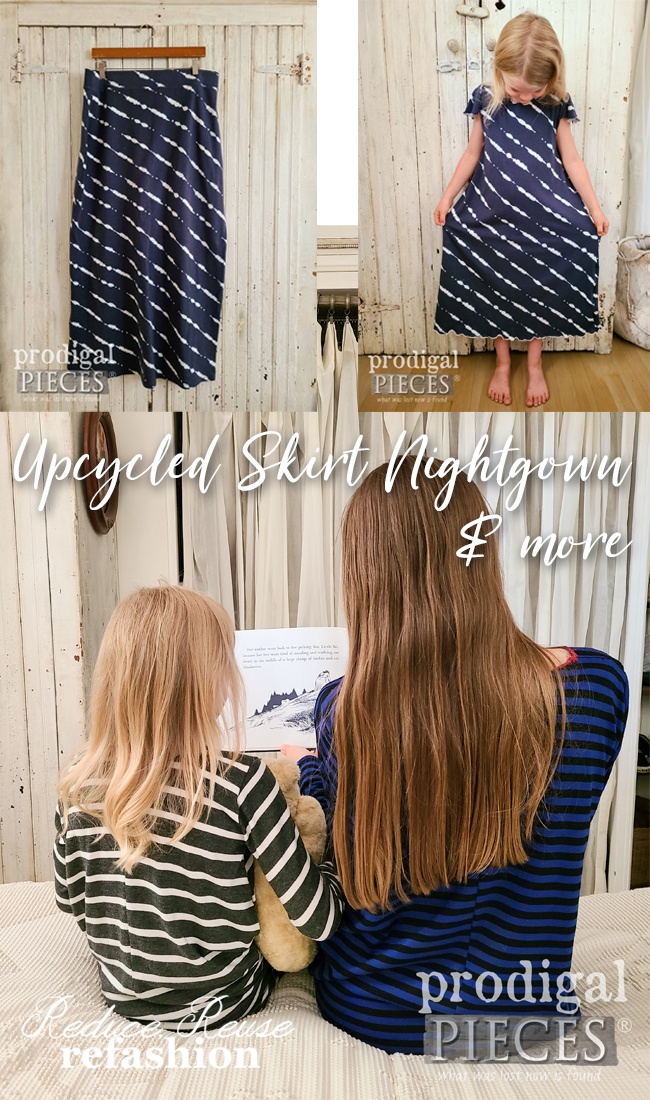
Since each upcycled skirt is a bit different in design as well as potential yardage, I have to refashion them according to what they have to offer. First, I begin with the blue tie dye skirt.
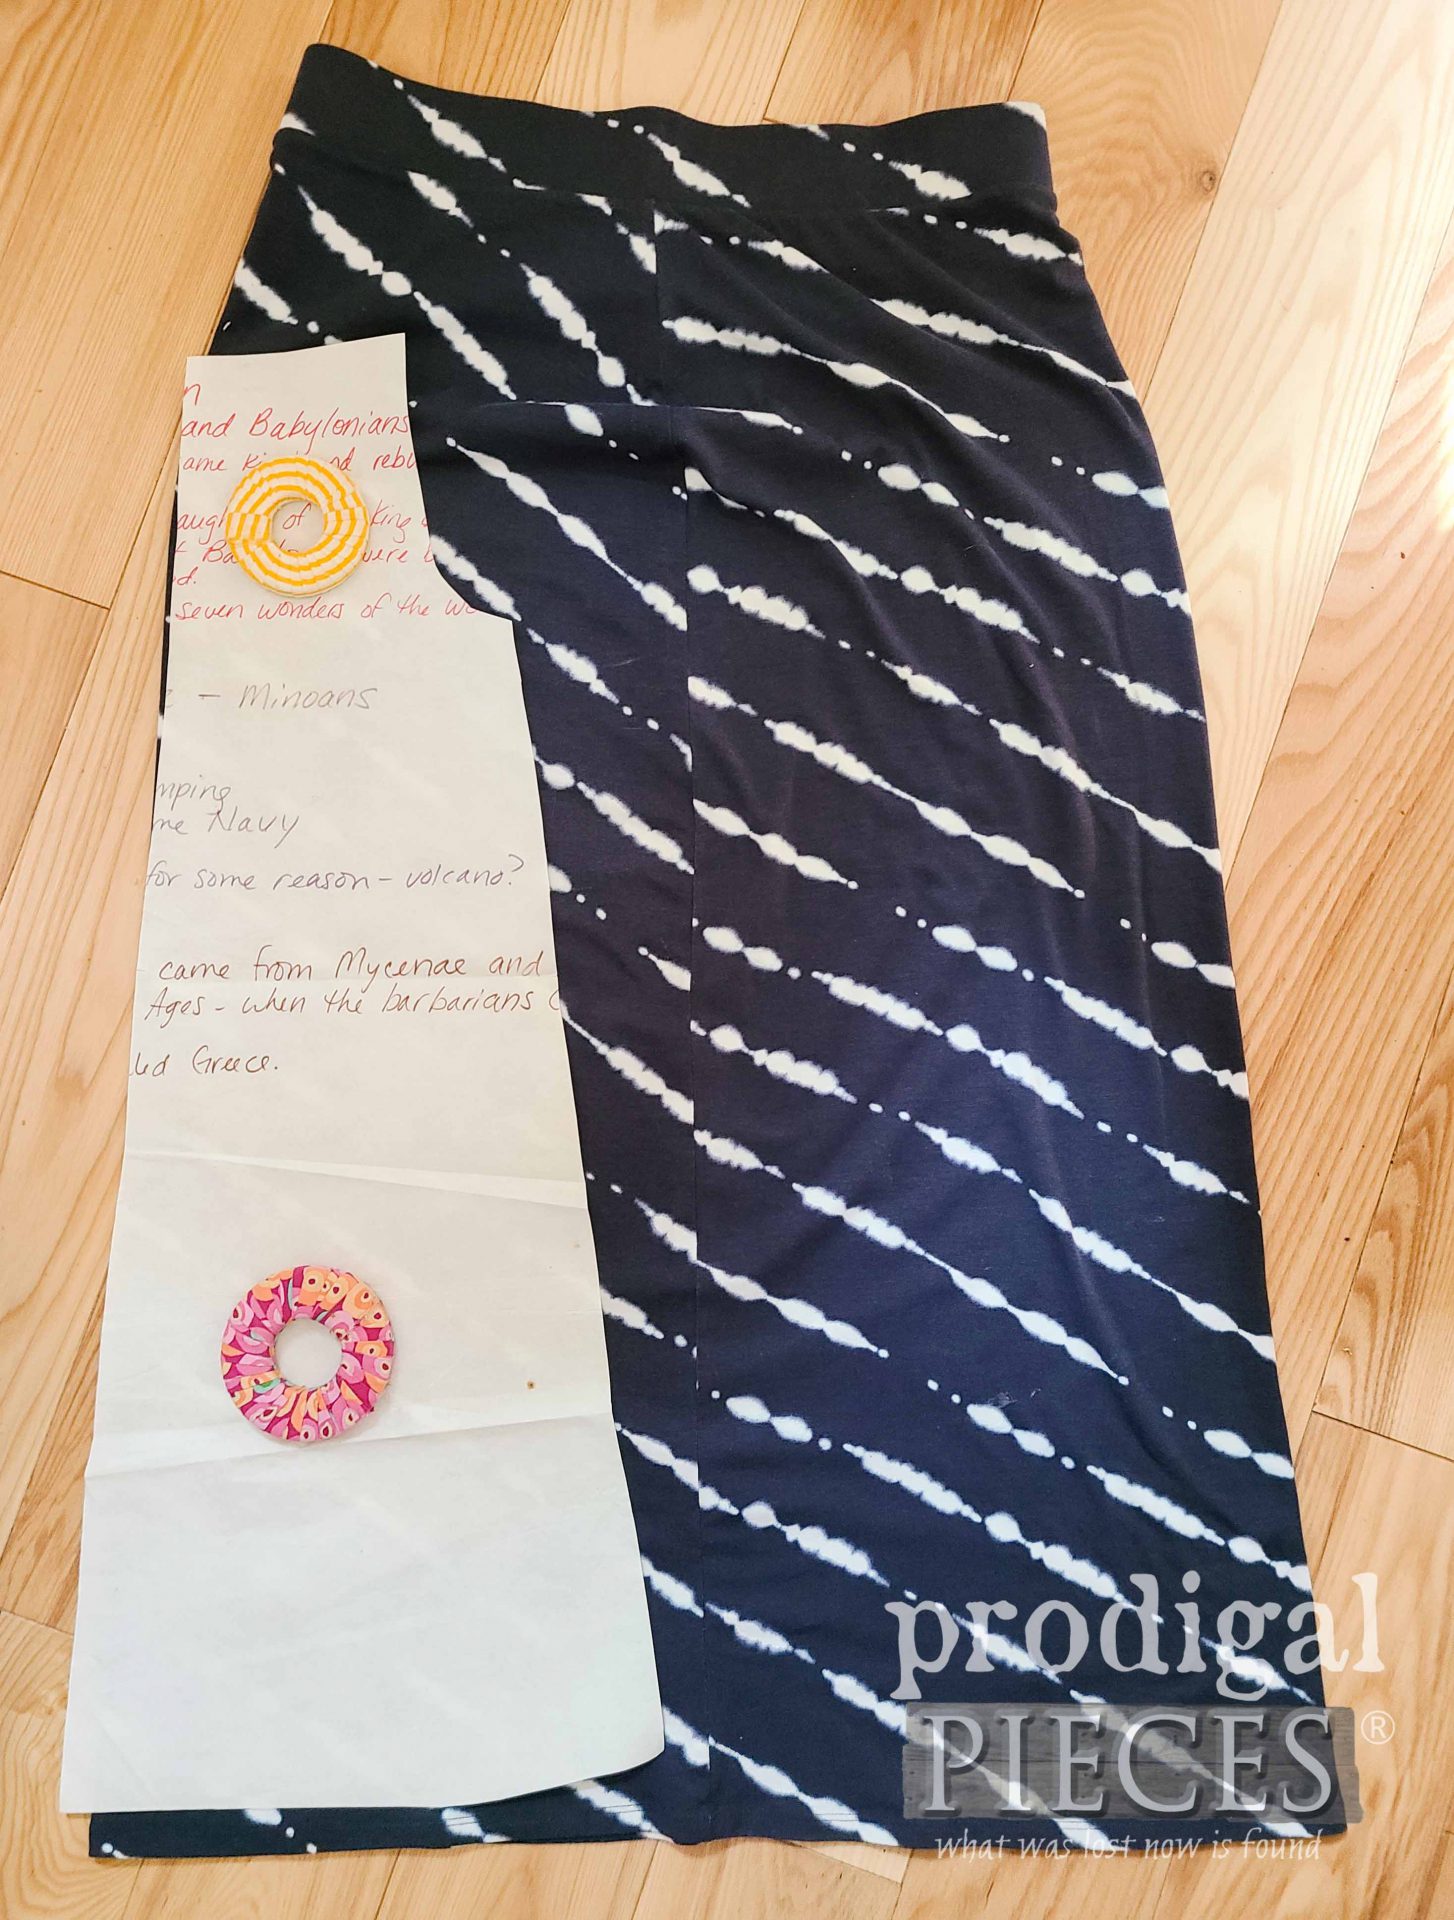
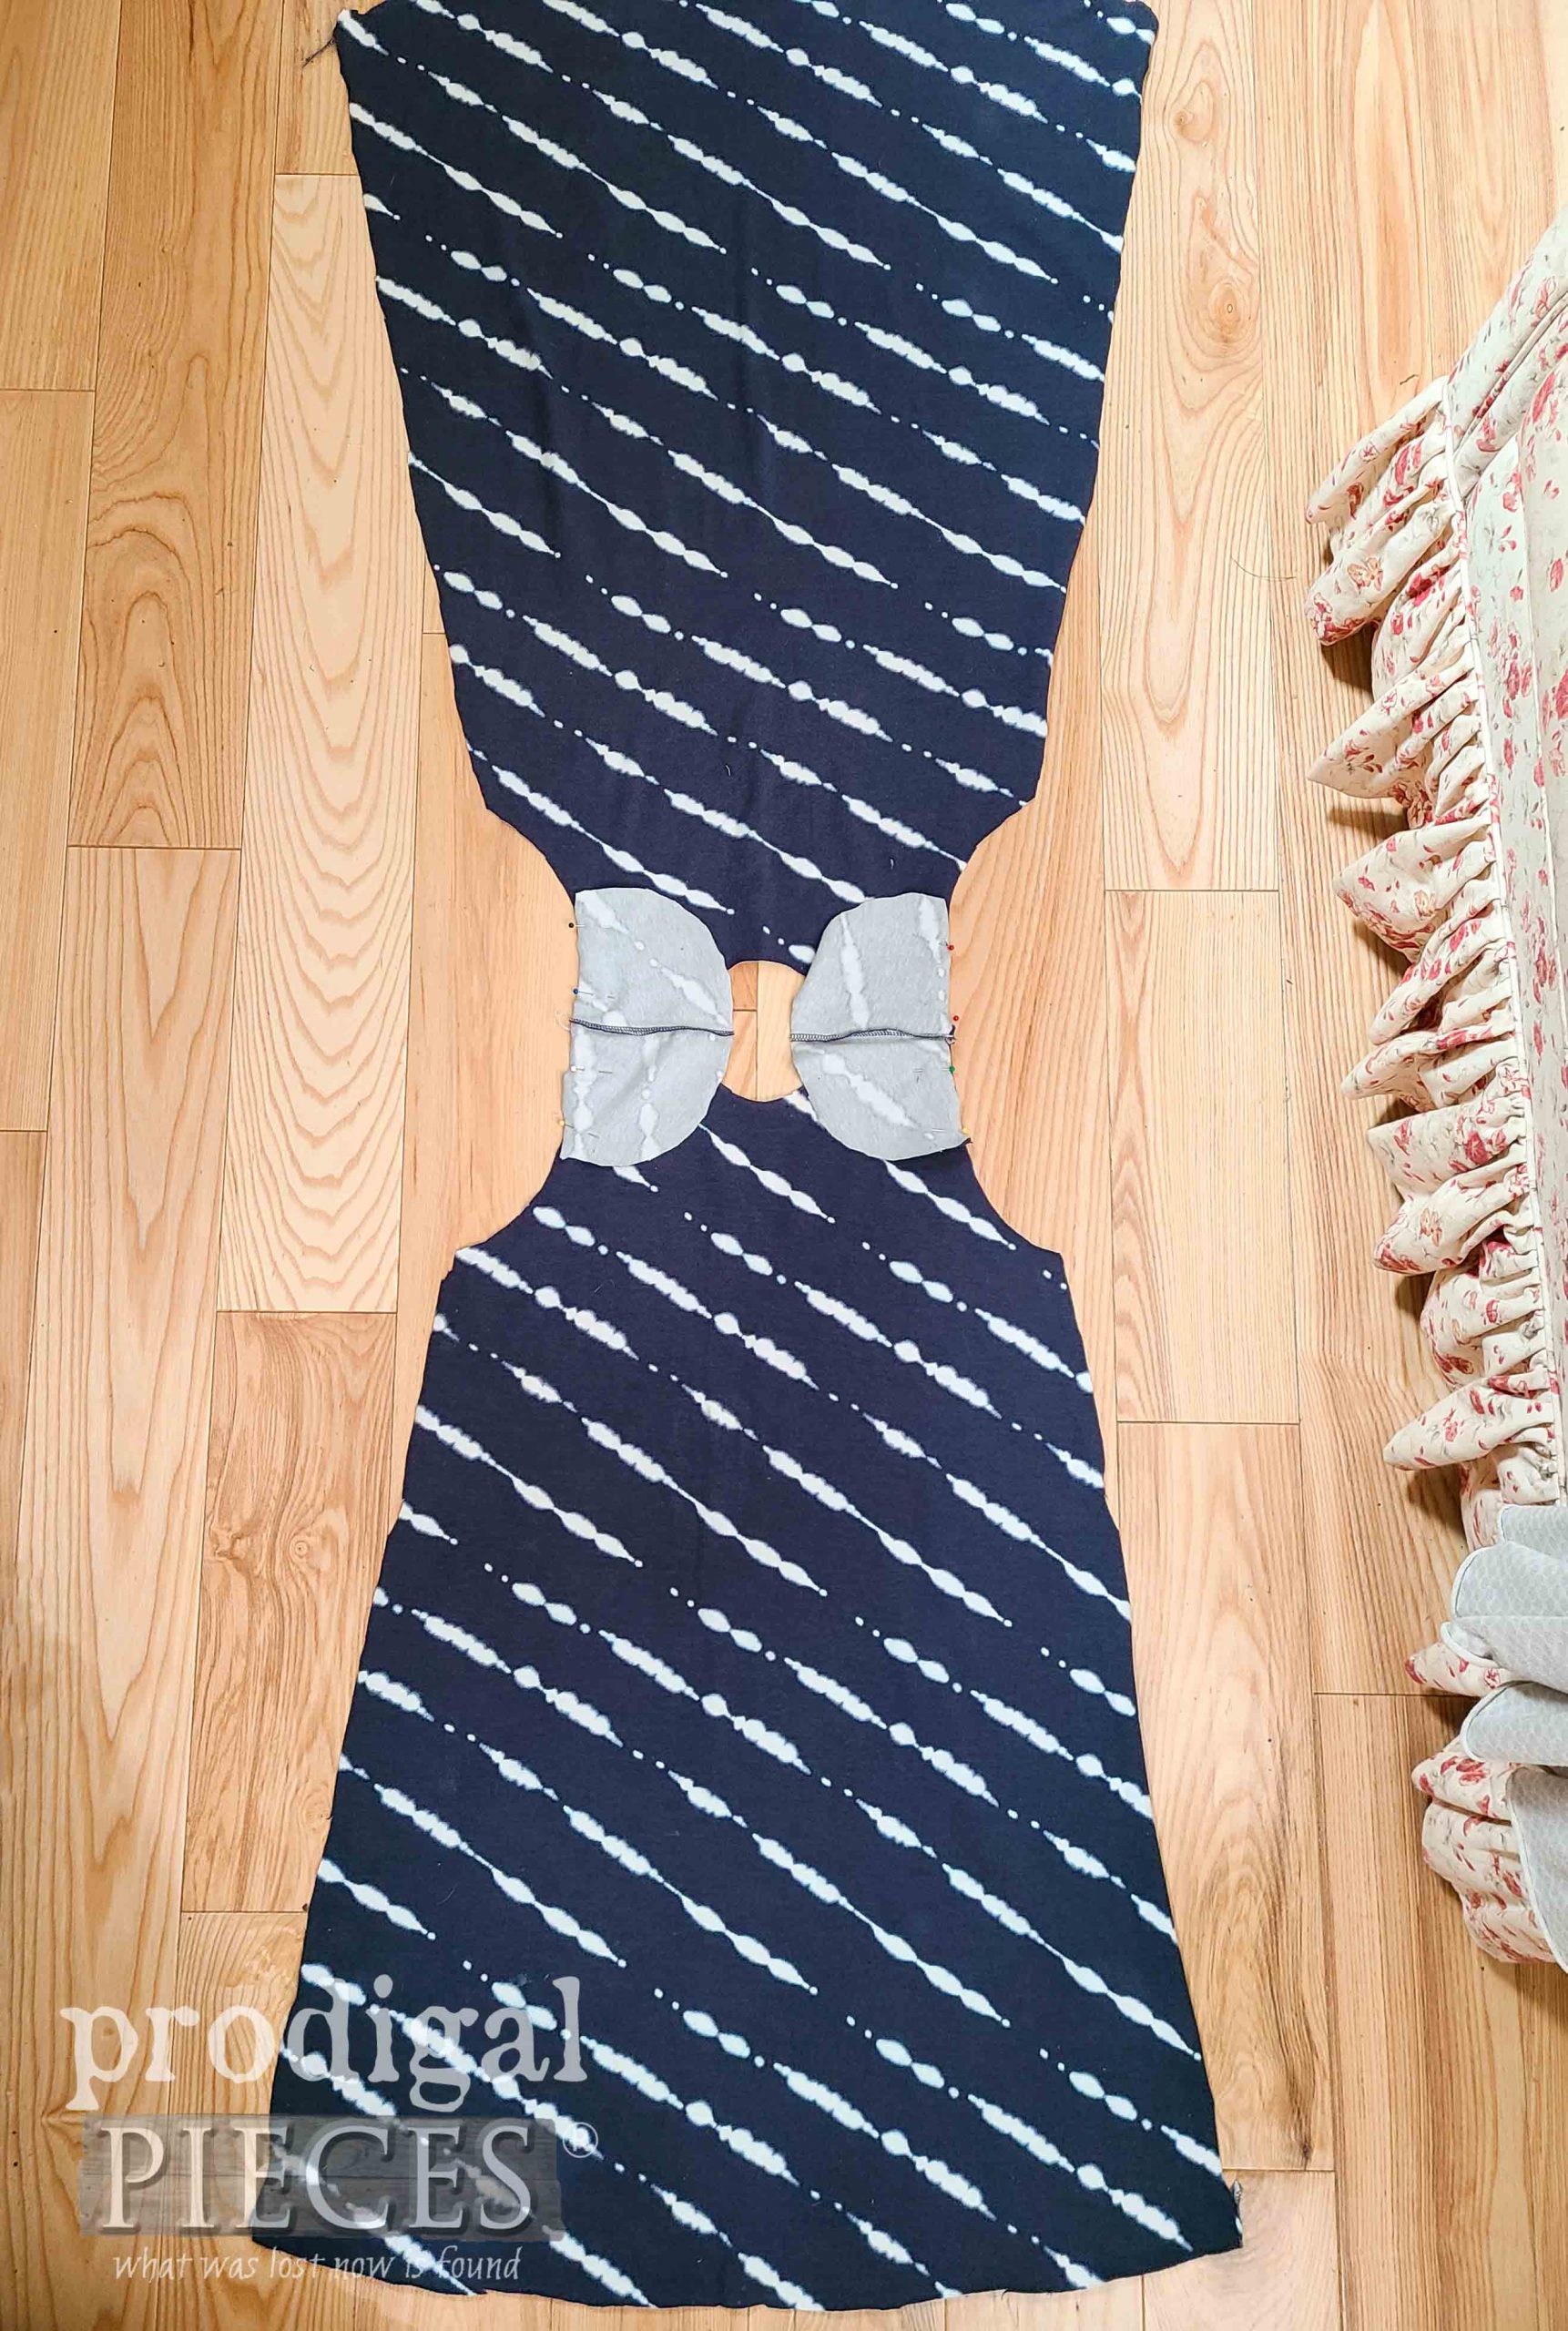
I lay it out with front and back folded out with seams facing up and down. Then, I place my pattern on the fold on the left side and cut. After that, I flip the pattern over to the right side and do the same thing. These two pieces will make up the front and the back of the nightgown/dress.
TIP: I made my pattern weights using a stack of super large metal washers from a hardware store wrapped in scrap fabric. They are awesome!
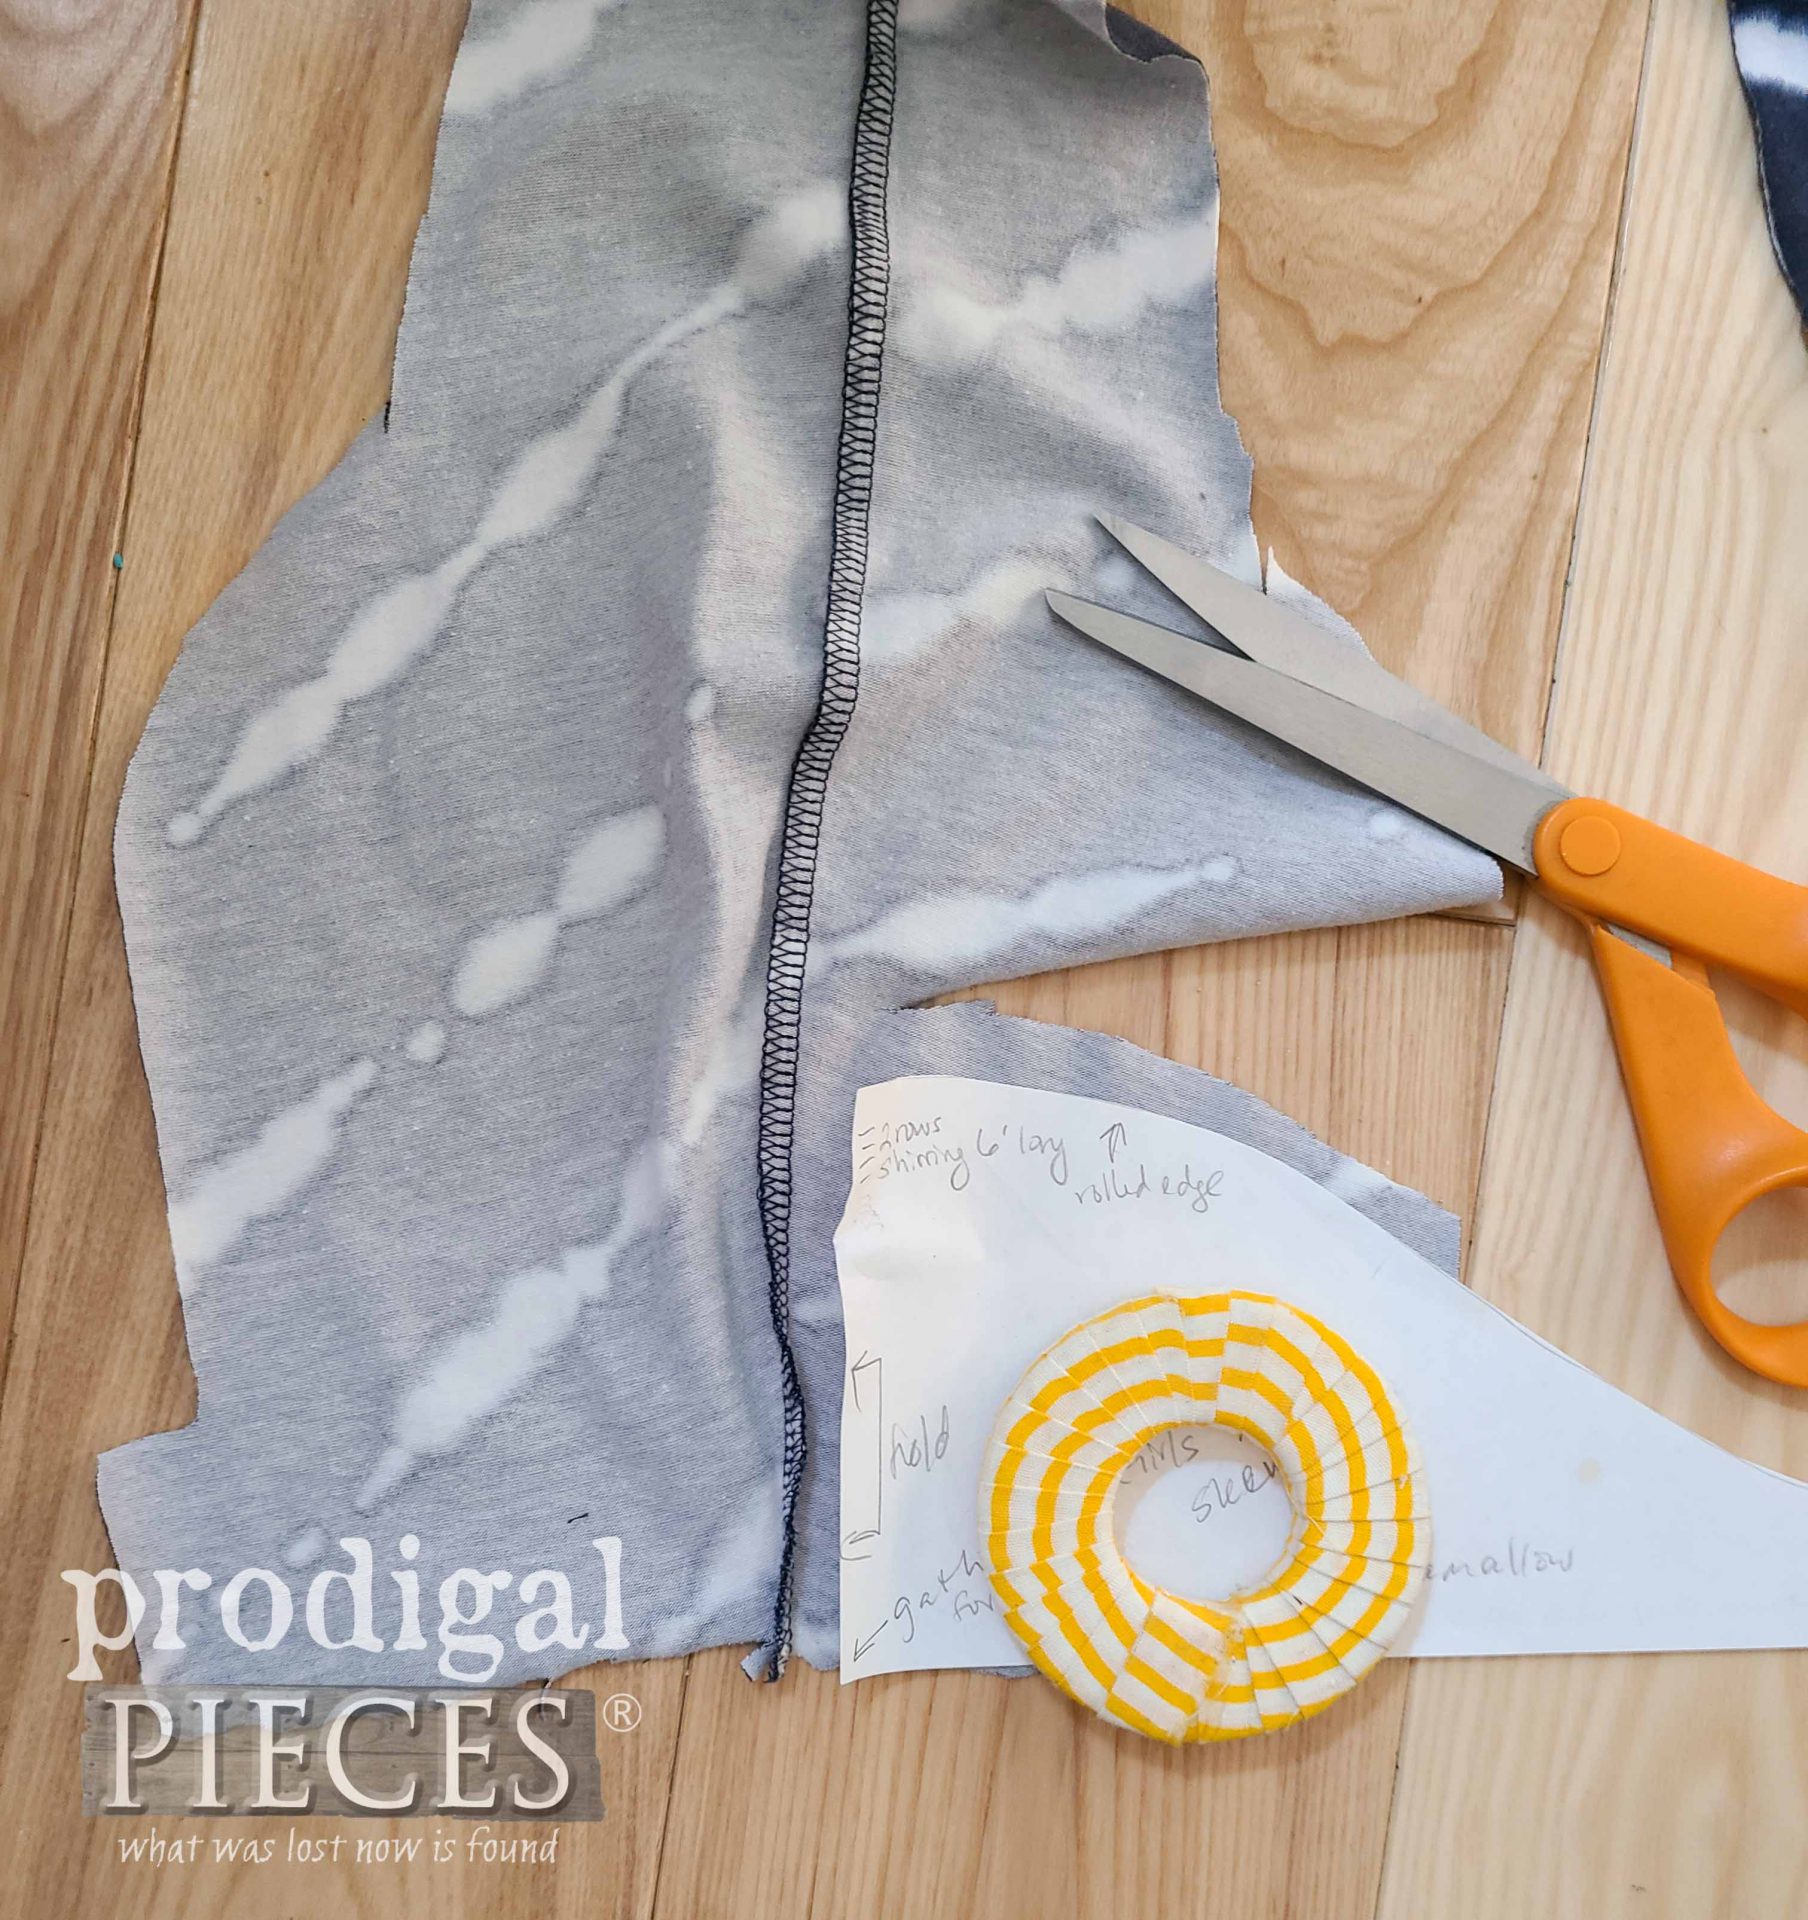
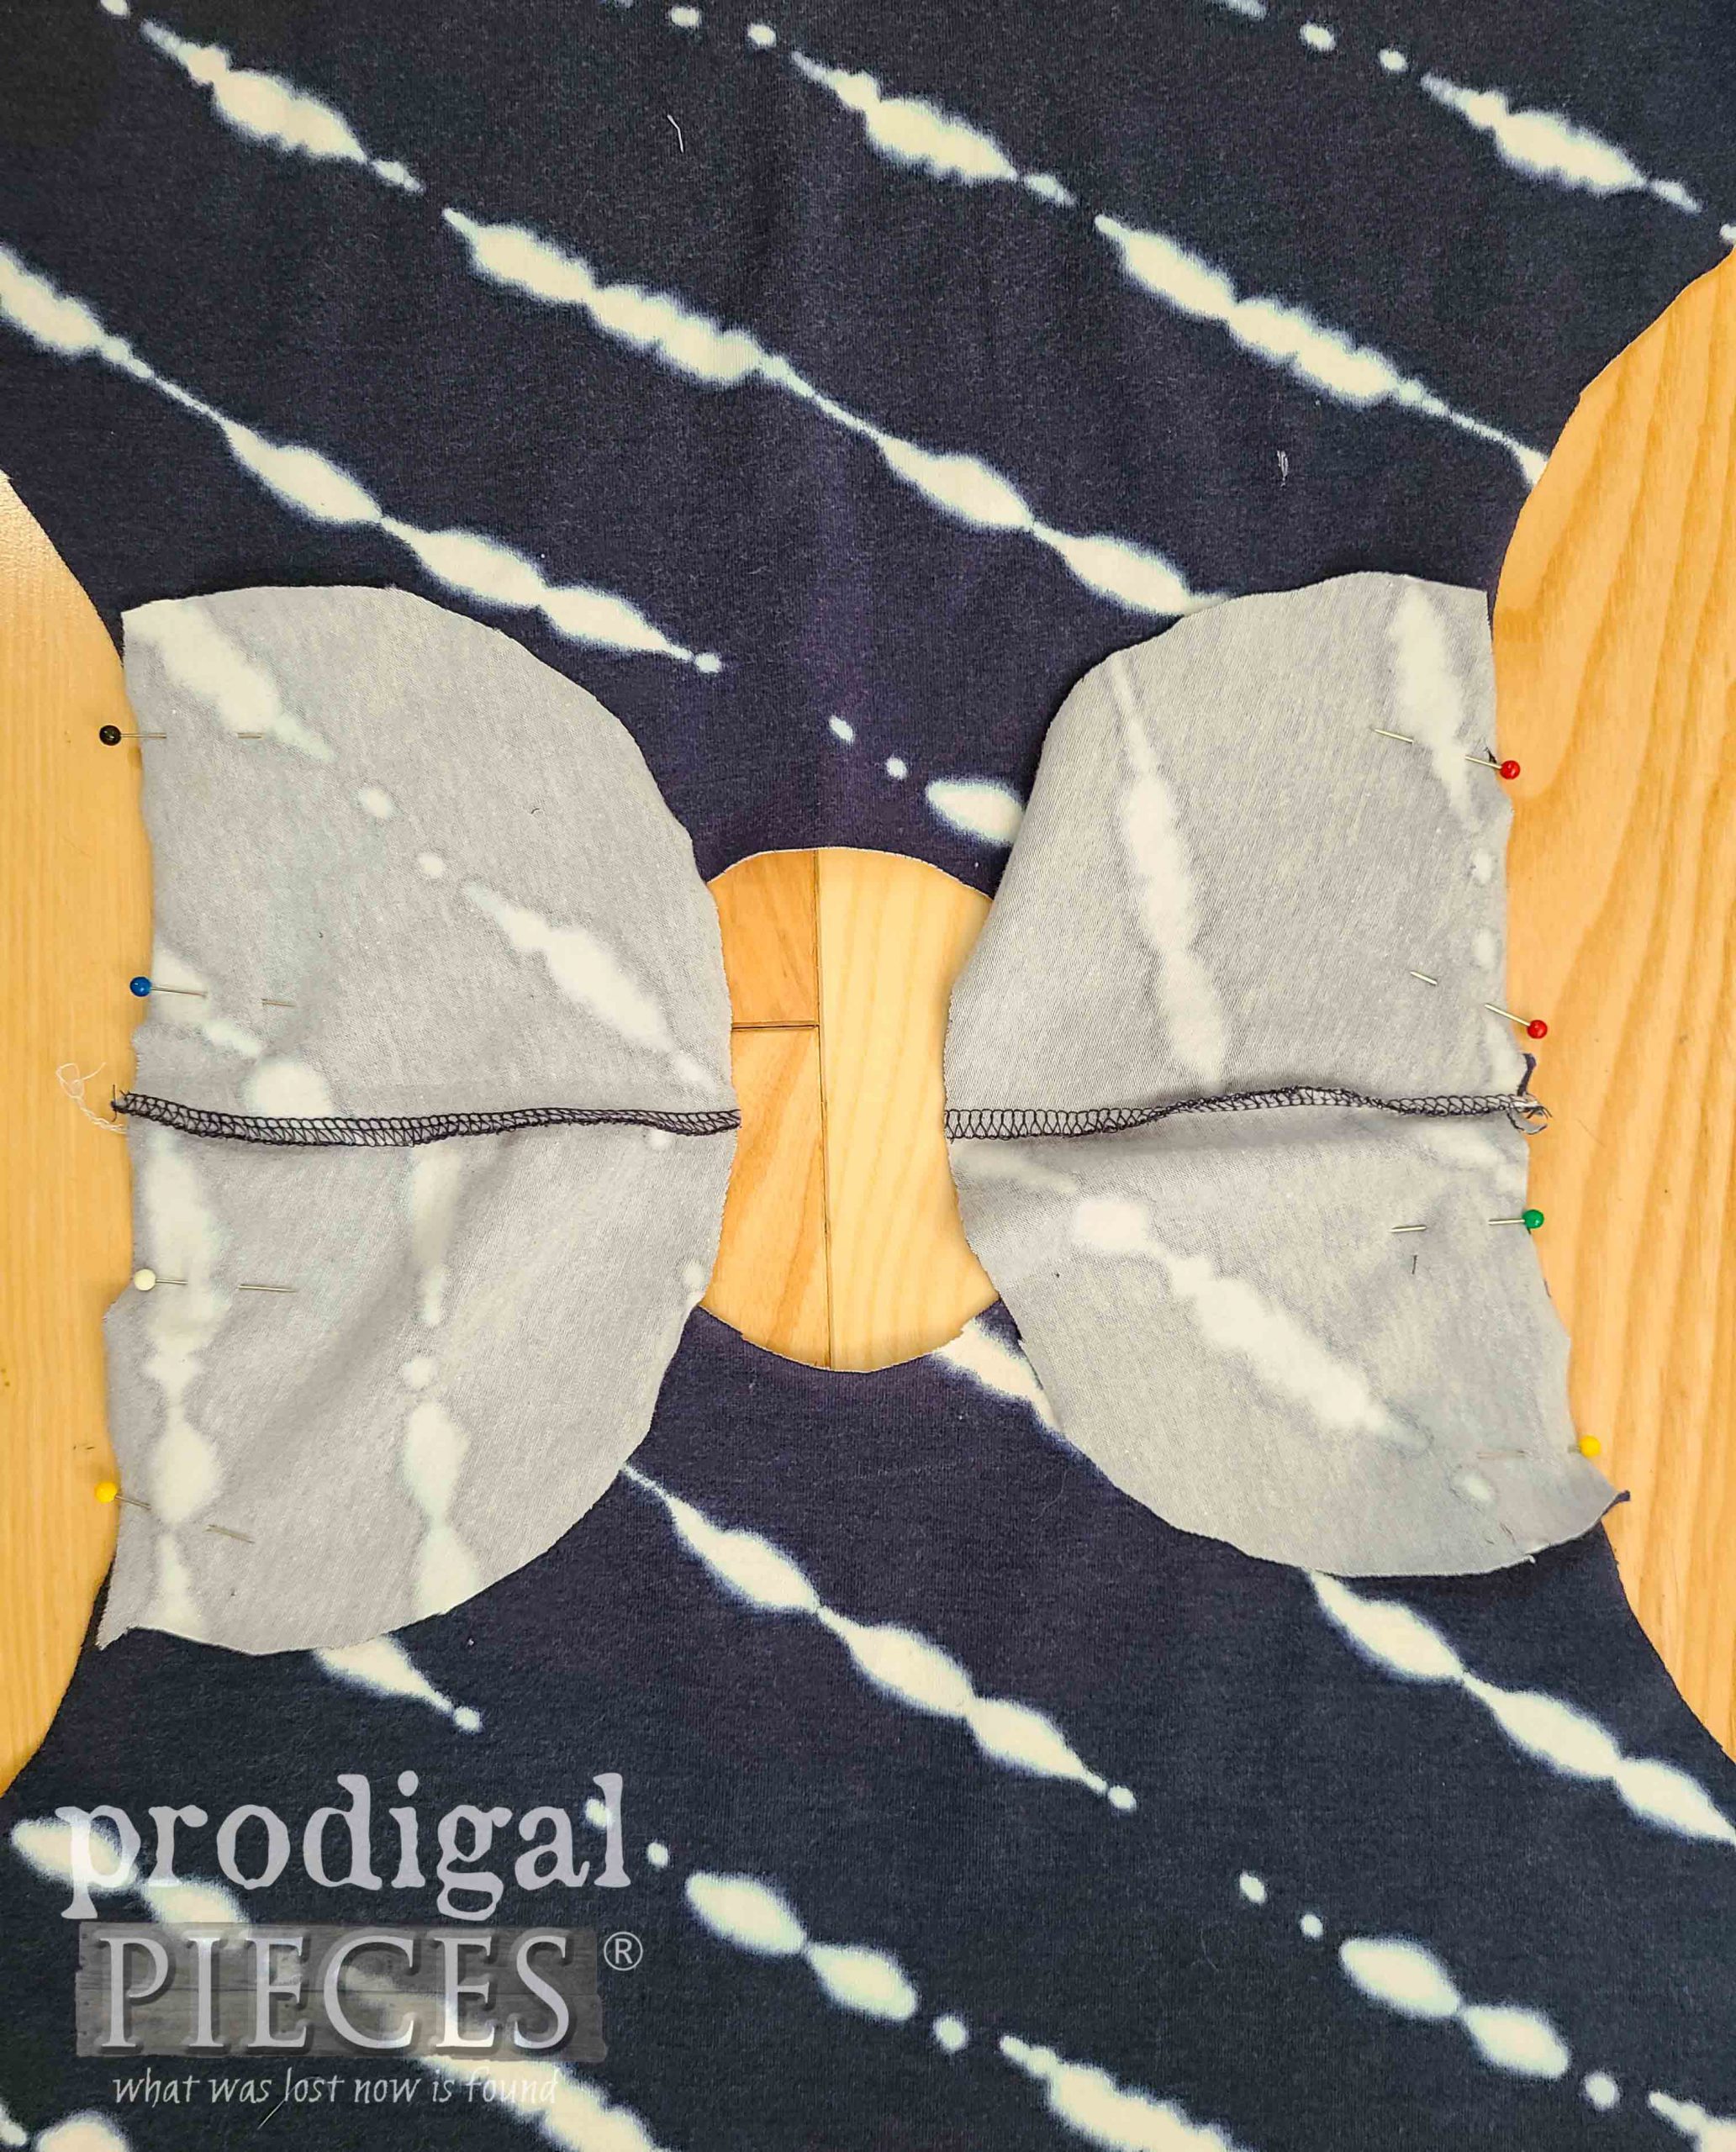
Next, I use the remnant scrap to make a couple of ruffle sleeves. My goal is to make this as simple and comfortable as possible, so loose and flowing is key. I use a pattern I drafted, which is basically a slope. You can draw one of these and can make it as long and as wide as you want.
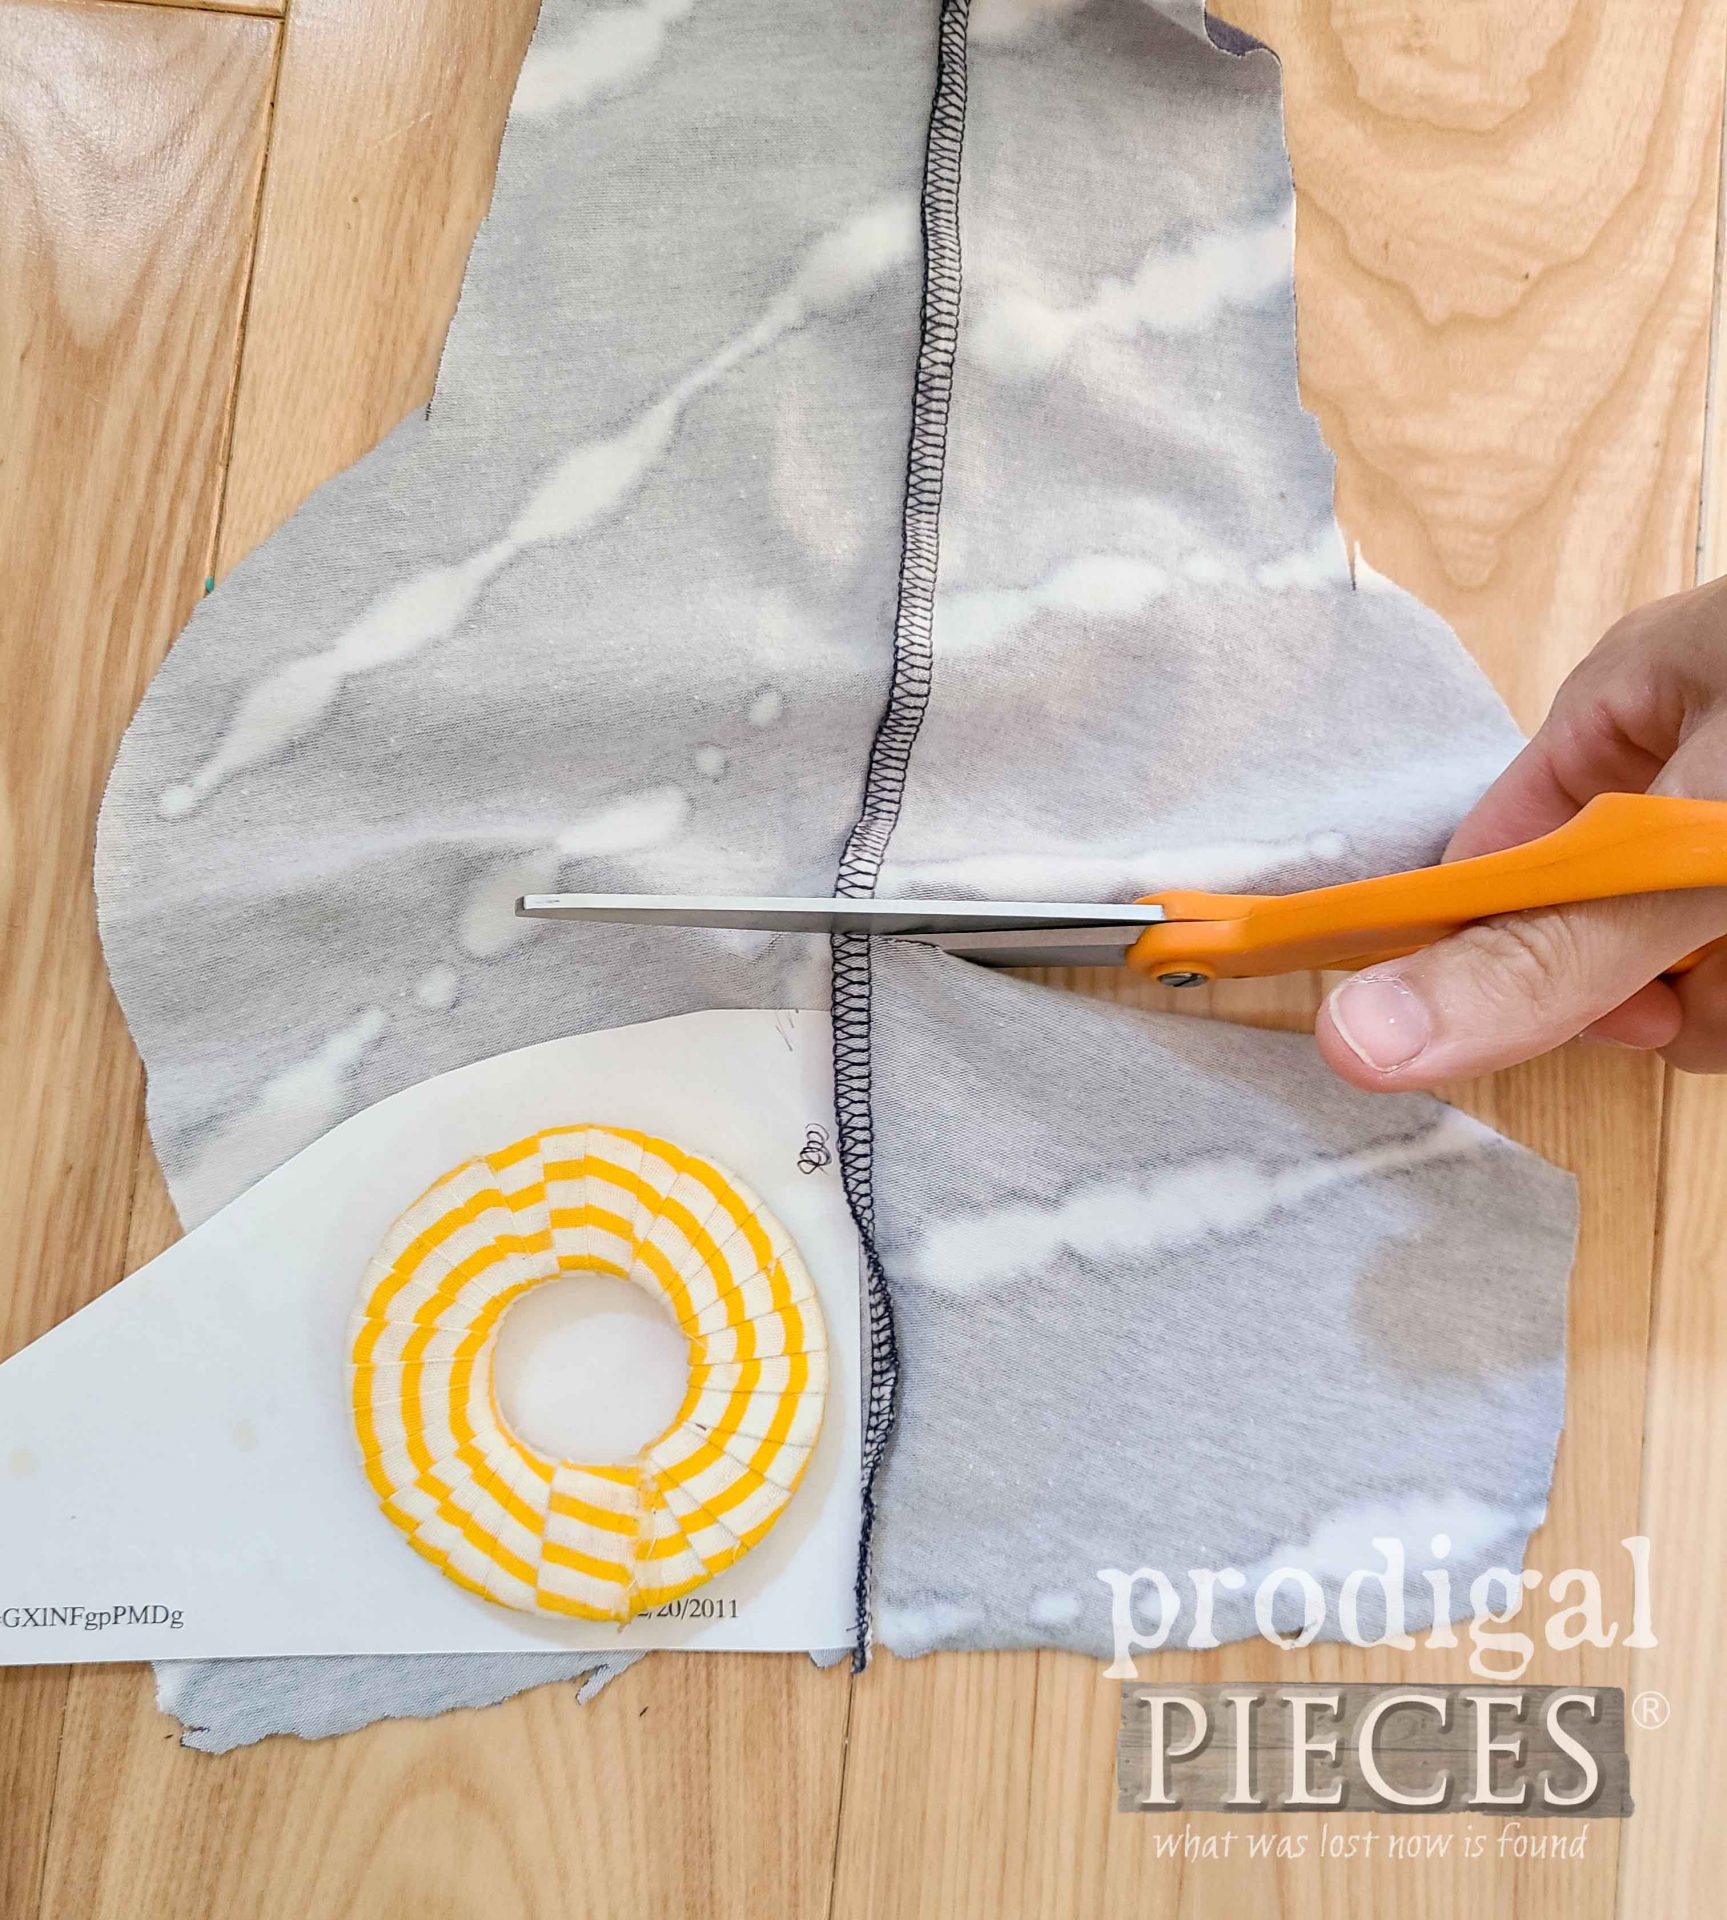
Normally, I’d fold the fabric in half and cut a mirrored image. However, in this instance, I was working with a seam, so I cut one side, and then the other.
ASSEMBLY
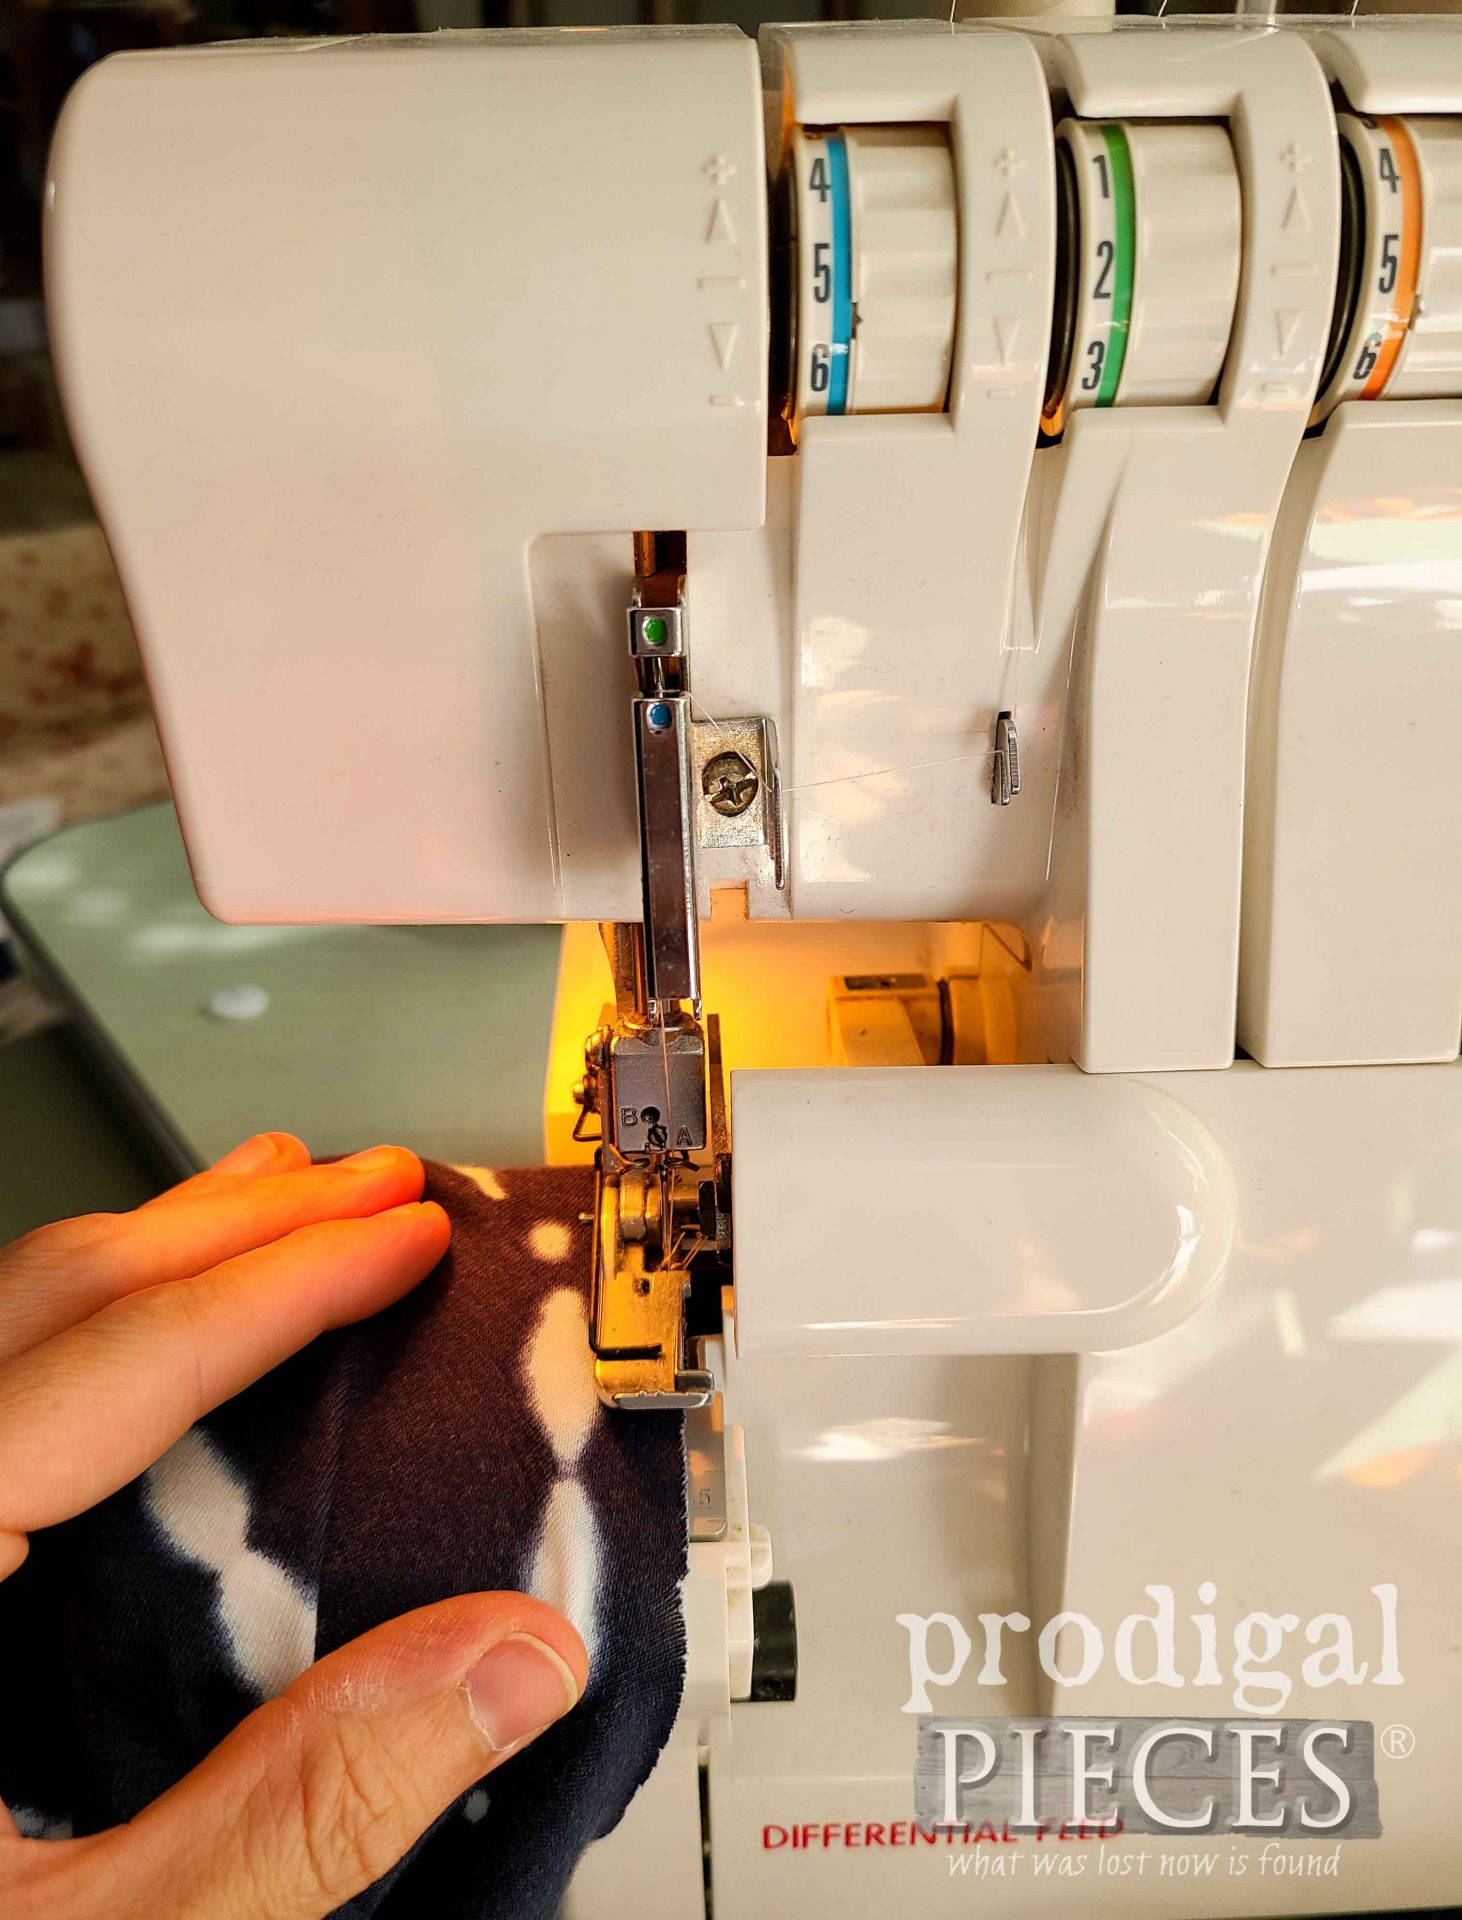
Check out how easy it is to assemble this. I can not say enough how much I LOVE my serger. I use it for any sewing project I can, which is really just about anything. In this instance, I serged the seams with an overlock finish beginning at the shoulders. Once the shoulders are attached, I attach the sleeves. Notice the fabrics are right sides facing.
After I add the sleeves, I then serge the side seams together.
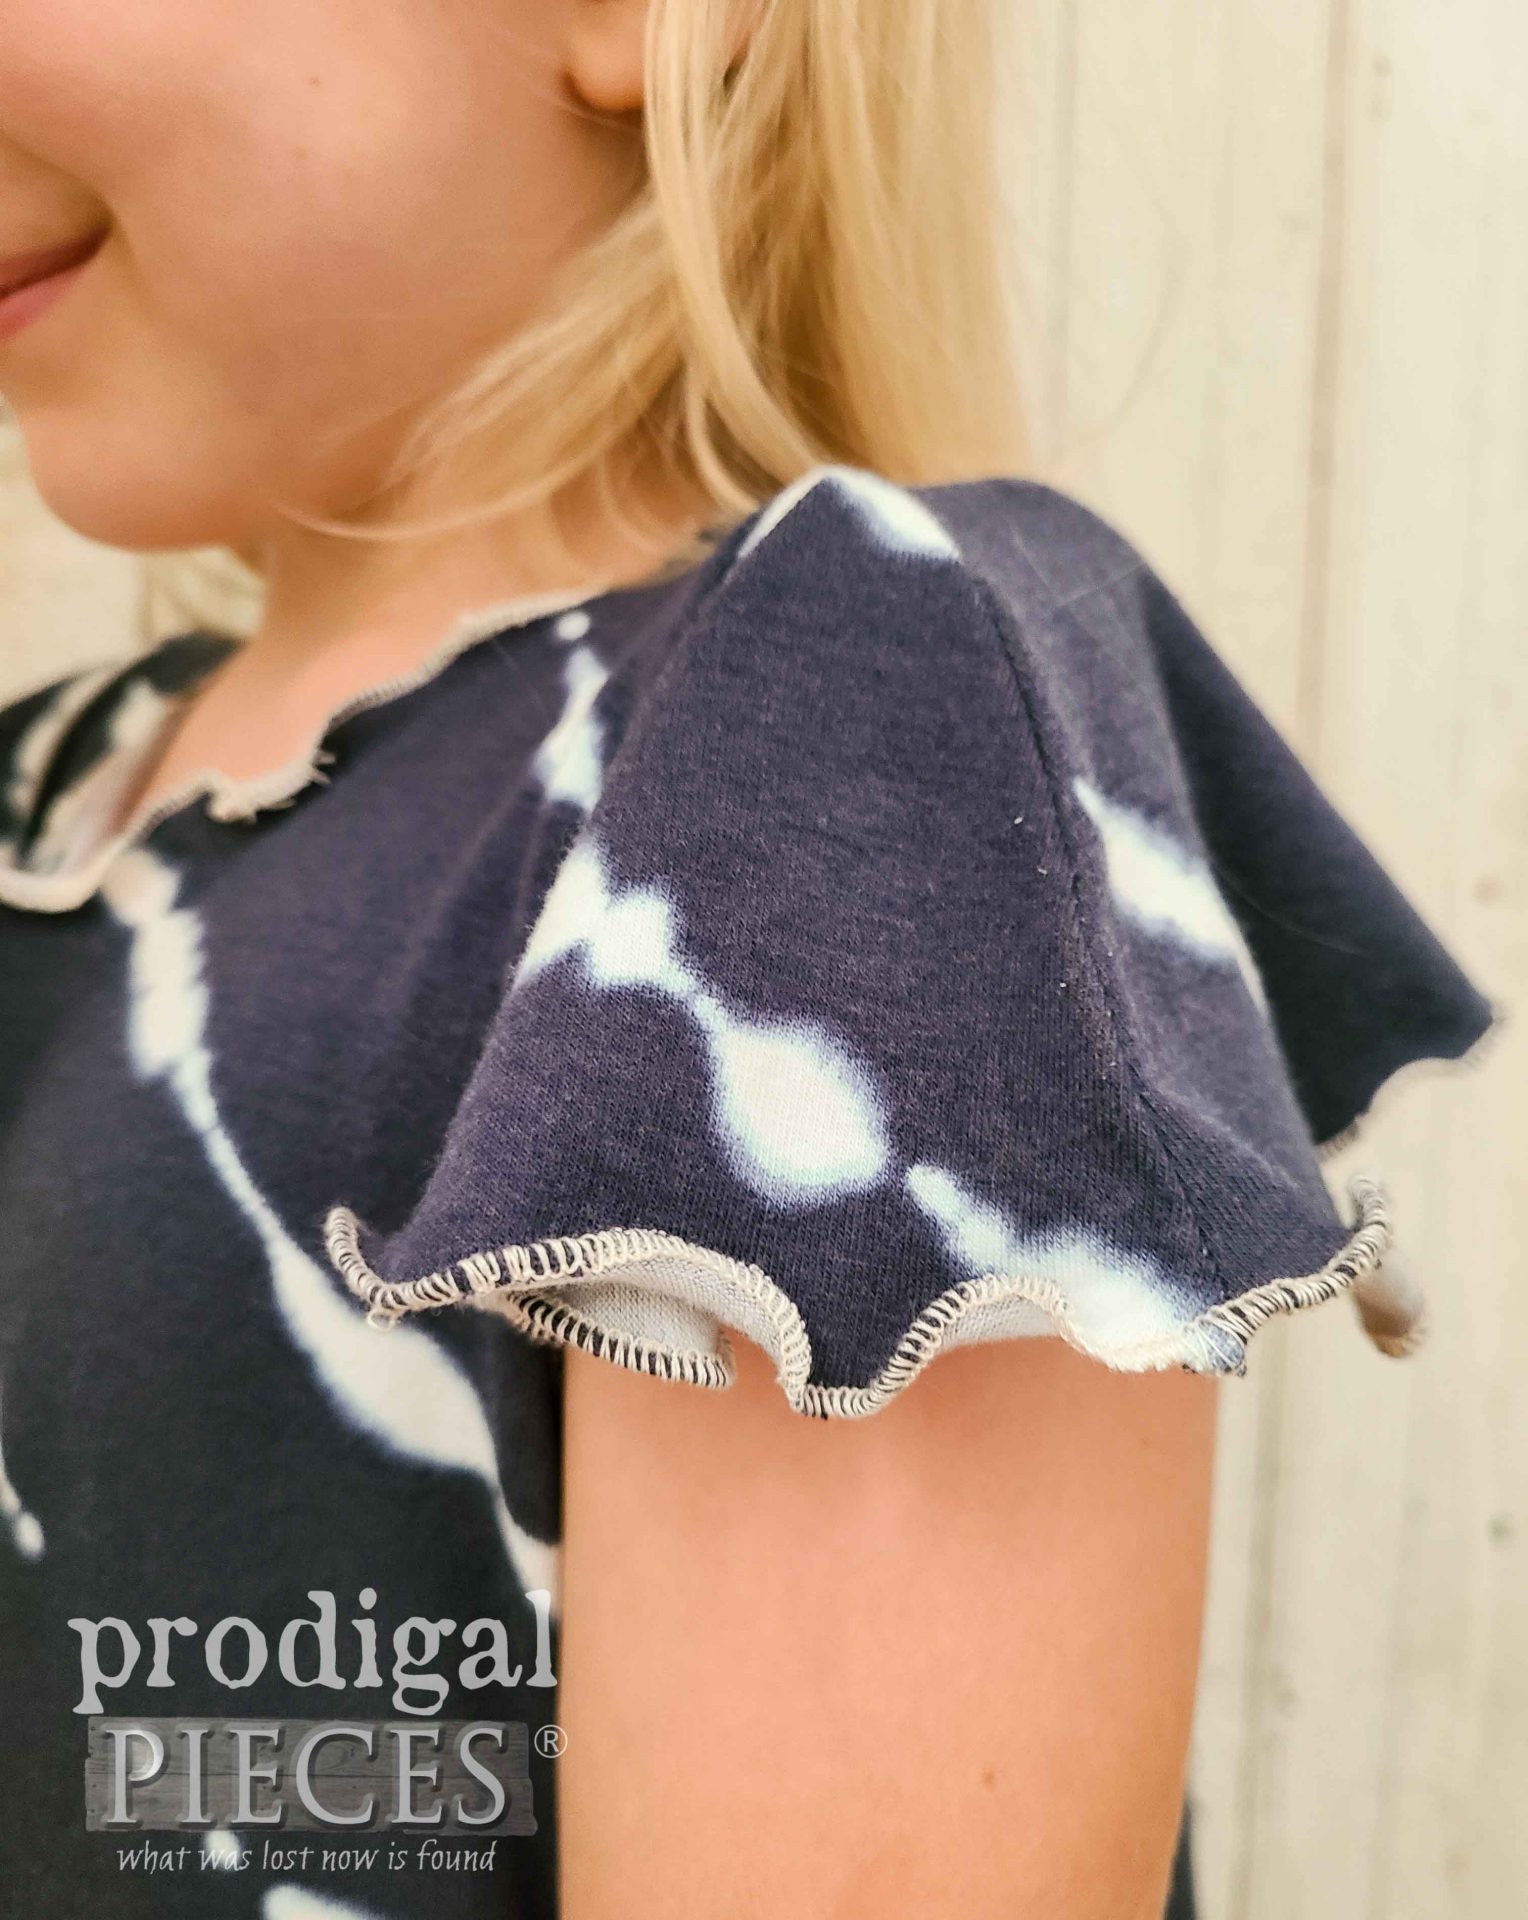
However, for my nightgown/dress refashion, I want to make the knit have a lettuce edge instead of a folded hem. That means I want to wrap the edge of the sleeves and skirt (a rolled hem) and make it have a ruffled effect. Normally, you’d hem the sleeves before attaching them. With this technique, the sleeves are done while attached. The bottom of the skirt is done at this time as well.
As the fabric is pulled into the machine, I gently pull the knit taught. This causes the fabric to pucker and get that lettuce effect.
Some will be scared to death to work with knit fabric, but I’m here to say it is easier than you think. It just takes practice. You can even tackle this project on a sewing machine with a jersey knit needle and a zig-zag stitch, or folded hems.
THE REVEAL
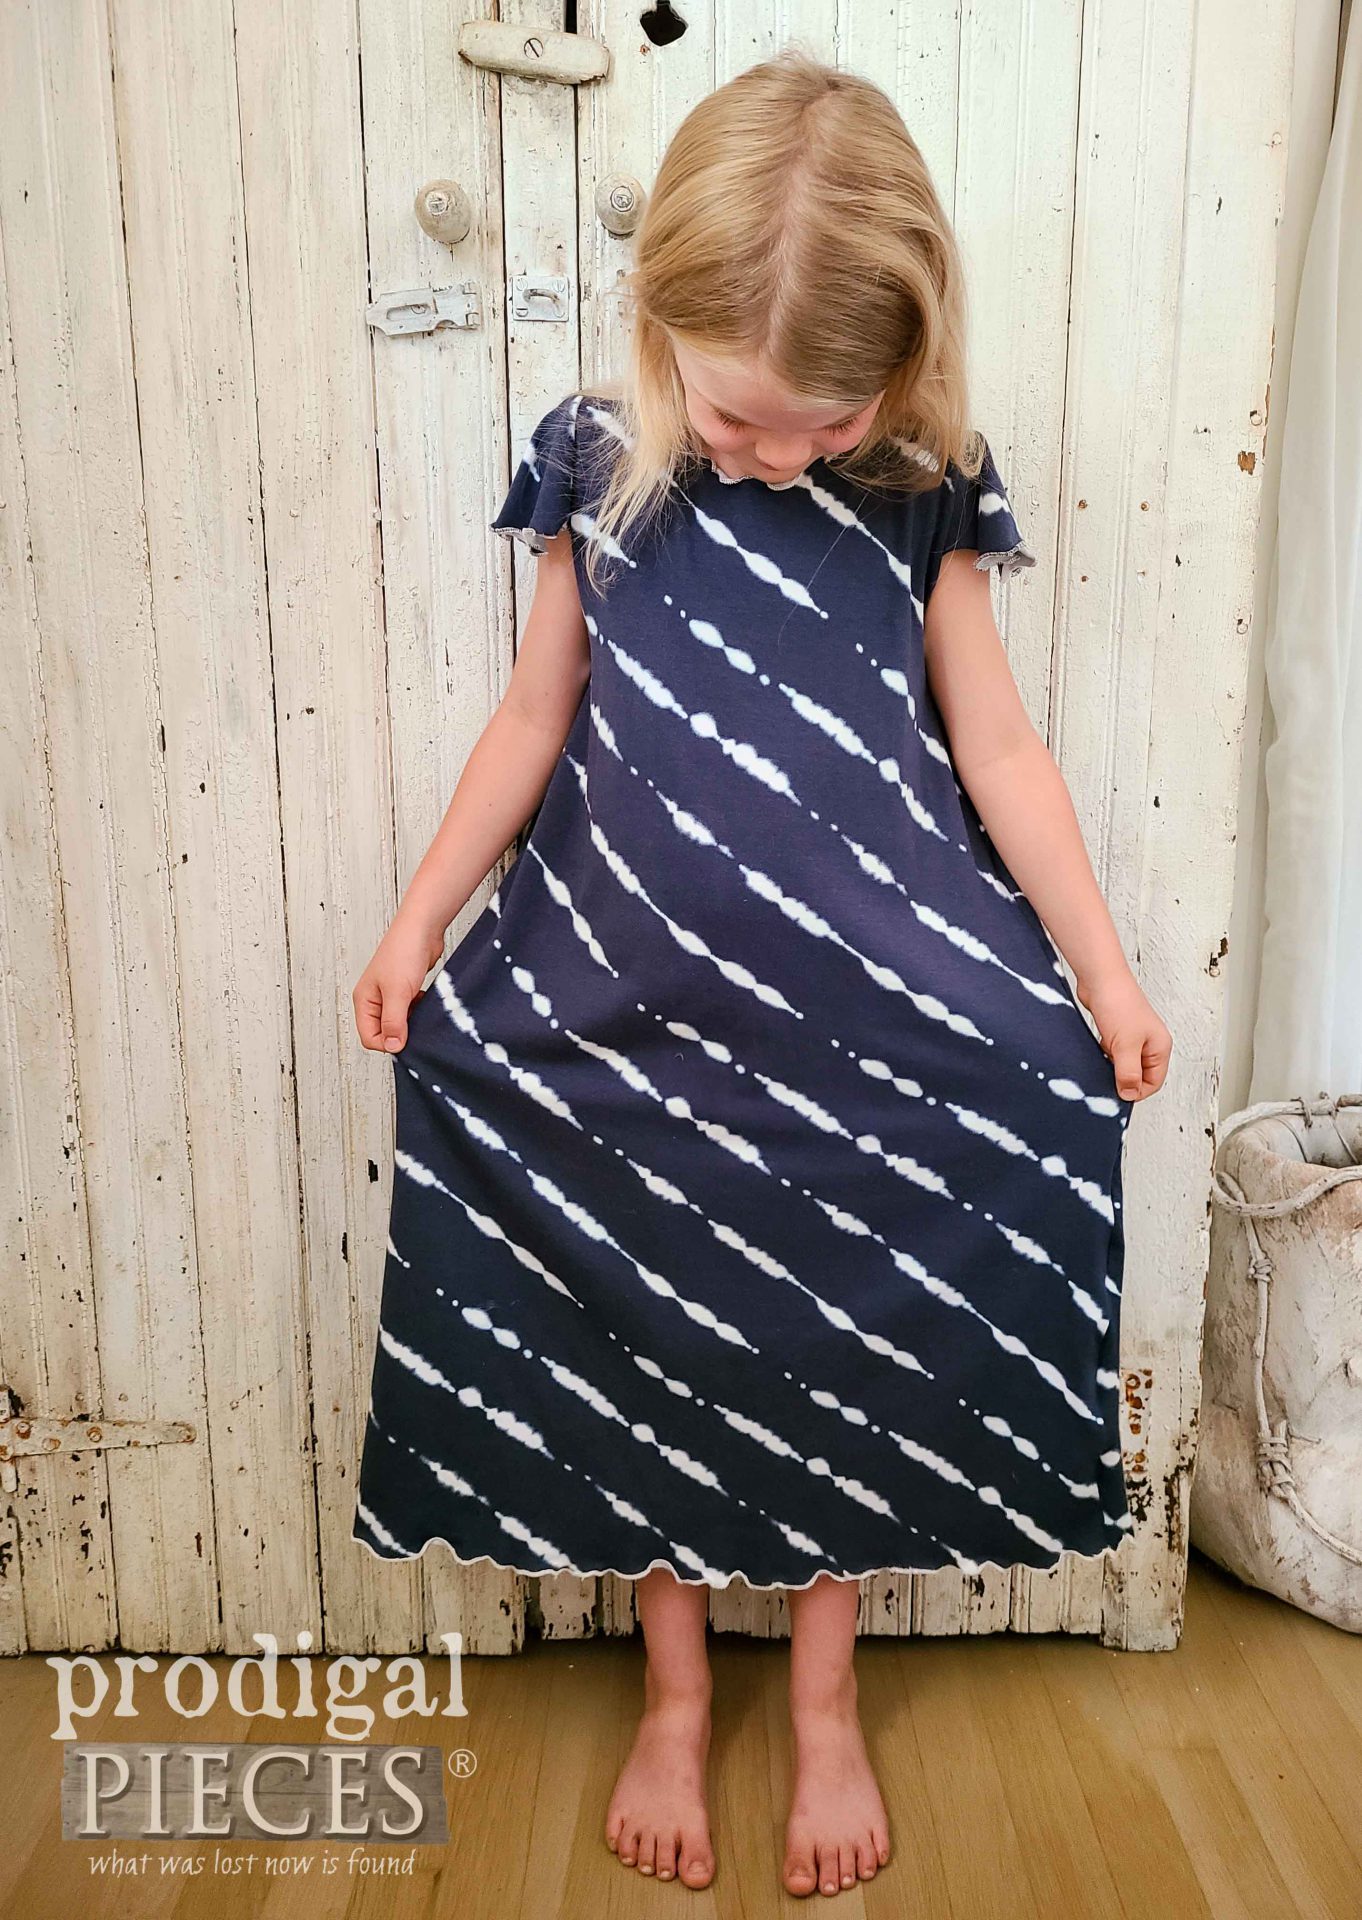
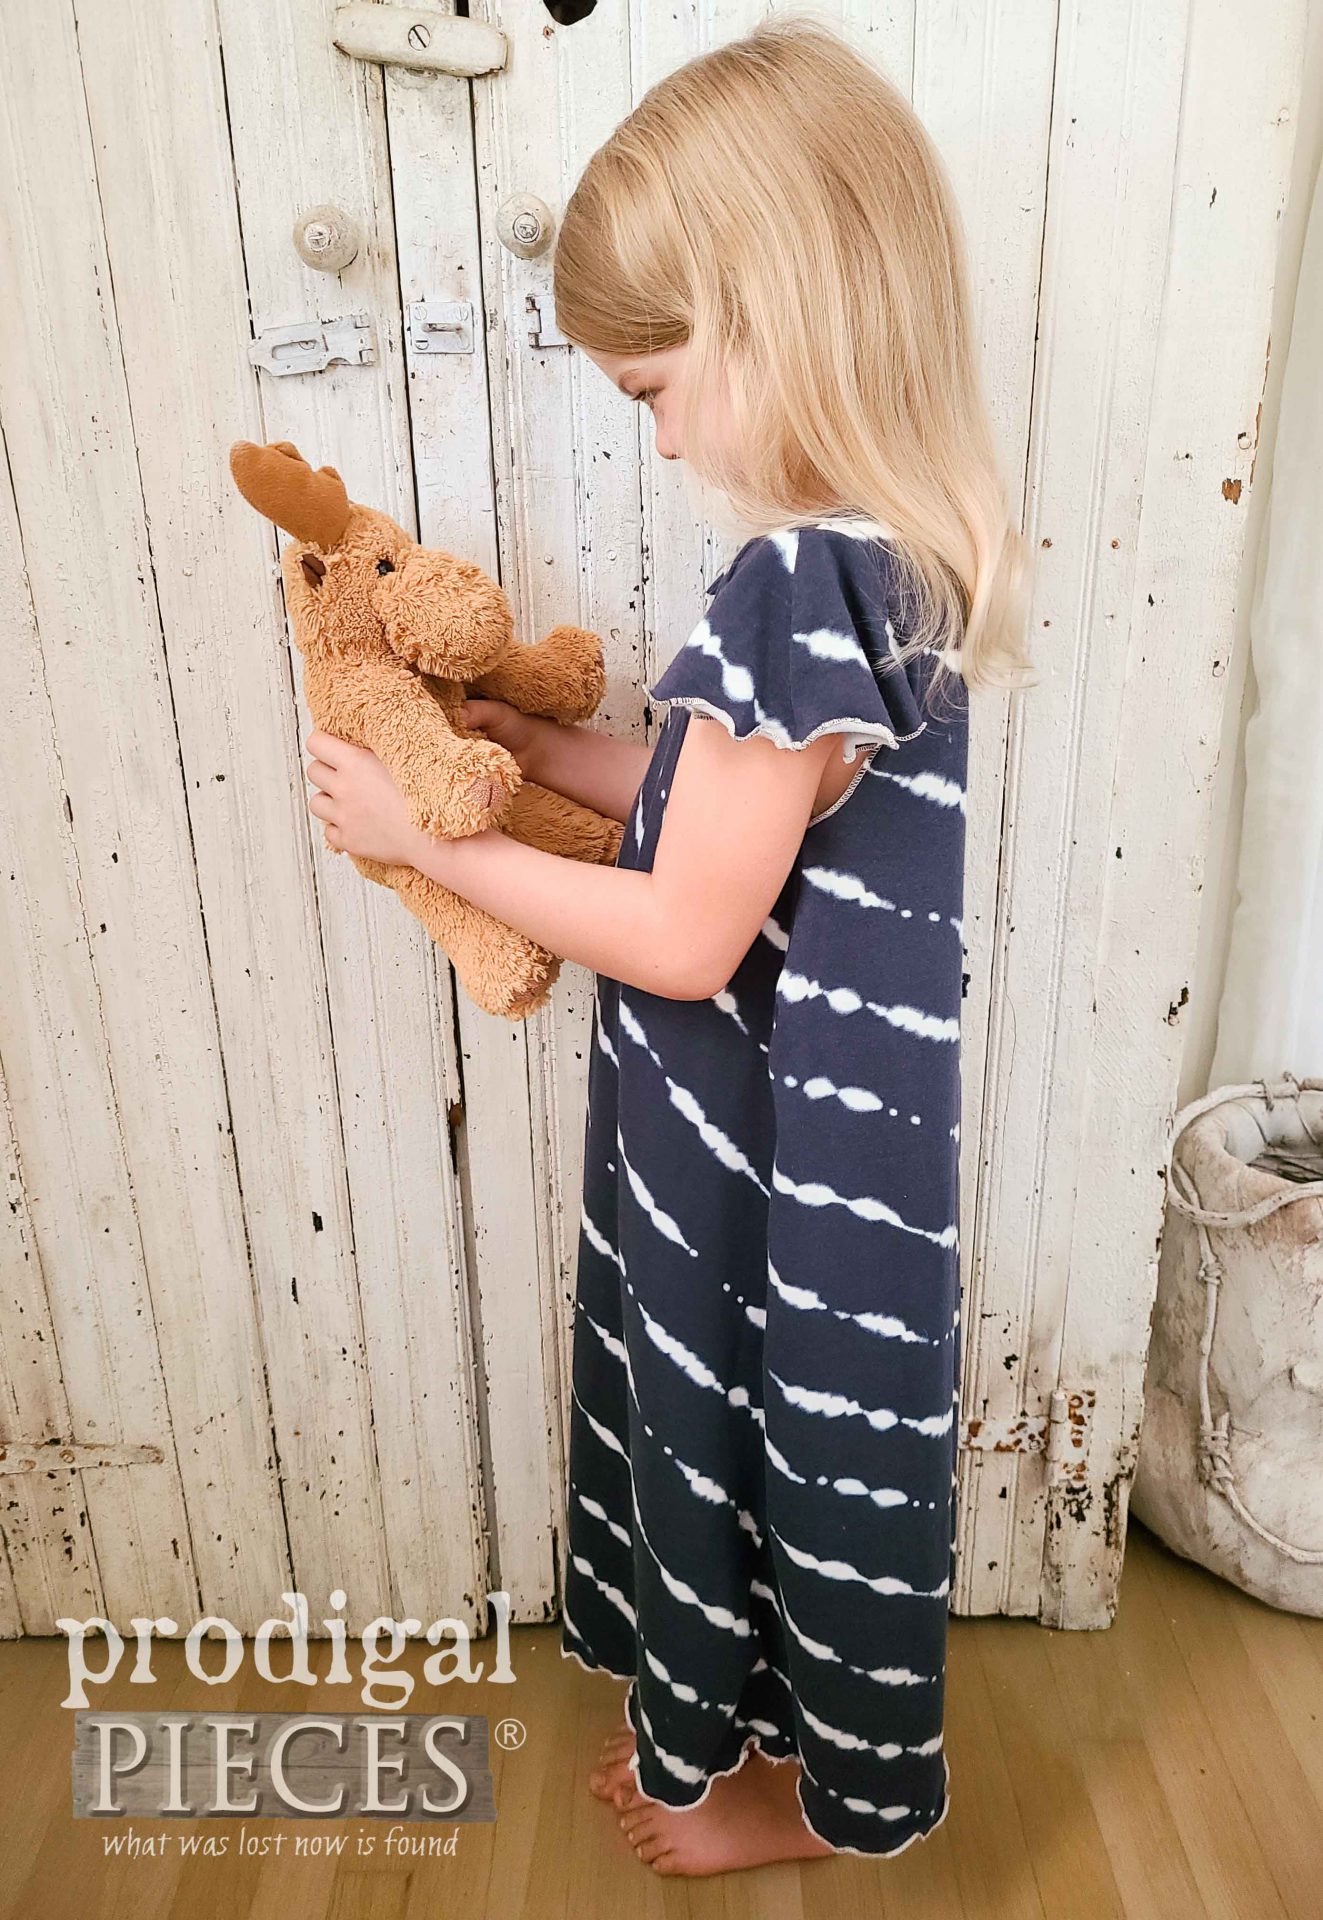
While I could have written an elaborate post detailing each skirt upcycled in different ways, my goal was to focus on the general idea of potential in the fabric. When I asked my daughters to come do a photo shoot to feature their new duds, my littlest fell on my bed on her back and said, “aaaah…this feels soooo good!” Mission accomplished.
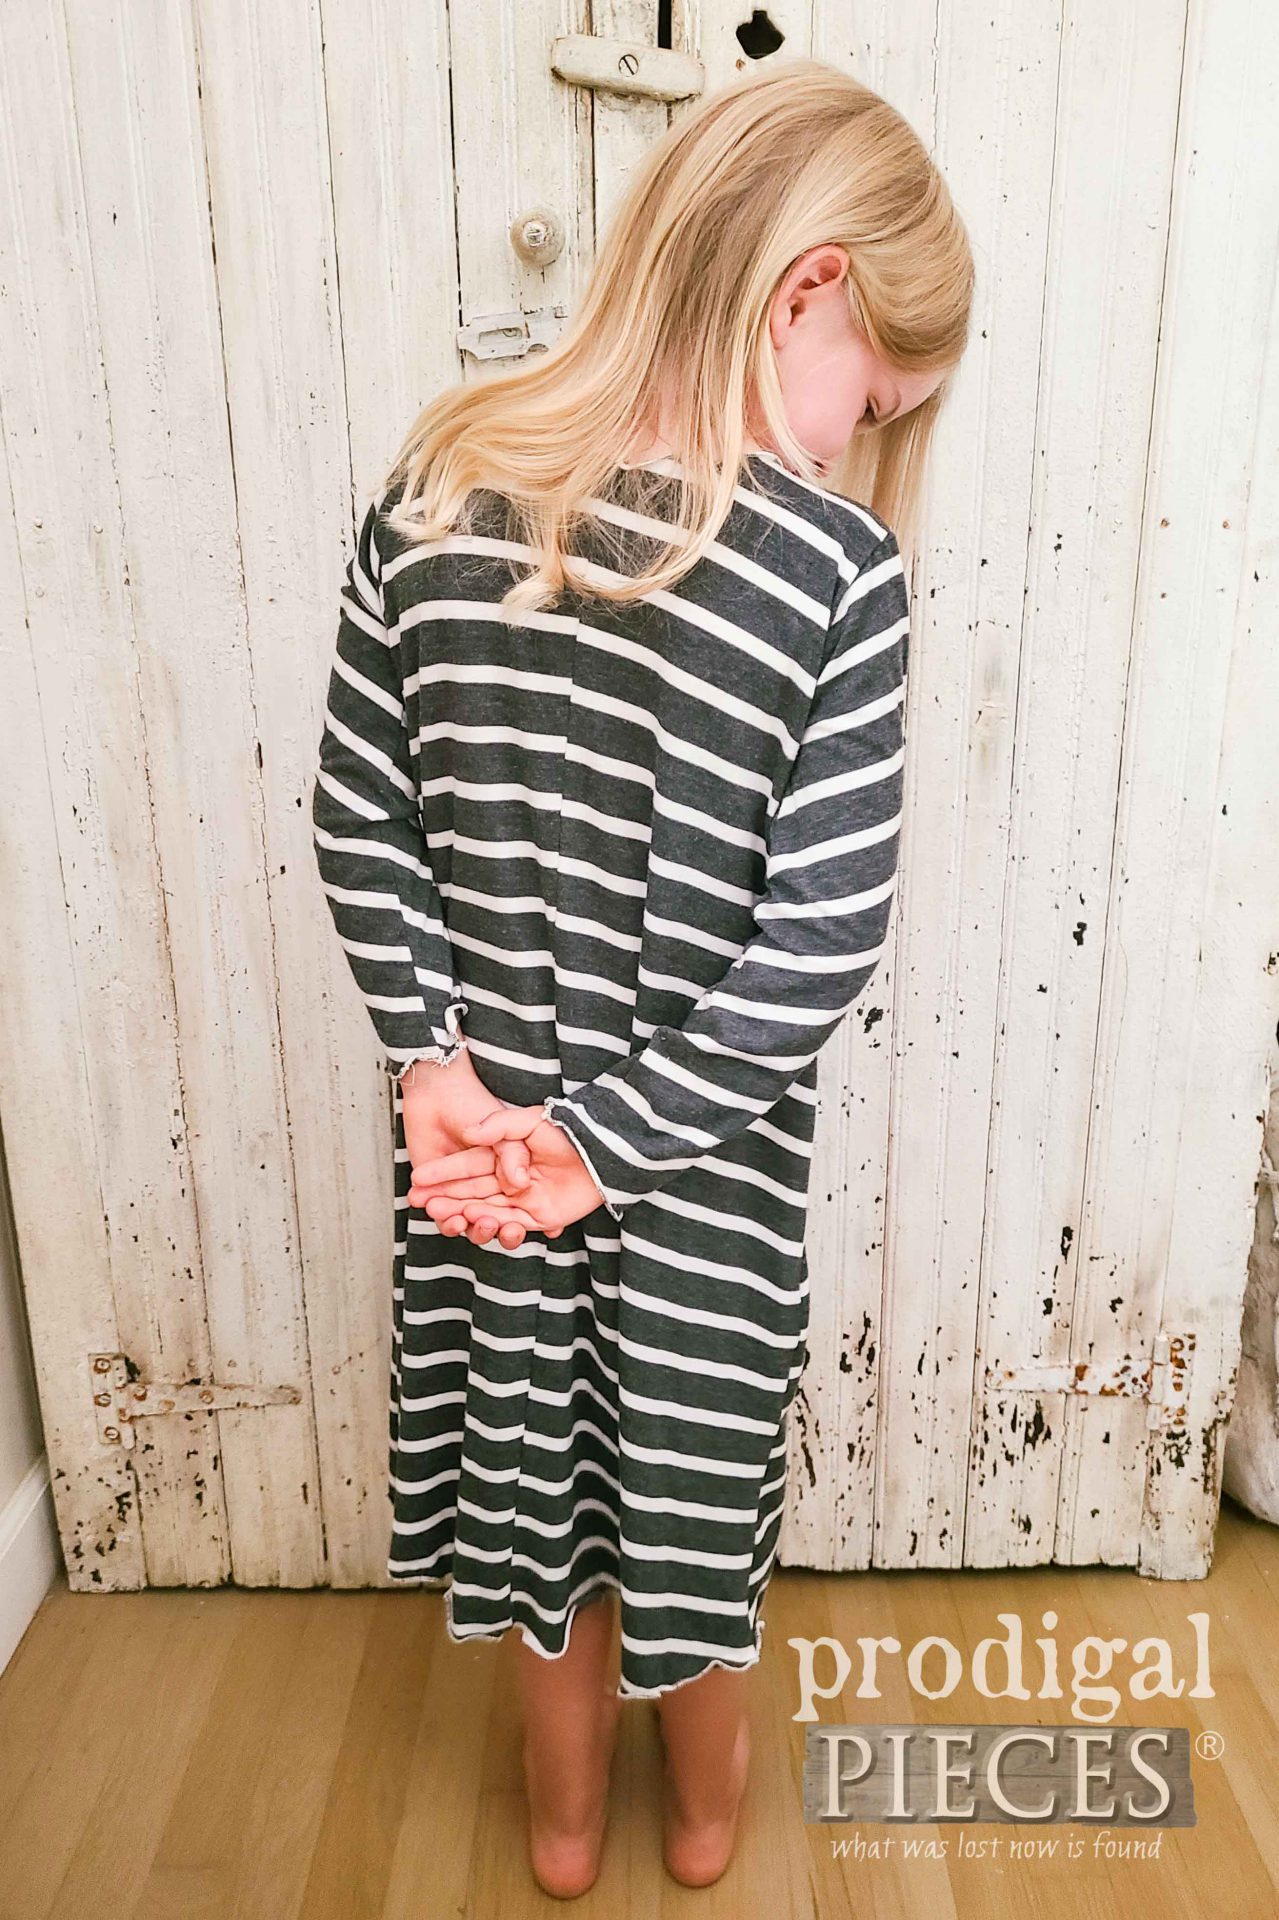
Did you notice the lettuce edging? I’m not one that’s partial to standard t-shirts, so I like to cut the neckline, the sleeves, and the bottom edge off and give it a lettuce effect.
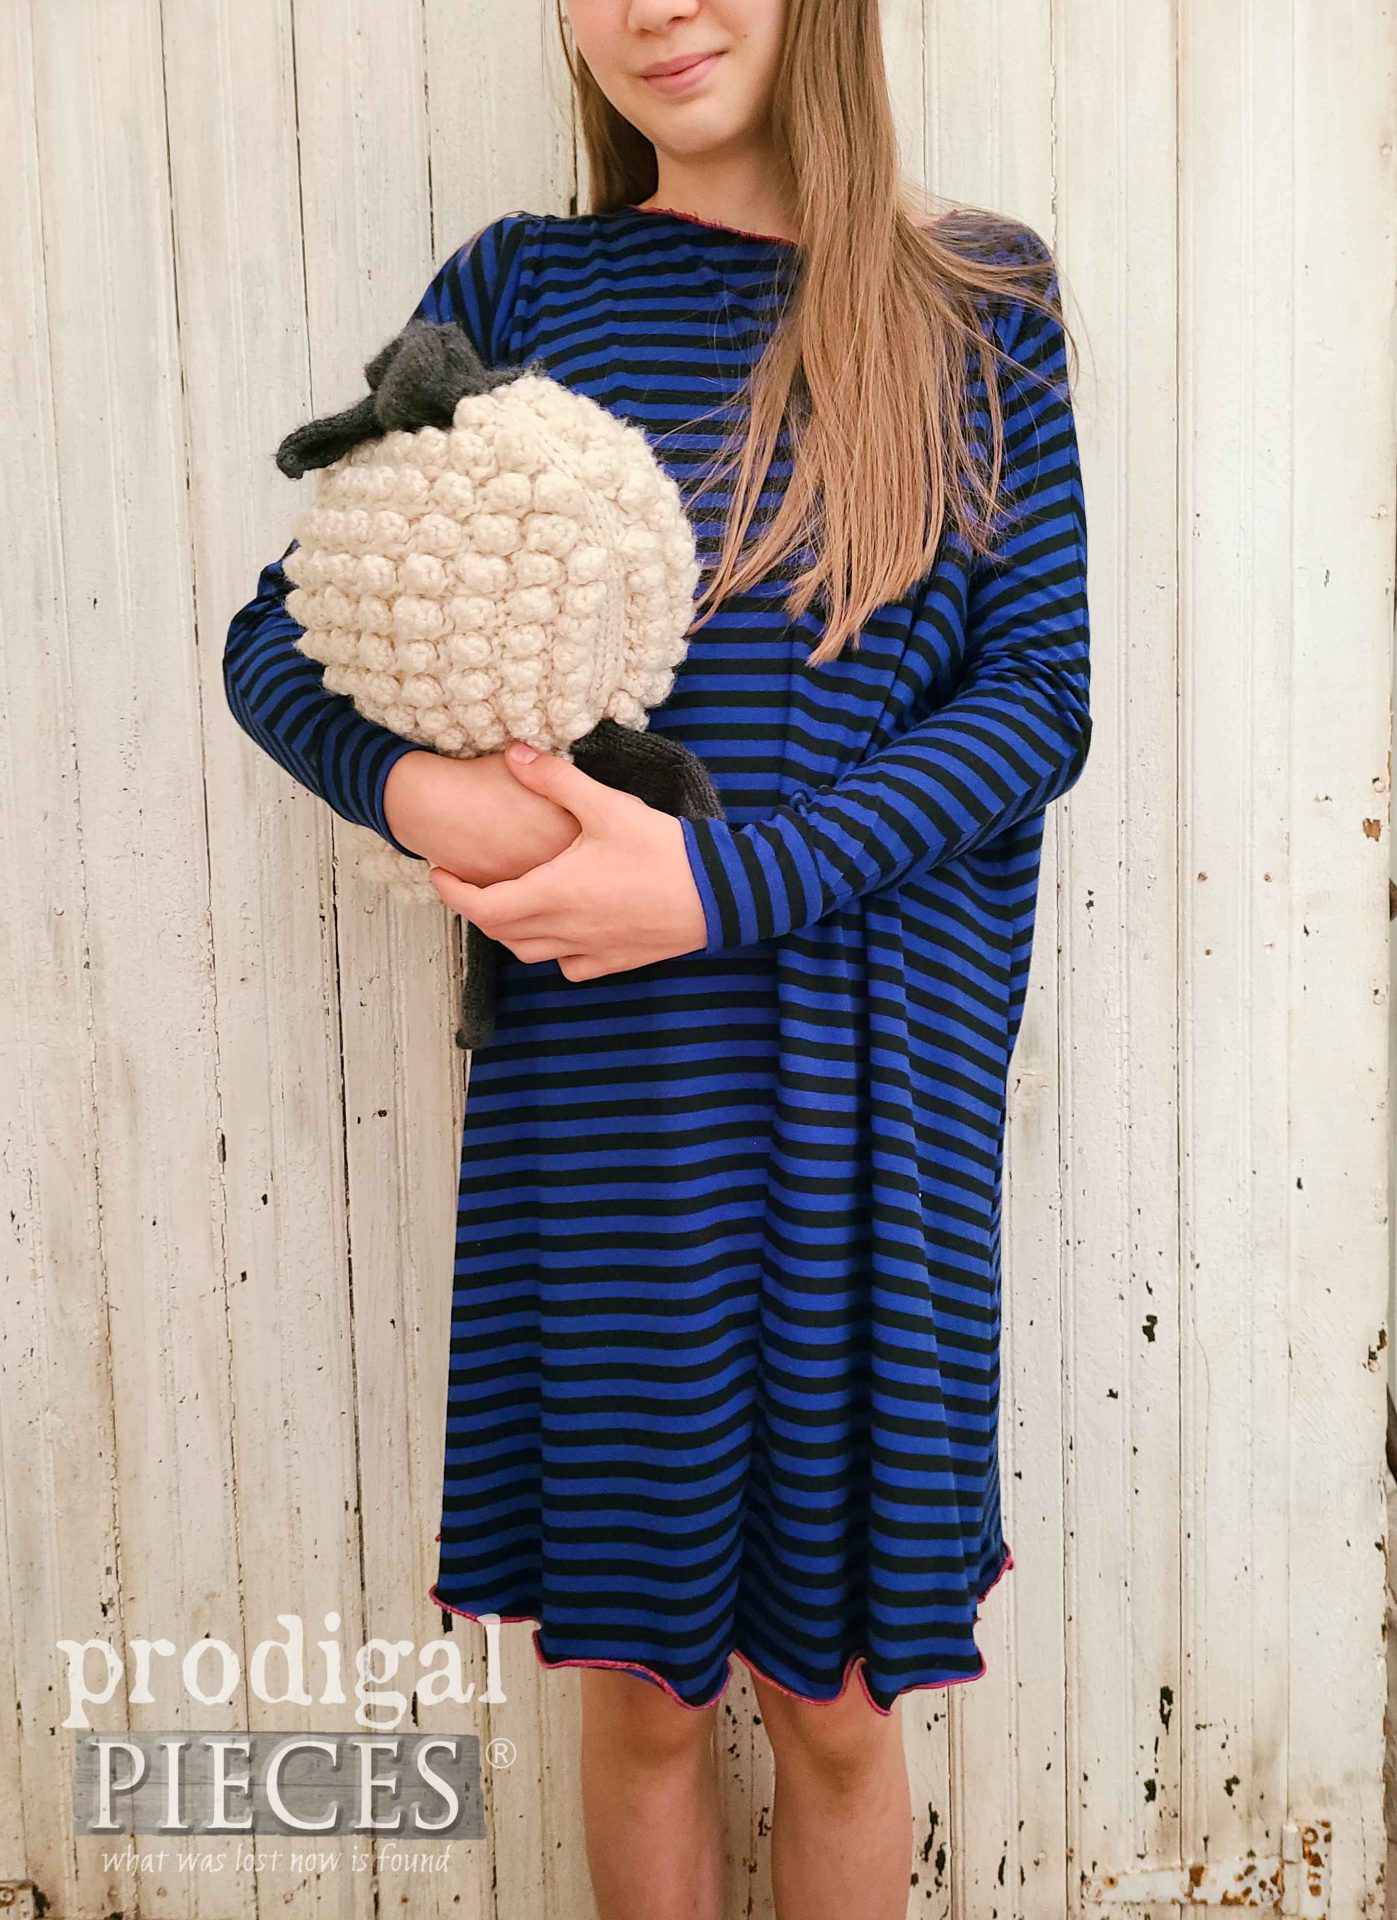
Don’t forget, I also made up a few other goodies. This upcycled skirt nightgown is for my next oldest girl. It had enough to make it long sleeves. Notice that I used the waistband as cuff for the arm instead of the lettuce edge.
Both my girls couldn’t stop giggling and touching their new gowns. This is the times that I see and want to hit the pause button. All my kids are growing so fast that it makes my mama heart ache.
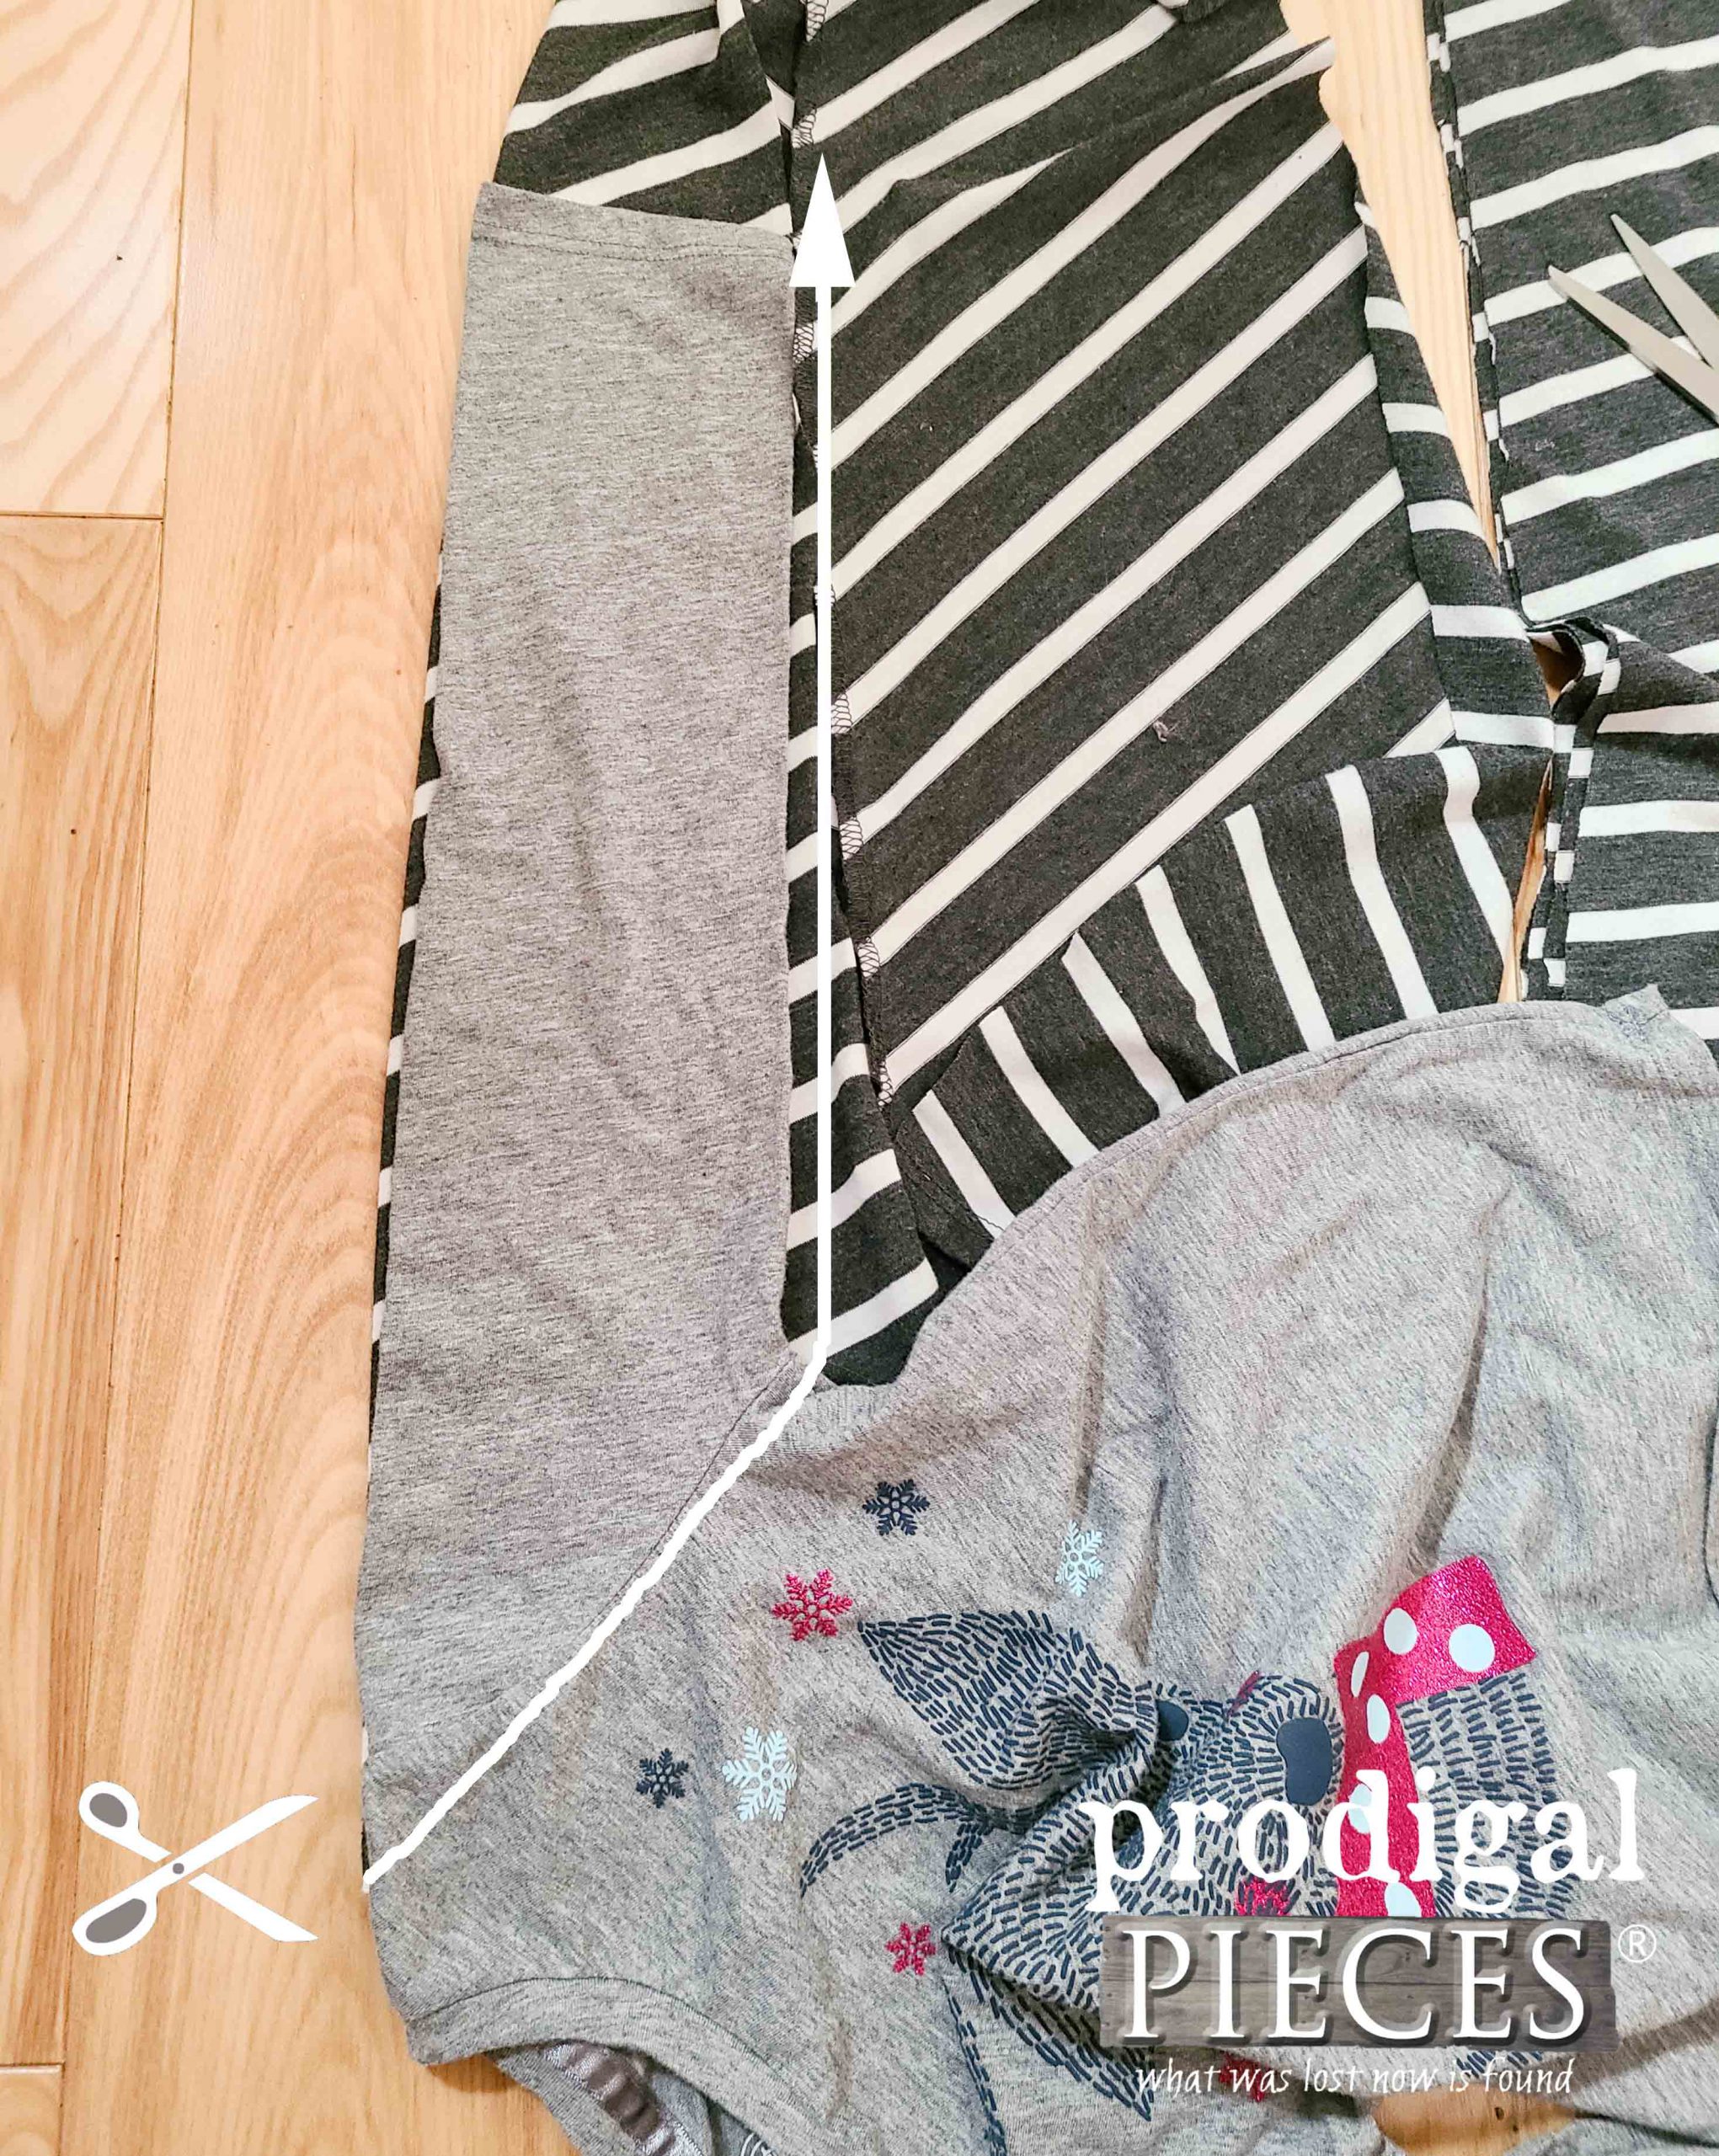
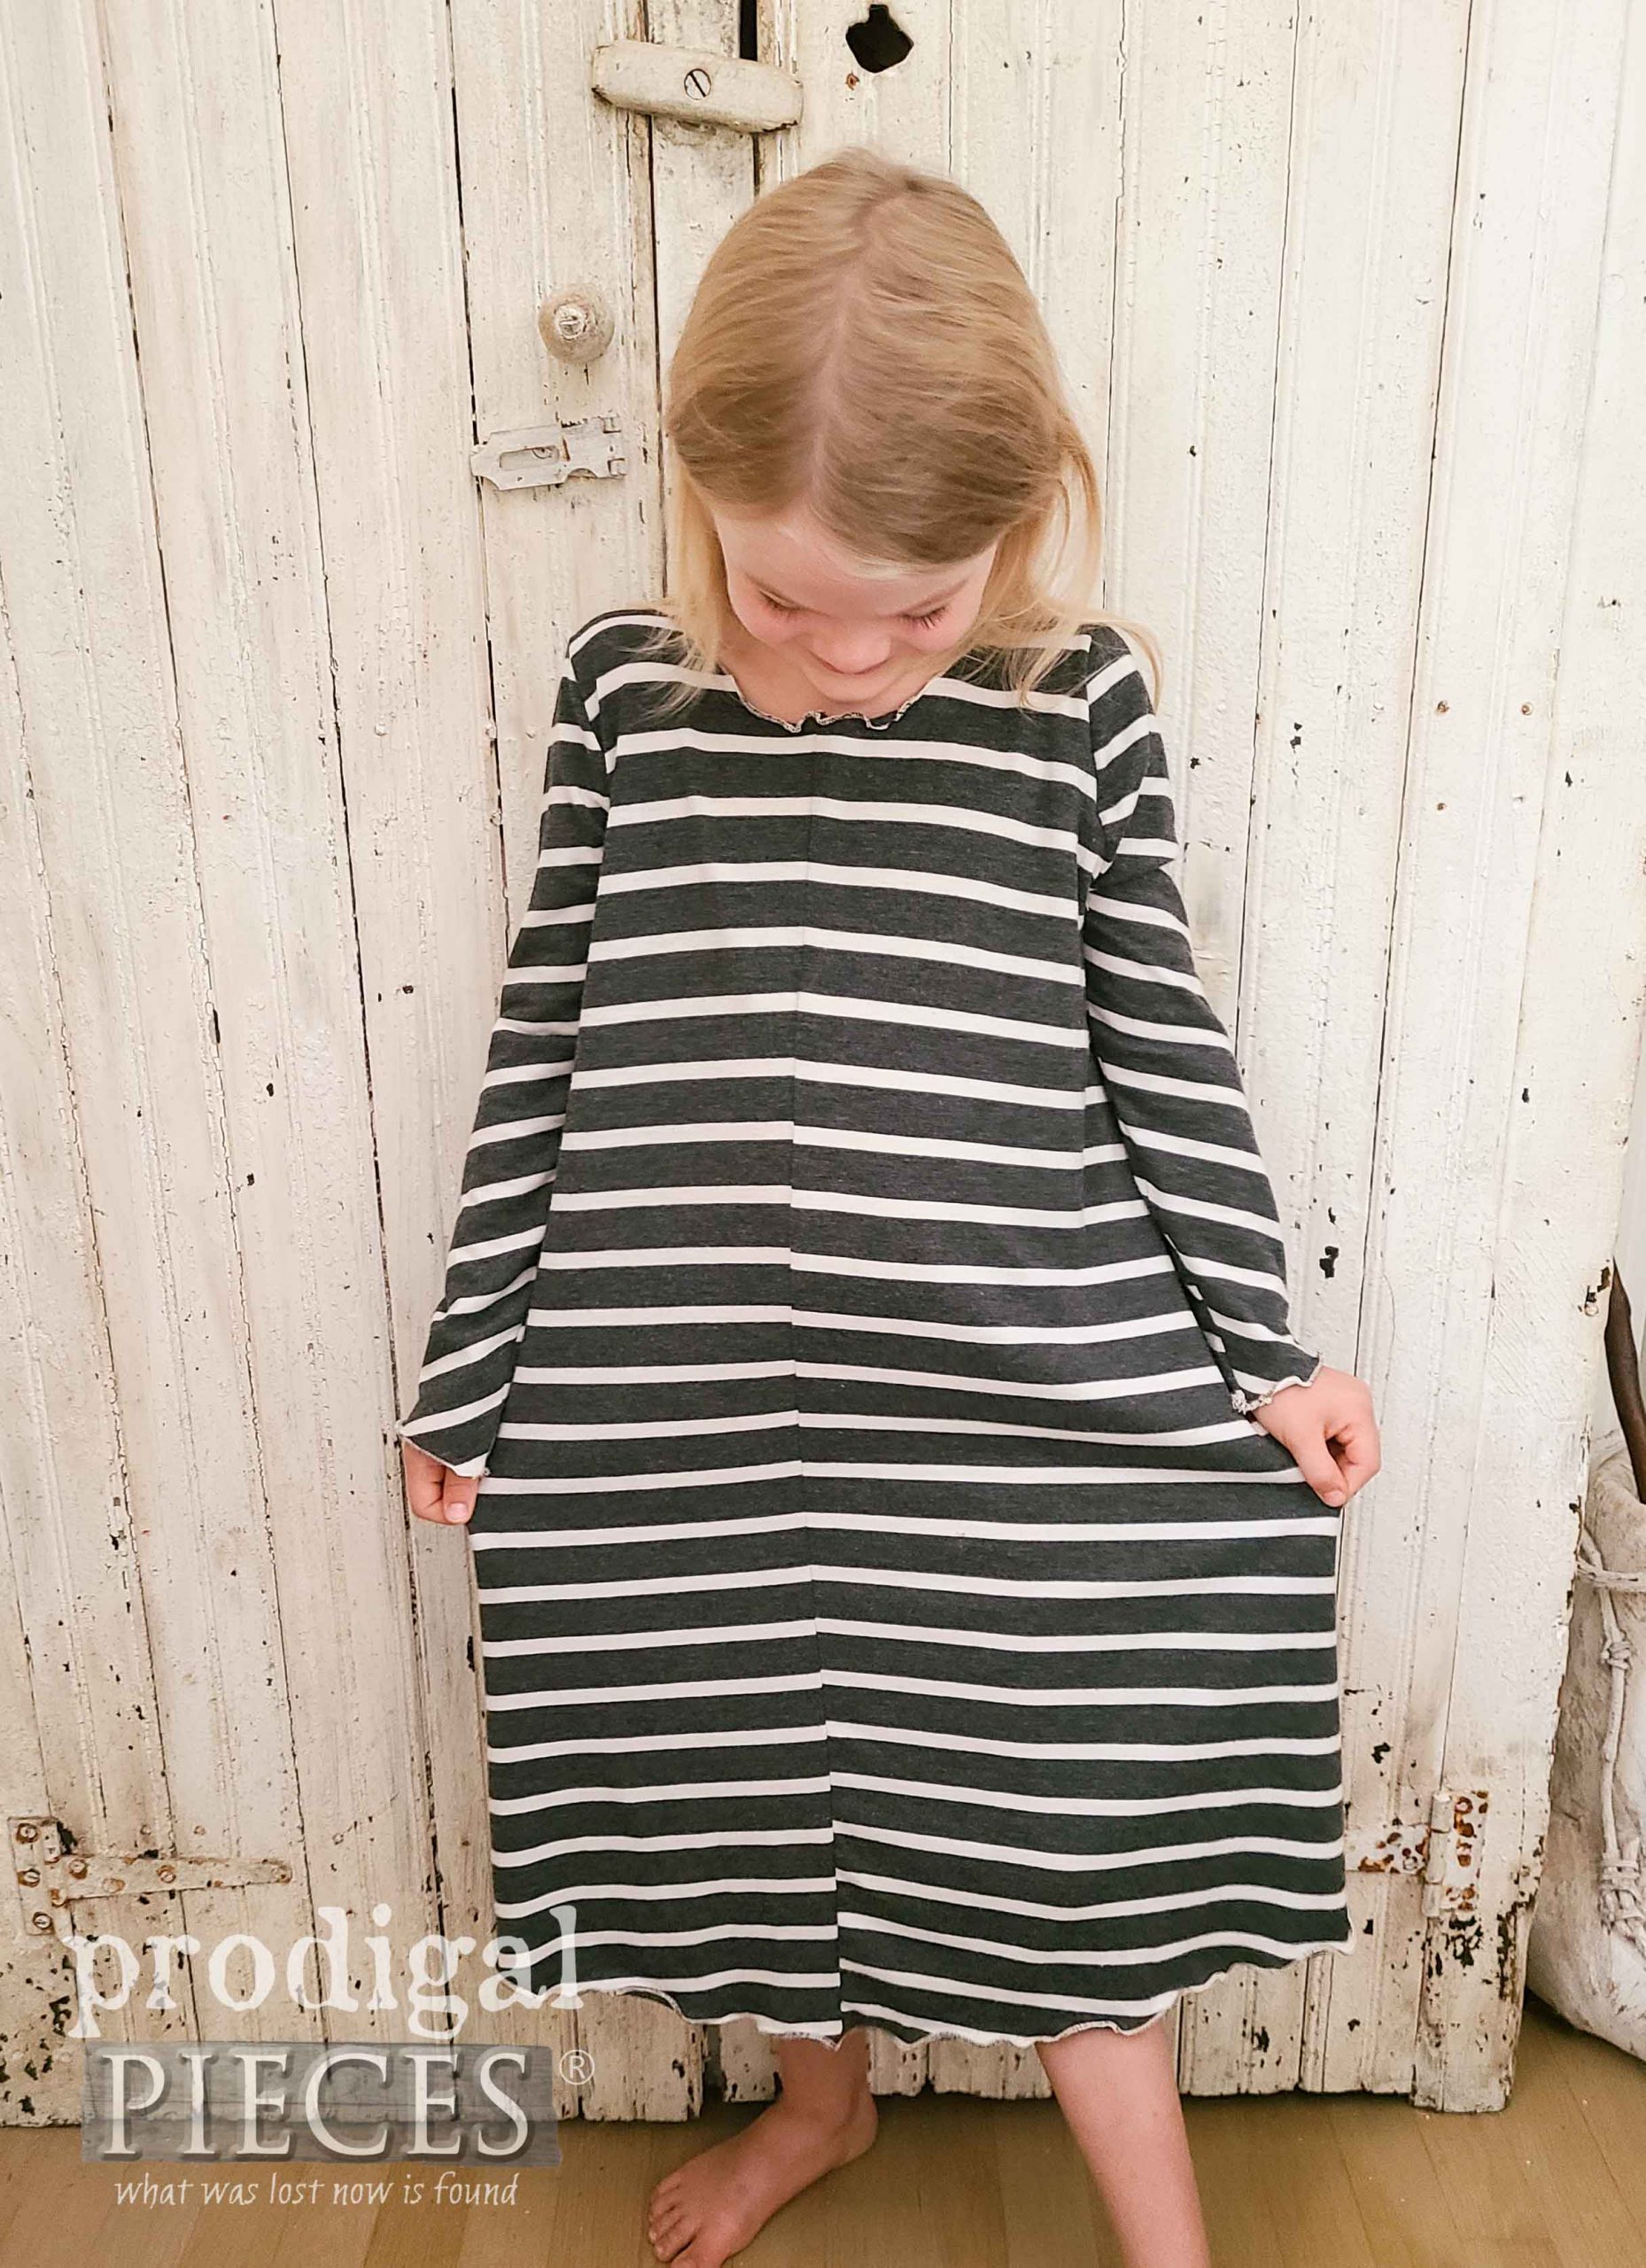
In addition, to the short sleeve nightgown, I also made a long sleeve one for my littlest. I think she said that one is her favorite because it’s so soft. I simply used her shirt to draft the sleeve onto the folded skirt.
This skirt had been altered many times by my oldest daughter. She’s quite the handy one with alterations.
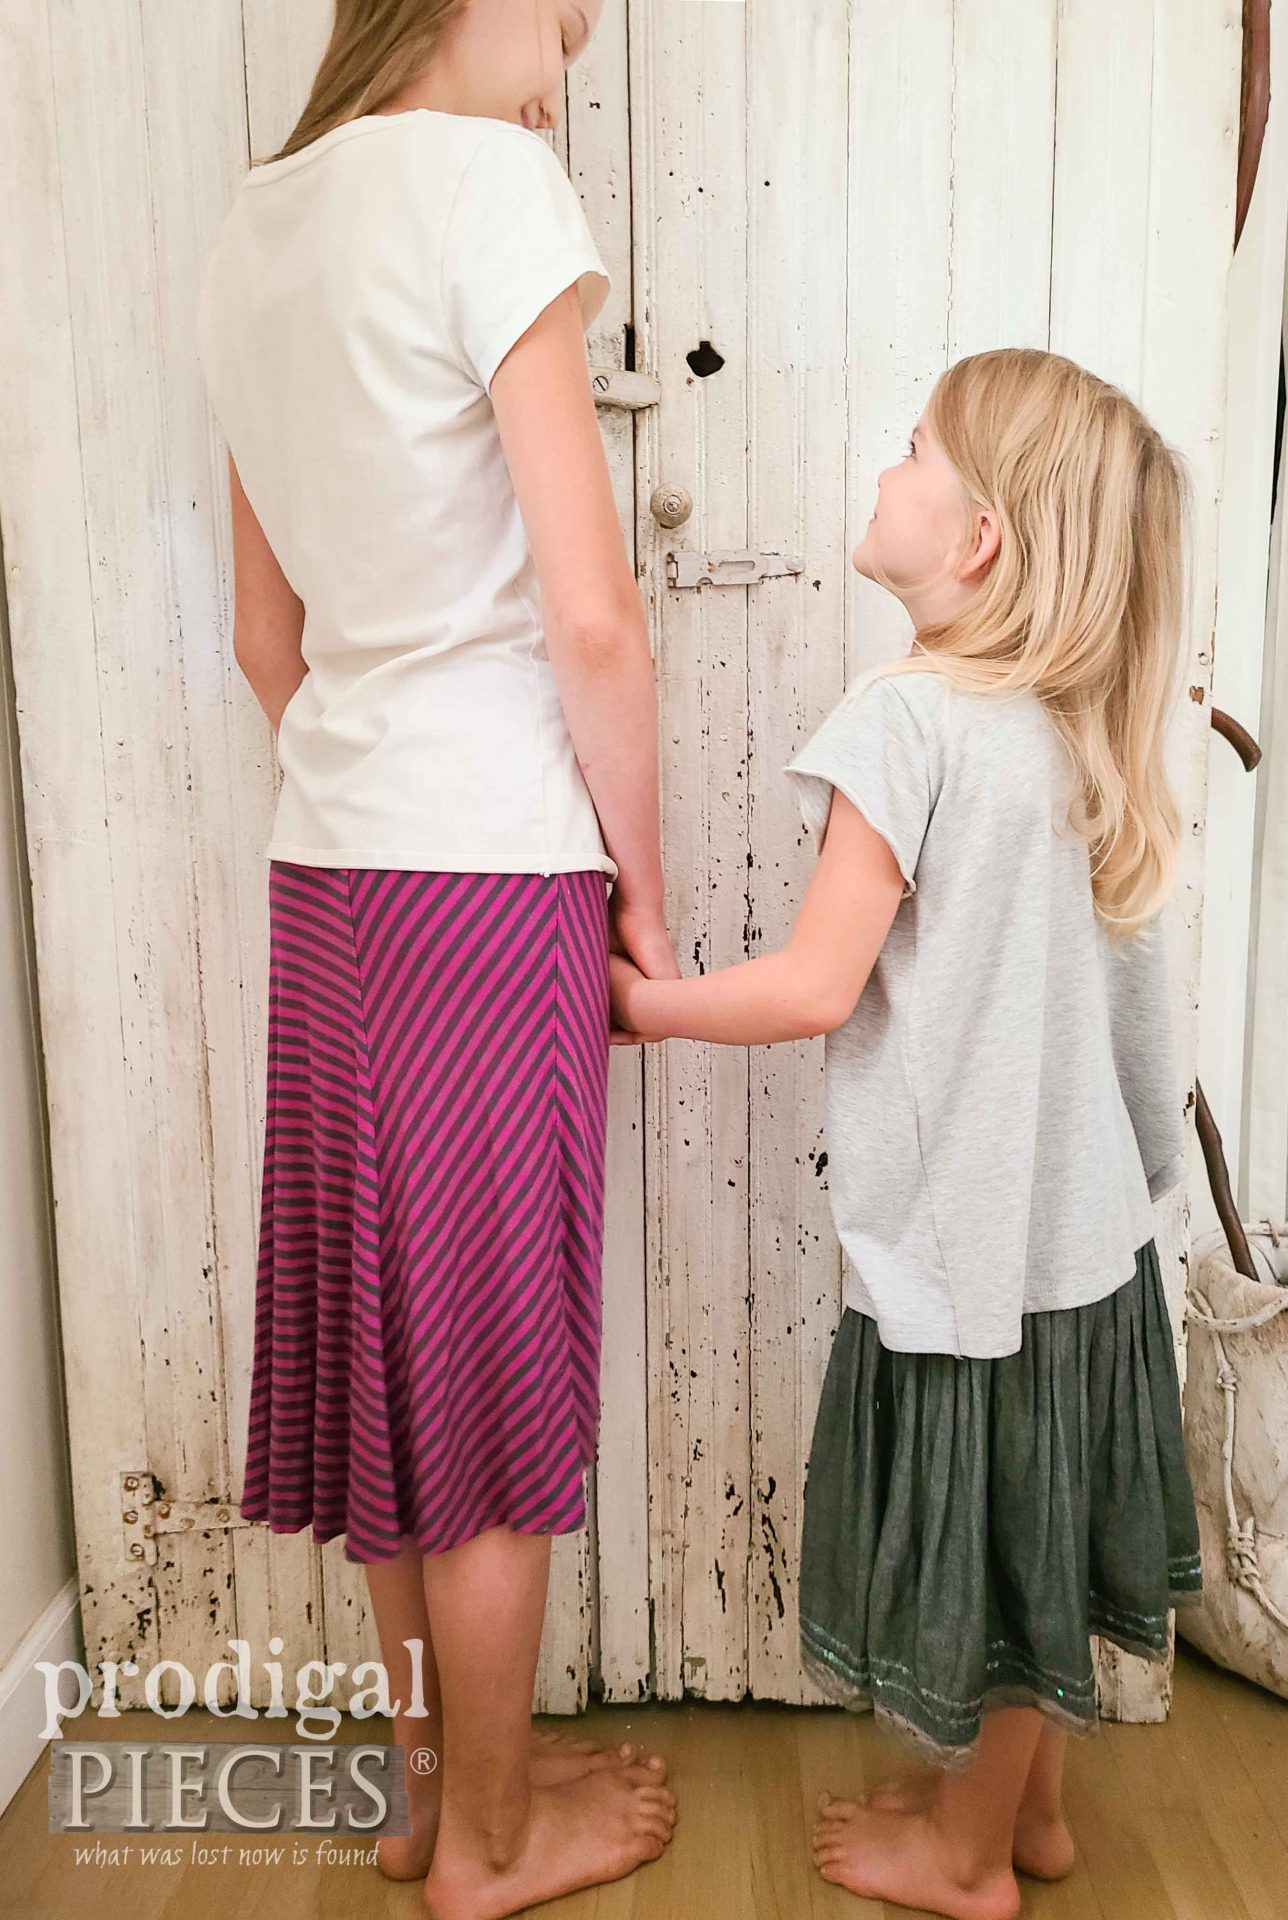
Last, but not least, I took the pink skirt and shortened it for my one daughter. And, took that gray short skirt and refashioned it into a swing top for my littlest.
WRAP-UP
Am I inspiring you yet? I sure hope so. And, if you’re thinking, “I can’t do this.” Yes, you can!! I learned by trying and experimenting. I bought my serger “used”, but it was bought for a lady by her husband new in the box. She was scared to try it and said she was too old to learn it. PISH POSH! You are never too old. All you have to do is try.
Also, do pin and share my upcycled skirt projects to inspire others. We can encourage and support one another.
Up next, my garden shed is getting one more improvement before autumn rolls in. See our summer remodel HERE, then see our latest addition HERE.
To get these DIY tips & tricks in your inbox, be sure to sign up for my newsletter. PLUS, you will get your FREE Furniture Buying Checklist and special discount to my shop. Until next time!




Adorable!!! Brings back memories of my Mom making clothes for my sisters and me. Didn’t realize at the time how much love went into them. But now, I see them in old pictures and that love shines! Your kids are lucky to have such a special Mom. I know I was… and still am!!❤️
Aww…you have such a treasure! And thank you for making my heart soar, Rebecca. Thanks so much! 😀
Oh how I miss sewing! Your creations are great!
My mom taught me to sew as well. She made all of my brothers and my clothing and most of all of her own and you would never know that they weren’t from a high-end designer. The trick she always drilled into me was to press every seam open before continuing on so we always had the ironing board right near us. It made everything so much neater. I literally made all of my own clothing starting at about age 10 or 11. I even made bathing suits and my jeans with flat felled double stitched seams, and pockets that copied the Levi design. I got Levi labels, the ones that stick off the pockets, from friends throwing away jeans and other than the fact that my jeans fit me so well (real Levi’s never fit me correctly) you honestly couldn’t tell they weren’t store bought.
After the jeans were worn out or didn’t fit well, I made them into hobo bags for carrying books and stuff. I also embellished one pair of bell bottomed jeans with amazing scenes in embroidery. I actually kept the lower legs of those jeans in a keepsake box at my moms request. ?
The last thing I sewed a few years back before I begin to have trouble with my hands was a Renaissance wedding gown for a friend of mine. It was three layers, the outer layer being suede, the inner layer being silk, and the middle layer – the skirt that peeked through the opening in the front – was an iridescent electric blue taffeta. I did use the sewing machine, but otherwise stuck to the true renaissance rules, no zippers or buttons, only lacing to close the front, ribbons to gather the inner layer neckline and sleeves, and also to tie on the outer layer sleeves.
It was my friend’s goal to be able to use the dress when attending Renaissance festivals after the wedding. If I had wanted to start a business sewing gowns like hers I could have. Everywhere she went in it people raved and wanted to know where she got it.
Thanks for providing me those happy memories.
O
You are the Renaissance seamstress! That is so awesome! I have a friend who does reenactments with her family for colonial times and makes everything by hand. Such a neat way to relive history and have fun. Hugs to you, Shelley!
I love how you repurposed the skirts Larissa! Once again, you amaze me with your ability to “see” potential that honestly most of us would not realize! I would have never thought of making nighties from the skirts, and they are SO cute! I can see why your daughters loved them…and how soft they felt too. Like a big Hug when getting ready to sleep 🙂 Thank you again for your inspiration! Hope you sleep at night…your brain must be creating all the time 🙂 🙂 Many blessings!
I couldn’t wait to put them to use. I’ve actually had several jersey knit sheet sets to make myself some jammies, but have never taken the time. They’re so soft! Thanks so much for the smile and encouragement, Mary. Hugs!