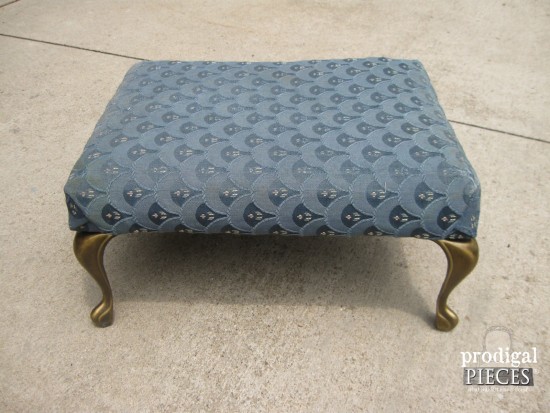
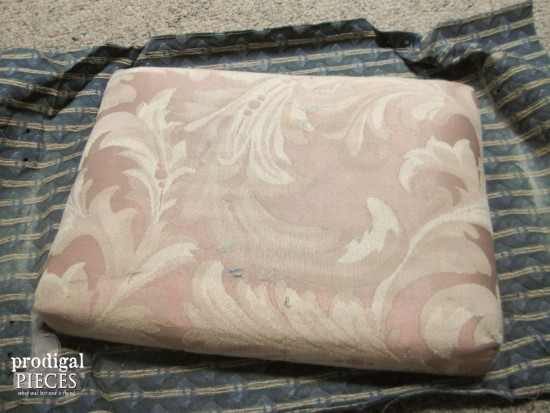
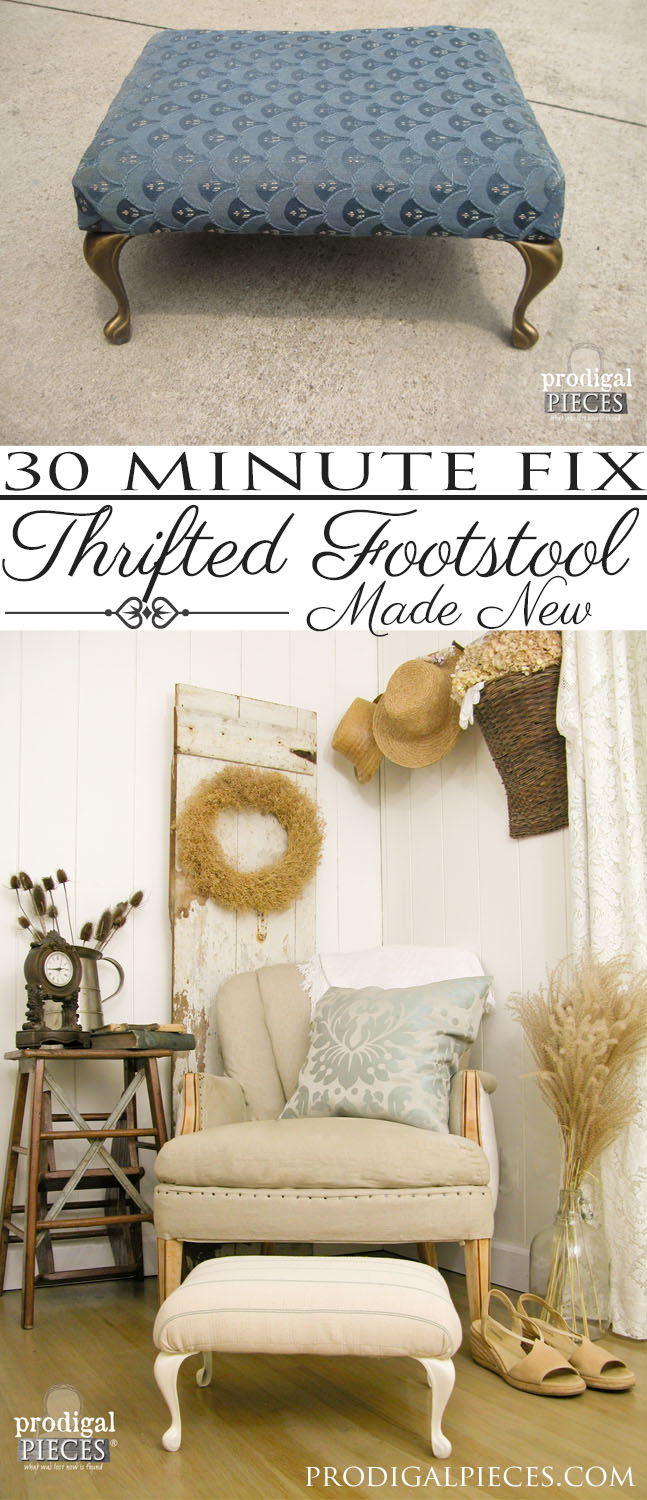
Making your house your home doesn’t have to break the bank. Today, it’s all about this sweet little footstool I scored while thrifting. It’s in excellent shape, but seriously needing an update, right?
At least those faux brass Queen Anne style legs are something to admire.
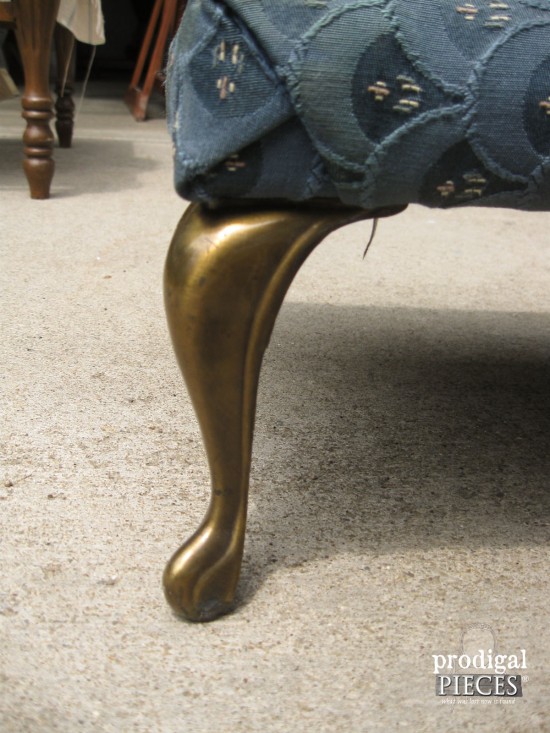
I’d like to show you how to makeover this vintage piece in 30 minutes with basic upholstery skills, so that it matches your decor, and adds style and function to your room.
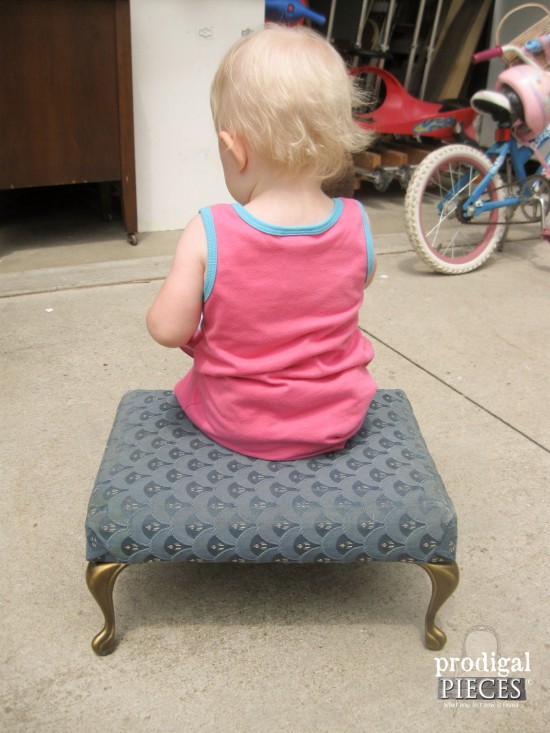
The whole time I was trying to snap a before picture, my youngest was toddling around with her bottle of bubbles in hand trying to find somewhere to sit….and so she sits.
Can’t get any sweeter! So…maybe this is a bench for babies? ♥
DIY TIME
Alright, back to the project. Let’s get started!
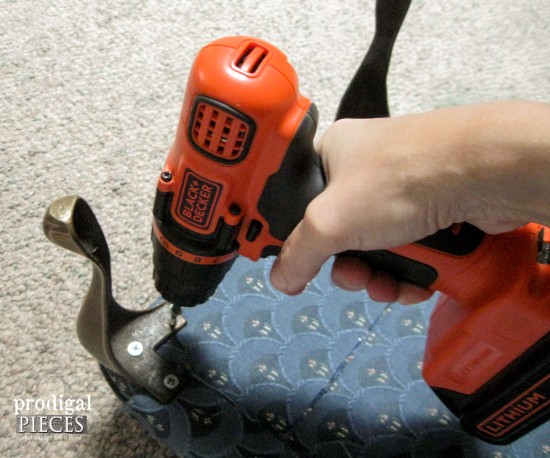
First, flip that stool over and remove the legs. Typically, they’re screwed on and you can use a drill or screwdriver – whichever is easiest for you. It looked as if my stool was an animal gone belly up and begging me to love on it.
UPHOLSTERY
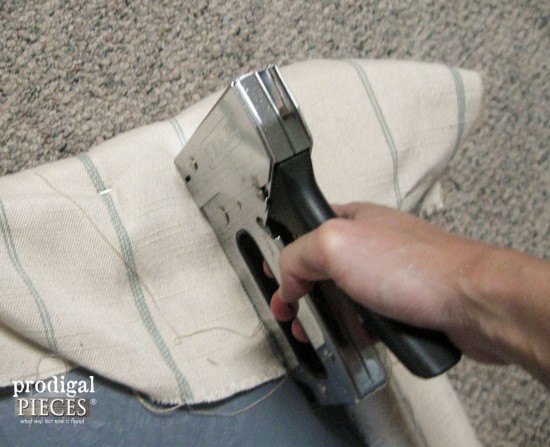
Next, using a staple using a staple gun, staple the fabric to the bottom perimeter, being sure to keep the fabric taught and straight. I find it easiest to attach 1 or 2 staples to the farthest side and then turn and go to the opposing side and attach a couple to test your fabric layout. Just flip it over and make sure you like how it looks. That way if you need to make adjustments, you don’t have to yank a thousand staples out.
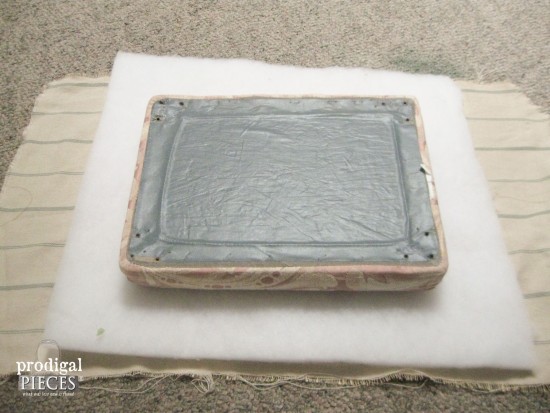
Not in too bad of shape, but still needing some TLC. Now you’ll grab your fabric of choice and lay it right side down, and place your batting on top of the fabric. Center your footstool in the middle of the fabric and batting.
I’m using a remnant piece of fabric, but you can see I cut my batting about 3″ bigger than the size of my stool – enough to go up and over the sides.
Next, you staple the fabric to the bottom perimeter, being sure to keep the fabric taught and straight. I find it easiest to attach 1 or 2 staples to the closest side and then go to the opposing side and attach a couple to test your fabric layout. Just flip it over and make sure you like how it looks. That way if you need to make adjustments, you don’t have to yank a thousand staples out.
After that, staple the rest on, being sure to keep it snug. (My dog flees when he sees that stapler coming…tee hee hee).
PAINT
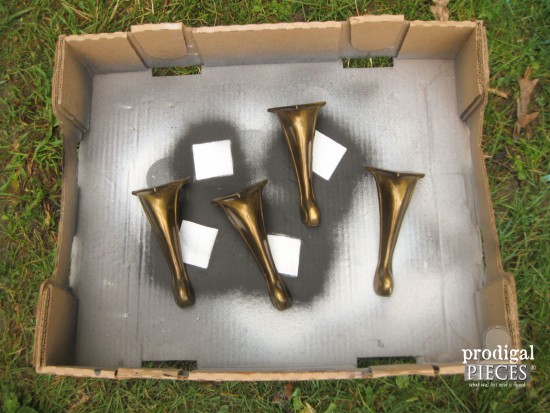
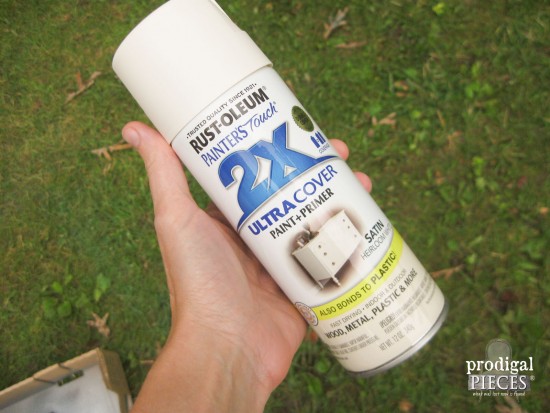
The legs of the stool weren’t too bad to look at, but after I put them on as-is, I just didn’t care for the faux brass look. The solution? Spray paint!
I find using a cardboard tray from a bulk food store, makes a great spray painting spot for small items.
My choice from my stash is another favorite by Rust-Oleum: Heirloom White.
Obviously, you’re going to need to do more than one coat, and the dry-time will be more than our 30 minute window. The whole work of the project takes about 30 minutes give or take, and can easily be done in less than a day.
THE REVEAL
Ready for the sweet reveal?
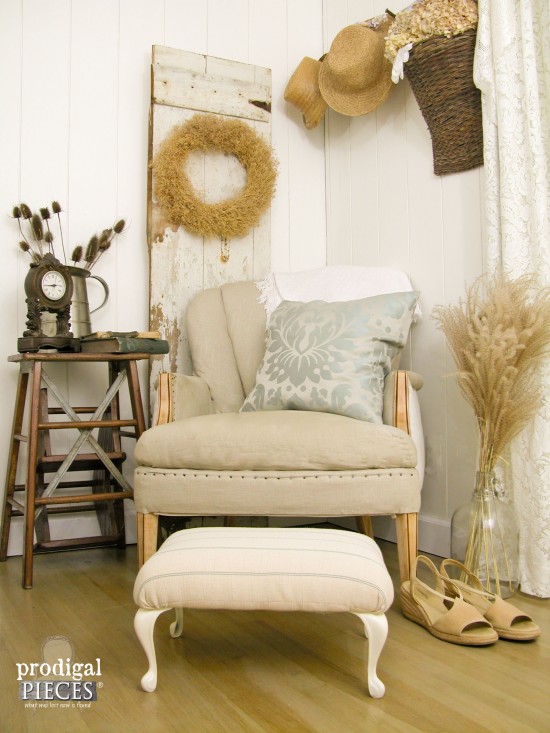
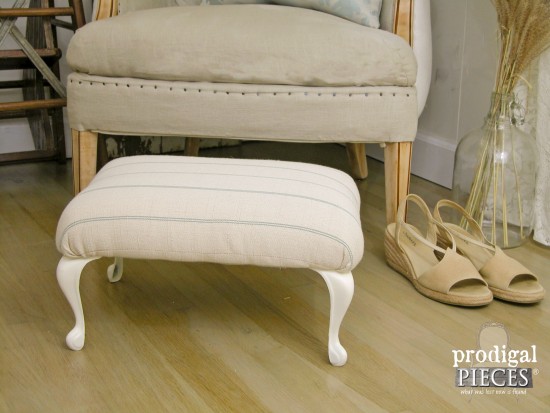
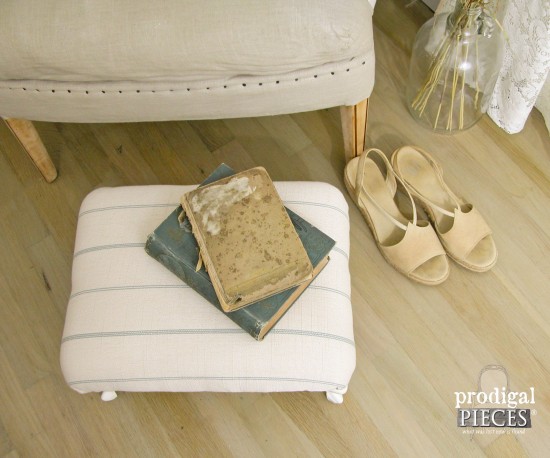
Doesn’t it look refreshed and more suited for my decor? It pairs well with my $3 garage sale channel back chair I recently upholstered.
I love the fabric and it’s grain sack appeal. Plus, those legs give it a neutral feel.
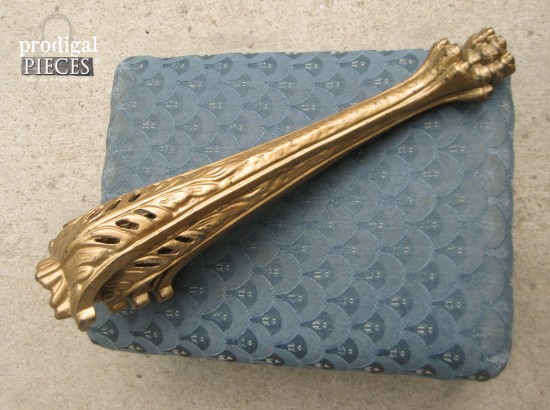
Though you may think I would keep this beauty, I’m actually on a mission. I plan to rebuild a footstool made from cast iron legs that belonged to a stool my grandmother had. Aren’t they pretty?
If you like the footstool from this project, and want it for your own, you can find it in my shop. (SOLD)
I hope you enjoyed this mini makeover and would love it if you would pin and share! ♥
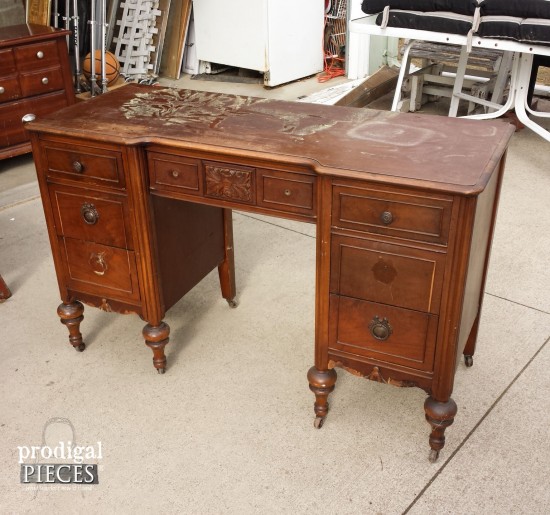
My next project…a vanity destined for the landfill gets a makeover from top to bottom. eep! You can see the transformation HERE.
Follow along by signing up for my newsletter PLUS you get my free furniture buying checklist and a special discount to my shop. Just head to the sidebar or bottom of this post.

Also, more blasts from the past like my footstool makeover:


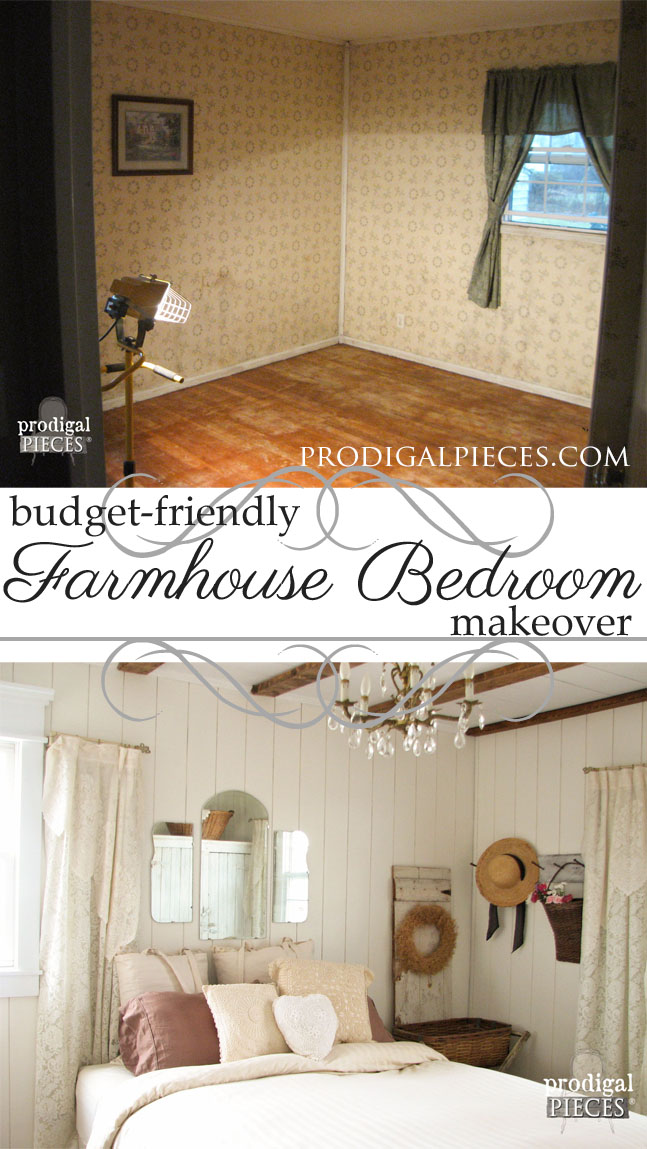
Got me, twice! I own both the magazine rack and that footstool. Are you stalking my house for projects for me?! I’ve changed the fabric several times, now I have to spray the legs!
Great minds think alike, right, Ellen? It’s fun to change it up on a whim. 🙂
How adorable is your daughter for innocently needing a spot to blow bubbles! I like the fabric you choose for your footstool makeover Larissa. Looking forward to seeing what you do with that destined for the landfill…whaaaaaaat, dresser.
It was hilarious, Marie! She sighed as soon as she sat and then giggled a little bit. Yes, that dressing table was curbside and I nearly fainted!
your little girl is adorable–how clever she is–
great result
She’s a spunky little girl…so fun! Thanks for stopping by, Judy.
I love seeing things repurposed like this. Love it in that room!
Thanks so much!