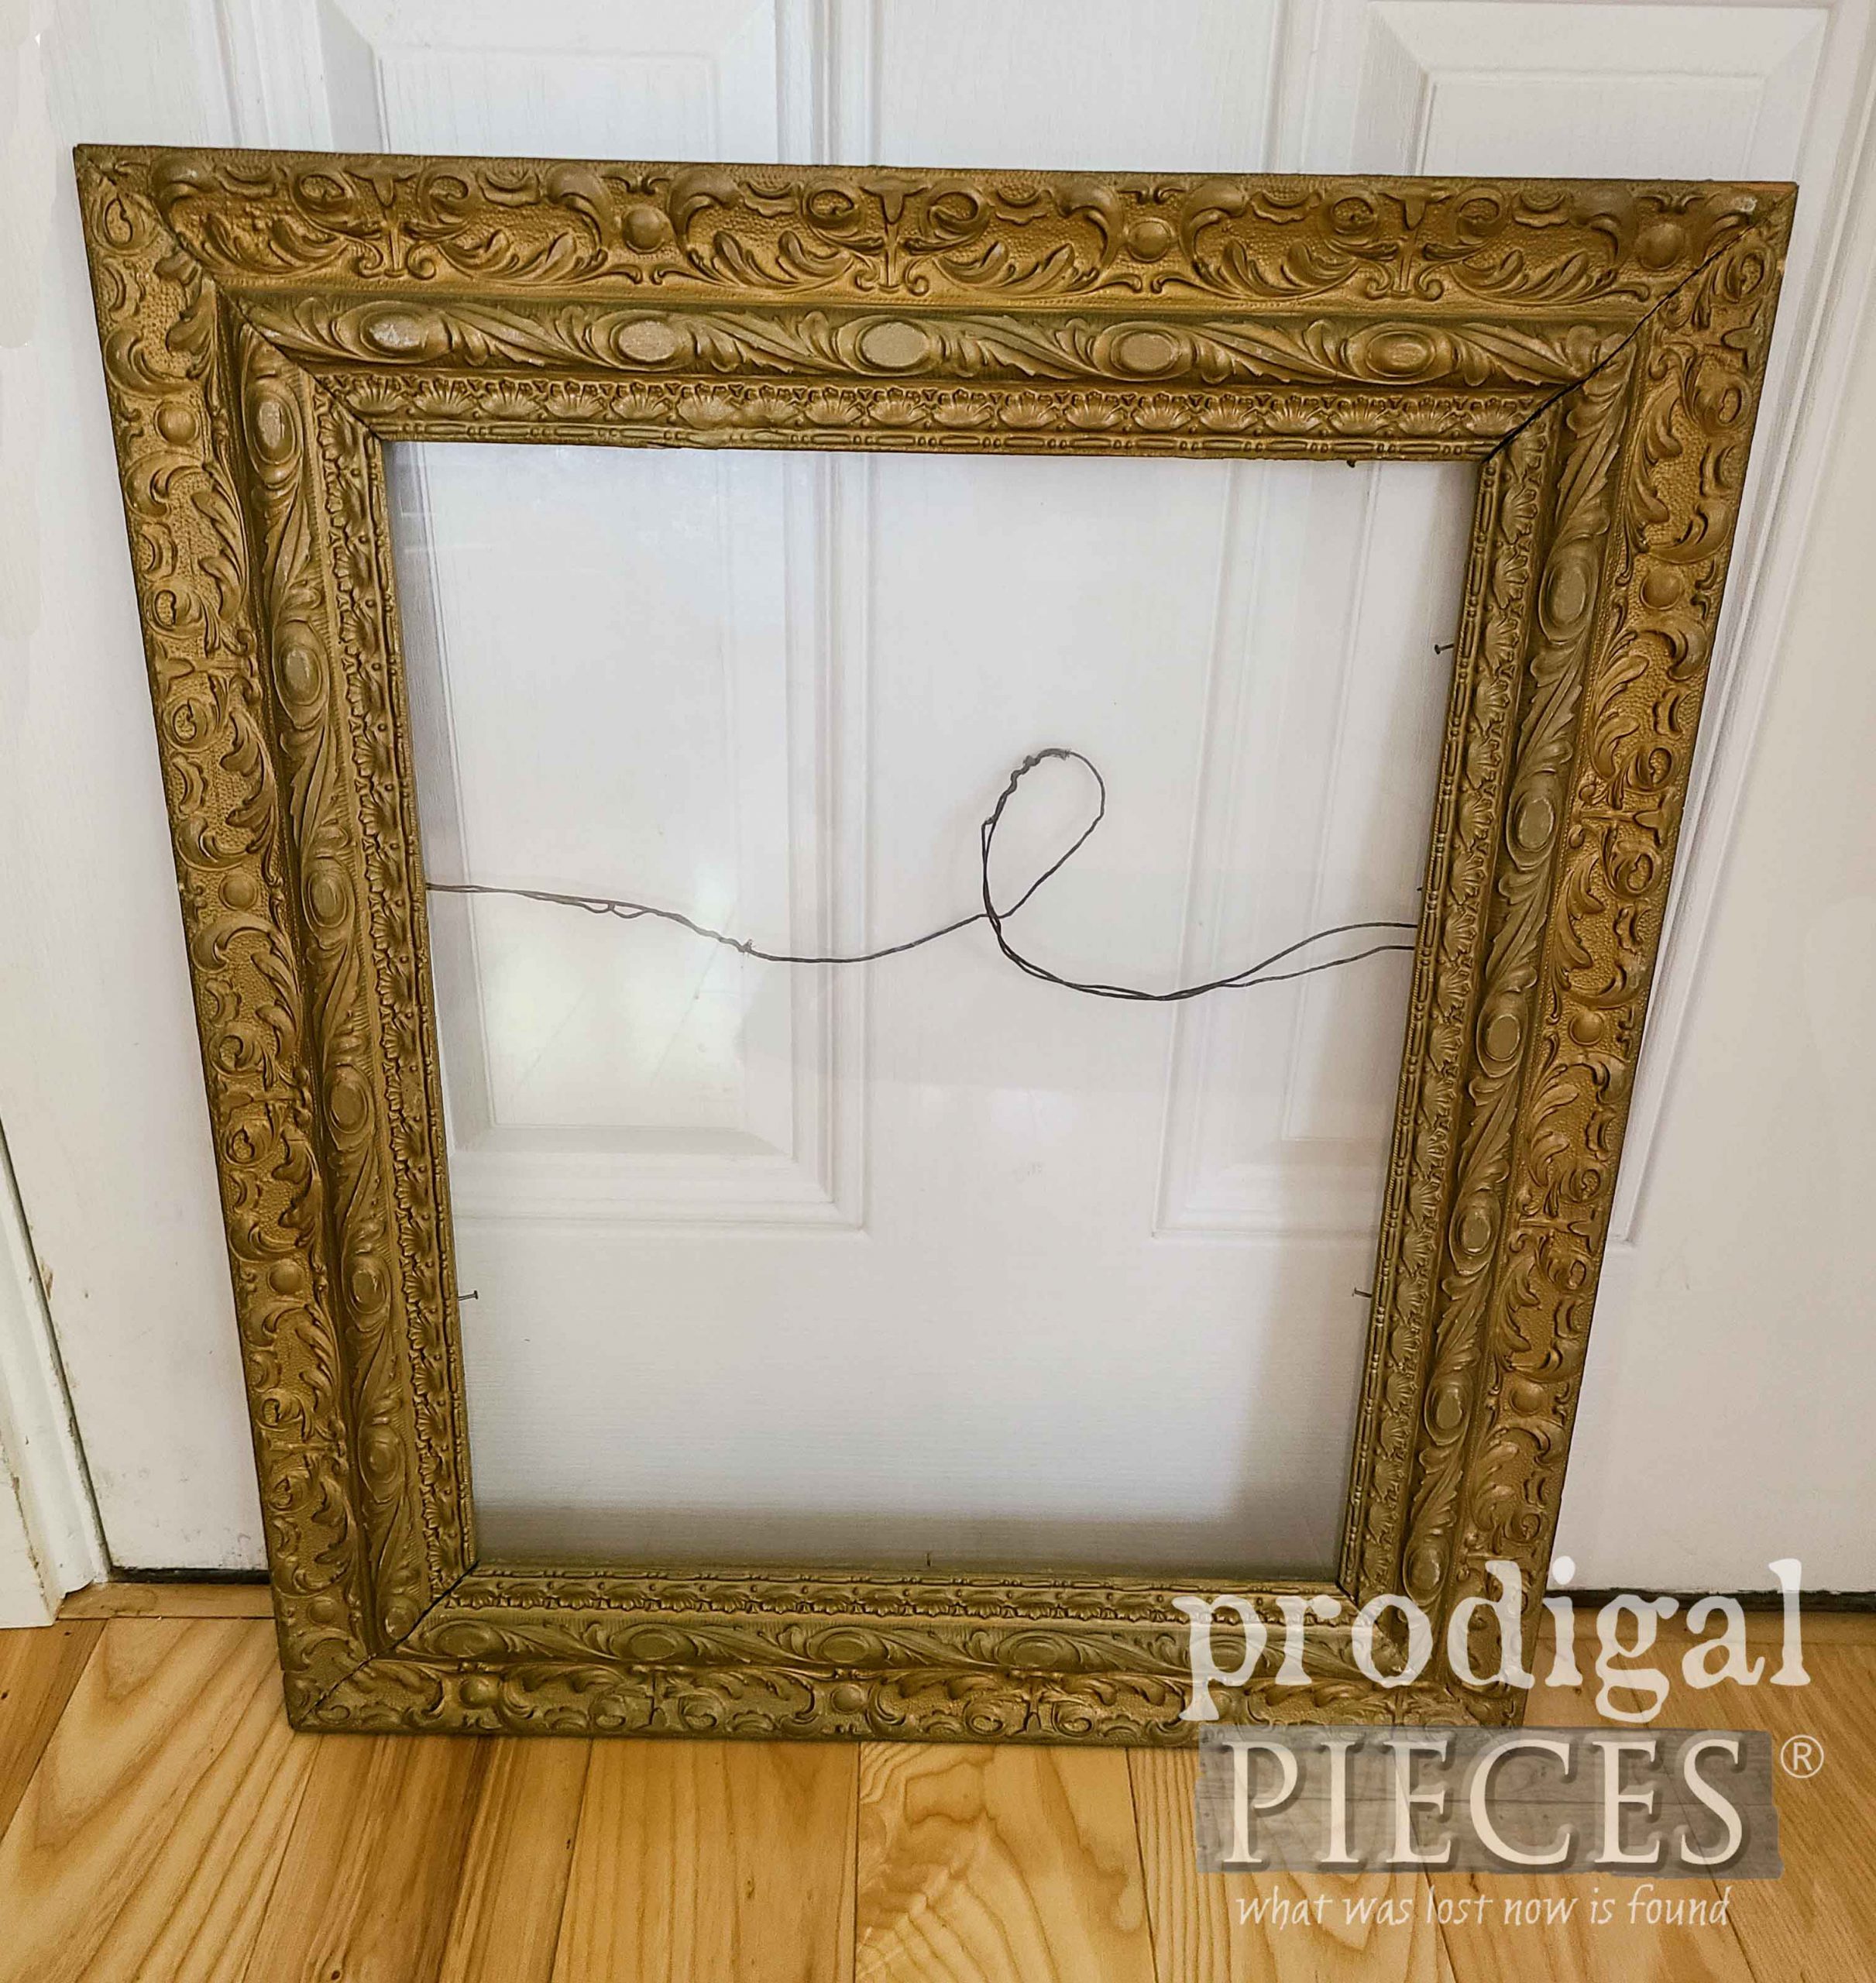
There are a few things you can find aplenty in the thrift store: glass, clothes, pillows, and frames. Oodles of frames just waiting for a new lease on life. This antique beauty caught my eye in a flash. Isn’t it gorgeous? It still has the original glass, which is begging me to take this upcycled picture frame to a whole new level.
Also, it has such a beautiful patina in the original paint. It is made out of wood, and features oodles of charm. Because it’s pretty much in great shape as-is with its original glass, I’m focusing on changing up what’s featured.
In times past, I have repurposed pictured frames into shadow boxes or have taken mirrors and turned them into wall art. In addition, I’ve taken old artwork and turned it into a “antique” mirror. This time around, however, I wanted to kind of mix it up and combine two techniques. I even have a step-by-step video to show you how. woot!
Materials & Supplies:
- picture frame with glass
- graphic of choice – make your own, a stencil, or use a ready made one
- acrylic paint
- artist’s brushes
- mirror effect spray paint
- rubbing alcohol
- old rag
- painter’s tape
- point driver (optional)
STEP 1
First, our upcycled picture frame project is going to start by cleaning up that awfully dirty glass. We want our glass surface to be squeaky clean and ready for the painting process. I use a rubbing alcohol to remove and residue and grime. After your glass is clean, remove any hardware that would get in the way of you being able to work. I had to take off the wire hanger and remove a few nails.
STEP 2
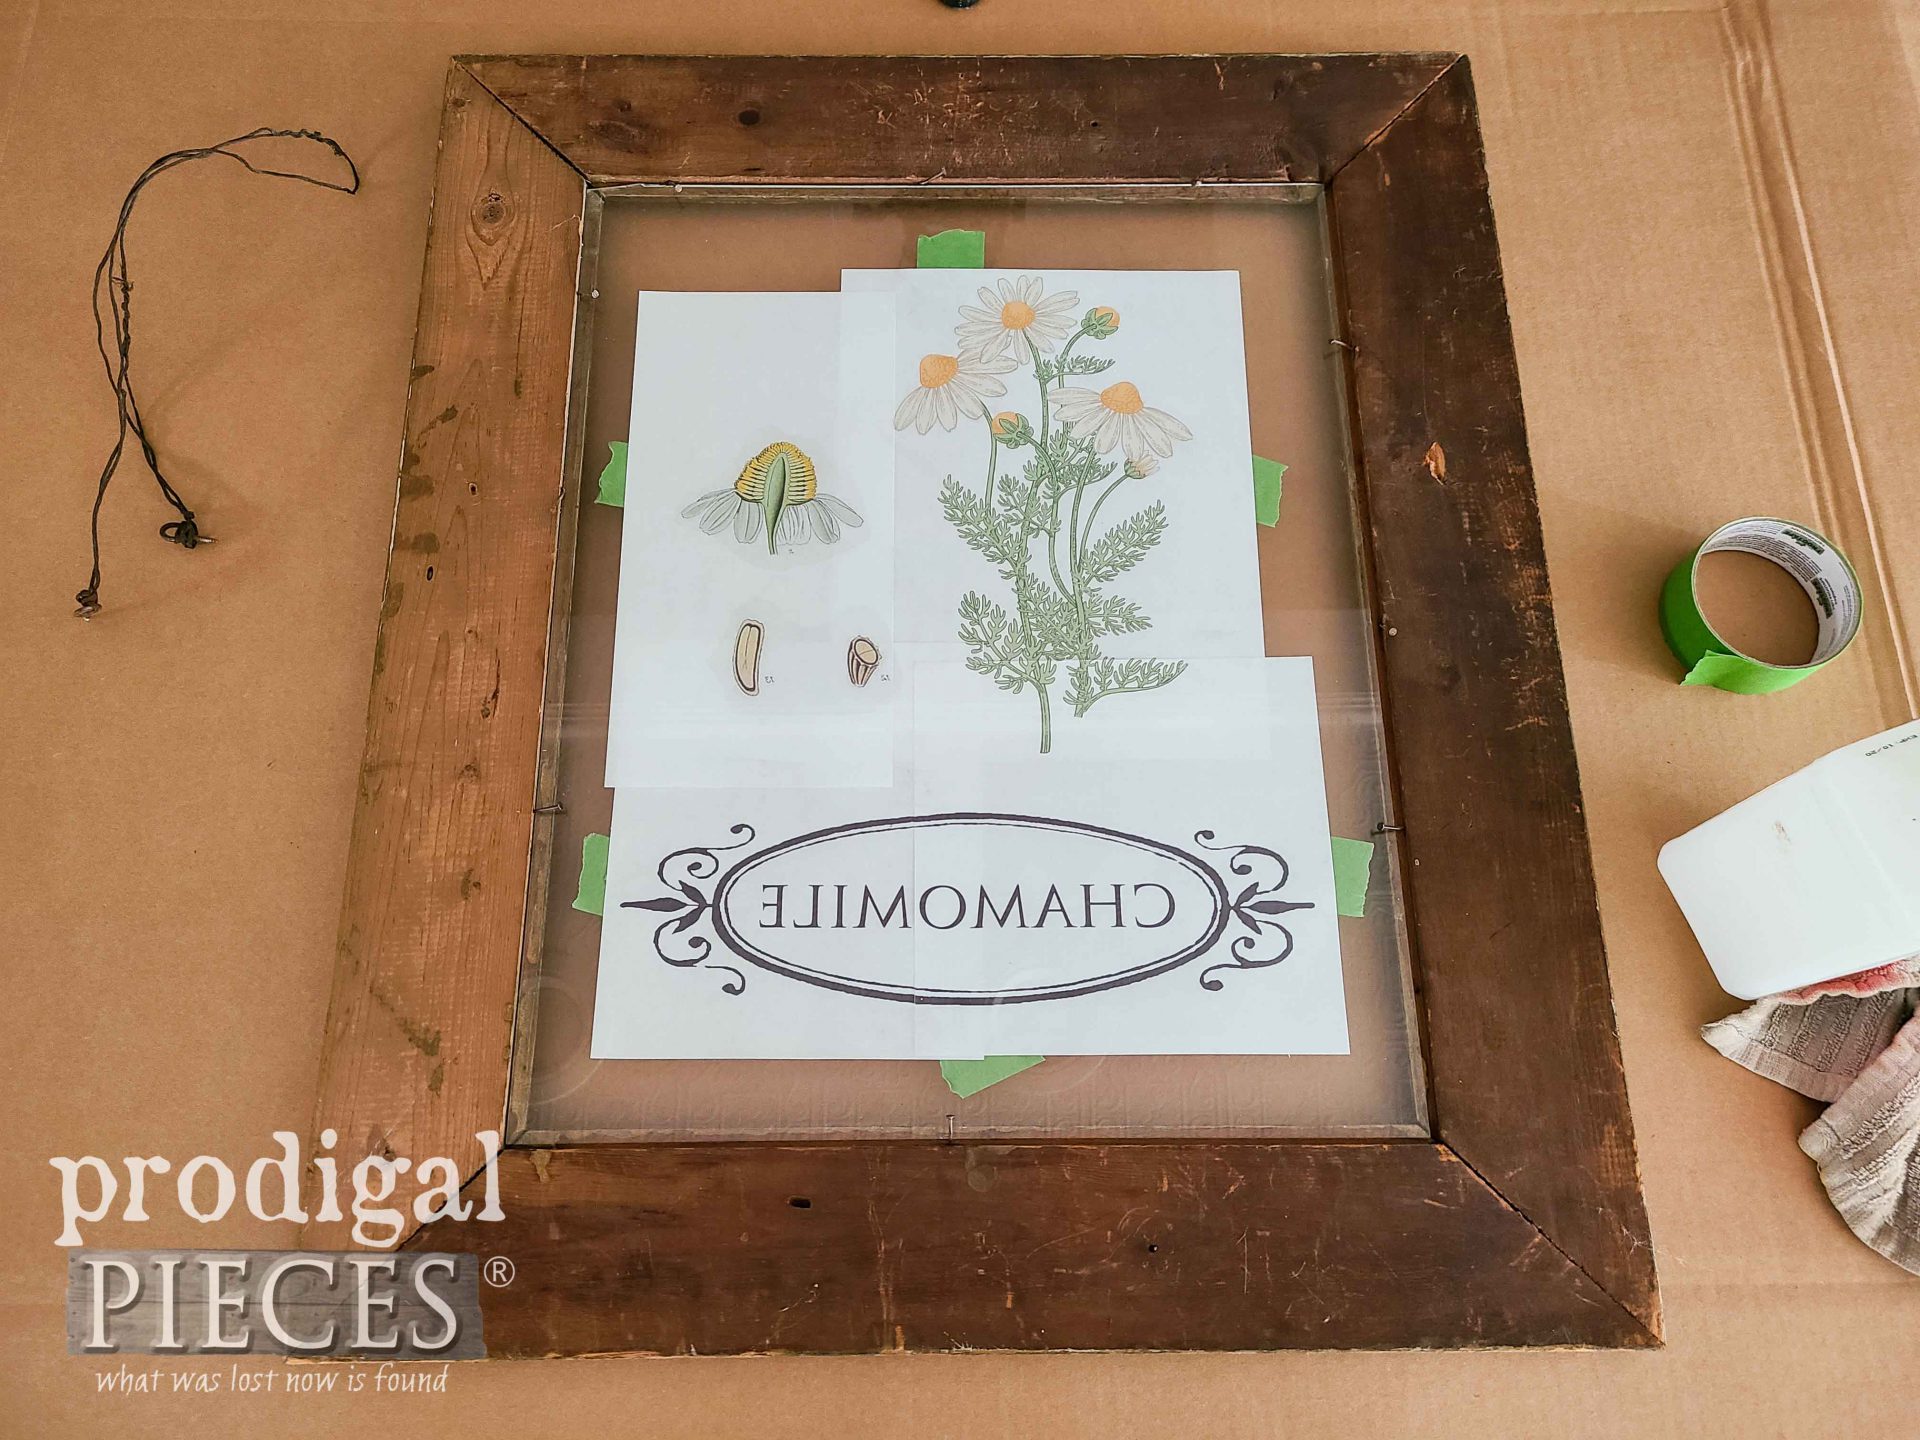
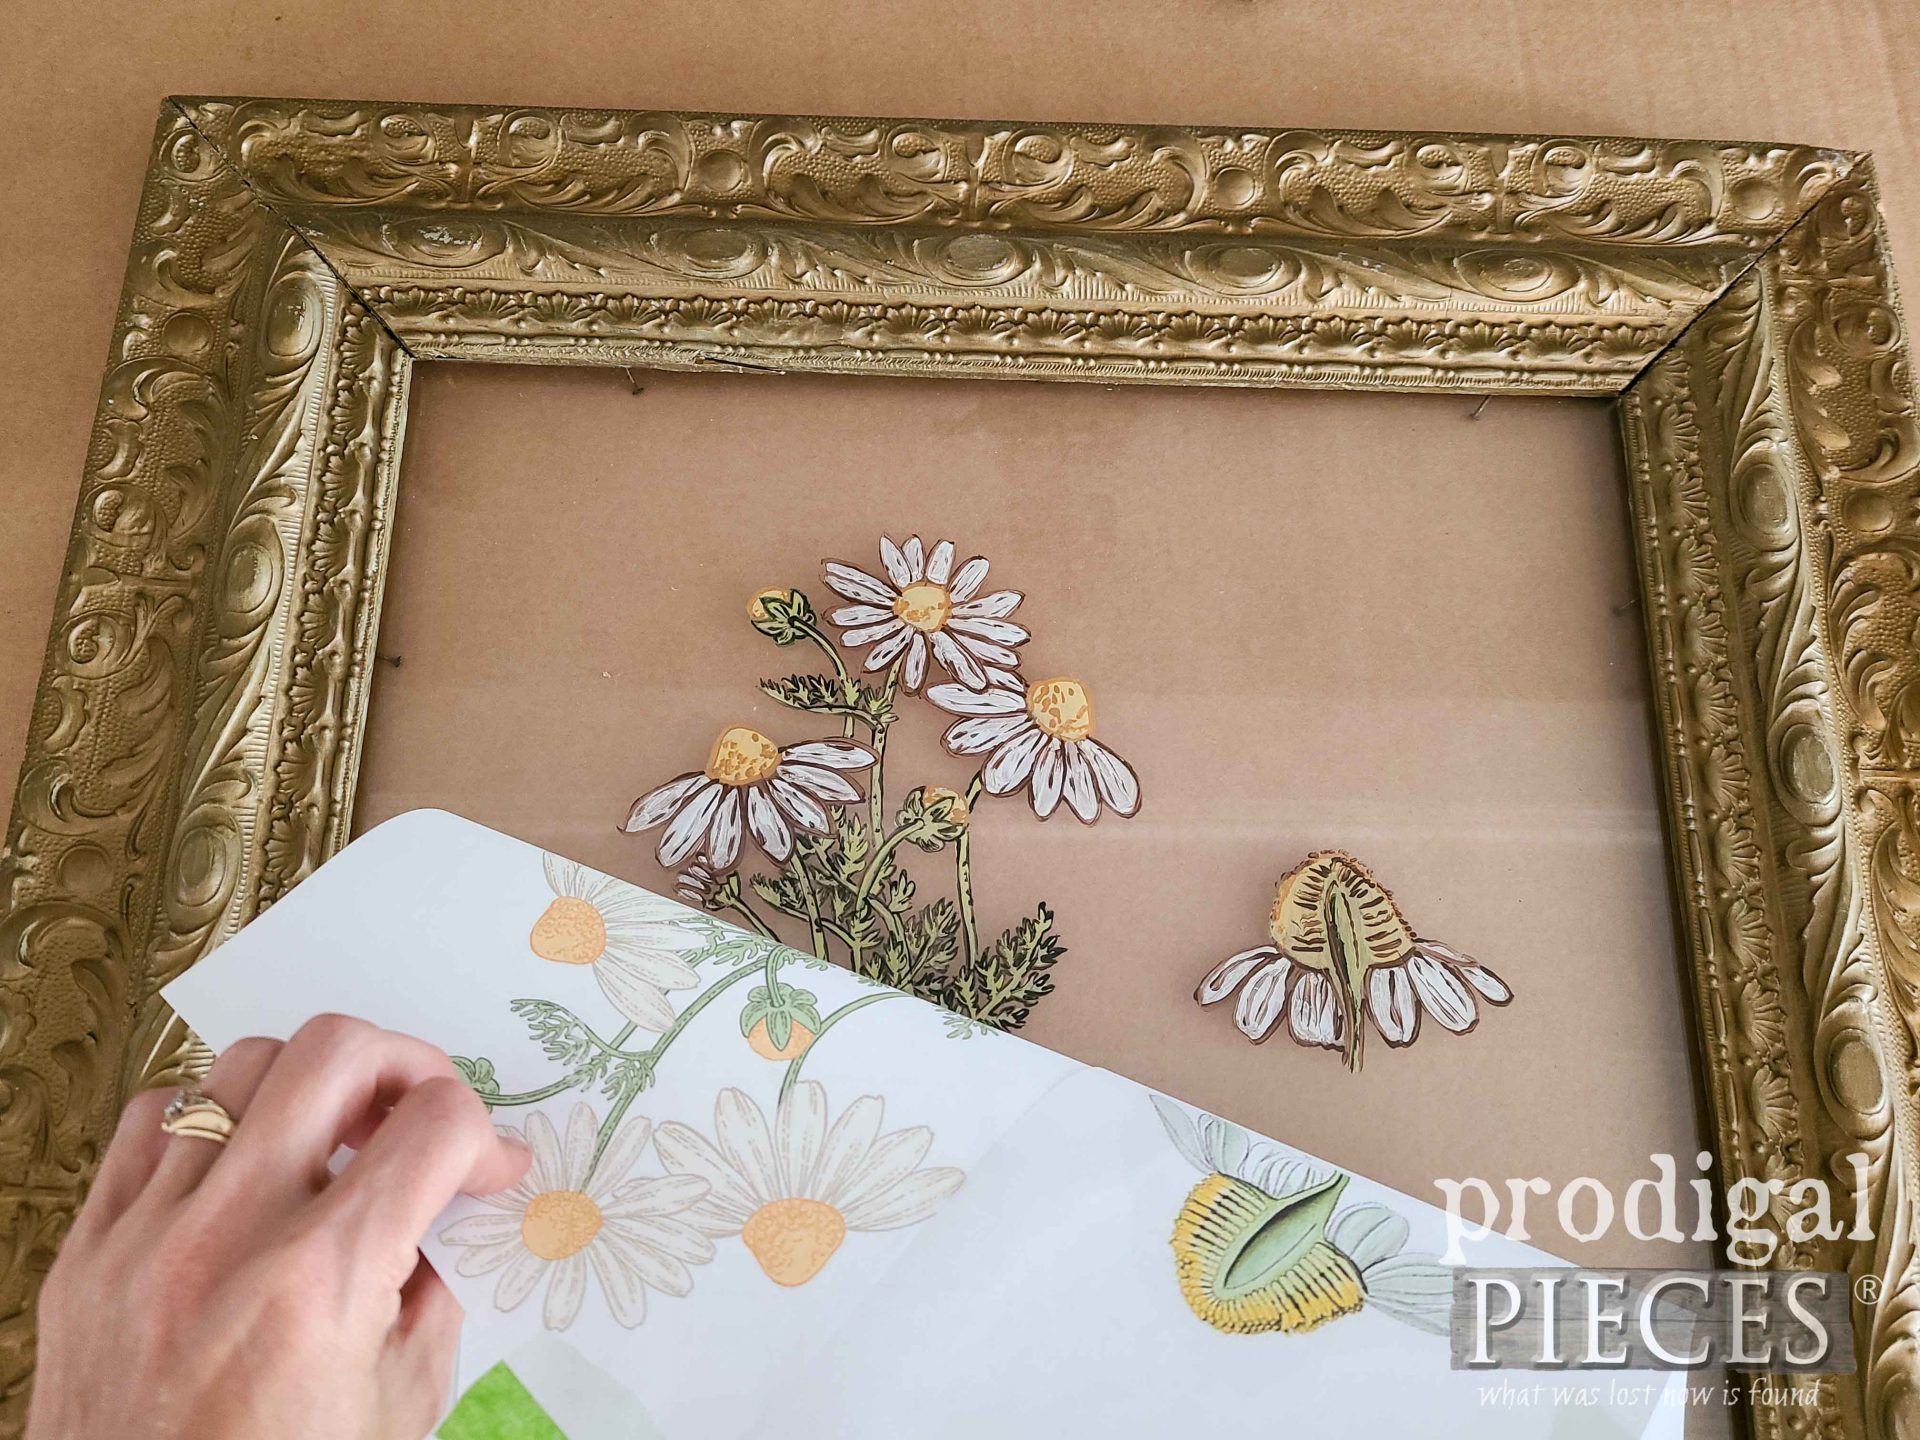
Next, you will need to either create a graphic, use a picture, coloring page, or posters (you get the idea) to use for your work. I made a collage of a few botanical prints of chamomile and made it IN REVERSE. The reverse is the key part because we’re going to applying this from the front so we can paint the back. Does that make sense?
What you see is my graphic taped to the front showing the reverse thru the back. While I went kinda crazy on my art choice, you could keep it simple with just text or a simple shape. However, don’t be afraid to have fun with it for sure.
STEP 3
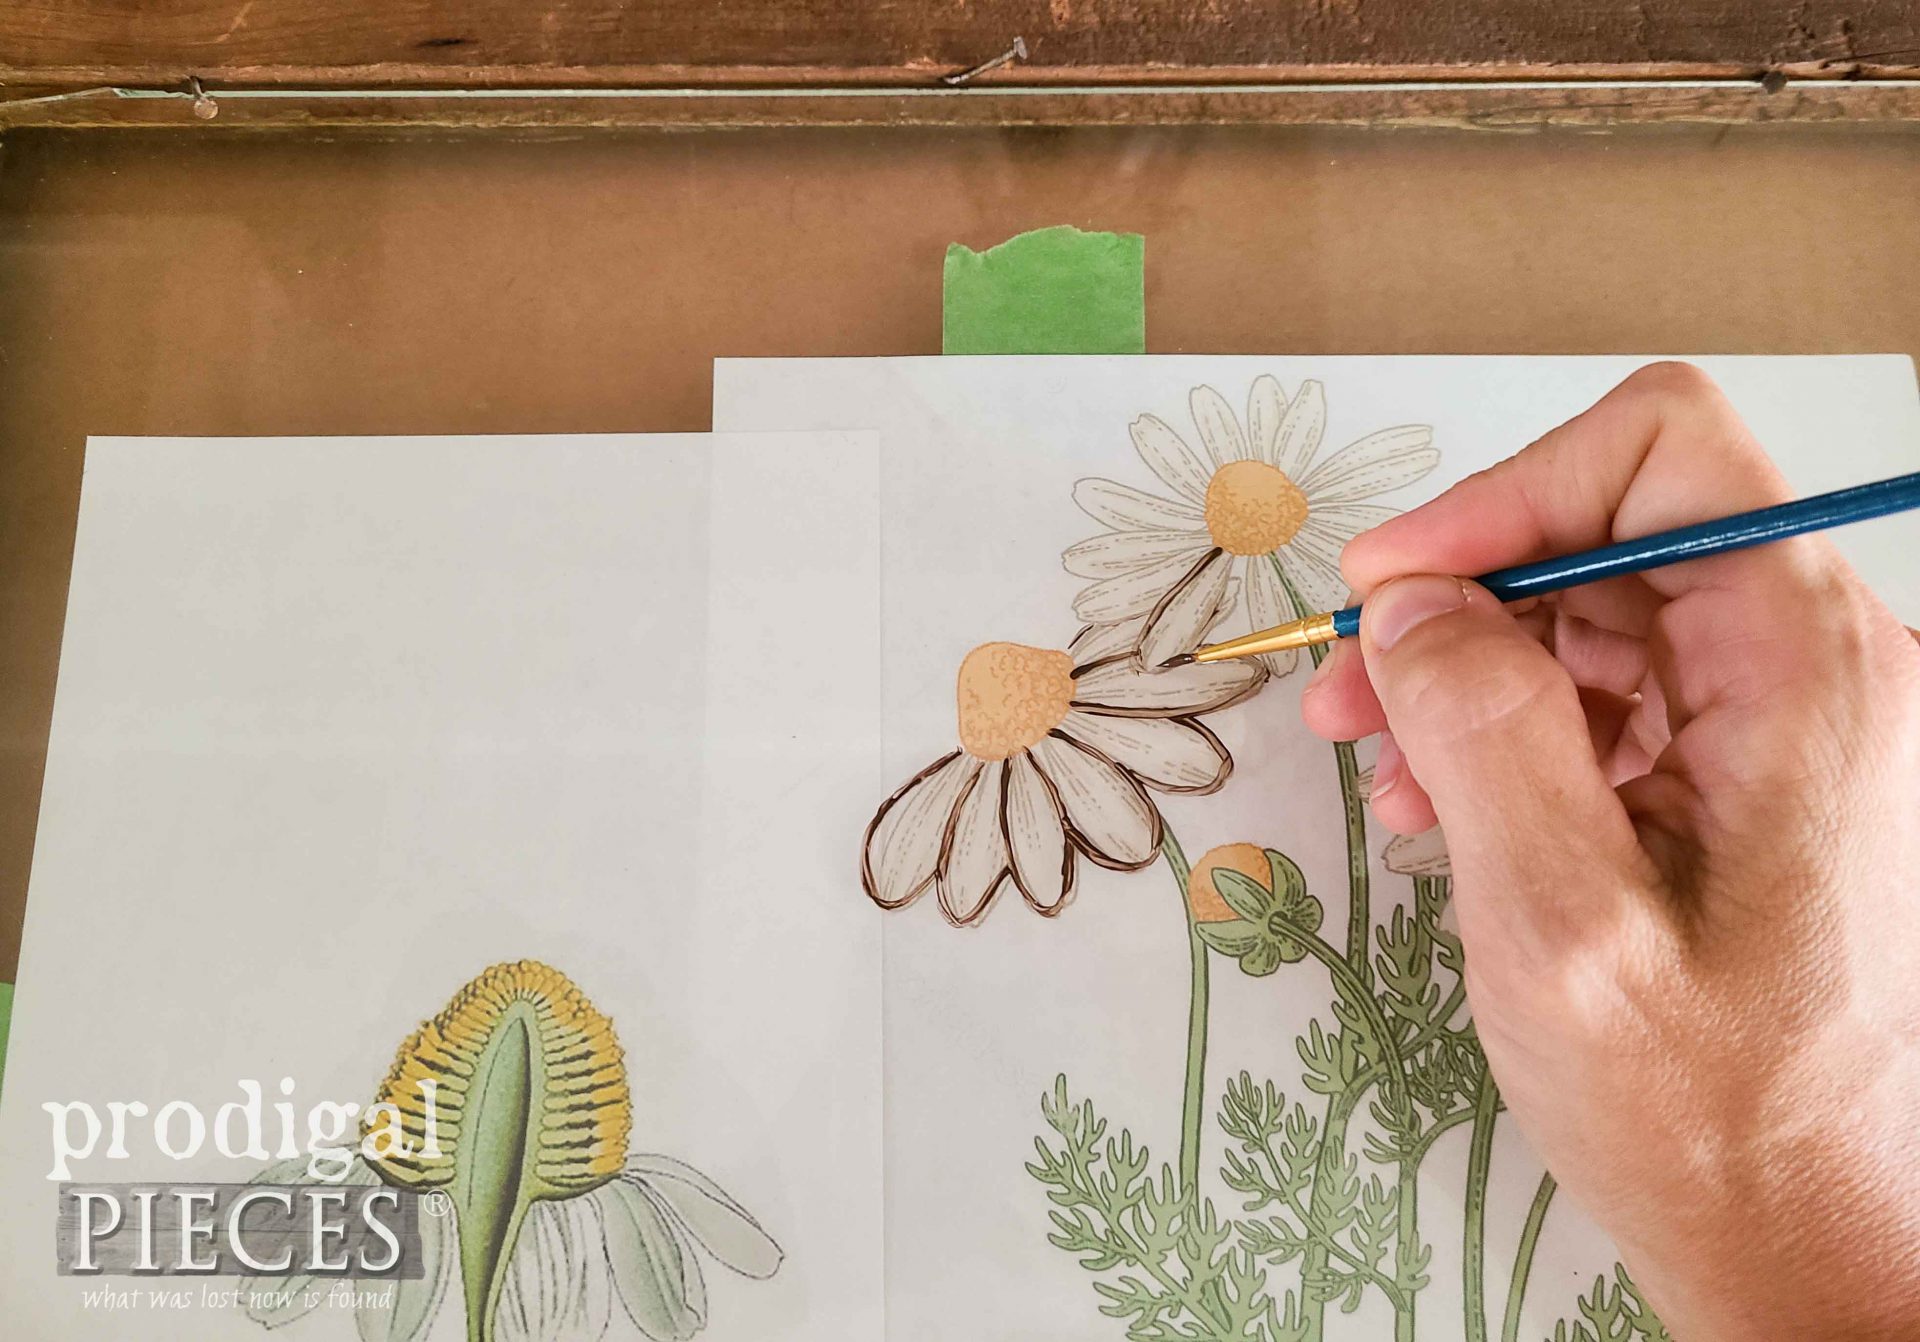
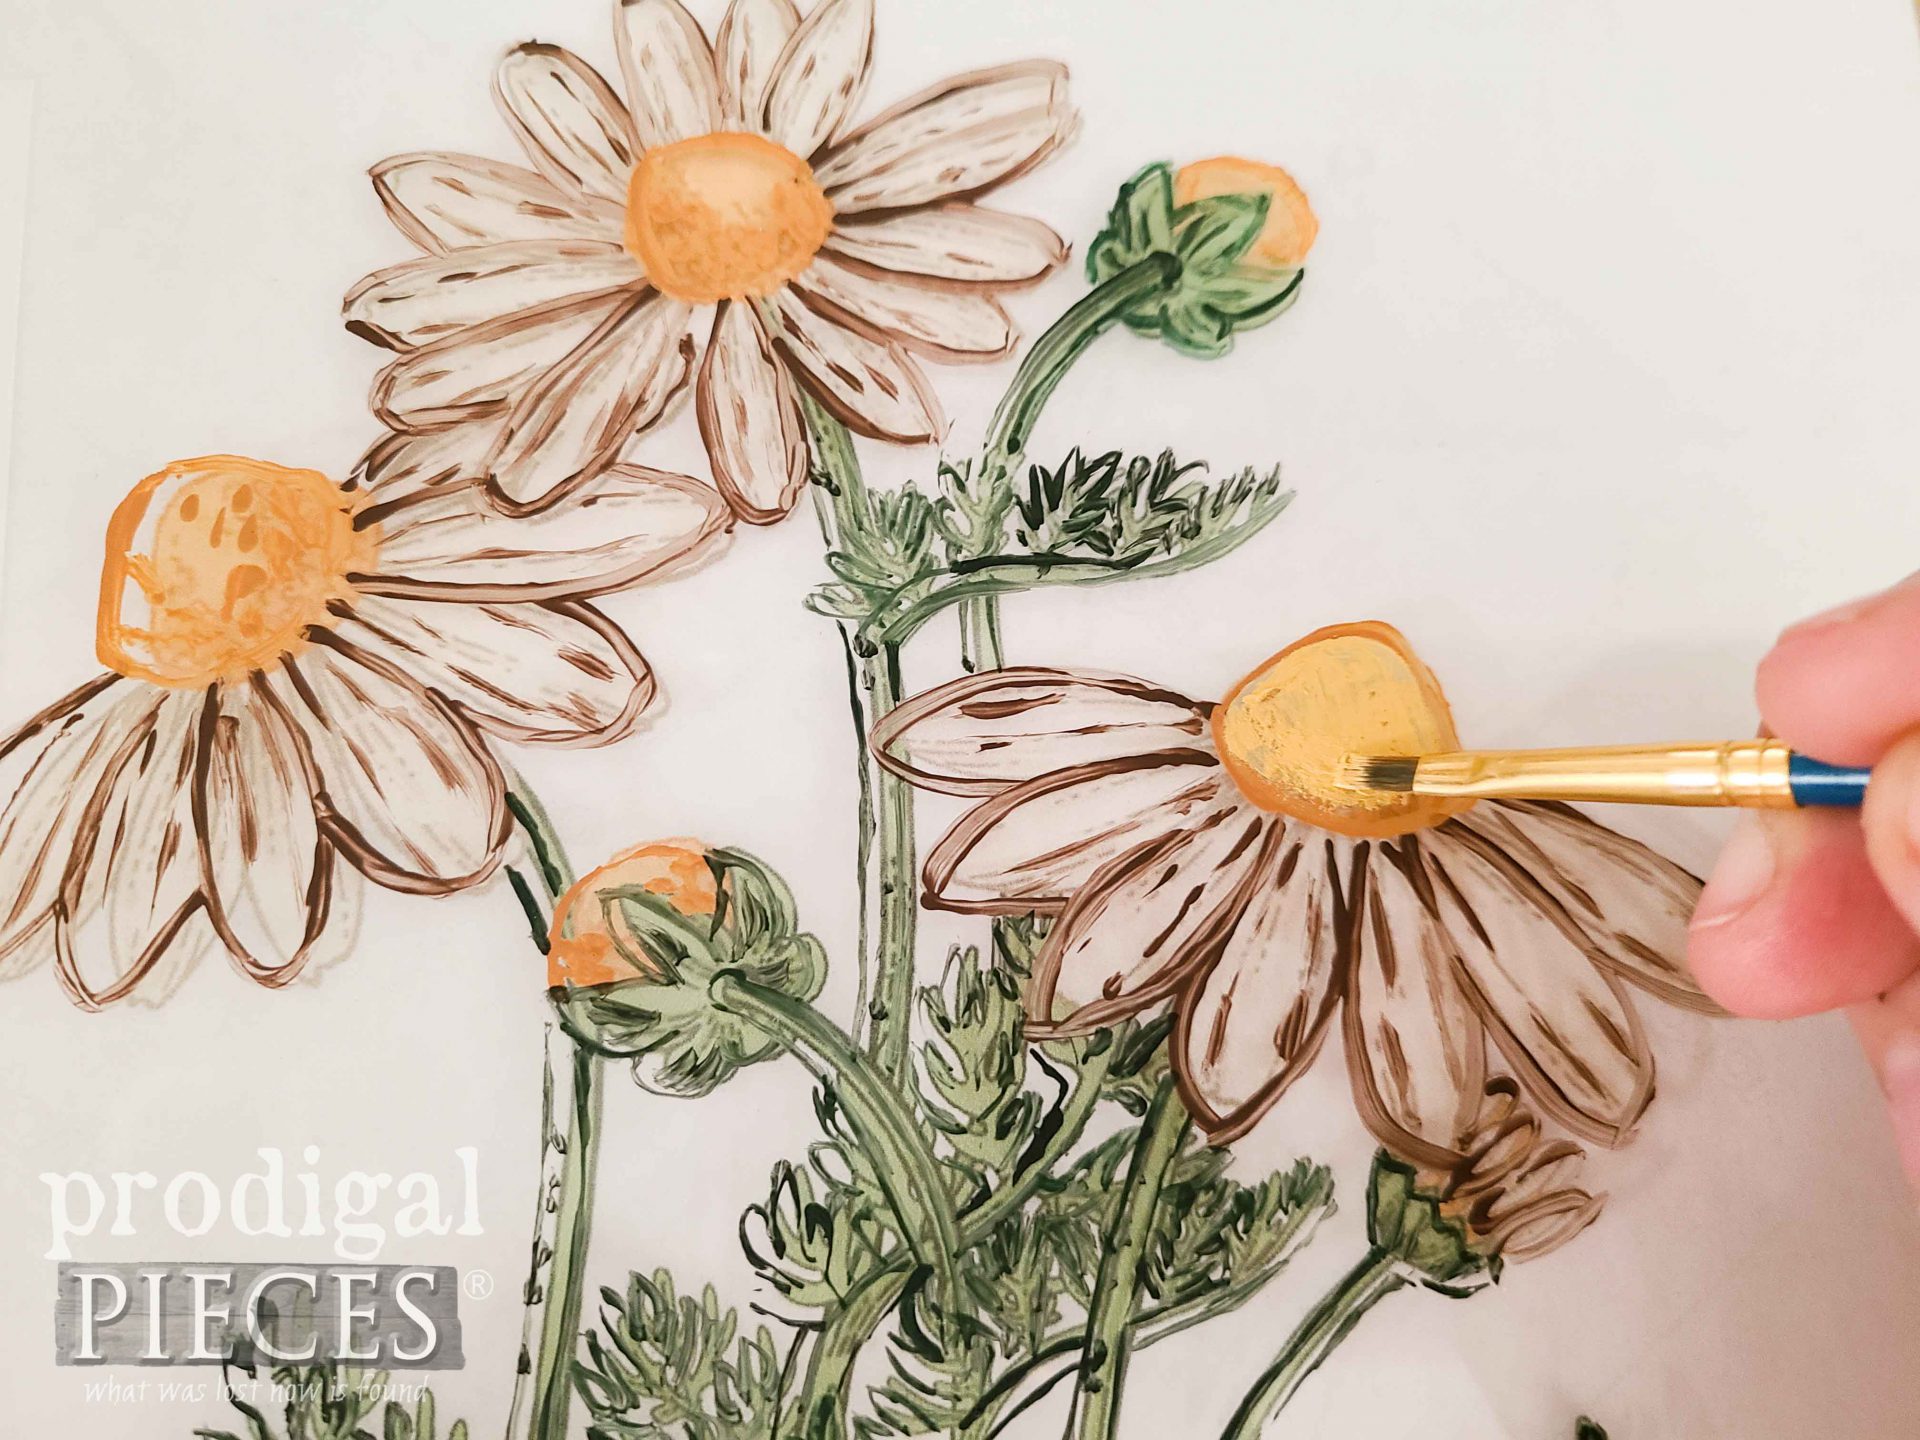
Now, here’s where I need you to really key in. Because we are creating a reverse image, our painting process is going to be in reverse too. So, instead of starting with the petals, for instance, we are going to begin with the outline of our image. I am using basic acrylic paint, but you could use paint intended for glass too, if you prefer.
Normally you’d fill in the solid parts and end with the outlines and accents. However, this time you begin with the outlines or the first visible layer in the art. Let completely cure before the next step.
STEP 4
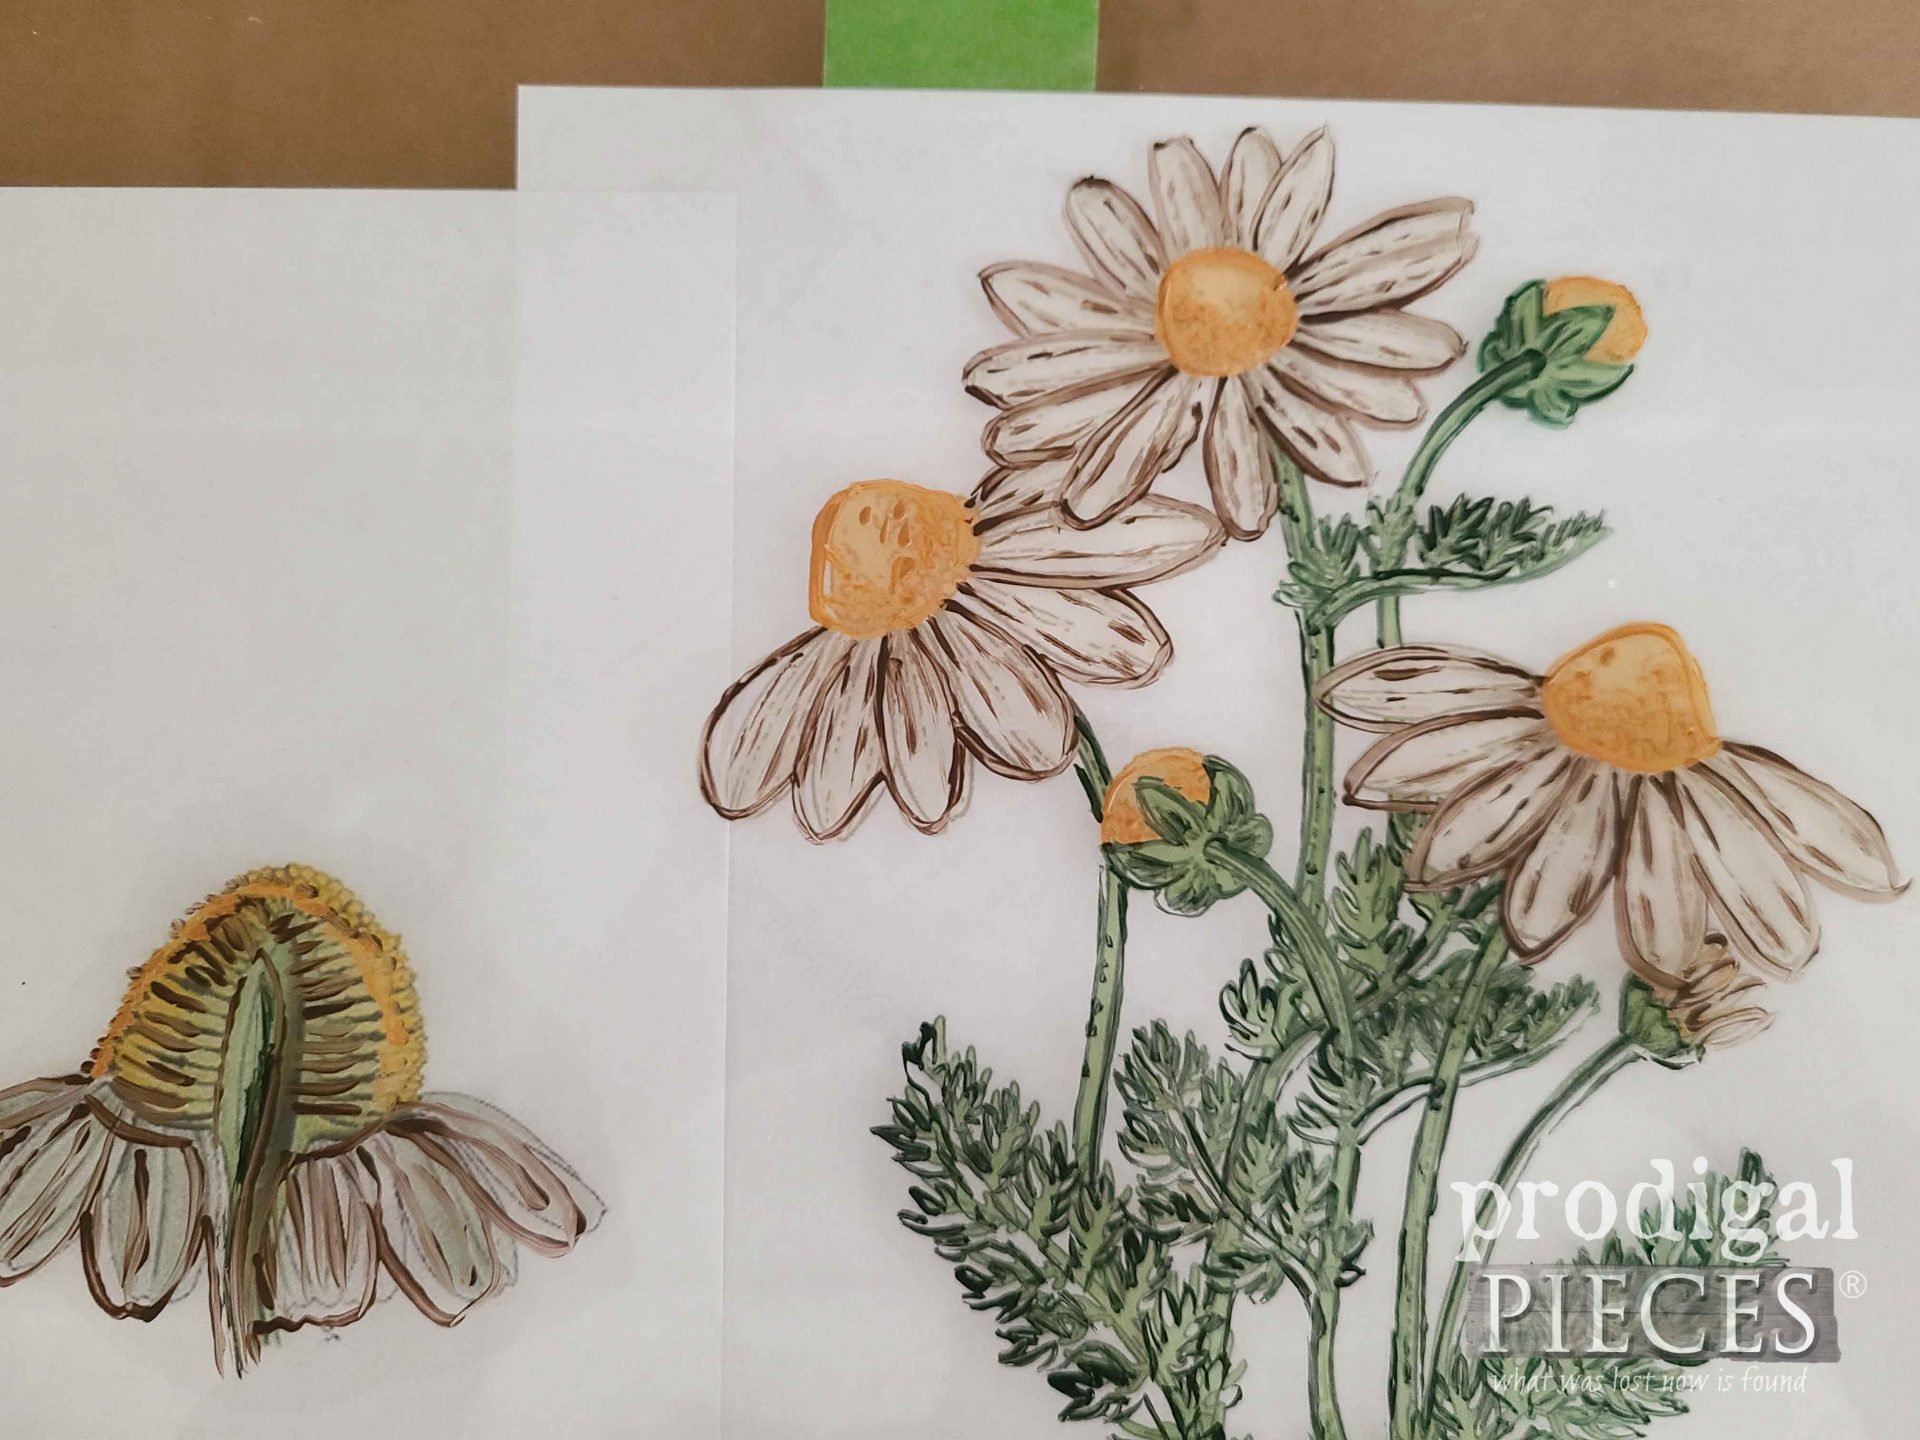
Once your first layer has cured, then you can fill in the backing of the art. For instance, with the chamomile flower head, I began by using a darker orange/yellow to outline and add texture. Then, I back-fill with a lighter yellow.
Let all your layers cure, then remove the graphic and move on to the next step.
STEP 5
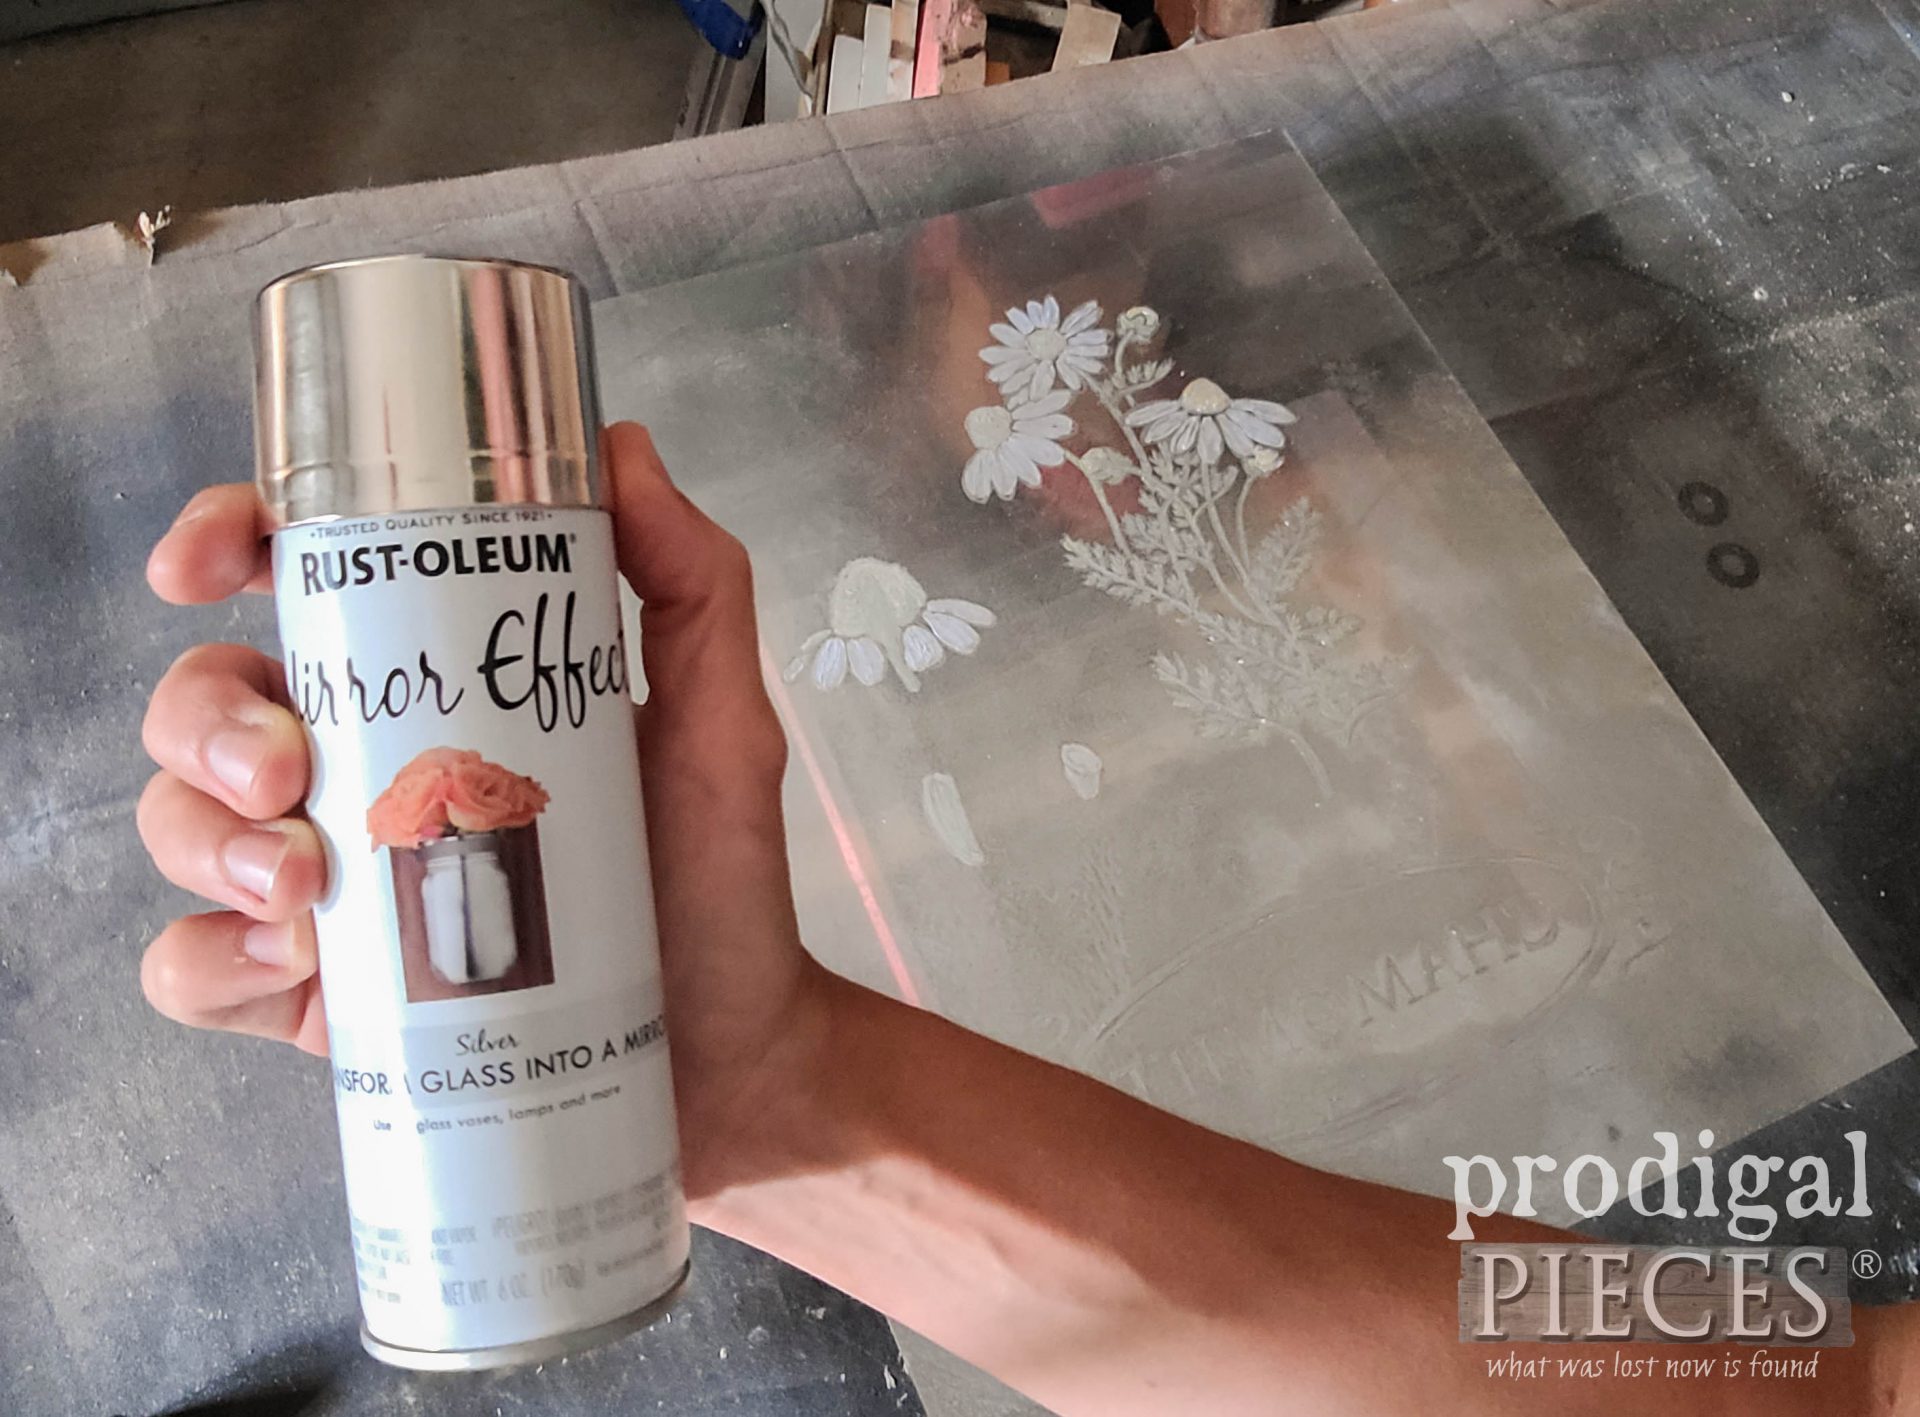
Next, we are going to use our mirror effects spray paint to create an “antique” mirror with ghosting. Remove the glass from the frame and set up a spray area.
Follow the manufacturer instructions to lightly spray many coats. I find that 5 coats suits my need perfectly.
STEP 6
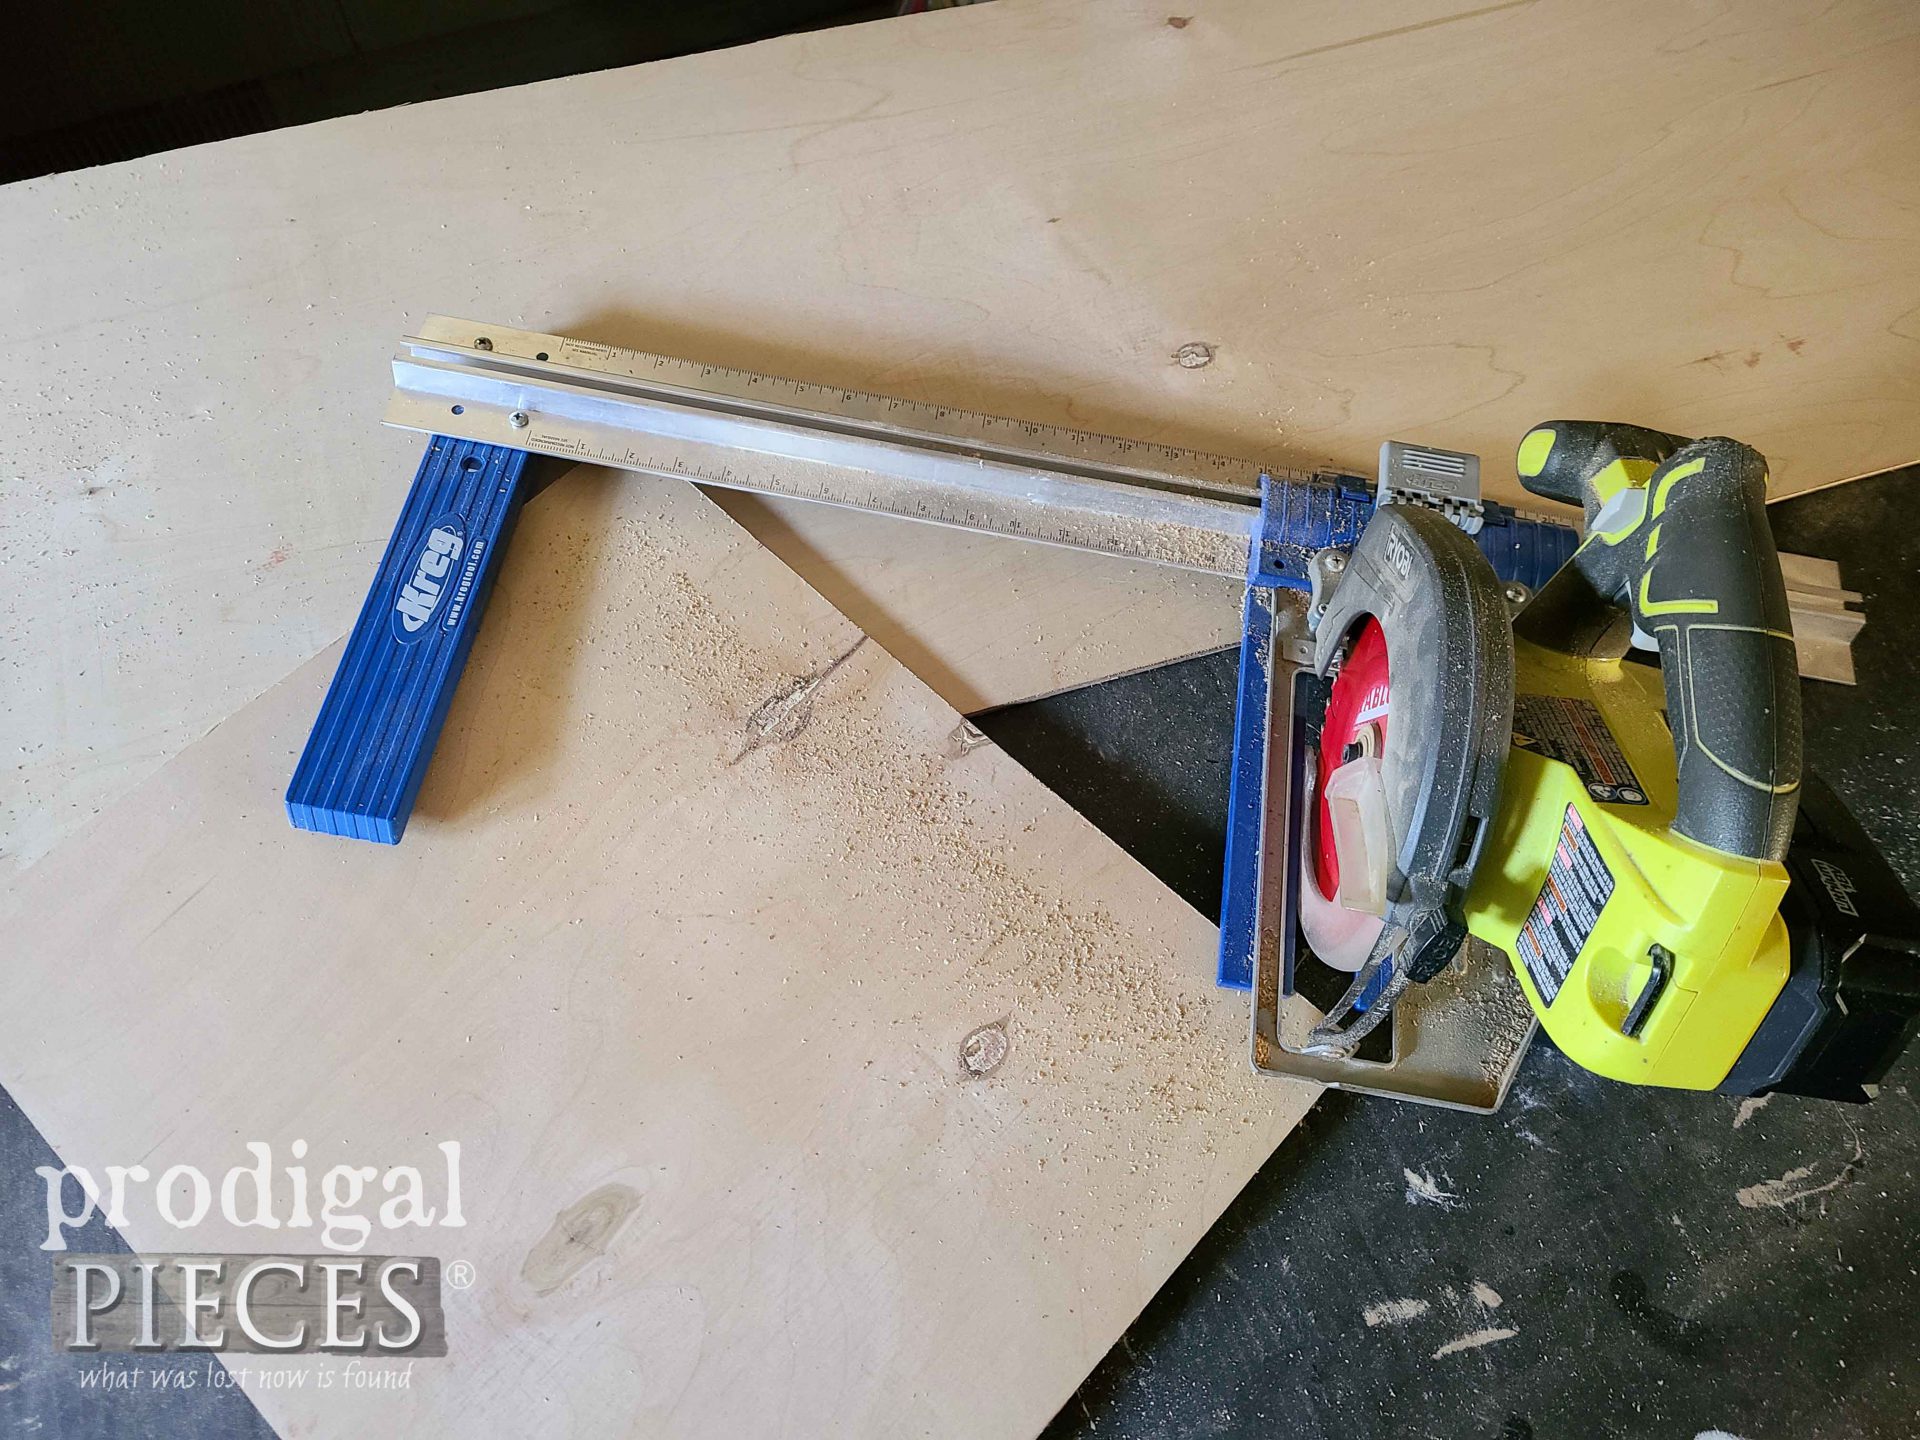
Meanwhile waiting for the layers to cure, we need to work on our backing. In my case, I didn’t have the original backing, so I need to cut a board. I love using my Rip Cut Jig and my small circular saw to do this quickly and easily.
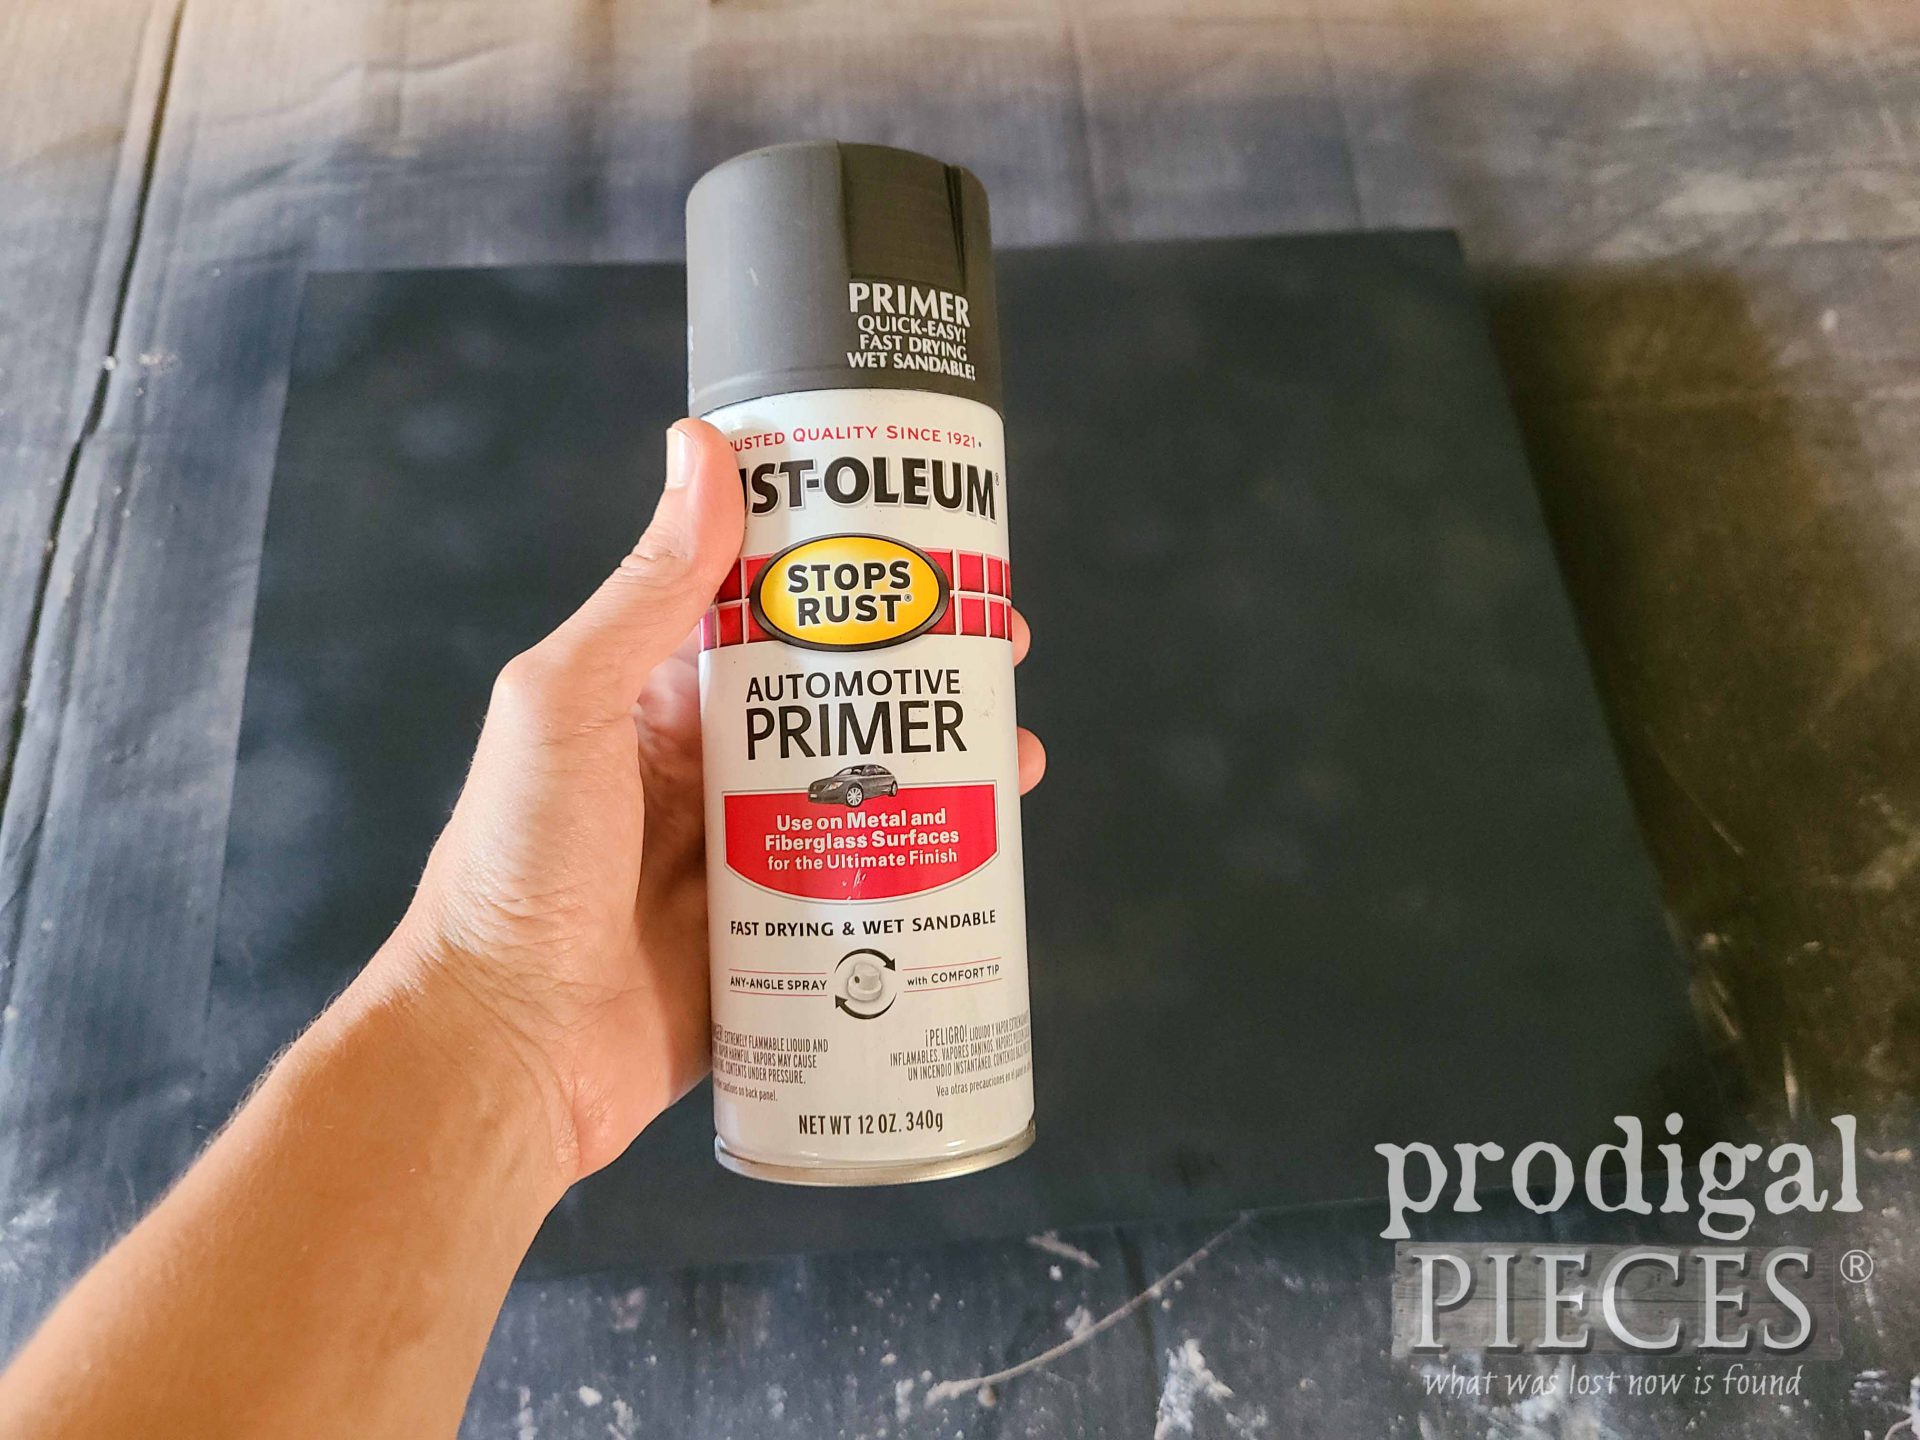
Then, we need to create a mirror backing look with either a gray spray paint like this, or brushed on paint.
STEP 7
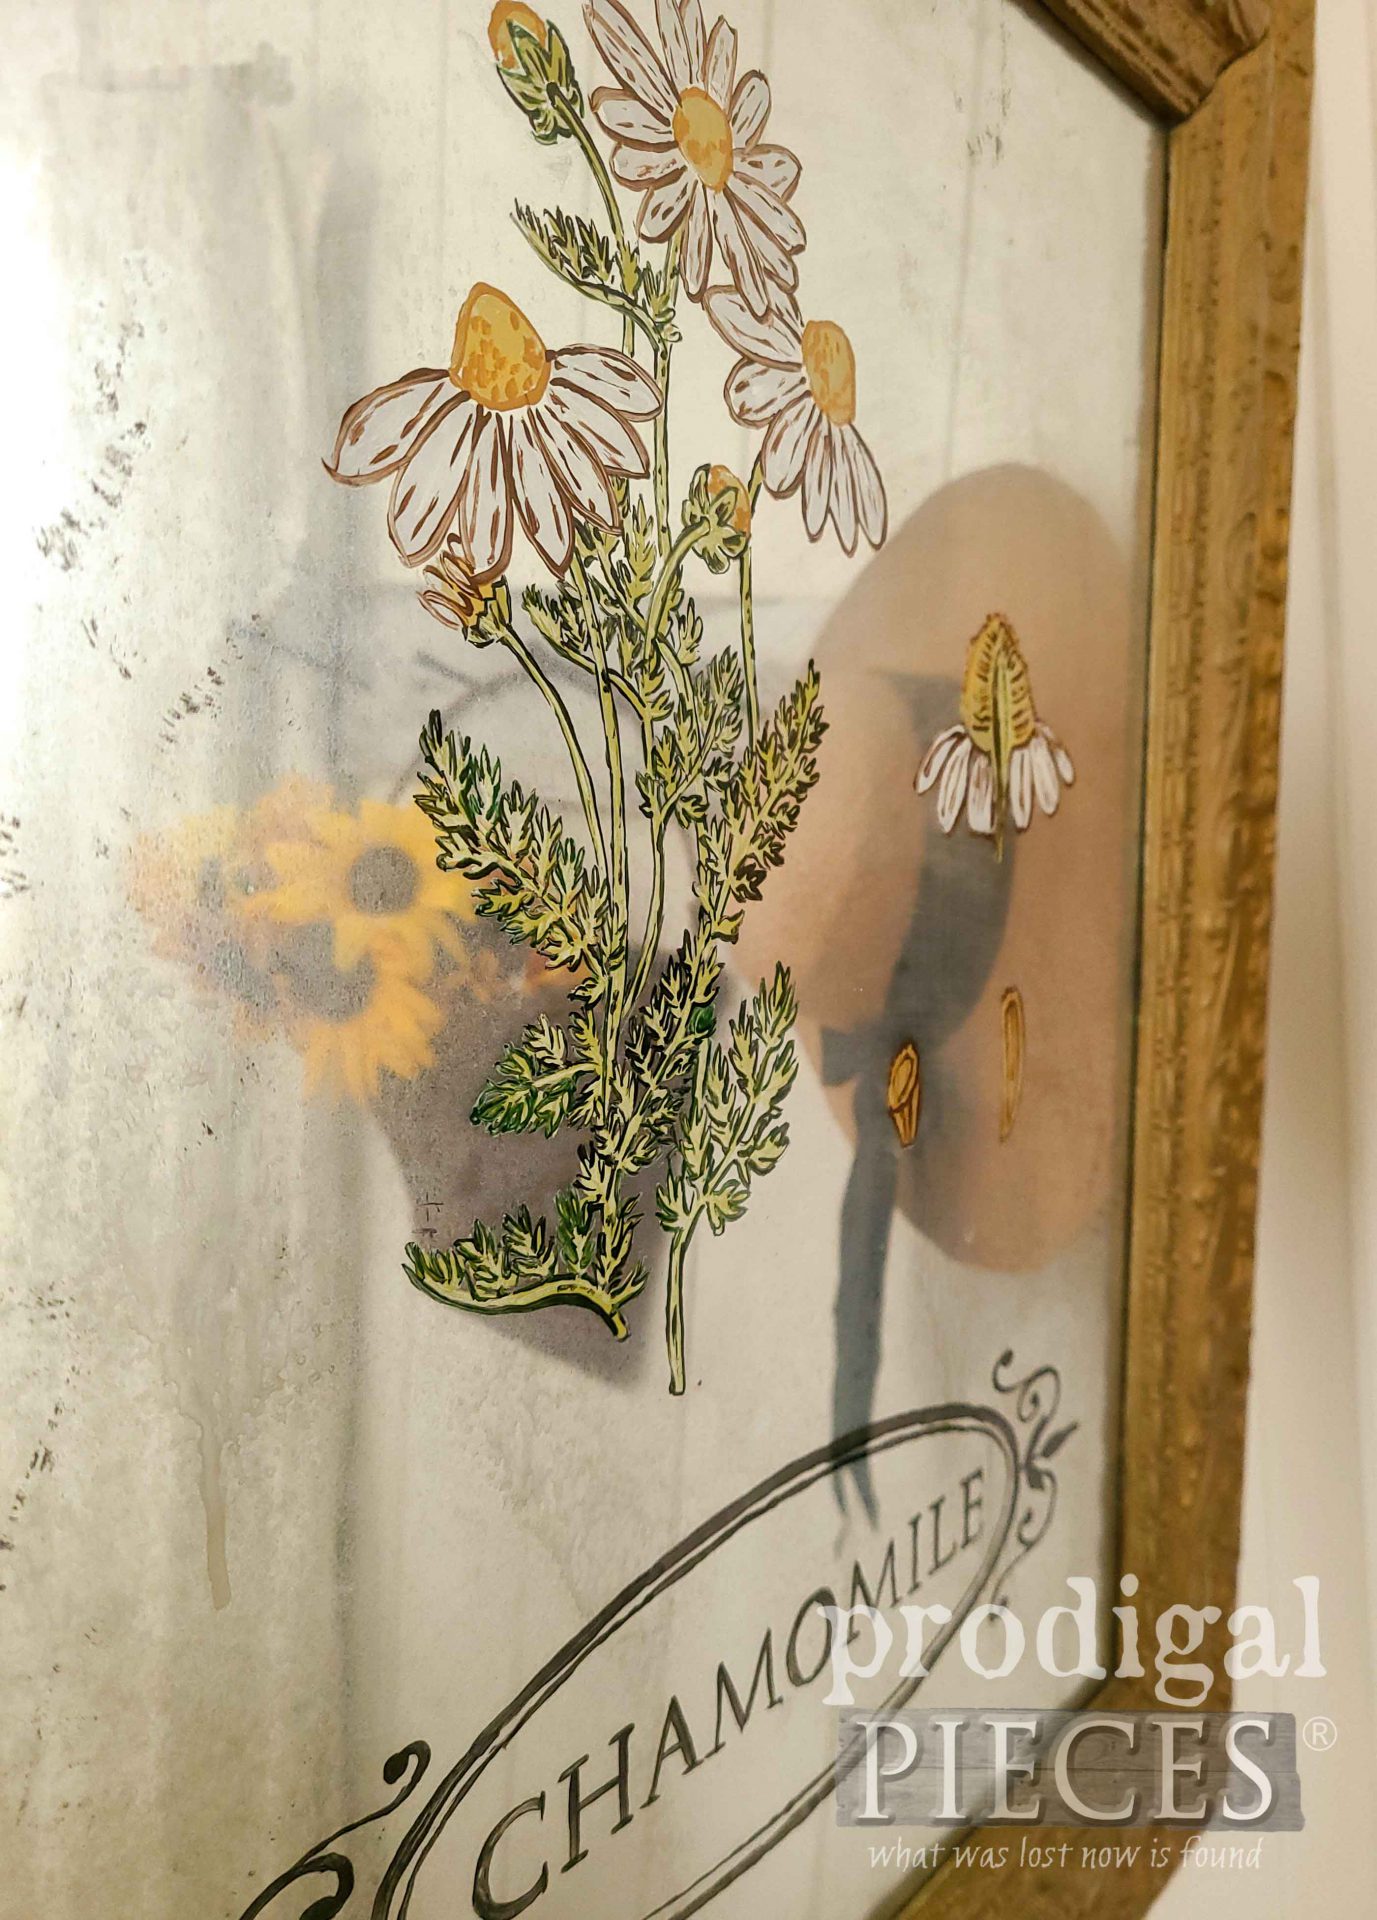
Now that are mirror has many layers of paint, we need to create the aging process. I use a spray nozzle in a bottle of rubbing alcohol and mist the back of the mirror. The video demonstrates this best or you can see this method also in my other post HERE.
As soon as you spritz the alcohol, take your rag and lightly pounce the surface, or you can lightly wipe side-to-side. This will create that worn, ghosted effect.
STEP 8
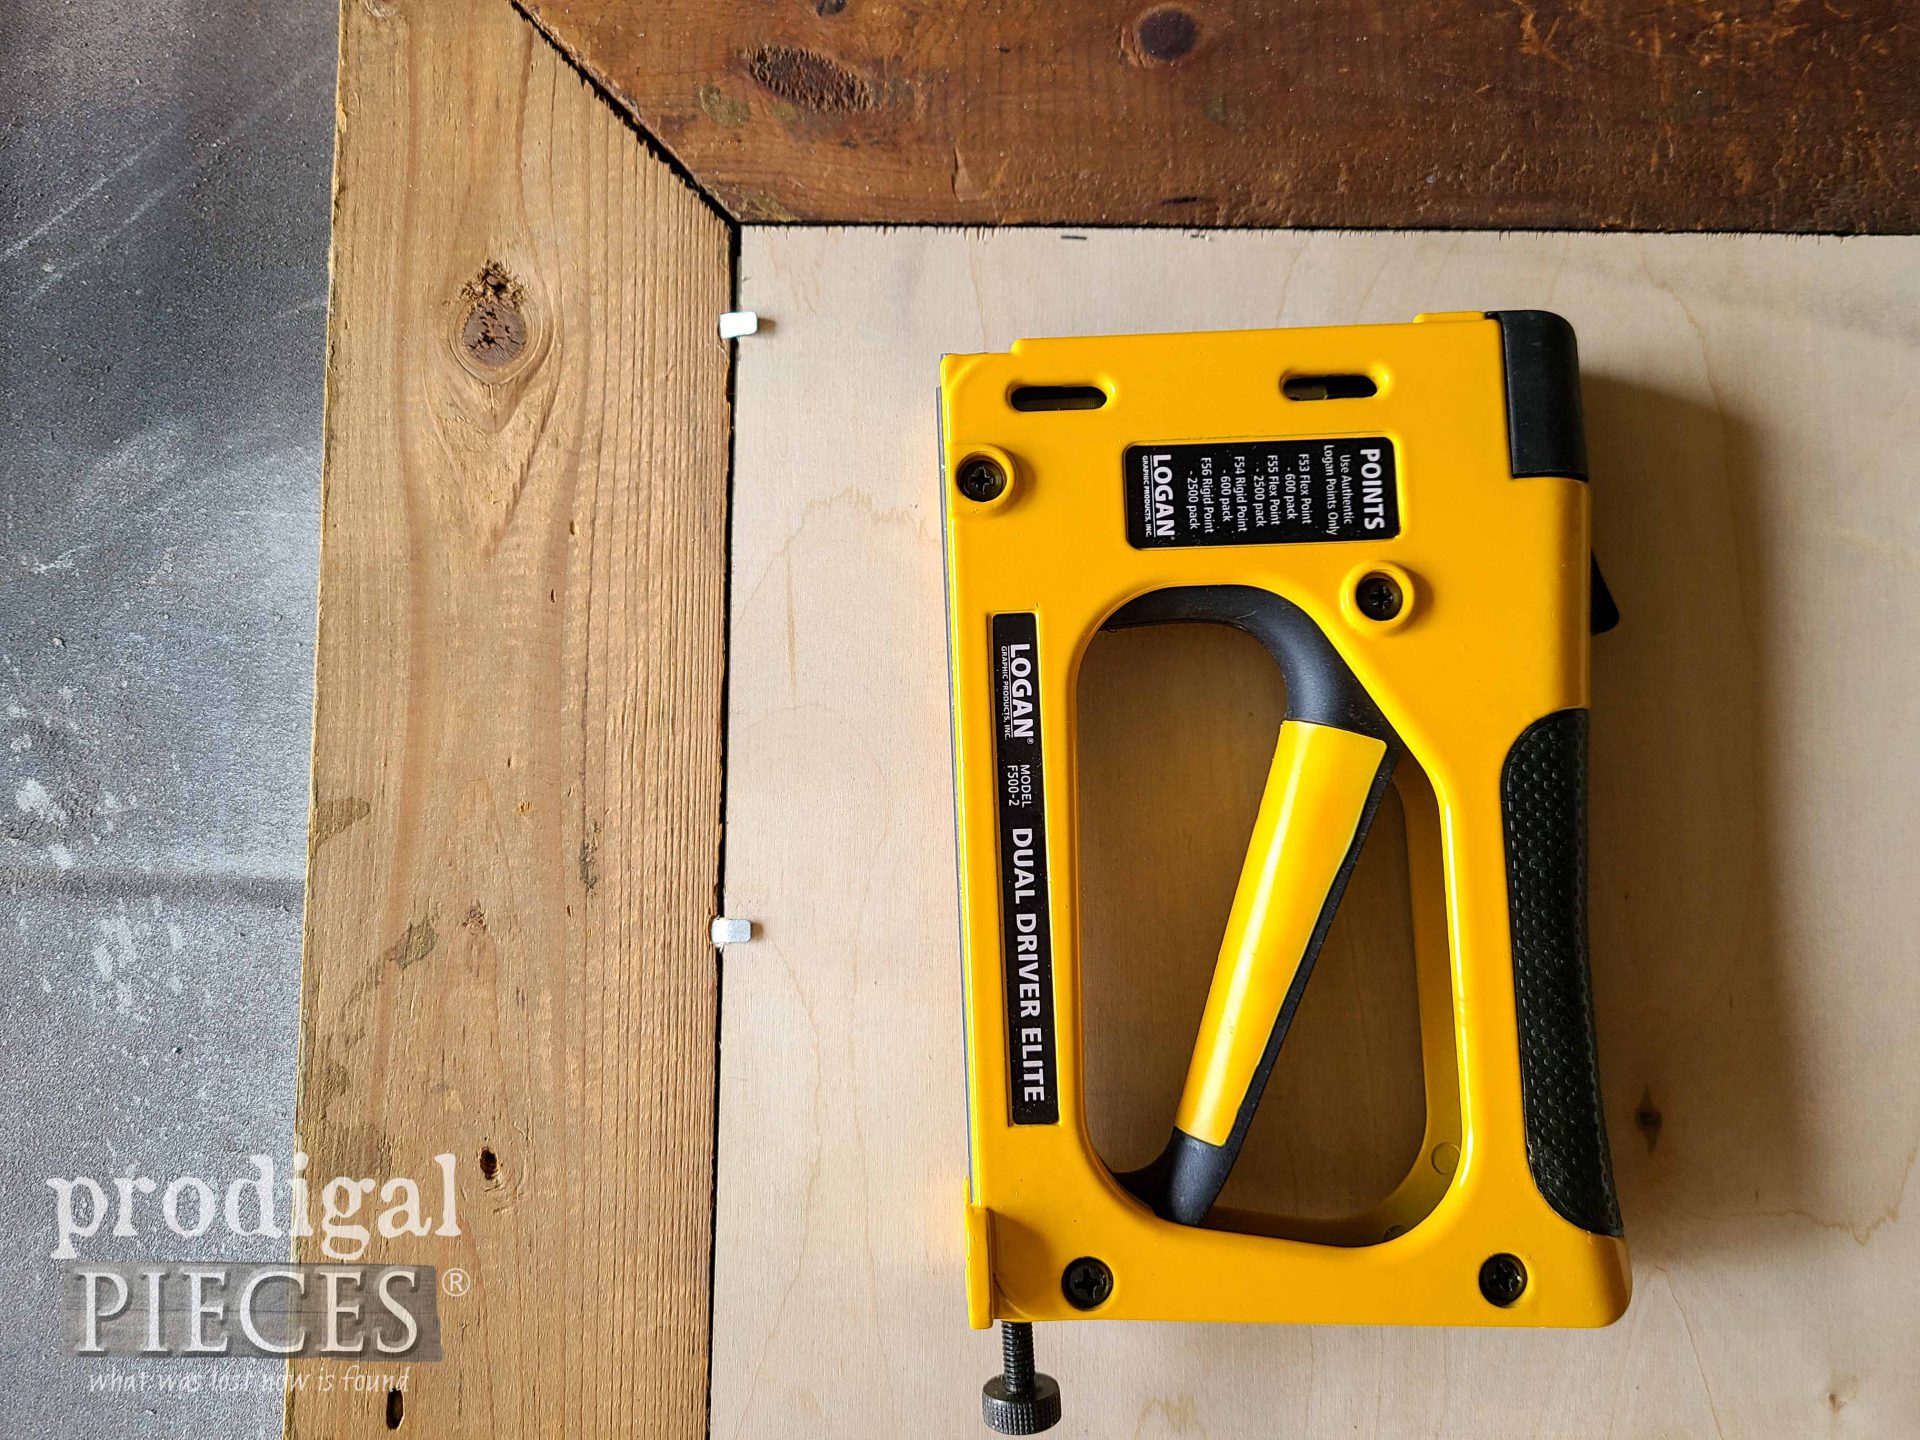
Last, we can put it all together back together. In my case, I had to add new hardware to hold my mirror backing in. I just LOVE my point driver tool. It makes assembling handmade art so easy.
It works kinda like a stapler. You can see it in action in my video. Just be careful not to hit your glass.
THE REVEAL
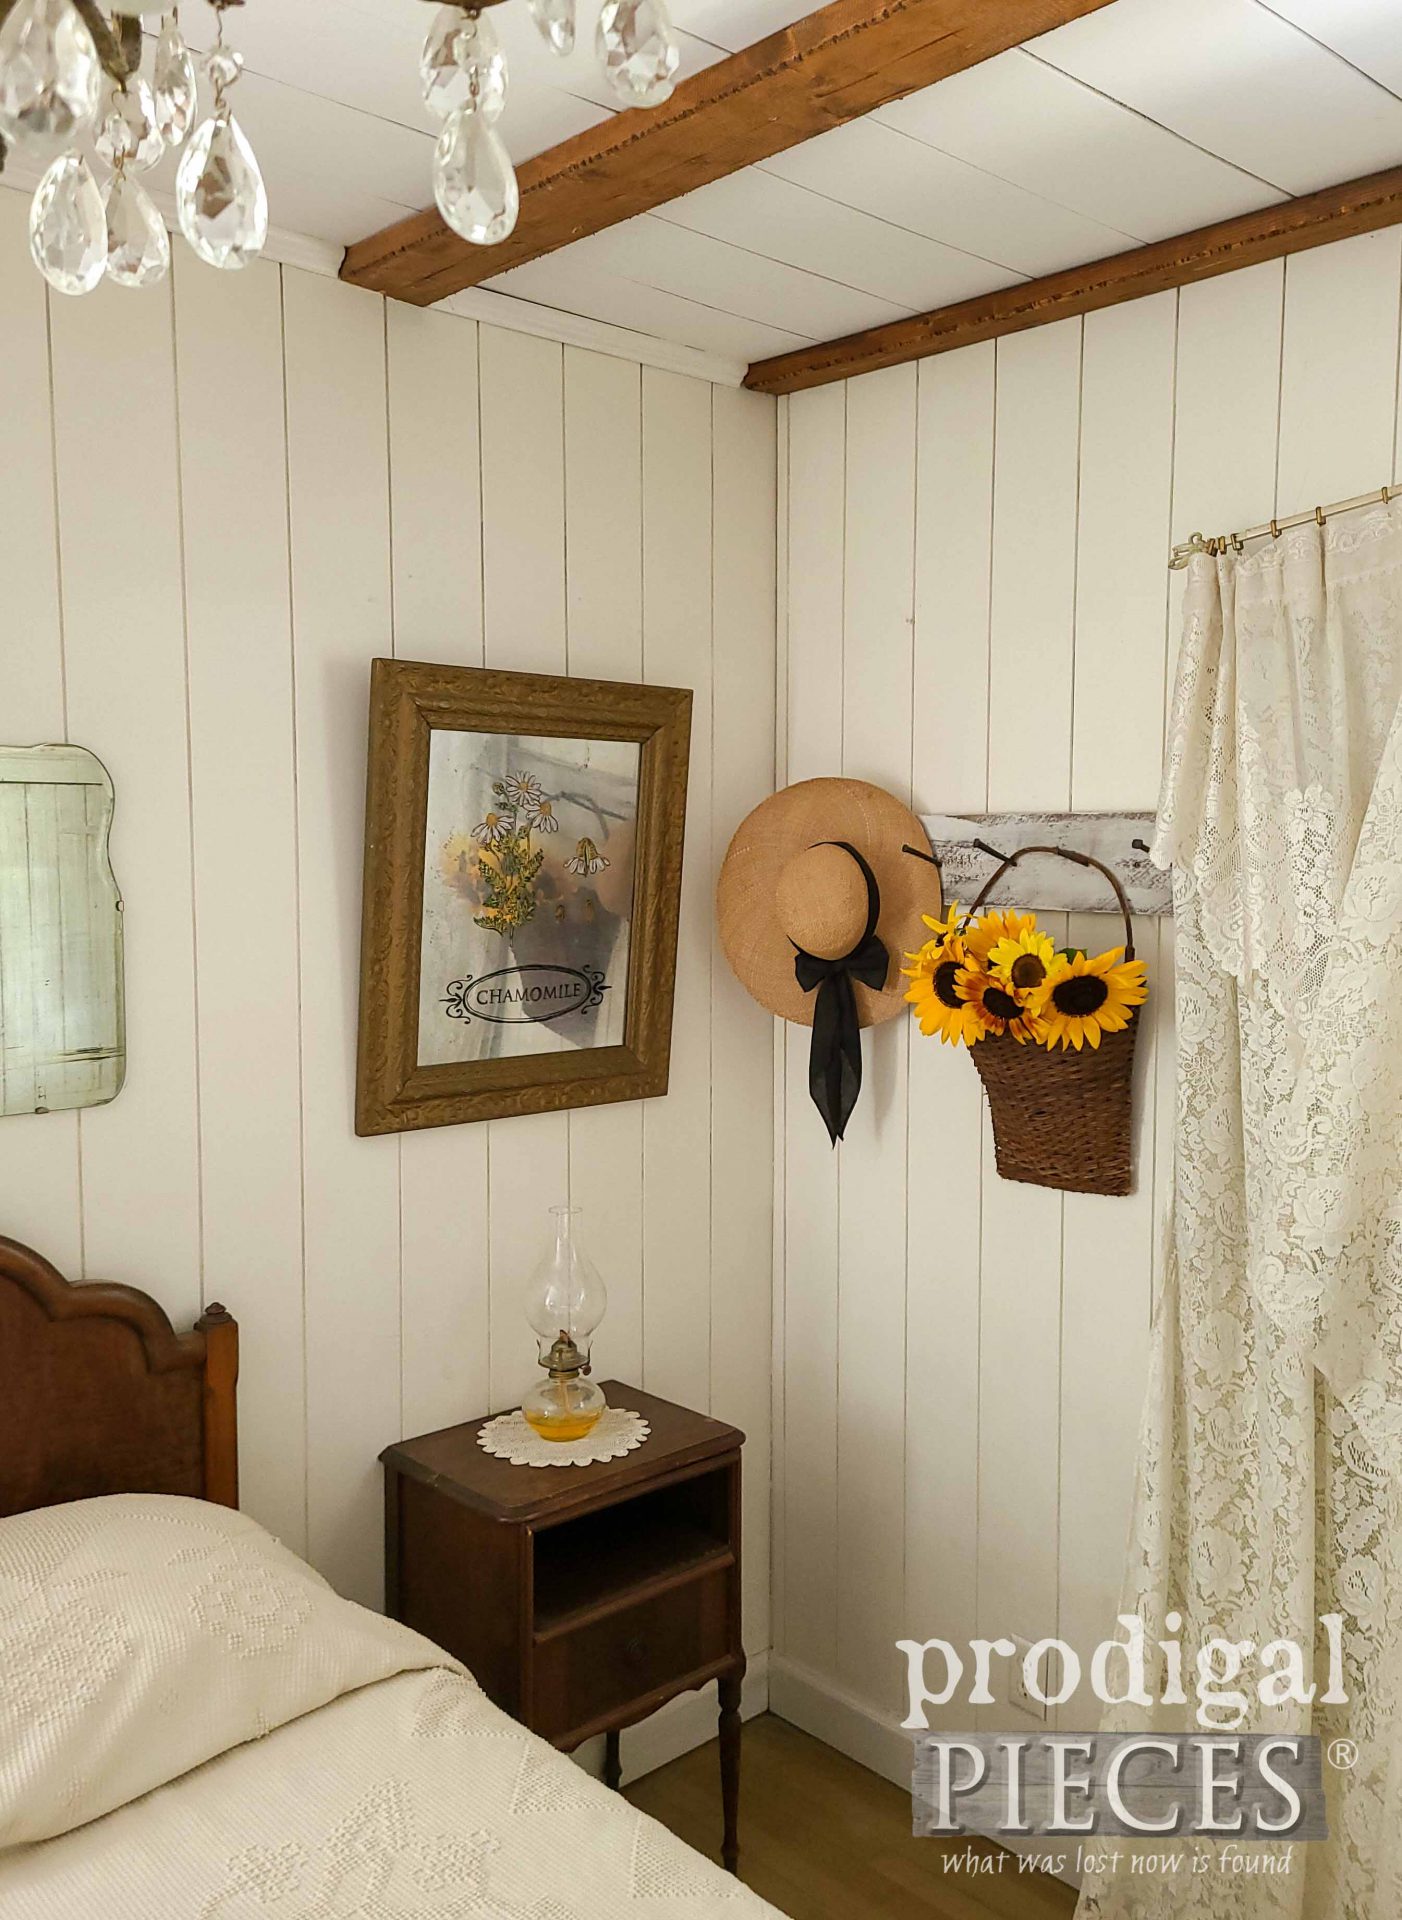
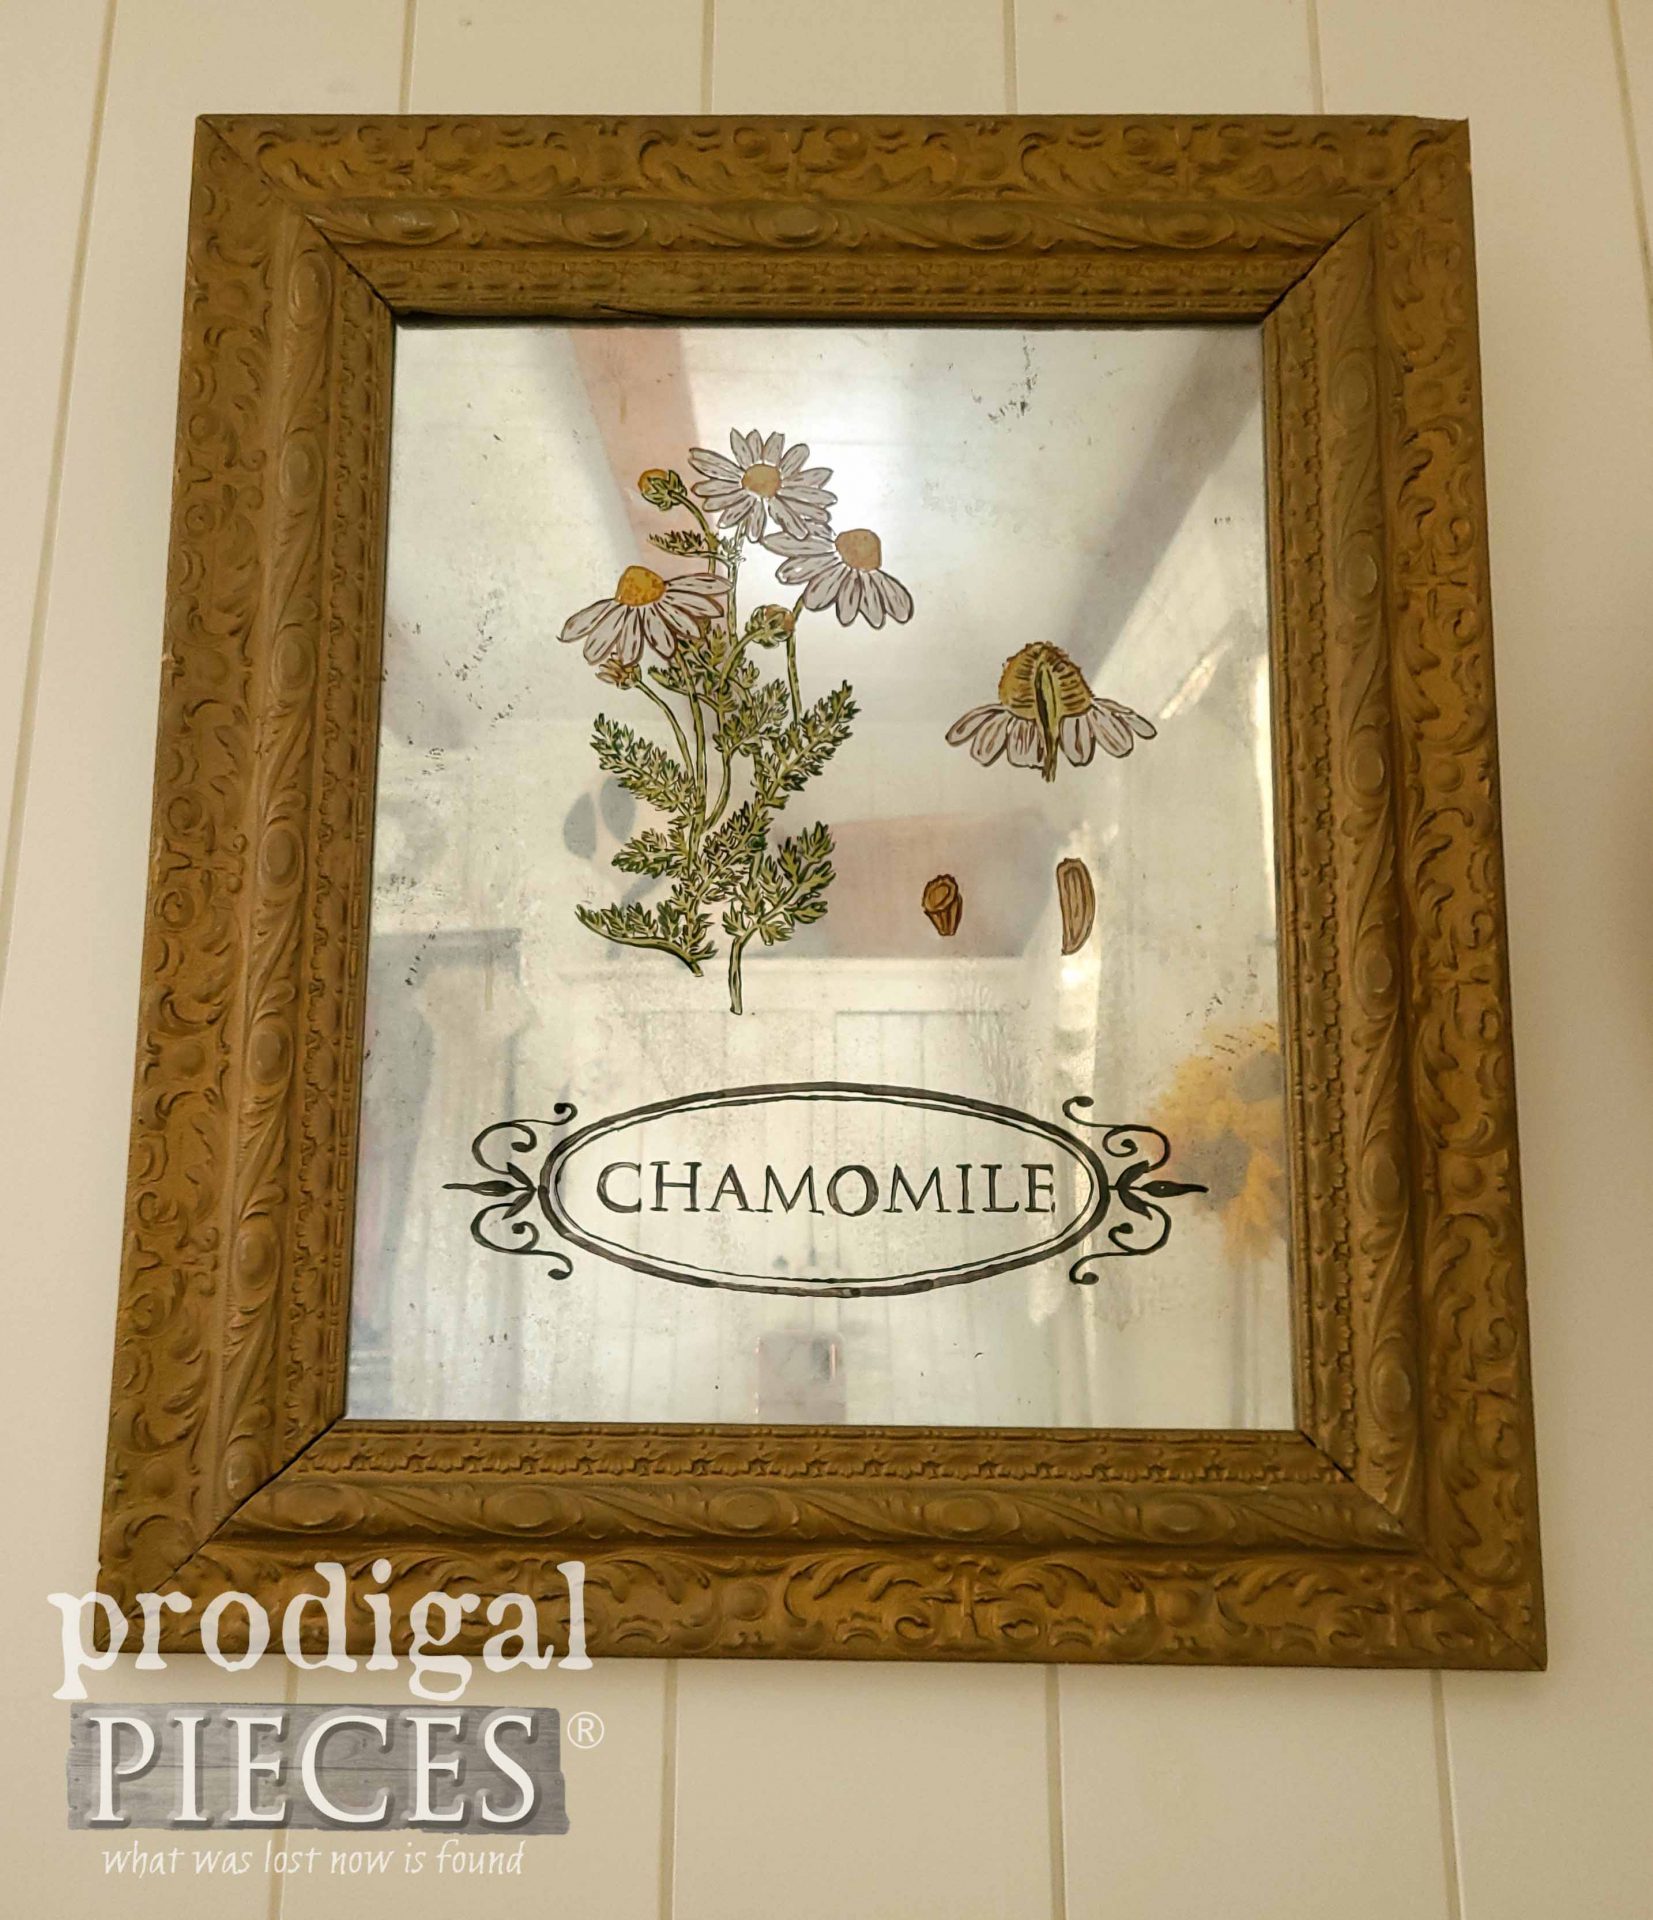
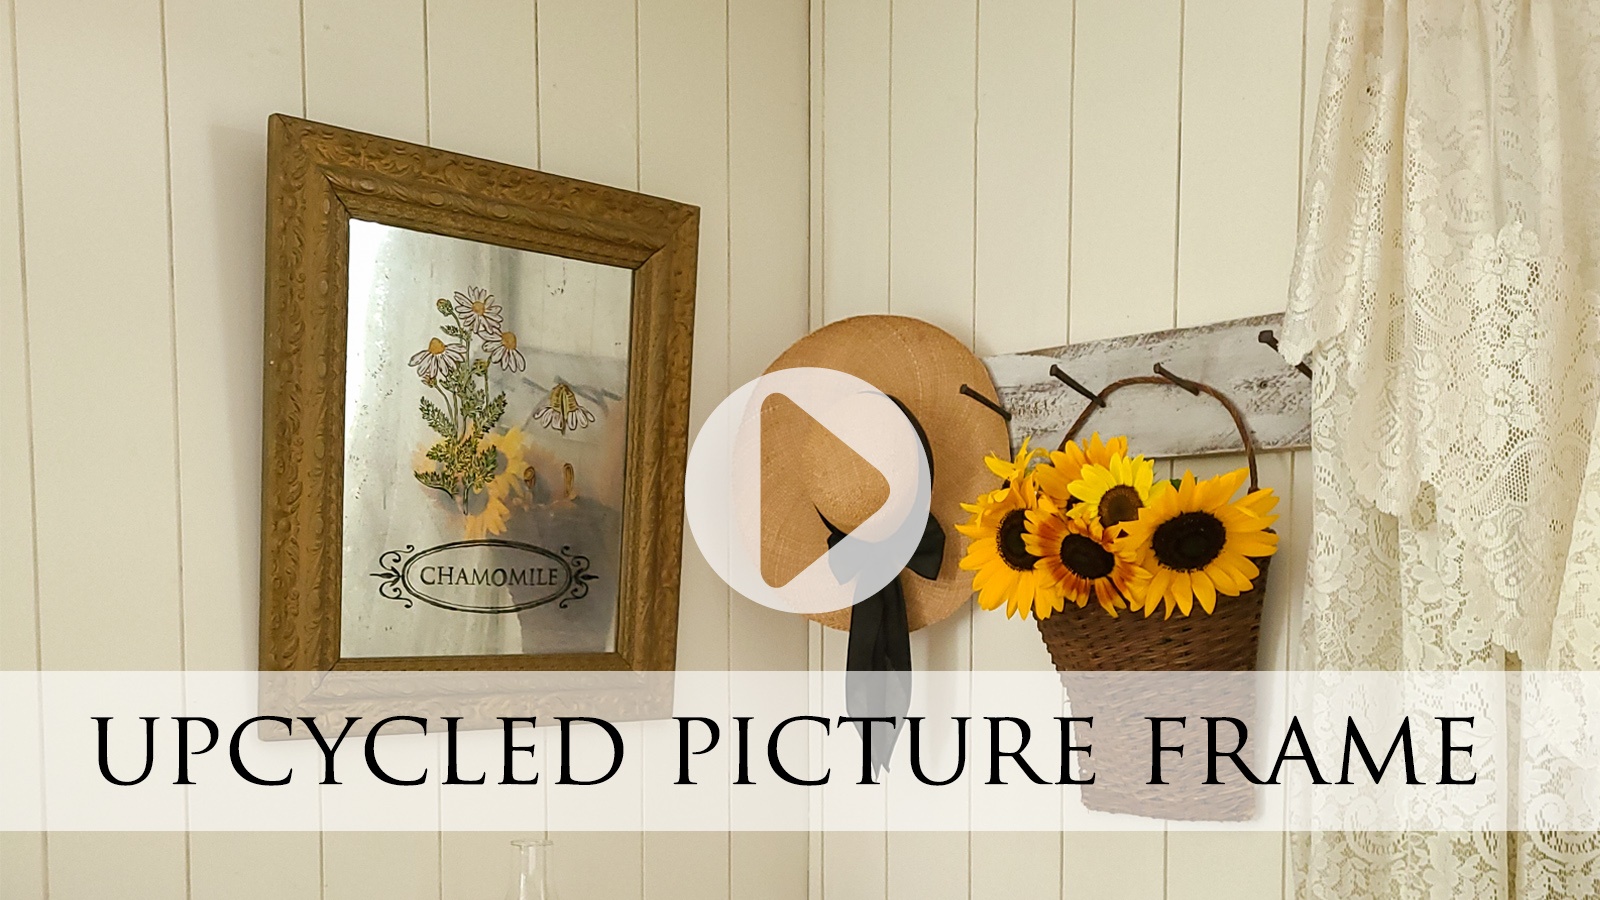
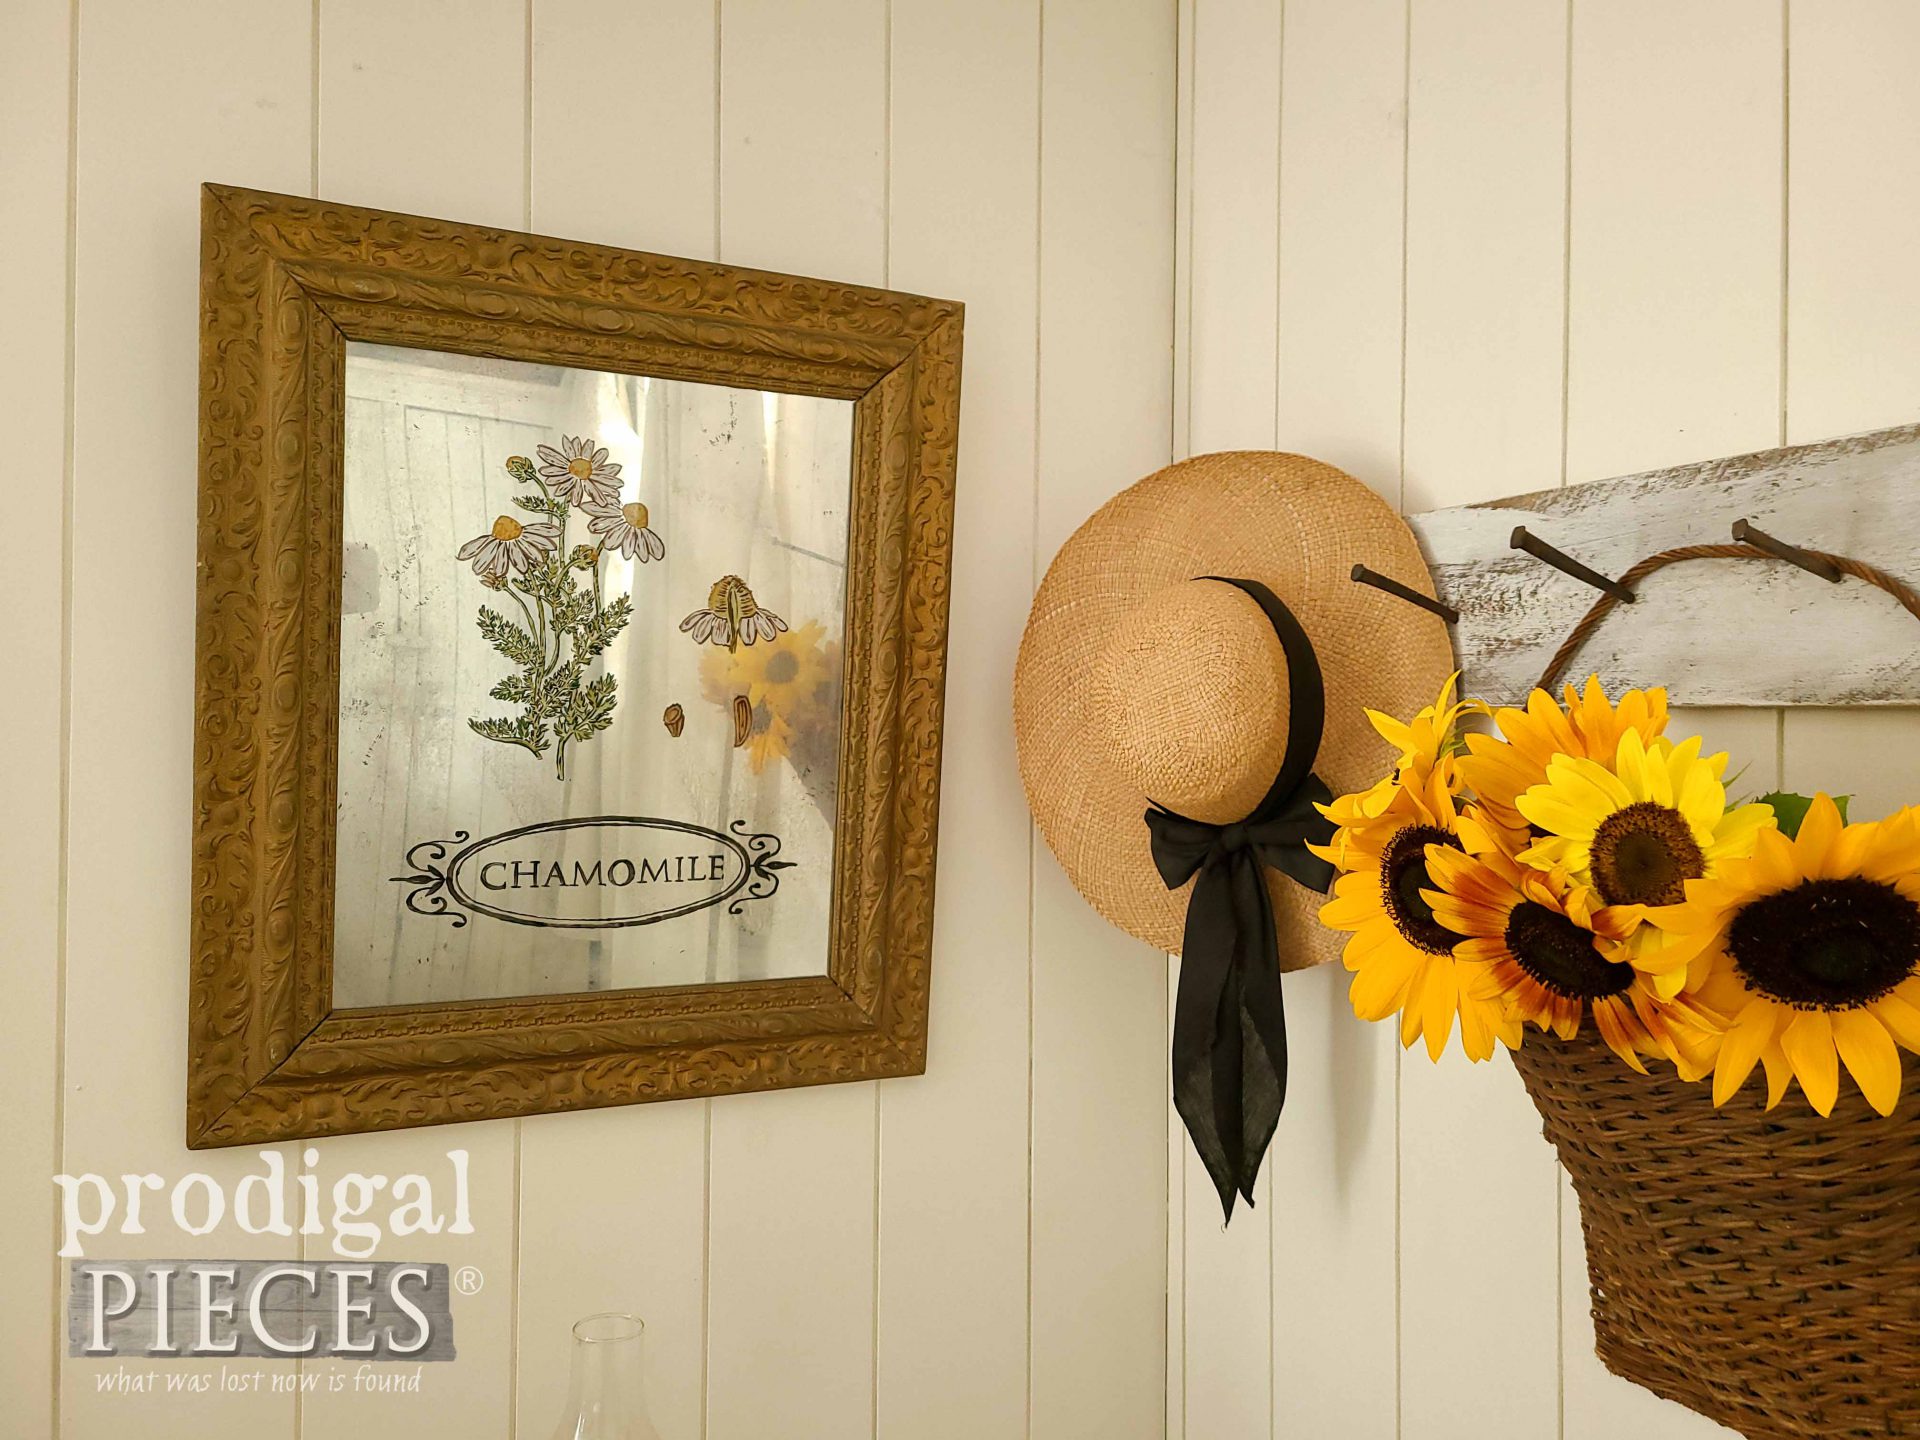
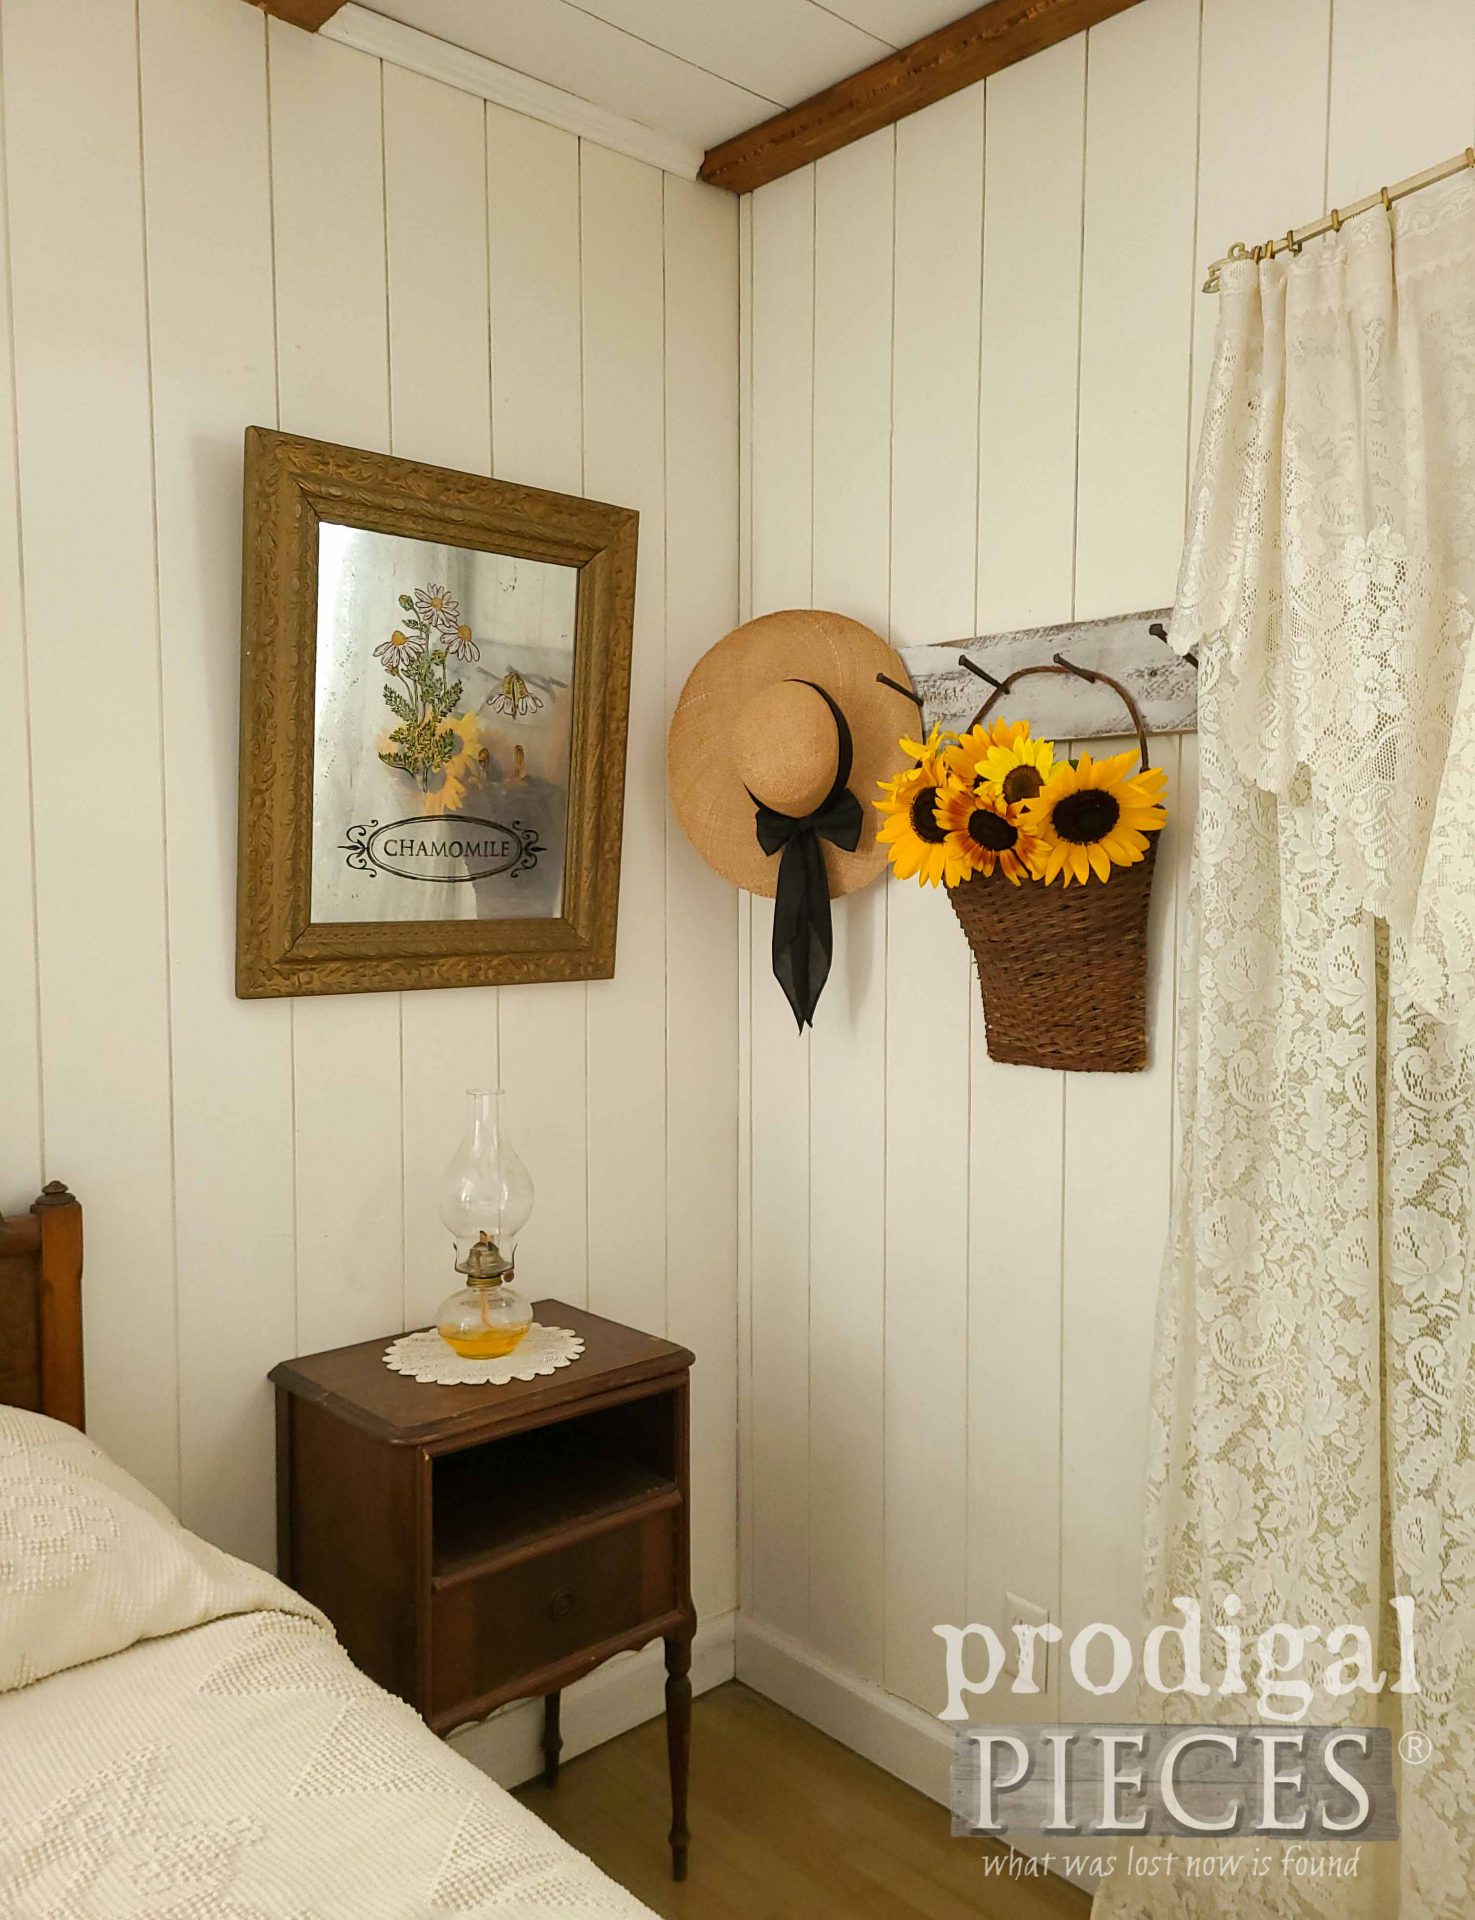
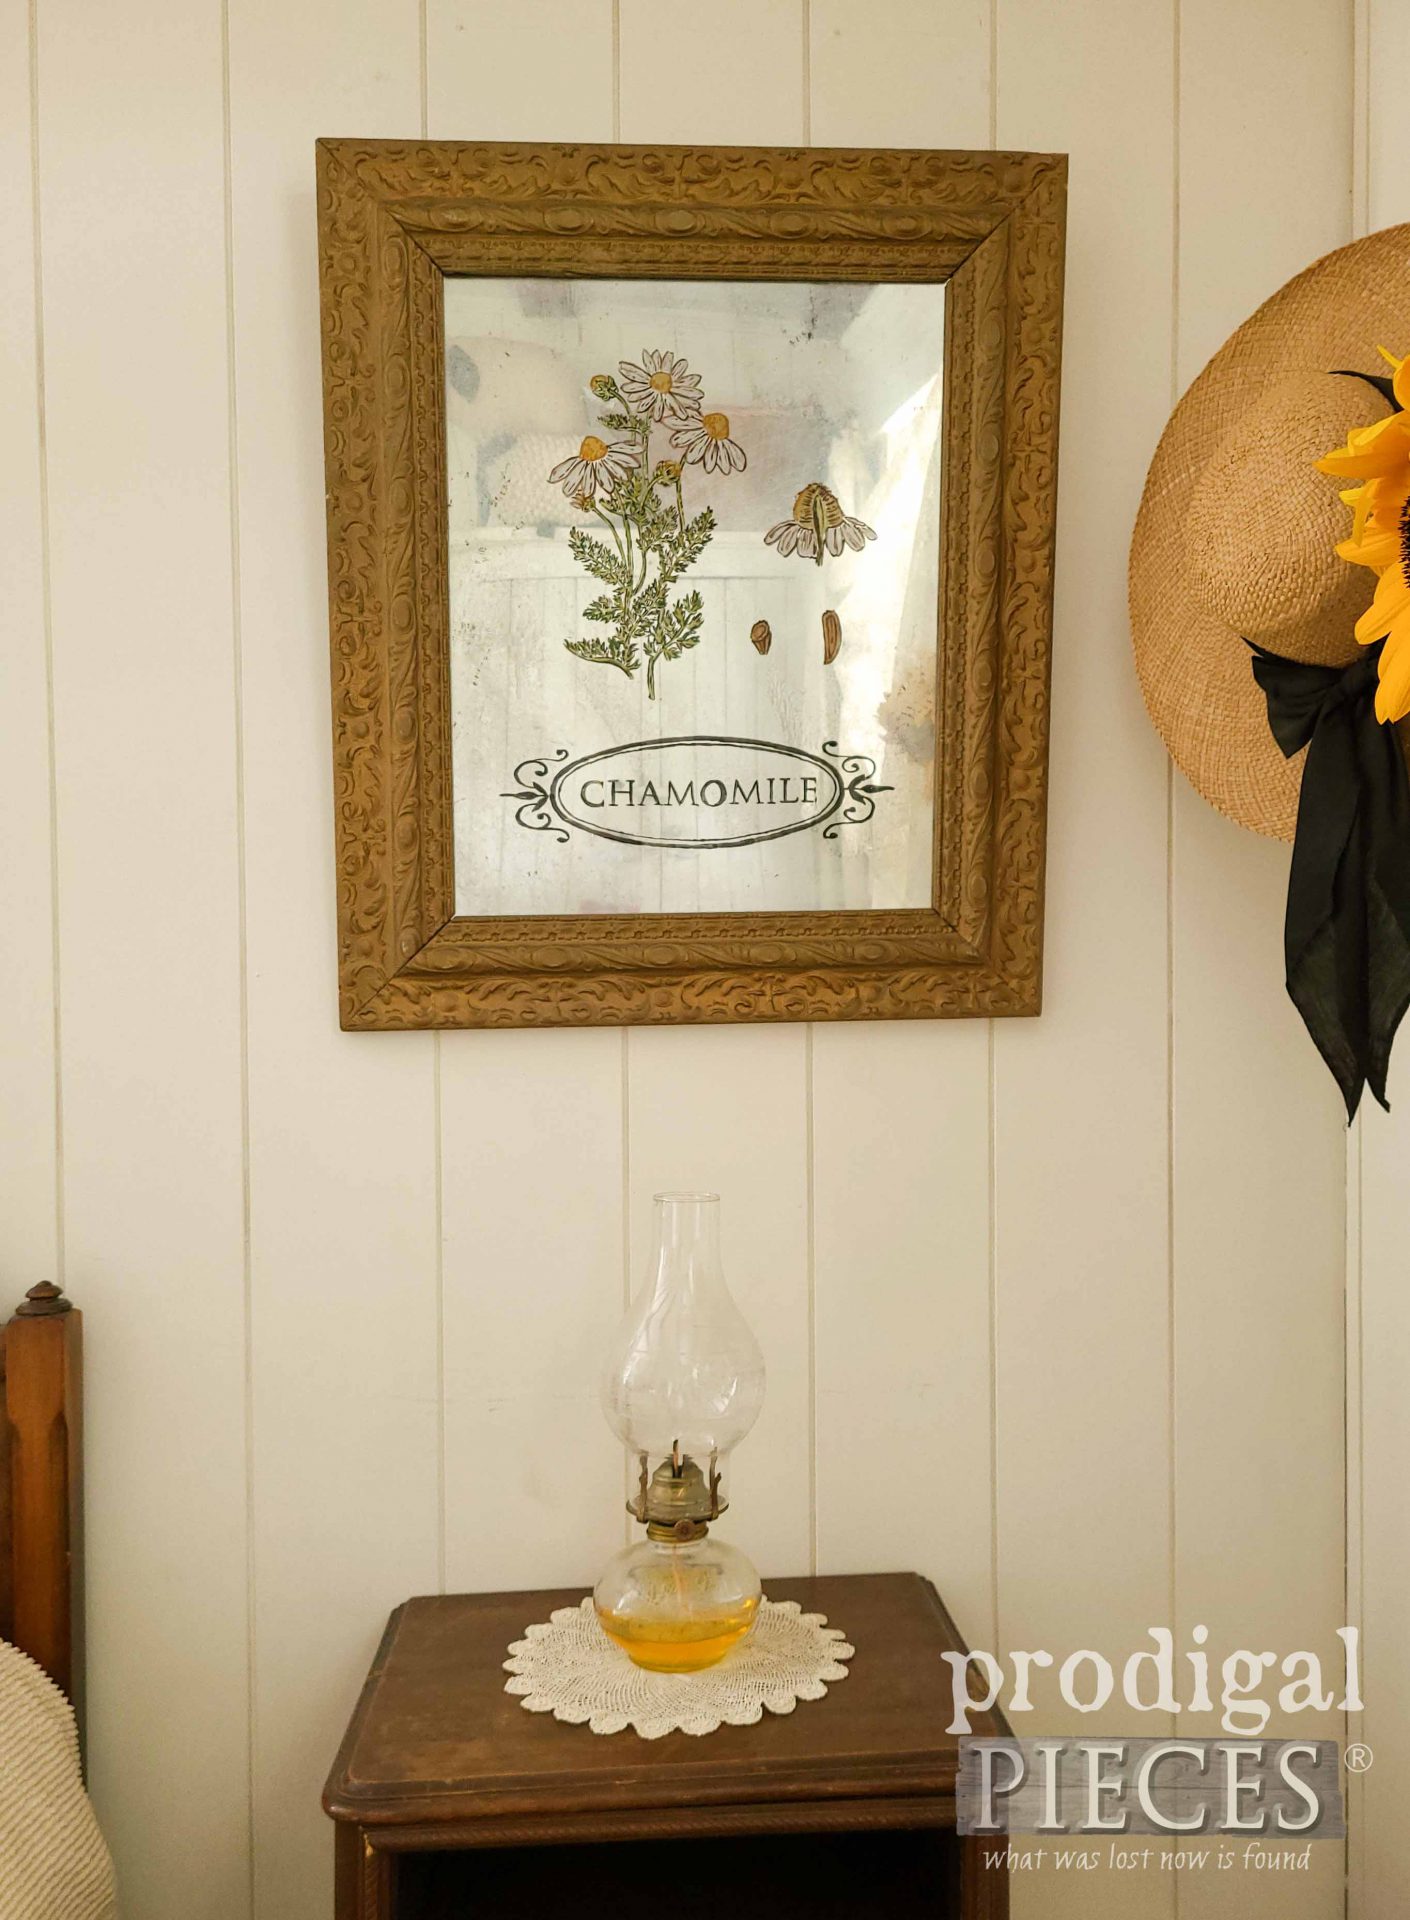
Here is my upcycled picture frame now turned antique mirror botanical art. I love it!
Doesn’t it legit look like an antique mirror? I think you can pull this off too. You’ve at least gotta try, right?
I’m just excited to share with you a new technique hoping to inspire you to give DIY a try. What would you have done differently, if anything?
If you’d like to make this mirror art your own, you can find it available in my online shop.
In addition, pin and share my upcycled picture frame to inspire others to give this technique a try. Likewise, it’s fun to make your own home story.
Before you go, to get these DIY tips & tricks in your inbox, be sure to sign up for my newsletter. Until next time!


I love the frame itself. When I am out and come across one, I am going to try your shelf idea. Those are so cute!
Thanks so much, Kelly. 🙂
That is so awesome!! I have a ton of old frames and a can of that spray paint. I may have to give this a try. You are so full of amazing ideas!!! ?
Wahoo!! Sounds like some DIY fun headed your way. Thanks, Rebecca! 😀
I love your antiqued mirror! The graphics were the perfect choice. Thanks for the inspiration!
This is just beautiful Larissa! It’s does look like an antique mirrror.
This looks like a fun project and a gorgeous way to upcycle an old picture frame with glass. So pretty!
It was a much needed break from stress. 😉 Thanks so much, Marie.