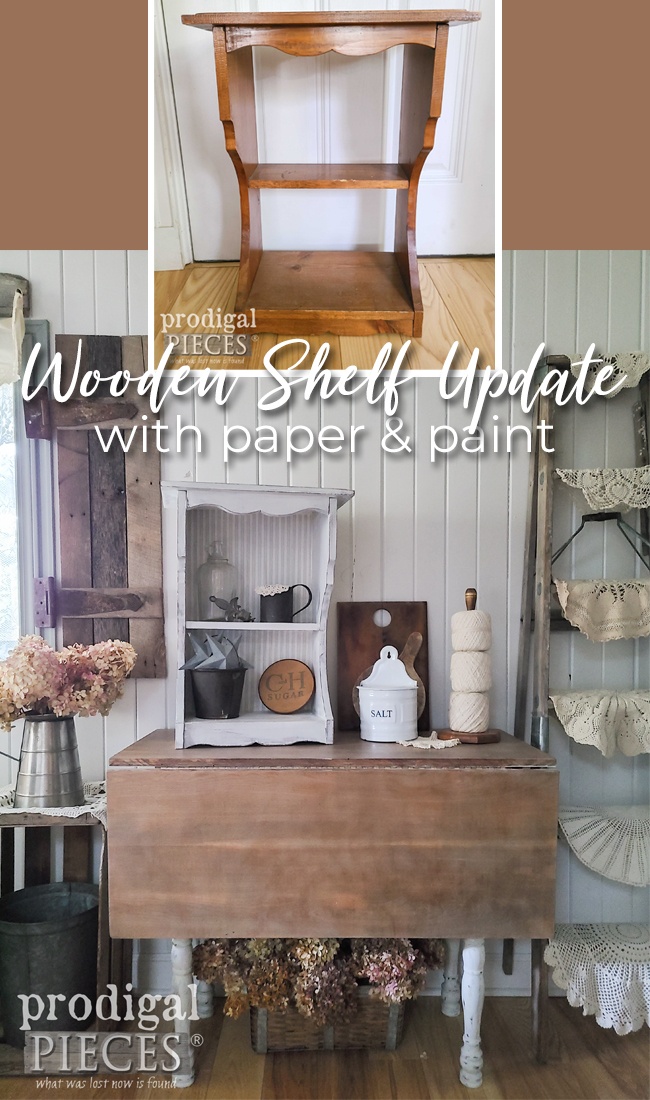
Oh happy day! It’s a good day when I get to be here on my blog and share with you. Truth be told, this place is my home for my creative self, my mom self, and my just-wanna-have-fun self. I’m so glad you’re here! While I’m always working on a latest project, I have a soft spot for mini makeovers. They’re fast, relatively easy, and super fun! With that, take a look at how this wooden shelf updated will make you see the wooden section of the thrift store differently.
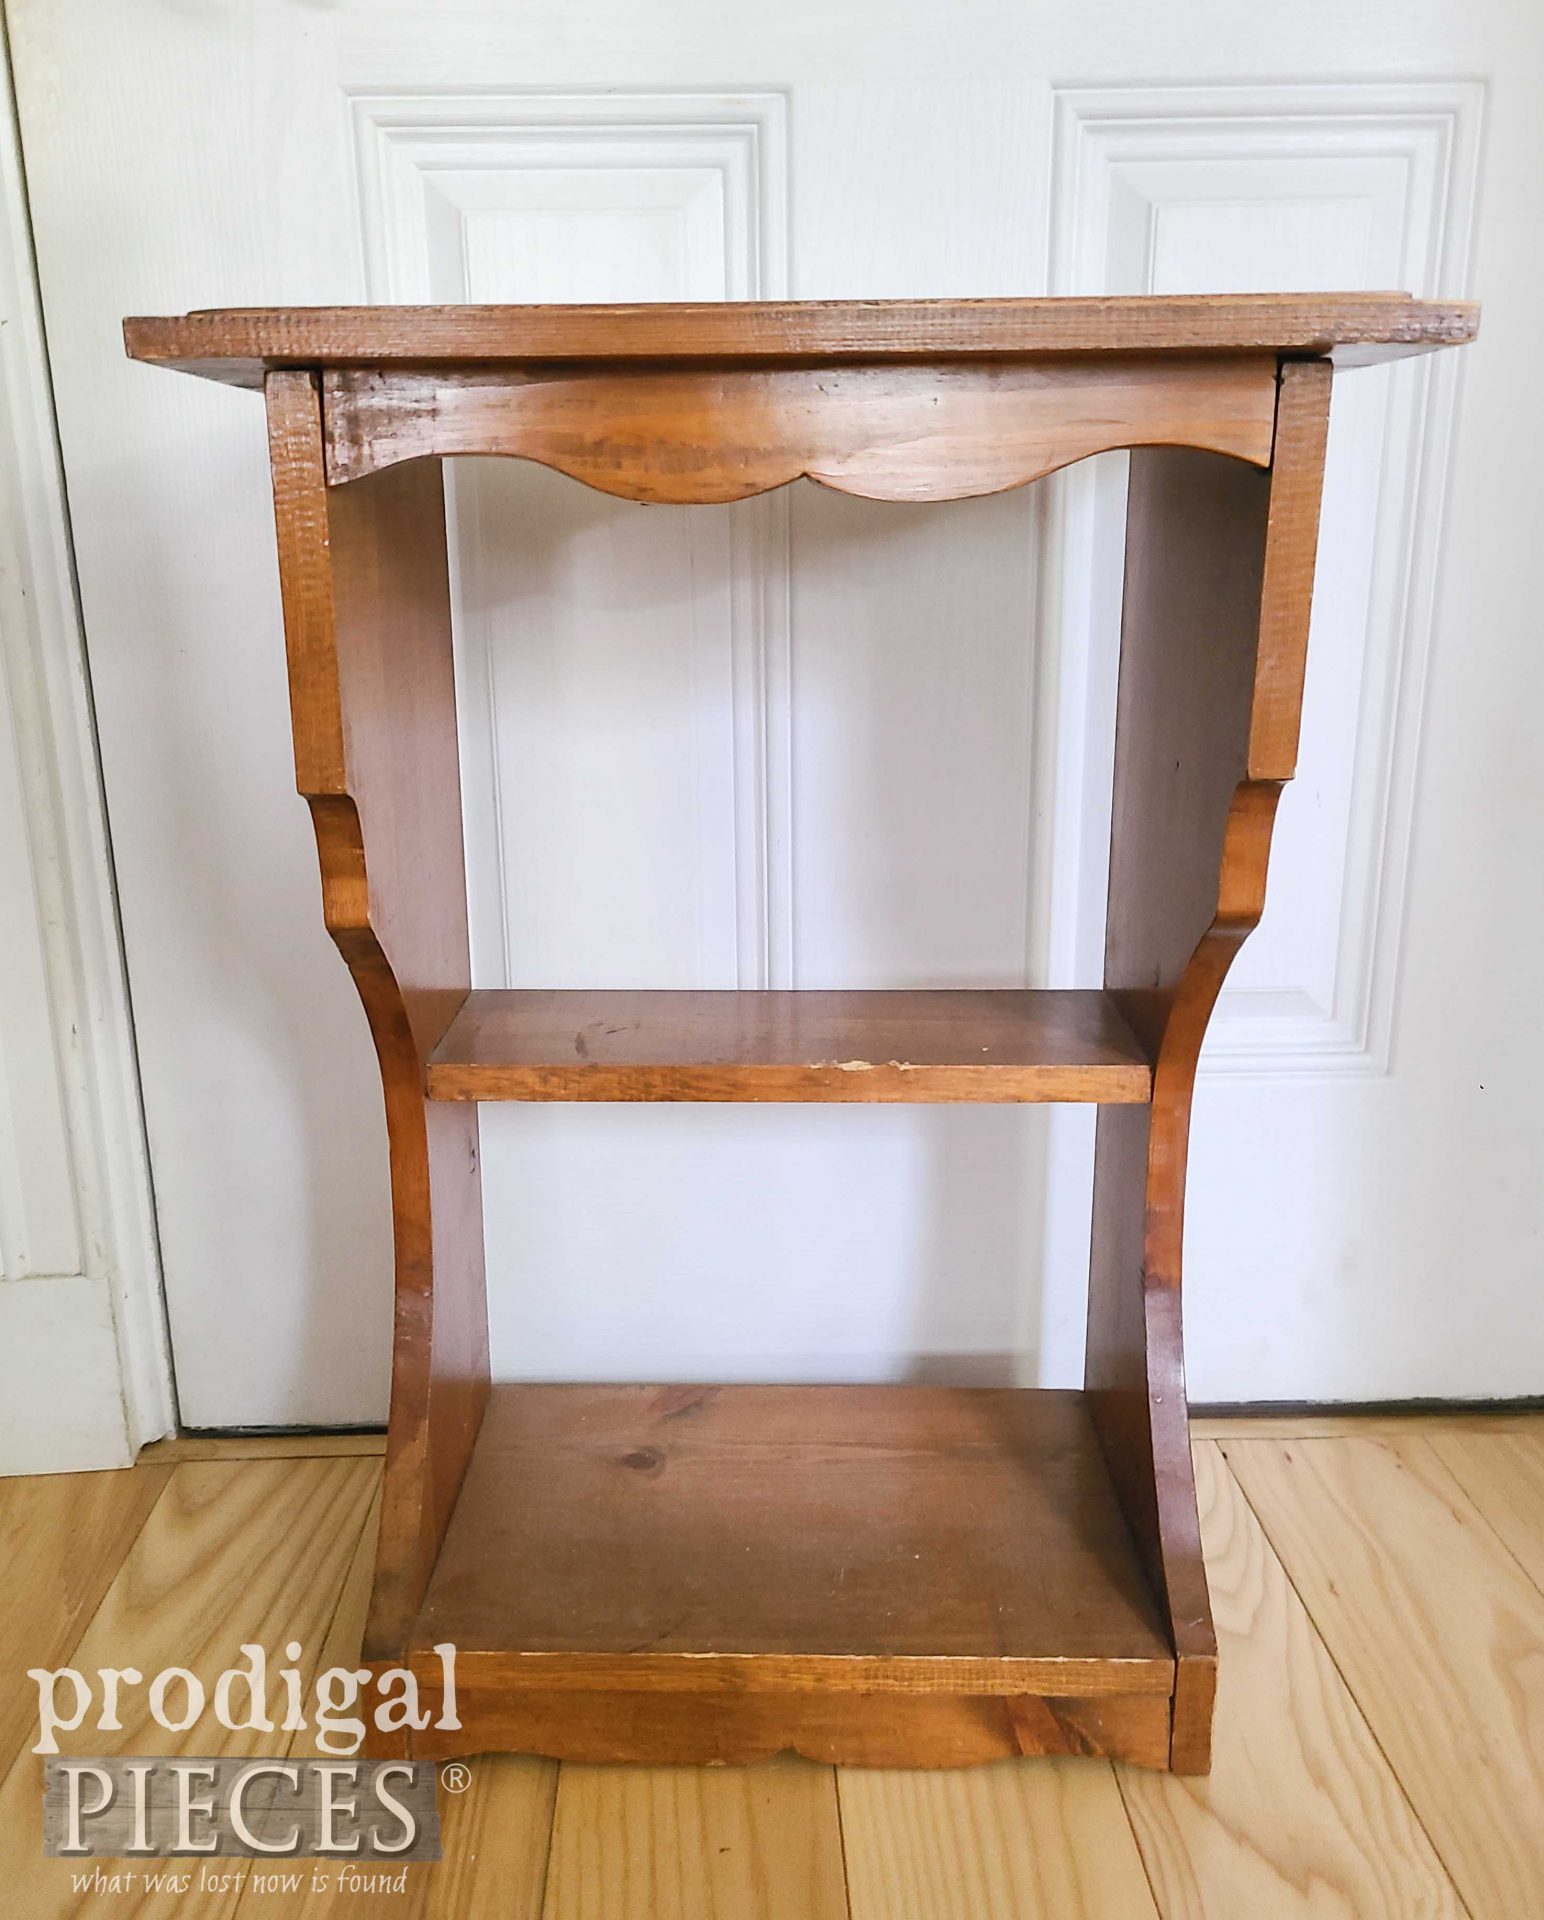
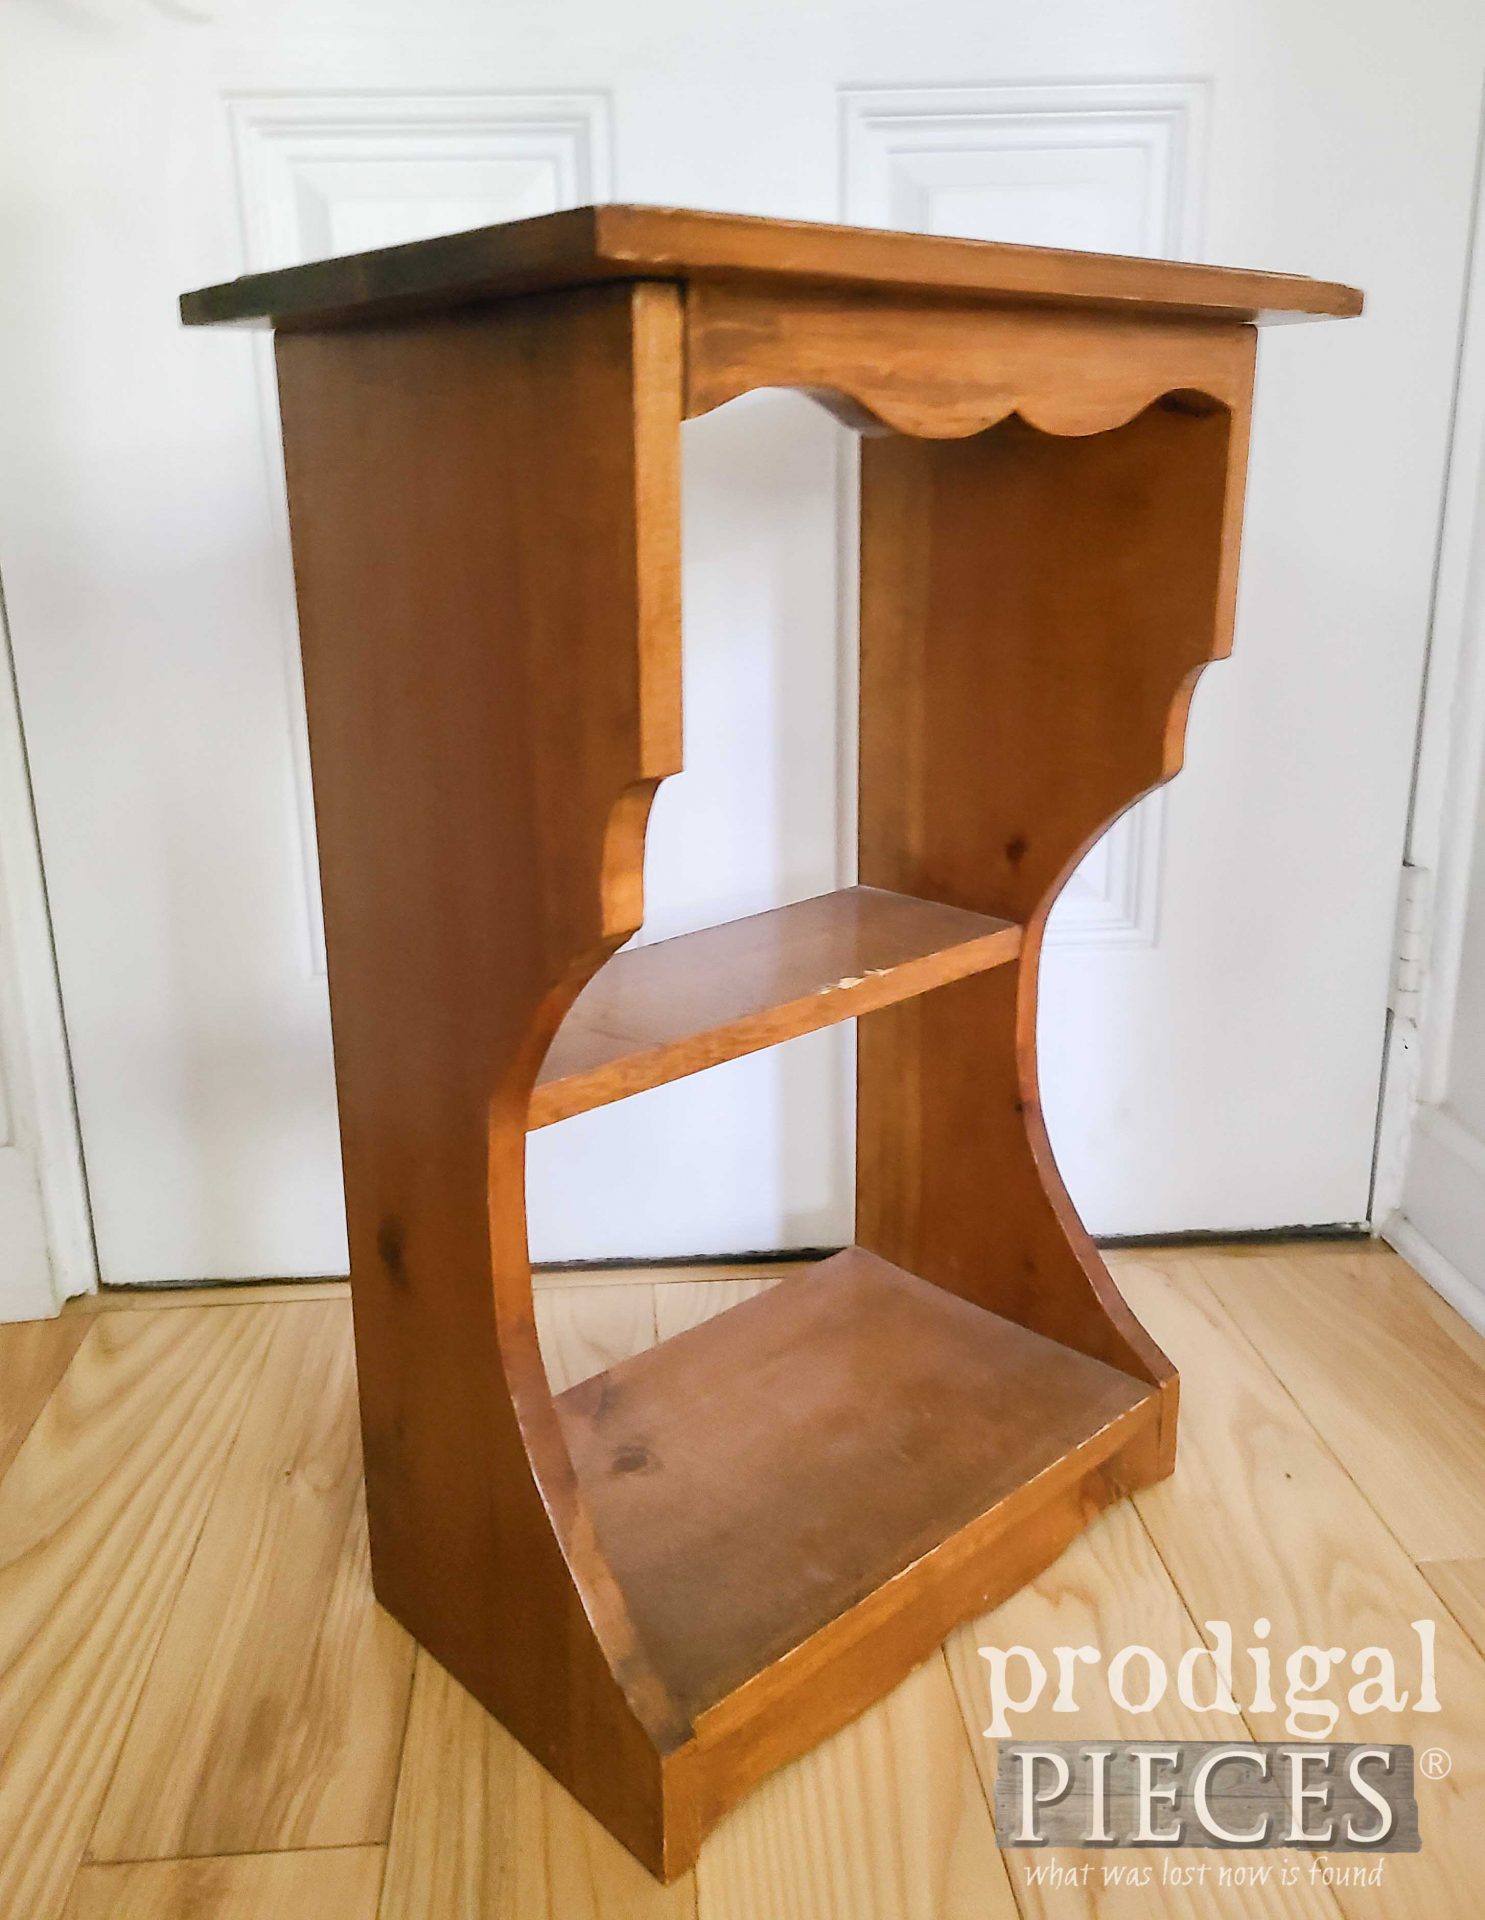
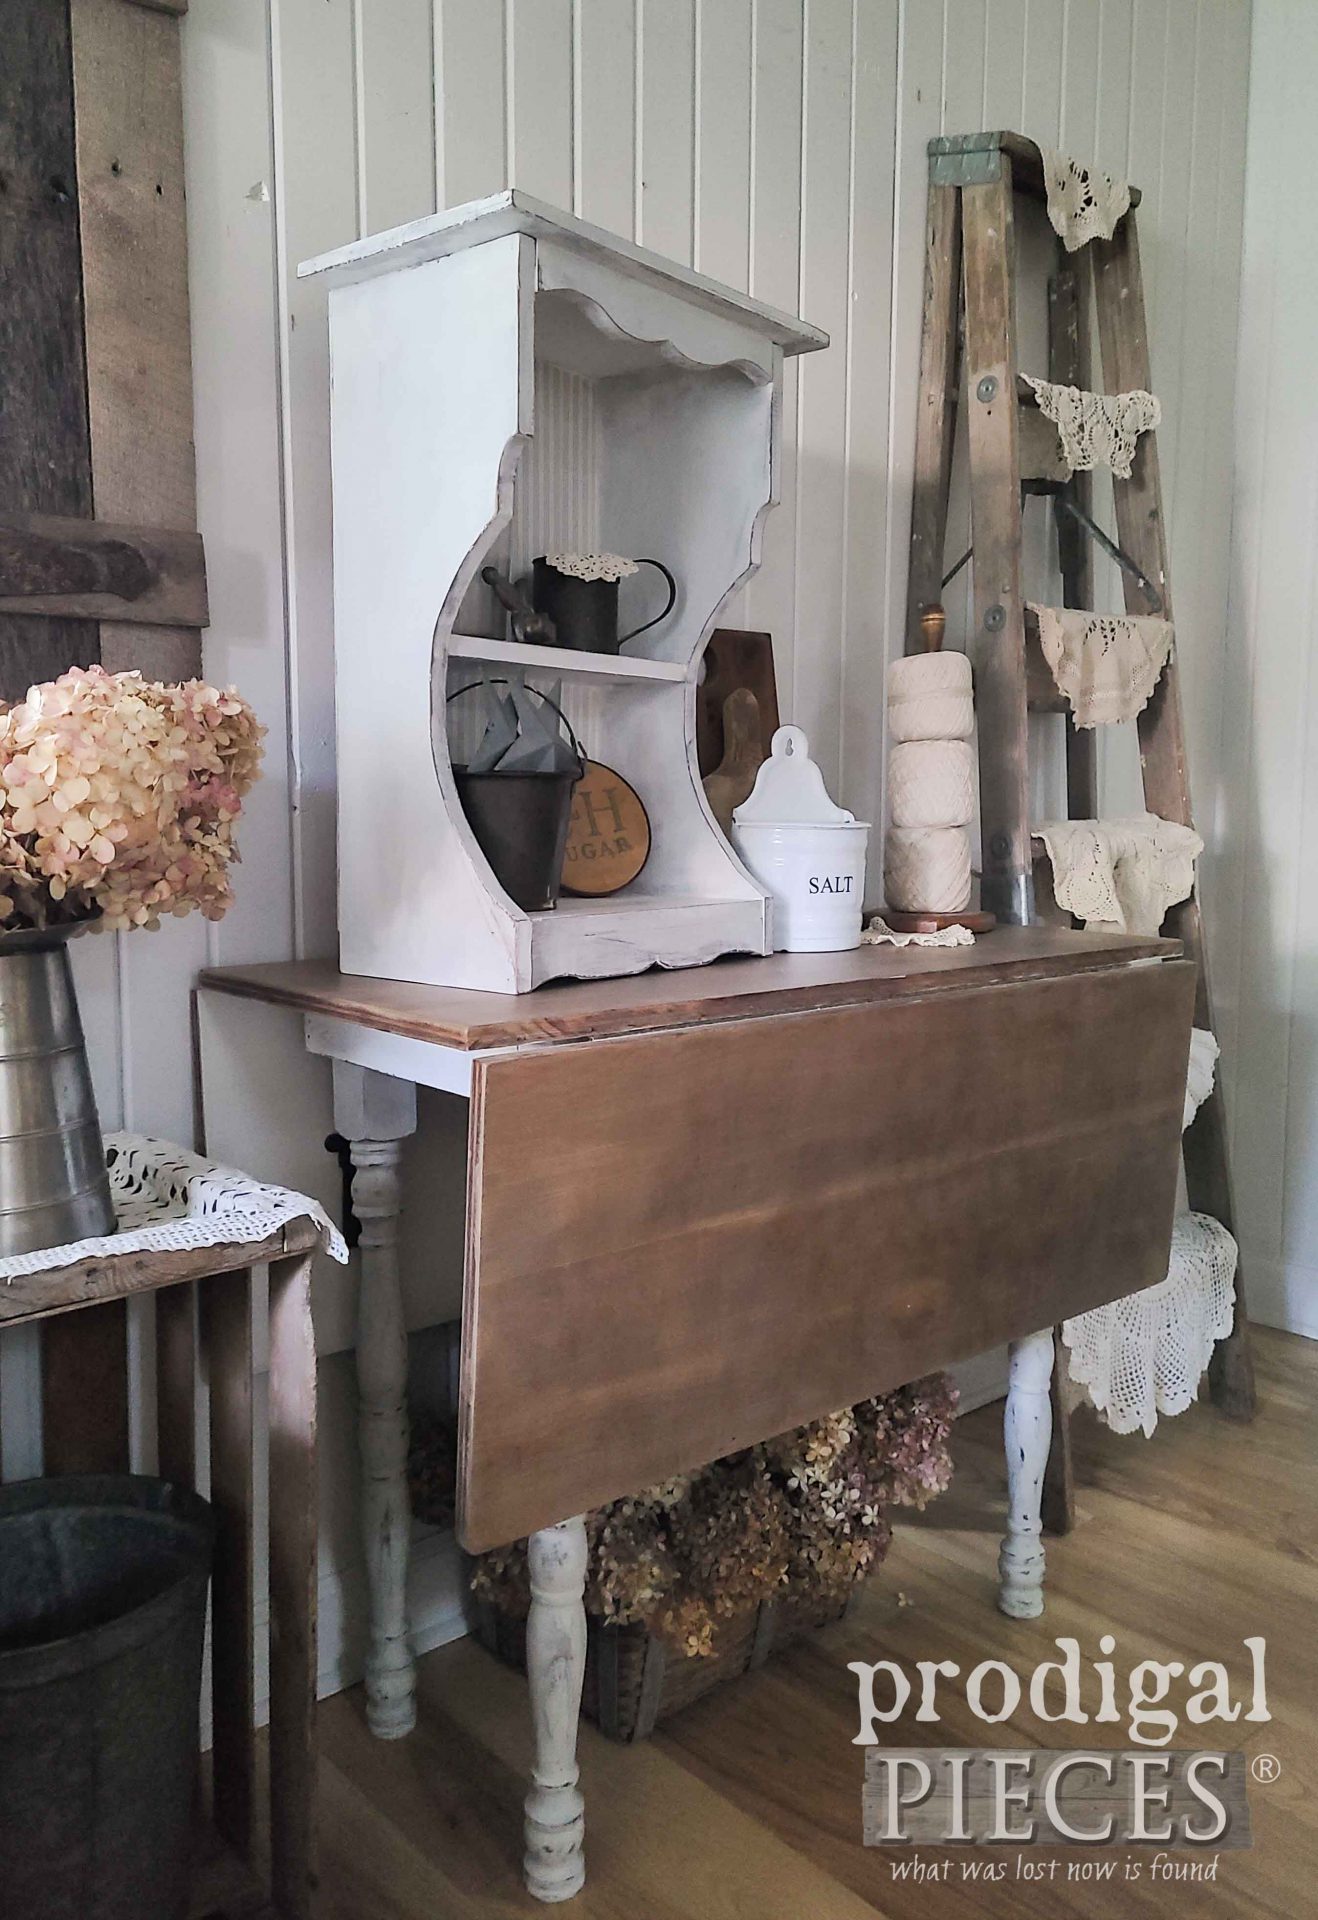
What say you? Is it a wall shelf, a counter shelf, or a sort of stand beside a couch or bed? My family and I agree that it looks more like a wall-mounted shelf because of the top design as well as the skirt on the bottom. Either way, I’m going to have some creative fun with this one. yahoo!
Not only am I happy that it’s solid wood, but also the curves it has. However, I’m not smitten with the open back. Let’s fix that…
PAINTING
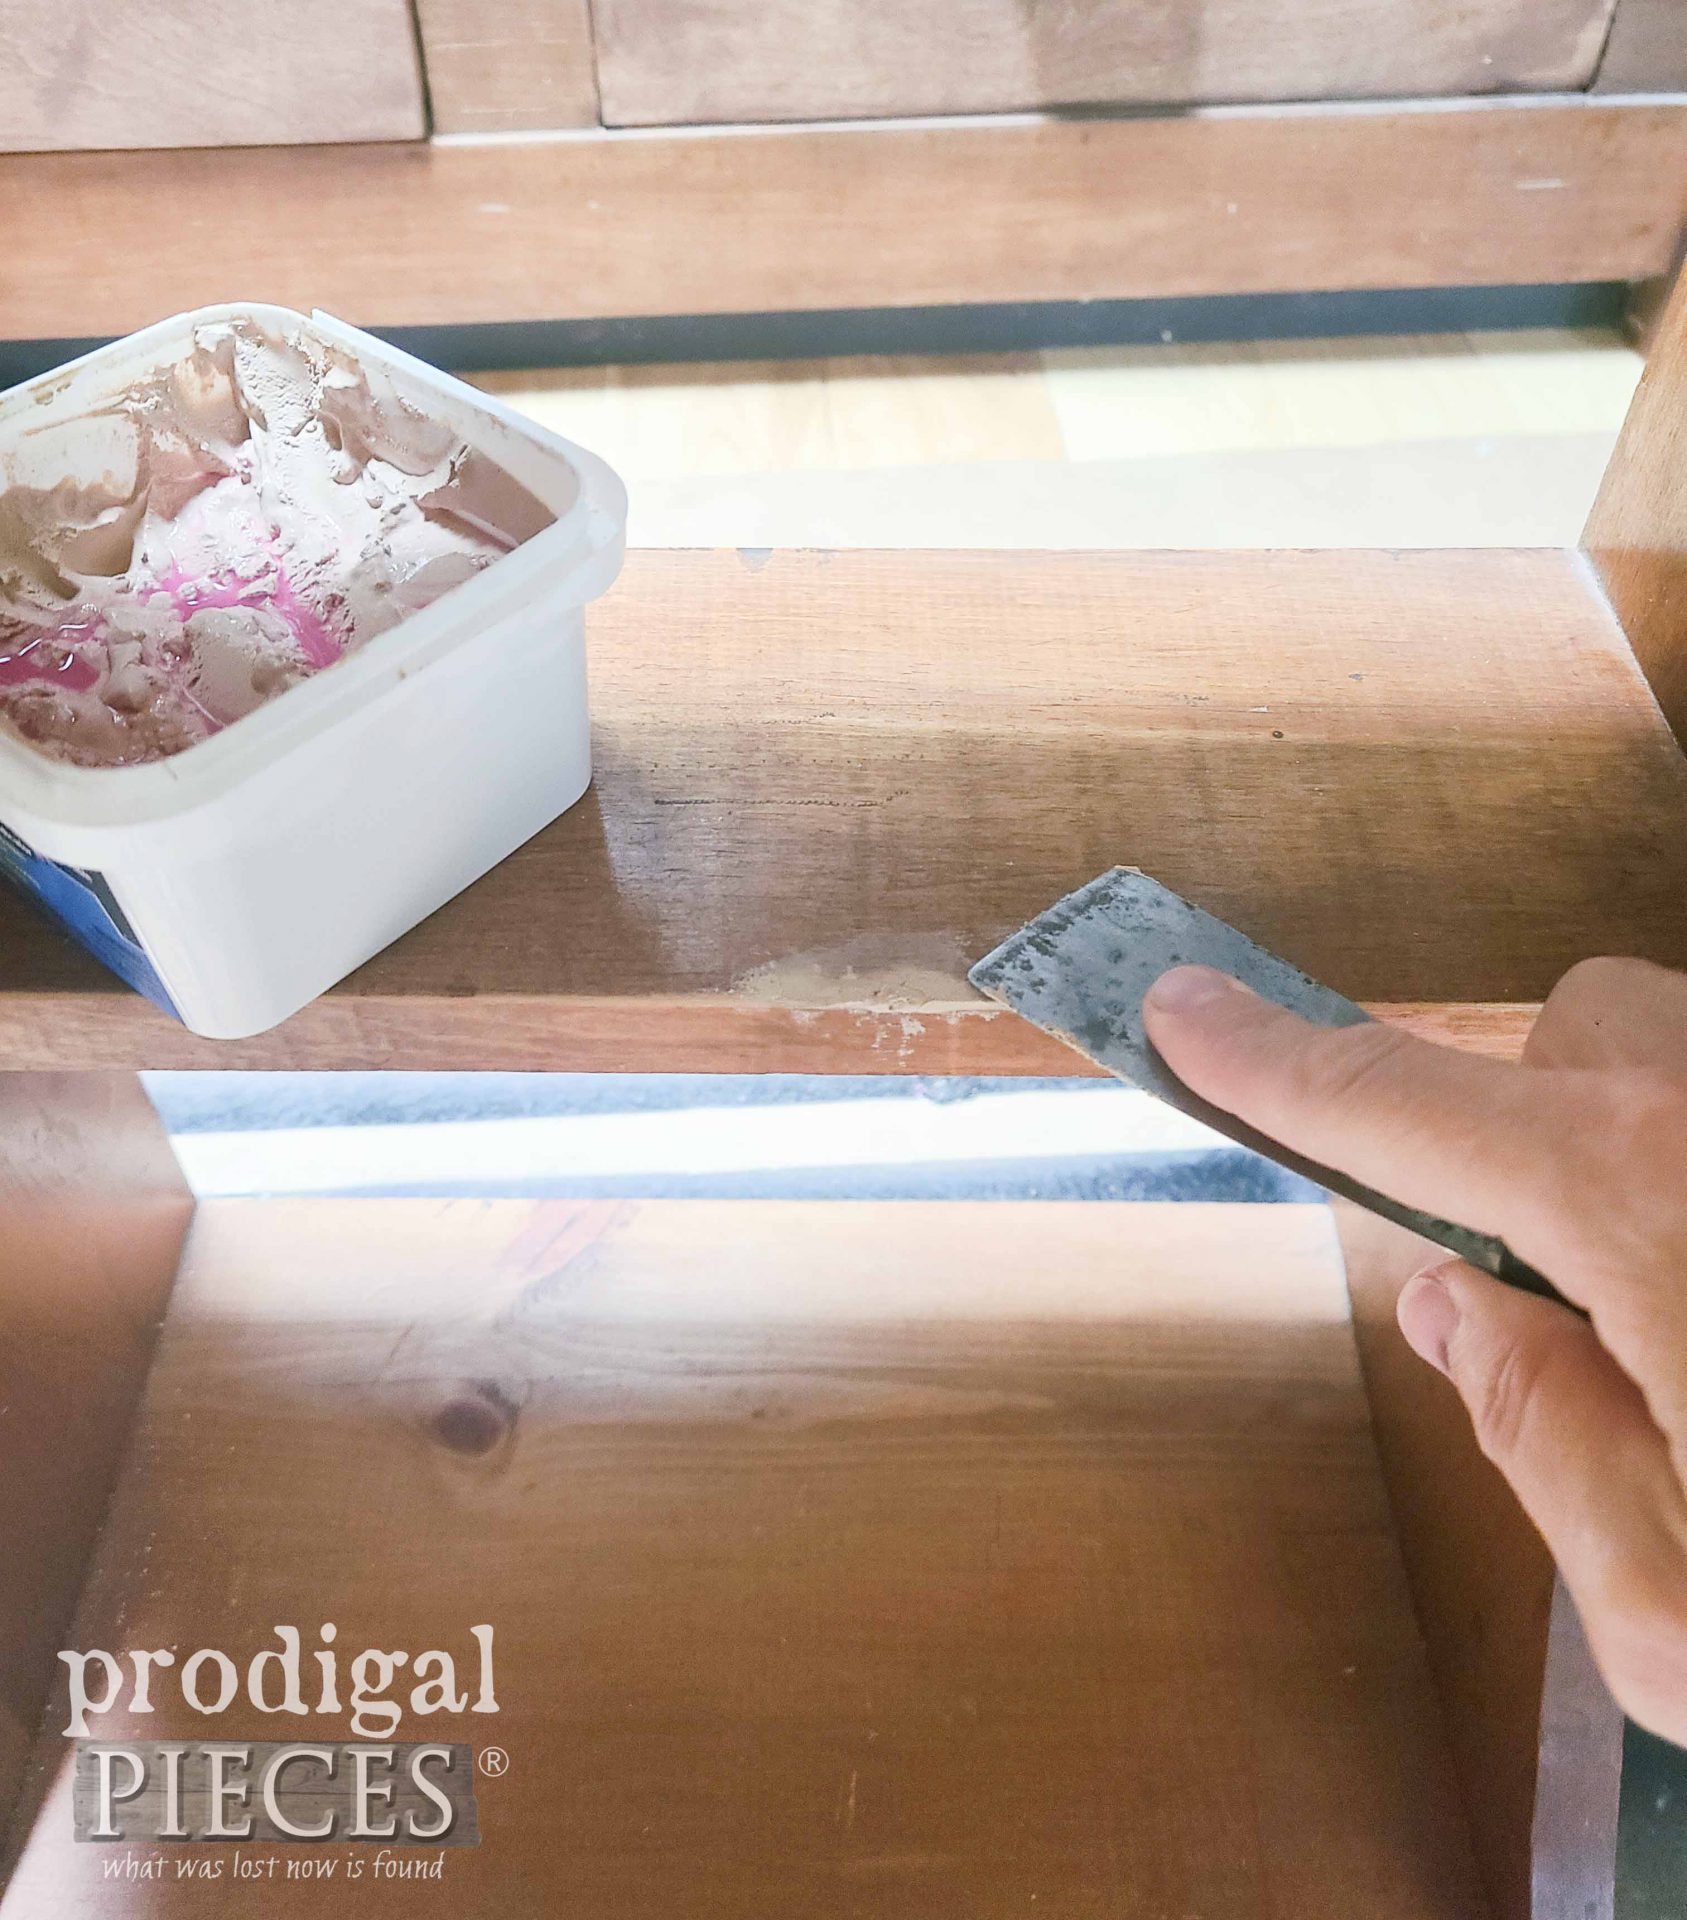
First, I need to make minor repairs using a bit of wood filler followed by sanding.
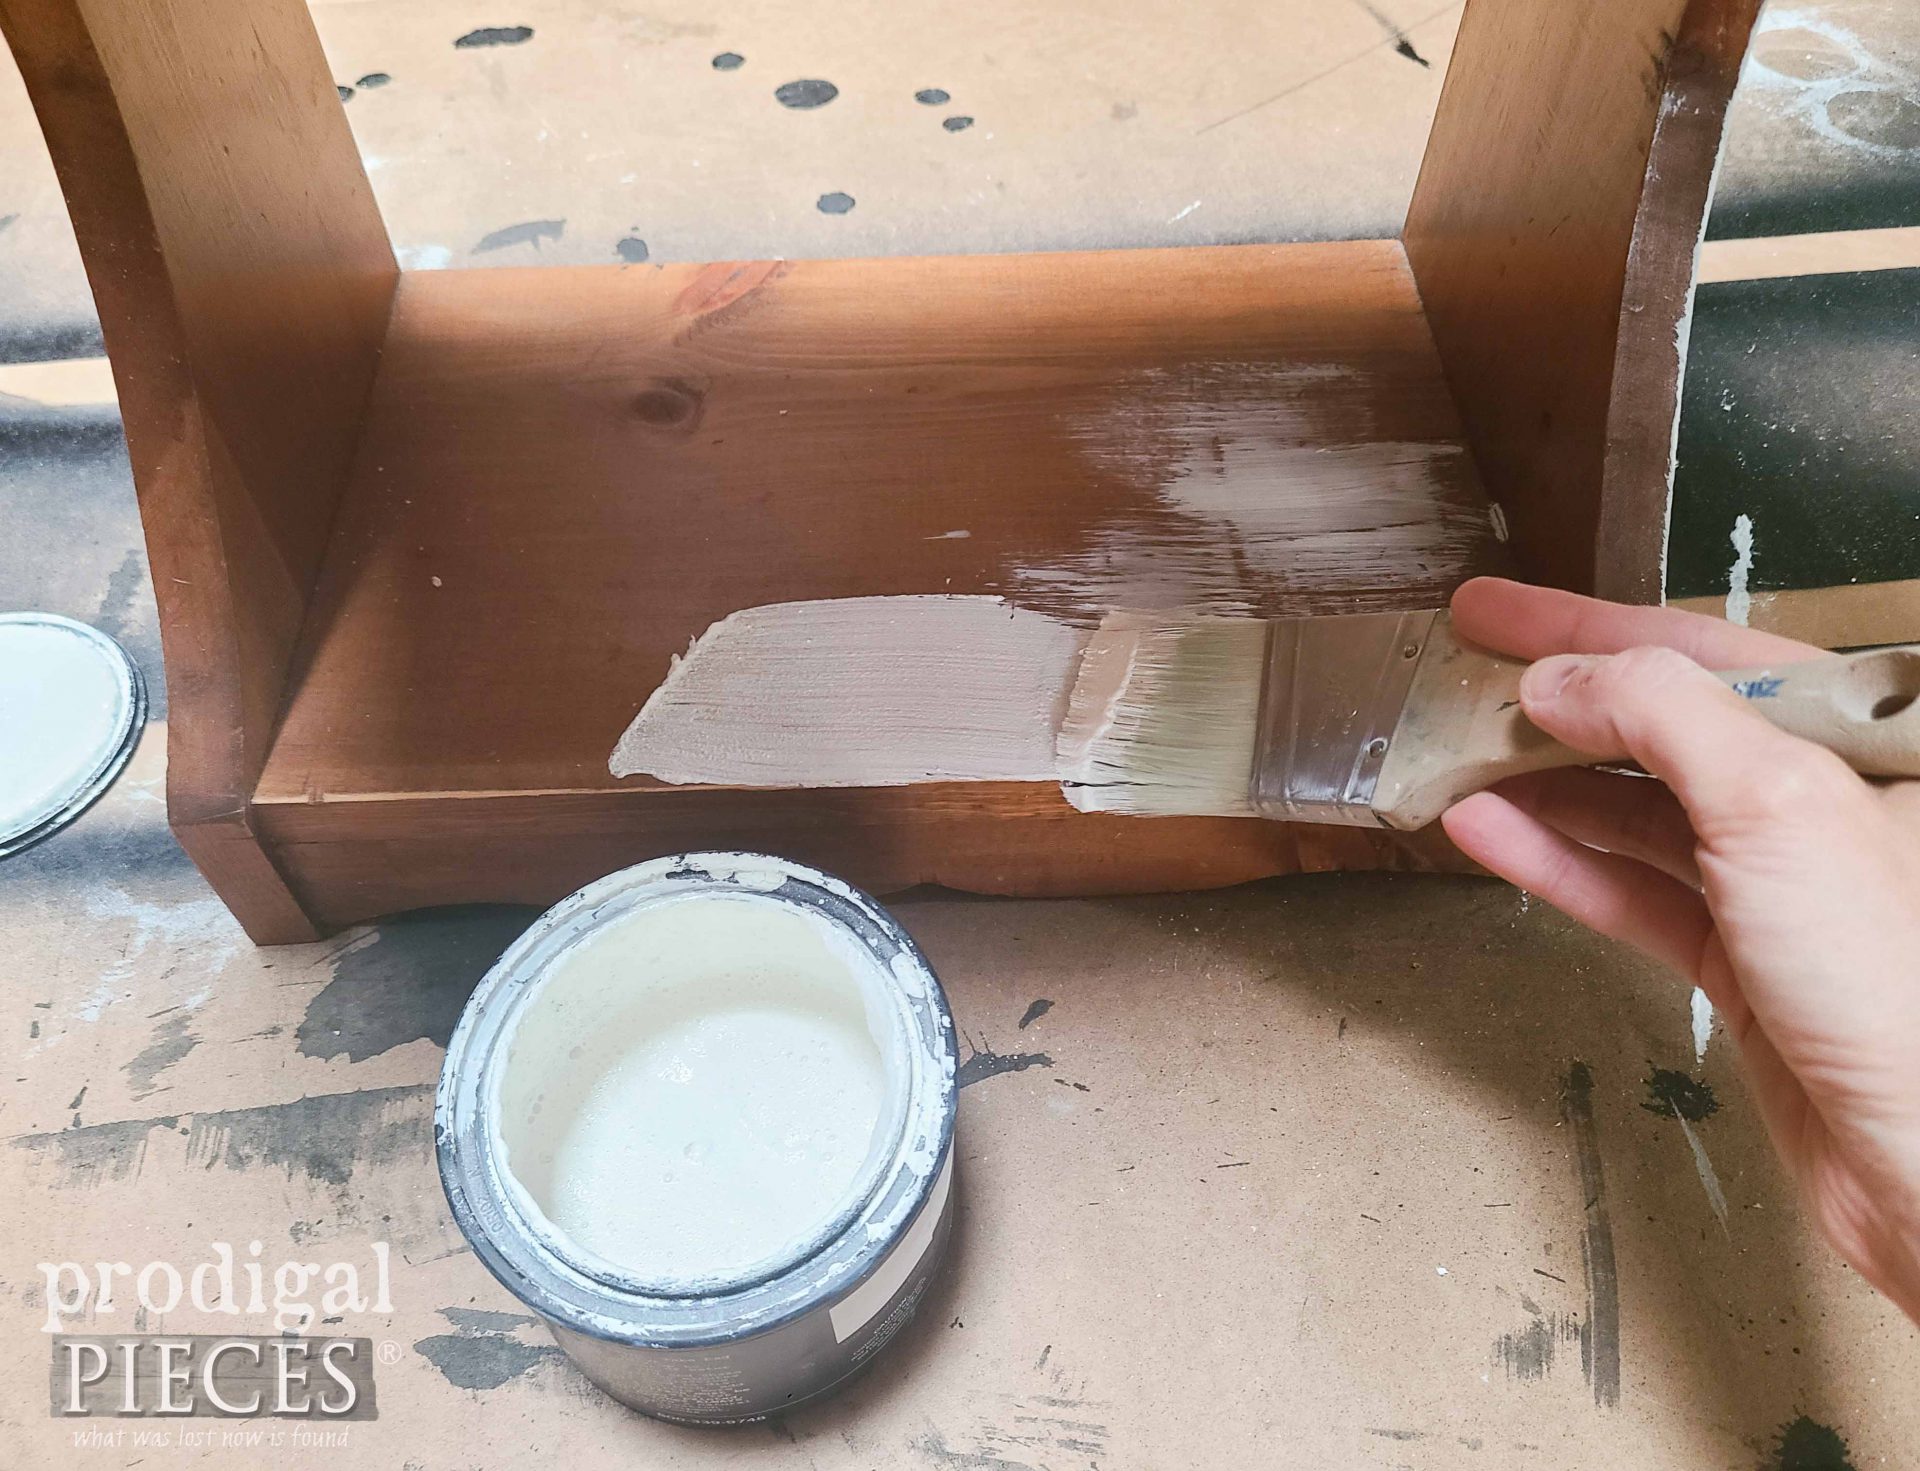
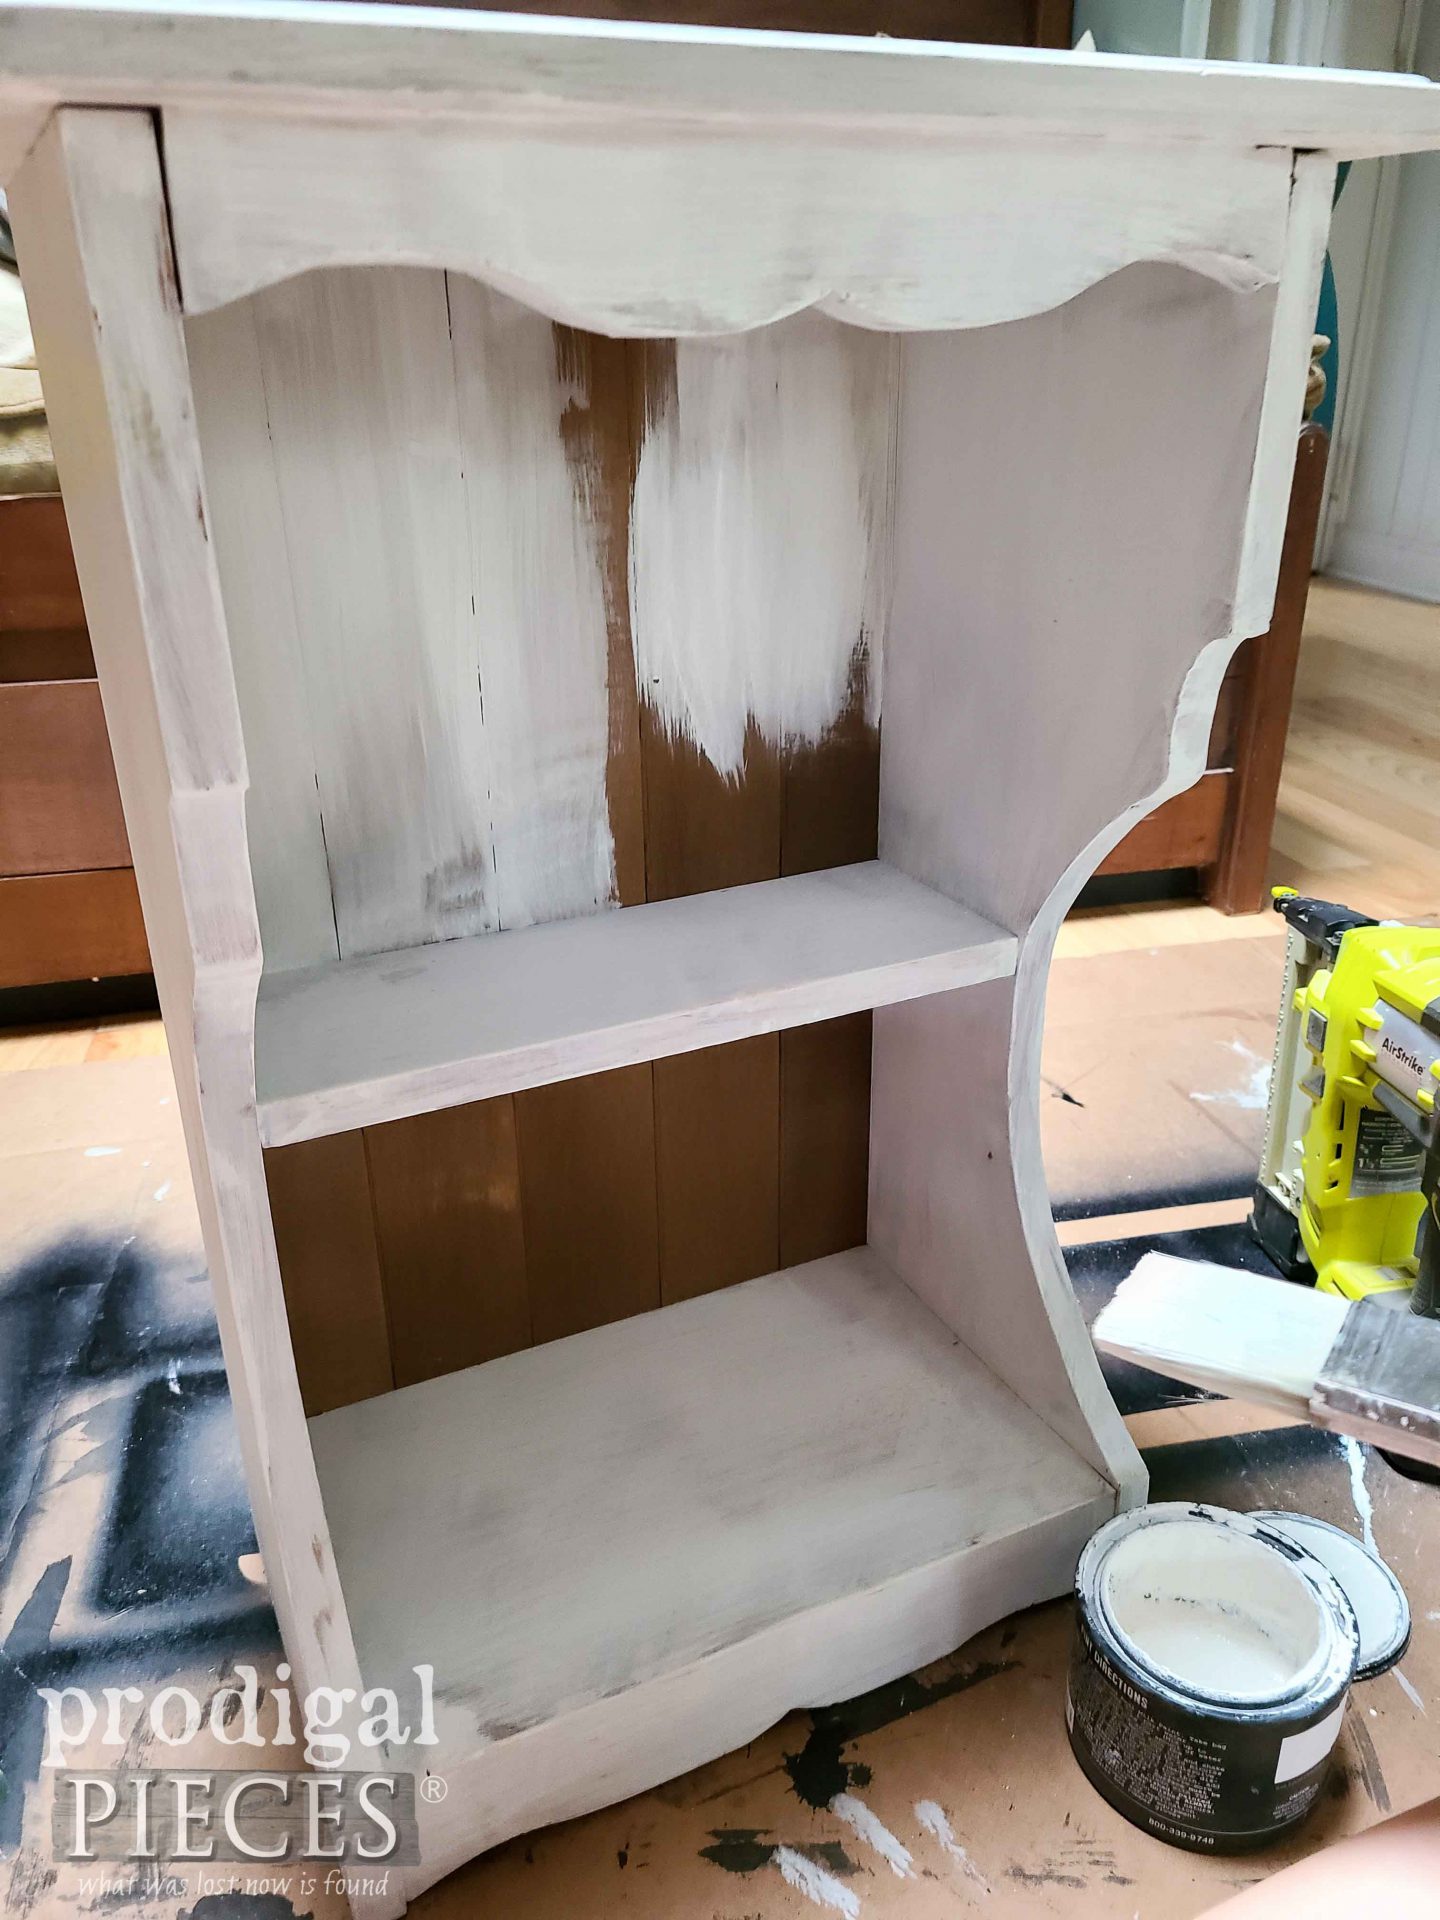
Then, after that, I mix up my milk paint and apply one coat. The best part of milk paint is that it adheres to most any surface. Also, it instantly adds texture to whatever level you want. Mix it chunky for that funky aged appeal, or keep it thin for a washed look. See how I’ve used milk paint in these past posts. I’m aiming for in the middle of that range.
CUTTING
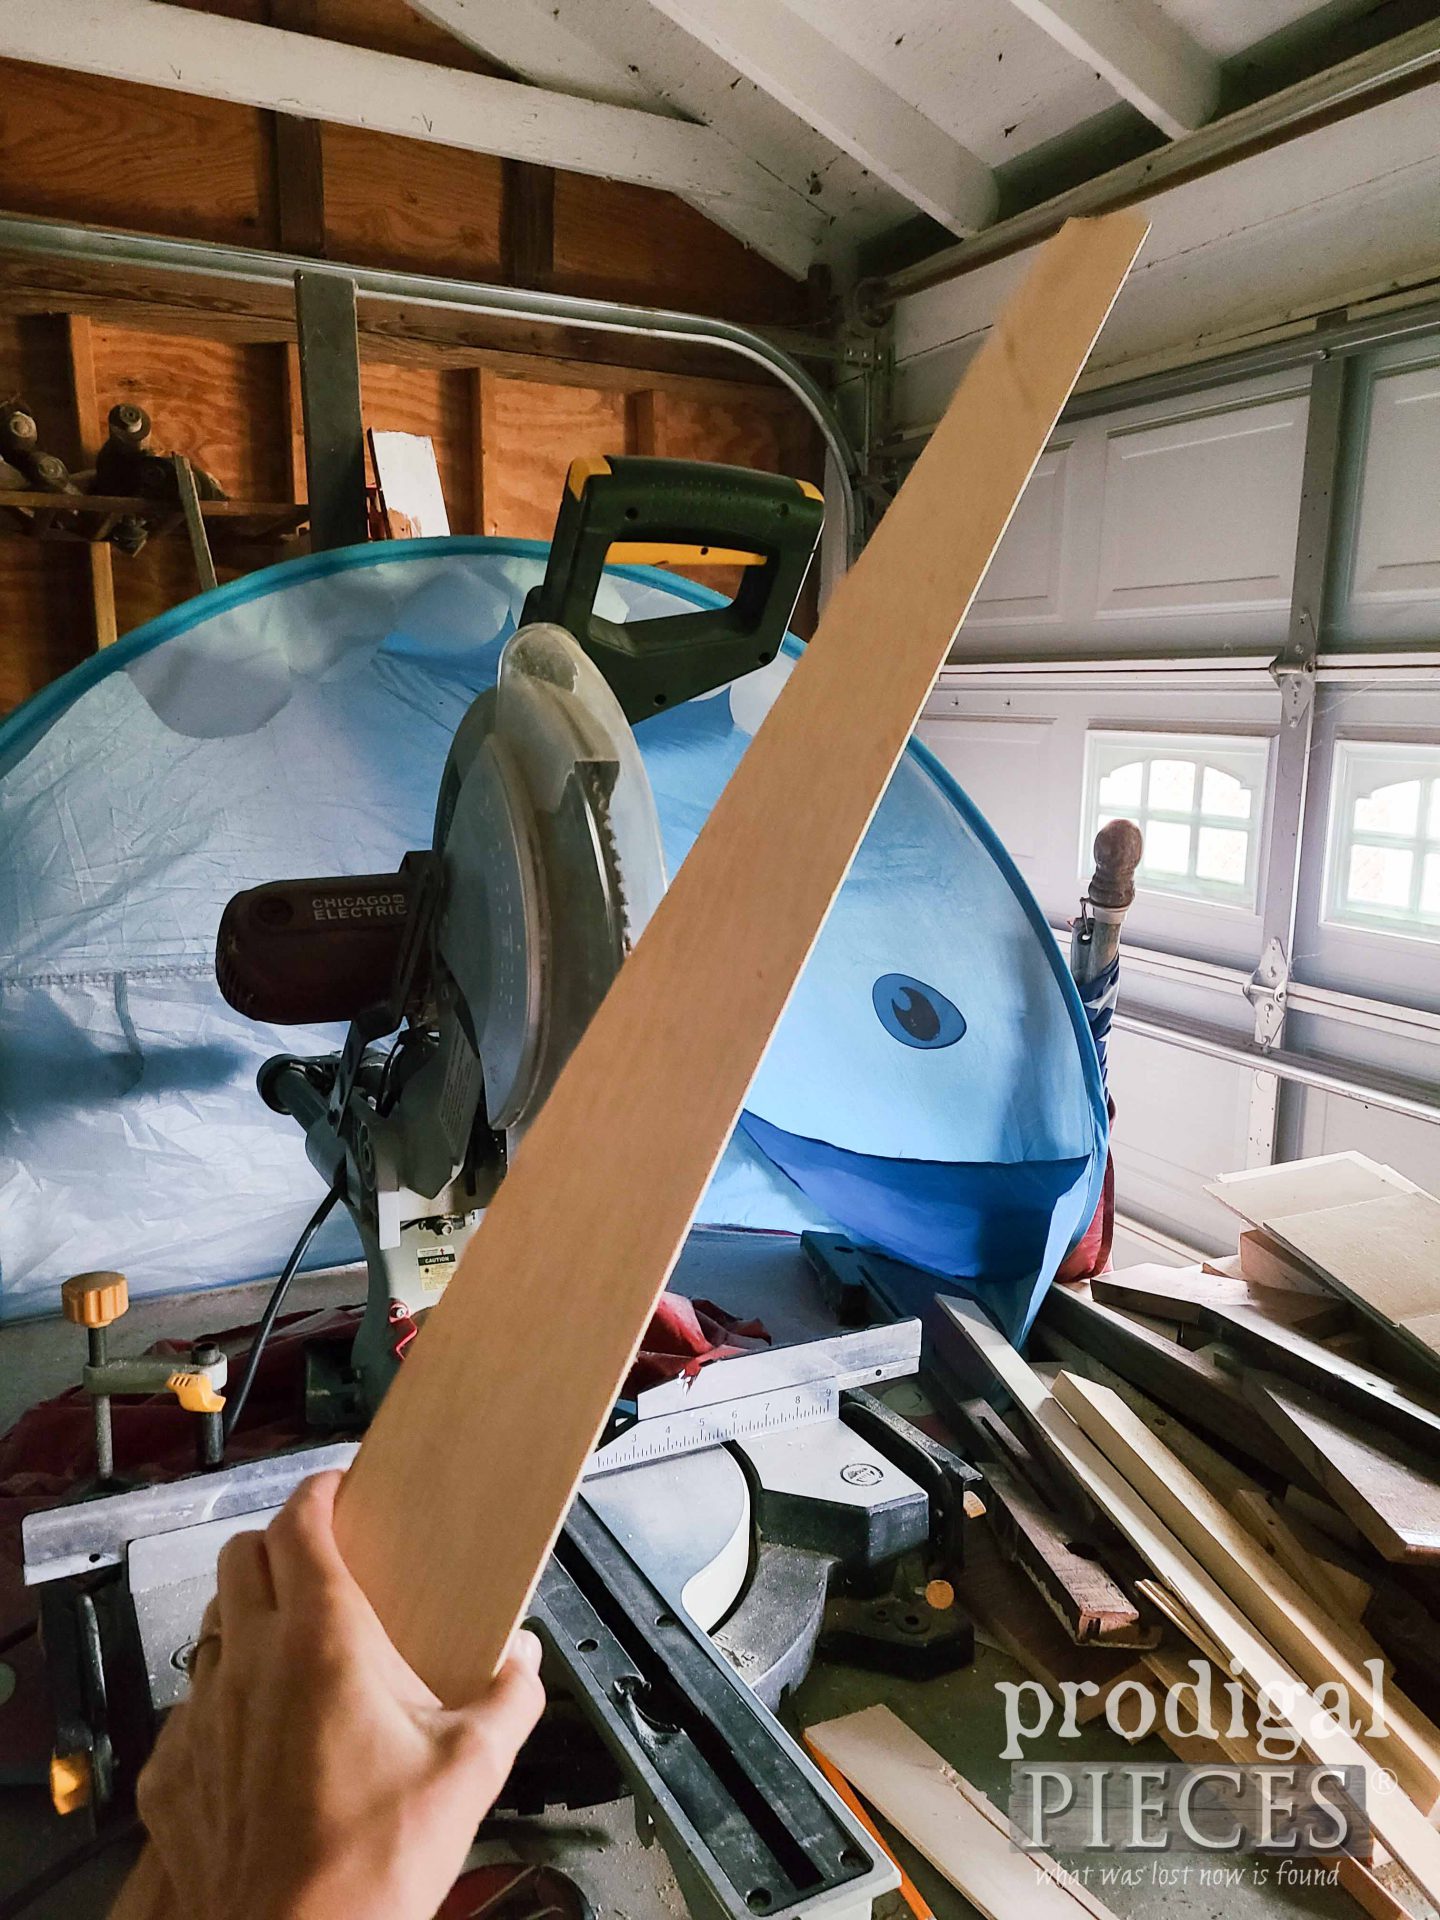
Meanwhile, while the first coat of paint is curing I head out to my workshop and dig into my wood stash pile (that is getting too BIG, BTW) and grab some luan. This 3″ wide skinny piece is just what I need. You can see my DIY miter saw hood dust collector over HERE.
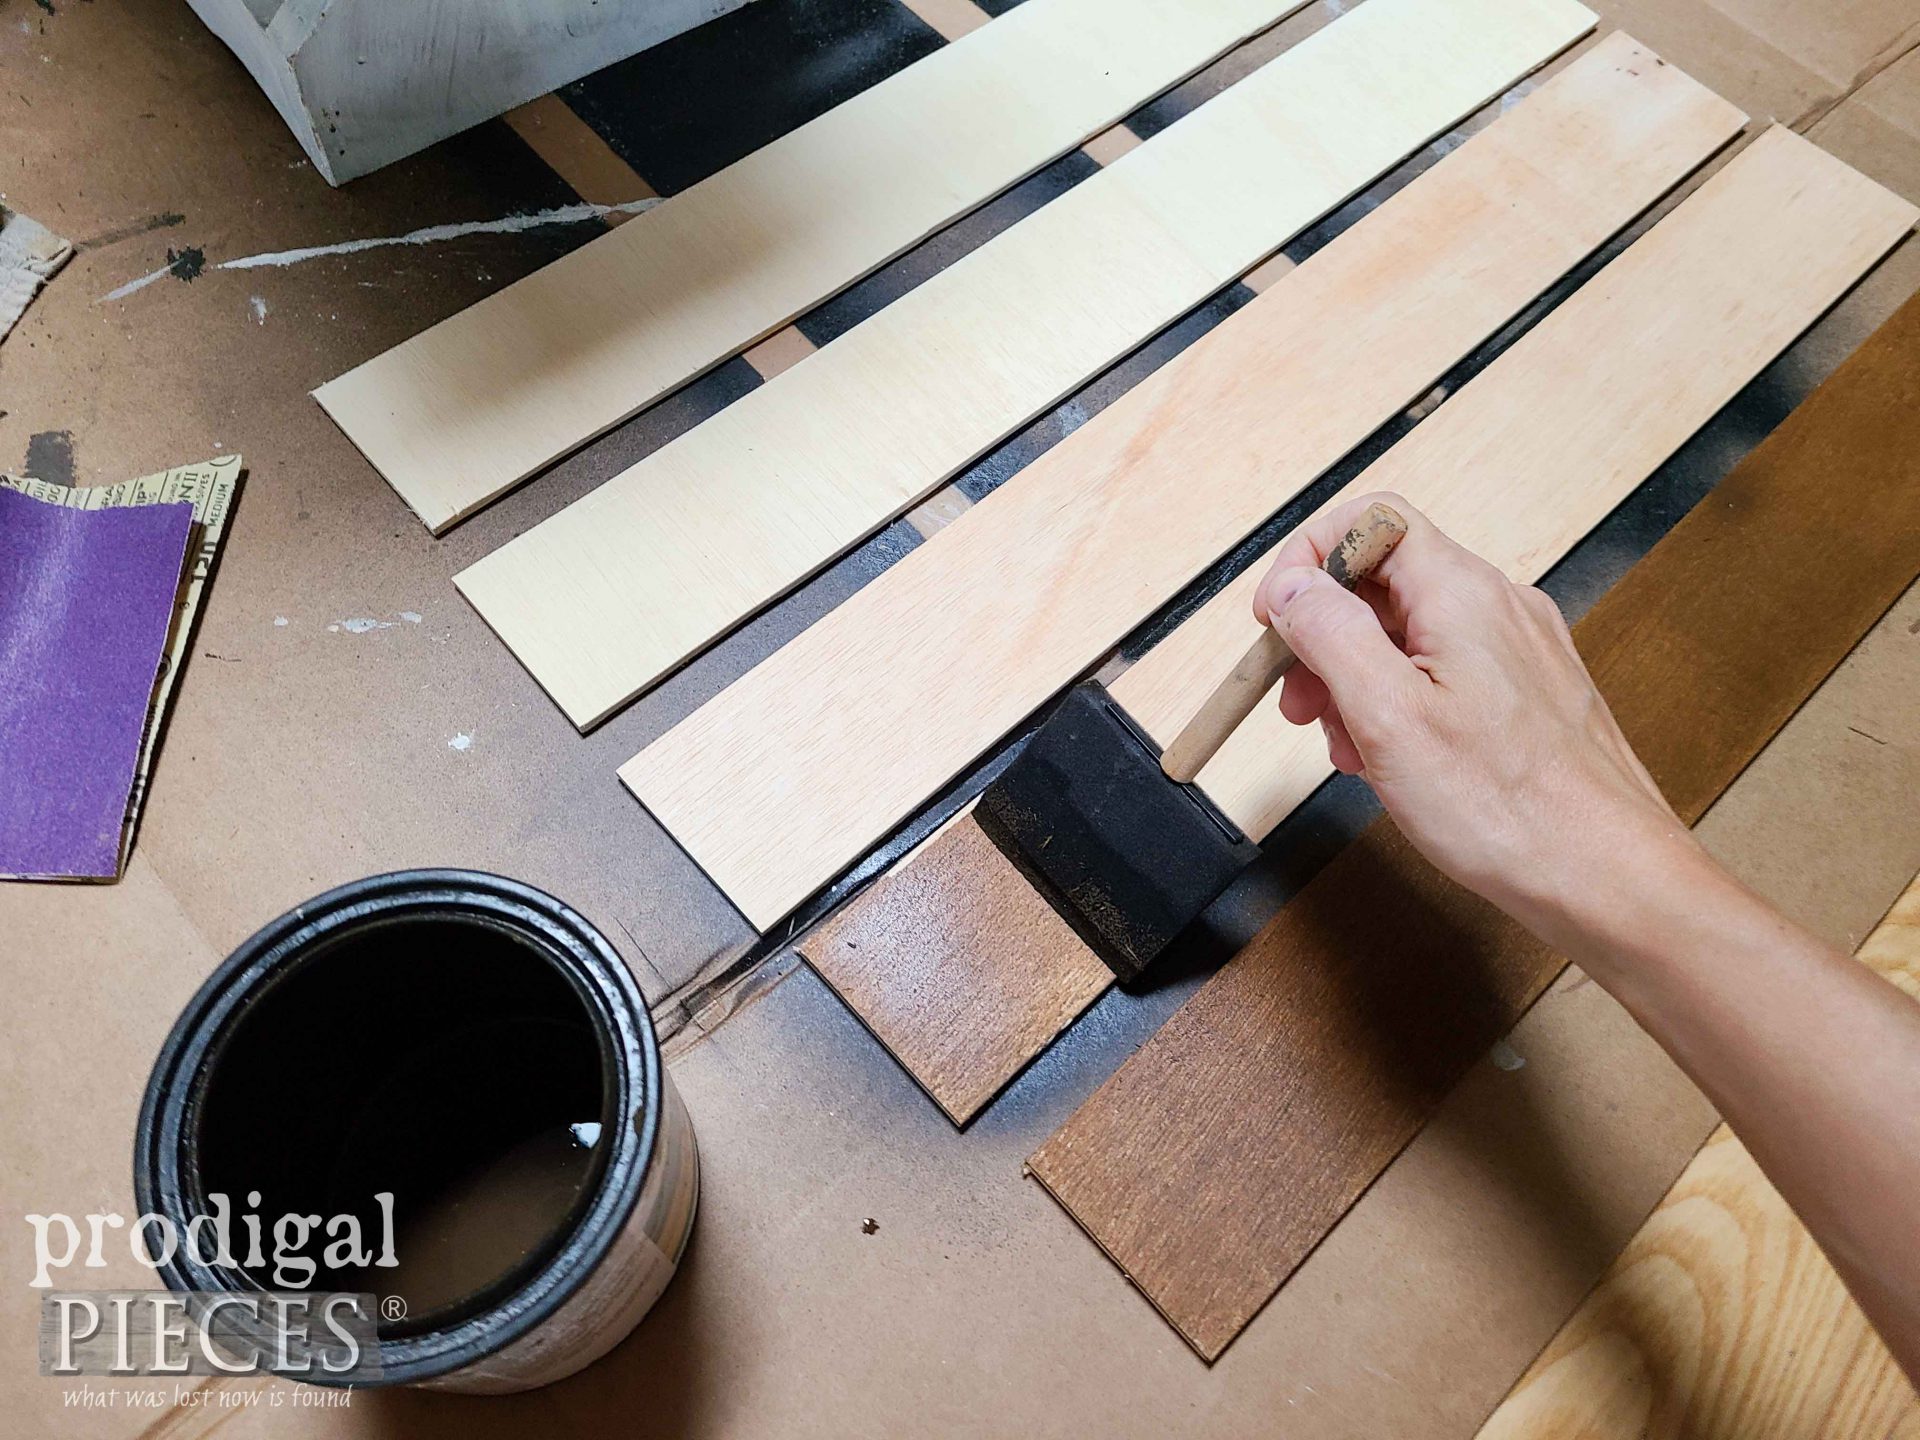
Next, I cut it into 5 pieces and get it ready for adding to my wooden shelf updated by staining it with reactive stain.
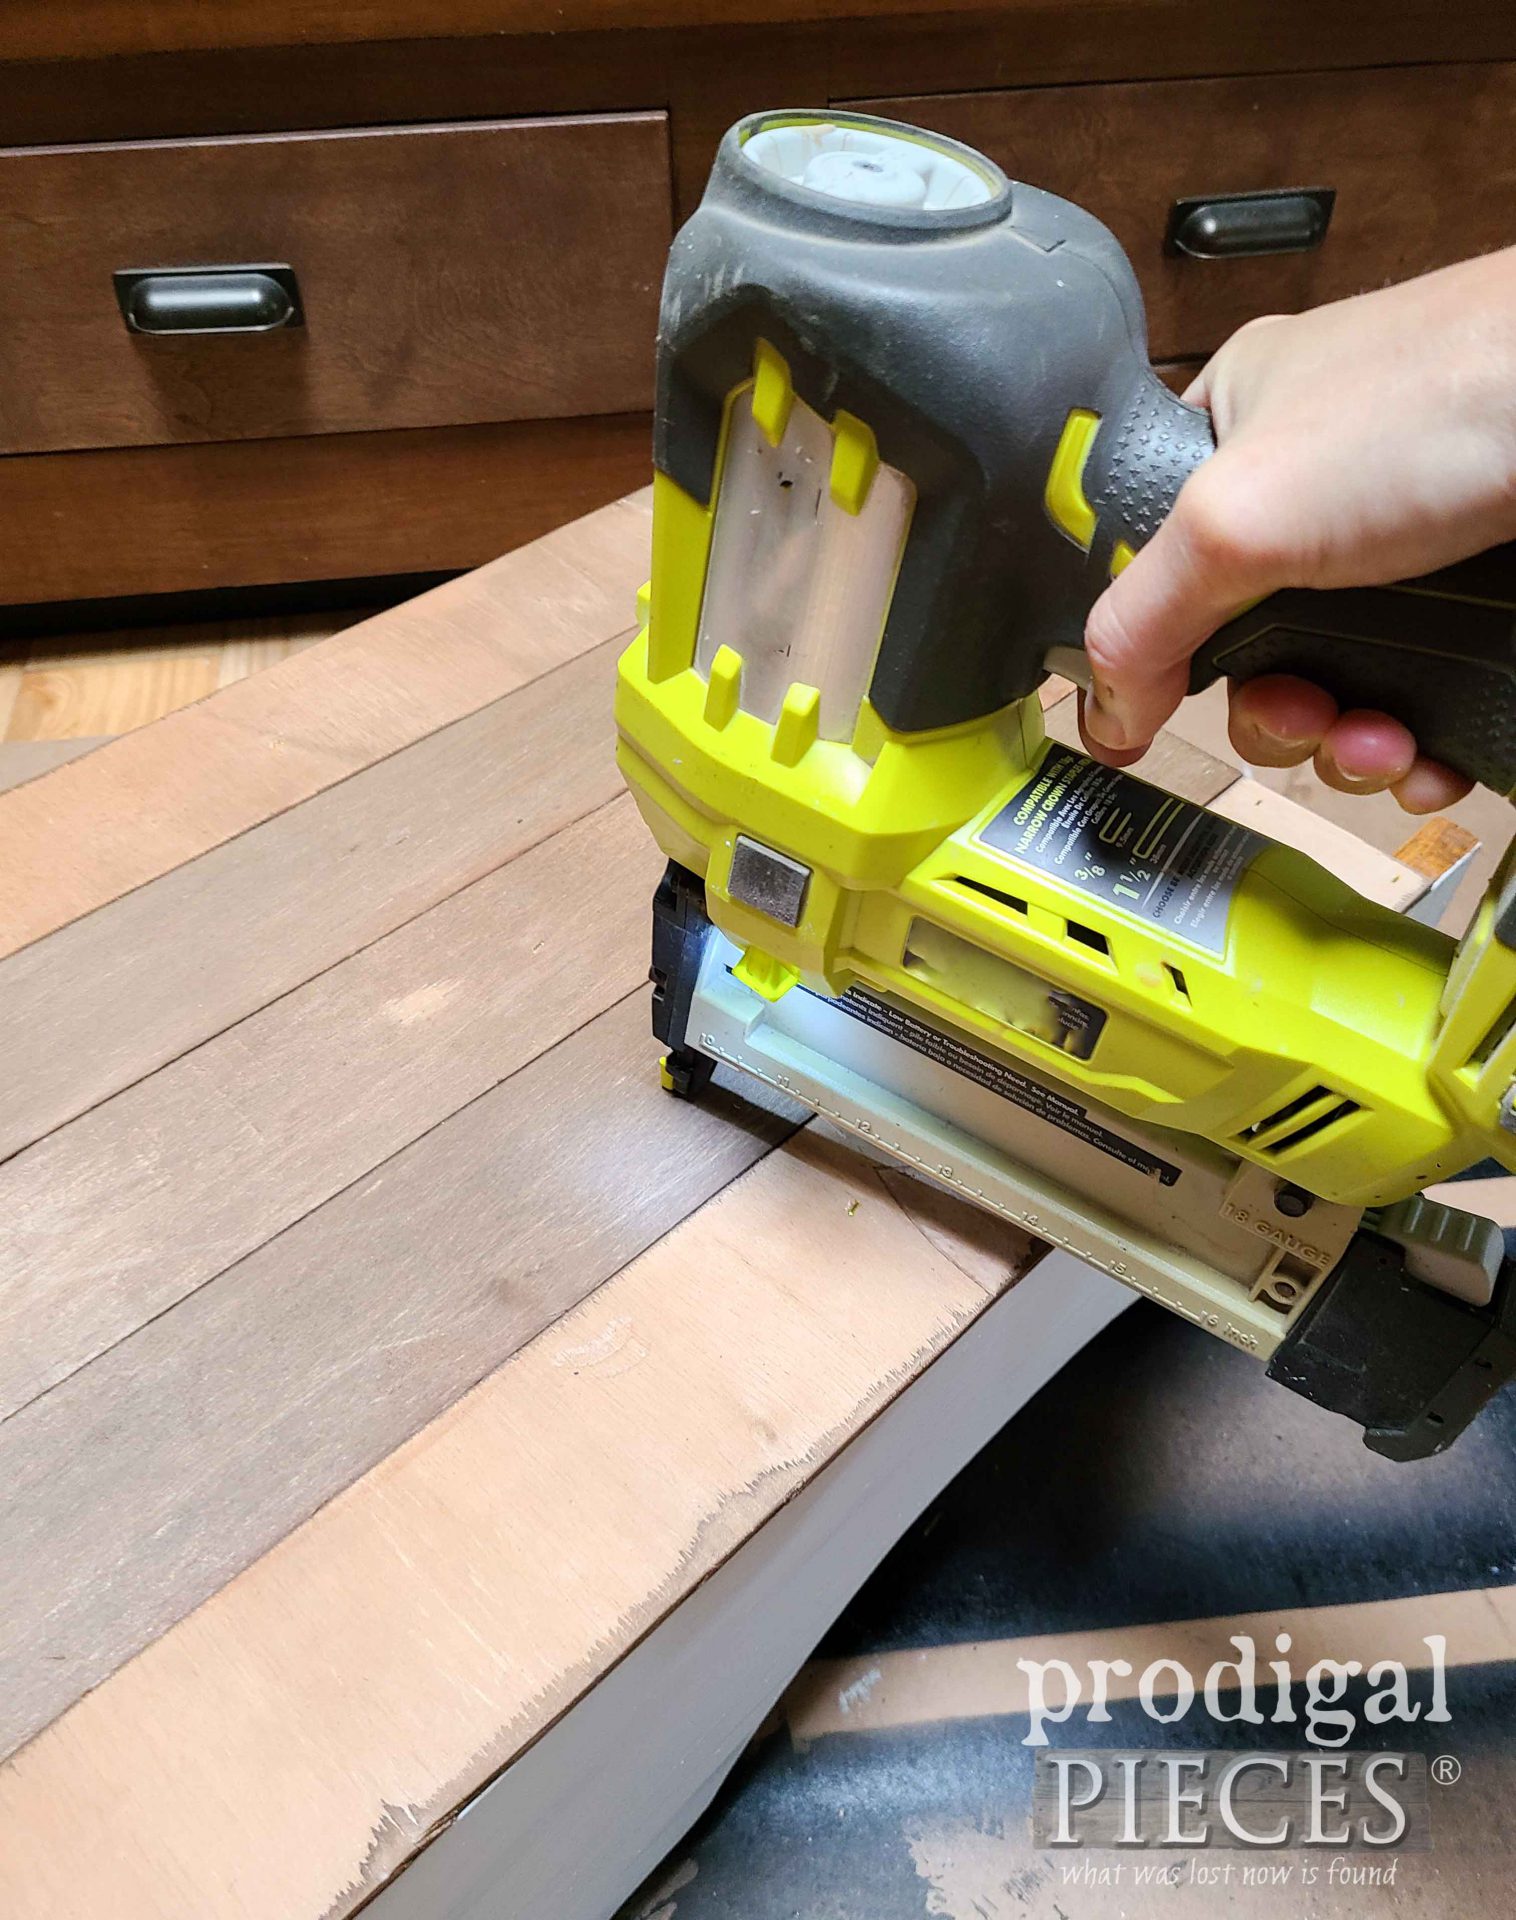
This stuff is wonderful! It goes on easy, no wiping needed, and it is less toxic that your standard stains. In addition, it ages wood right before you eyes using the natural tannins in the wood. Finally, as soon as the stain cures, I attach it to the back using my stapler.
One last coat of paint is applied to it all and I’m ready to finish it all with one last feature.
UPDATE DONE
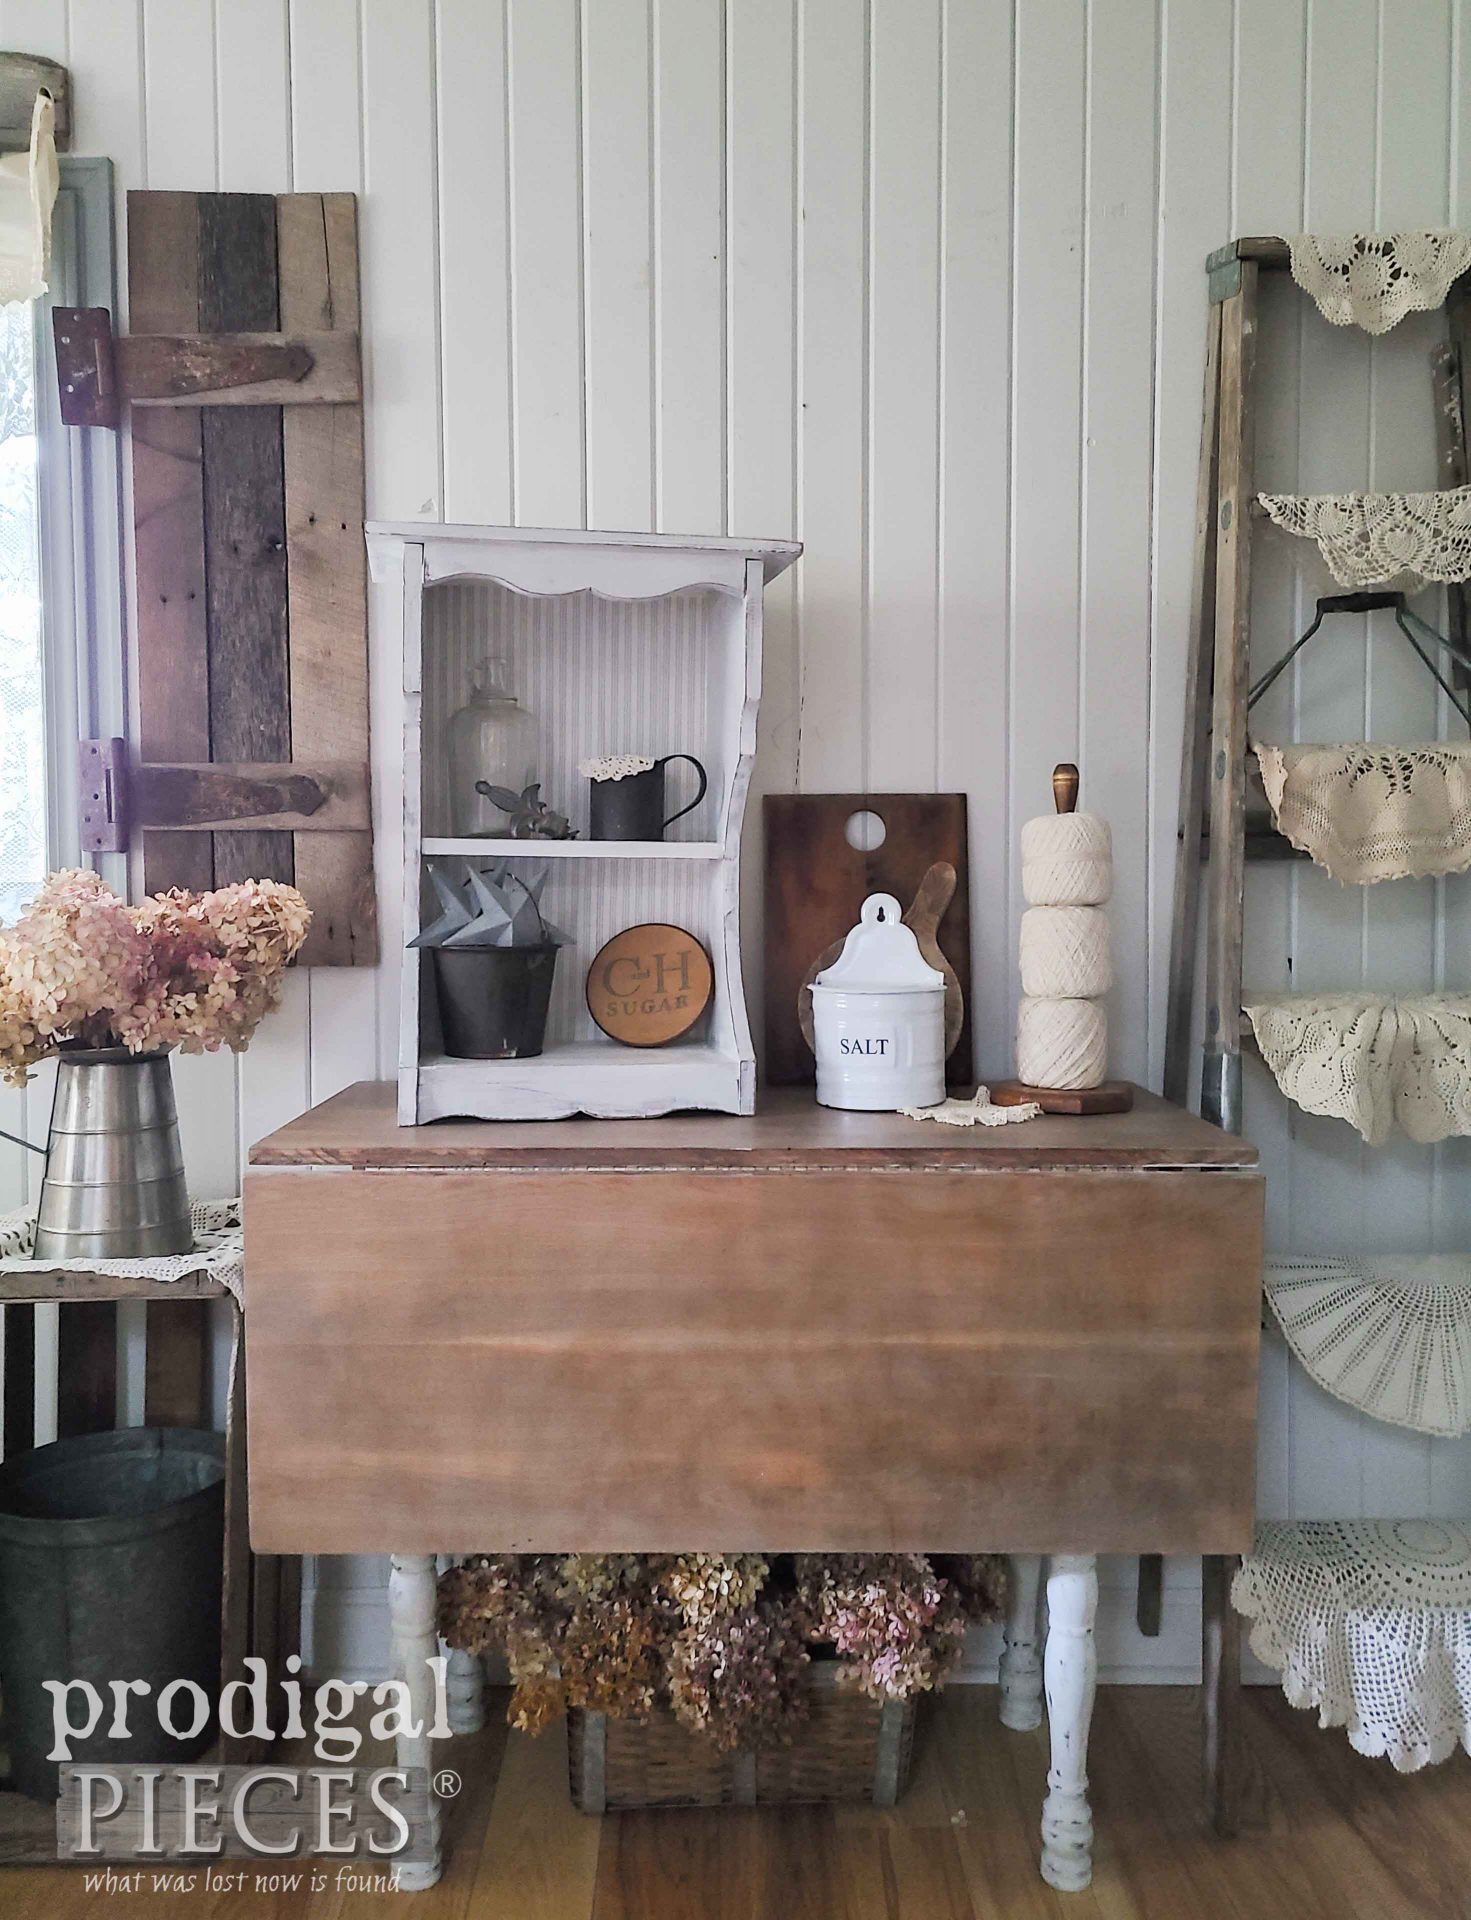
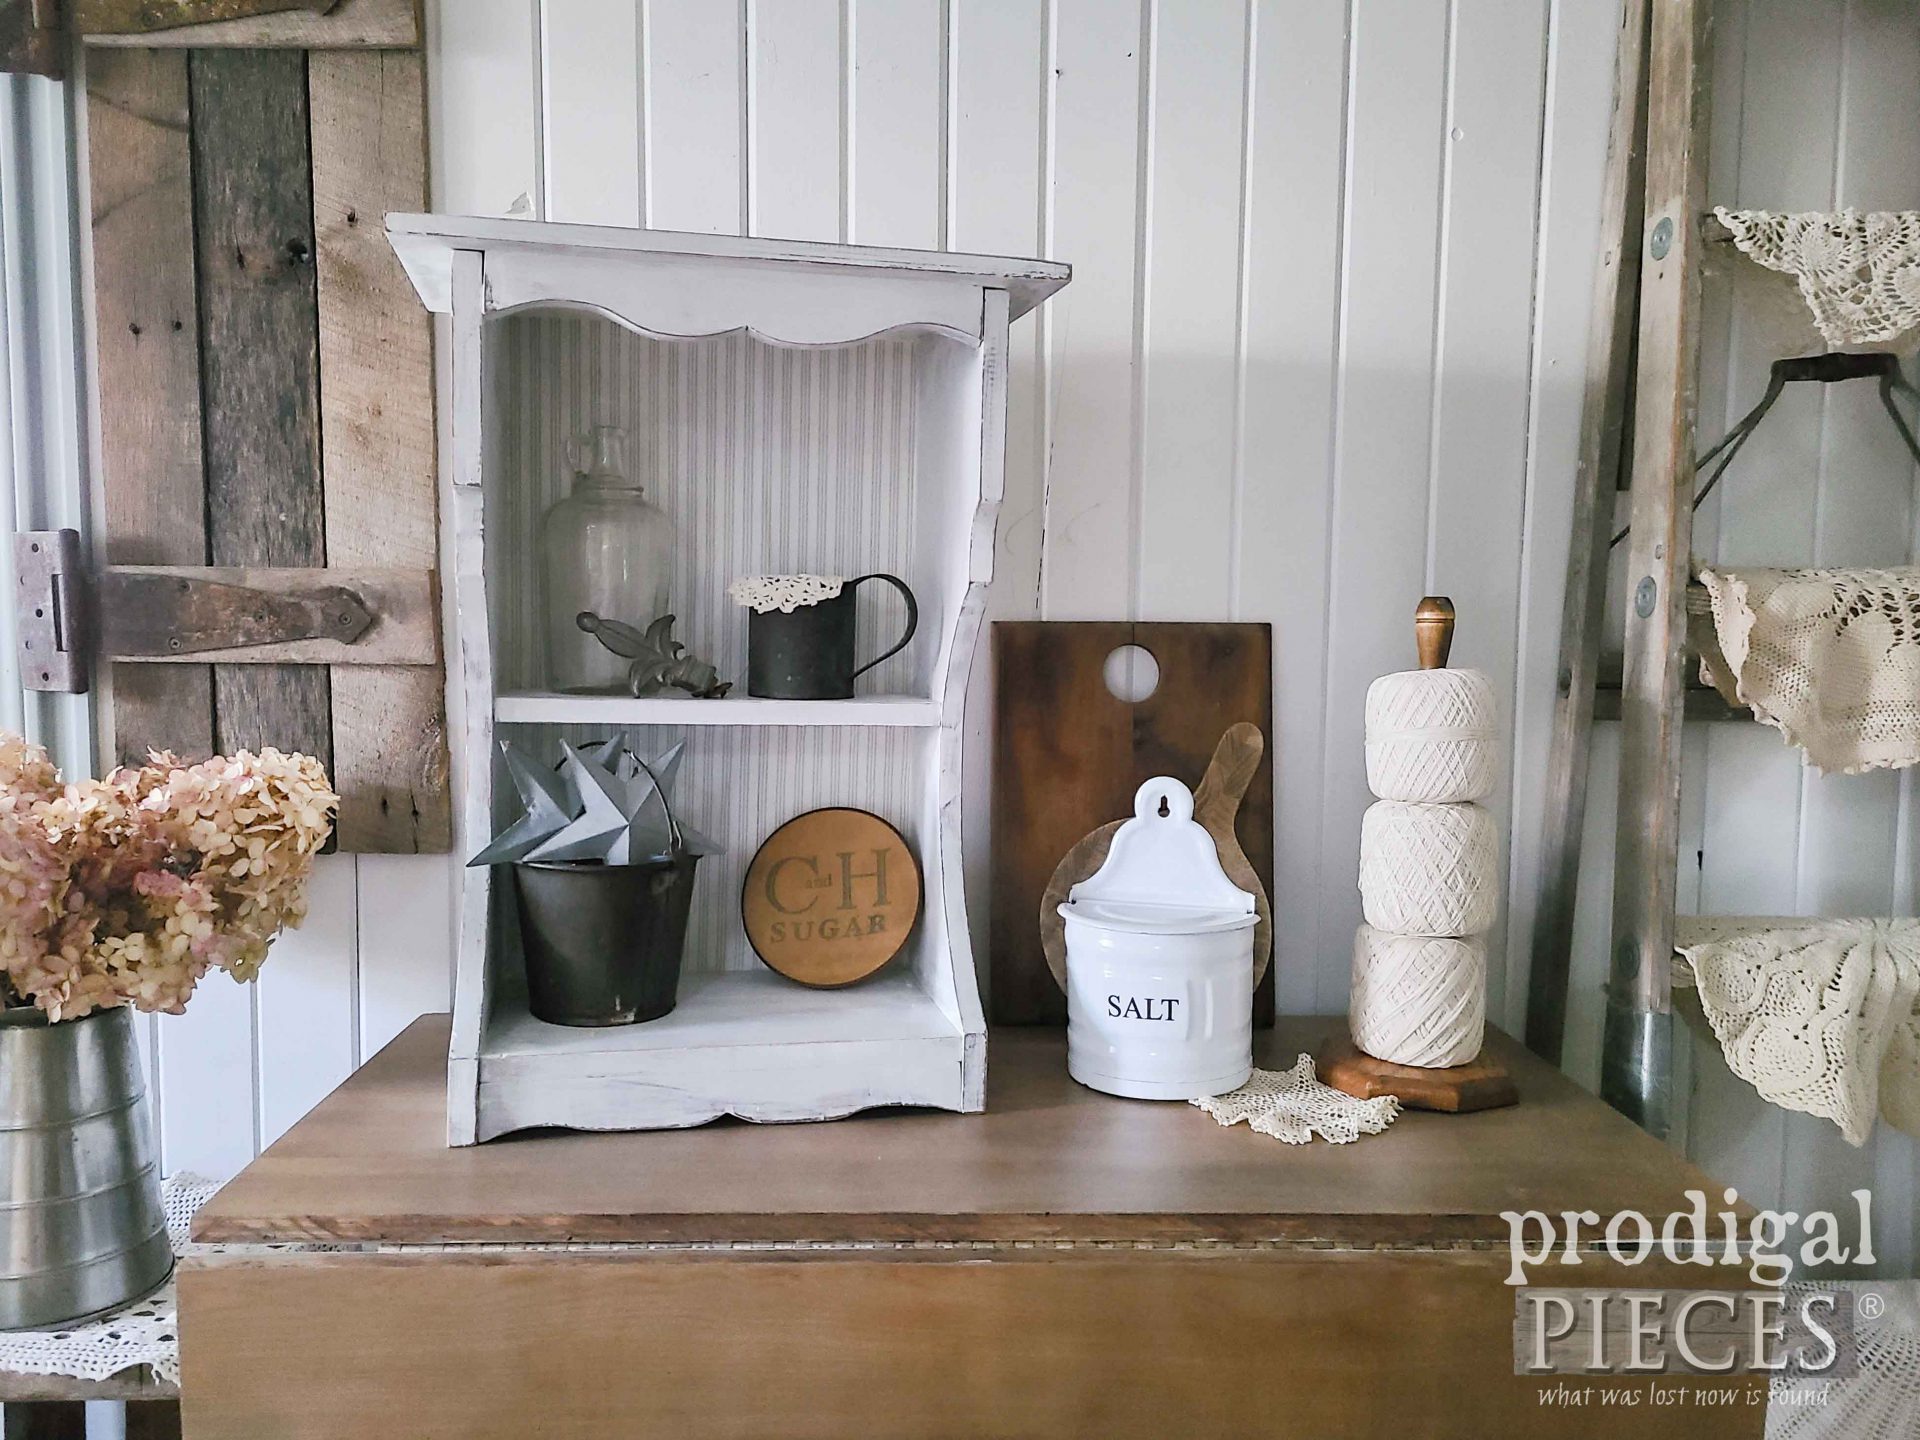
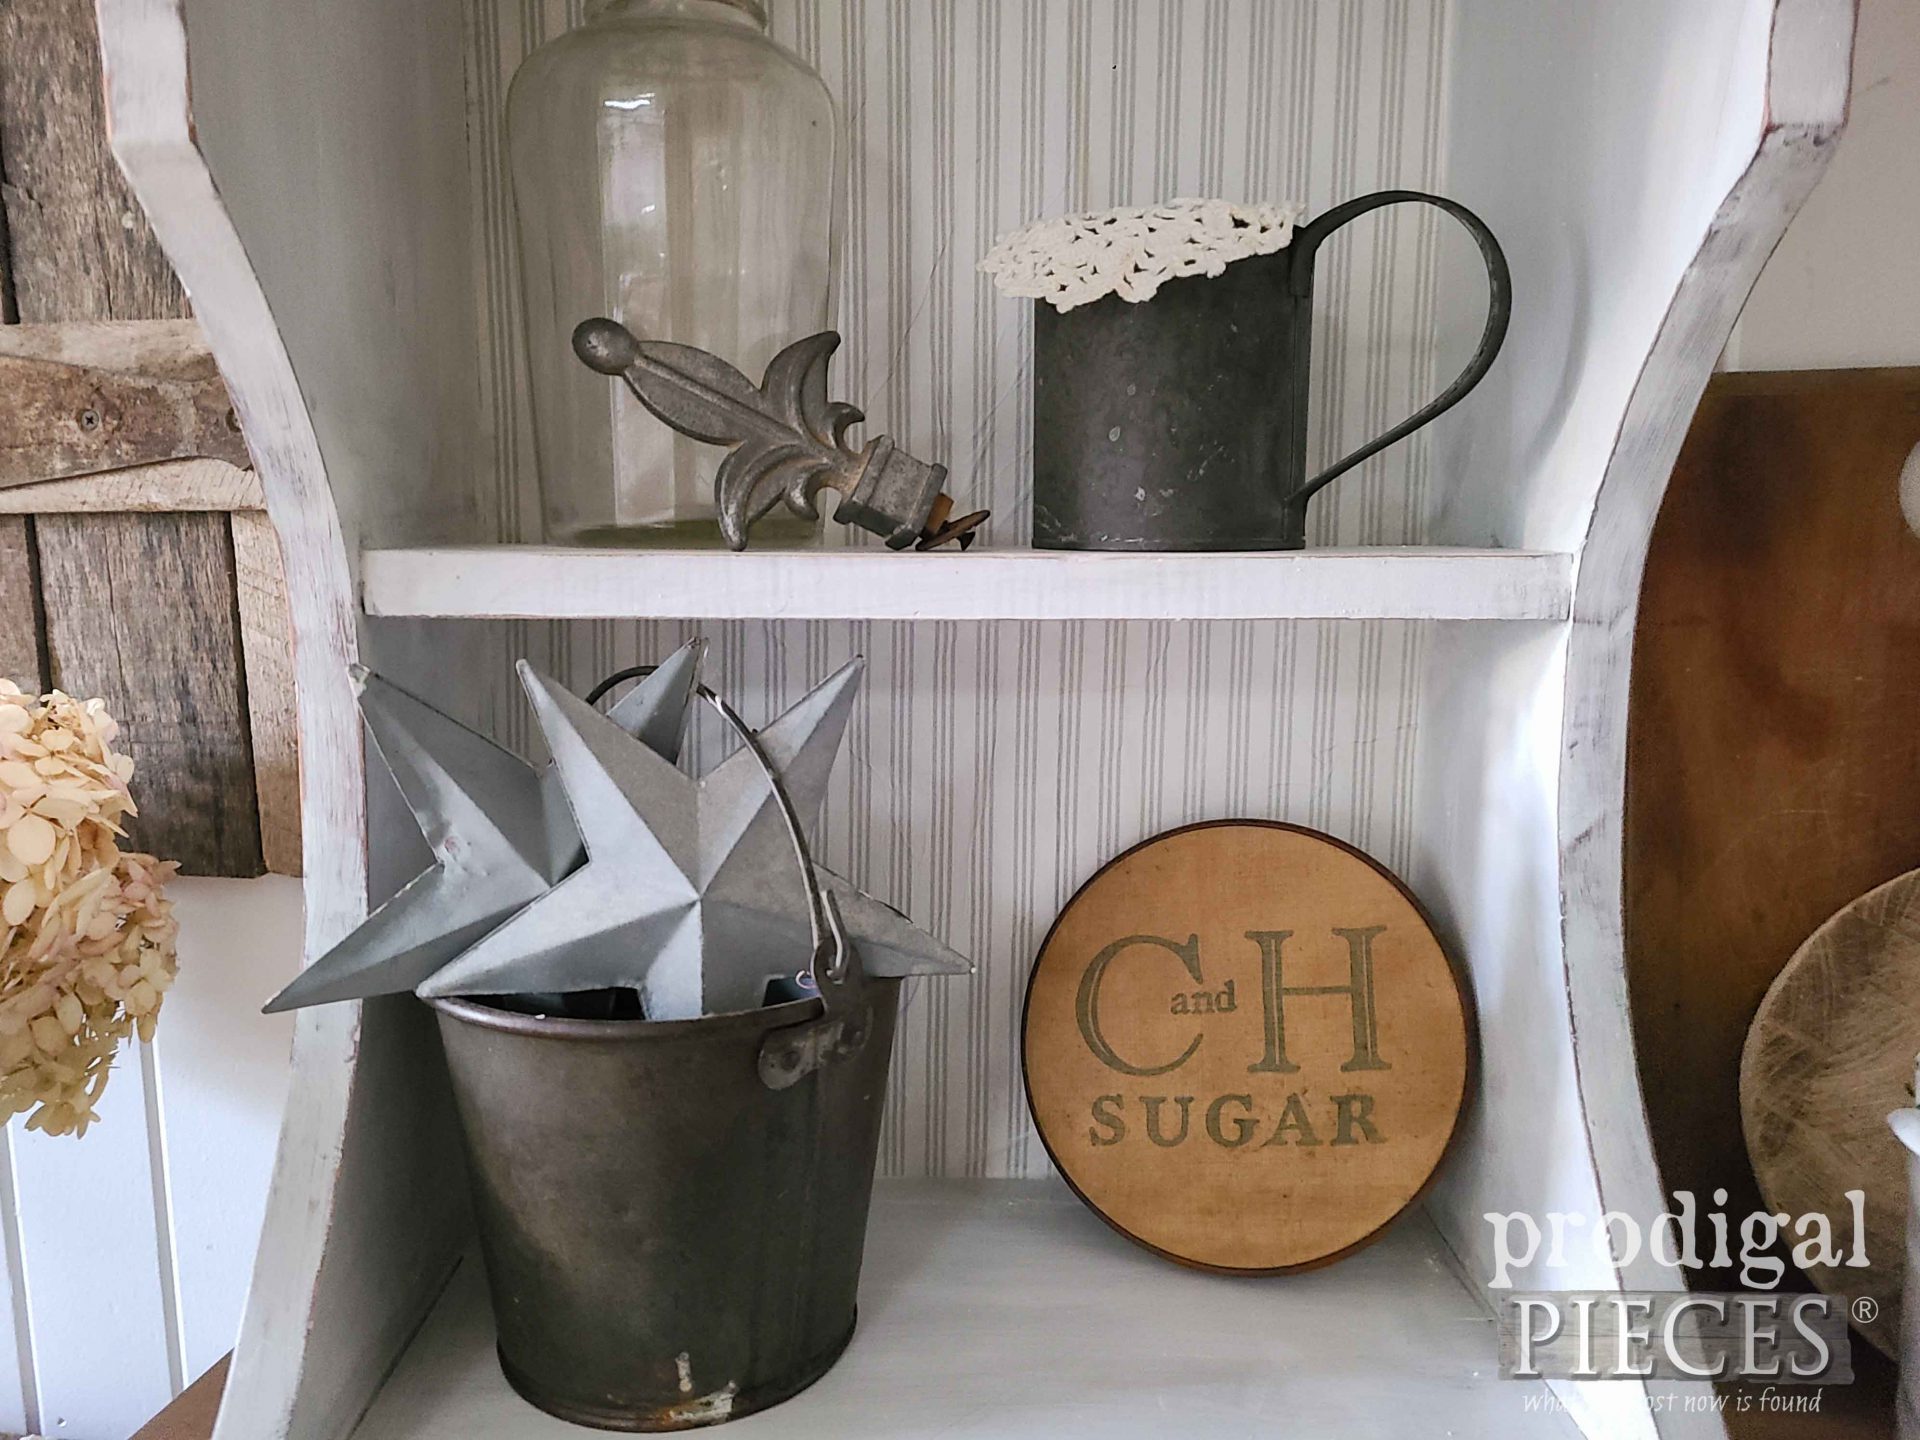
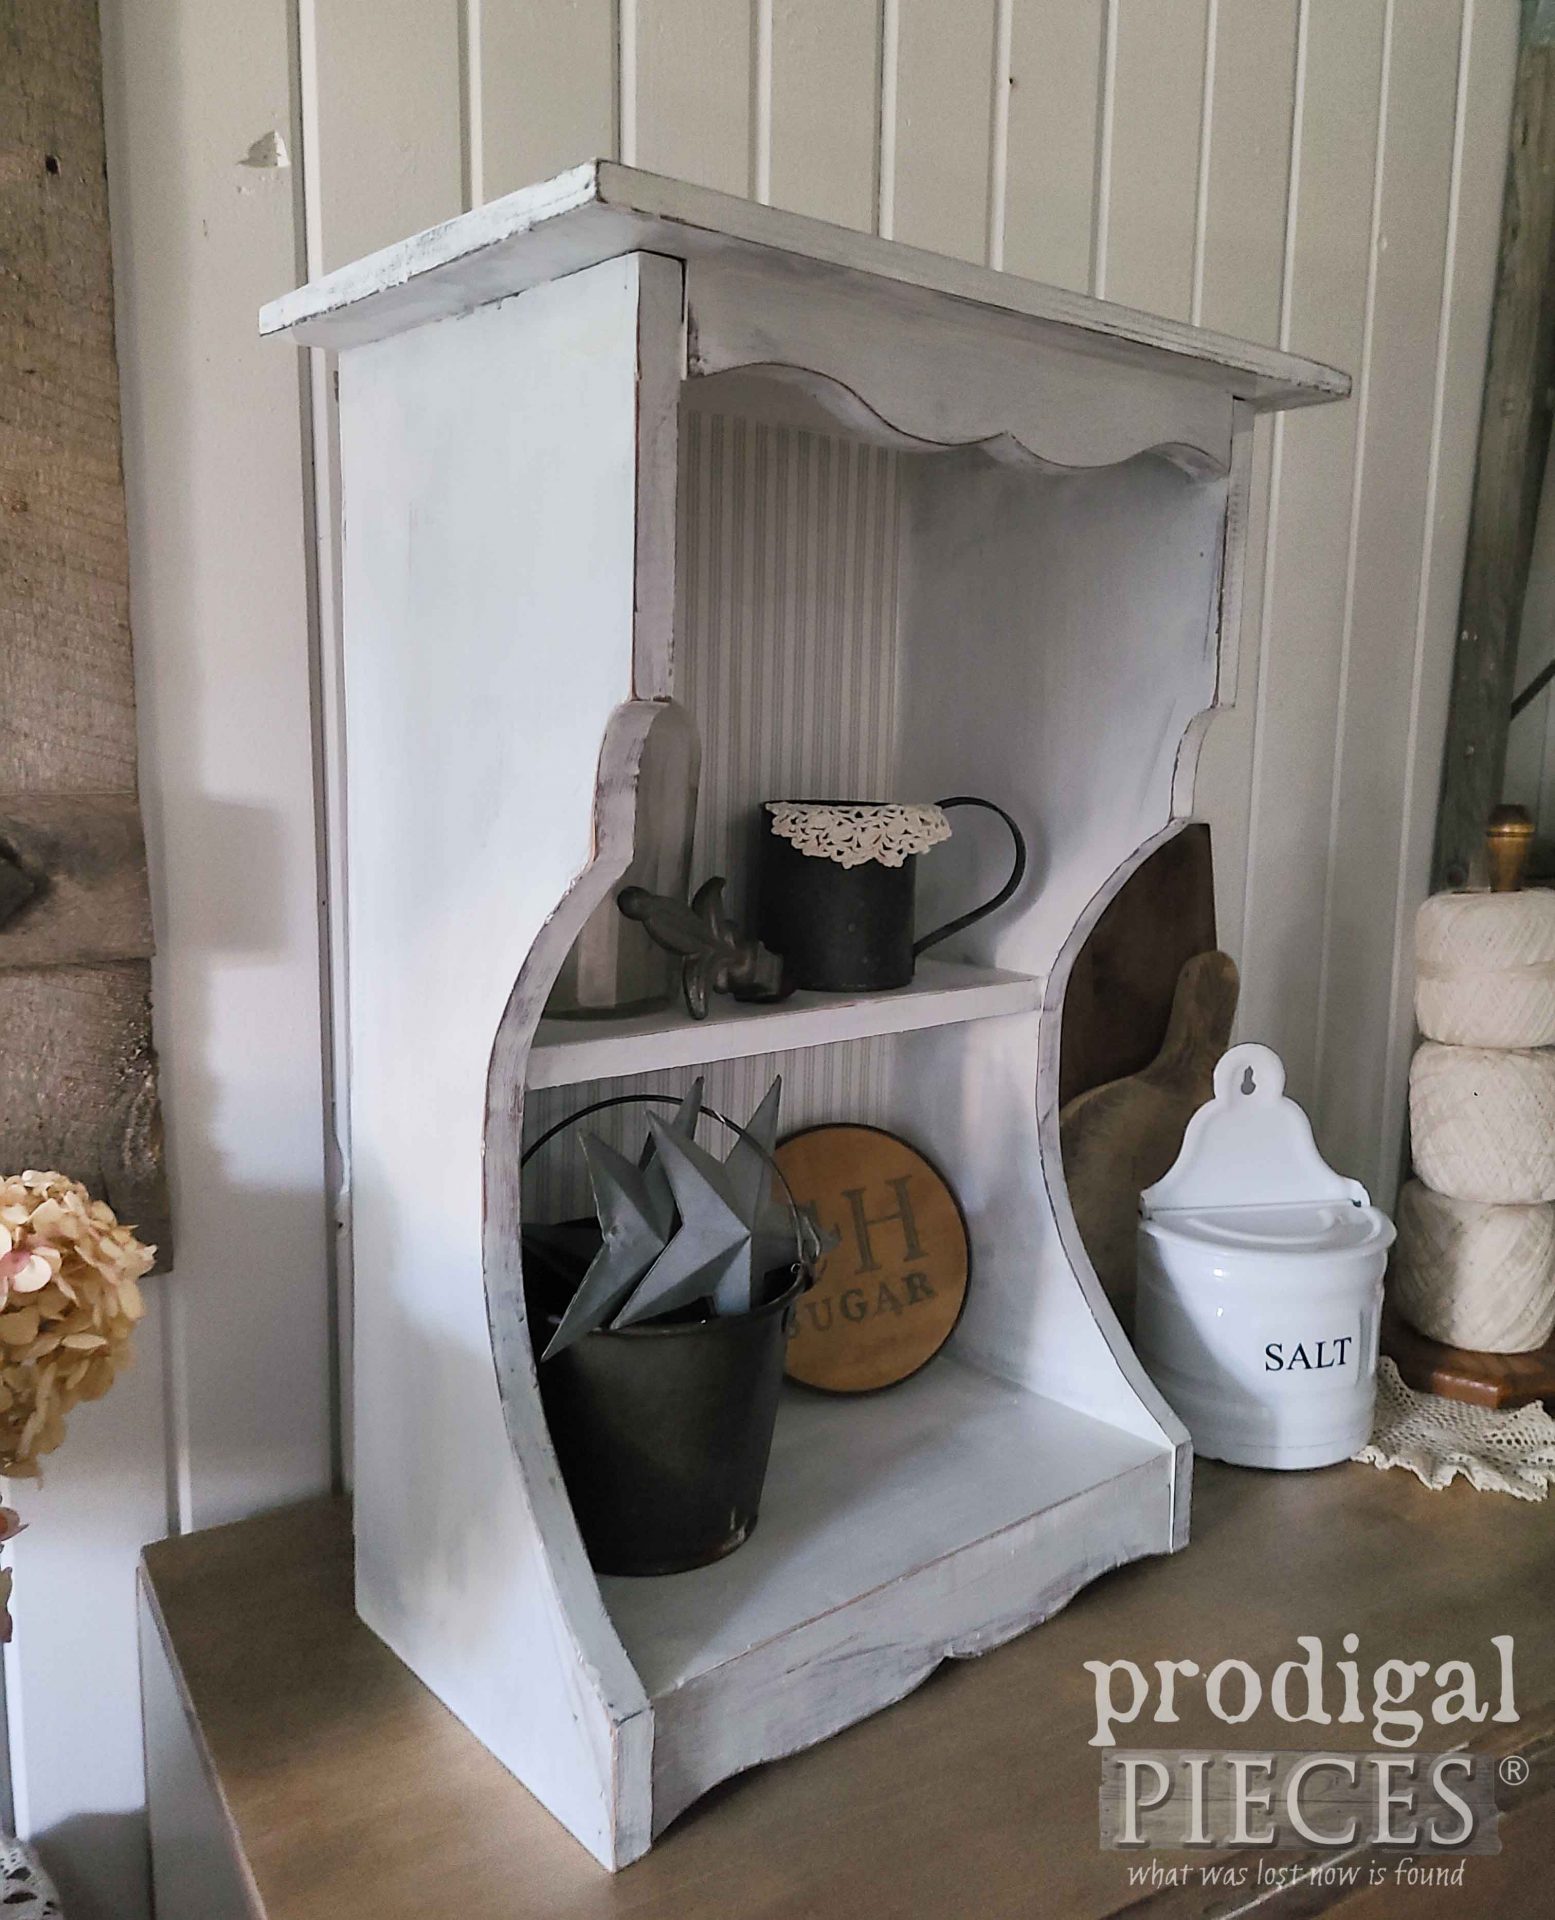
When all my efforts are complete, I have this sweet wooden shelf updated with paper and paint. Can you see the stripe paper backing I added over the wooden slats?
It’s a soft gray stripe that reminds me of ticking…and you know how I adore ticking fabric. eep! If you’re new to the decoupage game, don’t fall prey to the expensive products stores try to sell you. Instead, check out my curio cabinet and this chest of drawers to see how I used dollar store tissue paper and napkins along with school glue to do it DIY style.
DECOUPAGE
If you want to give it a try, grab some school glue and mix a small amount of water into a couple of tablespoons until it’s the consistency of milk. Then, brush on the paste, place the paper, and brush more paste over the paper. Easy-peasy.
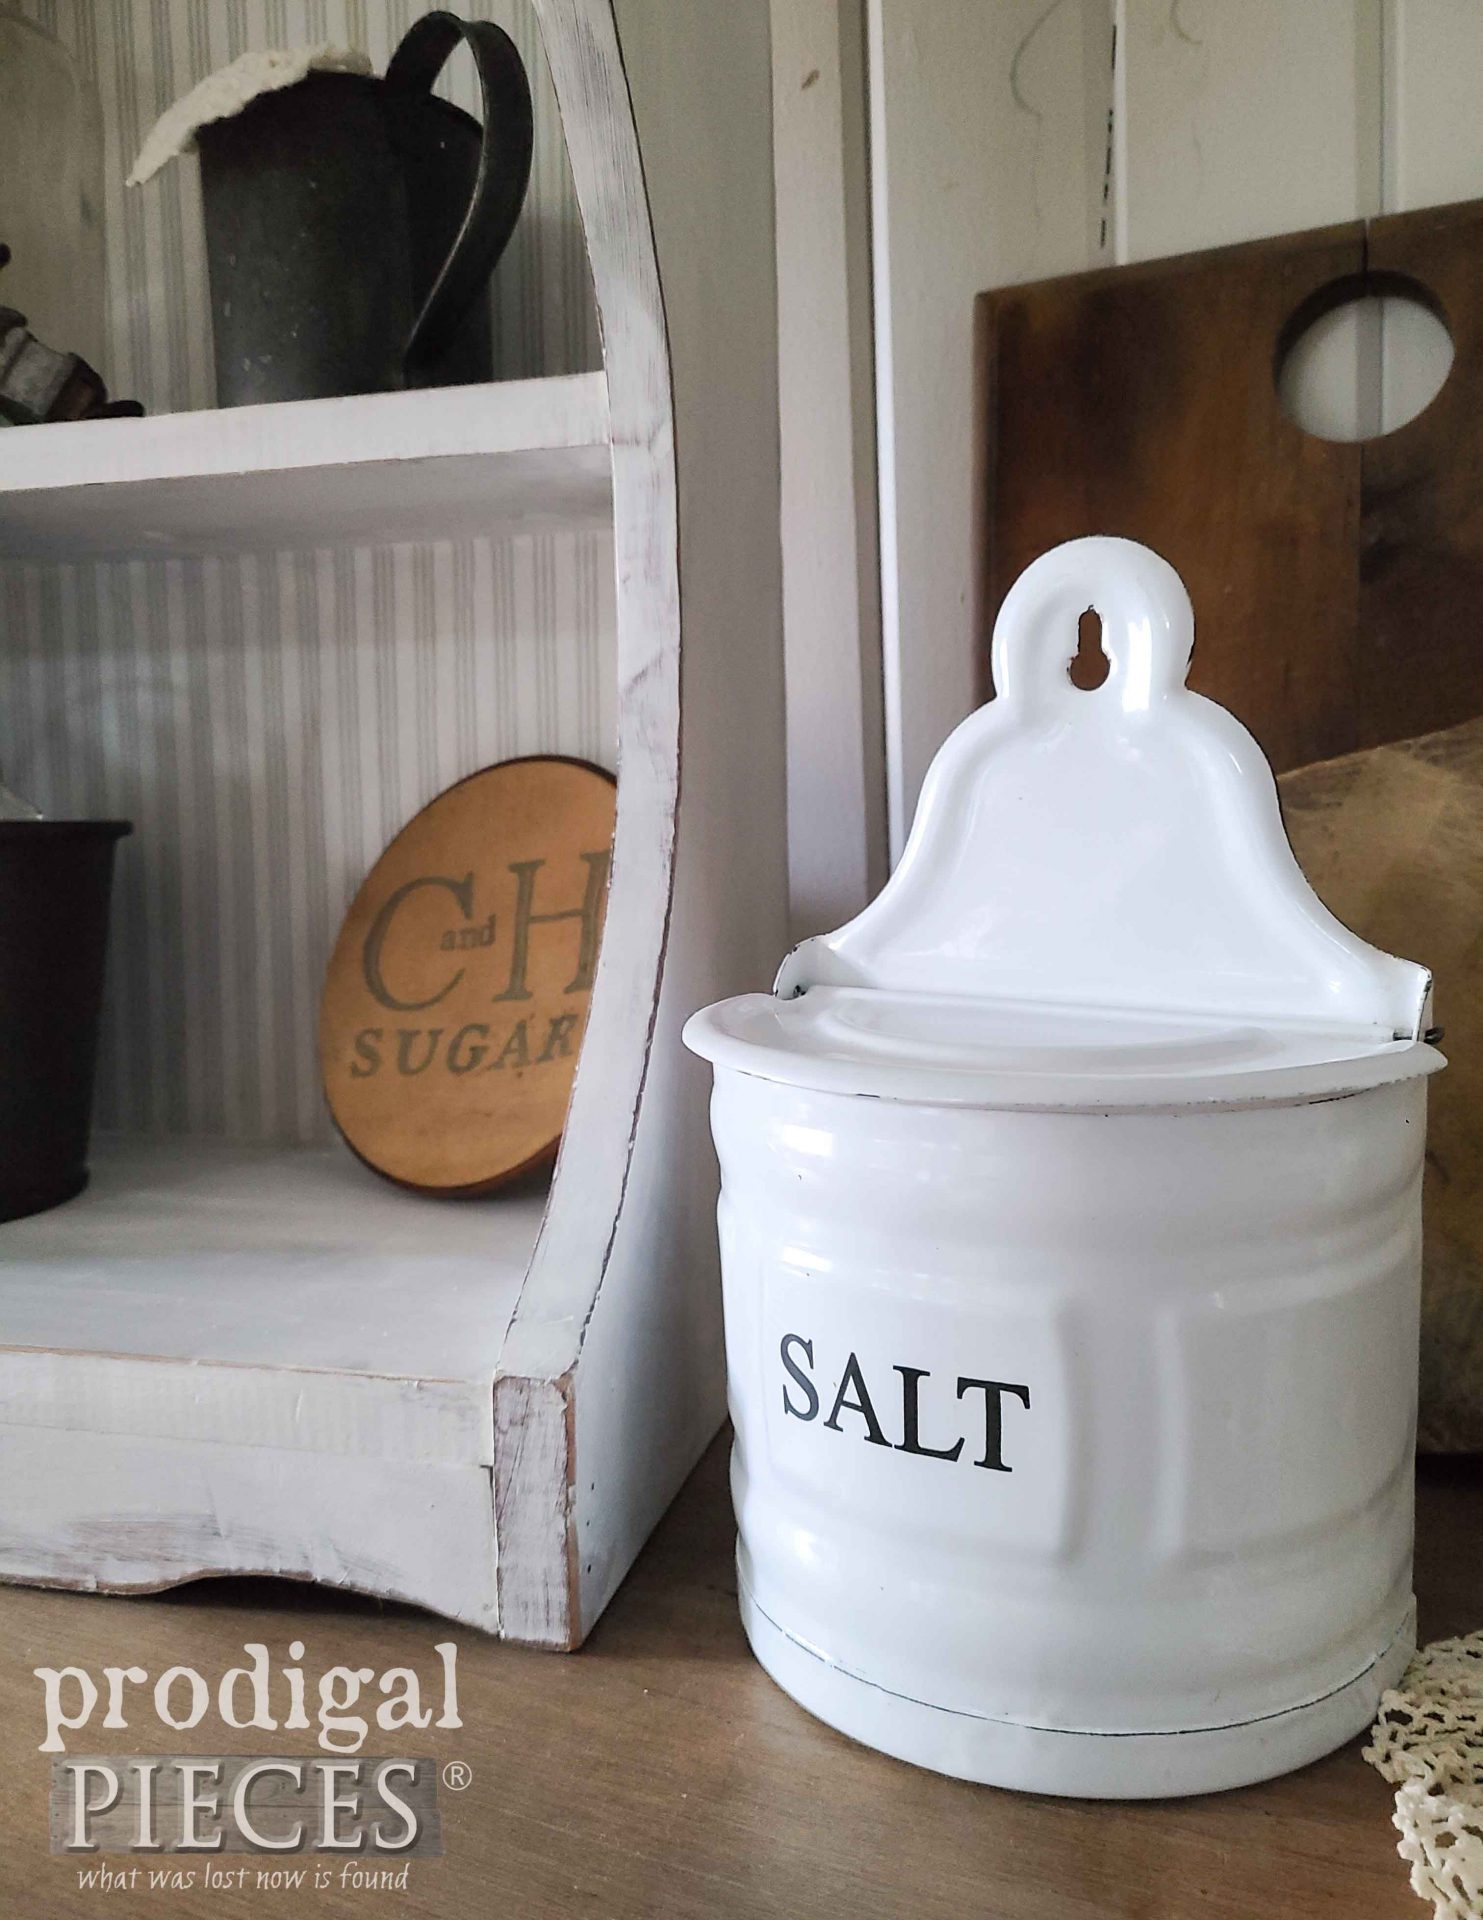
Oh, and I’m curious…when you’re hankerin’ for a snack, do you tend to go for the salty or sweet? For me, it depends on my mood, but typically I choose salty – I think.
If you’d like to add this farmhouse style shelf to your home story, you can find it, the drop-leaf table, and much more available in my online shop.
SHARE
In addition to leaving some comment love below, pin and share to inspire others to see past that dated wood piece they have hanging around or find at a garage sale.
Likewise, before you head off, be sure to sign up for my newsletter because up next is Trash to Treasure Tuesday. You don’t want to miss what I do with this curbside haul. Last, come see what I built OVER HERE.



So sweet!! It would also look fabulous in a beach themed decor. I’m convinced you are the “Thrift Whisperer!!” ?
Ooh…that sounds fun! You make me giggle, girl. 😀 Thank you!
KEEEE-UTE!!! Good job, momma!
Well, aren’t you fun?!? Thanks so much, Caye. I have so much joy in what I do.
Sweet transformation, Larissa! The ticking stripe paper on the back is such a lovely touch. Another piece that probably won’t last long in your shop.
There’s just something about paper and paint that makes transformations fun. And you know all about that in your awesome designs, Marie. Thank you!