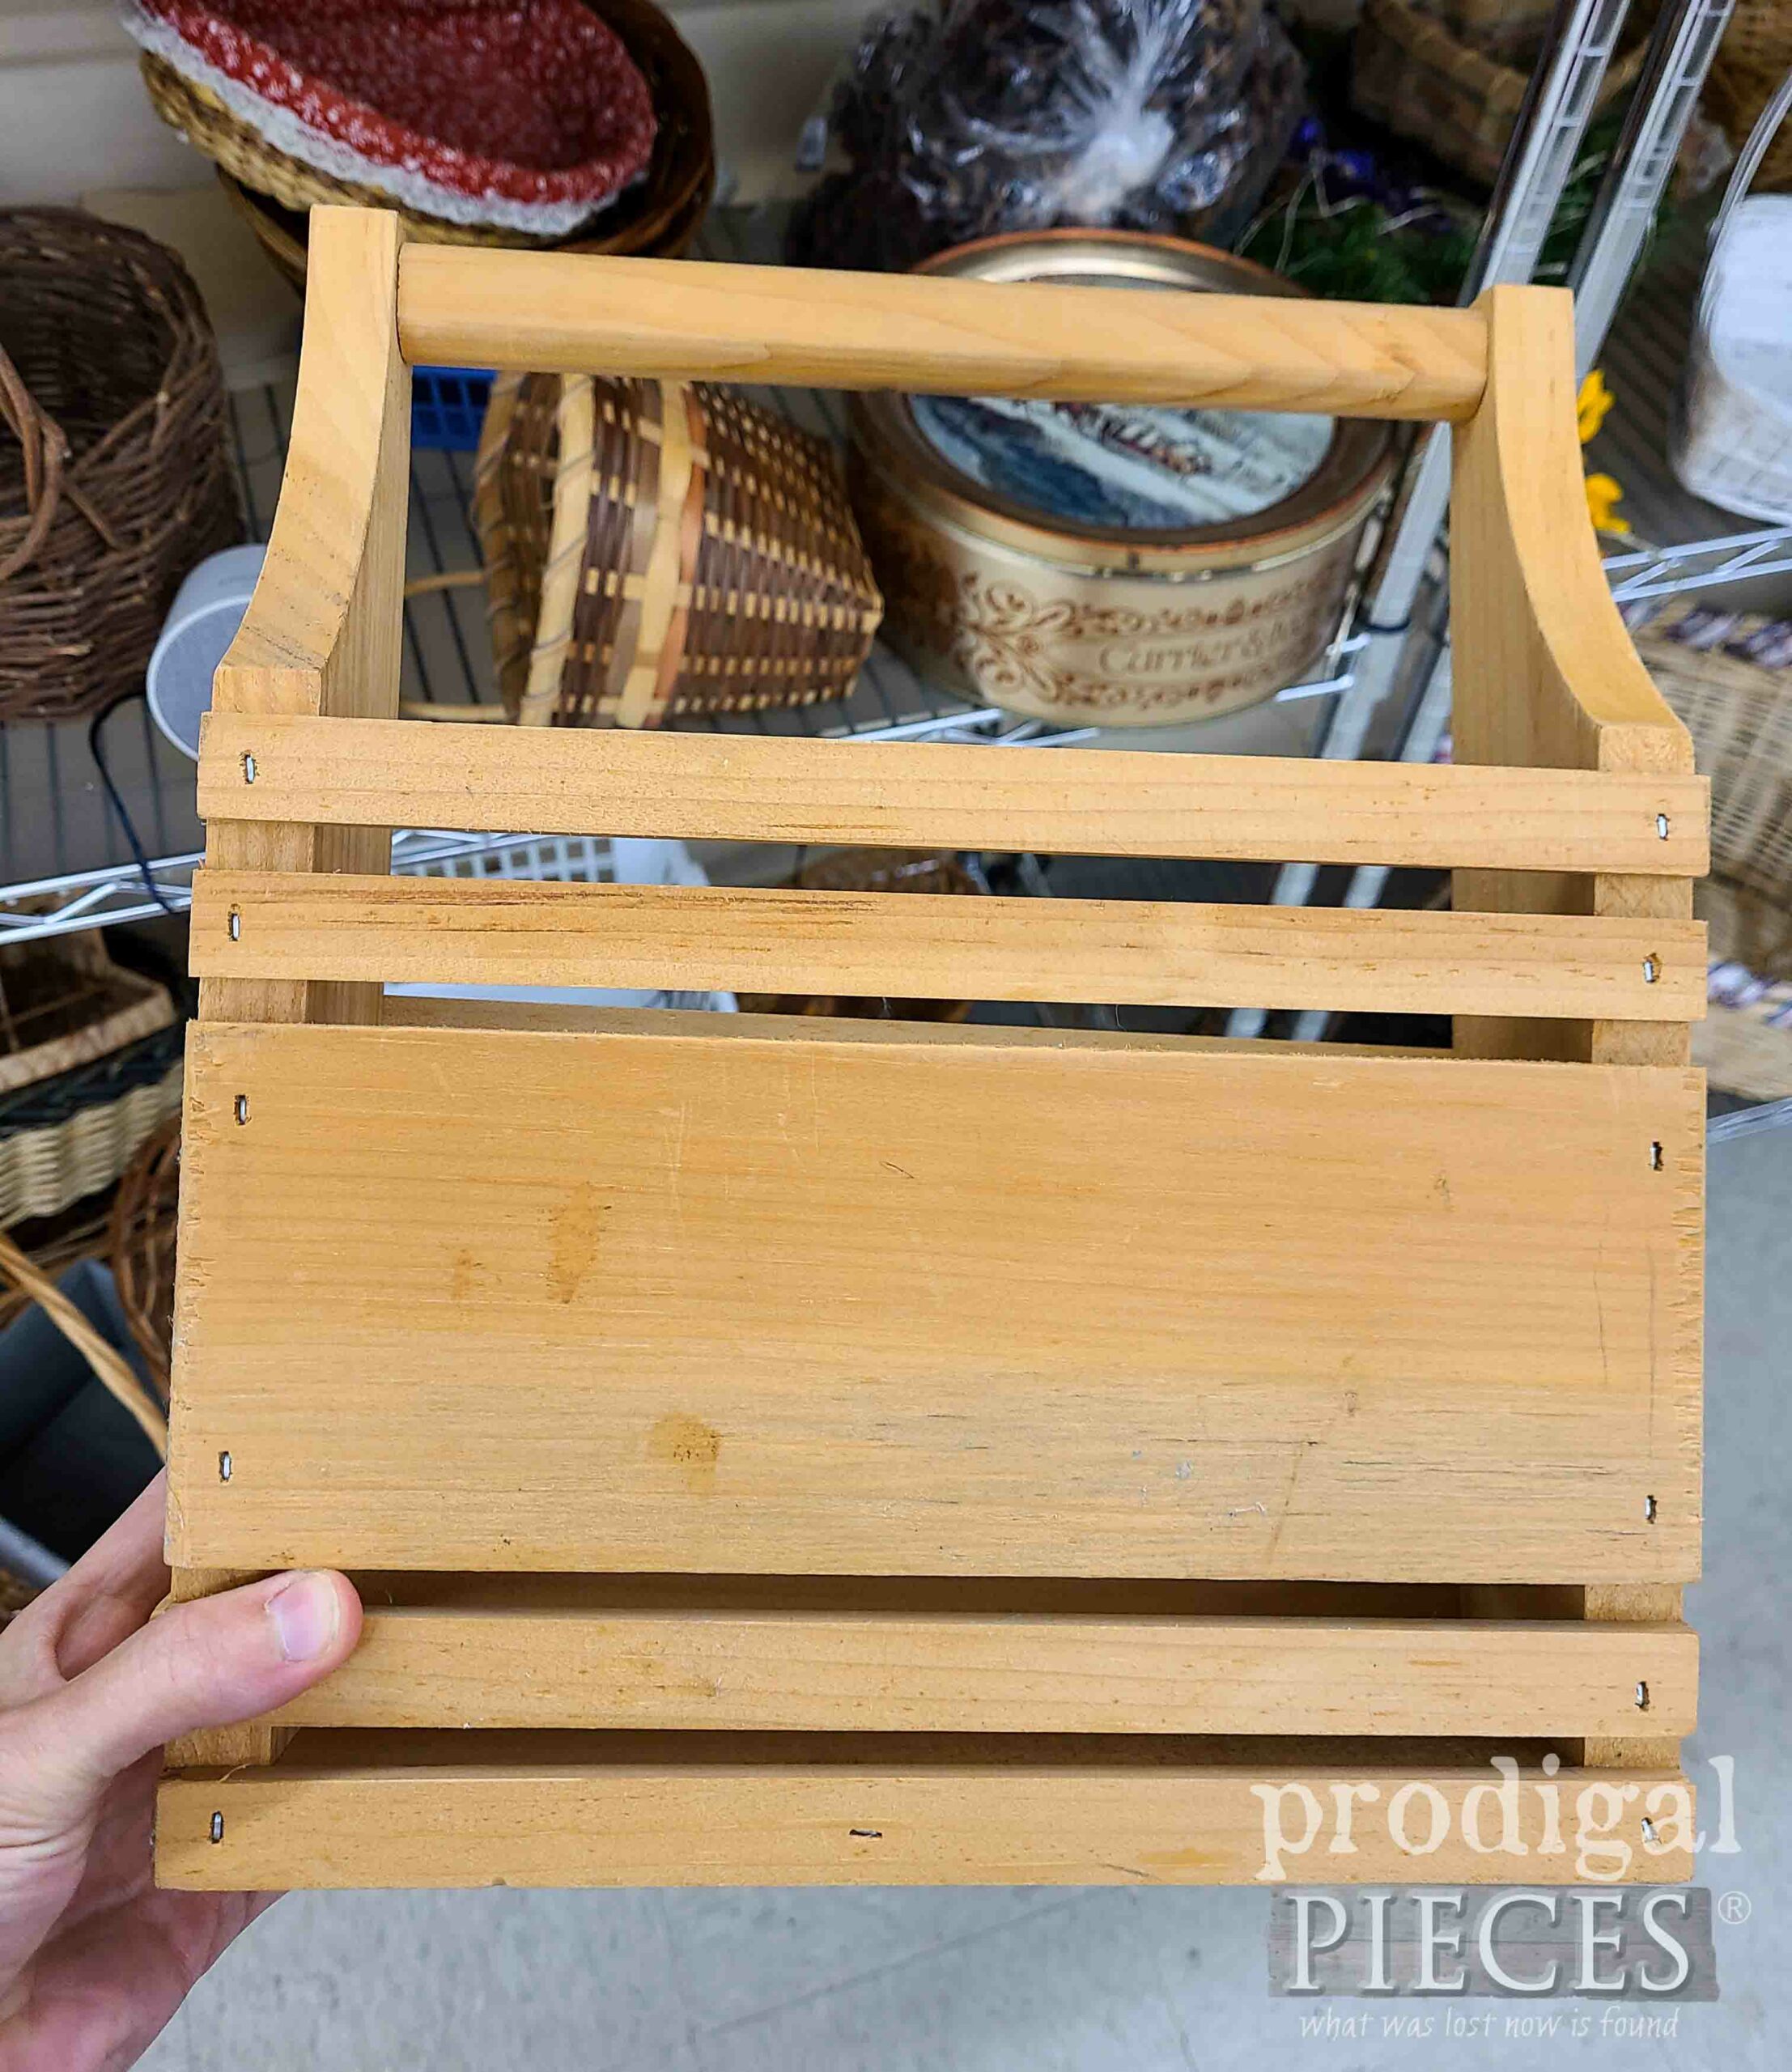
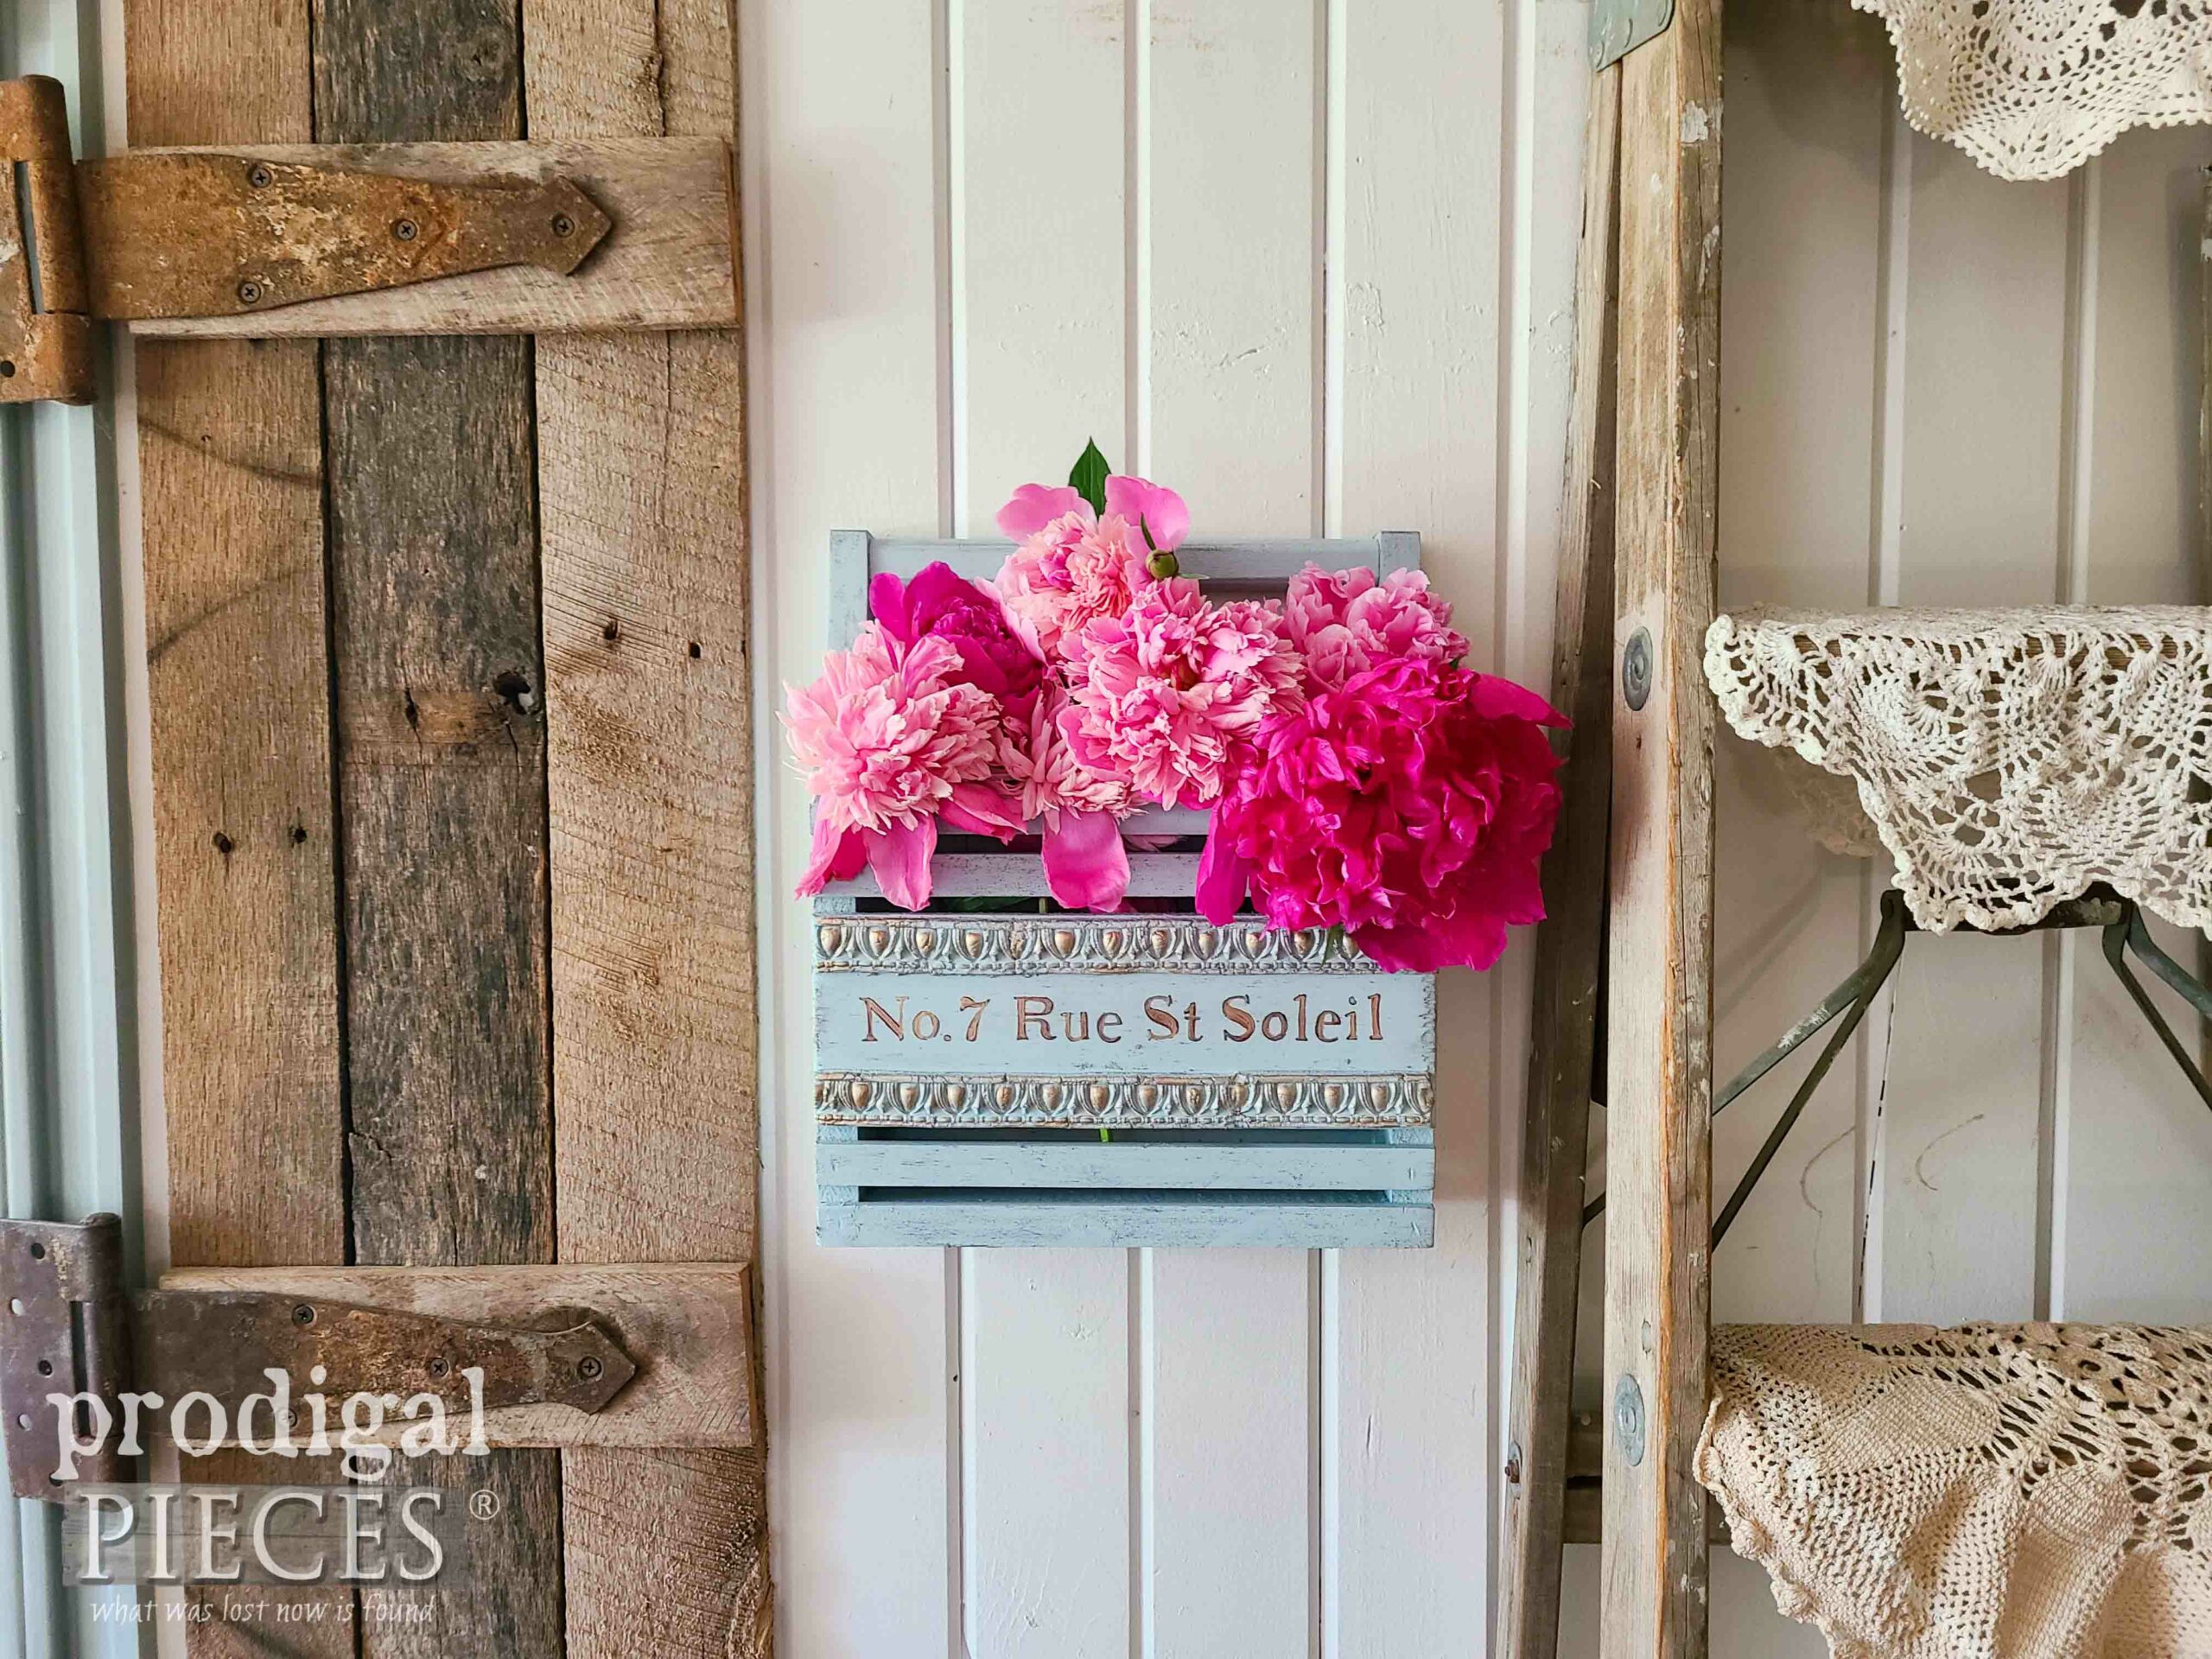
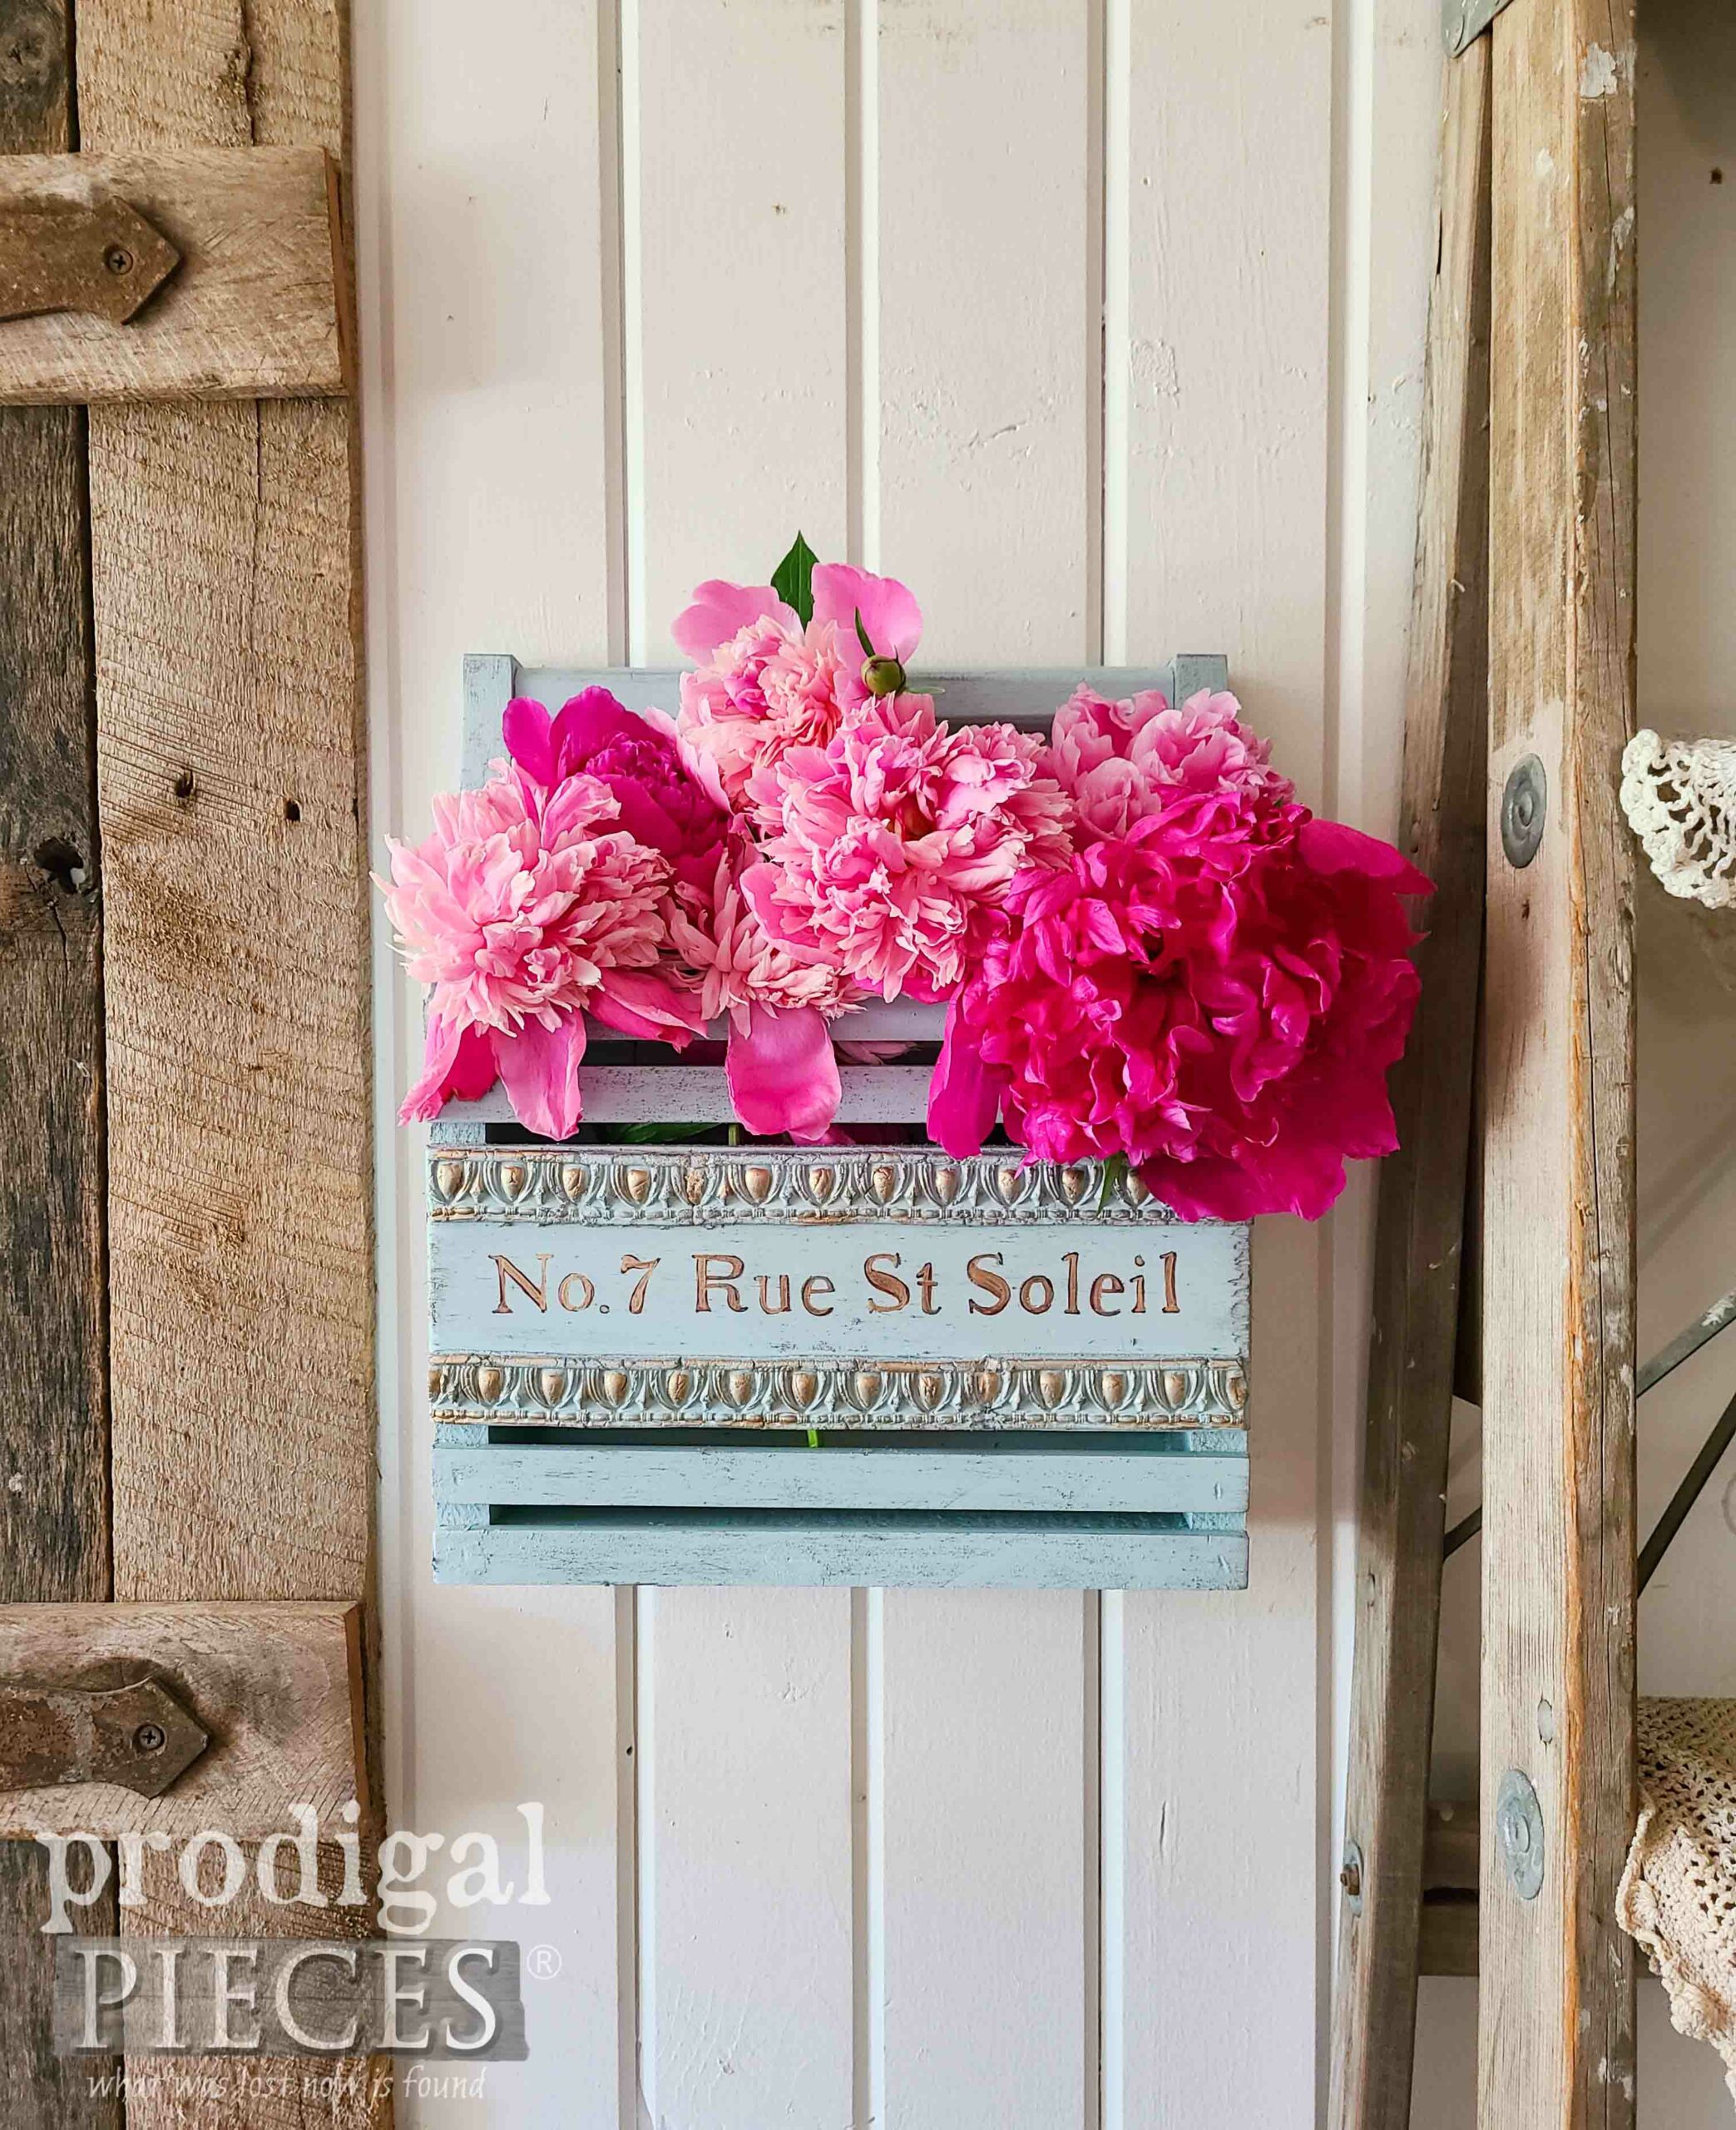
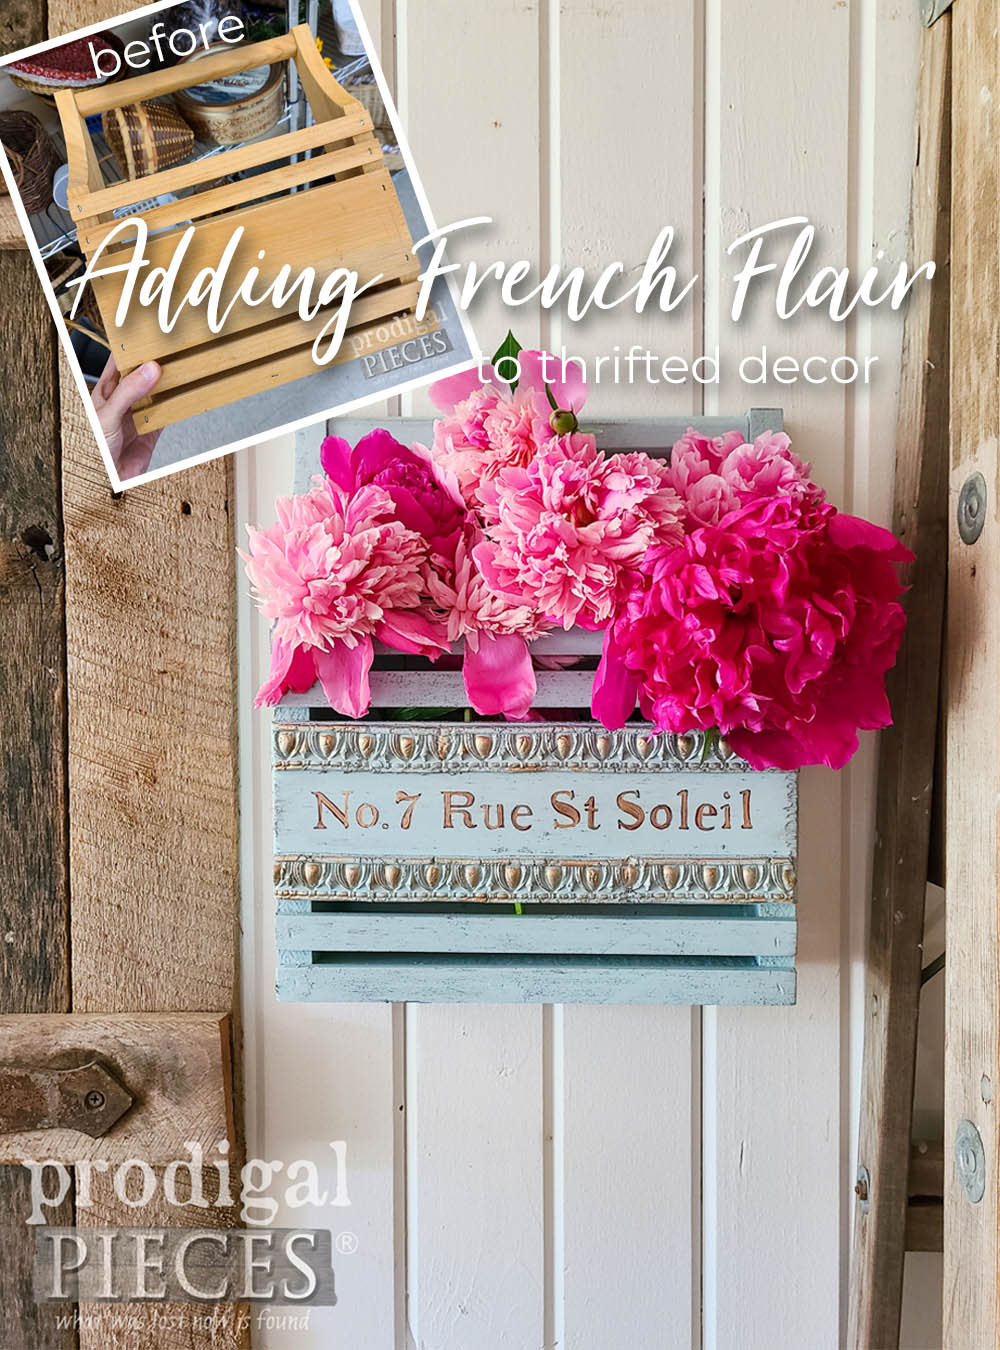
As many of you know, one of my regular stops in a thrift store or garage sale or at Curb le Chic is to check out what’s available in wood. Wood is one of the most versatile, natural mediums there are. So, when I spy this plain wall pocket, I decide to bring it home with me to take it to another level. Adding French flair to finds like this makes it fun and also an easy way to update your decor.
Let’s get this DIY mini makeover started!
DRESS IT UP
First, as you can imagine, this is completely blank slate perfectly ready for a new look. While the wood is unstained, it’s not totally raw which makes staining it patchy or just plain hard. I find this to be the case at times when possibly someone used a dusting spray or similar. In turn, that makes the wood resist the stain, as in this case. You can feel the wood has a bit of slick to it but is unfinished.
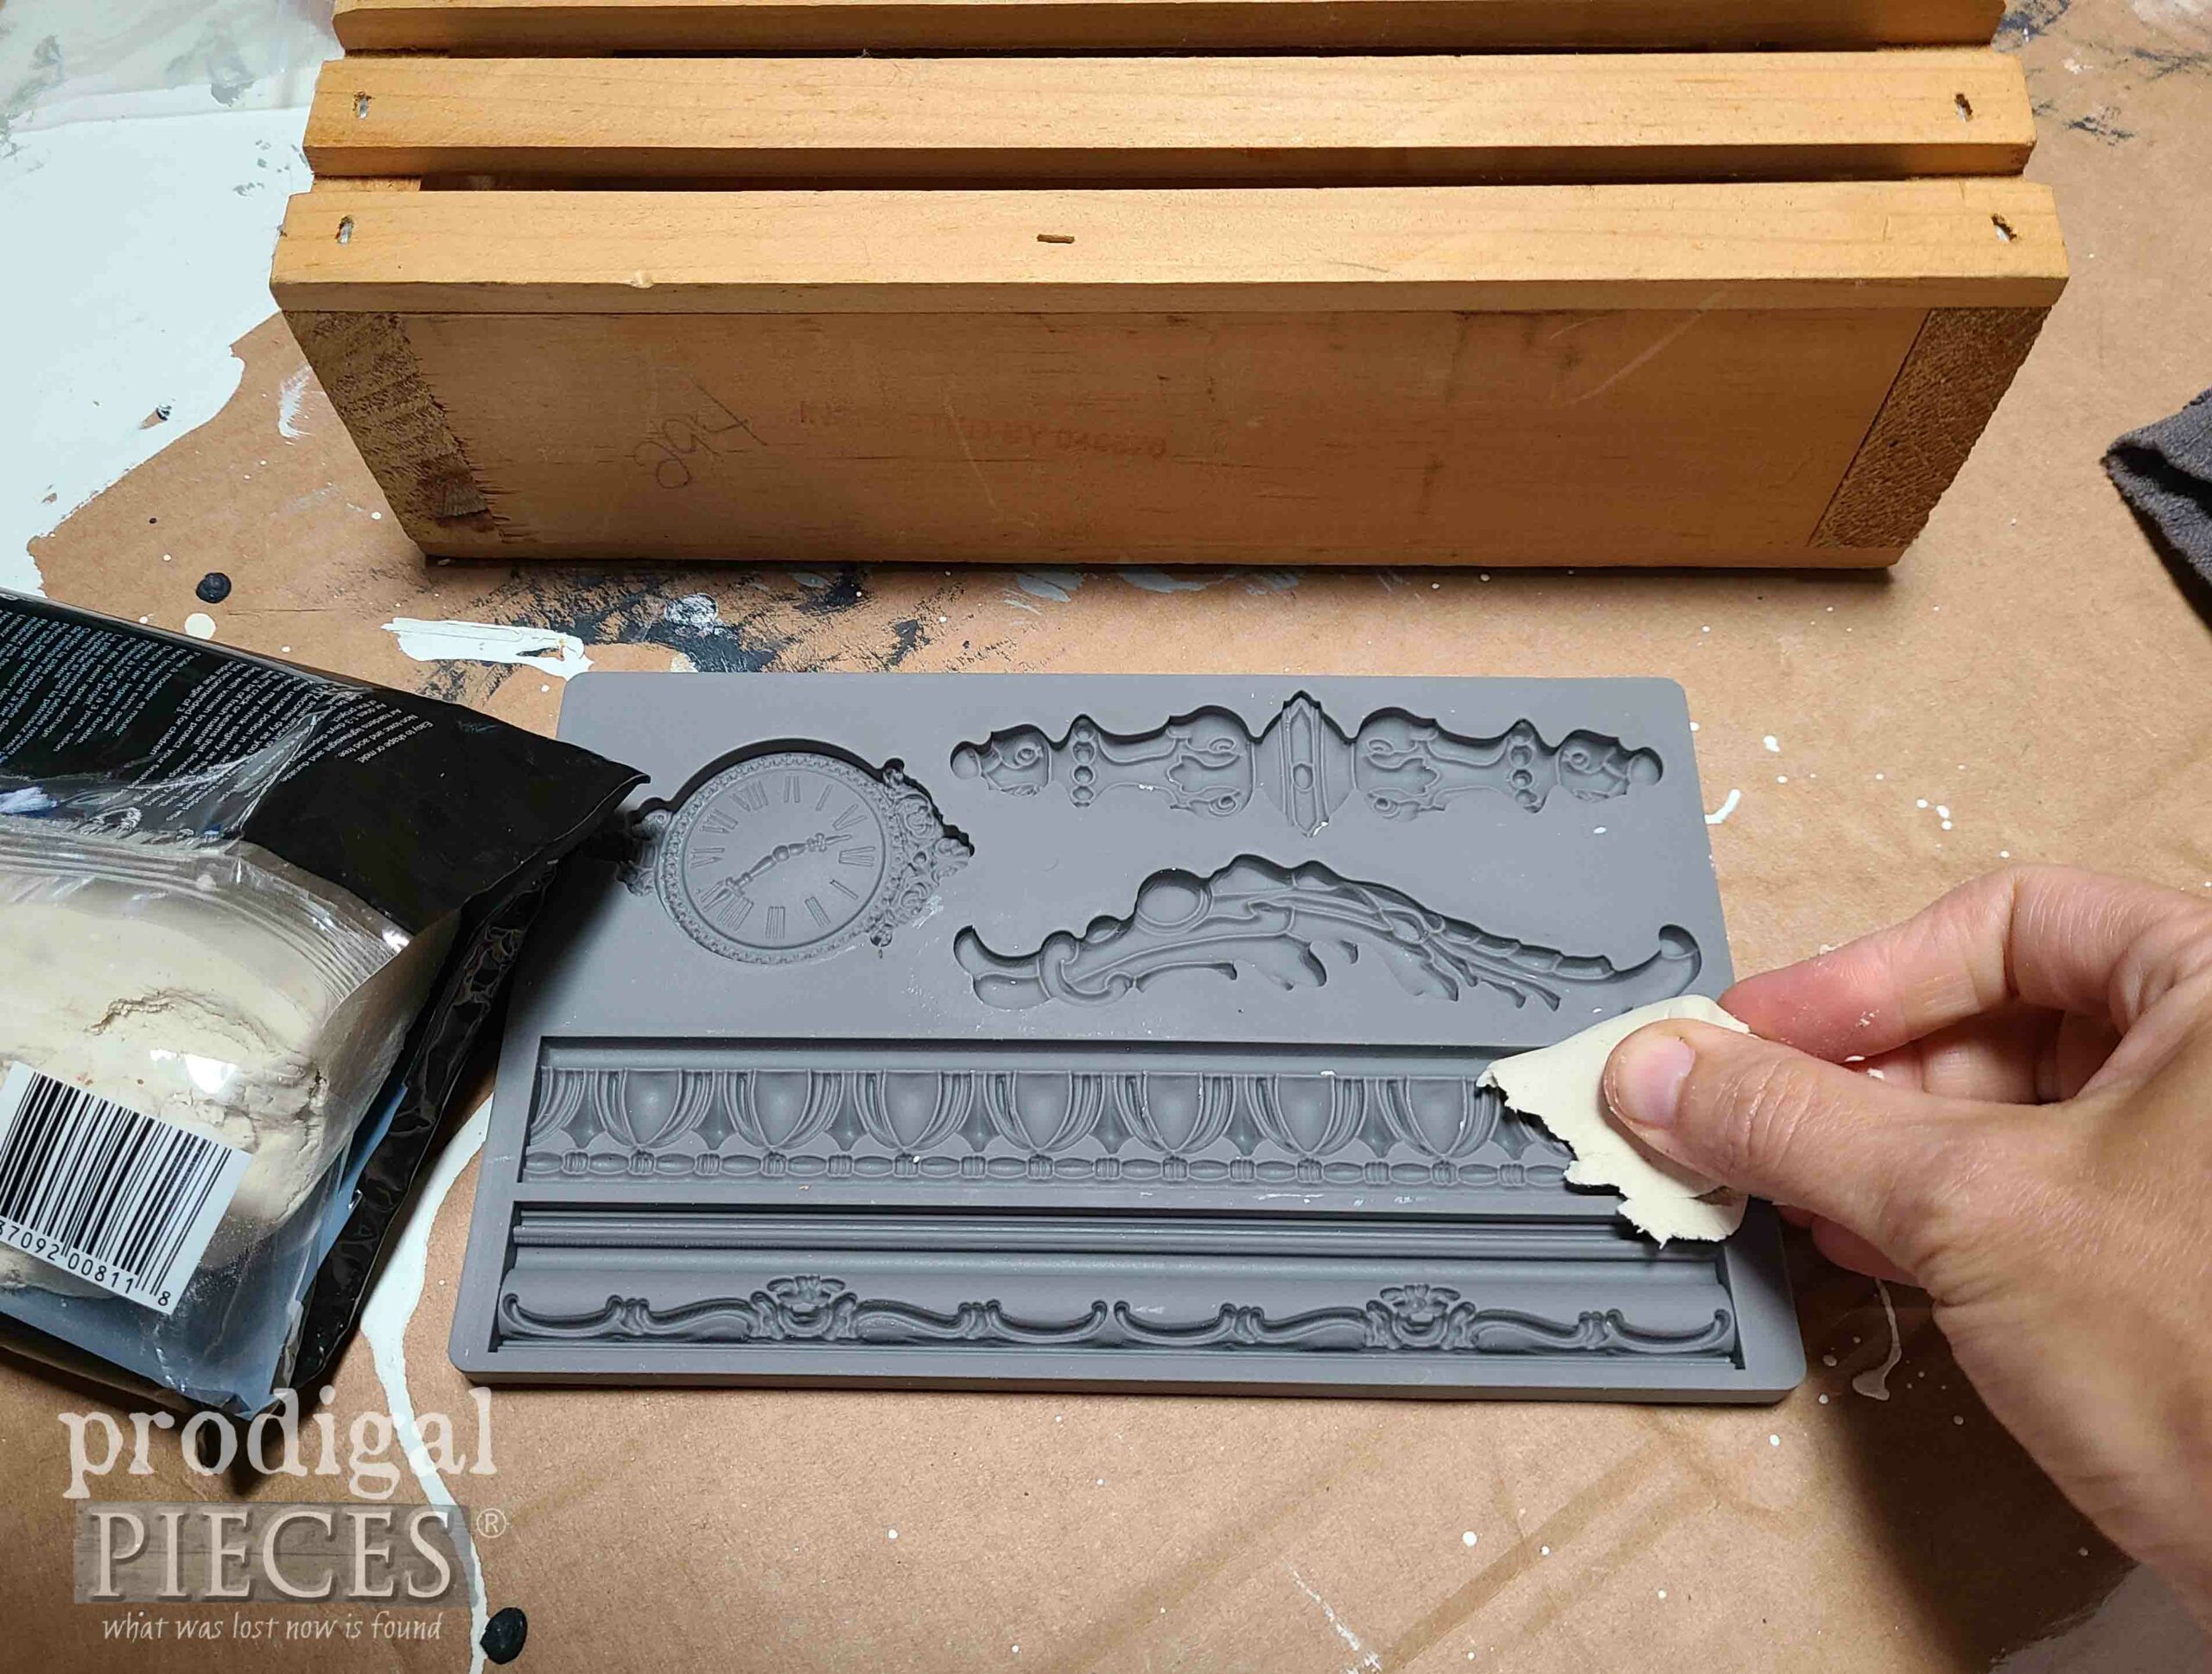
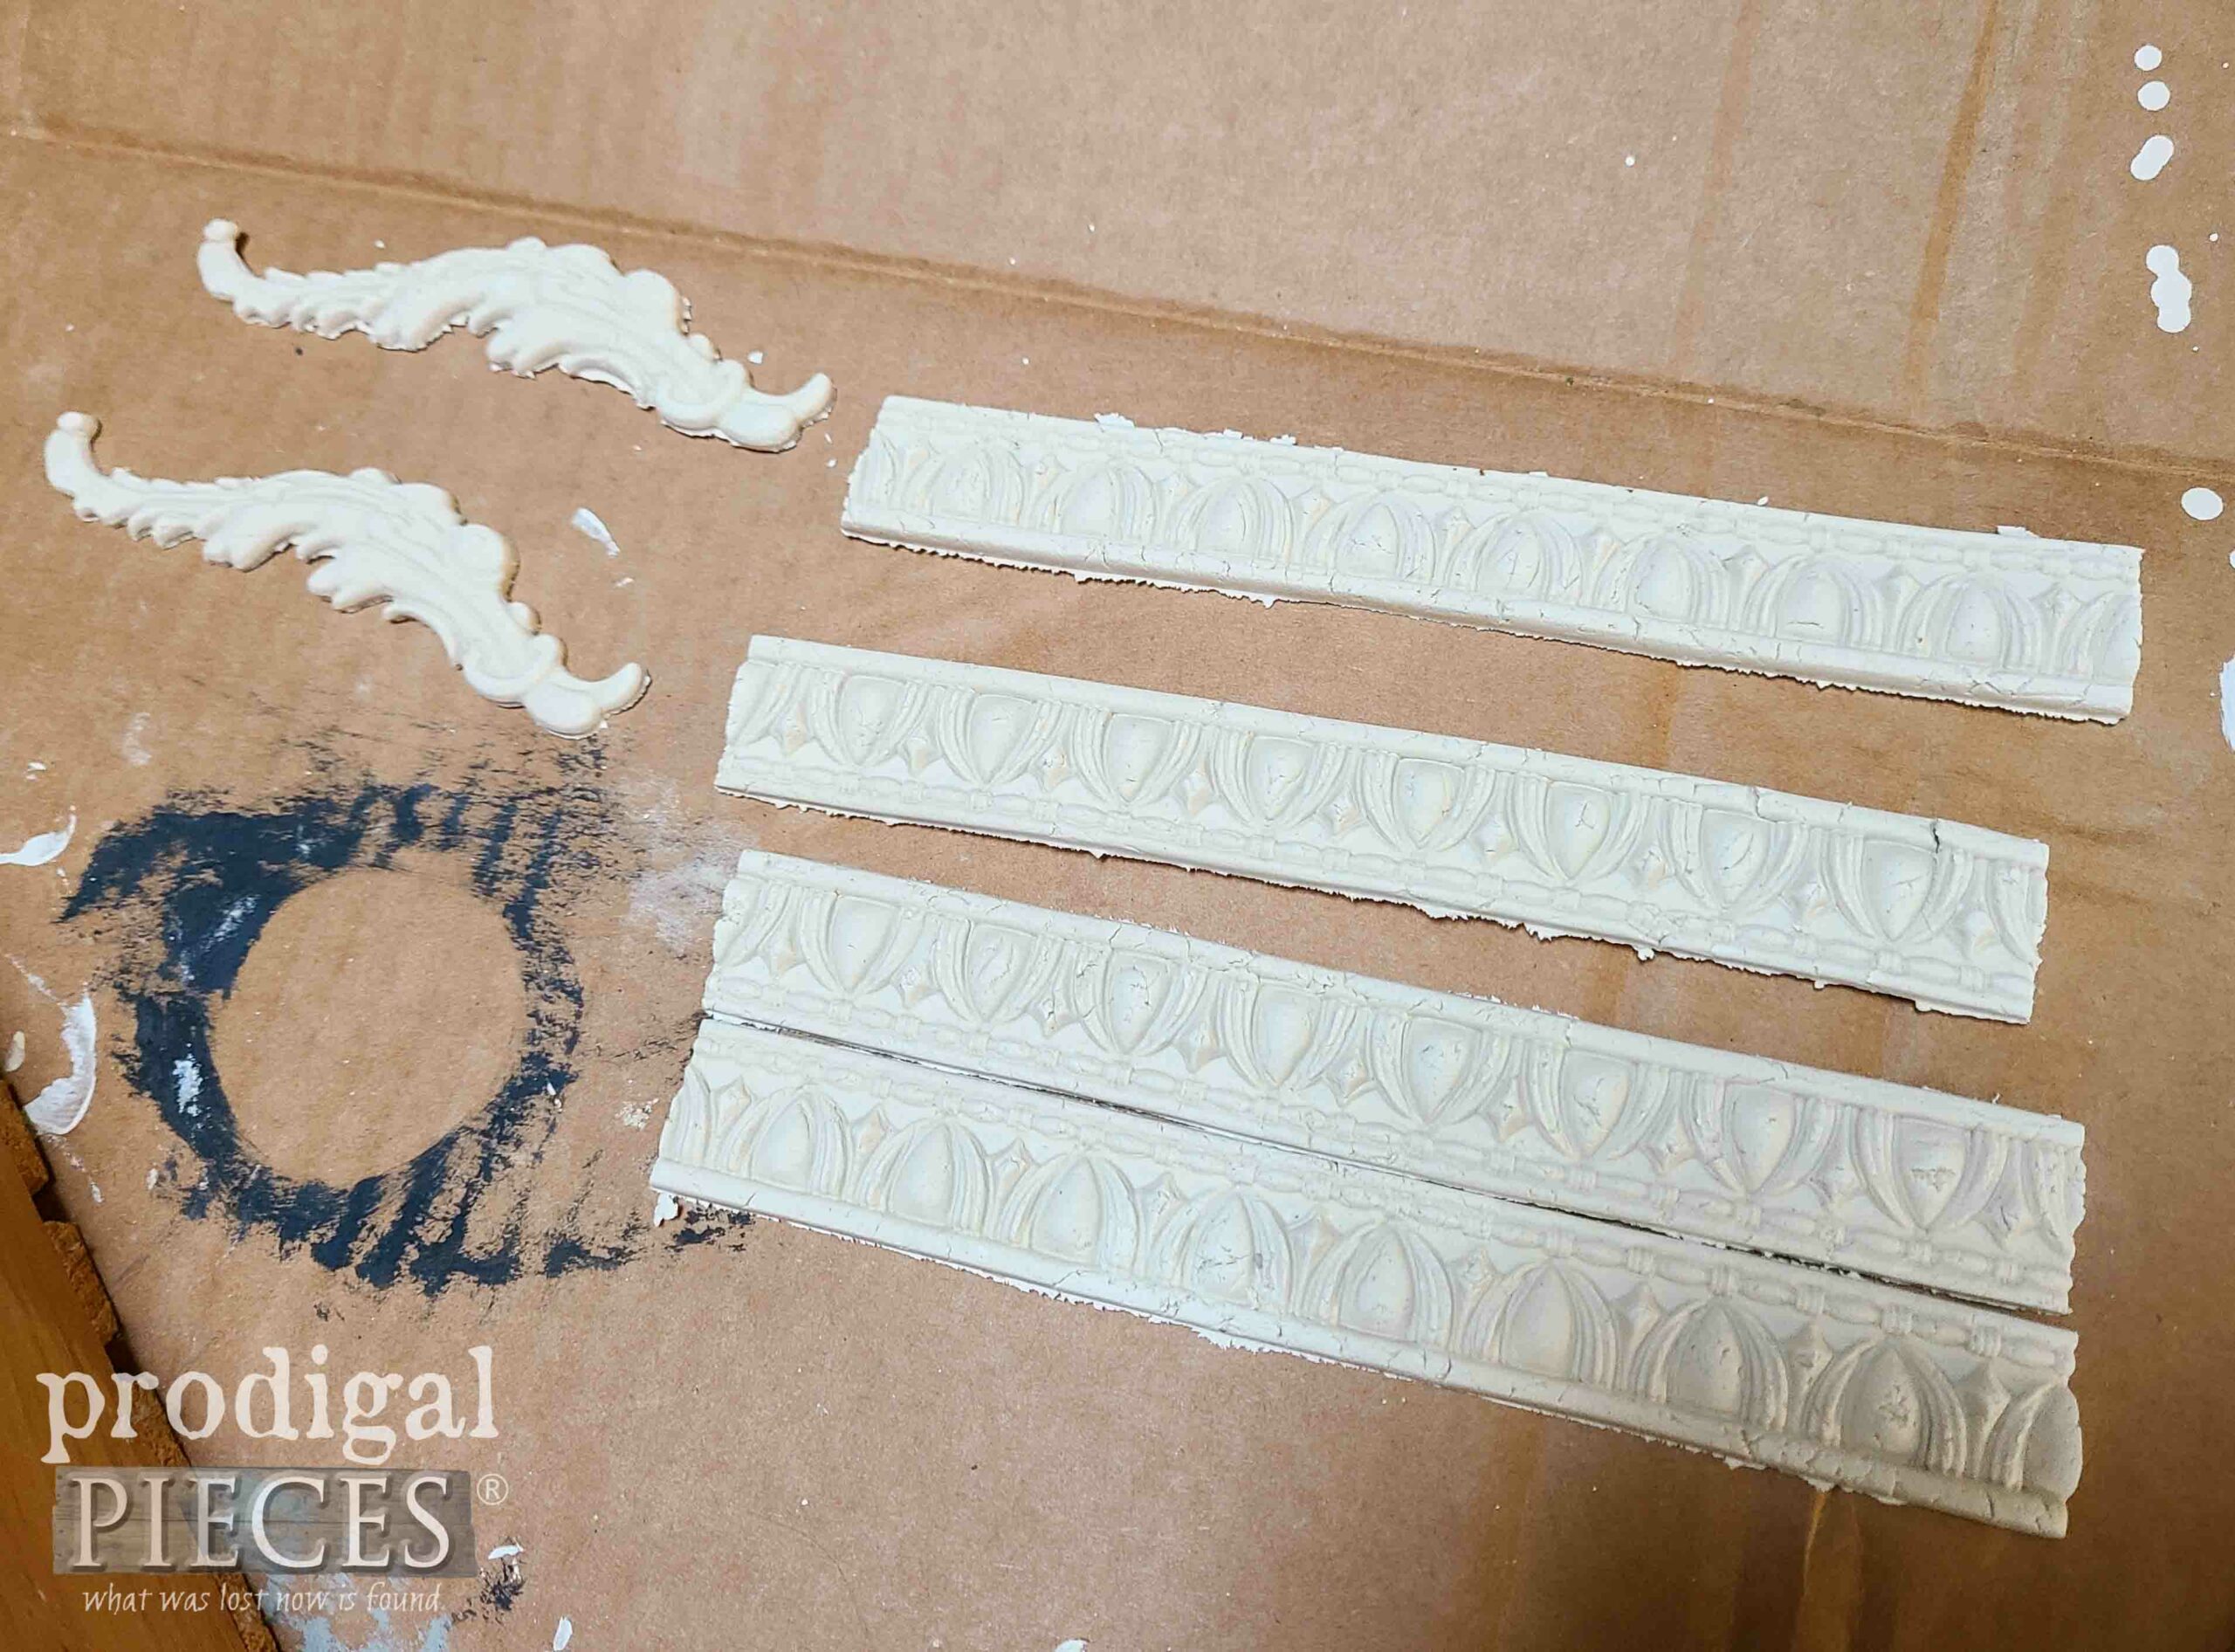
However, that doesn’t mean we can’t paint it, right? Before I do that, I want to add dimension to this wall pocket. In order to do that, I use my paper clay and these mold to make embossed trim.
Also, you can use the molds with any other medium like I demonstrate with hot glue in this tutorial or video.
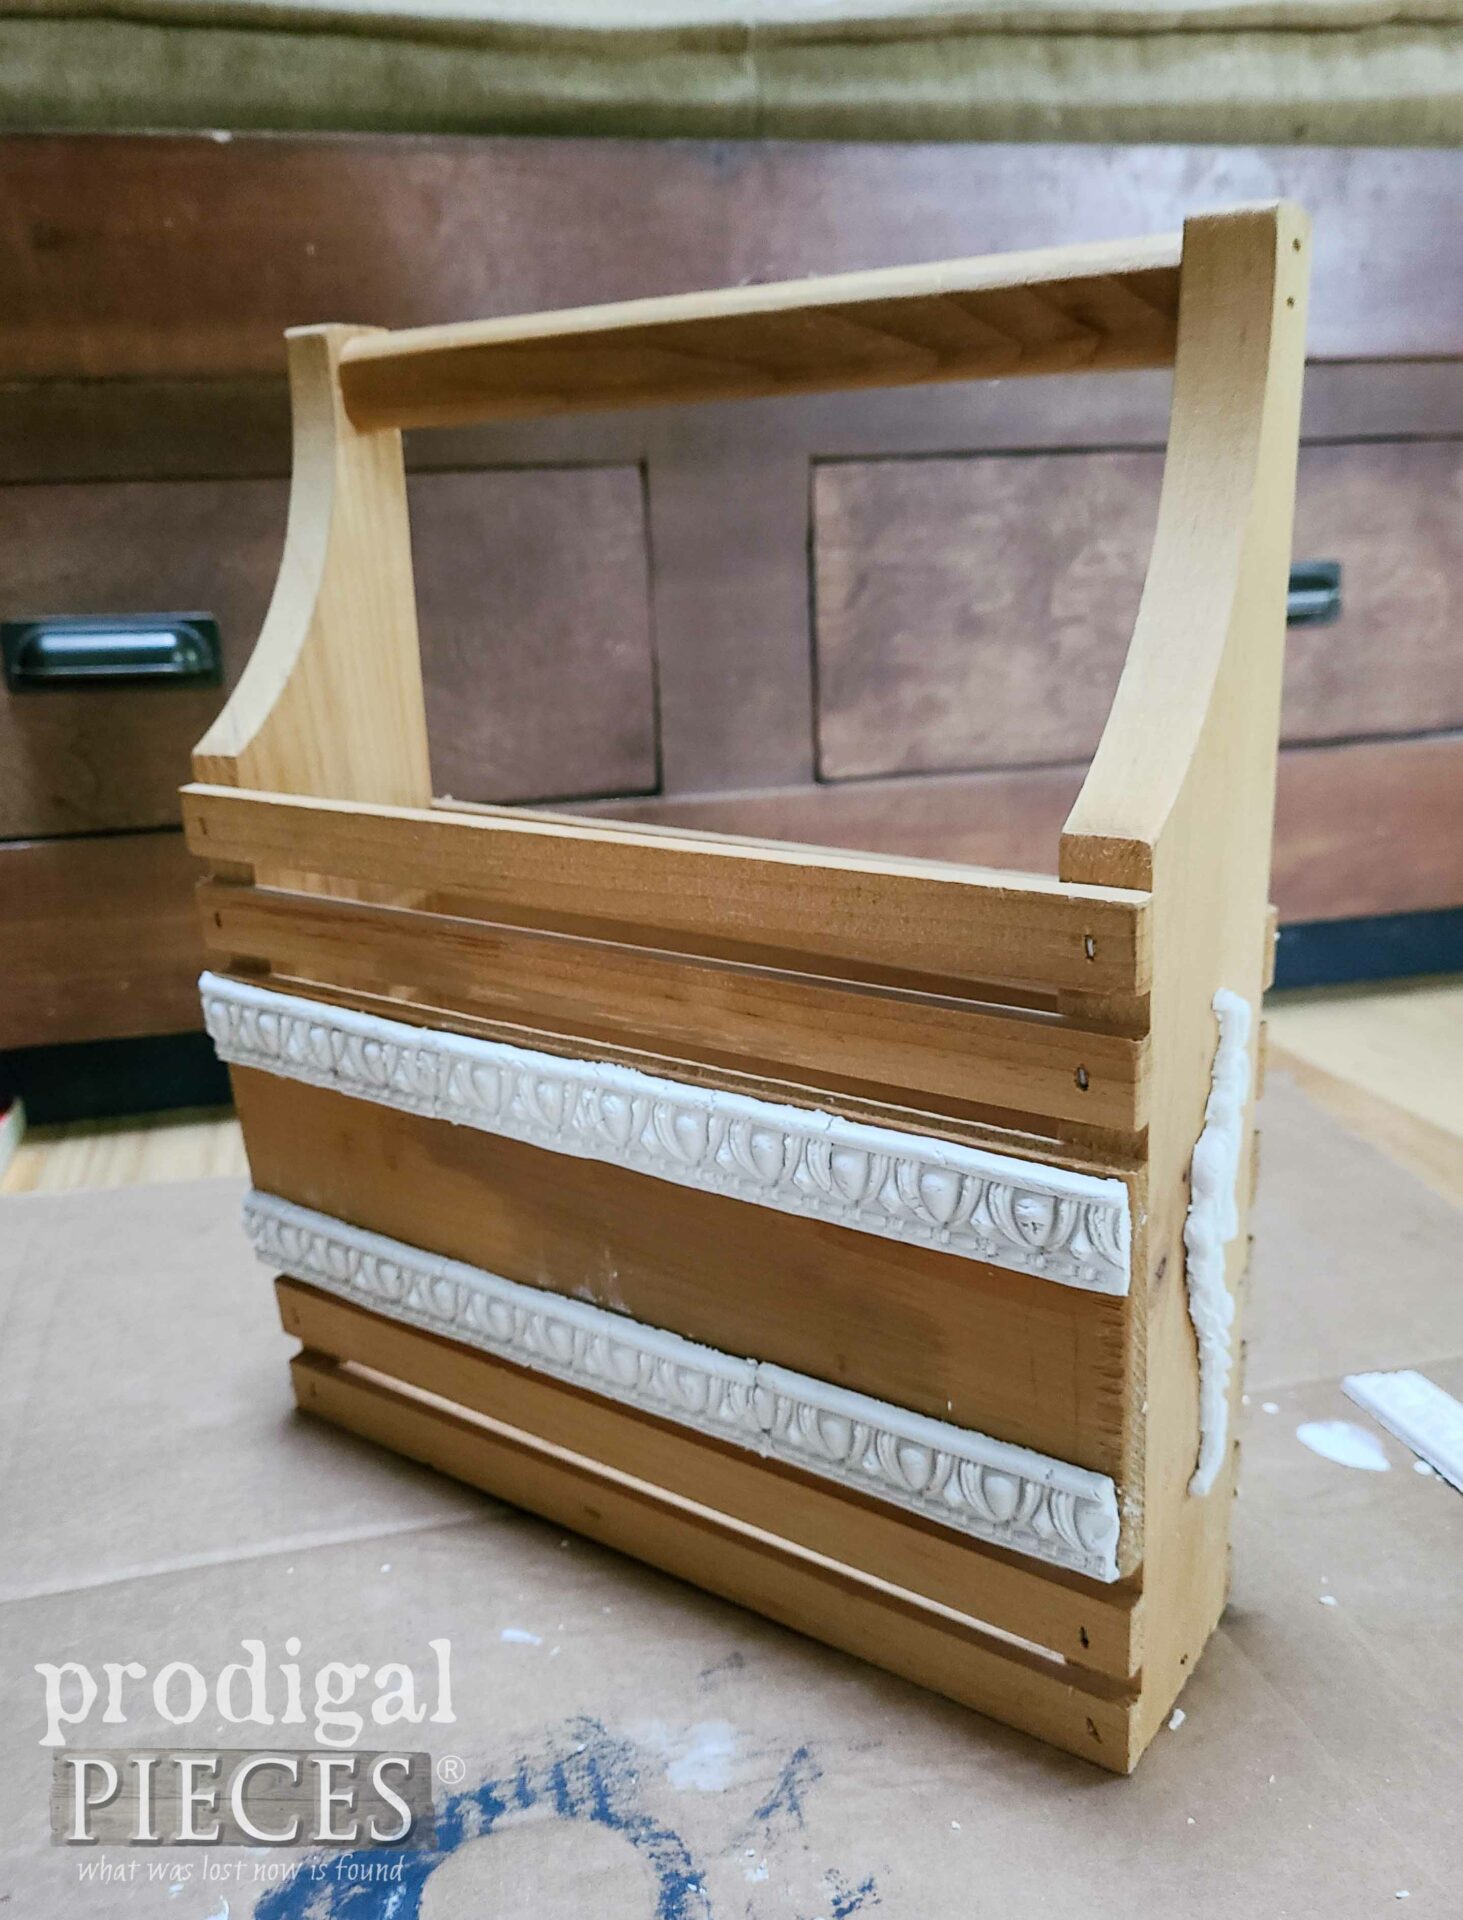
Then, after using wood glue and applying the dried forms, I have this.
While it’s not so fun in this state, just hang with me. Once I have the wall pocket cured, I can then apply my layers of paint. With all those slats, spray paint in my best friend.
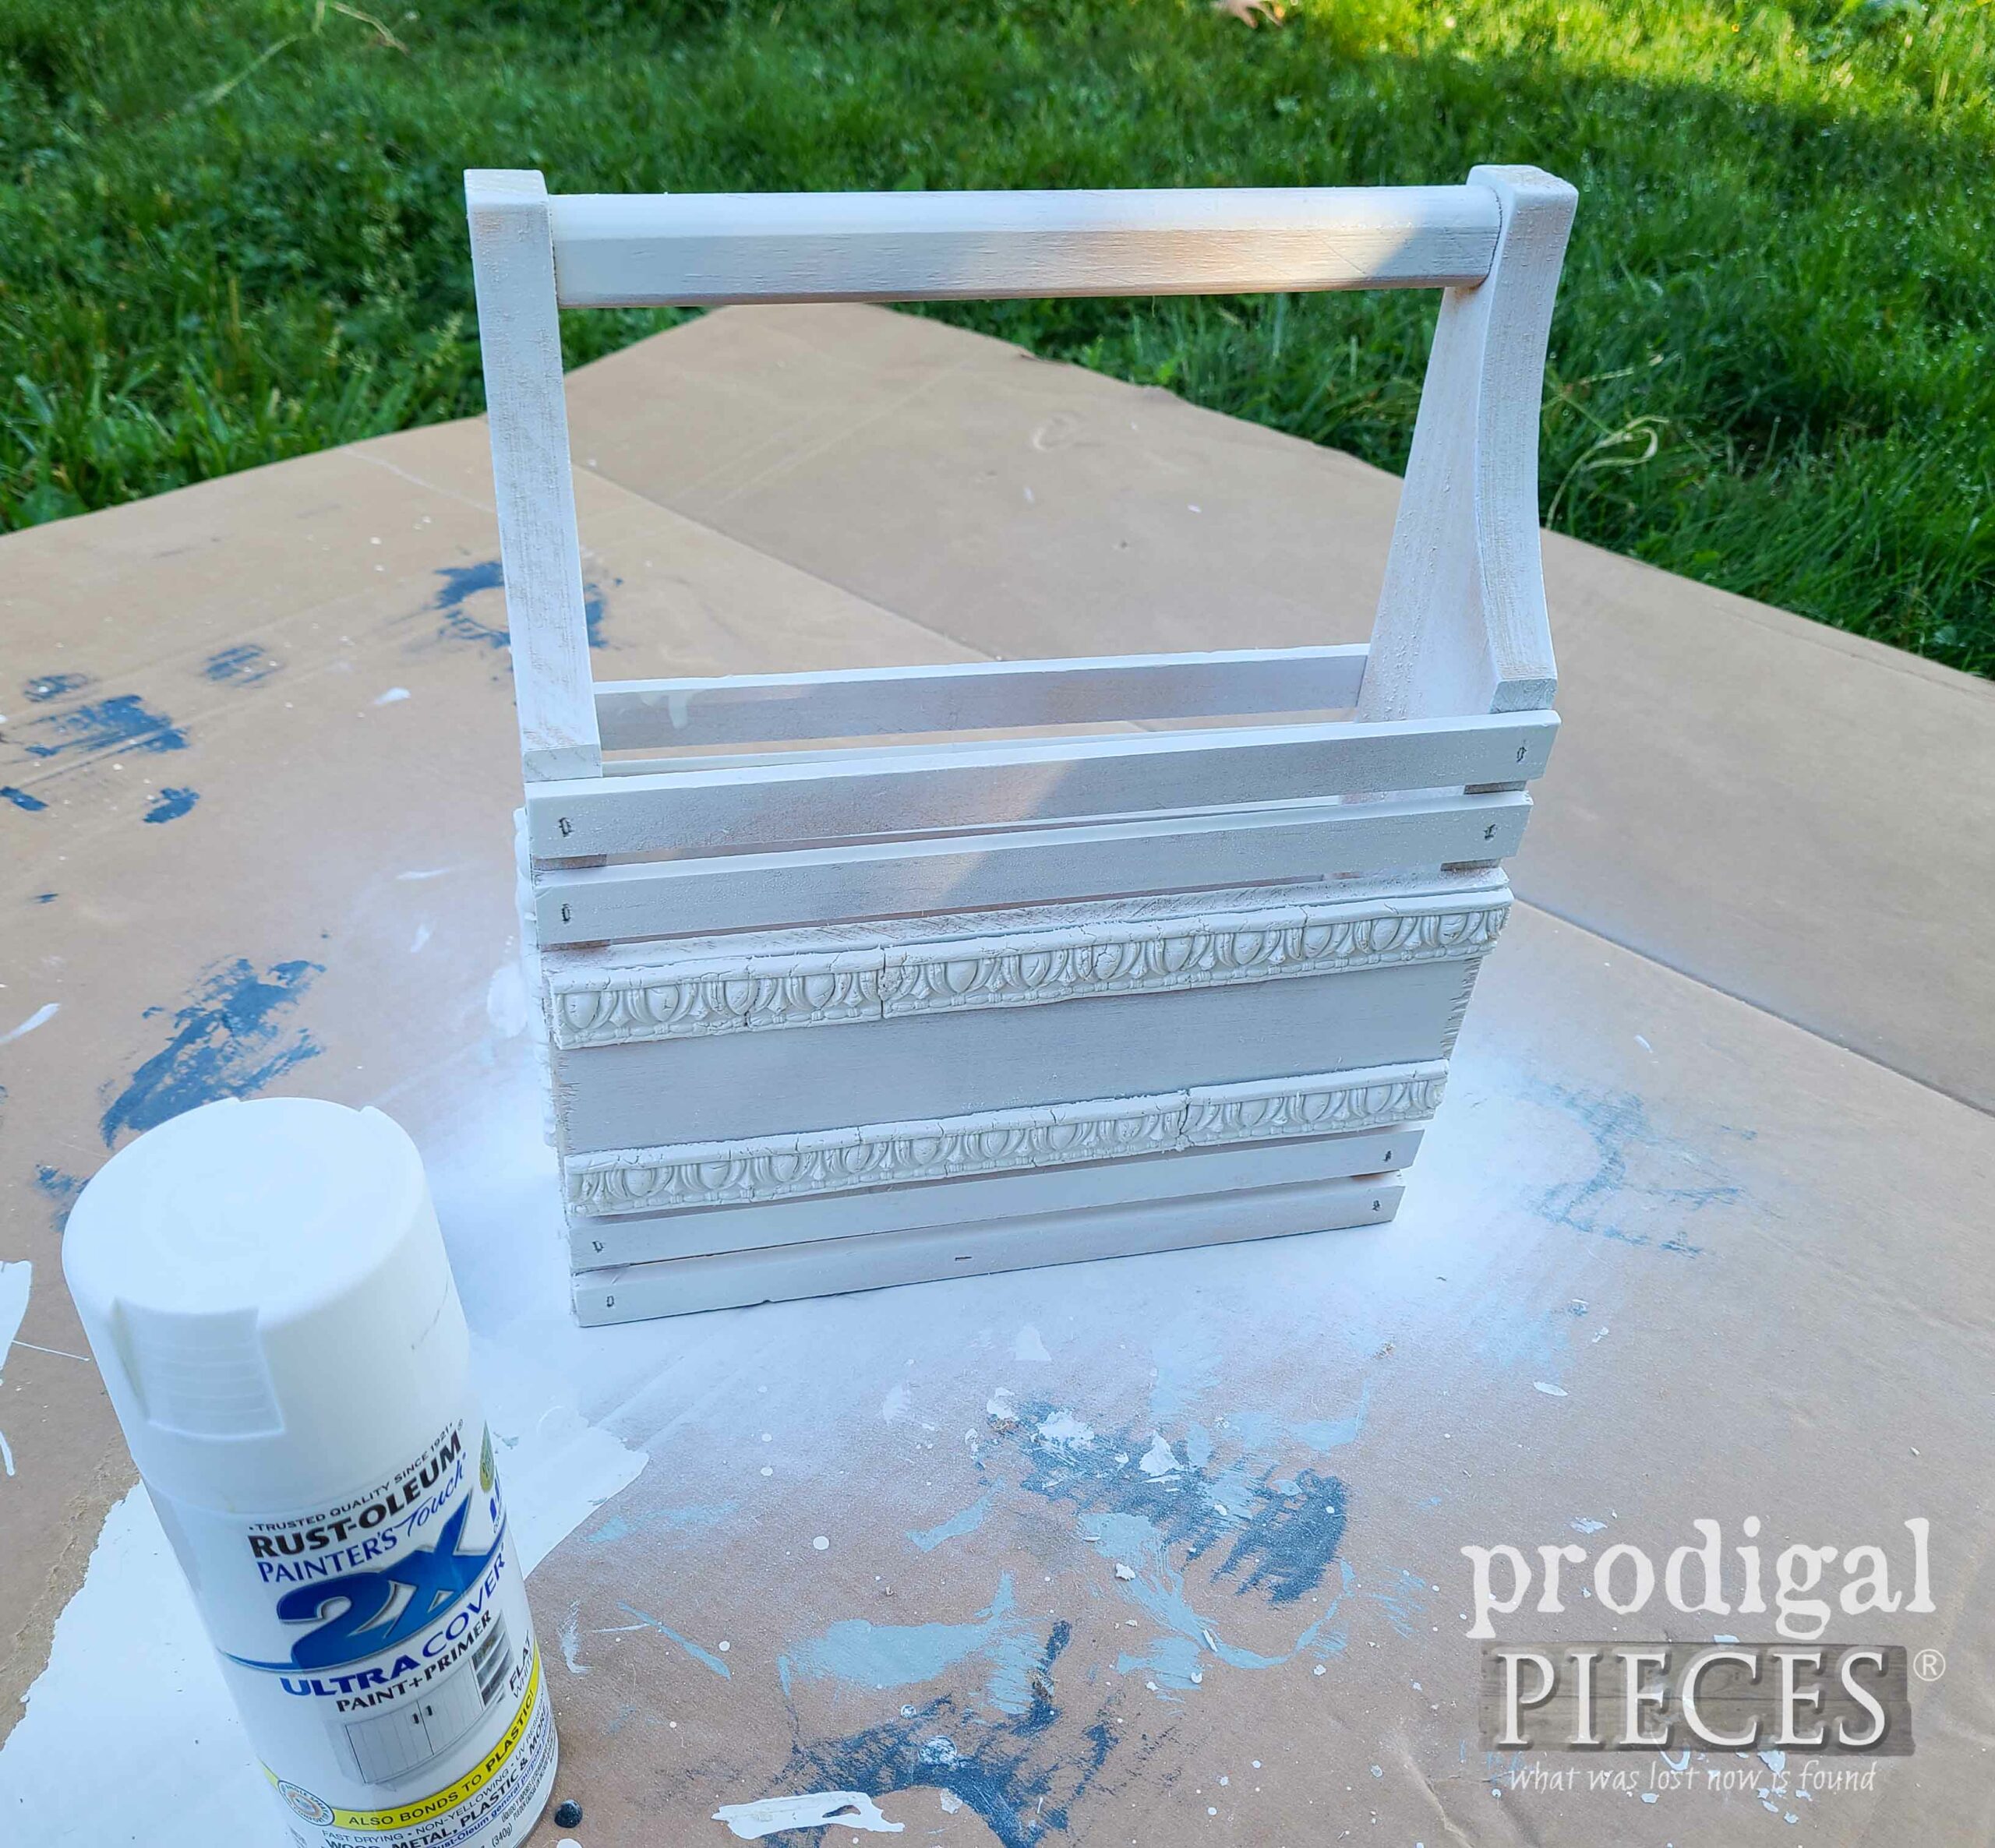
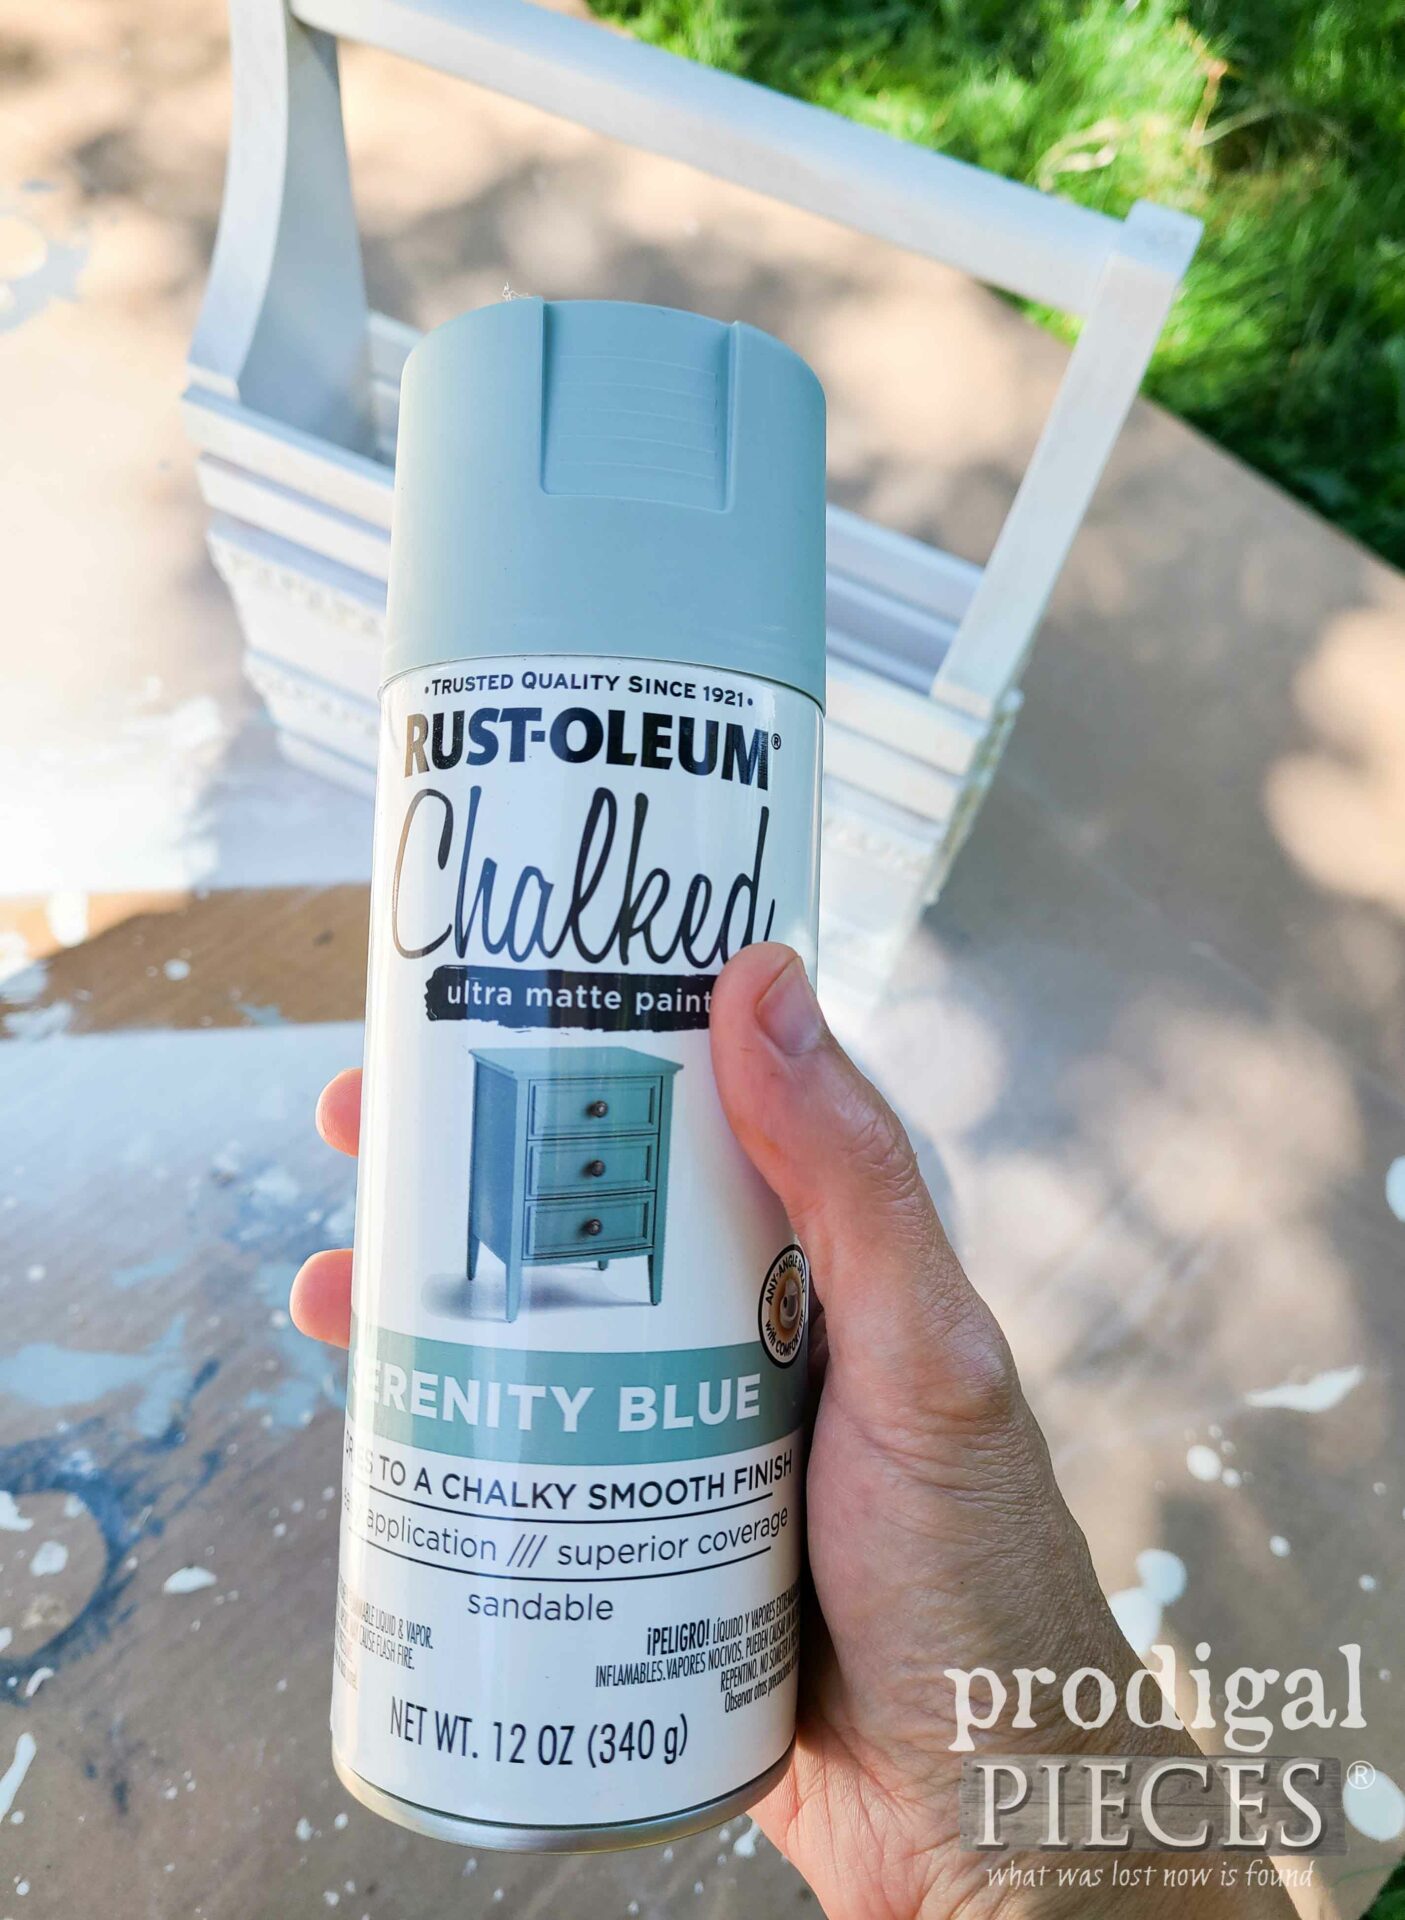
Not only do I apply two coats of a flat white as a base (letting cure between), but also two coats of this Serenity Blue I’ve used in these past posts.
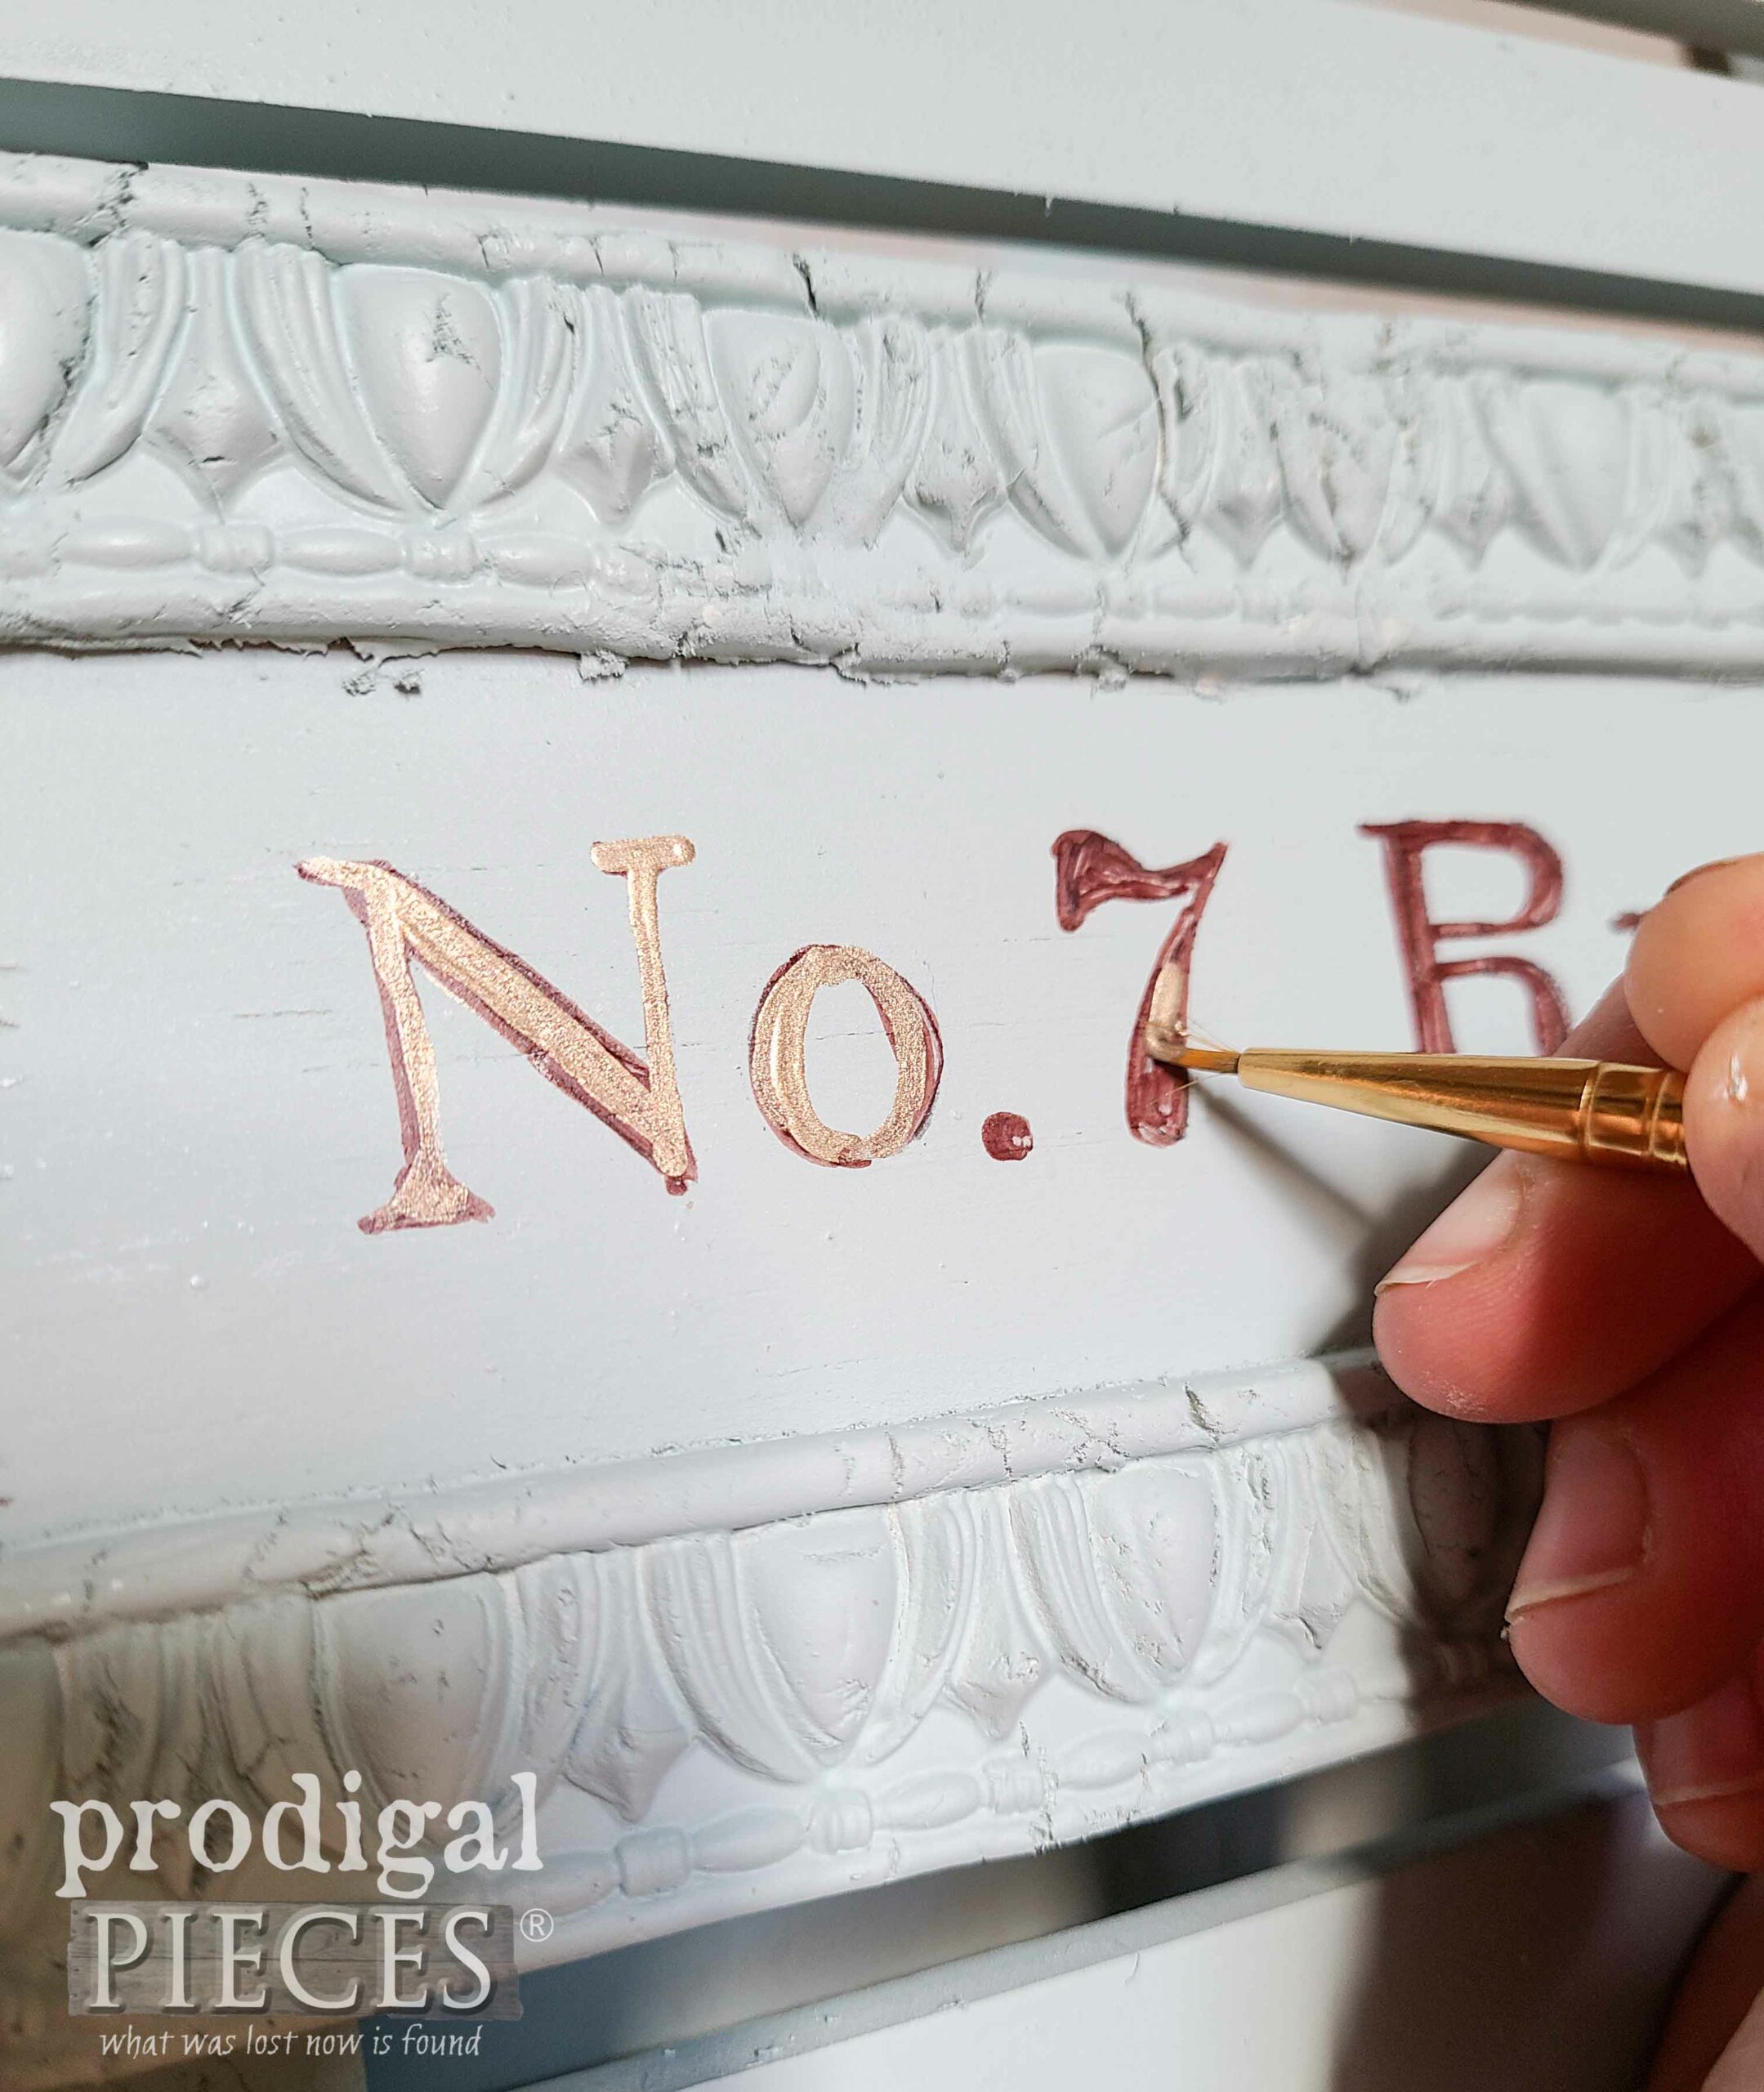
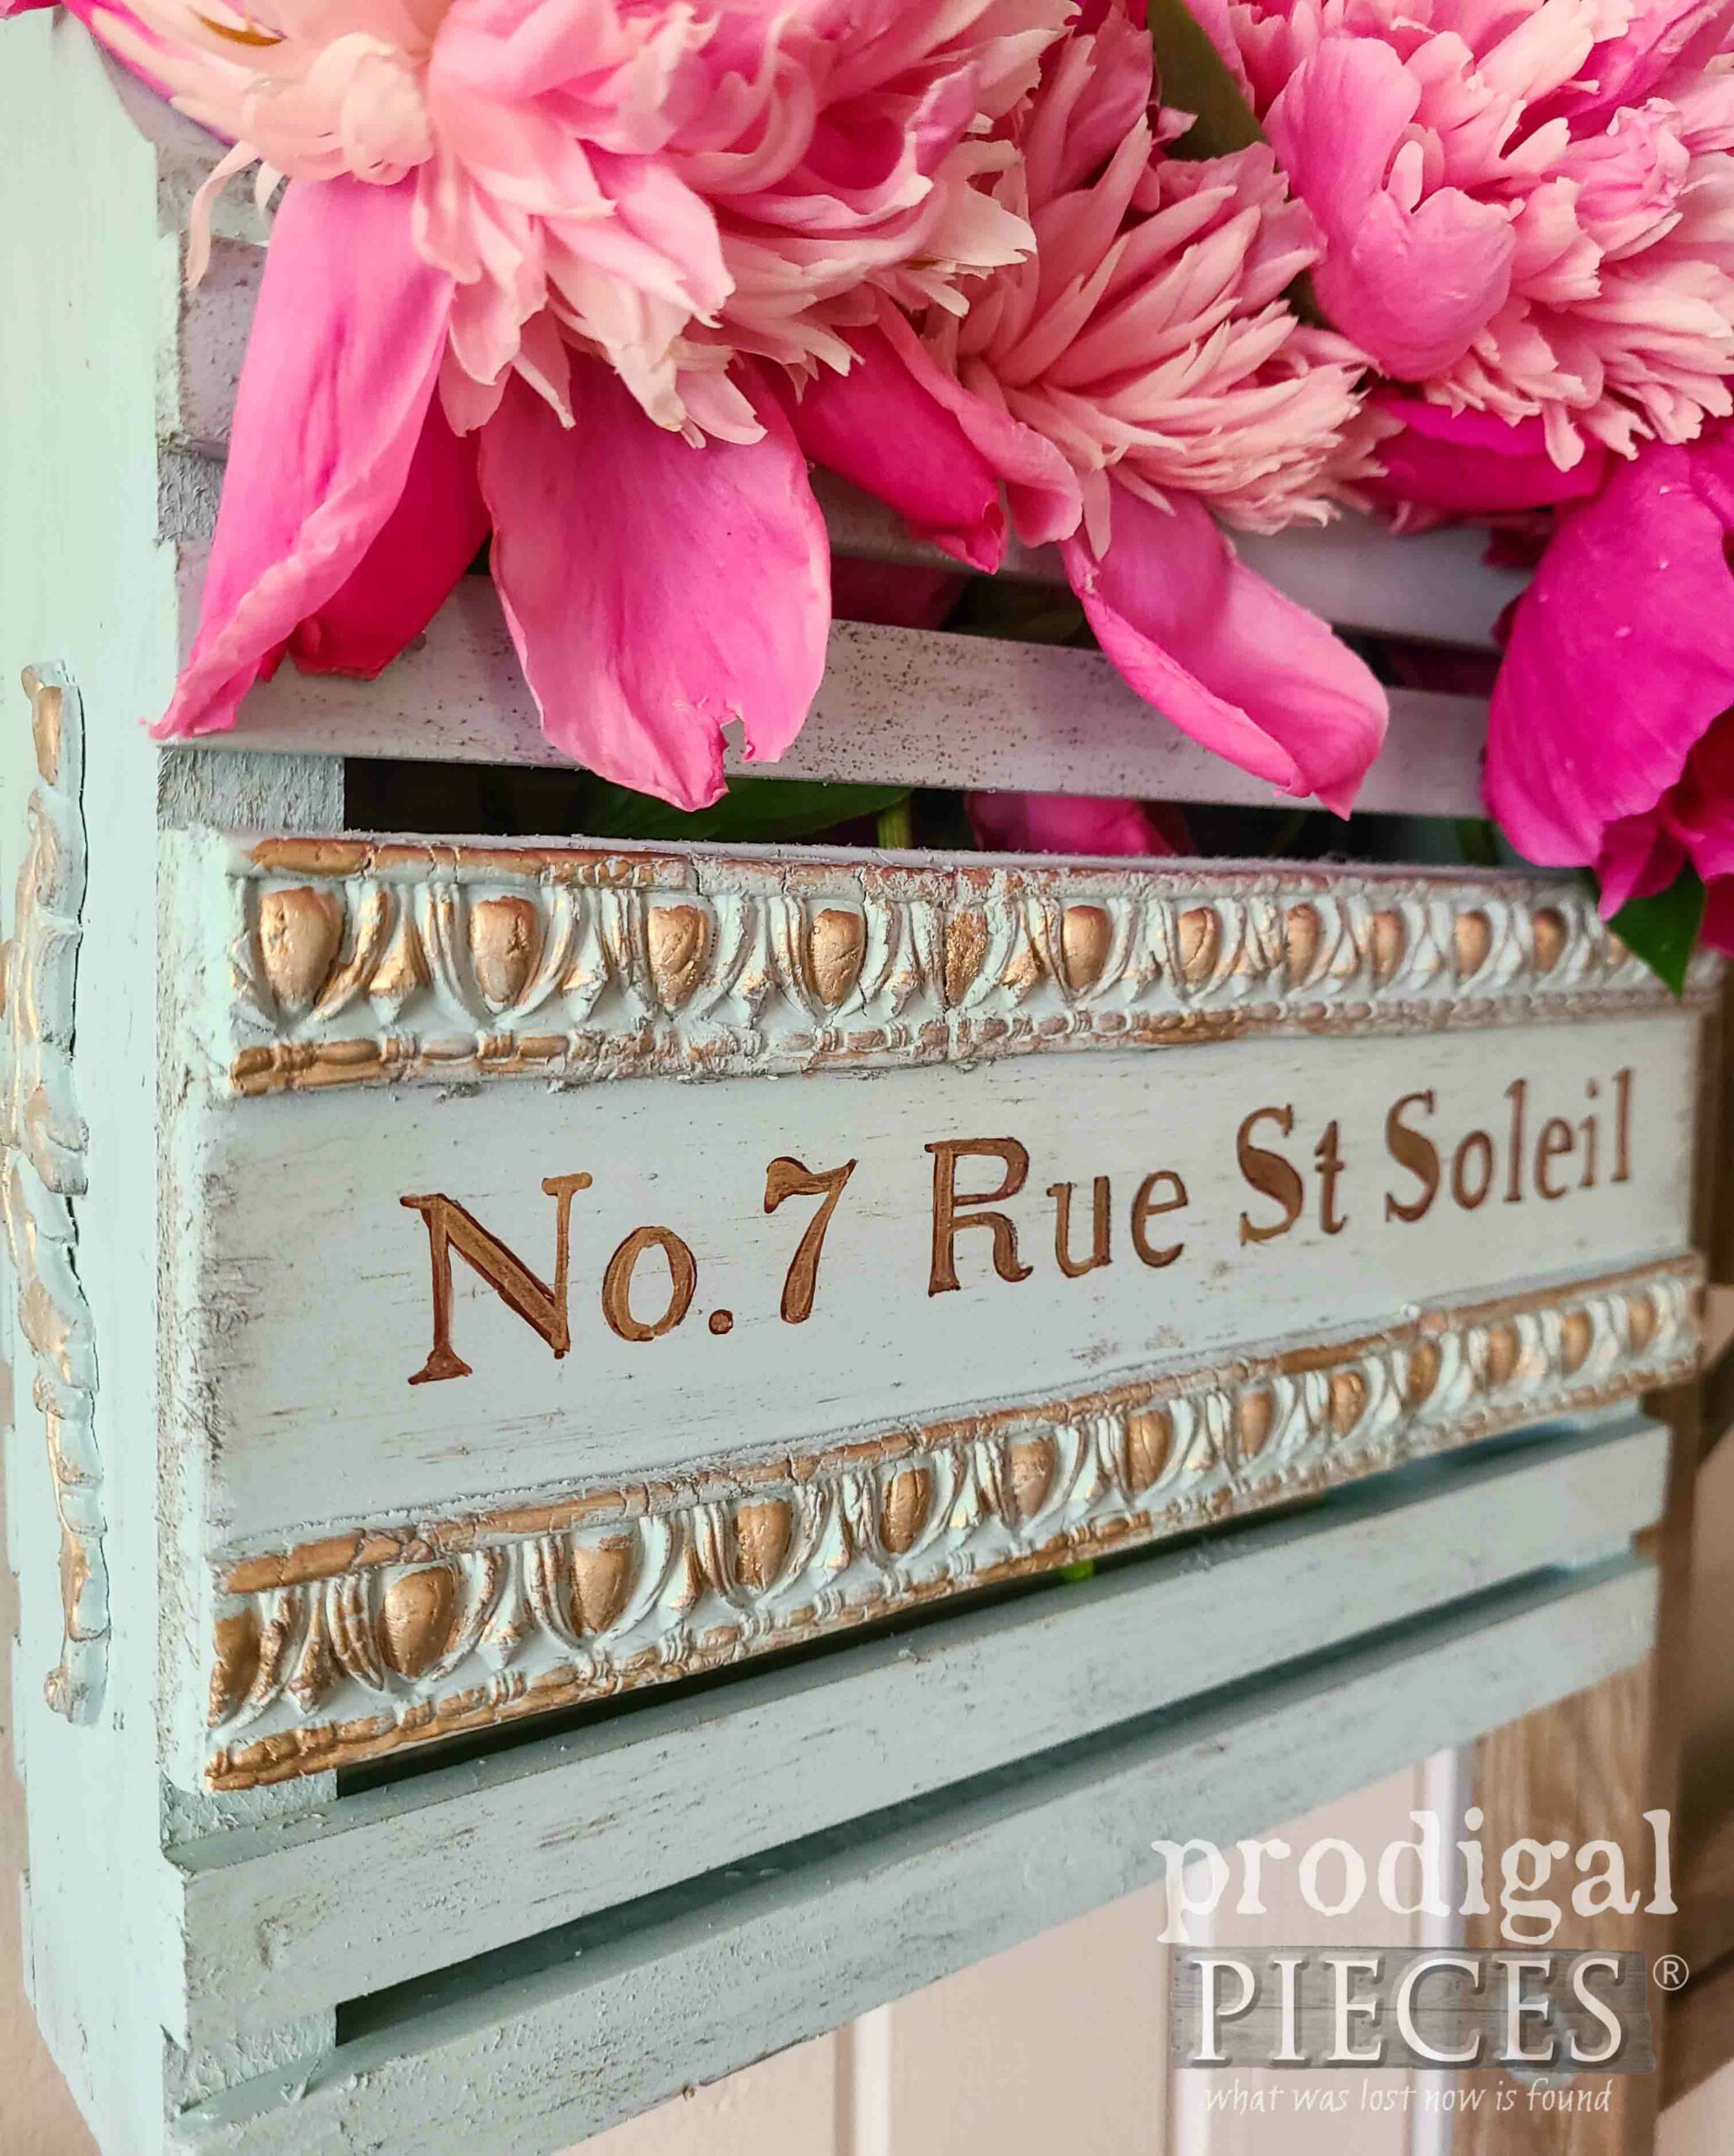
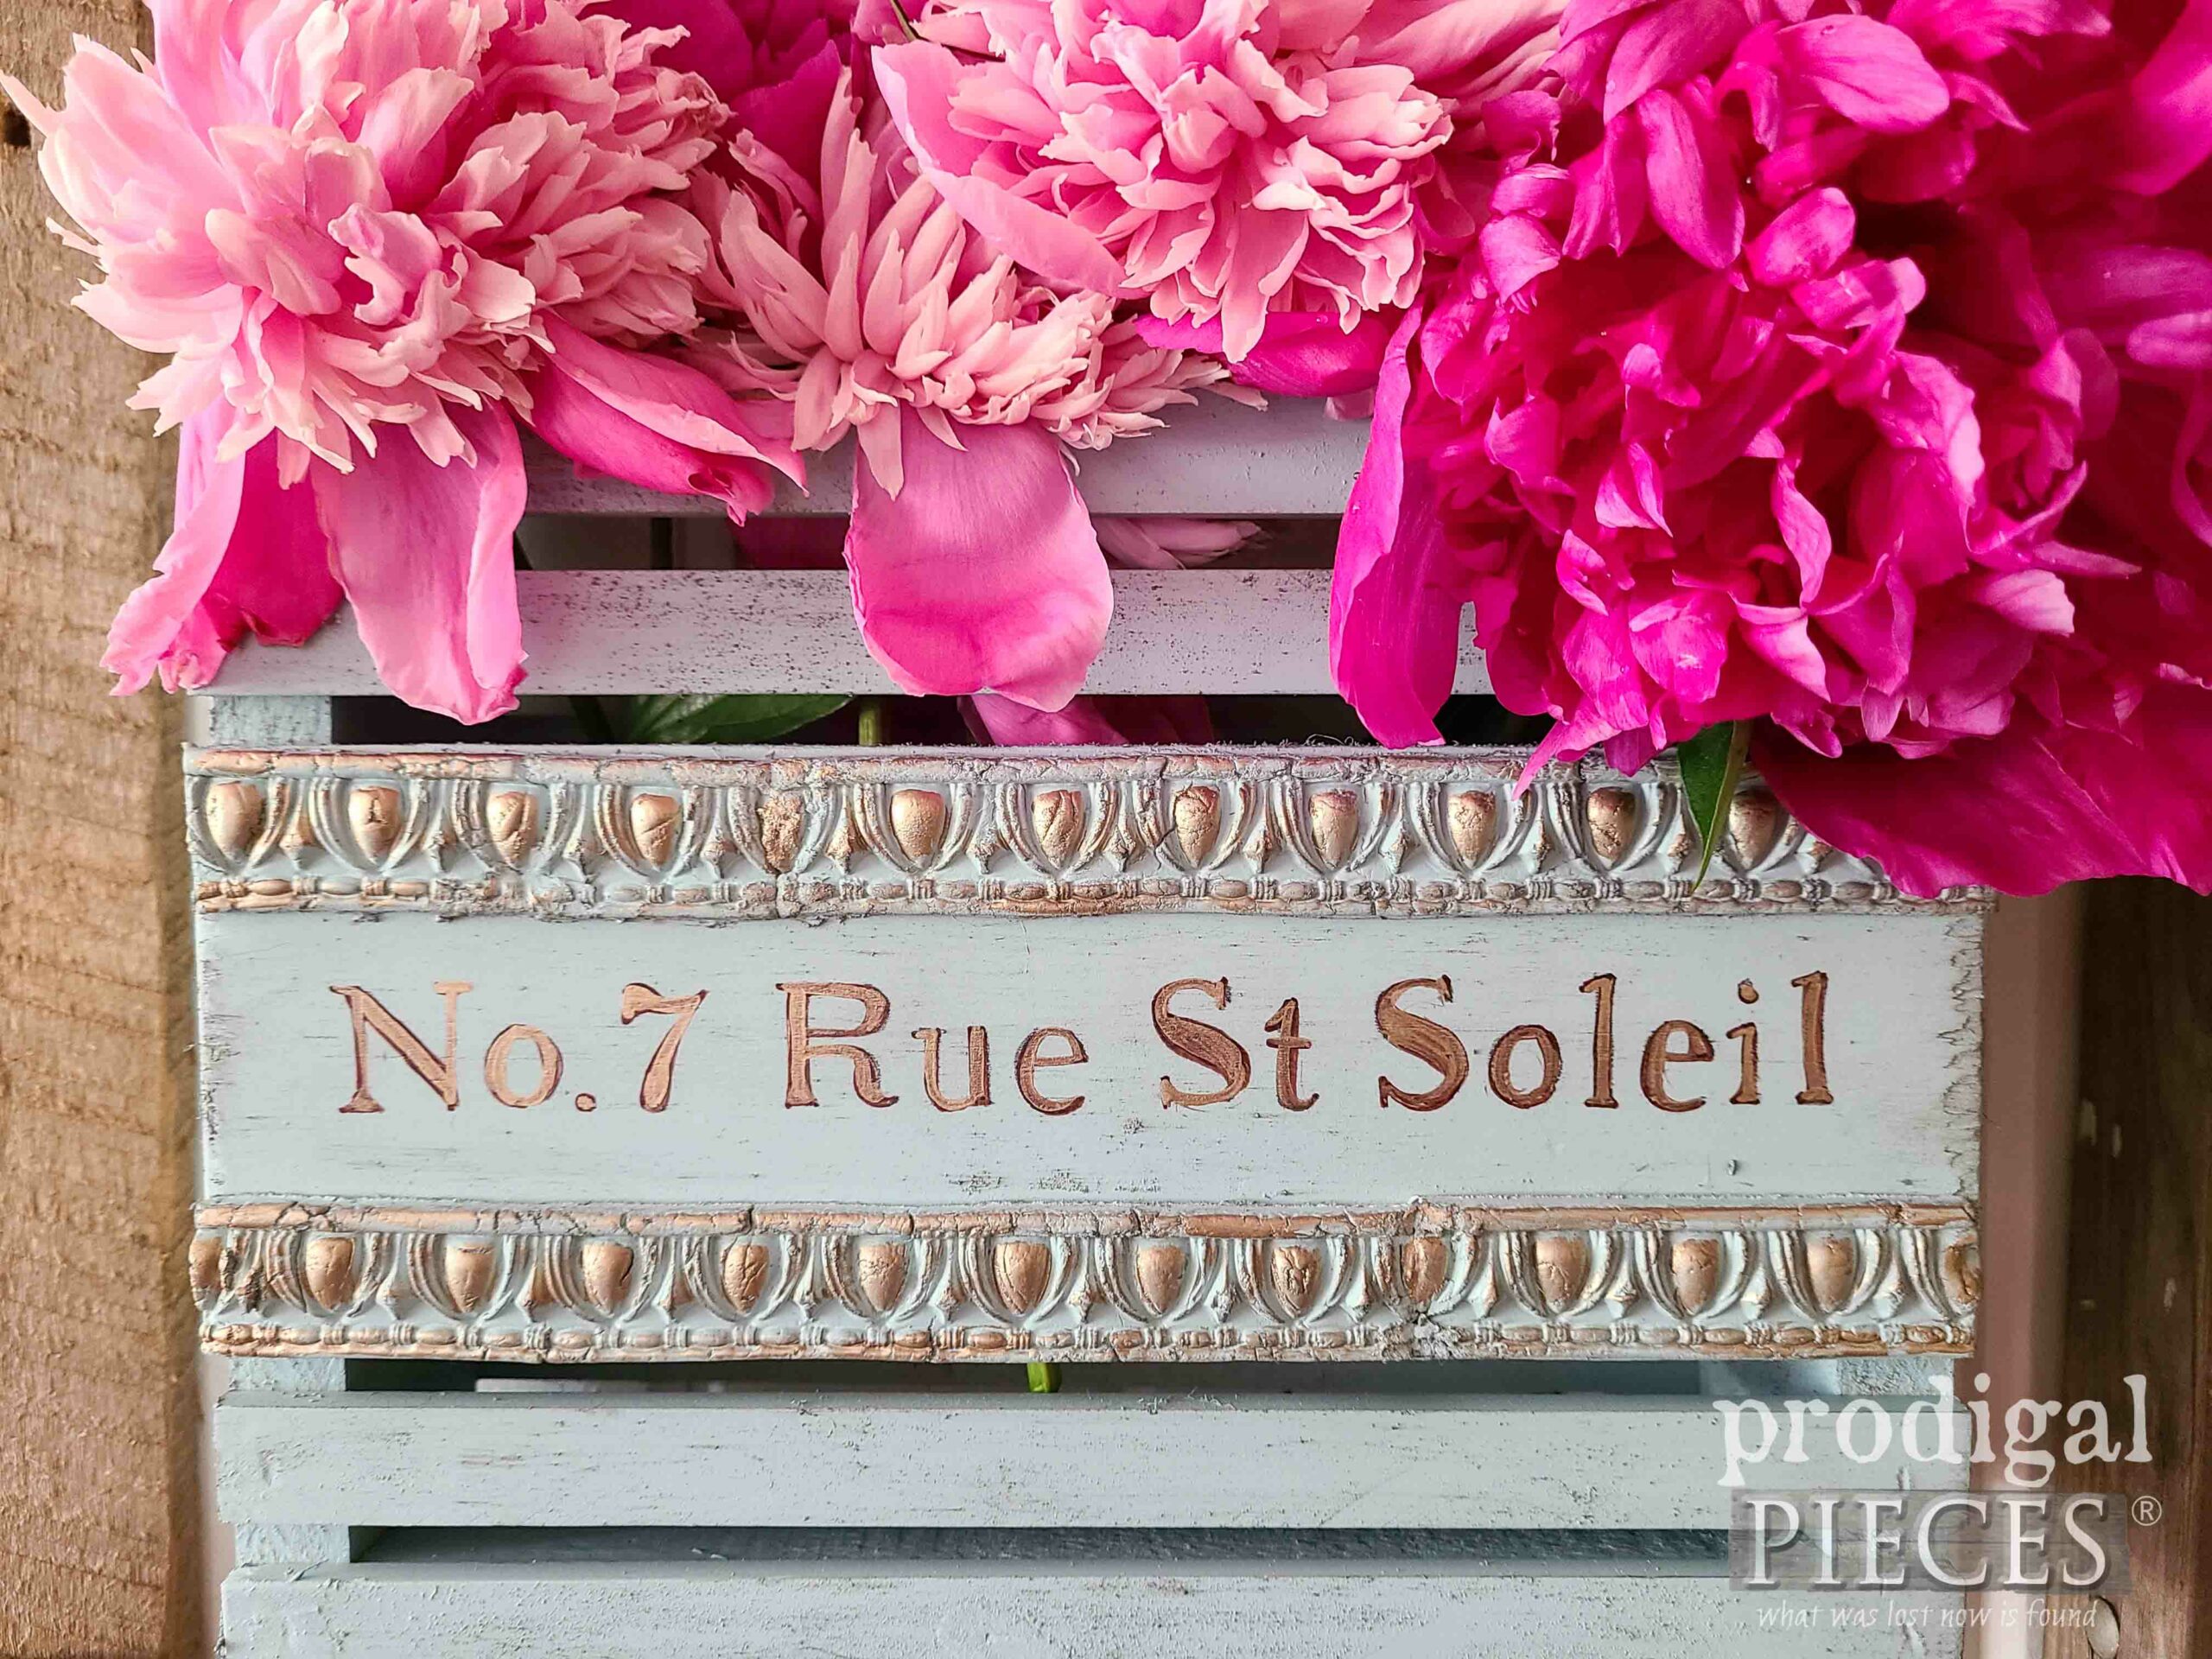
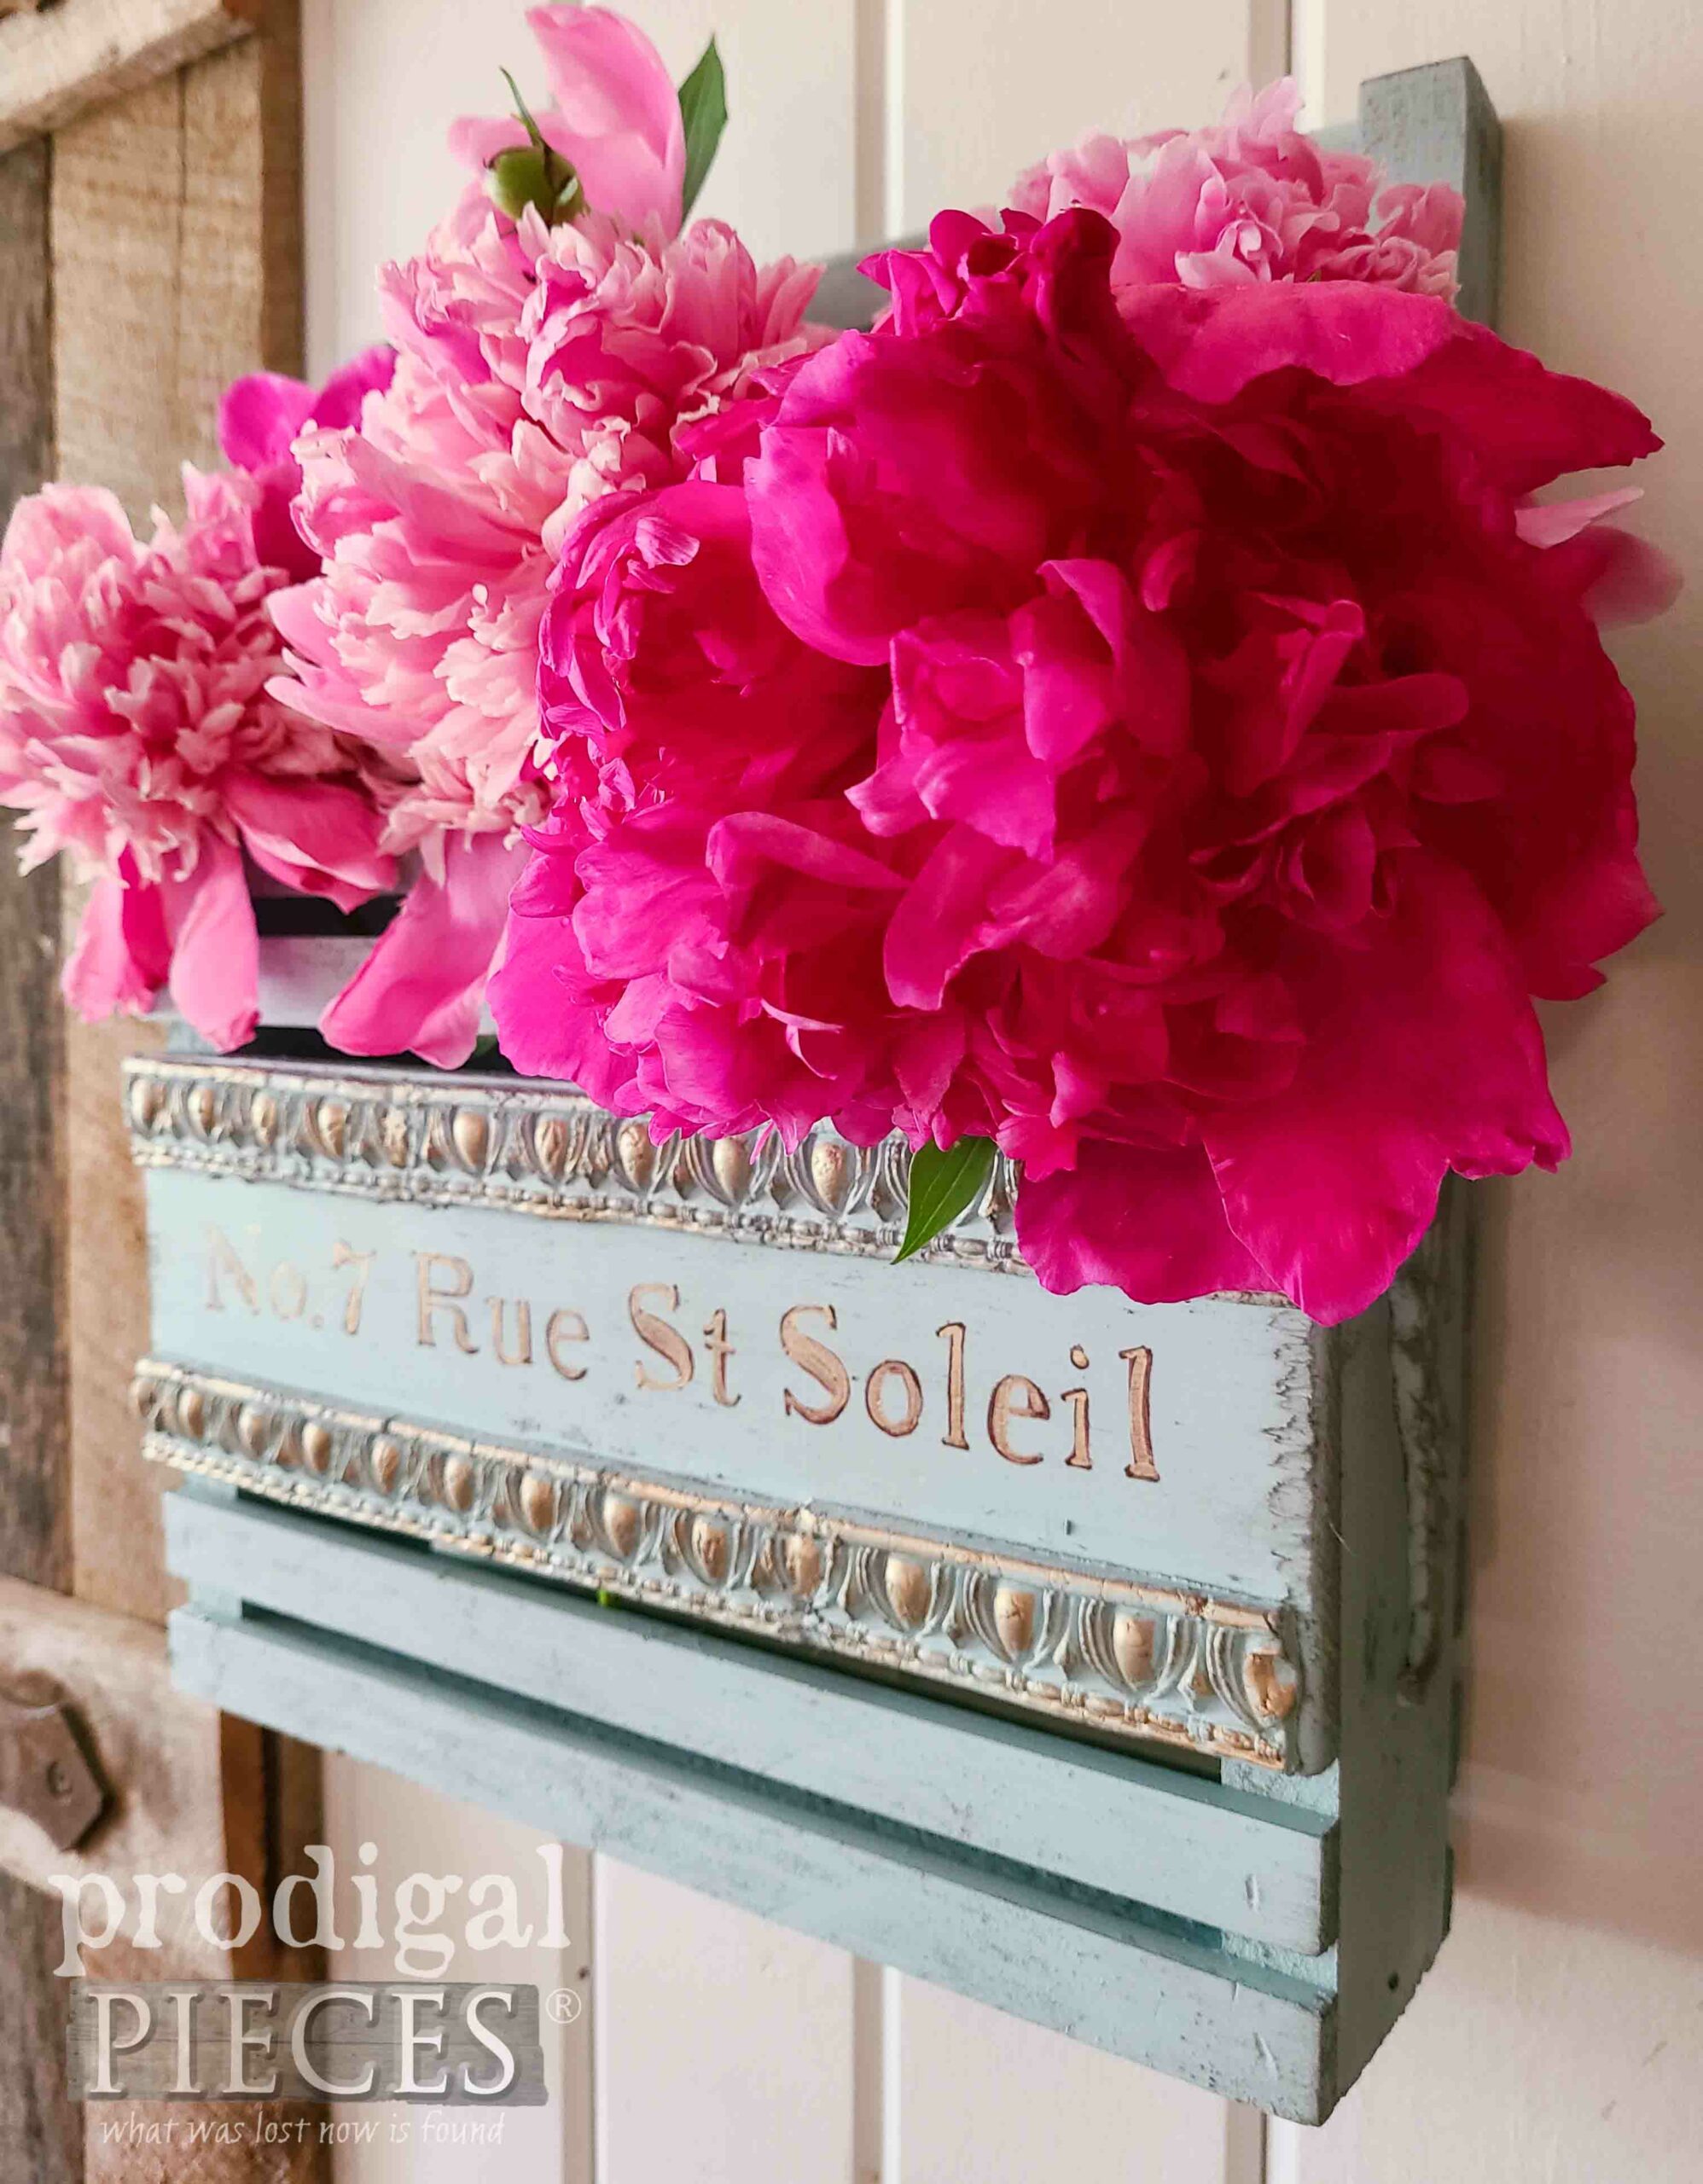
It’s a lovely, light color in a matte finish that really aids in adding French flair to this wall pocket. However, before I call this finished, I use my stencil with a Sharpie to add a base layer followed by a gilded touch.
OOH LA LA
Last, I apply dark wax to add extra texture and more to the story.
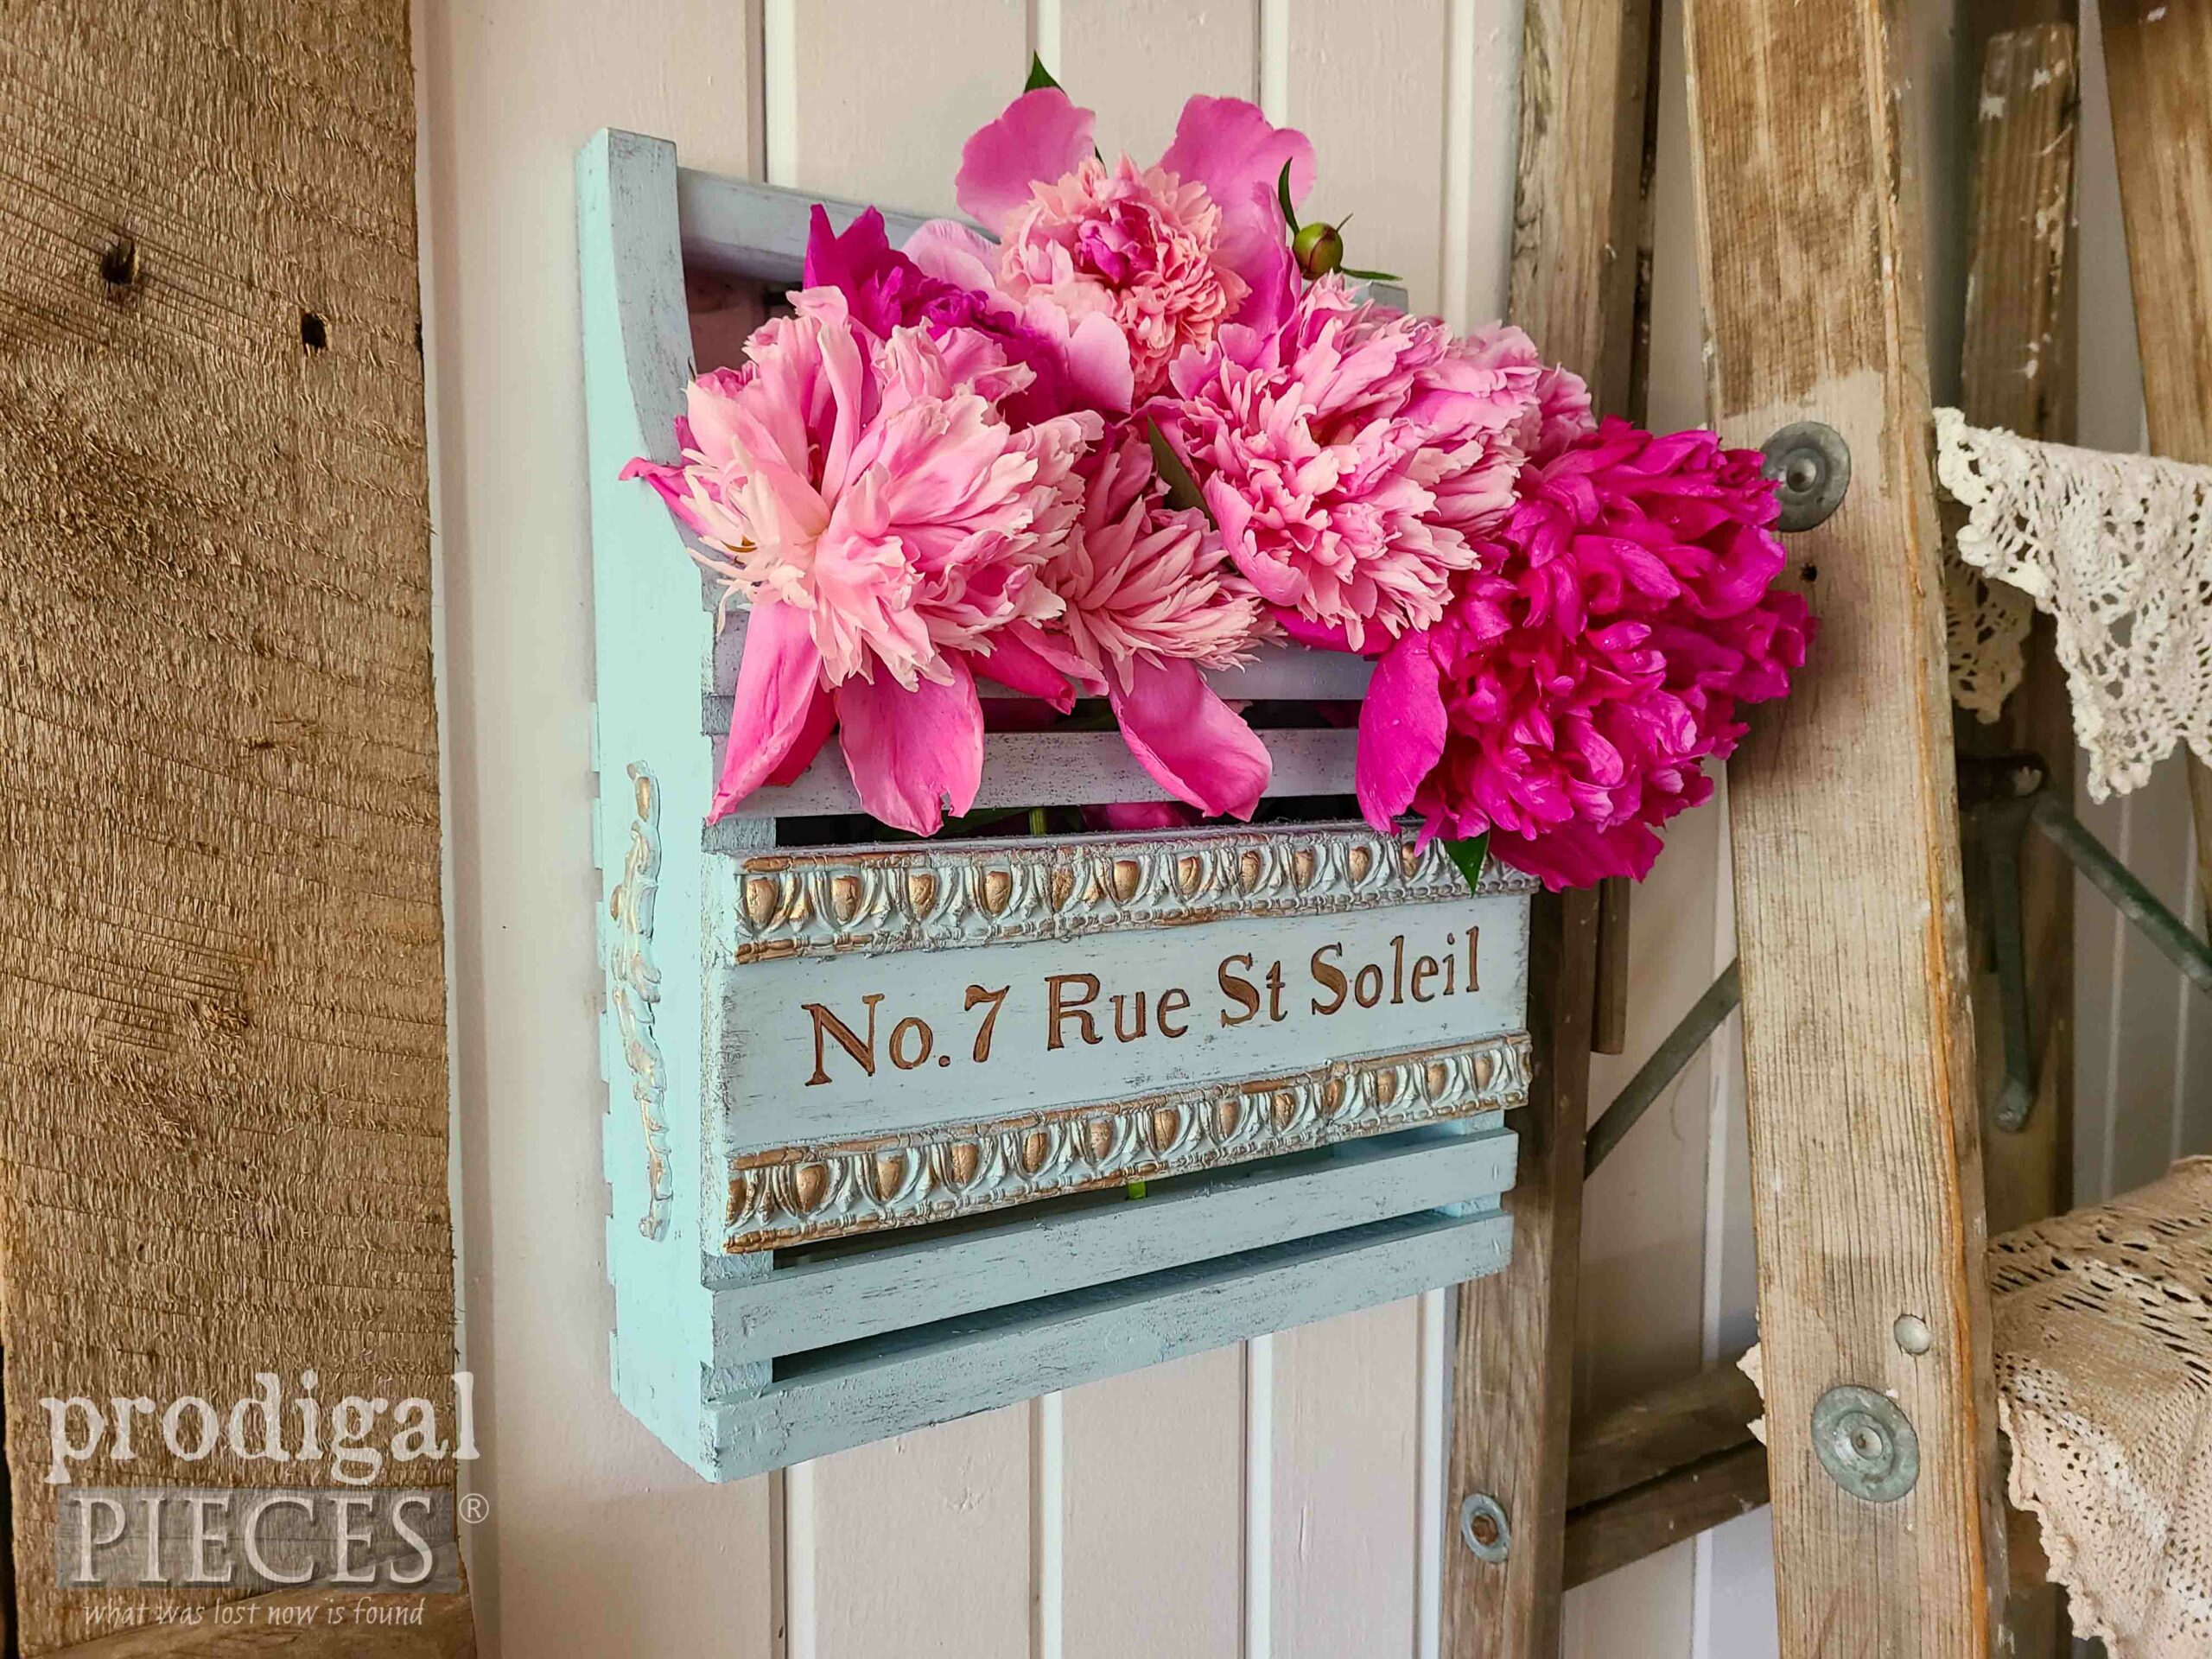
eep! I love it. The added details take it to a whole new level, and the gilding a bit of bling.
Oh, and my peonies are heaven scent! I’m a happy gal this time of year.
If you’d like to make this a part of your home story, you can find it and more in my online store.
SHARE
Now it’s time to hear from you. First, would you have purchased the pocket in the “before” state? If so, what would you have done with it? Leave me some comment love below and pin and share to inspire others to give DIY a try too.
Before you go, be sure to sign up for my FREE newsletter to see how my backyard firepit gets a much-needed refresh HERE.

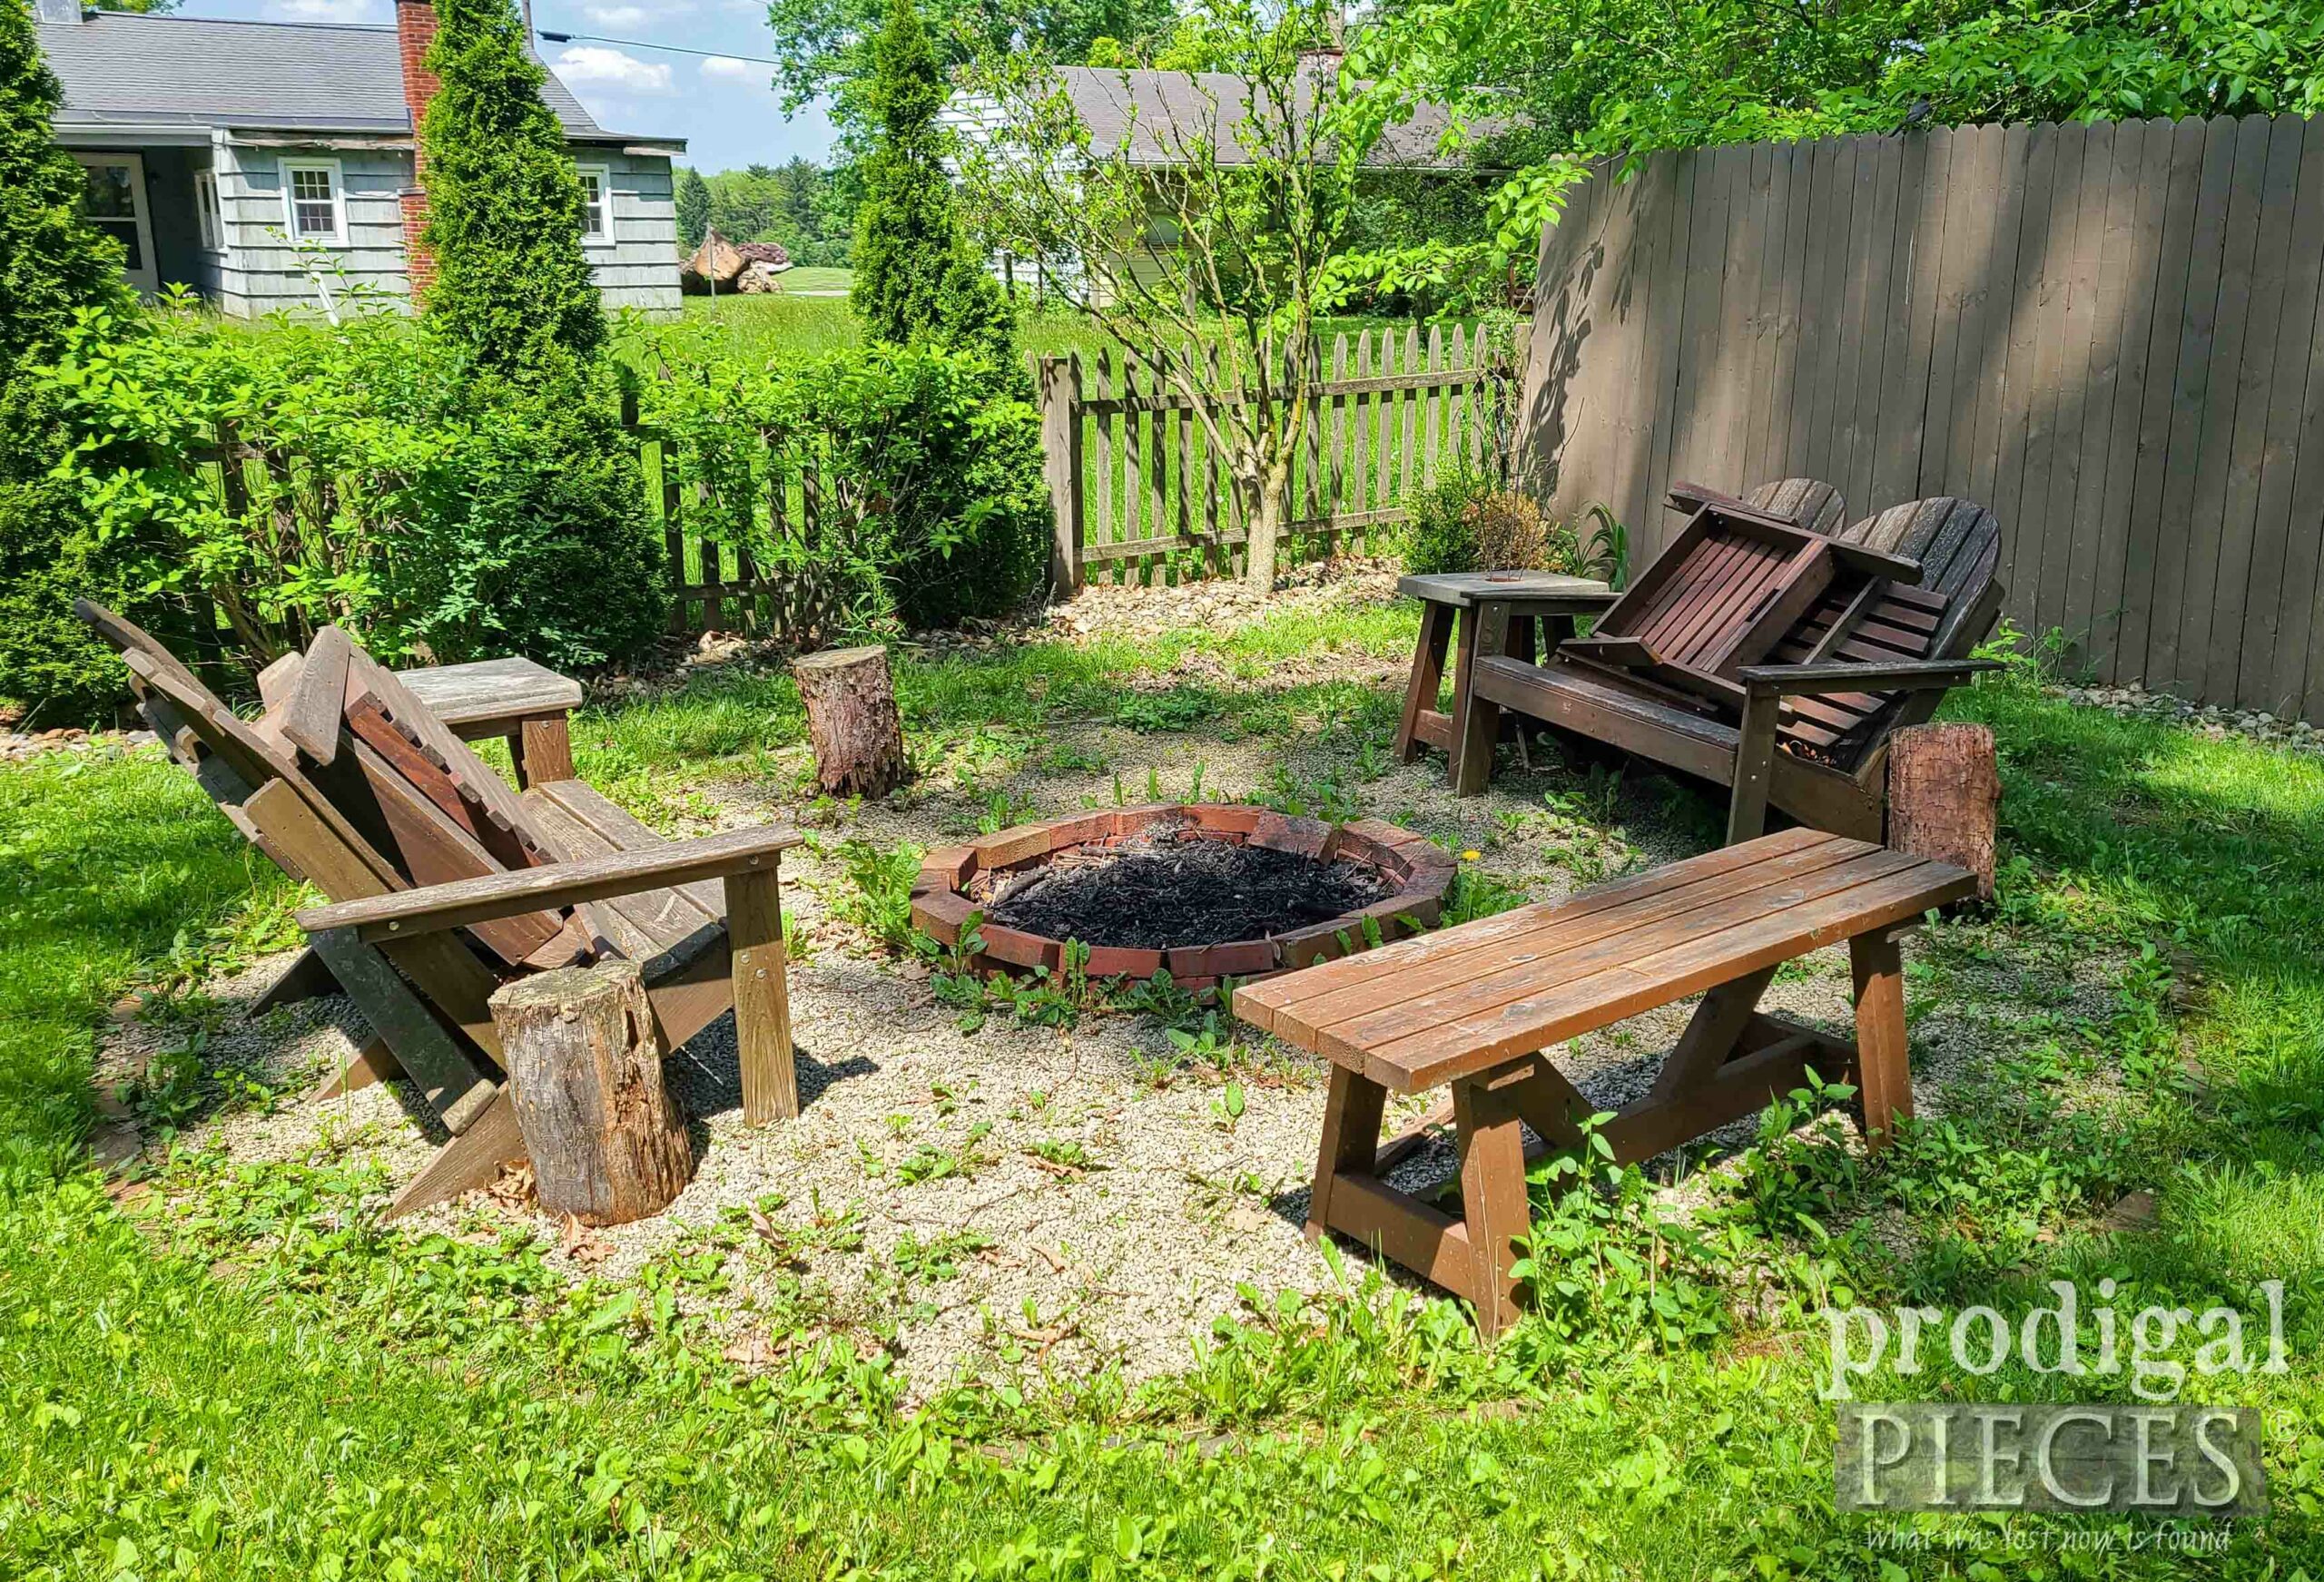

I am eager to see your firepit refresh, Larissa! I saw the photo from the last post and thought it was a picture of the original firepit, and that you were just showing a repost – but upon looking closer, I can see that it IS your updated firepit area! I am curious to see how you are going to manage the growth through the rocks. We updated our firepit area two years ago and love it. I had to put some landscape fabric under the rocks, and it’s holding up alright. But now I need to continue to landscape around the outer edges bc the grass is creeping into my border mulched landscape!! The grass!!! I’m also looking for some more sturdy adirondack chairs; we bought the $30 plastic ones from Lowe’s for company, but I’d like more solid wood ones for myself)) Keep on keeping on! You are doing the right stuff!
Me too! haha. Headed out now with my pressure washer to tackle many things, including that. I don’t blame you for wanting wood. I just love ours.
So cute!!! You are soooo creative!!! I’m excited to get new ideas from your next makeover project!!! Especially the fire pit area! 😊🥰
Thanks! This was a fun project for a pick-me-up. I’ve been chomping at the bit to get that fire pit done.
Just too darn cute, Larissa!! Love what you did. Good job!
Merci! It’s such a joy to create with random things. 😉
Tres chic, indeed! I’ve always been hesitant about using molds, apparently I never looked in to them enough to know you can use different mediums with them! I believe I will have to give that technique a try. Thanks for sharing your Sun Street wall pocket!!😉
You will love them, Jill! 😉 Would it be lovely to live on a street or country road named that?
Your molds and the bling made all the difference. I might have bought it to paint it but wouldn’t have thought to add the moldings. SO much better than the before. Thanks for always bringing creative ideas.
Yahoo! This was just the fun I needed, Joanne. It makes it fun to hear from my readers. Thank you!
What a sweet piece! You outdid yourself on this one. And kudos for the vision to see what it could be. I probably would have left it in the store!
And your peonies are absolutely gorgeous!
I get a little skip-happy when I spy plain-Jane pieces like this. Thank you for the smile, Gayle.
I definitely would have bought it. I learned from you to always buy the wood items for makeovers.
Julie, I do believe you just made my day! 😀