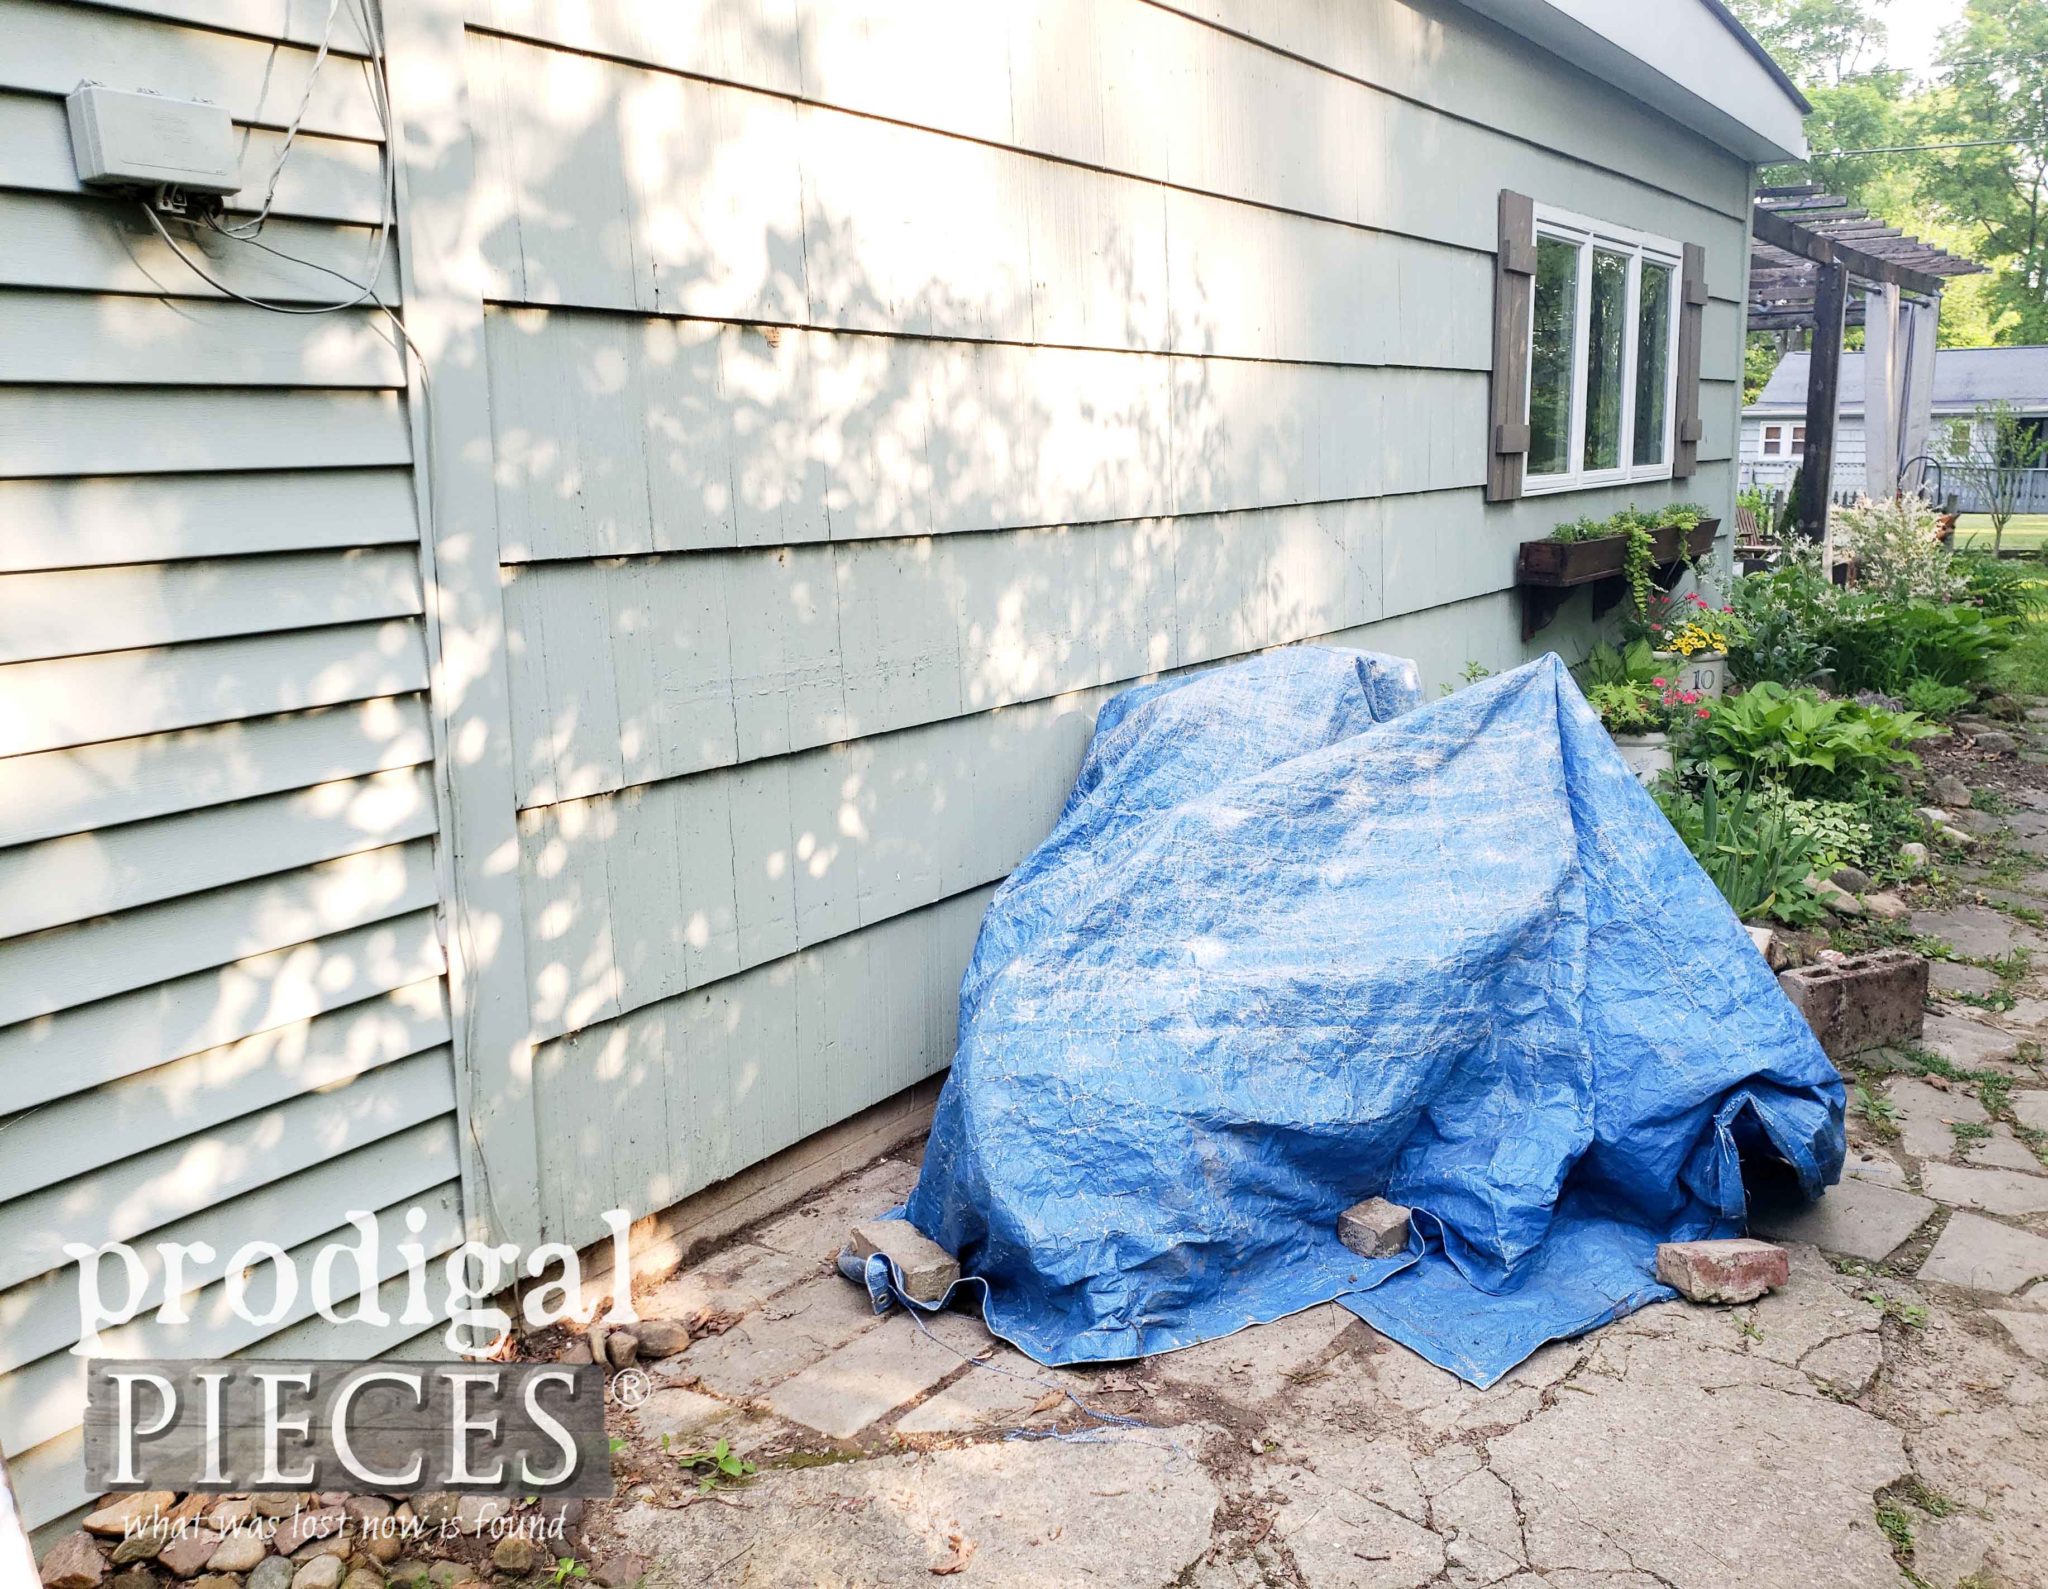
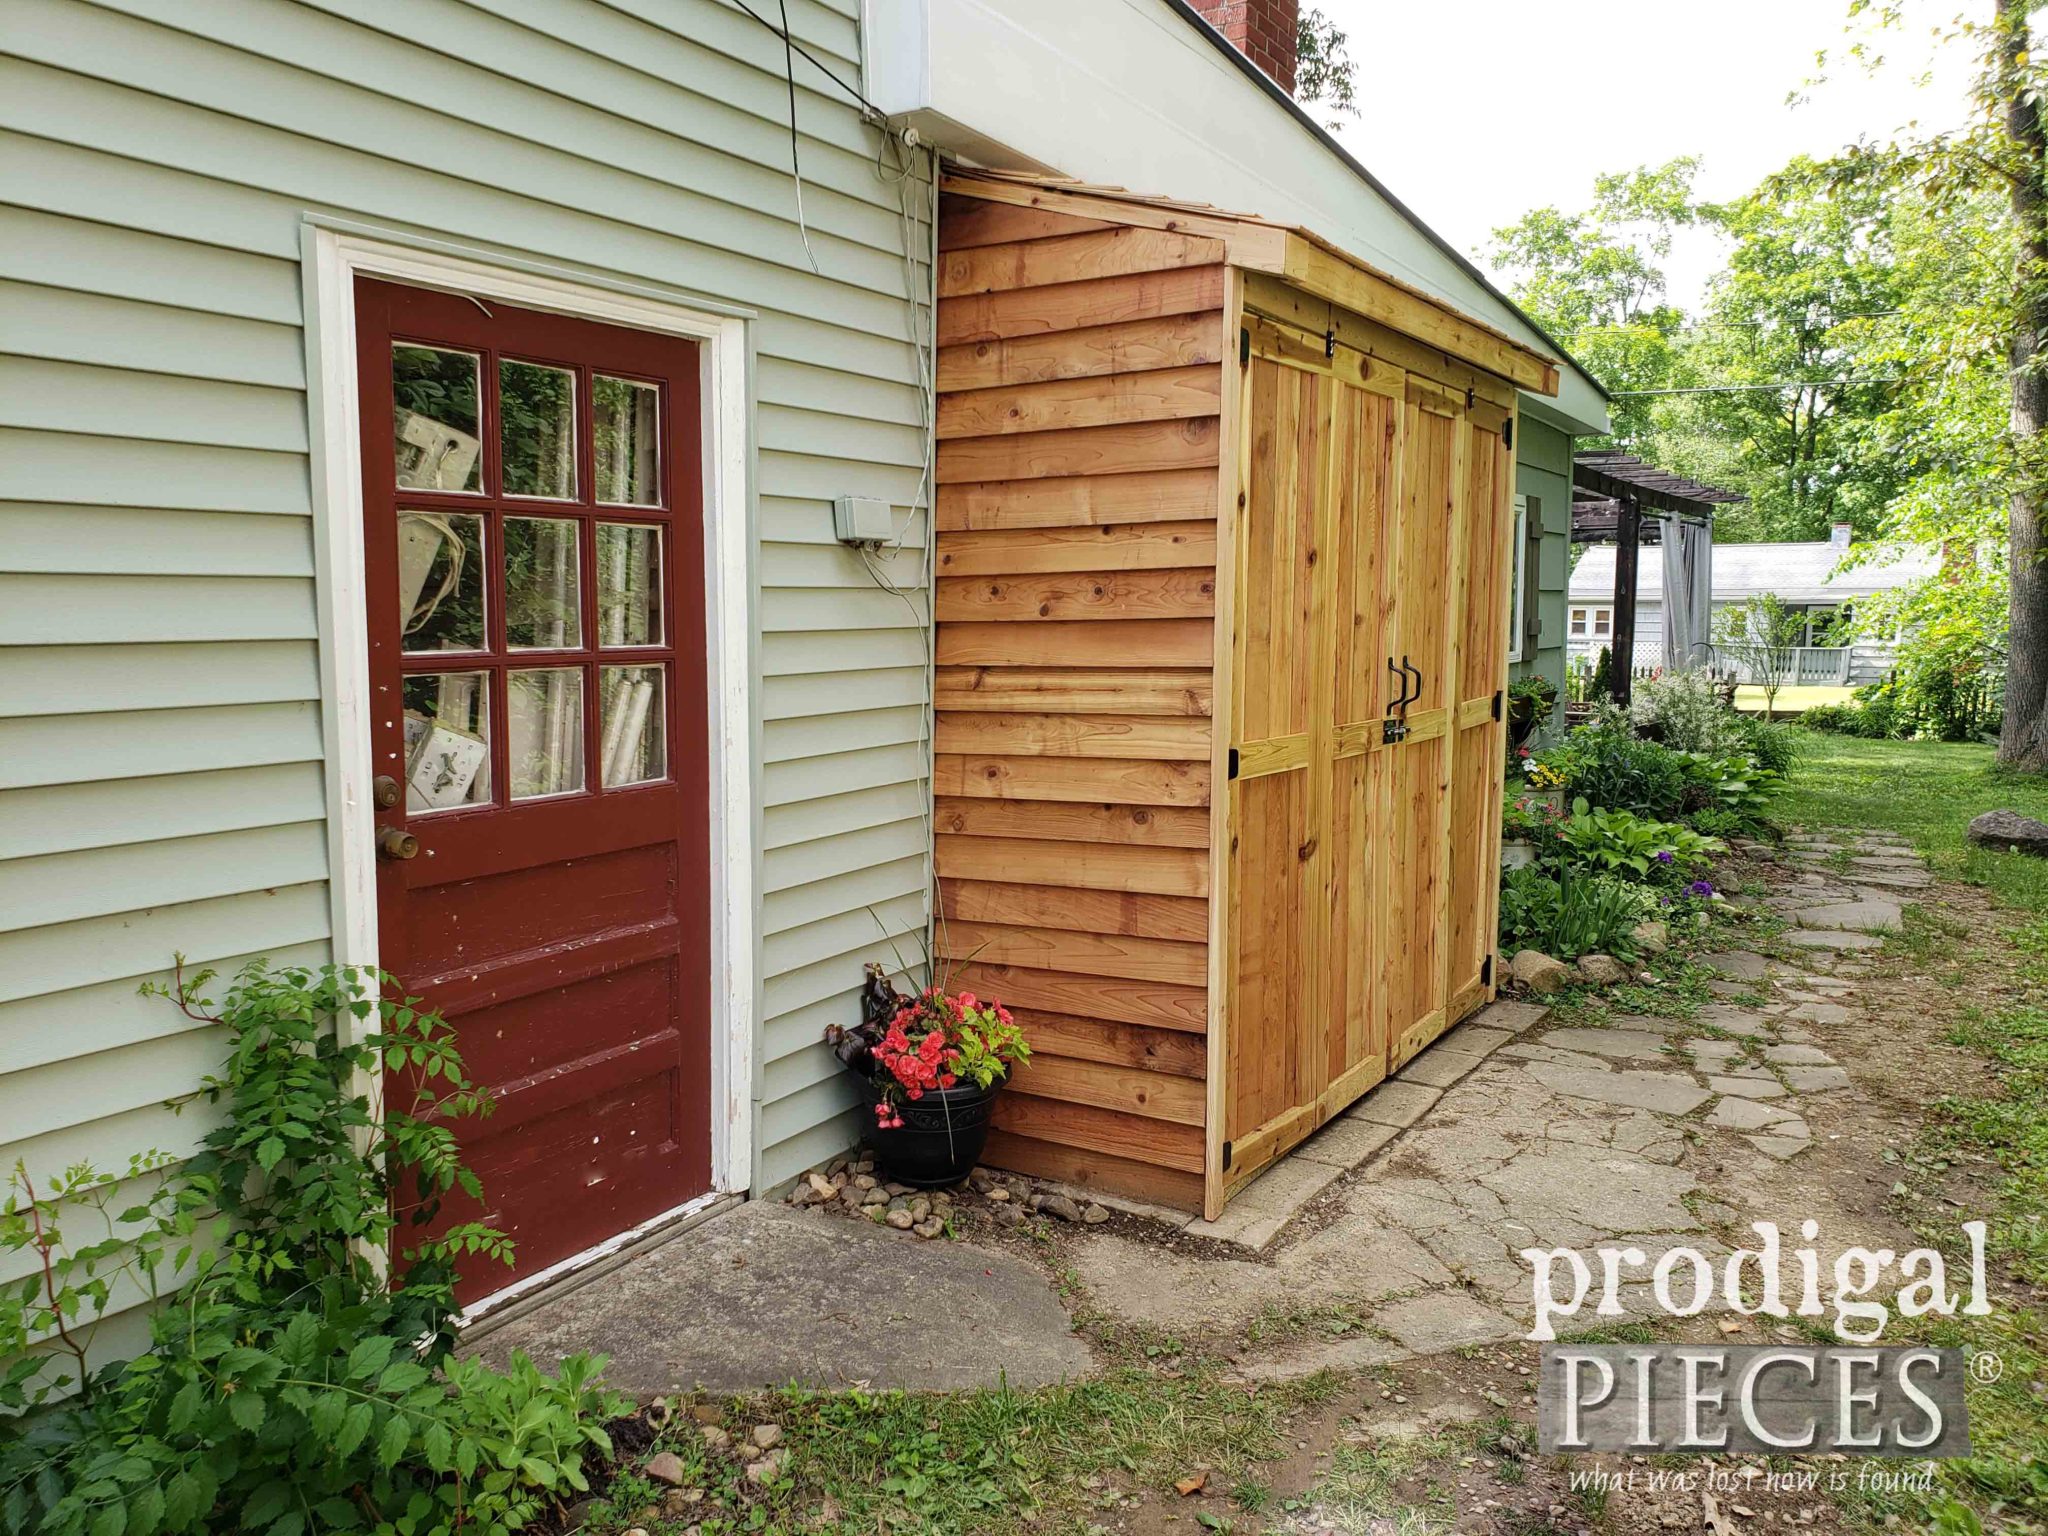
It’s nothing new that organization keeps a body sane. There’s no hassle with clean-up and definitely saves time and can even keep your investments in a better state. What you’re looking at is a spot that has kinda been an eye-sore to me and my family for a couple of years. I’ve promised to show you our project when it was time to build, so today I’m sharing our DIY bike garden shed.
Back in 2003 when we moved in, this spot held a small shed that would house trash cans. We never used it for that, but did store other items inside. After a few years it became dilapidated and I took it down. The wood from it became part of my coffee table for our patio makeover seen HERE.
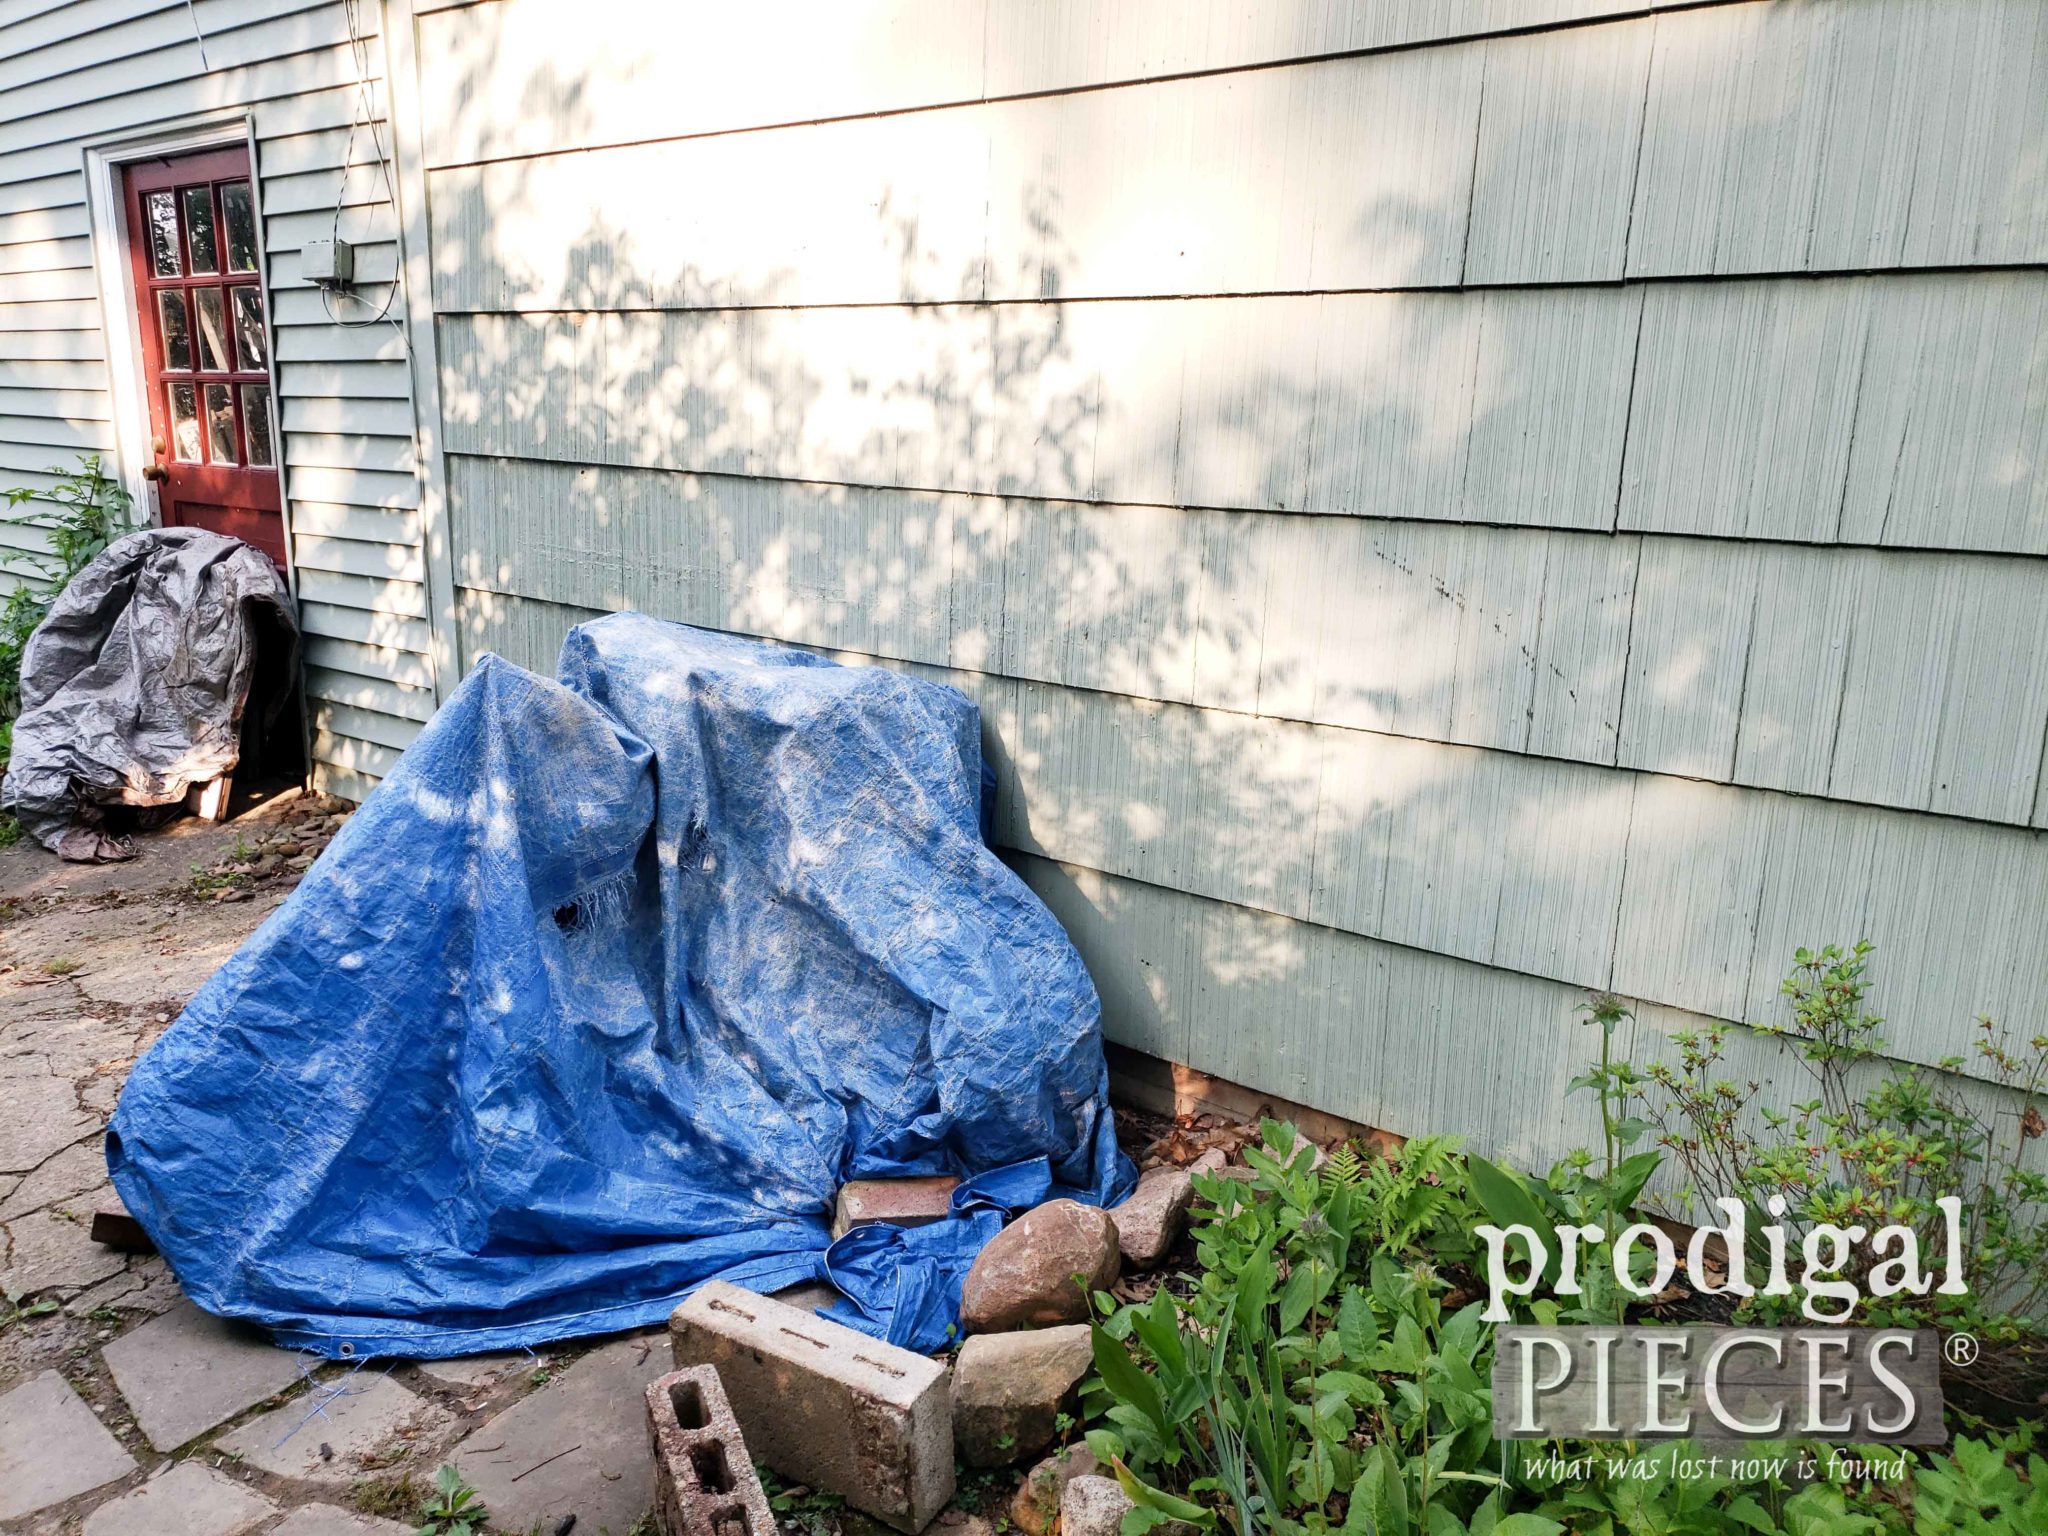
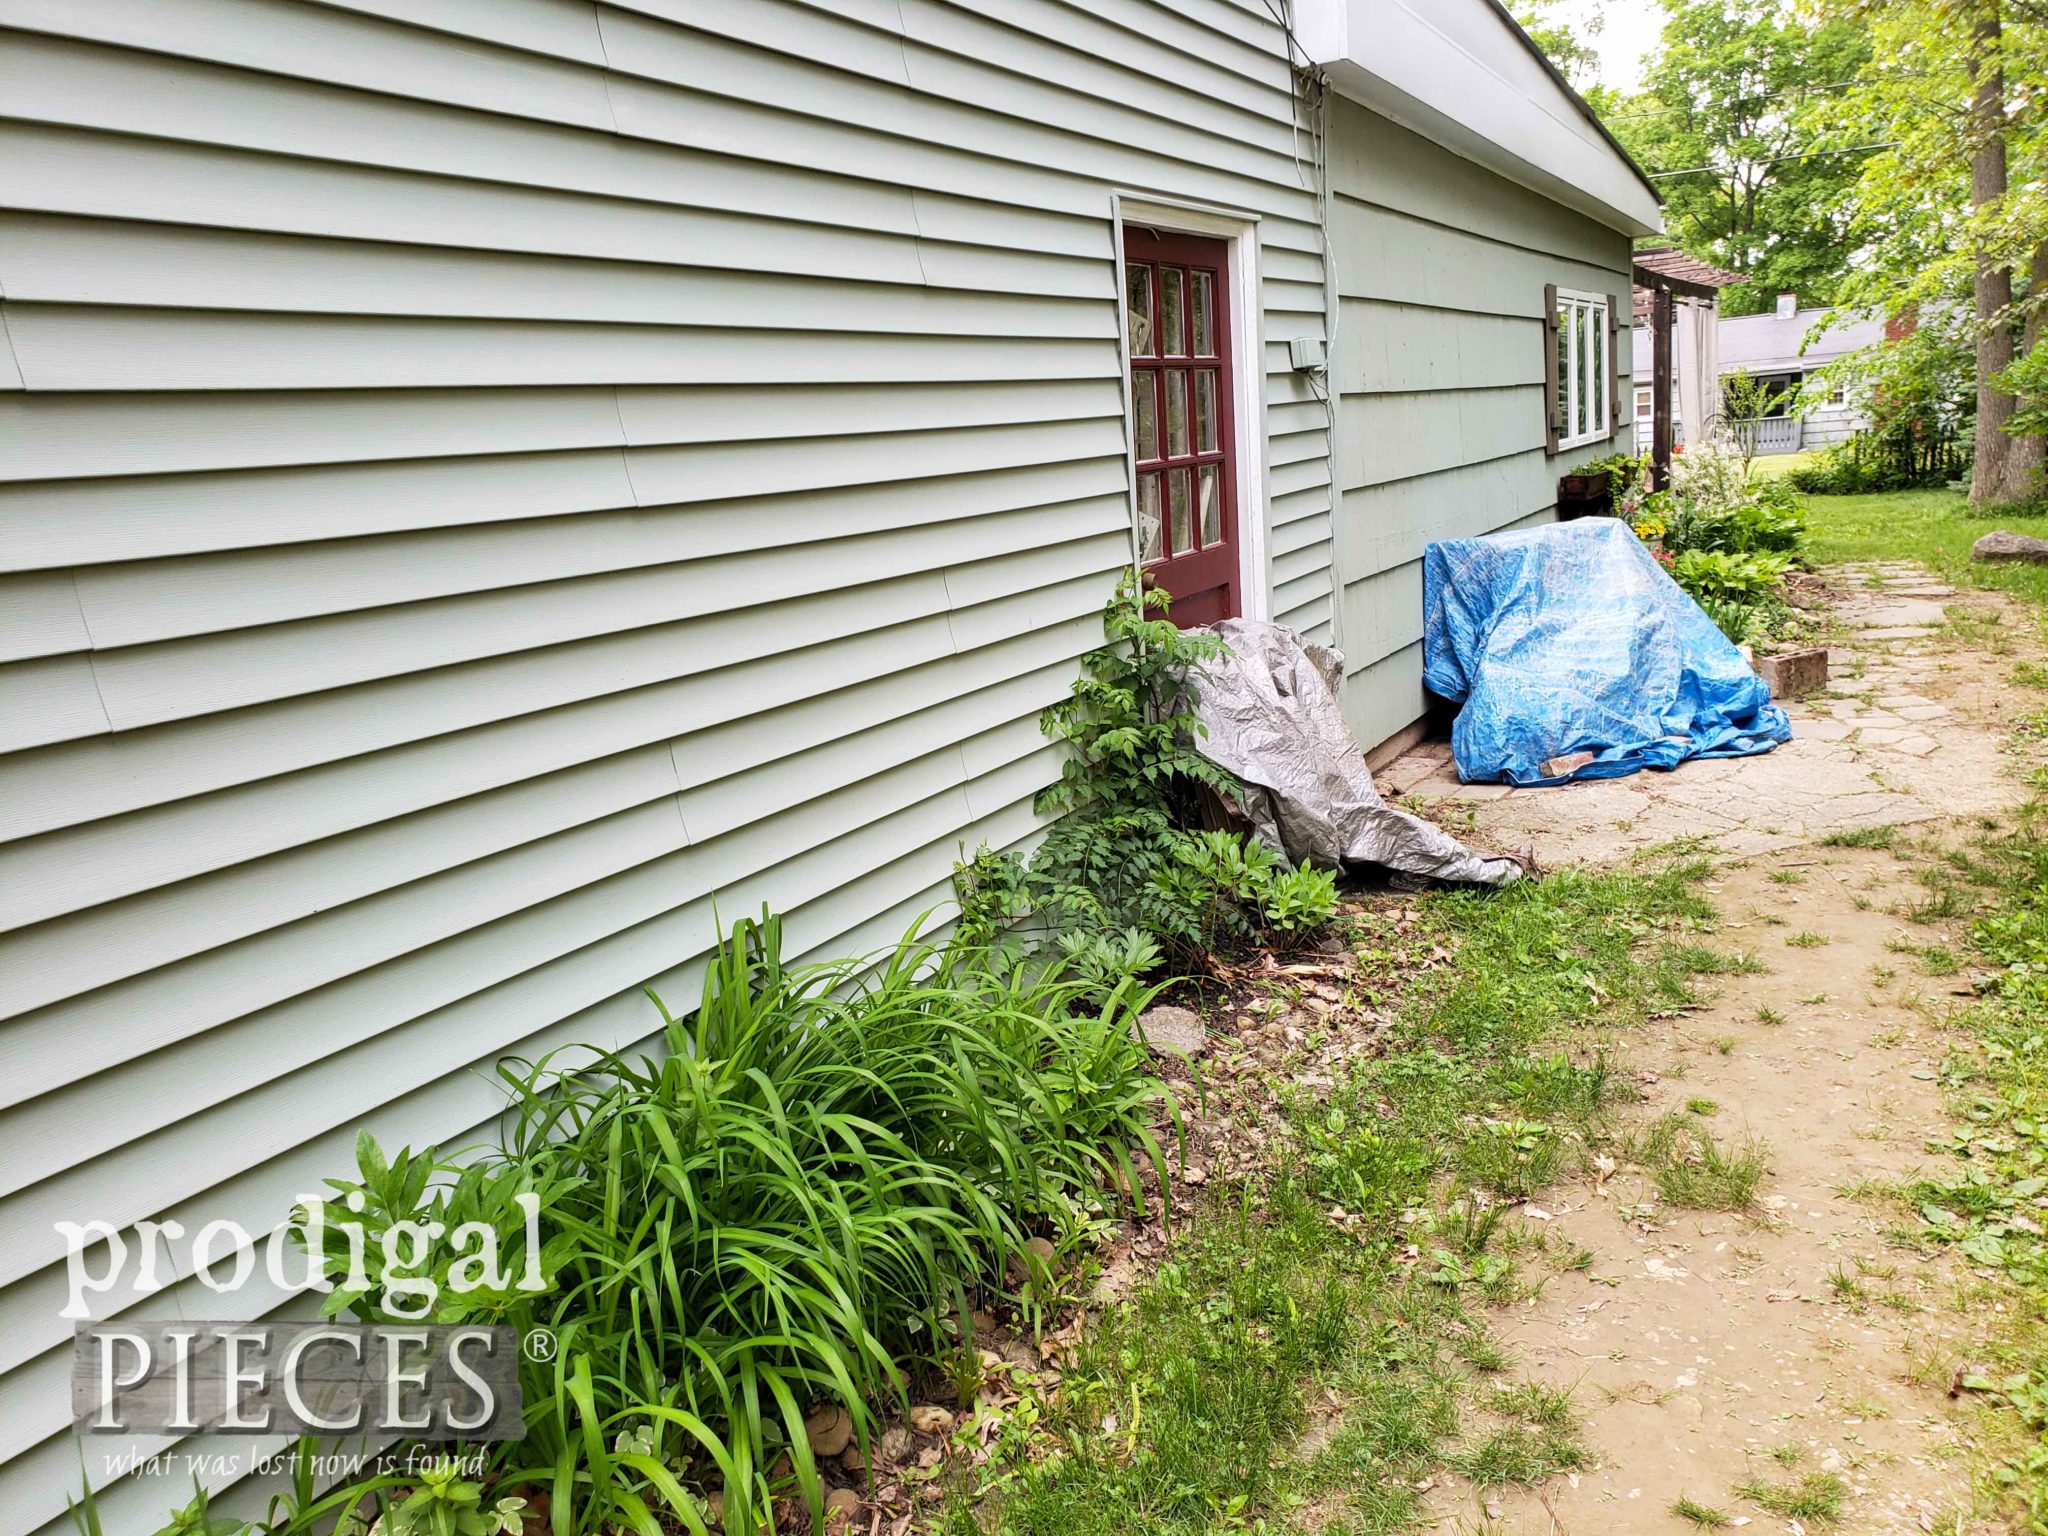
This spot already had concrete laid down from our previous shed there and was the perfect spot for us to tuck our bikes away. However, the tarp look wasn’t doing it for us. It was annoying to fuss with, caused a trip hazard, and wasn’t the best use of the space.
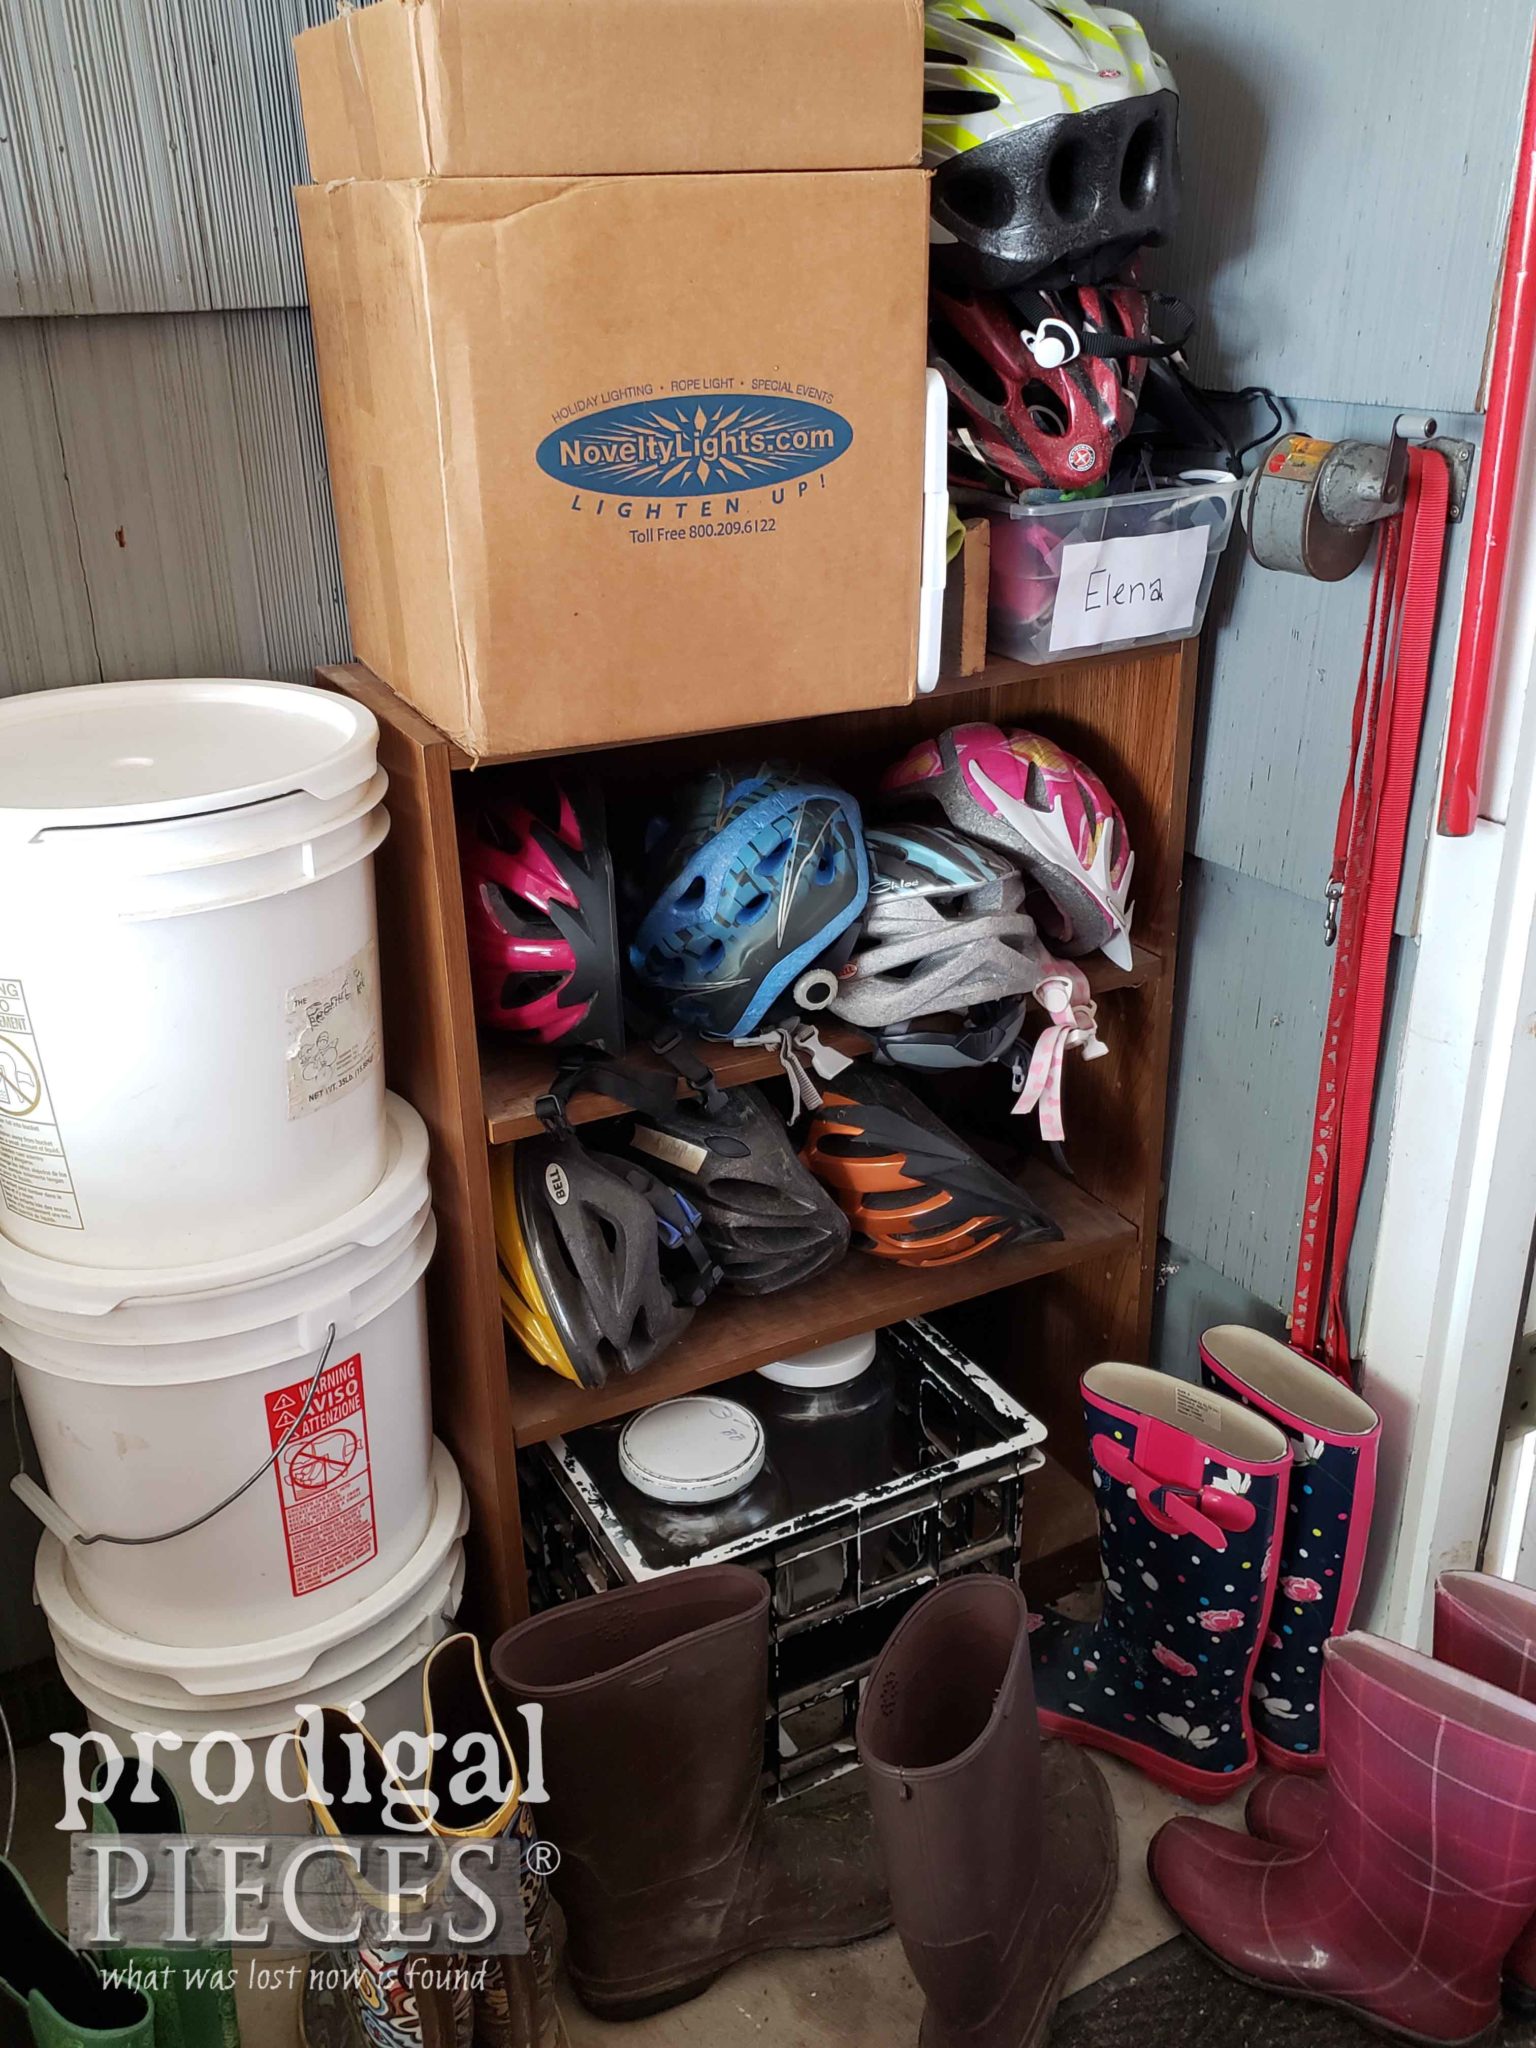
That’s where the DIY bike garden shed comes in. With 7 of the 8 of us in our family having bikes, we needed something to solve our problem. Some bikes were here, some bikes in our garden shed, and helmets a mess in our workshop. My goal is to build a rubber boot storage spot here when we got the helmets out. Boots off the ground is a blessing!
*post is sponsored by HomeRight (see full disclosure)
THE REMEDY
Okay, so I’ve established that something needed to be done. Since our code says that we are allowed to rebuild since there was already a structure there, we didn’t need to do anything else. To make this easy to understand our process, I put together a short video demo below of how we assembled and attached the shed.
For the build plans we saw no need to reinvent the wheel and found a fantastic design by Ana White using affordable cedar fence pickets. If you’ve made use of her site yet, it’s surely a must see. We’ve used several plans to help us DIY our home projects. While we used her plans as a basis for ours, we made our dimensions different as well as our door design. It needed to work for our space and what we had in mind. Our rough all-in budget was $350-$400. If we had bought a shed this size it would have been around $2K. Yikes!
Also, I call it a garden shed too because we realize not everyone has 7 bikes or that we will always need storage for that many. However, this shed design is versatile enough for your garden tools, grilling tools, toys, etc. Here’s what we used to create our DIY bike garden shed.
Tools & Supplies:
- Paint Sprayer
- Thompson’s WaterSeal
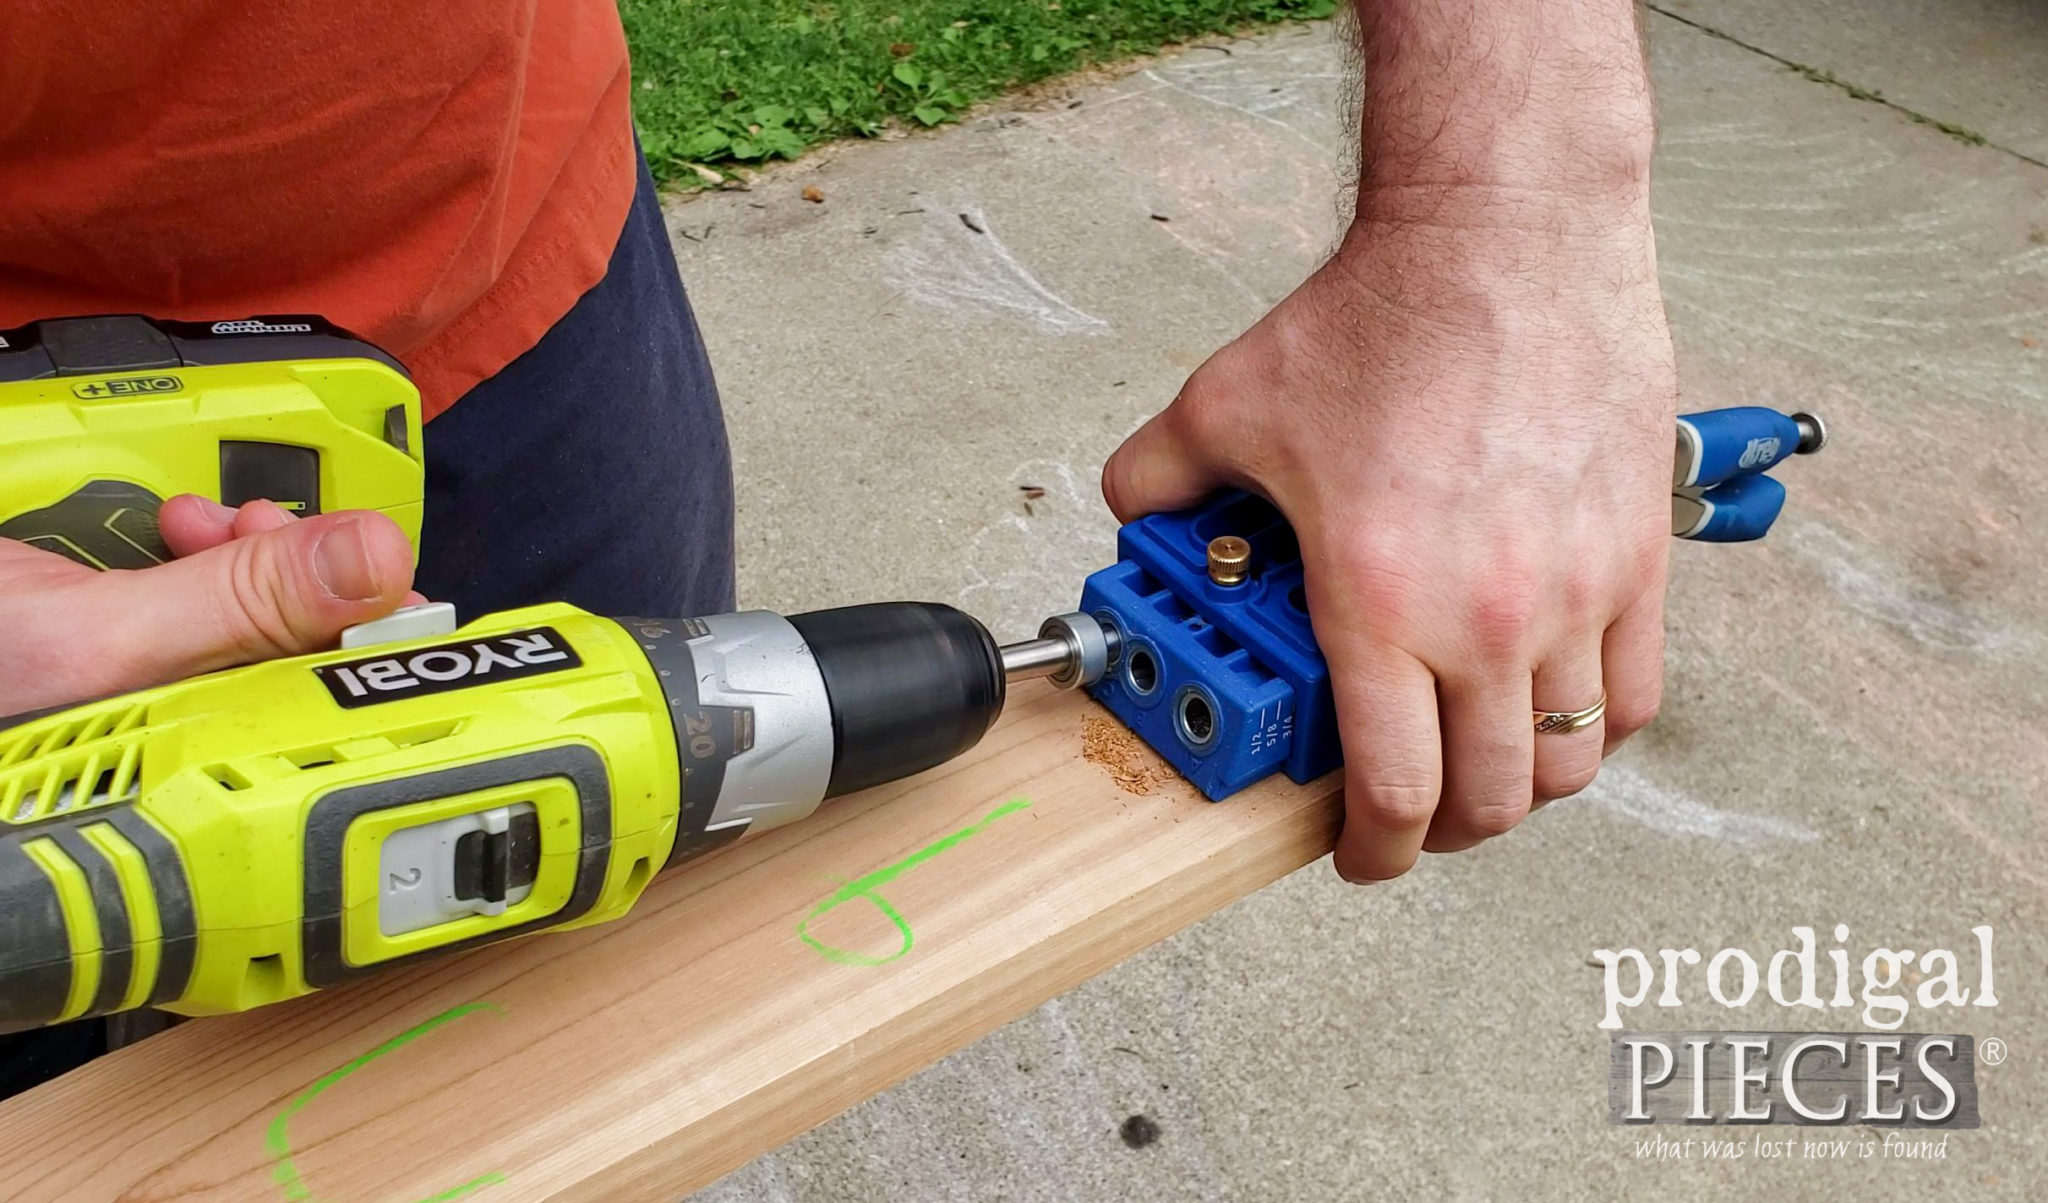
- Pocket Hole Jig
- Jigsaw
- Miter Saw
- Drill
- Nailer
- Sander
- Respirator
- Bike Hooks
- Hinges
- Small latches (for bifold door)
- Large barrel bolt latch
- Bi-Fold Hinges
STEP 1
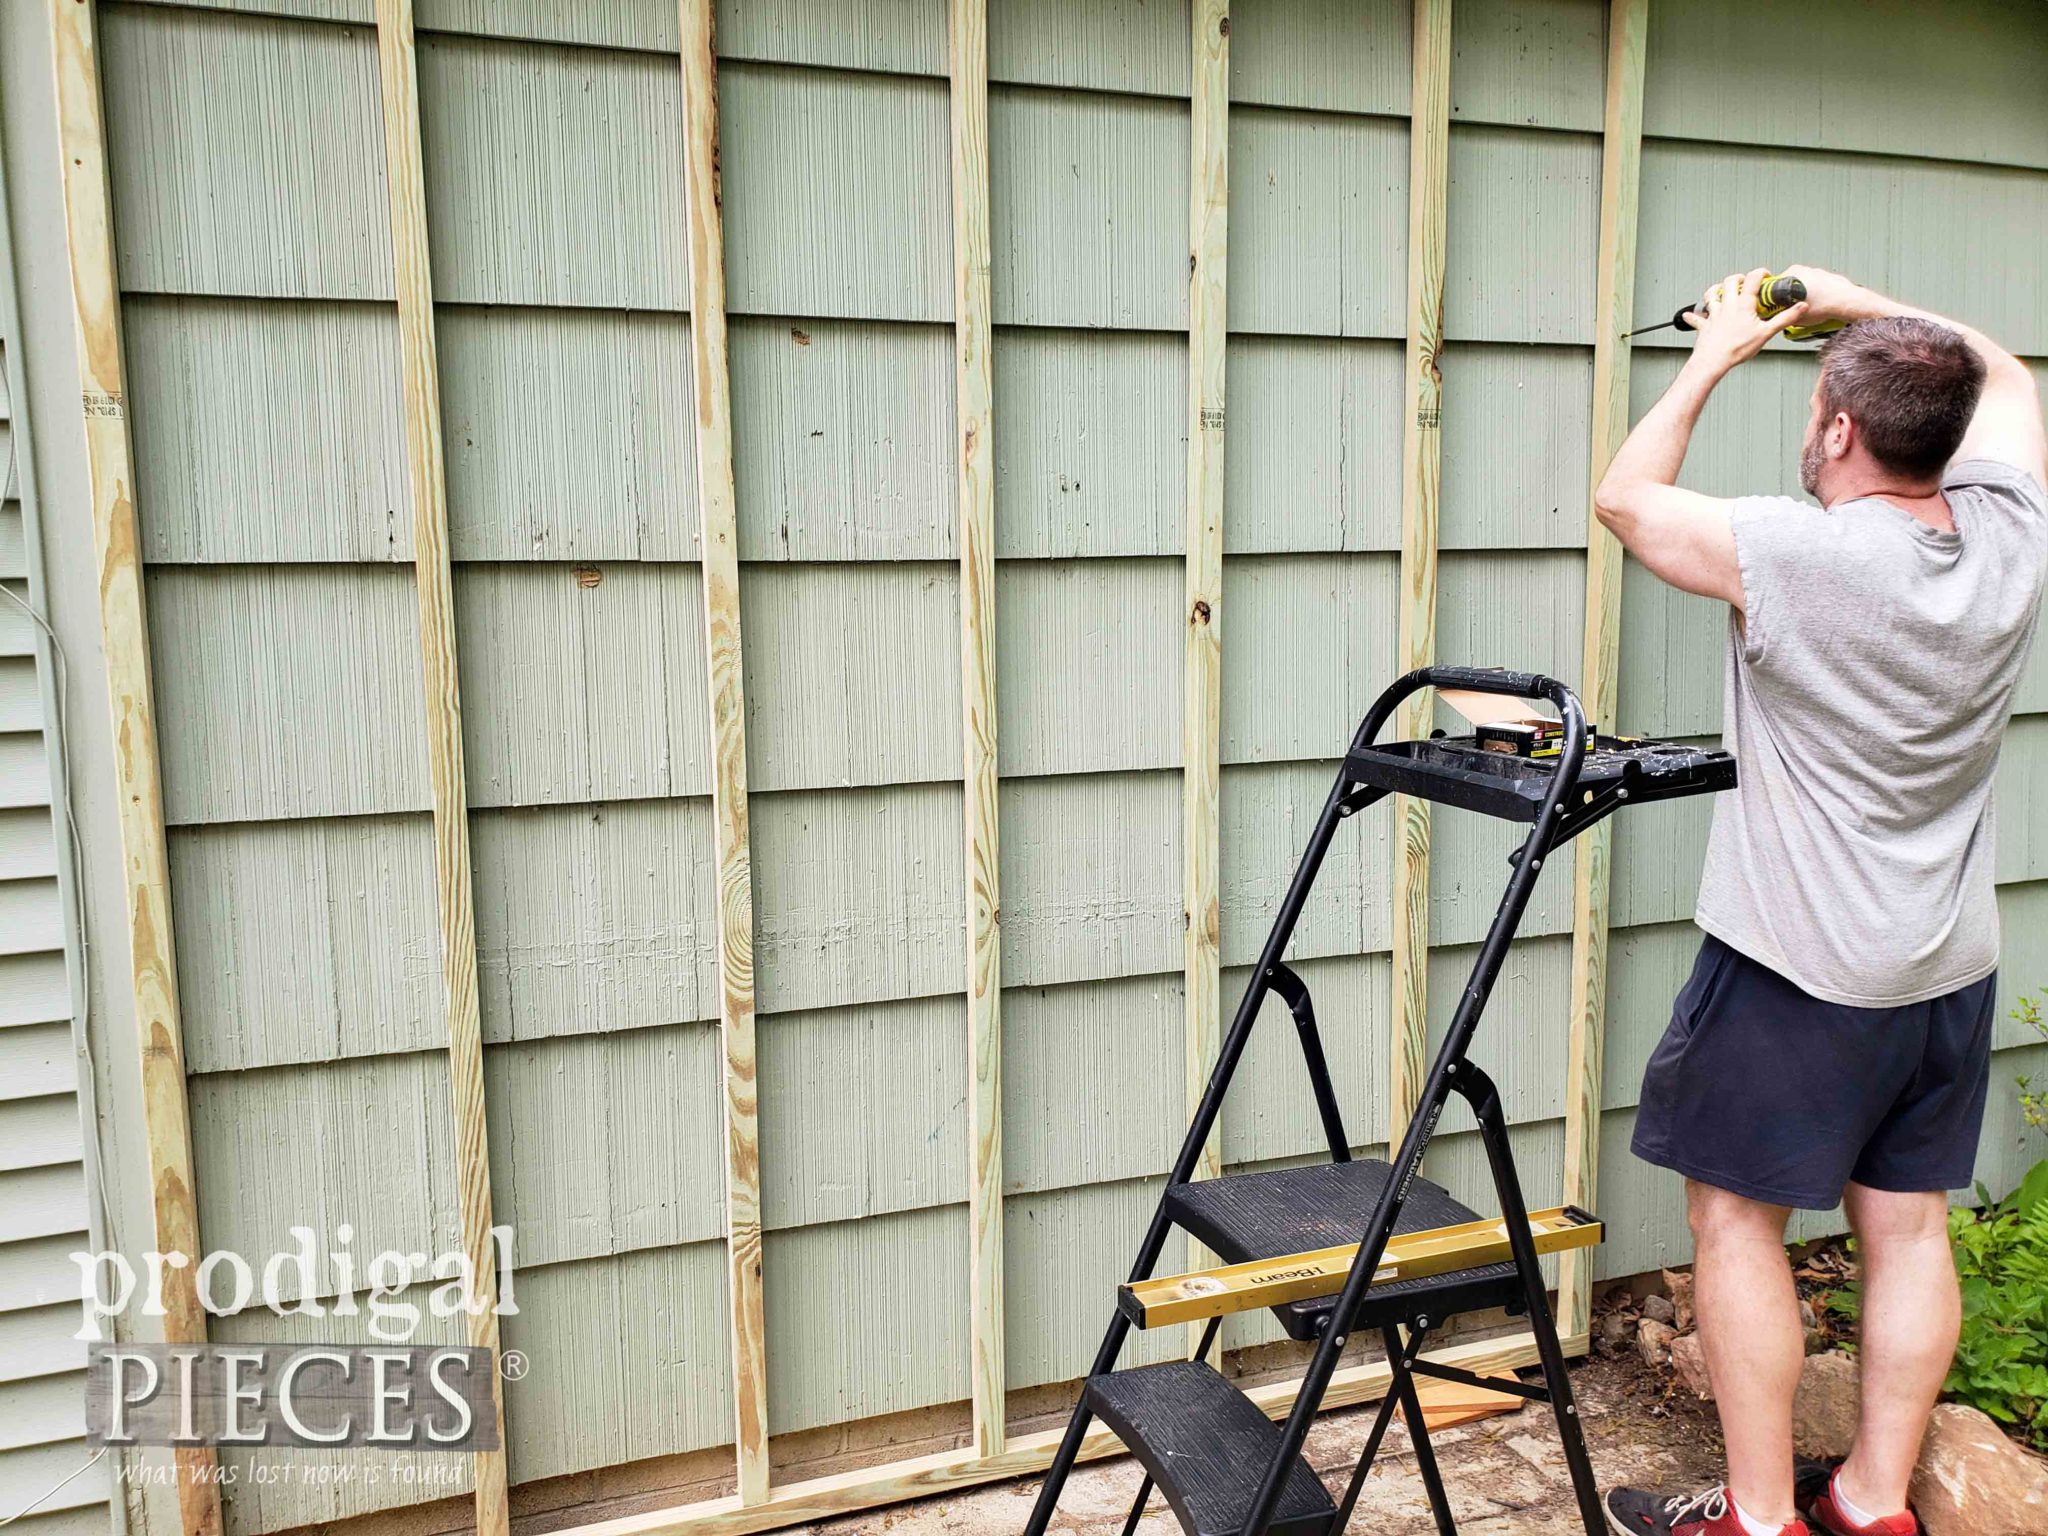
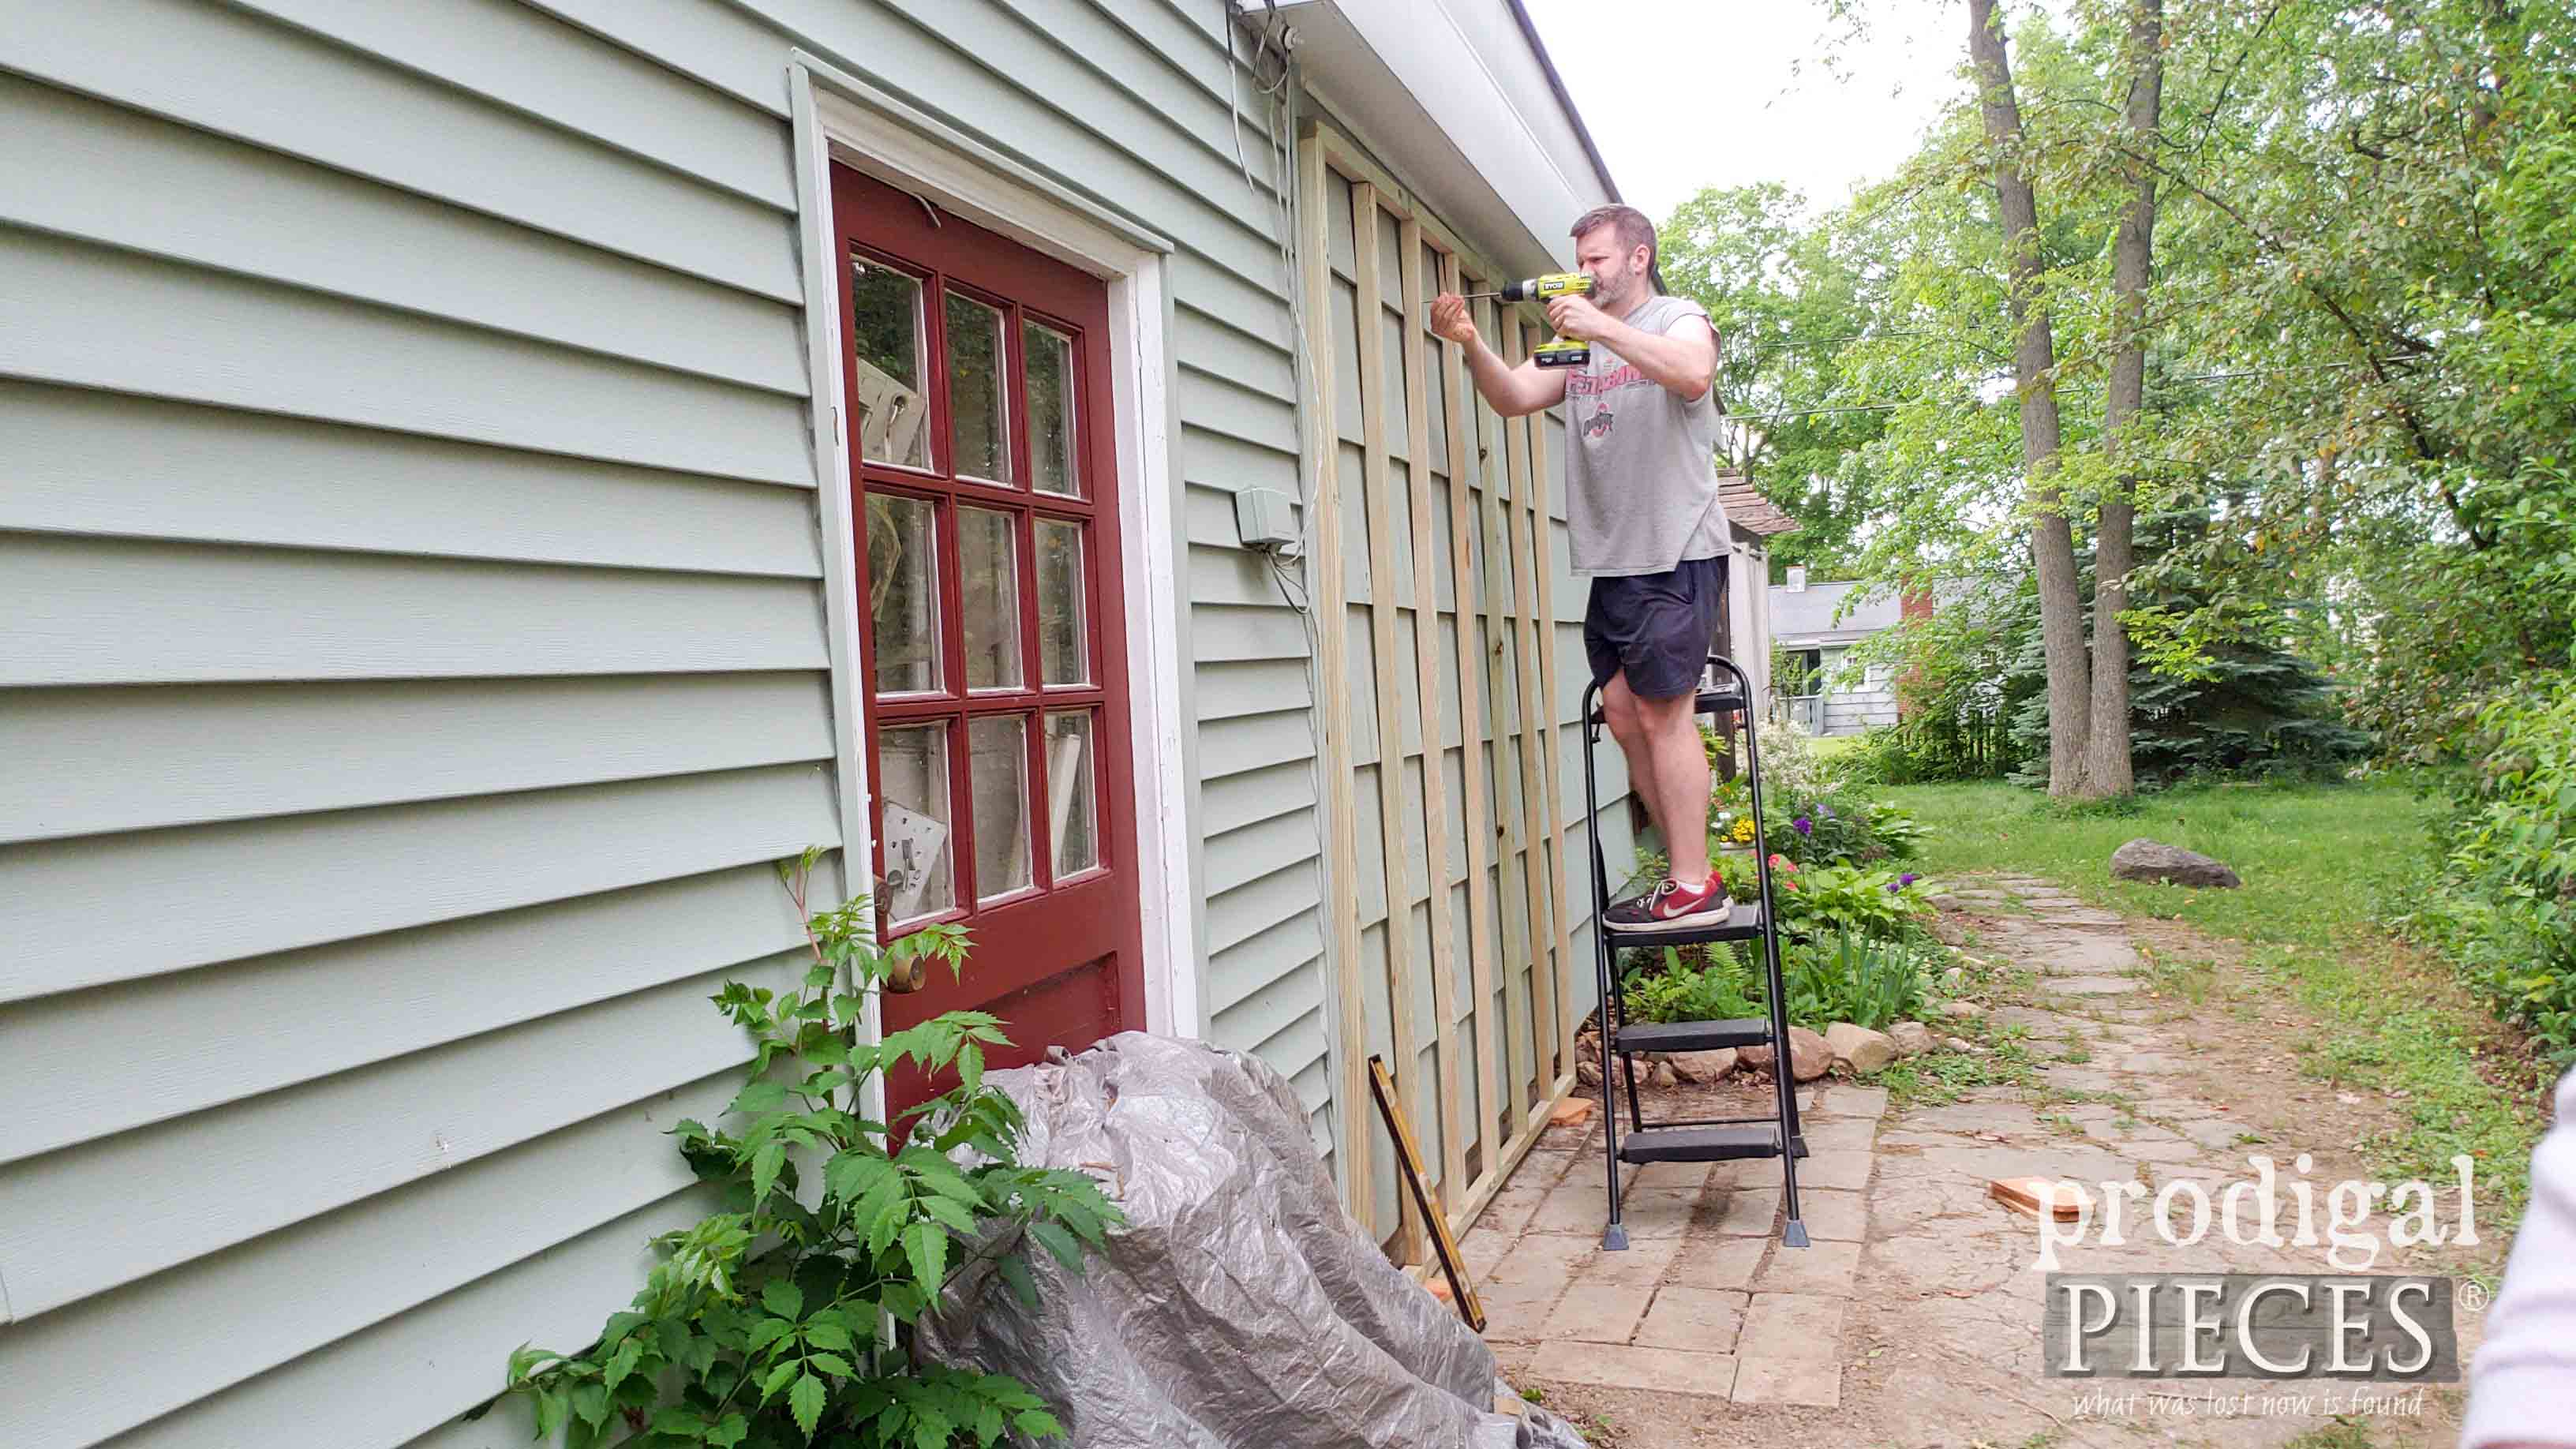
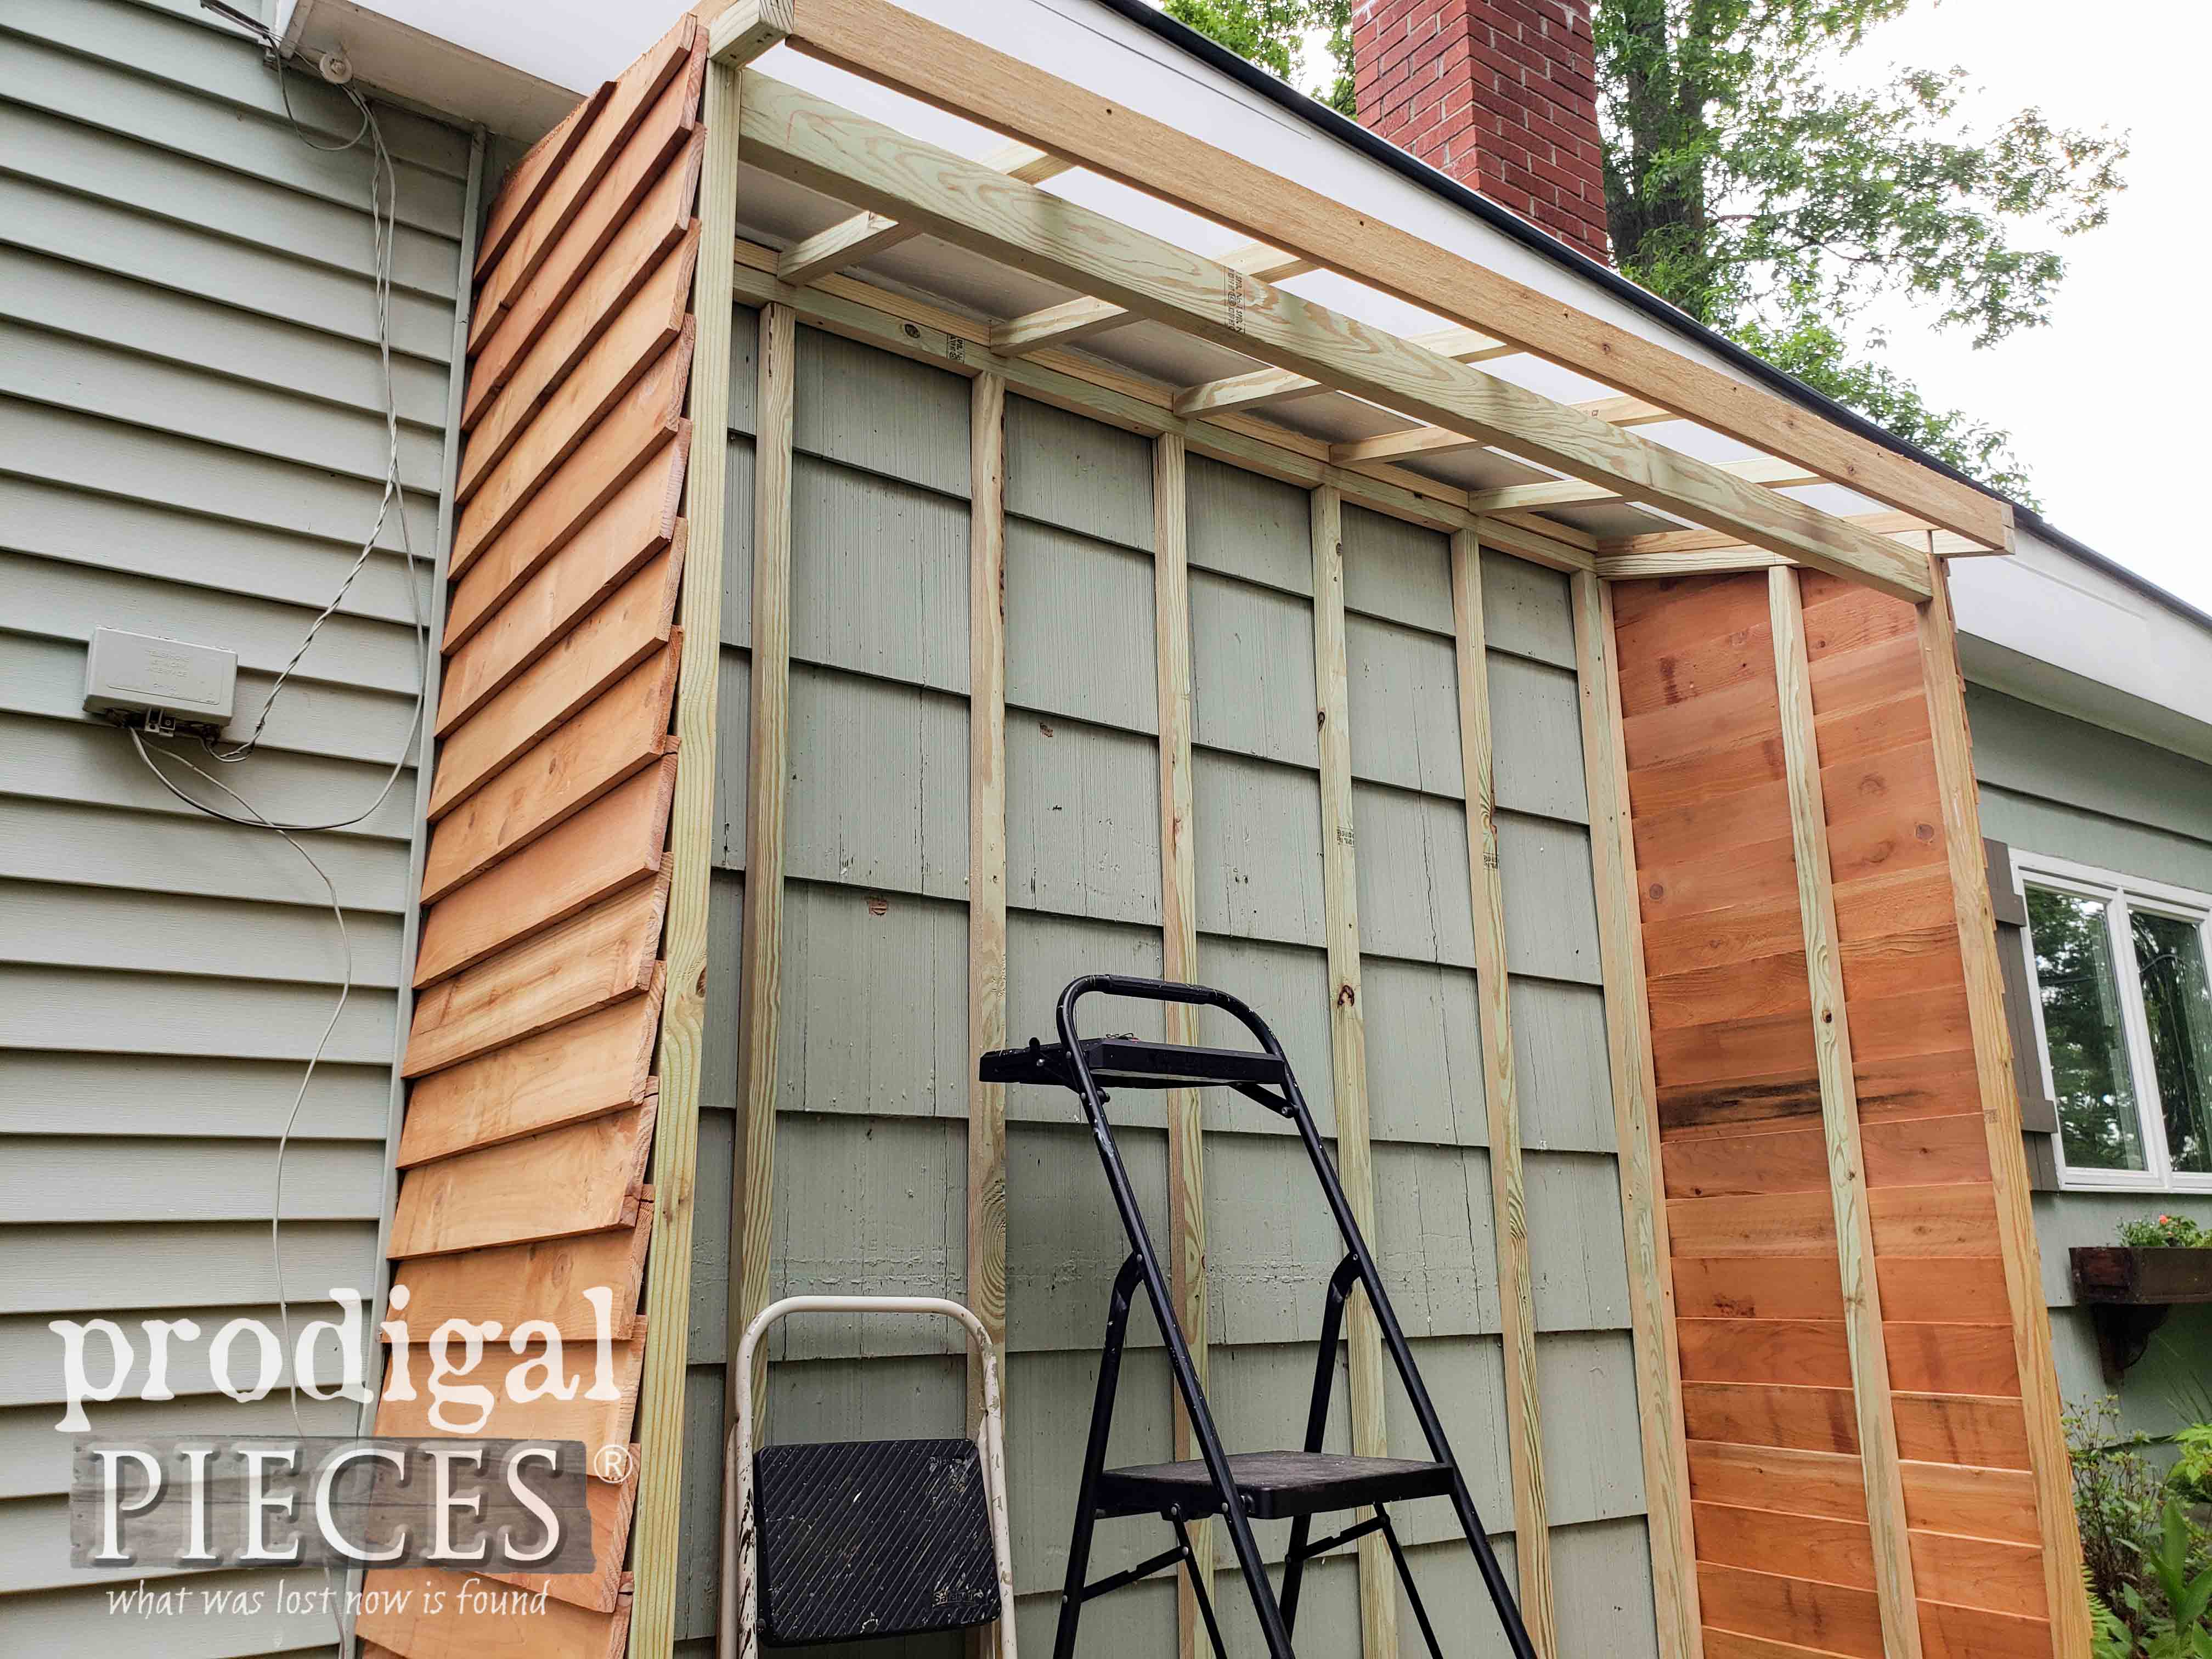
First, we built a fame out of ripped treated pine 2″x 4’s and attached it to the wall. The plans above have an added back to the design. We felt no need since we were building this as a lean-to.
Step 2
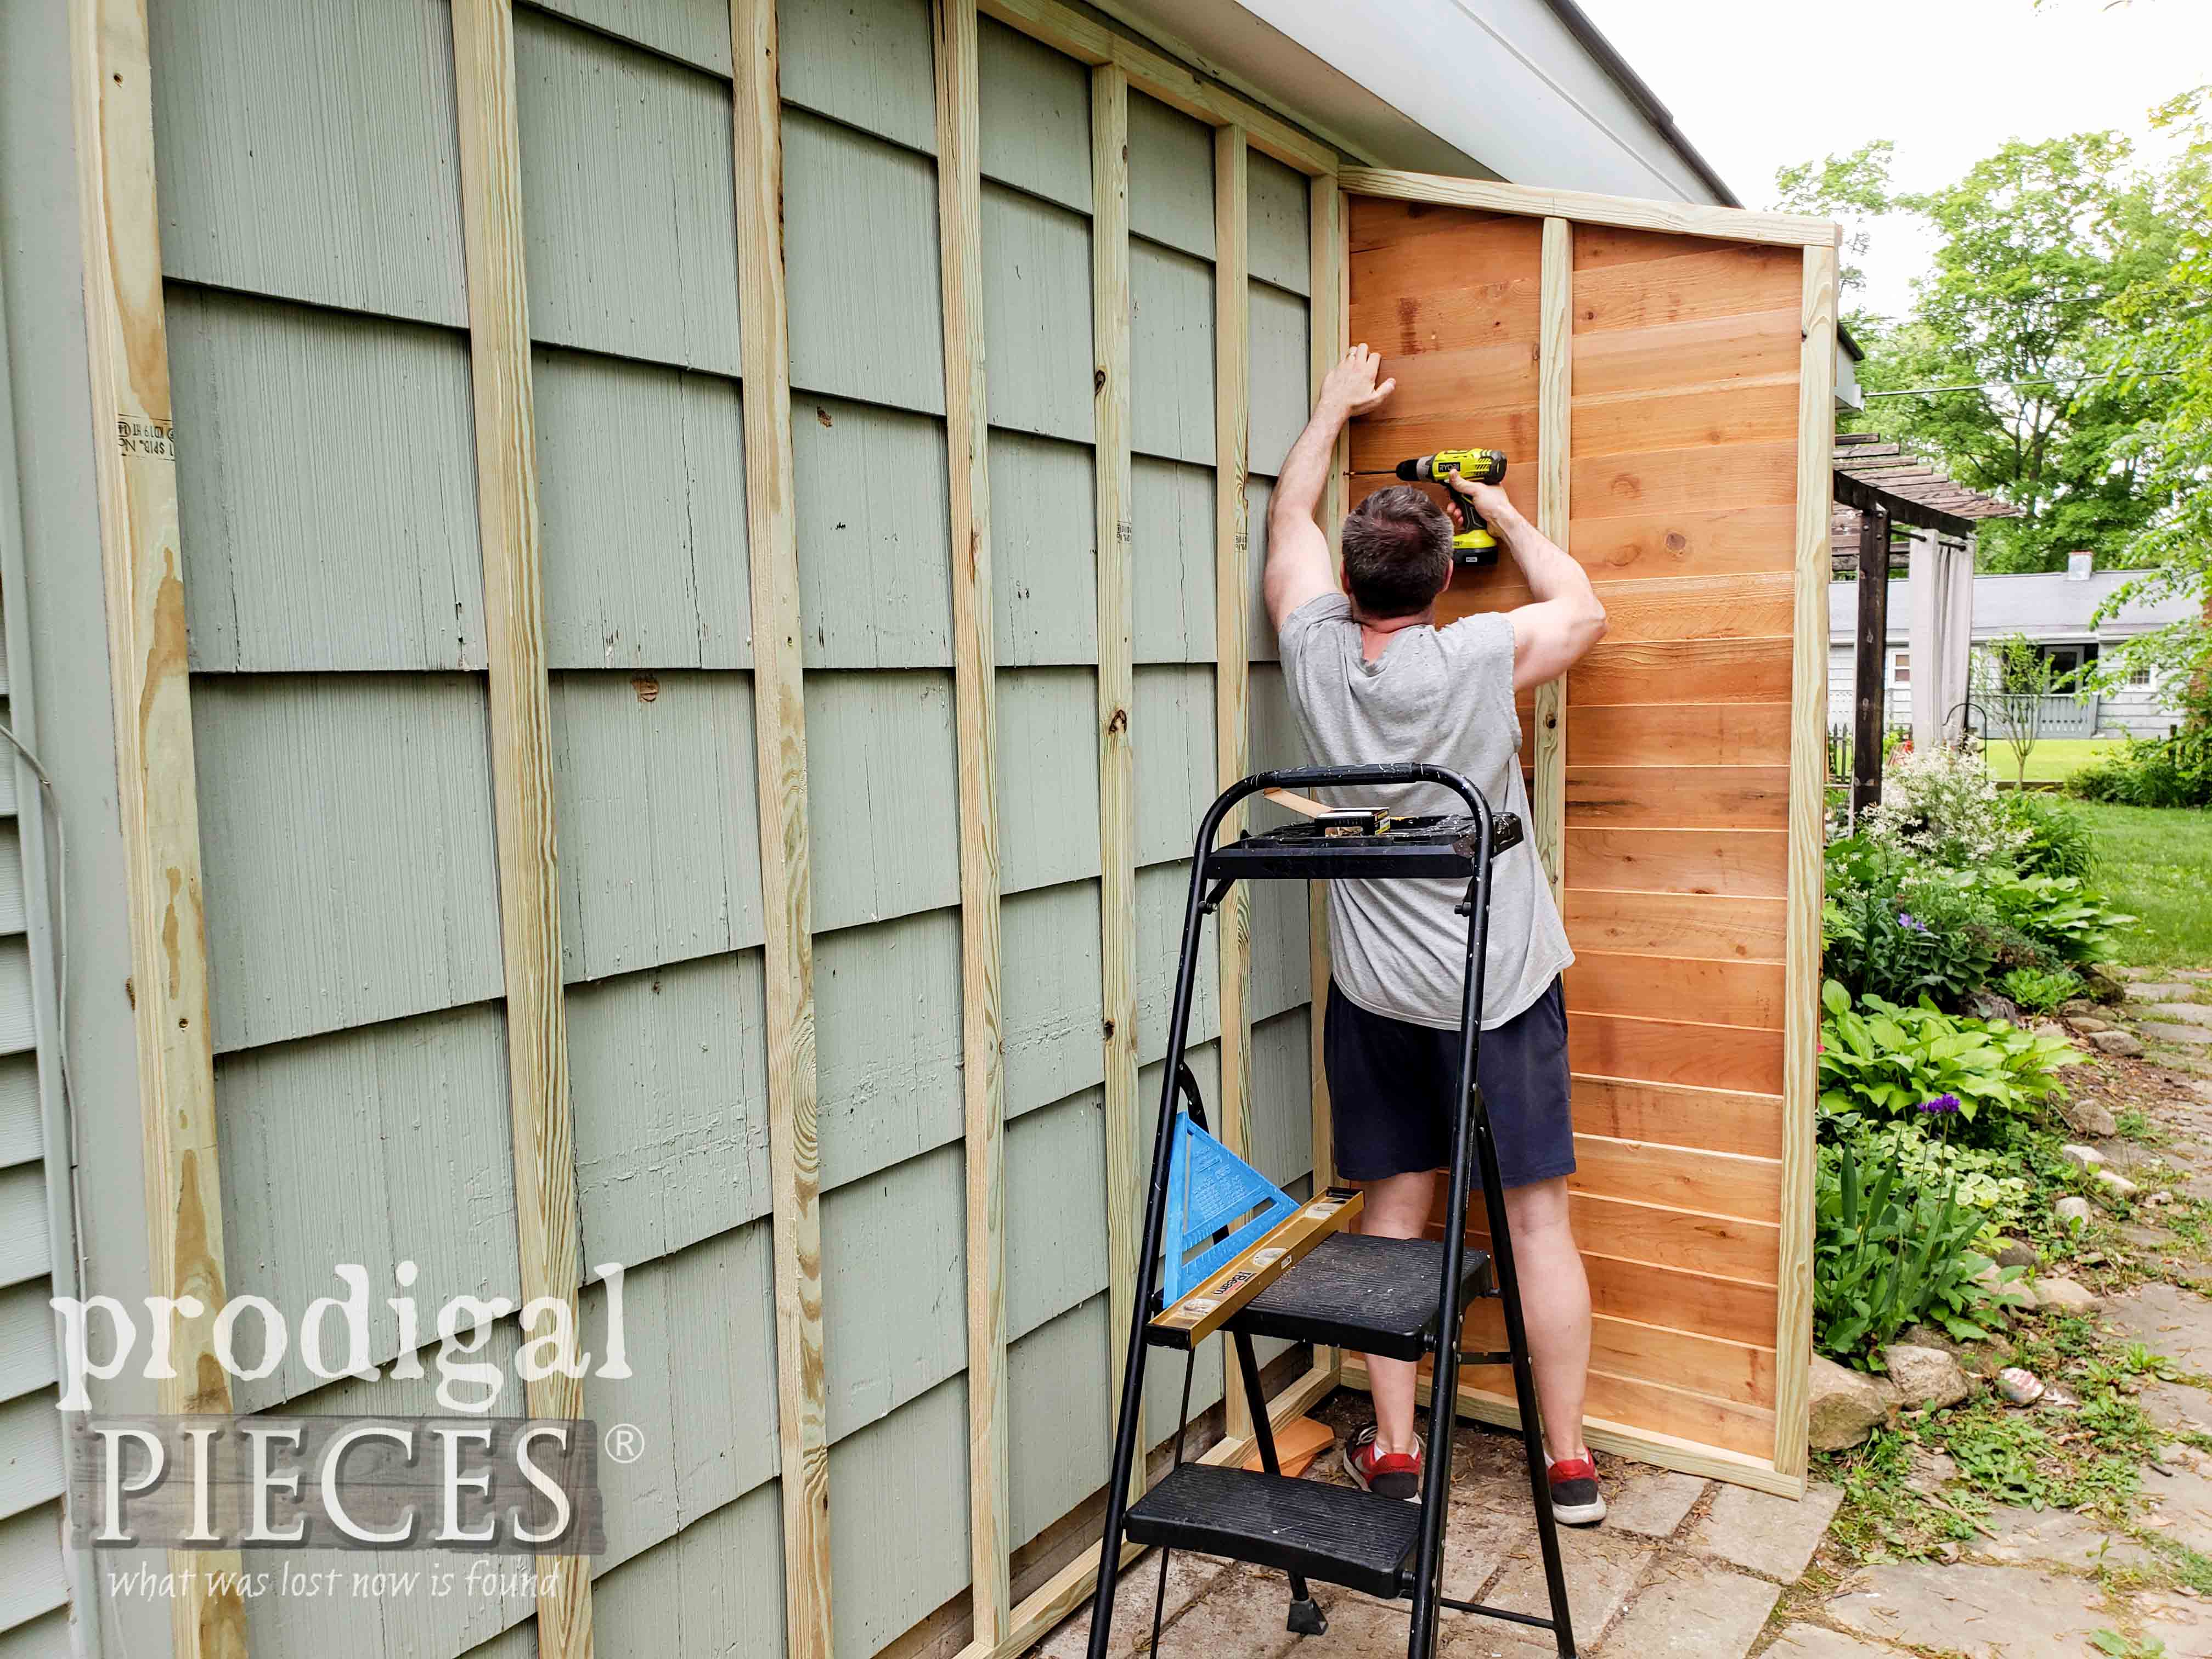
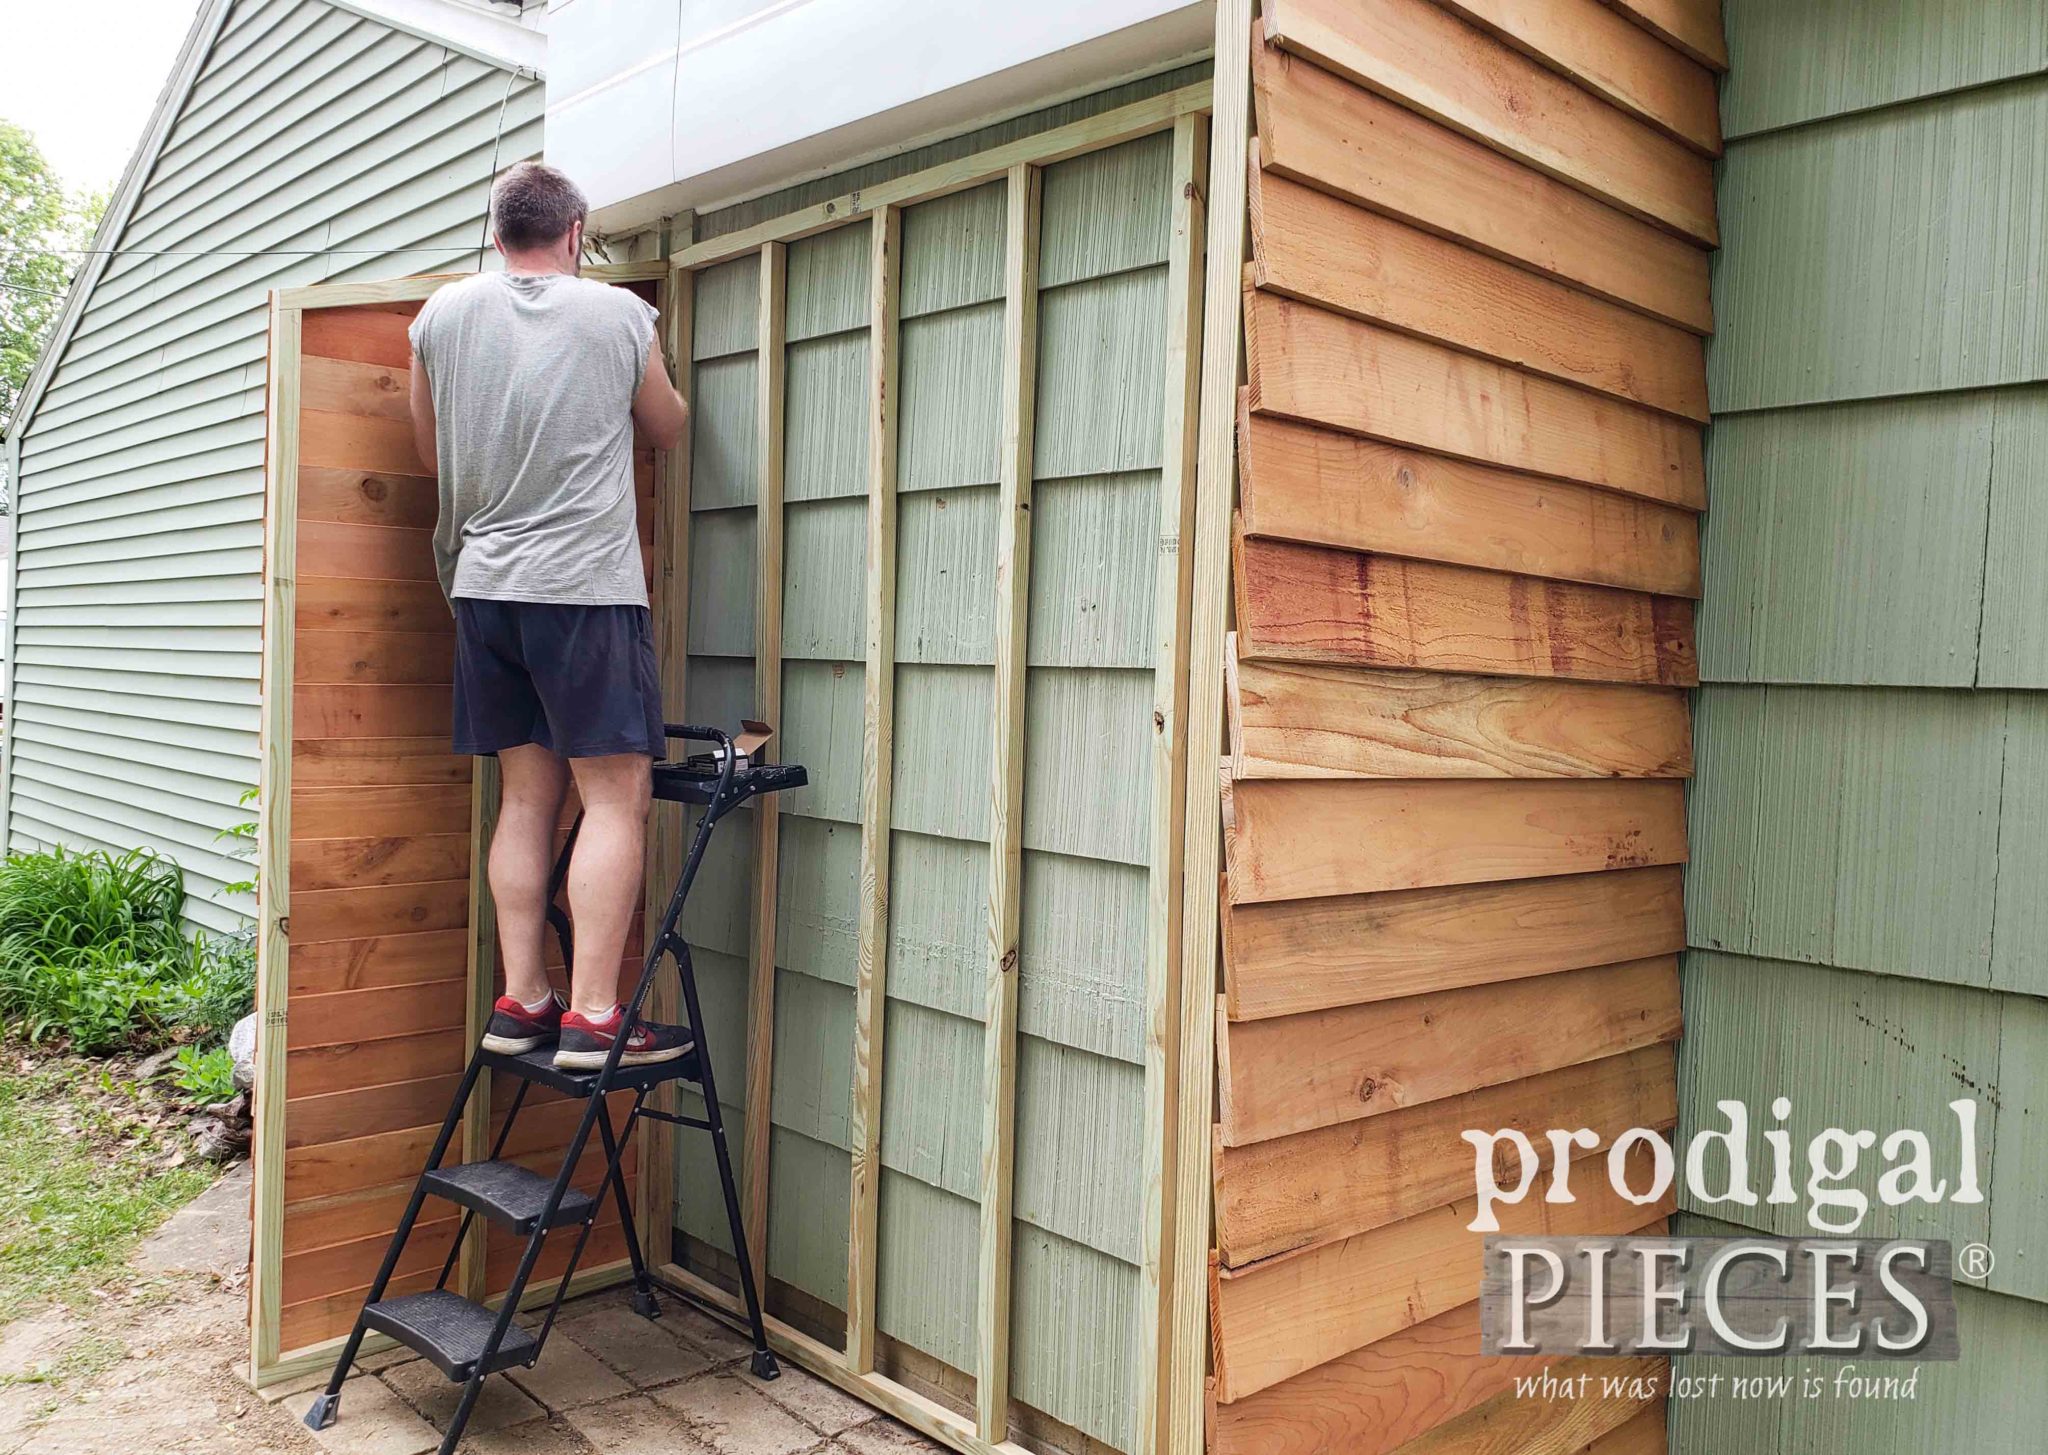
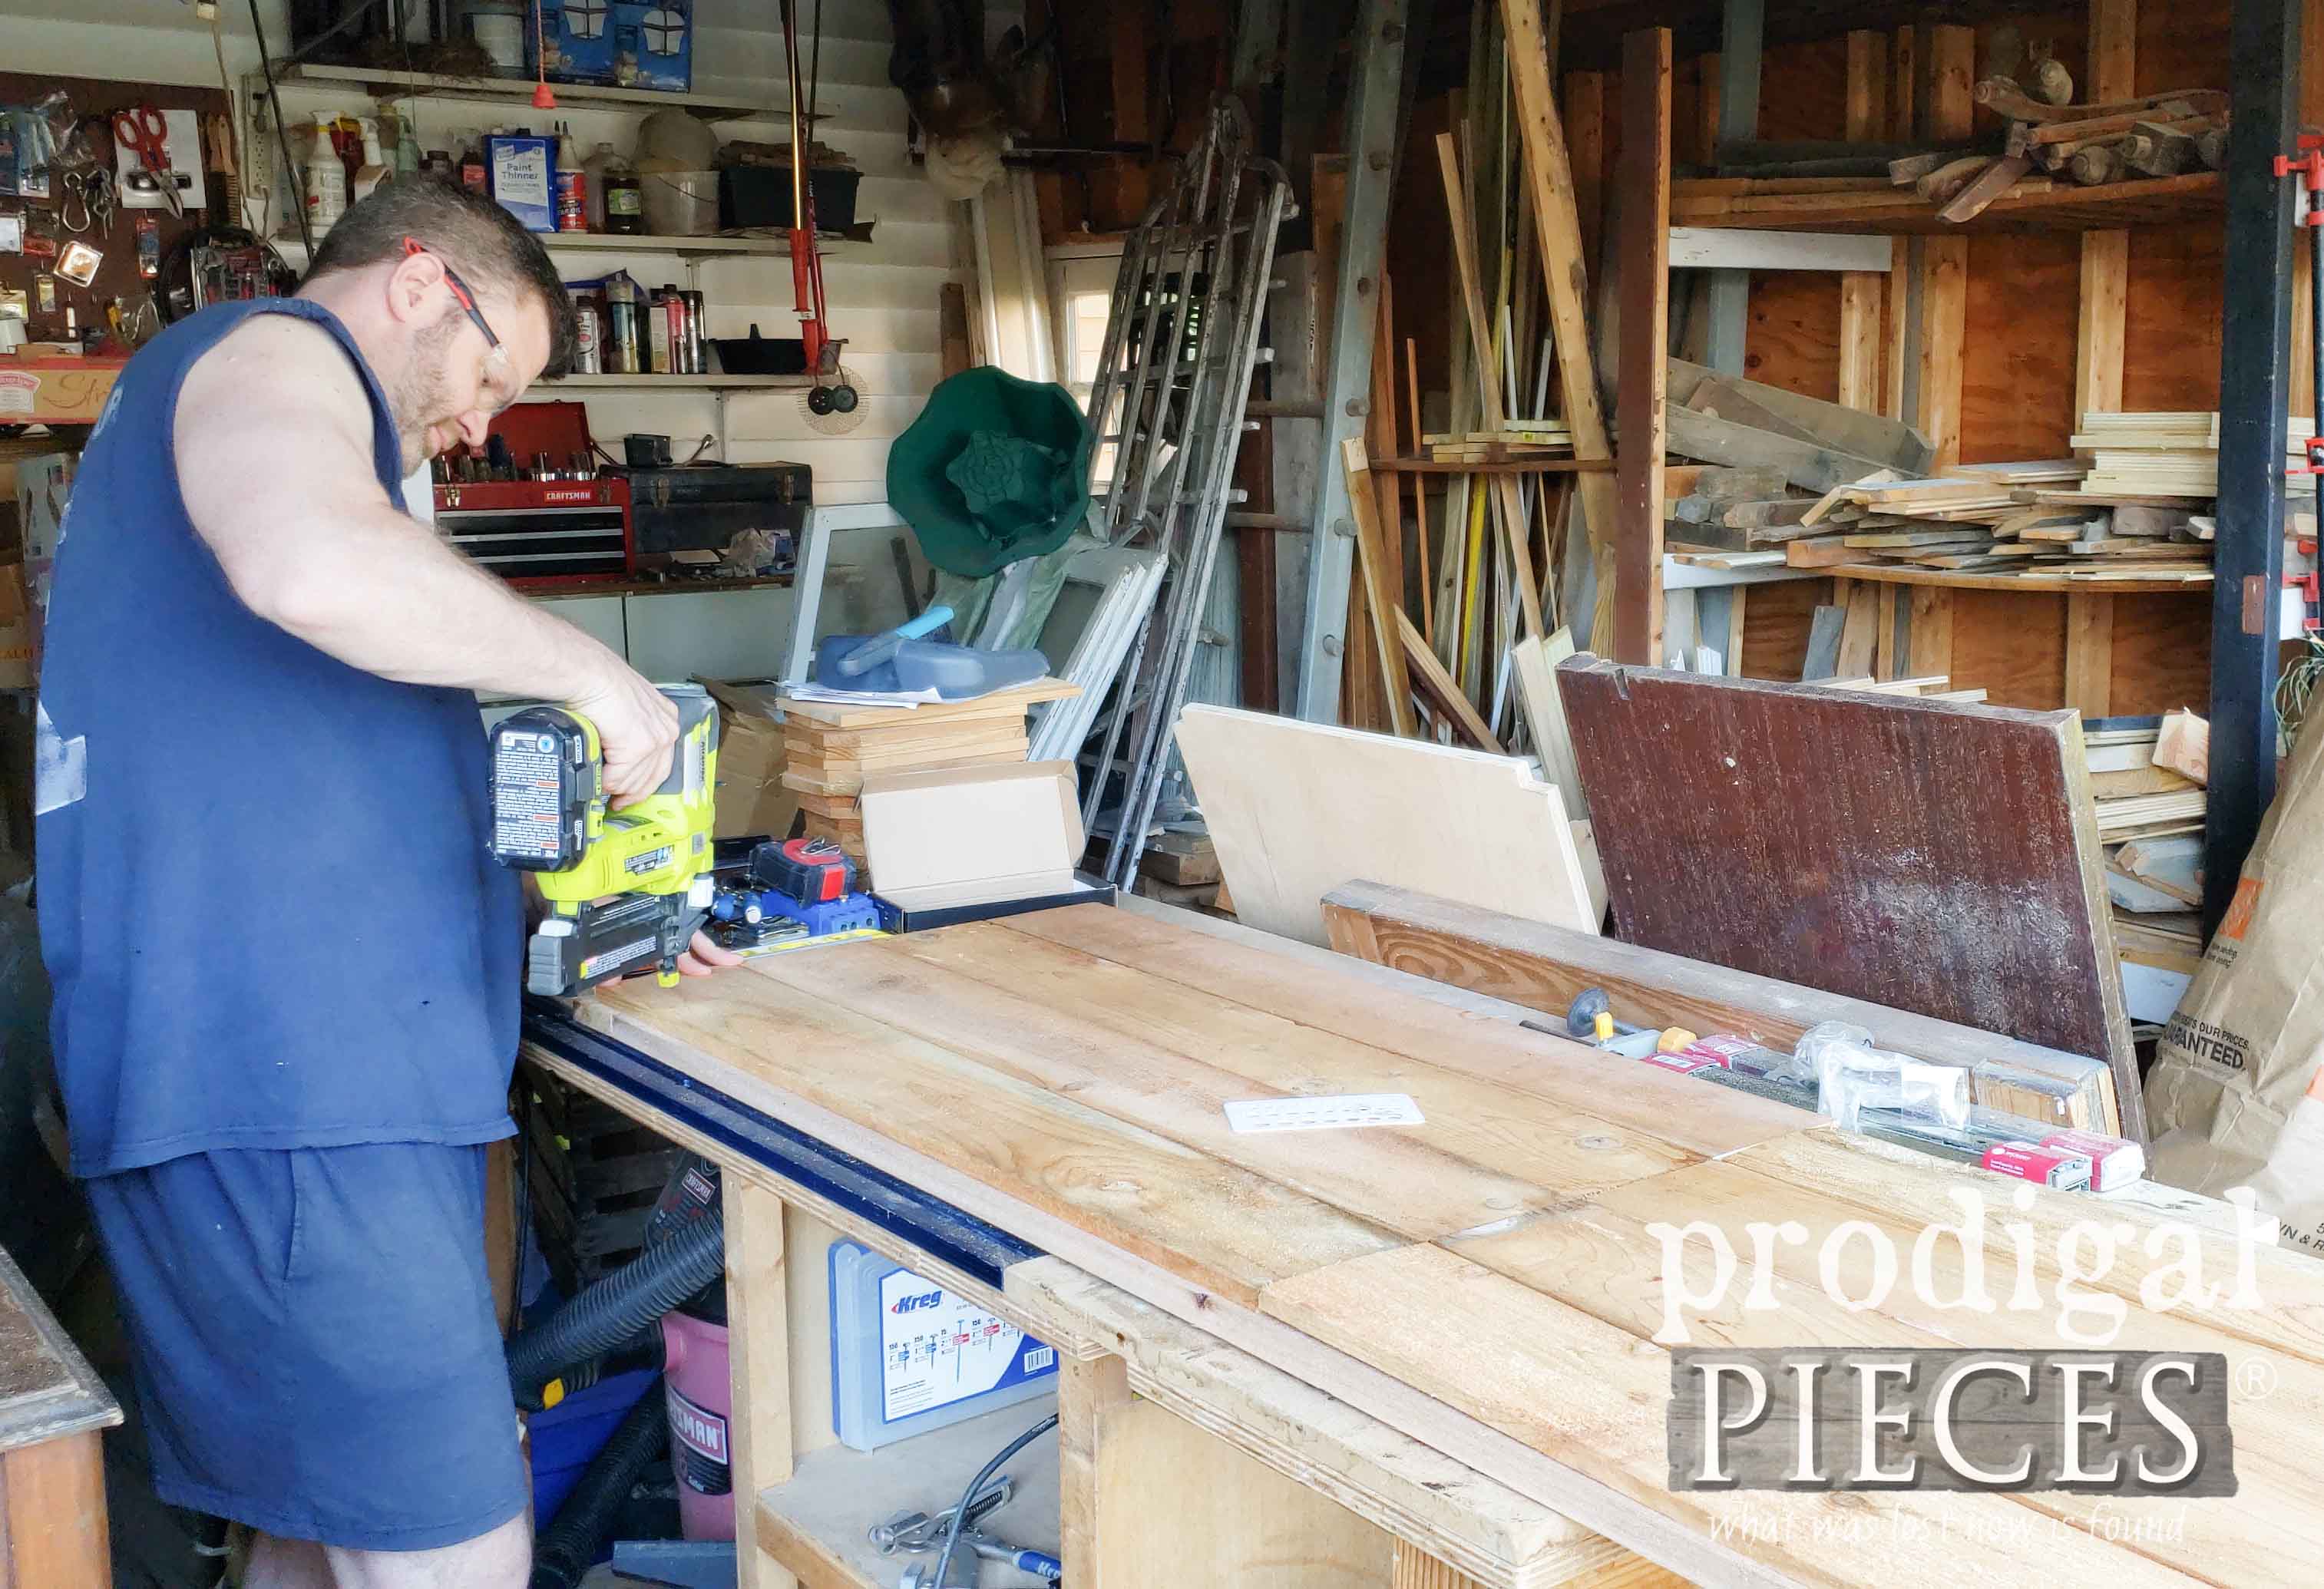
As the video shows, we then built the walls and then attached them to the frame.
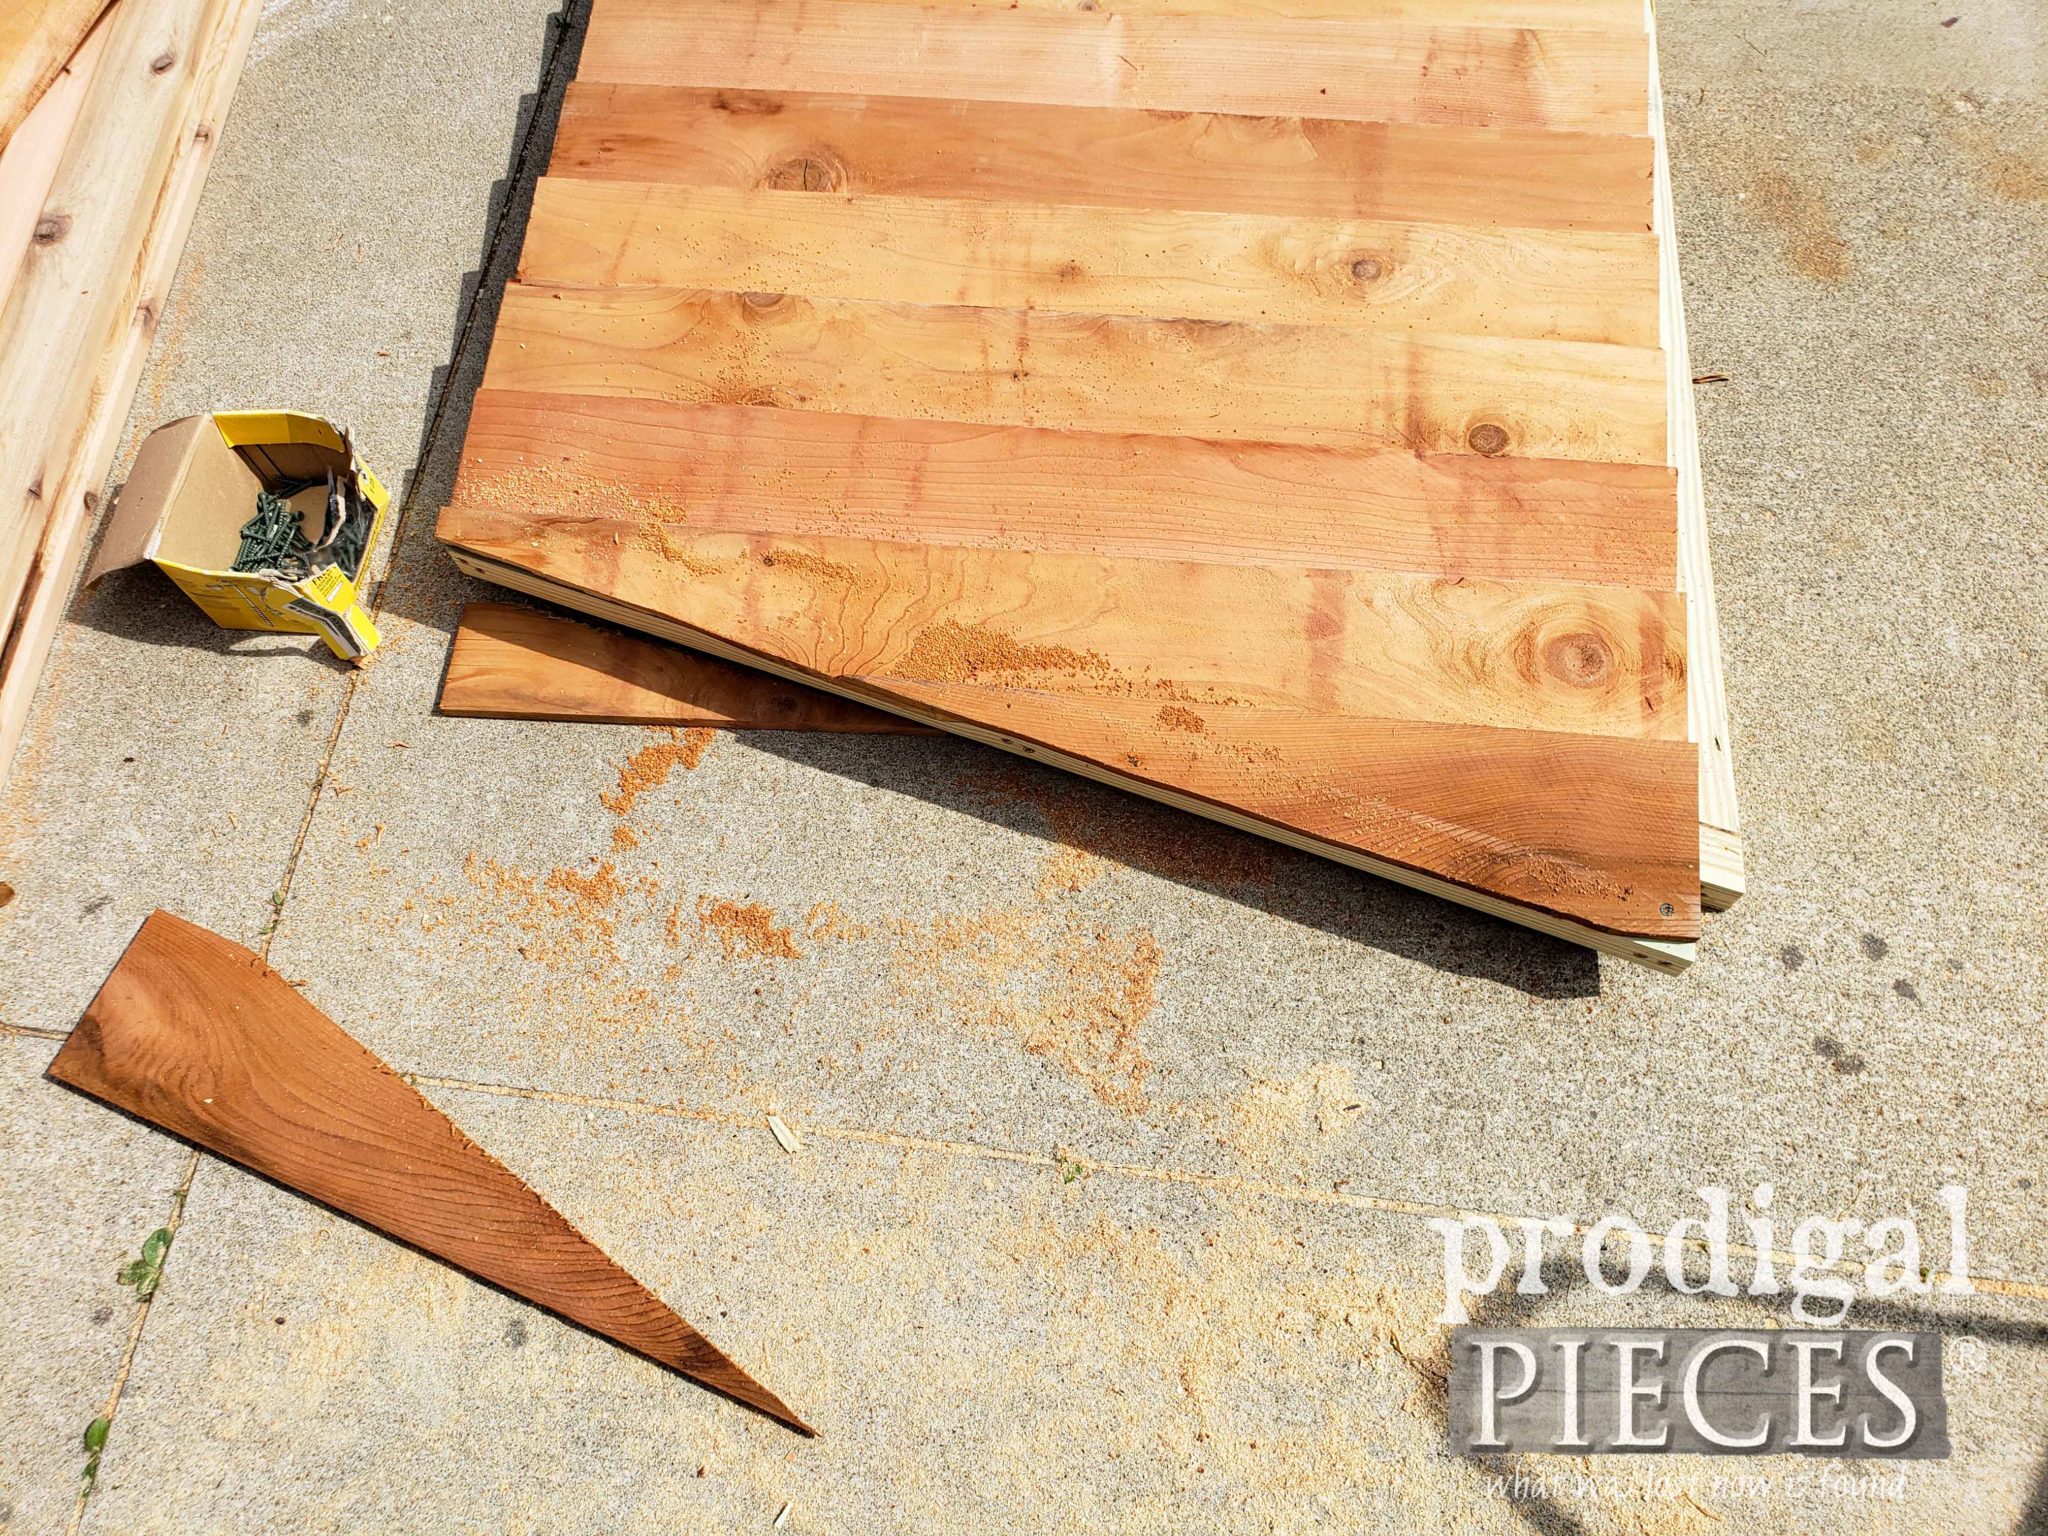
You can see the roof line was pitched at a 15° angle, so when we got to the top, we used our jigsaw to cut it to size.
Step 3
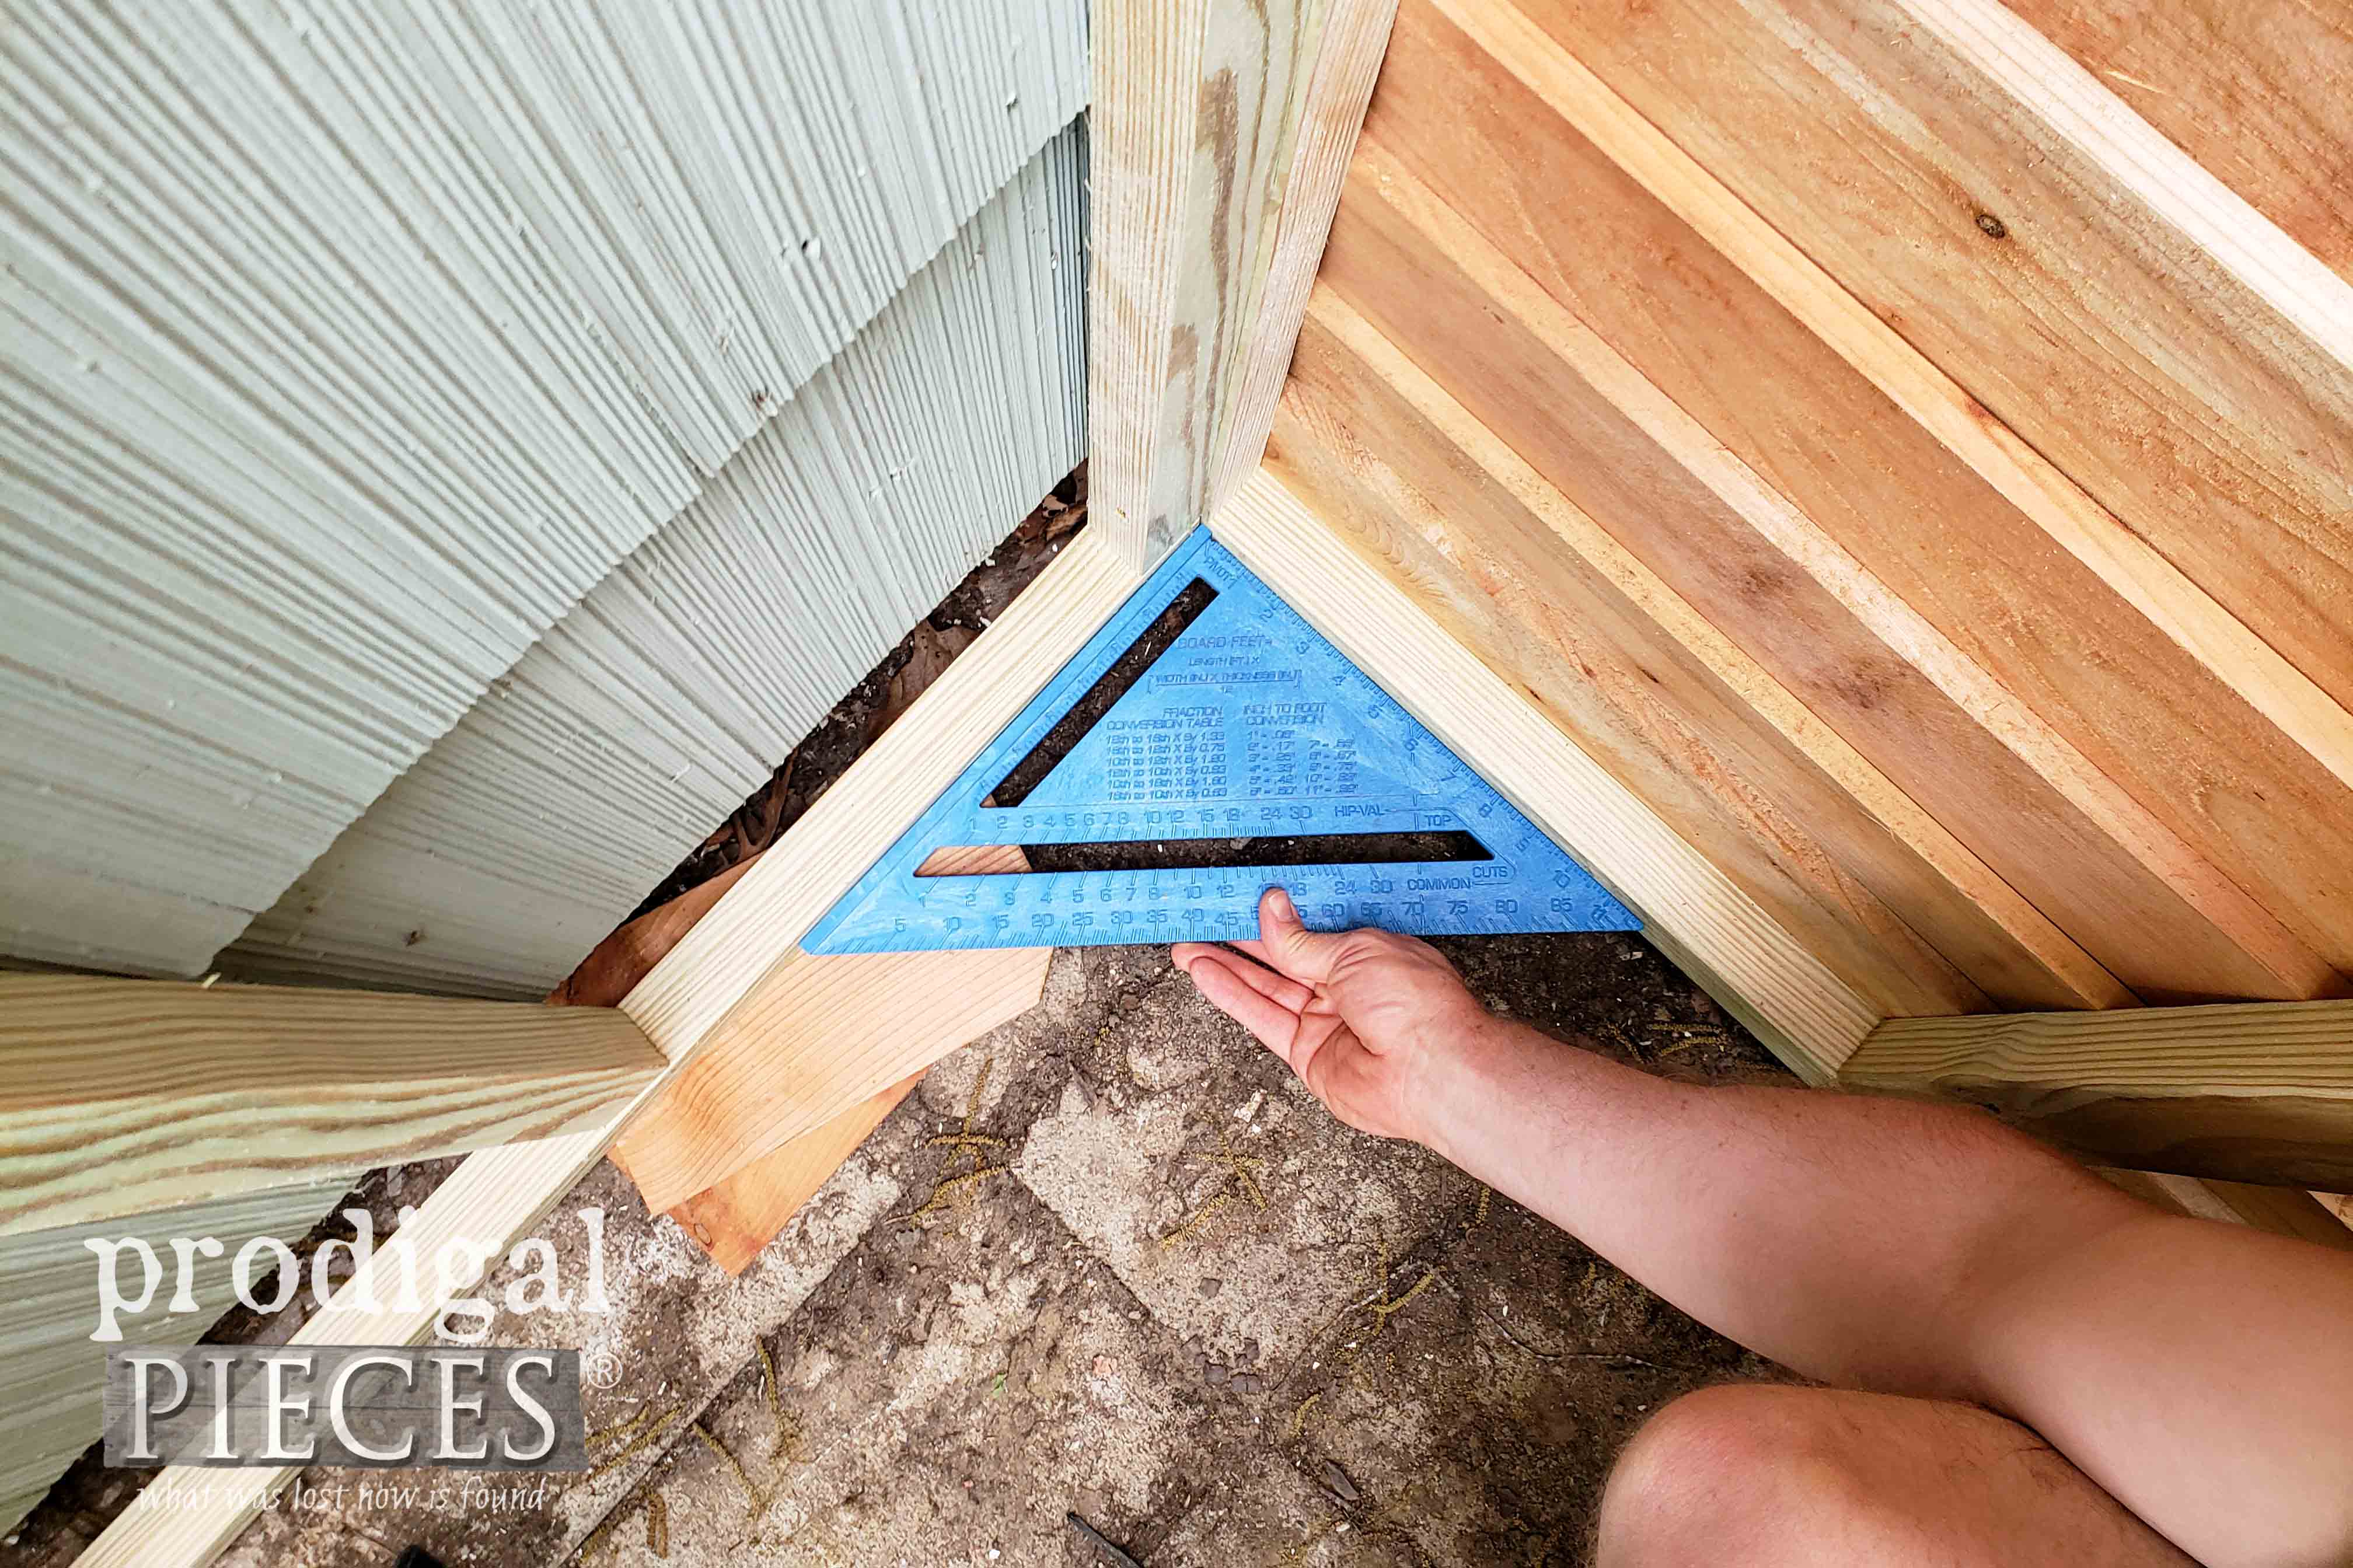
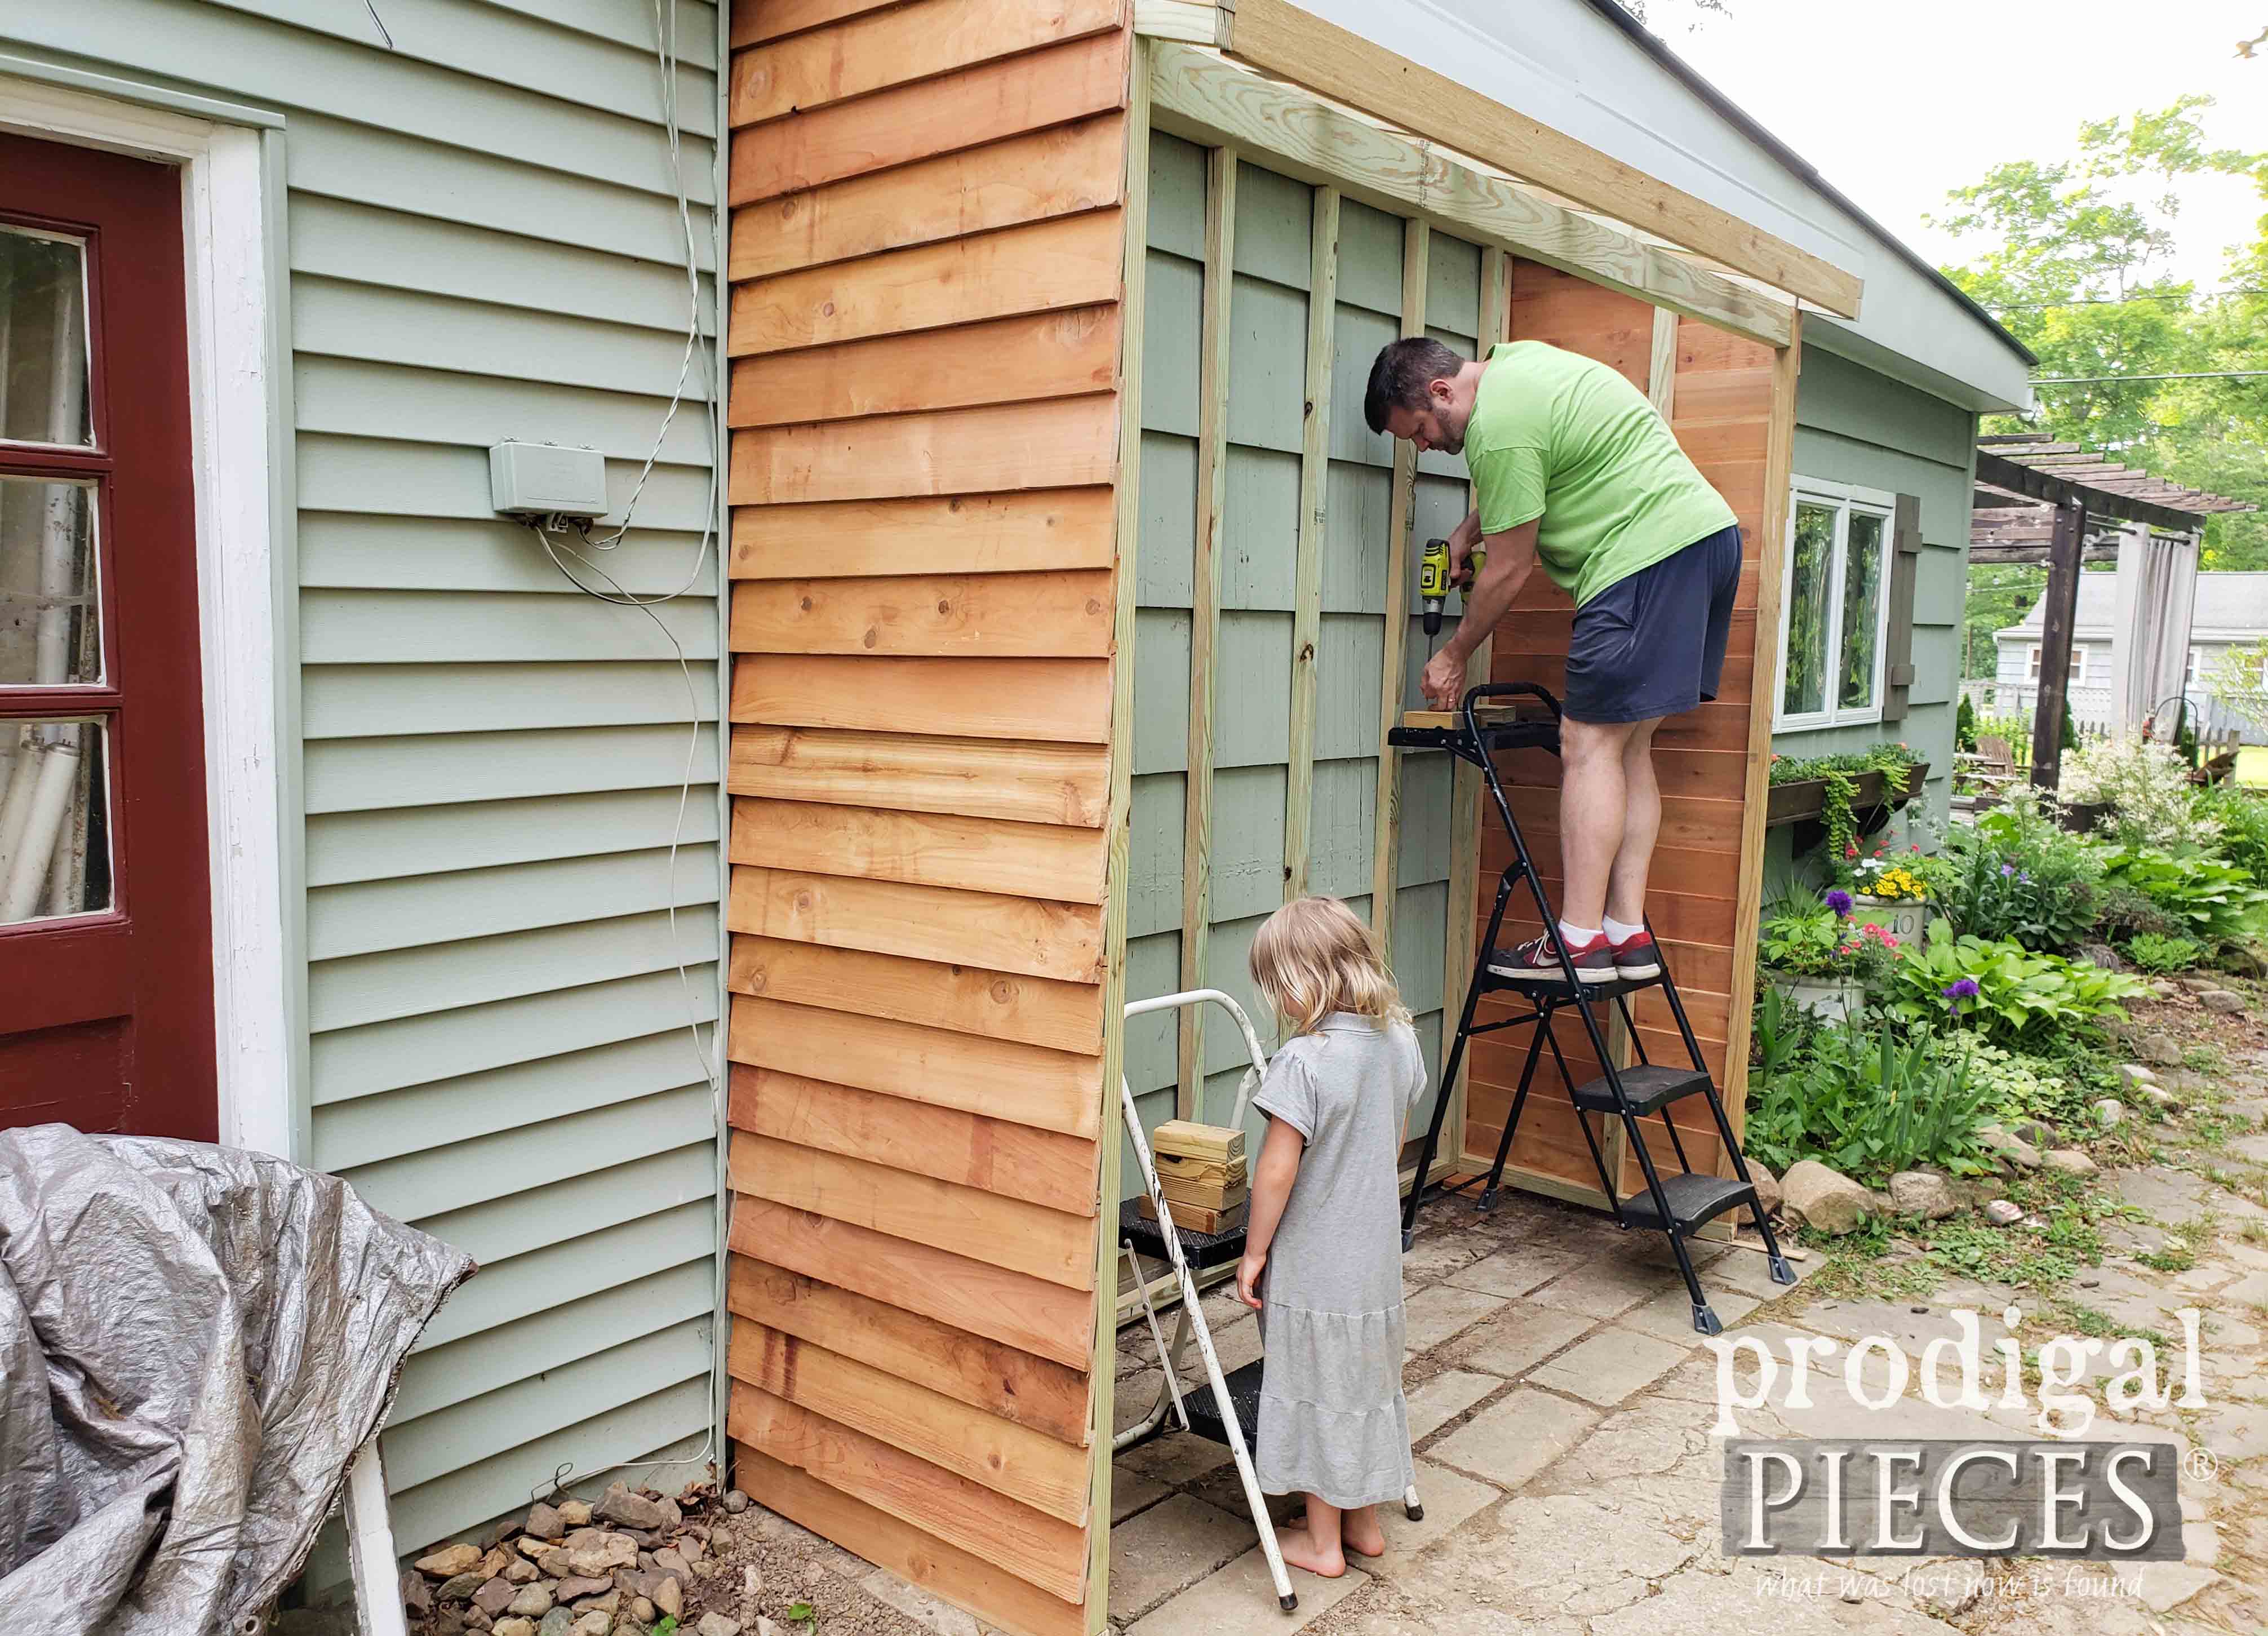
Attaching the walls, was pretty straightforward. We just needed to be sure all was plumb and square so that our finished project of a lean-to wasn’t…er…leaning. tee hee.
Step 4
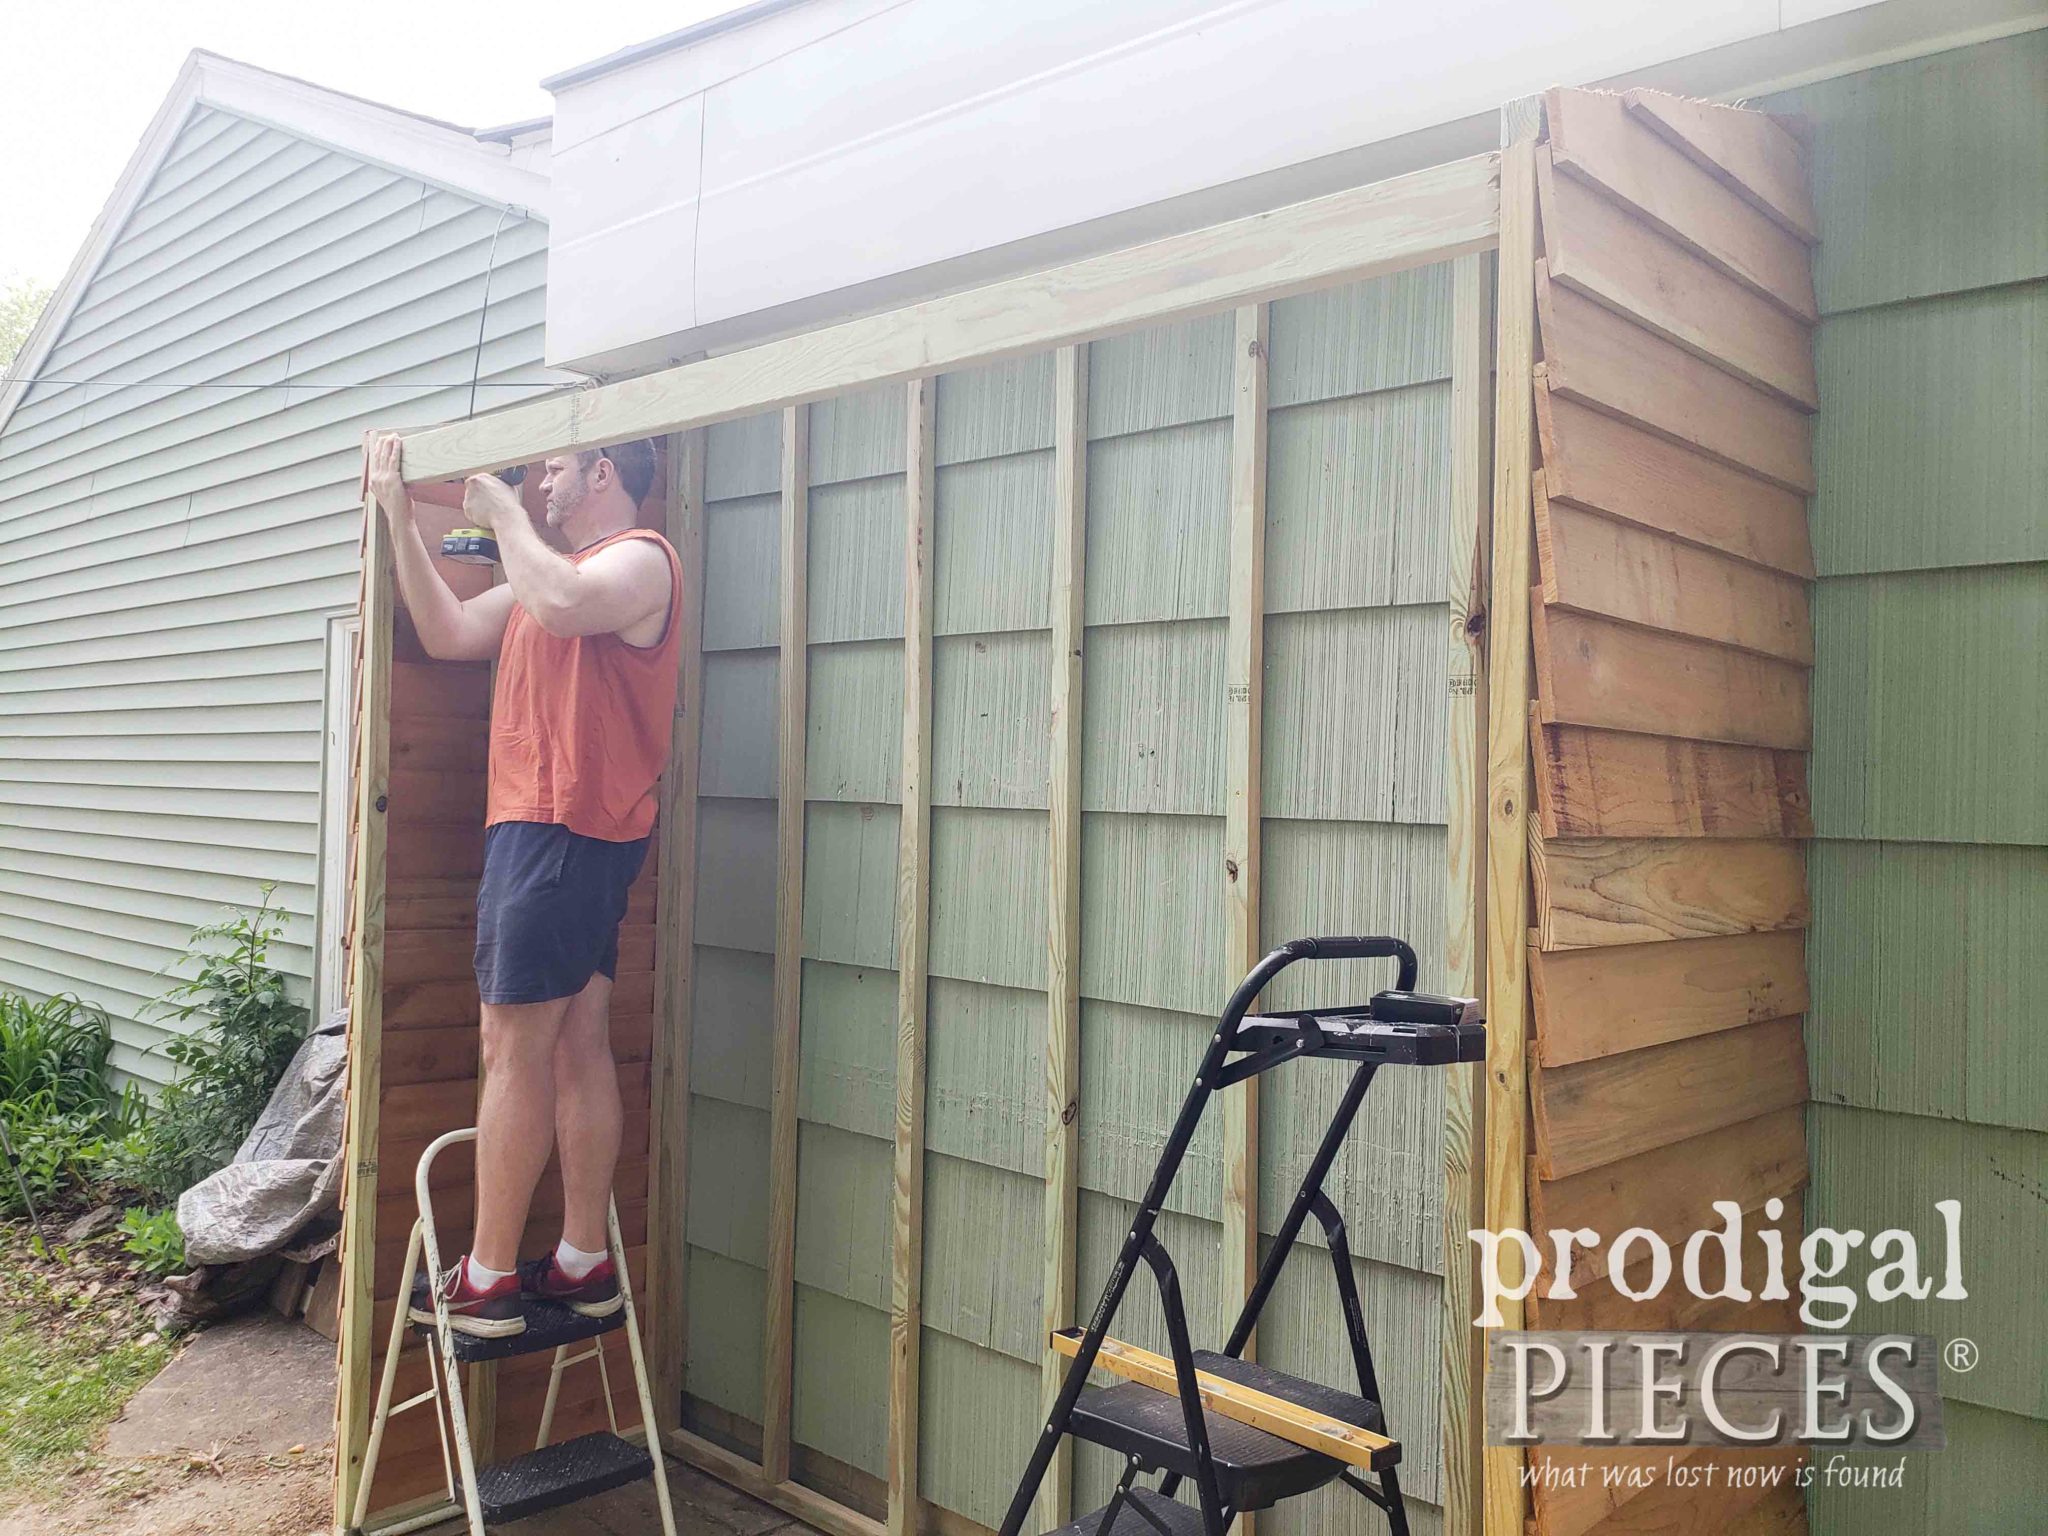
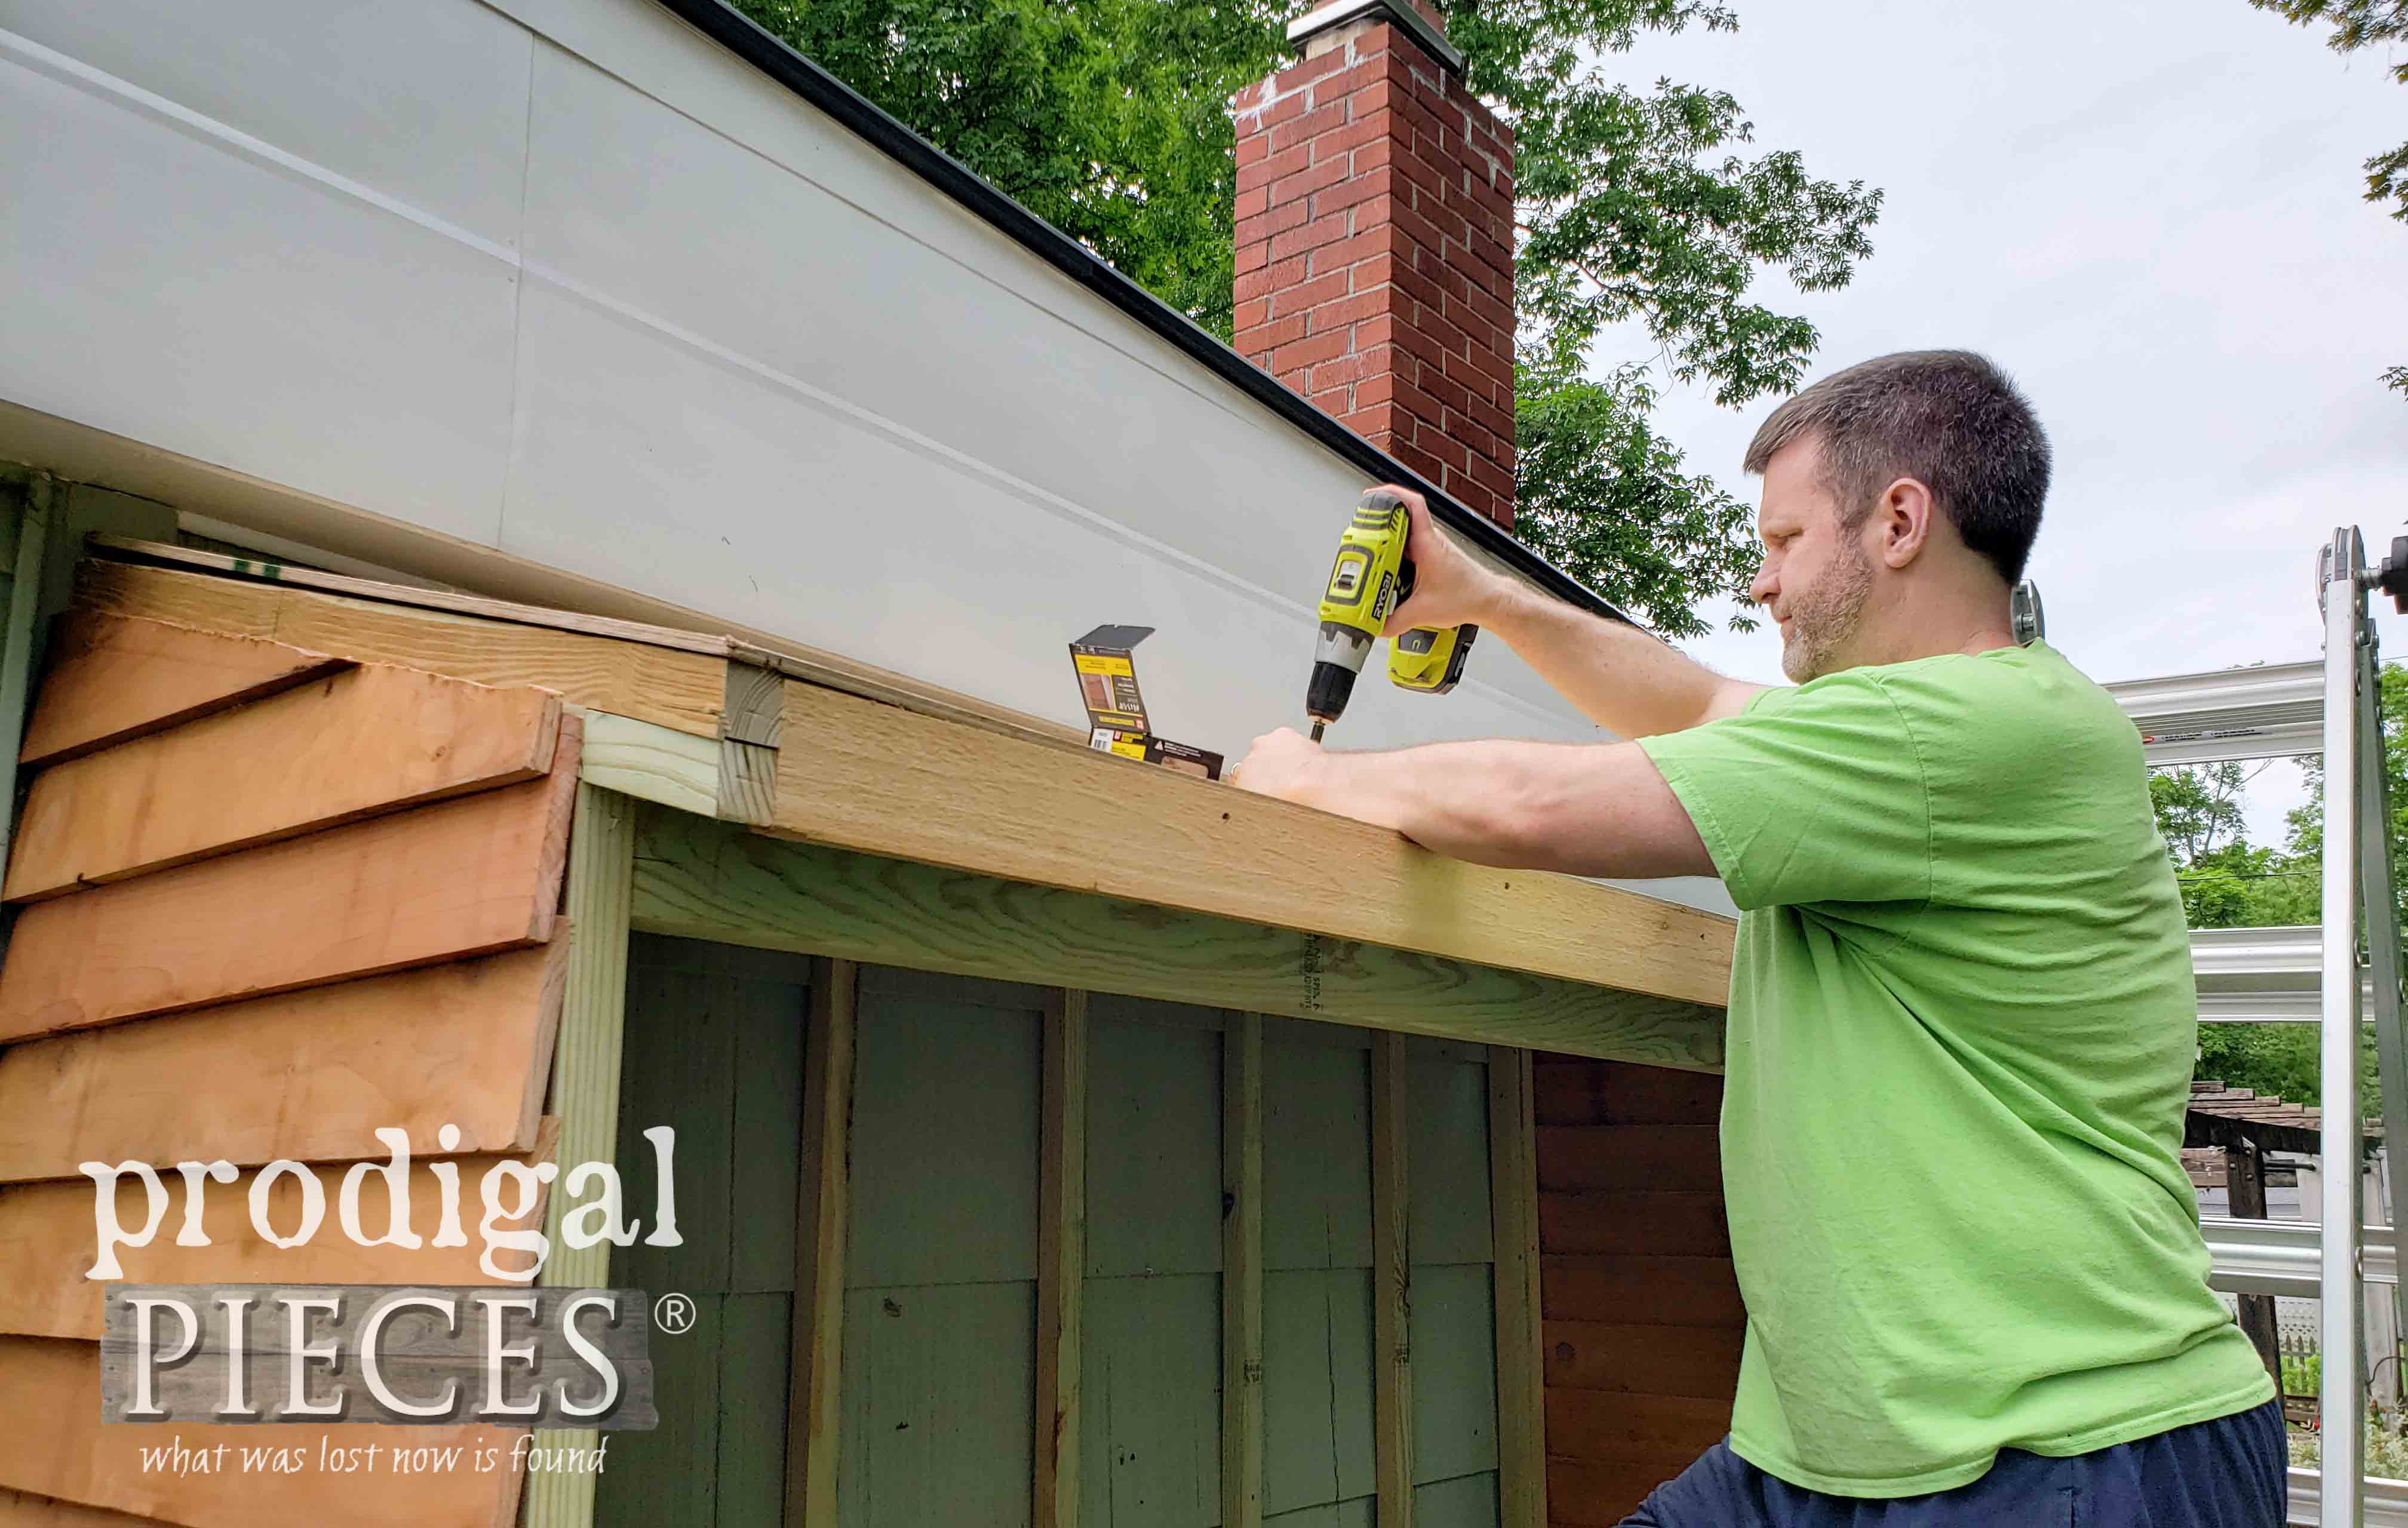
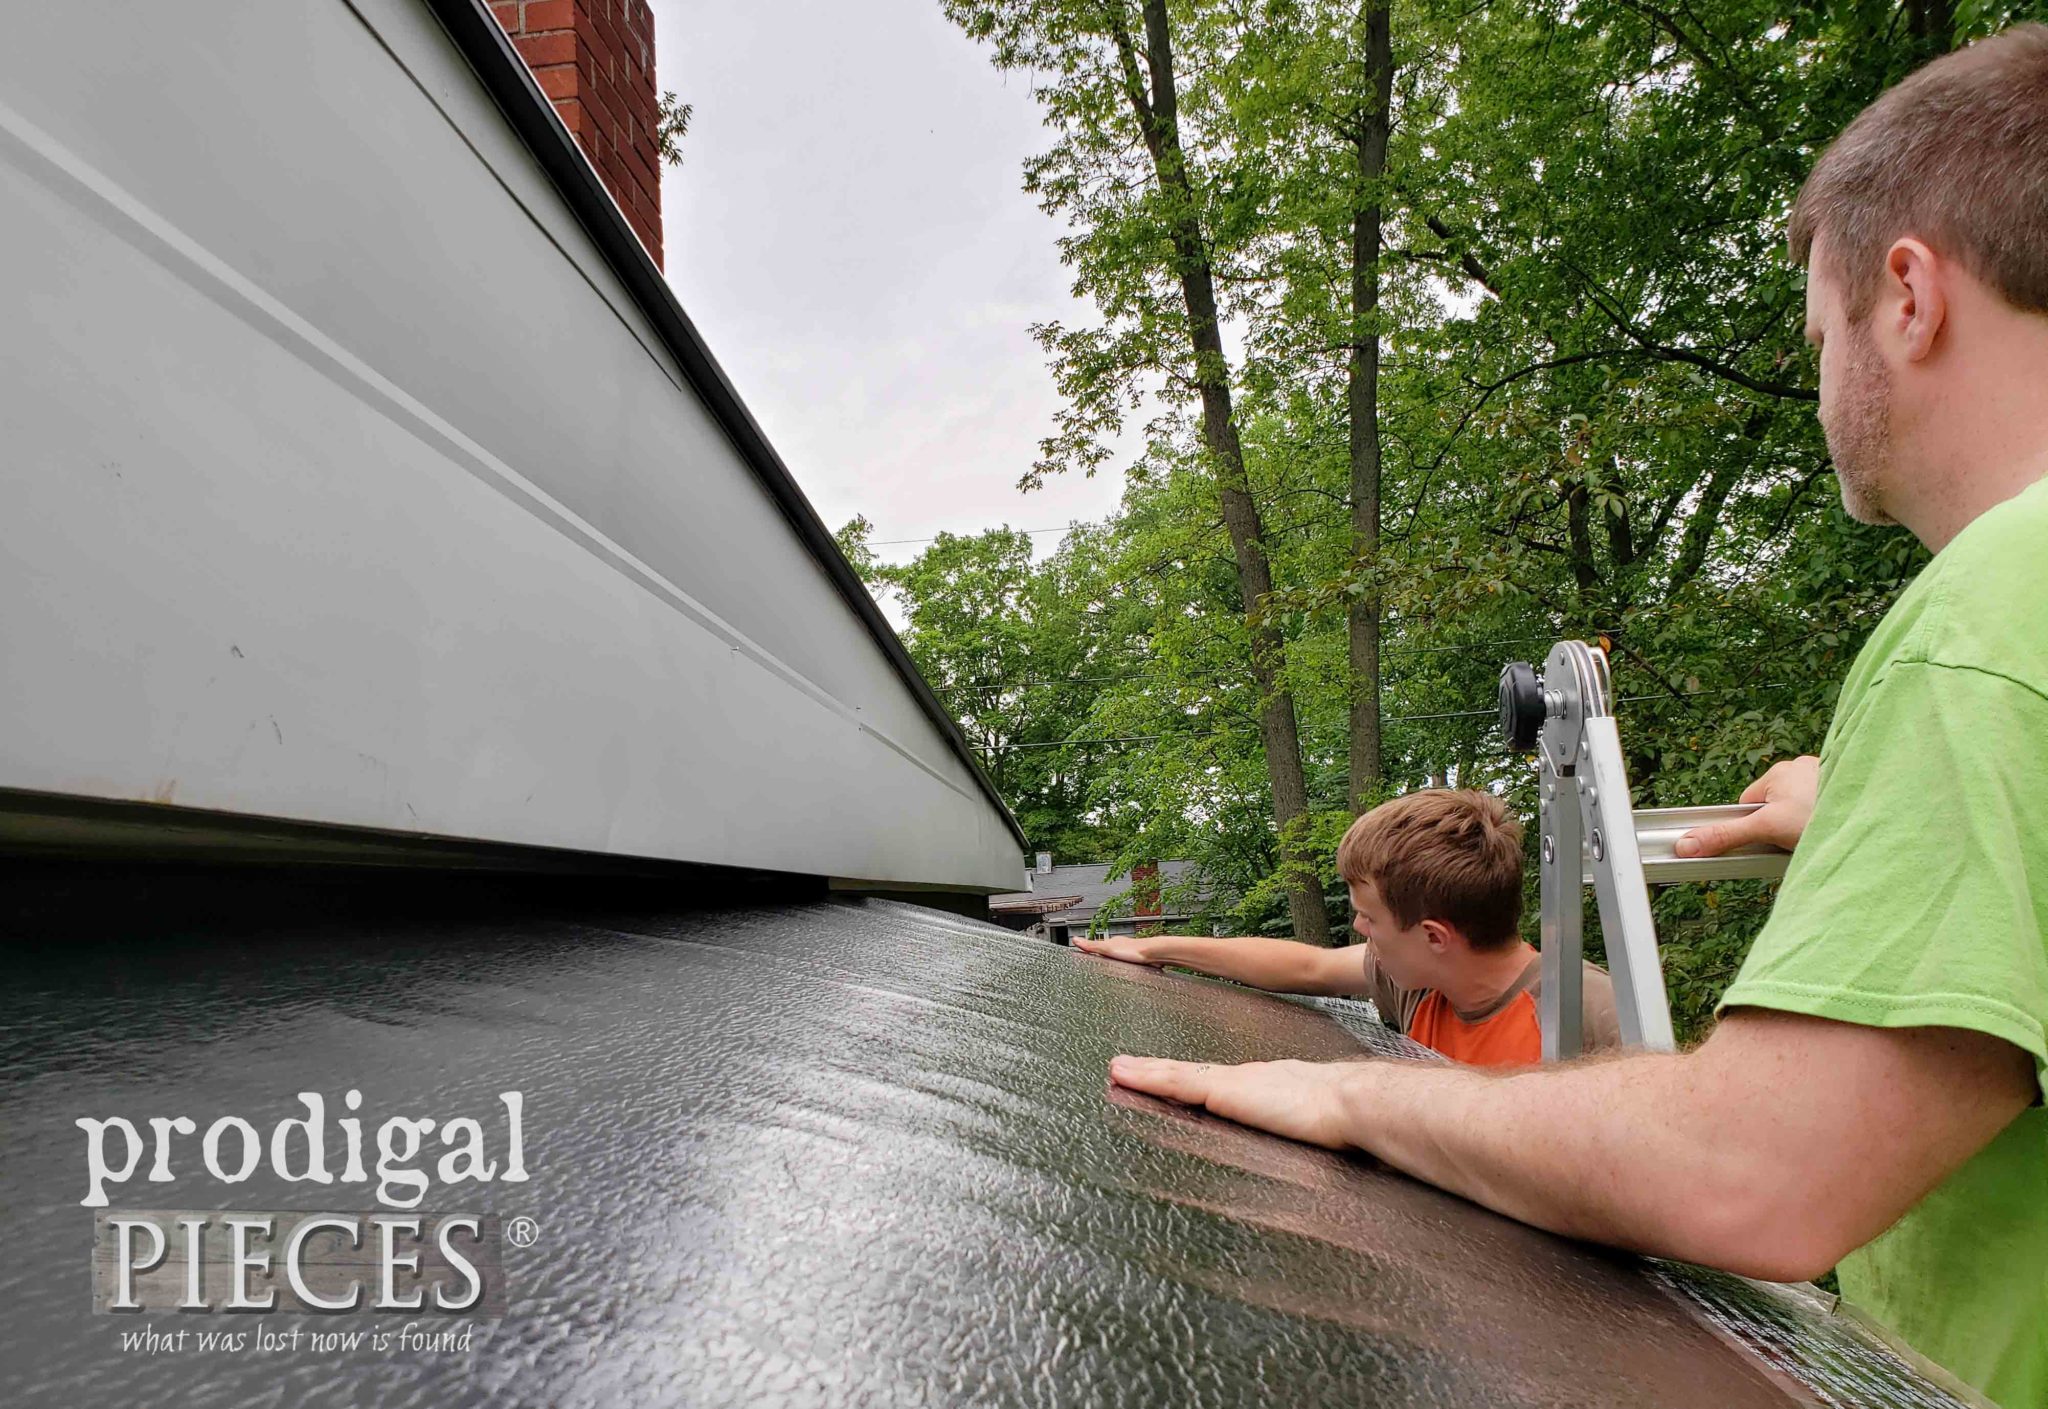
Next, it’s time to add the roof. First, we add the header to the front. This will support the roof framing. built the frame and attached it.
Then, we built the frame and attached it to the top of the walls.
It always pays to have a little helper. ♥
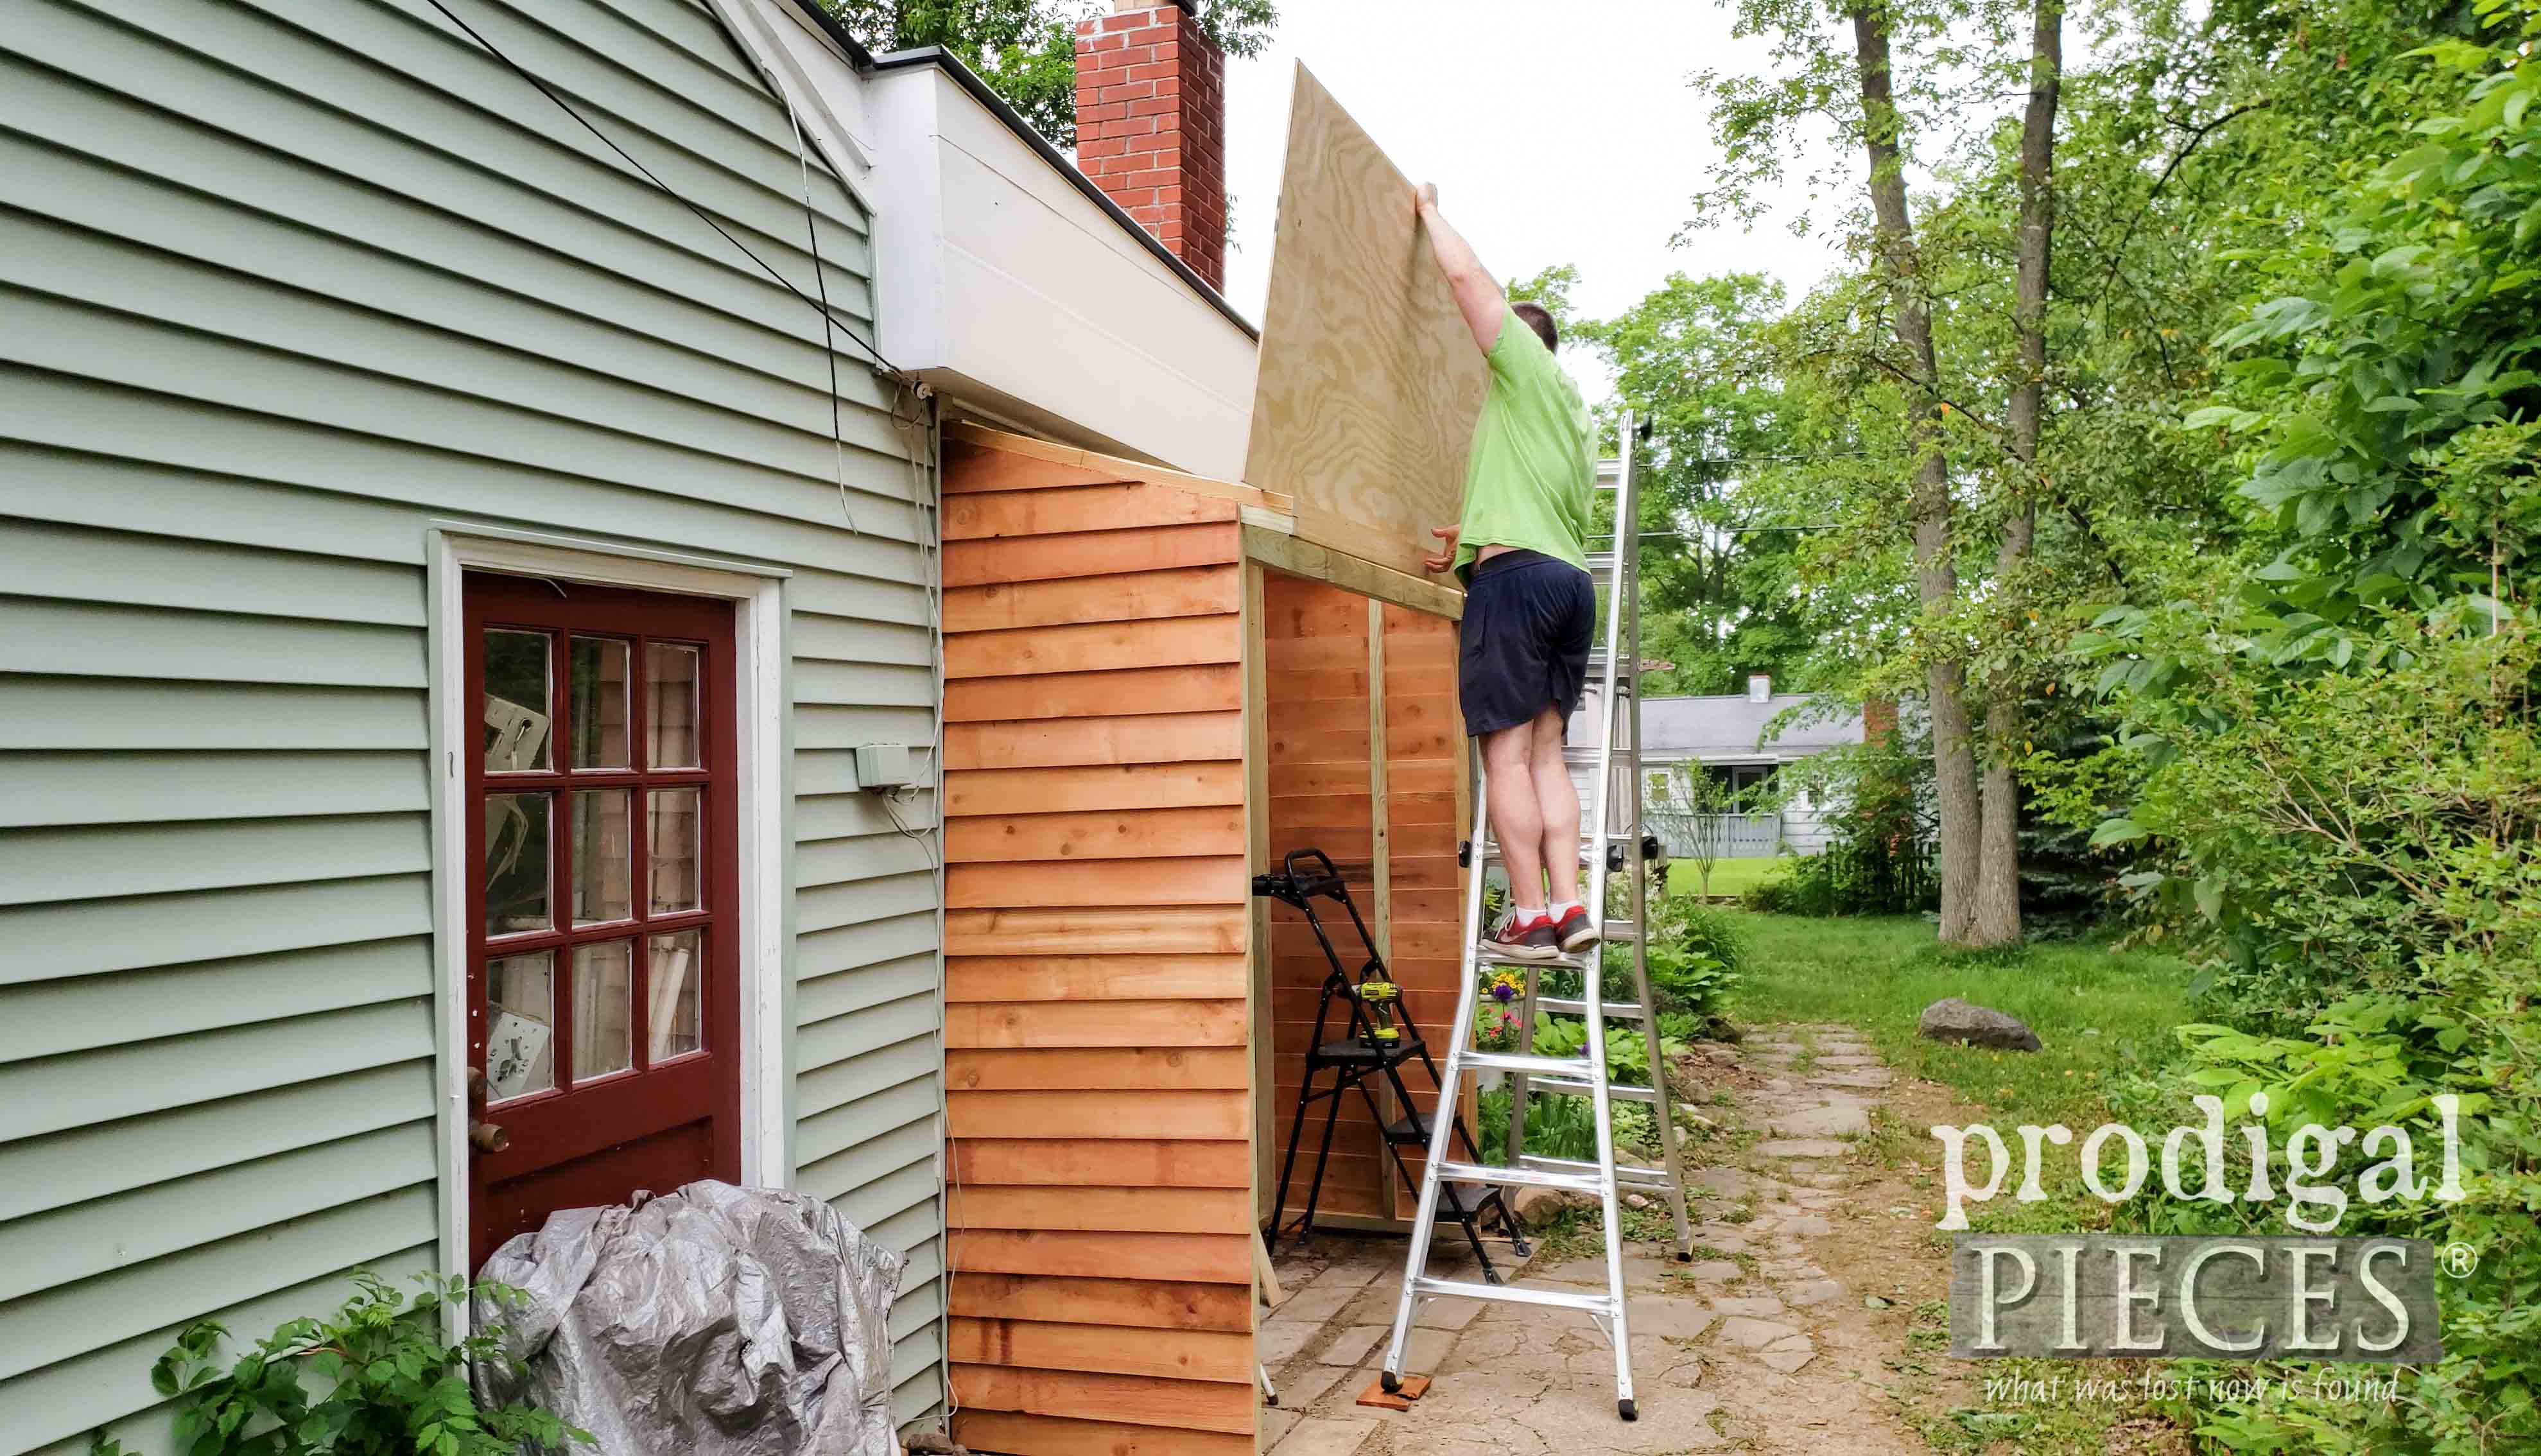
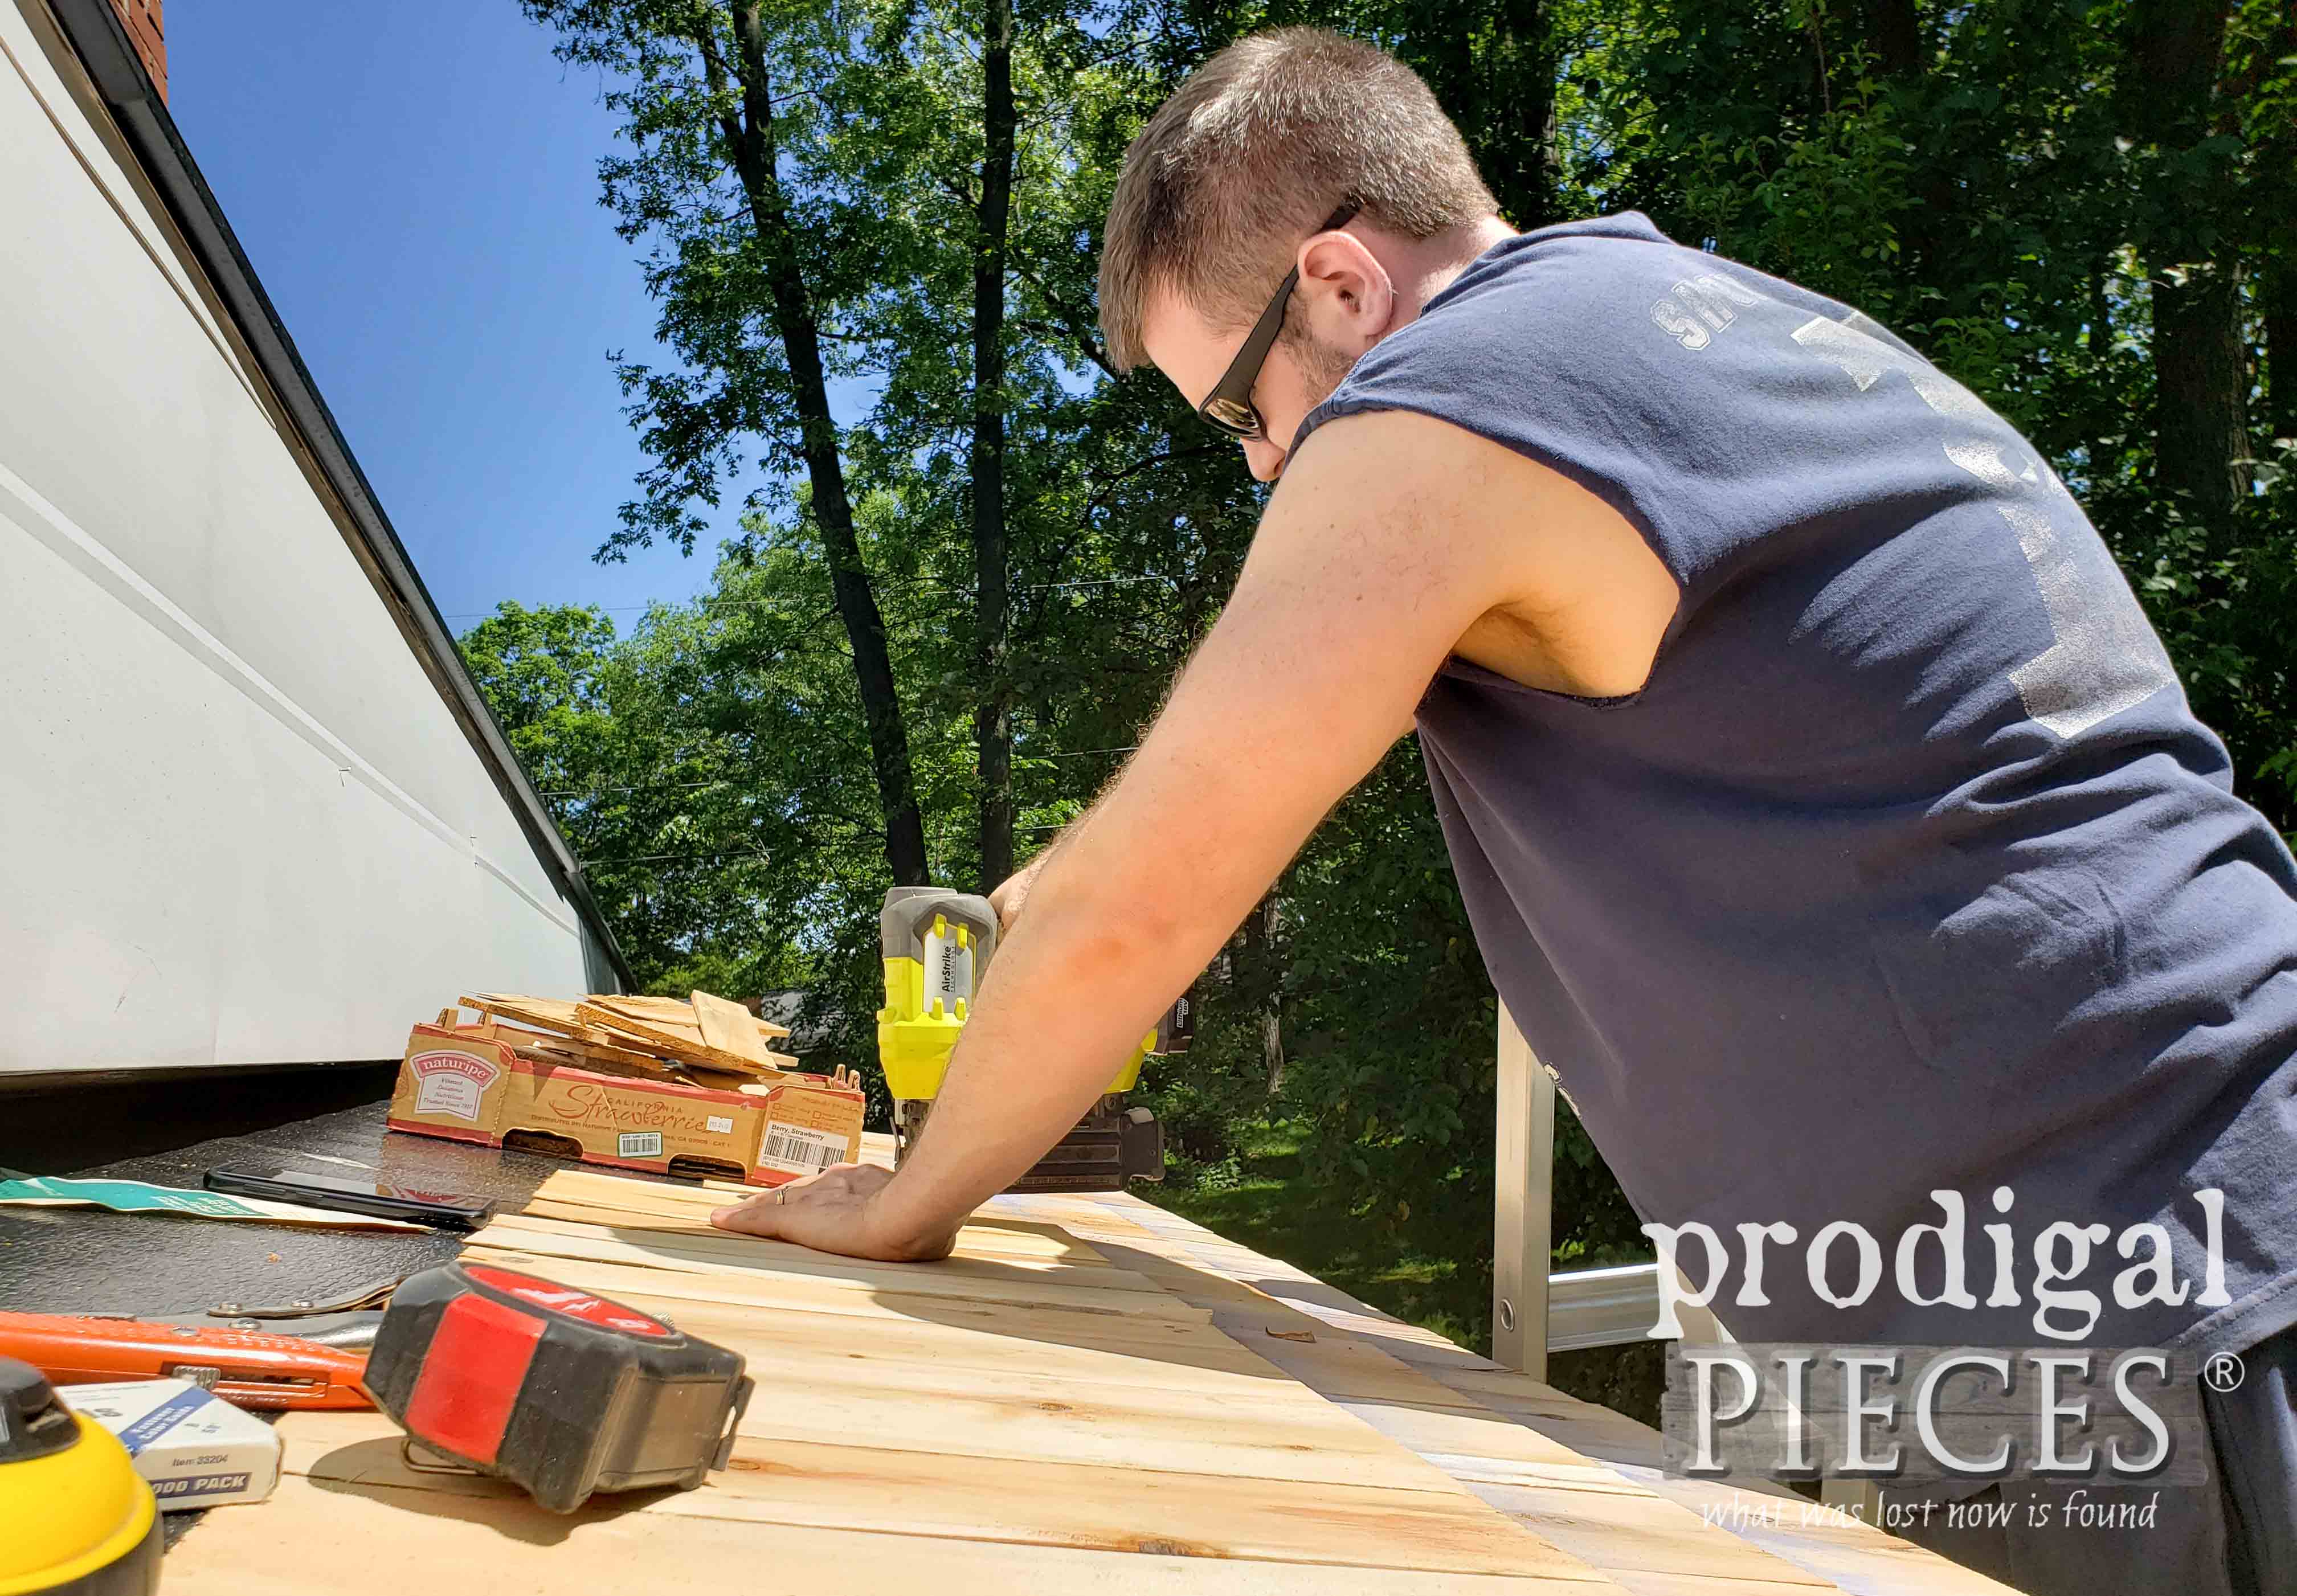
Once the frame was up, we added the ply sheathing, a water barrier on that, and then the cedar shingles.
Step 5
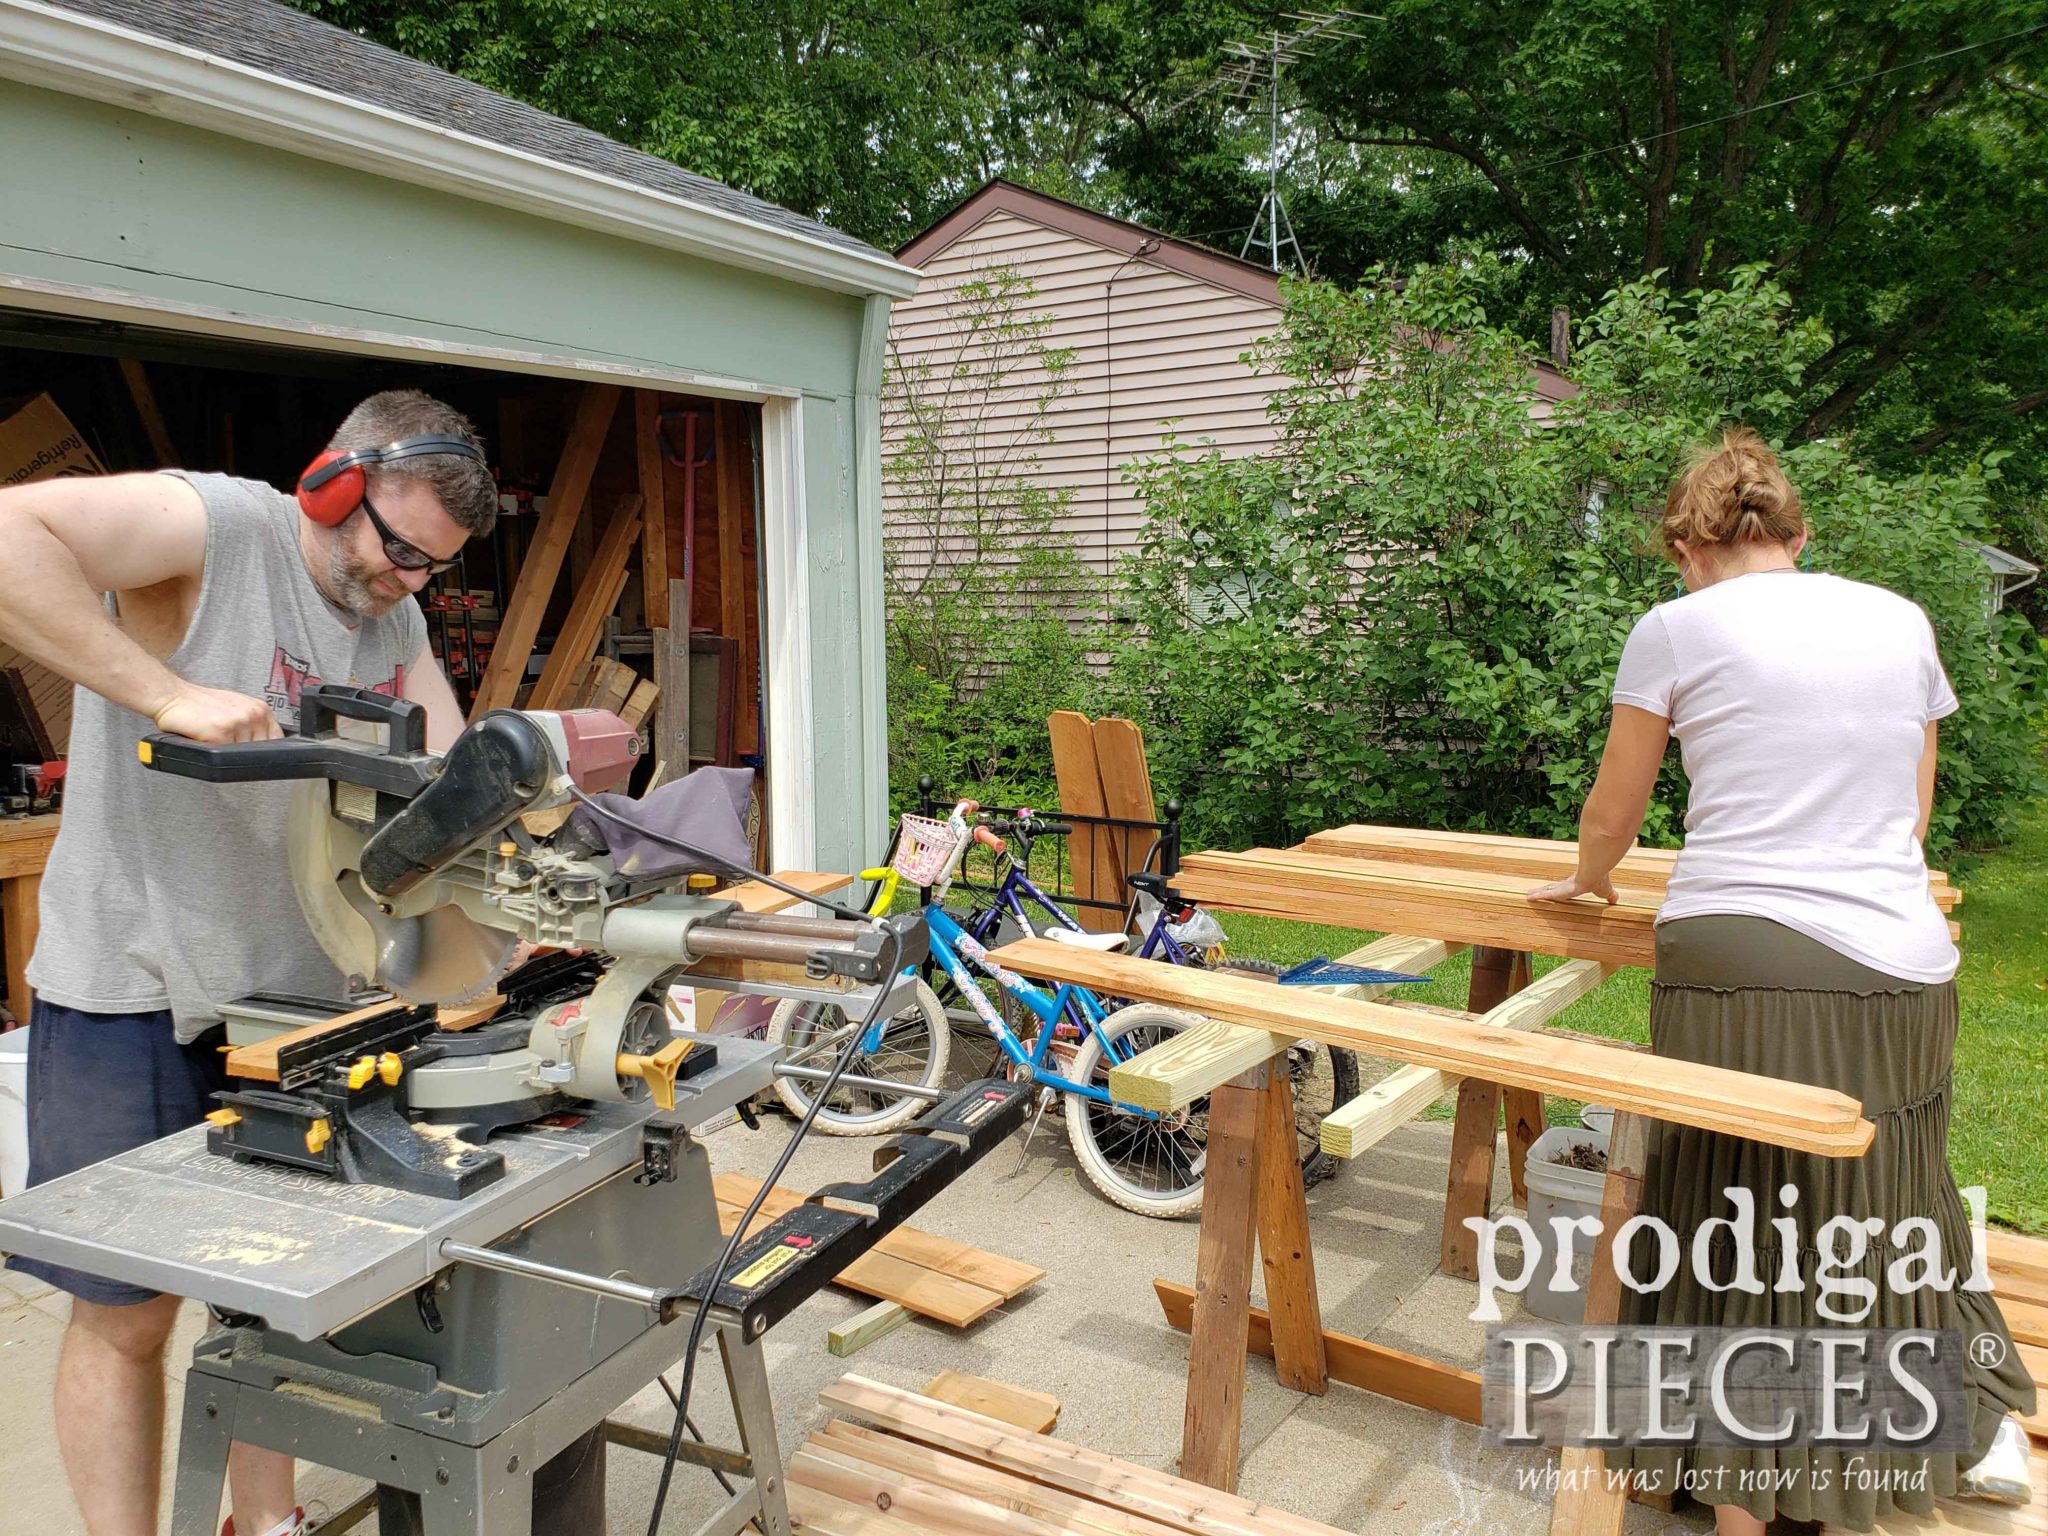
Next, we built the doors out of the same cedar pickets but attached them in a vertical position to a cedar 1″ x 4″ frame.
I can’t say enough how having the right tools make the job not only easier, but safer too as it makes a better build. That’s why my motto since a teen has been: #toolsoverjewels!
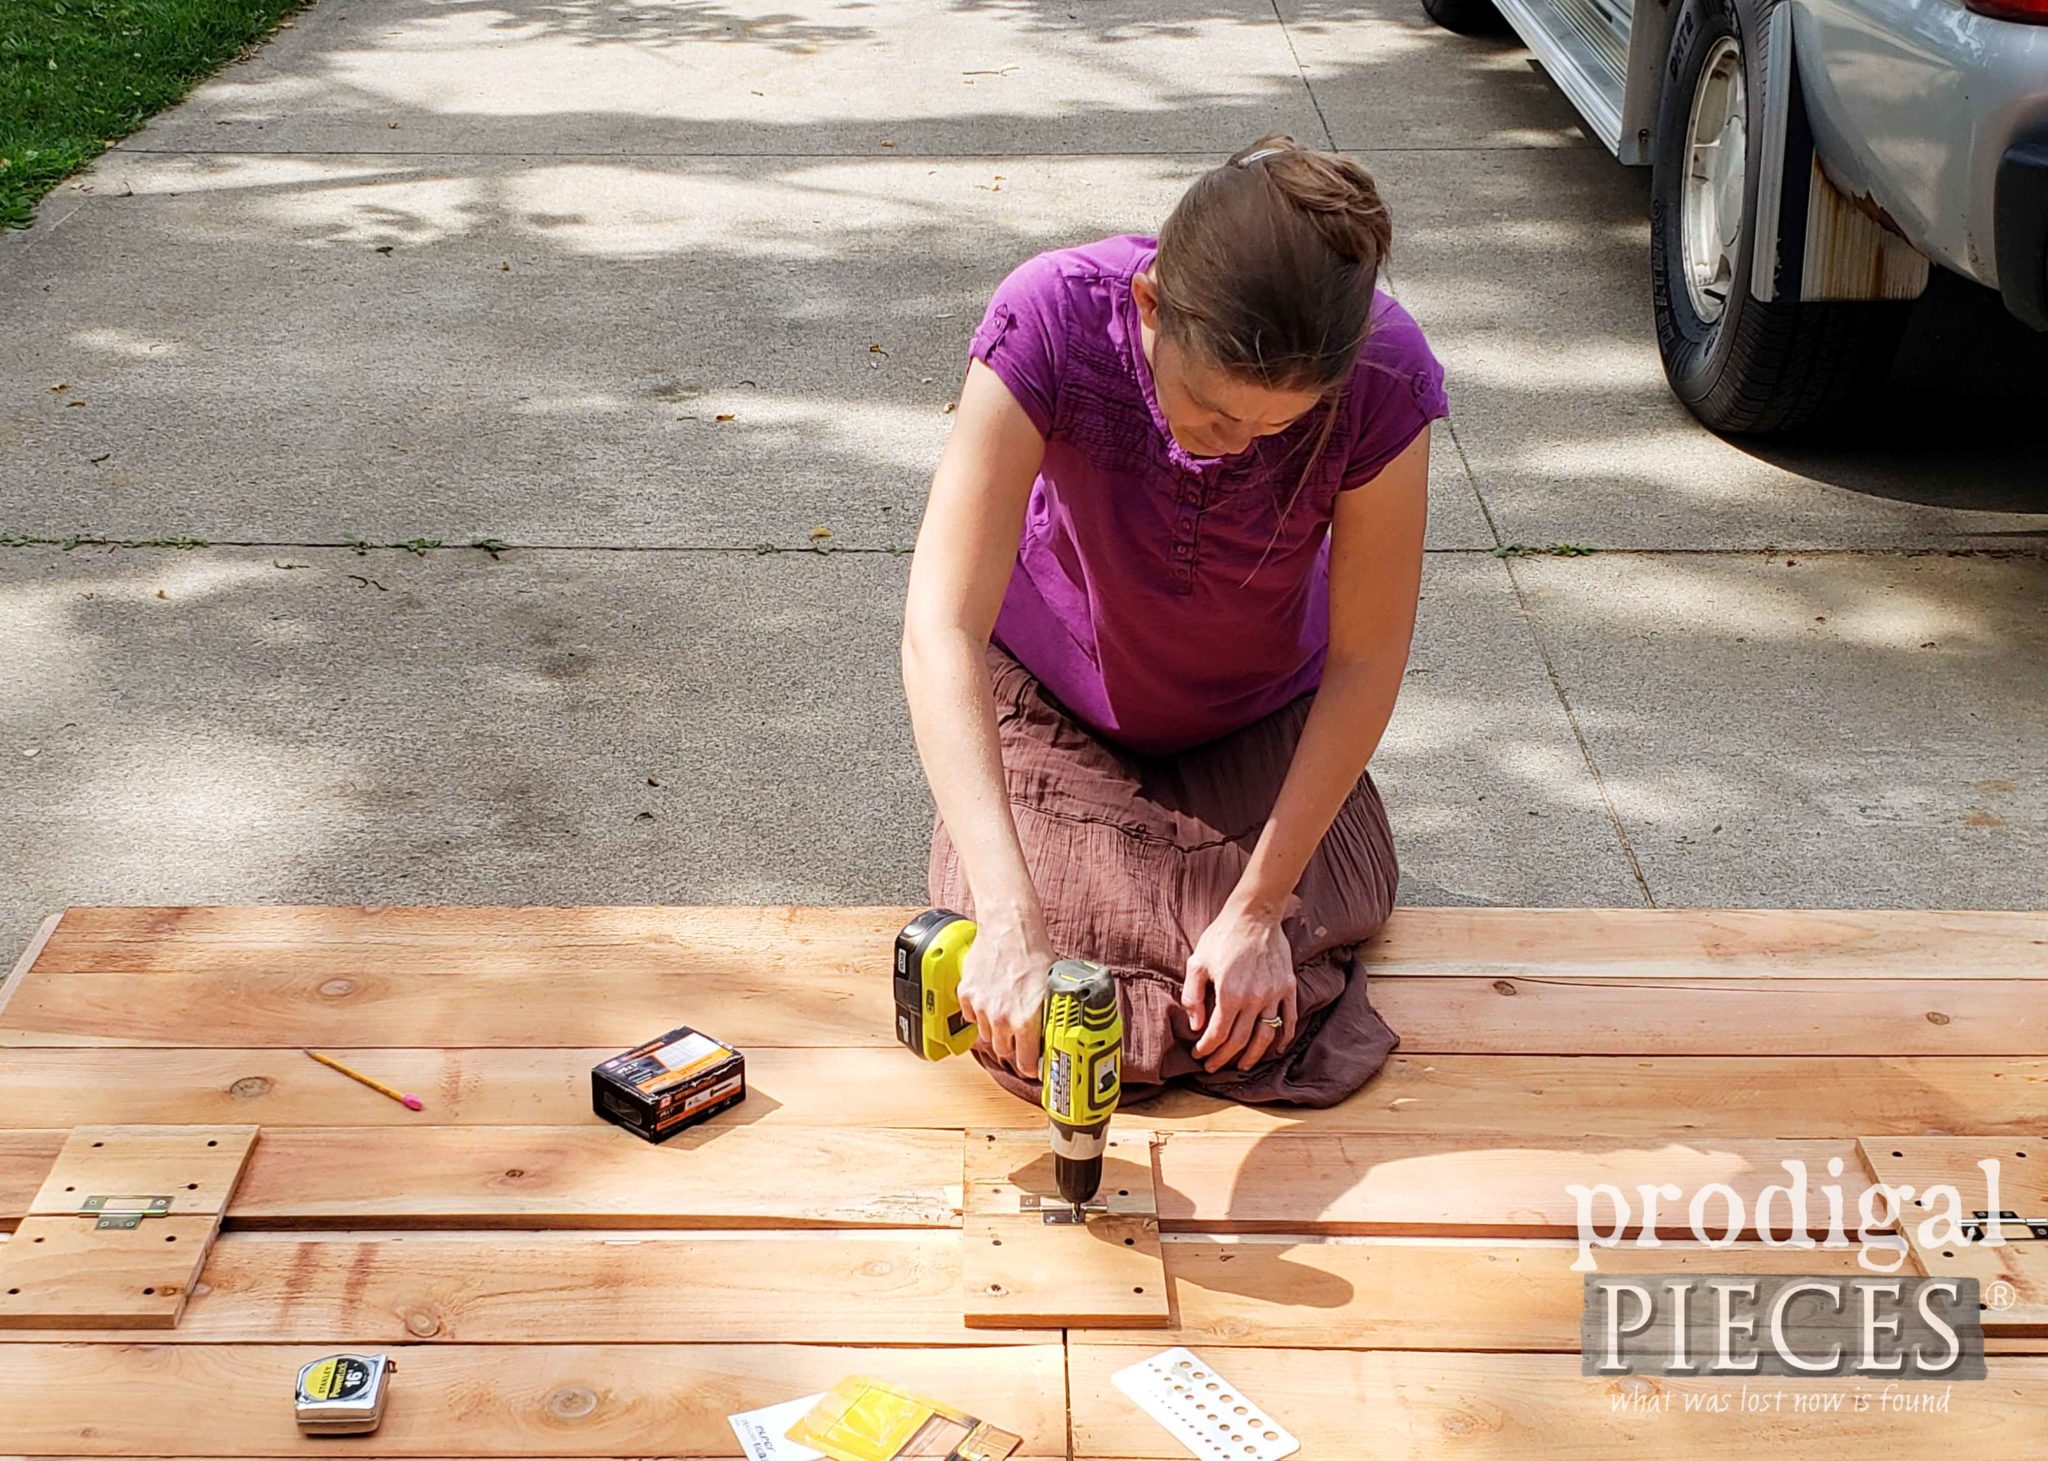
Since we are building bi-fold doors, I first assembled the doors with hardware. That would give me the correct line-up of hinges and such. Then, I took the doors apart at the middle and hung the outer door on each side. Once I got the outer door square and level, I added the second inner panel.
One set on and we’re almost done. Yay! Huge thanks to my oldest daughter for being the extra pair of hands I needed. During this entire build we battled rainy day after rainy day, so when we had sunshine, we had to bust a move!
Step 6
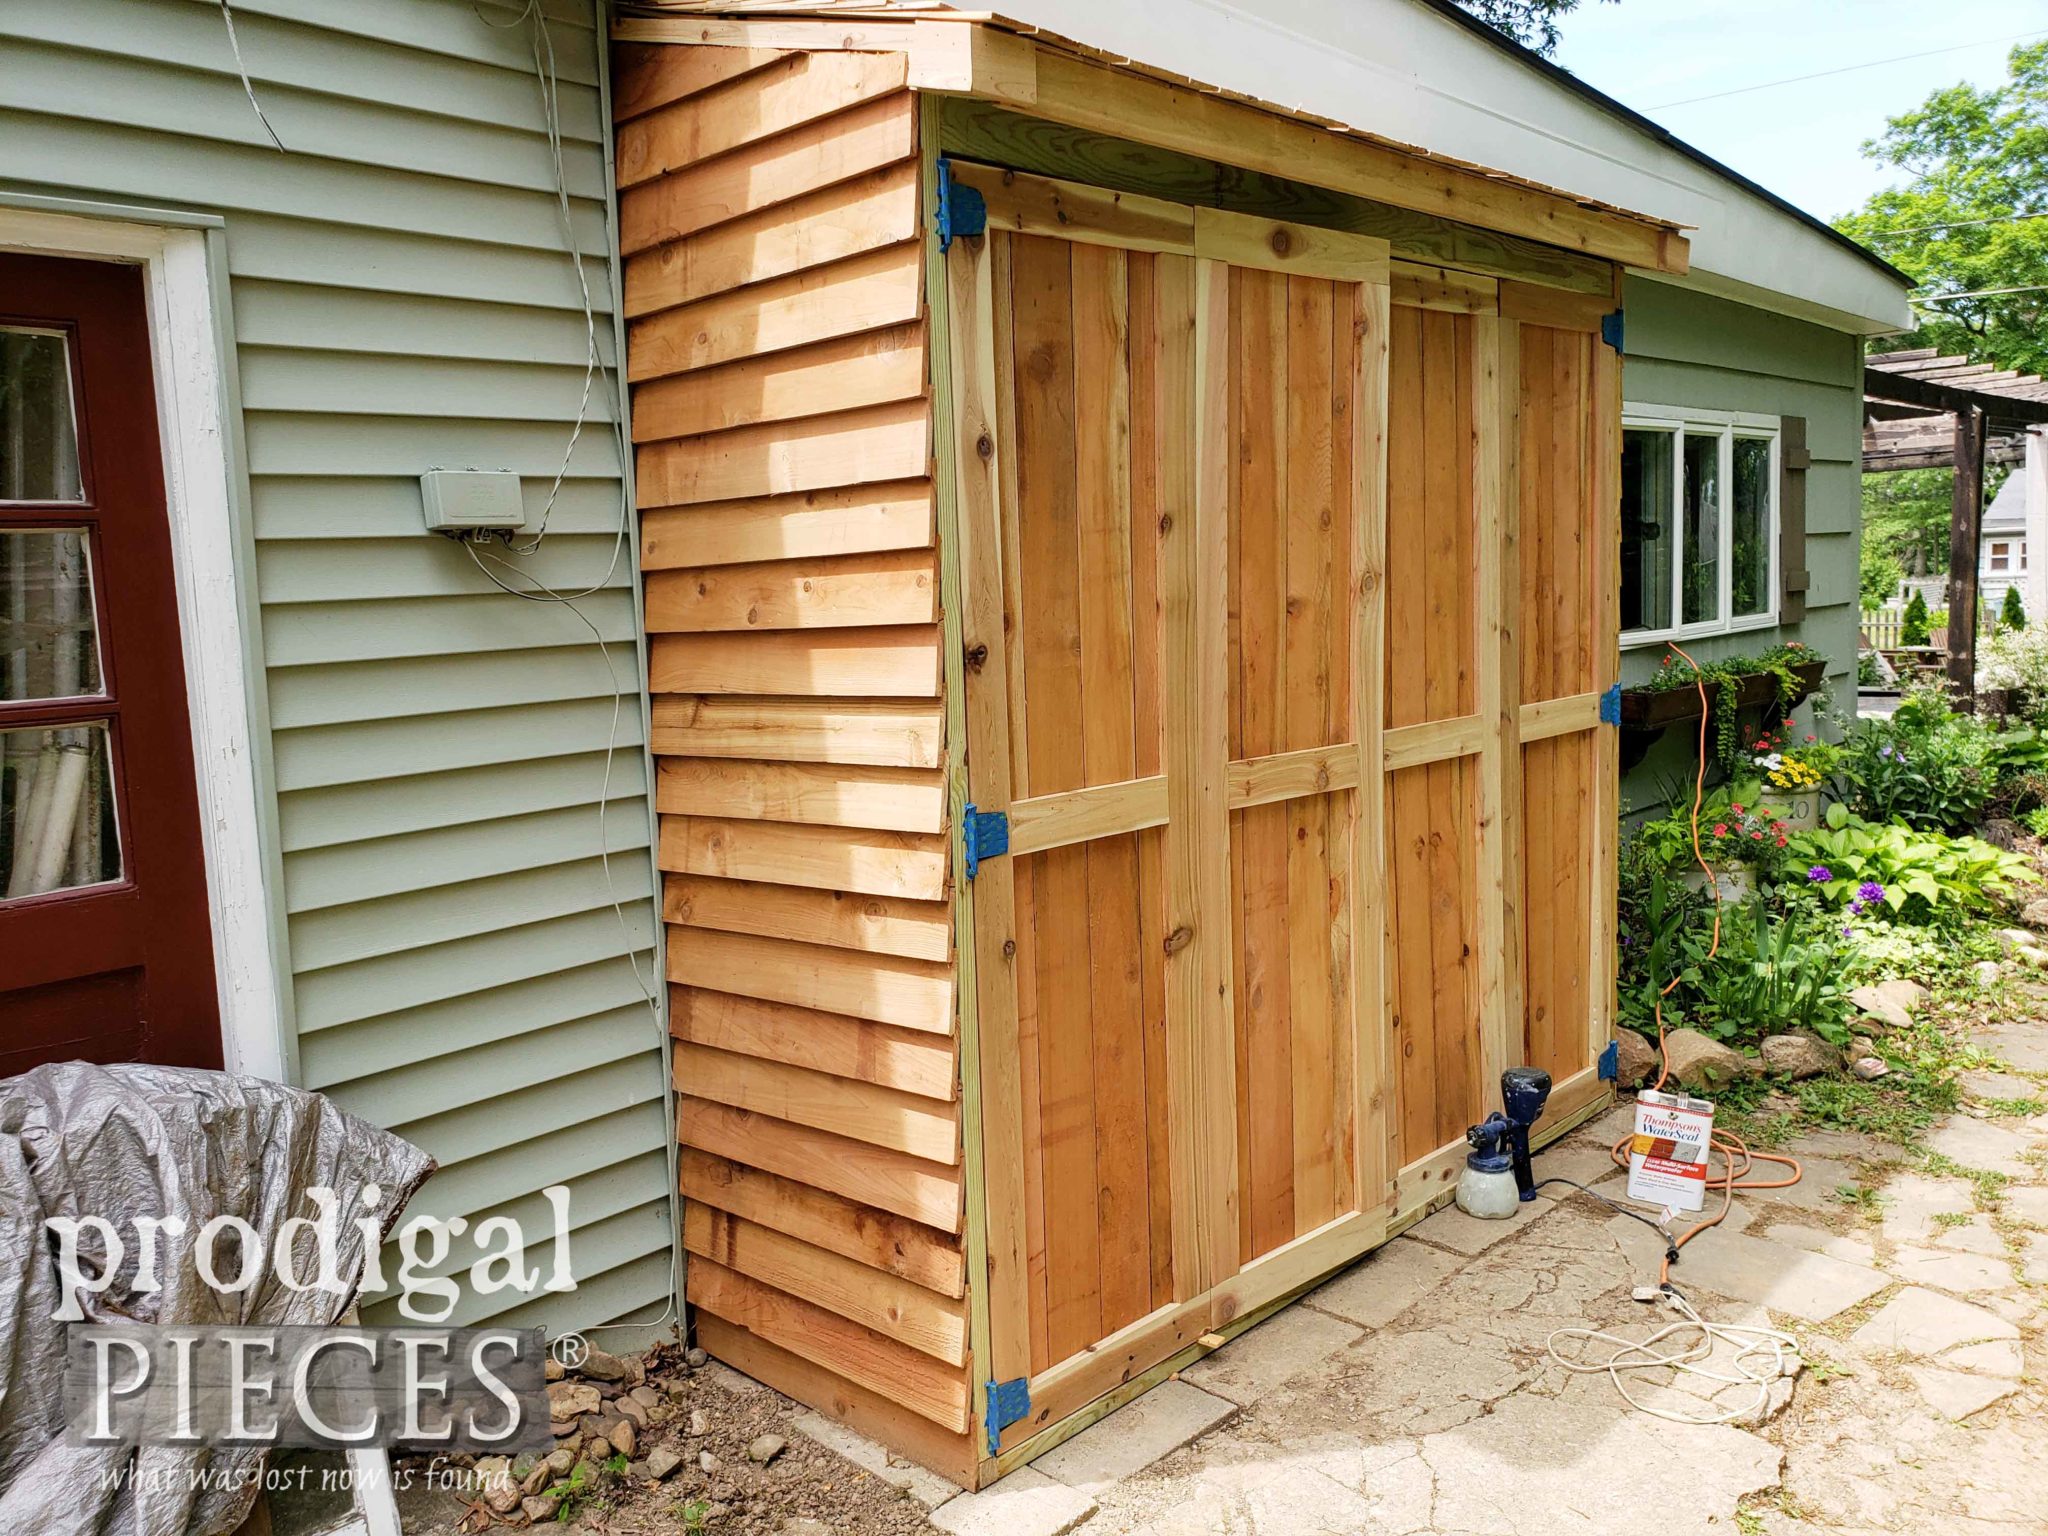
Last, but not least, we need to add a protective coat to our shed. Yes, it’s cedar and would do fine without it, but this will add longevity to our hard-earned efforts. We chose to use a simple clear Thompson’s WaterSeal because we like the idea of the cedar taking on the natural gray patina. You could certainly use a stain too.
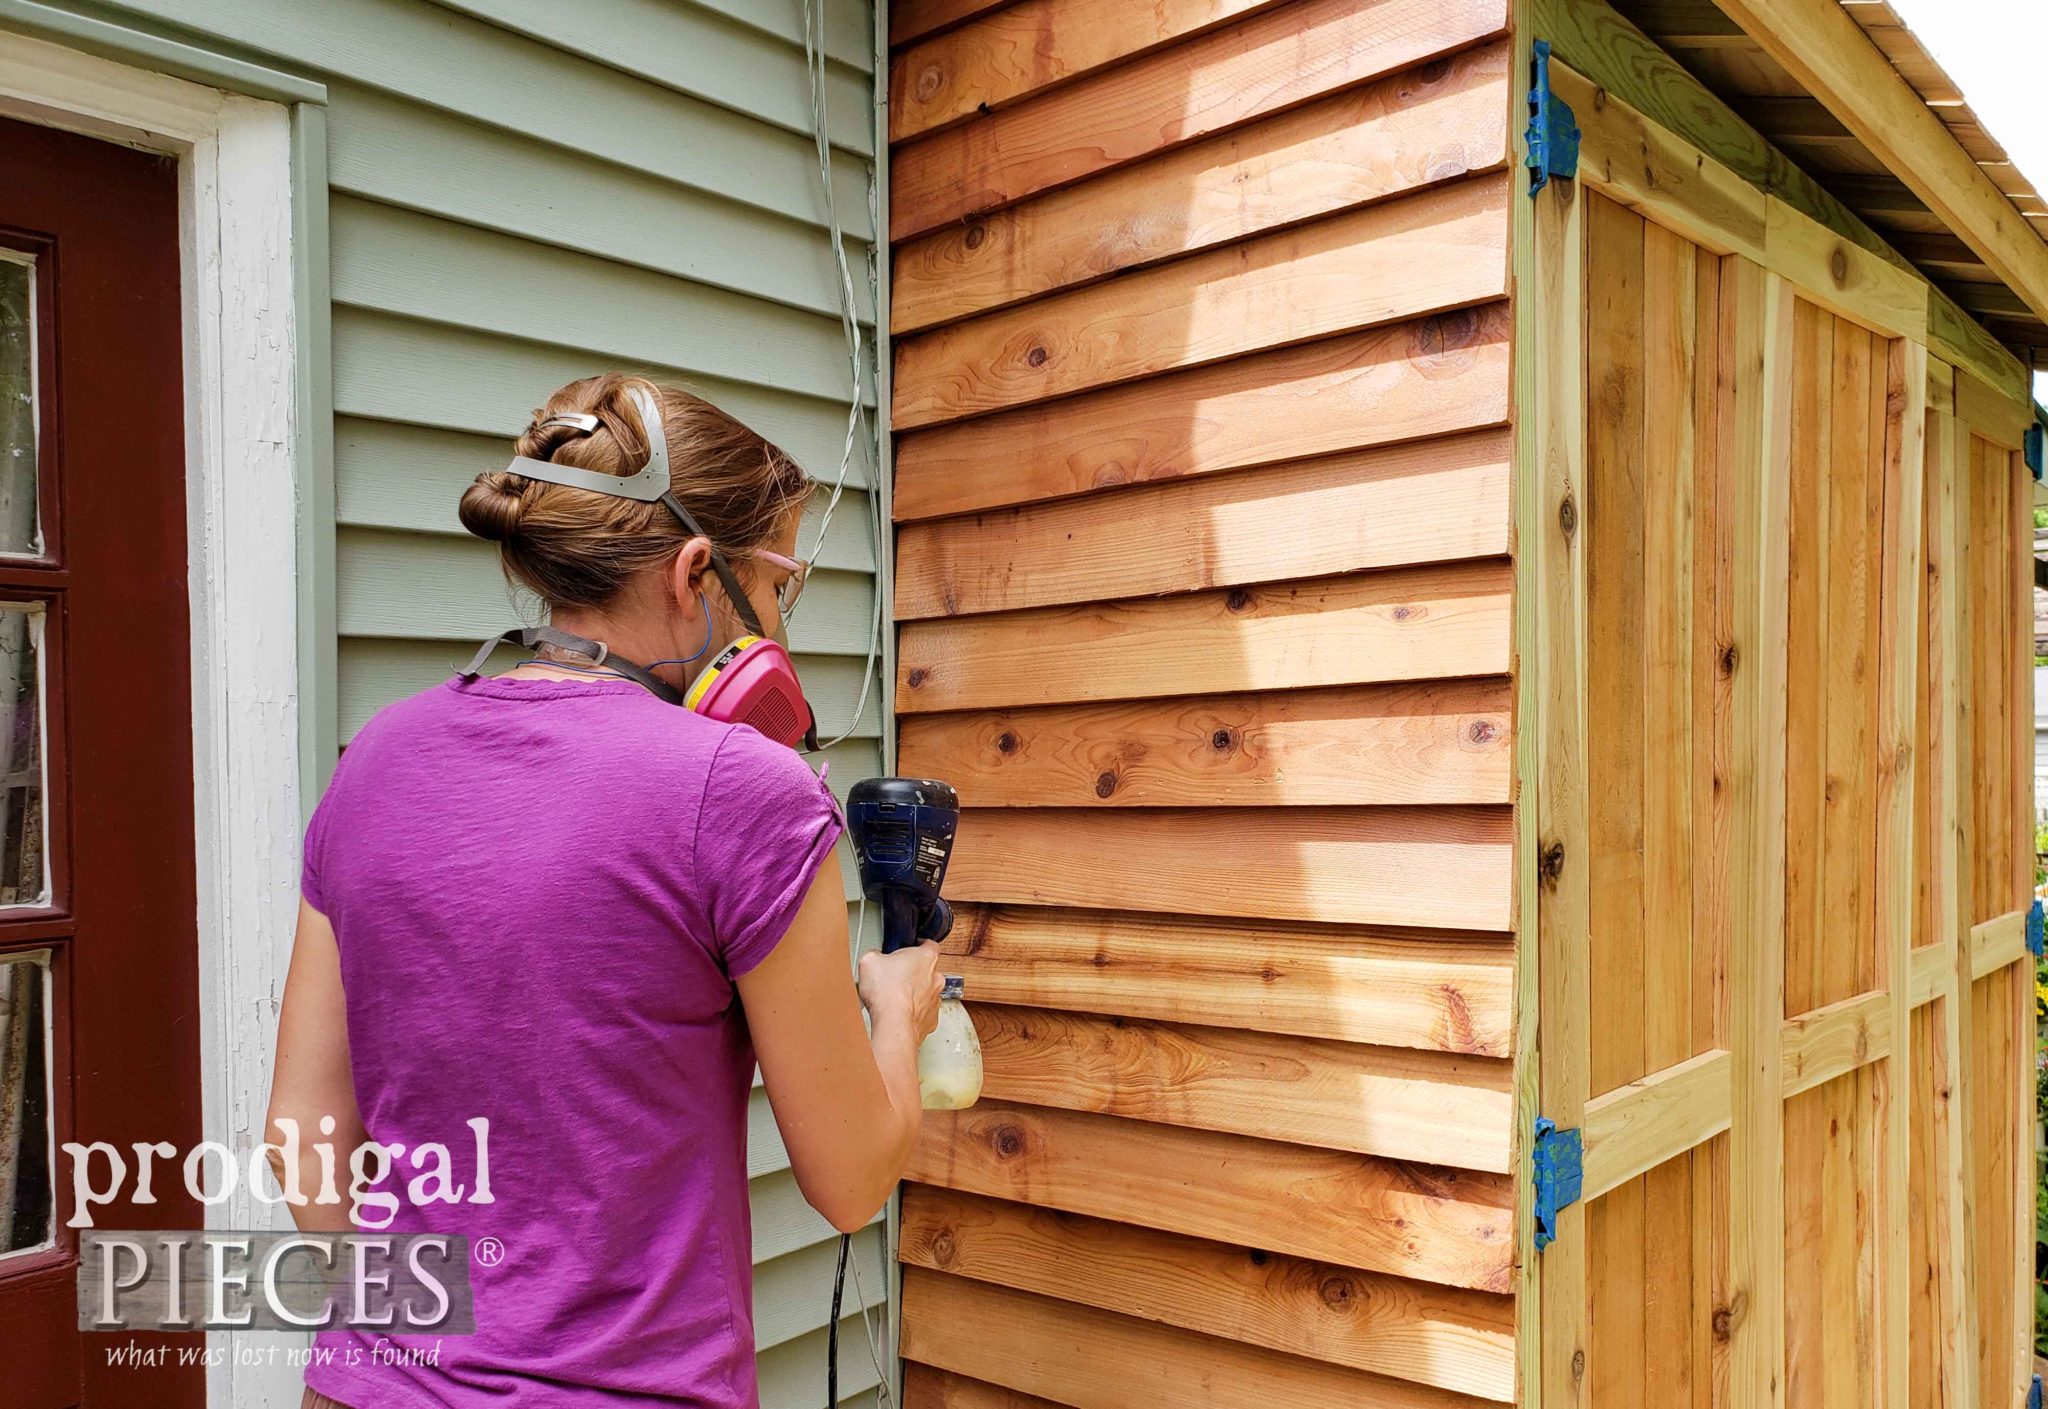
Now, because we are battling the weather and have to move fast (and also because I have no intention of brushing this entire shed by hand), it’s time to pull out my sprayer.
If you want to see how to assemble and use the sprayer, you can view my video demonstration HERE. I simply follow manufacturer instructions on the WaterSeal, fill up the canister, and get ready to have a blast…literally!
I had this shed finished in less than 10 minutes. You just can’t beat that!
I was even able to tackle the cedar shingles on top. Imagine having to brush all of that. NO THANK YOU.
After the WaterSeal was applied, I added our other latching hardware and finished up the interior.
THE REVEAL
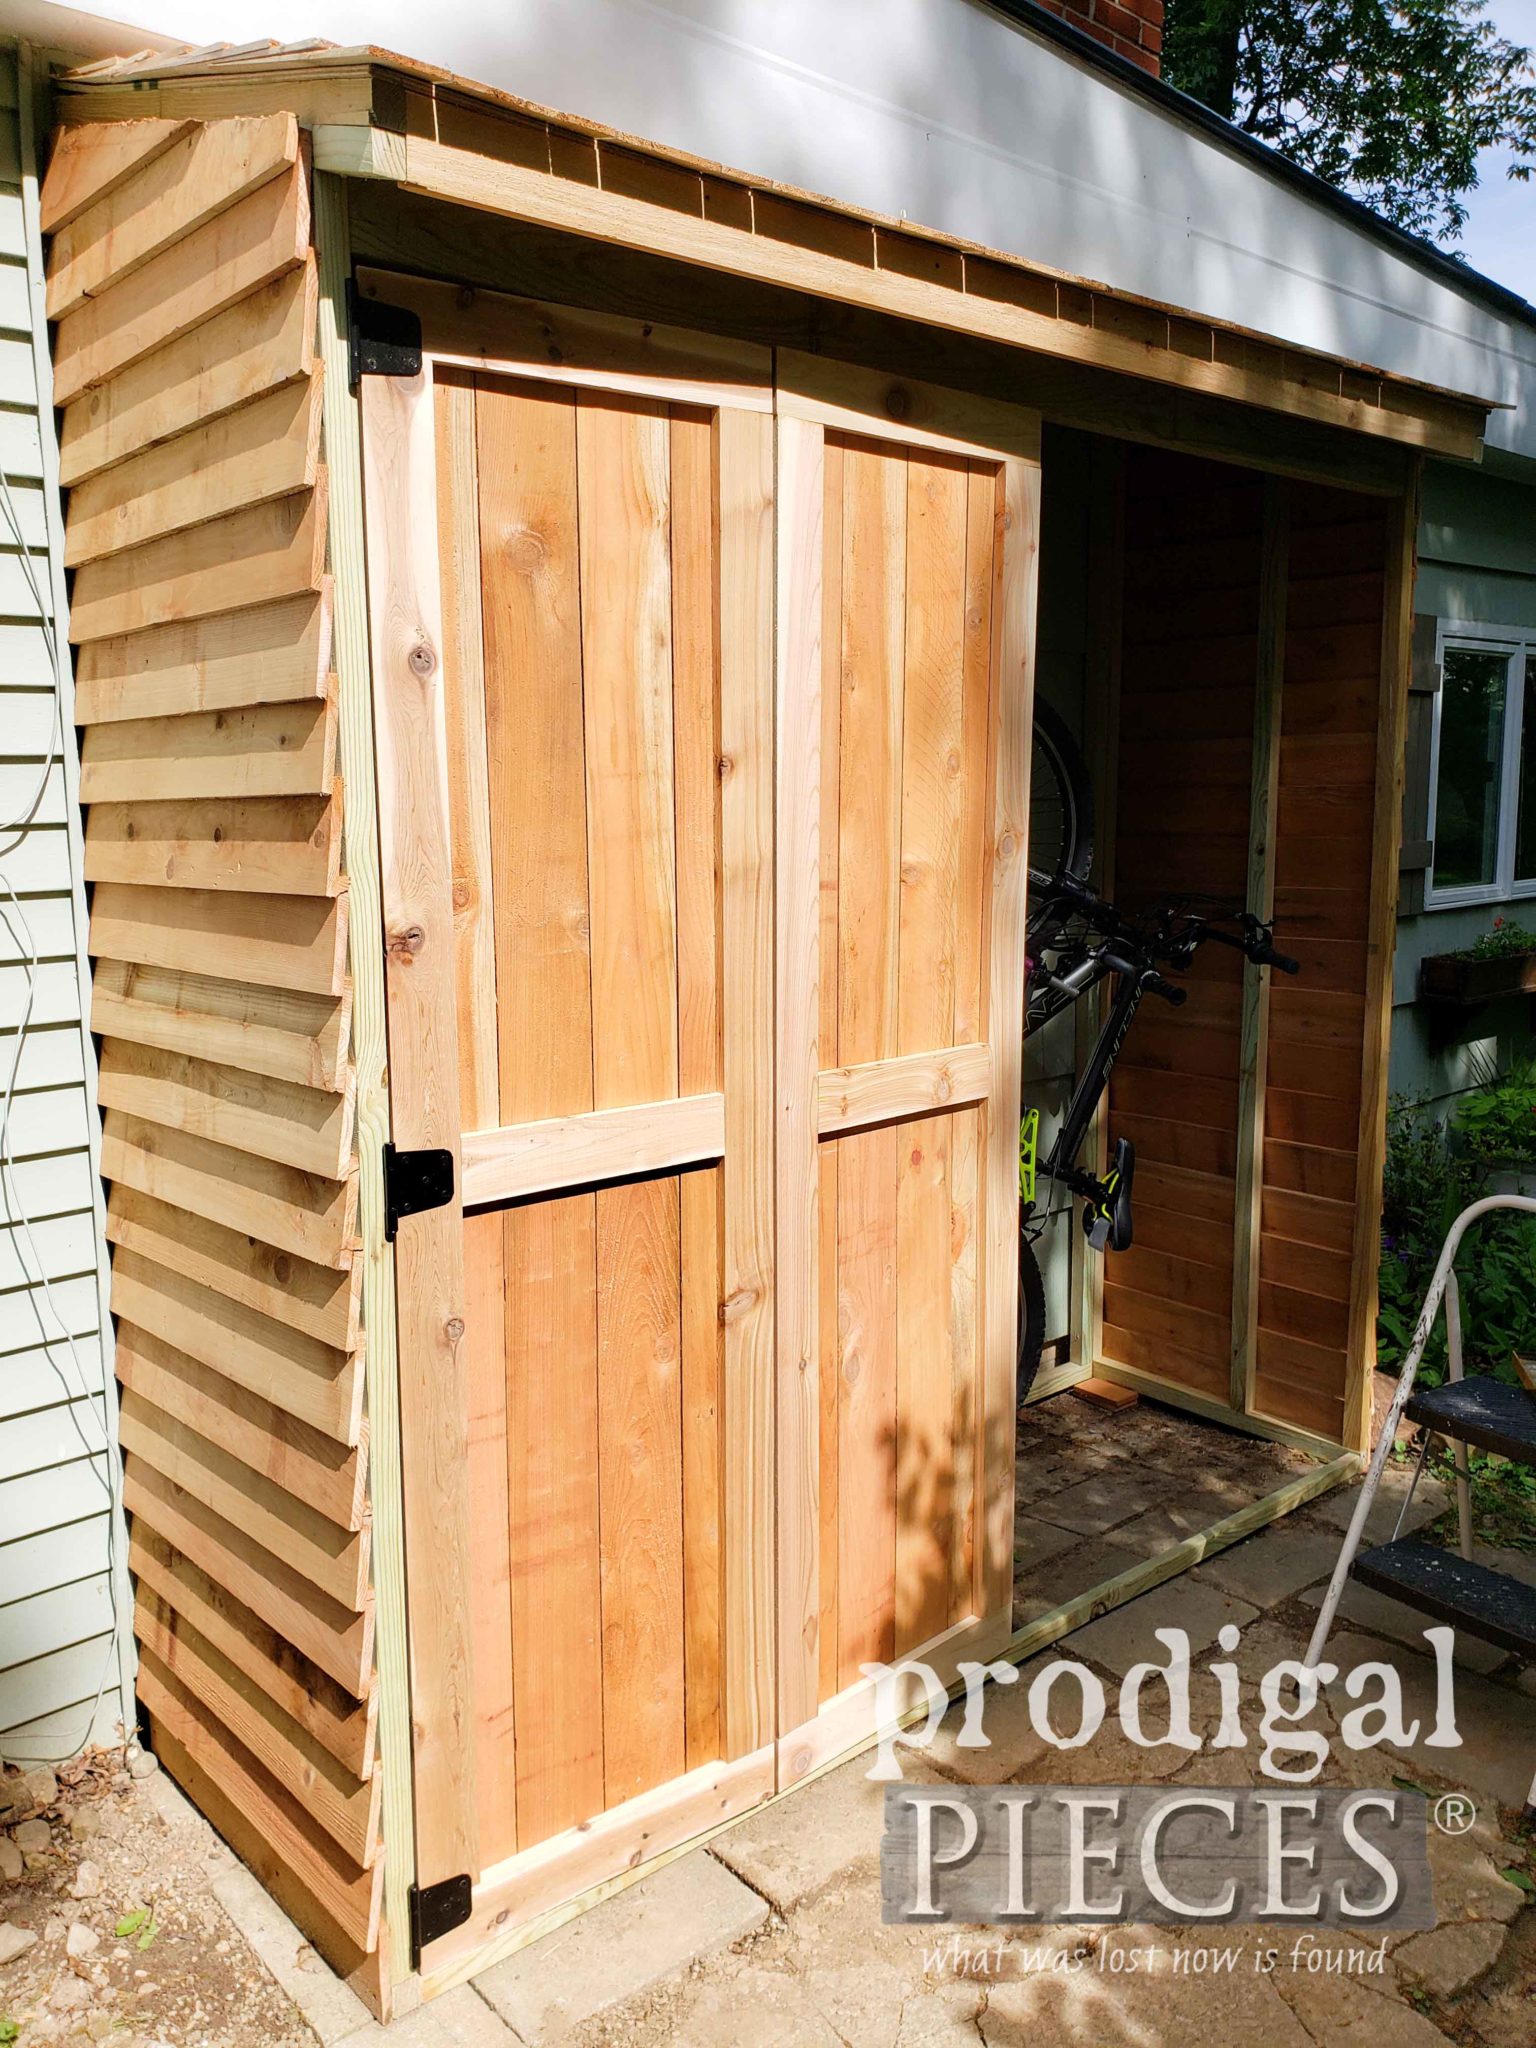
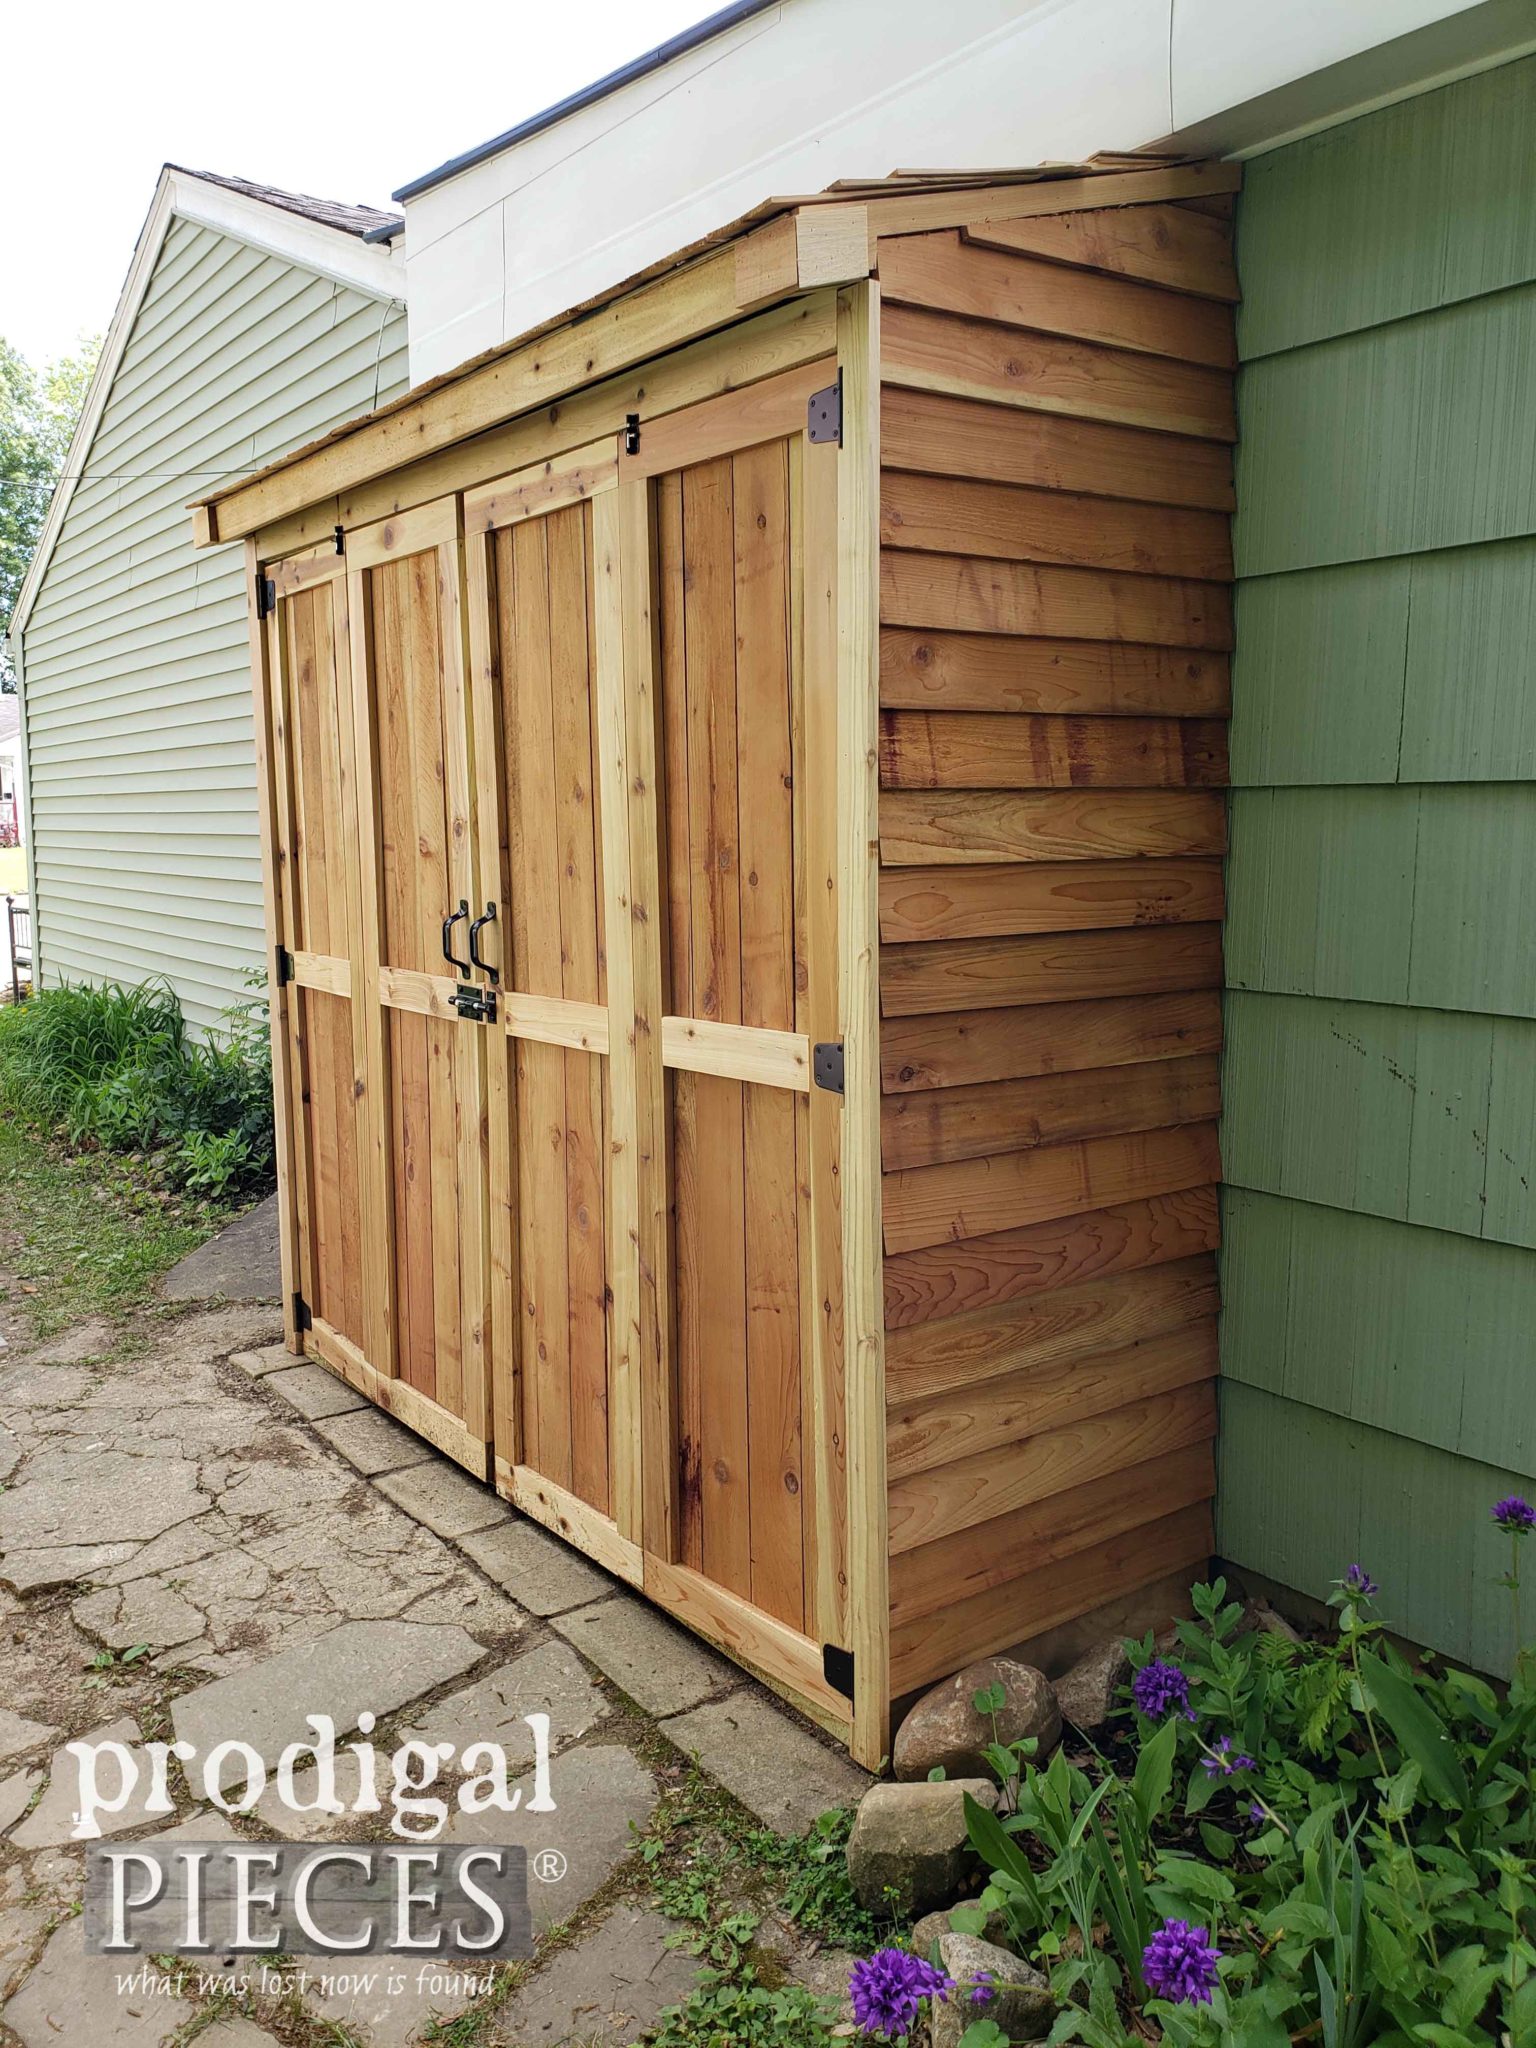
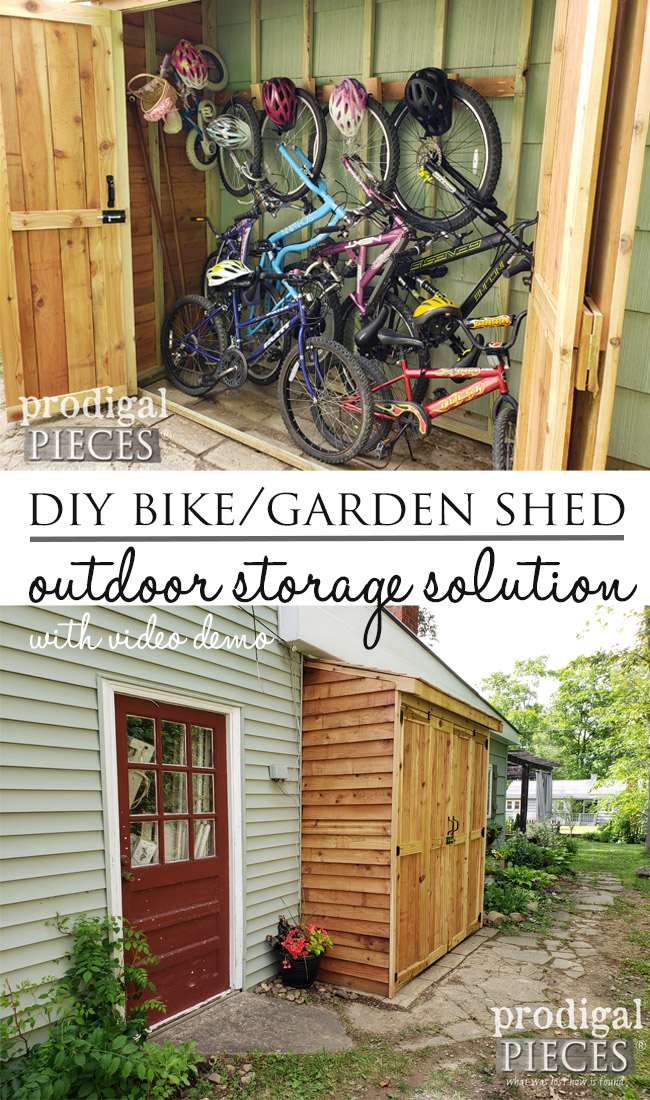
Finally, here it is complete and restoring my sanity. Yahoo!
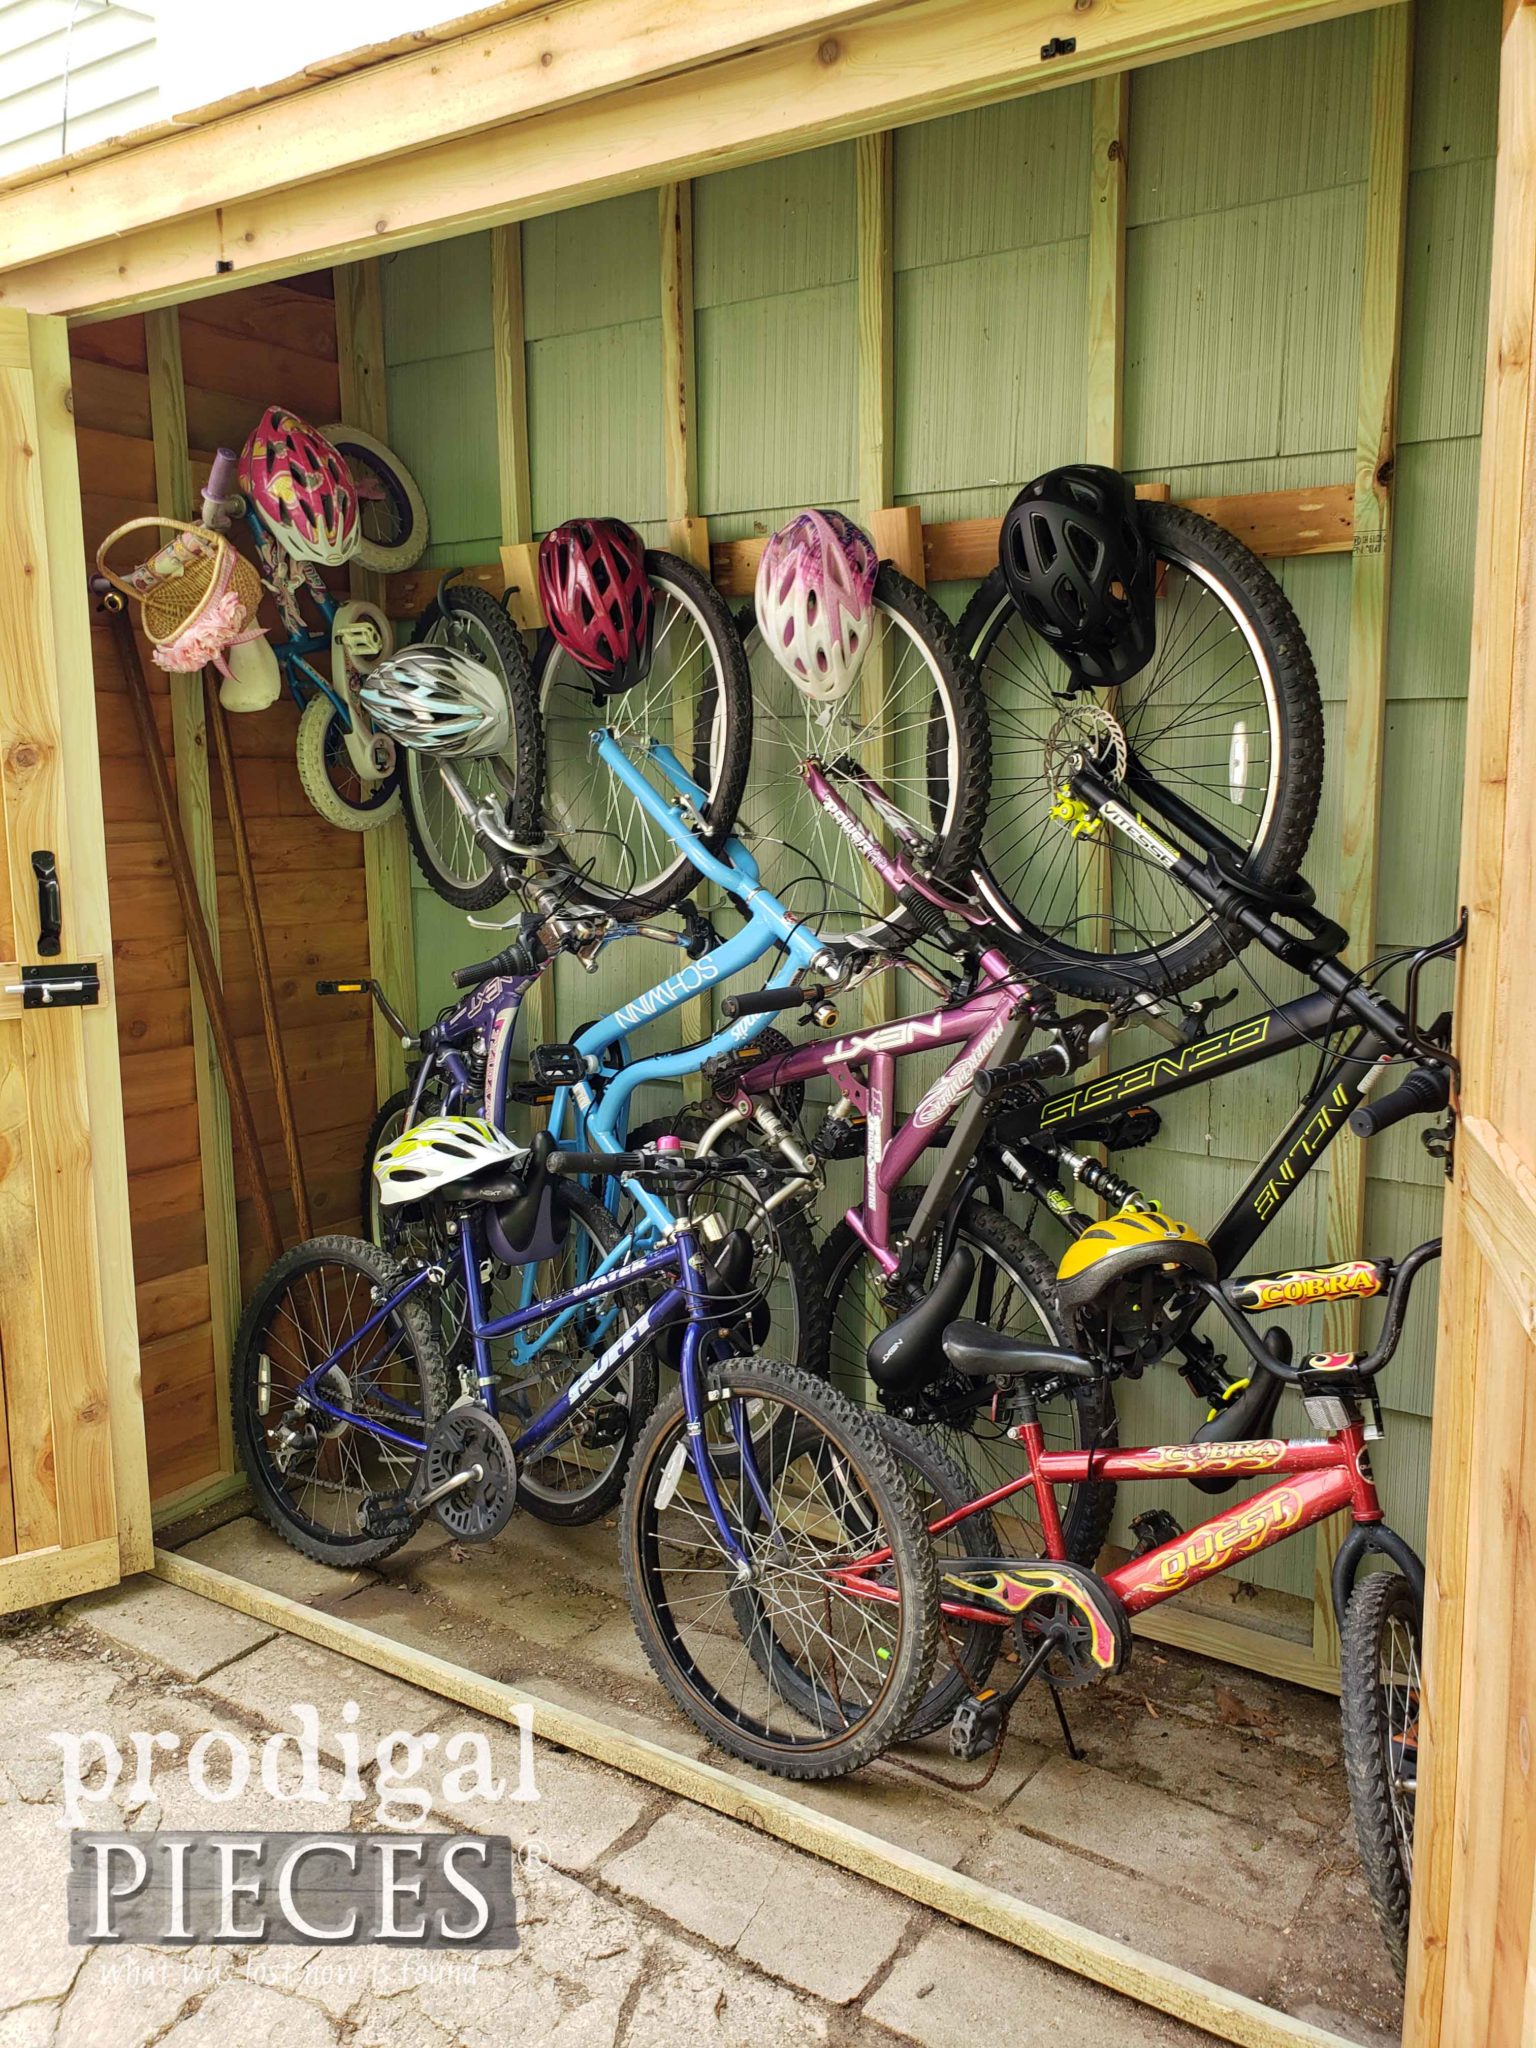
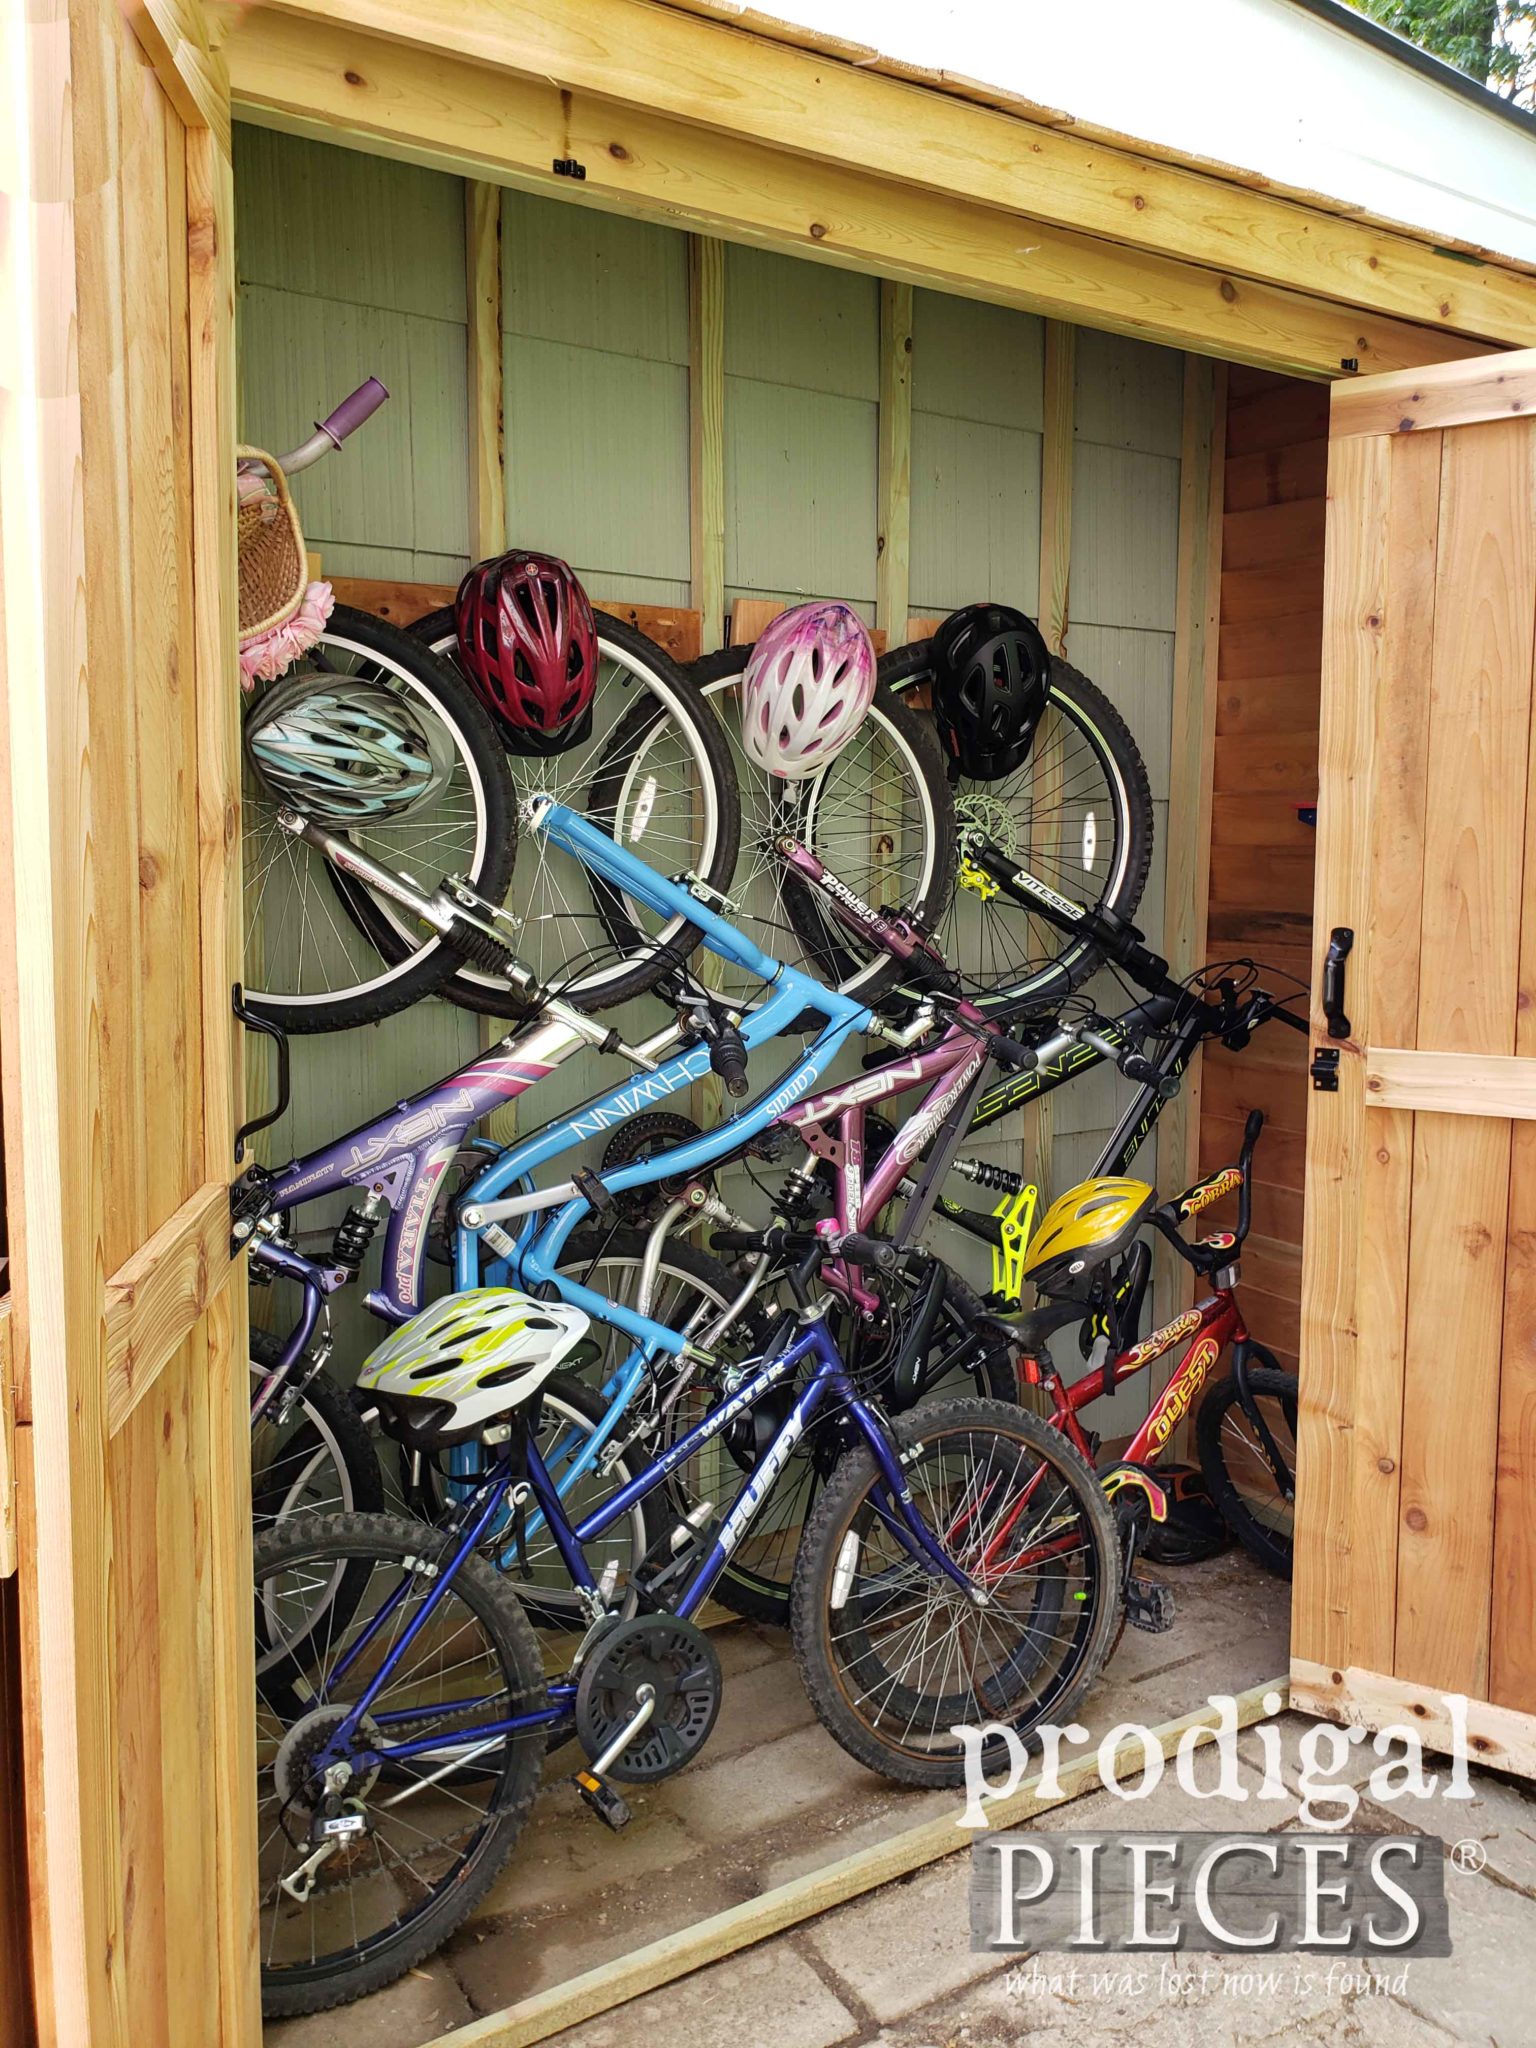
Here’s a look at the setup inside. All 7 bikes fit and helmets too – even our pogo stick and stilts! Our rough dimensions are: 33″ deep (not counting roof) x 102″ wide x 8′ tall at back.
We hope you’ve enjoyed our latest adventure. Likewise, feel free to ask questions as we are here to help.
Also, pin and share this DIY bike garden shed. So many are looking for affordable, space-saving storage too.
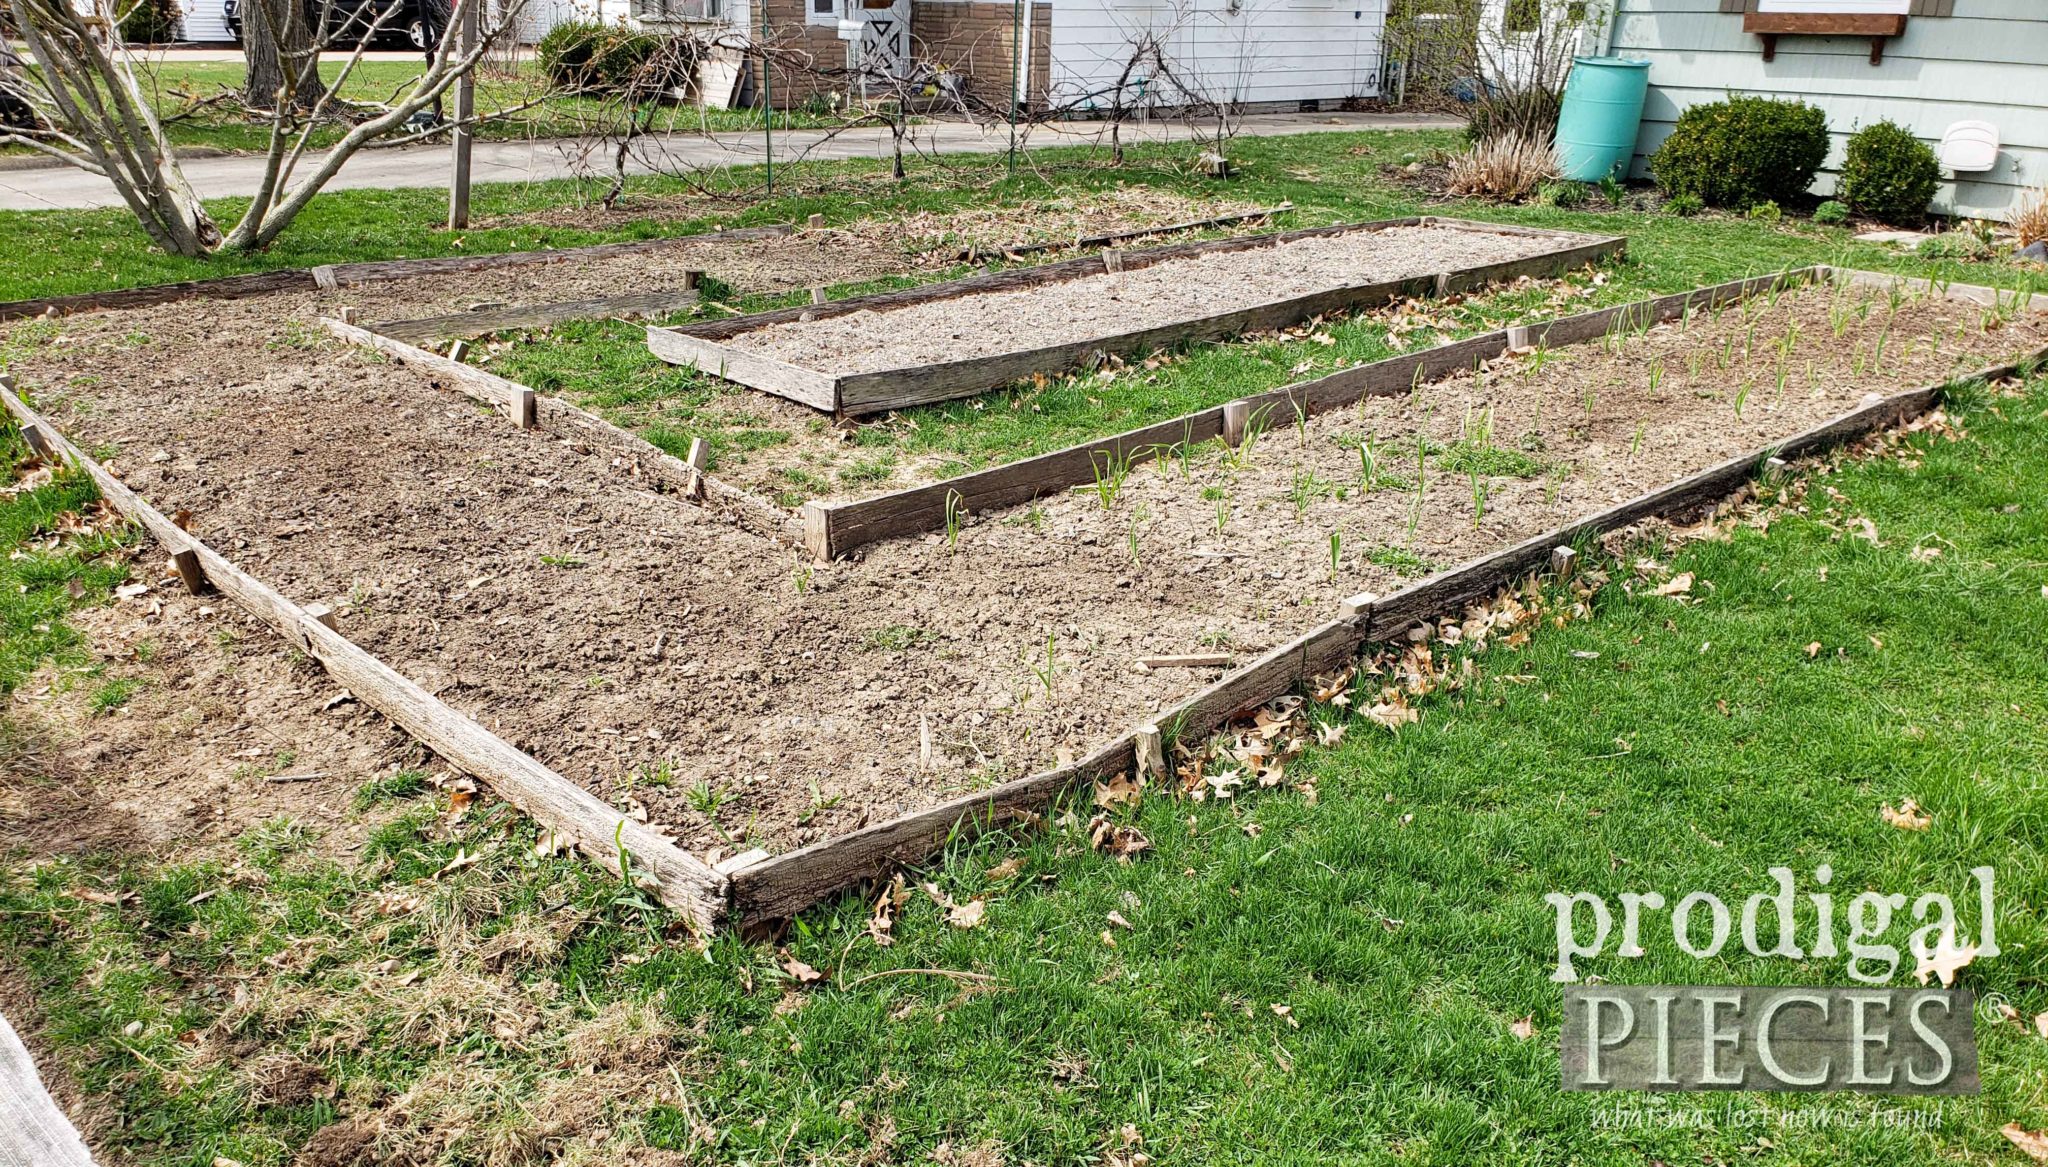
Up next, our garden got pummeled over the winter and we’ve got to remedy that DIY style. Likewise, see our updates HERE.
Before you go, be sure to sign up for my newsletter. Until next time!





What a great use of your space! Love reading about all your projects. I have a workshop and love to redo furniture also, but seem to find so many other projects, like life, that take up my time.
I so hear you, Susie!
What a terrific shed! Storing 7 bikes can not be an easy task- this shed will serve you well! The Homeright Finish Max sure did the trick as far as sealing! My shed is in dire need of a paint job. This sprayer would be a timesaver for sure!
Woot, woot! Thank you! Yes, it has been a bugger for us for a few years now and this makes so much more sense. You will love this thing!
haha…yes, life. It can get in the way! Just kidding. It is hard to find time with all we have going on. I definitely love to DIY.
Would love to winner of the sprayer so that I would be able to spray stain our floating deck
great looking bike storage unit.
Thank you.
WOW, and what a great job! The little DIY project that I’ve got my sights on is a “hidden,” wall-mounted jewelry organizer/cabinet. What you’ve done here looks so much more intense— you’ve definitely given me a boost of motivation + inspiration!
With this product, I might want to tackle our old garage-turned-shed first. It’s in so much need of attention!
Sounds like you’re on a roll, Ann! Yay!
This sprayer would be great for that.
Great way to store the bikes and looks beautiful too (of course)!
Your storage shed is beautiful!! What a great look for that space! I am working on our side porch…cleaning and reorganizing the furniture. Just want the space to be inviting. Maybe we will use it more. A paint sprayer would come in handy for all my paint projects here!
Thanks, Ginny! We are delighted with it. Sounds like you could definitely use this Super Finish Max.
Great storage and cedar is so beautiful!
Thank you for the kind words, Lori.
Yay! Win-win on both accounts. Thanks, Kim!
What a great looking solution for your fleet of bicycles and gear! I really love the doors that you designed on this shed. Way to go Team Prodigal, you got her done even though the weather would not cooperate very much!
It was a crazy mad rush to get it done, but we did. Yay! Thank you for the hug, Kaycee.
Great use of space, great idea, great helper…!
All the family chipped in and helped us get it done. We are so happy with the results. Thanks!
Nice shed.
Thank you.
This is an amazing and beautiful use of space. I have 3 teenage boys and storing 5 family bikes is a challenge. Great idea! I would use the sprayer to redo some bedroom furniture and the shelter for all of my weekend projects. Thanks for sharing!
You so get it! 😀 It makes a huge difference for everyone when things are sane. haha. Thanks!
Larissa this is one great build. It’s functional and pretty. Love the cedar and family building together is great bonding and teaches teamwork.
Bravo job very well done.
Can’t believe another week of rain in NJ. Will it ever end?
Cindy
What an awesome addition. Looks like it should have been there all along. Great job! Enjoy the organization.
I love this project. Beauty and function. What a combination.
Oh goodness! Great minds think alike! My husband and I nearly built the same outbuilding near our backdoor for our water softener. You guys did a fantastic job! I Love the doors! The HomeRight sprayer would surely be handy in getting our deck and storage barn looking good again! The spray shelter would help me a lot with smaller projects!
Thanks! Yes, a kindred spirit indeed. We just love having a storage spot. I know you’ll love this sprayer!
I love the shed! I also use Anna White’s site for plans. She is amazing, and her plans are free!
Thank you for the giveaway!
Great job! I would love to win the sprayer!
Creative use of space.
Thank you.
What an awesome project. It looks so nice and I was surprised that seven bikes fit so nicely in there. I shouldn’t have been though, you are so talented and creative.
Aww…thank you, Lynne. It took some doing to convince JC it would work, but he got the picture. Yay!
Just love your “how to’s”. I am not a handy person, nor is my CPA husband ? but you videos make me wish I was.
I wish you were so you could do it for me! haha! Just kidding. I love being able and am thankful I have a family to help too. Thank you, Diane.
You and your family are such an inspiration to me. Thanks for sharing your projects.
That truly just made our day. Thank you, Dianne.
Great job Larissa! Love all your work! I would love to win the paint sprayer to tackle many projects waiting to be completed around my home…my shed and kitchen cabinets are at the top of the list. I also have some furniture projects waiting until I can get a paint sprayer. The home right paint sprayers are not available in Canada, that I have found anyway, and I have been hesitant to purchase online…so I hope I win….my fingers are crossed!! 🙂
Thank you. Oh, I would love for you to try it and I wish I had one for everyone. Here’s hoping!
Love your shed. I would love a sprayer to paint my Muskoka chairs, outside tables, restrain my deck, paint my shed, and more….
Sounds like fun. 🙂
Honestly, I did not think all the bikes were going to fit until that last pic! Looks great!
haha! JC was doubtful too. I am an organizing nut! 😀
Love the beauty and function of the shed! When I first saw it I thought there’s no way you’re going to get all those bikes in that. Boy, was I surprised and amazed. Awesome job.
I would love to win the prizes so I can use them on my shed full of ‘projects ‘ I have. It would be so much faster and easier.
hee hee! What really helped was that the bike mounts are hinged so they can lift out of the way. Fun!
Wow, that is one good looking shed!
Happy dance!! Thank you!
Love it that you Make things Happen!! The sprayer will serve someone well!!
Can I say I am a bit driven? haha! Thanks so much, Megan.
I love that shed! I would use one just like that for two different functions. In the summer, it would be my pool shed for the chemicals, pool covers, toys, skimmers, etc. The winter time, it would serve as the holder of the backyard shovel storage, bird food, fountain heaters and again pool storage!!! I would love that sprayer! It would soooo help me with all my projects! I paint a lot of furniture with chalk paint but want to use a tougher lasting paint and a sprayer would give me a much smoother finish! Thanks so much! Renee
You sound like me! 😀 I was like…honey…can we build another? He actually loves it too. Yay! You will love this sprayer for sure.
I love this! I’m going to see if I can utilize this under my deck for storage. It has a small profile from the house and I like that.
Oooh…I like that idea. Storage for the win! 🙂
I would like to repaint my outdoor wicker furniture.
Consider this project another winner! Great job. I would so love to win the paint sprayer! I will never be able to get one on my own!
Thank you, Linda. I so wish I had one for everyone. They are a blast…literally! 😀
What you did with the shed is amazing! Passing this on to my daughter-in-law. If I win the sprayer, I would use it to restore a desk you advised me on and two chair with woven backs. Thank you for the opportunity!
Sweet! Thank you for the love, Patricia. We are so happy with it.
I love this!!!
Yay! We couldn’t be happier with it either. Thanks!
The shed looks great! And could definitely have multiple uses. Thanks for the inspiration!
I have a small spray shelter and love it, but I’ve been thinking about upgrading to the medium or even large size so I can work on larger pieces. I really really really don’t like brushing by hand! (I actually have both a larger spray shelter and this sprayer in my Amazon cart right now – just haven’t pulled the trigger yet!)
Thank ya! 😀 I could use 3 more. haha. I can honestly say that you will have no regrets! They both serve me all the time and I have no complaints.
I love your new shed! It’s so perfect for your bike storage.
Thank you so much, Patti! 😀
Looks great! Makes me want to do something similar.
Yay! That’s the spirit, Lynn!
Awesome idea, and great team work Mrs & Mr Larissa. I really enjoy your blog!
Wahoo! JC and I make a great team, plus our kids helped immensely. Thanks so much.
And it looks great!
Woot! Thank you!
You rocked this project! Great to get everone involved.
Happy dance!! It sure was a blessing to have all the hands.
You are my hero —so talented —love the bike shed
aww…thanks so much for the giggle! 😀
What a great project! It turned out beautifully!
Maybe I can add this to the backside of the existing shed on our “New-to-us” home? Thanks for the idea…AND THE INSTRUCTIONS!!
Sounds like you’ve got some DIY fun ahead. Woot!
Fantastic job! I wish I had this idea when I built our first house. We always had to remove all the bikes just to get something from the back of the shed.
I totally get it. It can be a PAIN! 😀
Wow that turned out amazing! I didn’t think you could fit all those bikes in that shed, great job on using the space you had for all of them to fit. I would LOVE to win the sprayer!!
Thanks! I’m an organizing freak. tee hee!
Your shed looks great! I have so many projects I could use that sprayer on!
Thanks! I bet you do. It has endless uses. 🙂
The shed looks so good on the side of your house and what a smart use of space. Wow, going vertical with the larger bikes made all seven fit in there snug as a bug. My yard could use one of these as a garden shed. The roof on ours is about to cave in and we have a shed build on the to-do list for this summer. Definitely showing hubby your smart extra wide bi-fold door system.
Thanks, Marie! We maxed out every inch. I made the hooks on hinges so we can swing them out of the way. My kids are elated they don’t have to drag them out of our other shed or mess with the tarp anymore.
The shed project came at a perfect time as I need a place to store my garden tools. I do have a question – can I make this shed and attach it to the stucco?
Sweet! You would just need to anchor it to studs for safety and stability.
Thatbis awesome! The older we get the less we want to improve anything around here! Lol
haha…too funny! I can’t wait to be that way. 😀
Larissa you are so creative and talented! I love your outside storage project. Not only does it solve a storage problem, but it is so attractive, too! I have never used a paint sprayer, but if I had one, I think my first project would be some chairs that have lots of time consuming spindles, which I have been ignoring for too long.
I’m always amazed by what you accomplish and how beautiful everything turns out!
You are so sweet to say so, Christine. Thank you!
Your talent is amazing! I have patio furniture to spray along with other projects so the Homeright sprayer would be a wonderful blessing. I love your blog and all of your projects, thanks!
Your new shed looks wonderful! We have some prefab vinyl sheds, and they do the job, but they are not lovely to look at! would be great to build something like you did! Hmm, sounds like a sprayer might be very handy. . .
Thank you so much, Melinda. I can’t say enough how handy the sprayer is since it has the tips for furniture, outdoor, …just about anything. 🙂
I love so much reading your blog, finding inspiration not only for projects and transformations but simple life lessons to. How to remember to be grateful for the little things in life. Thank you Larissa
Kristina, you just made my day. Thank you for getting why I do what I do. Sending hugs!
What a great idea. We are planning on building a small lean to for the generator this year so it was great to see what you built. Needless to say the paint sprayer would come in handy for finishing our little lean to!!
Thank you, Tracey. Sounds like will have an added storage blessing too. Have fun!
I like how you arranged the bikes thereby requiring only one small attractive lean-to. The Home Right sprayer would allow me to refinish my sad patio furniture.
Thank you for getting what we were after. We also look forward to using it after the kids have grown.
Fantastic Project! If I were to win I would use the sprayer on some bookshelves that need a new life!
Sounds like a plan. 😀
Looks great! I would paint a buffet that is in my dining room.
Sounds good! Thank you!
Oh, I have so many things to tackle if I had this sprayer. You make it seem so easy and doable! Thanks for all of your inspiration!!
I know what you mean. Me too! Thank you, Deborah.
Do you know the dimensions? Particularly the depth.
I love the idea of storing them vertically and hoping I have the depth to do this.
We just took our bikes and stood them up and measured from wall to the handle bar and left about 4 inches for doors and frame. Hope that helps.
Thanks for the informative and inspirational post. We have 6- 8 teen/adult sized bikes at any given time. What were the finished dimensions inside/ out of the project. Having used the shed now, are there any mods you would make? Thanks
You bet. We actually chose to take it down within two weeks because of a horrible neighbor and went into a legal battle. I wish I could tell you the dimensions. However, we stood a bike up on end and added approx 4-6 inches in depth for clearance. Hope that helps! (BTW, we are looking to move). 😉
Hi Larissa, I love this, we need to fit a bike shed into our small garden and this layout would work great, do you have the dimensions you used somewhere? We need to fit 4 adult sized bikes in just like yours. Thanks!
Hi Amy! We basically did a rough measurement that was 33″ deep (not counting roof) x 102″ wide x 8′ tall at back. Hope that helps!