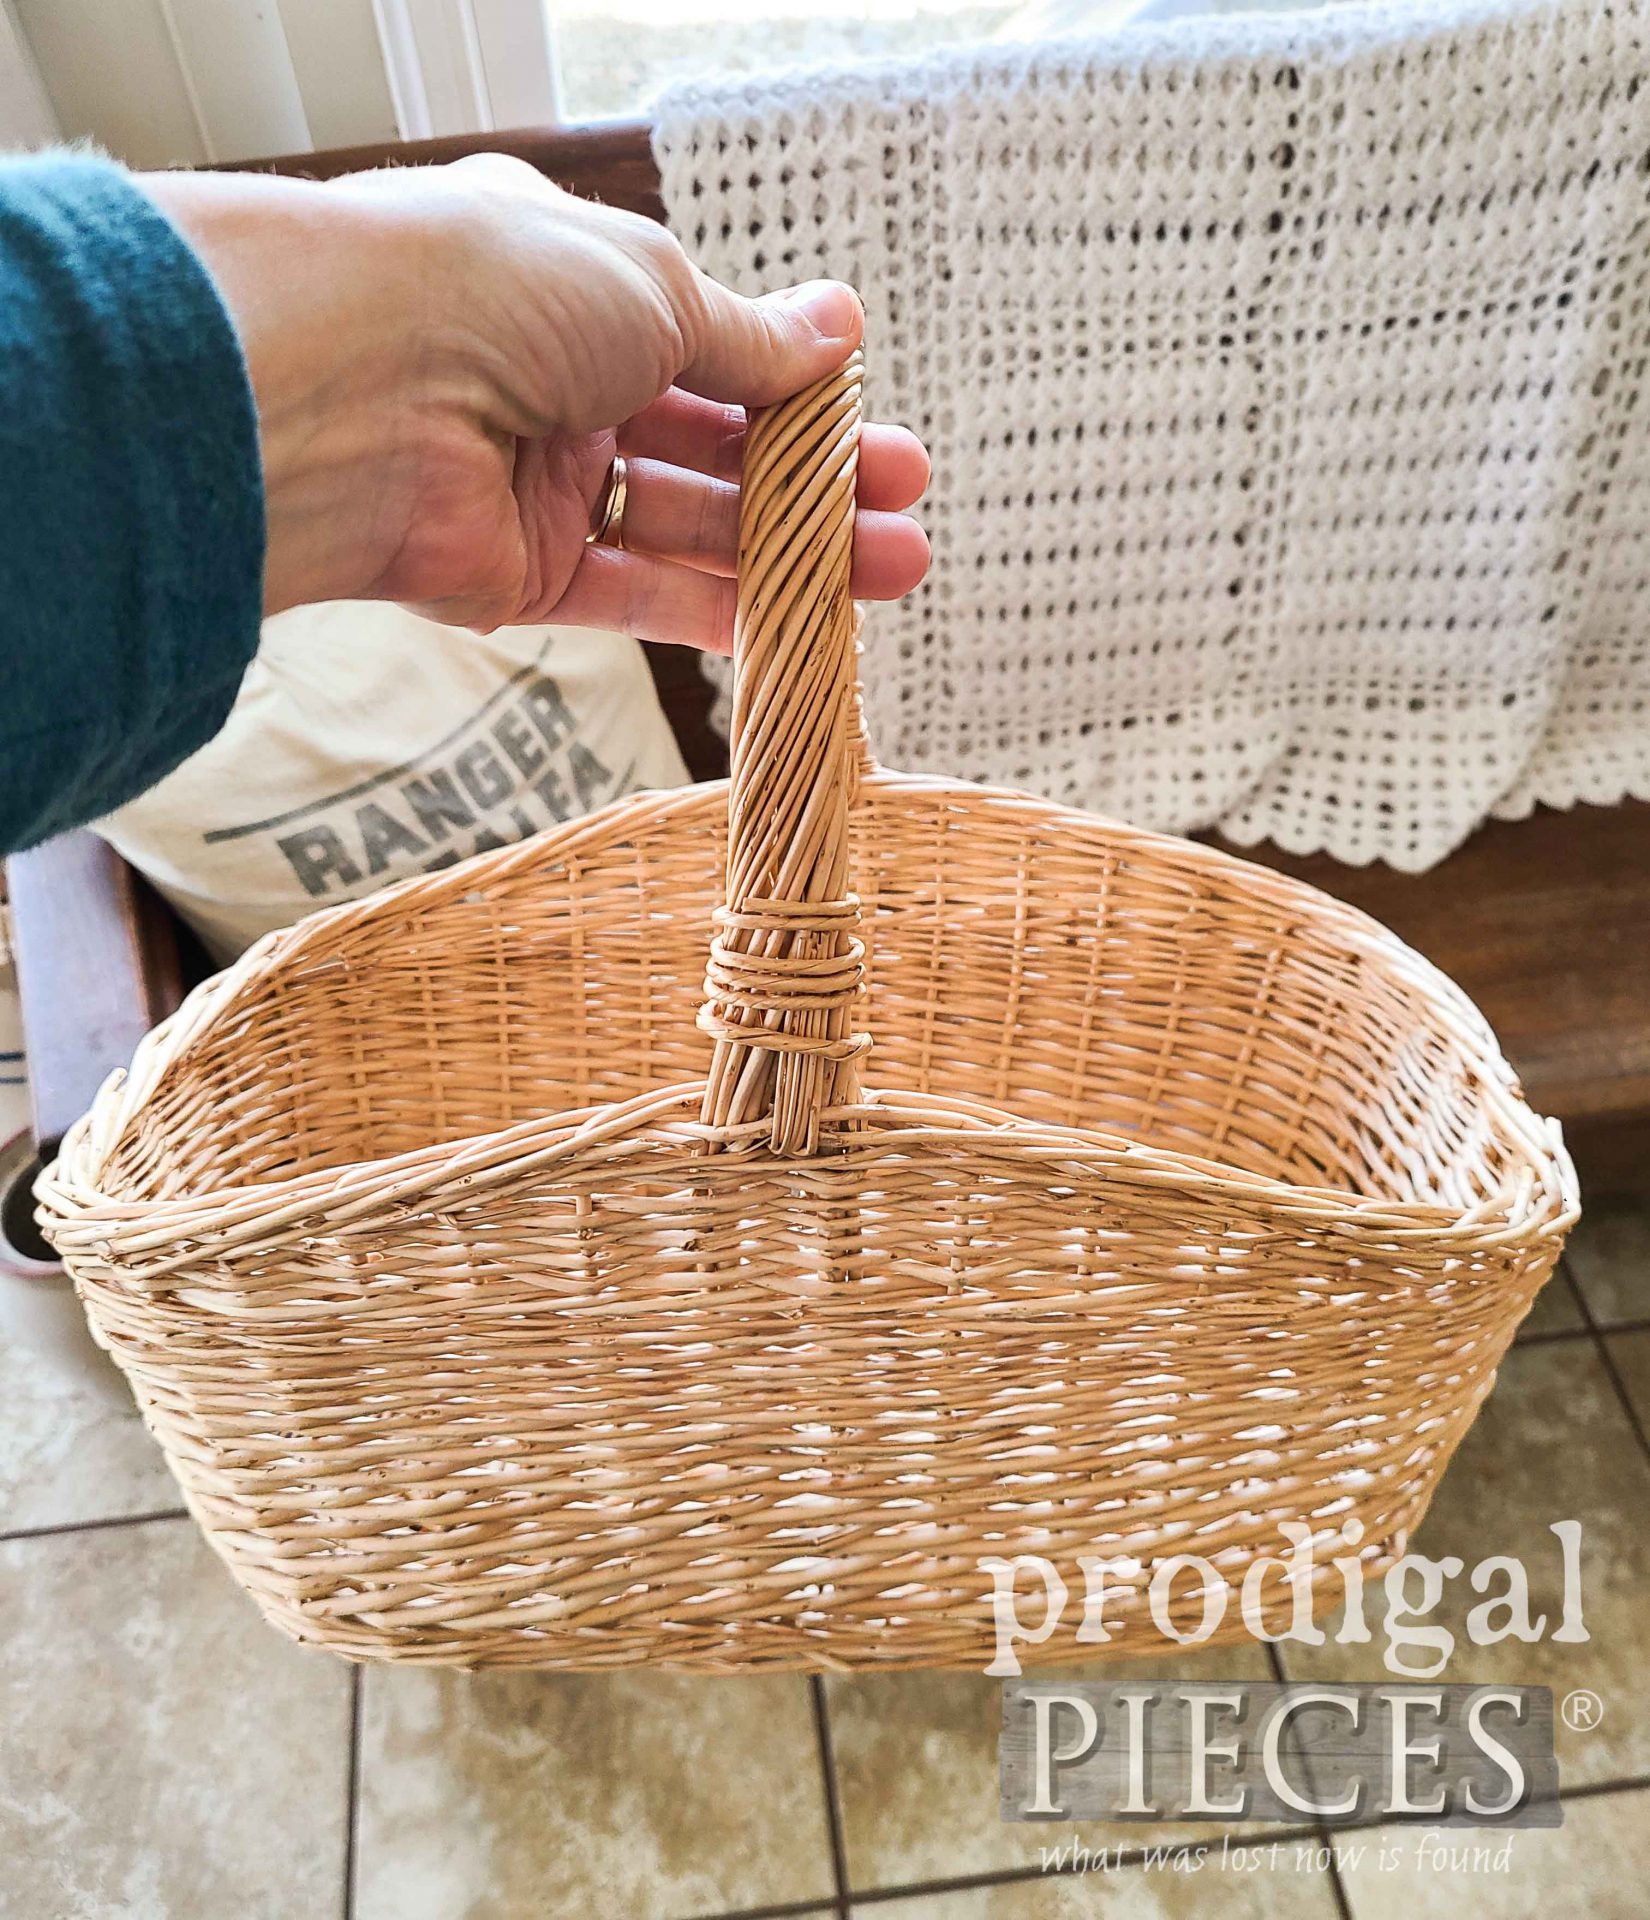
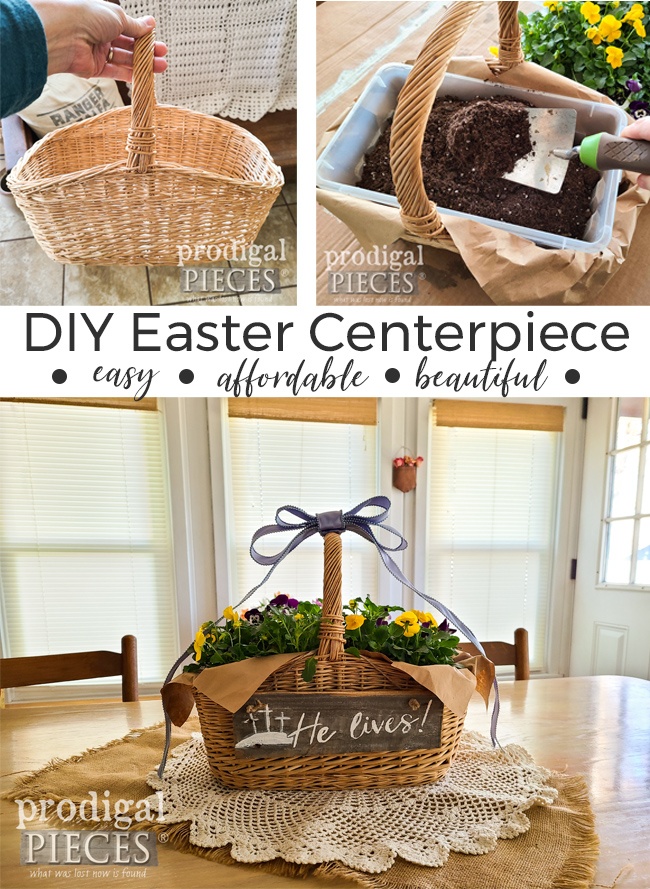
A tisket, a tasket, a little yellow basket…eep! Oh, how I am a basket case, I mean…a basket addict. Not to the point of crazy, but I certainly do find them so useful for oh, so many things. They’re perfect for gift-giving, storage, sewing/crochet/knit, you get the idea. In past days, I use this one to store older towel for cleaning. In my house, we don’t use paper towels and the like. I use rags and cloths to clean and then wash. However, with the wonderful spring holiday approaching , I want to create a DIY Easter centerpiece.
This one caught my eye because of the shape. It definitely makes me smile. Watching the change in season happen before my eyes gives my a pep in my step. How can I not get excited when I see my old friends peeking up. I was walking into my house and had to pause.
INSPIRATION
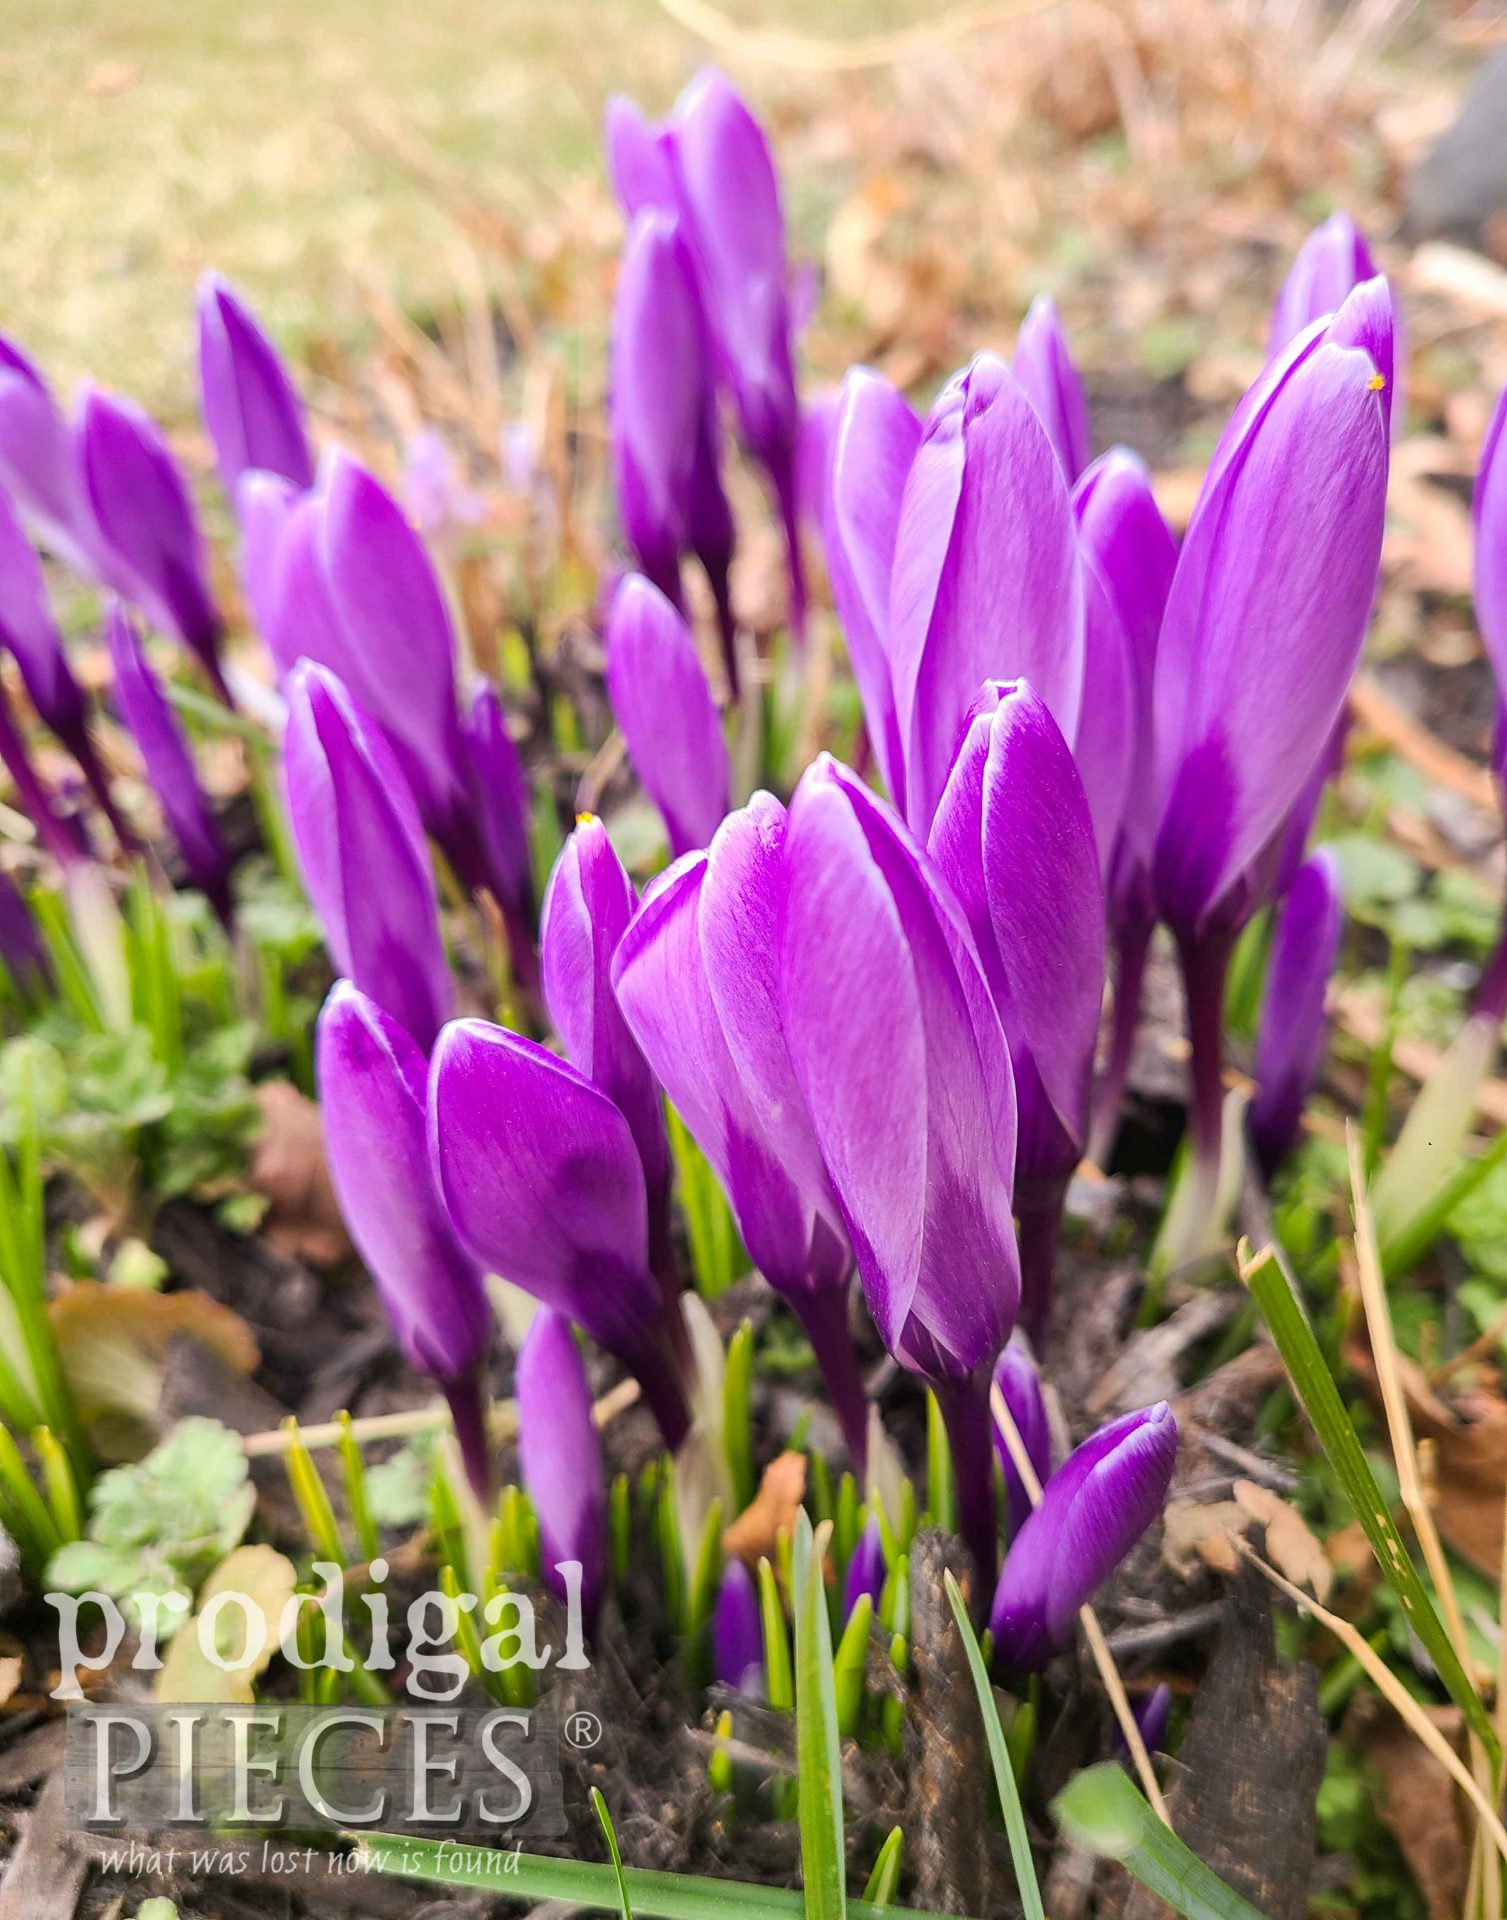
We’ve had a wonderfully sunny and warm month so far, but this day is overcast and cloudy. I noticed that my crocus were up and healthy, but closed.
It makes a bit of Scripture pop into my head,
Wait for the Lord; Be strong, and let your heart take courage; Yes, wait for the Lord. Psalm 24:17
Crocus pop up thru the snow while the winter season is hanging on. They burst open with the sun’s rays. However, when the sun isn’t shining they stay closed, reserving energy for the true Light. Oh, how we can learn to listen to our Lord and shine our brightest as He directs our path. If you’re in a cloudy day…hold onto Him!
Later that day…the sun peeks out and then I notice this…
DIY TIME
Seeing these crocus inspire me to bring some blooms in for the DIY Easter centerpiece I aim to create. And, in case you want to make one too, I’ll outline the steps. In addition, I’ve created in previous basket makeover posts, a rolling laundry basket, an insulated picnic basket, and a sewing basket.
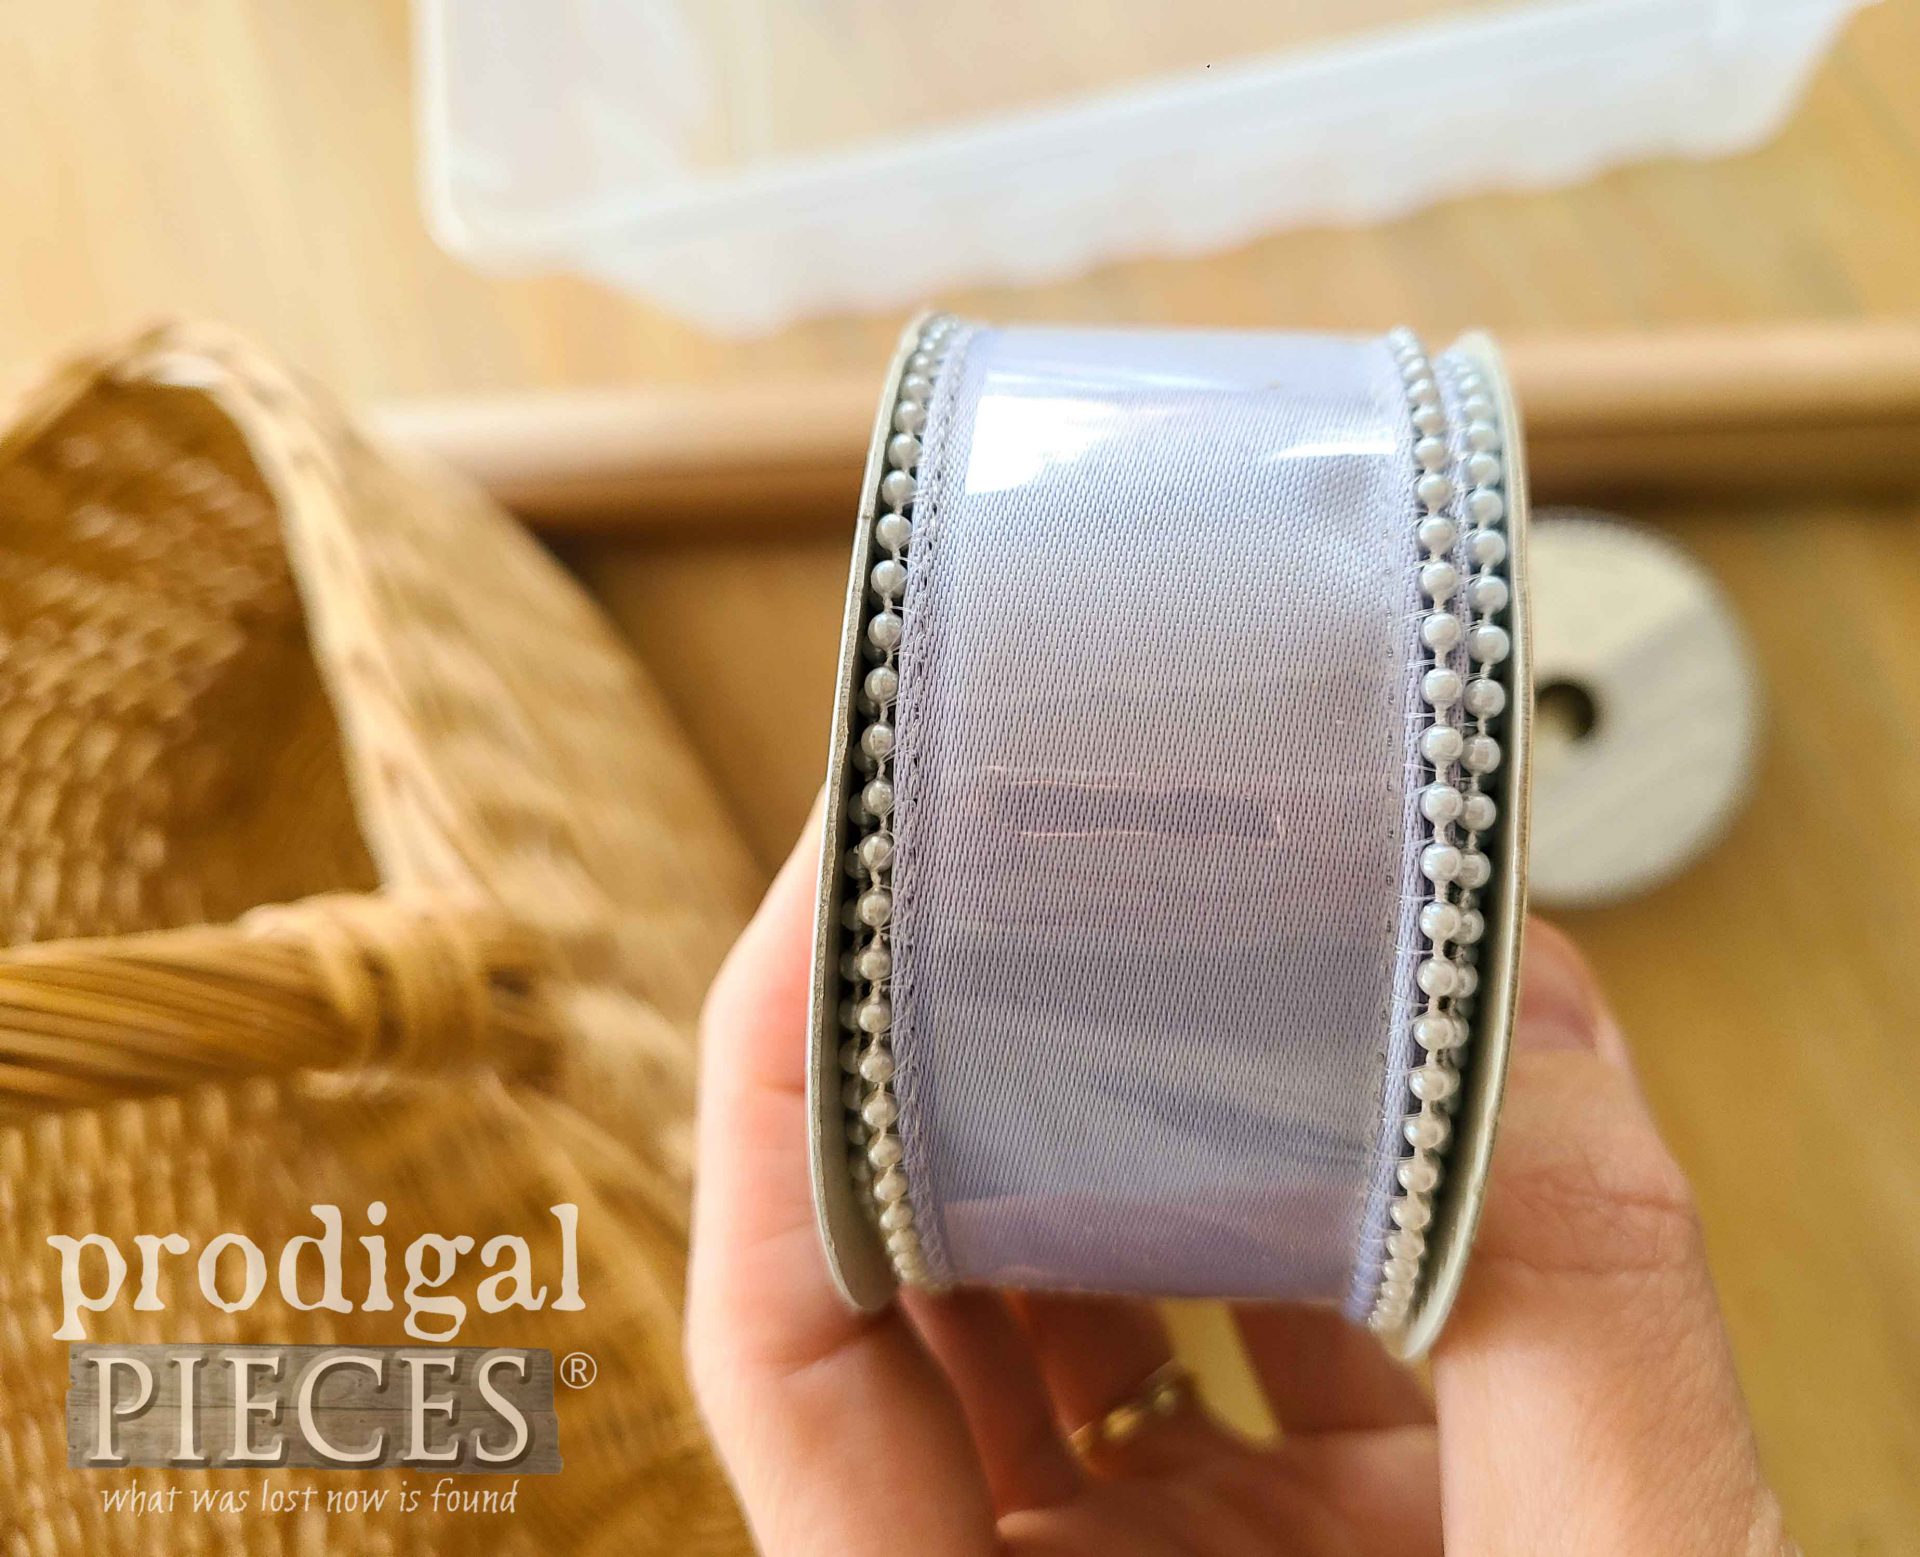
First, I find a few supplies to help me start. I have a plastic tub to line my basket, brown paper, and ribbon.
This ribbon is part of a gift from a sweet reader, Deb. She sent me two huge boxes of fabric, notions, and goodies like this. Isn’t it a beautiful color?
NEXT STEPS
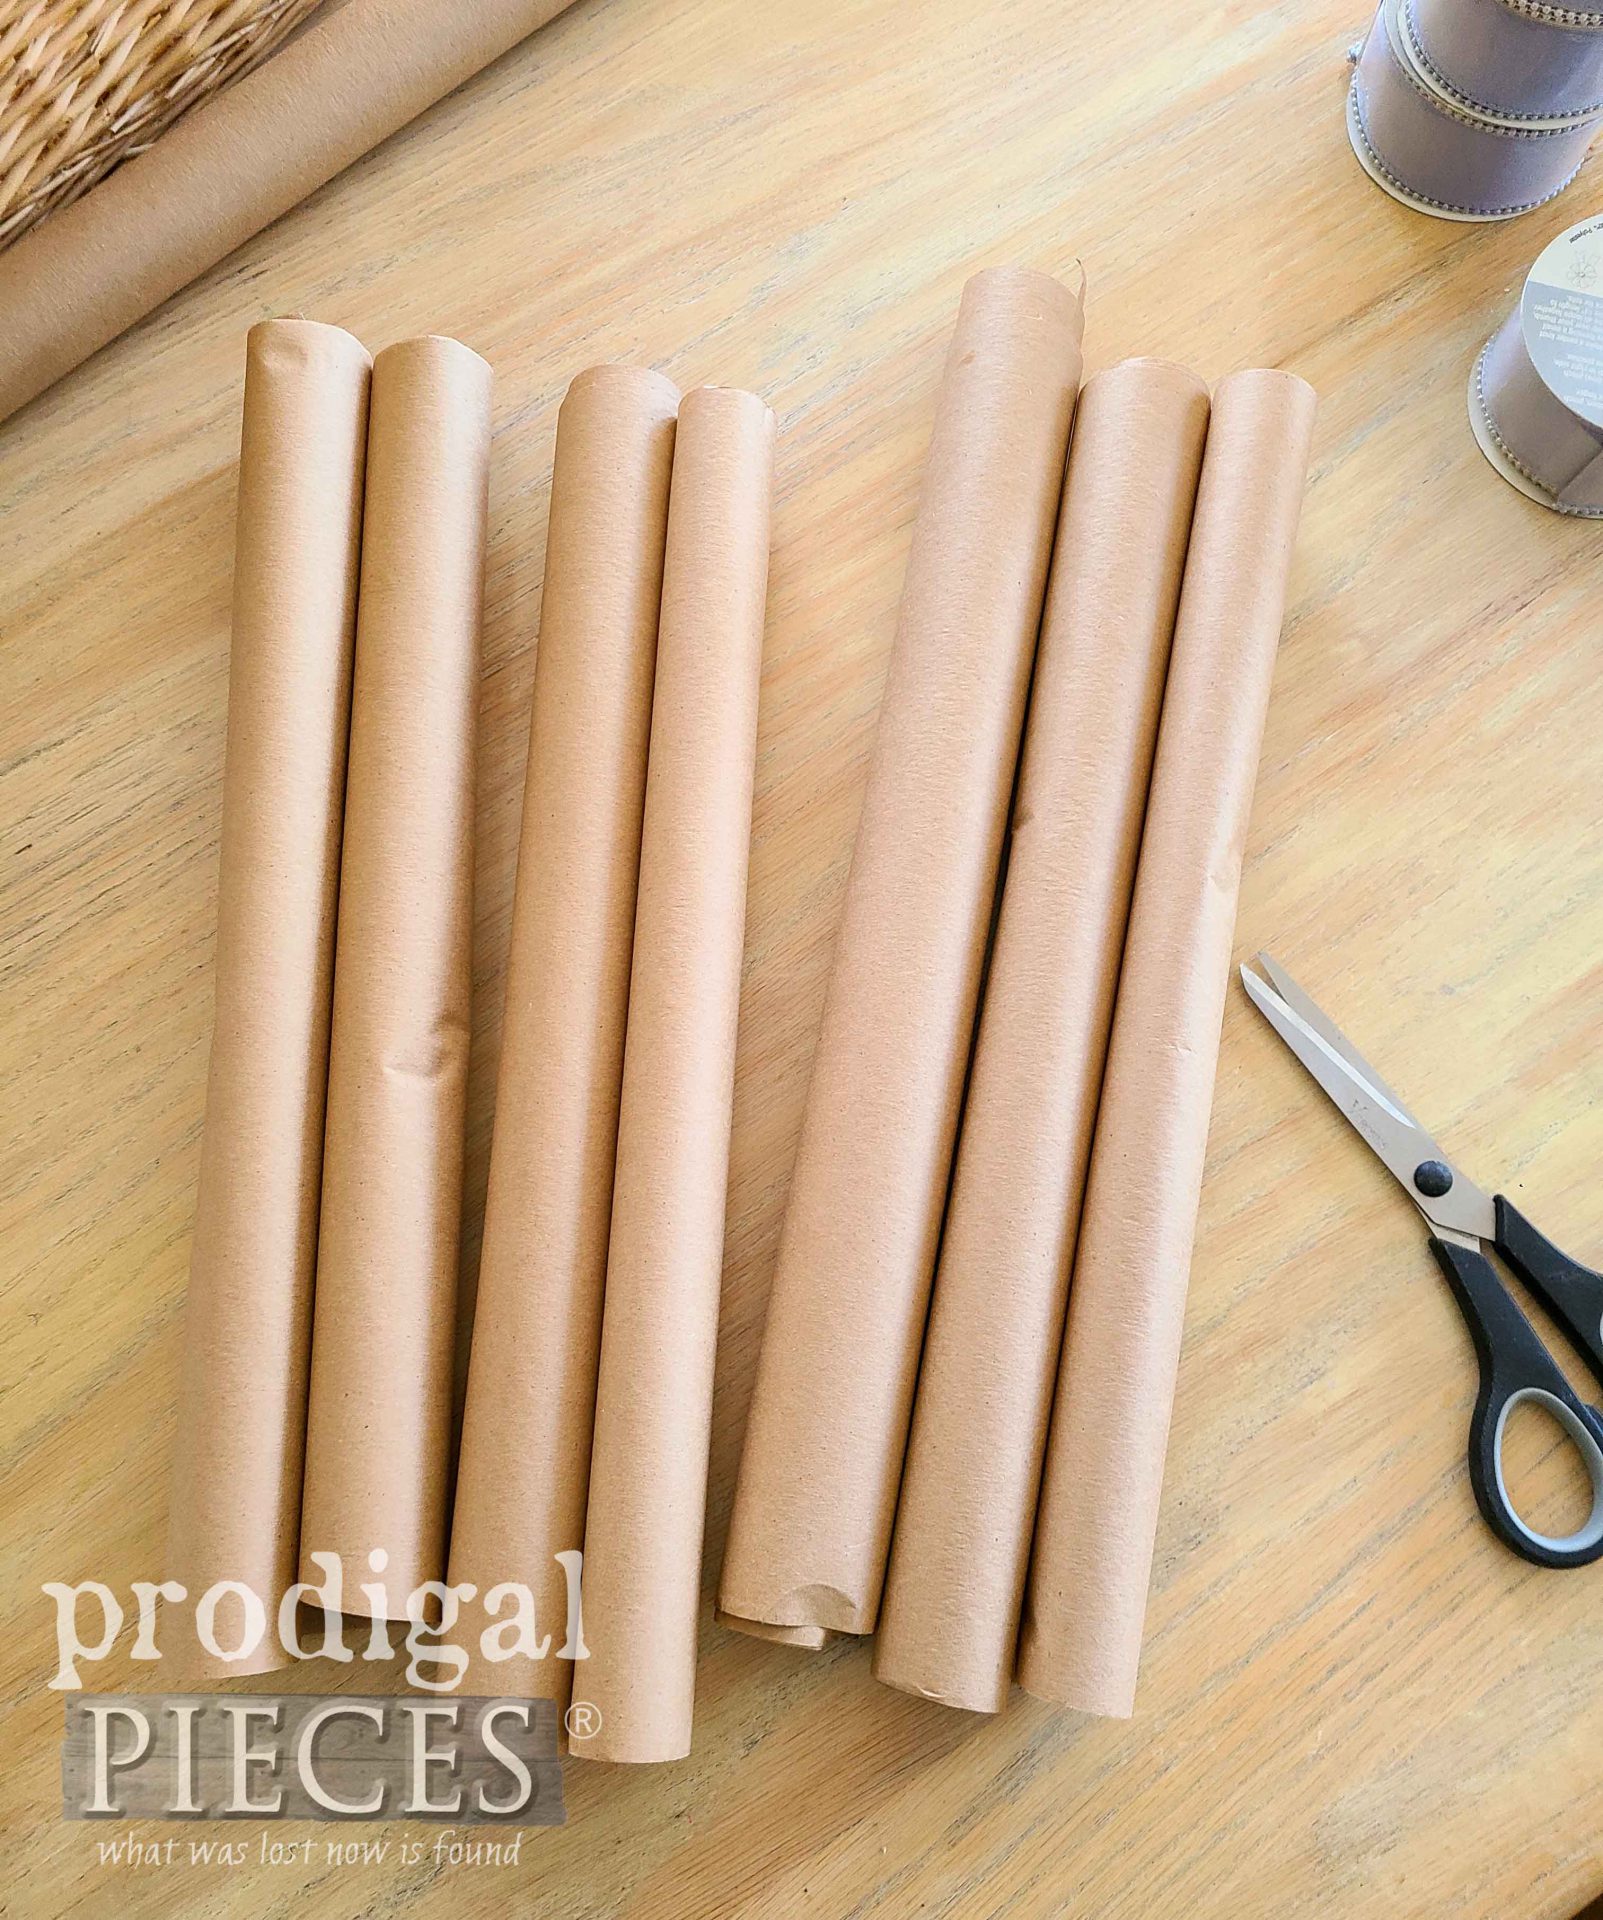
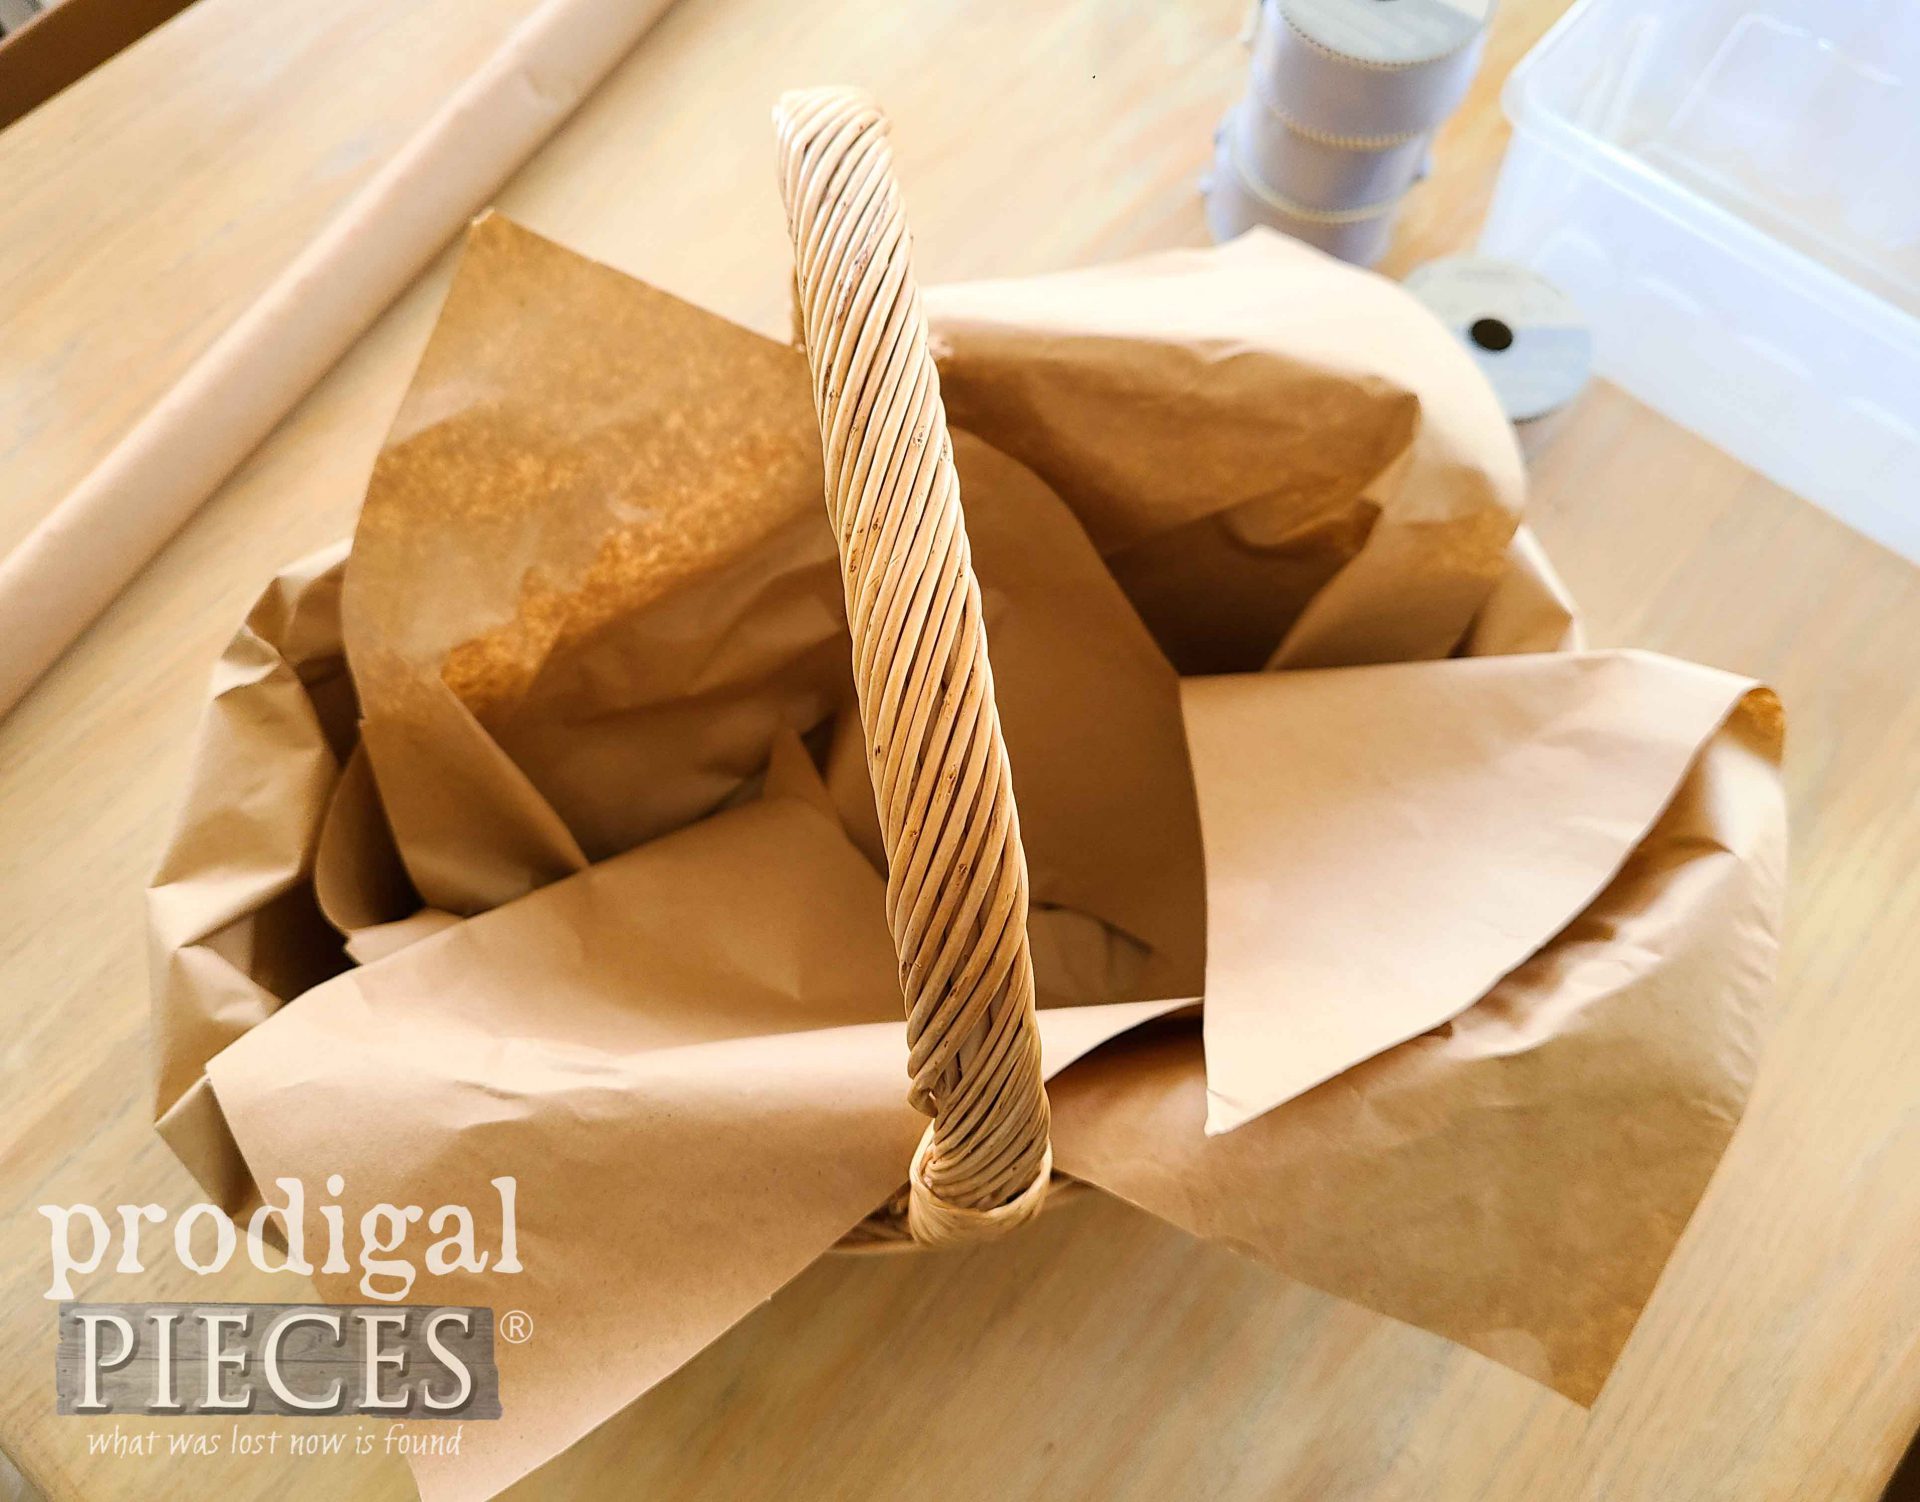
My vision is a basket of flowers that looks like it came from a fresh market stand. Next, I cut 4 pieces of brown paper. They don’t look usable this way all rolling up.
To remedy that, I iron them out. Much better, don’t you think? If you want to iron paper, just use a lower setting, no steam, and viola!
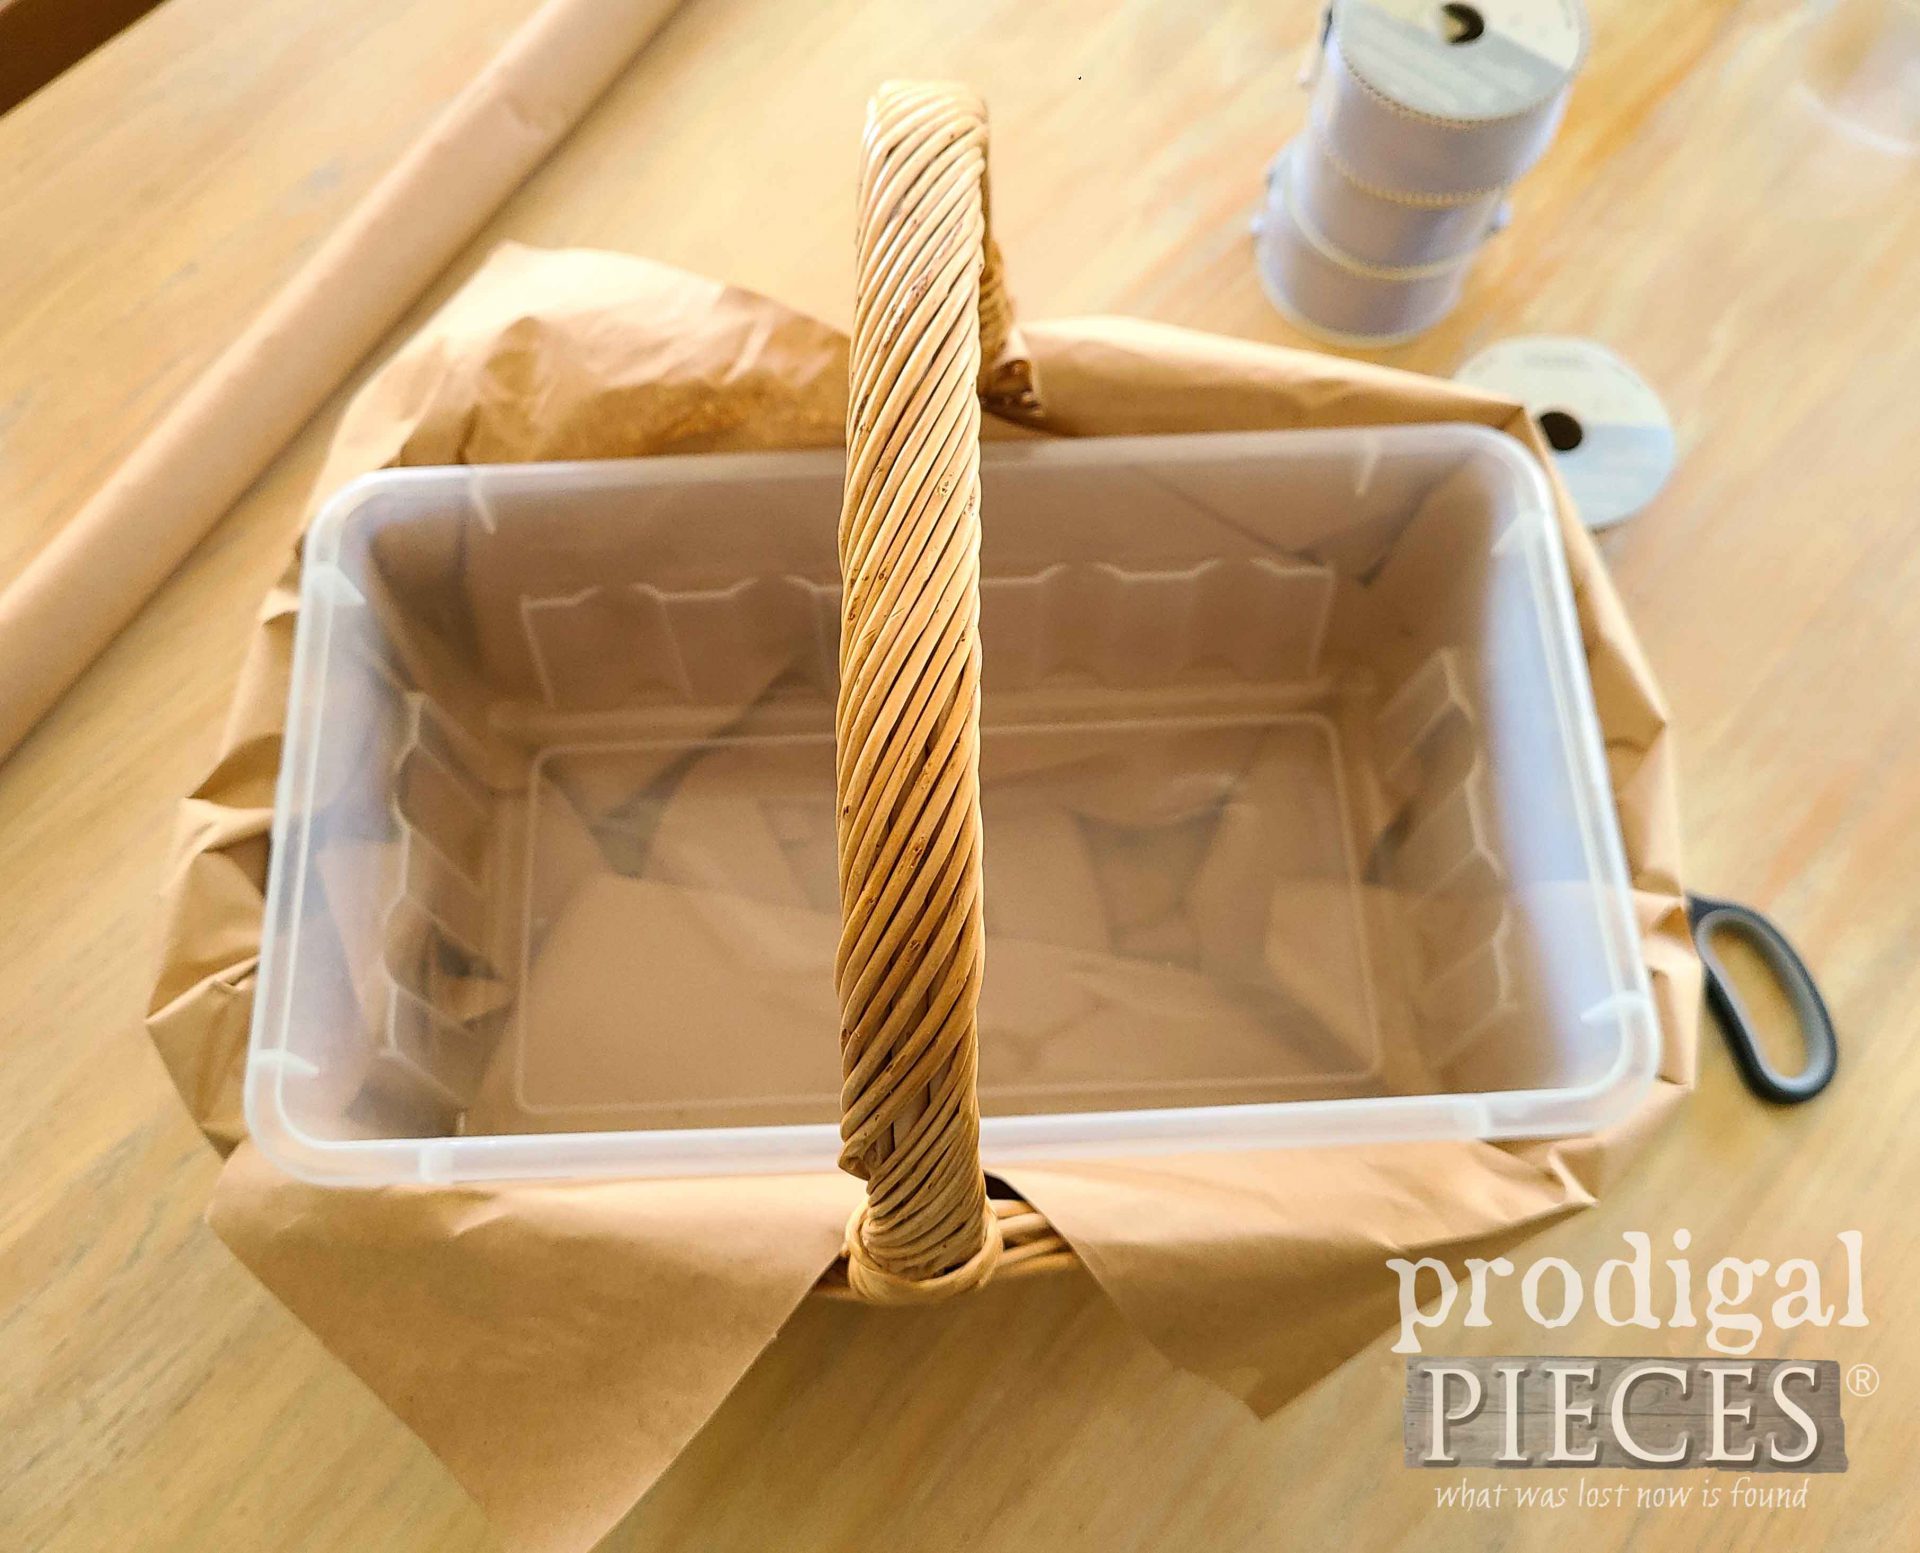
Then, I line my basket with them making sure each corner is hanging over the edges so they’ll be visible on the outside.
After that, I place my container inside.
You can seriously do the same with any basket, or crock, or any kind of dish or container you want. You can see how I line them in a different way in this video below.
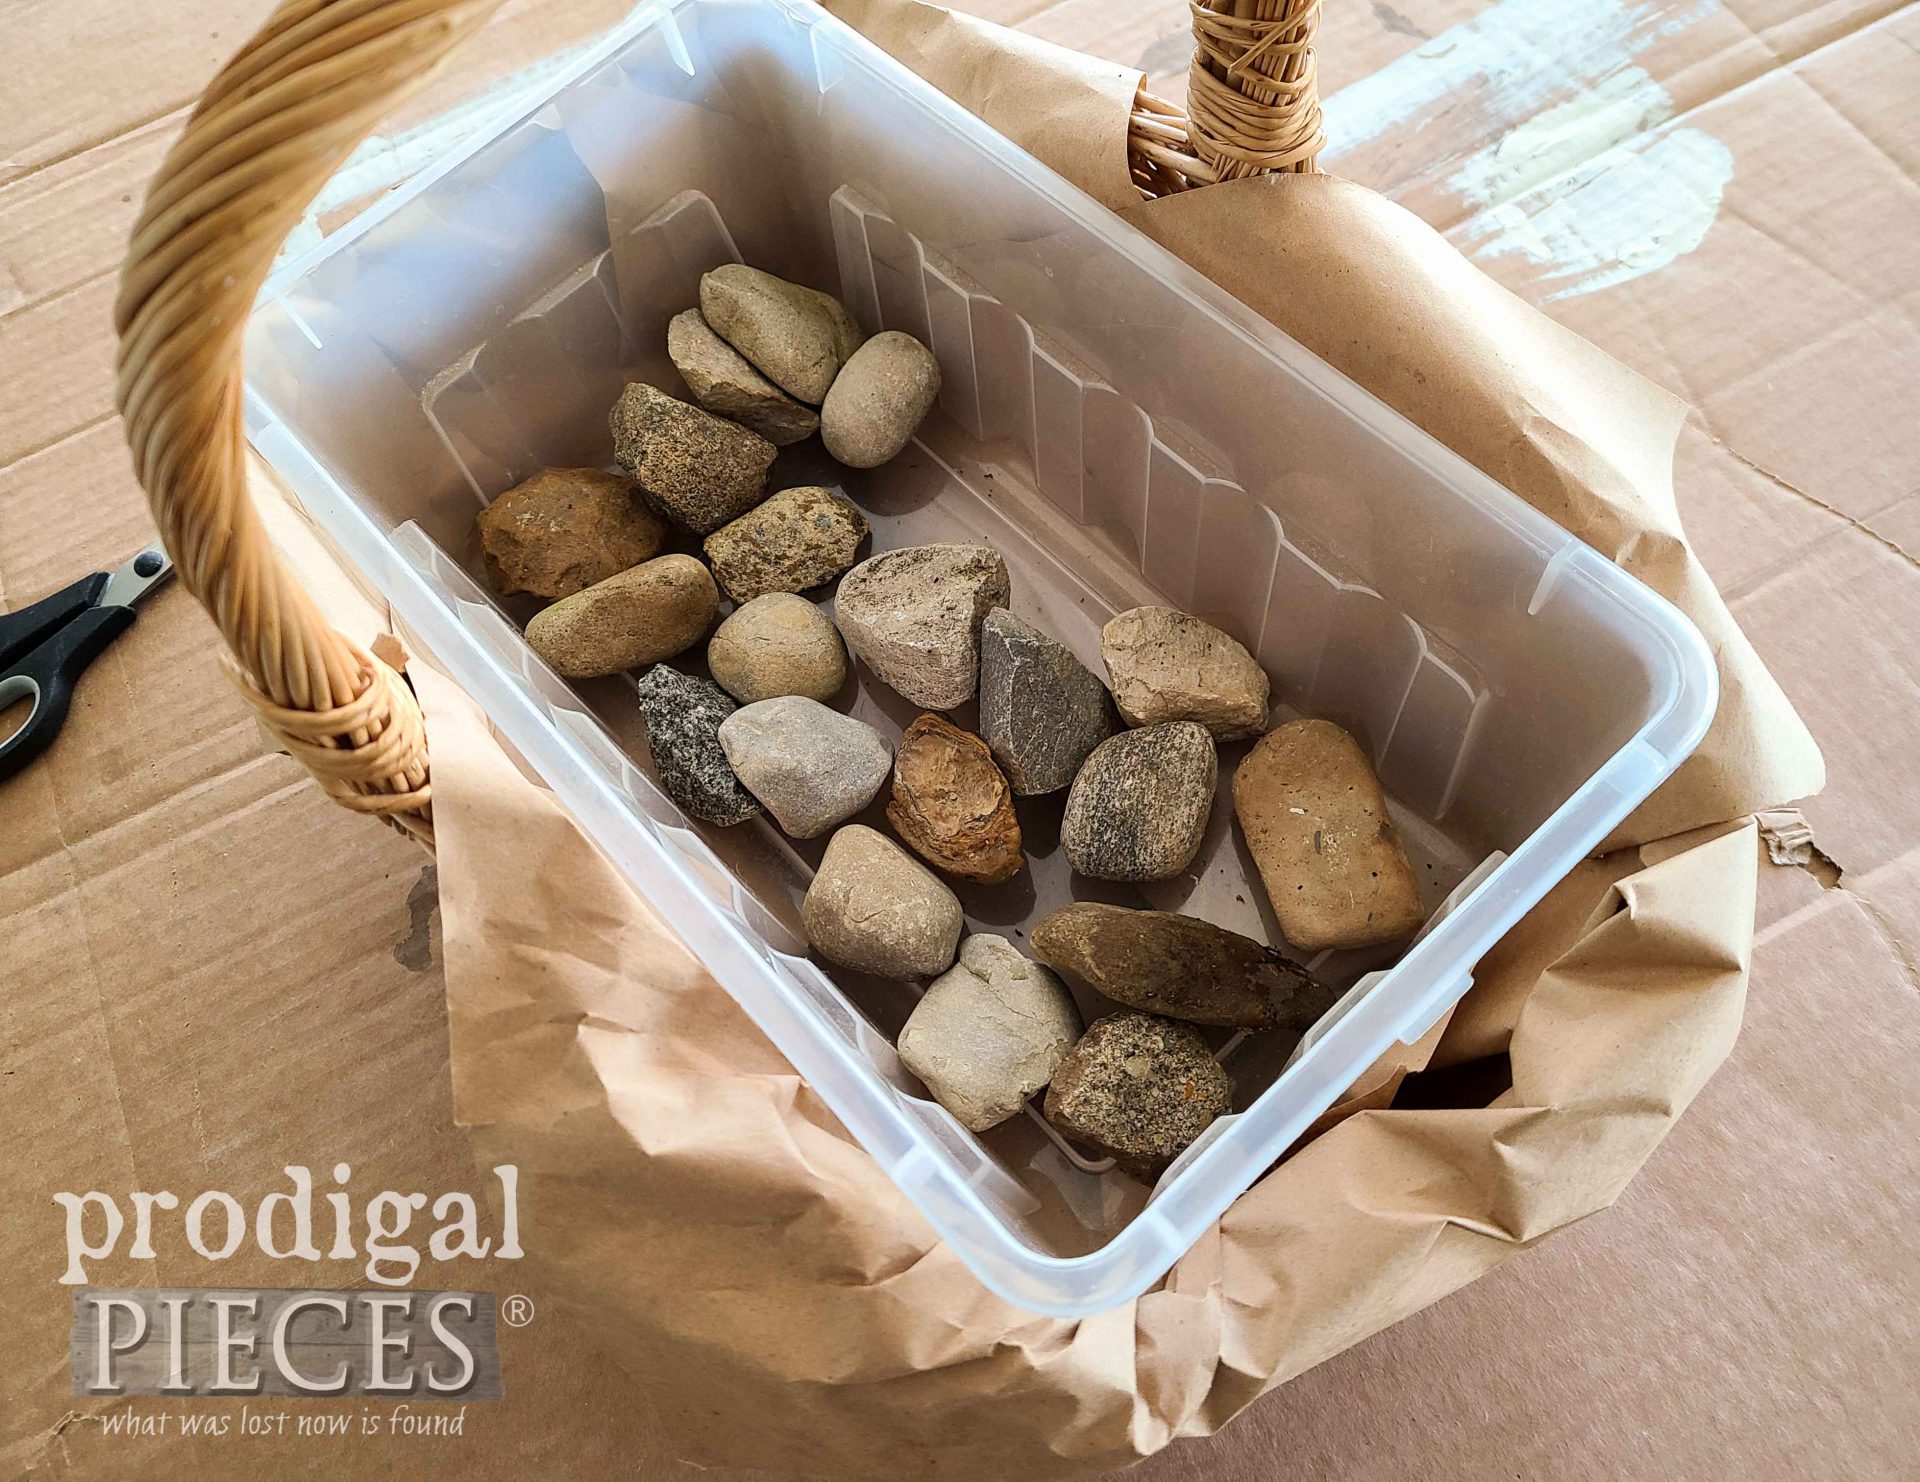
Also, I place a few rocks in the bottom to promote drainage for my centerpiece.
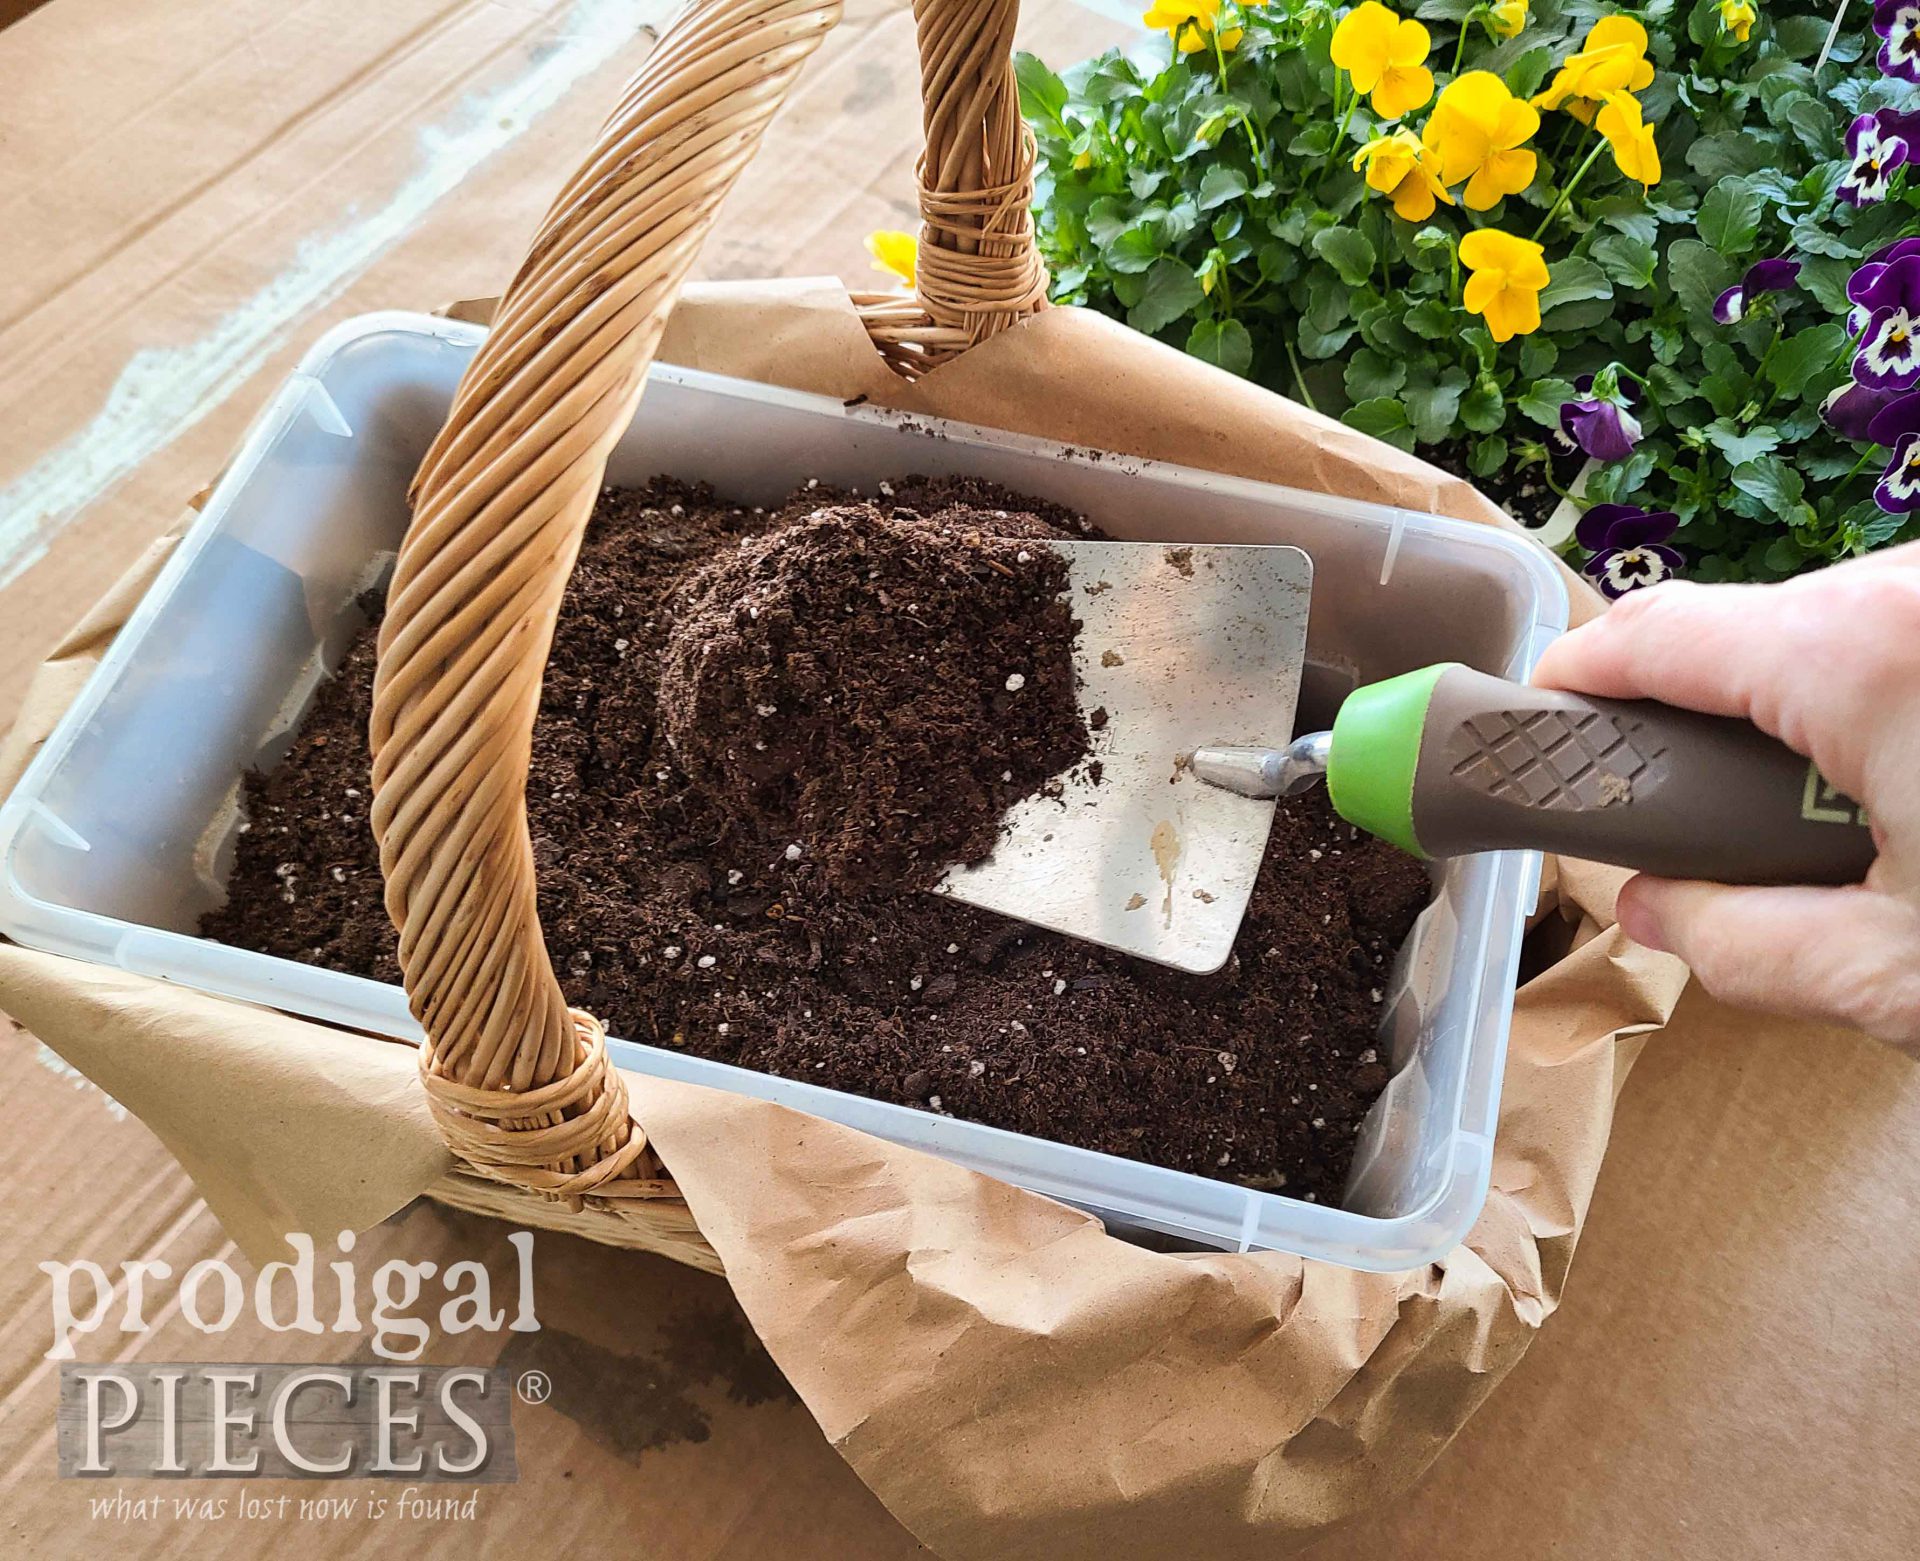
Next, I fill with potting soil and leave enough space to add my blooms. eep! It’s getting exciting!
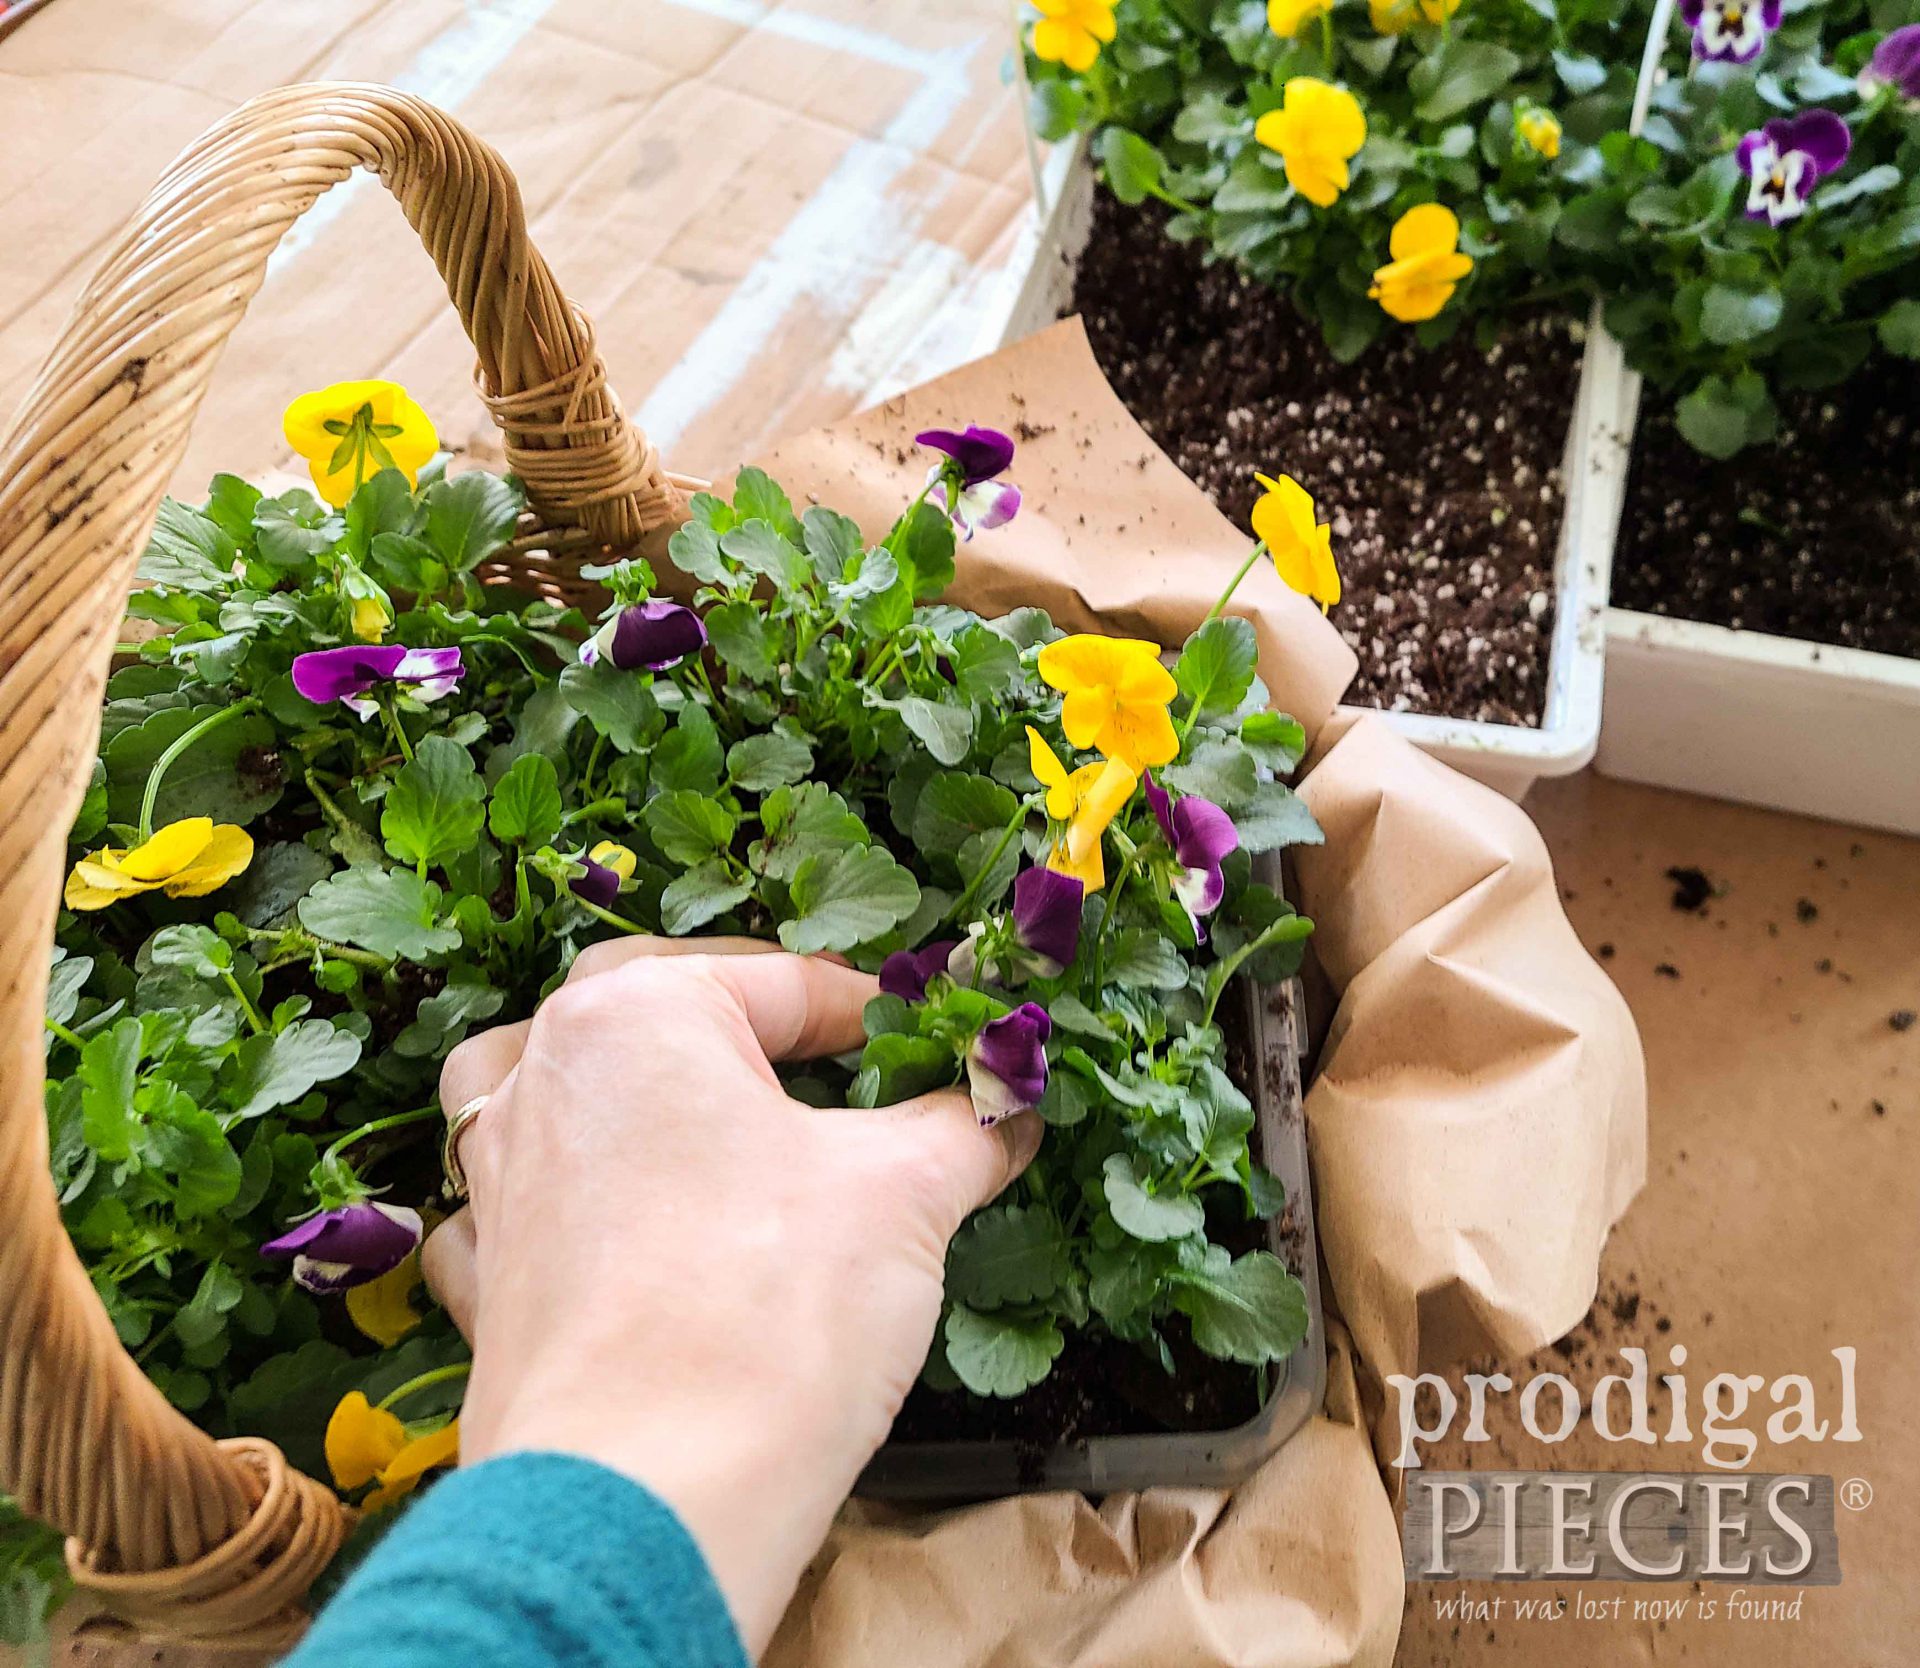
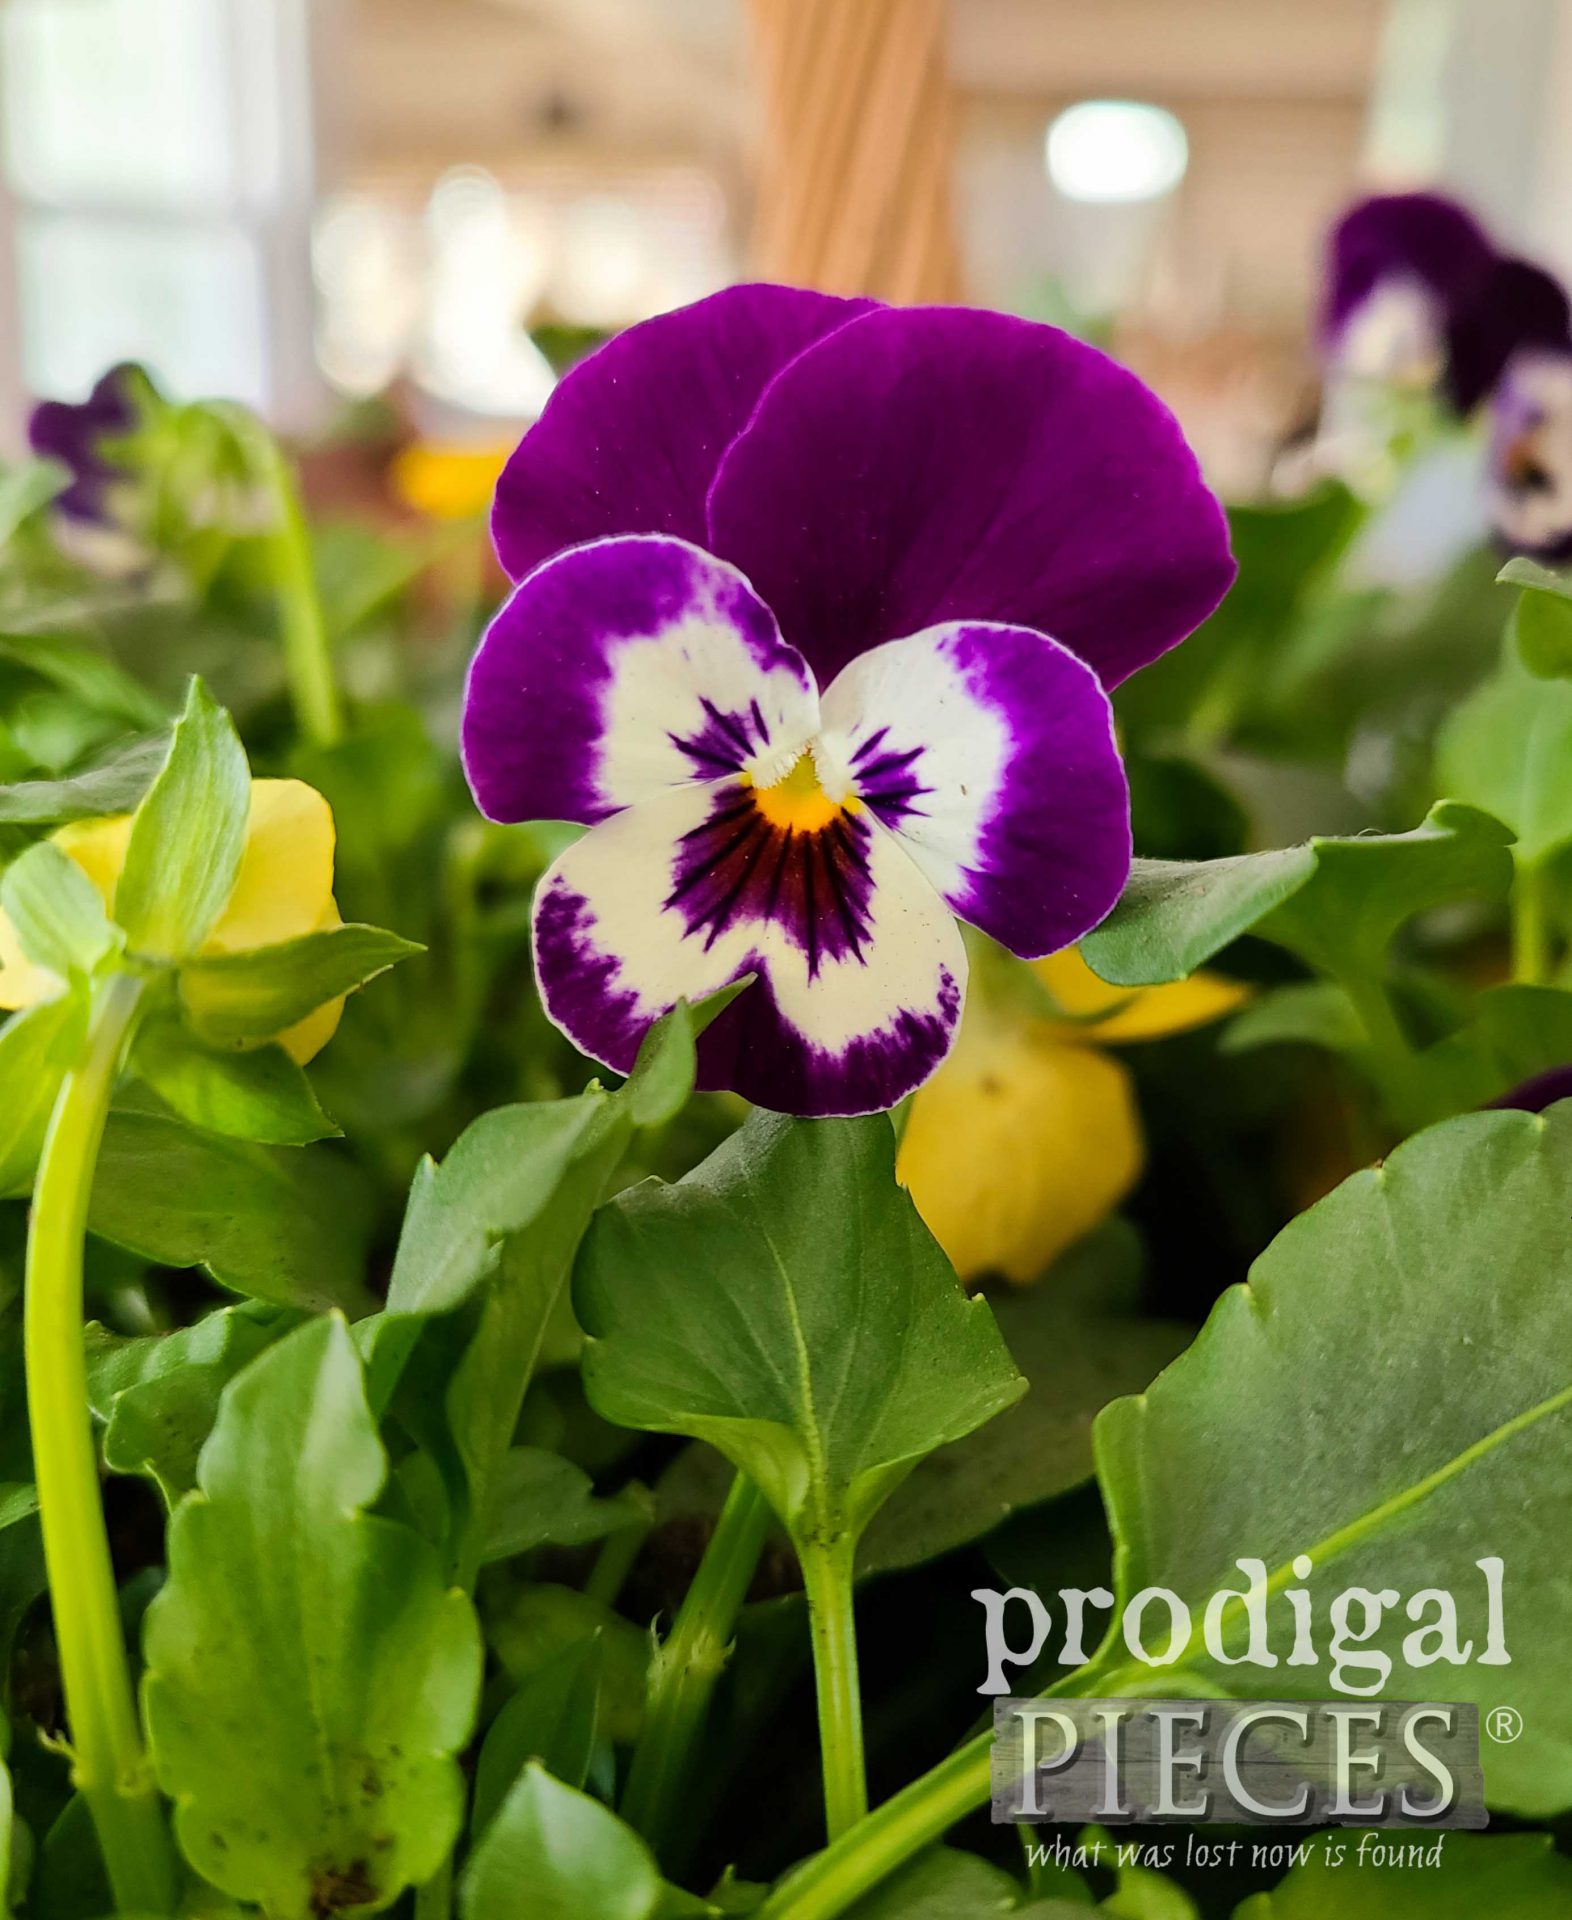
Last, but not least…flower time! Around my area, we are hard-put to find flowers. Zone 5 means long winters and loads of frost. So, you can imagine my utter joy when I found these violas in the store the other day.
CELEBRATION TIME
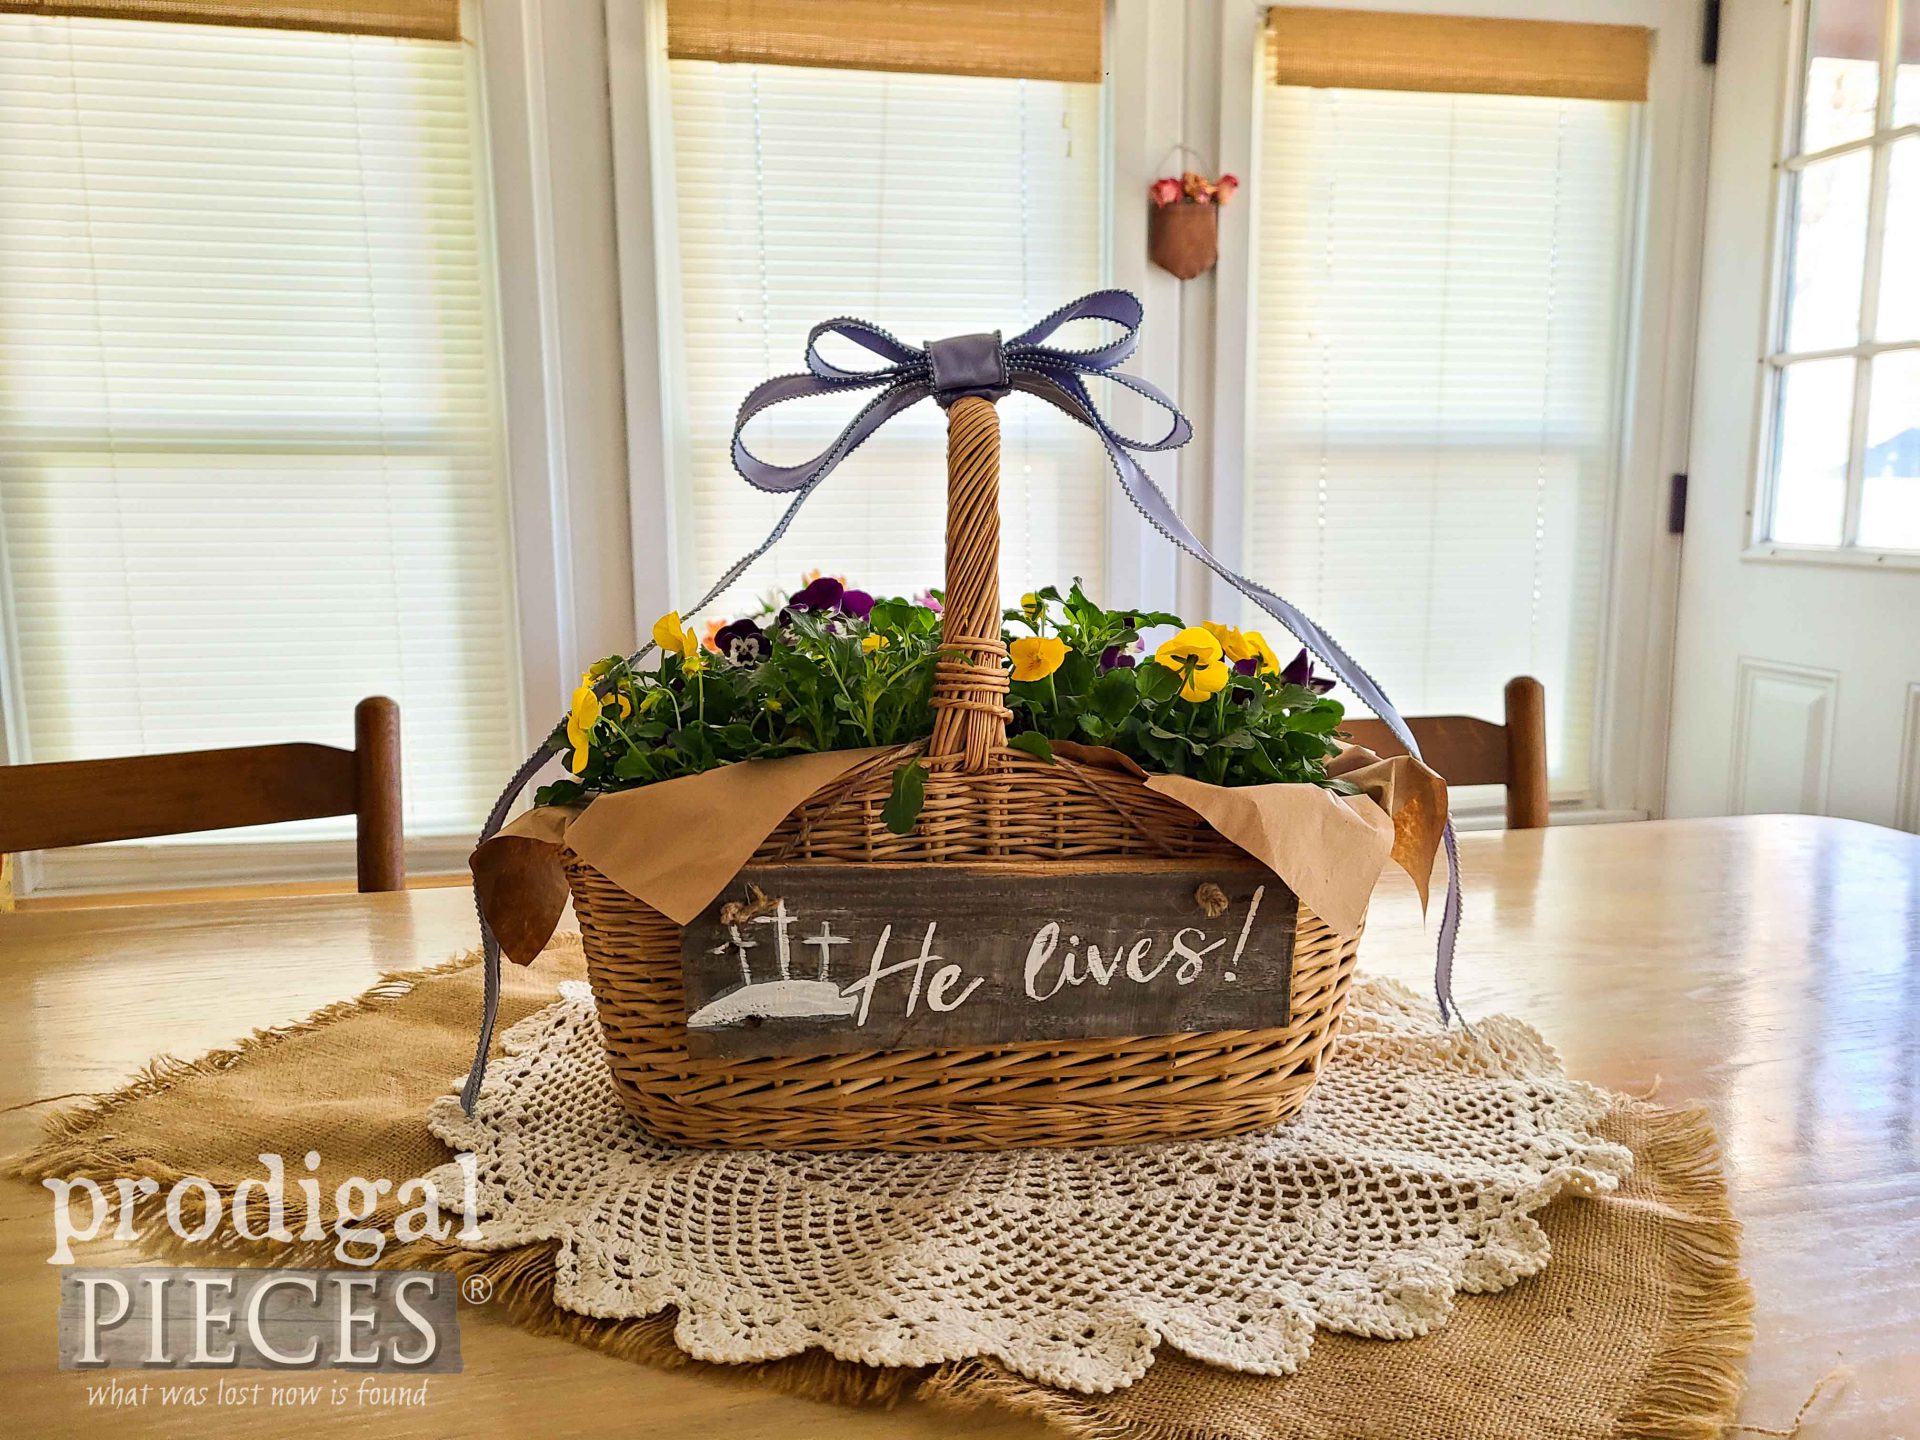
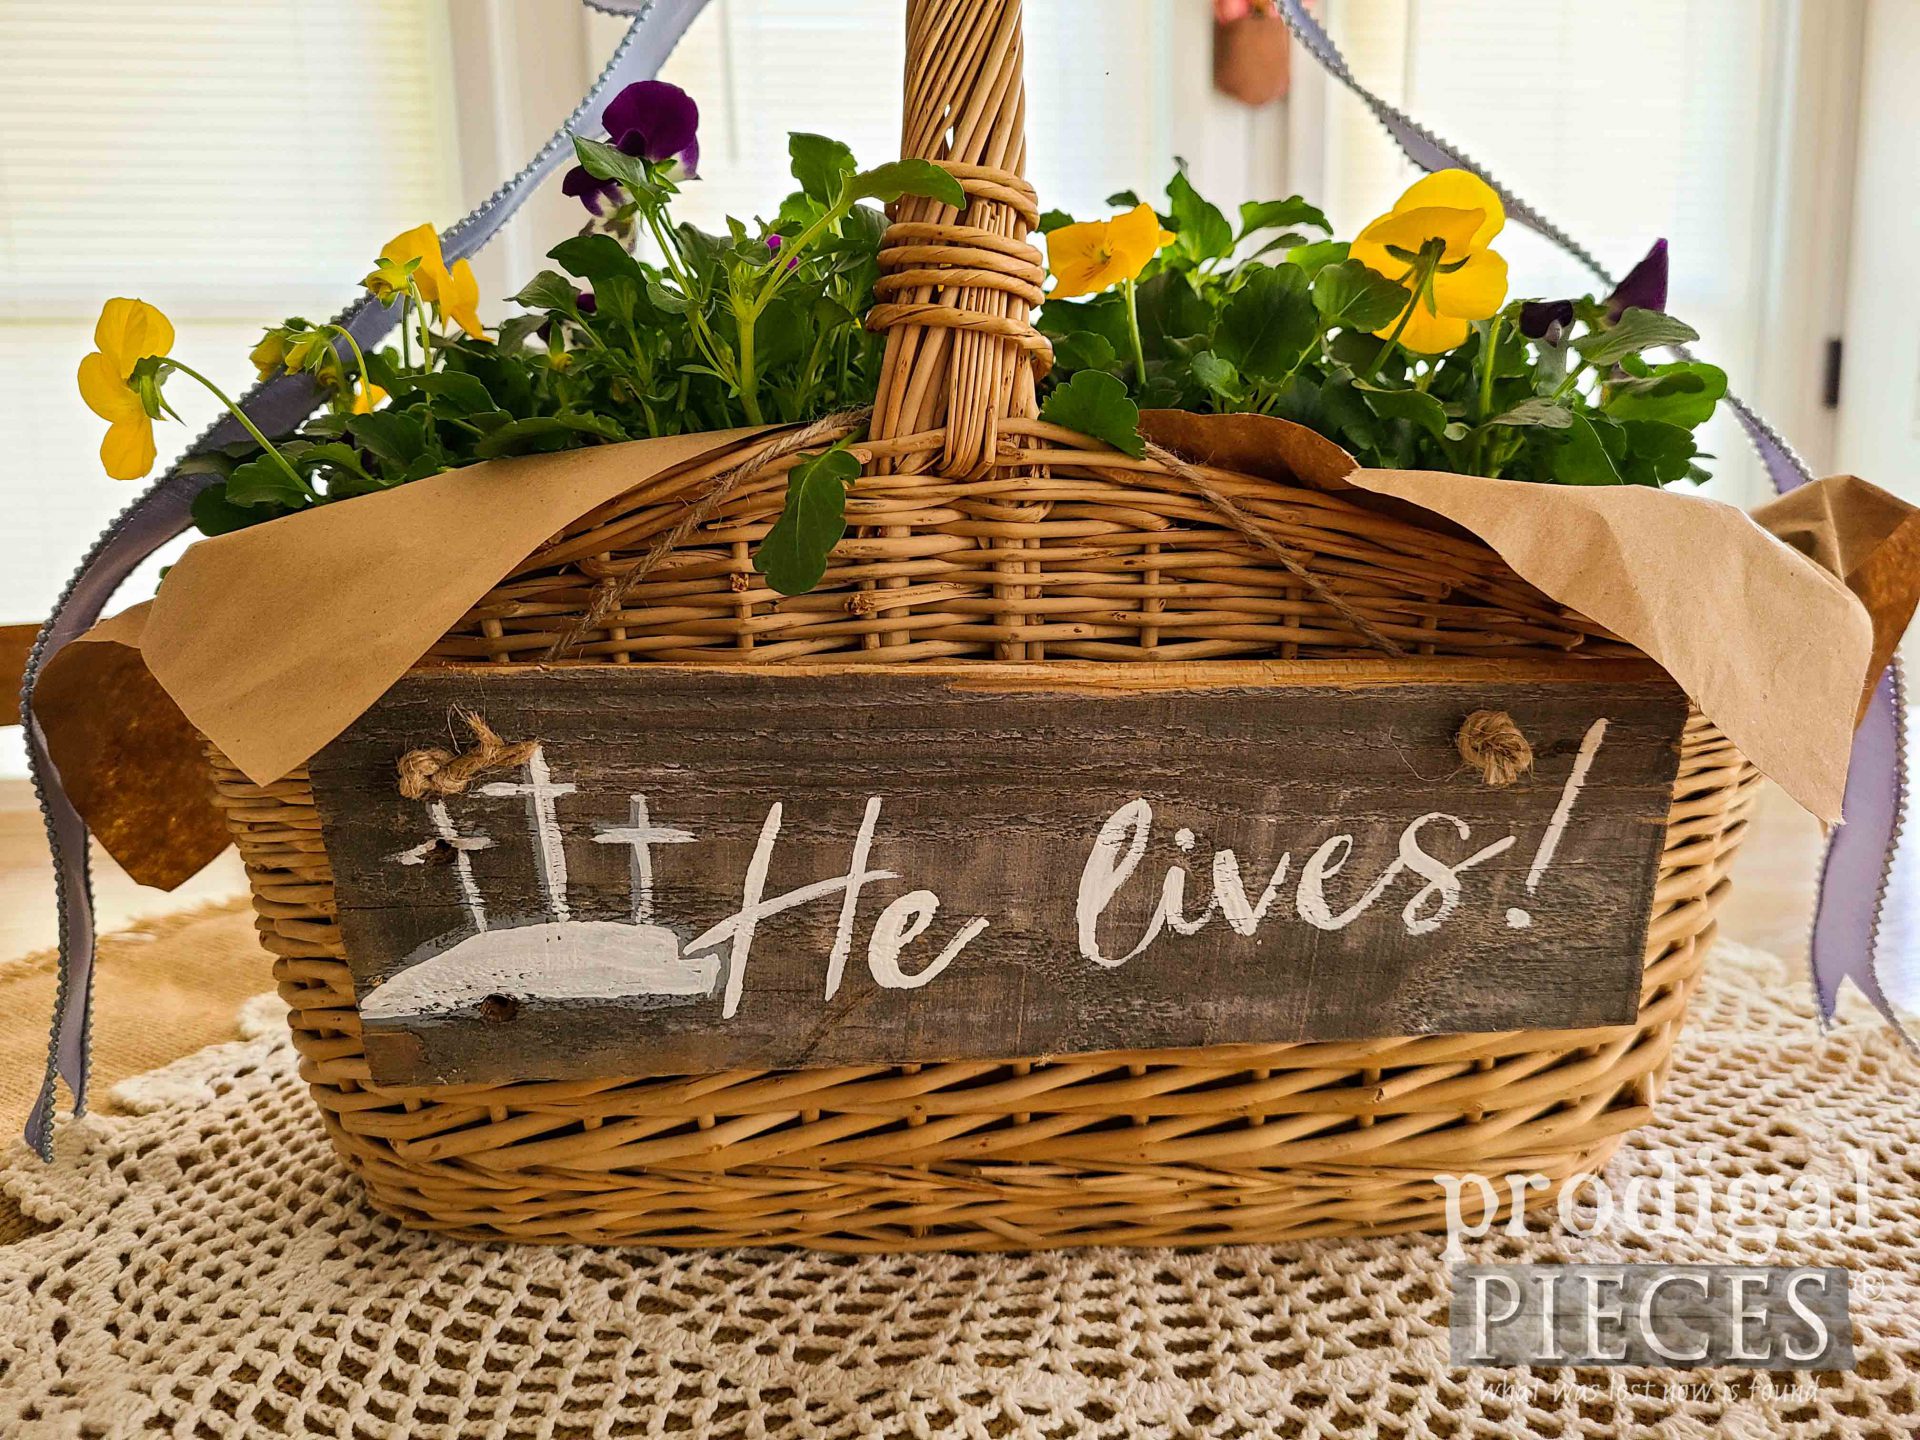
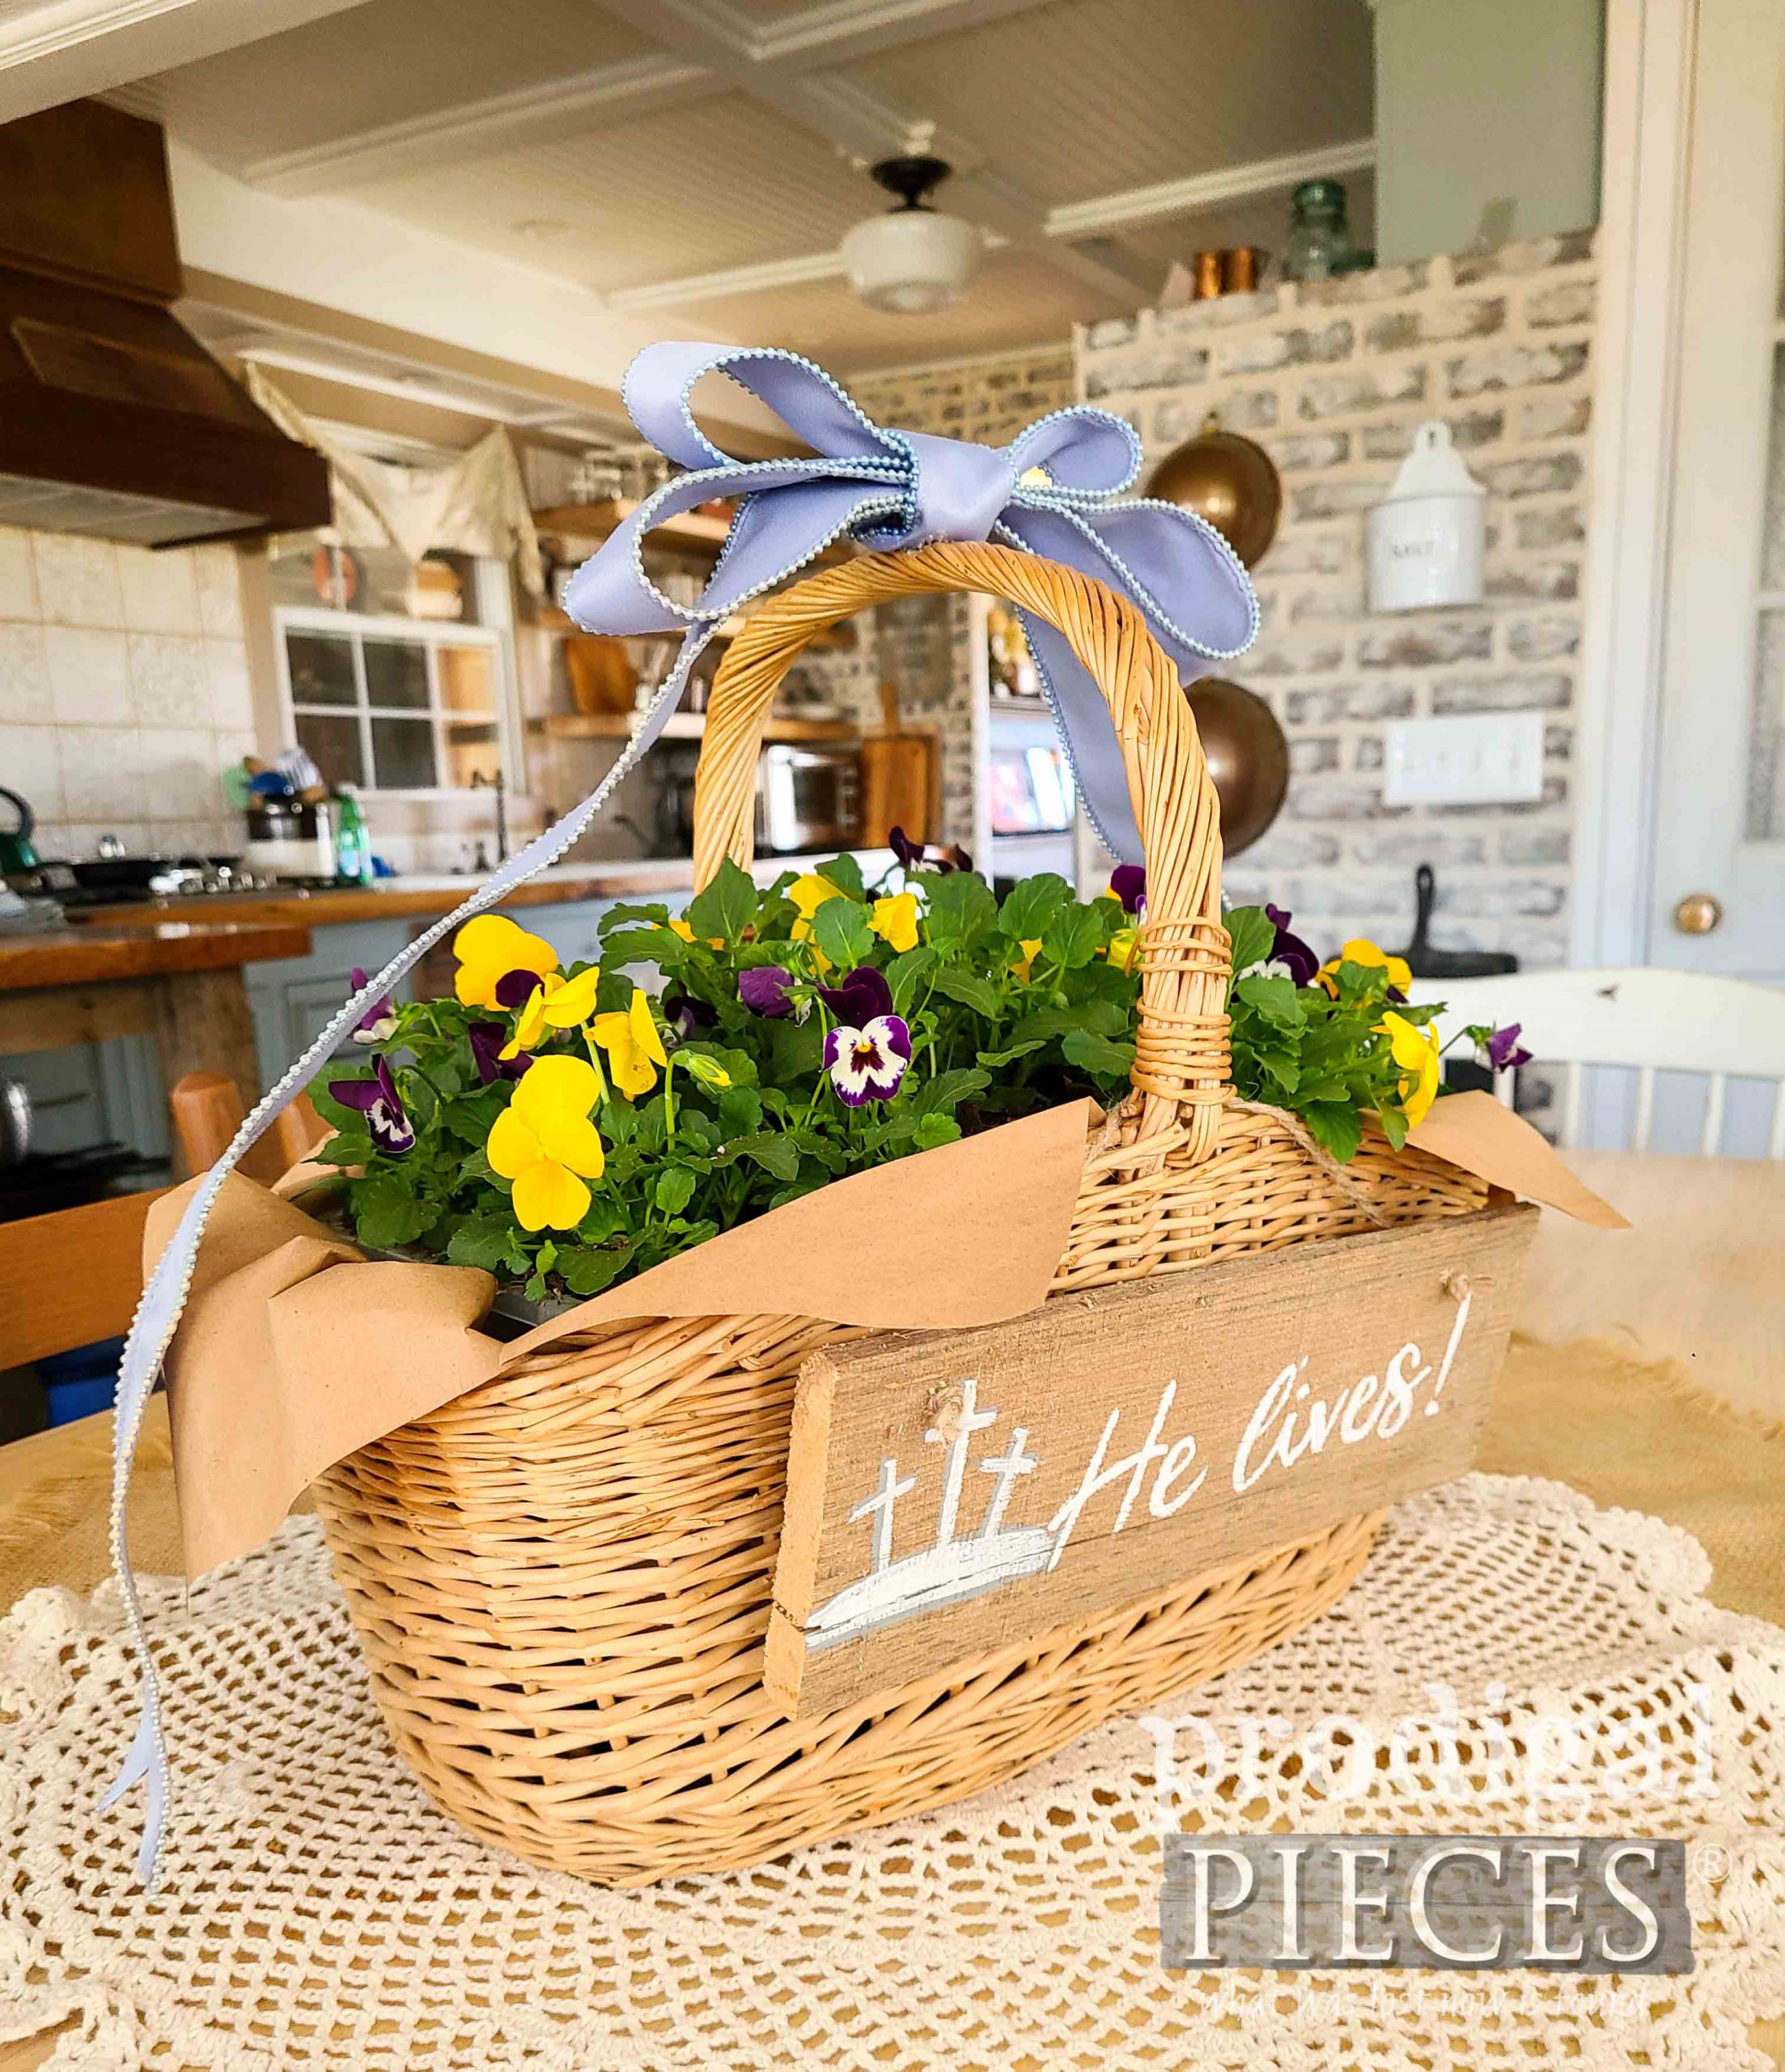
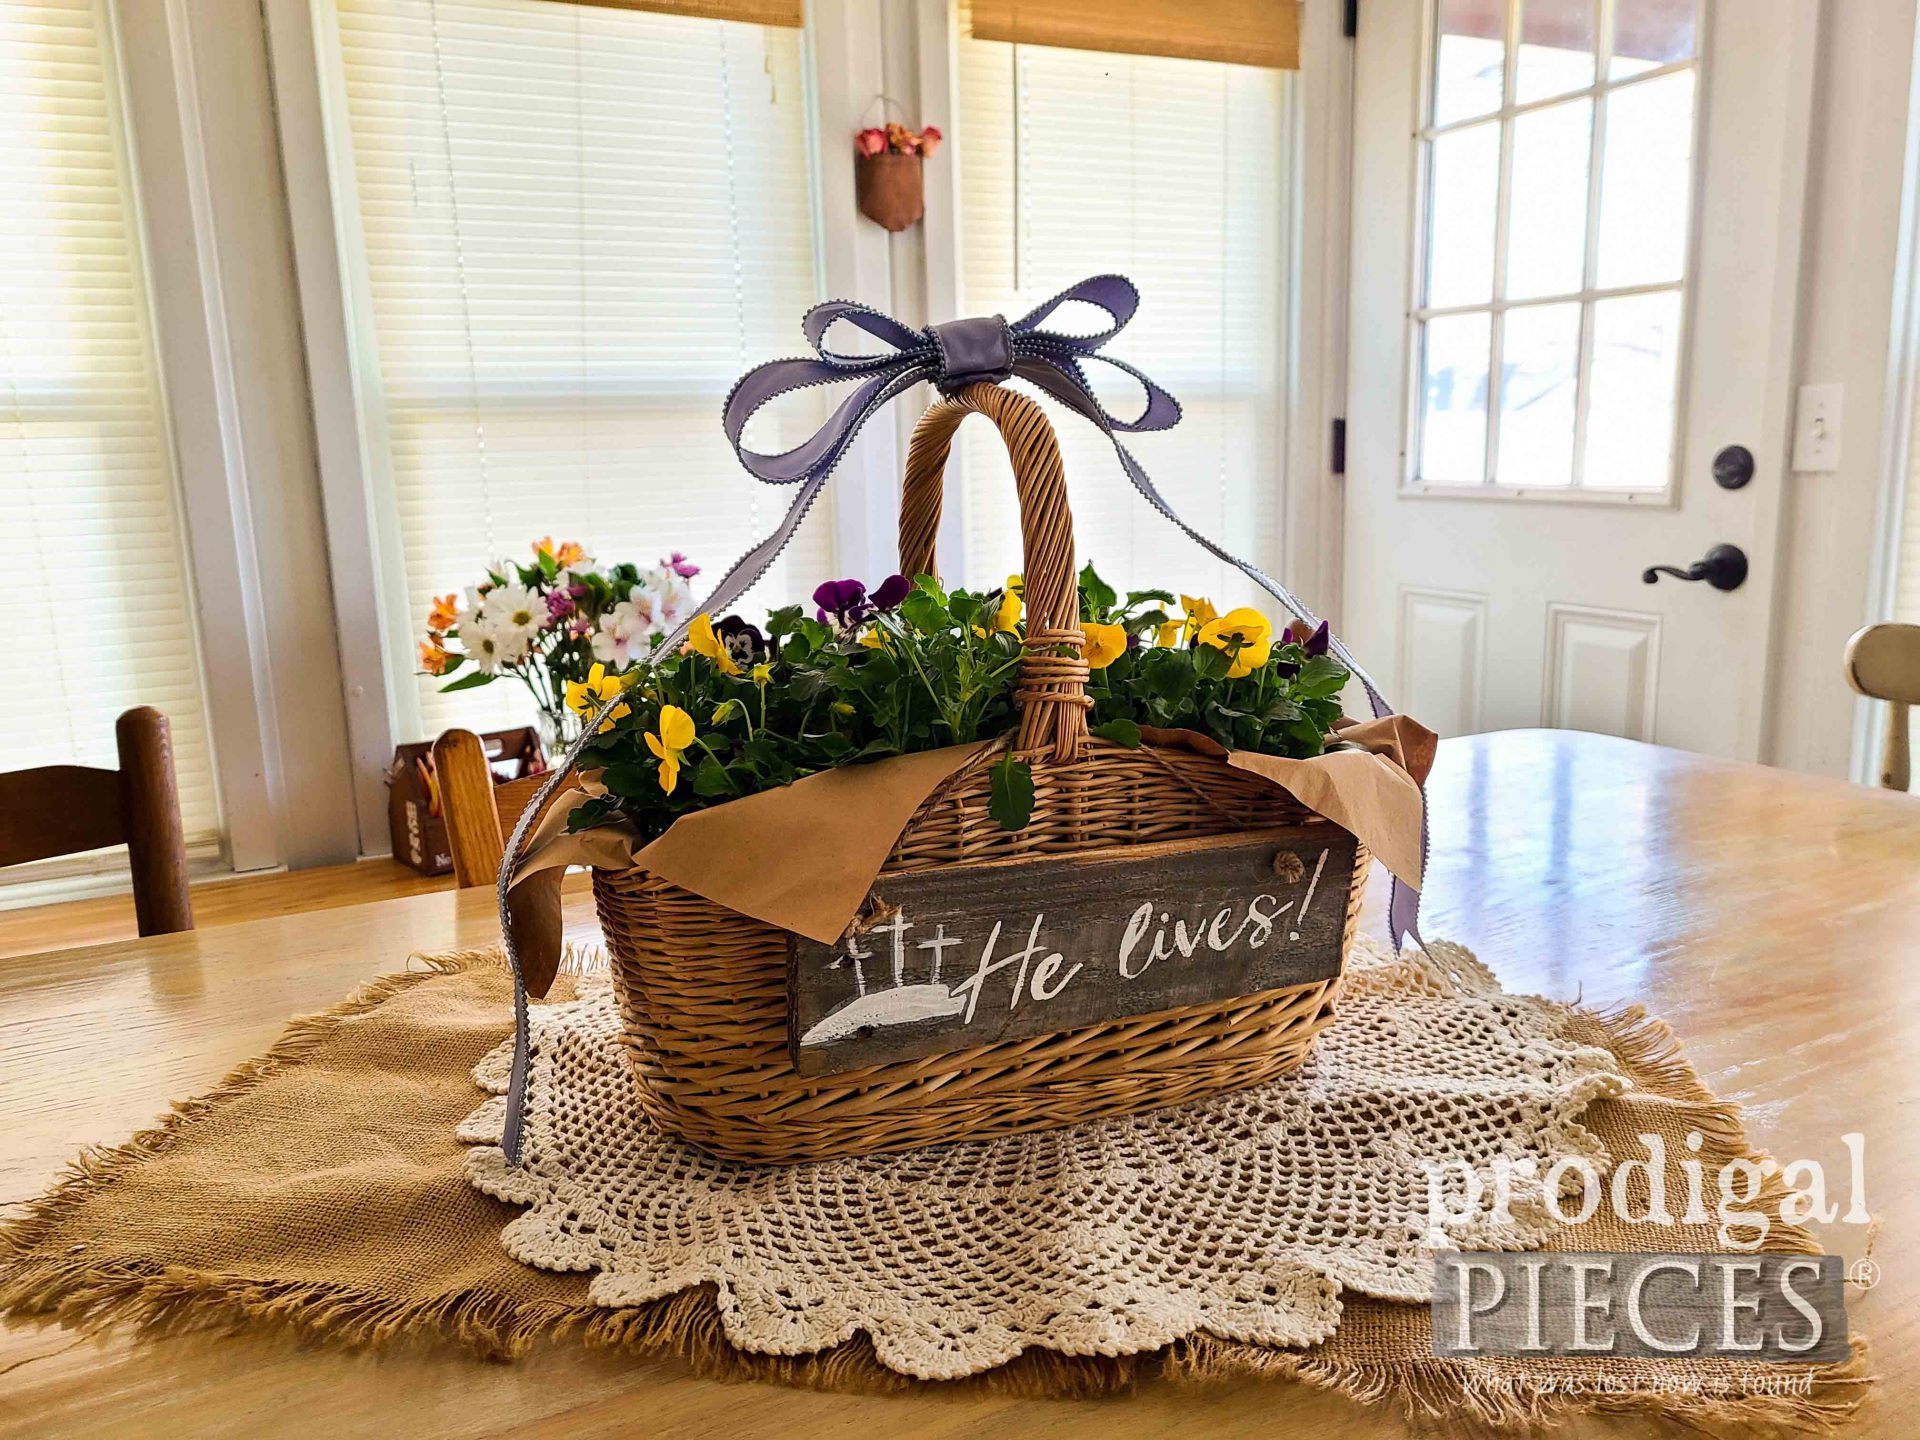
Easter is one of the most exciting holidays there is. Full of a promise fulfilled with an encore in the future. Here is my DIY Easter centerpiece complete with pallet wood signs.
The cherry on top is the bow. The soft purple reminds me of the crocus and enhances the color of the violas. I do love that pop of yellow too!
Also, how about those happy little faces? So cute. Have you every tried using a black light on a flower? They show you the nectar lines that insects and birds can see to show them were the treat is.
My hope today, is that you are inspired to create. Not only with what you have but find joy in it as well. This would make a sweet gift to your Easter host or for your family to enjoy, not only for Easter, but also it can be made for any holiday or just because. Now…tell me your Easter traditions. I love to hear from you!
In addition, do pin and share my DIY Easter basket. Help others see the potential in the little things.
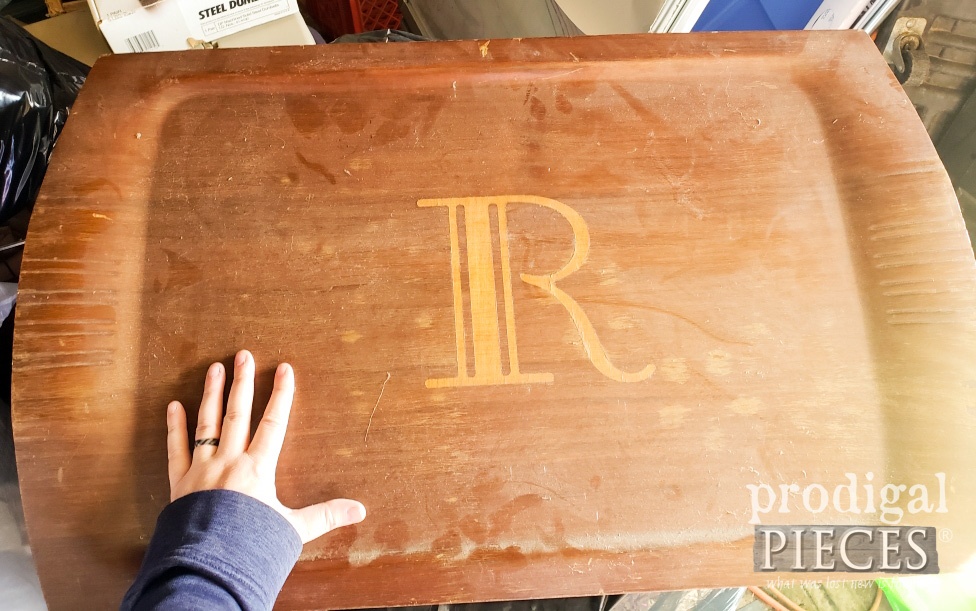
Up next, this vintage tray is a bit dingy, dated, and ready for a brand-new life – come see the after HERE.
While you’re at it, be sure to sign up for my newsletter. Until next time!
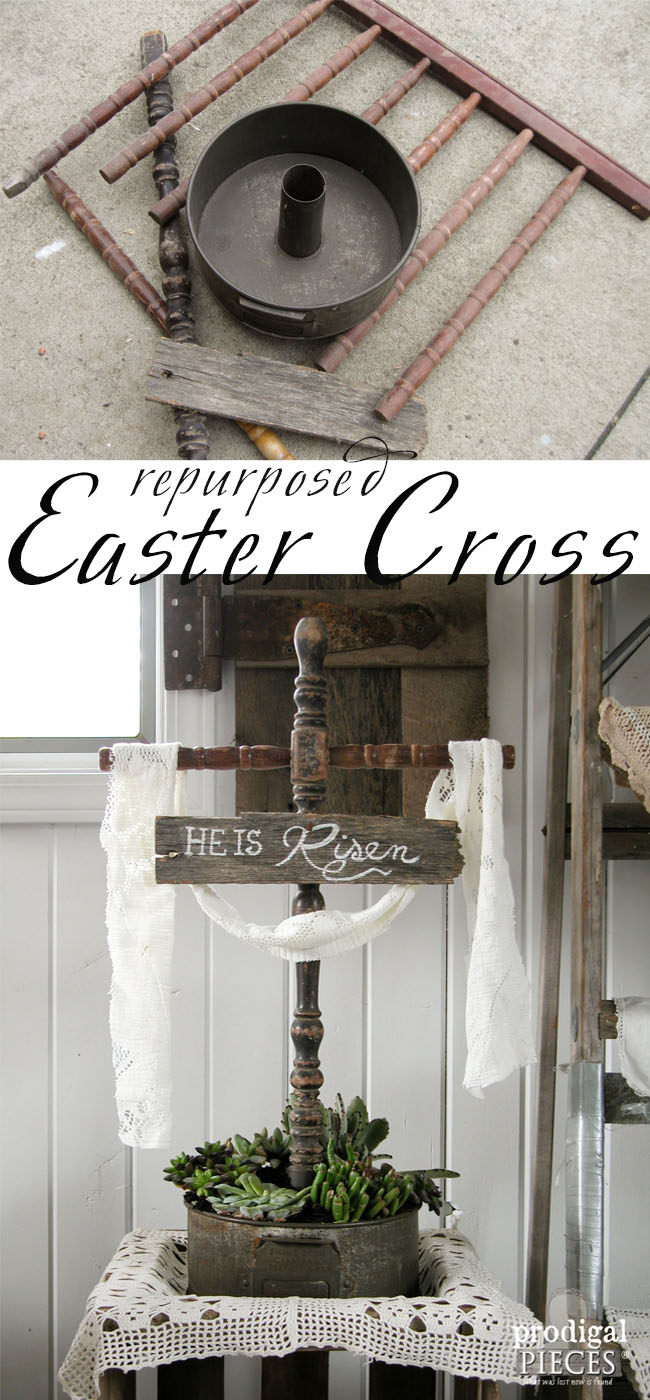
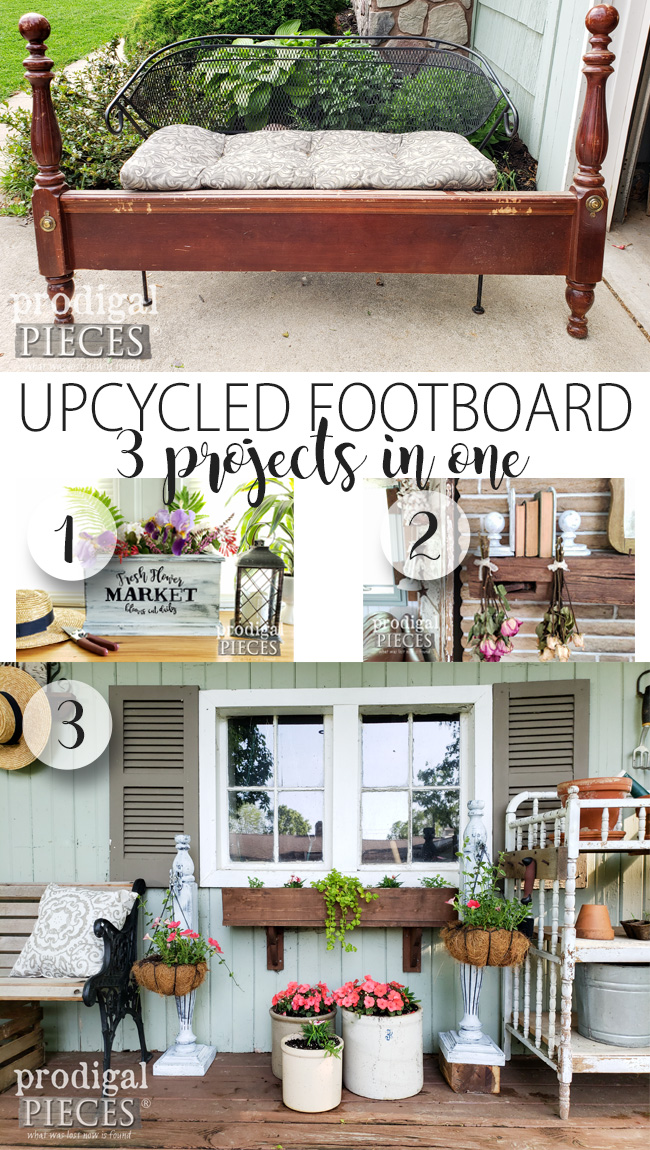
Also, more spring inspiration like this DIY Easter centerpiece:





Cute basket.
What a great center piece for your table.
Have a wonderful day
Thank you, Colleen. 🙂
What a sweet centerpiece! I’ve planned a tea party with a granddaughter this week and decided this will be the project that we’ll work on after our tea time. The object lesson with the crocus was very encouraging, too!
aww…love those tea times! Those are the best. Enjoy!!
larissa, such a pretty basket full of flowers. Where did you find the plastic tub that fit perfectly?
Thanks! It’s just a plastic shoe box from the dollar store. I have several on hand all the time.
So very pretty!!! Larissa, you taught this old florist a new trick! Thanks for the lovely idea. Have a glorious week, and Happy Easter (in advance).
Thanks! They’re just so fun to create. Makes a happy sight! Have a blessed day too, Cate.
Such a lovely Easter centerpiece or hostess gift idea, Larissa! This recycled basket idea would be so perfect for Mother’s Day filled with mini roses, or bridal/baby shower centerpieces, new neighbor welcome gifts, etc. Can you tell my head is flooded with ideas after seeing this great idea? LOL
You are so fun, Marie. I so appreciate your love and encouragement. hugs!!