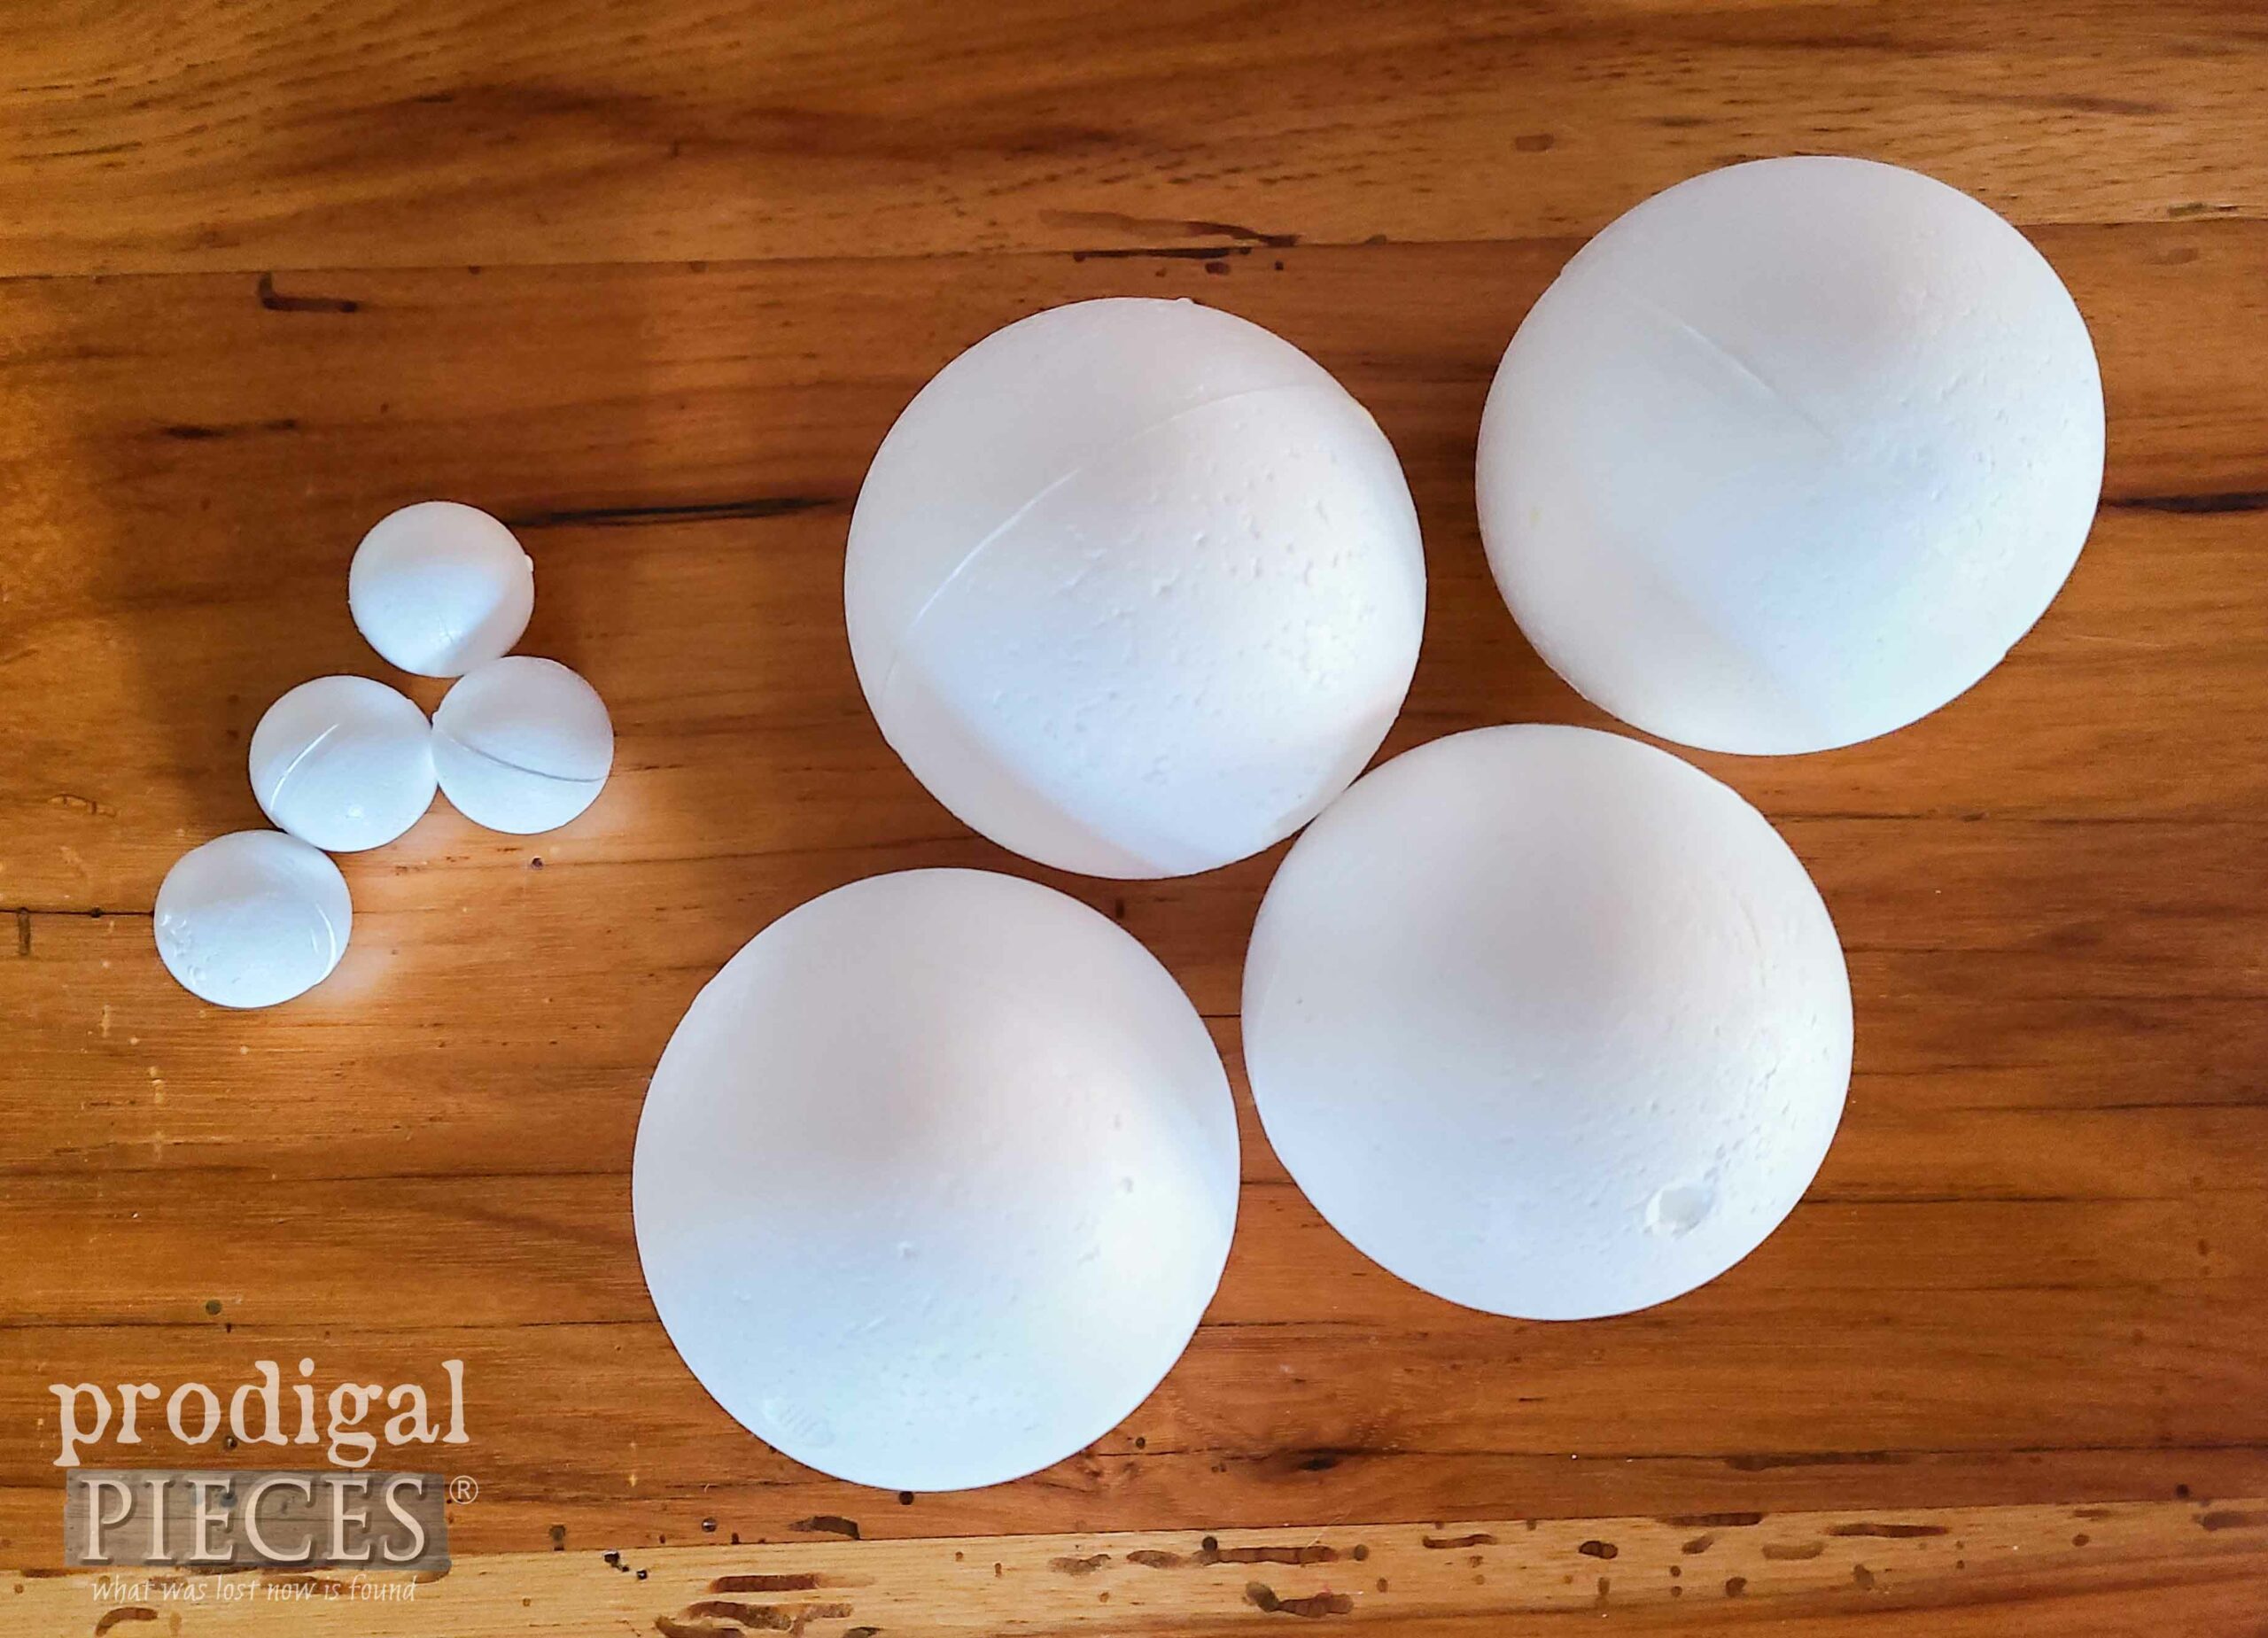
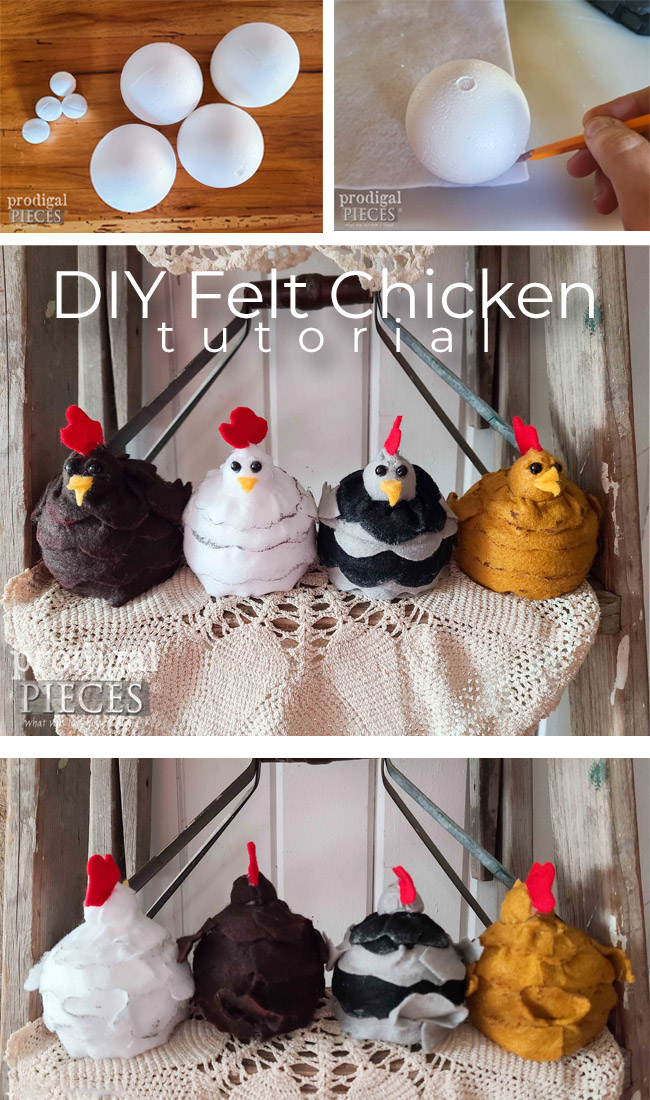
Apparently, I have had an itch for creating farm animals. yup. That’s odd, I know, but it makes sense. Not only do I love animals but have always wanted to have my own hobby farm. With that, I had a large selection of foam balls leftover from a few crafts. Before giving them away, I pulled out a few to have some fun with in creating a DIY felt chicken tutorial. If that doesn’t sound like fun, then you need to get up and dance a jig! {{enter in fiddle music}}
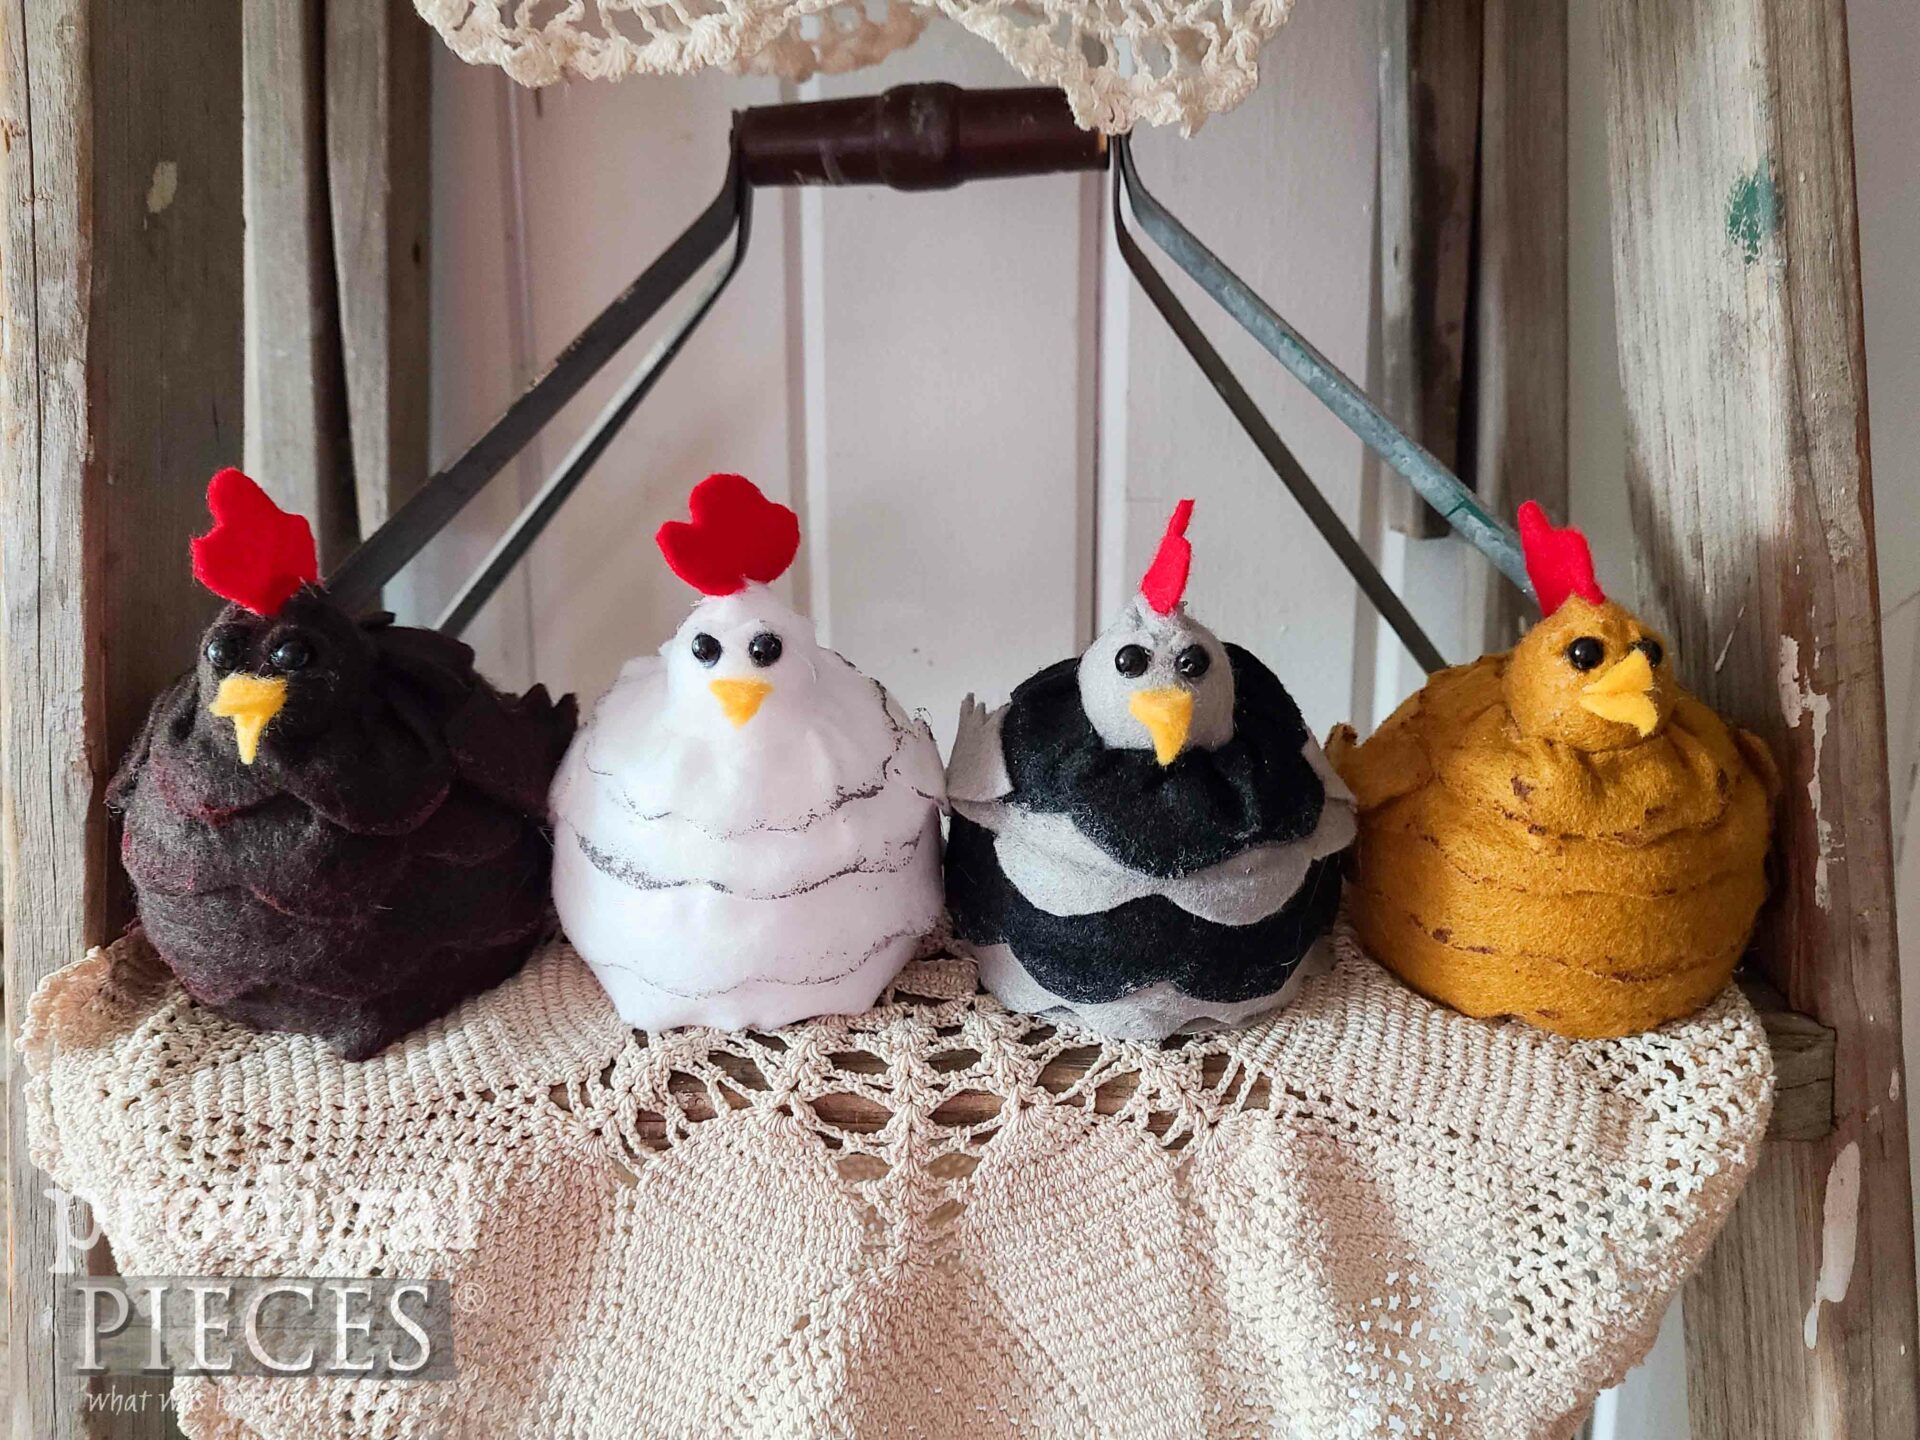
Seriously, though, this is something you can create in any form, with any age child (1-99), and for any occasion. It doesn’t have to be chicken but I’m getting the idea rolling with these cheerful clucks. Aren’t they fun?
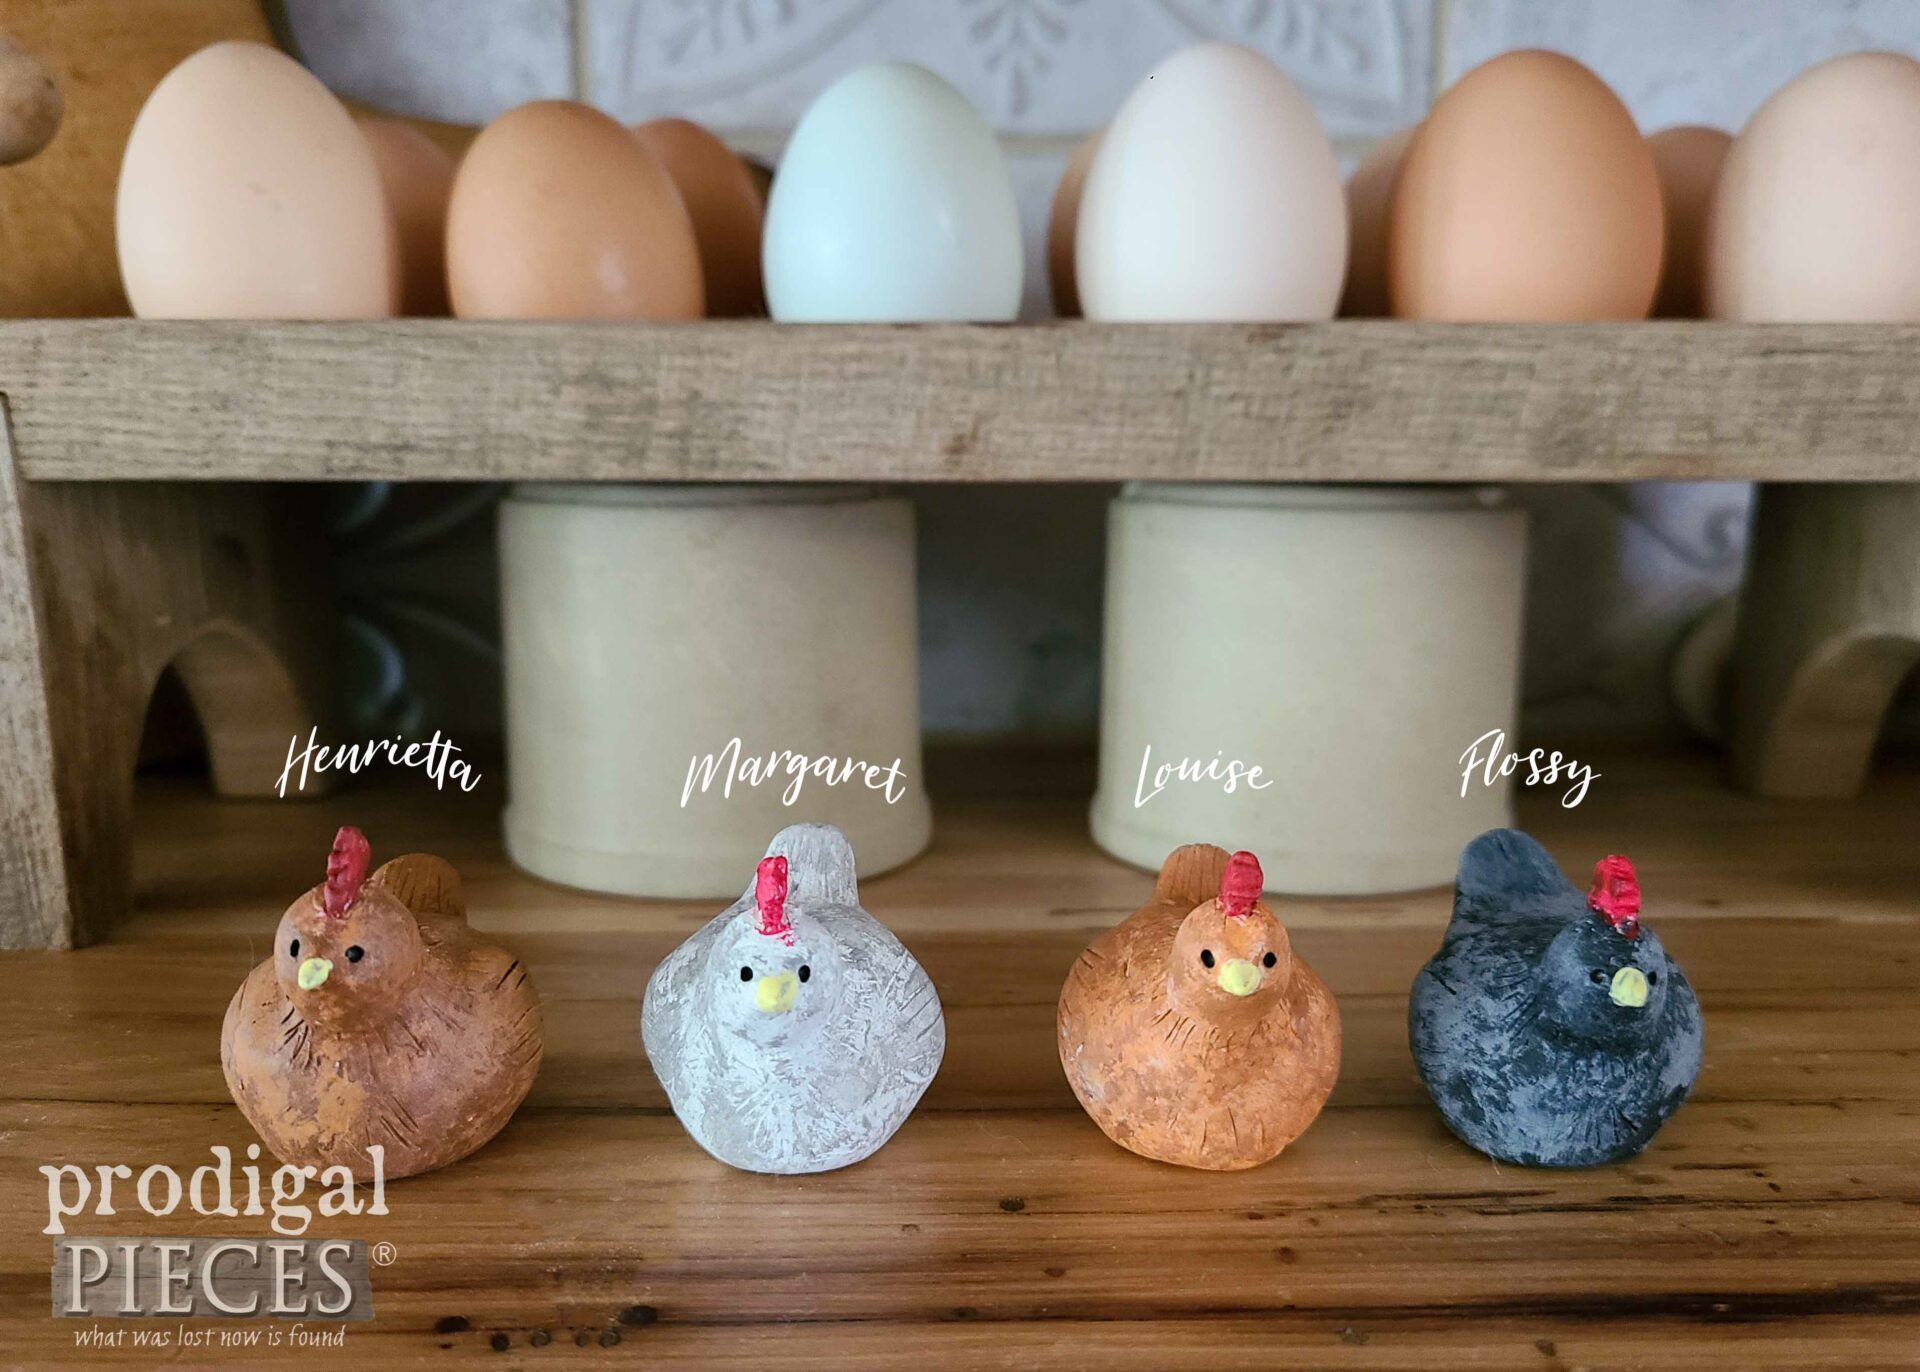
If you’ve been with me long, you know Miss E, one of my middle daughter’s, used to make and sell her own design chicken in my online store.
She has currently retired her set after breaking one thousand hens by hand in a year – she’s all clucked out!
Now I know you just want to make some.
STEP 1
First, gather your materials. Assuming you want to make chicken to start, here’s the materials you’ll need followed by the steps to create.
TERMS OF USE: If you want to create a chicken, you agree to the following: it cannot be shared or distributed for monetary gain in any way, it may not be modified in any way, and you may not claim the work as your own.
- 3″ foam ball – one for every hen you want to make
- 1″ foam ball – for a hen head
- 1 sheet 9″ x 12″ felt for body with a bit of orange and red for beak and comb.
- hot glue and glue gun or craft glue like Tacky Glue
- 2 – beads for eyes or paint them on
- sewing scissors
- pencil
- utility knife or coping saw
- acrylic paint for accents, if desired
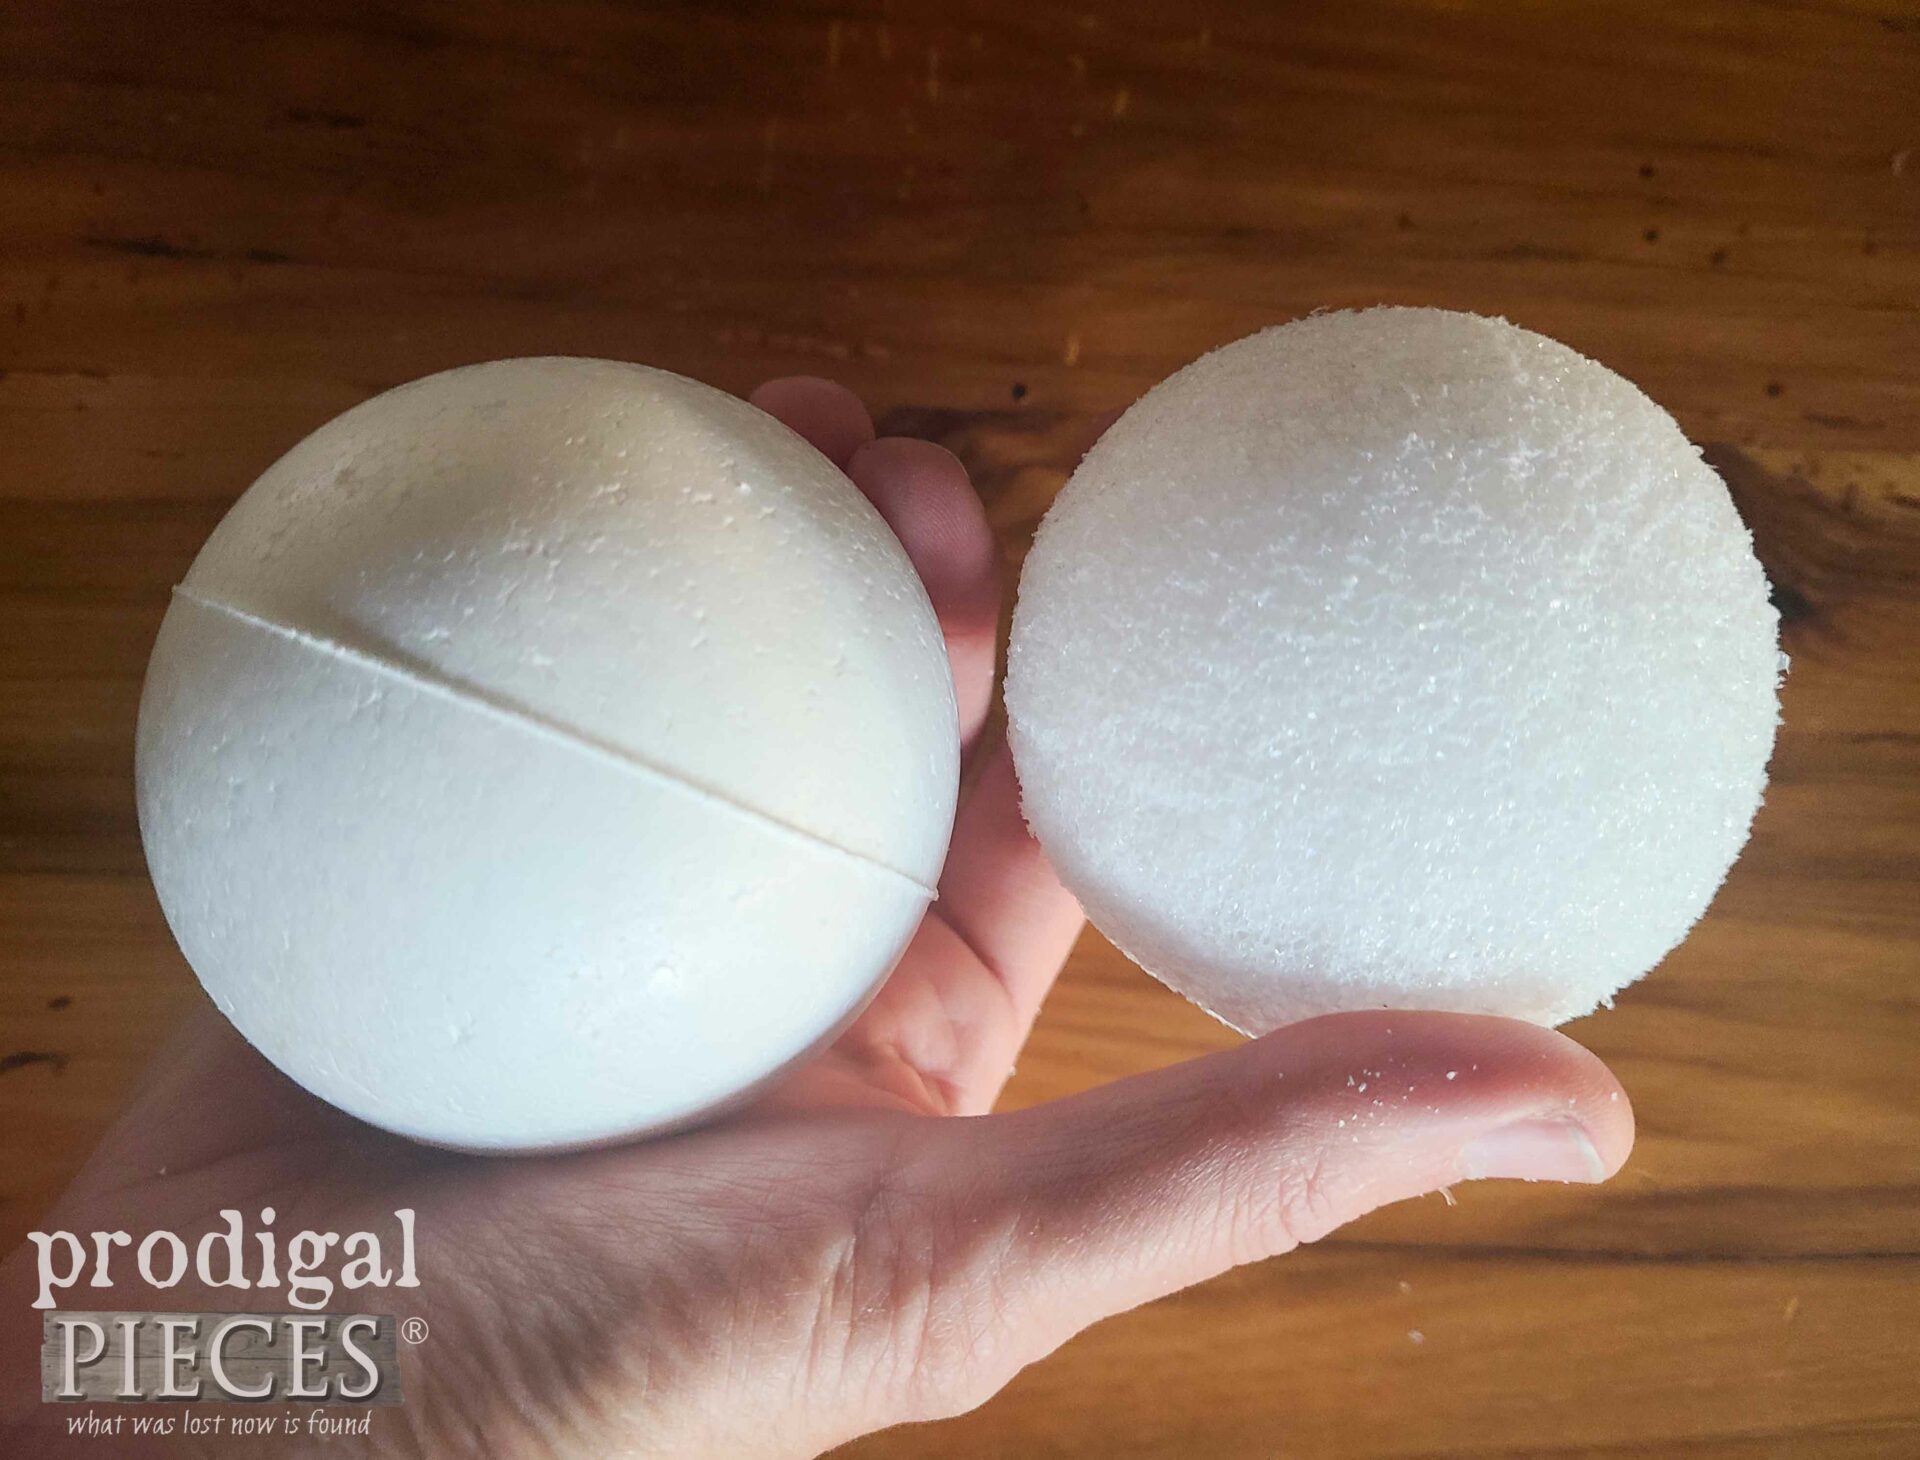
Now you’re ready to start. While this DIY chicken can be created with poly or wool, I prefer wool, but for crafts like this, I go cheap. However, for the foam ball, I like to spend a bit more for quality’s sake. In my hand below, you have a dense, hard-core ball, whereas on the right is a lighter (less-dense) ball suited for kid crafts.
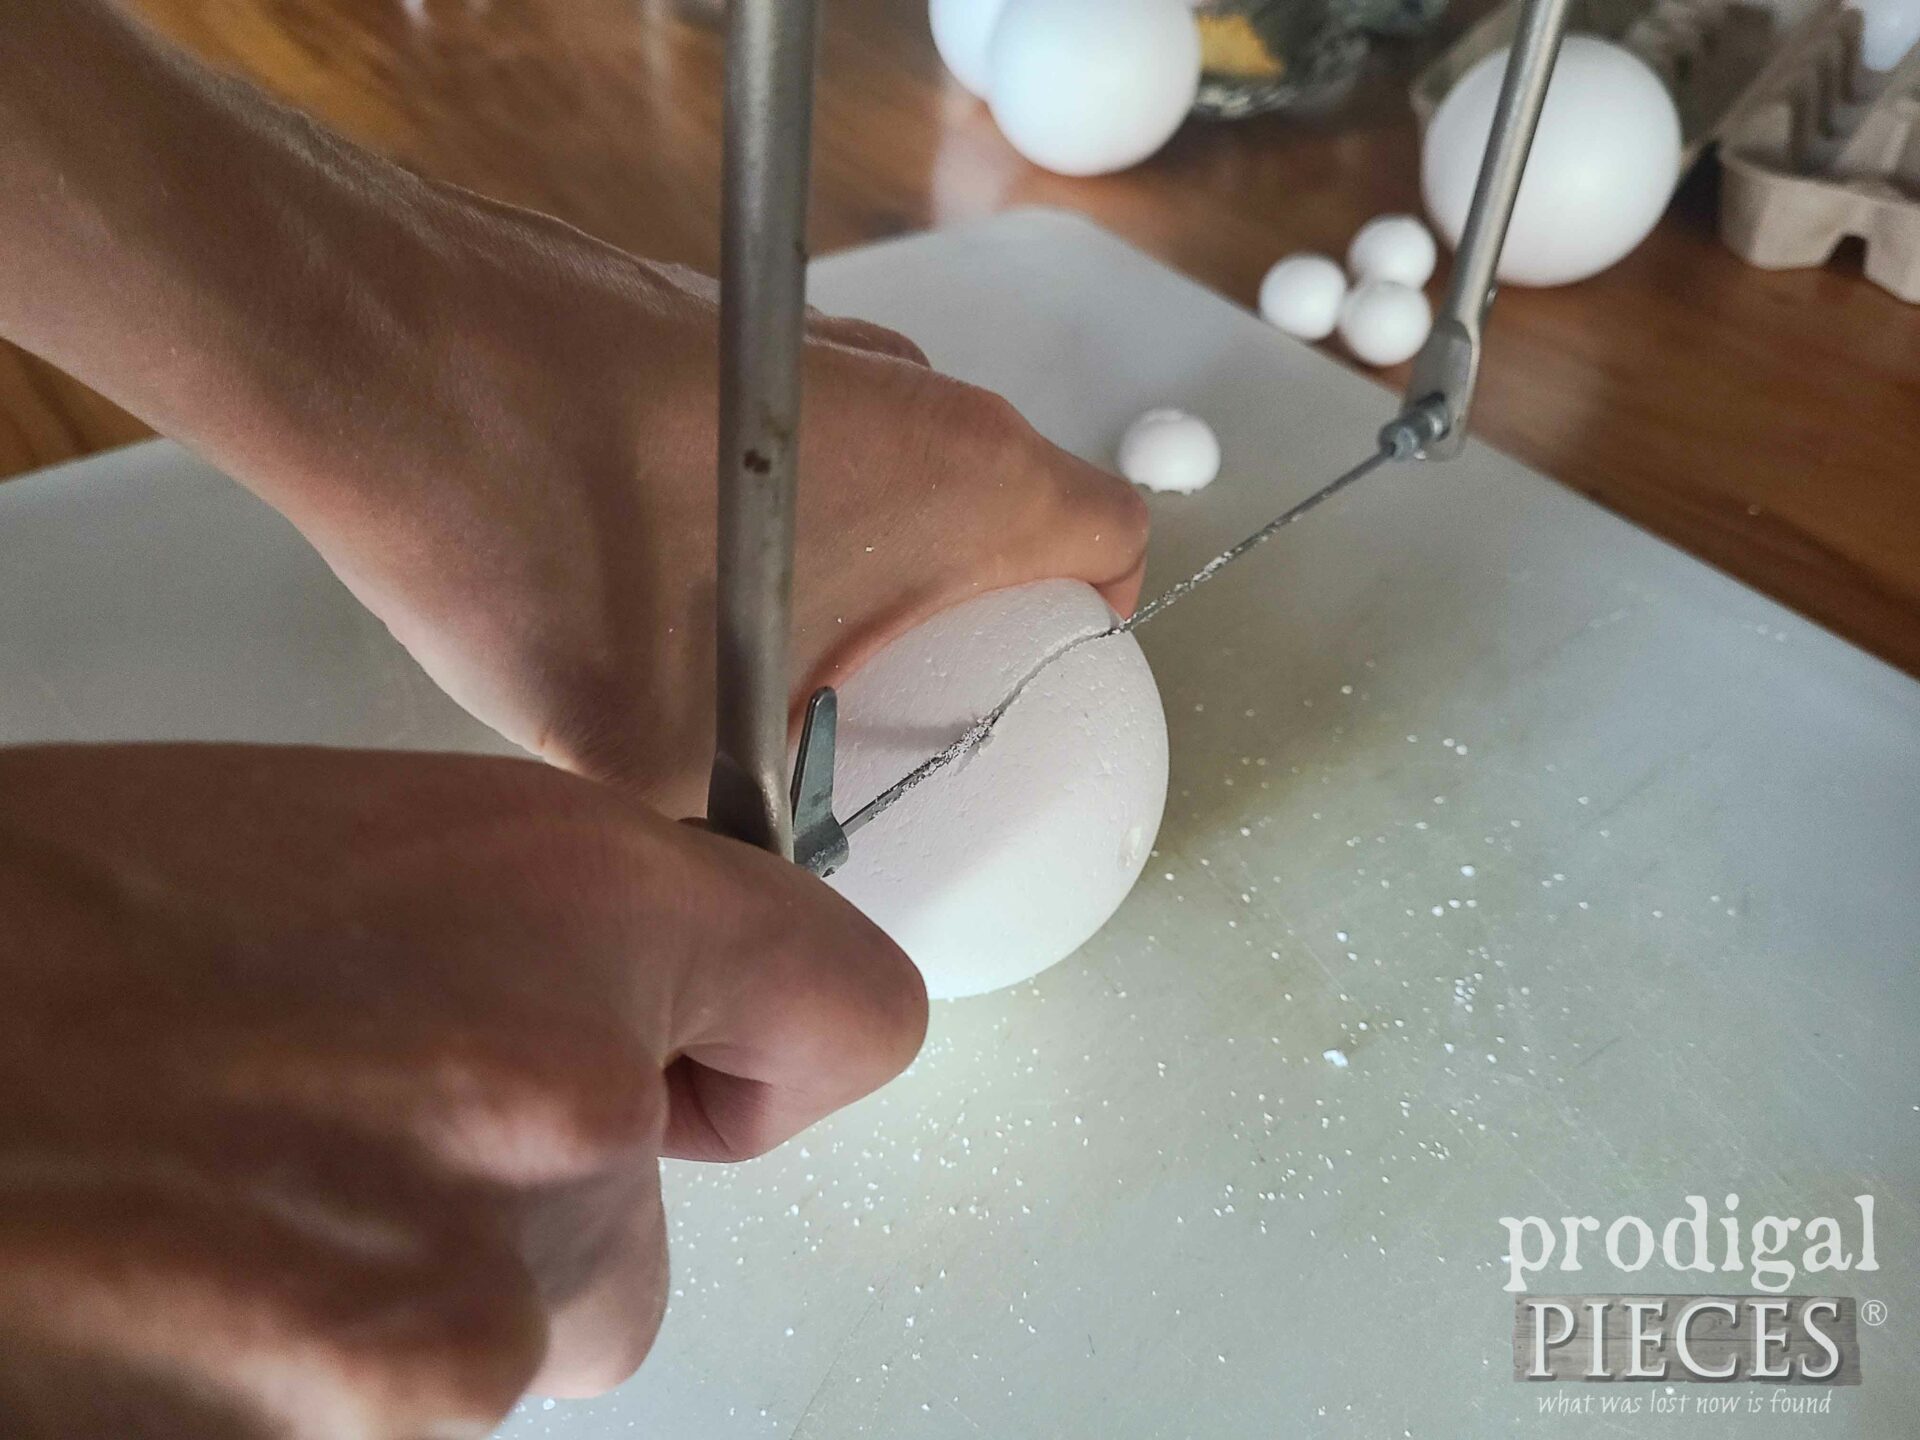
Pick you ball and then, it’s time to create. To begin, we need to cut the foam balls just a bit. In order for the larger ball to sit square, we take off about a half of an inch. A coping saw is what I’m using for this harder foam ball, but a utility knife works for the other kind.
At the same time, you want to do the same thing to the smaller foam ball but take off a bit less. That way the head can be attached flush to the larger ball.
STEP 2
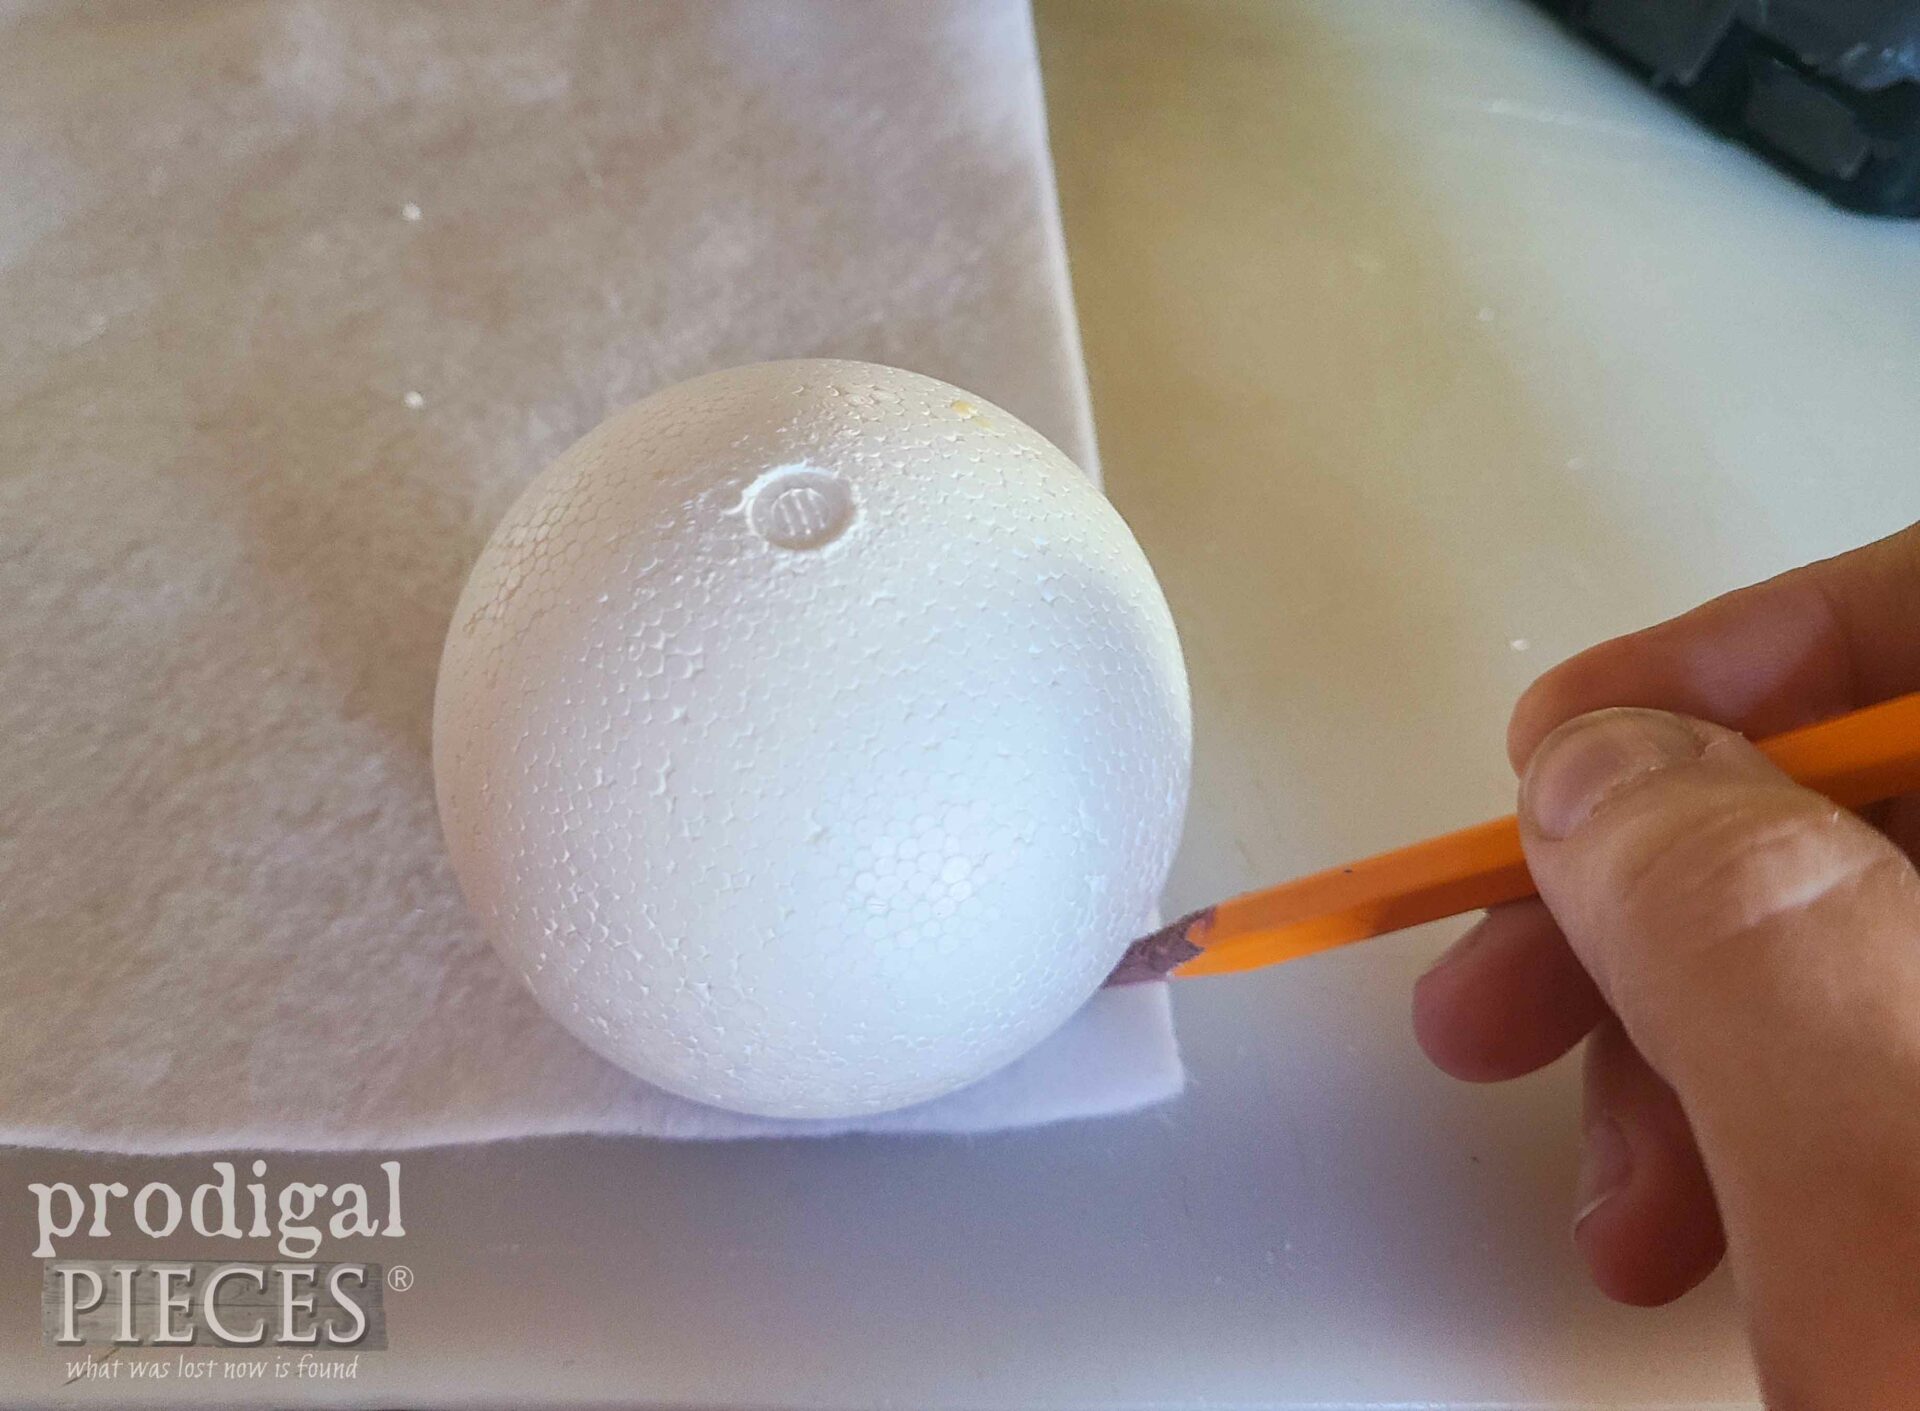
Next, take your large foam ball and place it on the corner of the felt for the body color and trace two circles.
One circle is glued on the bottom and the other will be used to cover the head.
STEP 3
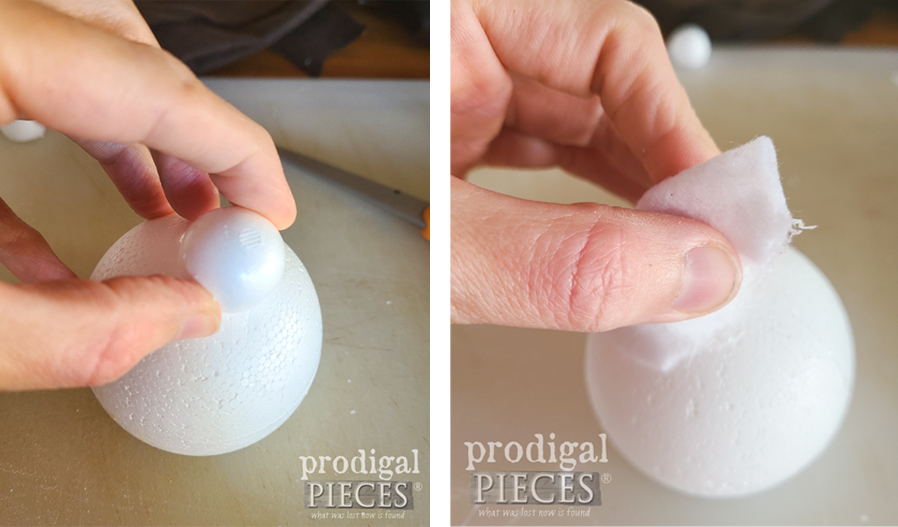
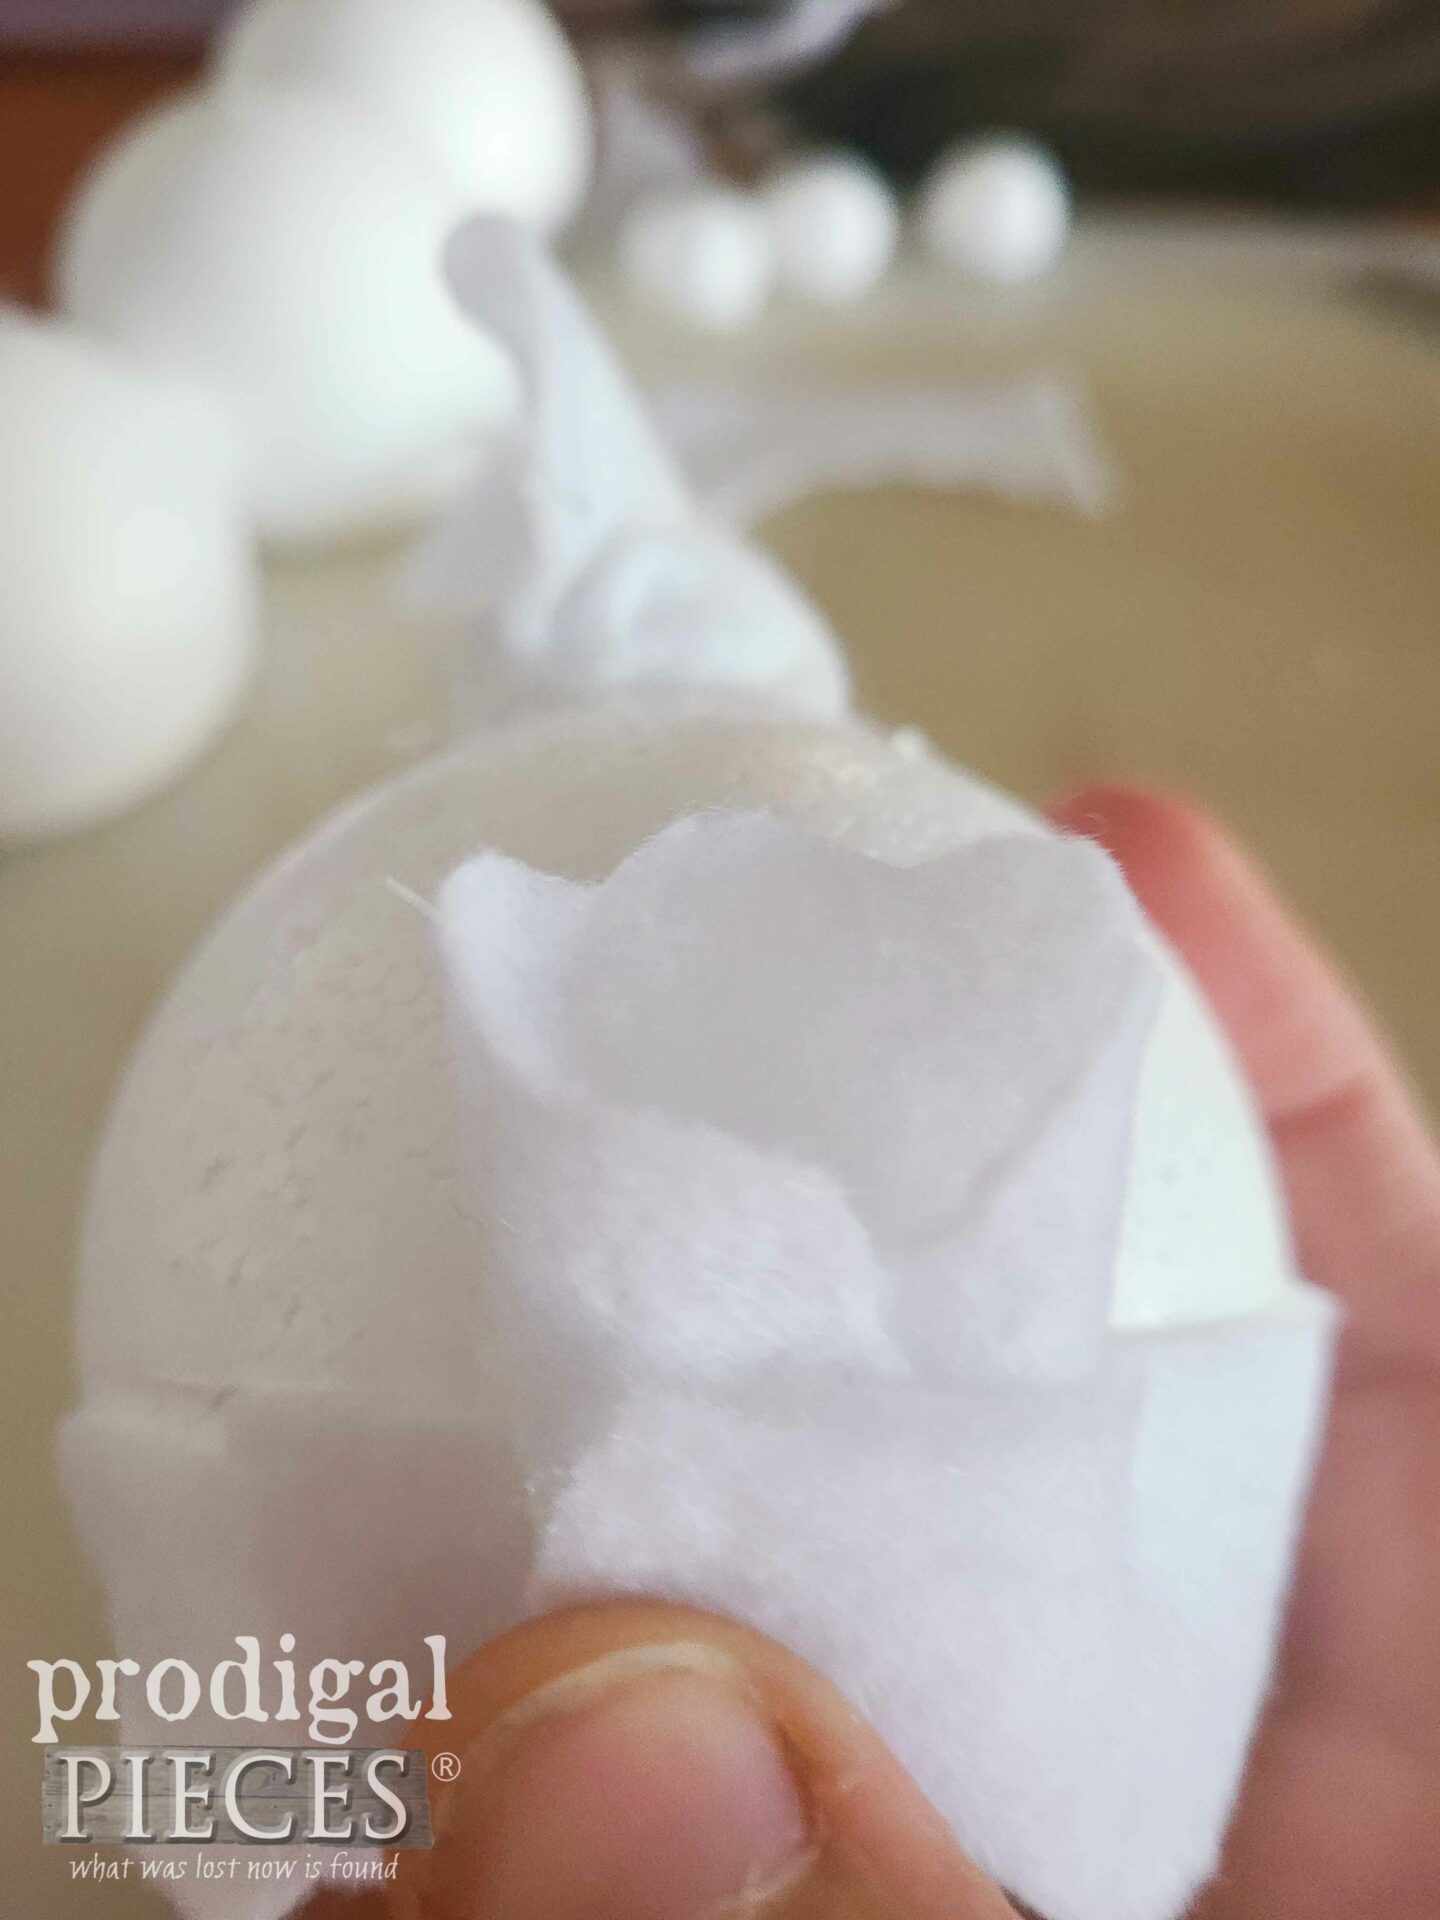
After that, grab your glue gun and attach the small foam ball (the head) to the larger foam ball (the body) and the first felt circle to the bottom. You’ll want to place it slightly to the “front” as shown. As soon as that sets, run a bead of glue under the “chin” of the head and attach your second circle over the head as shown pinching at the “crown”.
While my original goal was to use the circle as a tuft on the head, in the end, I trim it flush and add a red comb. So, if you want to create a different bird with a tuft, you can leave it.
STEP 4
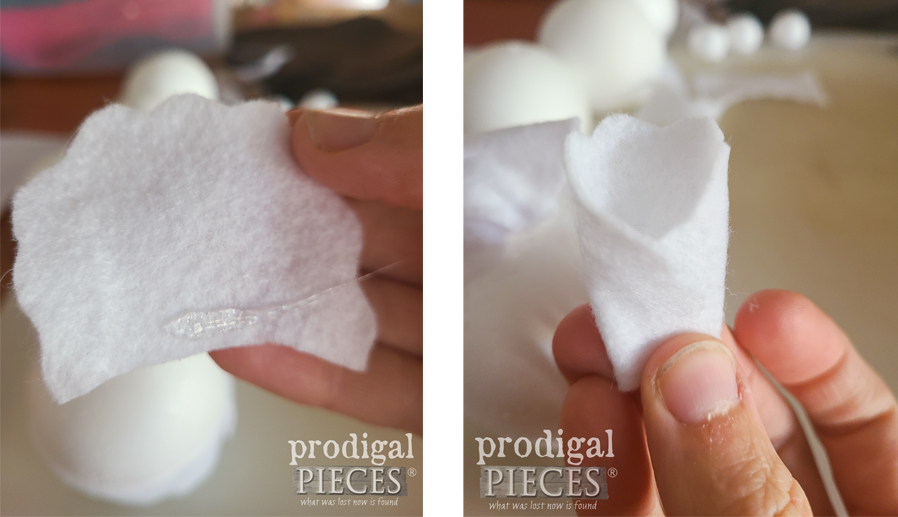
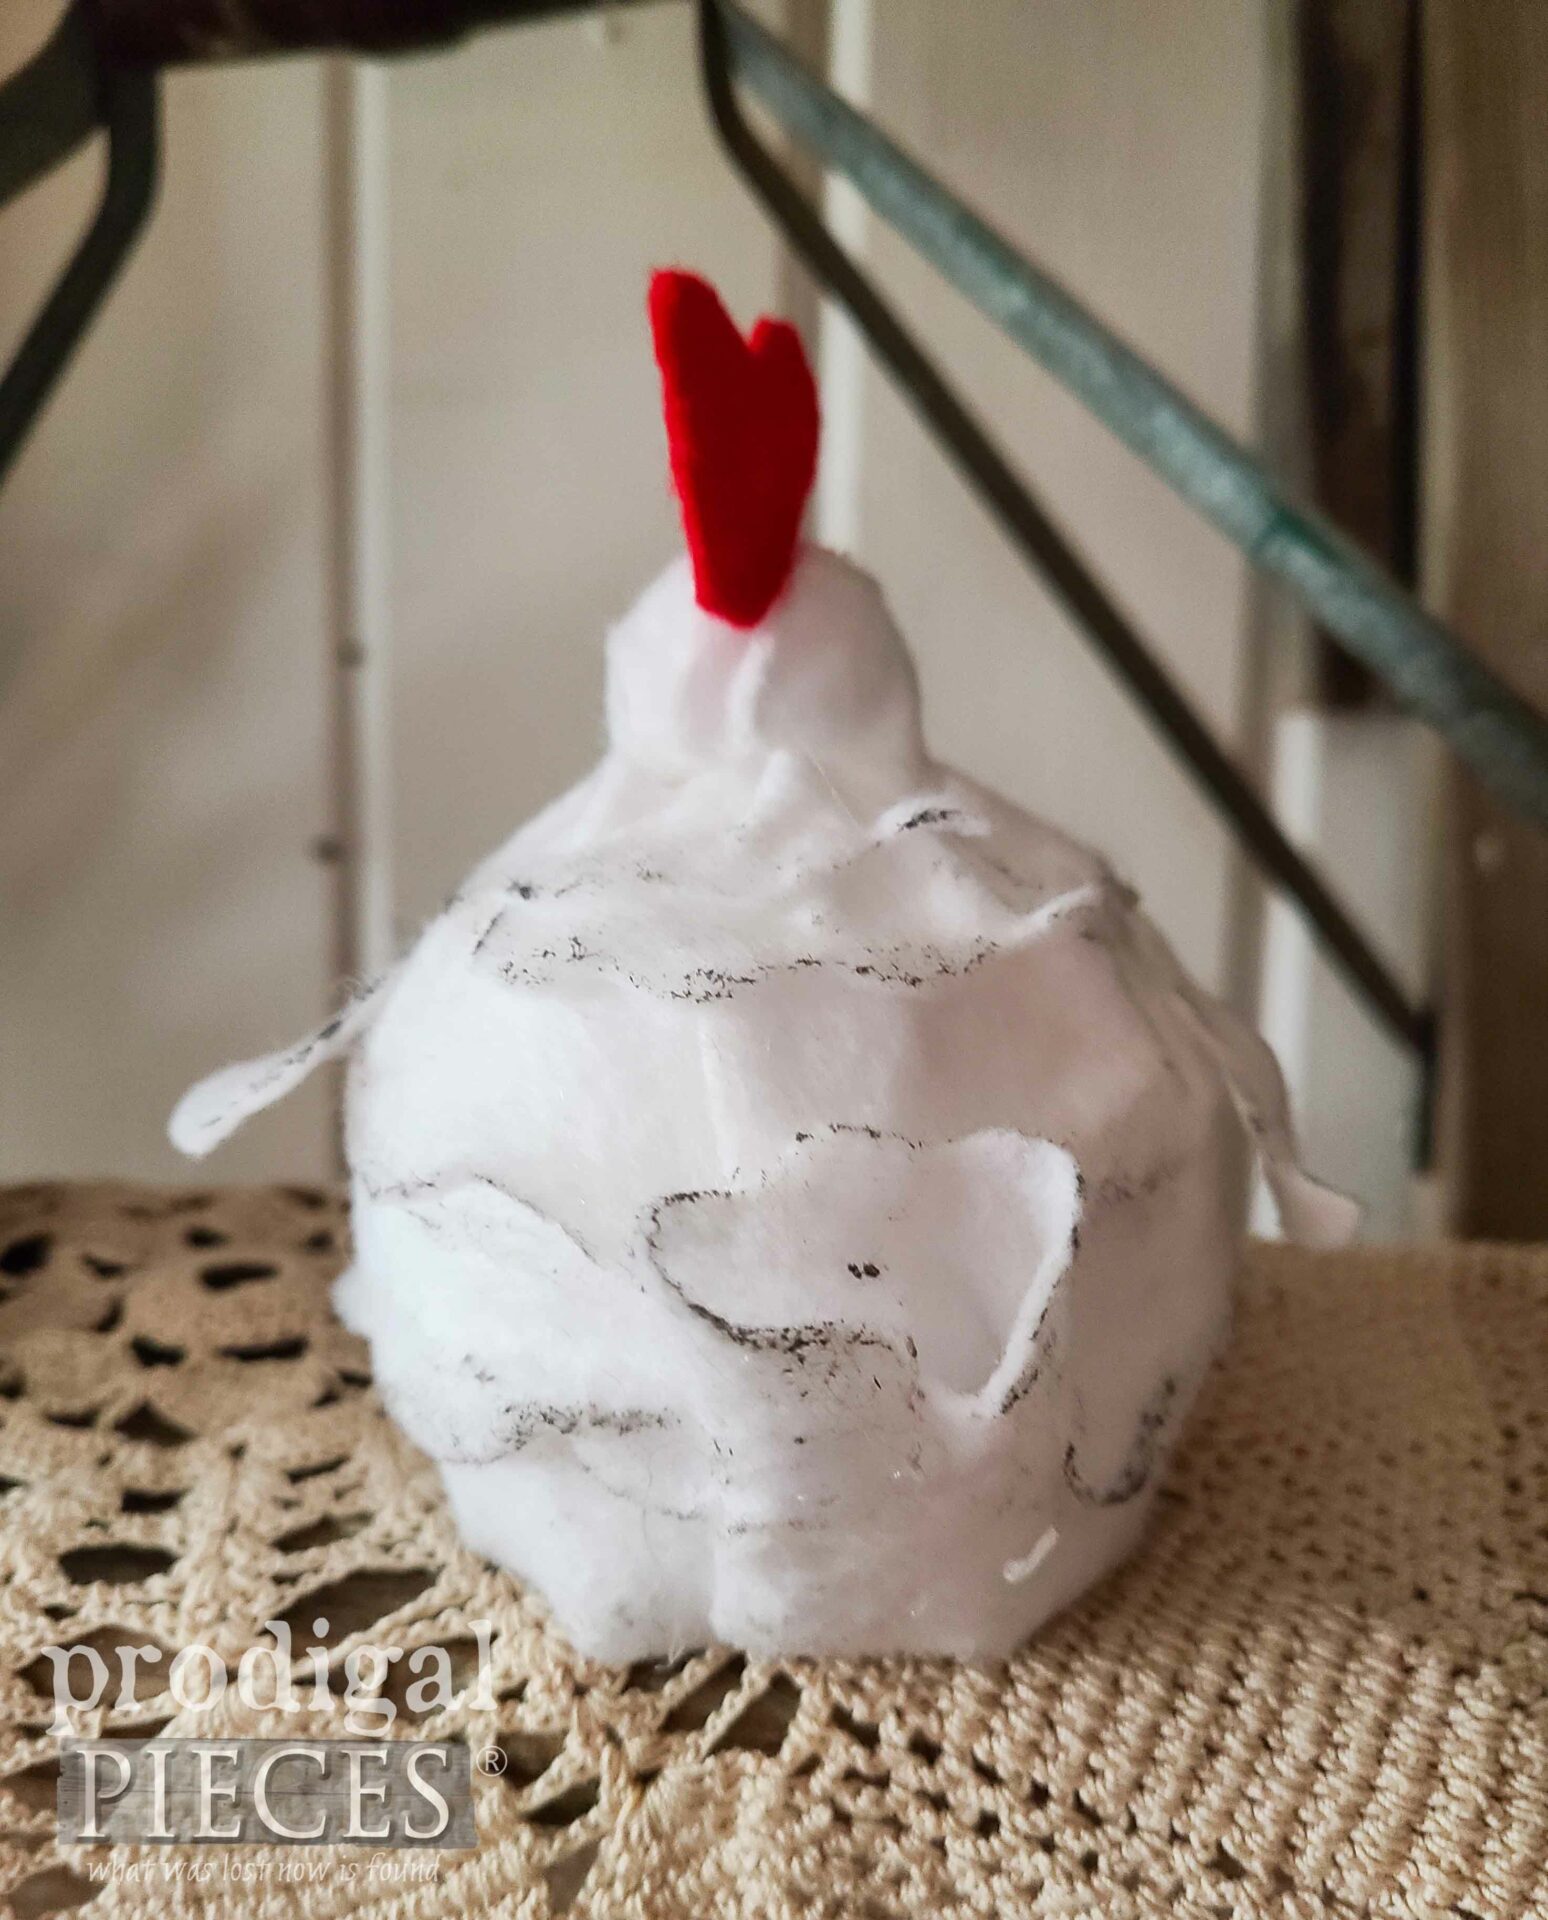
Further, cut a piece of felt about 2″ x 3″ in shape shown below for a tail. Then, add a bead of glue and fold the tail as shown.
Glue the tail at the base of the ball directly behind the head.
You can see I’ve glued the tail on as well as already cut my base feather layer.
STEP 5
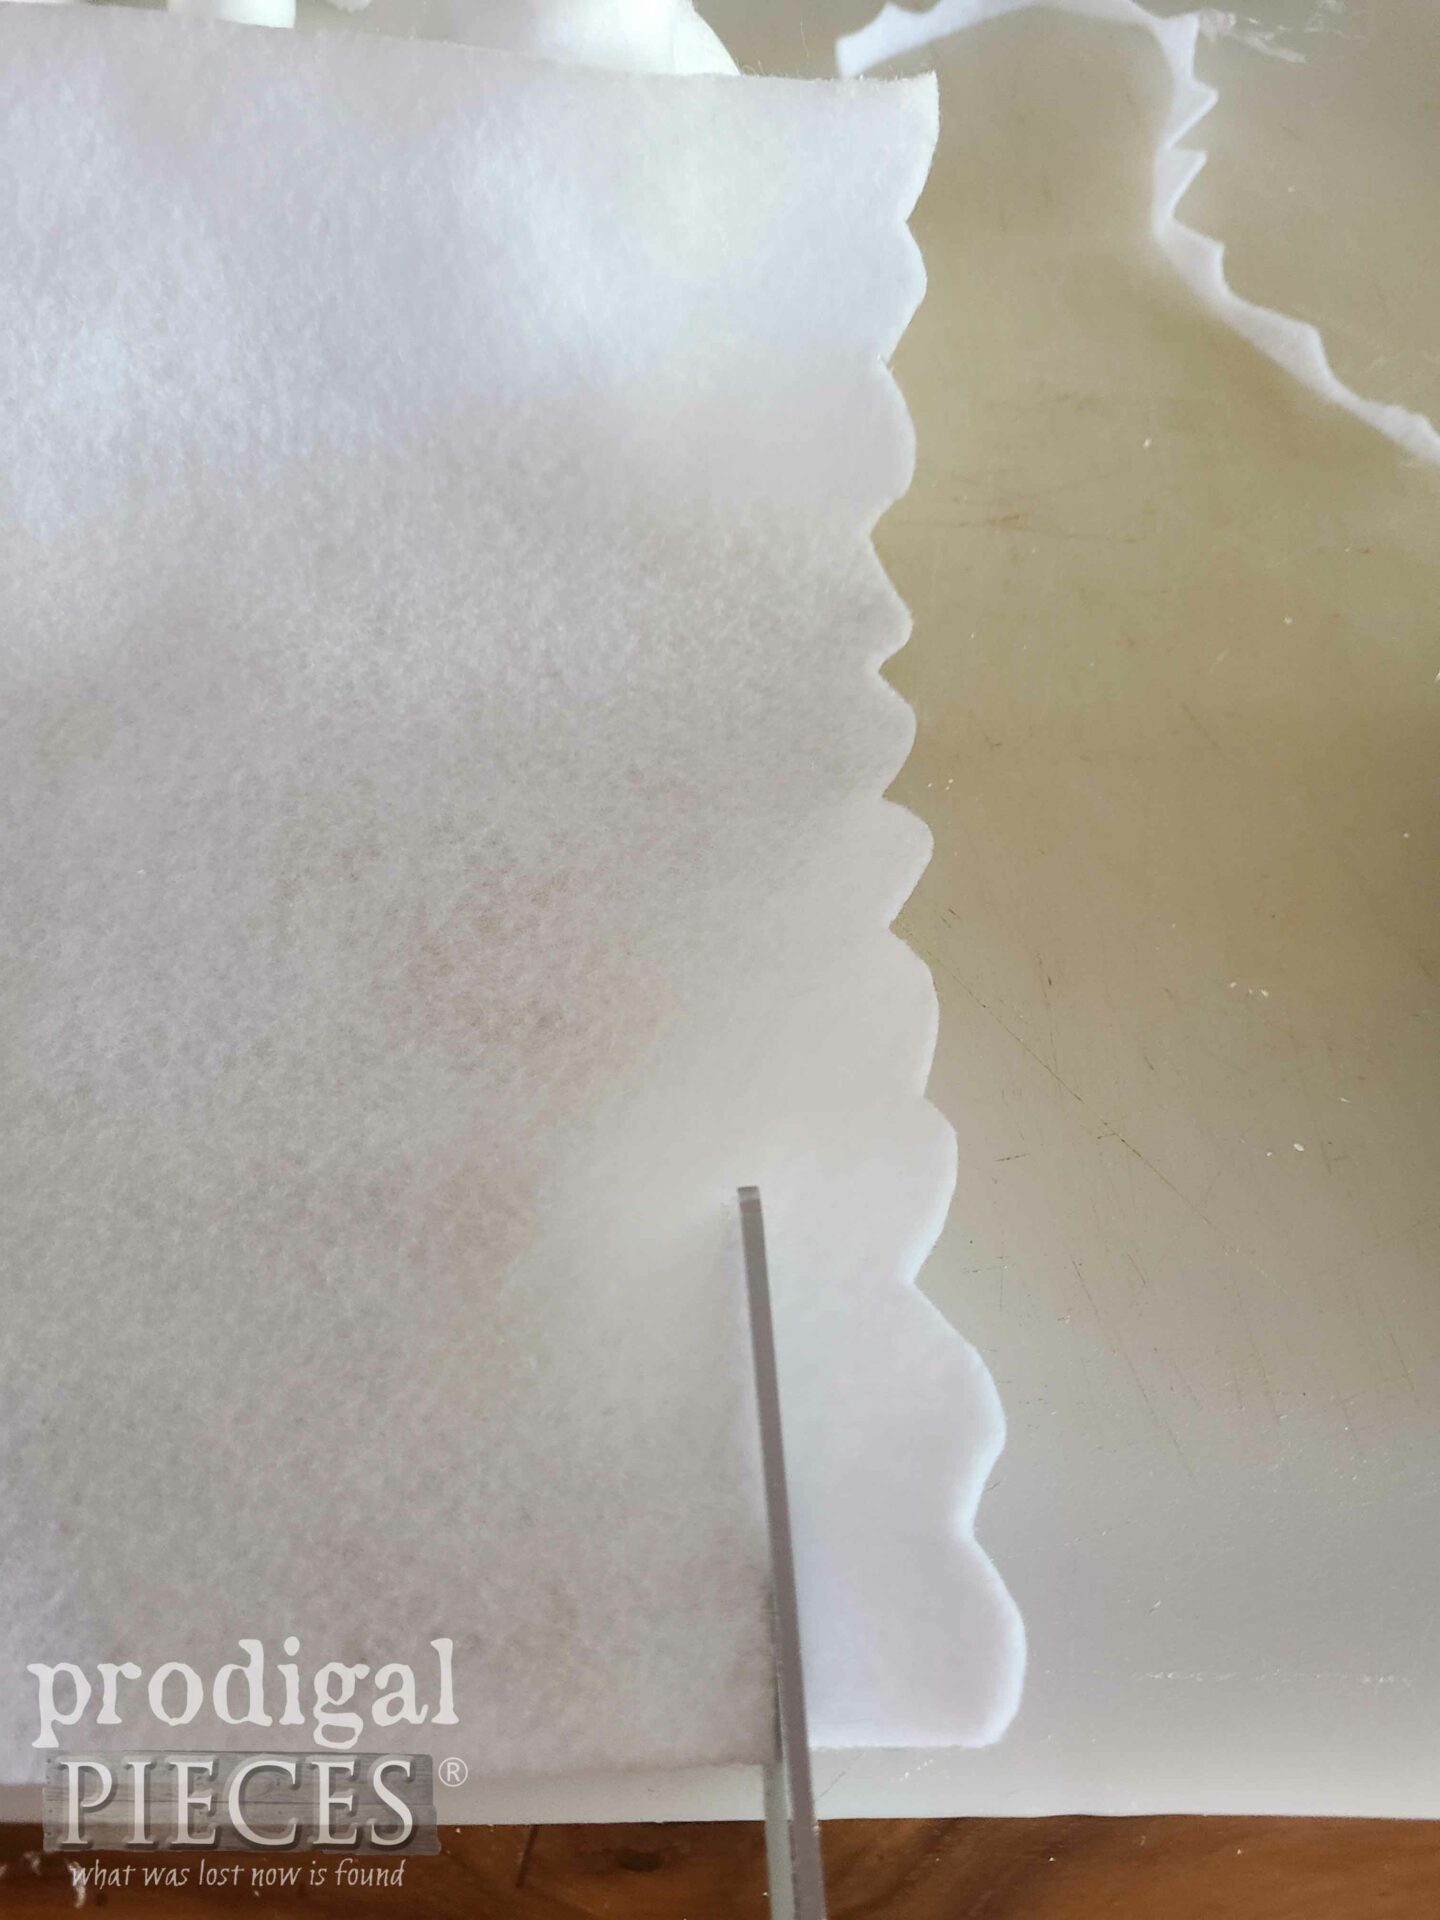
In fact, let’s cut our feather for our DIY felt chicken. Using your felt sheet and fabric scissors, or even use shaped scissors with a scalloped edge, cut a 1″ strip on the short side of your felt. (approx. 9″ long)
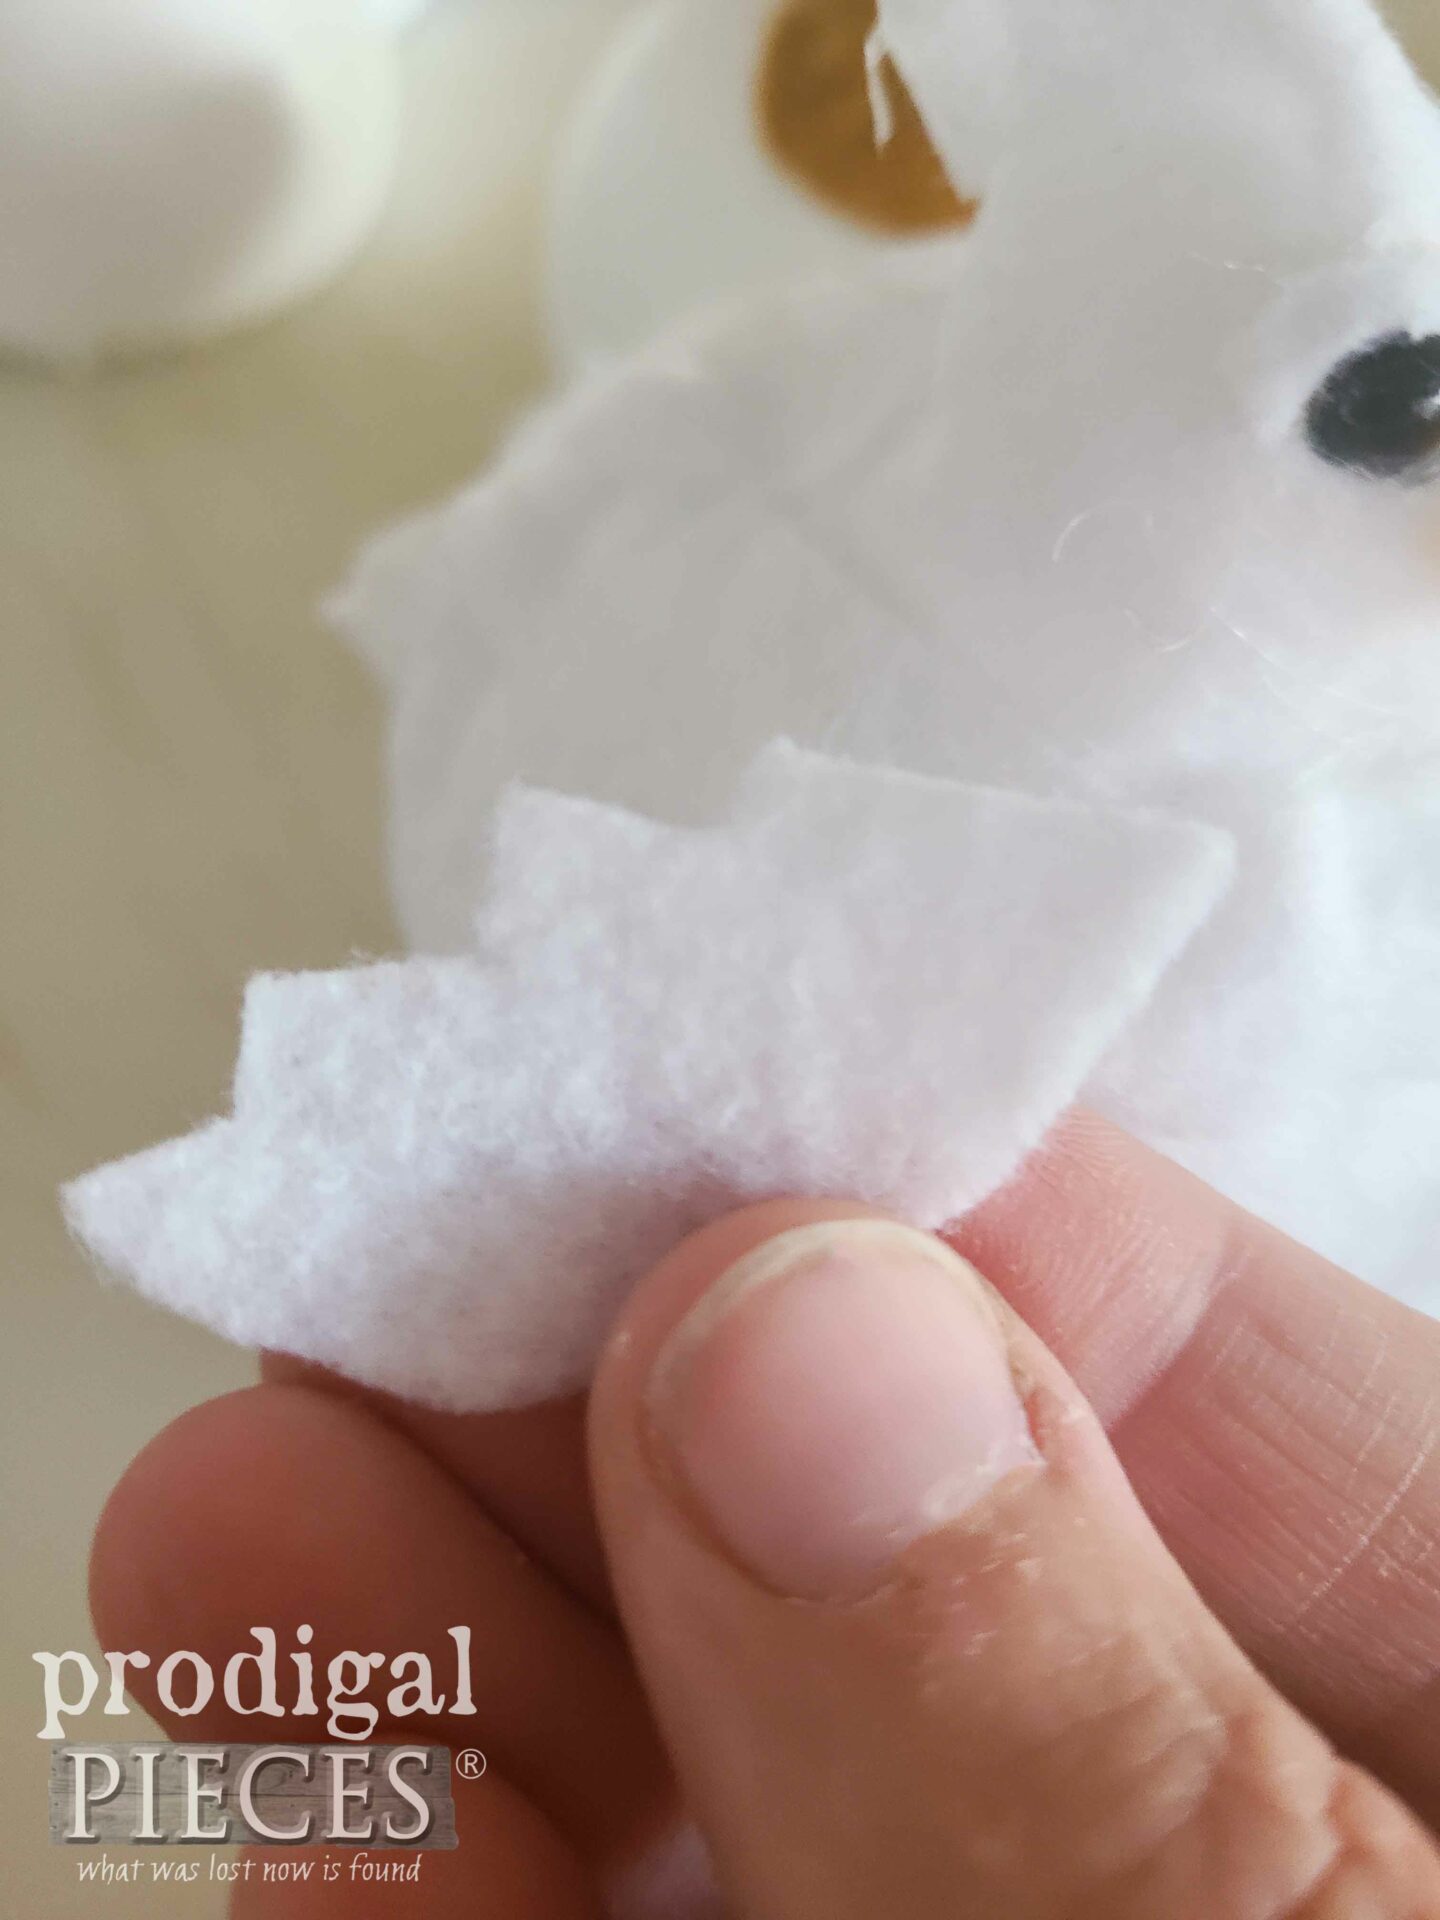
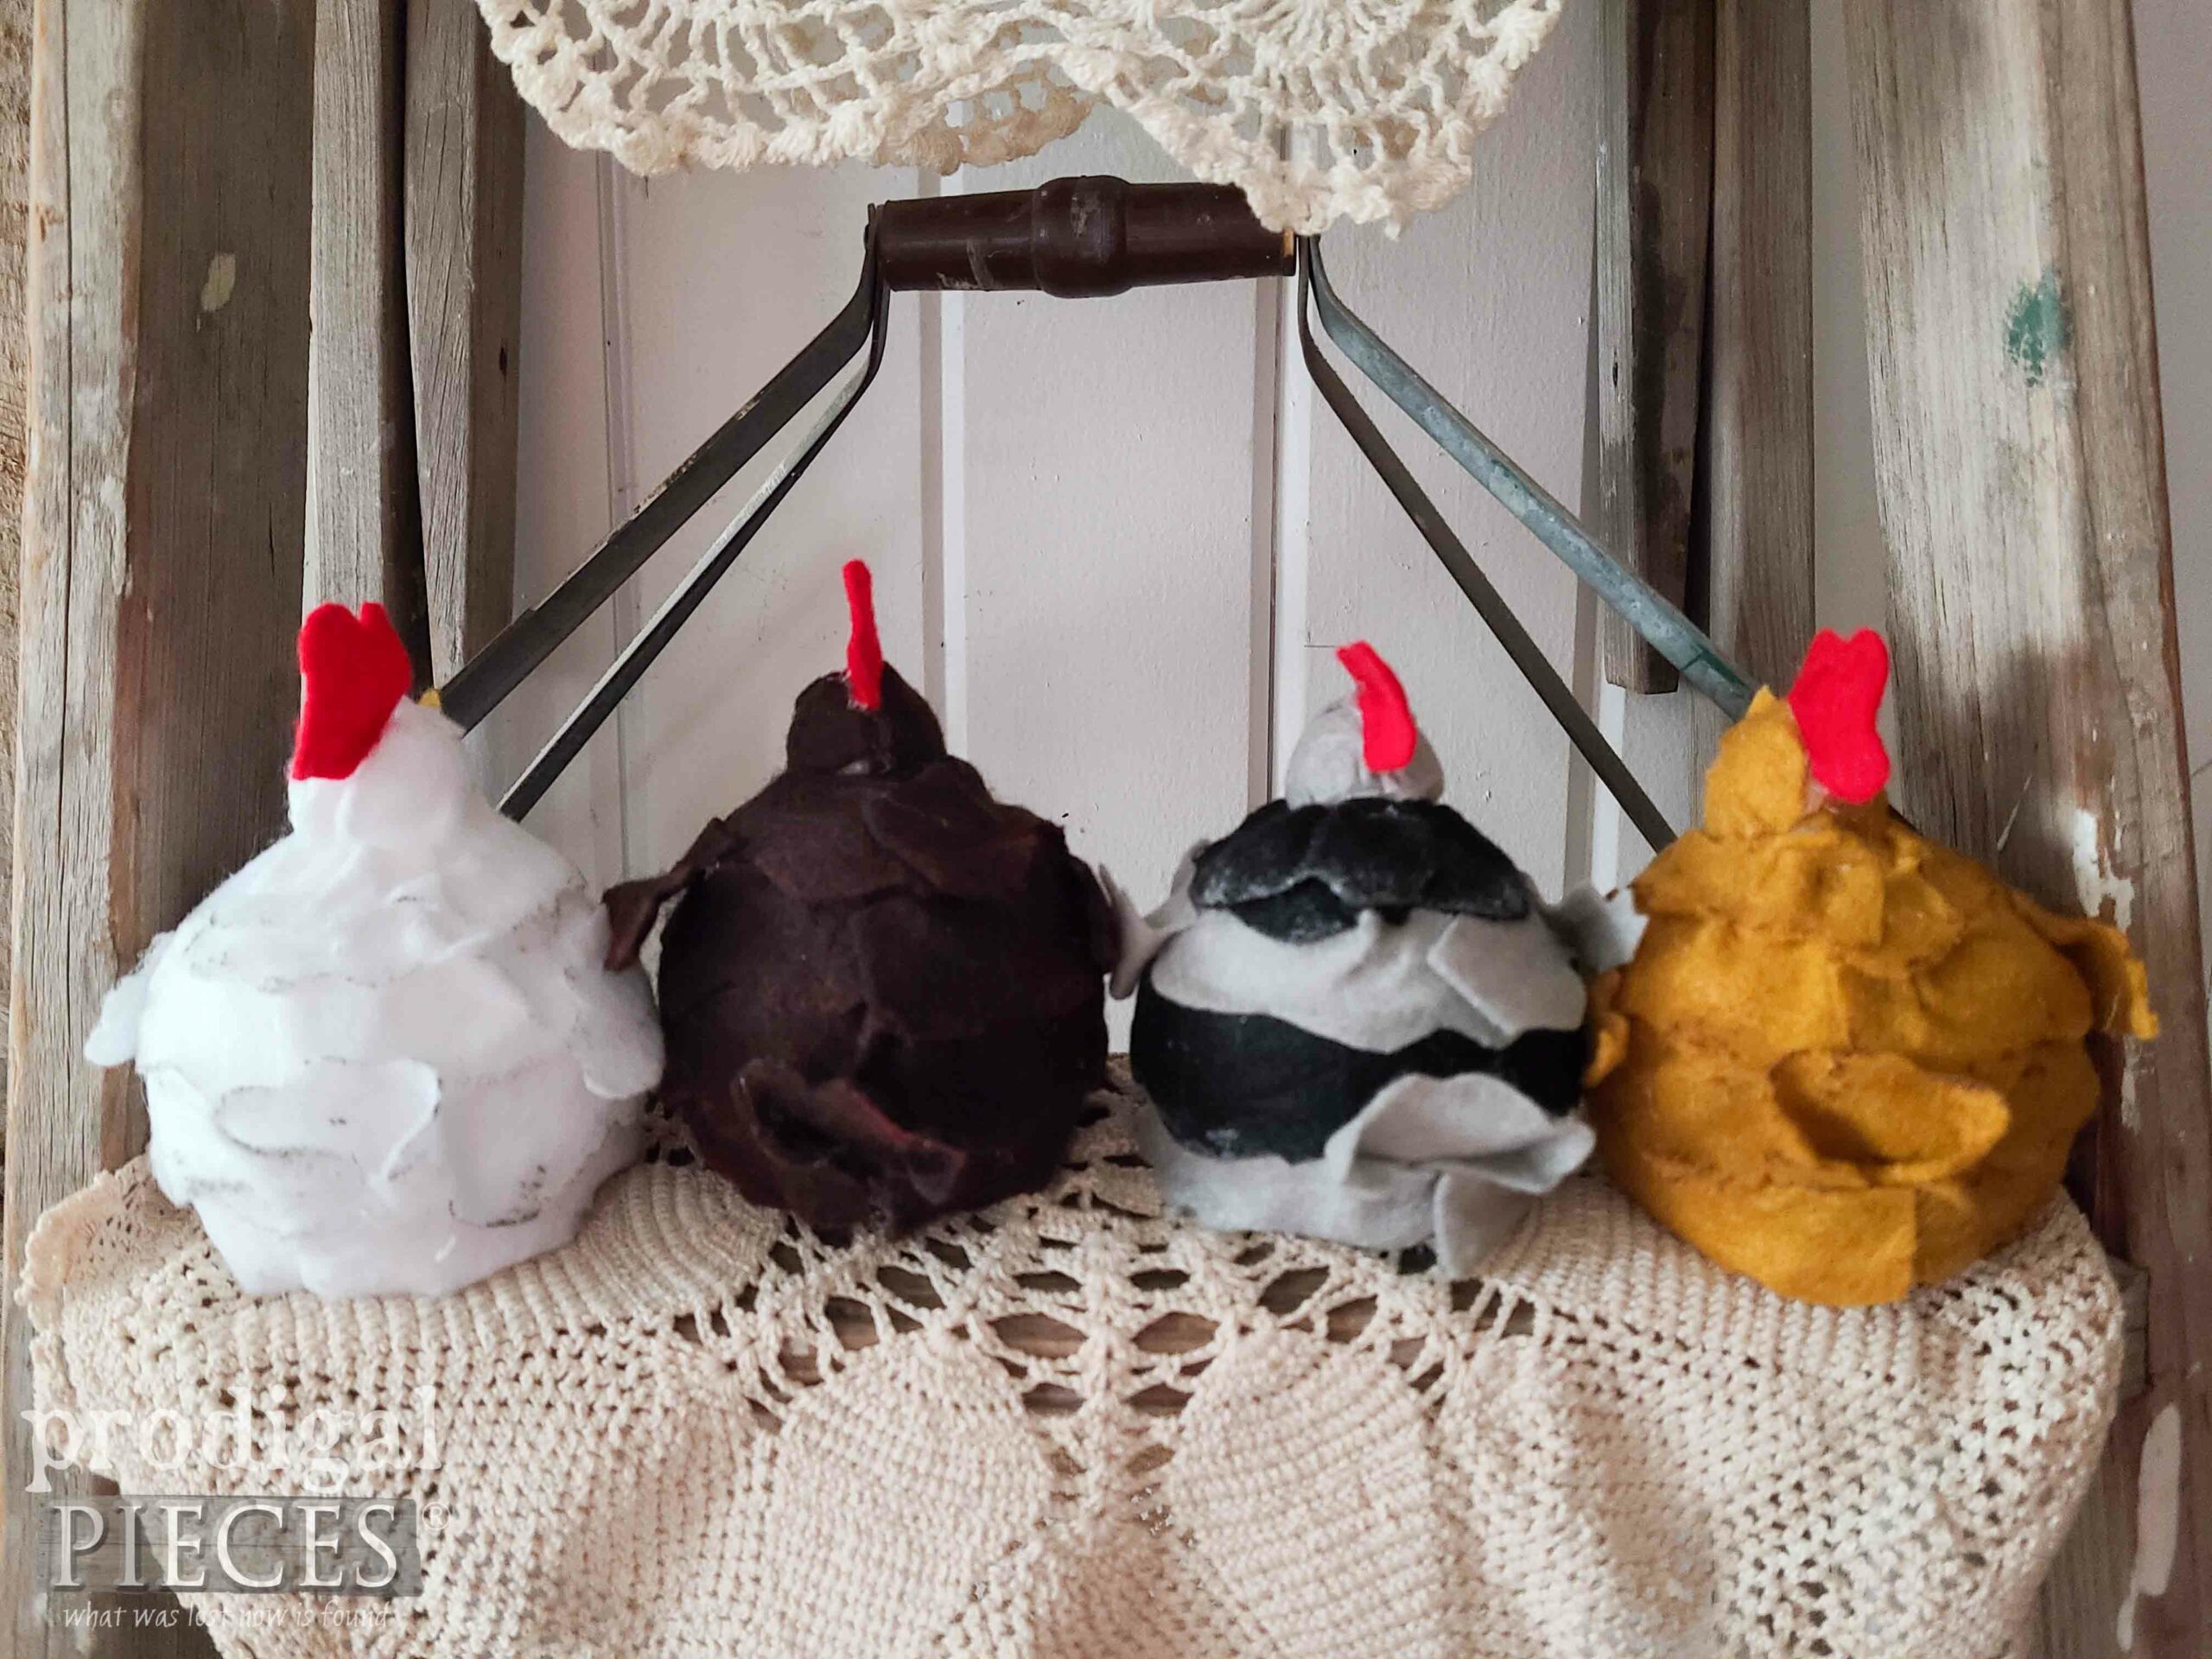
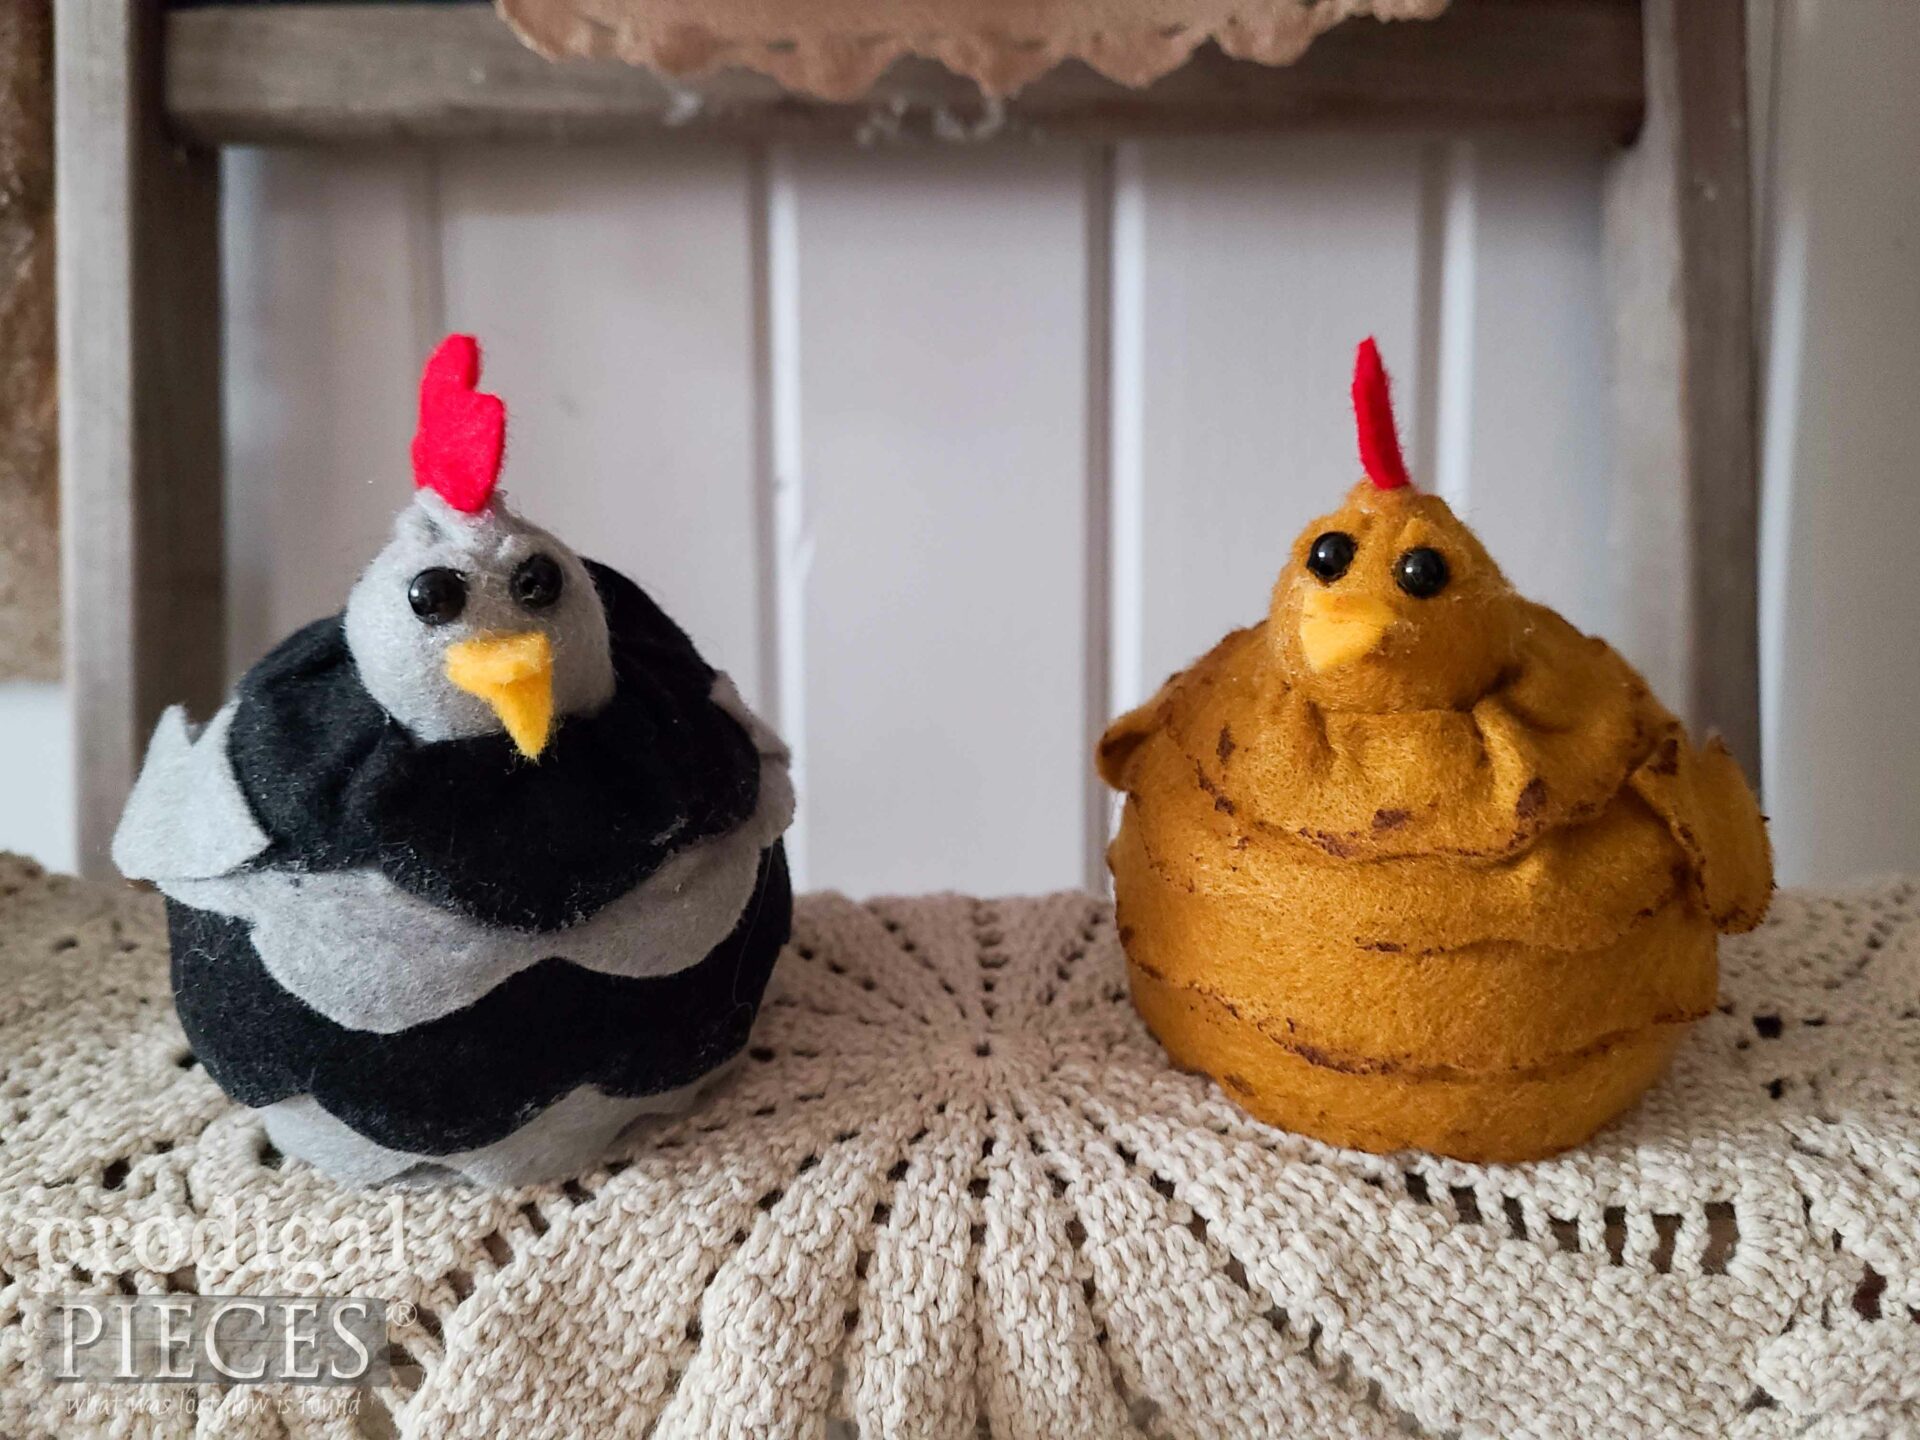
Afterward, put a bead of glue about a half-inch up the ball yet under the head. Center your first strip there and then add glue to around each side ending in an overlap over the tail as shown above. You’ll need 3-4 strips depending on how you situate your feathers. Subsequently, keep adding strips and wrapping around the shape of the body. In addition, this is where you can cut alternating colors as I did with one of mine.
STEP 6
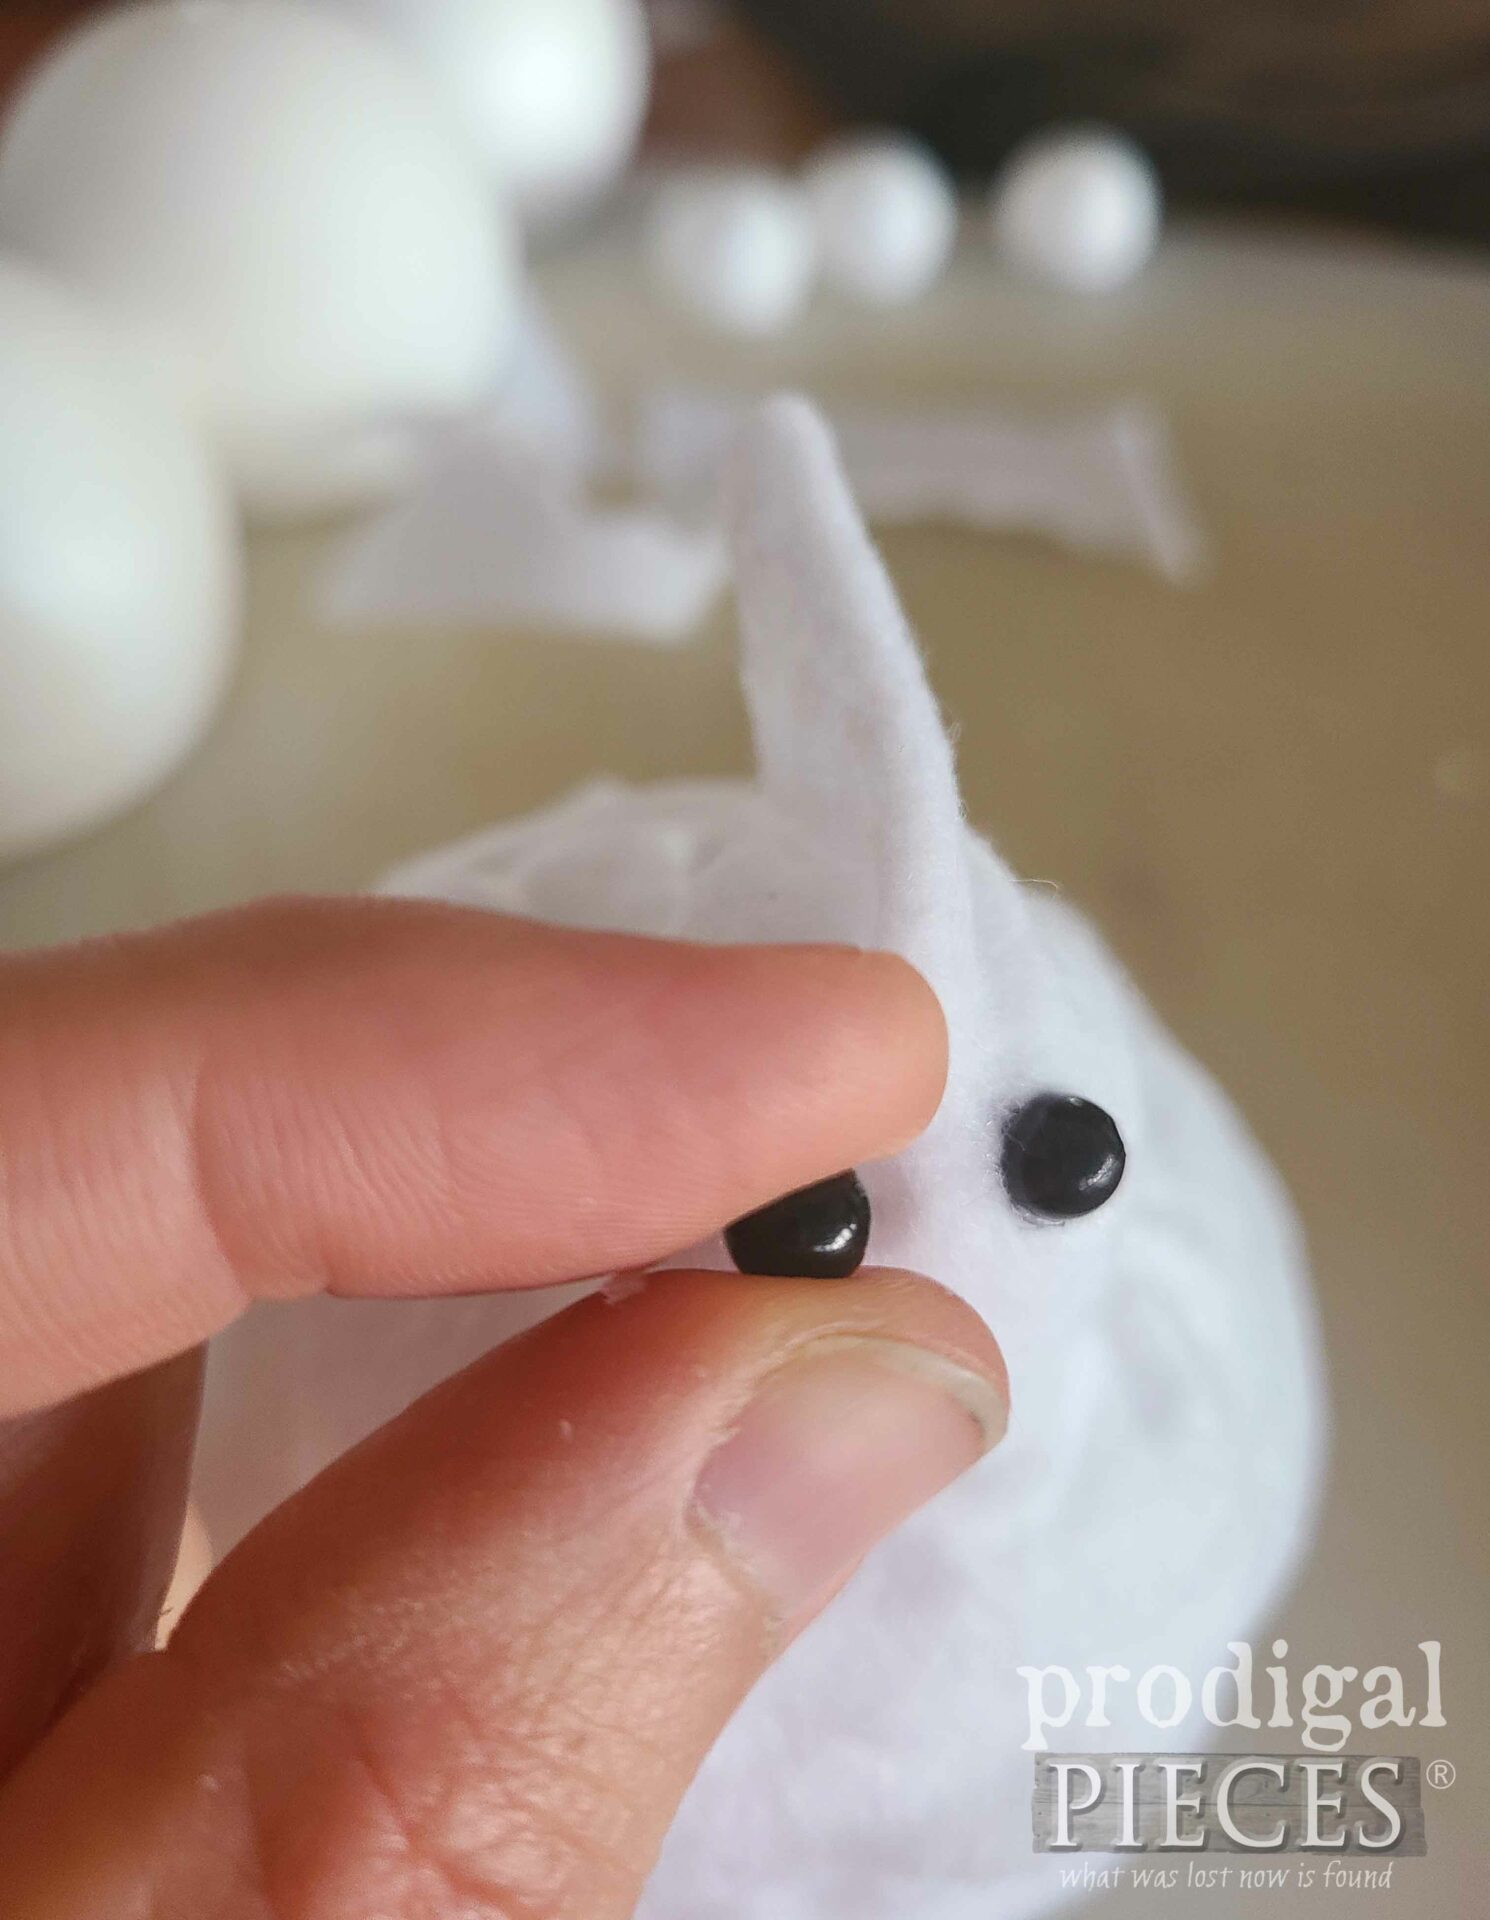
Last, but not least, it’s time to add our bead eyes, beak, wings, and comb. As mentioned earlier, I cut off that comb and add a red one cut out of scrap felt. In order to add the bead eyes I use my scissors (holding one blade in my hand) and press in twisting to make a divot for the bead to rest in. Then, glue in.
While you’re at it, you can cut a couple of little arches for “eyebrows” as I did too. I glued those with tacky glue. Further, glue on your comb, beak, and wing.
FEATHER FUN
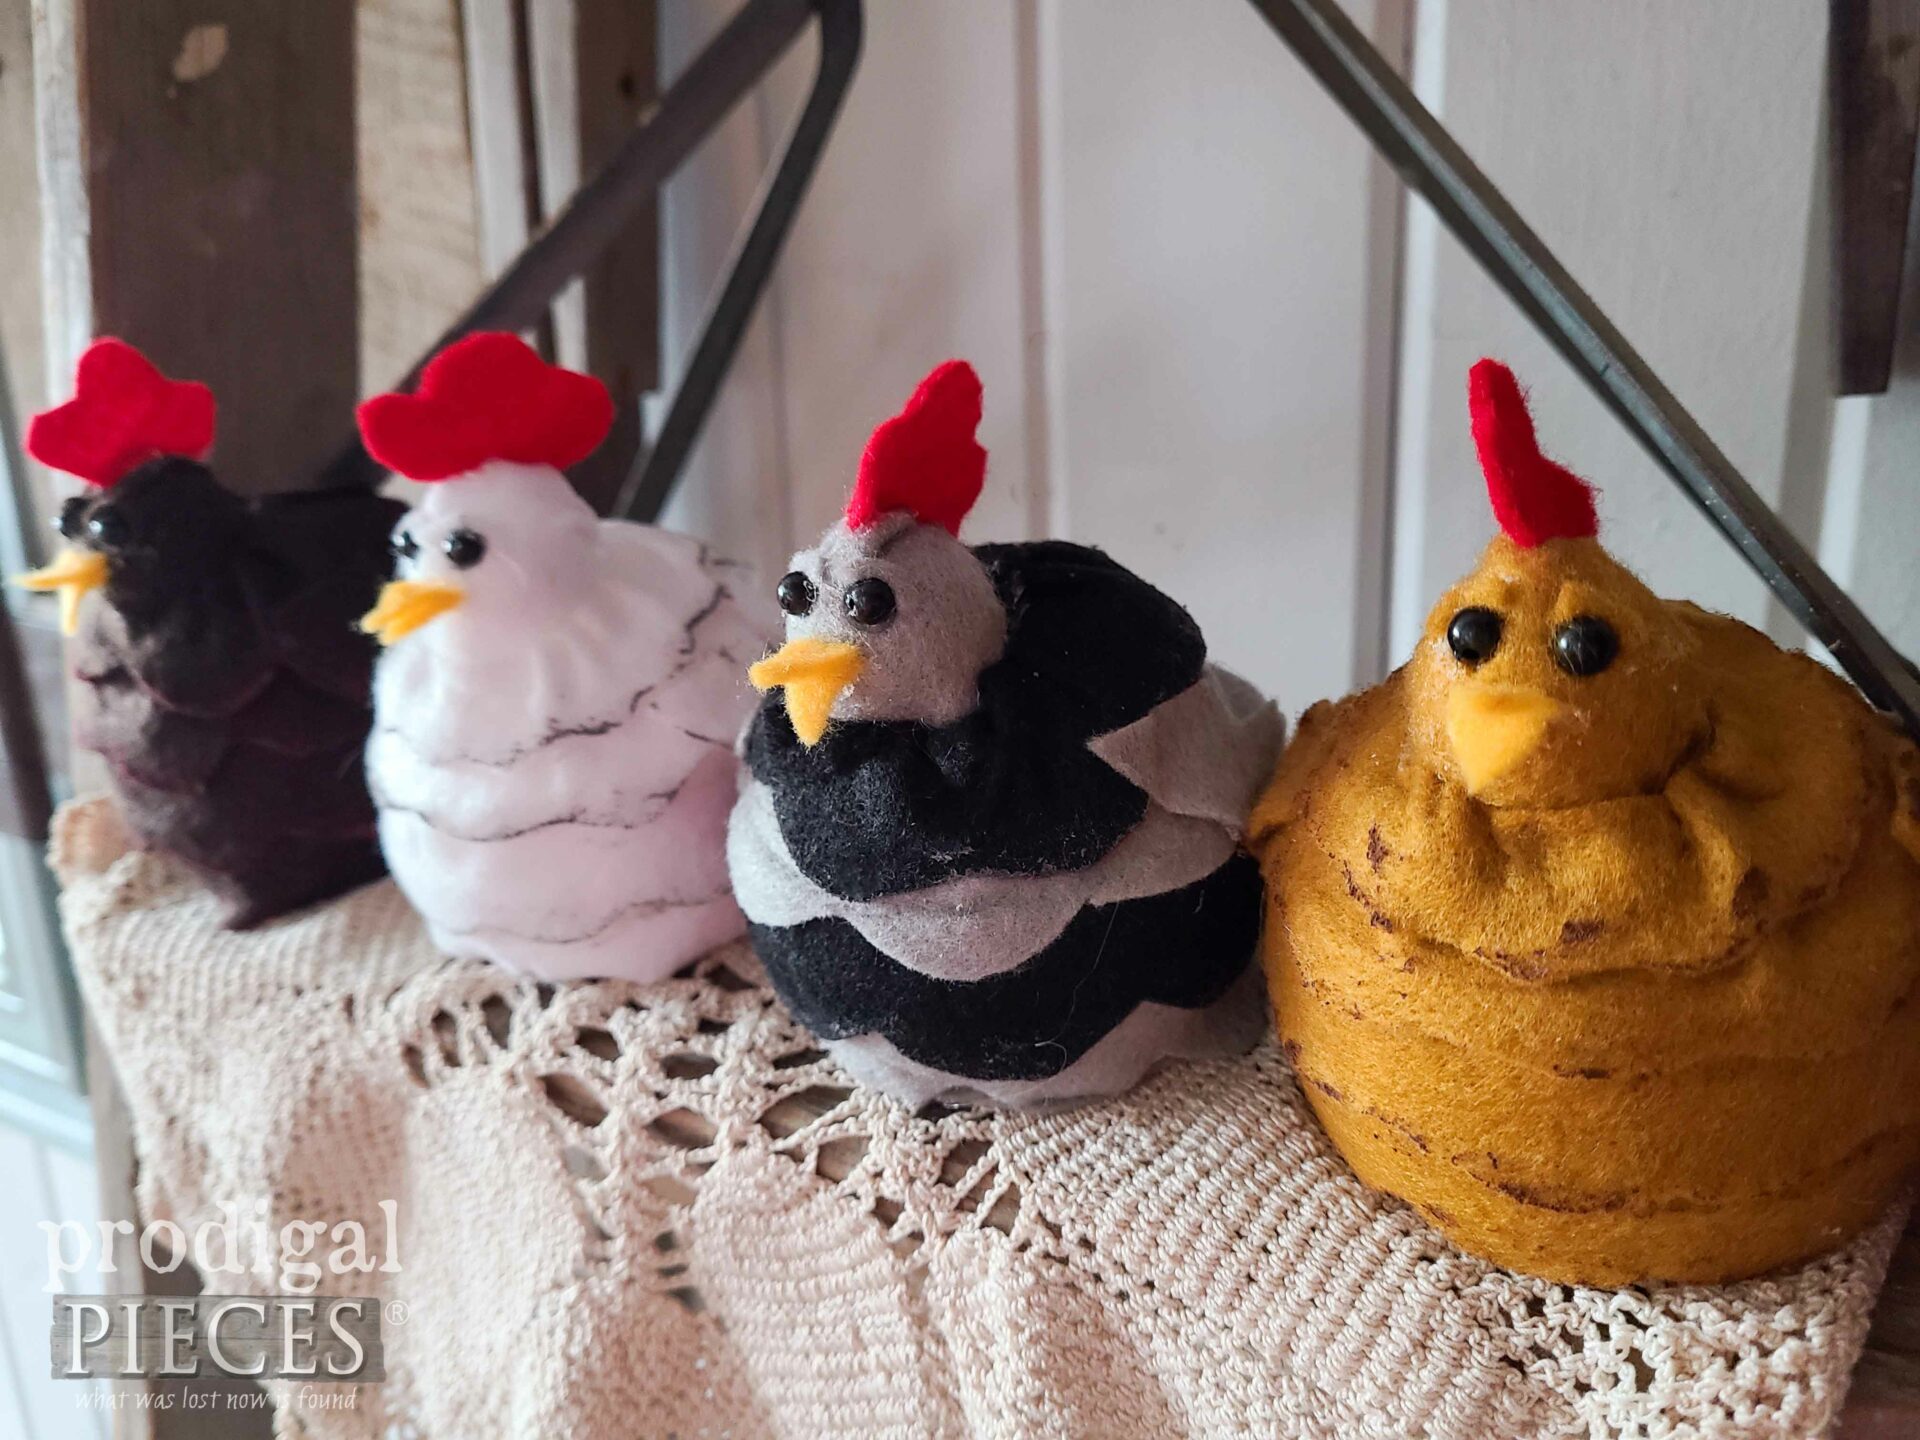
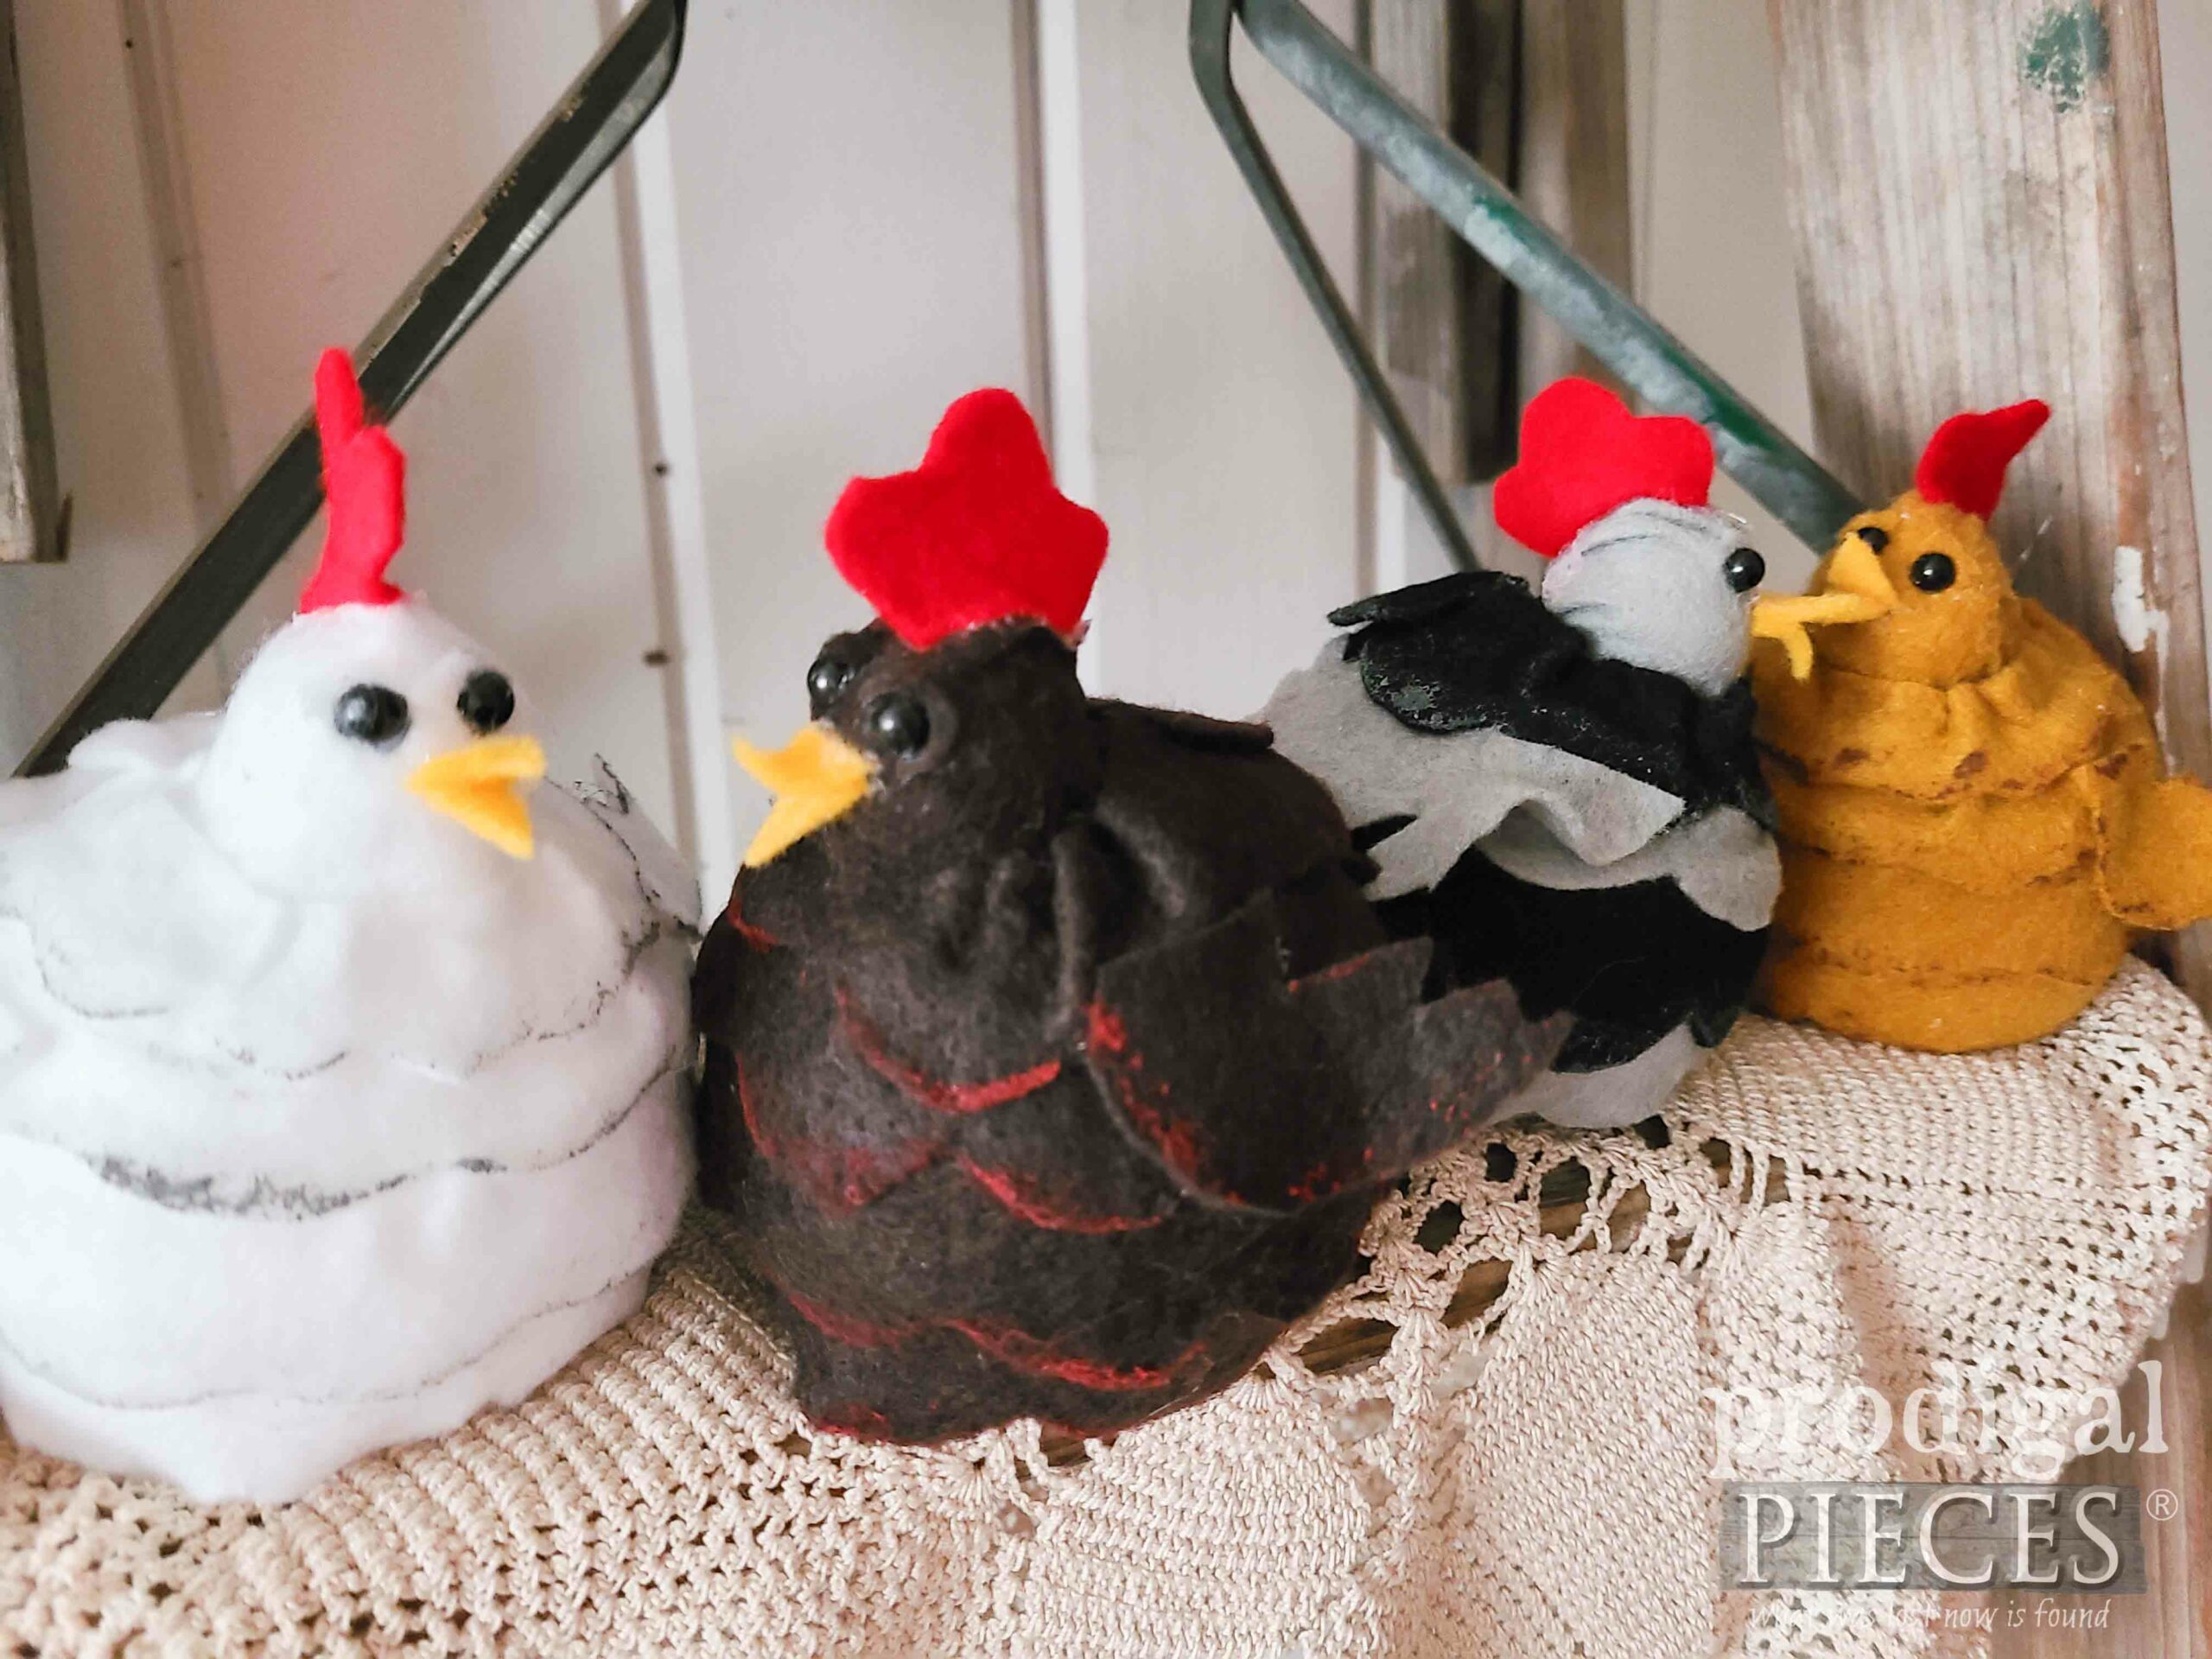
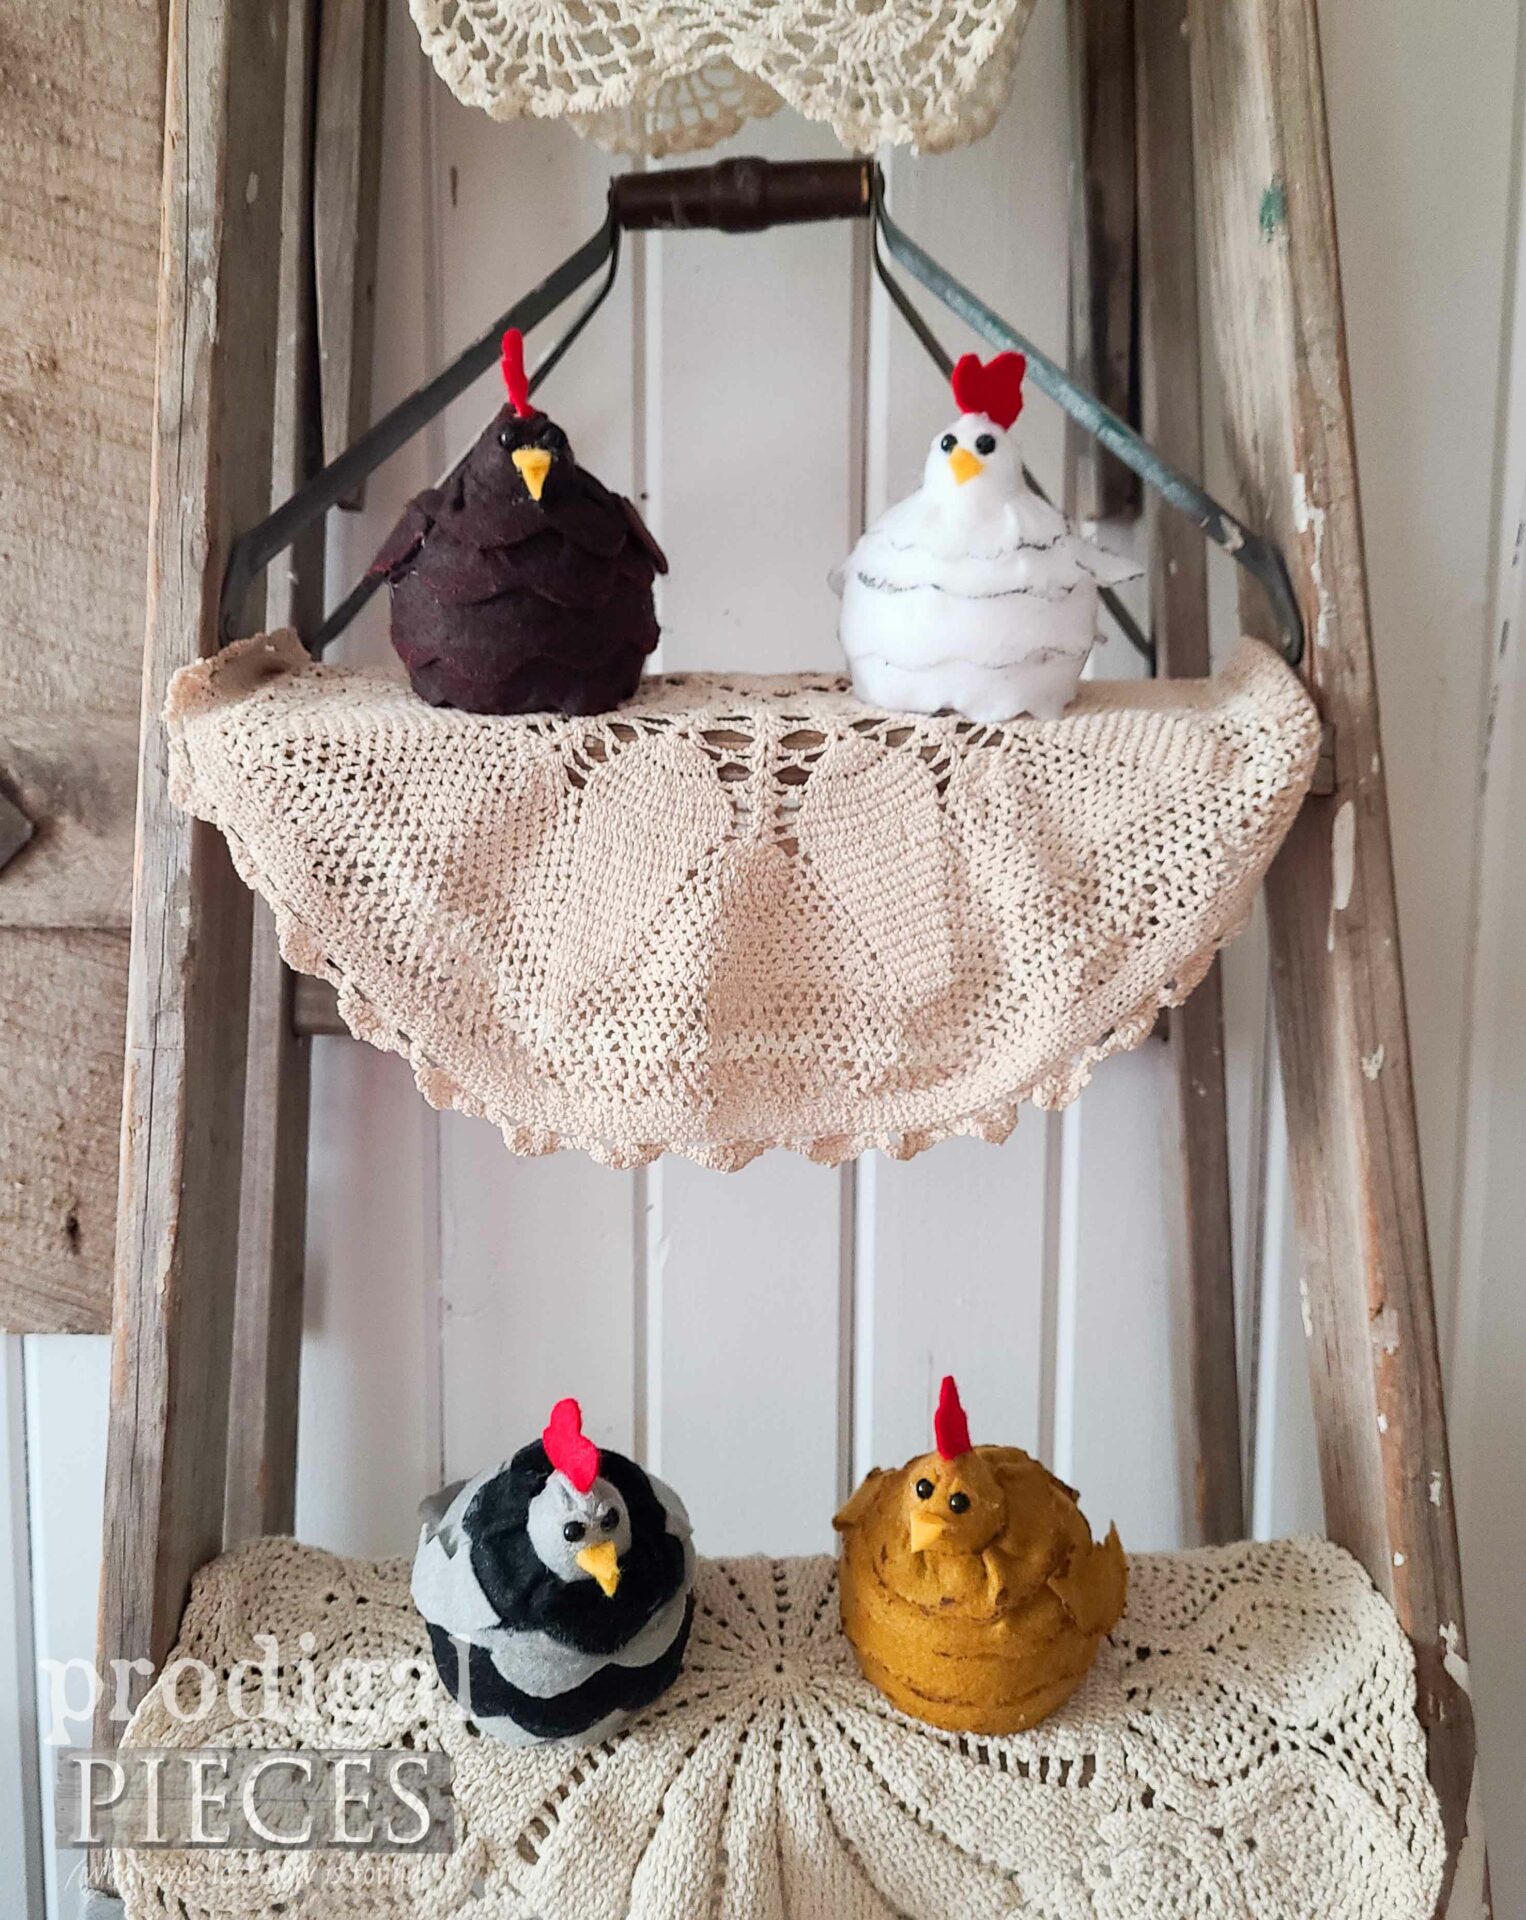
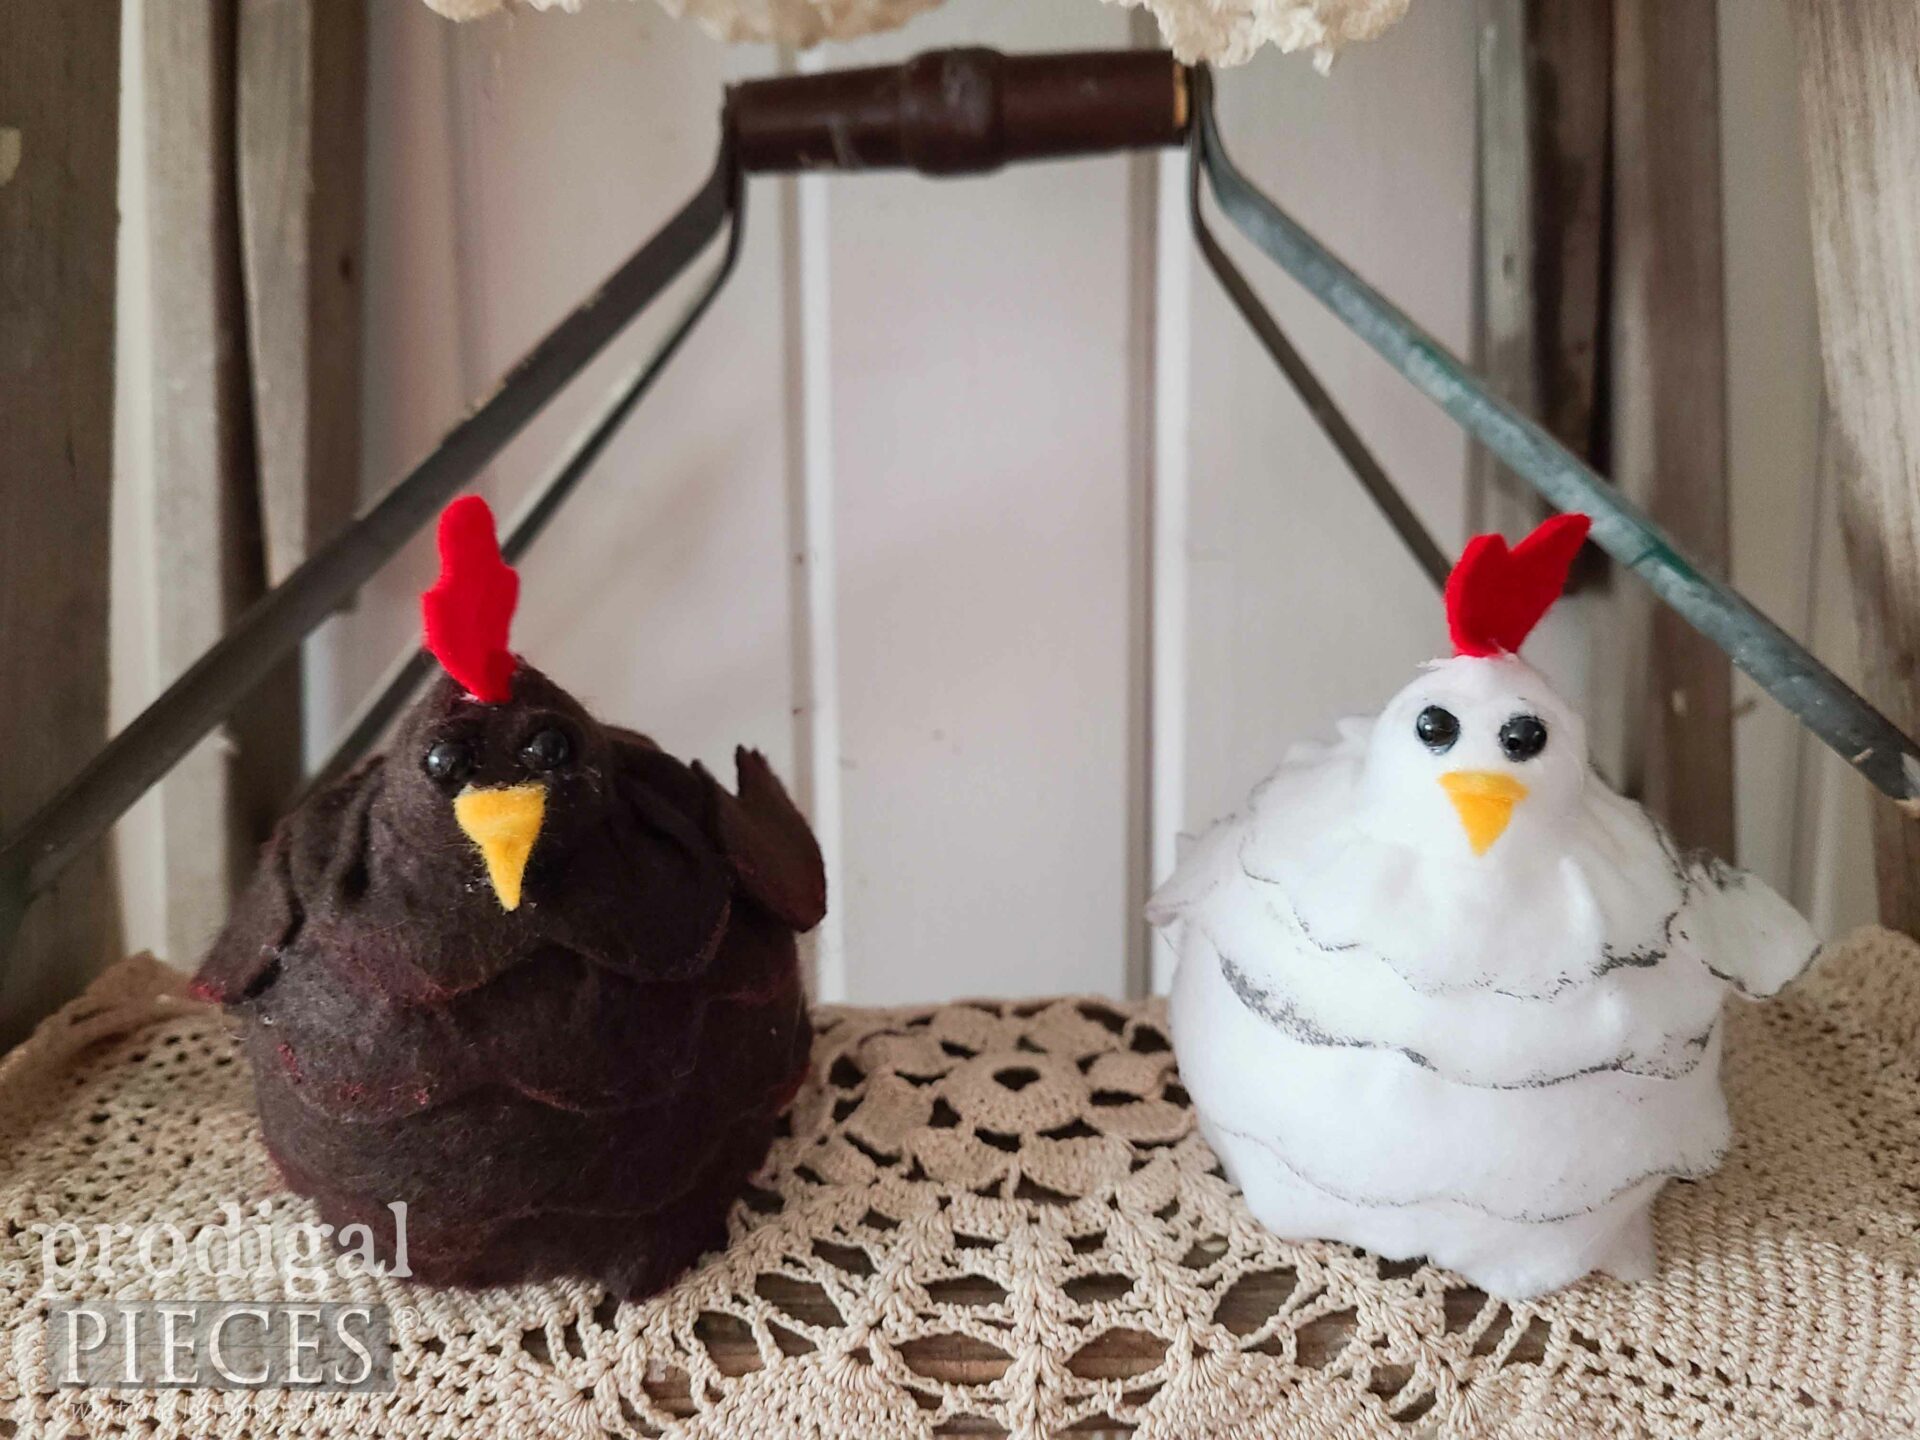
Finally, here are my sweet DIY felt chicken roosted on my old ladder with handmade doilies. They look like they’re up to no good, don’t they?
If you want, like I did, I used a bit of acrylic paint dusted on the edge of the feathers to give texture and dimension.
I hope you can tell I had fun with these and I hope you had fun joining in too. Which biddie is your favorite?
If you want to make this brood a part of your home, you can find these and more in my online store.

SHARE
Also, after leaving some comment love below, do pin and share so others can get their craft on too.
Before you go, be sure to sign up for my FREE newsletter to see what I’m up to in my DIY journey. Until next time!


Oh my gosh!!! Those are so flipping cute!!!! You are so gifted!!!!! 🥰🐔🐓
I’ve said it before, Rebecca, but I wish I could hug ya! Thank you!!
Henny Penny and her friends!! Very chique-en! Lol. Enjoying how much fun your projects are. My D-I-L hates birds but especially chickens so I probably won’t be making these for her….I would make them for myself but well meaning people in my family think they need to start collecting things for me that I don’t intend on having collections of.
bwahahaha!! I love that, Niki! And I totally get what you’re talking about…why do people do that??