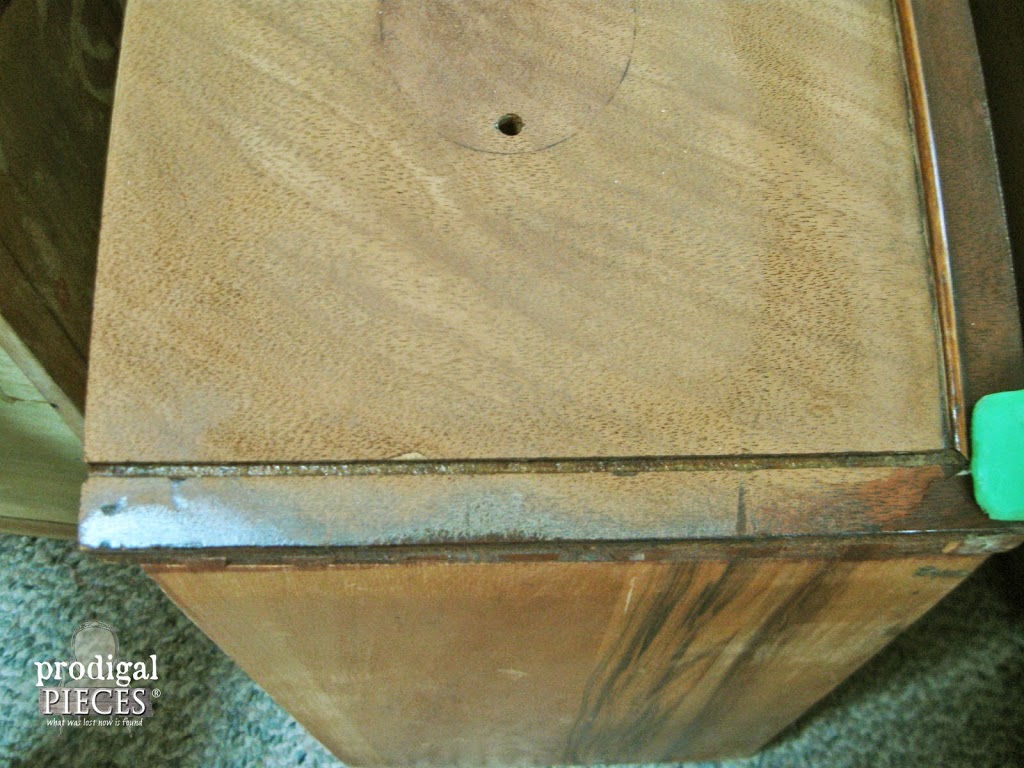
So, you clicked over to read this post and are saying to yourself, “Whaaat? How can I repair furniture with clay?” Yup. You read that right! Sometimes I will come across and absolute stunning piece, but it’s missing a tidbit here and there.
TRIM
GETTING STARTED
Here’s what you’ll need:
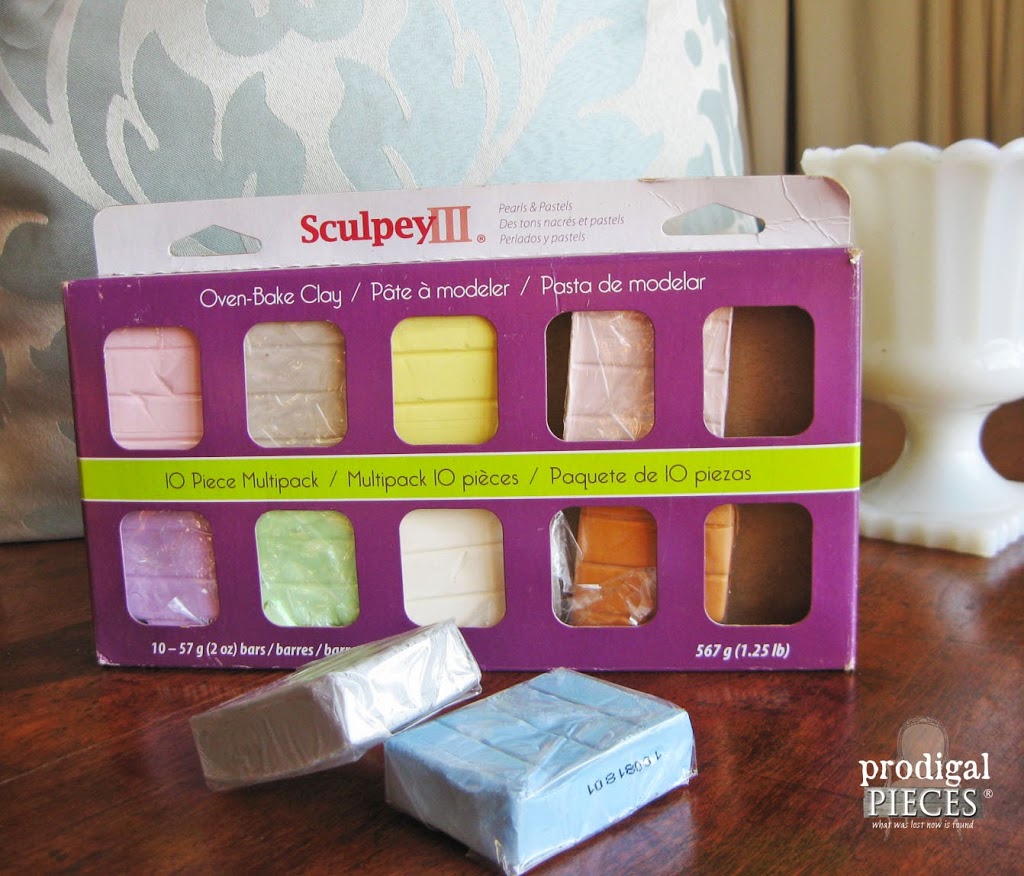
- Sculpey or FIMO polymer clay in color of replacement piece (or as close as possible)
- polymer clay to make mold (you can use scrap)
- wood glue or E6000
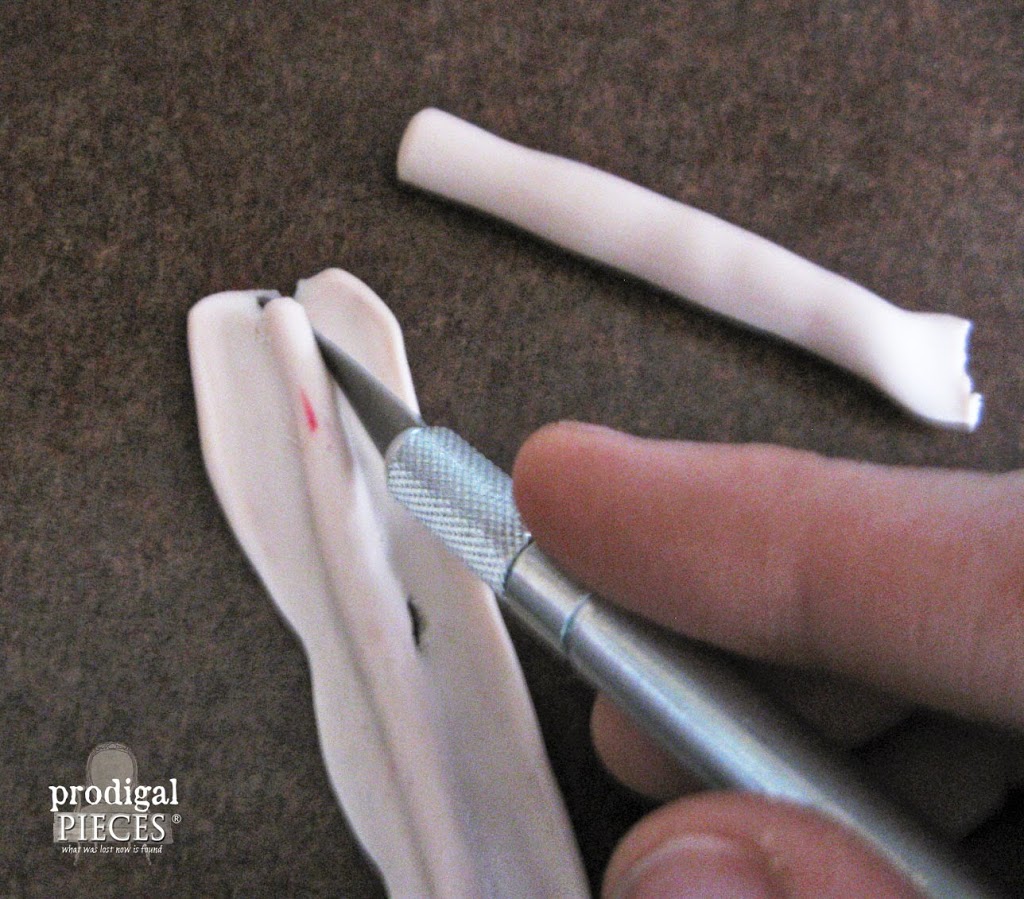
- X-Acto knife
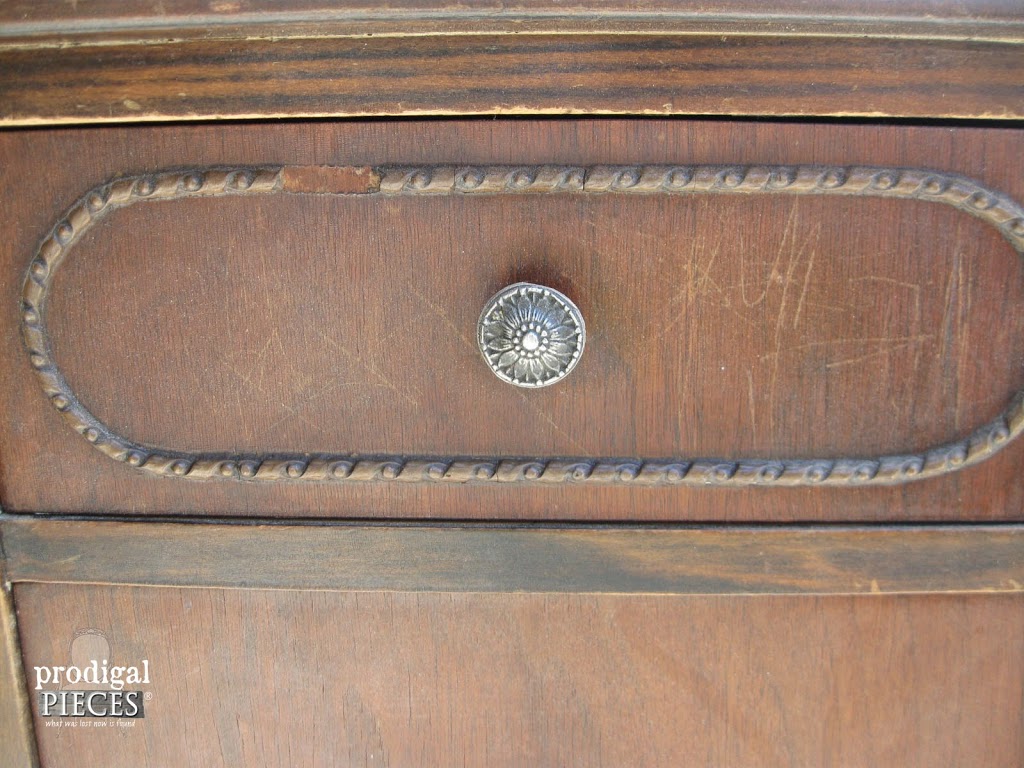
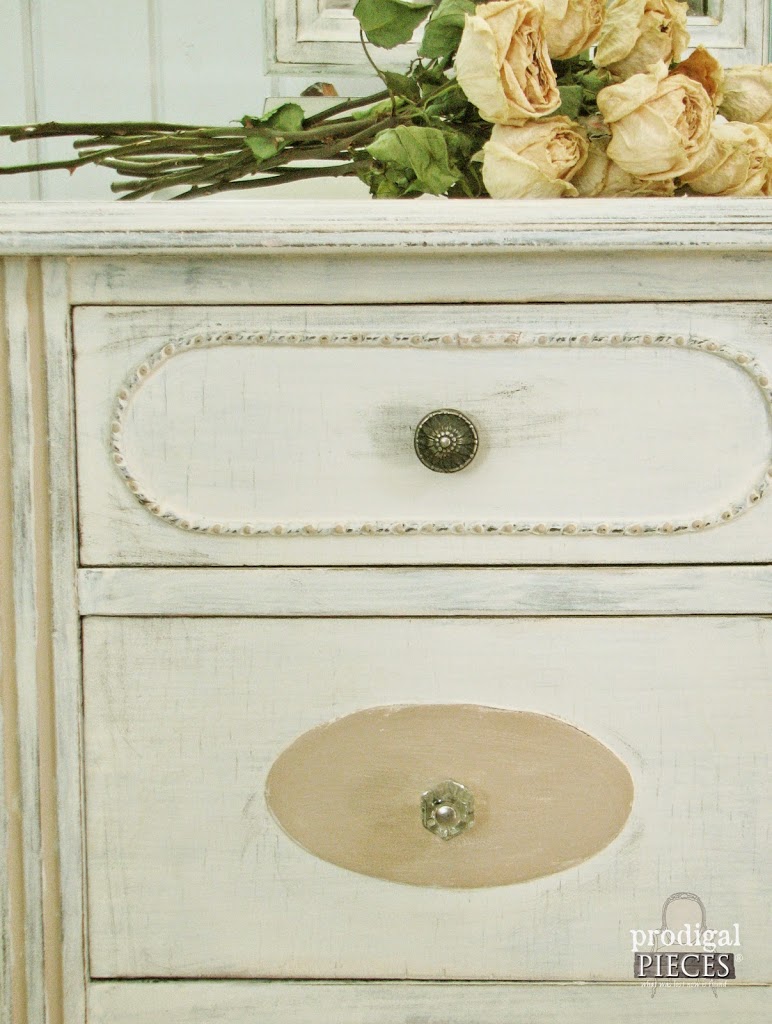
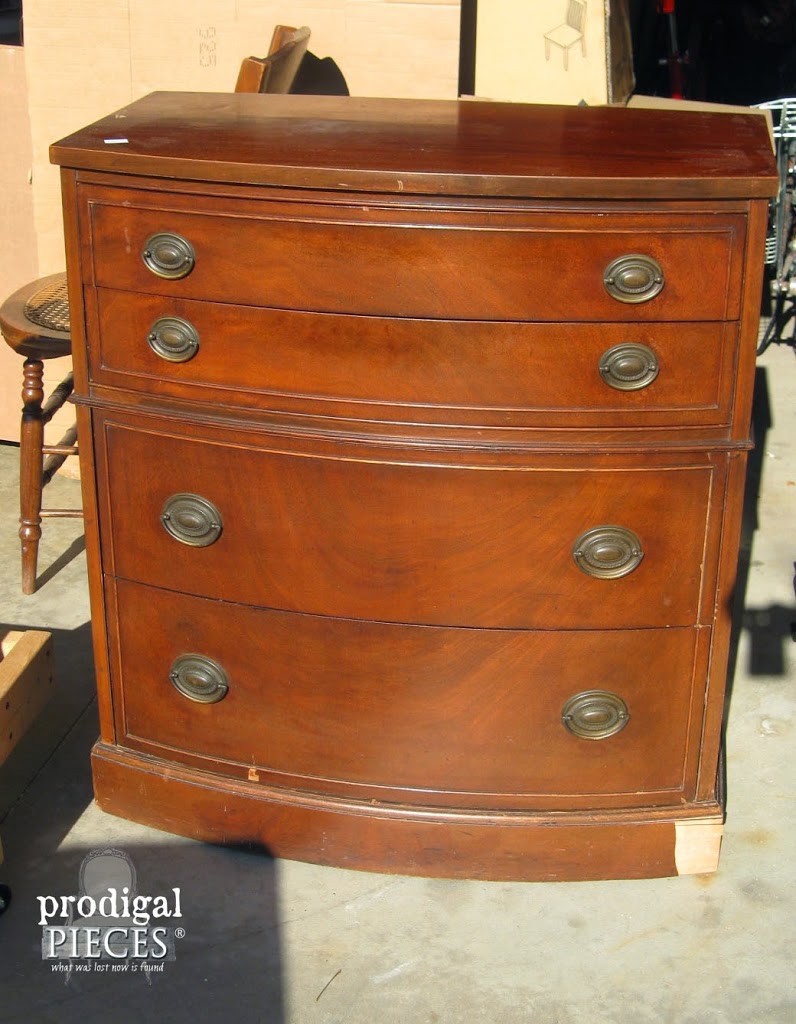
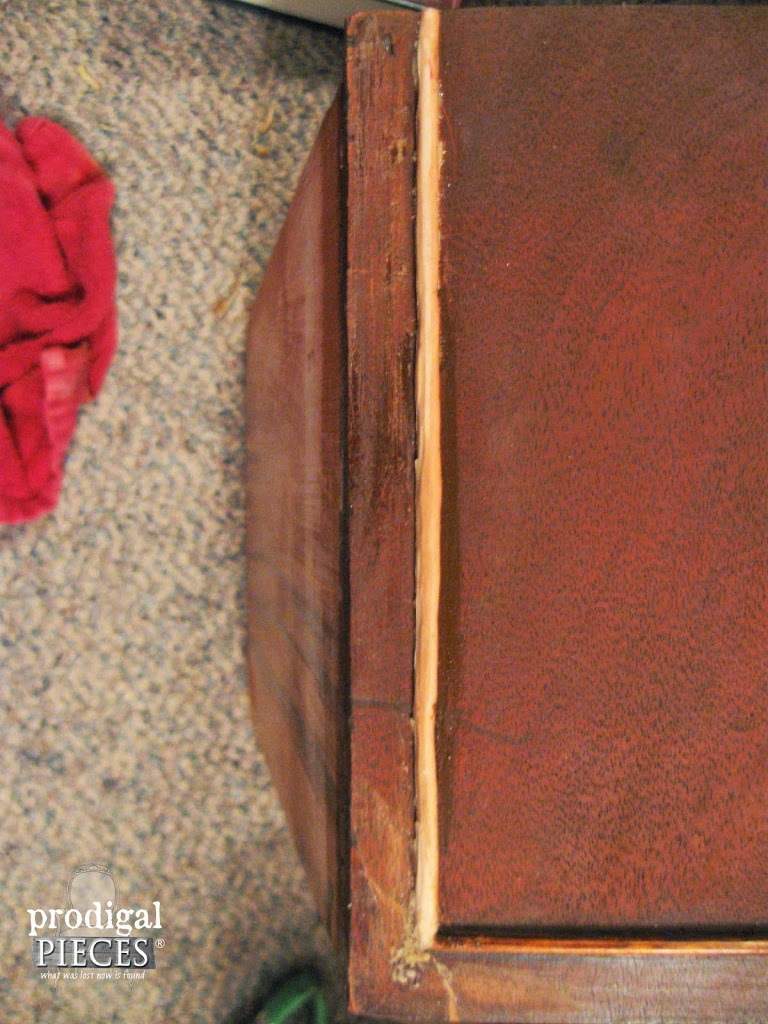
For this post, I’m using this vintage Thomasville sideboard/server as an example. I found this beauty at a thrift store, and it had peeling veneer and some bumps and bruises. When I showed the clerk, she knocked off $20. Yes!
GETTING STARTED
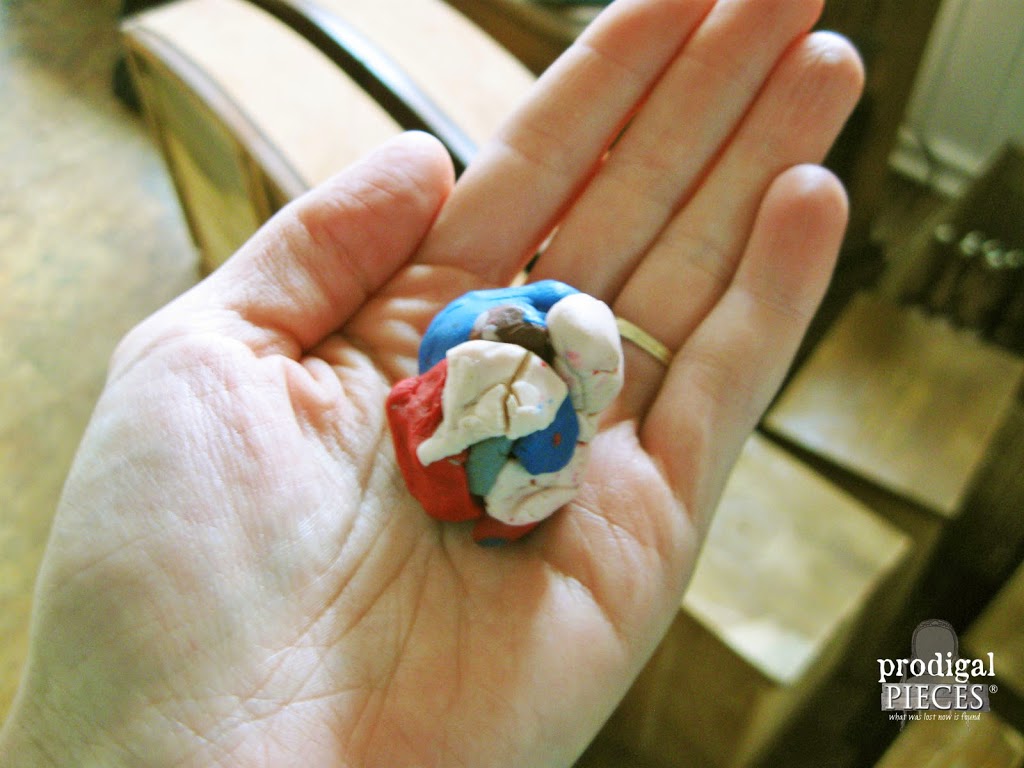
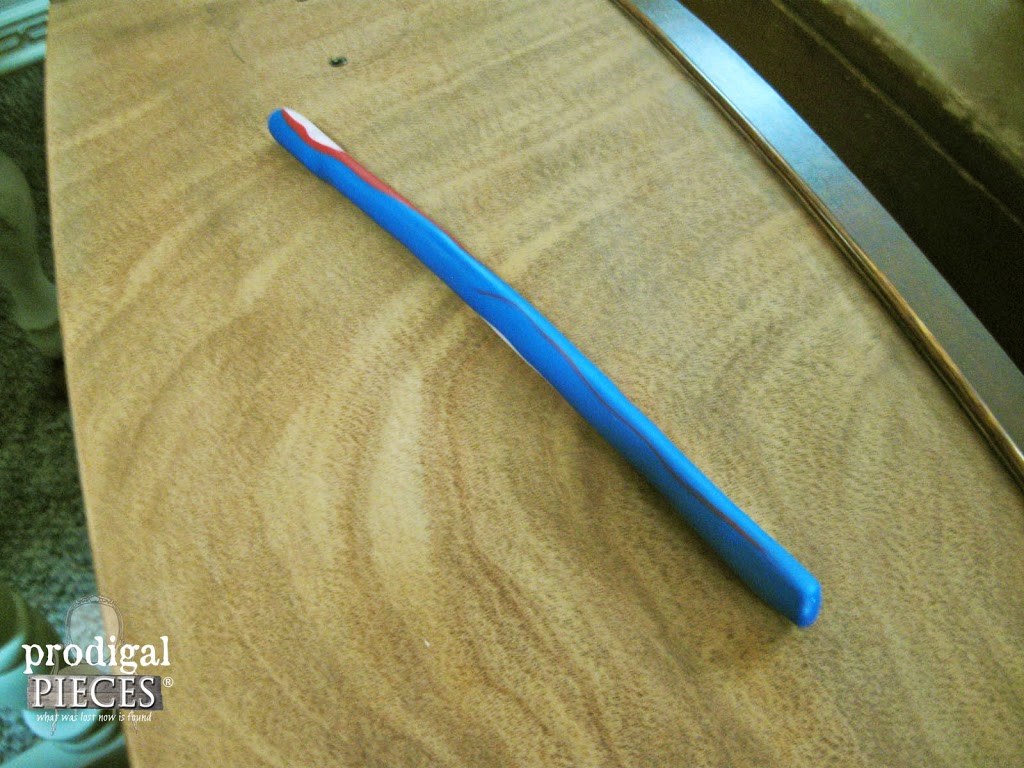
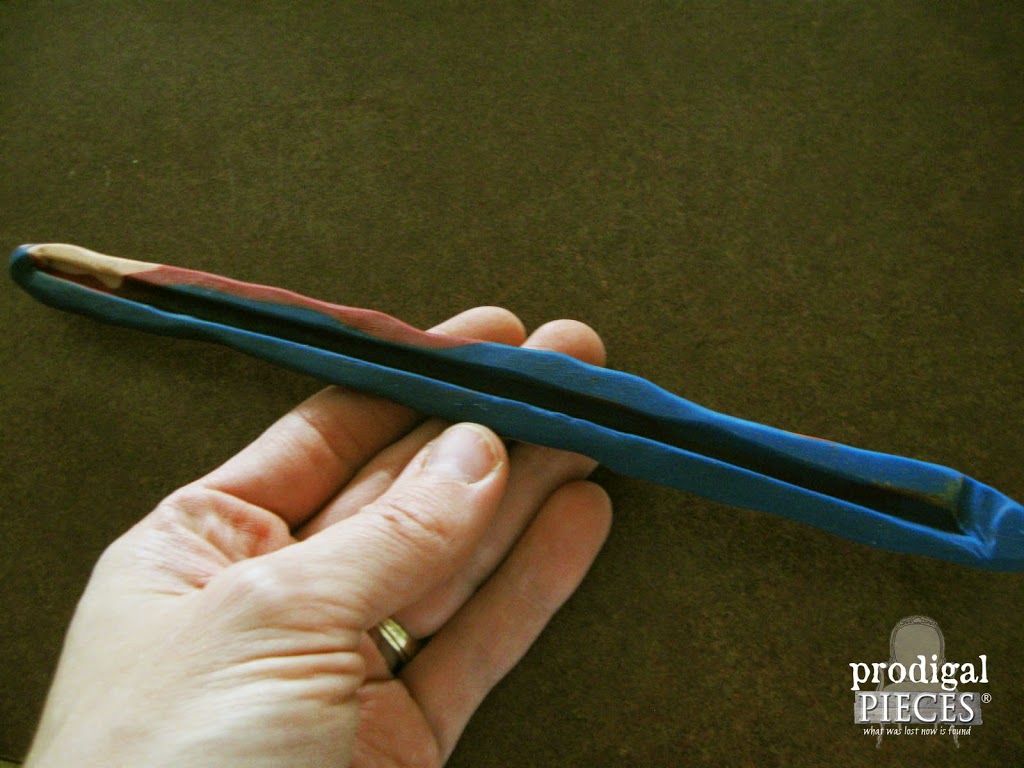
After you have the clay ready to make the mold, you want to find a similar trim piece that is going to match the missing trim you’re replacing. I just went to the other side of the drawer and used the existing piece. *note: you’ll get a mirrored image when you do this, so keep that in mind when choosing your existing piece.*
NEXT STEPS
LAST STEPS
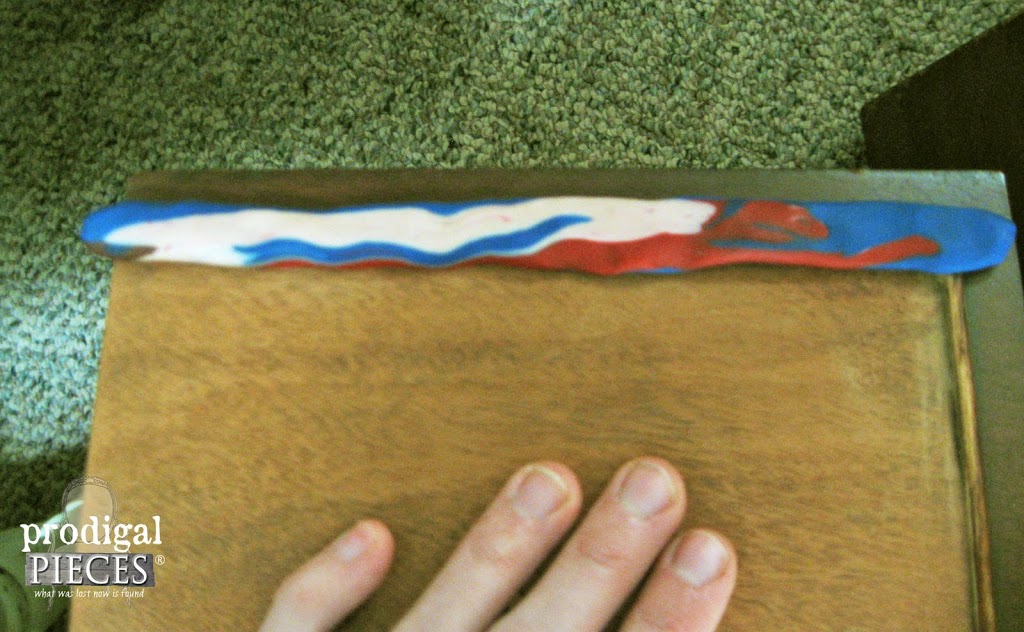
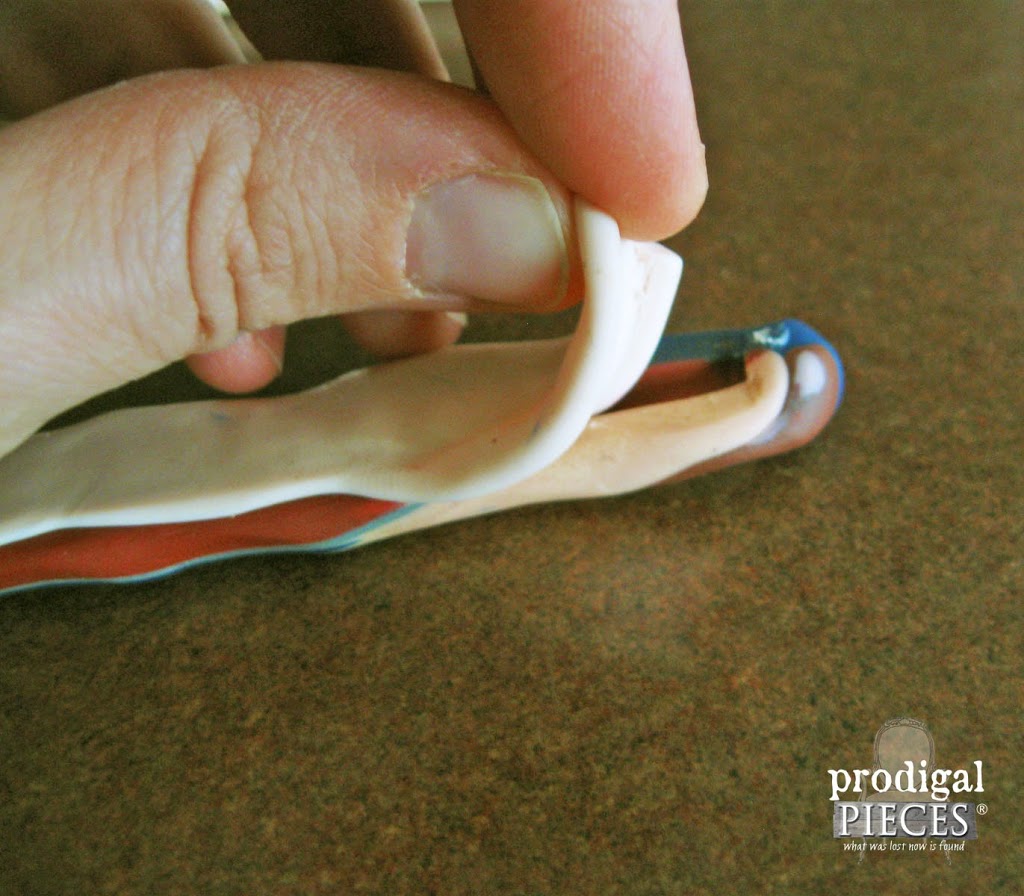
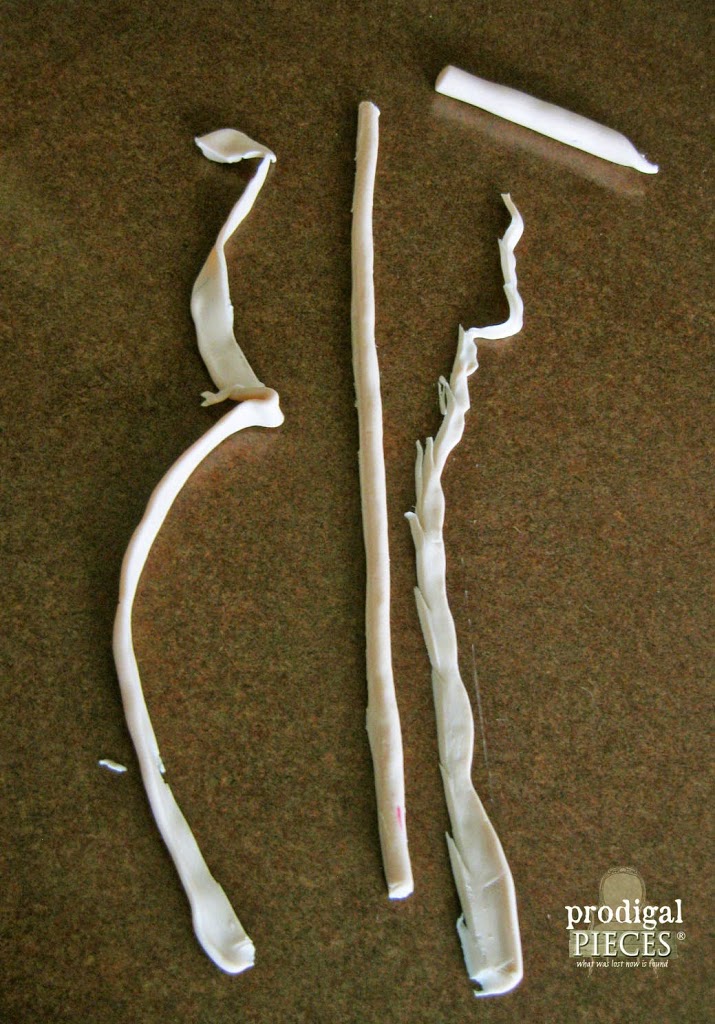
Take a second and consider what you’re replacing. If you’re wanting to replace a stained colored piece, then use a similar colored clay. Likewise, for replacing a painted piece. Use a color that won’t show through your paint. Now, warm up your replacement clay as you did for the mold by massaging. Use enough to generously fill the mold. When it’s good and pliable, press it into the mold evenly.
HEADS-UP
Just a heads-up, you don’t want to make the replacement too thick (or deep). You’ll want to get that clay as flush to the top of that mold as possible, because that depth will affect the profile of your replacement. (ie, it will stick out farther than your existing pieces when you put it on)
*note: If you find your replacement piece is a bit wonky, just grab some 400-grit sandpaper and lightly buff until smooth.
PAINT/STAIN TIME
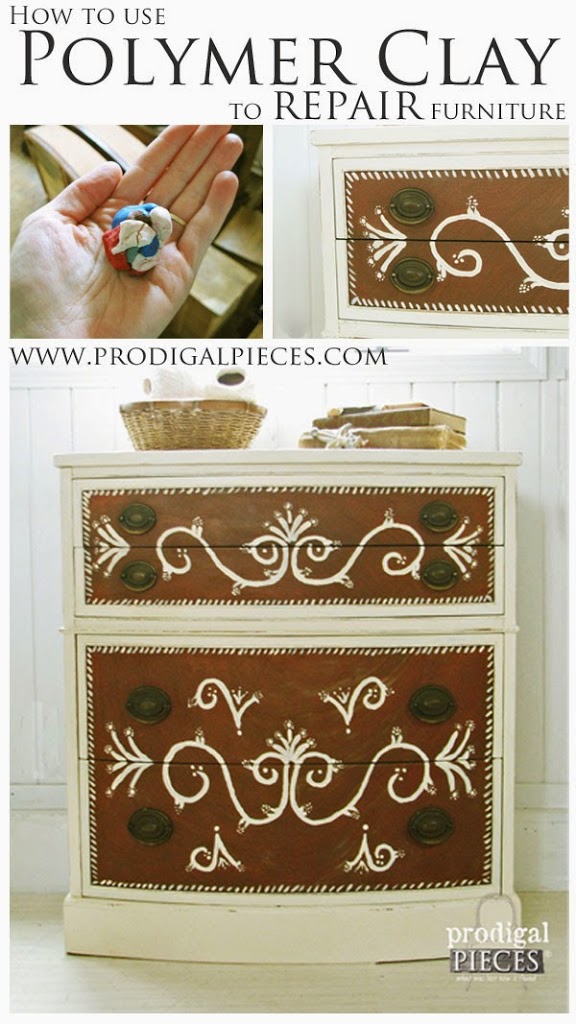
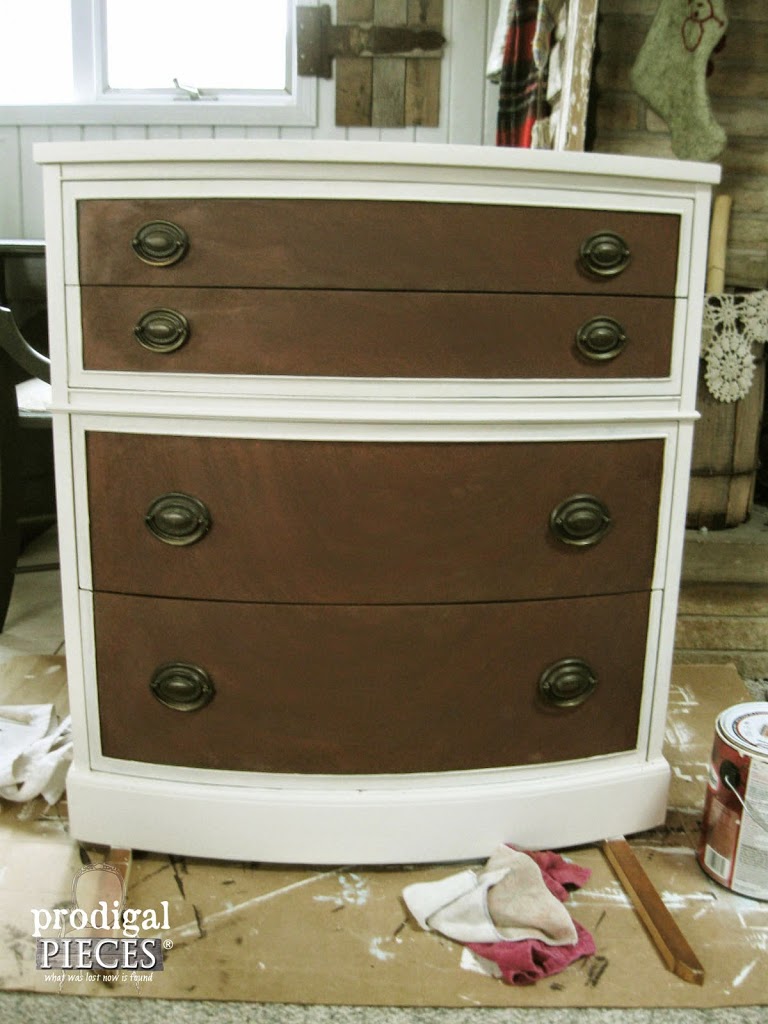
When I started this piece, I just loved the grain in the drawer fronts, and they were in such great shape that I couldn’t bear to paint.
THE REVEAL
Server has sold from my my online store, but there’s always something new on the way. Be sure to sign up for my newsletter to get the latest DIY tips.
Also, more projects like this one on how to repair furniture:
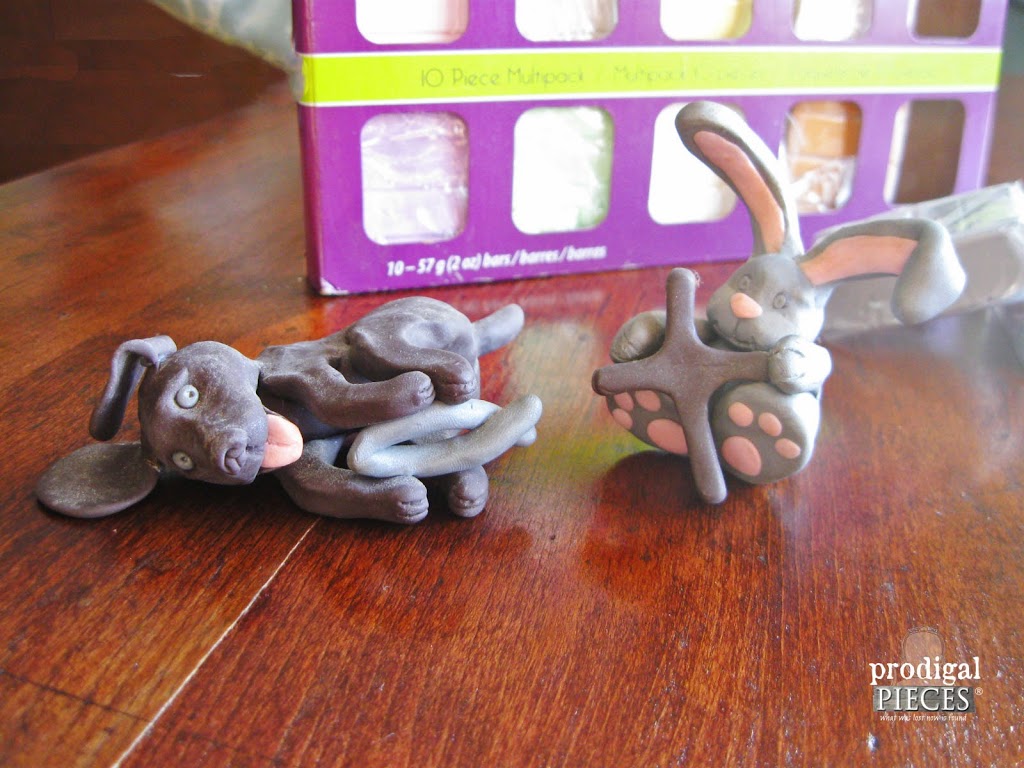



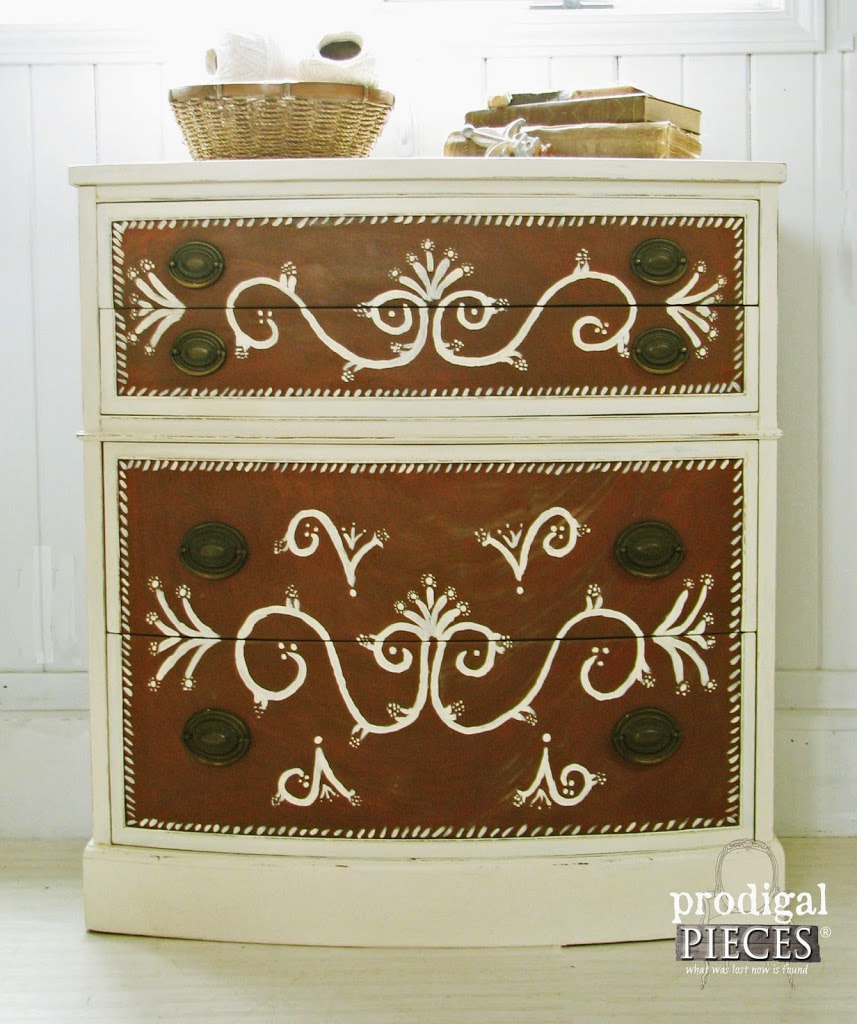
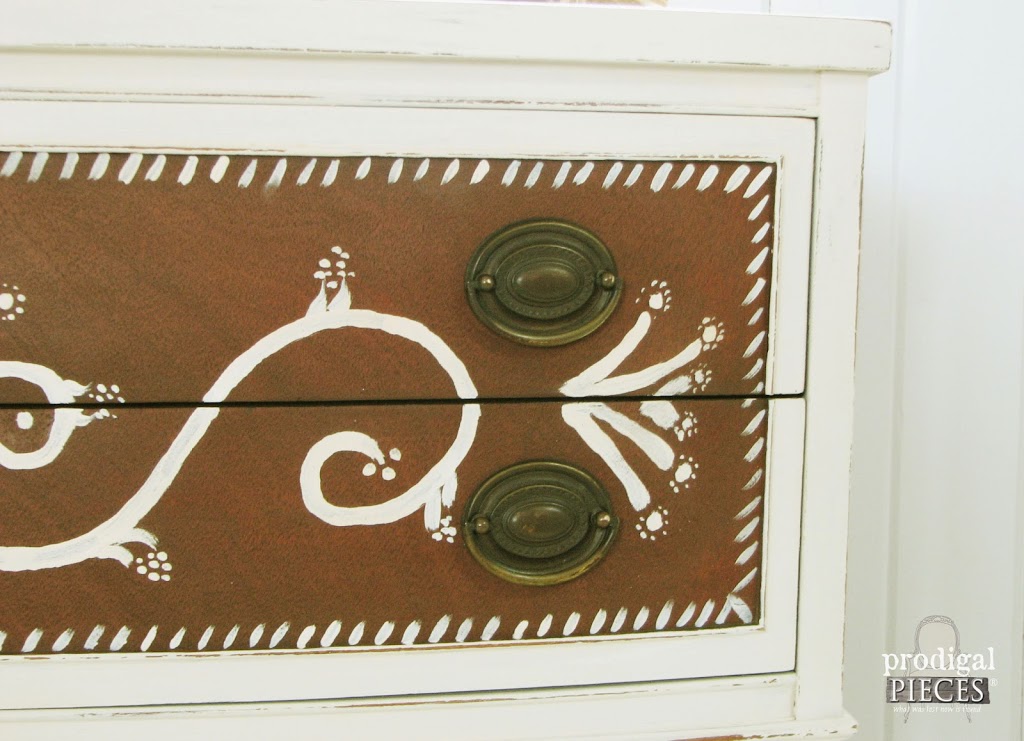
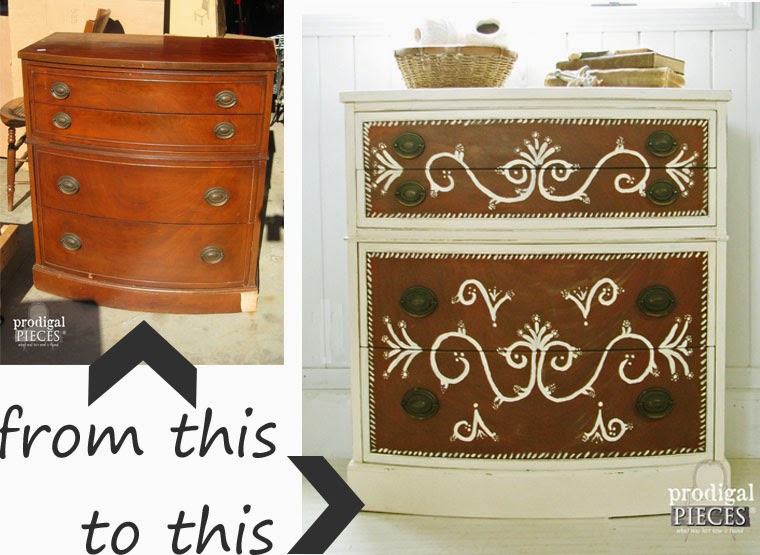



Amazing fix, Larissa! I love this great tip… and the chest turned out beautifully! (Your sculptures are adorable!)
~ Robin
Woah! Who knew?! This is such an awesome tip and you can’t tell at all that you used clay! How long does it take for the polymer to harden? This turned out fabulous my friend! P.S. Love your little clay animals 😉
Gotta love Sculpey Clay, it has saved a couple of furniture pieces. I never let missing trim prevent me from buying a piece knowing the Incredible Sculpey will come to the rescue! LOL Your dresser turned out fabulous Larissa!
Wow, amazing! My head is spinning with ideas. :). Now I’m kinda dizzy. ;).
Beyond beautiful Larissa! You truly out did yourself.
Larissa, Wow I just learned something new. I had no idea you could fix furniture with clay and that is perfect for things that have some dents here. You are not only a whiz with the paint brush but an artiste too. GORGEOUS. Thank you so much for taking time to link up to the Something to Talk about Link Party too xo Lisa
I like this and the fact that you did the design free hand
Thank you, Shirley! 😀
I have piece that a friend is restoring. There are a few trim pieces missing. I am trying this method and finding that the putty is sticking and not pulling off easily. I have tried putting Vaseline and even olive oil on the drawer before putting the putty on. Nothing works. I am wondering if it is because I am trying to use a drawer that is already painted but no clear coat yet? Any advice?
Hmm…are you using Sculpey? The type of clay you are using is key.