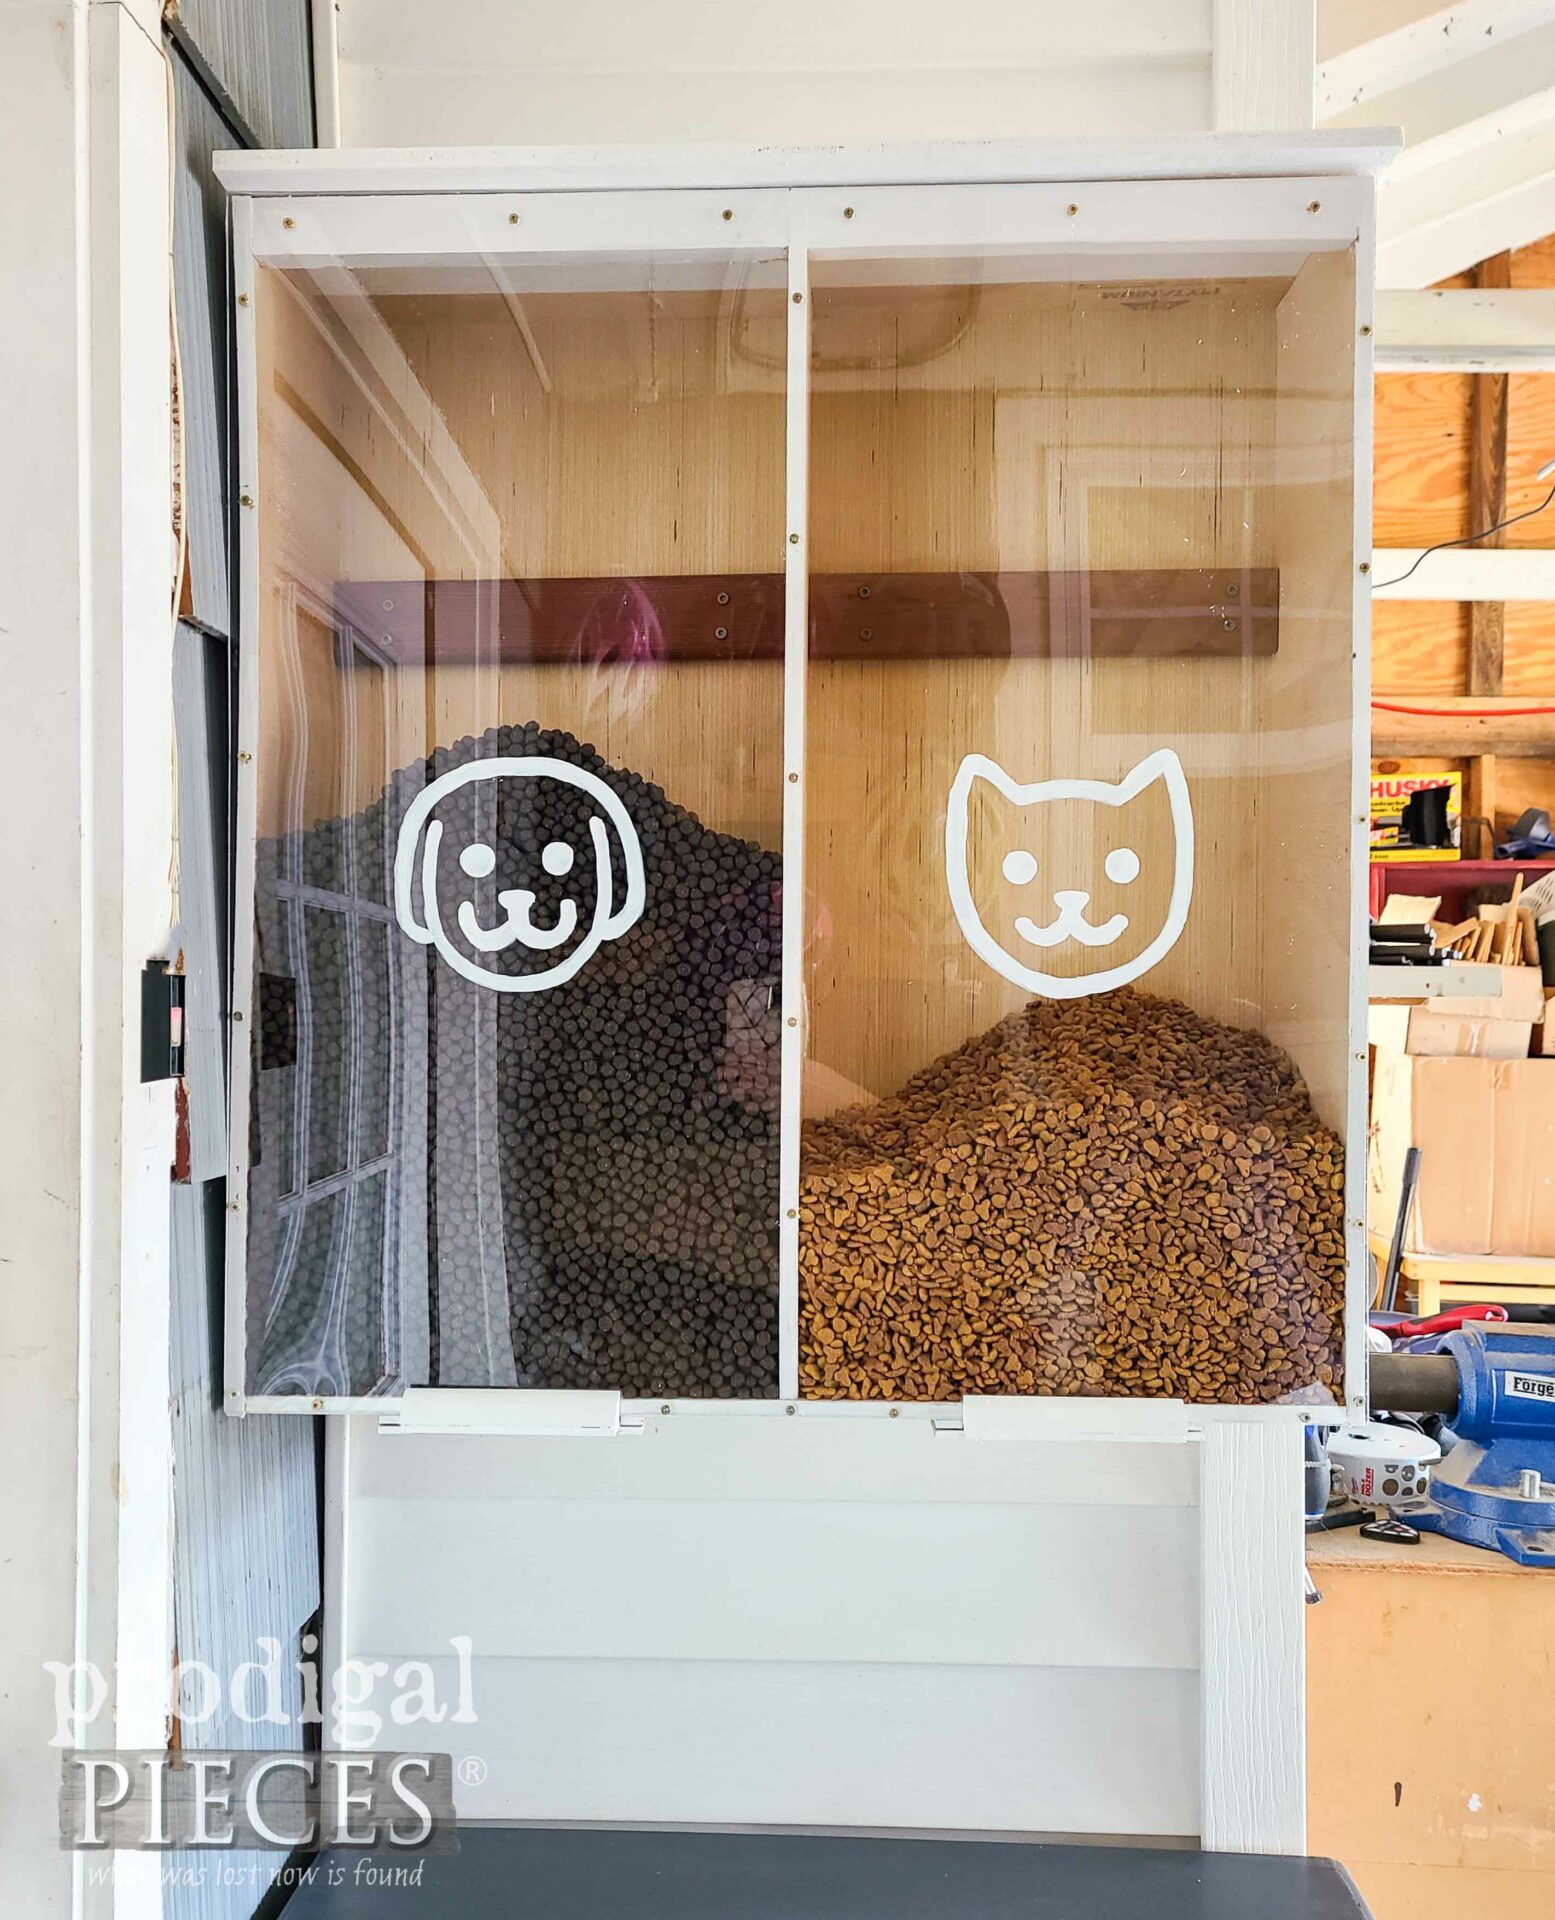
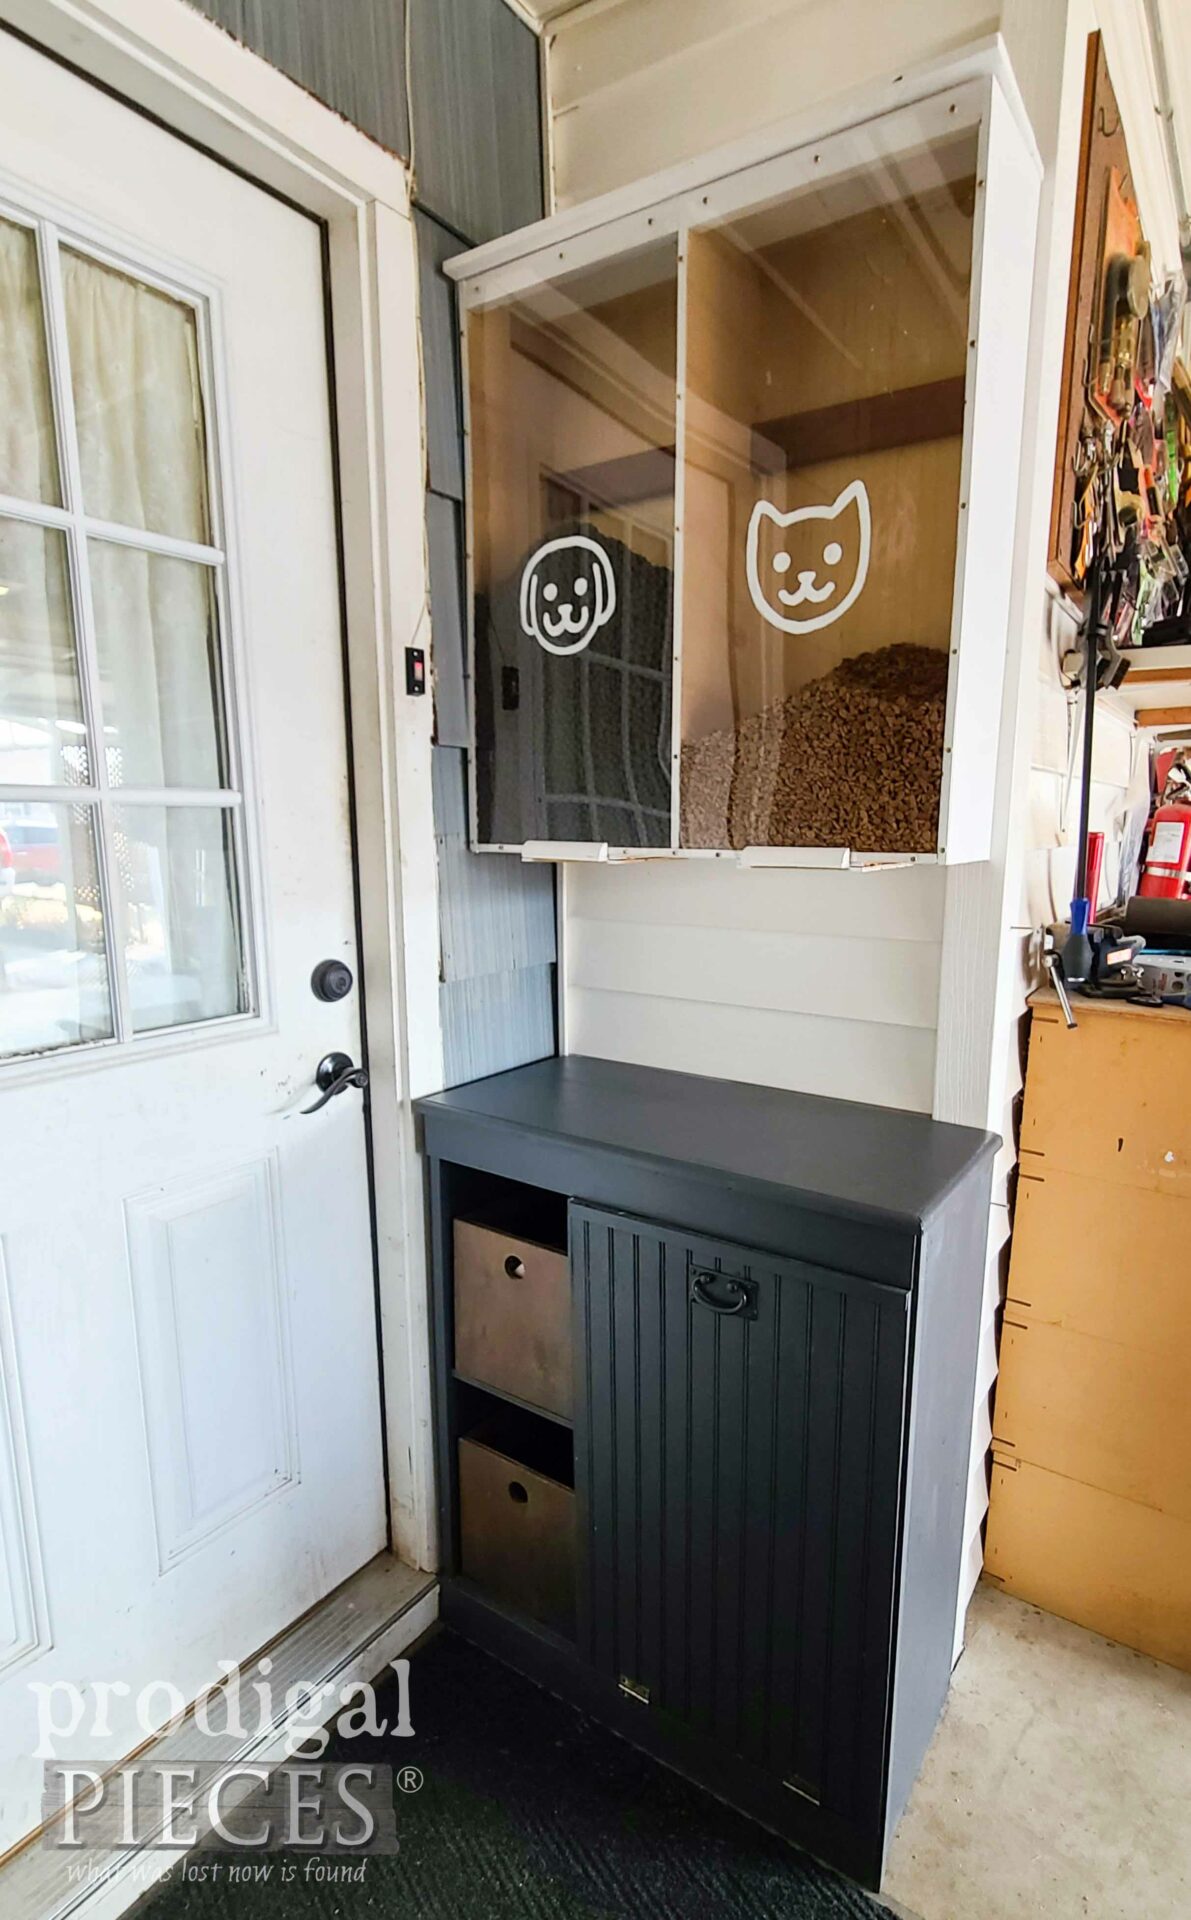
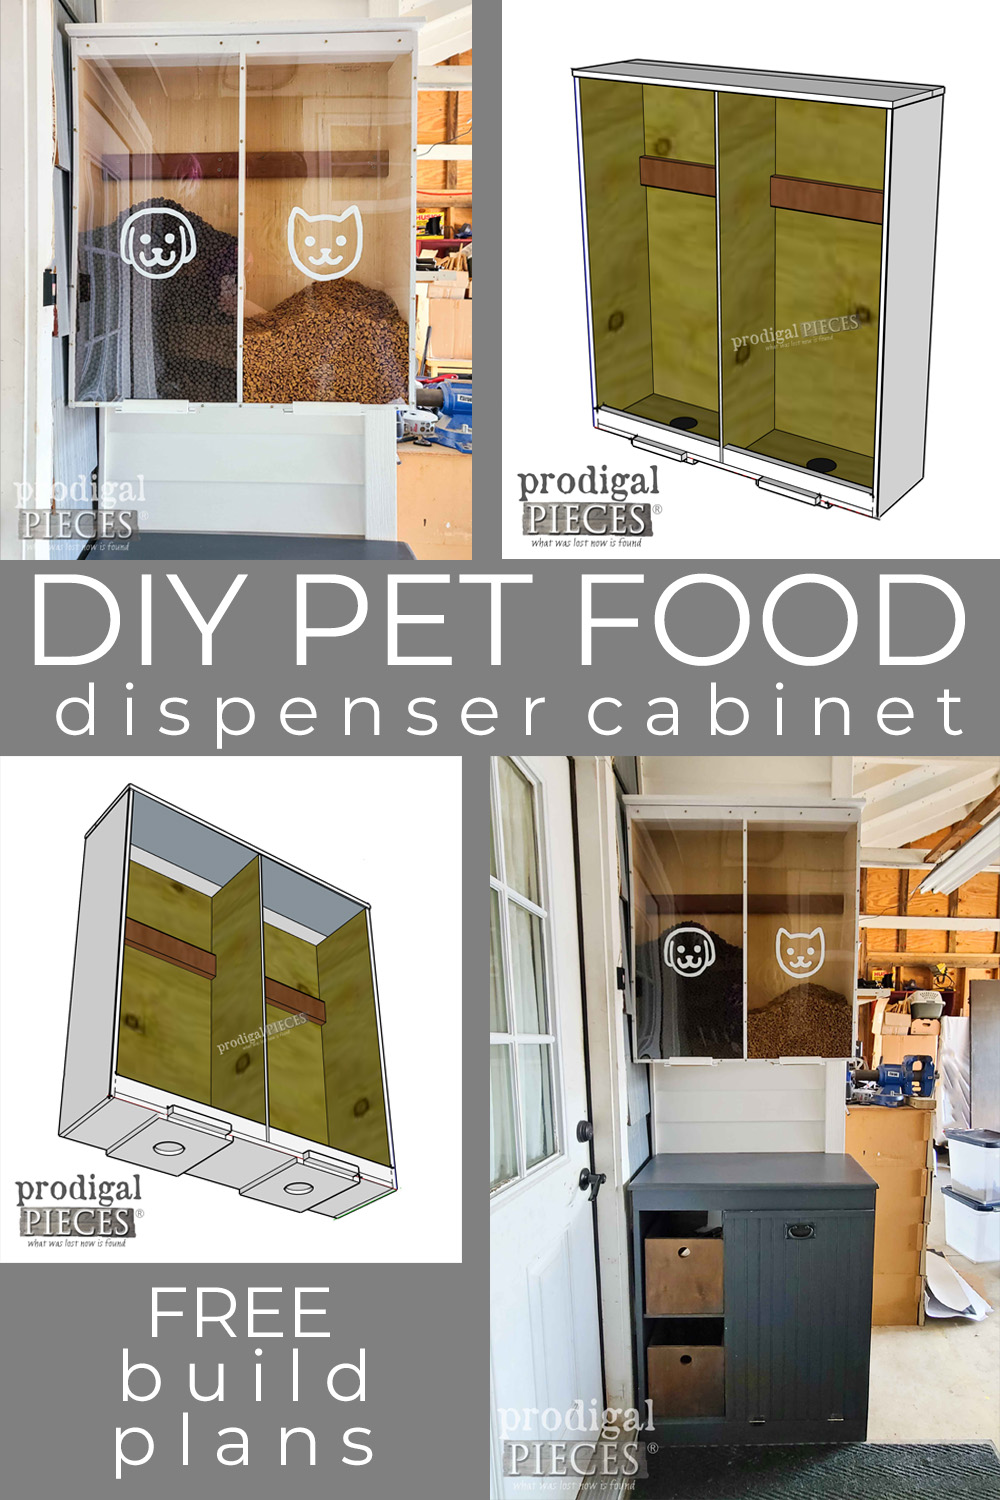
It’s the last Tuesday of the month (already?!?) and usually that means it’s Reduce, Reuse, REFASHION time. However, last week, I promised to bring you my free build plans for my DIY pet food dispenser cabinet. While I’ll bring back my refashion fun in my next post, today I want to keep my promise to you to build this…
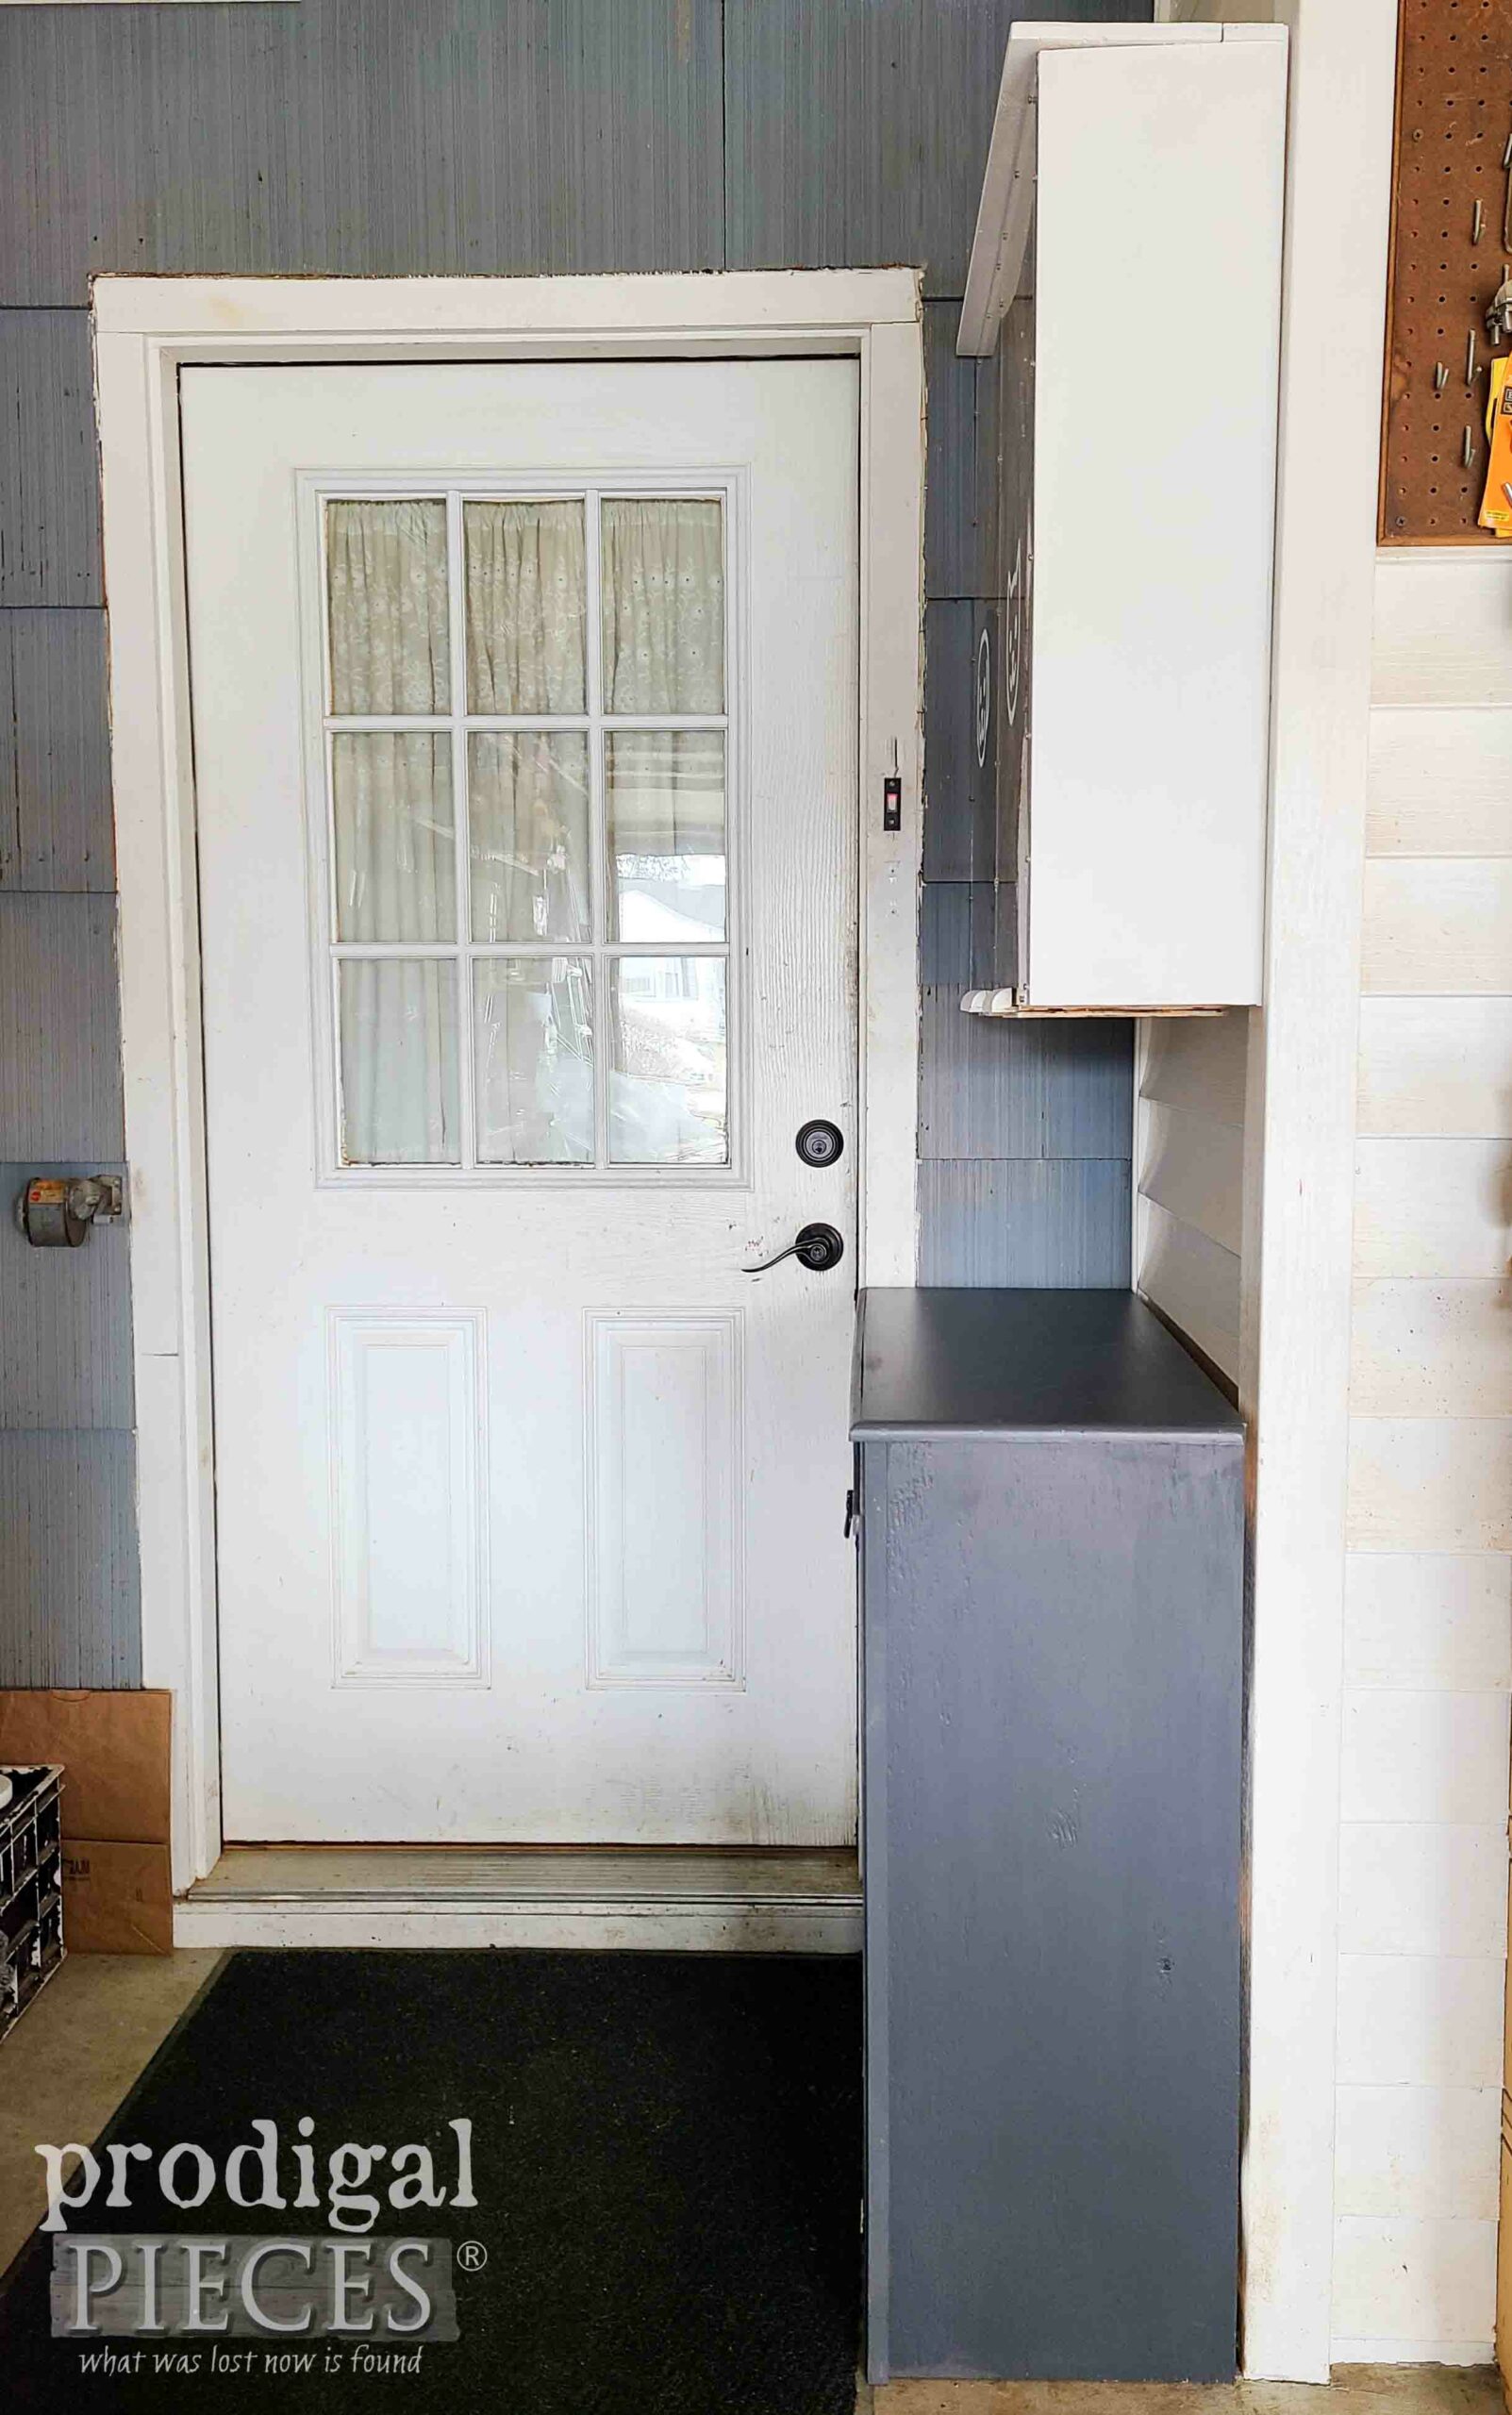
Let me just say… I’M IN LOVE! My whole new recycling/pet food area has made this space less stressful in more ways than one. And it’s all made from my scraps. YAHOOO!!
Now, I’m ready to share the process with you. If you’re new-ish to DIY, don’t let this freak you out. I have everything listed to help you, everything is done simply, but just takes time. You CAN DO THIS. All cuts, except the holes, are square, no angles as I kept this super simple for you.
TERMS OF USE: If you want to create a pet food dispenser, you agree to the following: it cannot be shared or distributed for monetary gain in any way, it may not be modified in any way, and you may not claim the work as your own.
TOOLS
- circular saw with rip cut guide or straight edge and clamps
- jigsaw
- miter saw (optional, but handy)
- nailer
- drill
- drill bits
- 2 ½” hole saw
- tape measure
- builder’s square
- level
- pocket hole jig (or pre-drill holes from outside)
- sander or sandpaper
- safety glasses
- ear protection
MATERIALS
- 4′ x 8′ x ½” plywood (consider cabinet-grade for a finished look)
- 29 ¼” x 31 ½” x 1/10″ plexiglass – you can use a thicker glass, just not thinner
- 4′ x 8′ – luan (thin plywood, approx. ⅛” thick) or hardboard for backing
- 1″ wood screws
- ½” screws for plexiglass
- 2 – 1 ½” hinges
- 1 ½” brads
- ⅛” brads
- 12″ of ¾” quarter round
- shims or can also use cedar shakes to make your own as I did
- long screws to mount into studs or use a wall cleat (tutorial HERE)
- wood glue
- paint or stain, if you choose
CUT LIST
Finished dimensions: 32″ L x 29 ¼” W x 8 ¼” D using ½” thick plywood. But… you can make this any size you want. Normally, I’d use ¾” but using what I have, and it worked fine for my purposes. The thicker ply is easier to build with as well. So, if you want to use thicker, adjust the measurements below accordingly. Just know that it does make it heavier as well.
- 2 – 31 ⅝” x 8″ x ½” – sides
- 1 – 29″ x 2″ x ½”- top back piece
- 1 – 29″ x 6 ½”x ½” – top front piece (lid)
- 1 – 28 ¼” x 8″ x ½” – ply bottom
- 1 – 31 ⅛” x 8″ x ½” – ply center divider
- 2 – 13 ⅞” x 1 ½” x ¾” – front top cross supports (I used solid wood for these)
- 2 – 13 ⅞” x 2″ x ¾” – back cross supports (also used solid wood)
- 1 – 29 ½” x 32″ luan for backing
- 2 – 5 ½” x 8″ luan for blast gates
- 2 – 7″ x 8″ luan for blast gate cover plate
- 4 – ½” x 8″ luan strips
- 2 – 5 ½” x ¾” quarter round for blast gate handles
STASH SOURCE
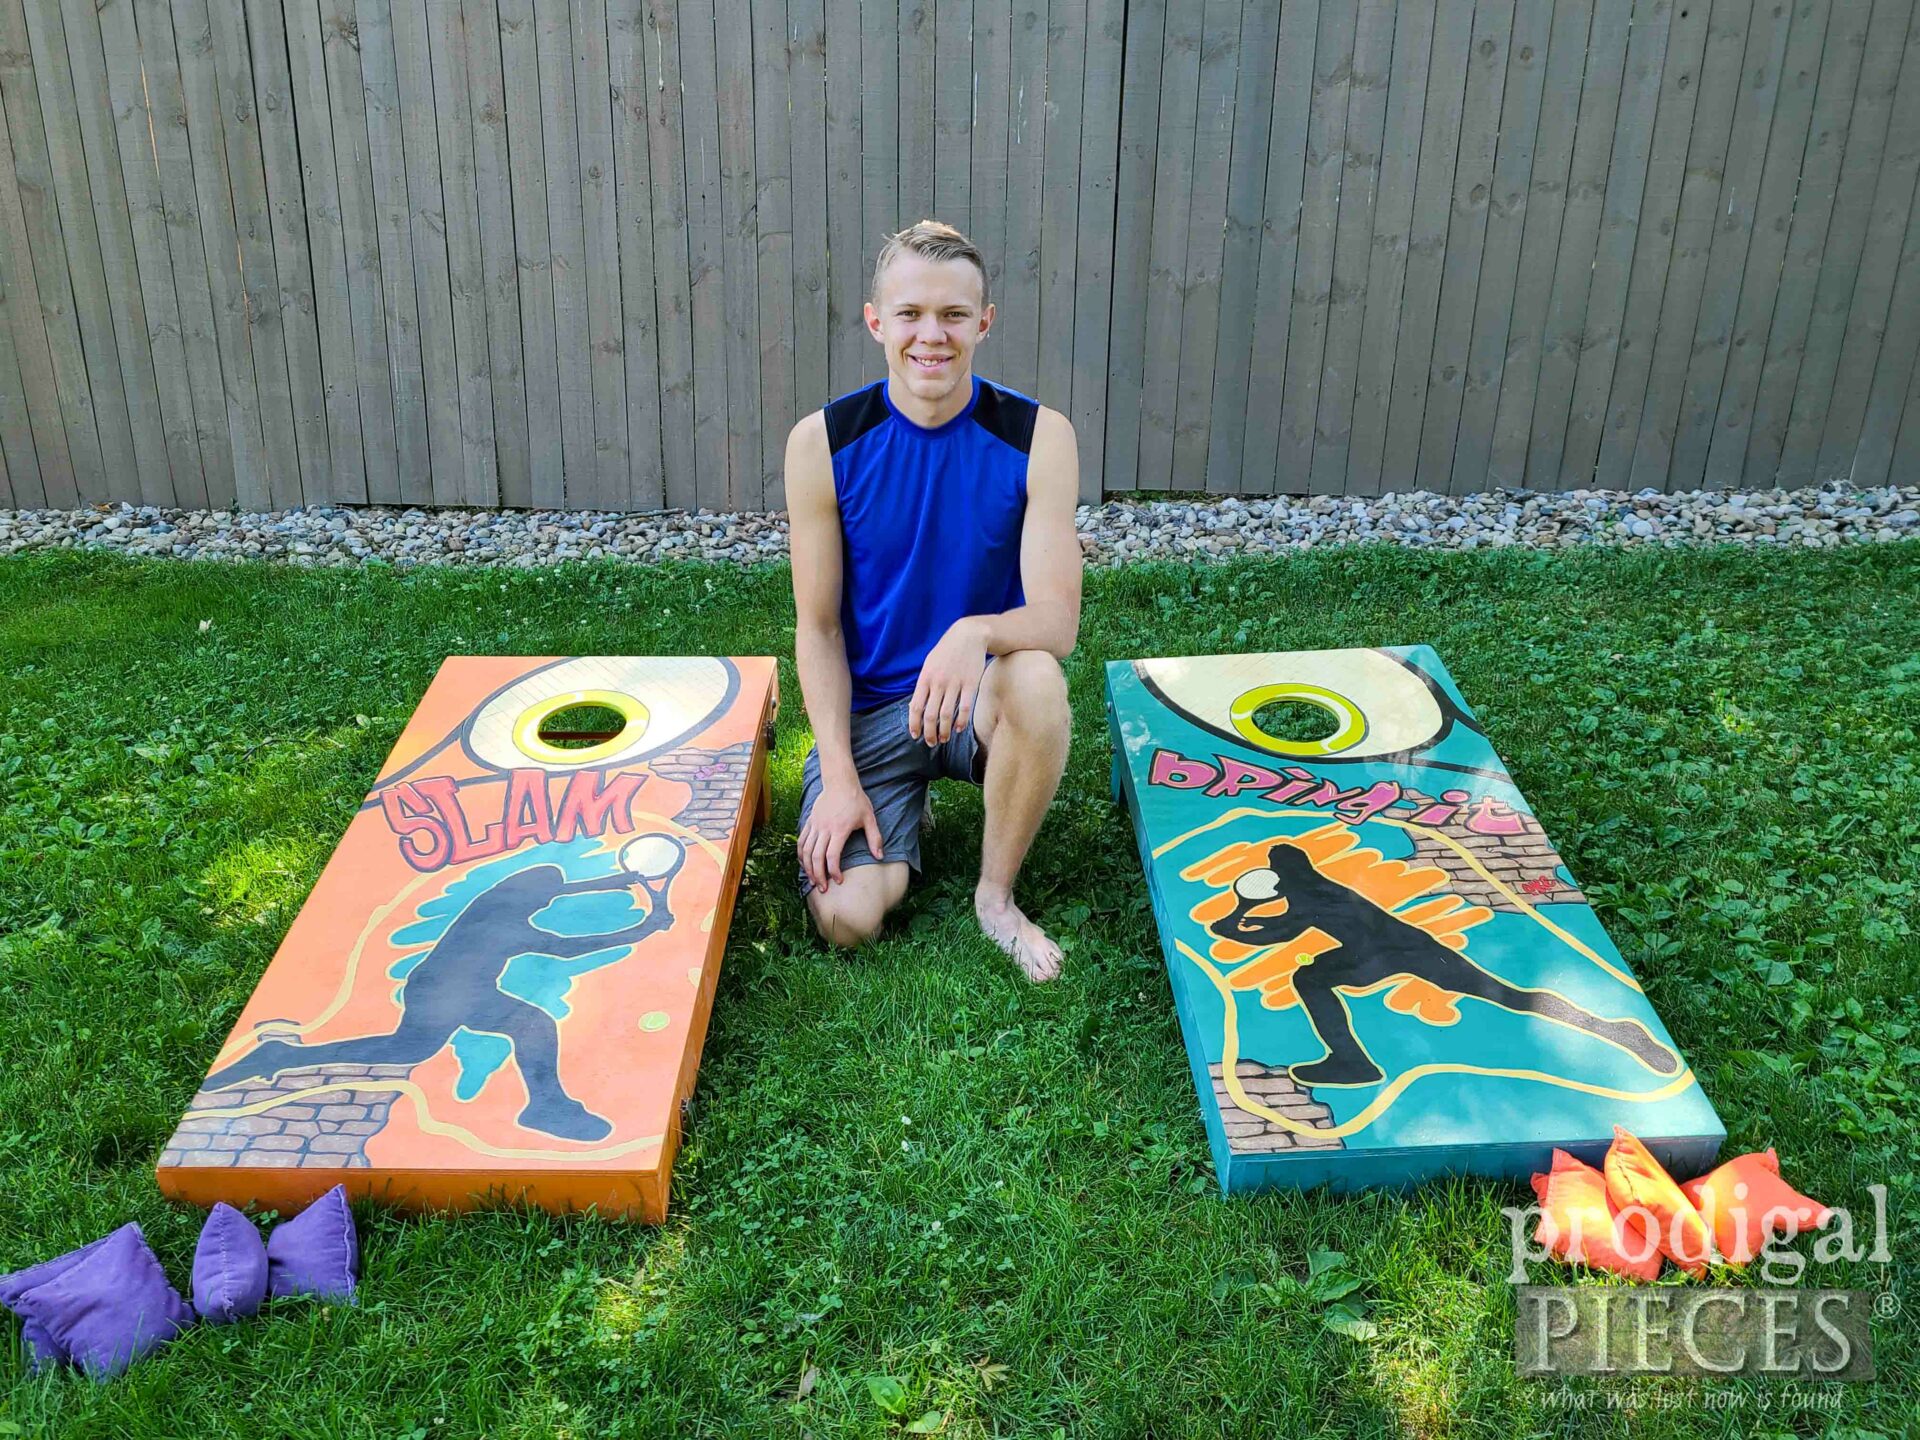
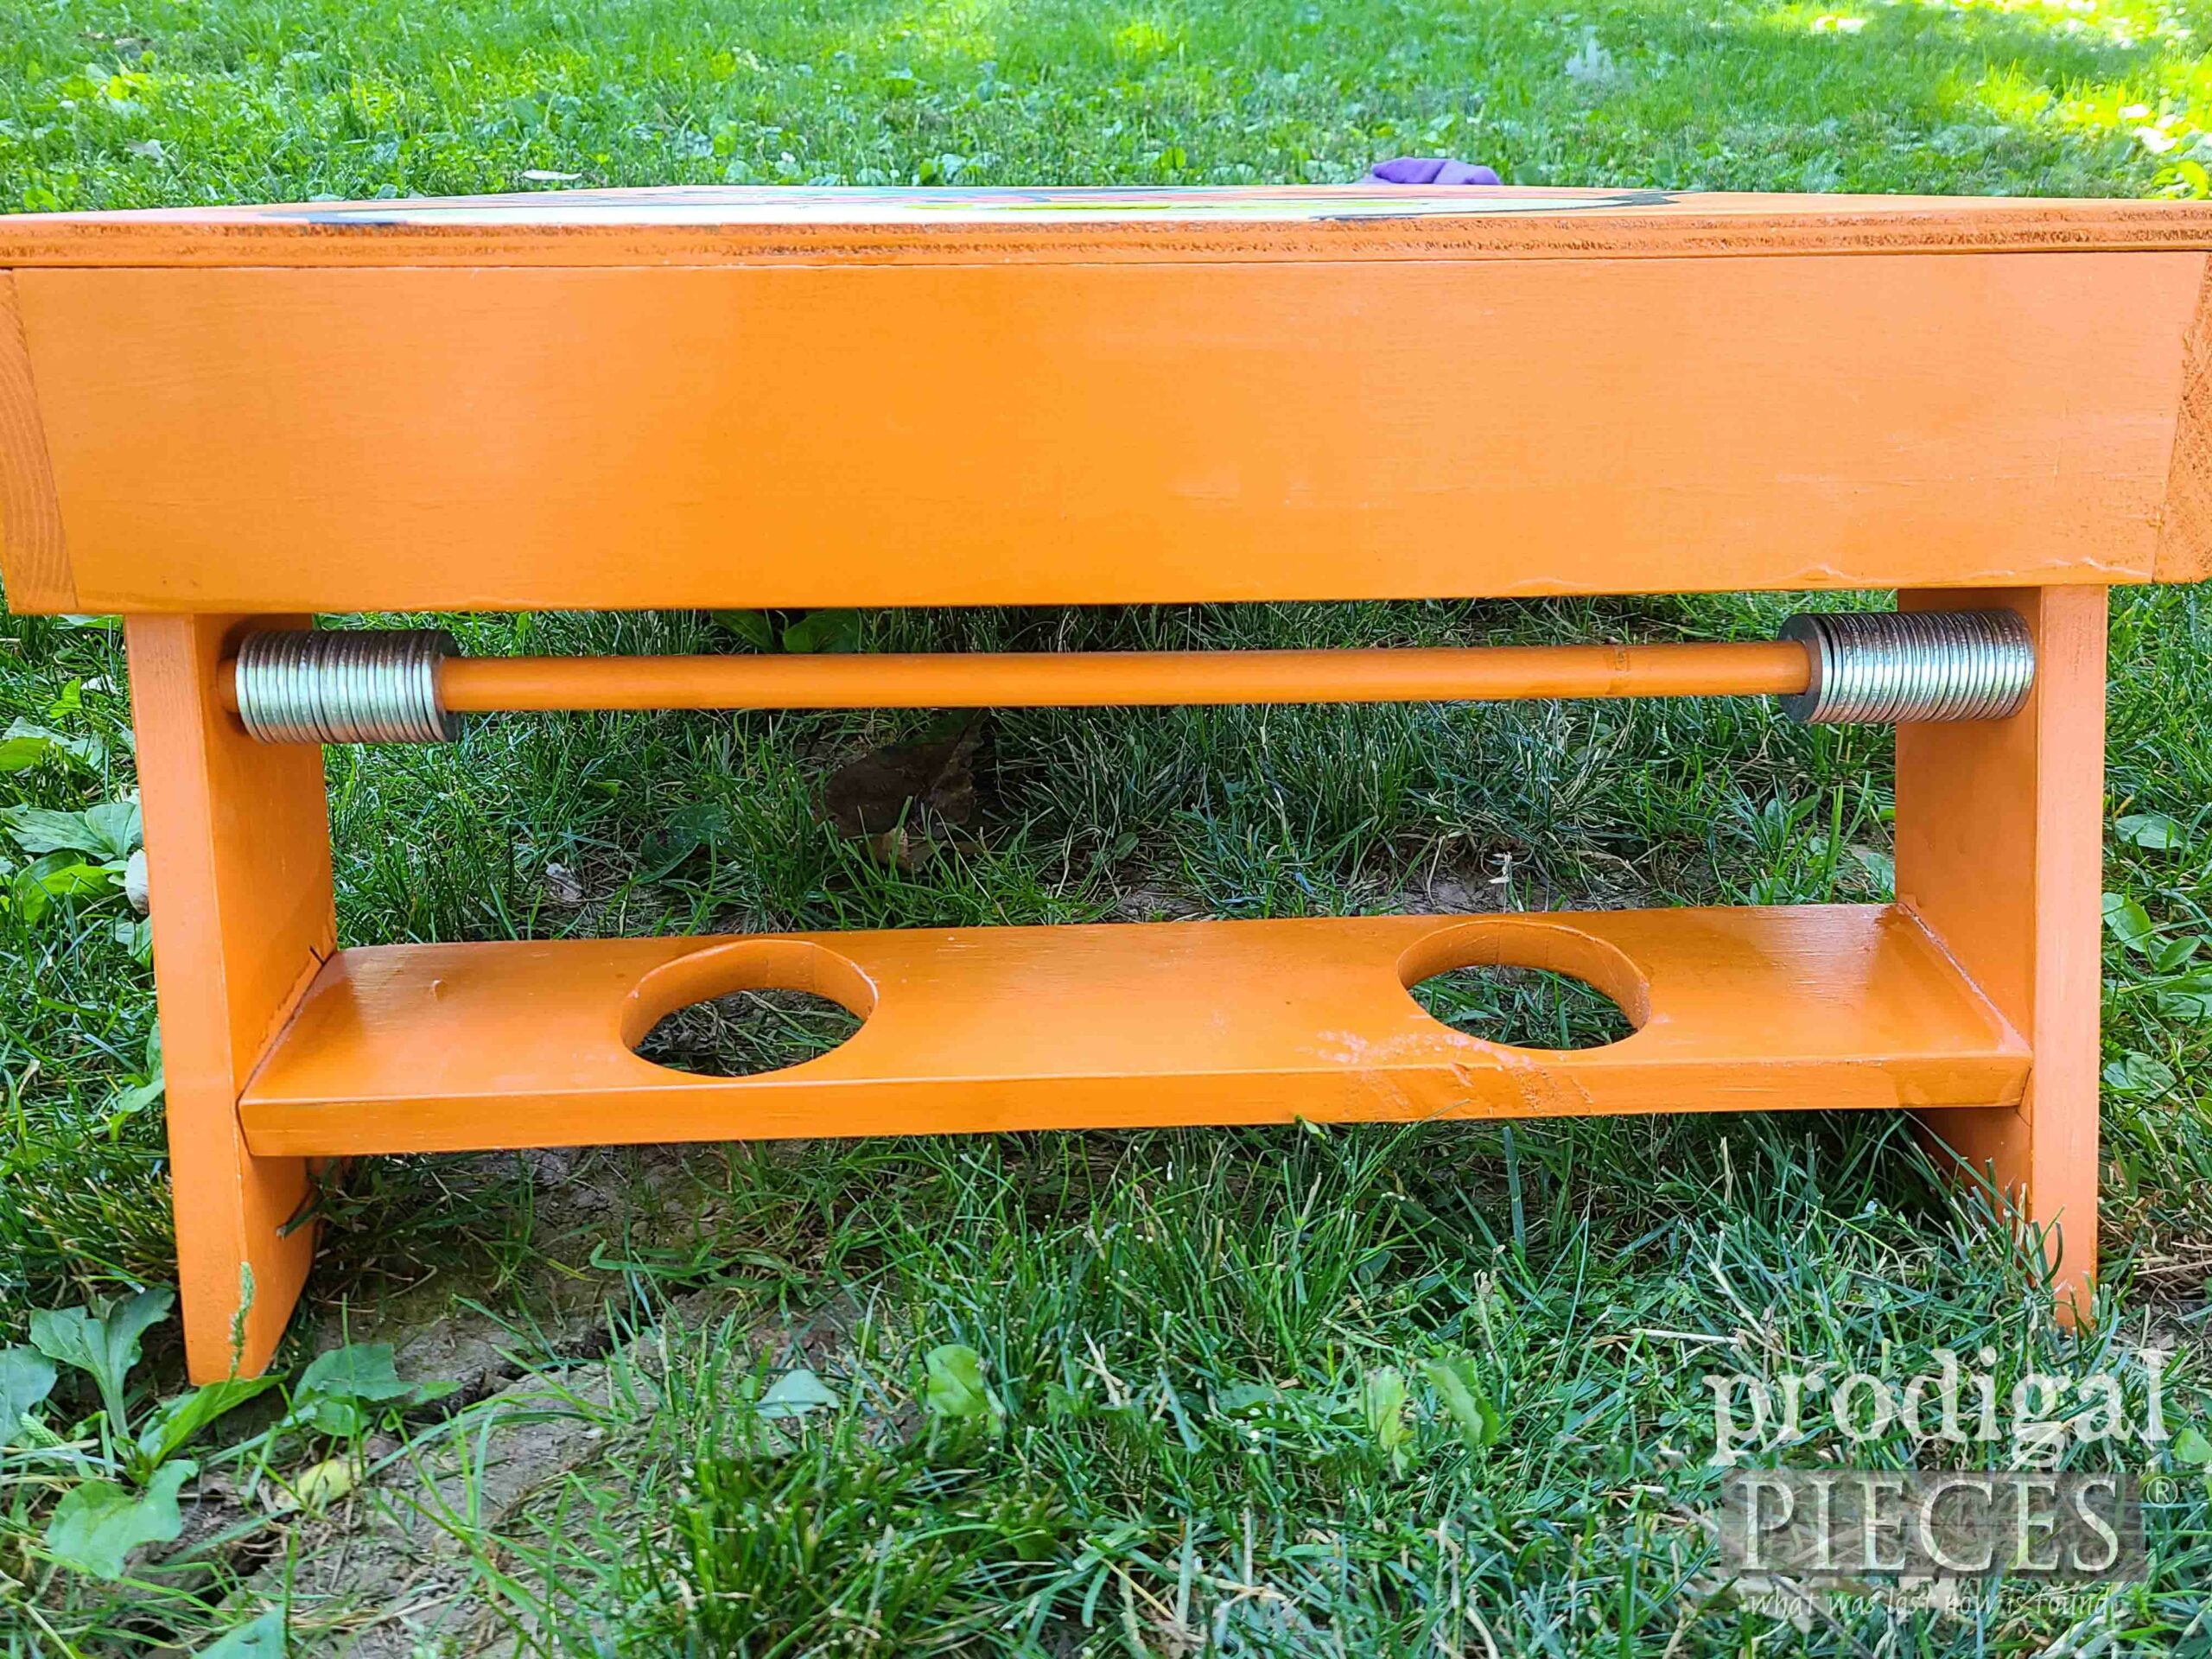
Earlier, as I mentioned being a middle-aged woman and motivated, I am building what I have been requesting for years and have not had time to do it for myself. So, instead of waiting on another person (per my usual), I’m making time. For my son’s birthday last year, I built him custom corn hole boards with cup holders, interior storage, scoring holder, and folding compact design. (tutorial HERE)
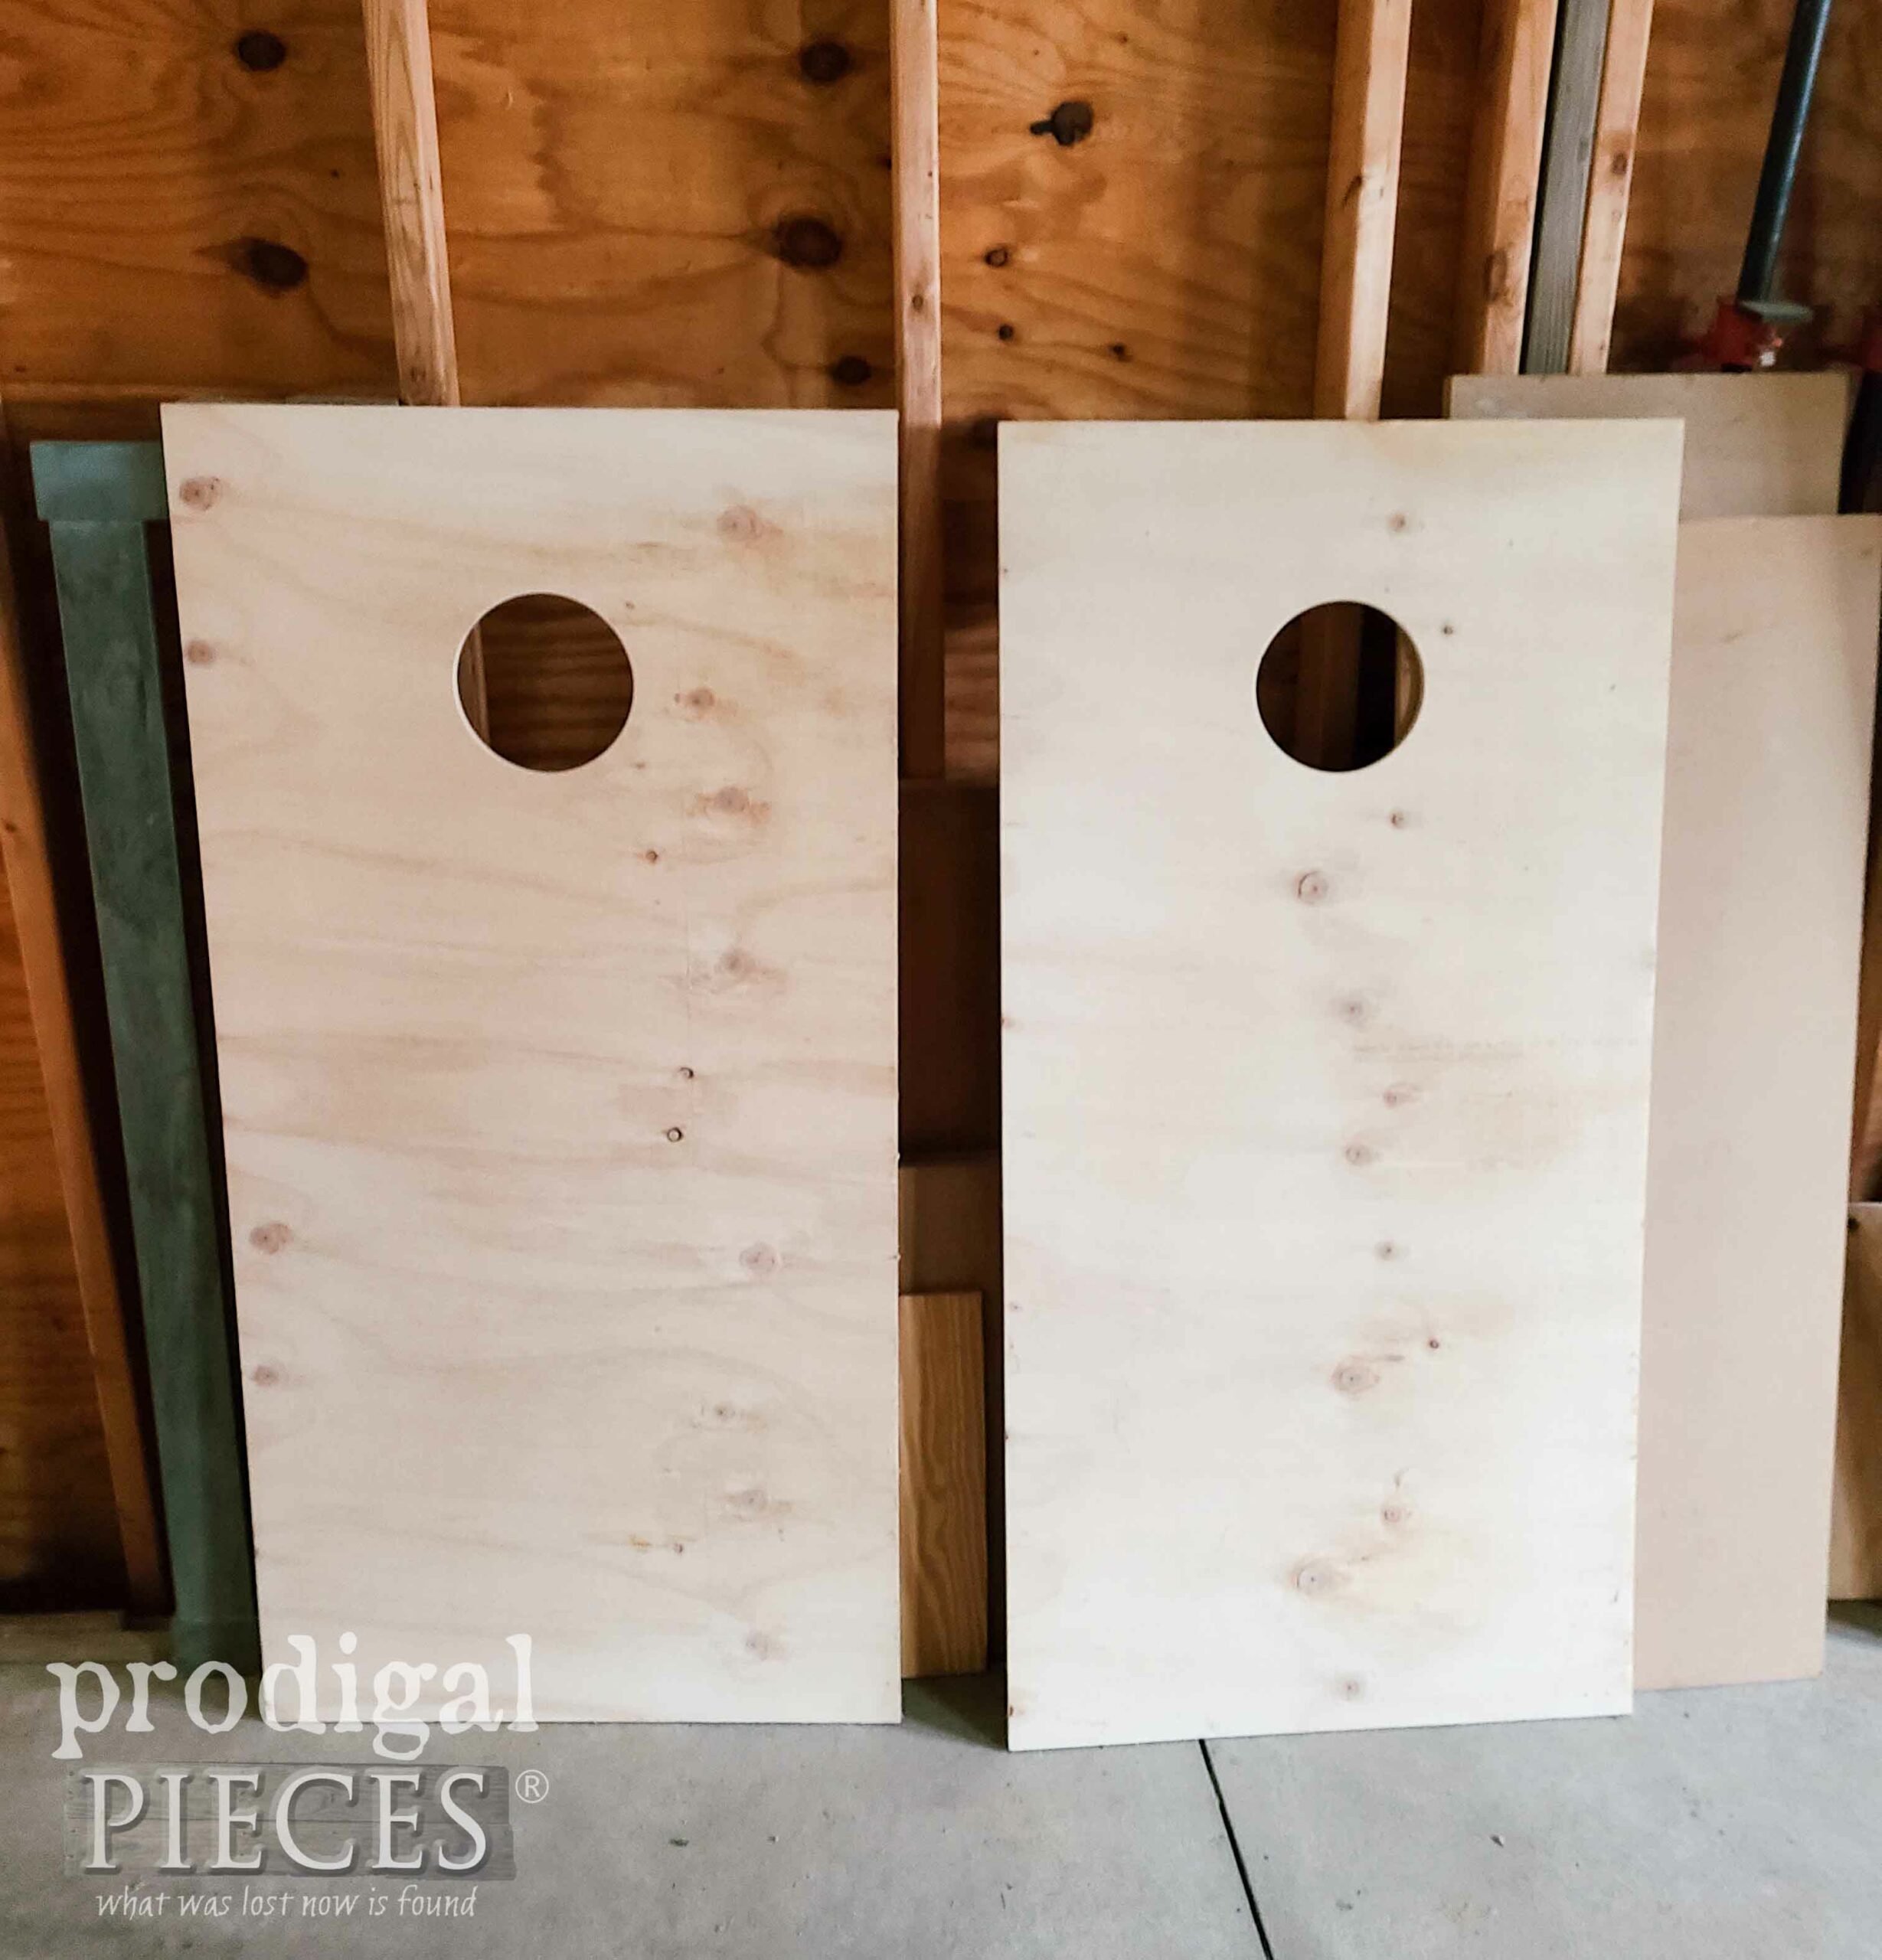
Also, at that same time, I cut and prepped two more tops to make a set to sell. However, I couldn’t get the time to finish, so asked another to just build the frame and I would finish the rest. It never happened, so I’m using these boards to make my DIY pet food dispenser today.
Waste not, want not! Am I right?
For the record, my boards are cabinet grade (smooth finish) and ready to cut. It is assumed you will sand each piece to your liking so it’s ready to go.
STEP 1
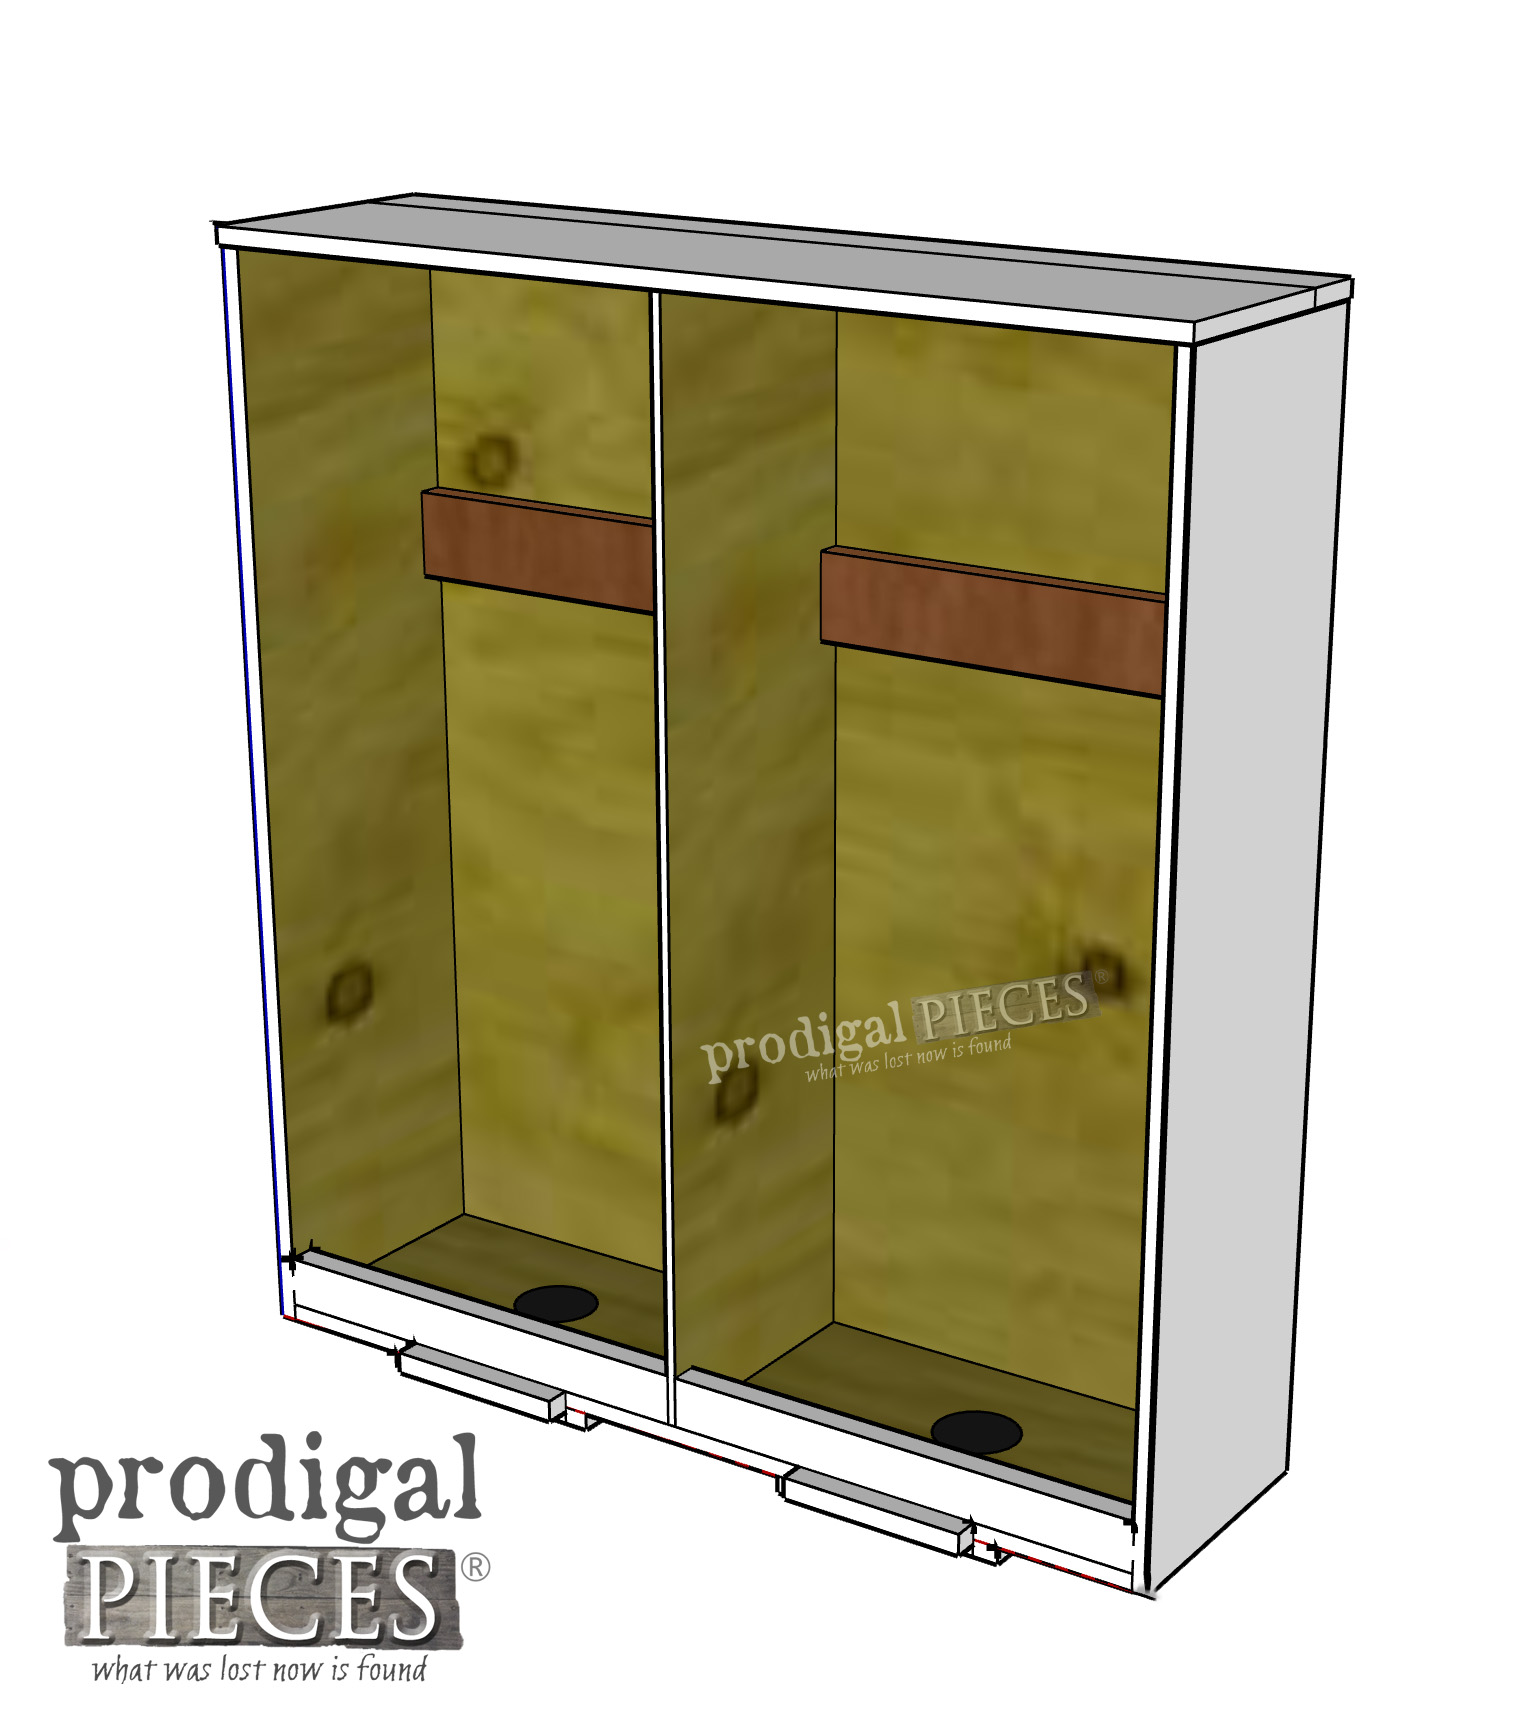
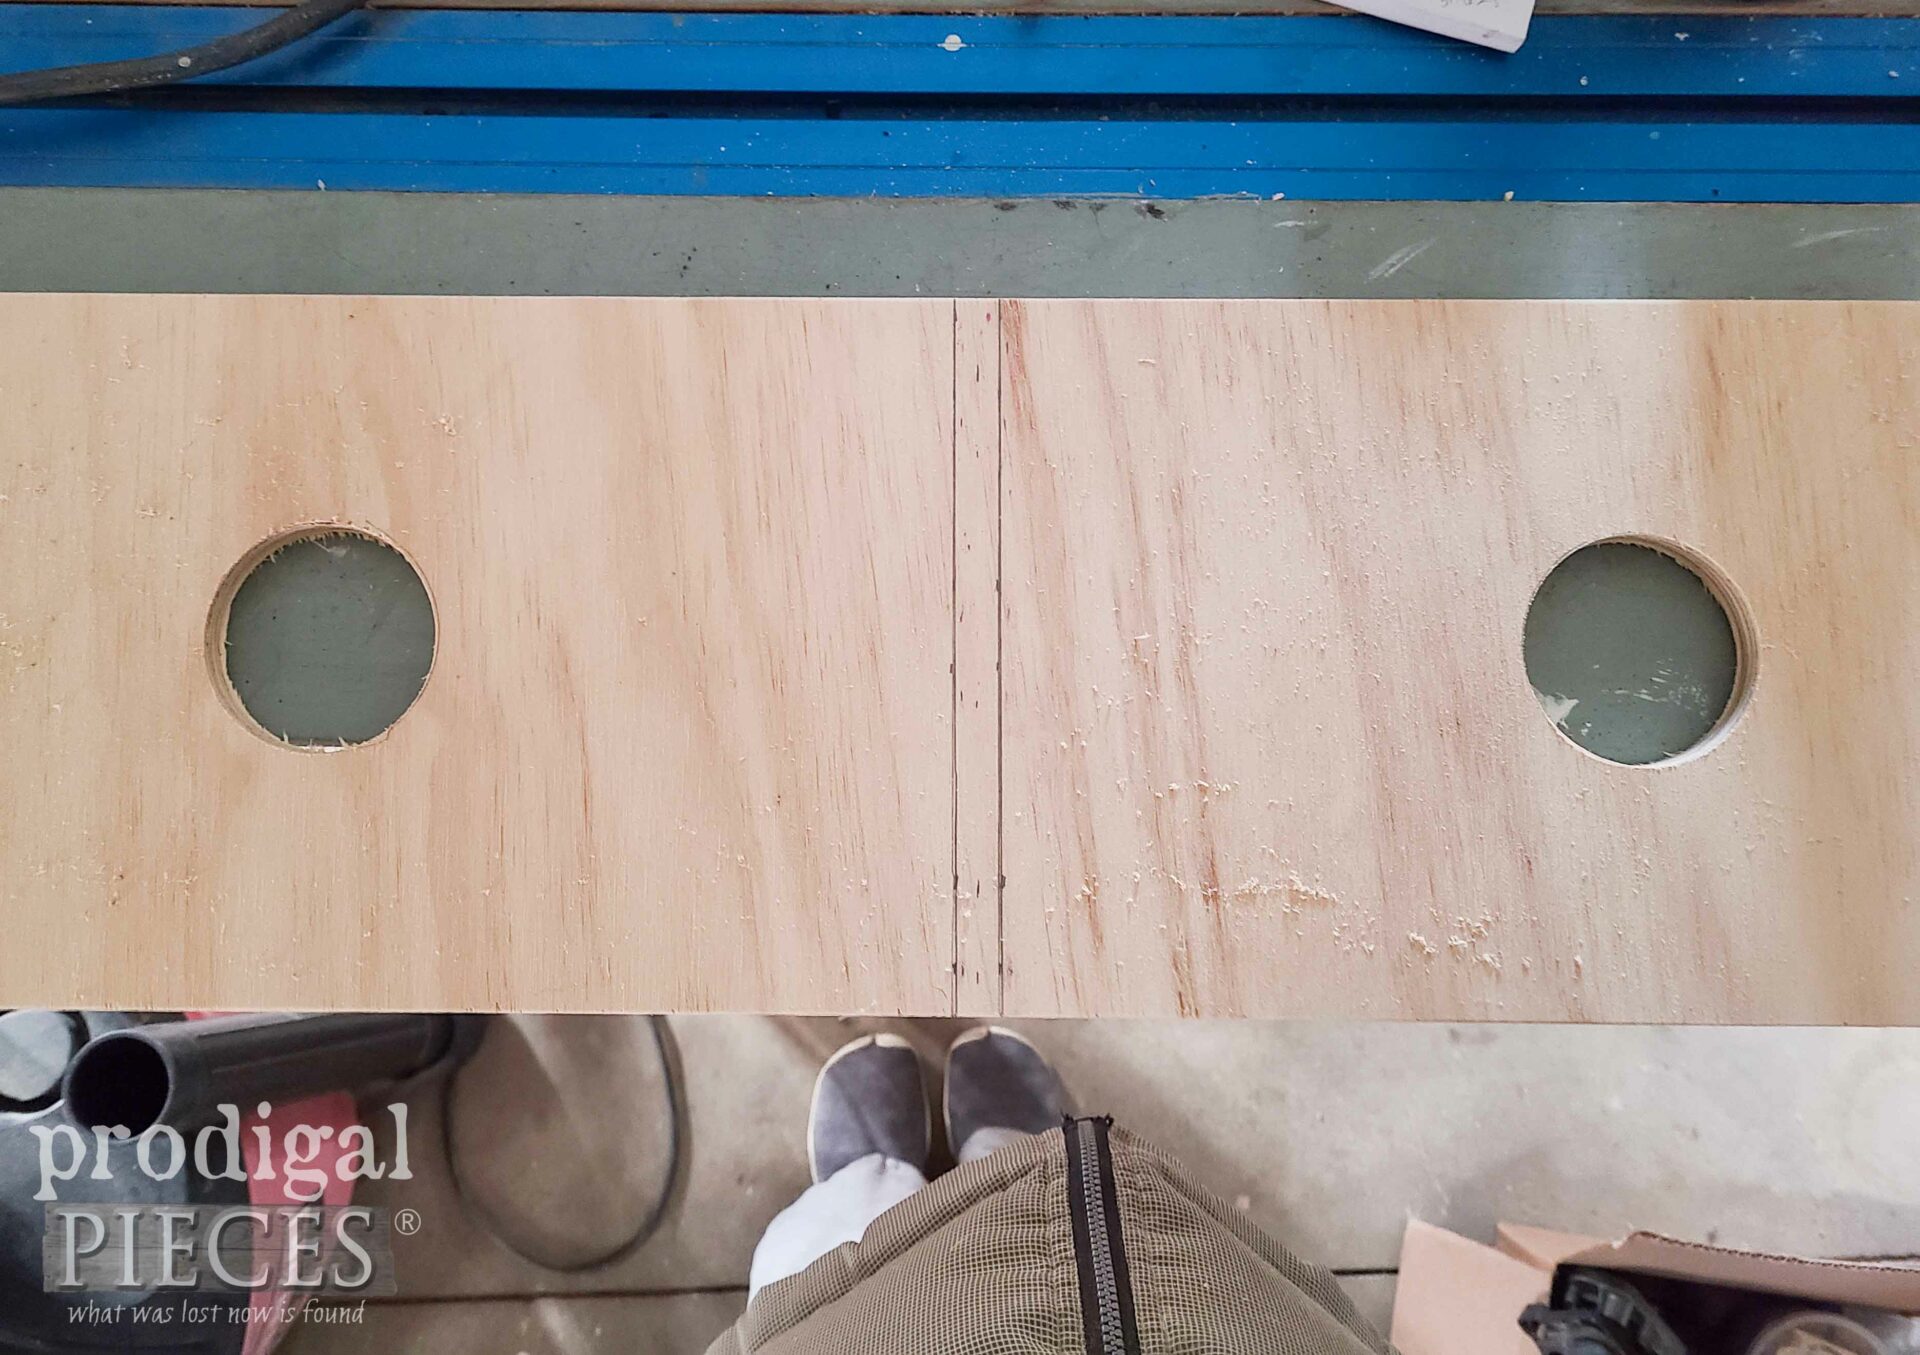
First, you’ve cut your wood and it’s time to assemble. However, before you put it all together, we need to work on the bottom. Find center and mark. Next, we need to make a mark for our divider. Measure out from that center mark ¼” out from center both directions to make a spot for your divider panel.
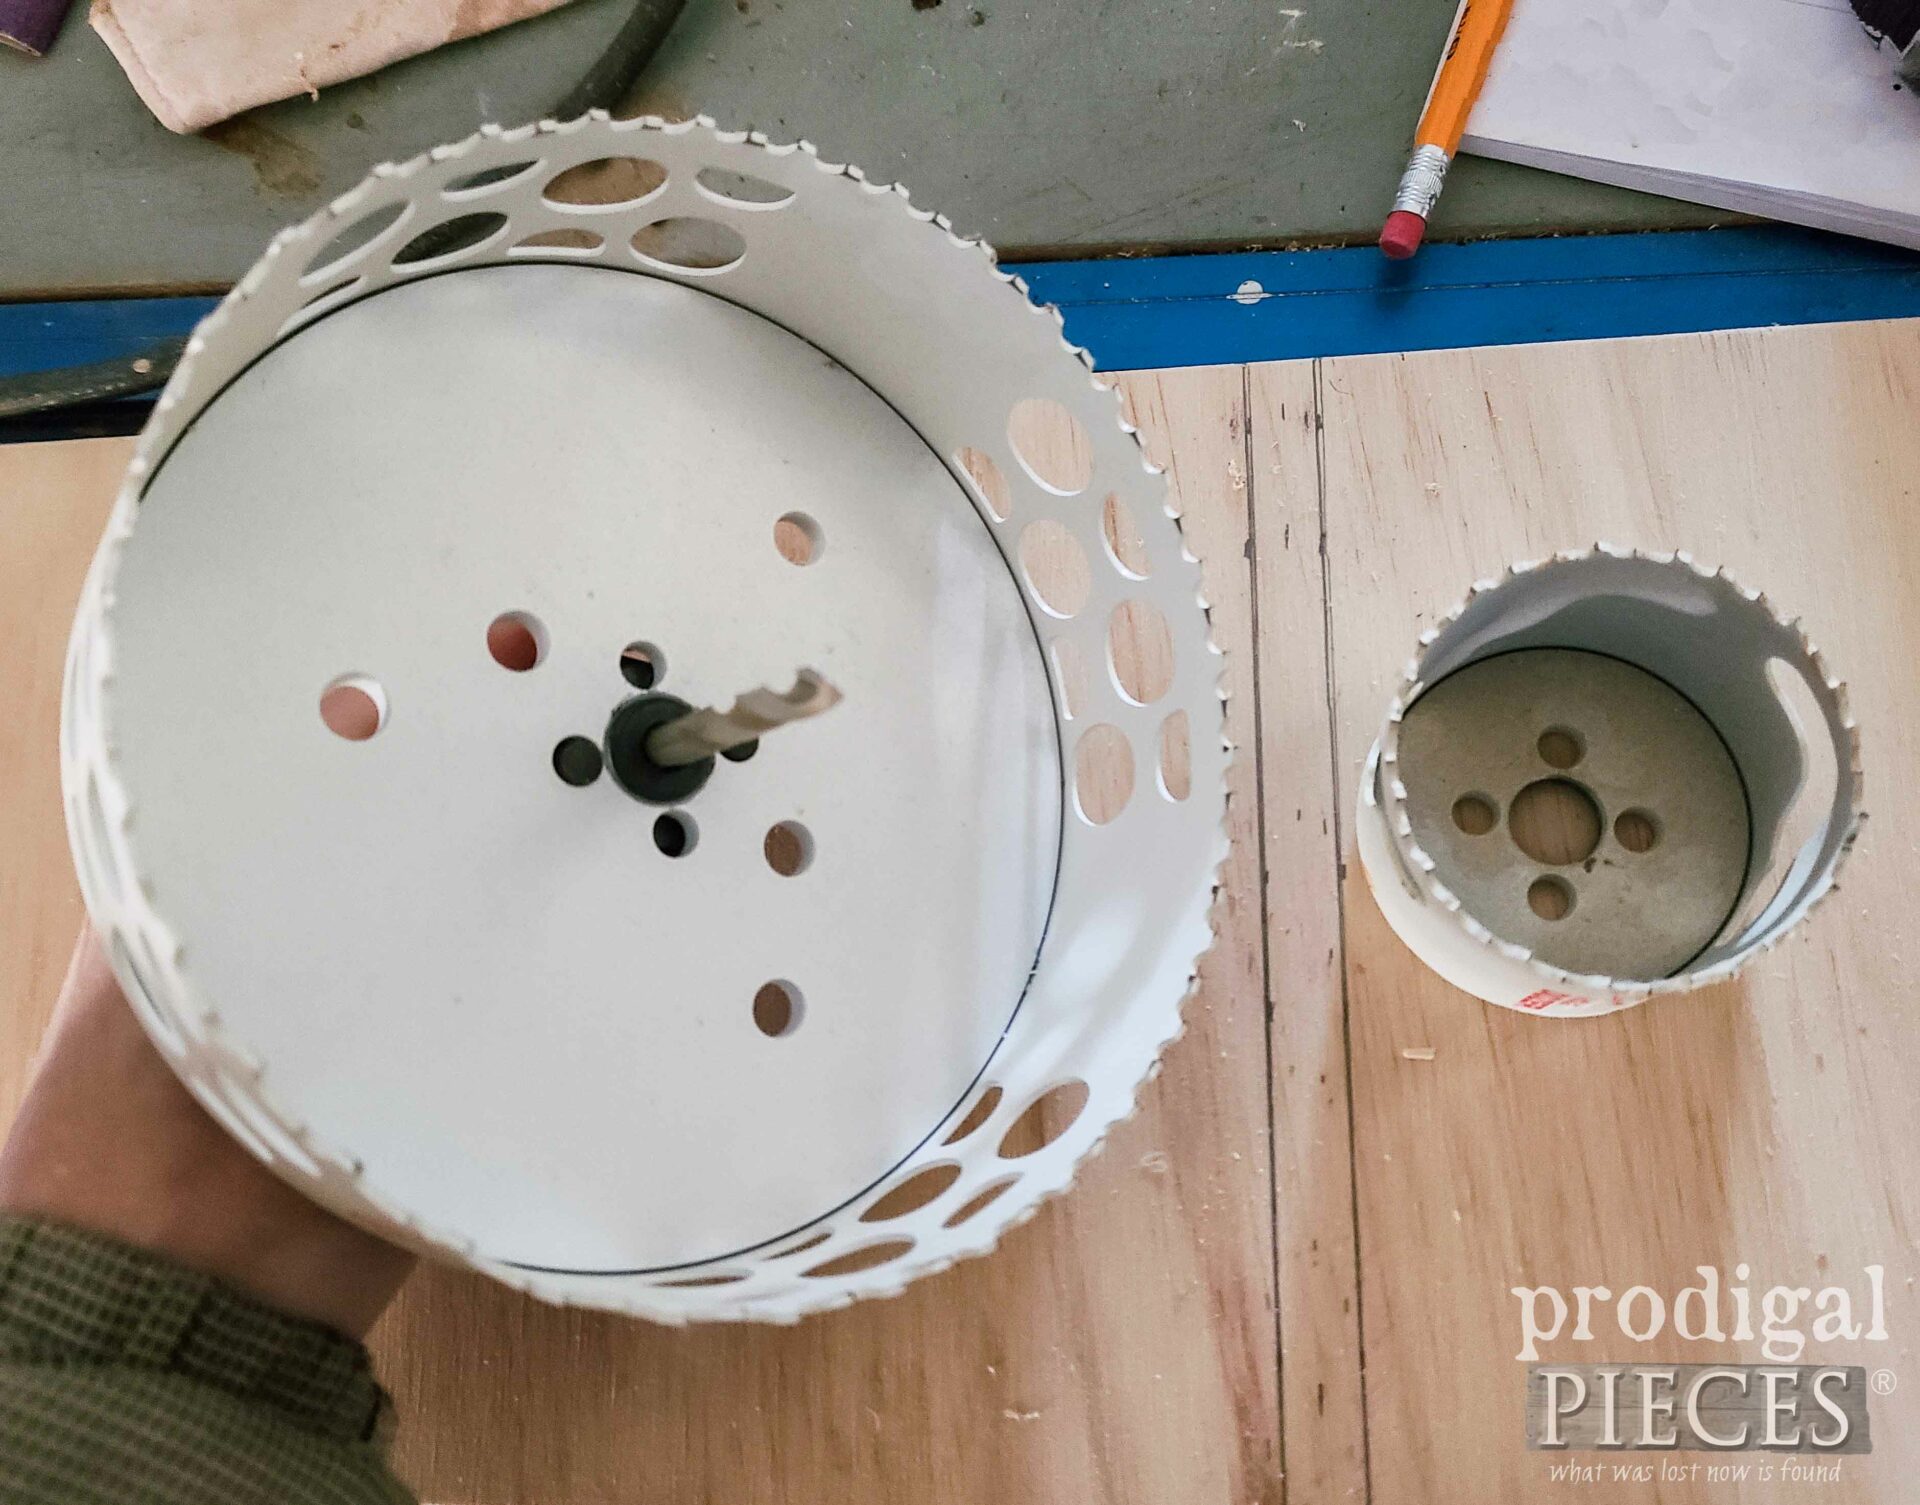
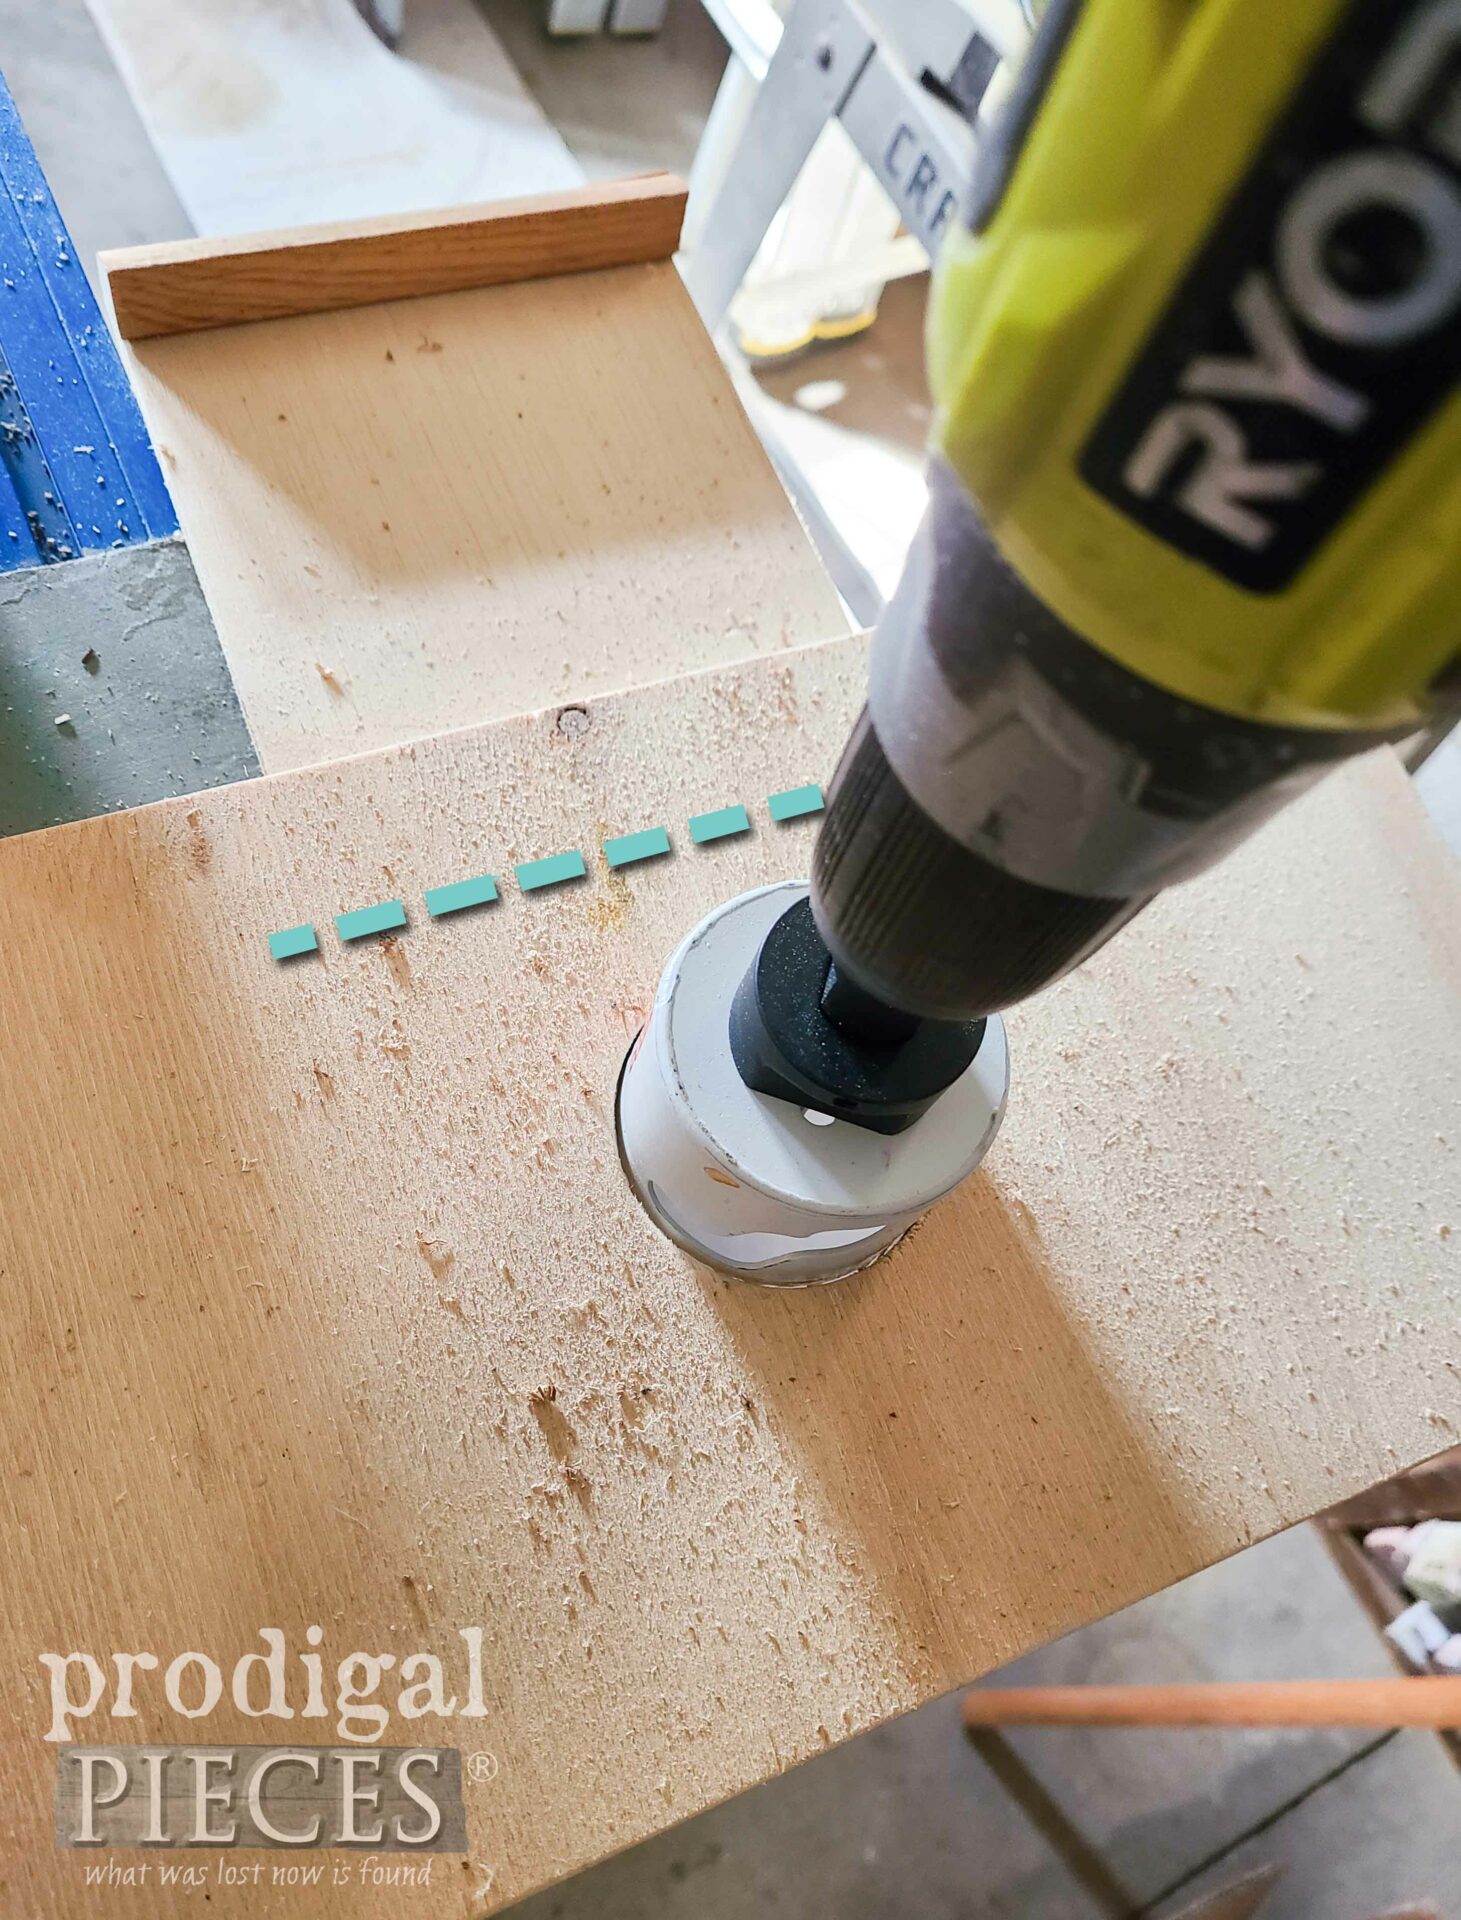
At the same time, we are adding our holes for the food chutes. To do that, set up your hole saw and mandrel. If you don’t know what a mandrel is, that is the bit that you attach to the center of you hole saw. See how it fits my hole saw for cornhole boards? I simple switch it out to the smaller hole saw and have at it.
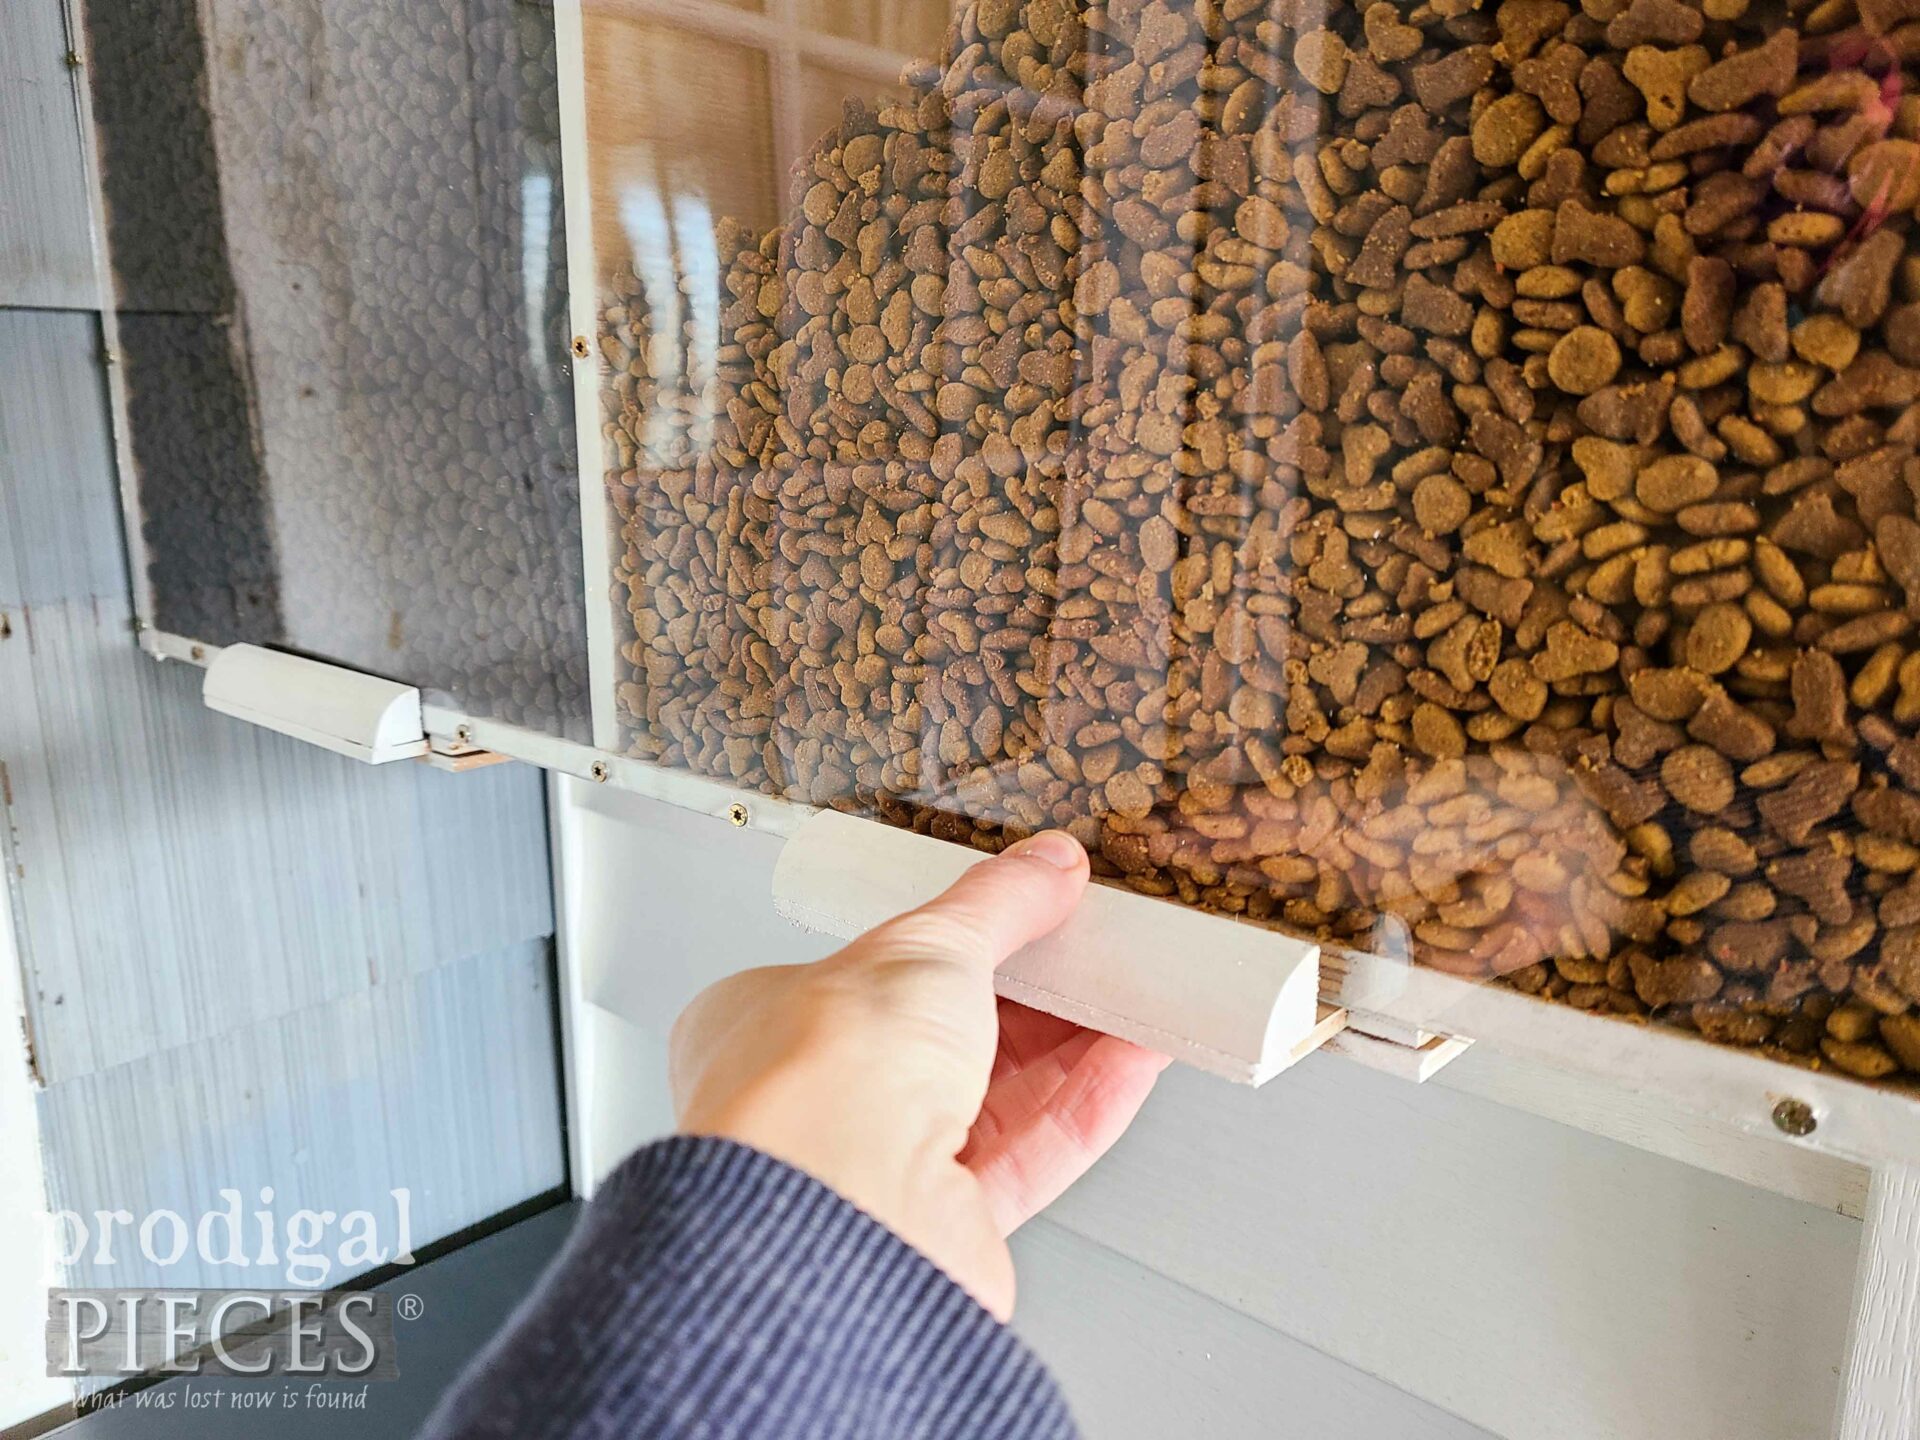
At this point after you’ve cut your holes, flip the board over so we can add our blast gates. I’m calling them blast gates because it’s the same idea as those used in vacuum/dust collector systems.
STEP 2
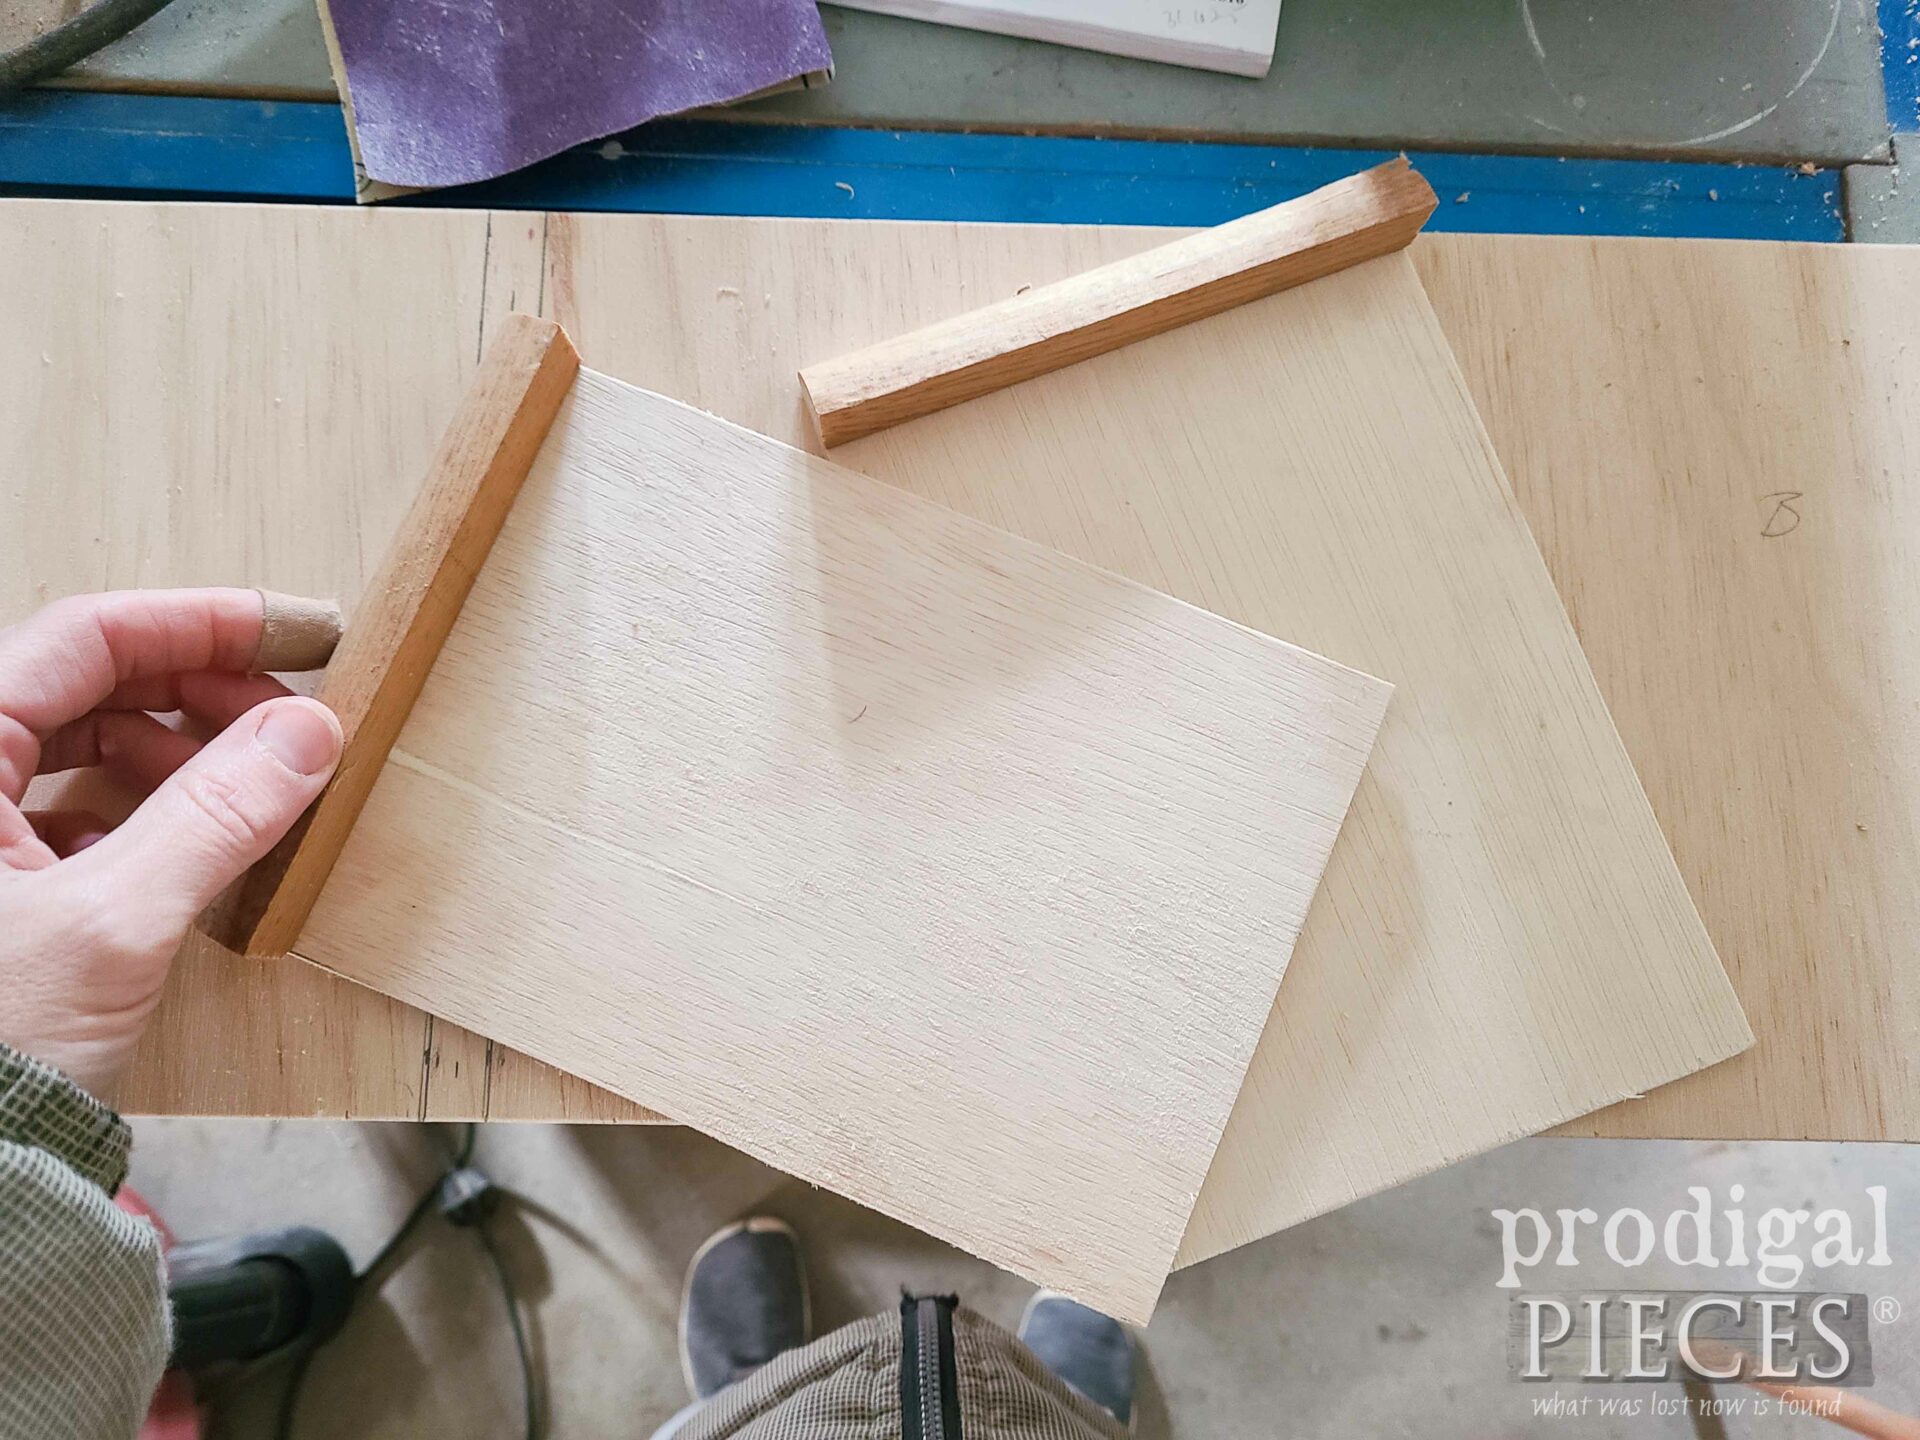
Next, we take our two 5 ½” x 8″ luan panels with our 8″ quarter round lengths. Using wood glue, place your quarter round on the end as shown, and then nail with ⅛” brads to attach from the bottom.
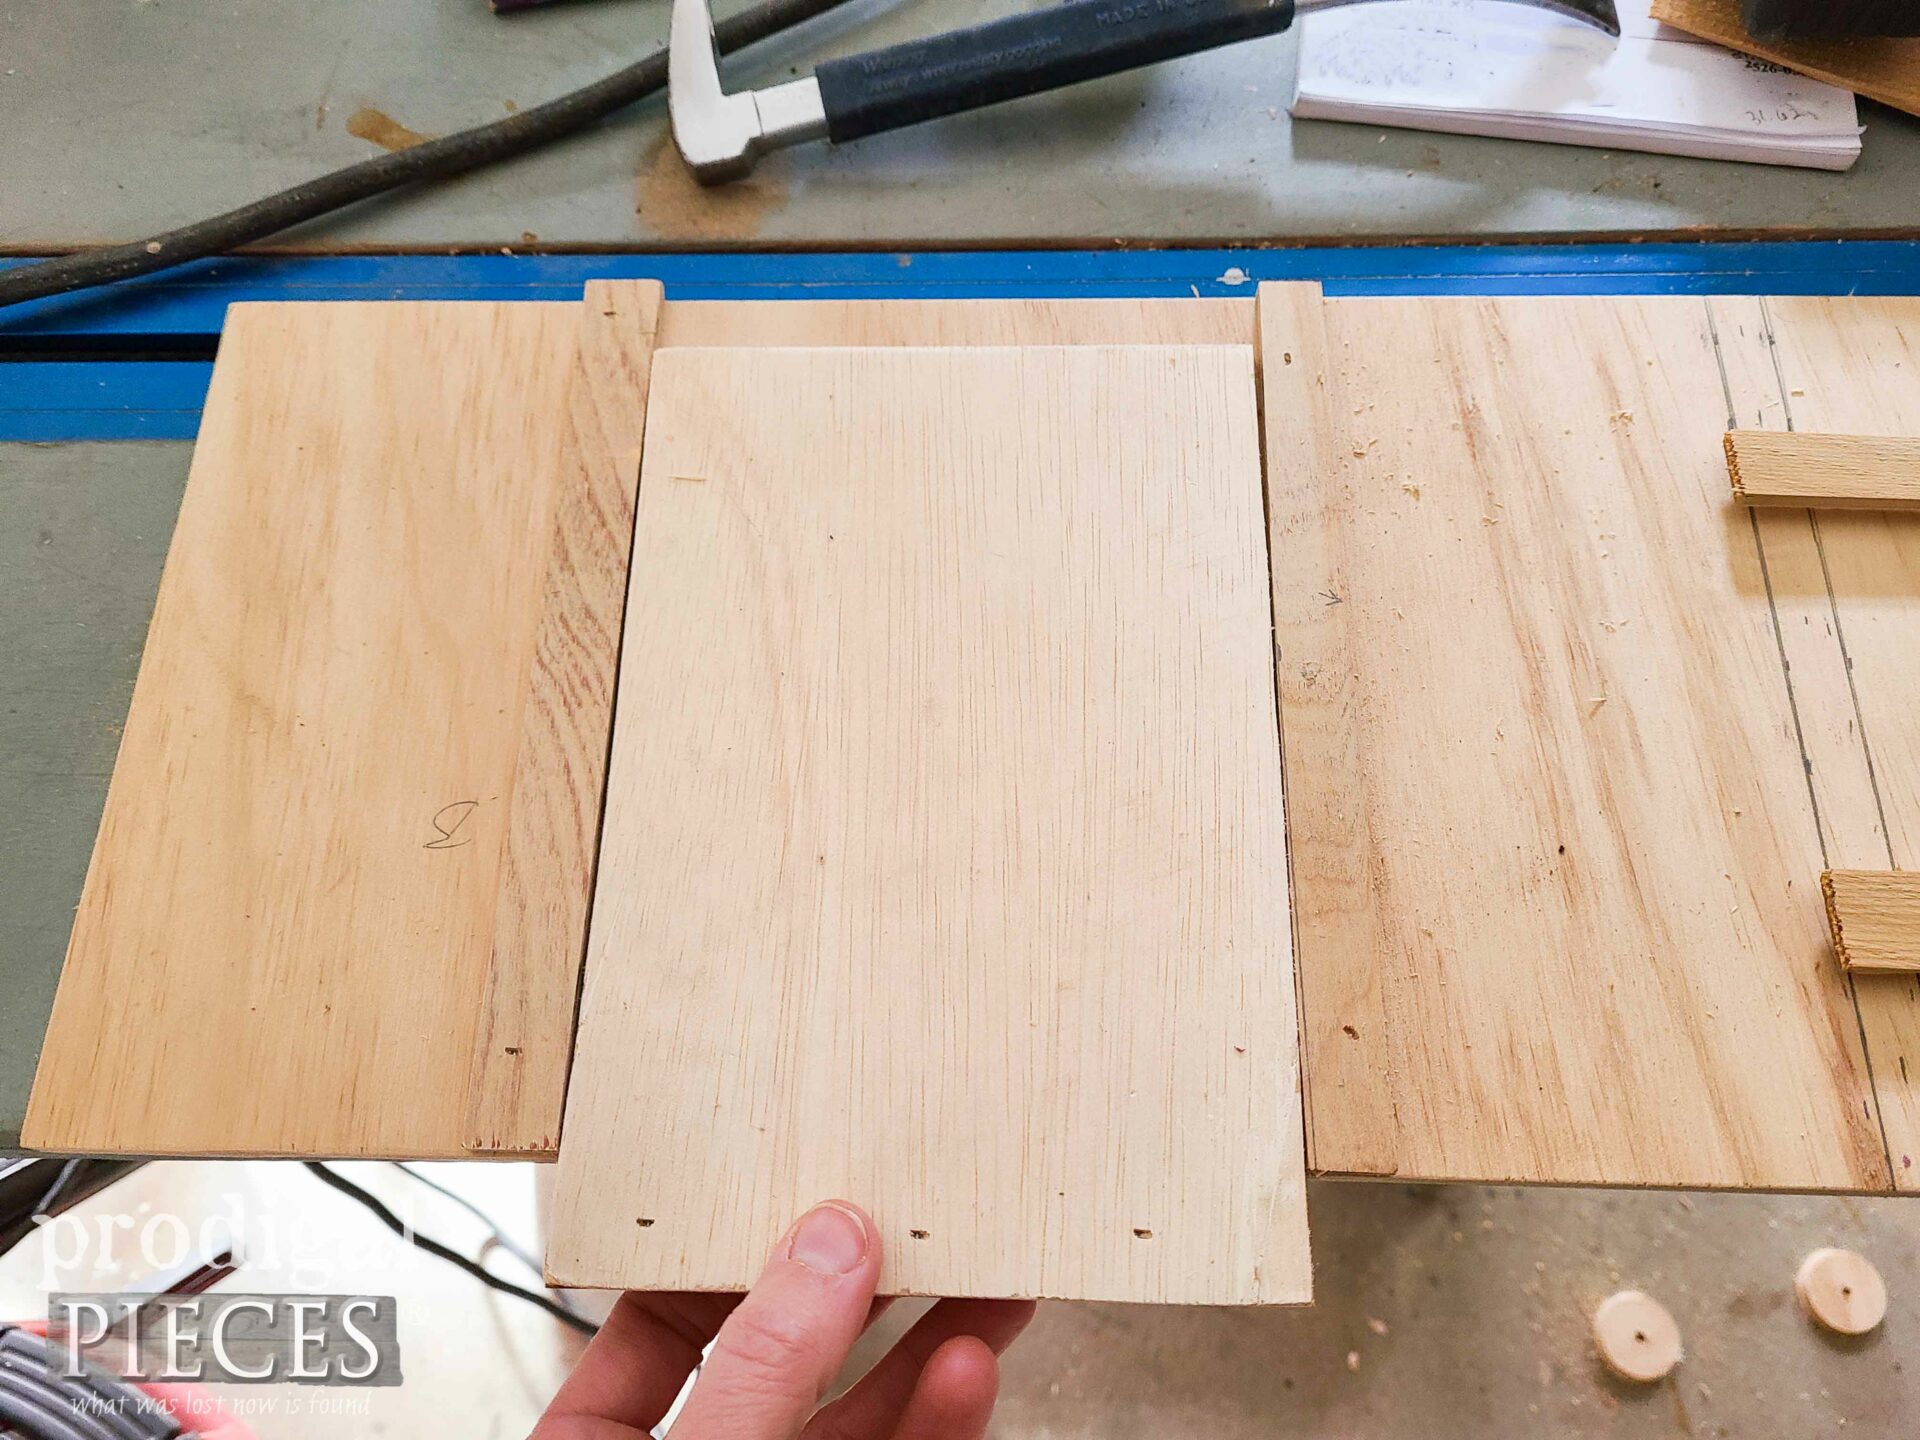
Once you have your blast gates, we need to add our slots for them to slide in. From the outer edge in and the closest divider line in, measure 3 ½” in and mark. Then, line up your strips of luan on those marks and check if your blast gate fits and has the slightest gap on the sides so it can slide.
When you feel all is in place, attach with your short brads.
STEP 3
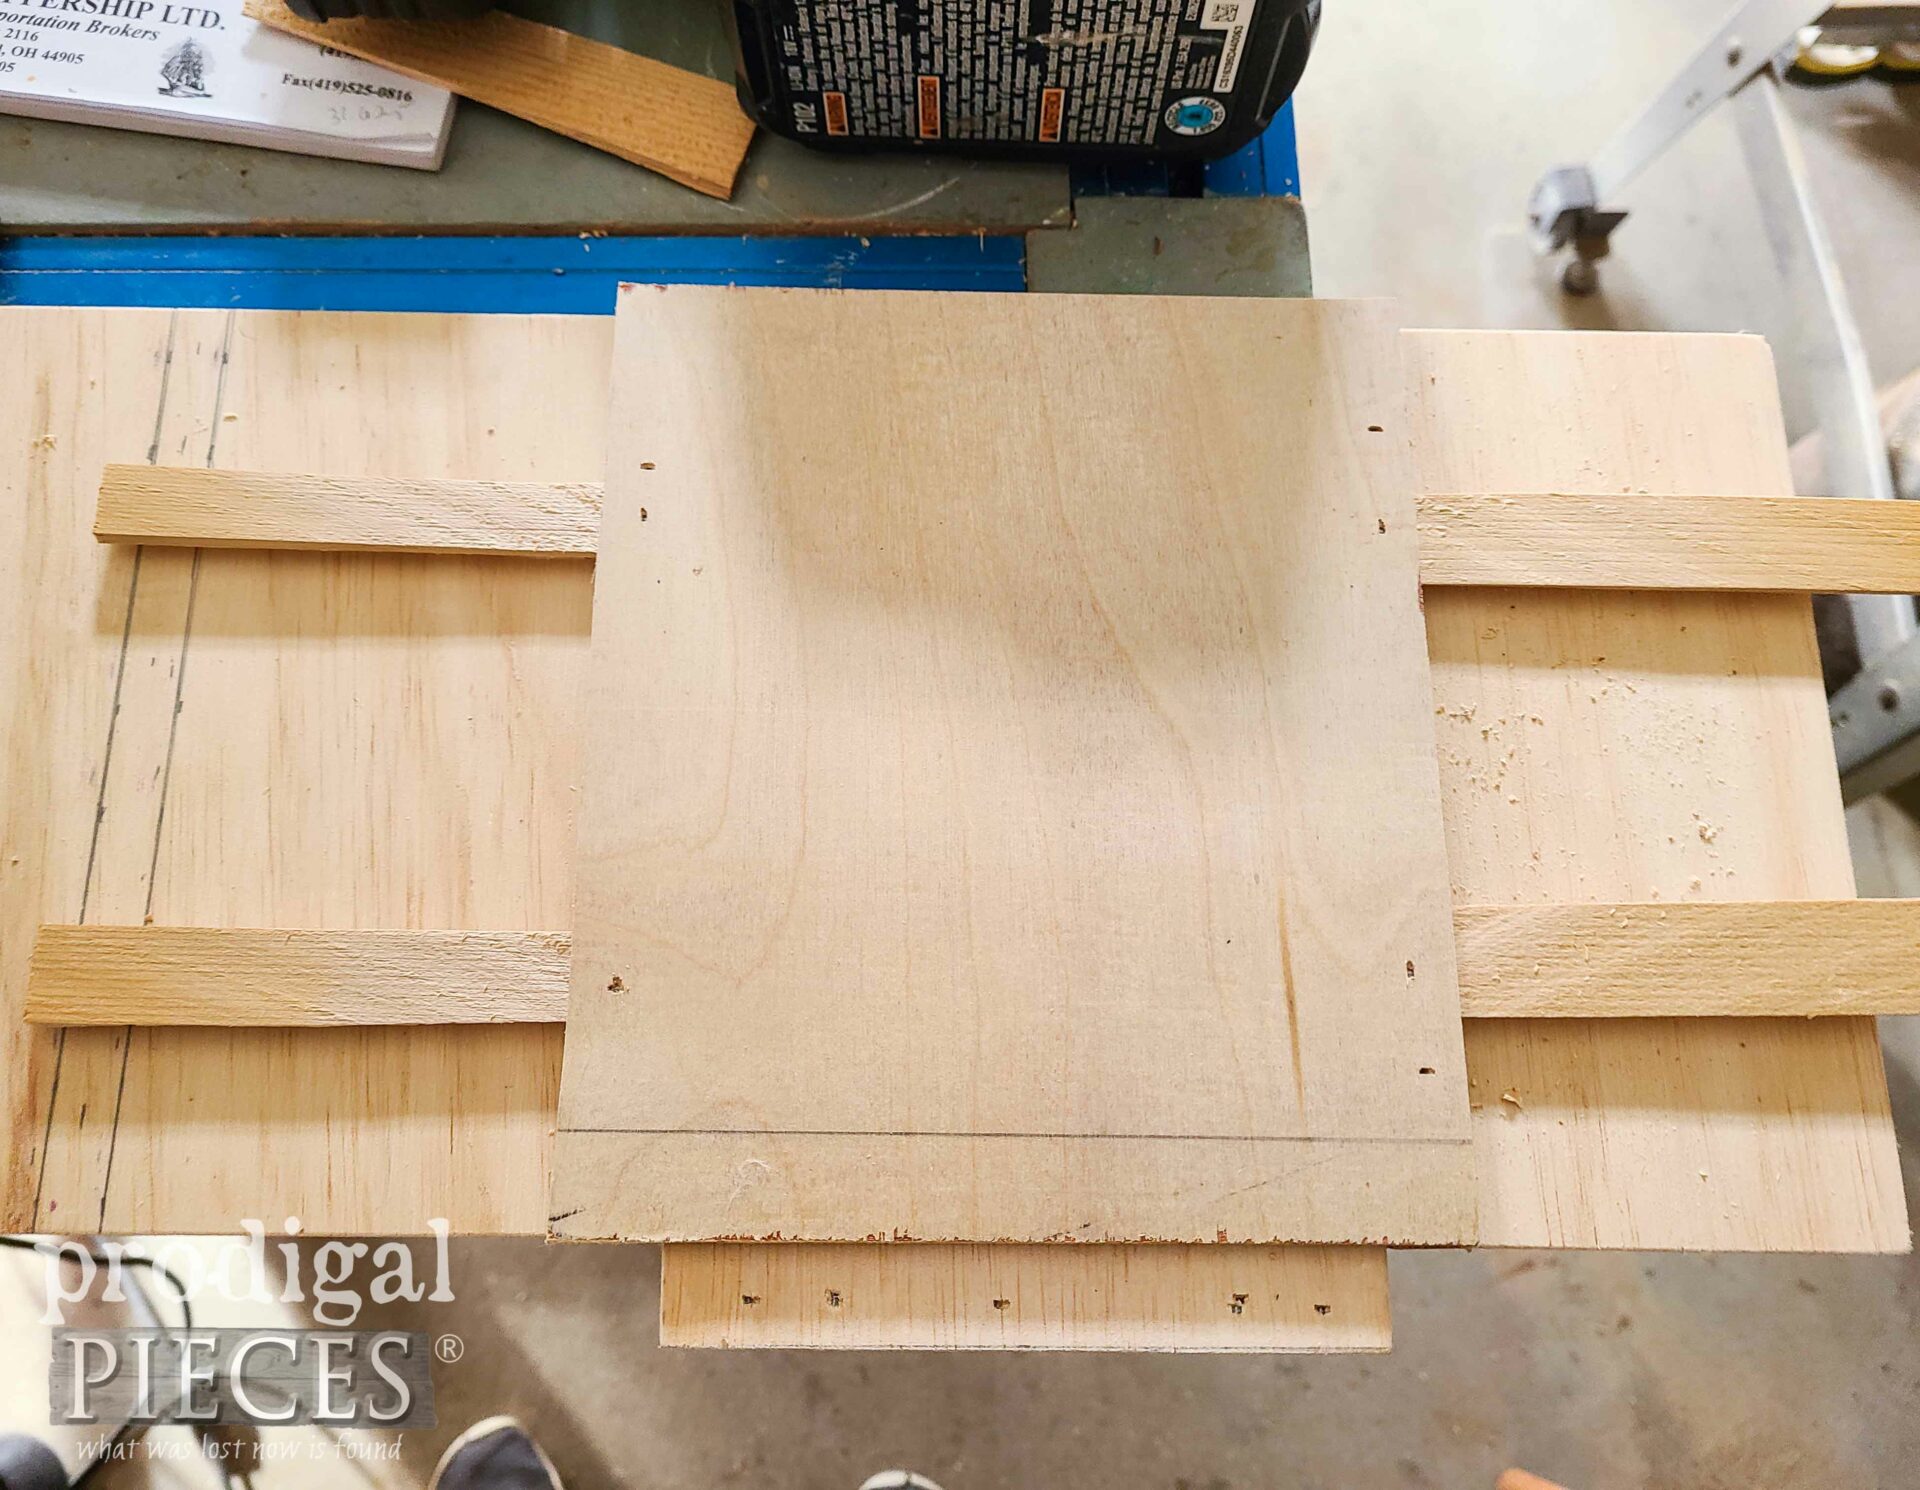
Afterward, we need to add the cover panel of luan that the blast gate slides in on our DIY pet food dispenser. In order to do that, we need to create a very slight gap because when we nail, it will draw the cover panel so tight the gate won’t slide. This is where your shims or cedar shake bits come in.
Place the shims as shown and then nail them in place and along the two long sides. In addition, notice I have my blast gate in place to keep the surface of the cover panel firm. Then, once your nailing is done, snap the shims off and check that your gate can move freely.
So, you may notice that there’s a hole on the inside of the cabinet, but not one to let the food out. Grab your drill with hole saw again but flip your cabinet bottom over. You’re going to use your initial hole as a guide to drill one through your cover panel on the bottom. Also, for support, I pull out my blast gate just enough to not drill through it but support the cover as I drill.
STEP 4
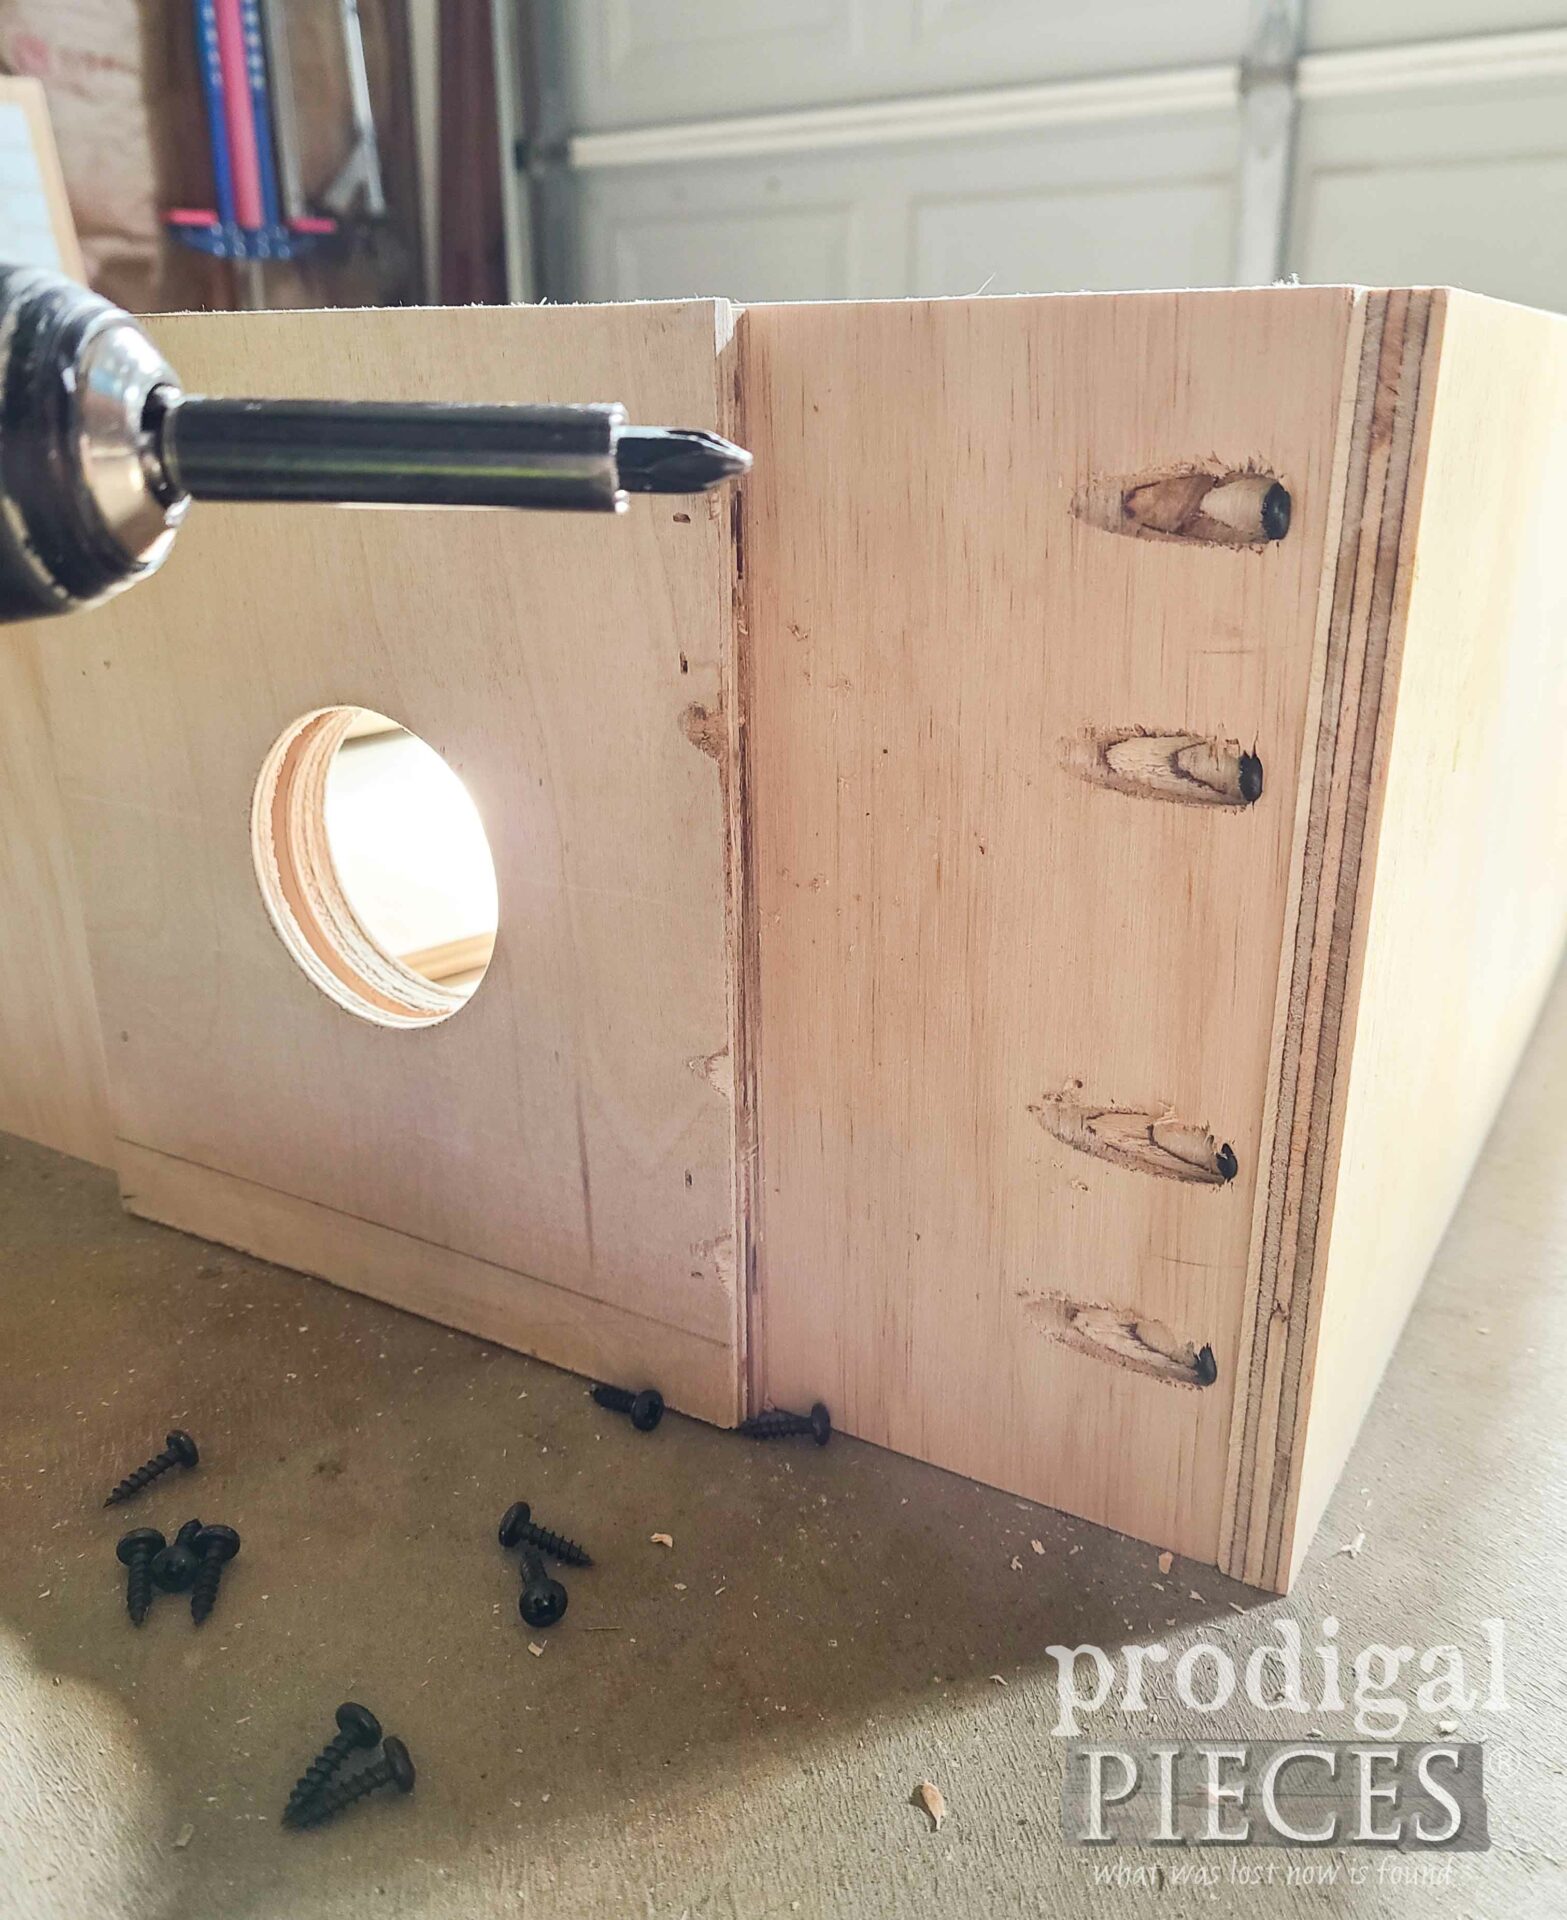
Last, you need to add pocket holes (or predrill from the outside in) so you can attach your sides. Likewise, add pocket holes to your cross supports as well.
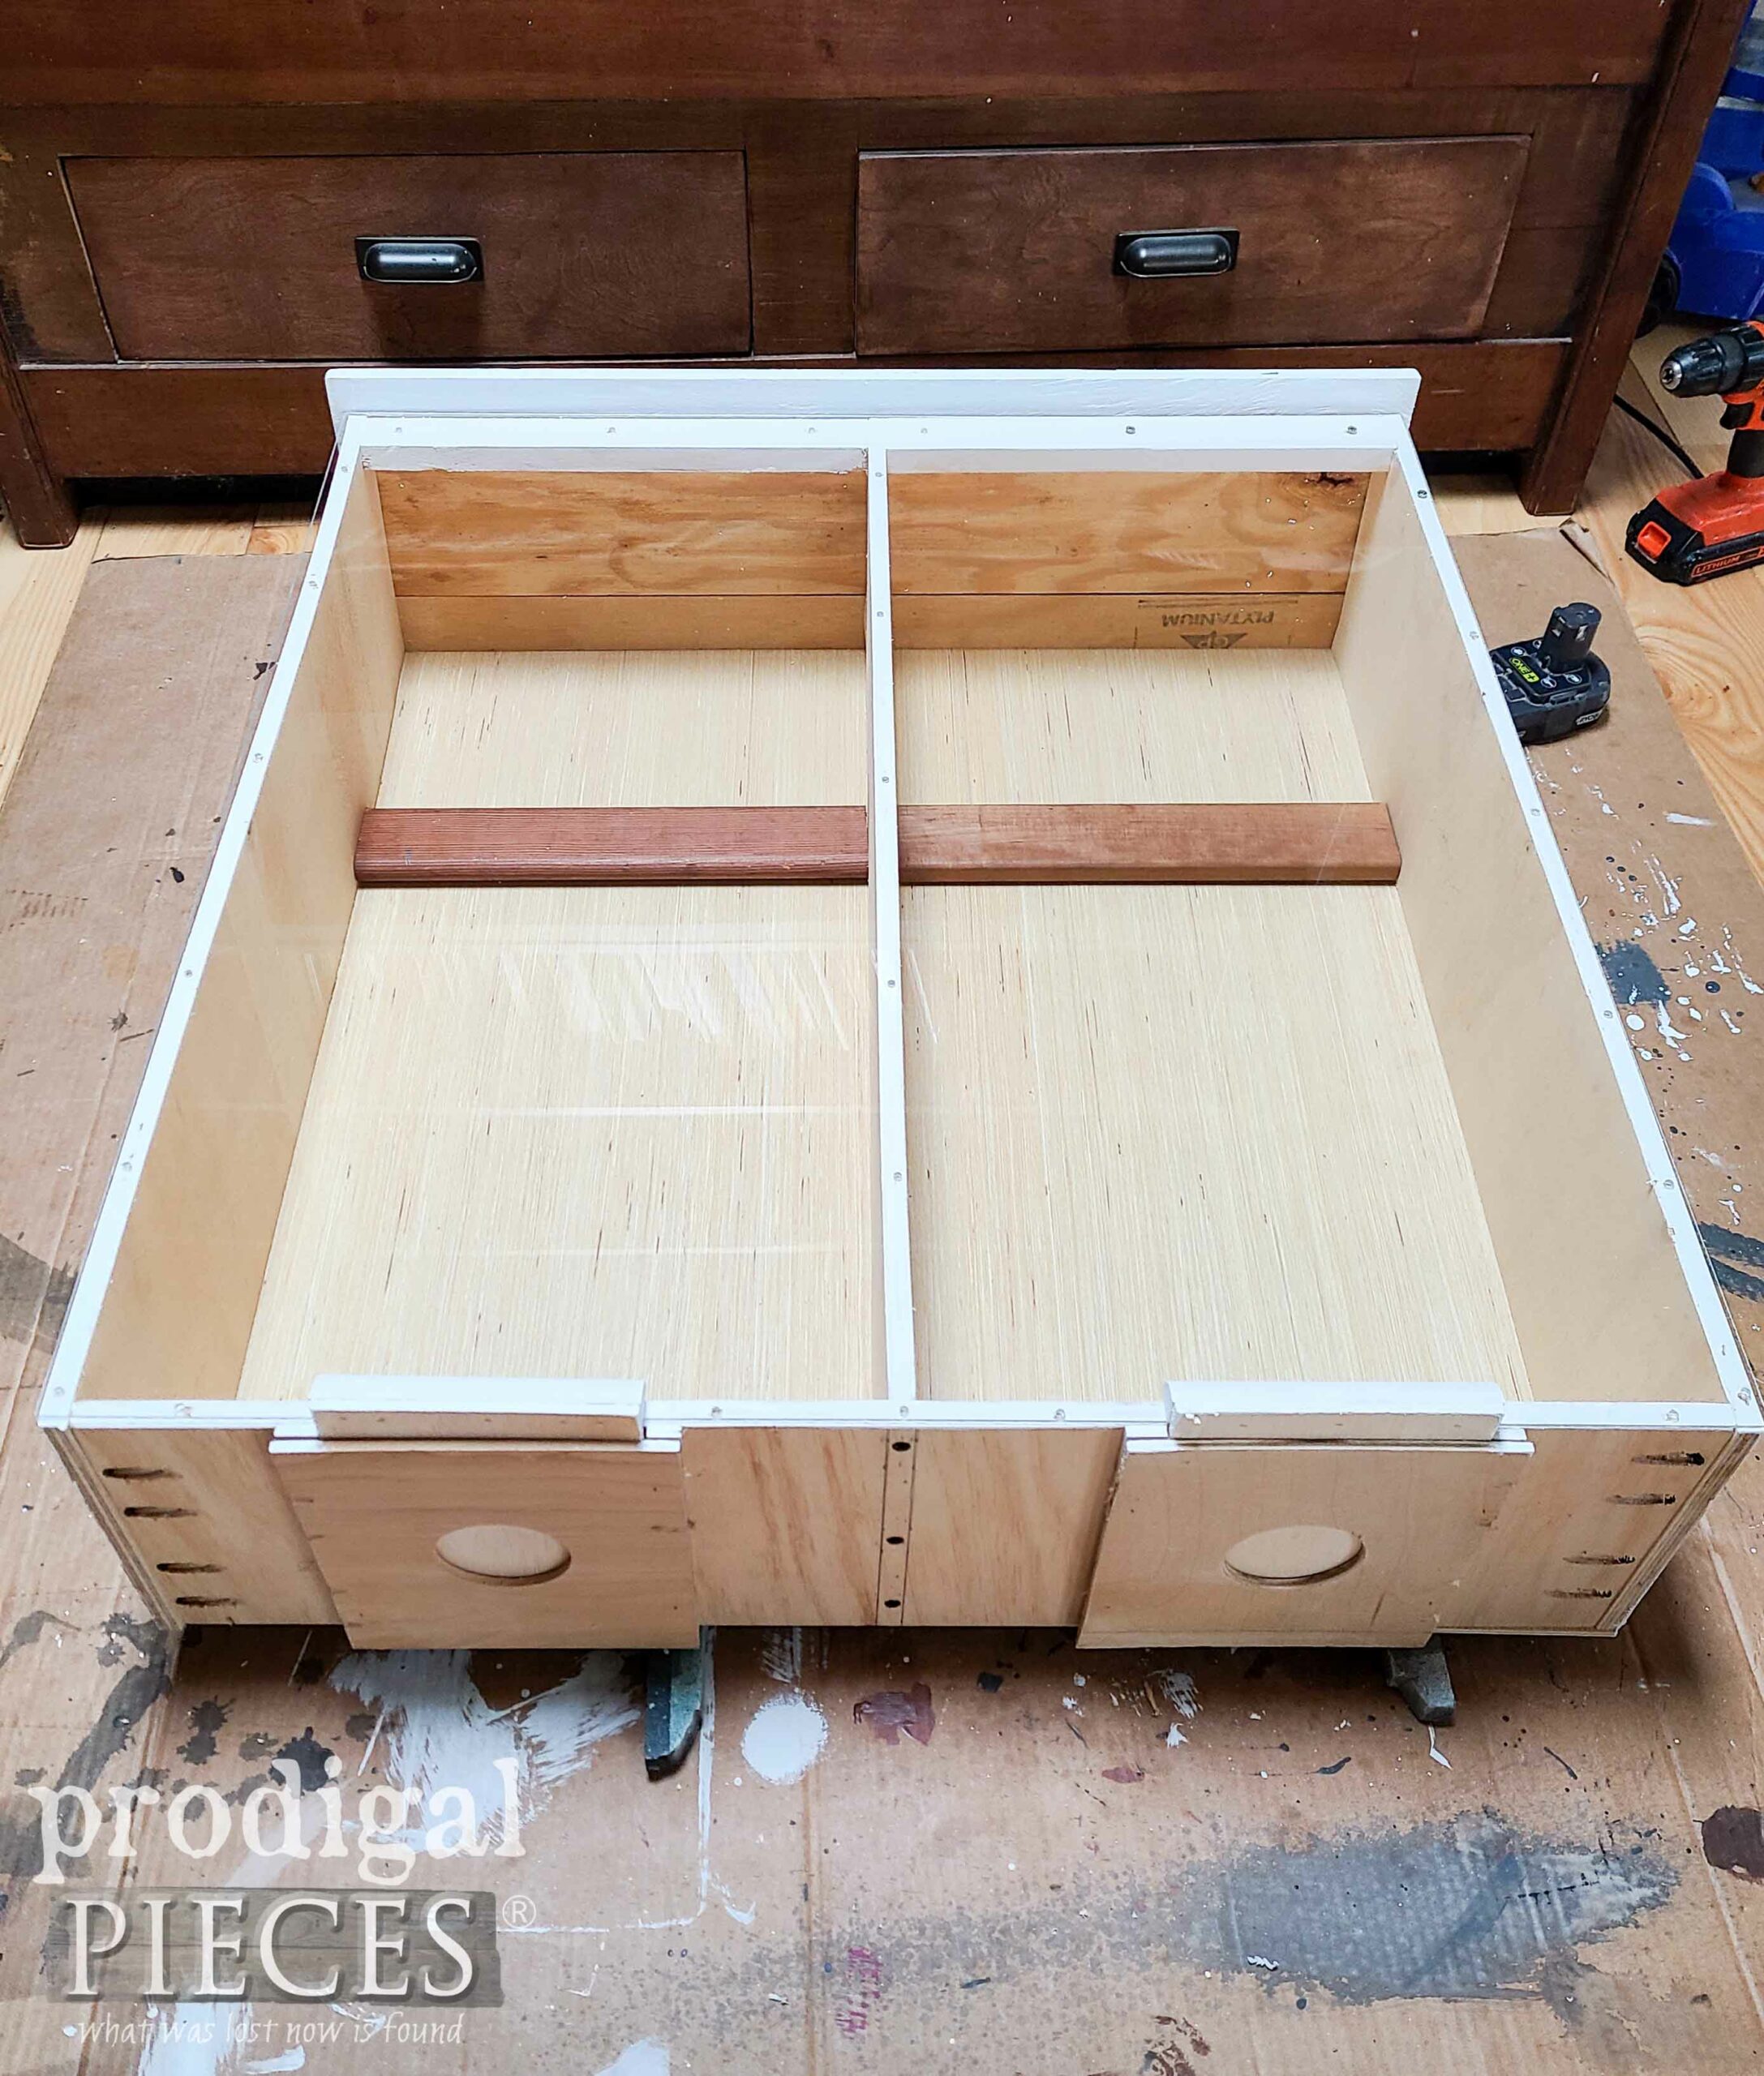
Now that your sides are attached, go ahead and predrill the bottom for the divider and attach with wood screws from the bottom into the divider.
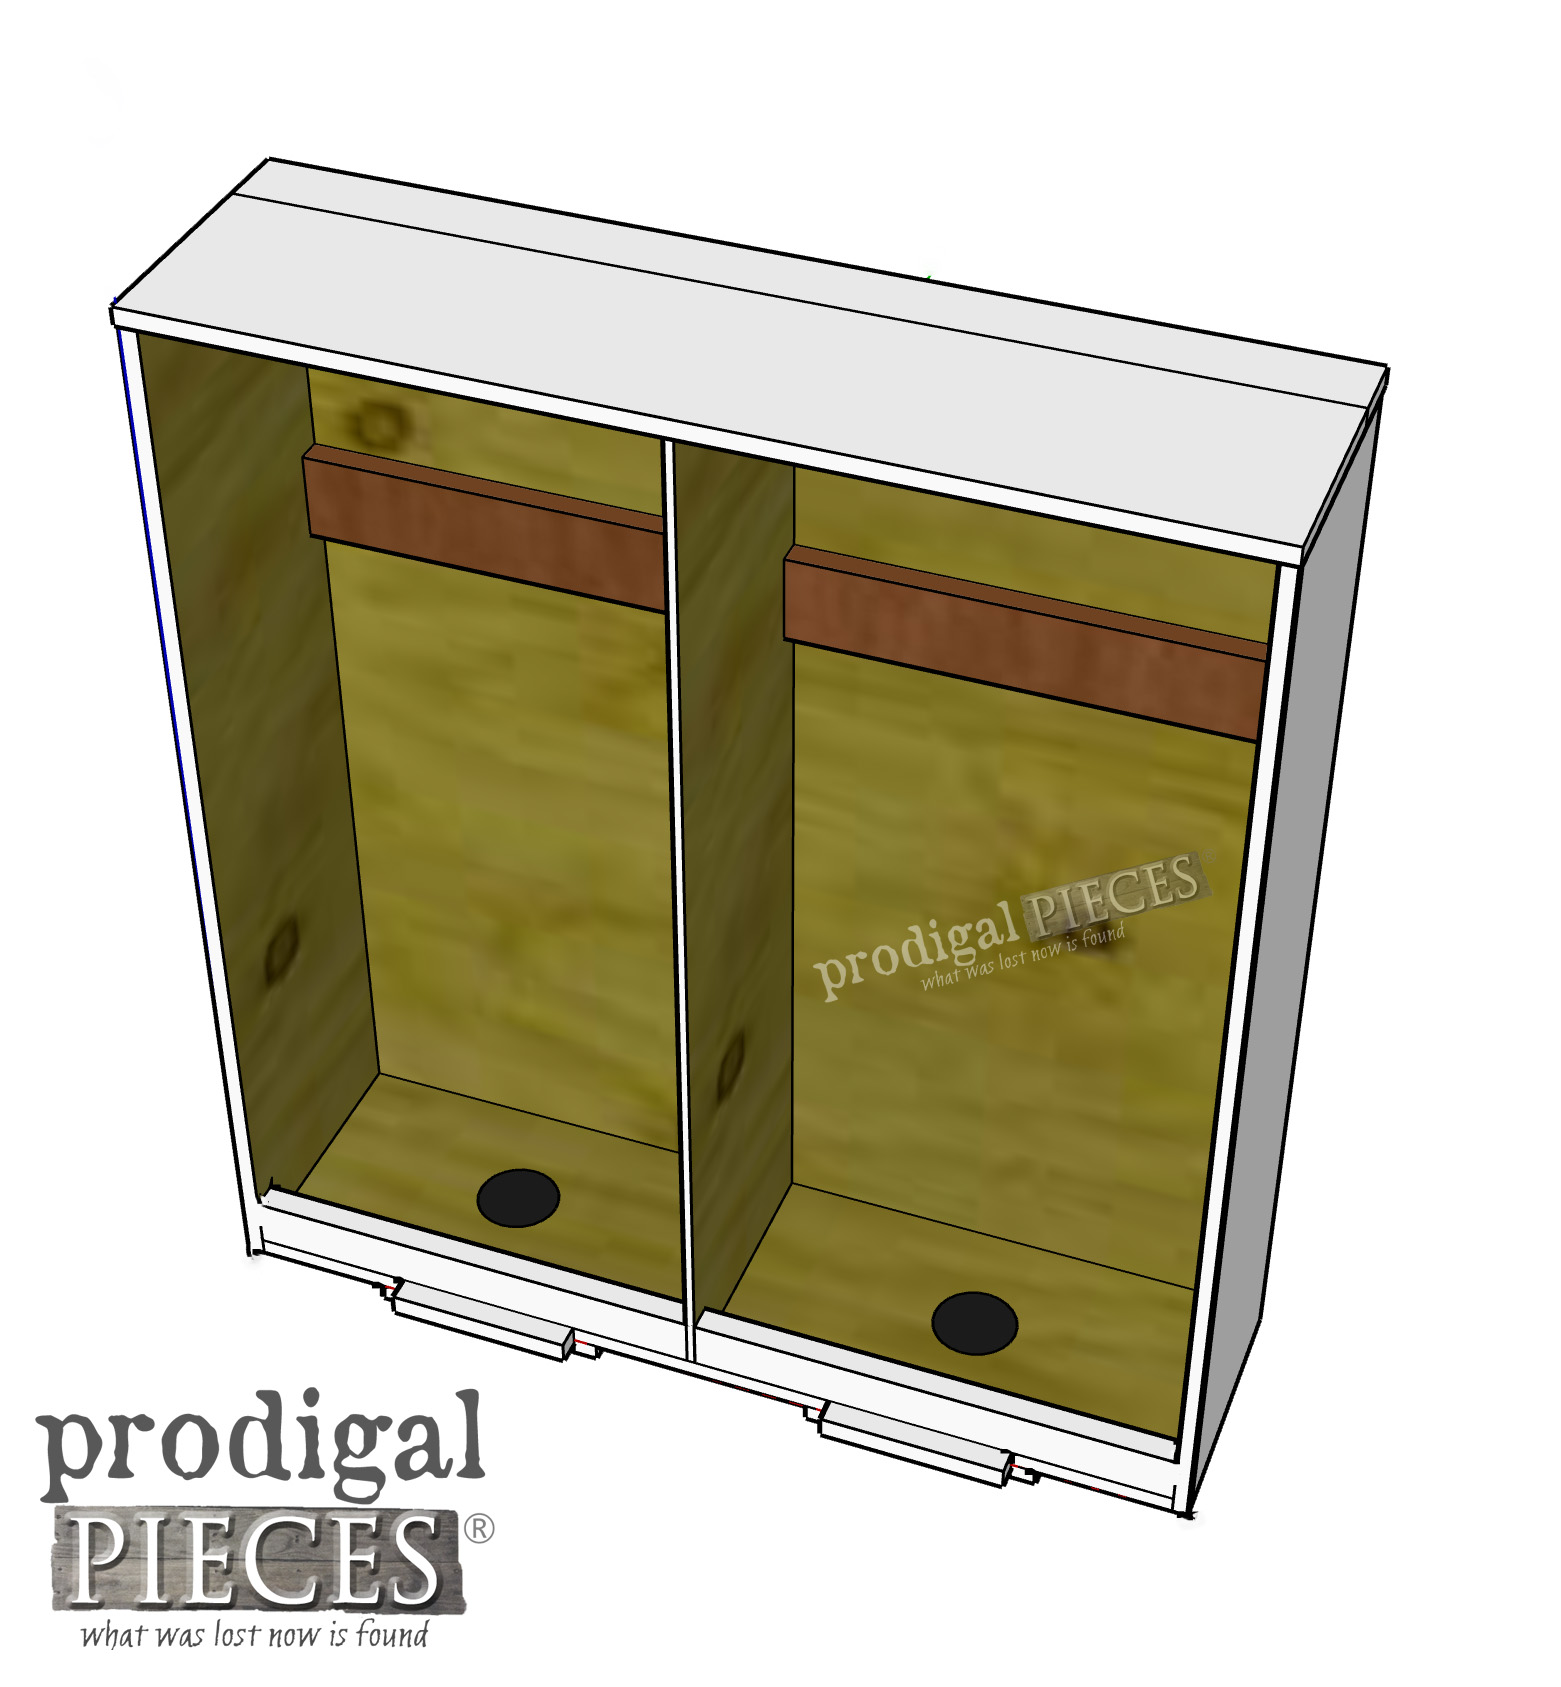
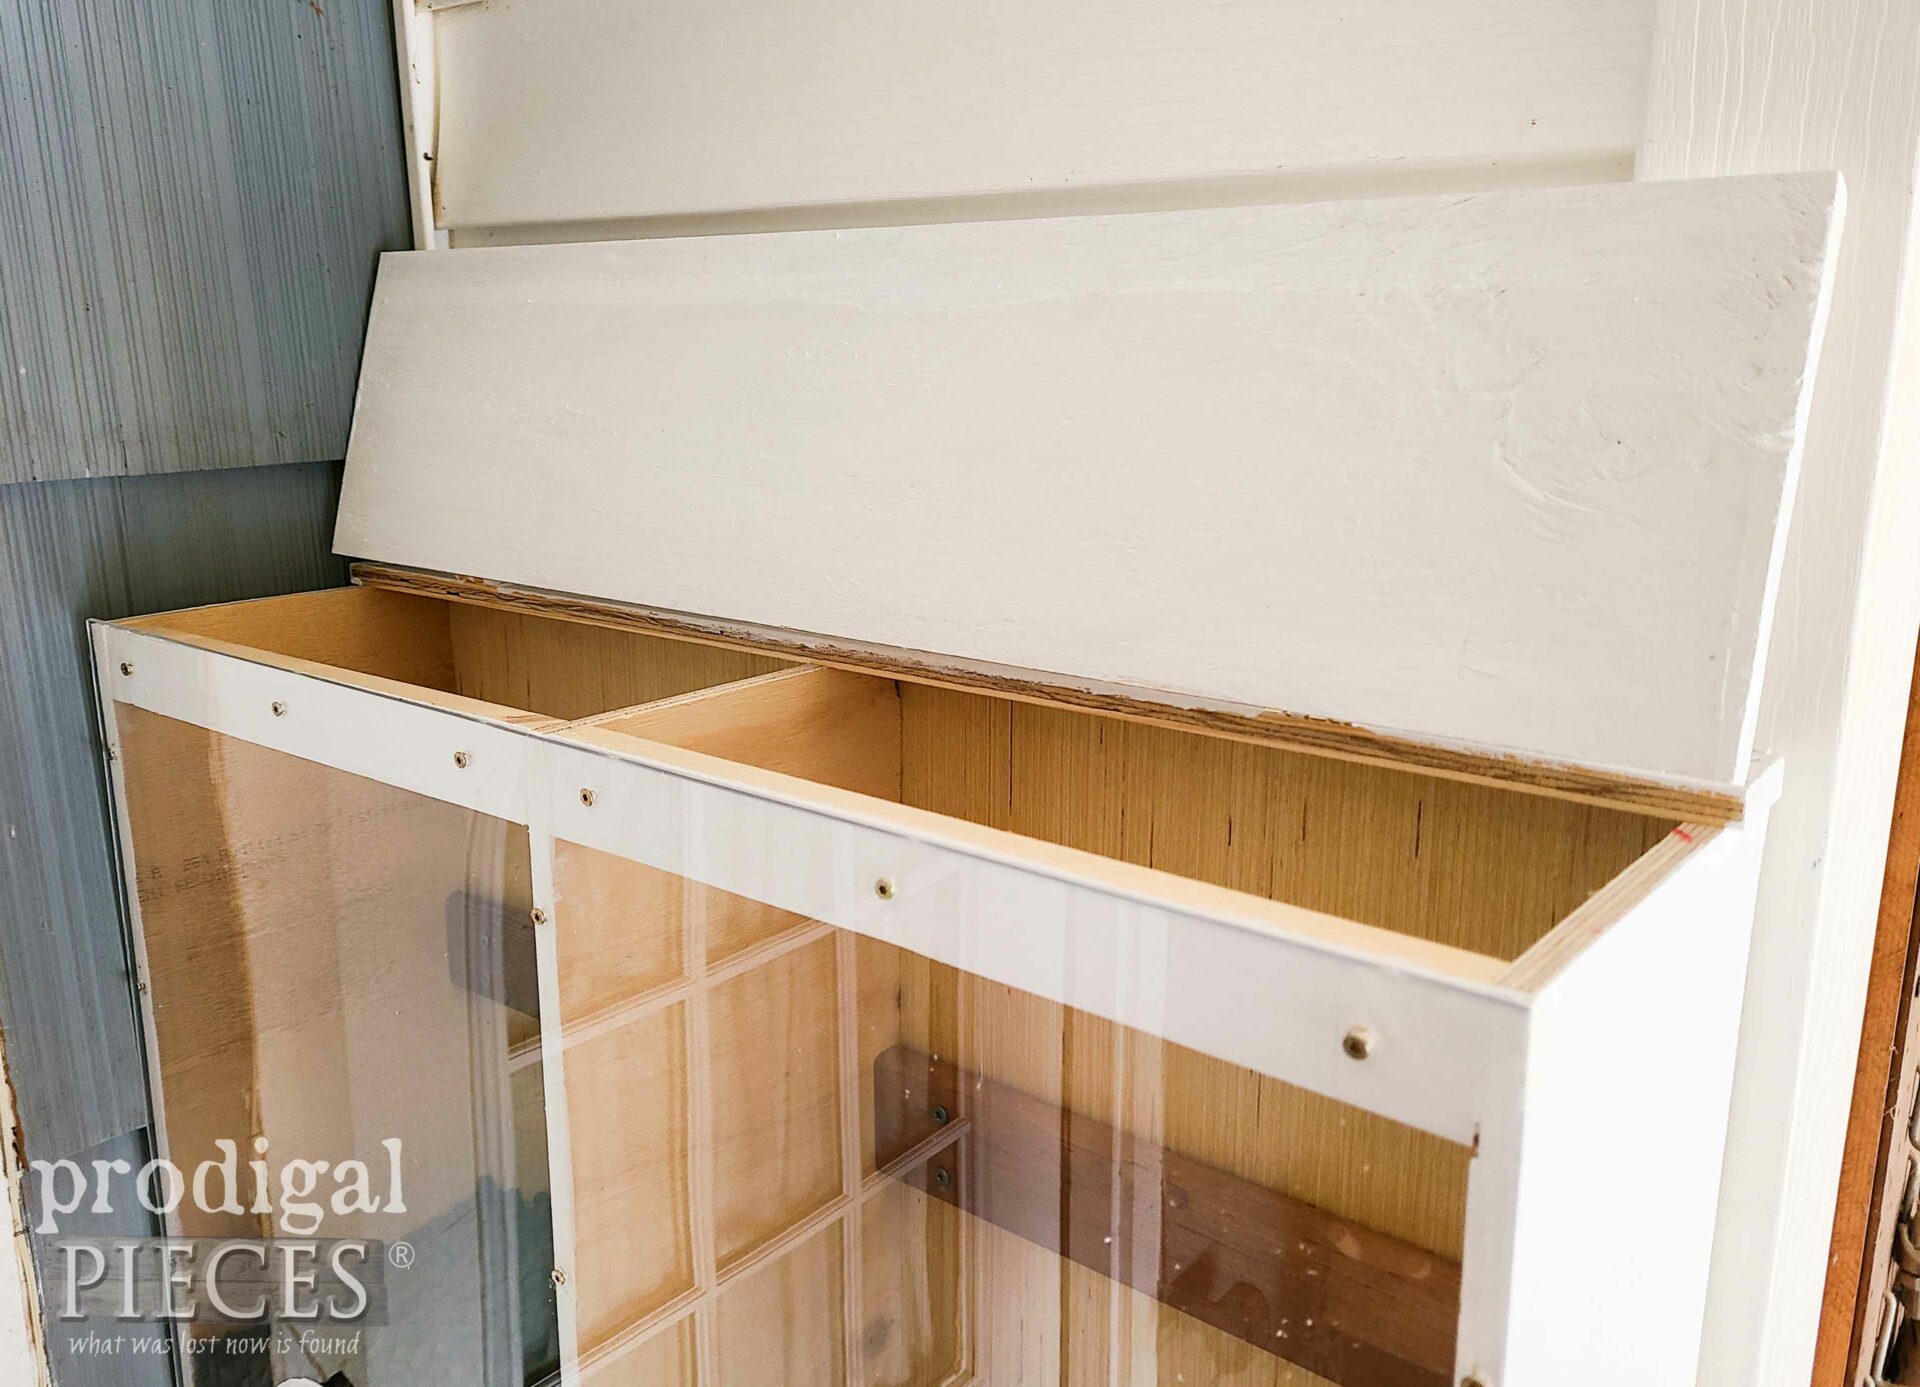
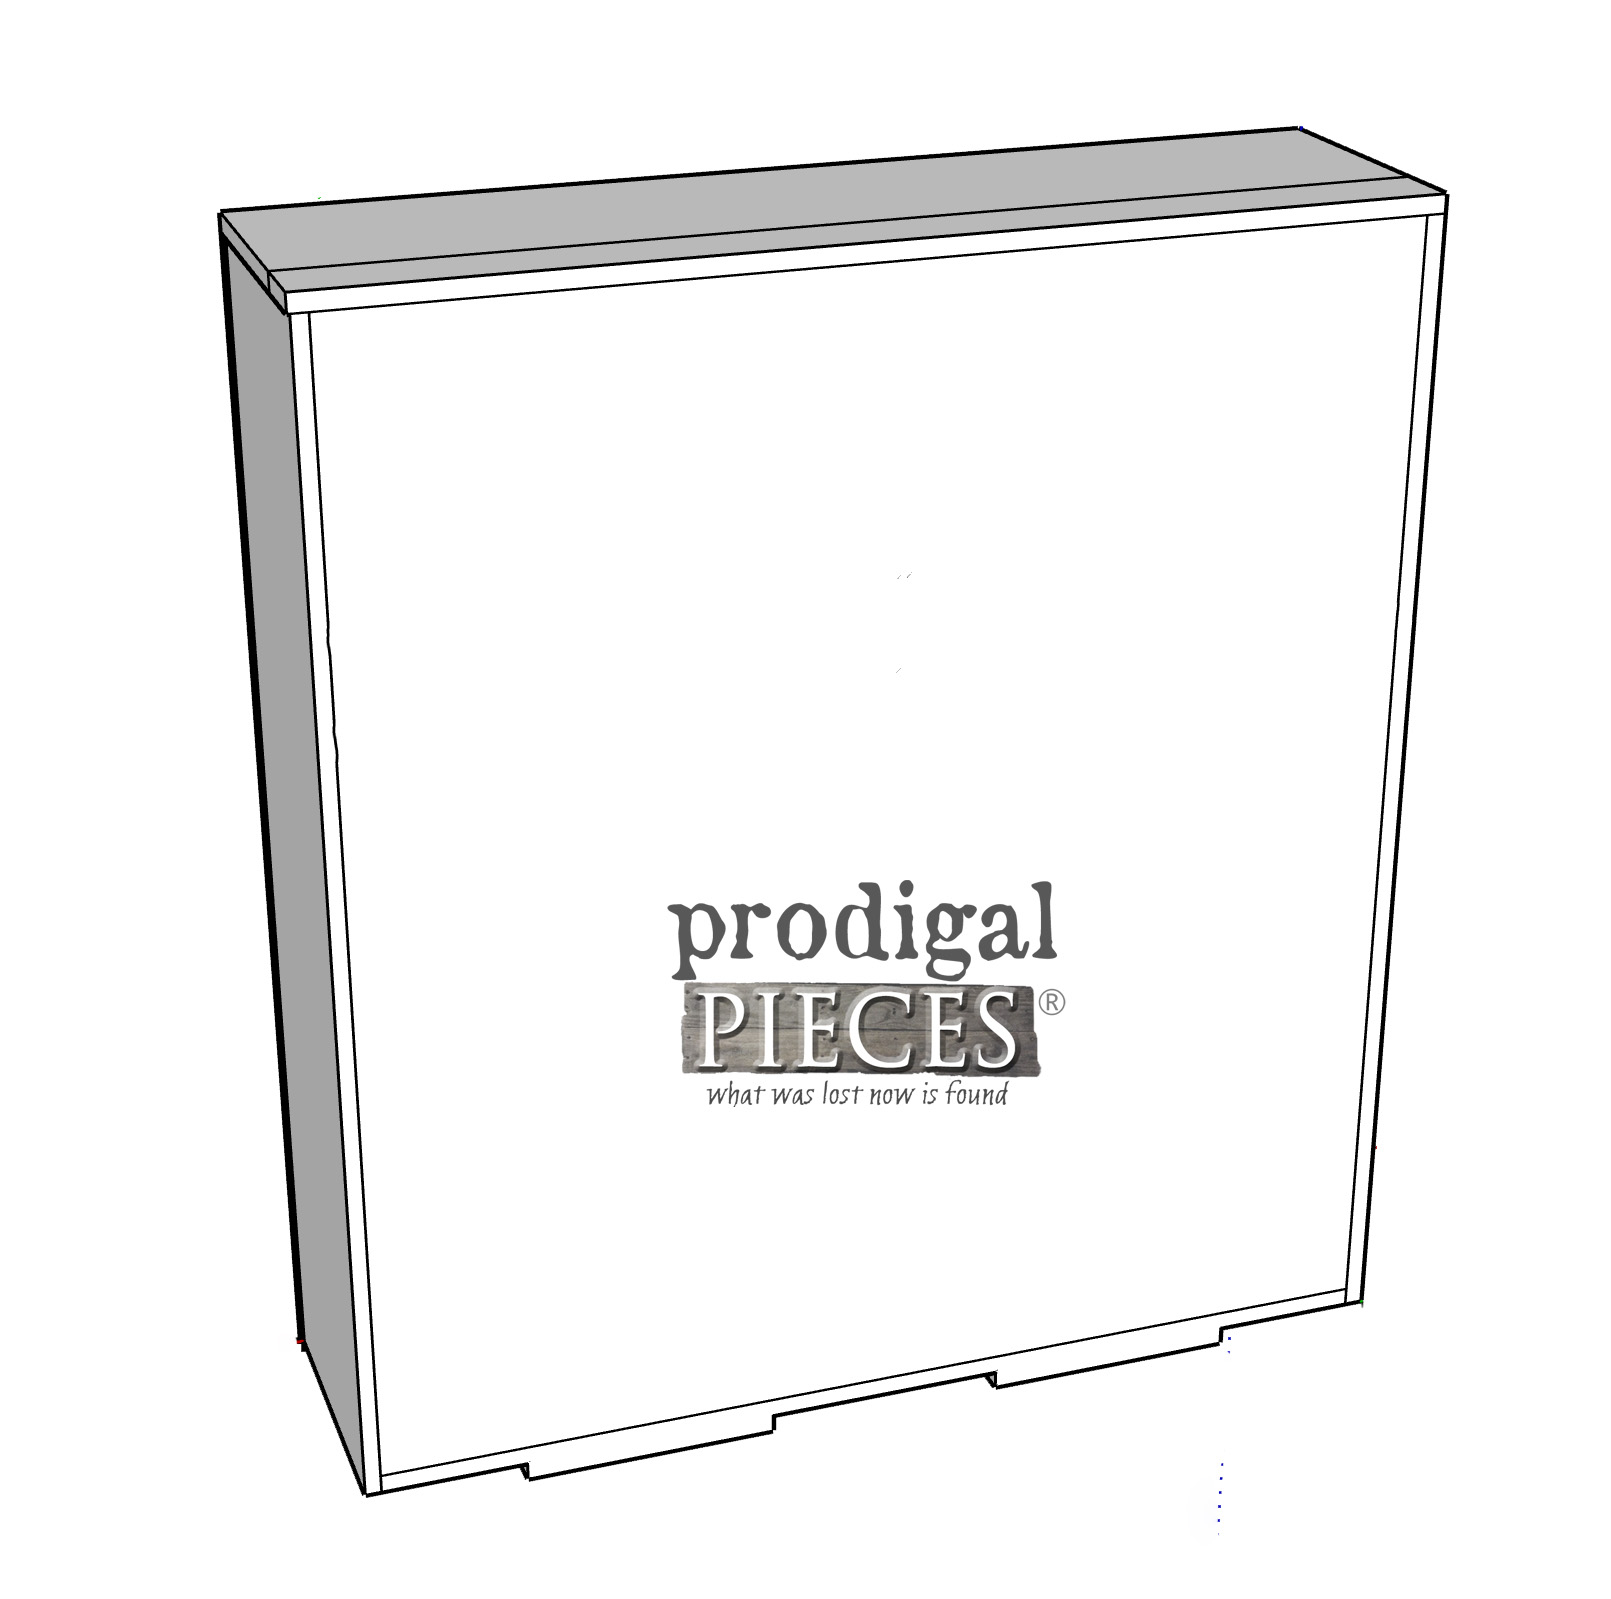
Secondly, predrill through the 2″ wide piece for the top and attach from the top down. For the top door, set it in place and attach your hinges 5″ in from each short side. Yes, I don’t have them in my graphic, but they’re there. Likewise, I debated on splitting up the lid into two so I wouldn’t accidentally spill dog food in cat food etc. But I only had one set of hinges on hand, so I kept it as is. Thankfully, I had no problem filling it as the opening is plenty wide.
Then, attach your cross supports to the divider and sides (2 ½” at the back and 1 ½” at the top front).
Subsequently, attach your back luan panel.
And just so you know, my wood got warped ever so slightly over the last year, so I have a curve to my left side. No problem. My cross supports, back panel, and glass will hold it all together just fine. Plus, it’s for my garage and I’m building for ME.
STEP 5
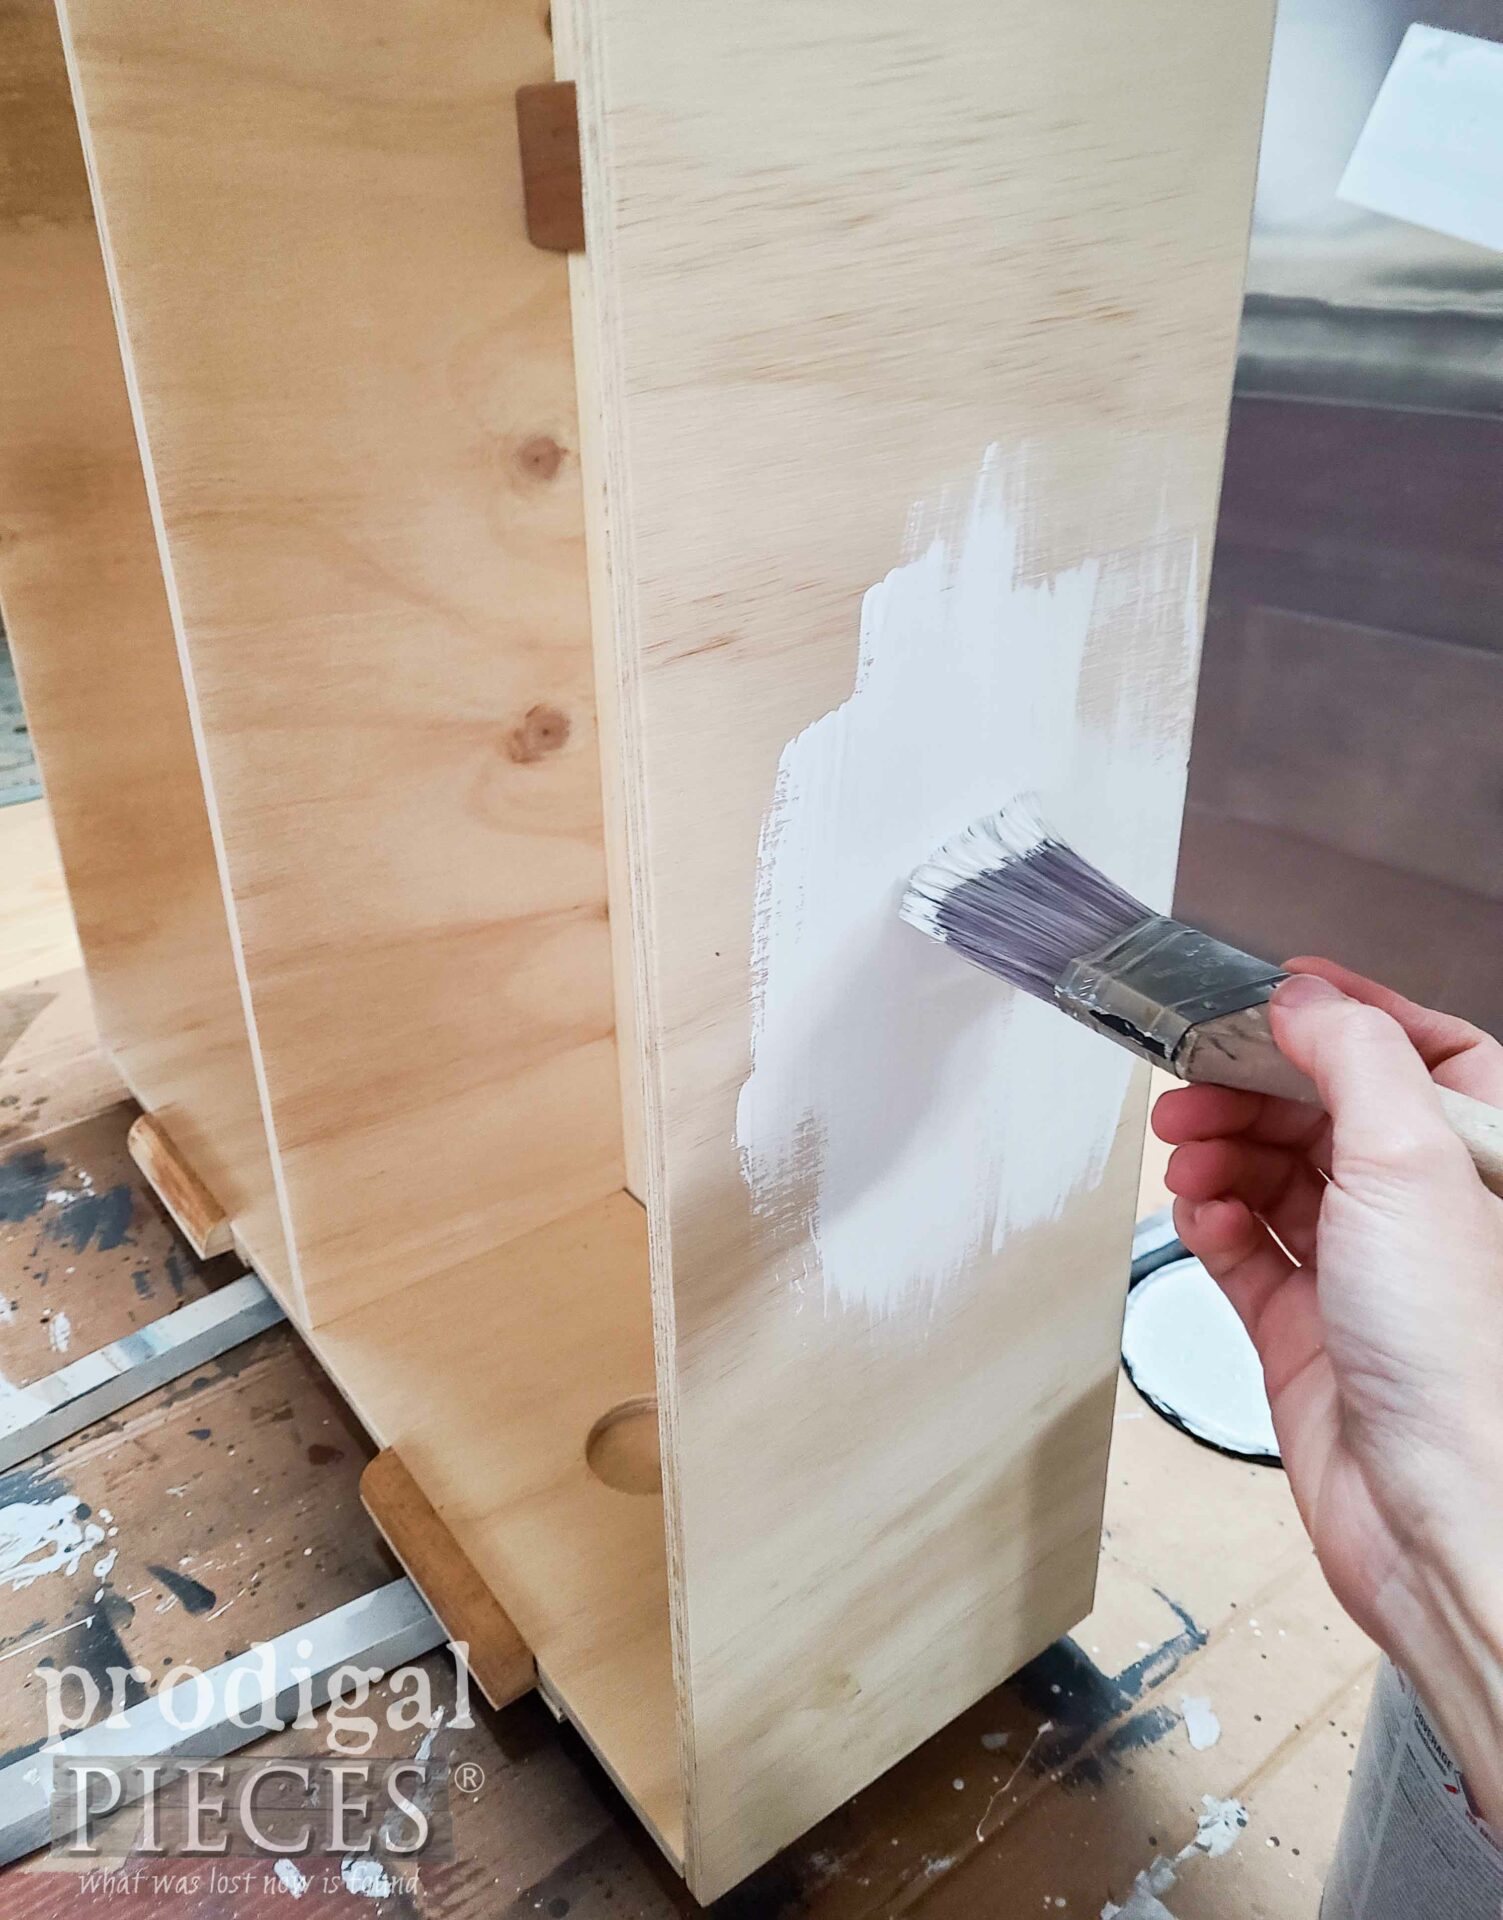
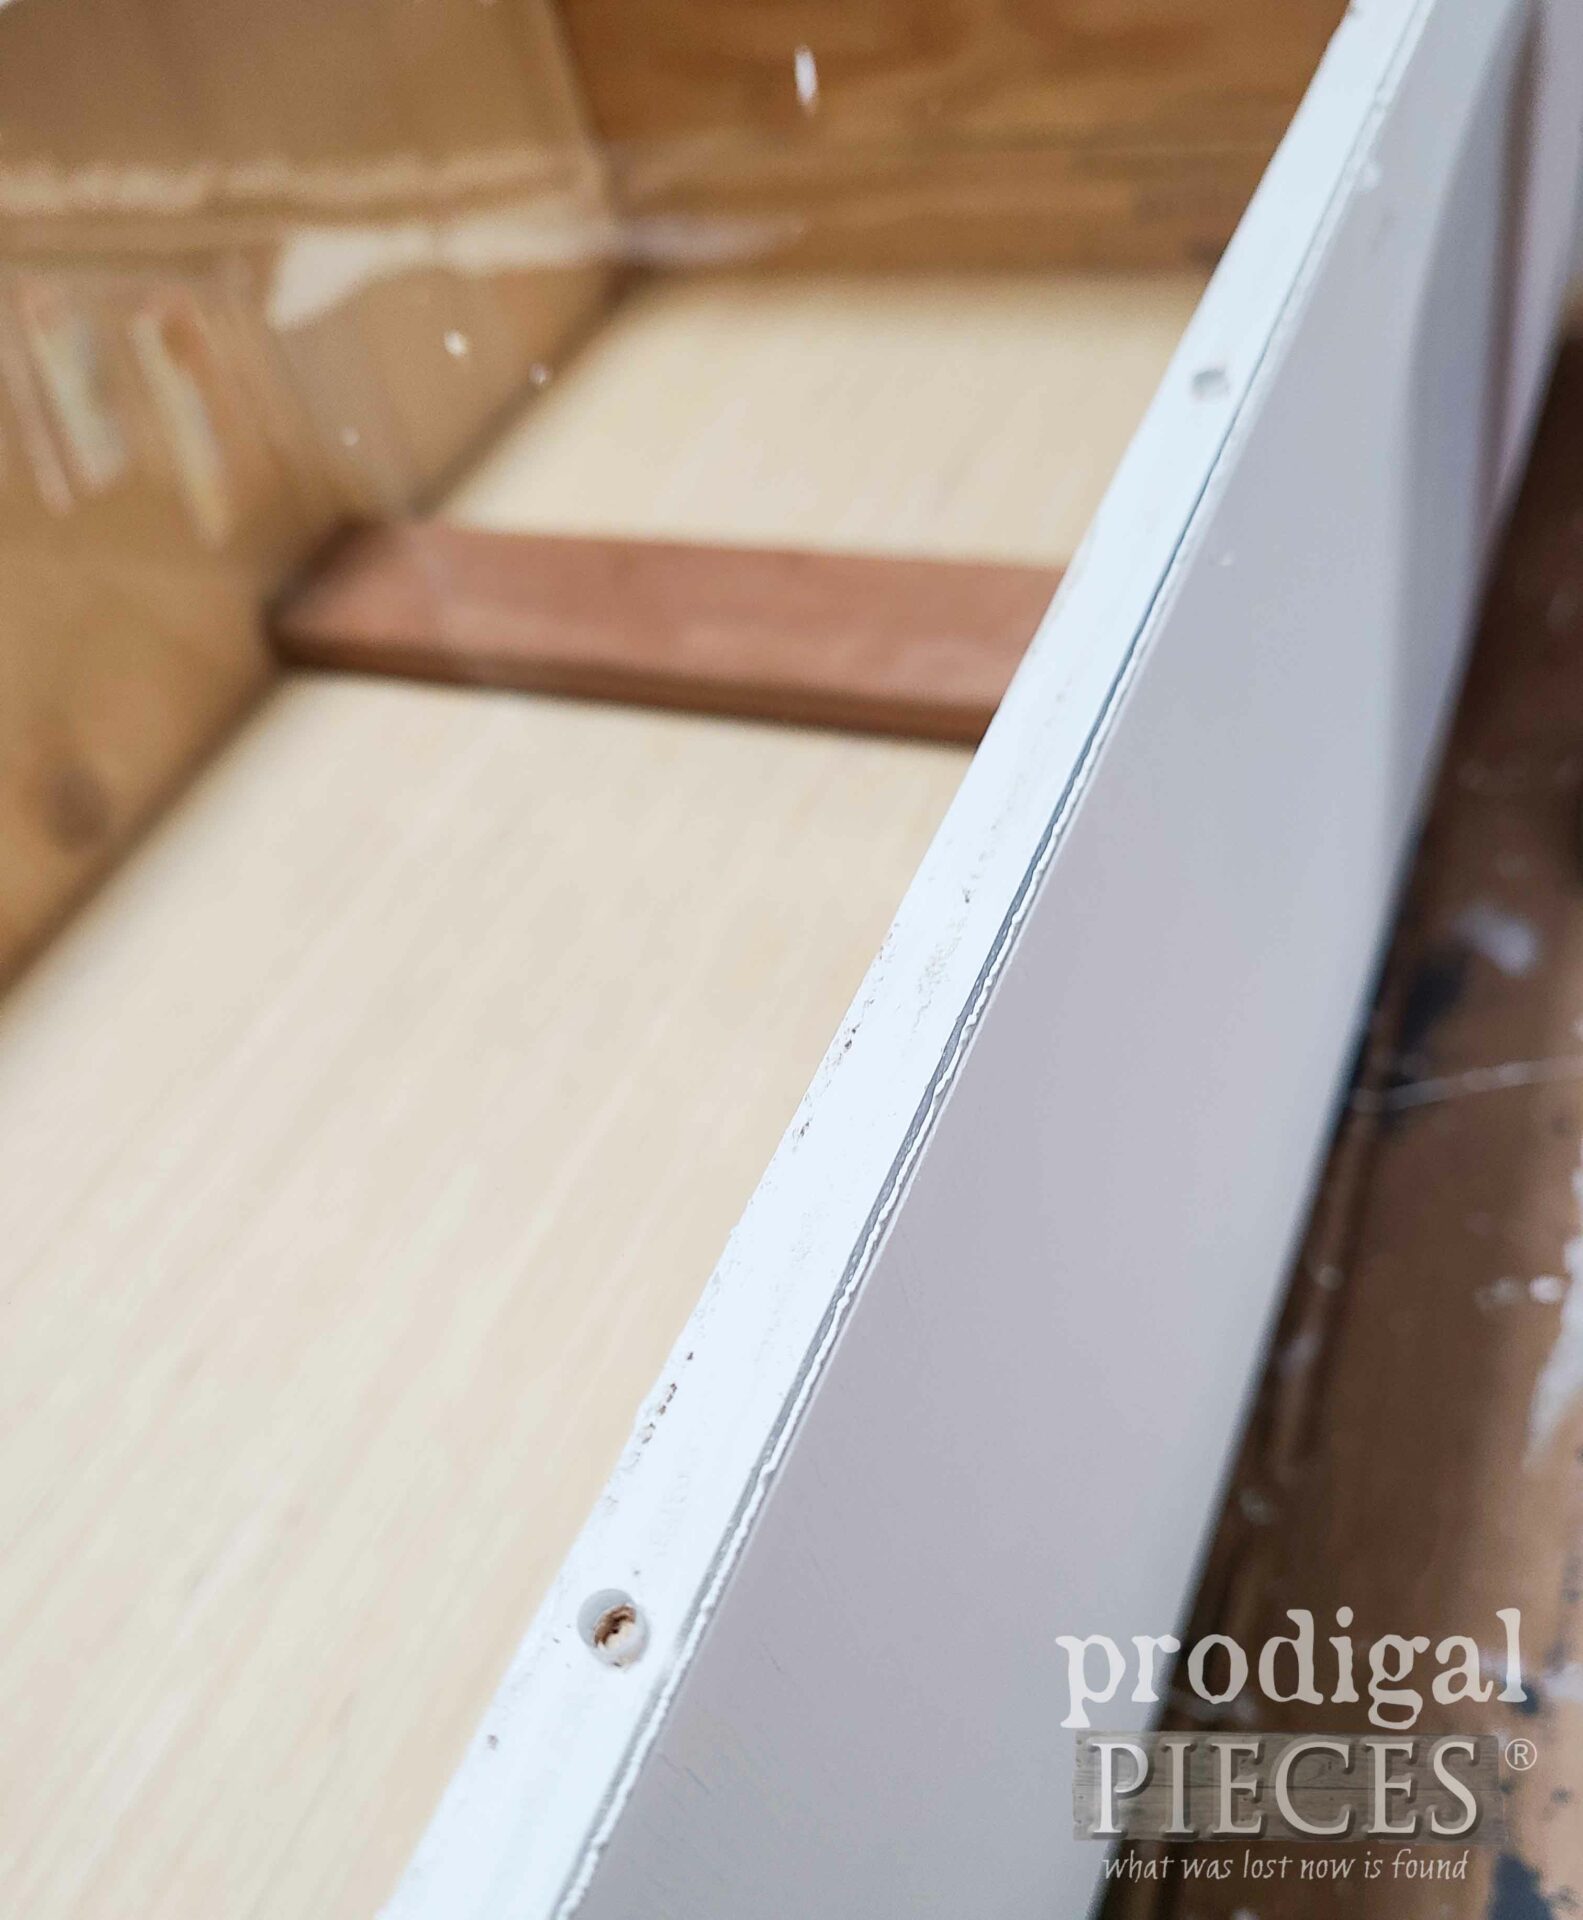
Finishing time! I’m choosing to paint the outsides only. Ply is chemically produced already, so I don’t want to add more bluck to touch my pets’ food.
As soon as the paint dries, it’s time to add the glass for predrilling. Place your glass on your cabinet backside down and use a drill bit slightly larger than your screws. TIP: leave the film on your front side of your glass. That will help with not splitting and fraying. Not only do we not want to split the glass, but also don’t want too big of a hole in our ply. At this point, DO NOT ATTACH.
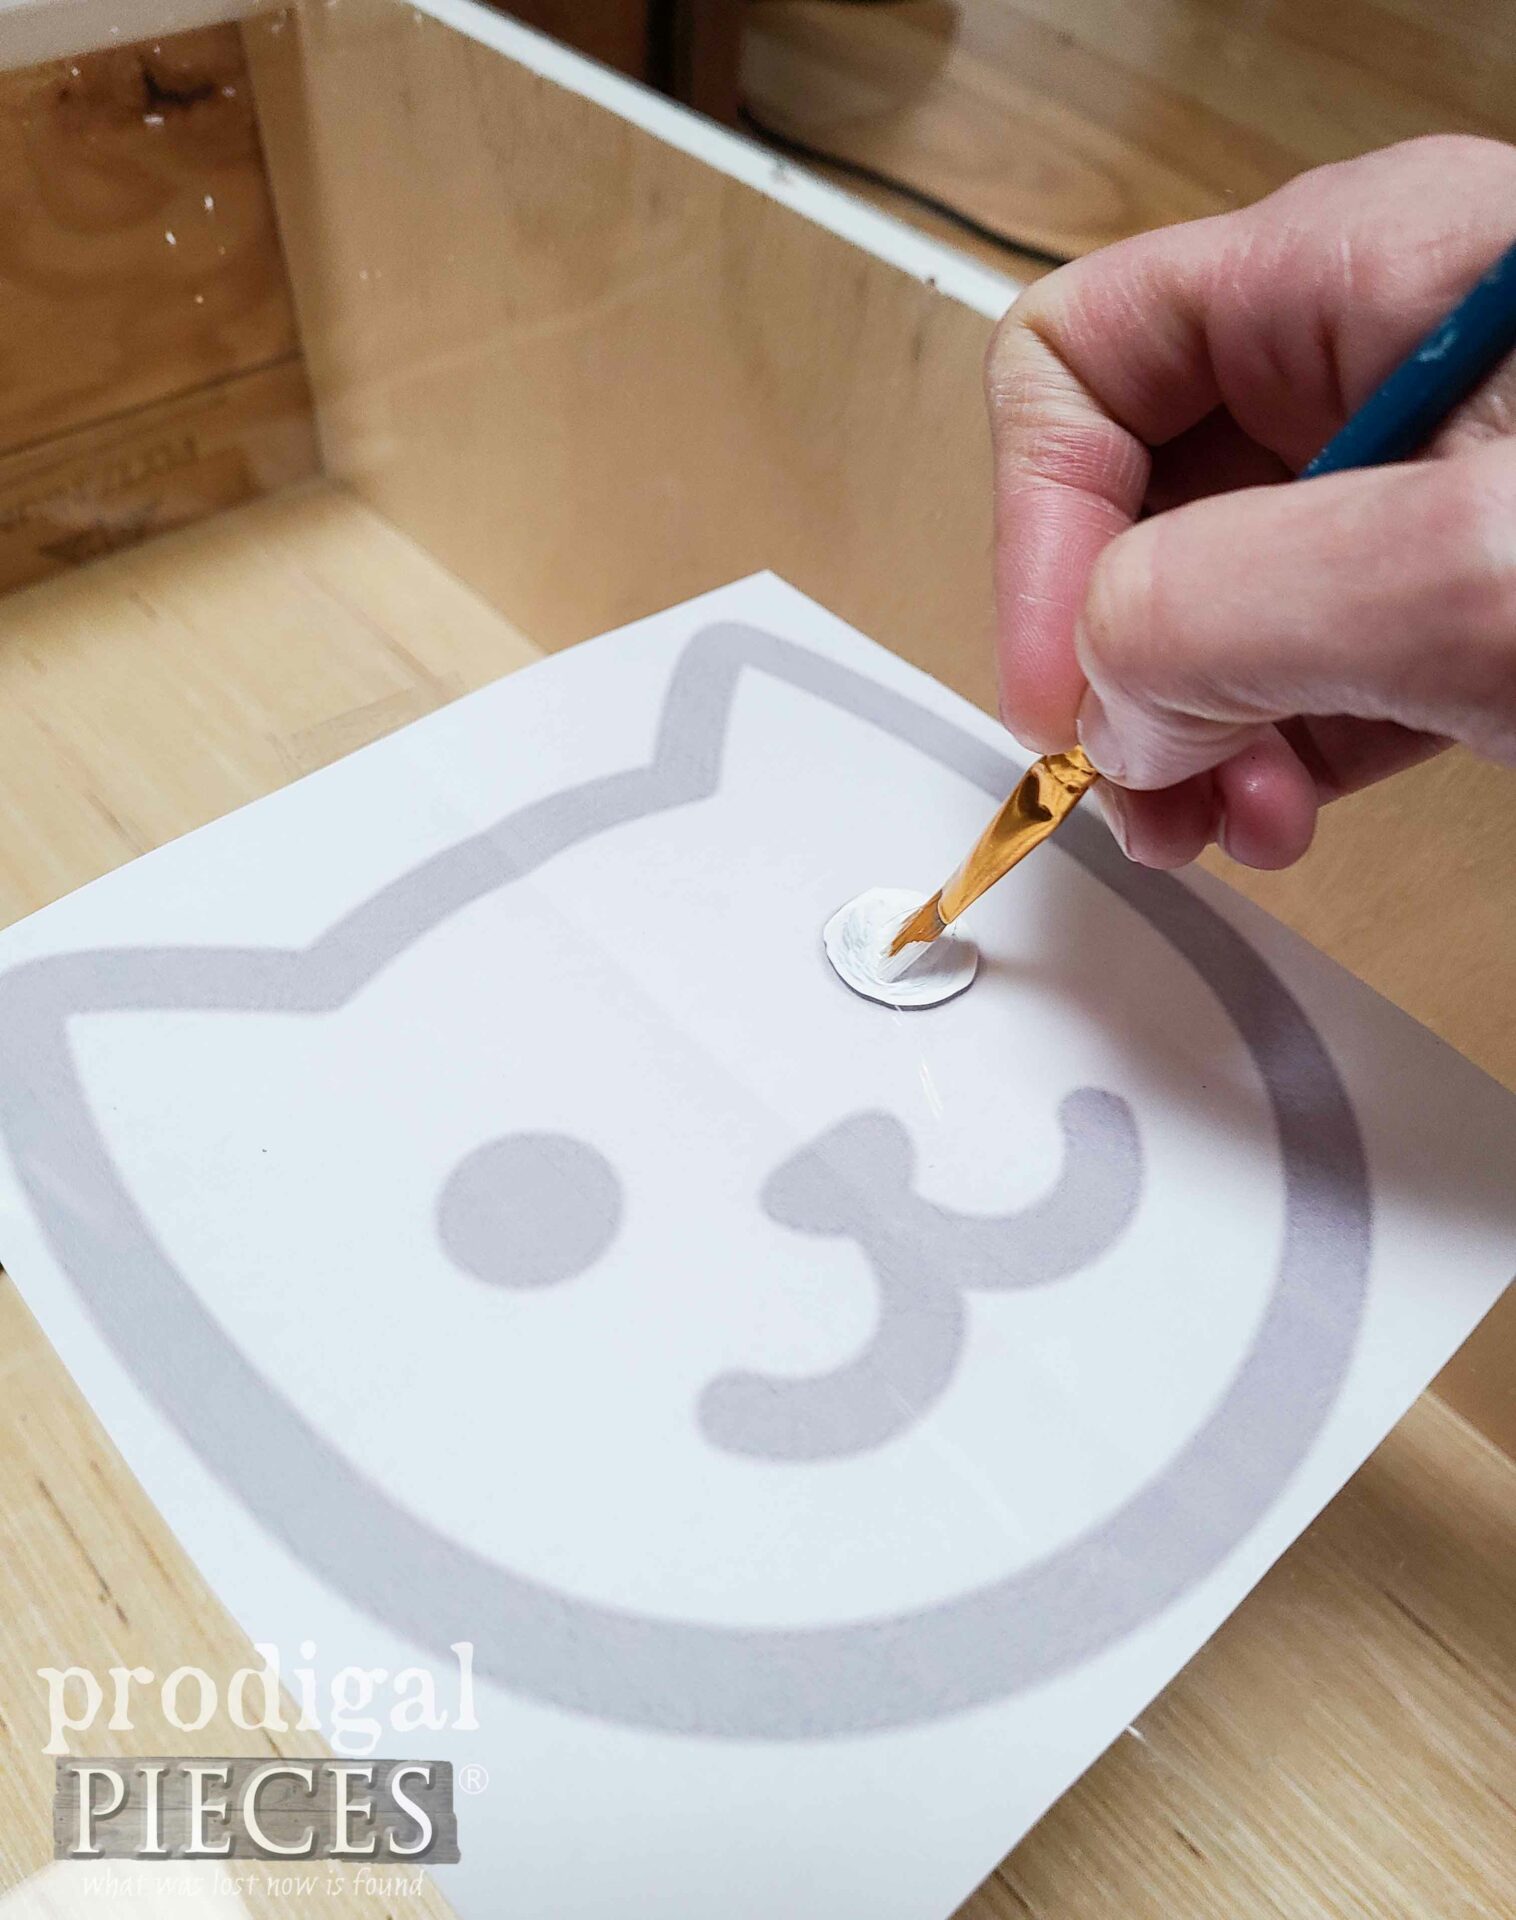
Finally, this is the point you can stop or add a bit more fun. If you’d like to add graphics or words as I did, carefully flip the glass over and tape on something you want to transfer to the front with it facing out. After that, flip it back over and paint right over the image using it as a guide. Have fun with it!
At long last our DIY pet food bin done and ready to mount to the wall. Yes, you want to attach it to studs (or if you want to use a wall cleat, attach it to the studs). With your glass still waiting to be put on, predrill those 2 ½” cross pieces with four holes, two on each end. Using long enough screws (I needed 3″ because of my siding) attach to the wall checking levelness. As soon as your cabinet is hung, you can now attach your glass. Go on and fill ‘er up and do a happy dance.
SHARE
Let’s hear it! Leave me some comment love below of how you’d make this DIY pet food dispenser your own. Or maybe you’d use it for something else. Got questions, just feel free to ask there too or shoot me an email.
Before you go, be sure to sign up for my FREE newsletter to see what I create for Reduce, Reuse, REFASHION time!


Brilliant!! I’m in such awe of you amazing talents and abilities. You are such an inspiration!😍
You are so sweet, Rebecca! I have fun not only building but sharing what I do. Thank you!
I am blown away- this is great! As an owner of 2 dogs and 3 cats, I can say this would be so handy! You did a superb job, thanks for sharing your knowledge!
Here’s to ease and sanity for pet owners! haha. Thank you, Jill. This was fun for me to get out of my brain as well as use daily and keep my space less cluttered.