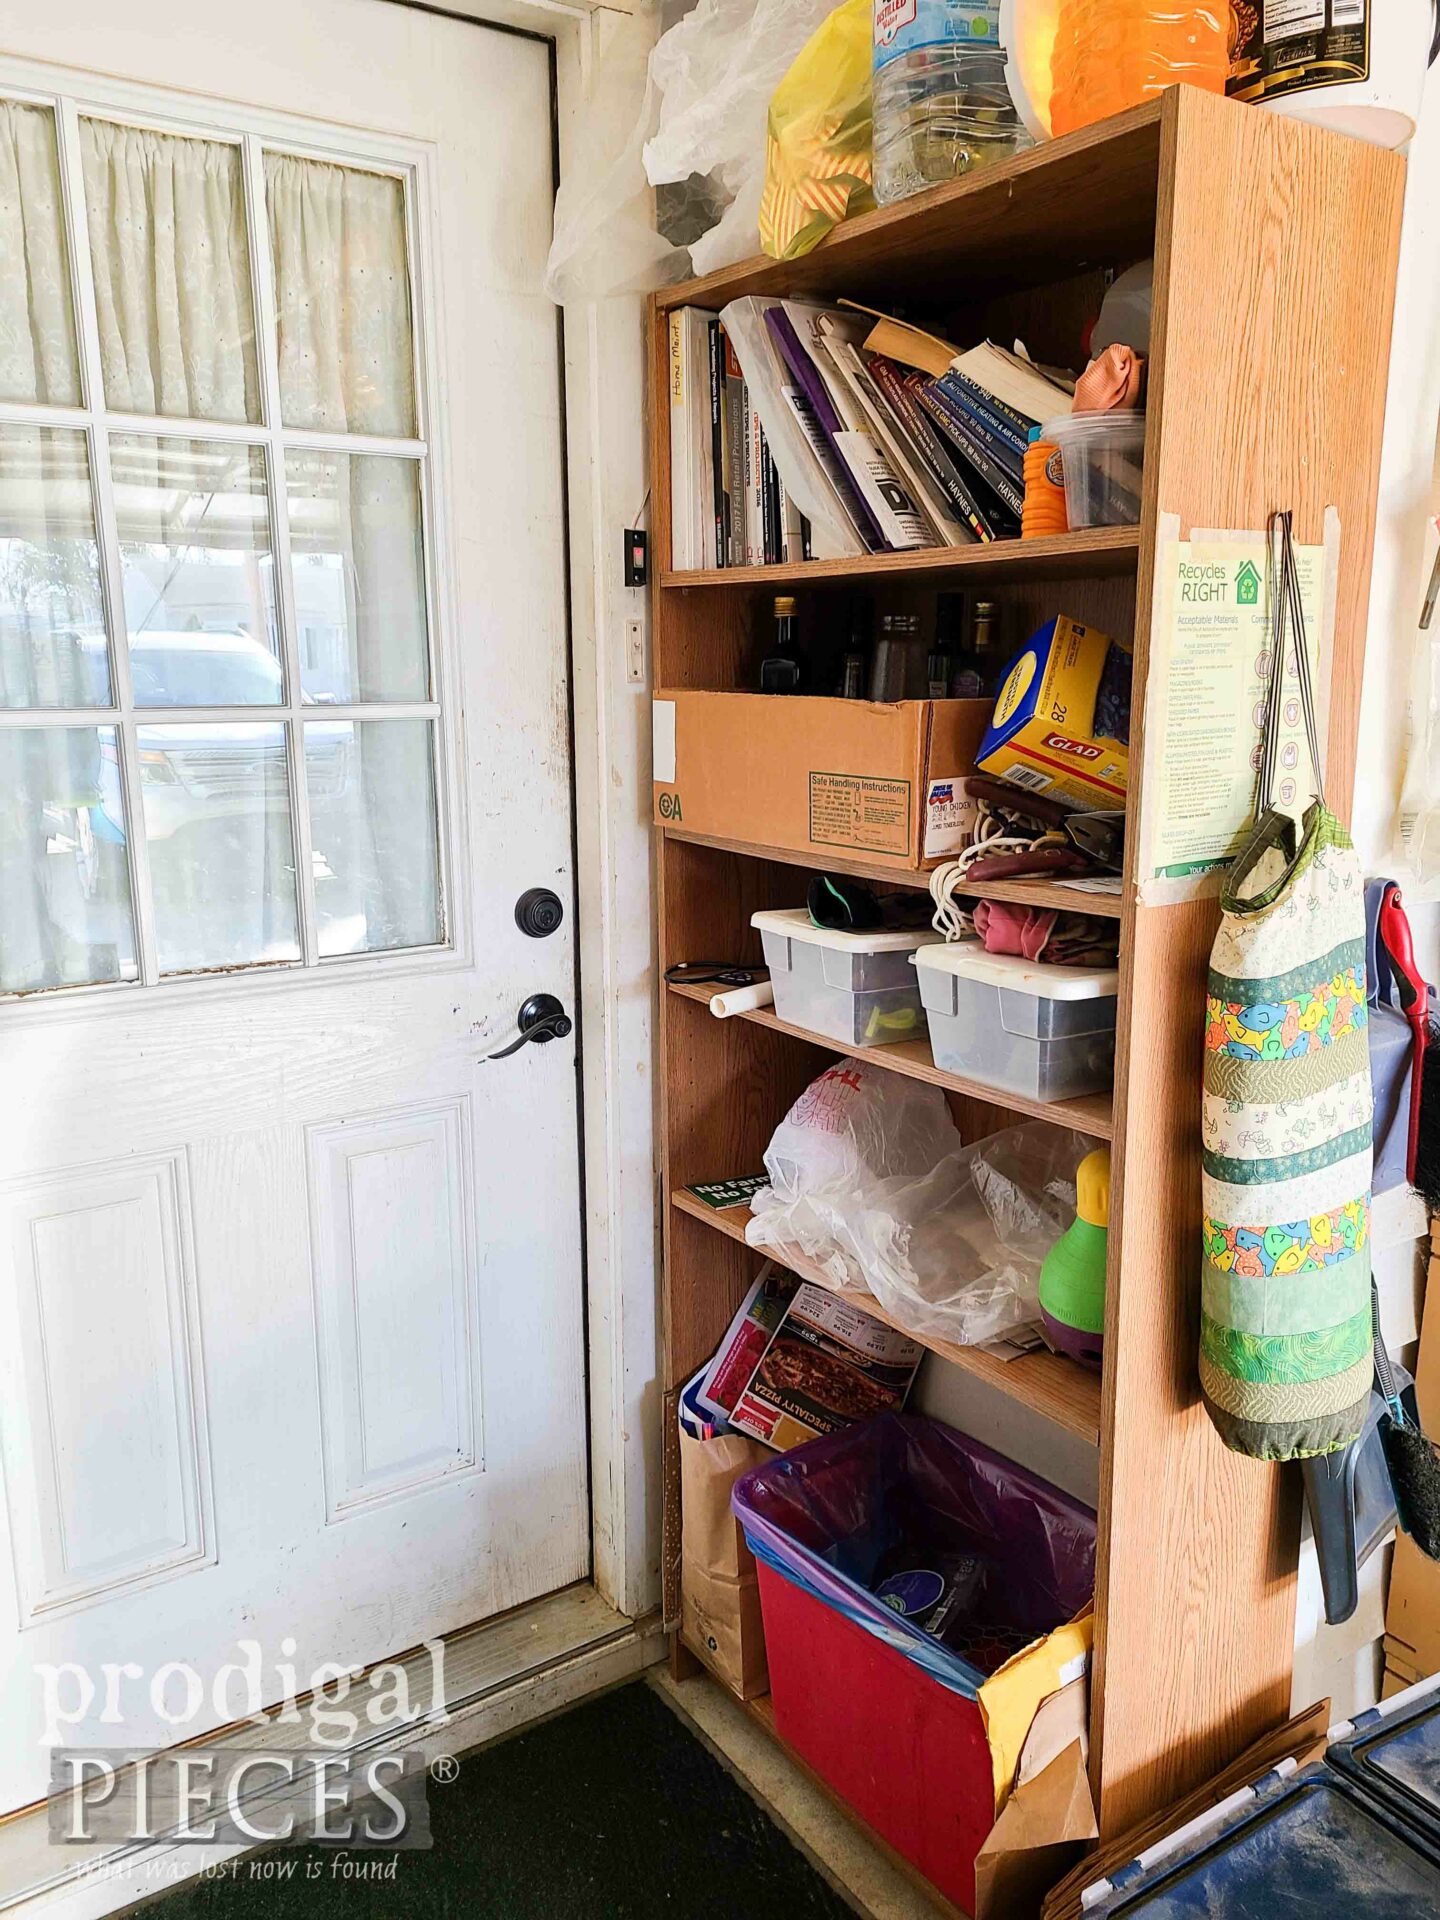
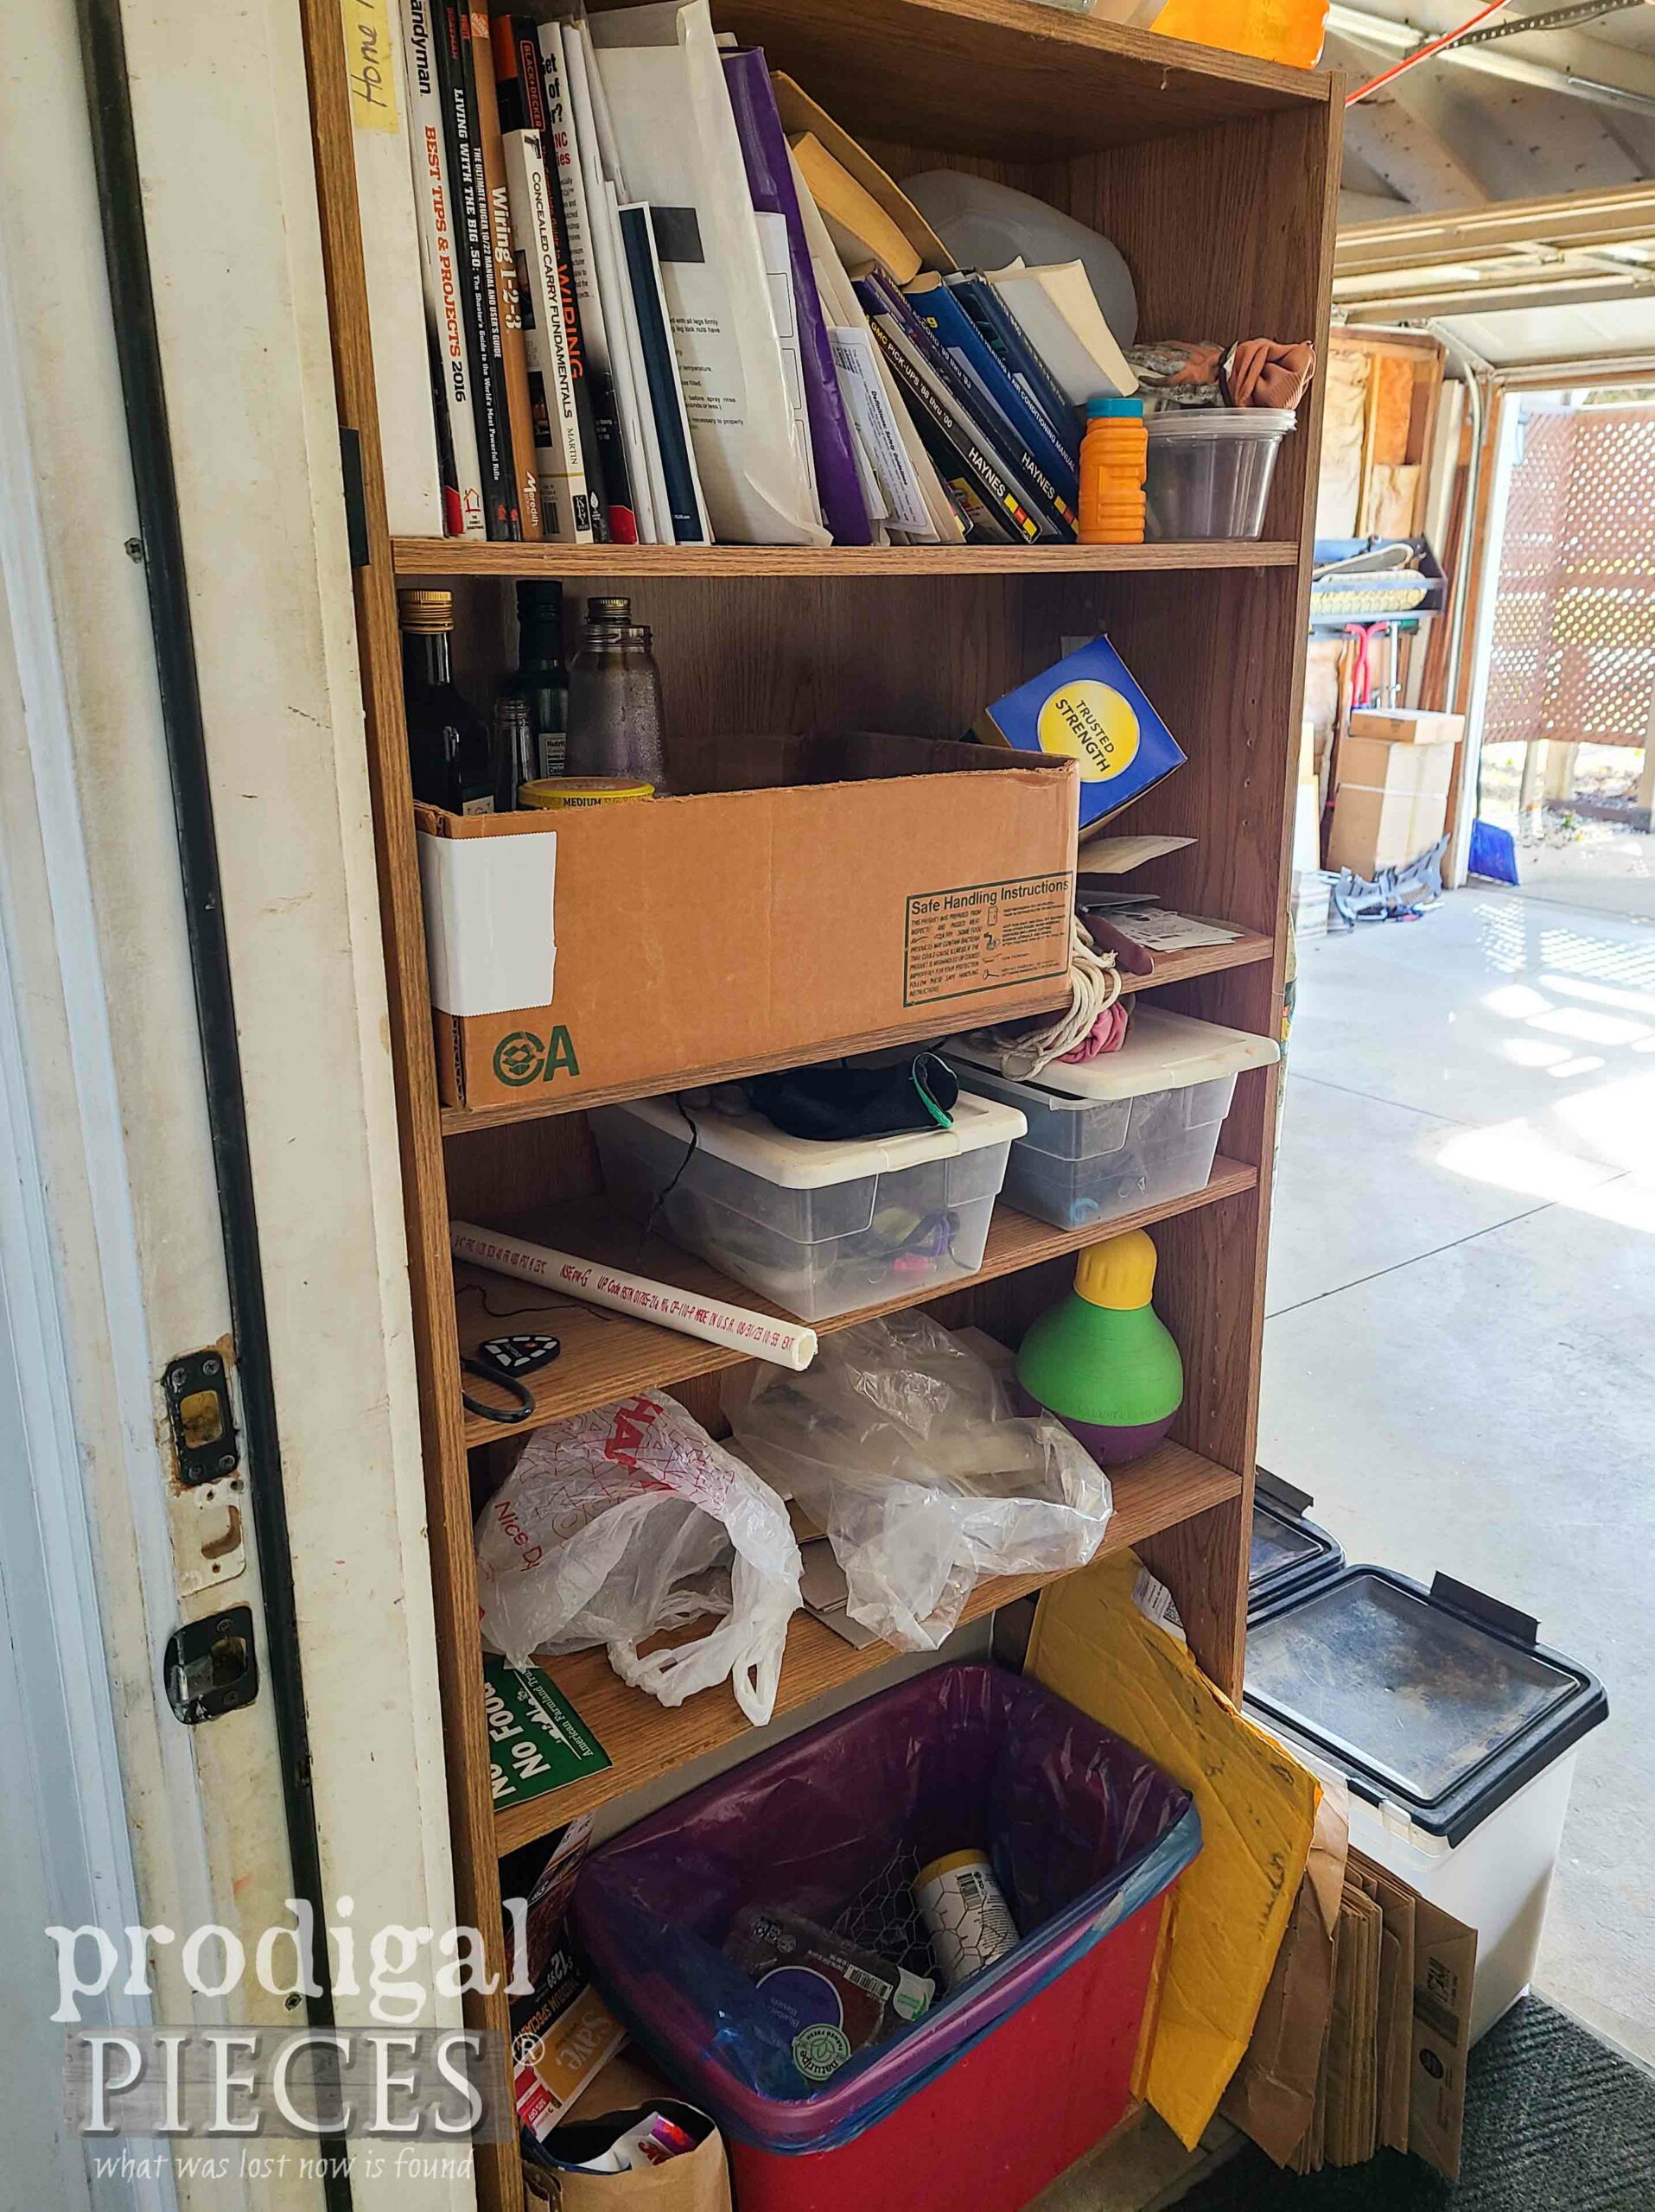
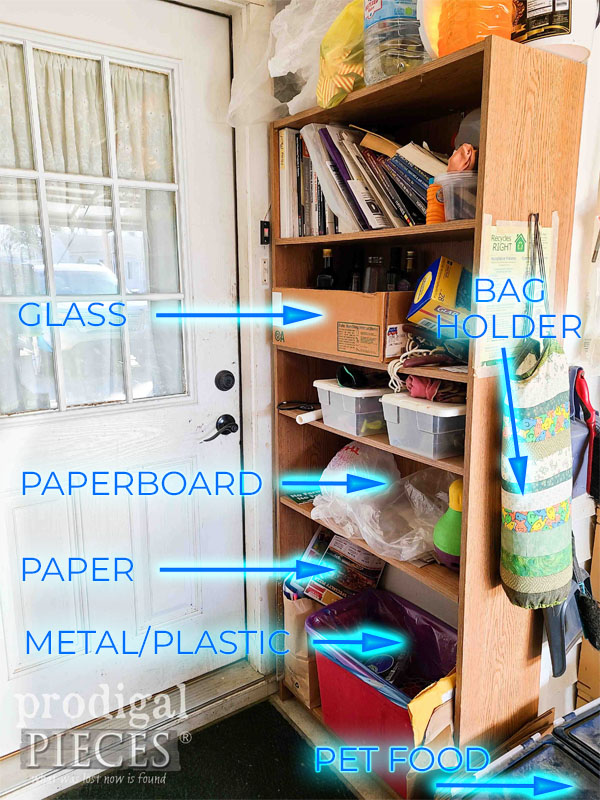
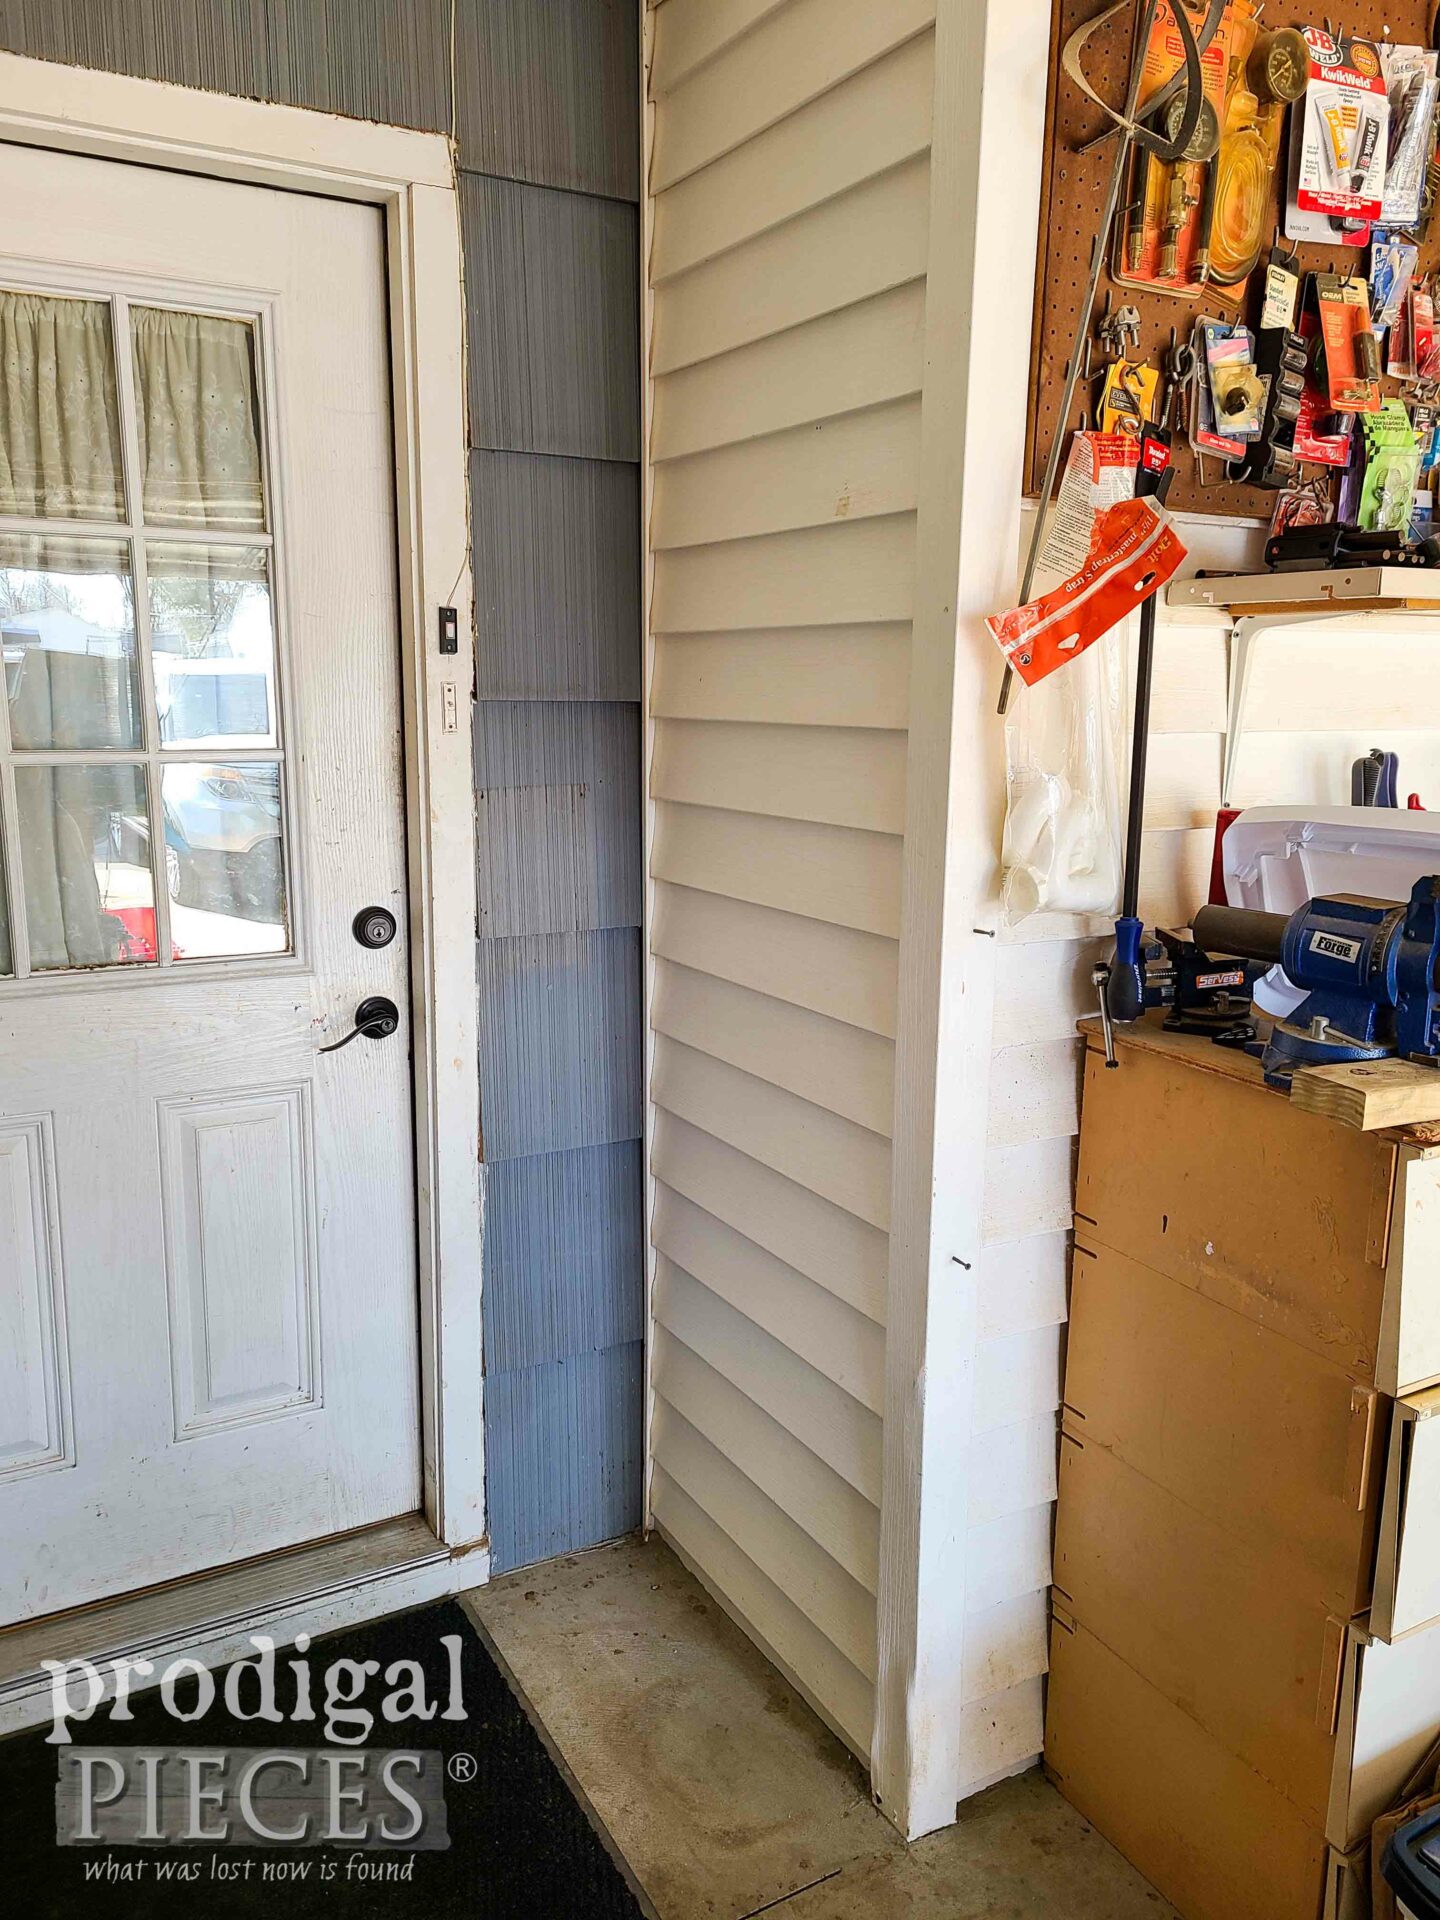
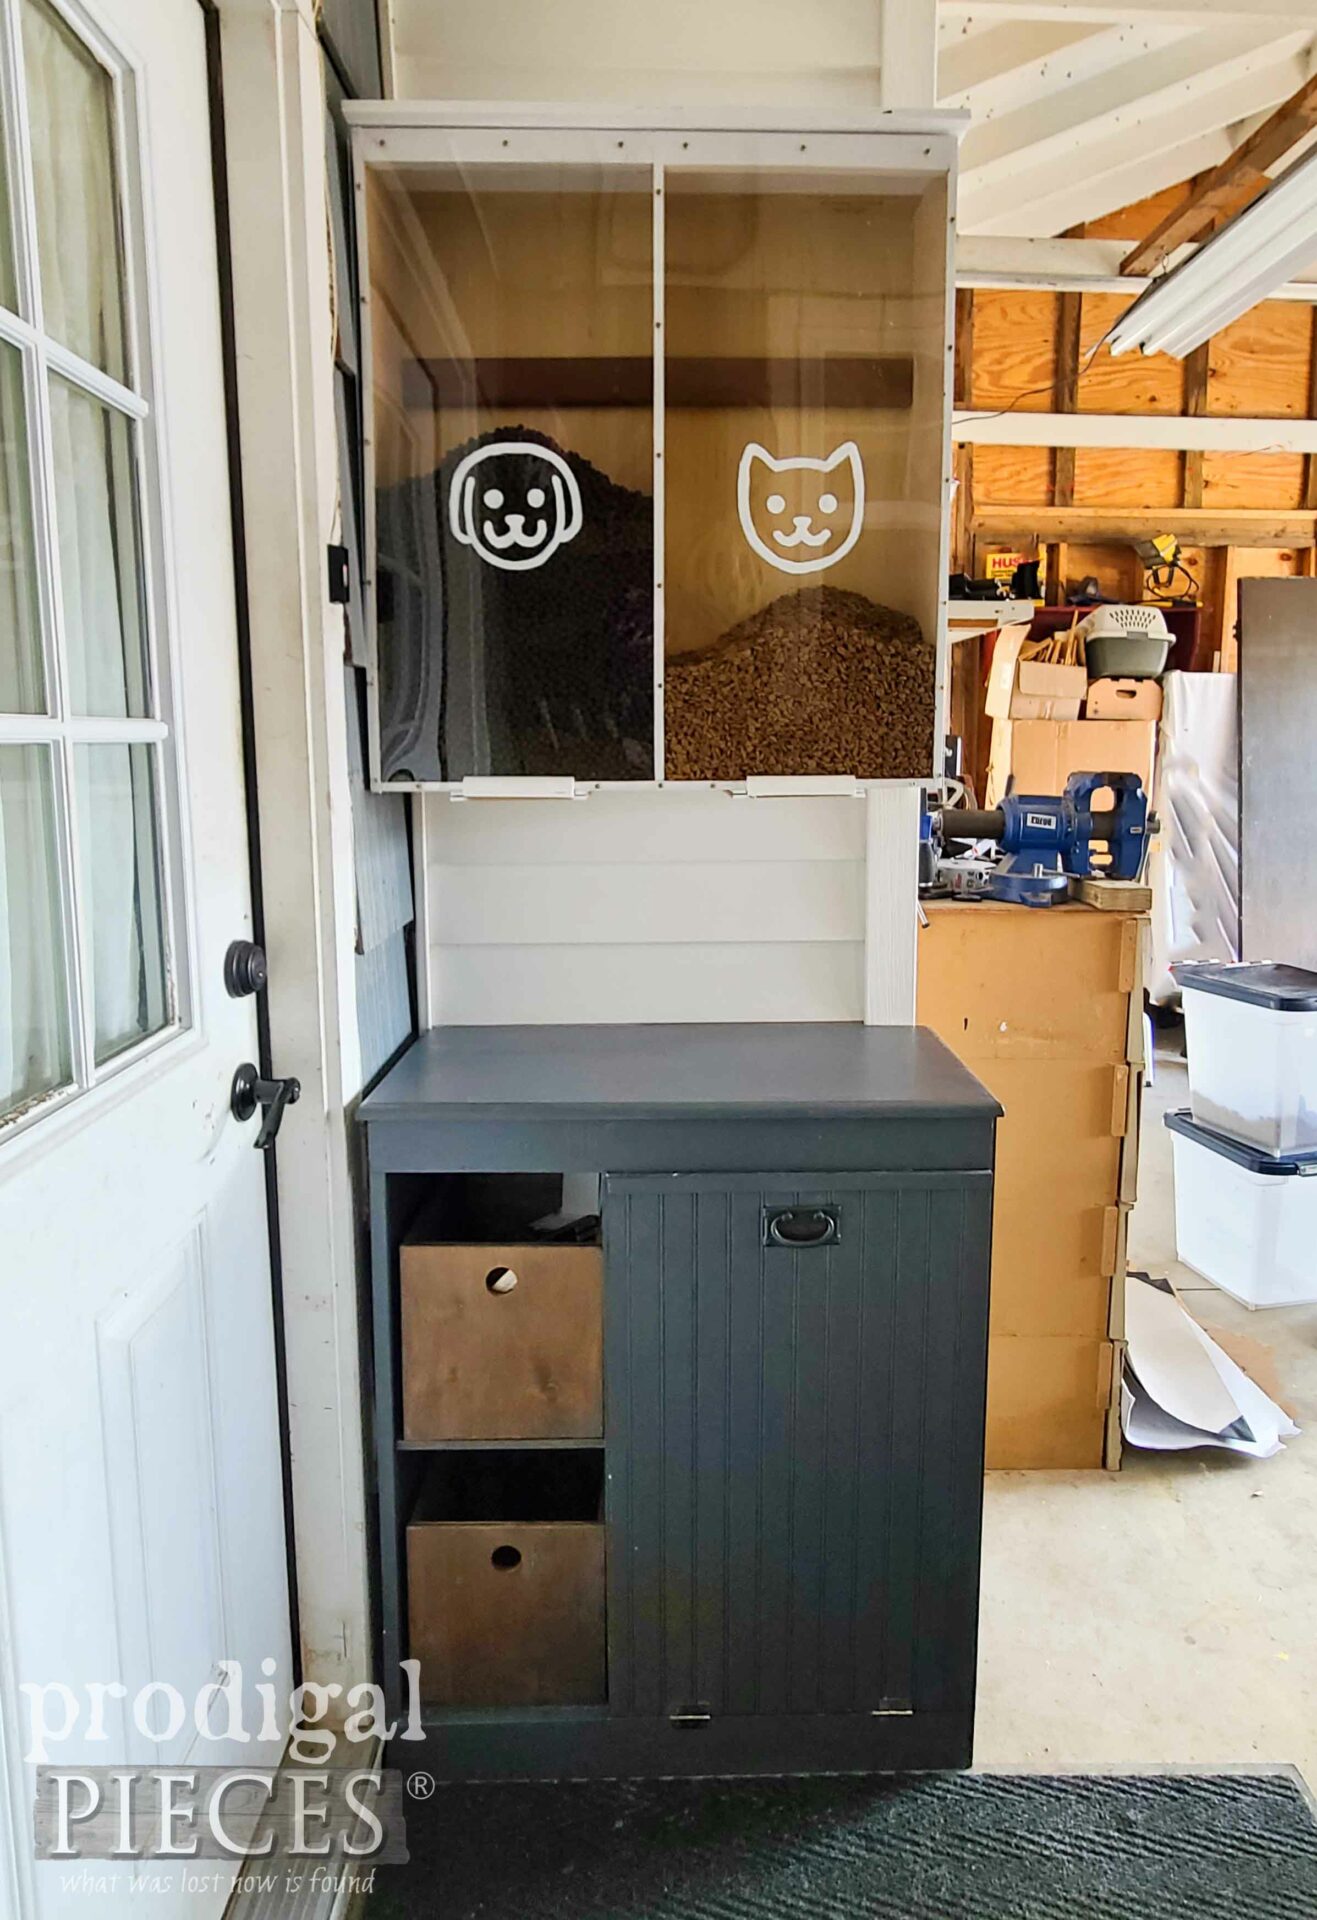
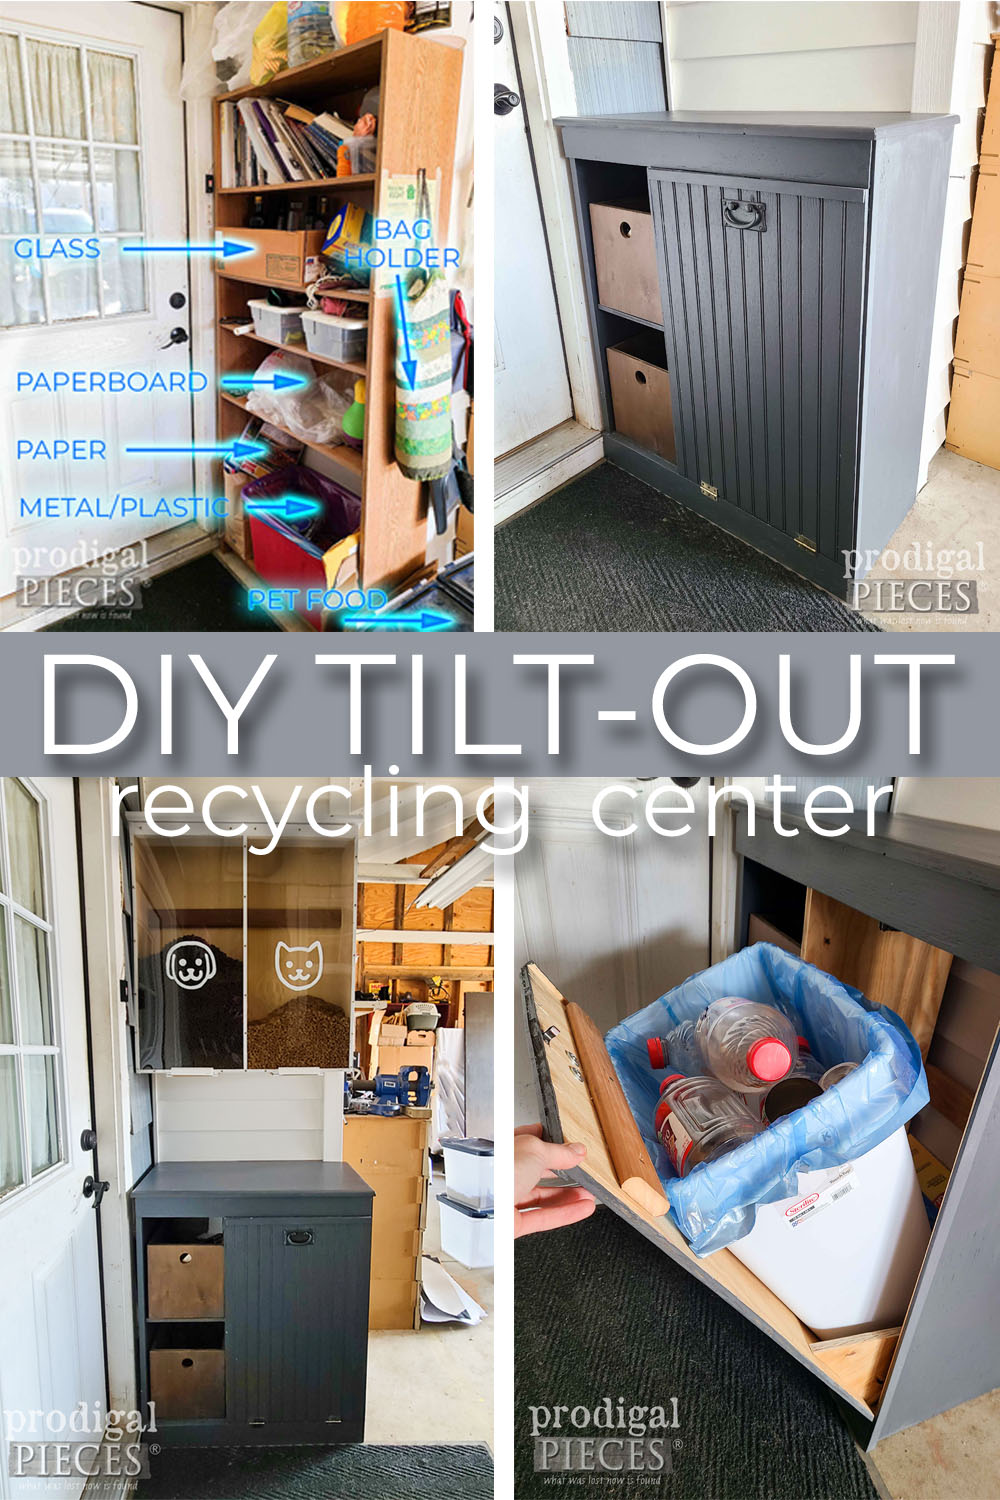
Are you motivated? I am! I’m middle-aged and motivated as mentioned in my last post. Not only are changes happening, but also getting to tackle some things that I’ve been waiting to do for quite some time. Take, for instance, this corner of my garage/workshop. It appears to be an organized mess, wouldn’t you say? This has been a trouble spot and I aim to build a DIY tilt-out recycling bin as well as a pet food cabinet with gravity dispenser. Yeah, baby!
On the side of my recycling shelf, I have two storage bins for pet food – one for Loula and the other for Lily and Ivan. While those bins have been a lifesaver to keep the moles out of the food as well as the mess off the floor, I want them out of my way.
I’ve been working hard all over my home and property to get rid of things that I don’t need and are weighing me down. This particular spot has always been a bugger to me as it attracts flies in the summer and is an eye-sore coming and going. Originally, the Sauder bookcase was from my first home in Georgia decades ago. It’s served its purpose, but now has a new home.
CHANGING IT UP
First, let’s take a look at what I had initially. While I feel I’ve made great use of the space, I want concealed organization.
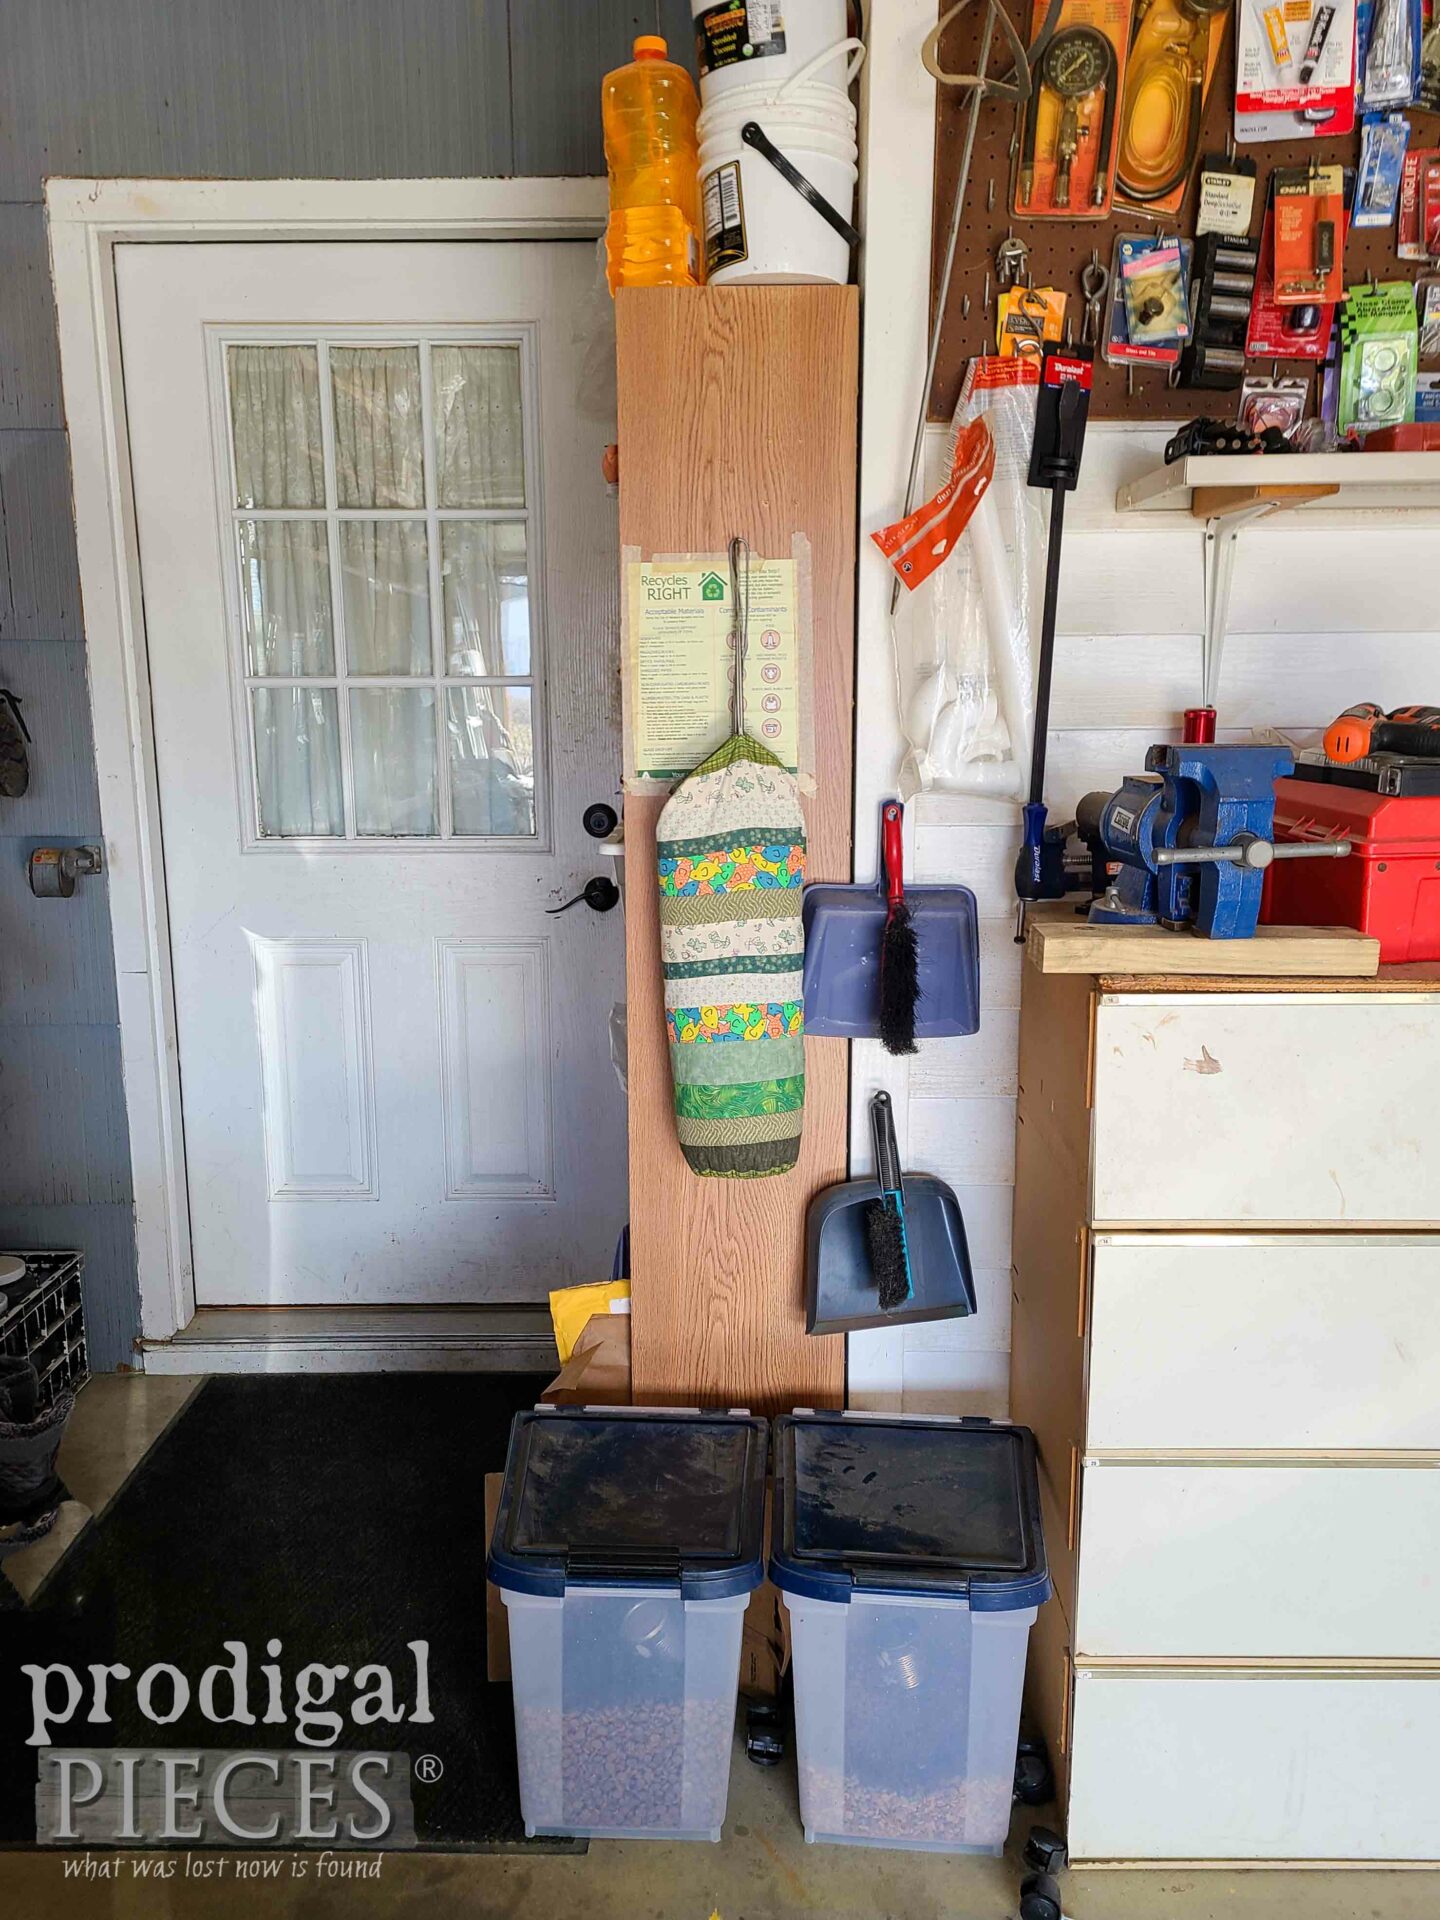
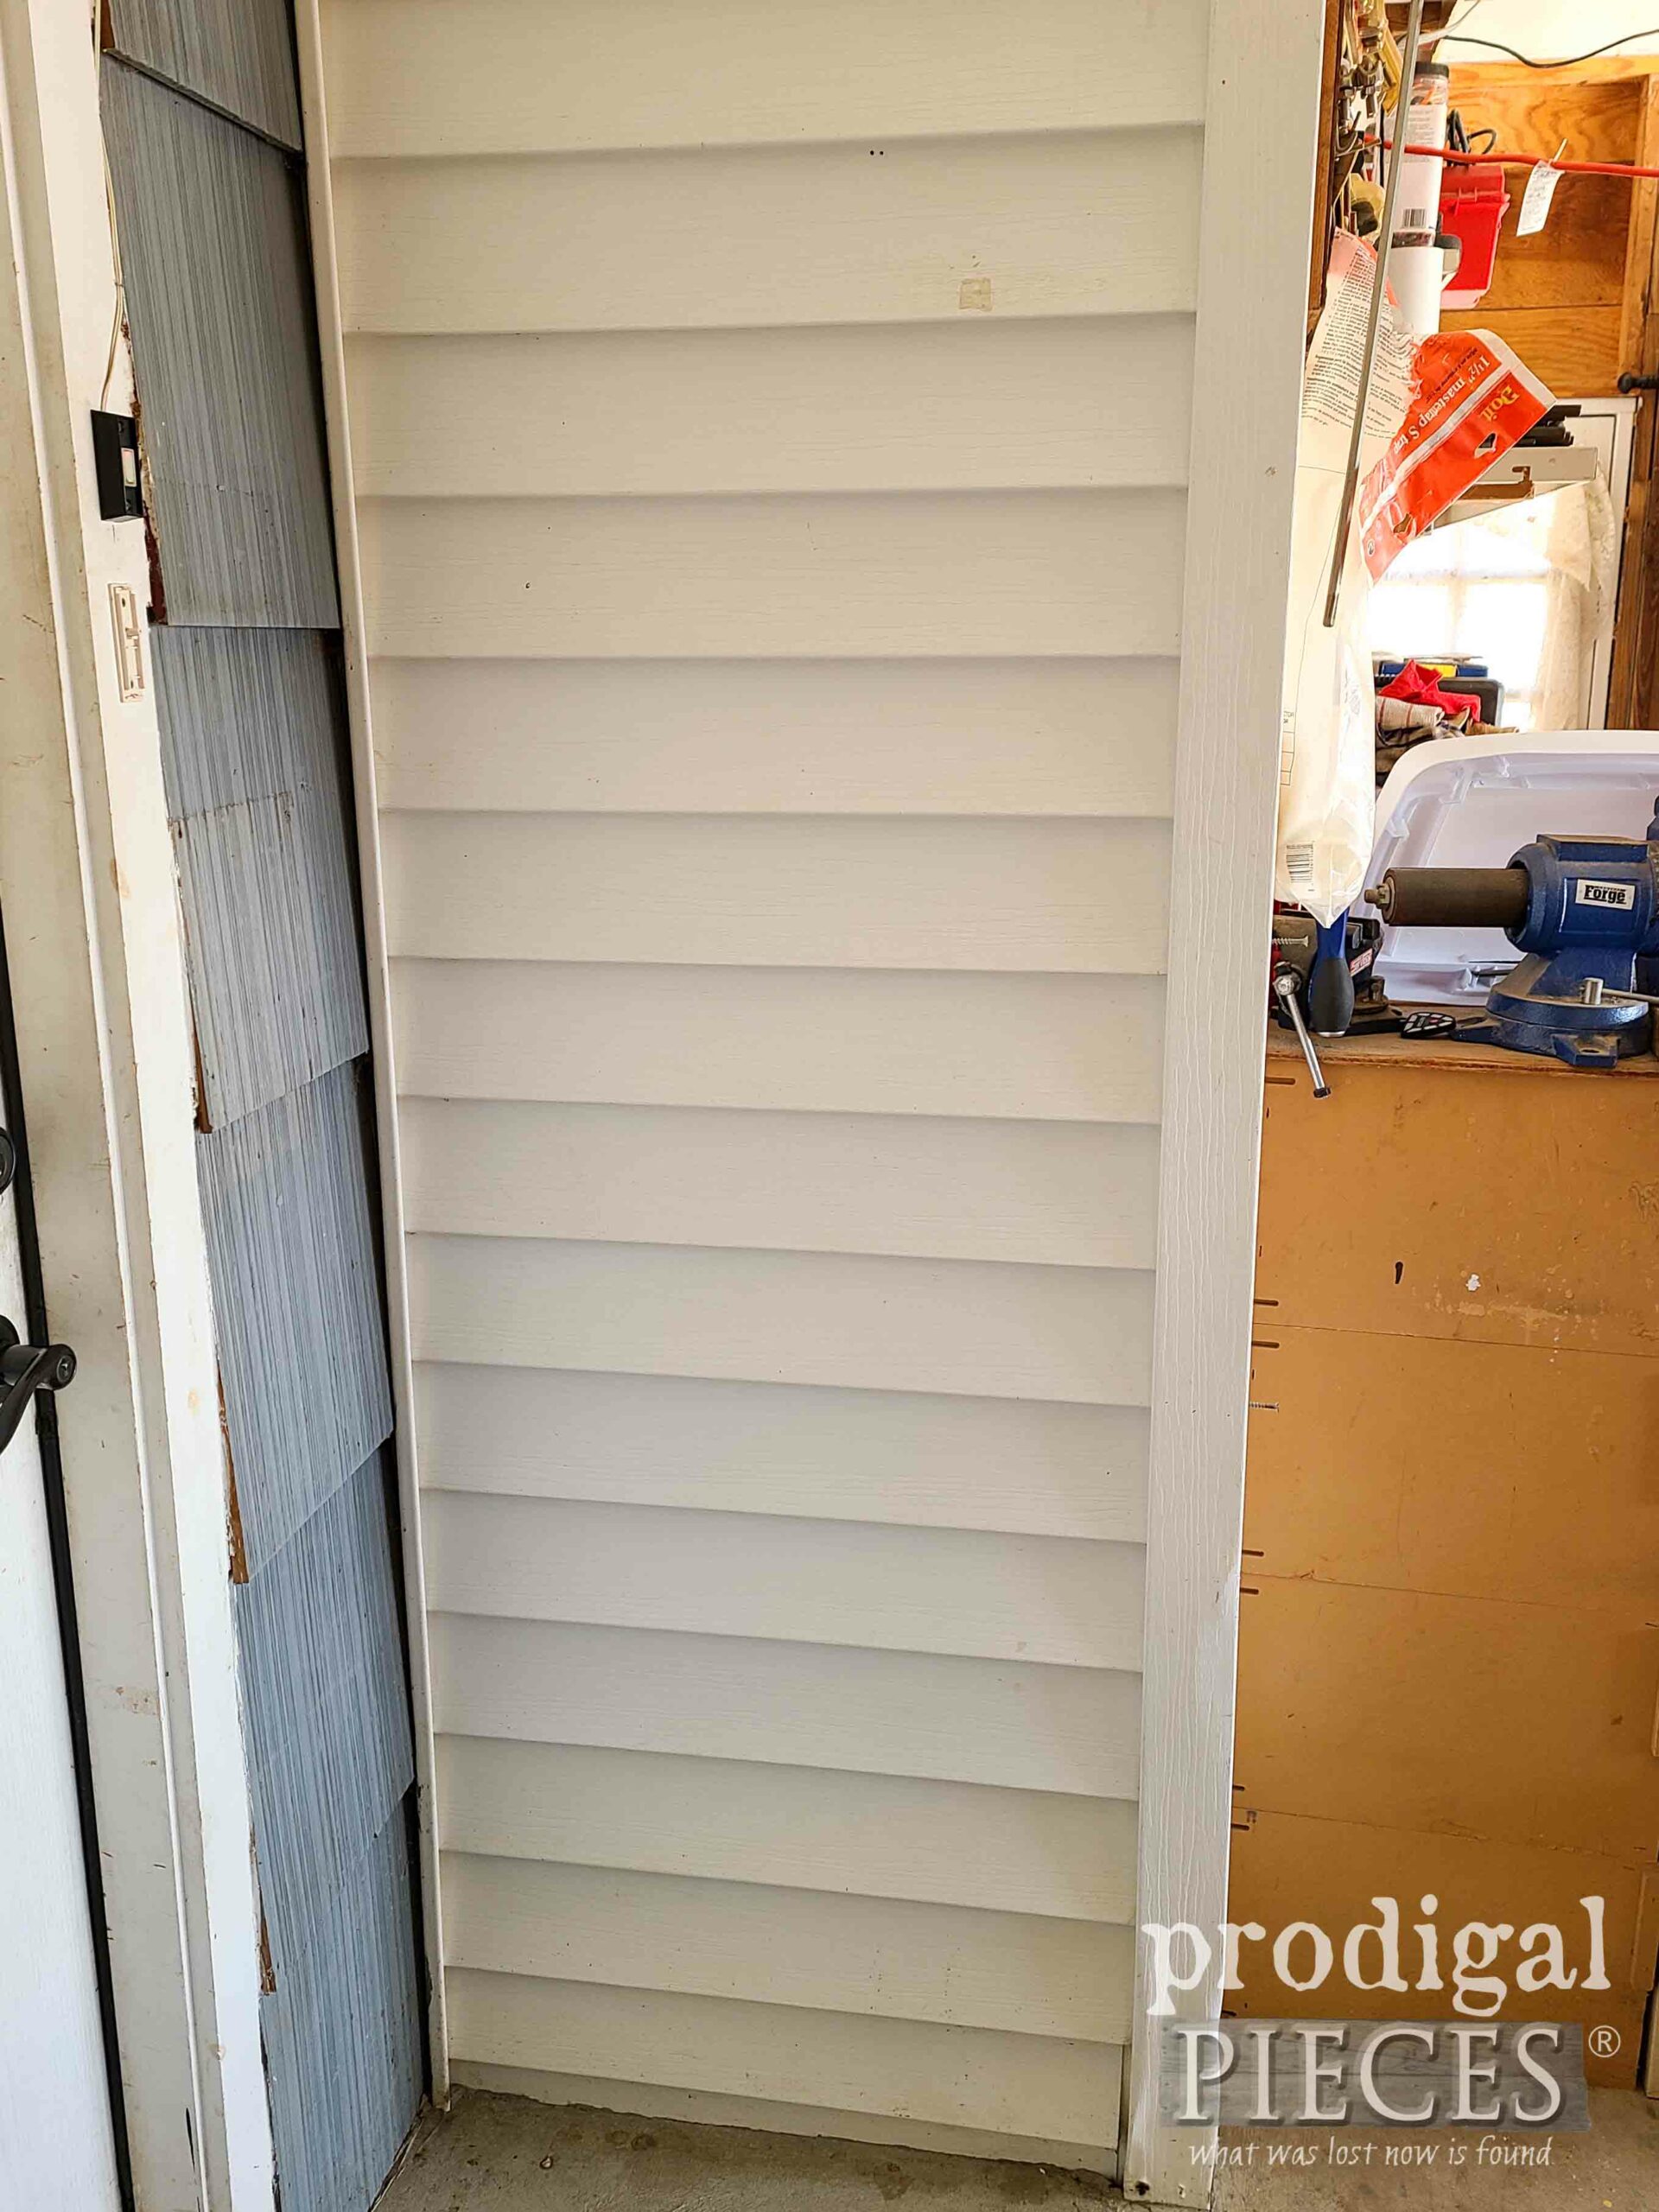
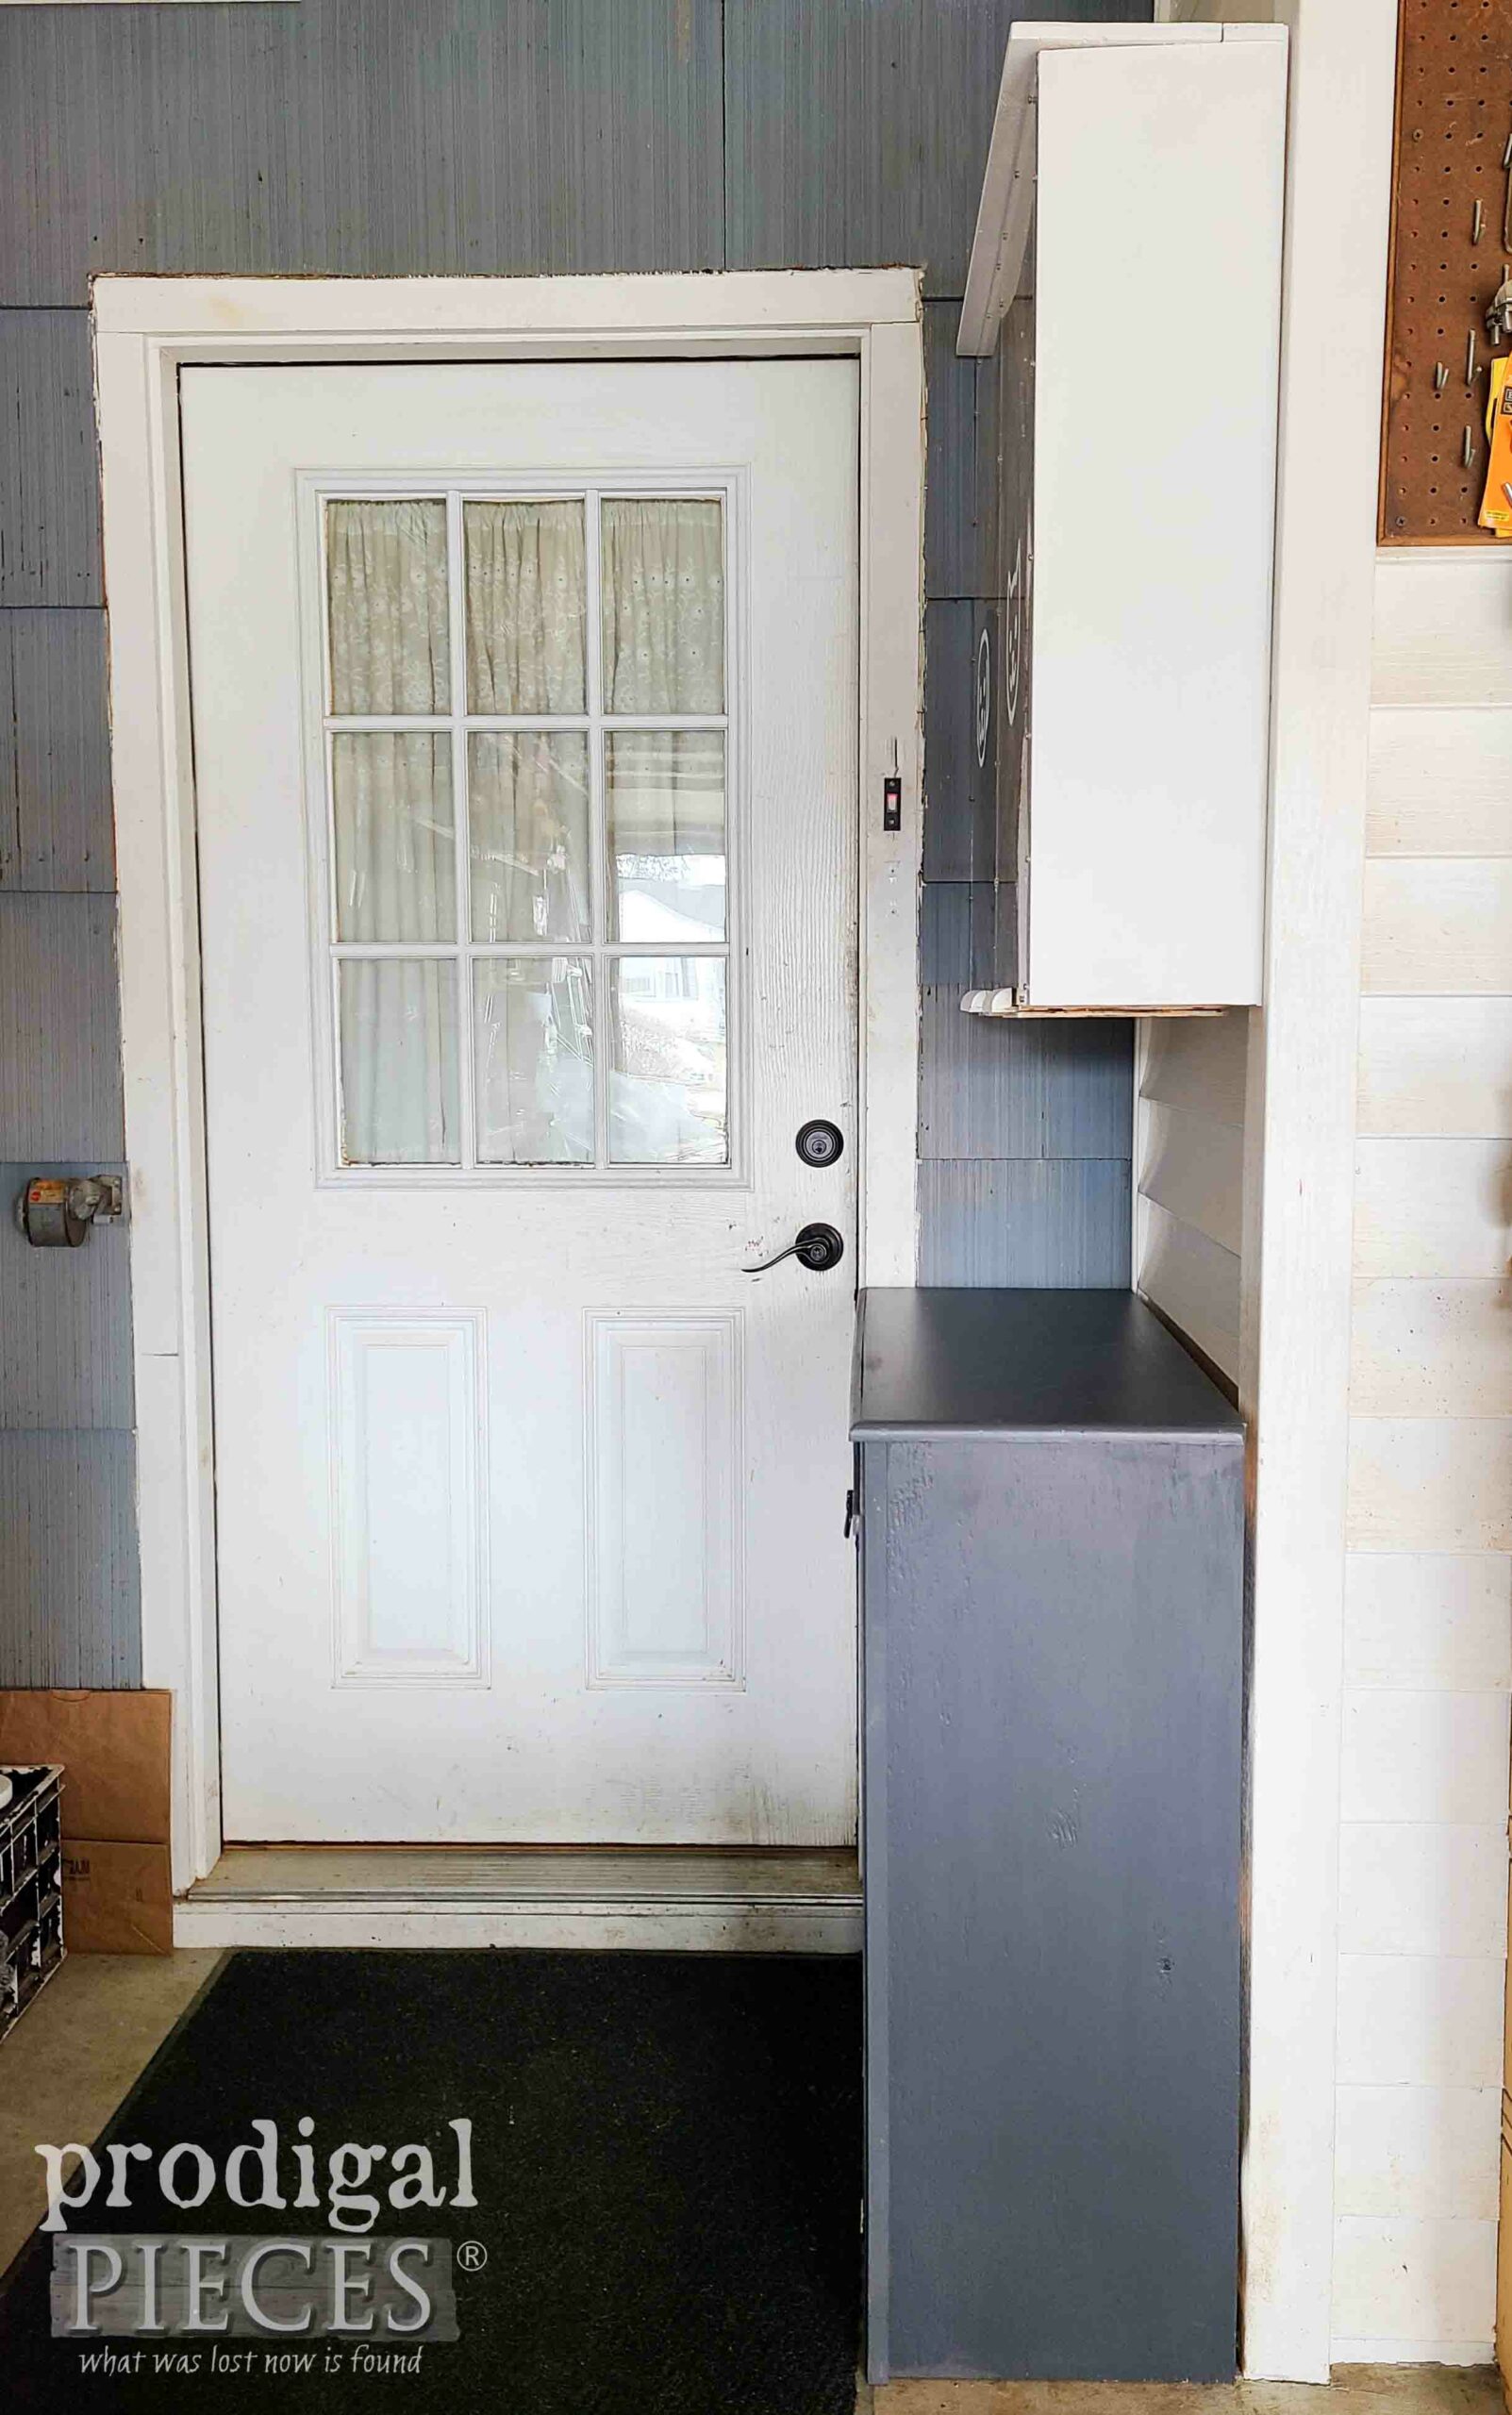
With that in mind, I donate the shelf to a nice couple and clean the space. aaaahhhh… much better.
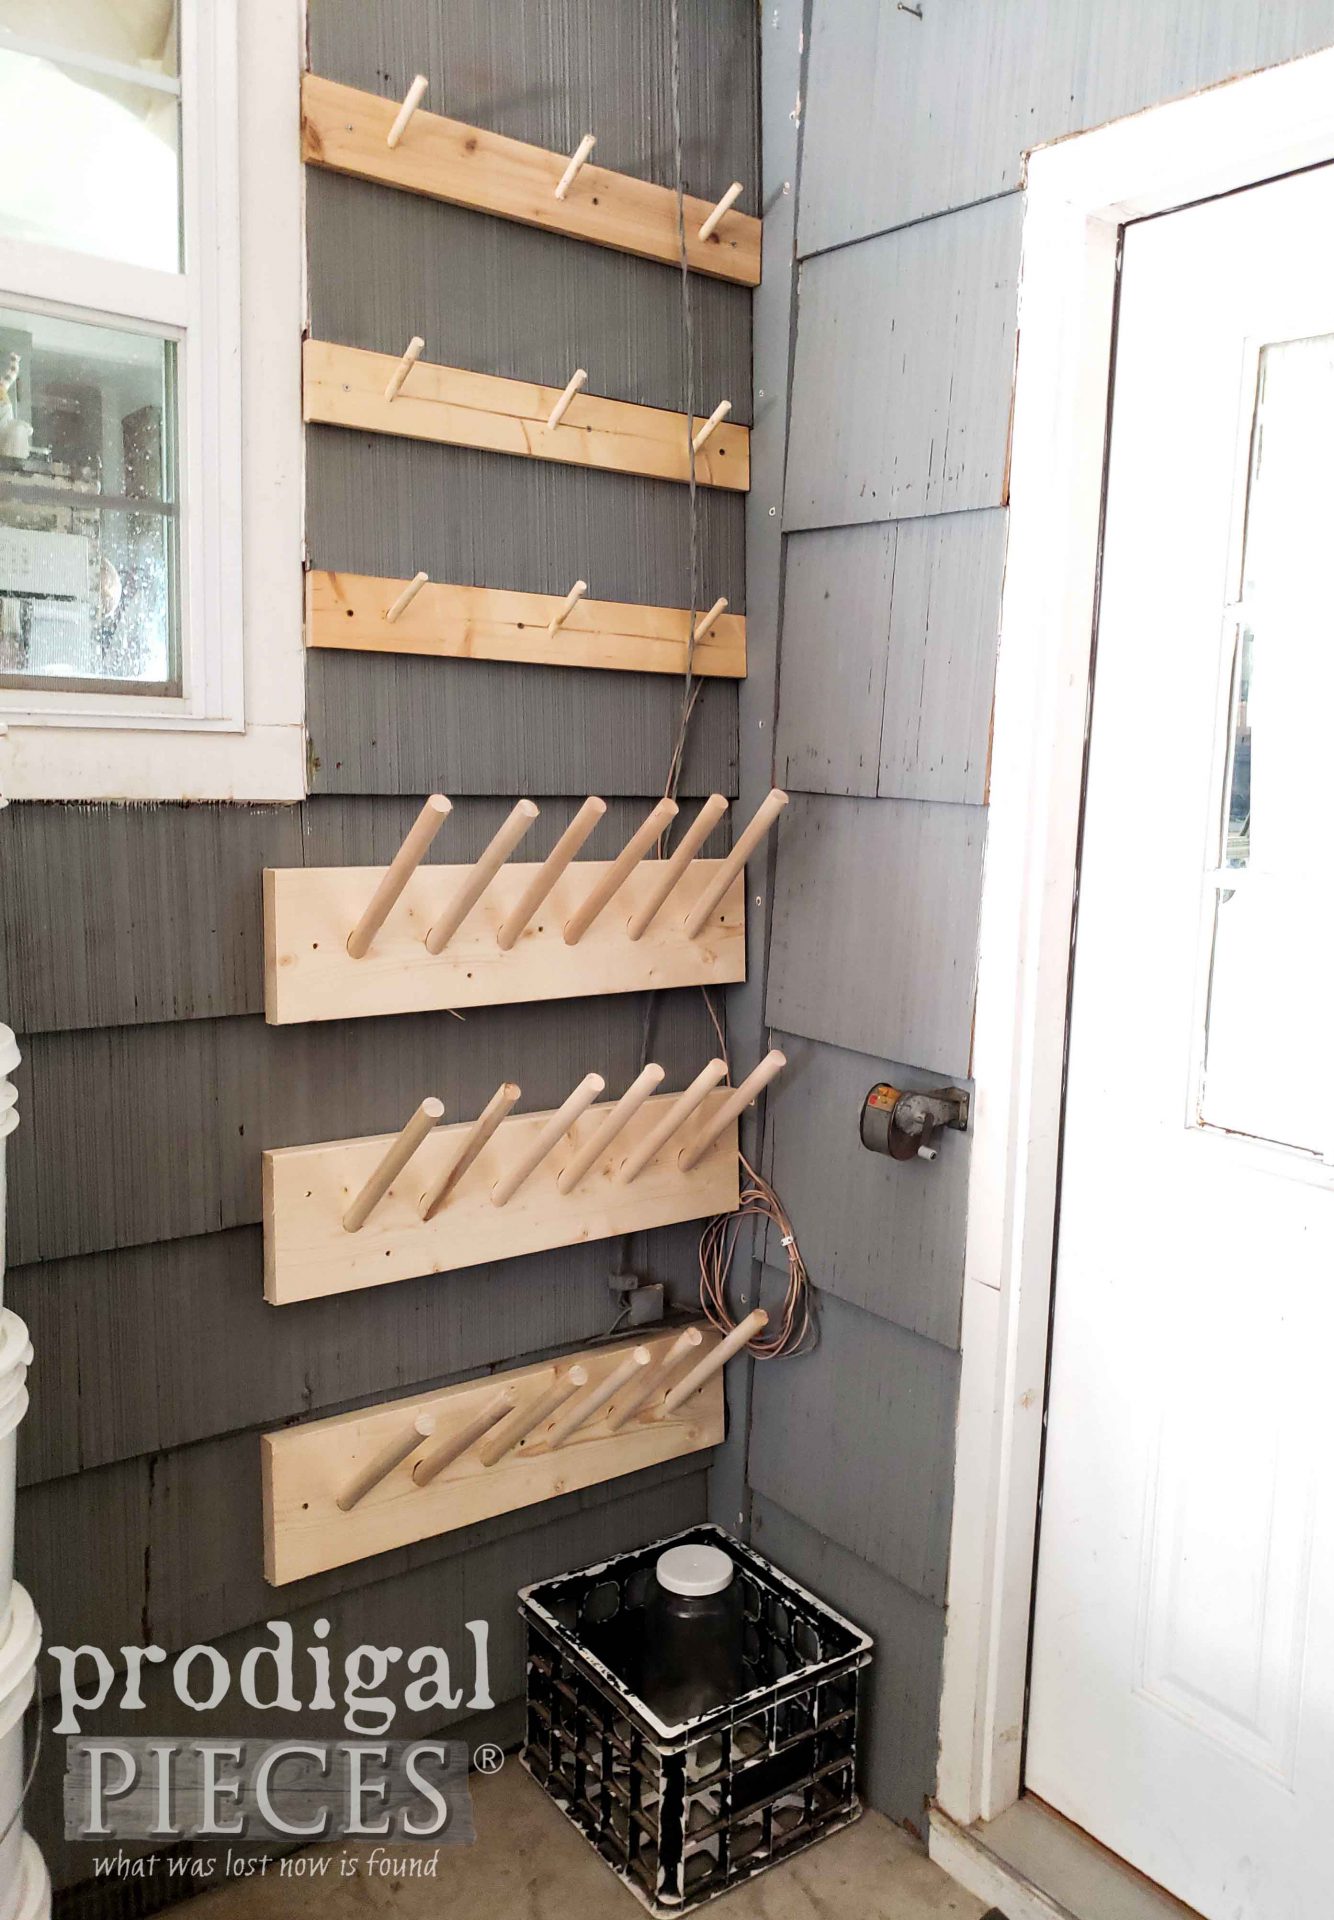
That’s not much space, is it? No problem! Do you remember what I did with the space across from it? My hand-dandy helmet and boot rack.
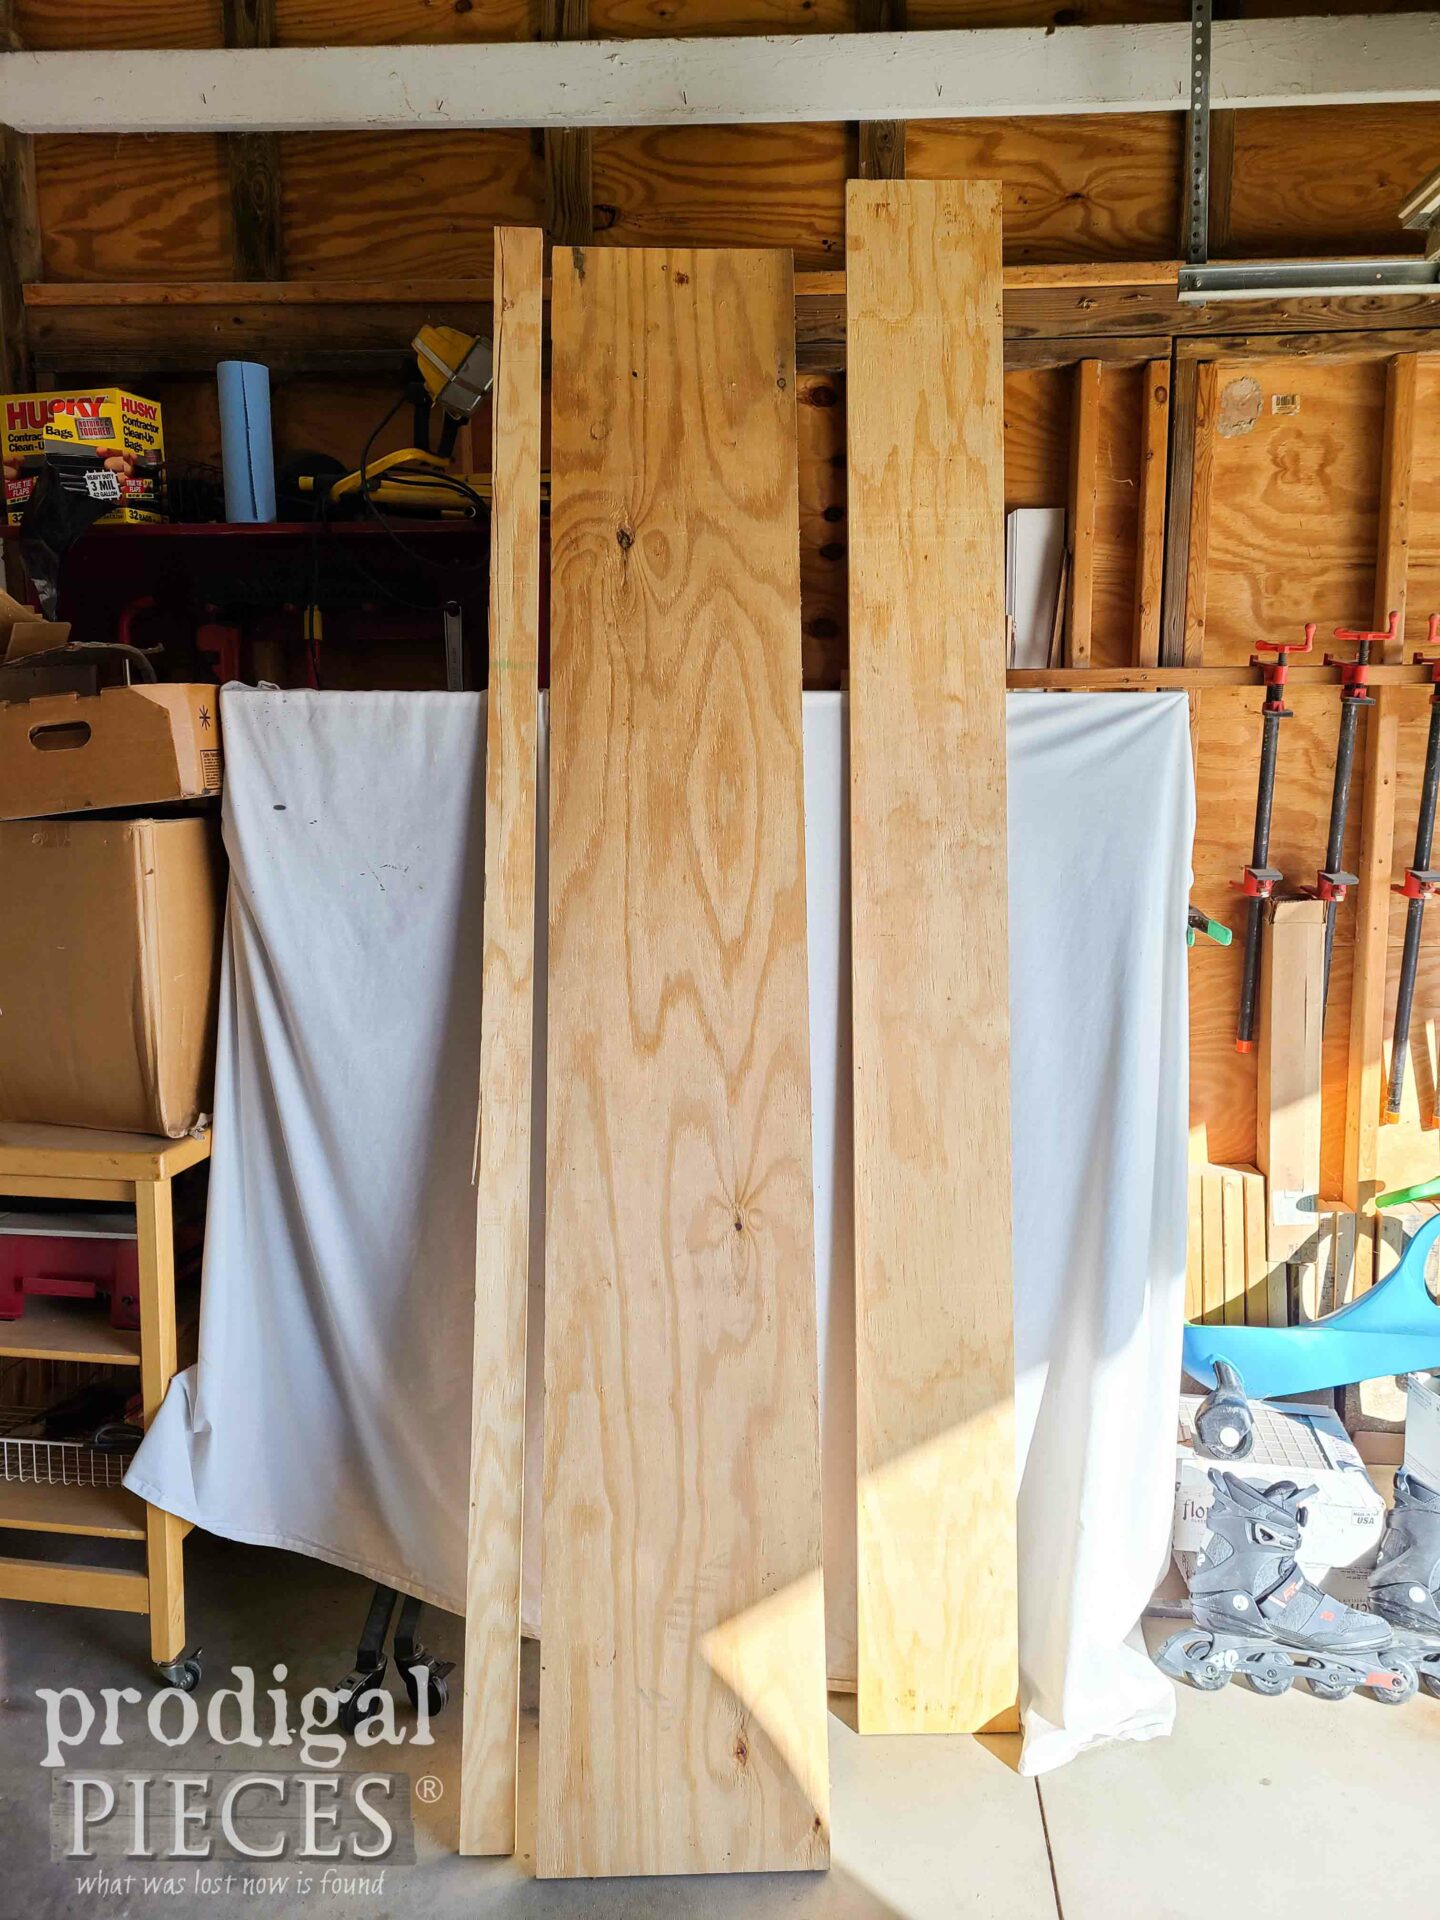
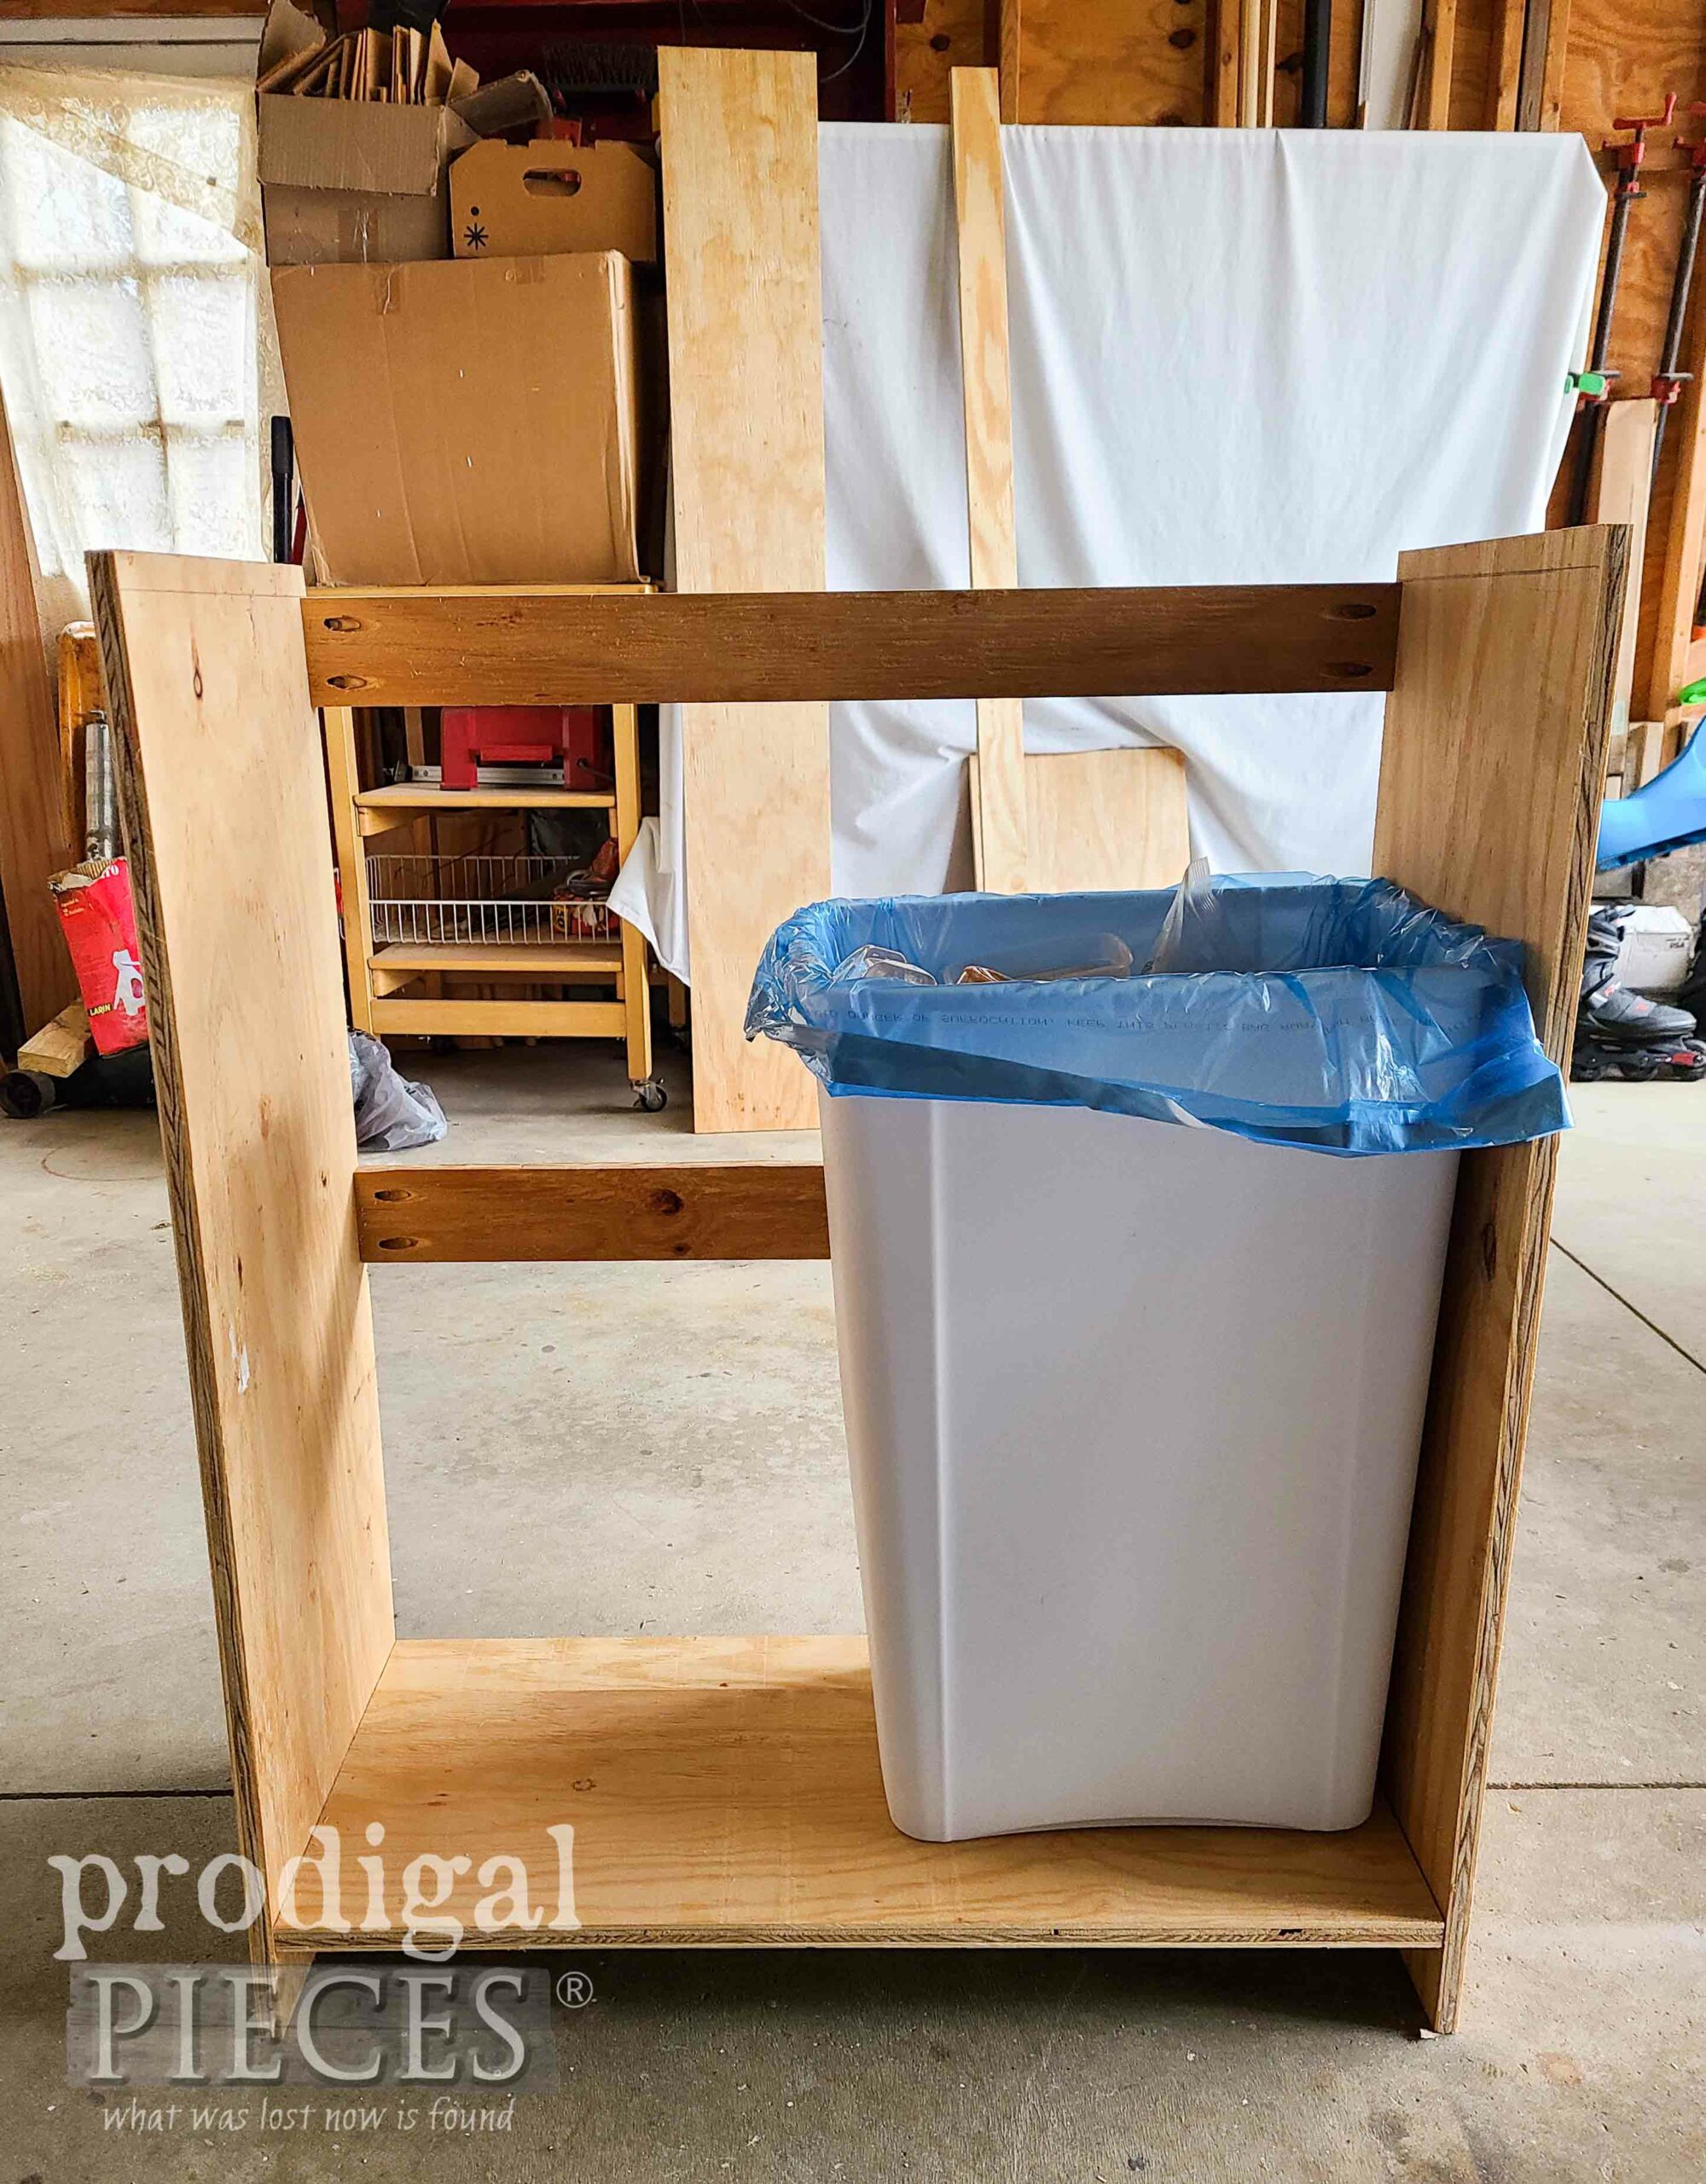
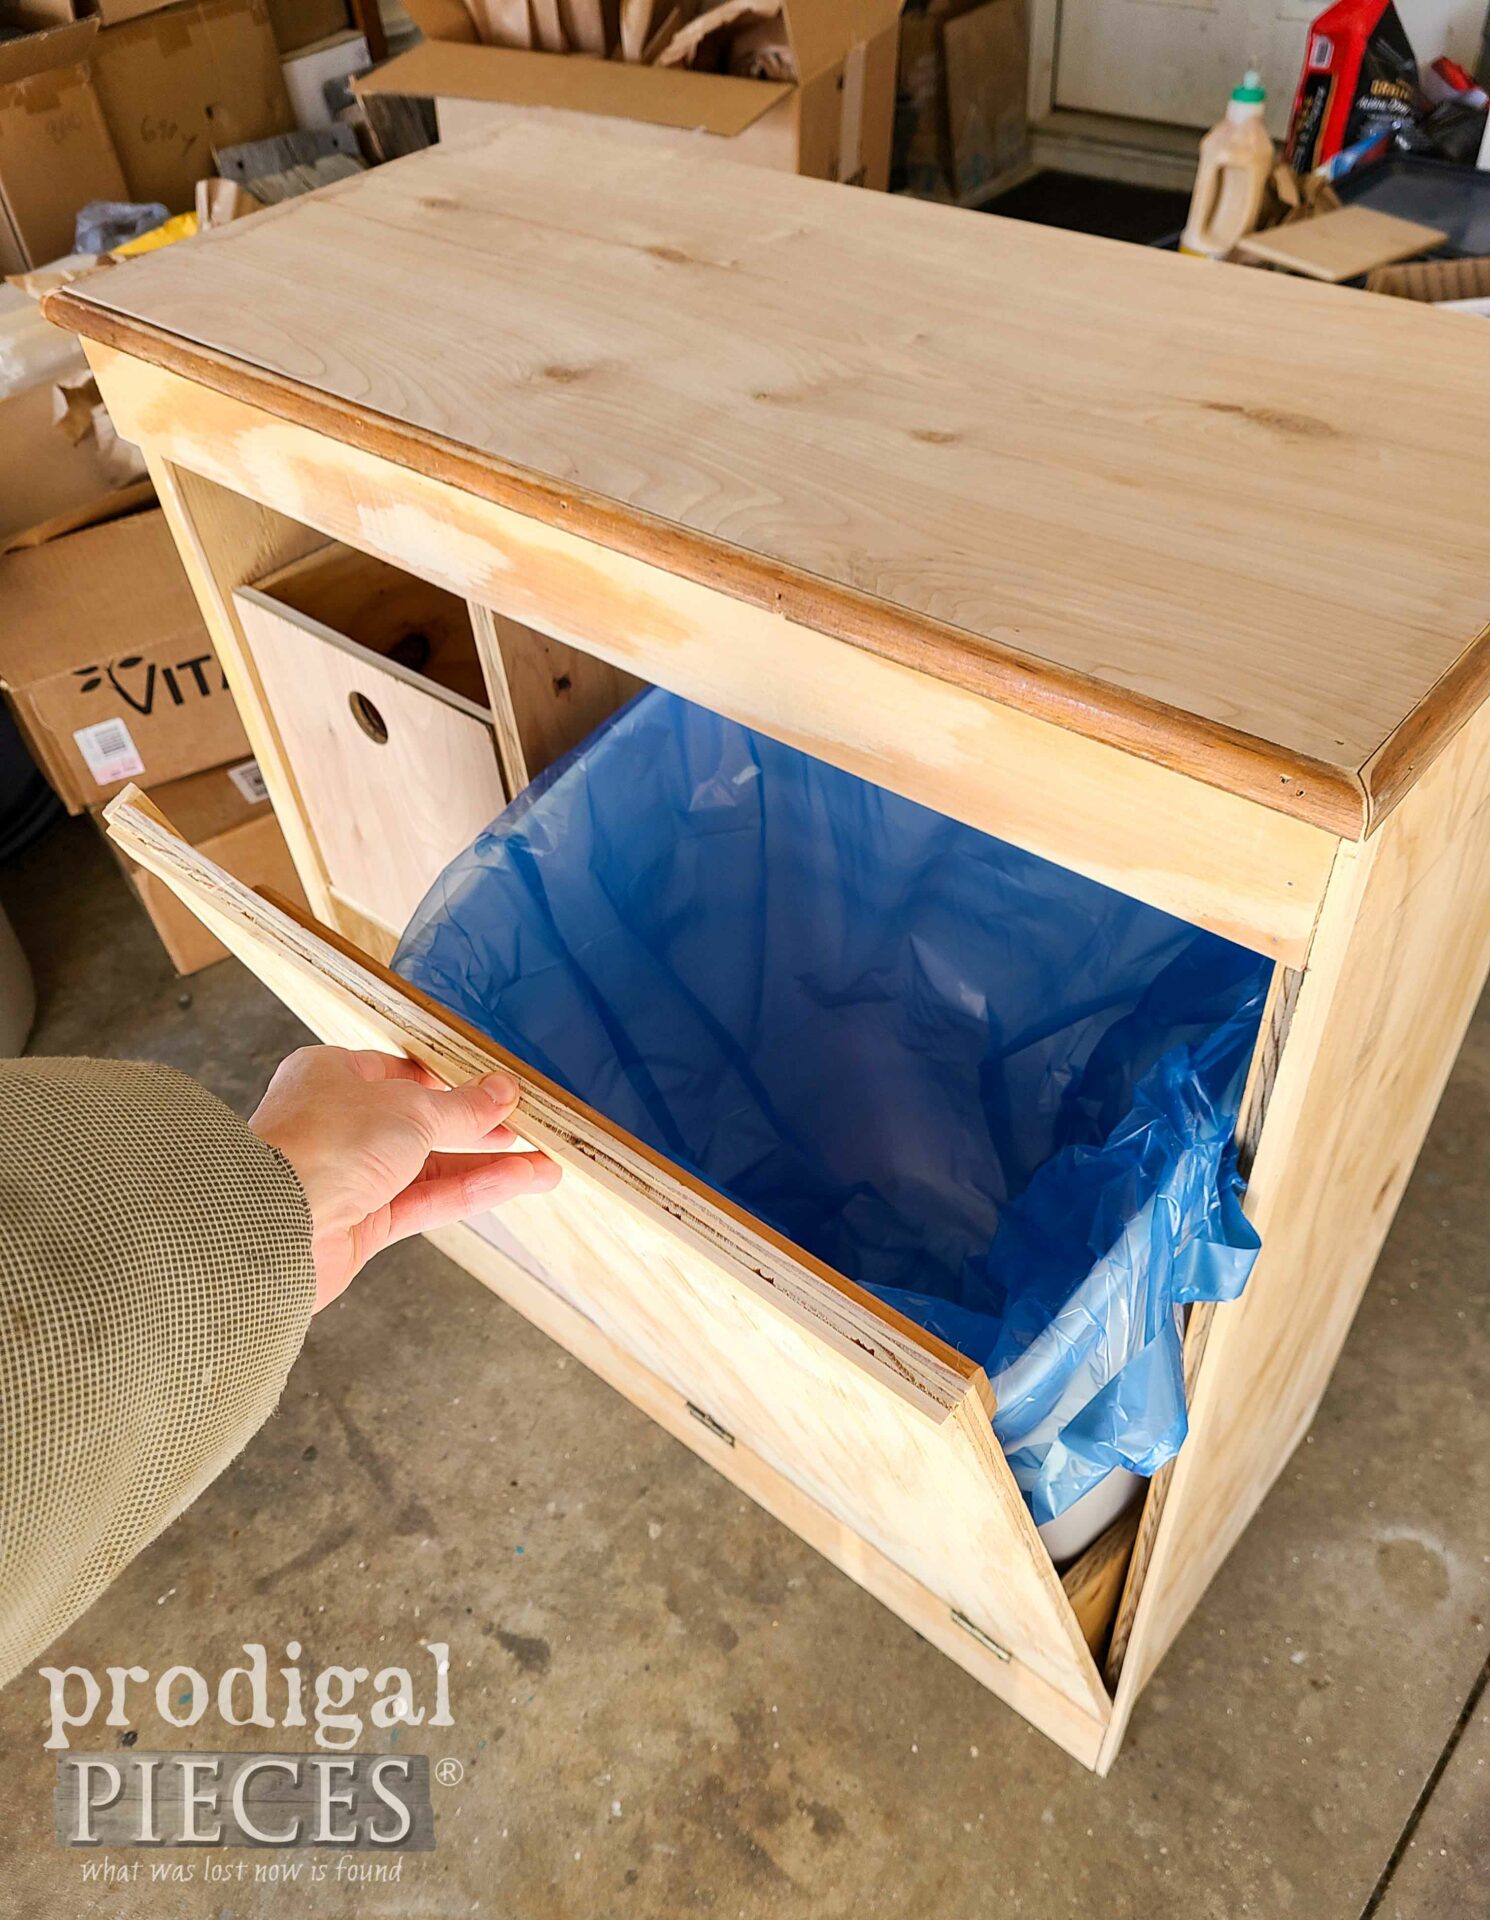
Now, while I will share with you how I built my DIY tilt-out recycling bin using only things from my scrap and stash, I will say there are plenty of free plans out there. My goal was to build to my space and around a 13-gallon tall trash can I purchased for this purpose. Here’s what the plywood I pull out from my stash.
Notice that this isn’t cabinet-grade plywood that I would normally use for a super clean finish like HERE. However, because I’m using this in my garage, I don’t mind using this slightly lower-grade ply that is ¾” thick.
BUILD IT
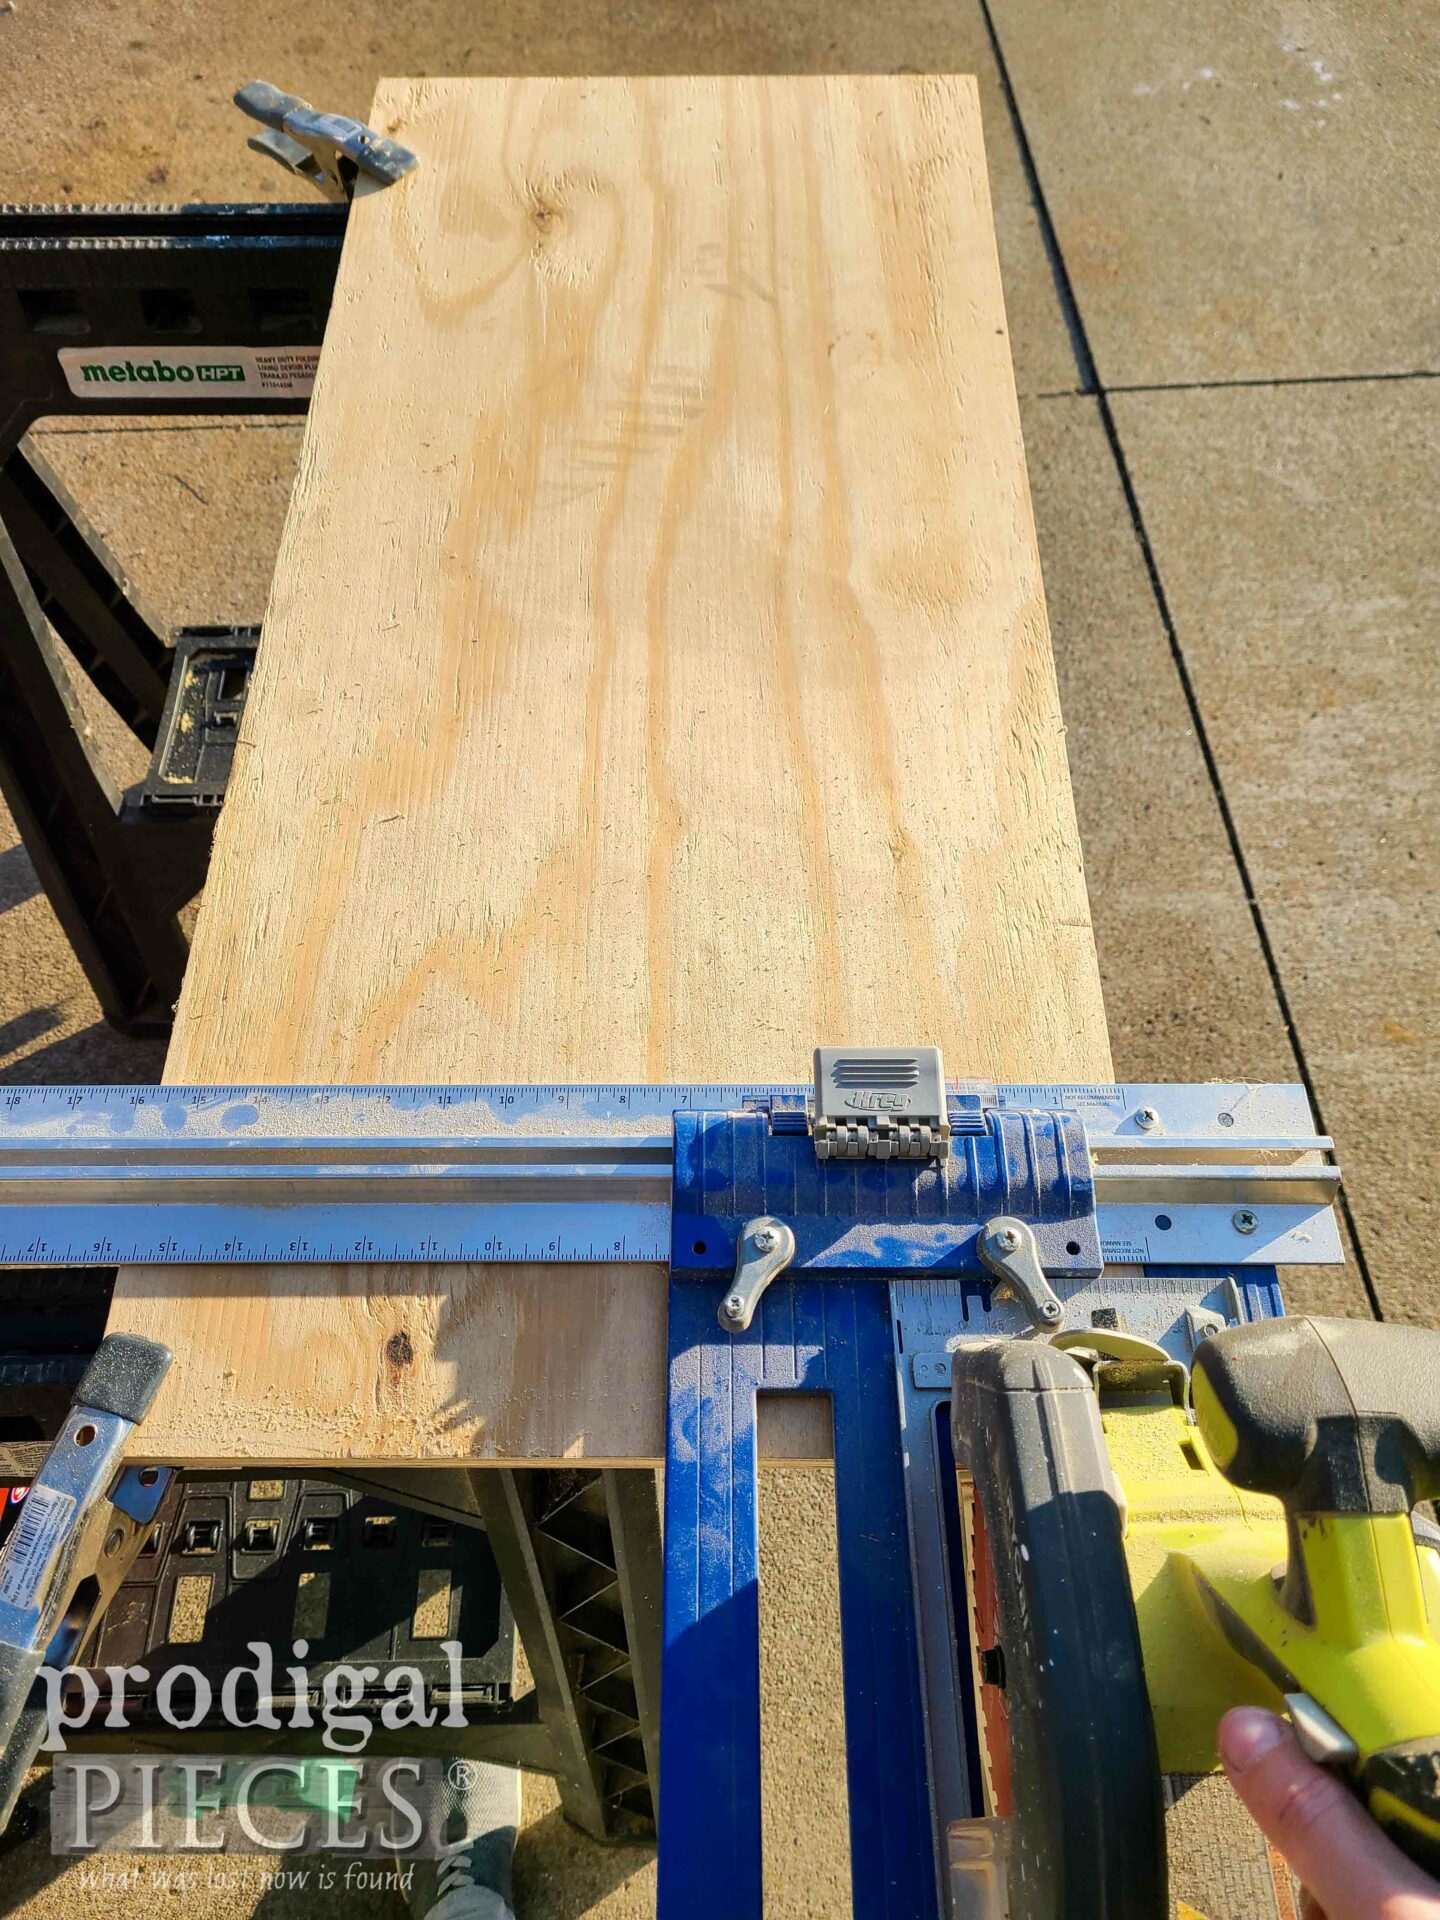
Then, after taking measurements of my space, I decide to build it counter height, no overlapping top, and not quite as deep so I have wiggle room. Anyone else catch their hips on things when flying around? tsk. To get started, I use my builder’s square, an 8″ metal ruler, and my rip-cut jig to cut the wood to the specifications I choose. I could also use a table saw, but wanting to show you that this can be done with basic tools.
Here’s the rough assembly as I check my specs. I’ve used my pocket screw jig to make cross-pieces for the back that will remain open as it will back up to the wall. Additionally, notice my bottom is 2″ off the floor and also has pocket joints added for support.
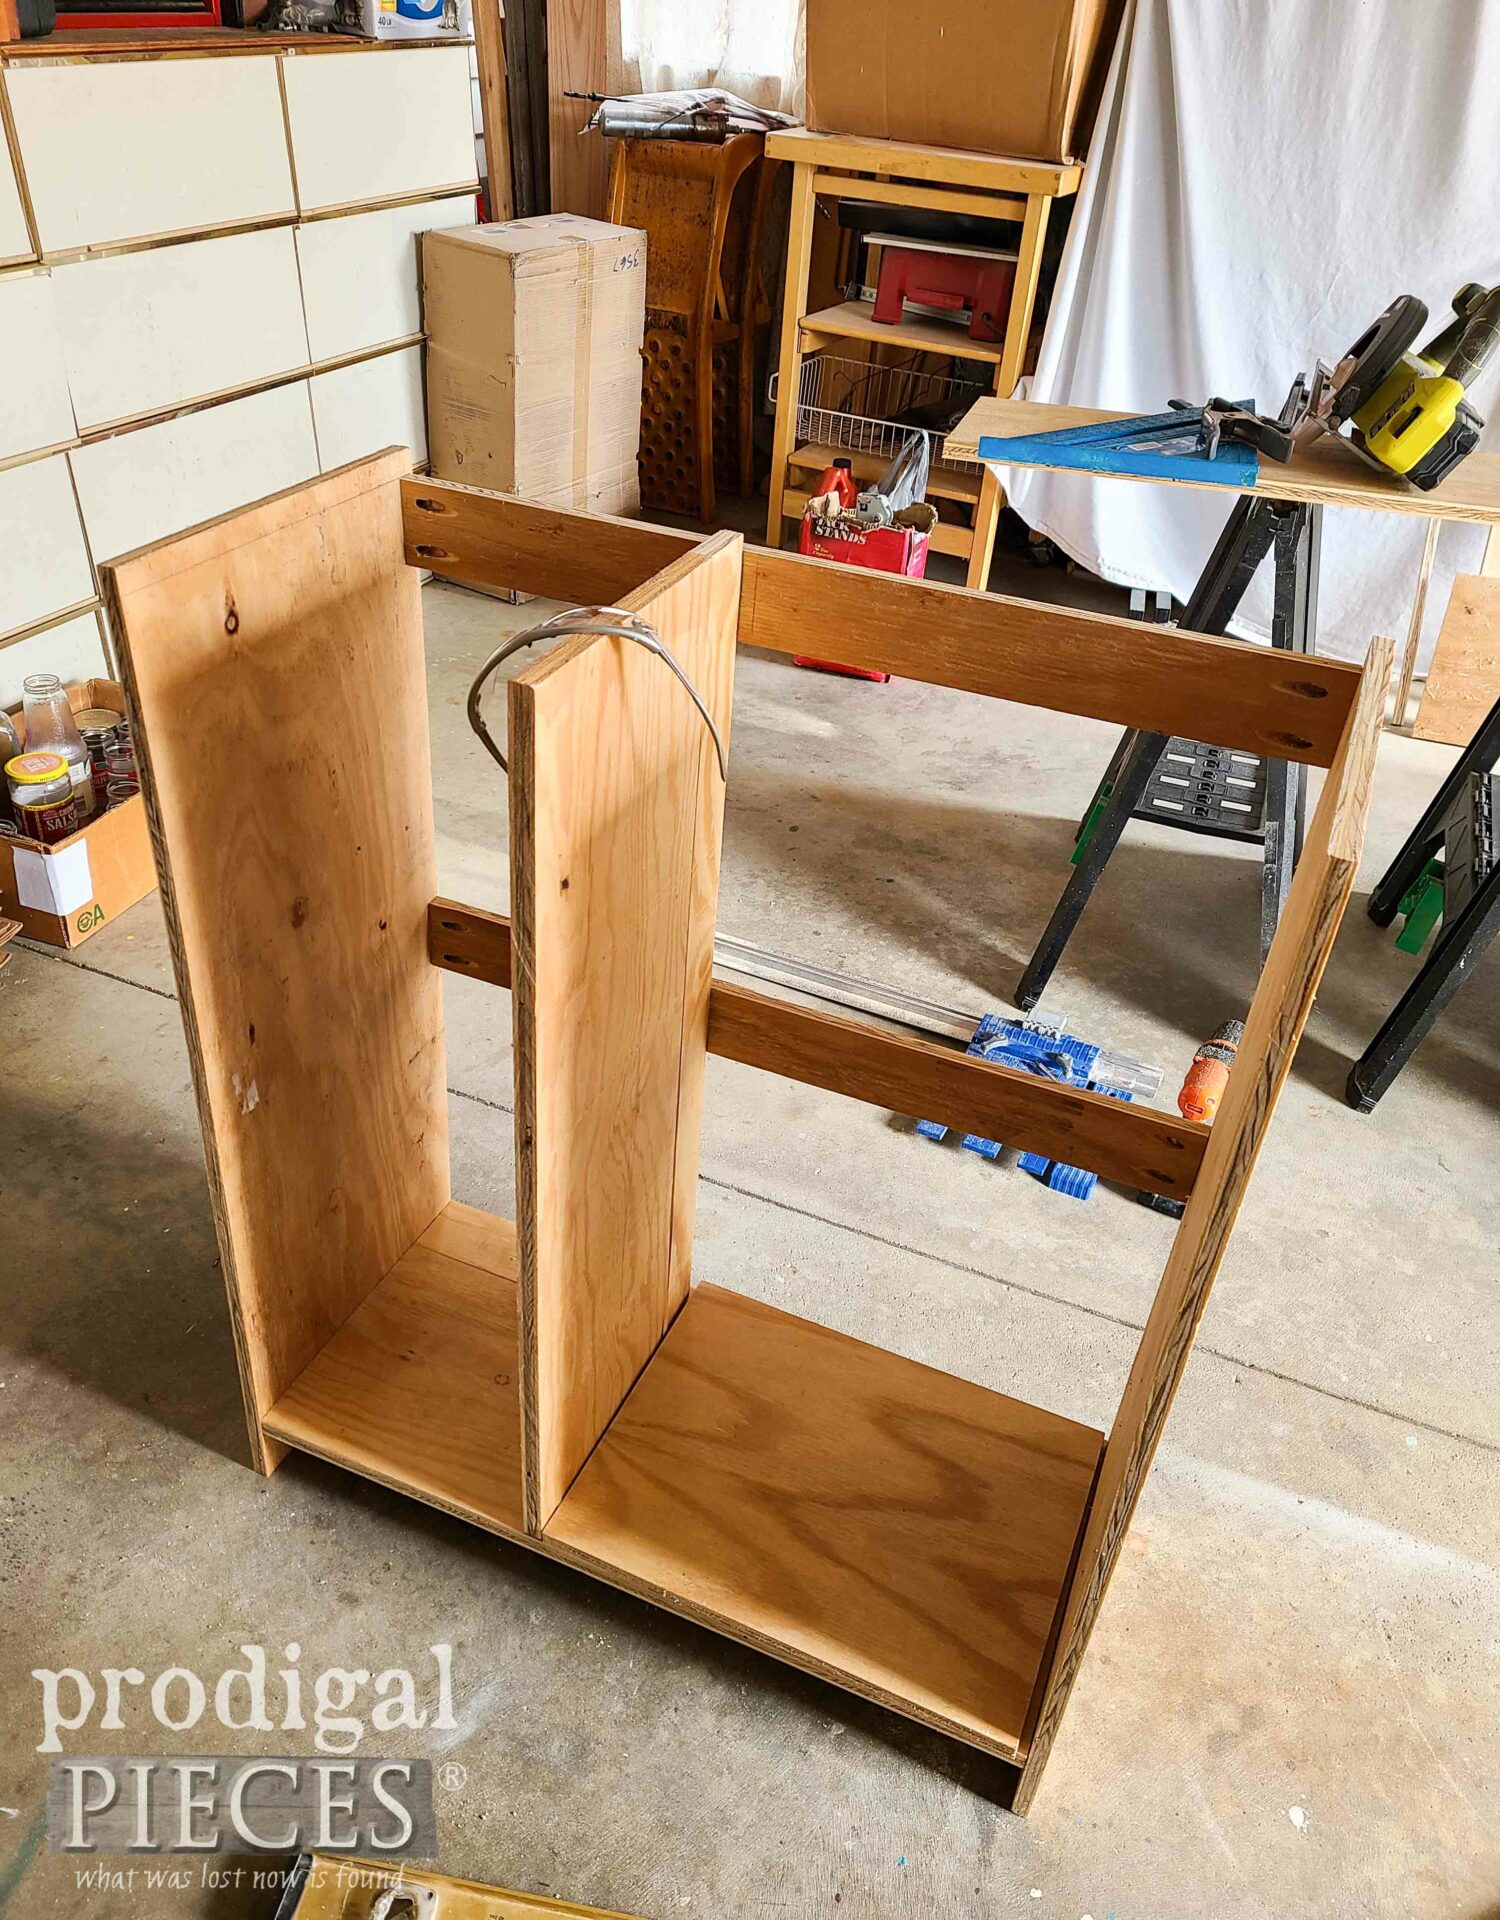
Next, I want to add two shelves for other recycling like my glass and paperboard. I mark and cut a piece to function as a divider. I attach through the bottom as well as through the back.
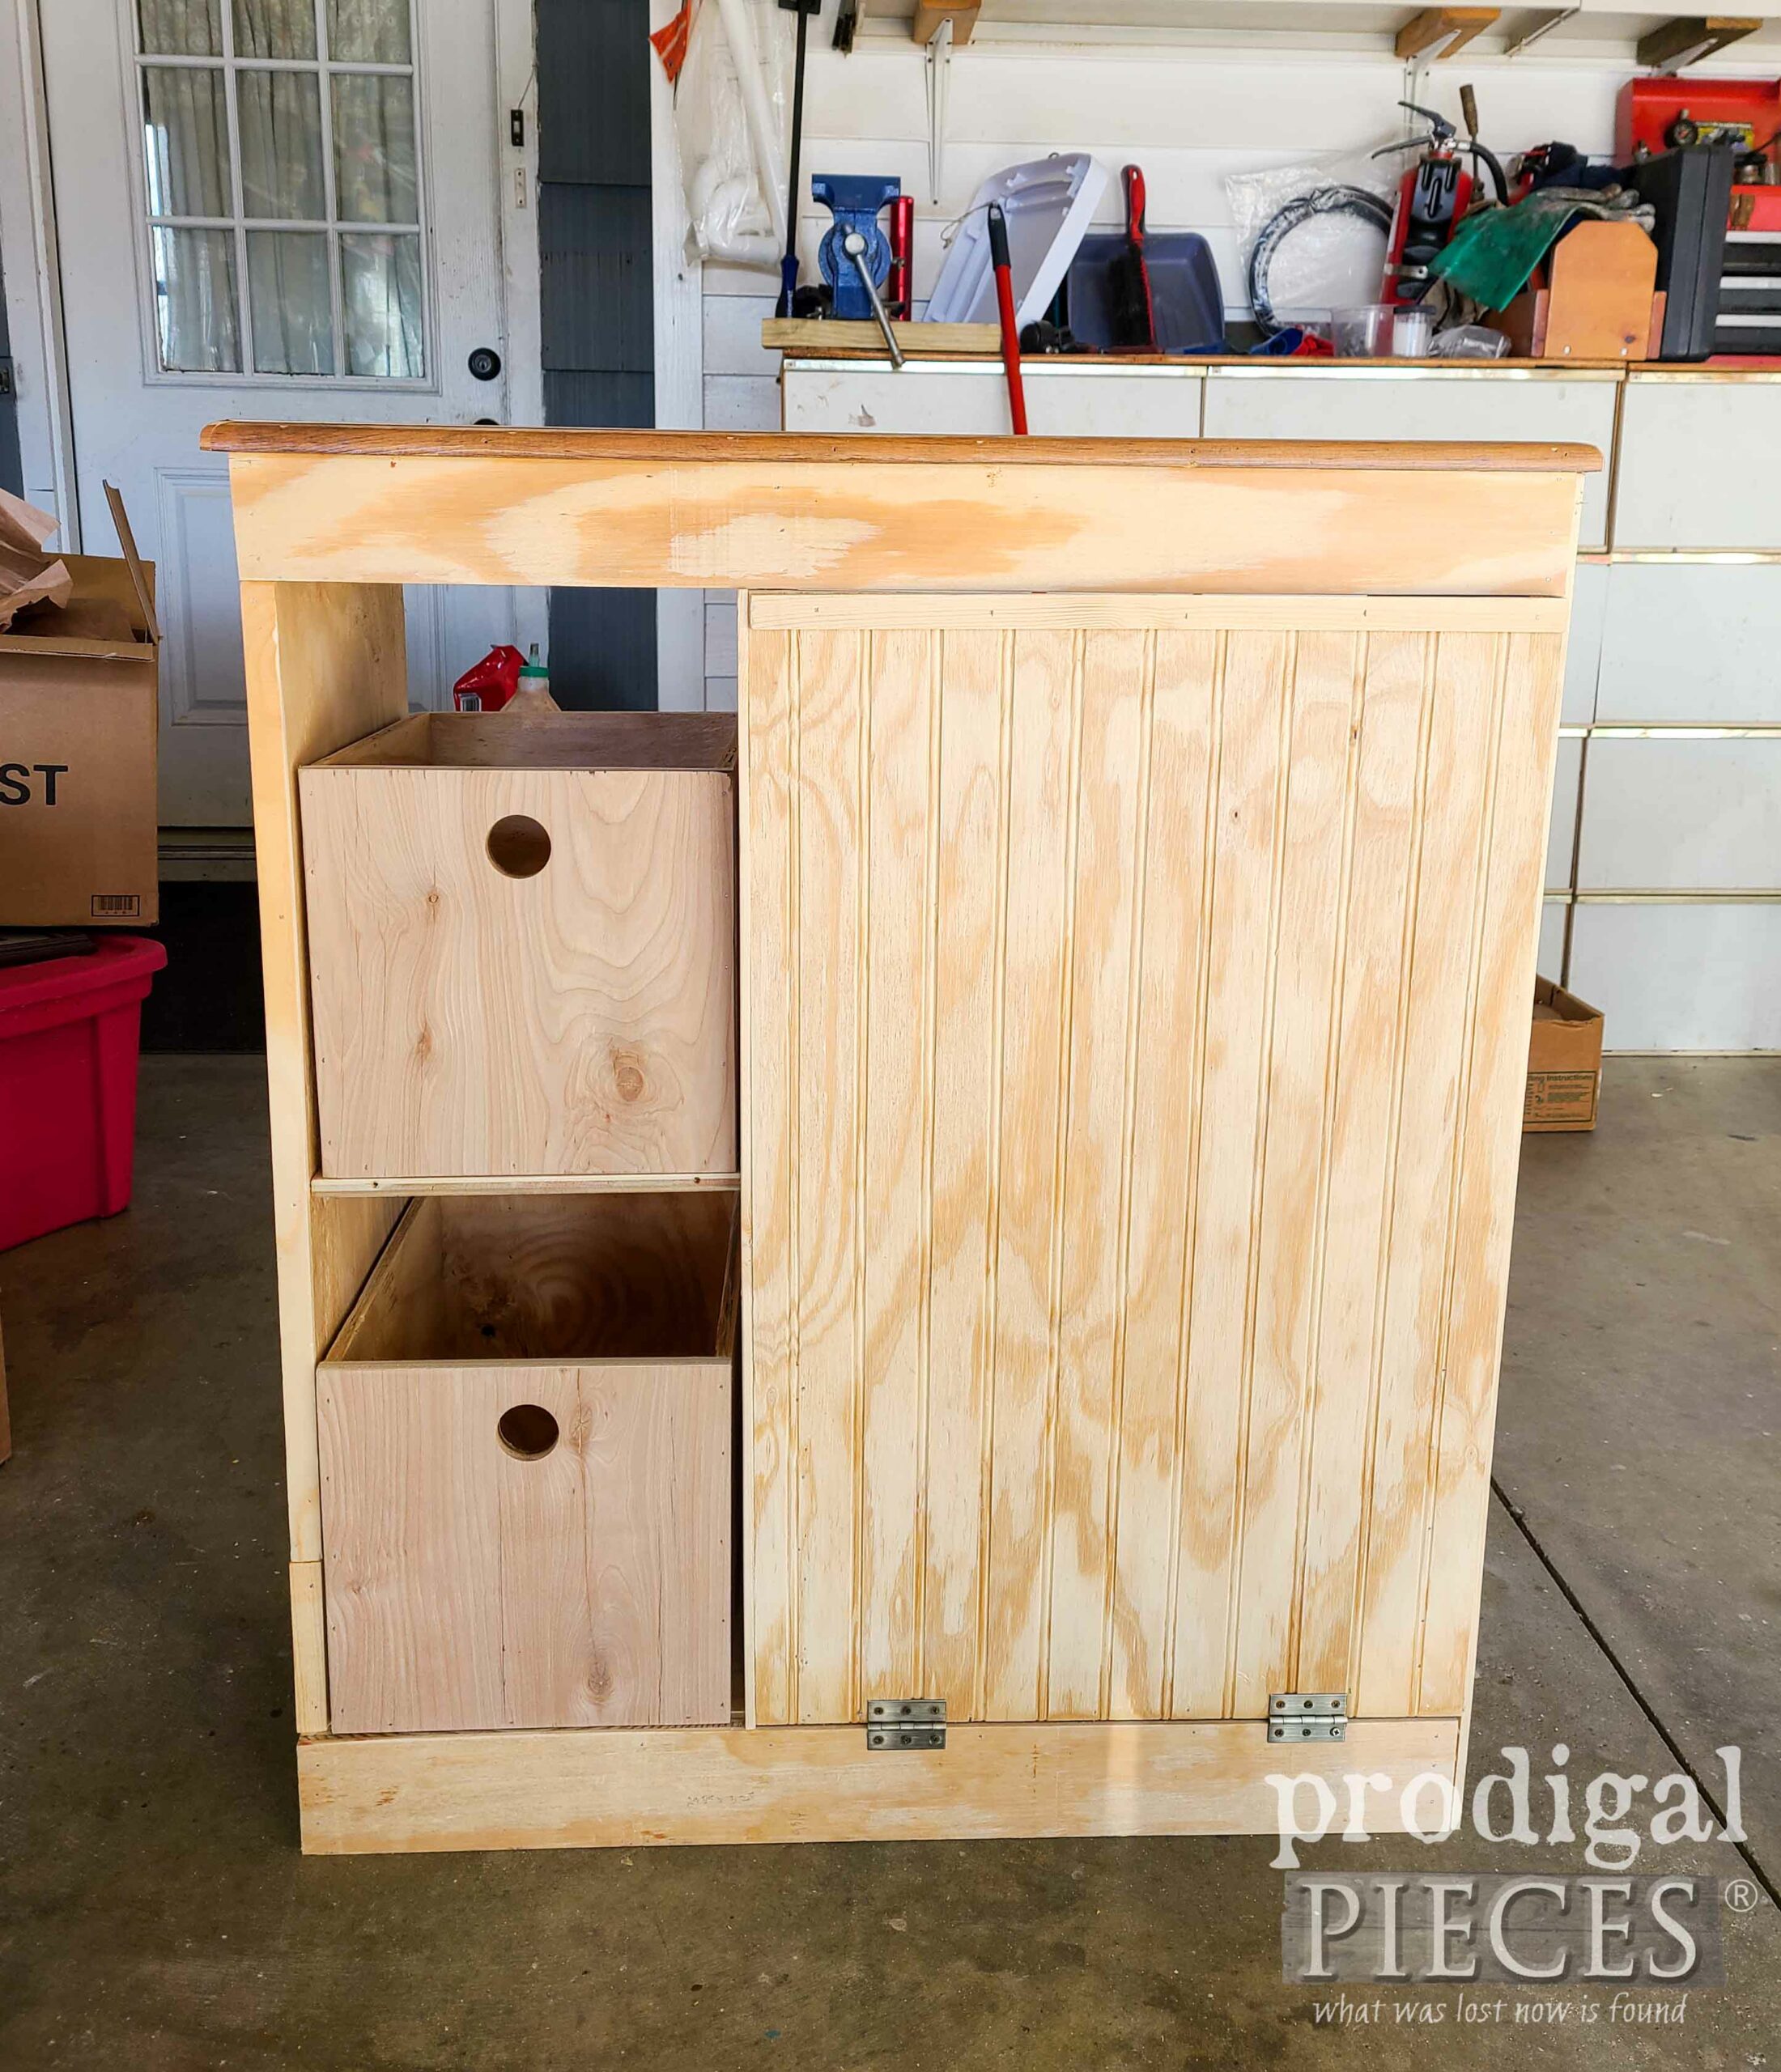
After that, I add a top of plywood with quarter round trim, a top crosspiece to hold the front edge, and a bottom skirt flush to the ground. Also, I made a tilt-out bin out of scrap beadboard and bins out of more scrap.
FINISHING
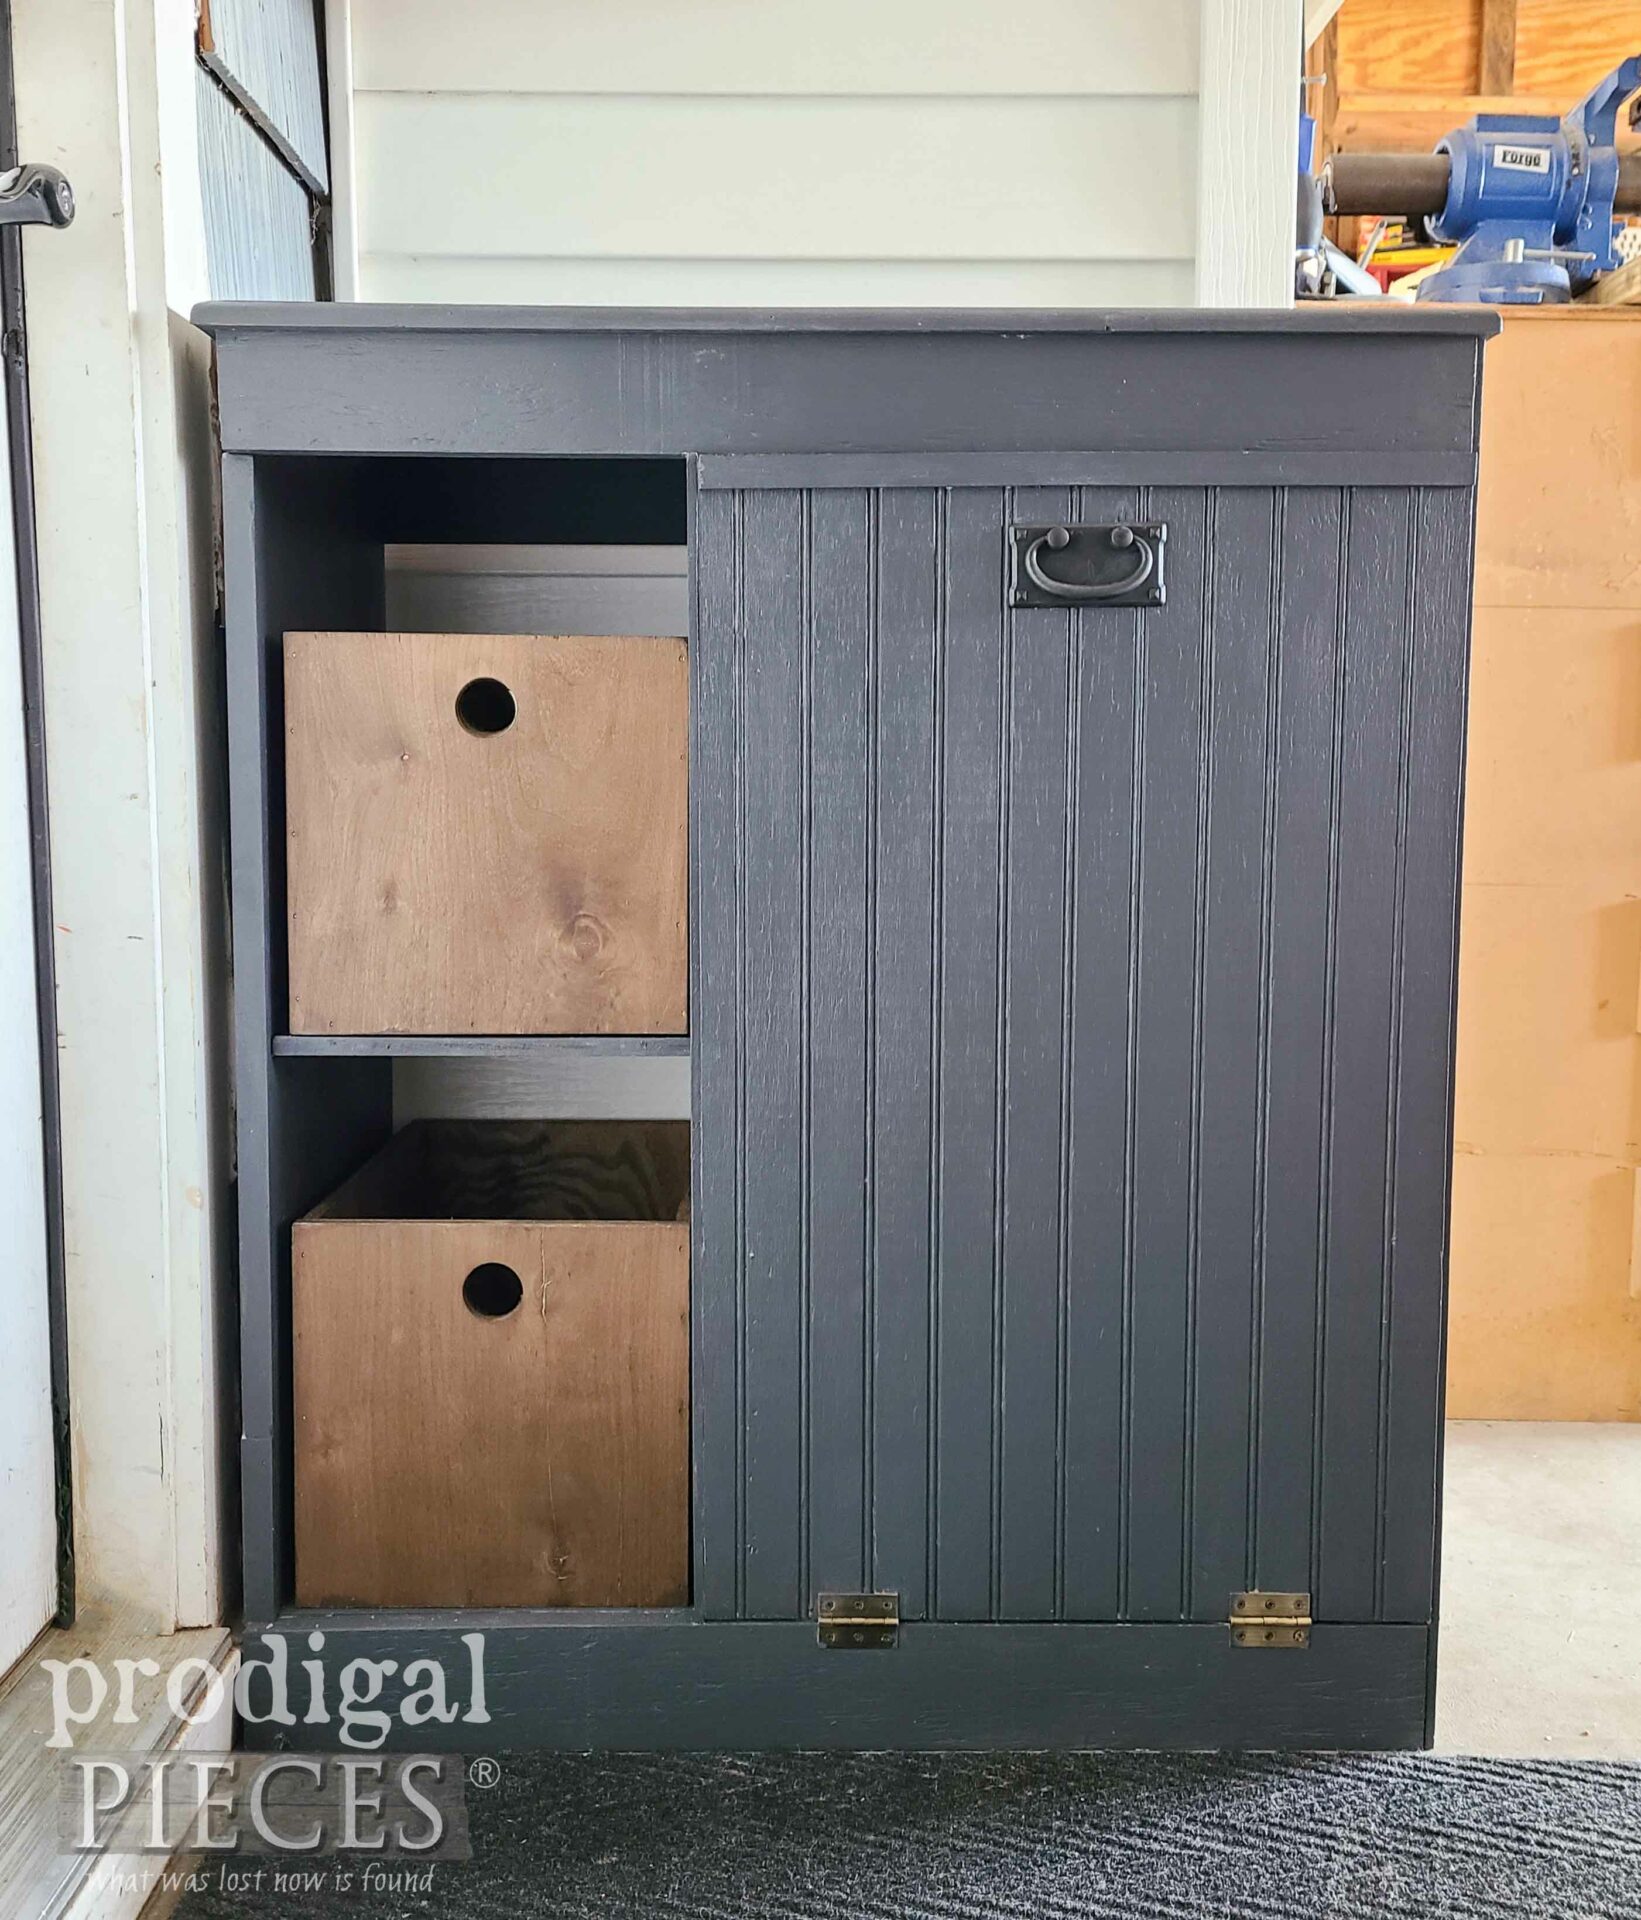
Finally, I am able to put the finishing touches with paint and stain and fill ‘er up. I just want to say that every bit of this came from my scrap except the plastic bin and a $2.50 purchase for a closure. Funny thing is I actually found a closure in my stash later on, so I didn’t even need that. Did you hear my sigh of relief?
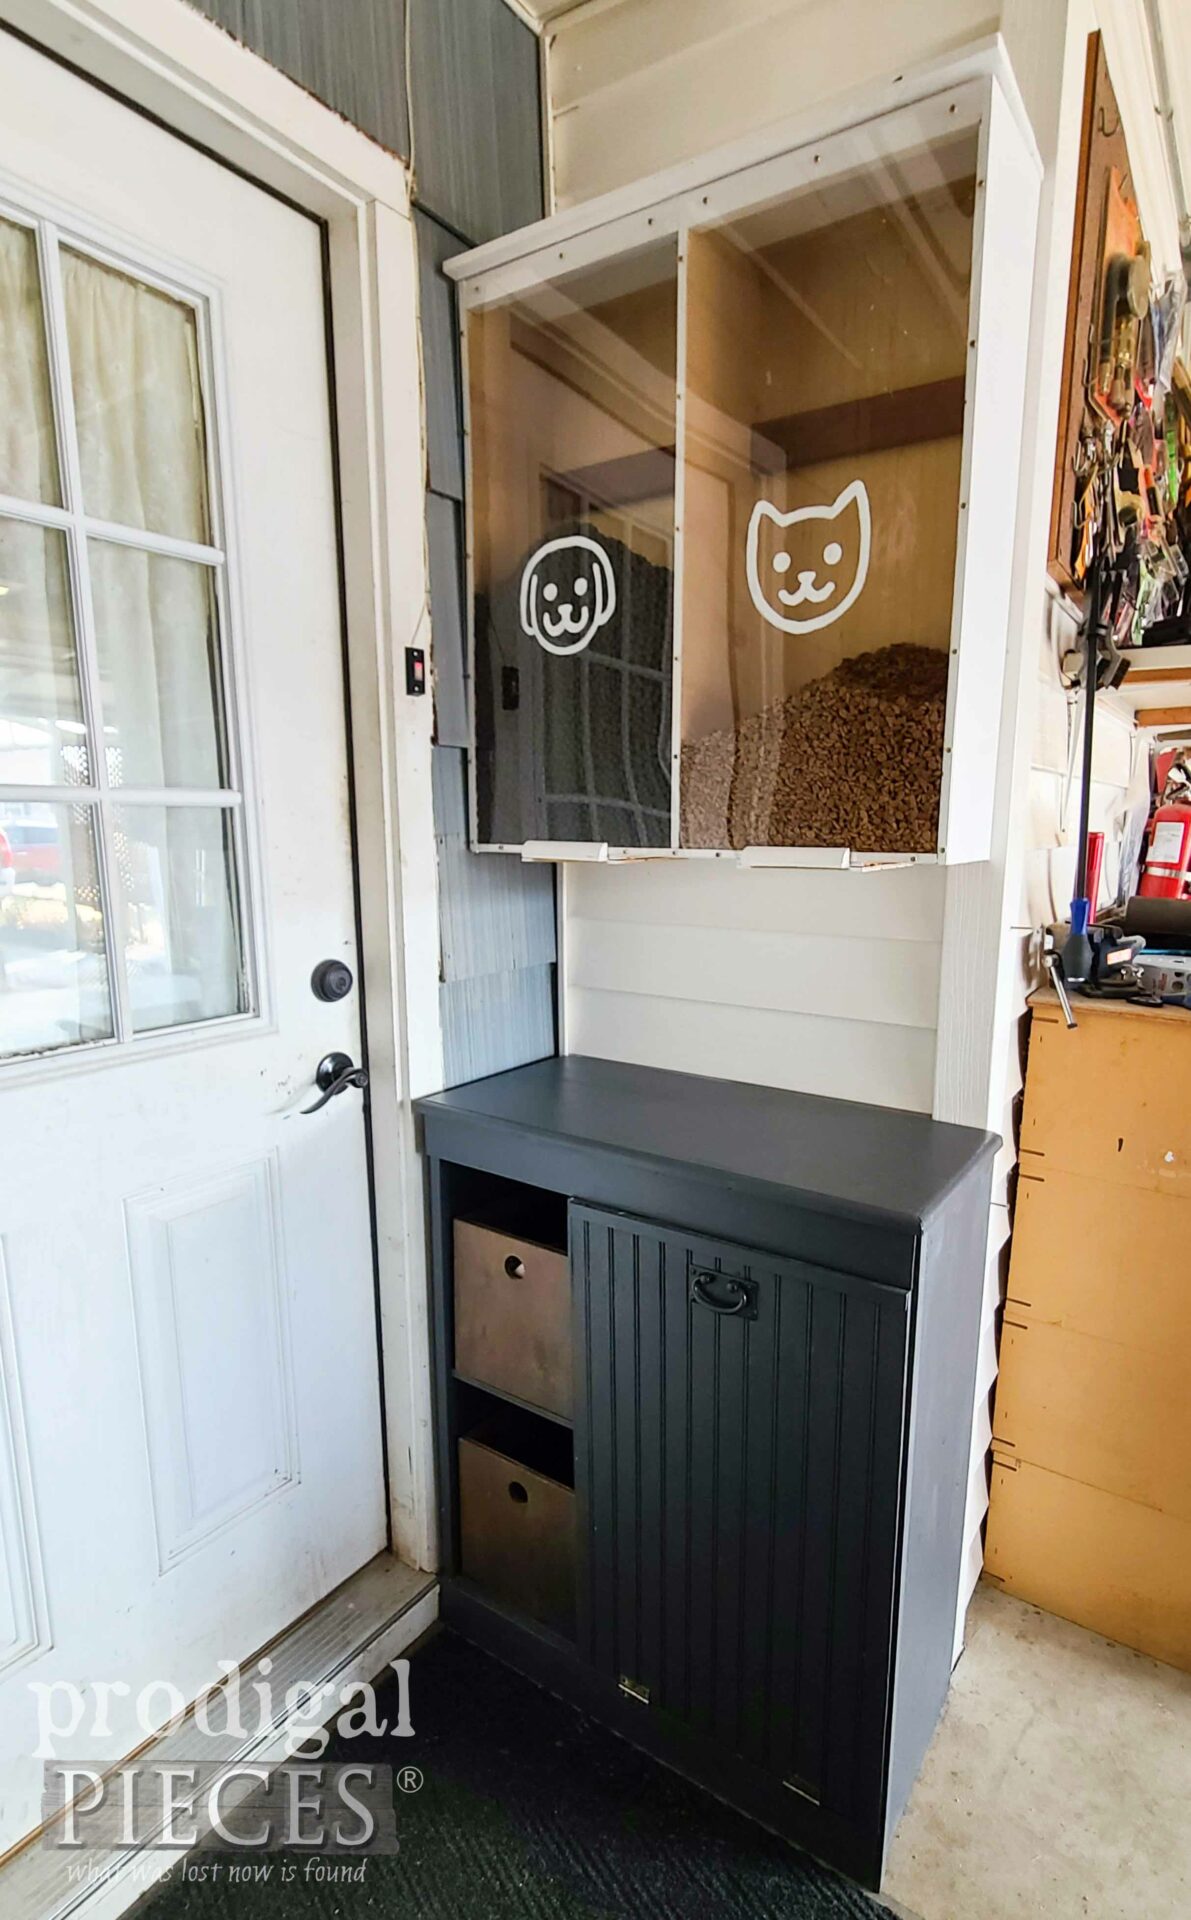
That eyesore is gone and a much more organized and eye-appealing recycling center with a DIY tilt-out bin.
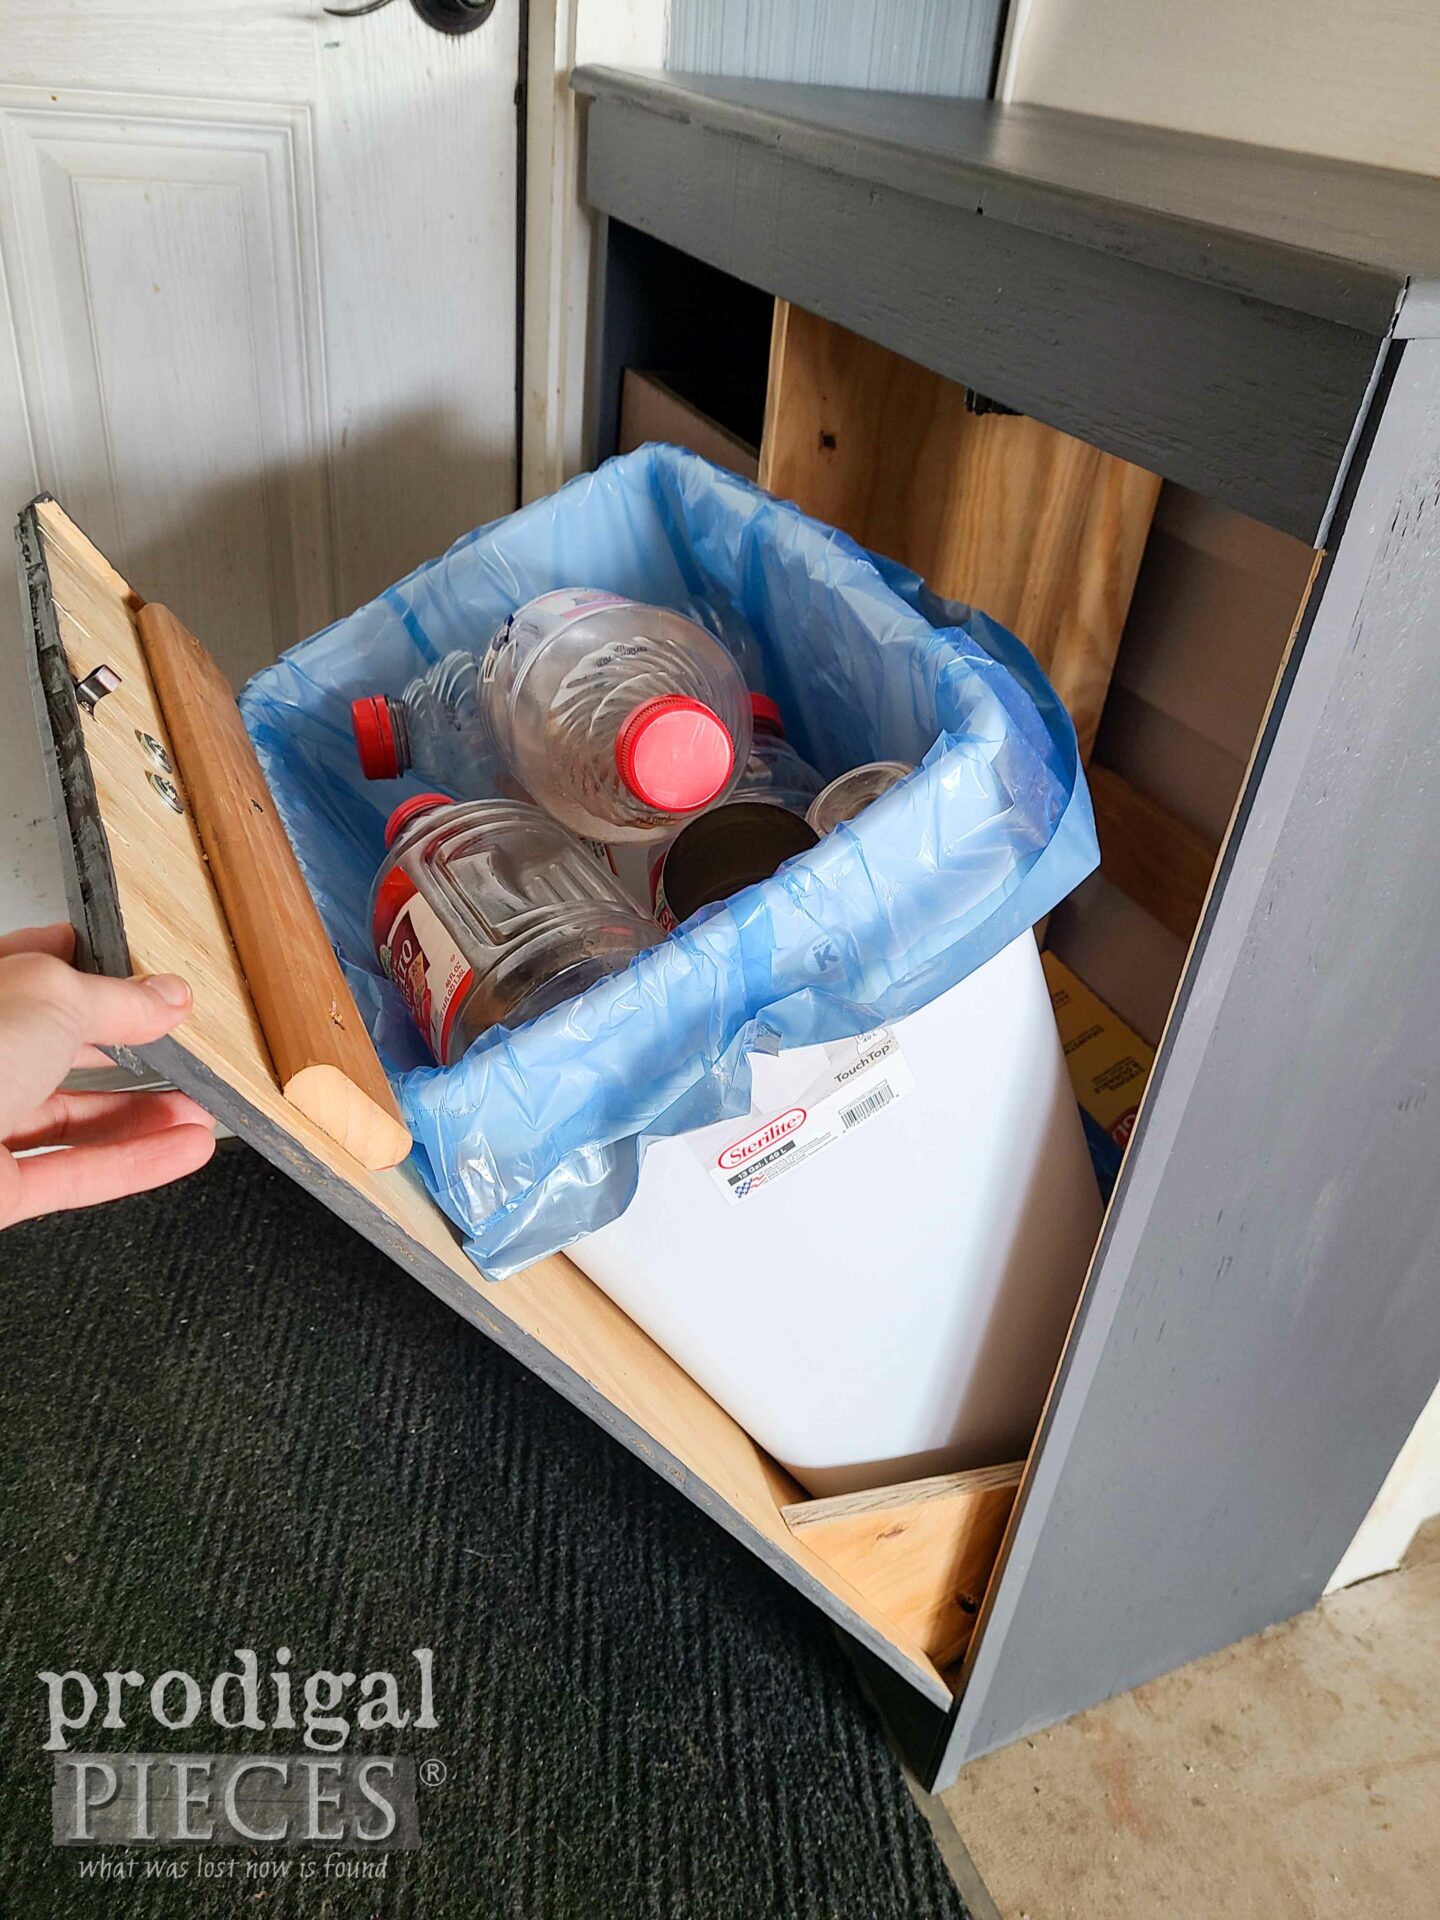
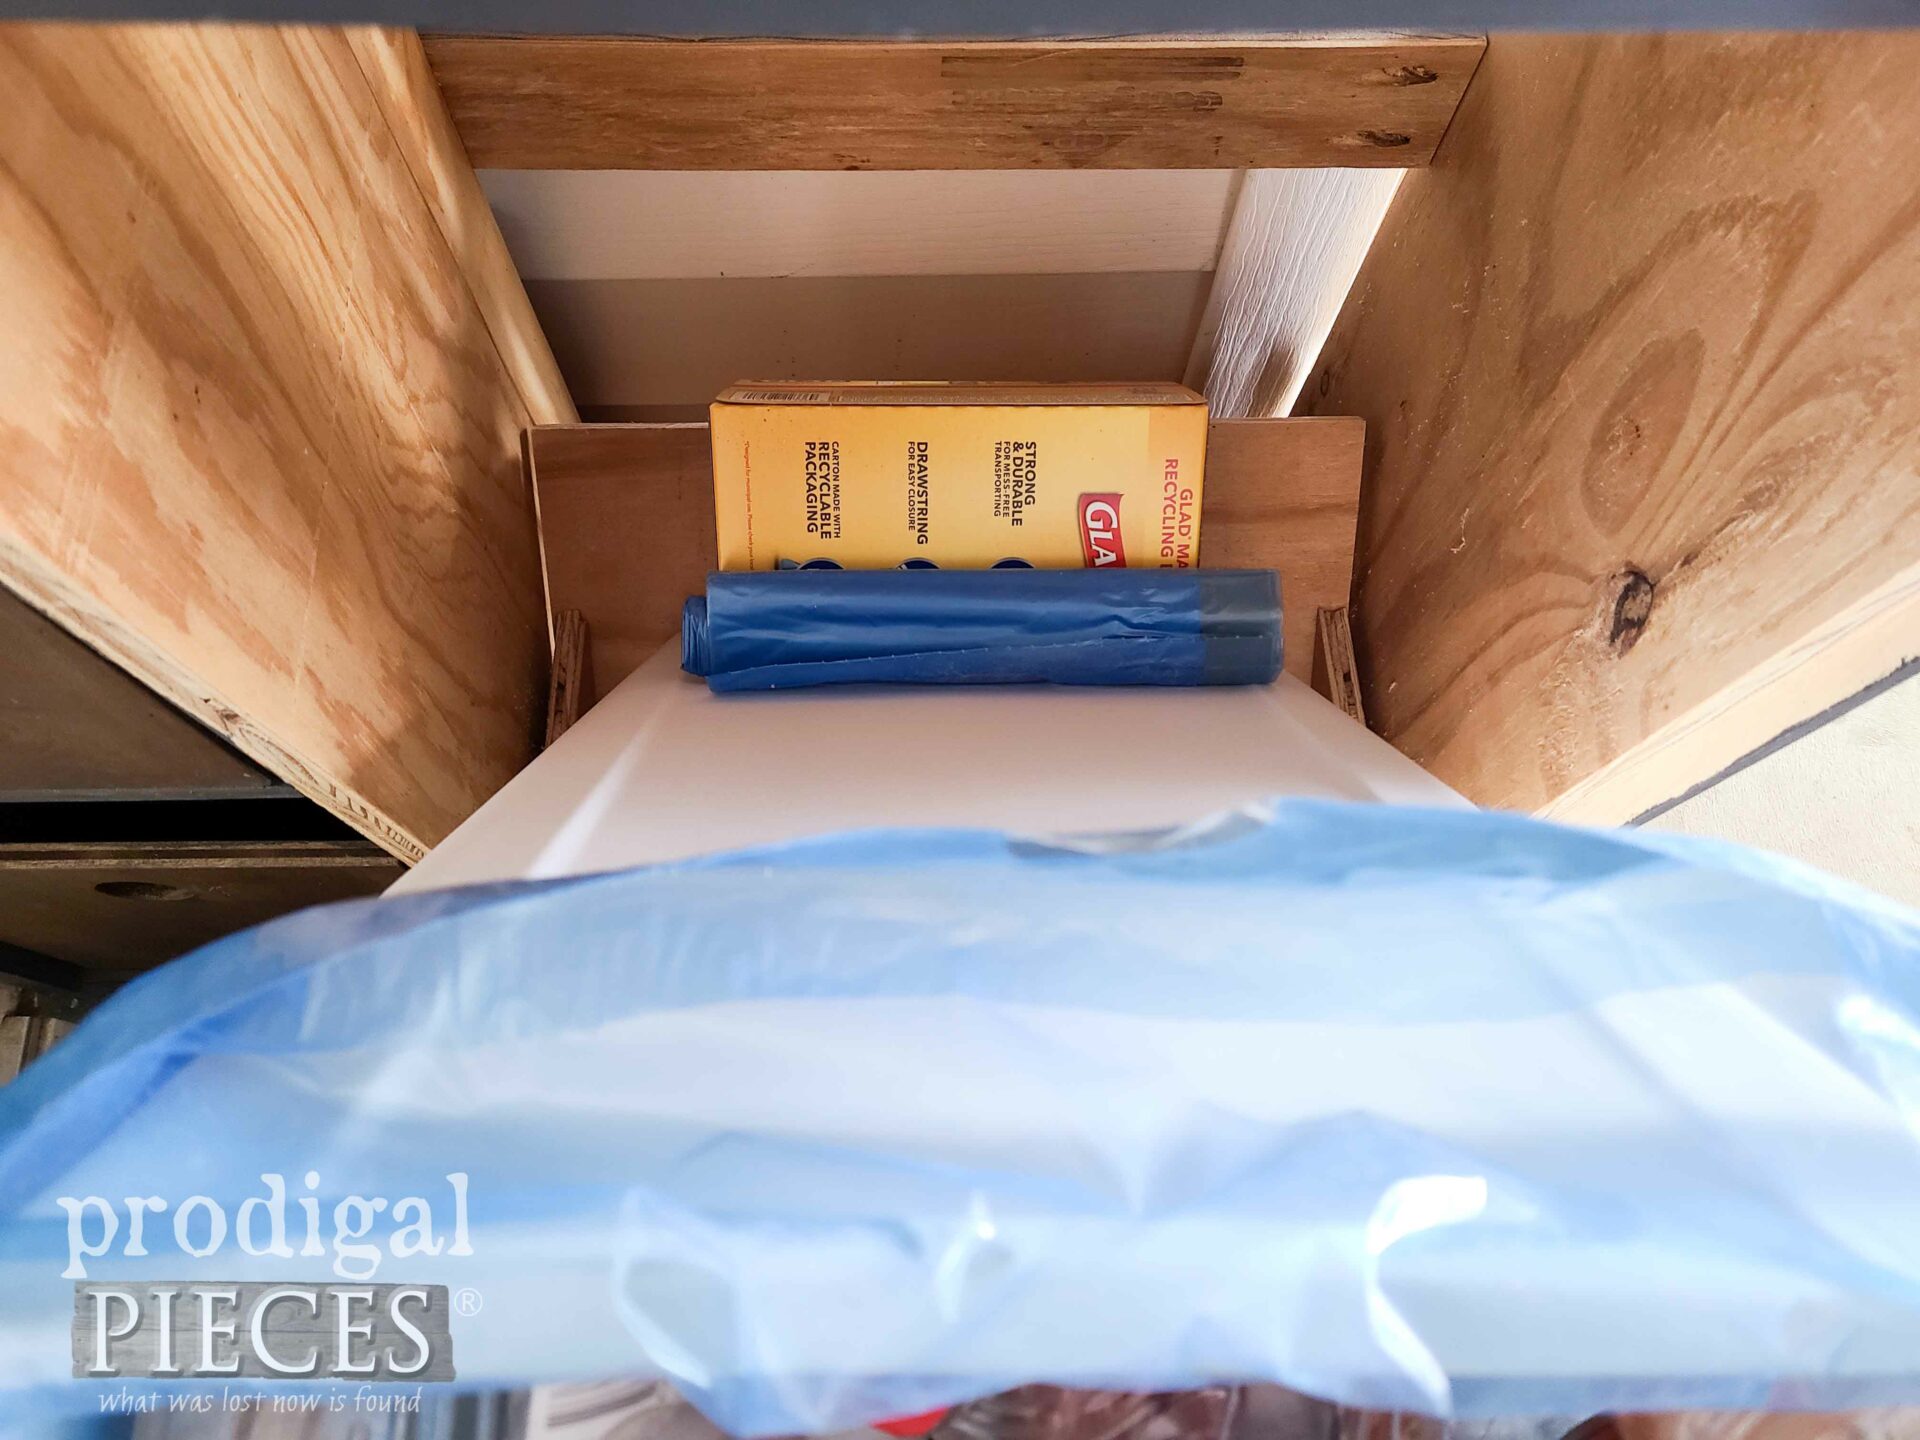
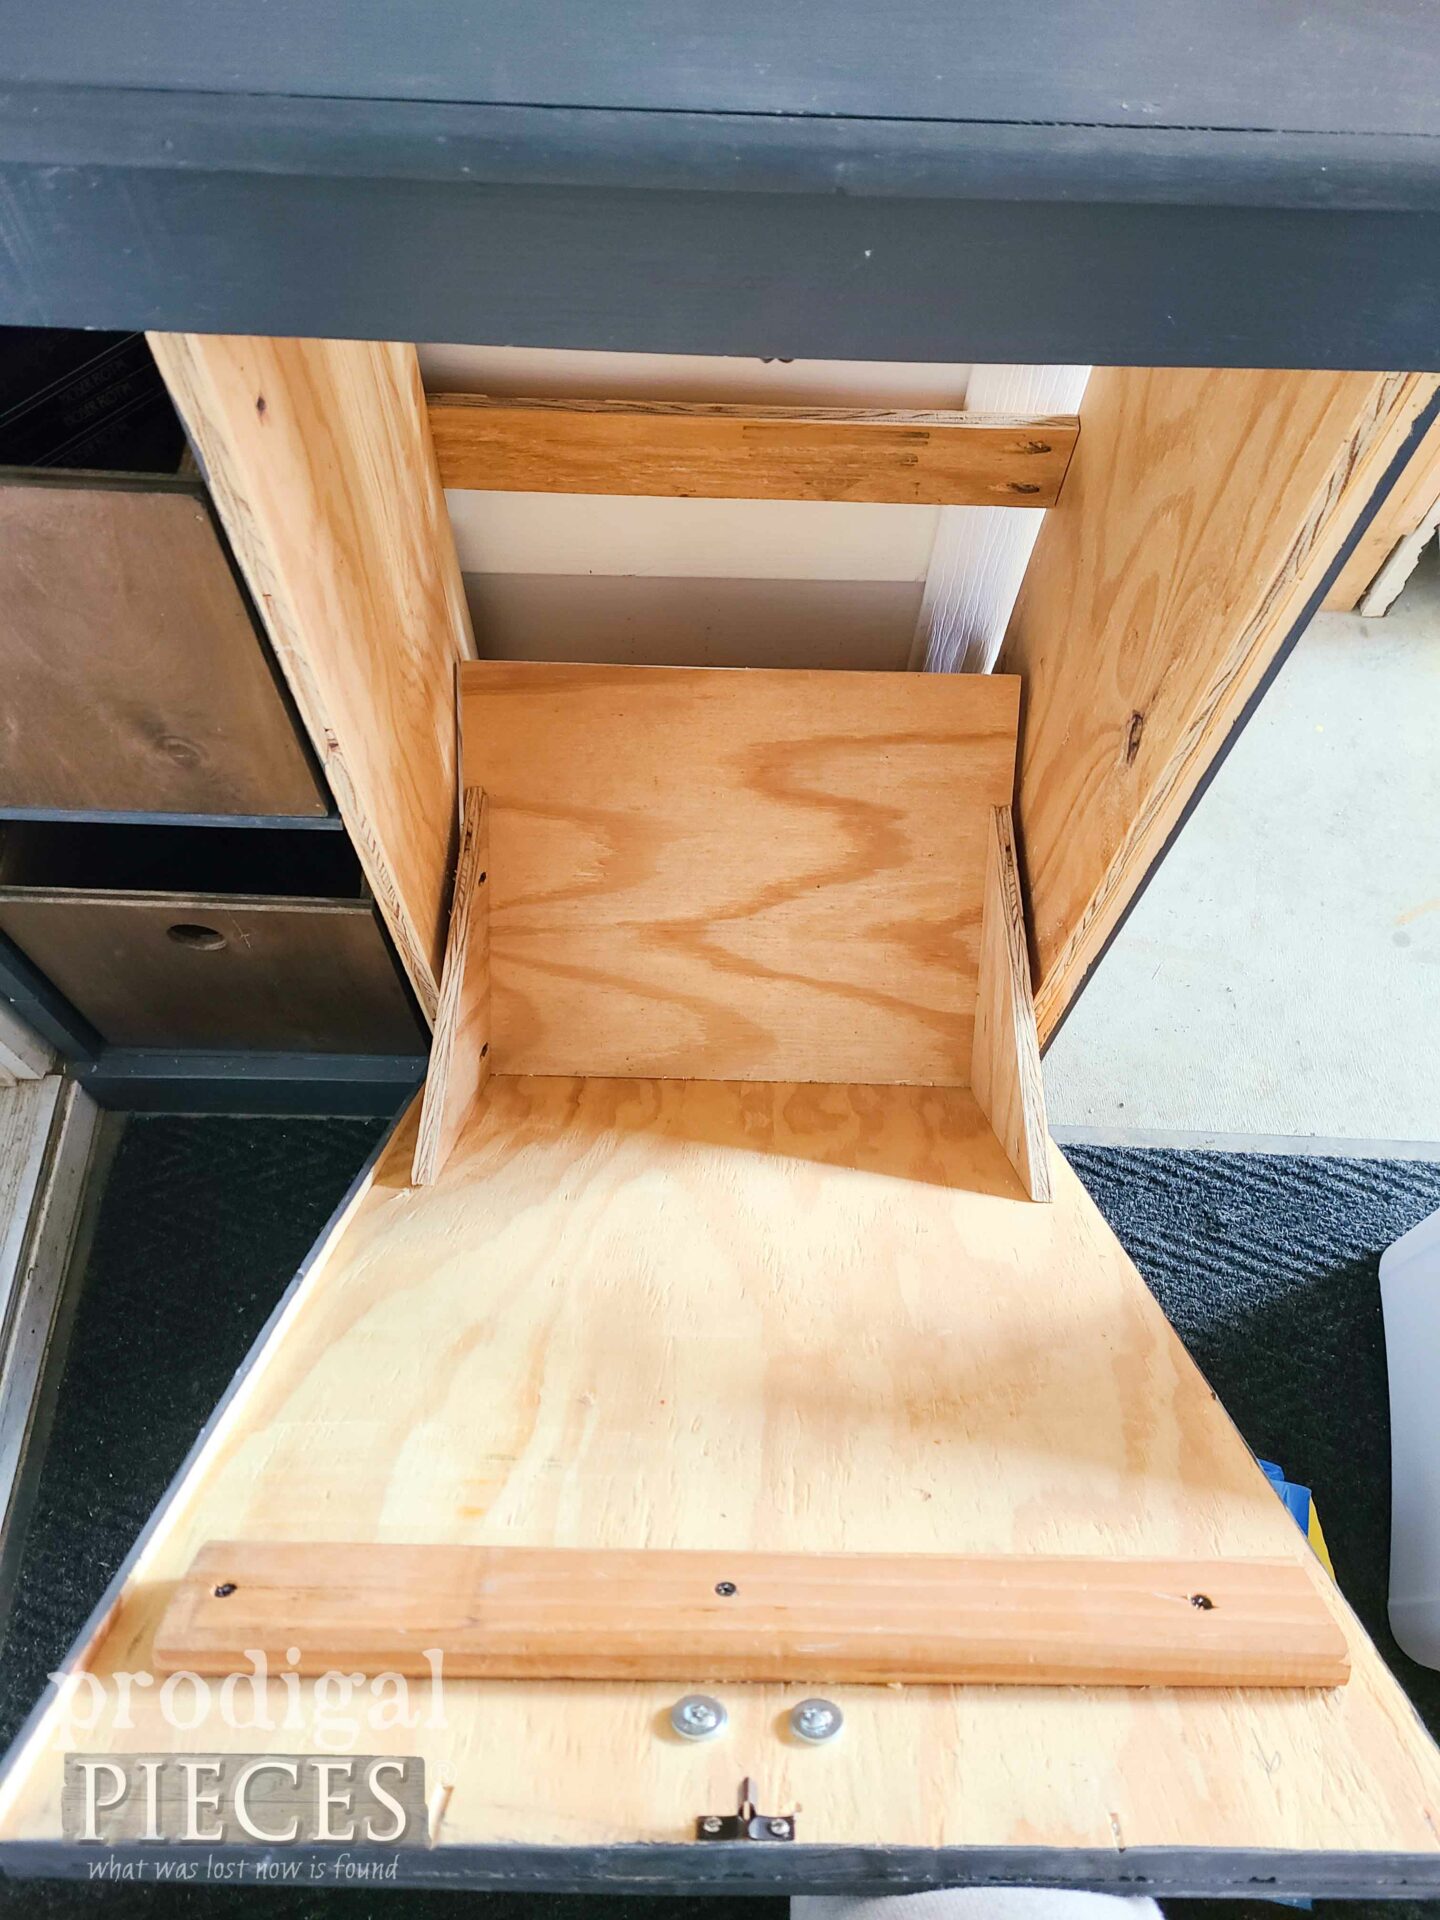
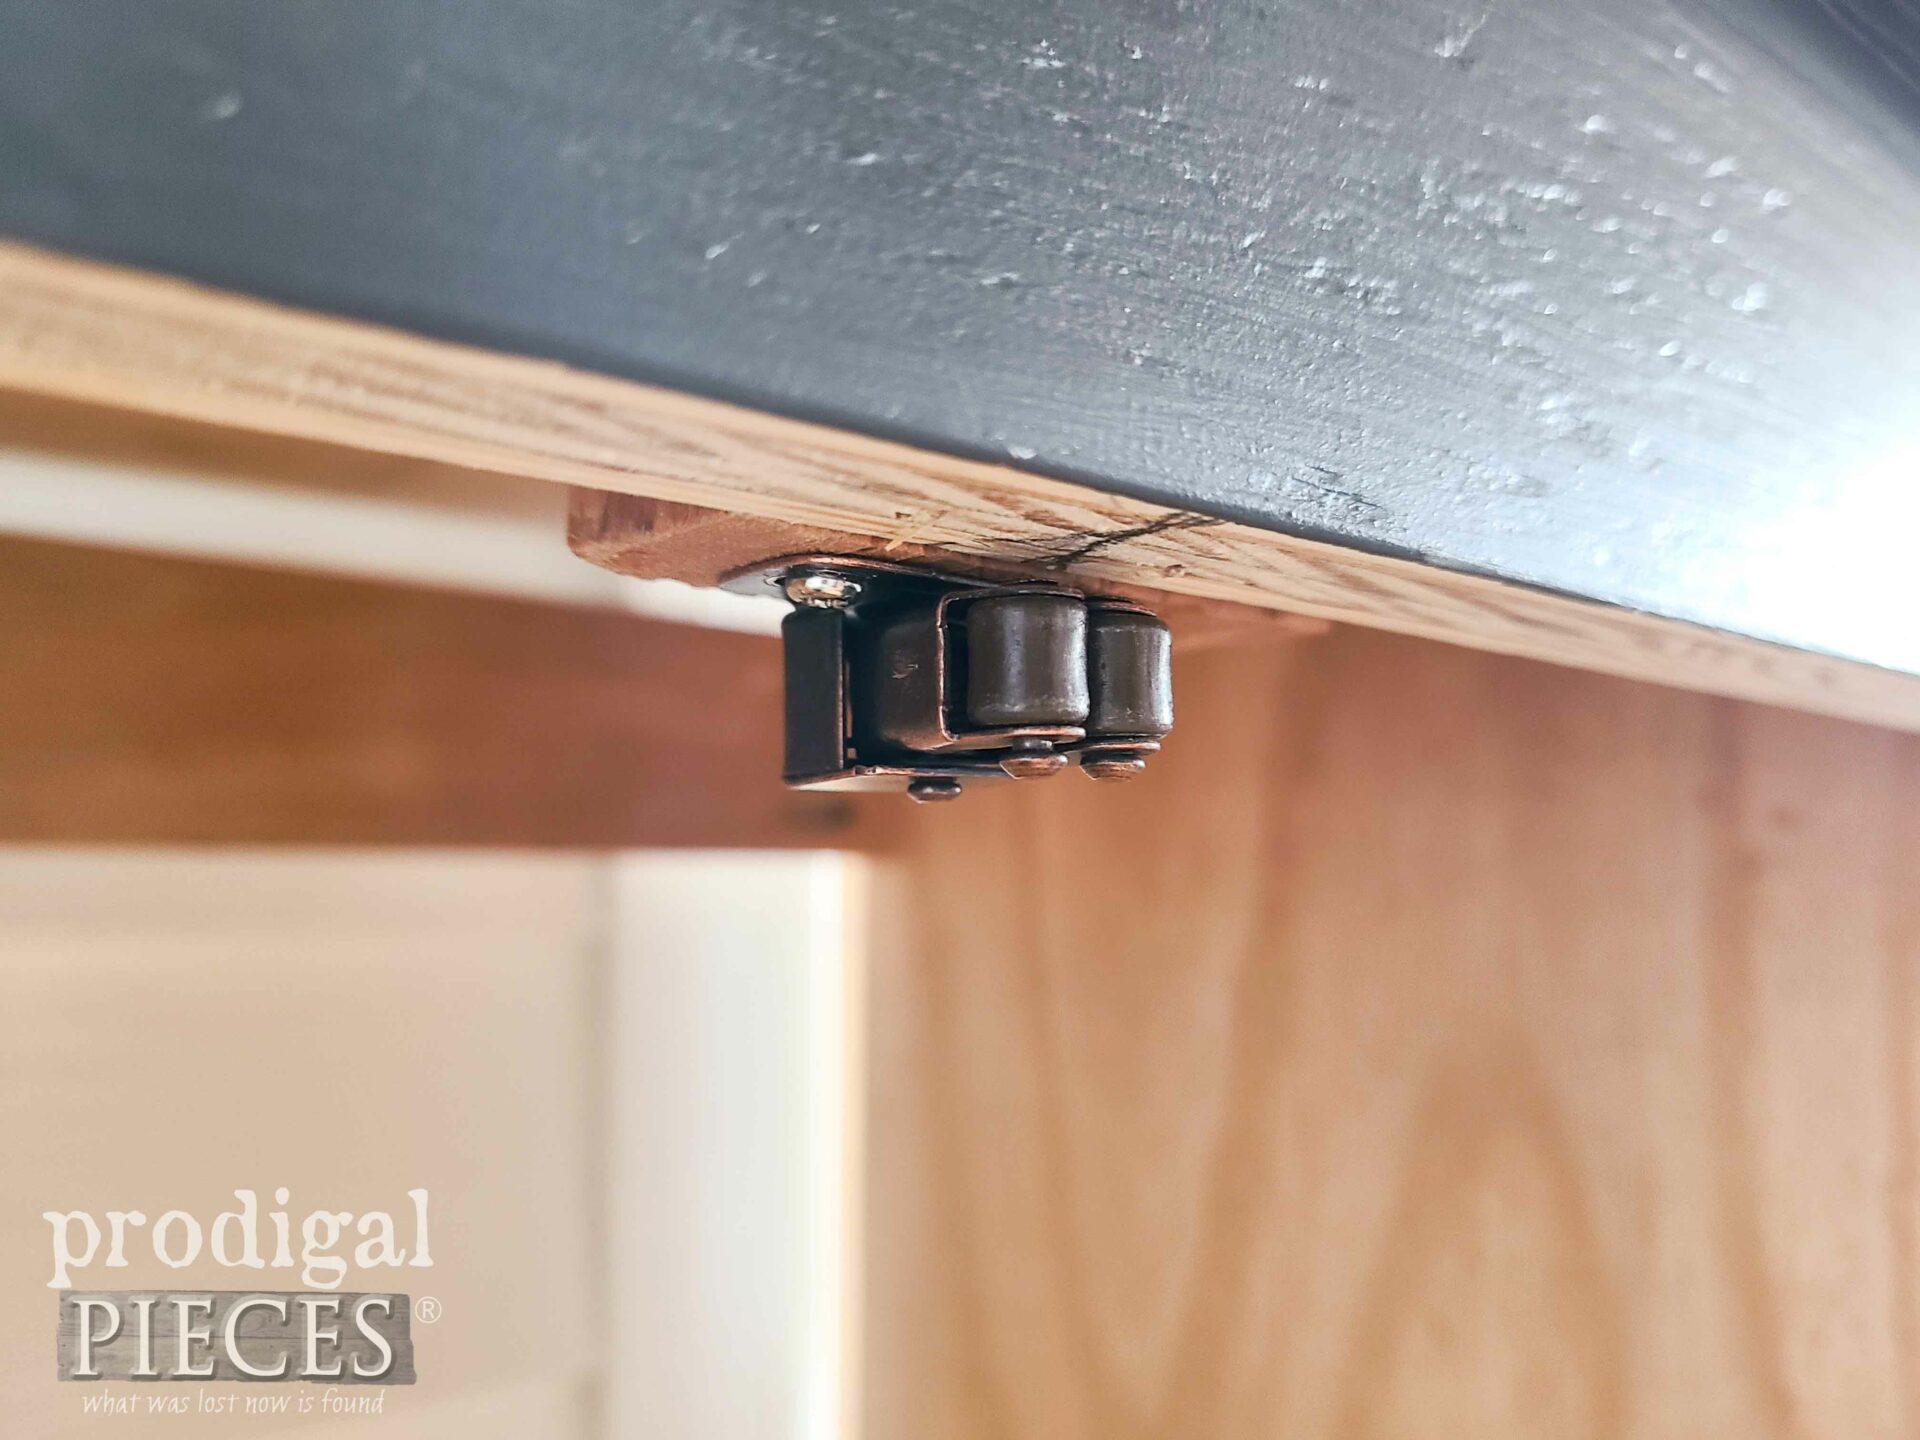
The tilt-out bin stays shut by the weight of the bin, but also the extra bags tucked in at the bottom. So, I need the hardware, but it helps when it’s not as full.
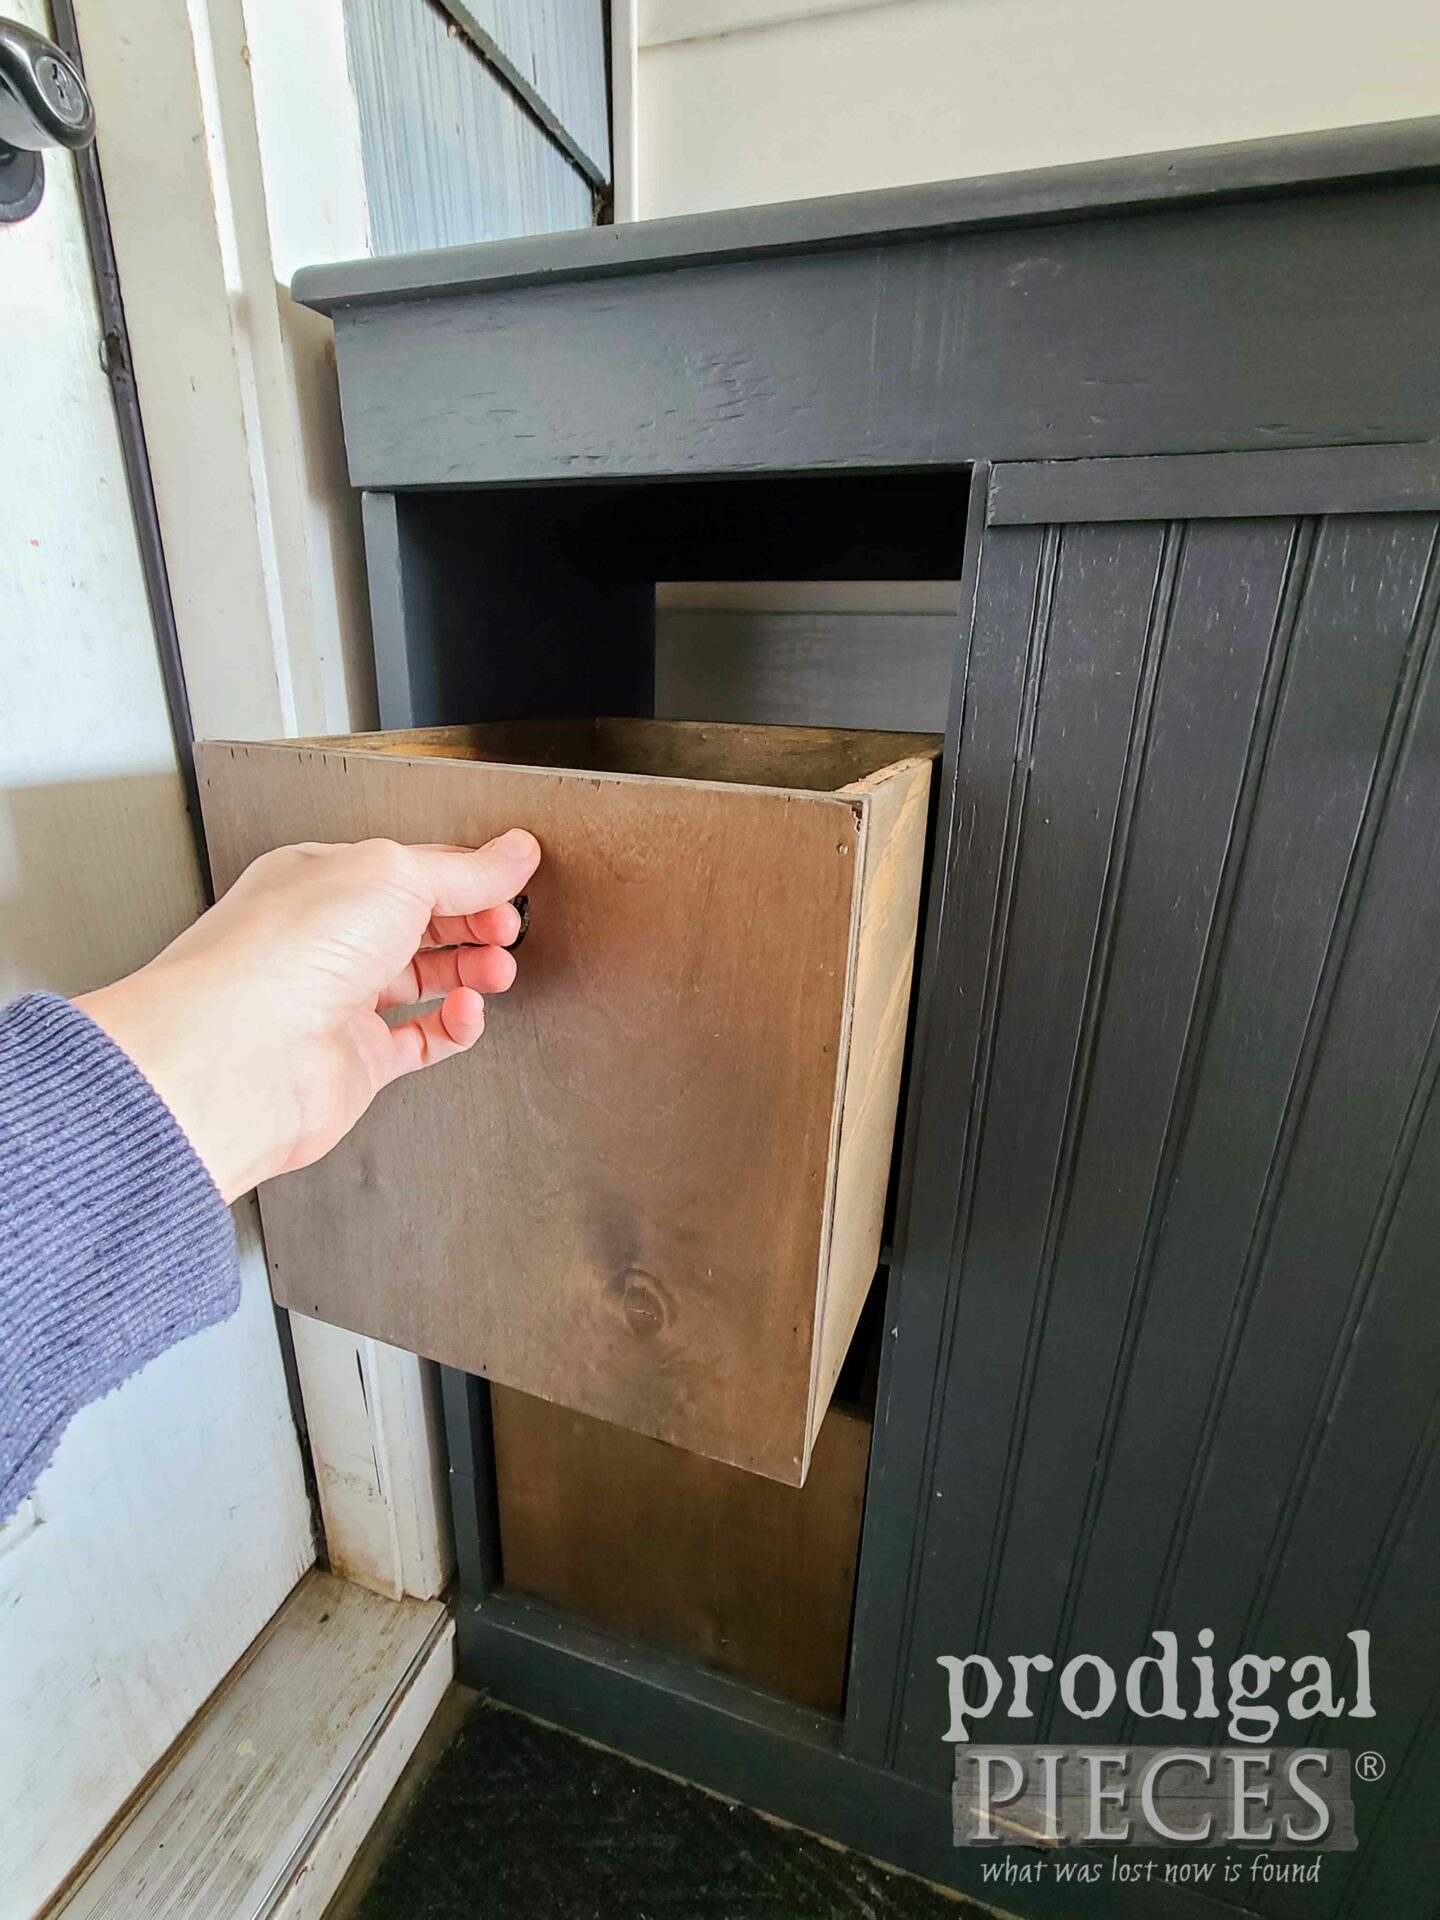
Likewise, the wooden crates make it easy for me to stuff recycling in and bag it up on pickup day.
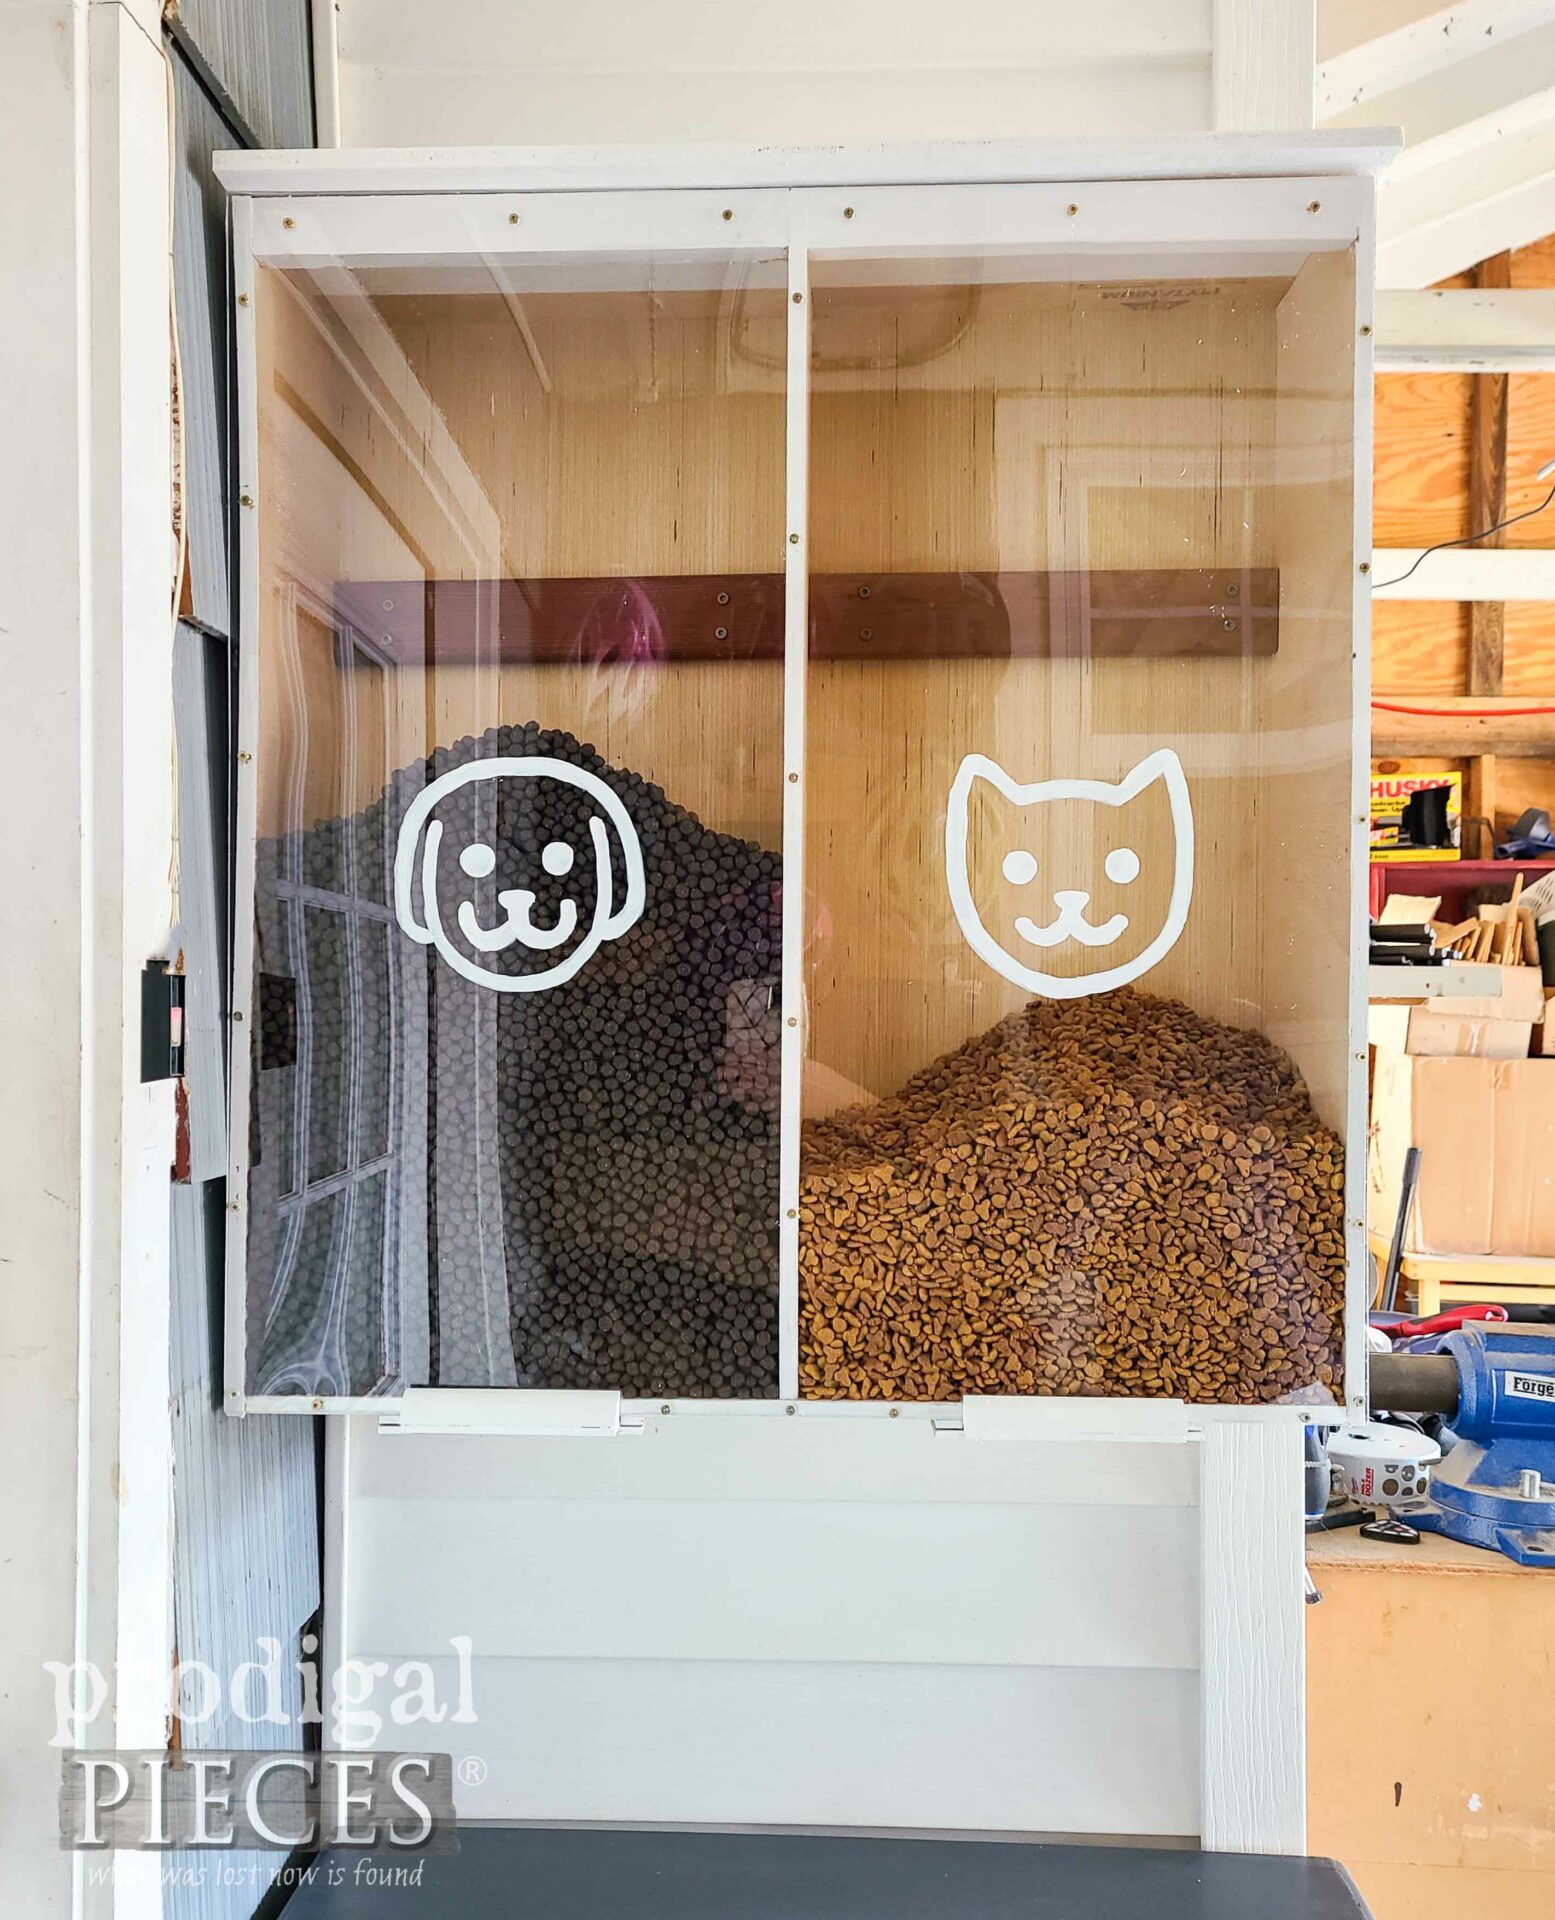
I’m so pleased with the low profile and overall aesthetic. Can you blame me? I’m happy for this and many other reasons for change. Up above is my pet food dispenser cabinet. eep! In my next post, I’ll share the free plans with you, so stay tuned!
SHARE
Are you feeling inspired? I hope so! I’m eager to hear from you. Also, I invite you to pin and share to inspire others too.
PRODIGAL PIECES TIP
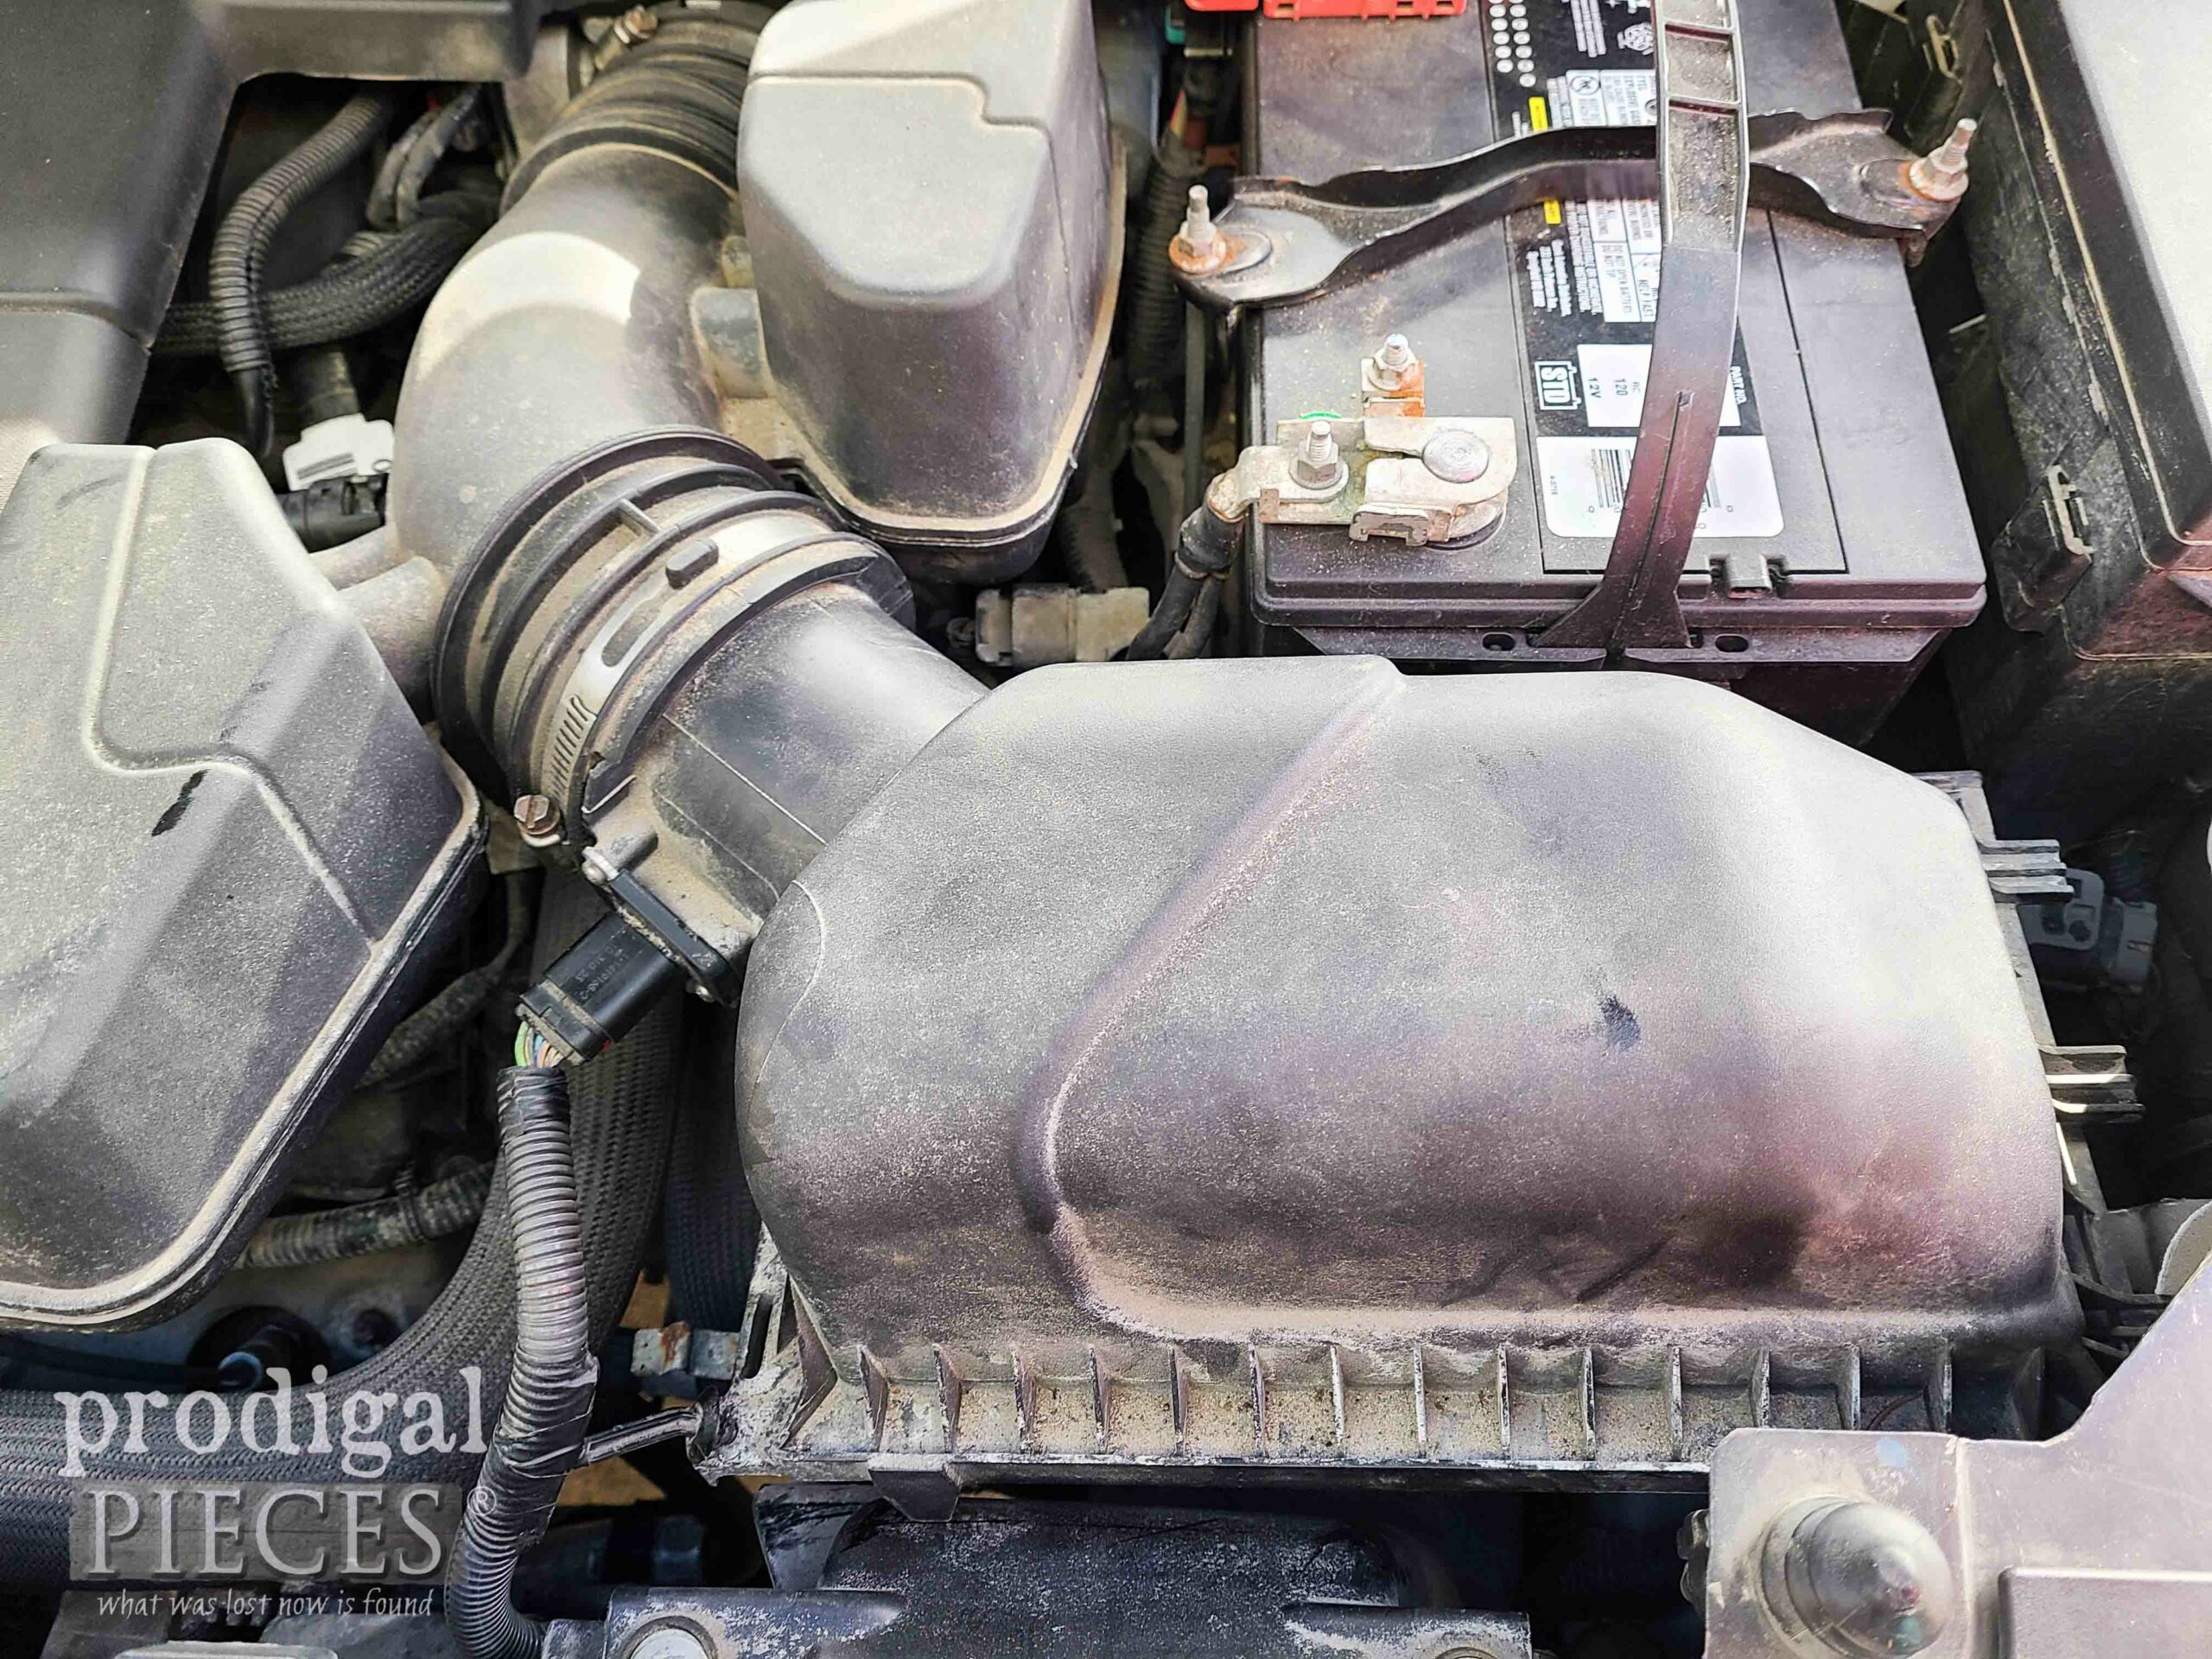
While I totally tried to get this post done sooner, a slight virus ran through my family as well as life. We finally got out of our single digit temps, and I needed to work on my new-to-me car. If you are of the mind, I completely want to encourage you to try simple maintenance. For instance, when I buy a car, I always check the basic things. Does the air filter need replaced? It’s a $12 purchase that will add longevity to your engine. Here is the air housing unit…
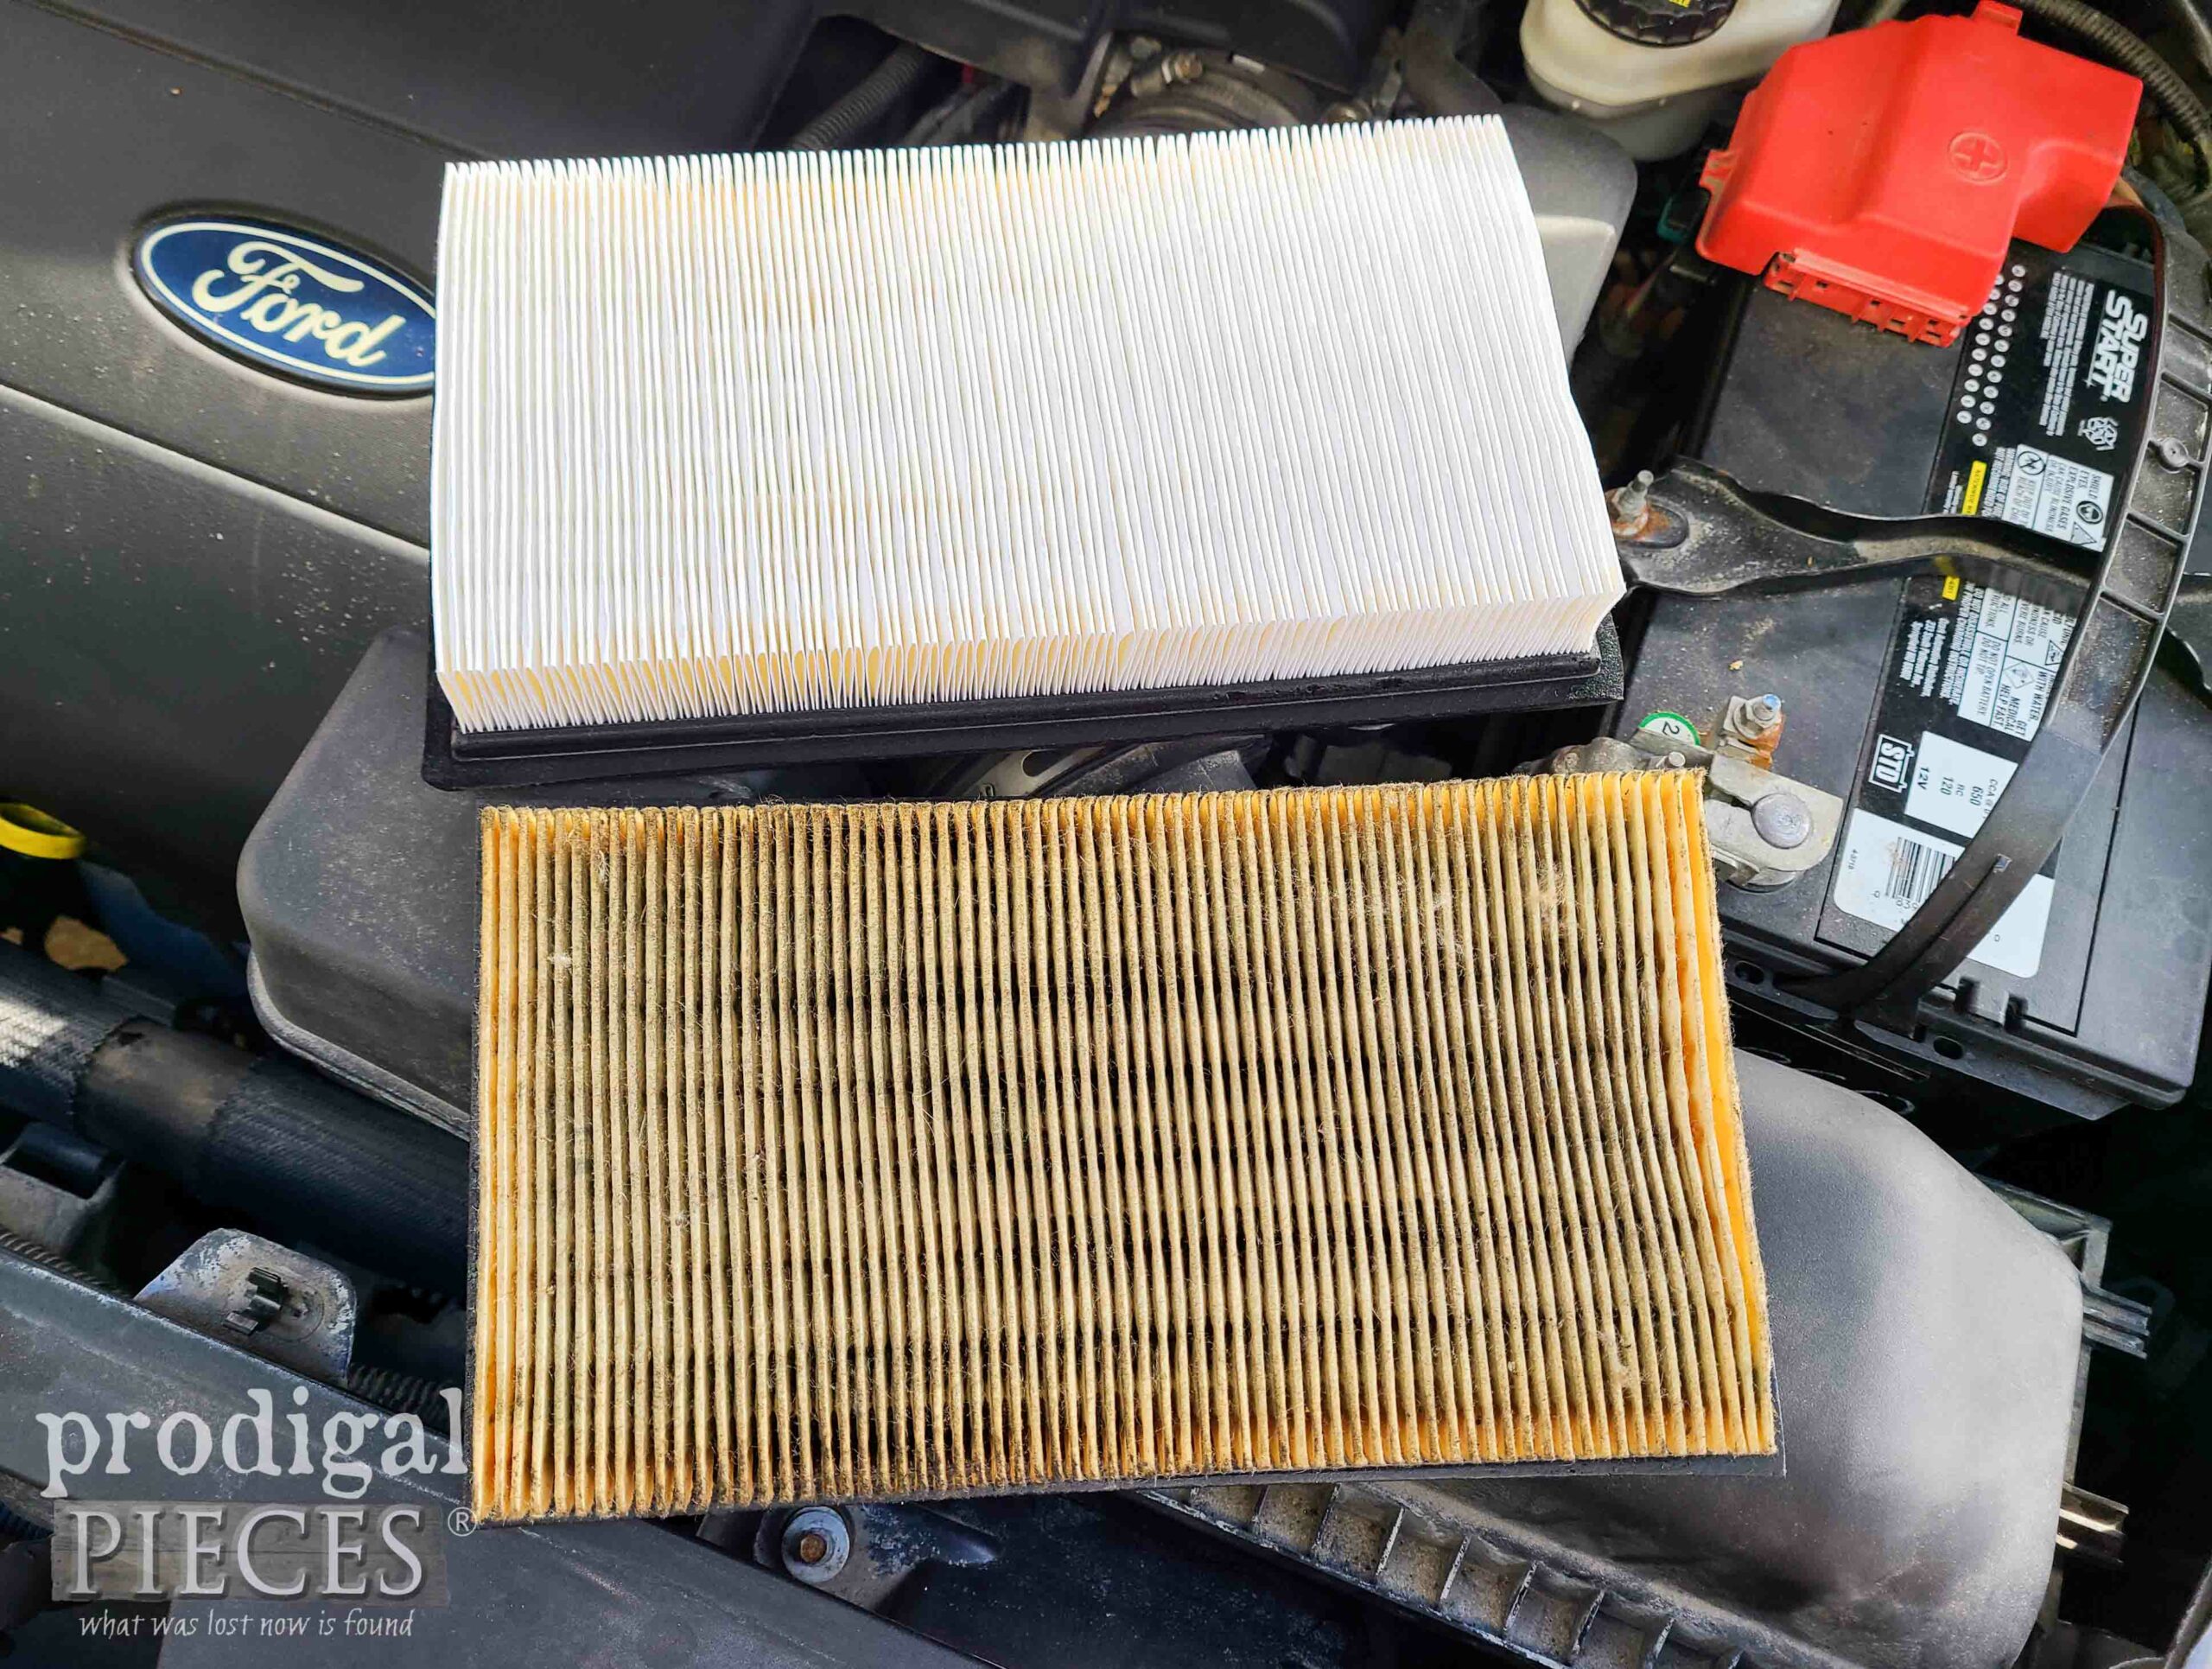
Inside, you’ll see the air filter. This is my old beside the new.
Sadly, many of the quick oil change places don’t do right by your vehicle, so I learned to do it myself a decade ago. Meanwhile, at the same time, check your cabin filter. That is what filters the air coming into your vehicle’s cabin. I replaced that one behind my glove box for about the same cost. There are endless free tutorials and videos from other awesome bloggers that guide you step-by-step.
GET ‘ER DONE
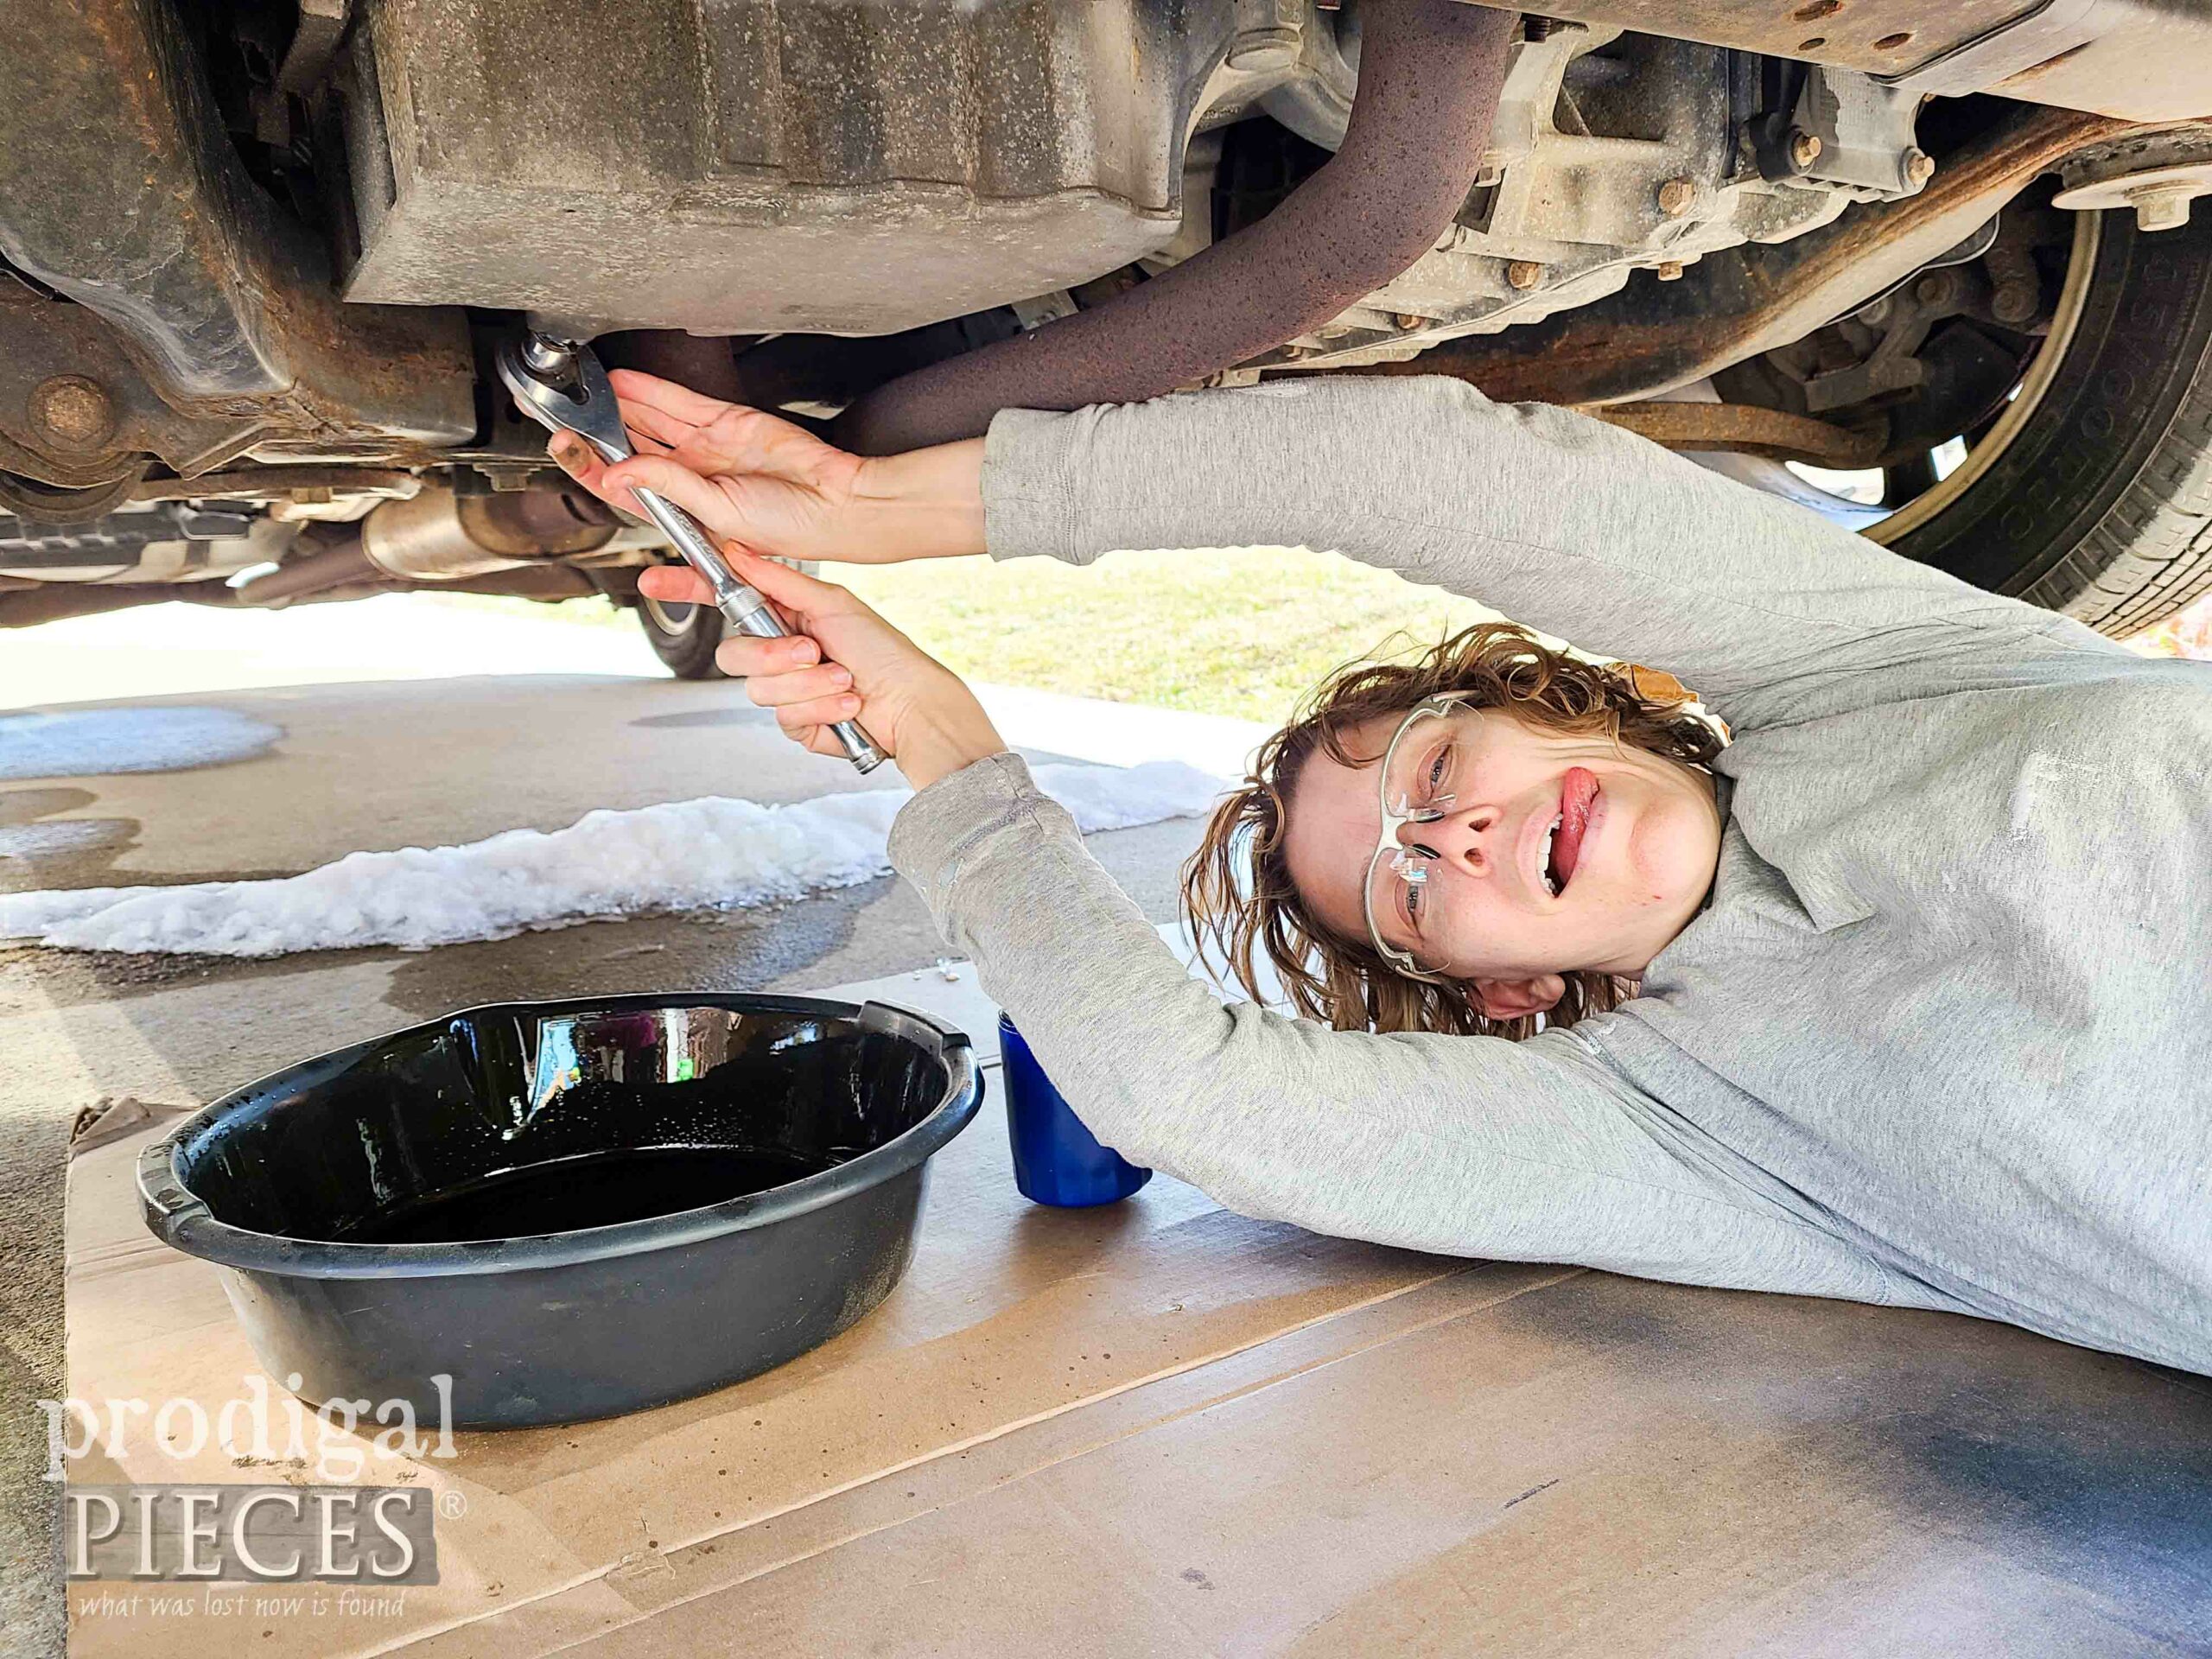
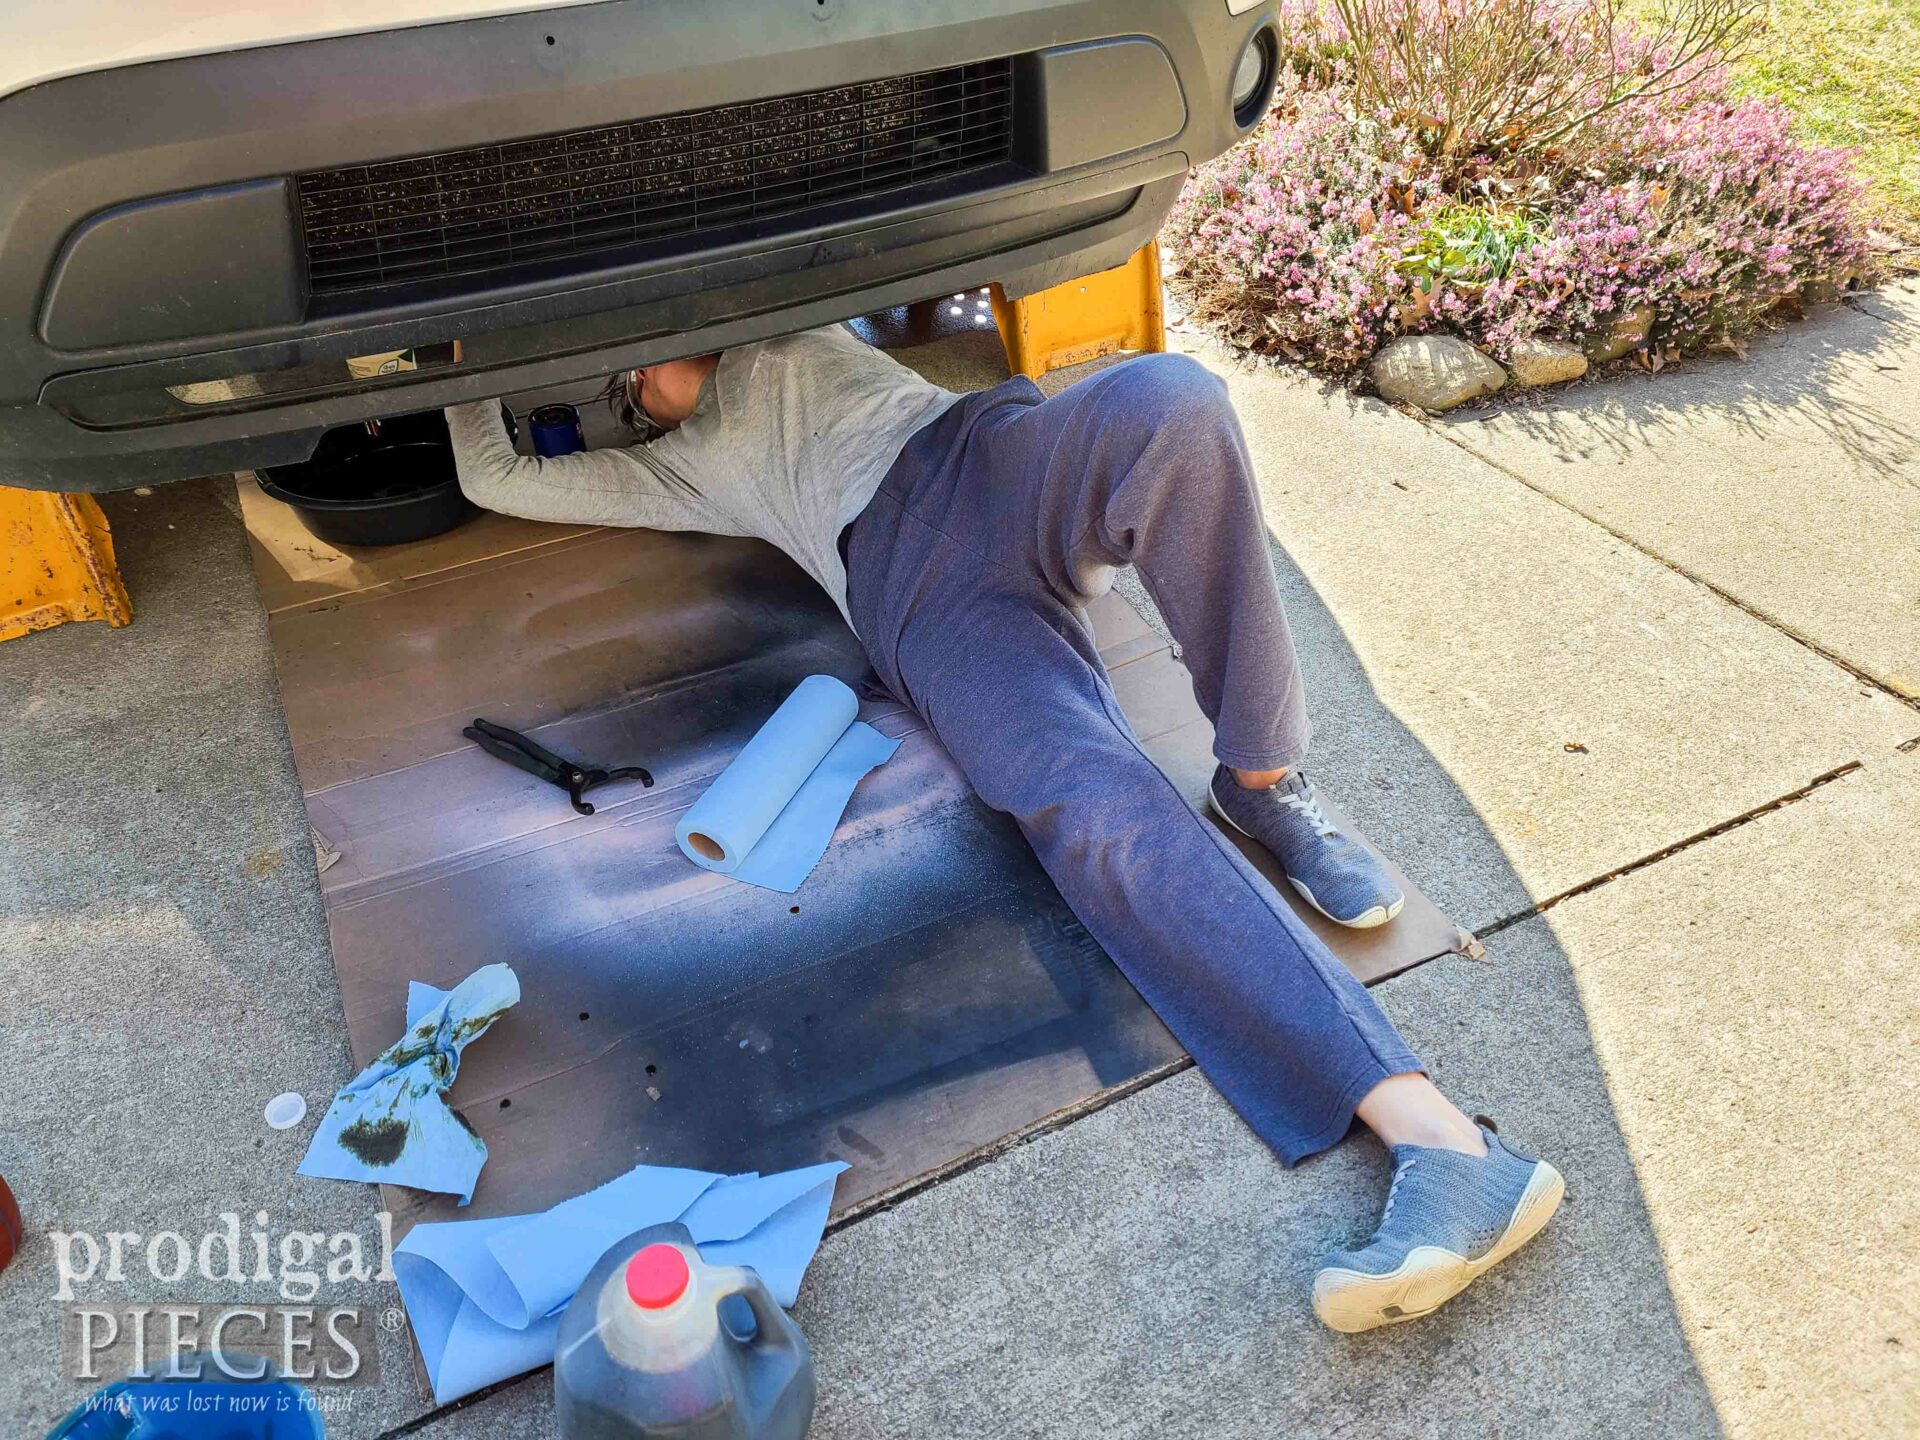
And… I also knew my vehicle needs an oil change. Another easy project if you have the know-how. My littlest thought it fun to take pics of me at work. Each time I work I invite my kids to learn and do the project themselves. My youngest is the only one who hasn’t changed oil yet.
Another negative I find is that 7 quarts were in my engine instead of 5 it’s supposed to have. ugh. BTW, take your old fluids to AutoZone and they dispose of it properly for you and check any “check engine” lights for you for free.
My assumption is the last oil change (that was overdue) was done and last owner or oil change shop topped it off too much. Next up, plugs, transmission fluid, and radiator flush. Hopefully, that will keep me going for a while. Here’s to DIY for all things!
COMING UP
Before you go, be sure to sign up for my FREE newsletter because I’m sharing my pet food dispenser FREE BUILD PLANS HERE and more. Until next time!


Awesome!! Form AND function!!!! Love it!!!! 🥰
yahoo!! I’m kinda stoked it all came out as I had it planned in my head. haha. Thanks!
I have a recycle bag hanging on my back door knob. No place to put it. Love yoursss..
Been there! It works for sure. I had to give this a try. Thanks so much, Frances.
Wow..the recycling and pet food area looks great!
yippee!! Thank you, Marianne. It feels good to have that off my noggin’.
This is absolutely fabulous! I love it when you can use scraps AND organize! It turned out just beautiful. I can’t wait to see your next post!👍🏻
You just made my day, Jill! It felt good to finally build and using it on a daily basis is blissful. Yahoo!
Love the magic you can create with scraps!!! And the recycling area and pet food corral are GREAT!! Also great advice to learn simple maintenance for our own vehicles! I just paid in full my note of the last car I plan to buy — so I gotta make it l a s t!!! I know I do a more careful job they a quite service will do!!
tee hee! Thank you! This whole project was fun and it wonderful to use on a daily basis. Congrats on working that off! 😀