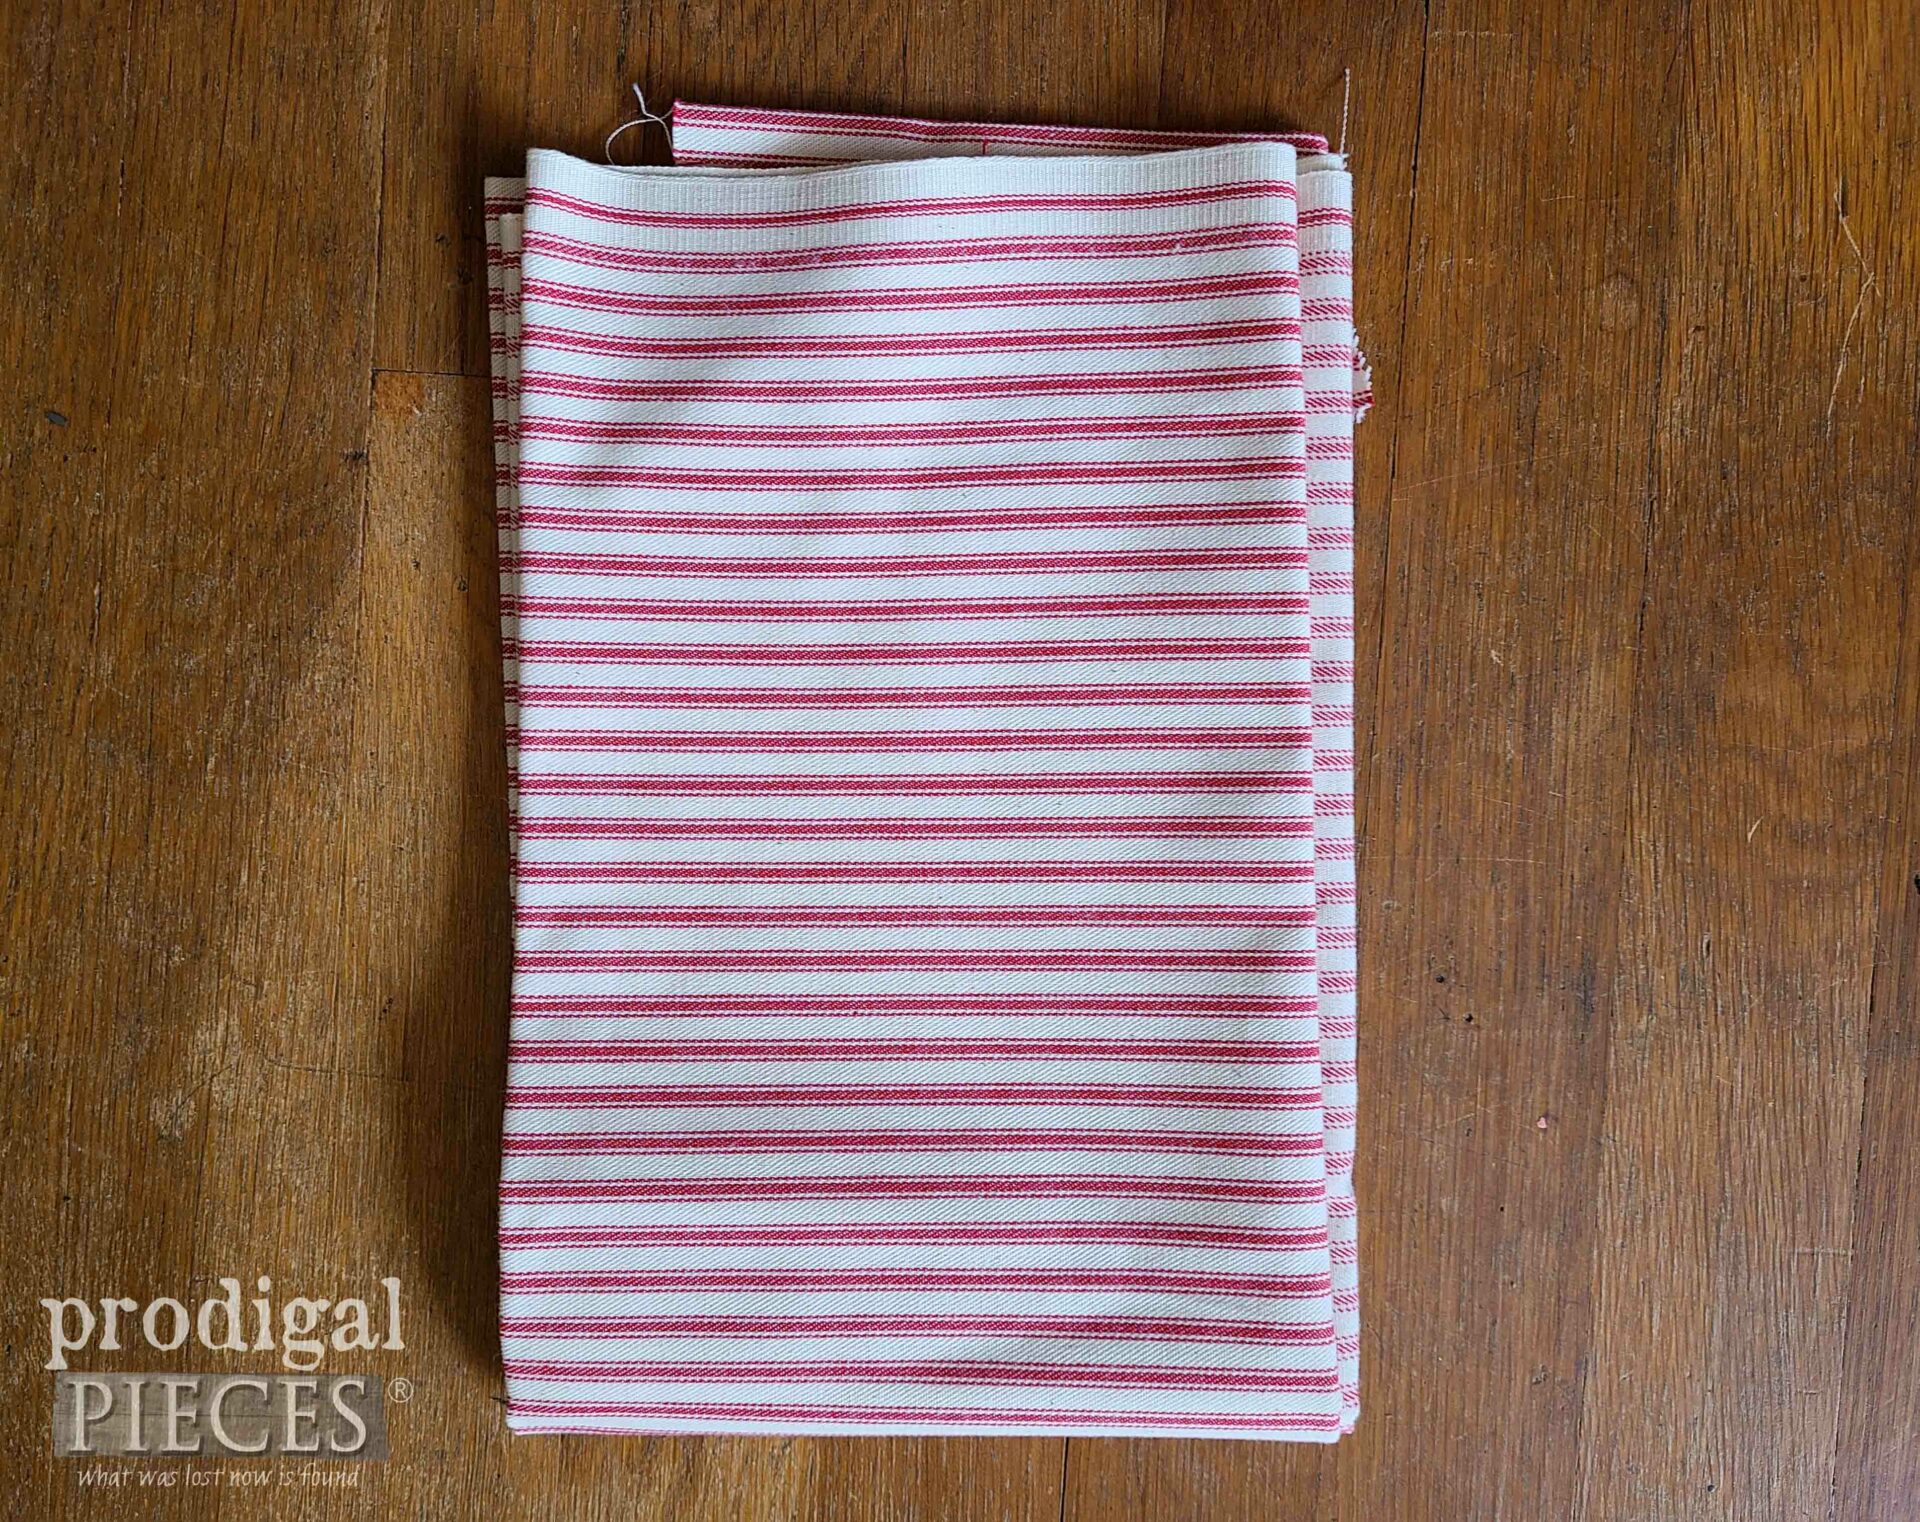
Already it’s the last Tuesday of the month and that means it’s Reduce, Reuse, REFASHION time. woot! It’s a time I set aside to (for the most part) get my stitch fix either by hand or machine. However, some projects include not stitching but simply recreating a fashion item into another form. Visit my gallery HERE to see what I’ve created in the past. Now, truth be told, this month I had something I badly want to create that I deviate from an actual refashion. On the other hand, I’m not totally deviating from that idea because this red ticking fabric was donated to a local thrift store. With that in mind, you can completely create this farmhouse patriotic pig with jeans, shirts, bedding… you get the idea.
Yeah, not many would get a hunkering to create a pig with ticking but hang with me. I have always mentioned how much I adore ticking. You can see all the ways I’ve integrated into my home, my work, and just for fun like this today.
What in the world makes me think pig? Well, I’ve always wanted one. They are a genius in the animal world, are such happy lots, and pretty easy to care for. When I passed an adorable, shaggy white one with a mix of others I knew I had to make this idea of mine, that I’ve had for ages, come to fruition.
NOTHING TO SNOUT ABOUT
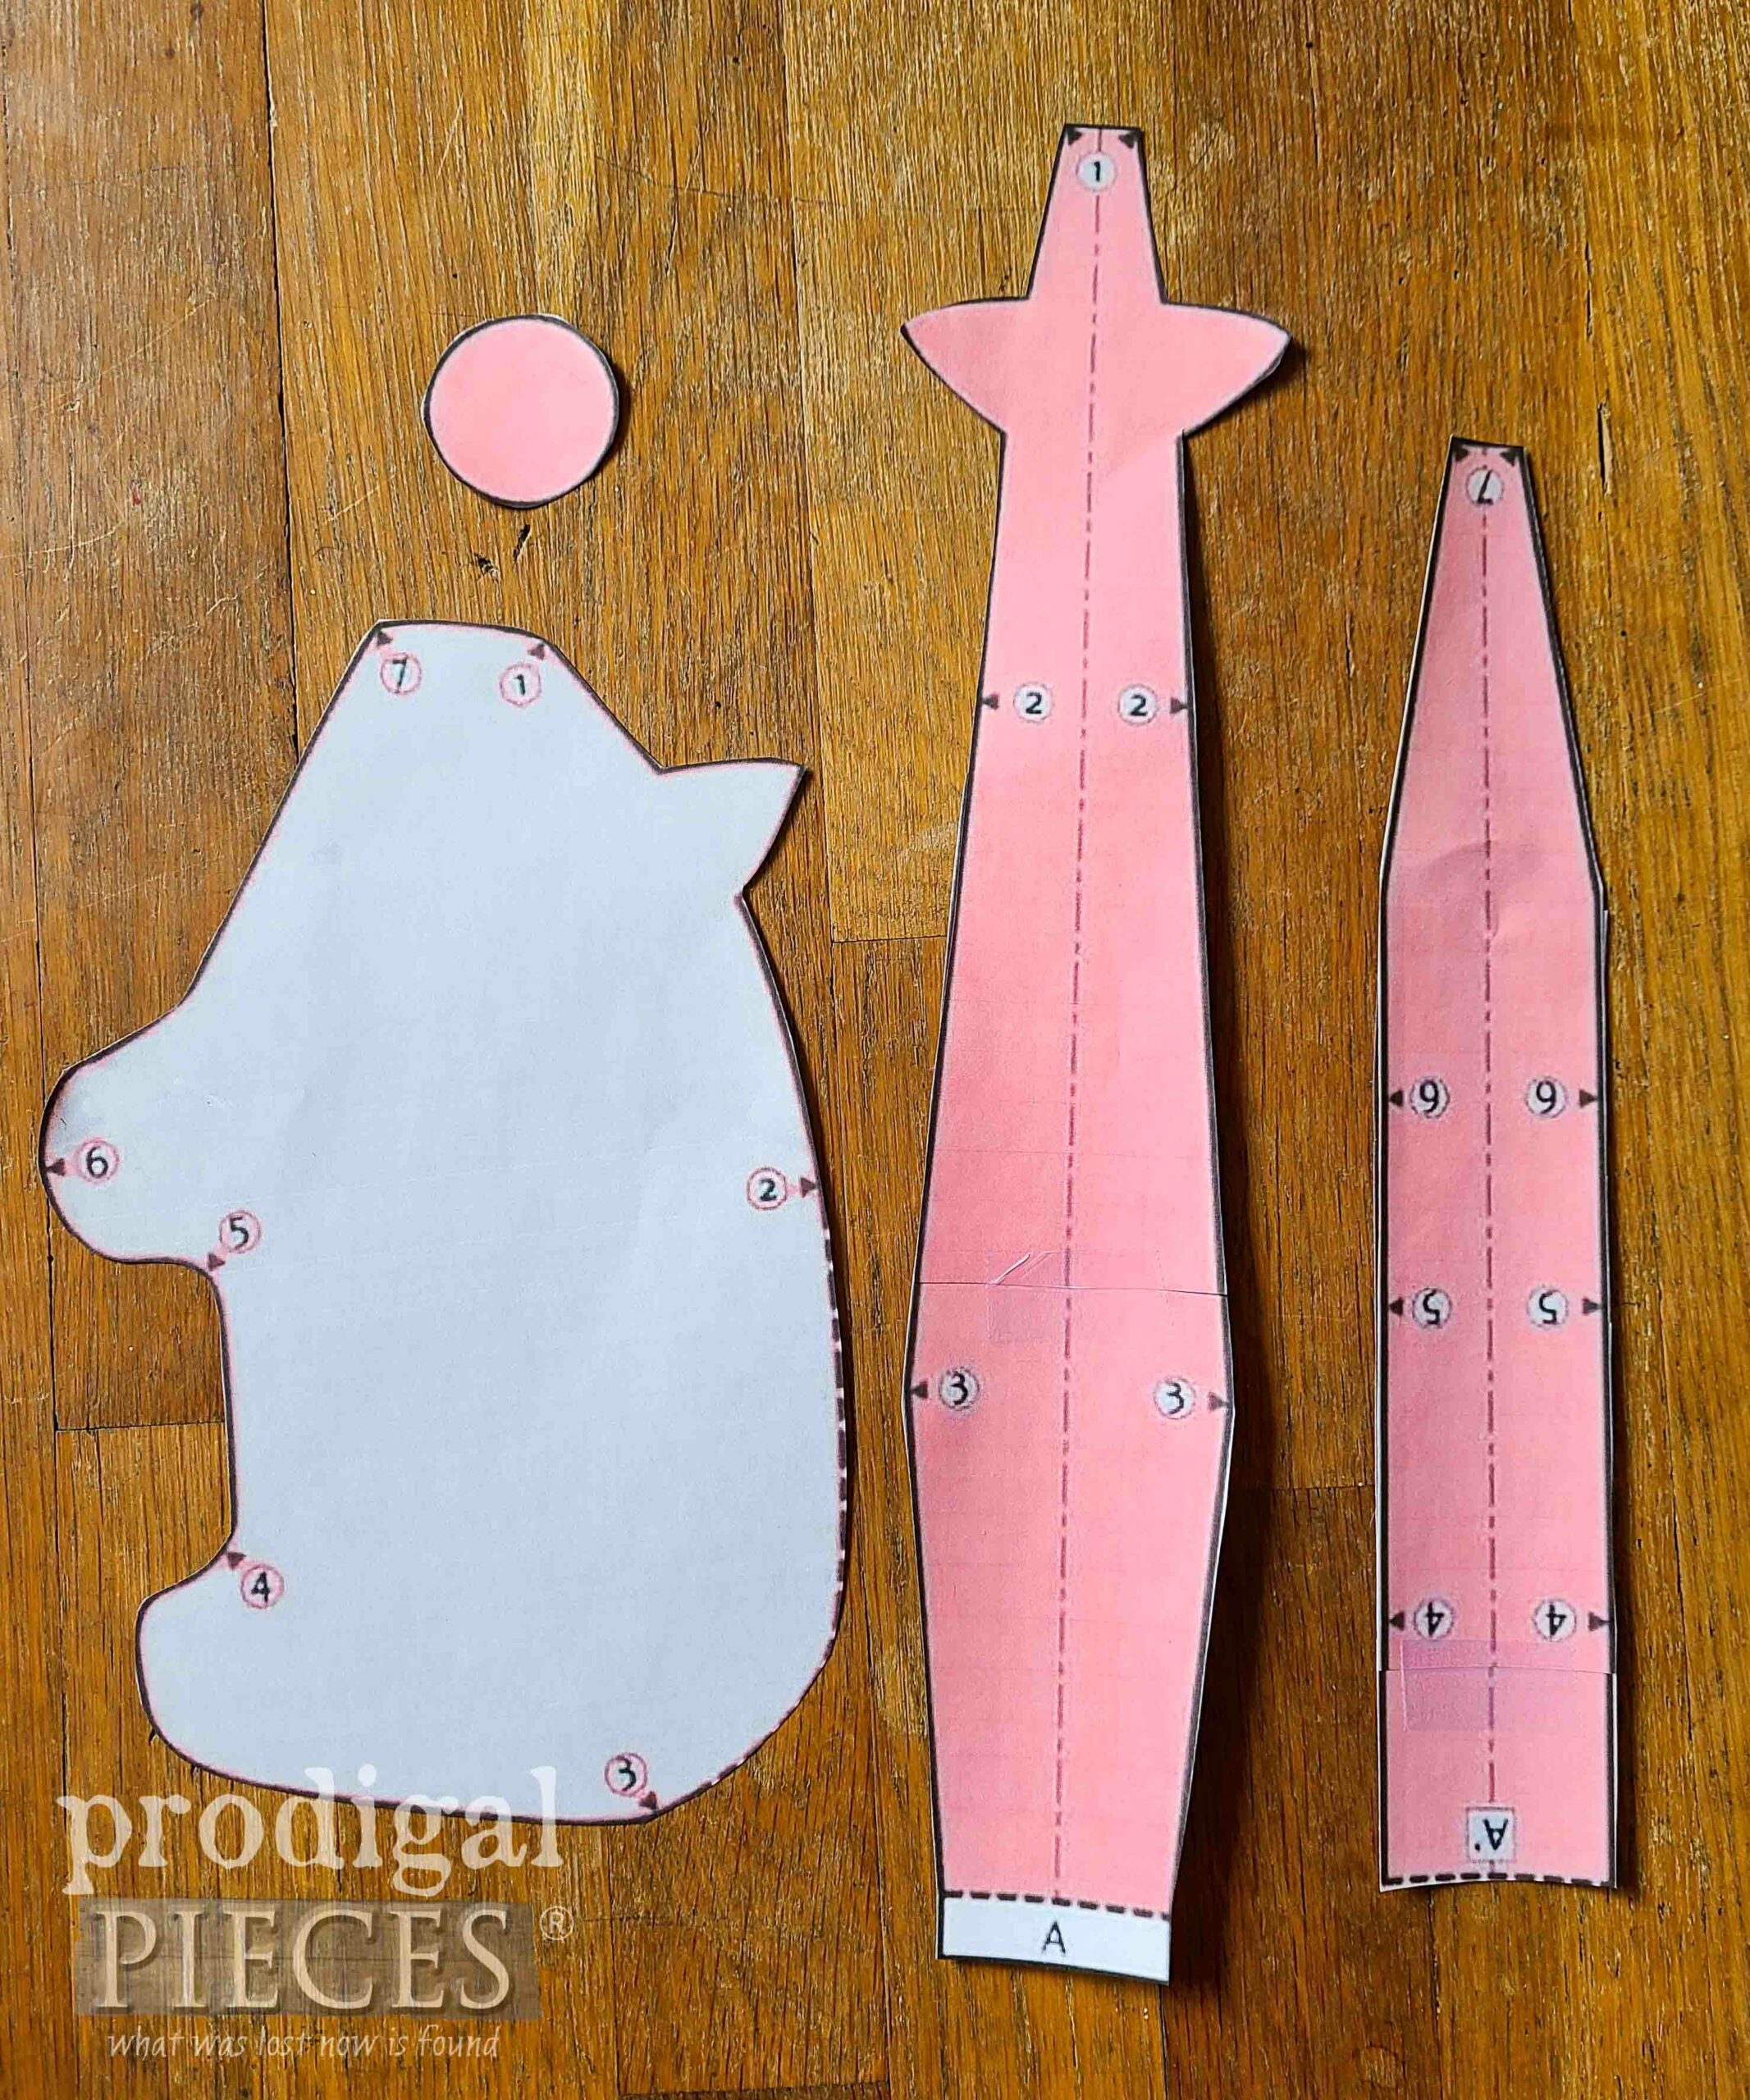
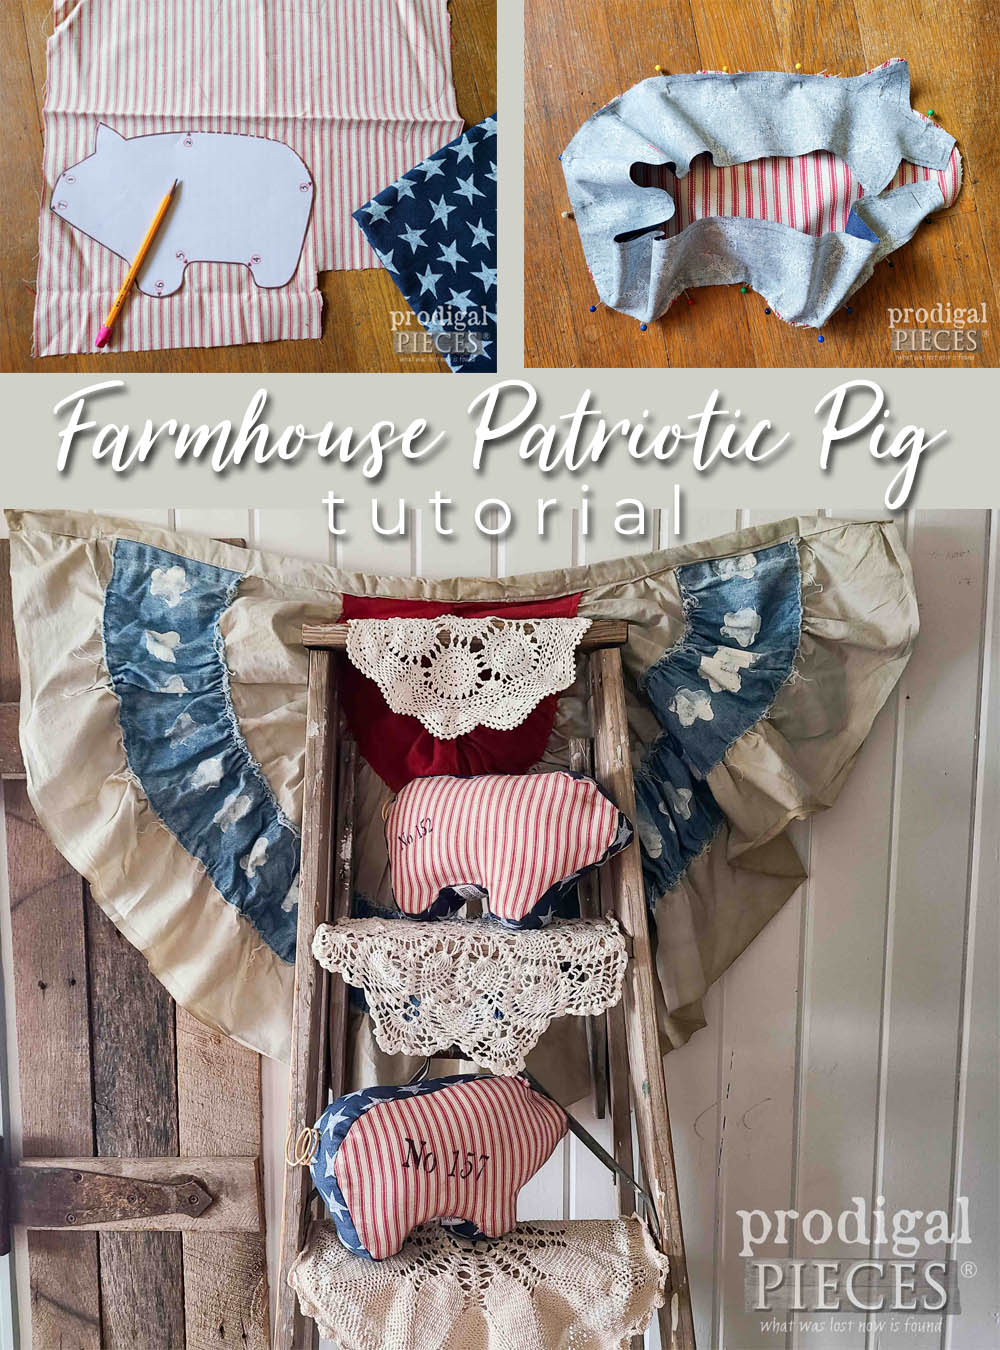
First, before you think me mad, consider this pattern I’ve had pinned for several years. I’ve always wanted to make a ticking pig so today’s the day. If you want to make this, I don’t know who created it, but I used it to create a bigger version of the one shown in my editing software. I simply created an 8.5″ x 11″ paper size and placed the image in random spots and then print and tape it all together. So not only can you make it in the original size, but any size you want.
STEP 1
You will cut pattern pieces allowing a ¼” seam allowance – feel free to use any fabrics of any genre:
- 2 sides of the pig facing in opposing directions
- 1 spine/belly piece (tape it together at the “A”)
- 1 snout
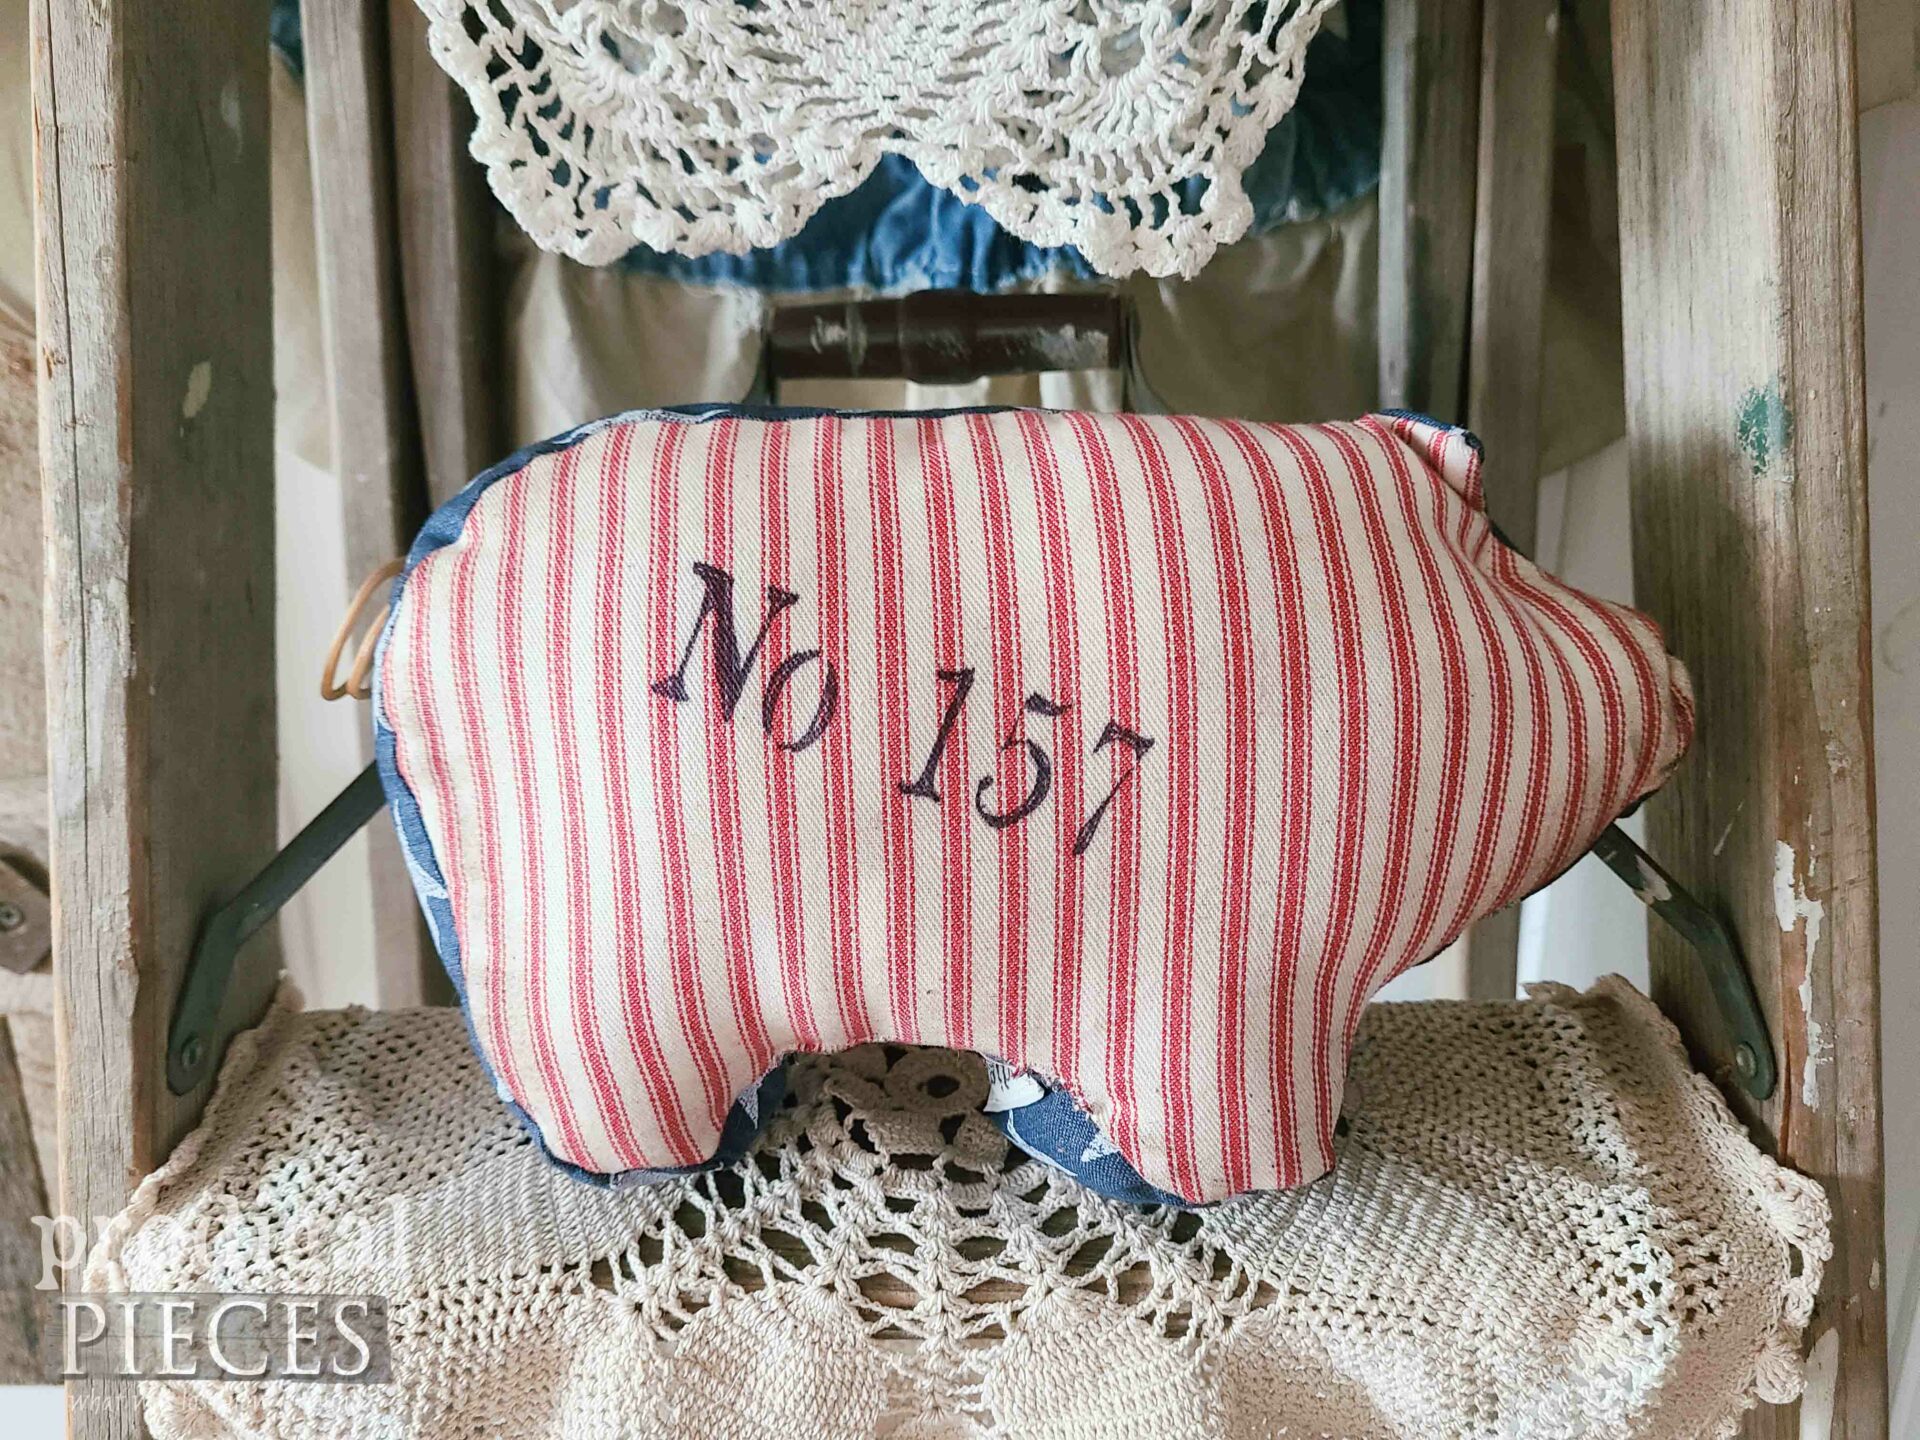
For my pig I cut two ticking sides, one belly in stars, and one snout in stars with a star centered. Then, once you cut your pieces, it’s time to assemble. Before you assemble, consider adding any designs or extras at this point.
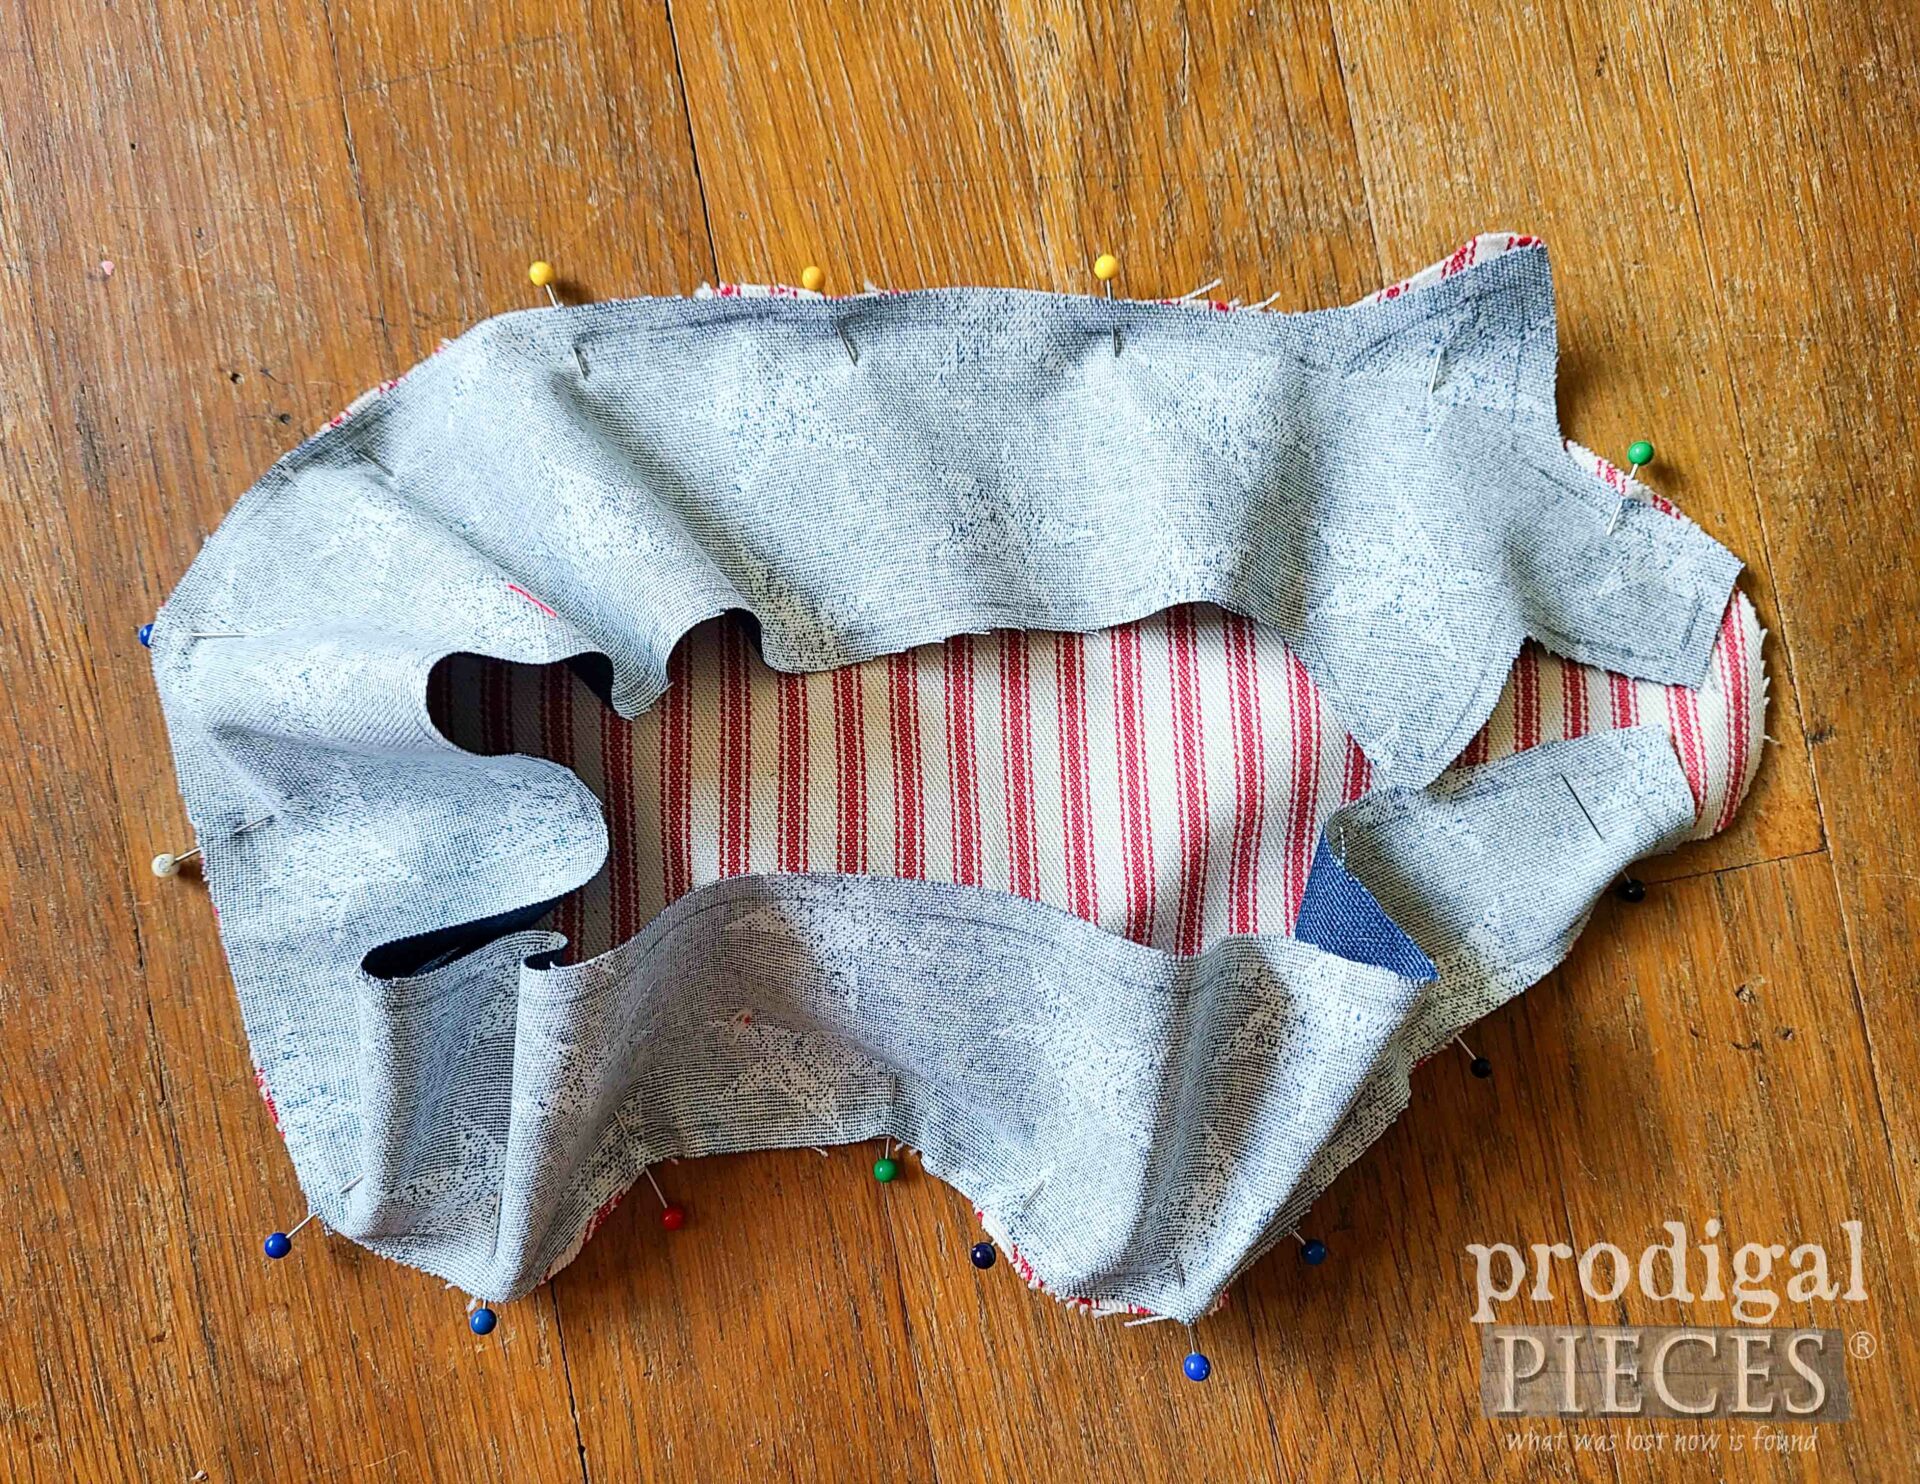
After that, begin by pinning the stars ear to the ticking ear and slowly ease the fabric around and pin as you go with right sides facing. If you want an even more rustic vibe, have the seams exposed like I do on my fabric pumpkins.
After pinning, sew beginning at the snout (bottom or top) leaving a ¼” bit of tail to allow to join at the snout, and finish at the other end of the snout leaving the same “tail”.
STEP 2
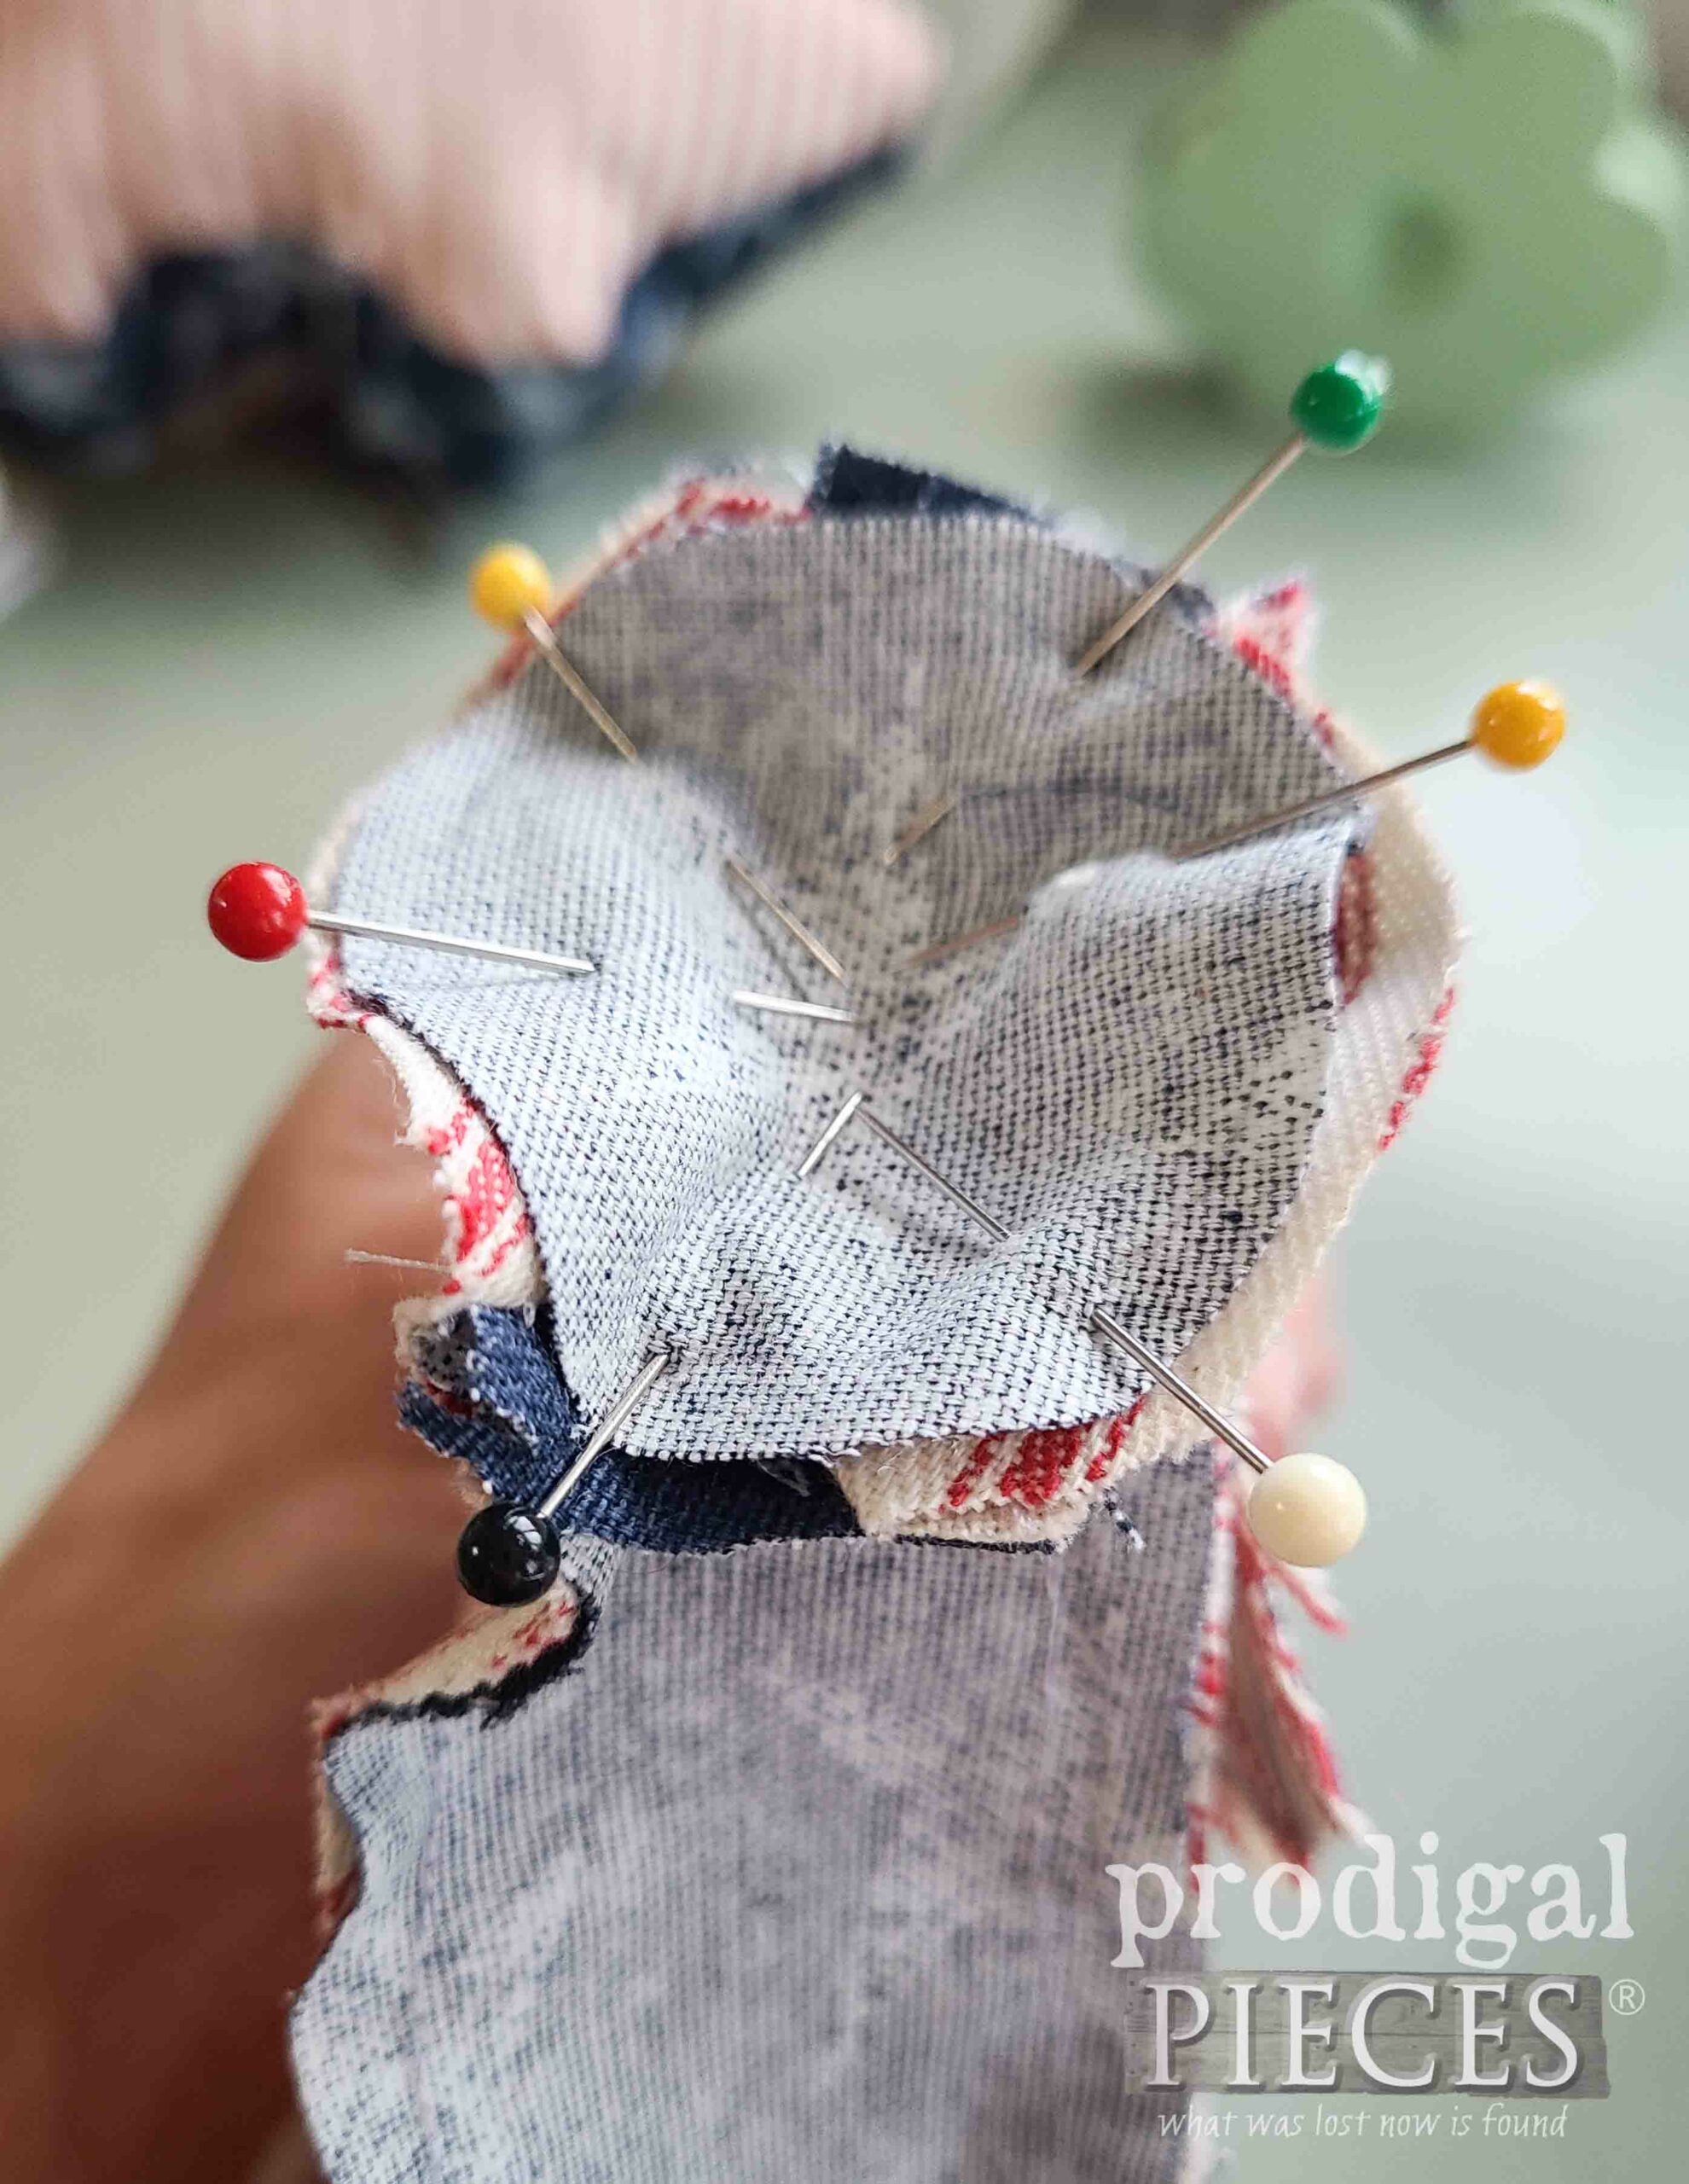
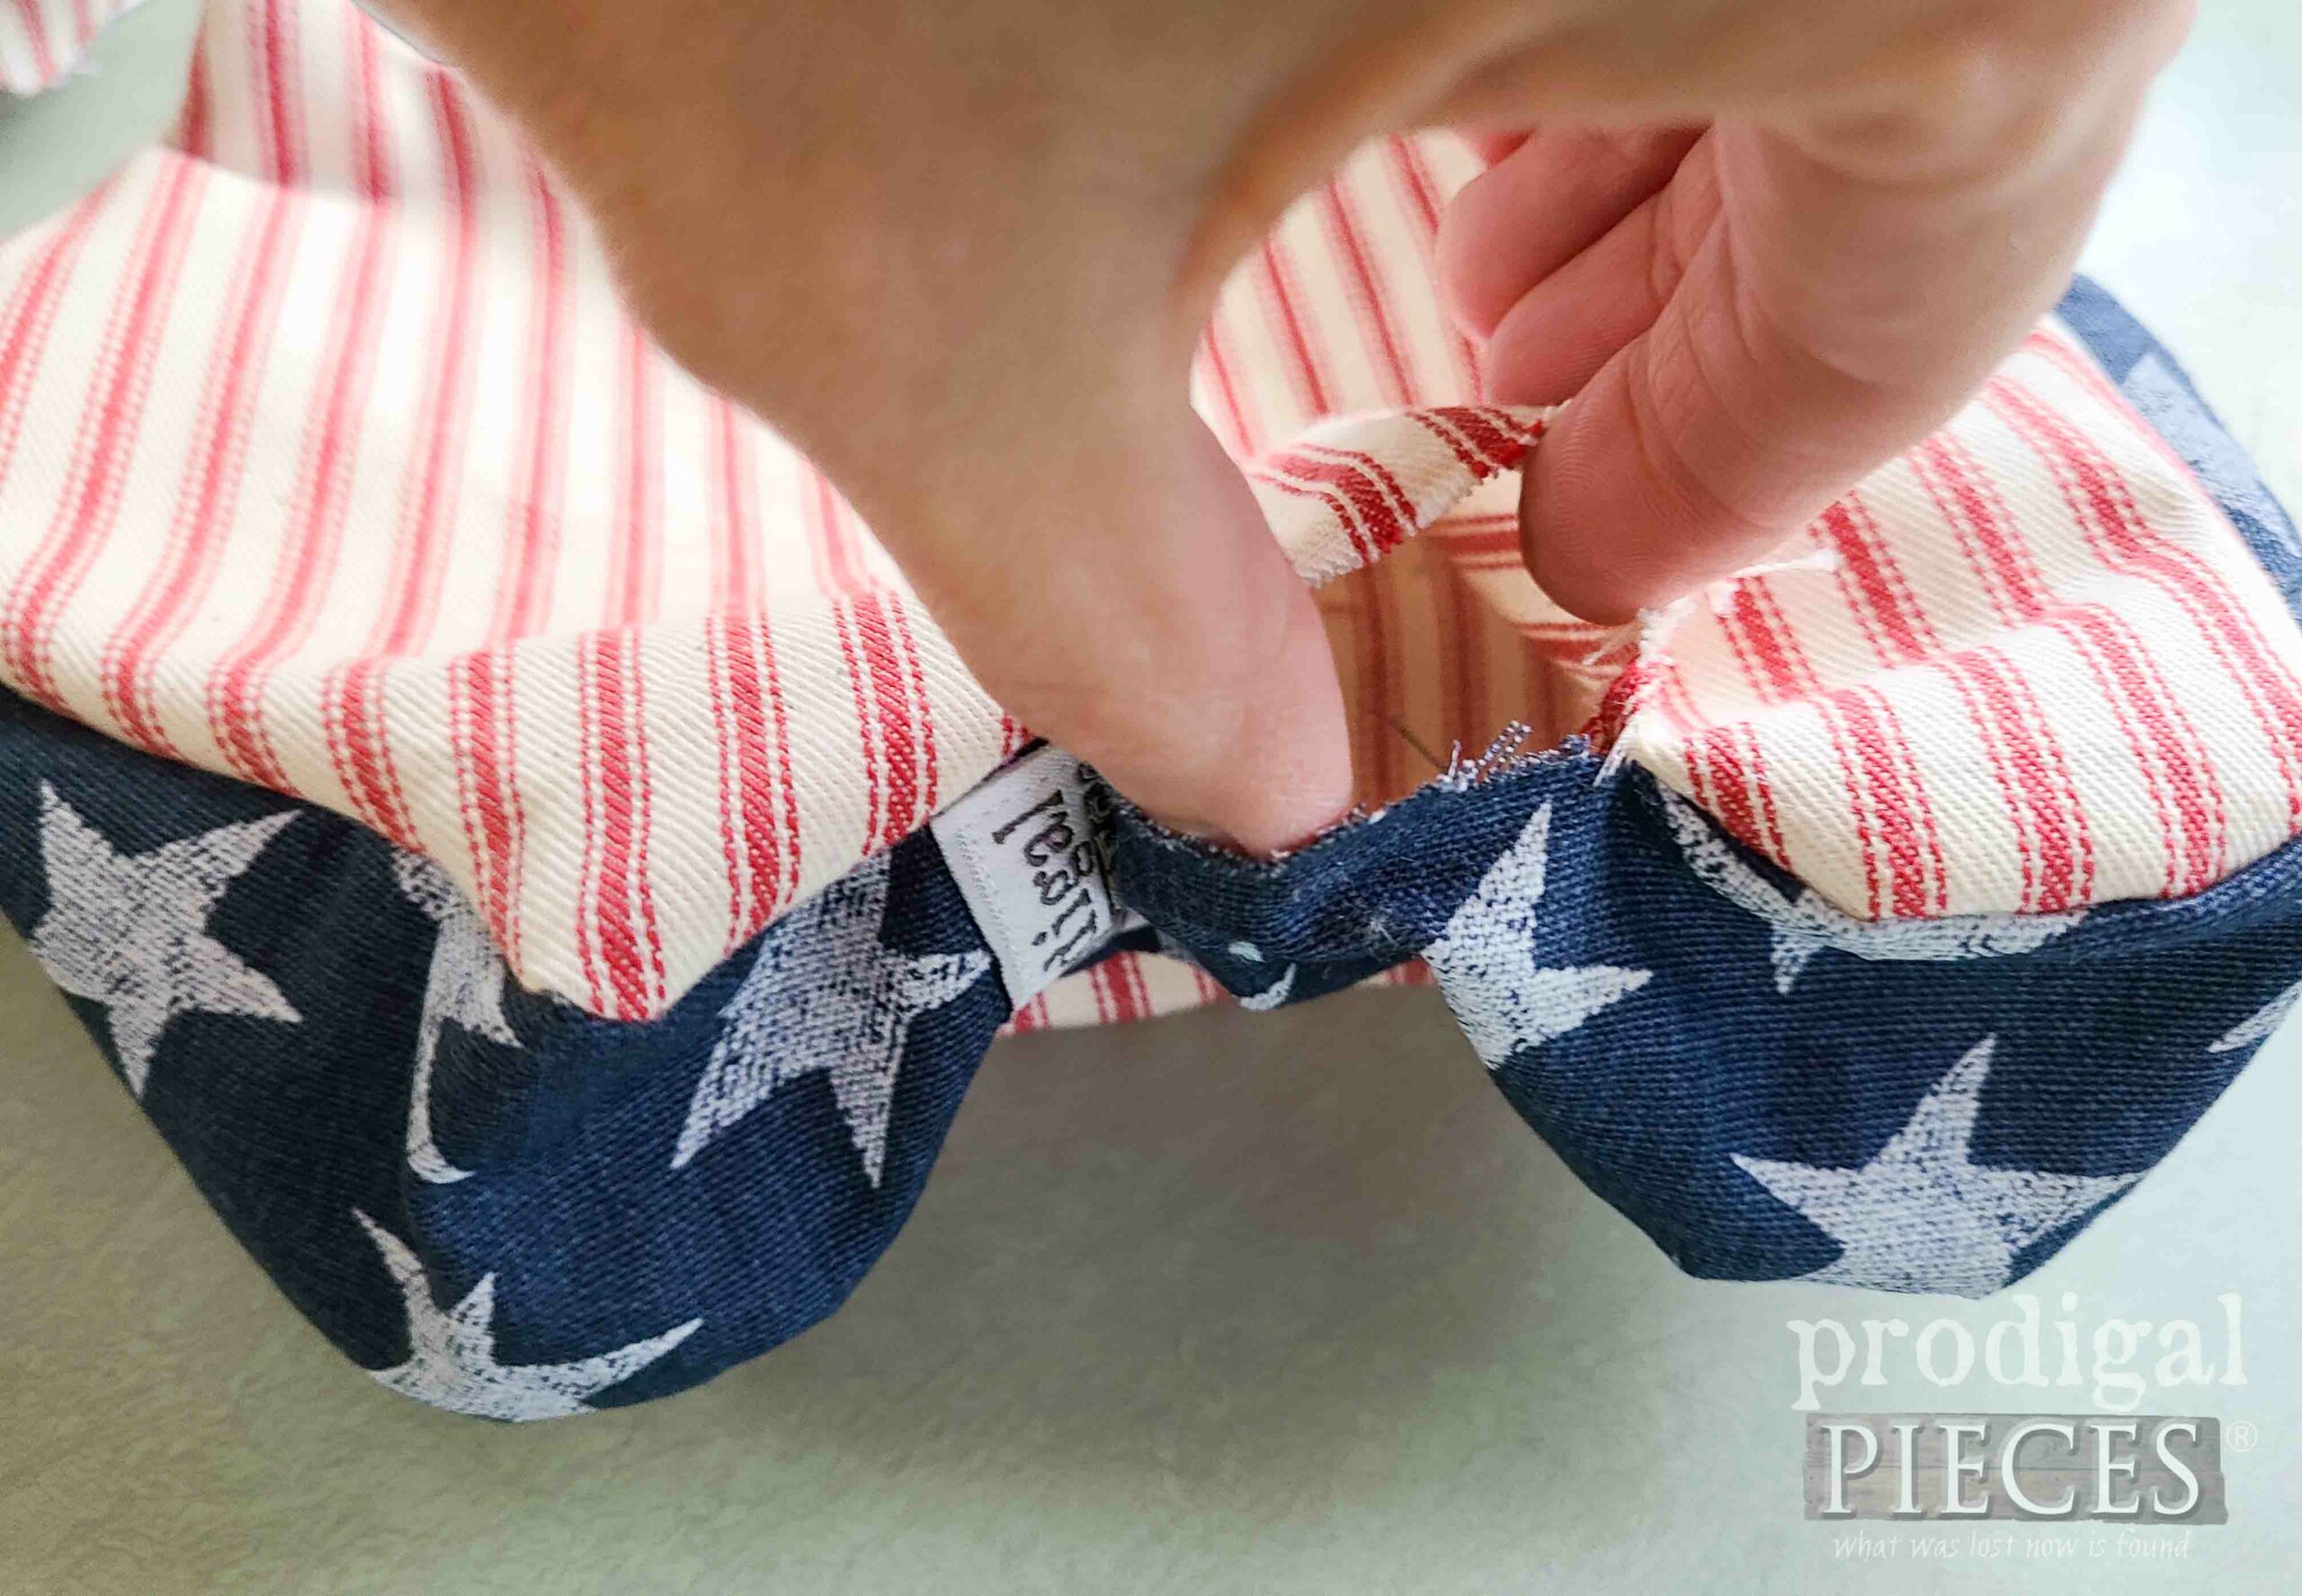
Next, take your other pig side and attach in the same manner EXCEPT you’ll need to leave an opening for turning. You can do that at any point you want, but I prefer the belly. Now that both your sides are sewn on, you can take your snout round and pin it in the snout opening with right sides facing.
This is definitely a tricky part to sew, but go slow while anchoring your needle to turn, move the body out of the way, and you’re good.
STEP 3
Last, you’ll clip your seams very slightly up to the thread (BUT BE CAREFUL NOT TO CLIP THROUGH YOUR SEAM) to allow ease of the curves to lay better. Then, with your opening, add stuffing to your desired chubbiness.
To finish, use a hand ladder-stitch to close your opening.
STARS & STRIPES
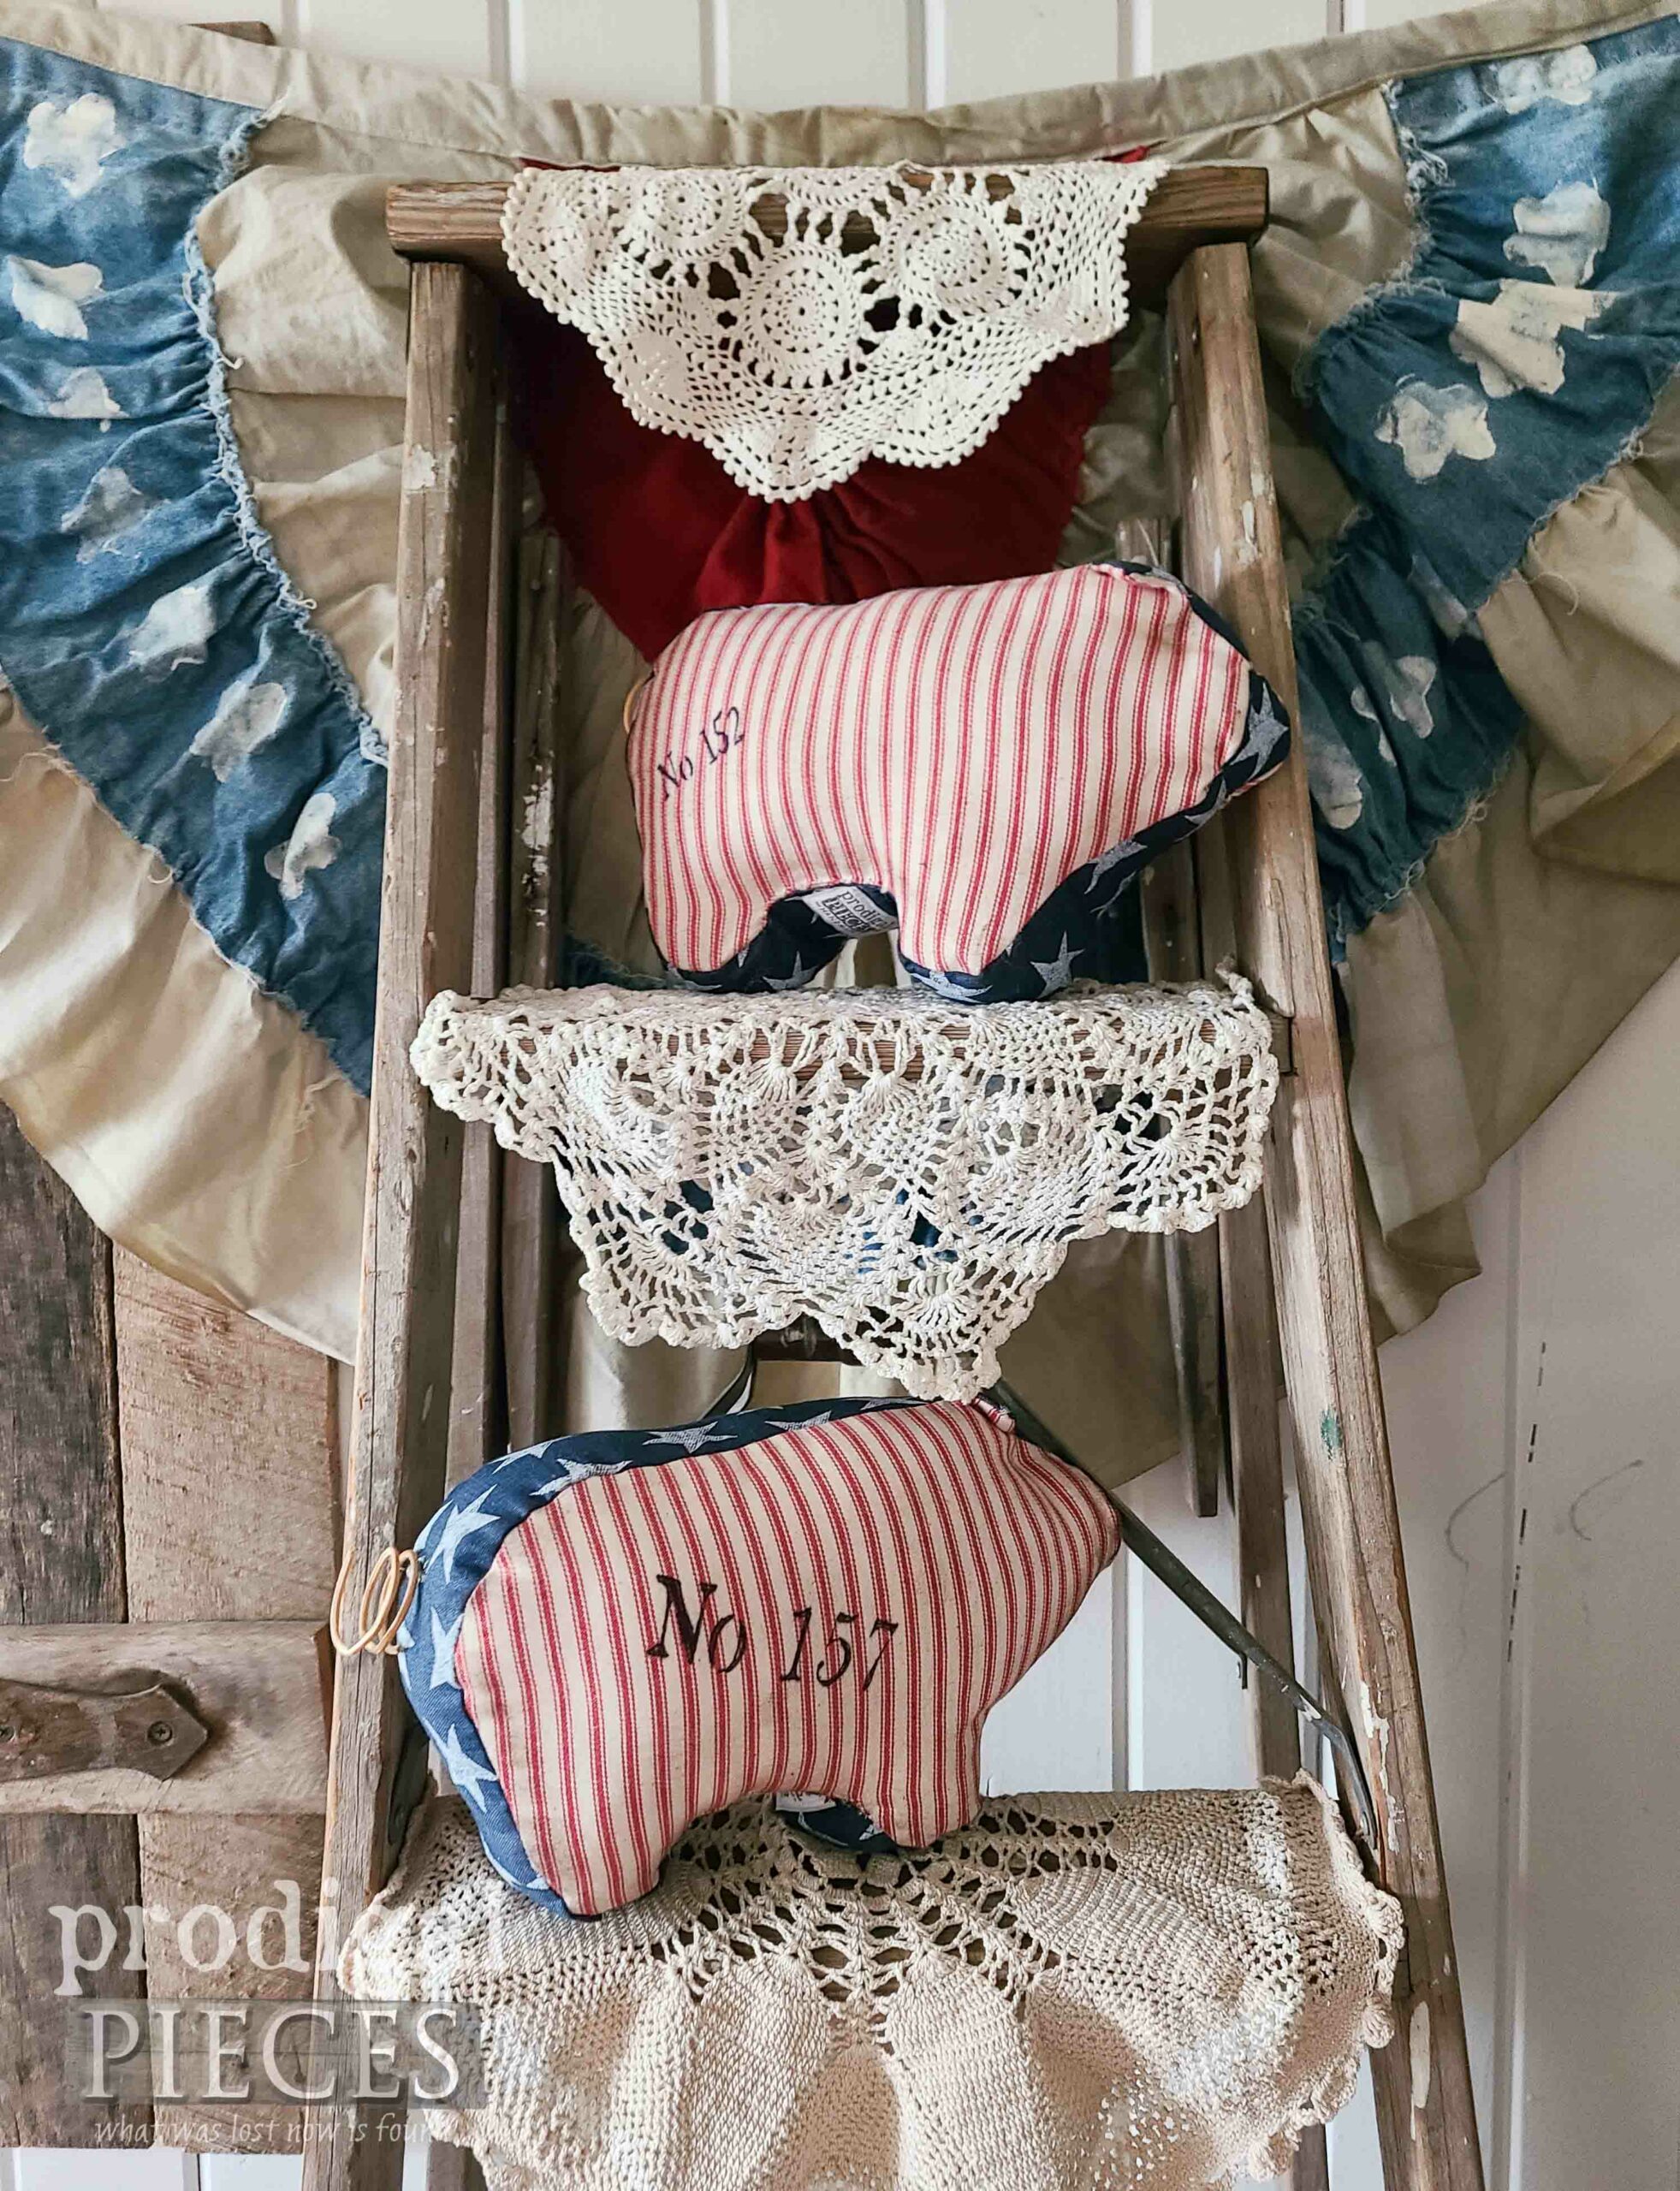
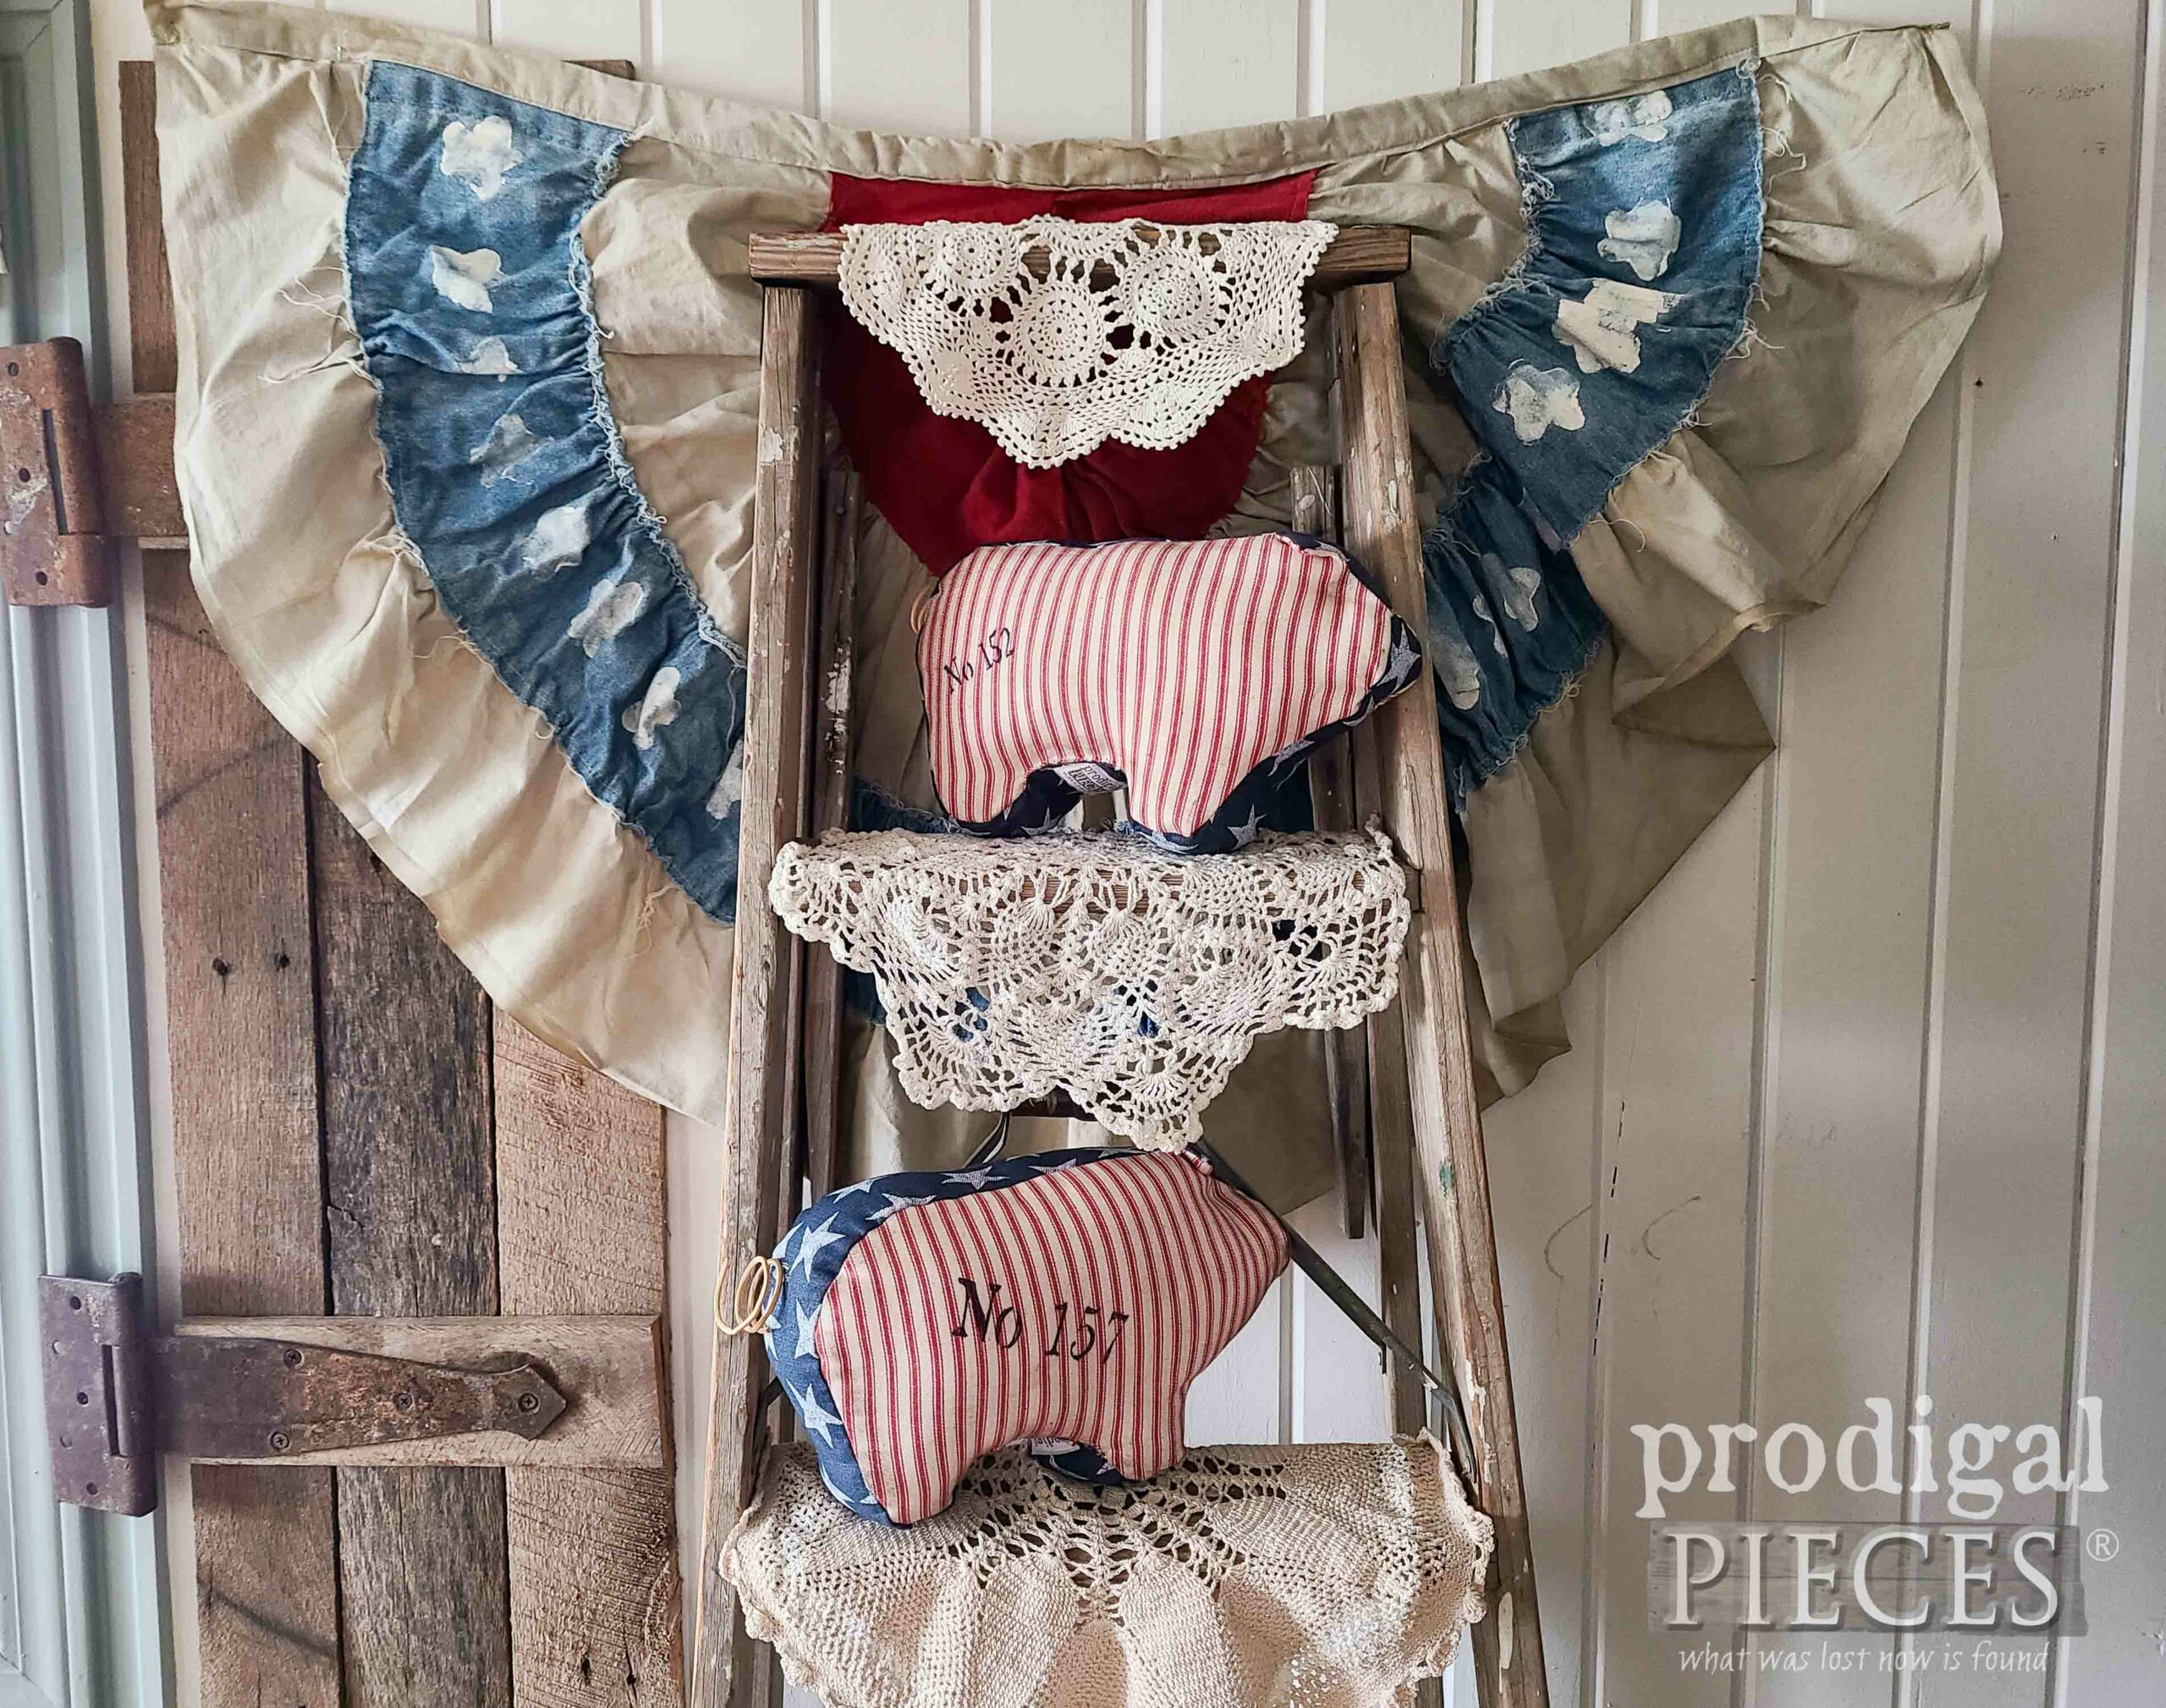
Finally, my dynamic duo is complete and brining smiles to faces all around. I can hear them grunting their praise. {{wink, wink}} You can also find my refashioned bunting tutorial HERE.
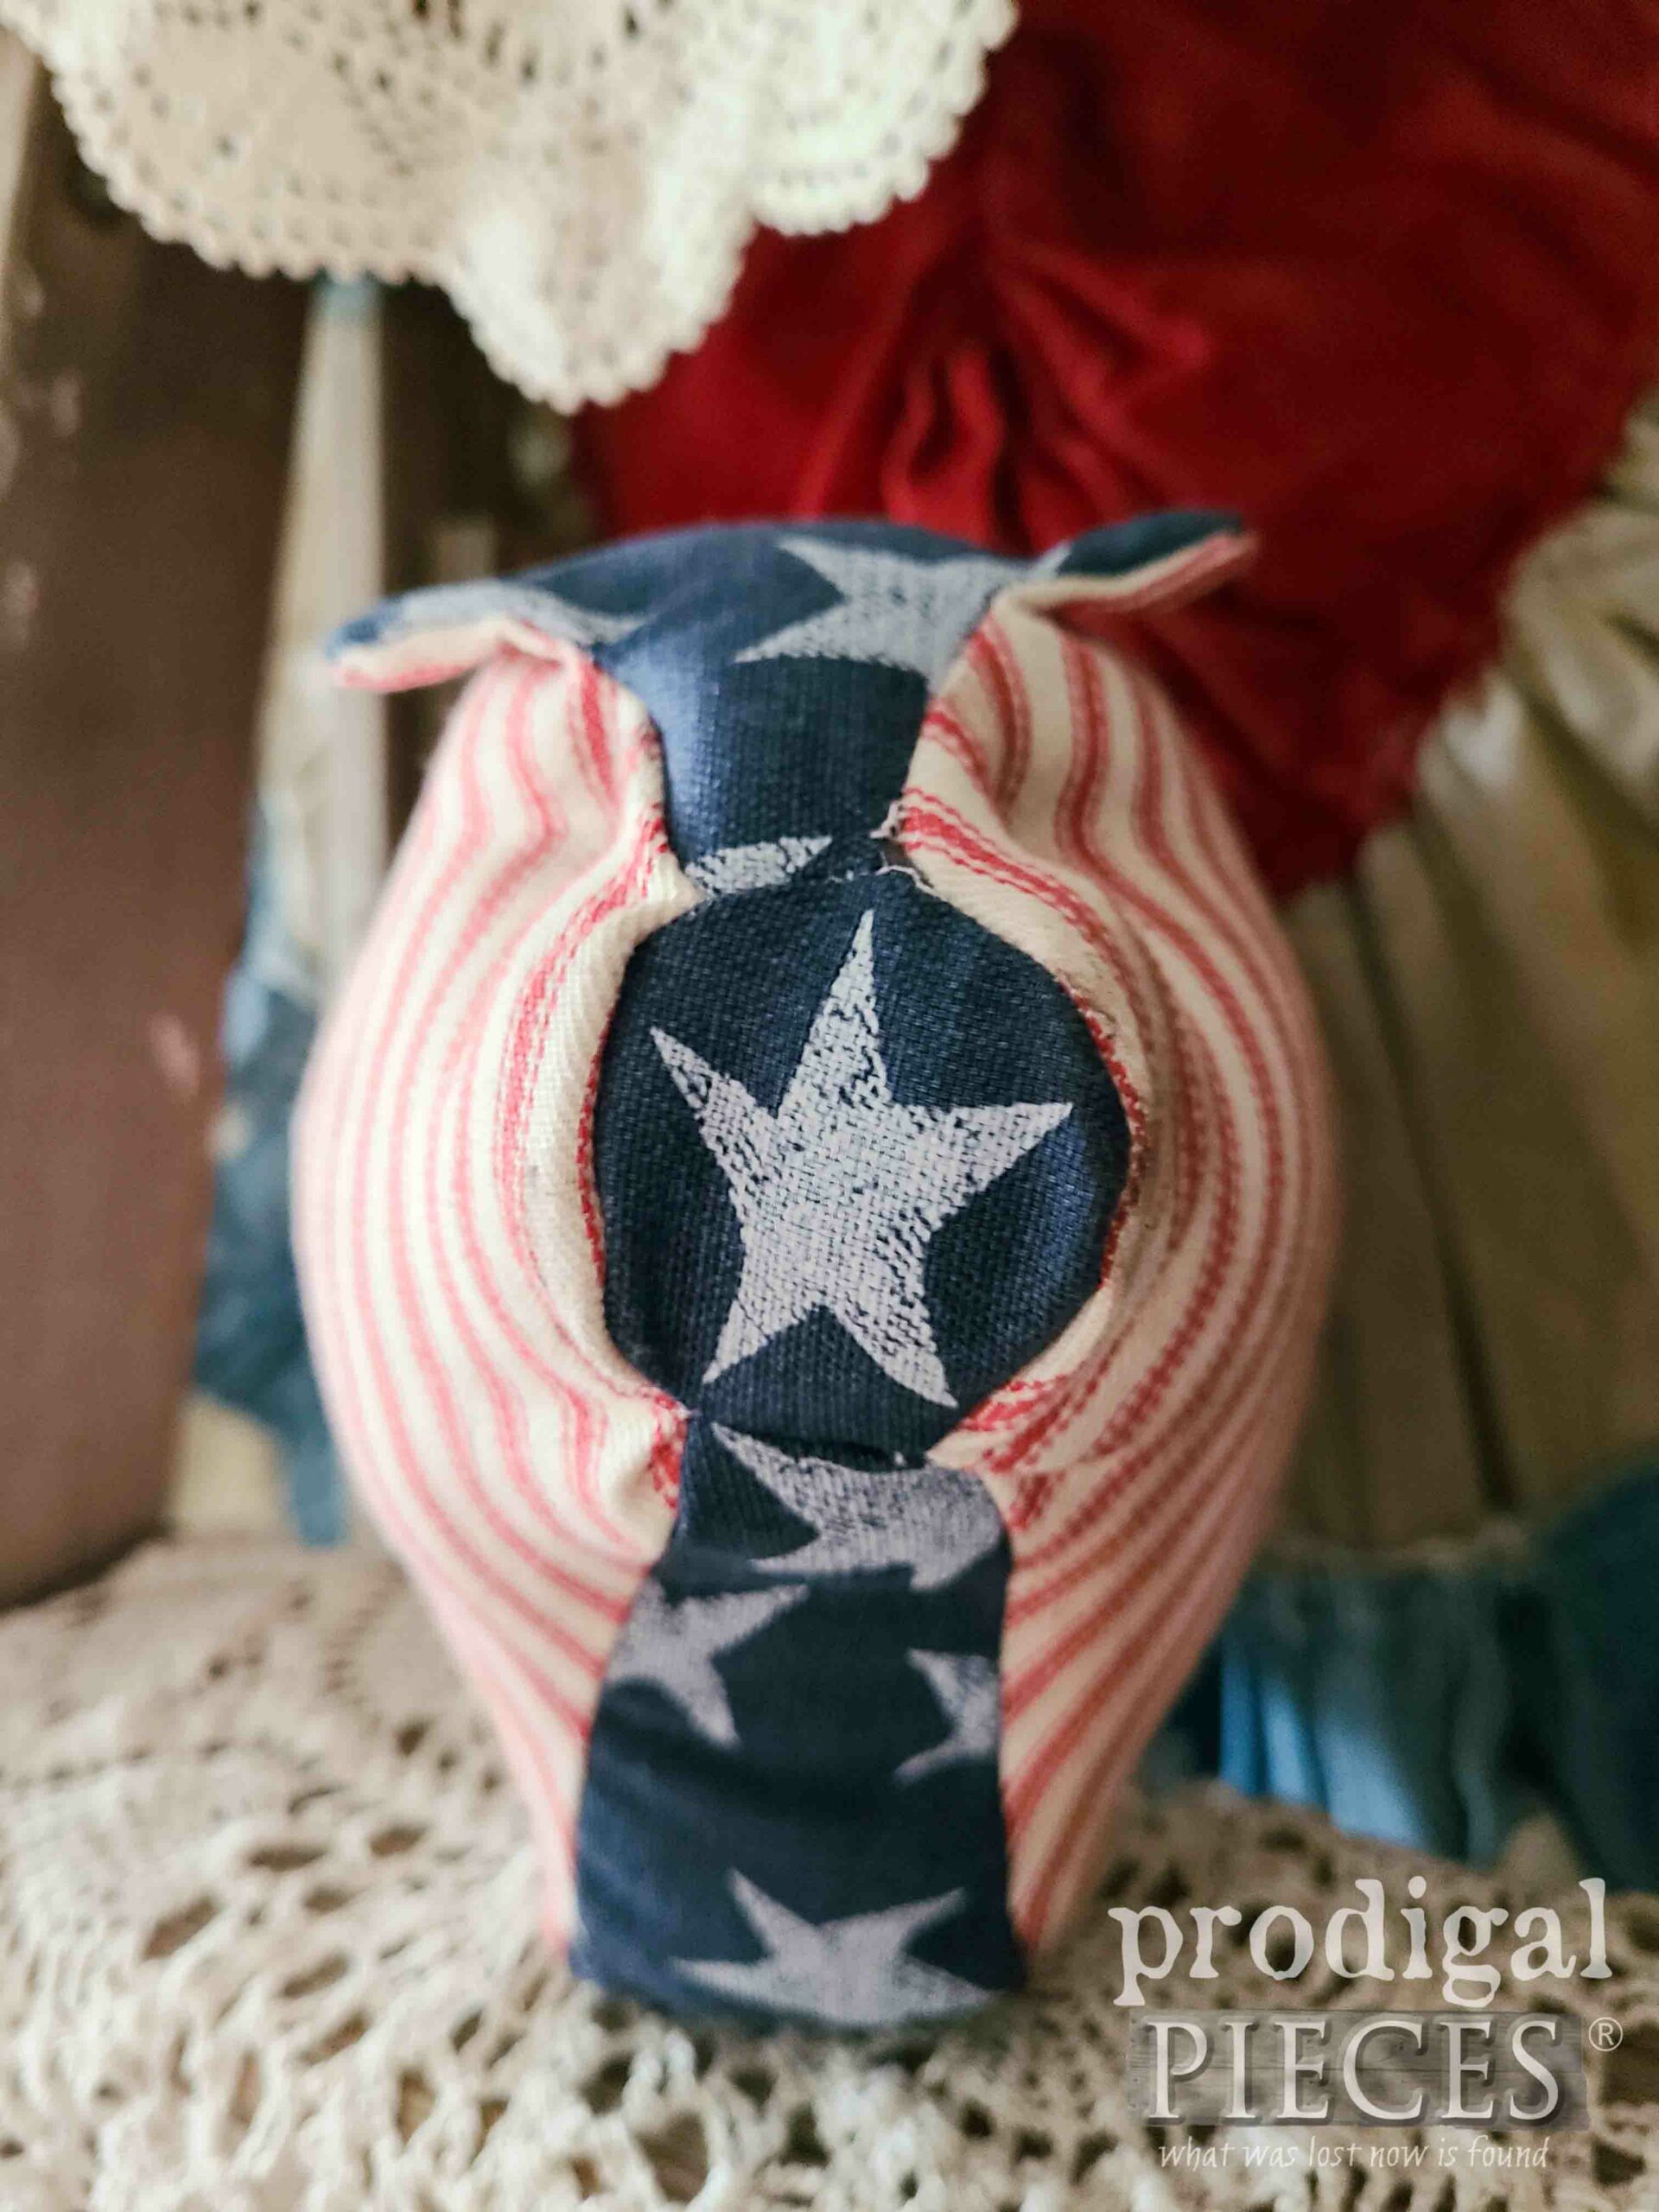
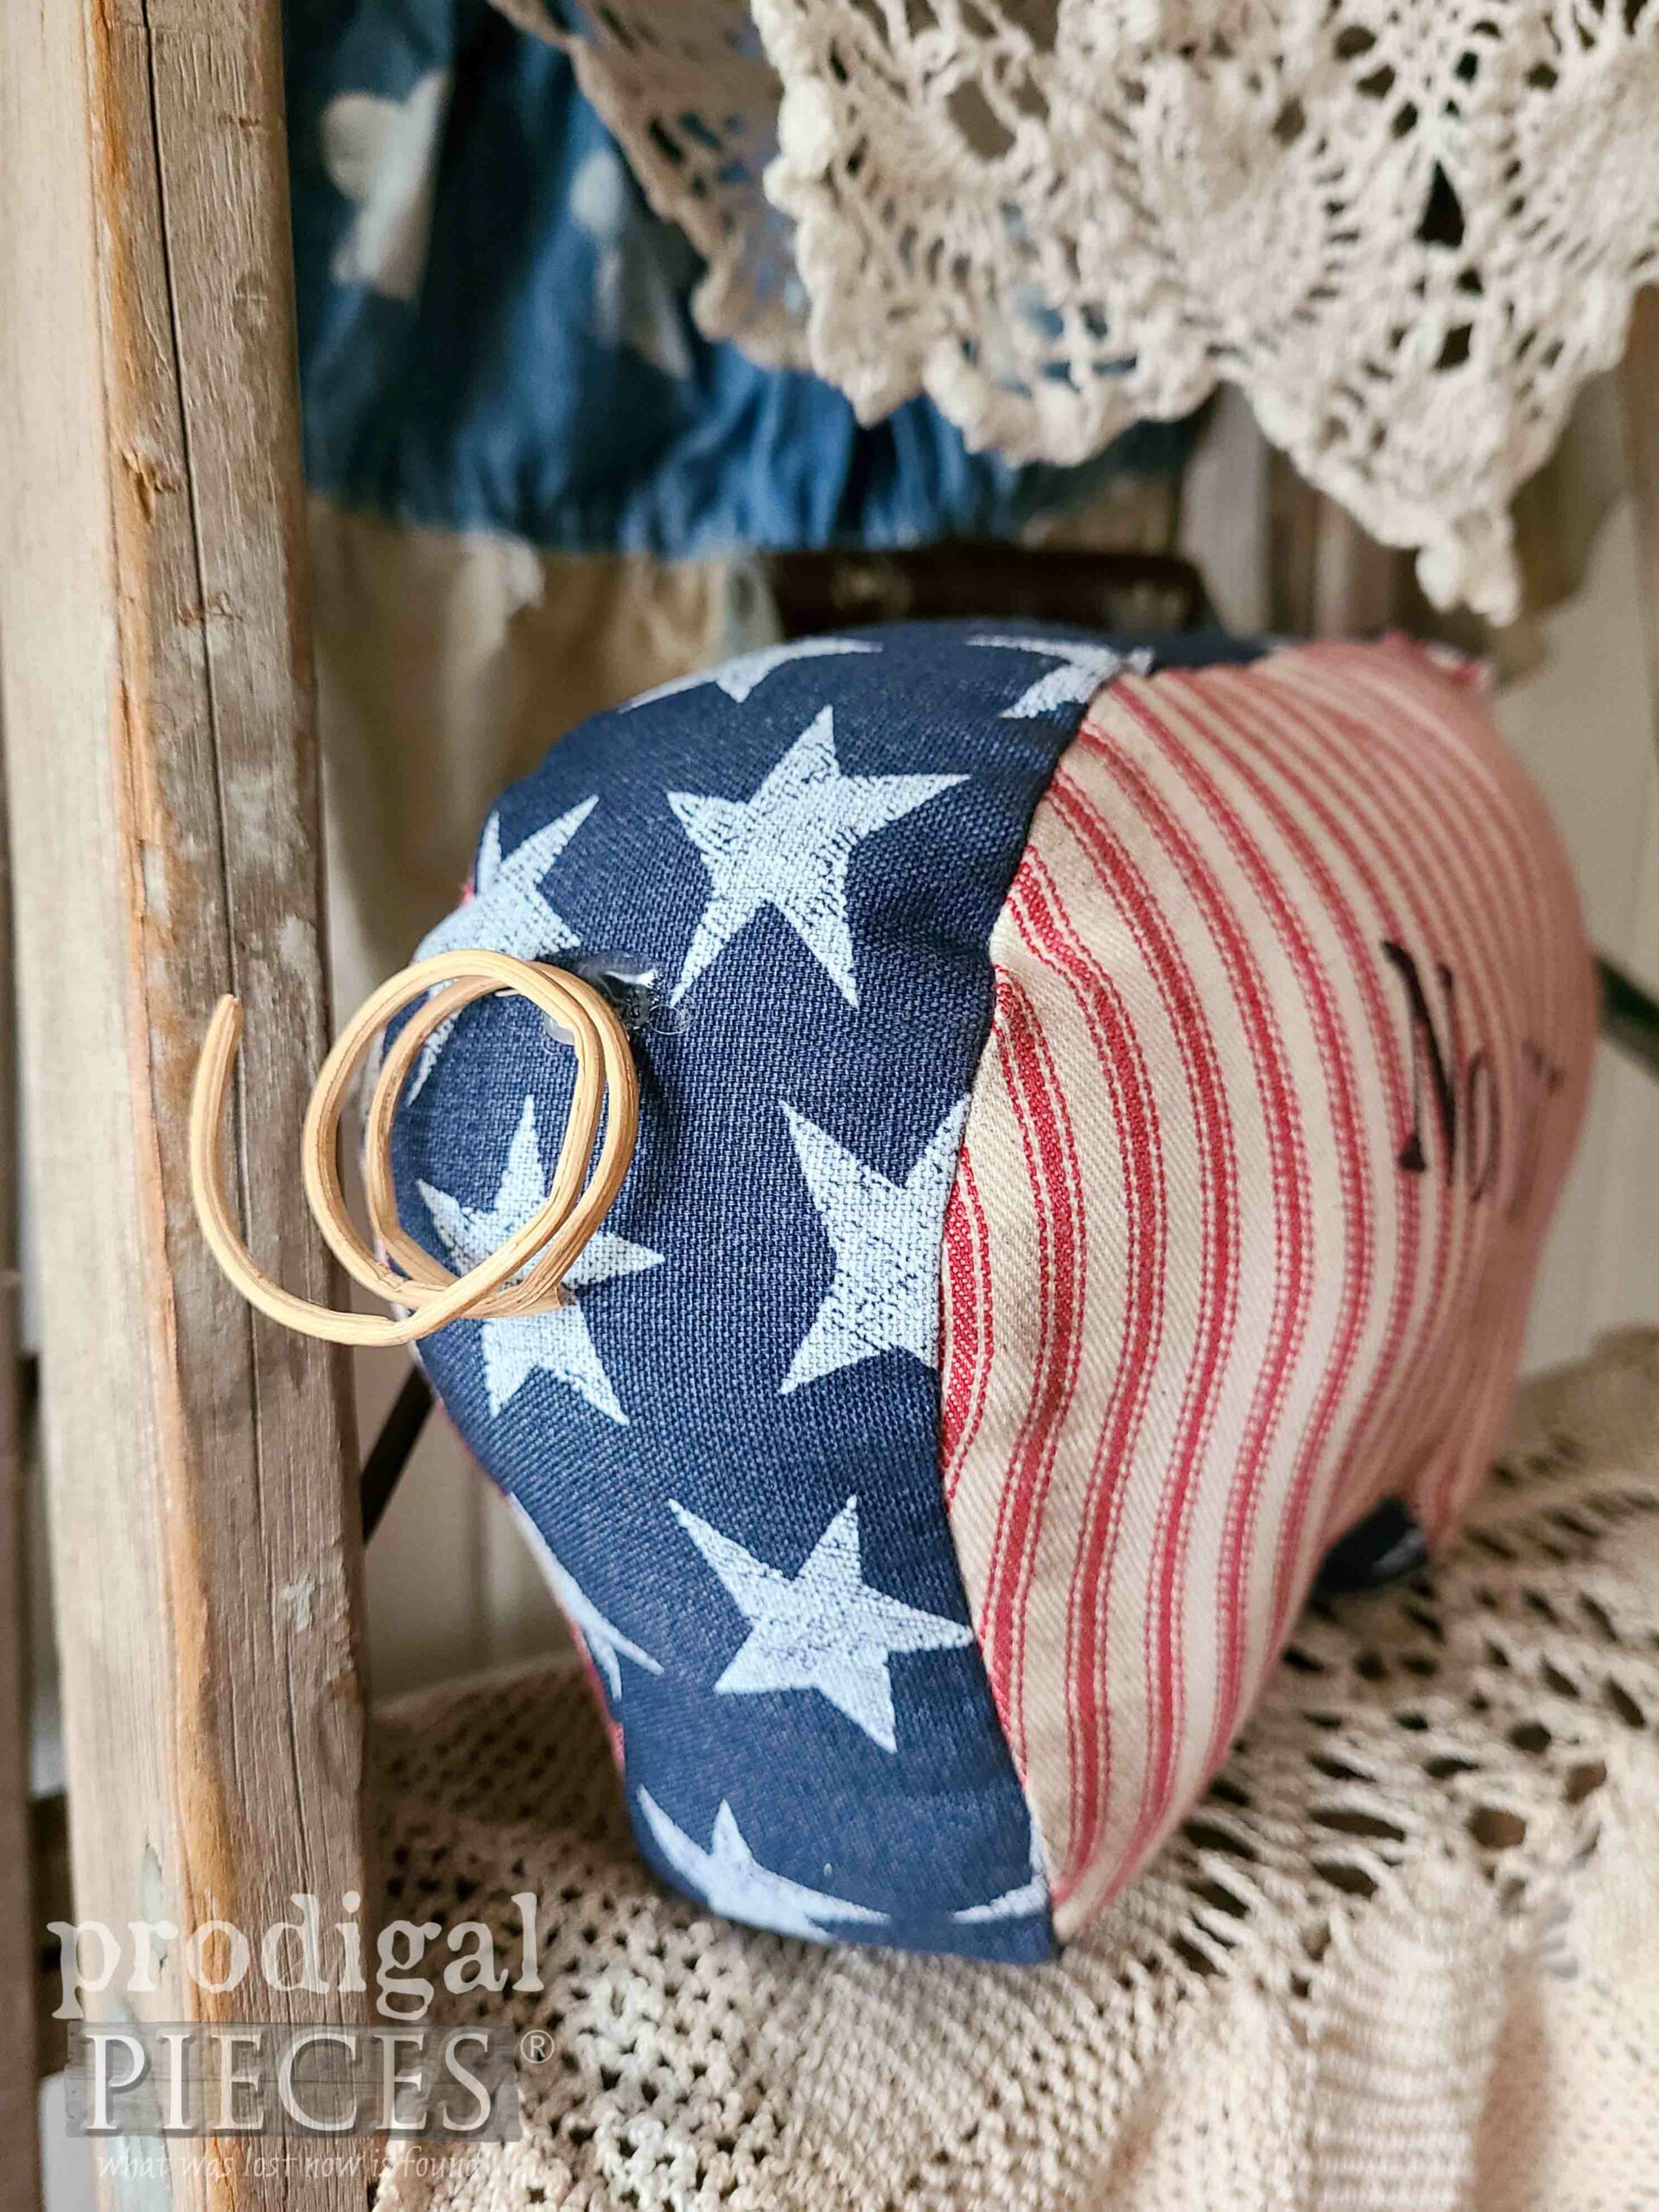
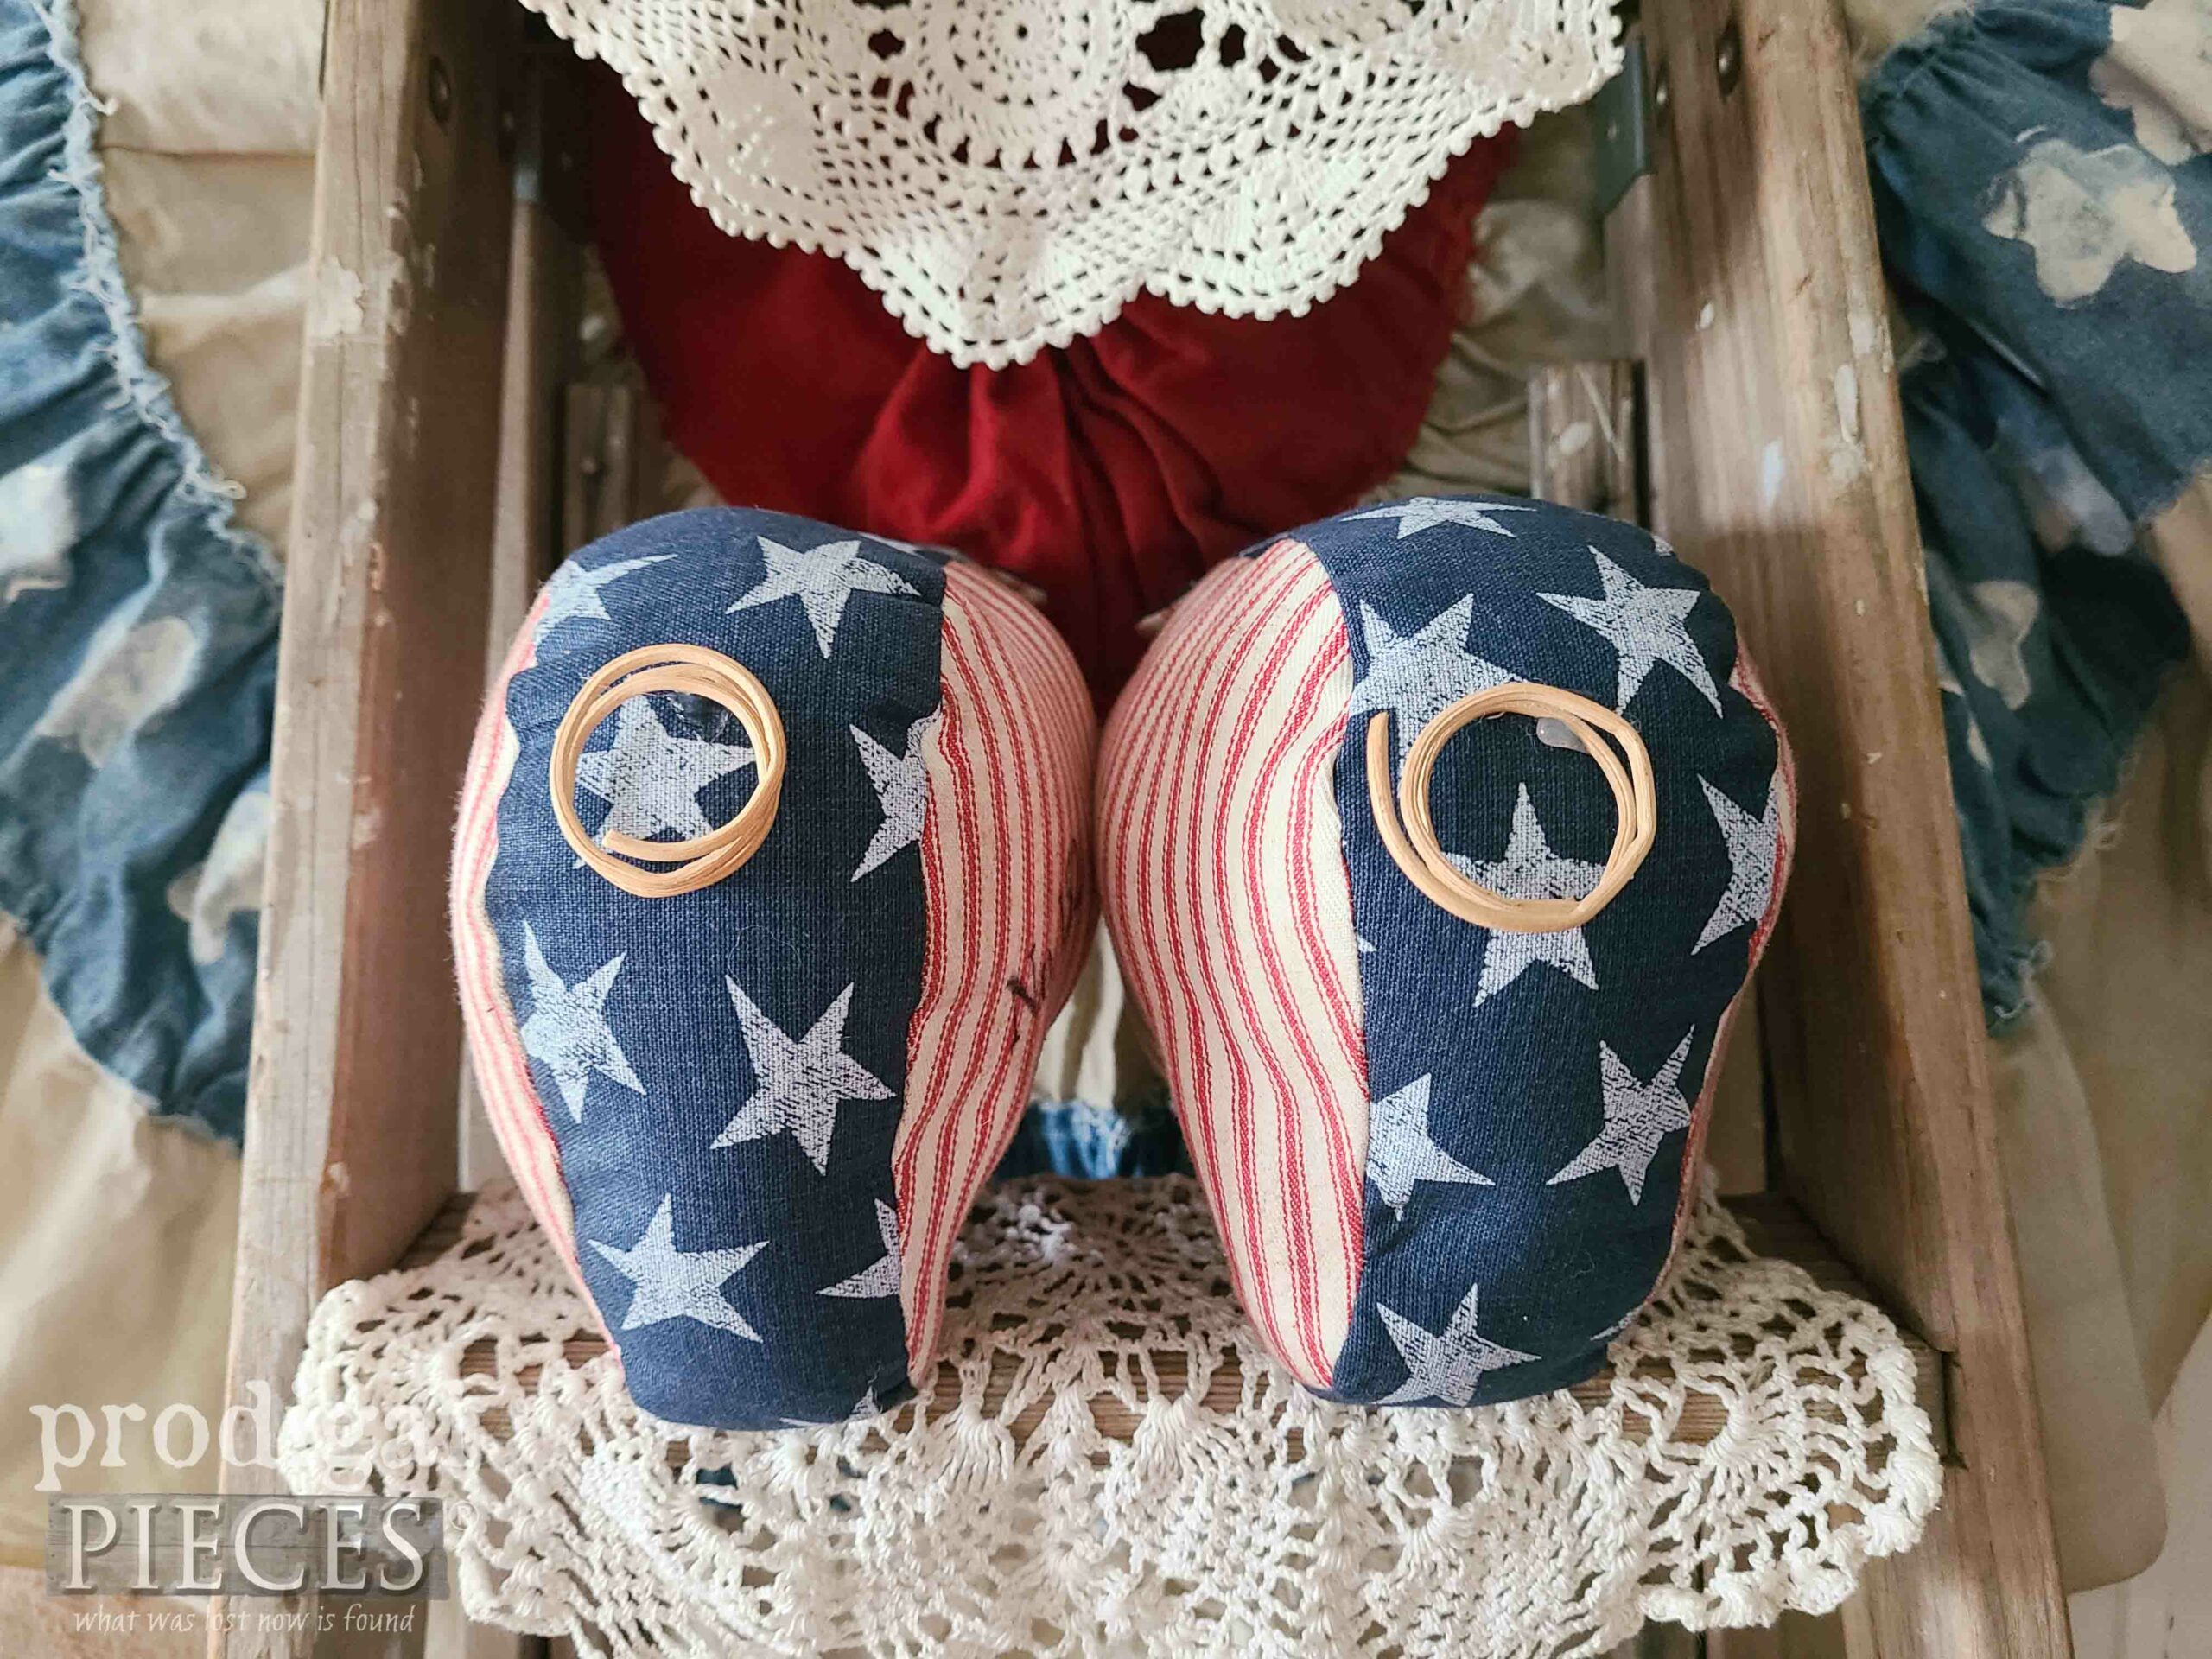
Cute business in the front…
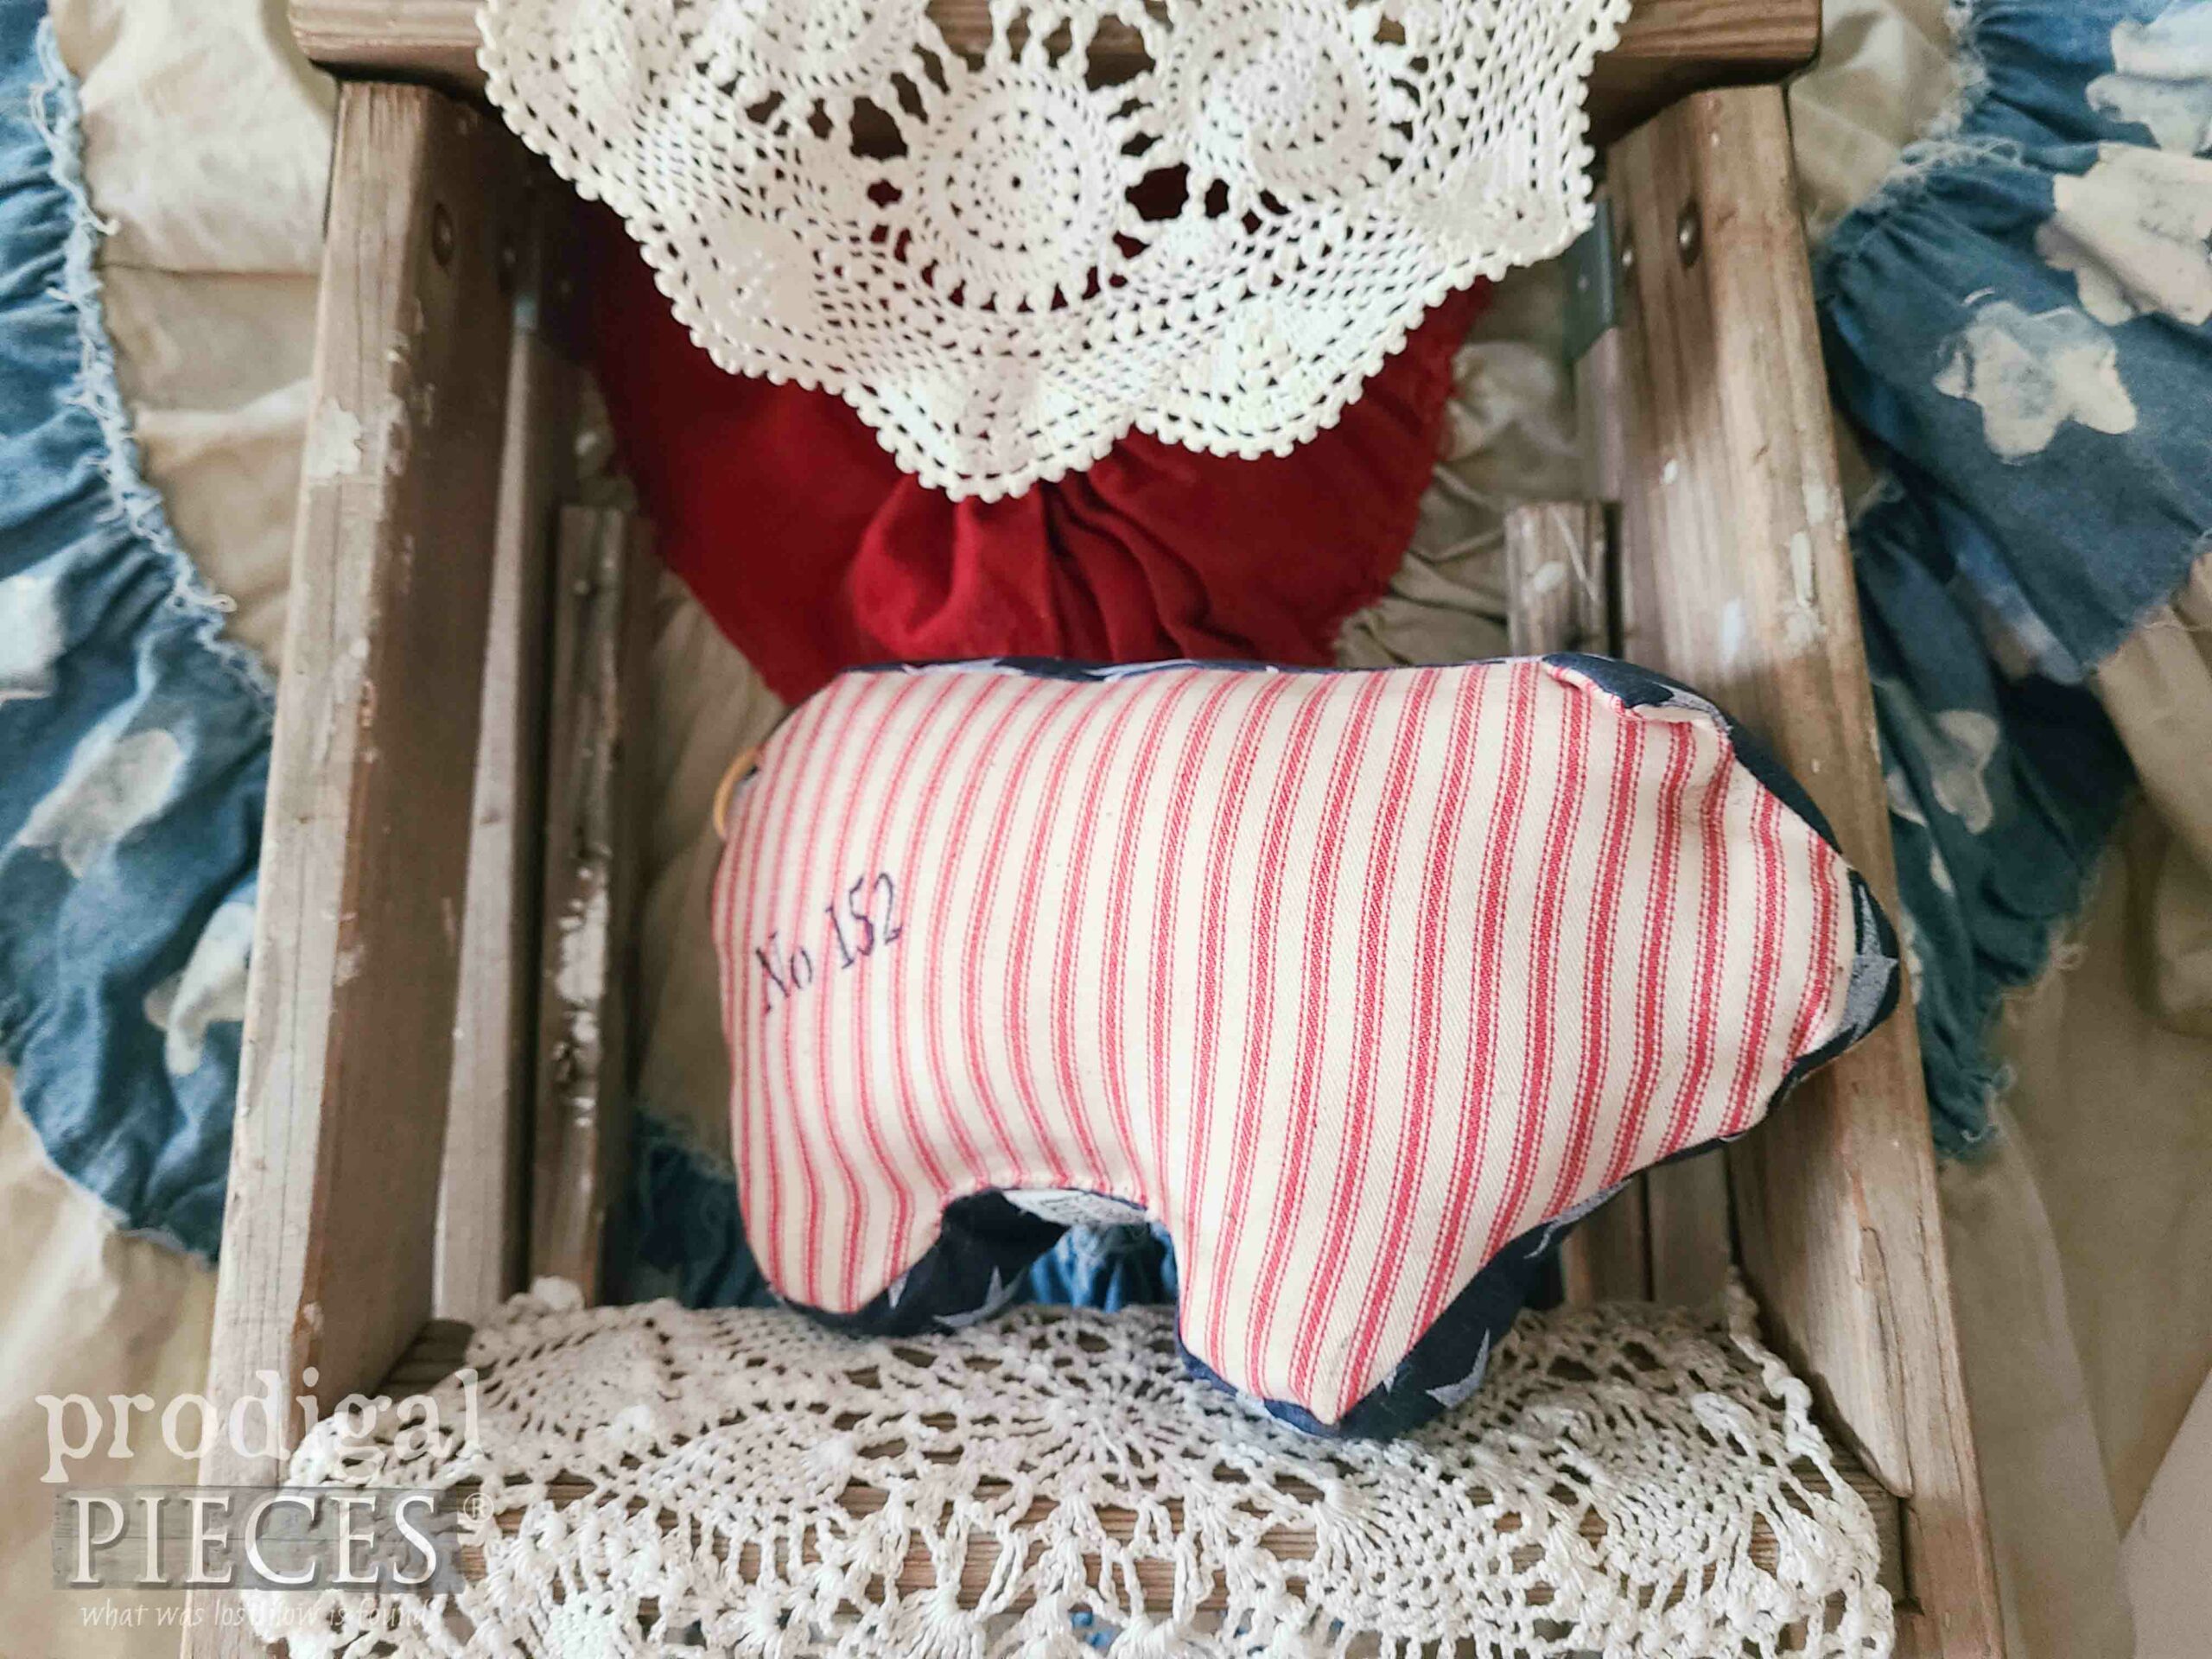
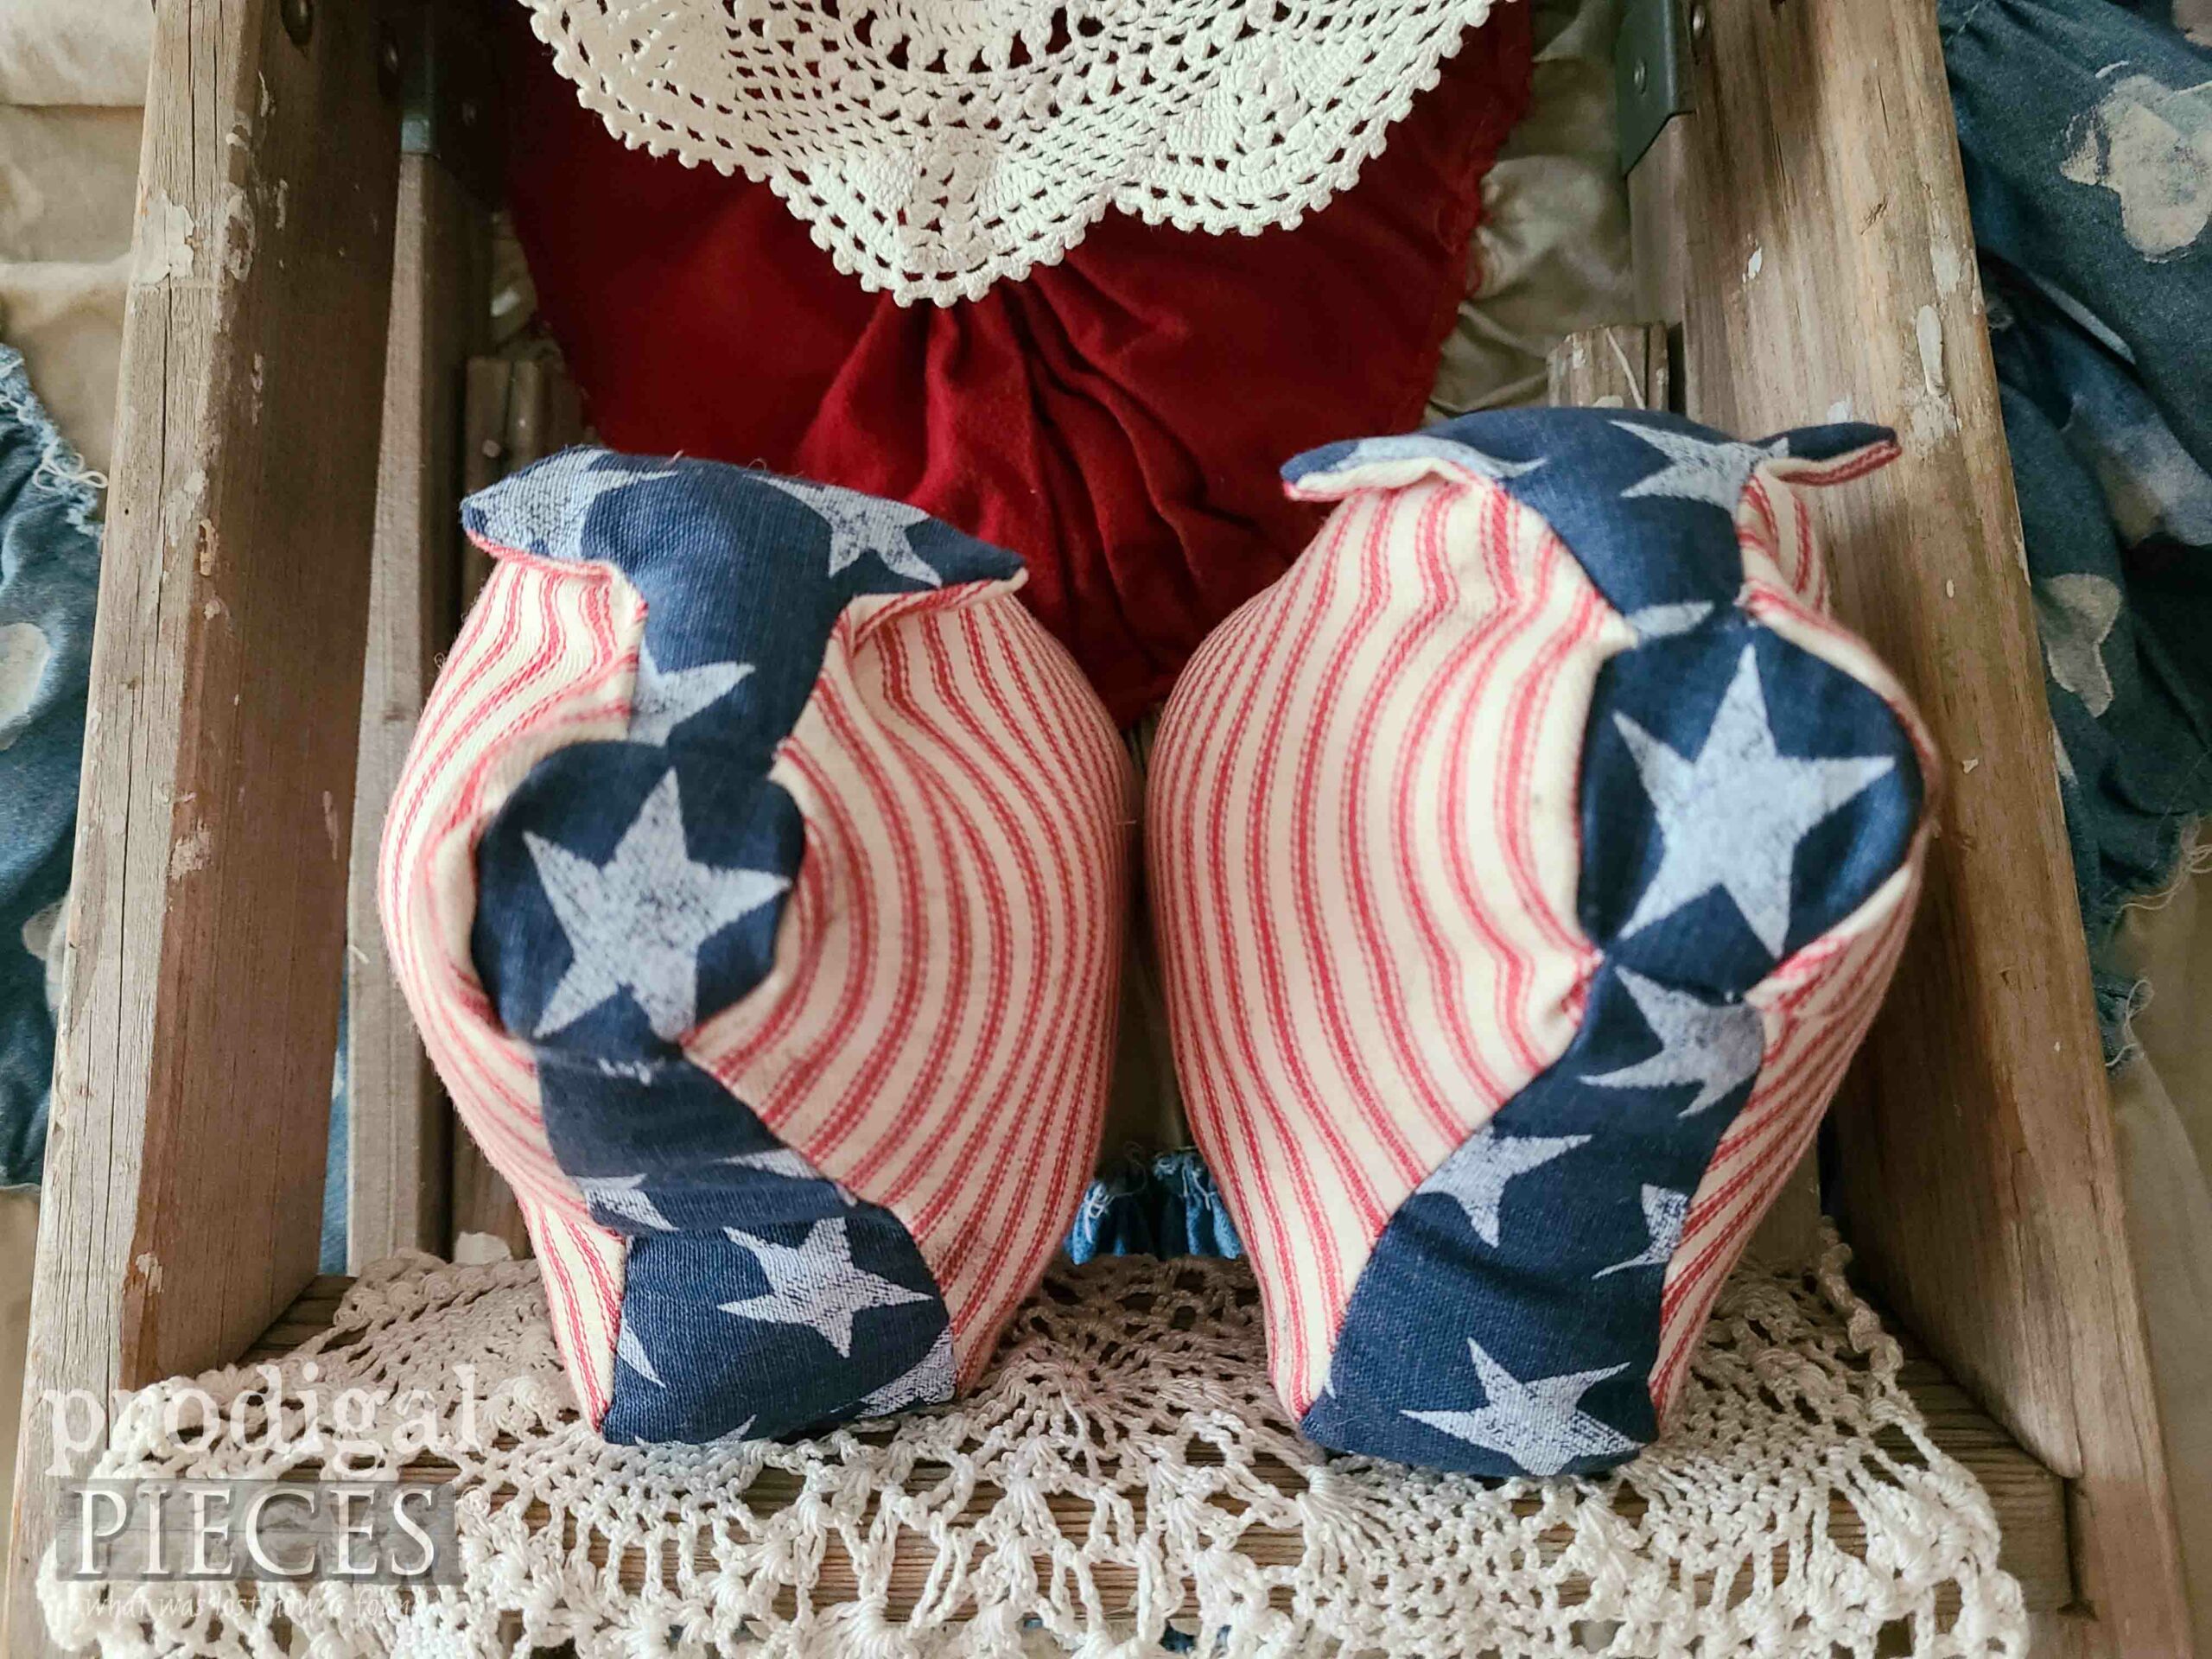
… with sweet part in the back. tee hee.
Those tails you might have seen in this upcycled picture ledge post. But they came off a wicker footstool I repaired and sold in my online store.
In addition, if you look closely, you’ll see I did a simple stitch to make eye dents. Also, I add a number on the body, and also a bit of brown wax to age it all. I’ve adoringly names them Stars & Stripes.
Yes, they’re more of a decorative item rather than a toy, but you can create a thin fabric casing and anchor a piece of elastic tight inside to make a kid-friendly curly tail too. Likewise, other pigs I’ve made:
- a giant pig with piglets for my daughter where the babies are zipped in the belly and attach with Velcro teets
- a fabric scraps pig
- upcycled a pig letter holder
- a sock pig
If you’d like to adopt either Stars or Stripes (or both!) you can find them and more in my online store.
SHARE
If you can’t tell, I had a blast creating this dynamic duo, but I also do this to inspire you. Leave some comment love below and pin and share my farmhouse patriotic pig tutorial to inspire others.
Before you go, be sure to sign up for my FREE newsletter. Until next time!



Very patriotic piggies! What a fun idea. I enjoy ticking-it’s just a playful fabric. On to May….. God bless.
I had such with them and I’m so glad you enjoyed them too. Thank you, Niki!