I’m a silver lining kinda gal that likes to see the good amidst the negative. It’s no joking matter when something you truly adore gets damaged…like your favorite bibs. sniff. I won’t say I shed a tear, but I was definitely feeling low that I ruined this pair with bleach. Has that ever happened to you? Today, I’m sharing how to fix bleached spots on fabric with a little ingenuity.
Here’s the backstory to my drama. I found two pairs of bib dresses at the thrift store made by Eddie Bauer. They were in like-new condition and made of some of my favorite textiles: one in linen, and this green one is a heavy cotton material. Both are super cozy, cute, and perfect for my work-teach-at-home self.
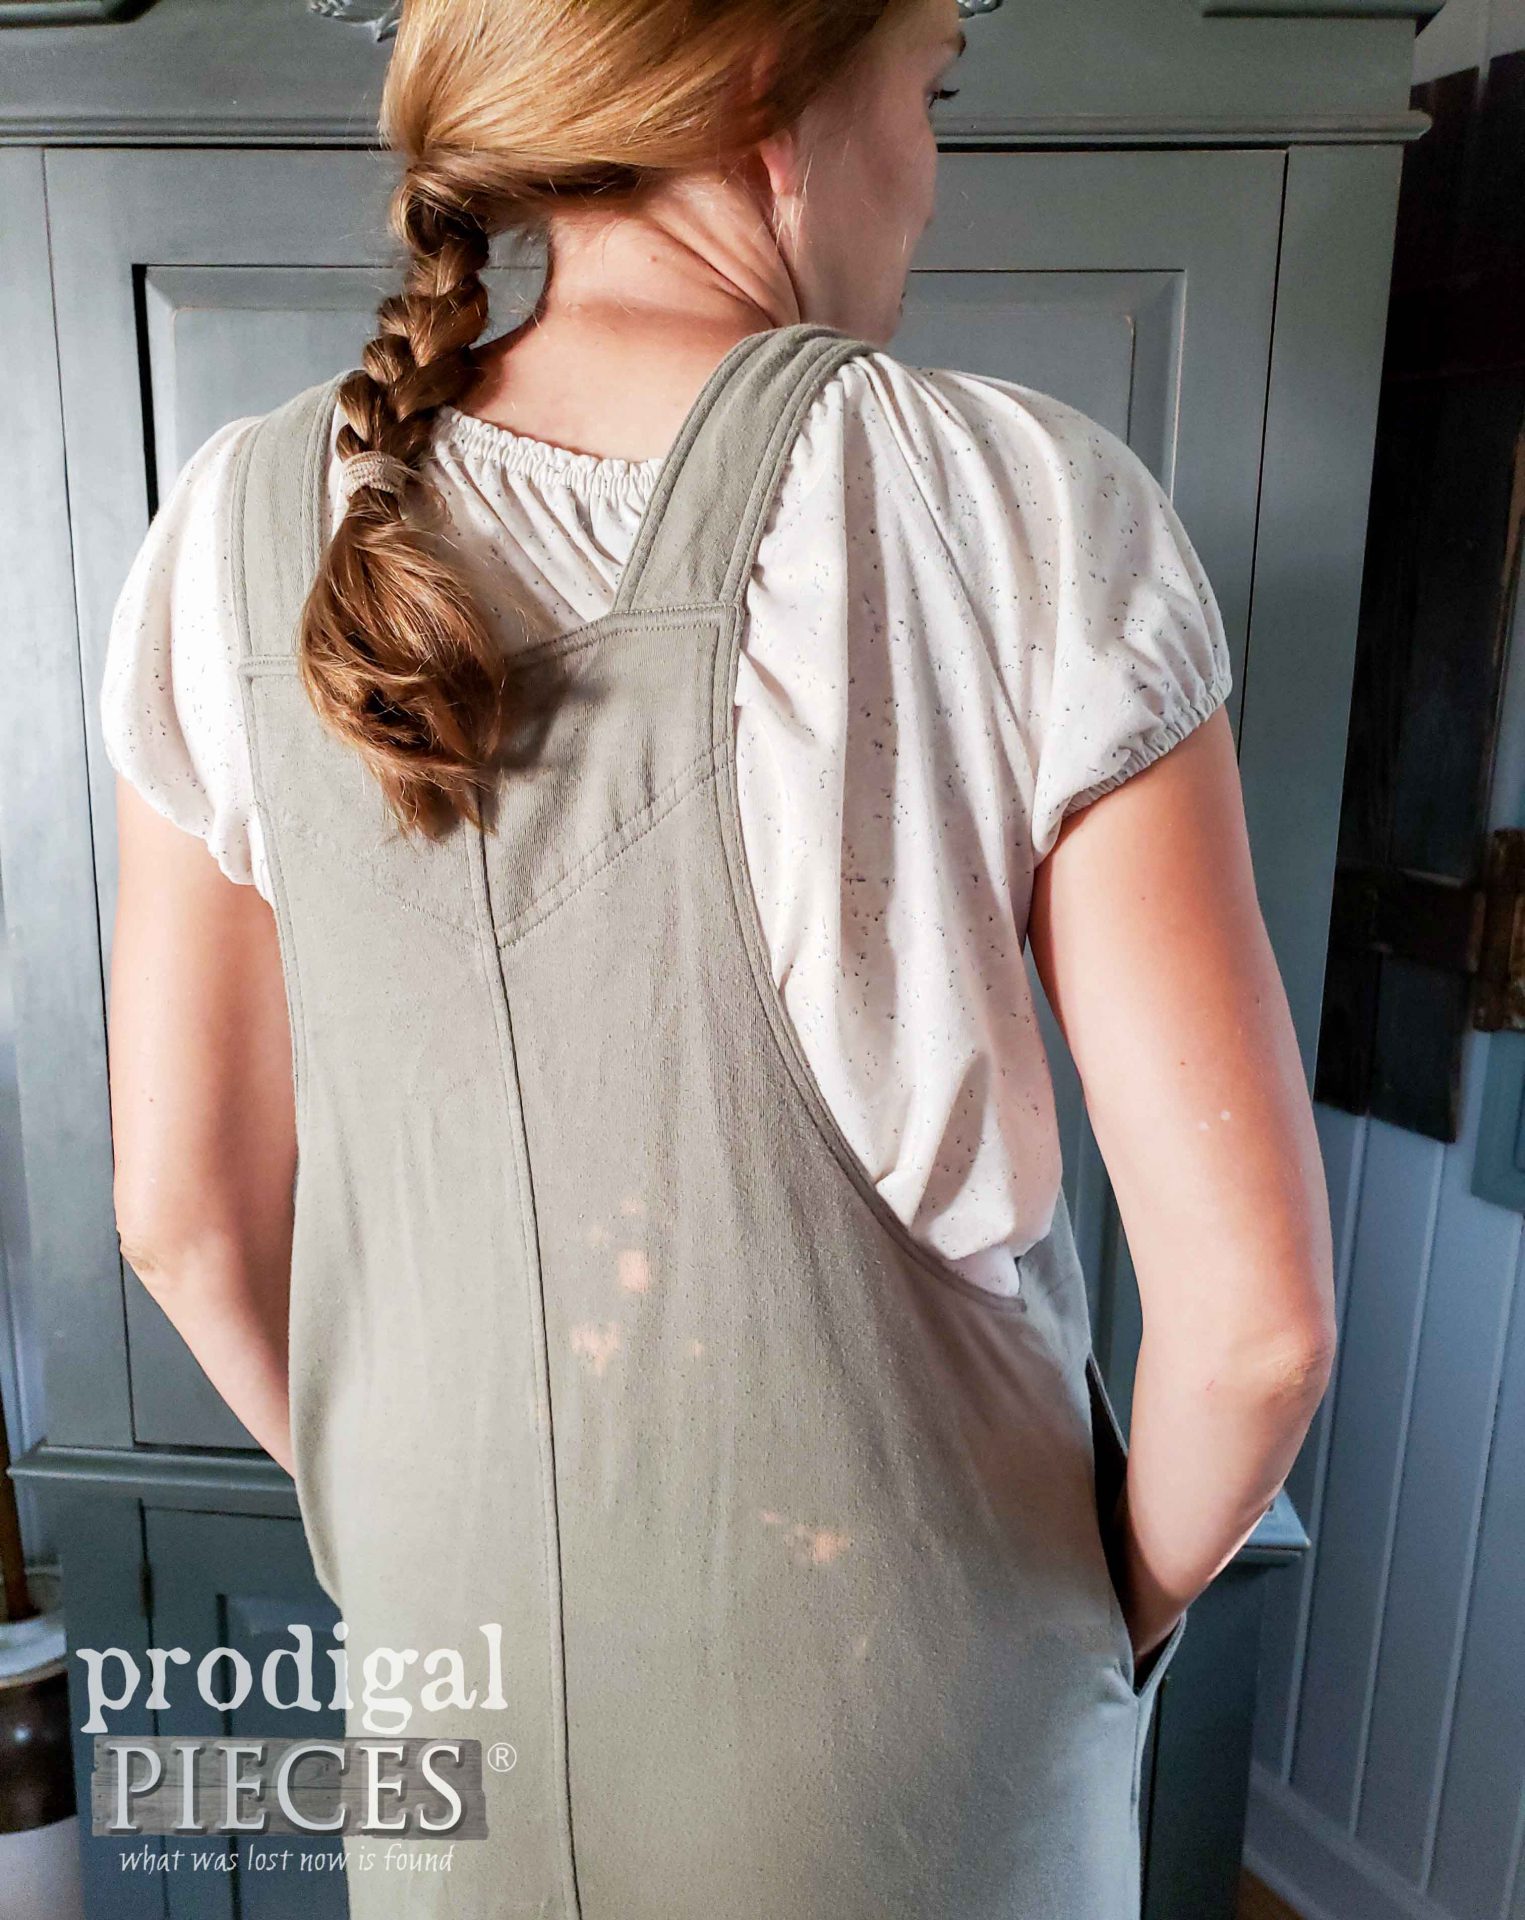
However, one day I was doing the wash and was bleaching another item that had received major loving from my kids. I rinsed it with clean water over and over and tossed it in the wash. Apparently it still held some bleach because it got on the back of my bib dress. Just envision me pulling it out of the dryer in slow motion yelling, “Noooooo…!”
You see, I don’t often shop for me and hold very few things dear. So when one of them is ruined by my lack of thinking it really irks me. Thankfully though, I’m not a quitter and chose to salvaged what I could of the dress. I also know I’m not the only one who’s run into this situation, so I’m sharing for my Reduce, Reuse, REFASHION series I have the last Thursday of every month.
LET’S FIX IT
Okay, so let’s say you have some bleach spots on your clothing (or other textiles you don’t want to toss). Here’s some ideas that you could easily tackle:
- tie-dye the whole thing to really get groovy with it
- sew on an applique or patch
- upcycle the item to make something completely new
- embroider over the spots
- paint over the spots
I could go on with ideas, but for today’s fun I’m going to share how to fix those bleached spots with paint. Embroidery would be my second choice because I love to hand-stitch, but I also have an embroidery sewing machine.
However, this spot on the back isn’t a good candidate for the machine embroidery. Plus, I want to show you how you can do this too in case you’re not of the needling mind. To make it easier, I have the full video tutorial for you below, but also outline the steps here.
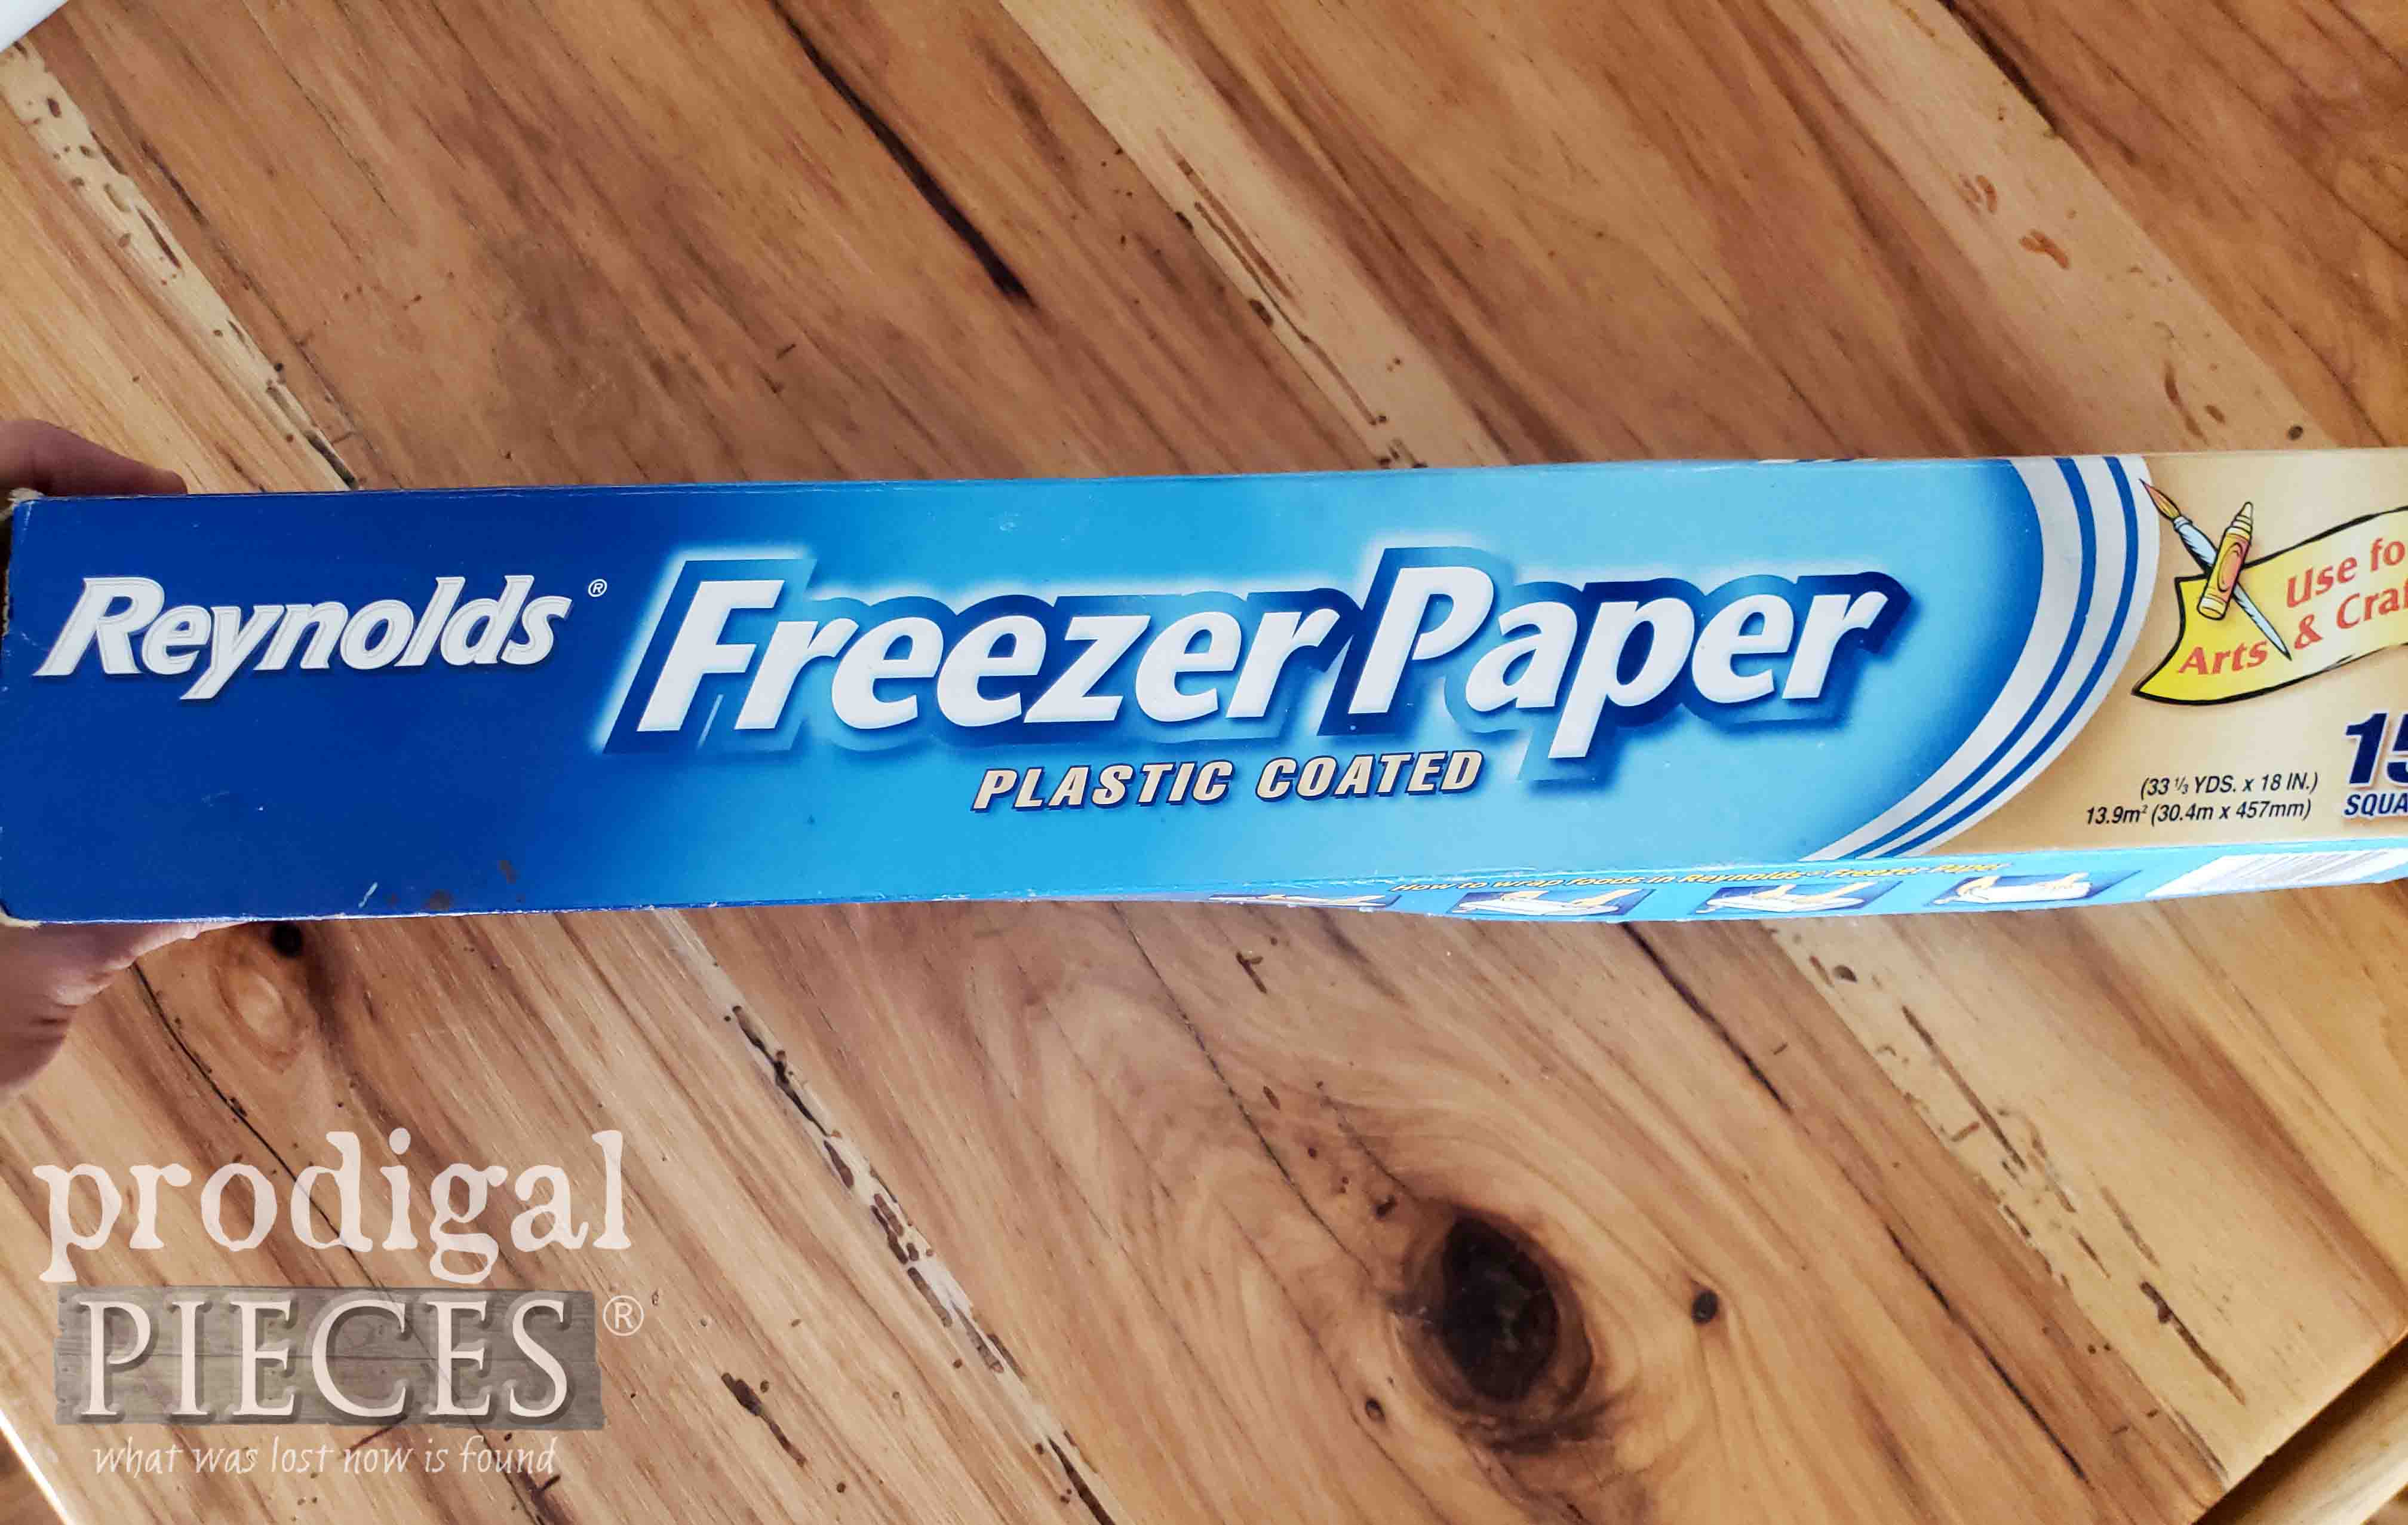
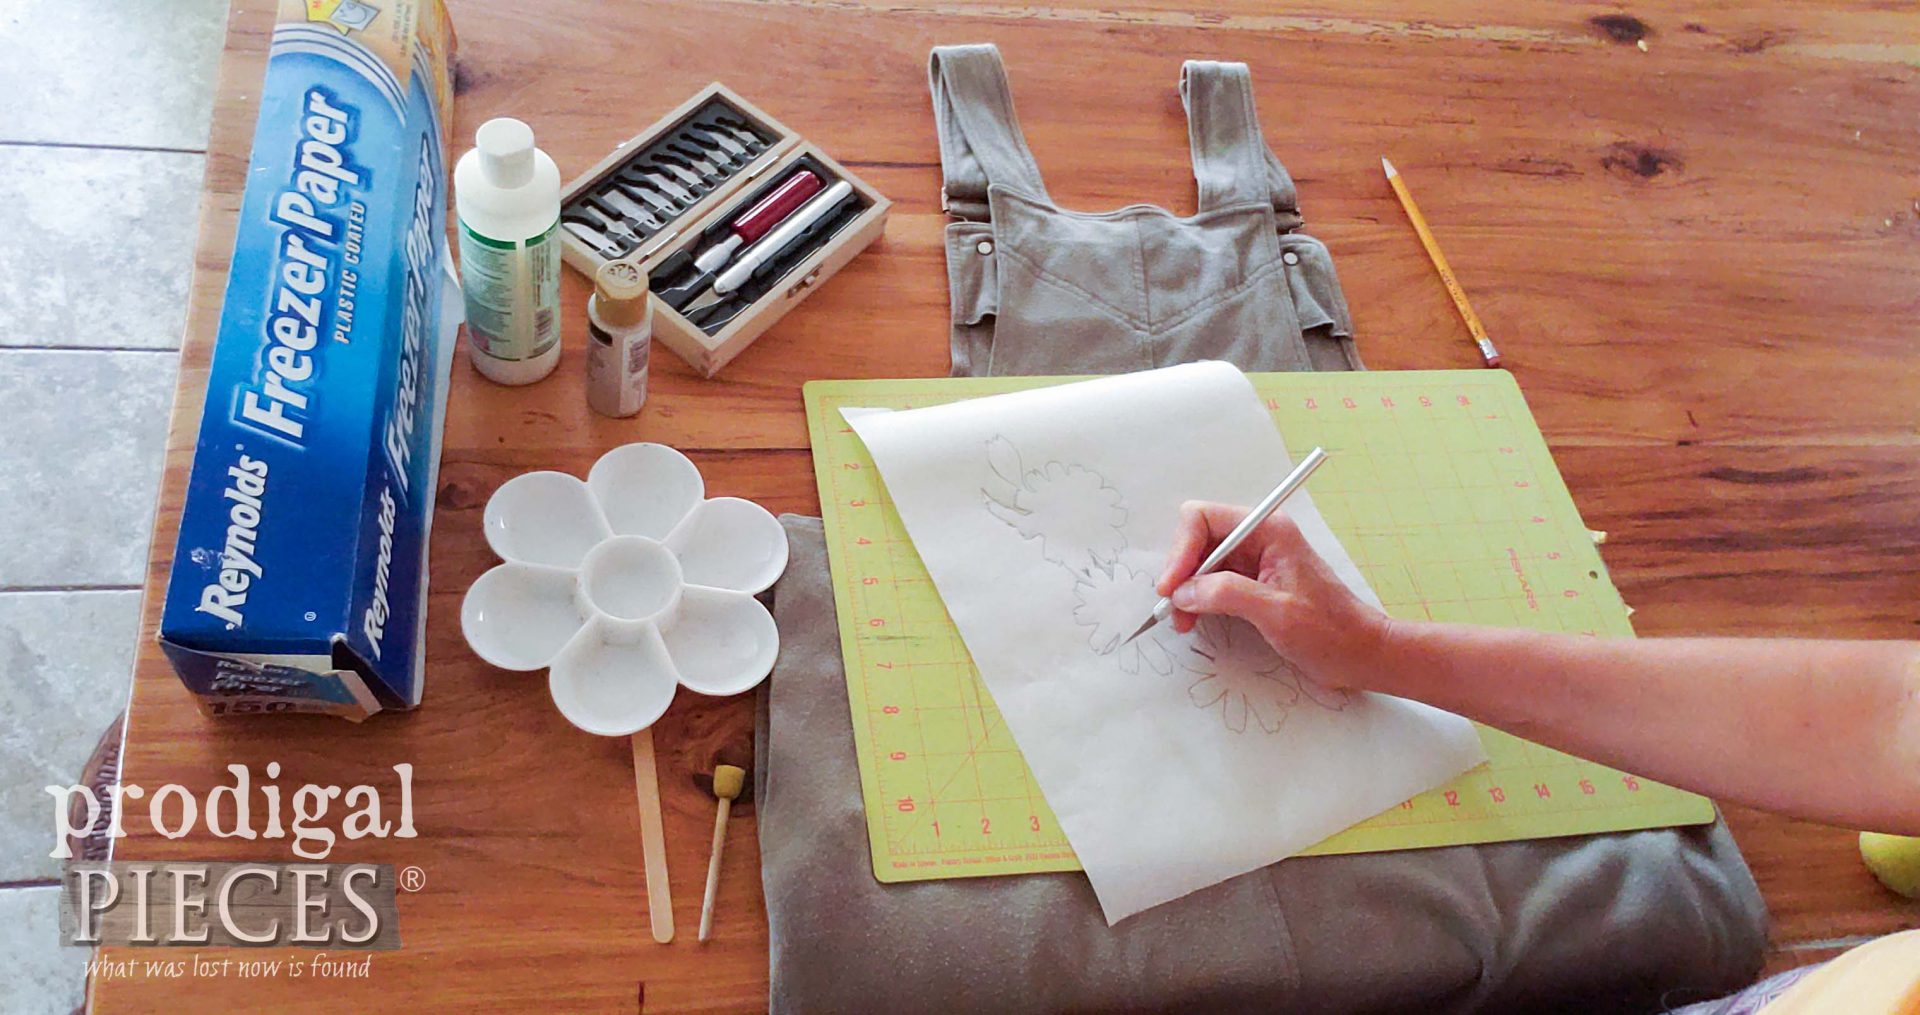
In my past posts, I’ve shared how I use freezer paper to make a transfer. This time, I’m using it for one of my favorite methods to stencil on fabric. I’ve used this technique to make tote bags, shirts, firewood totes, and so much more. It really is easy, affordable, and why I stock freezer paper at all time. A gal’s gotta be ready!
DIY STEPS
To get started, make sure you have these tools & supplies ready to go:
- freezer paper
- design of choice for stencil
- X-ACTO Knife
- cutting mat or similar
- fabric paint of choice (or acrylic paint with textile medium added)
- round sponge brush
- artist brushes
- clothing iron with dry setting (no steam)
STEP 1
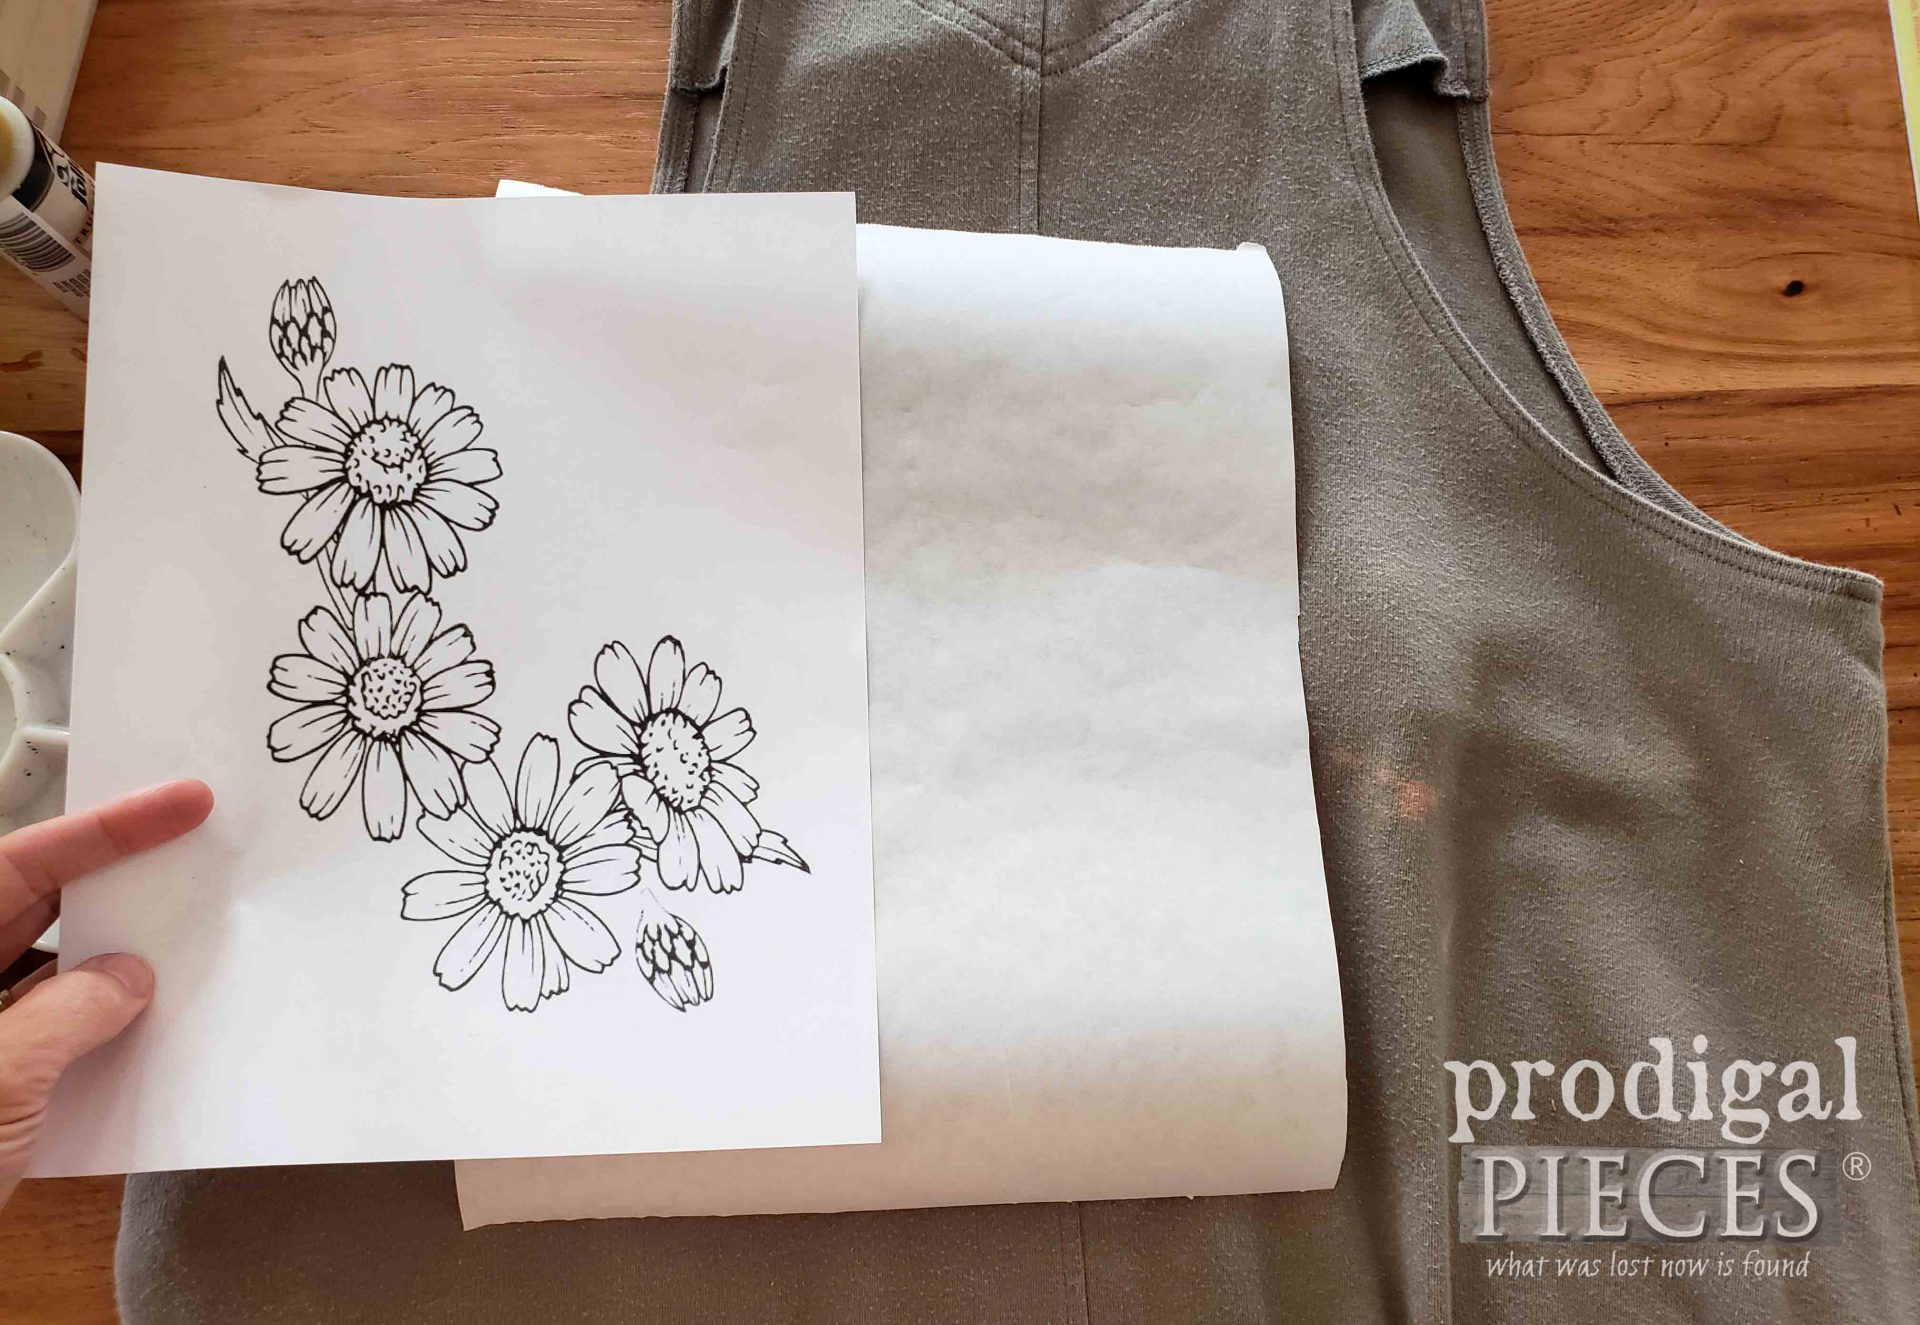
When choosing what to use as a stencil to fix bleached fabric spots, they sky’s the limit. You can trace anything your heart desires: coloring book pages, a printout you find online, a stencil…you get the idea. Since my bleached spots are on the back and my dress is a soft green, I chose to use a flower drawing to trace.
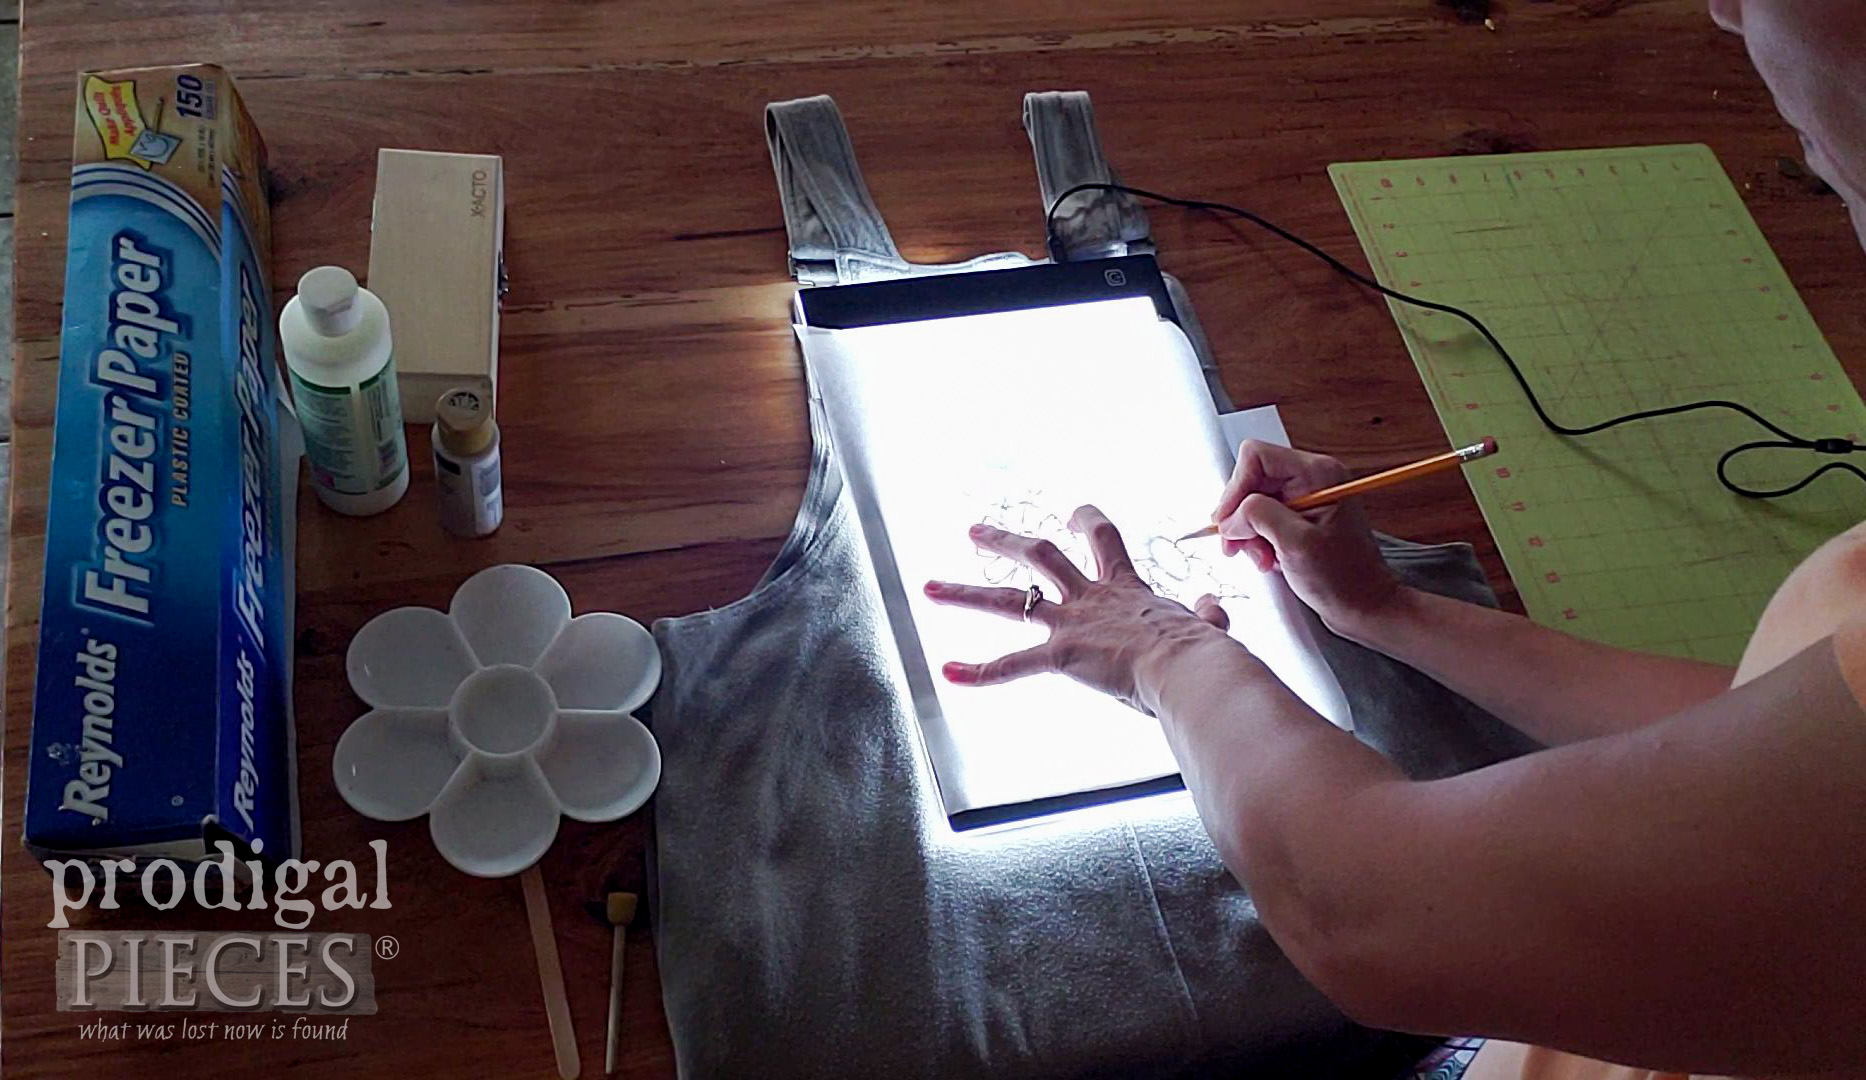
First, I simply trace it onto the paper side of the freezer paper. You can either use a window to trace or this awesome LED tracing pad to do it as well. I’ve purchased these for my kids and they just love them.
STEP 2
Then, using my X-Acto knife, I cut out the designs, making sure to have cutting mat, cutting board, or scrap wood behind my paper. We don’t need countertops getting carved too. eep!
Where there is a void spot within the graphic, I make sure to cut those out and reserve them to fill in later. The video explains this best.
STEP 3
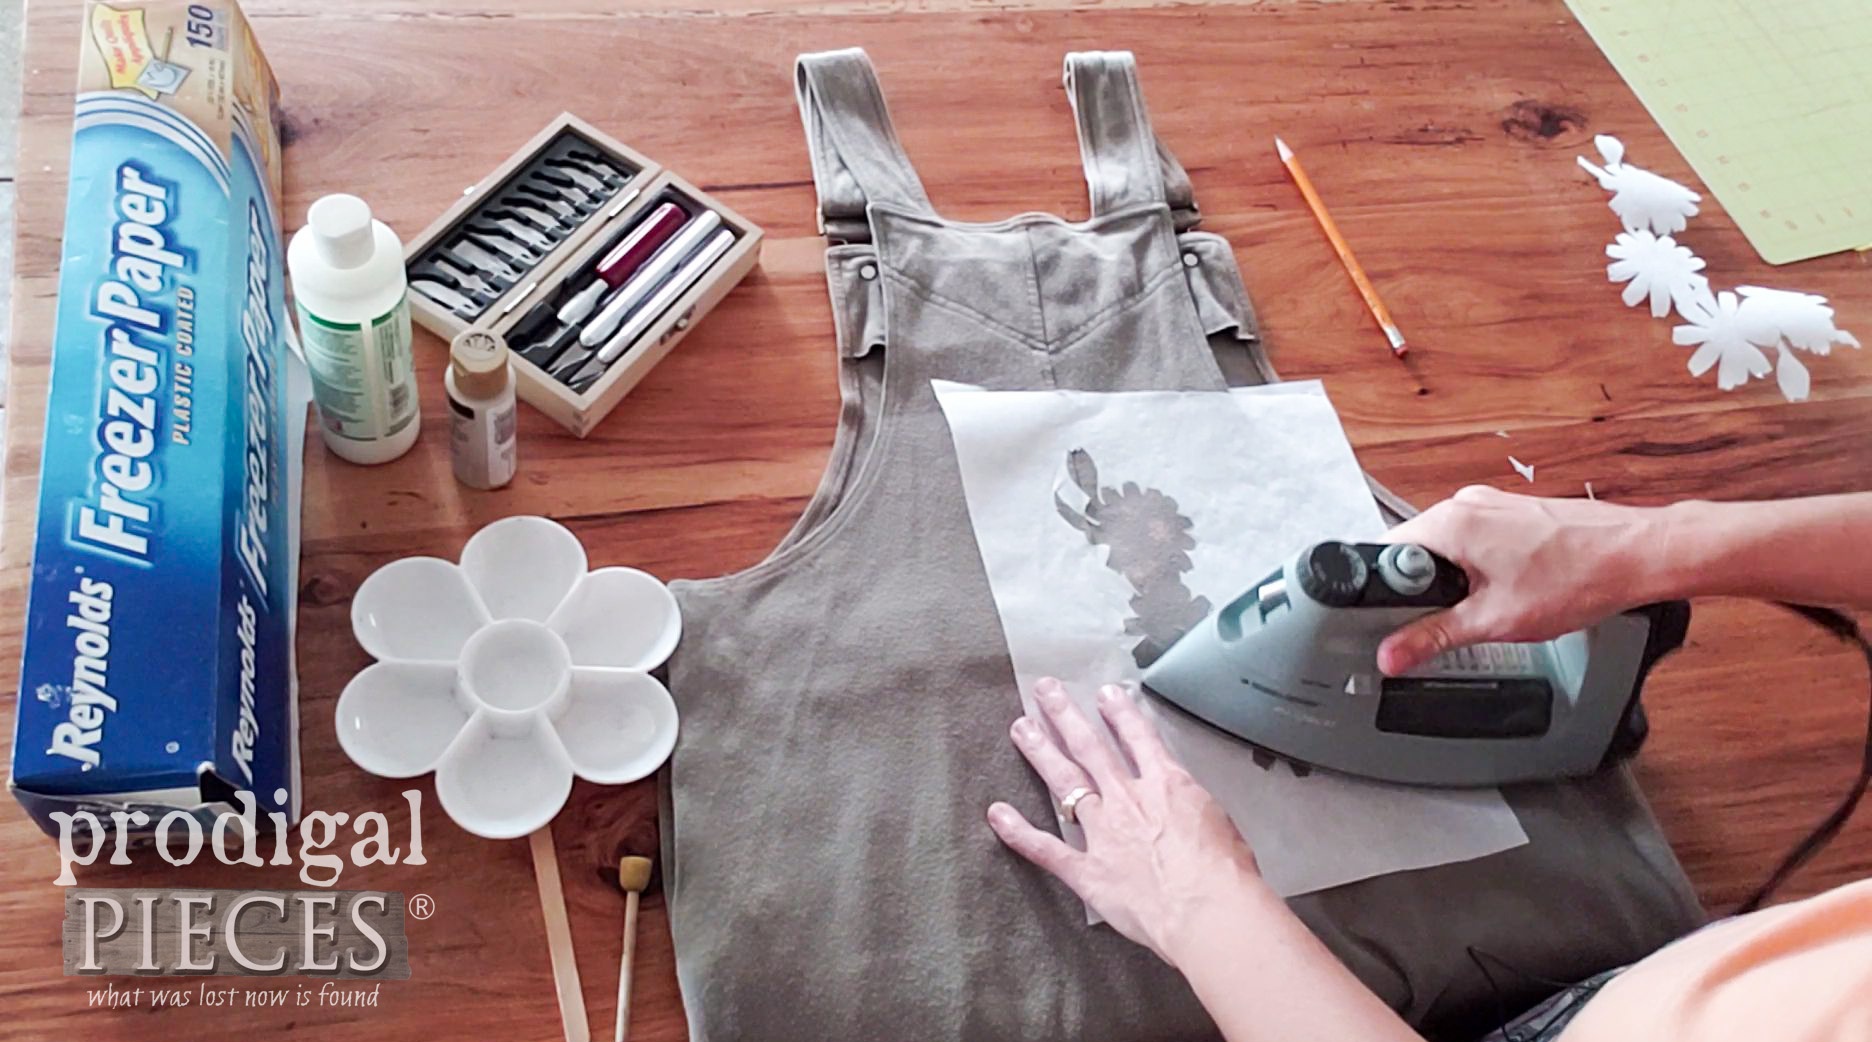
Once I have the design as I like, I use my iron set on a fairly high heat with NO STEAM. Per manufacturer instructions on the textile medium, you want to have your garment washed and do not use fabric softener as well. Iron on the freezer paper stencil, and don’t forge to add in those voided spots you cut out earlier.
STEP 4
Next, it’s time for paint. Yay! You can either use fabric paint or an acrylic paint with a textile medium. Both work perfect for this. Since my dress is a soft green, I wanted to stick to something simple in color scheme too. I chose to use Linen acrylic paint as the base applied with a sponge brush. Again, the video below demonstrates this best.
As soon as I finish the paint, I peel off the freezer paper stencil and let it dry.
STEP 5
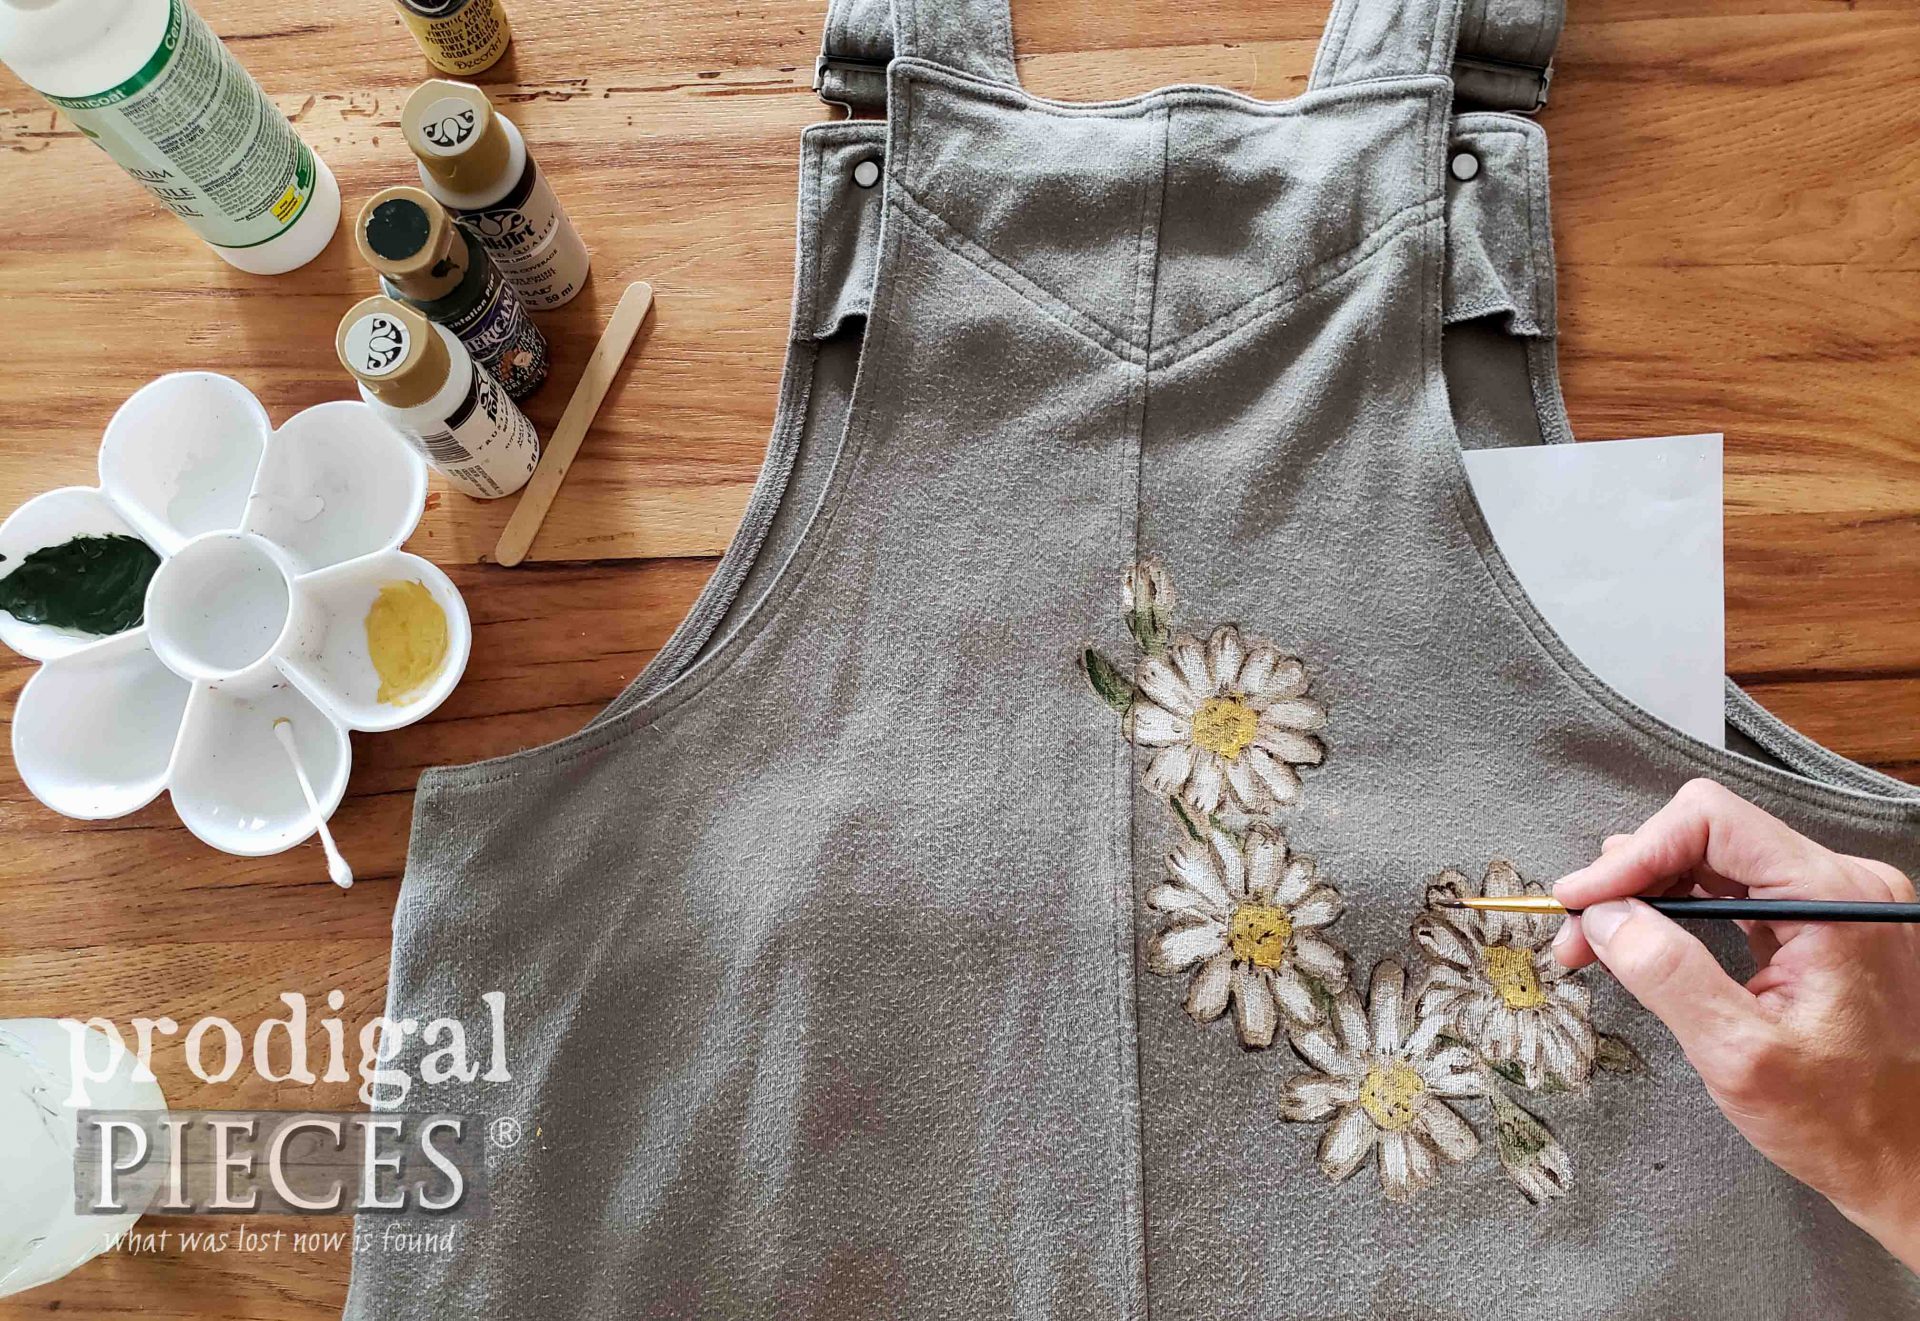
While, I could totally stop at this point if I liked, I wanted to add depth to my daisies. Artist brushes make this fun and easy. First, I use my white to add the daisy petals. Then, I use a Plantation Pine for the stems and leaves, followed by a bit of Golden Straw applied to the flower centers with a cotton swab.
Last, I use a darker brown paint to add depth and dimension to the design. Doesn’t that look better than those bleached spots? You can do this to any kind of stain to hide the flaw.
STEP 6
Let the paint dry and then follow the manufacturer instructions on your paint or textile medium to finish. My instructions require to use an ironing cloth (or old towel or cotton fabric) to iron over the design to set it.
BLEACHED SPOTS GONE
It’s done! My dress is saved from the landfill or becoming rags. woot! I’m a happy mama in my comfy bib dress.
Feel free to ask any questions you may have. I’m truly eager to help. This really is fun and so easy!
Also, pin and share how to fix bleached fabric spots. I know I’m not the only one who has made a blunder this way or has stains we want to go buh-bye.
Up next, I’ll be taking these two thrift store strays and giving them a new look and purpose. Come see their fun new purpose in my latest post HERE.
To get these DIY tips & tricks in your inbox, be sure to sign up for my newsletter. PLUS, you will get your FREE Furniture Buying Checklist and special discount to my shop. Until next time!








Ohhh my!!! I just have to tell you that I think you are a genius!!
You made this dress absolutely adorable. I like it better now! Thank you for the idea.
Well, that just made my day. tee hee! Thank you, Britt. 😀 I have such fun sharing.
I love it so much!! I would maybe even add a single flower on the front too!
Thanks! I debated on that too and my add one. I was short on time for the first go-round. 🙂
That is so cute! And daisies just happen to be my favorite flower 🙂 All your ideas for fixing the spots are good, but I’m glad you showed us this one…it made me smile.
Thanks! They’re one of those classic flowers that tell such a story. Smiling back at ya! 😀
You are an artist at heart! Great idea.
Oh yes! I love art in any form. Thanks so much. 😀
after working at Jo Anns , I can’t tell you how many people came in with garment in hand looking for fabric paint, dye or a marker to ‘fix’ a similar problem. I always told them , you can get close (lighter or darker) but never exact. They were so sad. This is a great “fix”!
Yes!! I have tried as well and it NEVER works. I find embroidery my favorite, but love paint just as much as it’s easy if I don’t have time.
You are one talented woman! Great job!
You are sweet to pay such a compliment. Thank you, Rena. {{hugs}}
Such a darling and practical way to solve this problem. Love it!
Thank you for saying so. It saves me so much time and money. Gotta love hacks! 😀
Loved the video! What a great save. Did you take a class in painting or are you self taught??? You are very good lucky girl!
That is wonderful to hear, Mary, as I truly try to make them easy to follow. Thanks! I am self-taught, and come by it honestly as my mother does fantastic paintings with oil. I think it’s in the blood. 😉
What a great save, Larissa! Even cuter than before the bleach stain. This would be fun to spiffy up any garment, purse, shoes…the possibilities are endless.
I had to do something! 😀 Like you, I’m sure many an article clothing has met it’s doomsday with paint, etc. This makes it fun and easy. Thanks, Marie!
I love it!
Woot! Thank you, Janet. I do too!
What a great idea and a great way to keep clothes out of the landfill! Thank you so much for sharing this!
You are most welcome, Lisa. Thank YOU! 😀
I can not believe I have never heard of or thought of this myself! Oh my gosh I am the queen of staining my clothes, I’m not sure how it happens they just suddenly appear lol. (not just bleach) Thank you for yet another one of your brilliant ideas Larissa! Now I can save my favorite clothes that are just waiting to be rescued since I can’t allow myself to throw them out. I knew I’d find a way to save them.
Fun! You sound like me. I love my comfies and won’t give them up! 😀 haha. Here’s to saving our loves. 😉