Do you ever say to yourself that you’re going to complete a project and yet, another year goes by? Then one day you finally pull up your boot straps and say, “No more excuses!!” My friends, I had been wanting to do this patriotic bunting project for a couple of years now, but just couldn’t get it done for different reasons. I know, yada, yada, yada, but life happens, right? (like running a home business, homeschooling 6 kids, etc)
One reason was because our new baby threw a kink in the works when we had a NICU stay, the other was because I had nowhere to hang a patriotic bunting. Good reason, right? Last summer my husband was finally able to build the flower boxes for our home after the exterior got a facelift. That is, all except the front two. We didn’t get to complete the front set until this summer since we had to replace our windows last fall, and they had their debut a couple of weeks ago.
DIY TIME
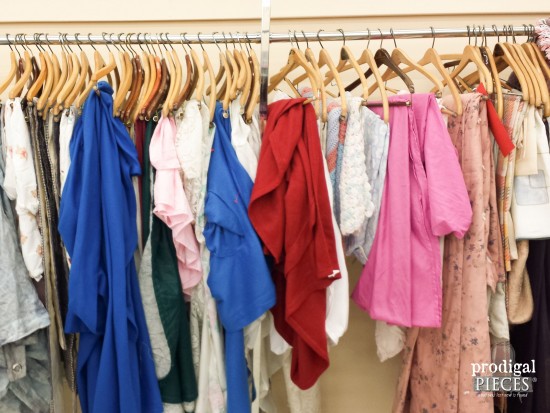
So here I am. Finally there is no excuse not to make a patriotic bunting. With my coupon in hand, I headed to a local thrift store to snatch up some Independence Day goodness. (Yes, I even have coupons for the thrift store – ha!)
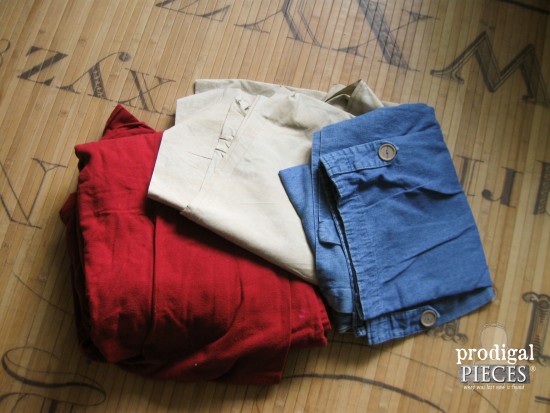
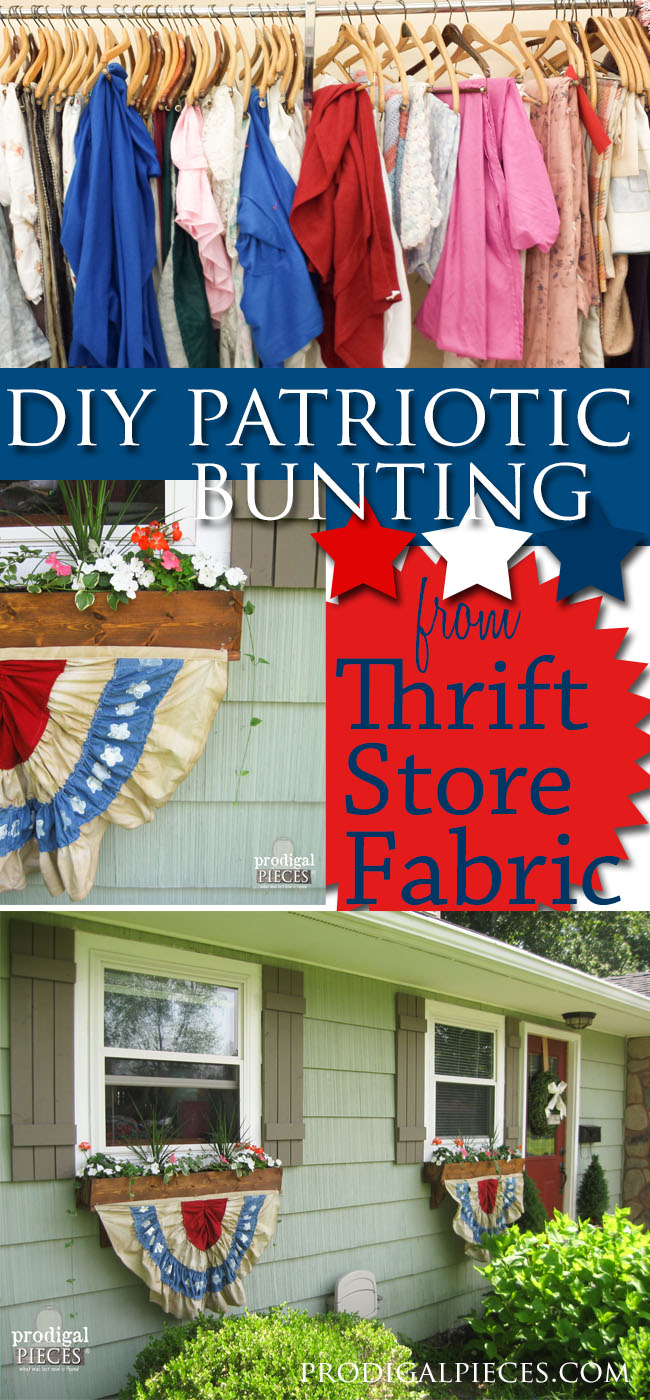
There was plenty of red, white, and blue fabric in the form of sheets, curtains, and remnants. Can you believe I was able to snag all that I needed plus tons more for less than $4? SCORE! I bought a king size sheet, a 12 foot long fabric remnant that looked like a tea stained tie-dye, and a few denim curtains that had been sun-faded (perfect for the time-worn effect I was after).
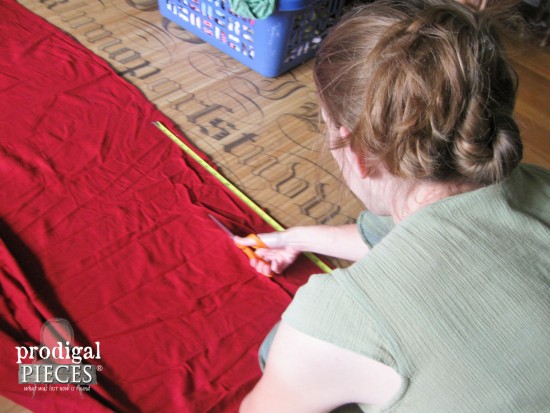
Normally I would whip out my rotary cutter and mat and do things the “correct” way, but I wanted these done… and done quickly. So I just grabbed my scissors and sort of guessed that a 5″ strip would suffice.
CUTTING
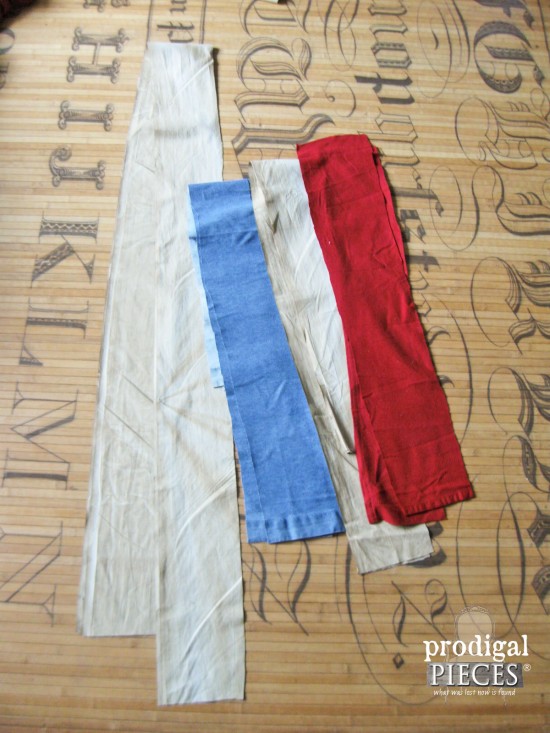
I knew my boxes were about 3 feet long, so my first strip should measure at least that, then each successive strip would be double the previous one. The idea is to create gathers for a ruffled effect, so you need that length to be able to shorten it on one side. In some instances, you will need to cut a couple strips to get the length you need, then just stitch them together to make one long piece ( had to for my denim pieces).
At first, I really debated on showing you how to do this no-sew style, but I knew it would take longer for me to do it that way, than to just sit down at my sewing machine and whip some up. Sorry! I’ve only got a couple of days before we celebrate our nation’s birth!
PAINTING
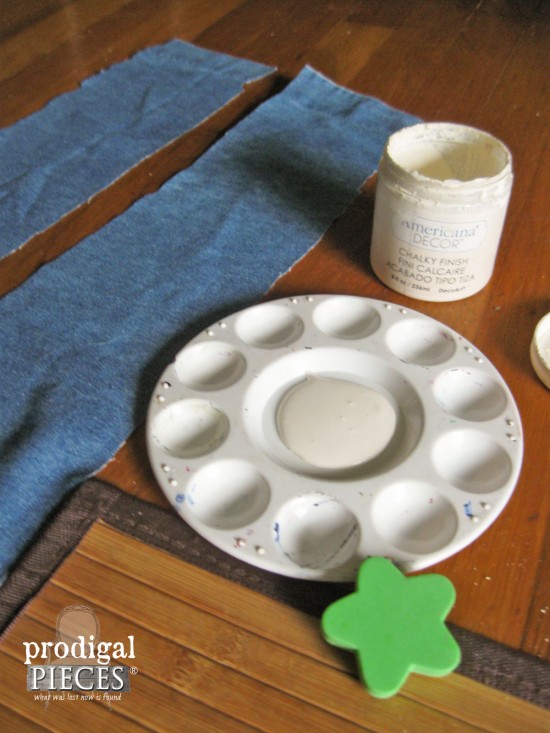
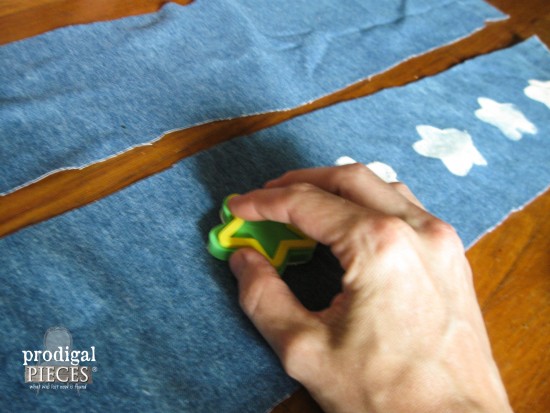
After ironing the strips, I knew I want those denim curtain pieces to have some white stars on them. While normally I would have cut up a sponge into the shape, made a potato stamp, or freezer paper stencil, I decided to use my kids foam stamp to save on time. I am on a mission to get these babies done in one morning – a woman on a mission can do wonders!
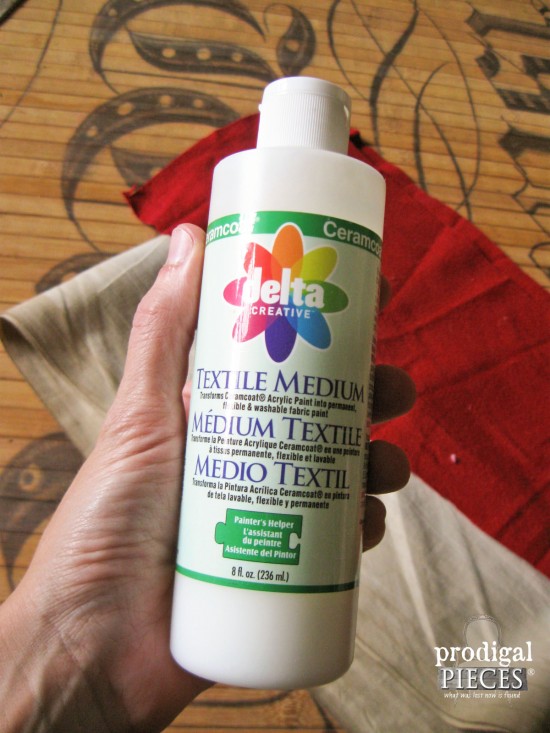
Any paint will do for this project. I grabbed my leftover chalk finish paint in lace from this recent dresser makeover, and then added just a bit of textile medium to make it washable. (This stuff is great! Takes any paint and turns it into a fabric paint suitable for washing – Yay!) You know some bird is going to land on my boxes and do their thang. tsk.
This is where you get the kids and have fun making a family craft. My guys are too busy playing outside to want to come in, so I was left to my lonesome. It’s all good.
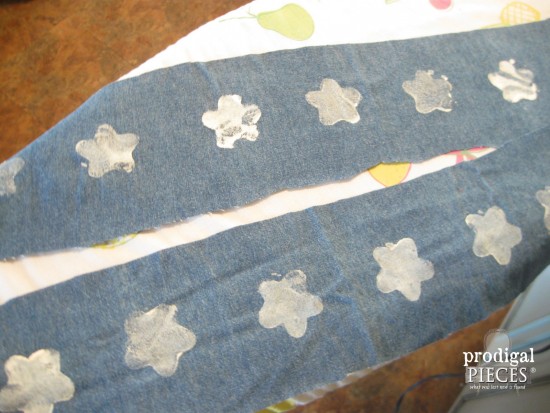
Since I’m going for a rustic feel, I don’t mind if the stars aren’t perfect or look a little washed. It adds dimension and that homemade feel I’m after.
NEXT STEPS
Once the paint has dried, you will want to give it a quick ironing to set the paint. Iron the other strips so you can assemble the bunting.
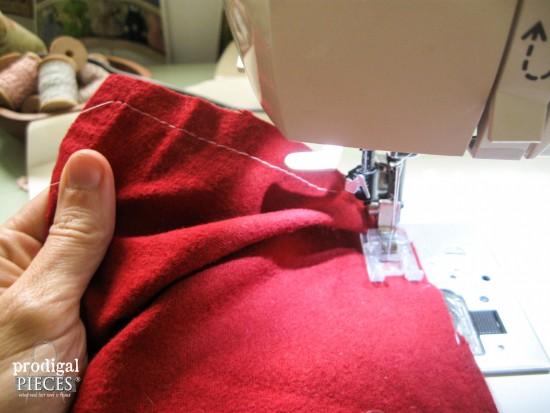
To create the gather look, I have my machine to its longest running stitch and just ran down one side without backstitching. This allows you to pull the tails of your thread and create perfectly even ruffles.
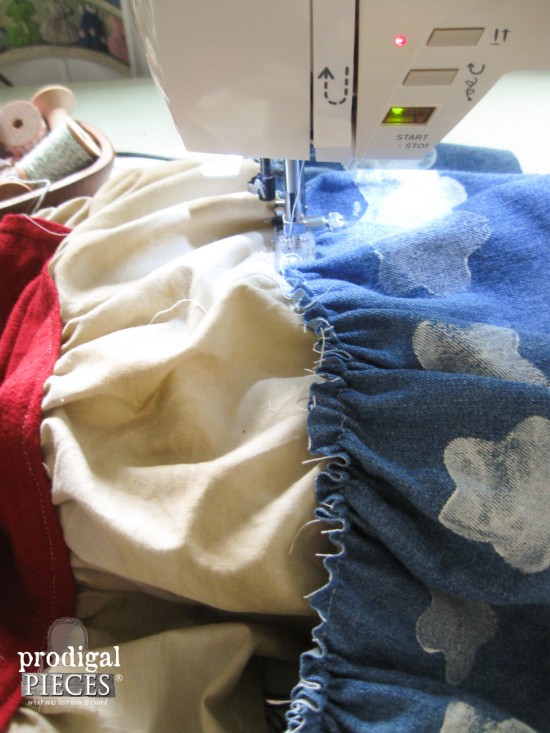
Once I had each strip ruffled, I just pinned them together a layer at a time and stitched them around the ruffle with a basic topstitch.
THE REVEAL
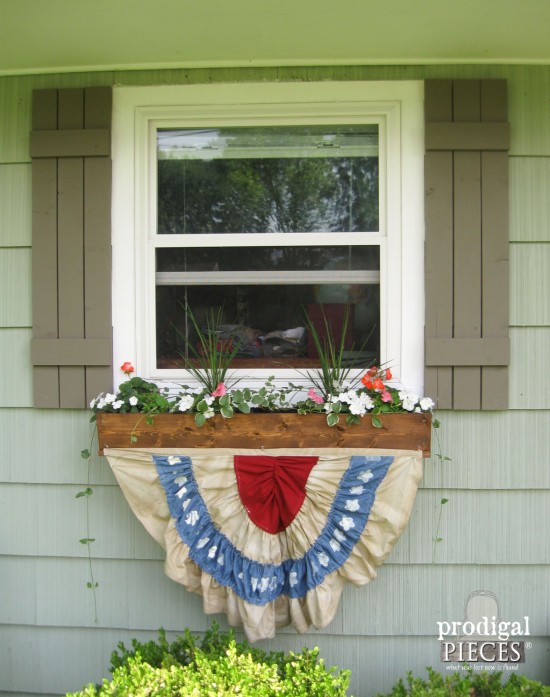
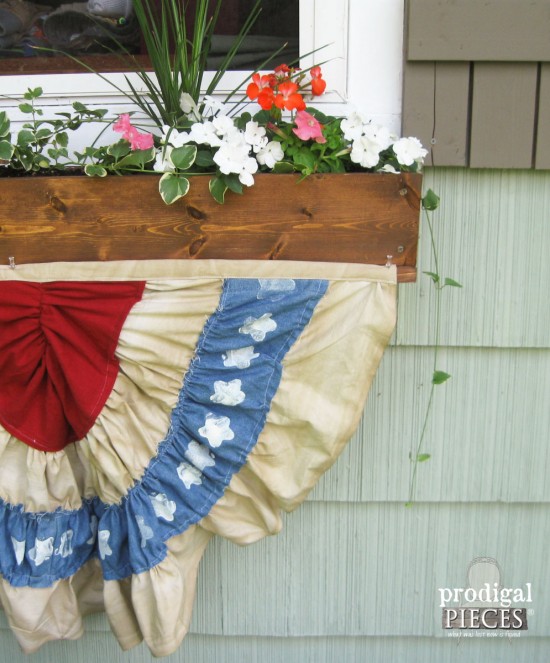
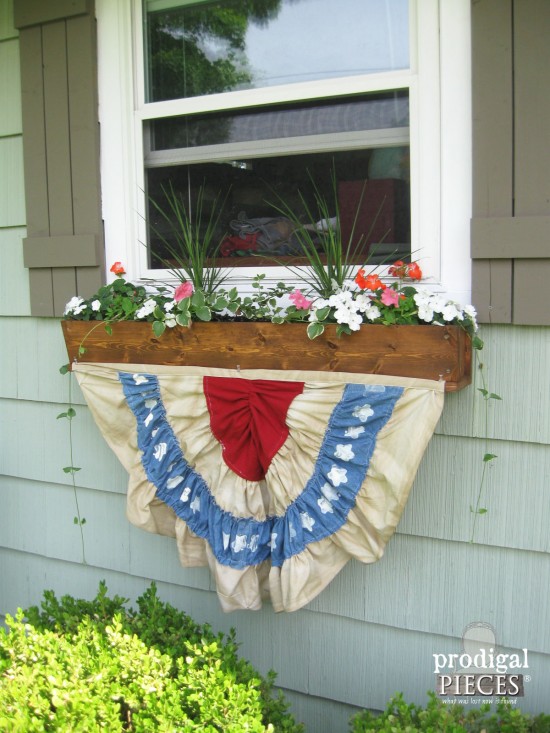
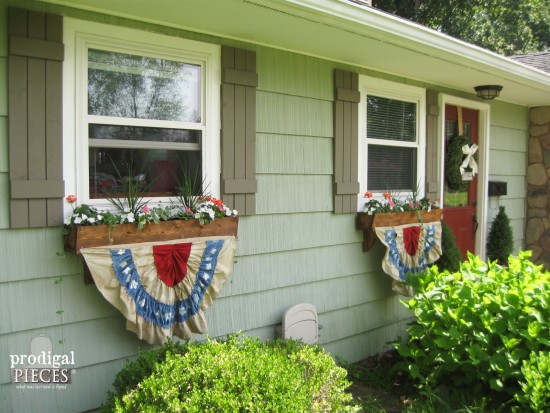
Now that the ruffles are put together, I add a large binding strip to the top to hold it all together. You could add grommets too, if you’d like, but I’m just going to pin mine. It’s time to hang them!
Sweet, right? I had originally intended to add another red strip to the outside edge. However, I was worried they would be too large. I may just add that by the next 4th of July, but for now I like them.
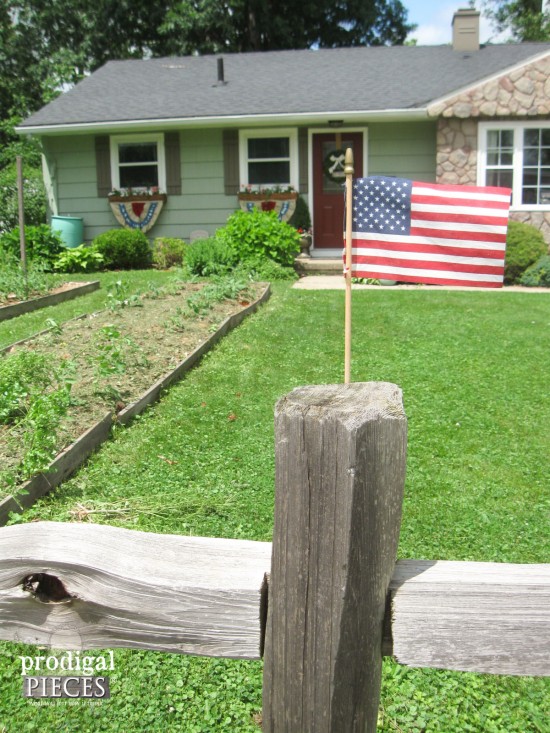
They’ve add some tea-stain, time-worn curb appeal. Likewise, also showing how proud we are to live in this wonderful country. What a blessing!
Didn’t my hubby do an excellent job on those flower boxes? You can’t see the corbels, but they were from our bedroom shelves after our remodel.
I’m happy that they are done too. Also, I only spent pennies and have plenty left to make more for the rest of my house. Win-win!
With summer just kicking off, our garden coming on. And, our perennials starting to kick up their heels, so I’m so happy I have this place to call home.
The U.S.A. has come a long way with our founding fathers working hard to make this a free nation. I pray we will not forget where we’ve come from. May you have a wonderful, safe time celebrating our nation’s birth!
Pin and share!
Later on this week I’ll be showing you how this thrifted table got a new look. You won’t want to miss it because I have a guest appearance!



Larissa, what a great idea! Thanks for sharing
My absolute pleasure, Wendy! Thank you for the compliment.
Love the bunting – Very cute
Thank so much for taking the time to stop by! 😀
Larissa, I love the flower boxes and your bunting is beautiful! I would buy or make yours any day instead of that too new looking bunting in the store. Thanks for sharing your tutorial! I hope you and your family have a safe and wonderful new year!
Awesome, Kelly! You know I like the time-worn and handmade versus store-bought any old day. 😉 Thank you and have an awesome holiday!
Larissa, I’ve always been fond of these buntings, but LOVE your rendition! Why is thrifted always better? It just is! Featuring you this weekend on Party Junk. 🙂
So awesome you’re including me, Donna, and while you’re basking in glorious surroundings! Can’t wait to join the party this week. Thank you!
The bunting and flower boxes are beautiful but I have to ask about the letters on the floor! That is your floor right? It’s beautiful! Please tell me more about it!
Thanks! hahaha…it is a bamboo rug from Decor Steals. 😉
I love the aged look of these. Hmmm, now for a trip to the thrift store.
Thanks so much!