I have no doubt that I have a unique sense of stash. A sense of what to keep and what to toss or burn. Many tell me I have a “gift” for seeing what others can’t (or choose not to). Is this burn pile potential below? Maybe to some. However, I’m eager to build with it and for today’s purpose I am after a reclaimed shelf rack. Call me a nut, but I have a plan! hee hee.
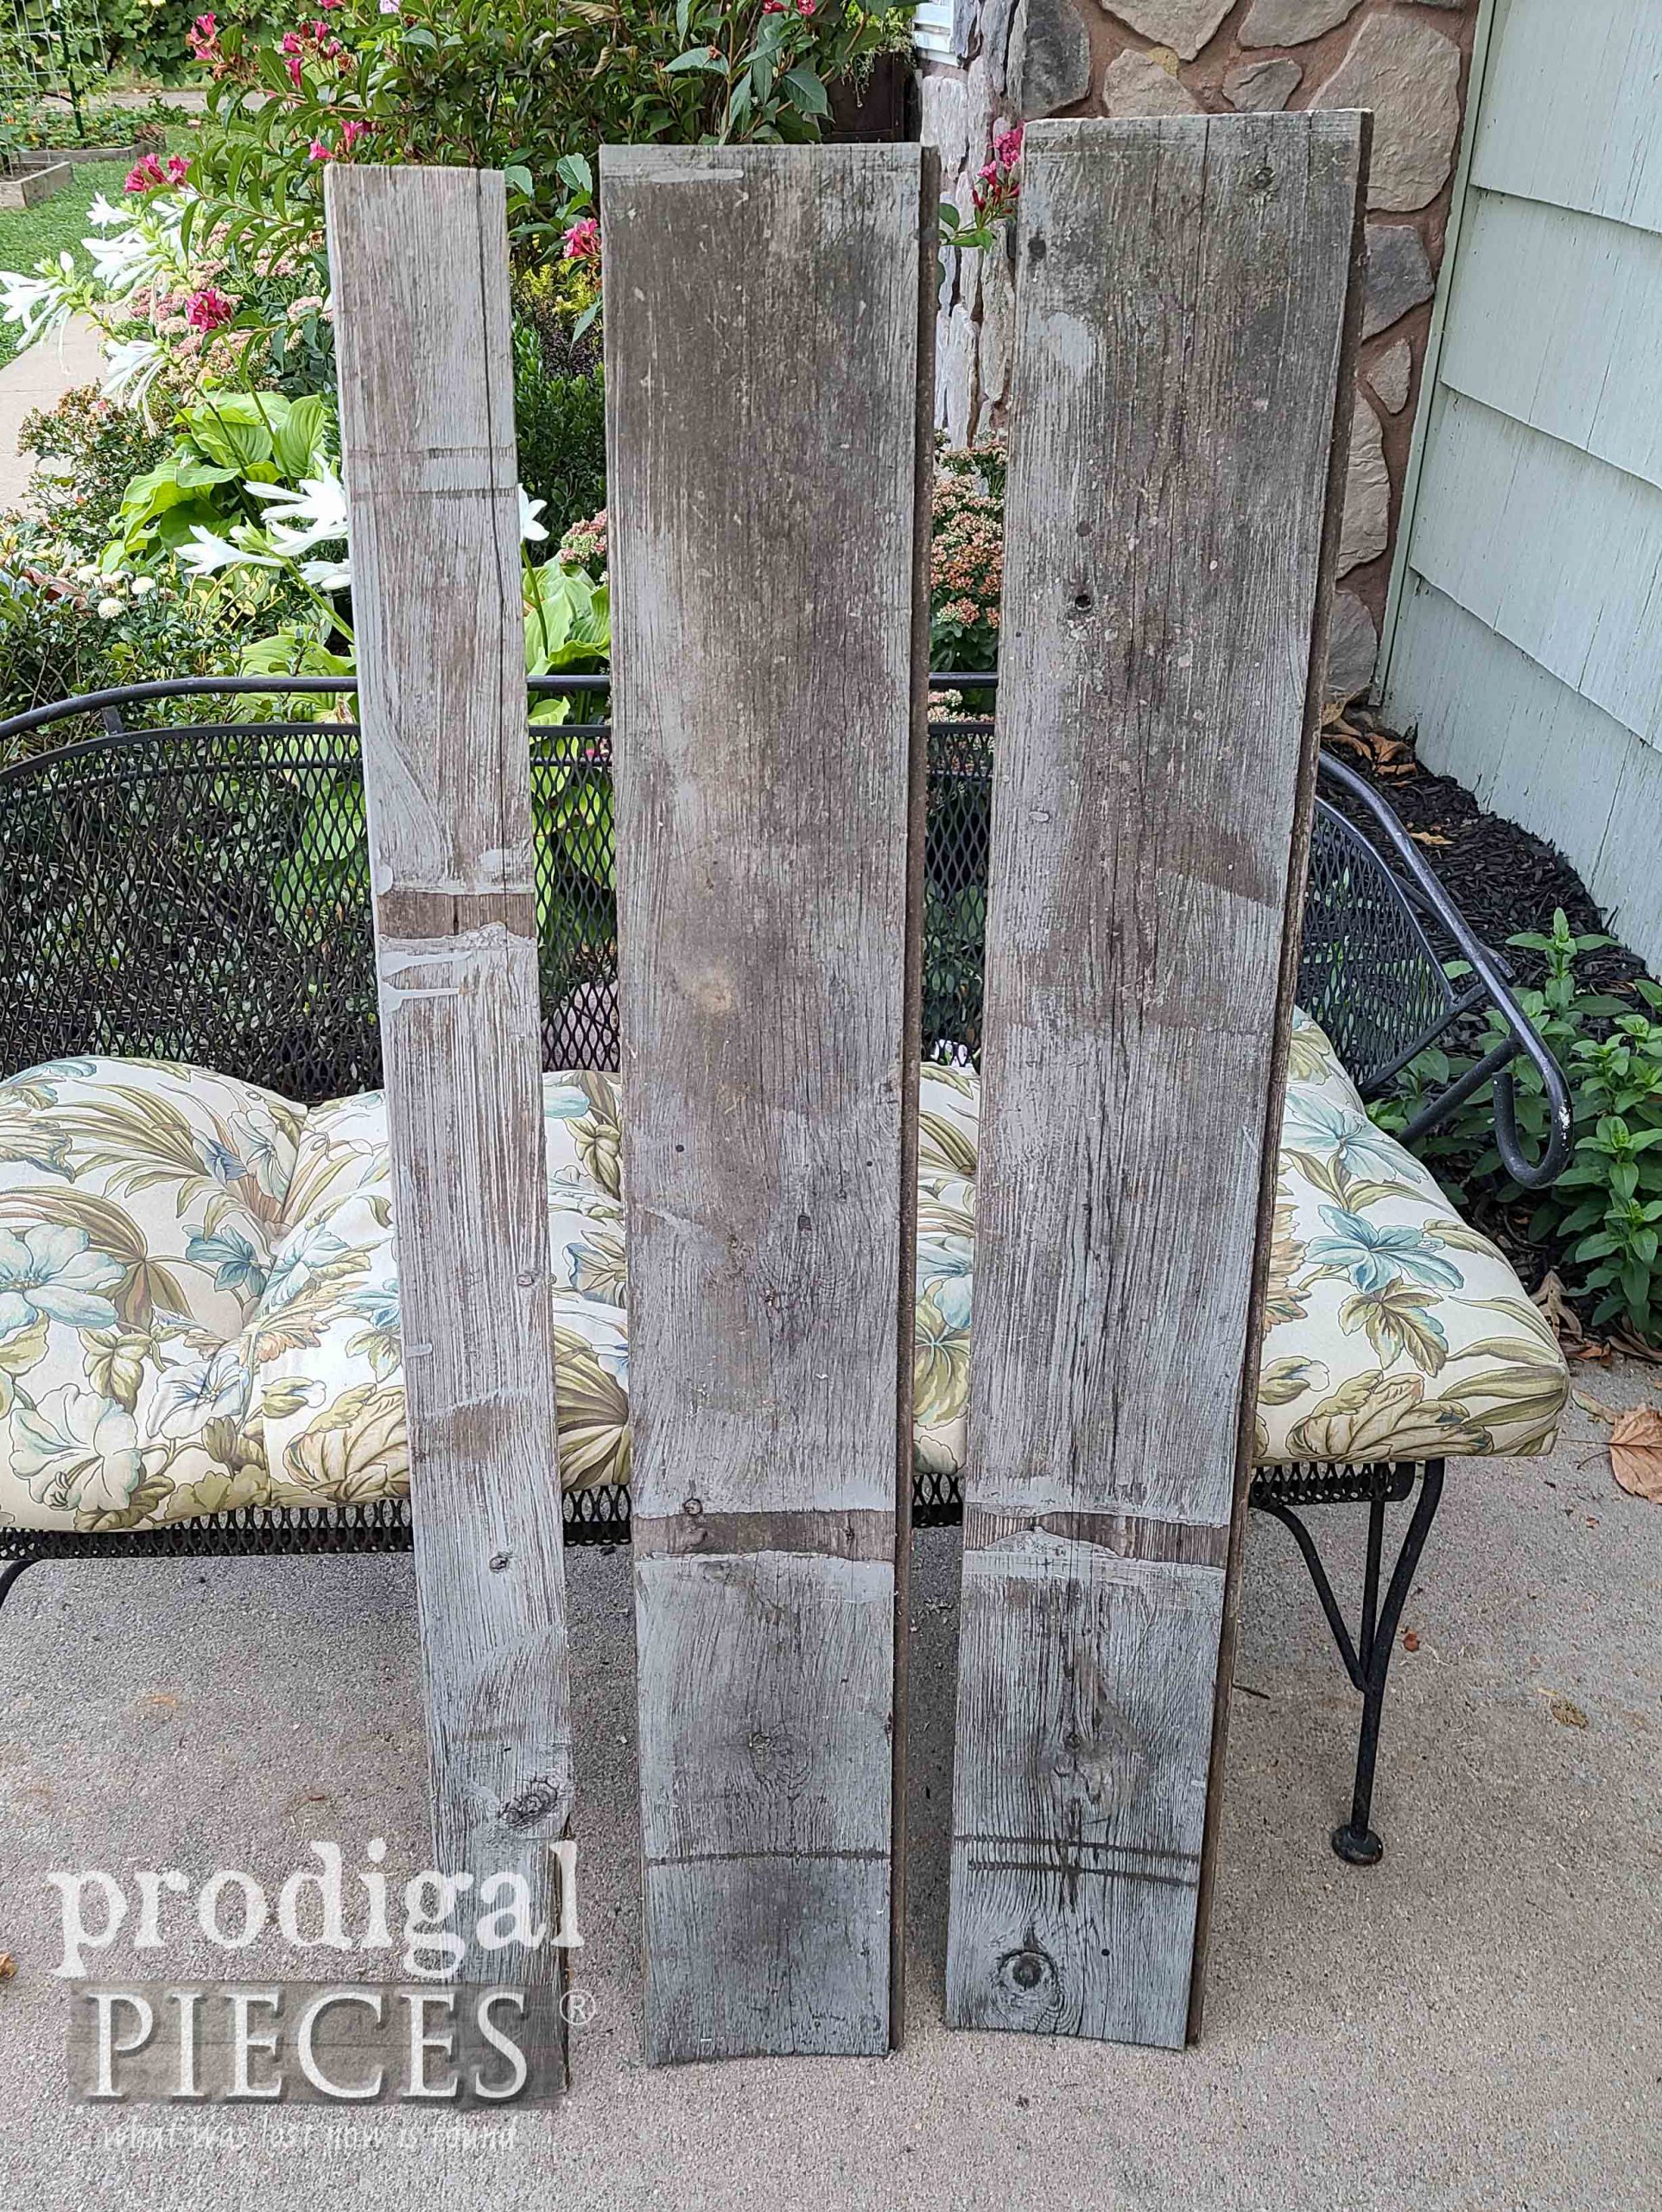
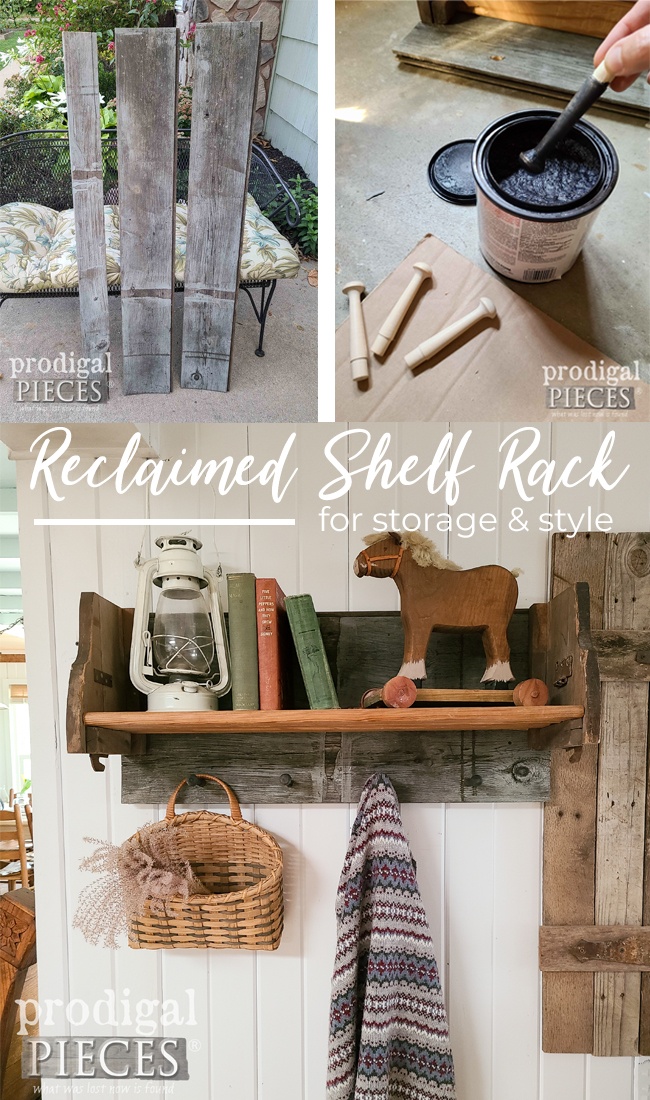
In order to fully understand my story, let me take you back about 10 years ago. When we moved into our home nearly 19 years ago, the house was painted this blue-gray color. If you flip the boards, you can see the original v-groove pine the original owners used to build a super large trash bin on the side of our home. Seems they really liked this v-groove vibe because it’s seen in the addition in our home as well. After using it a few years, I took a hammer to it and it fell apart in one blow. yikes!
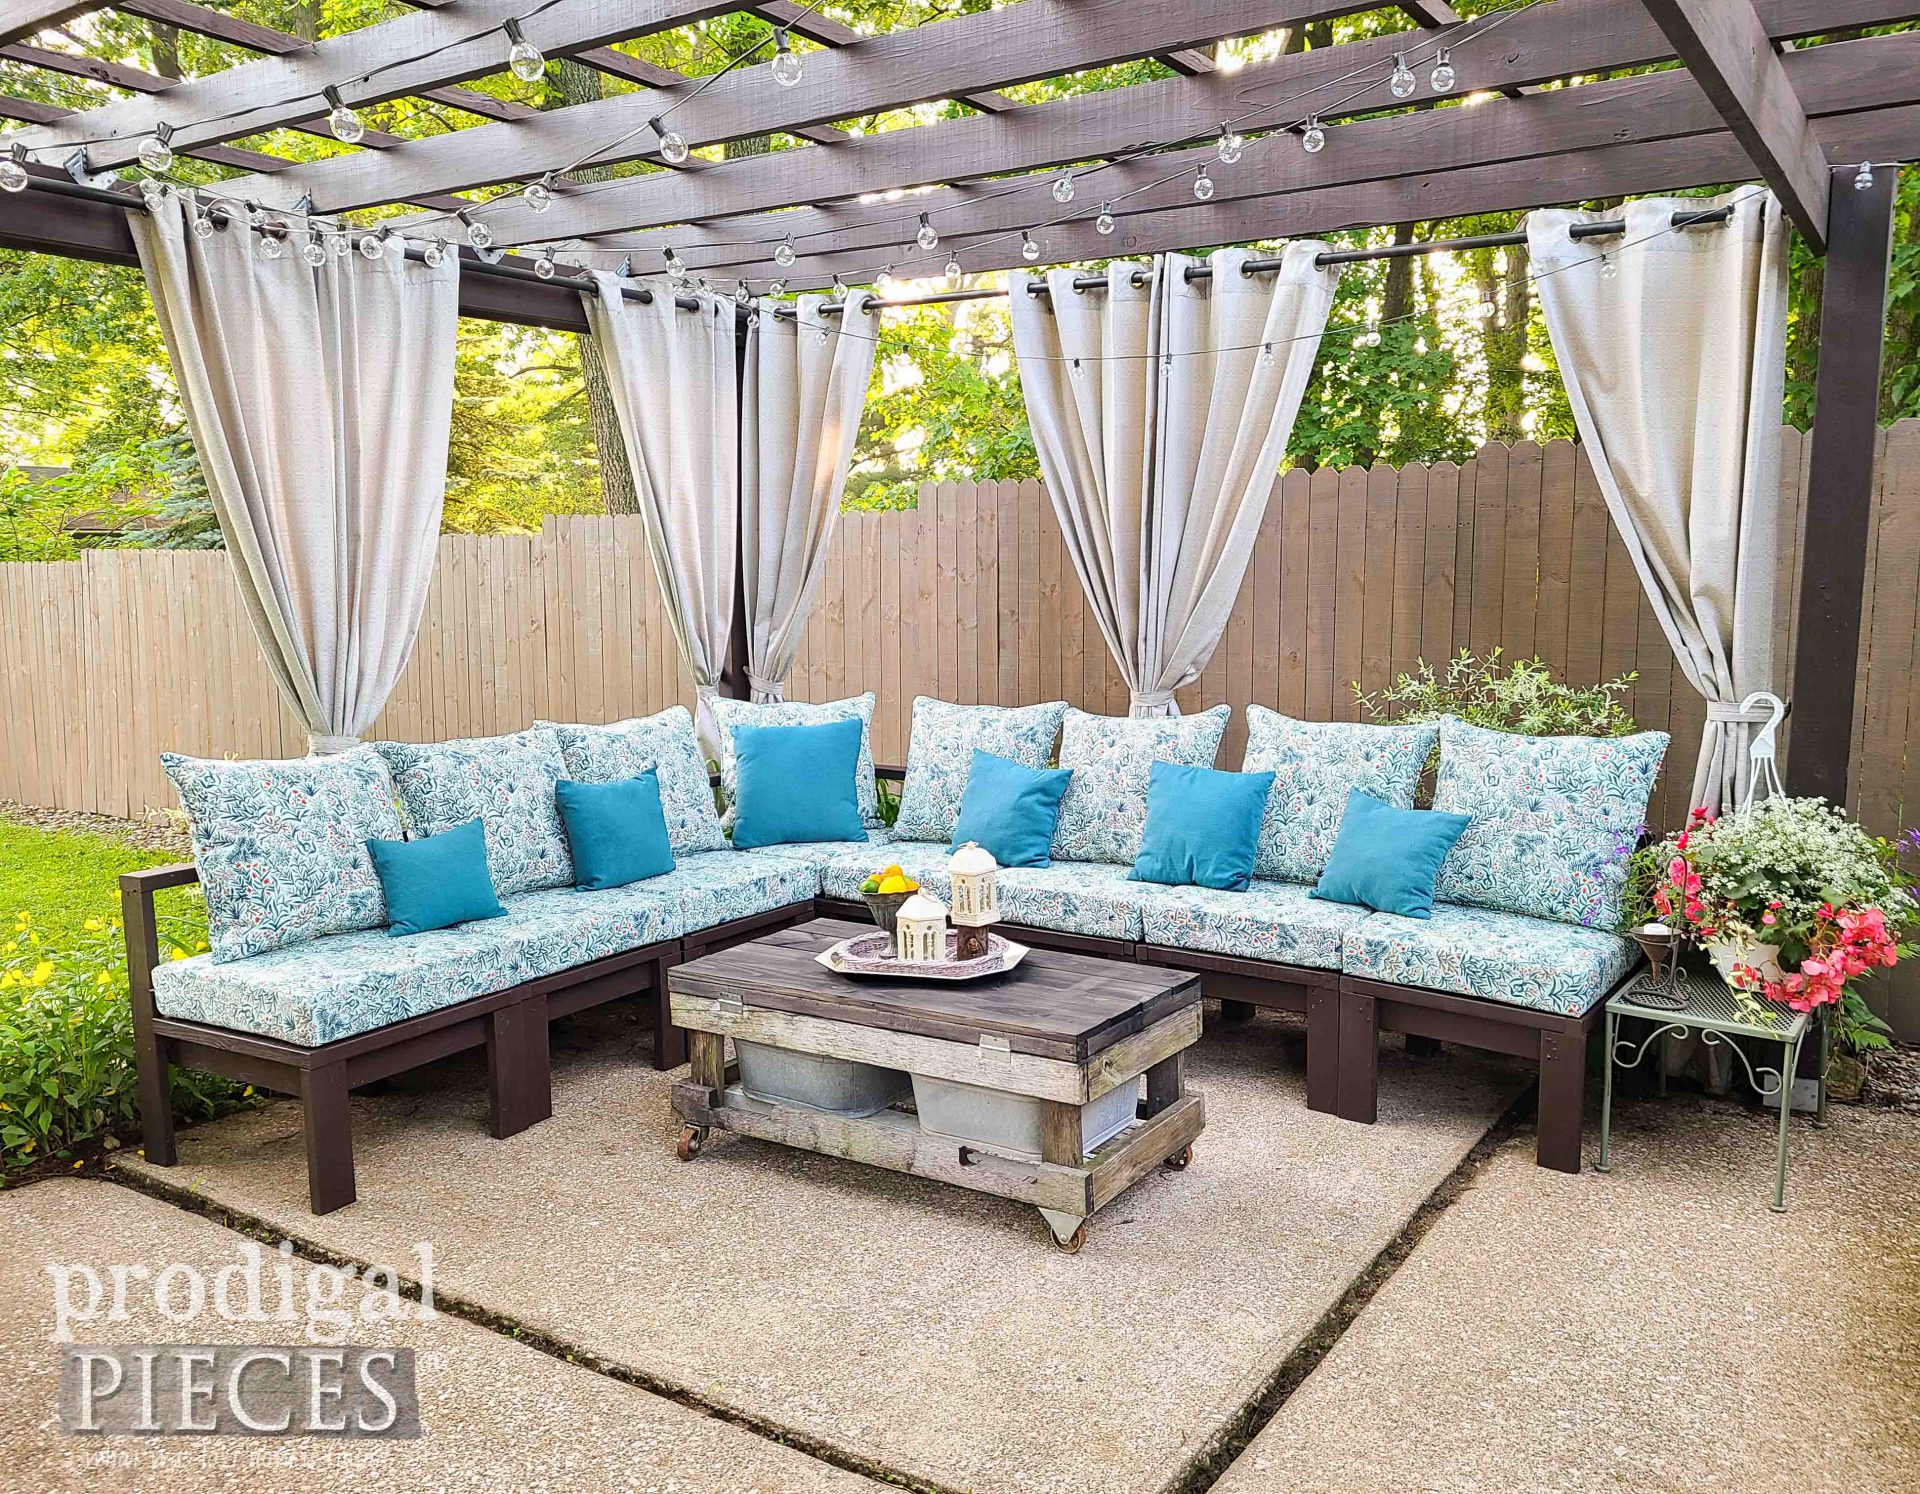
At that point, I used the wood and an old pallet paired with antique wash tubs to make my patio table that we used for years. See the start of it HERE. Unfortunately, the wood eventually saw it’s last patio appearance this summer and I rebuilt the top with treated lumber.
So, as a sucker for reclaimed wood that I will brake for and shop Curb le Chic, I couldn’t let this beautiful patina go just yet. Let’s get our build on!
DIY TIME
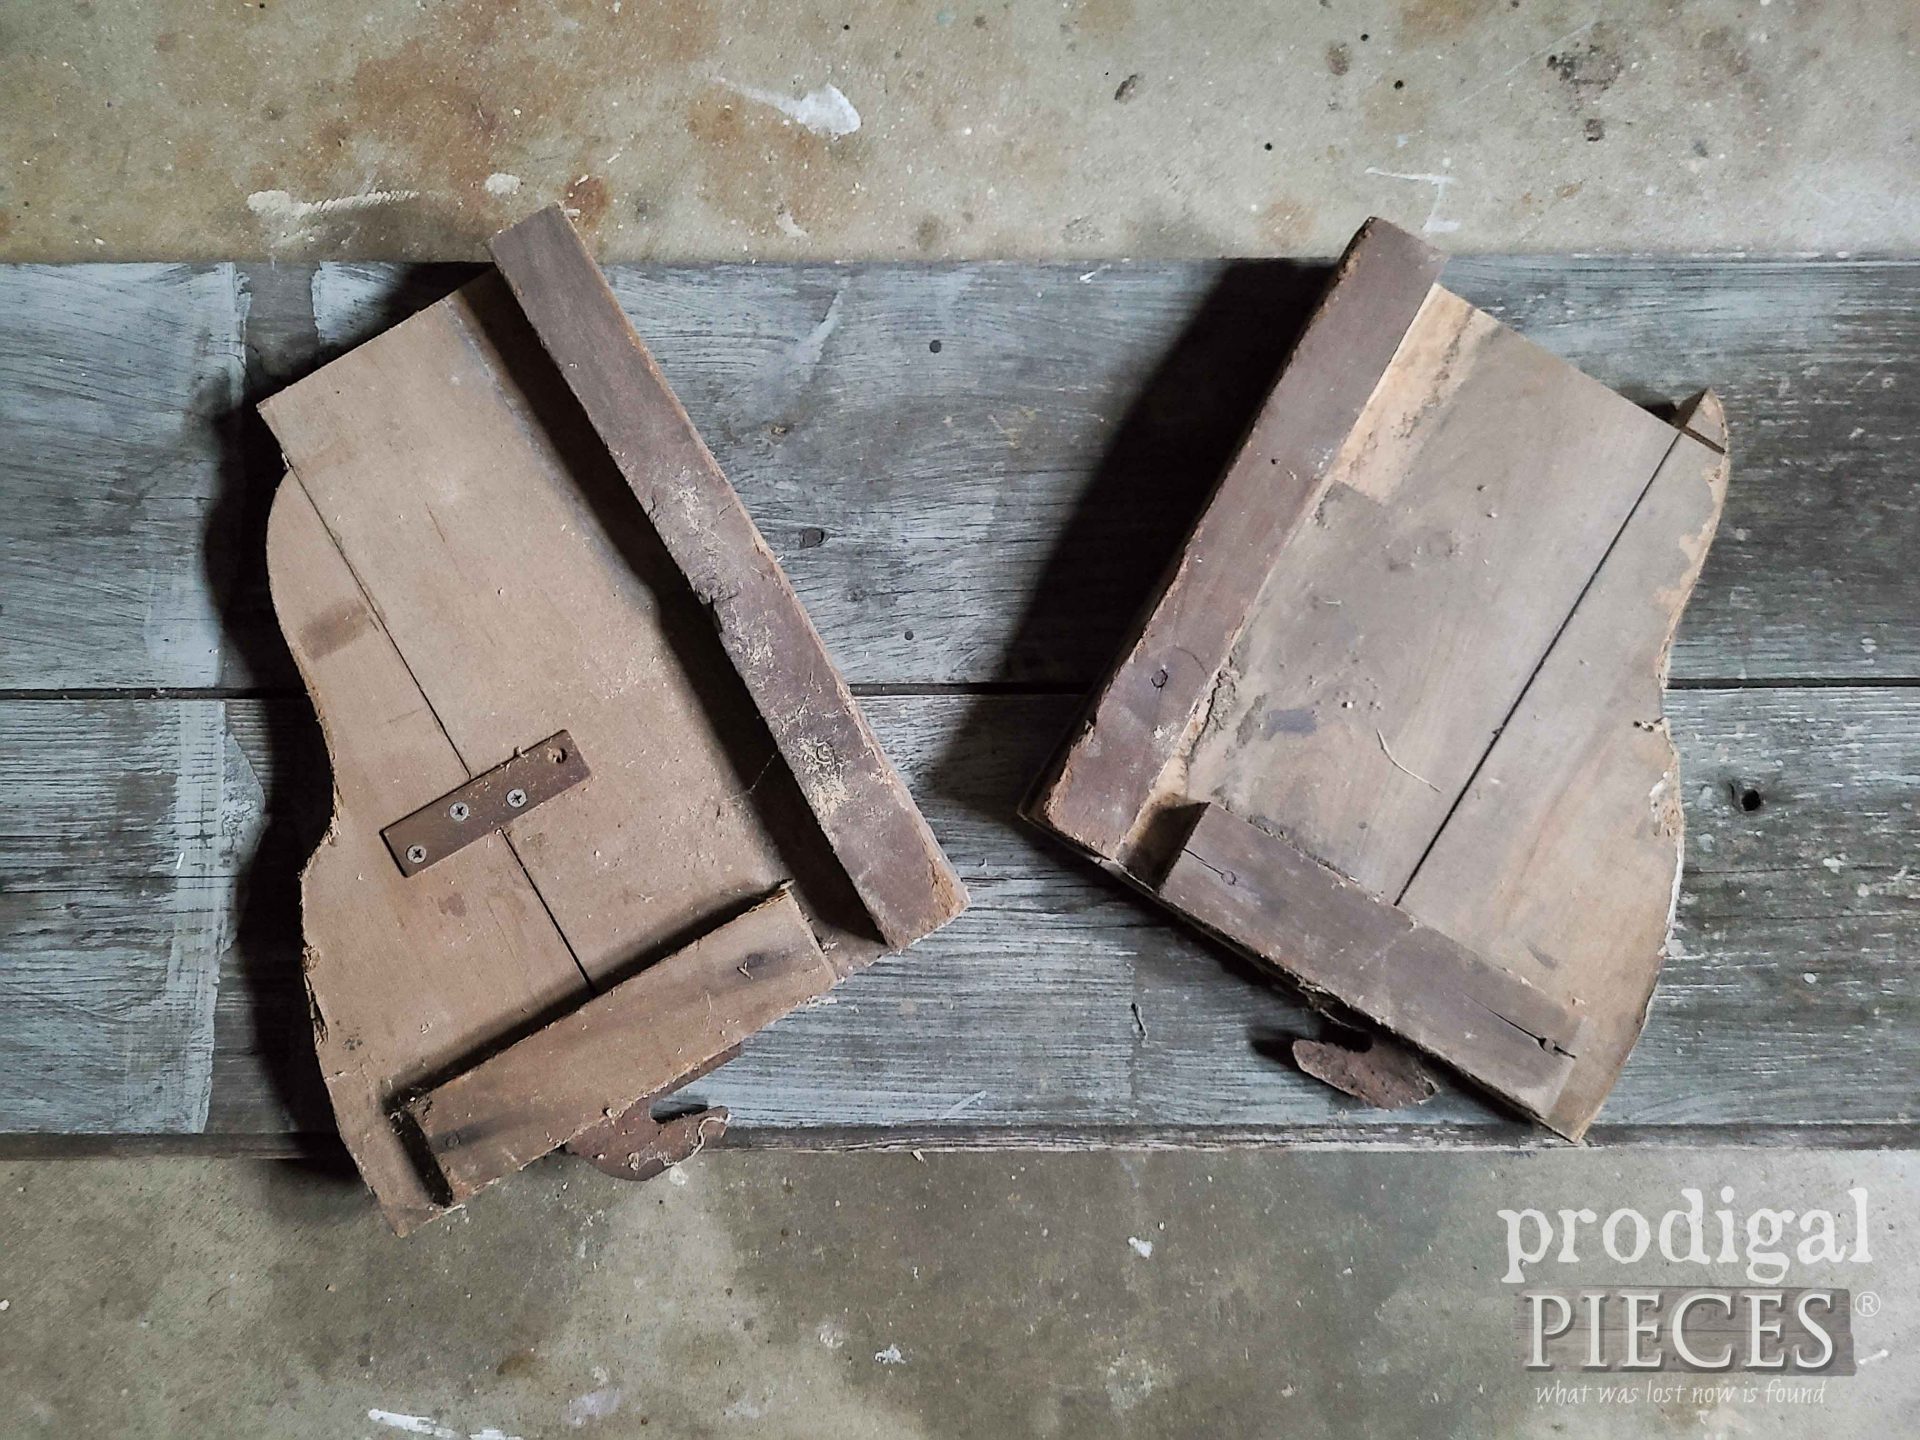
First, I get back into my stash and pull out these two beauties. Beauty is in the eye of the beholder, right? It’s so absolutely inspiring to me to be able to walk to my stash and pull out bits that speak to me.
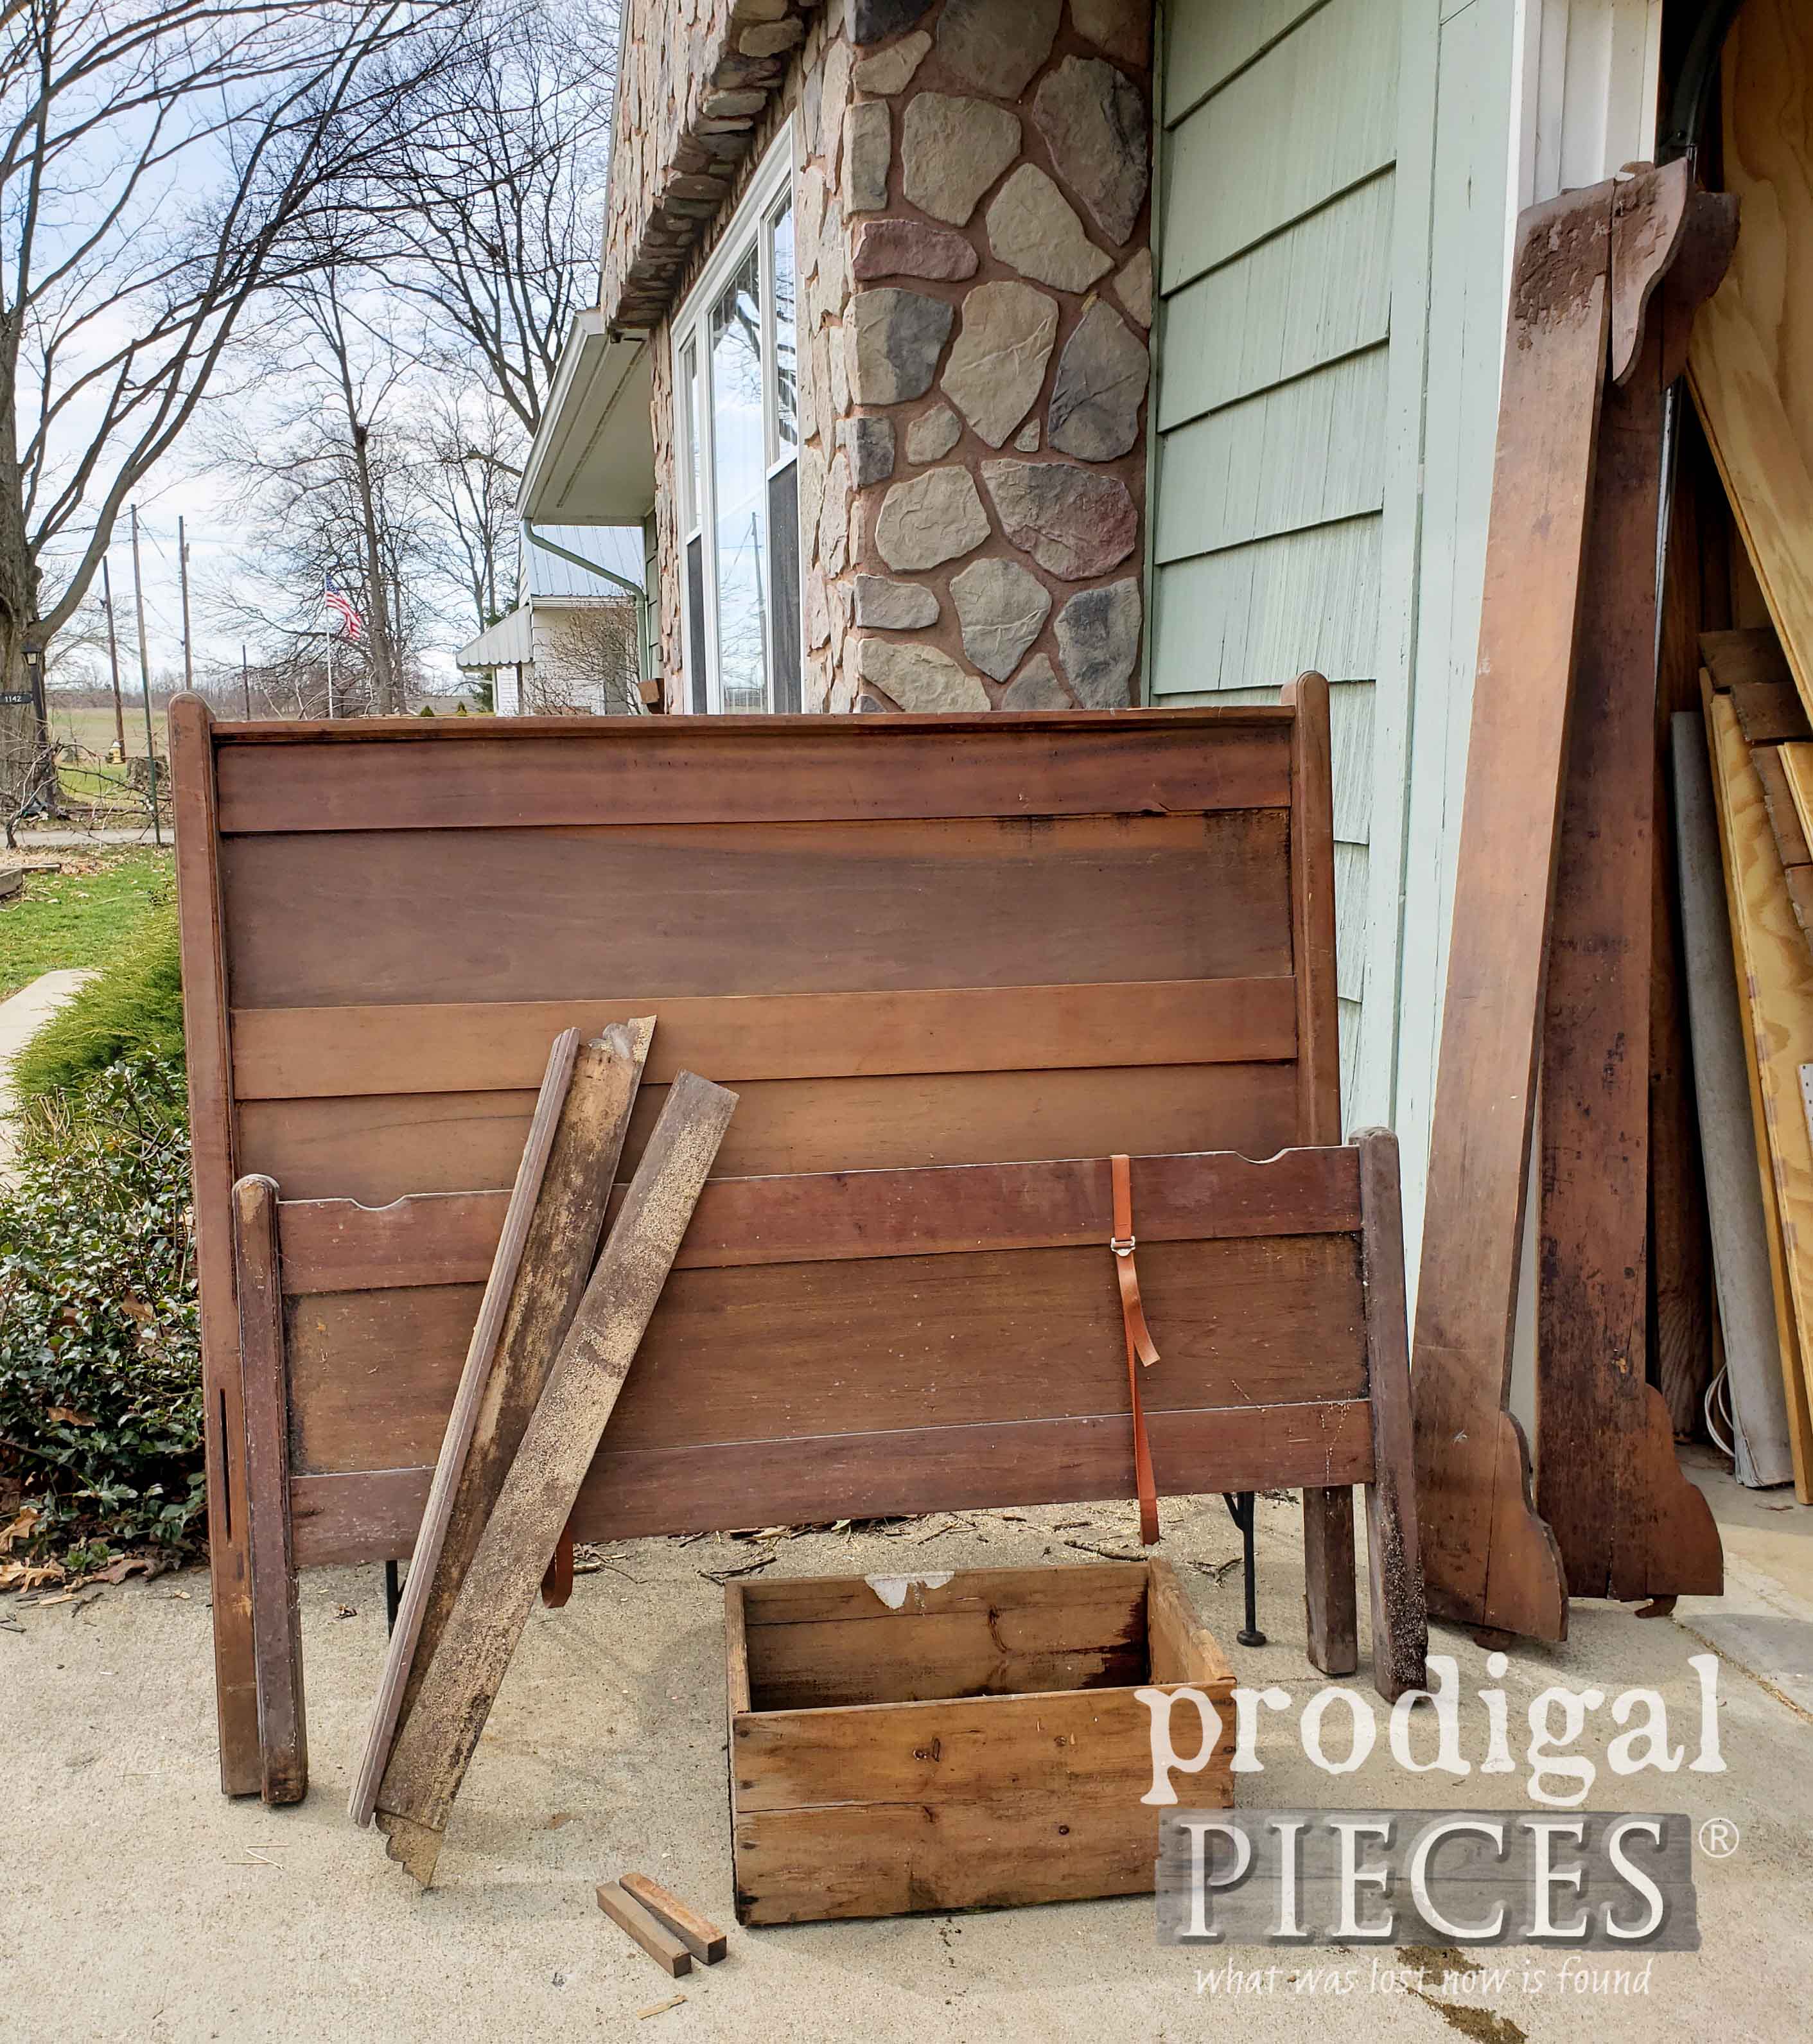
Do you know what they are? They are actually from another #trashure find a couple of years ago that we rebuilt for our family room remodel.
I have yet to reveal that, but it’s coming soon! Anyhoo, if you look in the picture above, you’ll see the bed rails. Well, those pieces I’m using are the remnants. You can see how I recreate the other ends into an antique style hymn board in this past post. Waste not, want not is the way to be!
NEXT STEPS
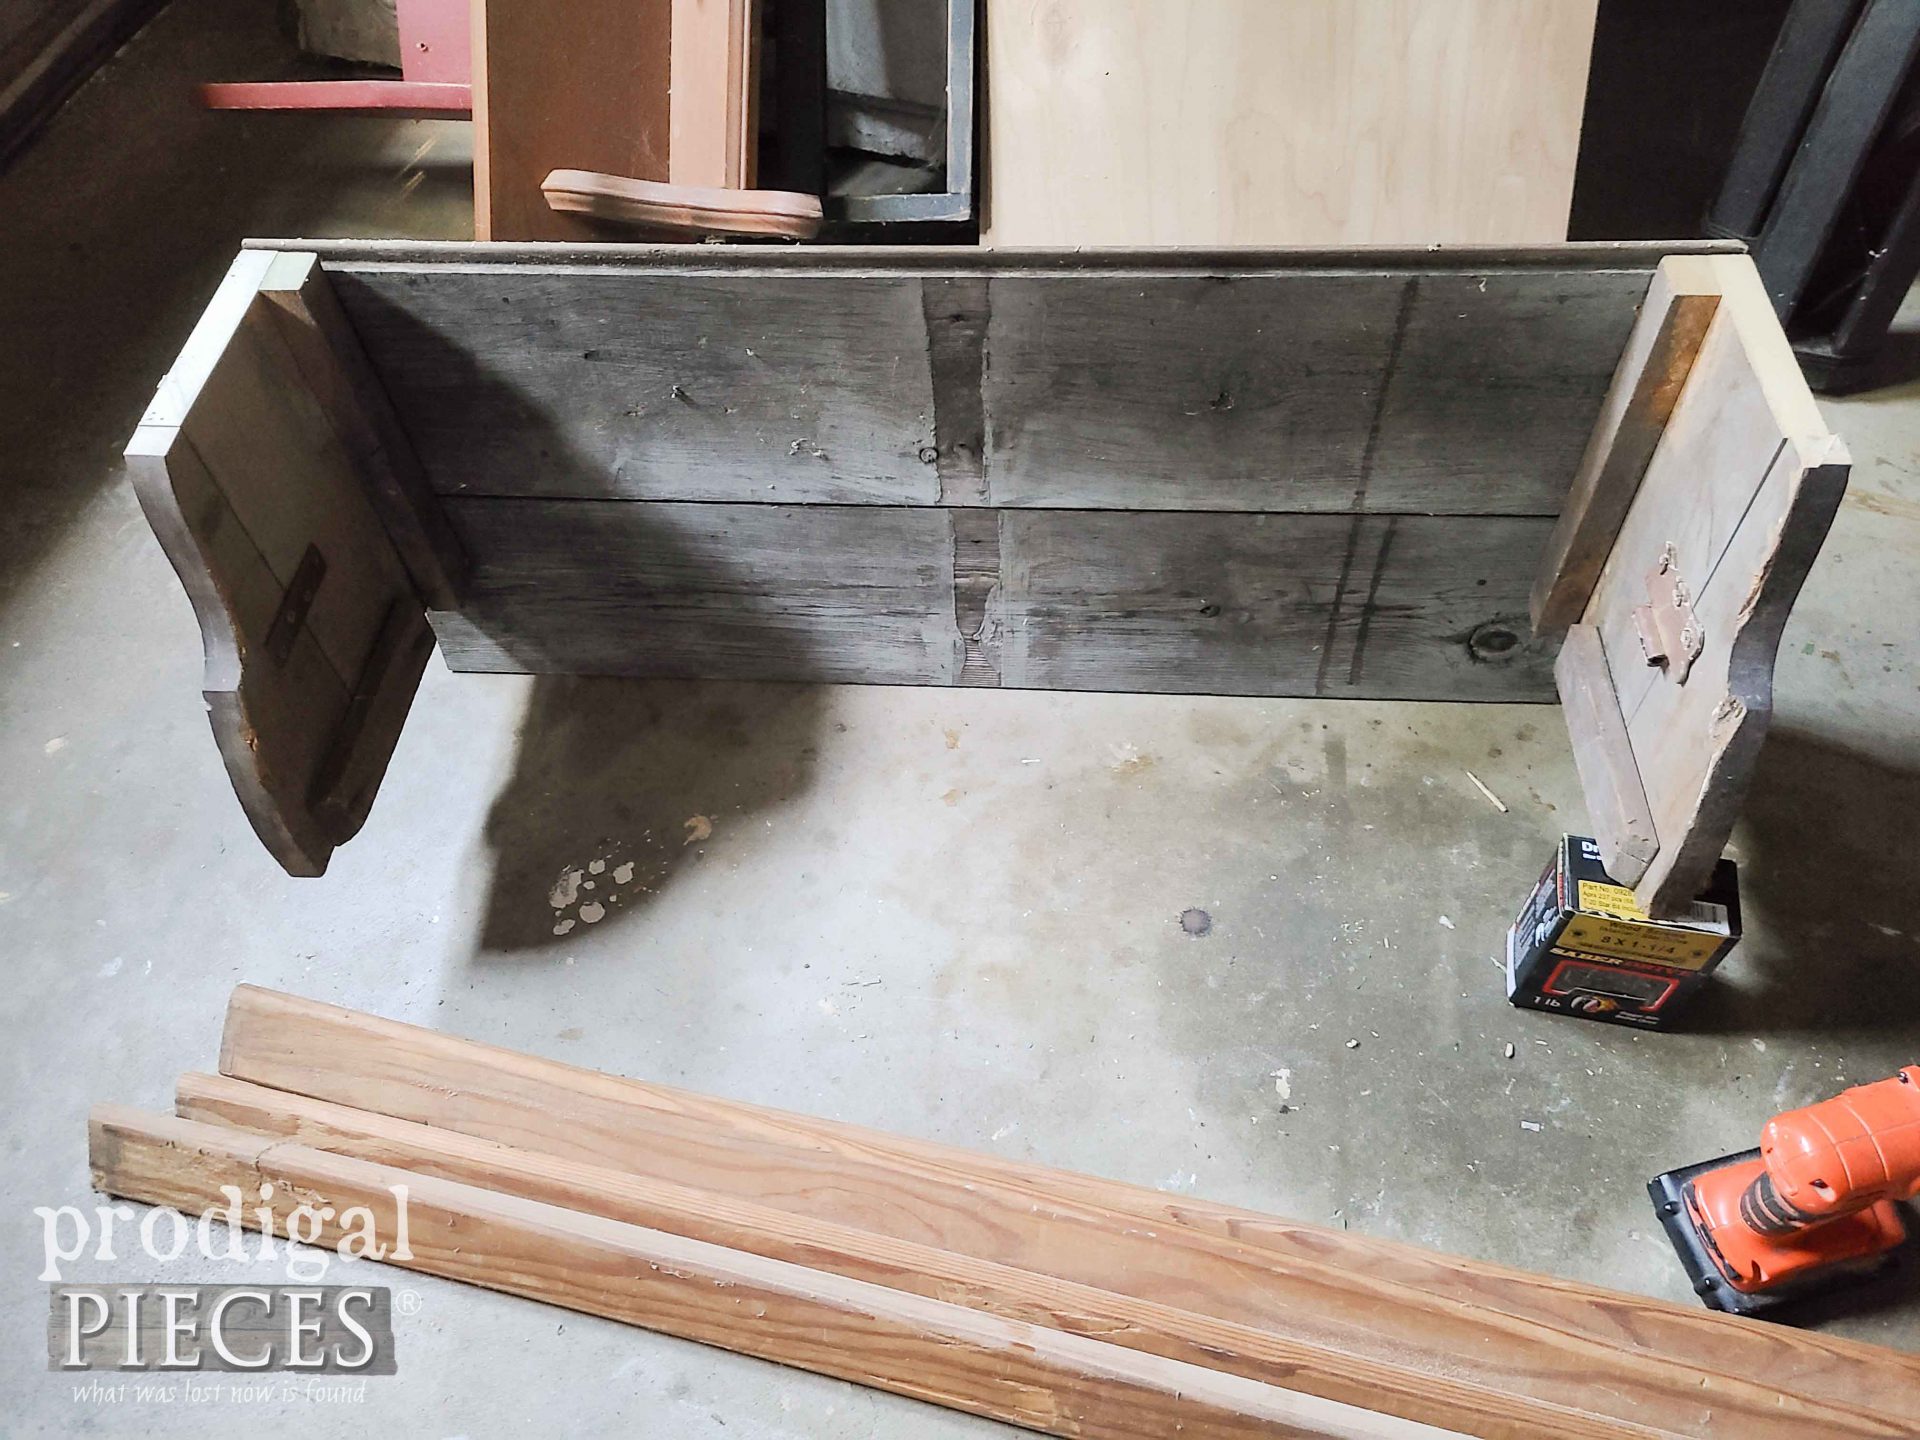
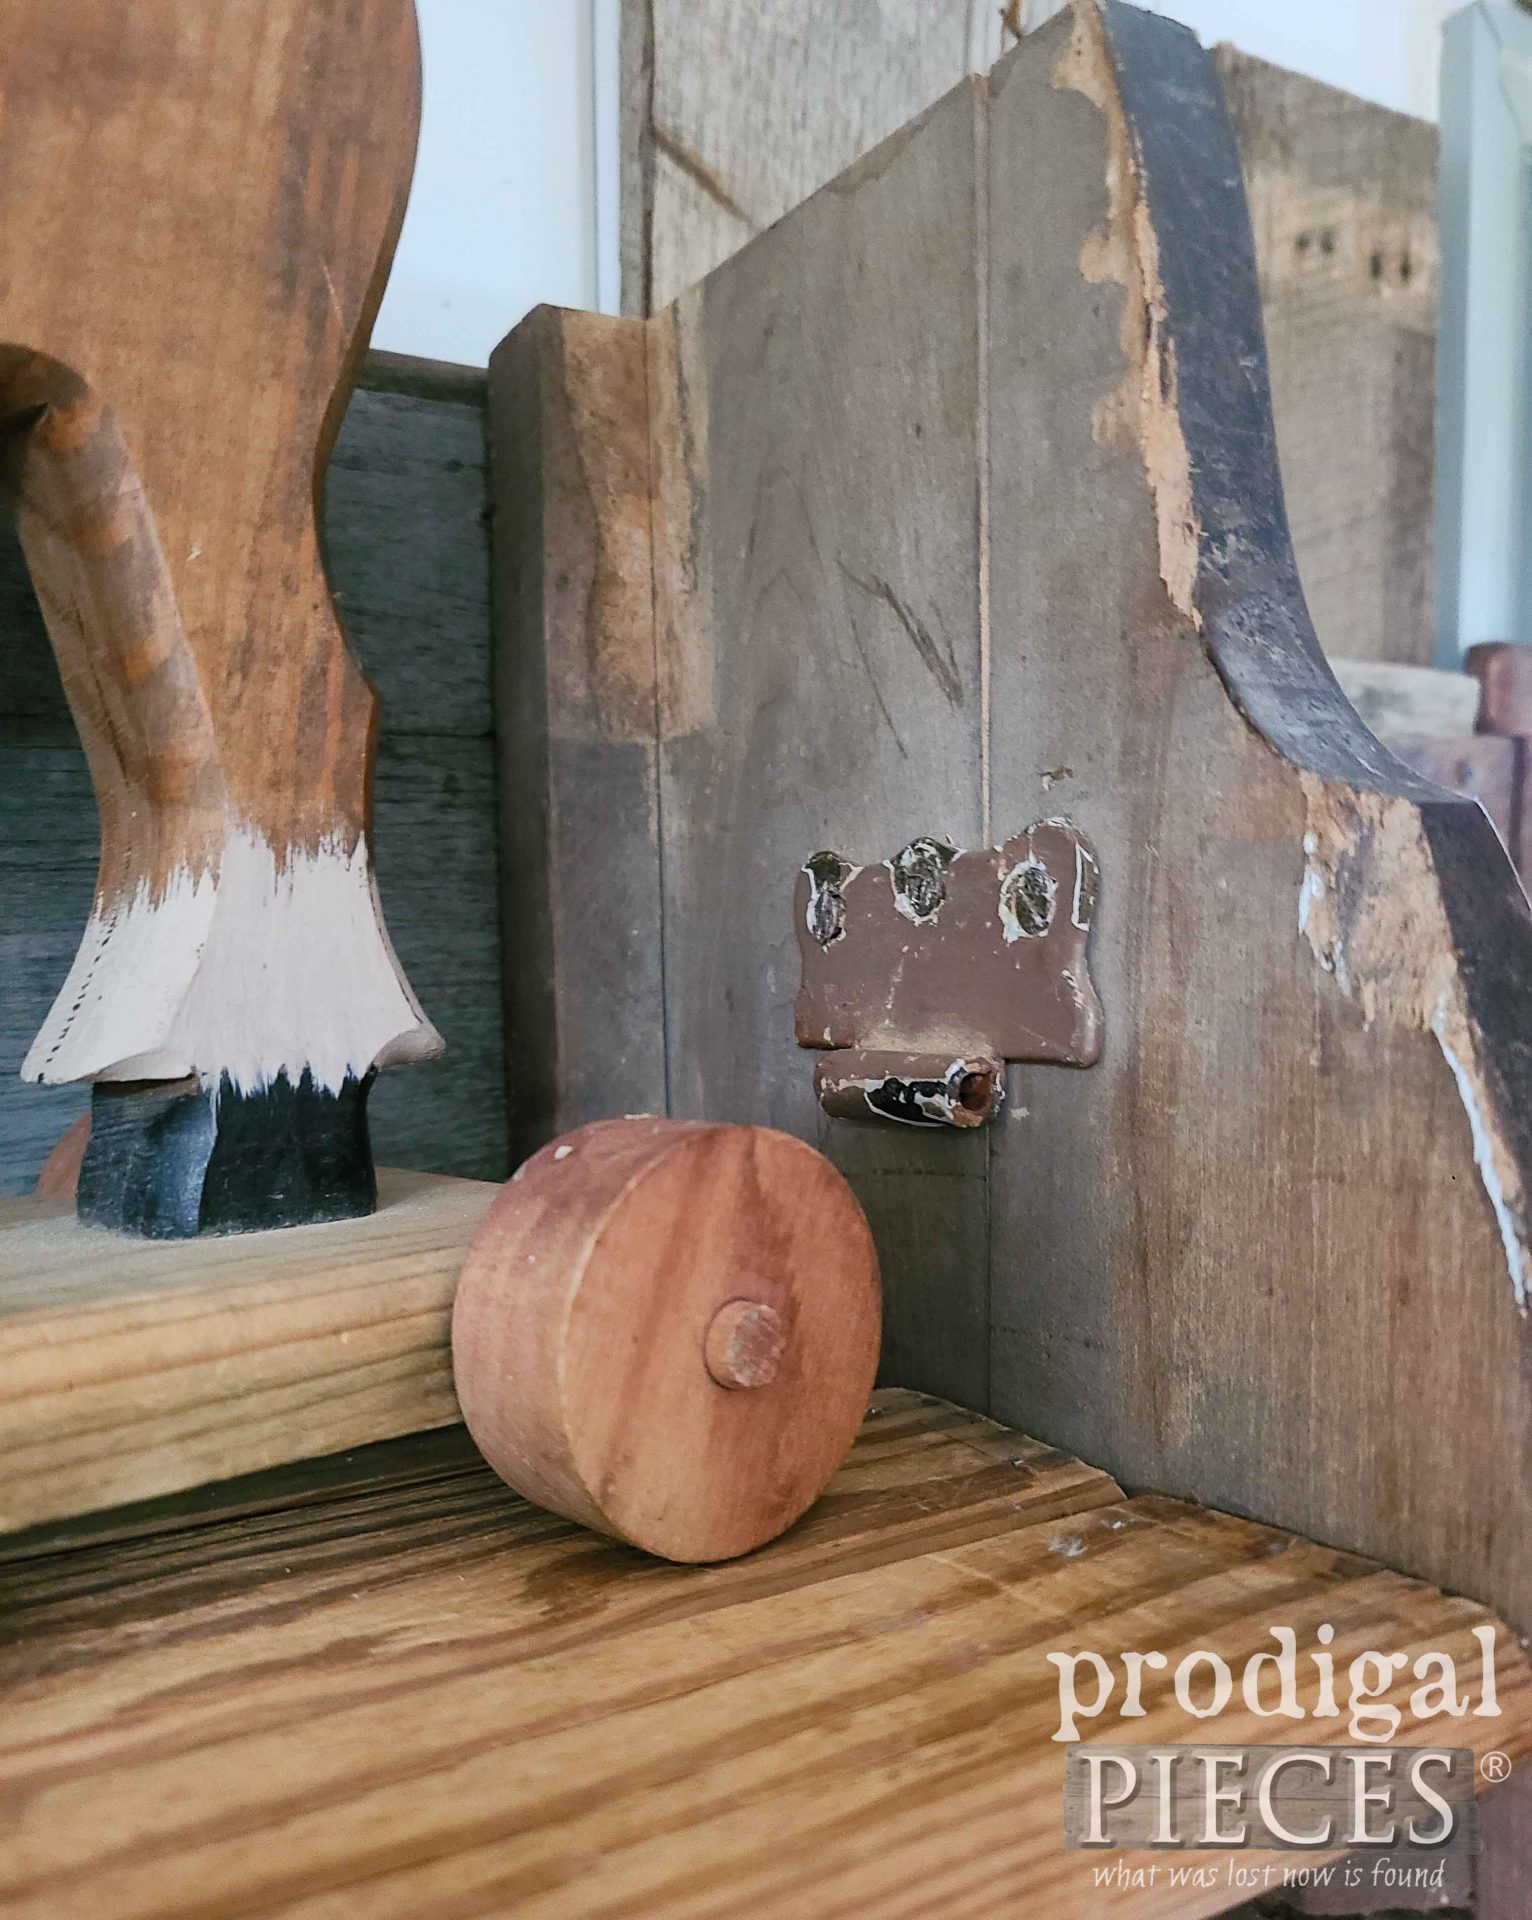
Now that I have my pieces, I begin to assemble. First, I cut the scraps to size on my miter saw. Then, I begin to put them together. The tongue and groove boards naturally stack, and then I add the rail ends after fixing them up a bit too. Notice I also found old bed rails in my stash to help me complete this project.
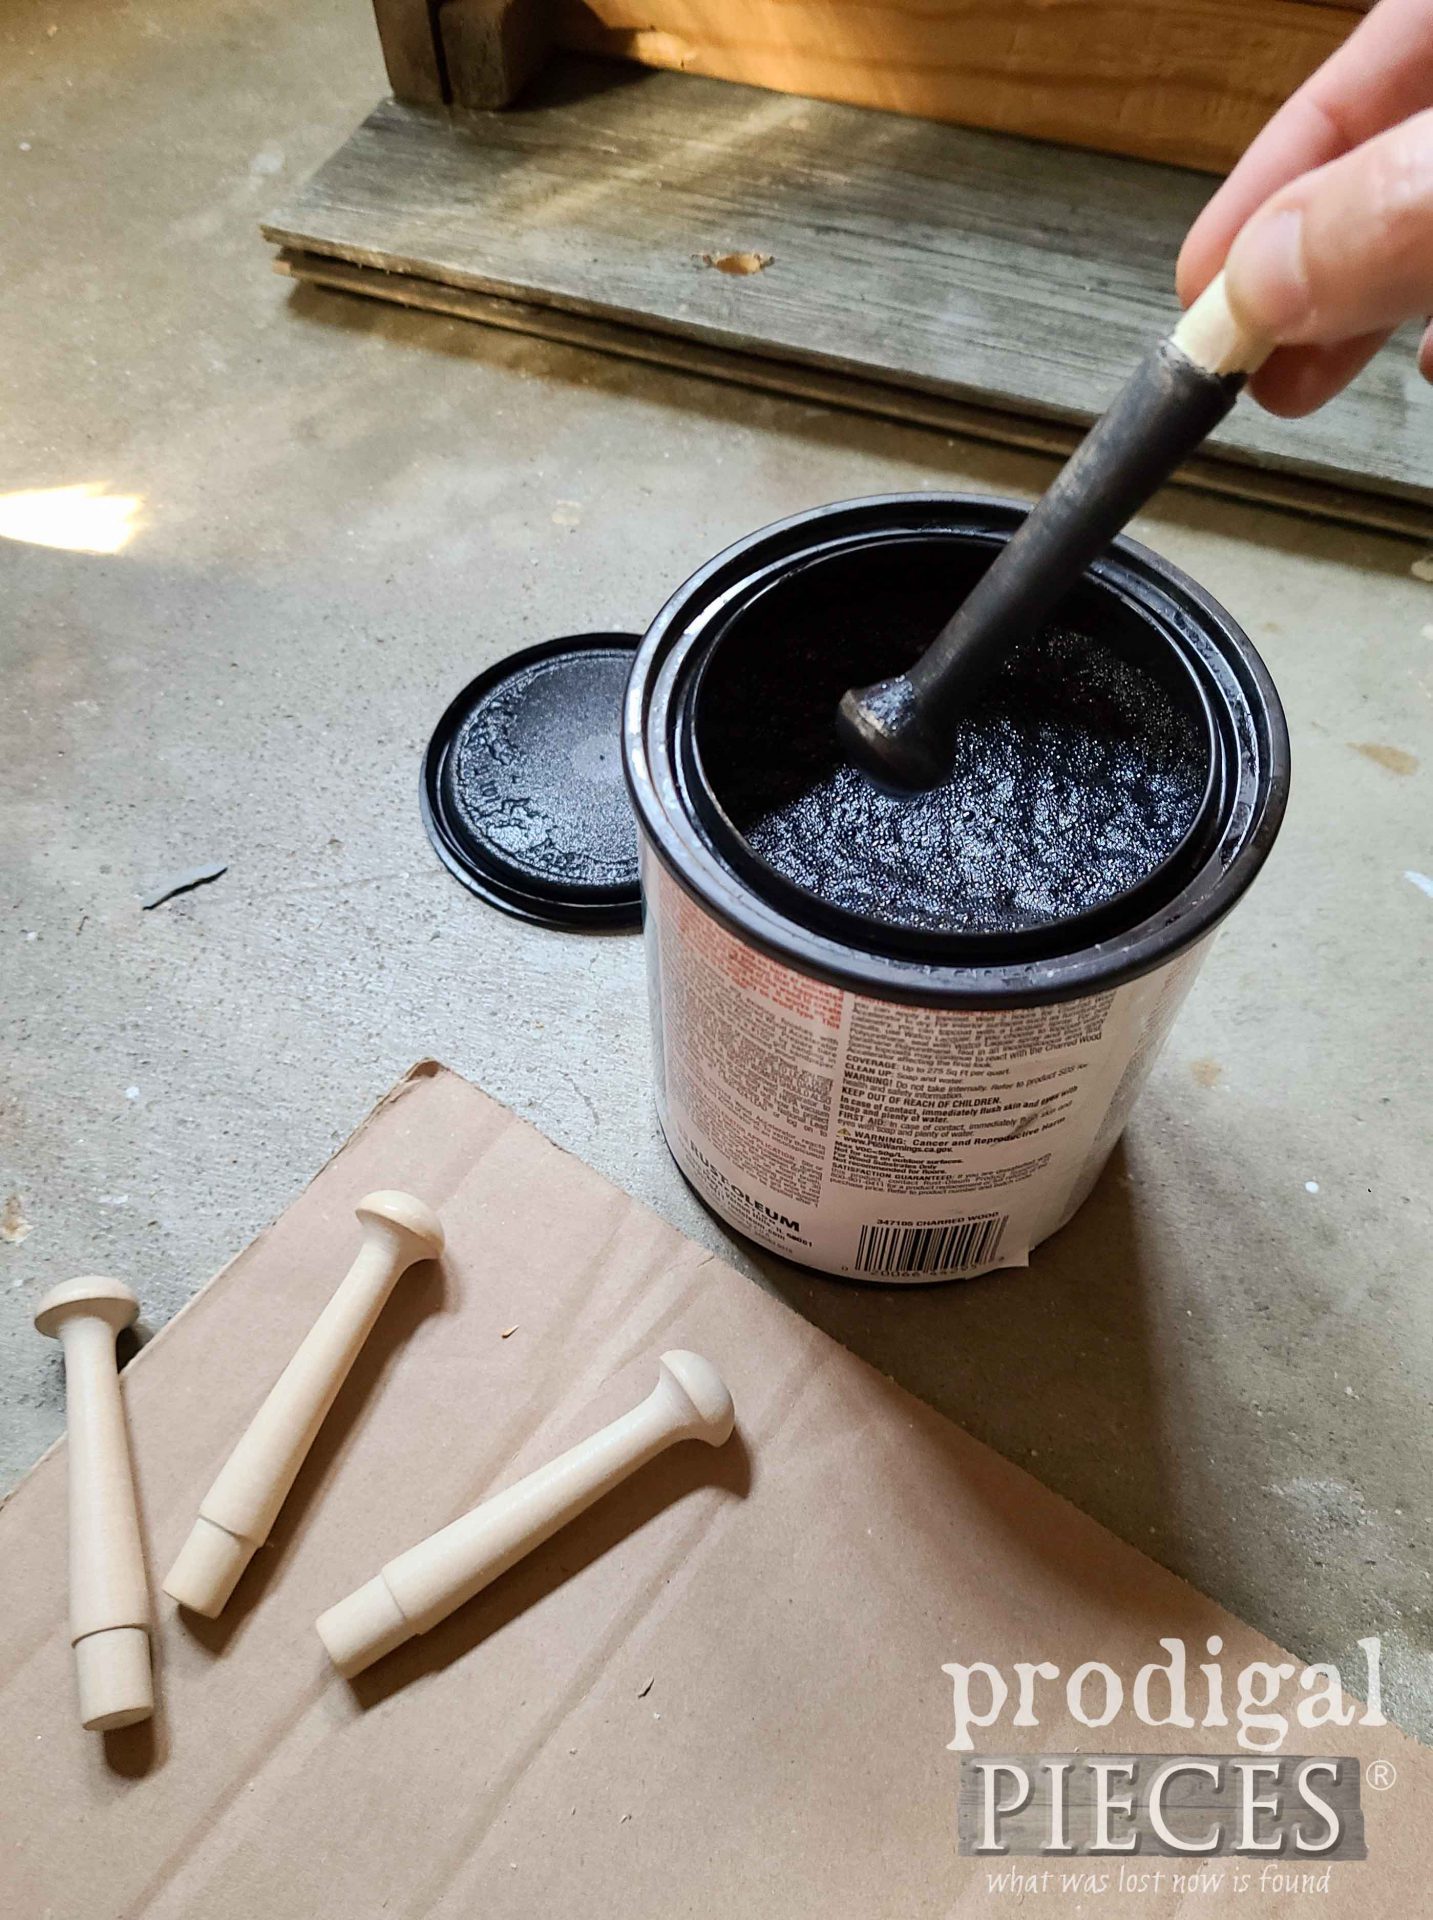
Then, after I have the sides on, I cut and install the rails as a shelf. Then, I also want to add a little more style and function. To do that, I pull out a few Shaker pegs and dip them in my reactive stain. I don’t know about you, but often when I work with naturally aged wood and cut it, a raw end is visible and looks new. I use reactive stains to make the cut wood age instantly. You can see my use of it in these past project posts.
THE REVEAL
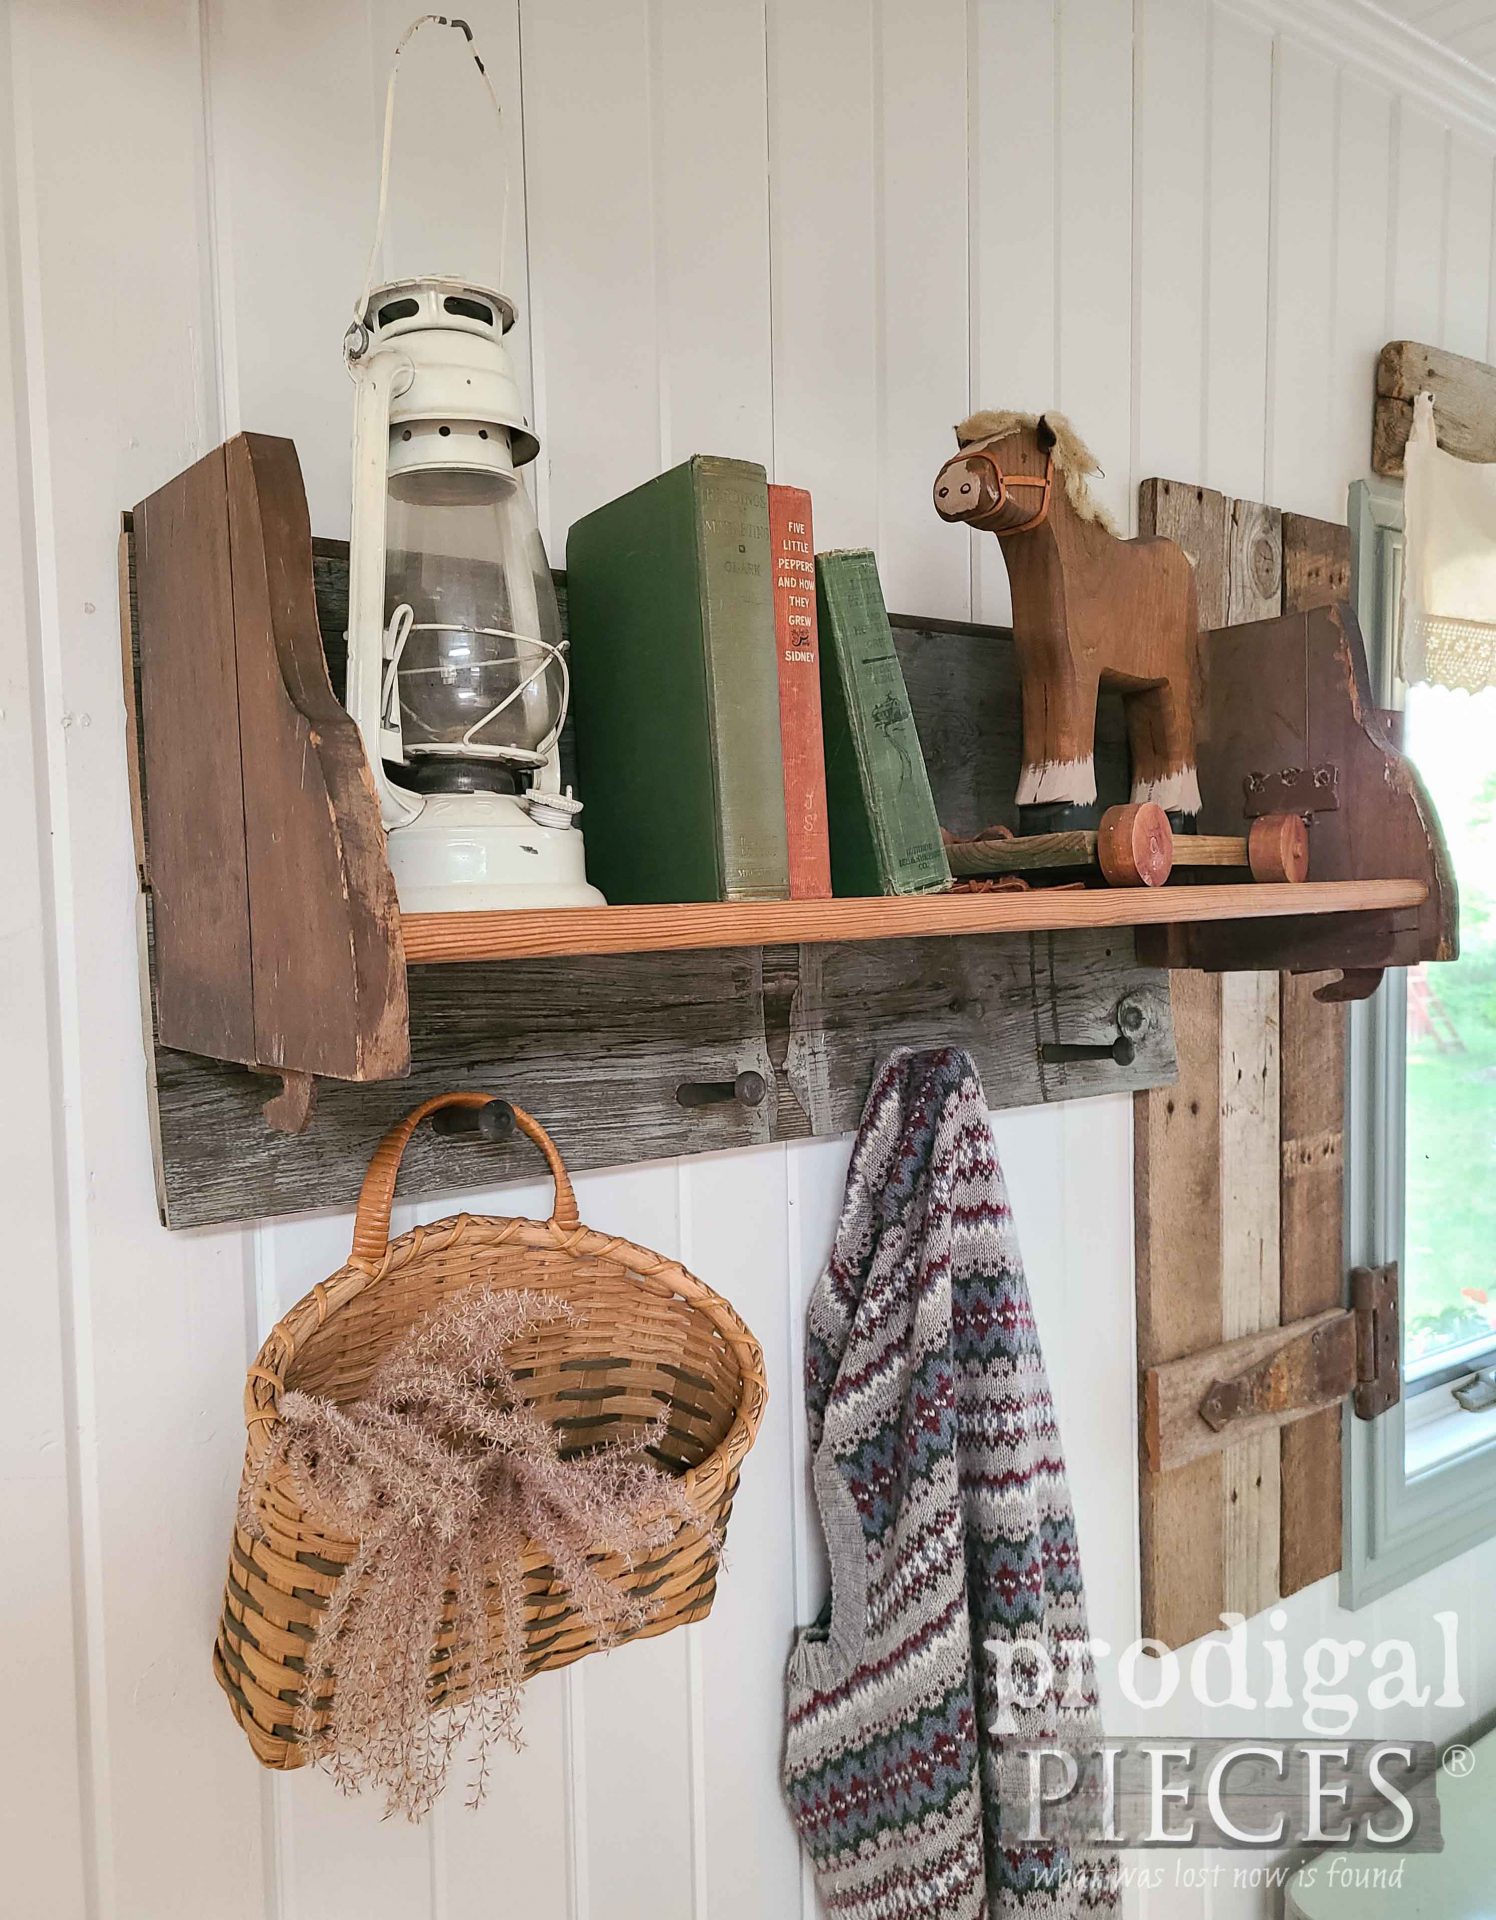
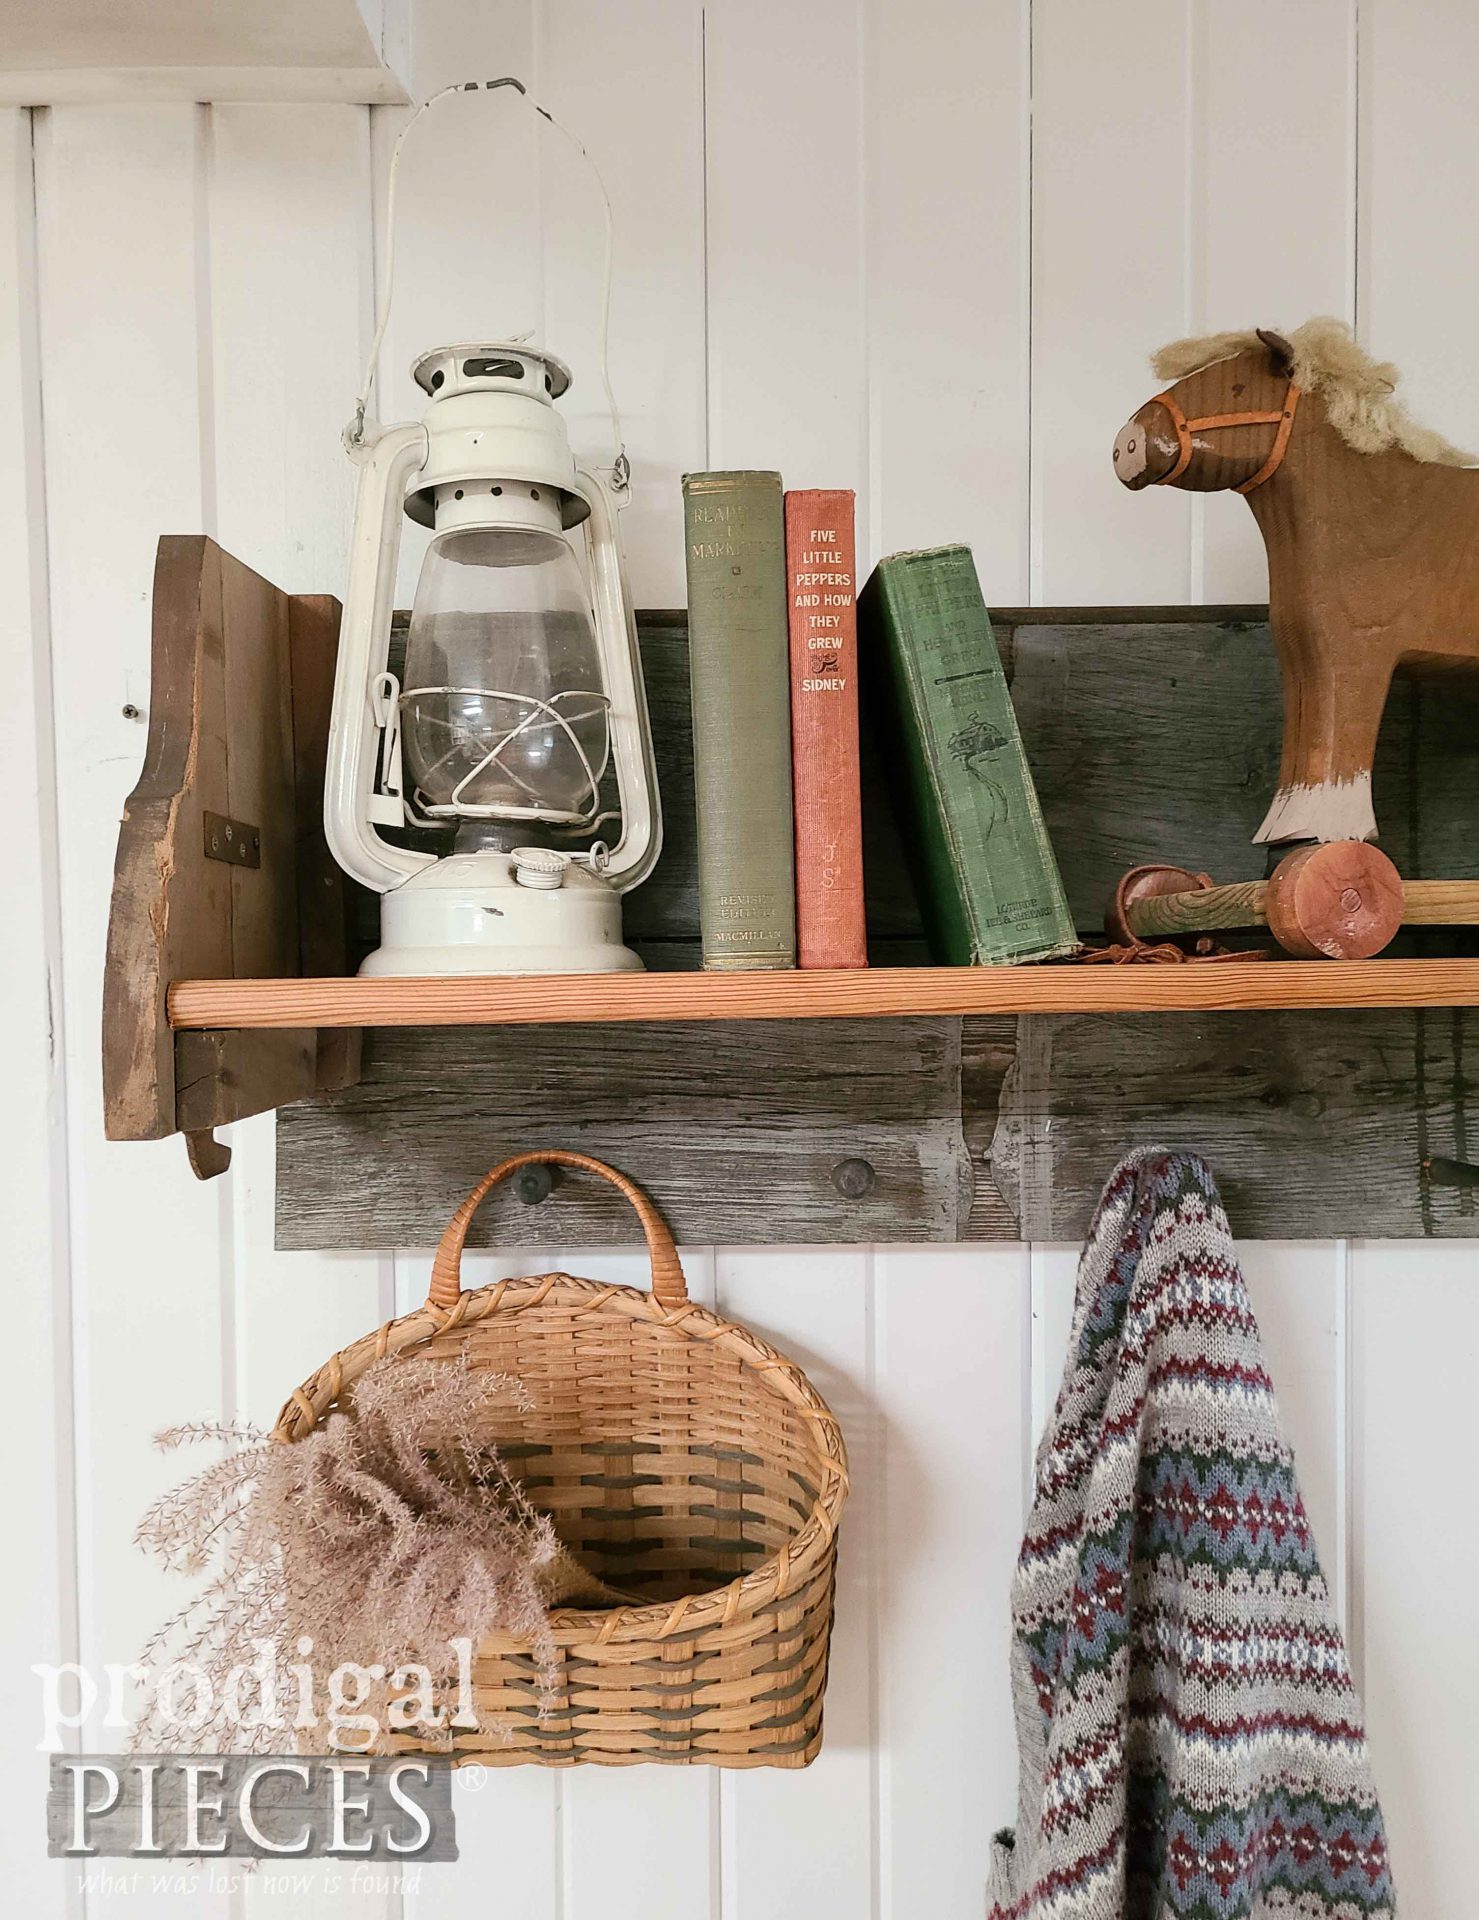
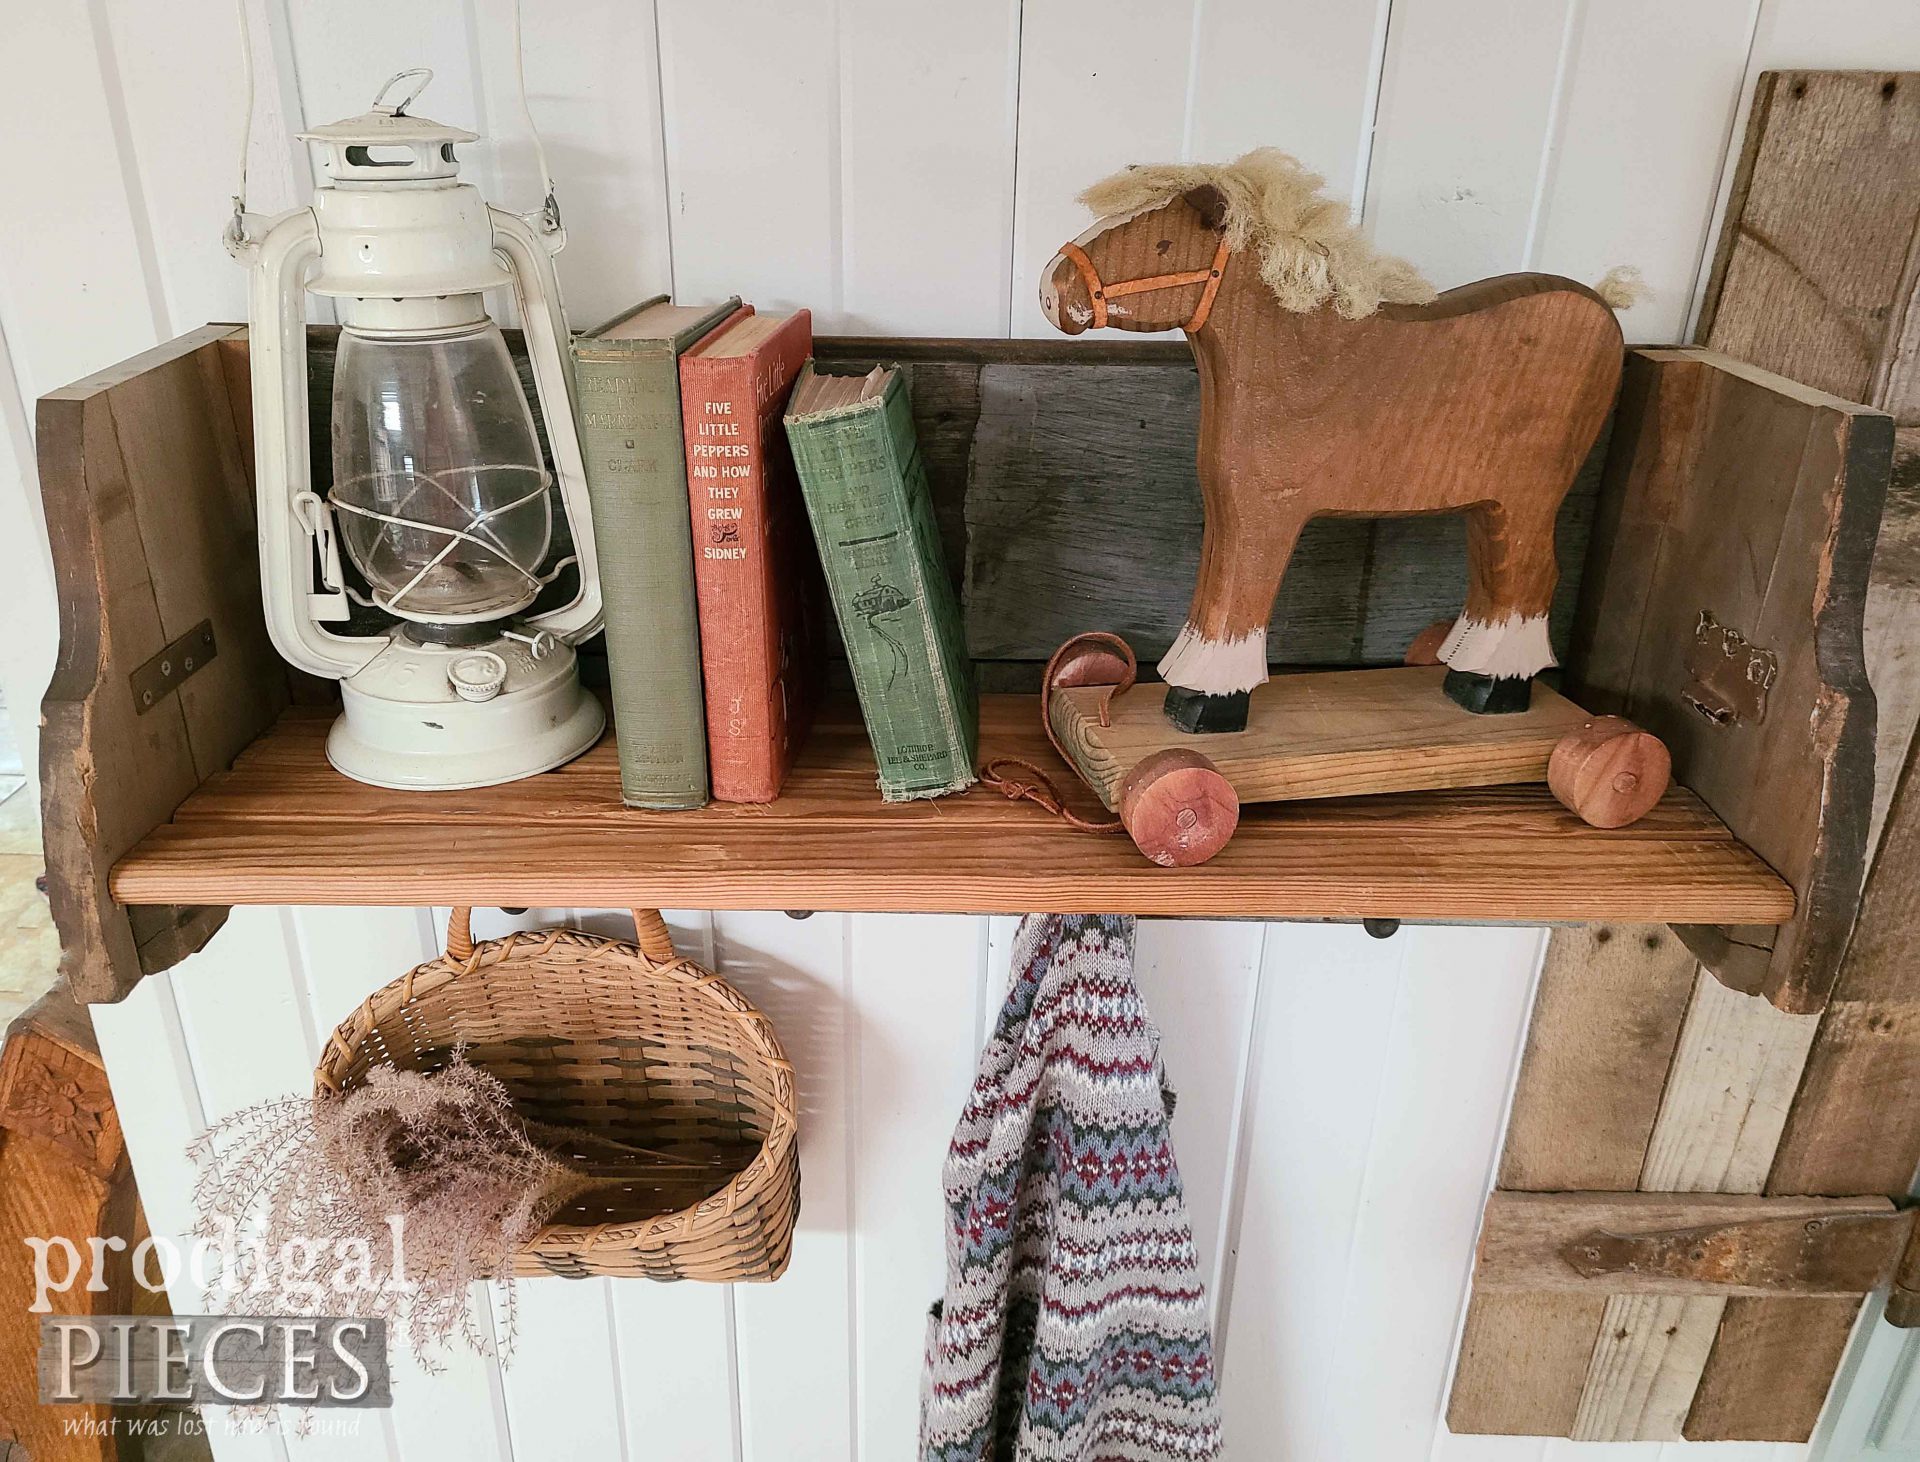
At last, here is my reclaimed rack shelf with Shaker pegs ready to go. Hooray!
It’s definitely rustic, and definitely not your boring box-store decor. Do you love the story it tells too?
The top offers plenty of storage, meanwhile the bottom has even more with the four pegs as well.
I’m all about inspiring you to see past the “junk” and make your own home story. Likewise, if you’d like to add this to your story, you can find this and more available in my online shop.
In addition, do pin and share to inspire others to build and create too. Thanks!
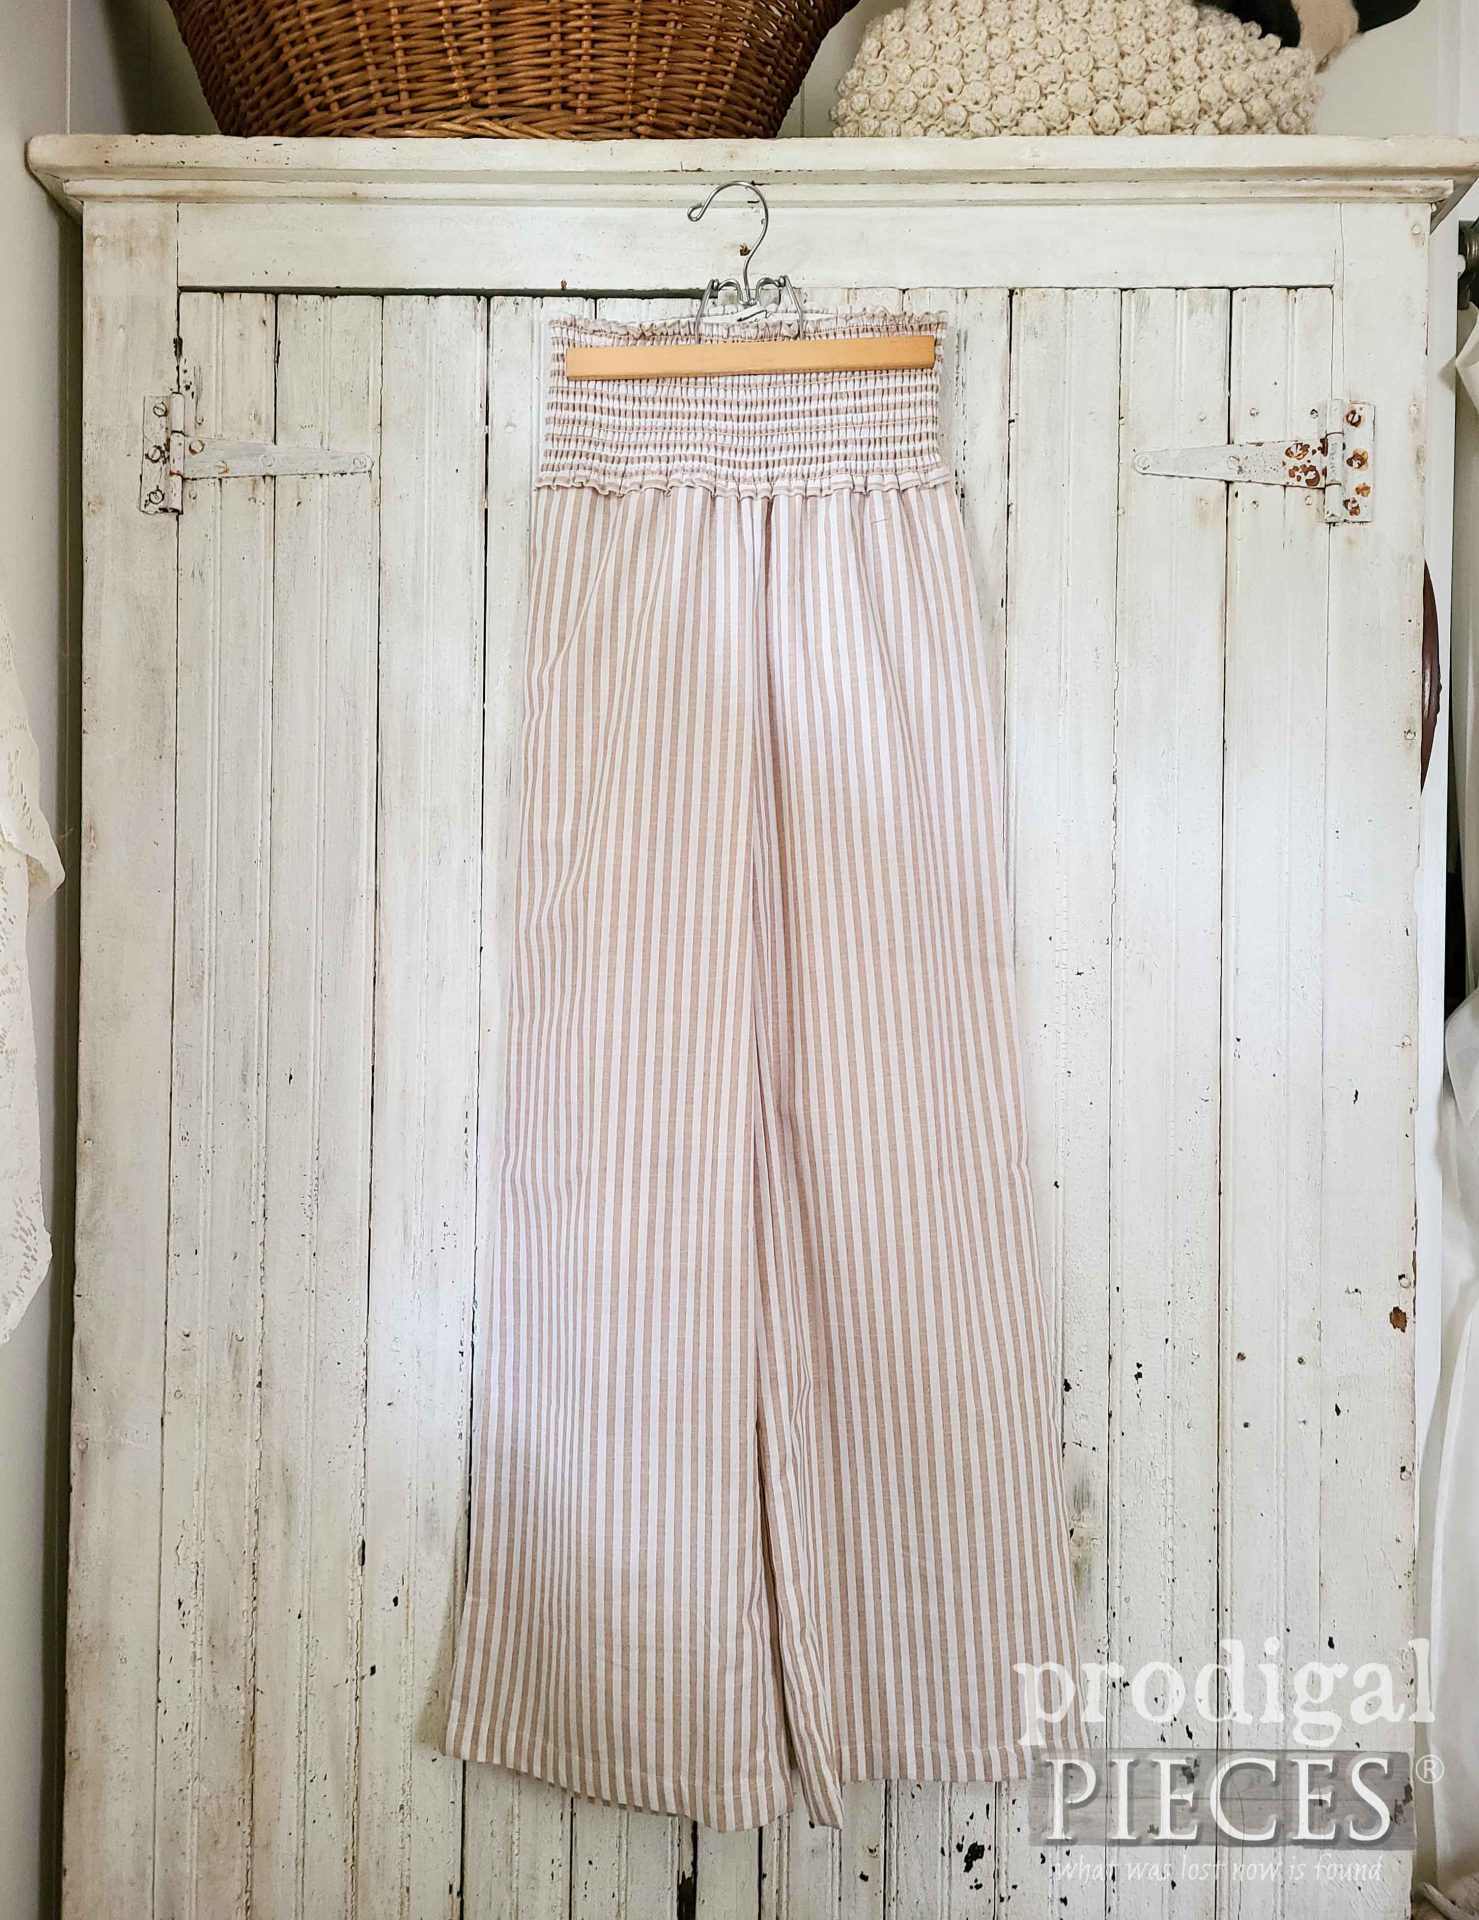
Up next, it’s Reduce, Reuse, REFASHION time! I’m eager to show you what I do with these…check it out HERE!
To get these DIY tips & tricks in your inbox, be sure to sign up for my newsletter. PLUS, you will get your FREE Furniture Buying Checklist and special discount to my shop. Until next time!
Also, more builds like my reclaimed shelf rack:





Nothing can give the patina to wood like natural aging!! But, you’ve shown that it’s amazing to combine that gorgeous natural patina with a mix of new to aged pieces and wind up with a one-of-a-kind treasure!!! AND those bits of hardware you kept….. my heart is racing!!! ?
I couldn’t agree more, Rebecca. It’s fun to mix them up and create a whole new/old combination. Thank you for the smiles! 😀
I love all your projects! I wish you were on YouTube!
Thanks, Melanie! I am over there, just publish on my site now instead. You can check it out! 😀
Lately I’ve found myself telling my husband, we can take this apart and do this and this with it, and he’s like huh? Where did you come up with that and I tell him from your blog! 🙂 This project greatly surprised me because when you said “shelf” I envisioned 3 boards glued together lying flat with some kind of shelf bracket underneath, NOTHING like your beautiful creation here. Love this! Thank you for another inspiring piece!
Yes!! That’s the spirit, Mary! 😀 It sure is not only fun for me to build and create, but to share it with you. Thanks for the love. {{hugs}}
You already know how much I admire your creative and woodworking talents, but what I especially admire is how nothing goes to waste. You see the potential in EVERYTHING! This amazing reclaimed shelf rack exemplifies that perfectly. xo
I can’t tell you enough, Marie, how much your words mean to me. You truly know how to show love. Thank you! I’d love to meet up someday. 😀