Each month on the last Tuesday, I get to dive into my brain where I create from something that’s an outcast or would be donated to a thrift store. There’s ultimately nothing wrong with that, however living in a wasteful society, I like to find ways to reduce the flow of “stuff”. It’s fun and gets my brain going in different ways to my woodworking, cooking, or crafting adventures. Today is Reduce, Reuse, REFASHION time I’m creating refashioned leg warmers.
Remember those 80’s goodies that were typically worn with a leotard and tight? yup. I am that one. haha. Nowadays, they have a better style to them and make a boring outfit cute. Around here there’s a nip in the air as the seasons change from summer to autumn to, eventually, winter. With that, we begin to sort through last year’s clothing to decide what to donate or pass on. Let’s say you have a wool sweater that didn’t survive without moth holes or damage in some other form.
CUTTIN’ TIME
For today’s project, I head down to my tub of wool sweaters. Yes, I have a tub, ahem. I’ve made oh so many things from hanging bags, quilts, wreaths, upholstery, and more. Felted wool is one of the most versatile textiles there is. You can see all my woolly projects HERE.
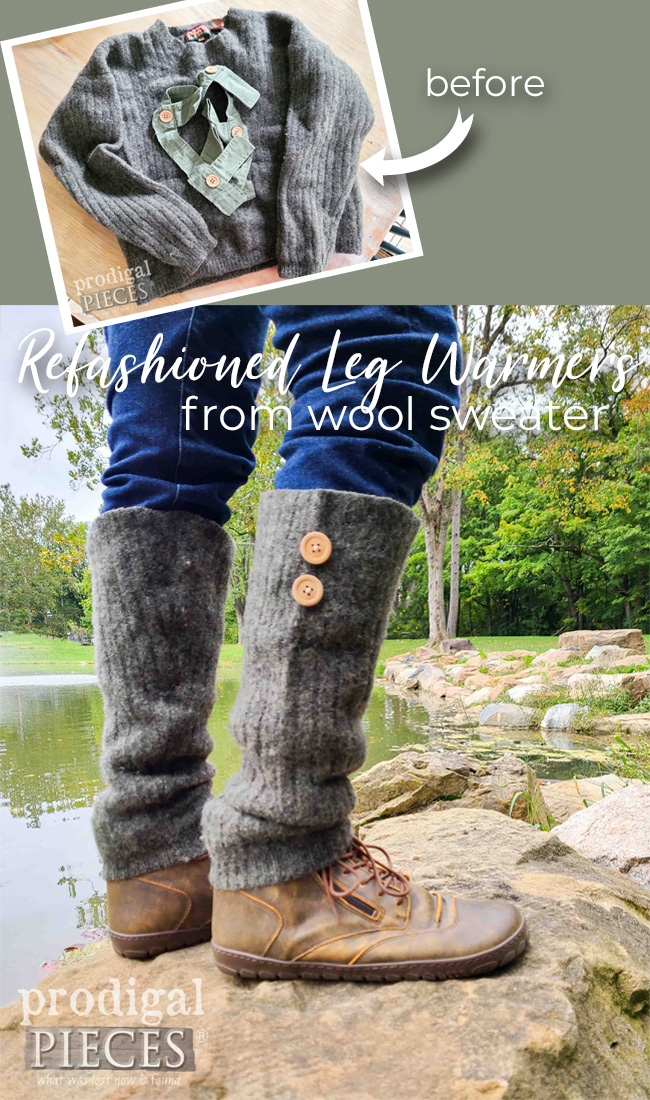
This time around I’m looking for a earth-toned sweater that has some texture to it. This one looks perfect in its soft green ribbed style.
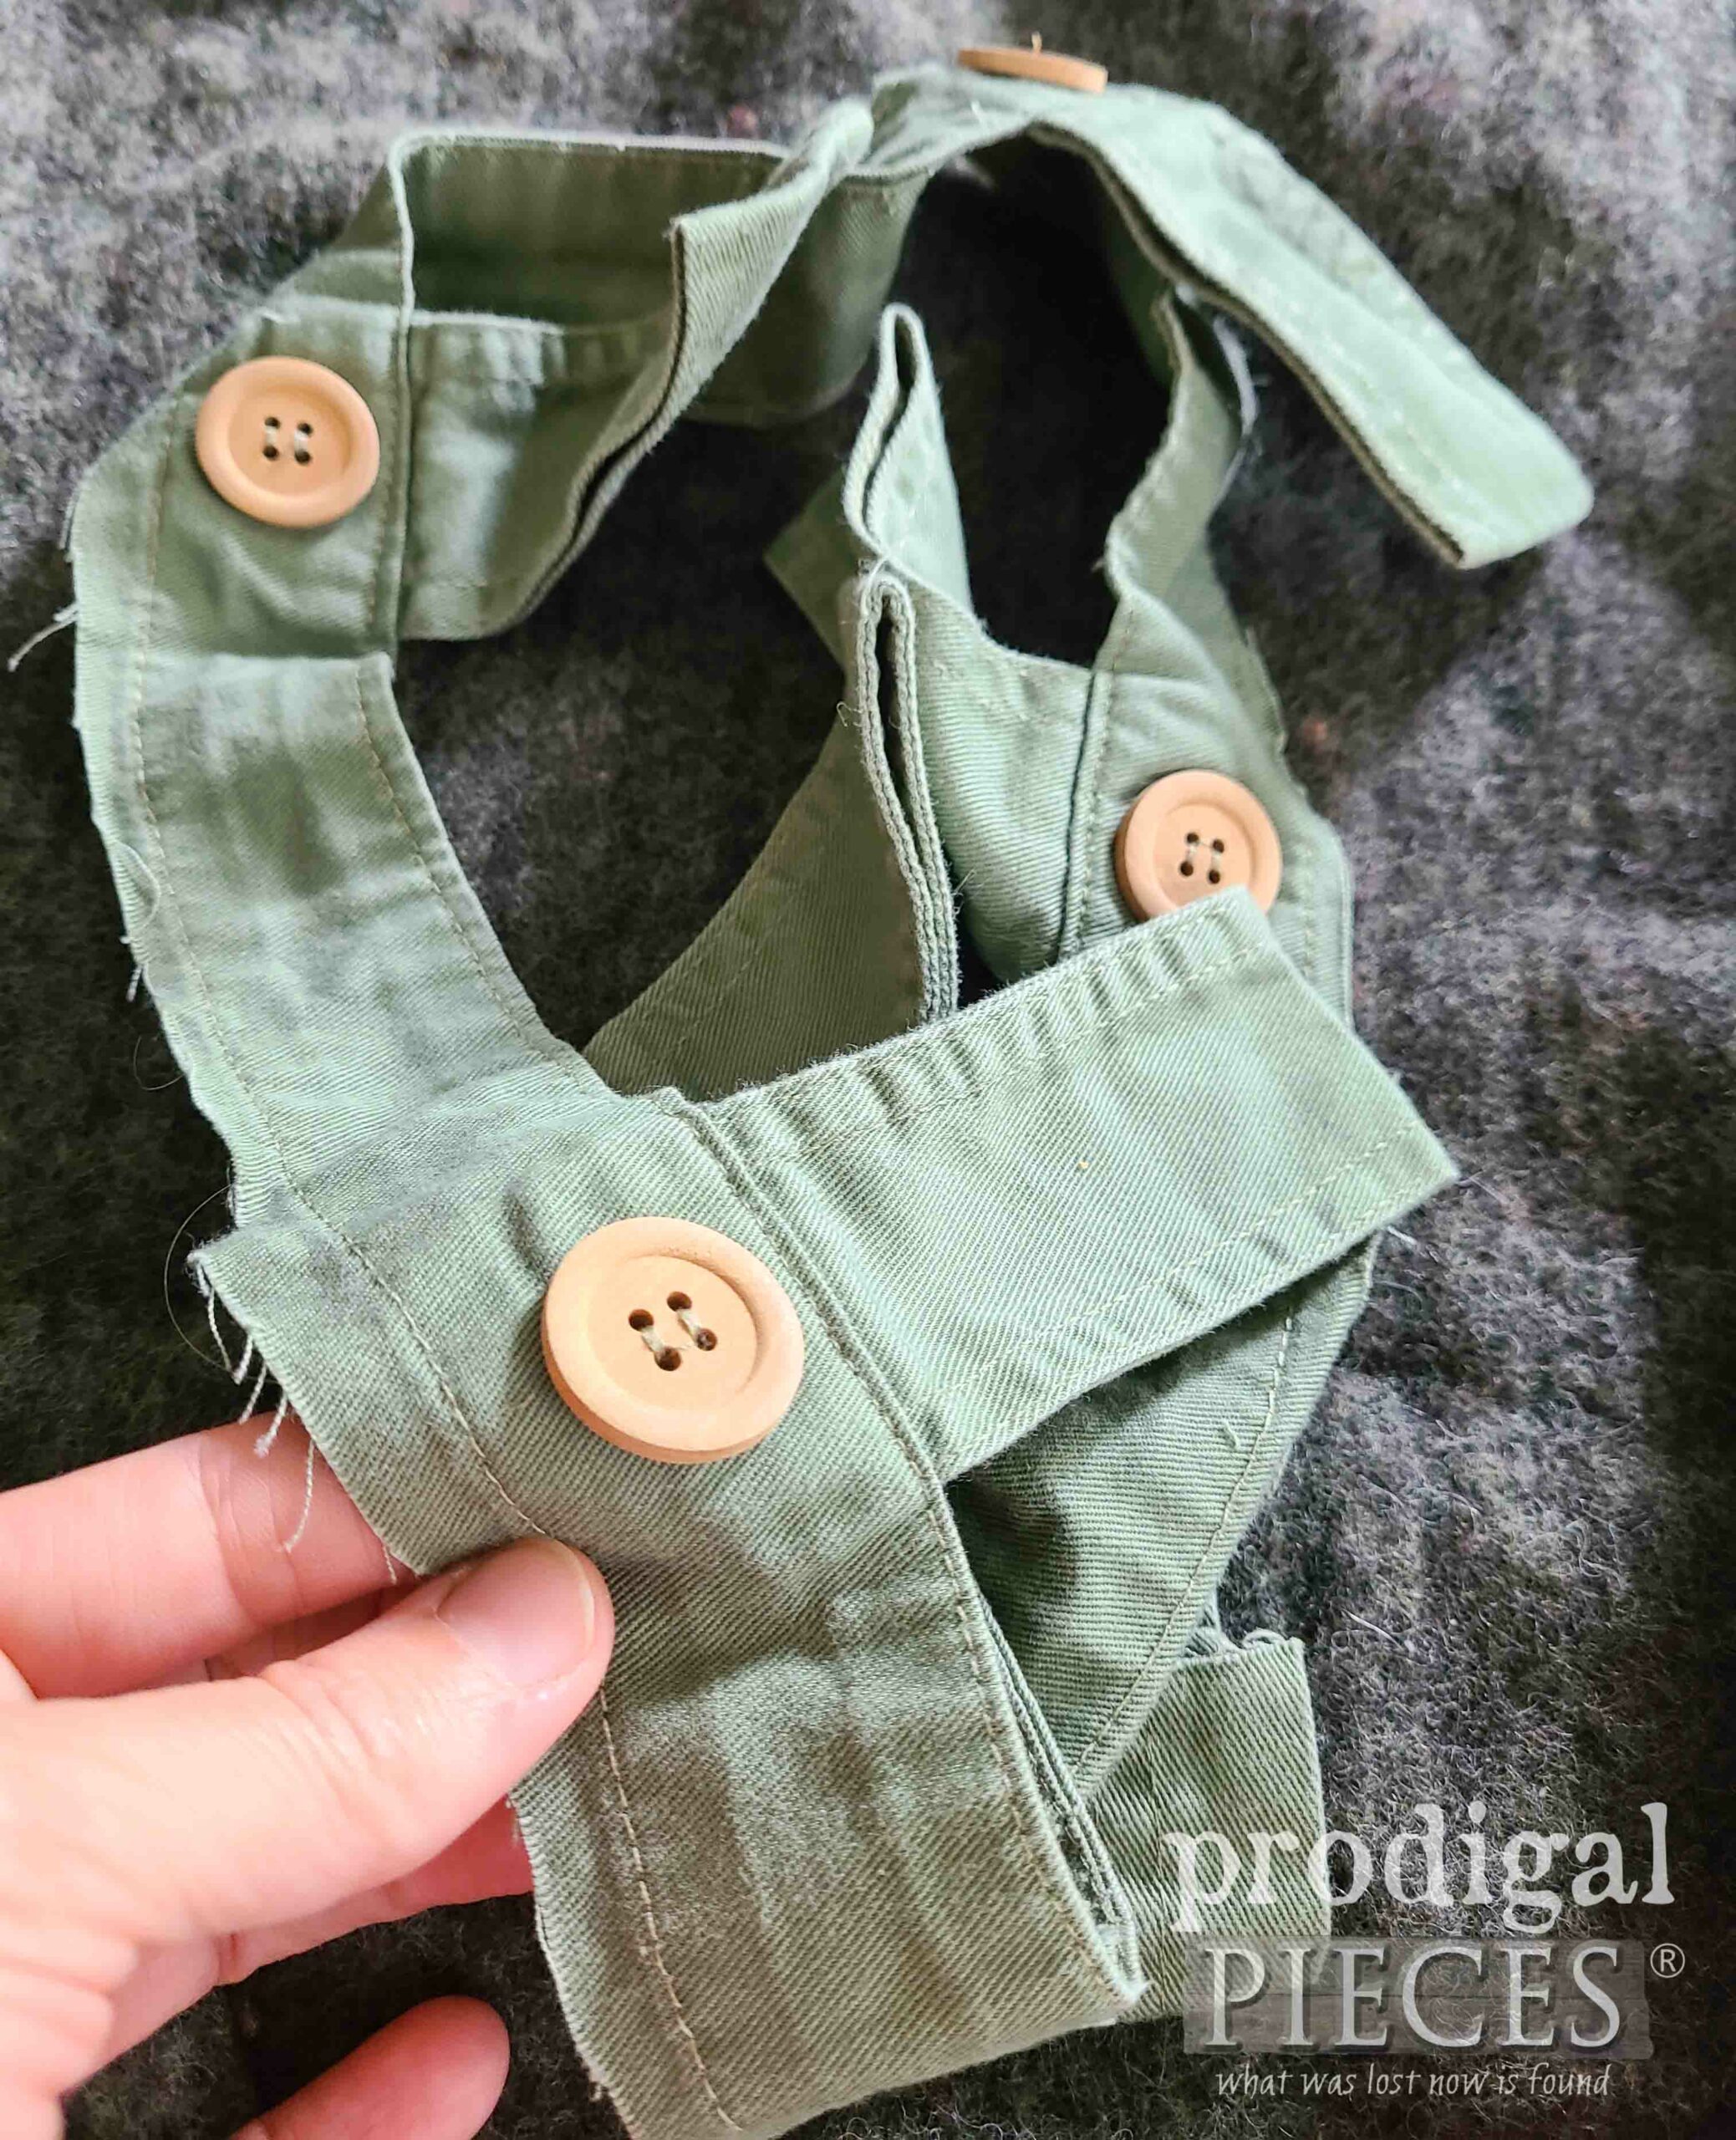
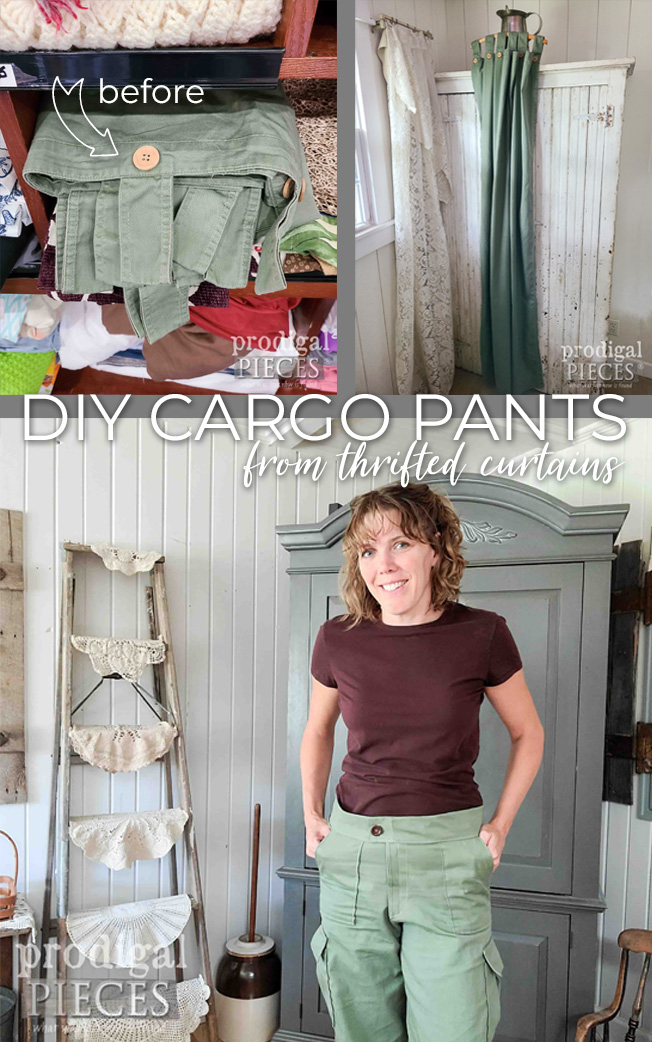
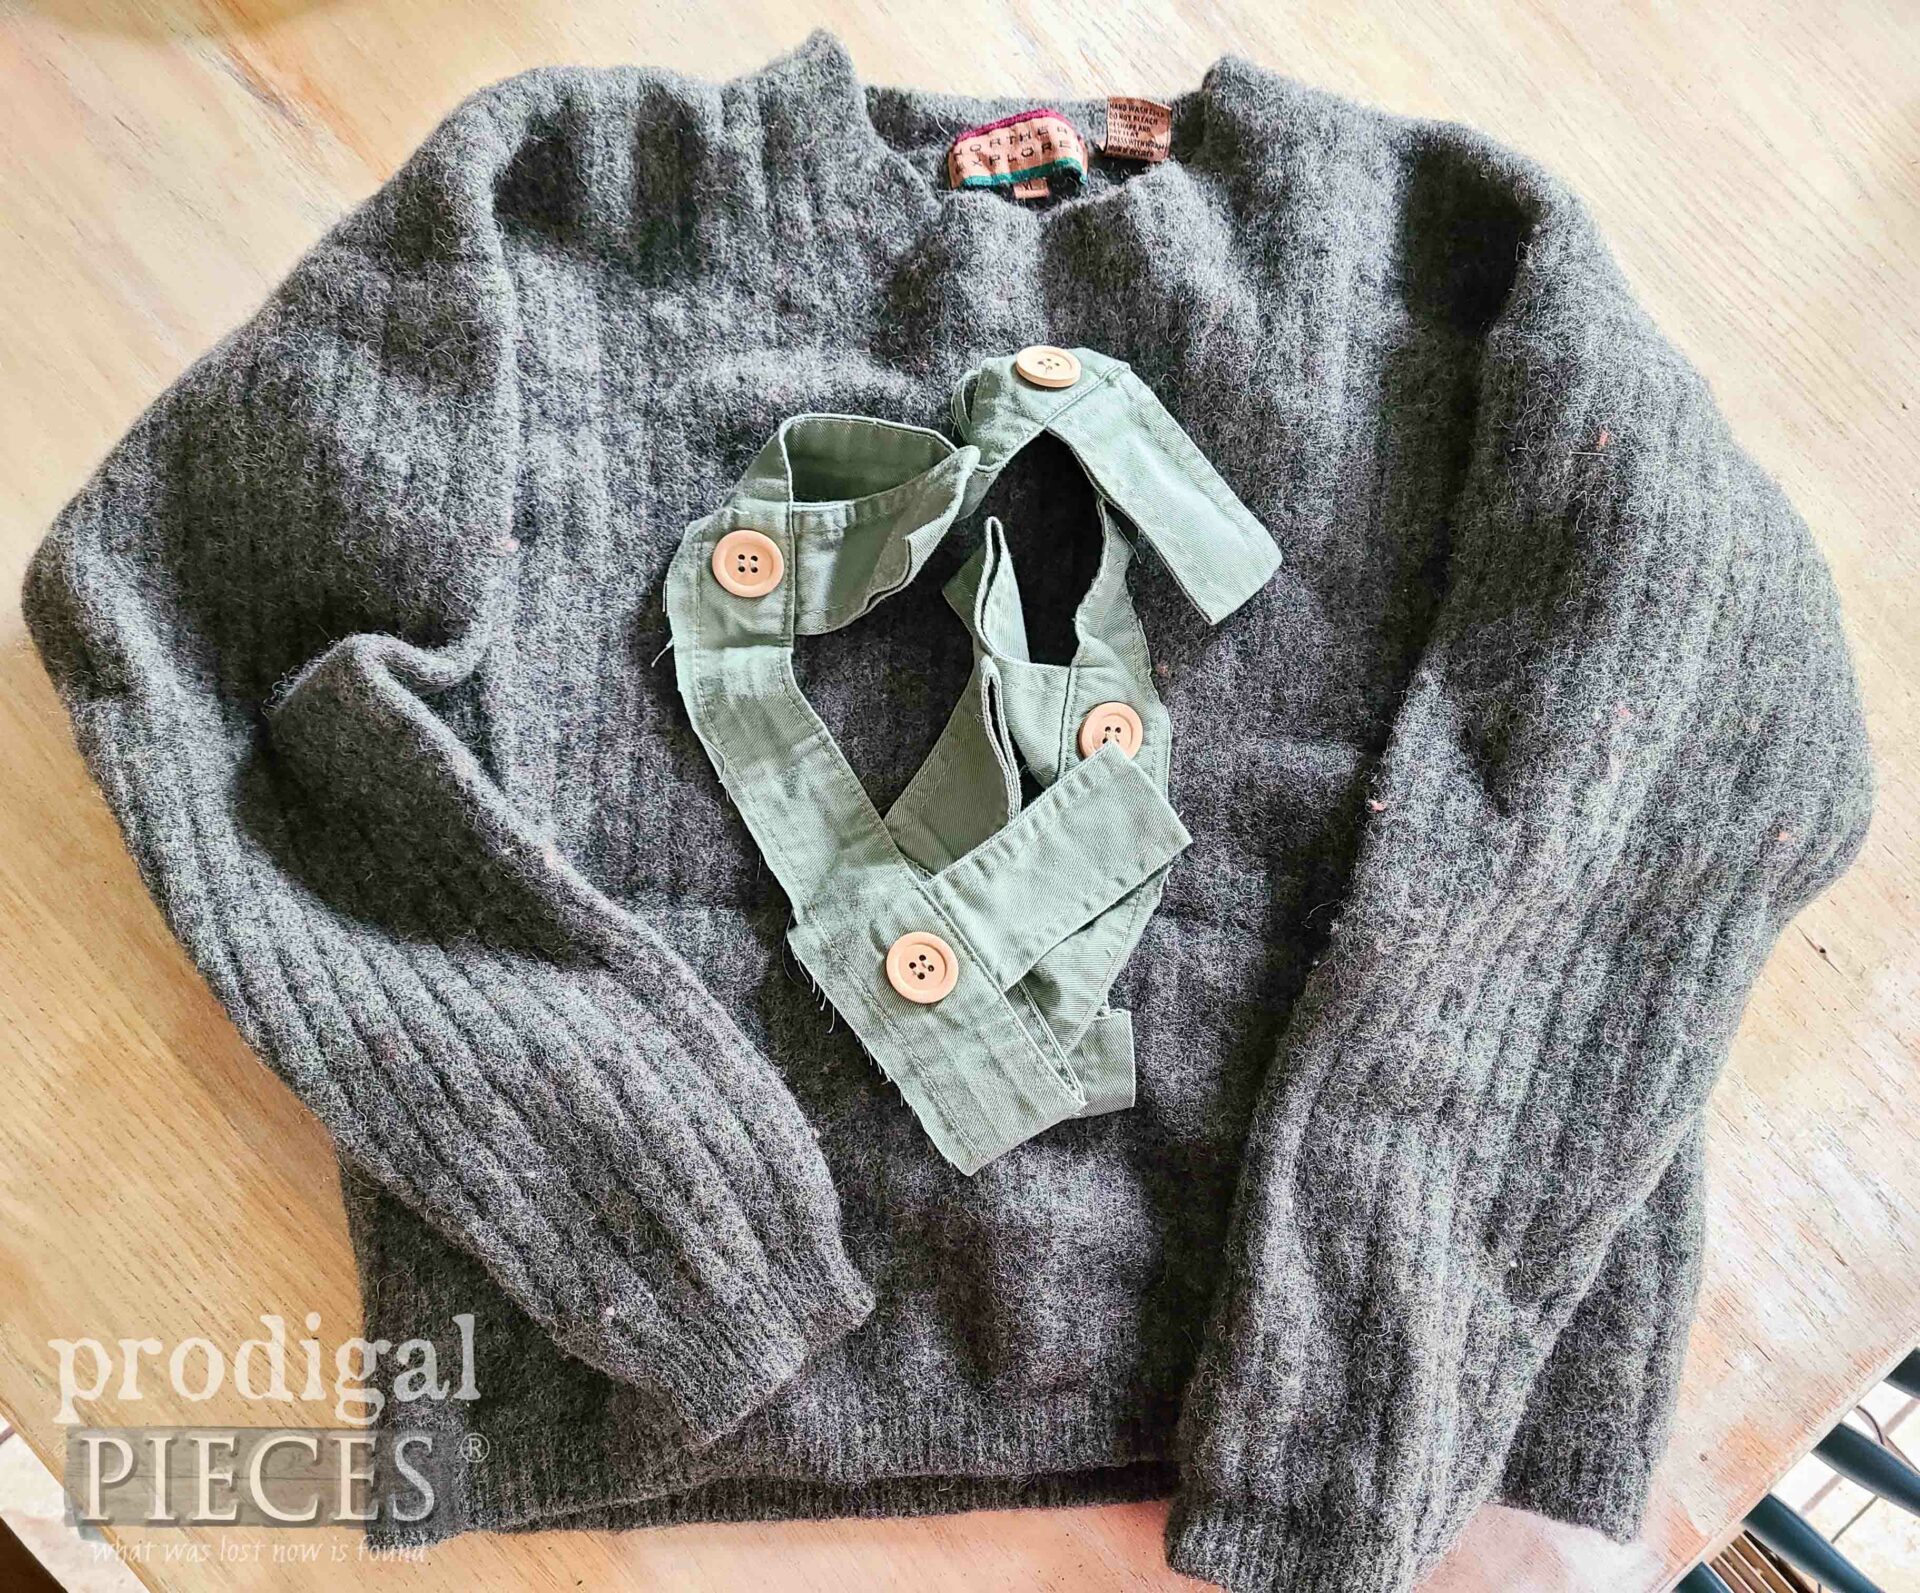 Also, you can see the remnant bits of the curtains I turned into my cargo pants in last month’s refashion fun. This time, I’m salvaging those buttons. I told ya I would!
Now, before you freak out that I’m asking you to actually use a sewing machine or break out a needle and thread, hear me out. Many of my refashion projects don’t require any sewing. {{deep breath of relief}} If you want to make a pair, follow these ____ easy steps.
STEP ONE
First, you’ll want to find yourself a wool sweater that is AT LEAST 70% wool. In order to make it work for our project, you’ll need to felt it in your washing machine. My sweater is an XL and I suggest you size it larger as it will shrink. You see my instructions in this video below.
STEP 2
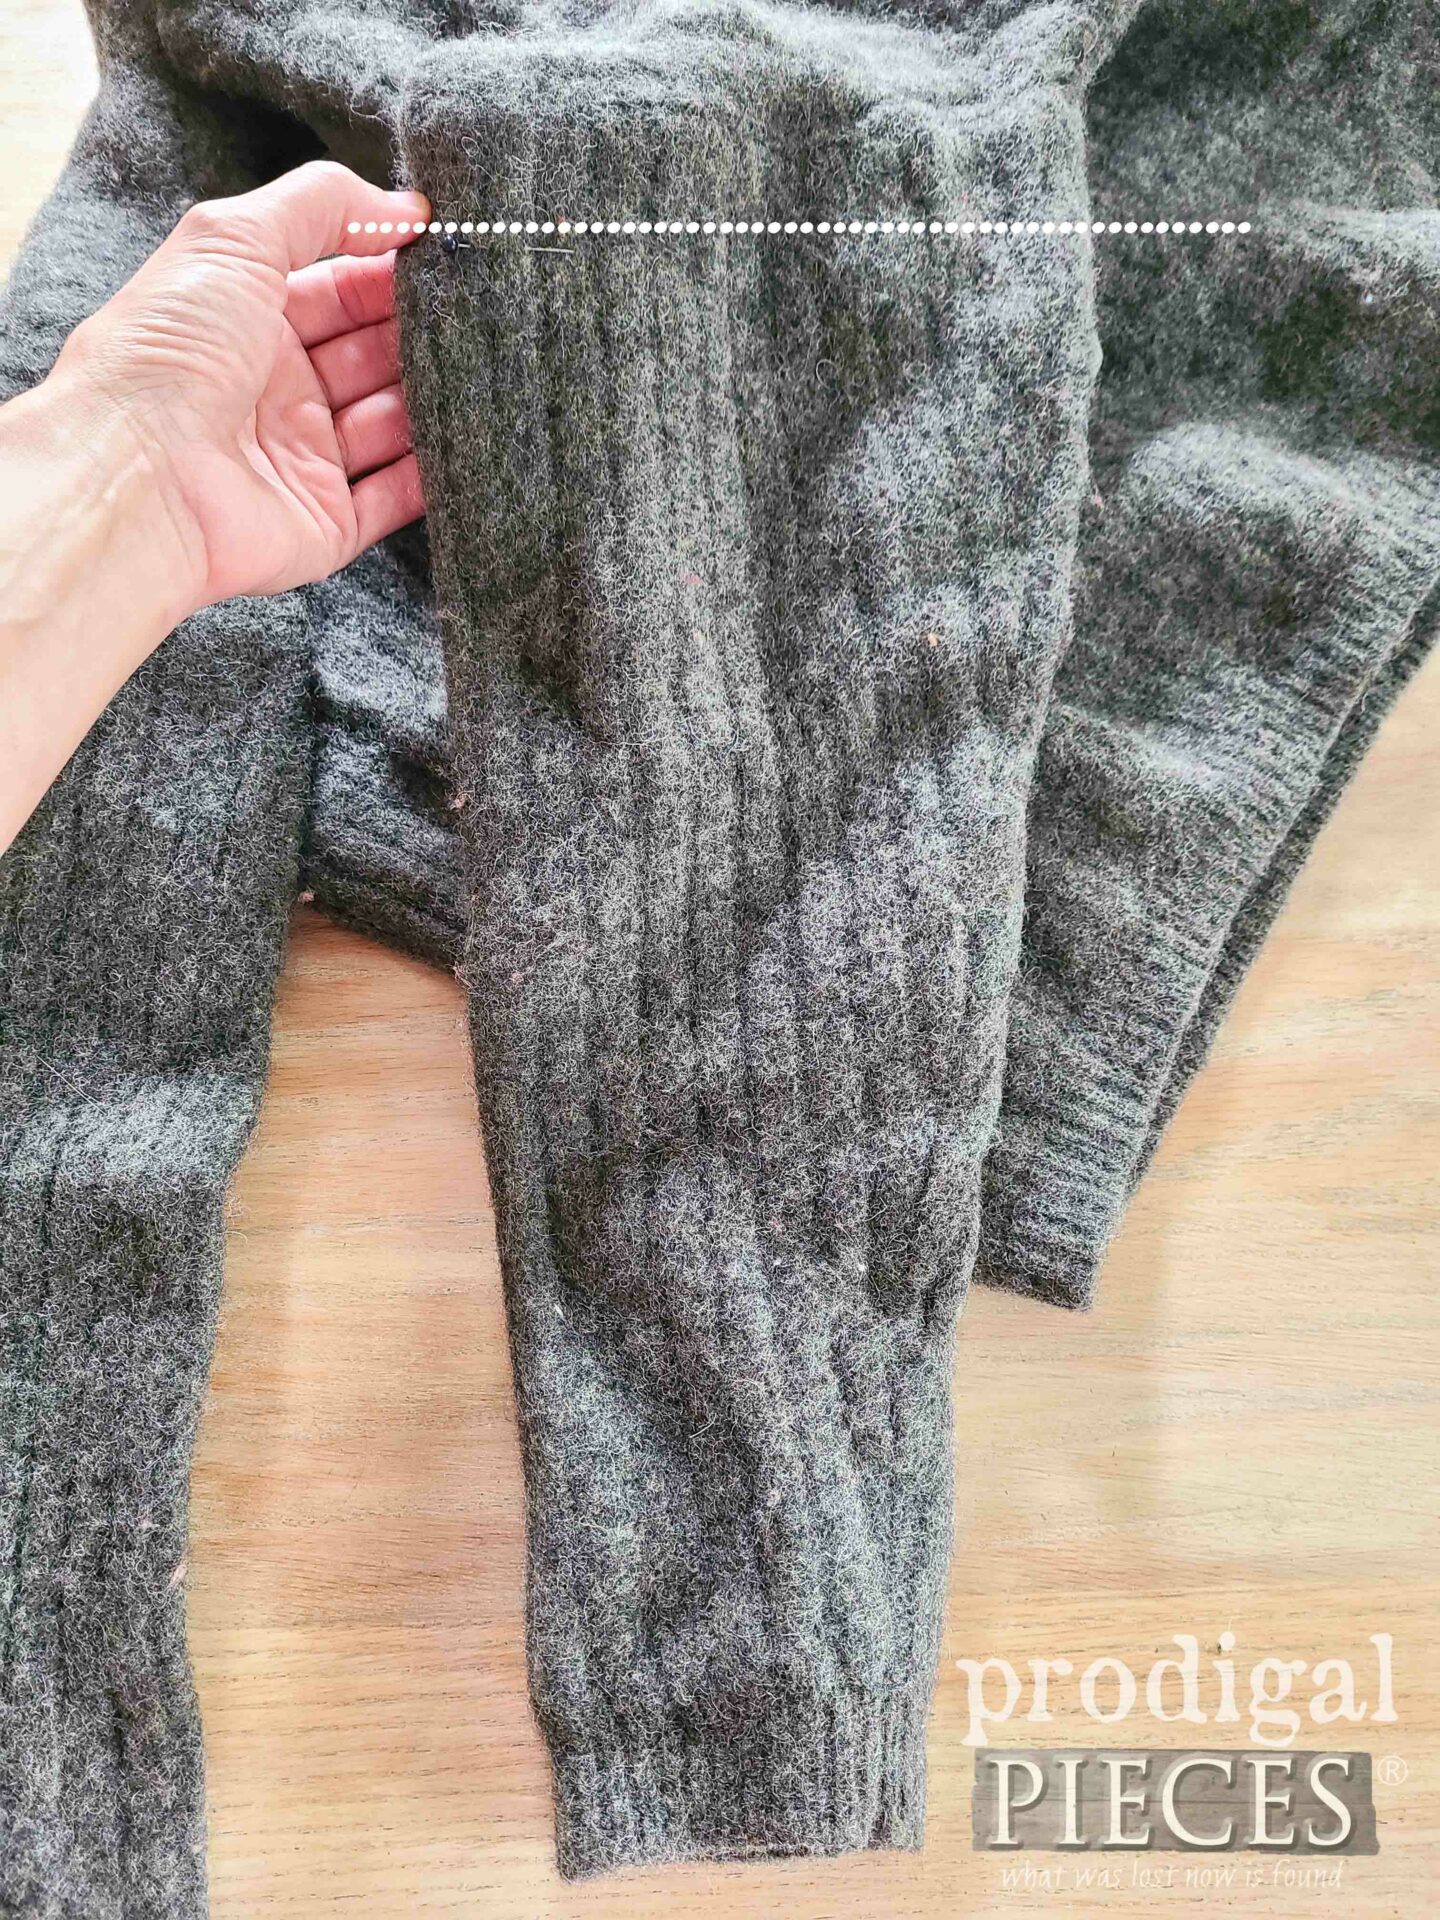
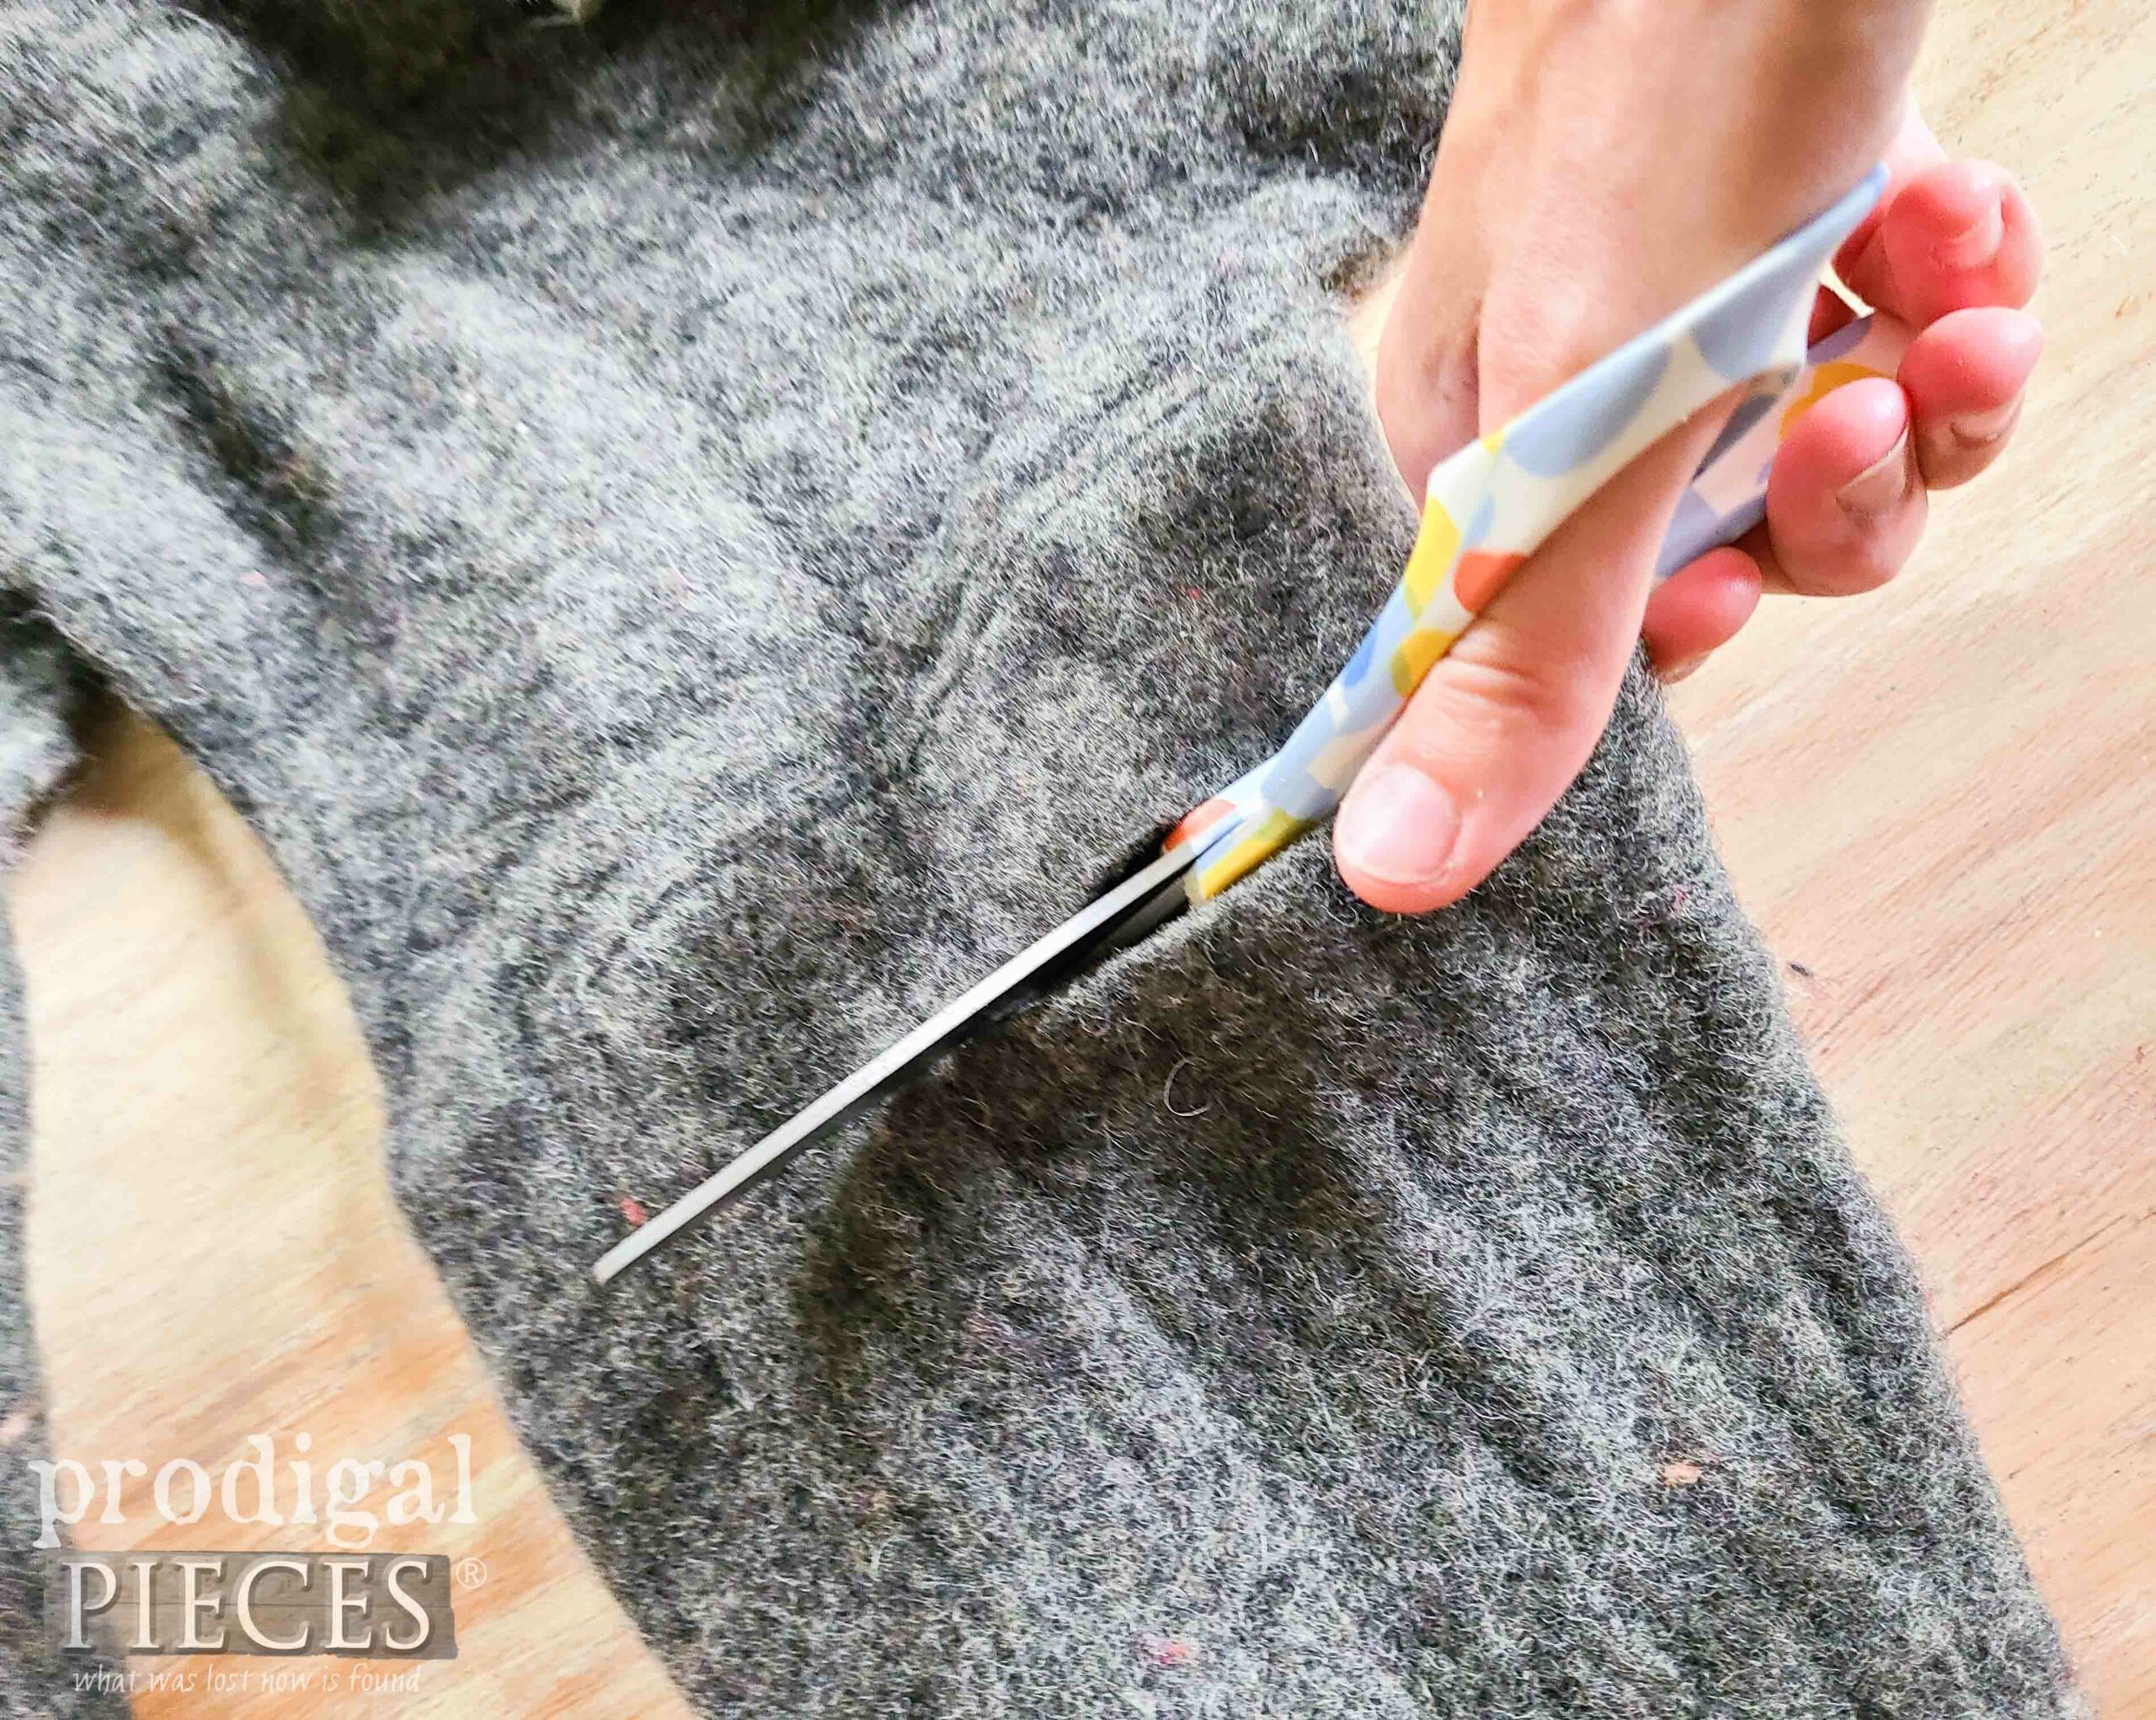
Then, once your sweater is felted (maybe 2-3 cycles – stop when you think it’s the right density – tight woven) it’s time to cut. In order to figure out where you what size you want your refashioned leg warmer to sit on your leg, slide your leg into the sweater arm from inside the body out to the cuff. Pin where you want the leg warmer to reach up your leg and take off the sweater.
After that, you know where you want to cut. I have a line drawn showing roughly where I’m making my cut. Can you see my pin on the left near the line?
In addition, felt is very stretchy and forgiving, so if you are worried about it fitting your calf, stretch it out a bit. You can always wash and dry it again to tighten it up.
STEP 3
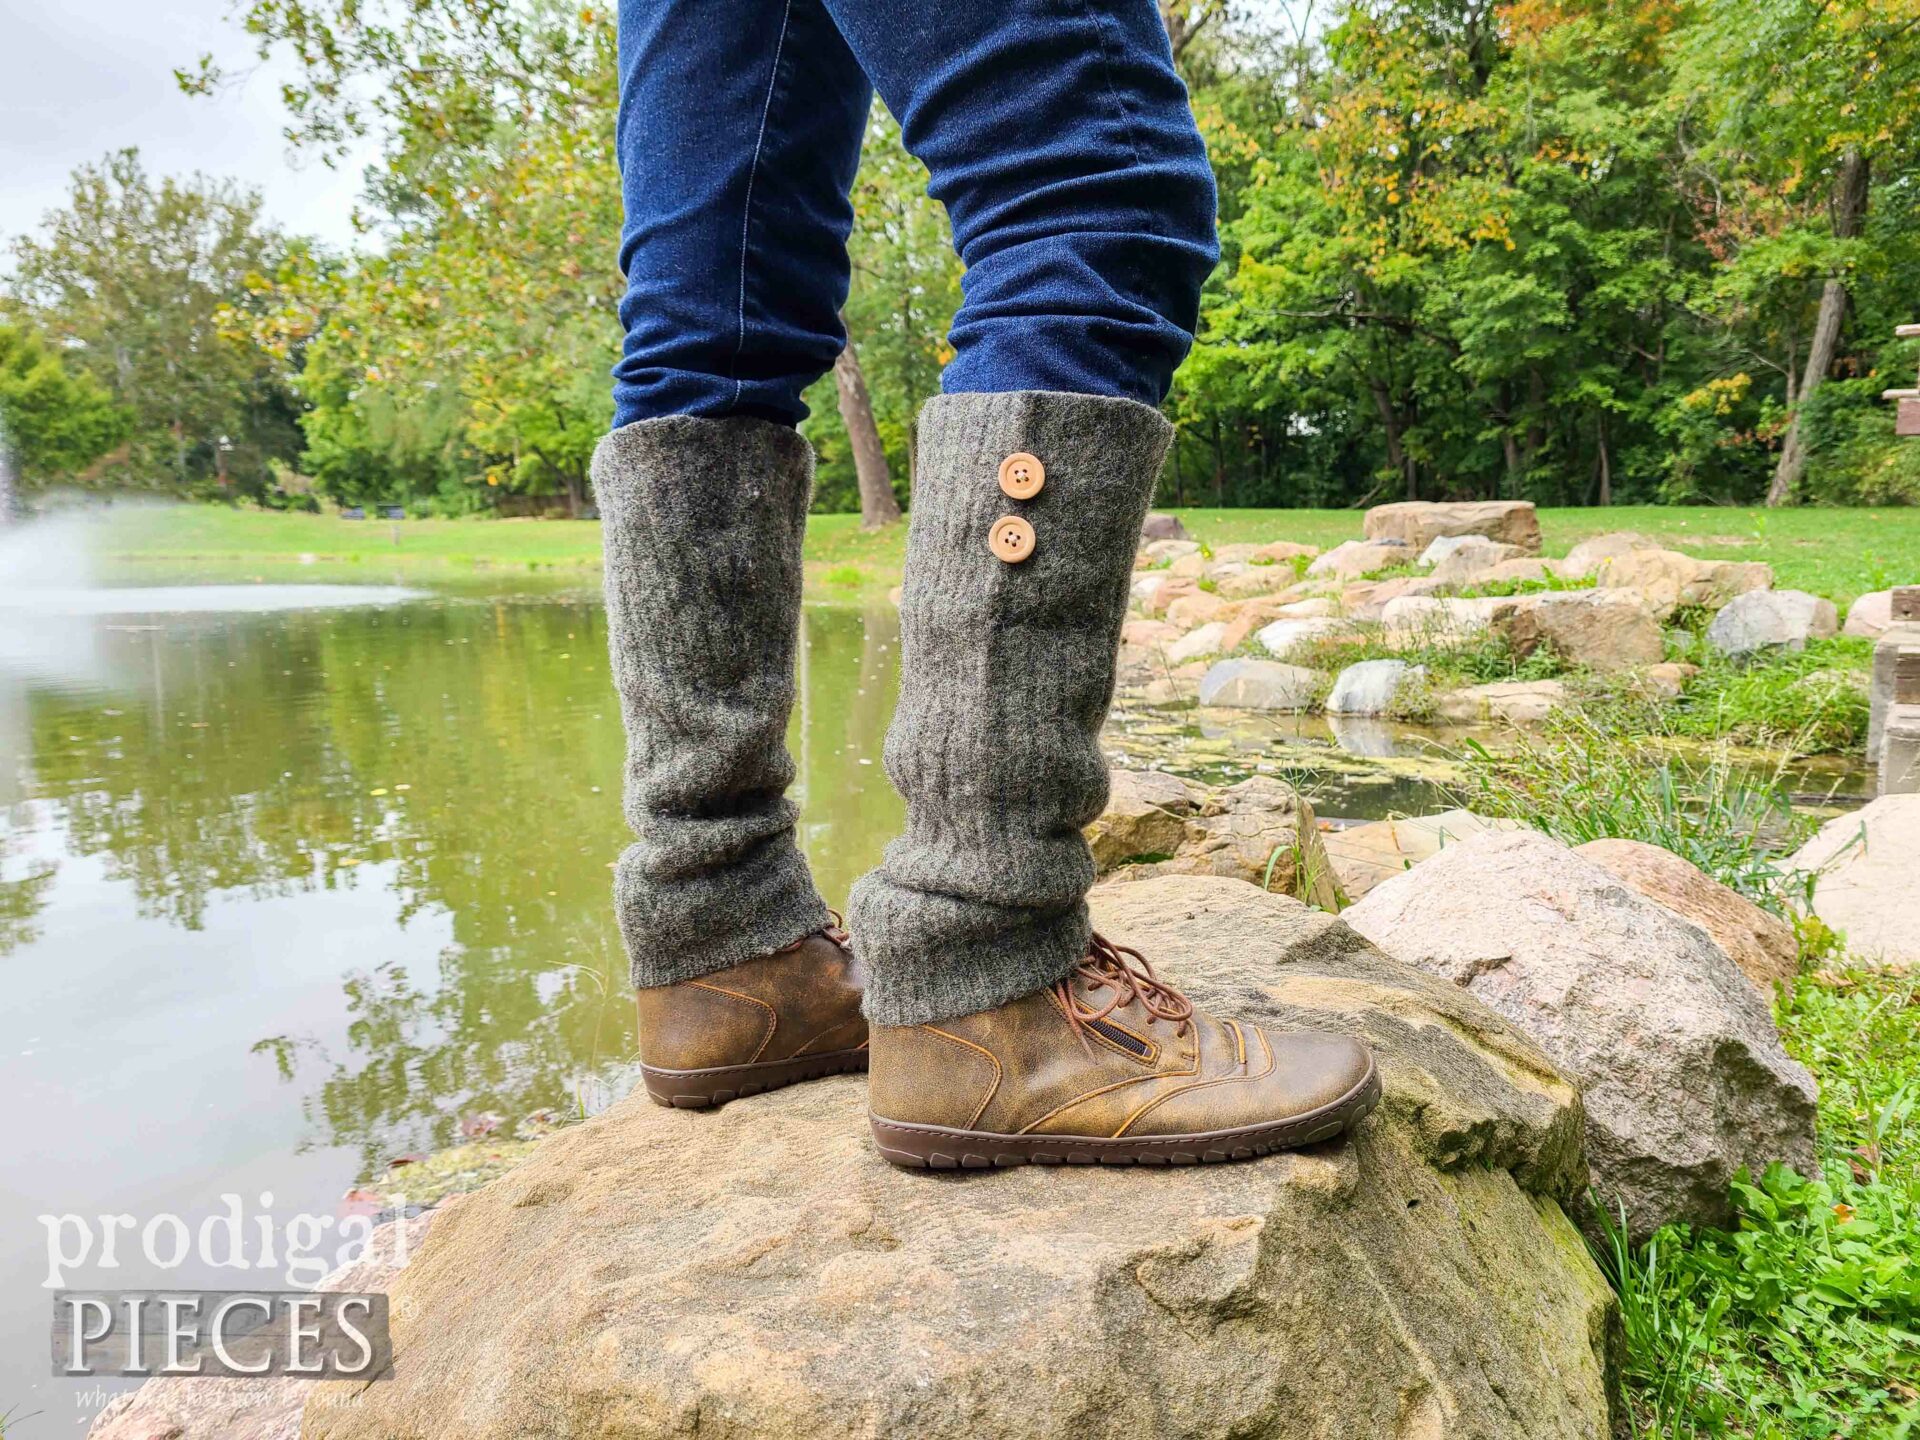
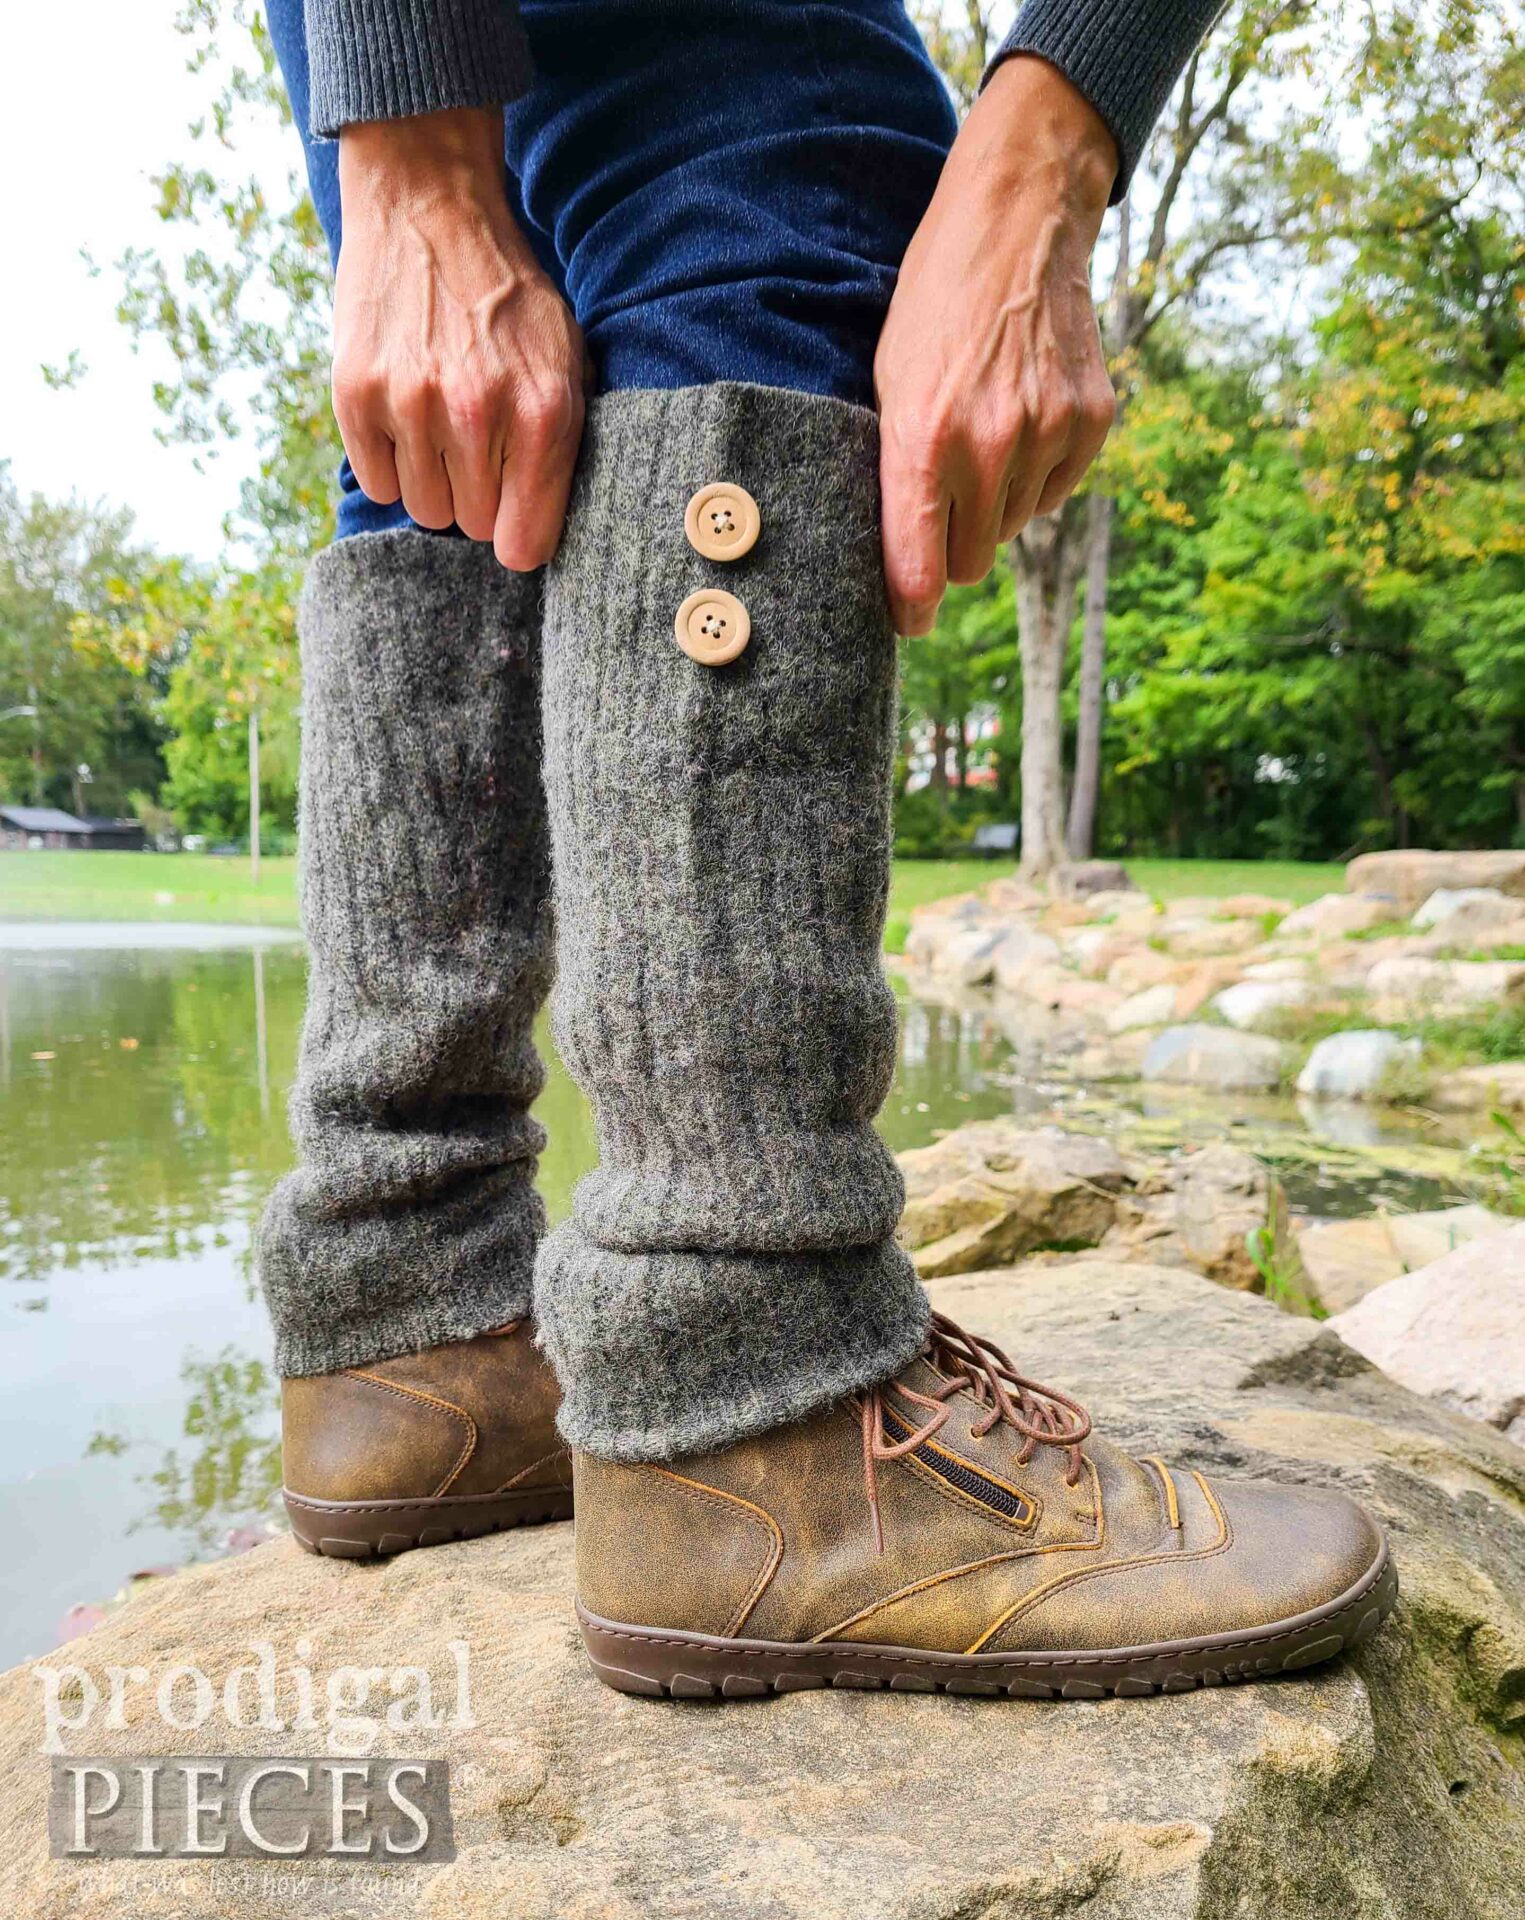
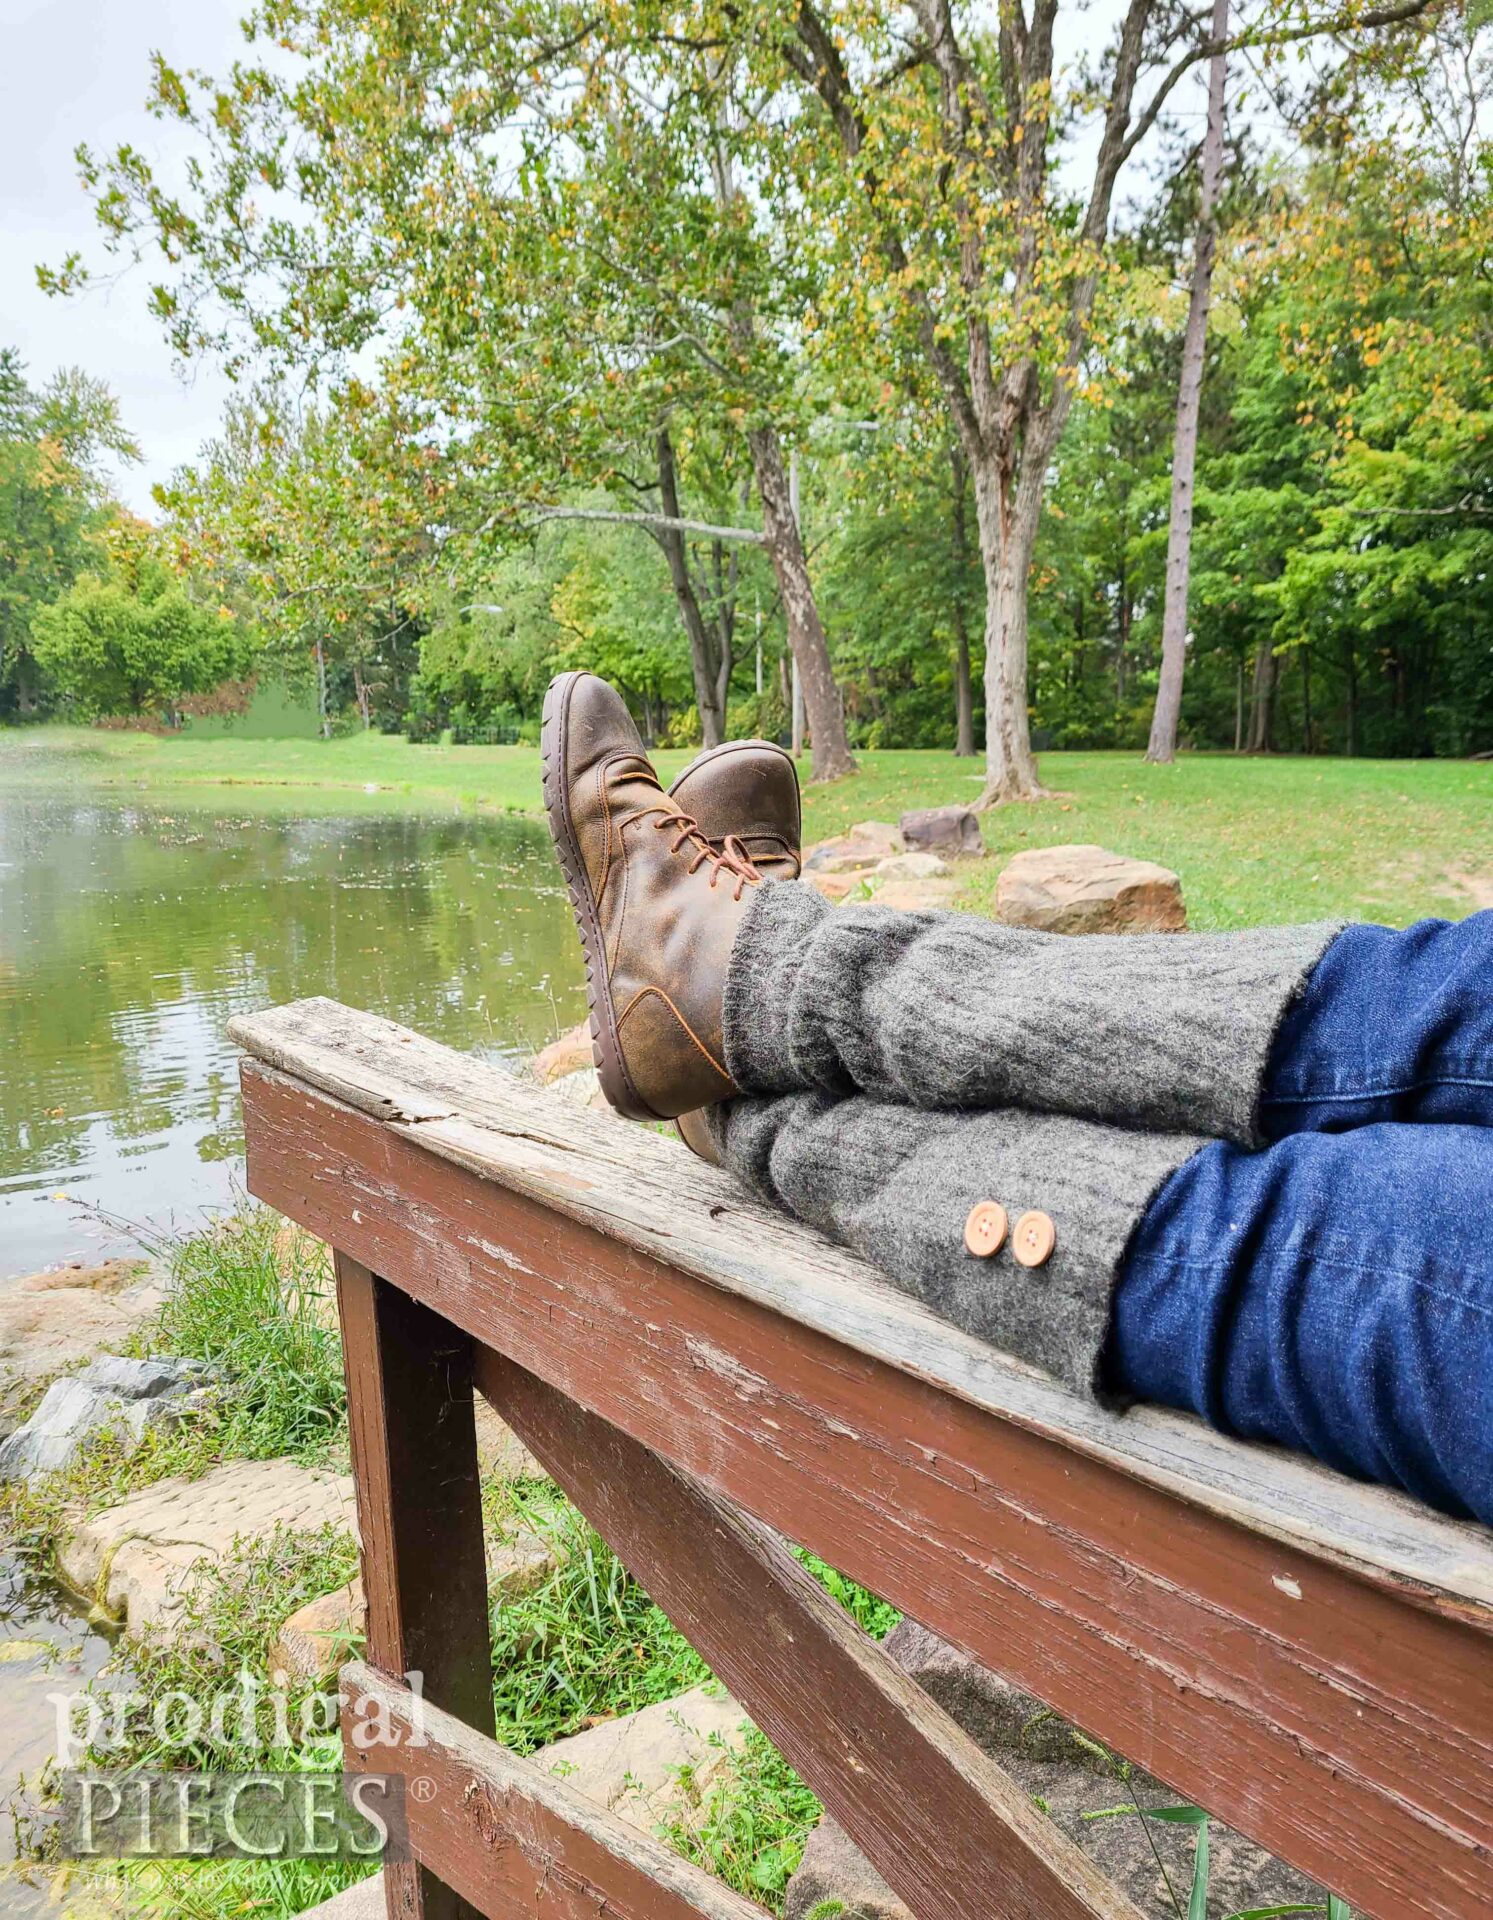
Last, this is the point where you can have oodles of fun! Your sweater sleeve is essentially a blank canvas for you to have your way with it. I debated to using a blanket stitch with embroidery floss to accent the top and bottom. Likewise, I could add embroidery up the outside to make it dressy. Since I’m in simple mode, I opt for sewing on a couple of buttons to the top cuff with a simple needle and thread. Or maybe you picked a colorful sweater, and you need do nothing more.
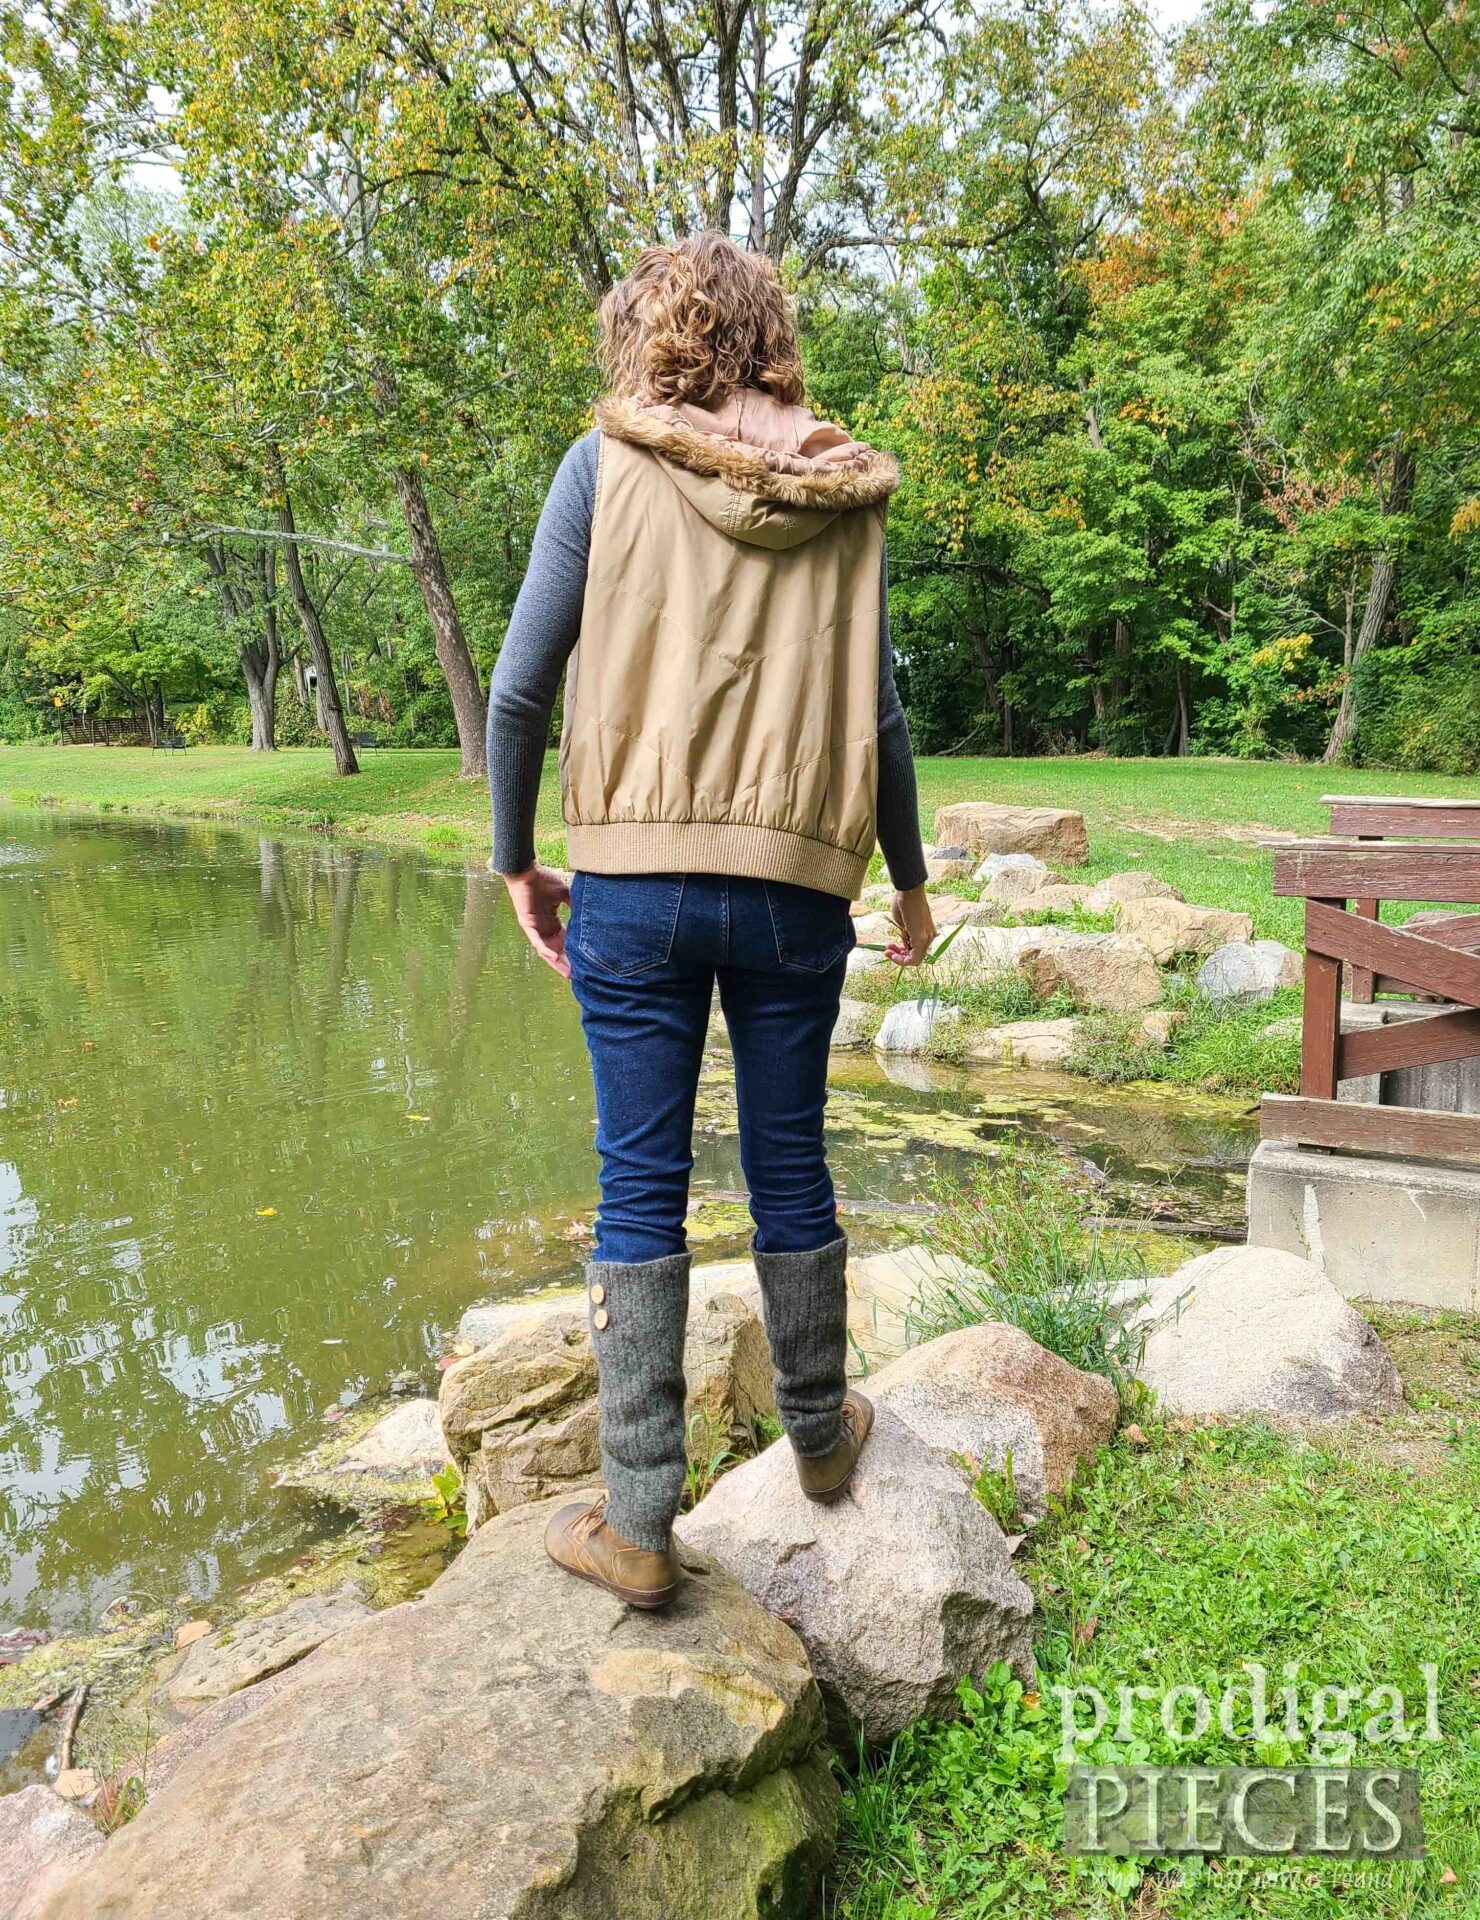
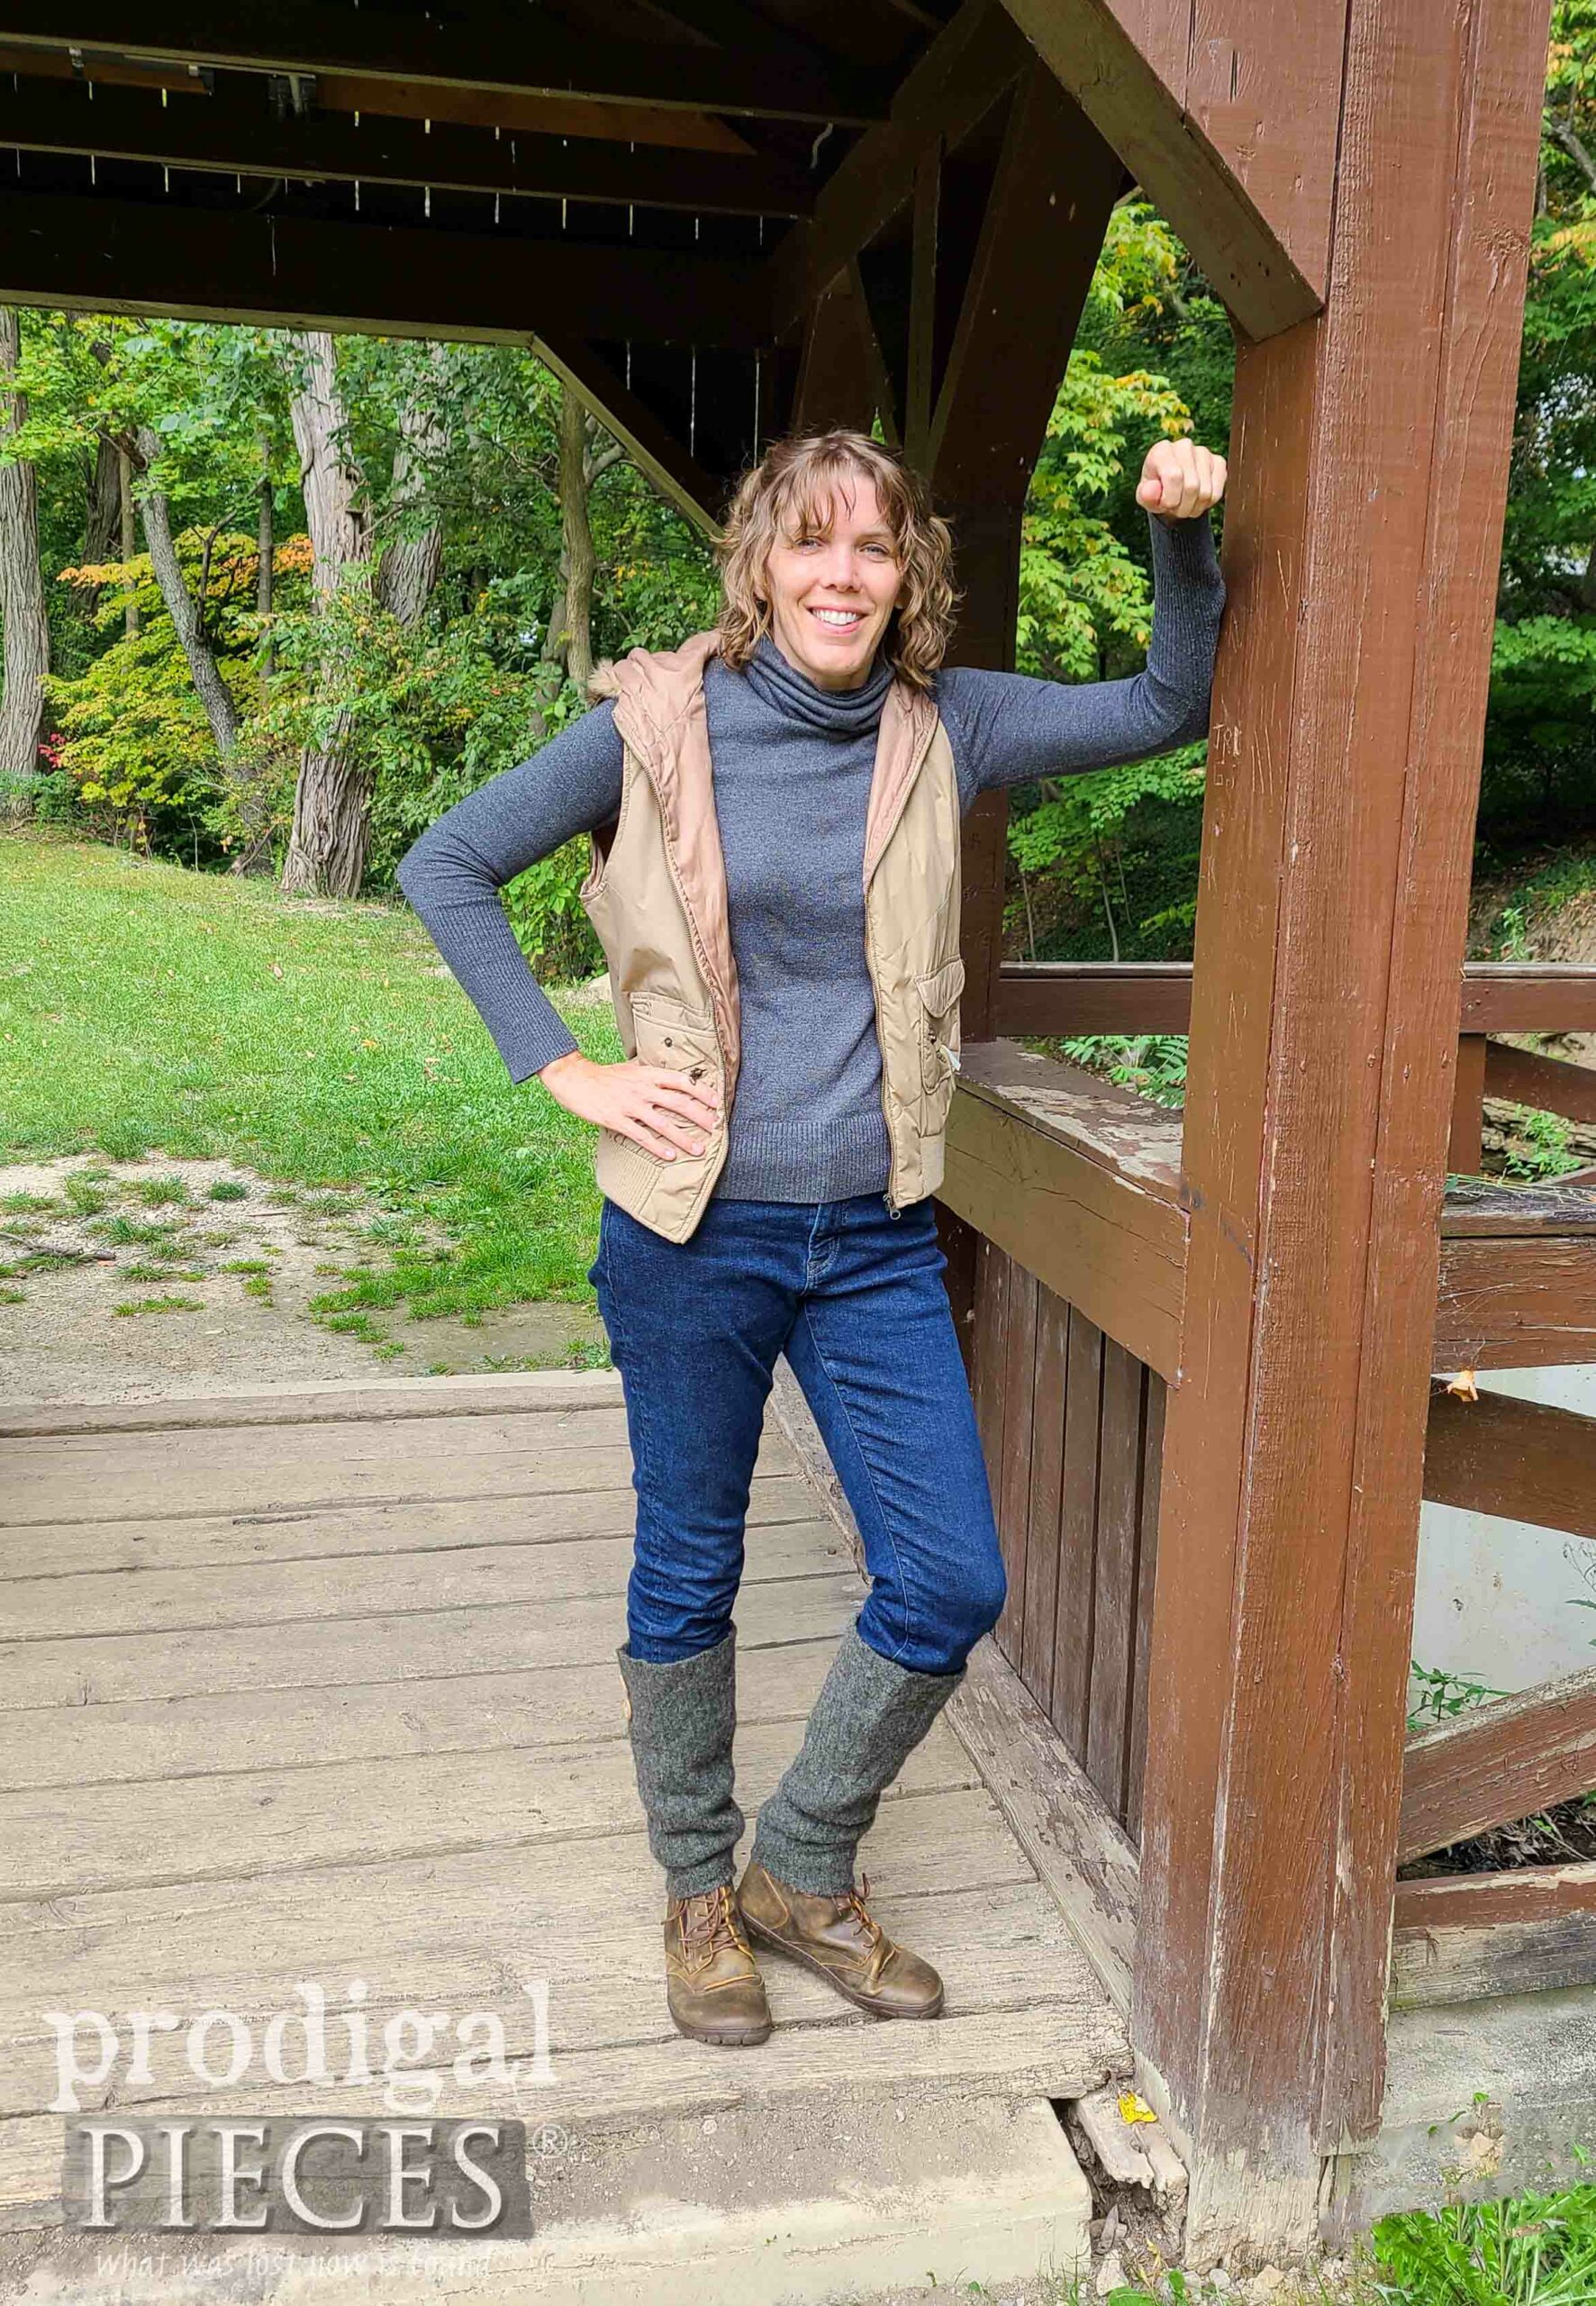
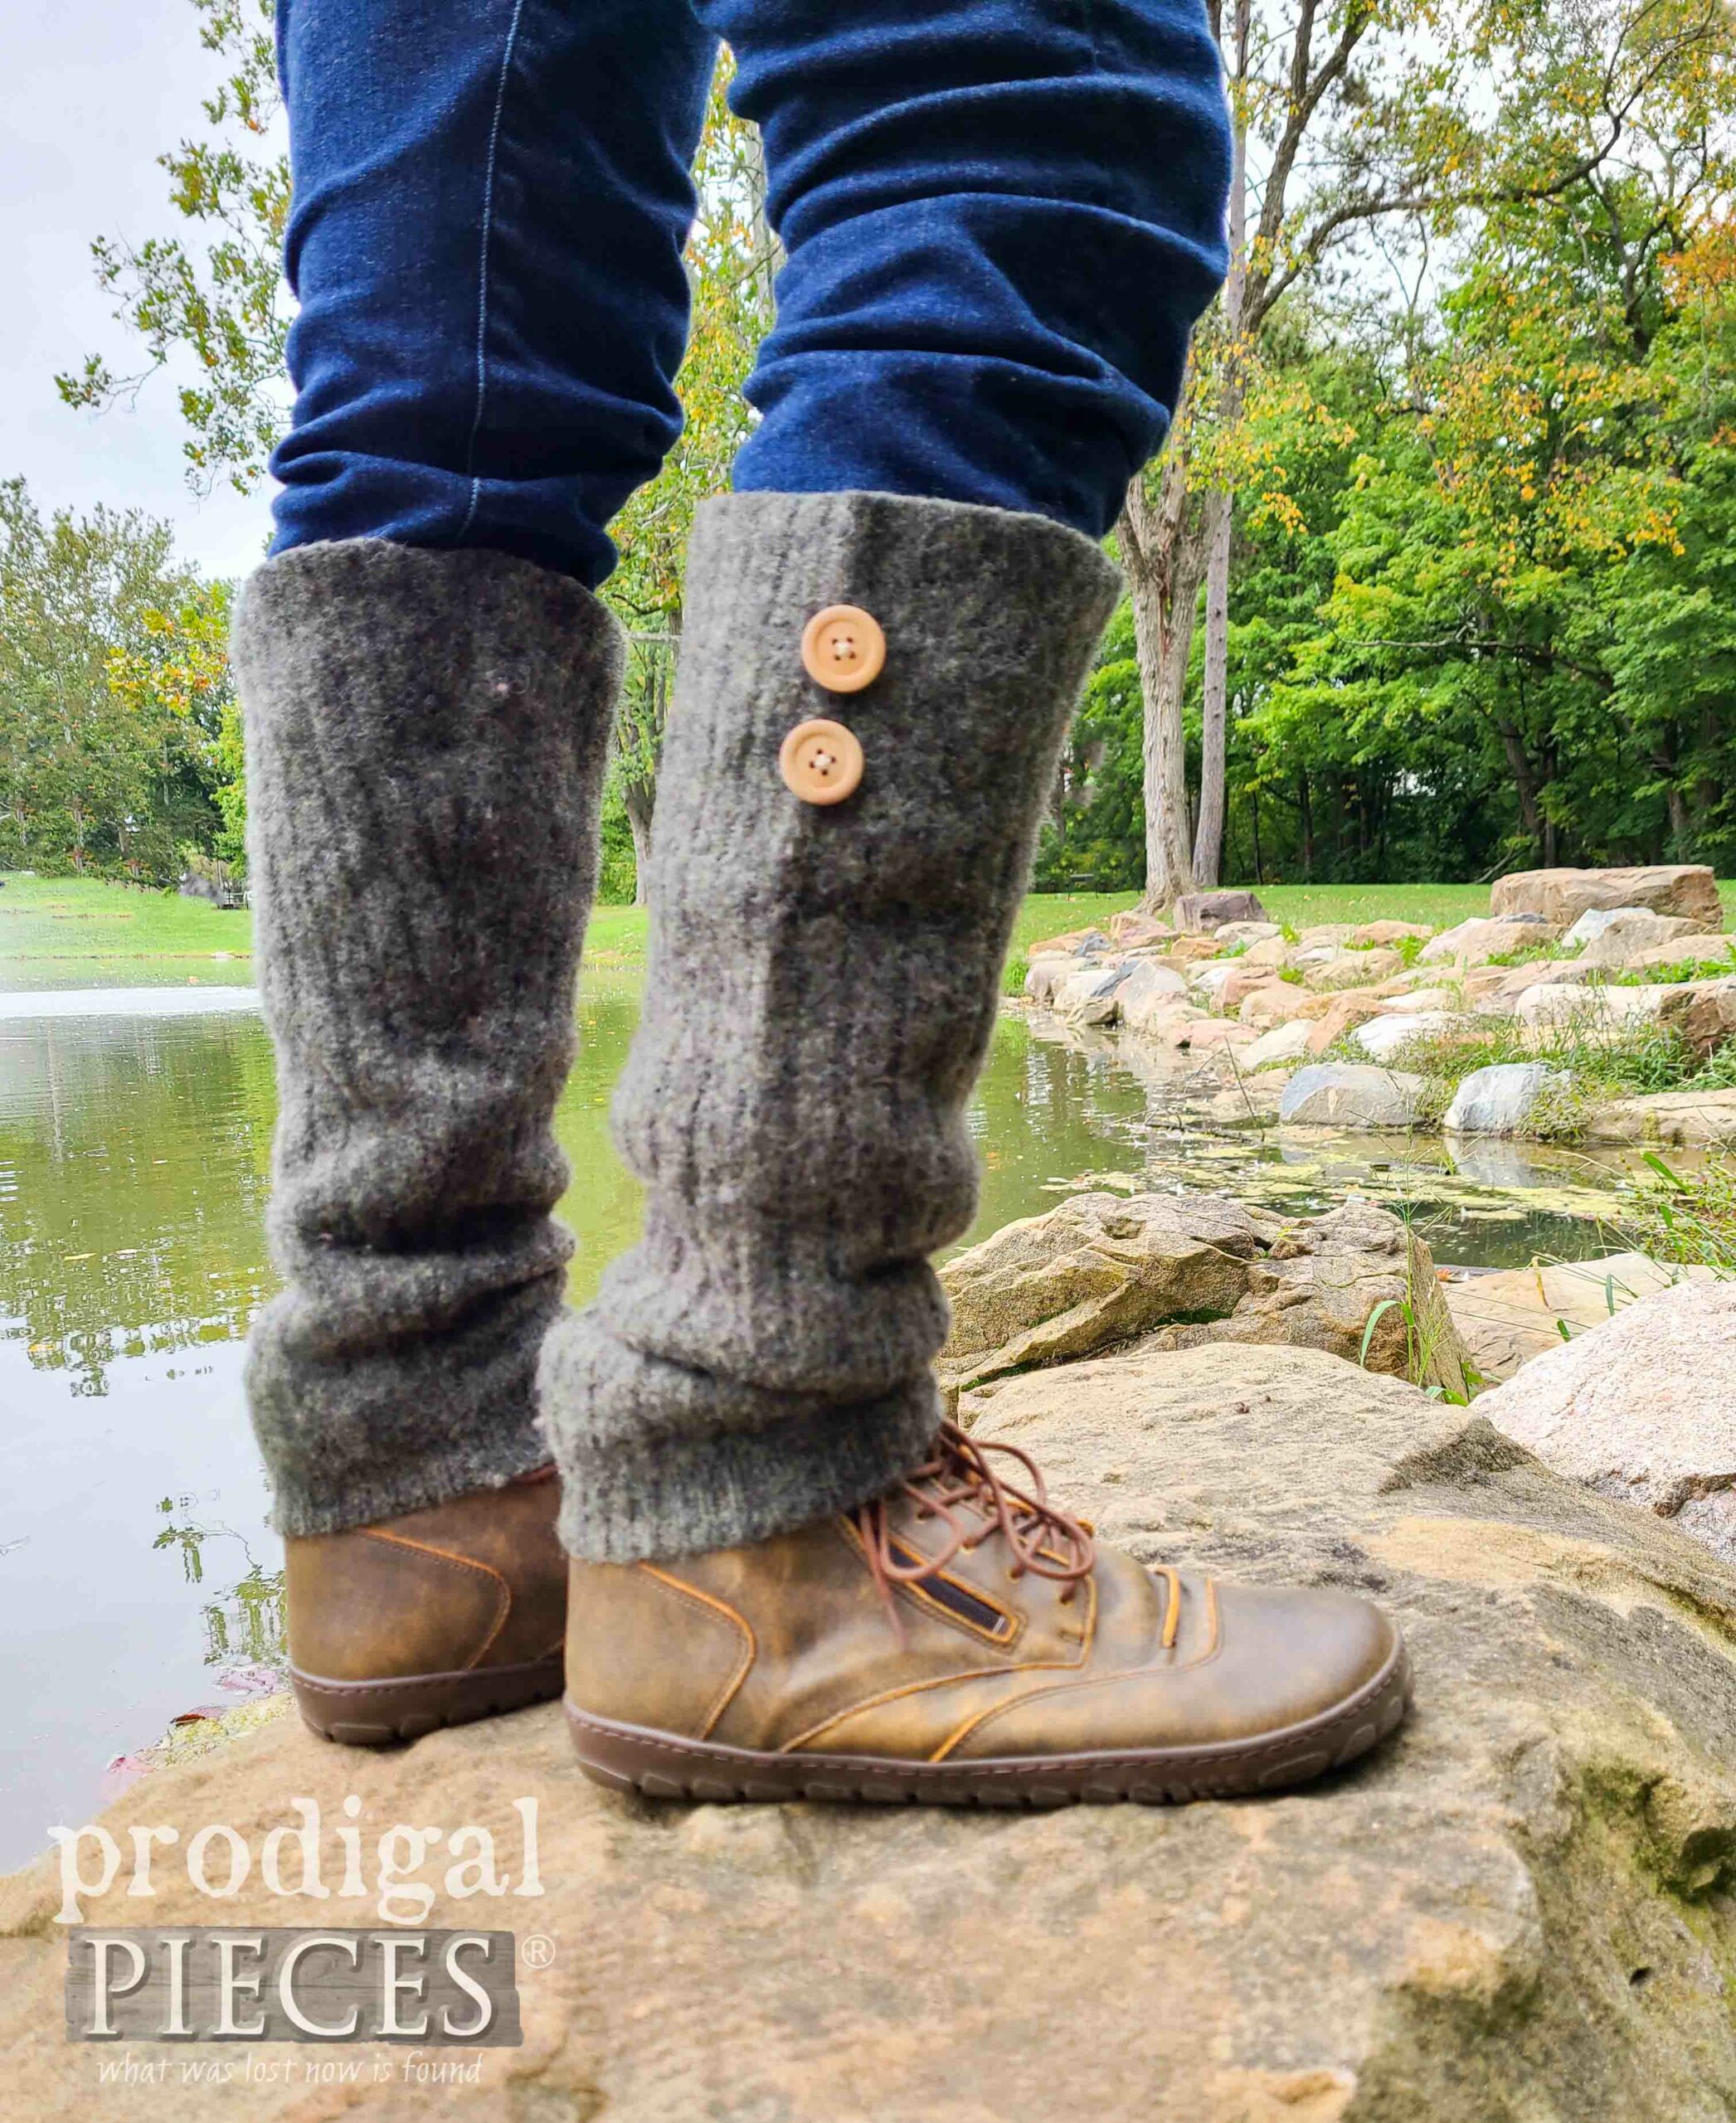
Ta da! Here are my refashioned leg warmers ready for the upcoming winter and brutal spring where my family and I sit and watch tennis matches and long track meets.
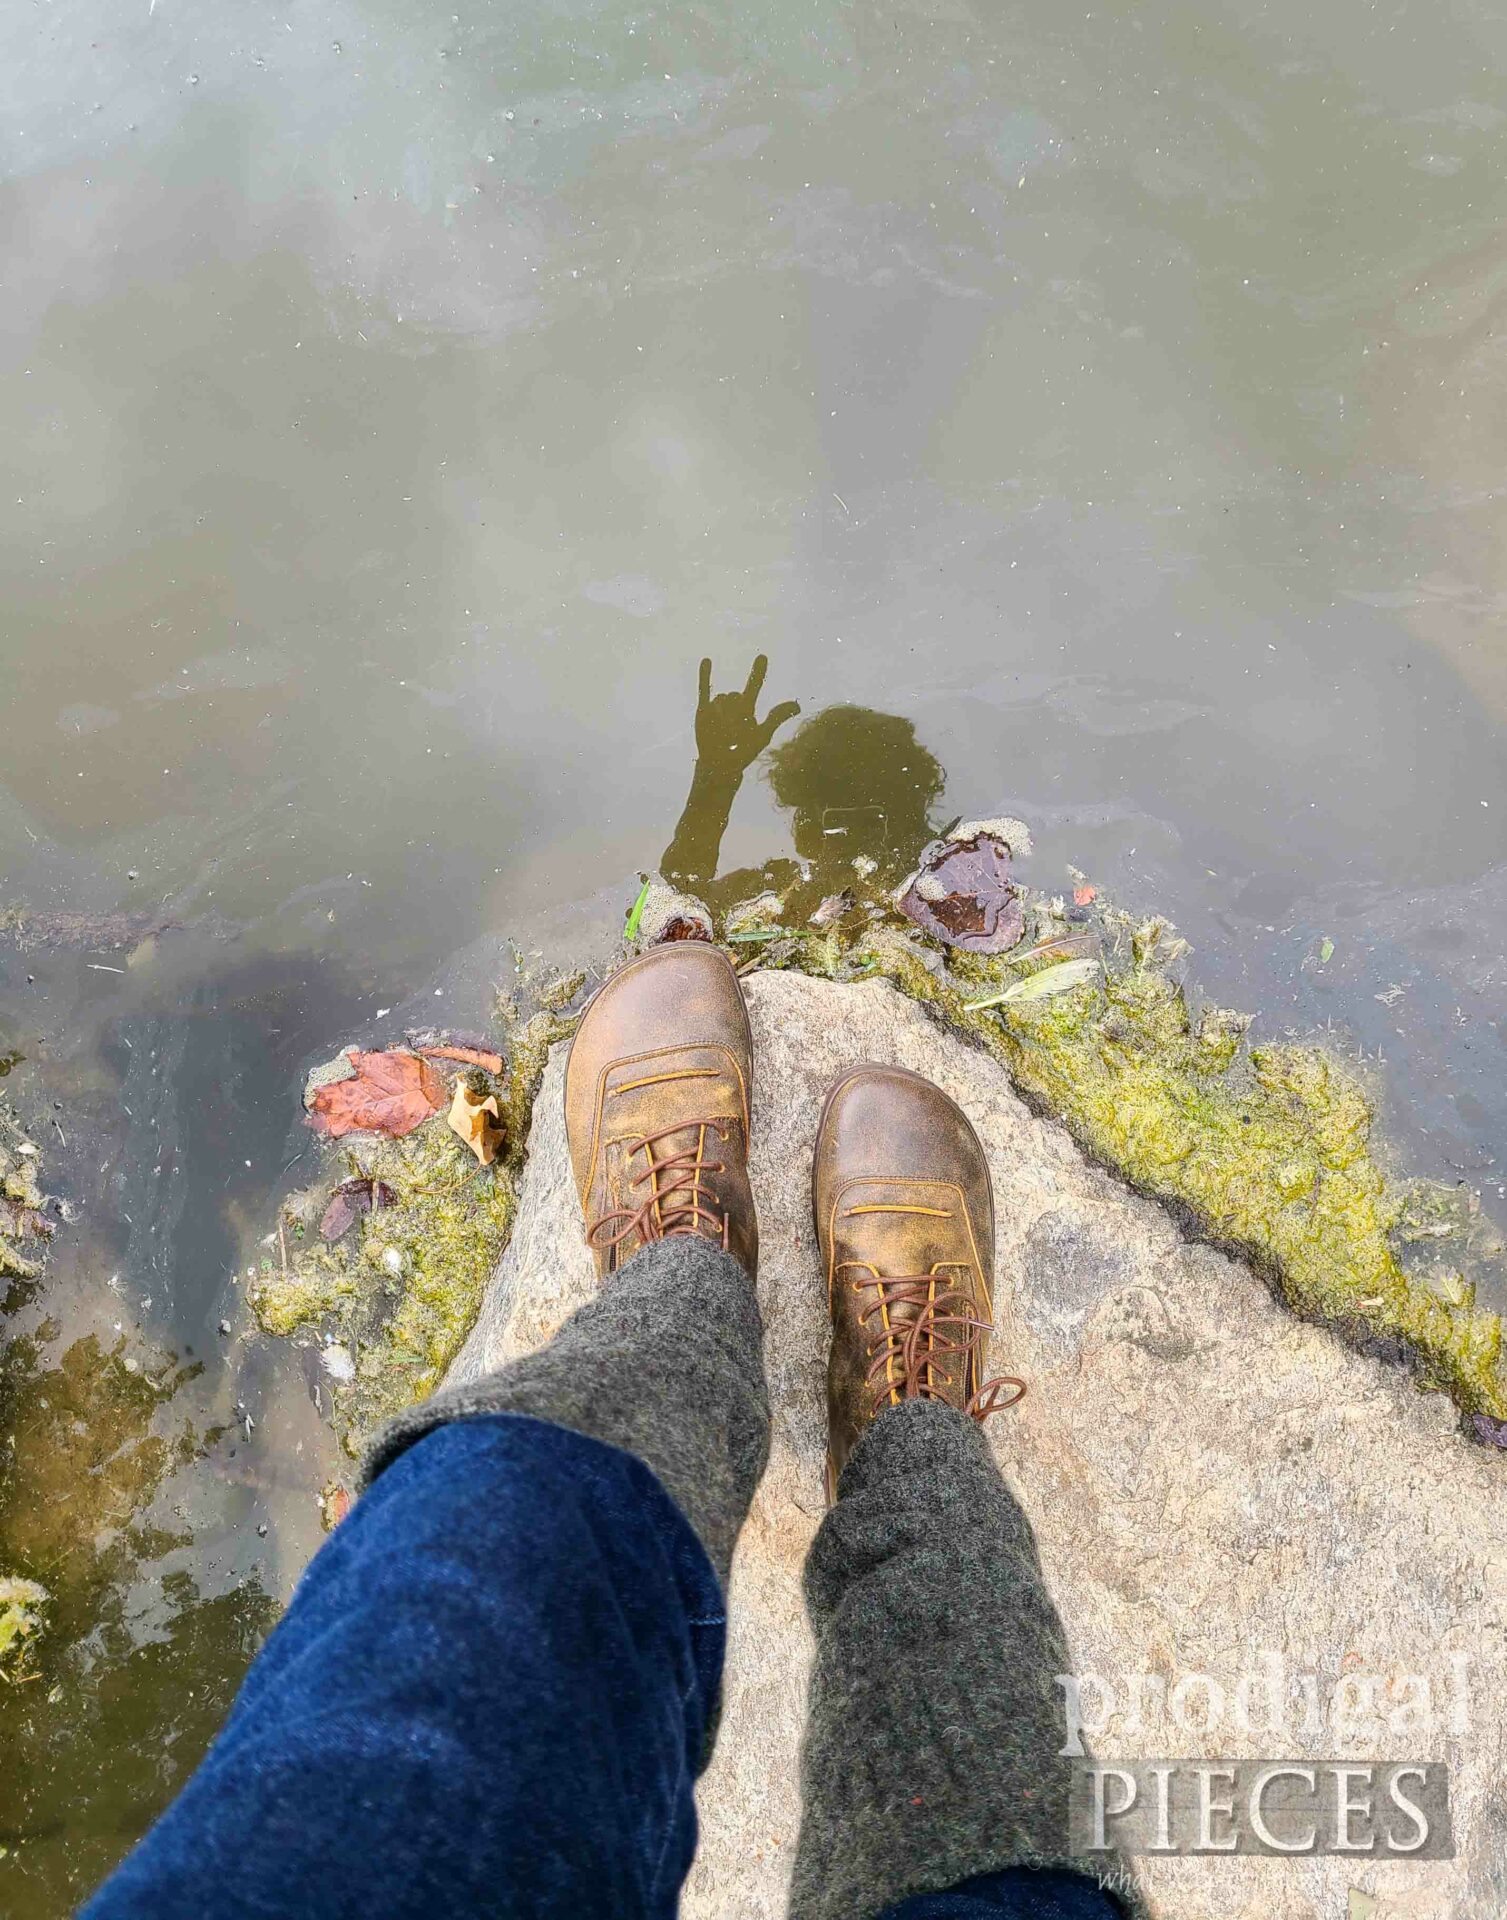
They slip on easily over my jeans and can stretch to fit most any leg. Notice I left the cuff on this time around. However, if you feel the sleeve cuff is too tight, just trim it off at the bottom. The cuff allows me to slide it down over my barefoot boots (read about my barefoot journey HERE).
REFASHIONING FUN
While I would love to have more months of summer, I do enjoy autumn and all the glory it offers in our four-season state. Do you look forward to winter?
SHARE
So tell me, what would you have done to decorate your DIY leg warmers? Leave me some comment love below, then pin and share to inspire others to try their hand at refashioning as well.
Before you go, be sure to sign up for my FREE newsletter. as I’ll have fun recreating this wine crate HERE.

Very cute, and warm. I like the color and the buttons just add some charm! I know they have functionality as well but charm is so much more fun! It just makes me feel like crisp fall air and being bundled up under blankets with warm cider or hot coco. In Scandinavian Danish/from Norwegian vernacular Hygge!! But maybe you know that. 😊
You got it! No more freezing from behind my legs when sitting on bleachers with a blanket on top. haha. Yes, I know hygge! 😉
These are adorable and I love the great pics. Made me smile. I have been holding on to an Irish wool sweater that my brother gave me that accidentally got washed and dried. I think this would be perfect for the sleeves with a couple hand painted cat buttons (because that’s just me.) Thank you for the inspiration. You are my muse of the day.
I love it!! I would love to see them when you do. I love painting my own buttons too.
Oh my goodness, these are super cute! I can’t wait to find a wool sweater and make myself a pair. Soo creative Larissa! And EZ enough for this novice to give it a try 🙂 Thank you for the inspiration once again. 🙂 Would you mind sharing what brand makes this pair of barefoot shoes? These are super cute too!
woot, woot! I hope you have fun #trashure hunting! Those are my Zaqq boots. They are so stinkin’ comfy. They are nearly broke in, but I just got them too.
MUCH better styling than the 80’s look. haha! 😄
haha! I sure hope so! 😀 Thanks, Becky.