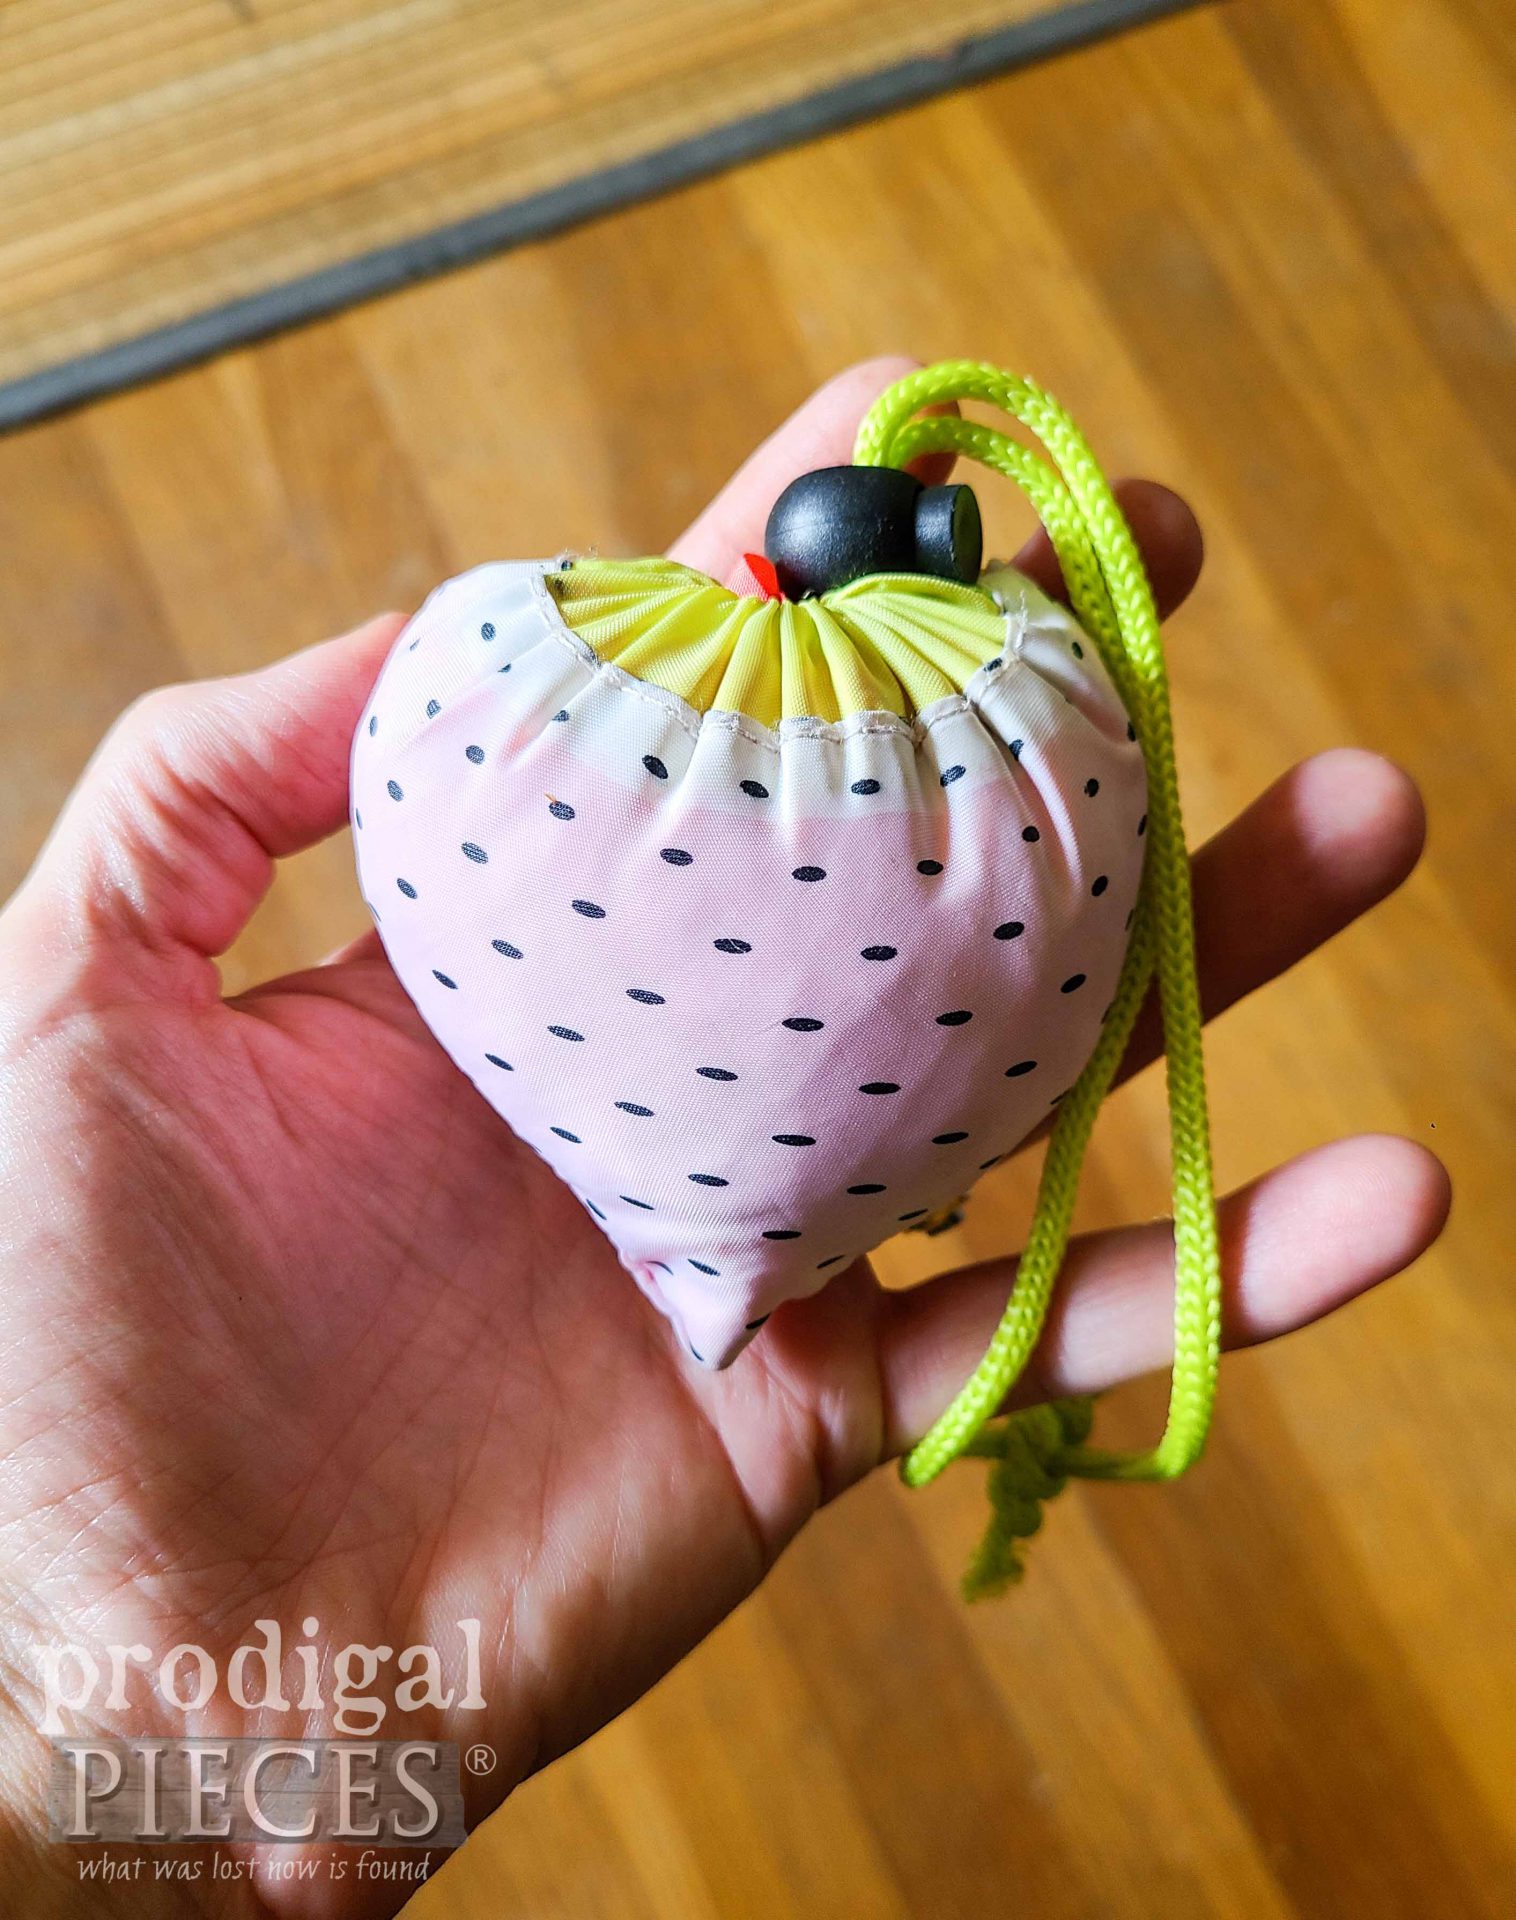
It’s the last Tuesday of the month and that means that it’s Reduce, Reuse, REFASHION time here at Prodigal Pieces. While I adore being in my wood shop building, or reviving a broken furniture, gardening, or even in my kitchen whipping up another treat, I also am an addicted seamstress. Or, at least, totally enjoy refashioning perfectly good fabric. Take a peek at this reusable compact shopping bag I found.
I am at the grocery store headed out to my truck while it’s pouring buckets, and see this laying smack in the middle of the road. No one around to claim it, so I pick it up and take it home to launder. I love the whimsy of it, but compact size, and especially that it gave me an idea. Wouldn’t this make a perfect thoughtful gift or even a stocking stuffer made from a loved one’s old clothes?
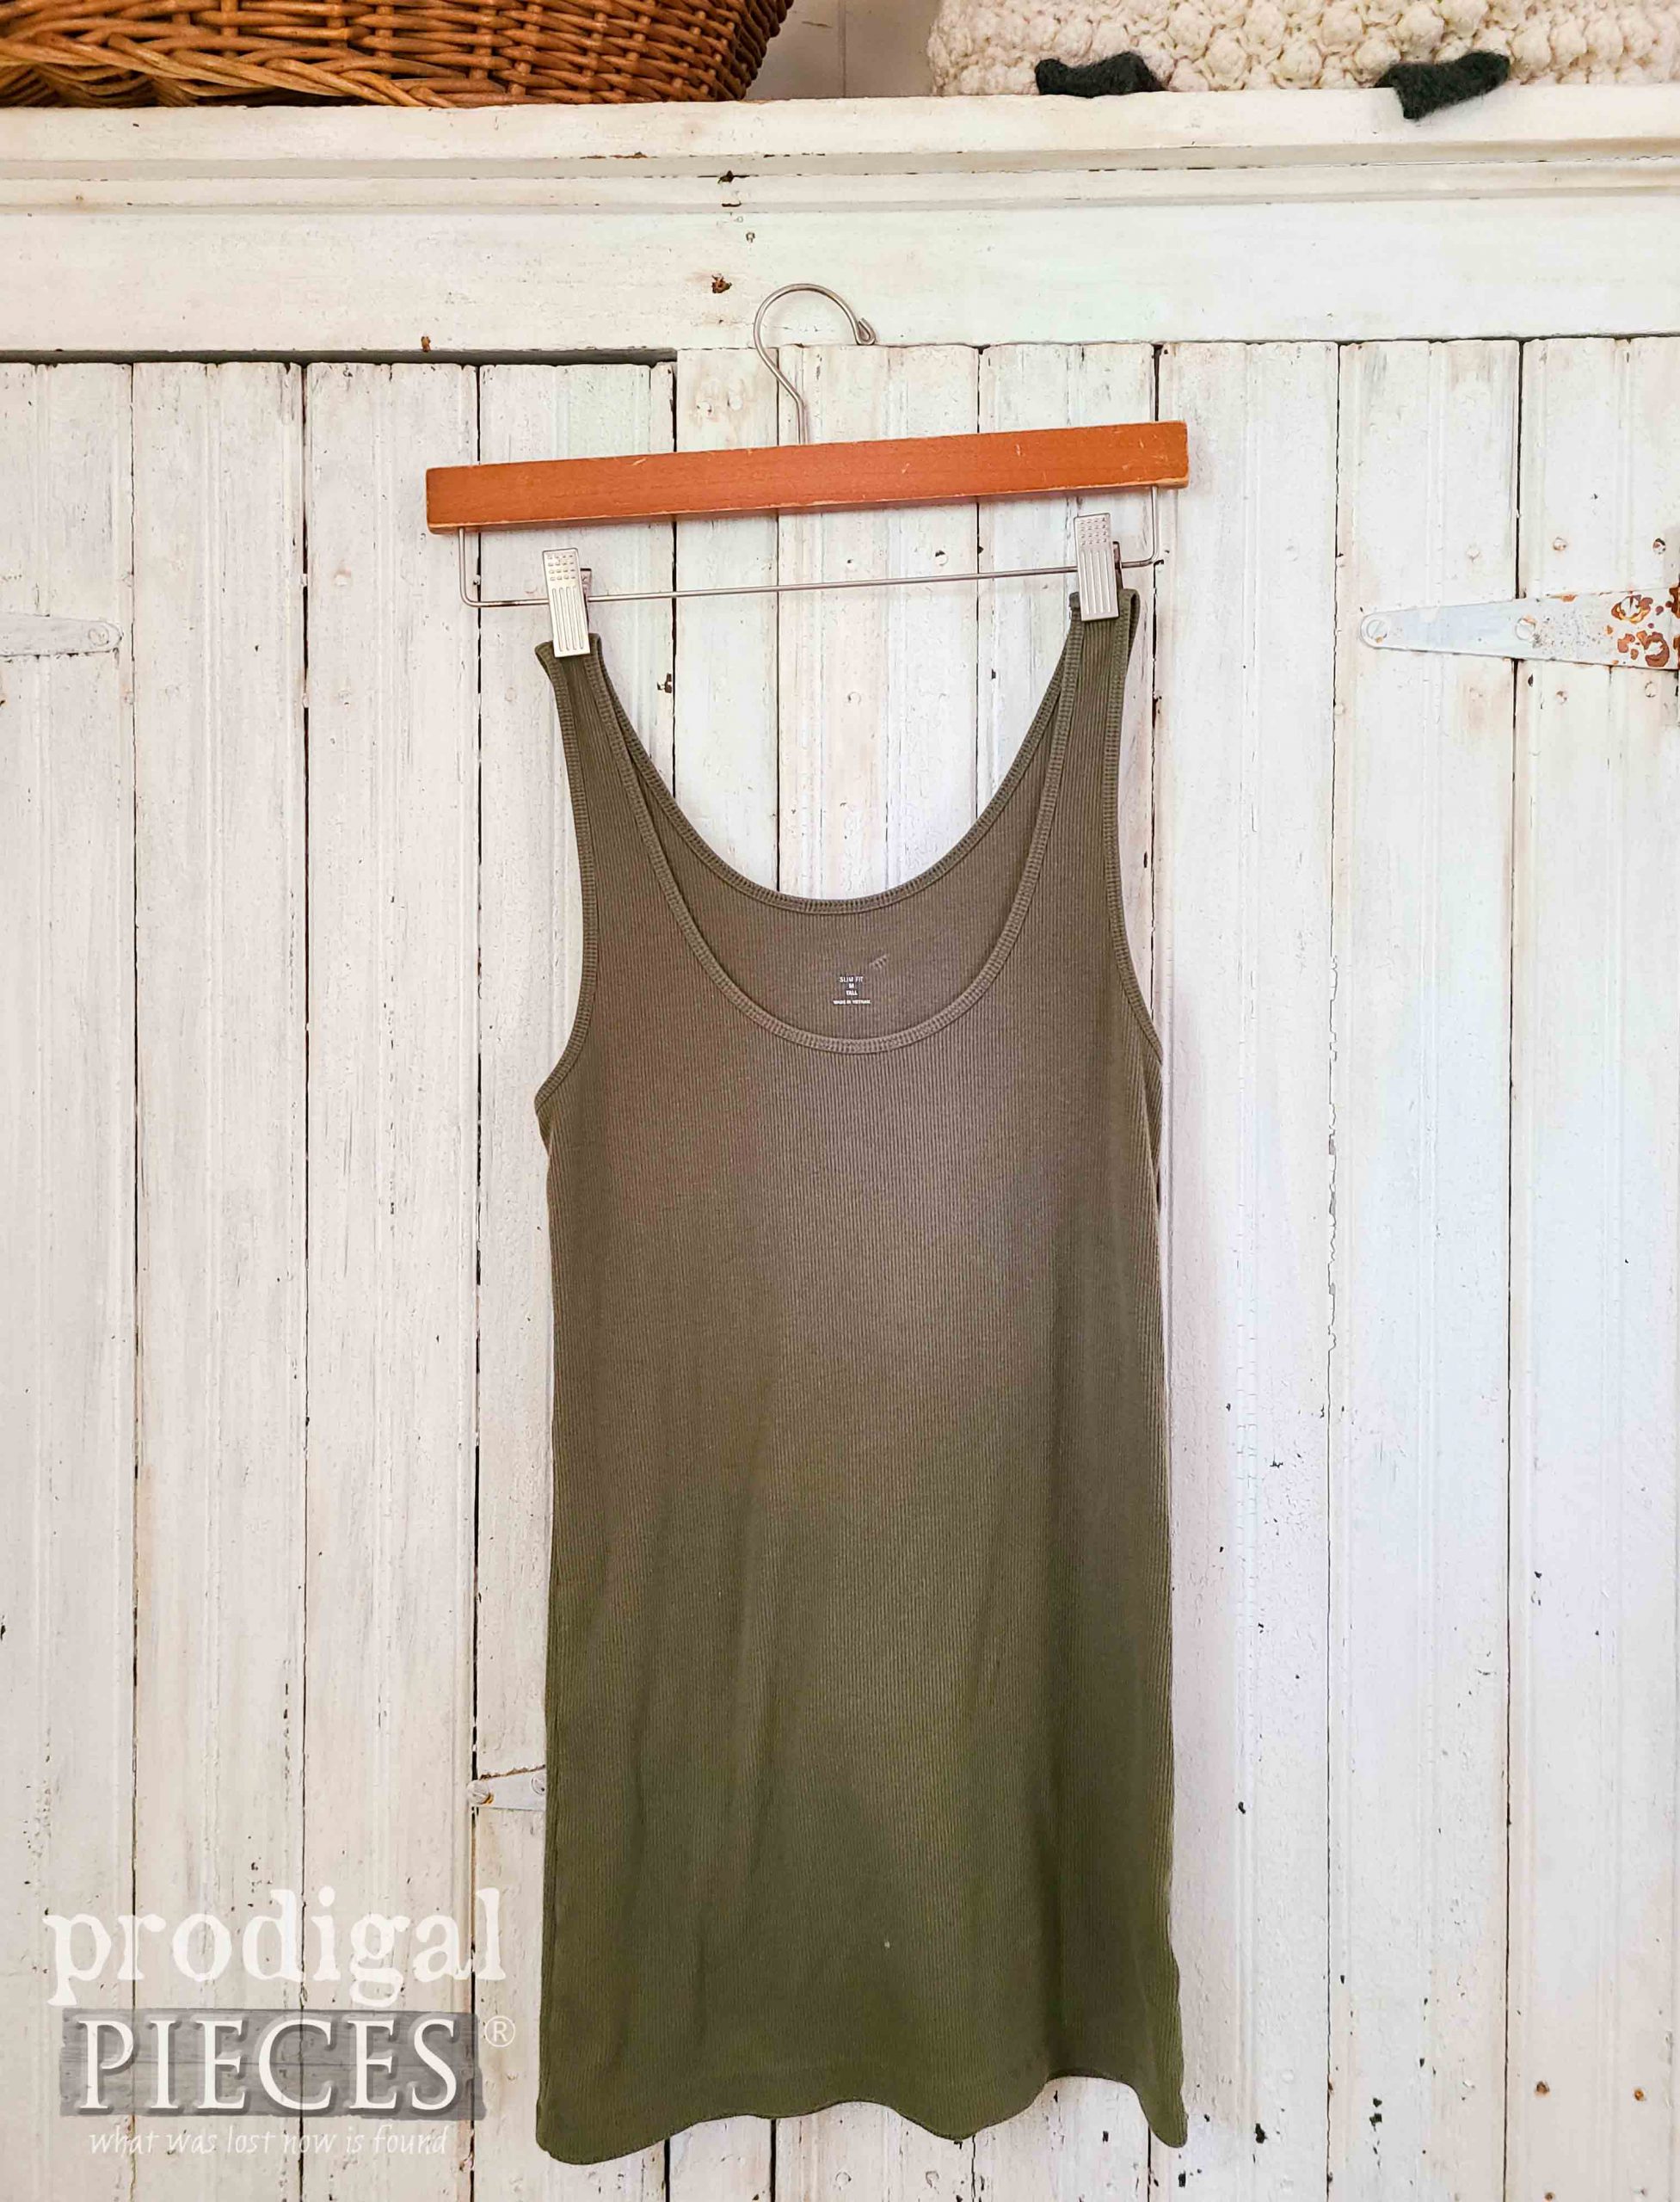
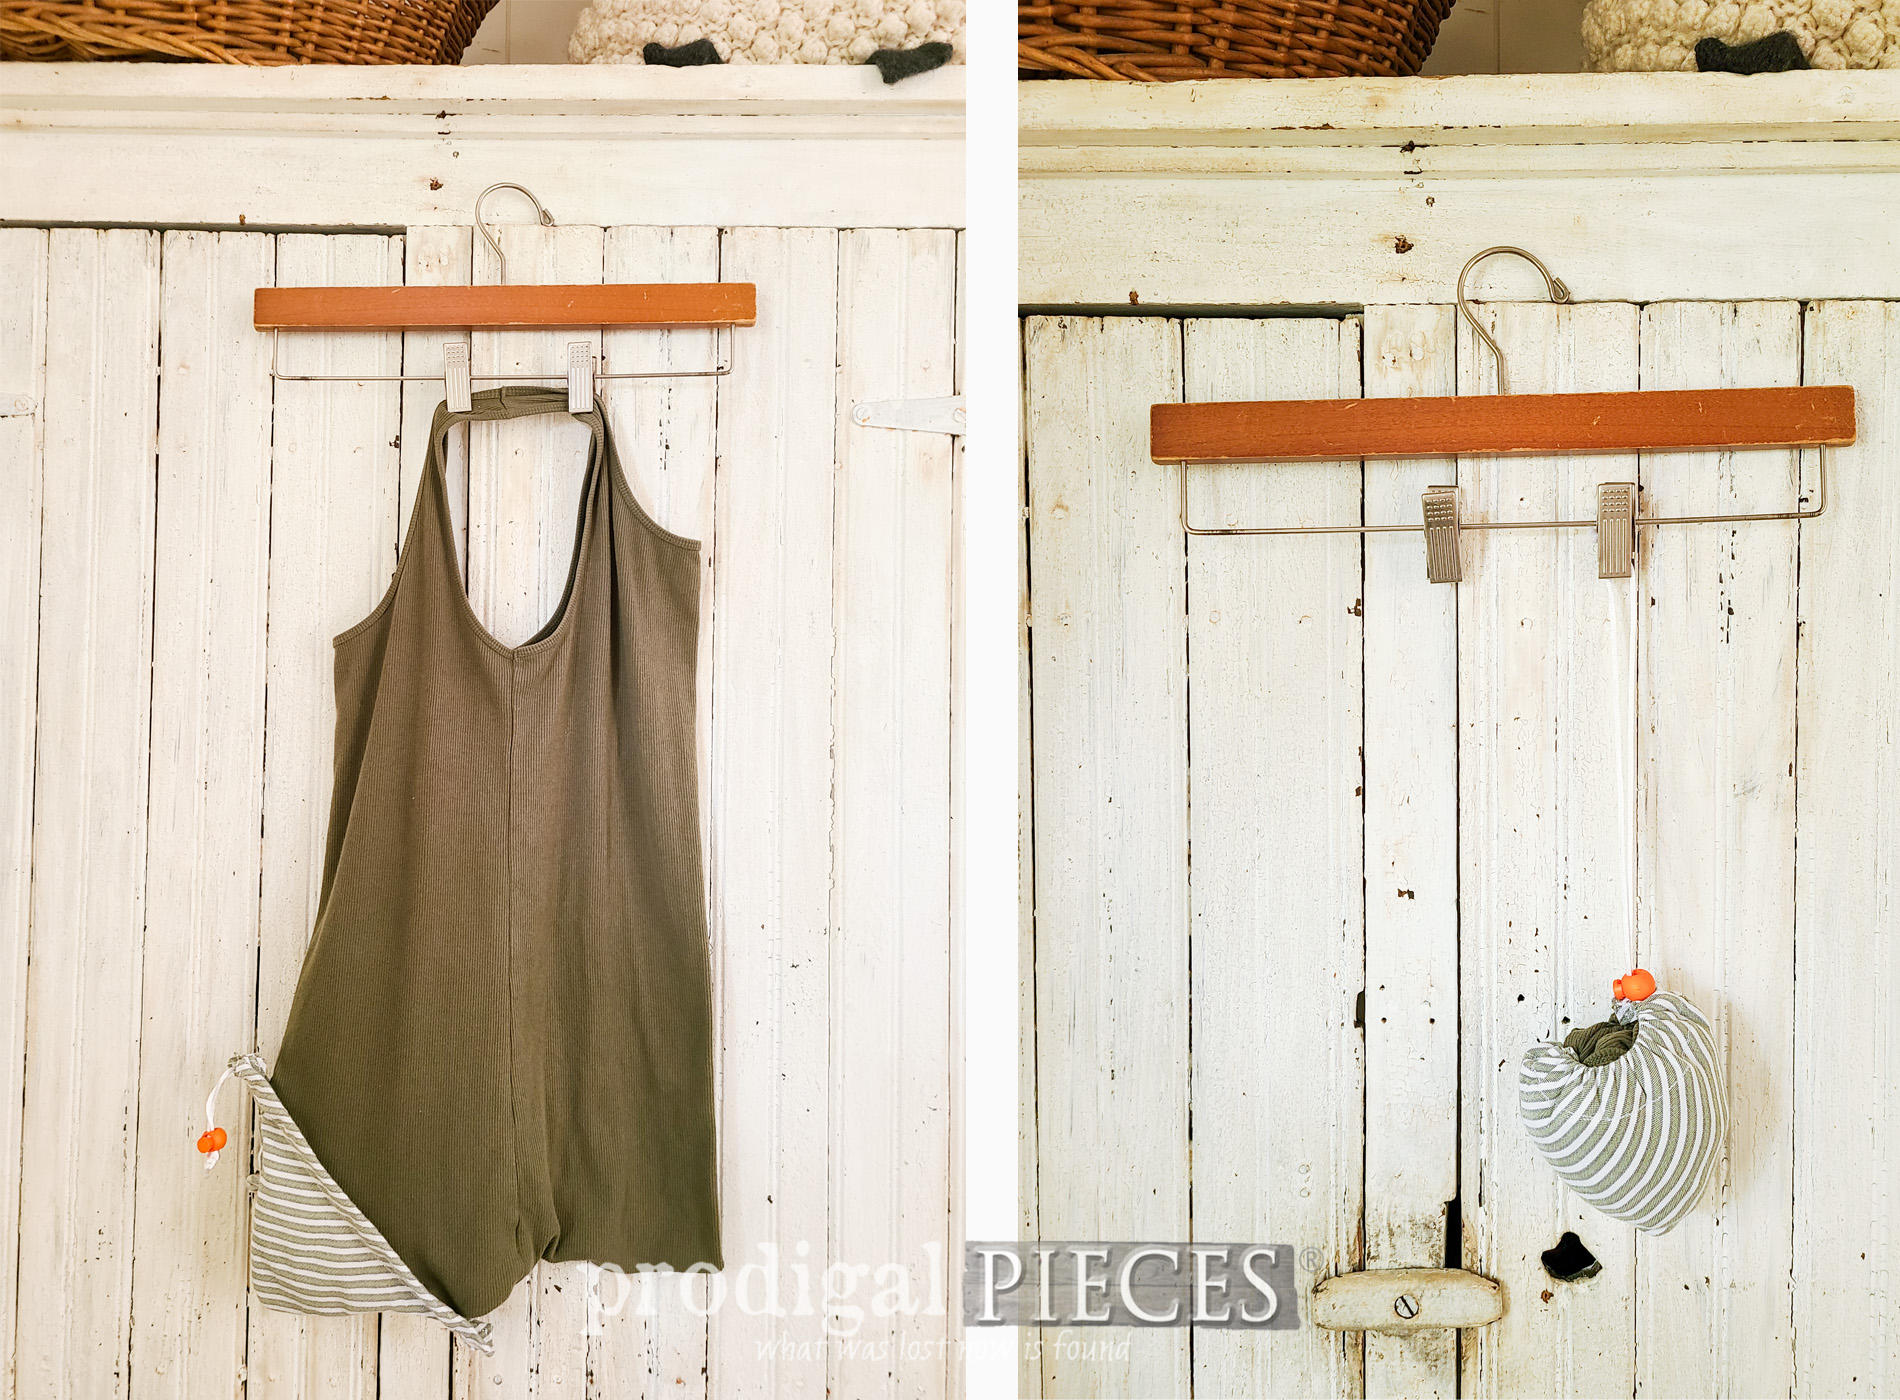
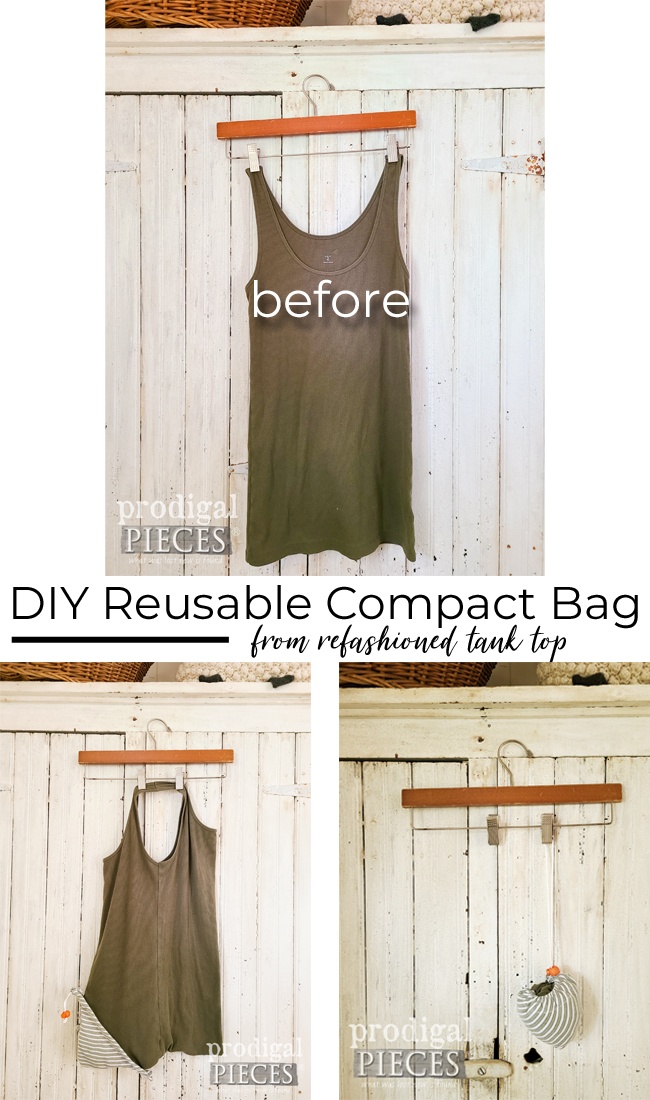
Okay, so my brain is in motion and I’m eager to give this a try. Here’s my inspiration refashion piece…a simple tank top.
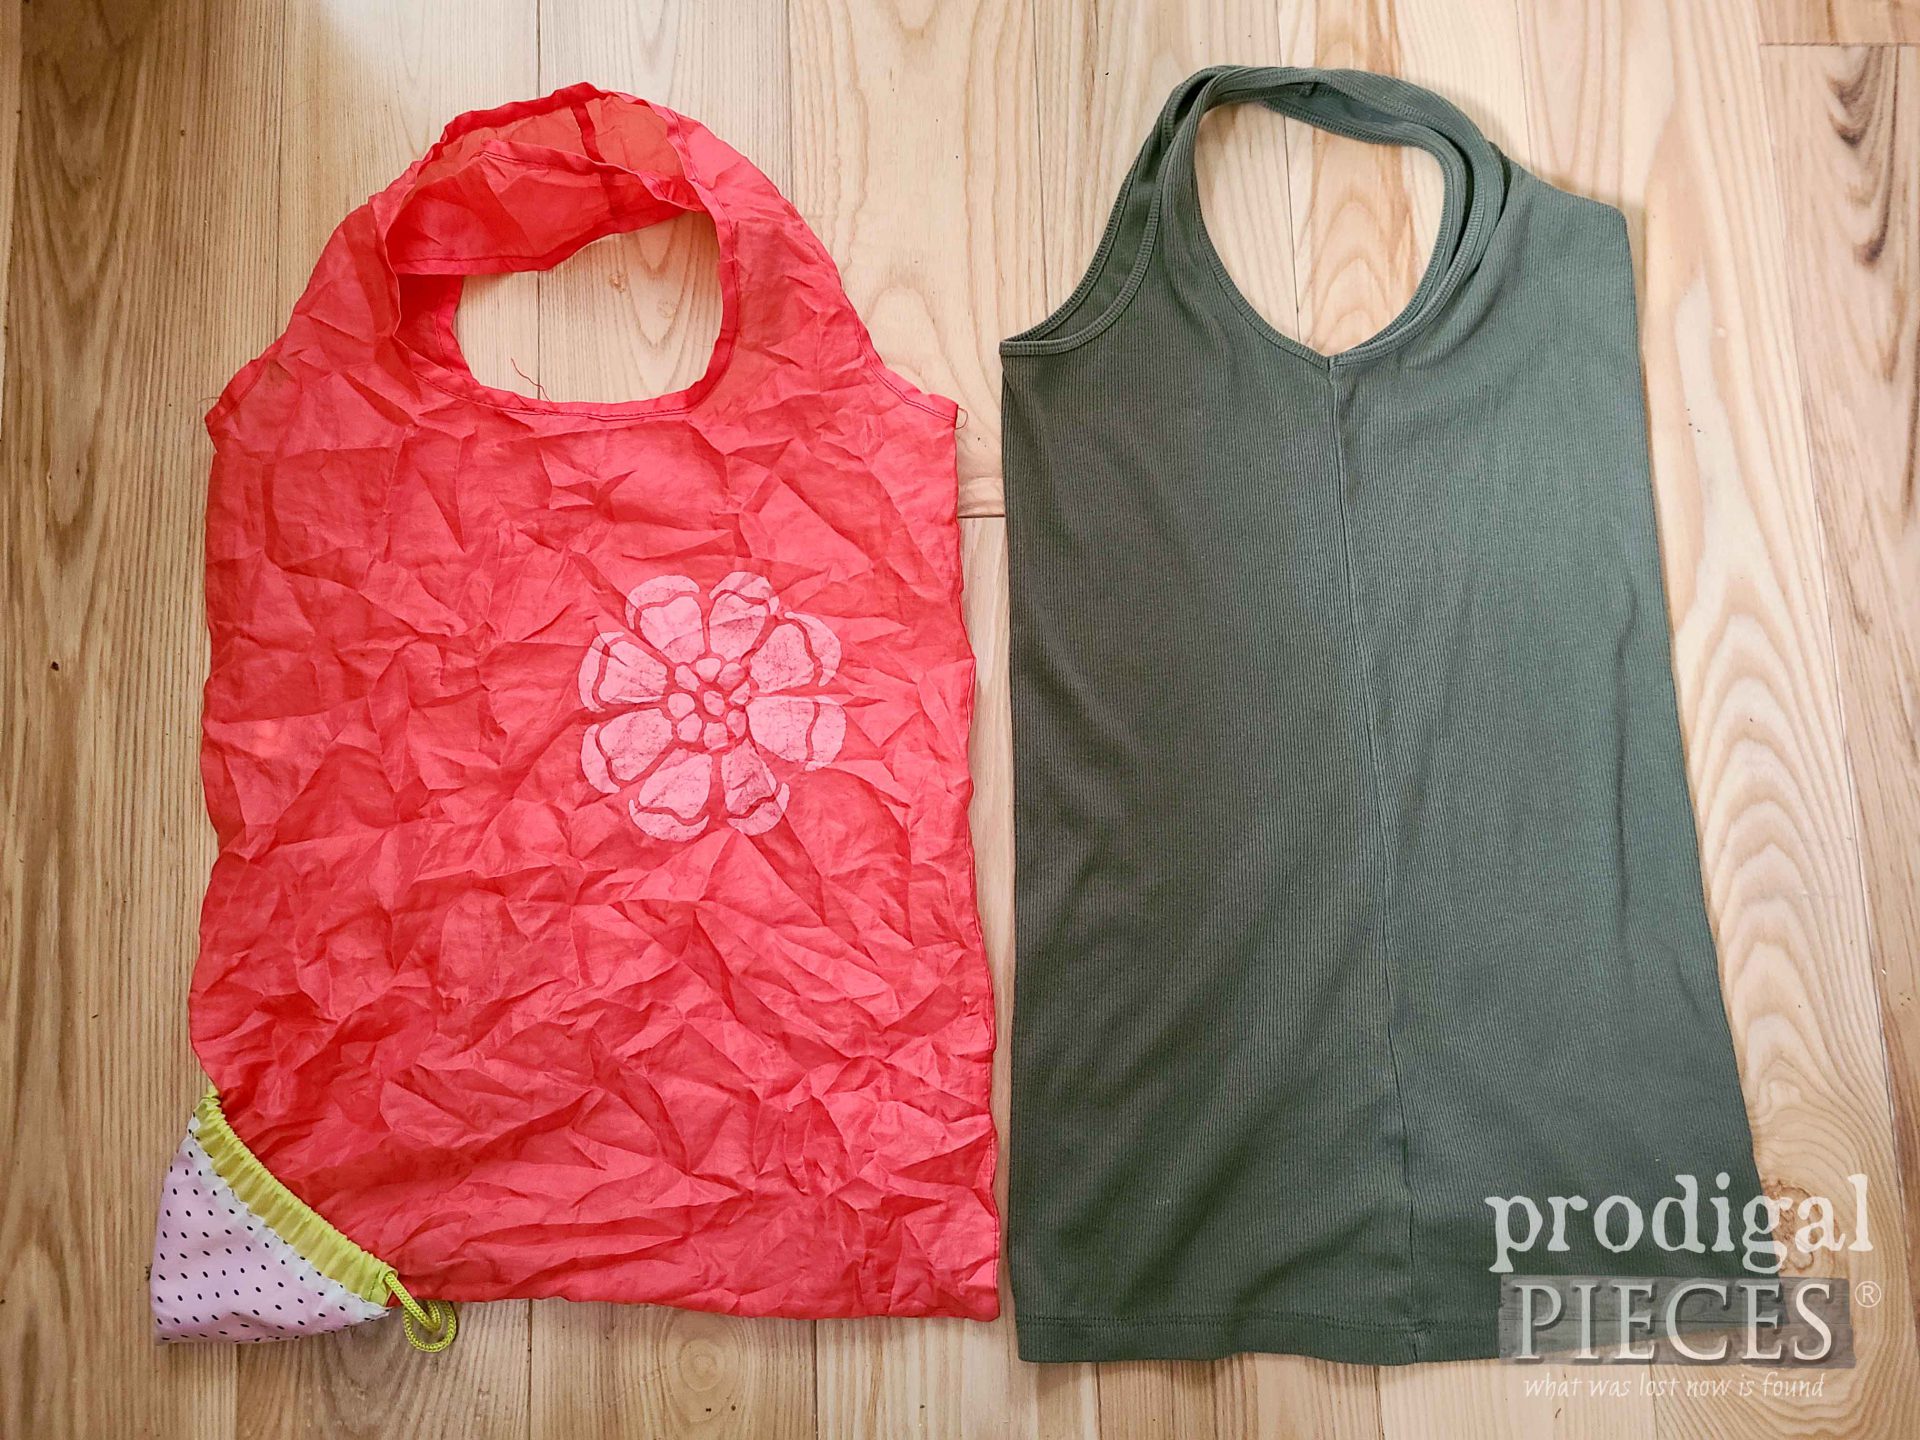
Notice how my found bag looks like a tank top with arm holes lined up. woot!
Let’s grab our supplies and join me in this simple DIY adventure!
DIY TIME
If you want to make one too, here’s the basic supplies list. Feel free to change up your fabric for super fun designs, or even add a contrasting edge to your pocket pieces as seen above. My goal is to keep this simple and then you can add to it as you see fit. Just keep in mind you want these to be super compact and easy to tuck in a purse, so the lighter the fabric, the better. The one on the left above is a nylon type of fabric that would also dry fast.
For my project, I’m using a thrifted tank top made of cotton, and a bit of the button-up shirt I used to make upcycled bowl filler HERE.
Tools & Supplies:
- ladies tank top – make sure neck opens wide
- 1 – 10 ½” W x 10 ½” L square of a coordinating fabric
- coordinating thread
- 1 – 30″-32″ L satin cord in choice of color
- 1 – cord stop
- sewing machine (or hand sew with needle and thread)
- rotary cutter / cutting mat (or sewing scissors and tape measure)
- clothing iron
STEP 1
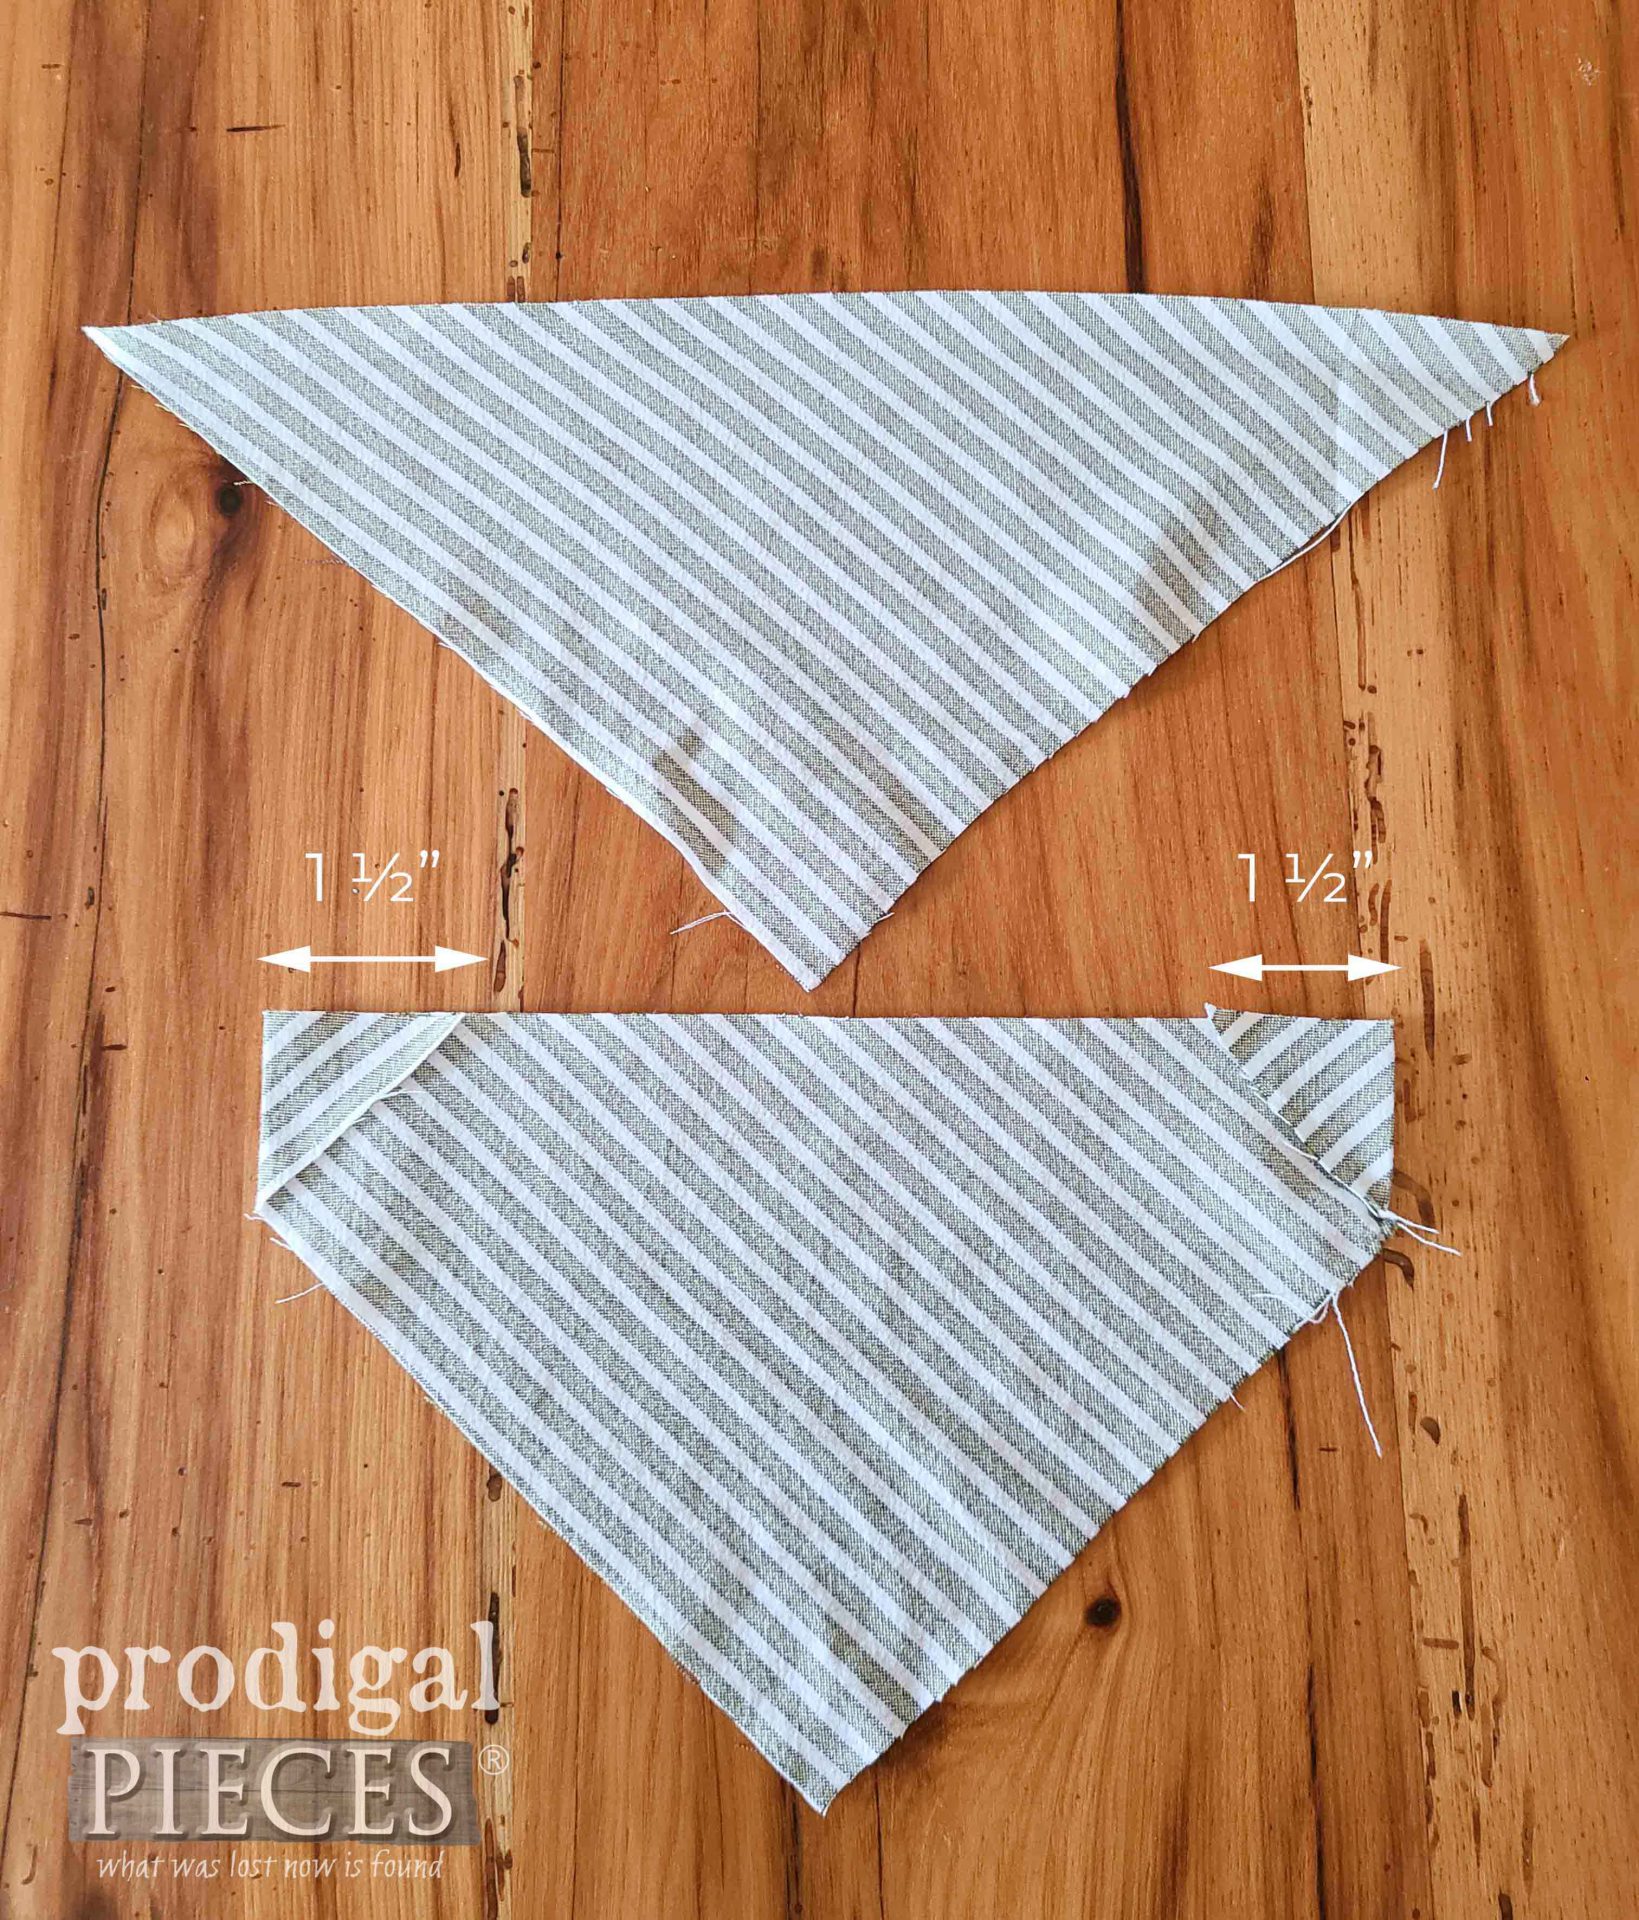
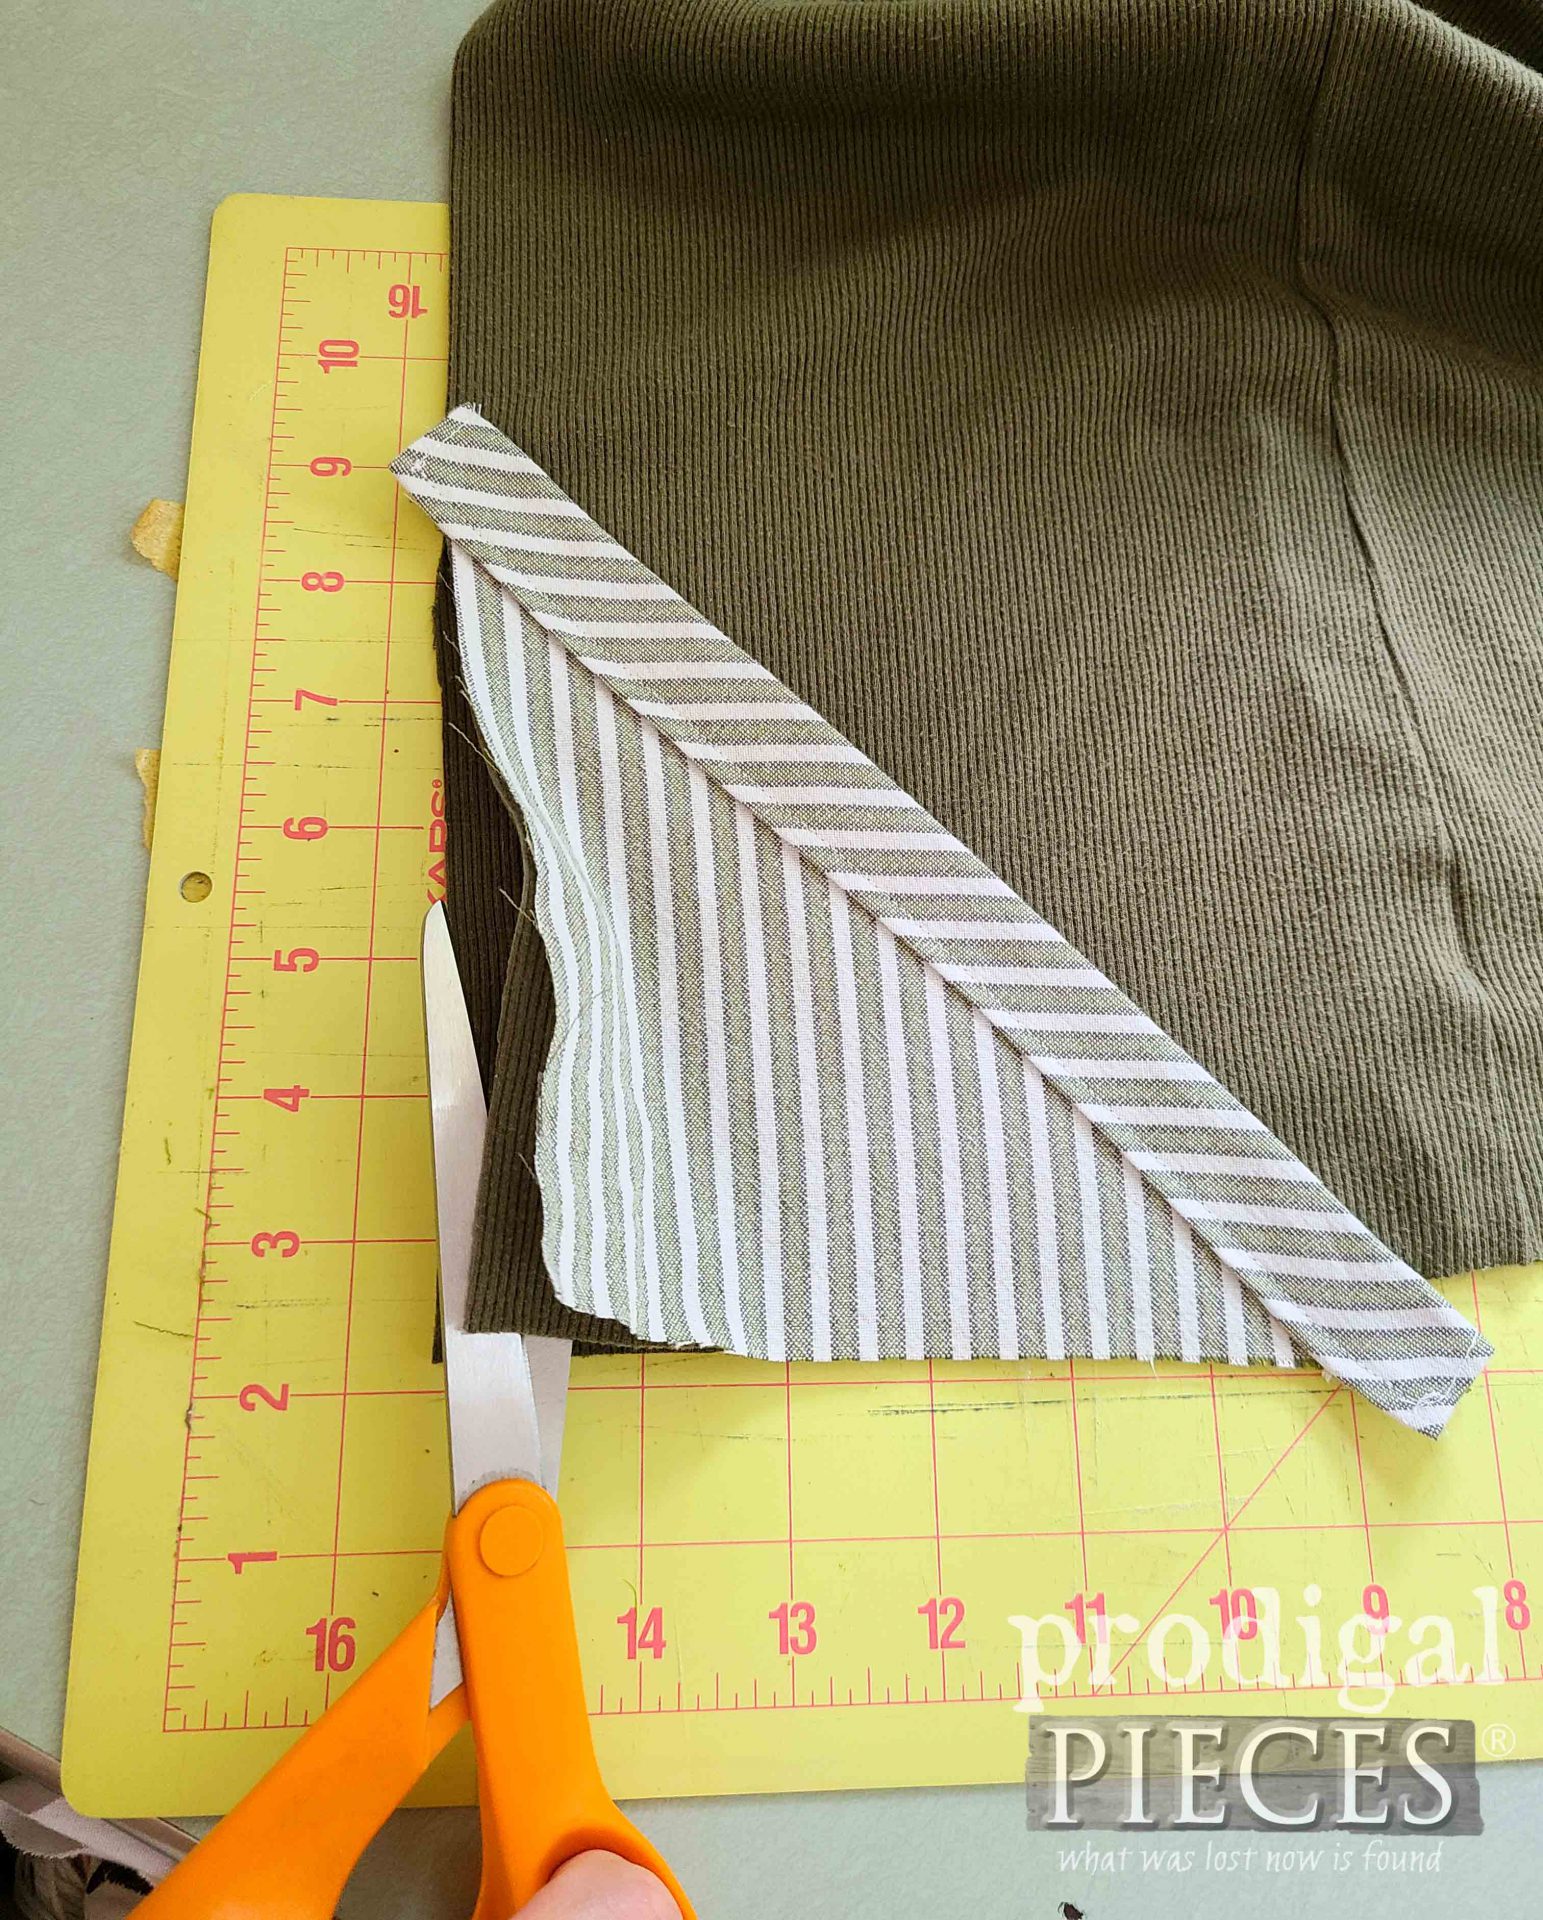
First, take your large square and cut it in half corner to corner making two large triangles. Now that you have your triangles, it’s time to heat up the fun with our iron. Following the diagrams, fold the long side corners in 1 ¾” on each side and press.
STEP 2
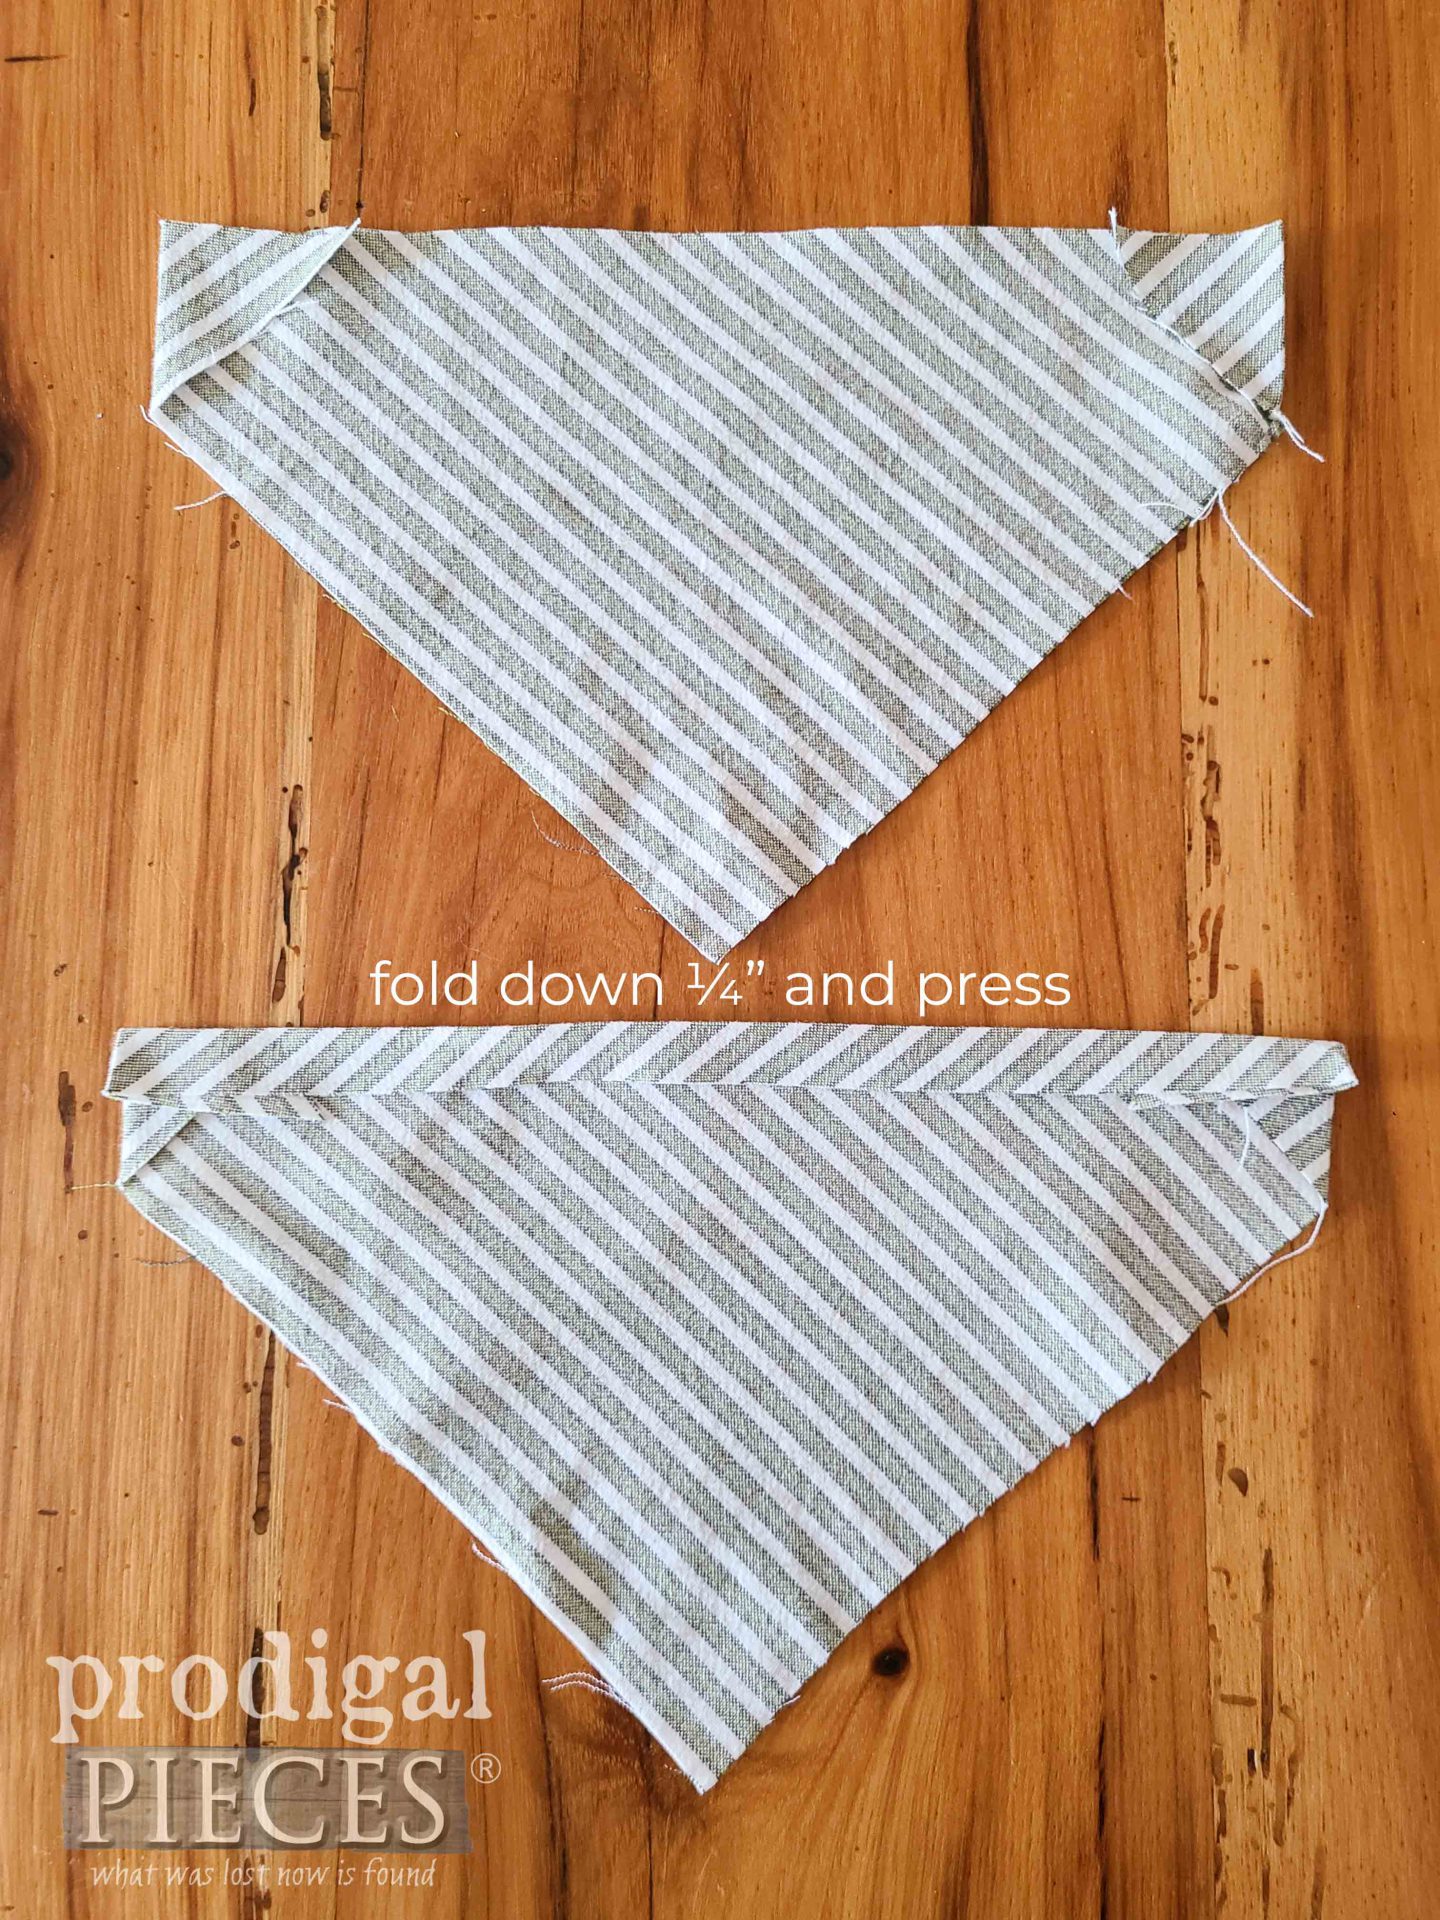
Next, fold down the long edge ¼” and press. This is the beginning of the casing for our cord.
STEP 3
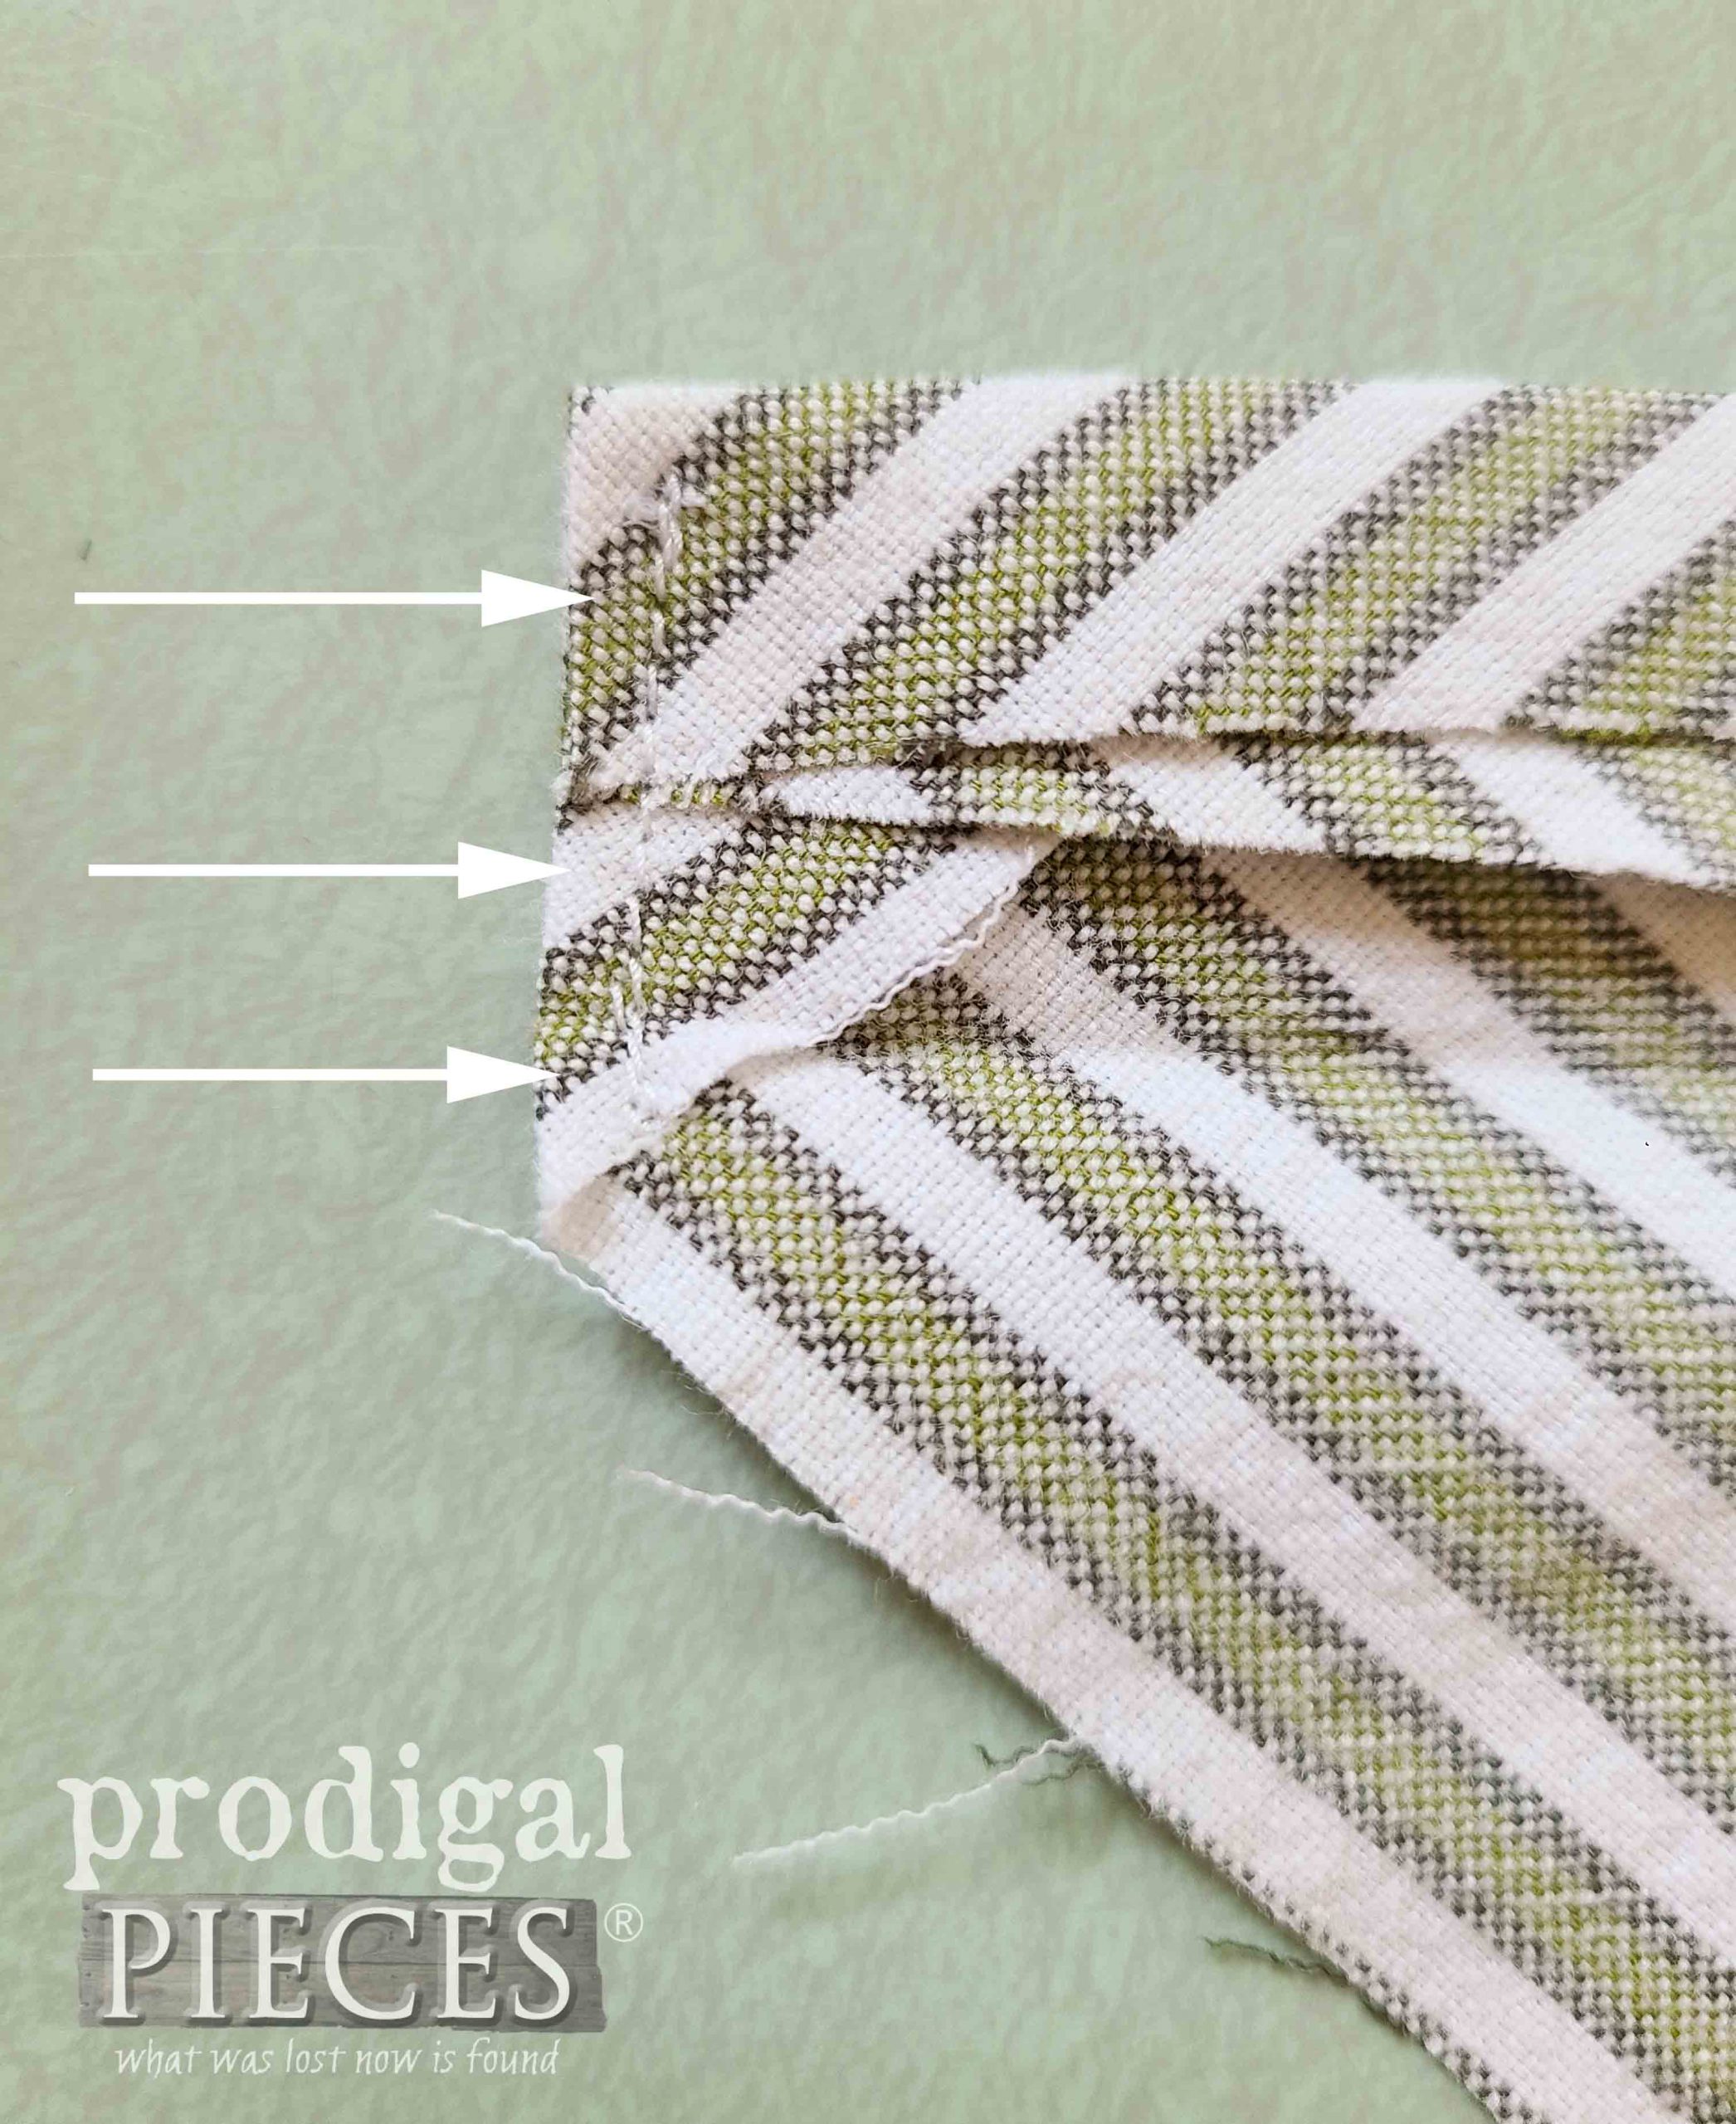
Then, fold down another ¾” and press again. Now we have our casing for our cord. In order to close it, we need to do two stitching passes. The first is to sew down each end folded in as shown below.
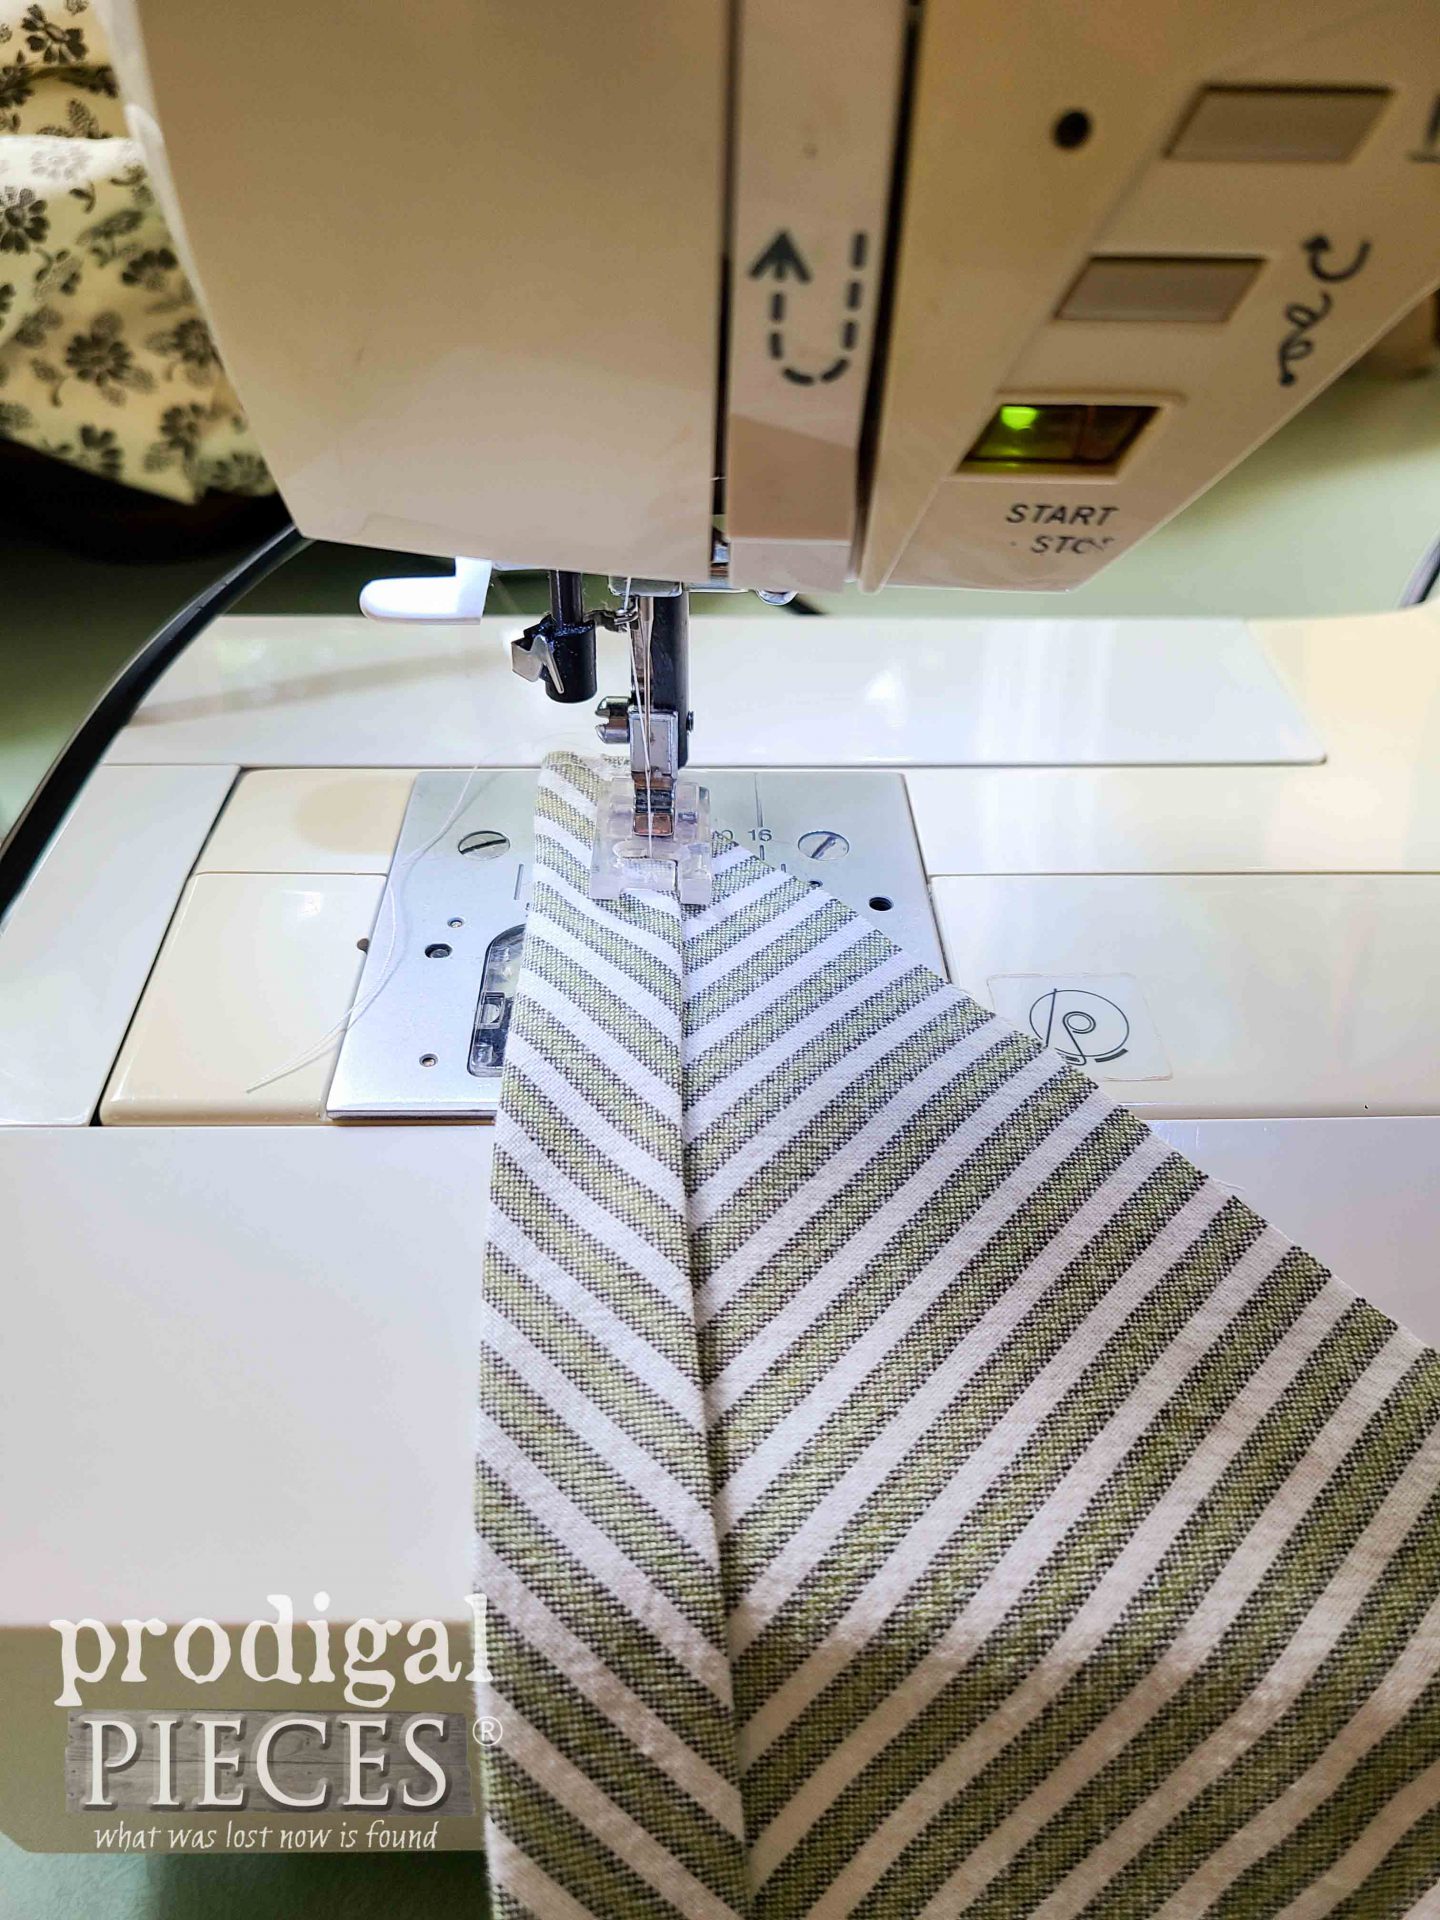
Also, stitch down the casing on the bottom open edge with a straight stitch.
STEP 4
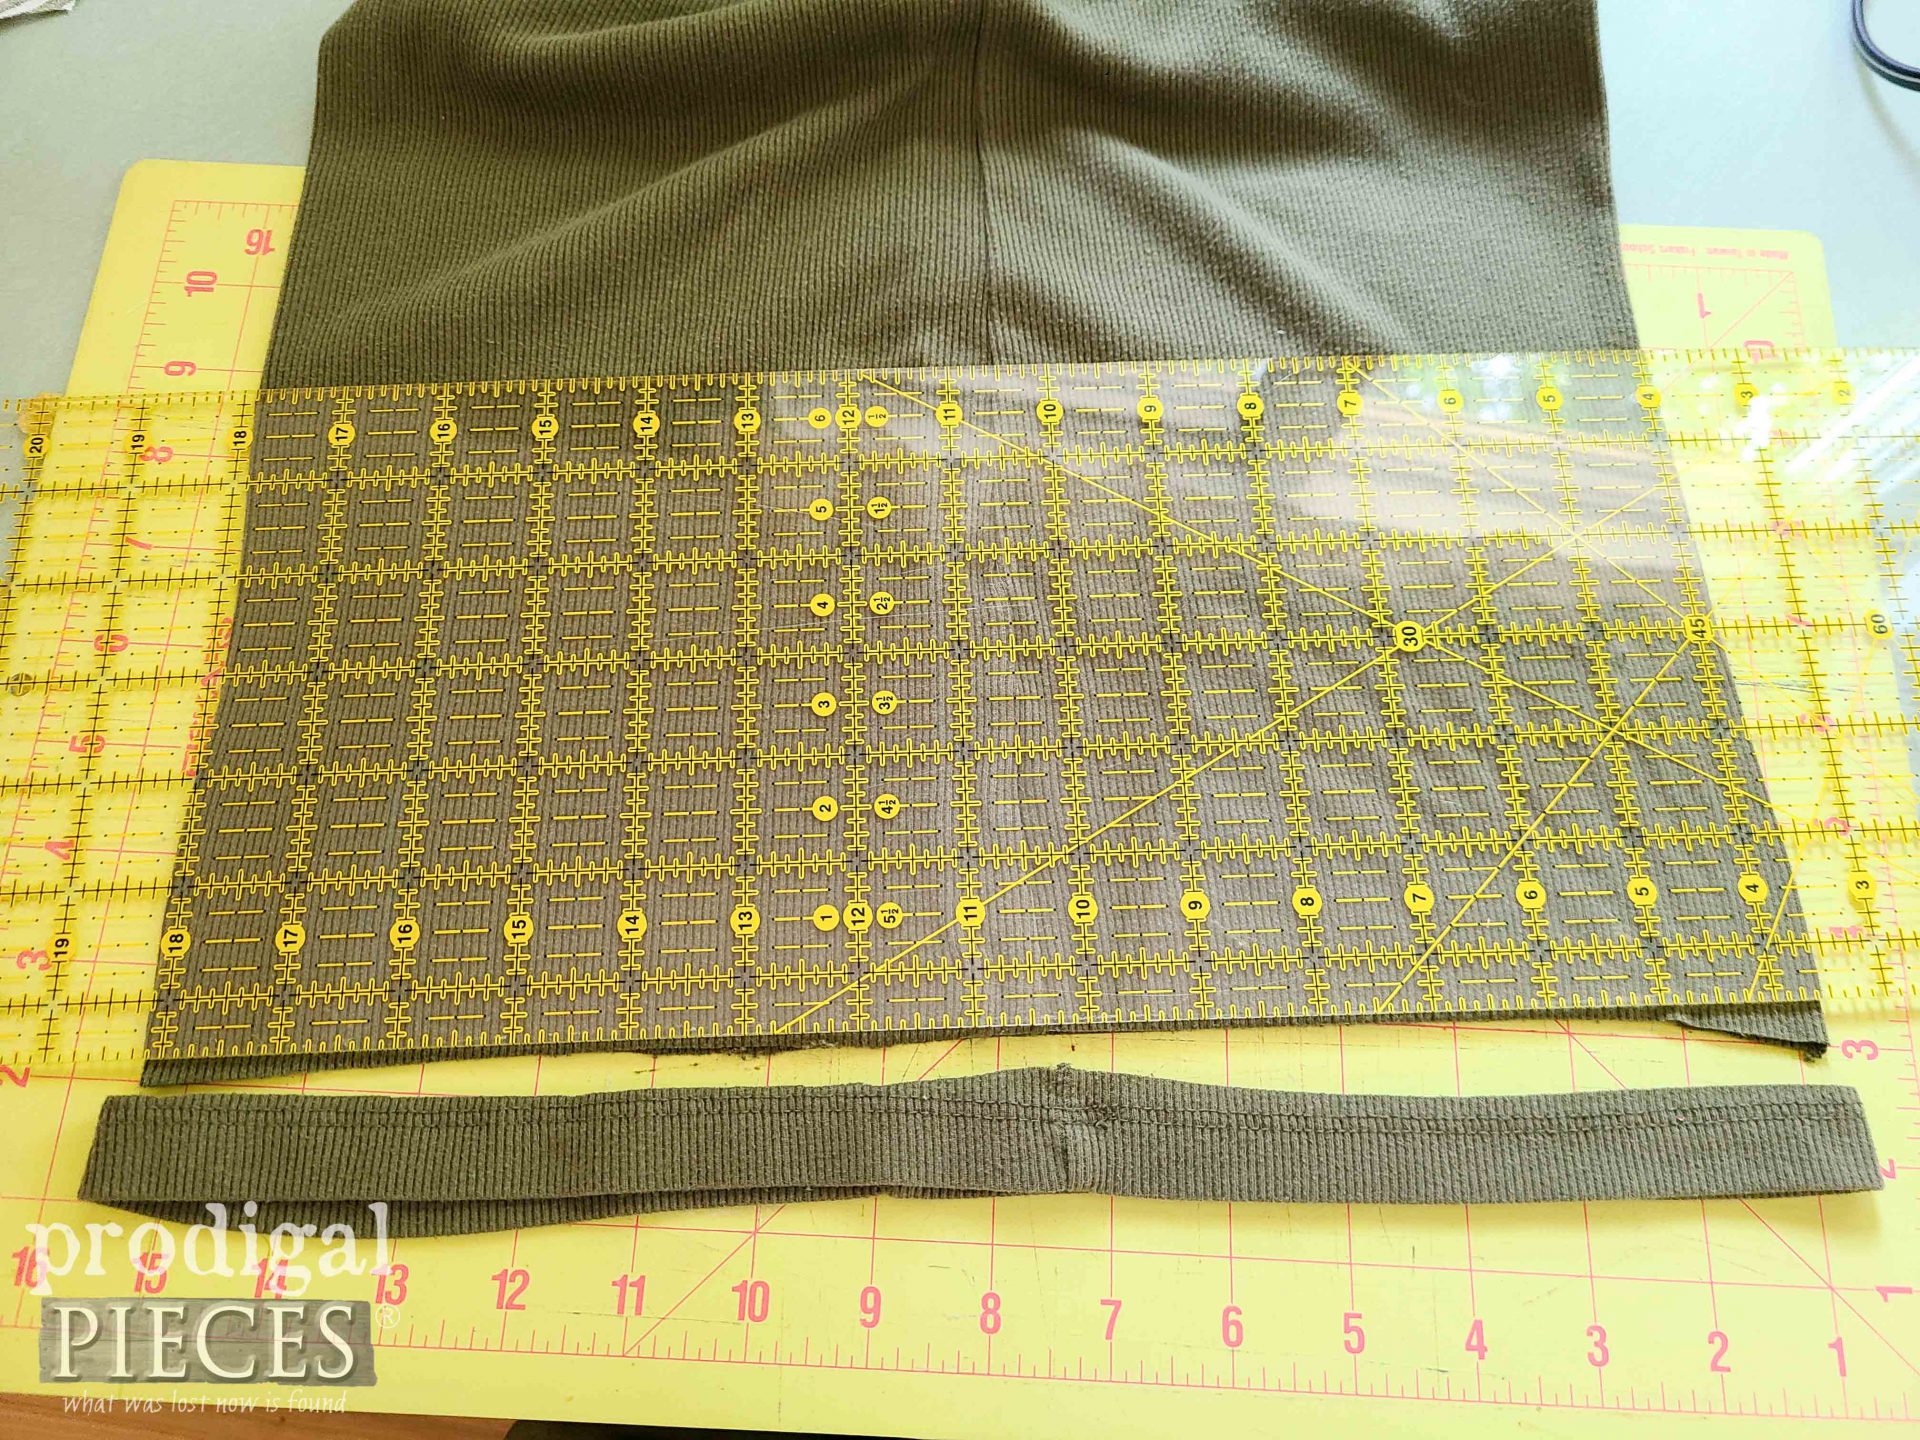
Now it’s time to tackle the tank top. First, make note of the length of the tank top. In my instance, I have a ladies large in a tall size. I find out after making this that taking a few inches off the bottom would have been a tad better. Then, remove the amount you want, but definitely at least take off the bottom hem to remove the bulk.
STEP 5
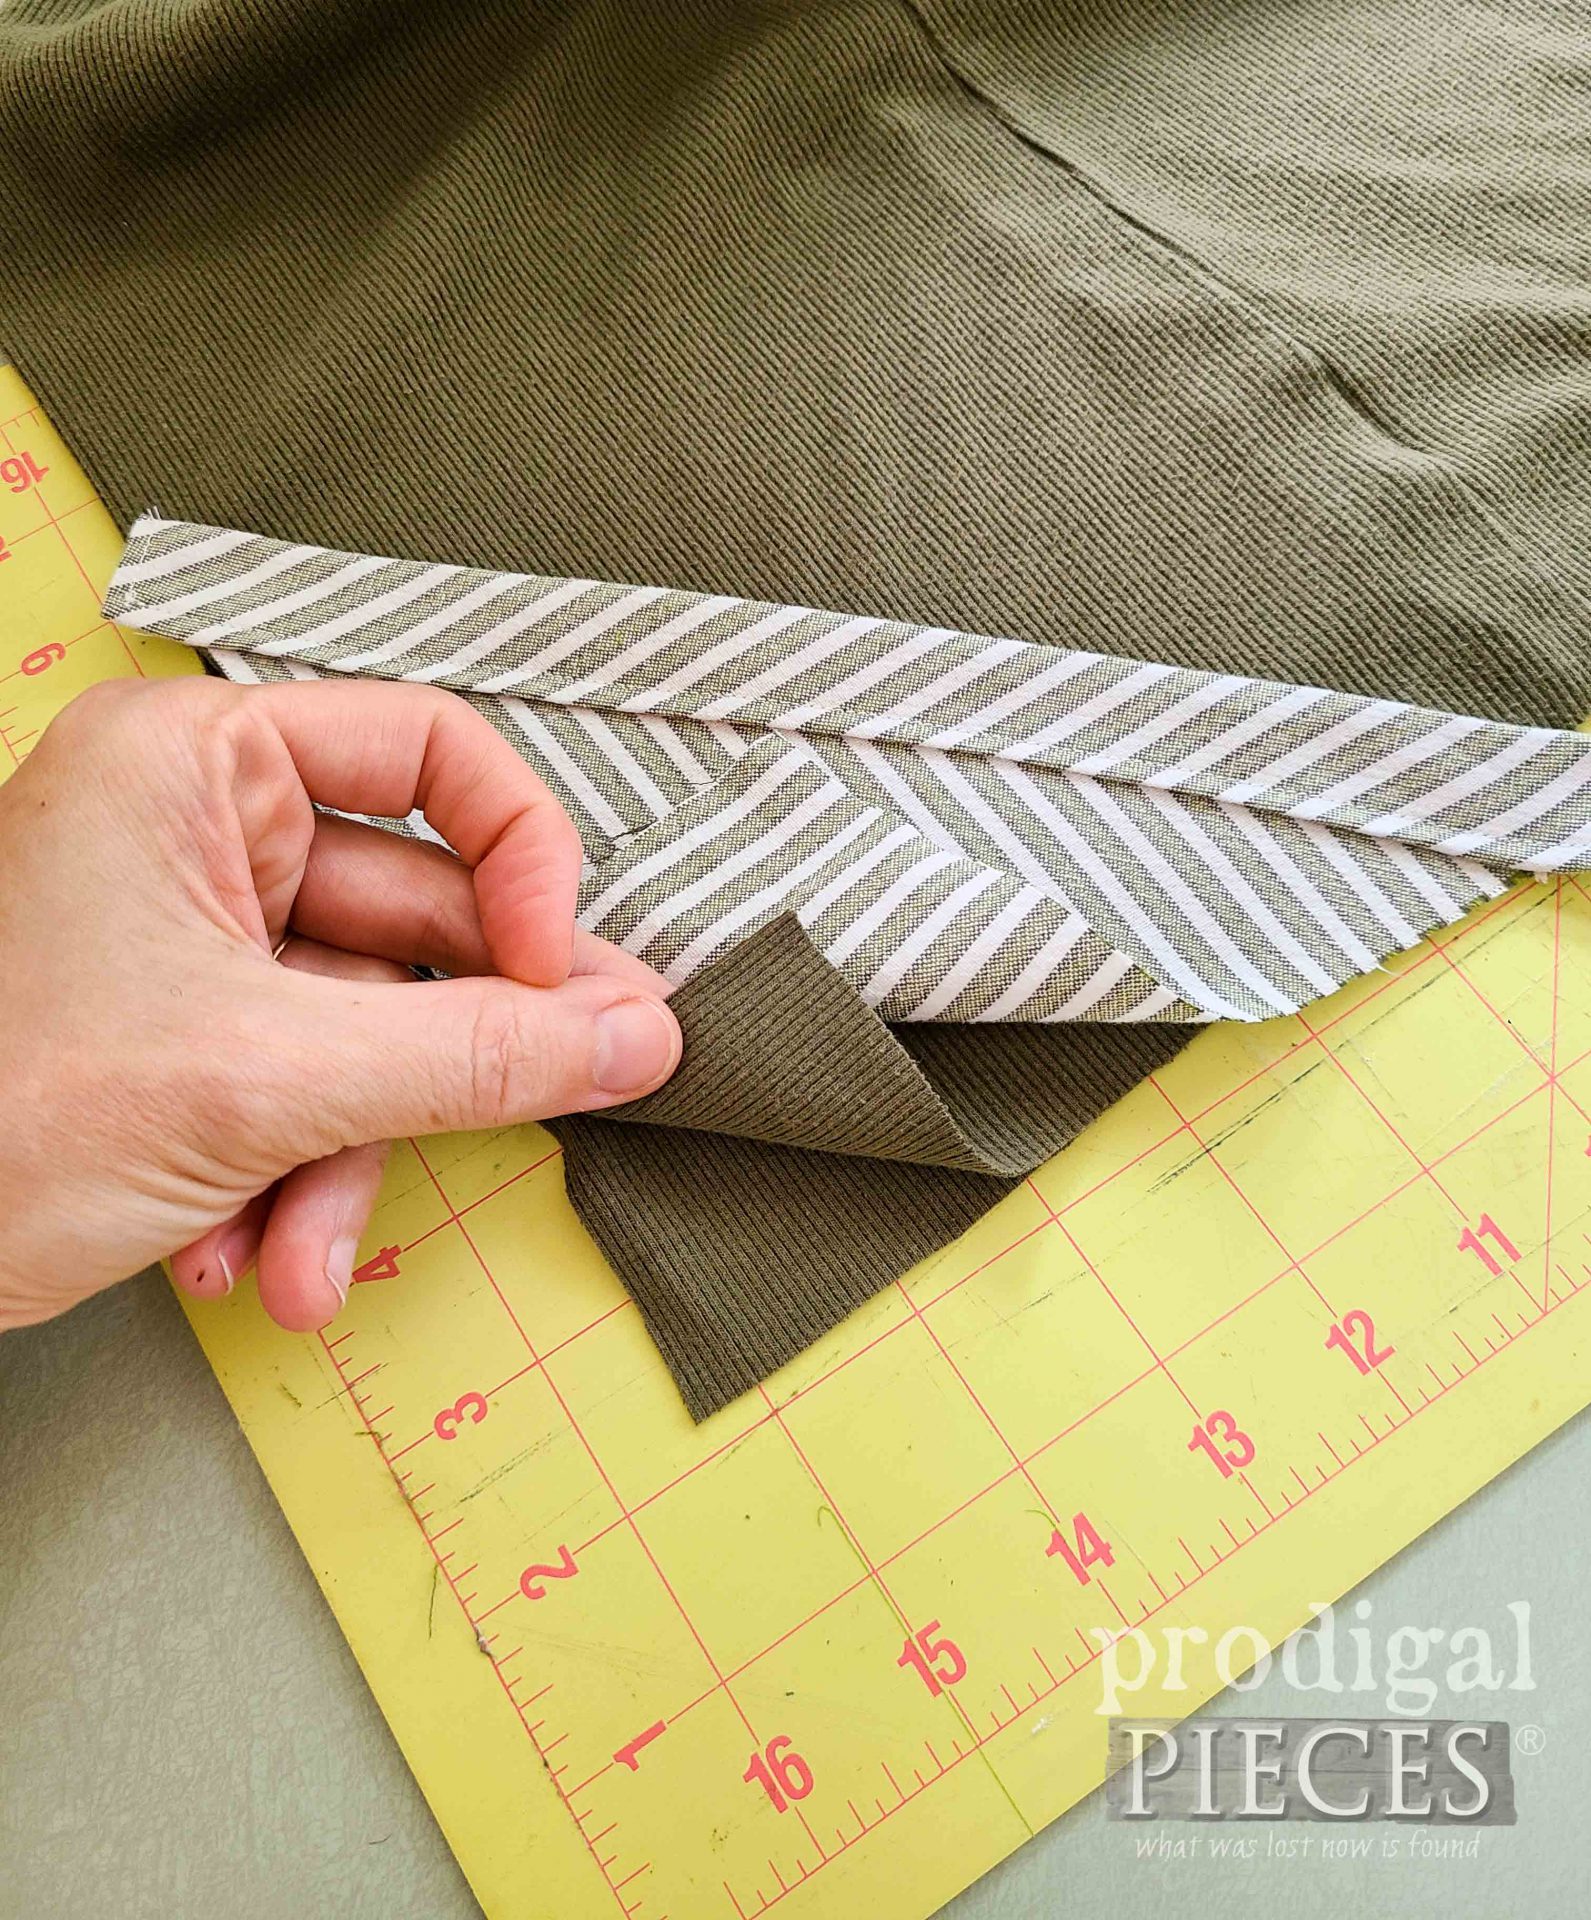
Next, take one of your triangles, and place it on a corner of the tank top bag while it’s folded with arm holes lined up as “handles”. Then, take a pair of sewing scissors and slice up the side to just the very bottom edge of the casing. However, the bottom of the “bag” is already open from the previous step, so we don’t need to do more.
STEP 6
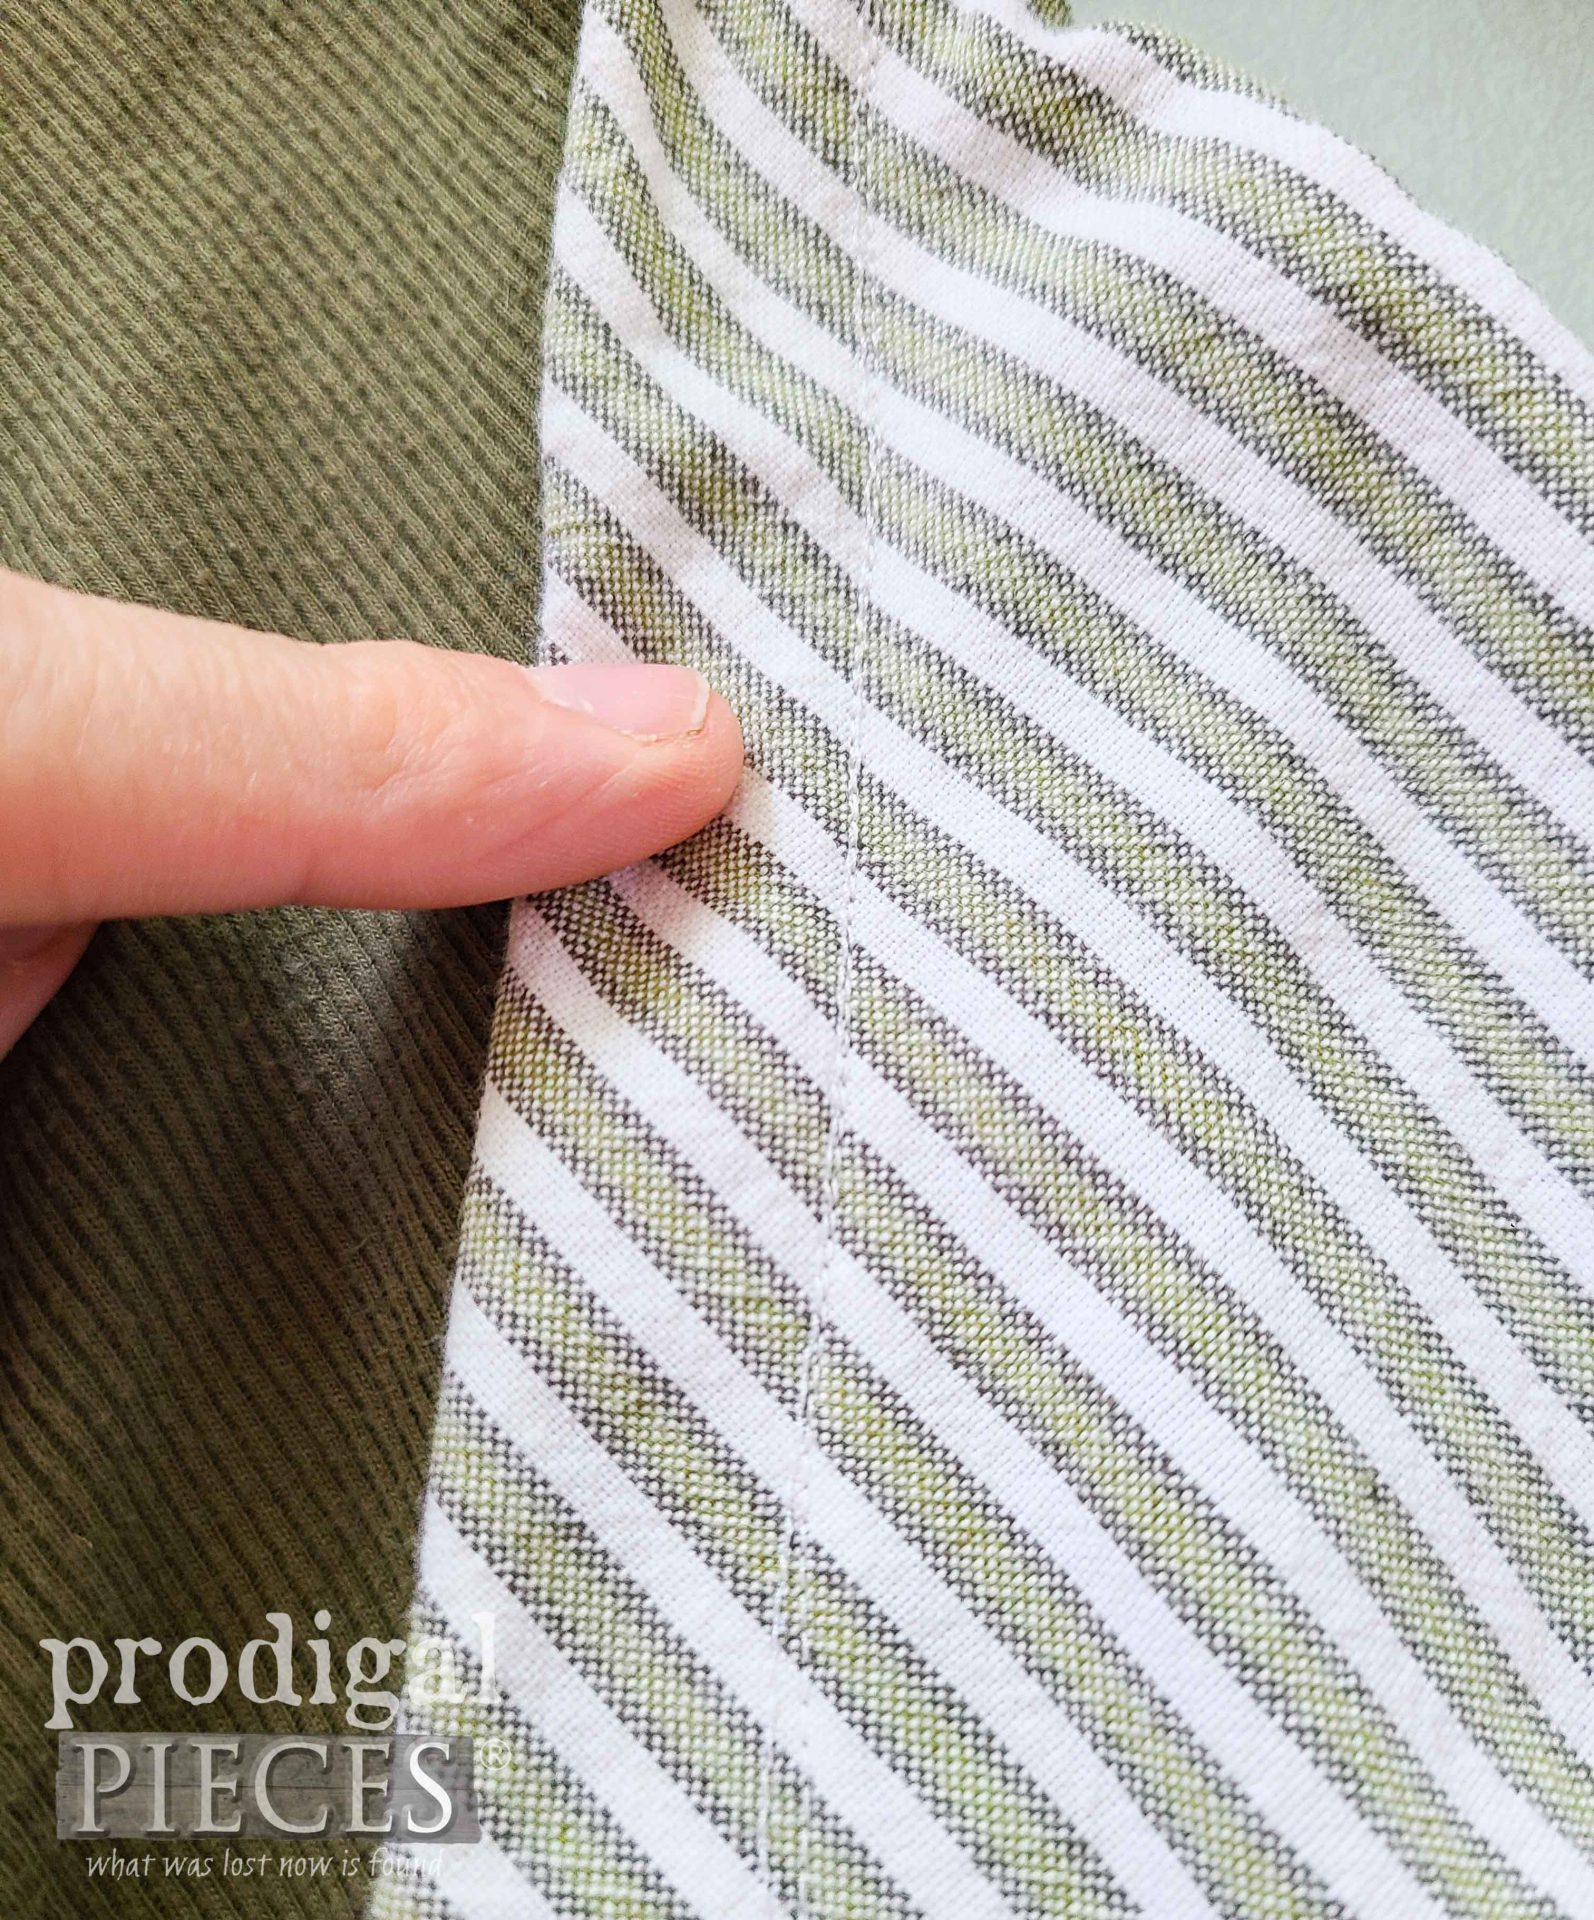
Now, place your triangle on top of the corner with wrong side of the triangle facing the right side of the tank top fabric. Stitch in the ditch (sew down the triangle over the same stitching you did to make the casing) to attach the triangle to the top layer of the cut tank corner. Flip and do the same to the opposing corner with second triangle. See my two (yet wavy…ahem) stitch lines below?
STEP 7
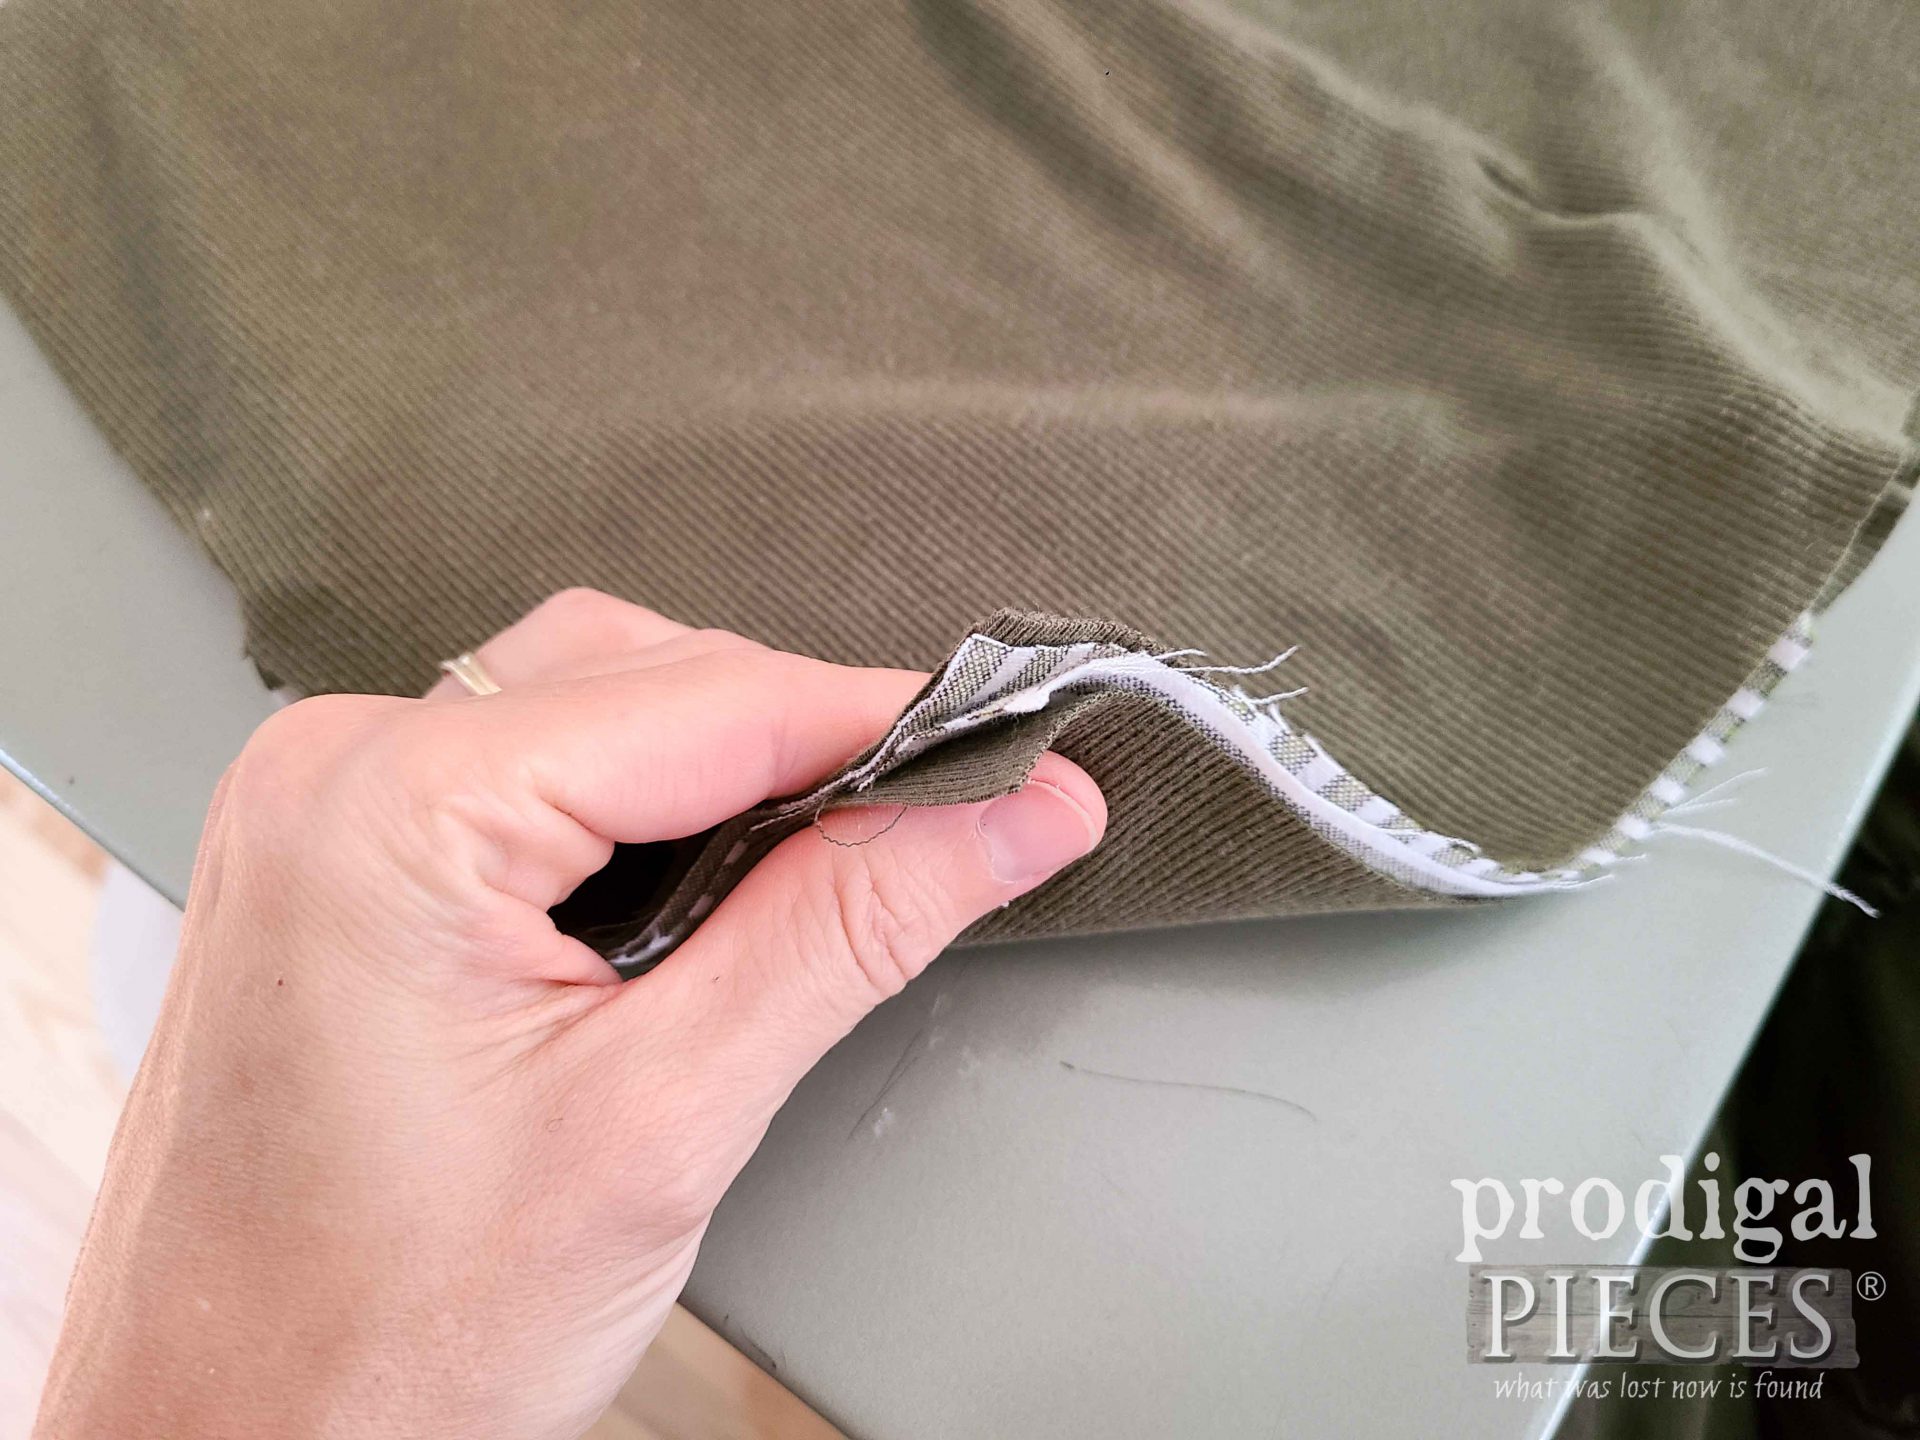
After that, turn the tank top inside out and keep the arm holes lined up making sure your corners all meet a the same spot.
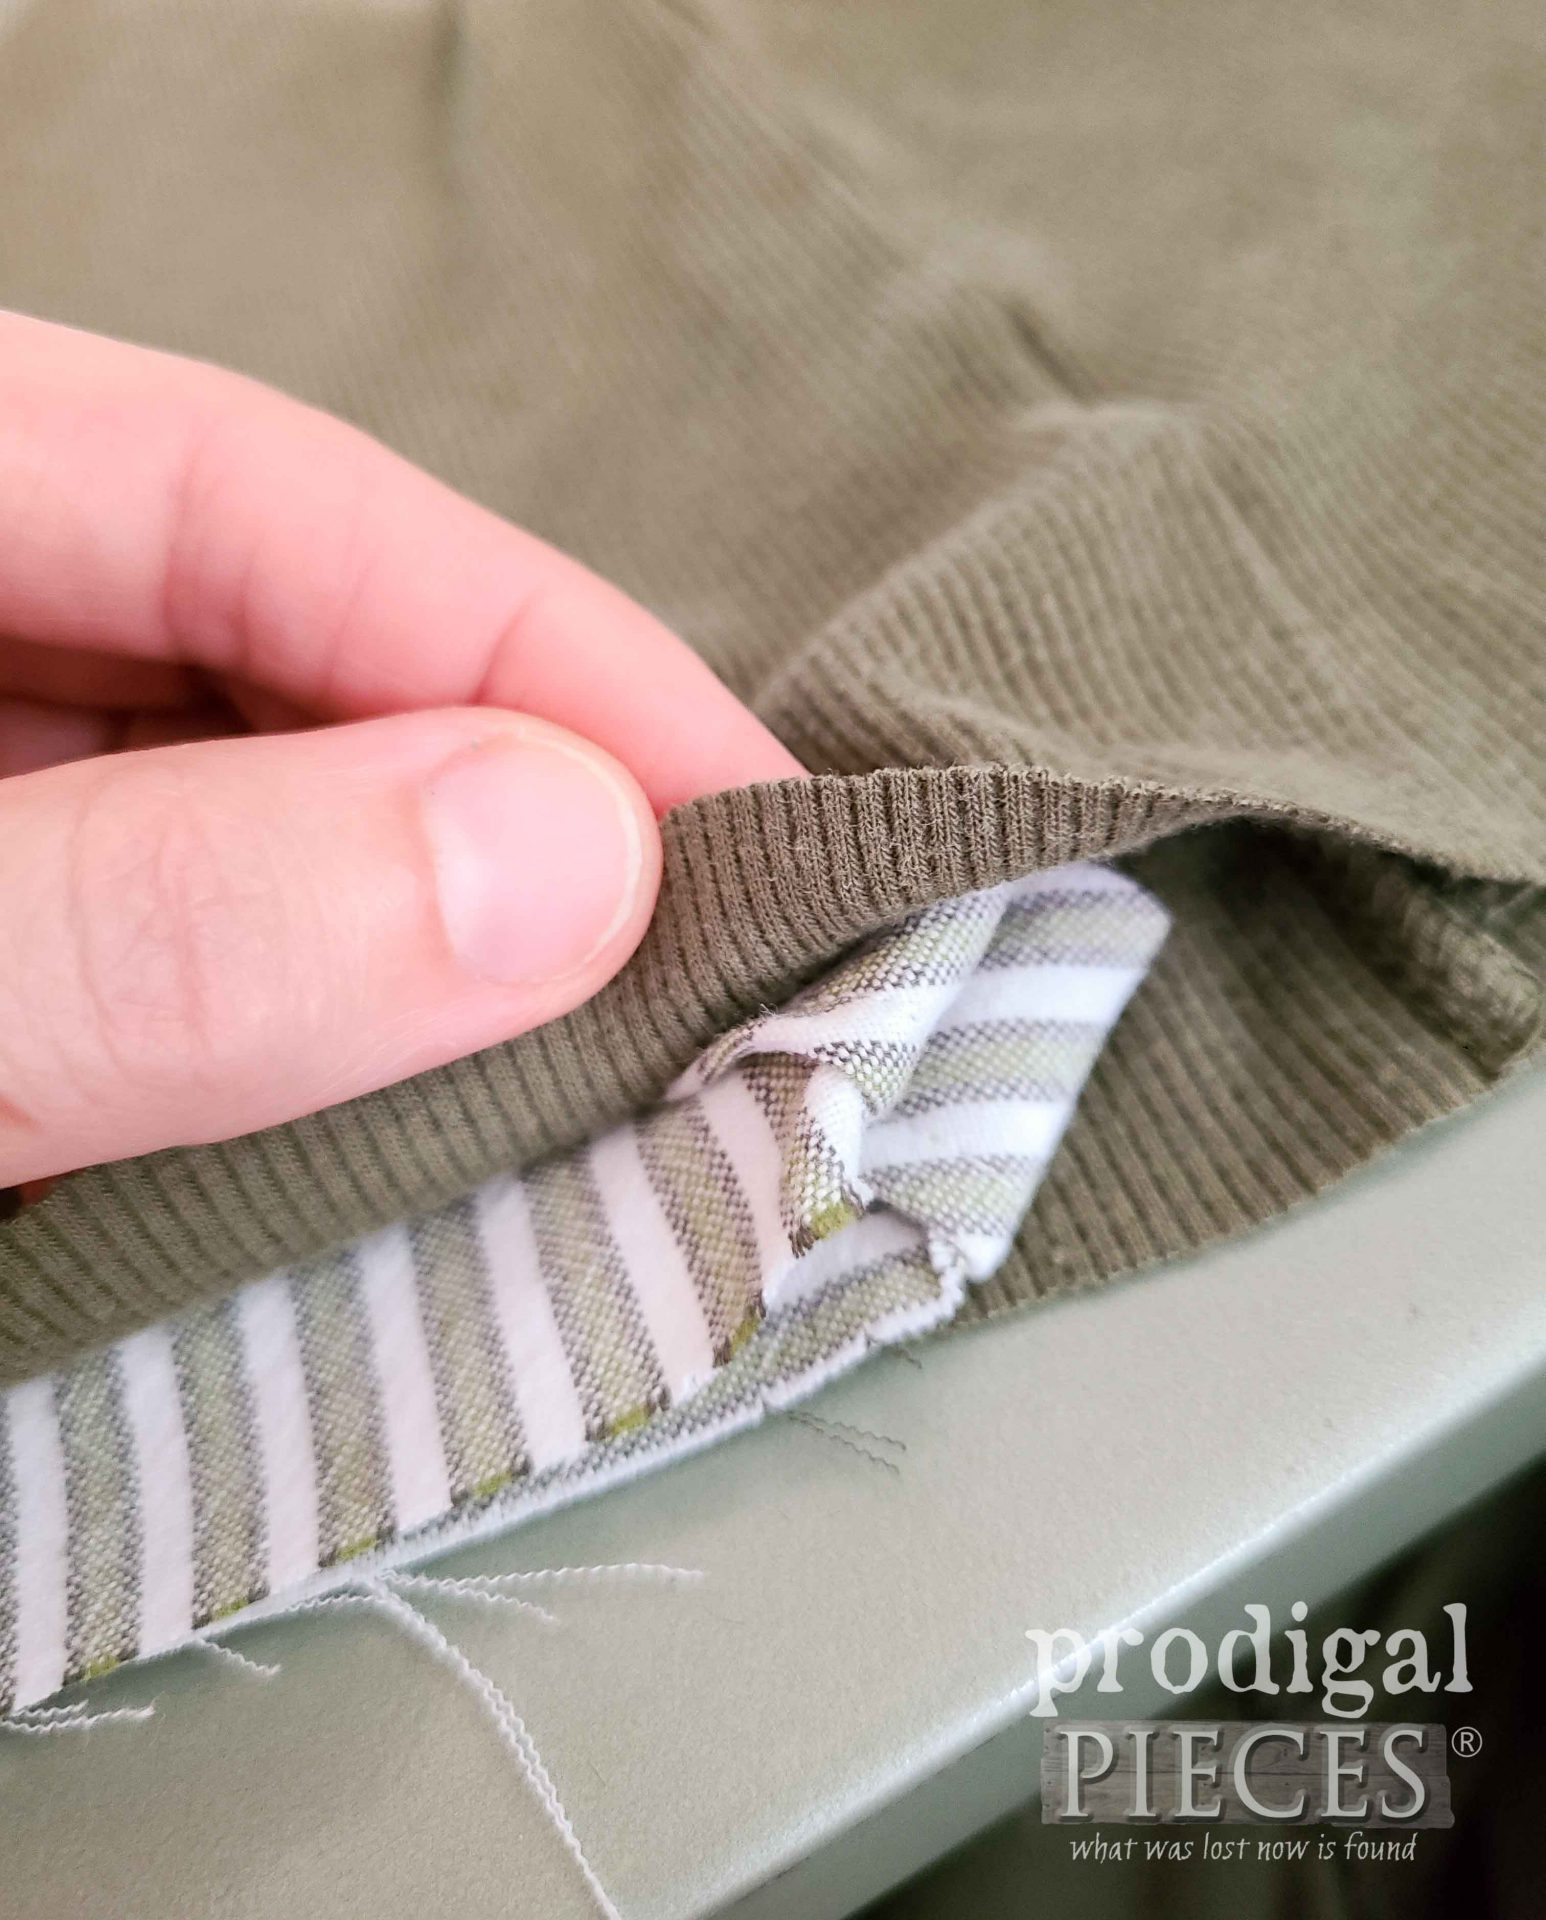
However, you will want to make sure that your casing corners are tucked in out of the way when sewing.
Then, sew (or serge) the bottom edge and the open corner around to attach all layers together.
STEP 8
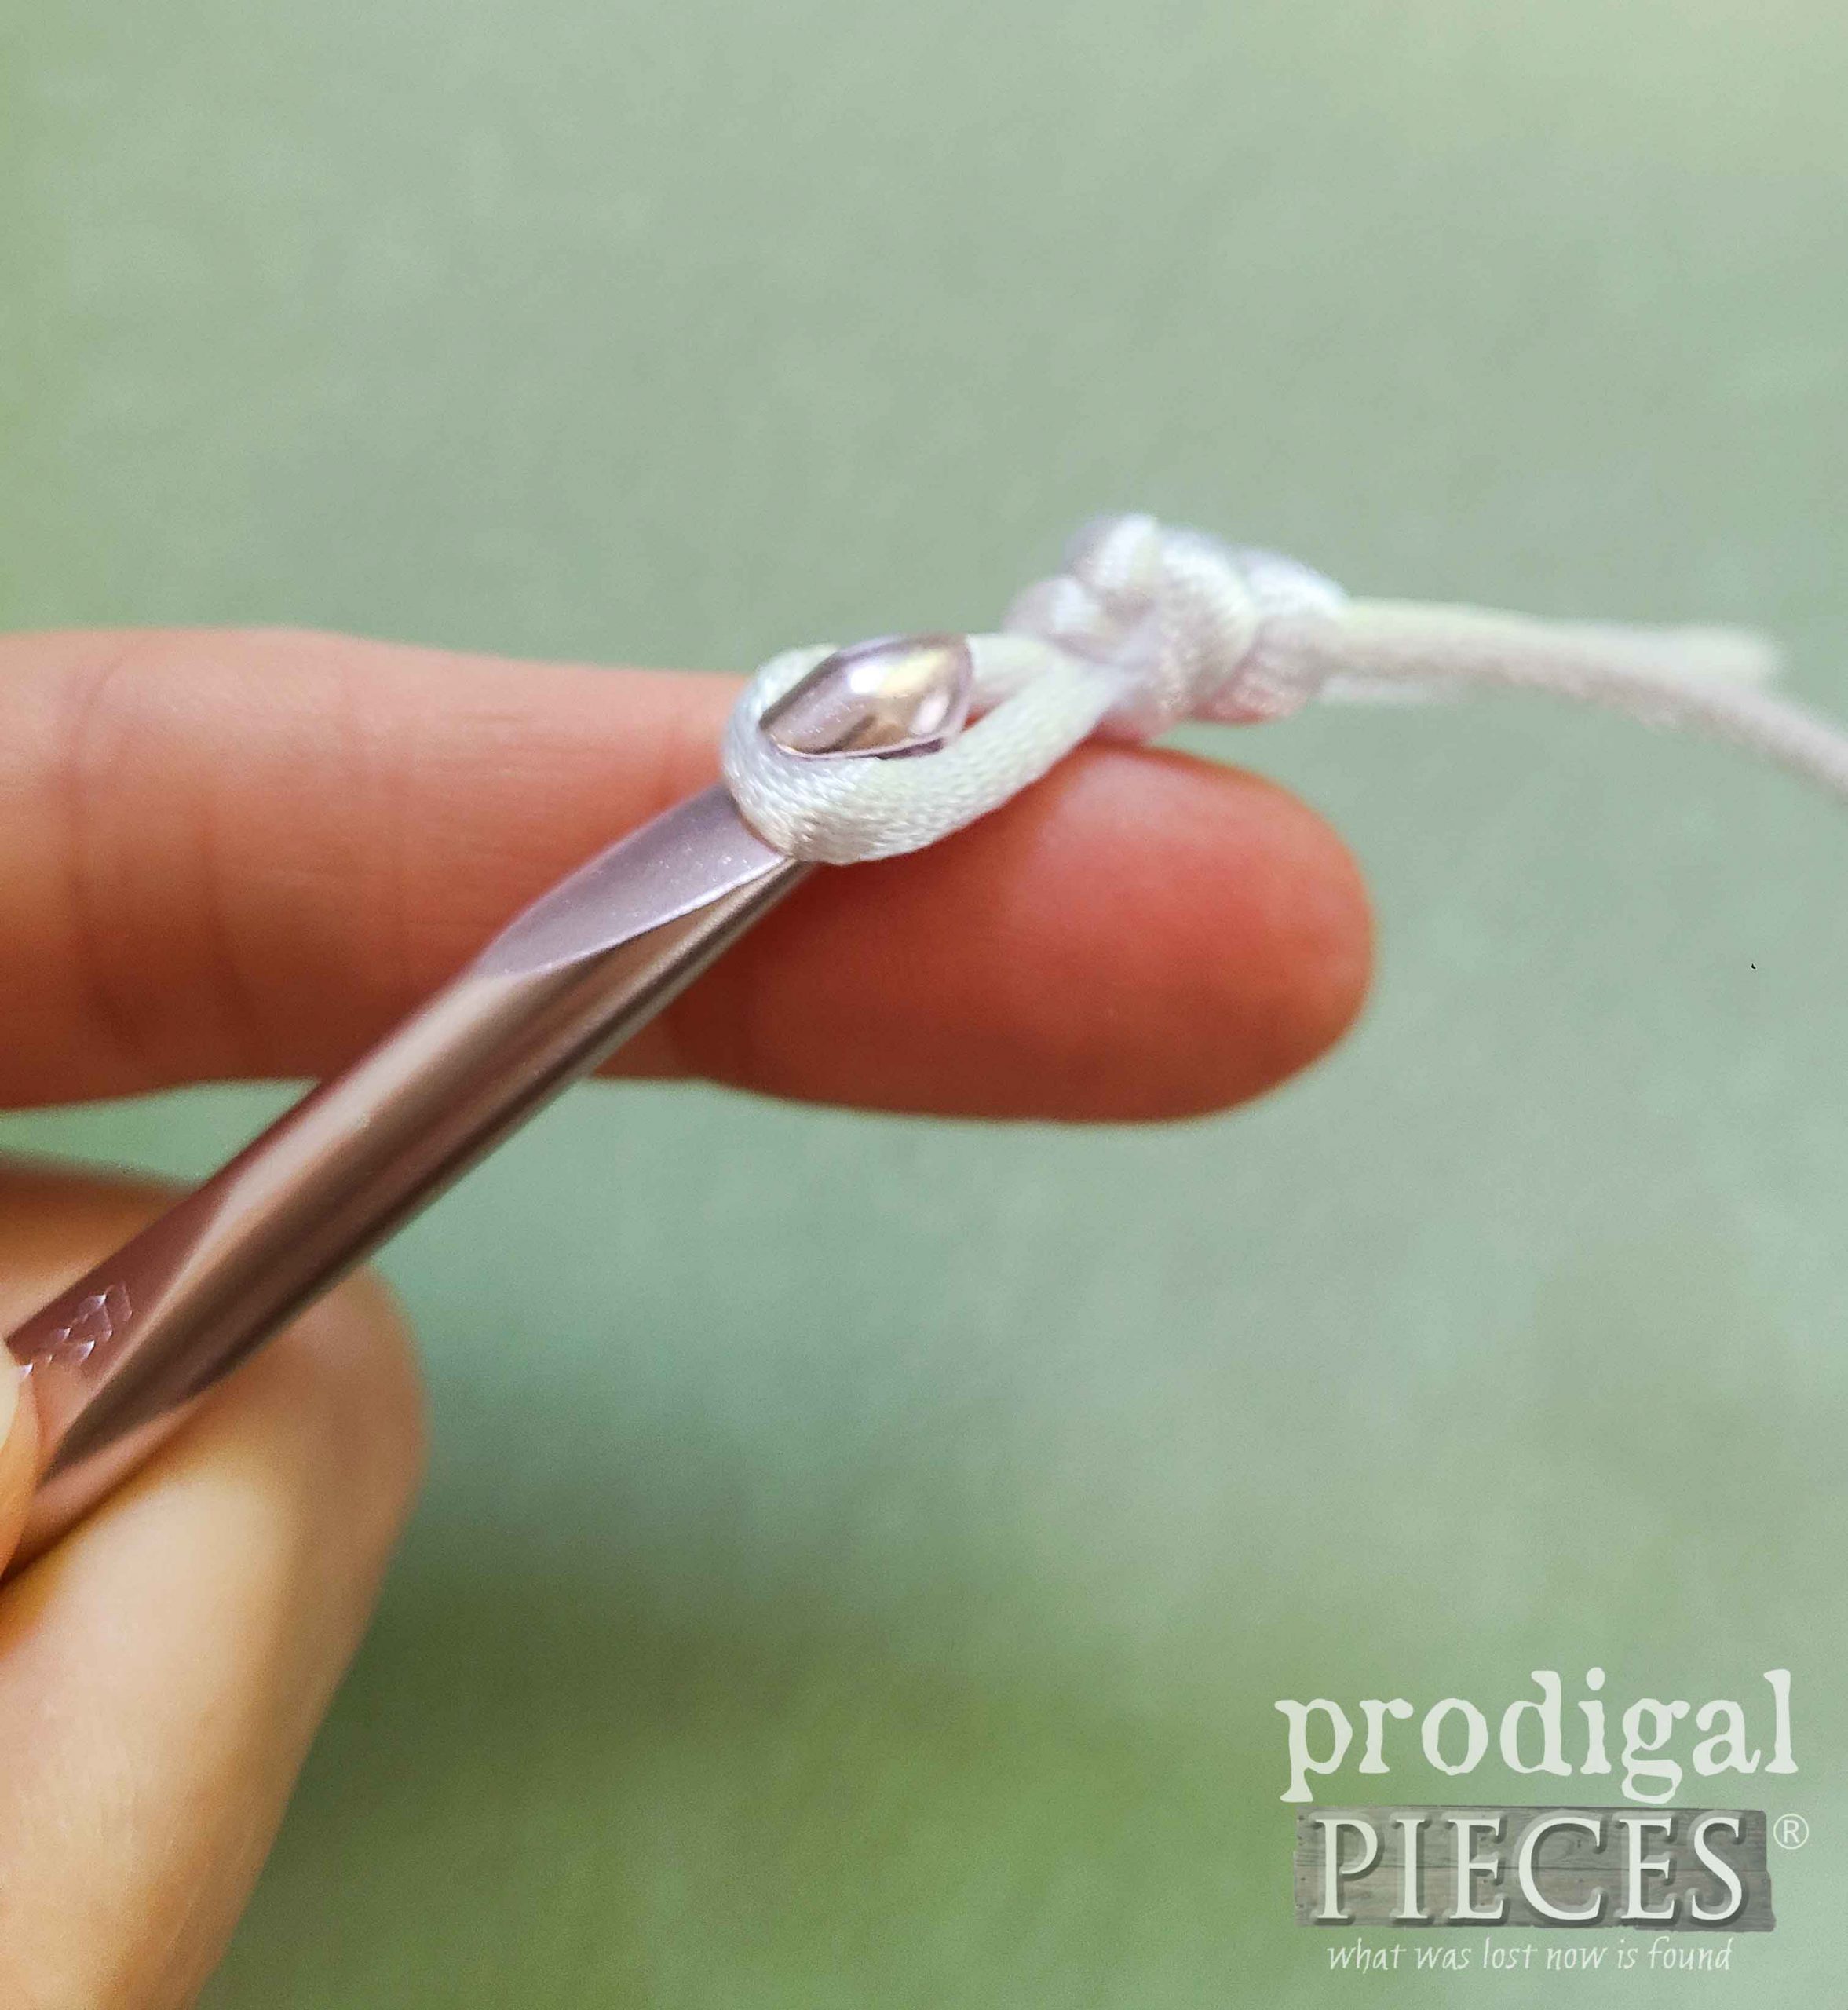
Last, turn right side out and thread your cord through your casing. I like to use my crochet hook with a knot tied on one end. You can also use a safety pin or large yarn needle as well.
THE REVEAL
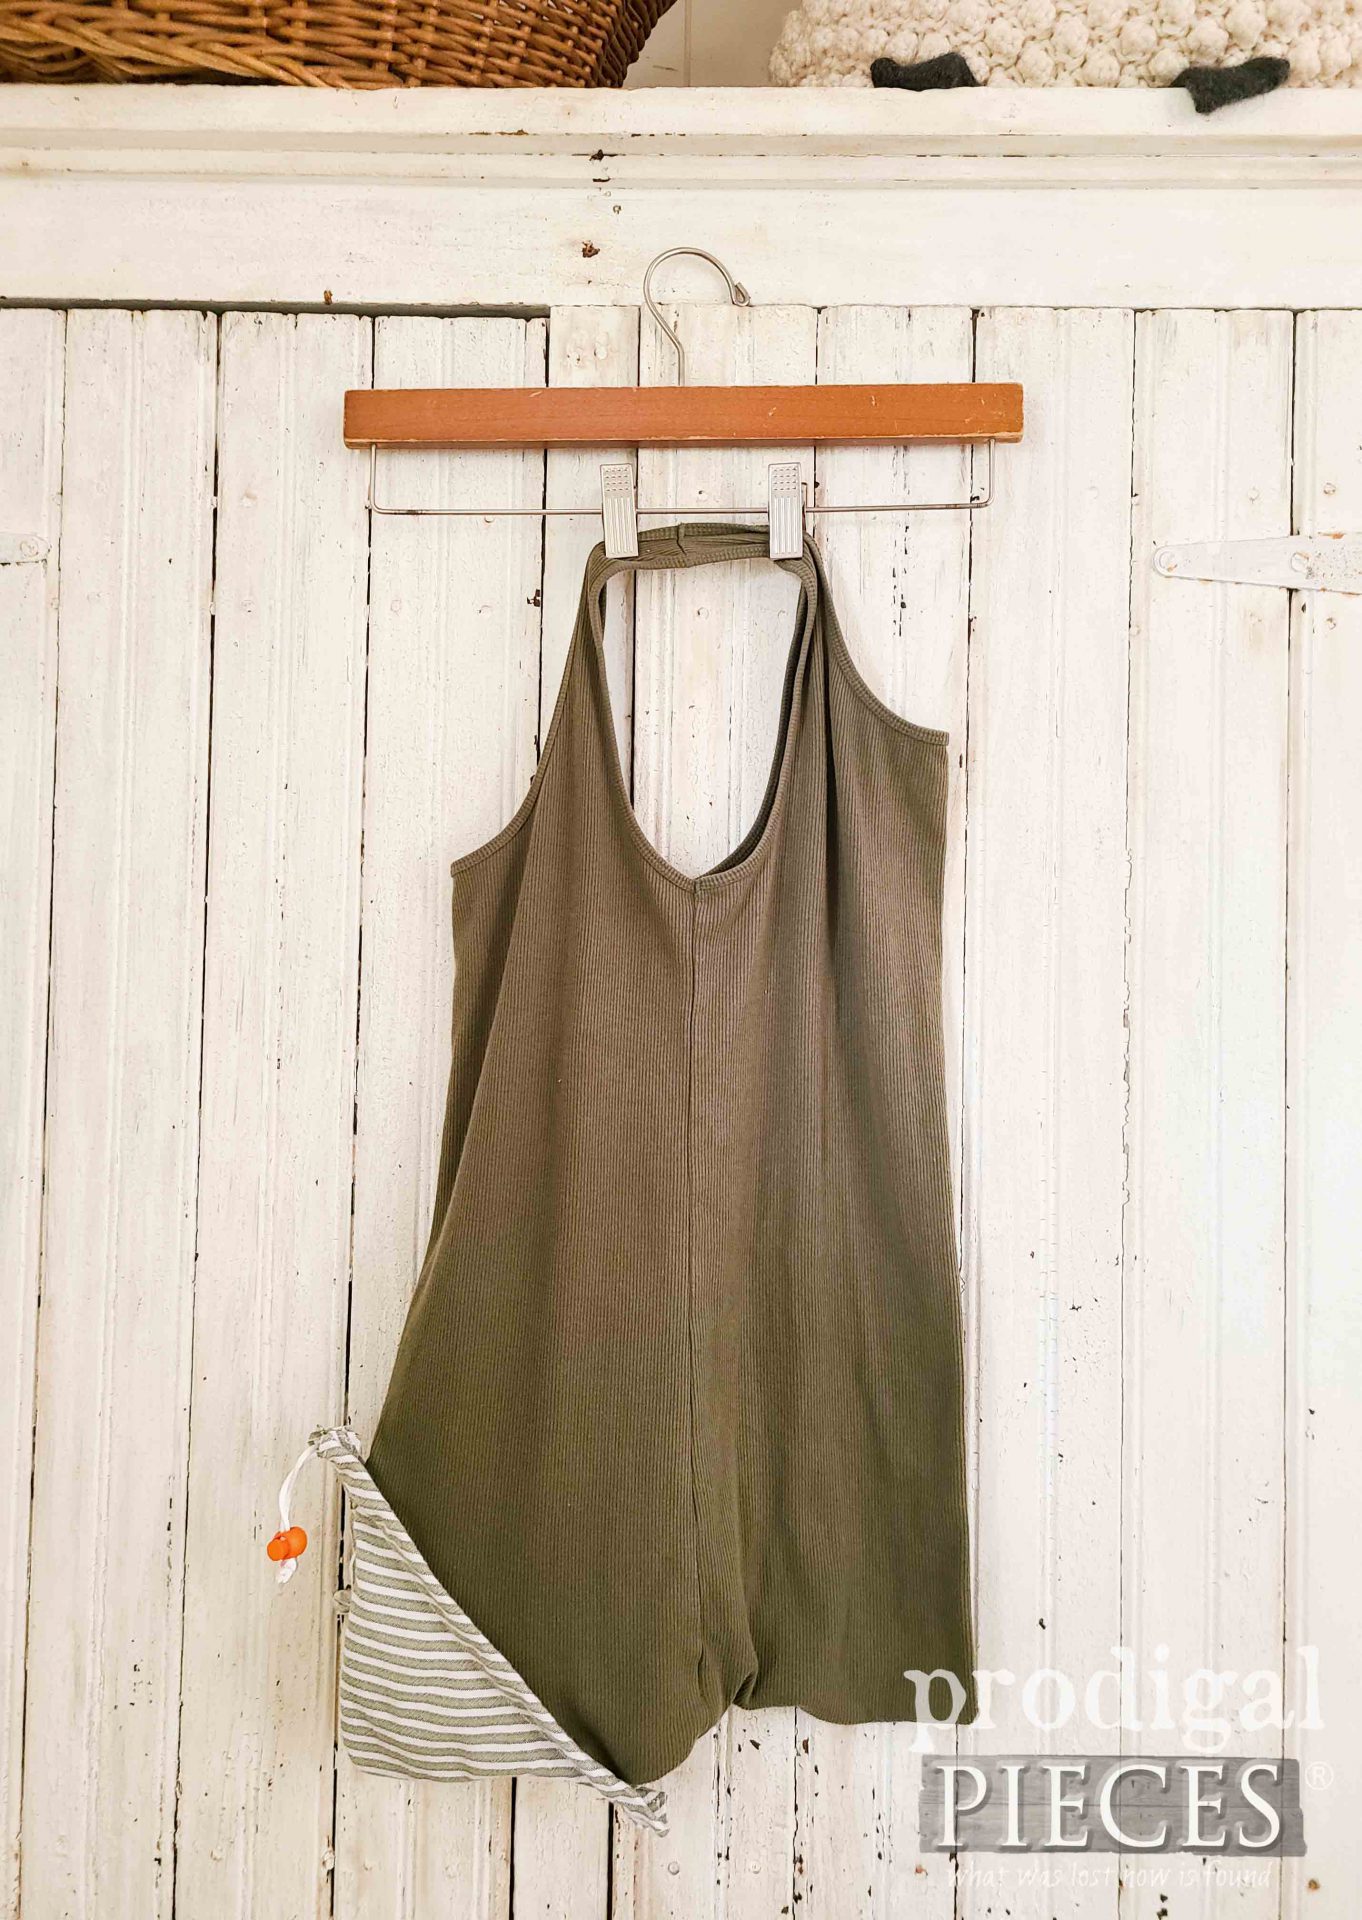
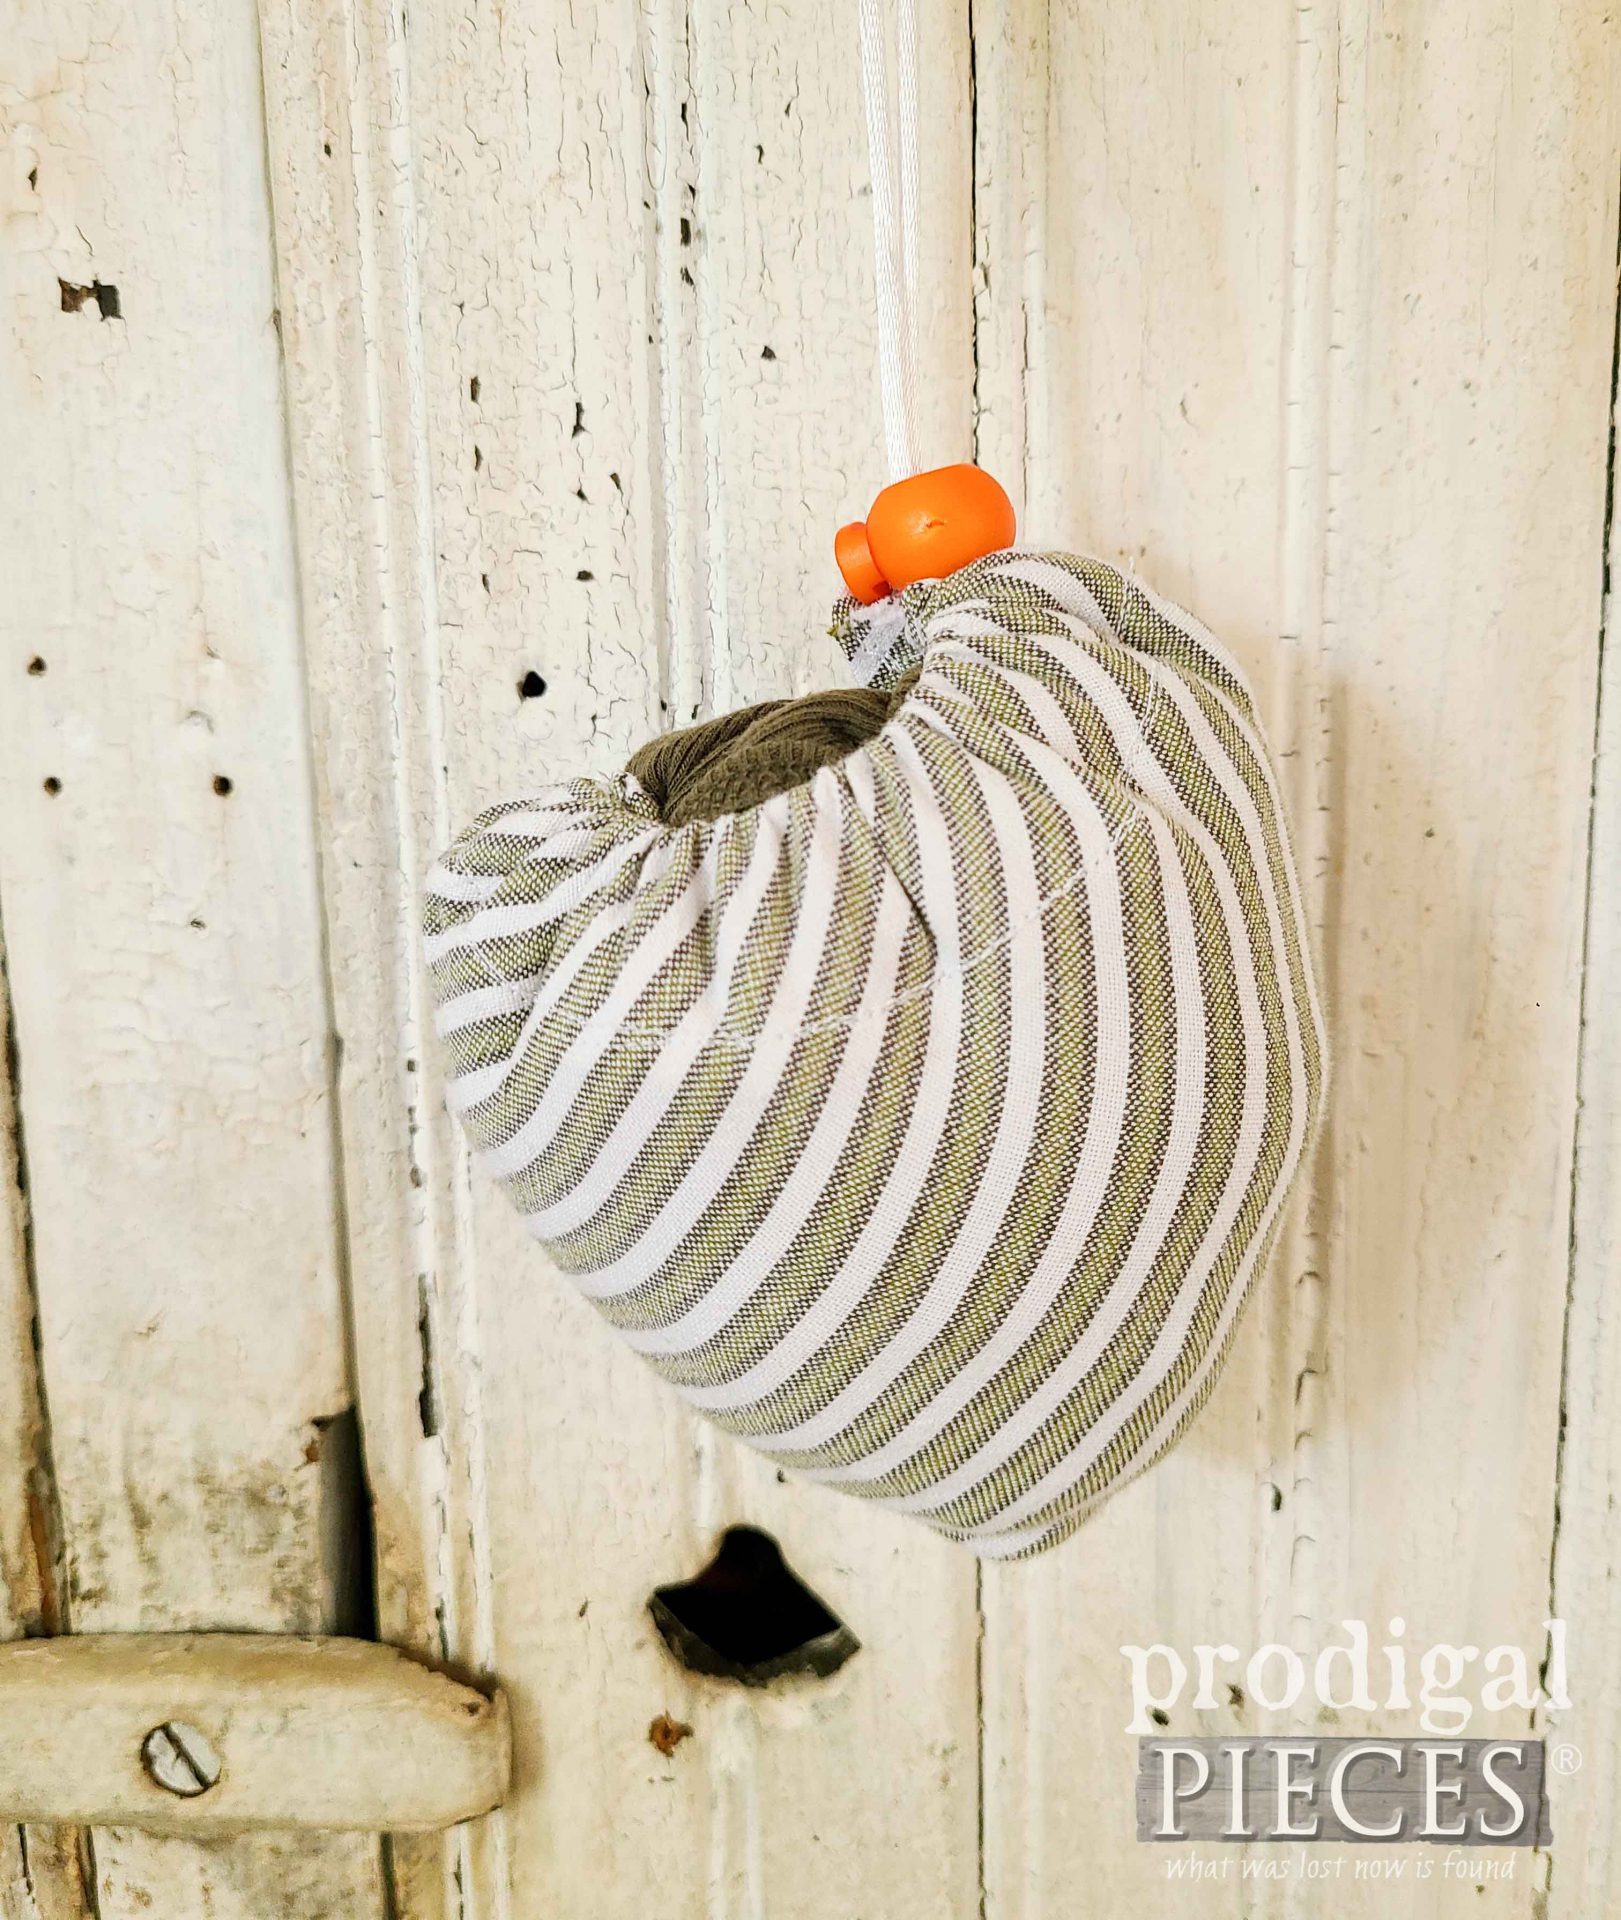
Let’s take a peek at how my reusable compact shopping bag all came together, shall we?
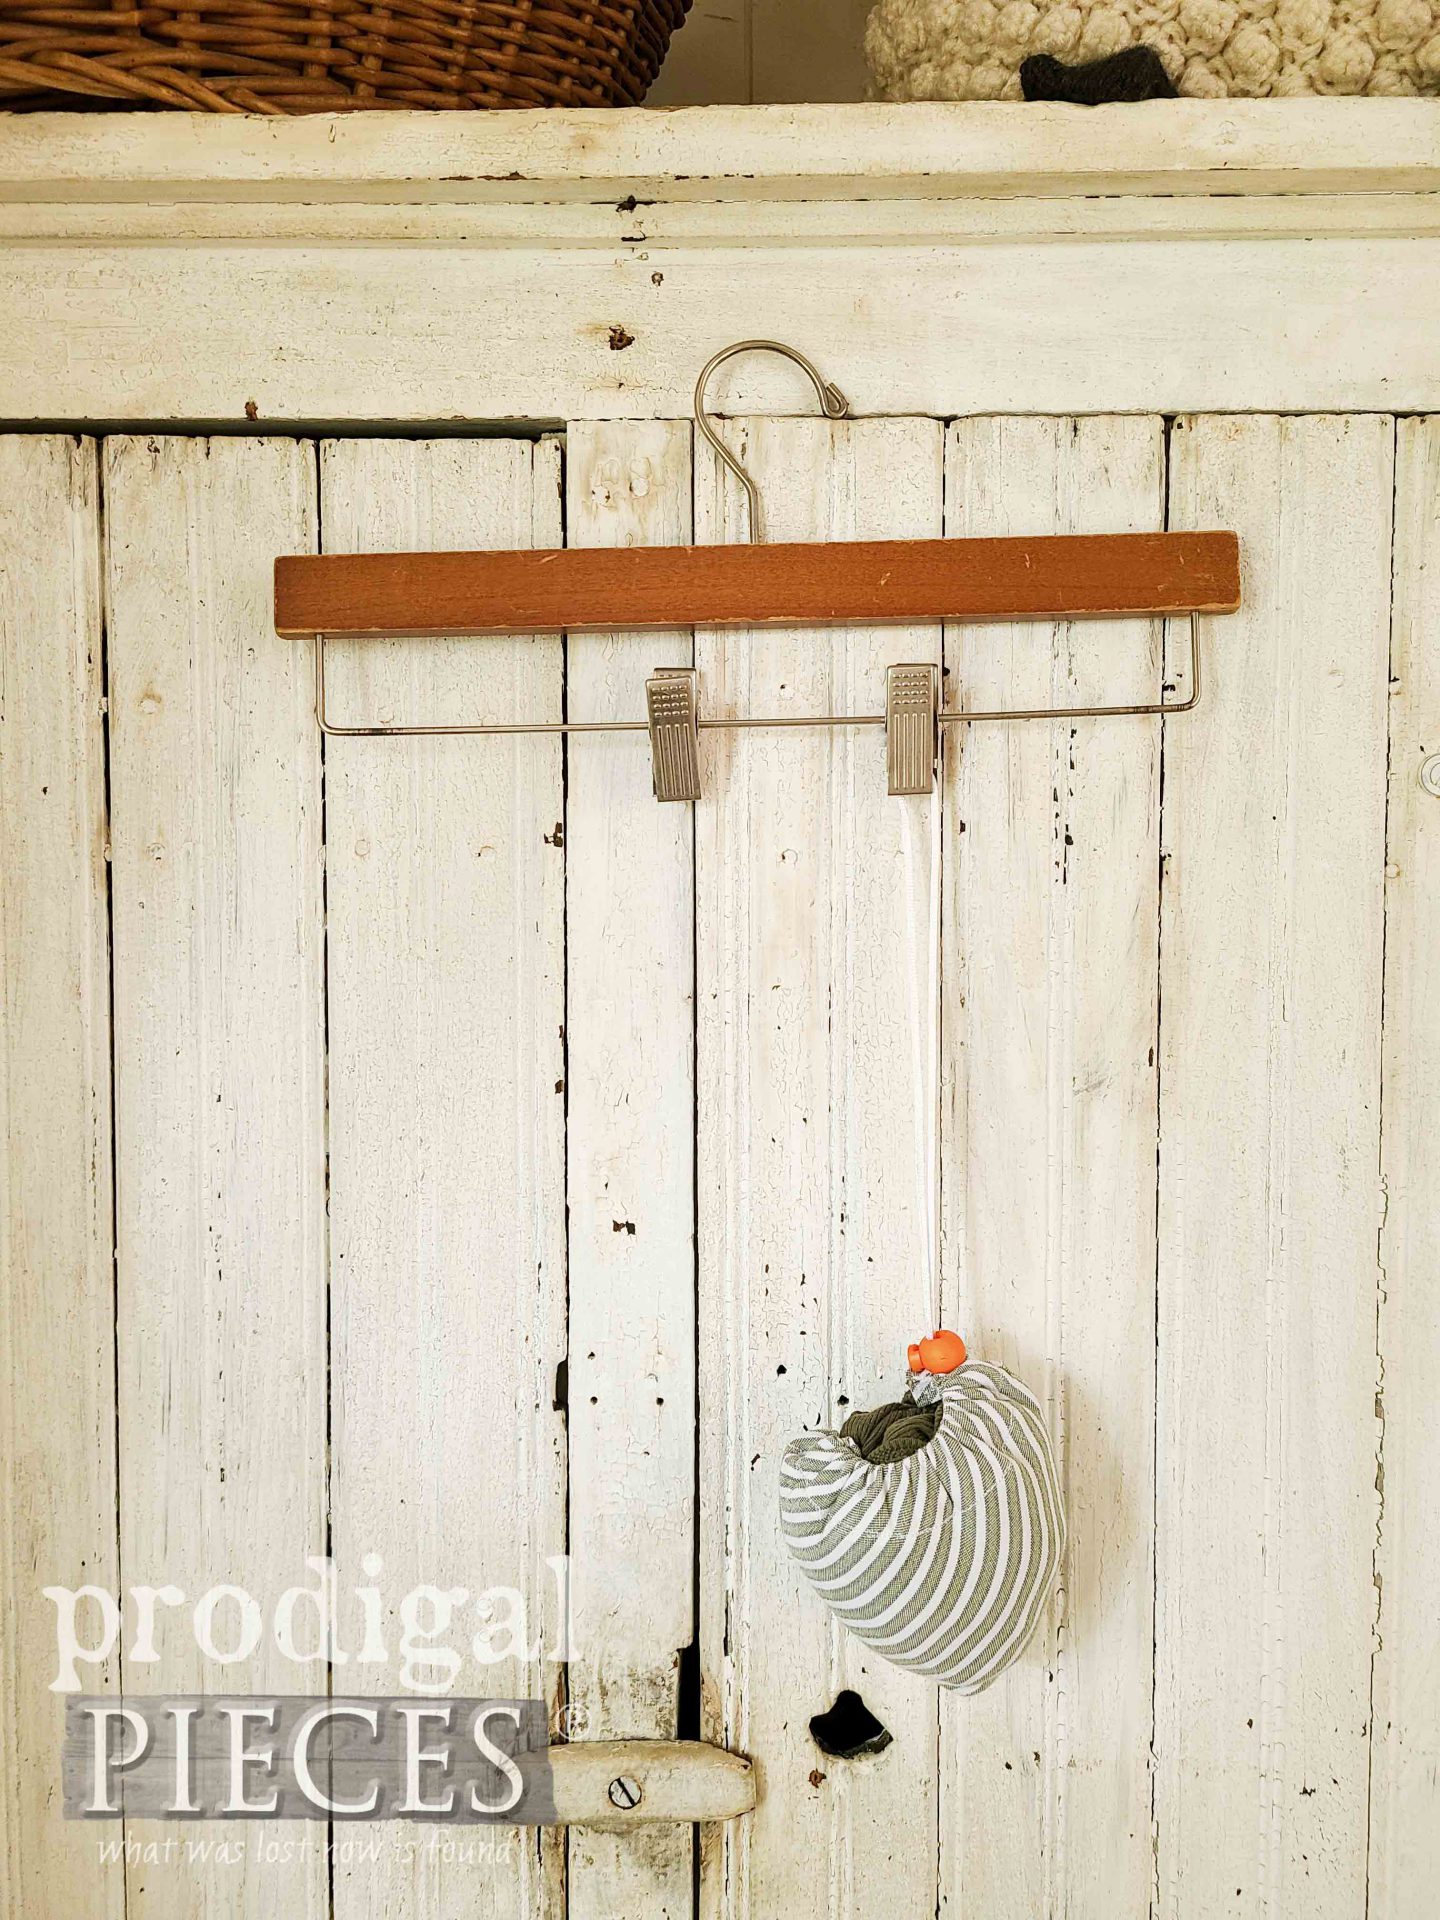
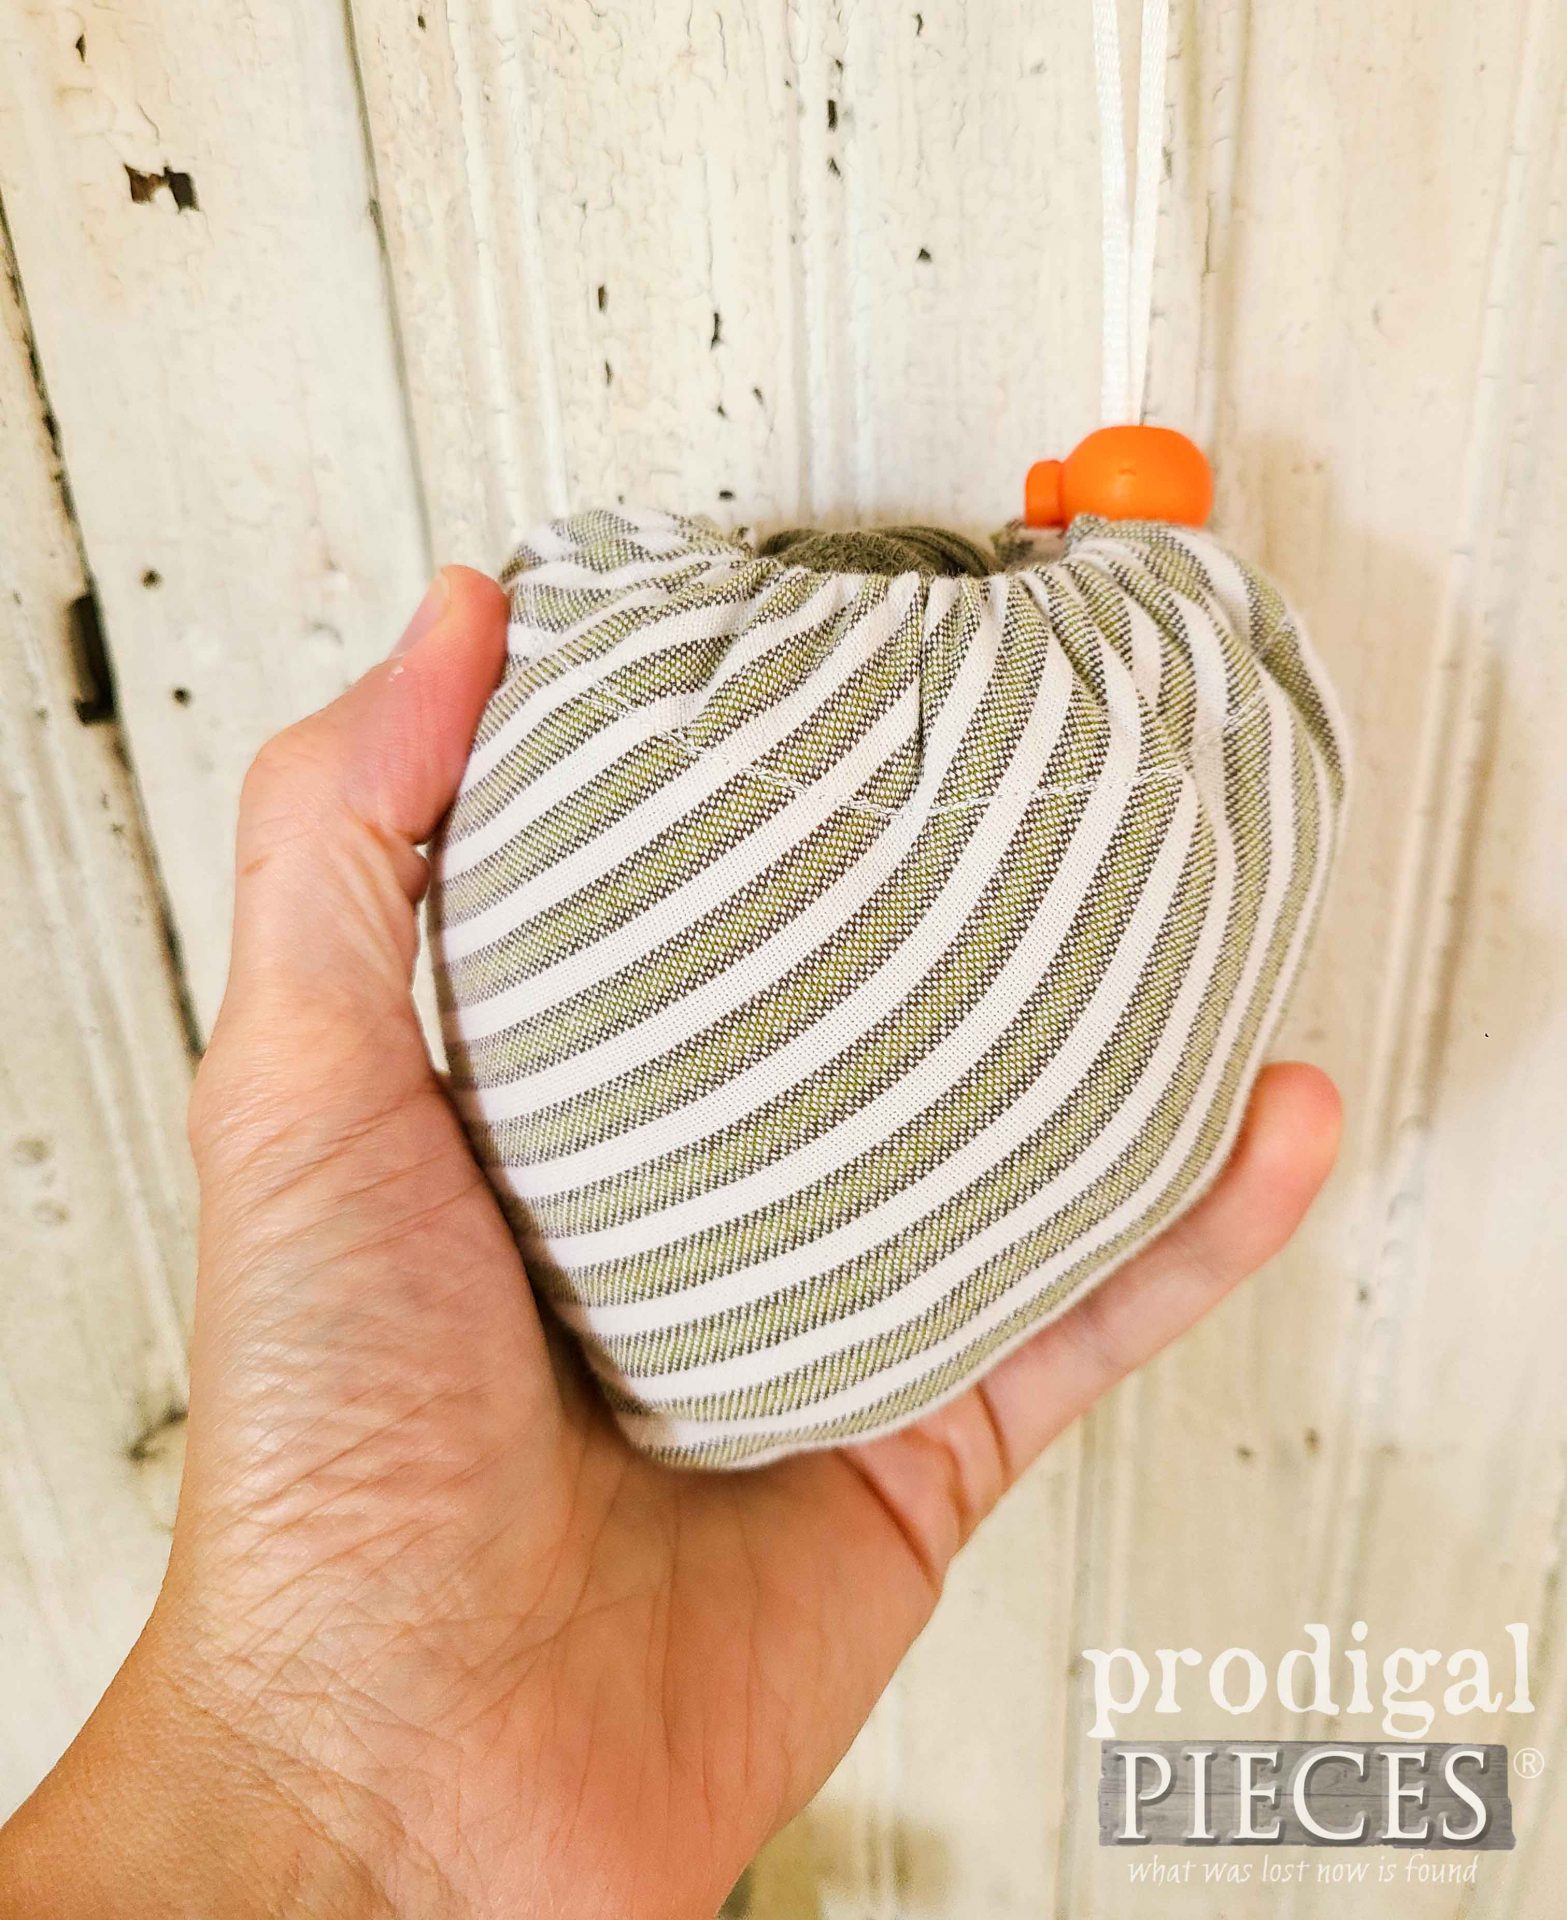
See how it’s a tad longer than I prefer? It still works, but this was my first attempt and I’m smitten with the outcome. And with a bunching and tug of the cord stop…here we are.
While it’s not the exact size of the found one, it definitely makes it easy to tuck in bag, car, backpack, or purse. Think how fun it would be to gift these just for fun?! The best part is I only spent pennies to make it AND I did all the hard work for you. My second run (with everything set up) only took 20 minutes to assemble, so I know you can do it too.
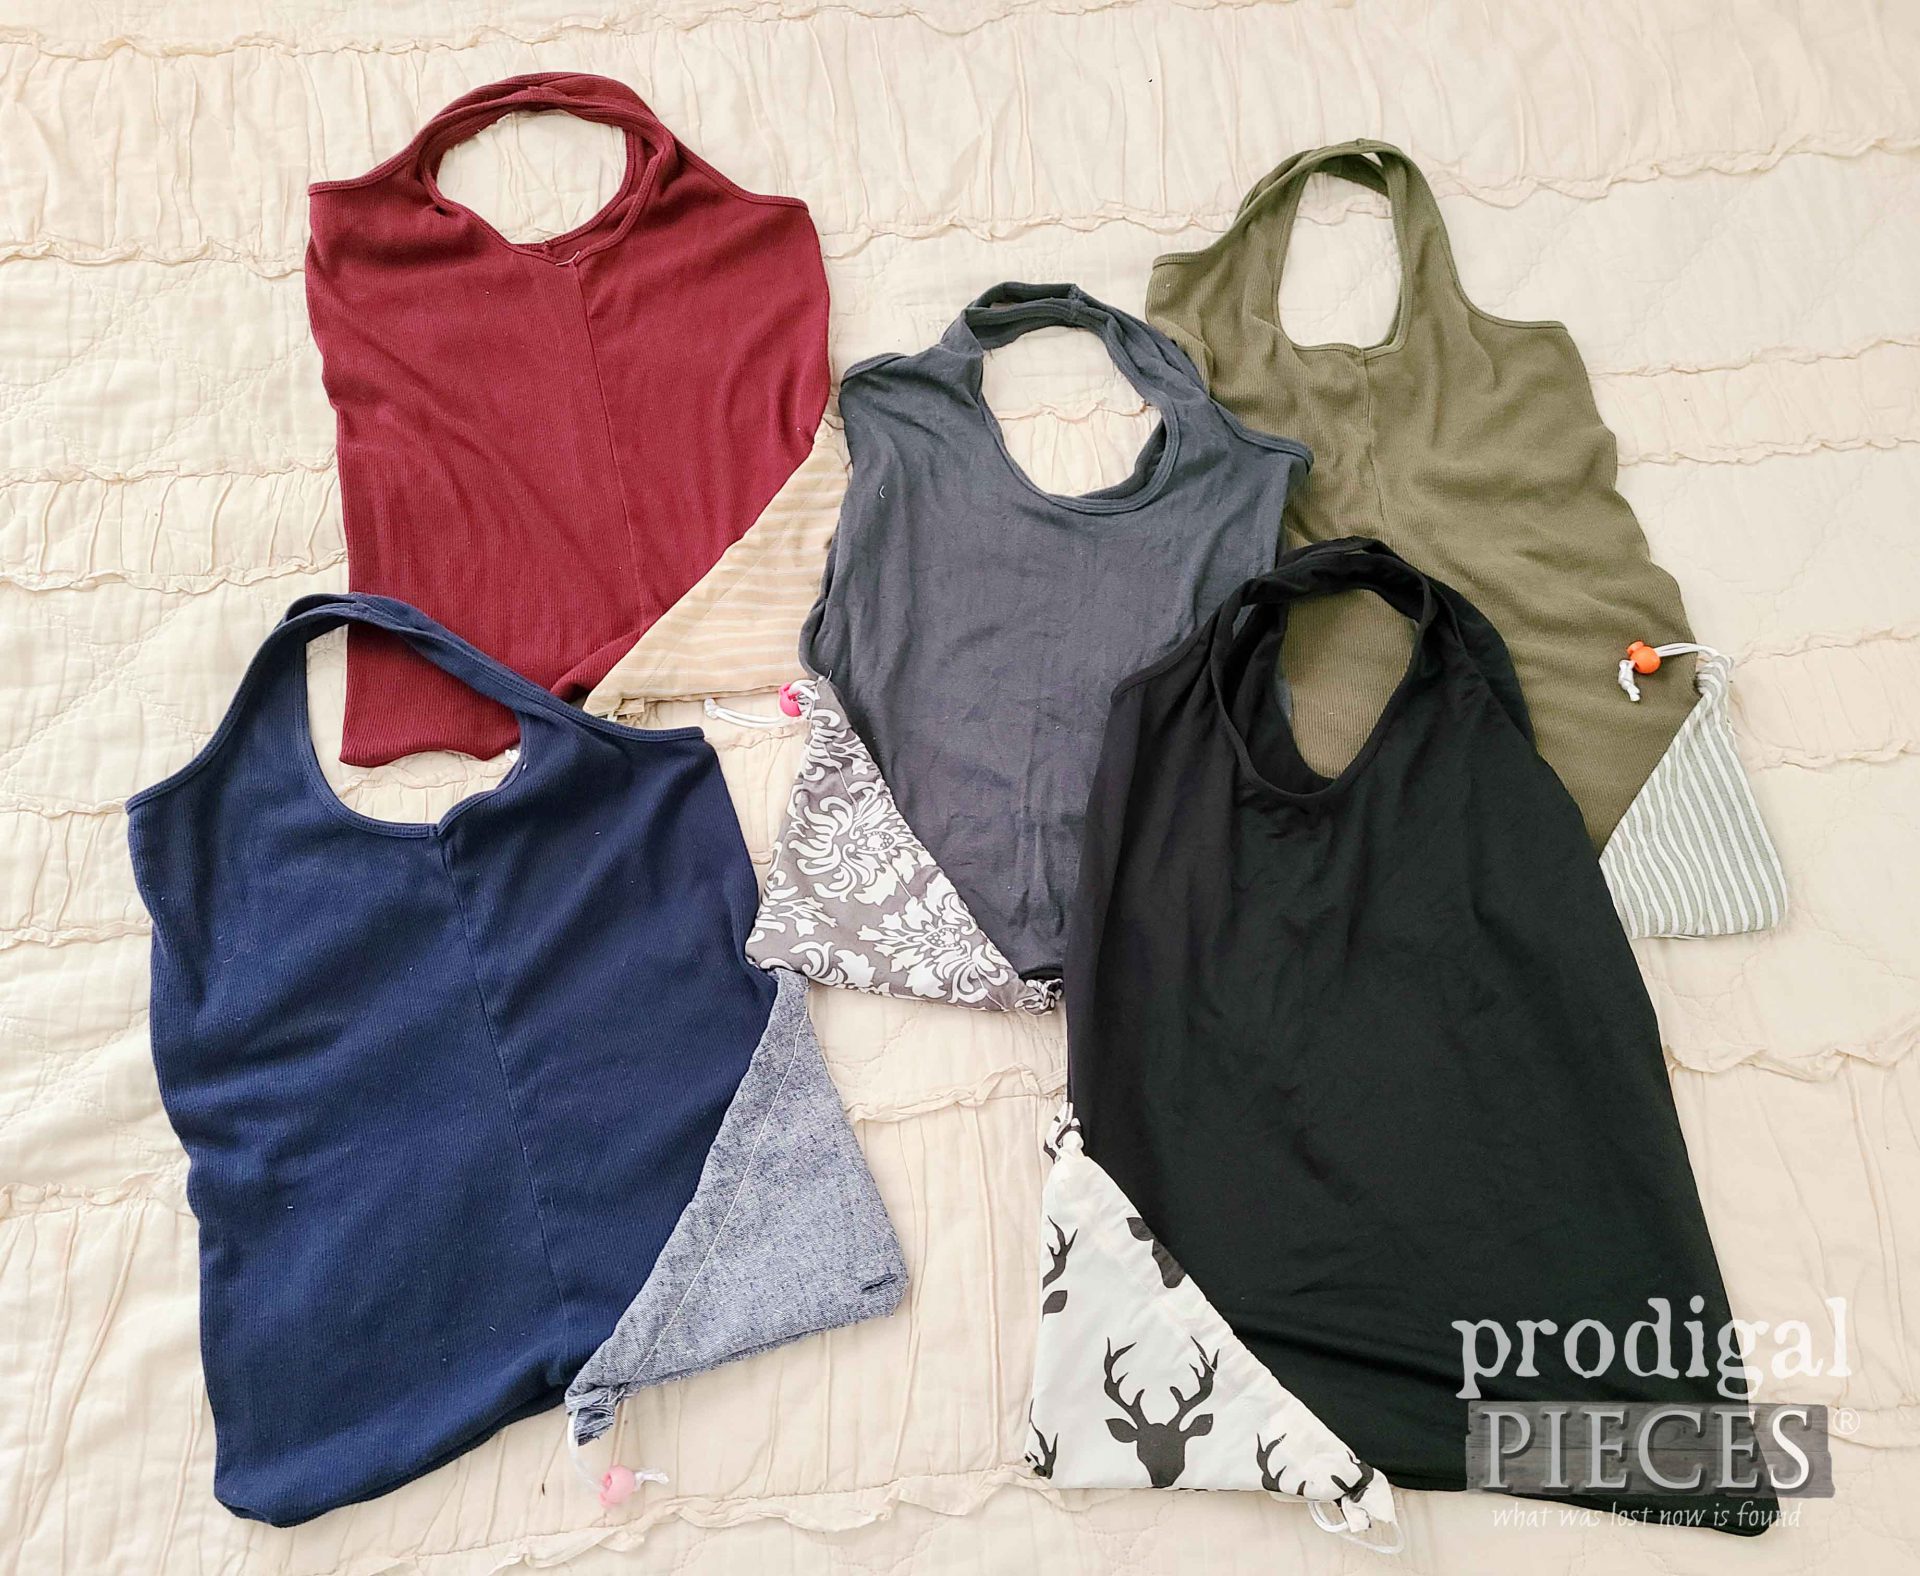
And to show you, it’s super easy, here’s my stash of bags I whip up in two hours. See! I told ya it was simple and easy, just a few steps to work through.
Now, share the love and inspire others – pin and share!
Up next, this thrifted wood bowl is going to get a fresh new look. Any guesses? See the new look and life HERE!
Before you go, be sure to sign up for my newsletter. Until next time!





Okay. You had to be channeling me for this one!!! I’ve already picked out one of my husband’s shirts to give this whirl. While my sewing skills aren’t nearly as impressive, I can sew a straight line… ? Wish me luck!!! ?
hee hee hee! I can’t wait to see what you make with it. I’m so glad you’re willing to try! 😀
So cute Larissa! Wow! The tank tops work perfectly…I wouldn’t have given them a thought for this project 🙂 Such a great upcycle!
woot! I’m delighted you think so. Thank you!!
I could use a few of these in my purse. Brilliant! Thanks to your tutorial, I could definitely make these. I like your idea of making them as gifts too. How fun to find coordinating recycled garment patterns for the pouch. Pinned
Sweet! It’s so addictive to make and give! 😀 Thanks, Marie.