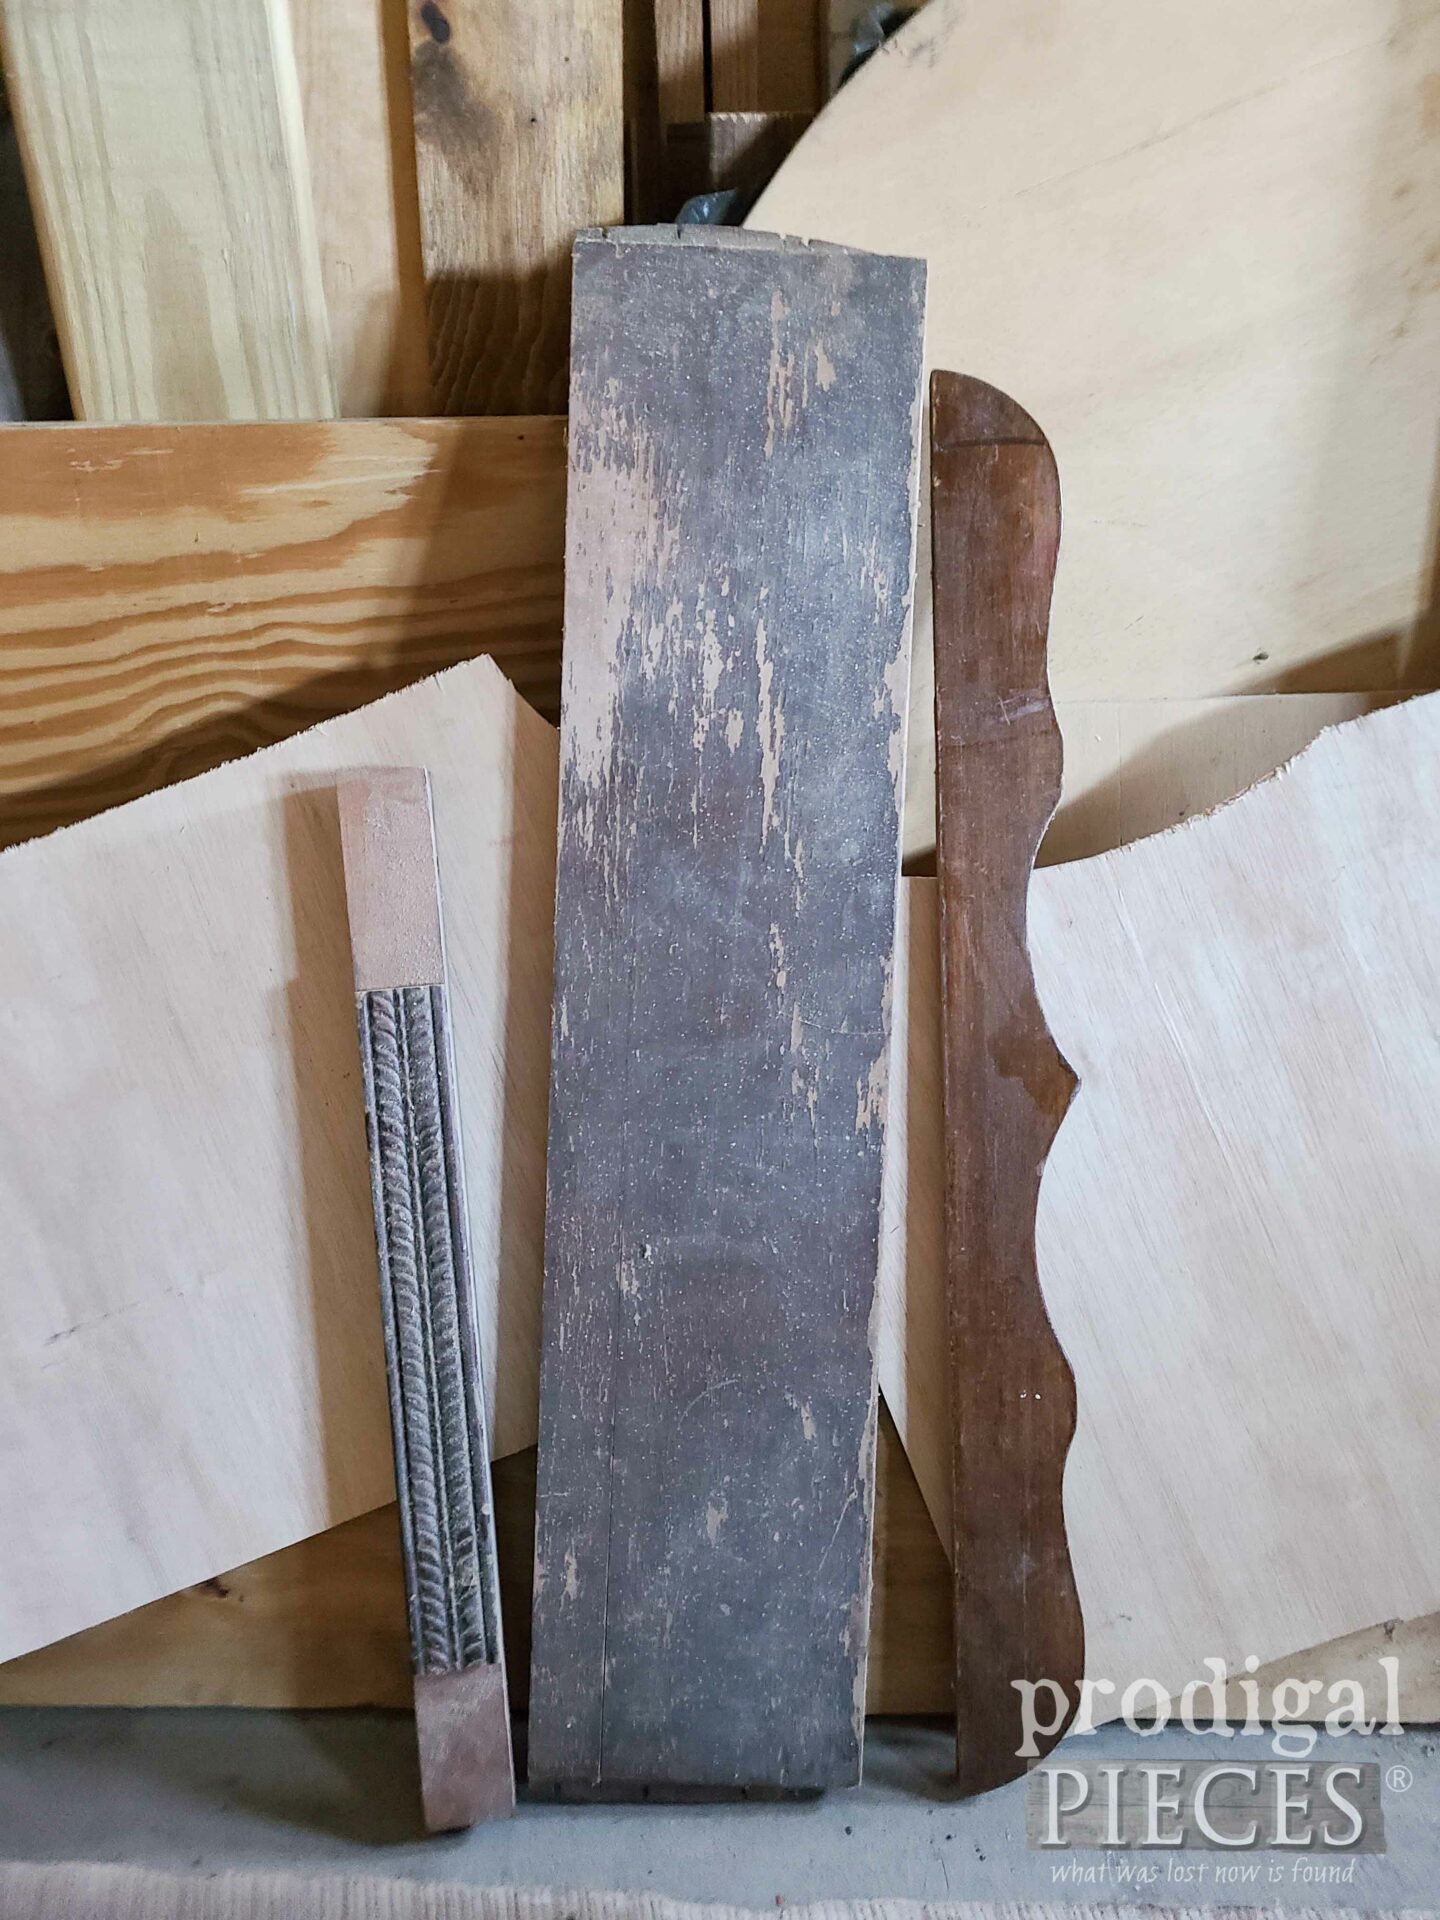
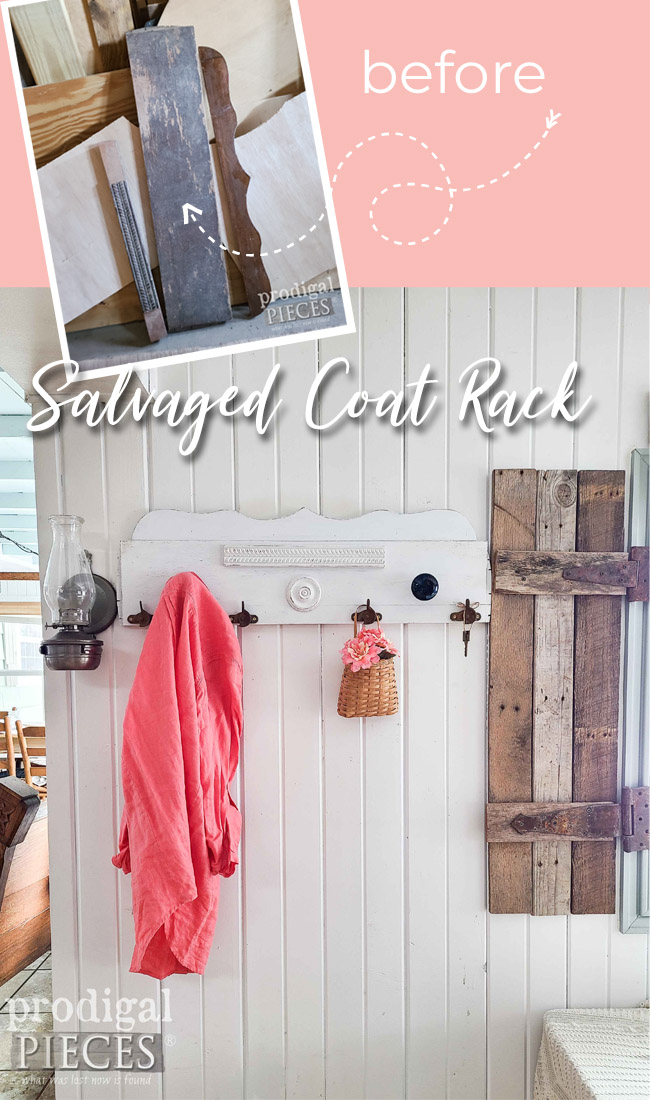
Does weather effect your work? It does mine. I long-since grown weary of working in my workshop during our very long Ohio winters. It’s dark, colder than outside in there, and not fun to work in oodles of layers. However, I’m still on a mission to pare down and make use of things that I’ve had hanging around for a time. Take a look at this motley crew. In a minute, I’m taking this lot and making a salvaged coat rack.
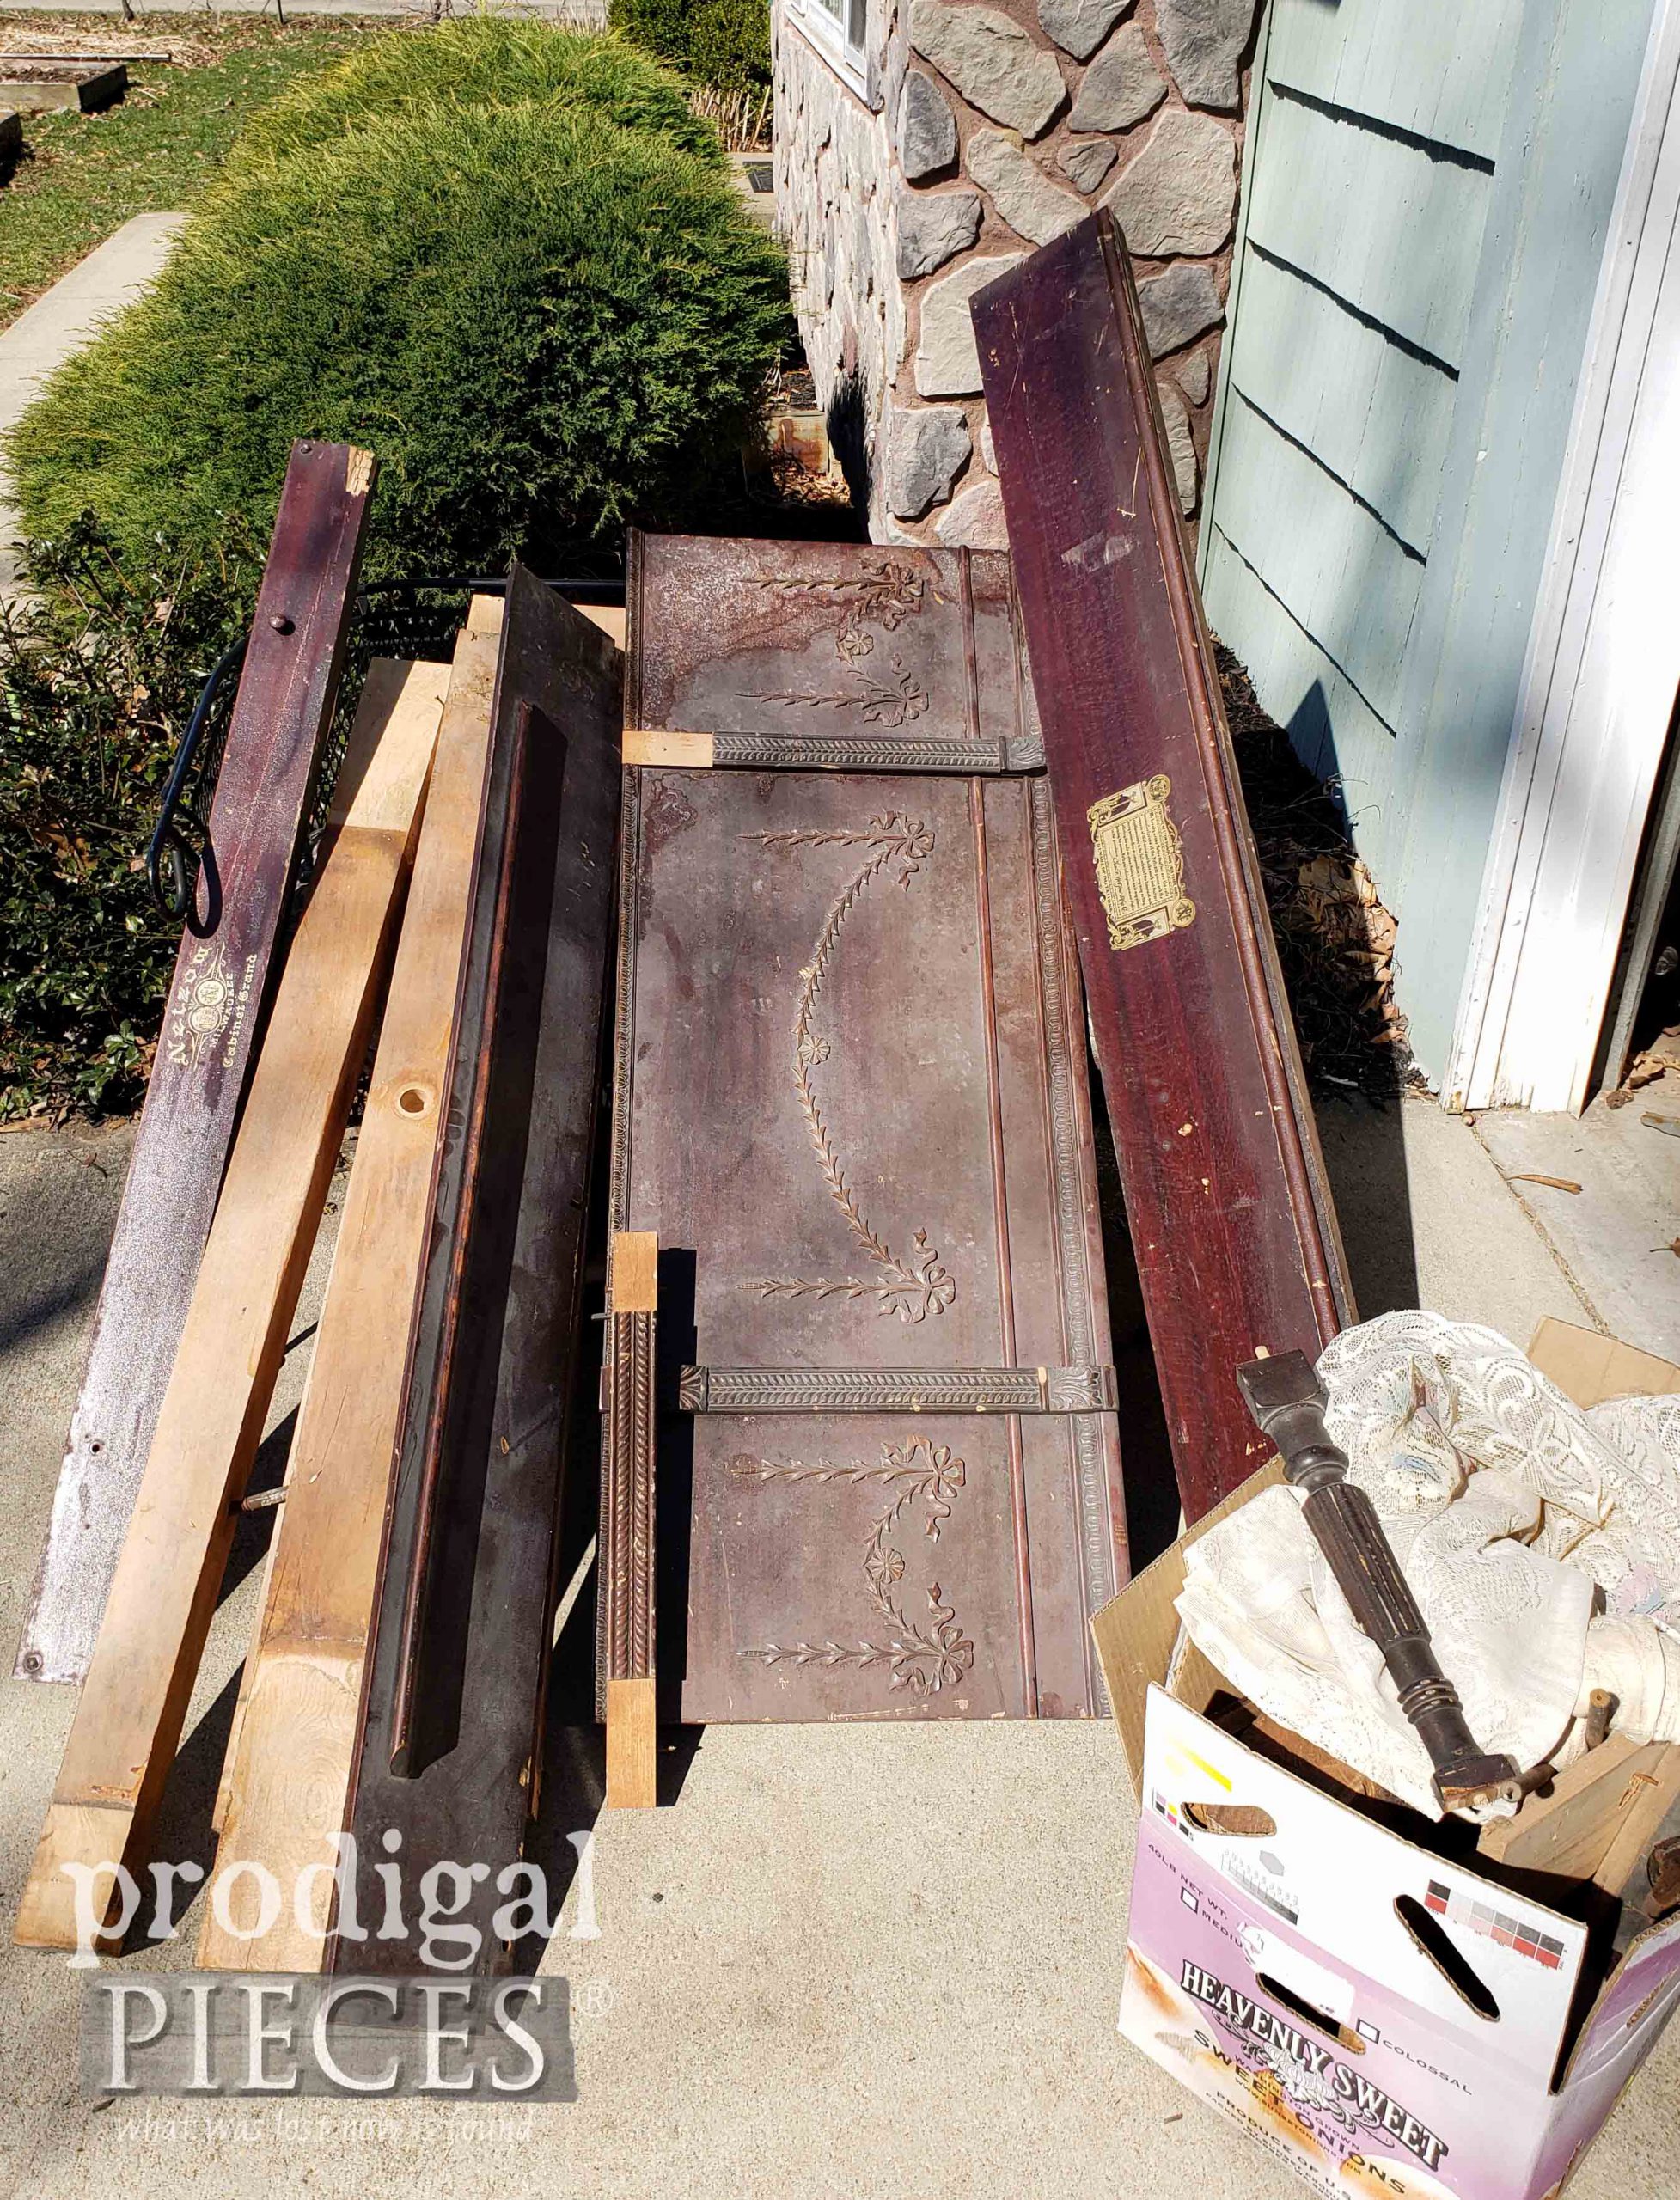
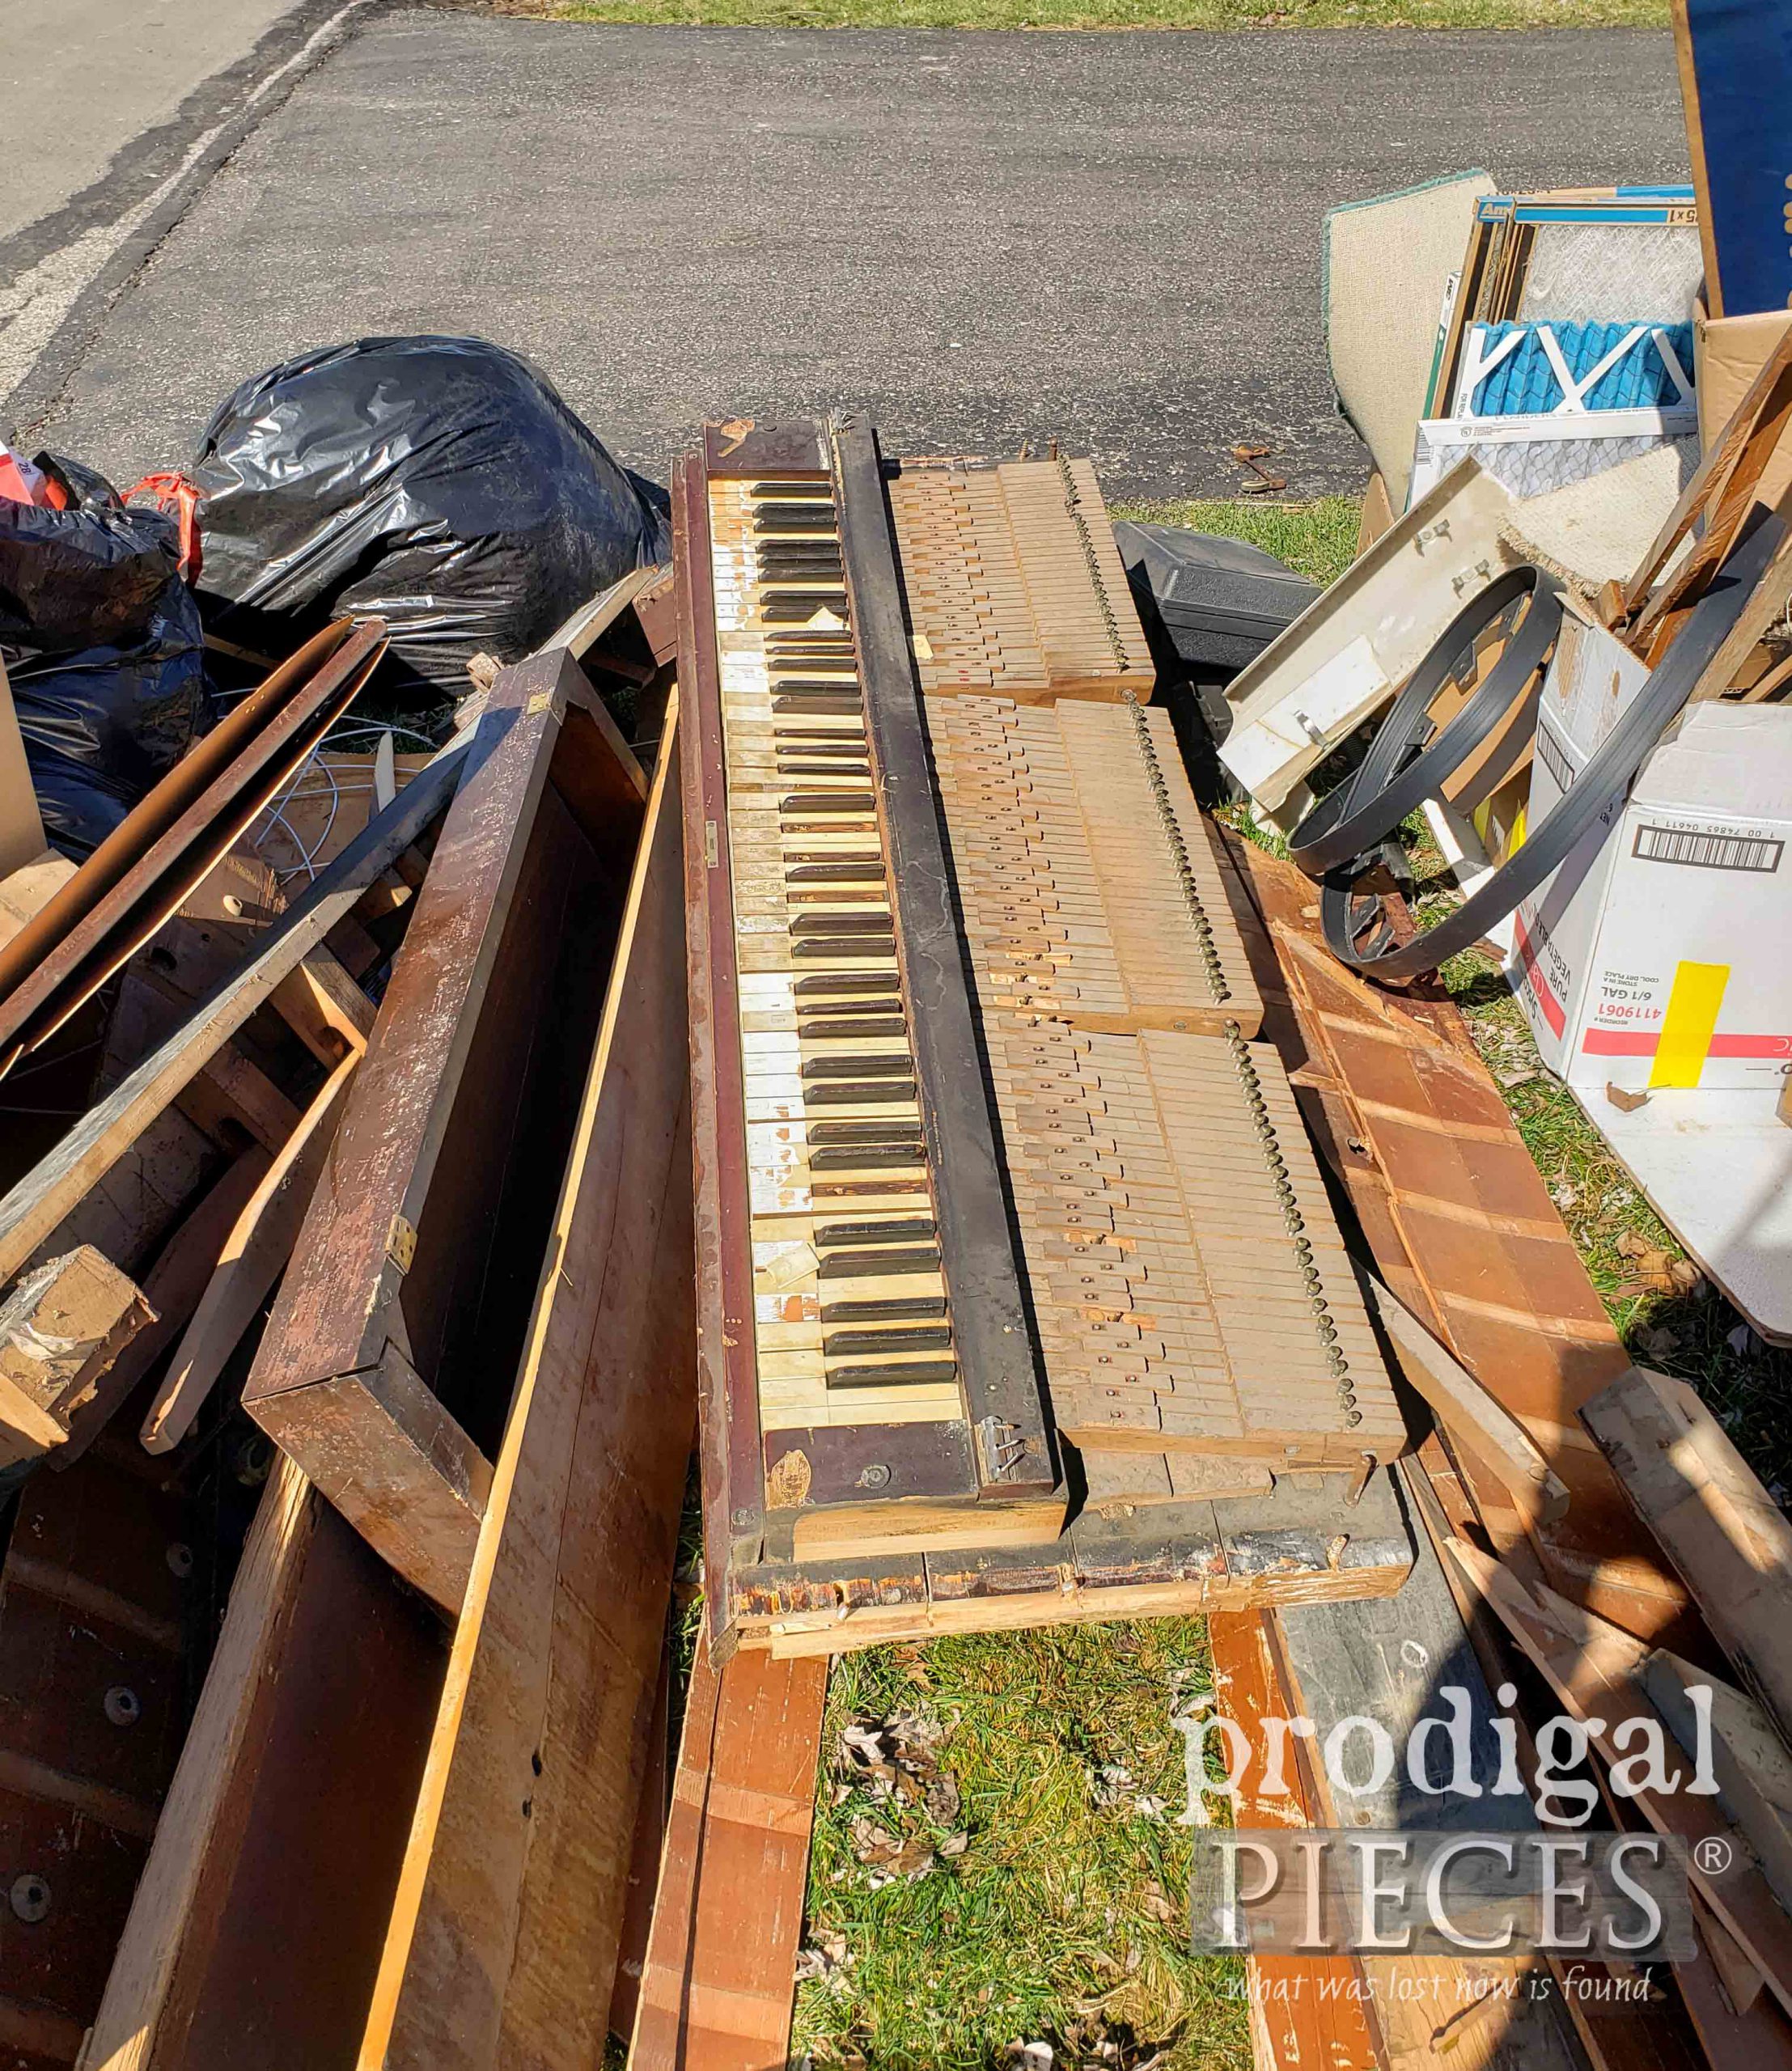
Before I get into how to do that, let’s talk about what’s in this picture. First, starting left to right, you see a piece of an antique upright grand piano that was beaten into pieces to get it out of someone’s house and set curbside. I brought home the piano face, and a few other pieces I could upcycle.
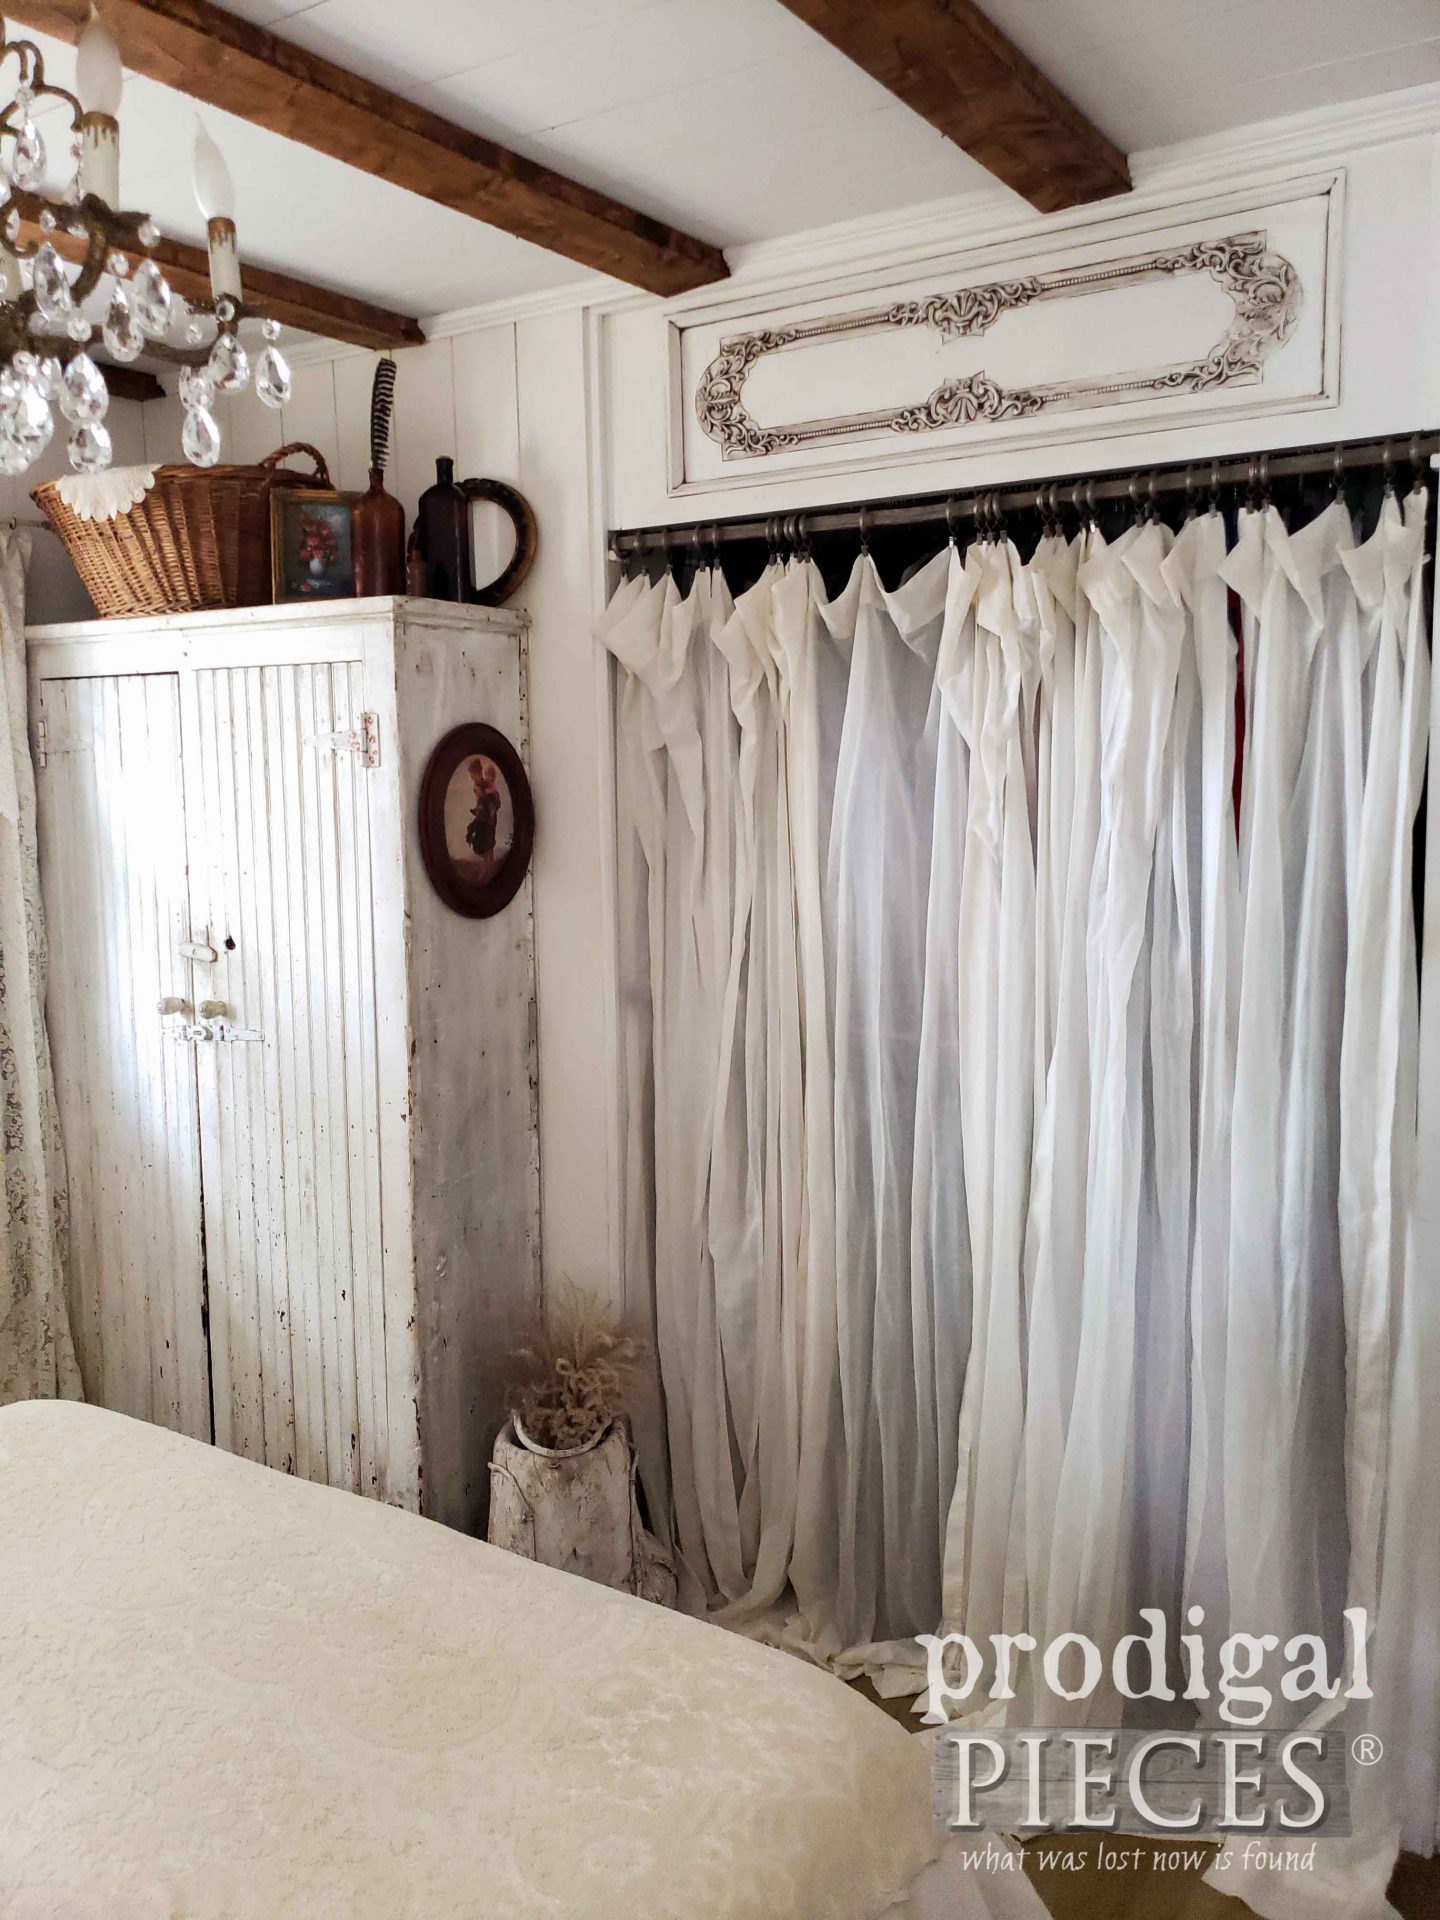
I recently sold the piano face as I had planned to use it as a transom in a new home like I did in my bedroom.
However, I did make a couple of coffee tables and a bench from the supports and other bits became crafts.
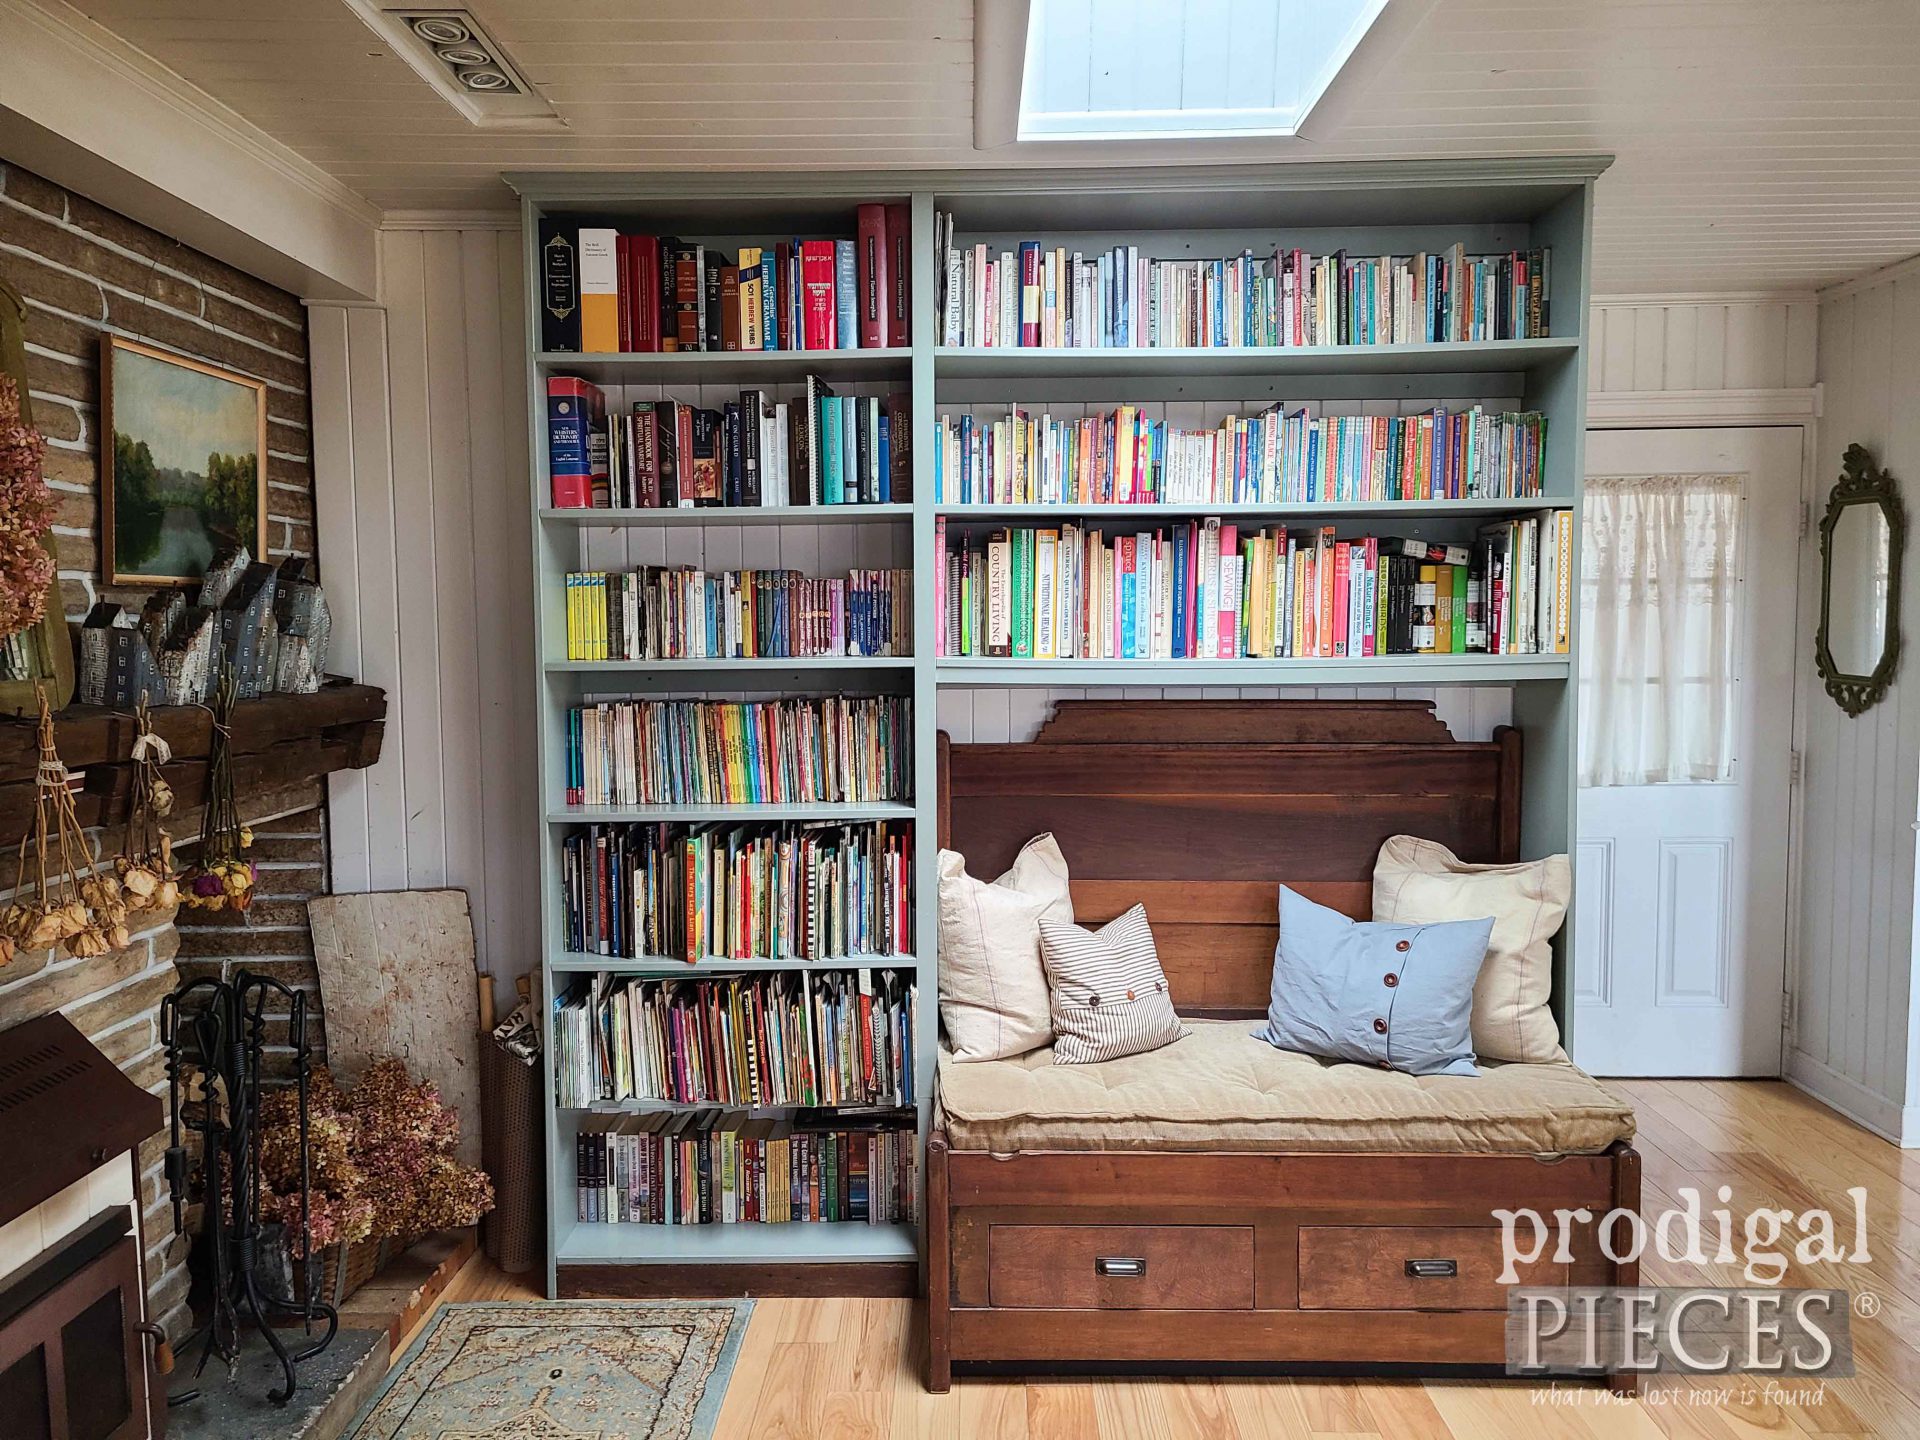
Second, in the middle is a leftover piece from a full-size antique bed frame I picked up from the curb and turned into a bench for our family room remodel.
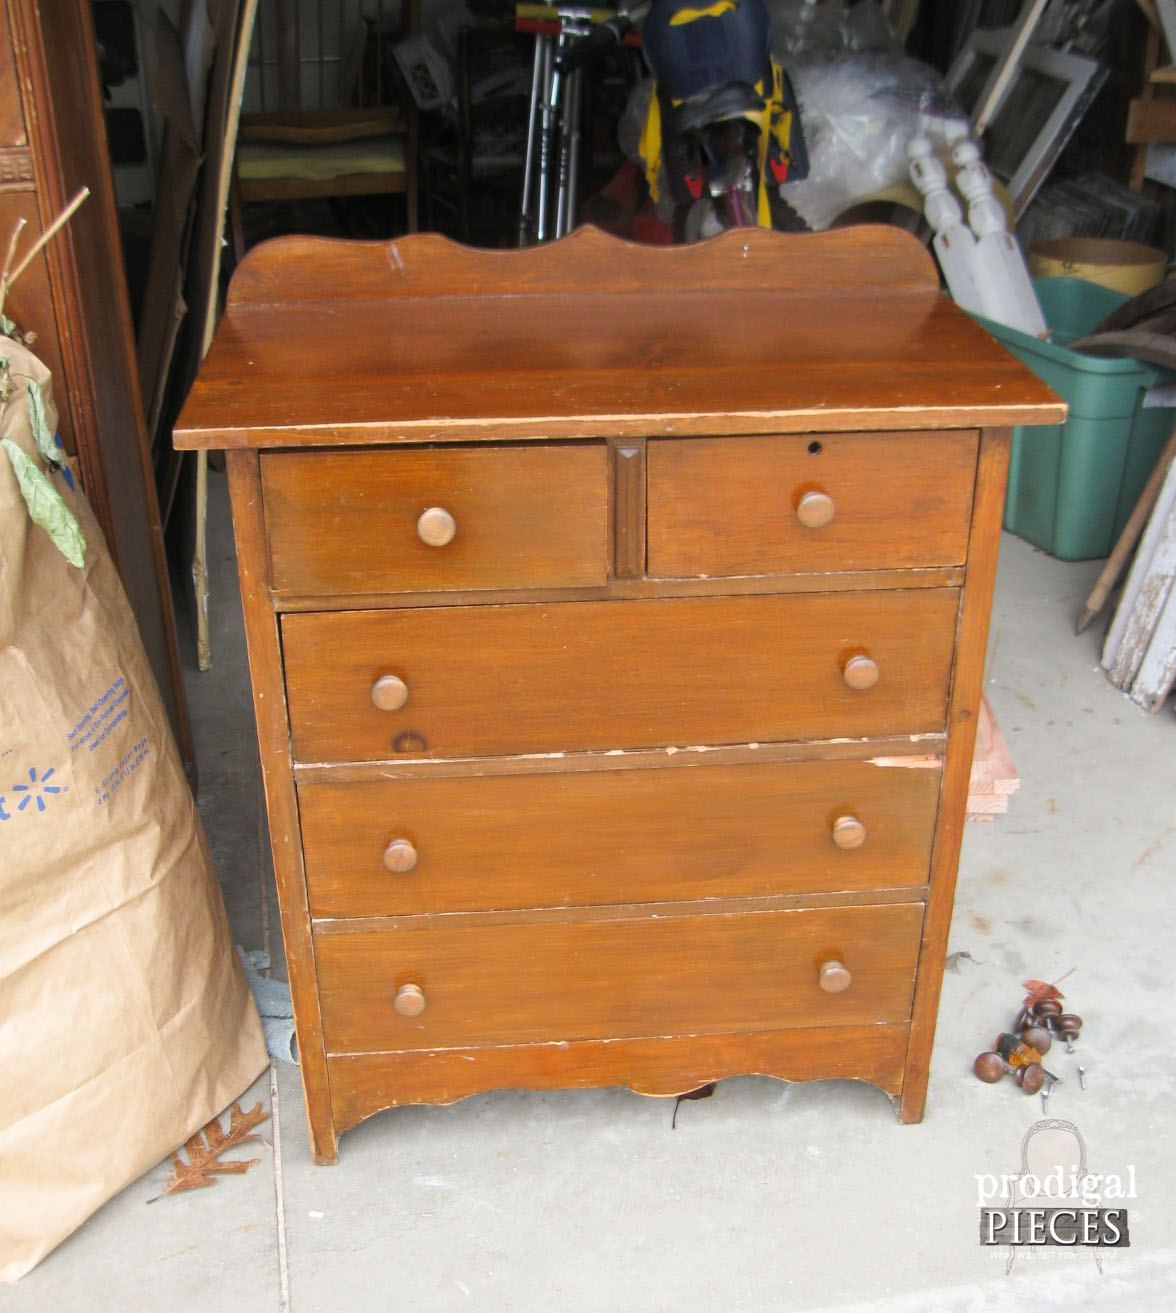
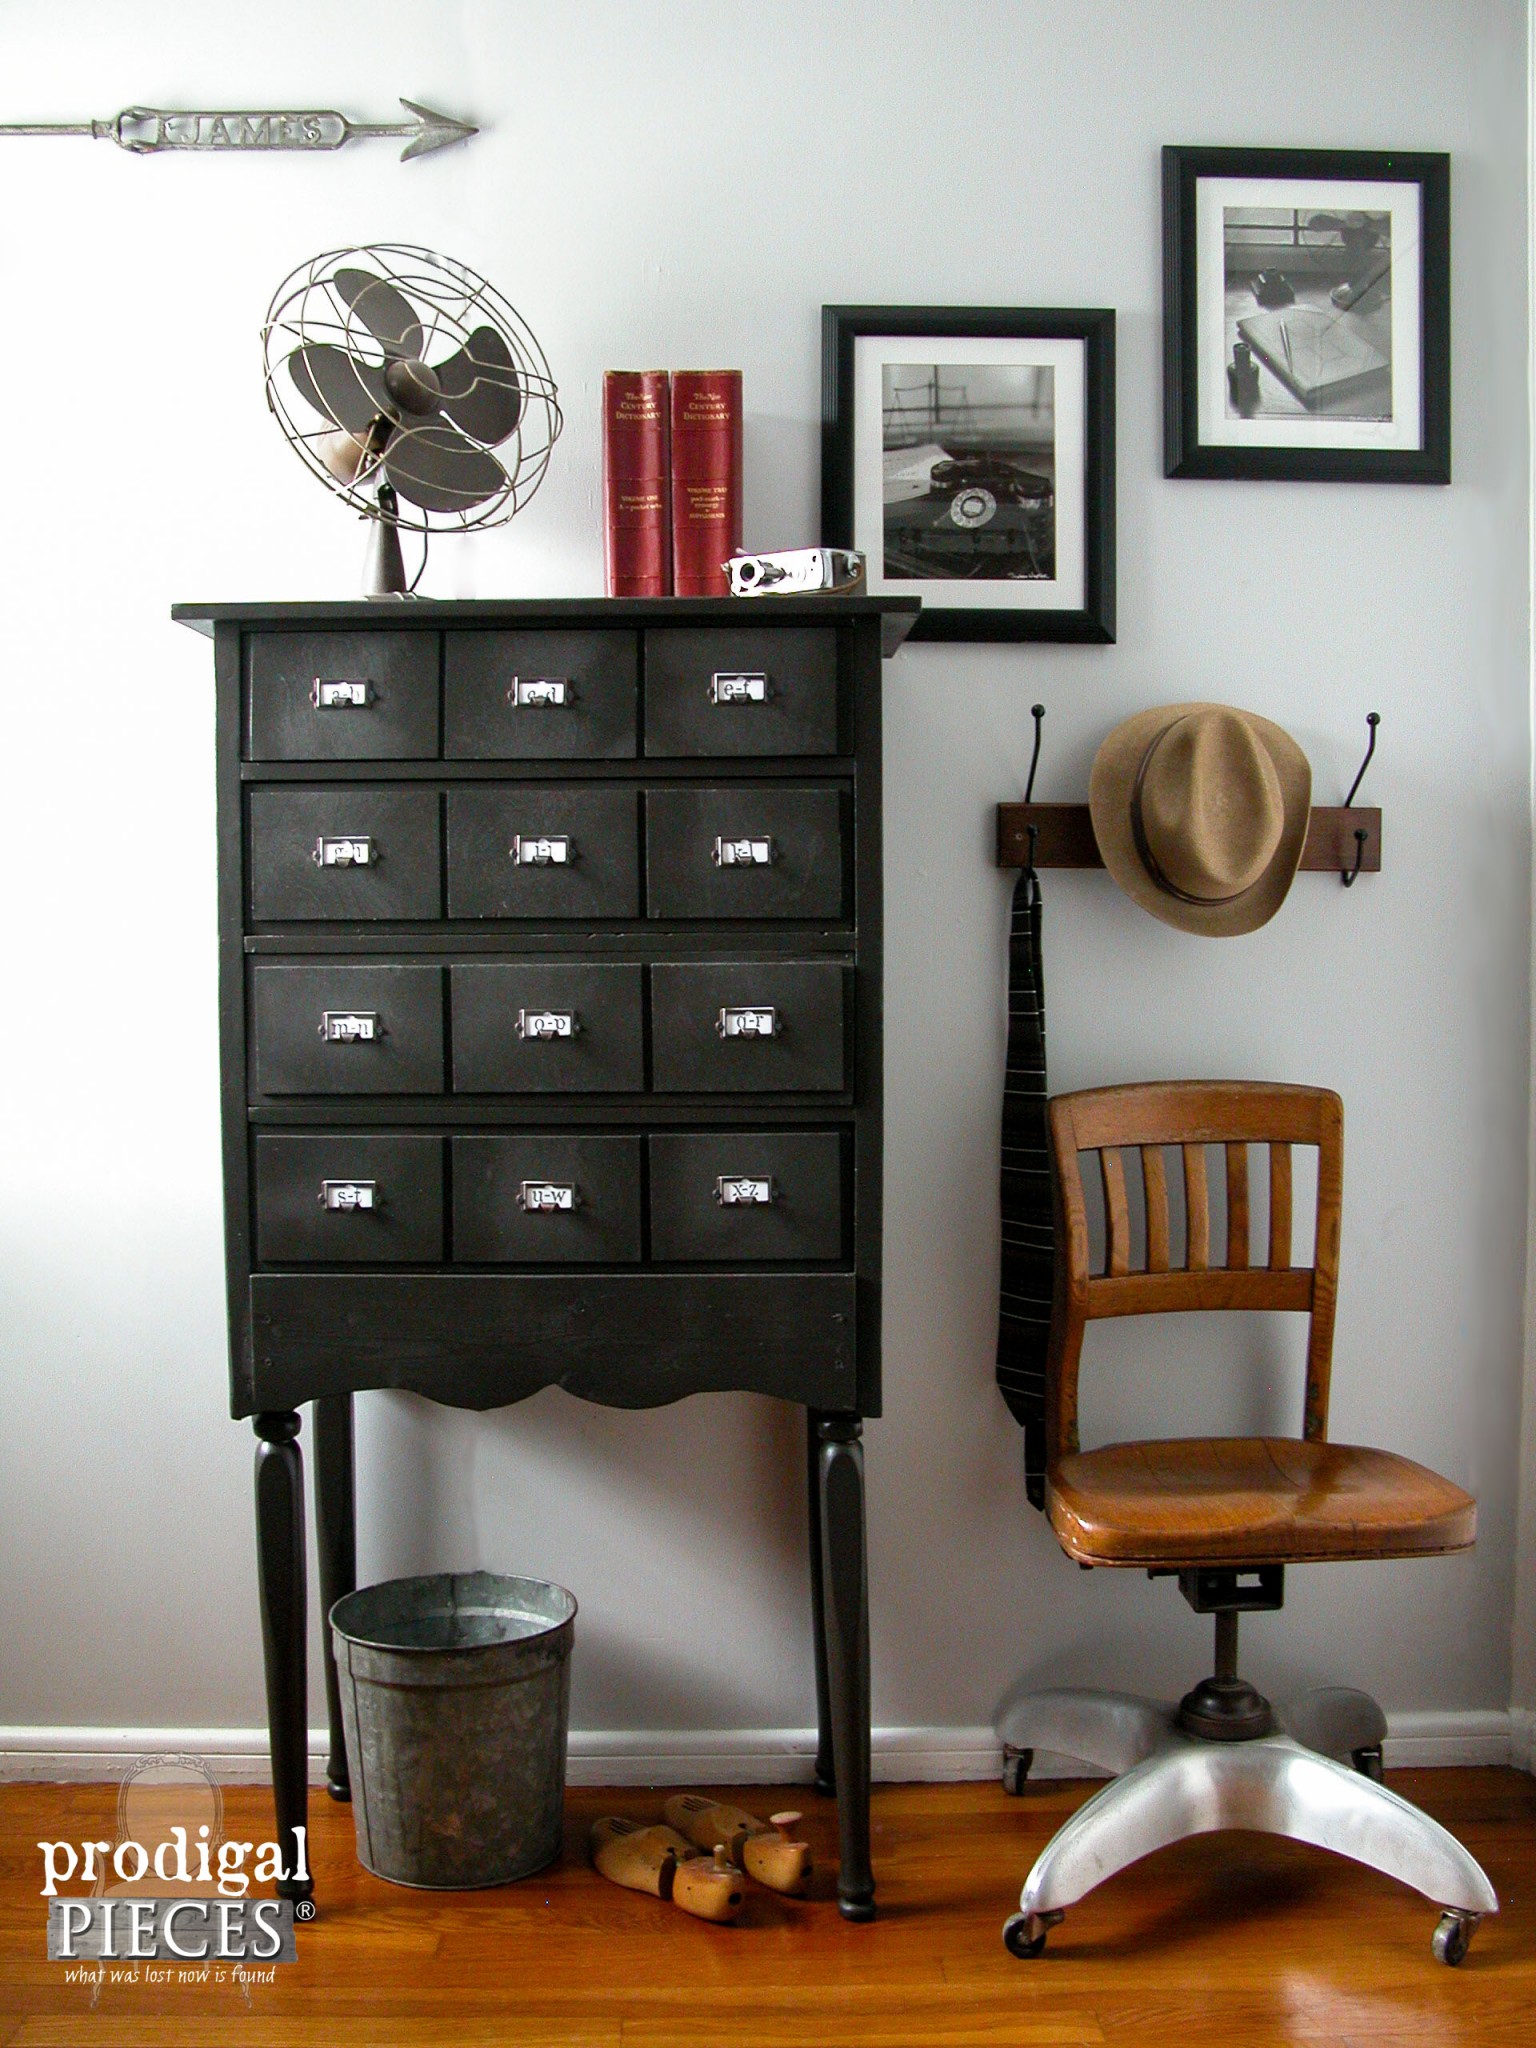
Third, there’s that curvy bit my daughter, Miss S and I pulled off a curbside dresser she turned into an antique-ish card catalog eight years ago. (whew! time flies!!)
LET’S BUILD
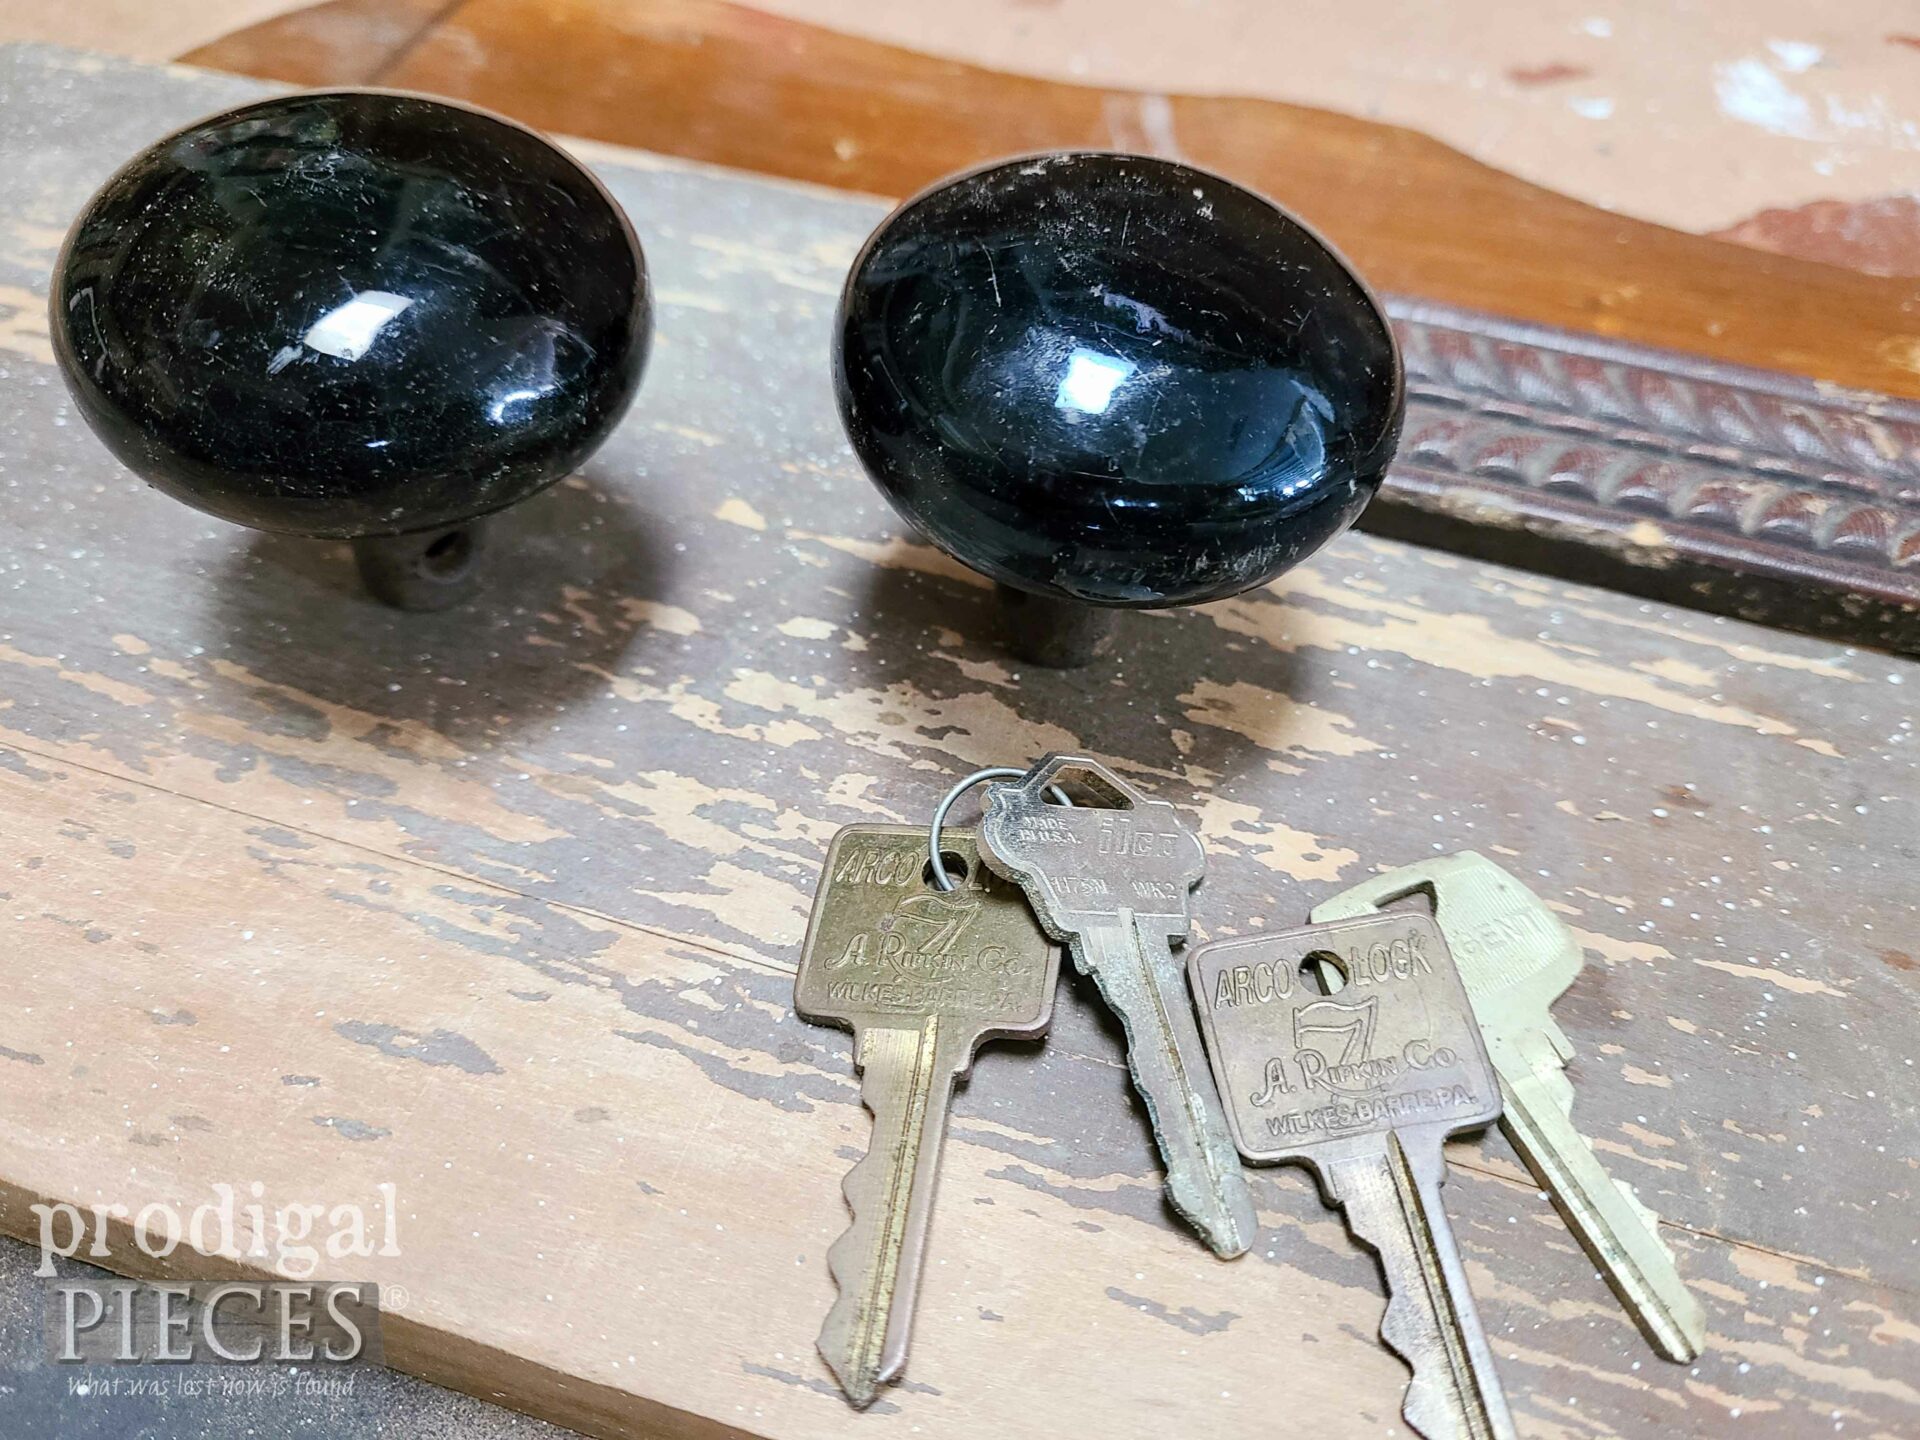
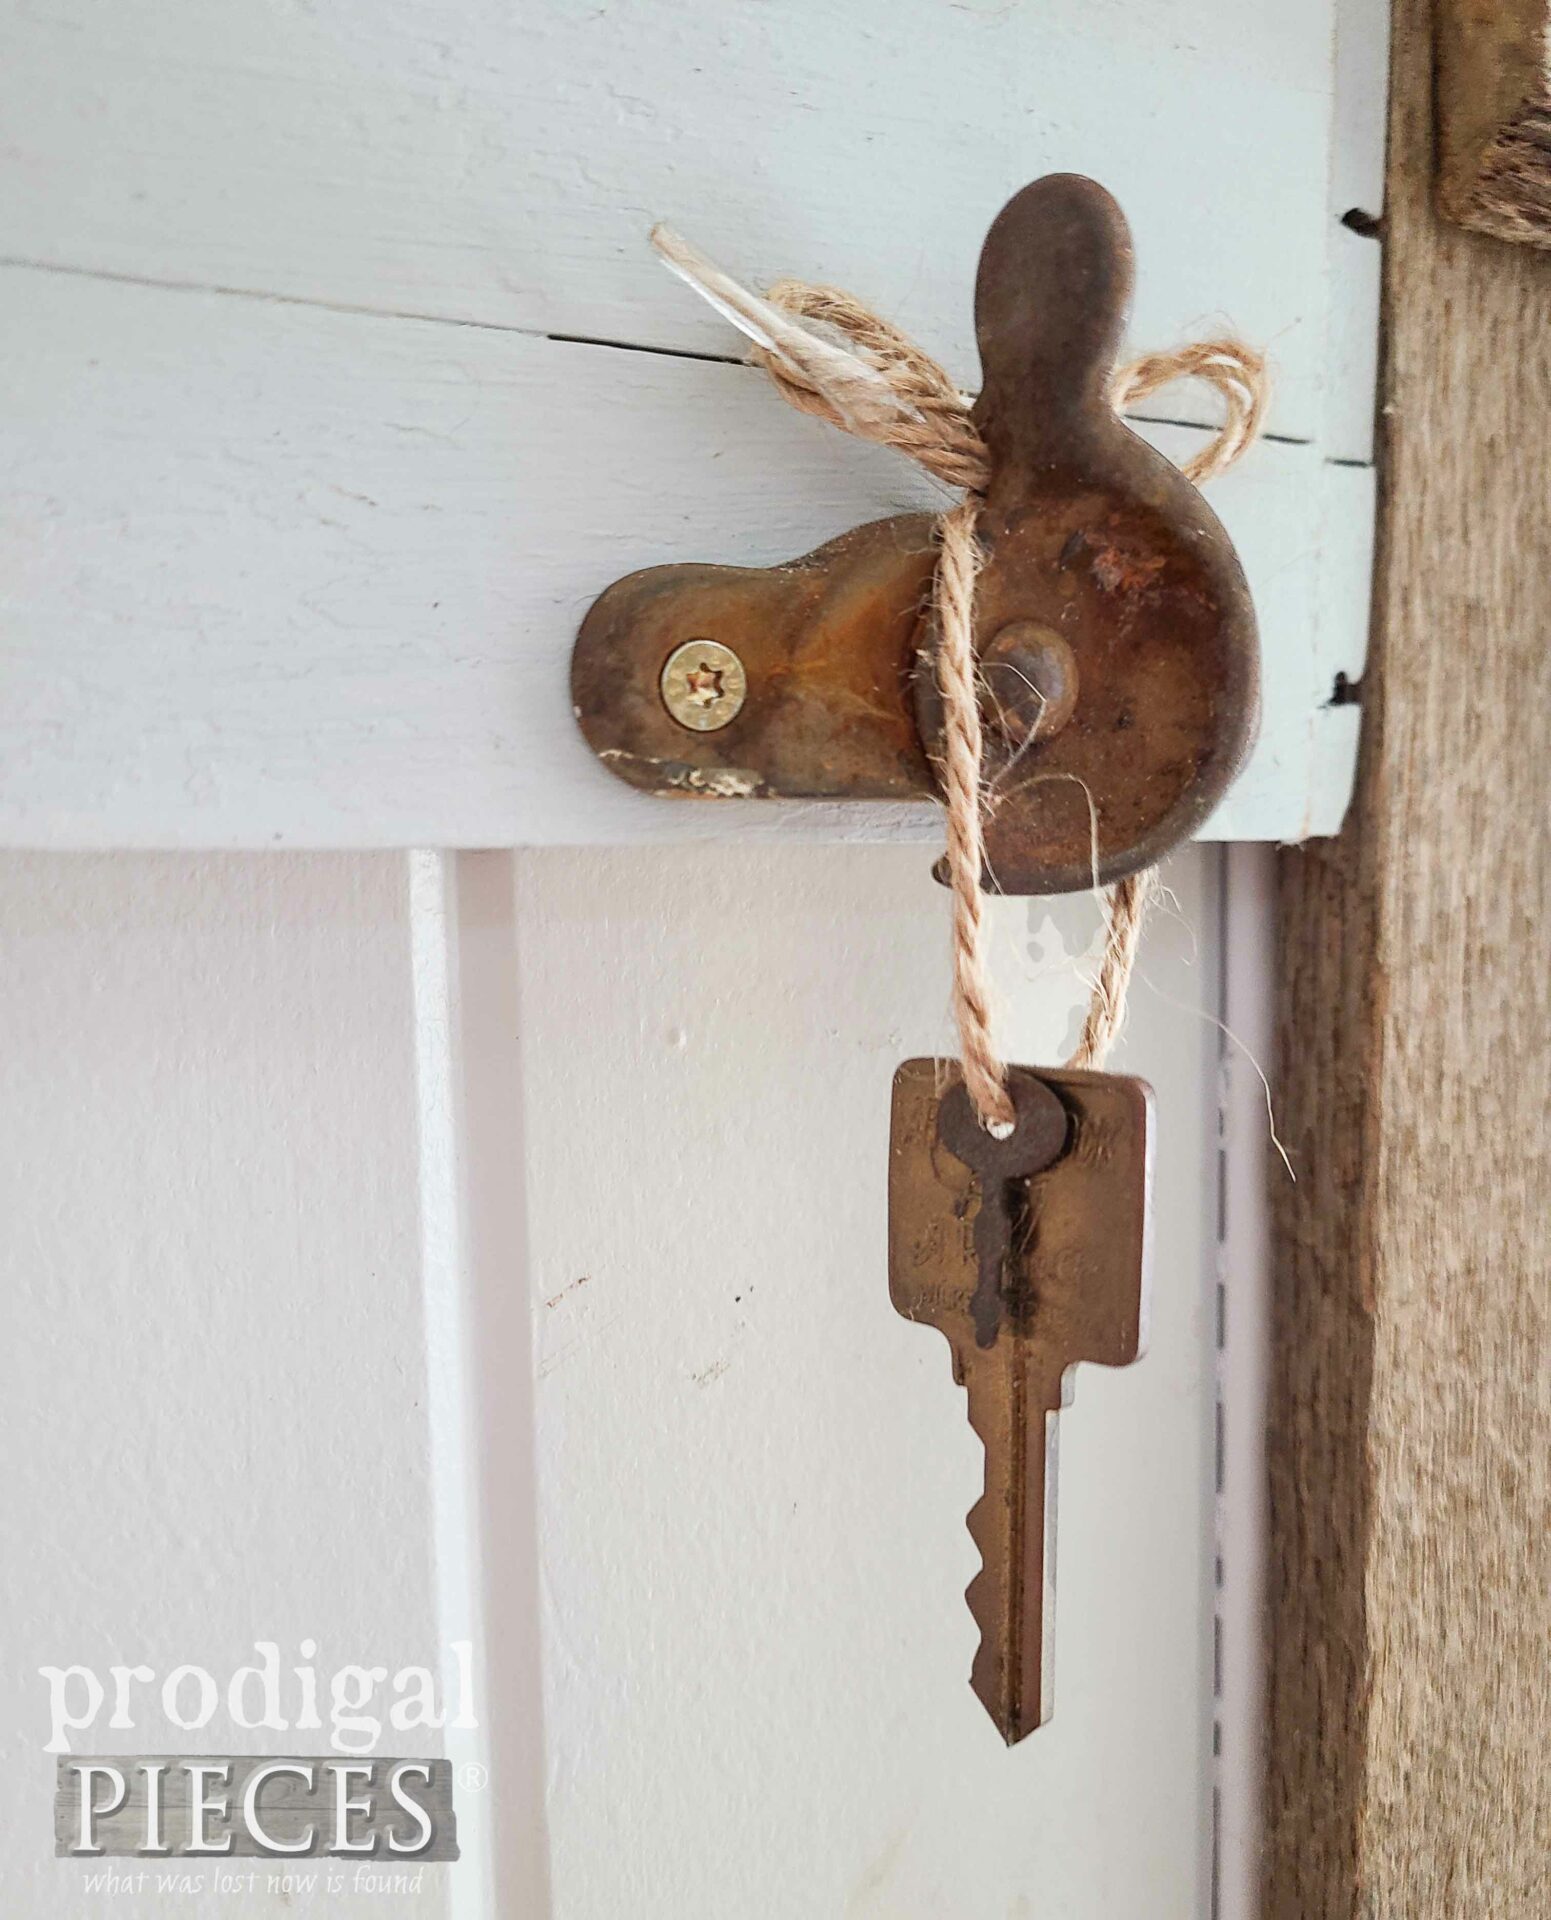
As you can imagine, there’s many ways I can run with this, but I had some other “keepsakes” in my stash that I want to make use of as well. For instance, I have these antique knobs and keys waiting for their debut on my salvaged coat rack.
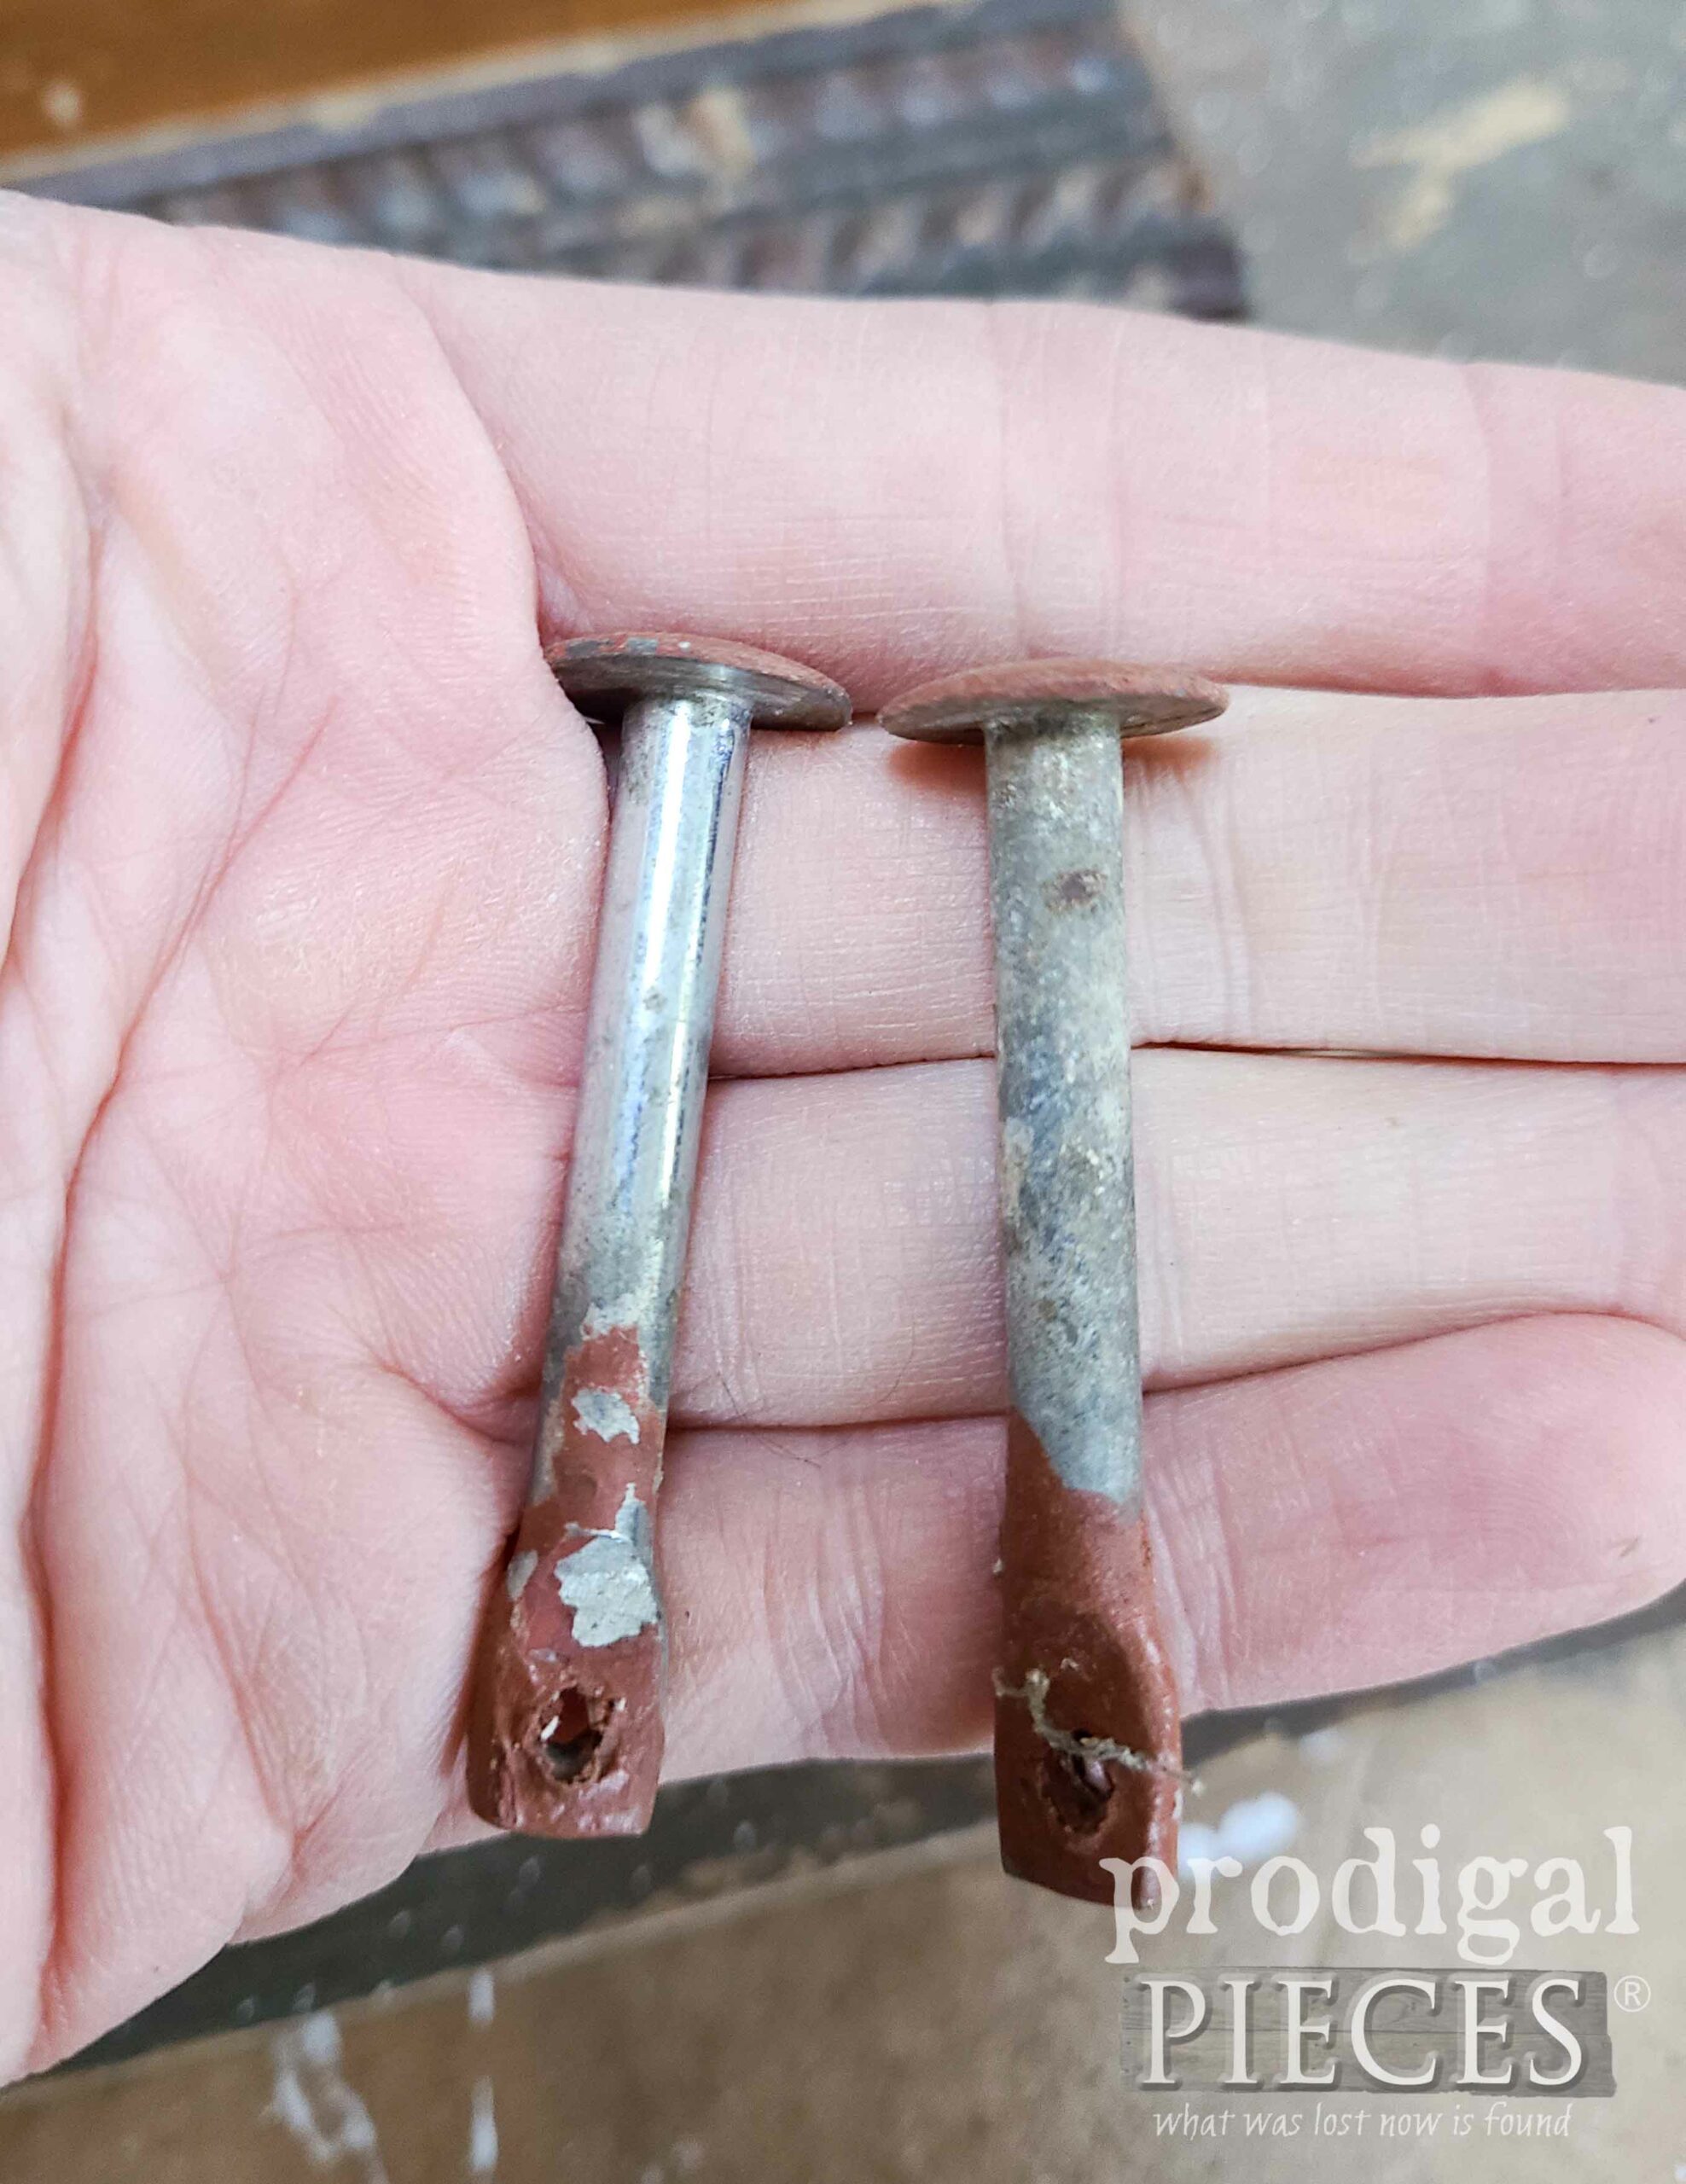
I assembled the bed board with the dresser trim on top and the carved piece glued on the front top. Now, in order to make those knobs supportive, I need something to hold them through the board and into the back side. It just so happens that I have these pins from a patio chair I yanked off the side of the road and salvaged the hardware. {{woot, woot}}
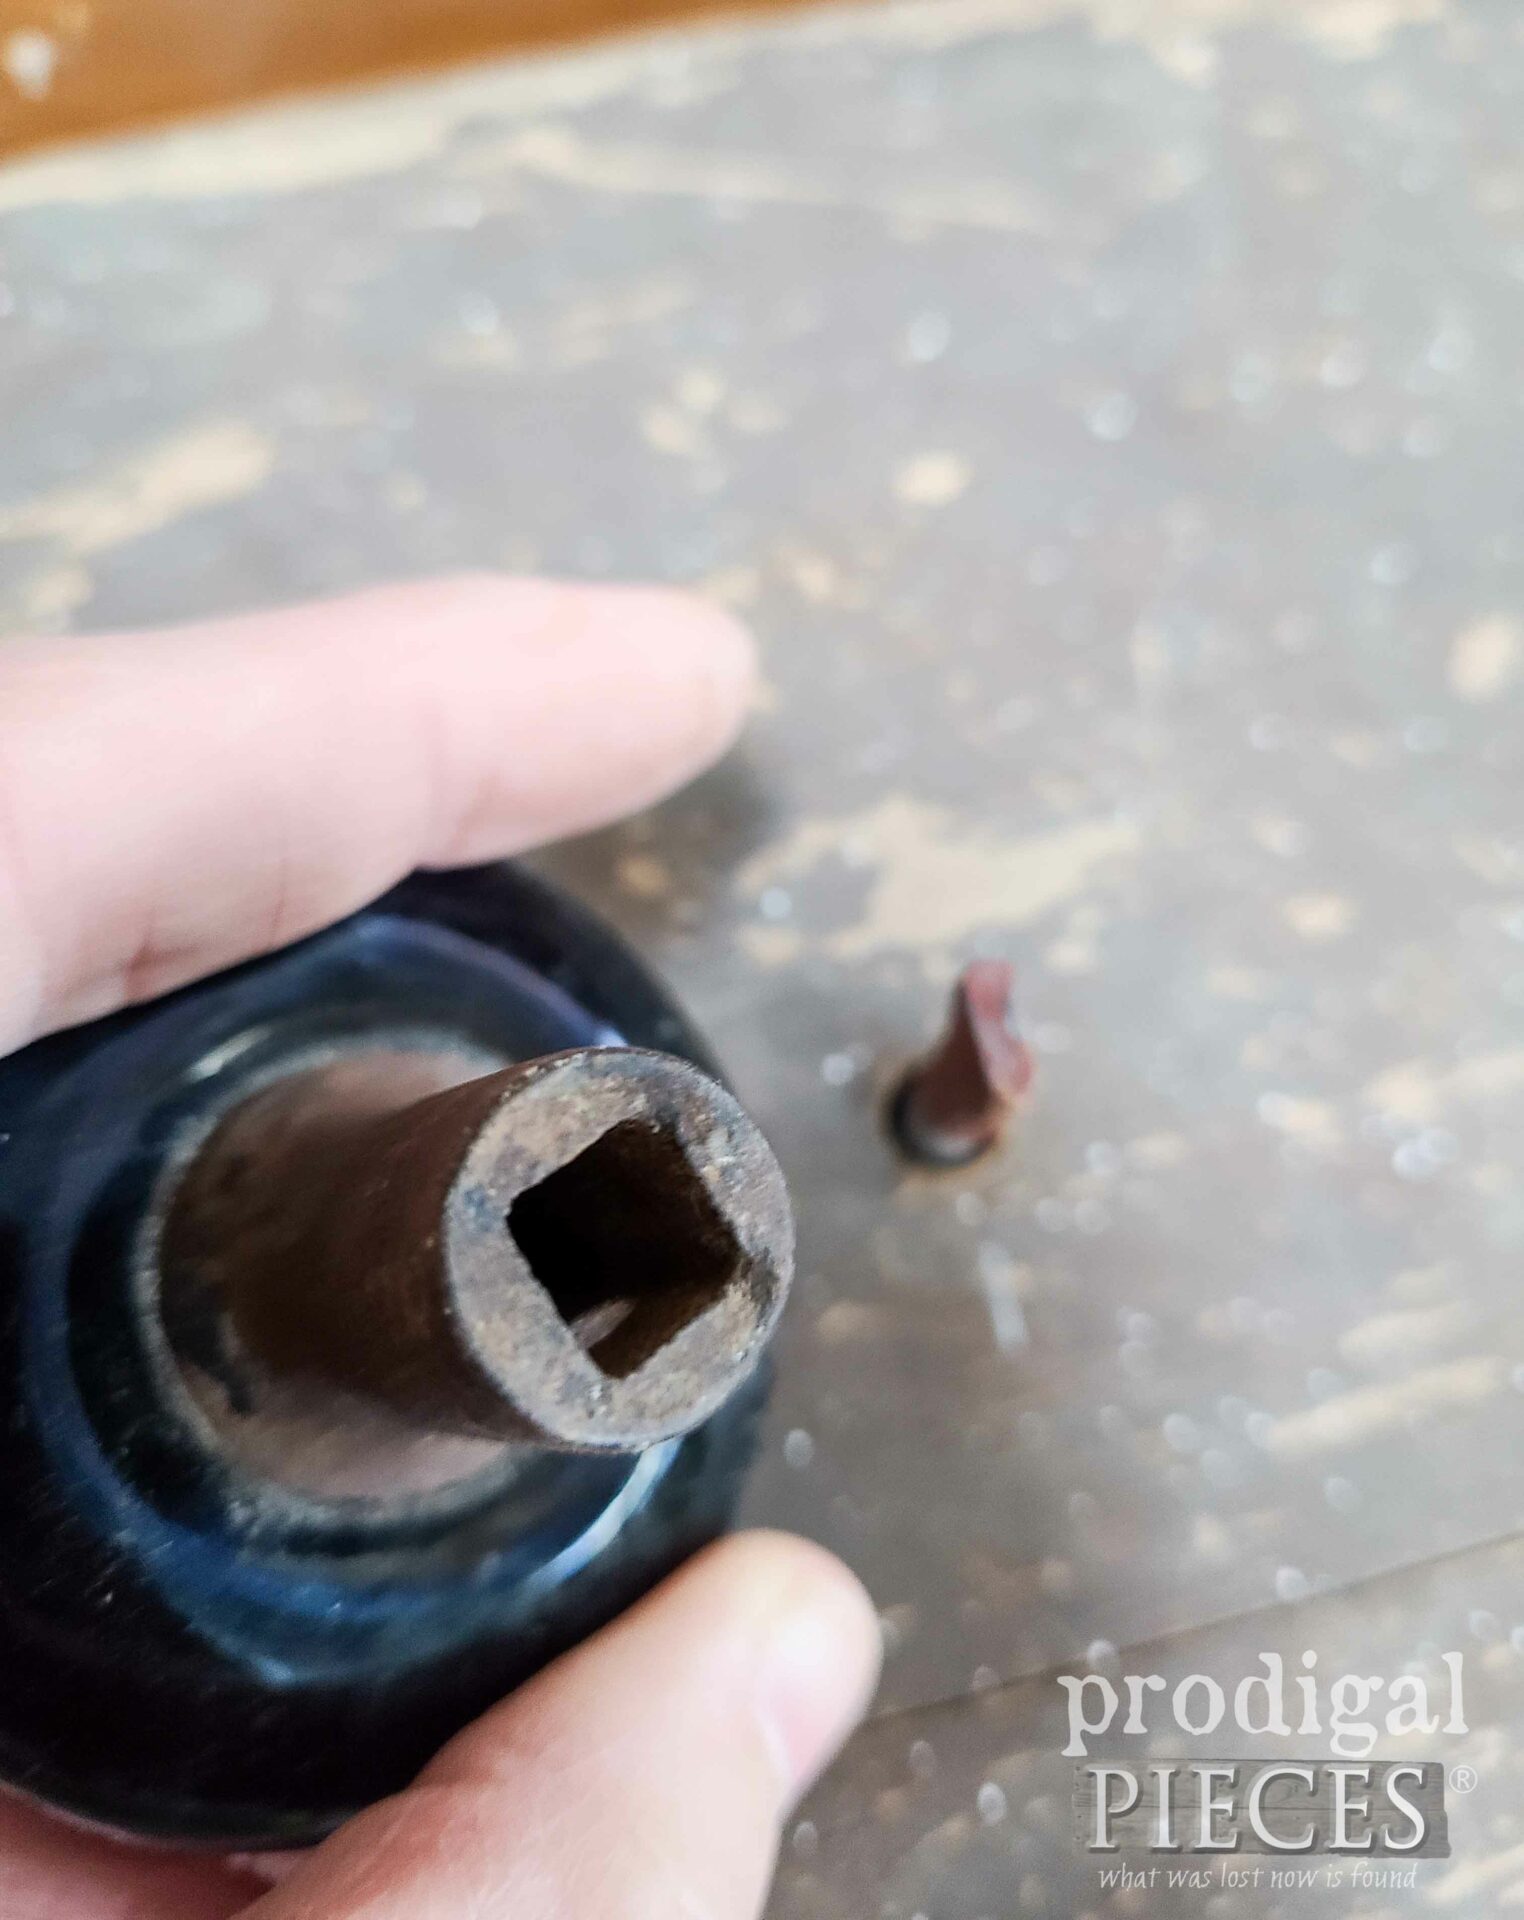
In order to make this work, I use my drill, mark where I want the knobs and insert these in from behind. Then, I use e6000 glue to go in the hole, around the head where it meets the board. In addition, I smear it all over the protruding end so it can adhere to the square knob opening.
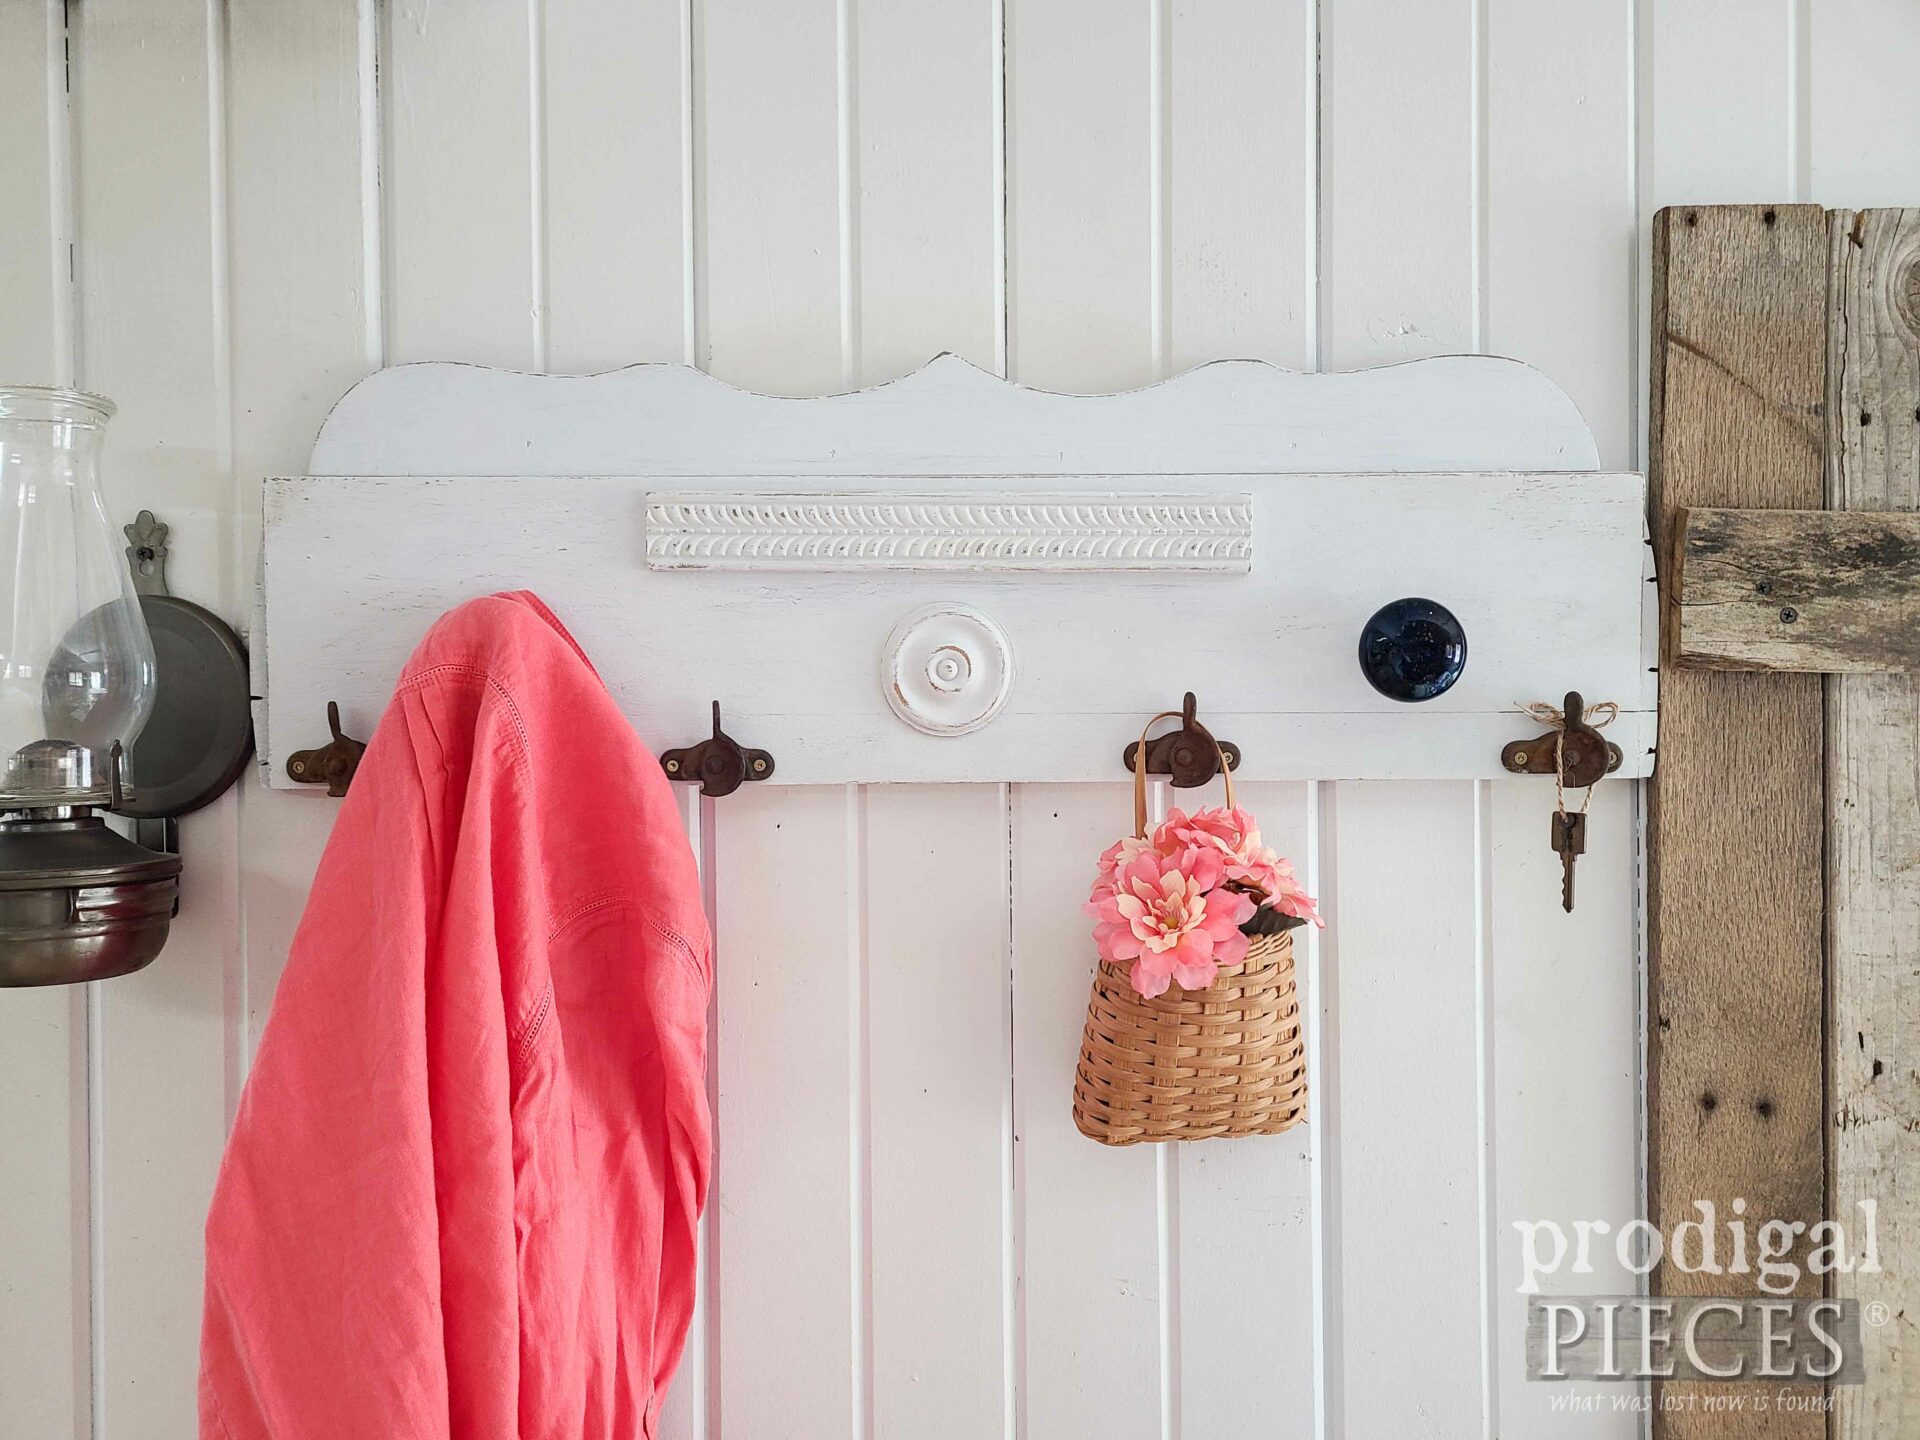
Okay… so here’s where I messed up. My original plan is to bend the keys into hooks so you can hang keys on them. However, in my haste, I snapped the keys off. blah. Instead, I head back out to my #trashure stash and pull out antique window sash latches covered in rusty patina goodness.
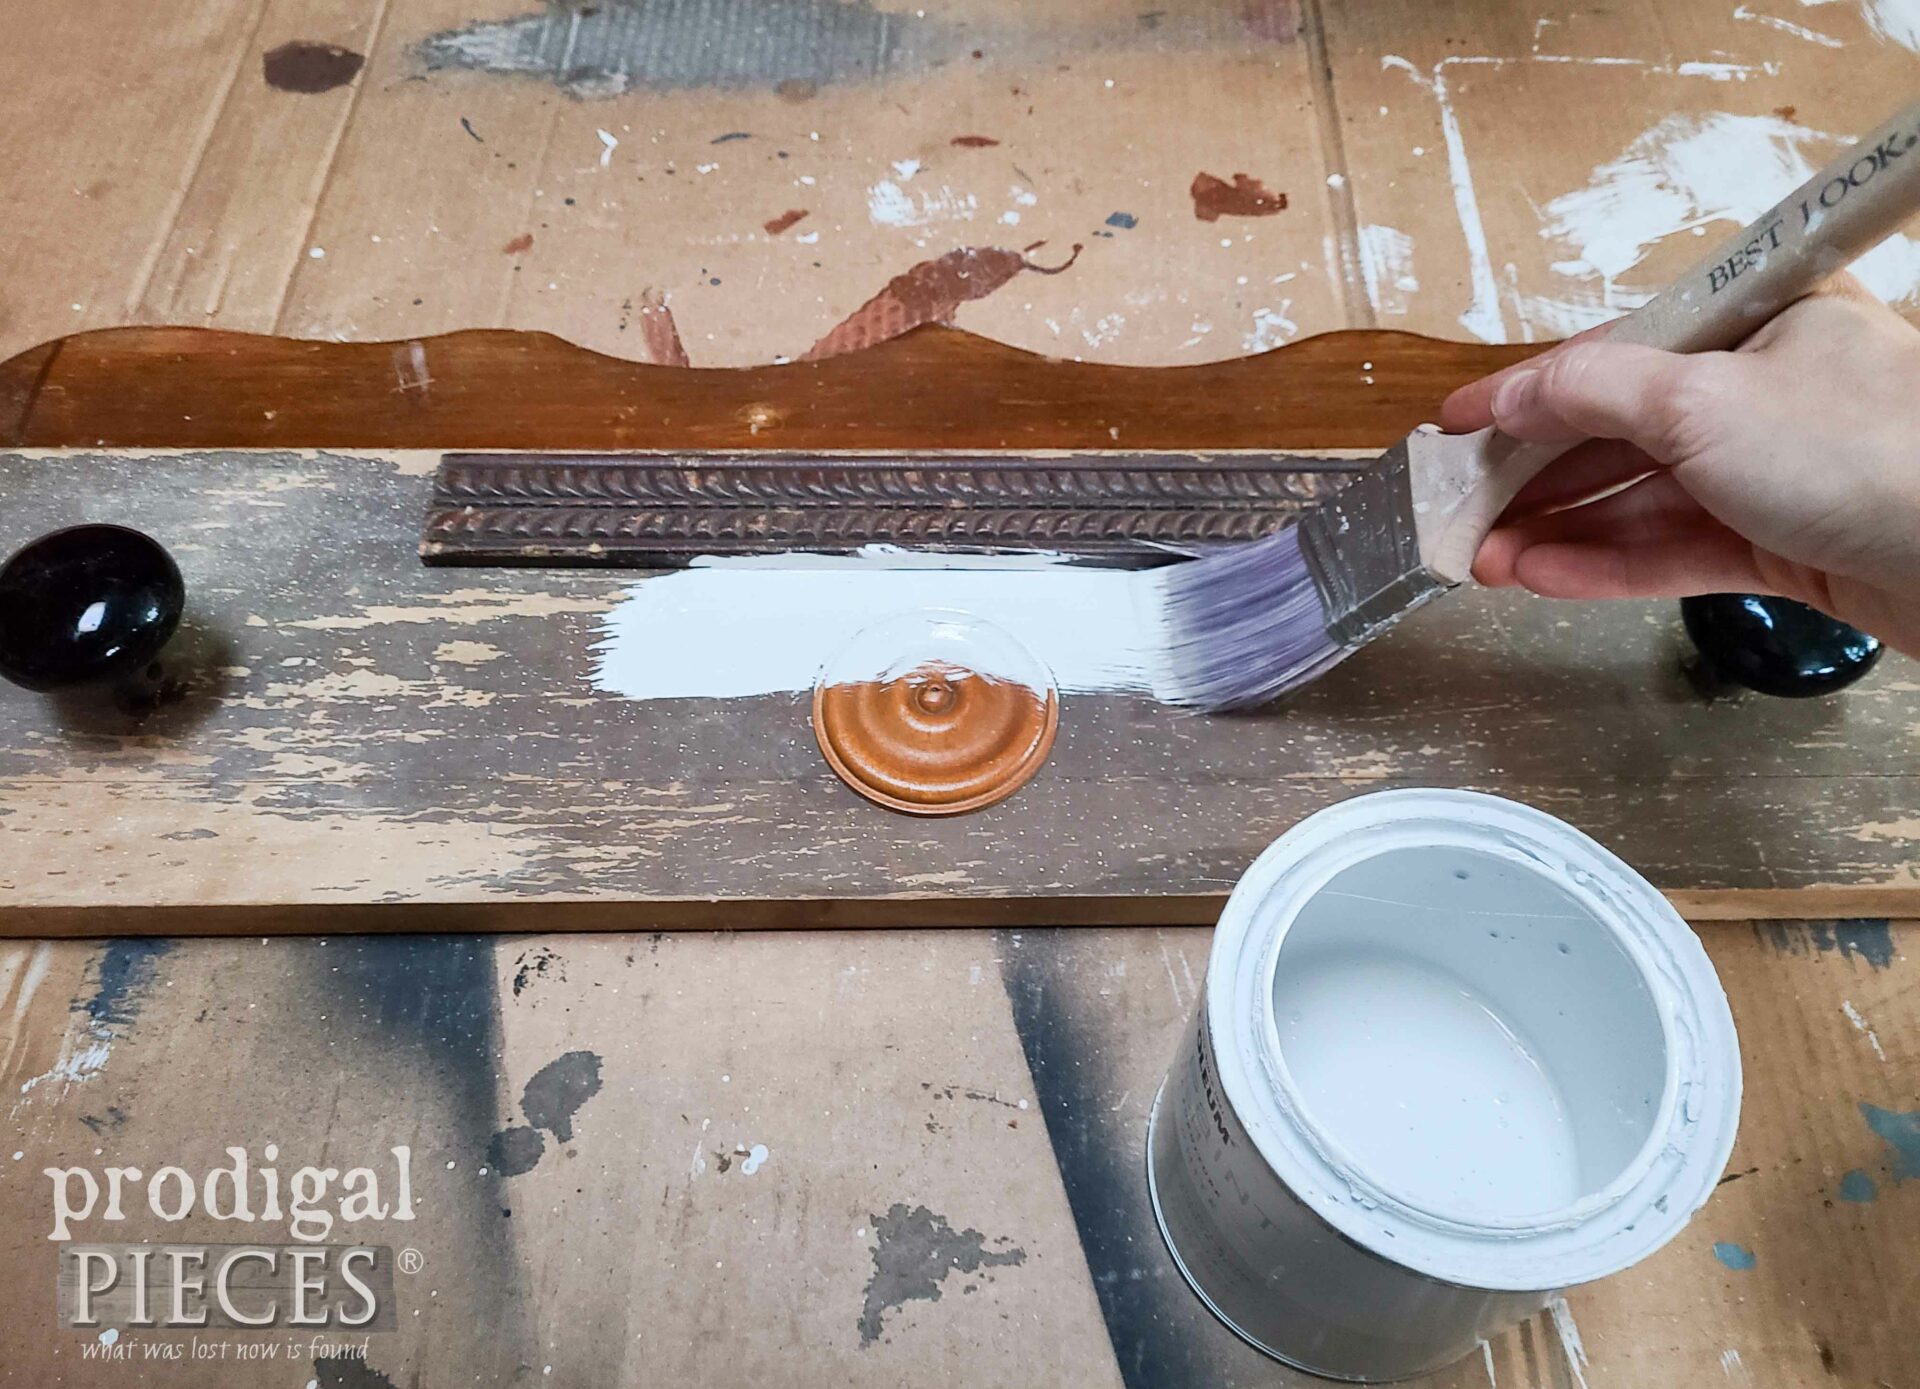
Before I can add those, I need to make this all cohesive. Out comes my white milk paint and I give the entire thing two coats of paint letting cure in between.
HANG ON
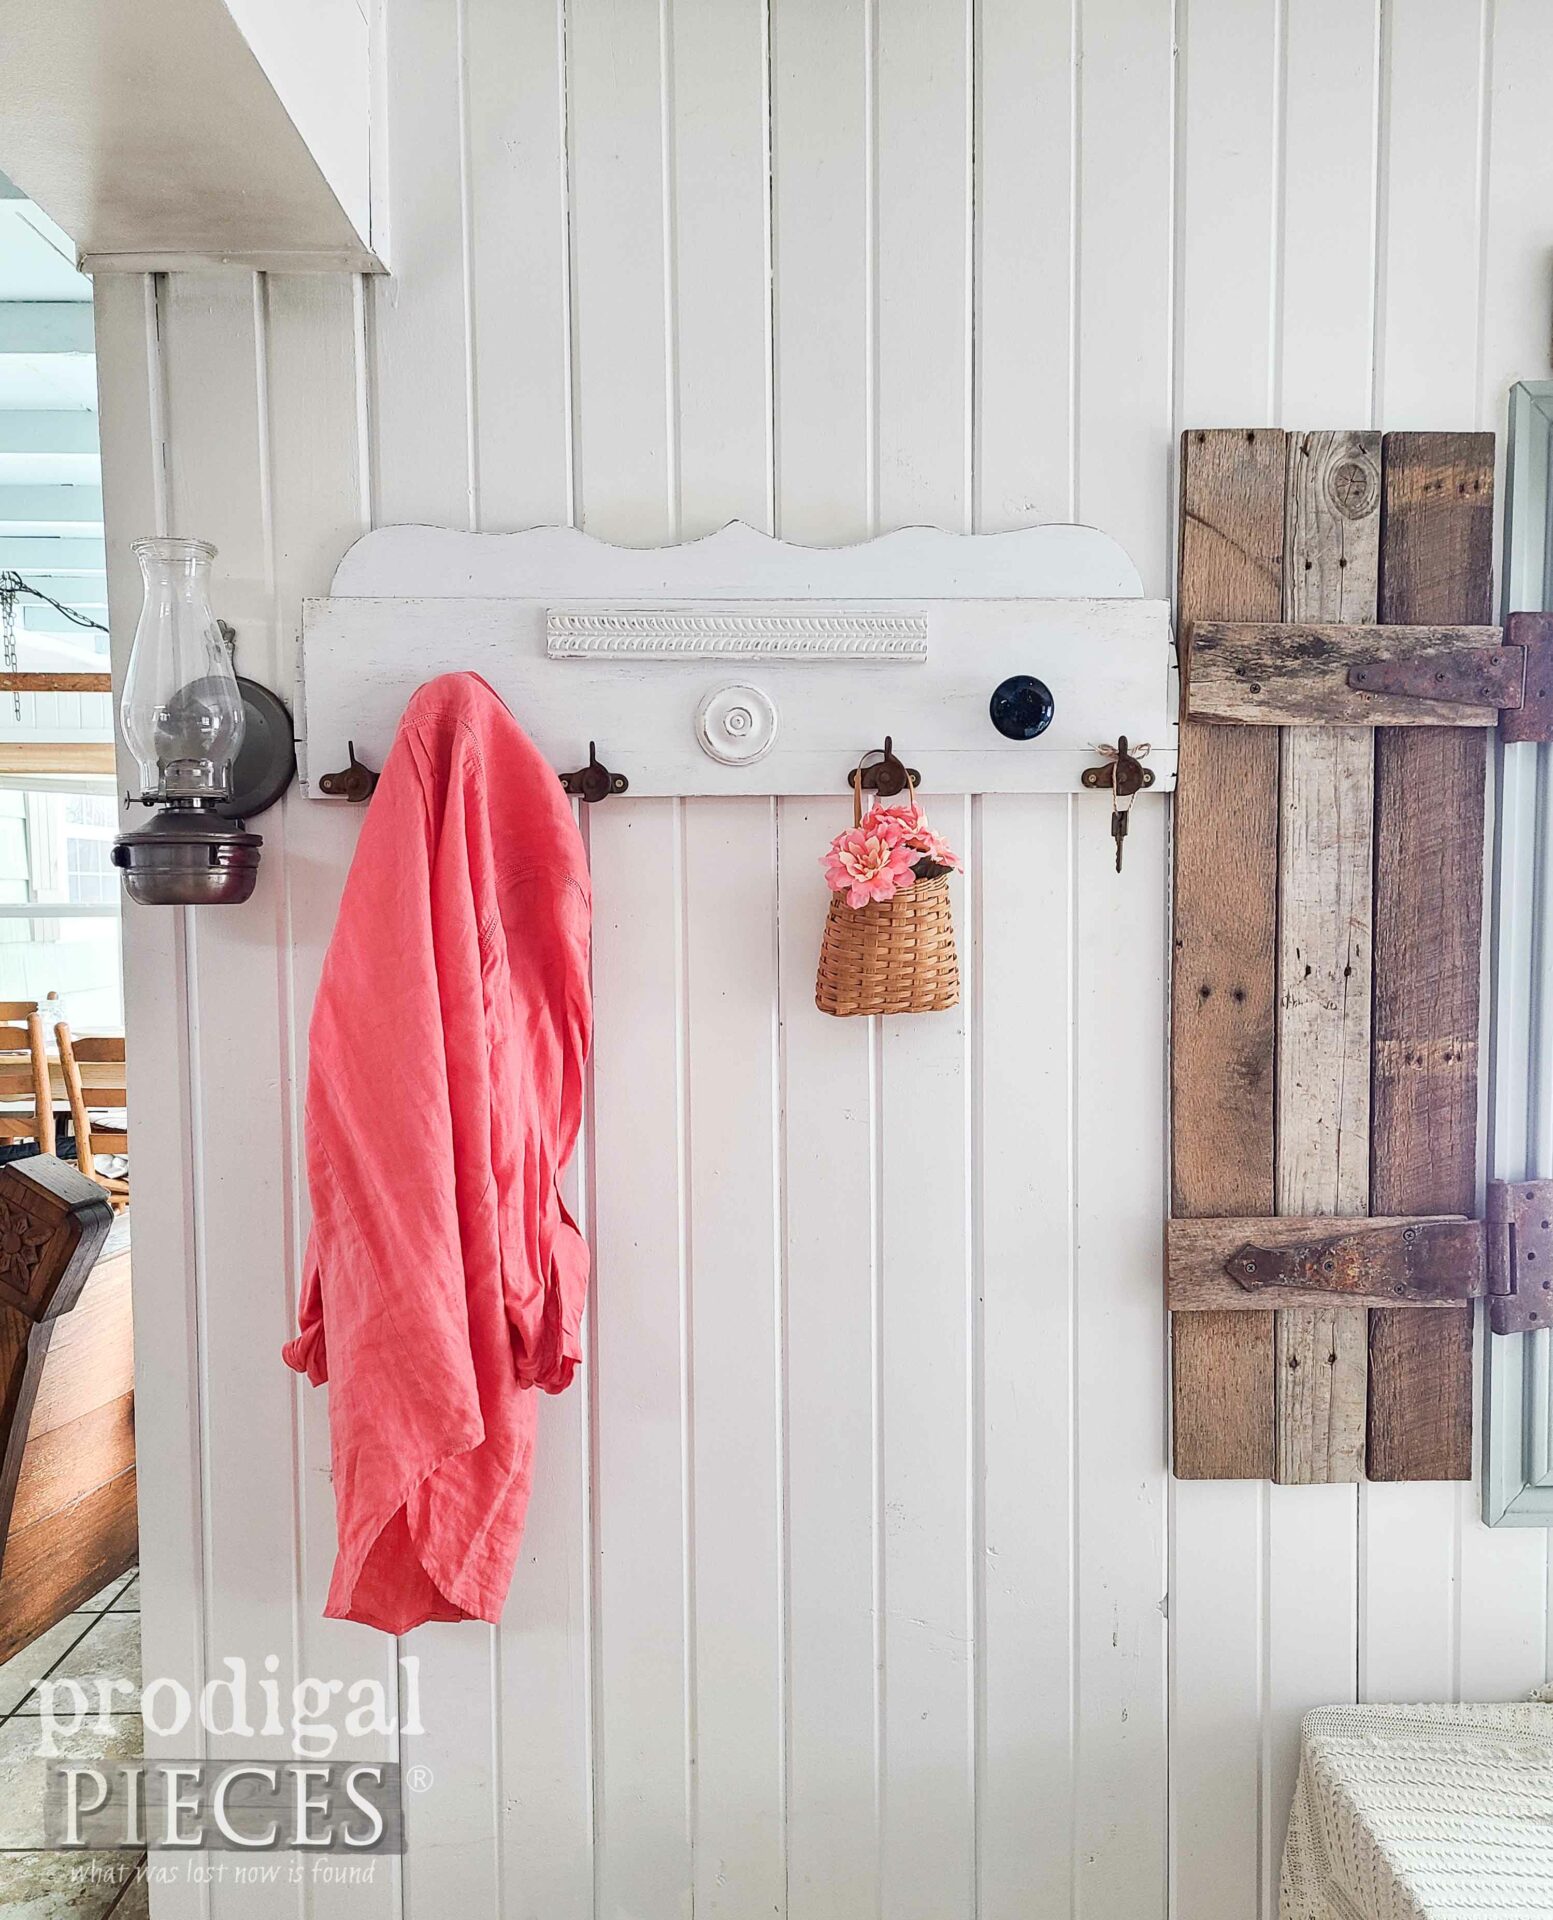
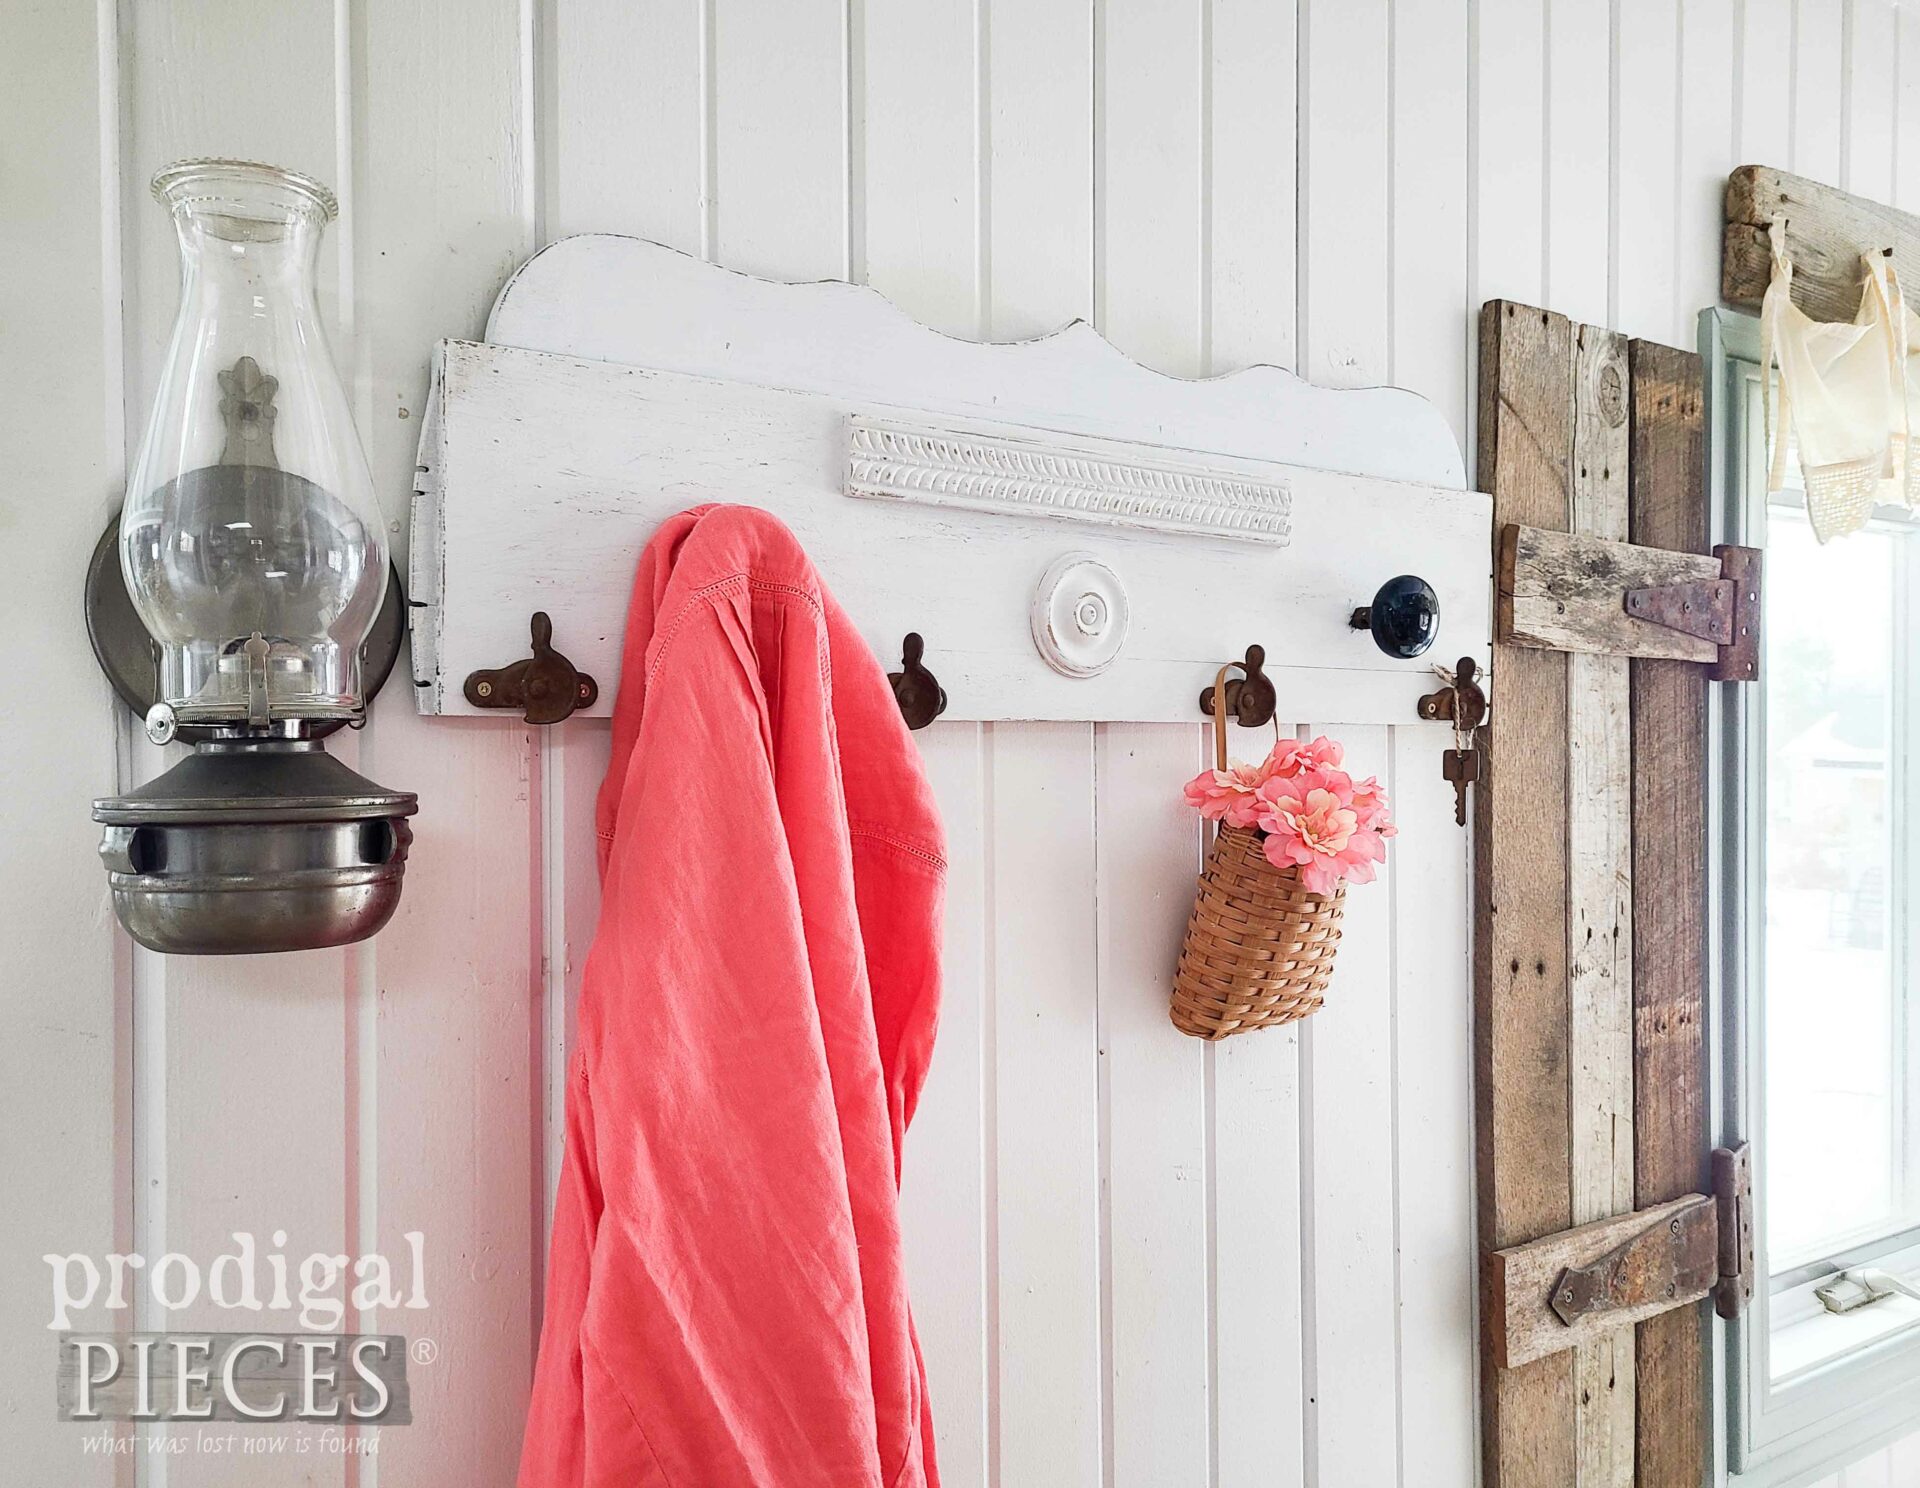
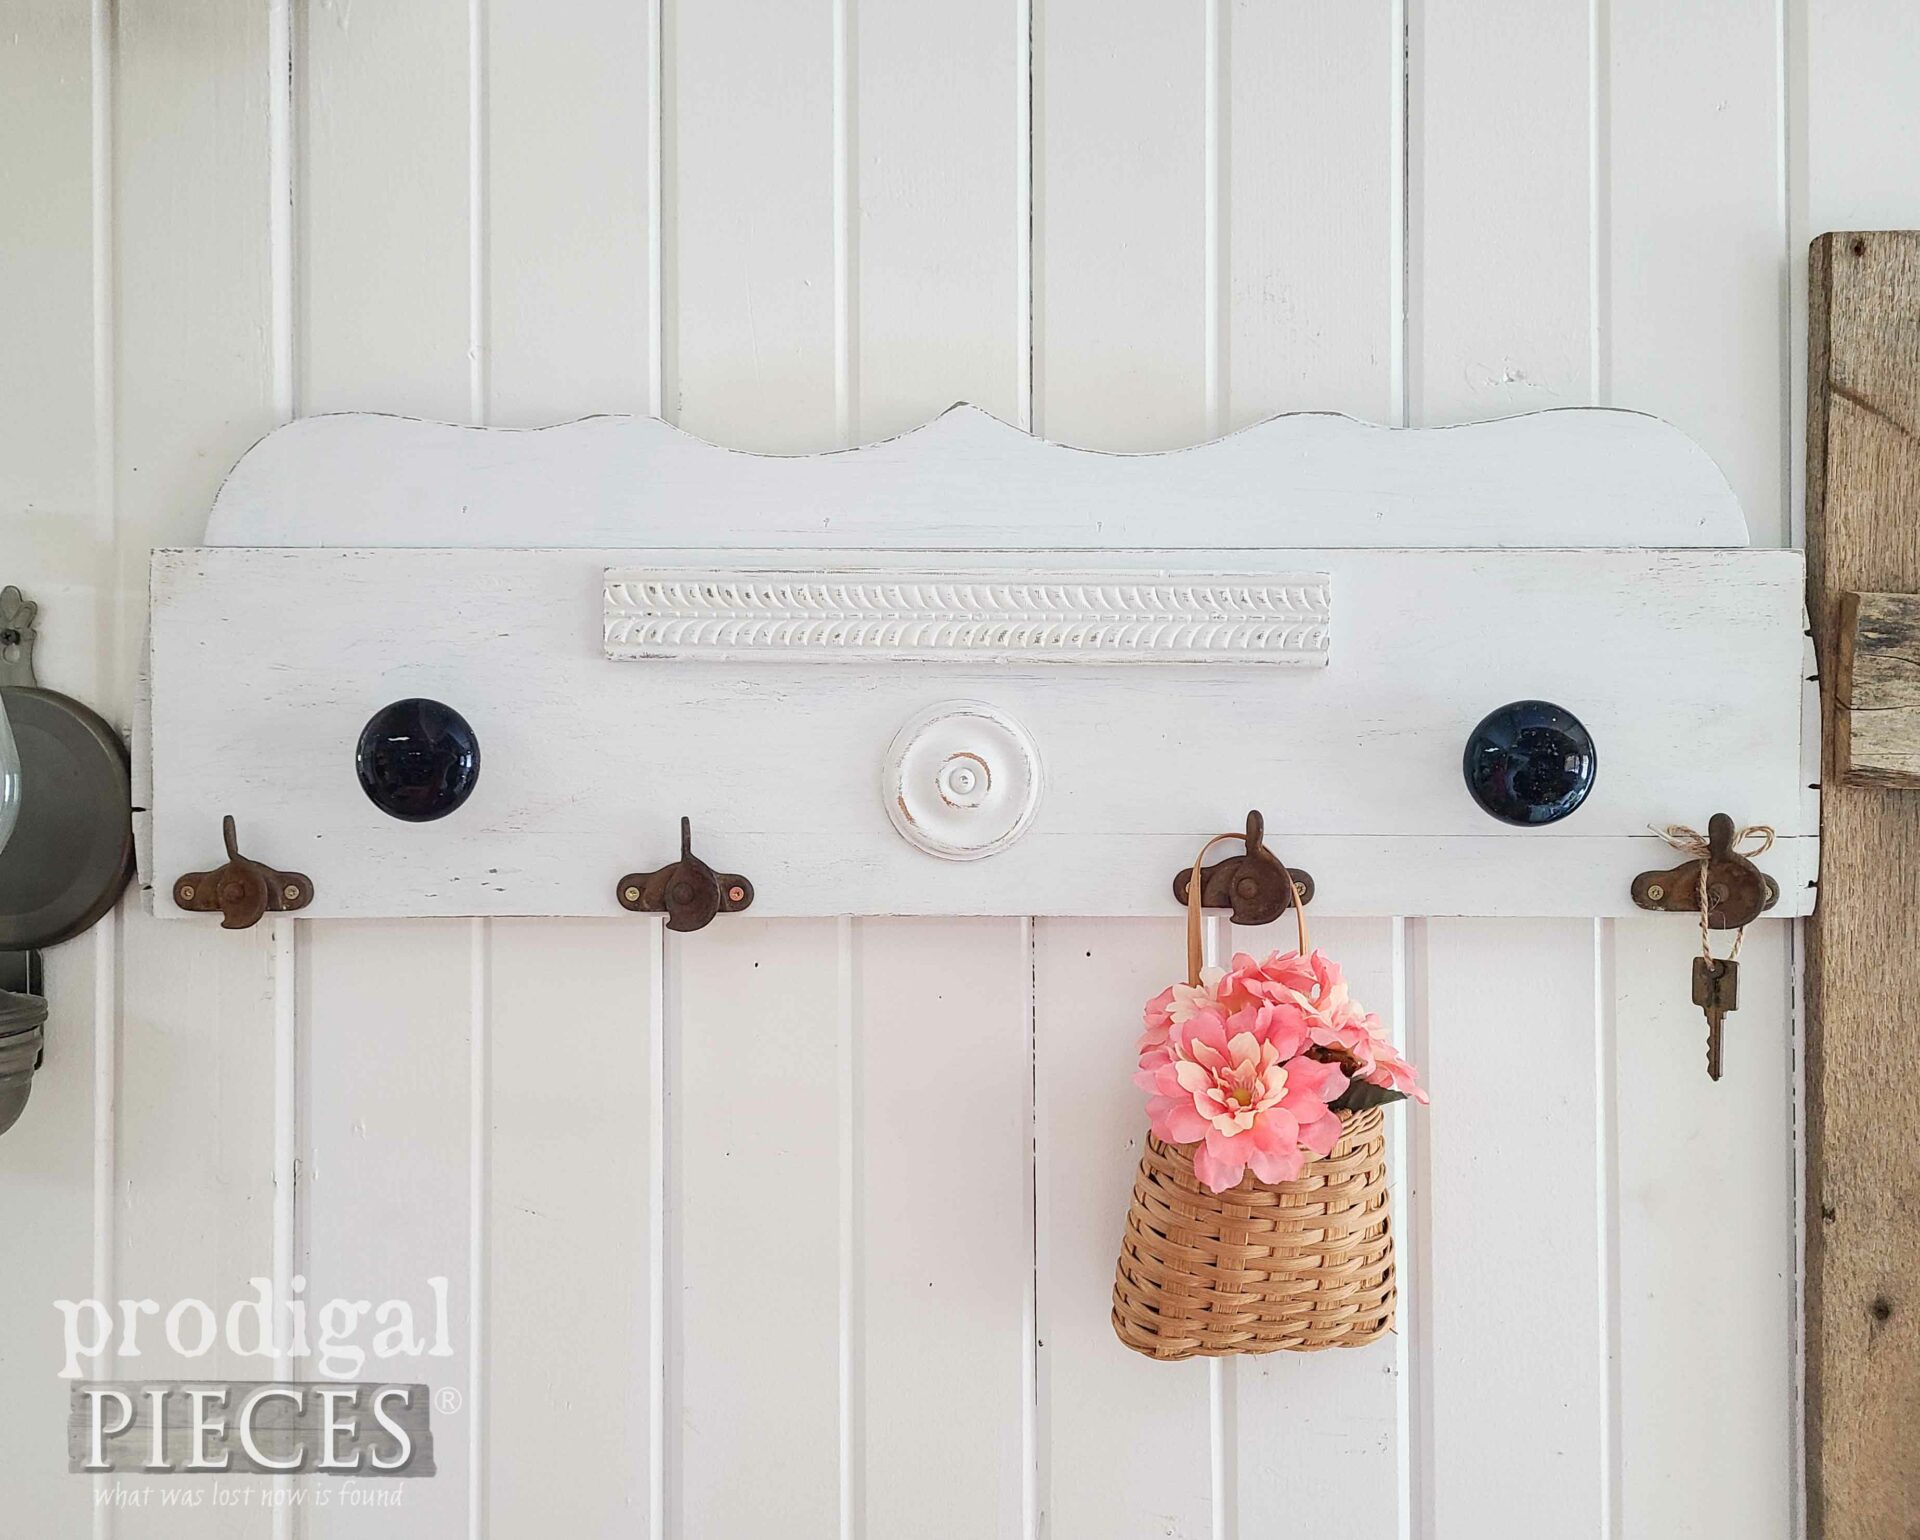
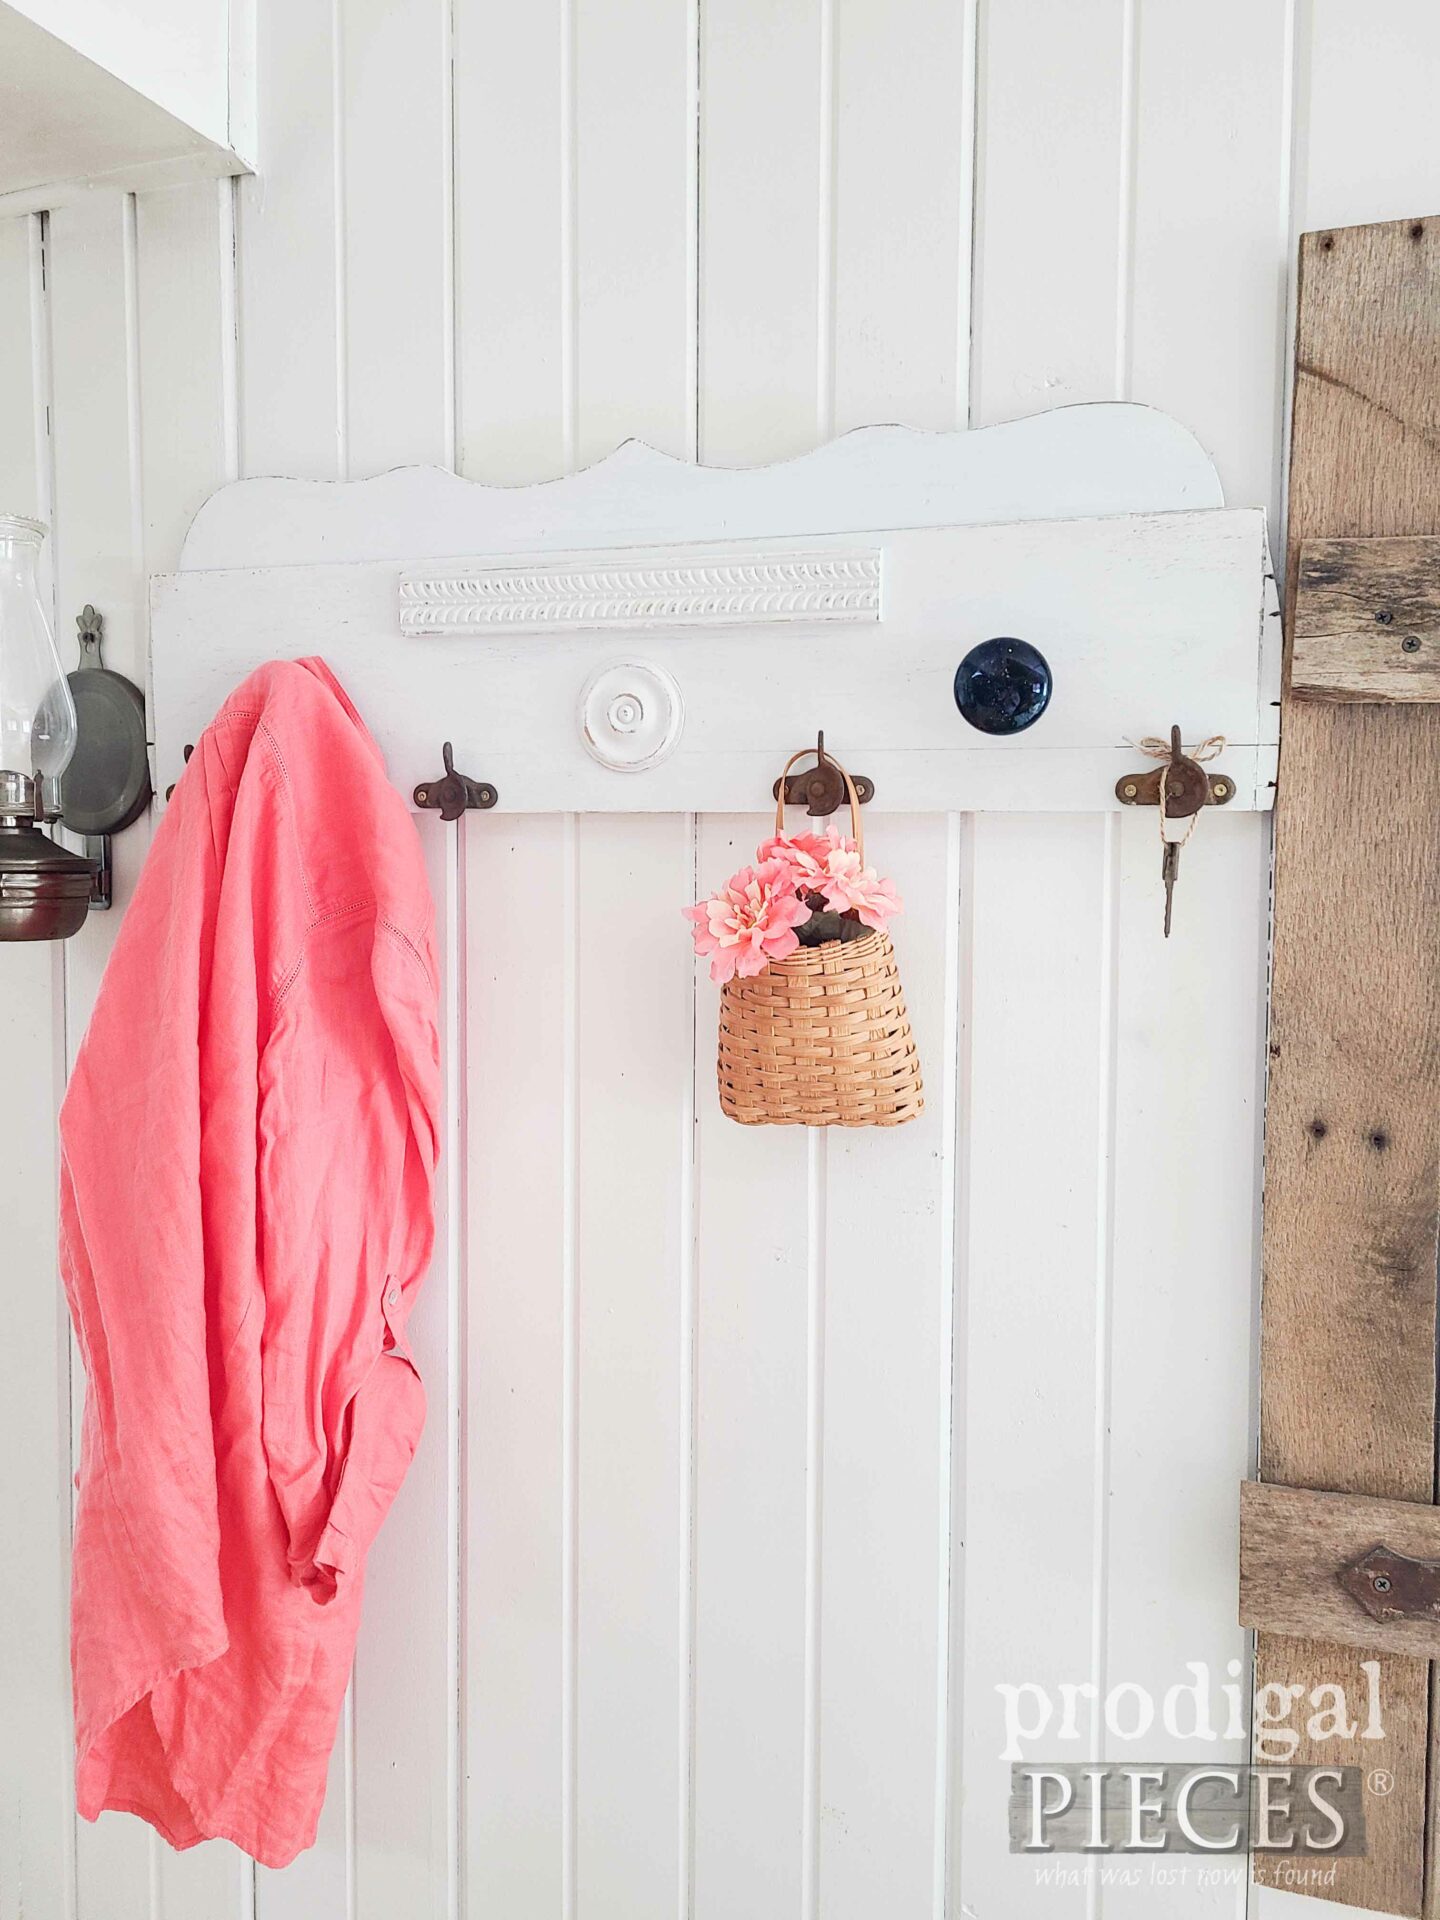
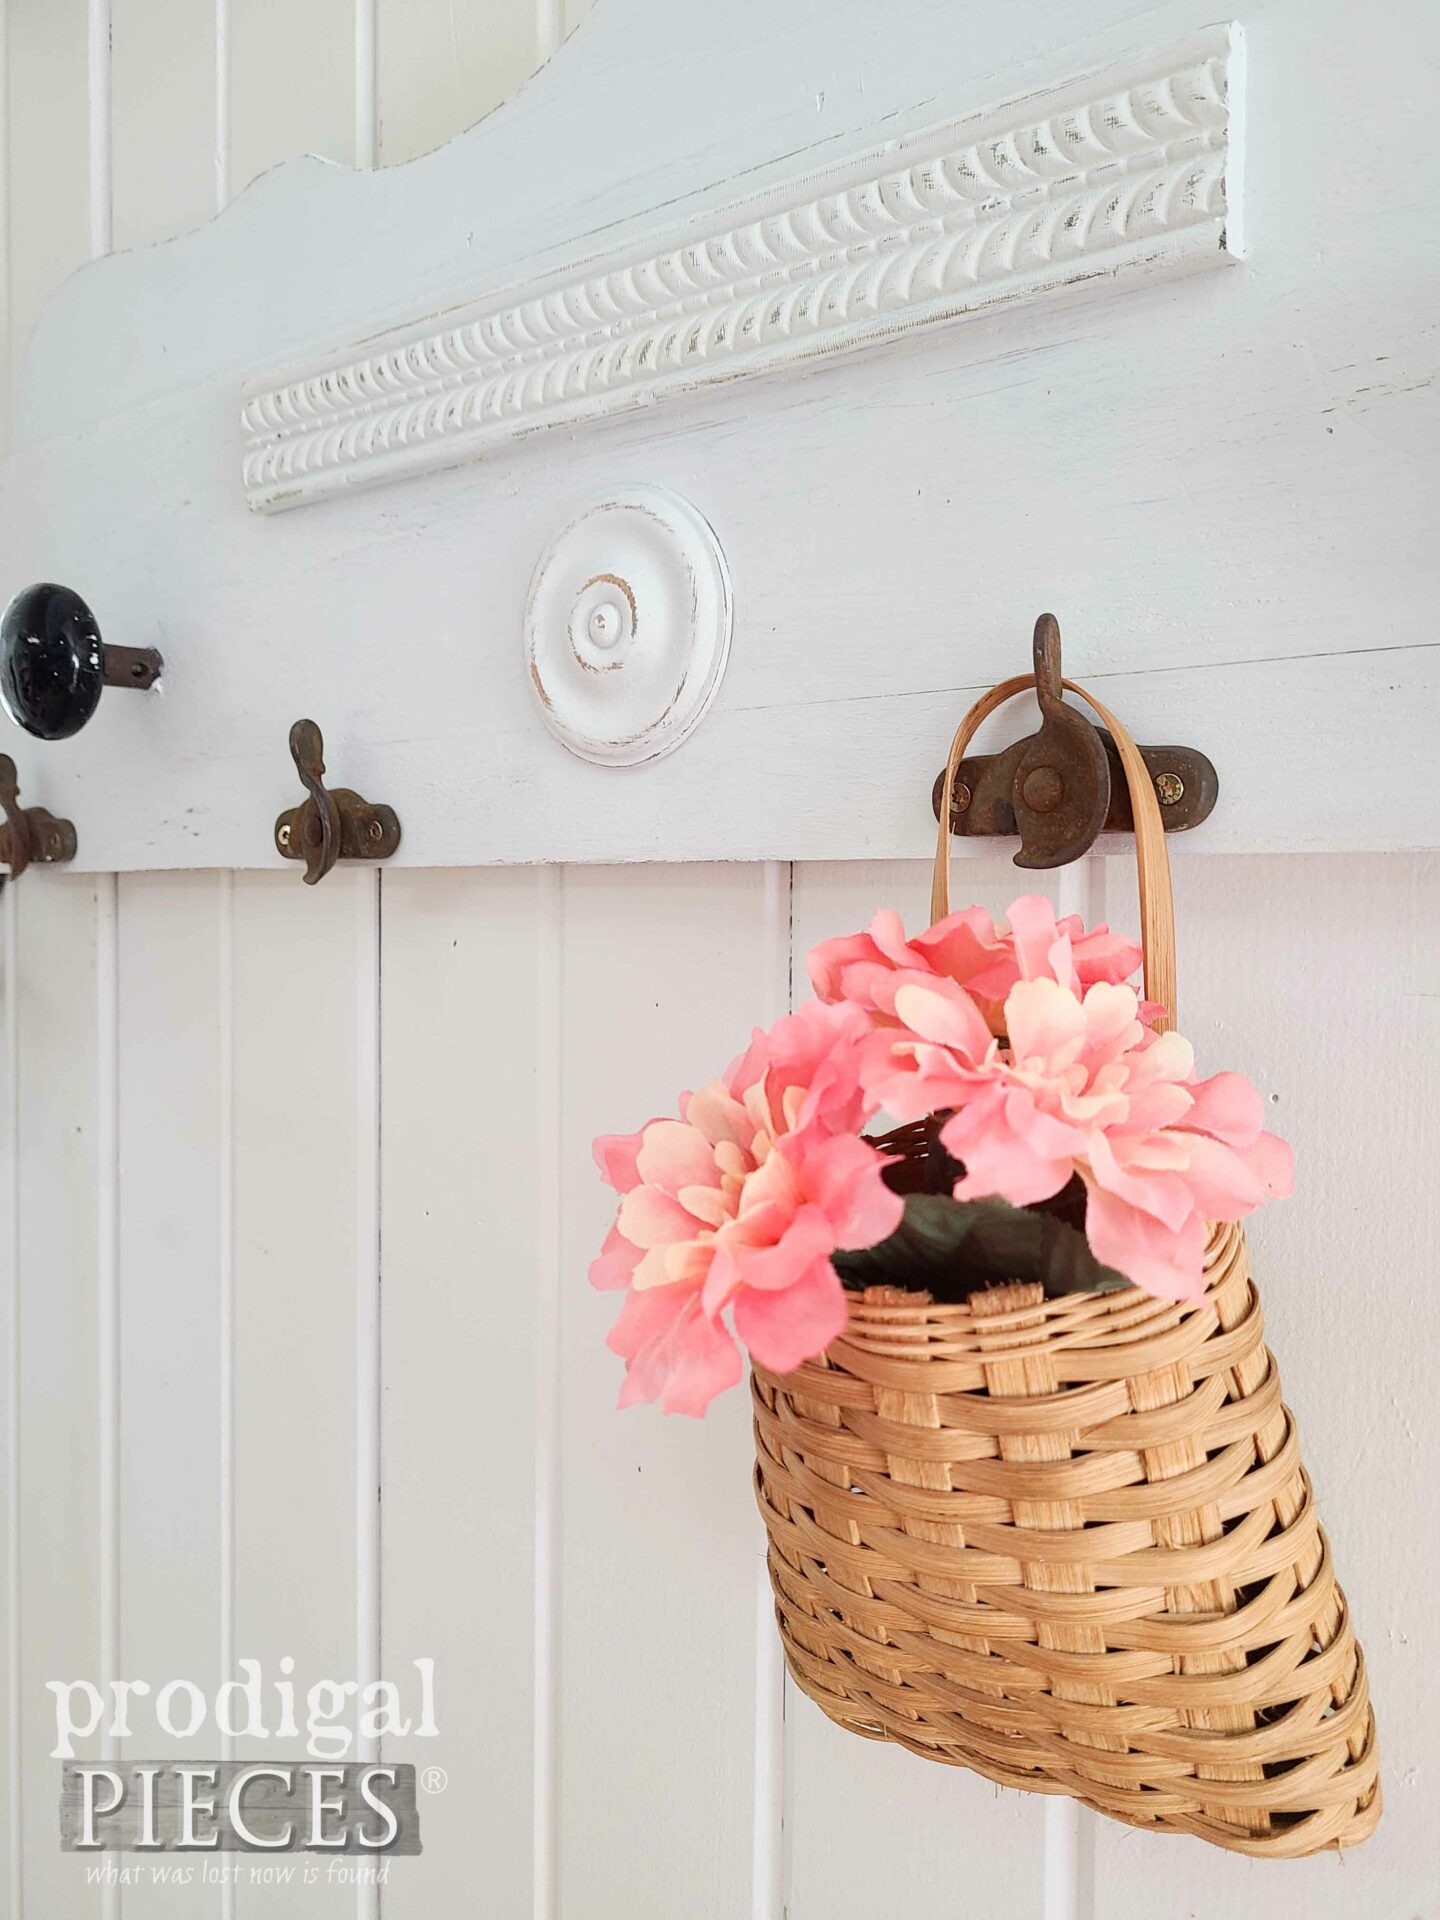
Last, but certainly not least, here is my salvaged coat rack ready to hang with you.
It’s unique, quirky, fun, and useful too. I’m not sure if my favorite part is all the pieces I used from my wood stash or the odds and ends bits. What say you?
That middle round bullseye piece came off of an antique Art Deco waterfall chest of drawers. I tell ya, having a stash is every DIYers pot of gold.
What is more, I have made many coat/towel racks in my day and not one is alike. That makes my job so much fun!
If you’d like to make this part of your home story, you can find it and more in my online store.
SHARE
So tell me, have you ever created something from your salvaged finds? Leave me some comment love below and also pin and share to inspire others.
Before you go, be sure to sign up for my FREE newsletter to see my next DIY adventure. Until next time!



Leave a Reply