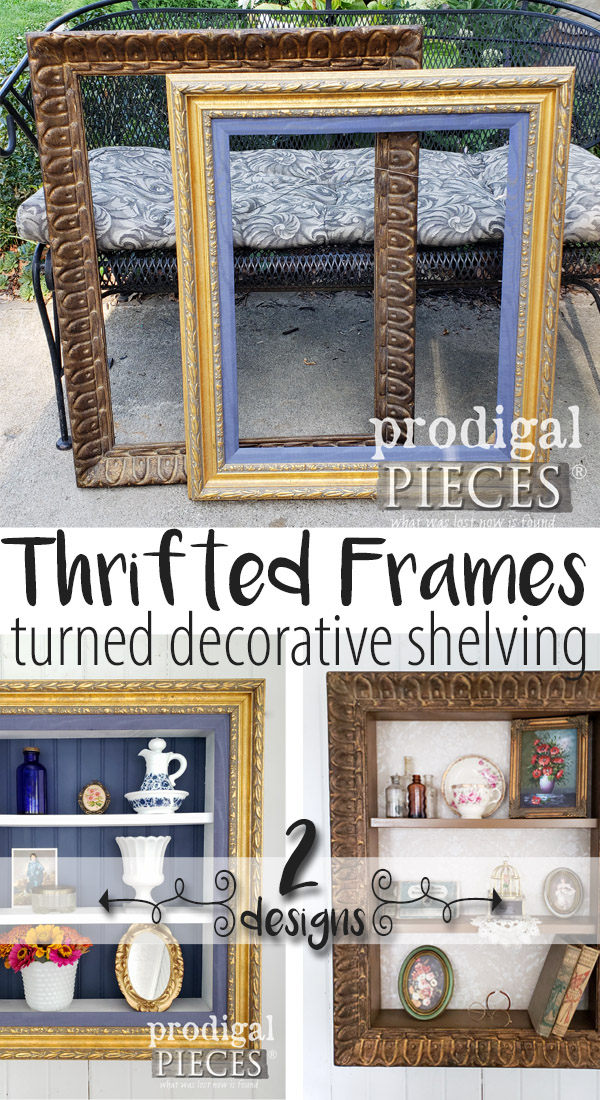
Definitely one of the most exciting part of my work is “The Hunt”. Ya know, the search for the misfit item or dated decor that just needs some love and rethinking. It keeps my noggin’ from getting moldy (I’m sure you all can relate) and can lead to oodles of DIY fun. As you well know, thrift store frames are donated by the plenty. Some are filled with art, others are left empty, but either way, they are potential, right?
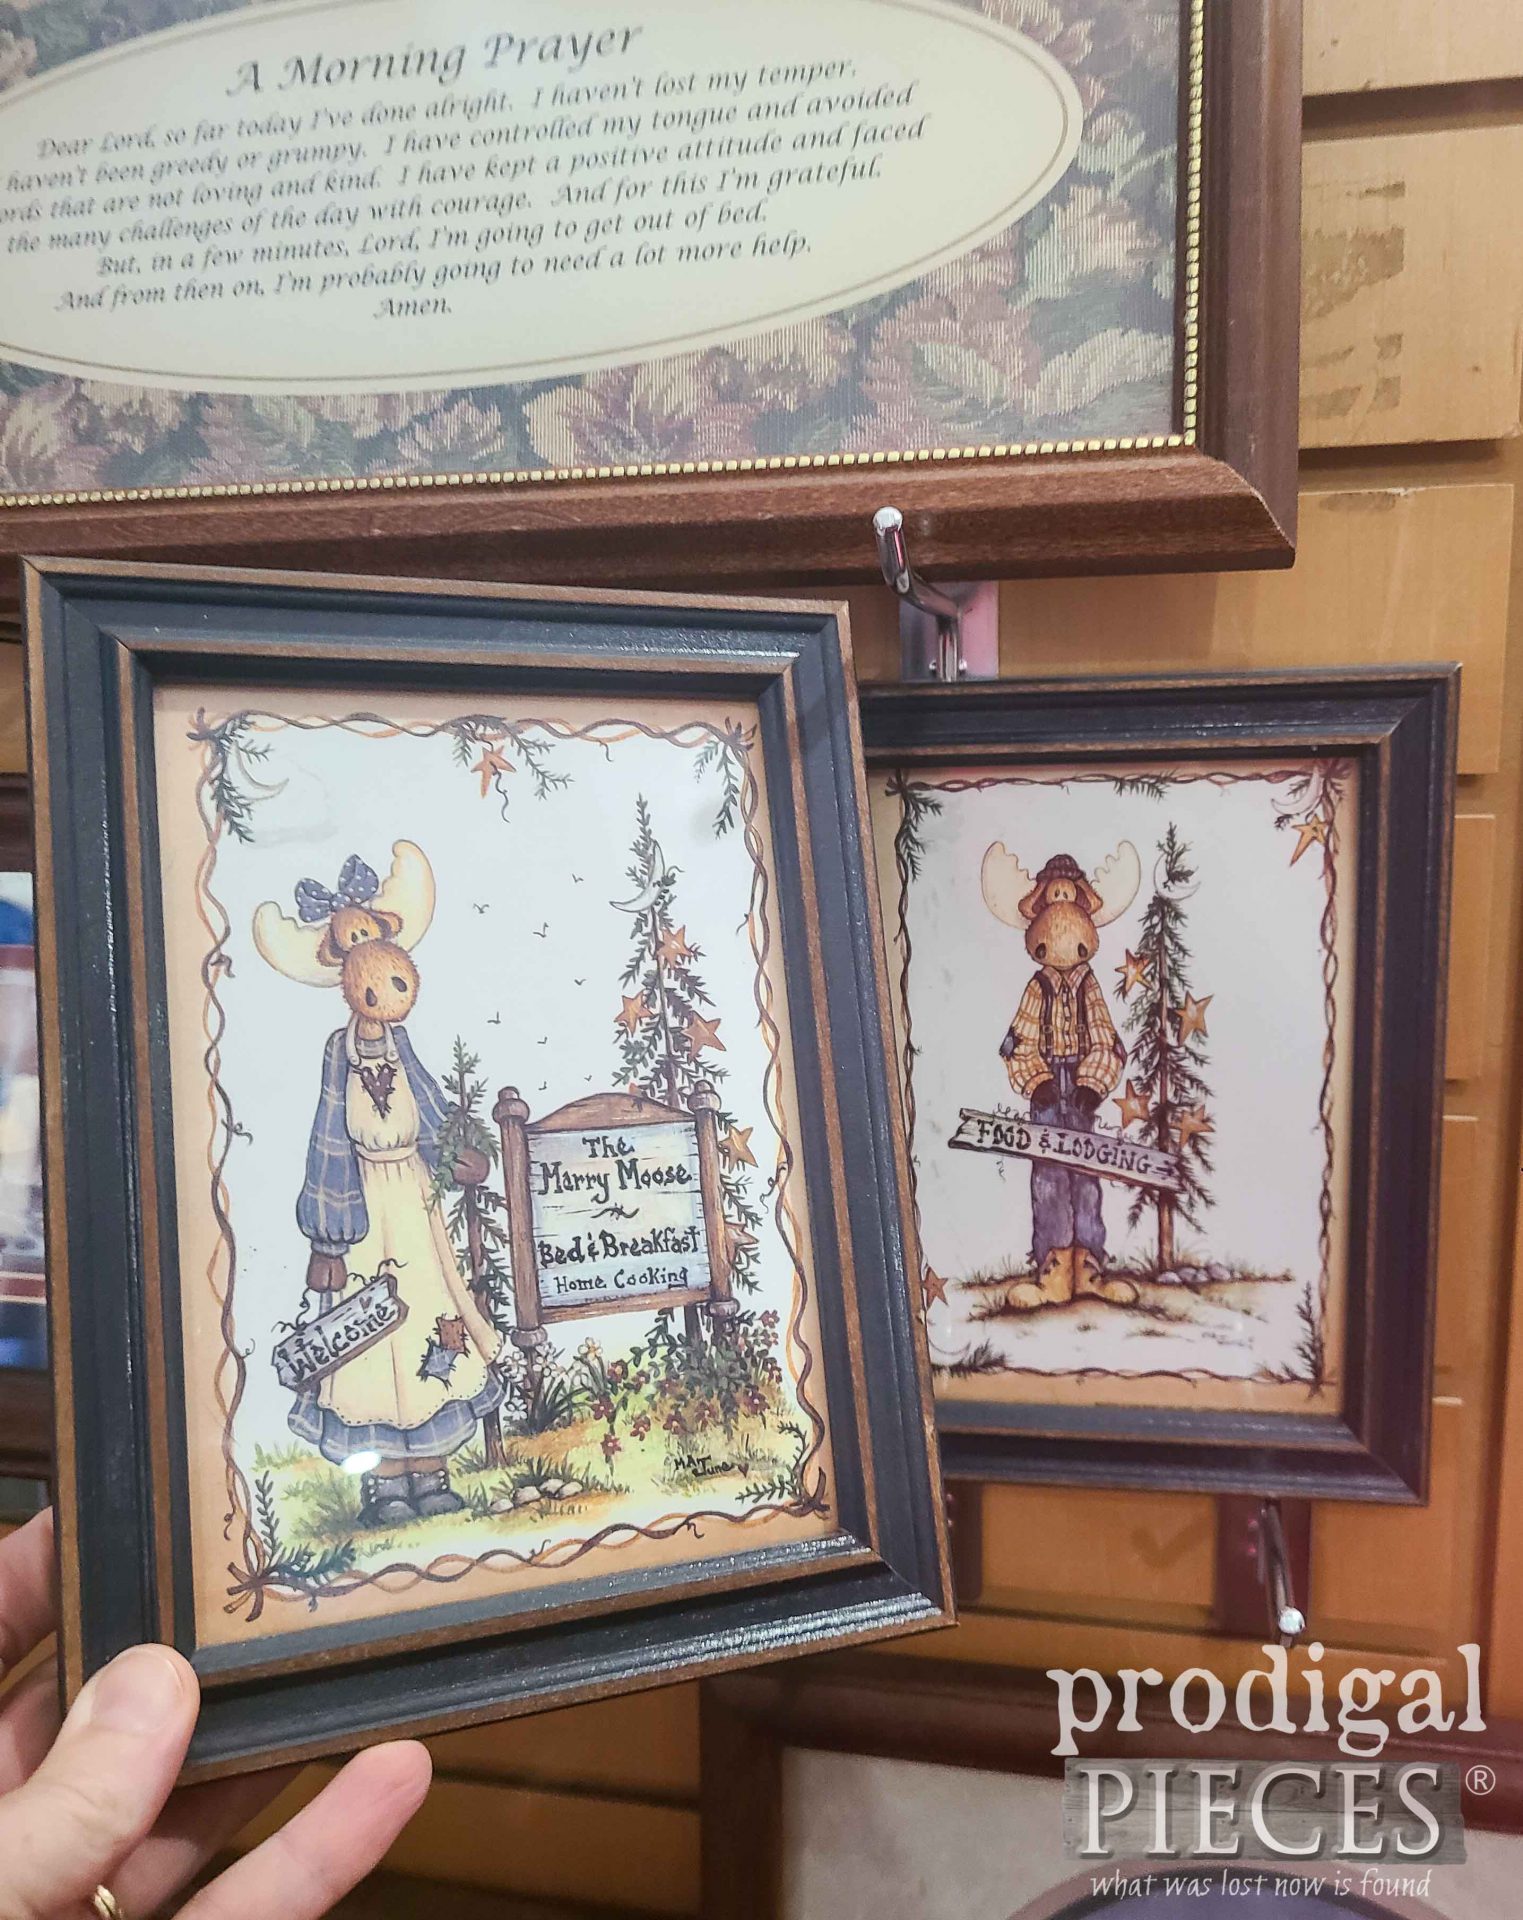
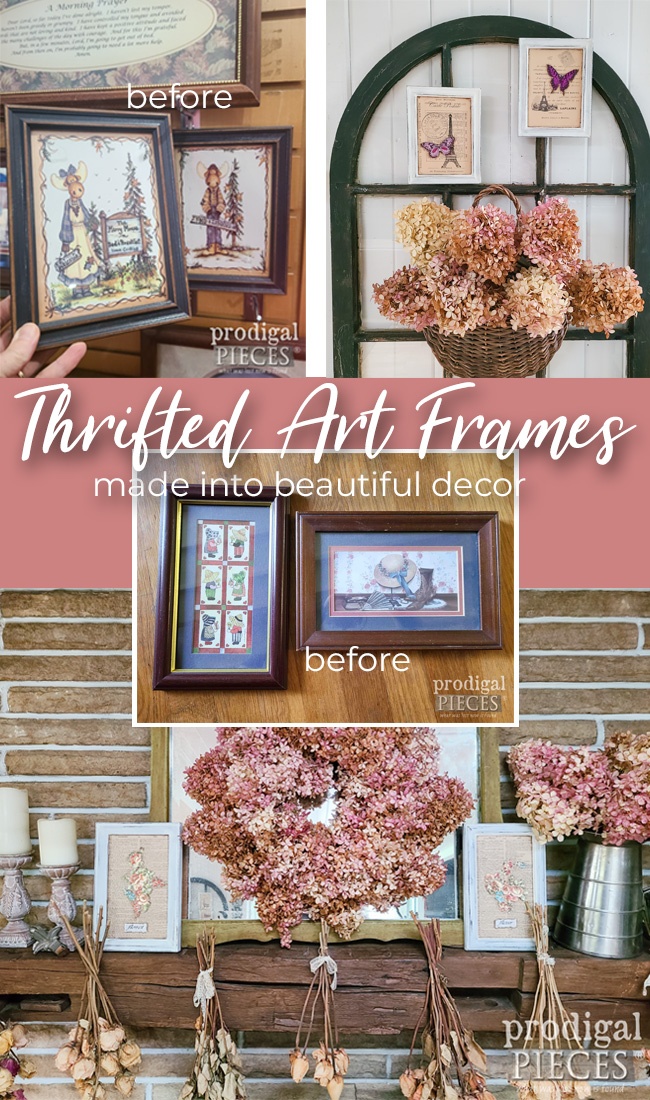
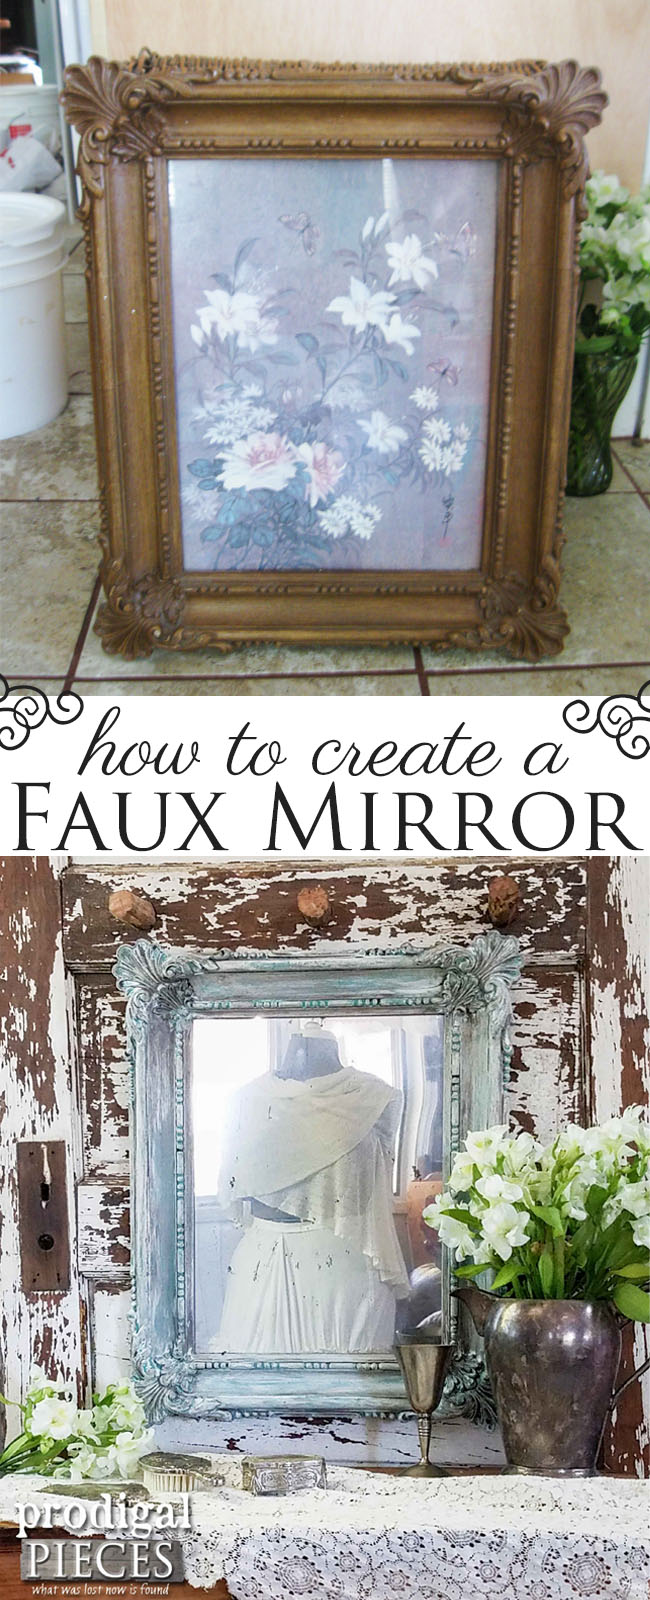
Question is…what to do with them? Well, over the years I’ve shared several projects featuring thrifted frames like this tacky mirror turned French decor and this art I found curbside. Plus, see more projects below. If you look at these country gems above, they’re a pair of moose that after several times of seeing them in the thrift store they kept asking me…”what are those supposed to be?” haha. Moose. Not only do you know I can’t resist that kind of a challenge, but it’s also fun! mwahahaha.
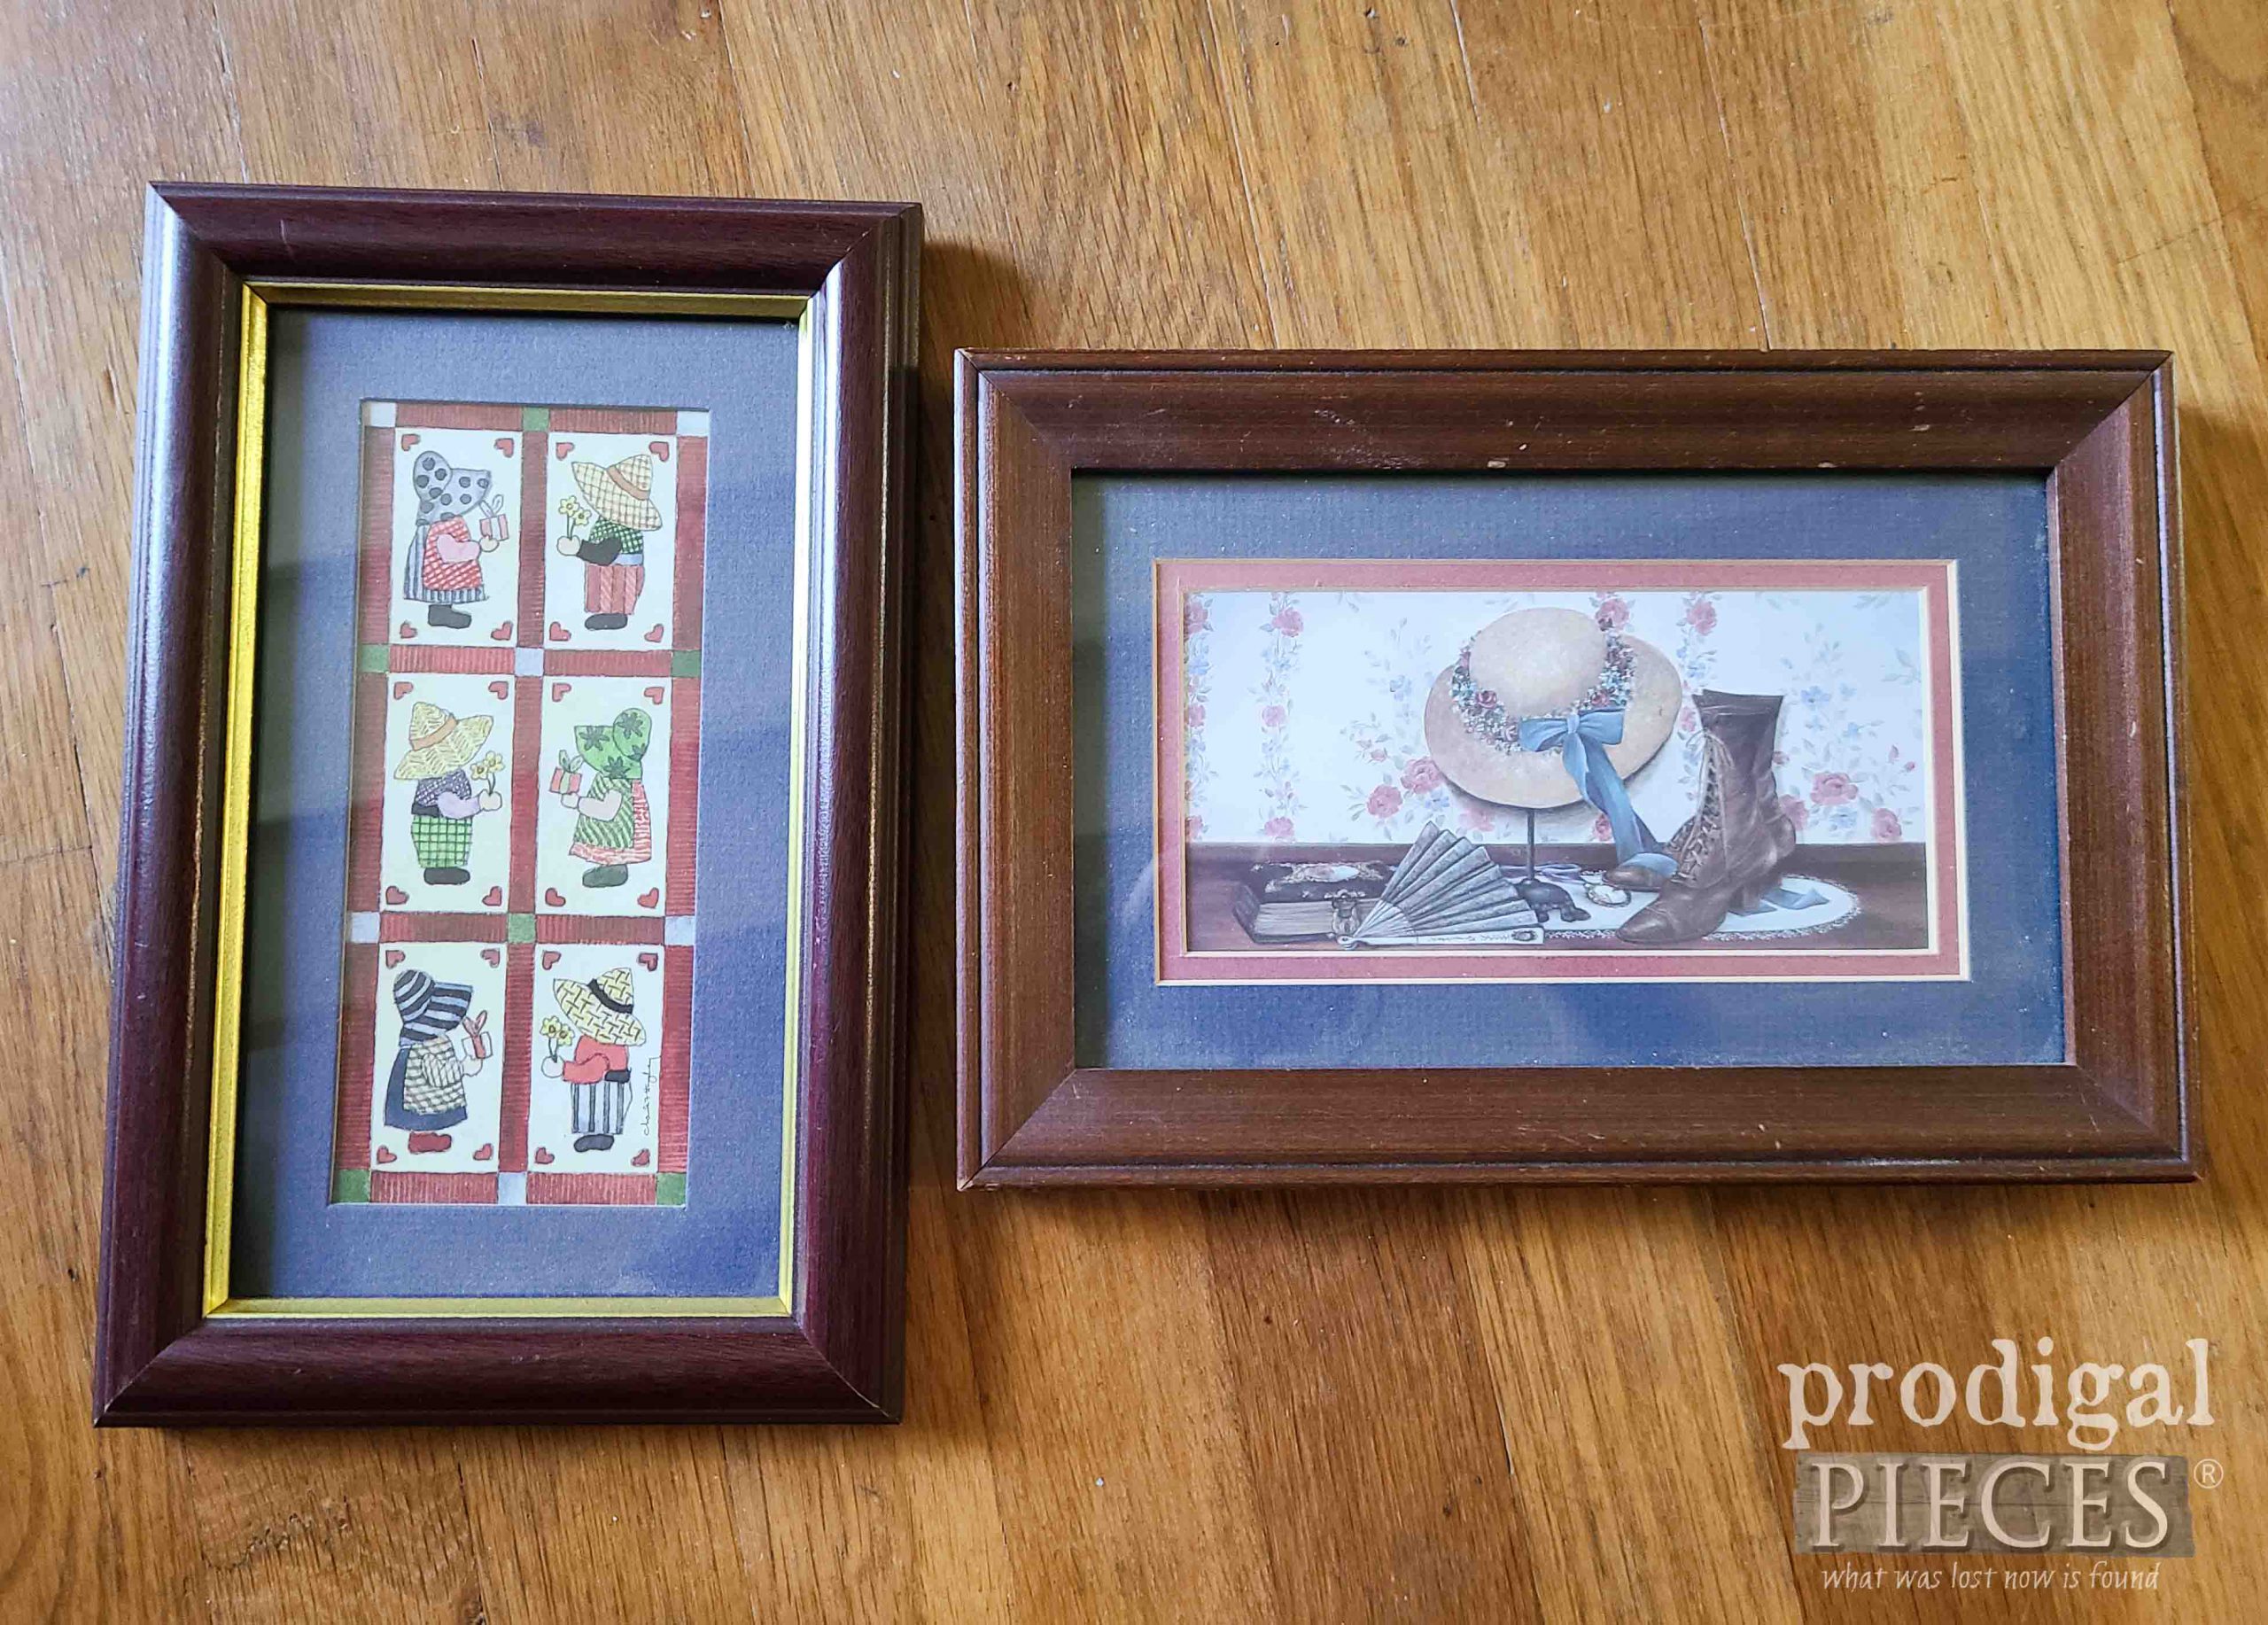
At the same time, I also pick up these two pieces of art that have similar size frames.
DIY TIME
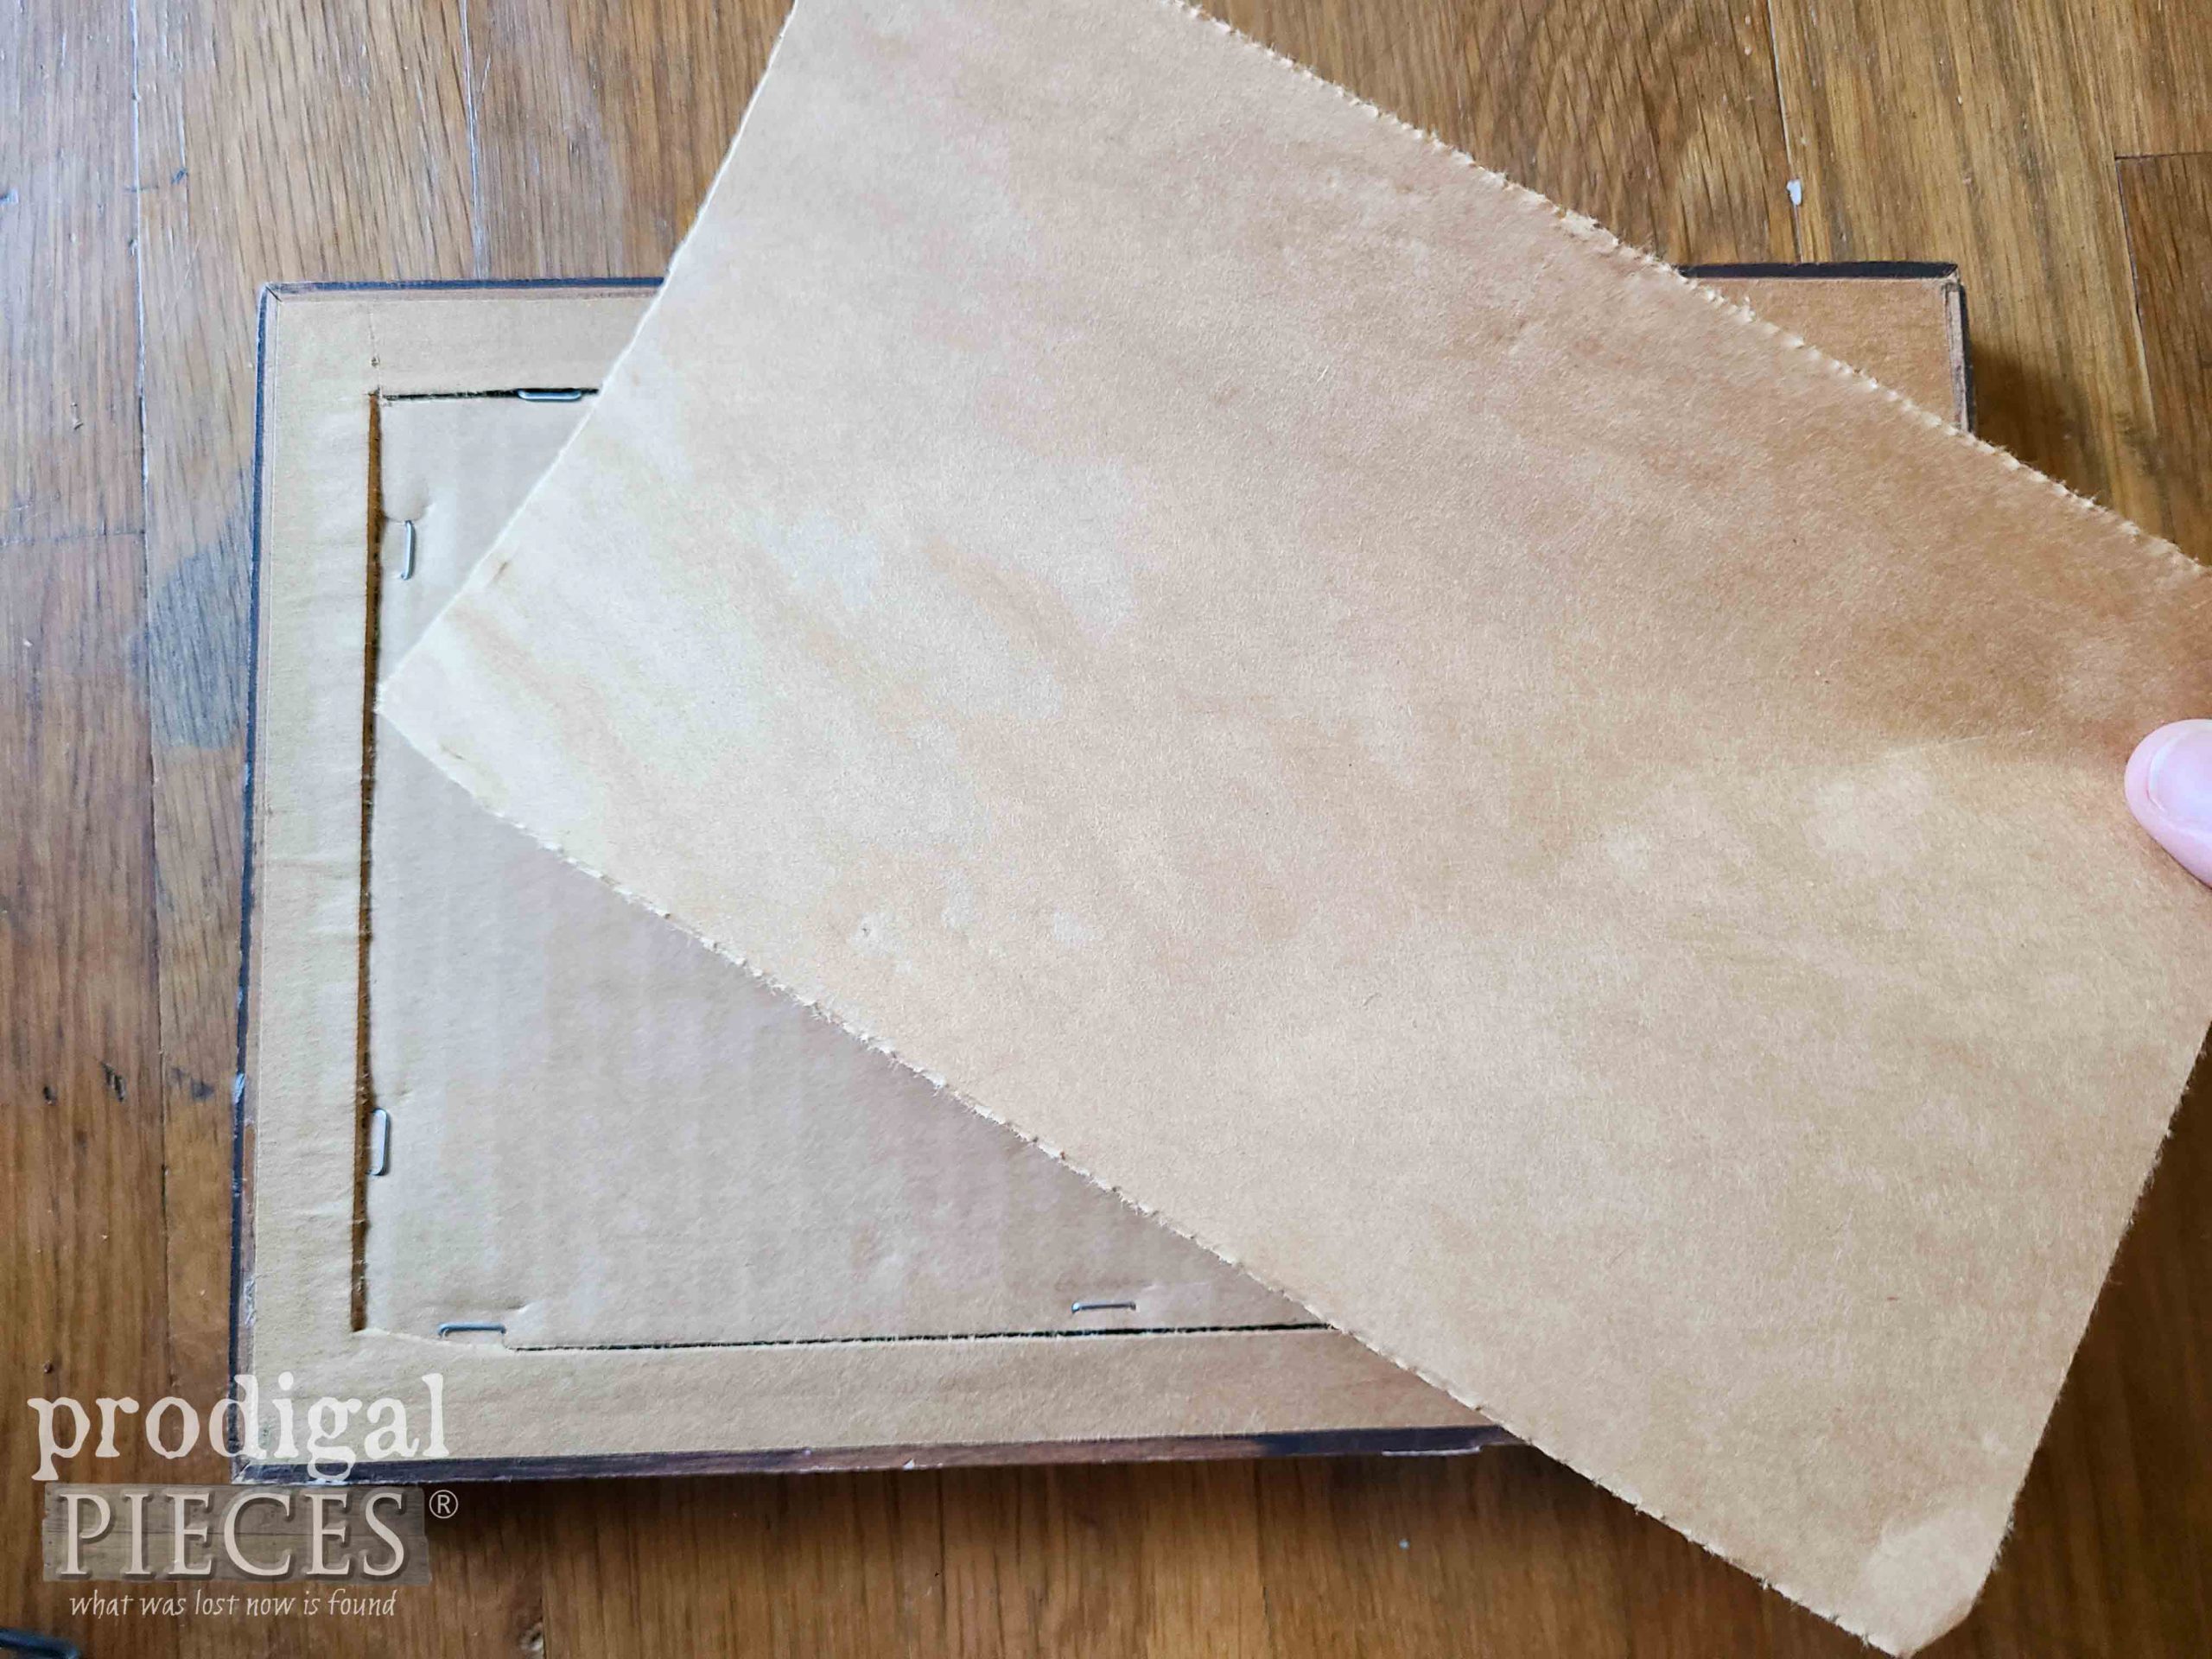
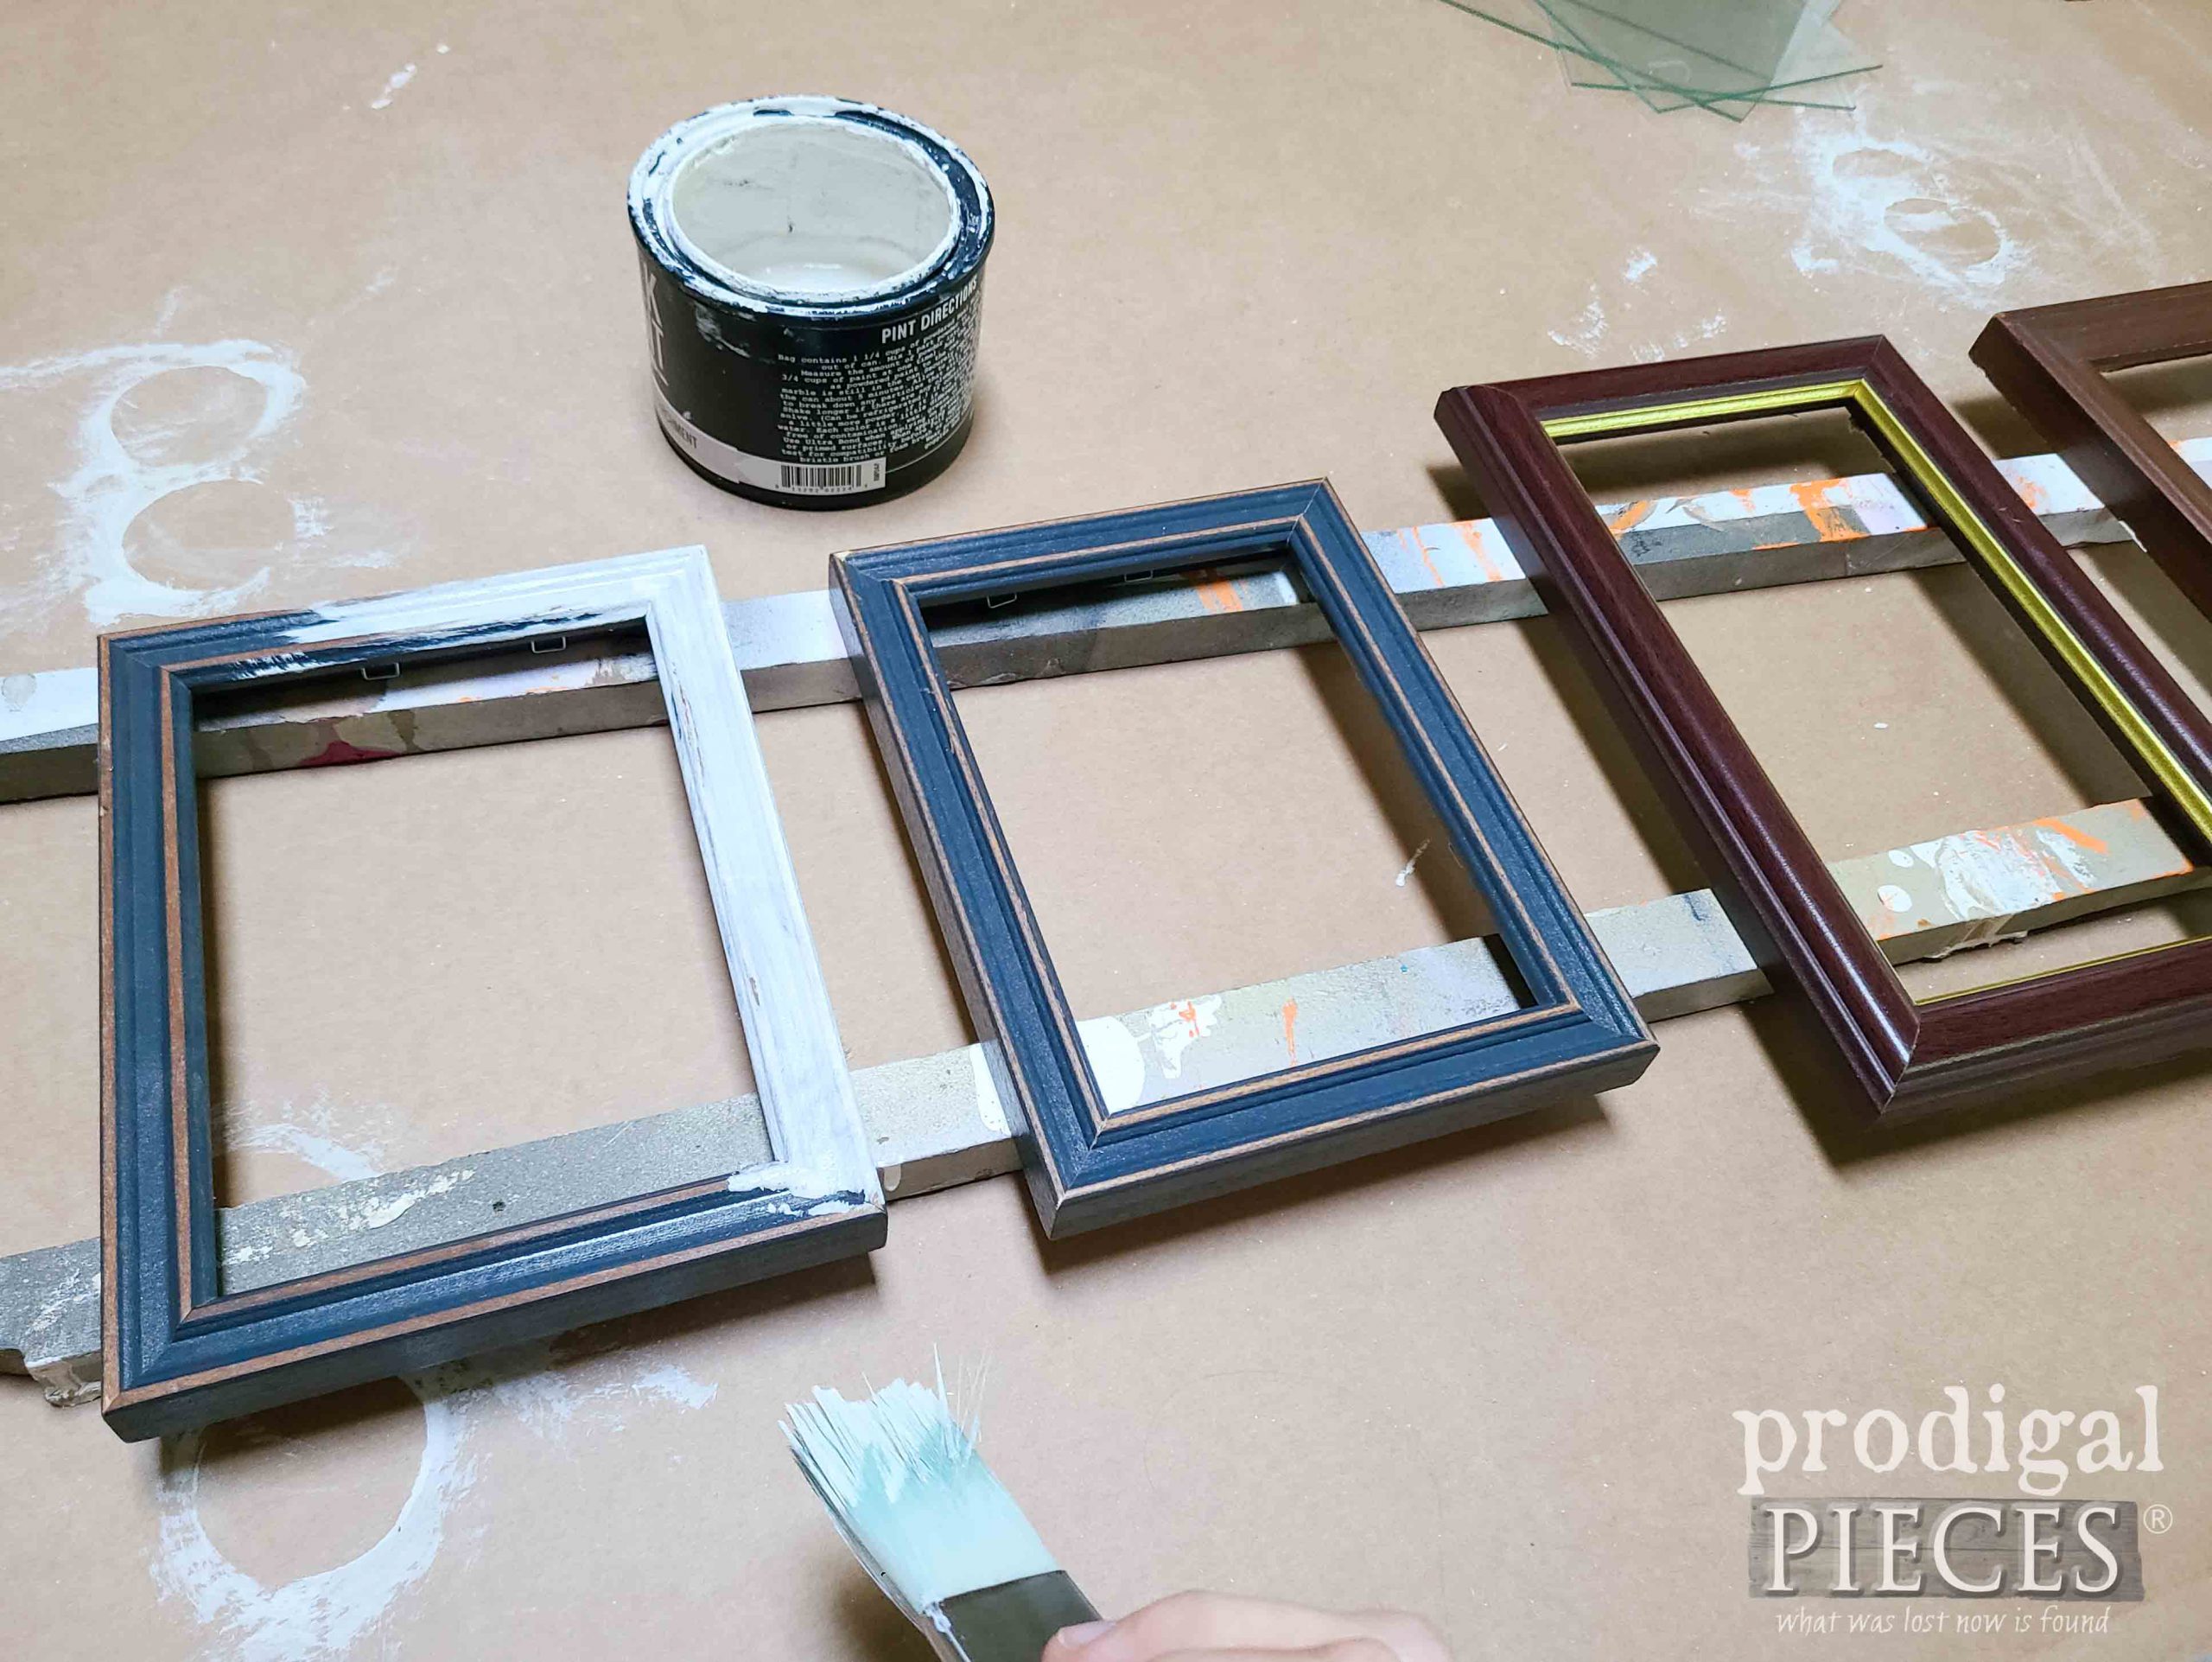
First thing I do is take apart the frames. Some have staples holding the art in, but others have this nicer paper backing. I simple run a scissor around the edge and take off the paper.
Then, I pop out the art and glass and set aside. I don’t toss the art, but recycling it into greeting cards, etc., and the glass can be used for creating art as well as seen is this post and video below.
Next, I decide to paint the frames in the same milk paint called Parchment that I just used on my drop-leaf table makeover.
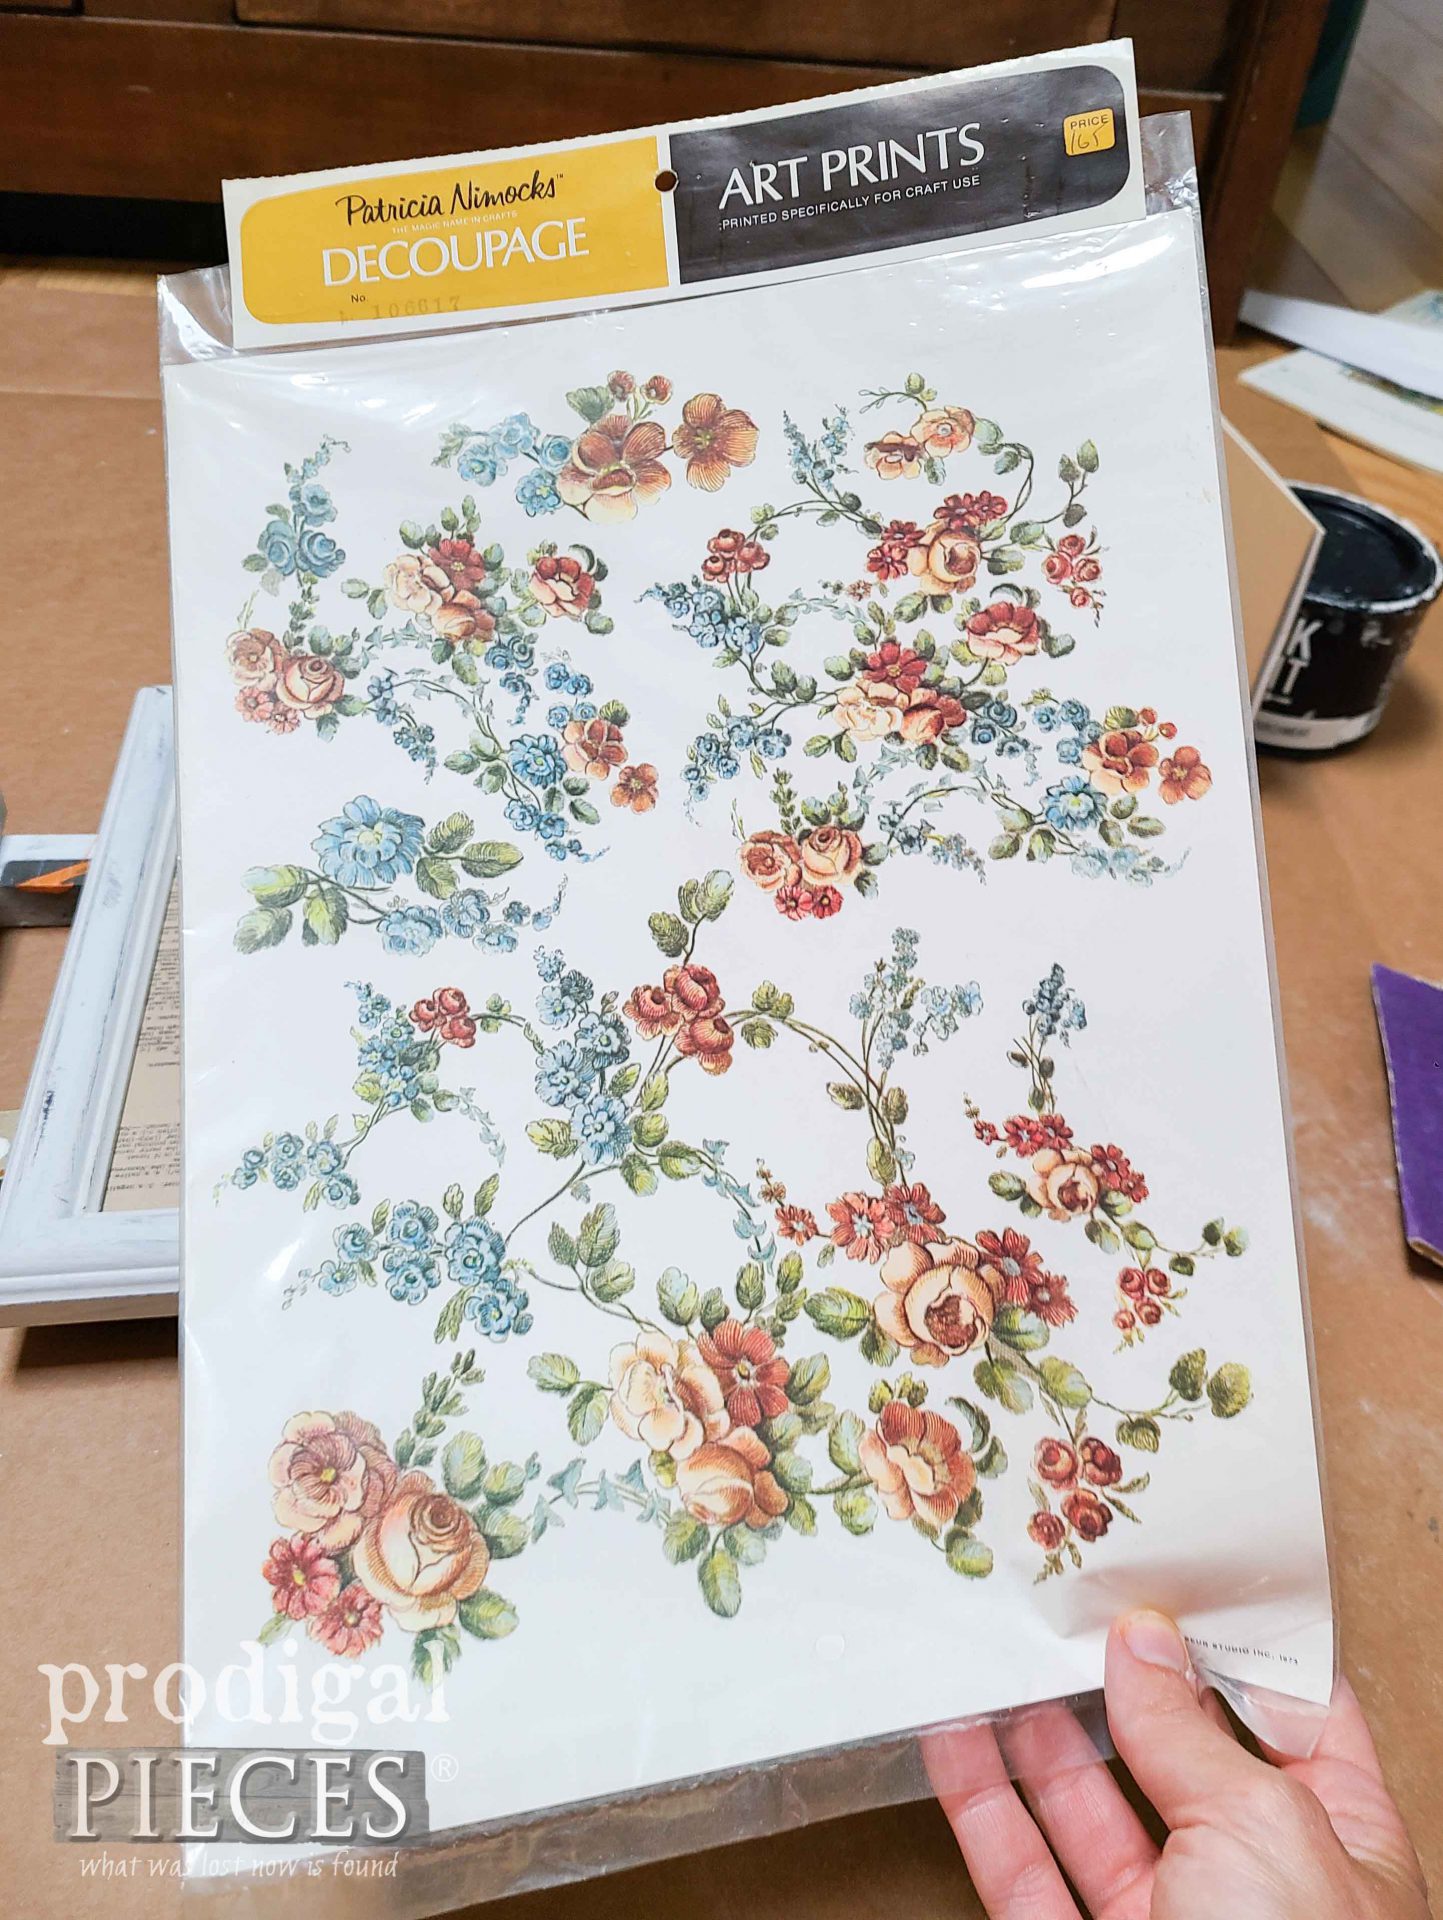
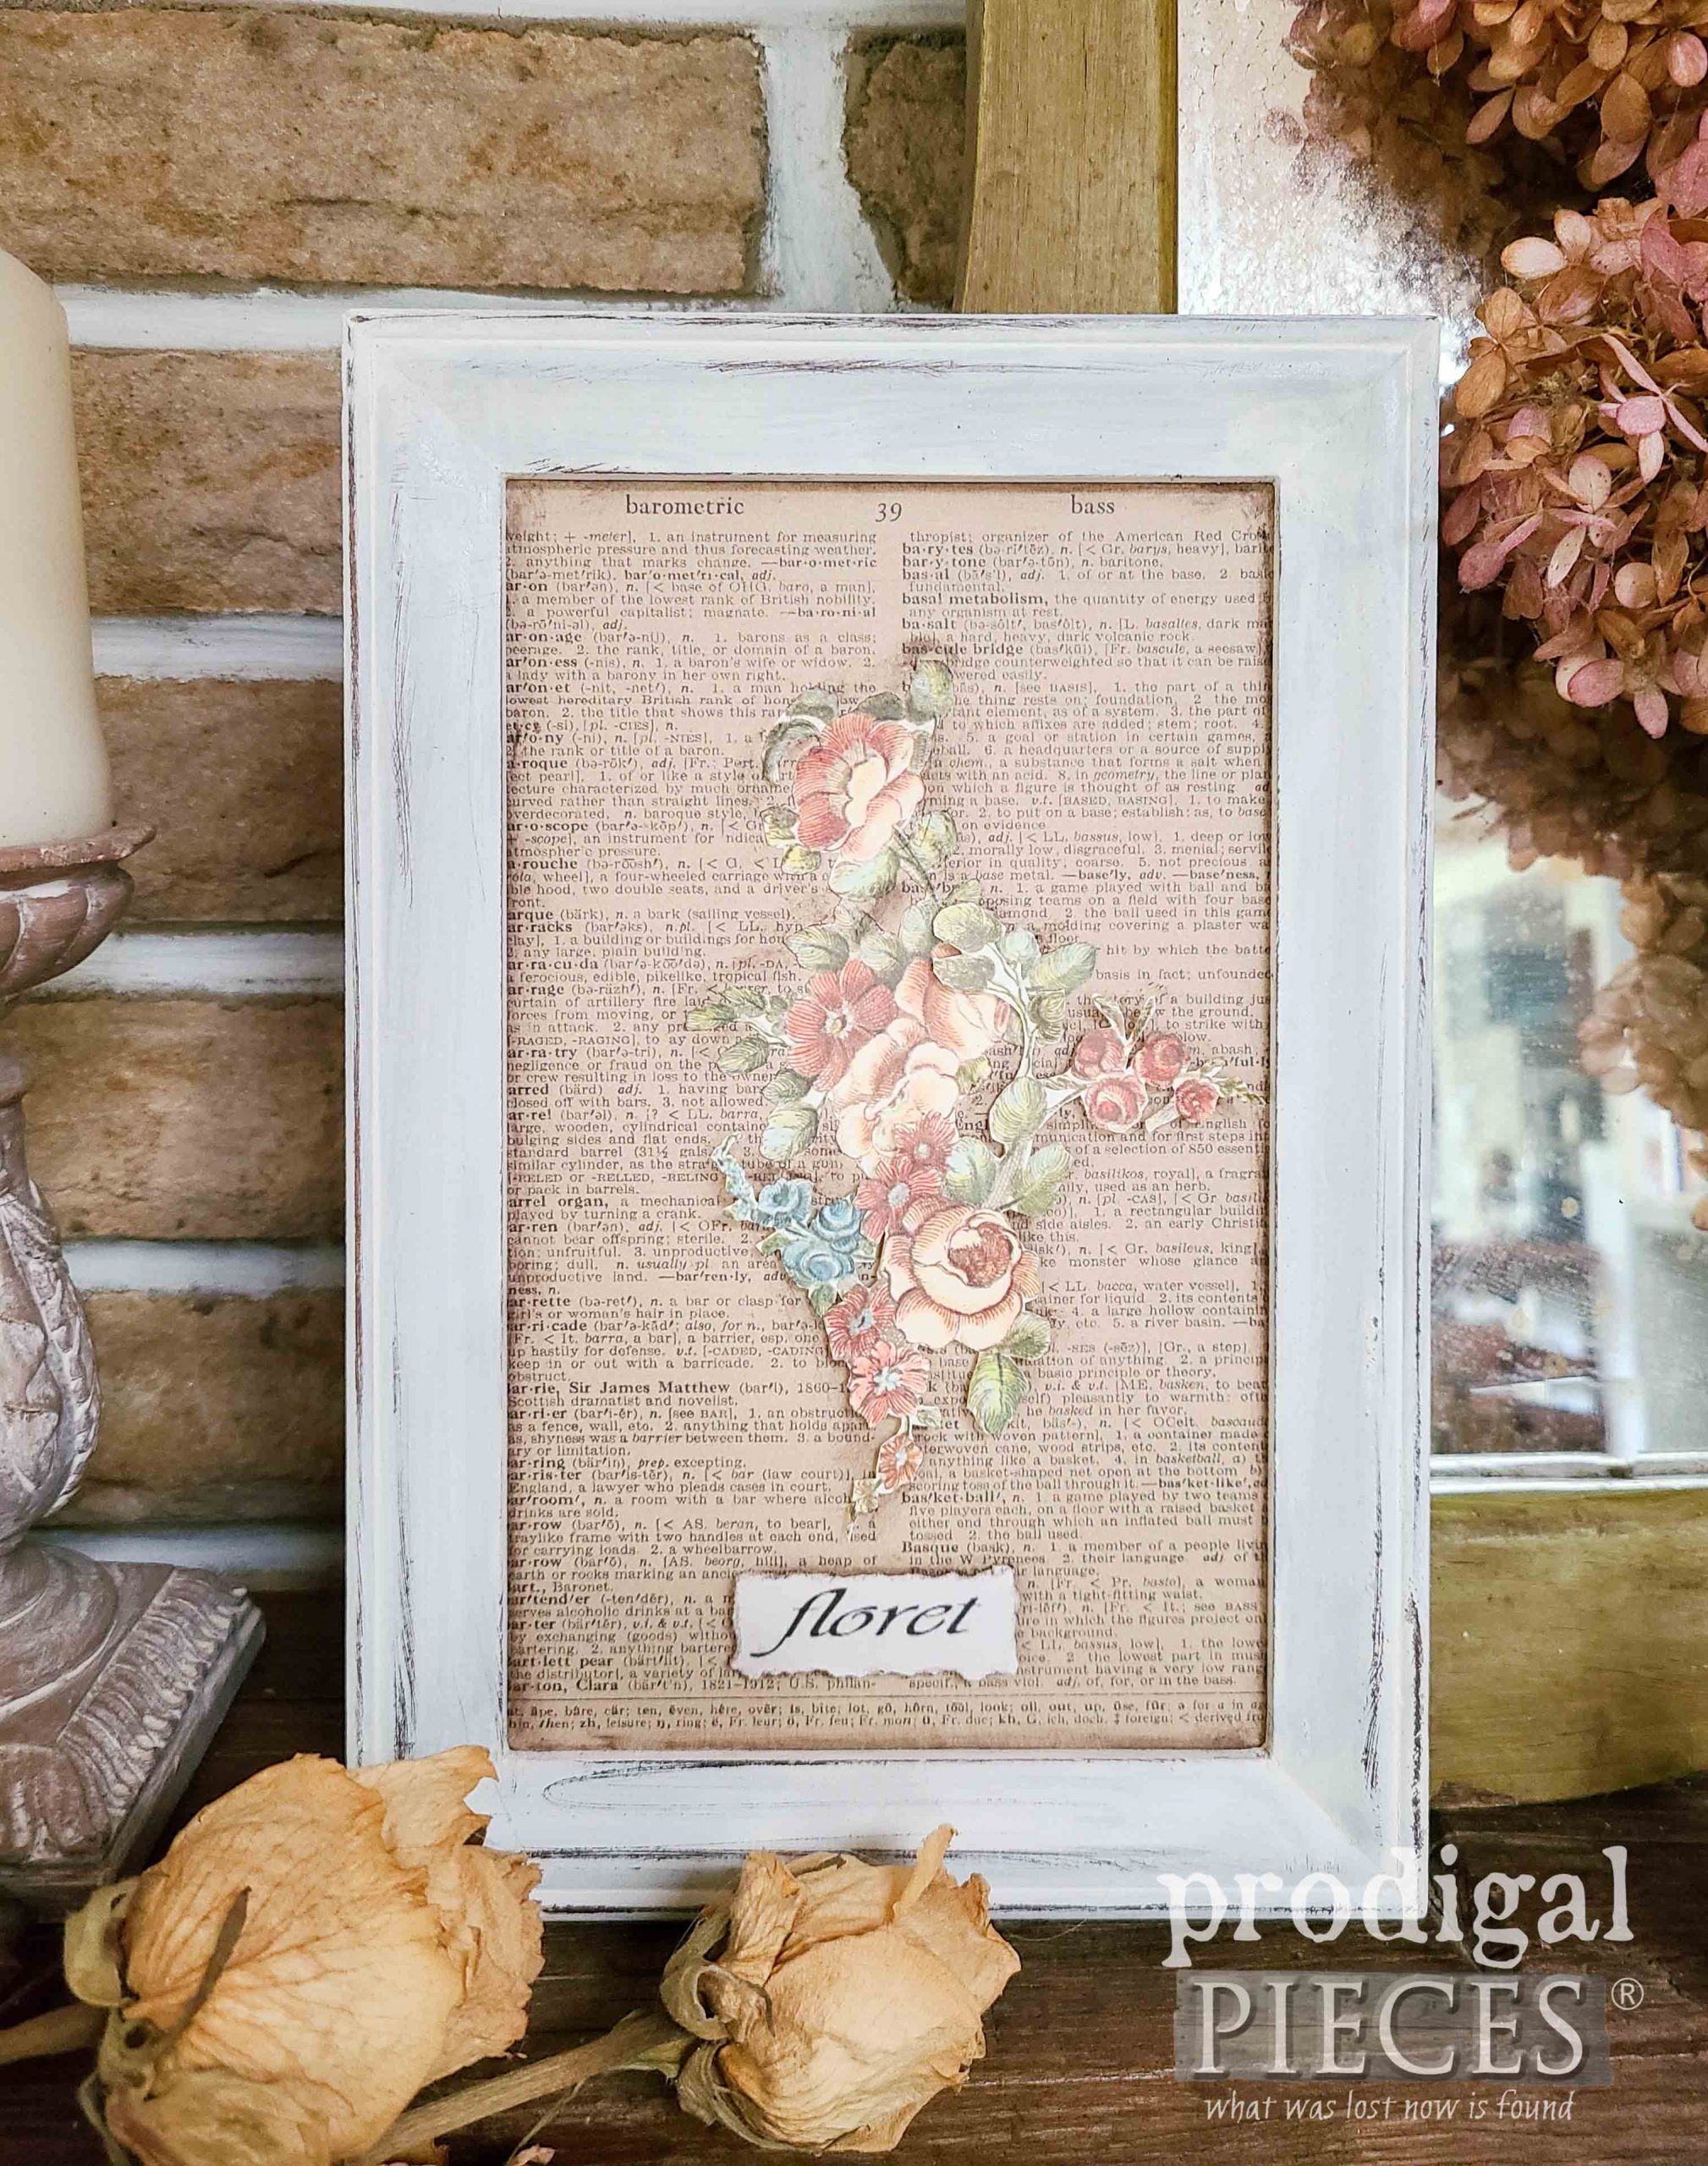
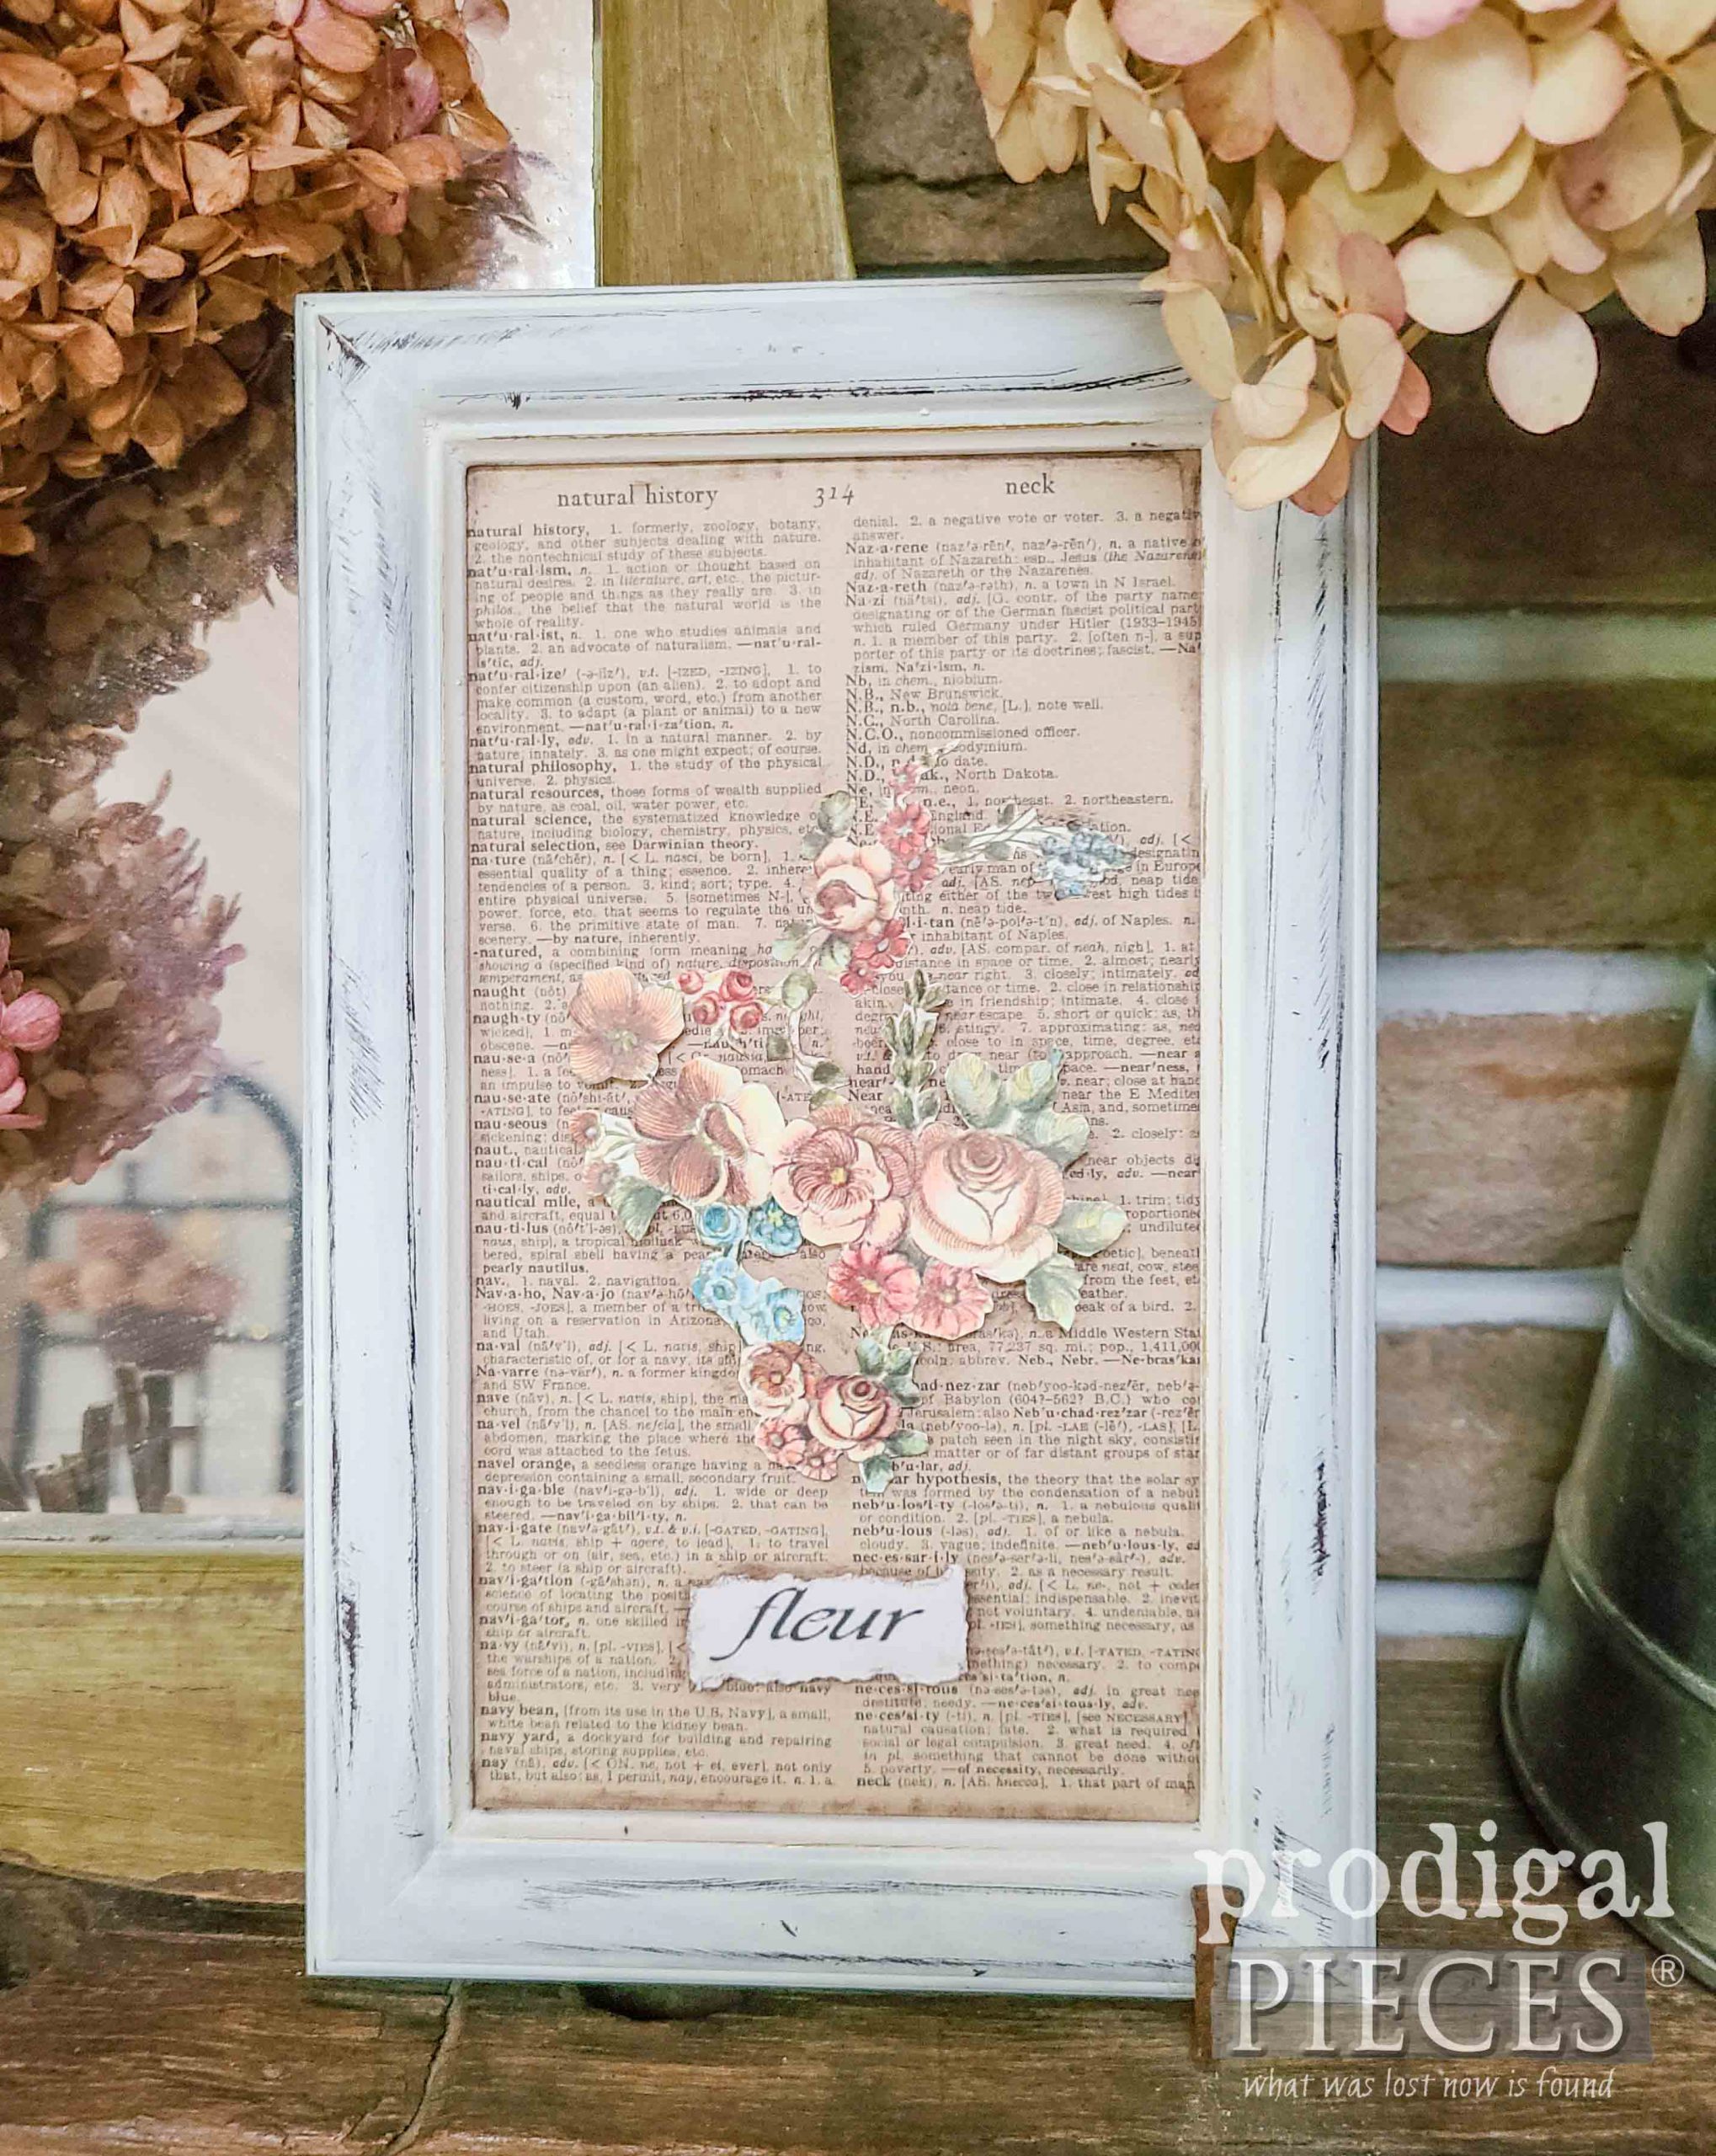
After two coats and letting cure after each coat I have some fun with design. For one set of frames I use different art I collect into a digital collage using my friend Karen’s blog The Graphics Fairy. However, for the other set I use these dictionary pages to create a different sort of collage. To start, the pages are the background. Last, I dig into my stash of vintage decoupage art and find this beauty.
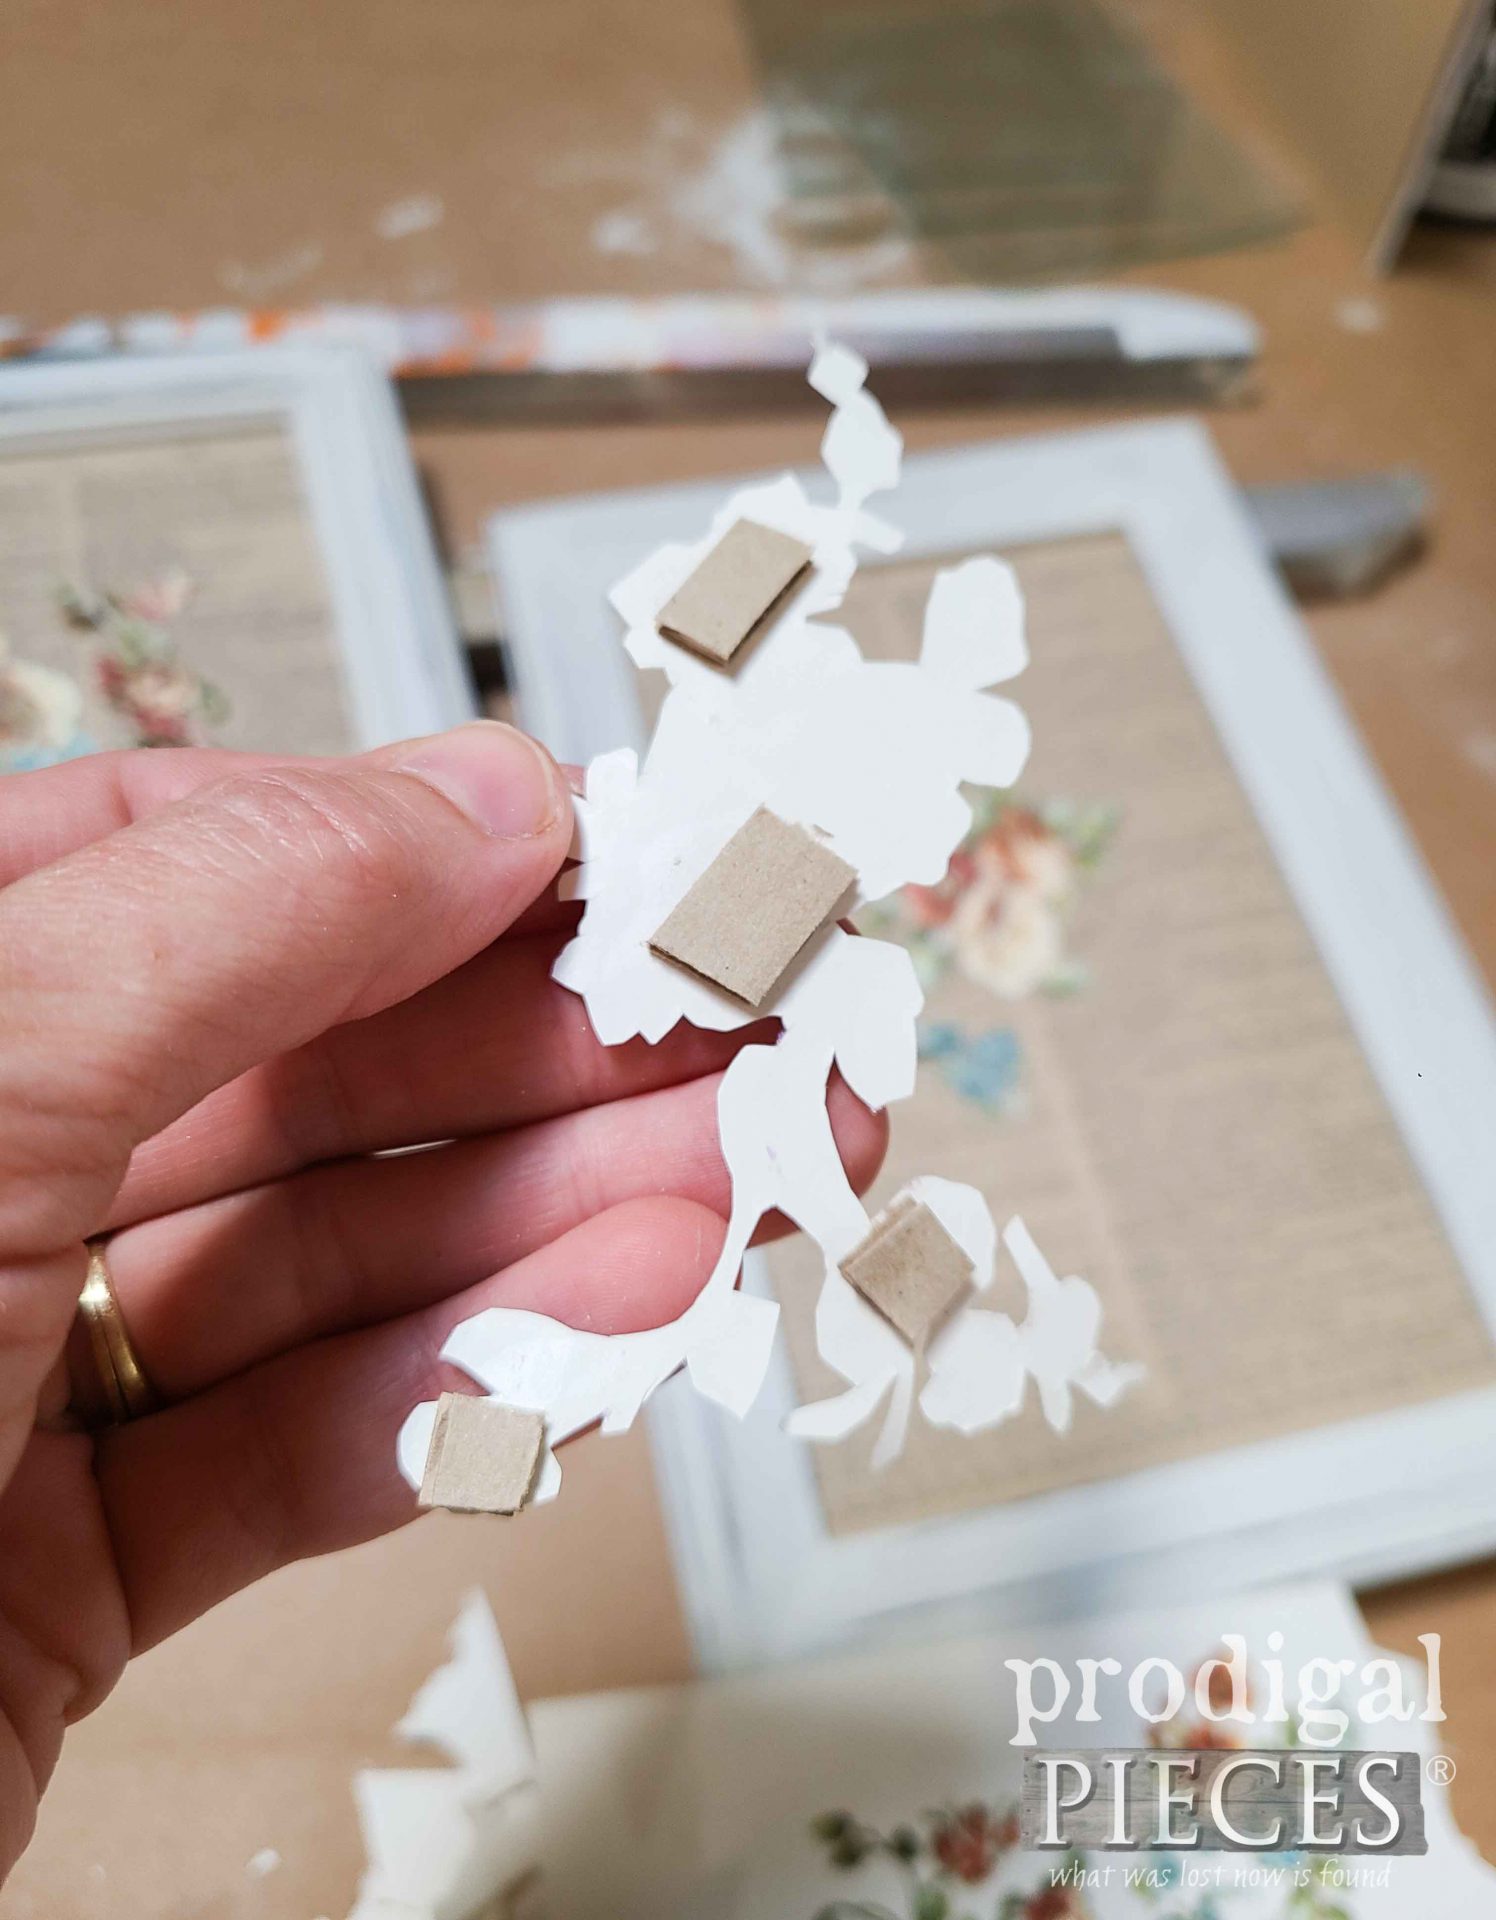
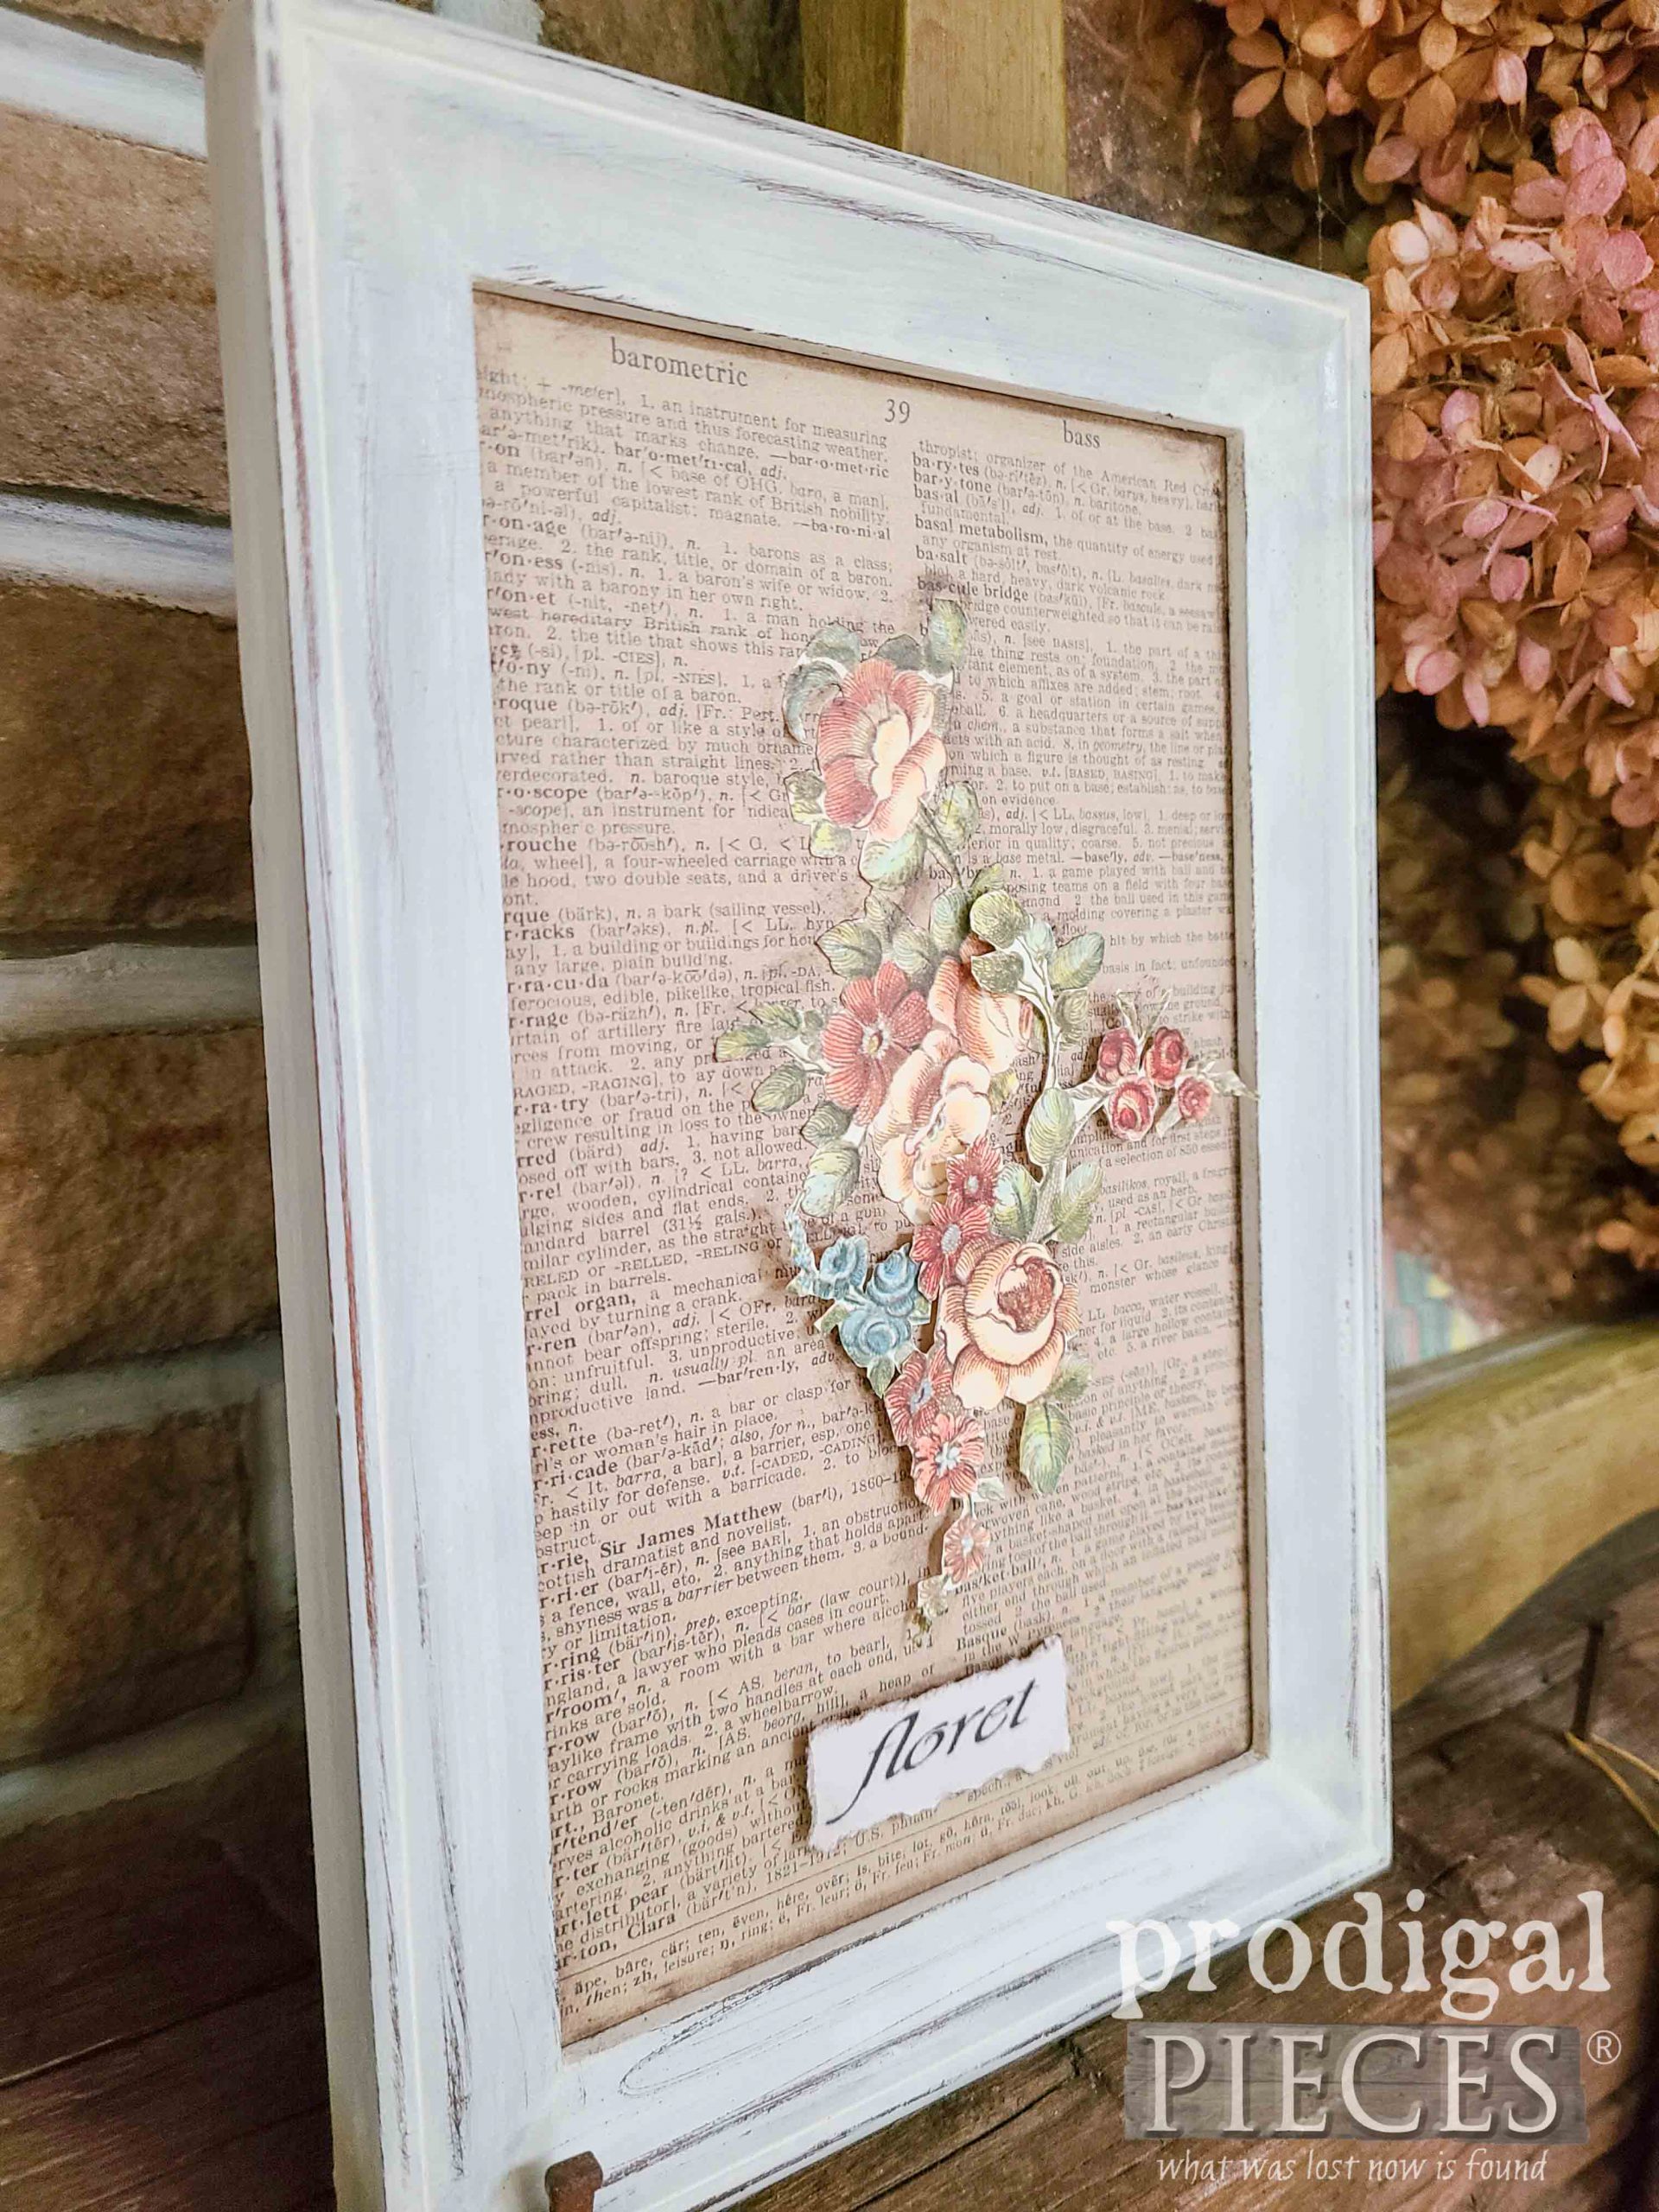
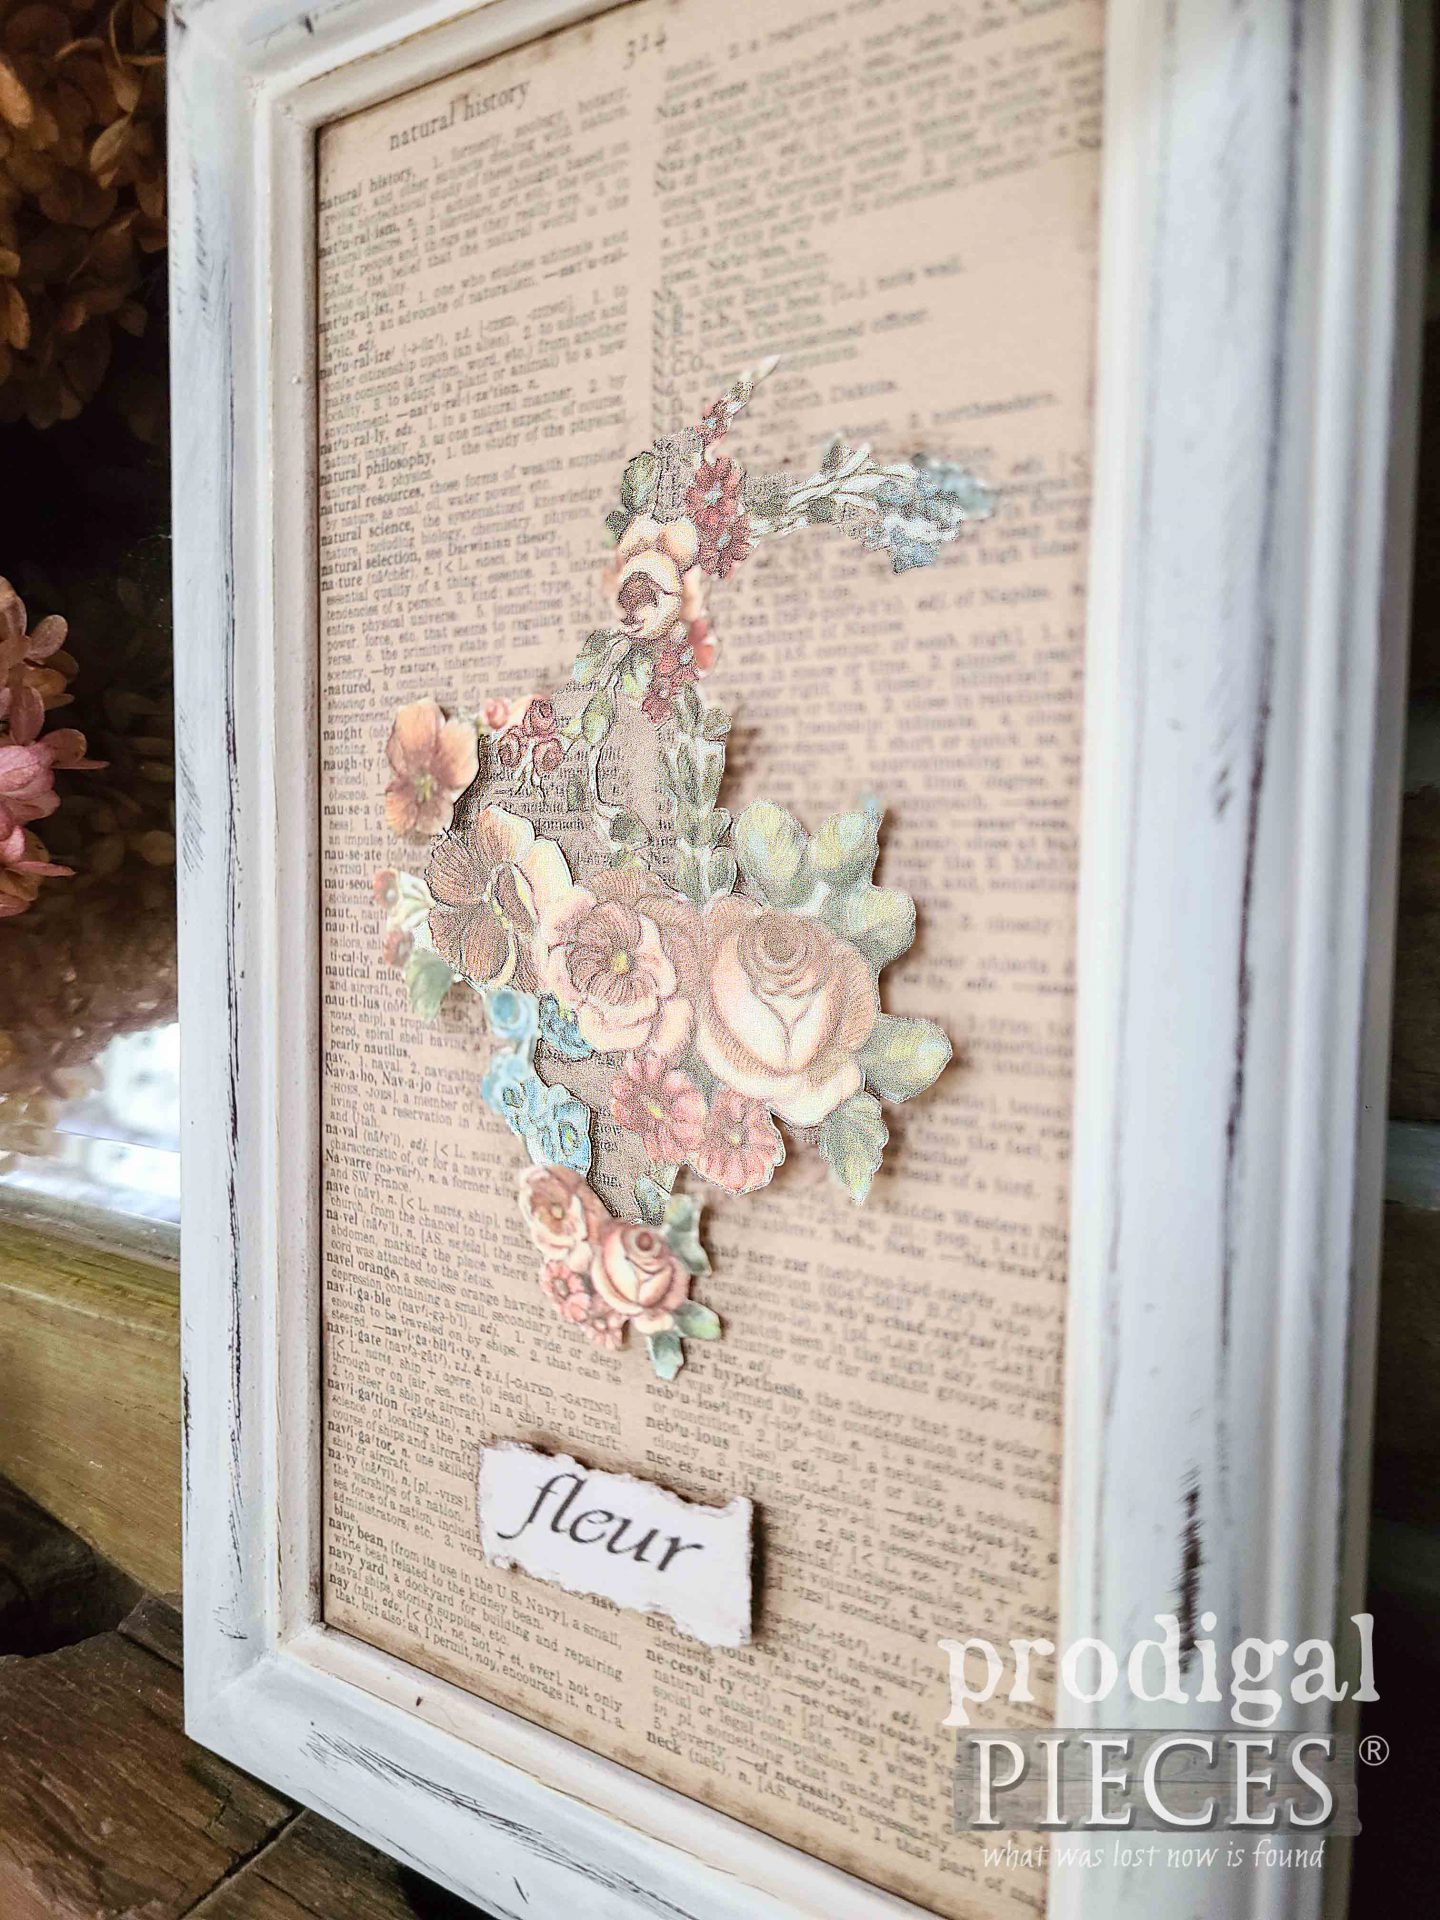
I simply cut out the flowers and layer them. In addition, to add interest, I glue on small bits of cardboard to make it have a 2-D effect.
INSPIRING DIY
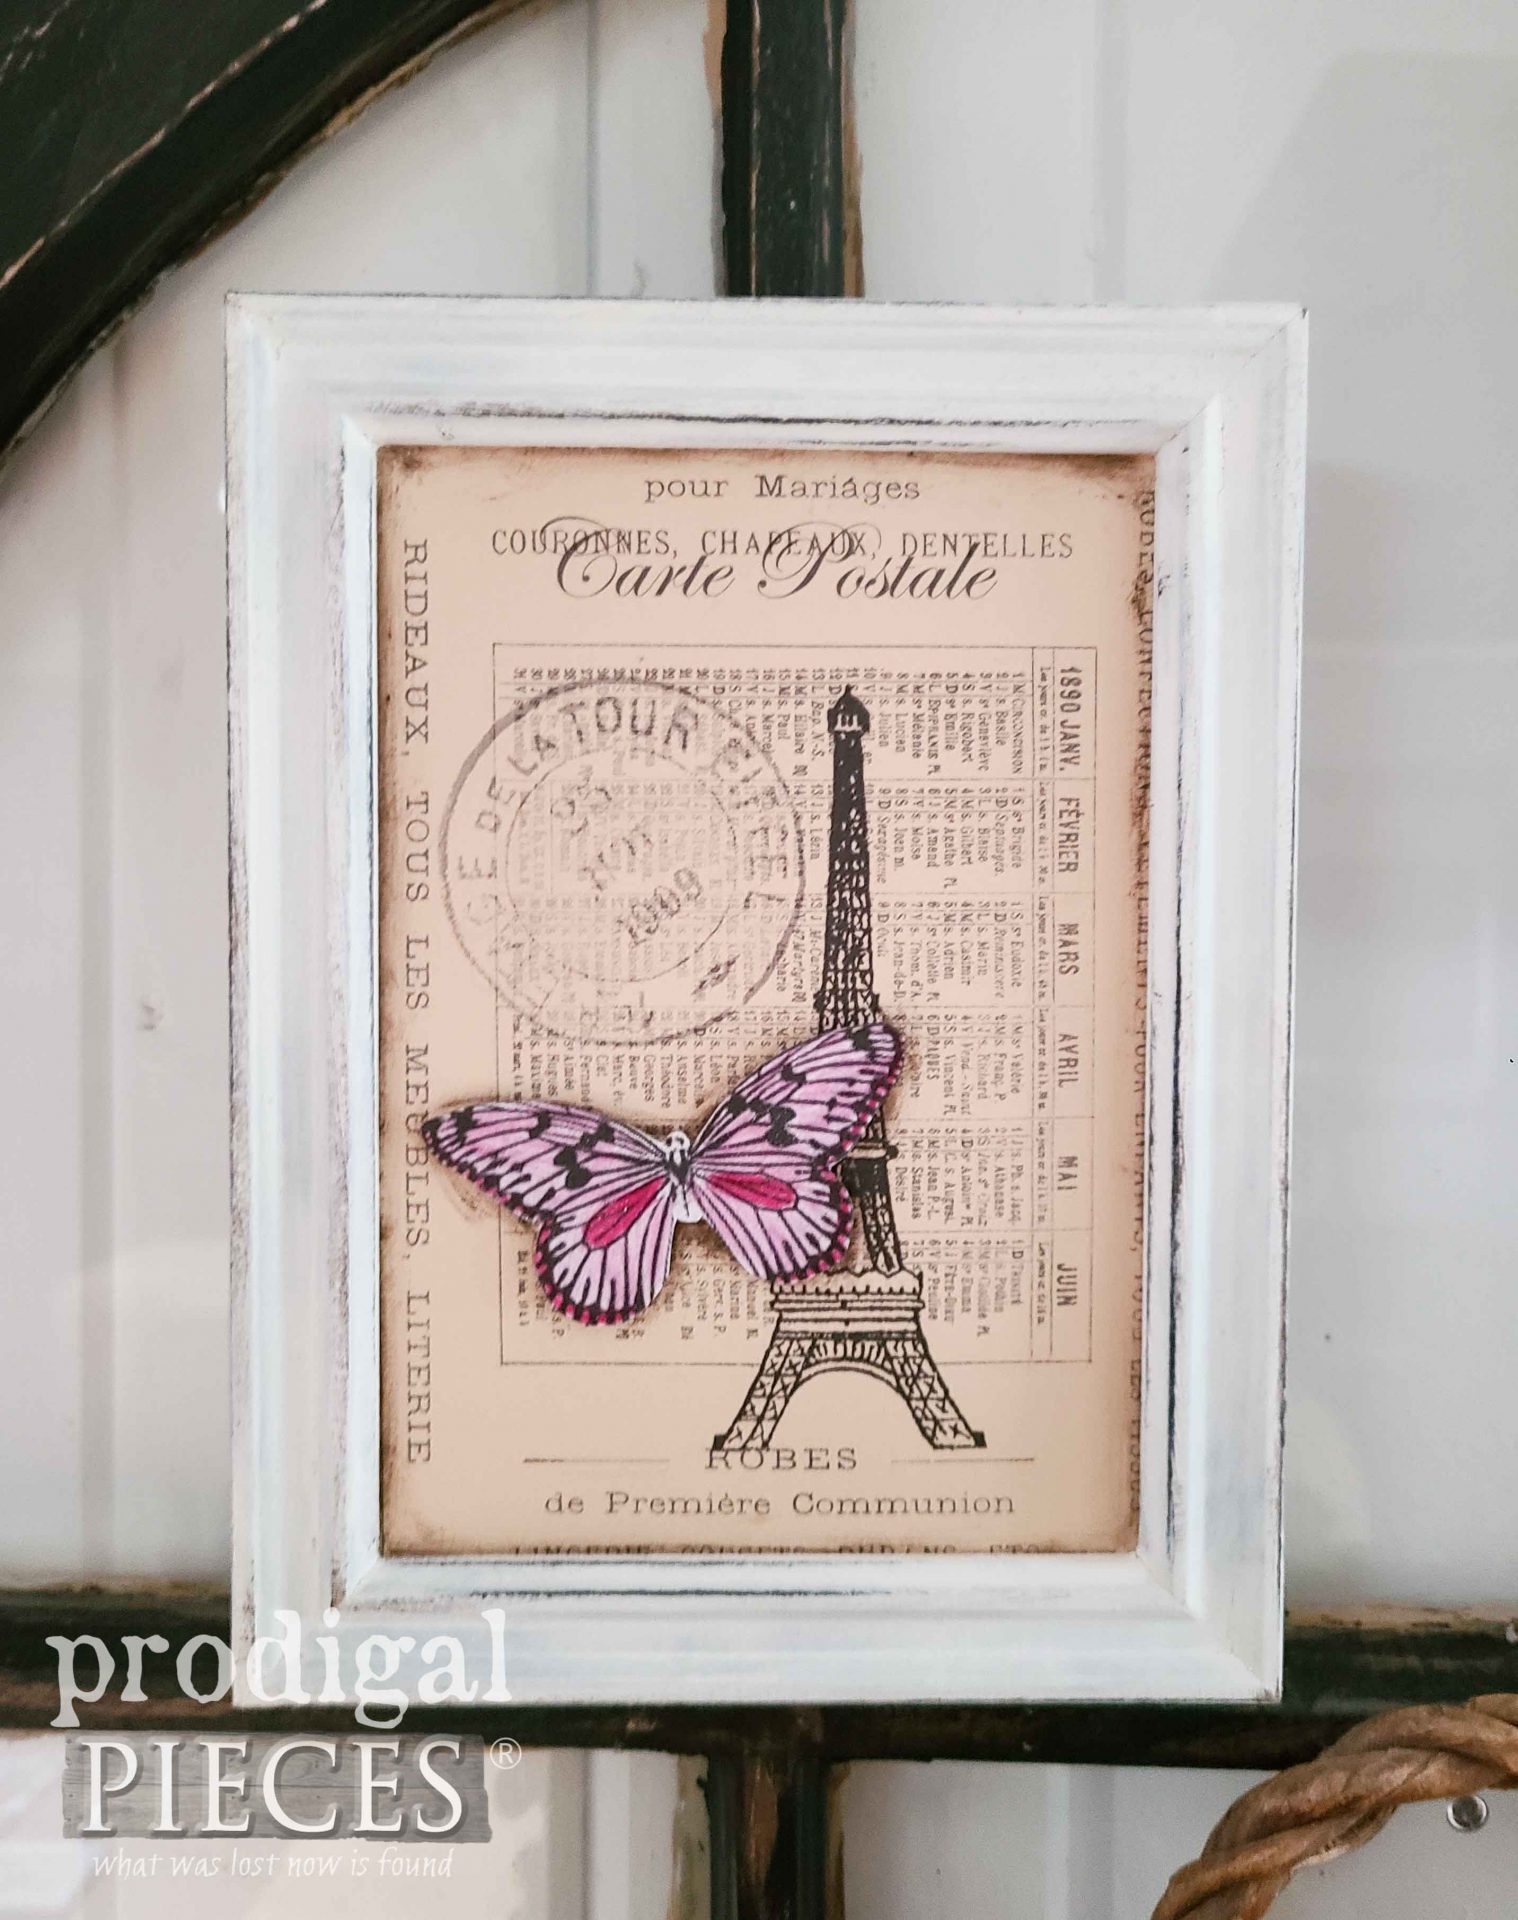
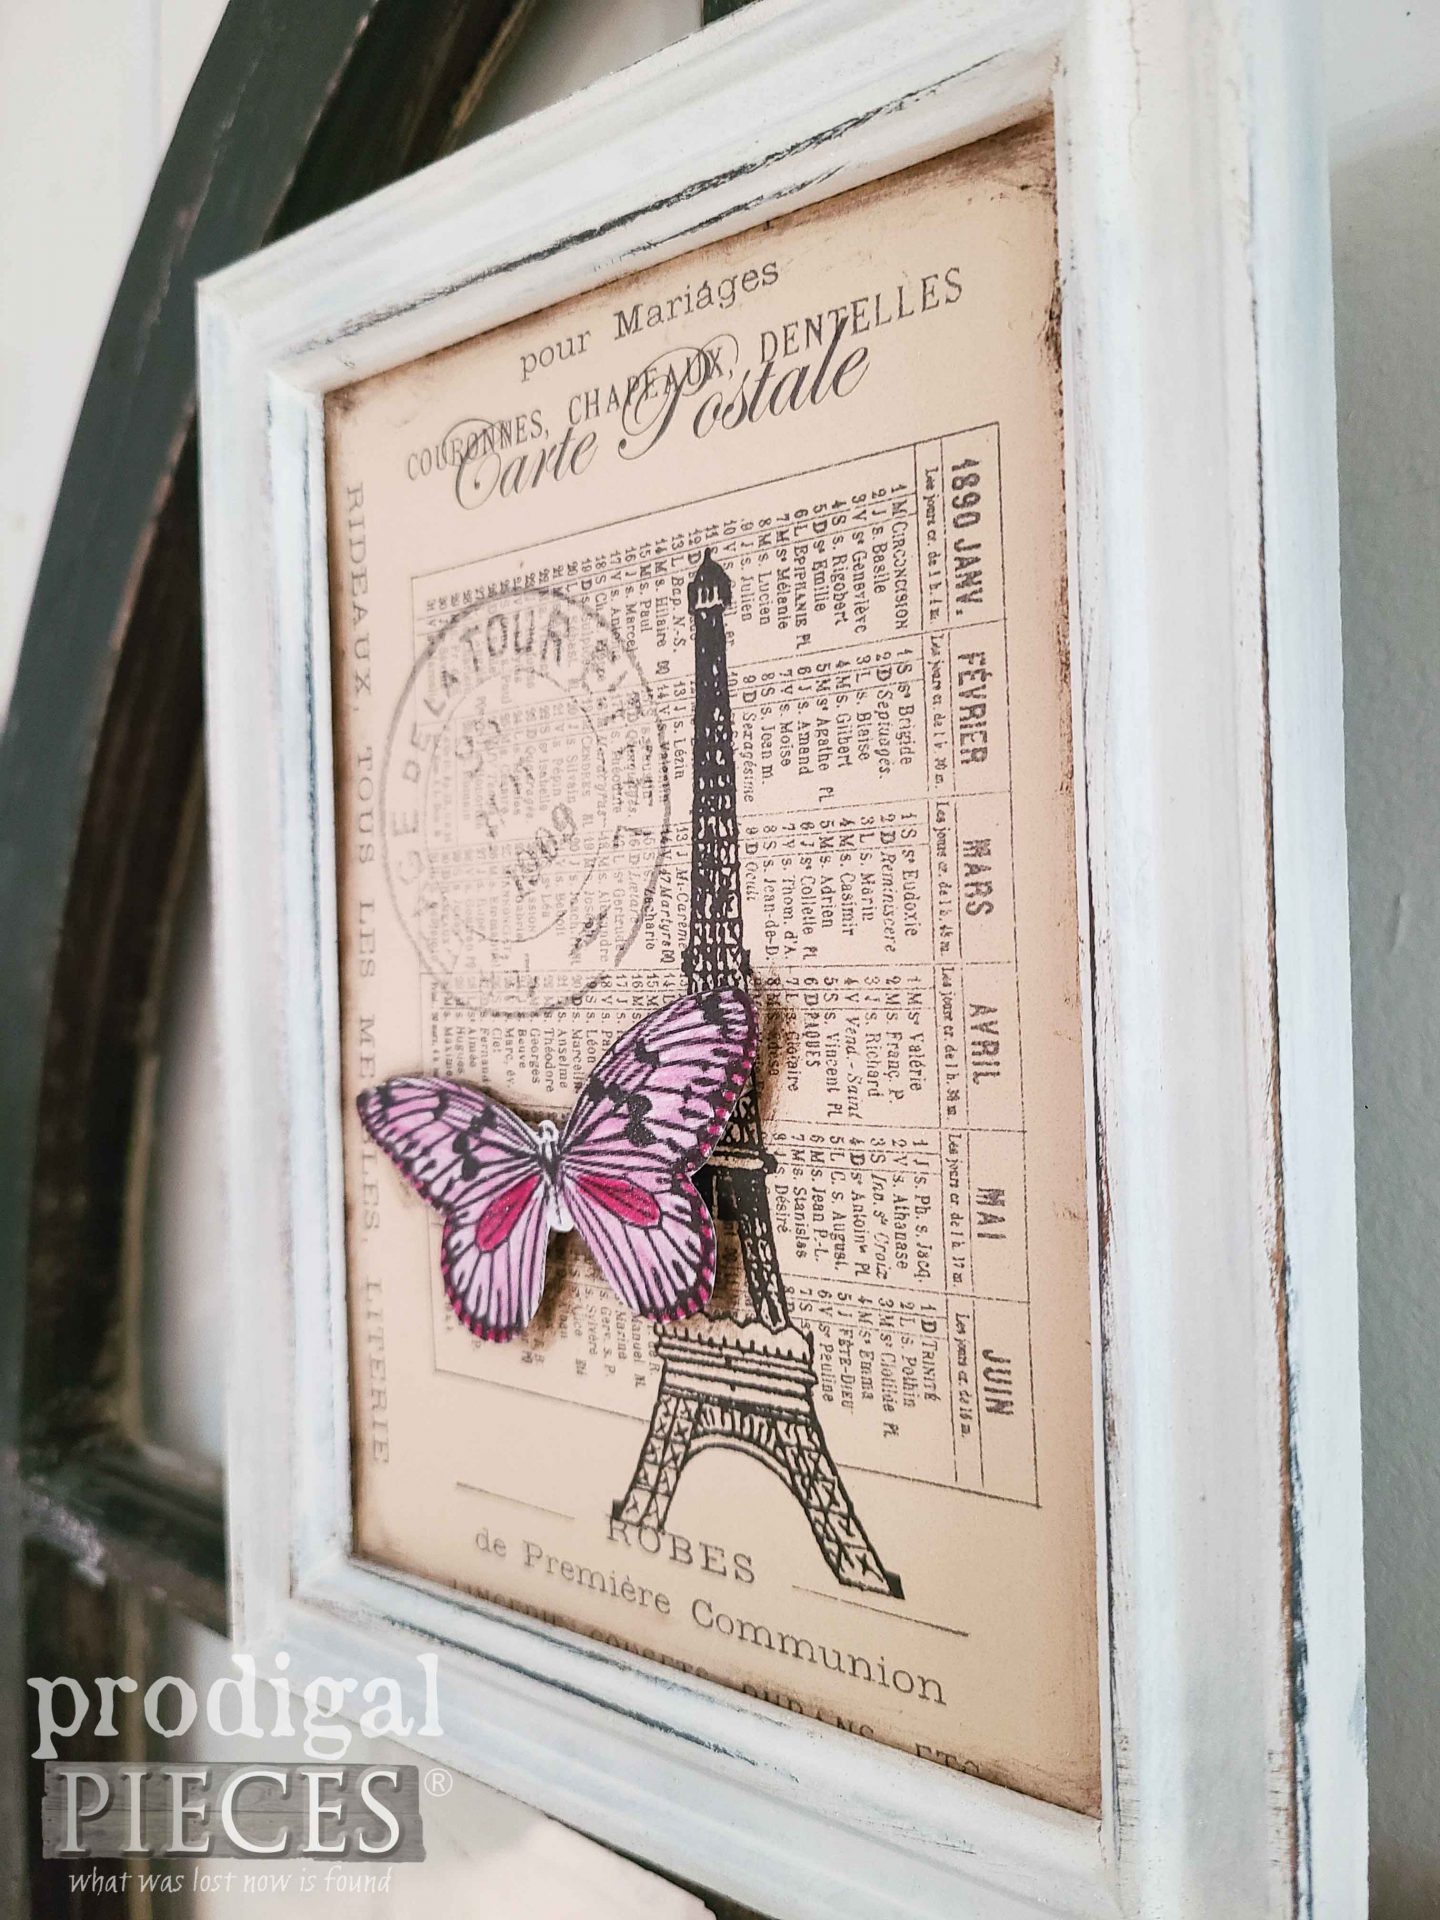
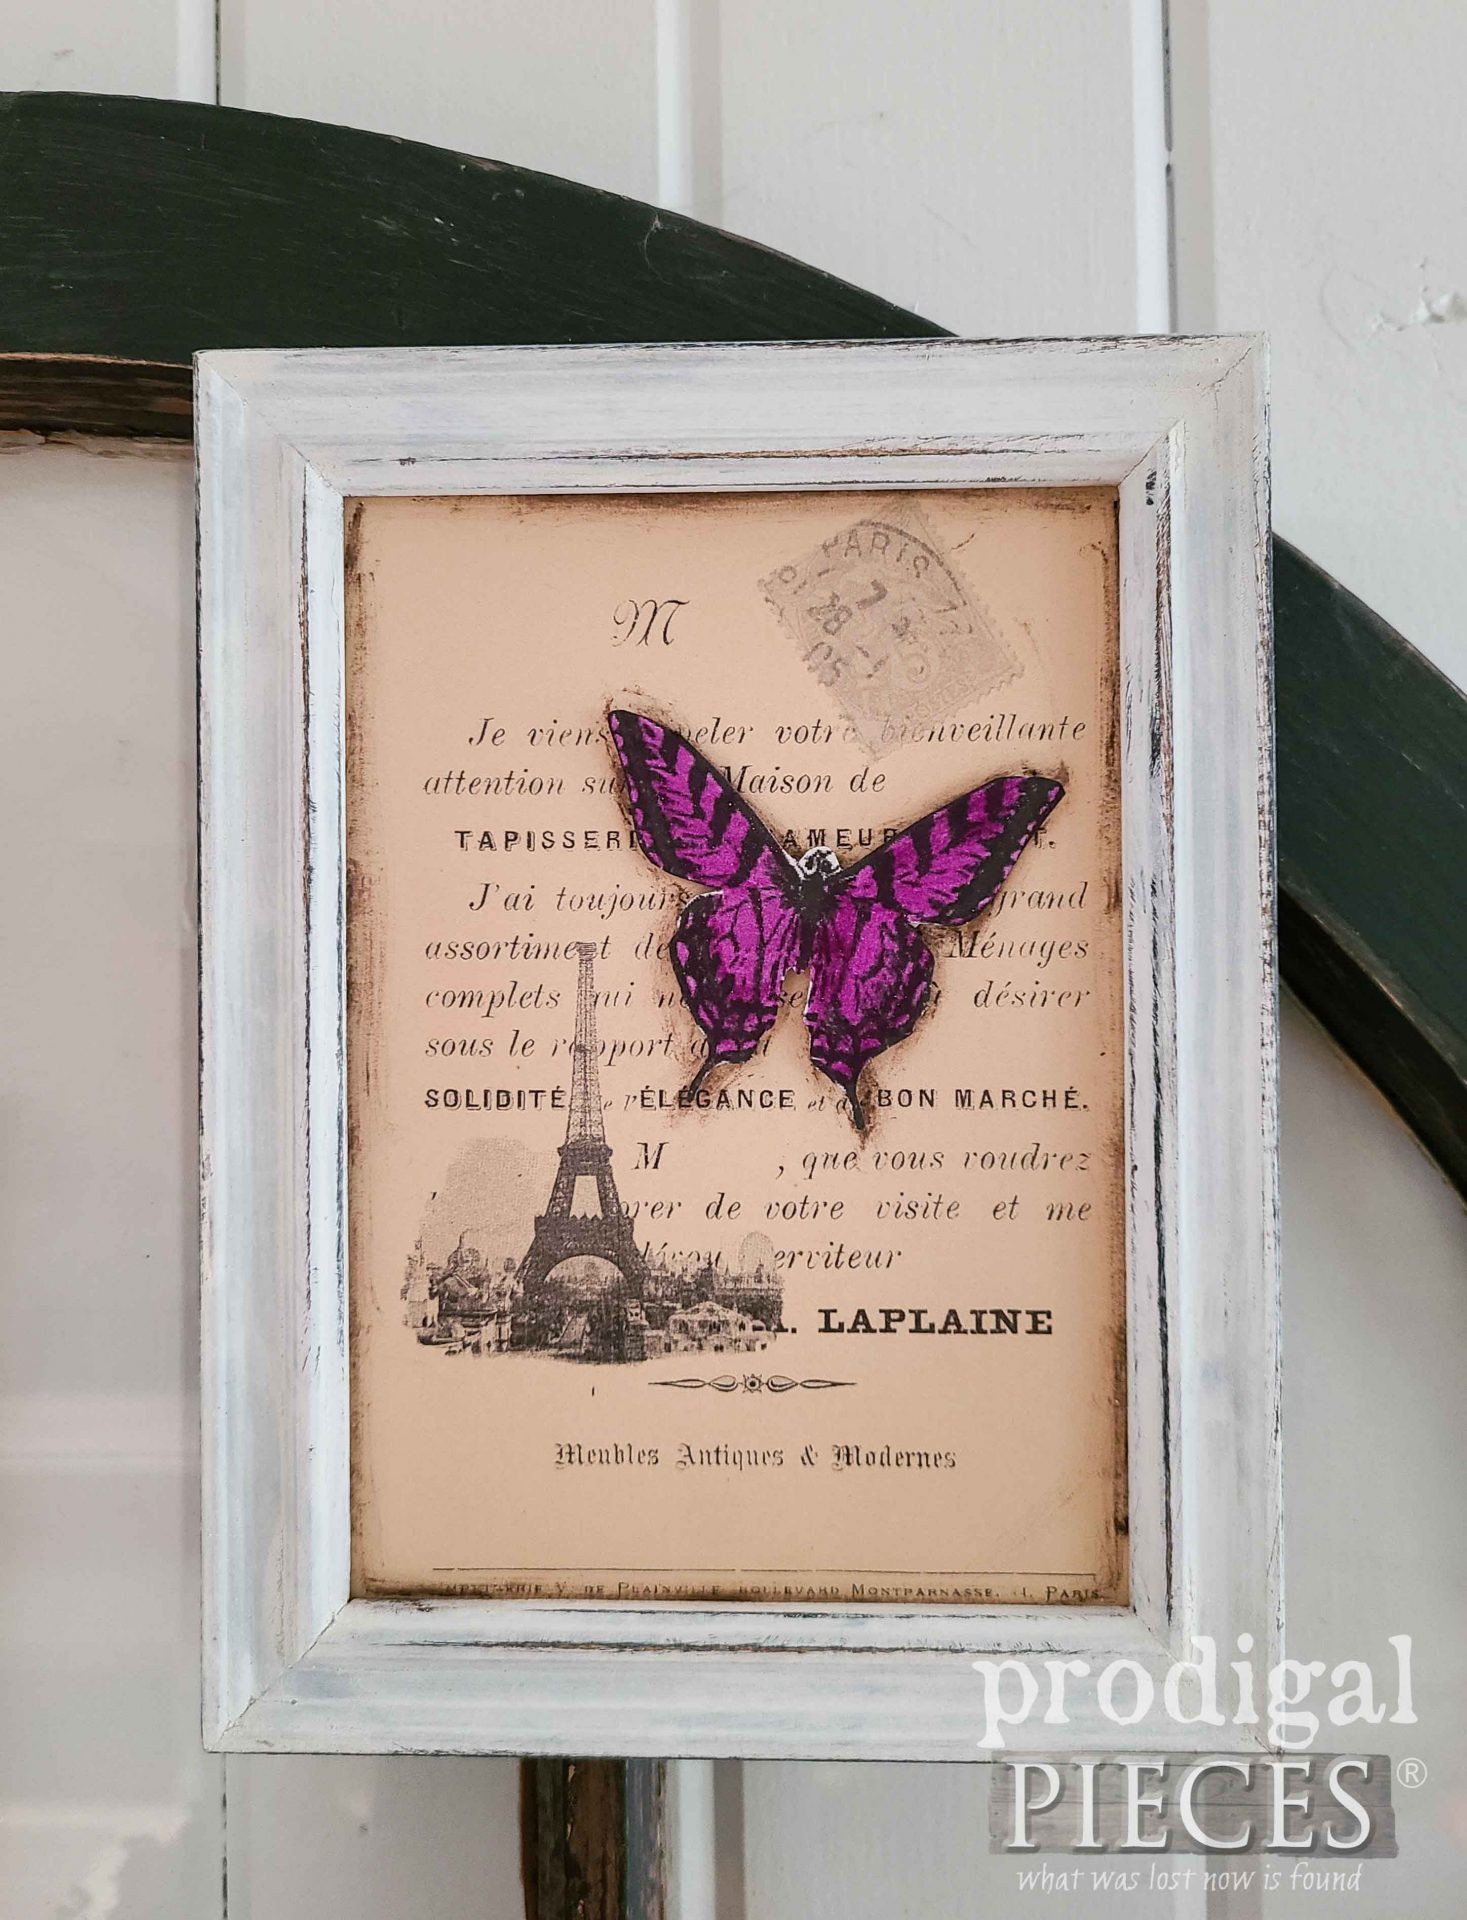
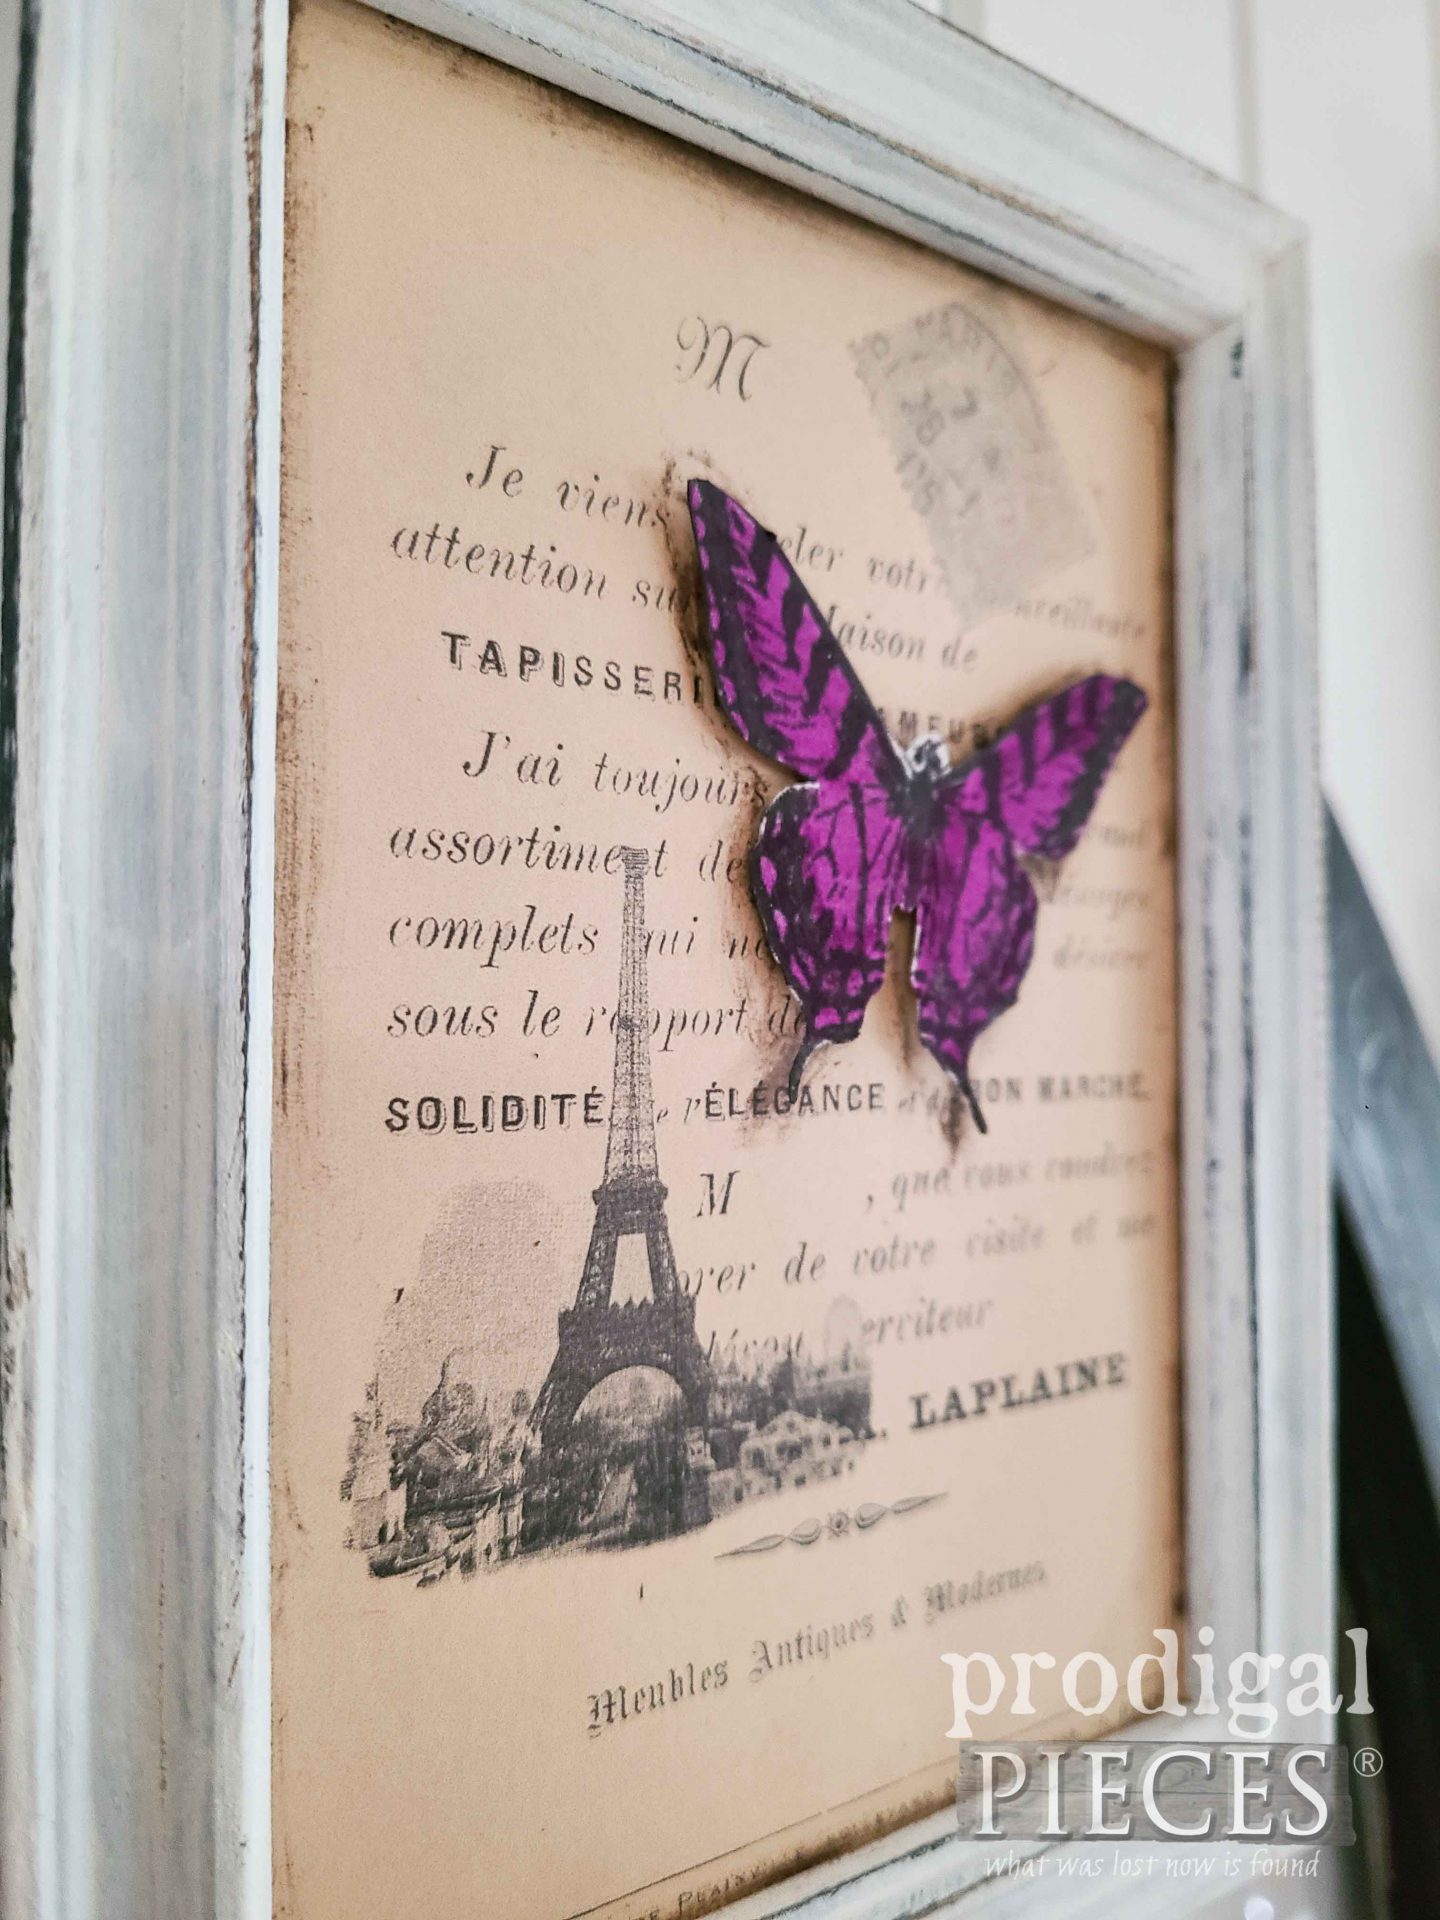
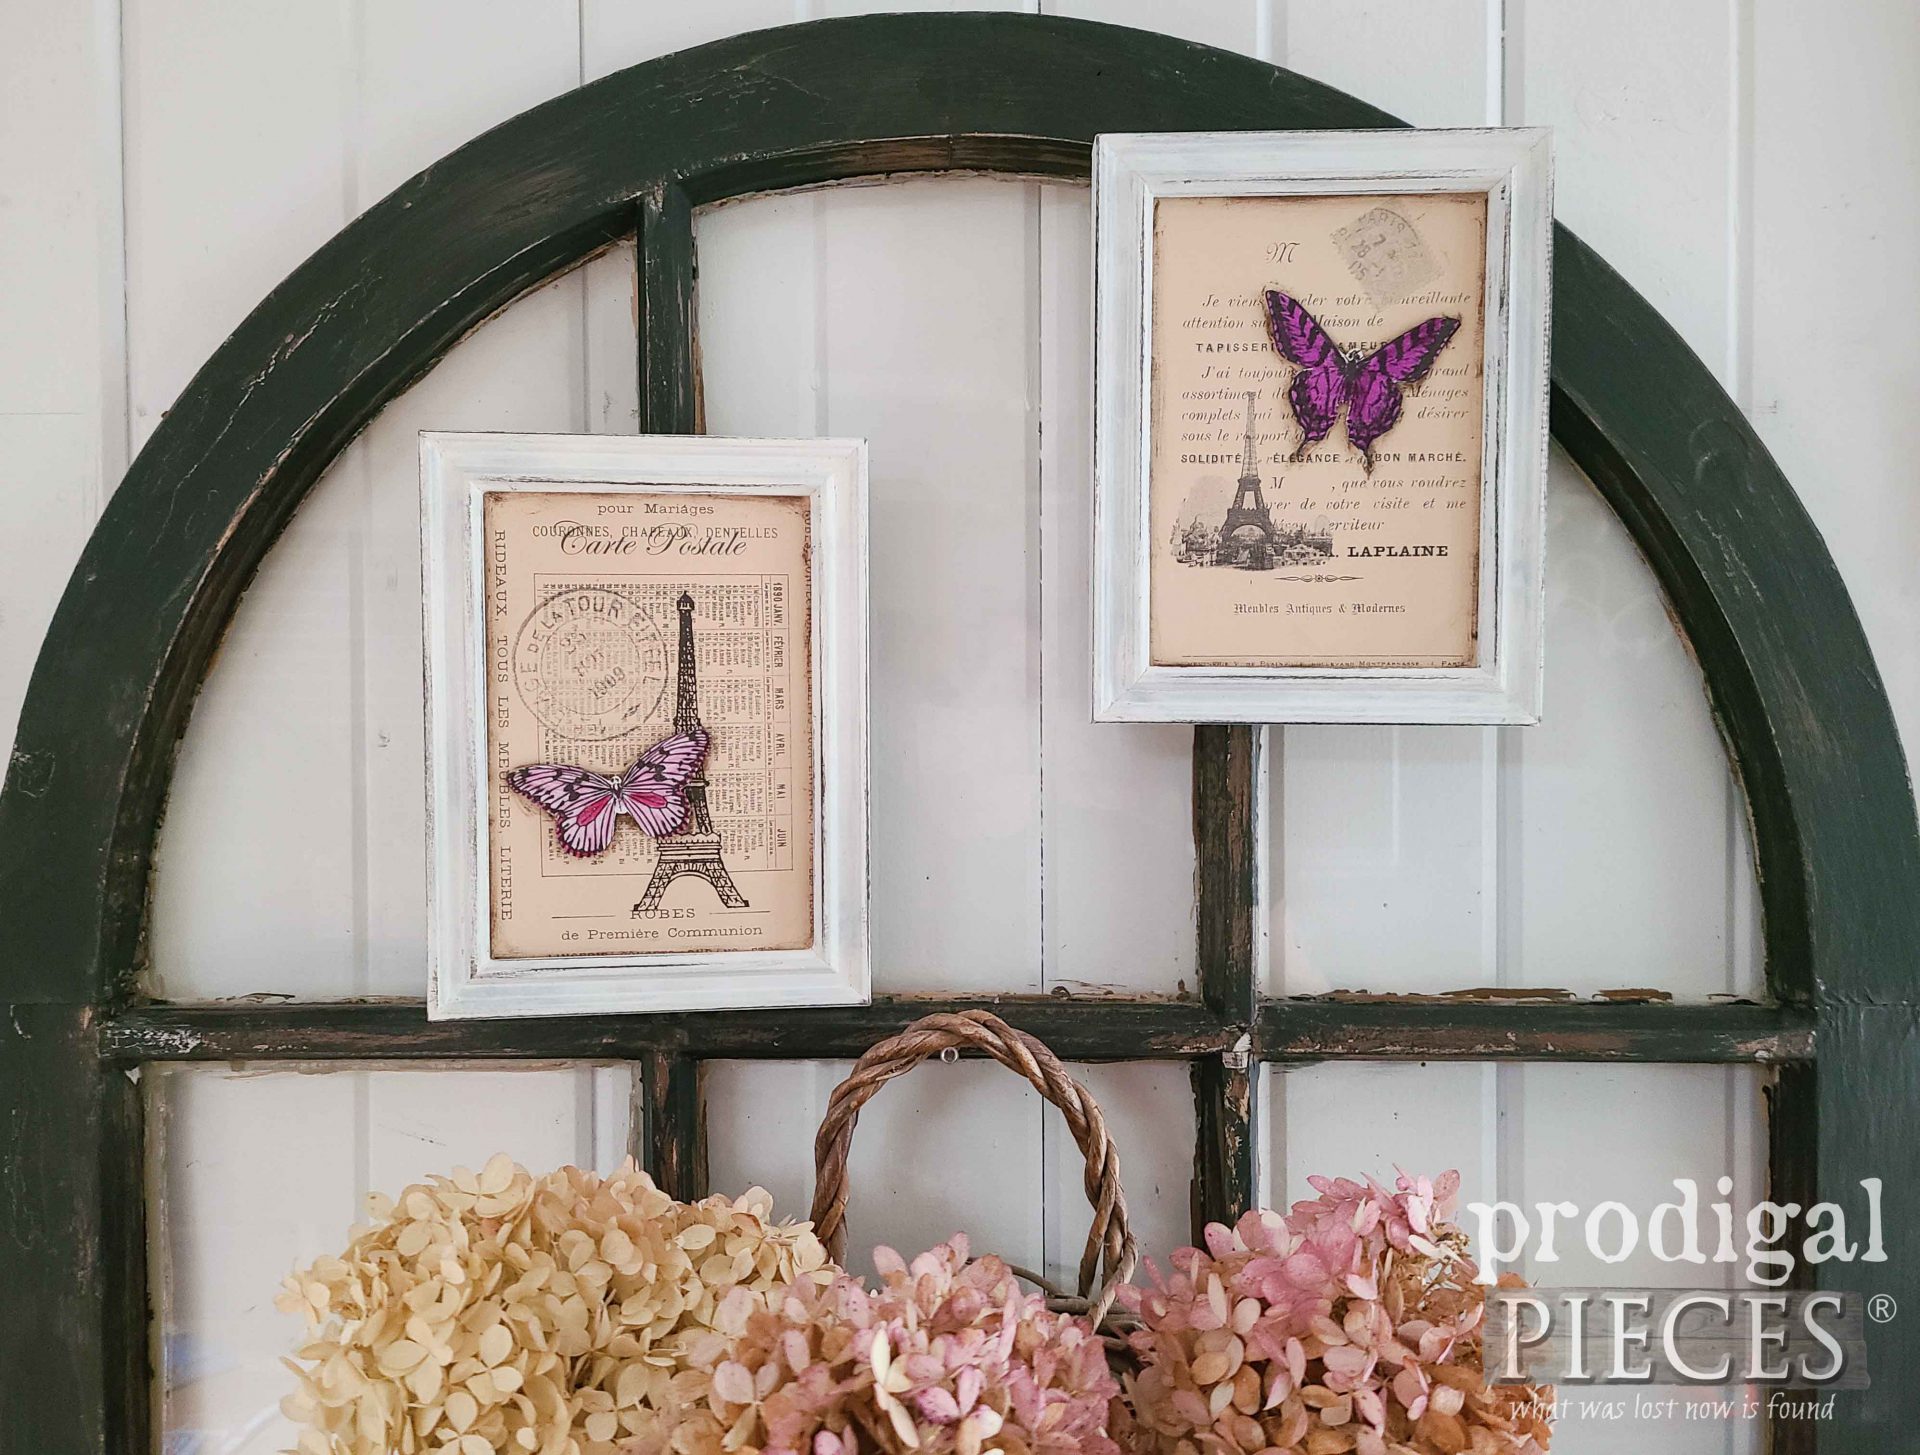
Finally, after my creative stent, my thrift store frames look nothing like they did before. eep! First, take a peek at the moose art gone French.
Can you see how the butterfly rests just above the art? It adds dimension like it’s floating over the paper. Also, here’s the other one…
AND THEN
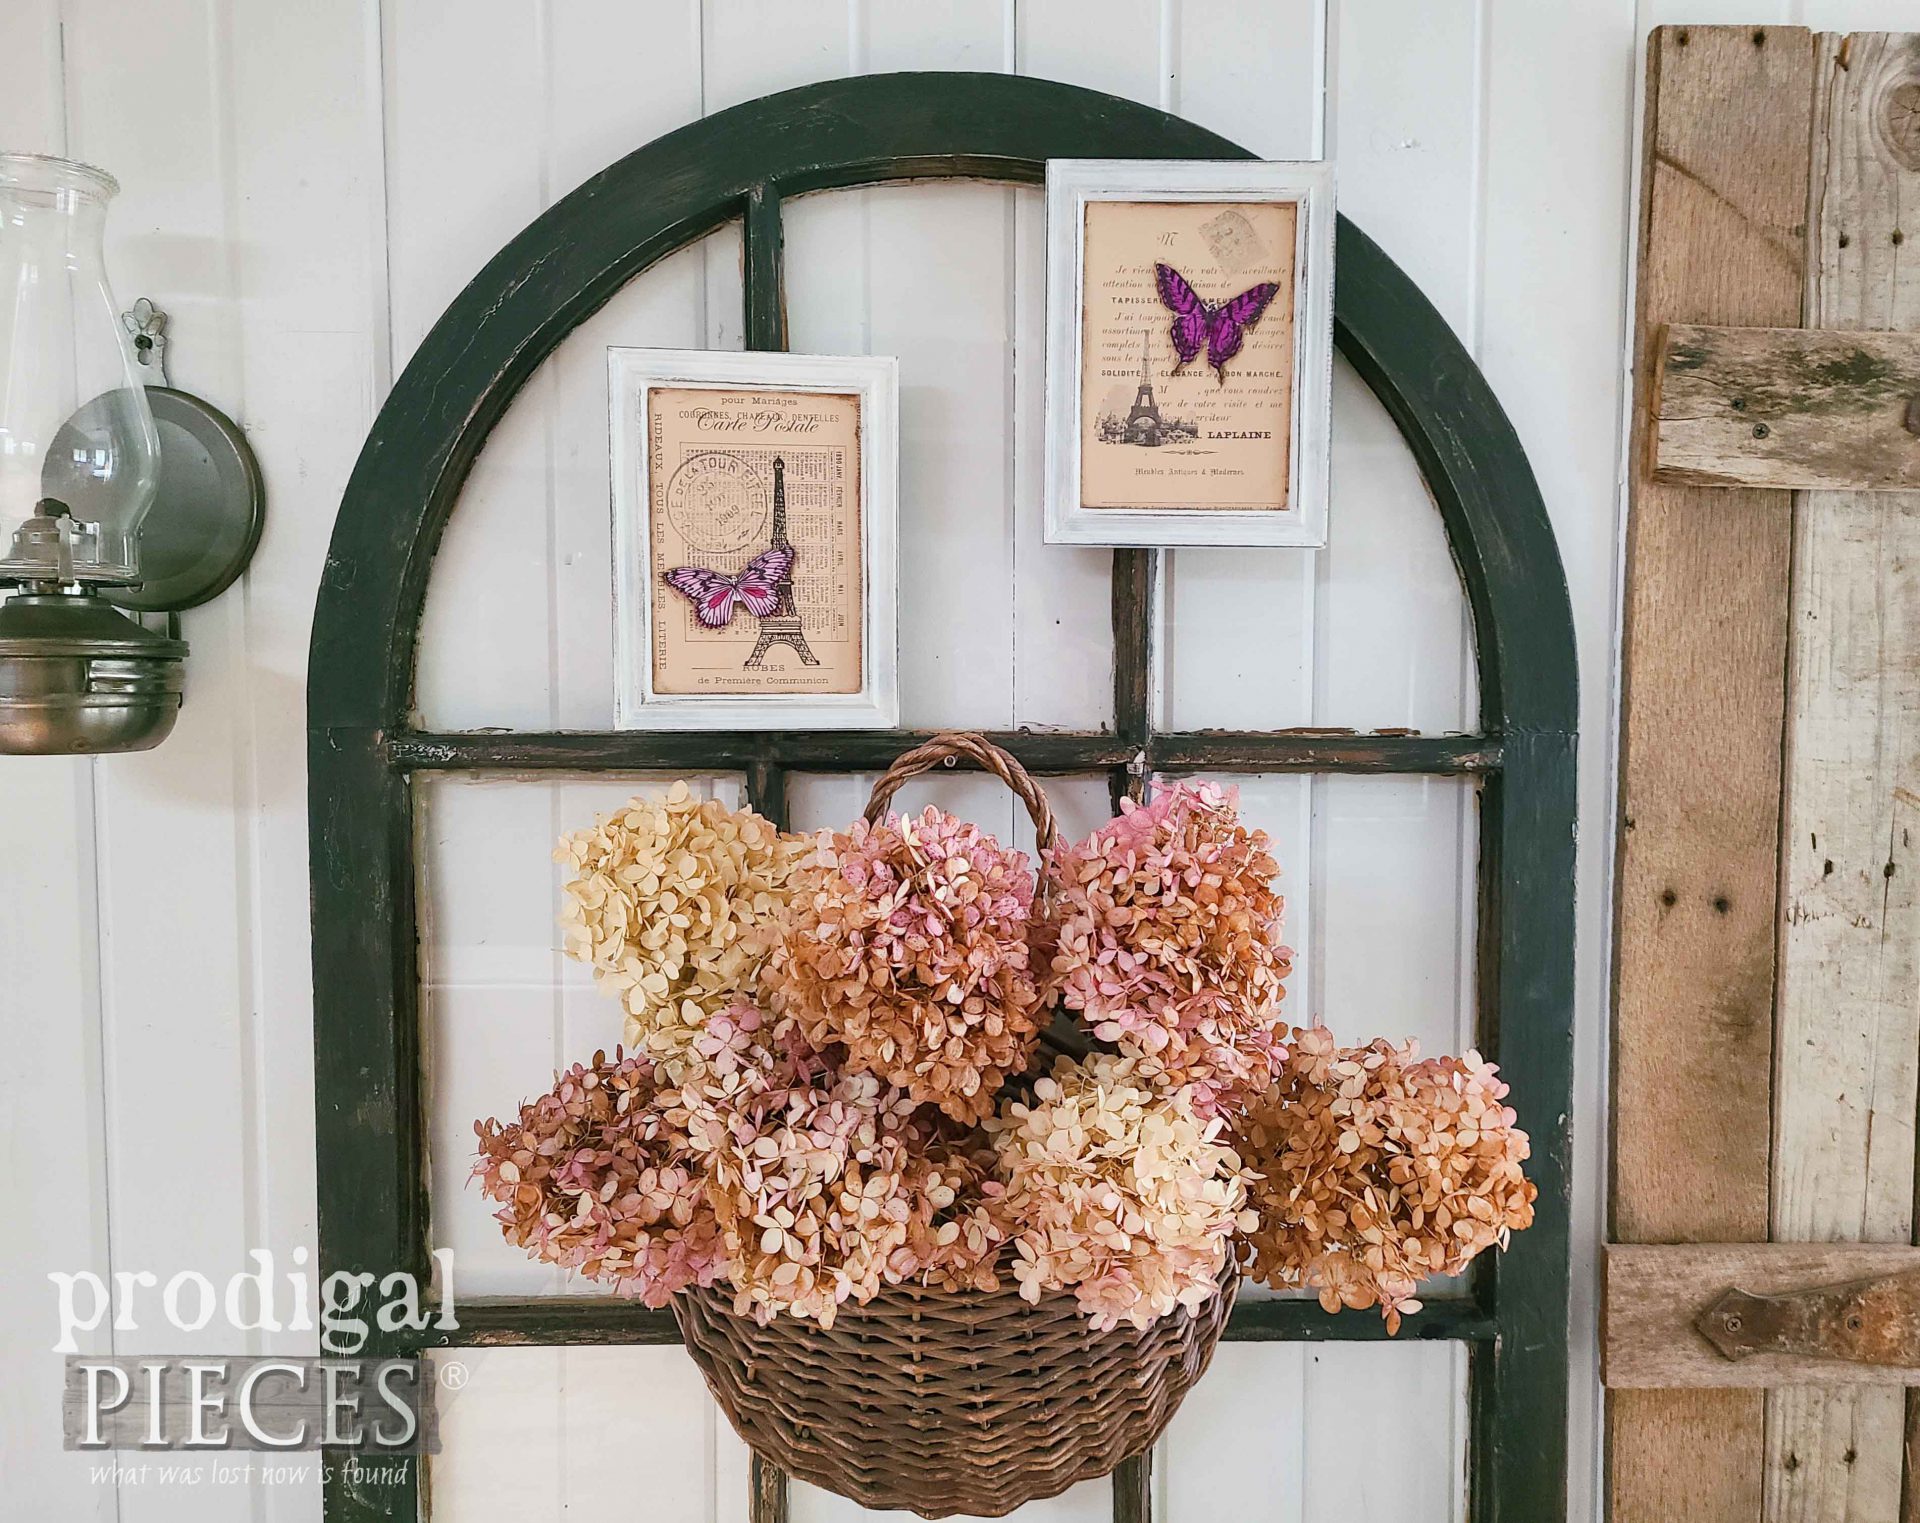
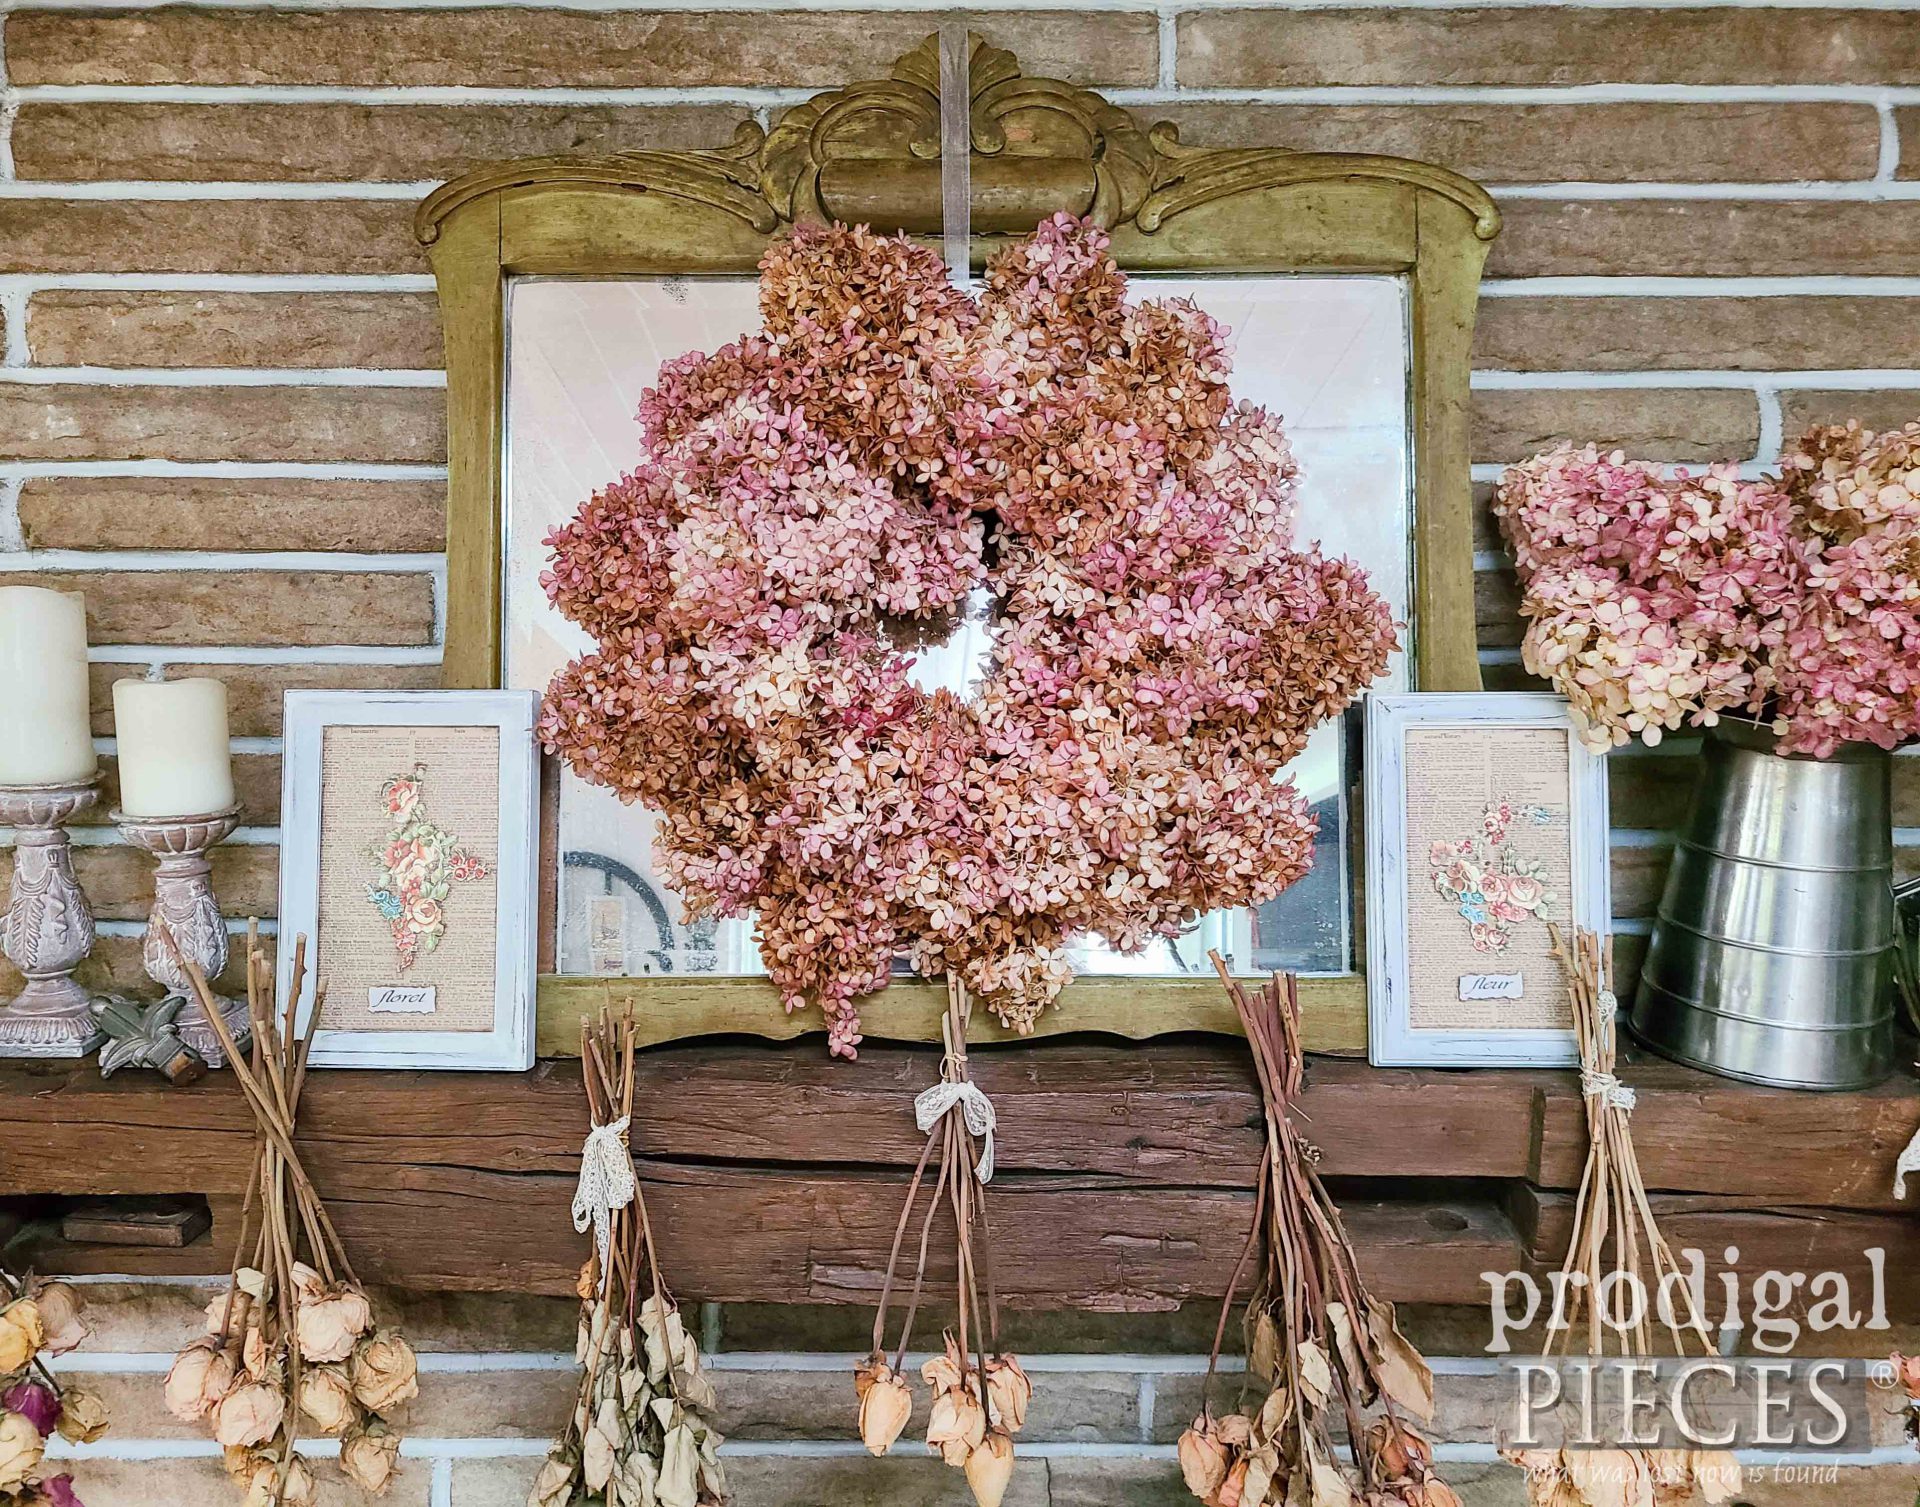
Next, let’s look at those two random prints that I decided to make into a “matched” pair. Aren’t they fun?
One has “floret” while the other has “fleur”. Both suiting the end result, me thinks, and ready for a new home. Additionally, if you look close, I use a bit of brown and clear waxes to add depth and dimension.
Now…do tell…which set if your favorite? If you’d like to own either (or both!) they are available in my online store along with many other furniture and goodies.
Likewise, as always I am all about encouraging and inspiring you to give DIY a try. Grab your own thrift store frames and also pin and share to inspire too.
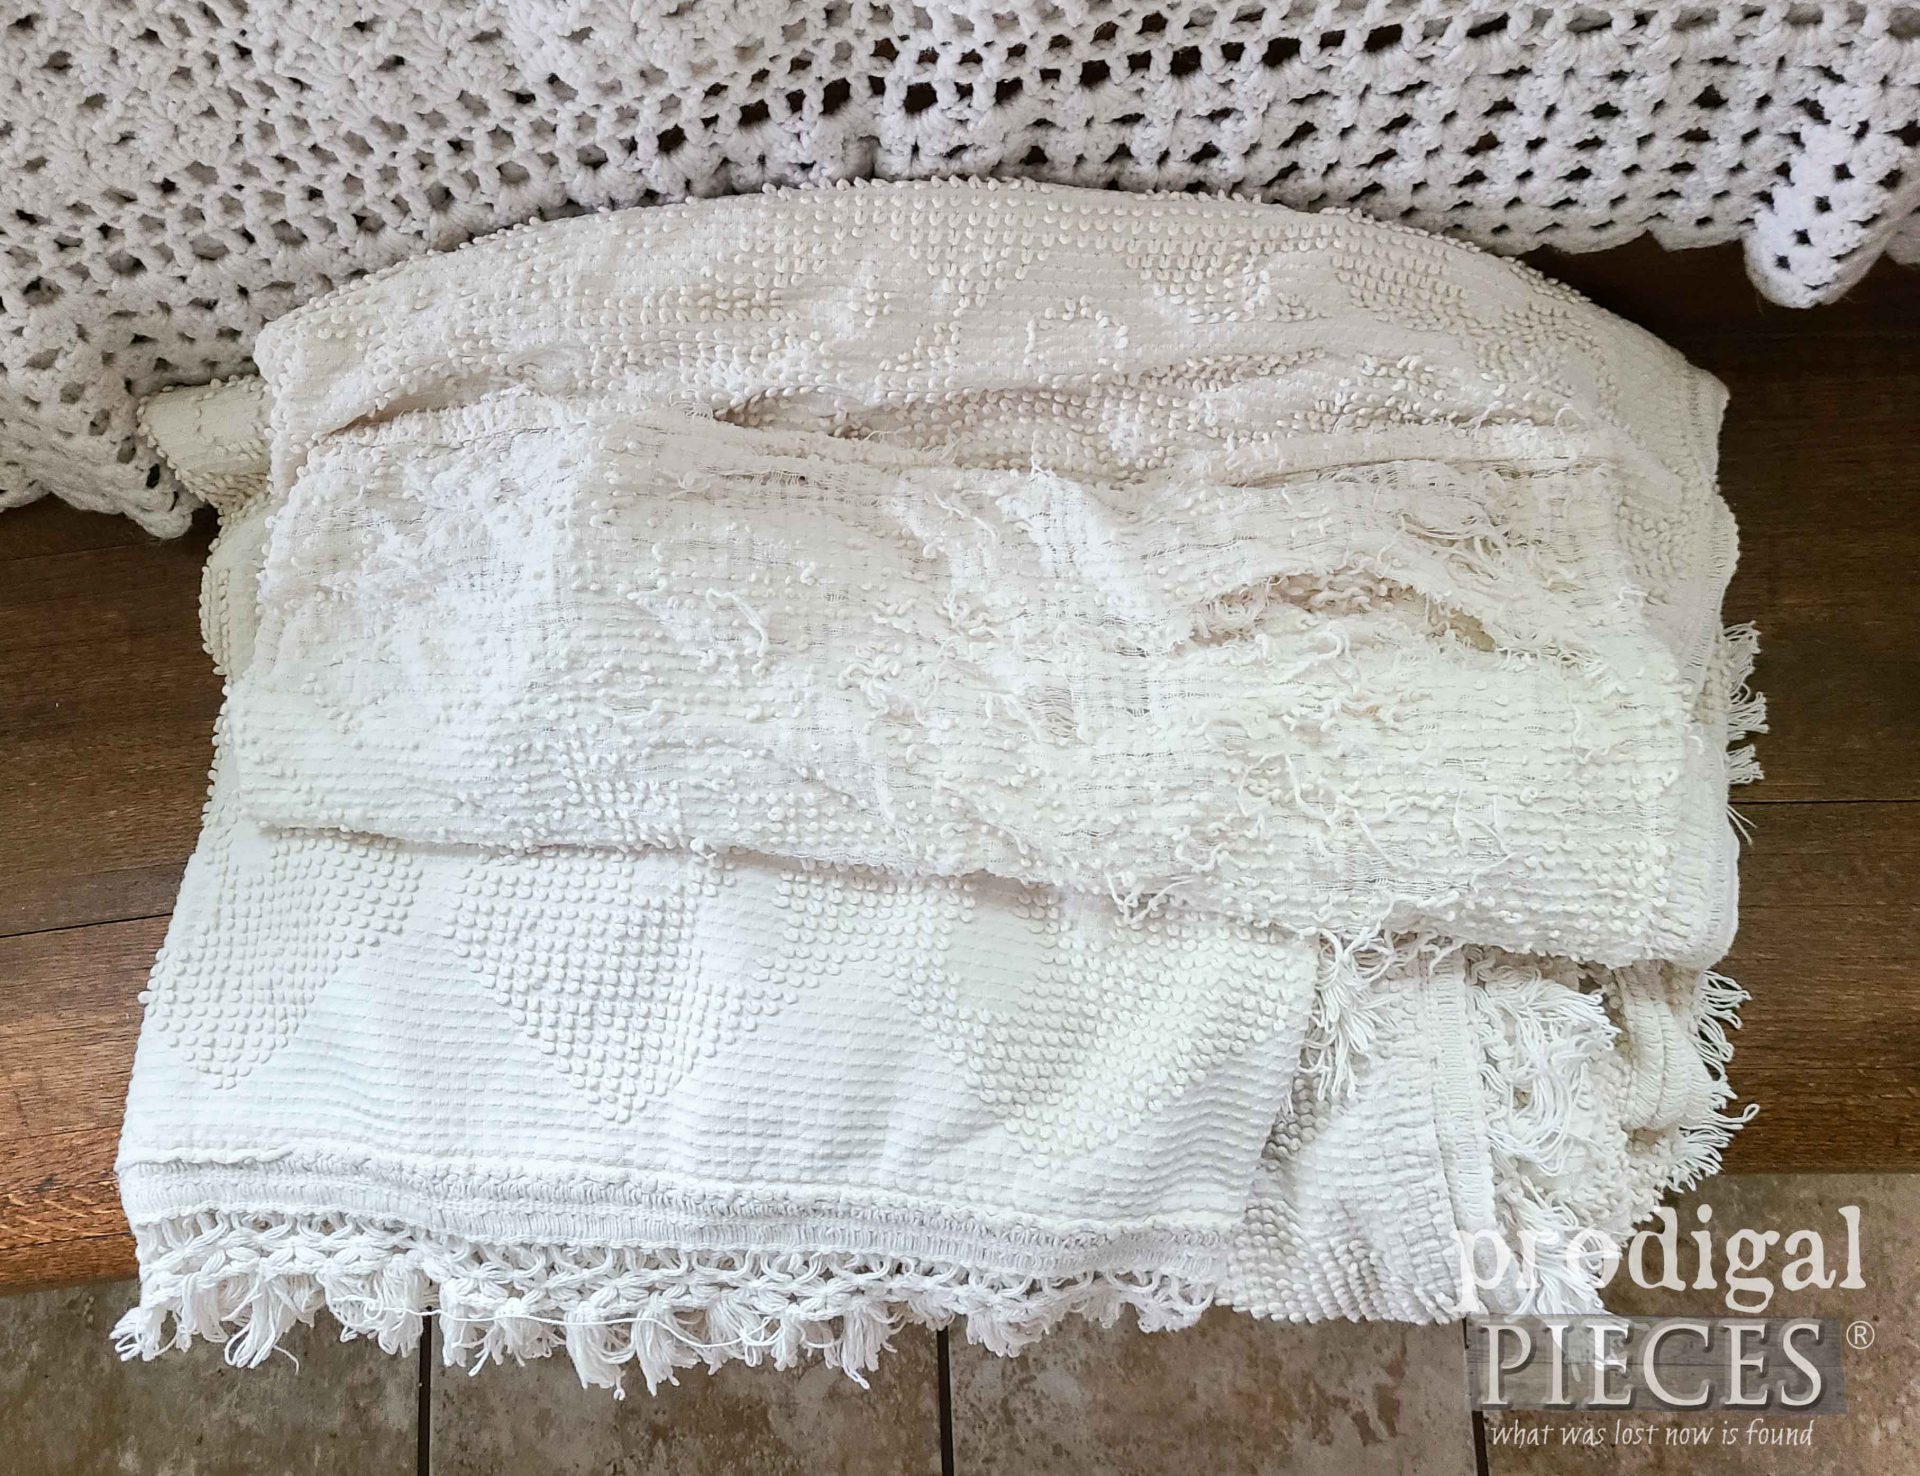
In addition, up next is Reduce, Reuse, REFASHION time. be sure to sign up for my newsletter to see what I come up with for this damaged chenille bedspread – HEAD HERE. Until next time!


As always,great job! I love the flower set.
They were fun to do and took me into my crafty side. Yay! Thank you, Lori.
What a quaint little collage Larissa. I’m not one for this type of thing because I’m pretty minimalist. However for the right person I’m sure these cute prints with flutter-by’s will fill some space quit nicely! Very Shabby chic/French country!!
Thank you, Niki. I’m the same and why it’s fun for me to do then offer in my shop. 😉
Beautiful change!
Thank you so much, Michele. I felt like these frames, much like a butterfly, underwent a metamorphosis of sorts.