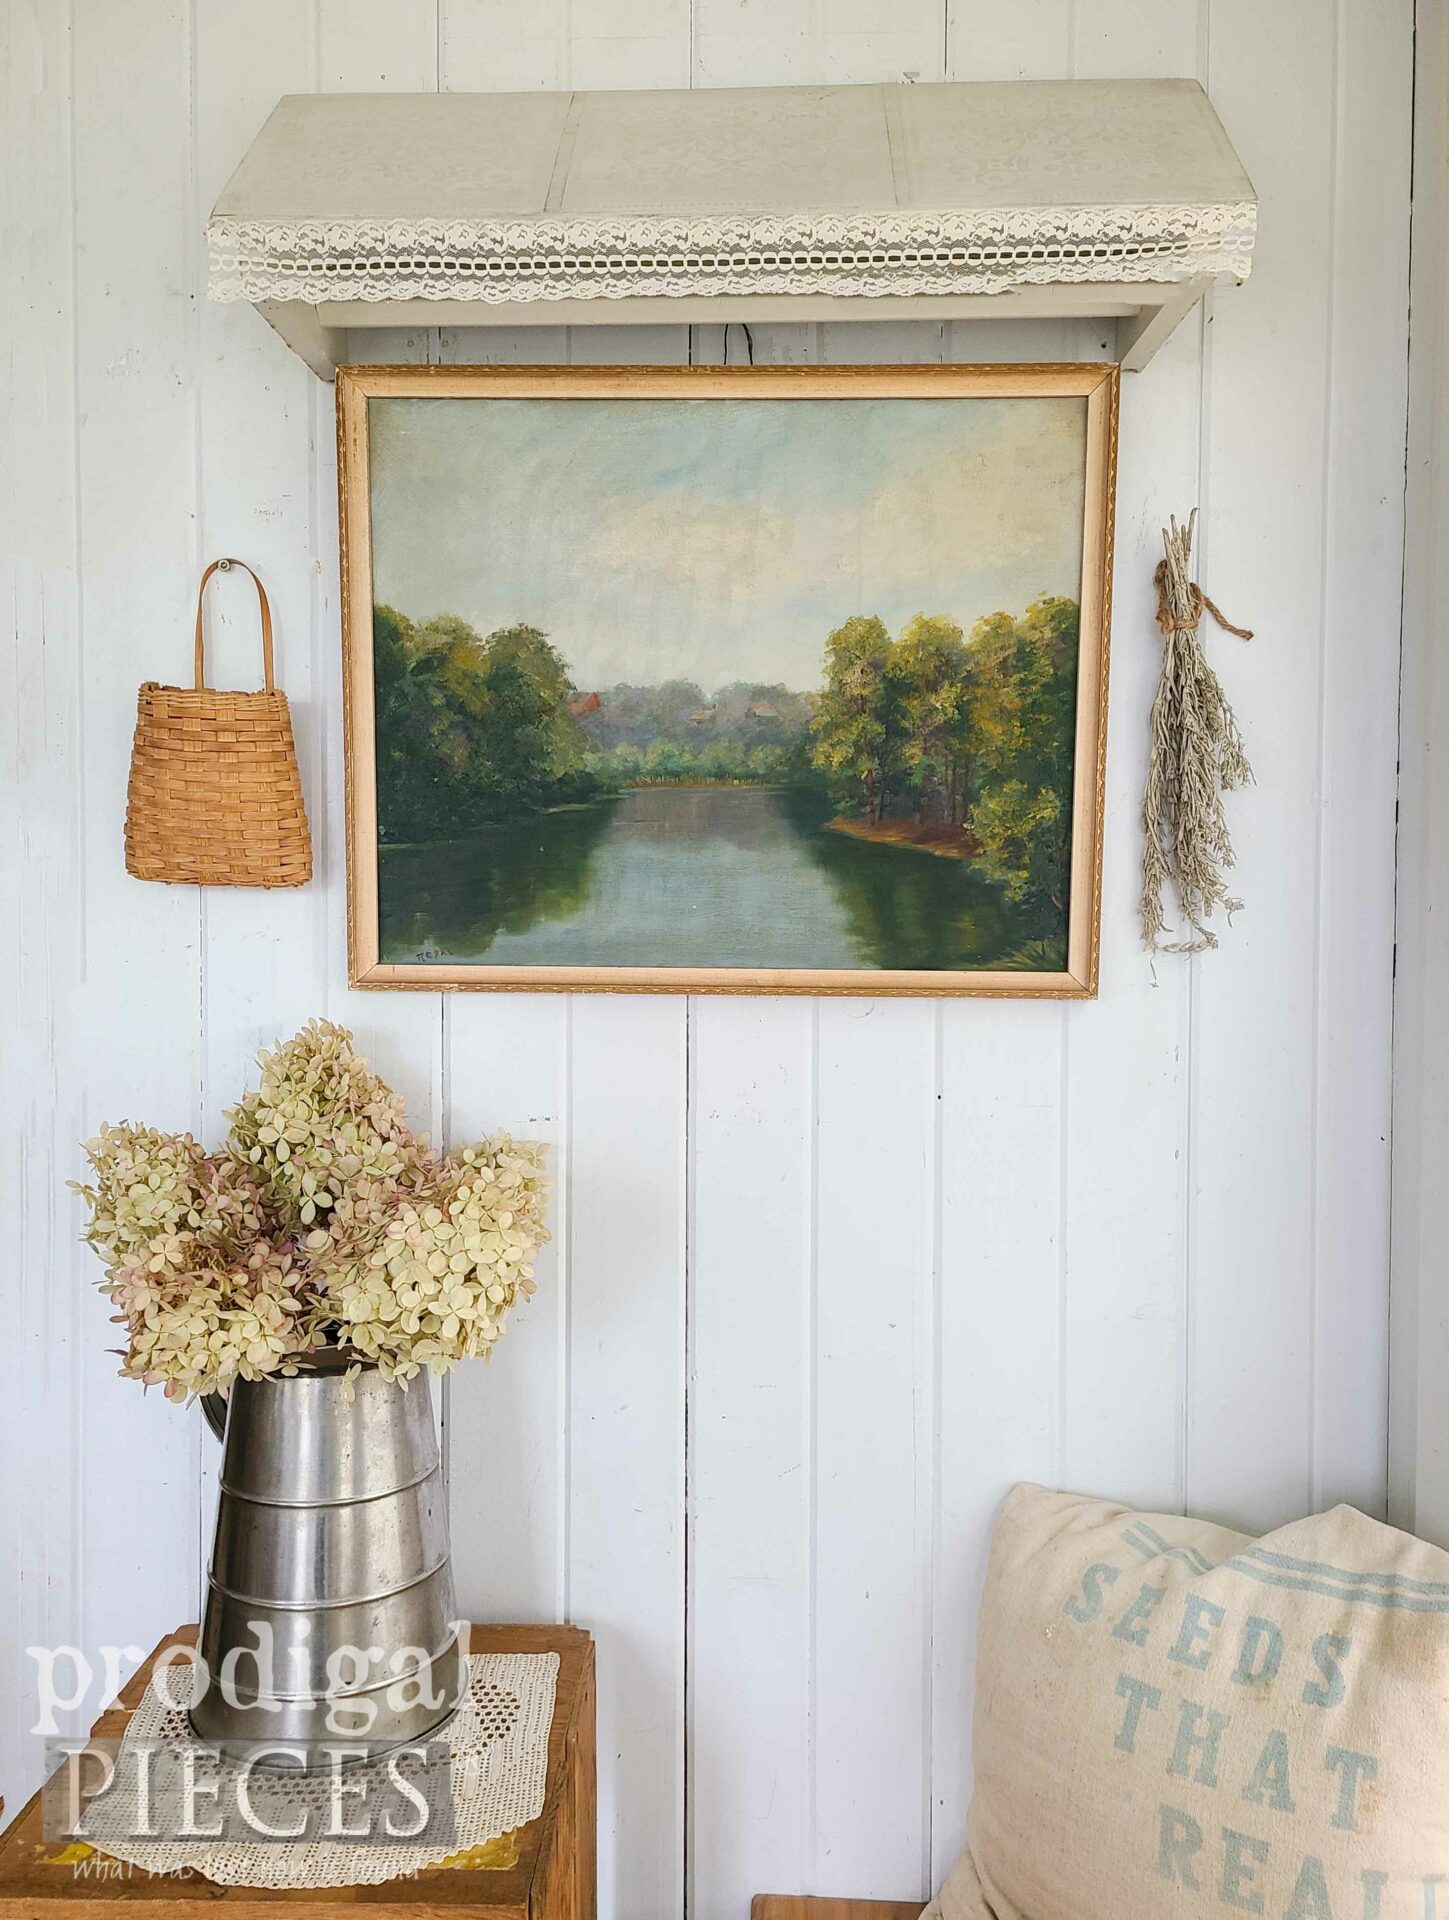
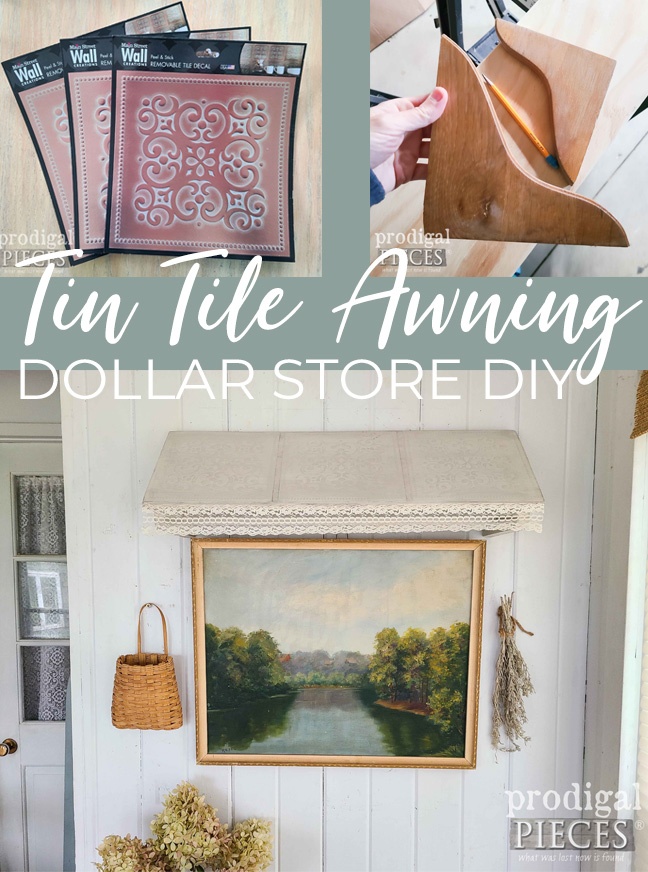
What’s better than creating a DIY project? Saving time and money while you do it. Can I get an amen? tee hee. Folks, you know I love to share with you a thrifty makeover or budget remodel, but I also love showing you tips & tricks how to make things happen for yourself. In recent months I shared with you how I’ve used these dollar store finds HERE. In addition to that, I am also coming to you today with this dollar store DIY tin tile awning tutorial.
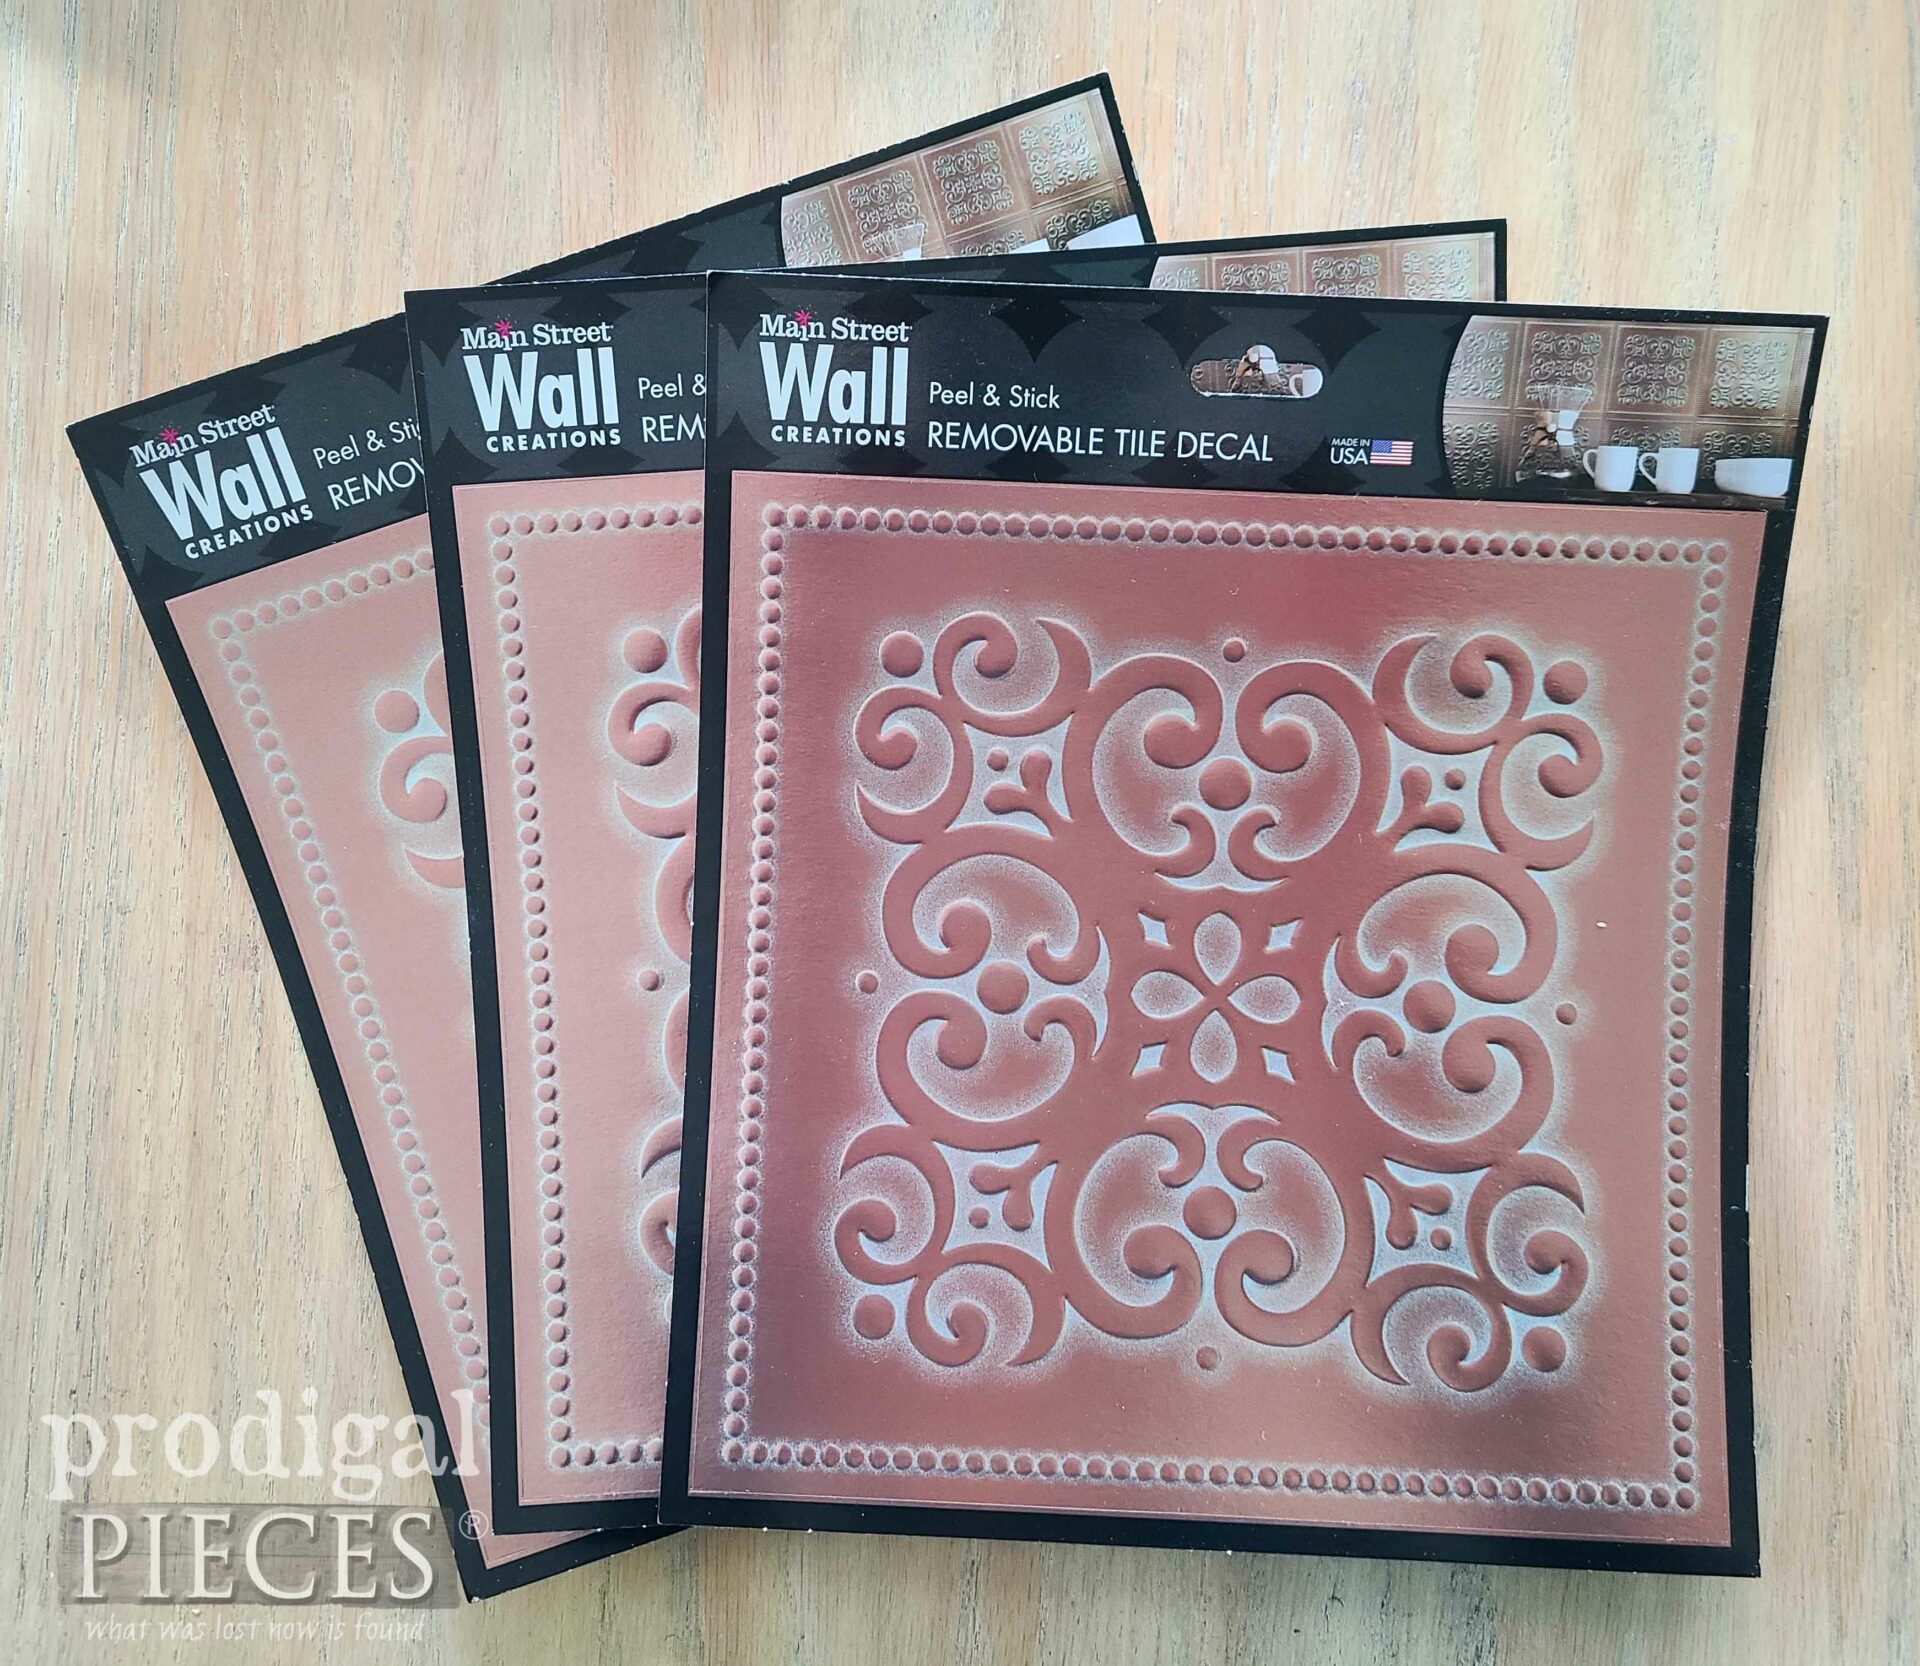
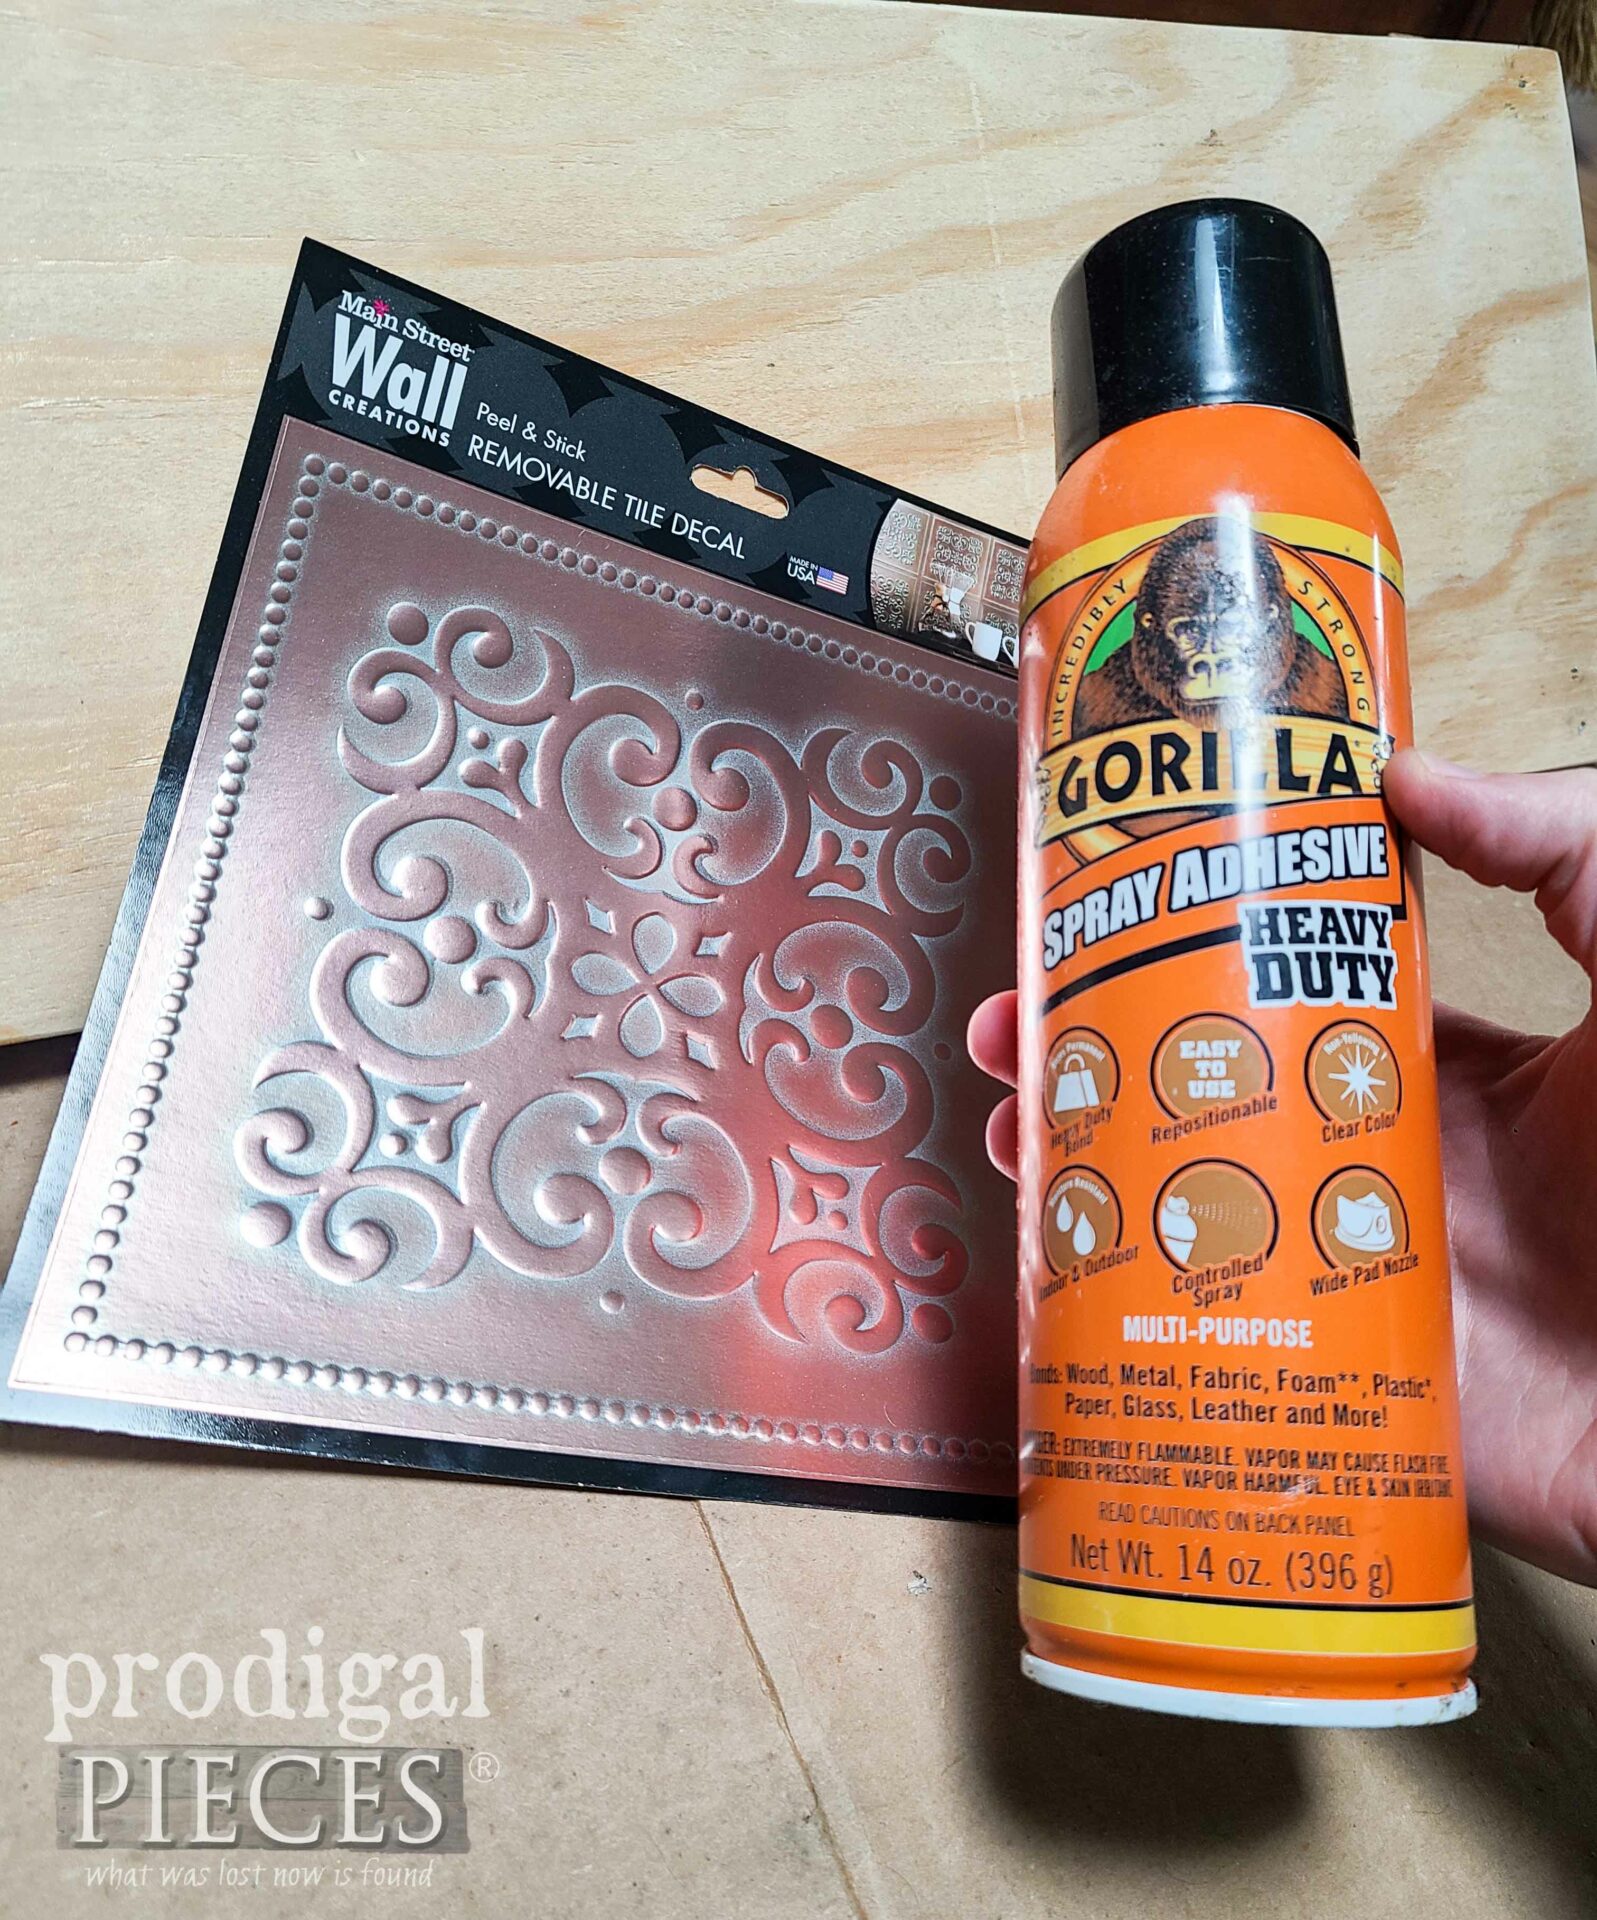
How, you ask, do I go from these faun tin tiles to making an awning? Well, before you call me cray-cray, hang with me. First, I know many folks who search high and low for actual antique tiles like the ones I used in my family room remodel. For my purposes today, I’m using these dollar store tiles to bring out my creative juices.
MIX UP
In addition, I wanted to apologize for getting my days messed up this month, if you get my newsletter, you know I had a down week of illness followed by a death in the family. With that, I didn’t realize today is the last Tuesday of the month, which is typically my Reduce, Reuse, REFASHION time. I’ll be back with that in my next post, k?
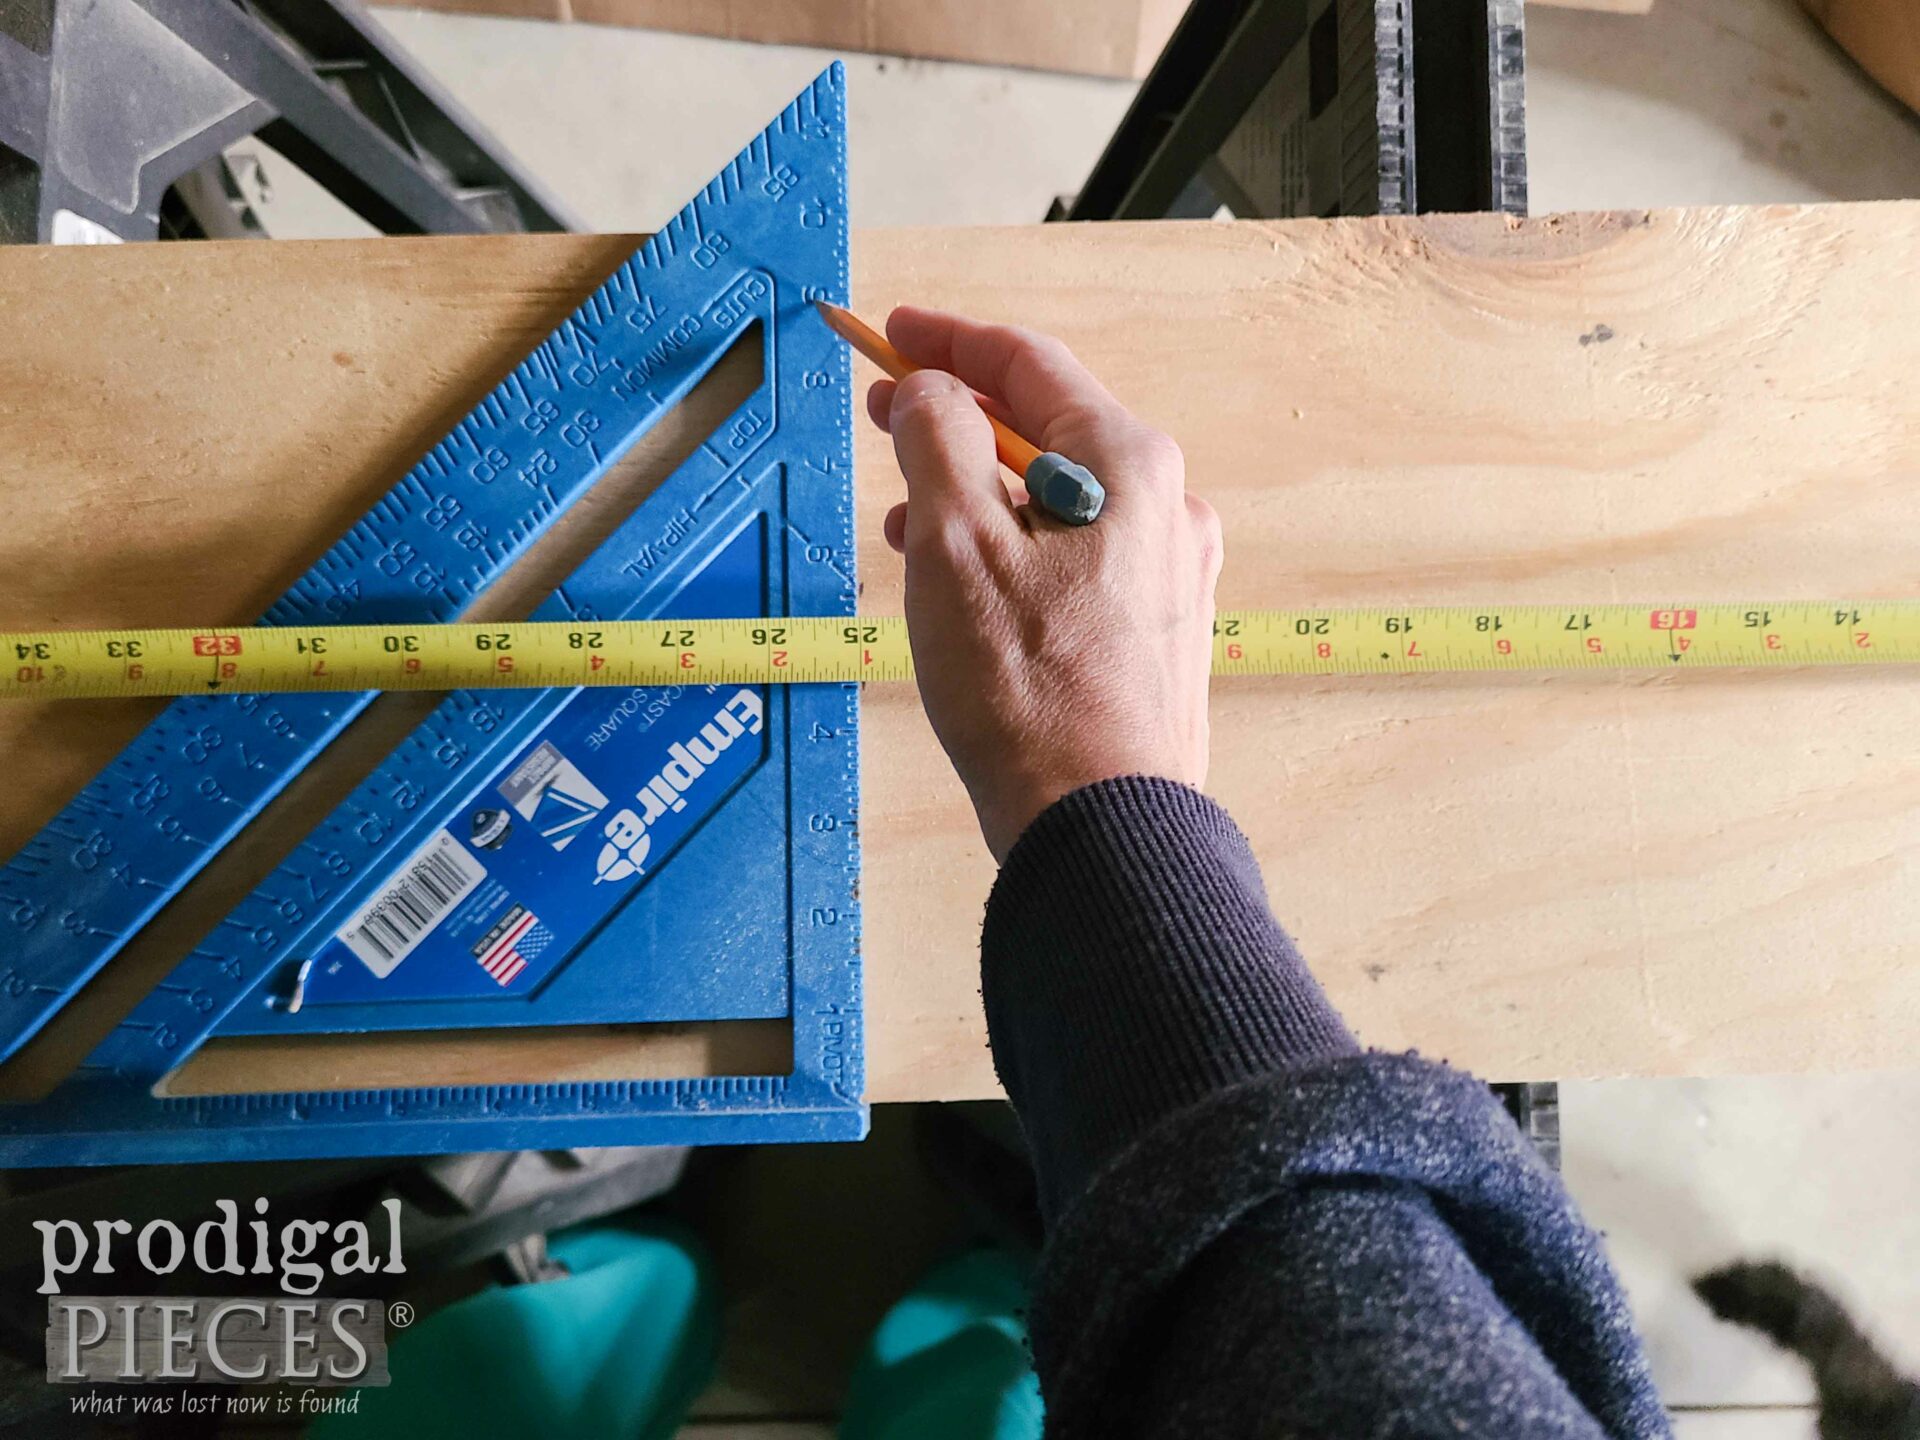
Furthermore, to get this fun started, I dig into my wood stash to find a piece of plywood and I cut it to size to allow enough room for the tiles, plus a smidgen of a edge.
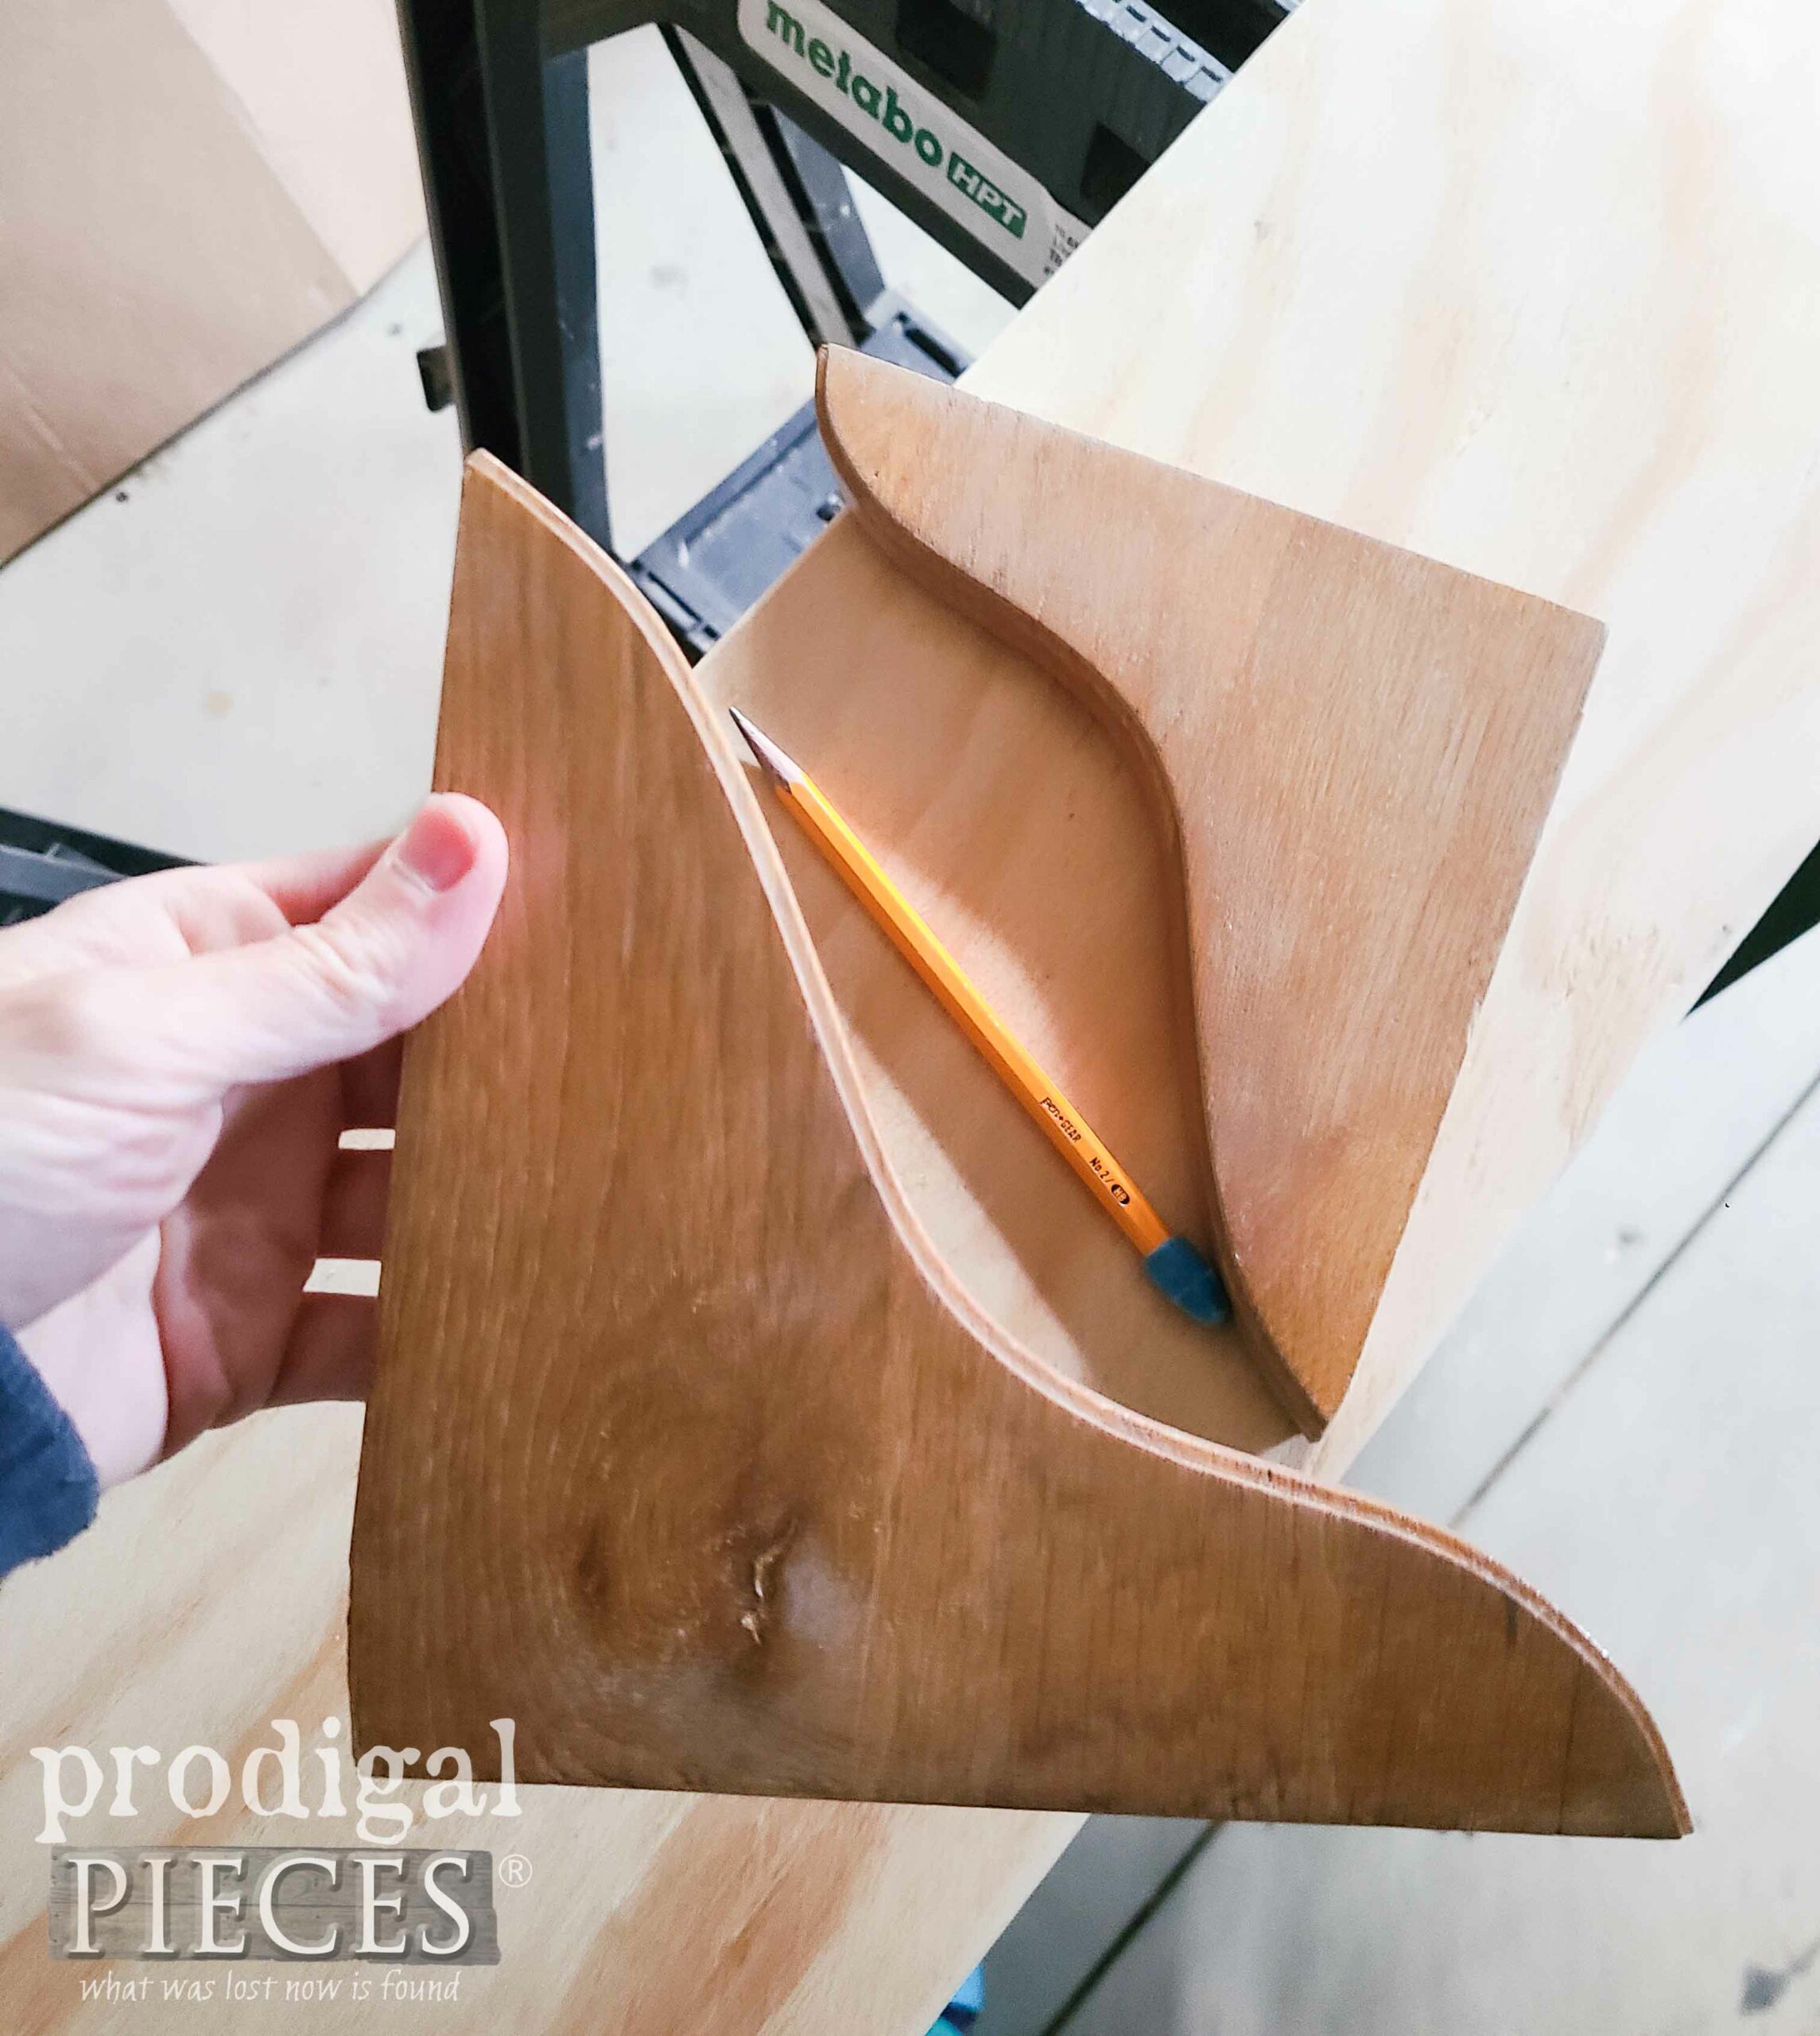
Then, I cut the wood with my circular saw. After that, I pull out these wood corbels I also have in my stash from a thrift haul. In the past, I’ve used them countless times, so it always pays off to have a stash.
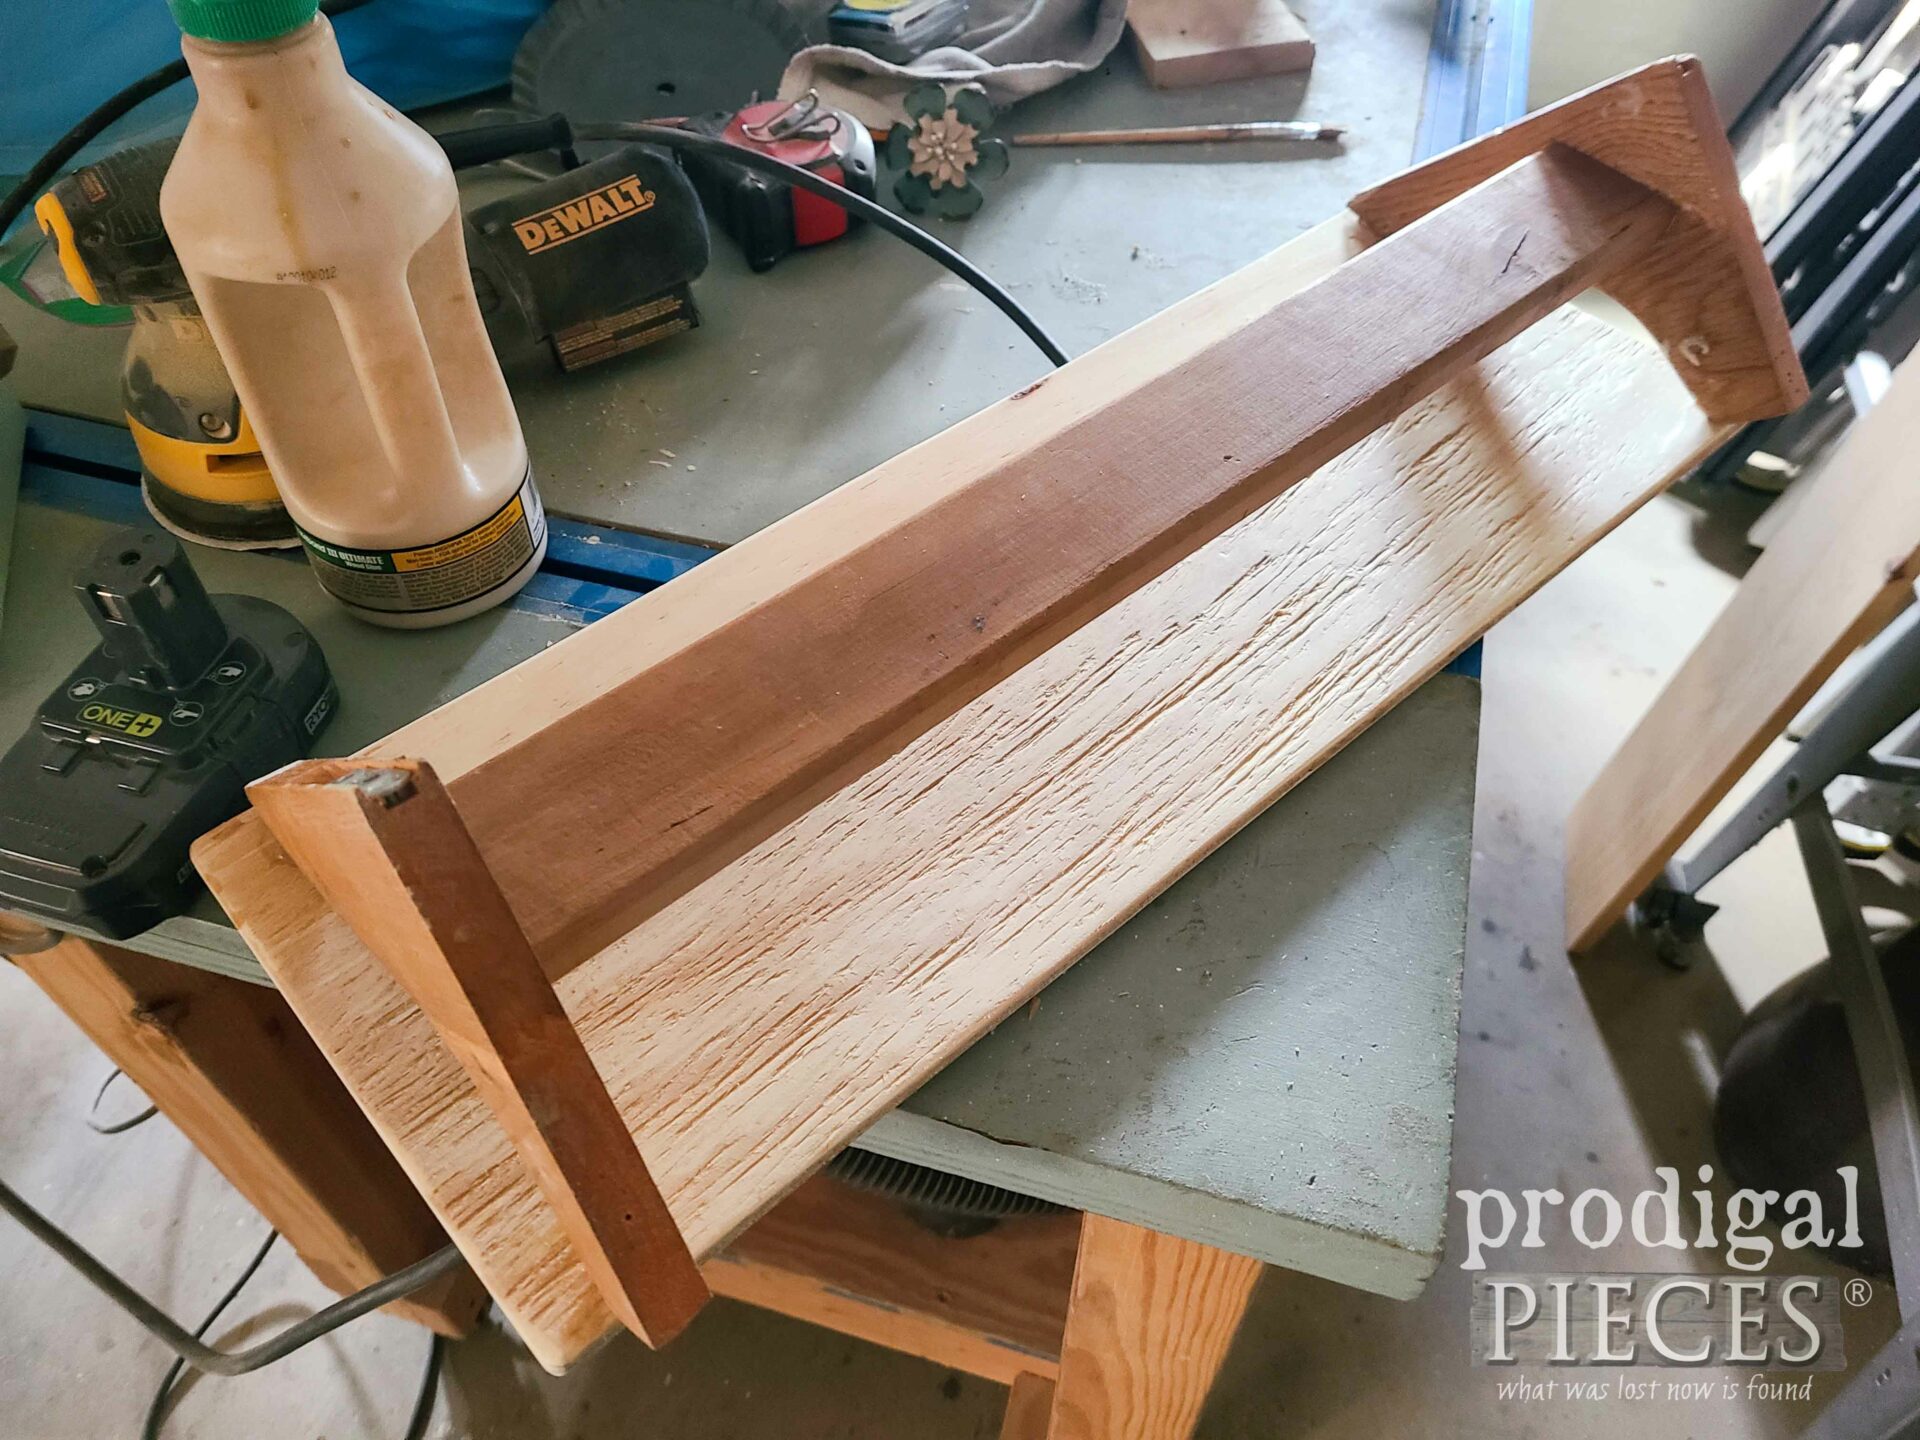
However, in order to make these work, I need to trim off the end to match the width of the awning. Additionally, I pull out a bed slat and cut it to length to serve as support.
FINISHING
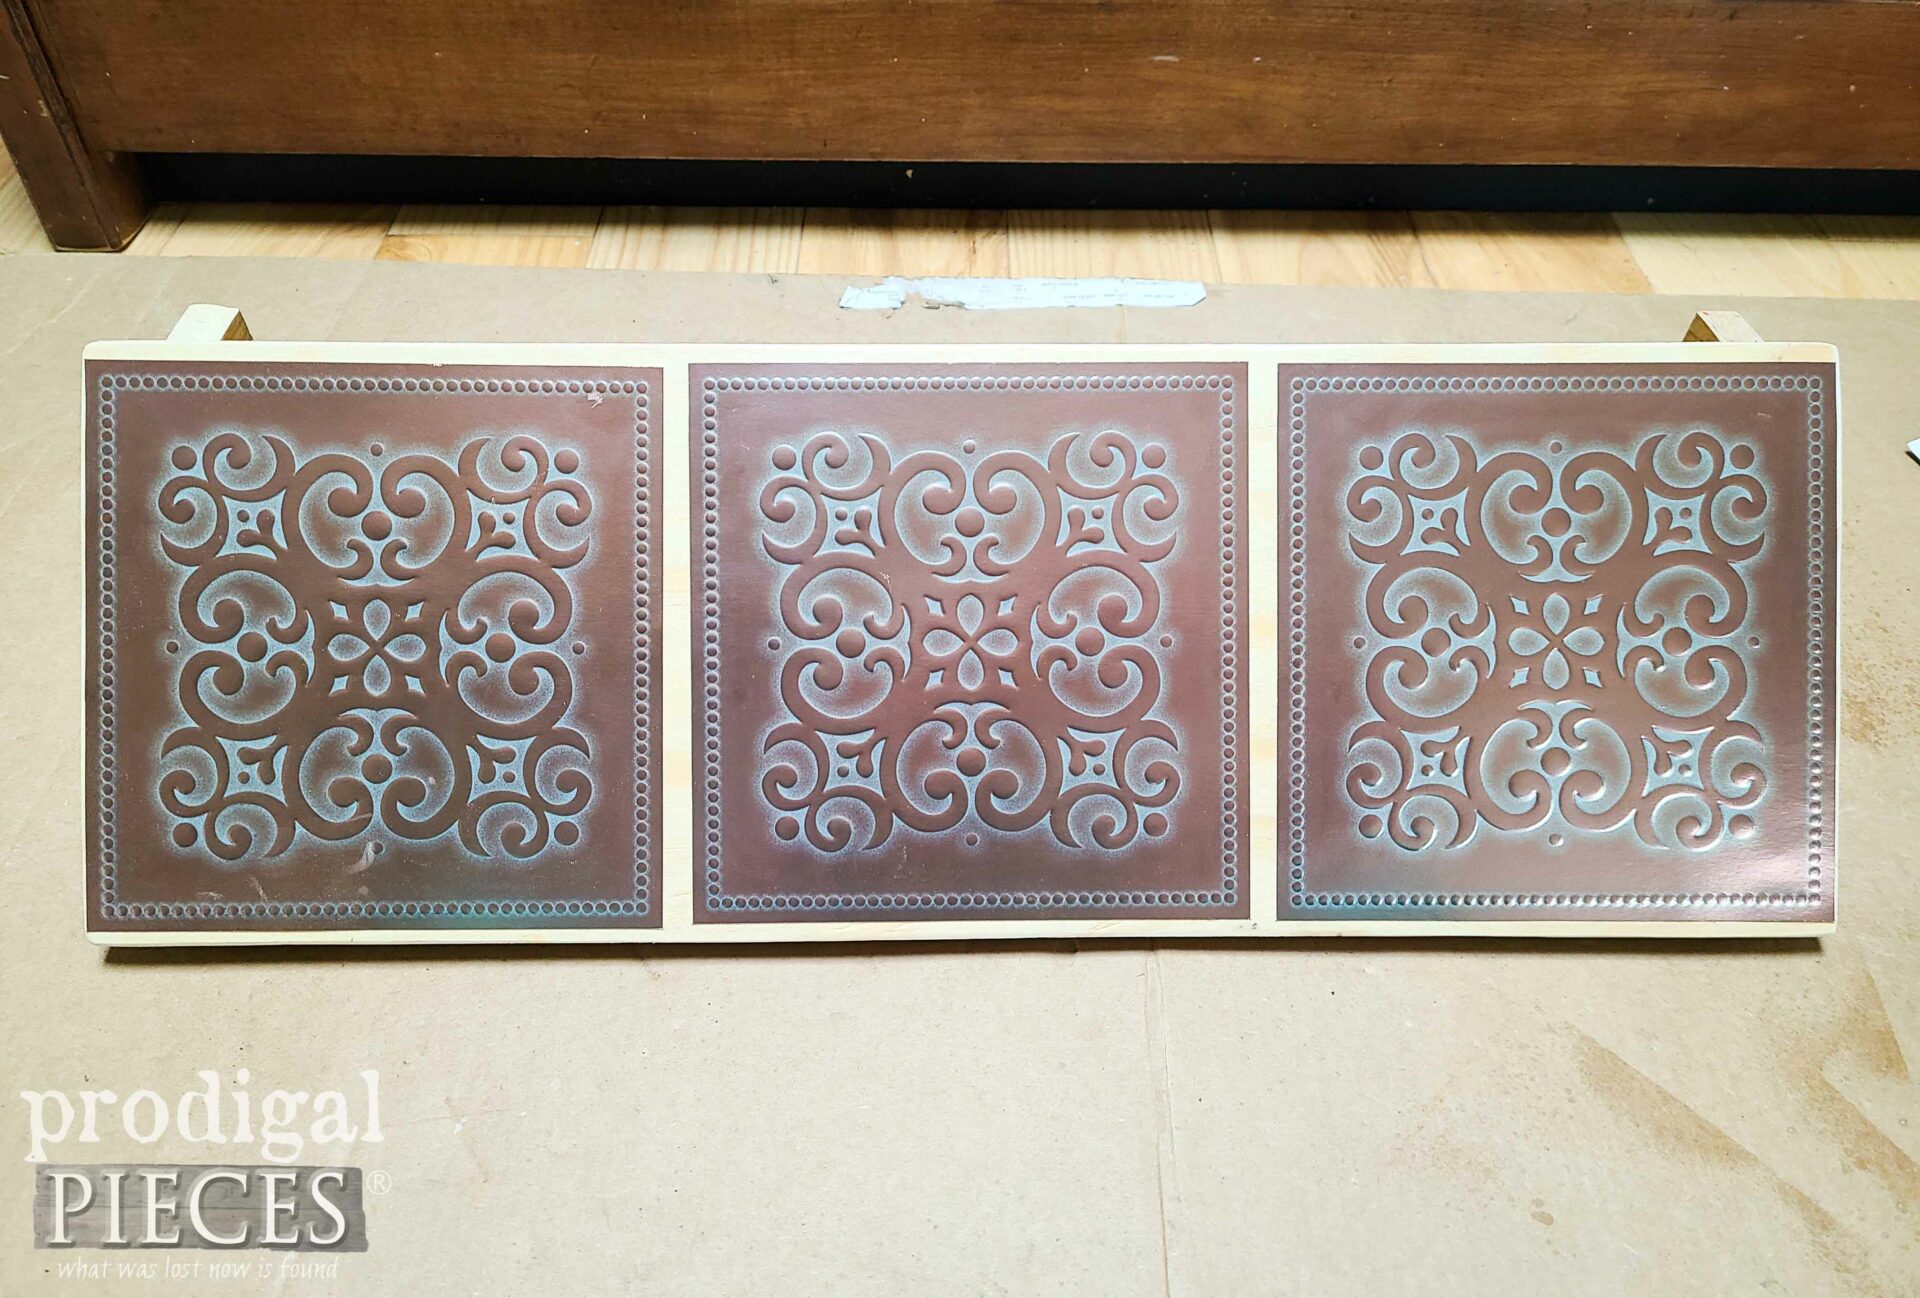
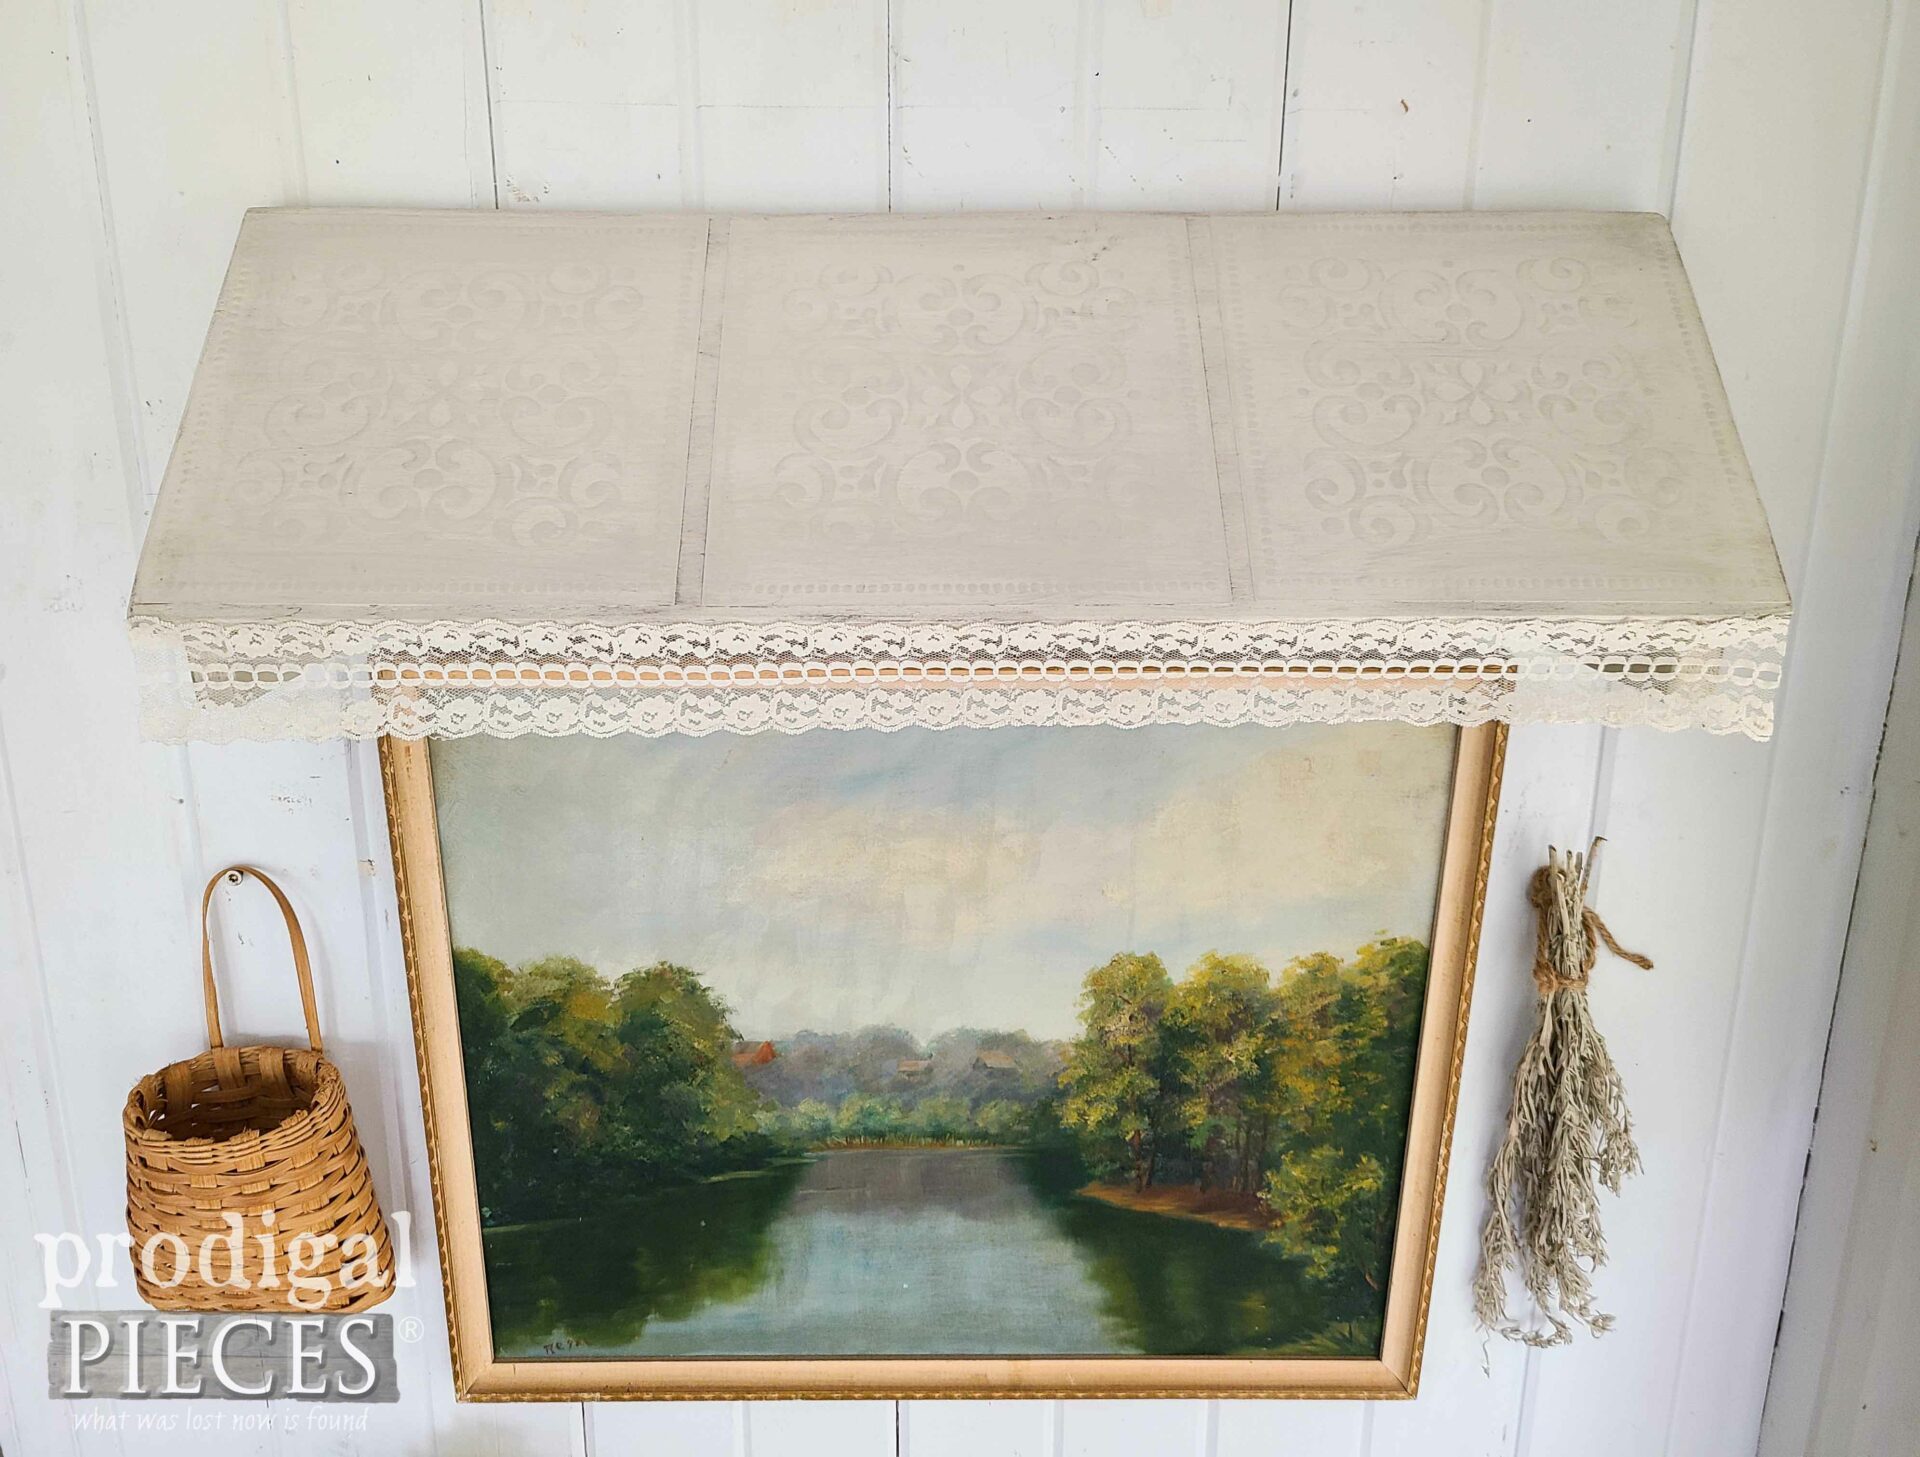
Last, as soon as the awning is built it’s time to add the tin tile part. Though, it’s not tin really, right? No one will know – hee hee. In order to make the tiles stick (since they’re removable) I use this spray adhesive to make it permanent.
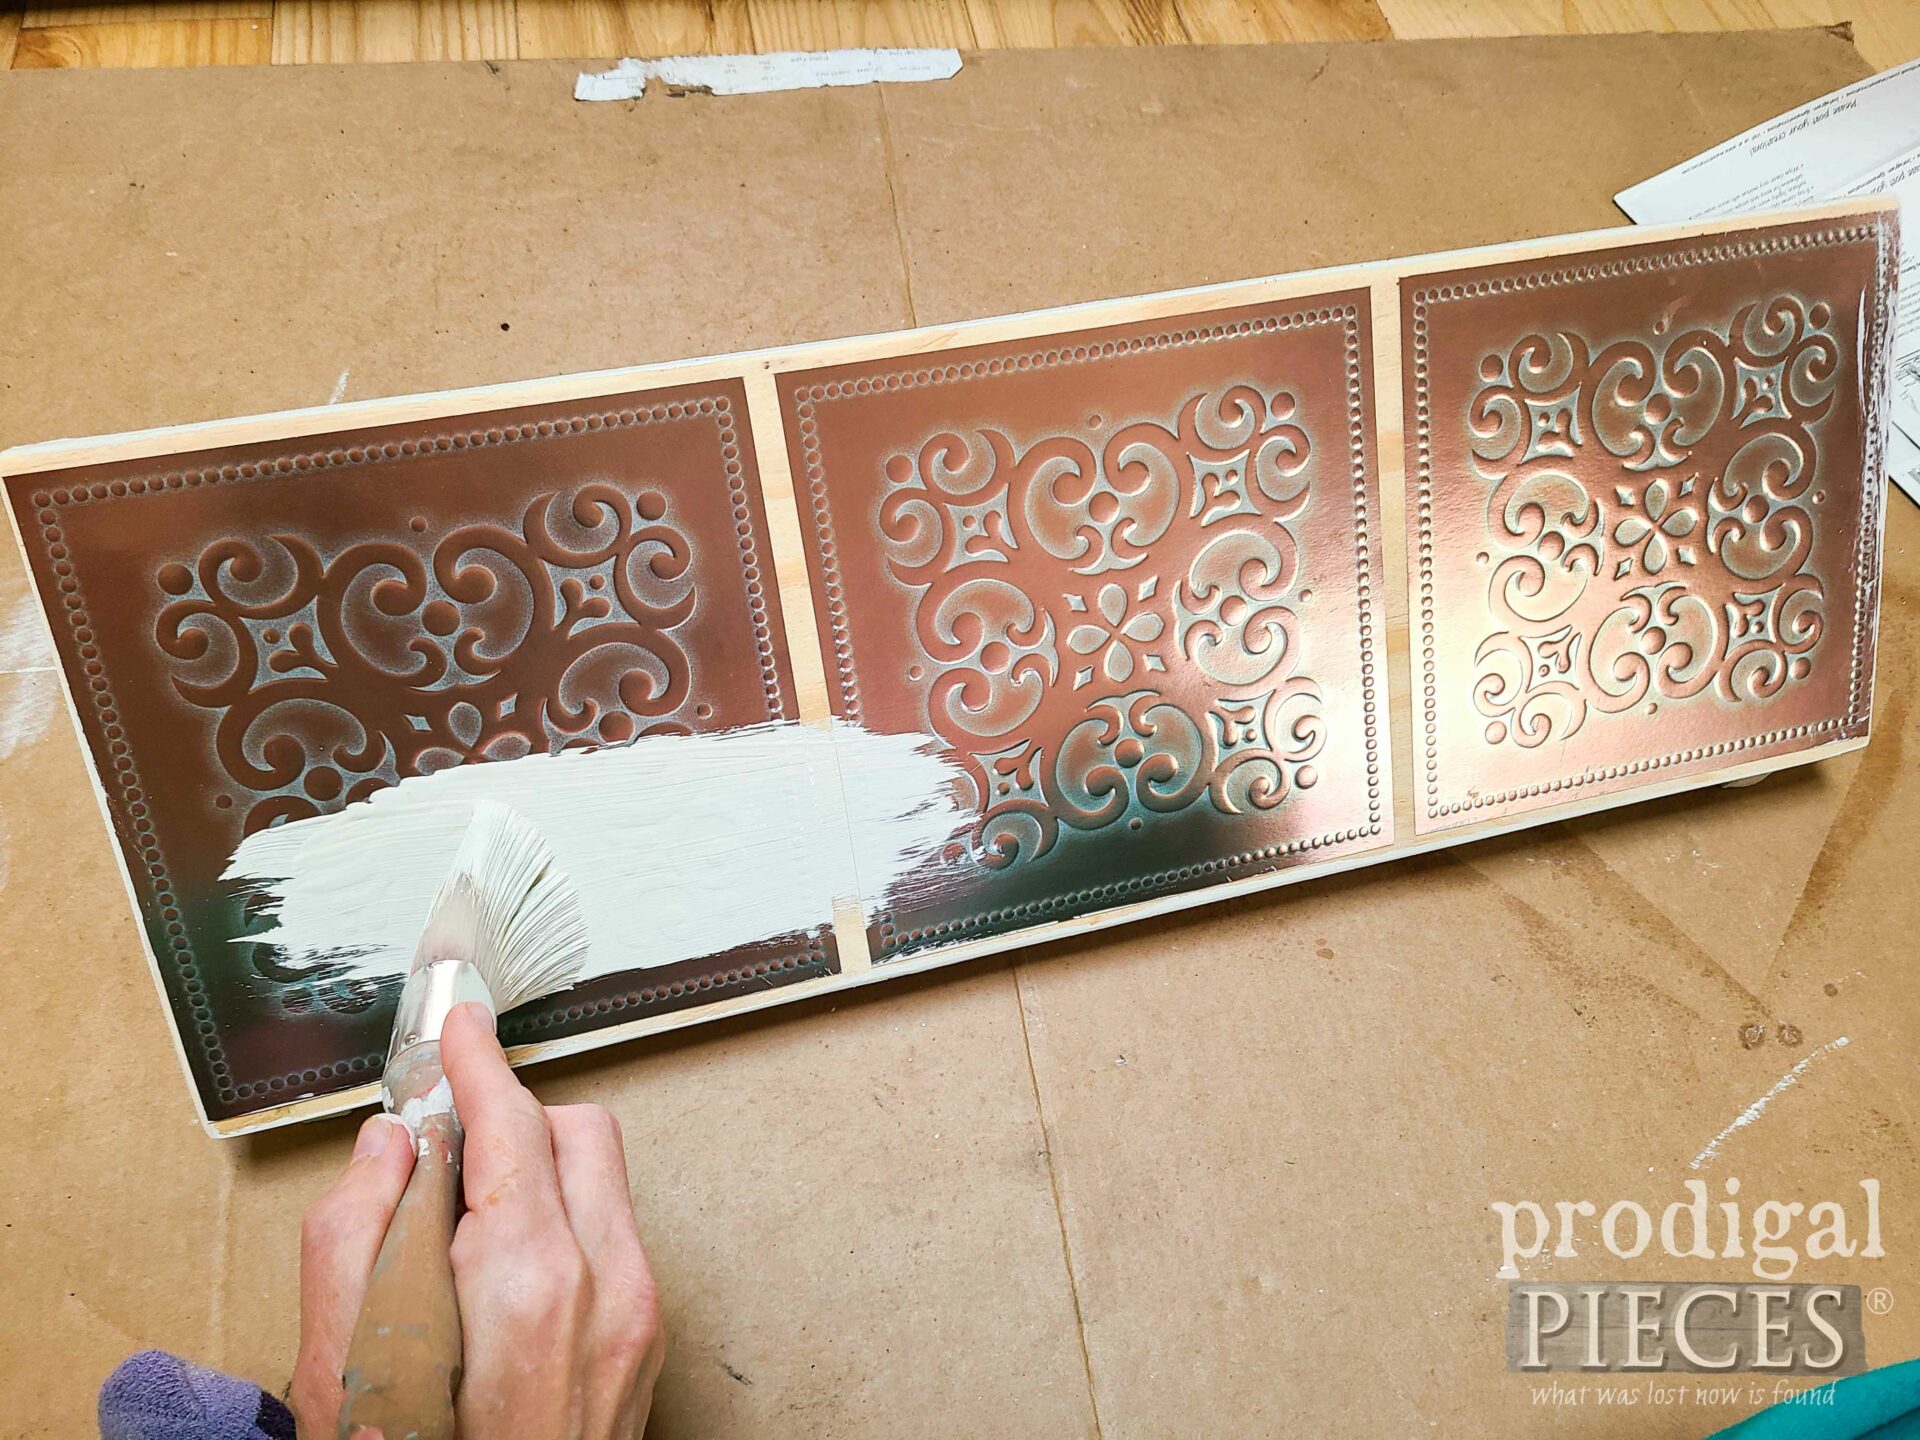
Next, I use an antique white paint to add two coats letting cure in between.
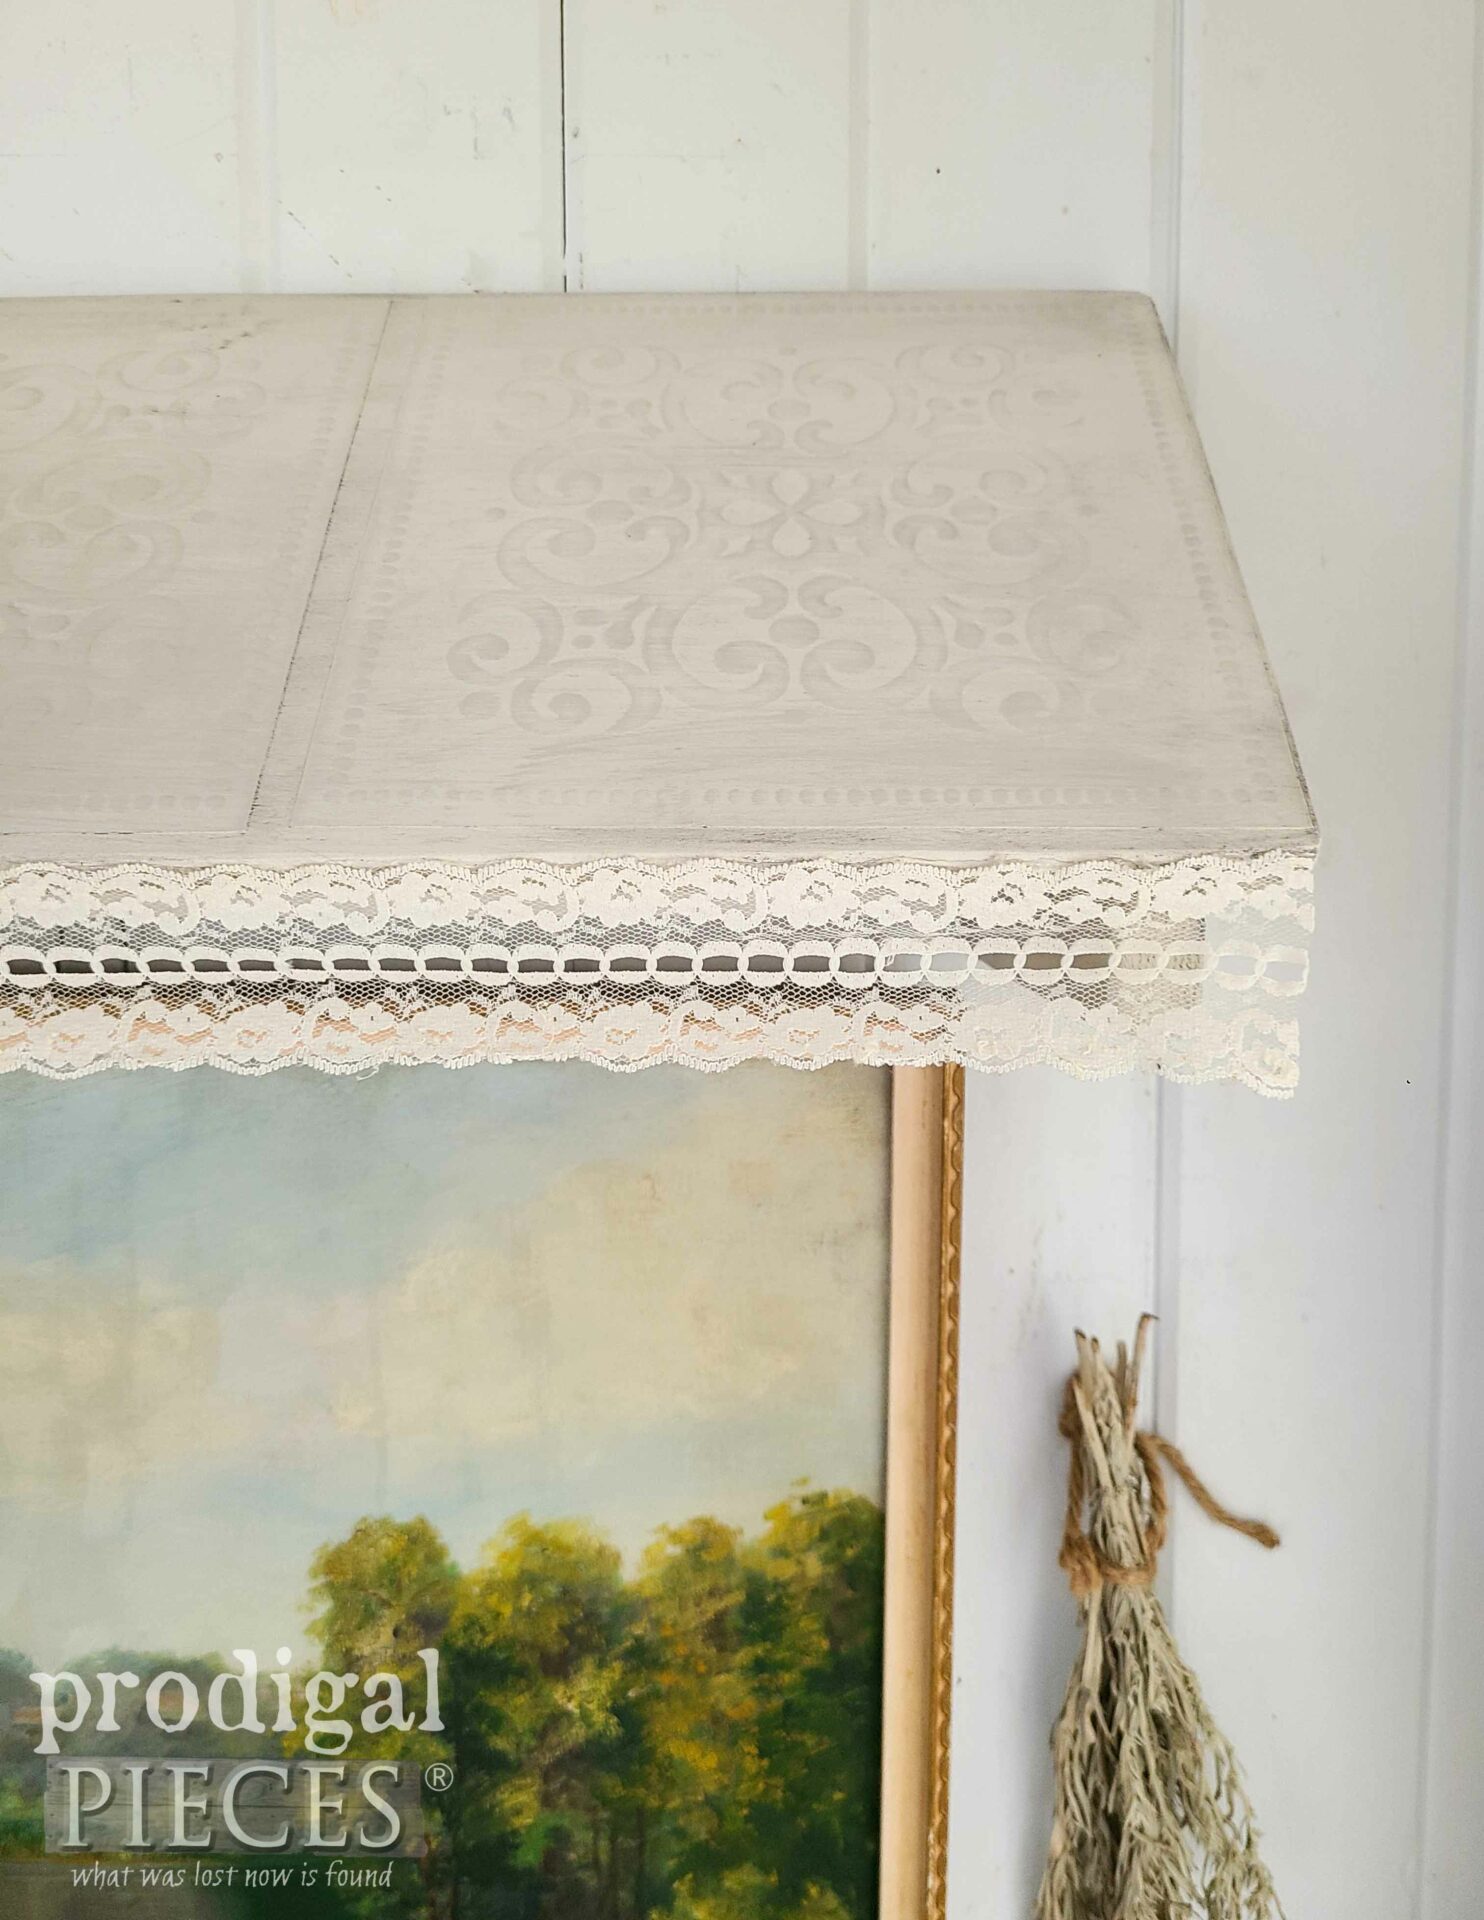
Finally, as soon as the paint cures, I use a gray wax to brush over the designs, so they pop out just enough.
AWNING LOVE
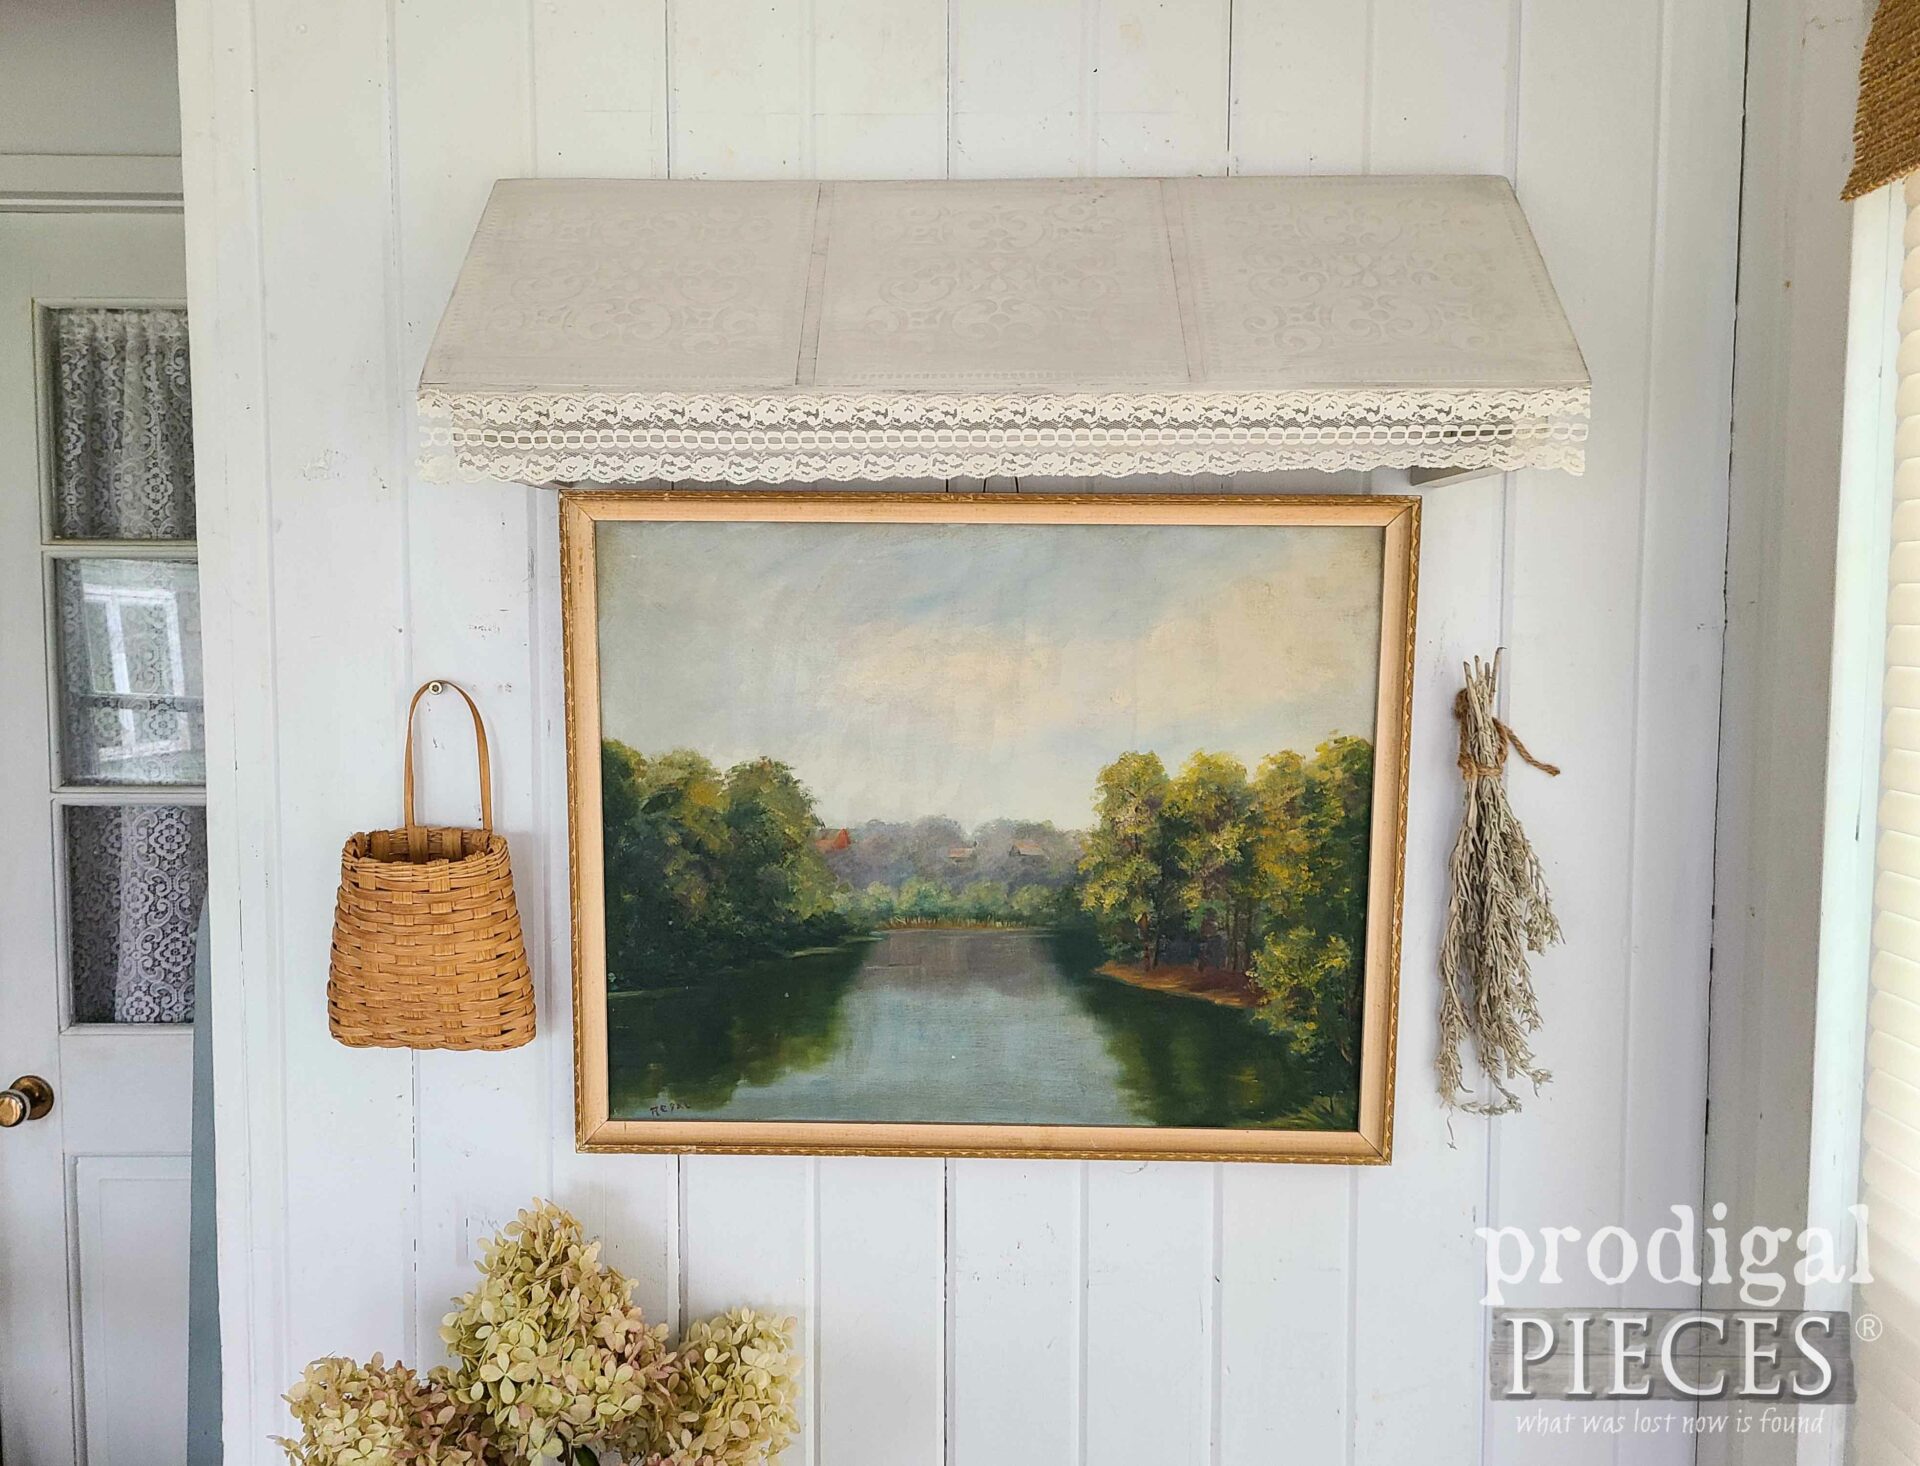
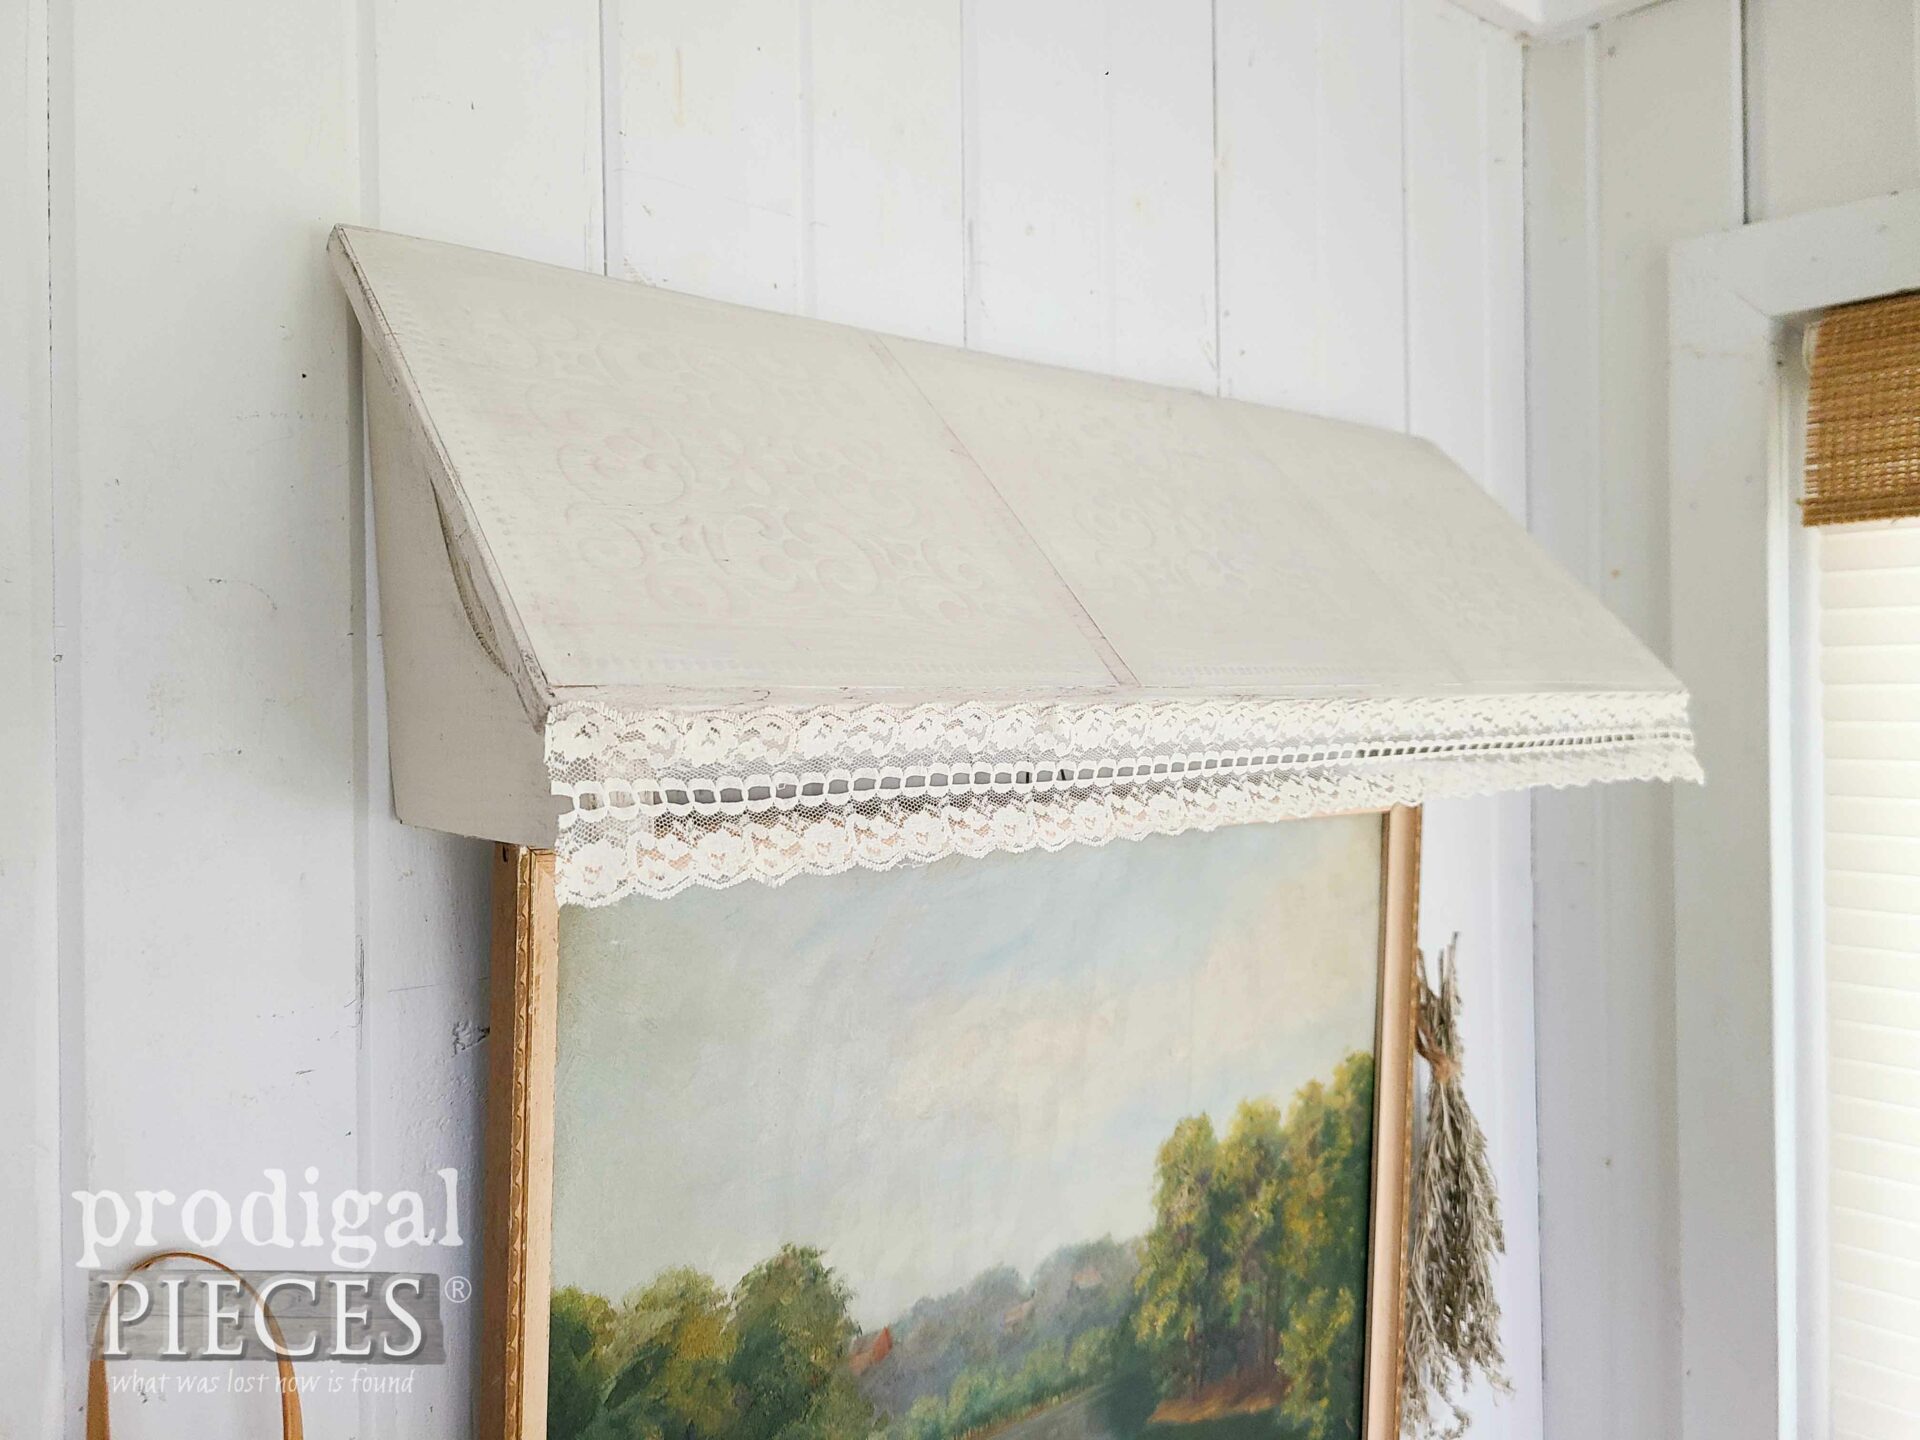
For the finishing touch, I add a bit of vintage lace on the edge of the awning to give it a softer feel. While I could have went with a scalloped edge, I decided to soften the look a bit.
While I created my awning with a basic white and simple lines, you could easily have done any kind of finish you desire. Anyhow, you could create it any size for over a window, over art (like here) or over any spot in your home.
In short, instead of paying $150 for something like this, you can make your own for a third of the price.
With that in mind, you can make this part of your home story along with other goodies from my online store.
SHARE
Before you go, leave some comment love on my work below. Also, tell me what you would create with your tiles as well as pin and share to inspire others too!
As a matter of fact, don’t forget! It’s Reduce, Reuse, REFASHION time, so be sure to sign up for my FREE newsletter.
PLUS, you will get your free Furniture Buying Checklist and special discount to my shop. Until next time!




I’m so sorry for your loss! It’s totally understandable that you would be focused elsewhere at this time. I’m sending you hugs, good wishes and keeping you and your family in my prayers!! 🥰
Thank you so much. Yes, what a rollercoaster life can be. I hope you like my thrifty build! 😀
I am so sorry for the losses you and your family are going through. I am praying for comfort and peace for you all. Take time to process and grieve sweetie.
And your awning is very beautiful and so creative!
Thank you. It’s part of life and I know God has a plan and trusting in that. 🙂
Gods plan is the best plan even when it hurts, and especially when we don’t understand it. I’m so sorry for your losses Larissa- no need to apologize for letting yourself heal physically and emotionally.
The awning is very cute, rustic shabby chic! Seems like it would be a quick little project; but would add a big “tada” to a room! Thank you for sharing it with us and for trusting us with your personal life experiences., sending hugs and prayers your way. God bless my friend!
Oh yes. I always know He is in control.
Yes! It’s certainly a fun way to add that architectural salvage bit to any space.
Larissa, I was saddened to hear of your recent losses. May God fill your heart with the peace of His presence and your mind with the comfort of your sweet memories. His blessings on you always!
PS Cute project. Wonder if the tiles would hold up as a backsplash?!?
Thank you, sweet Gayle. God is good.
Many use it for that when water/heat is not in contact with it. I’d do for sure!