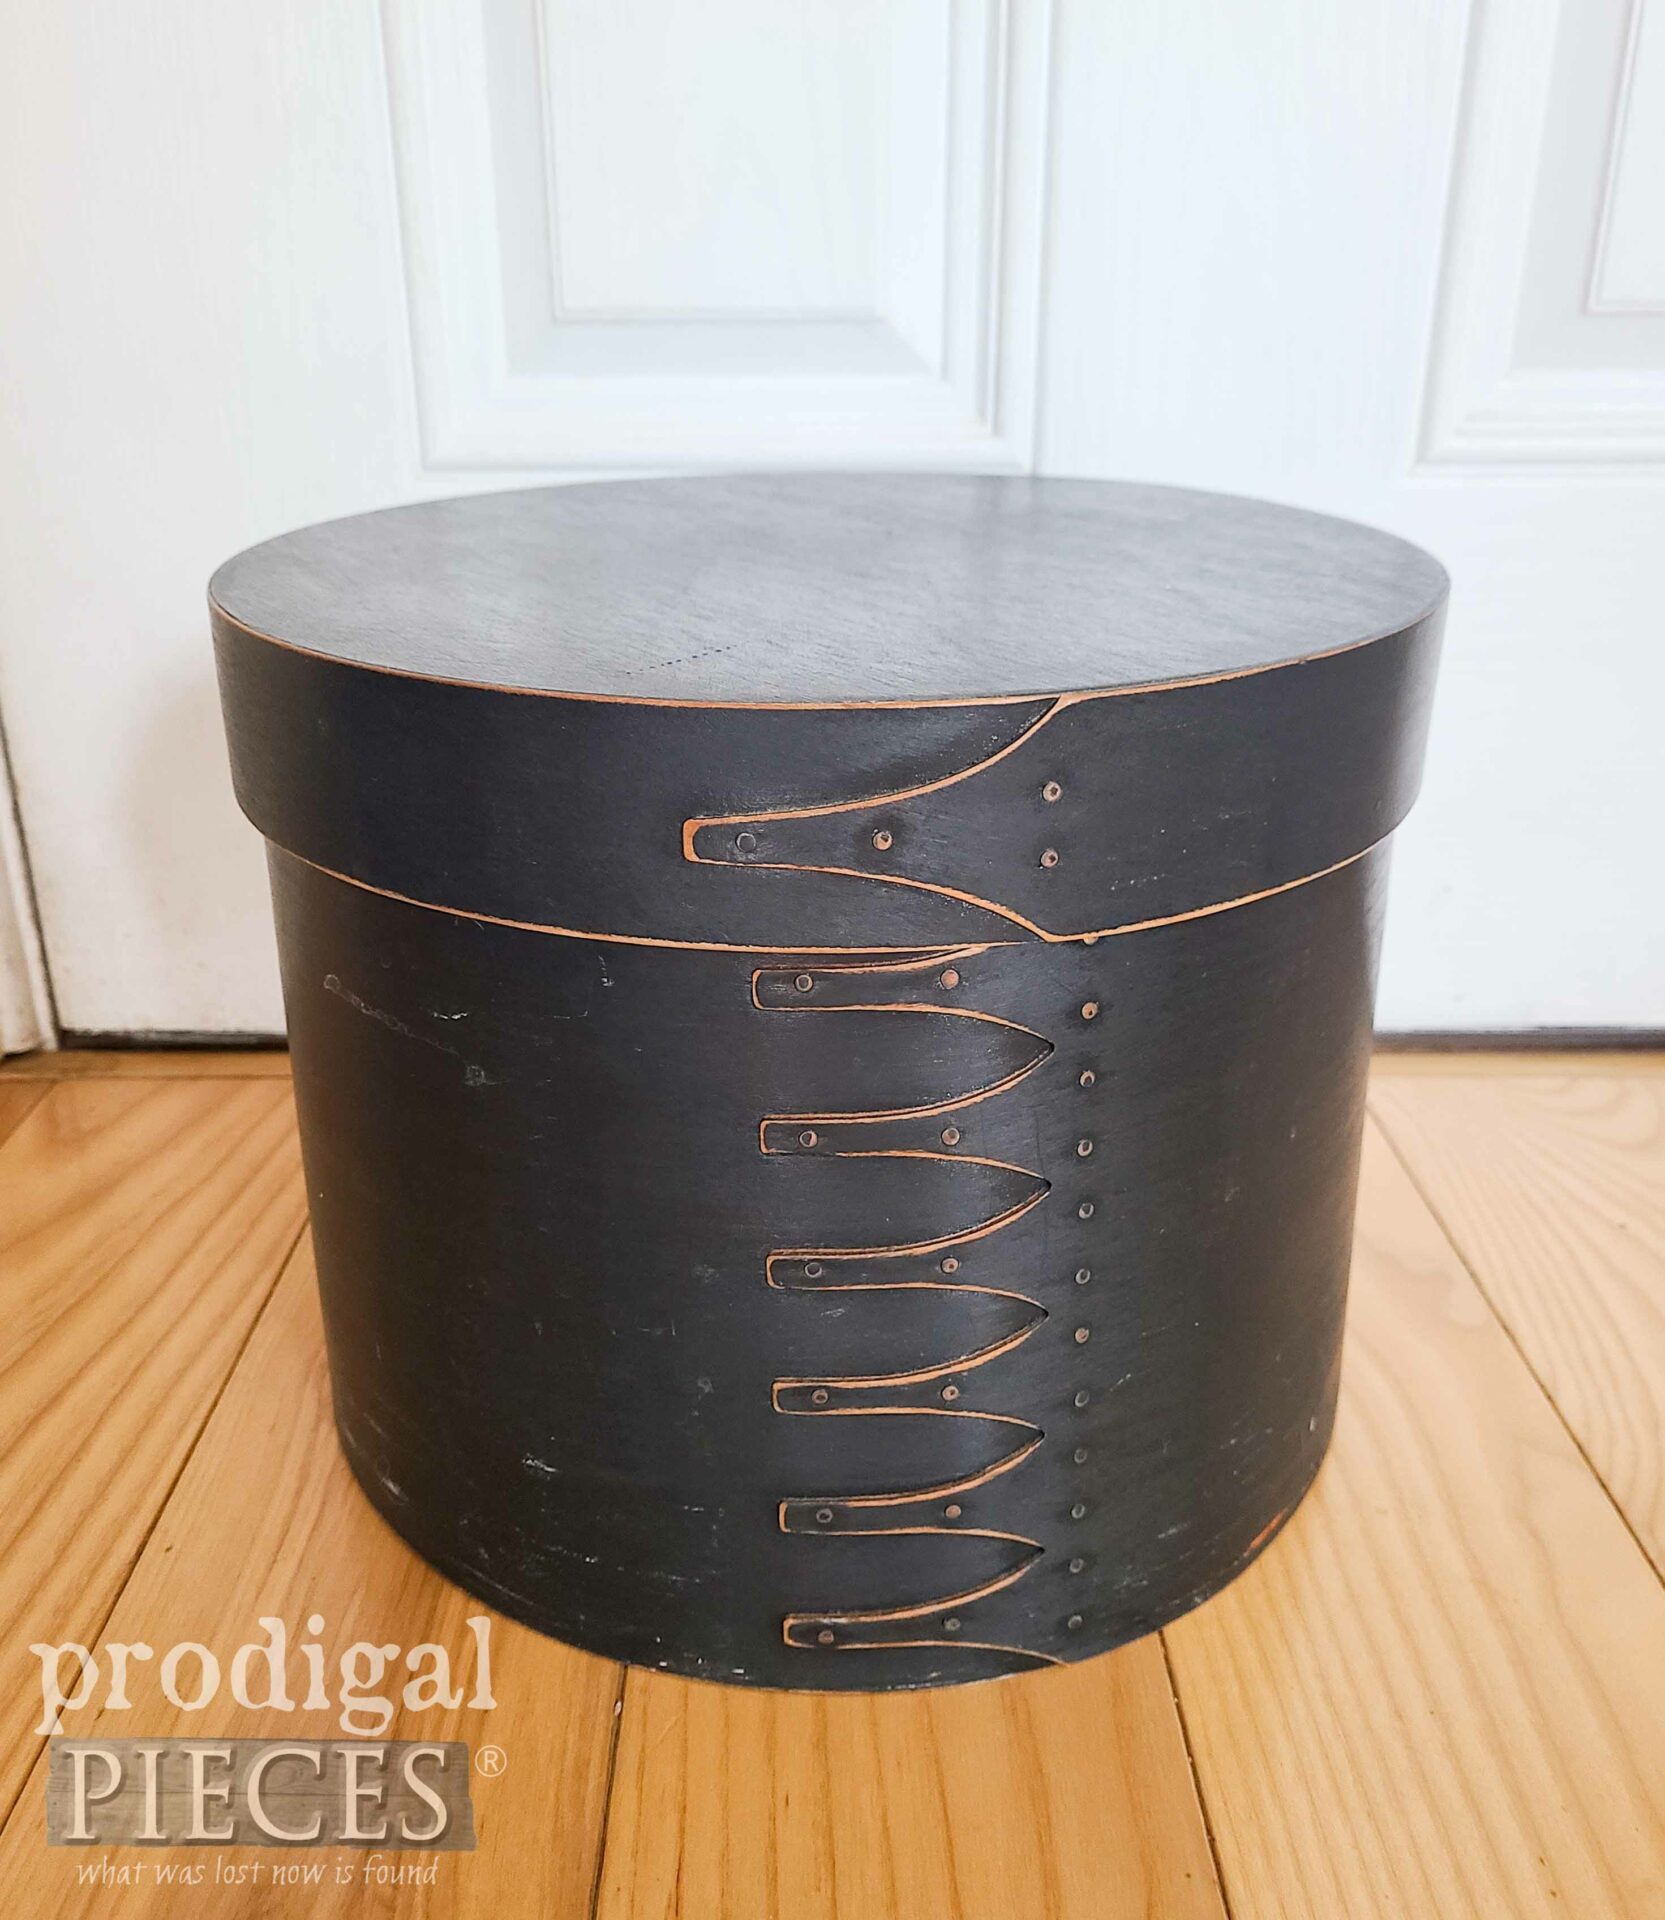
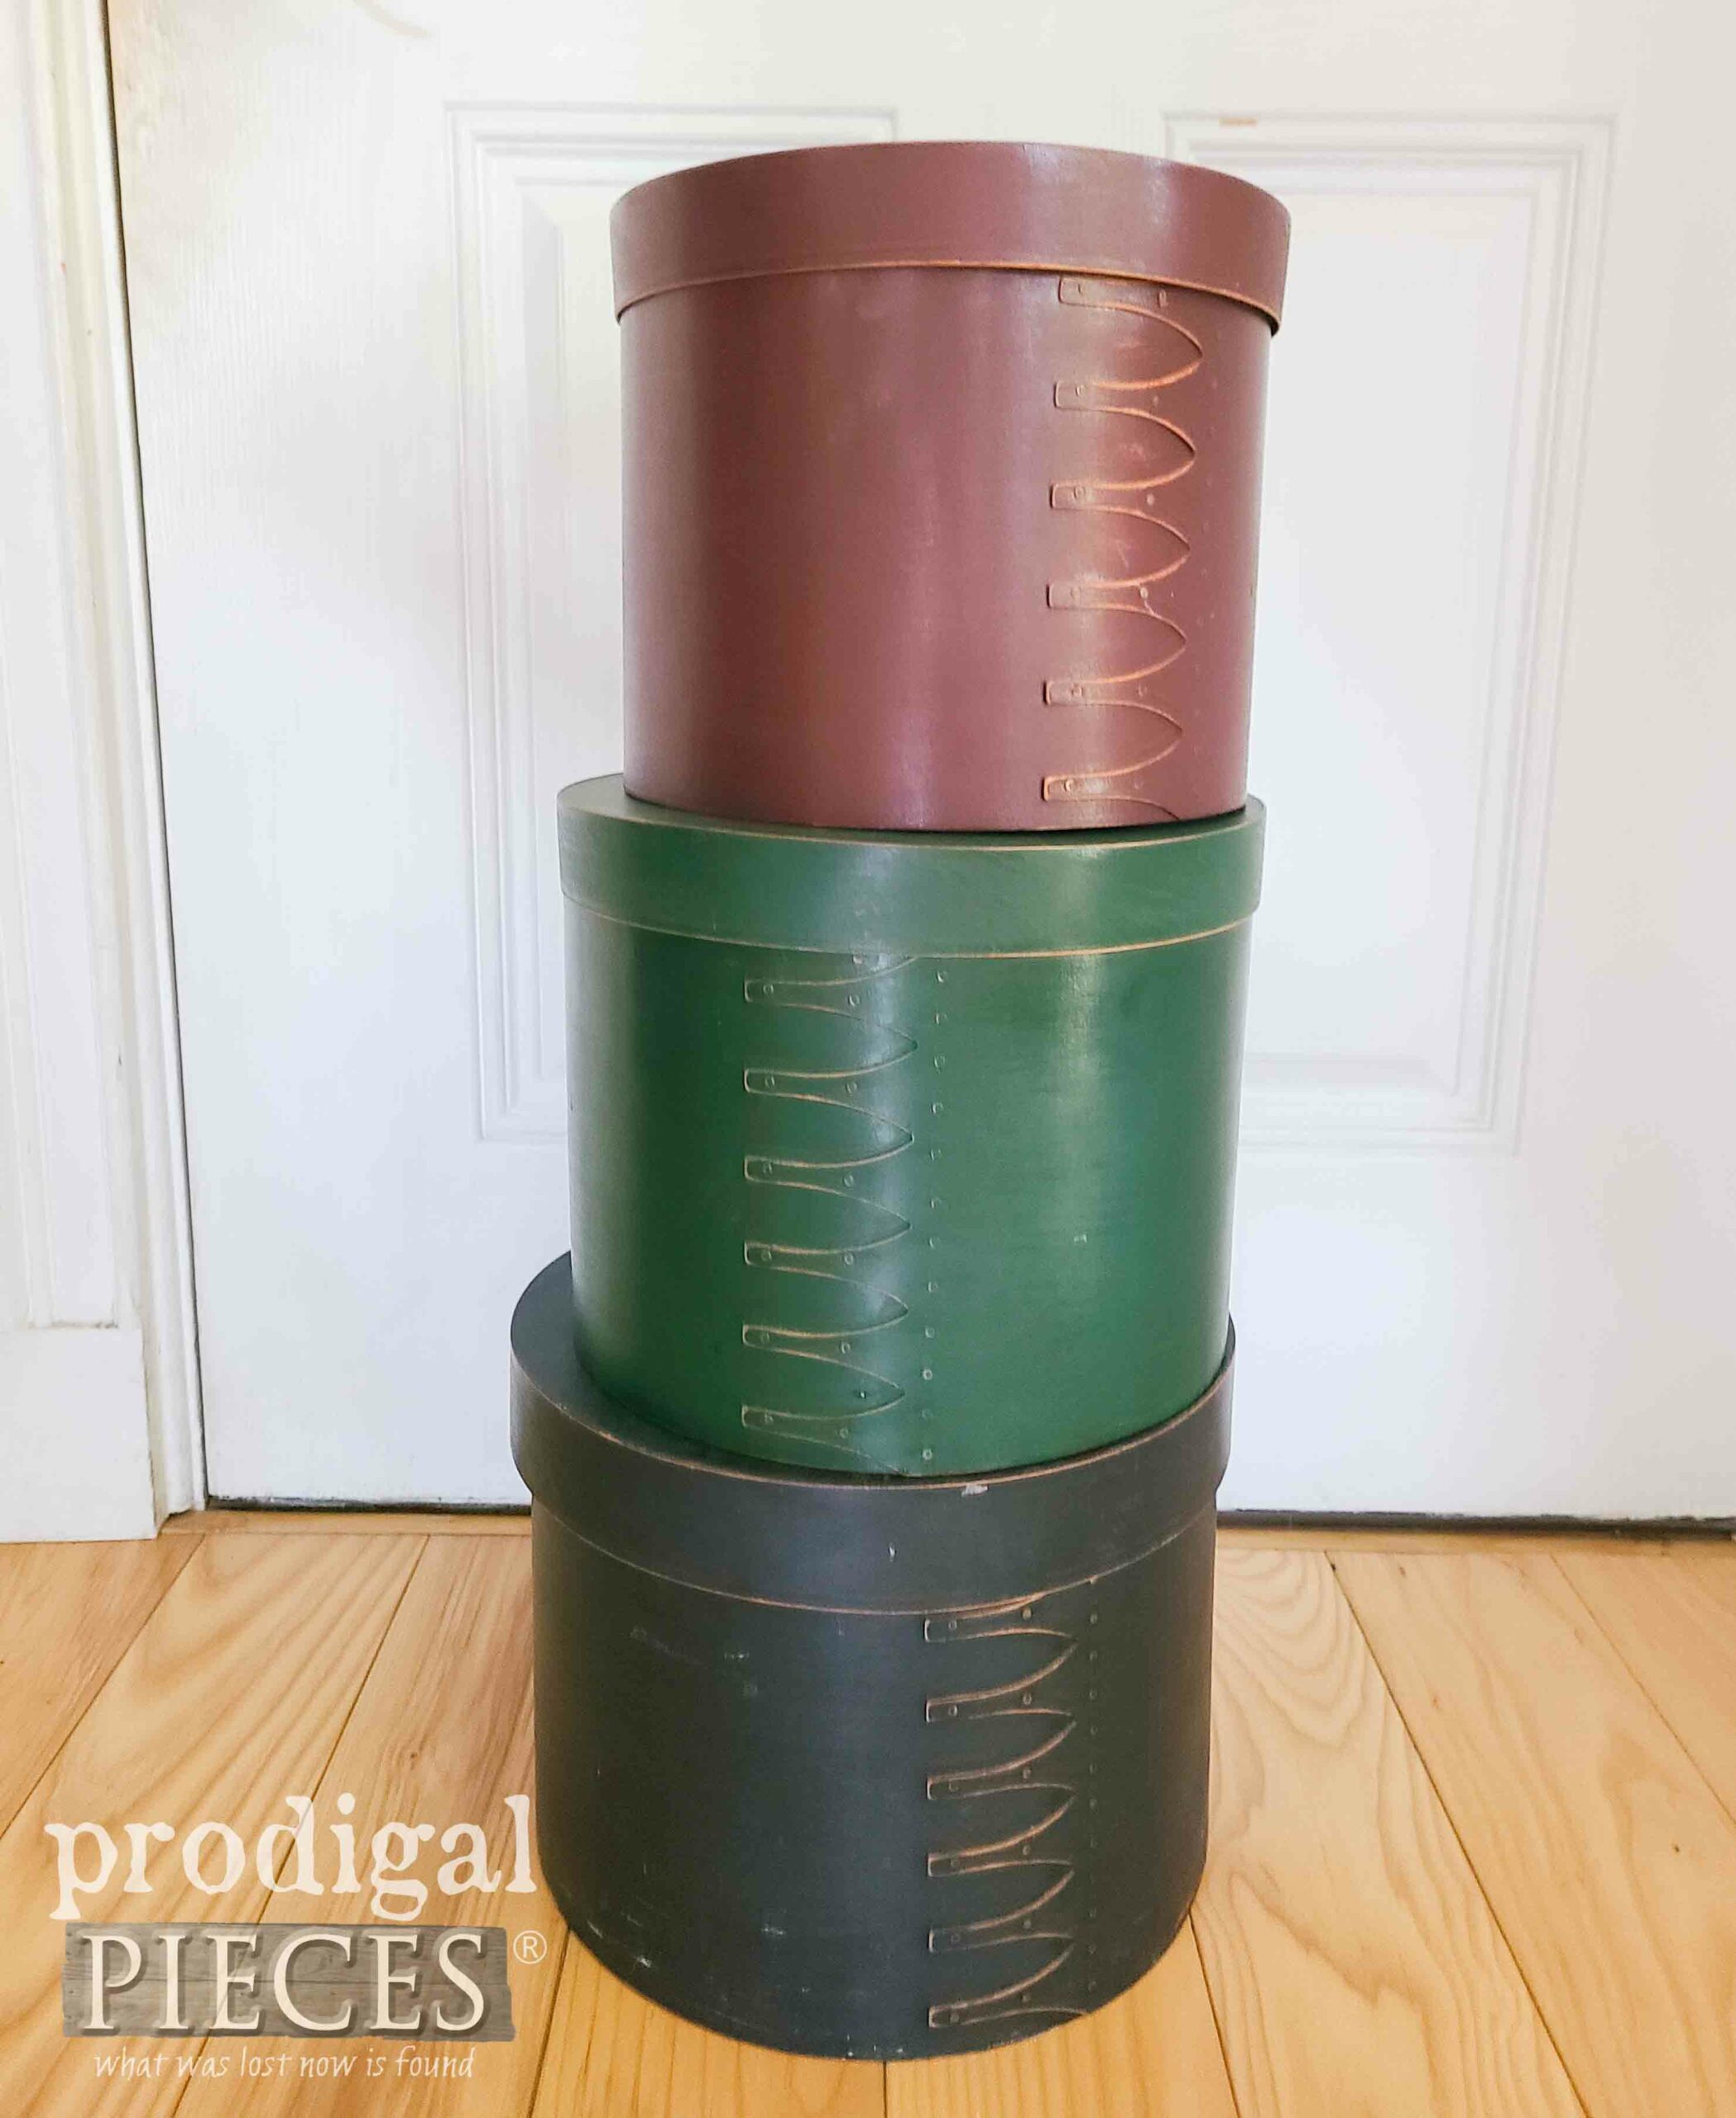
Surprises are fun… most of the time, anyway. While at a local thrift store, I saw this hat box/cheese box. Yes, it’s not an authentic piece, but it looks like a good hack. At first glance, I knew it had at least one other box in it. However, it wasn’t until I got it home that I found it’s a set of three… with a surprise. ahem. Let’s have some upcycled storage boxes fun, shall we?
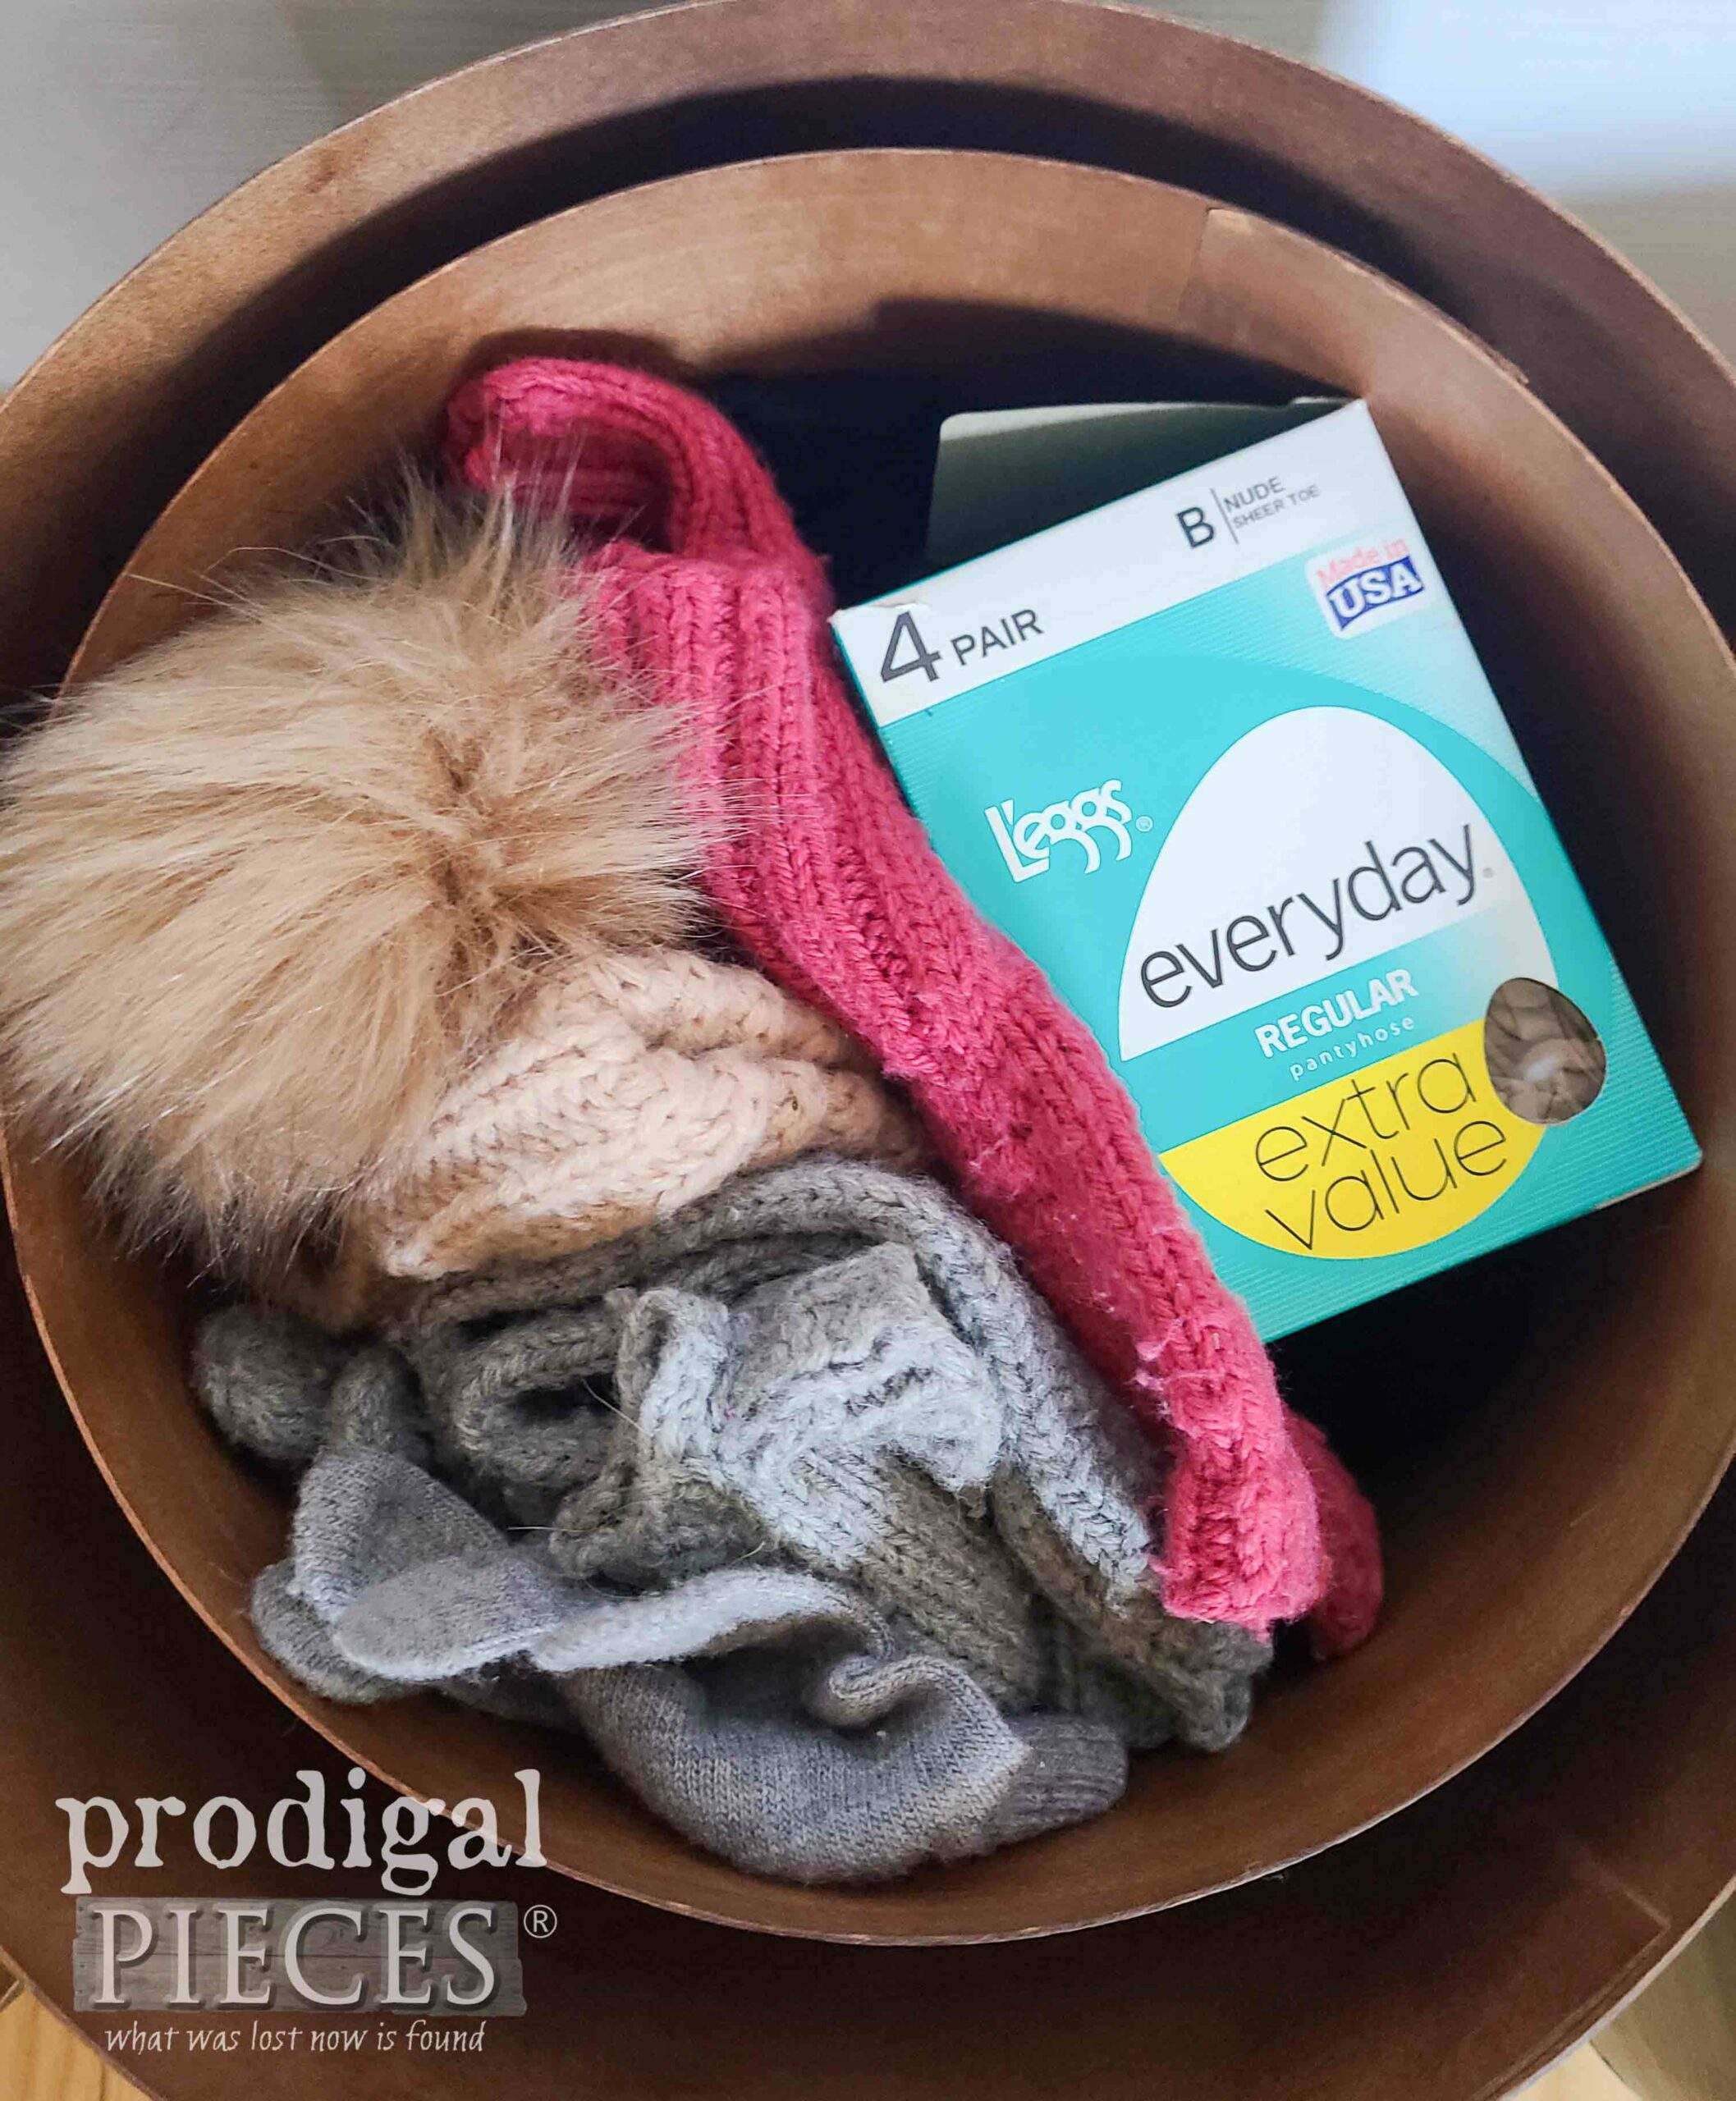
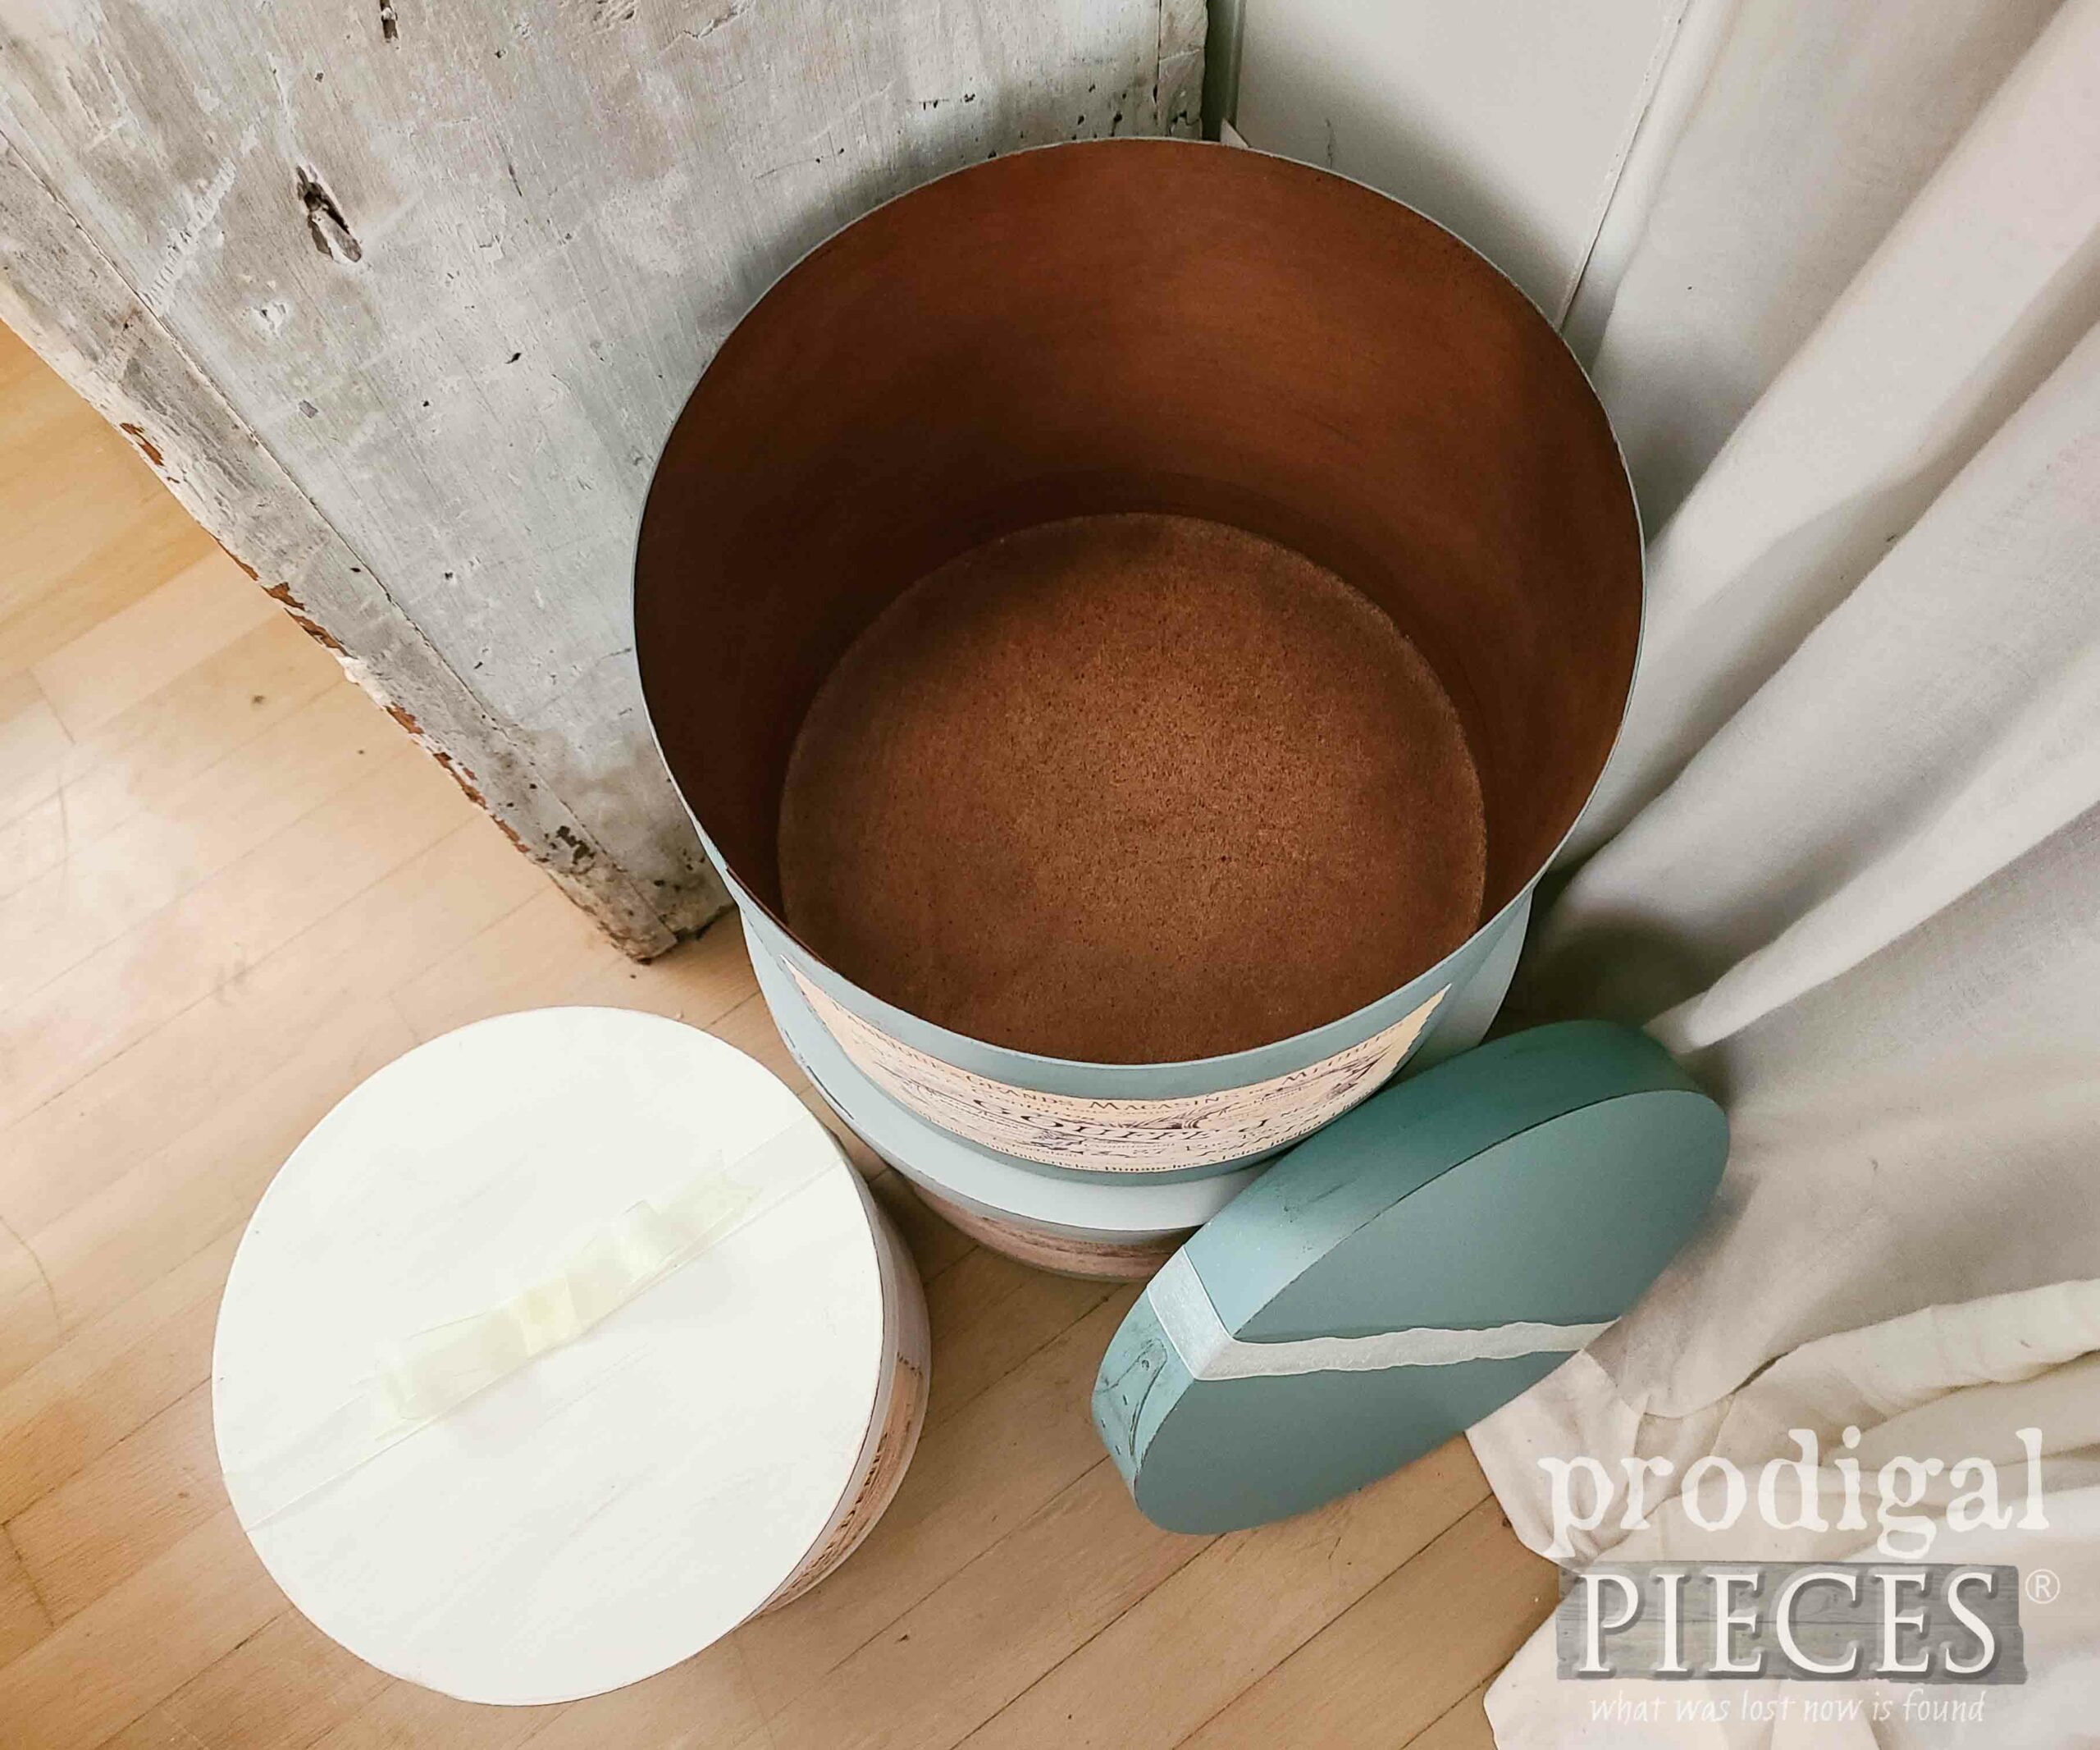
When I open the black box, I find the green box. Then, inside the green, I find this…
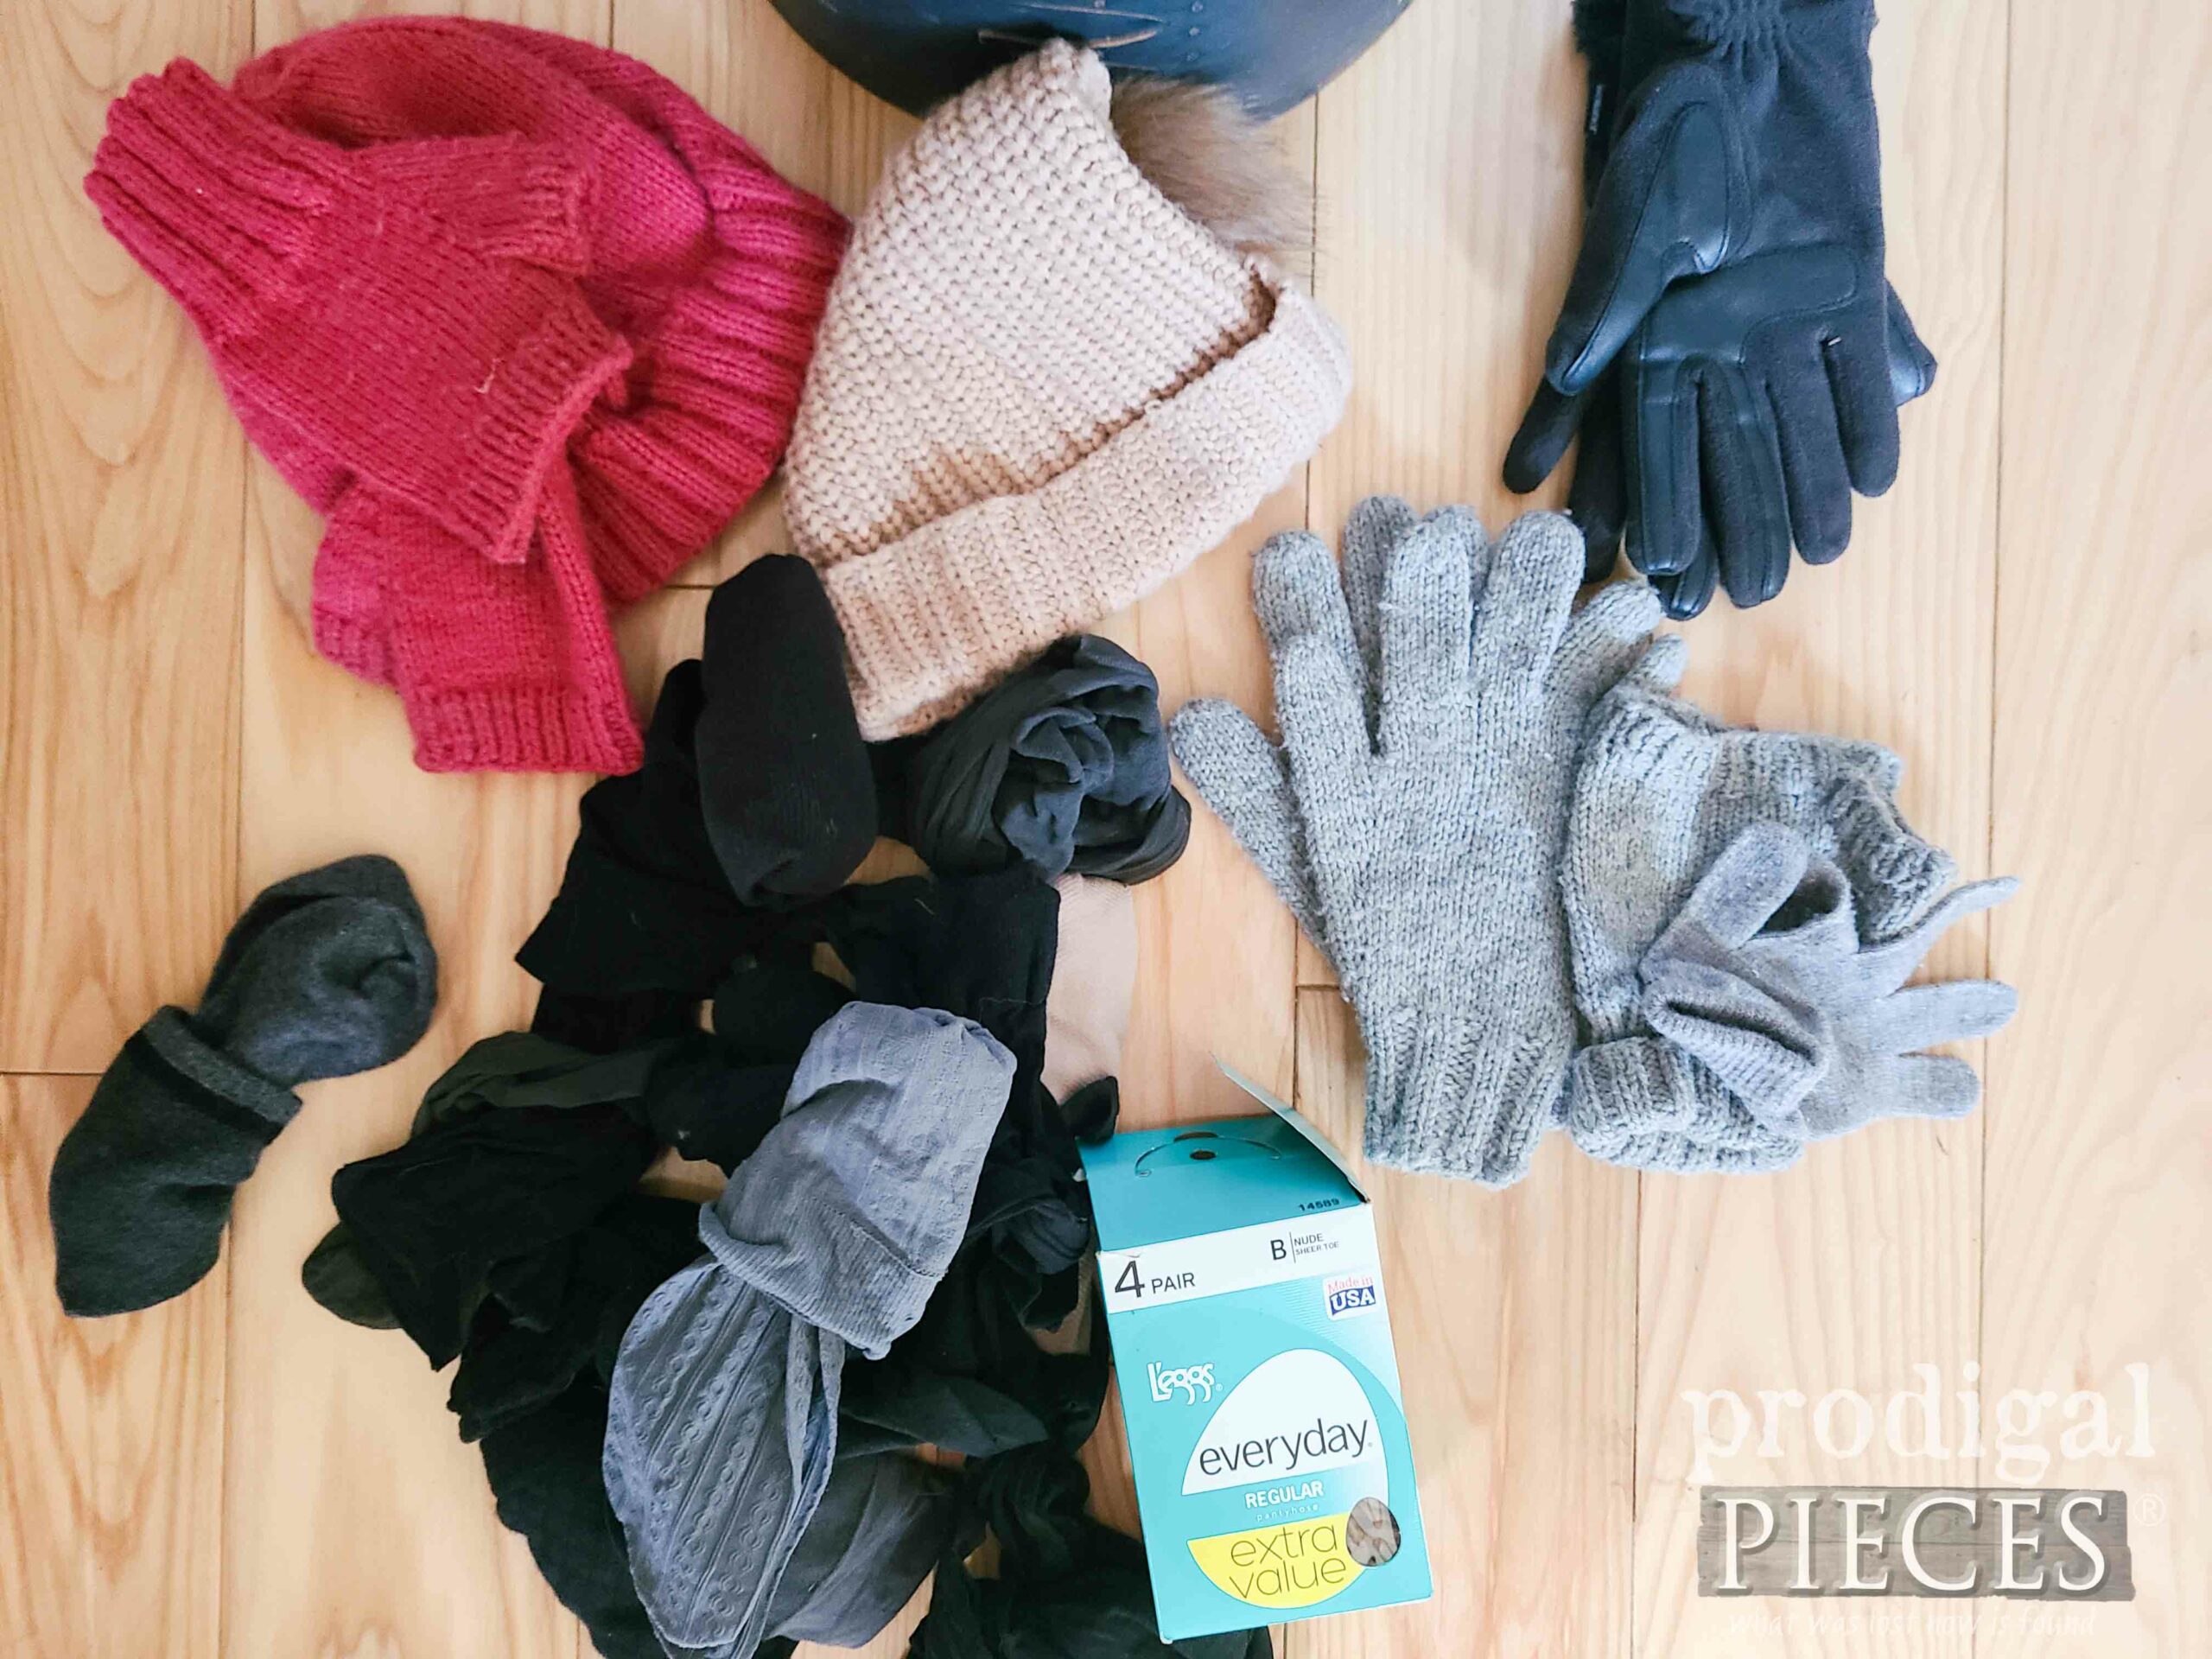
While I normally say “Score!” when I find extras. This time, however, I kinda just tucked it into a bag to donate it back. Curious… did anyone else ever used to play as a kid with the giant plastic egg from the pantyhose?
After that, I clean them up, stack, them, and then step back and decide where to go from here.
Yes, truly there’s nothing wrong with this set except some wear and tear. Unfortunately, this color scheme doesn’t quite match my taste. Additionally, I want to inspire you to take your unwanted decor and make it your own. Check out these similar past projects:
PAINT’S A MUST
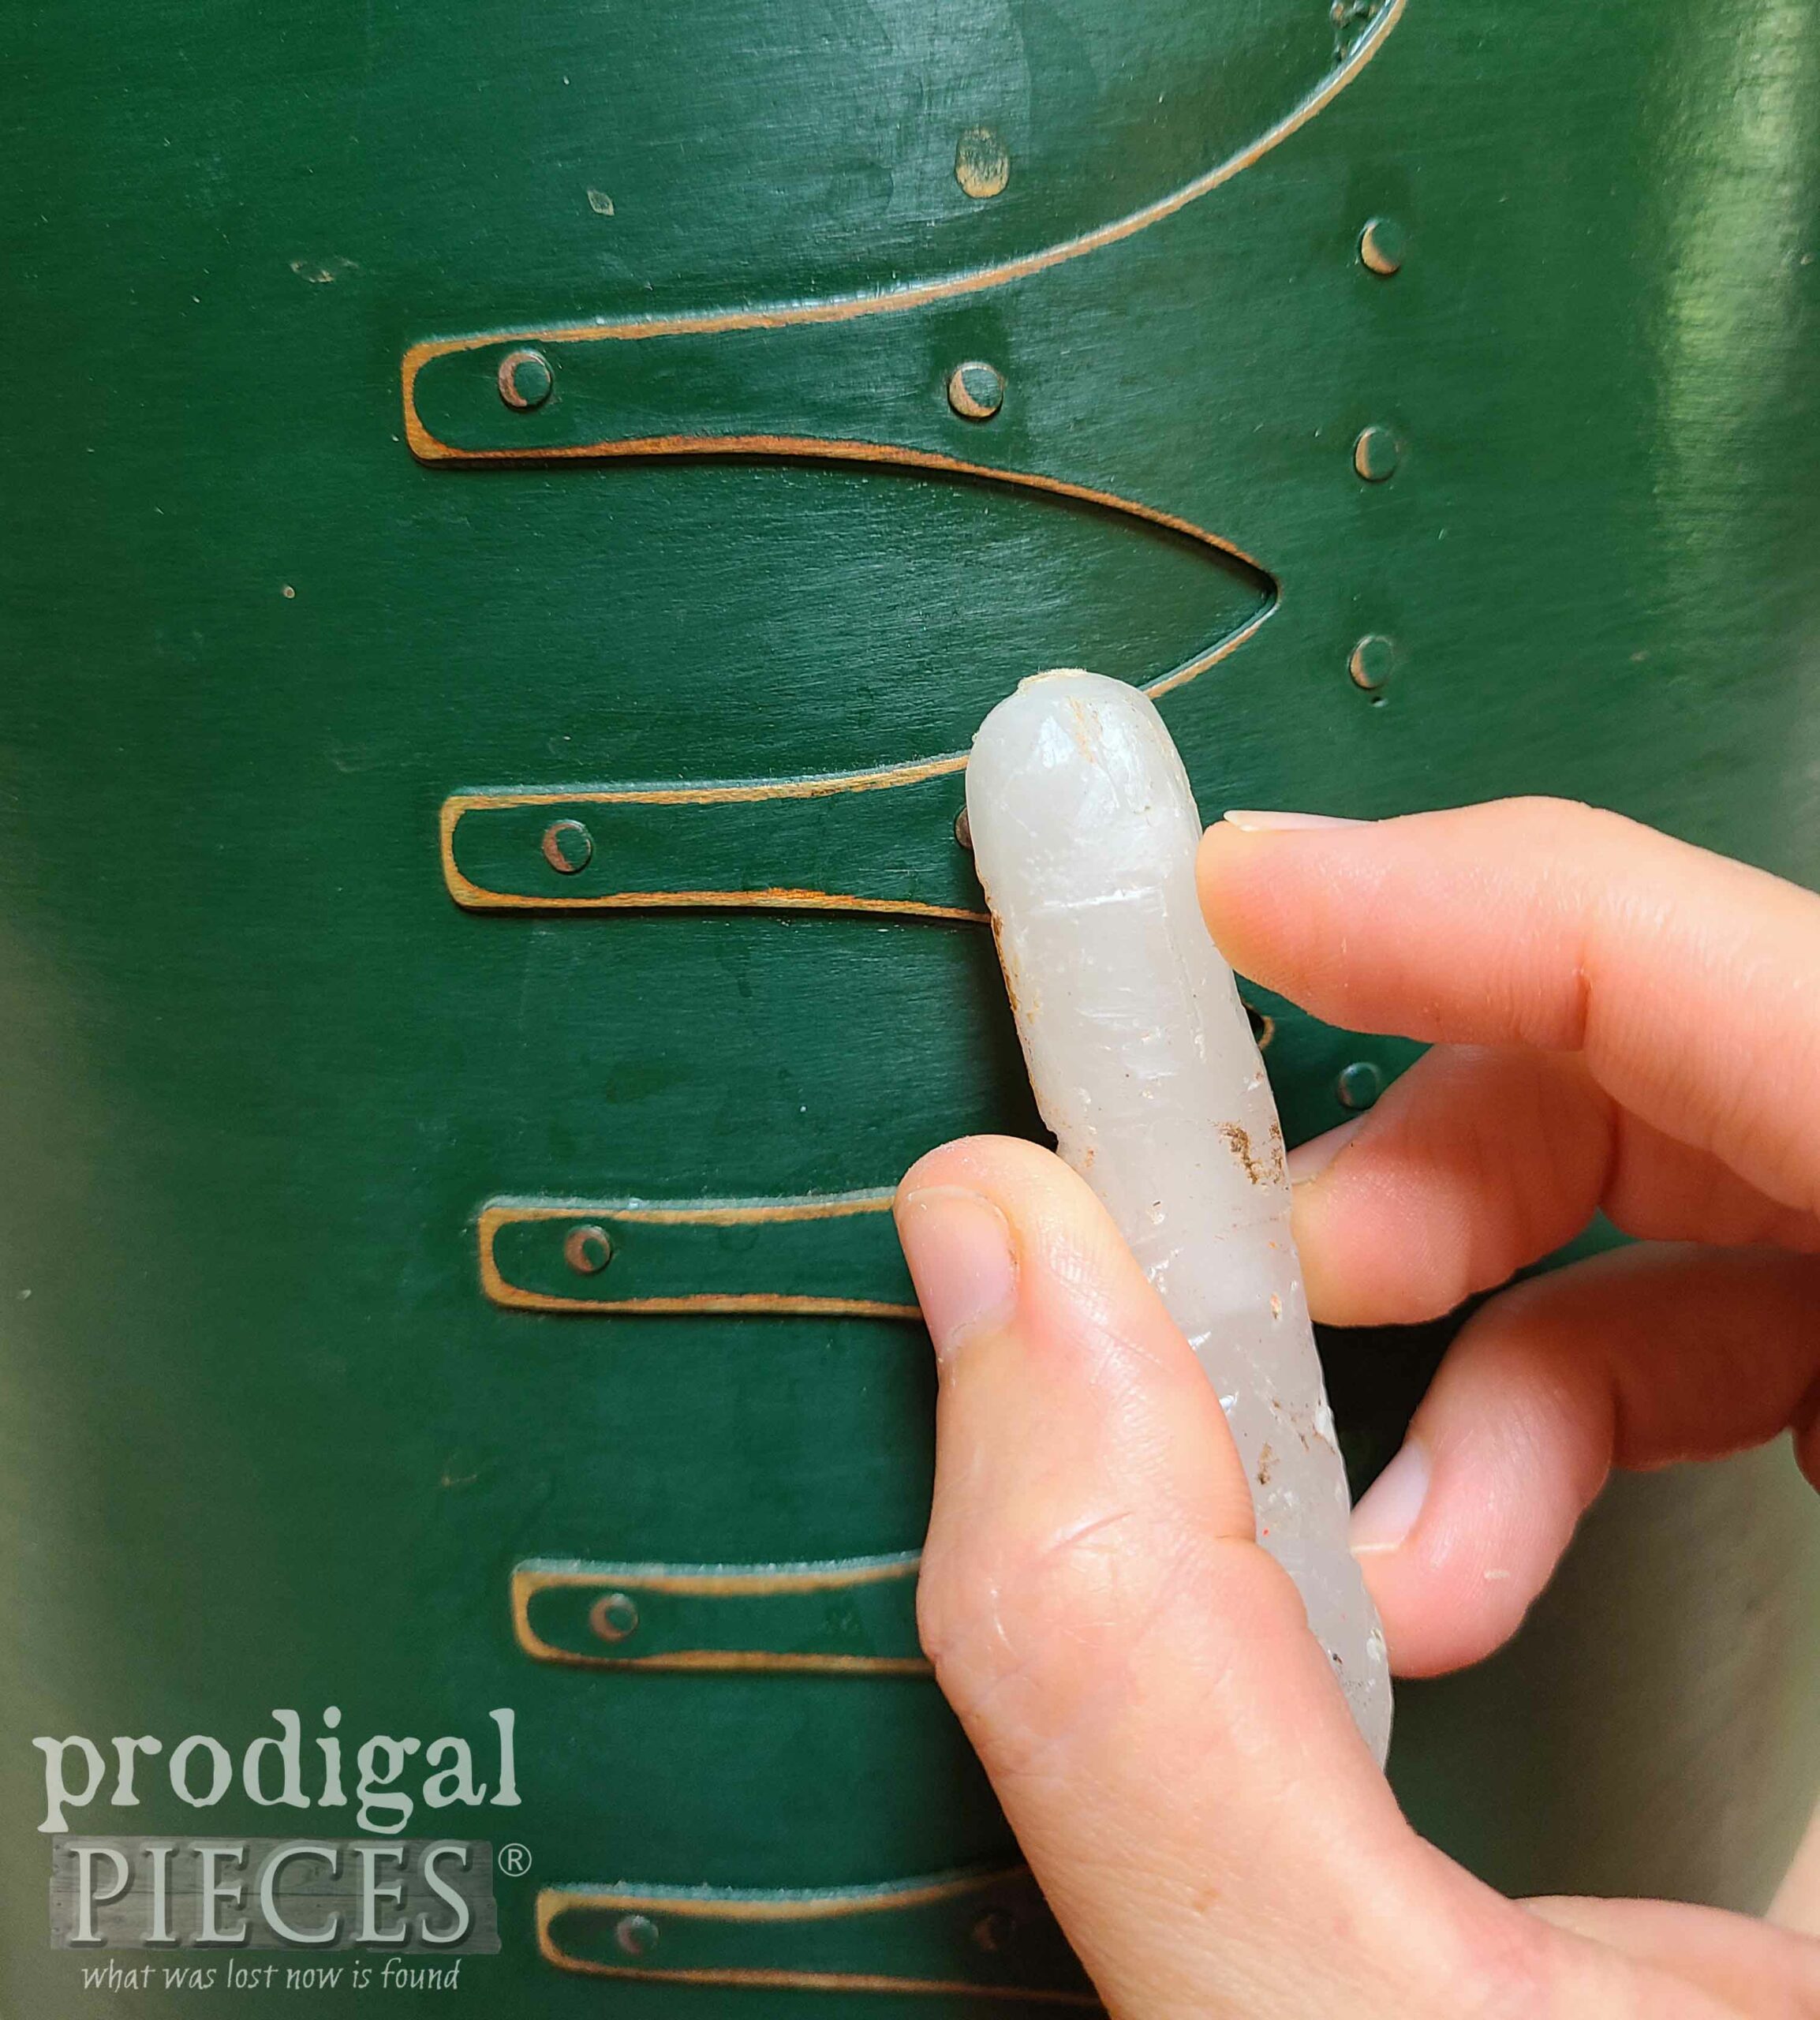
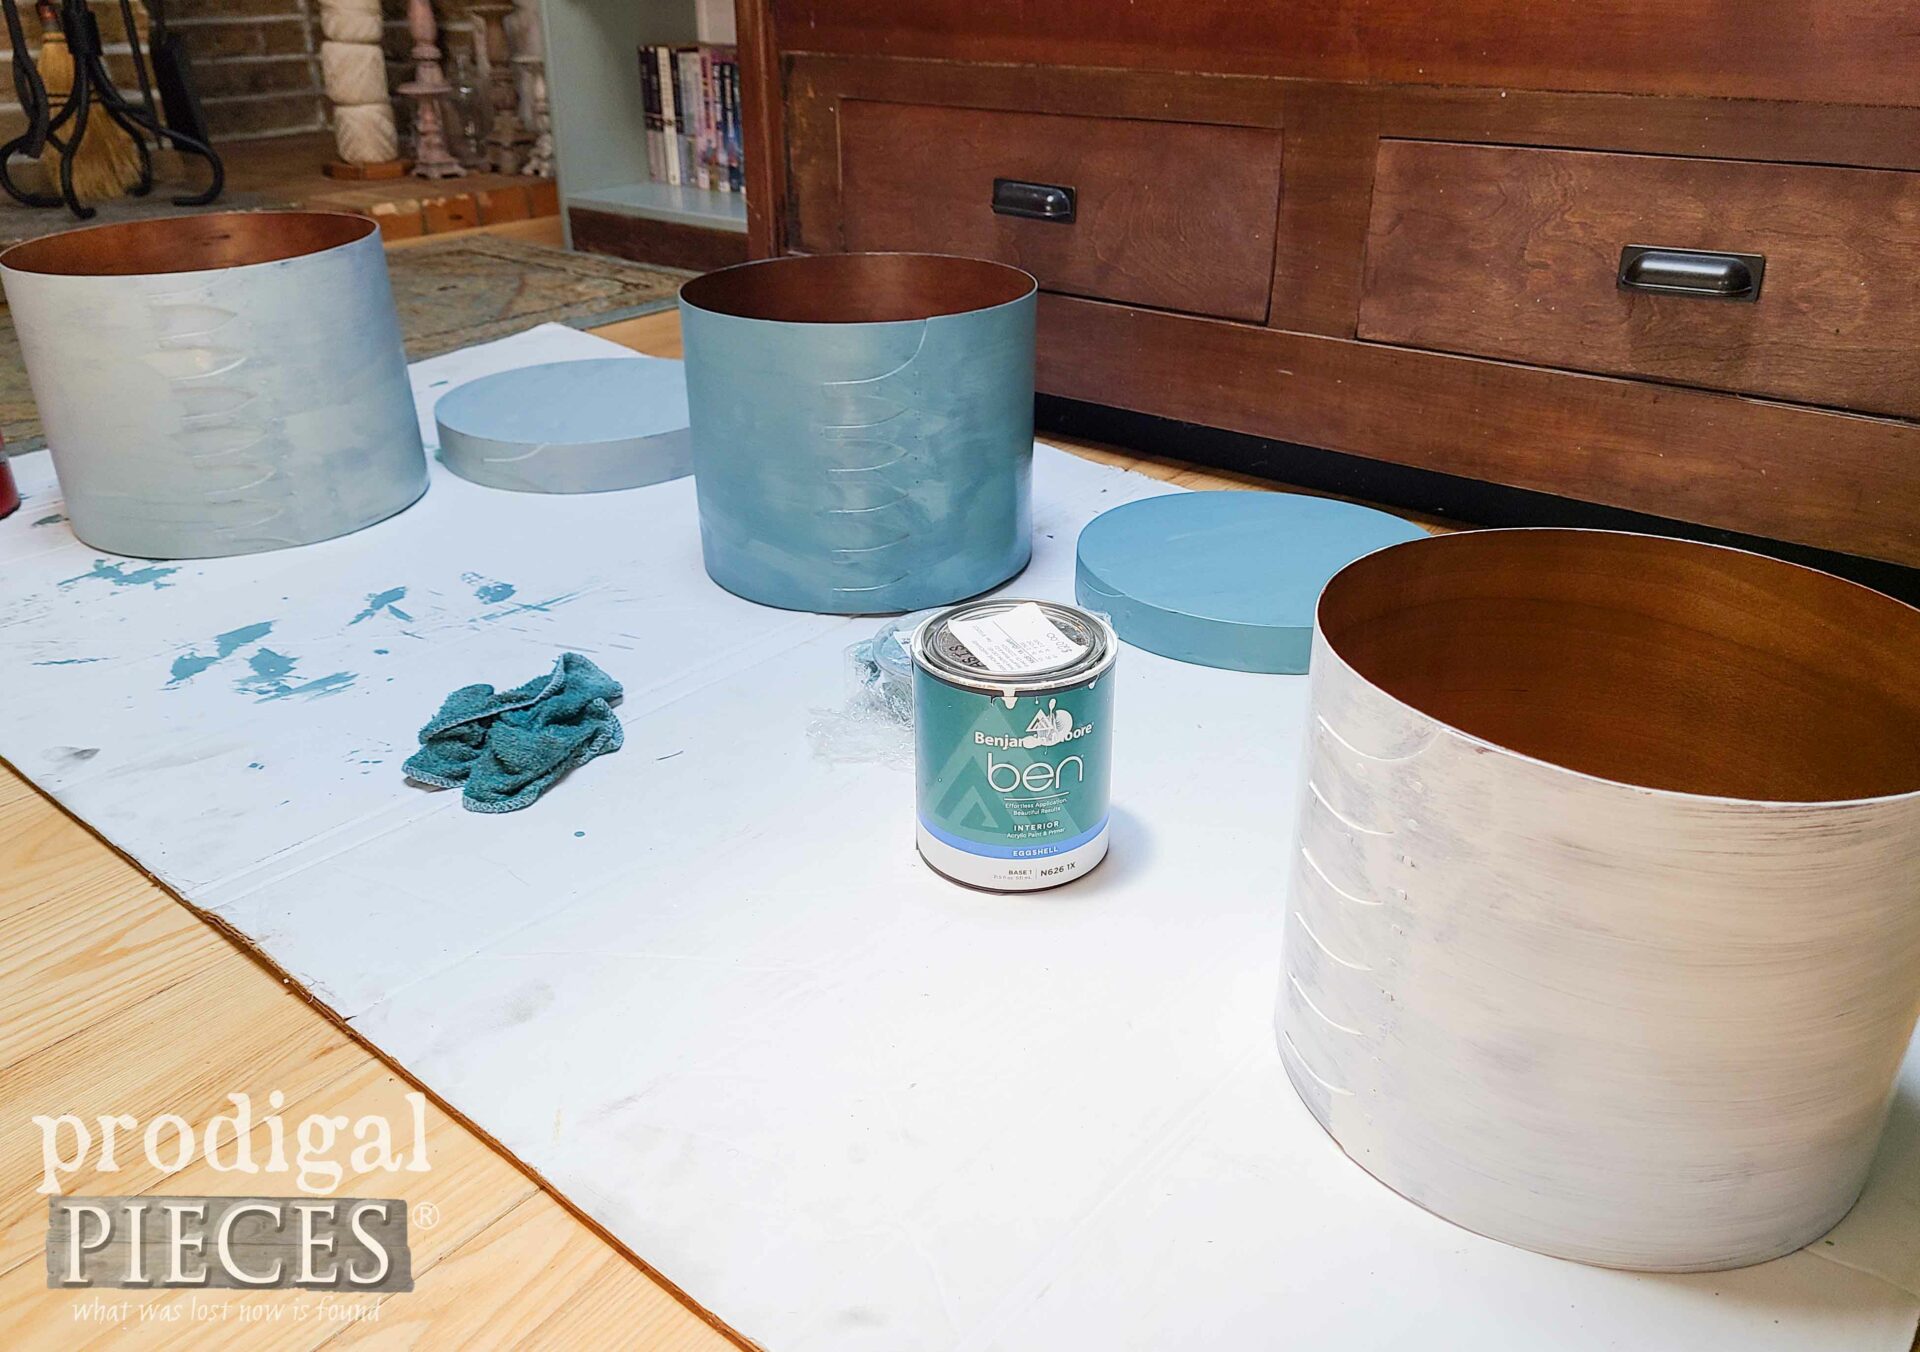
First, the obvious solution to making a quick fix for these upcycled storage boxes is paint. But before I can do that, I want to prep the boxes a bit. In the past, I’ve often made mention of how I use old candles to wax drawers and guides, but I also use them to resist paint. Since I want to make these boxes keep their distressed charm, I use the candle to apply wax on edges I want exposed.
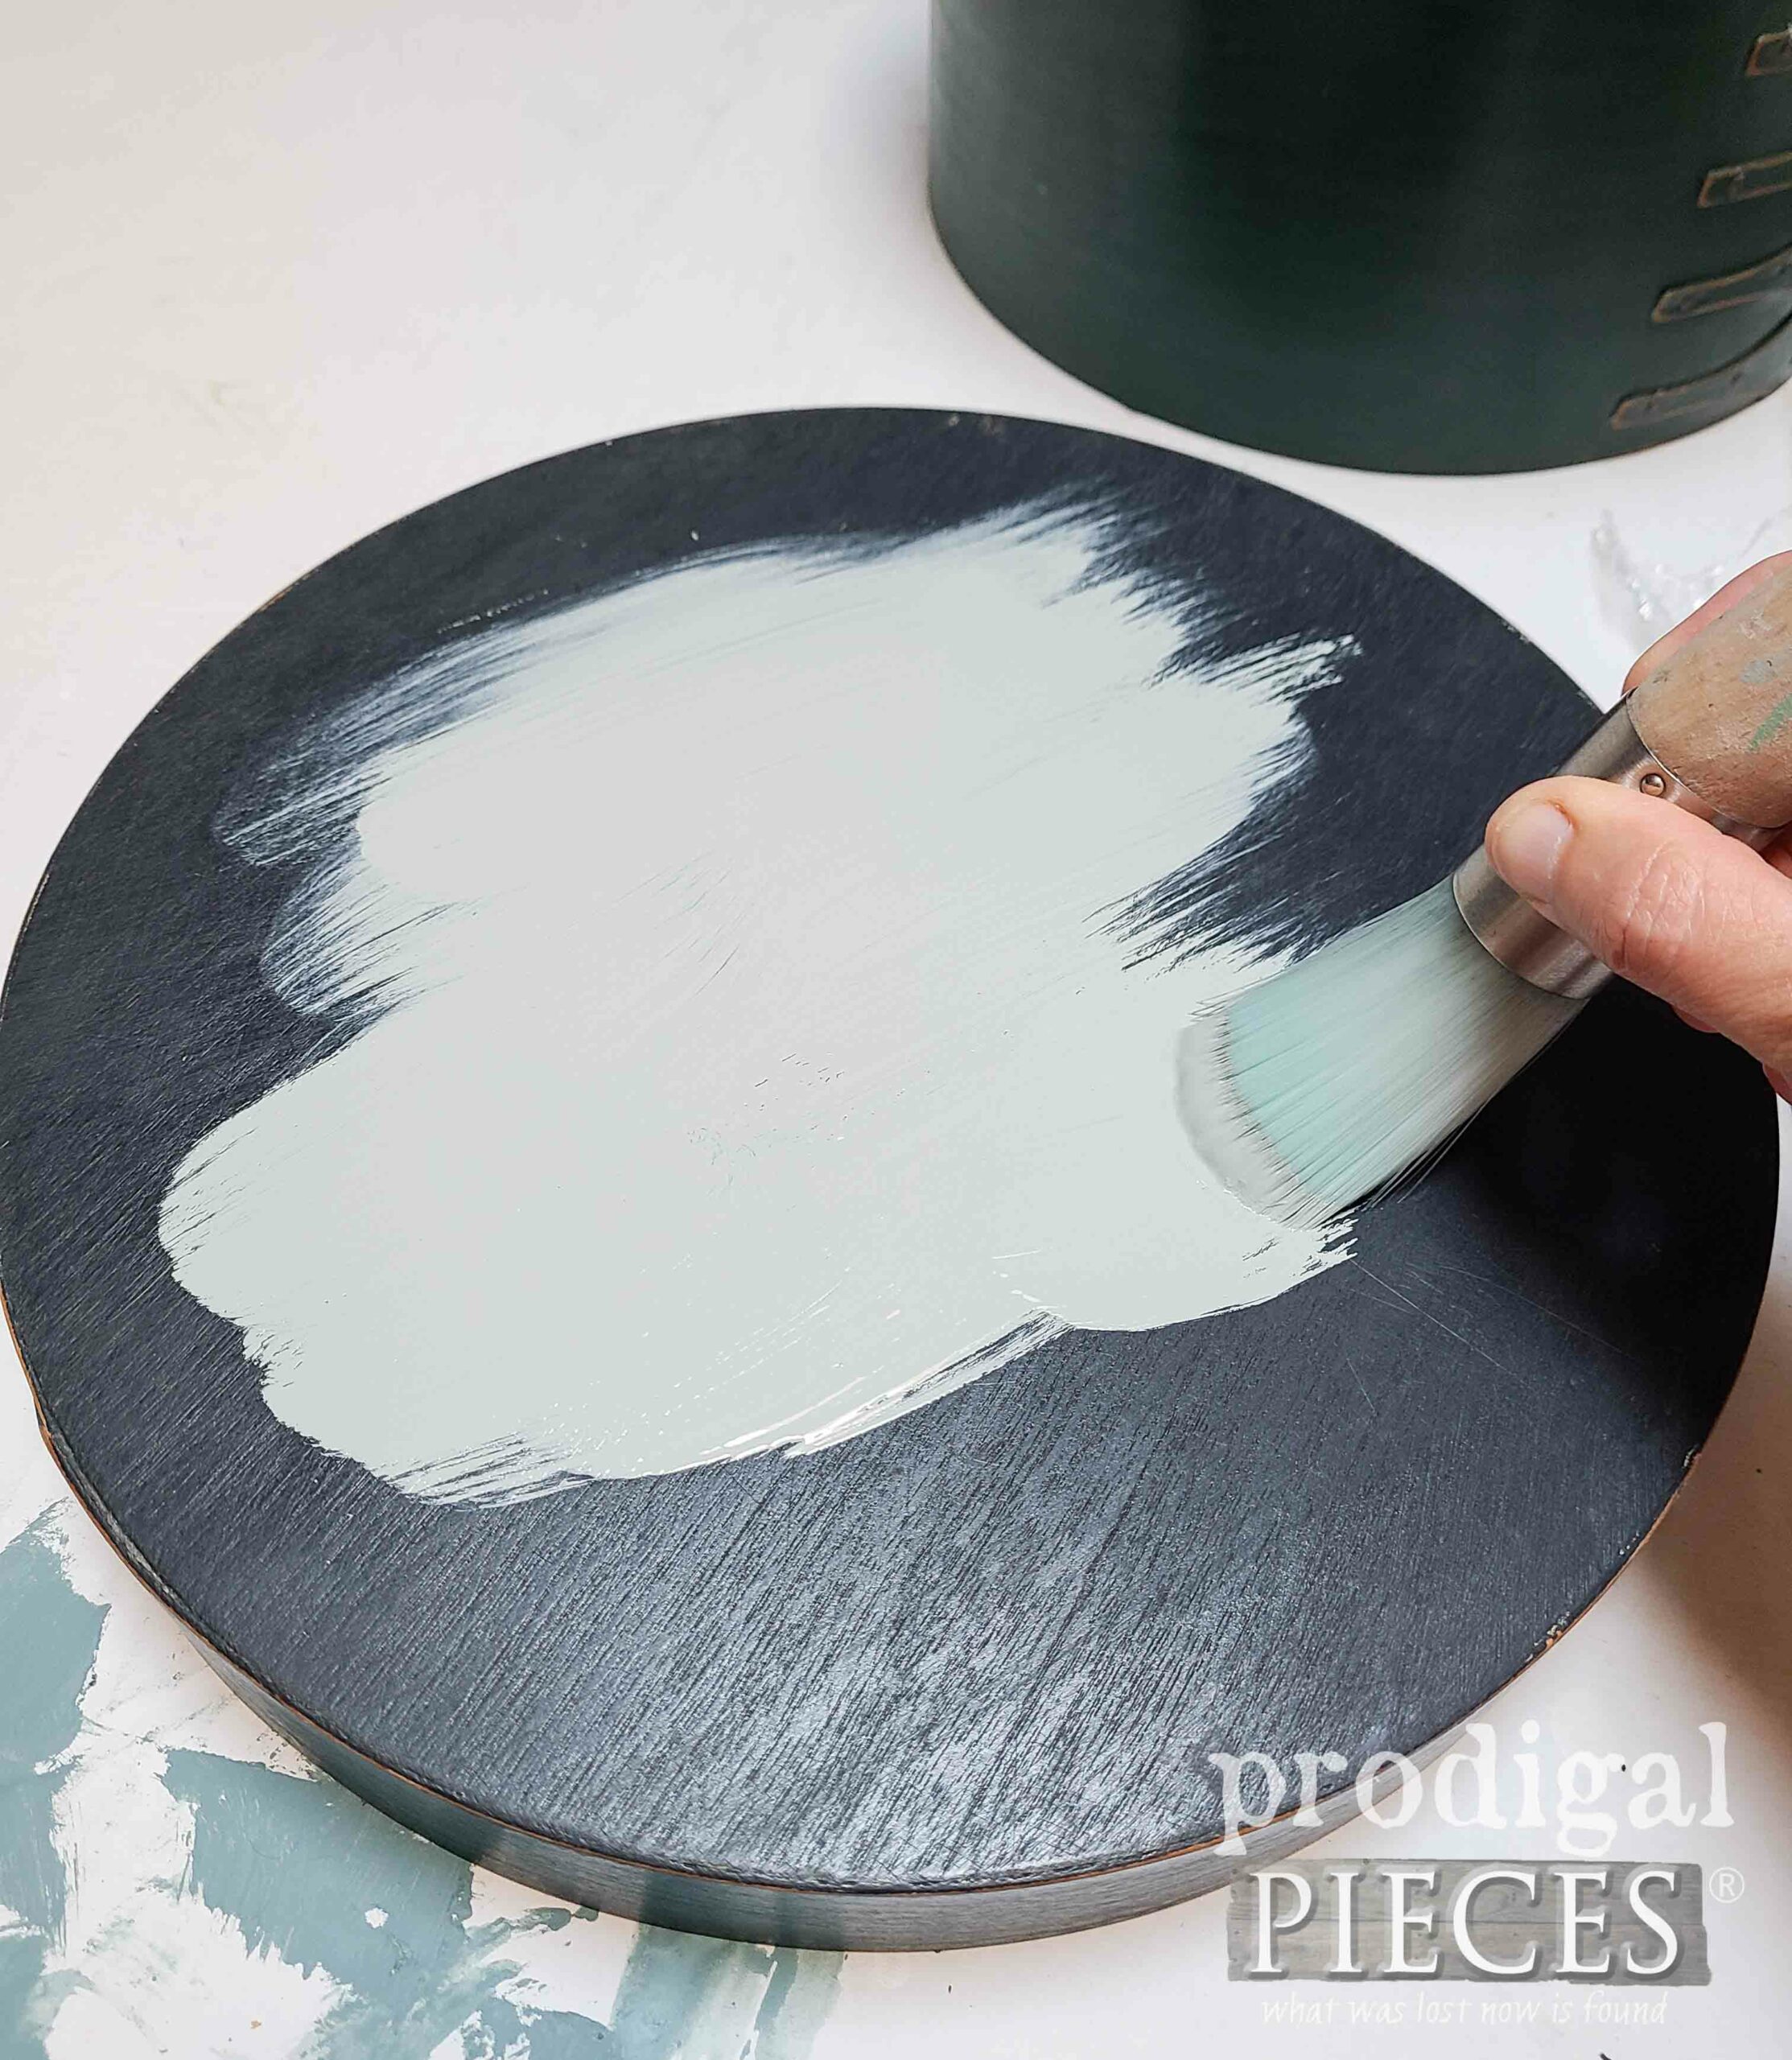
As soon as they’re prepped, I start out with three complimentary colors of paint. I let it cure and then apply the second coat.
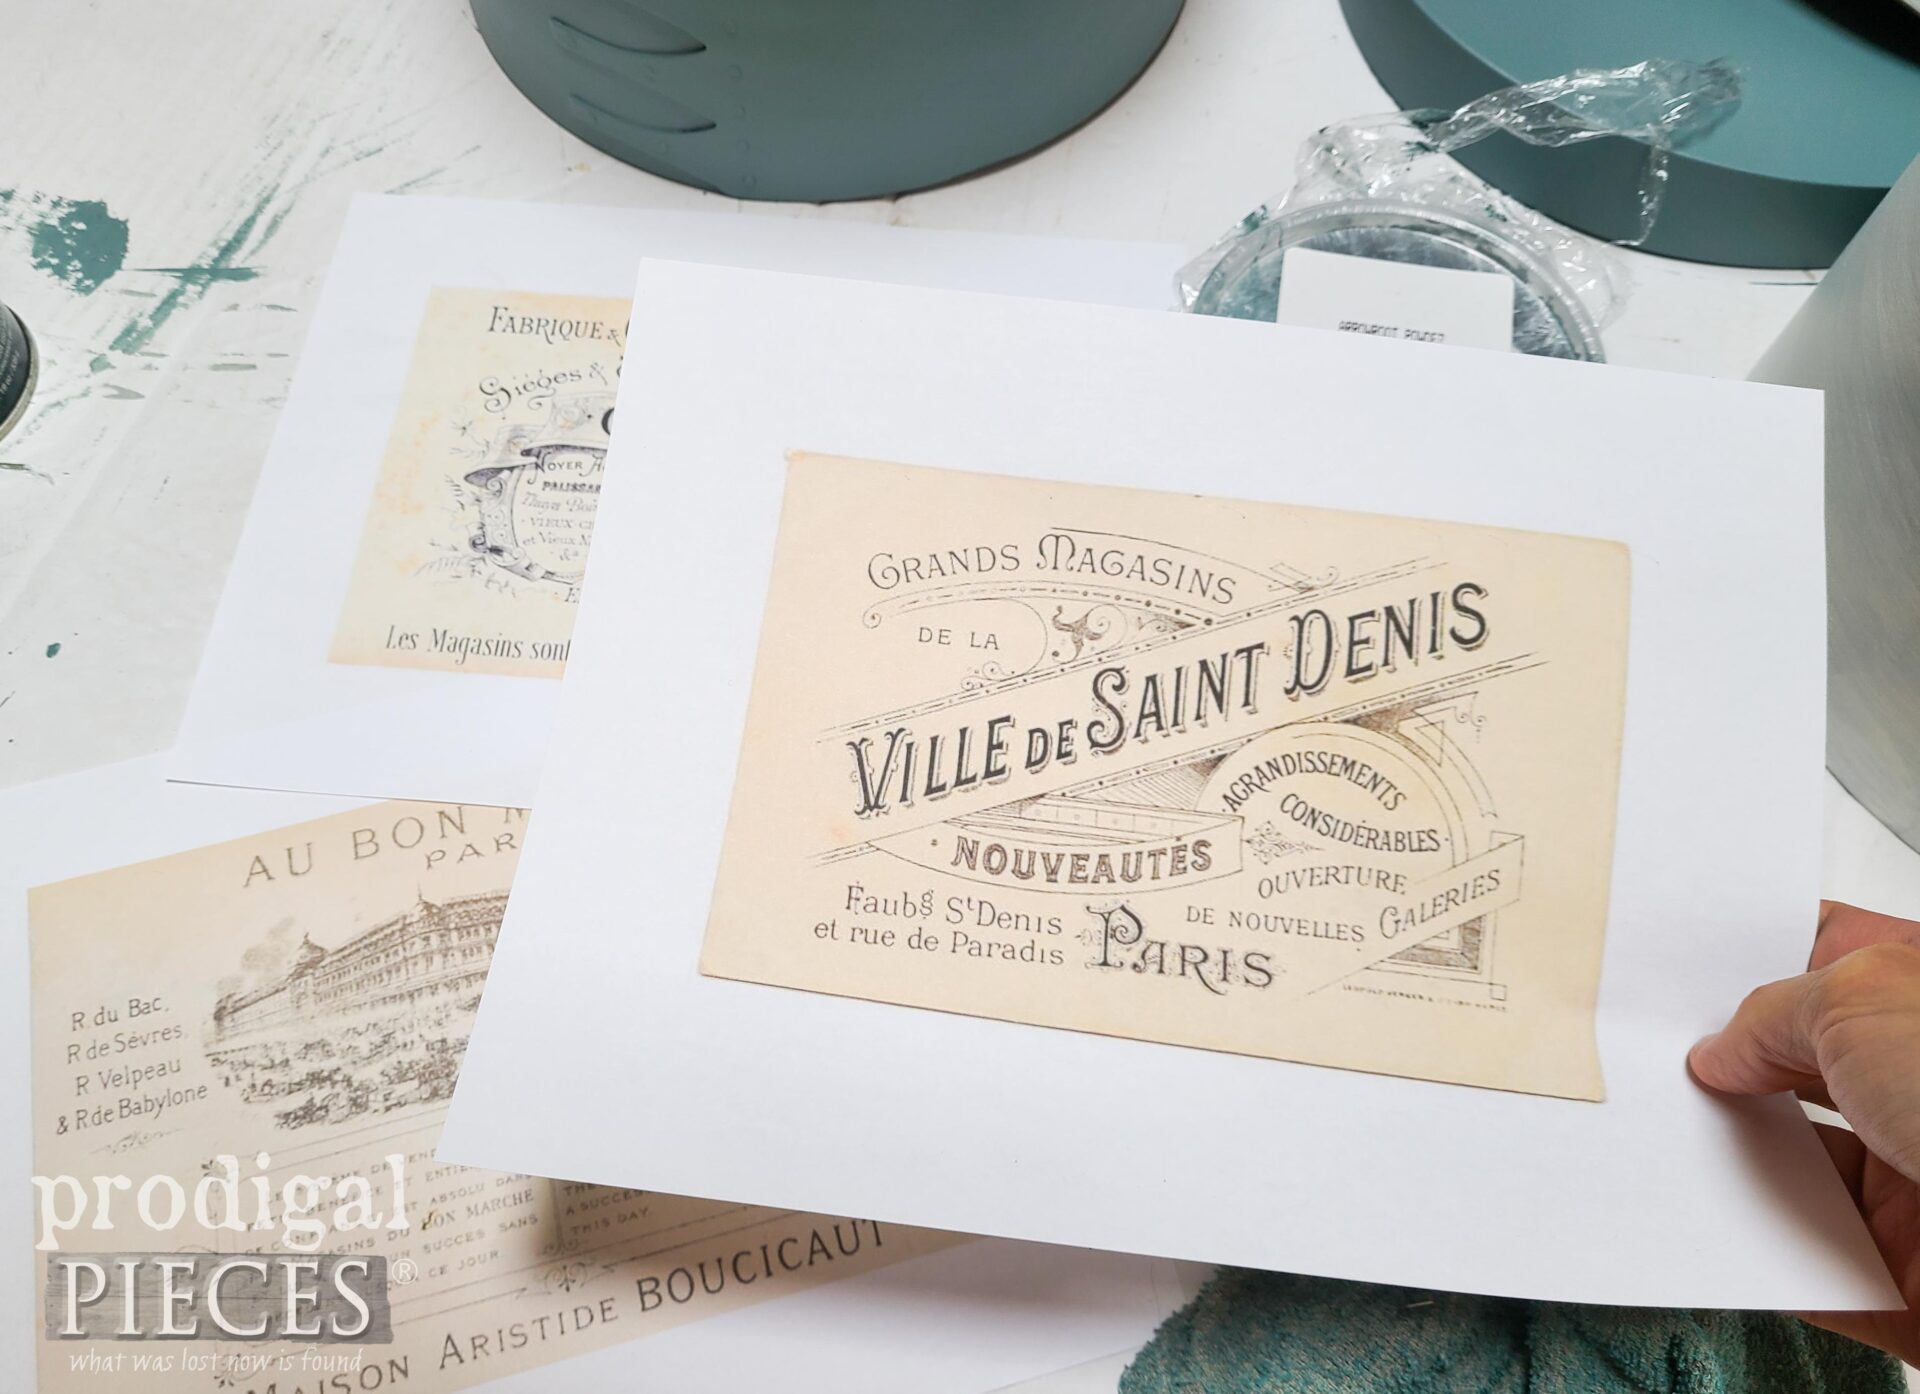
That’s much better for what I’m after. Meanwhile the paint cures, I head to Karen’s blog, The Graphics Fairy, to find some French ephemera to dress up this set.
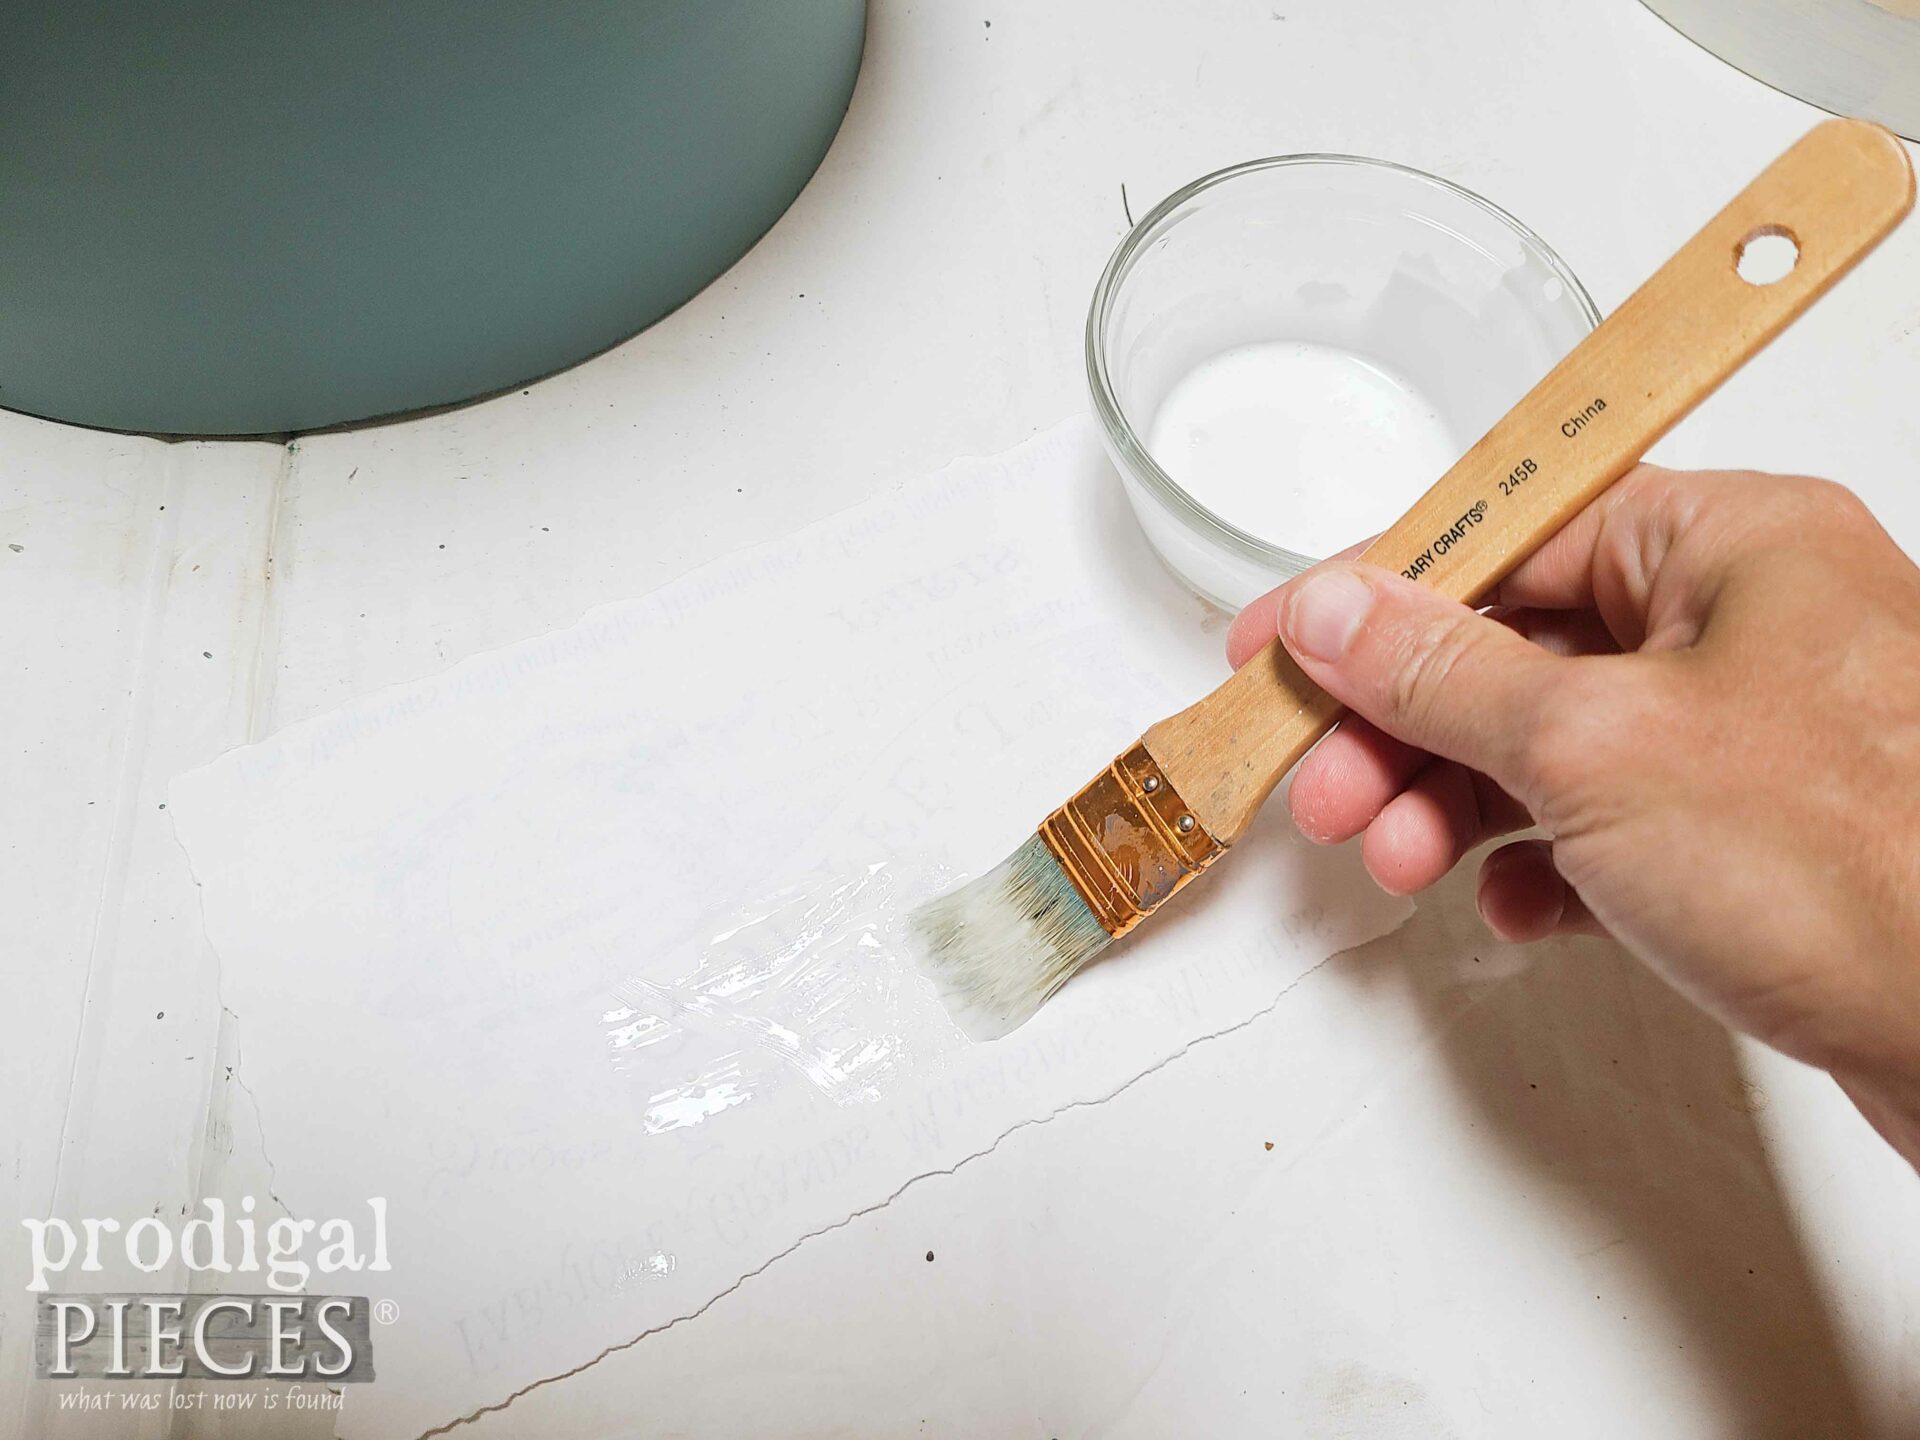
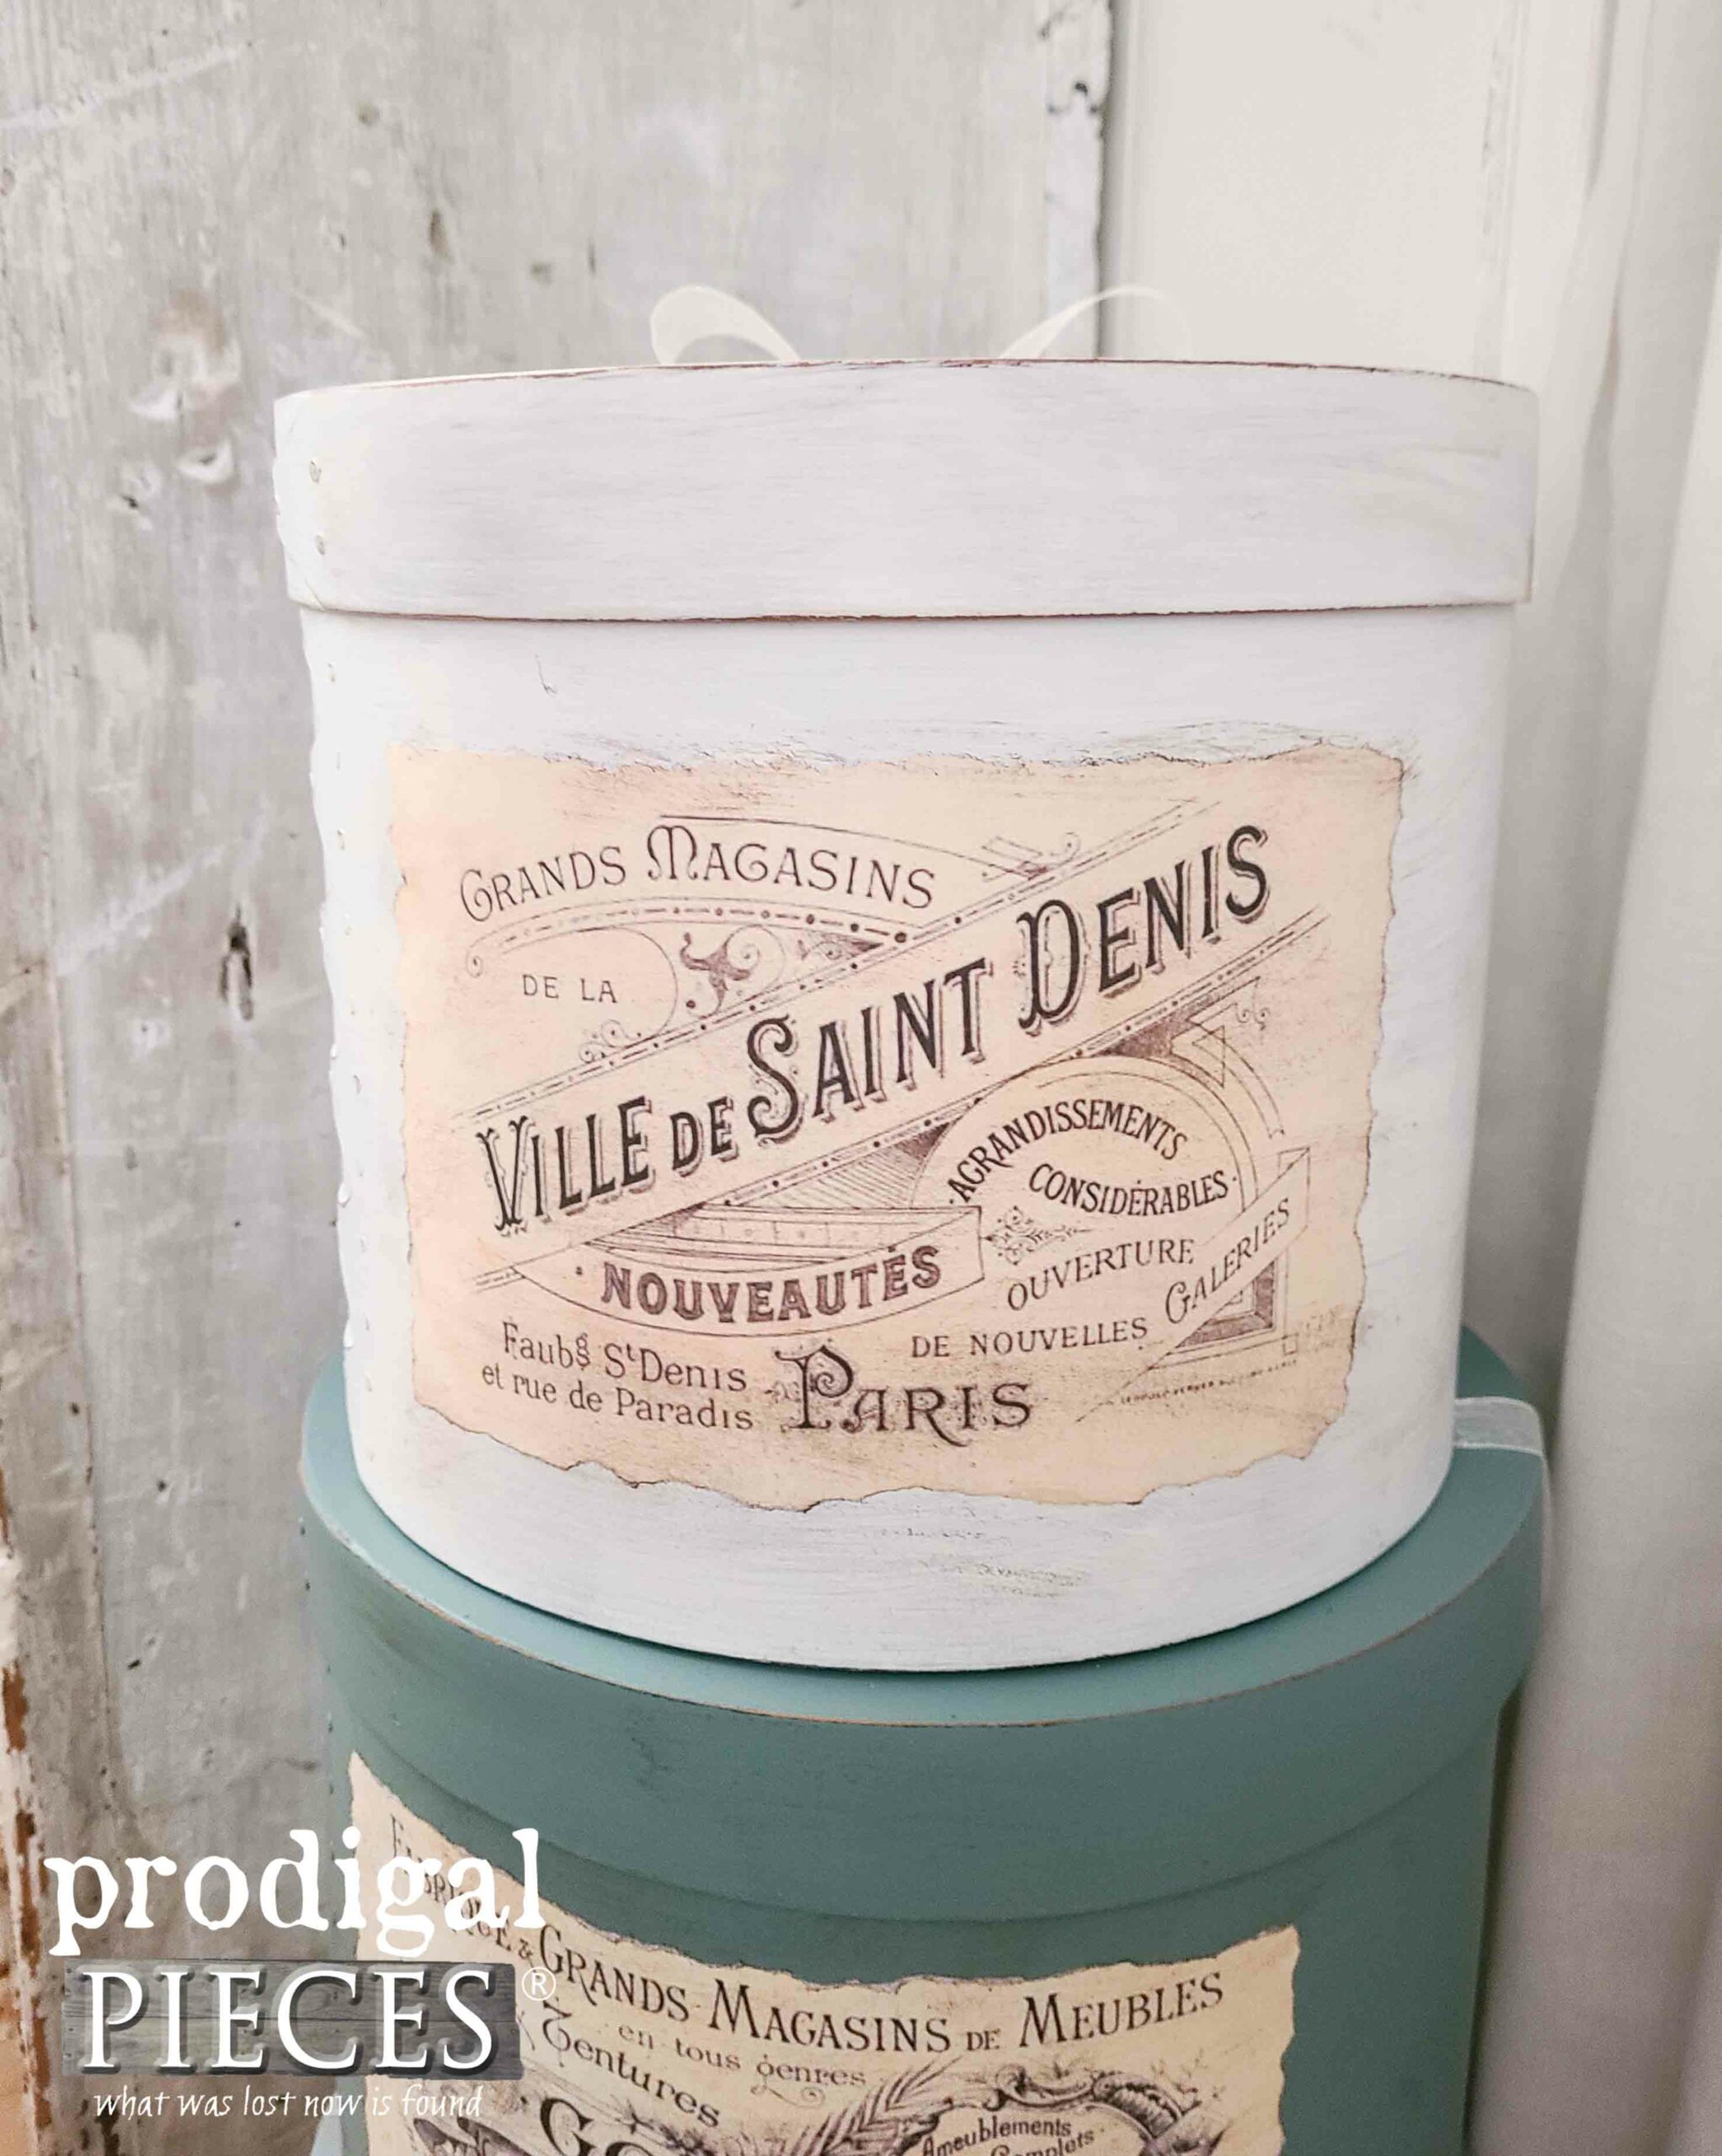
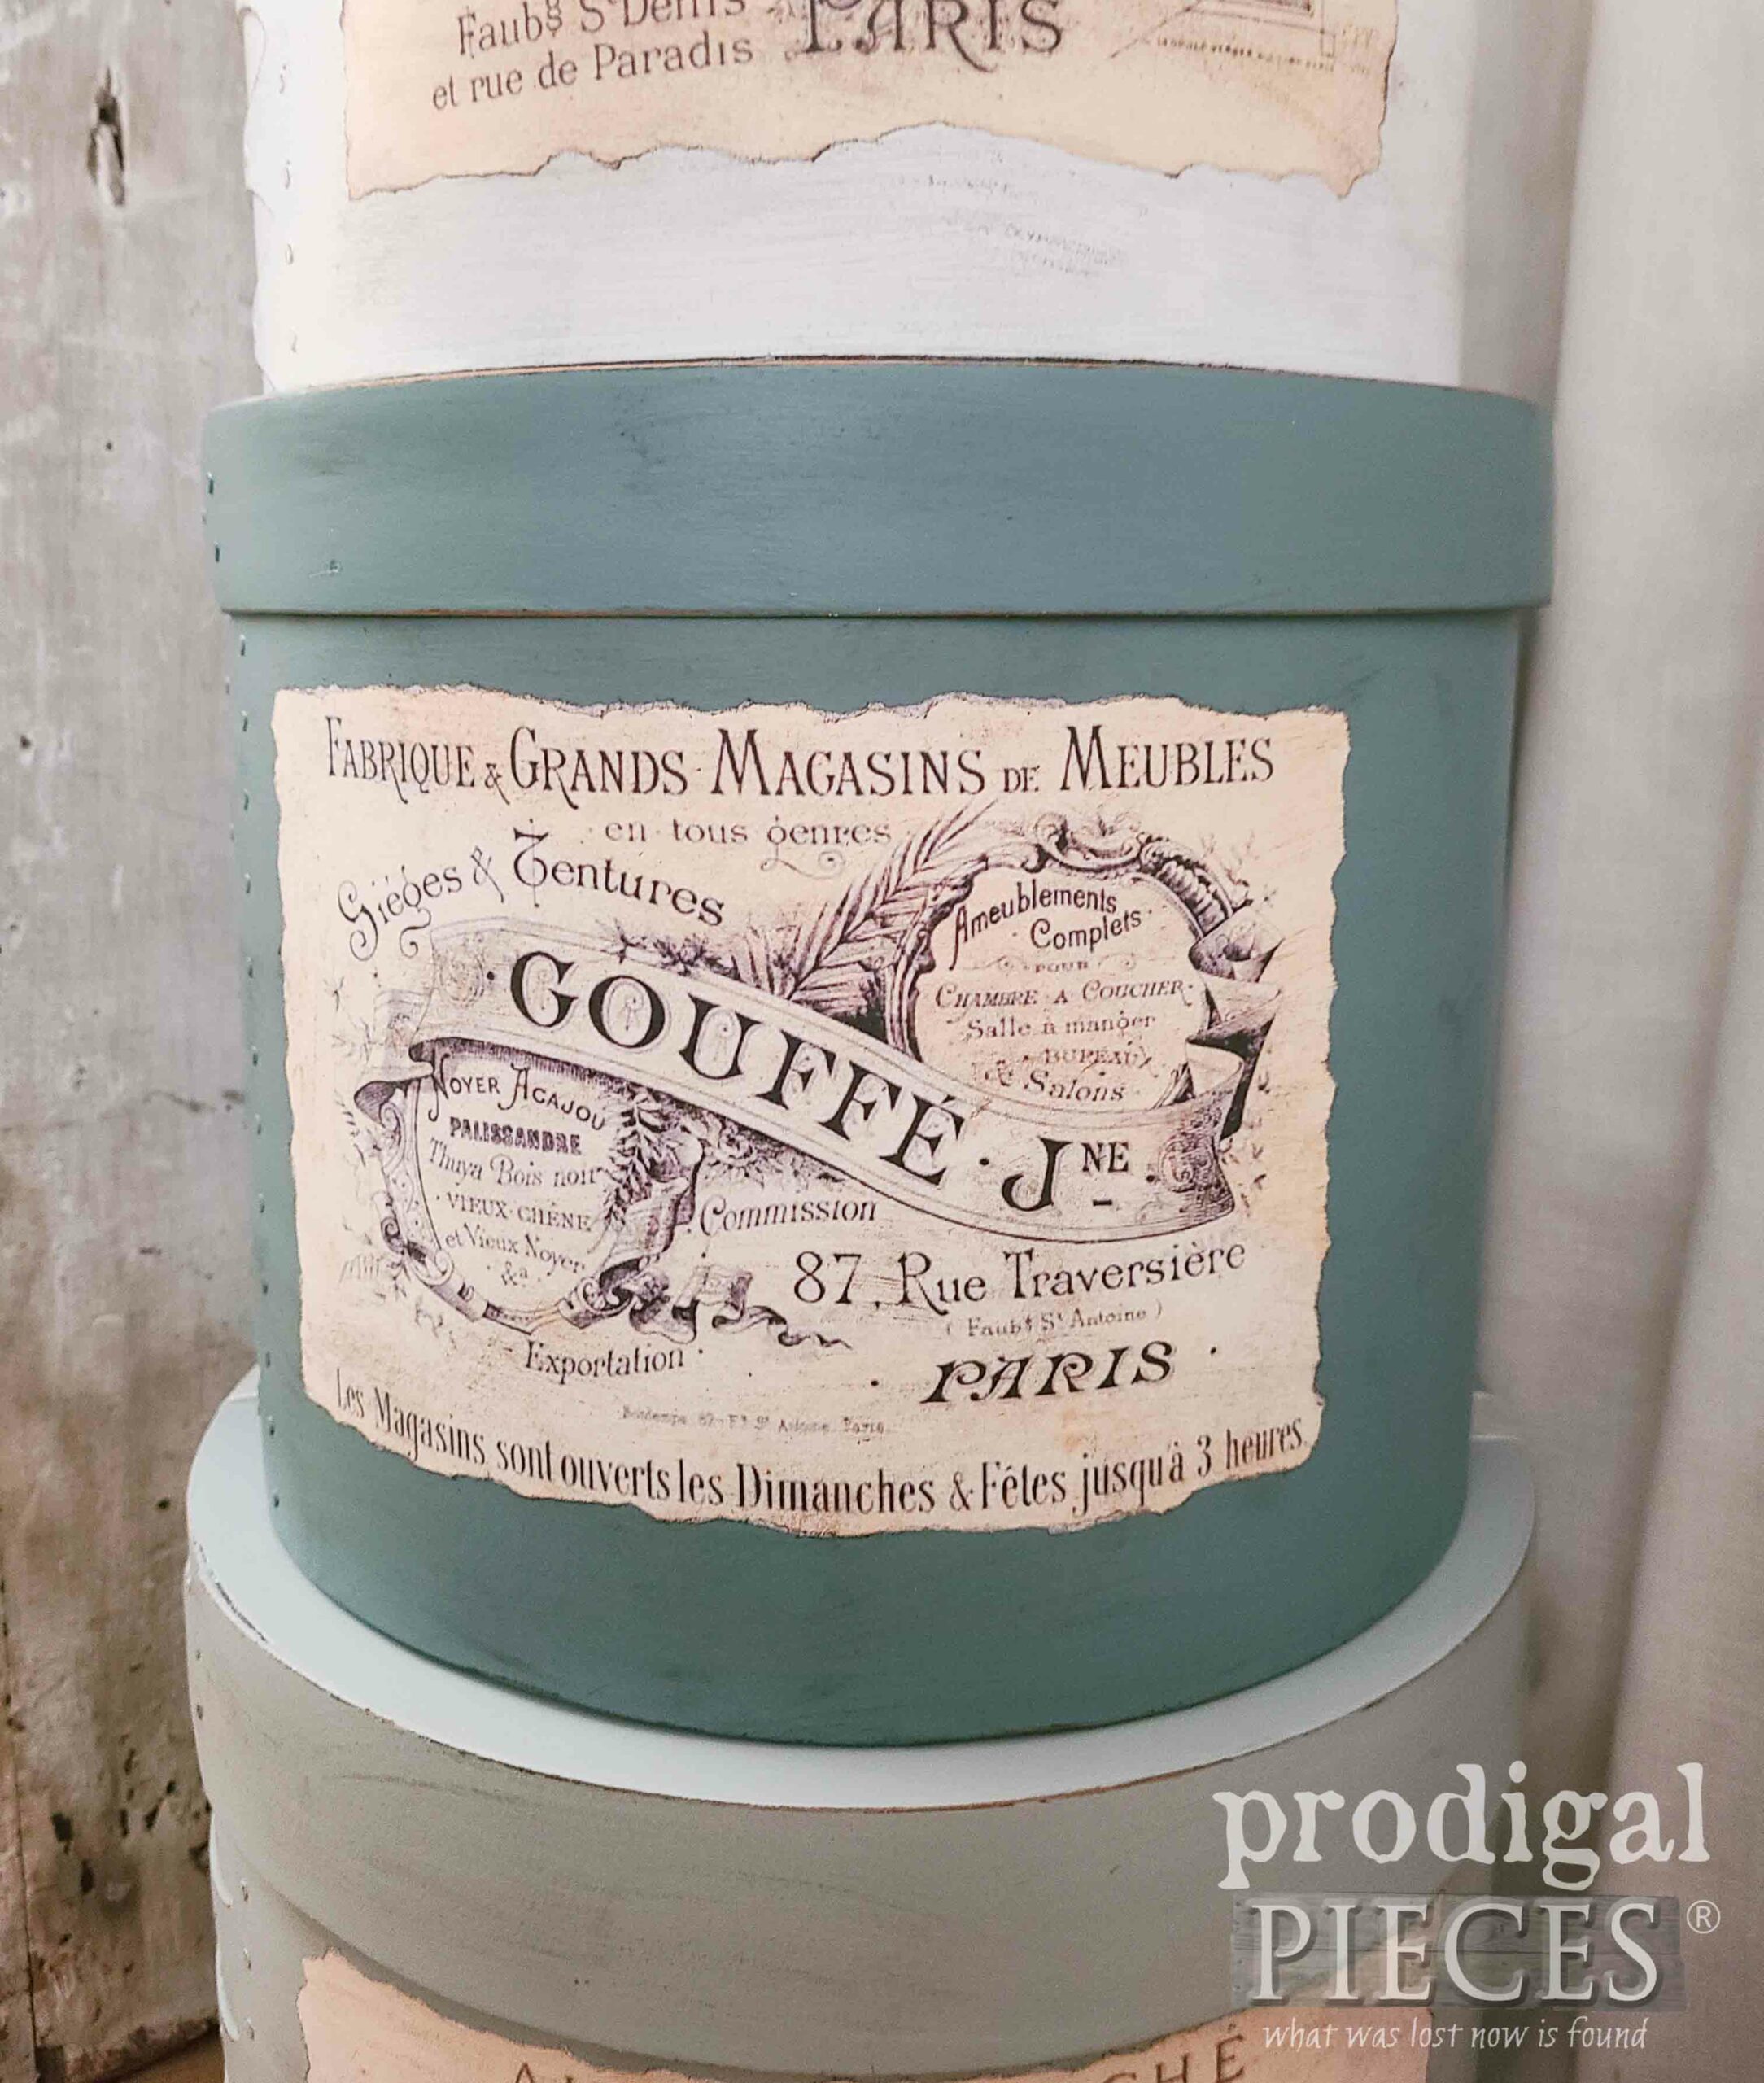
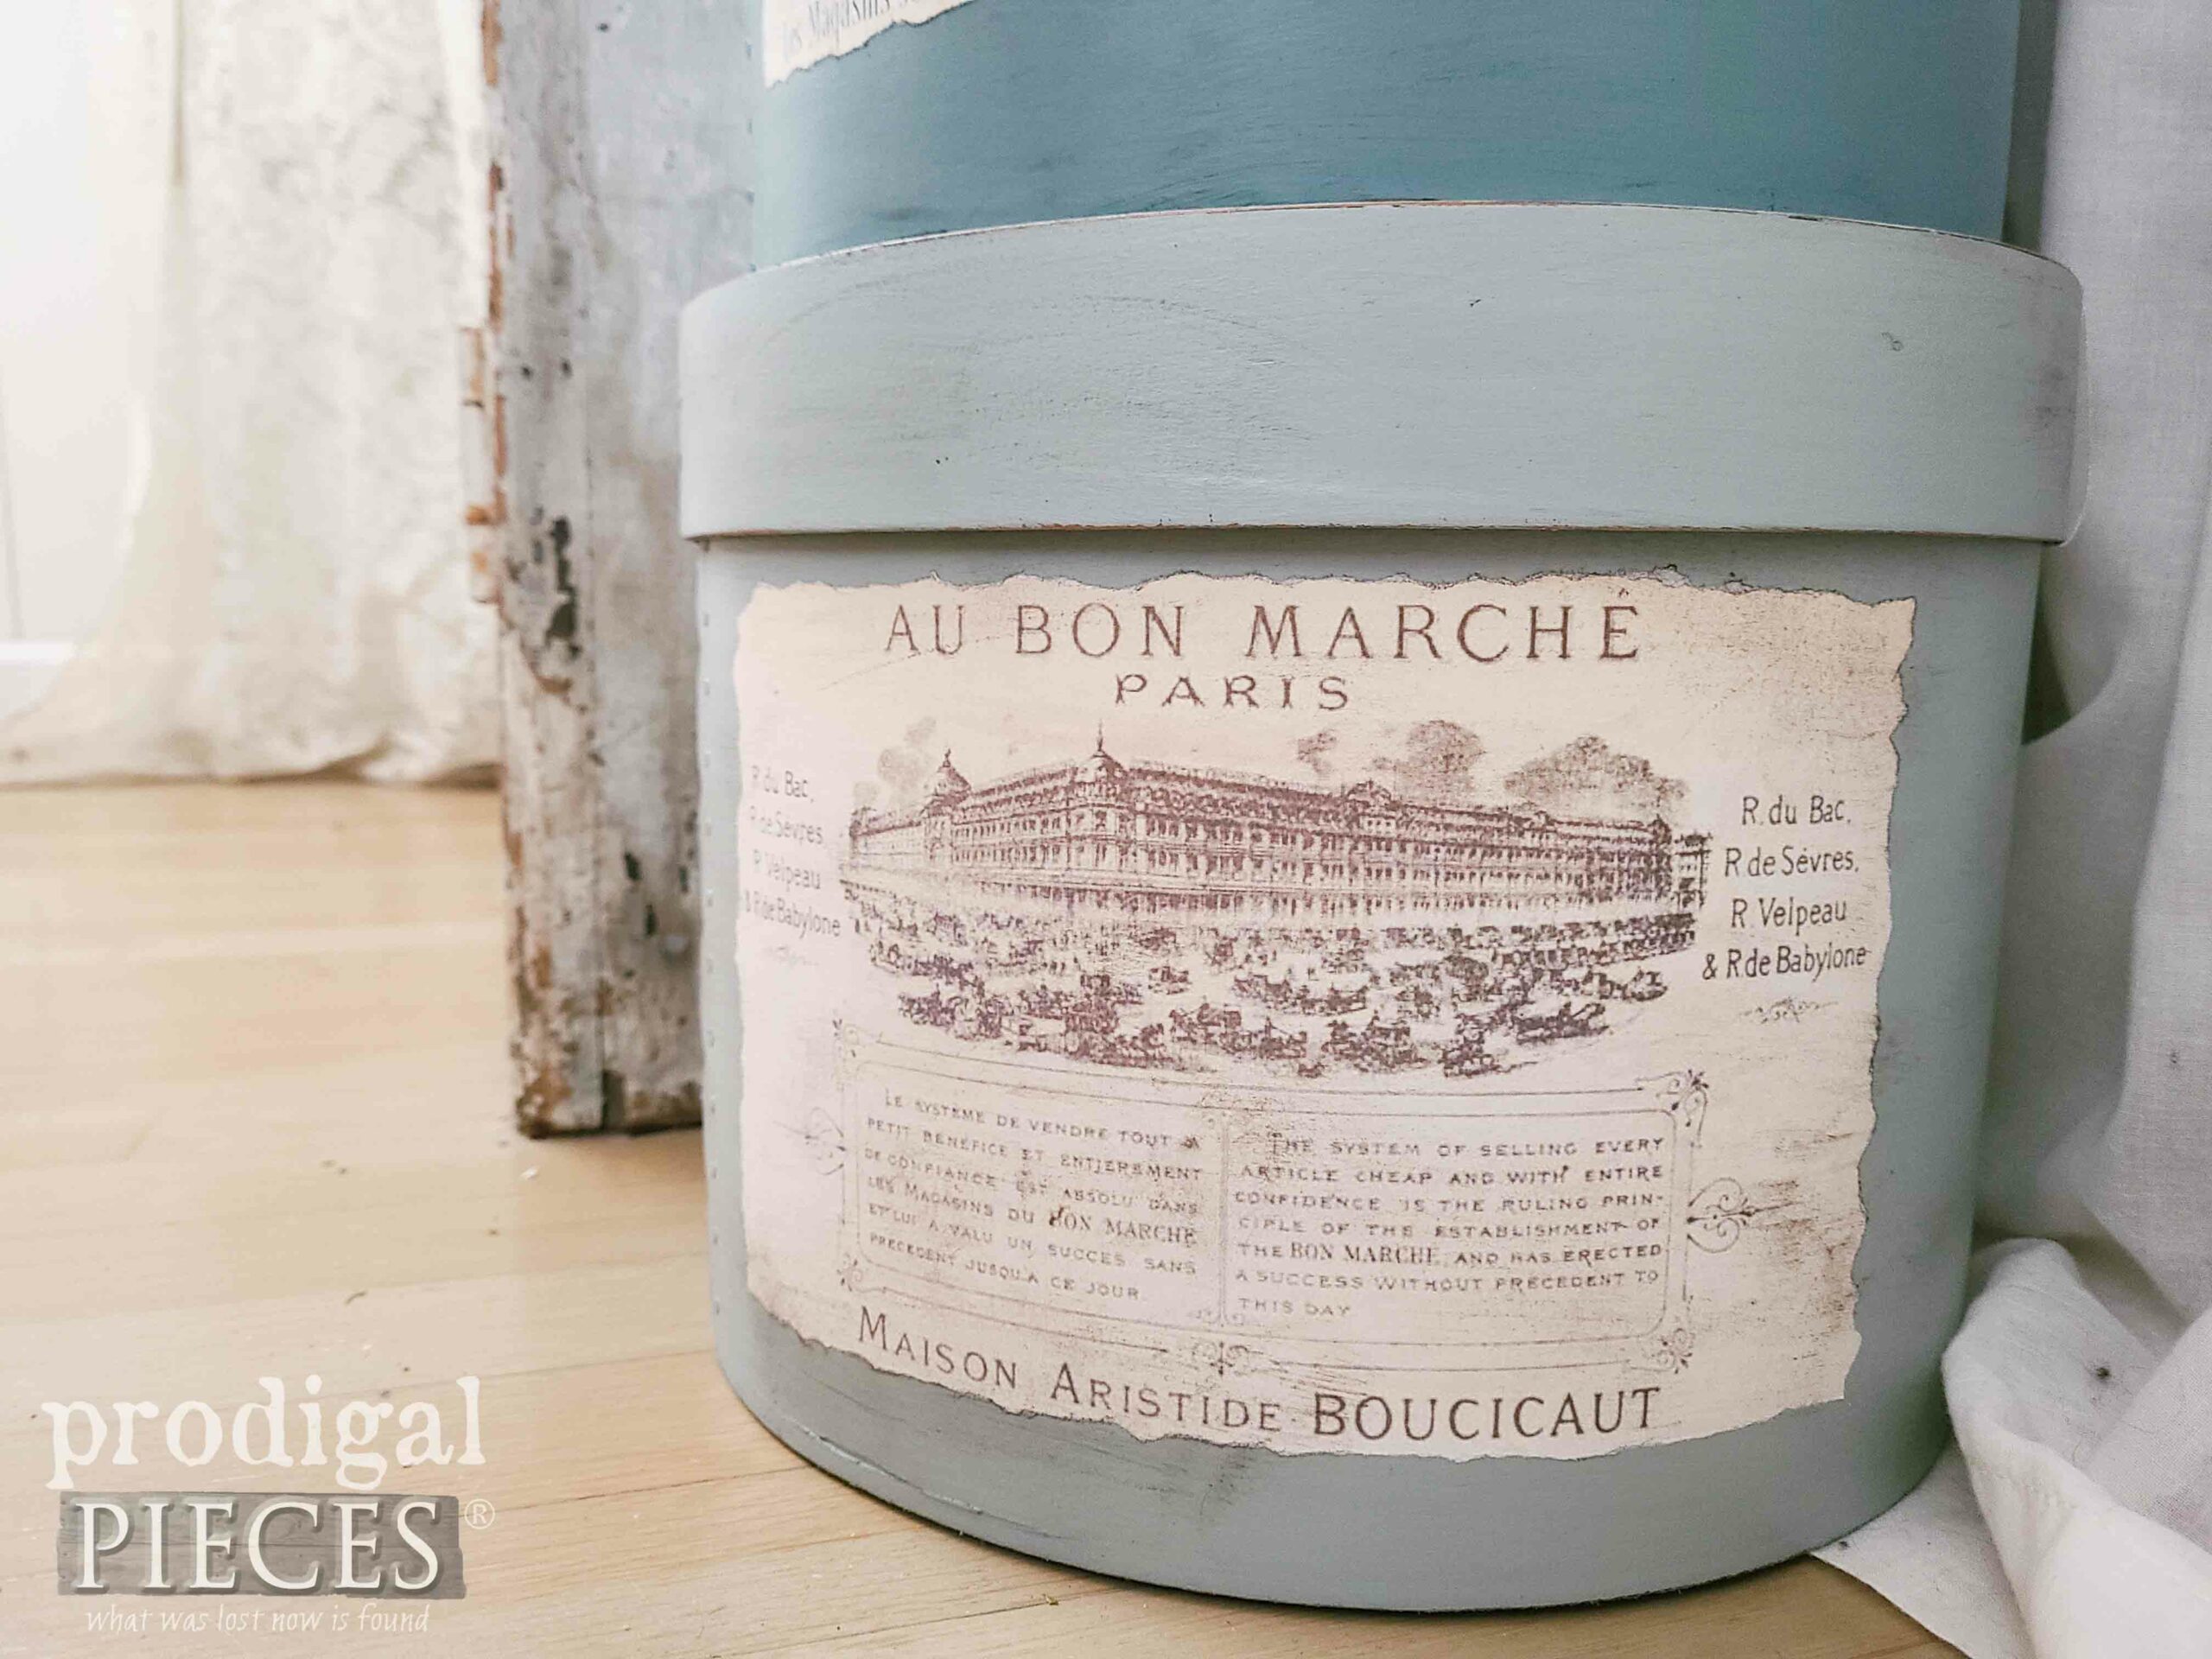
After I tear out the art, so I have a ragged edge for a rustic look, I use my DIY decoupage paste to adhere them. (my paste is simply water-thinned school glue).
STACKIN’ UP
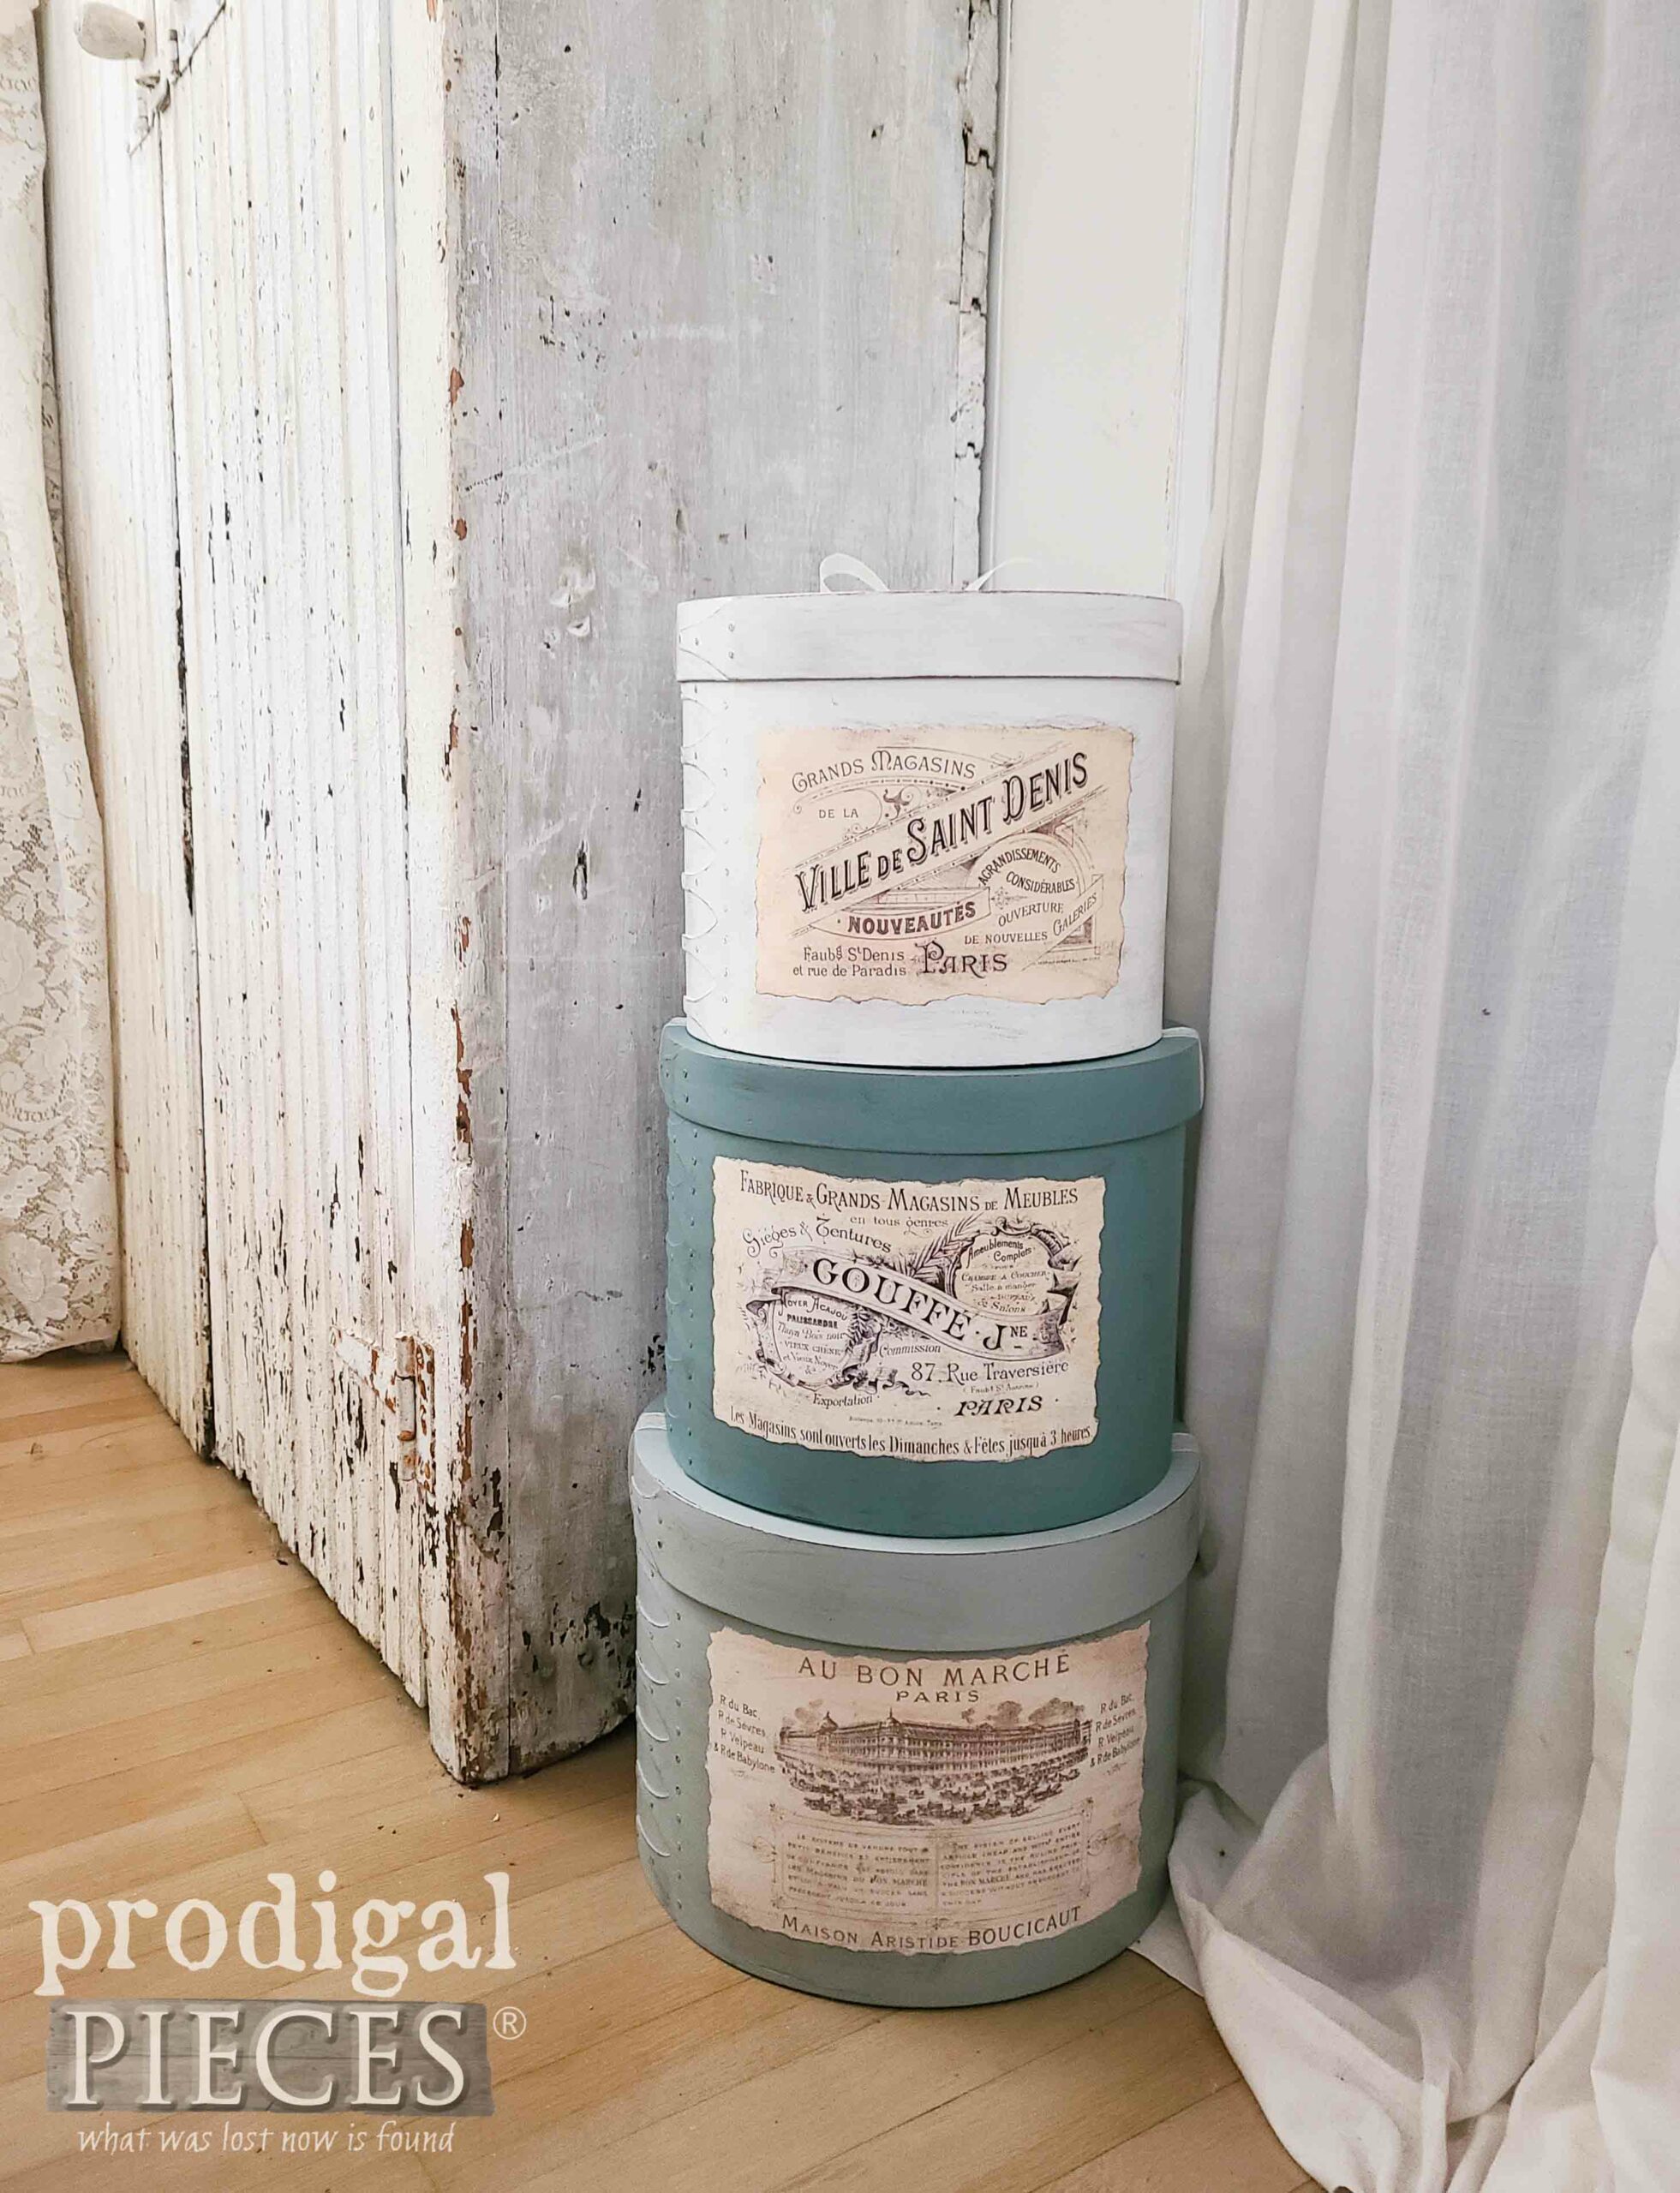
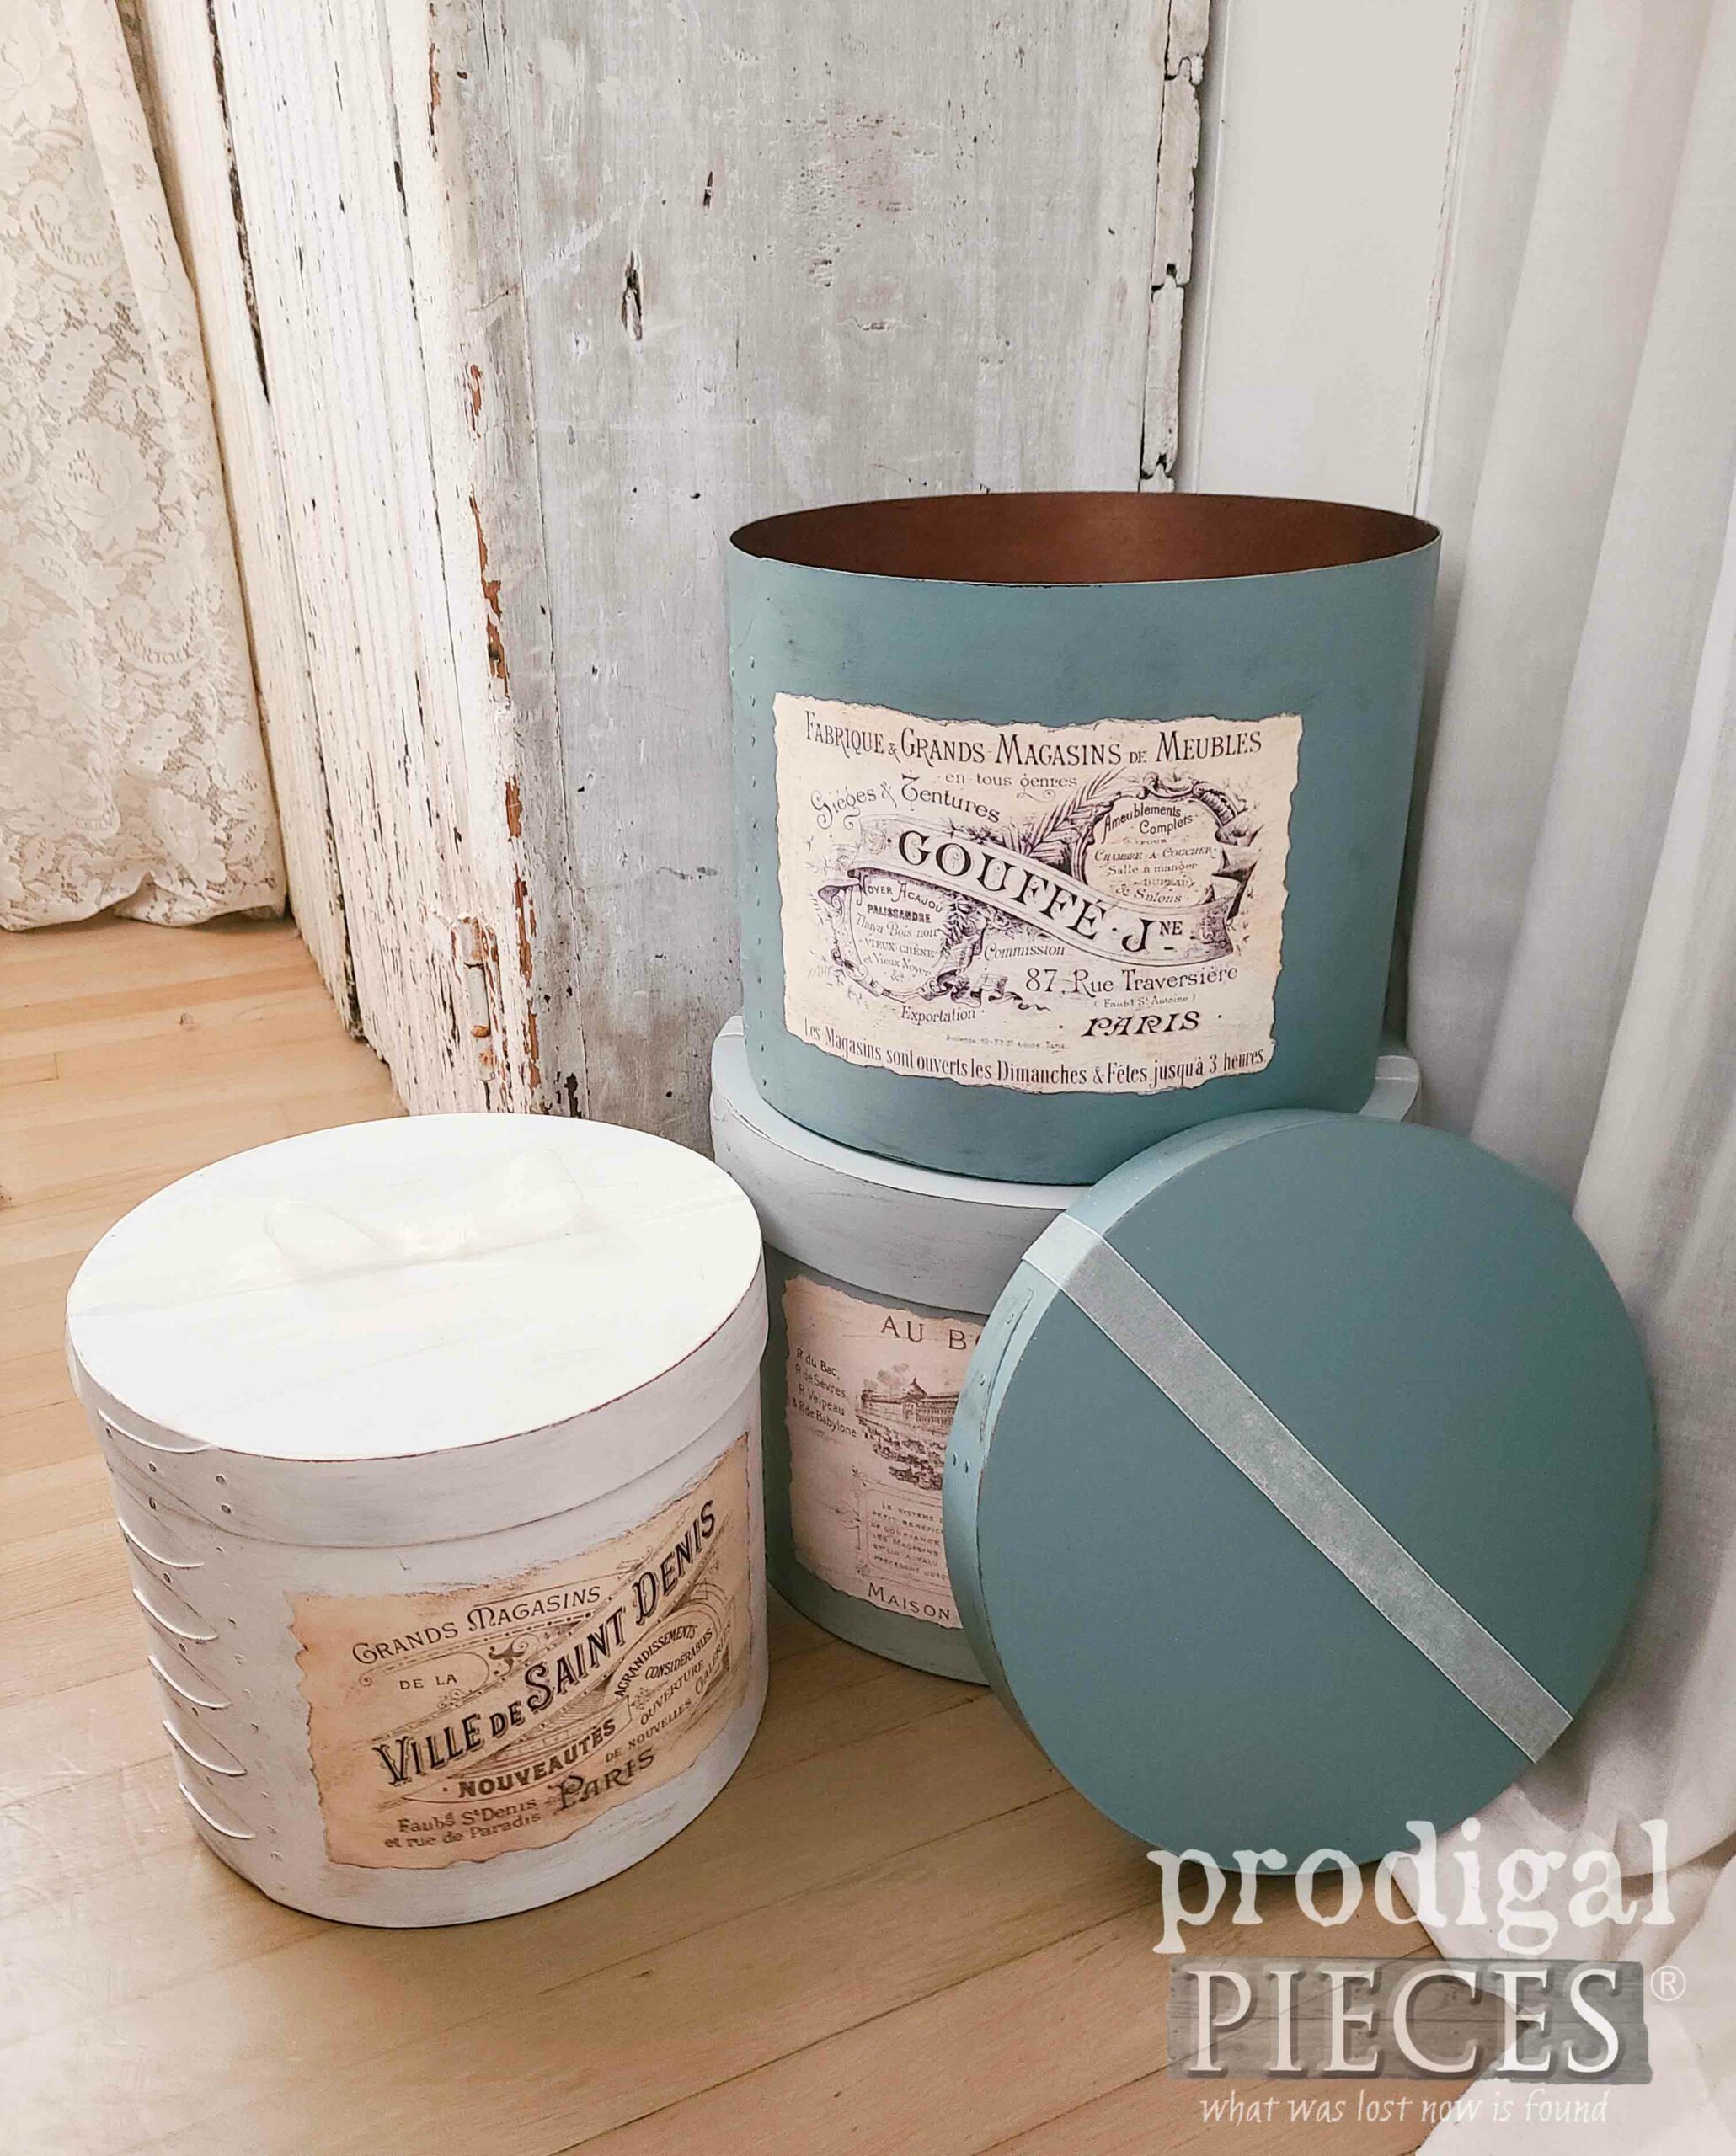
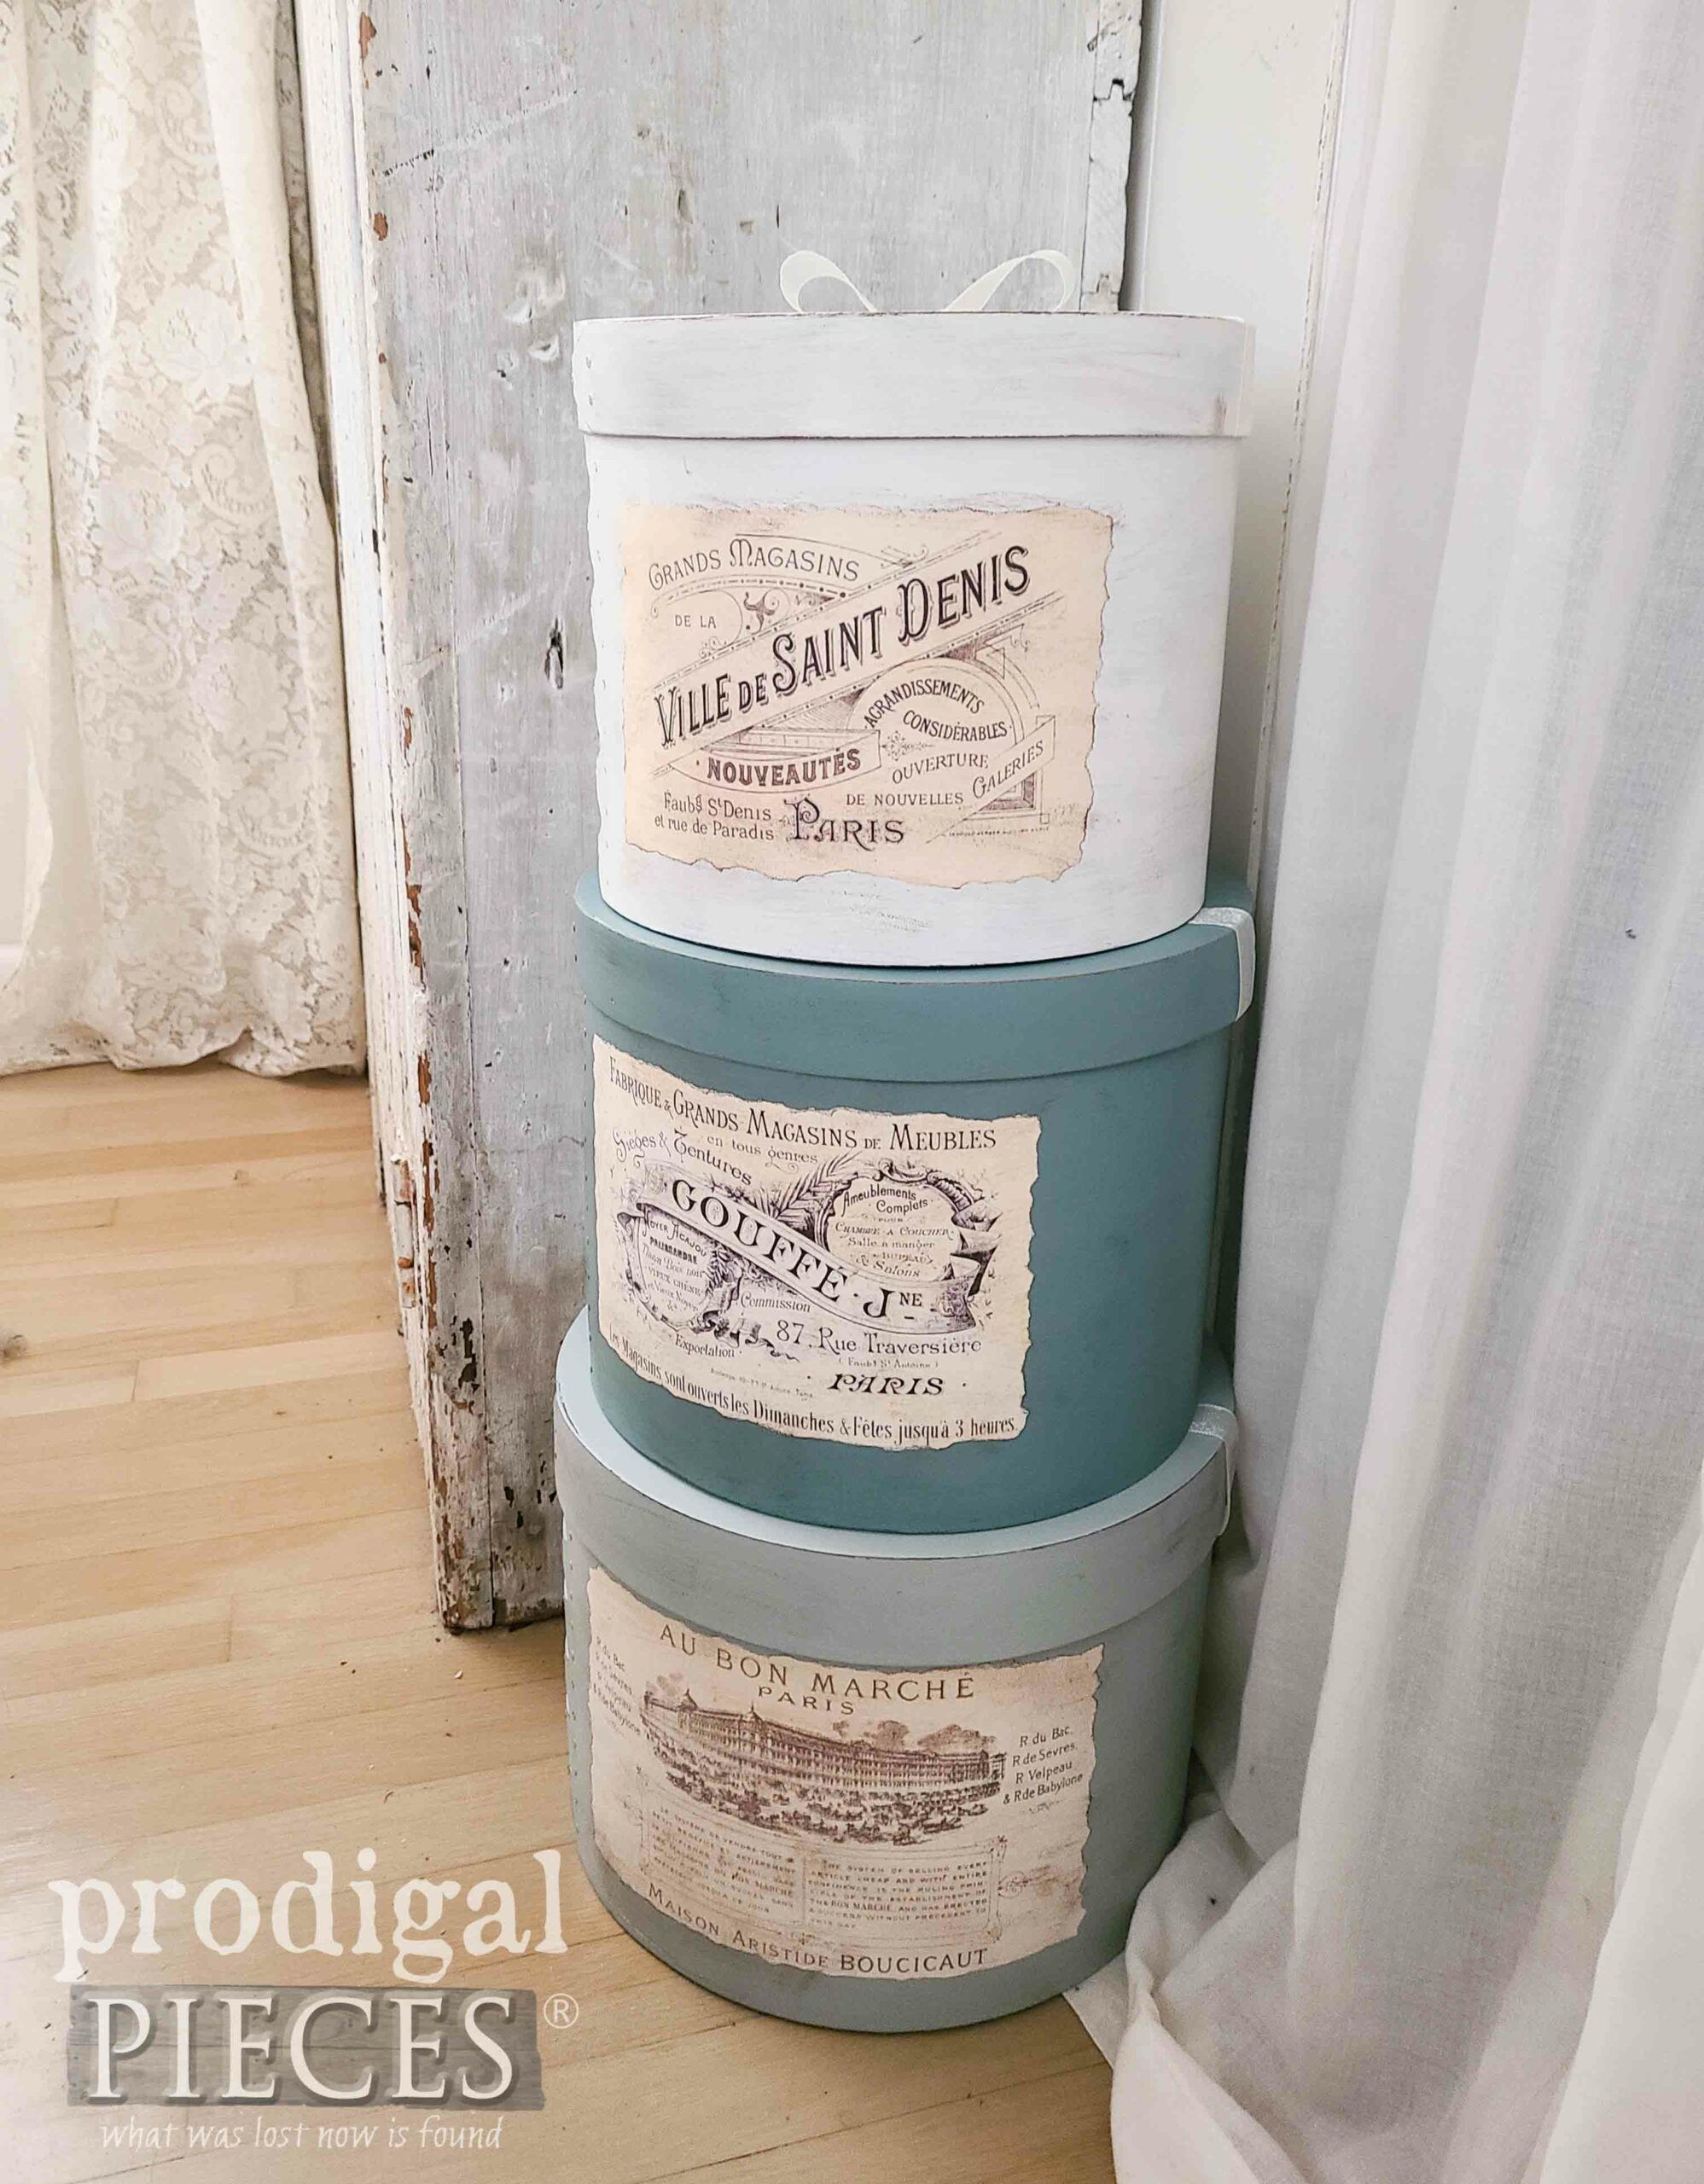
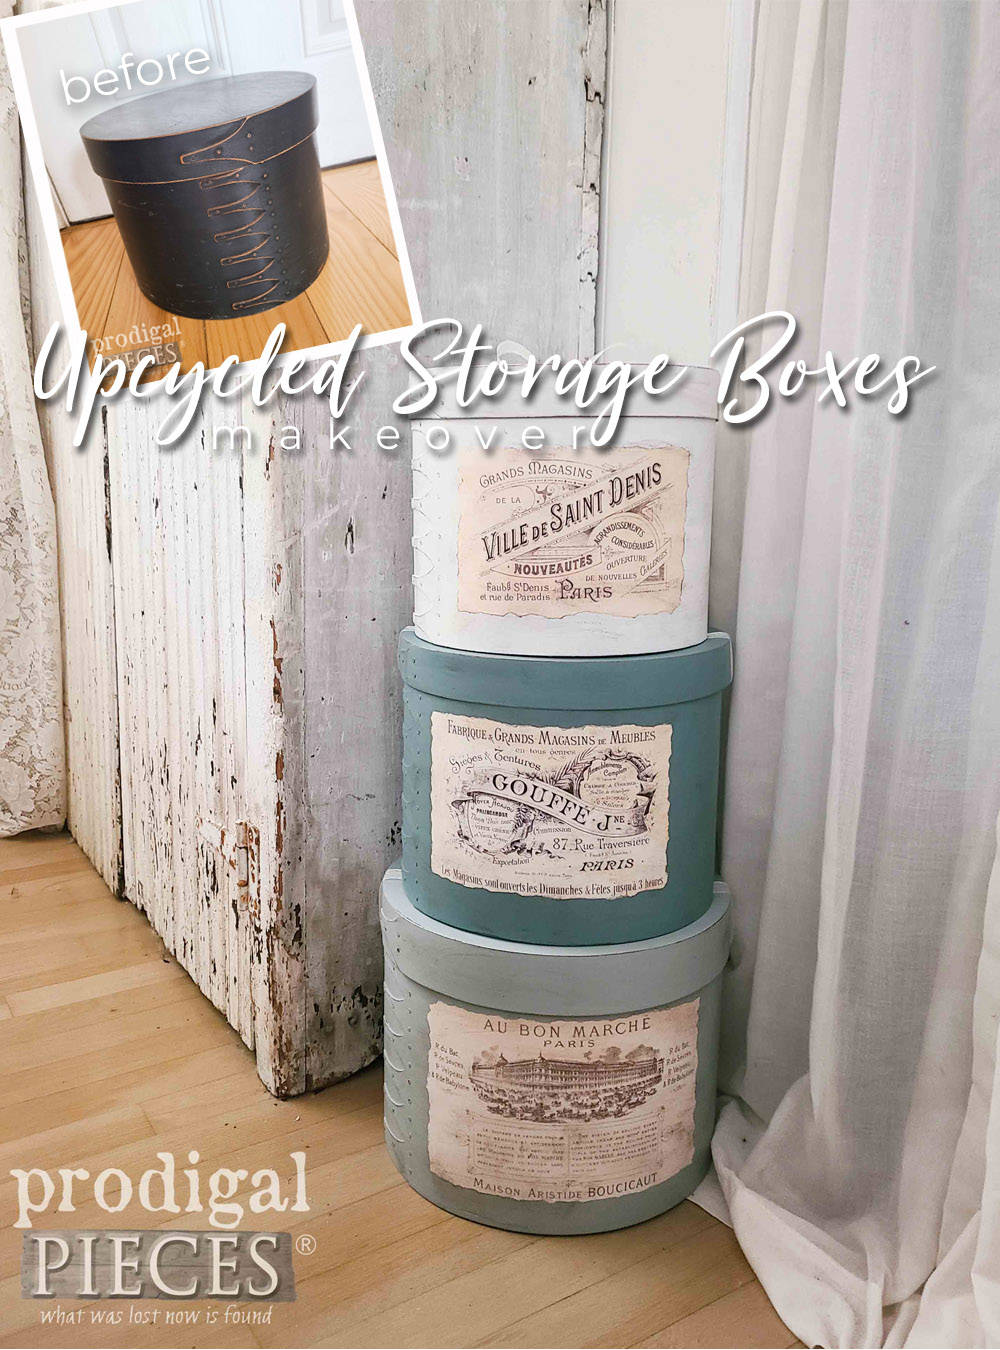
Finally, after my DIY adventure, my upcycled storage boxes are ready for a new ooh, la, la life.
Not only is each one a different color, but each has its own label. In addition, I use organza ribbon to top each lid of with a touch of sparkle.
Which one is your favorite? I love them together, but also on standing alone.
I’m adding these to my online store and invite you to see what else there is to offer.
SHARE
Now to hear from you – the one I write for. Would you have passed by this box on a shelf in the store? If not my color scheme, what would you have done instead? Tell me in comments below as well as pin and share to inspire others.
Before you go, be sure to sign up for my FREE newsletter. Until next time!

While you’re at it, check out these other projects like these upcycled storage boxes:

Larissa, once again you bring purpose to a cast-off. I love the labels, gives them so much more interest and fun, and I think the colors are perfect. Have a great rest of your (all too fast…) summer.
Getting to pull those out and make them new is such fun for me. And… you’re such a sweetheart to bring sunshine to my day. Thank you, Judy! 😀
I like the contrast with the colors but also that they are all cohesive now. I wonder if they weren’t a Christmas set before. They reminded me of Nutcracker drums. Out of the 3 I think I like the palest color and the French script adds just enough.
Thank you. The bold colors weren’t bad, but just had a bit too much wear. I didn’t smell cinnamon, so I don’t think they were holiday. haha! 😀
i really like the new look, Larissa! It’s inspired me to get after the cheese wheel i coveted several years ago; and there’s a large picnic basket that needs a redo too. Thanks Larissa. You brought some sunshine to my day.
That’s what I like to hear, Caye! 😀 It sounds like you have some fun projects ahead. Enjoy!