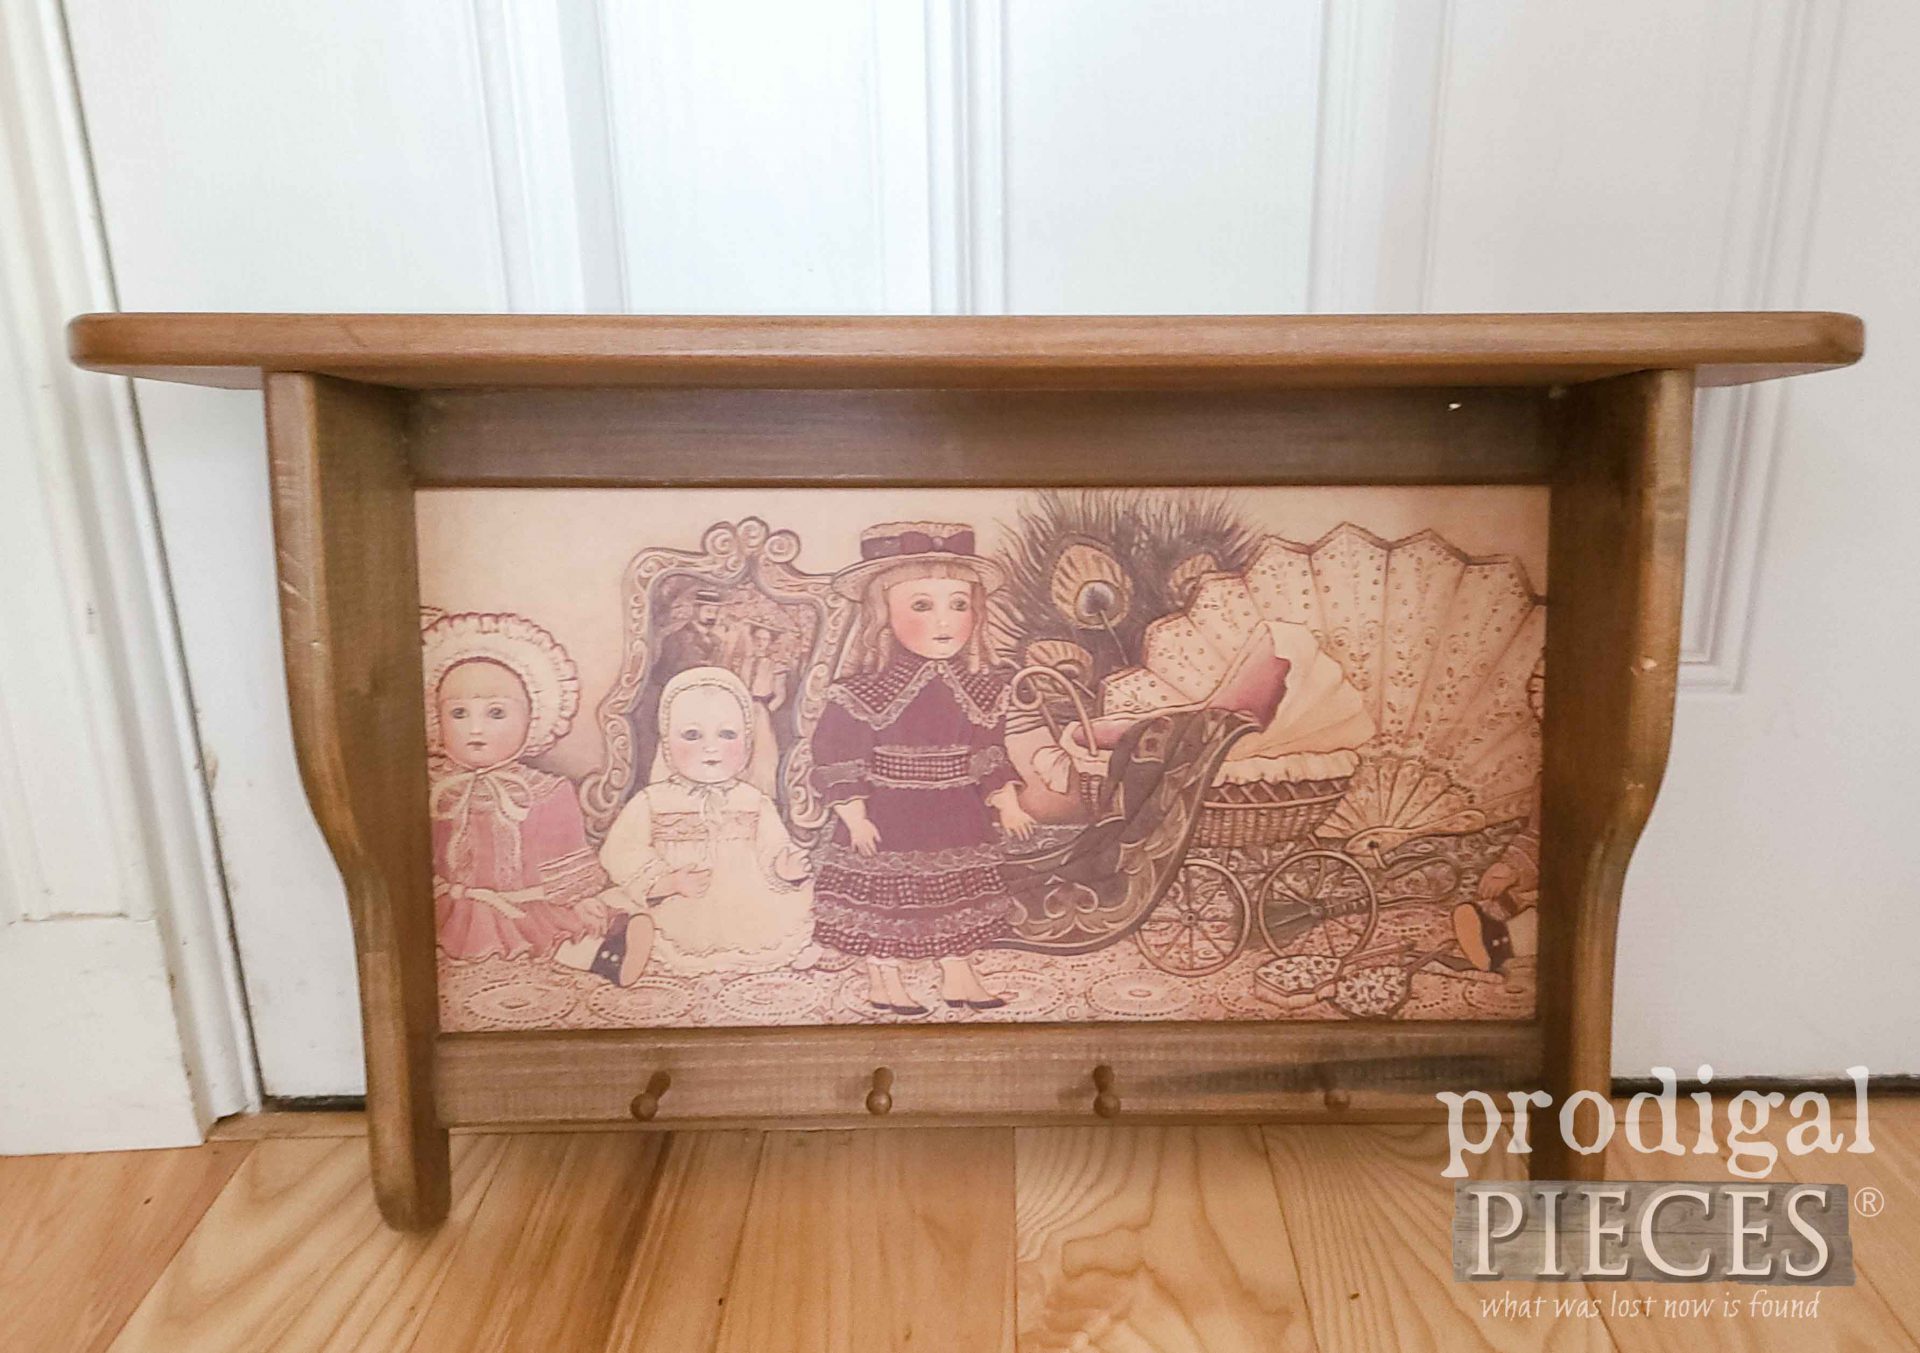
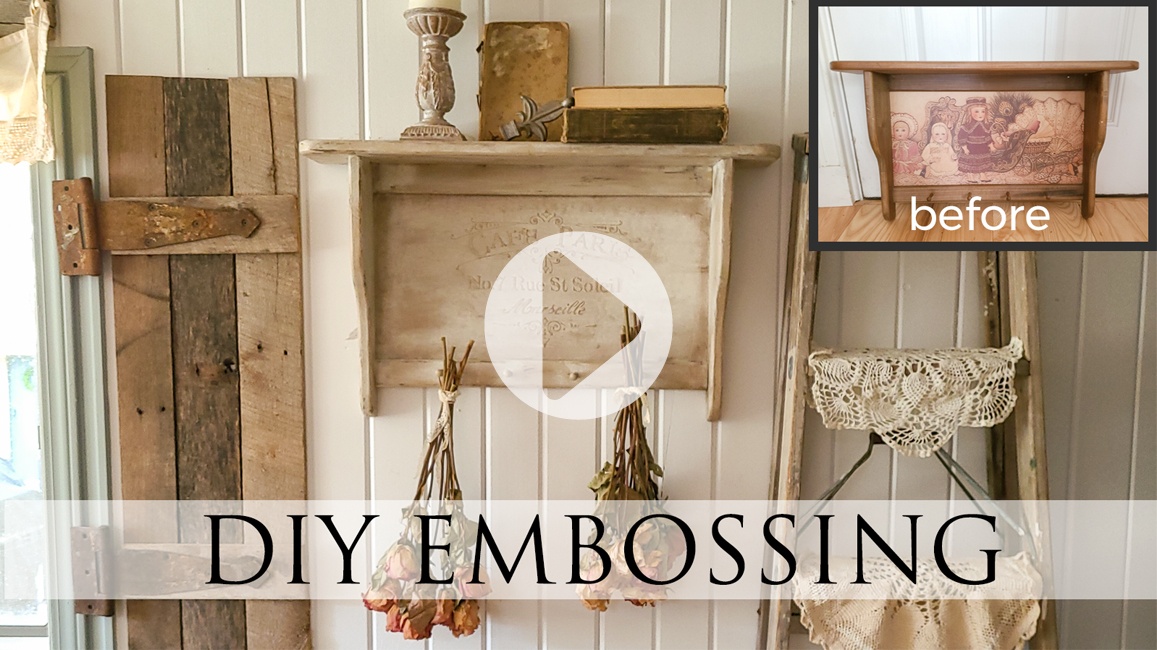
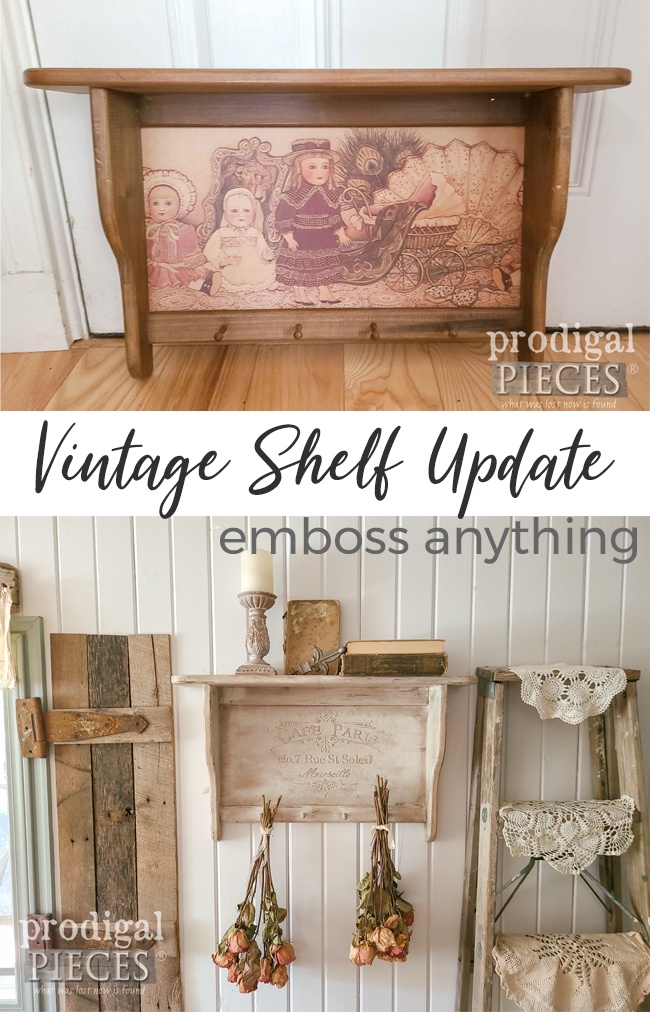
Hello there friends! It’s a good day for a mini makeover, wouldn’t you say? Truth be told, any day is a good day for a makeover. haha. Today, I’m going to show you a trick I like to use to update dated pieces that you may have hanging around your home. Take this vintage shelf, for instance.
It’s made of solid wood (a soft wood, but still wood nonetheless) and offers function as well. However, it could use a little sprucing up. It looks as if someone inserted that doll art panel of wallpaper border at sometime because it doesn’t look original from the back side. Plus, the art is cut off in an awkward way. And notice the pop tab hangers. Ummm…why not use the routed keyhole hangers?? That would be too easy.
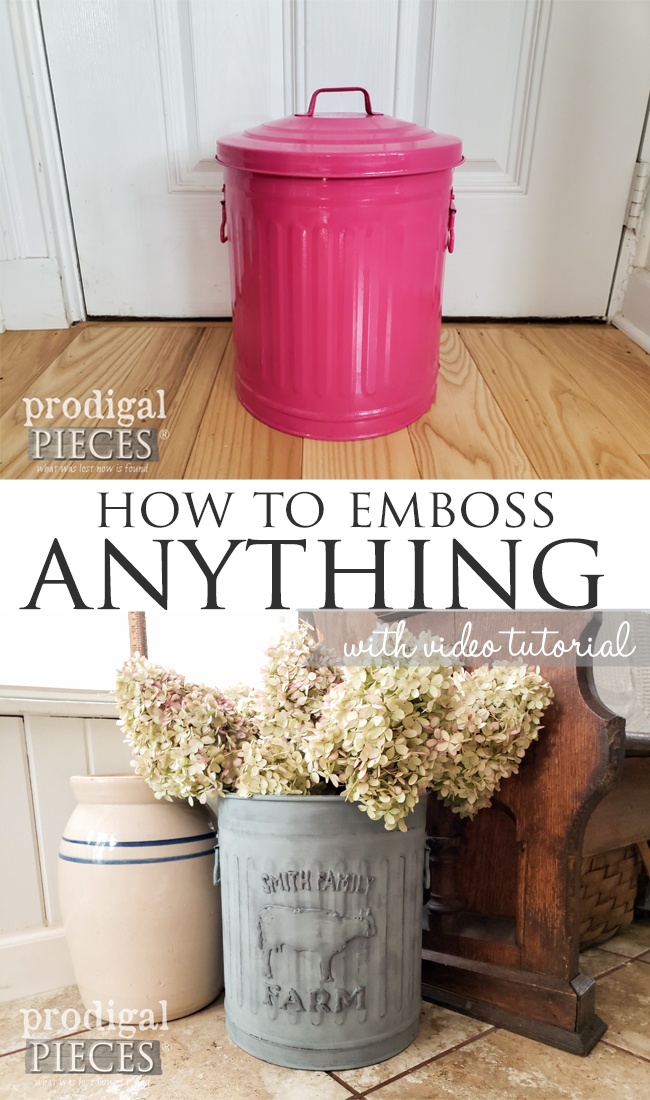
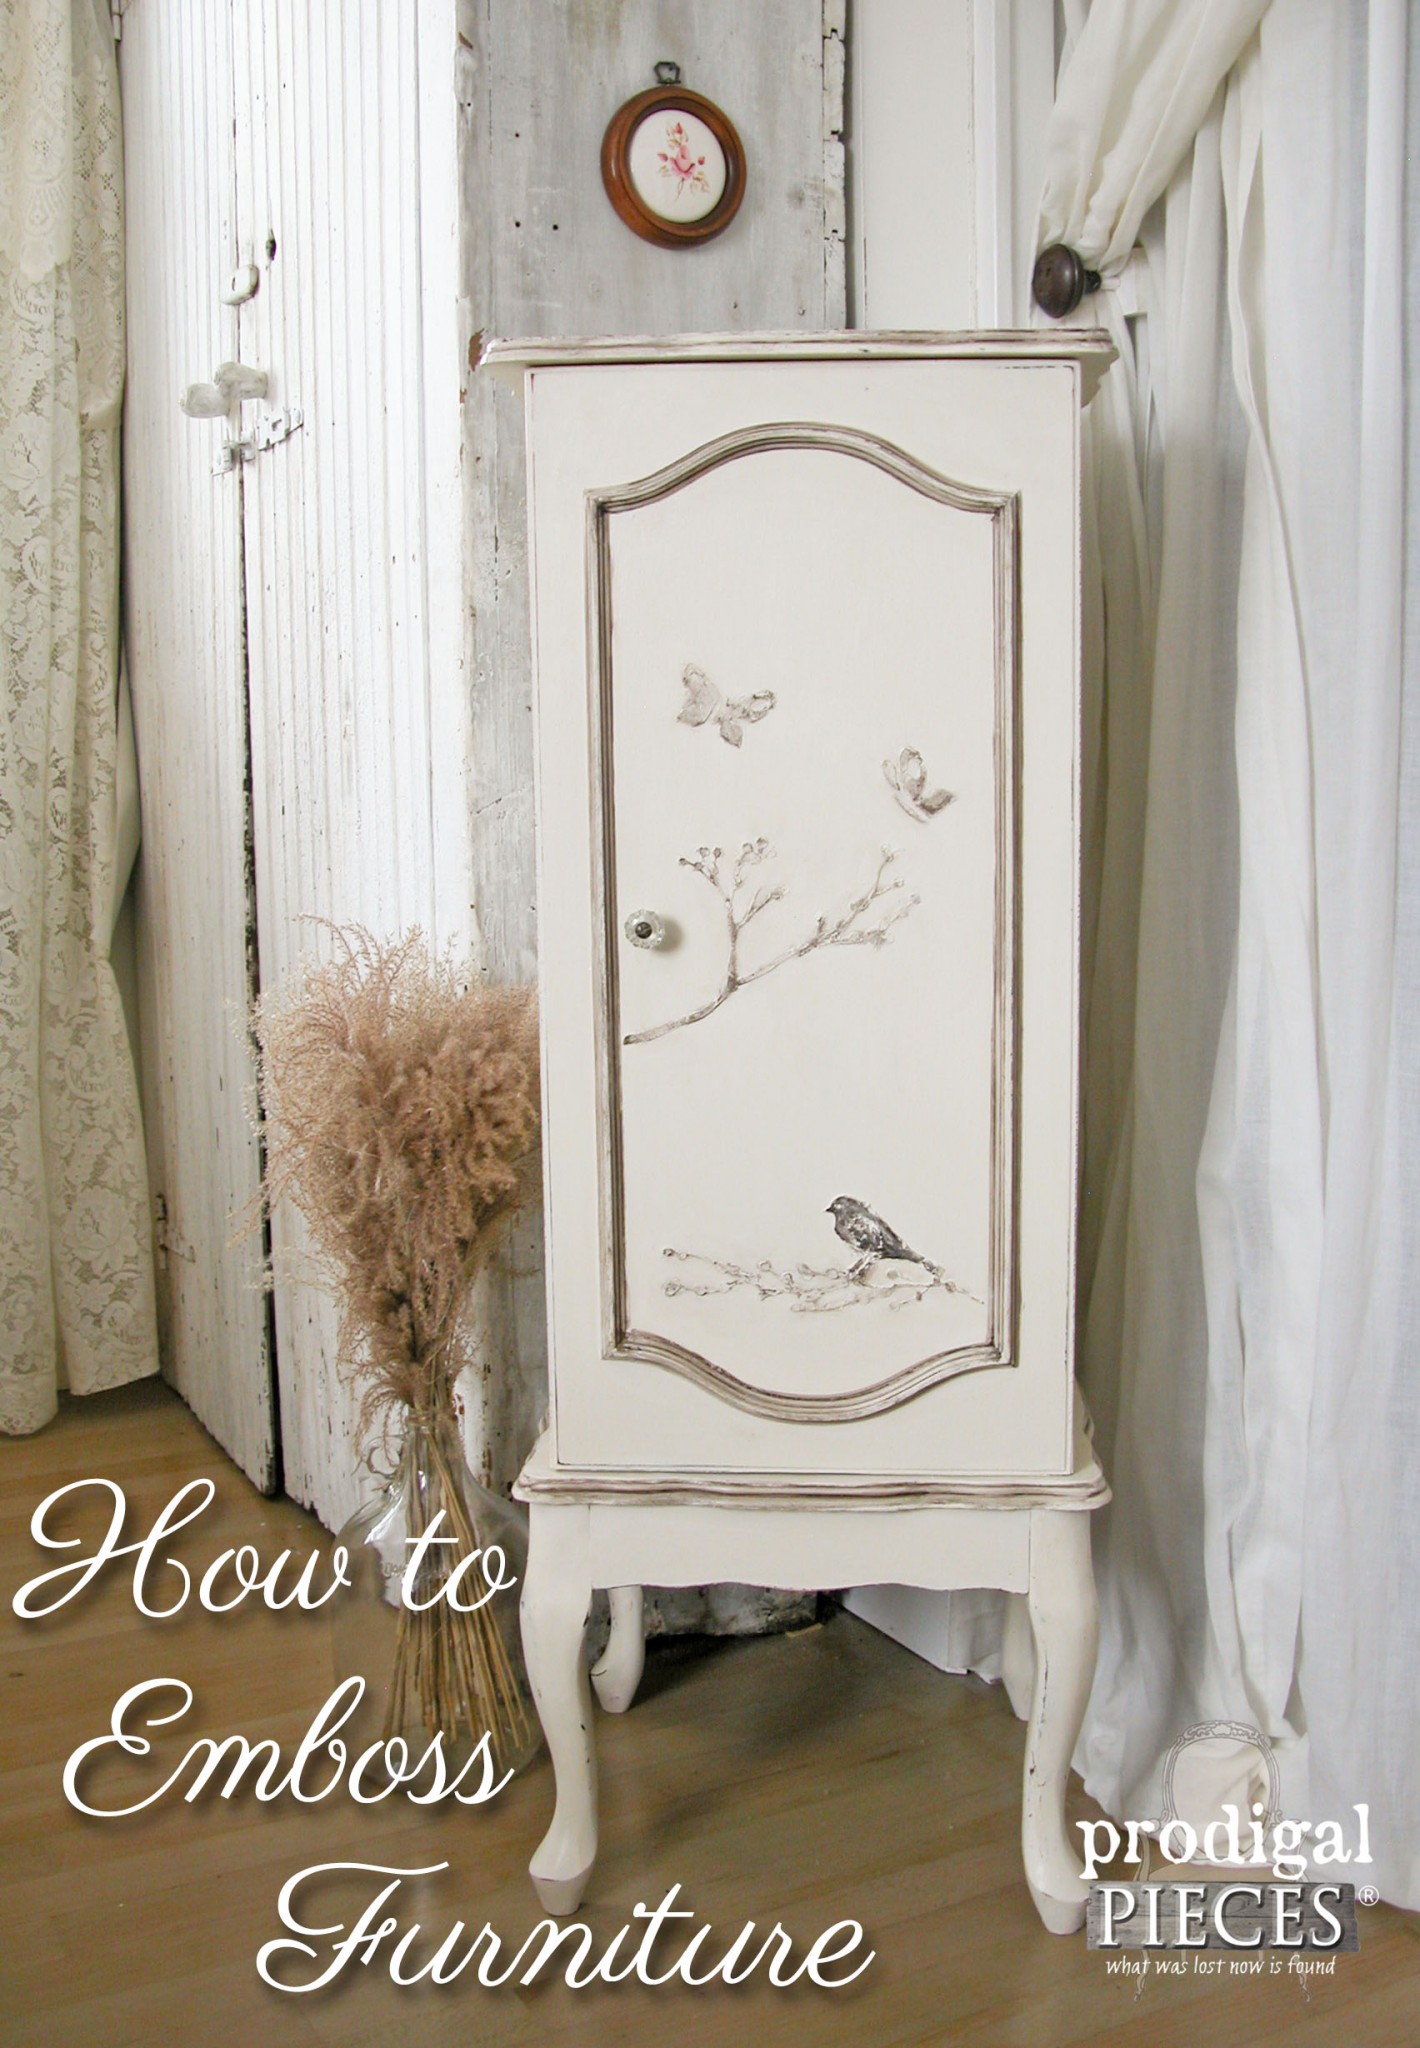
One of my favorite things to do is emboss or hand-paint typography. It can create a timeless piece for your home and add interest instantly. If you remember, I have shared how to emboss anything with hot glue in THIS POST. In addition, I’ve demonstrated how to emboss furniture HERE too.
DIY TIME
First, I’ve created a video tutorial for you below that demonstrates the steps. In addition I’ll lay out the process in step form for you below as well.
Tools & Materials:
- project piece to emboss
- stencil of choice
- tub of spackling
- putty knife
- painter’s tape
- paint/stain/waxes of choice
- paint brush
- sandpaper (optional for damage or repair)
- water/vinegar mixture – 2:1 ratio (optional for cleaning)
STEP 1
Depending on the condition of the item you’re starting with, you will need to check for any damage or needed repairs. My vintage shelf just has a few nicks that I lightly sand. Also, I wanted to scuff up that wallpaper so it will be ready to accept the next steps. Then, I wipe it down with a water/vinegar mixture to remove any residue and debris. I demonstrate all the steps in action in my video below.
STEP 2
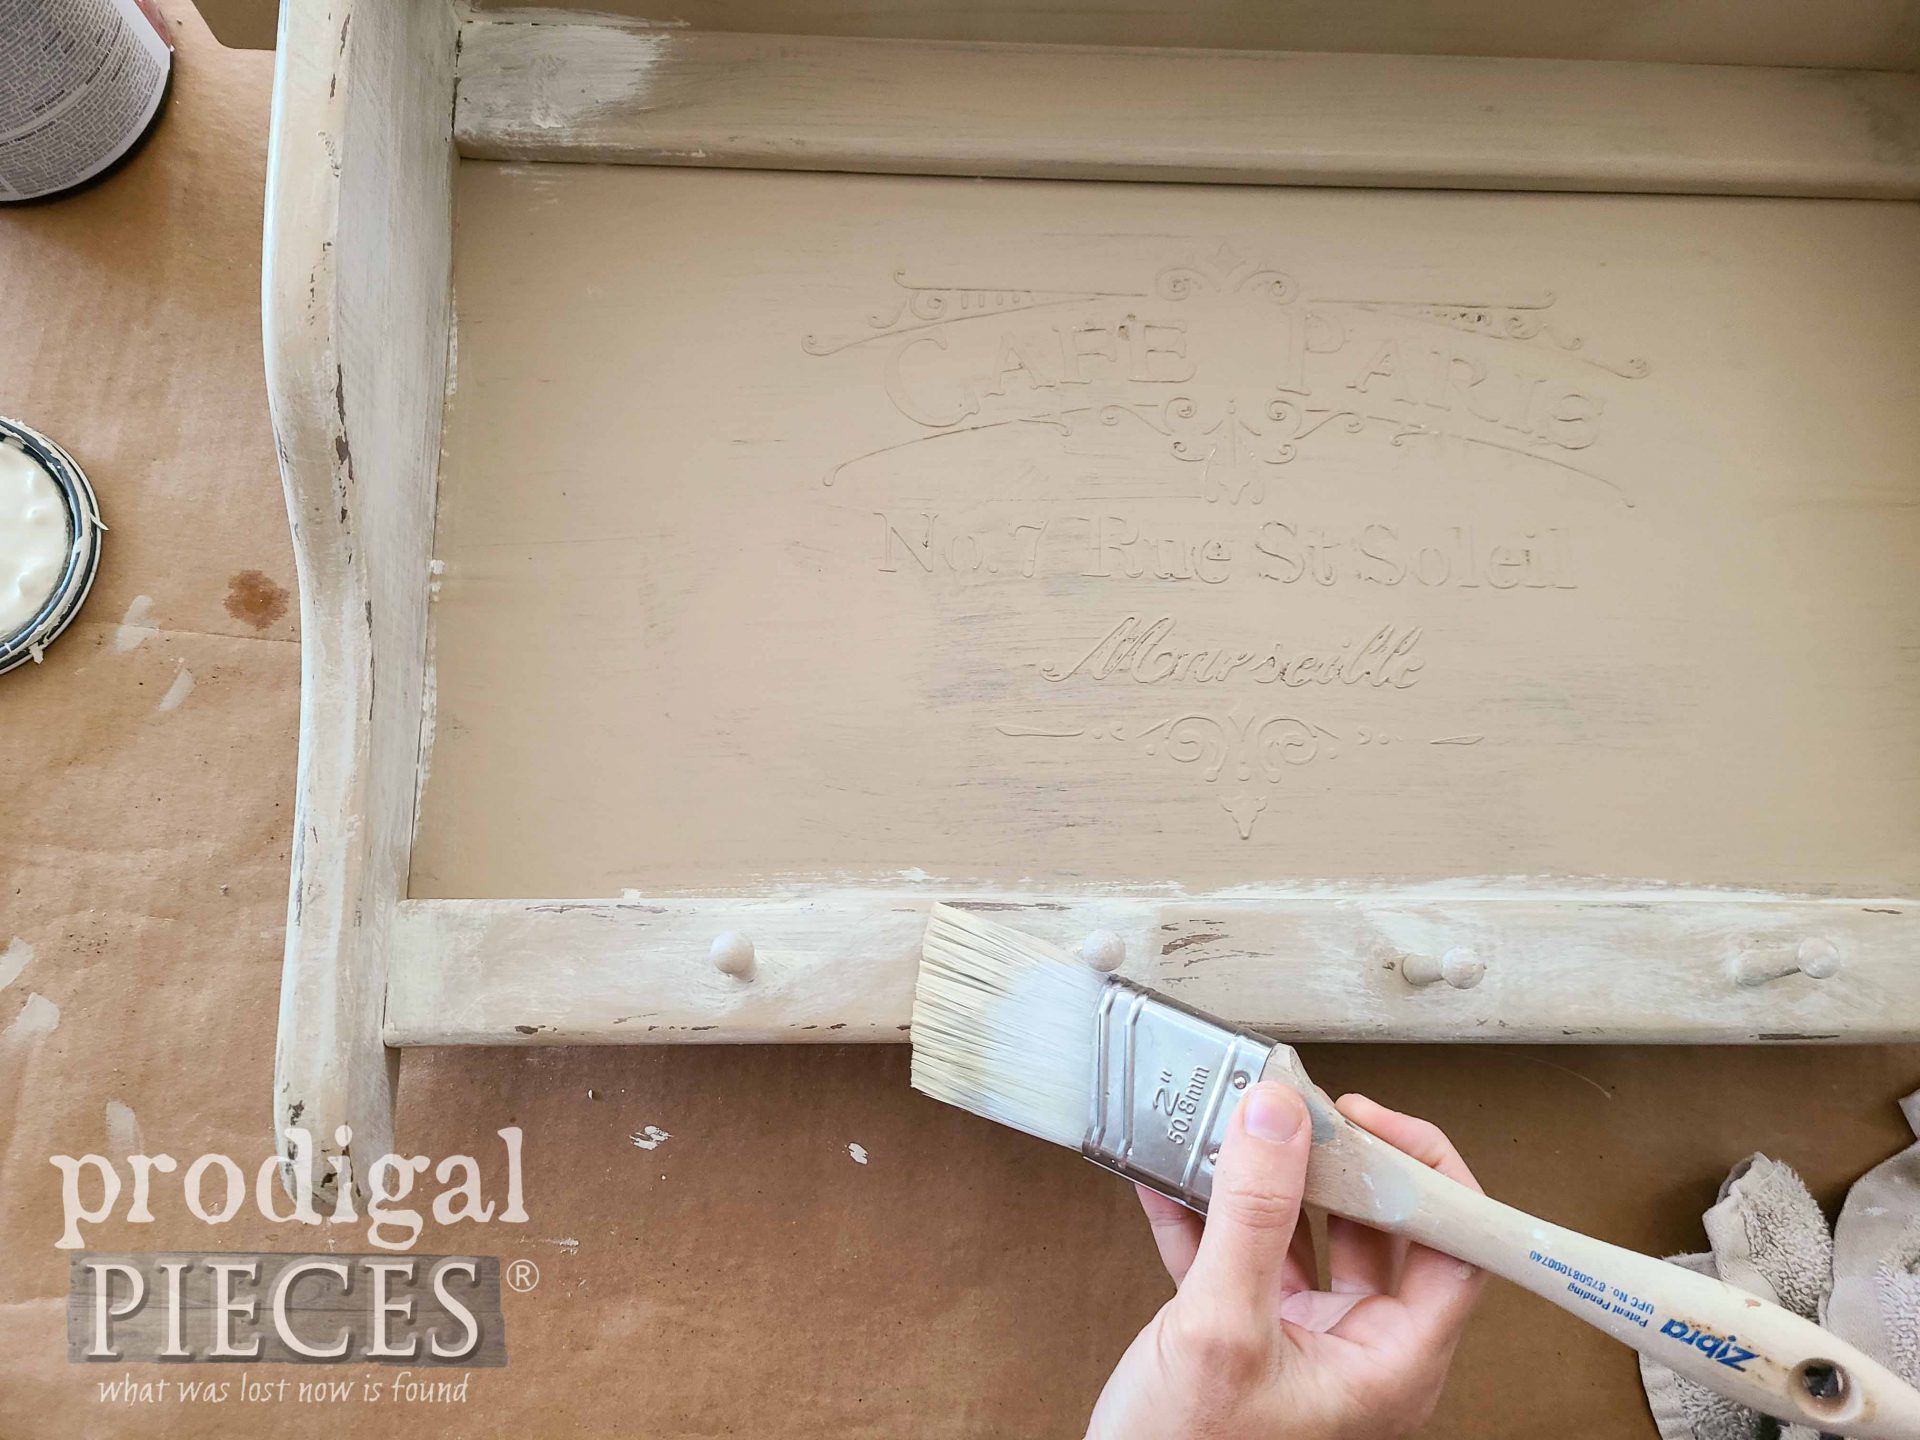
Next, it’s time to use our stencil and spackling. First, tape down the stencil in the place you like. Feel free to measure, find center, and so on to get it right the first time. Grab a dab of spackling on your knife and press it into the stencil in a parallel to surface manner, but quickly use the knife to remove any excess. After the stencil is full, carefully pull it up straight as possible to prevent damaging the design.
If you do happen to make a mistake, you can wipe it off and begin again. Once off, let the design cure until hard and dry.
STEP 3
For the next step, we’re going to add a base coat. My goal in doing this is to create cohesiveness with myself. You can choose any color you want and this could also be your finished project color too. However, my intent is to create layers. Only one coat is needed but be sure to let it cure for approximately 2 hours.
STEP 4
Next, we add the top layer. This can be the same color you already used and create a deeper color. Or, you can use a different color to create a layered effect. I’m after layers with a washed top layer. First, I brush on the paint in batches, but kinda leaving it rough. Then, I take my dampened cloth and wipe off the paint, leaving it behind in that washed form I mentioned.
Notice in my video and in the picture above that when I am wiping with my damp cloth I am also wet distressing at the same time. That’s a fun bonus. Let cure and then one more step to go.
STEP 5
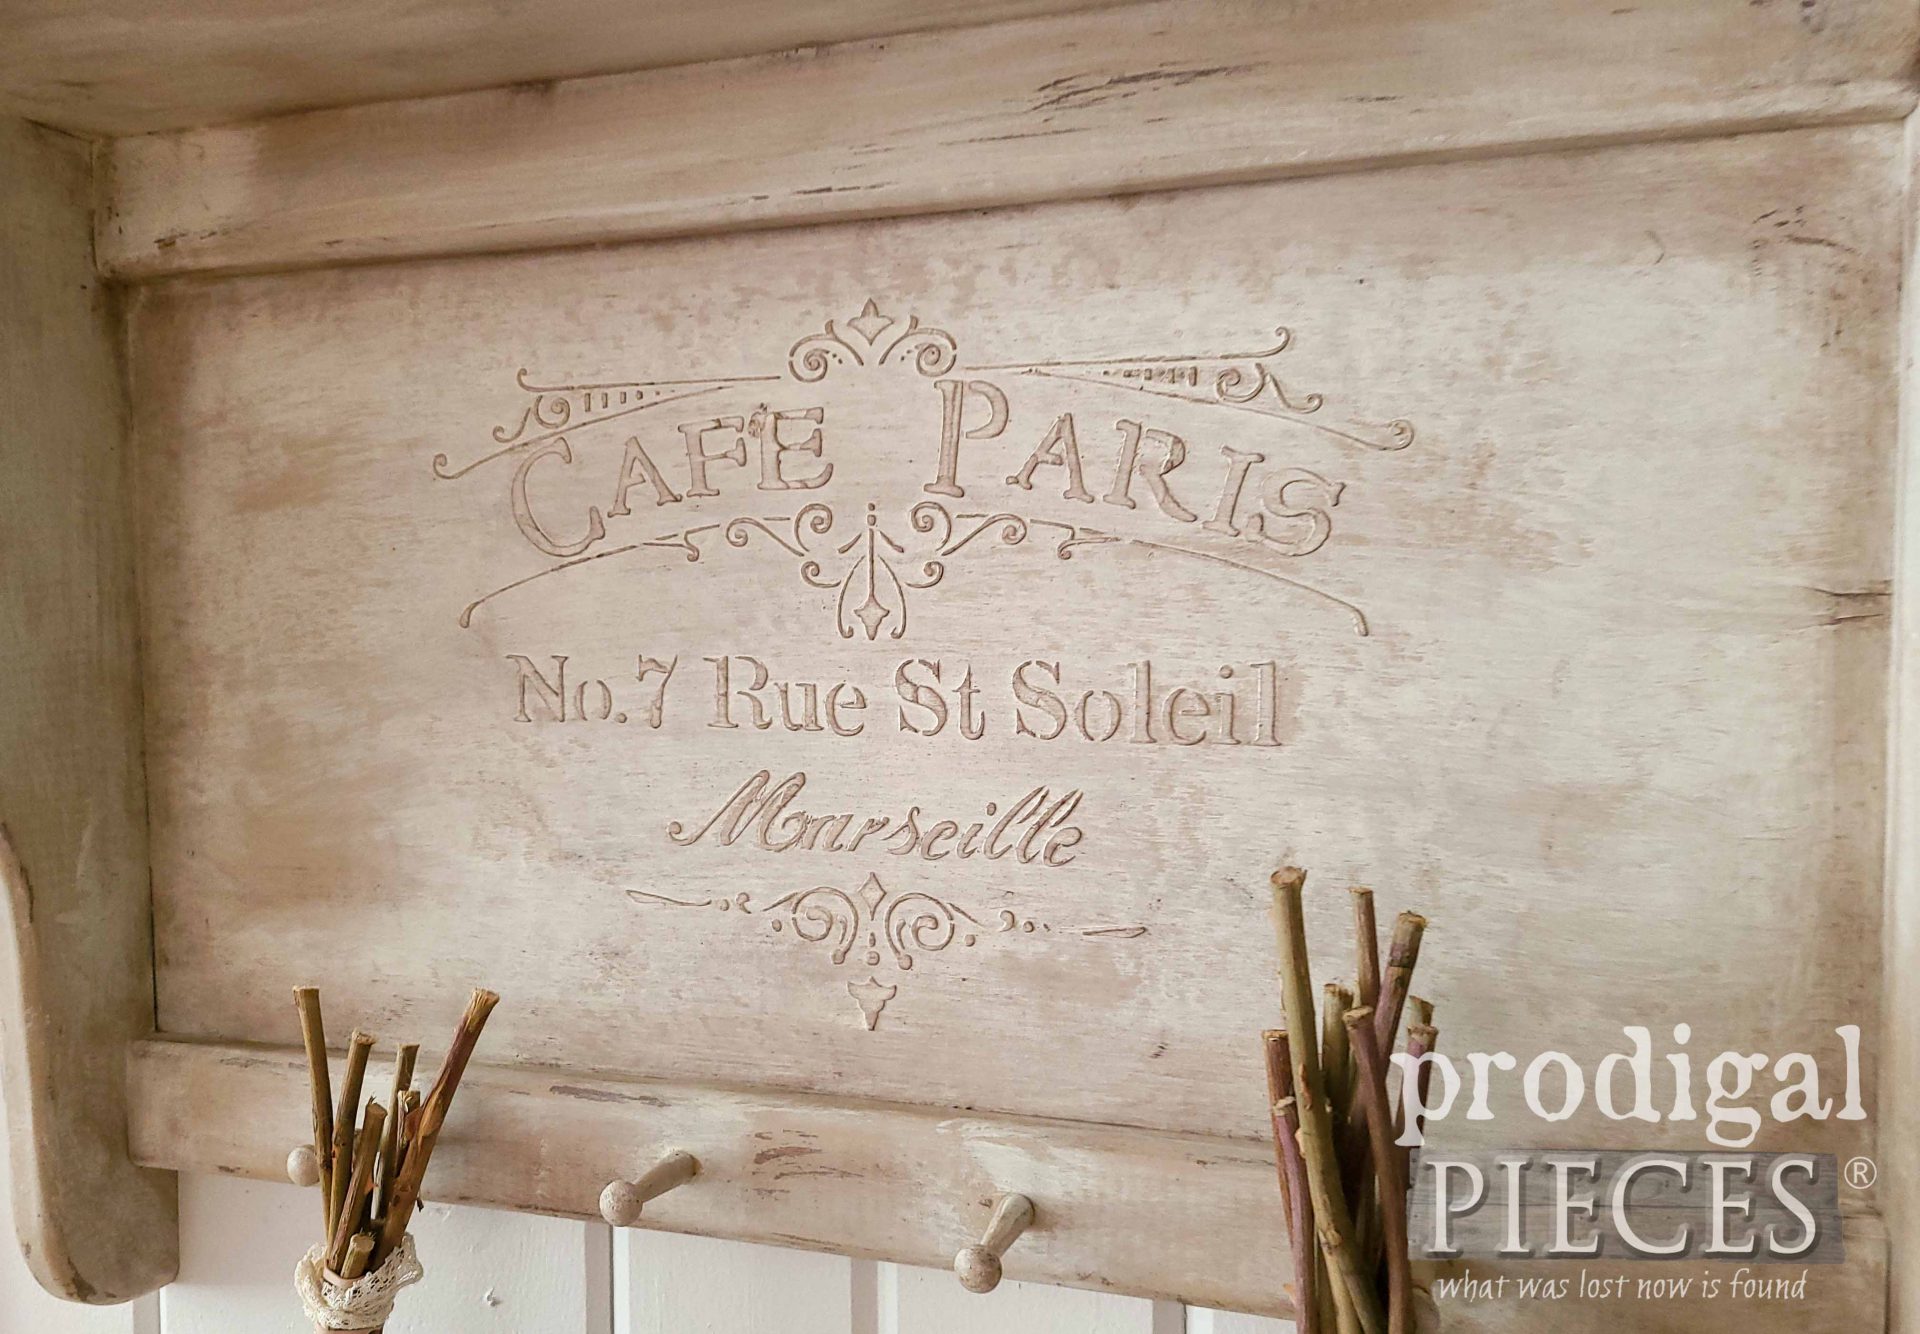
Last, but not least, it’s time to add dimension. I could use a darker colored paint as a glaze, or a wax like I’m using today. However, this allows me to create shadows, but also highlight the typography I added with the stencil.
THE REVEAL
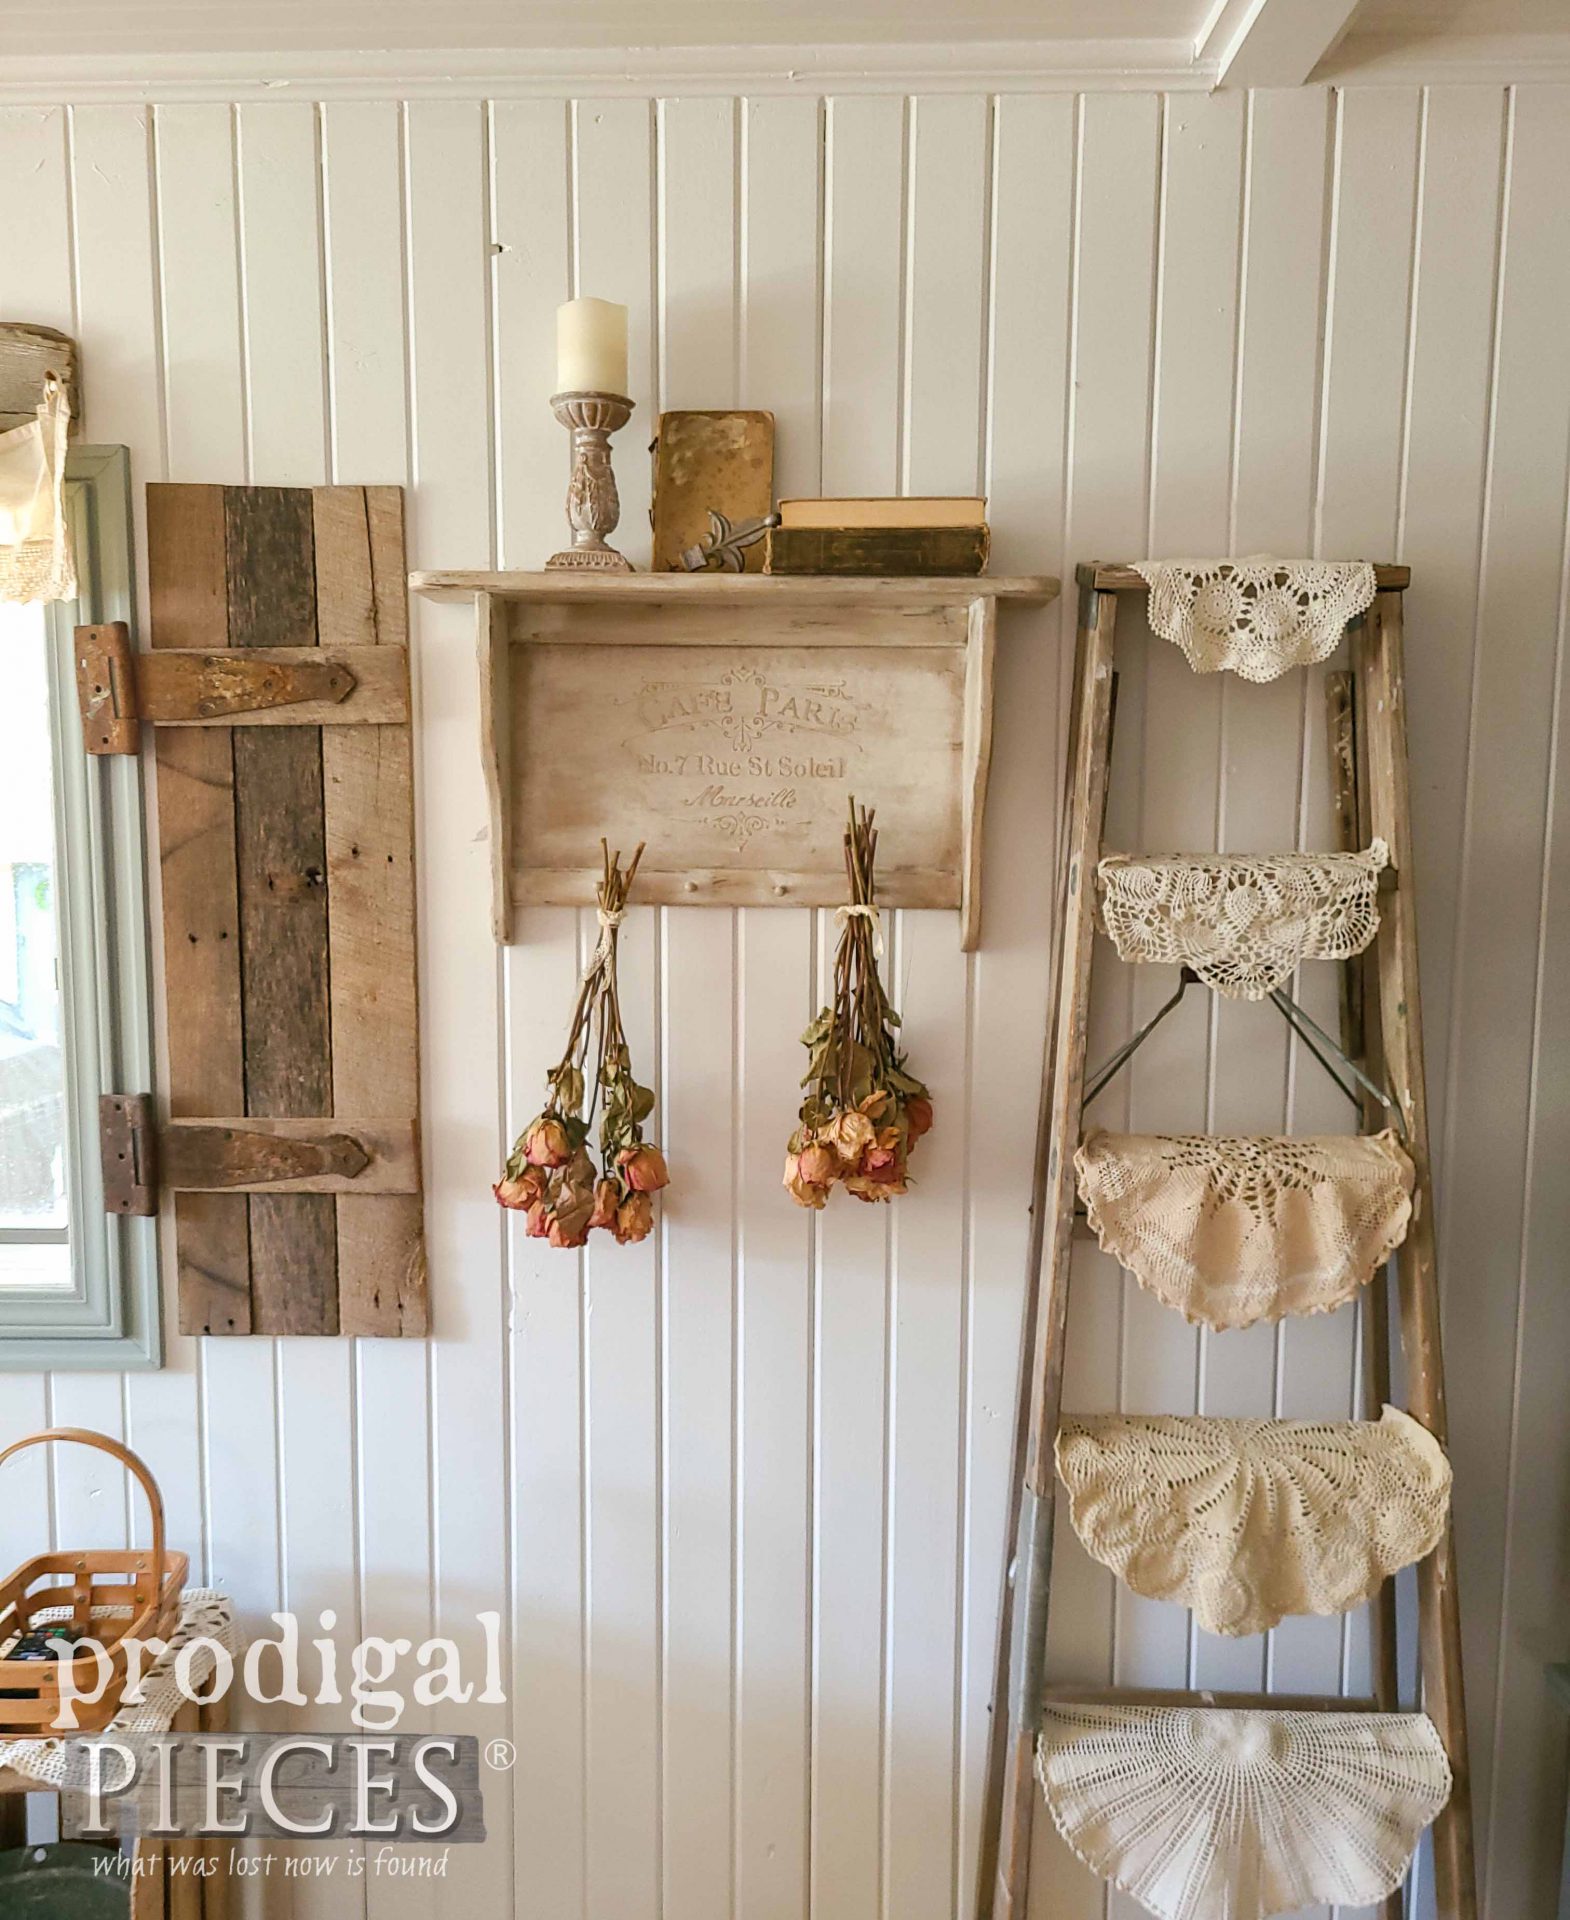
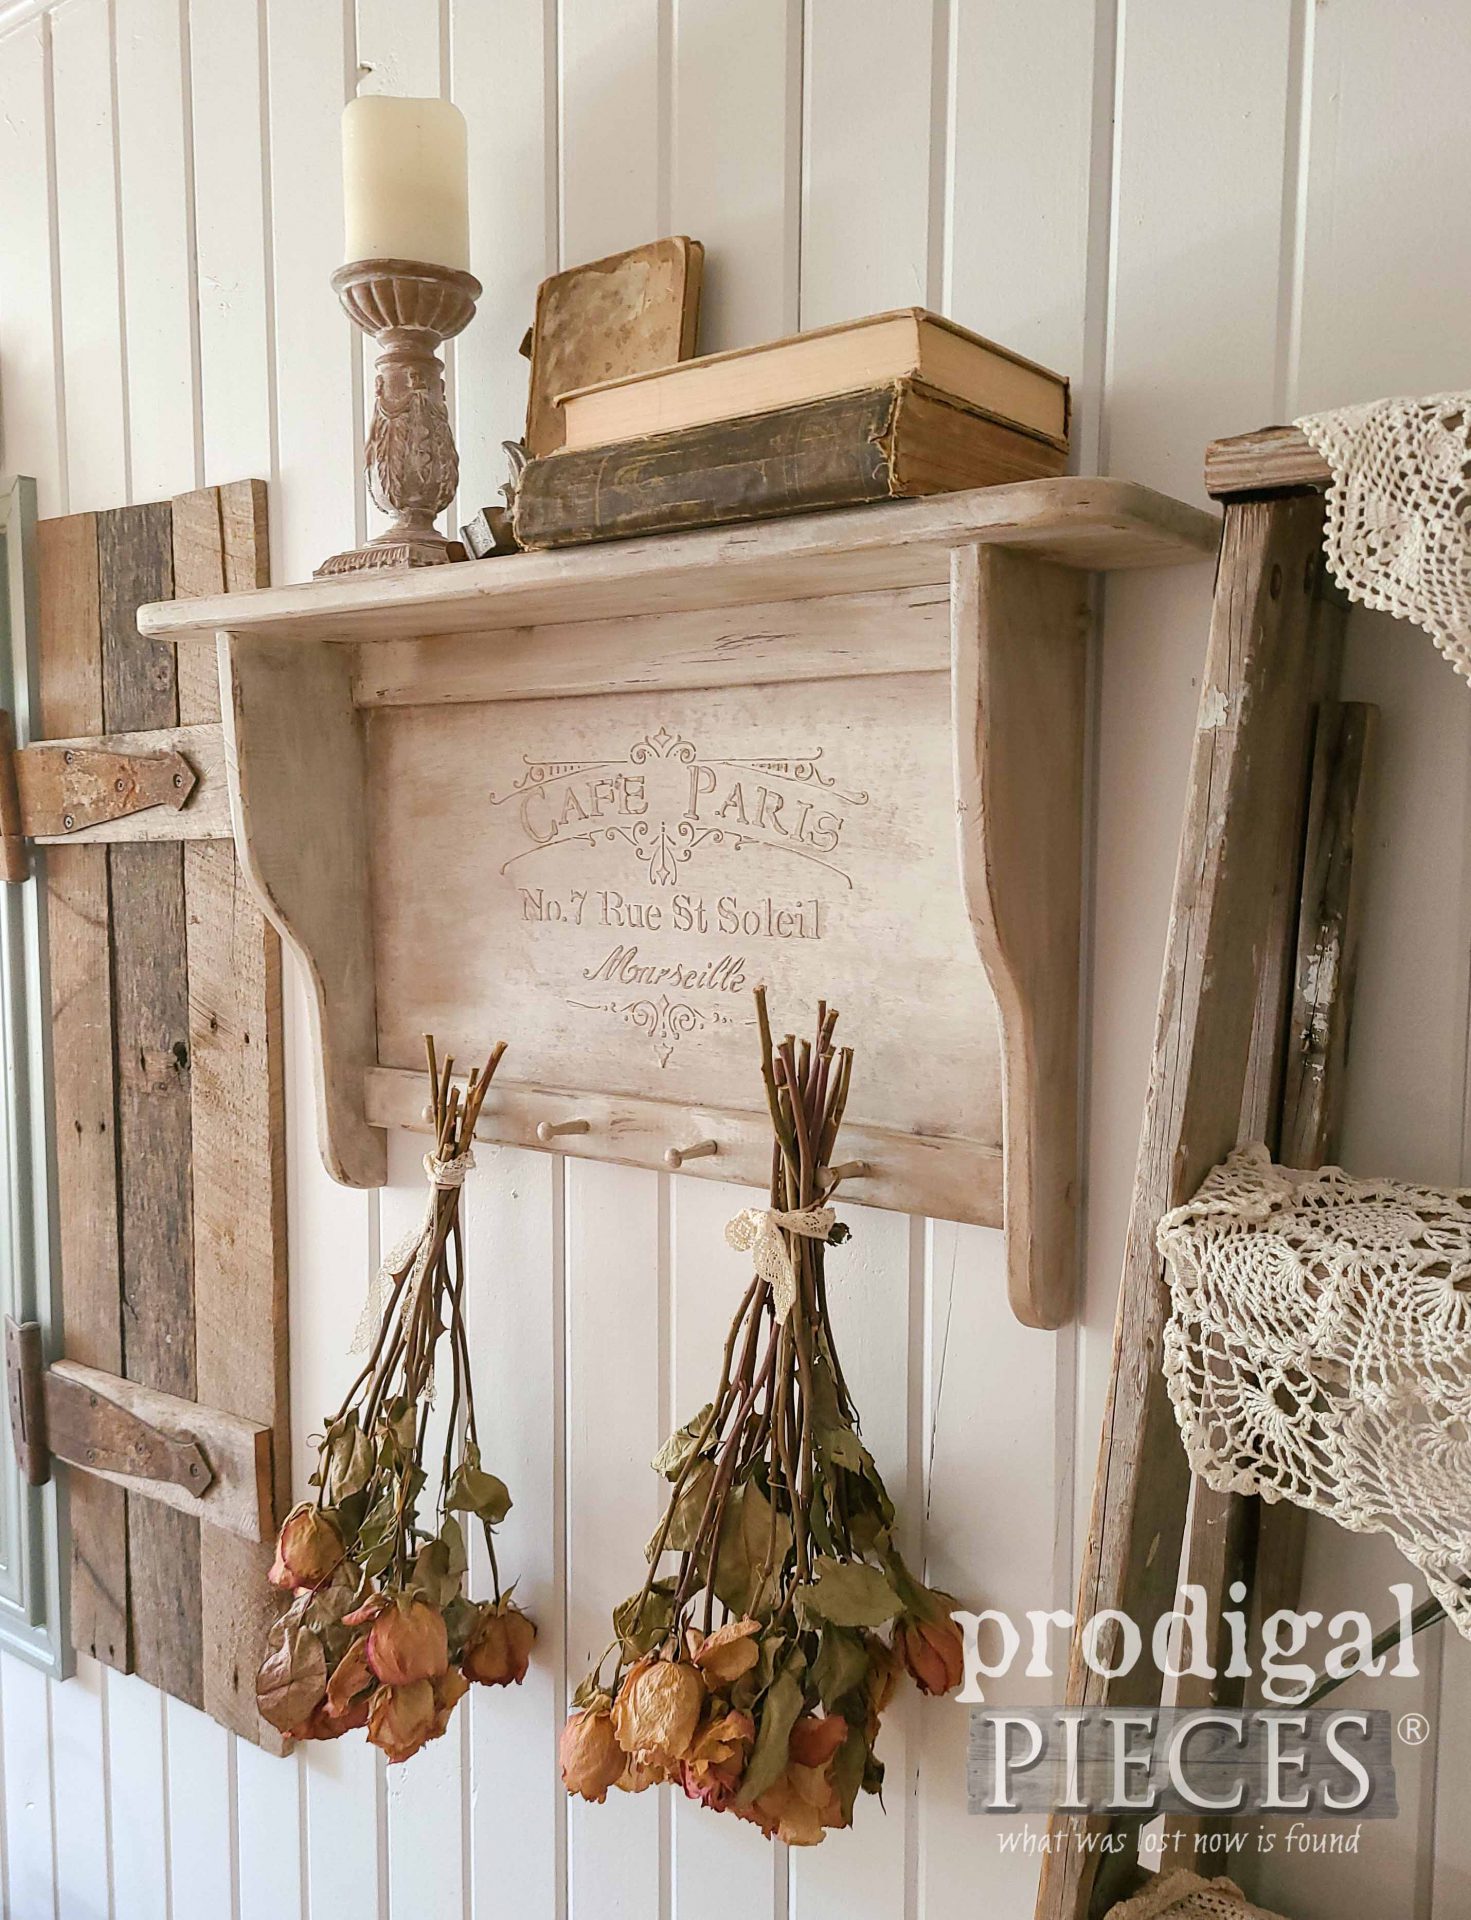
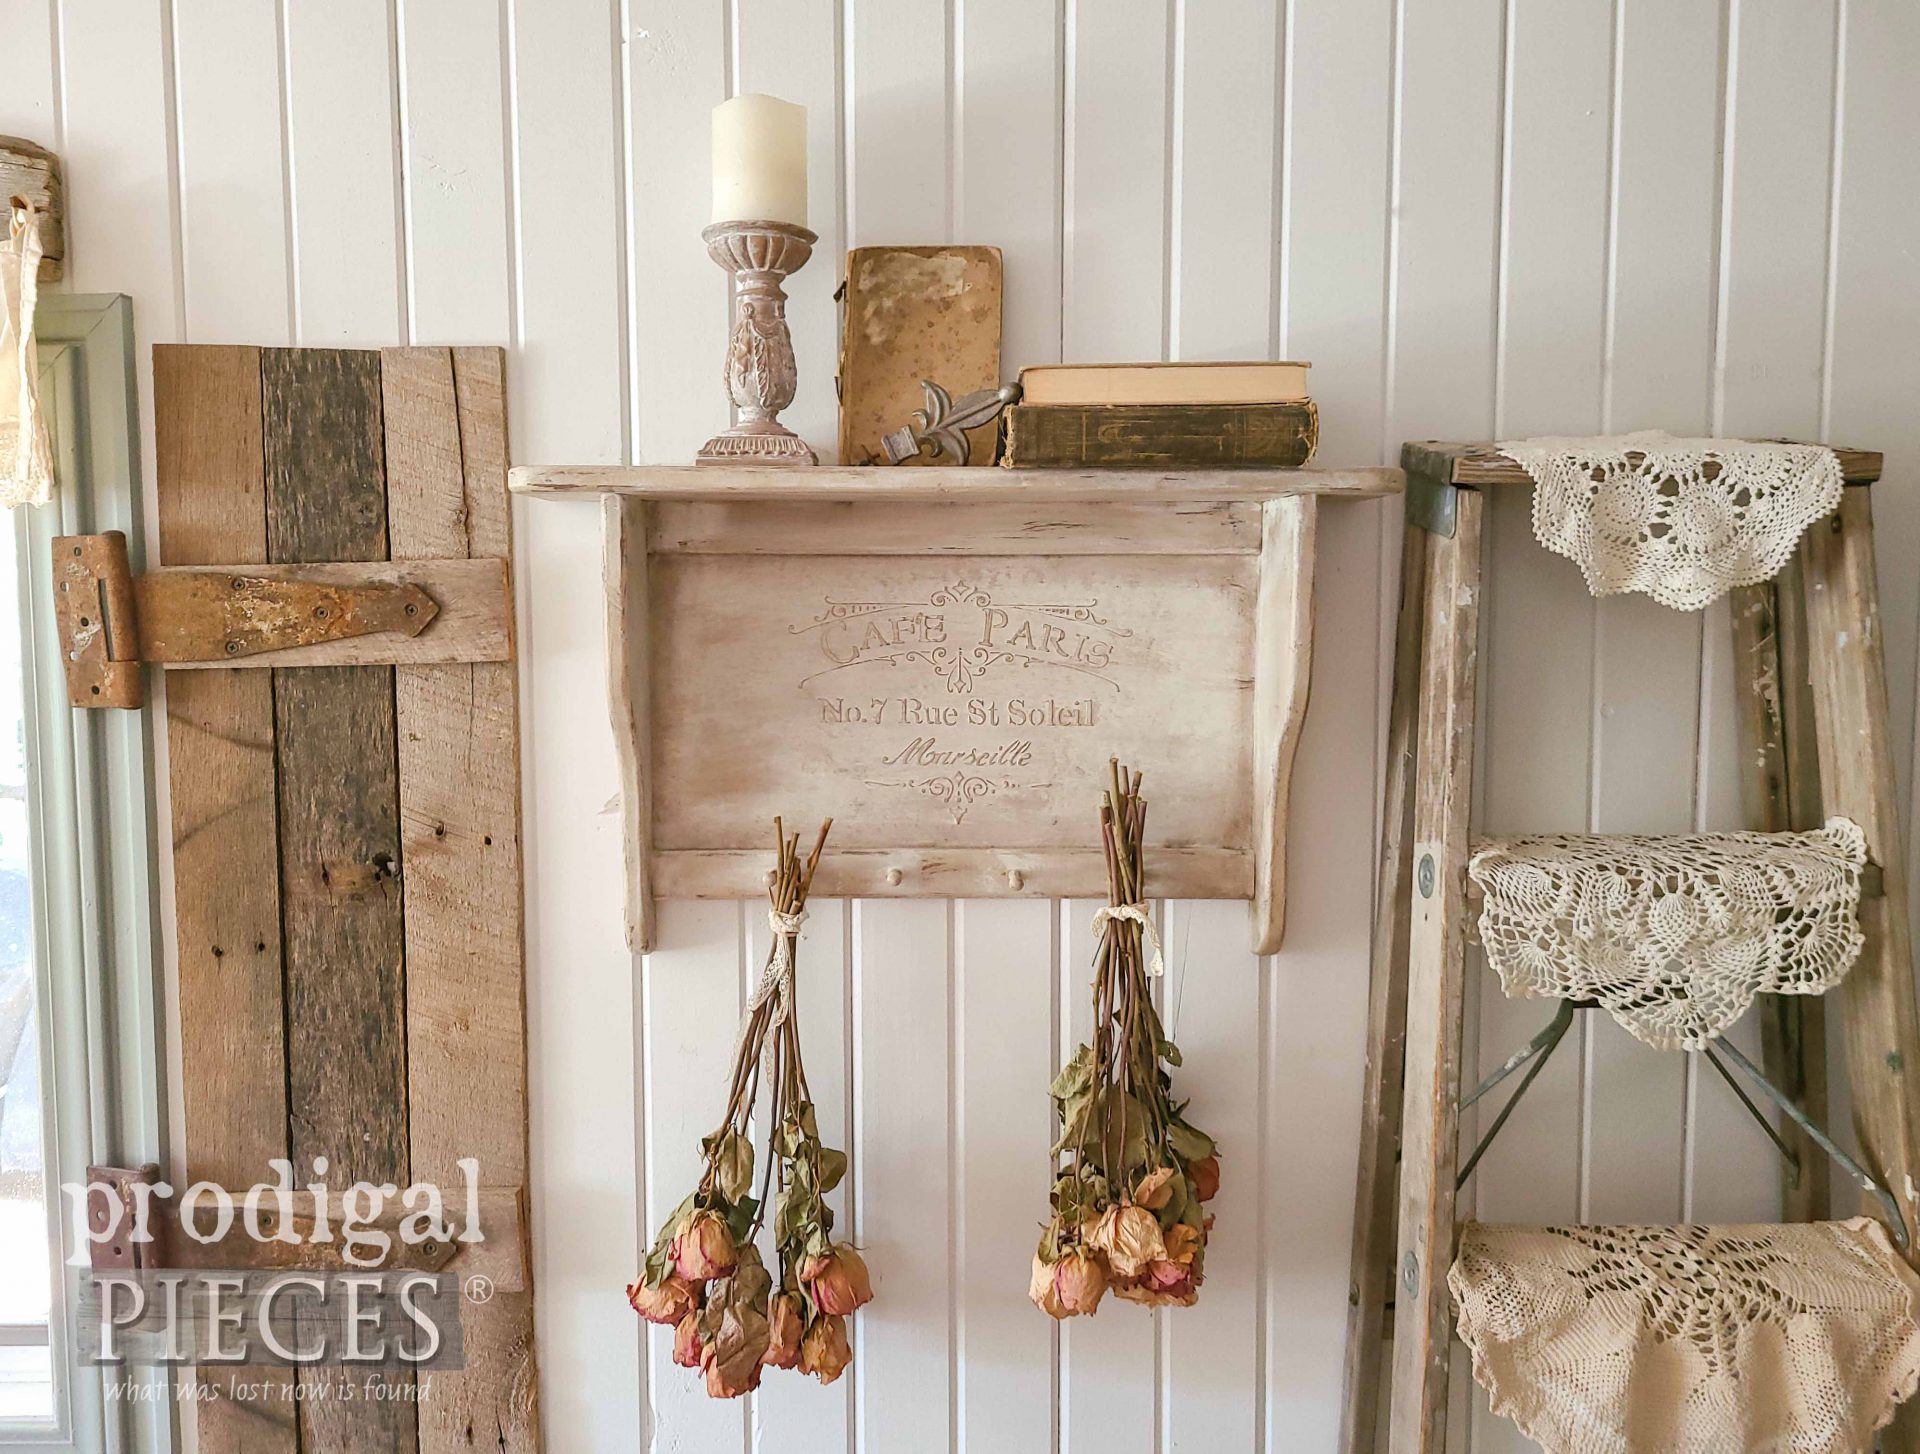
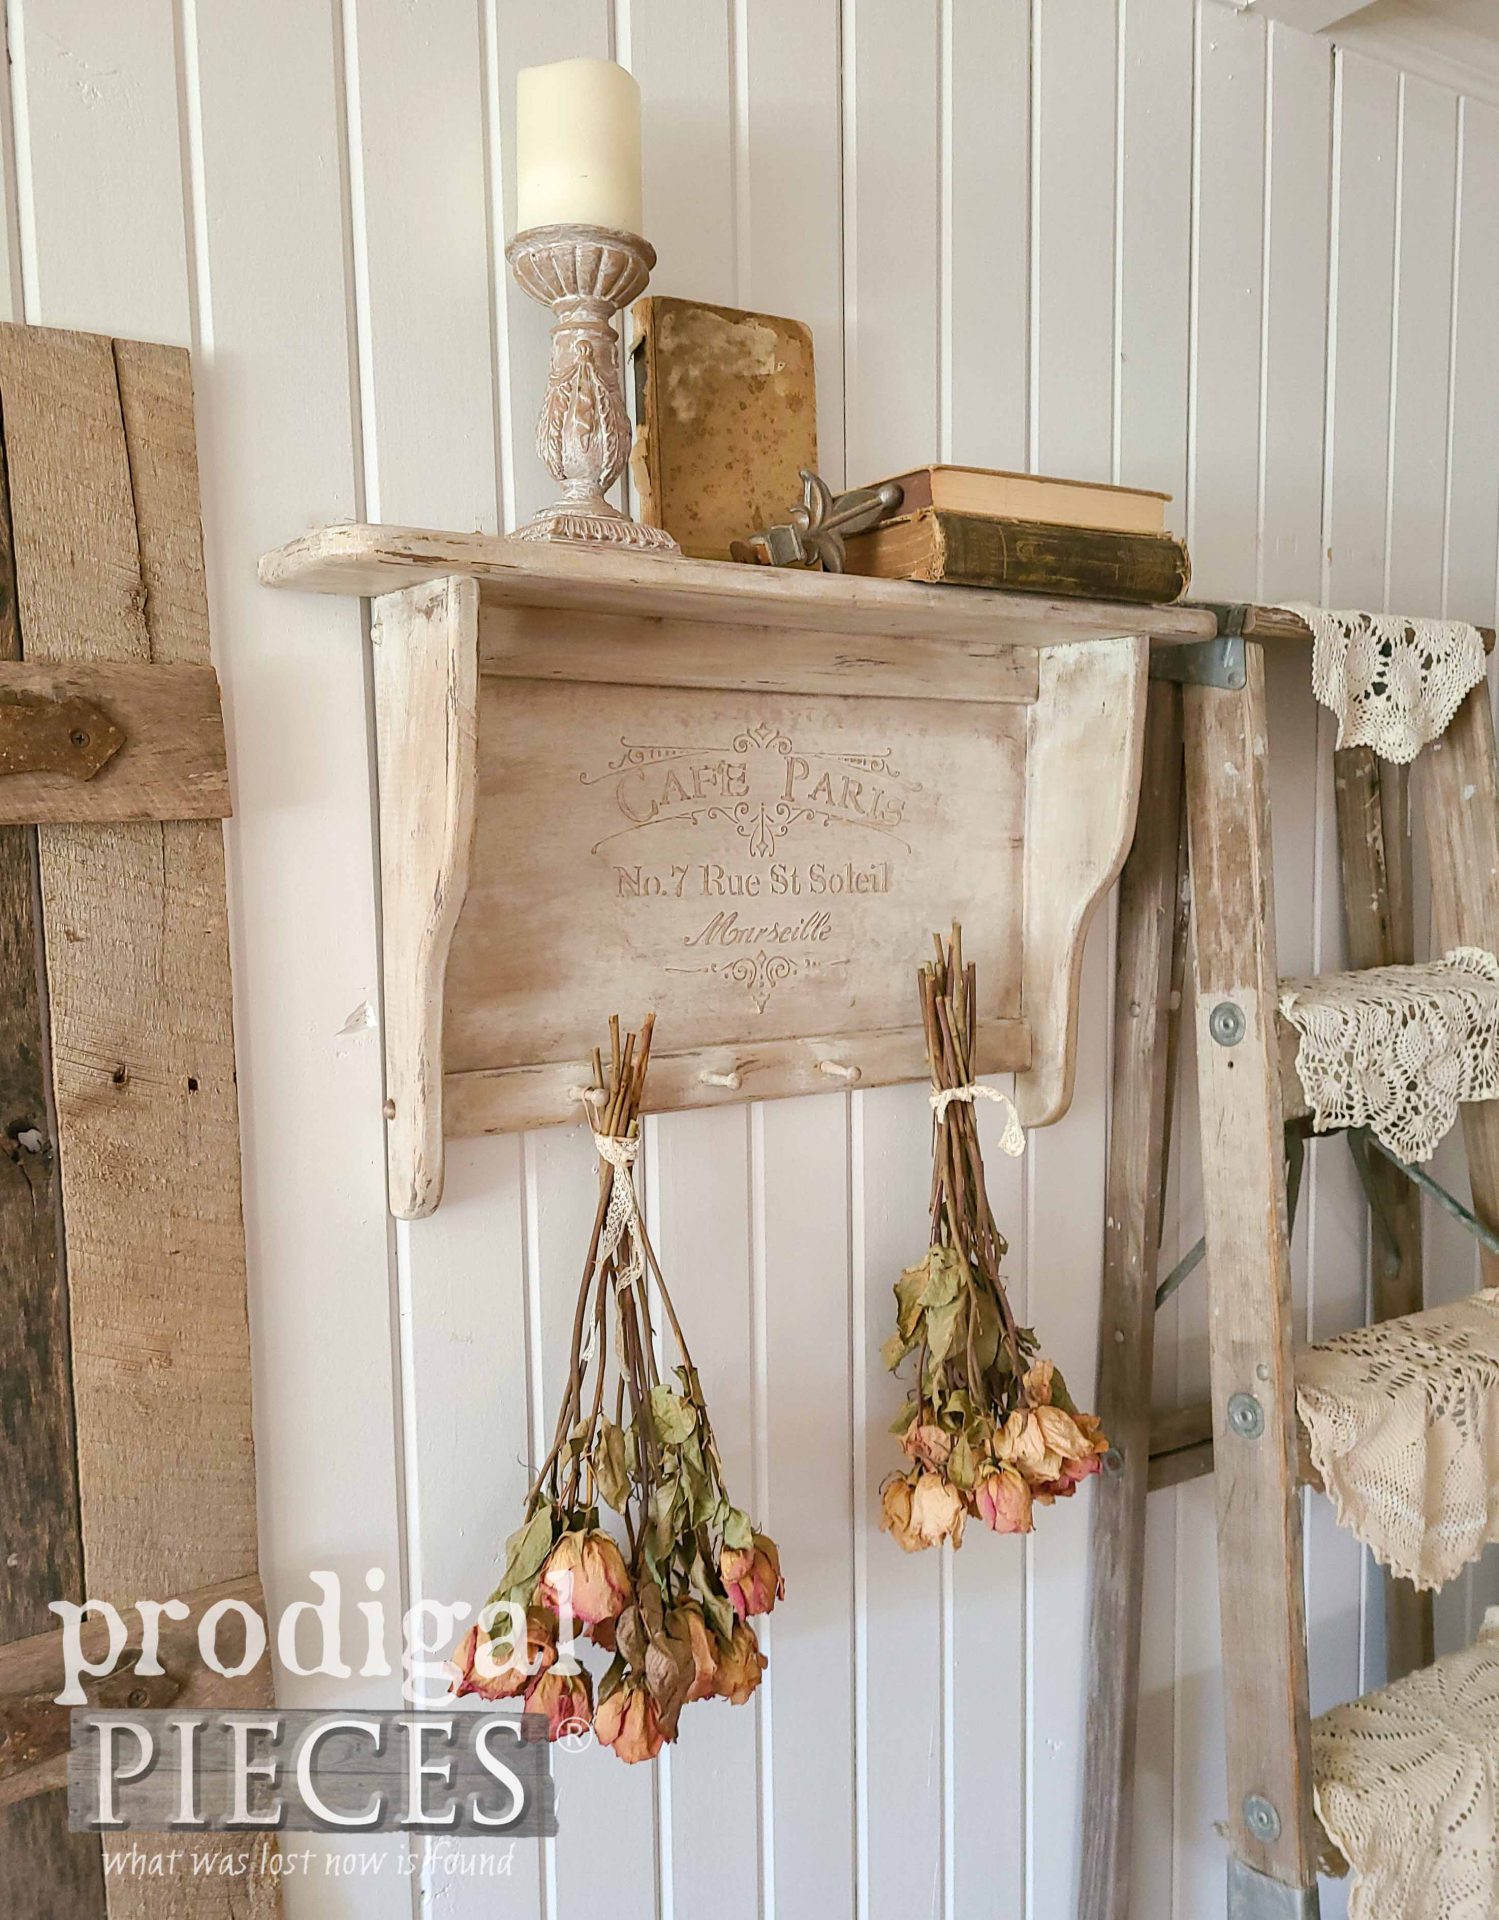
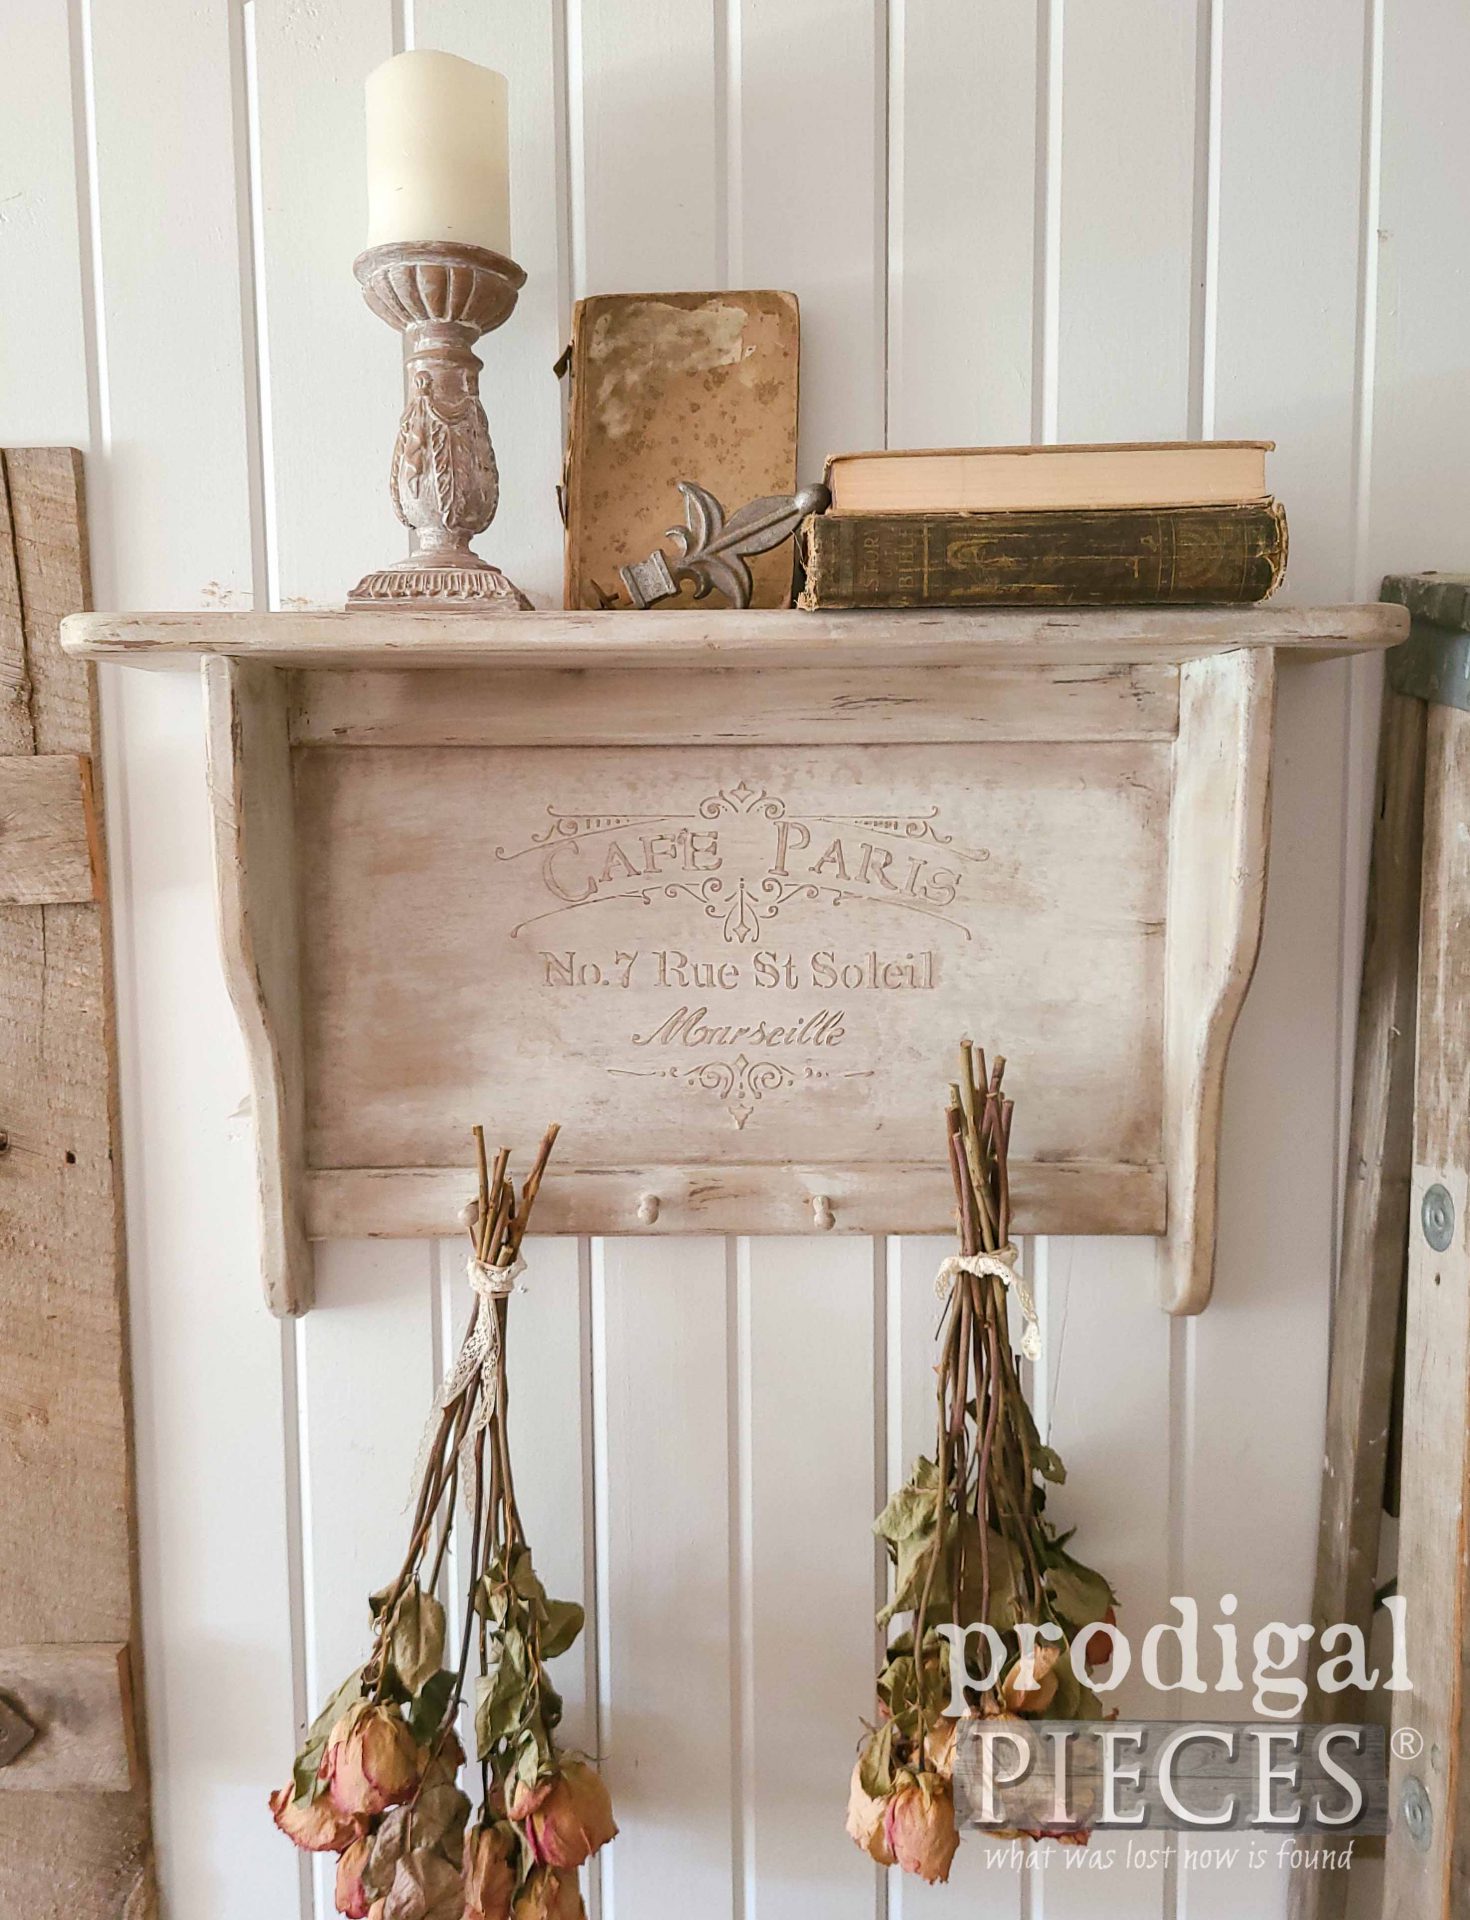
Finally, after only a few process steps, our vintage shelf revival has a new life.
Our mini makeover is done. Yay! What do you think? It’s refreshed and “brand new”. No one would know that doll wallpaper is under there.
So tell me…what would you have done with it? I’d love to hear your ideas too. As always, my goal is totally to inspire you to give DIY a try. Likewise, if you’d like to make this shelf your own, you can find it available in my online store with other antique, vintage, and handmade goods.
Also, do pin and share my vintage shelf makeover to inspire others. I know I’m not the only one who has decor they would love to change up from time to time.
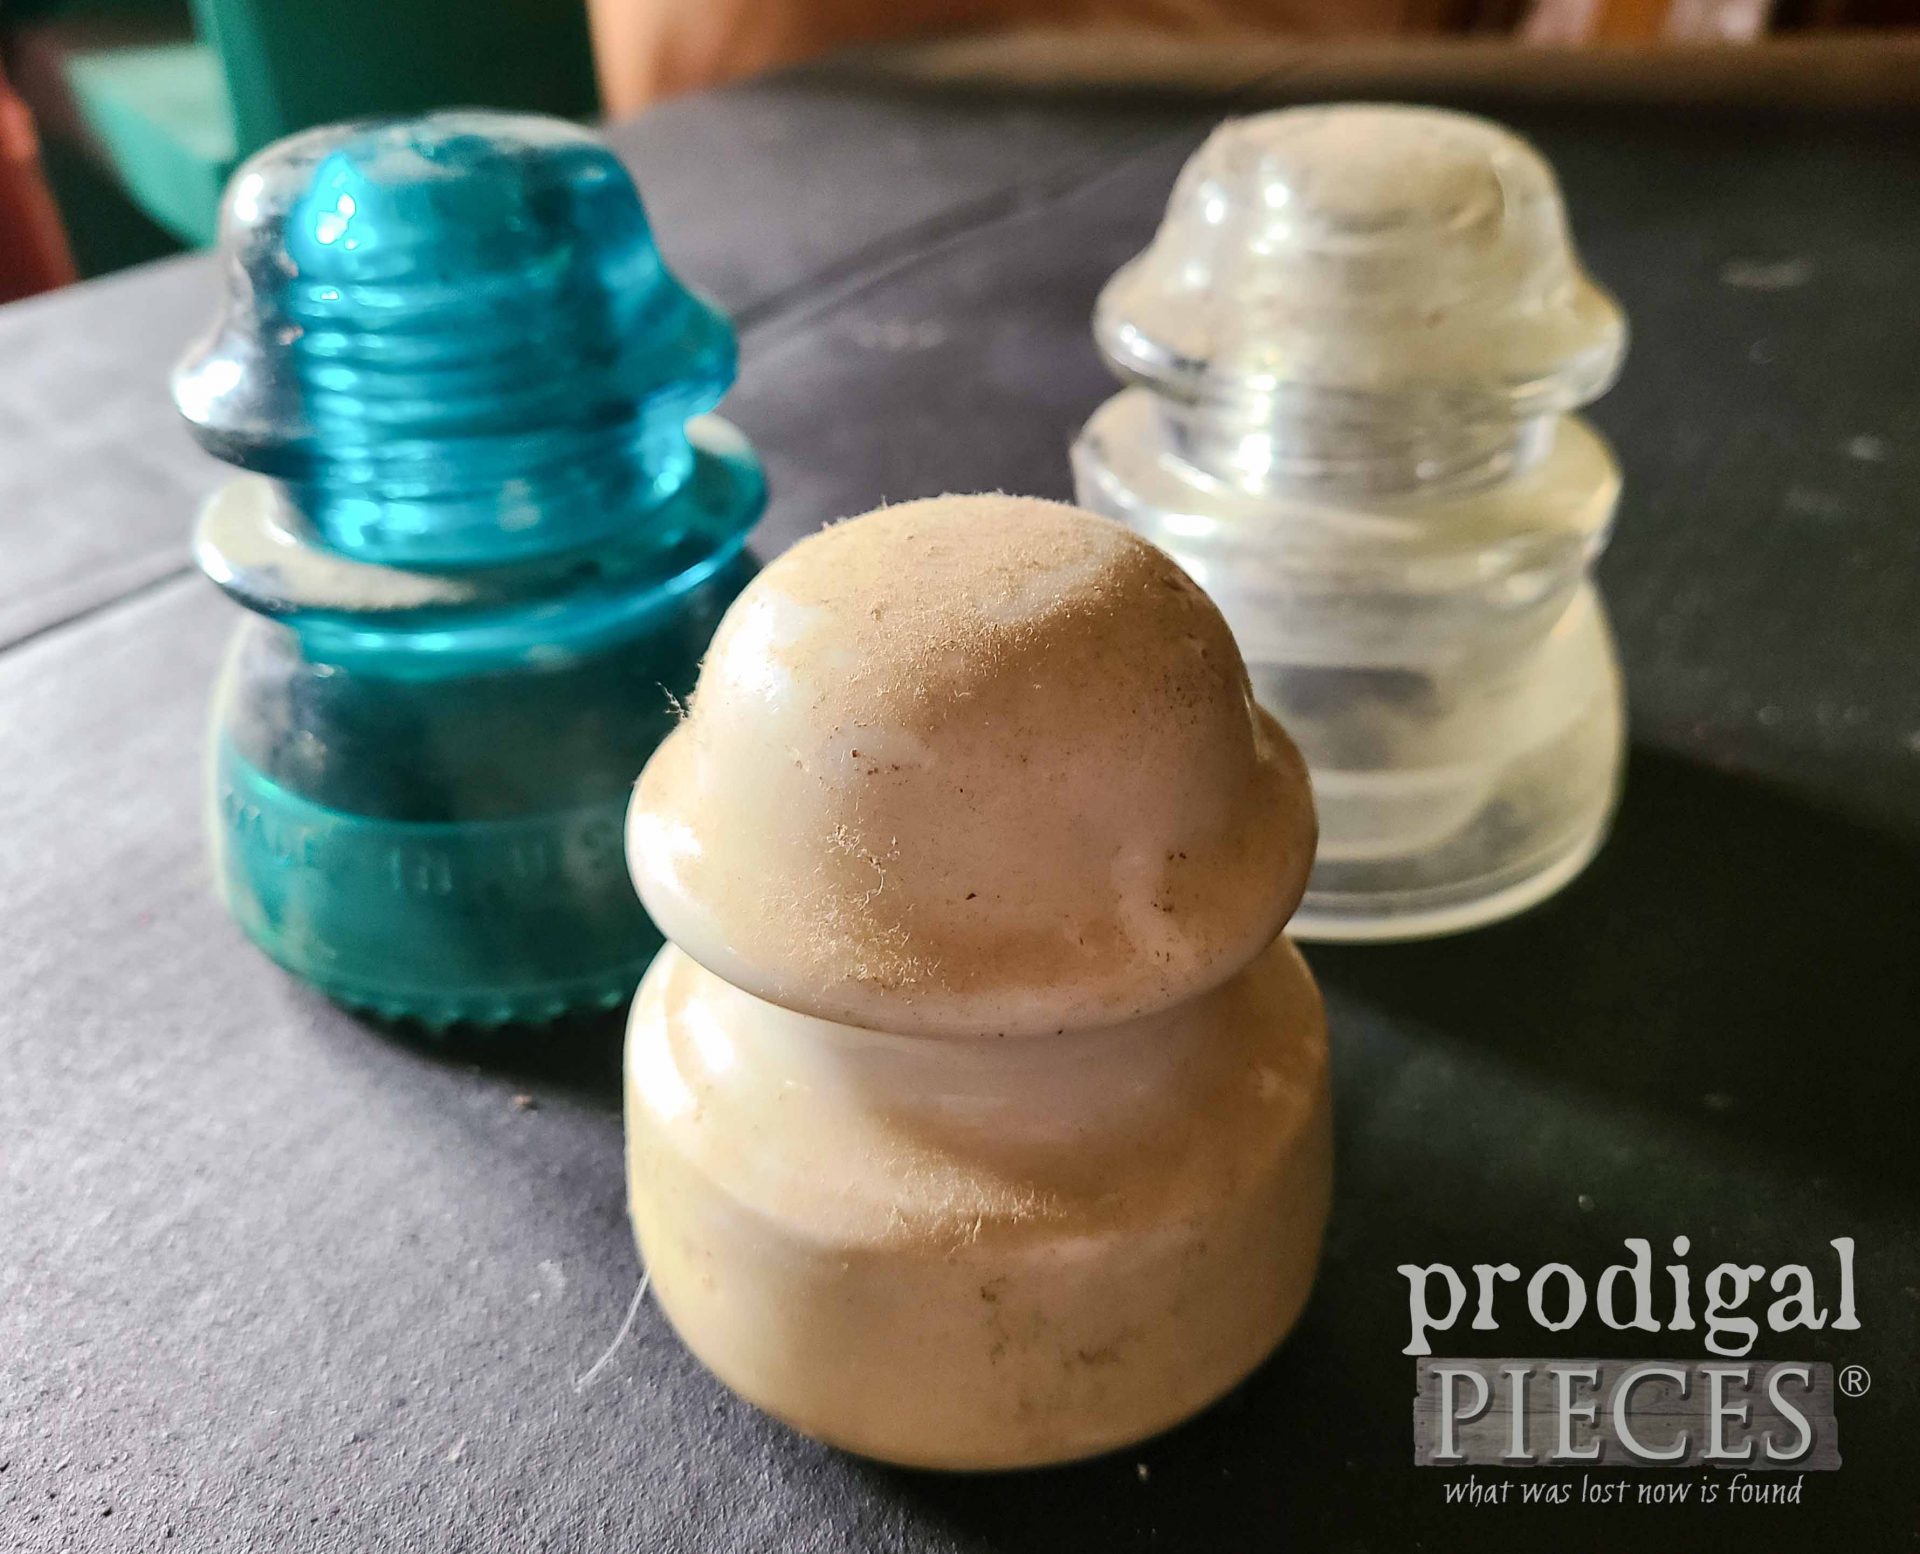
Up next, these antique insulators are going to get a new use too. See their new look and use HERE!
Before you go, be sure to sign up for my FREE newsletter. Until next time!




So simple yet turned out perfectly. Have that stencil, now I have an idea on how to use it. Thanks for sharing!
That’s the spirit, Jerri! 😀 So fun to play around with them in different ways.
Amazing transformation. I think that’s about the cutest thing ever! I’m itching to try the textured stencil 🙂
Thanks! You’ve gotta try it. So fun! 😀
Larissa, you never cease to amaze me! What a fun and beautiful way to update this project. Now I need to look around the house and see what I can find to try the embossing thing. So cool. Thanks for your wonderful inspirations and sharing how you do it.
Go for it! It is truly addictive for sure. My pleasure to share.
Oh my gosh!! What a great idea!! I’m now looking through my house with “embossing” goggles on!! ?
bwahahaha!! So awesome!! Have fun!
Very attractive Larissa, great job!
Thank you, Mary.
That is so cool! What a transformation!
Thank you for stopping by and showing love, Becky. 😀
Great transformation on that piece! I’m sure none of us would have a hard time finding one of those either, lol.
Thanks! I totally agree with you. tee hee.
Yessssss, that is one sweet shelf upcycle, Larissa! Love how the embossed detail completely changed the look of this vintage shelf. Pinned 🙂
Super fun to share. I know you know how fun it can be. Thanks!
Thanks for the dem, I’ve been wanting to try embossing. My style is not rustic. How else could I highlight the embossing? Just dry brush with any color?
Please and thank you.
You’re welcome, Trudy. You could use any color, yes – even metallics for added touch.