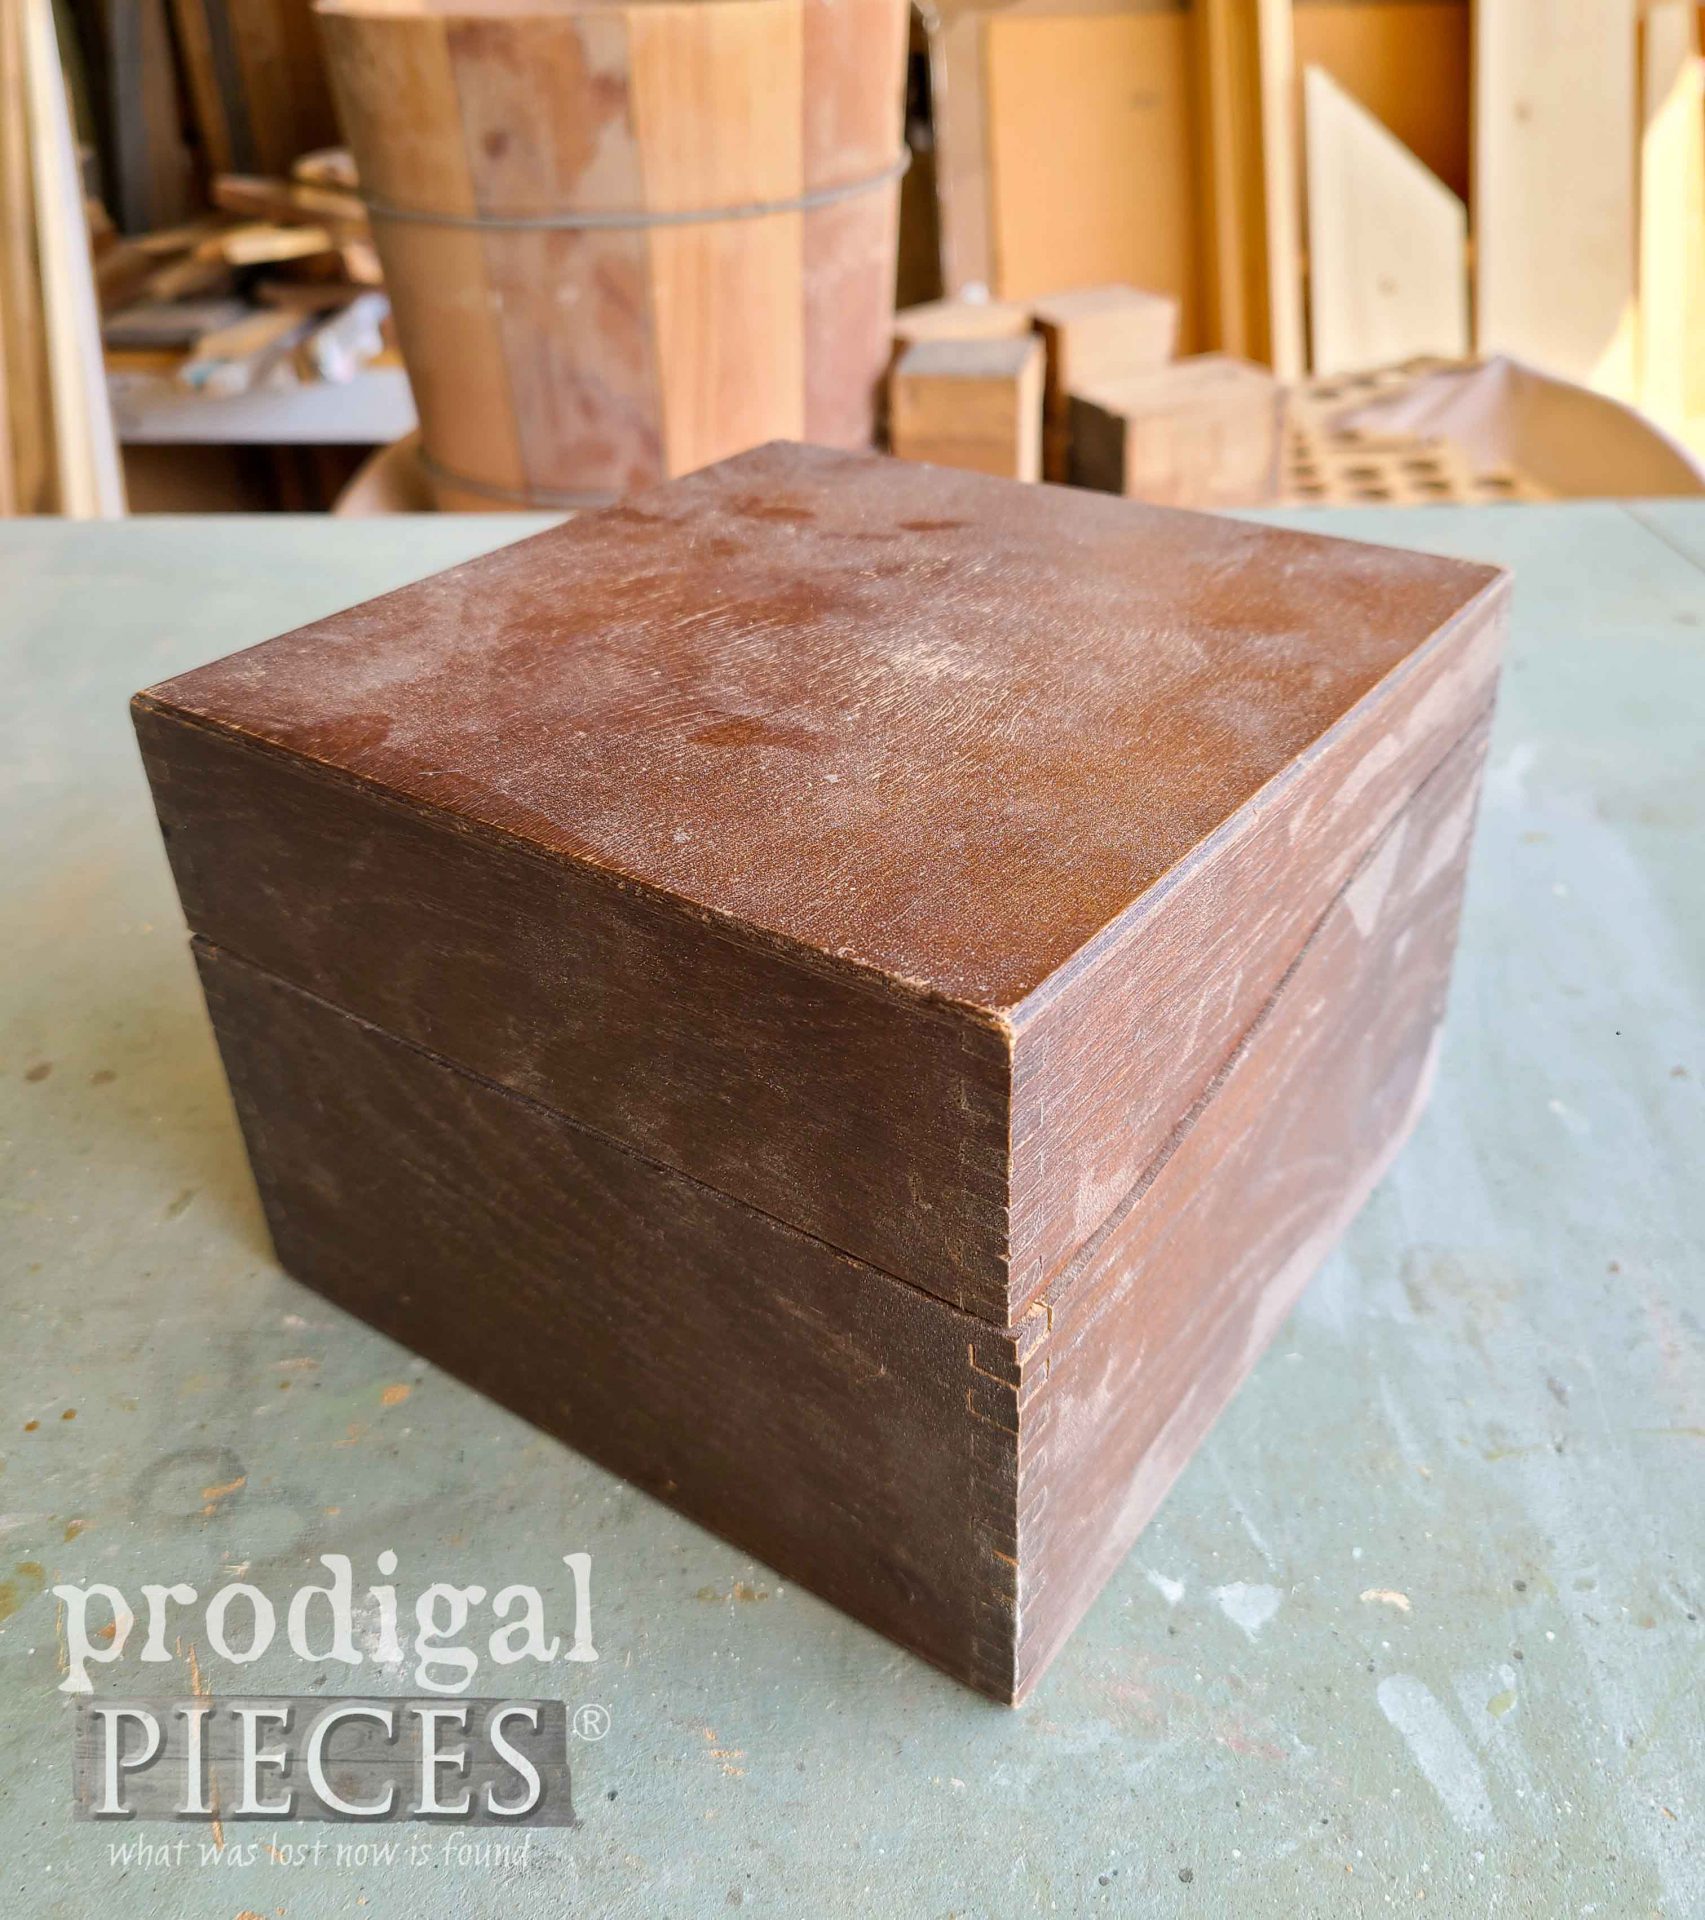
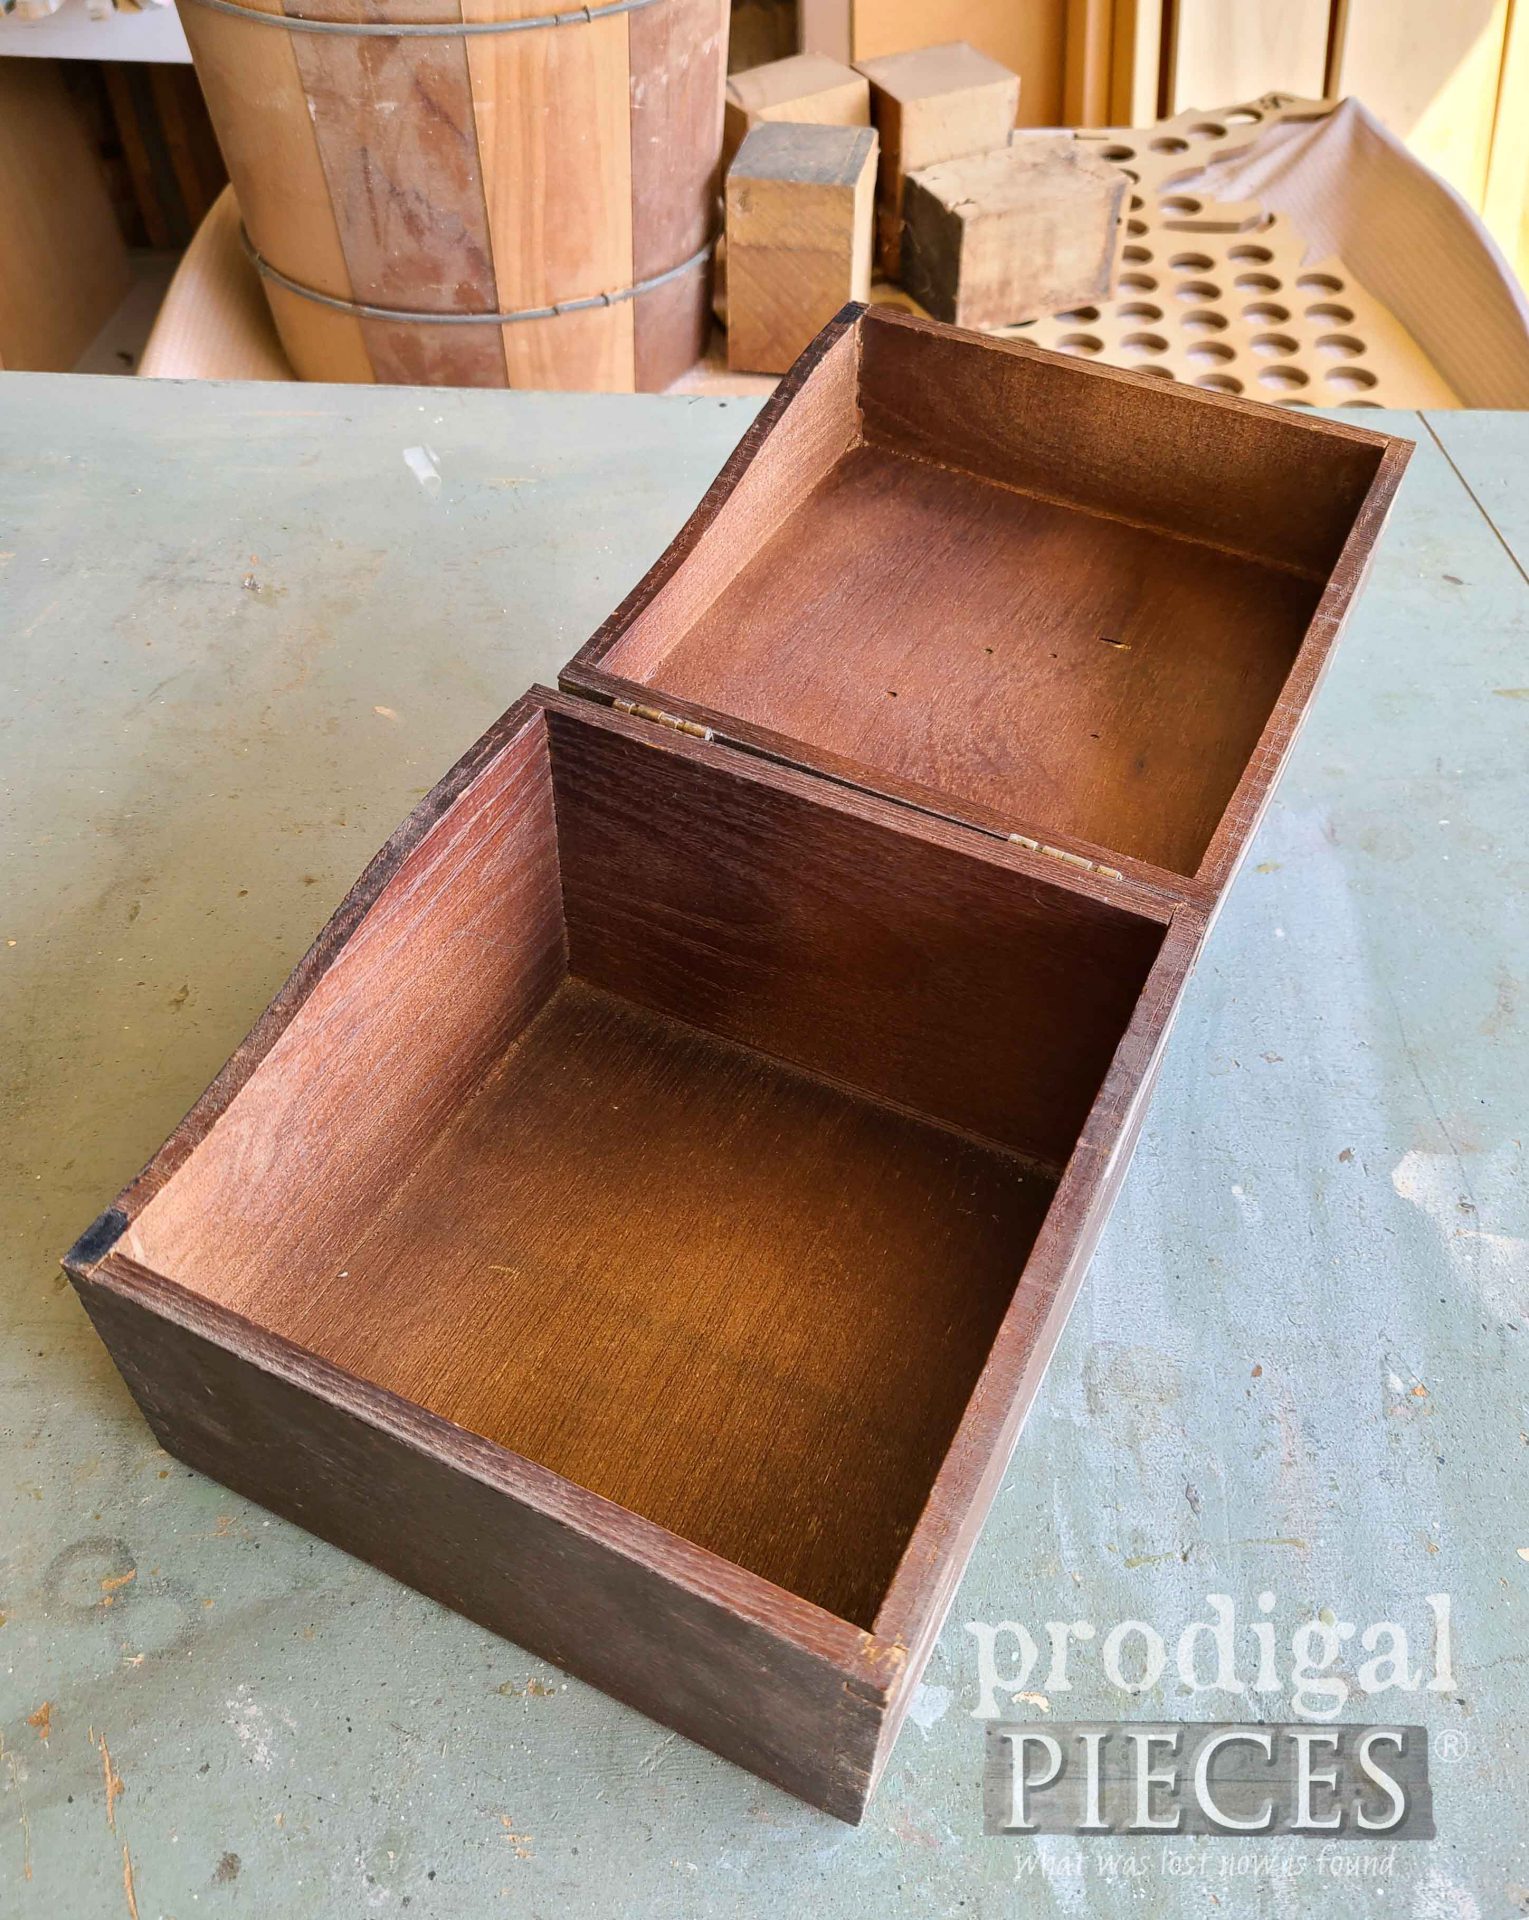
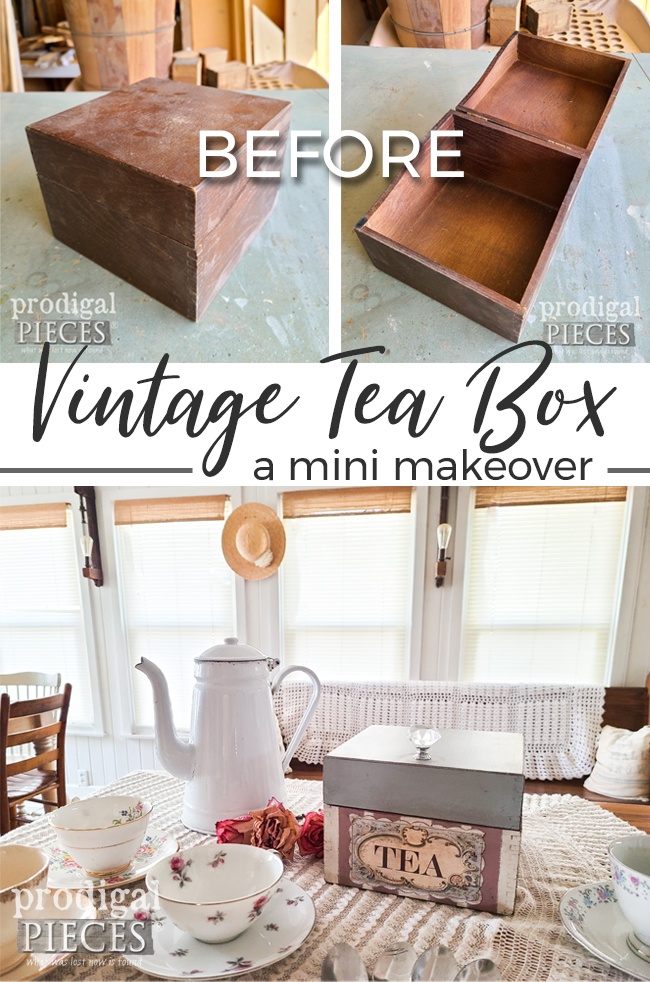
Hey friends! It’s the season of garage sales, yard sales, barn sales (my fave), and spring clean-ups. Oodles of potential projects are just waiting for you. Especially cuties like this wooden recipe box. It does look like it could have better days. However, it still has many years of life left. I intend to turn it into a vintage tea box.
Do you spy the potential? While I’m focusing on a tea box, however, it really can suit any purpose you want. Maybe a secret hiding spot for a chocolate stash? Or maybe for jewelry, soaps…you get the idea.
Either way, let’s get this mini makeover started and have some fun!
DIY TIME
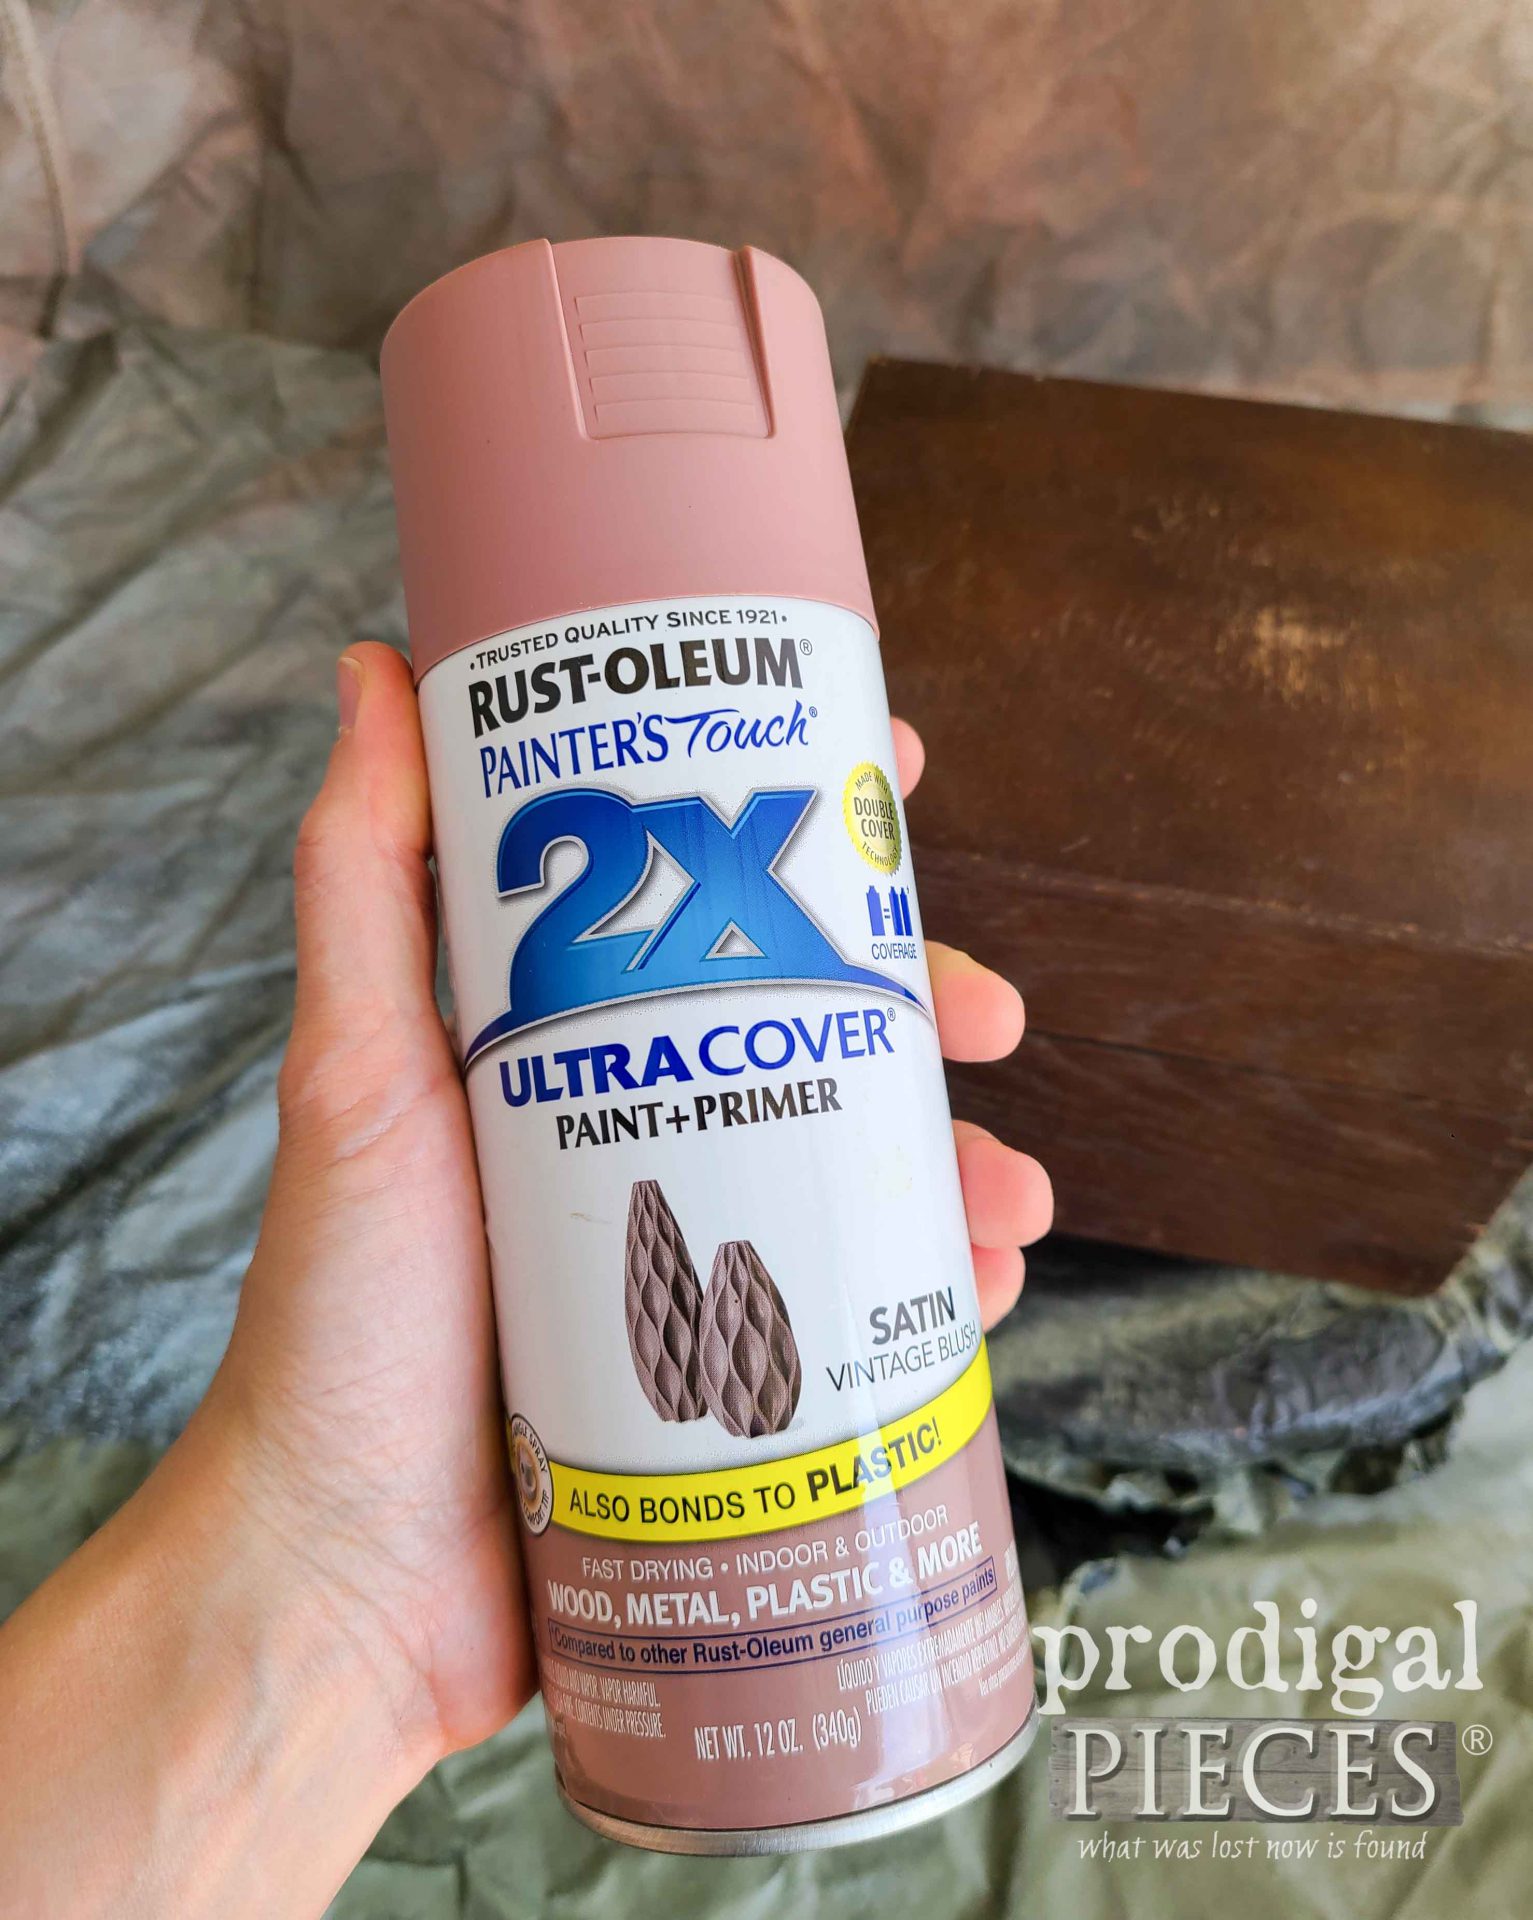
First, I wipe down the box with a 1:2 vinegar/water mixture to remove any grime and prep the surface for paint. Next, I pull out this lovely soft pink from my stash called Vintage Bliss.
Also, I’ve set up my small spray shelter and turn table to make this painting a blast and a breeze. Then, after two coats of paint, it’s time to add some whimsy.
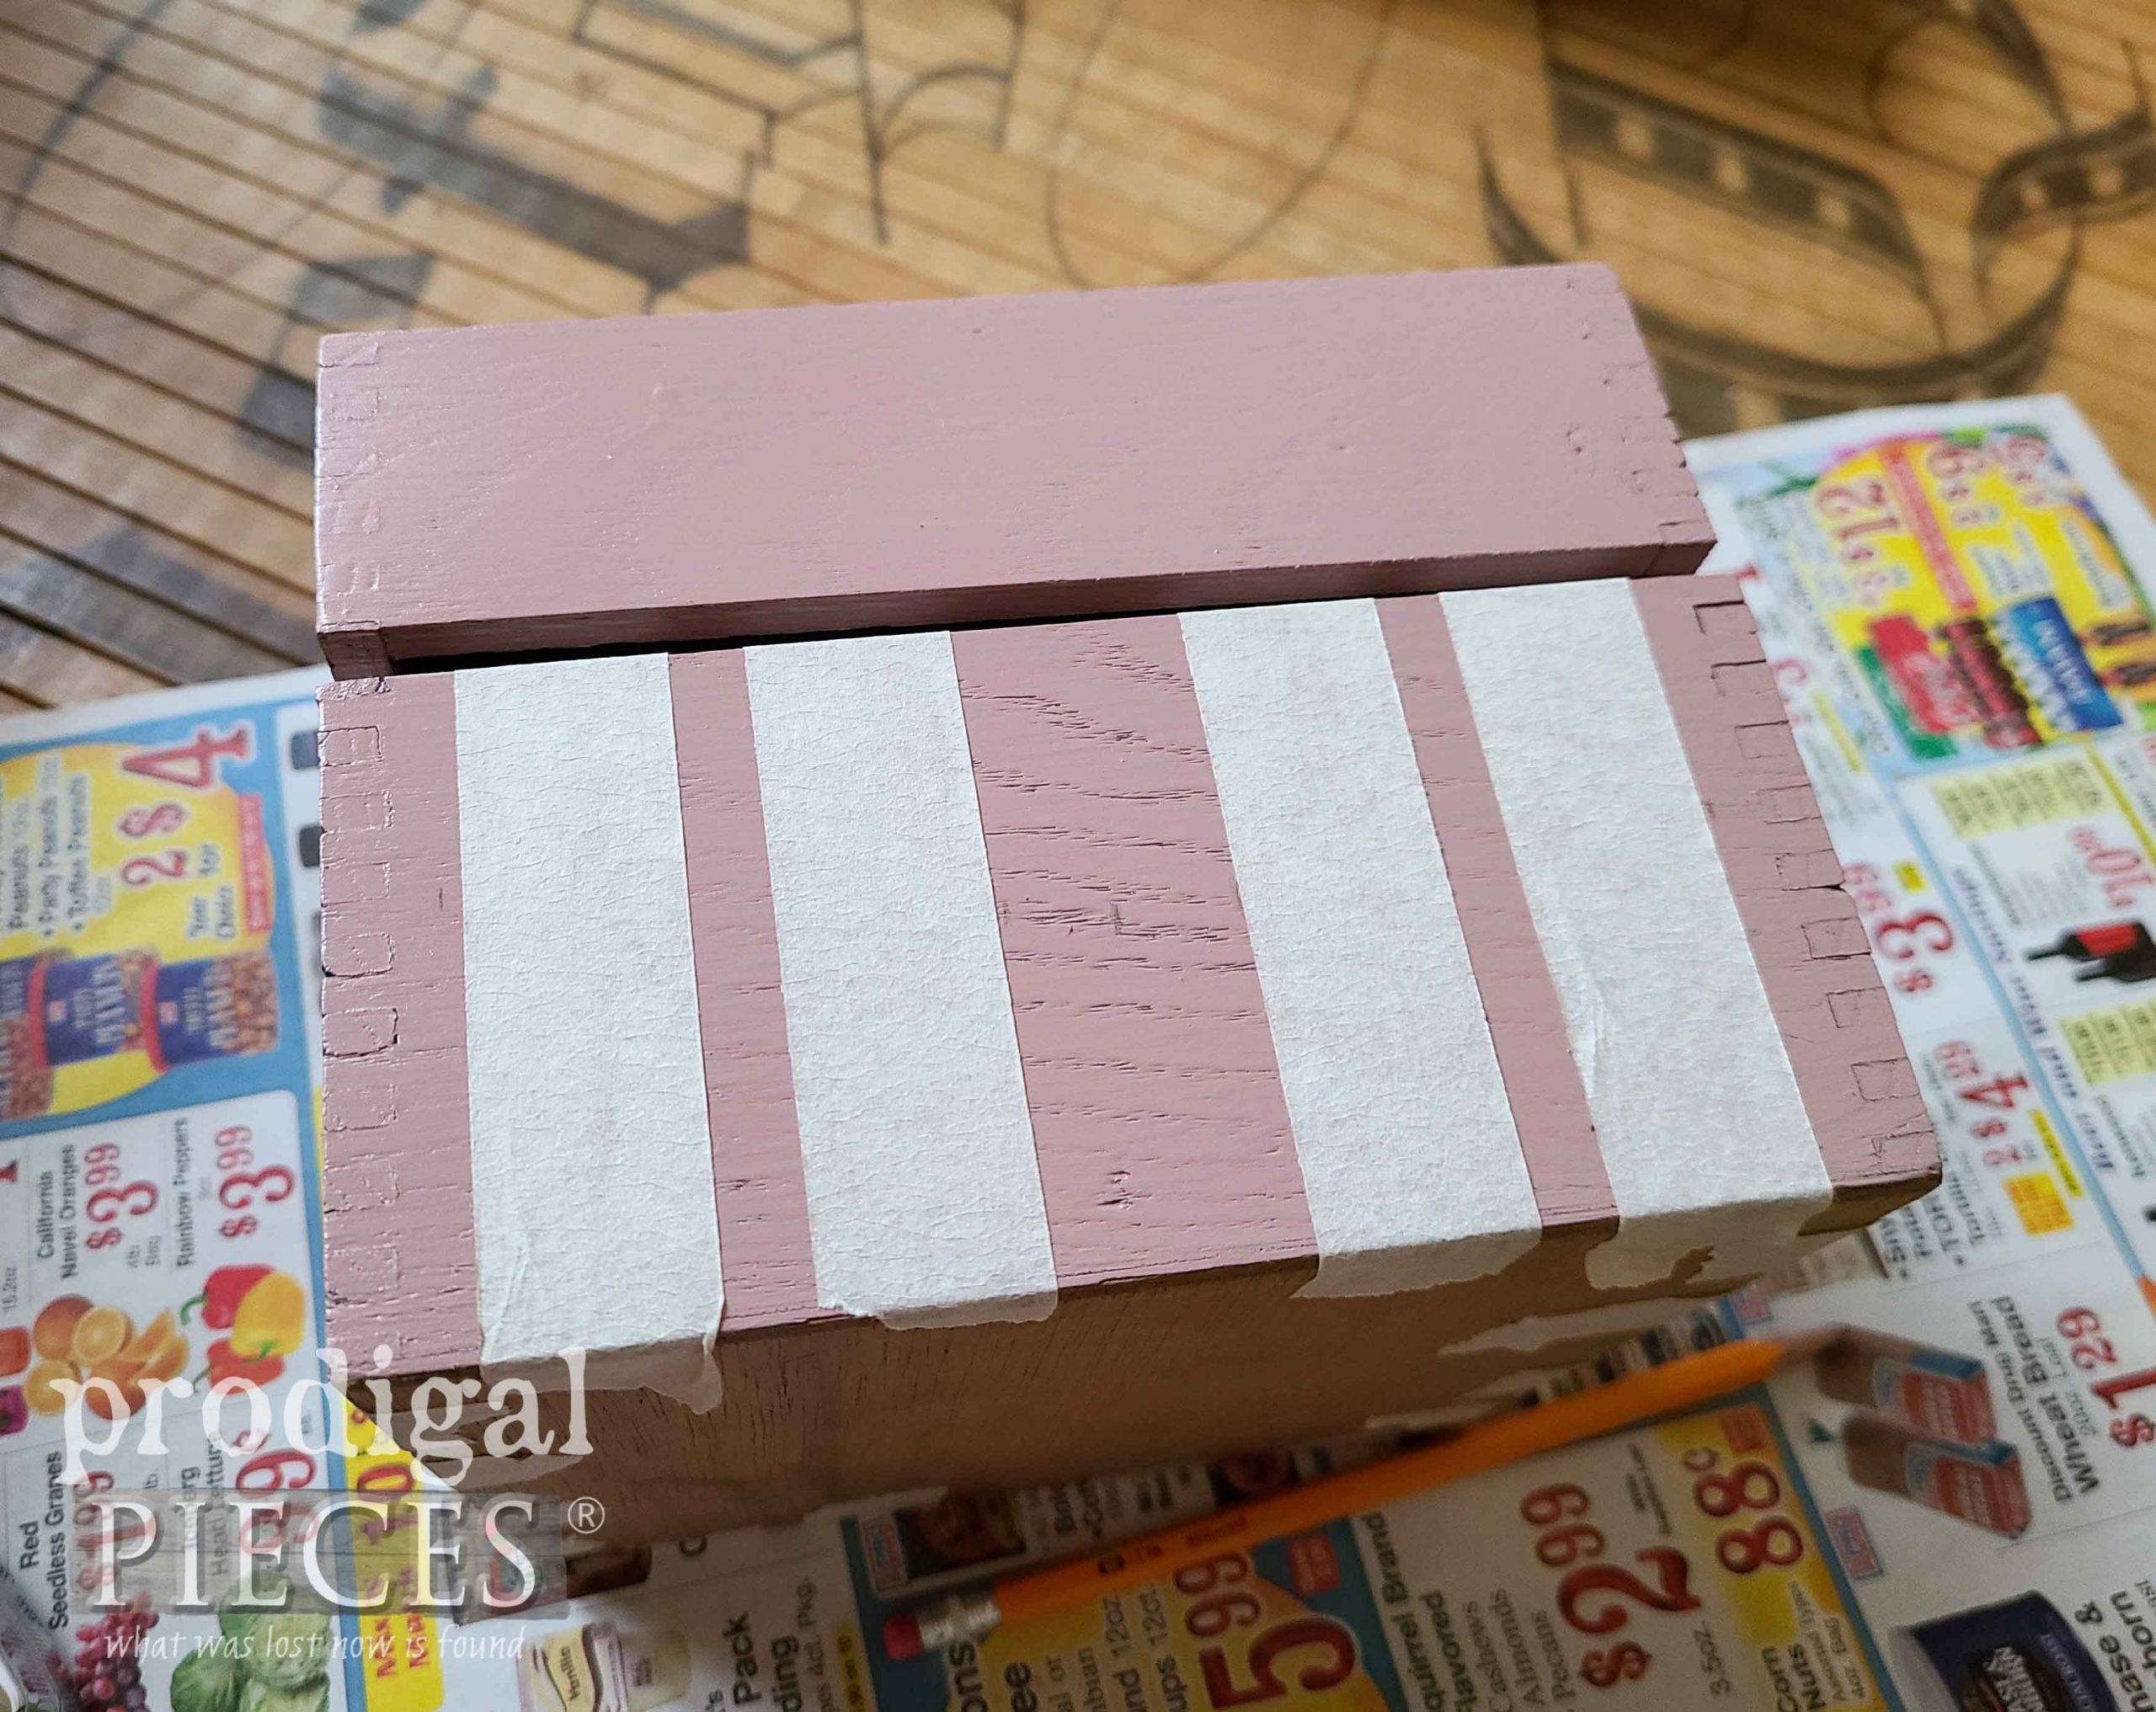
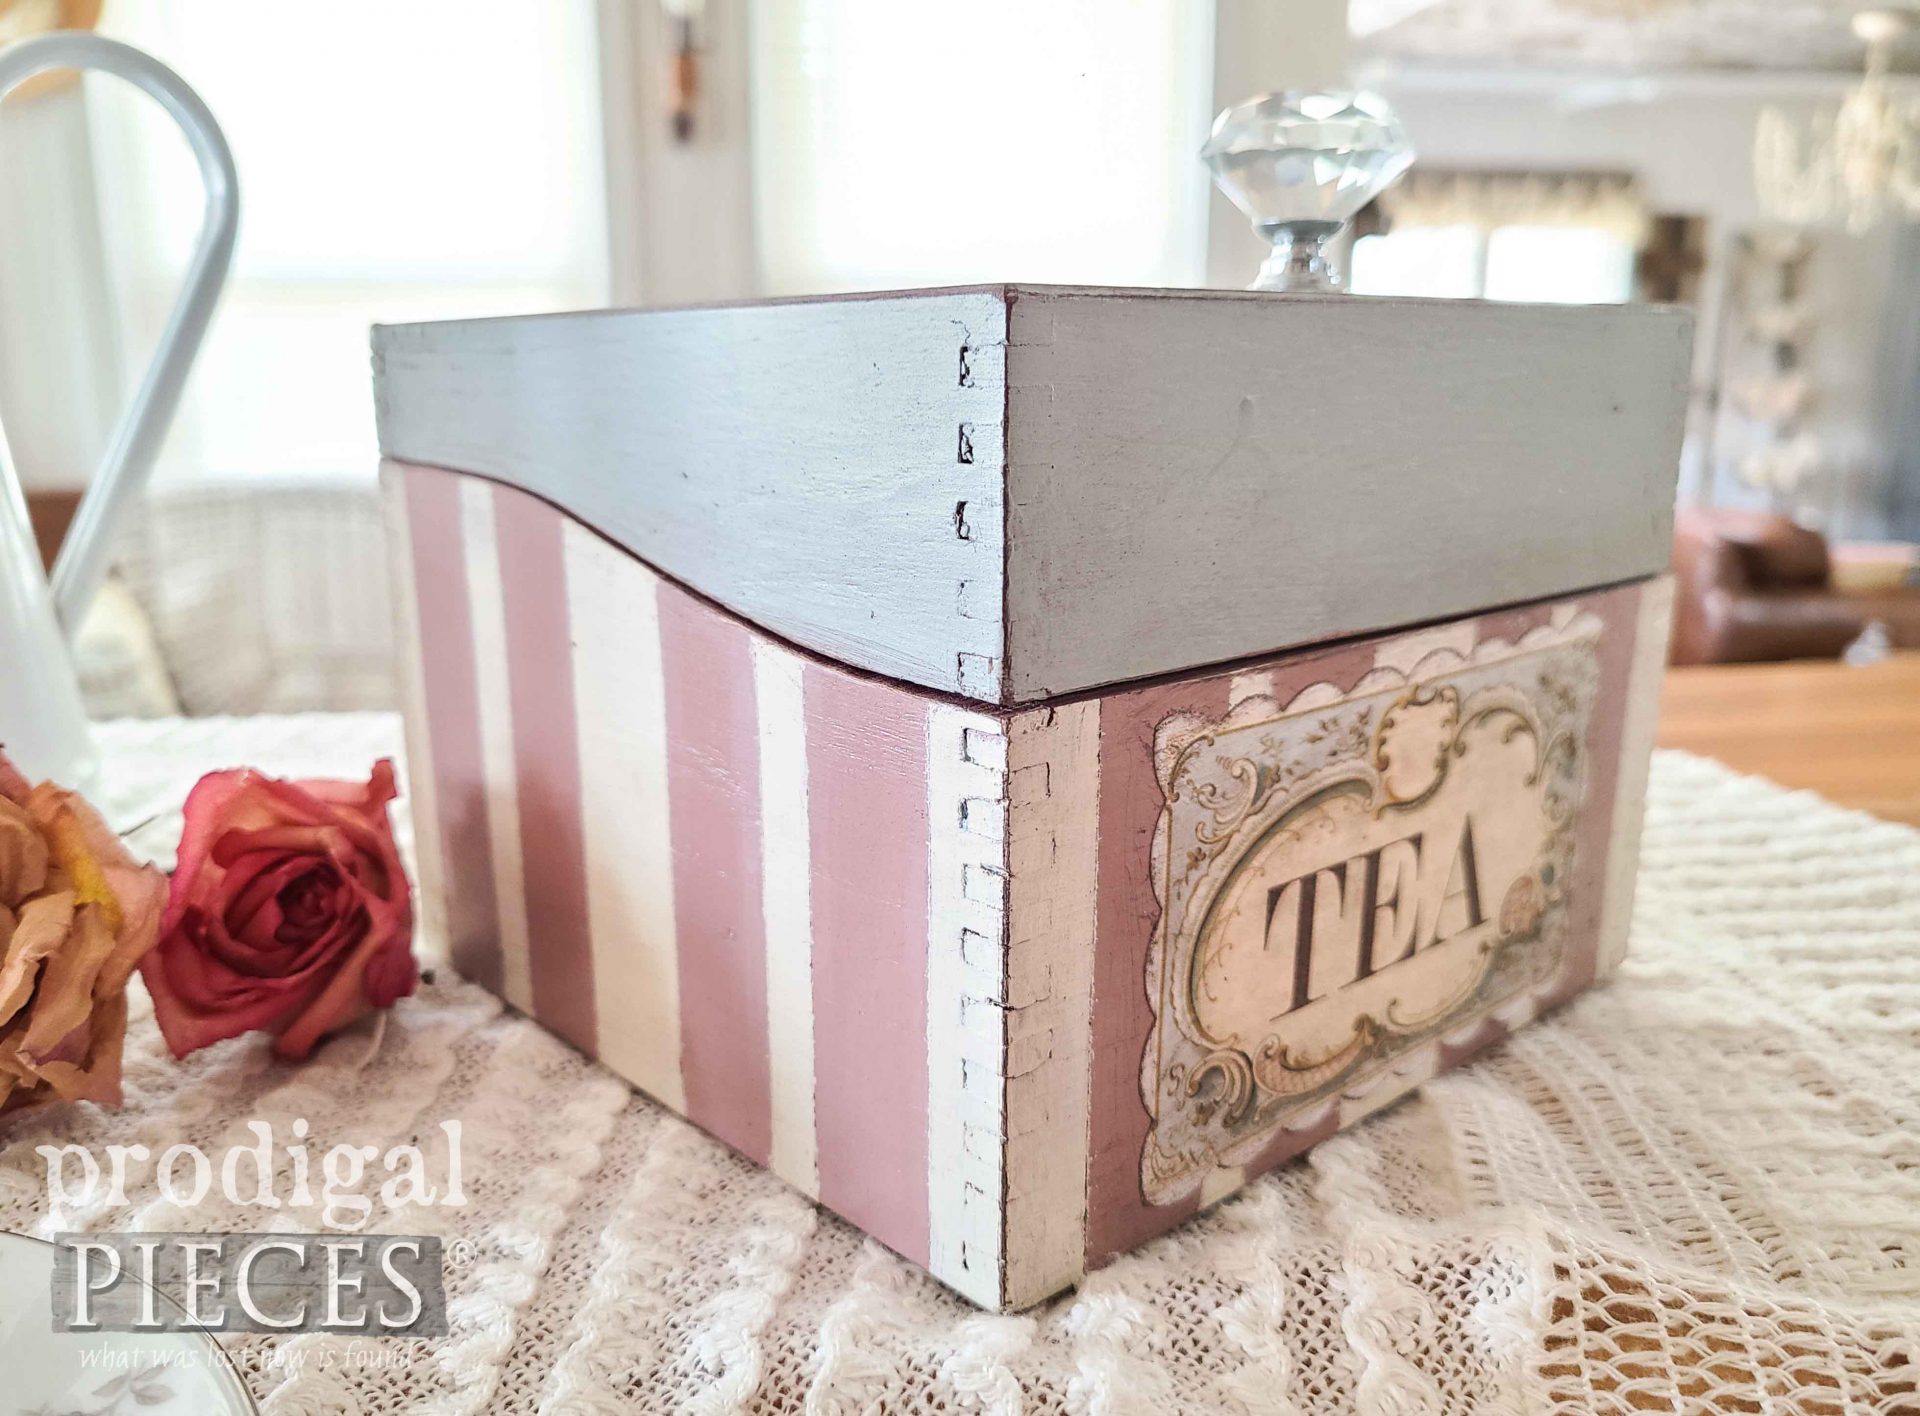
Finally, painter’s tape allows me to make stripes. Who doesn’t love stripes, right? In addition, I even want to add a few other details. Before long, I now have my vintage tea box suited for adding charm to your kitchen decor.
THE REVEAL
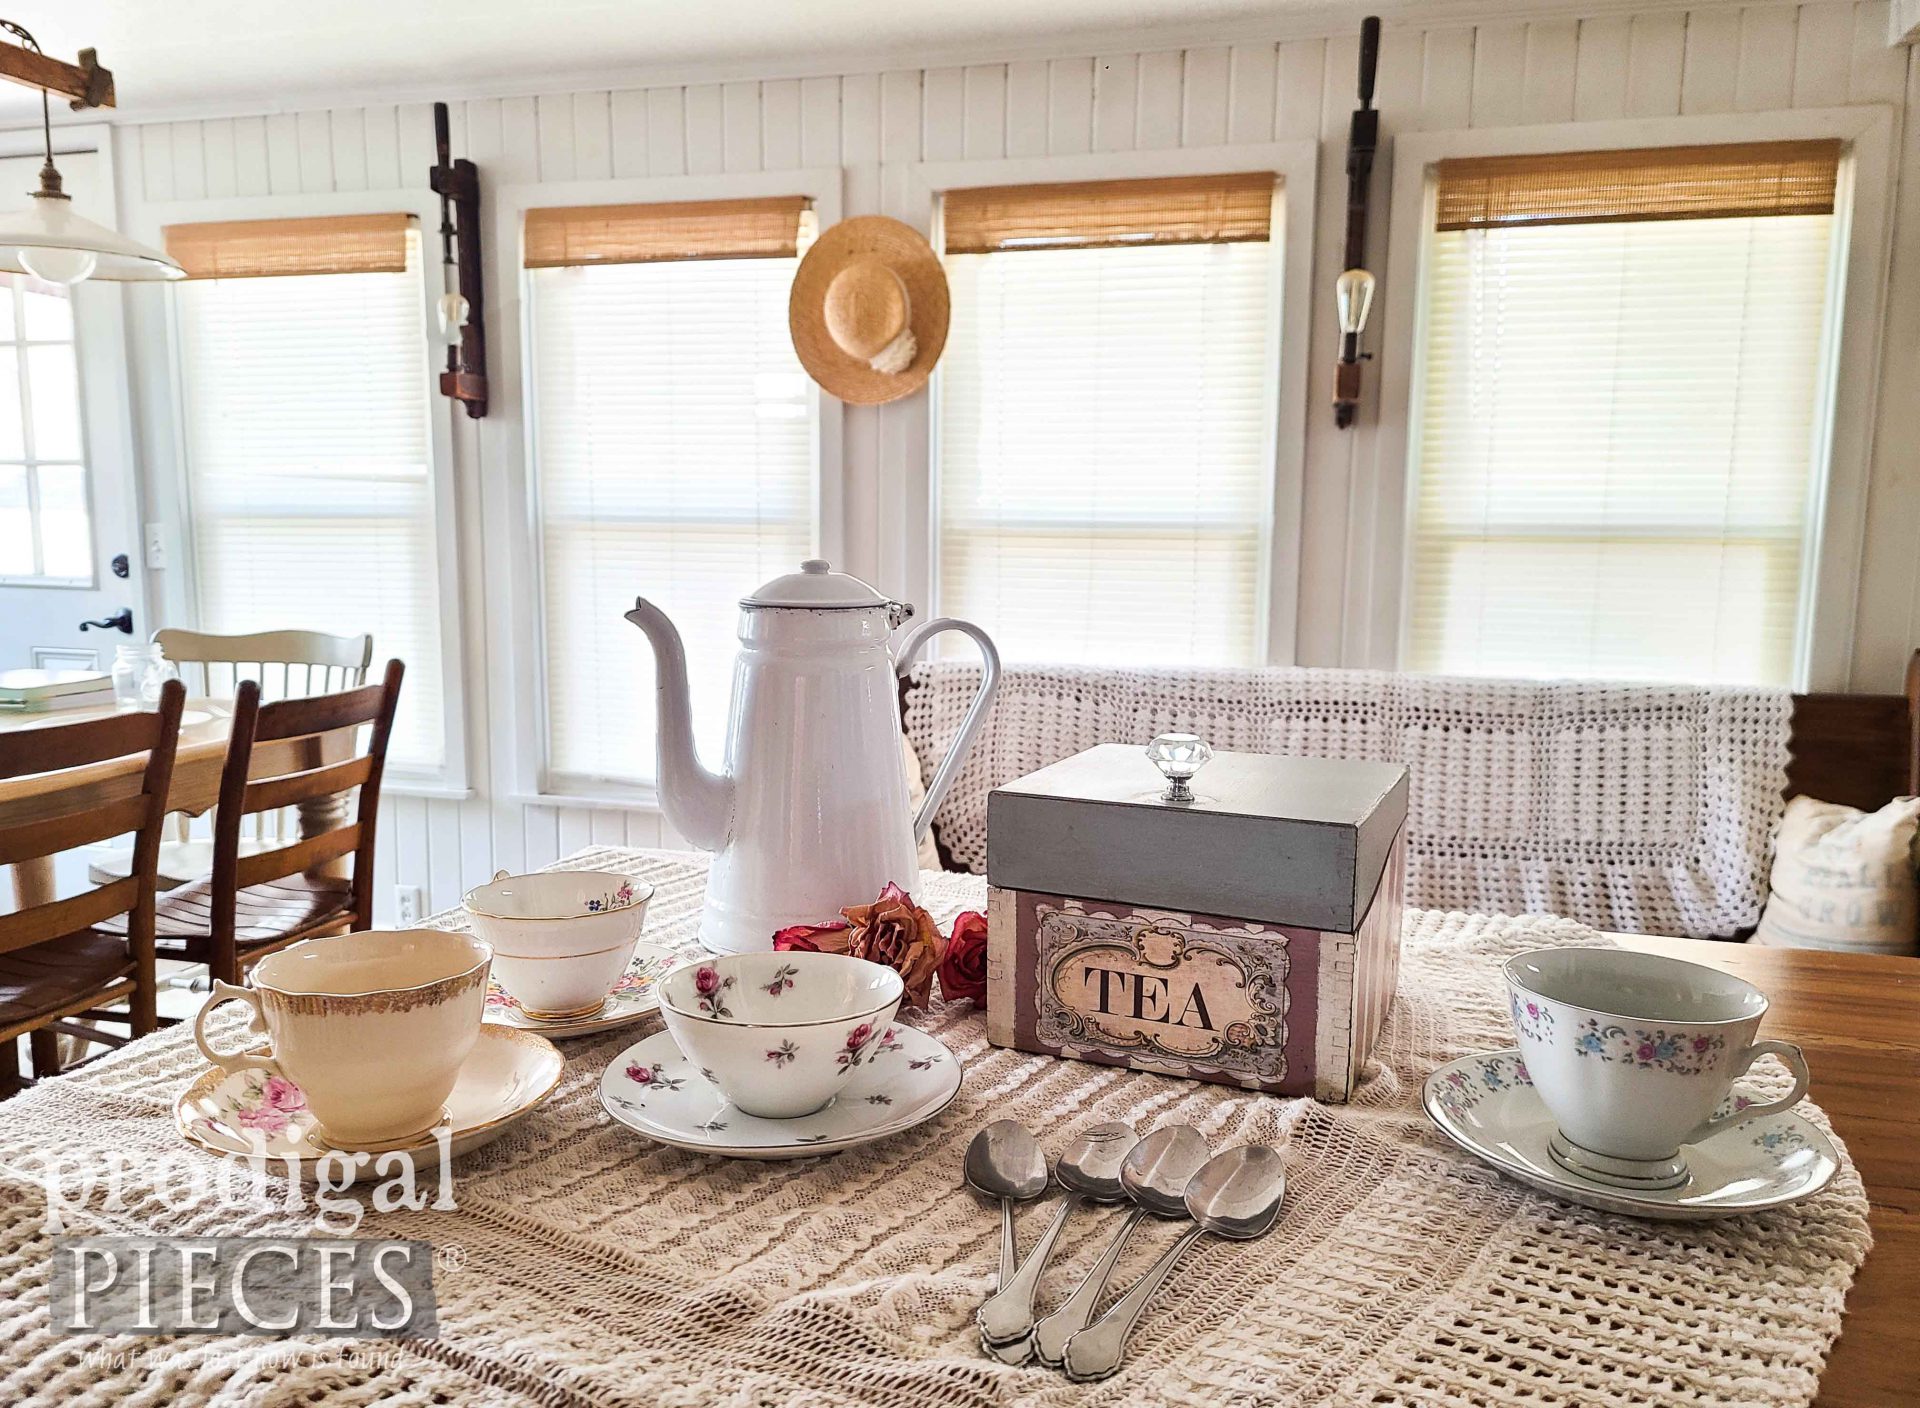
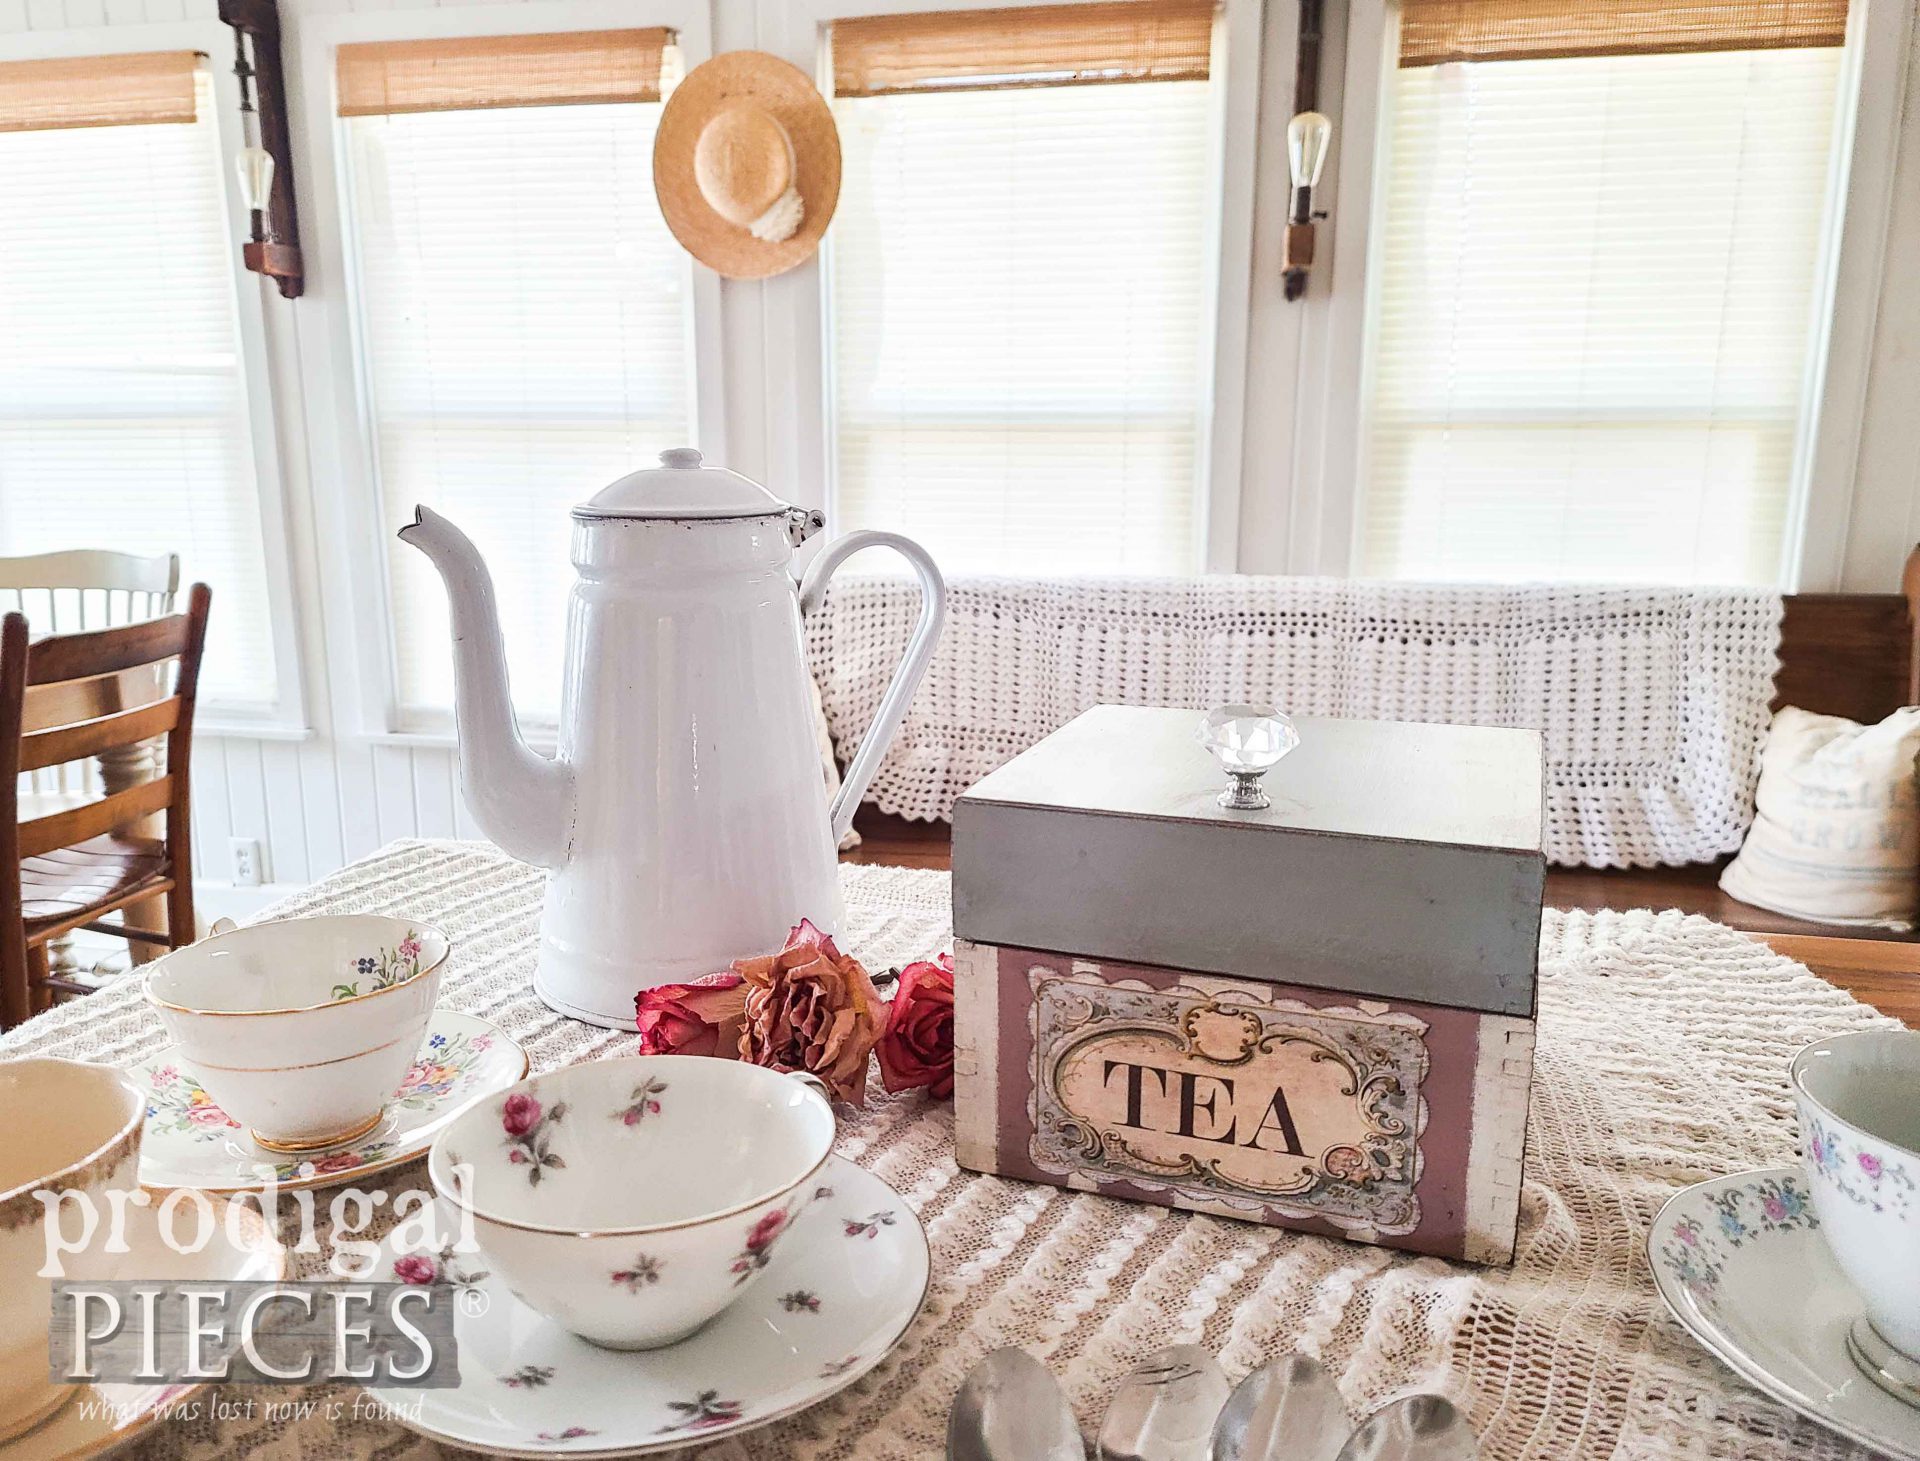
Here’s my cutie all shabbed out and ready for tea time!
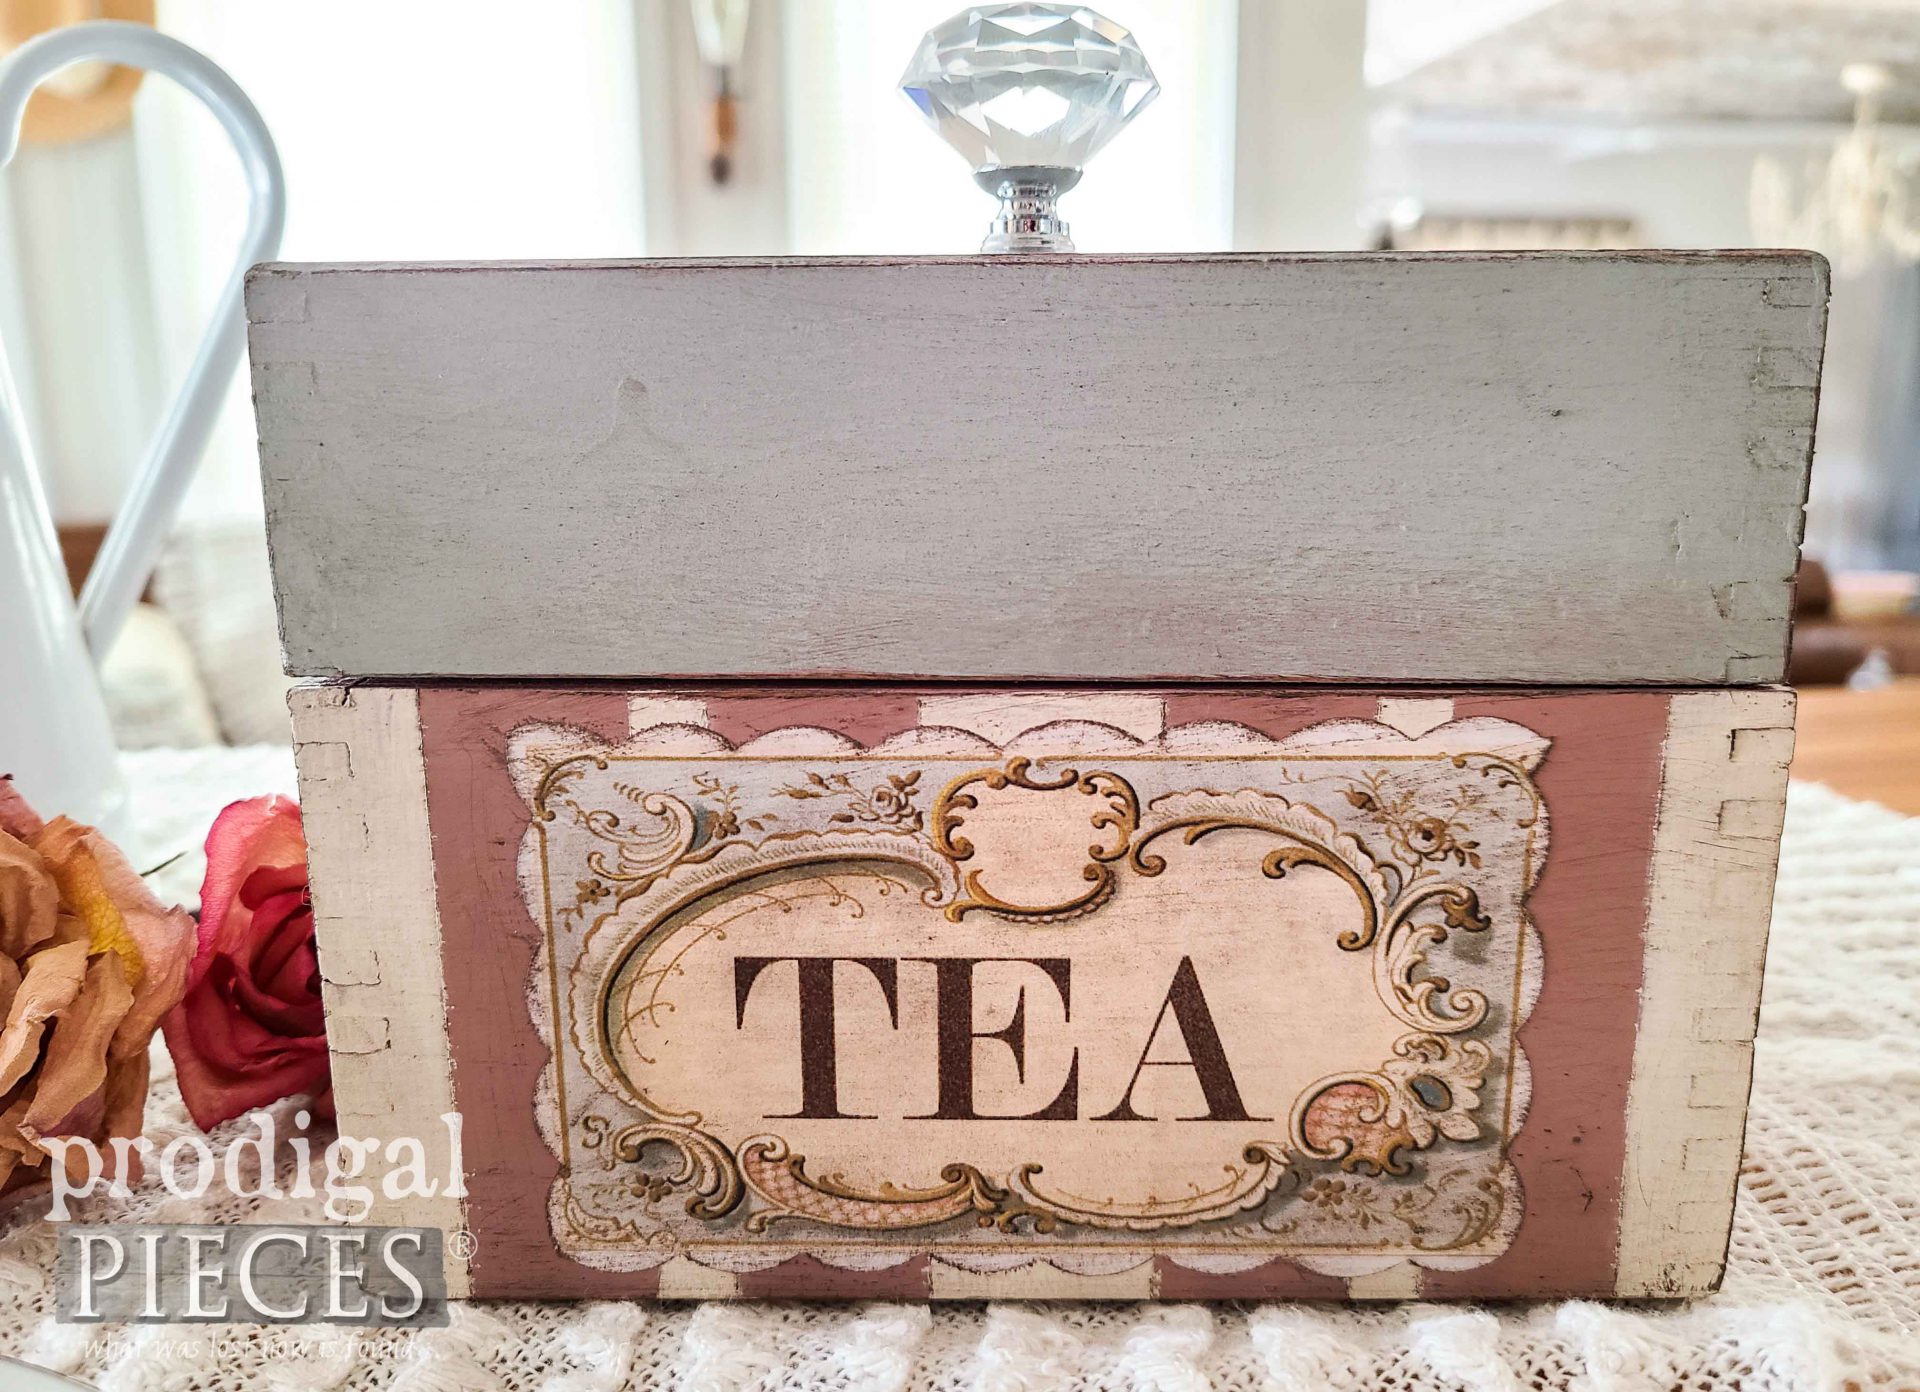
Stripes and typography for the win! Do you love it? Also, I’m thankful awesome blogger friend’s sites and all they offer. You can find this frame and more by my friend, Karen, on her blog, The Graphics Fairy.
Last, but not least, I had to add a little bling with the faceted glass knob.
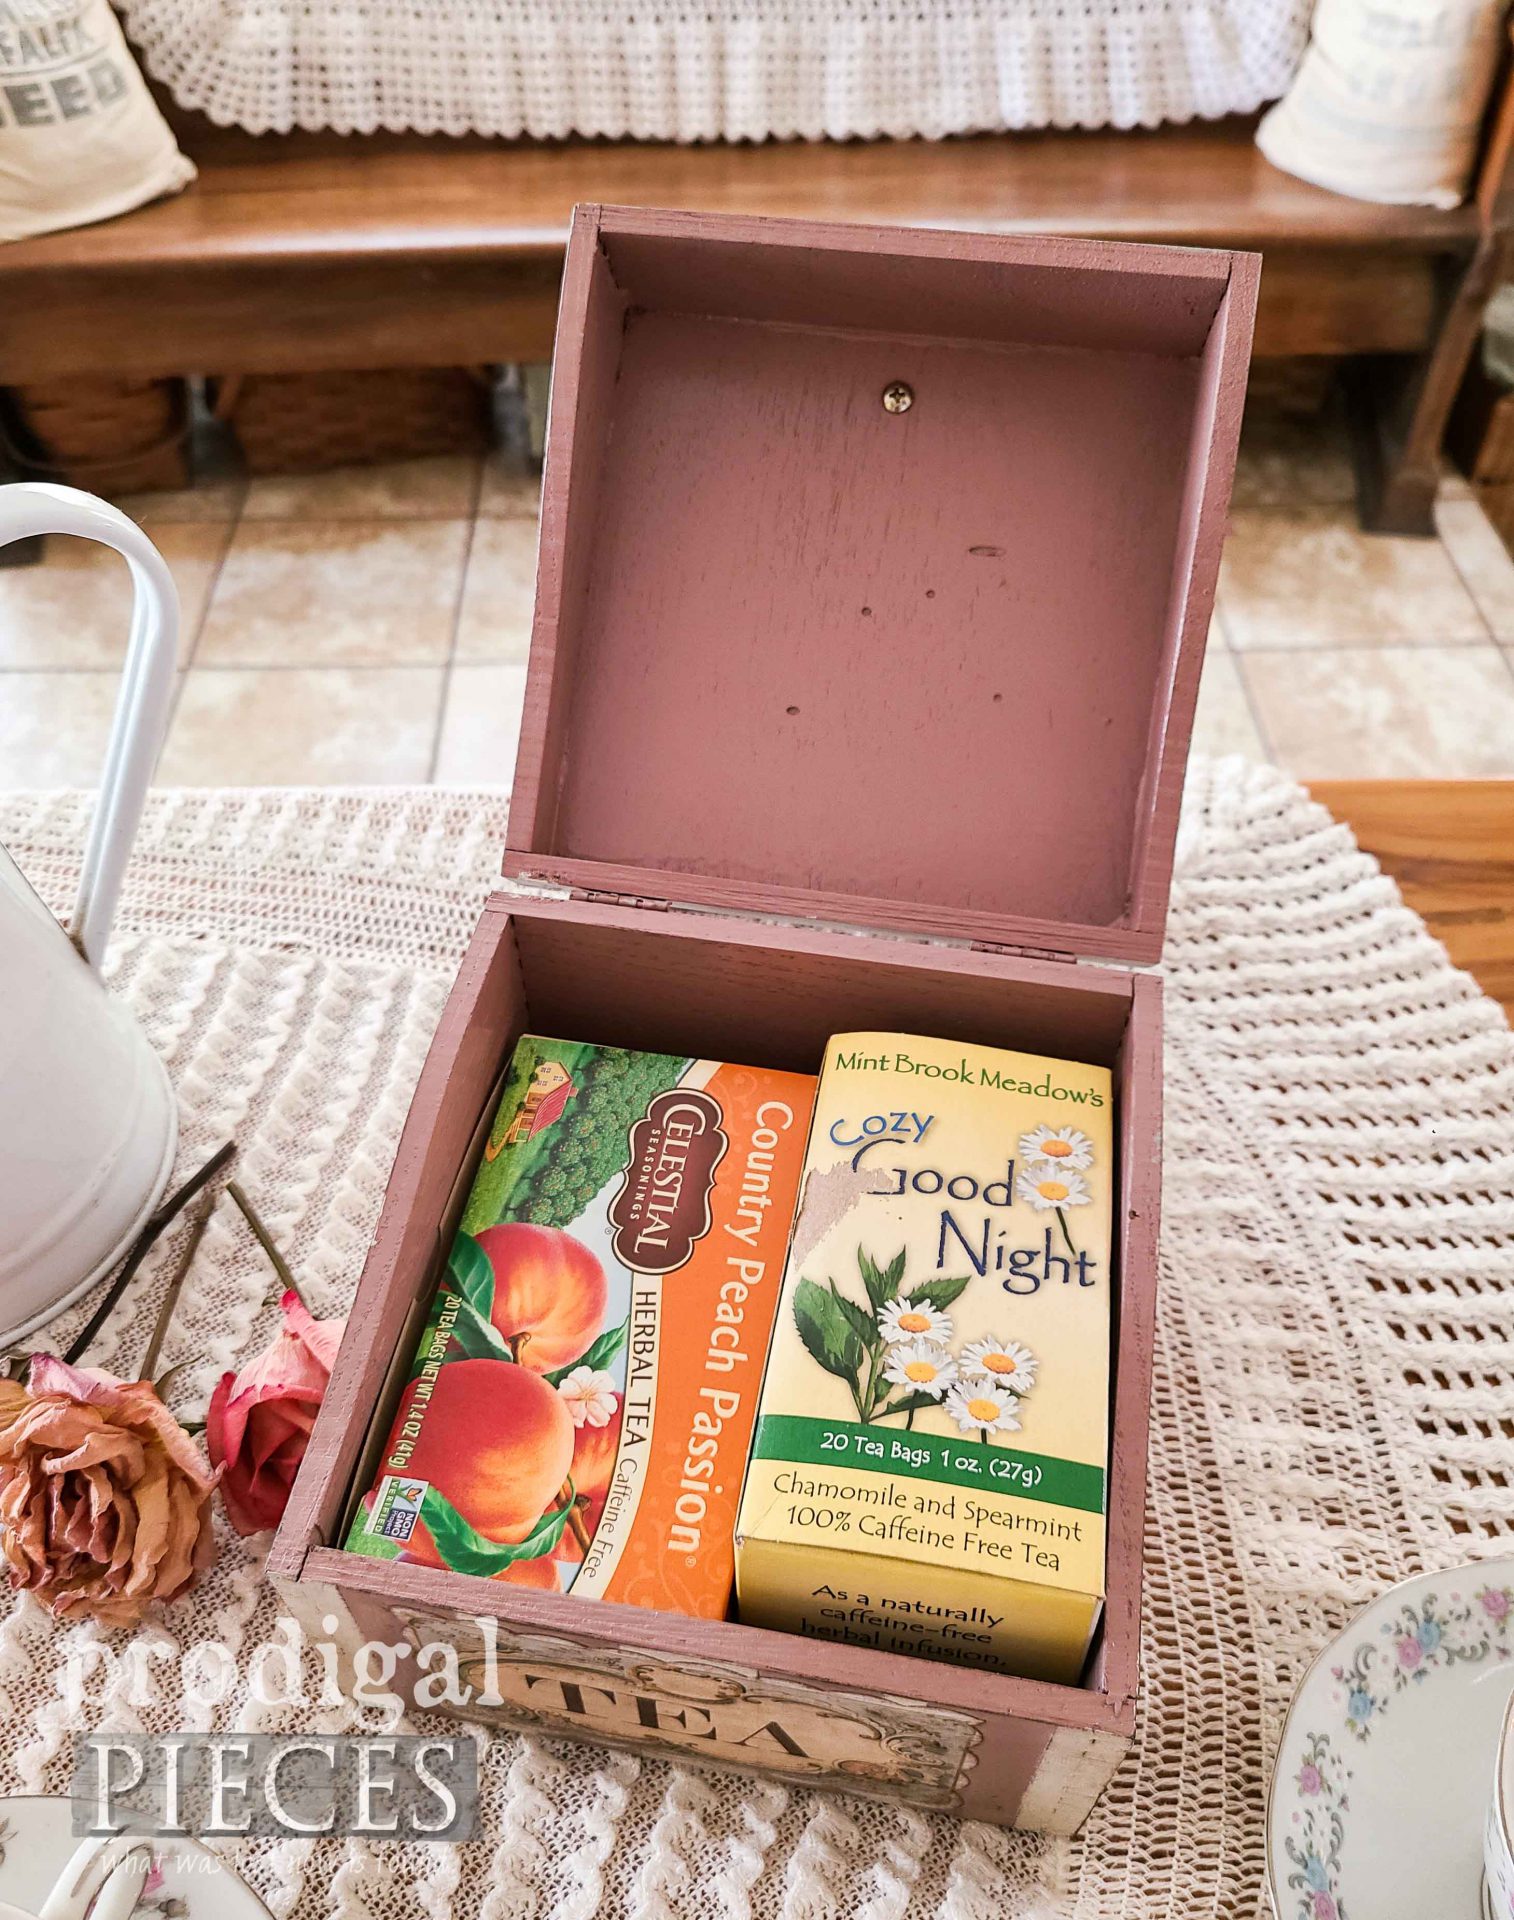
Also, there’s enough room for tea boxes, or tea bags, cocoa mix packs, or coffee pods. What would you fill it with?
Likewise, if you’d like to add this to your home story, you can find it and more available in my online shop.
In addition, leave me a comment, then pin and share my vintage tea box mini makeover to inspire others.
Up next, it’s Trash to Treasure Tuesday and this relic is getting fun new life. See its new life HERE.
To get these DIY tips & tricks in your inbox, be sure to sign up for my newsletter. PLUS, you will get your FREE Furniture Buying Checklist and special discount to my shop. Until next time!






Such a darling tea box; especially you doing your magic on it. It’s just darn right adorable.
Have yourself a wonderful day
Aww…thank you, Colleen. Mini makeovers are always fun!
What a nice makeover !
I enjoy sooo much all your beautiful transformations, Larissa !
I have a question, how did you transfer the cute graphic to the front of the teabox ?
I would love to try to do the same on an old small Ikea cubby I got years ago to refresh it a bit.
Thank you for the inspiration !
Thanks so much. I added the link to the free printables in my post. It’s just a frame I printed on paper and added text. Glued on, and done. woot!
Ooohhh!! I just love a box! You always know with a box this pretty that something special is tucked inside. I have little boxes all over and stash so many little things that I’m constantly forgetting what is in them. Then I’m surprised when I lift a lid!!! ?
You are too cute! 😀 Yes, it’s the little things. tee hee.
This is so pretty! Do you have a tutorial on transferring the graphics?
Thanks, Susan! I added the link to the free printables in my post. It’s just a frame I printed on paper and added text. Glued on, and done. woot!
It is so cute!!!
Awesome! Thank you so much.
you have a great site , thanks
Thank you for saying so. 🙂