Have you ever read that sweet child’s story, “If You Give a Mouse a Cookie”? The story goes, “If you give a mouse, a cookie, he’s going to ask for a glass of milk. When you give him the milk, he’ll probably ask you for a straw”…and so on. It’s a circular tale about a series of events happening all because of a cookie. Our patio makeover is titled, “If You Give a Lady a Patio Set”. Seriously.
THE BACKSTORY
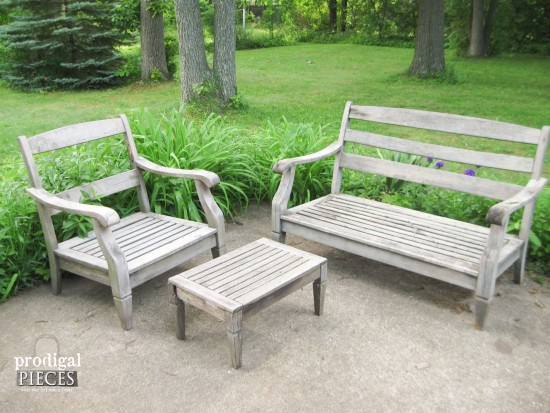
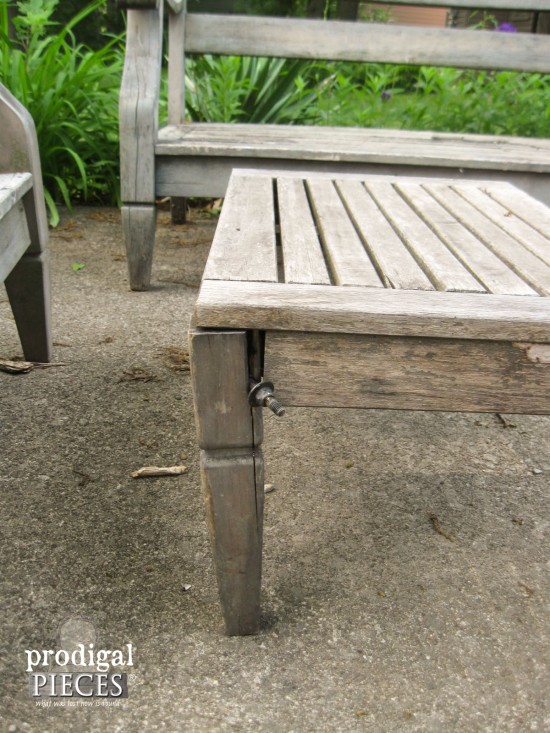
Last winter my parents said I could have their worn out patio set, and I gladly accepted. It had seen better days, was missing a chair and coffee table that had rotted out, but the couch, other chair and ottoman were still functional…sort of.
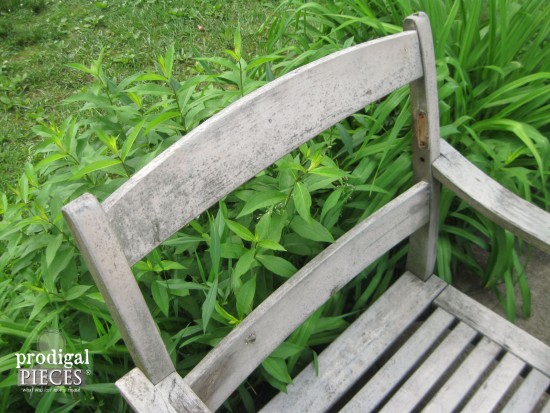
The back rest of the chair is missing a slat, the ottoman has a rotten leg. Also the couch back slats are falling out as well. So why would I take these things? If you know me, I just couldn’t let them go to the dump or fire pit.
*post was sponsored by DFOHome and HomeRight (see full disclosure)
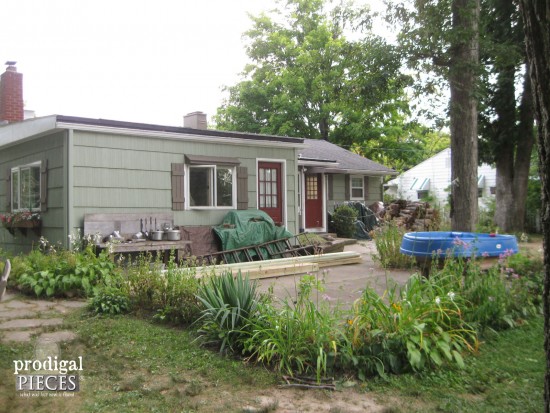
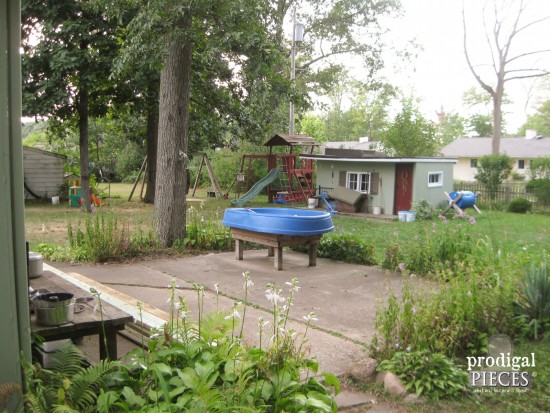
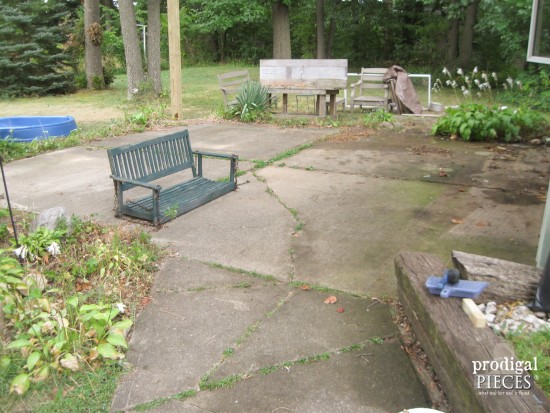
Our current patio had consisted of the mud bar and sand table we built our kids (DIY tutorials if you click on each project), a hand-me-down grill, and a mixed set of curbside patio chairs paired with Freecycle glass table. It served us well for several years and wasn’t planning on replacing unless it fell apart.
So, when my parents offered, I thought, “Why not?”.
DIY TIME
I’d like to change it up and I wasn’t about to spend big bucks to buy something my kids would mutilate. tsk. This, my friends, is how you end up spending more time and money on a patio makeover than you’d ever think. All because you give a lady a patio set.
Originally, we were going to just paint the set, and call it quits, but then DFOHome contacted me to see if I would like to try some of their product. My jaw hit the counter because they were offering patio supplies. What awesome timing?! I eagerly accepted knowing this was a blessing. Let me just say choosing what to pick was not easy. They have an awesome selection!
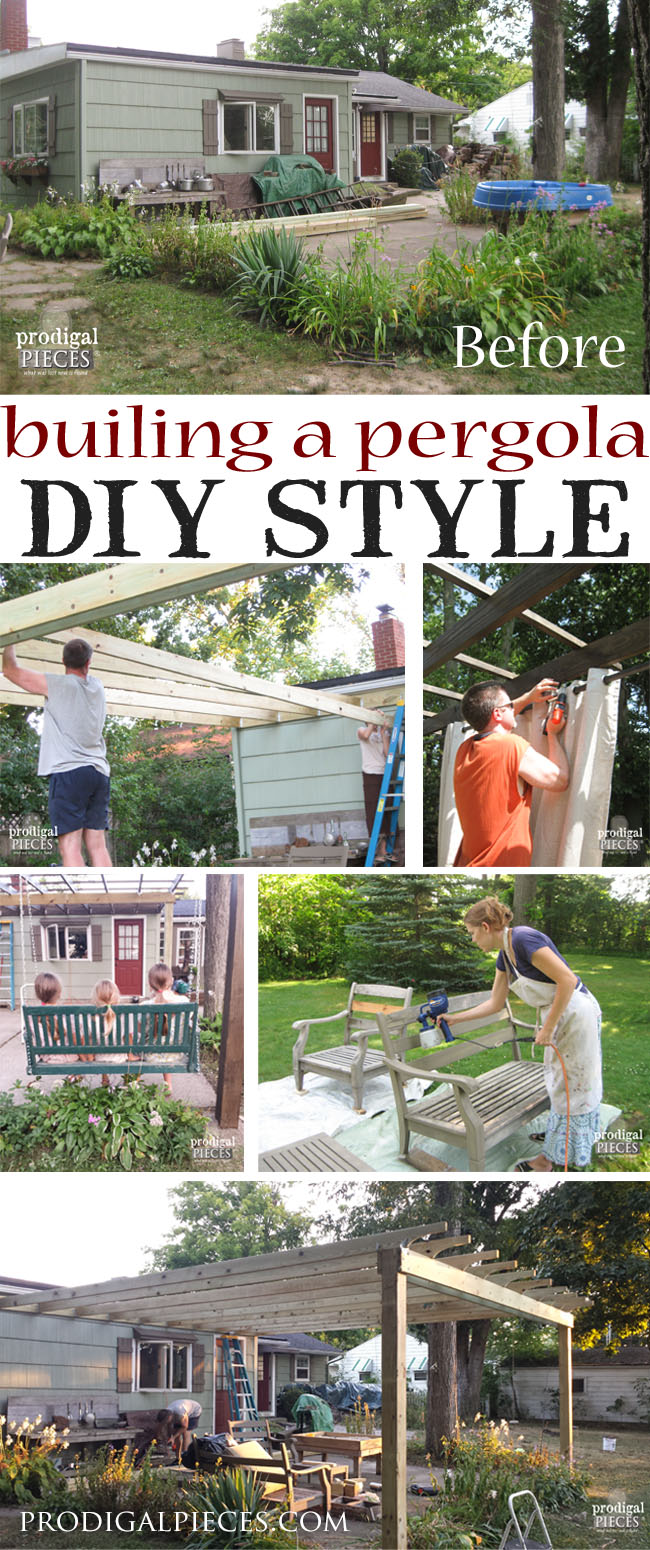
After deciding to pick out some curtains, we had planned to put up some posts and hang the curtains between them in the corner of our patio. Well, like I said, the story goes on…we went from posts to full-blown pergola. Oh yeah!
NEXT STEPS
*side note: We do plan to replace the sidewalk (damaged from a ginormous tree we had removed) and to have the patio elevated to close the crack, but the estimate for that was $800 and didn’t fit our budget. We plan to wait for the freeze and thaw of winter then get it done.
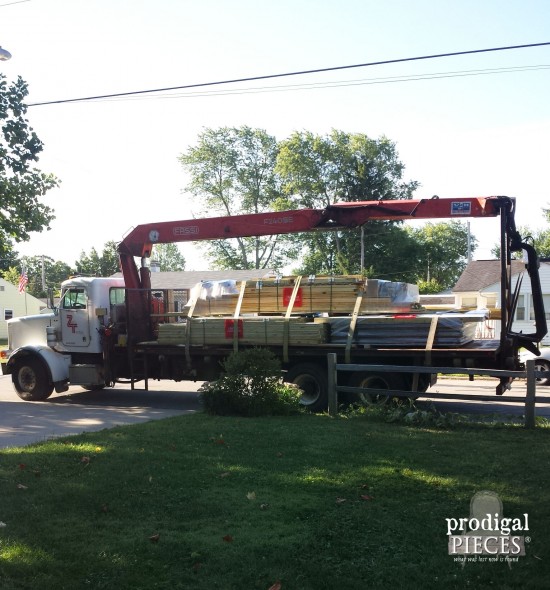
Just getting started with building the pergola had a bit of hurdles. Our head-banging experience with ordering lumber from Menards set us back (we will never use them again because this is the second time they’ve screwed up our lumber order and make no recompense to fix it). Finally, the lumber arrived late, but at least arrived, and we got started.
BUILDING
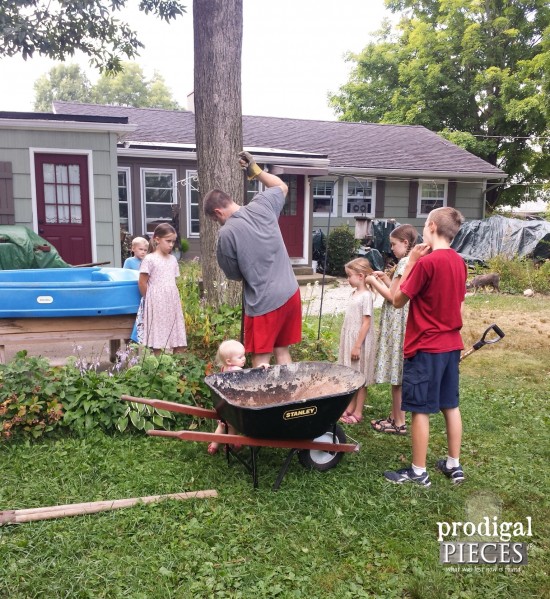
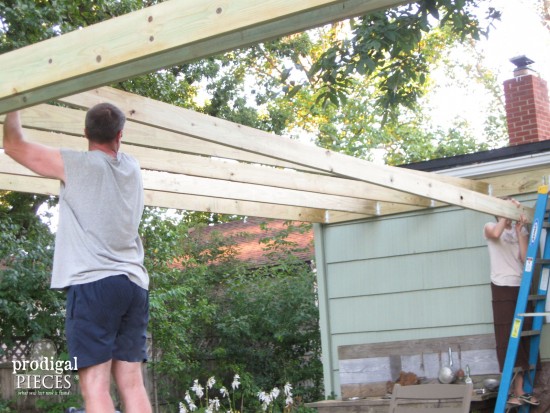
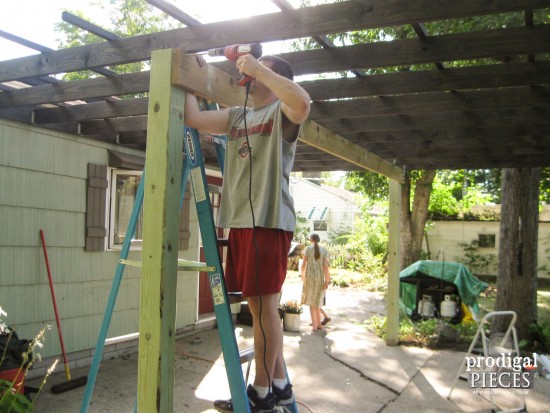
Our patio is roughly 18′ x 20′, and that is no small space at over 300 sq ft. This was no “let’s just paint the patio set” project anymore. wow. The whole family got into the patio makeover. We have been working our tails off to get this thing done.
A pergola is a simple build, but when custom orders come in for my shop, lumber delays, required overtime for my hubby comes along, it can slow things down. But…we are done.
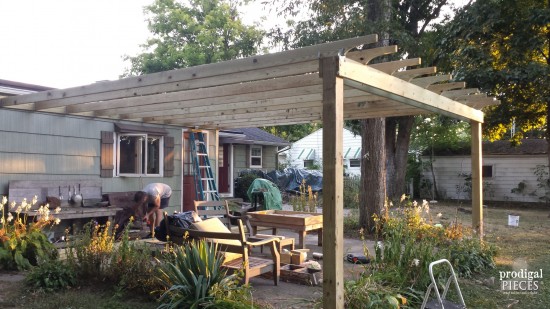
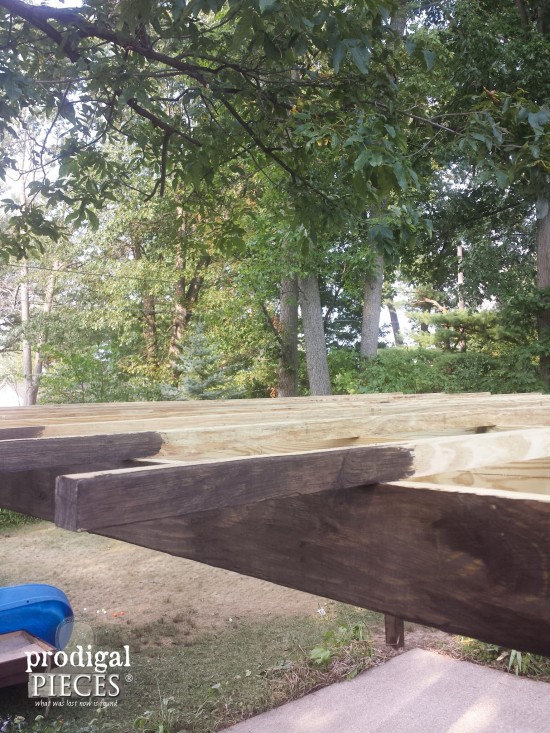
Here it is in rough form…still needs the grid slats on top and another header in the middle.
STAINING
Next, JC pressure-washes the patio, and I spend 10 hours up on a ladder staining. This was my view for about 3-4 days. Remember, I have 6 kiddos, so getting a large chunk of time to work is nearly impossible. Oh, and they all got sick while I was working on this, so time went v e r y s l o w….
I considered using my HomeRight Heavy Duty Paint Sprayer we used in our boys’ room, but since this was a lone job and I didn’t want to climb up and down to backbrush, I decided to just brush it out myself. whew.
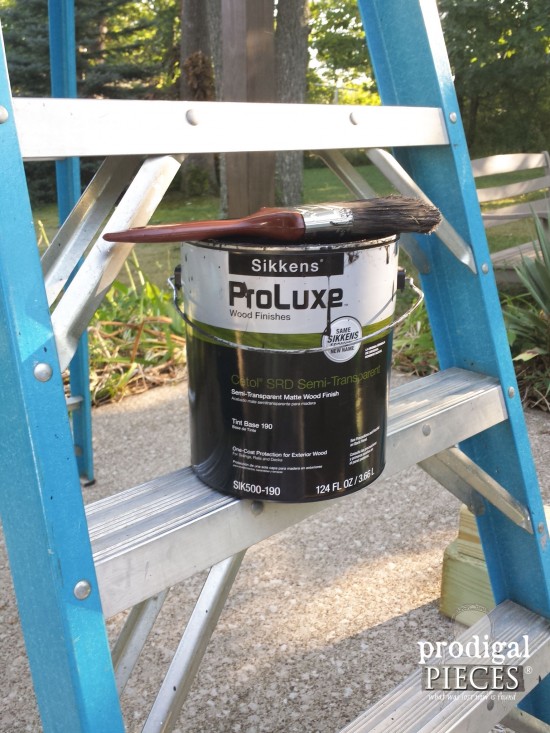
The stain of choice is Sikkens Proluxe in Oxford Brown. A rich, deep color that suited our rustic exterior. It went on easily and created such a lovely color.
Once the structure was up for our patio makeover, it was time to get to work on the extras, like the patio set that started all this. hee hee.
PAINTING
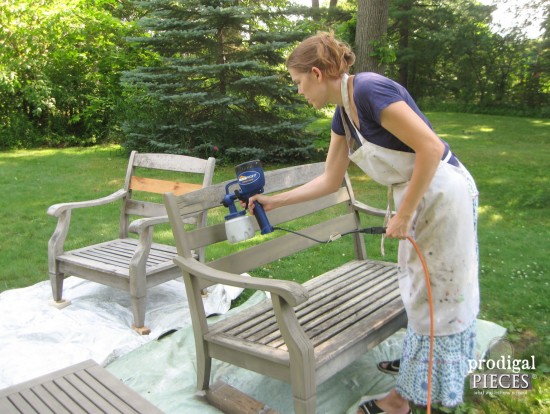
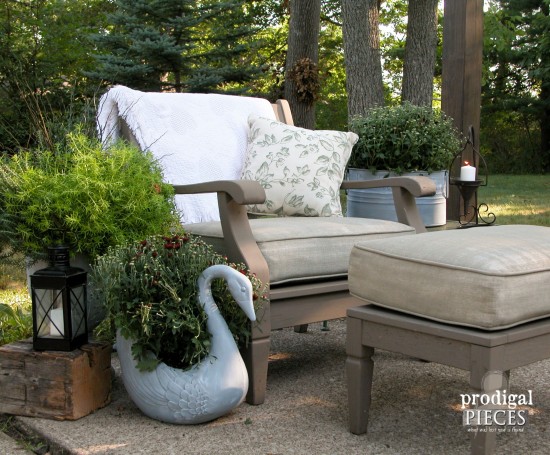
There was no way I was going to brush the set by hand, so I eagerly whipped out my HomeRight Finish Max Paint Sprayer, the one I’ve used several times on a dining set and a highchair. I had this set first coated in about 20 minutes. SCORE!!
My color choice was an exterior seconds paint I found a couple of years ago that I’ve used on our shutters and on our home. It’s a subtle taupe color that blends well with the outdoors.
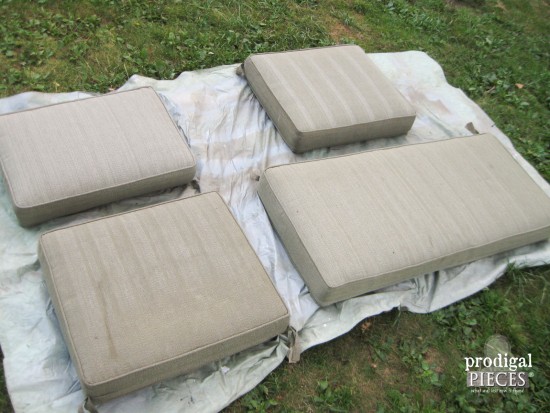
Now don’t laugh, but I also sprayed the cushions. They’re in sound condition, but had fading. We were given a free glider swing at one point that is really rough. I clean it up and spray paint the ENTIRE thing, including upholstery. It lasted until the day we SOLD it 5 years later. So of course I would do it again.
THE REVEAL
I went for another neutral beige color, gave each side a couple of coats, let cure, then sanded down with a bit of sand paper. You would never know the difference. Here’s a sneak peek from my last post how I’m creating the decor for our space.
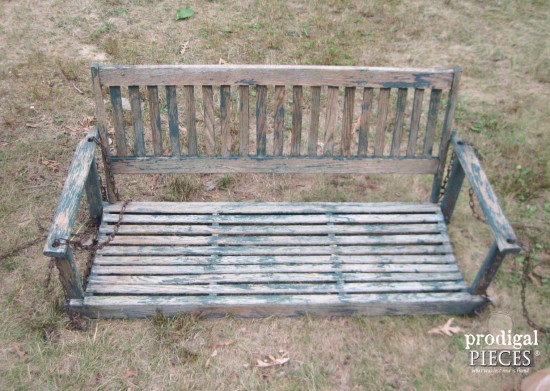
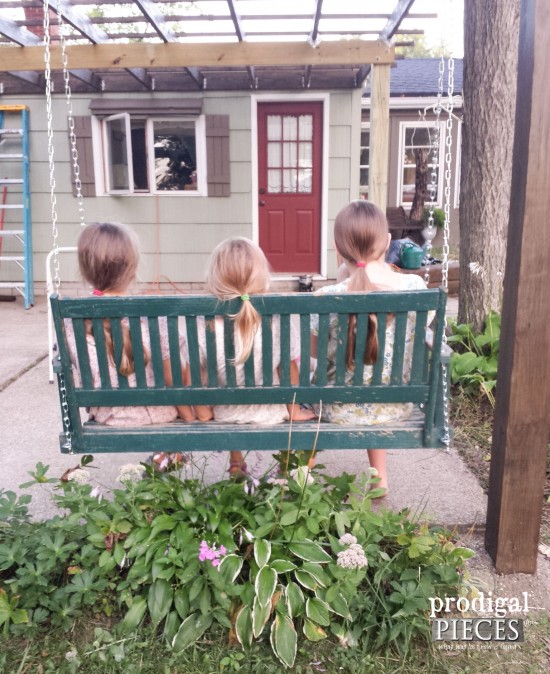
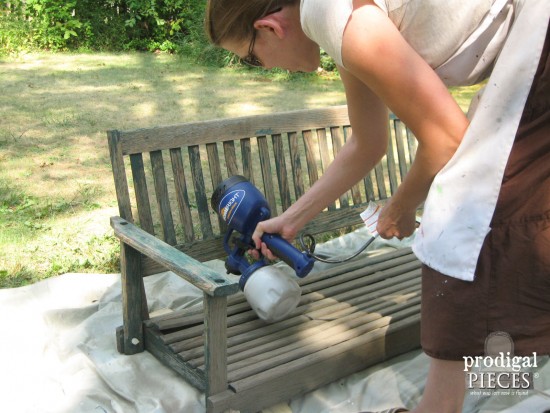
Next came the free porch swing my dad gave me about the same time as the patio set. It was originally green, but we gave it a good pressure washing, removed the rusty hardware and chains (I’m keeping those in my stash!!), and gave it a fresh coat with my sprayer too.
We gave it a dry run before painting and I can already tell this is going to be a sweet spot for everyone.
One coat done in 1o minutes…you can’t beat it!
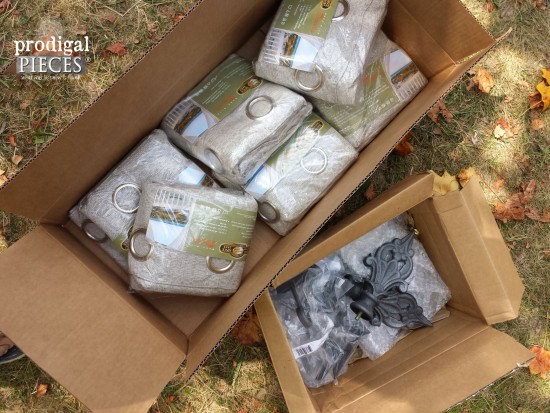
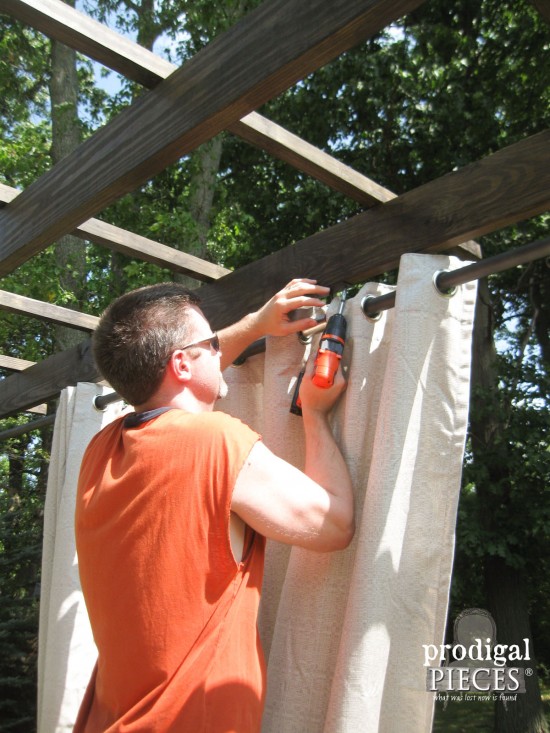
After that, it was time for the curtains and hardware. Just look at how gorgeous they are!
Easy install and functional right away. I’m lovin’ it.
One other addition that struck my brain was a coffee table. Not just any coffee table, but a funky one, of course.
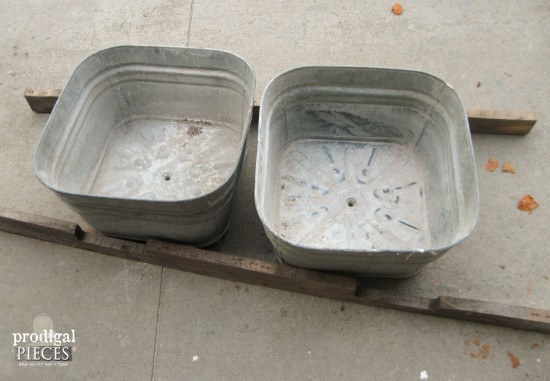
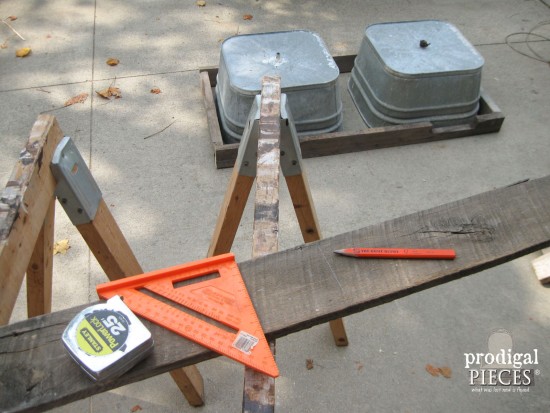
This pair of washtubs is from Craigslist and is perfect for something. Then, the idea struck me I ran with it…a coffee table with storage…and on casters! YIPPEE!!
WOOD STASH
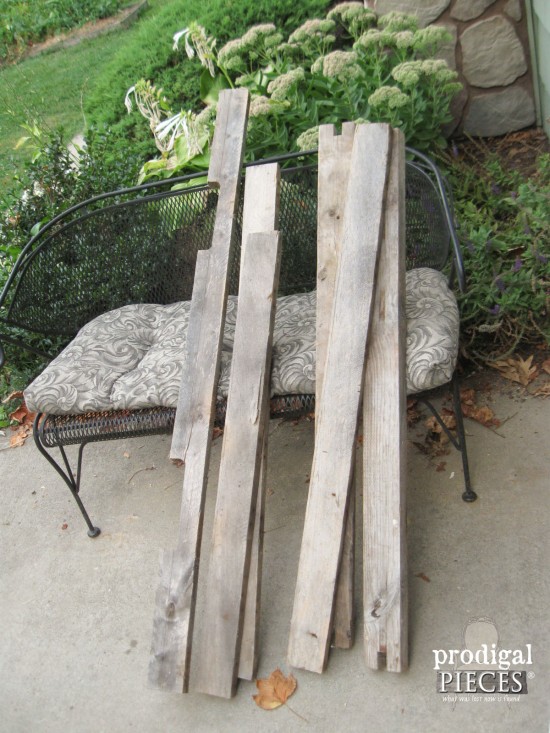
My stash had the most perfect pallet wood for this project…
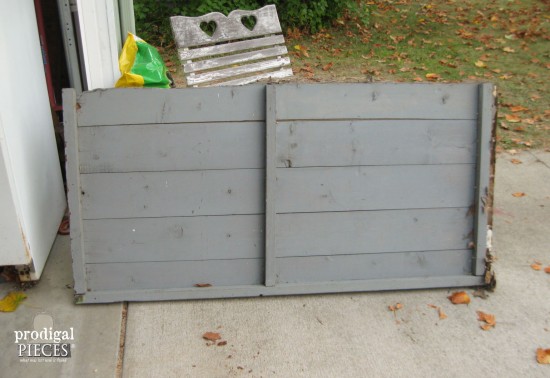
…and it dawned on me to make use of a side of our torn down trash bin I just couldn’t send to the dump. It’s been leaning on the side of our house for a year and I’ve used it as a photo backdrop, but now it will be my coffee table top. You’re seeing the back side here, the other is paneling.
MORE BUILDING
I got to be friends with our table saw again – I buzzed my fingers a couple of years ago, and have been nervous ever since, but this got me back in the saddle.
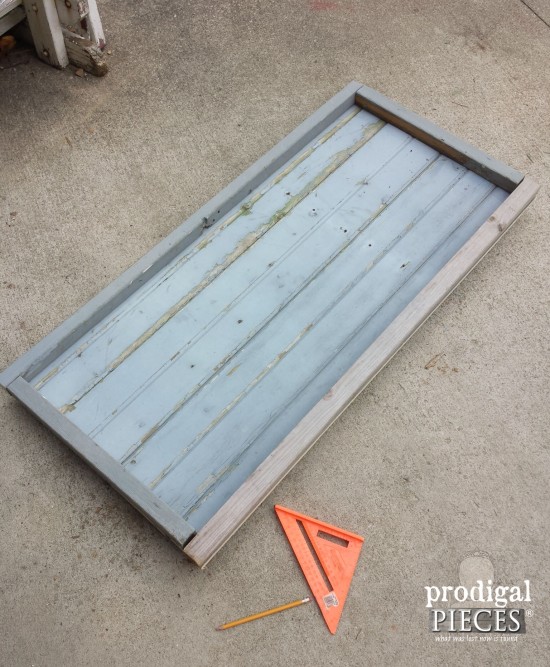
This is the bottom of my coffee table lid using the trash bin and rebuilt. Just needs a spine and some screws.
Also, my favorite tool, the Kreg Jig, was also my best friend. If only you could see inside my head at all the things I want to build with this thing. It makes it so easy!
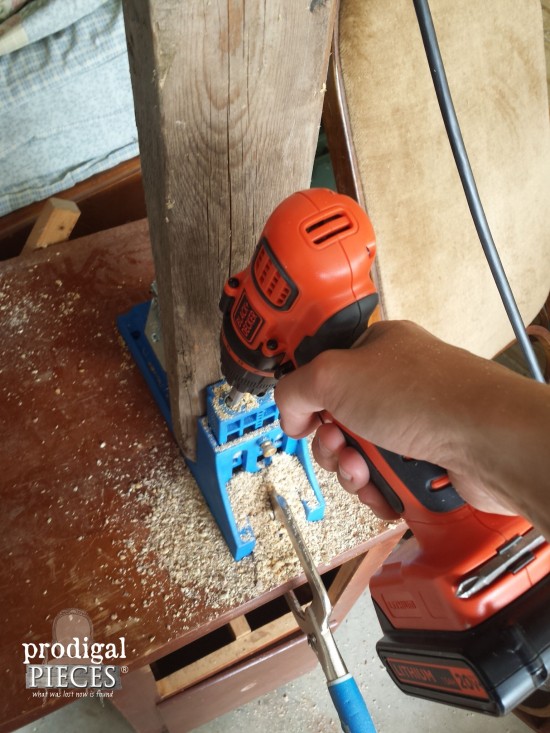
Don’t you love how I’m using a vanity to work? tsk. Gotta get my work table built…soon!
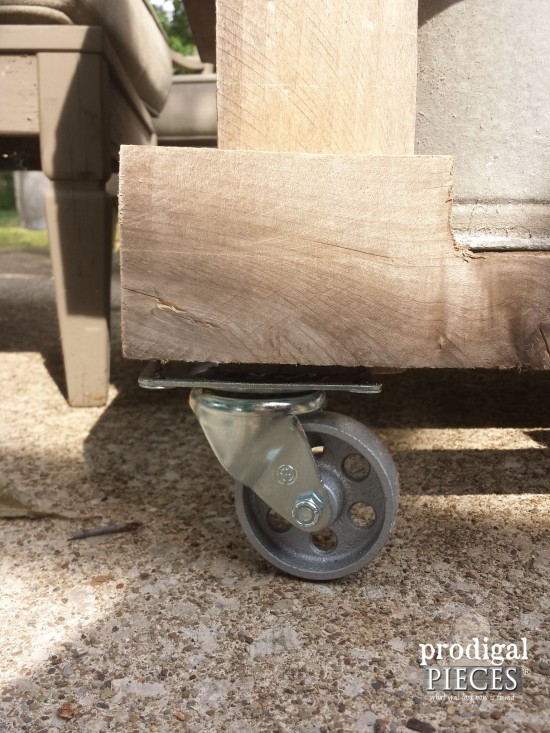
Here are my casters of choice…they’re rustic, industrial style and oh so perfect. ♥
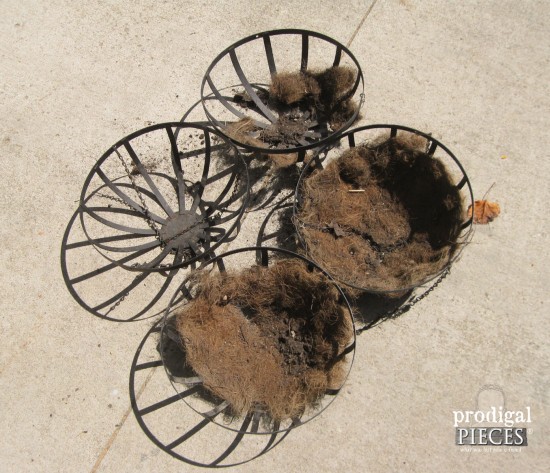
I can’t wait to show you it completed…not yet, but soon. We are also building a farmhouse table with benches and adding lighting. Then there’s the fun stuff, like these orb planters I scored for a dollar. Can you guess what I’ll be using them for?
My hope is that you’ve had fun seeing our patio transform. We want to encourage you to make use of random items to create your own unique space. ⇒ UPDATE: The final reveal of our patio makeover can be seen HERE!!
I’d love it if you’d share our patio makeover to inspire others too!
To get these DIY tips & tricks in your inbox, be sure to sign up for my newsletter. PLUS, you will get your FREE Furniture Buying Checklist and special discount to my shop. Until next time!
Also, more DIY goodness for you like our patio makeover:


I love what you have done so far. It is like a new addition to the house. This post is filled with a ton of good ideas.
It is. An outdoor space and it’s amazing how we are enjoying it already. So glad you enjoyed it!
Oh my goodness, I CANNOT WAIT to see the final reveal! The suspense is killing me! 🙂 LOVE the pergola.
hee hee. We don’t mean to tease, but just so much has been going on and to put it all in one post would be a book! 🙂 Thank you, Kimm.
Cant wait to see the finished result of all your efforts…I would love one of those paint sprayers maybe i can persuade my husband to get me one for christmas! That and a staple gun!
I can’t wait for the full reveal Larissa! I think I know what’s happening with those orb planters and if I’m right, they are going to be mahvelous dahling! Your patio is coming along beautifully.
I think you know me too well, girl. 😉
Very nice and I’m sure you will love being out there. You will make lots of memory with your children as they love to be outside. When my children were little, we lived on a small man made lake which had outlets with very little water in them and t hey would pack a lunch and go down to that area. They would watch tadpoles in the shallow water and watch ants make ant hills and probably did a lot of make believe. I wish children would do more of that these days but there is too much technology. I’ll bet your children love to be outside as you have a great back yard.
We are always outside and sort of dread the winter months. But, maybe we’ll be having a party in the winter now. 😉 So many memories from being together.
Eeee I love it! Can’t wait to see the full reveal! Everything just looks so relaxing and wonderful 🙂 Can I come over? 😉
We are so excited and are anxious to wrap up this project and share, Then have a party!! 😀 Come on over!
okay, i’m EXHAUSTED just reading about all you’ve accomplished! it looks fantastic! one question – why did you NOT coat the beams BEFORE assembling them? i’m guessing those hanging baskets you scored for $1 are going to be lights? LOVE, LOVE, LOVE all your ideas AND that you get them done! (p.s. such a cute photo of the ponytails and porch swing- hey, i think those could be lyrics in a song!)
Hahaha…we didn’t stain before because we would need an enormous amount of space and have to only stain one side at a time. THAT would be a headache worse than the other. Thank you for the love!
Love how it’s coming along. What a great extended space:)
Thank you! We love how it seems to really enlarge our home space and family space too. We can’t wait to wrap up this project and enjoy.