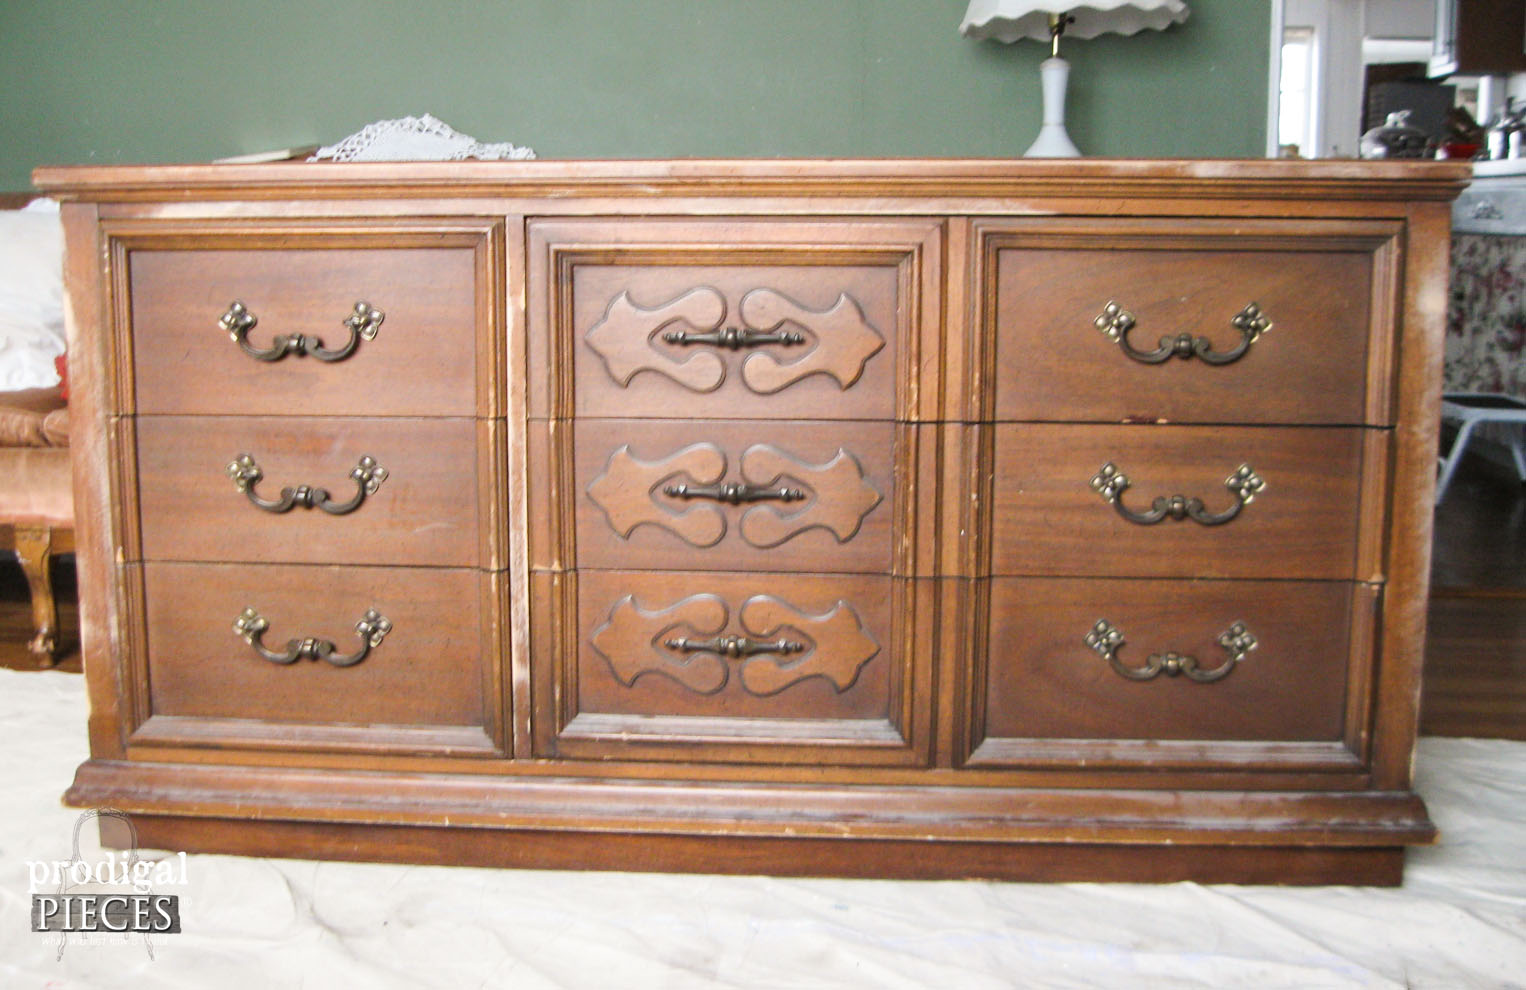
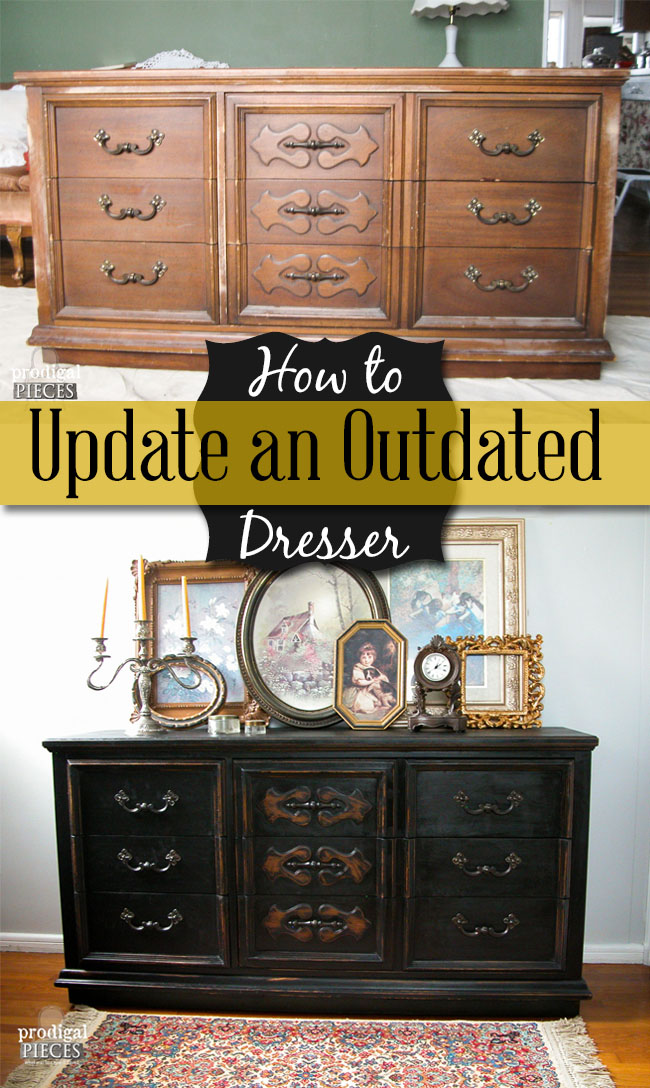
It’s been a while since I’ve worked on a larger piece of furniture, so it feels good to get back in the saddle again. Often when my husband is making a delivery to cities that are an hour or so away, I always jump on Craigslist to see if there is something in the same area that would be a candidate for a makeover. While delivering the settee I just finished, I had him pick up this Mid-Century dresser. I thought this piece would be a perfect candidate to show you how to update furniture in a few easy steps.
This dresser is as solid as they come with a stout design, sturdy dove-tailed drawers, and ornate details. I like the design of this one because it appears to have nine drawers, but actually only has six. Plenty of storage and space in there. The only thing wrong with it was that the finish had been worn (that 1960’s speckled veneer-type finish), and an update would do this brown beast justice.
DIY TIME
To prepare the dresser, lightly sand the cabinet with an orbital sander to give it tooth for the paint to adhere. Then wipe it down with damp cloth and let dry. My dresser needed some wood filler placed where the veneer had chipped, so I repaired and sanded smooth.
Although you could replace these pulls, I saw no need to because they’re solid brass. I strive to keep the originals with the piece because, who knows…one day someone will want to restore it to its original state or at least try (I think the paint furniture wave will wane at some point). How do I know the pulls are brass? Grab a magnet and see. If there is very little to no magnetism, then it’s brass. If it’s magnetic, then it is brass plated. You just don’t find them like this anymore.
PAINT TIME
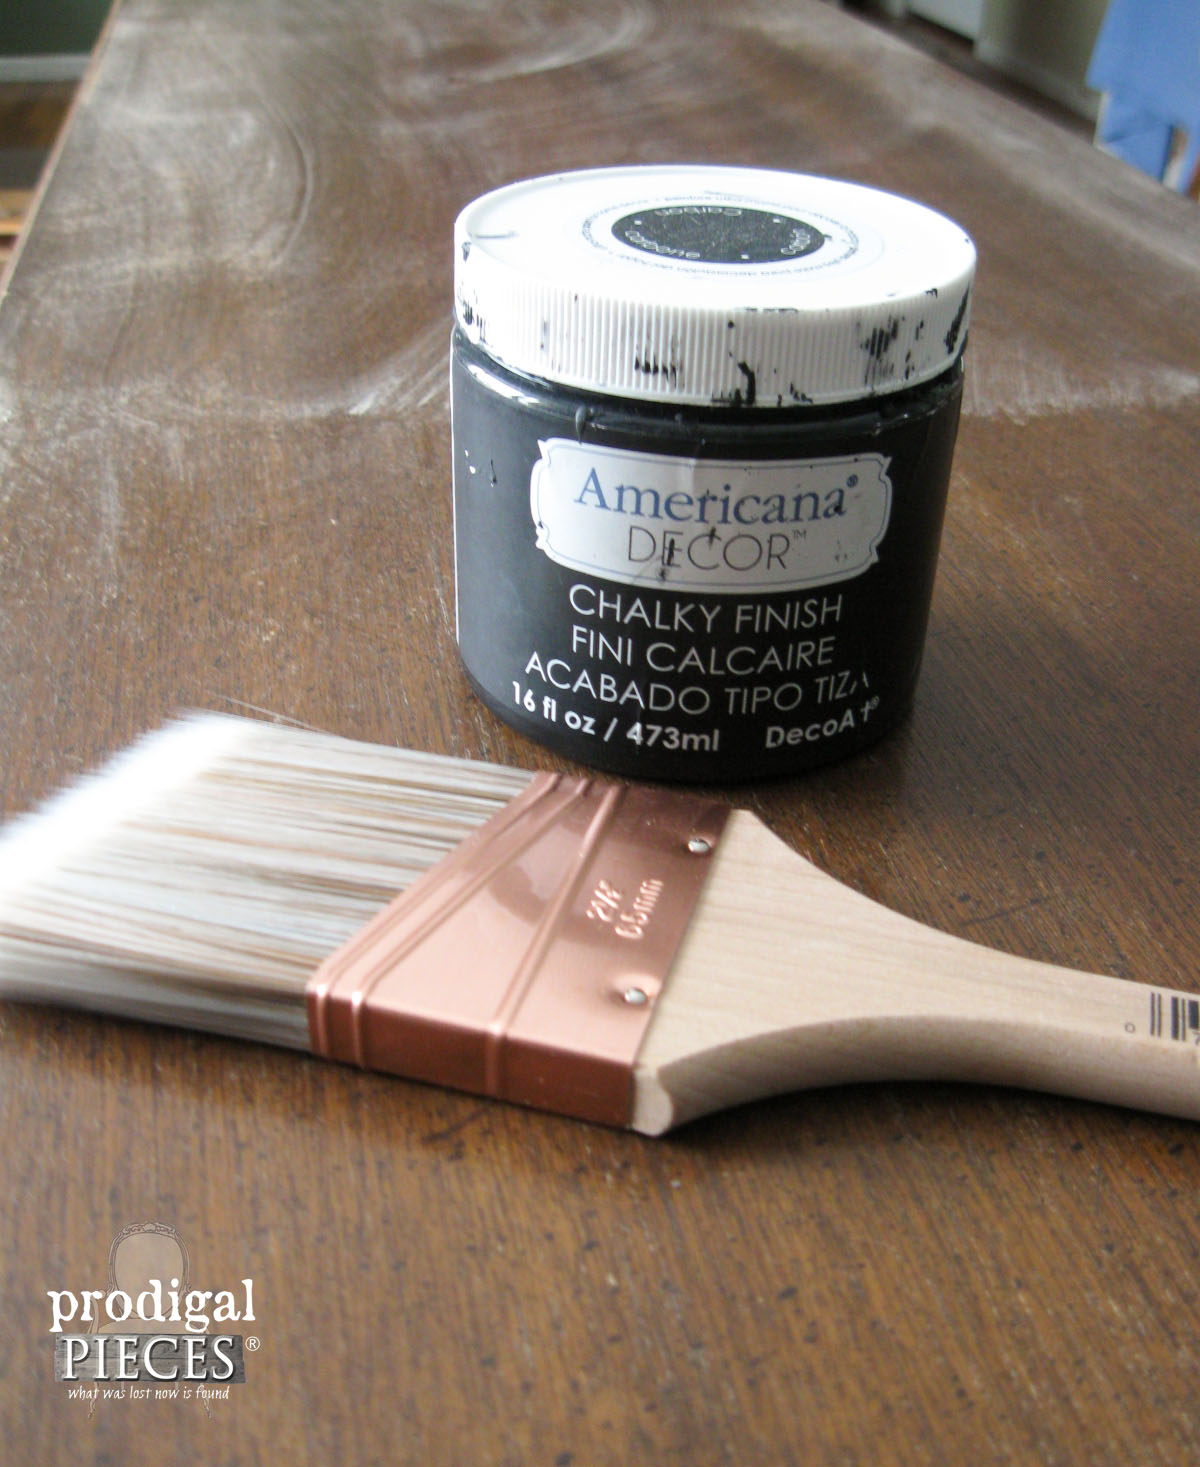
When I acquire a new piece, I let it speak to me. How will it be used? What features does it showcase? How can I let the era come out in true form? This particular dresser seemed majestic to me and I decided it would get a rustic, elegant look. What’s better than a little black dress, right? I chose DecoArt Carbon Chalky Finish paint for the project. My daughter used it in her dresser makeover, and it was a hit.
This paint is easy to work with. It goes on evenly, and creates a timeless flat finish. I could have used a gloss, semi-gloss, or satin, but I wanted an aged feel with heavy distressing and a flat paint is the best choice for that effect.
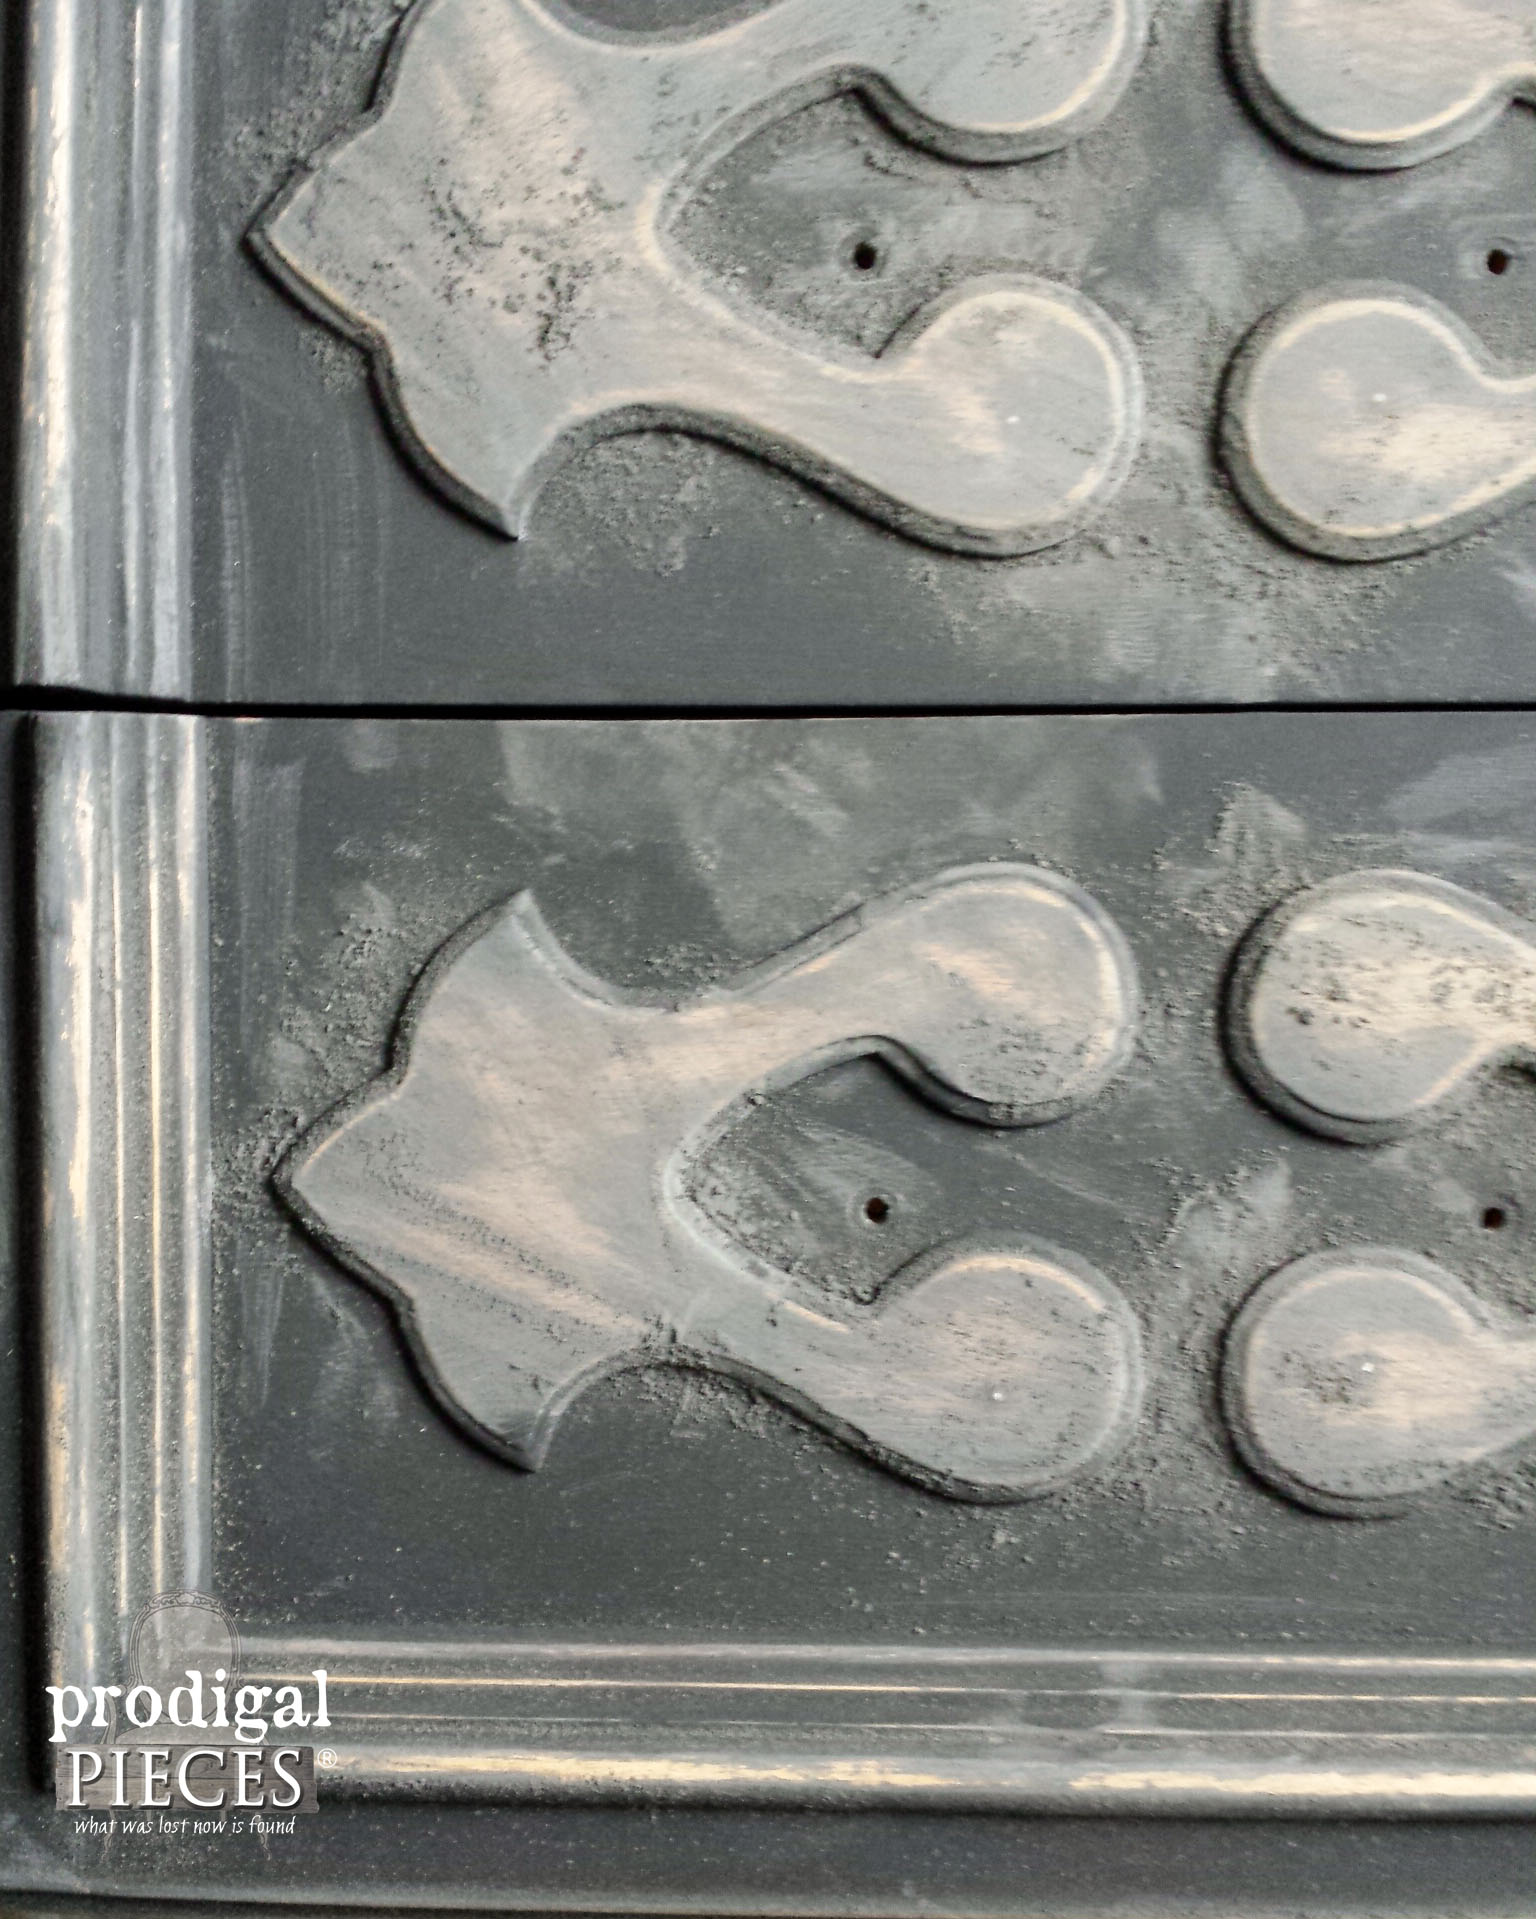
TIME-WORN
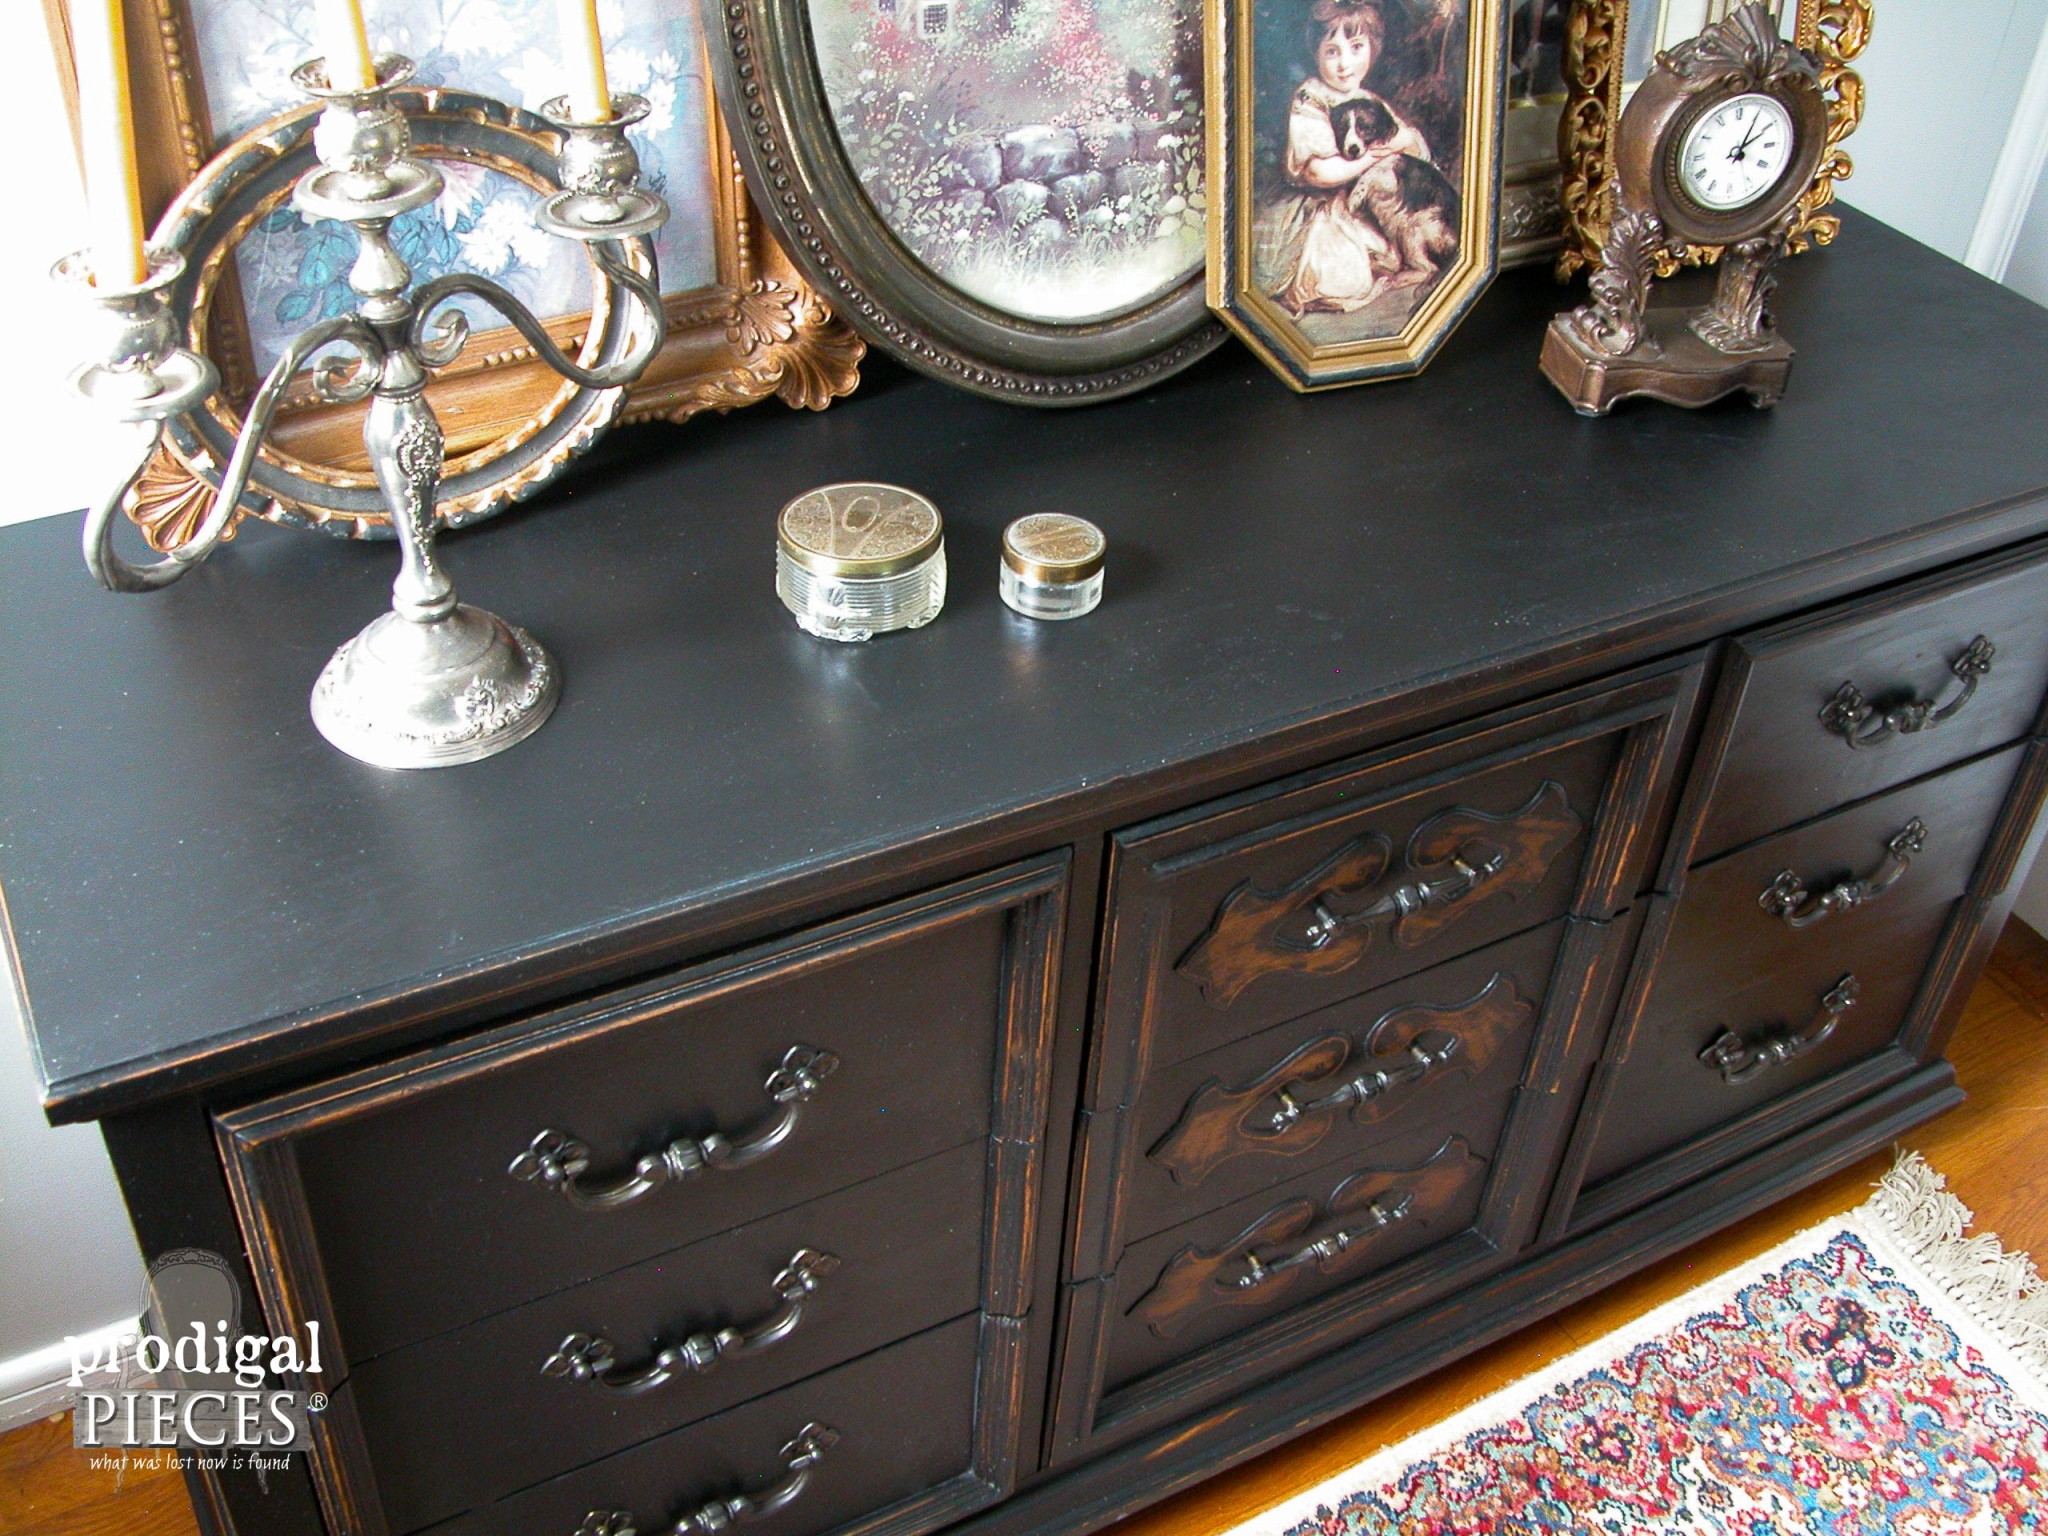
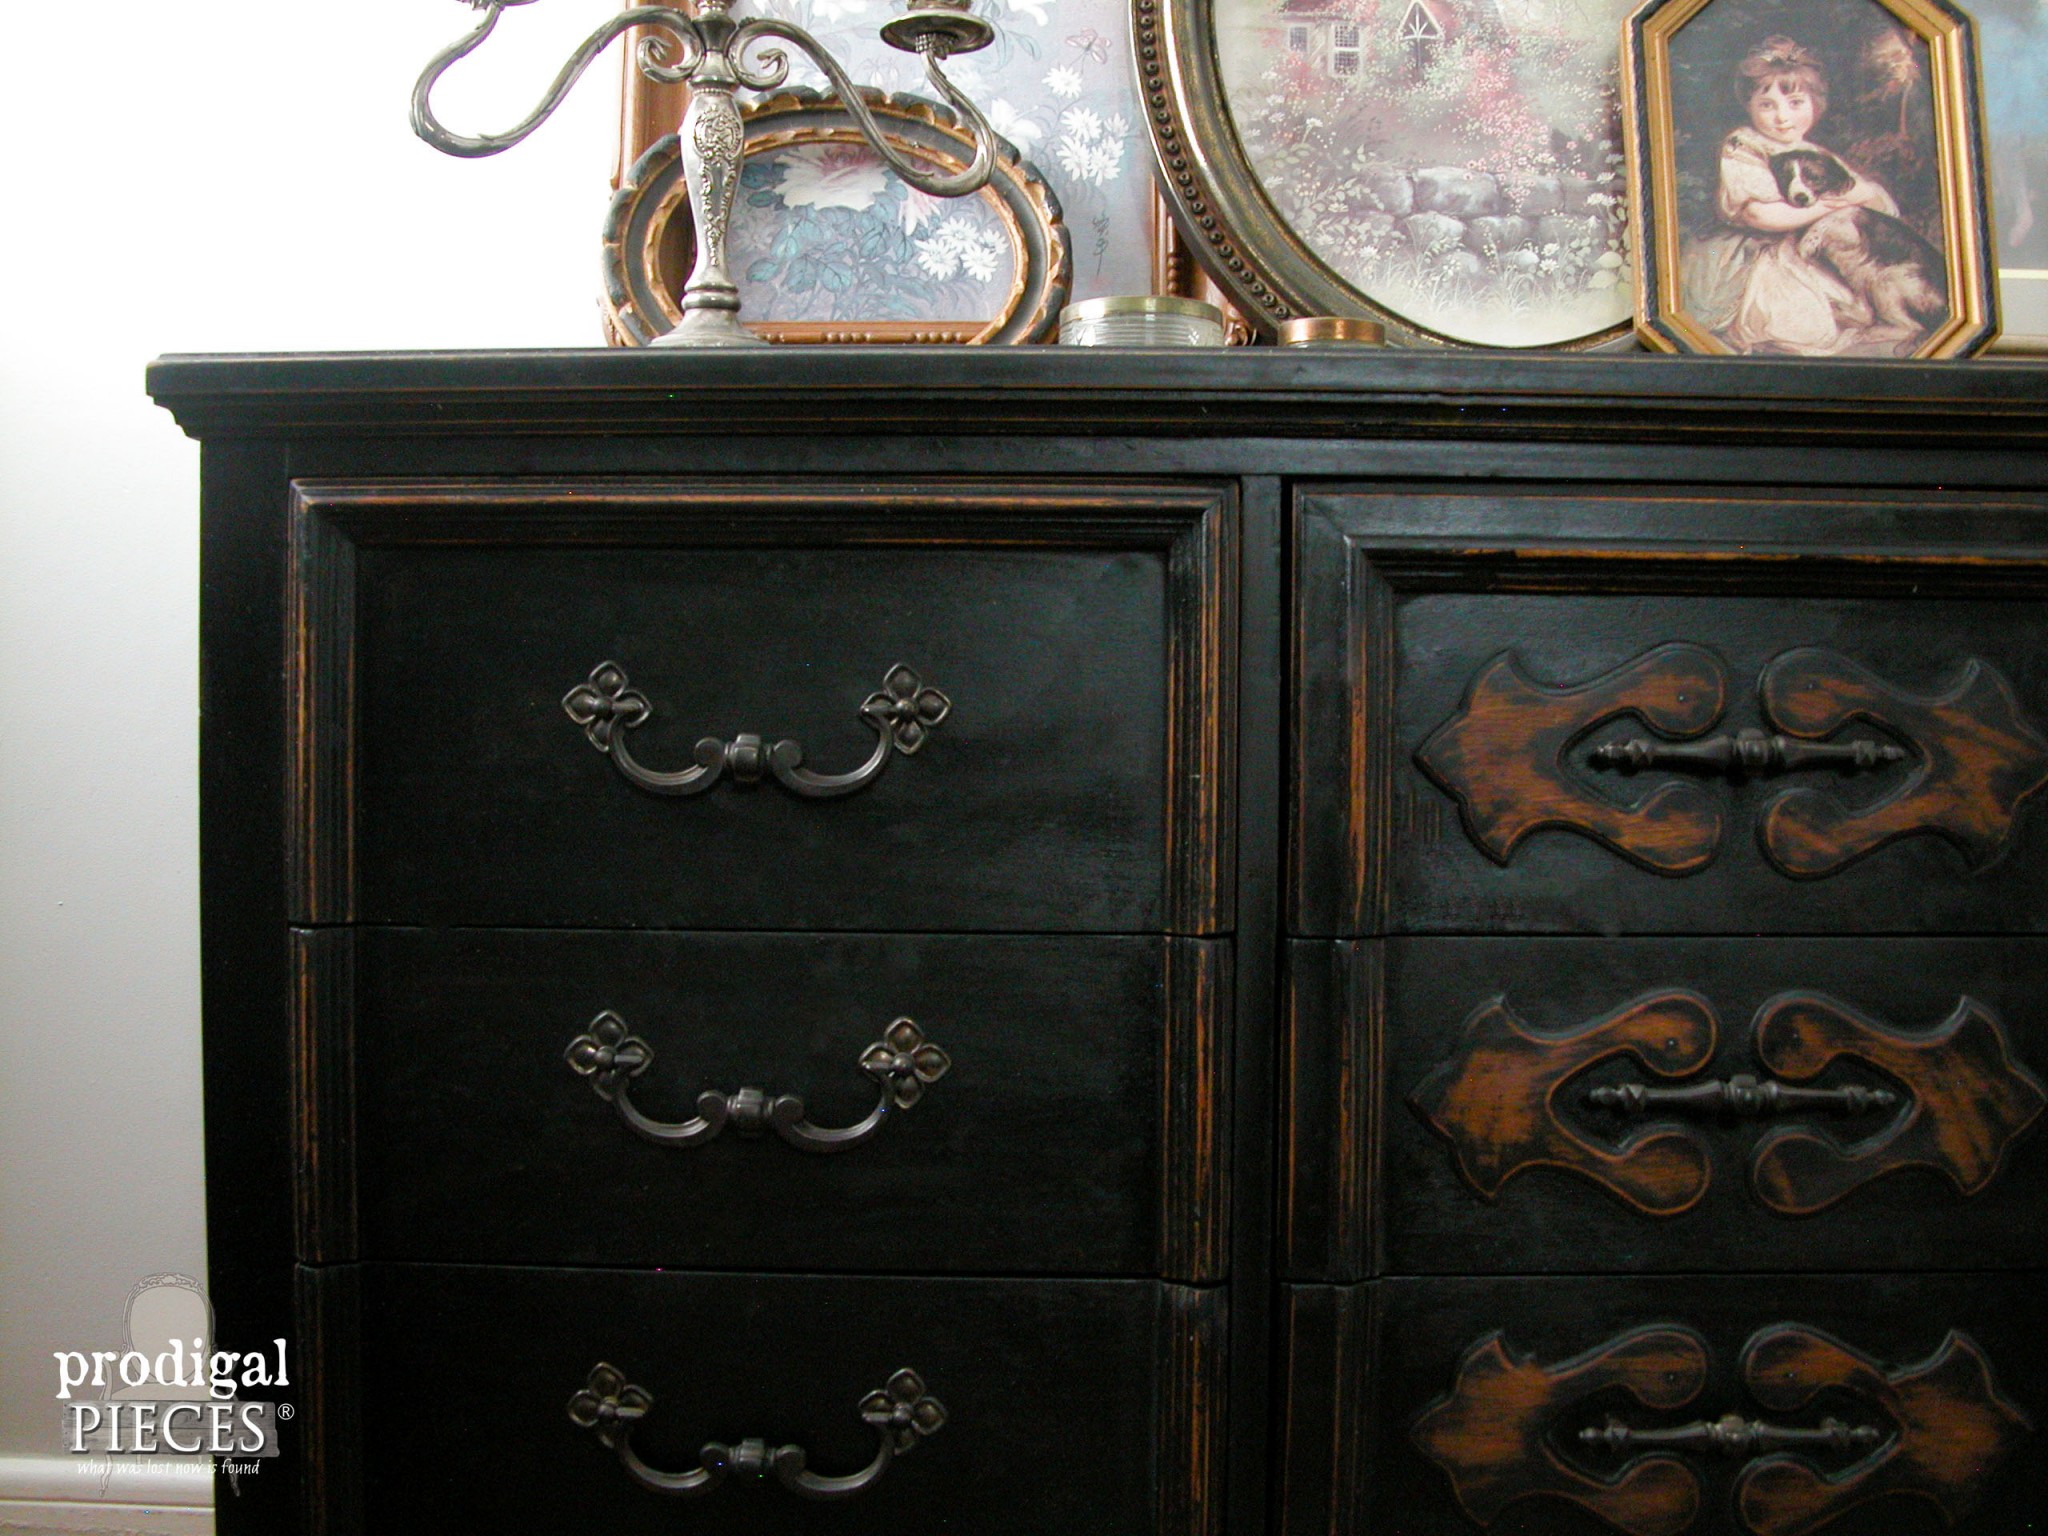
Because I wanted intentional wear, I used a piece of 150 grit sandpaper. You can do as little or as much as you want. Typically, when I sand, I like to make the wear look aged, (ie. only in places normal wear would occur), but in this case I wanted the carved accents to pop so I hit those the hardest.
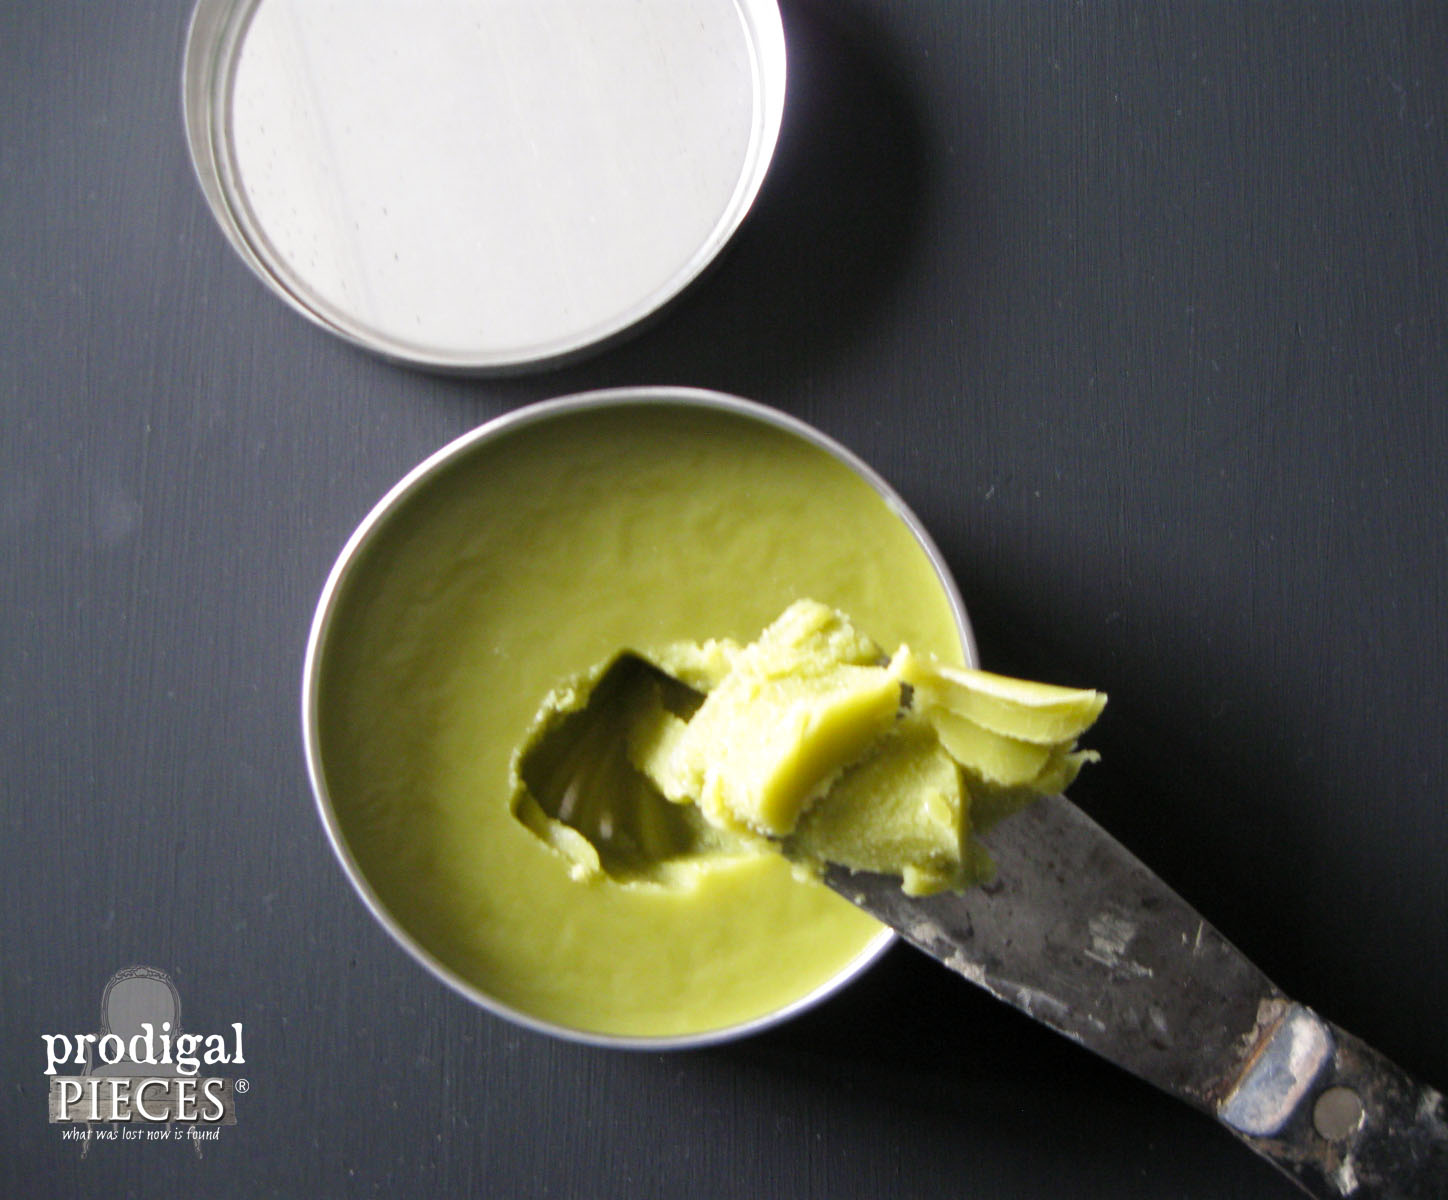
Since it is a flat paint, the dresser will need a topcoat to give it longevity. Back in the summer, I announced I finally got my recipe made for my own furniture wax and I have been using it ever since. Many have asked for the recipe, but I am hoping to make this available once I get it to where I like it.
You may ask, “Why wax?” A poly topcoat would be a perfect choice if you want more of a shimmer and longer lasting protection. Though wax gives wonderful protection, it will need replenished over time. I love the soft glow it gives that speaks of days gone by AND it is non-toxic, made of organic materials.
NEXT STEPS
Sometimes using what’s available is the easiest way to update furniture. Since I wanted to keep the pulls as close to the original as possible as I have a thing against painting good brass. Yup, I’m nutty like that because they are a true metal to be appreciated. To update these pulls, I could have used Bar Keepers Friend® to polish them up, but I wanted to deepen and age the color instead. My go-to for that effect is Rub N Buff – a wax that comes in all sorts of finishes and creates a wonderful luster and can be used in numerous applications. I chose Ebony, like I used in the dresser makeover for my sister-in-law.
See the difference from the waxed one on the left and original on the right? I just used a tiny amount on a toothbrush, then buffed after application with a soft cloth. Easy!
THE REVEAL
After that, it’s just a matter of putting it all back together.
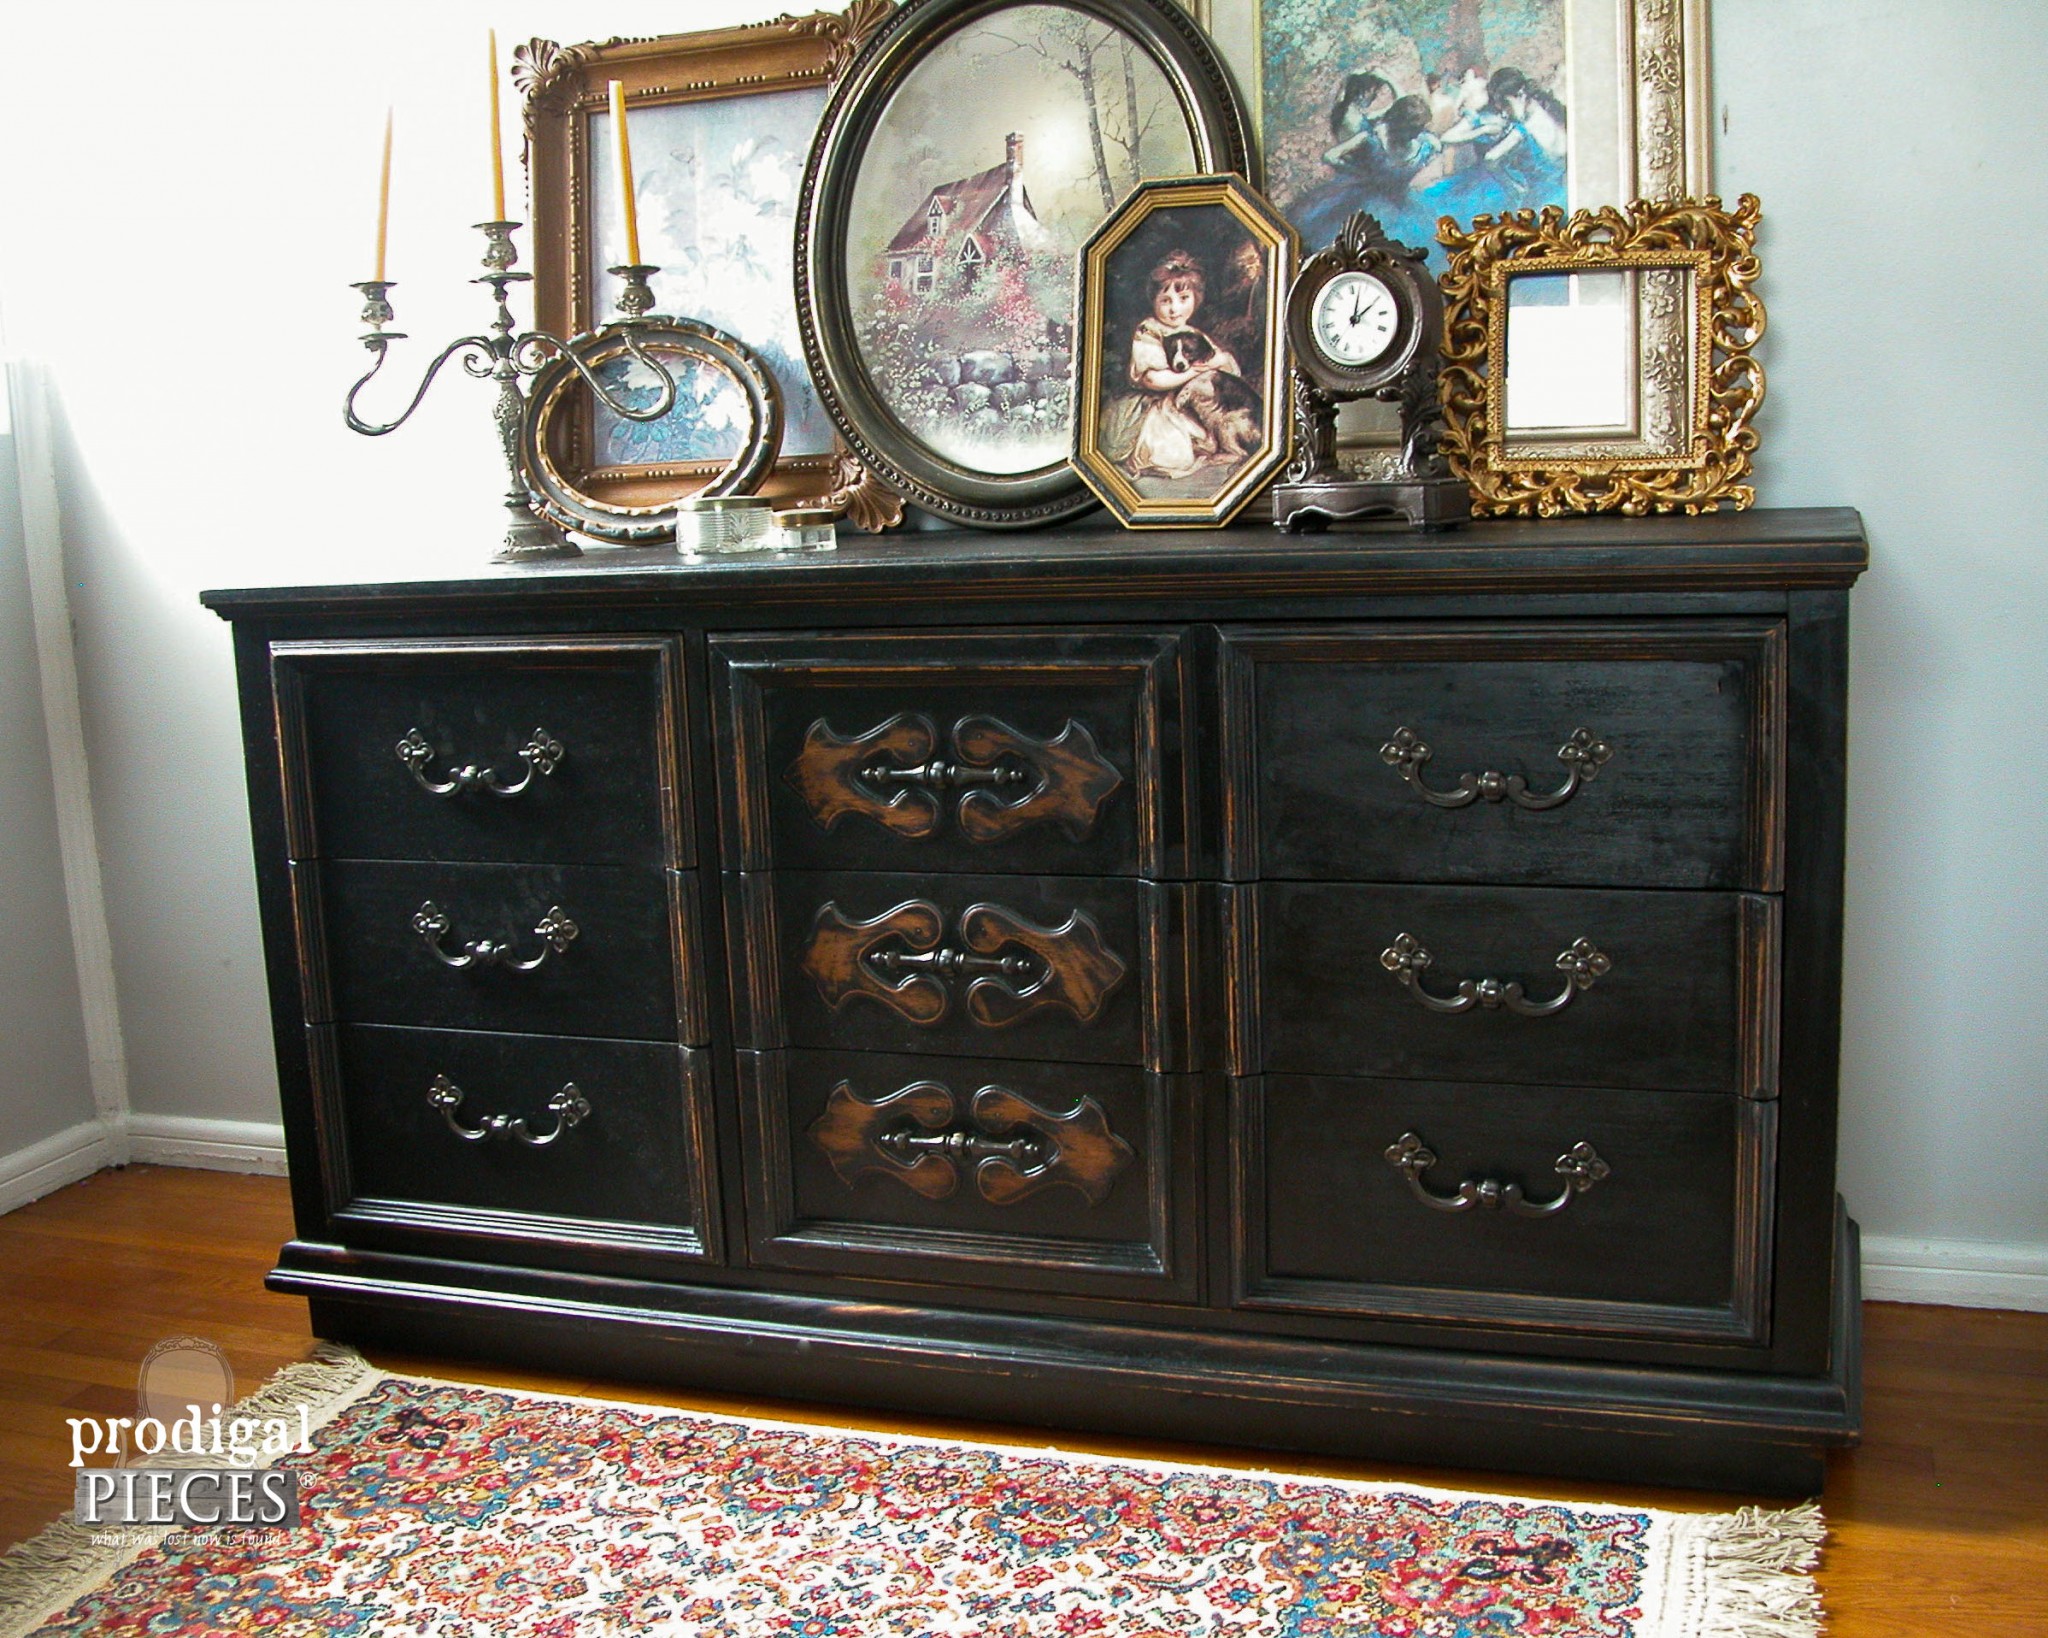
Now isn’t that better? The finish is true to its form and era – I love it! I am very pleased with this finish and excited to be offering it in my shop (SOLD).
Can you tell I have a thing for ornate pretties? hee hee hee.
The drawer pulls are classic in design and style and add a rustic touch to this piece.
I hope this inspired you on how to update an outdated dresser. Take a second look at your own furniture, or those worn-out pieces you see in thrift stores, flea markets, and at garage and estate sales. There might be a gem in there!
SHARE
While you’re at it, also pin and share to inspire others to try to update furniture too! ♥
Later on this week is Themed Furniture Makeover and the theme for this month is Shades of White. Come see HERE.
So tell me…how do you like to update furniture?
Before you go, be sure to sign up for my newsletter. Until next time!





Wow! Your vision for a rustic elegance is perfectly realized in this piece. It looks like a gorgeous and expensive antique. Anyone can paint a dresser, but you, my friend, are an artist!
Beautiful!!
I have a decorator question when a wreath says 26 inch diameter does thatt mean width?
Decircsteaks has a 26 inch cotton wreath and that seems huge. Thank you
Thanks! When it says 26″ that how wide it is. Hope that helps!
You made me giggle, Kimm. I had fun and so happy it came out as I had envisioned. Thanks!
Another work of art! Fabulous!
Woot! Thank you so much, Ellen. I had fun!
Ohhh, I love that paint. I am a big fan of black paint and this one obviously has done the trick. I love the way you have distressed this piece. And I agree with everything Kimm above said. 😉
You can’t go wrong with it, right? 😉 Thank you so much, Mary!
Ditto to the above comments. Since you say you let items “speak” to you, let’s just say you “listen” very well! Another winner in my book! I read once that every room should have a little black in it to anchor the room and also to define all the other colors. Black used to remind me of the cold, modern look common in the ’90’s. Now I embrace it more. Old antiques are often painted black and when they are slightly distressed like this dresser they are just perfect! Fun to start the day seeing another example of your handiwork, Larissa!
The dark just seems to make them so dramatic. I love it! Thank you, Sarah!
larissa you have such amazing style!great craftsmanship!! i hope you will write a book or teach classes one day! xo
Oh boy, when time allows, girlfriend! Thank you for the love.
Drama! Looks pretty monumental! 🙂
hahaha…awesome!!
It’s beautiful Larissa! I just love it painted black and the distressing to reveal some of the wood underneath is perfect. Same with adding ebony Rub n Buff to the hardware – totally updated the look.
Black is so classic and it was just begging to be changed up. Thank you so much for your wonderful support, Marie.
Oh my goodness I love this so much! Another beautiful update Larissa!
aww…thank you so much, Lori!
love your work larissa have done bit of furniture up myself but nothing compared to yours thks for all your posts keep them coming 🙂 .. fan in manchester england !!
You are so sweet to stop by and say Hello. Thank you!
LOVE LOVE LOVE LOVE Gorgeous update — that dresser speaks to me, but I see it is SOLD — that’s great for you, but I can dream!! More awesomeness from you!!!
You’re so fun, Marti! Thank you for the sweet words. 🙂