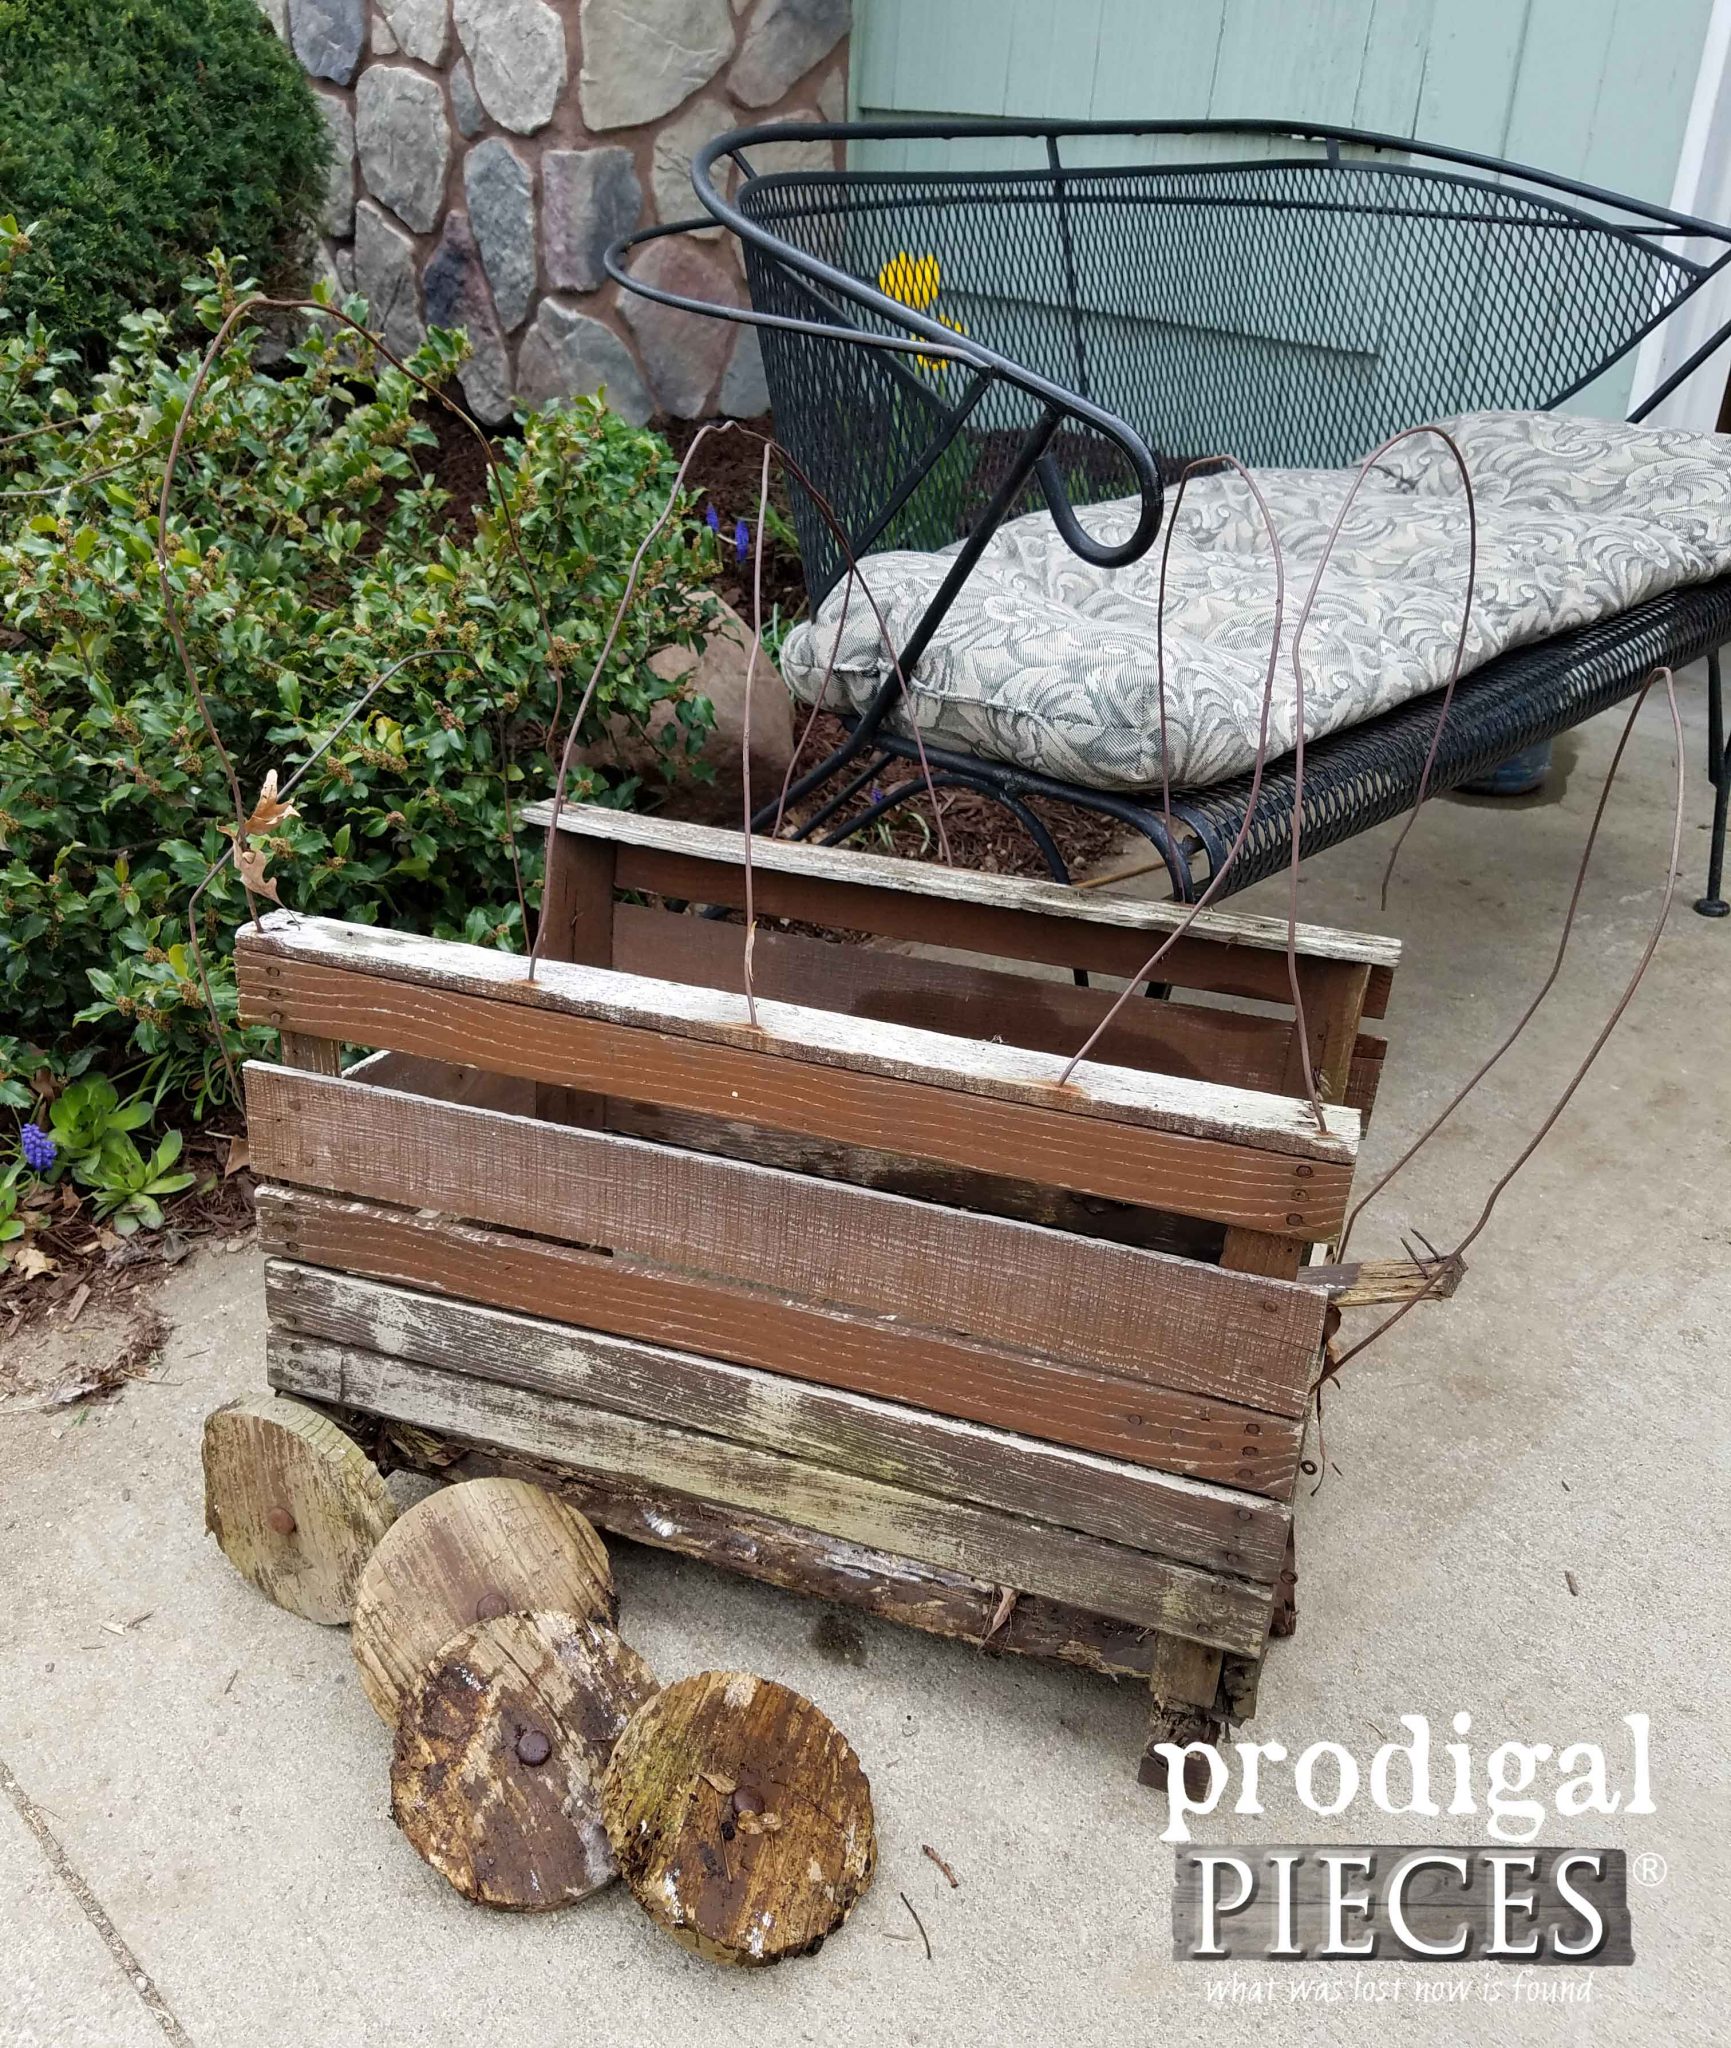
It’s truly a sad day when you actually have to throw something cherished away. This was one of my first every #trashure finds on my very first city cleanup haul. You’re probably like…what is it?? ha! It was a broken-down Conestoga wagon replica that has seen better days. Honestly, I hated to say goodbye to this thing, but instead of goodbye it was time for new. Let me show you how I re-created this by building my own DIY crate wagon.
You should have seen my family’s when I brought this home over 4 years ago. He was of the mind I should have left it there. meh. It was still intact and chippy good with rusted bliss. How could I leave it there? I think some will never full understand me and that’s okay because that translates to MORE FOR ME!
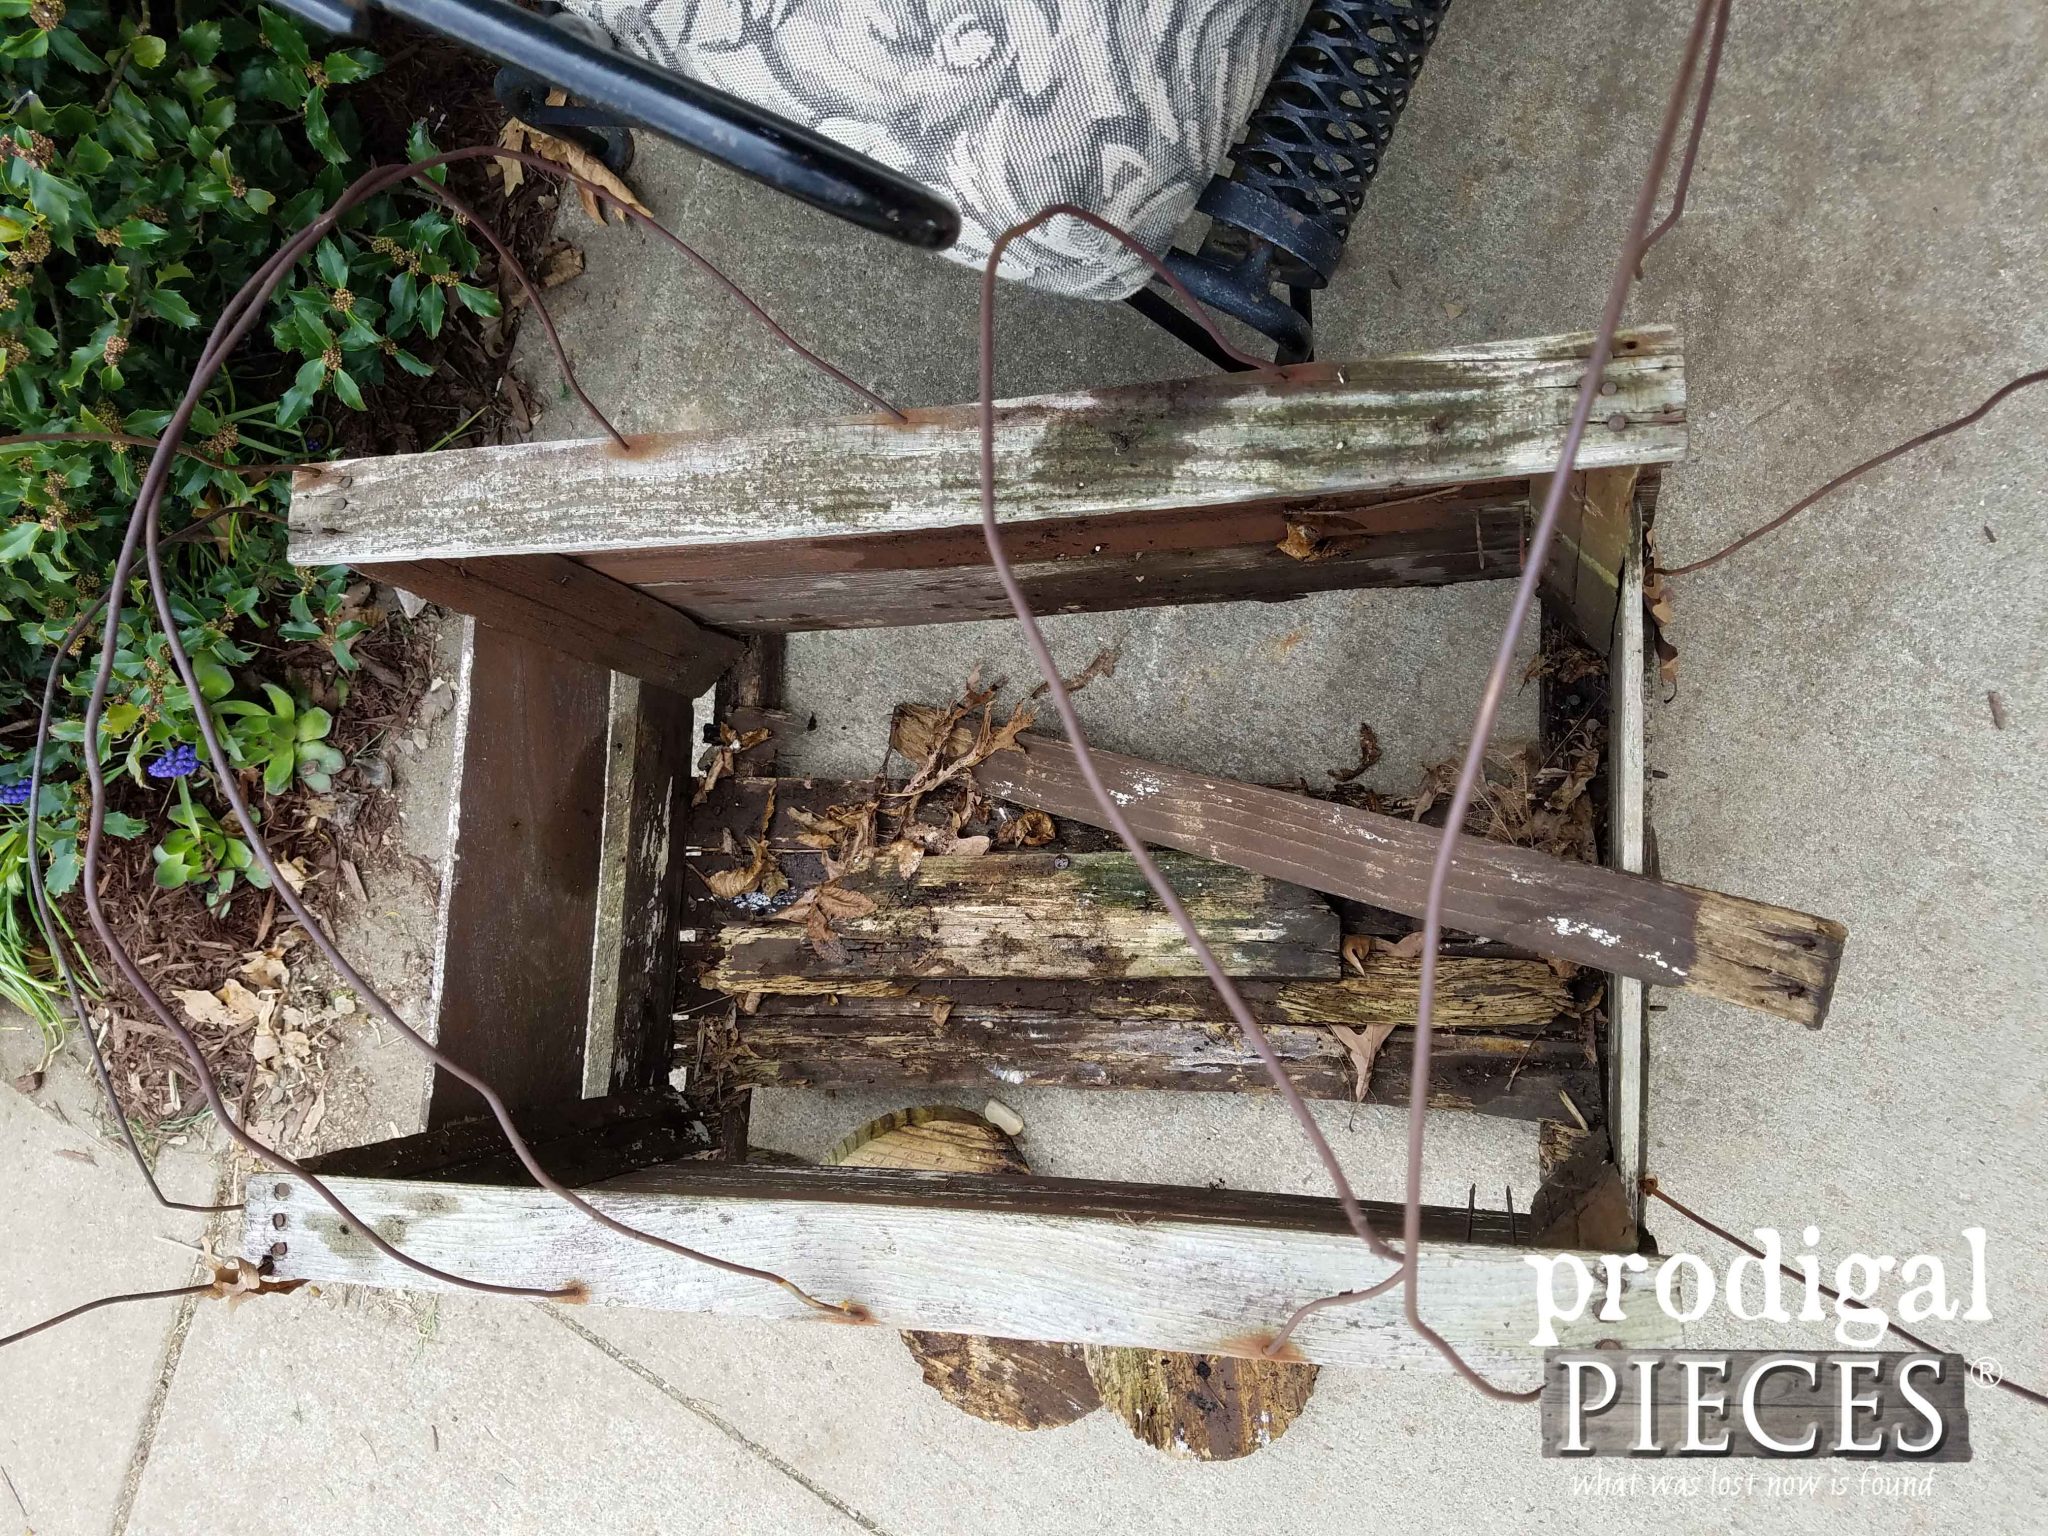
ROTTEN
So, as you can see my little wagon saw many brutal Ohio winters and hot summers and it was looking, well…blucky. However, I reminisced of the days my little wagon was filled with potted flowers and had ivy growing up the metal spines. sniff.
DIY TIME
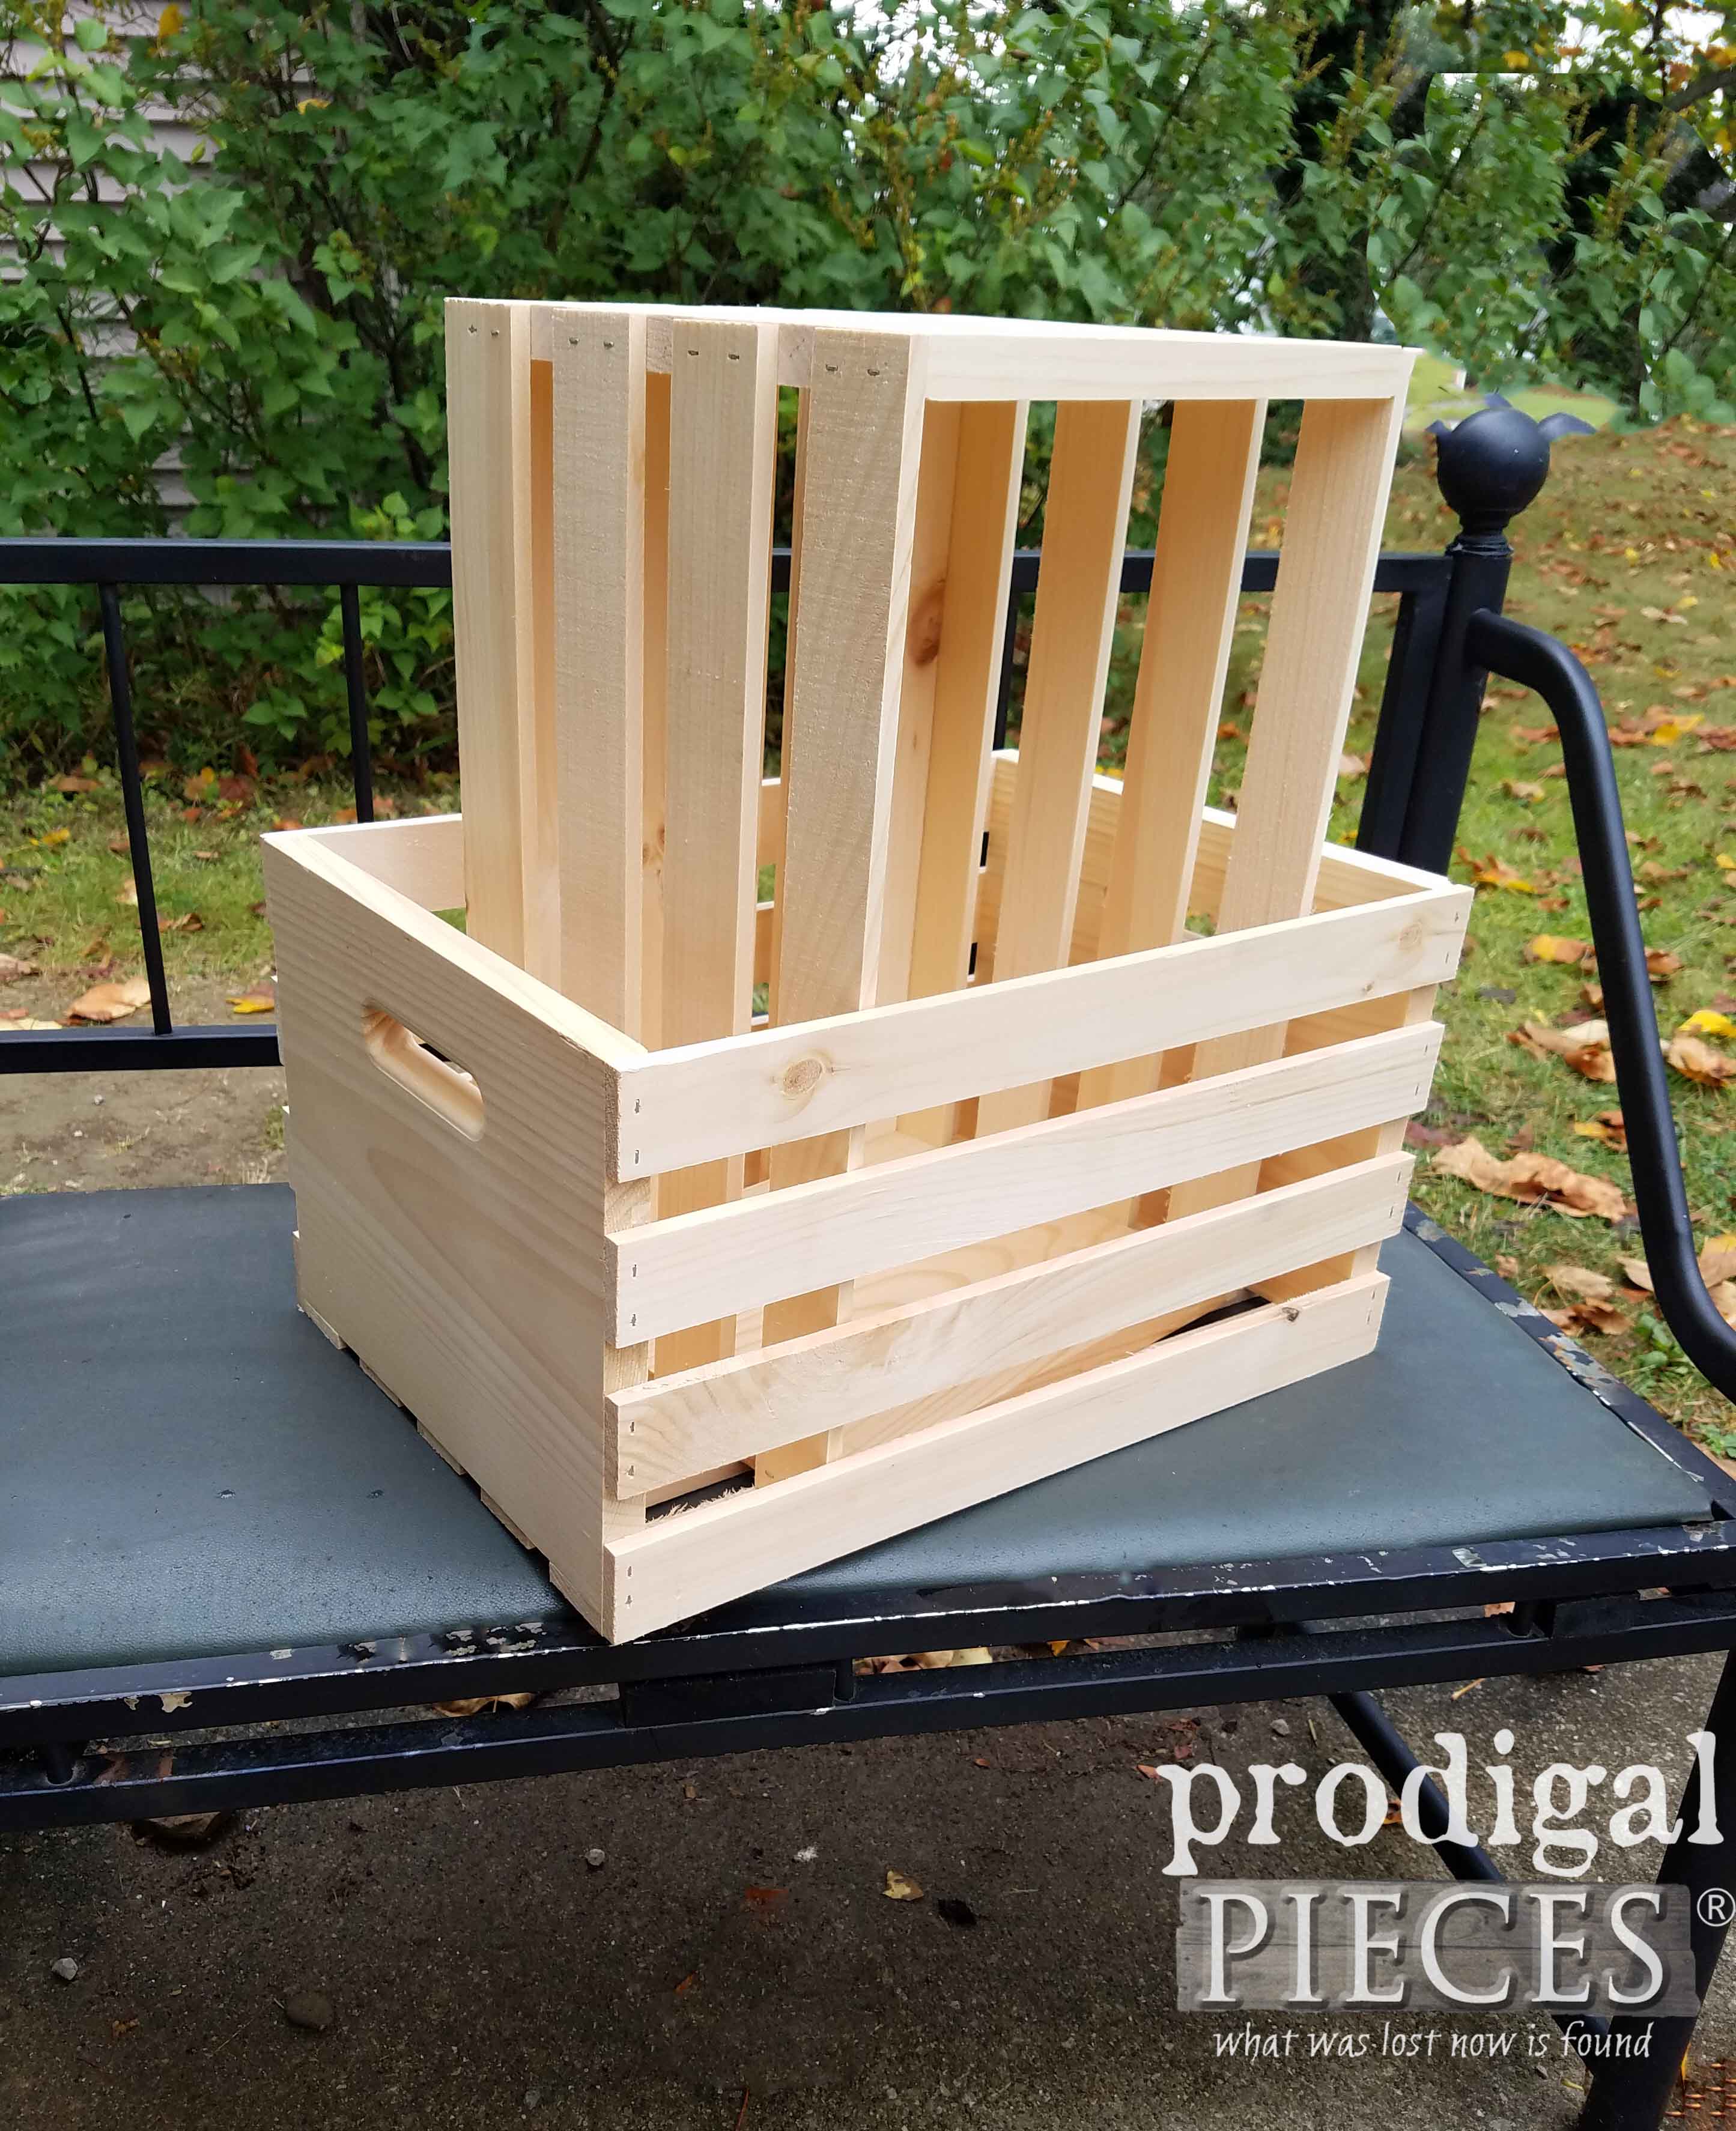
What’s a girl to do? Yank off everything salvageable (metal) and build a new one. woot, woot! Consequently, here’s where my DIY crate wagon adventure begins. Since the base of the structure was a crate, I purchased a ready-made crate from the local home improvement store.
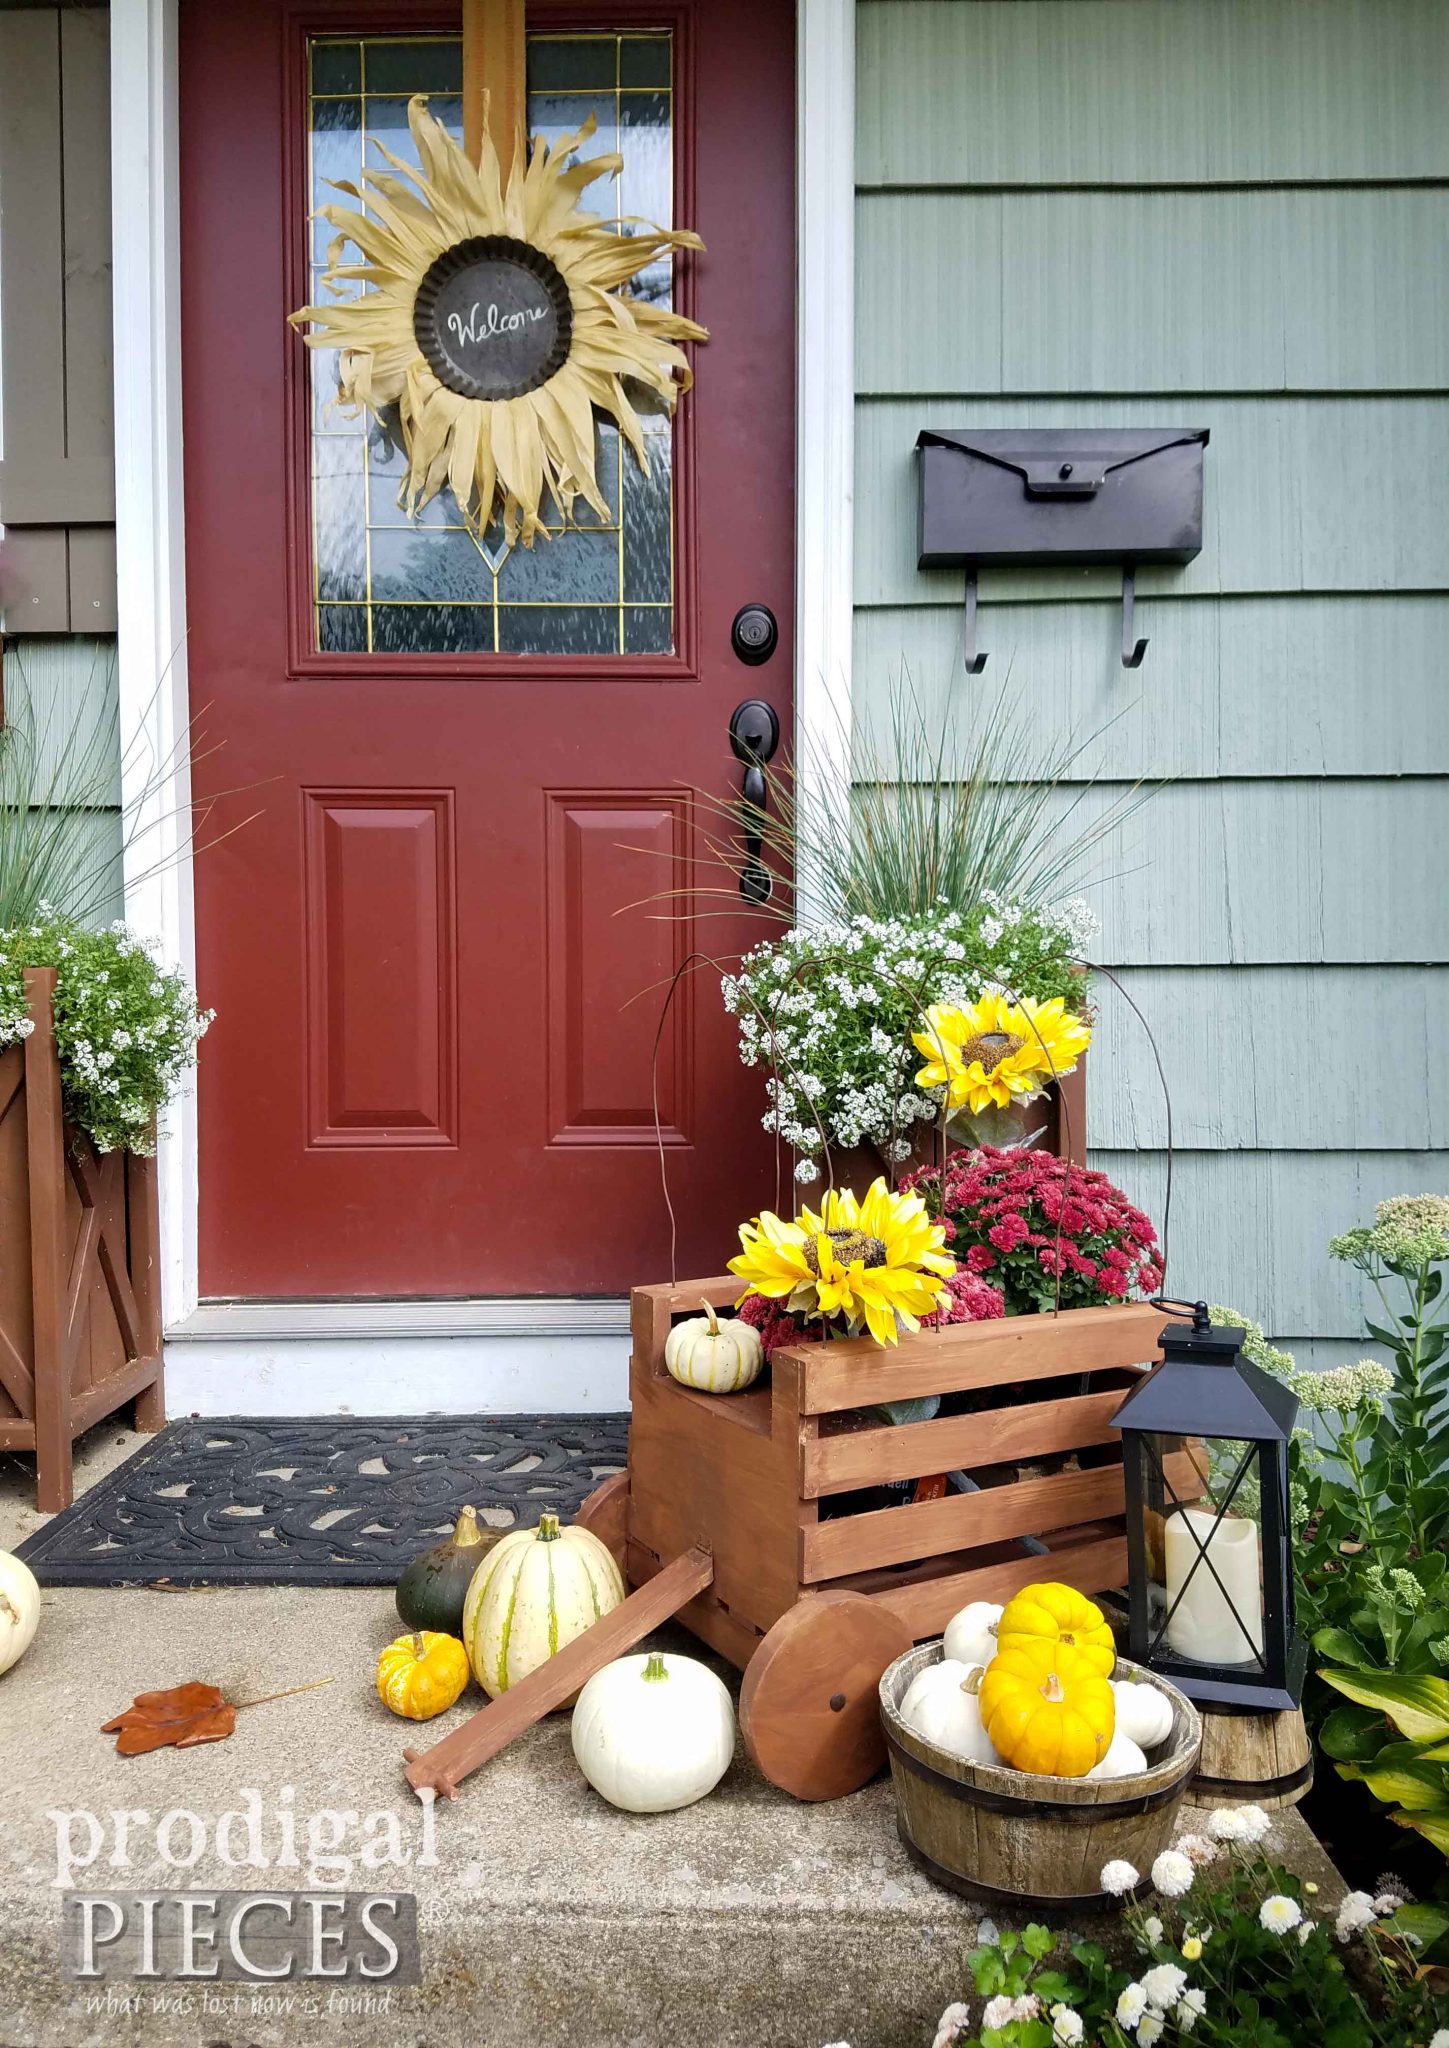
As a result, of some fun with tools (you know my motto has always been #toolsoverjewels), here is what I came up with…
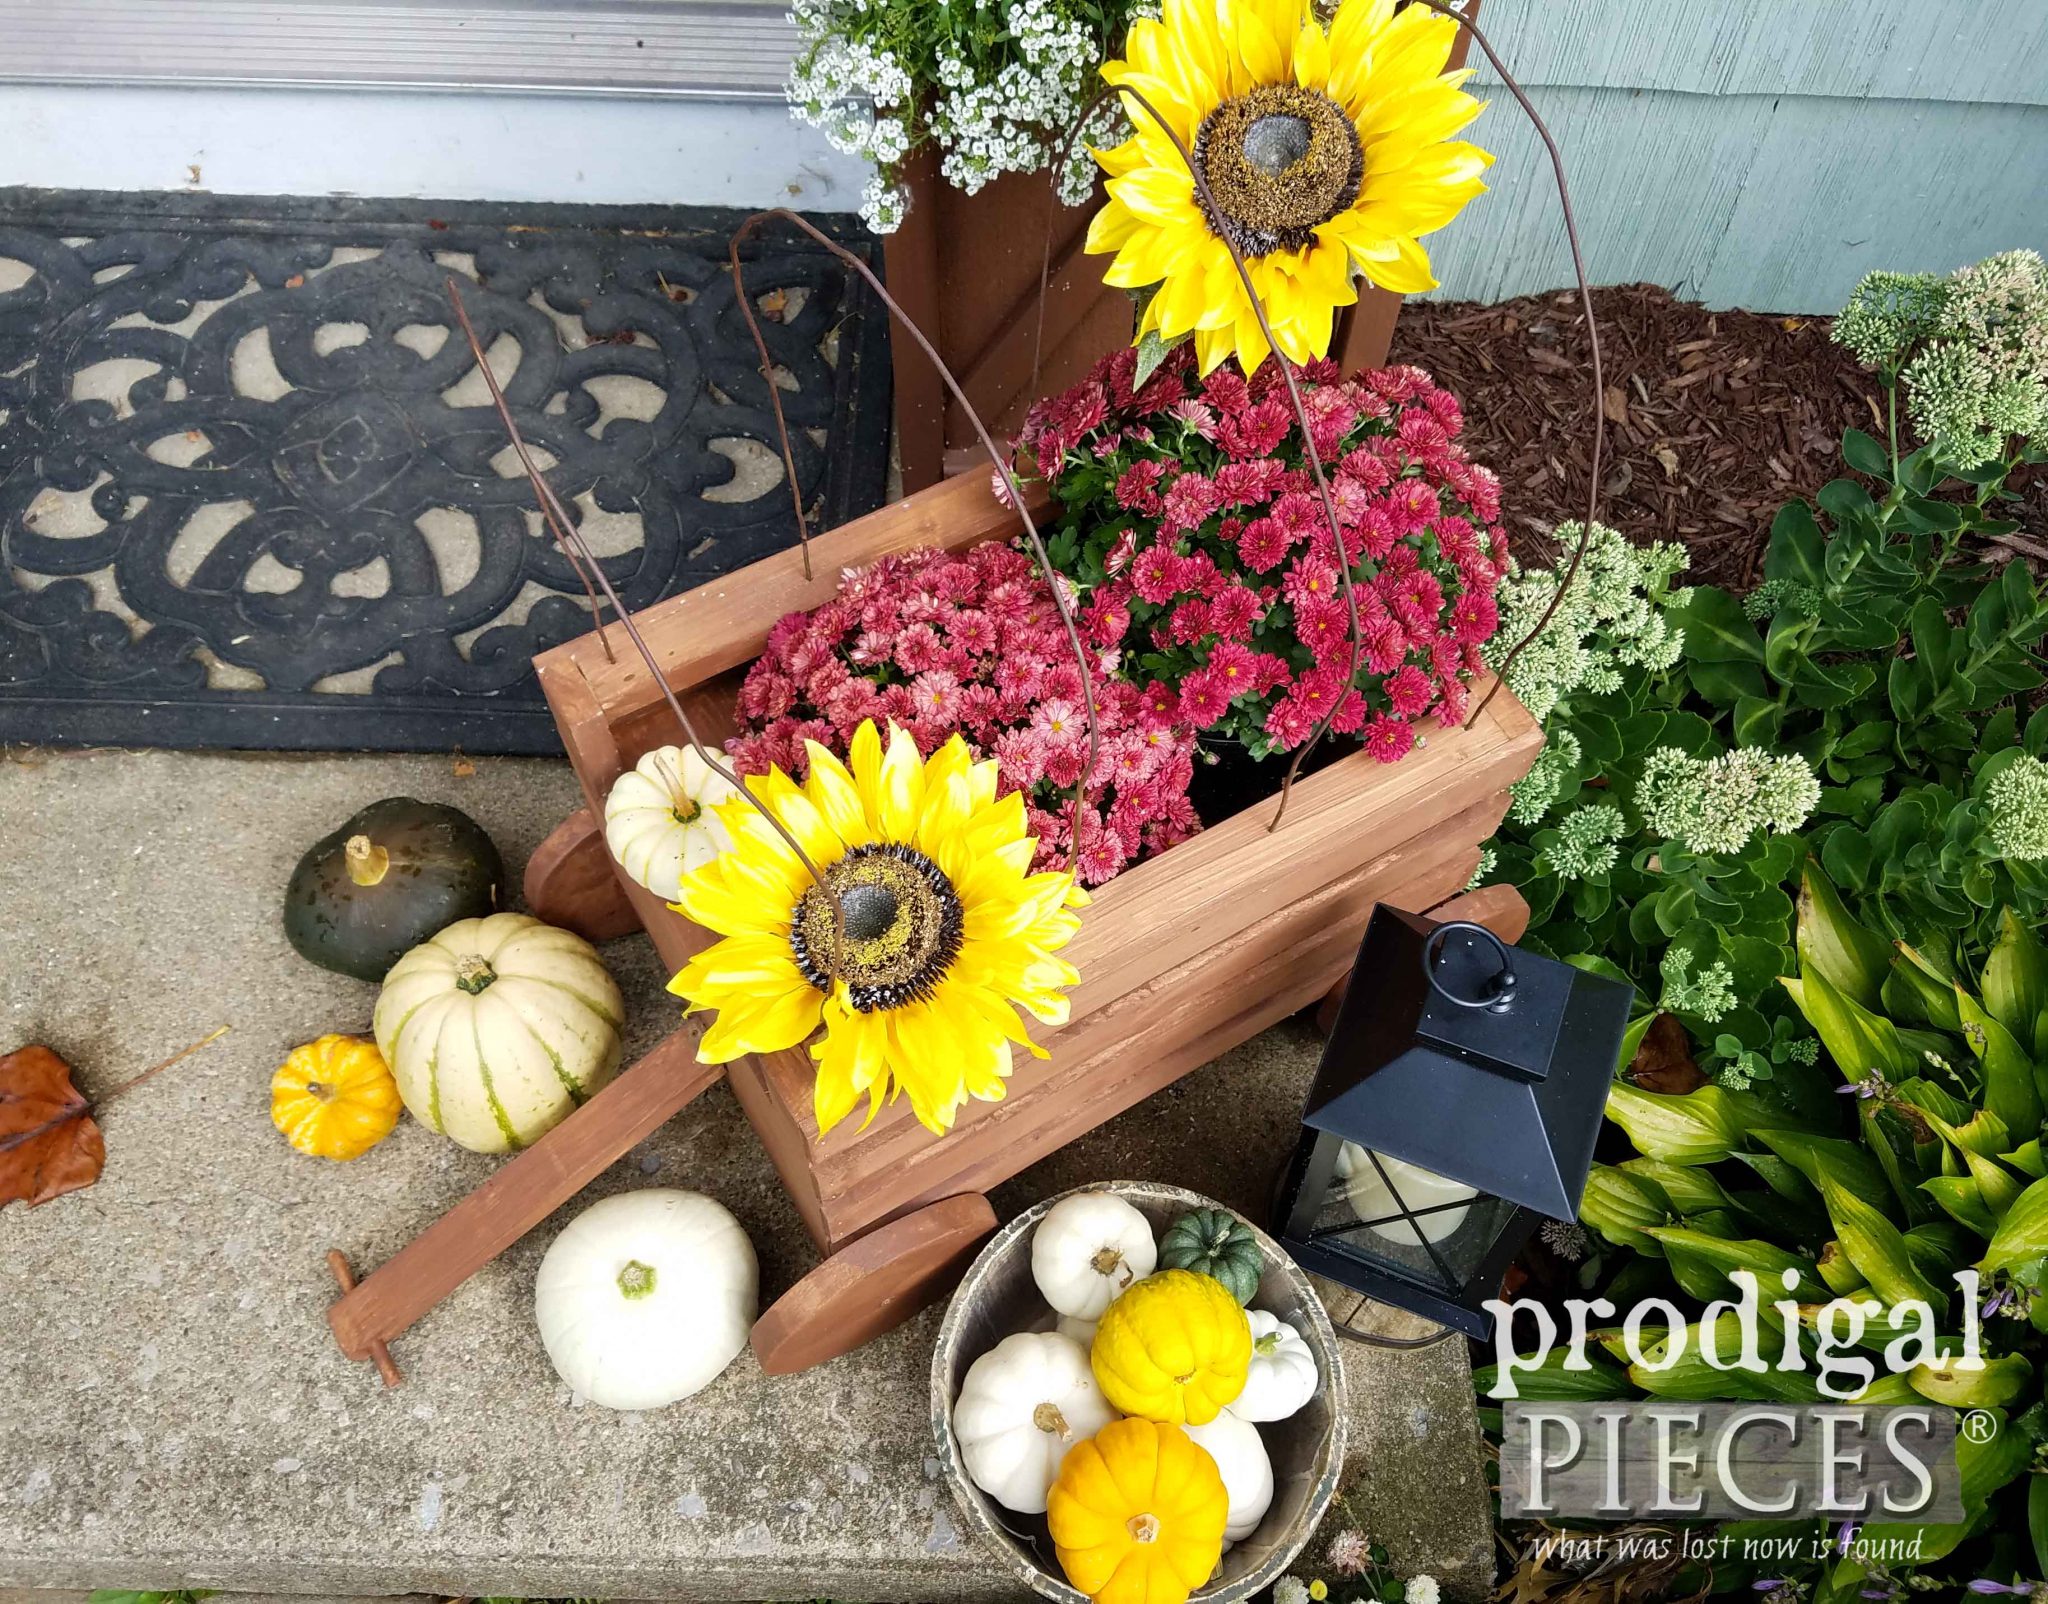
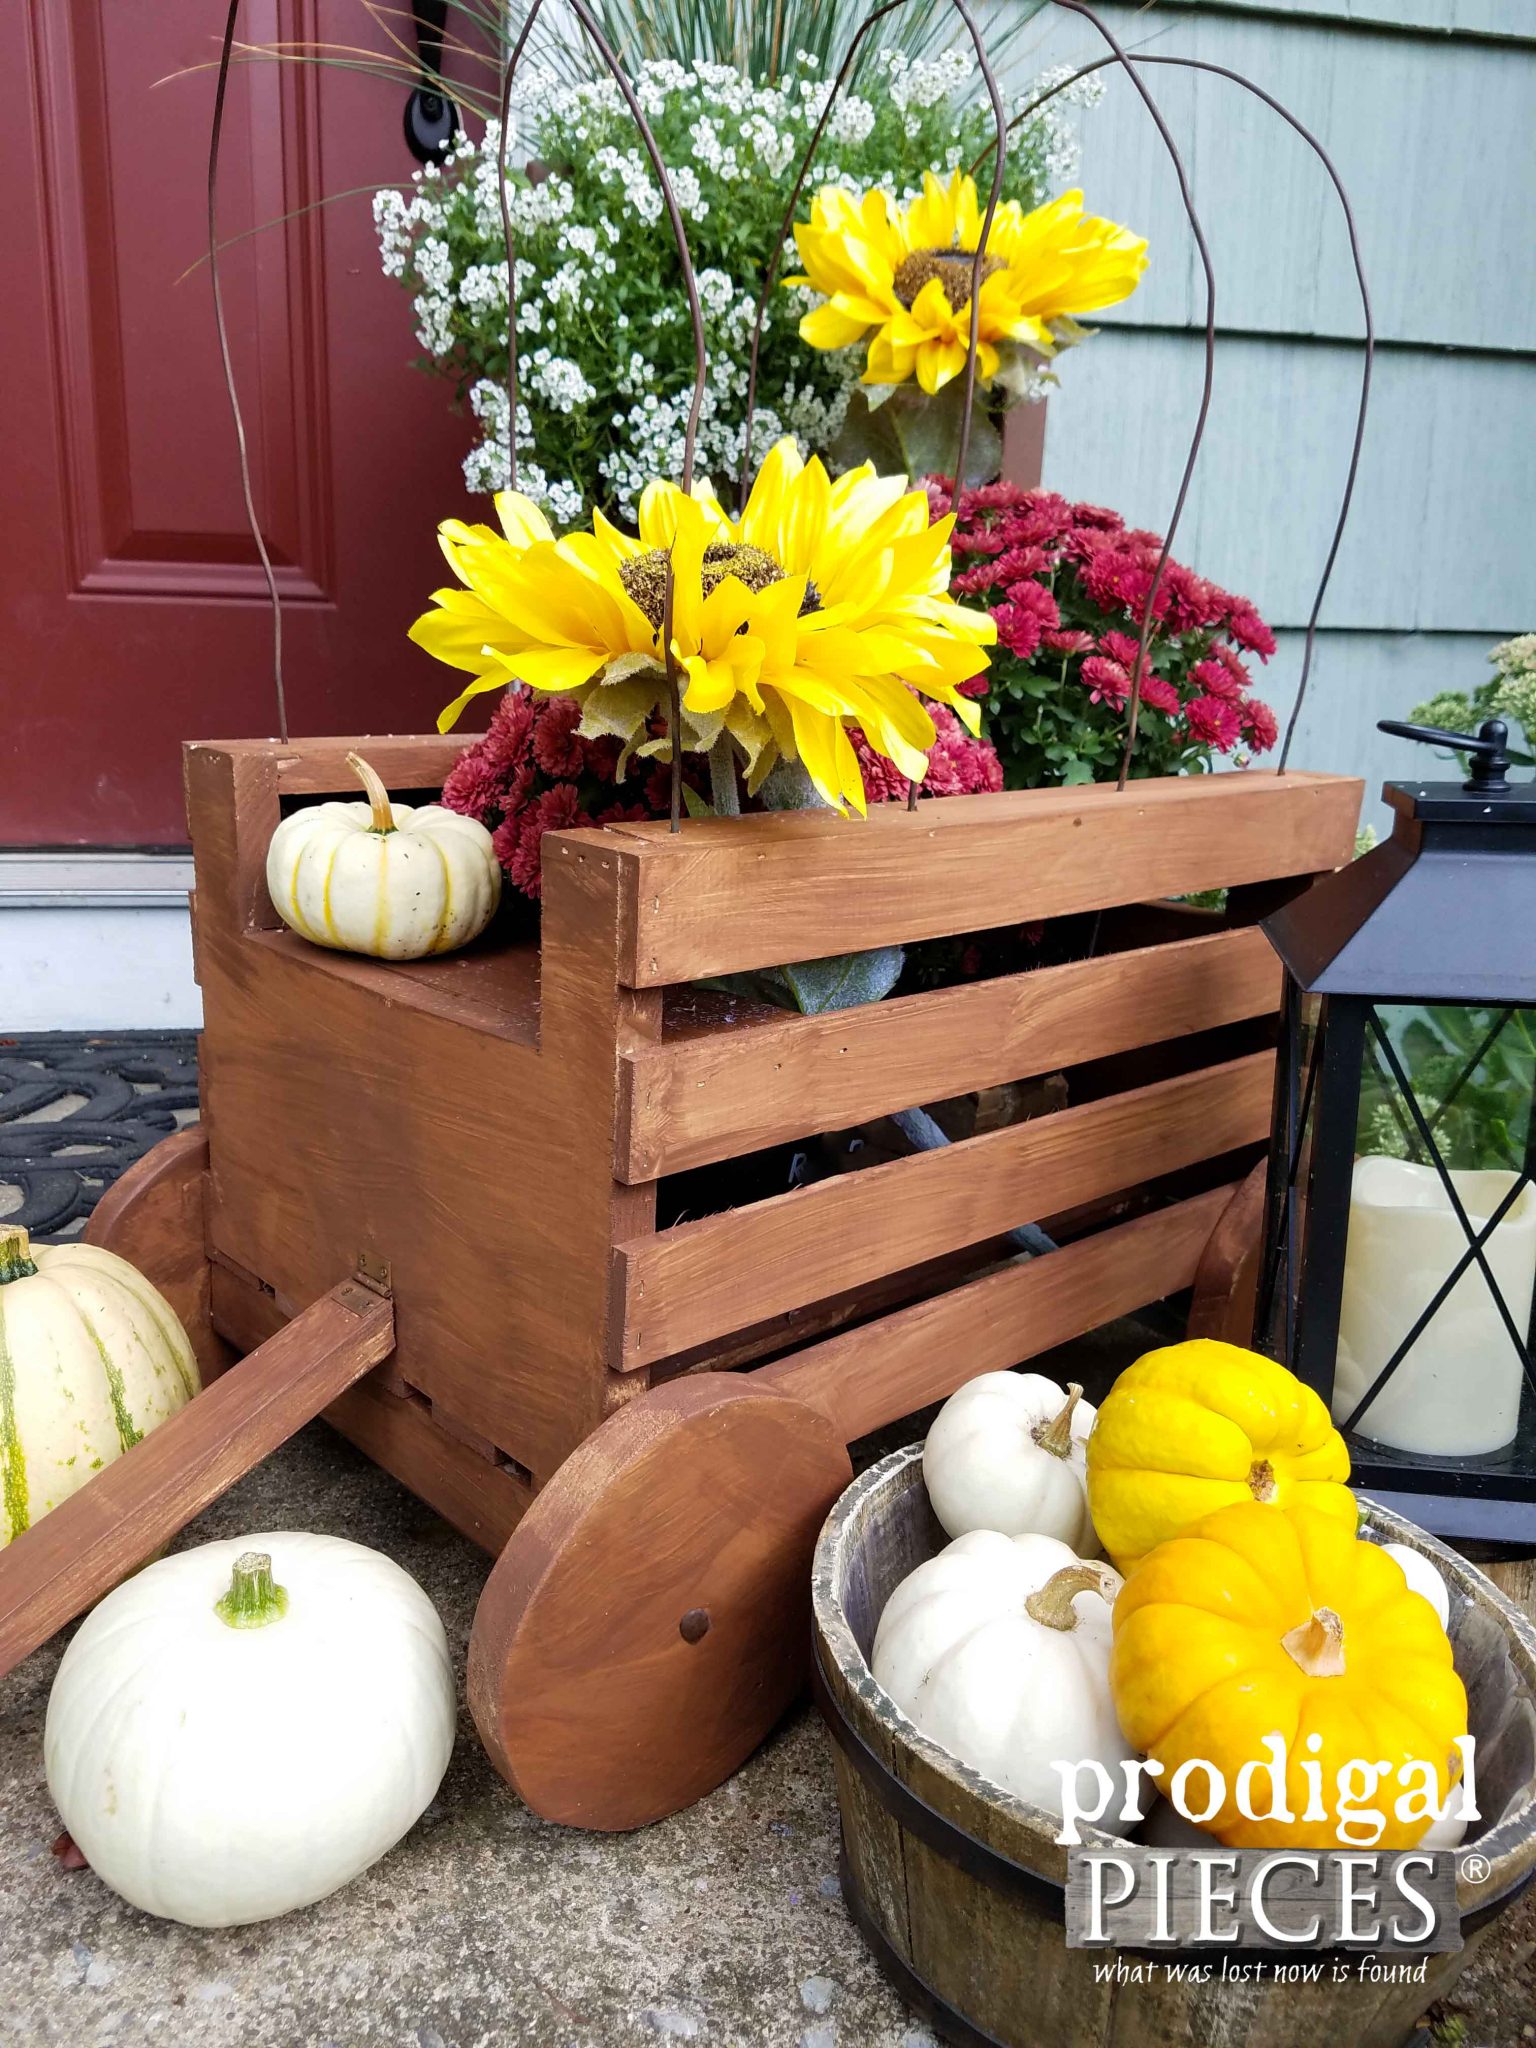
Isn’t it cute?! It’s even better than before, at least in my mind. In addition, you can see my corn husk wreath and other fall decor ideas in this collection of posts.
From basic, boring crate, to rustic farmhouse decor. I filled it with my mums and the pumpkins and gourds we grew for the season. However, the best part is that you can used this outside OR inside your home. Fill it with teddy bears, Christmas greens…you name it!
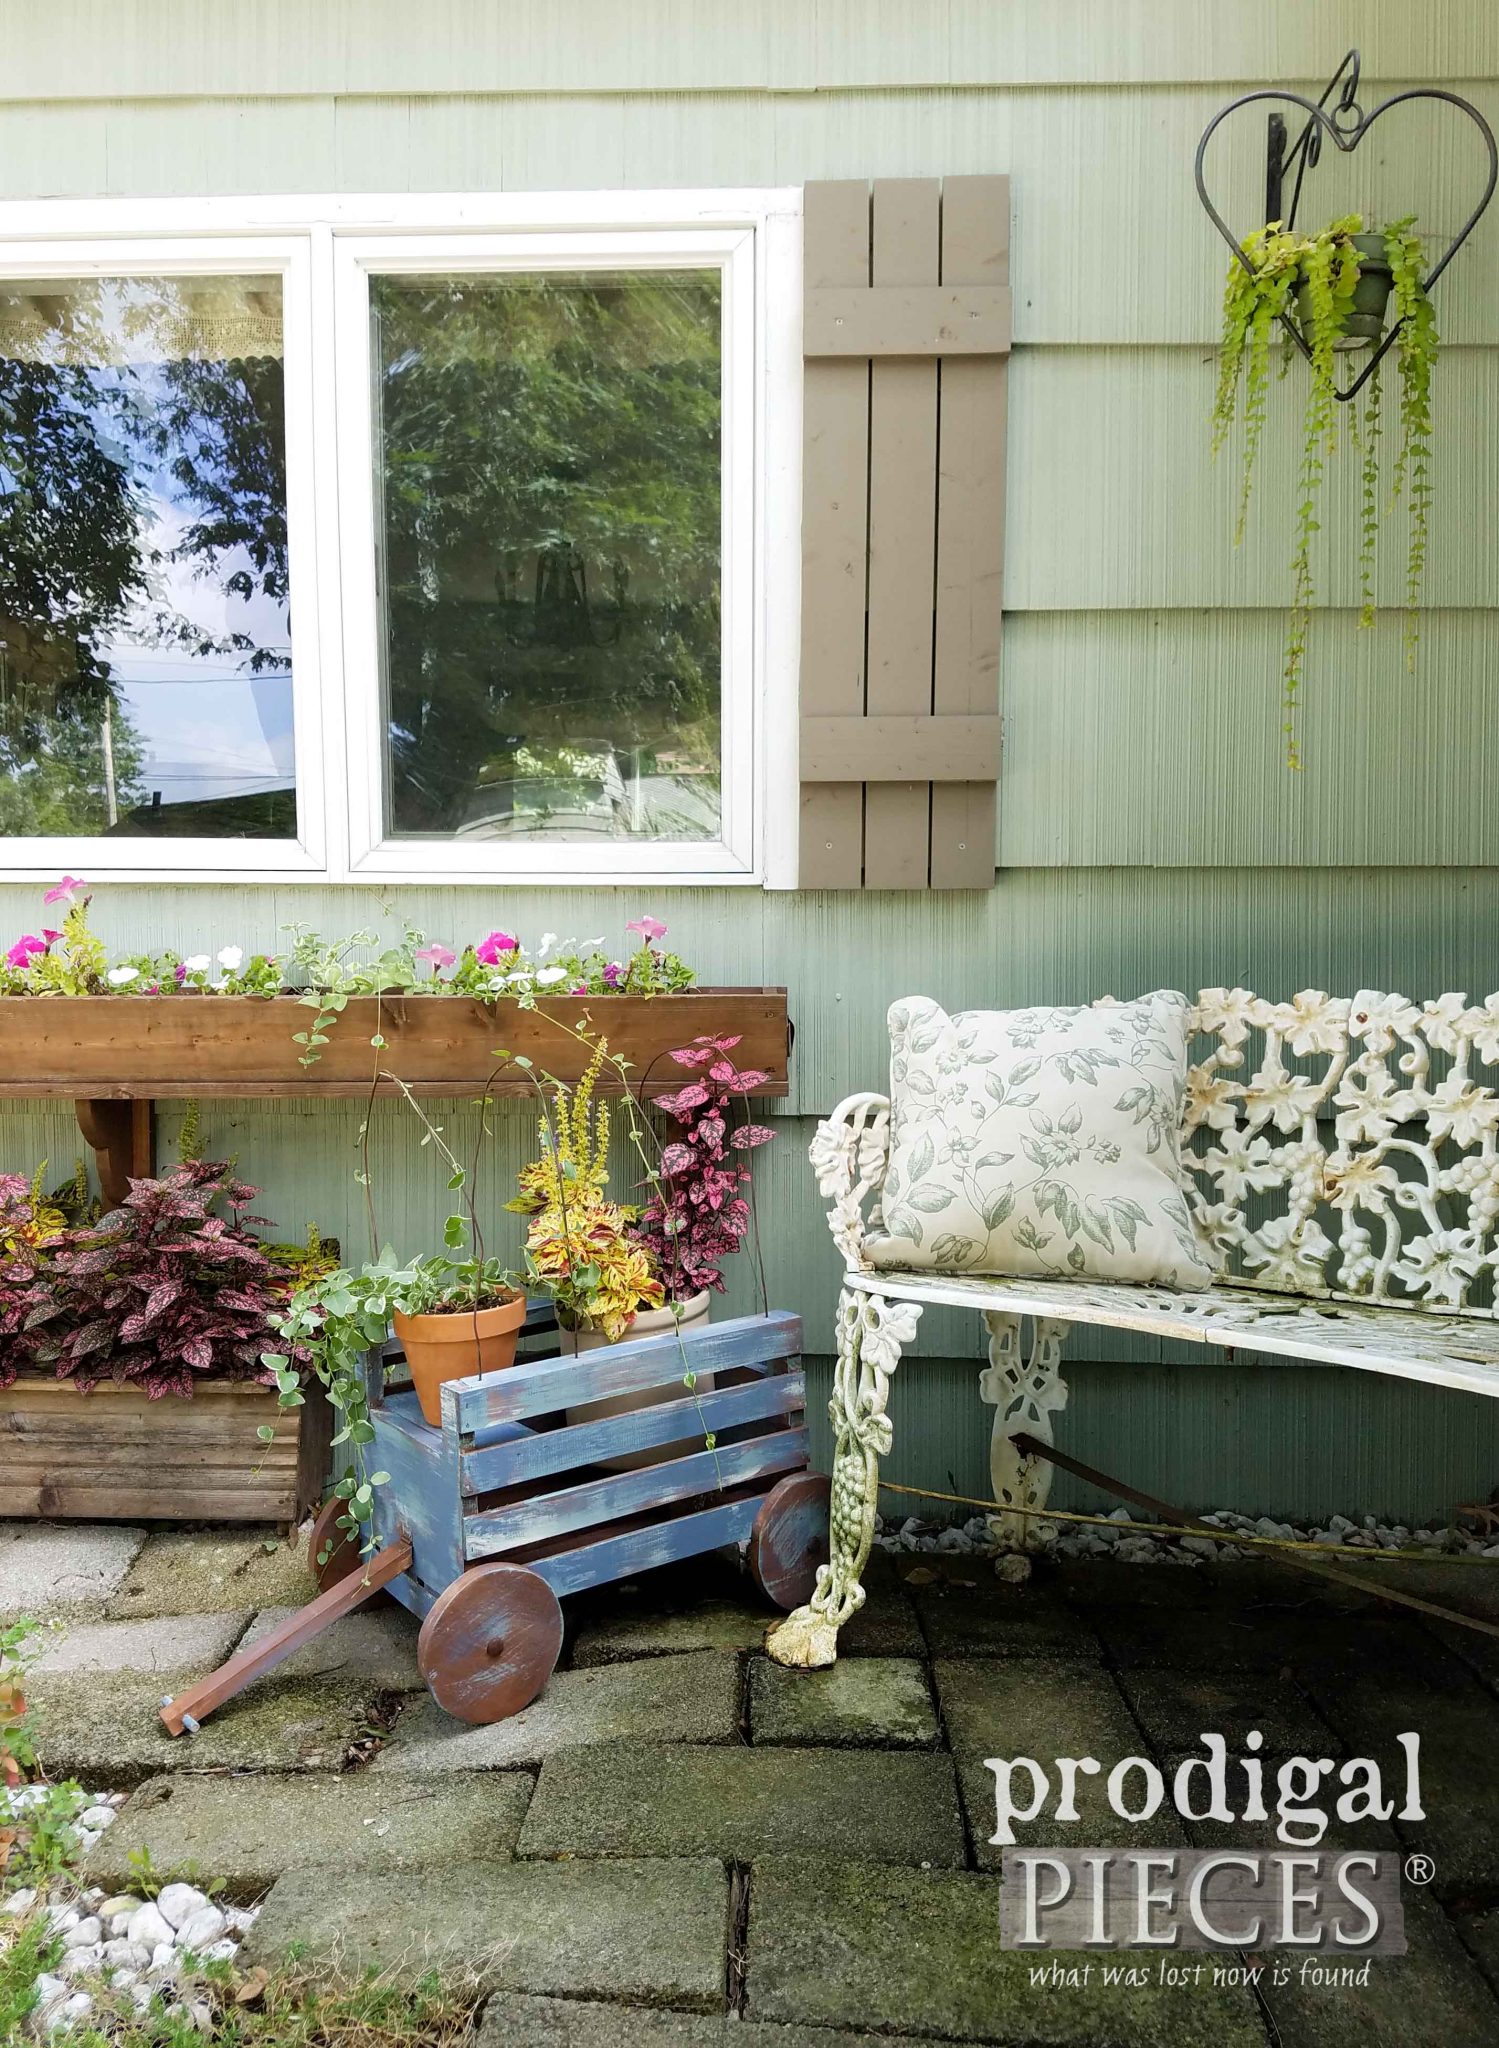
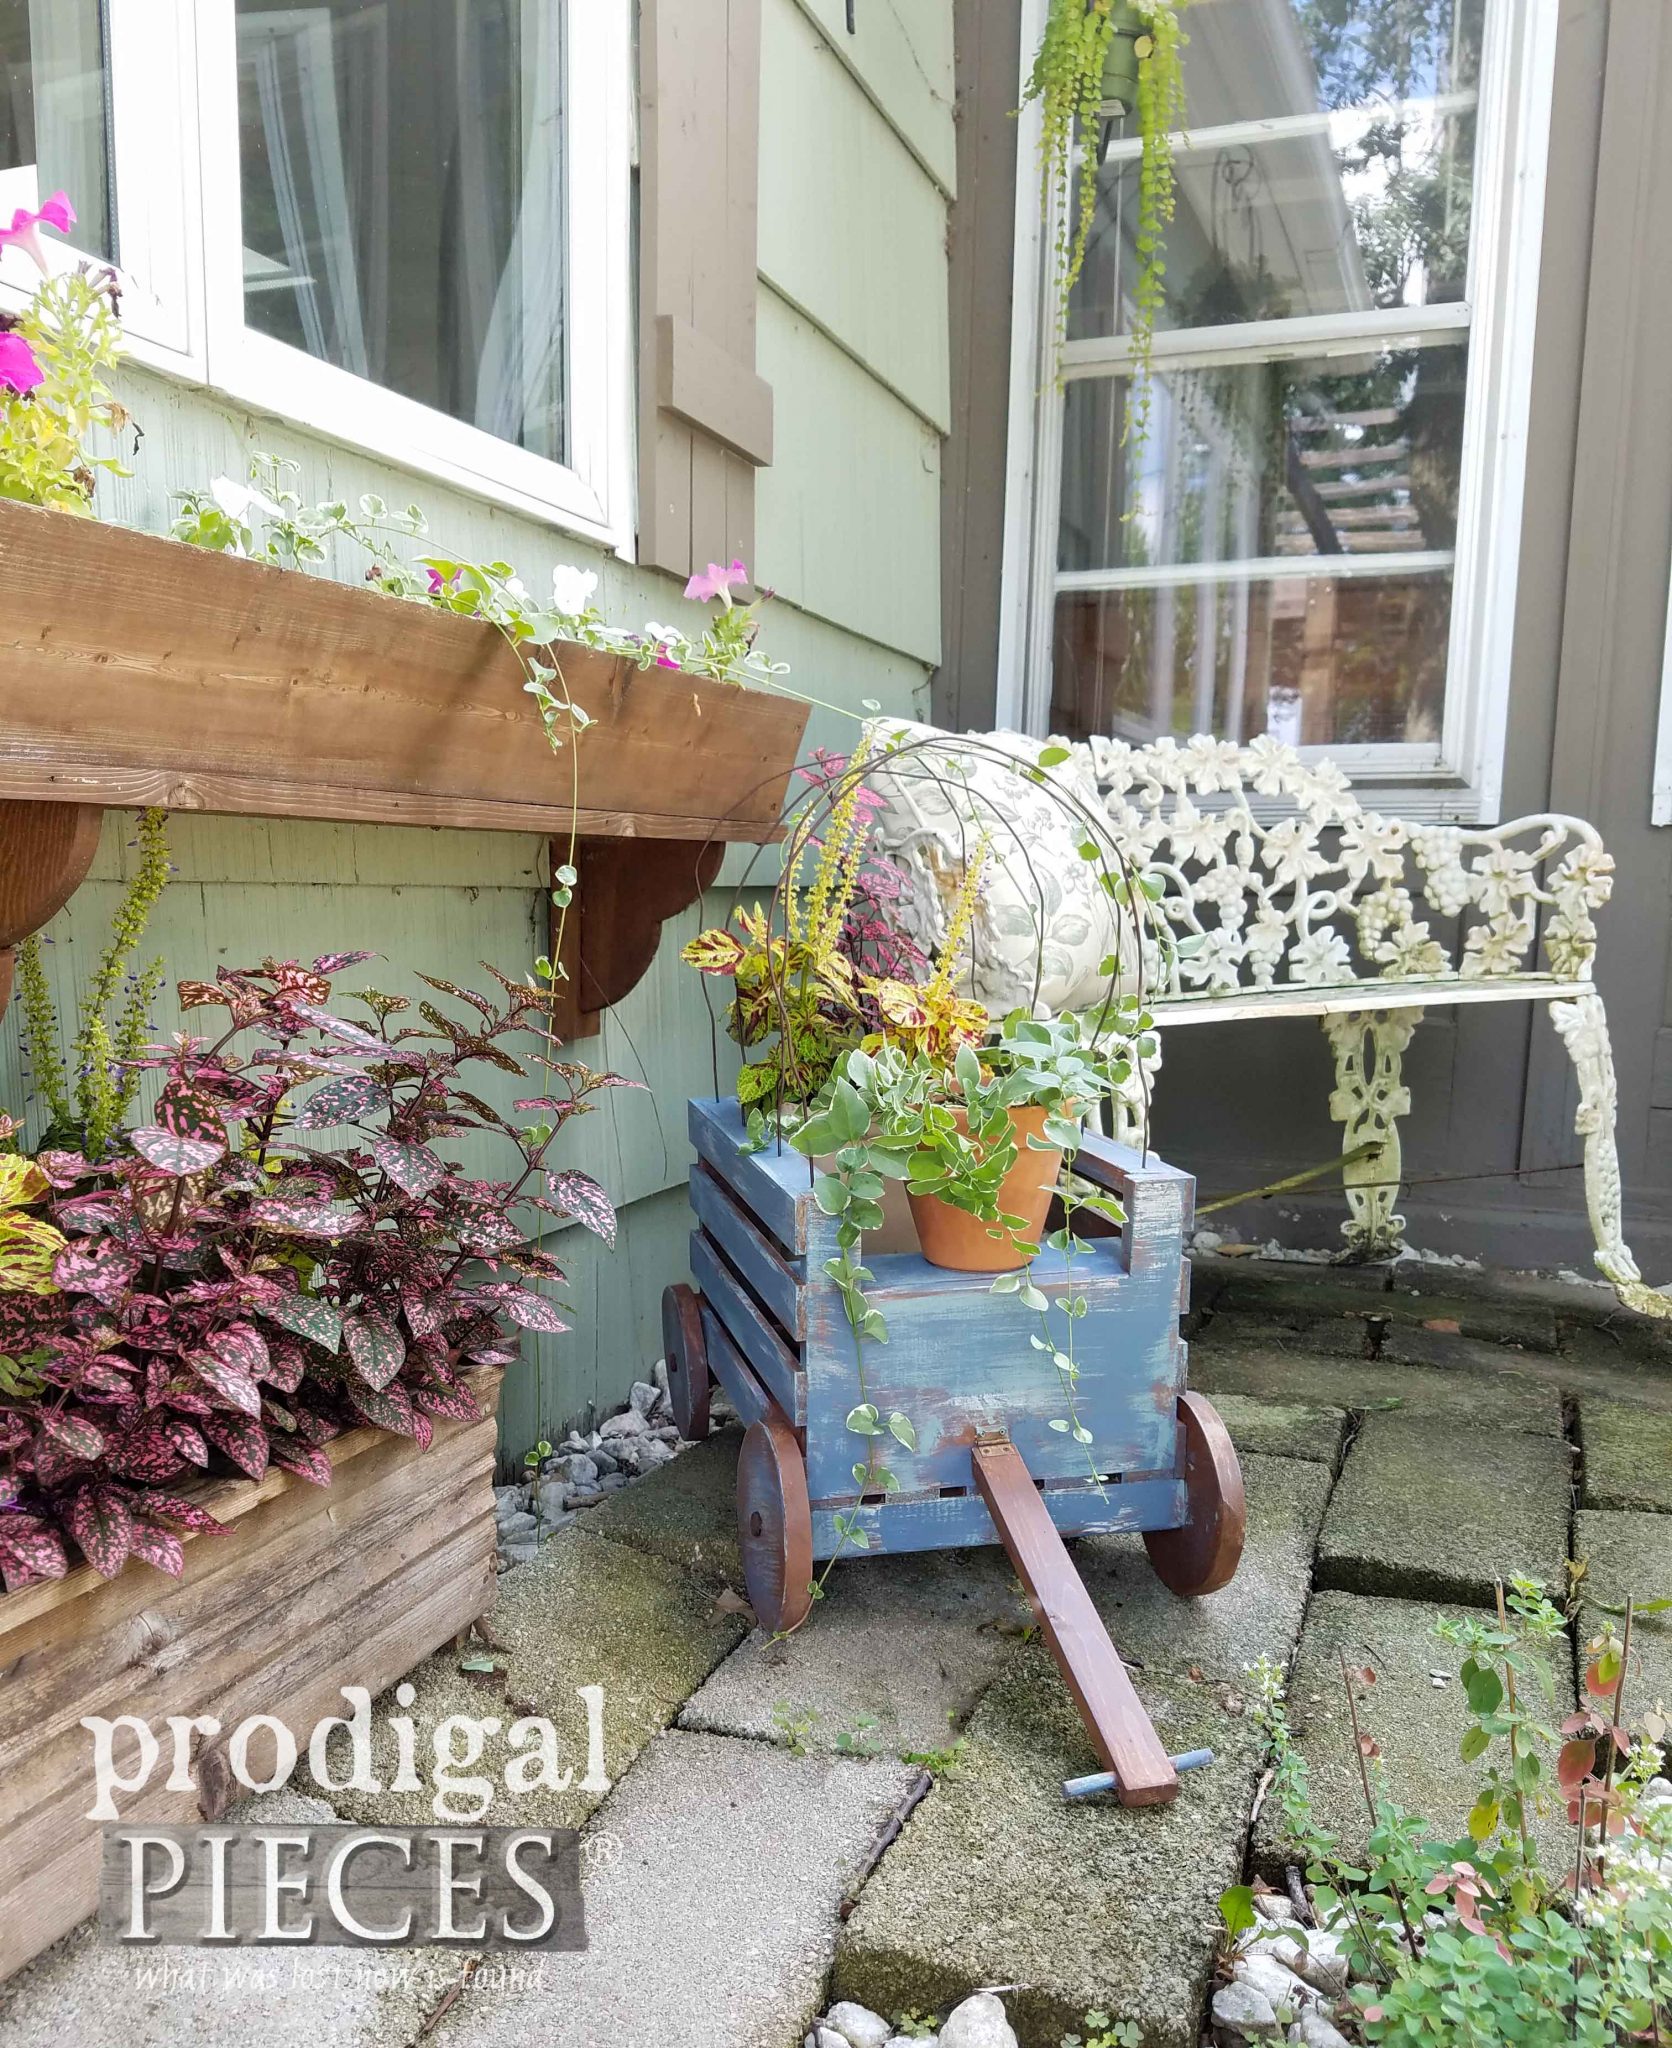
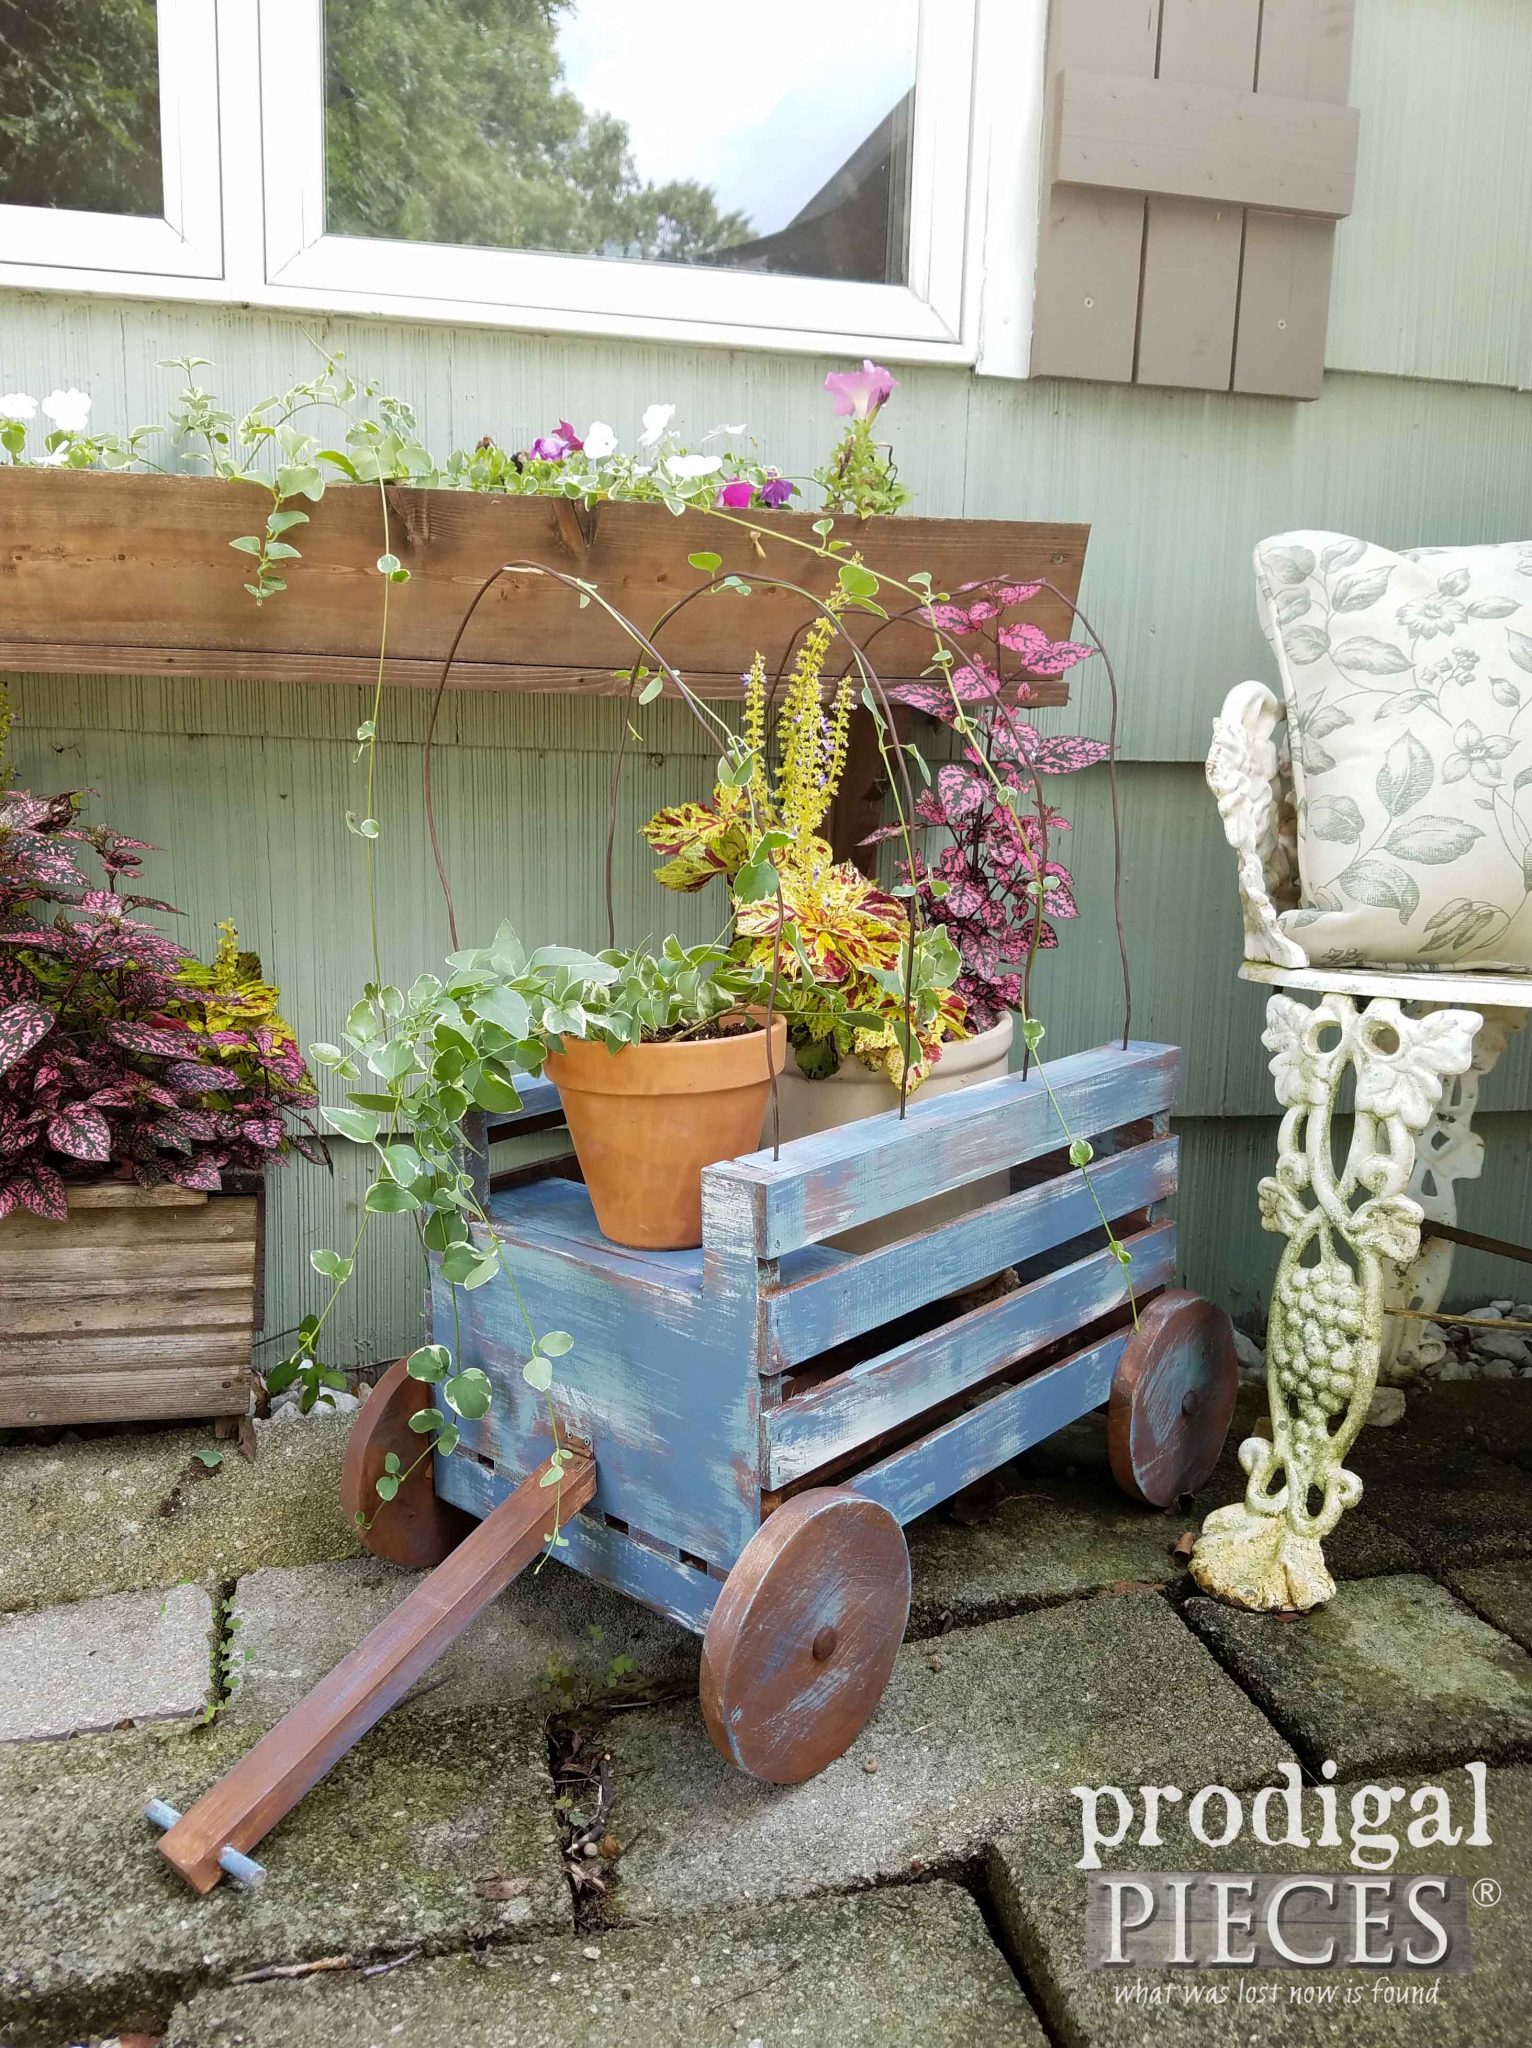
This is the stained only version, but for my liking I added some depth by using layers. I may just have to build several, eh? hee hee hee.
CUTE FACTOR
I was inspired by a little toy Conestoga wagon I sold not too long ago in my onilne shop. Isn’t it adorable? I seriously wanted to keep it for myself. sigh…
Okay, so now you’ve seen how fun this can really be, are you ready to make your own? Let’s get our build on!
TERMS OF USE: when you build this crate wagon, you agree to the following: it cannot be shared or distributed for monetary gain in any way, it may not be modified in any way, and you may not claim the work as your own. This wagon can not be used as decor in a store either online or brick and mortar. Thanks for complying!
Here’s what you’ll need: I fill in about materials as we build – see below.
Materials:
- one wooden crate (mine came from Home Depot)
- 1 – 3/8″ x 4″ dowel (handle)
- 2 – 1 ½” x 1 ½” x 11 ½” boards (axles): 2″ x 4″ board ripped in half
- 1 – 1″ x 8″ x 26″ board (wheels)
- 1 – 1″ x 4″ x 11 ¾”(seat)
- 2 – 1″ x 1 ½” x 16 ¼” (top slats)
- 1 – 1″ x 1 ½” x 12″ (tongue)
- 1 – 1″ x 1″ hinge
- 4 – 3 pronged furniture glides
- 8 – 2″ screws
- 4 – 1 ¼” screws< – if you have no nailer
- box of 1″ brads
- box of 5/8″ brads
- 4 wire hangers or roll of 14 gauge utility wire< cut into 36″ lengths
- stain and/or paint (choose outdoor products if using outside – see below)
Tools:
- drill / drill bits
- quick square
- wire cutters
- table saw (optional)
- angle finder
- tape measure
- sander
- wood glue
- brad nailer (optional)
Before I get started talking about the build, I wanted to mention that you don’t have to have a table saw to cut the pieces you need. Stores like Home Depot will do the cuts for you to get the to the length/width you need. In addition, having a table saw is a bonus, but even I make use of their generous service to save me time now and again. Let’s get started on our DIY crate wagon!
STEP 1
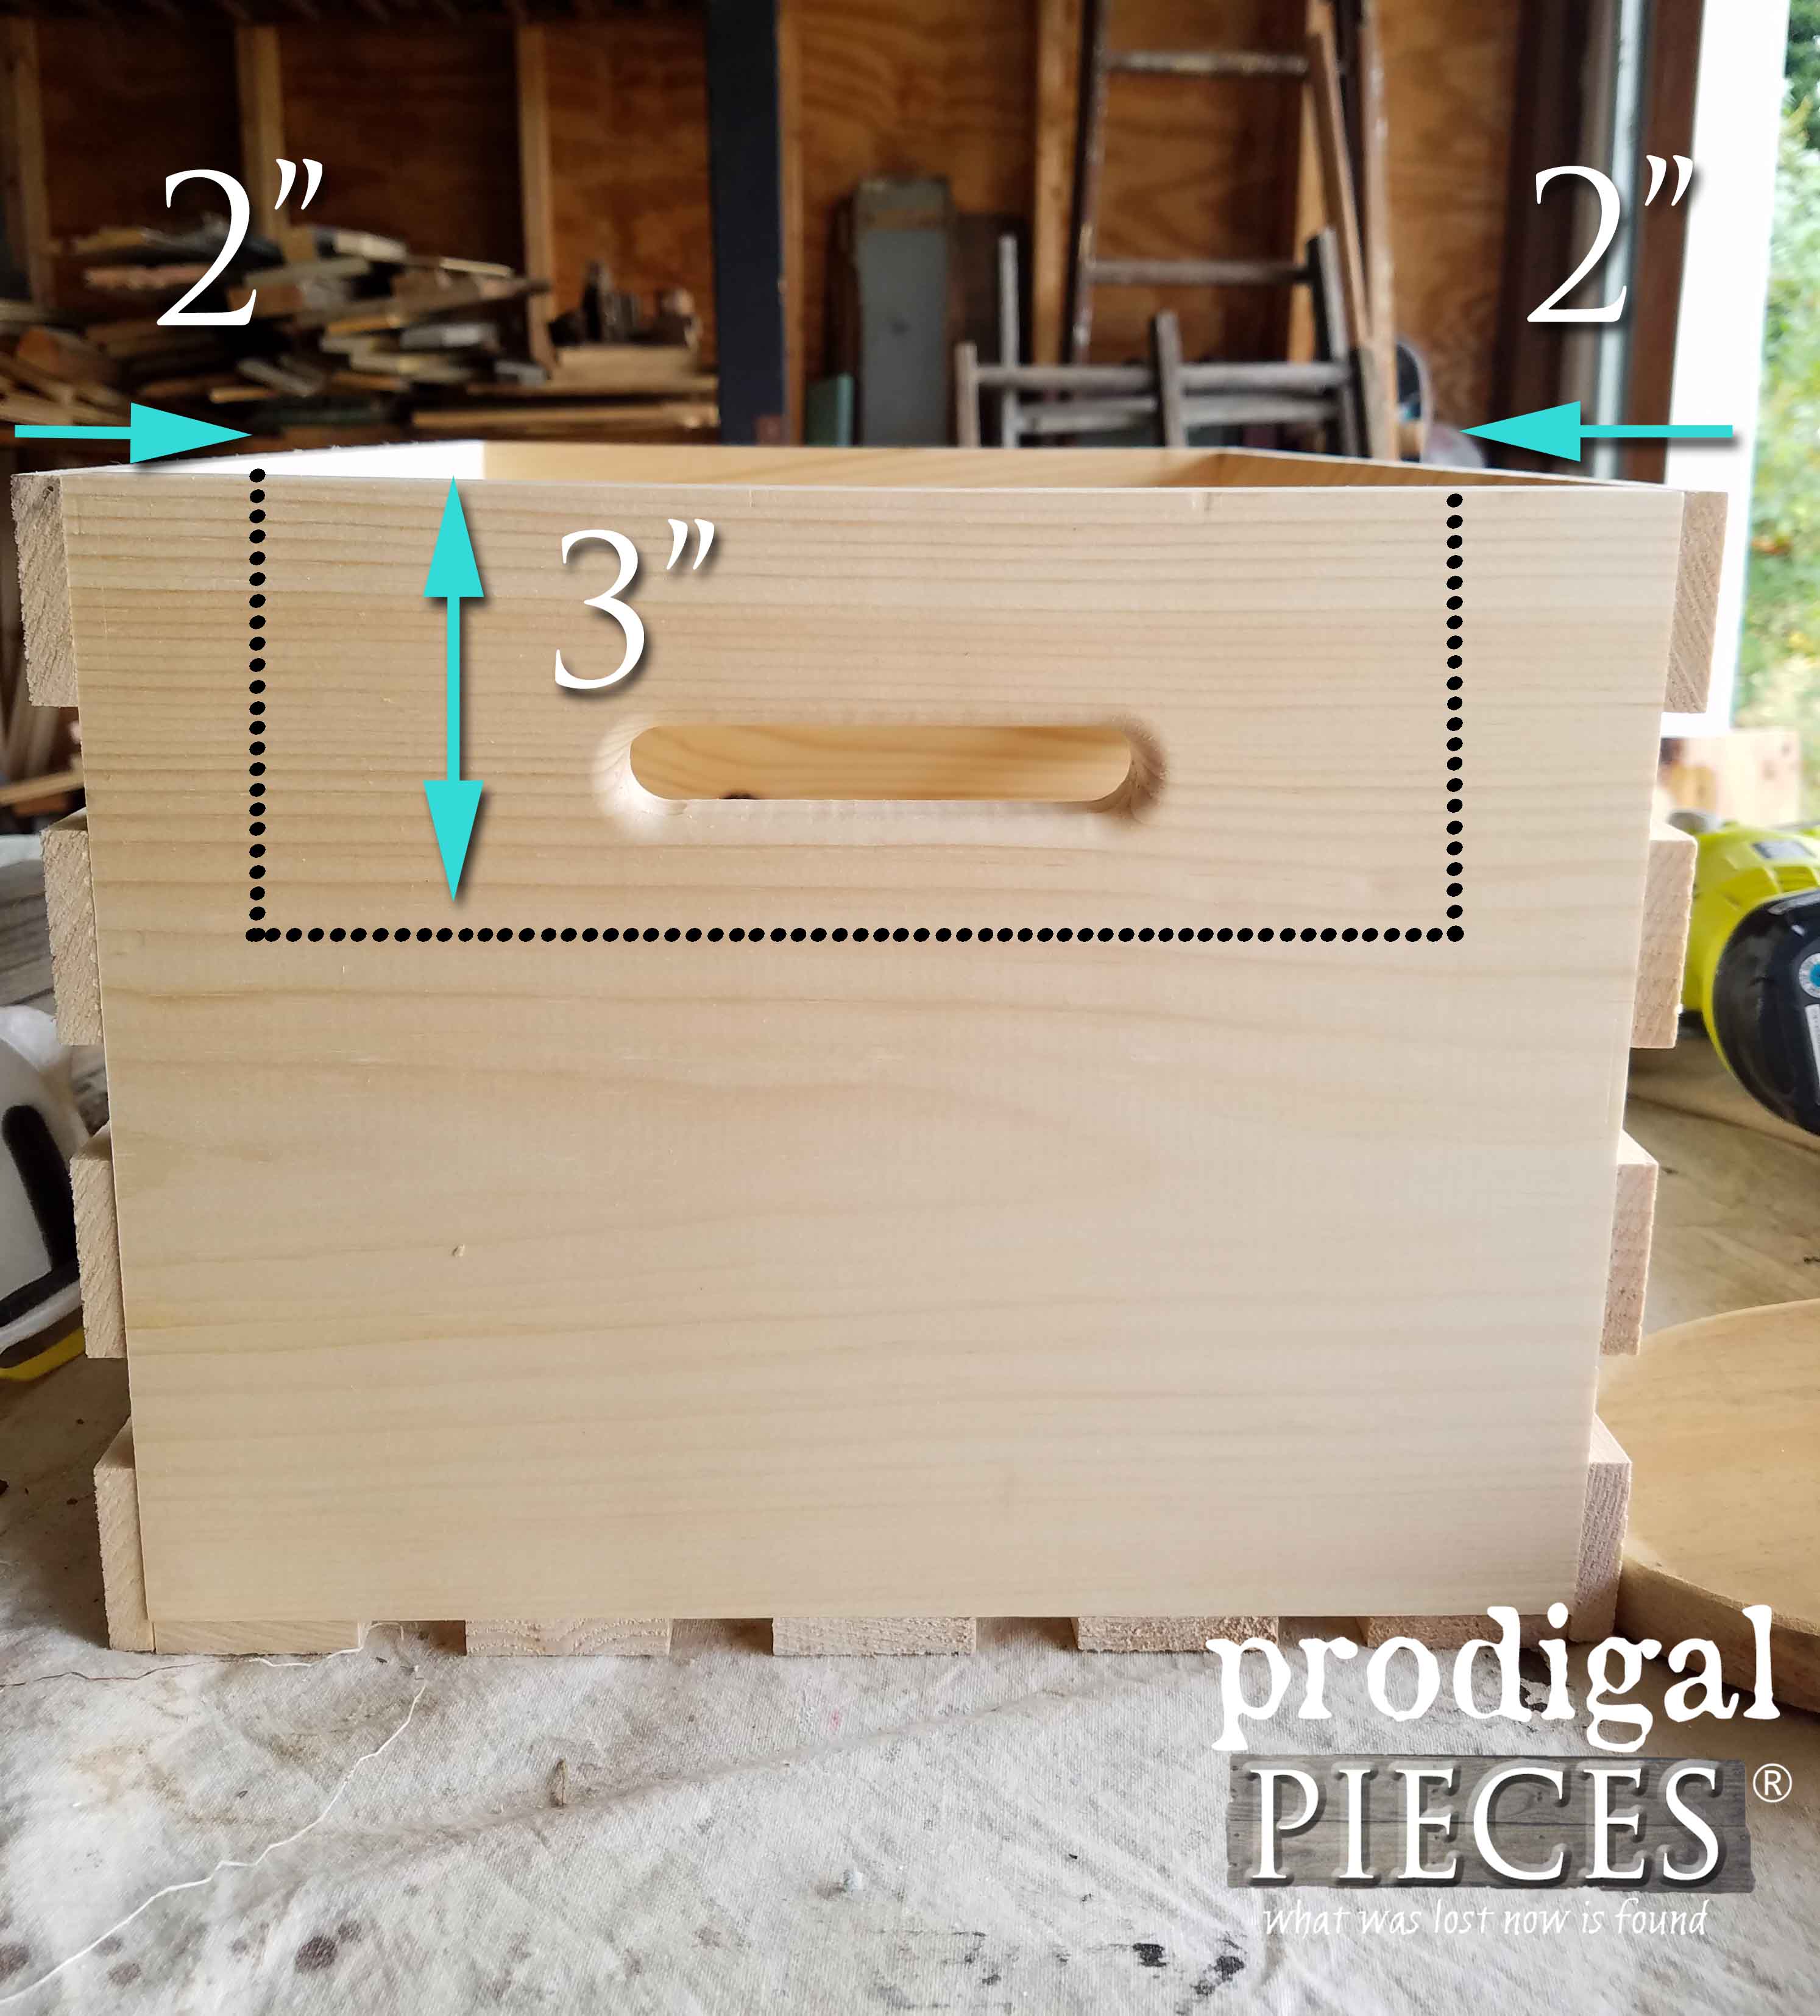
Okay, so you have your crate and the first thing we are going to do is notch out the ends like the diagram shows below. Start your 2″ measurements from the outside edge, including the slats.
Then, time to sand down your raw edges by hand sanding or orbital sander.
STEP 2
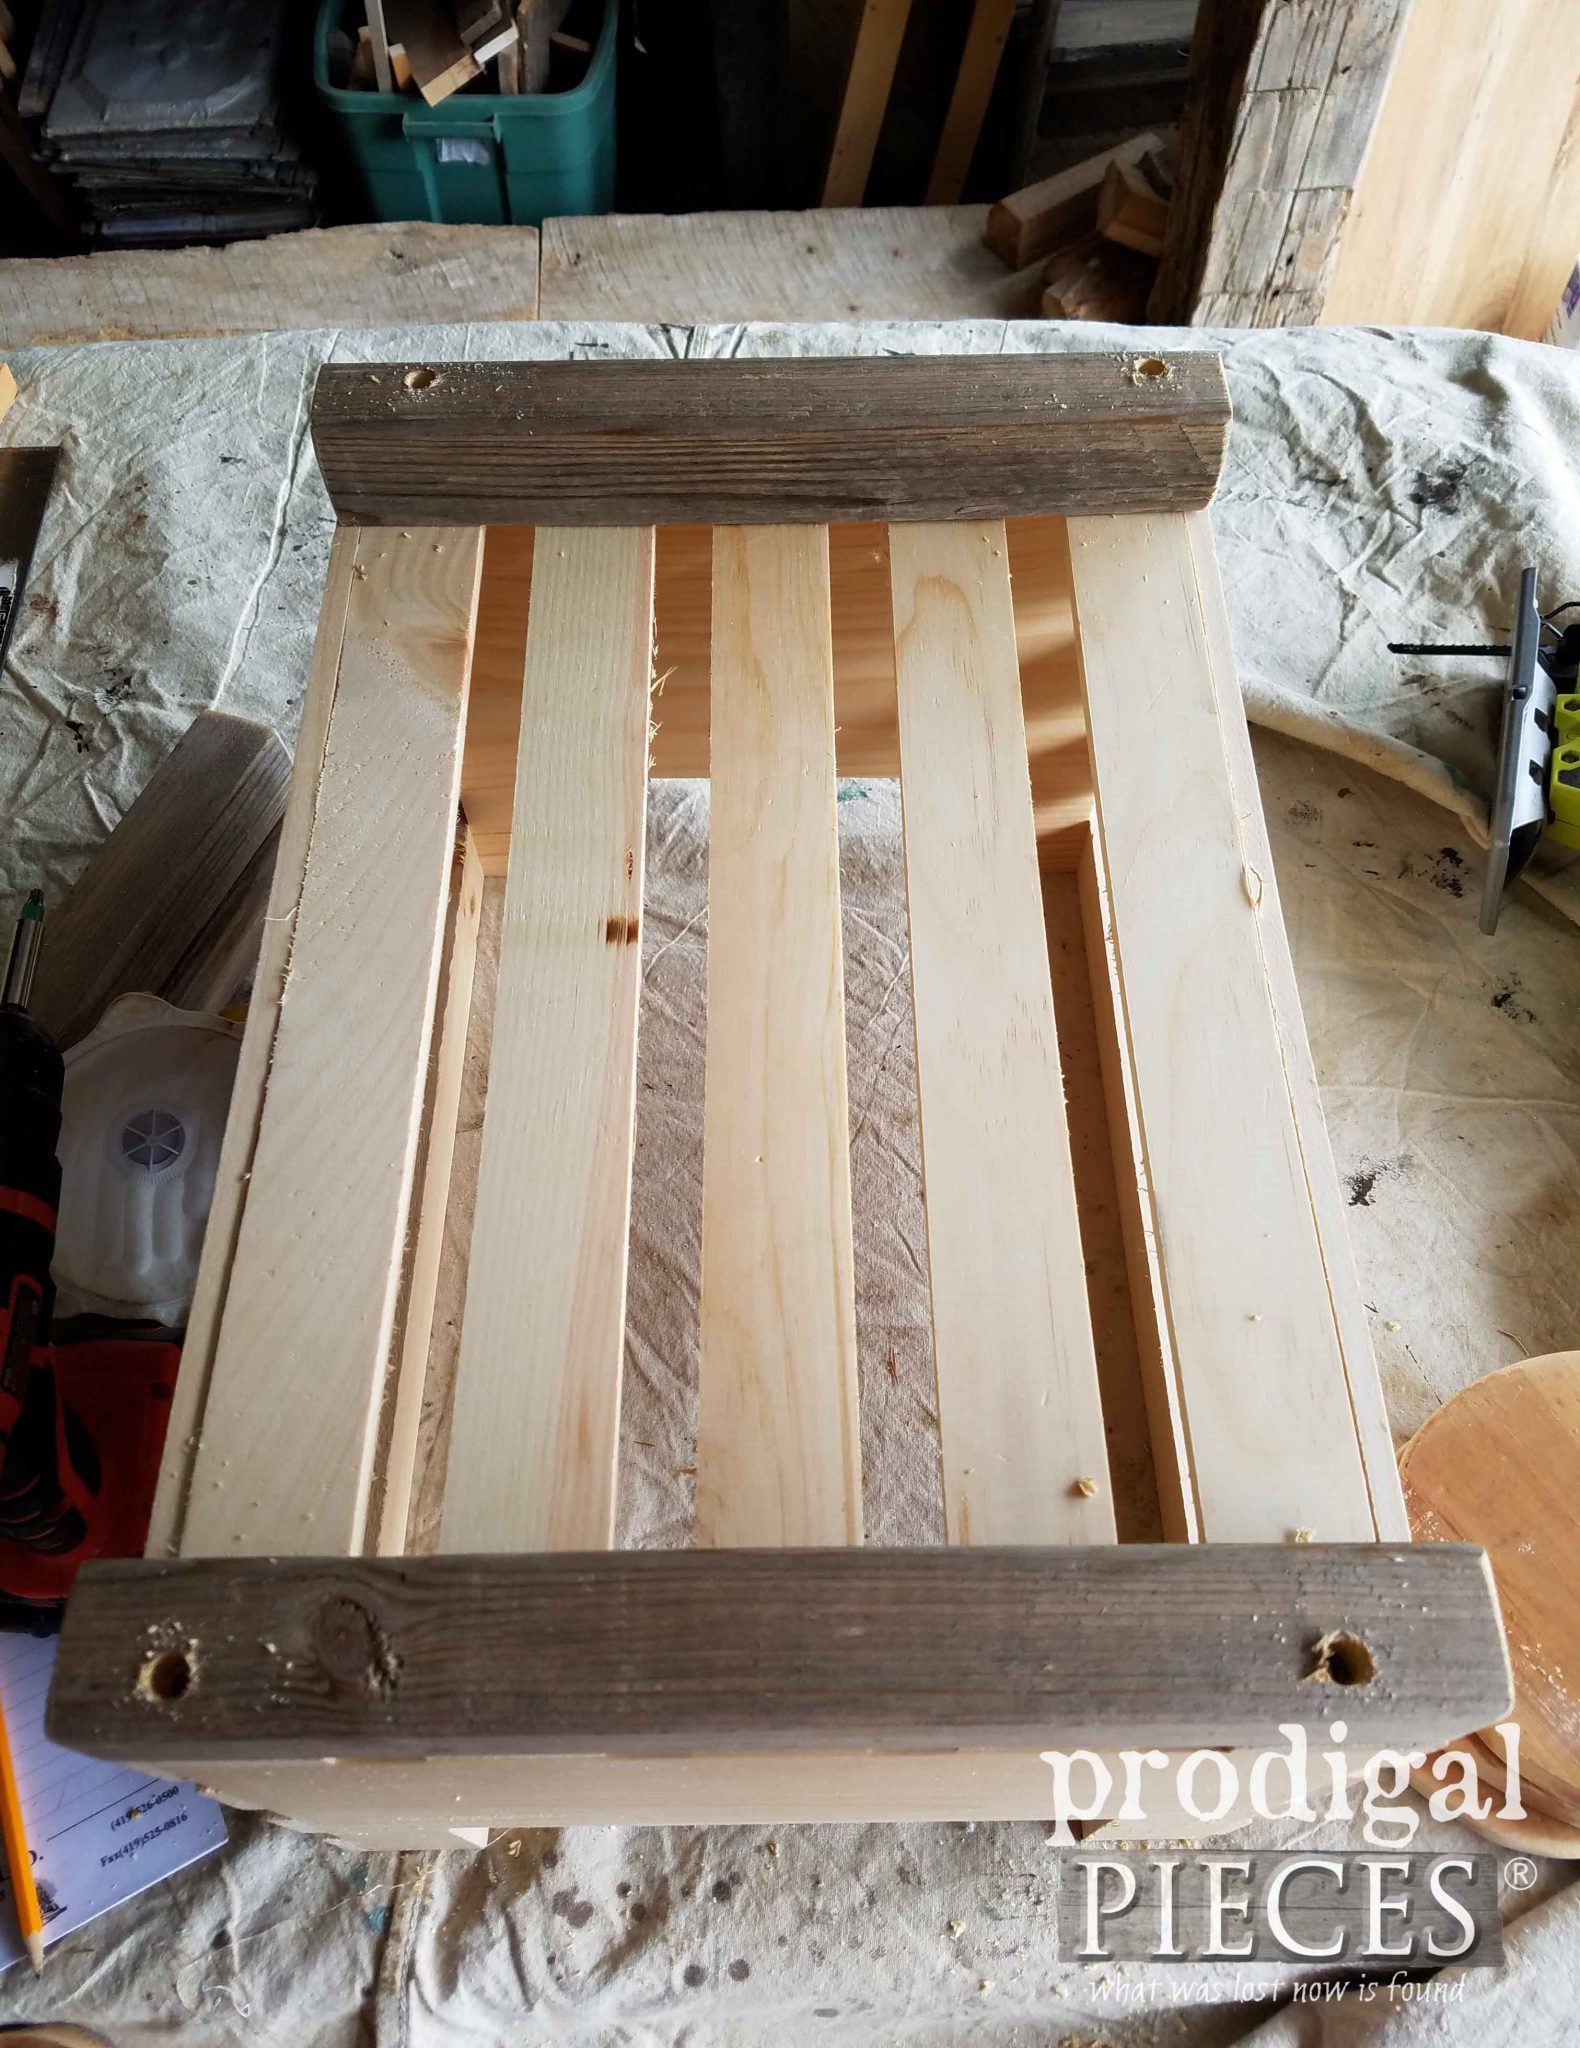
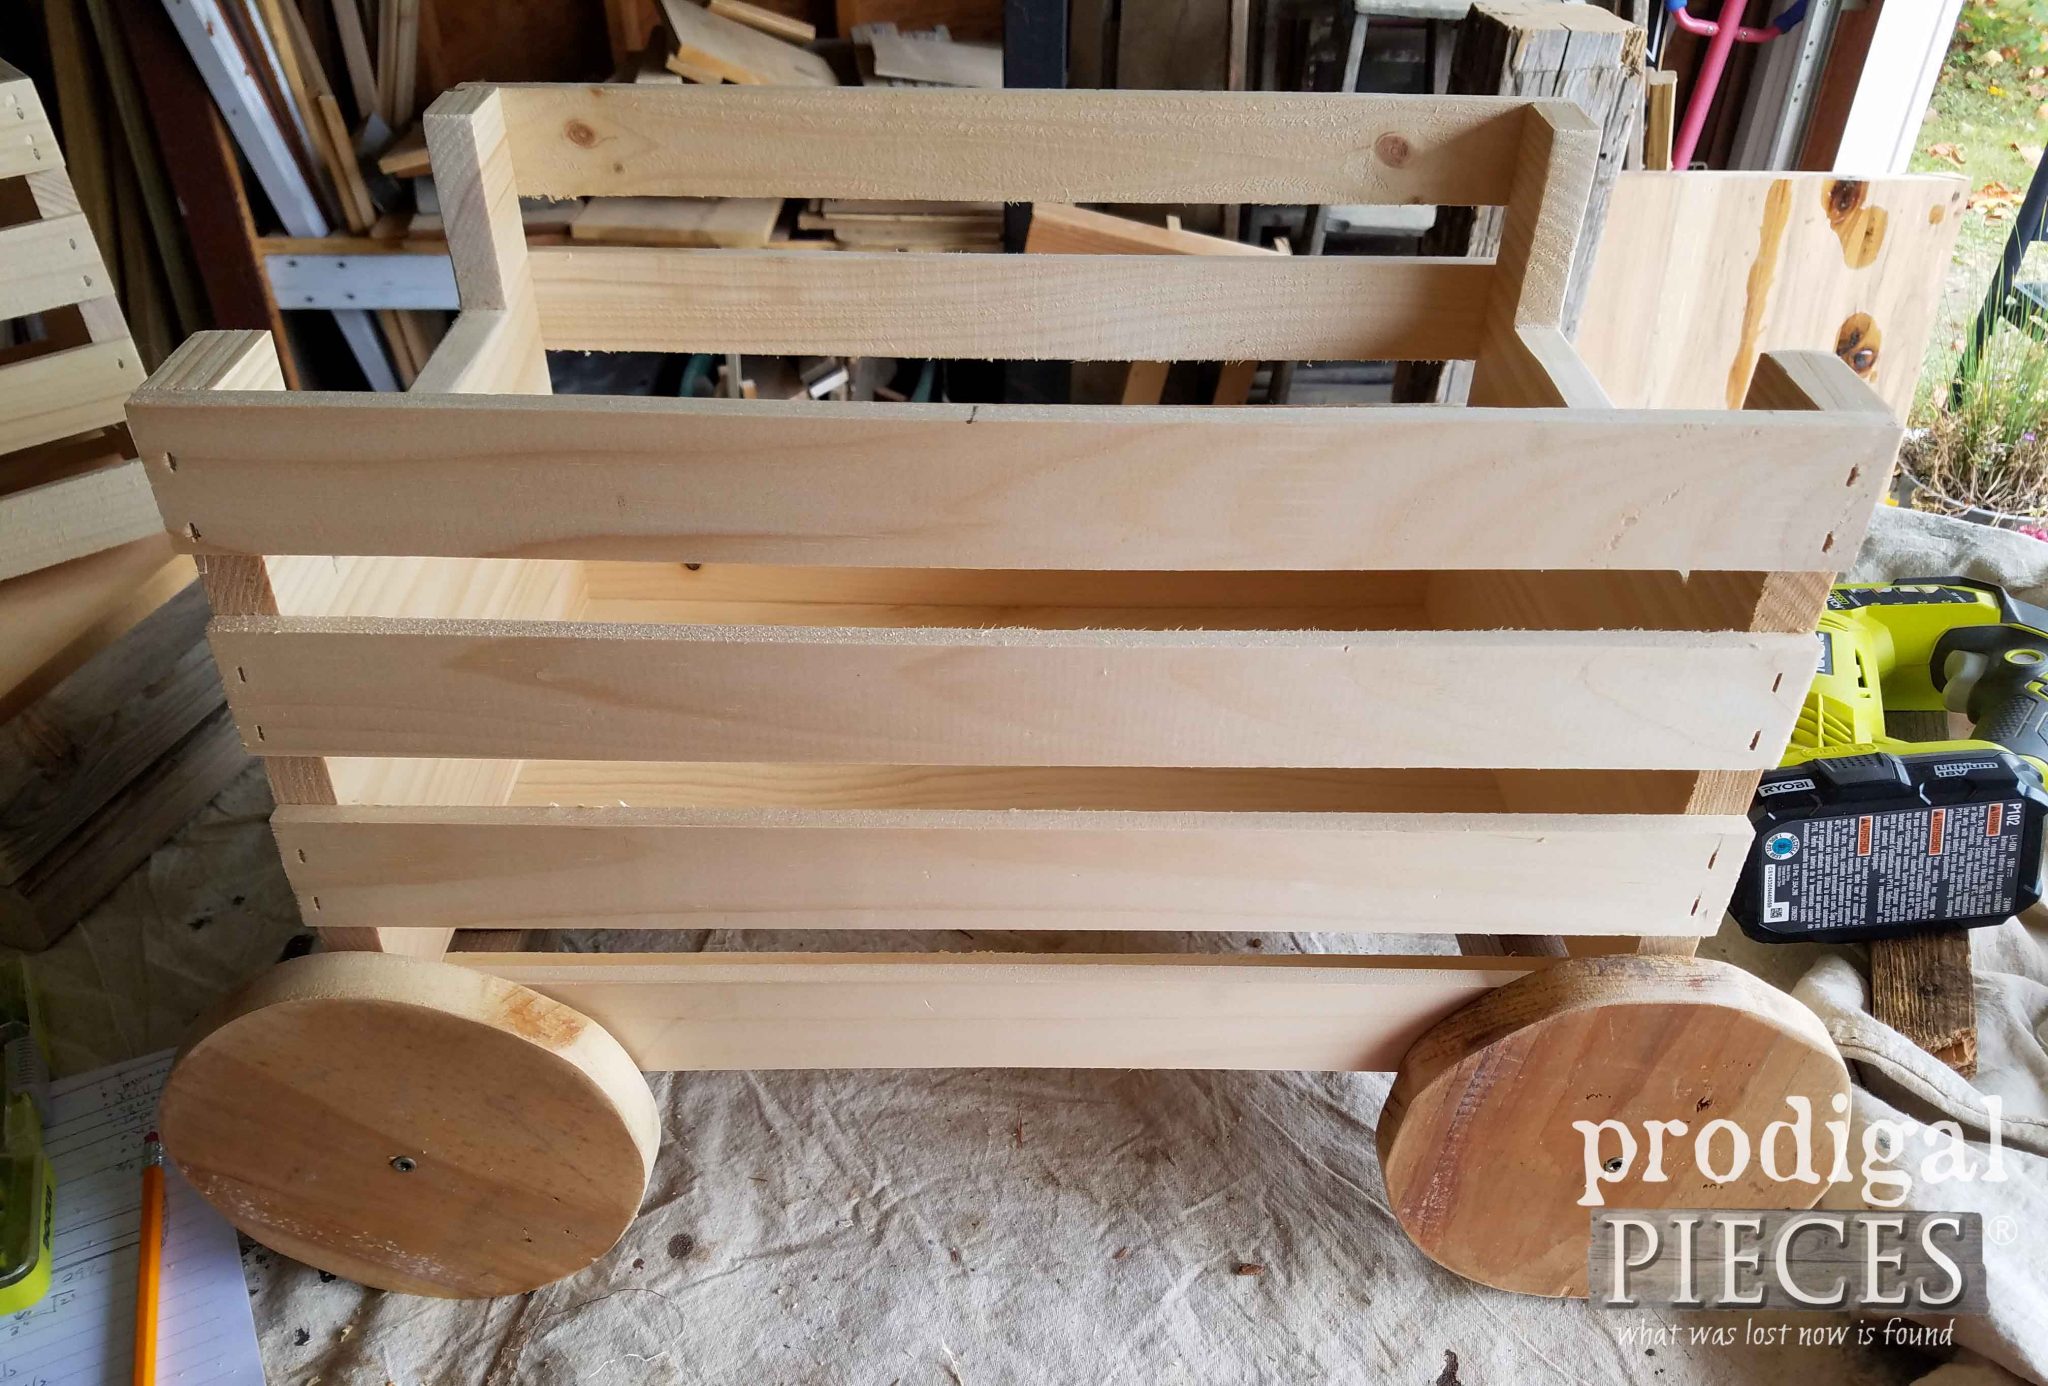
Line up your axles to the edge of the crate. First, using your 1/8″ drill bit to pre-drill your hole through to the crate. Then, using your 3/8″ bit, counter sink the hole about ½” deep. Last, attach using your 2″ screws. I found a broken garden trellis rail in my stash and used that for my axles. It pays to hoard wood! hee hee hee.
STEP 3
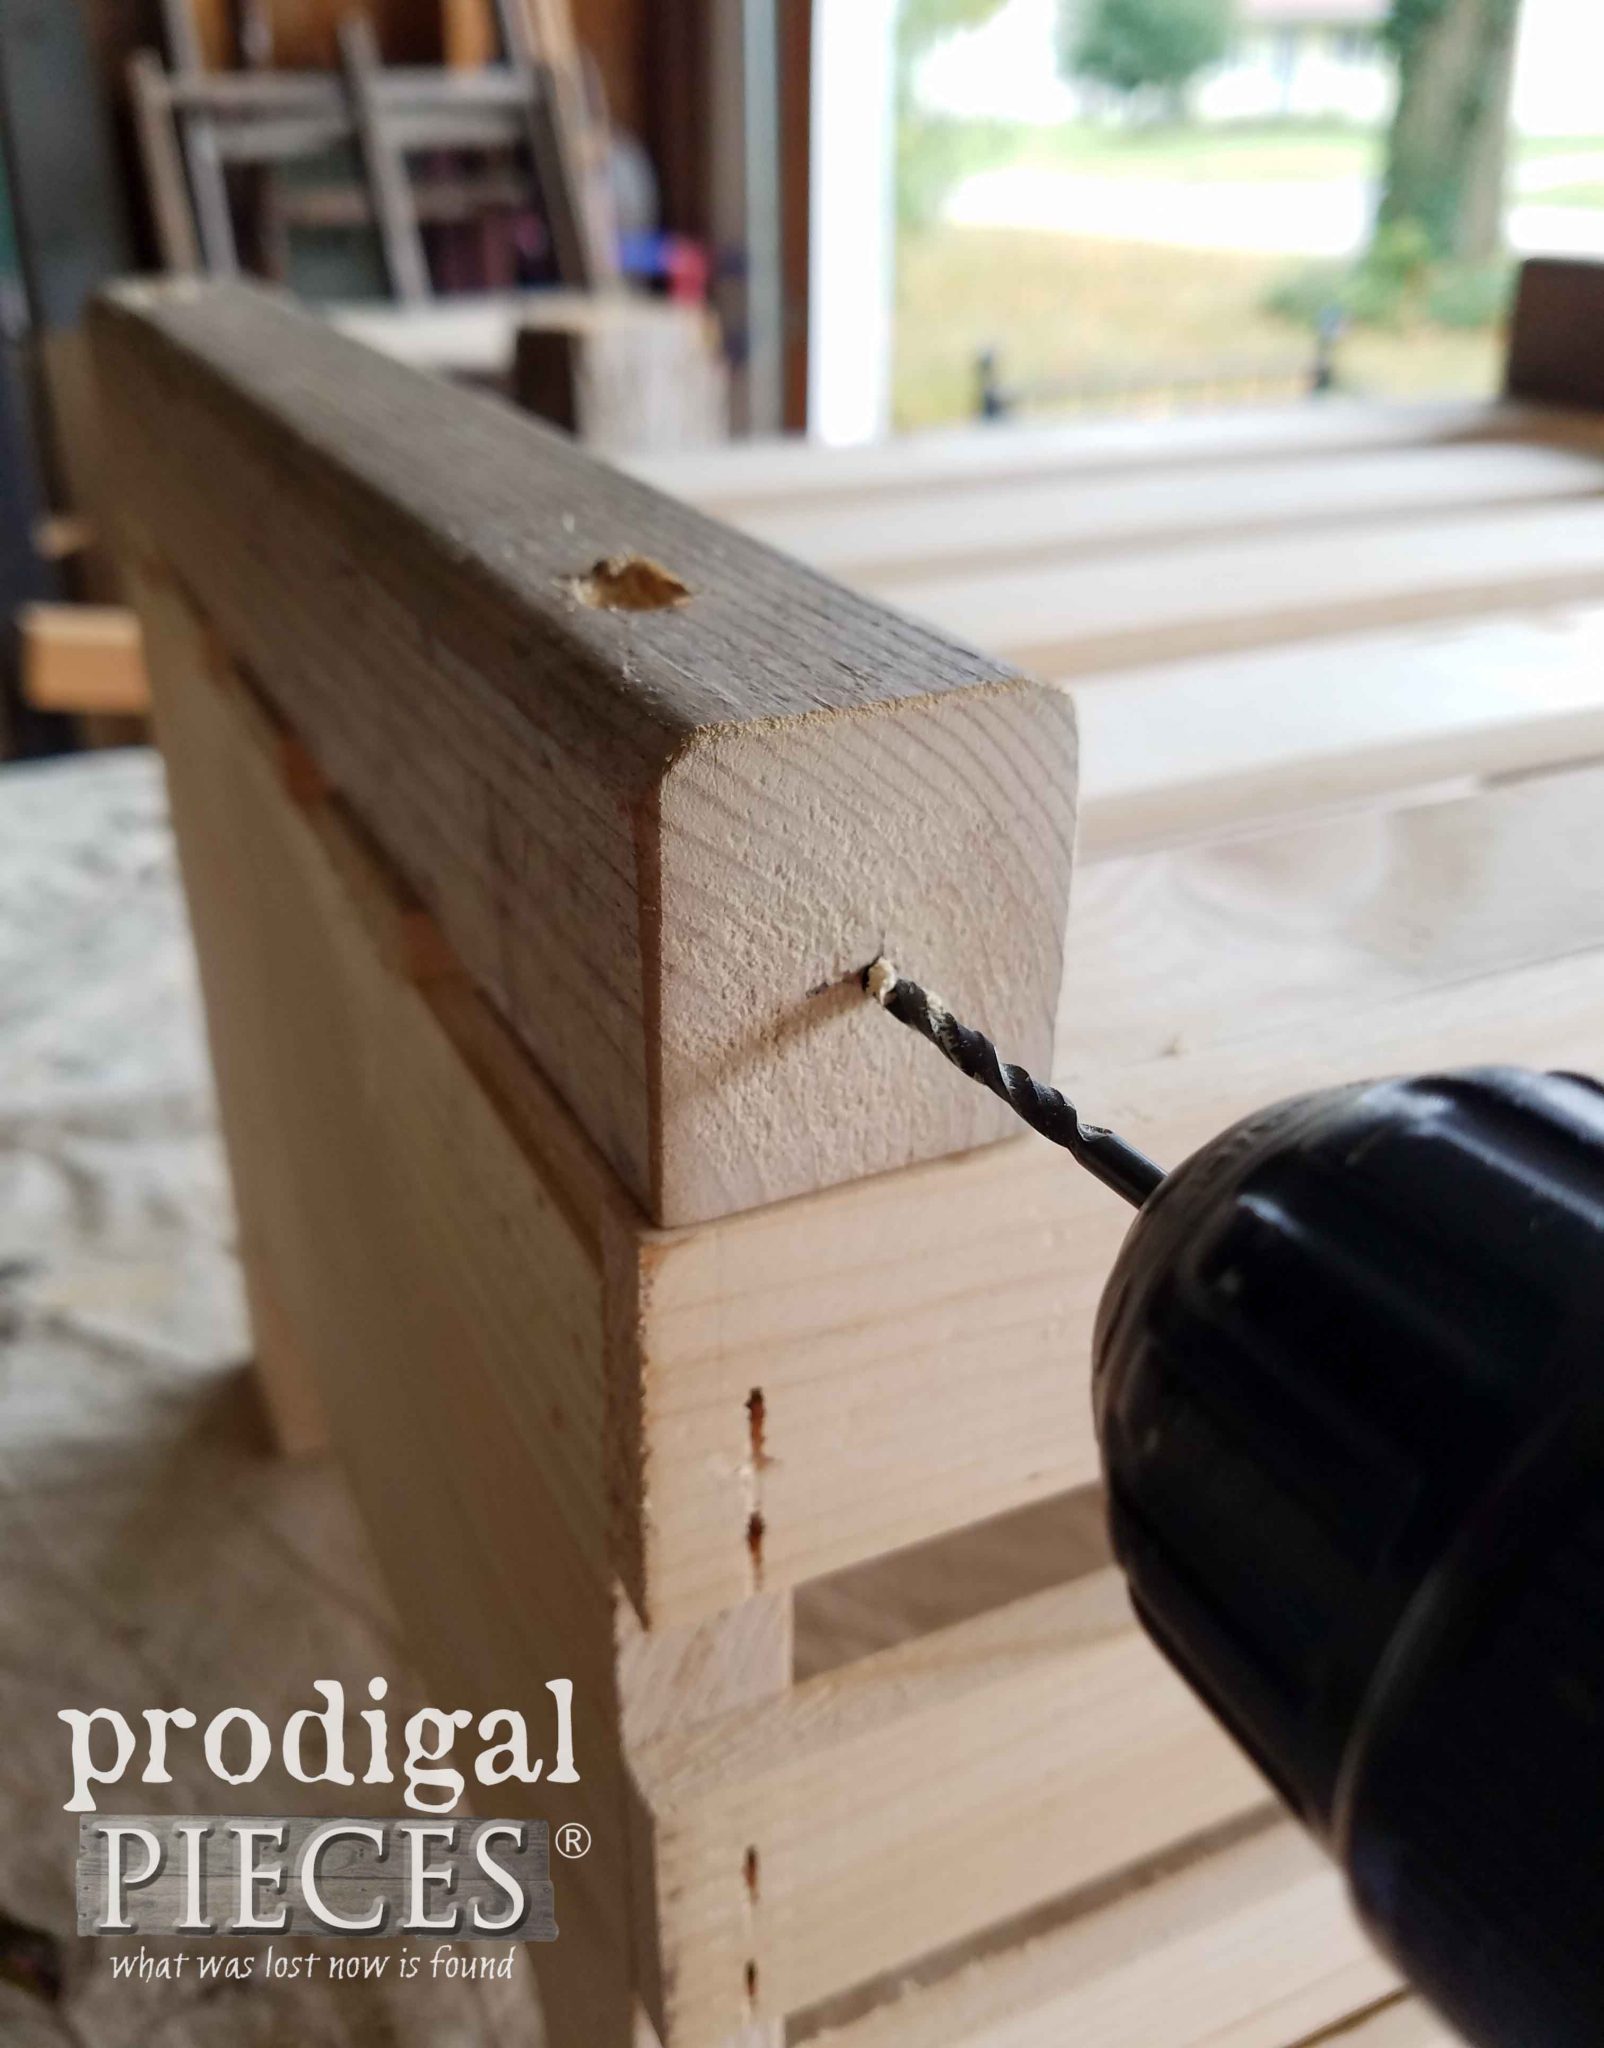
Next, using your 1/8″ bit, pre-drill holes in center of the ends of your axles.
STEP 4
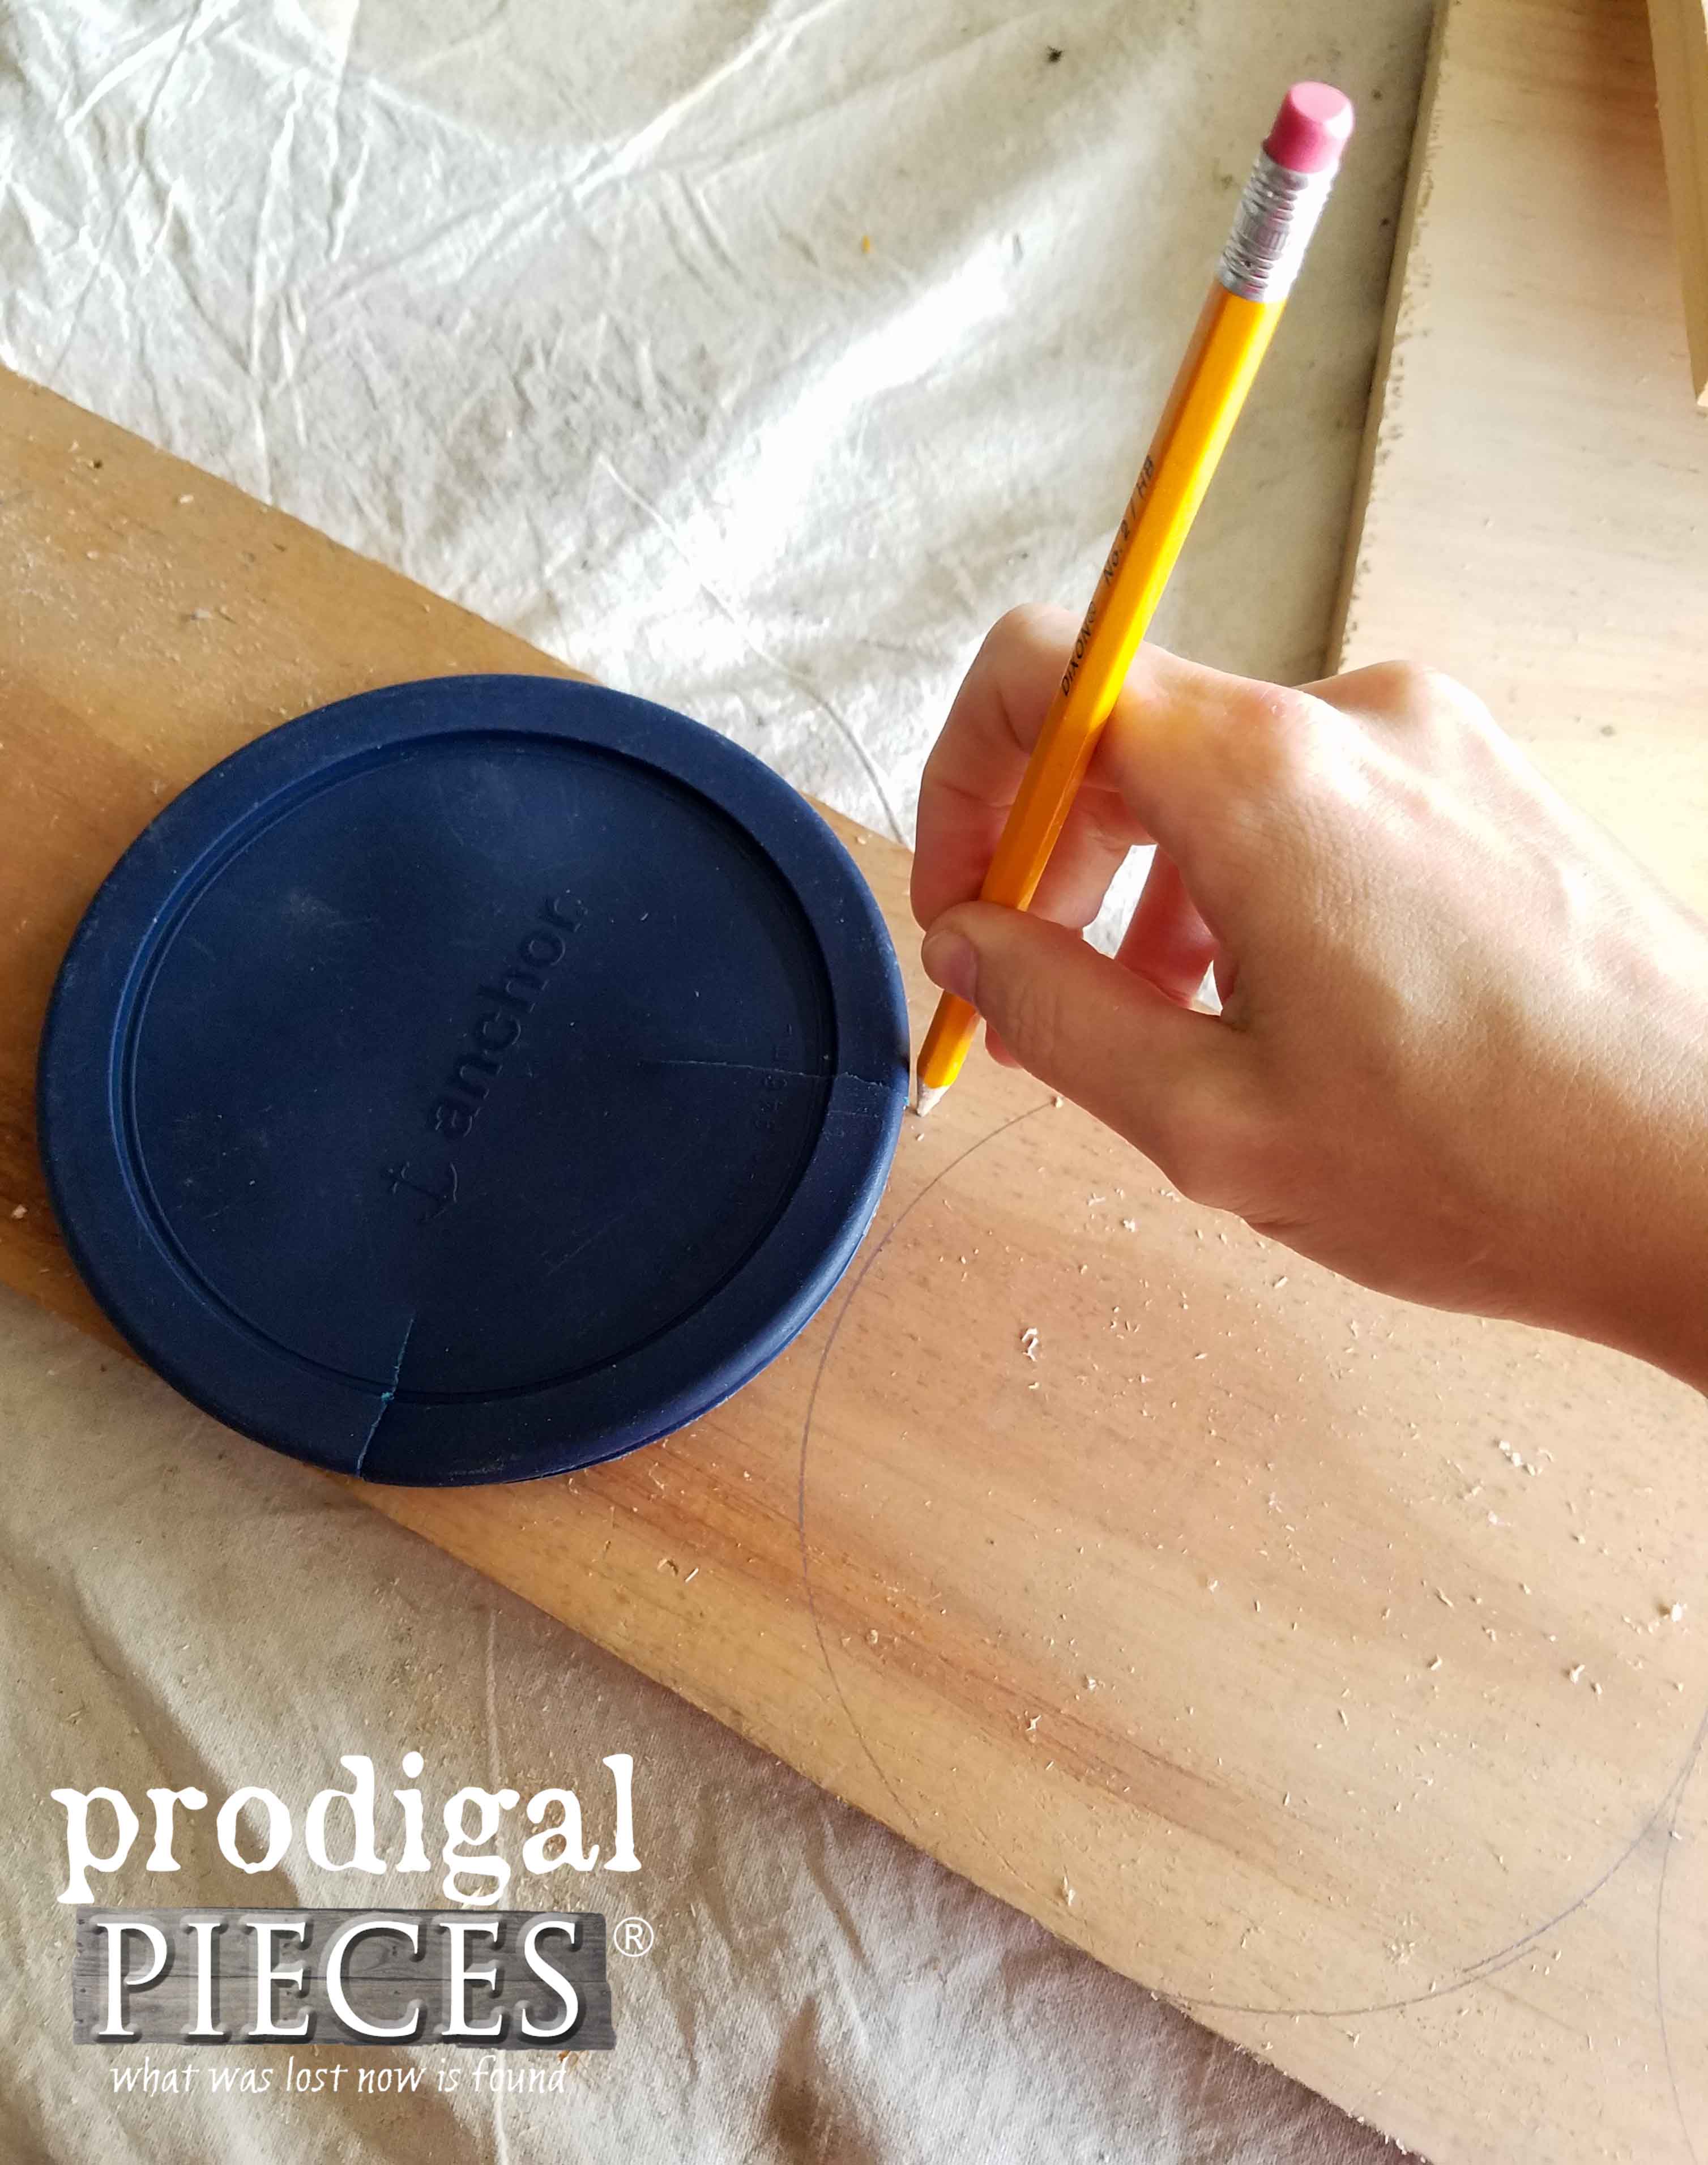
Next, trace and cut your wheels out of your 1″ x 8″ x 26″ board. I used a lid from one of my glass food storage containers to trace my template.
Next, using your jig saw, cut out the wheels and sand the raw edges smooth.
STEP 5
Pre-drill your wheels through the center using your 1/8″ drill bit. Attach with 2″ screws.
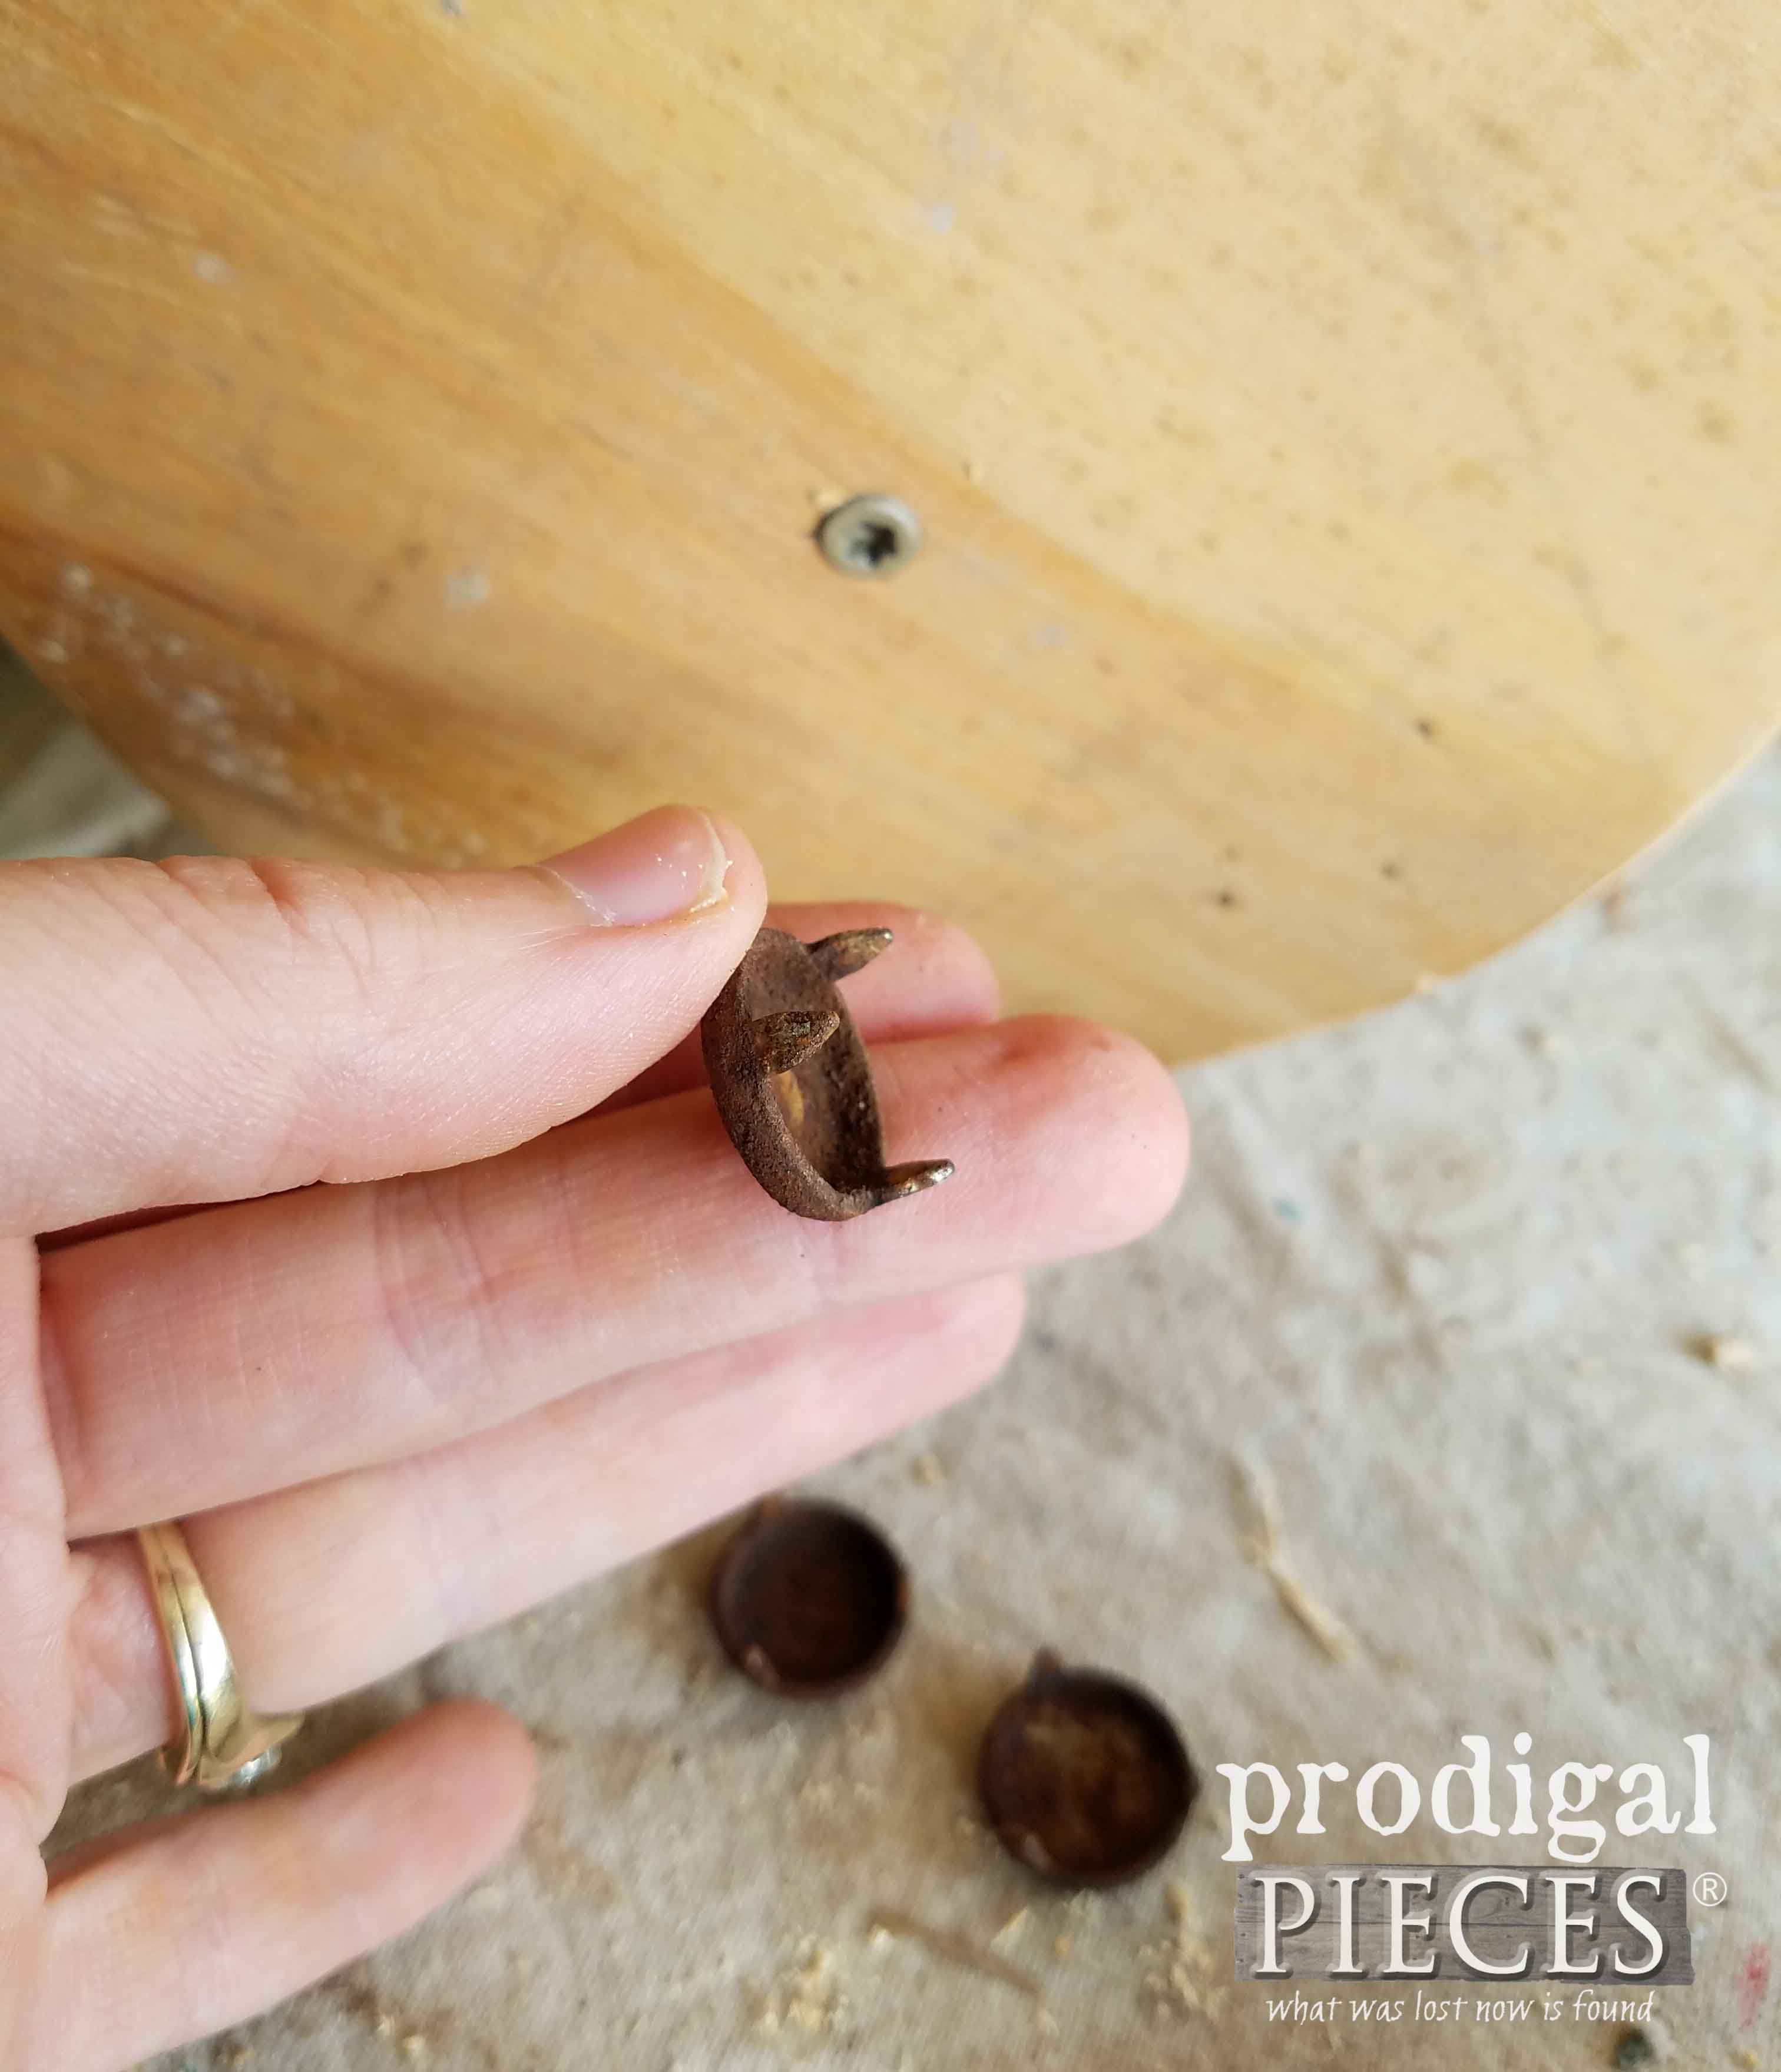
One of the things I salvaged off my old crate wagon were some rusty furniture glides (link to get some above) that were used to conceal the screw heads. Besides, they make a nice addition to the wagon. Also, you can add these now, or wait to add after stain and/or paint. Likewise, if you want yours rusty like mine, just use my rust recipe to make that patina happen.
STEP 6
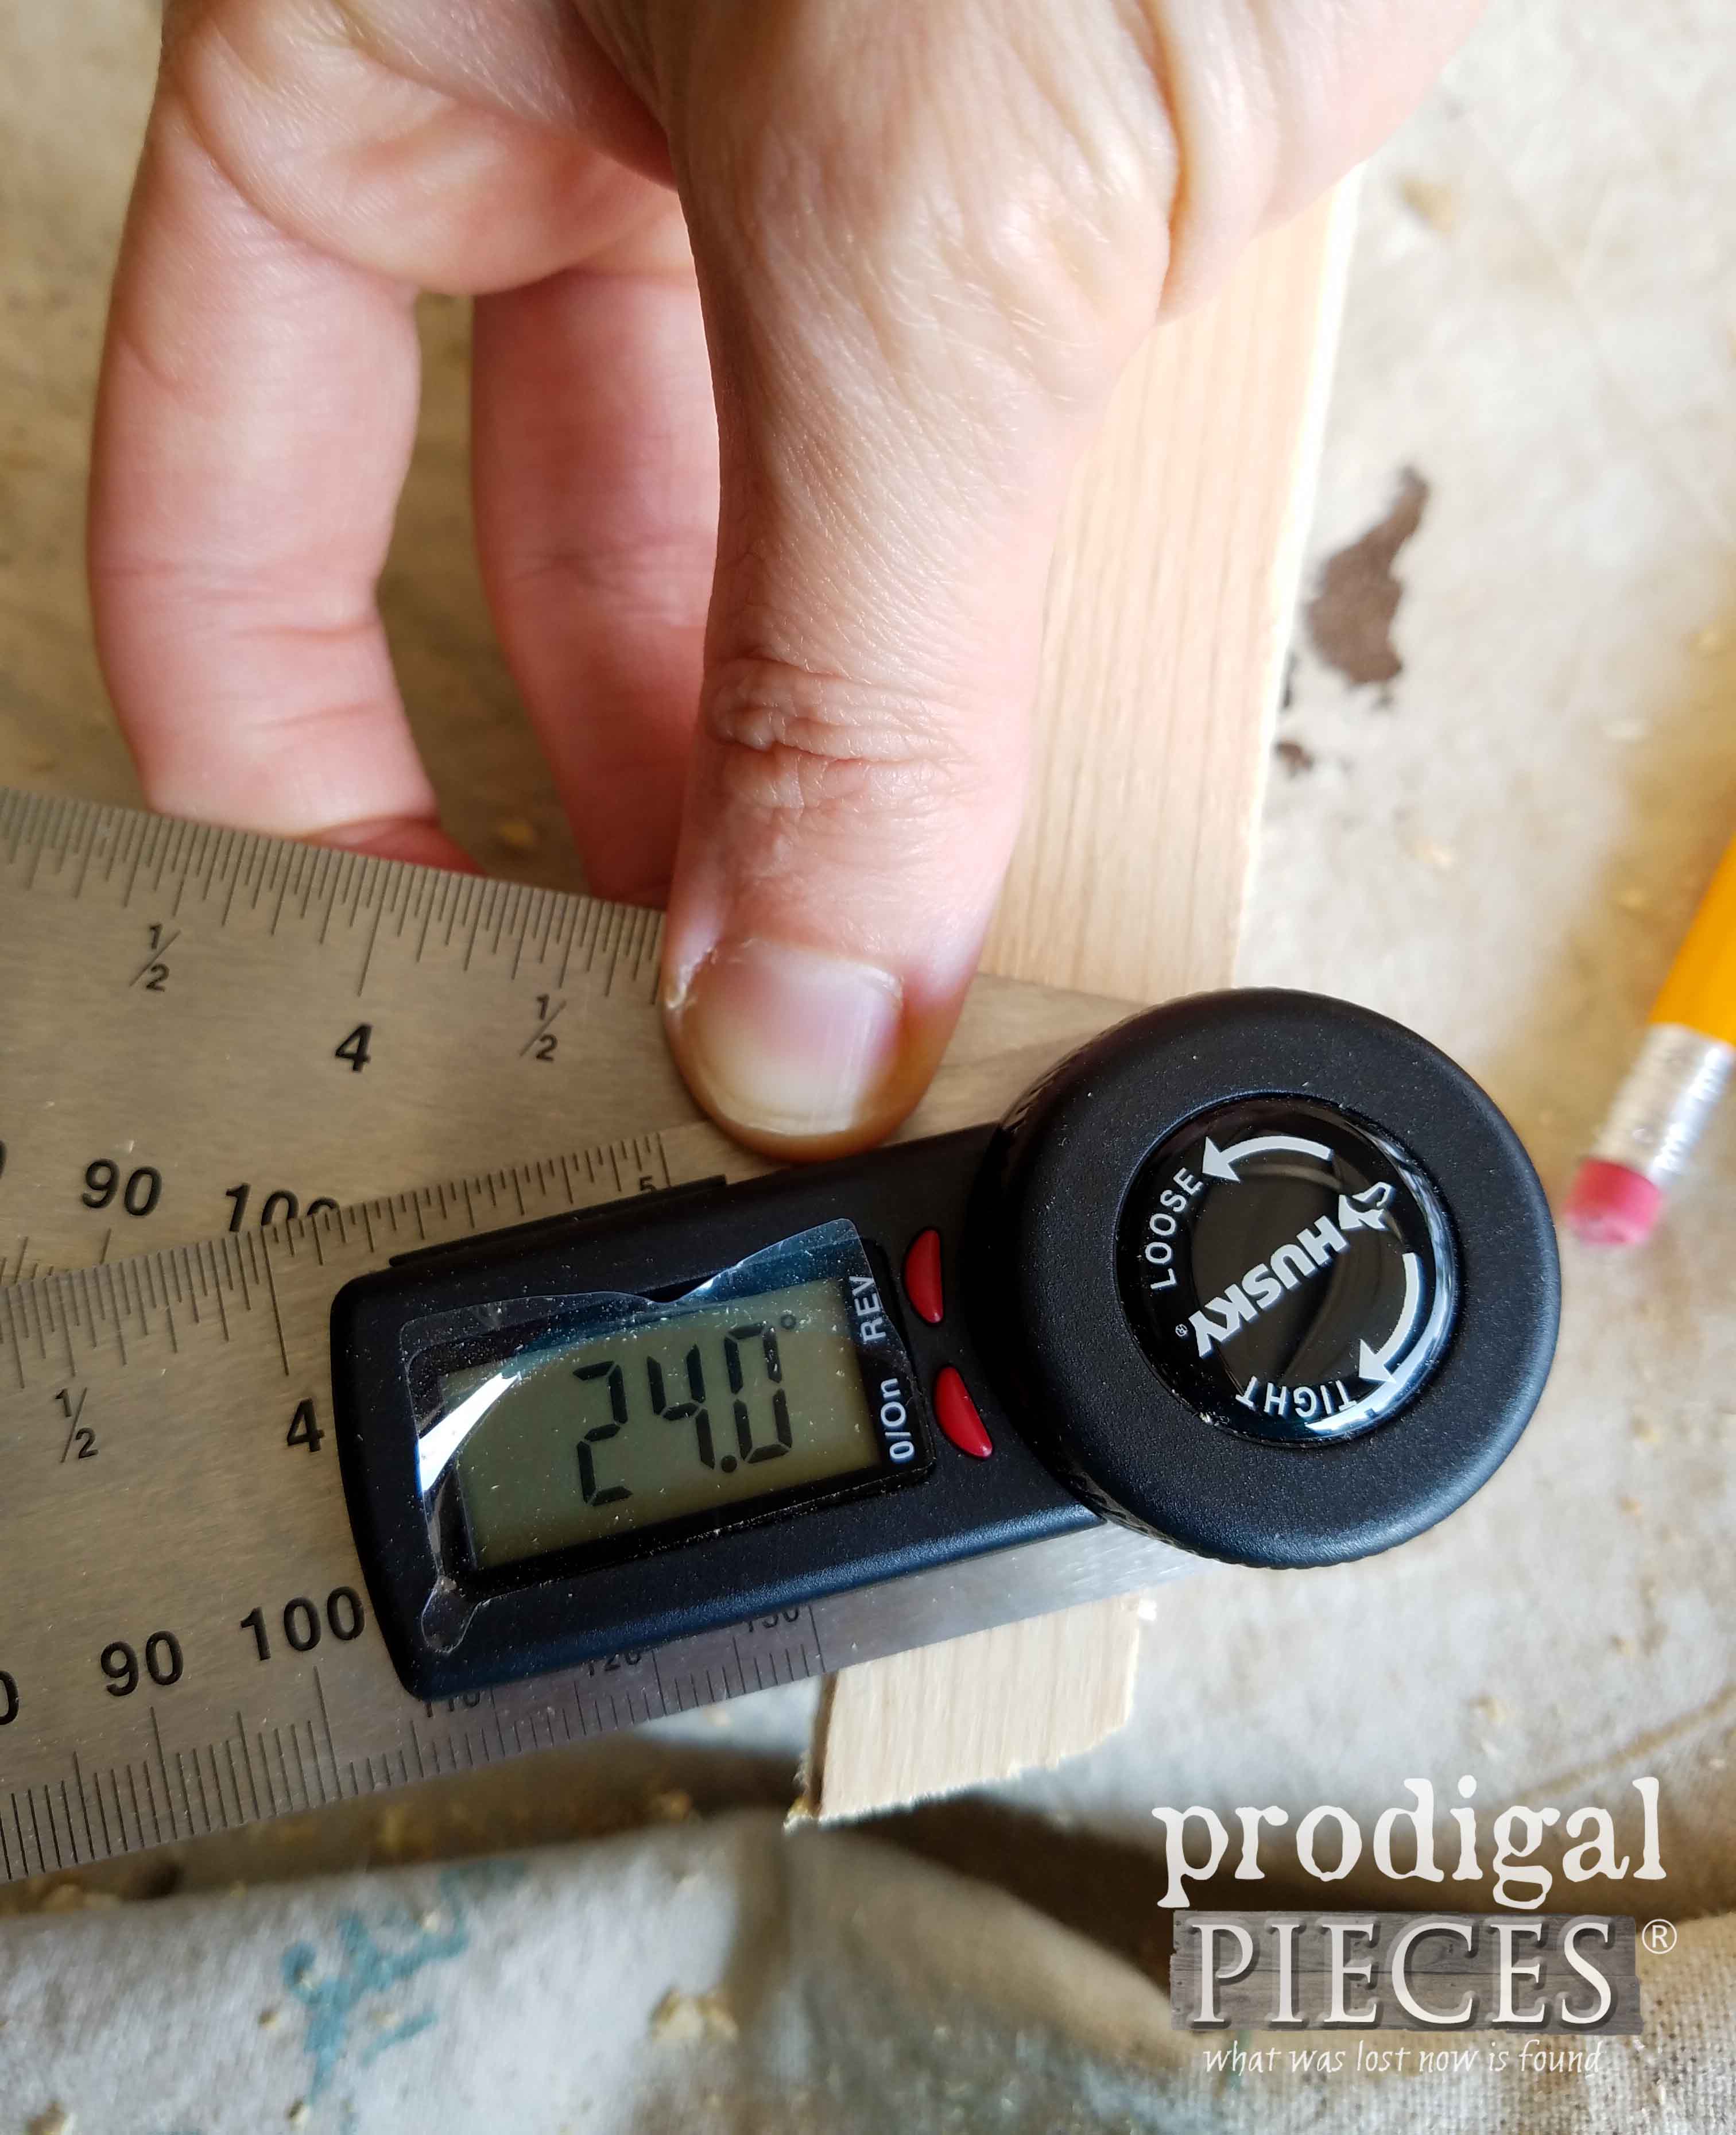
Create the tongue of your DIY crate wagon by using your 12″ piece, 4″ dowel, and 3/8″ drill bit. Drill the end of the 12″ piece centering the bit 1″ down from top (short) edge. Then, take your jig saw and notch off an approximate 24° angle off the opposing end.
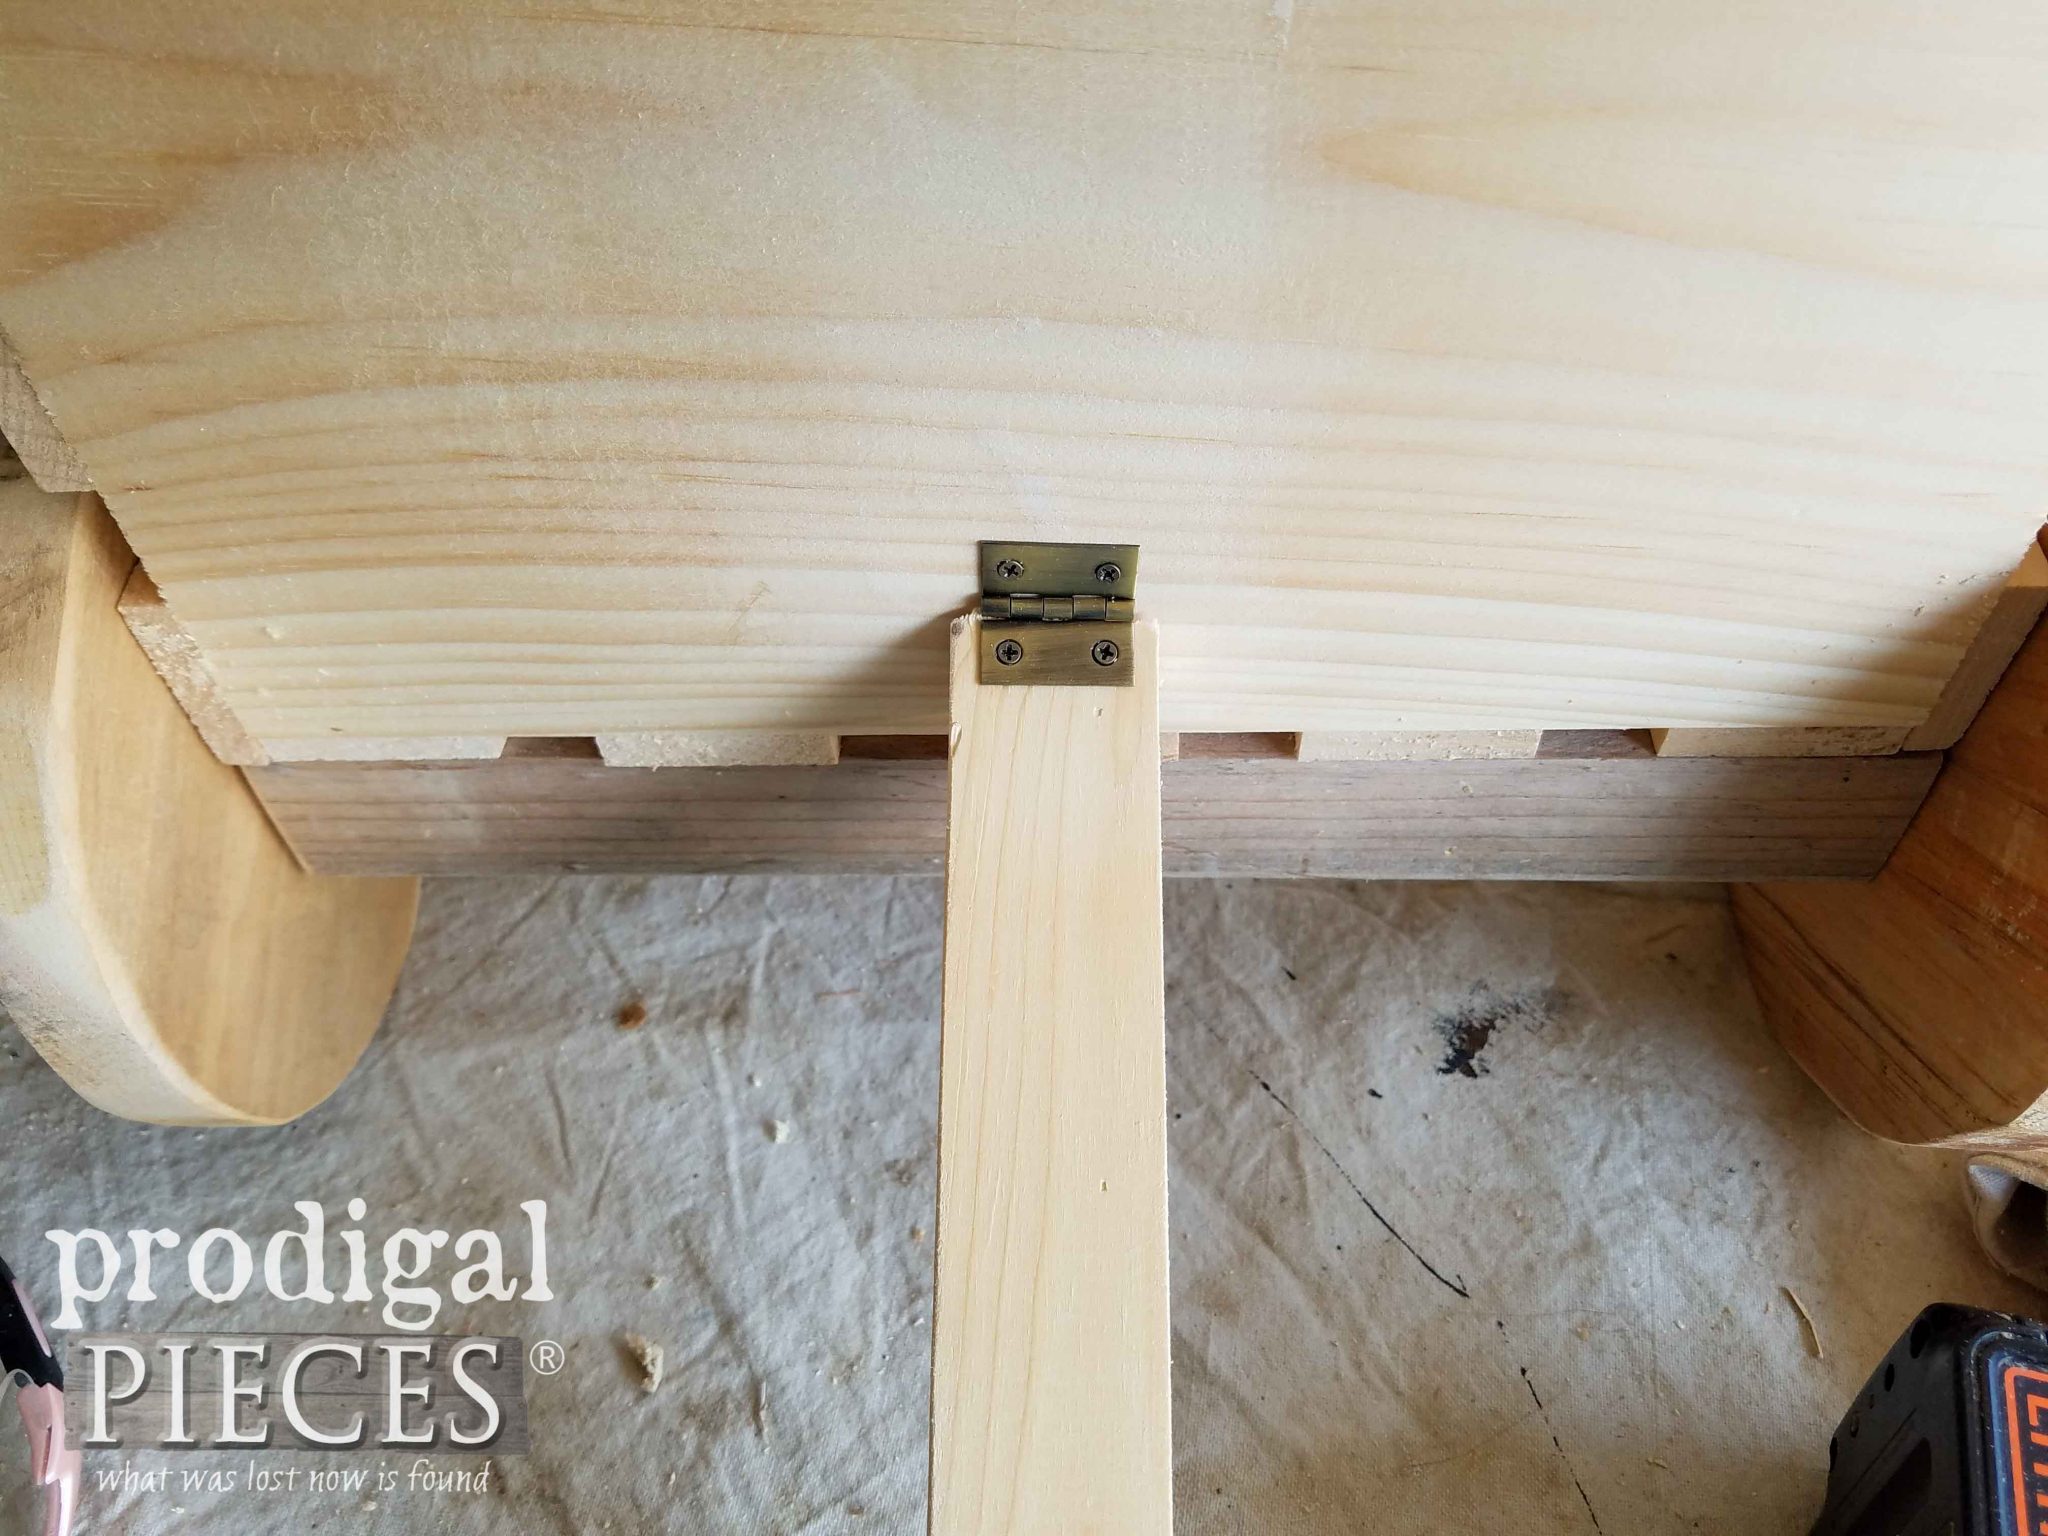
Next, attach your hinge to the top of that angled end. Then attach the tongue to the wagon 3″ up from the bottom (or wherever you feel it rests best).
In addition, if you want to keep the tongue up, attach a small bit of Velcro after you have finished your topcoats of stain and/or paint.
STEP 7
Next, attach the seat so that it sits flush to the tongue end of the wagon using your nailer and 5/8″ brads (or pre-drill and use screws).
STEP 8
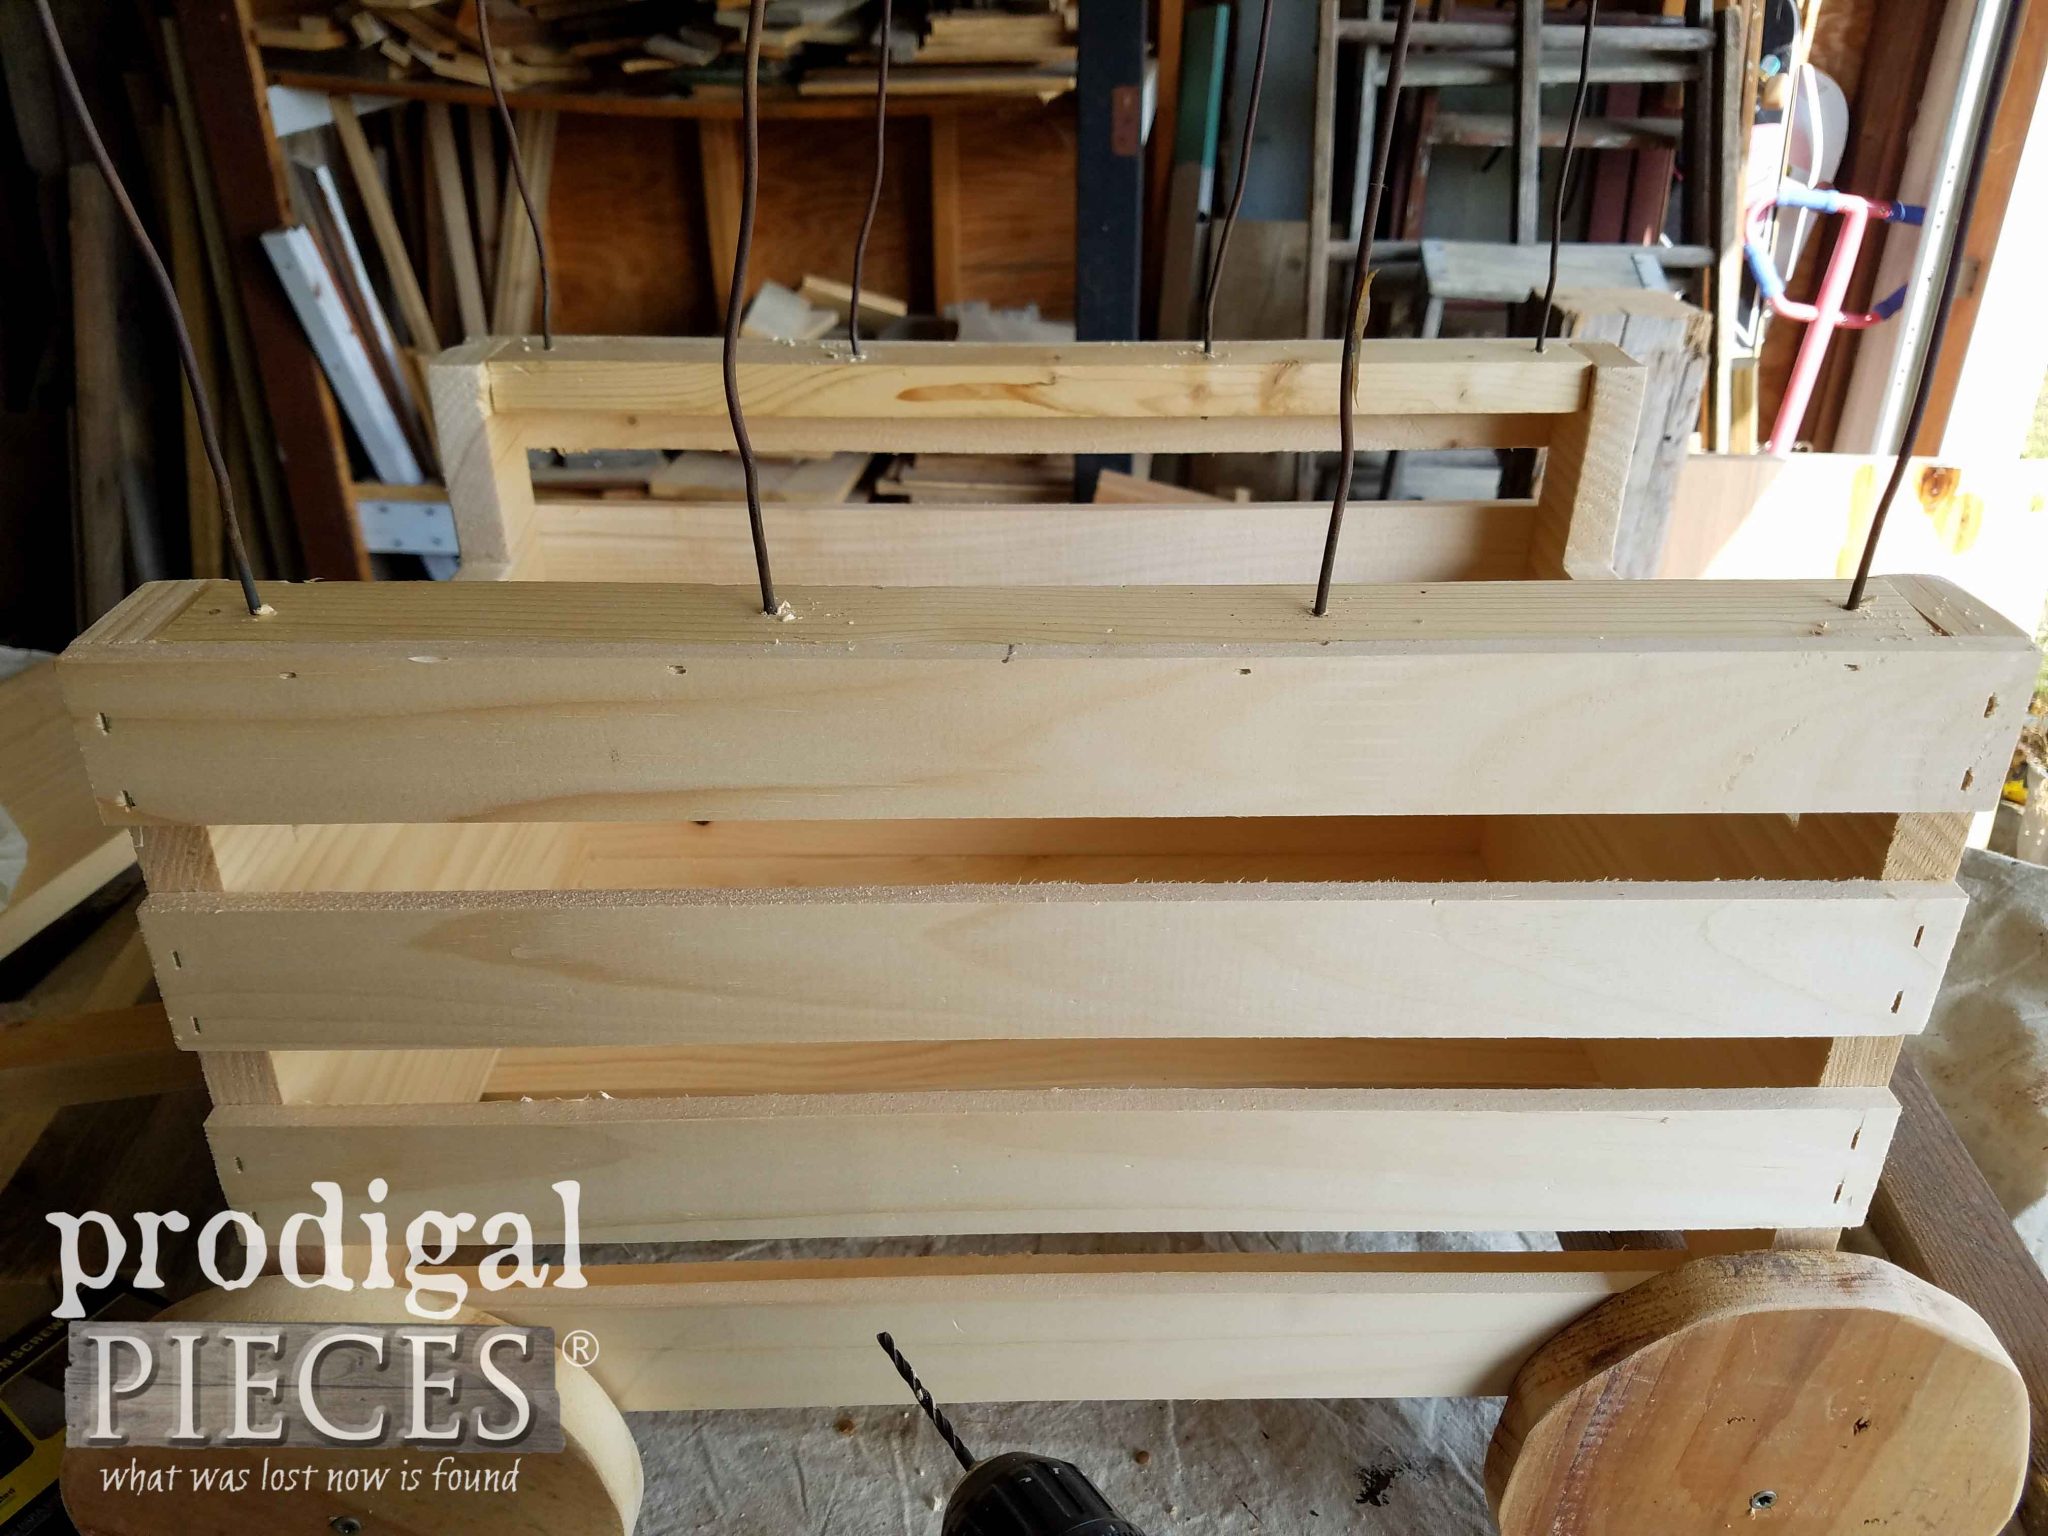
Attach your top slats to the inside edge of the top of the crate, using your nailer and 1″ brads on the short ends, and 5/8″ brads on the long sides. Likewise, you can just use your 1 ½” screws and pre-drill on the short ends and attach.
Next, using your 1/8″ drill bit, drill holes for your wagon spines making sure not to go all the way through the wood. In other words, there is no set measurements for these. Just place them evenly spaced on both sides.
STEP 9
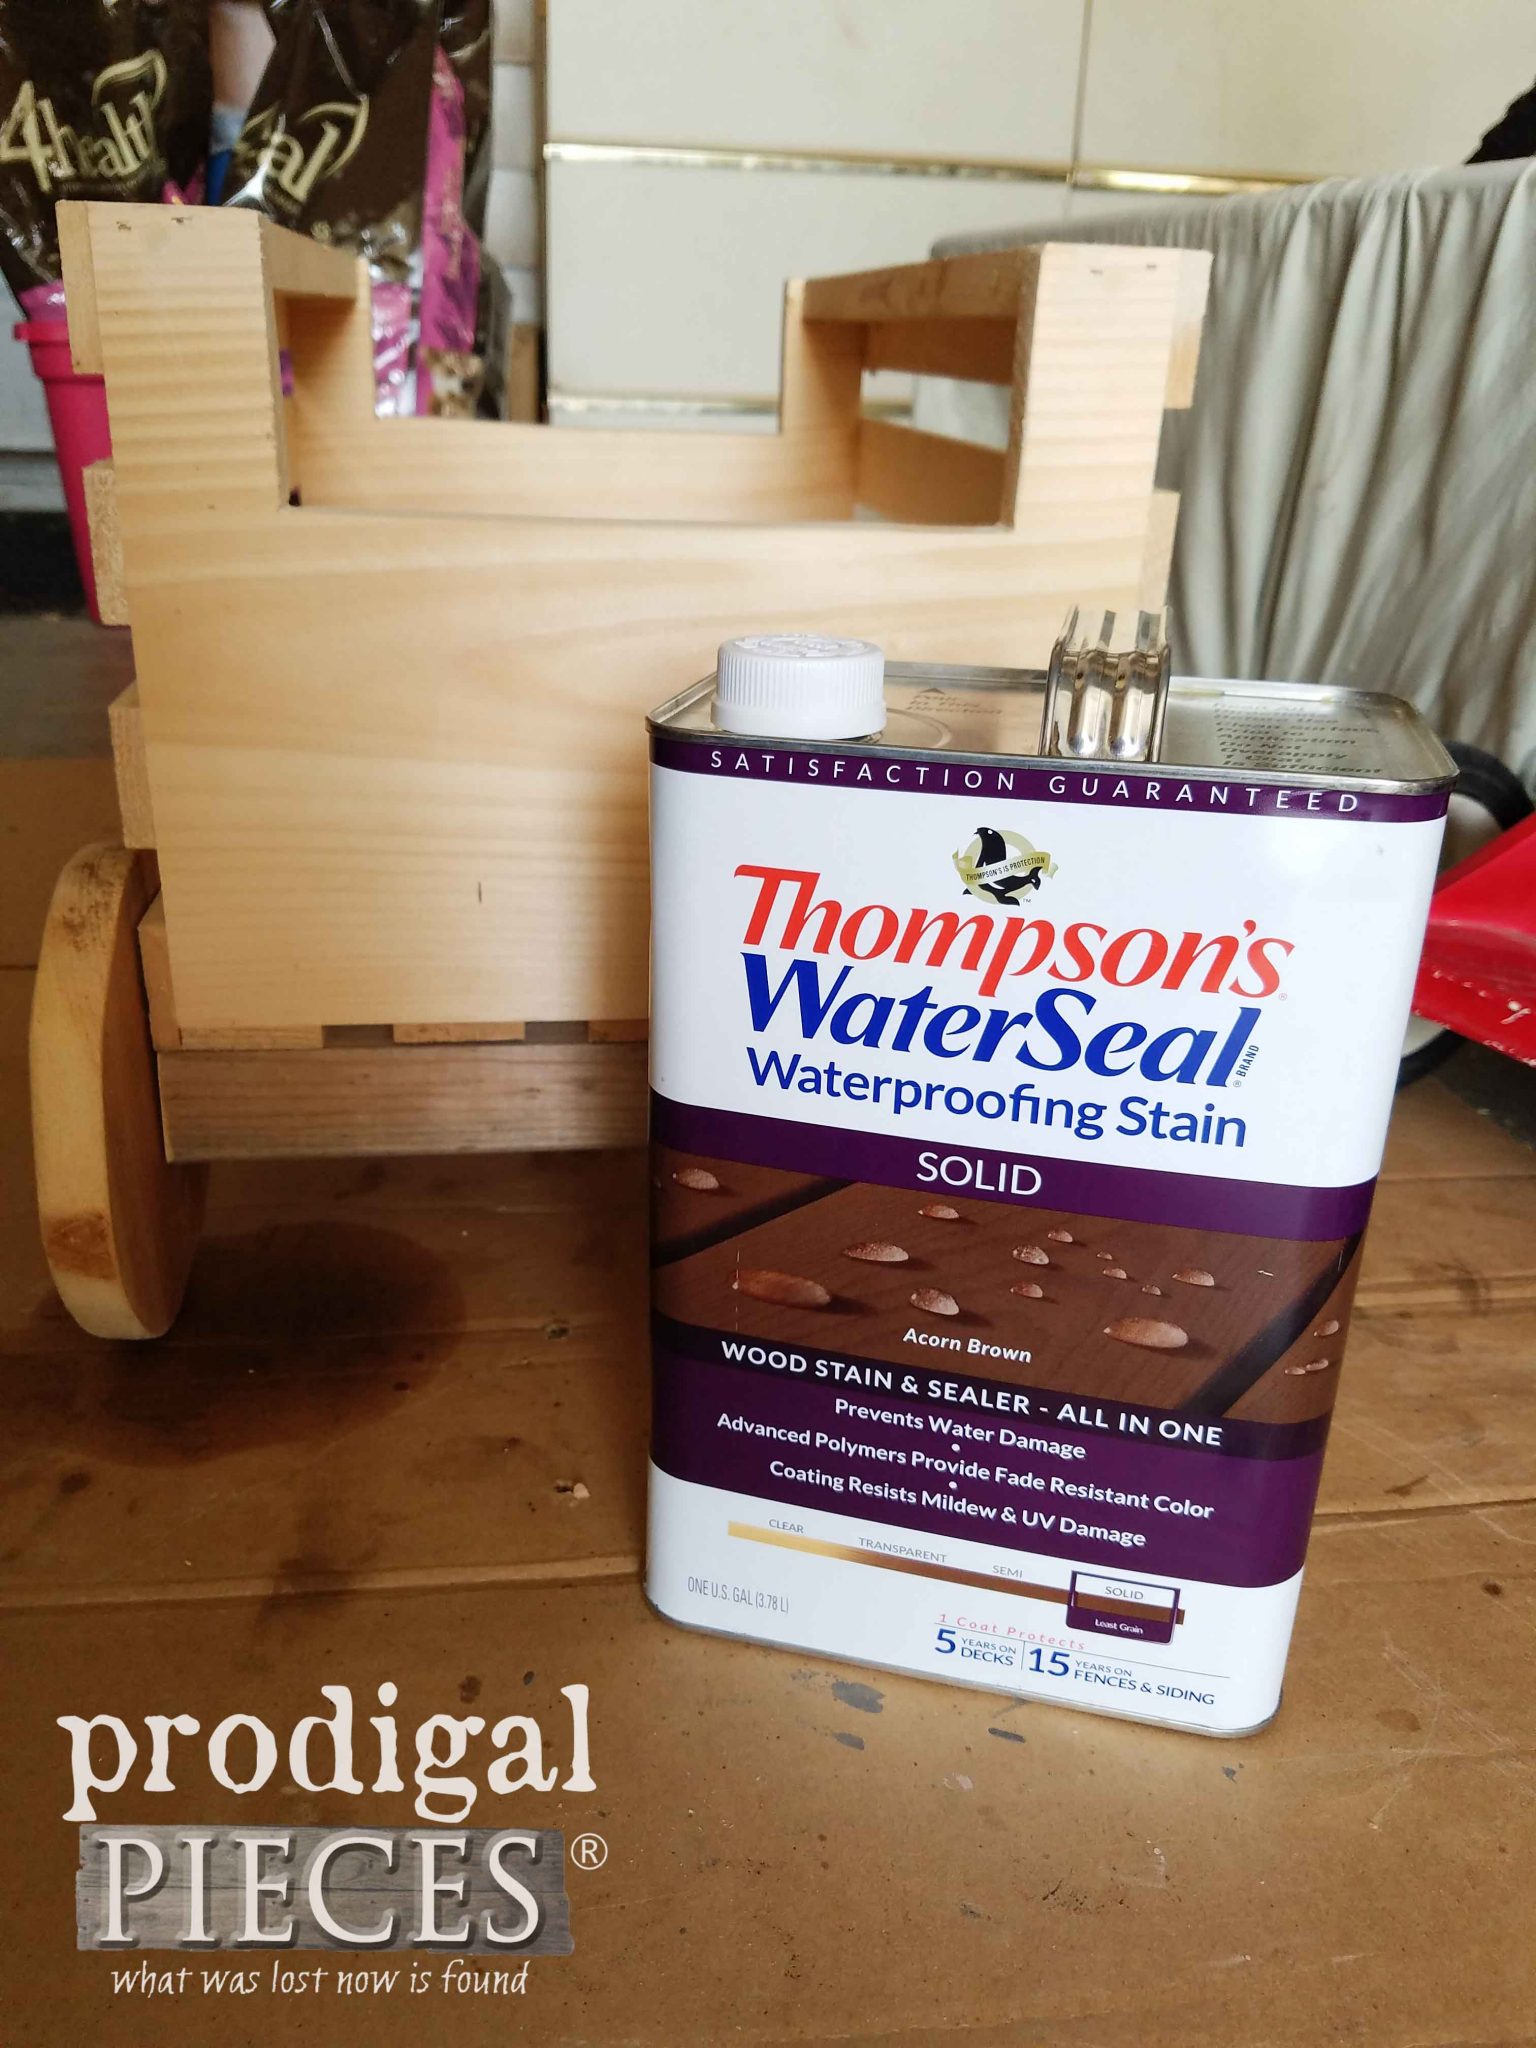
Last, you’re ready to add the finish. I chose to make mine weather-proof by using Thompson’s WaterSeal Waterproofing Stain in Acorn Brown Solid.
Just follow manufacturer instructions for application. Likewise, if you are creating this DIY crate wagon for indoors, you can use a regular stain and/or paint to finish. At this point, you can stop here and enjoy your wagon, or you can use a paint layering technique I outline in this post. Which way to finish is your favorite?
THE REVEAL
And you’re done!
I hope you’ve enjoyed this fun DIY crate wagon tutorial. In spite of the work, it is a relief to have my wagon back. Finally, I can continue to use it outdoors and in. In addition, pin and share to inspire others to give DIY a try!
Up next, my daughter Miss S and I will be showing you what she did with this…thing. Also, you can check out her past transformations HERE to see what she is capable of. She is good! See the end result in this post HERE.
To get these DIY tips & tricks in your inbox, be sure to sign up for my newsletter. Until next time!


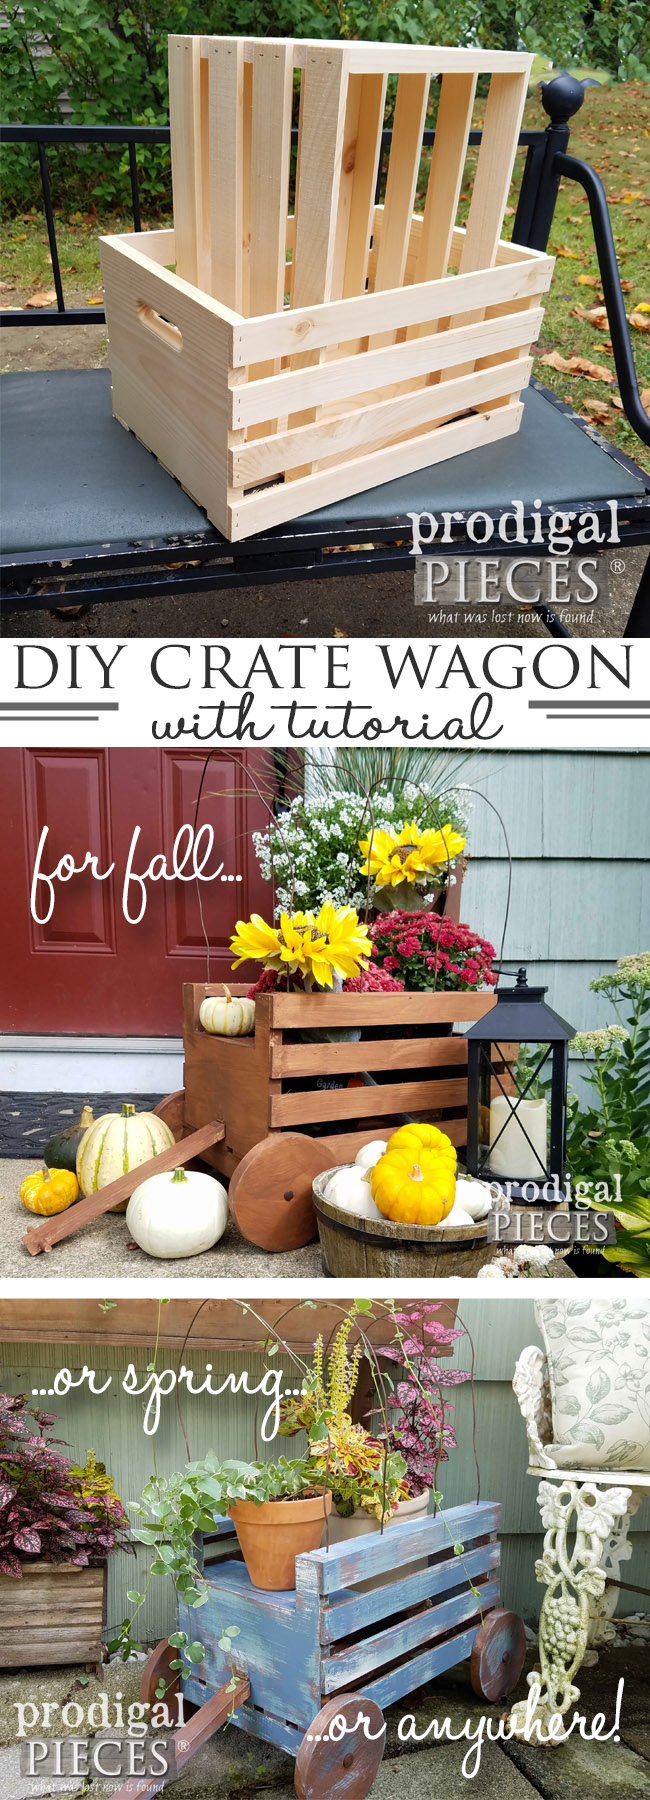

Your little crate wagon planters are just adorable.
Thank U 4 the instructions.
How cute these would be decorated for Christmas, sitting under the tree or filling with stuffed animals, etc.
Is there a way we could have printable instructions for the crate wagon planter?
Thank U
I don’t have it set up that way, but you can print each step from my blog if you like.
I just had to recreate that one some how. I loved it! Thank you for the love, Colleen.
Yo’re crate wagons look great. I wish I had you’re vision, but that’s why I read your blog! It gives me great ideas! Thanks for the directions.
You are so fun, Karen! Thank you.
Love your ideas! However, I would warn that this is not suitable for children being pulled in it. As is, it would tip up when you pull it. To prevent this you need to attach the handle above the mid-point of the front.
Thanks, Pam. The wheels don’t turn and it really is small for a kid to fit, especially with the spines added. Good to note, though. 🙂
I love these! I am always looking for unique planters. I would absolutely buy one from your shop. I’m not much of a builder, lol! Love your posts❤
You sound like a kindred soul, Pamela. I may just add them to the shop at some point. Thanks!
Really cute idea for seasonal decorating inside or out! I have to say the blue wash is my fav, Spring or Fall. You always come up with the greatest ideas, Larissa. Looking forward to seeing what Miss S is up to next!
I just love me some layers! Thank you for the encouraging words, Marie. It means so much!
That is such a cute idea and I love the paint finish! Very creative!
Thanks for saying so, Shelley! 😀
This crate wagon looks awesome, especially for Fall! Love it!
Thanks!