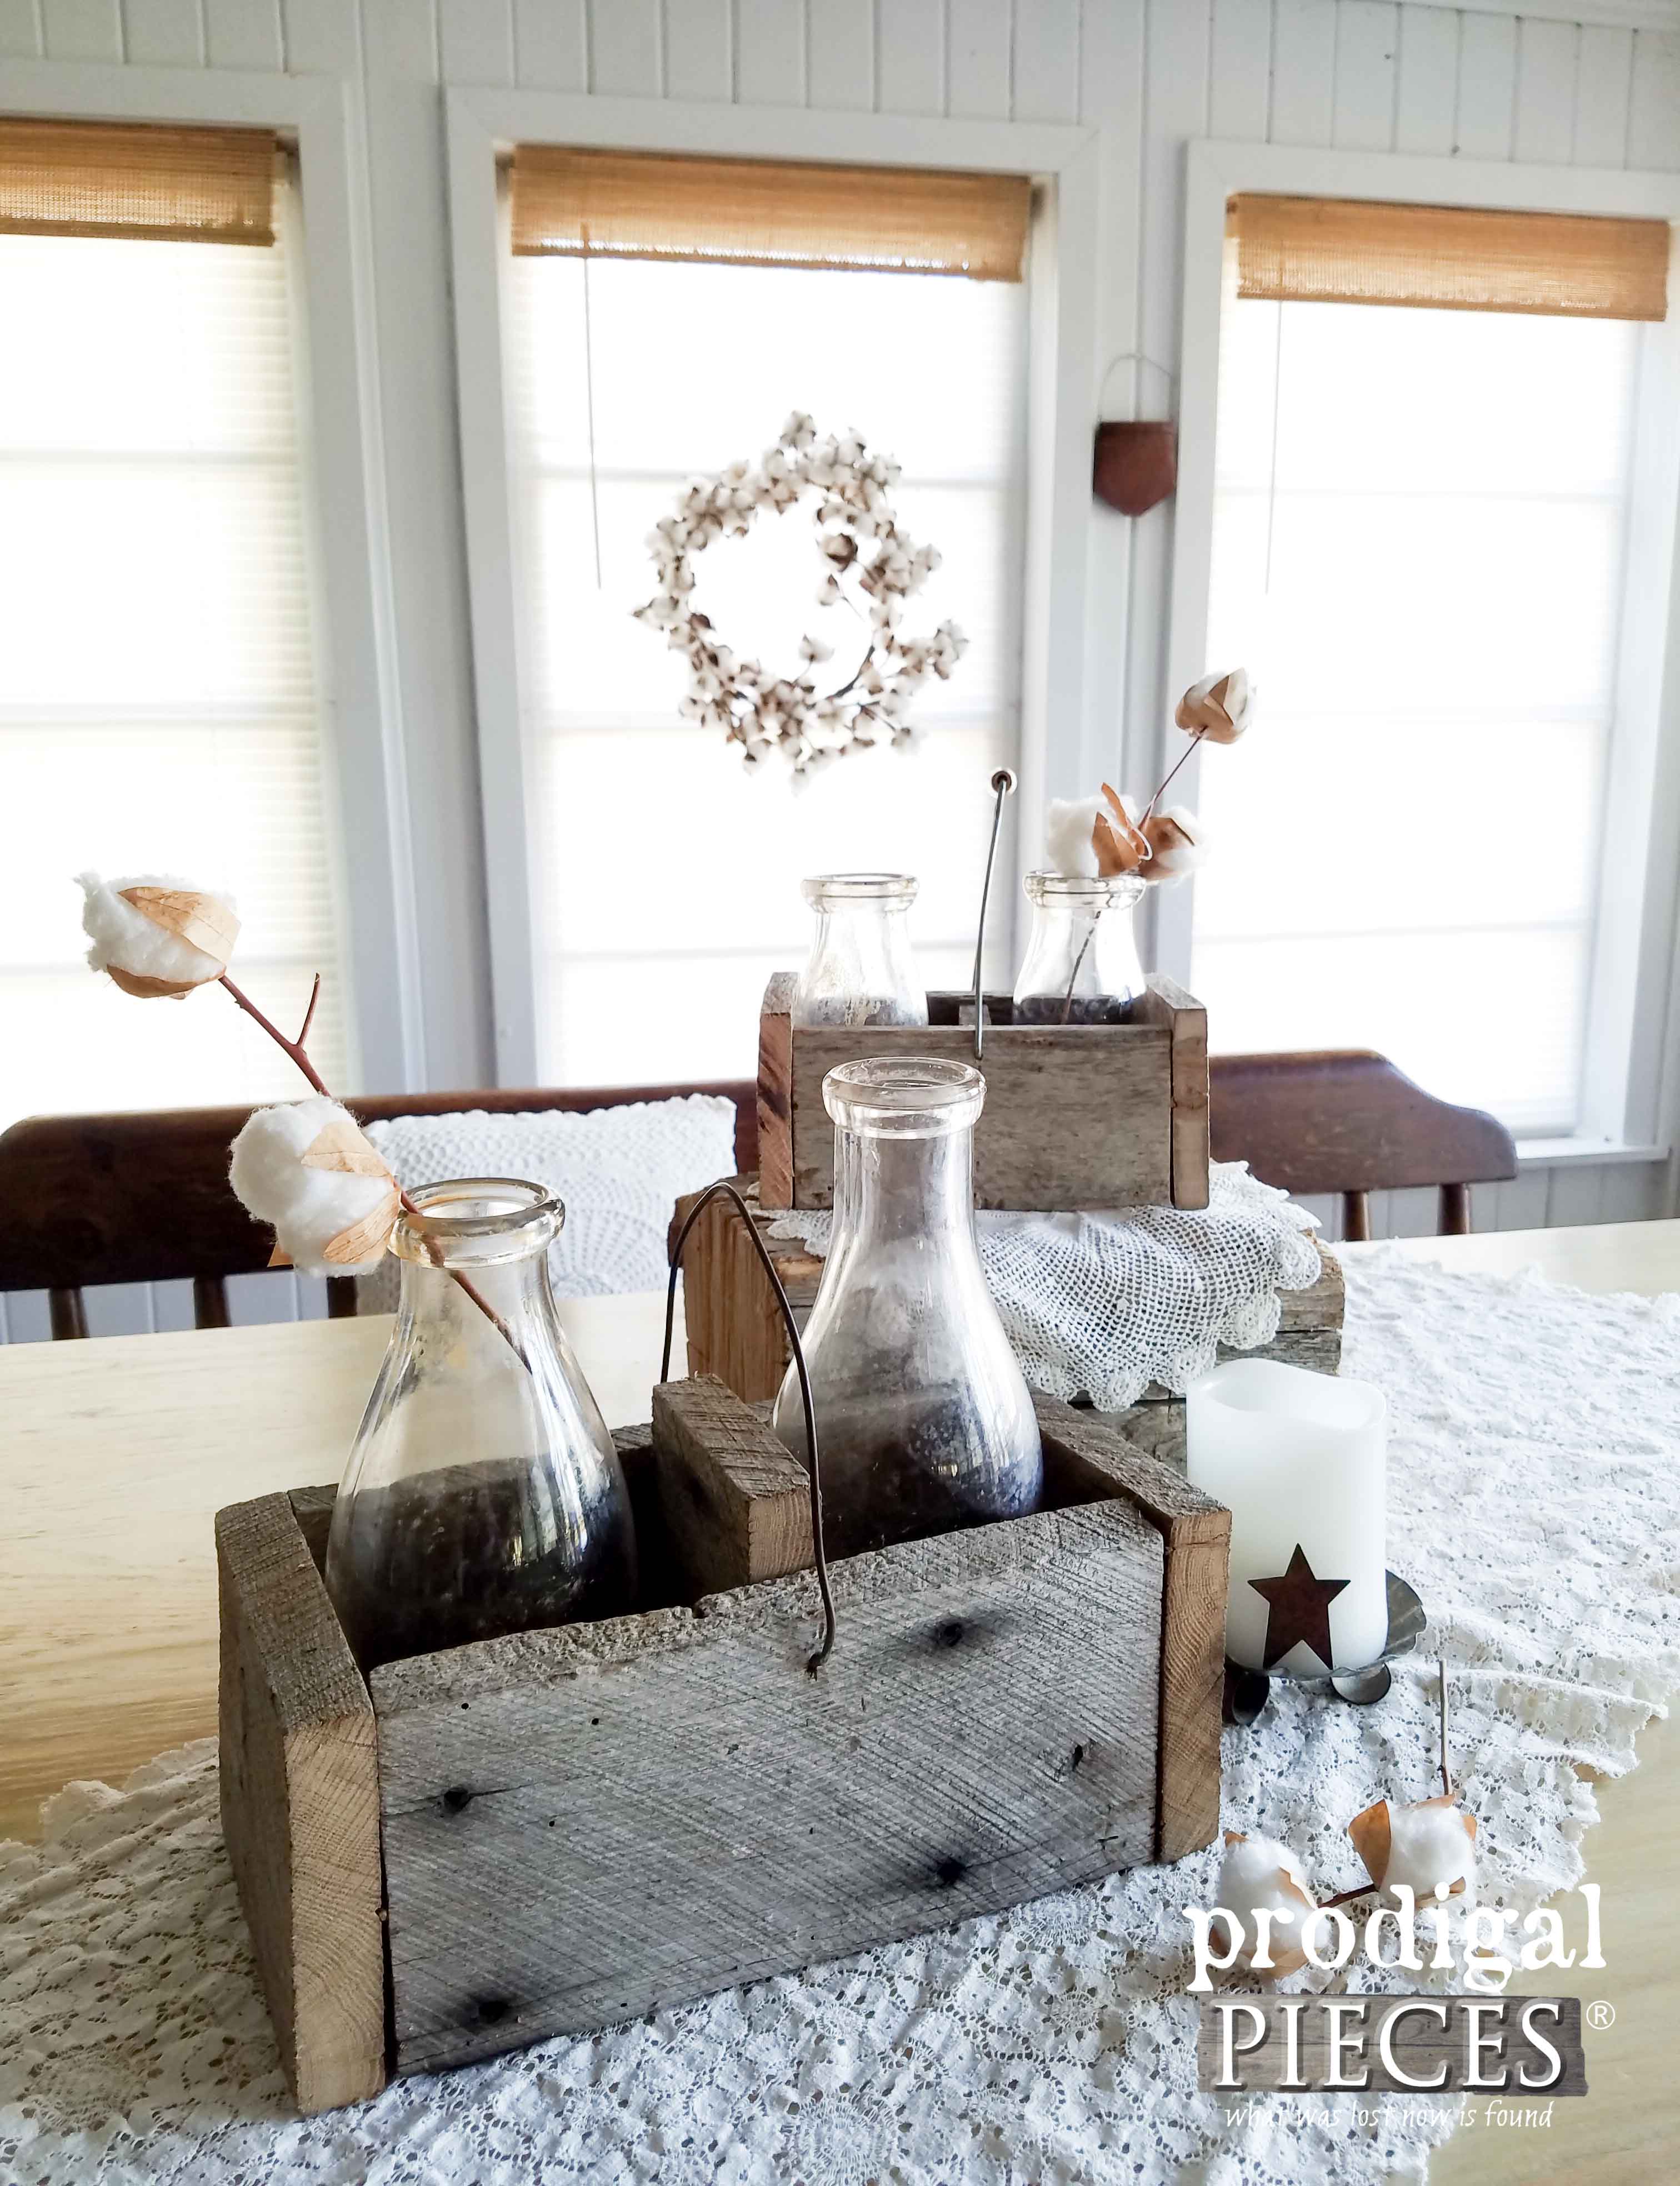
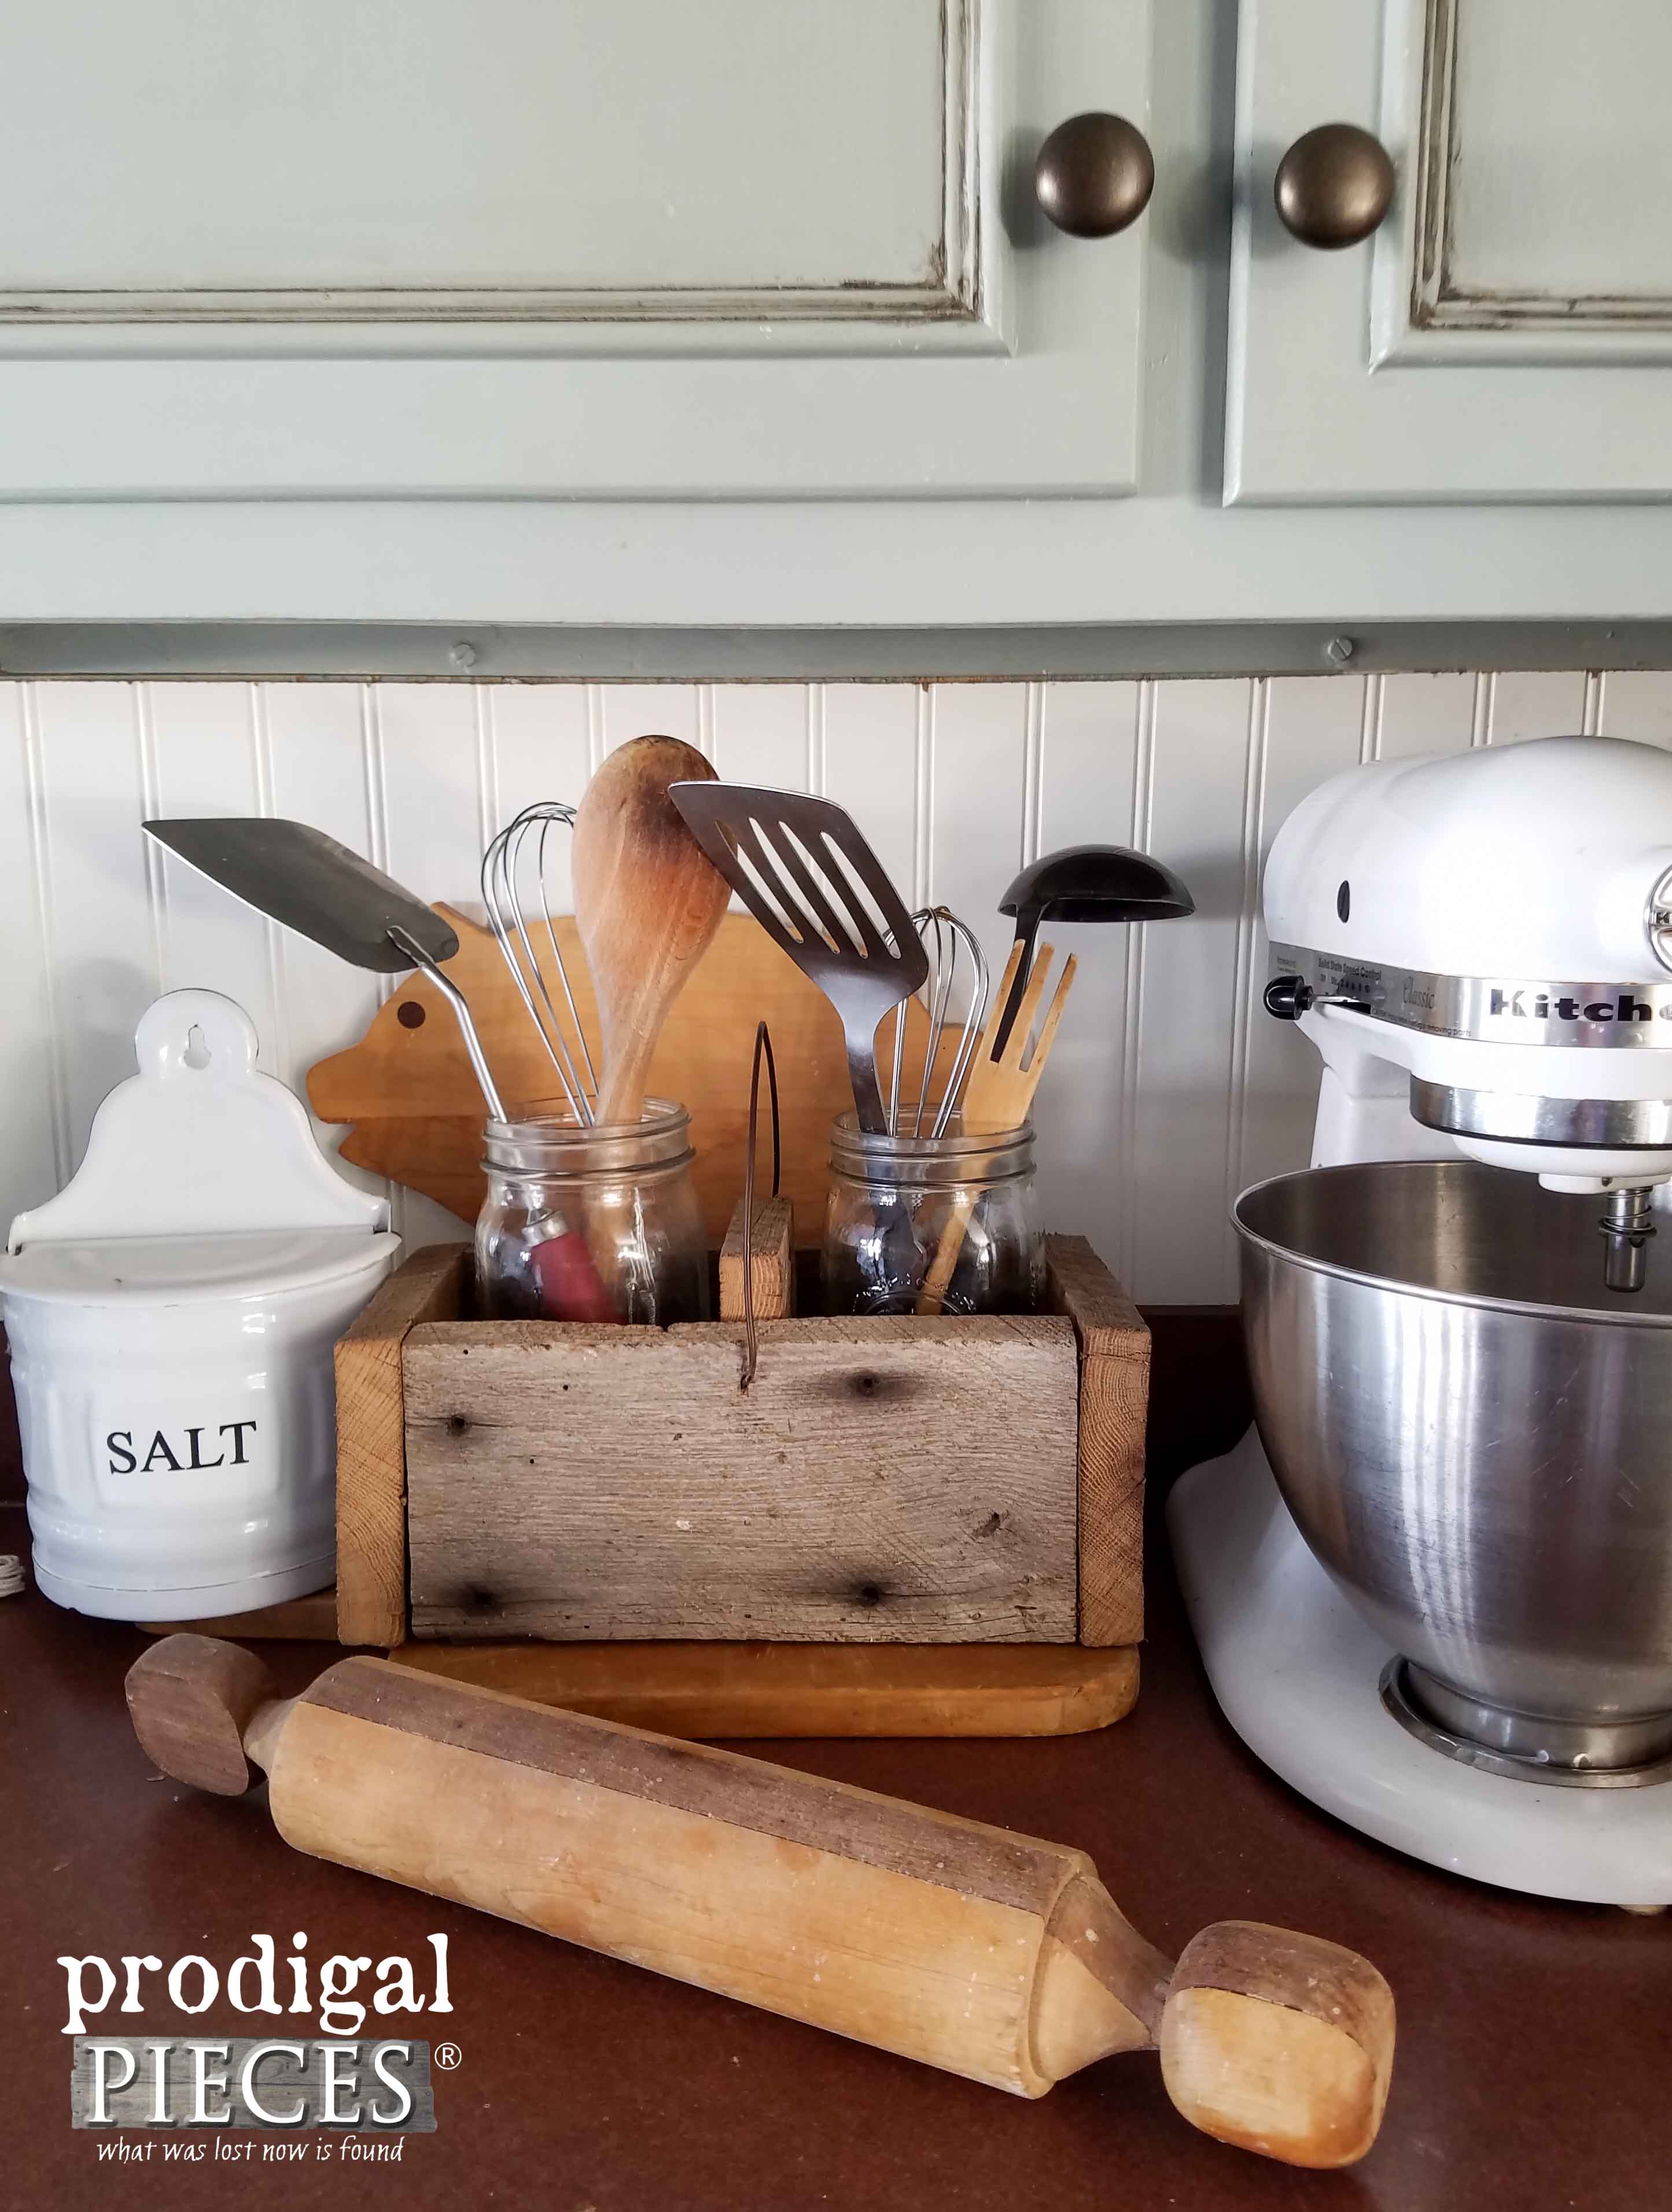
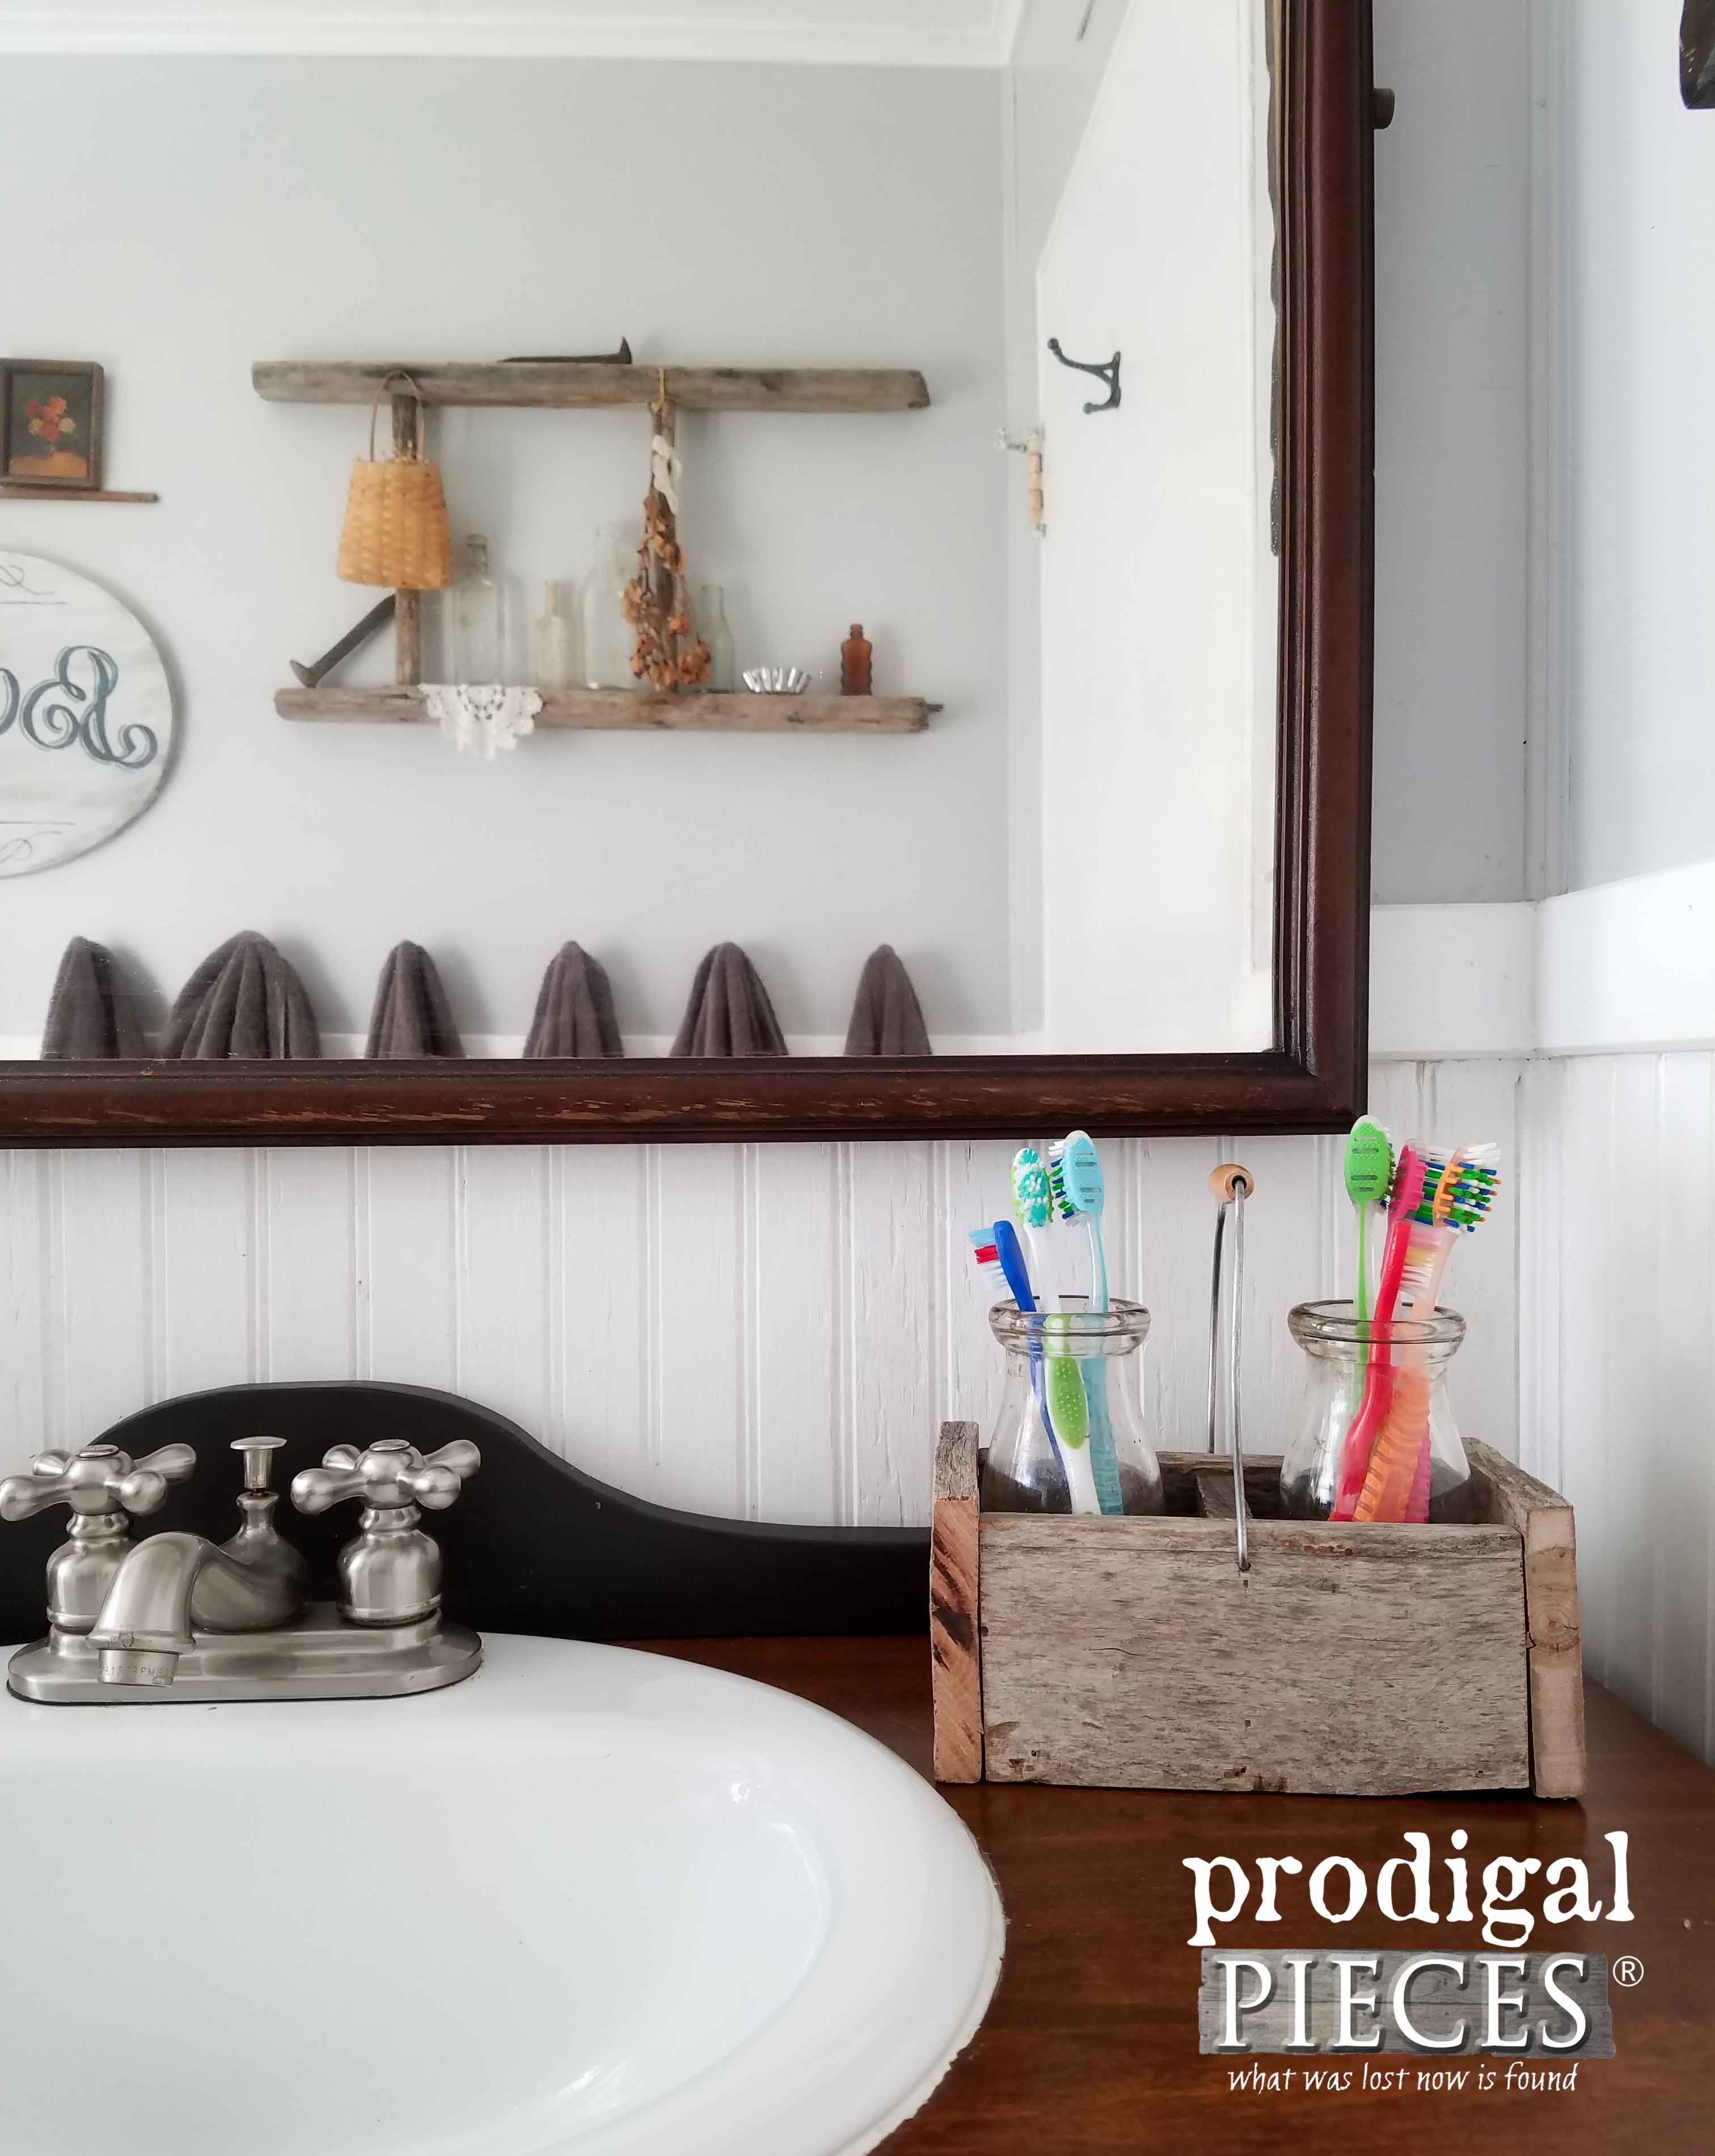
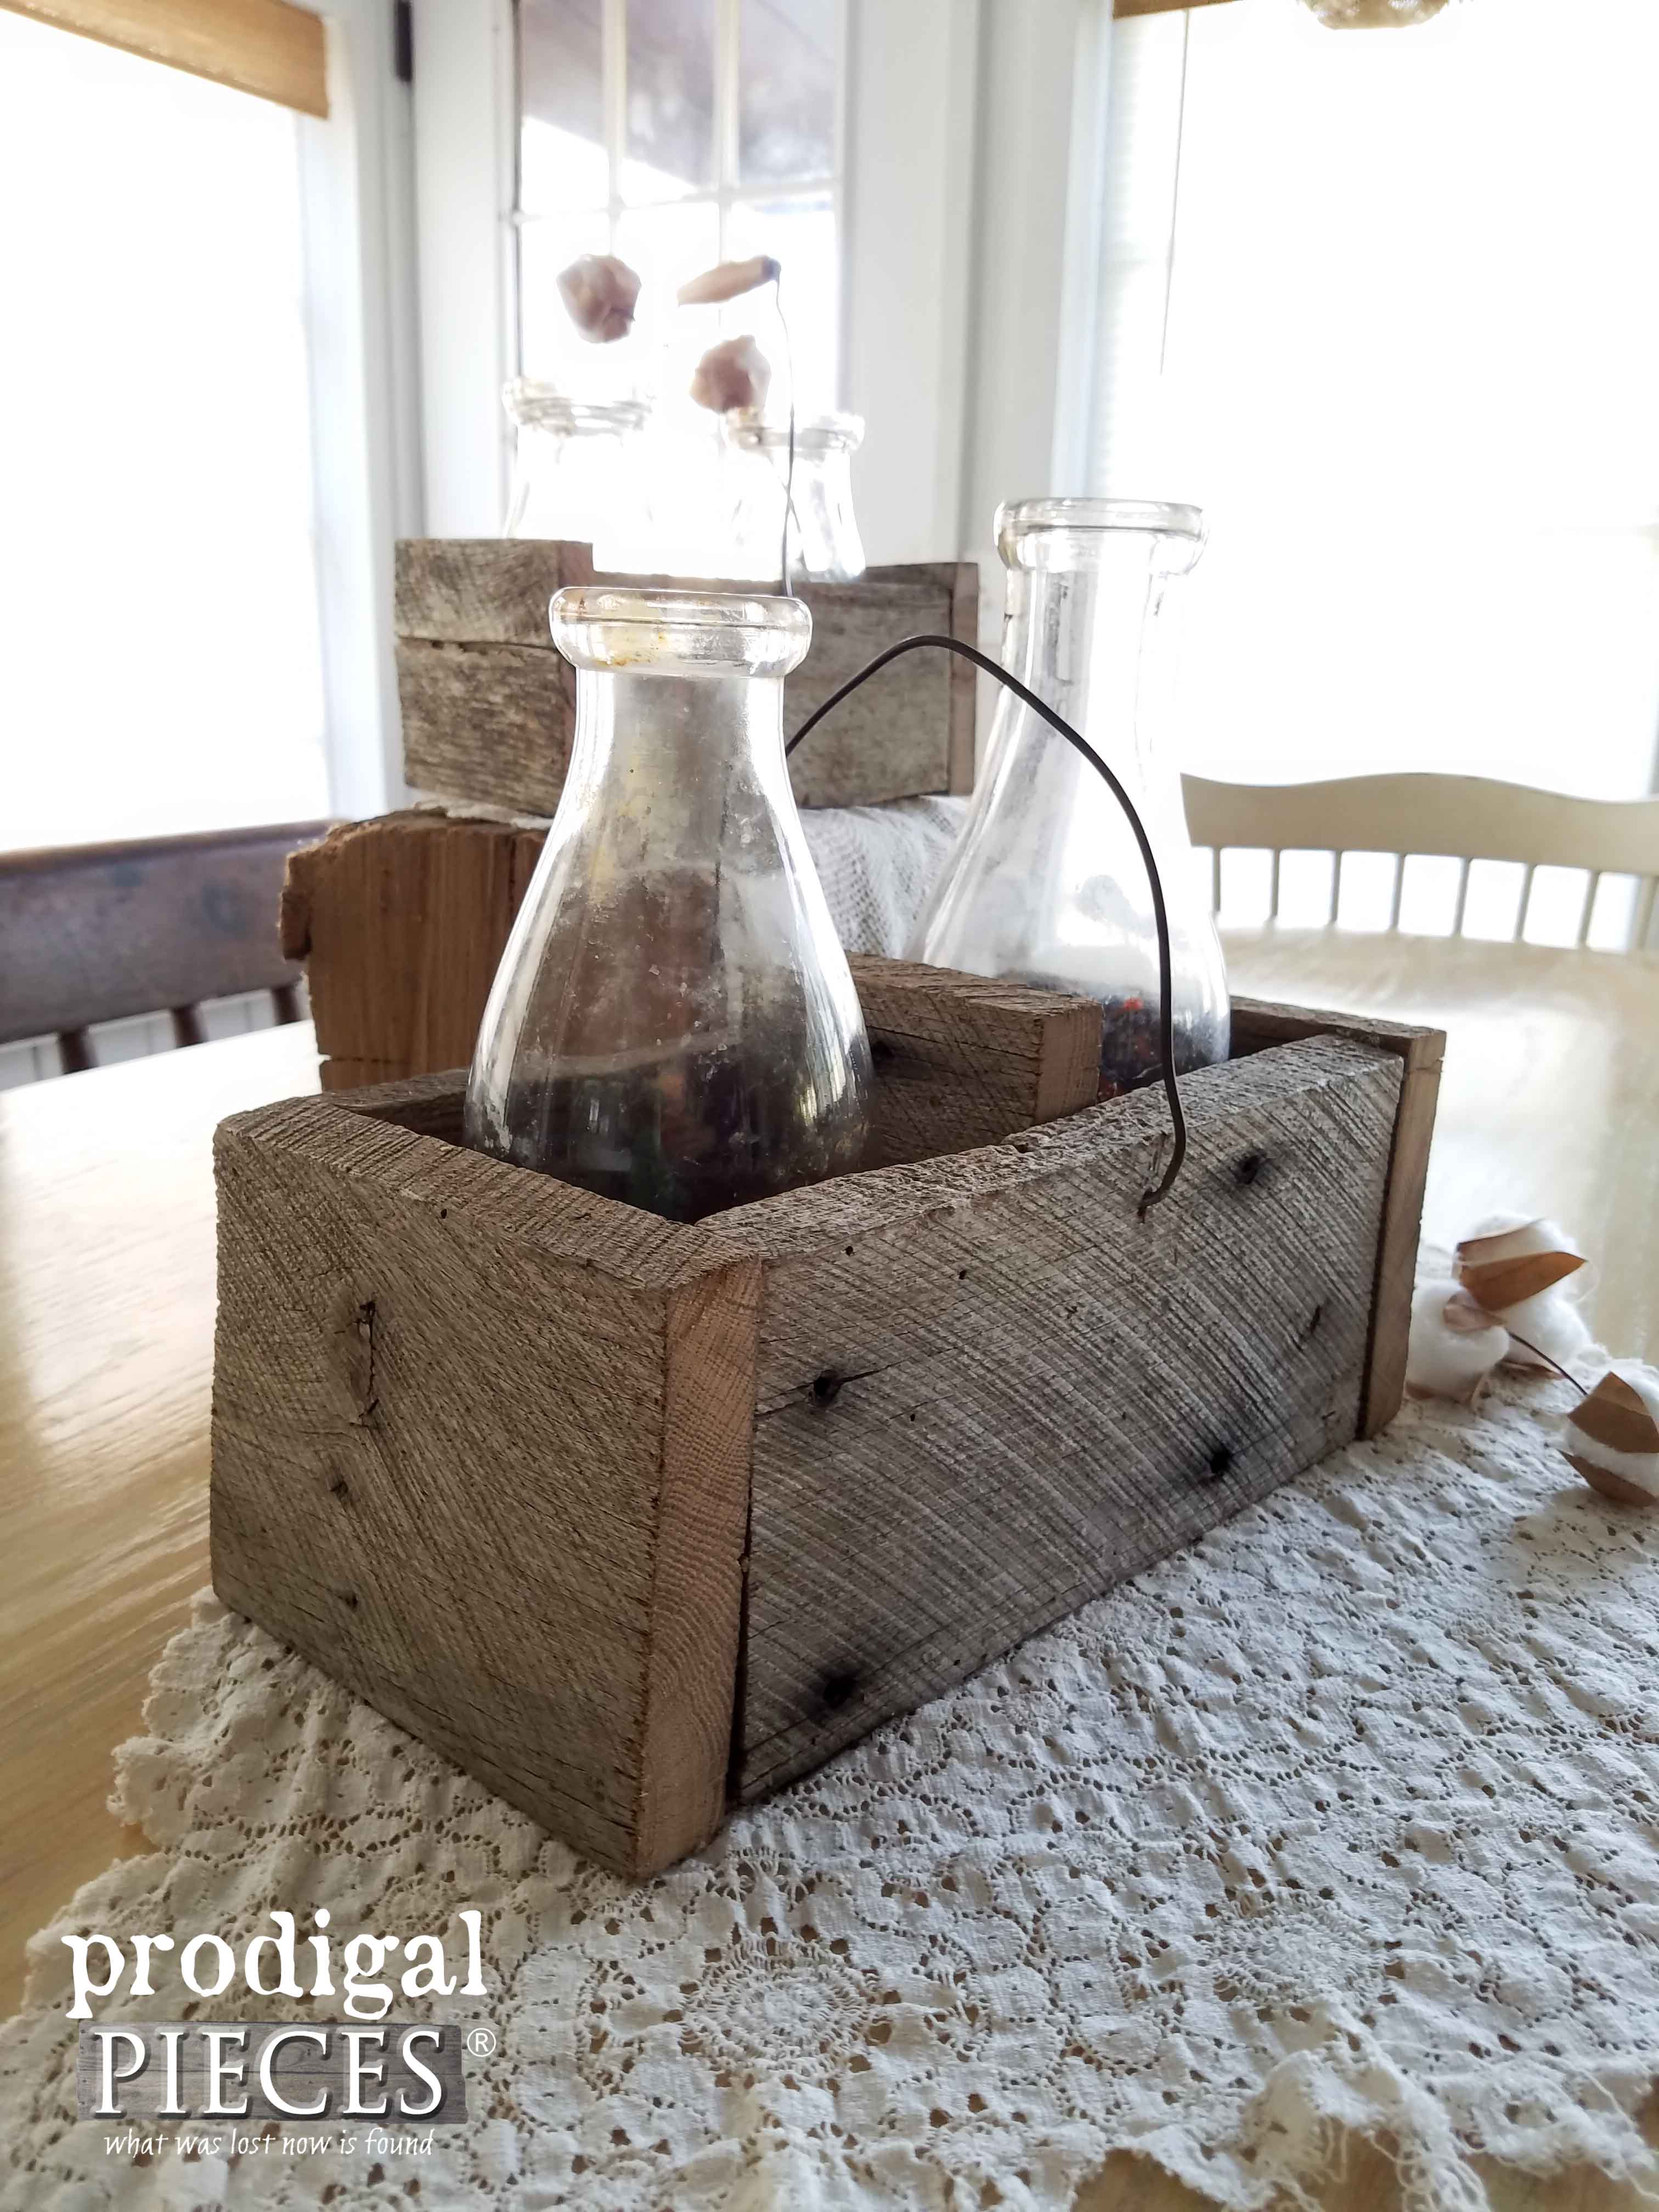
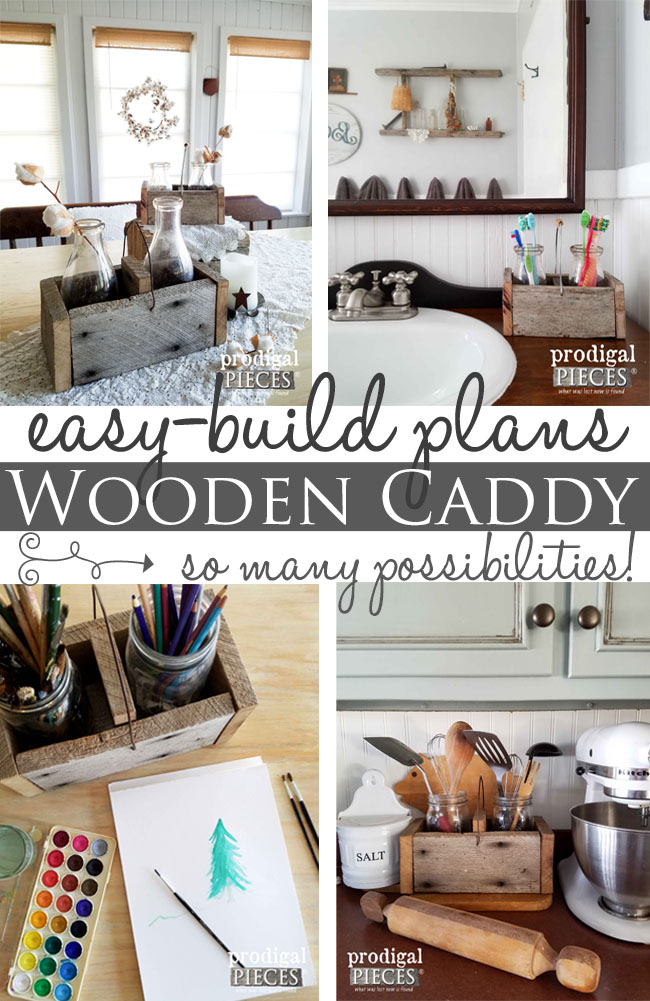
Who here loves a quick and easy project that not only is functional but versatile too? (me, me, ME!) That’s what I have for you today. I have had this project in my brain and can’t wait to show you how simple it really is. Take a look at this wooden caddy.
I whipped these in less than an hour and I’m in love! This project is one that can be customized to your heart’s content. While I built mine out of reclaimed barn wood, yours can be made with any wood. Likewise, you can paint it, stencil it, cover it in paper or fabric, or even enlarge it. I’m using antique milk glass bottles, however, yours can use upcycled jars or bottles, or even canning jars. Or leave them out entirely.
Then, add flower foam and create a centerpiece for a wedding or everyday decor.
…or even your art supplies.
Are you ready to get started? (psst….if you’re not into DIY, you can find these two in my online shop.
Here is what you’ll need:
Materials:
- 2 jars – canning jars, milk bottles, drink bottles, etc.
- 2 pieces of wire – use old hangers or bucket handles
- 1- 1″ x 4″ x 6′ board cut – see details below (use fencing, pallets, etc. too)
Tools:
- circular saw (or miter saw, or jigsaw, or hand saw)
- drill with drill bits
- nailer is preferred but can use screws or hammer and nails.
- tape measure
- builders square
- hammer
- Gorilla Glue or E6000 Adhesive (optional)
- safety glasses and ear protection
Not only is my inspiration for this project was this set of milk glass bottles my friend found for me curbside (aka #trashure), but also a few I acquired at the flea market.
DIY TIME
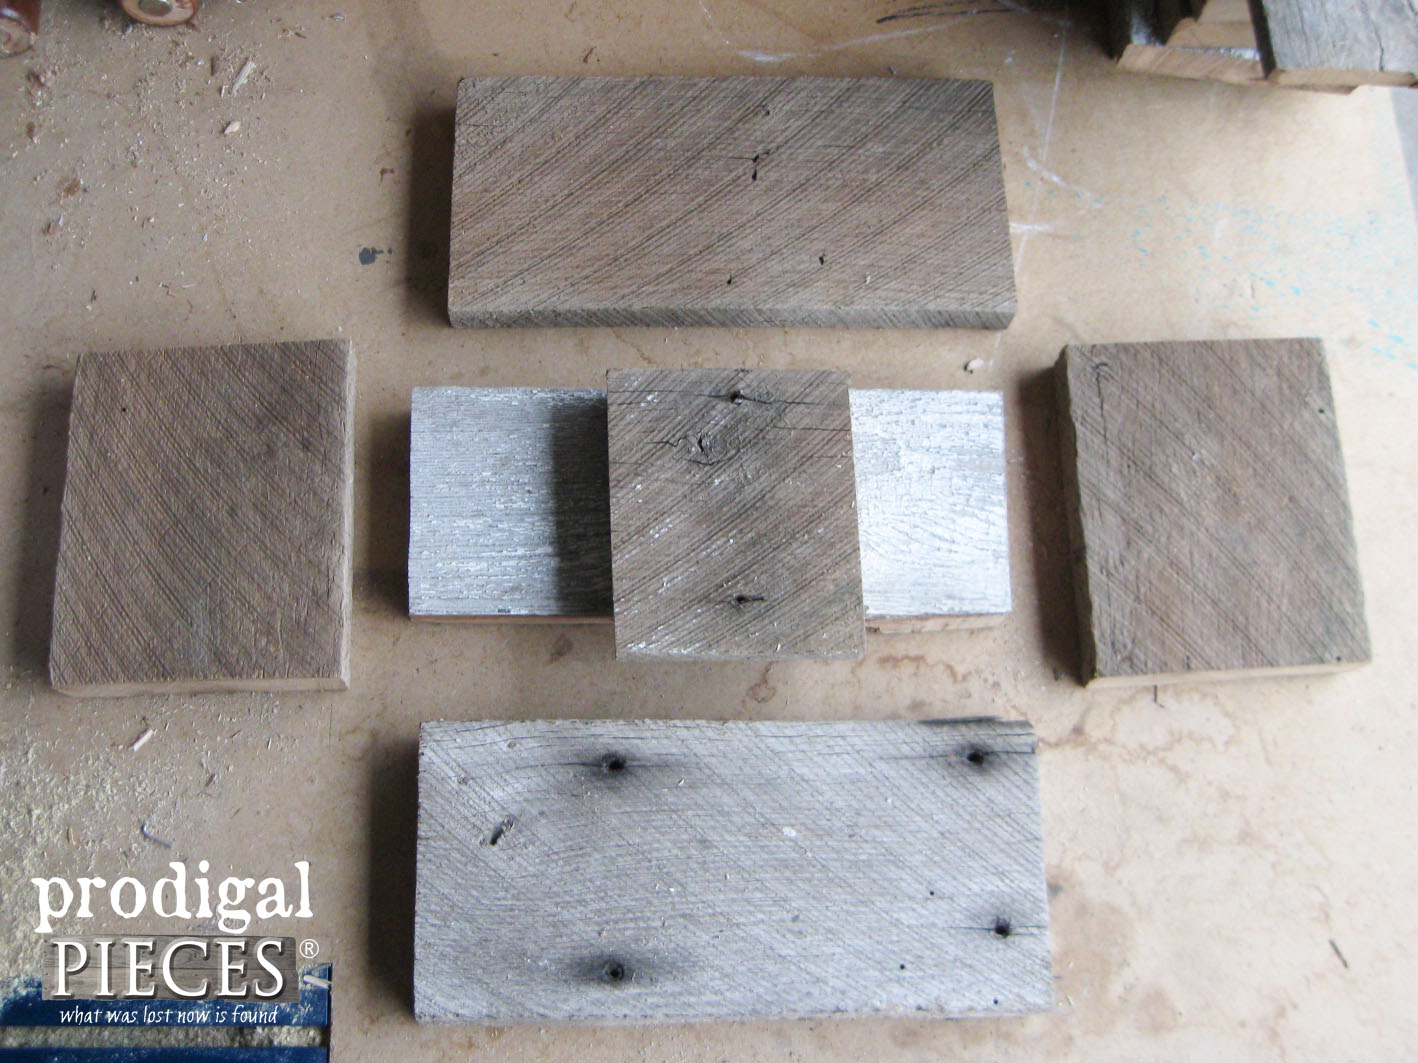
First, have in mind you are going to need to measure for 3 different cuts to get 6 pieces as shown below: 2 ends, 1 center, 3 length pieces.
Next, to find your dimensions, place your bottles apart from each other as you would want them to sit in the caddy. For instance, I was using ¾” thick wood, so I left approximately a ¾” space in between them for the middle board. Then, measure from the outside widest bottle point on the bottle to the opposing outside bottle to get the length. Mine was 10″ and yours will depend on what bottle you’re using. Likewise, this doesn’t have to be accurate since having a little wiggle room is okay.
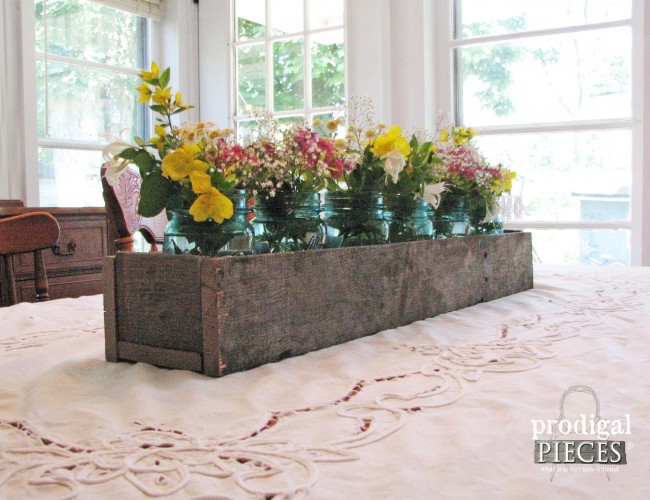
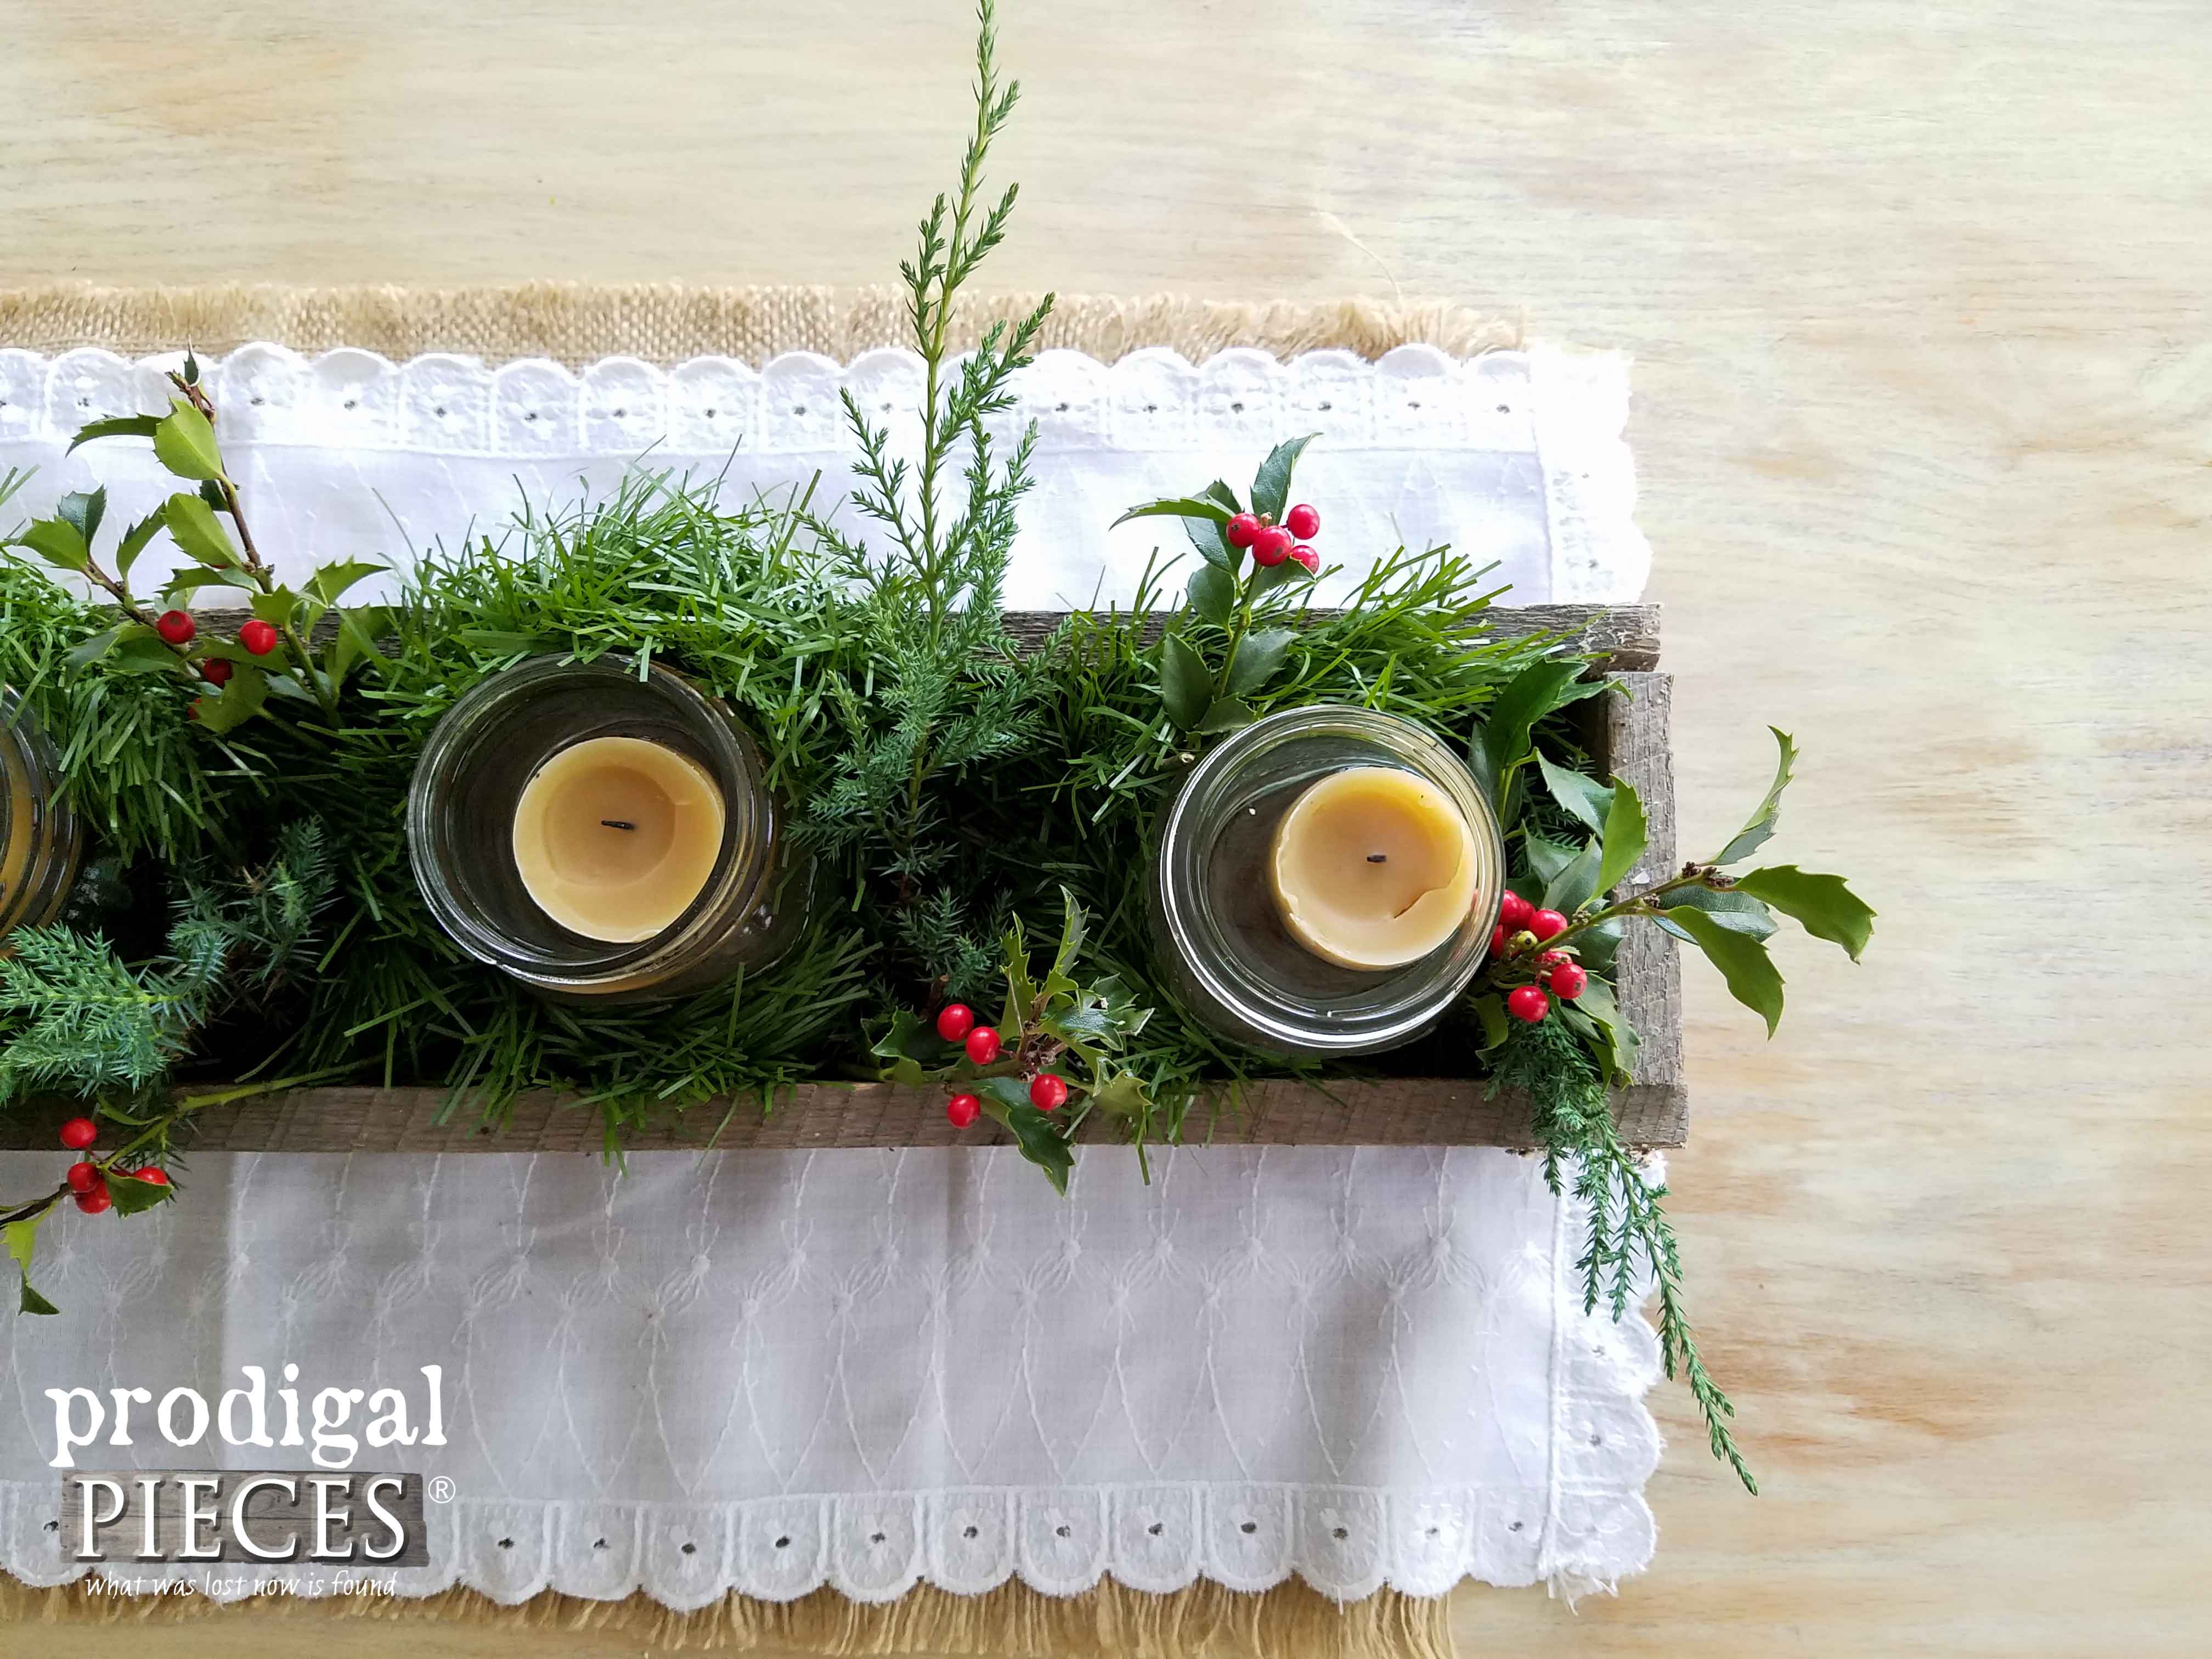
However, if you don’t want to use glass, just figure out the length you want and continue. You can even use this same design to create a table trough with separations or completely open like I did ages ago for my centerpiece seen HERE for spring,
…and HERE at Christmastime.
STEP 1
First, cut 3 length pieces remembering to measure twice, cut once. (ask me how I know. tsk.) My favorite tool on long pieces like this is my 5″ circular saw. However, my miter, or jigsaw, or even a hand saw would work too. Yes, I’m back to working out in 20-degree weather. Send me some sun, will ya!
TIP: If you don’t want to cut or don’t have the tools, the home improvement stores will cut it for you for FREE.
STEP 2
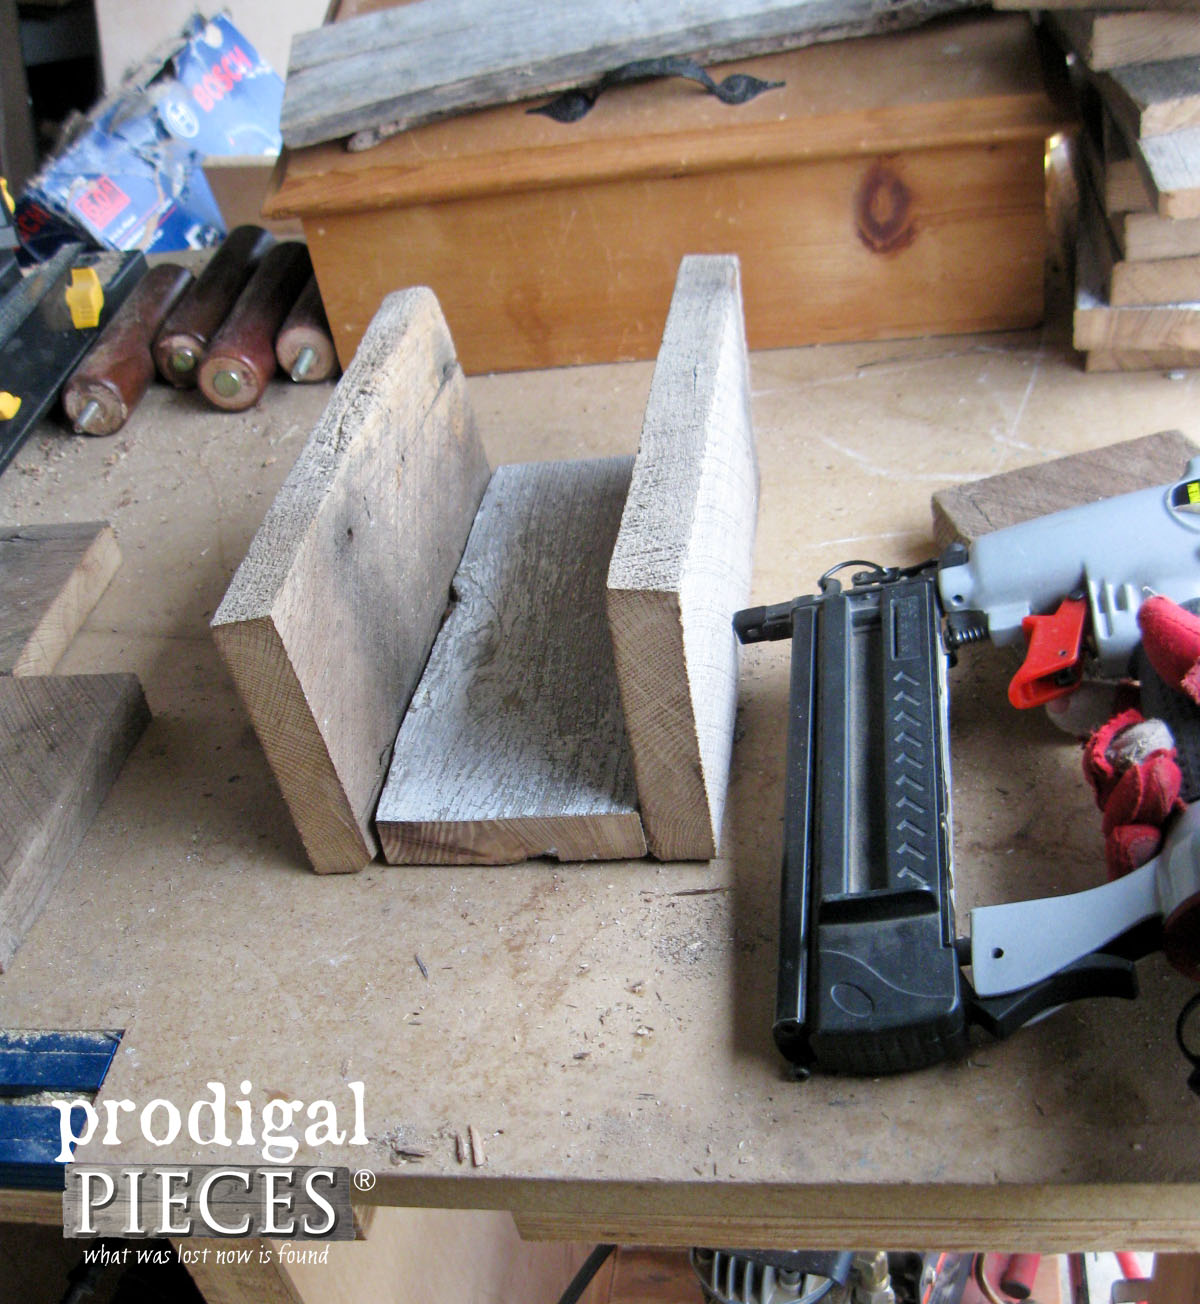
Now, do a dry set up with your boards you just cut. Place one on the bottom, and the other two standing on your surface butted up against the sides of your bottom piece. Then, when all is good, attach using your nailer, or if you prefer to use screws or nails, do so now.
In addition, measure the length of the ends from outside board edge to outside board edge. Cut two ends and attach with your nailer.
STEP 3
Next, measure from inside edge to inside edge of the center of the long sides. This will be your wooden caddy divider. Last, cut and nail in place.
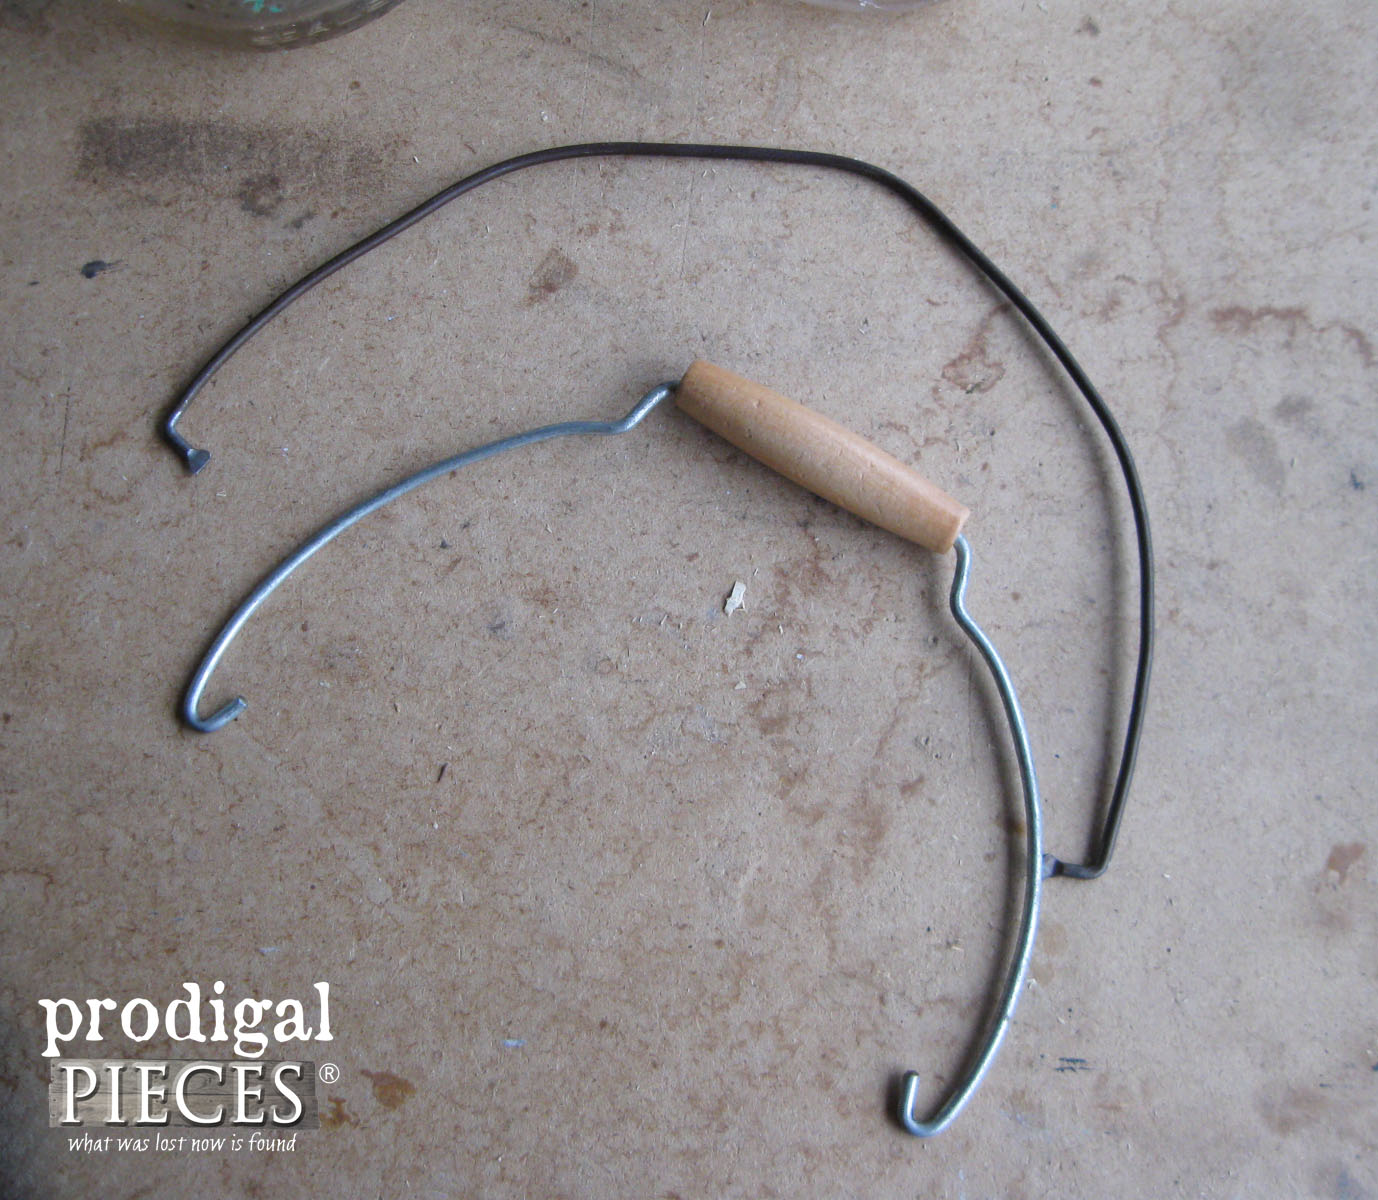
In addition, I happened to have a couple of little wire handles that had come off my kids pails (you know I didn’t throw those away. tsk.) I used the damaged pails for planters and am using the handles for these wooden caddies.
However, if you don’t have any handles, just grab a wire hanger and cut it to make a handle. I do it all the time. Likewise, you can find heavy duty gauge wire at your home improvement store.
STEP 4
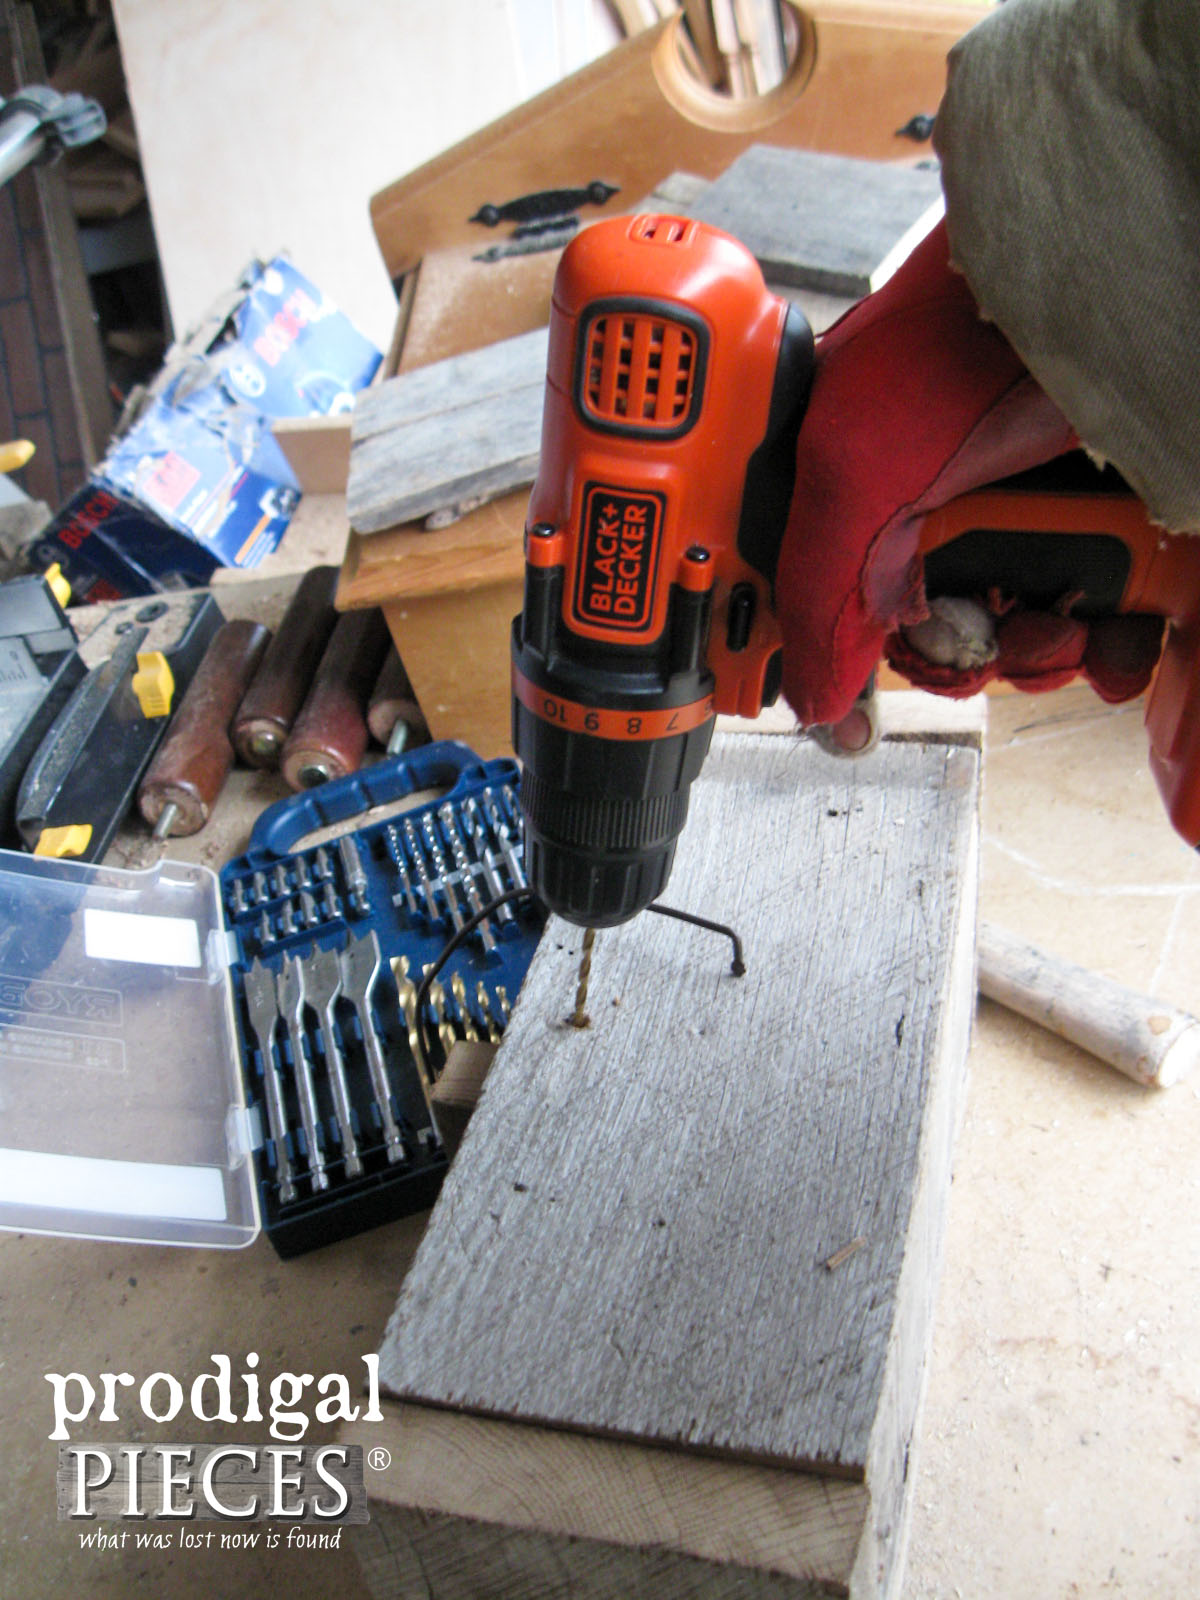
Next, use your drill, and drill bit slightly smaller than the wire, to make a hole on either side. Then, lay your wooden caddy on its side and drill at a slight angle pointing upward. That way, your wire can help support the weight of the caddy and not pop out.
Finally, tap the wire with a hammer to make sure it is secure. Also, you could always use Gorilla Glue or E600 adhesive to make sure it stays put too.
And you’re done! Also, the smaller caddy was made with pallet wood, so really your options are limitless. It’s fun to create, isn’t it?
You can use this wooden caddy for hostess gifts, holiday gifts, and any ol’ reason gifts. Likewise, the fun is in the creating and sharing.
SHARE
In addition, do pin and share this project so others will be inspired to give DIY a try too!
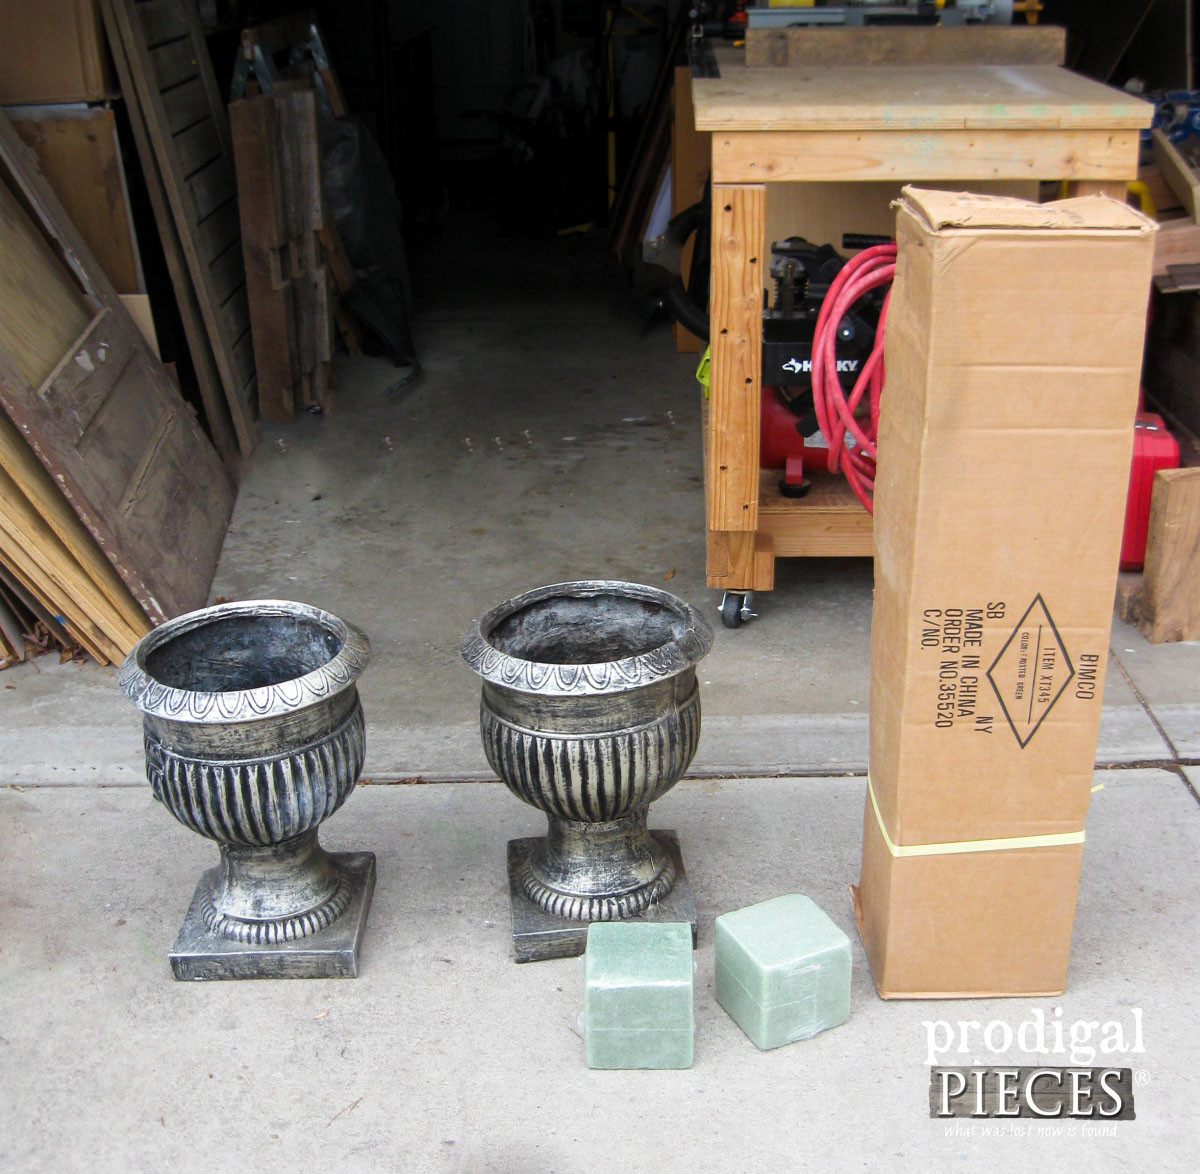
Additionally, next week is Trash to Treasure Transformation time and I will be showing you what I did with this thrifted Christmas tree for my front door urn decor. Head here to see!





Very nice project. I love anything made with old barn wood!
You are a kindred spirit, Tami. hee hee hee.
You are one handy lady. I love dressing it up for a natural Christmas display.
Thanks, Tina. 🙂 That would be a perfect use.
I absolutely Love your work and spirit and am grateful for the time you take to interact with us.- I would like to try something but I procrastinate – urrrggghhh!!!! I have an old veneer cabinet that I would like to transform into something useful oh but how I drag things!!! A full video tutorial on re-doing veneer and painting something like that would be so great .!
with so much love form Cape Town South Africa
Nuri.
Thanks so much, Nuri! If you search veneer on my blog you will see many times where I used my towel-soak method to remove veneer and what I did after. It can be done! 😀