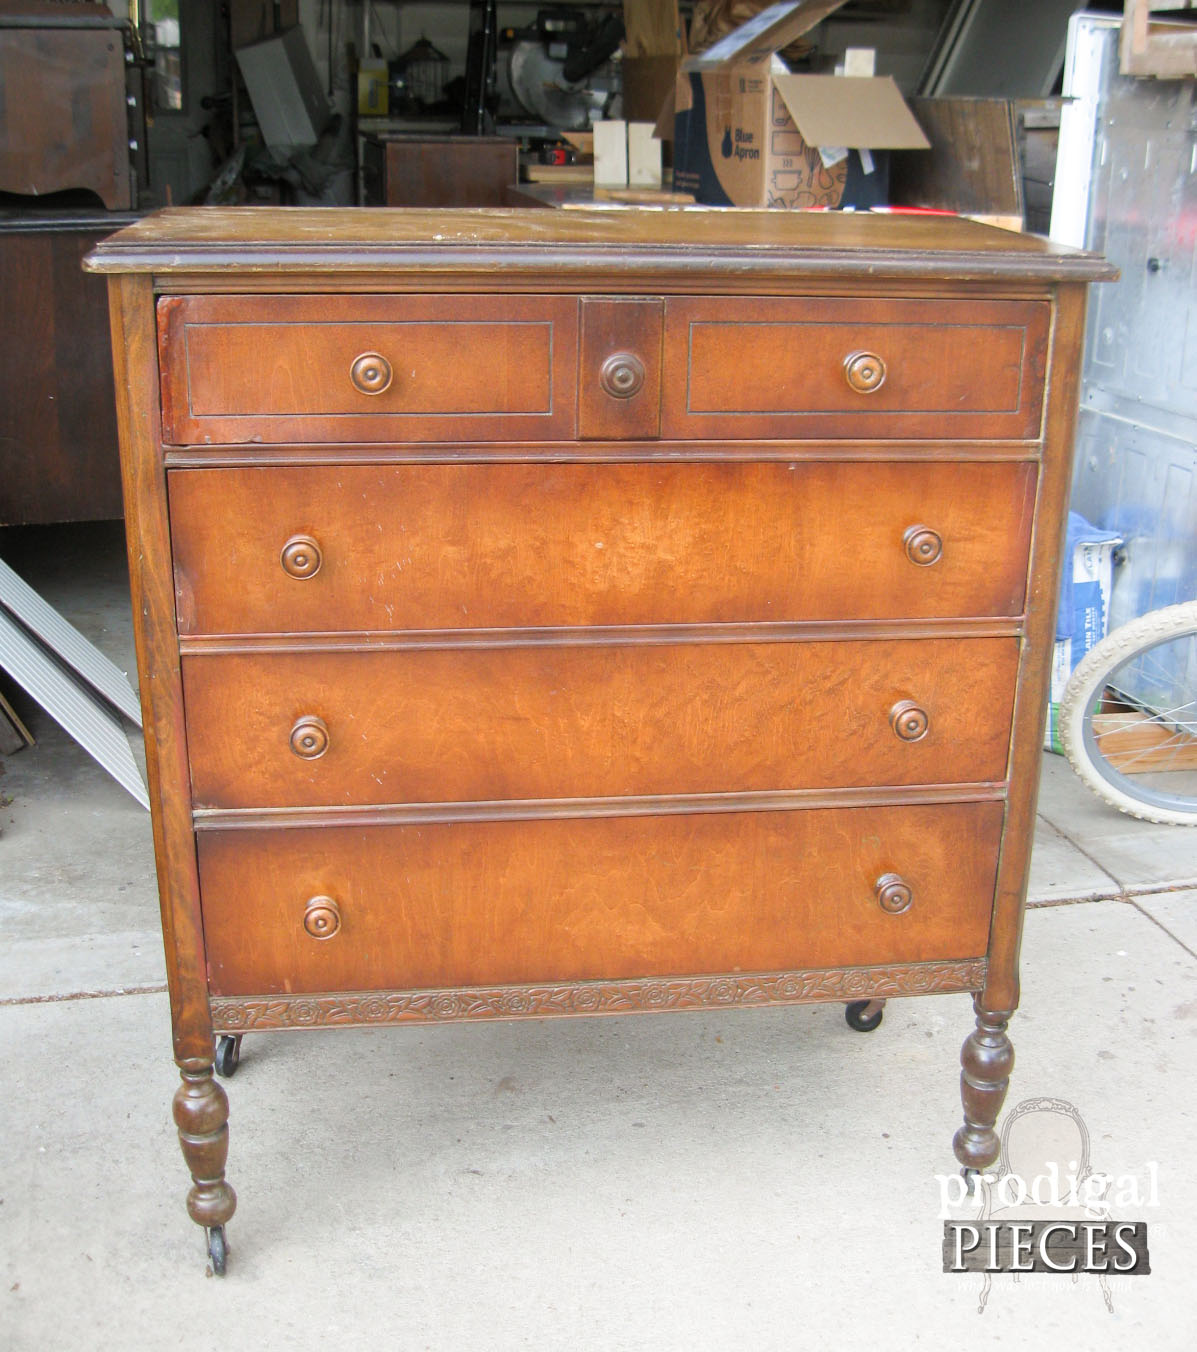
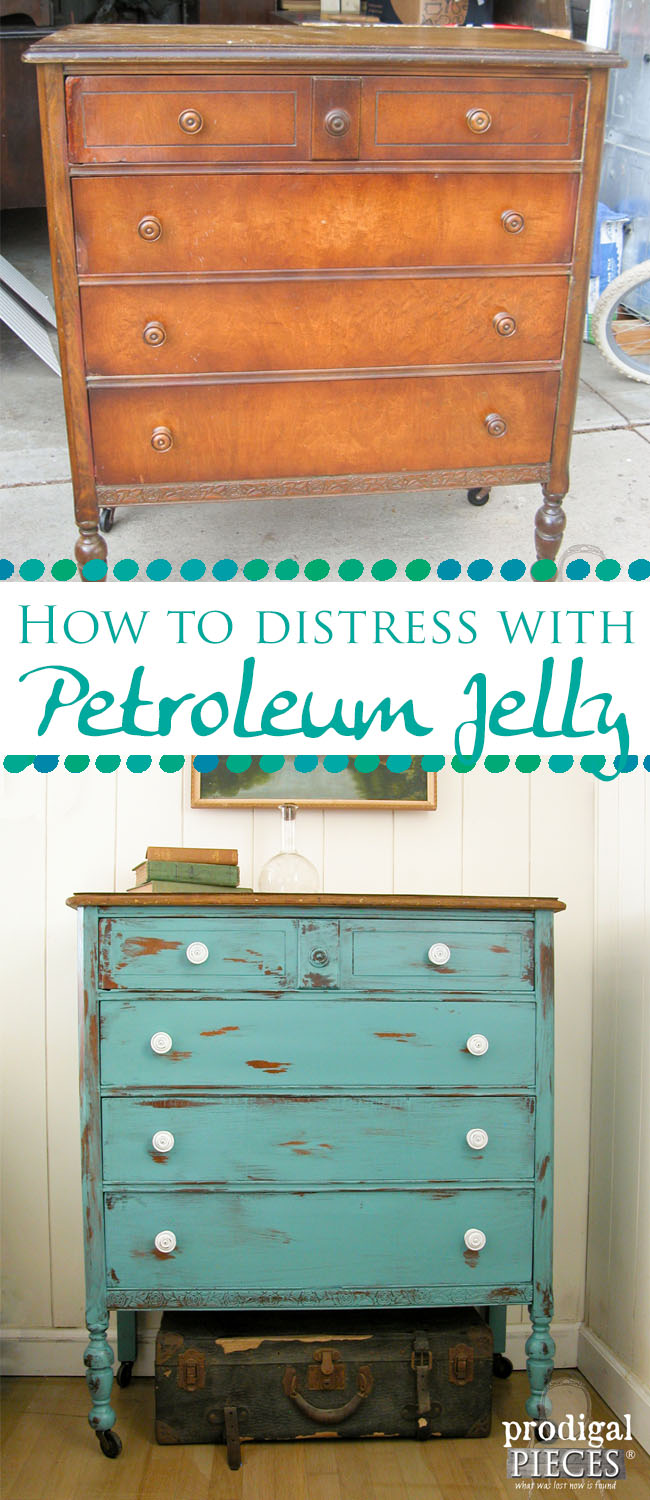
Earlier this week I showed you this vintage chest of drawers and promised you a makeover. To begin with, I thought it would be fun to use this piece to show you how to easily distress paint to create texture and a feel of days gone by. By the way, this chest was featured in Woman’s Day magazine – yay!
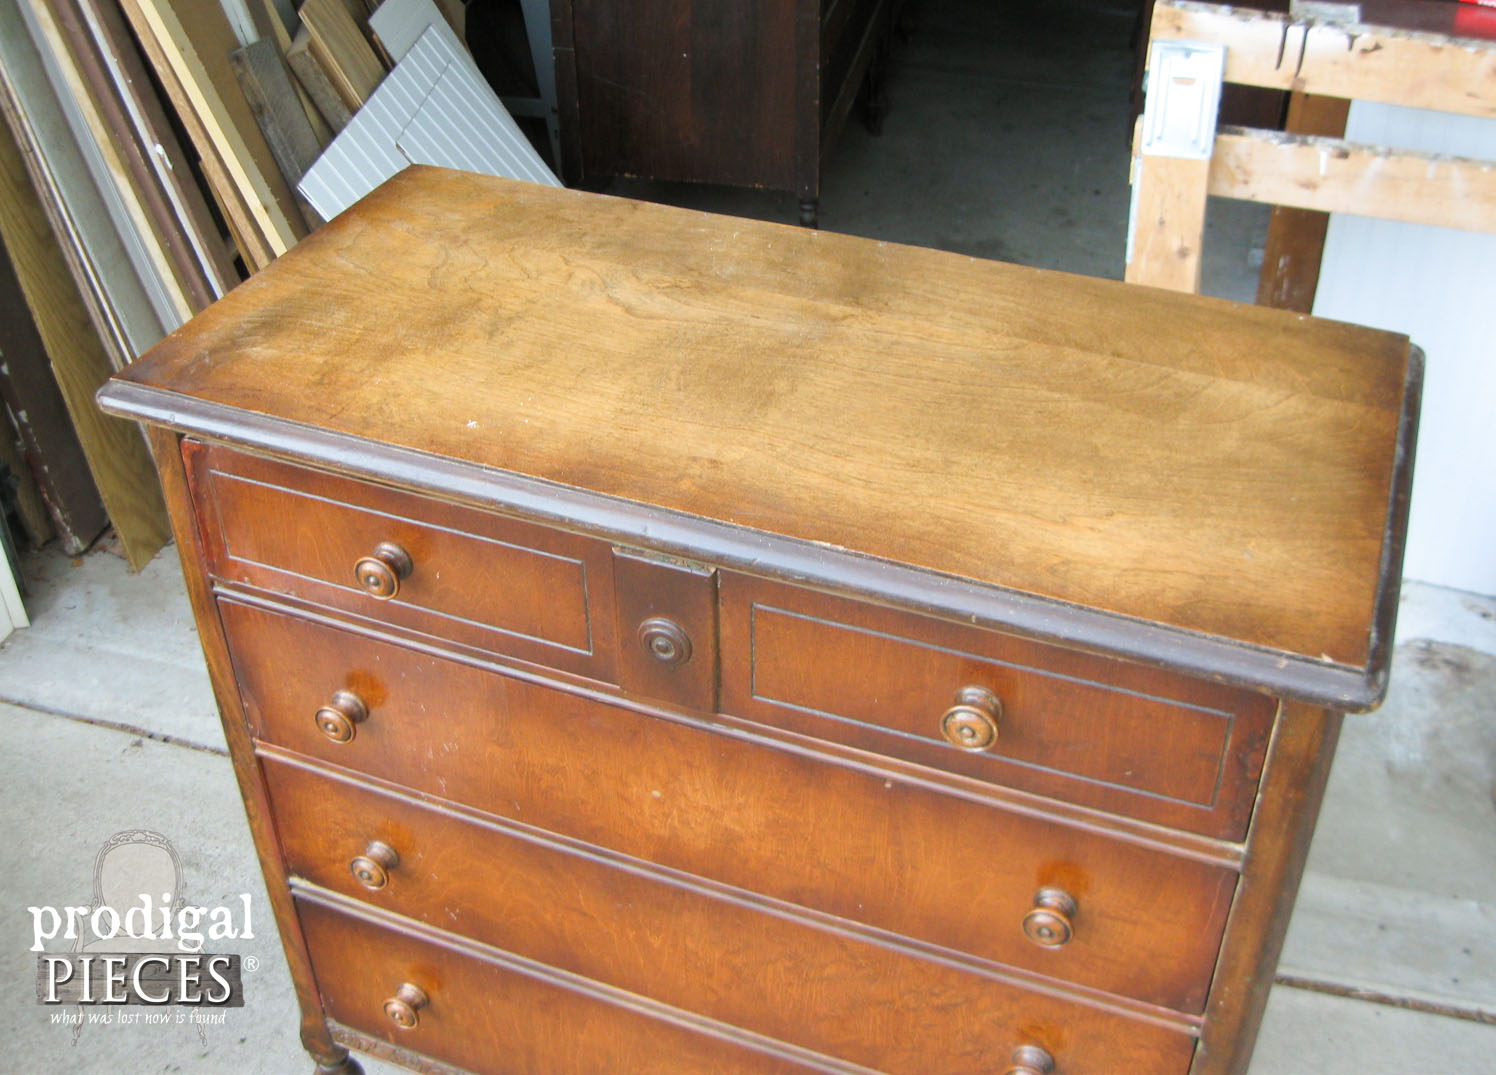
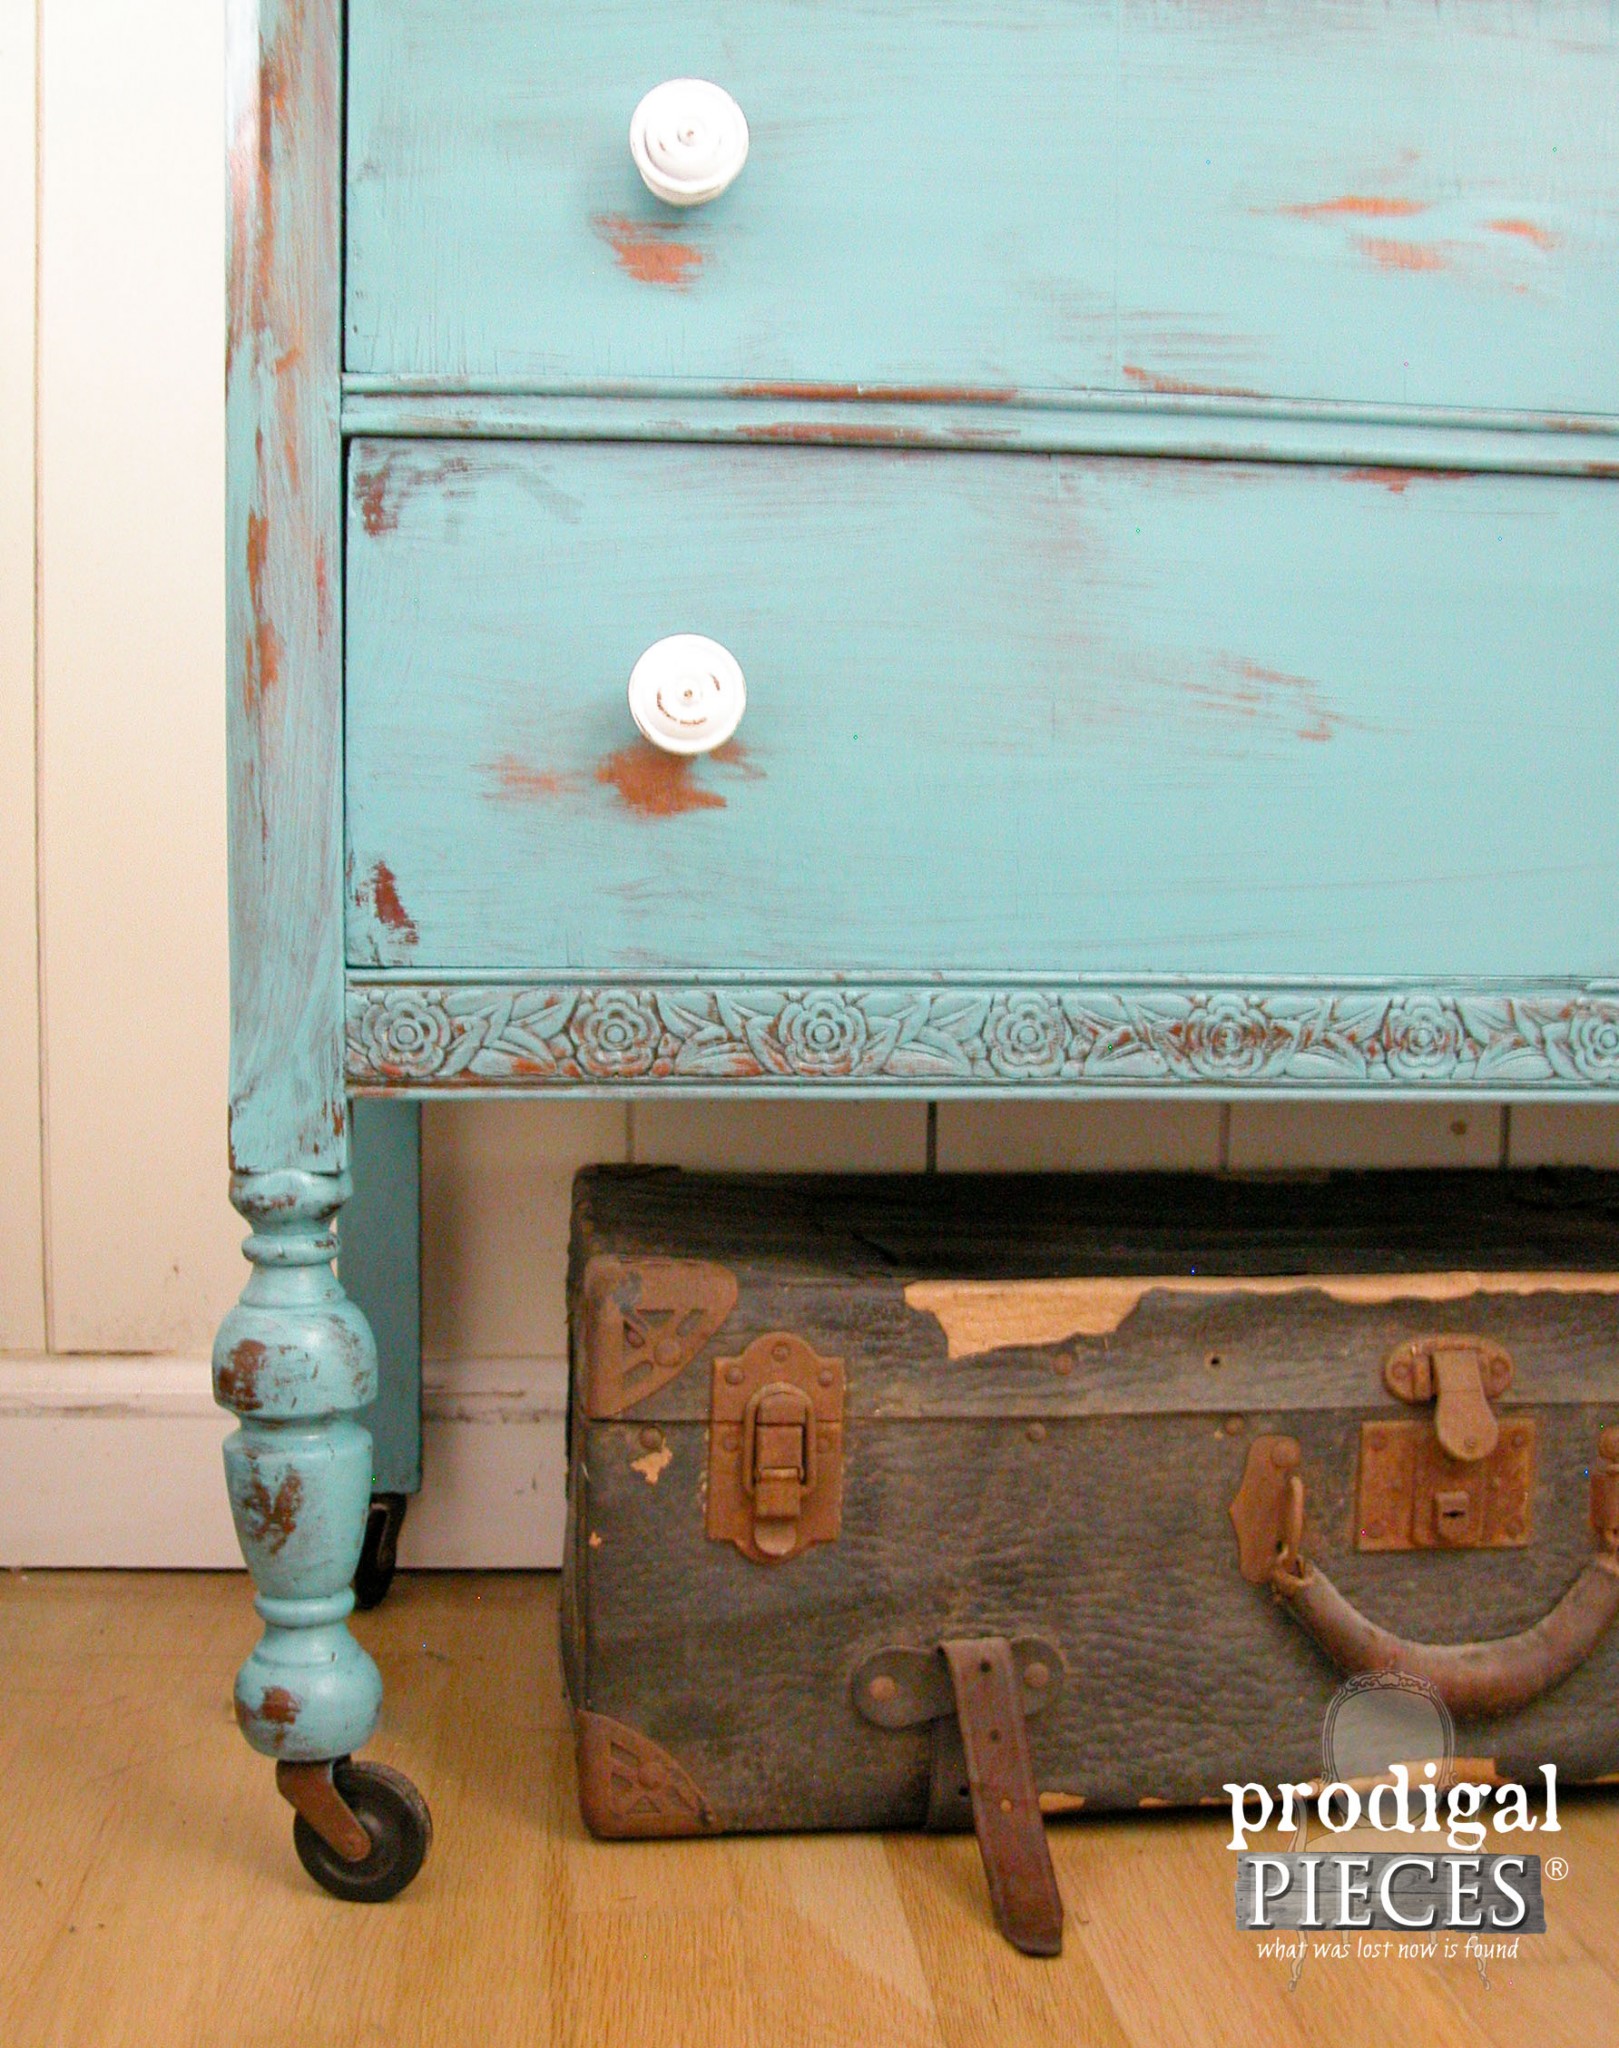
Initially, this chest of drawers had me drawn in when I first spied the legs, the height, and also the rose carved border along the bottom. However, it doesn’t originally have casters, but I also grab a few from my stash and stuck them on – already the chest improved. Also, the drawers have damage and the previous owner had made some repairs that I was impressed with. Thankfully, the top was in great shape as well but didn’t quite match the stain of the rest because it is a veneer with a different grain.
DIY TIME
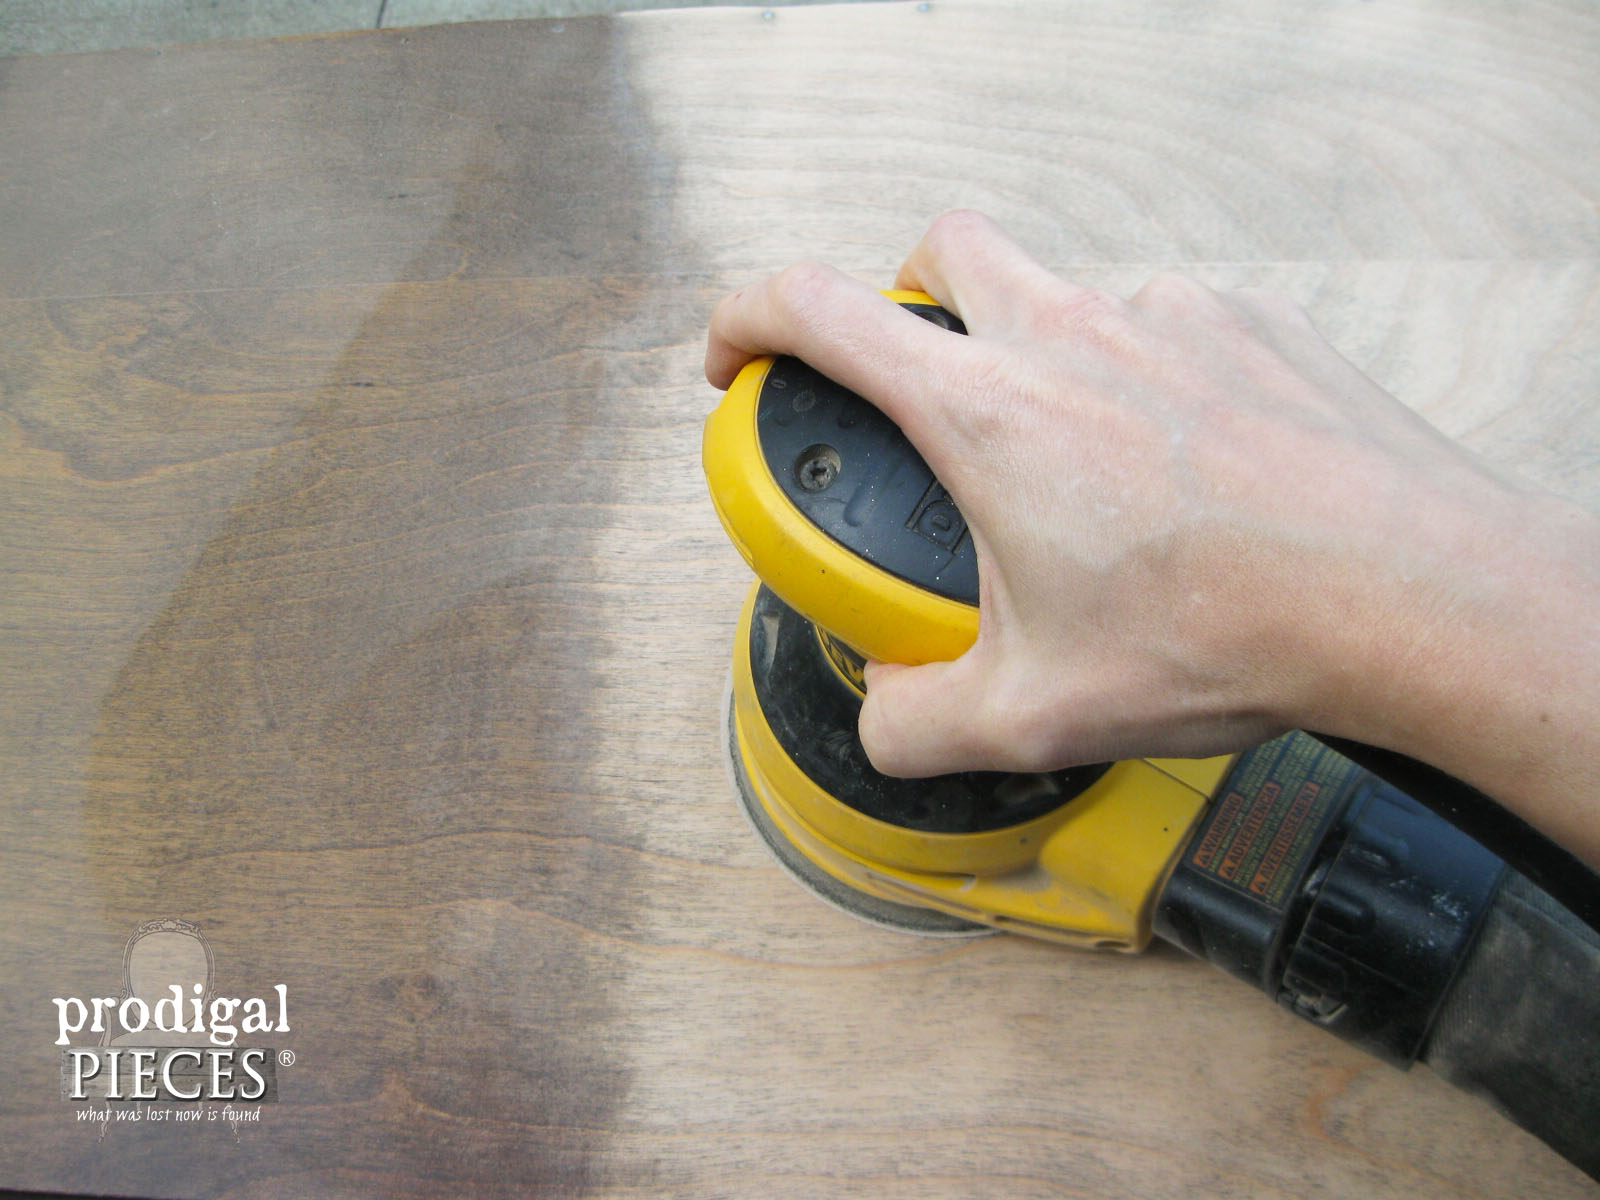
You know me and my love for a wood and paint combination like I just recently did with the other chest, so I decided to give the wood a fresh look. Firt, out comes my sander and away we go!
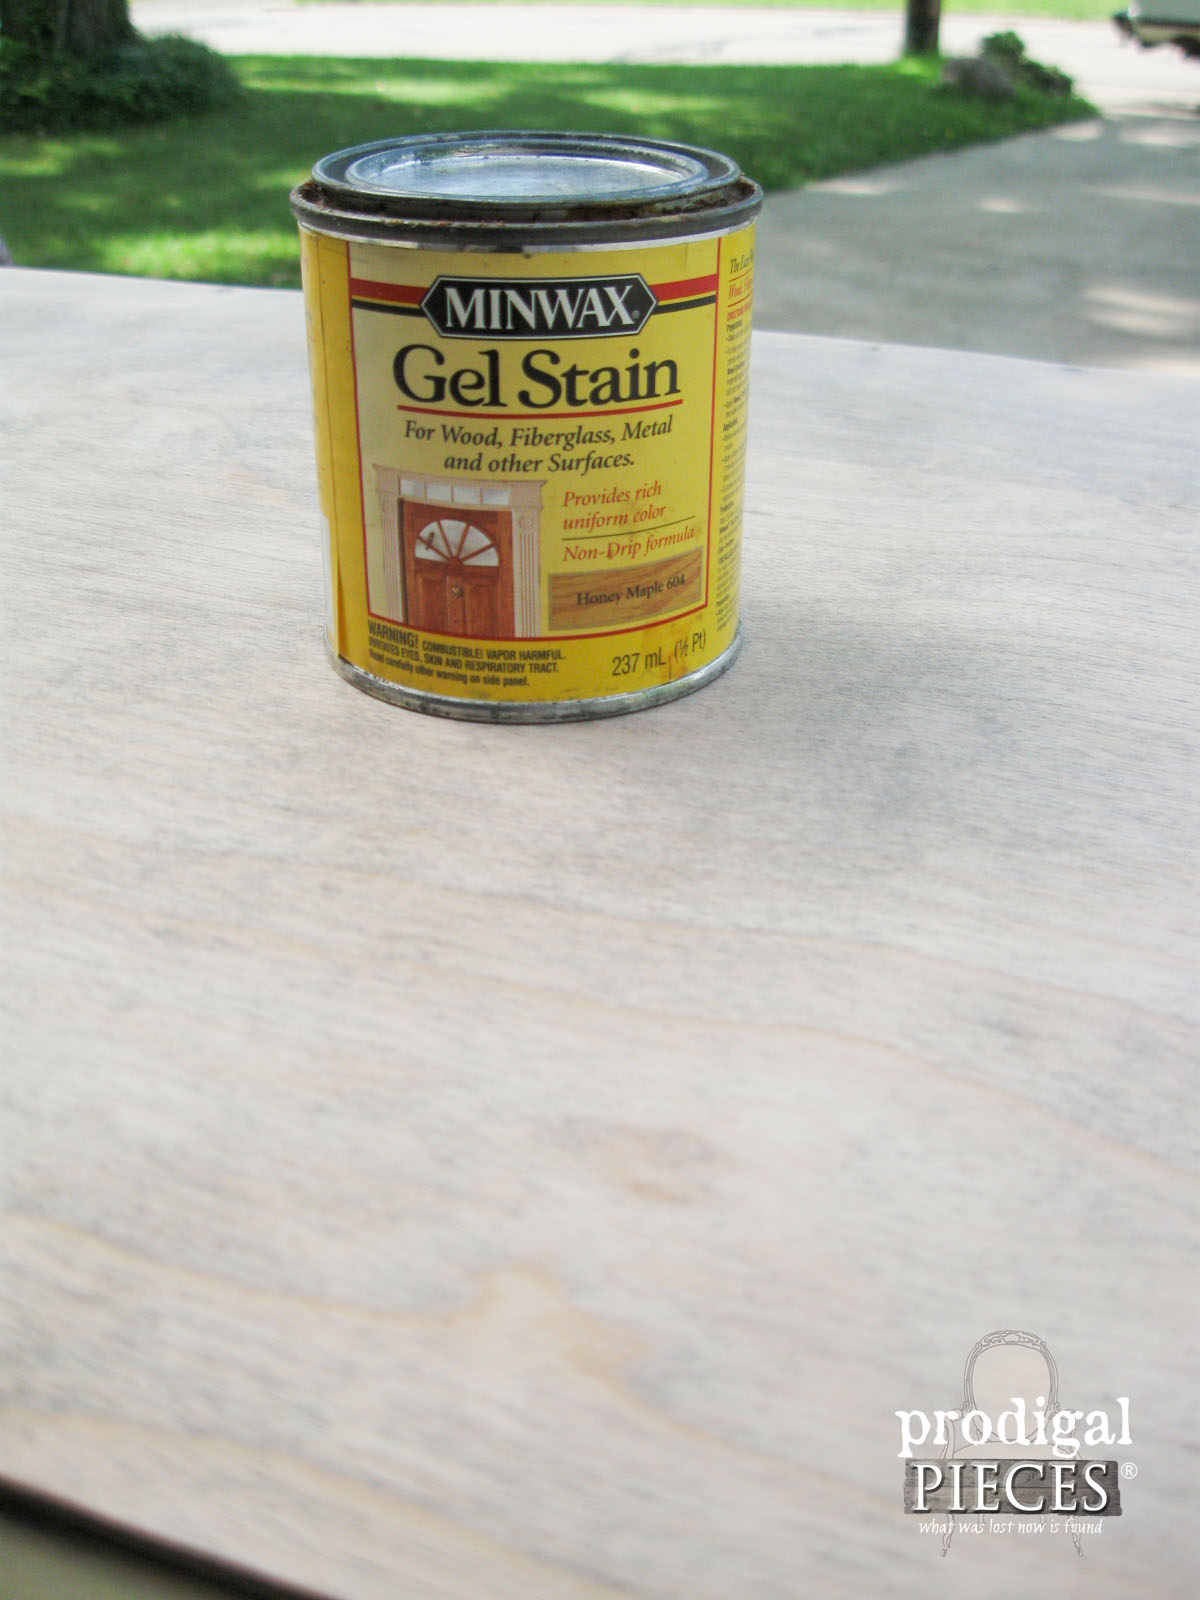
There’s nothing like seeing that grain come alive to make my heart happy. While I typically go with a darker stain, this time I wanted a warm feel to the wood. Then, I use a Honey Maple stain by Minwax that I’ve used in years past.
NEXT STEPS
Next, the drawers and cabinet that got a light sanding too. I seriously was like a kid in the candy store to get started on this piece because of the vision I had for it with this color.
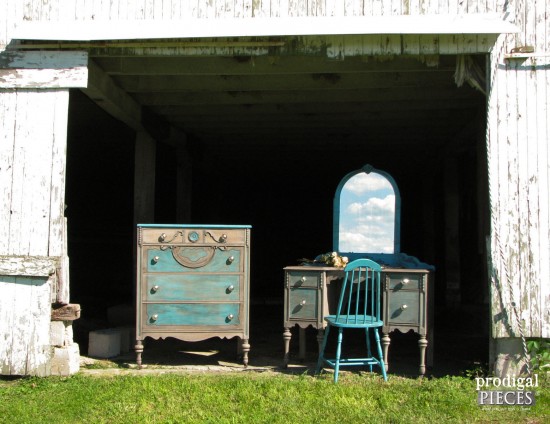
I’ve used it on this Rustic Chic set…
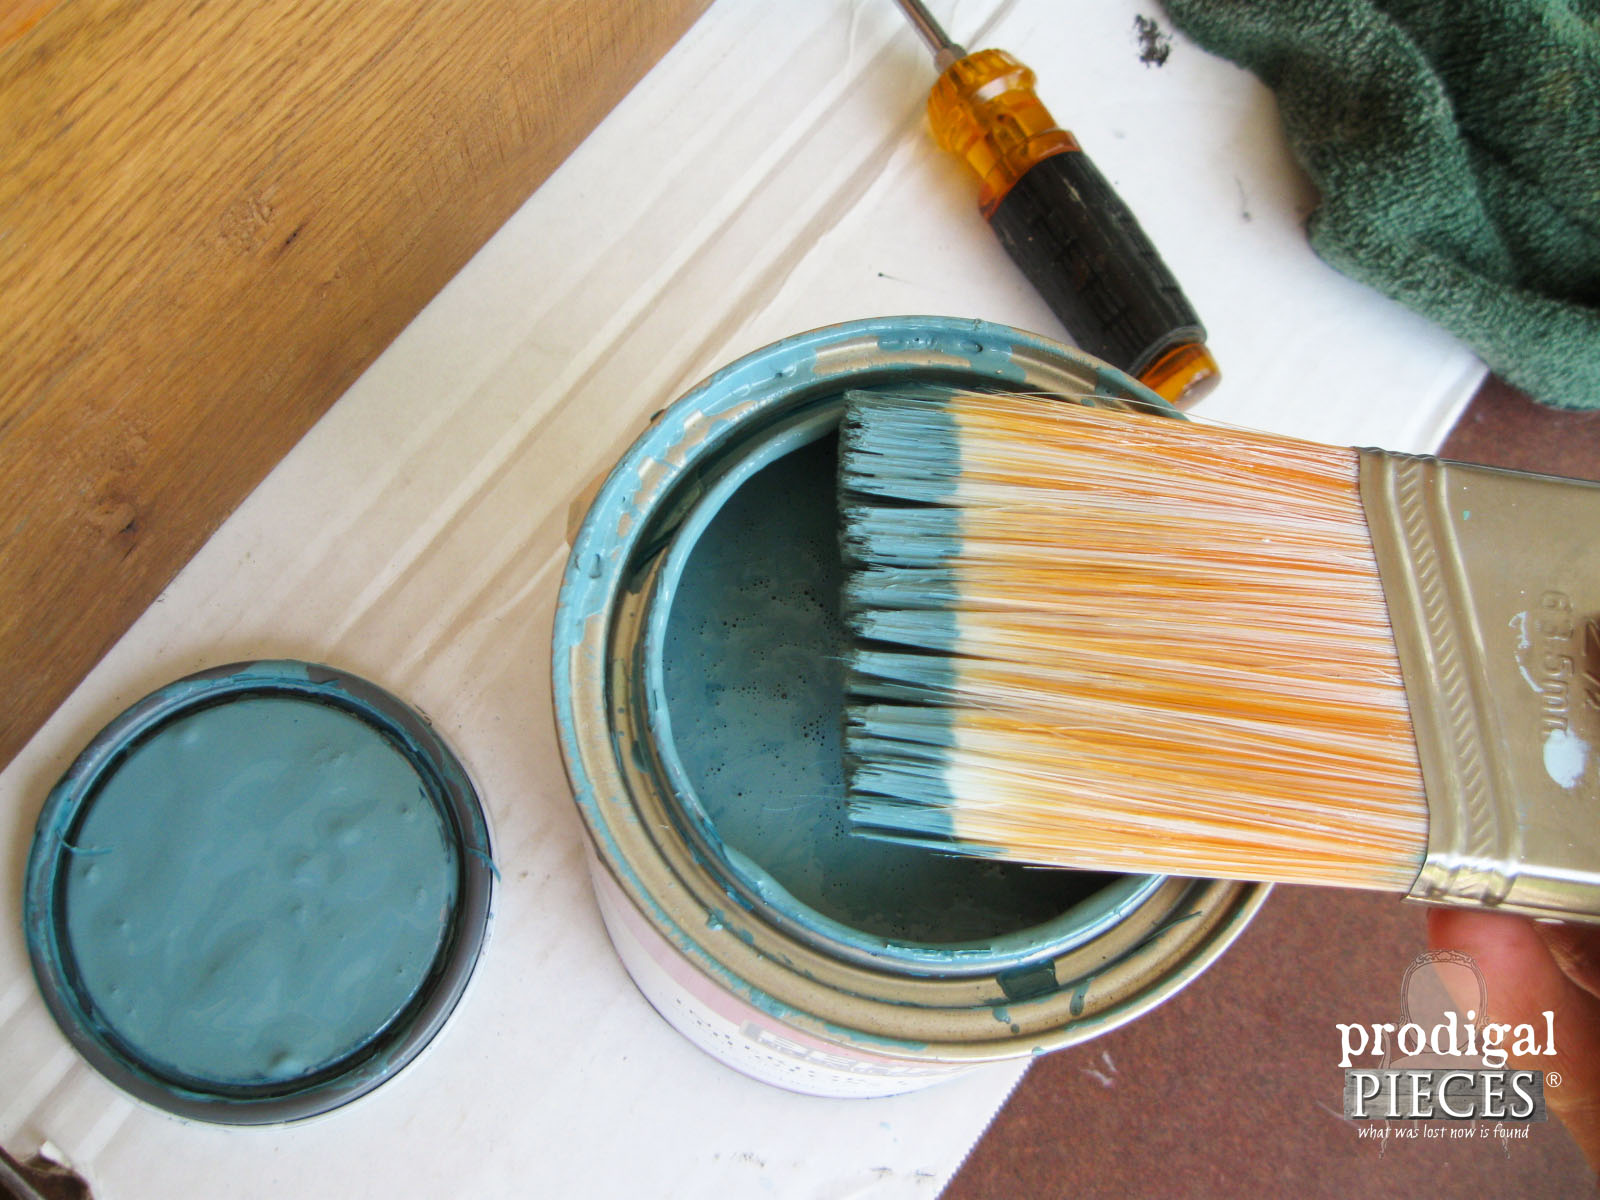
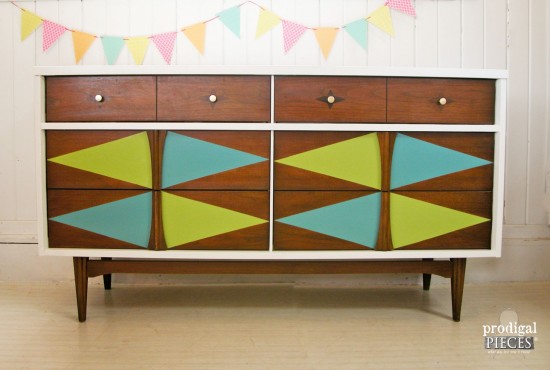
and also, on this Mid Century Modern credenza. Isn’t it great how it suits all styles? Sadly, if you want to know the color, I can’t tell you because it’s a seconds paint.
TIPS
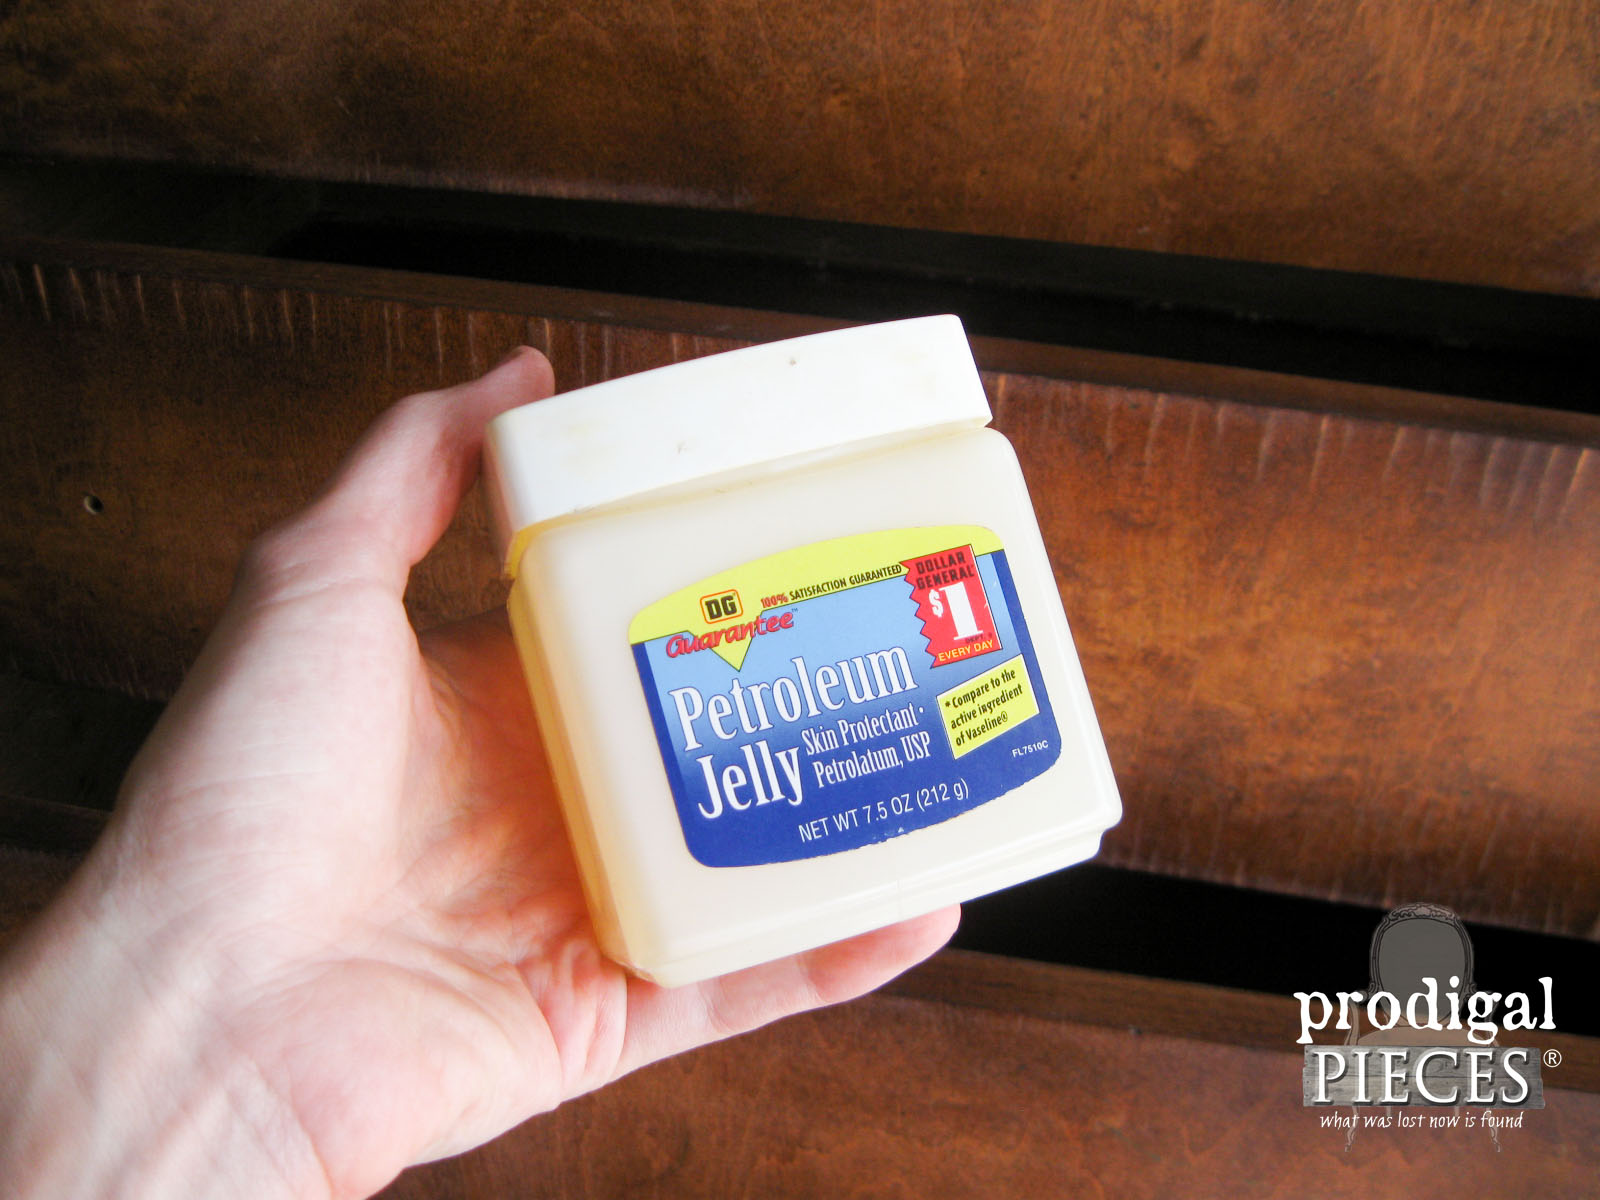
What is more, I am aiming for a rustic, very worn look. In order to achieve that, I whip out my petroleum jelly. Yup. Just like I used to distress paint on my radio turned sewing cabinet.
When I was about 18 years old (you can guess how long ago that was – ahem), I watched a lady on PBS use it to distress furniture. Obviously, I am not the first to use it but thought you may have not heard of it before.
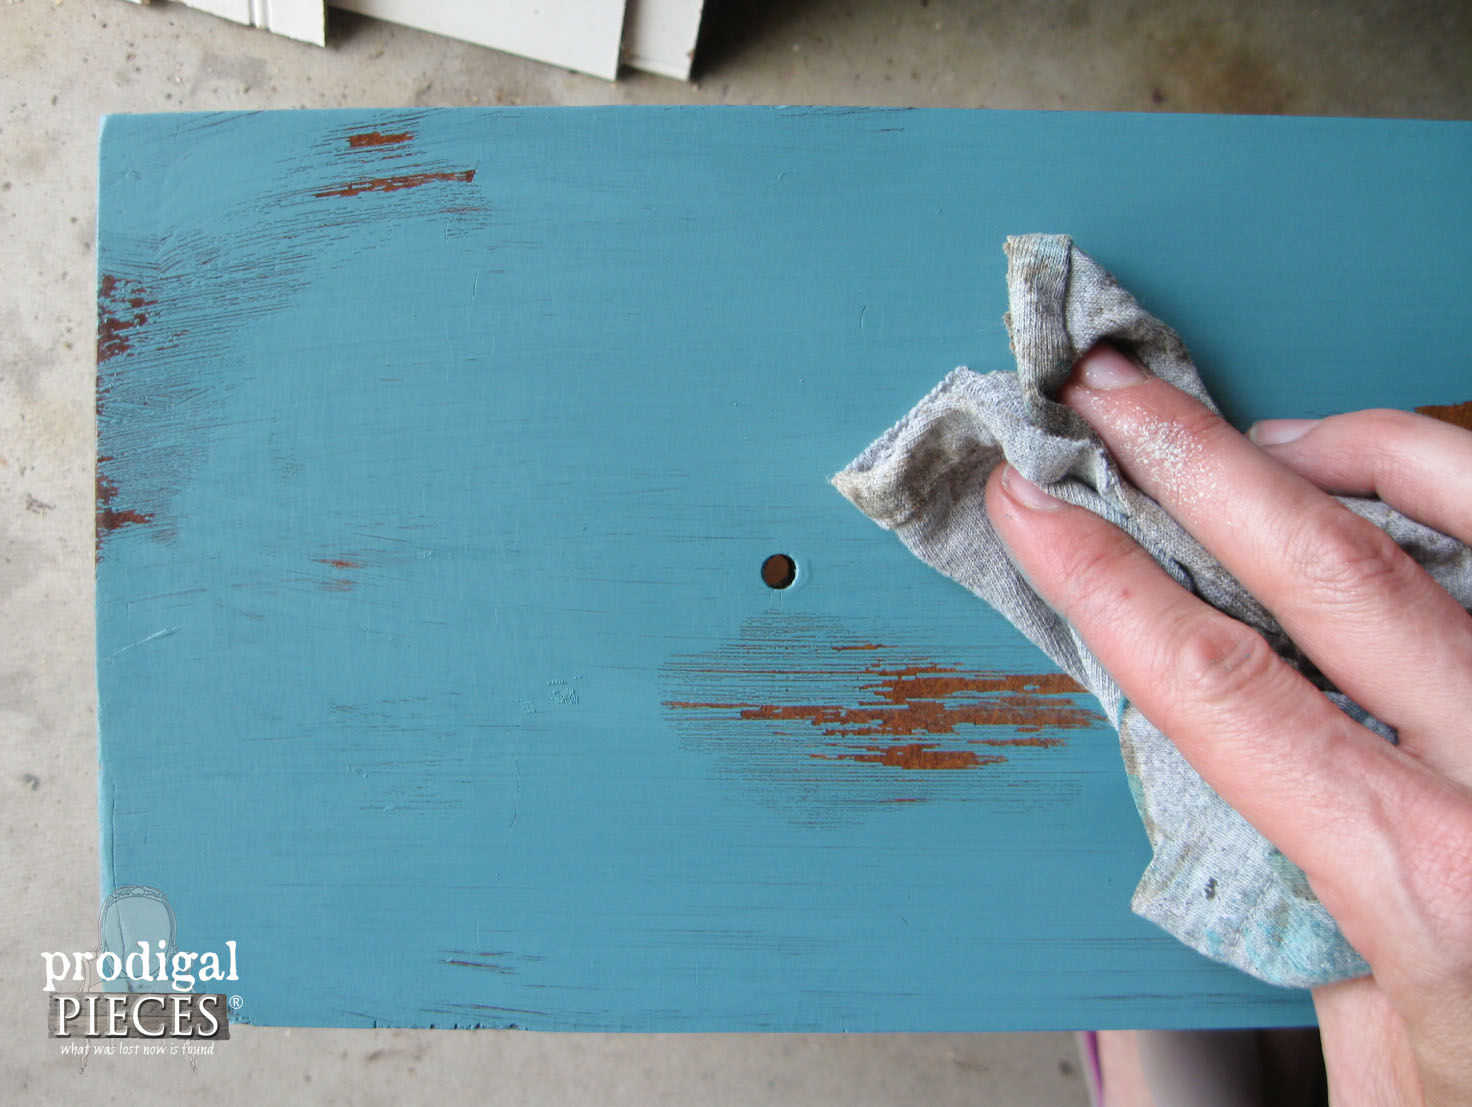
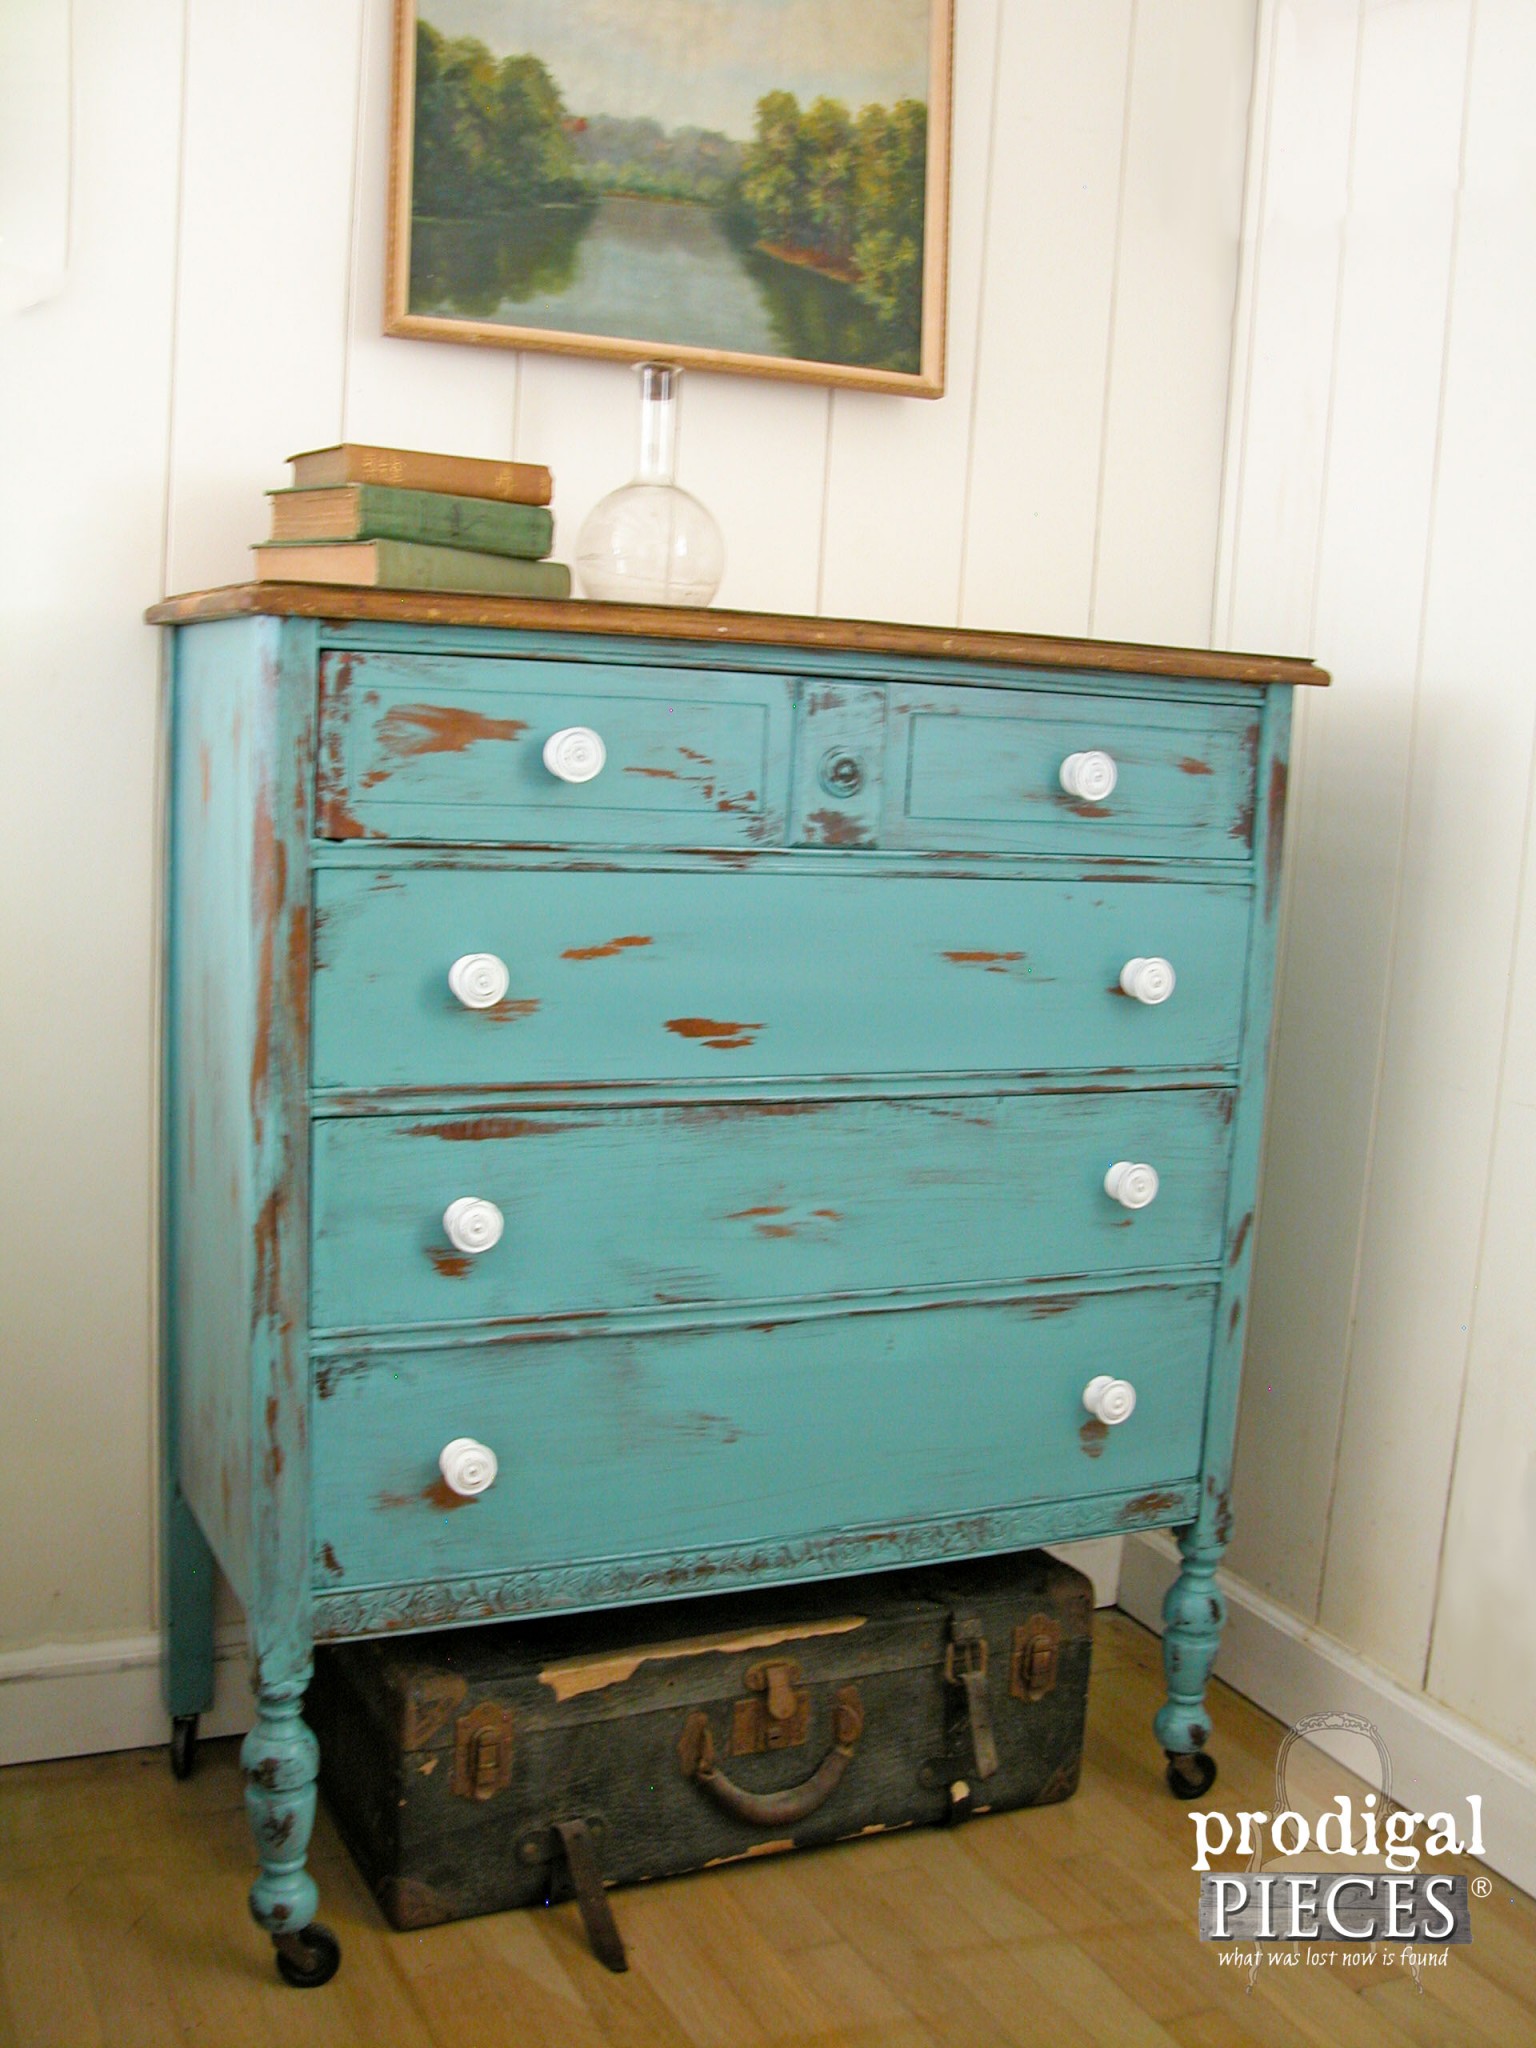
Furthermore, it can work with any paint, as this I’m using today is a high gloss paint – yes, even a gloss can look rustic. Initially, I start by smearing small amounts in places that would get normal wear. Subsequently, I dry brush one layer on the drawers and cabinet. Last, once the paint is dry (after about 2 hours), I take an old rag and rub the paint where I applied petroleum jelly.
The jelly resists the paint and allows for super-easy removal. In addition, it’s less mess and easier on the hands too.
LAST STEPS
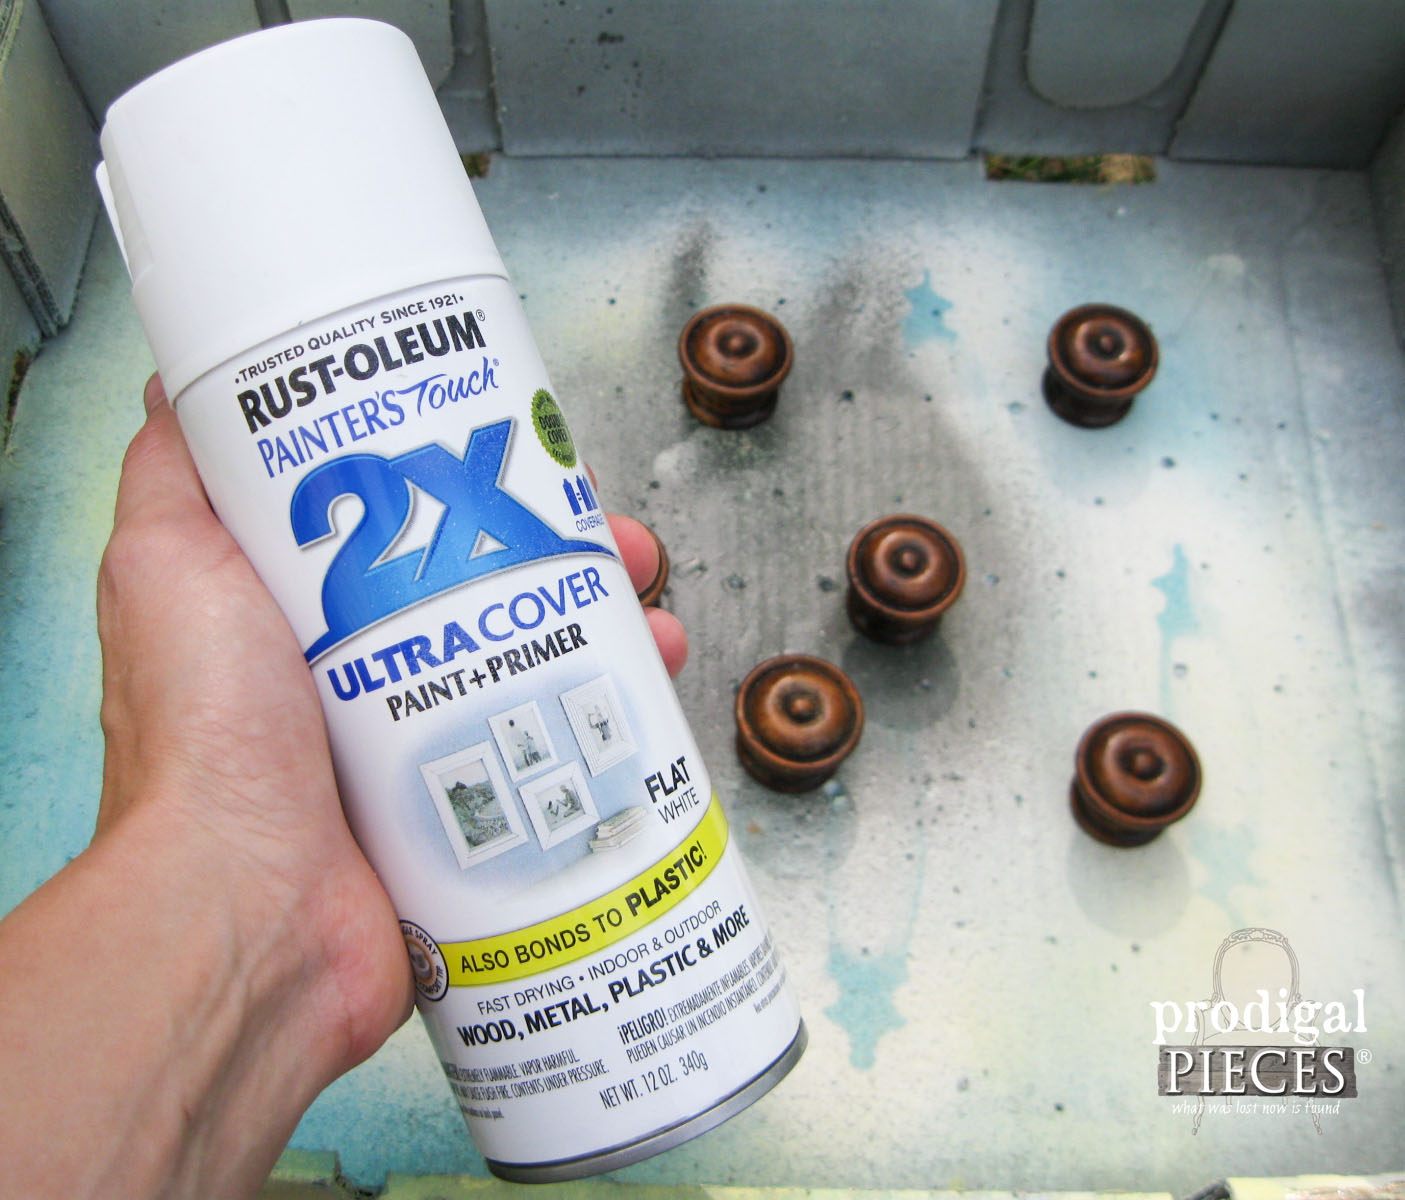
Finally, all that is left is the drawer pulls and I use a flat white paint by Rustoleum to give them a light coat. After that, I distress those with a bit of sandpaper.
Are you ready to see my method to distress paint in action?
COLOR PASSION
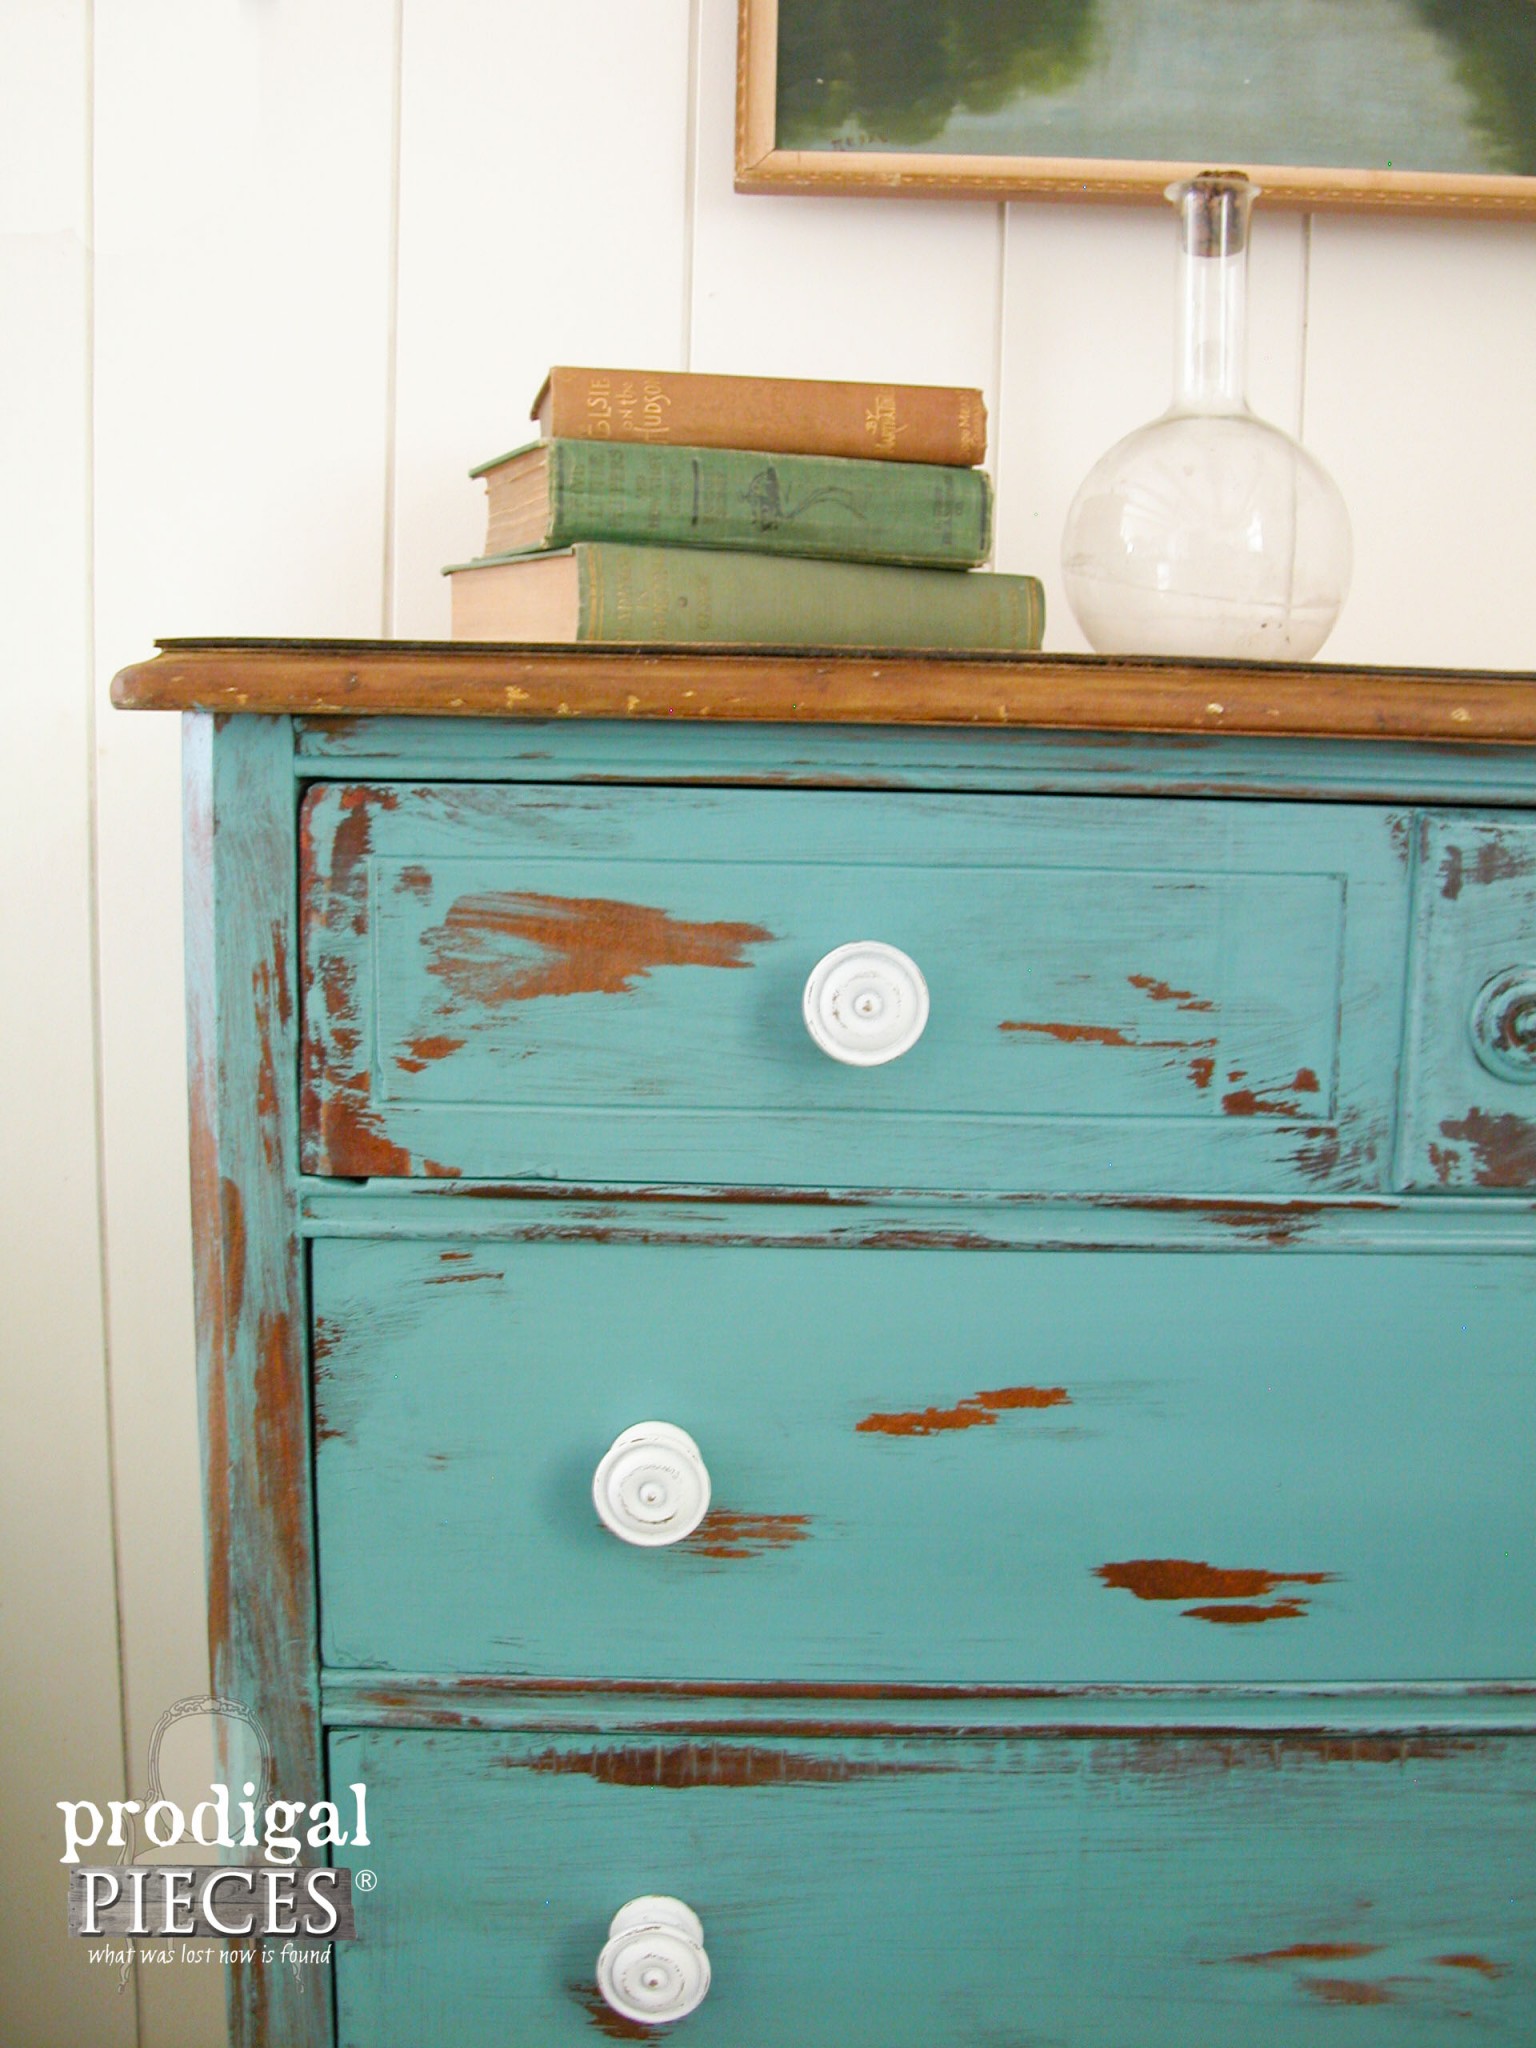
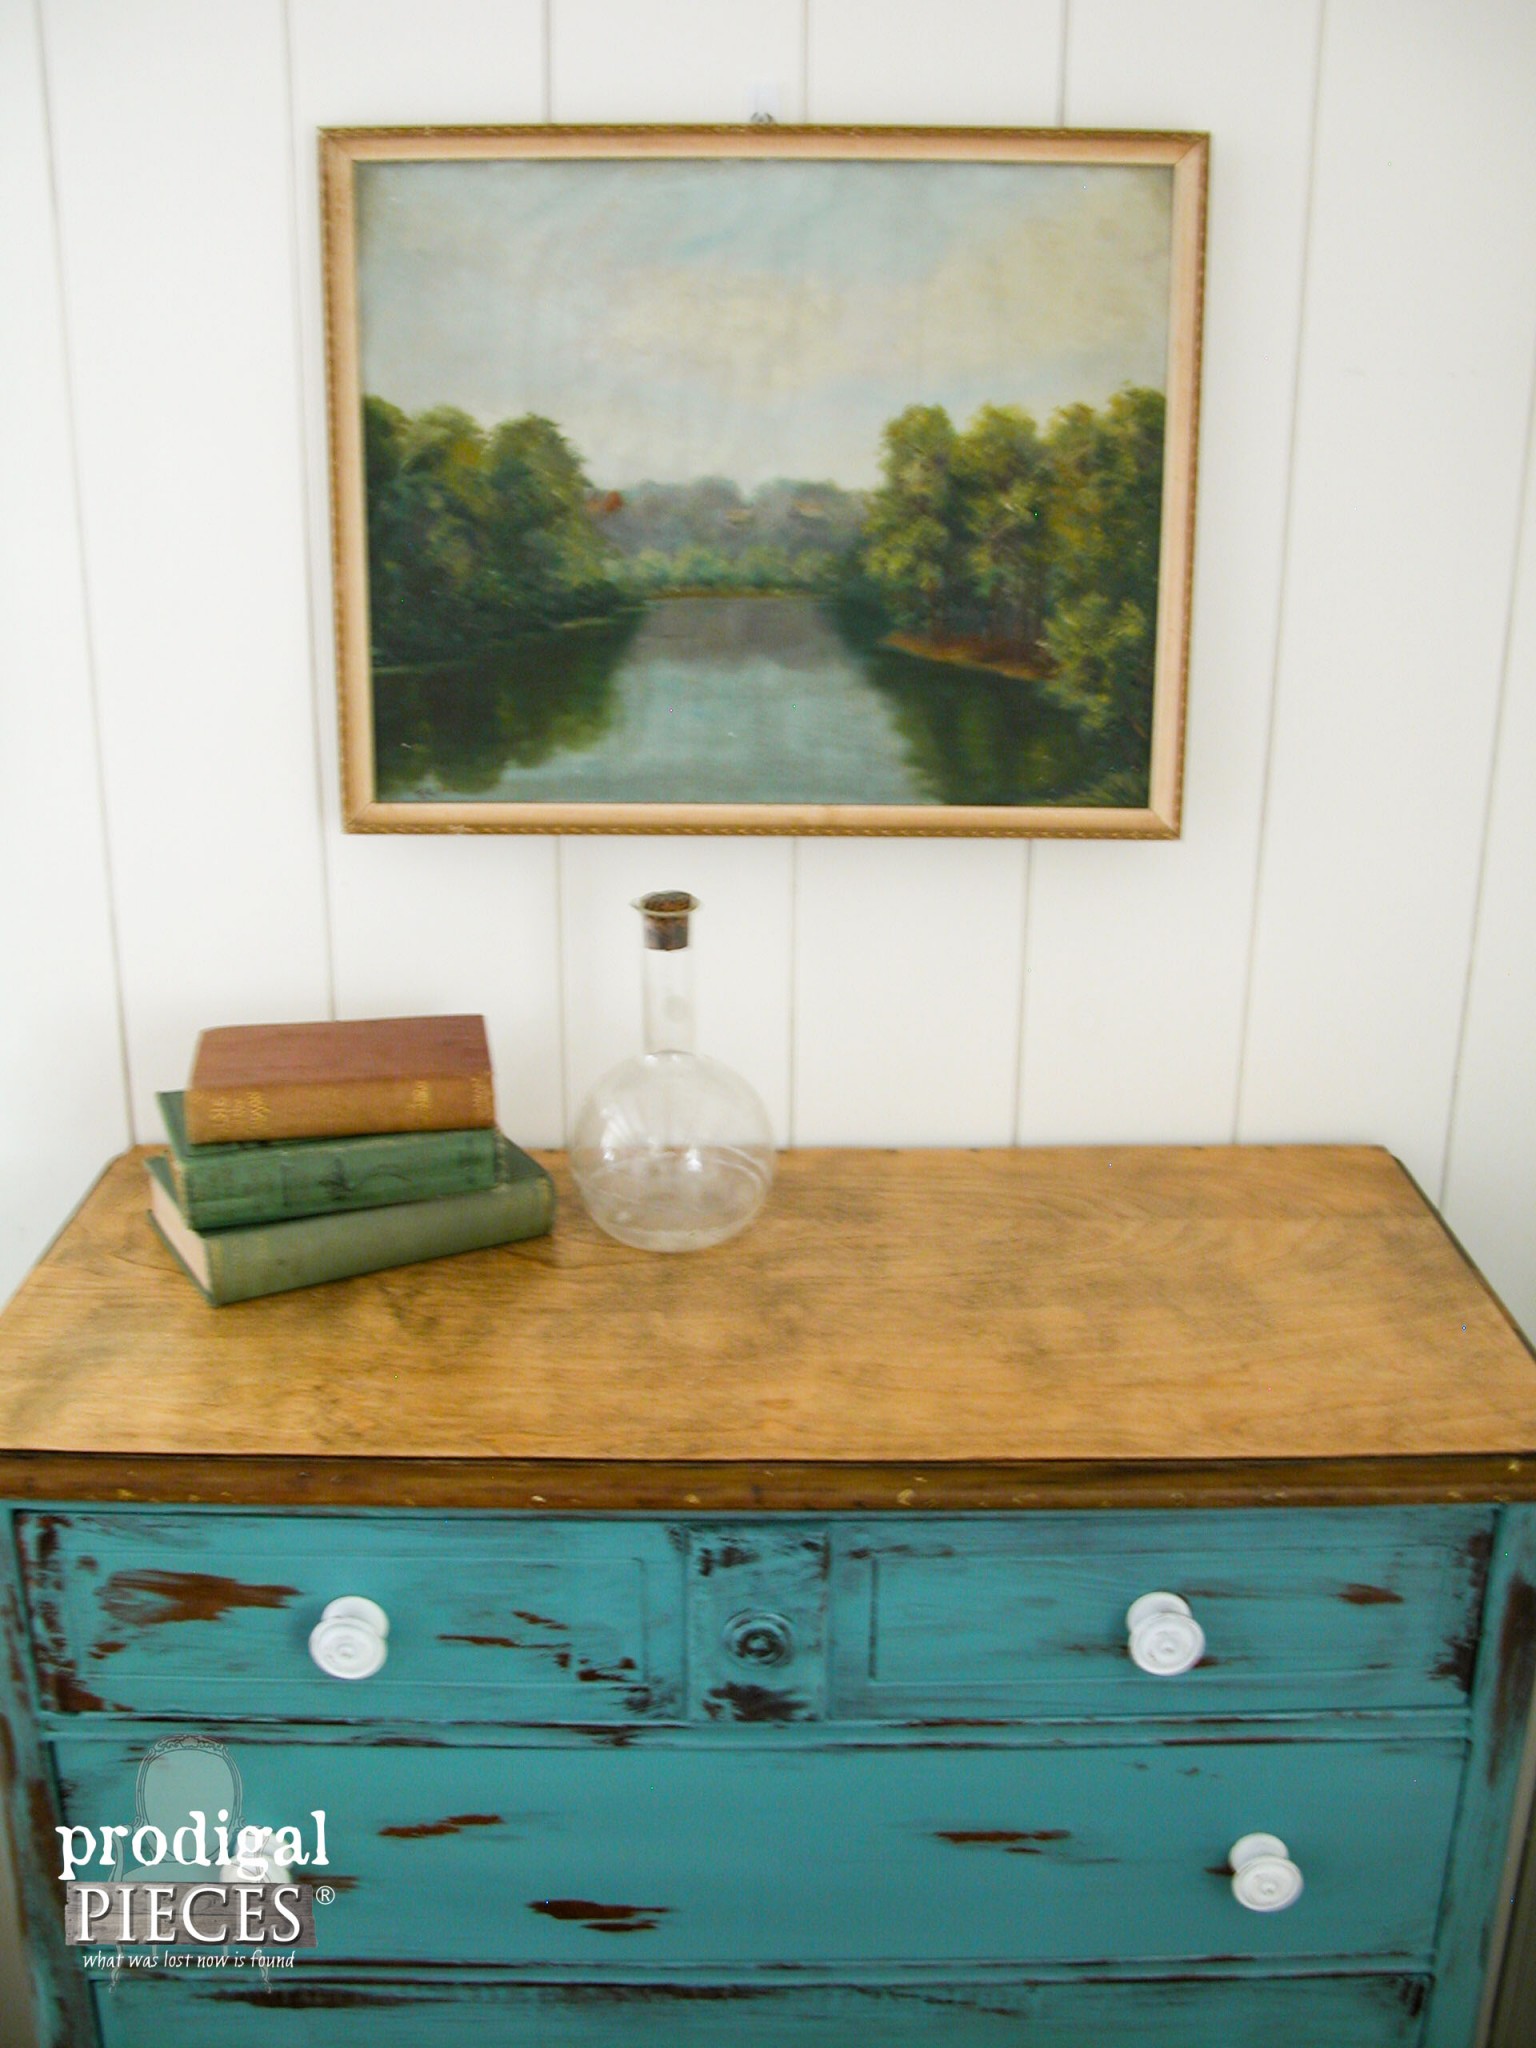
I am ever falling in love with this color that just showcases life. Not only am I able to pair it with my new favorite painting found at a garage sale for $1, but also have a bit more to sahre. The story behind the artist was that he was an electrical engineer who injured his hands so could no longer work. He took up painting to provide income. I would say he is one gifted man, wouldn’t you? I’m saving it for when we are done with our kitchen remodel and move onto our living room.
But even so, how about them legs and carvings…swoon.
Now, I have to ask…Are you going to give this method to distress paint a try? Likewise, for those of you that are not really into painting or just love this chest, you can find it in my online shop.
SHARE
Additionally, pin and share so others can learn a new trick too. Thank you for the love! ♥
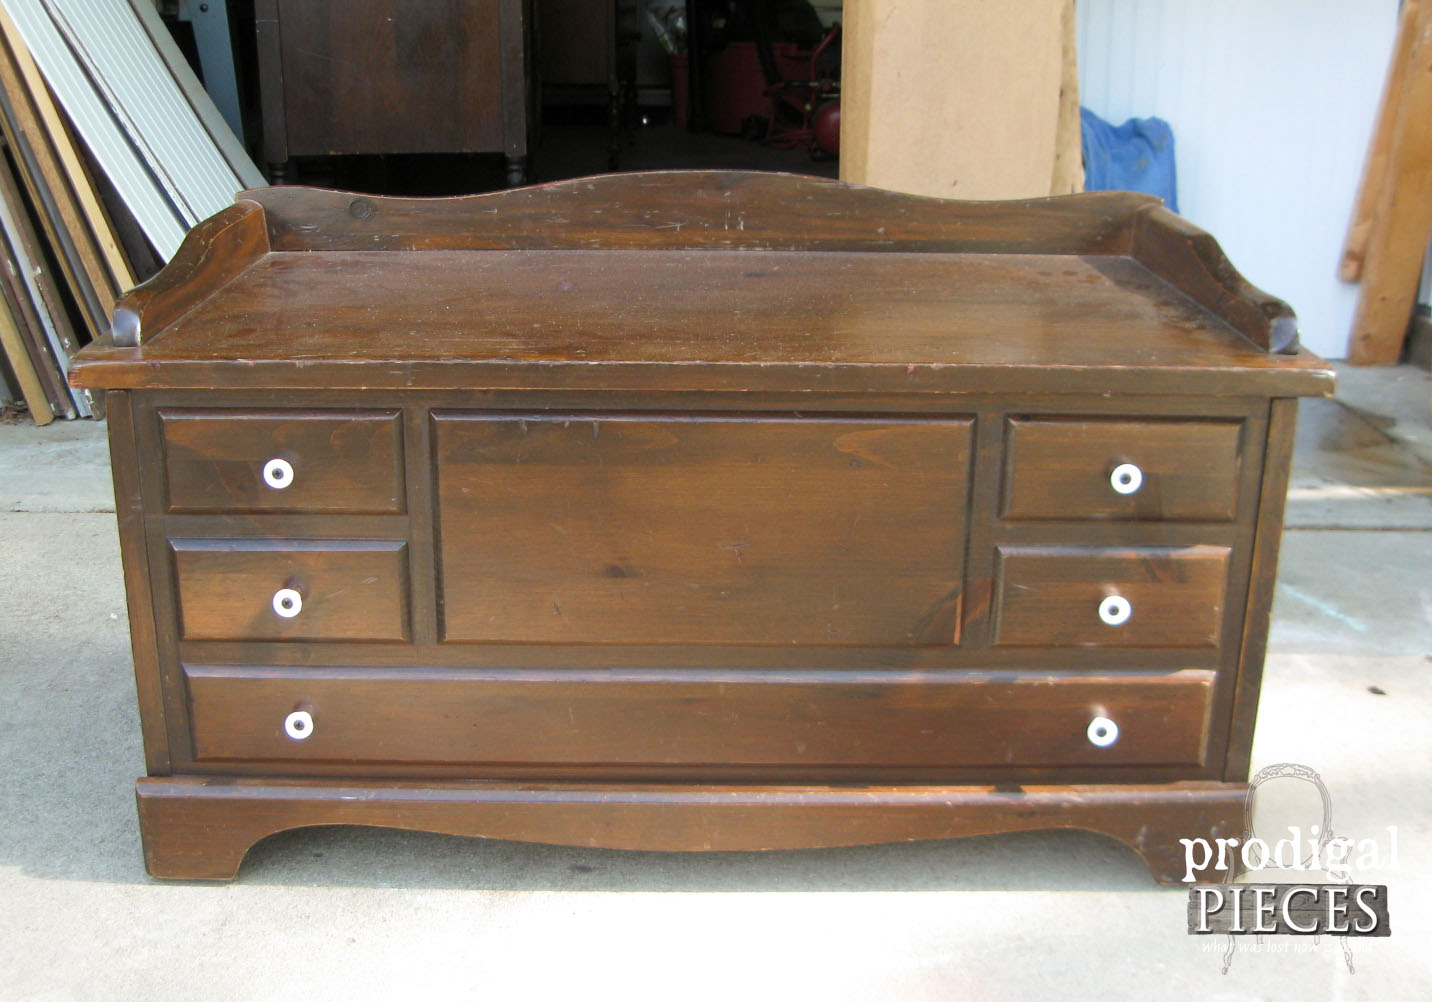
In sum, if that has whetted your appetite for paint, I think you’re going to love this thrift store chest that gets a new look. See the after HERE.
Before you go, be sure to sign up for my newsletter. Until next time!




Larissa, I’m sorry to have to tell you this, but it was so painful to get through your post today. So many ads, could not dismiss the video, all the background activity caused the flash program to crash. You have great stuff to share, but it is so hard to stay interested while waiting for the page to scroll. You’re not the only blogger that does this, but finally thought it was time to let you know. Please keep doing all the wonderful things you do, but maybe less ads? Hugs.
Don’t be sorry as I hated it too! I just had a new company take over my ads yesterday and I already told them it is too much. Please be patient as we get it tweaked. Thank you for understanding. 🙂
All of your projects are beautiful. Could you please recommend a tough polyurethane (from like Home Depot) that will not yellow?
Thank you, Norma. I honestly have not found one that doesn’t yellow over time. Some don’t at first, but will eventually. I just factor it in and know that it will at least be durable. You can see how I used my favorite here: http://www.prodigalpieces.com/2016/01/whitewashed-limewashed-wood/
Patience is what i’m learning in this life. i i got through the post just fine and LOVE everything you do! what i find that makes it difficult to get through your posts is that i always want to look at the links you give us to look at past projects – even though i never miss one, but LOVE looking at them again and in light of why they’re linked!
i love this chest of drawers and hope to put to use a big jar of petroleum jelly soon!
PS – i hope people at least read the Bob Villa contest and will vote for you! you are so deserving!
I’m with you, Gwen. Thank you for making my day brighter. 🙂
Strange…on my iPad, it went straight thru with no ads visible…loved it!
Hmm…I have no idea why, but I do know that they are tweaking things to suit my liking and needs. Thanks!
Absolutely will try your method of distressing. Beautiful color also.
Thank you, Kathy. I hope you enjoy giving it a try.
Another gorgeous makeover and color, Larissa! I haven’t tried this method of distressing but I know I should considering my workshop is in our basement.
Thanks so much, Marie. Yes, the lack of dust is certainly a bonus, plus less strain on my hands and wrists. Let me know what you think when you try. 😀
You are so talented Larissa! That color is so unique, it’s easy to see why you love it so much. I voted for you and Beep and hoping you win 🙂
Thanks, Karen! I tent to get carried away, but that’s the whole fun of being creative, right? 😀
Lord, that color! I bet who ever left that oops can of paint is kicking their own butt right about now. Thanks for the eye candy and the inspiration:)
Paige@
http://ajunkchicklife.blogspot.com/?m=1
hahaha…I’m certainly not complaining! 😀 Thanks for the love, Paige.
Hi Larissa…WOW!!! a whole new light bulb over my head!!! bunches of ideas speeding around in my mind!!! LOL!! WHO KNEW??? Using petroleum jelly….OK…question…in the pics after you rub off the “jelly”…it looks like a little “oily” residue is left behind, it does also seem to leave a little darker “aging” benefit, but does that dry eventually? Or is there something magic you do??? Thanks for sharing this “old secret” !!! God Bless y’all….
How fun!! It is a little oily, but a bit of rubbing will eliminate any excess. 😉 Have fun!
Beautiful end result! My daughter & I paint furniture also & have used the Vaseline method.
It’s always fun to find new tricks of the trade….we are constantly experimenting ?
Love your page!
I think the same. I’m always willing to learn and try…good for you!
So do you just dip your brush back in the paint after going over the Vaseline? Been wanting to try this but did have a few questions about mixing the Vaseline and paint. Your work is gorgeous!
Yes. If you put the layers on light enough it will be fine. I also use candle wax or my furniture wax as seen in this post, if you prefer.
Love the finished look, especially the color! Thank you for the Vaseline tip, can’t wait to try it!
Awesome to hear! Thank you. 🙂
Hi there! I tried this method on a church pew I had. It was an ugly lime green color and paint stripper couldn’t get into all the crevices, so I decided to paint the piece a dark brown chalk paint. I then did the Vaseline method, and painted over the piece with white chalk paint. It worked nicely, but where the chippy parts are, there is an oily smear mark around the chippy sections. I hate that I can see this grease mark. Is there any way to fix this? I’m so sad that I’ll have to redo the entire bench.
Hello Sandra! I’m excited to hear you are giving it your all. It might mean you smeared wider than you intended to remove. You can either enlarge the spots and leave them, or remove them and touch up with paint. I hope that makes sense. Feel free to email me. 🙂