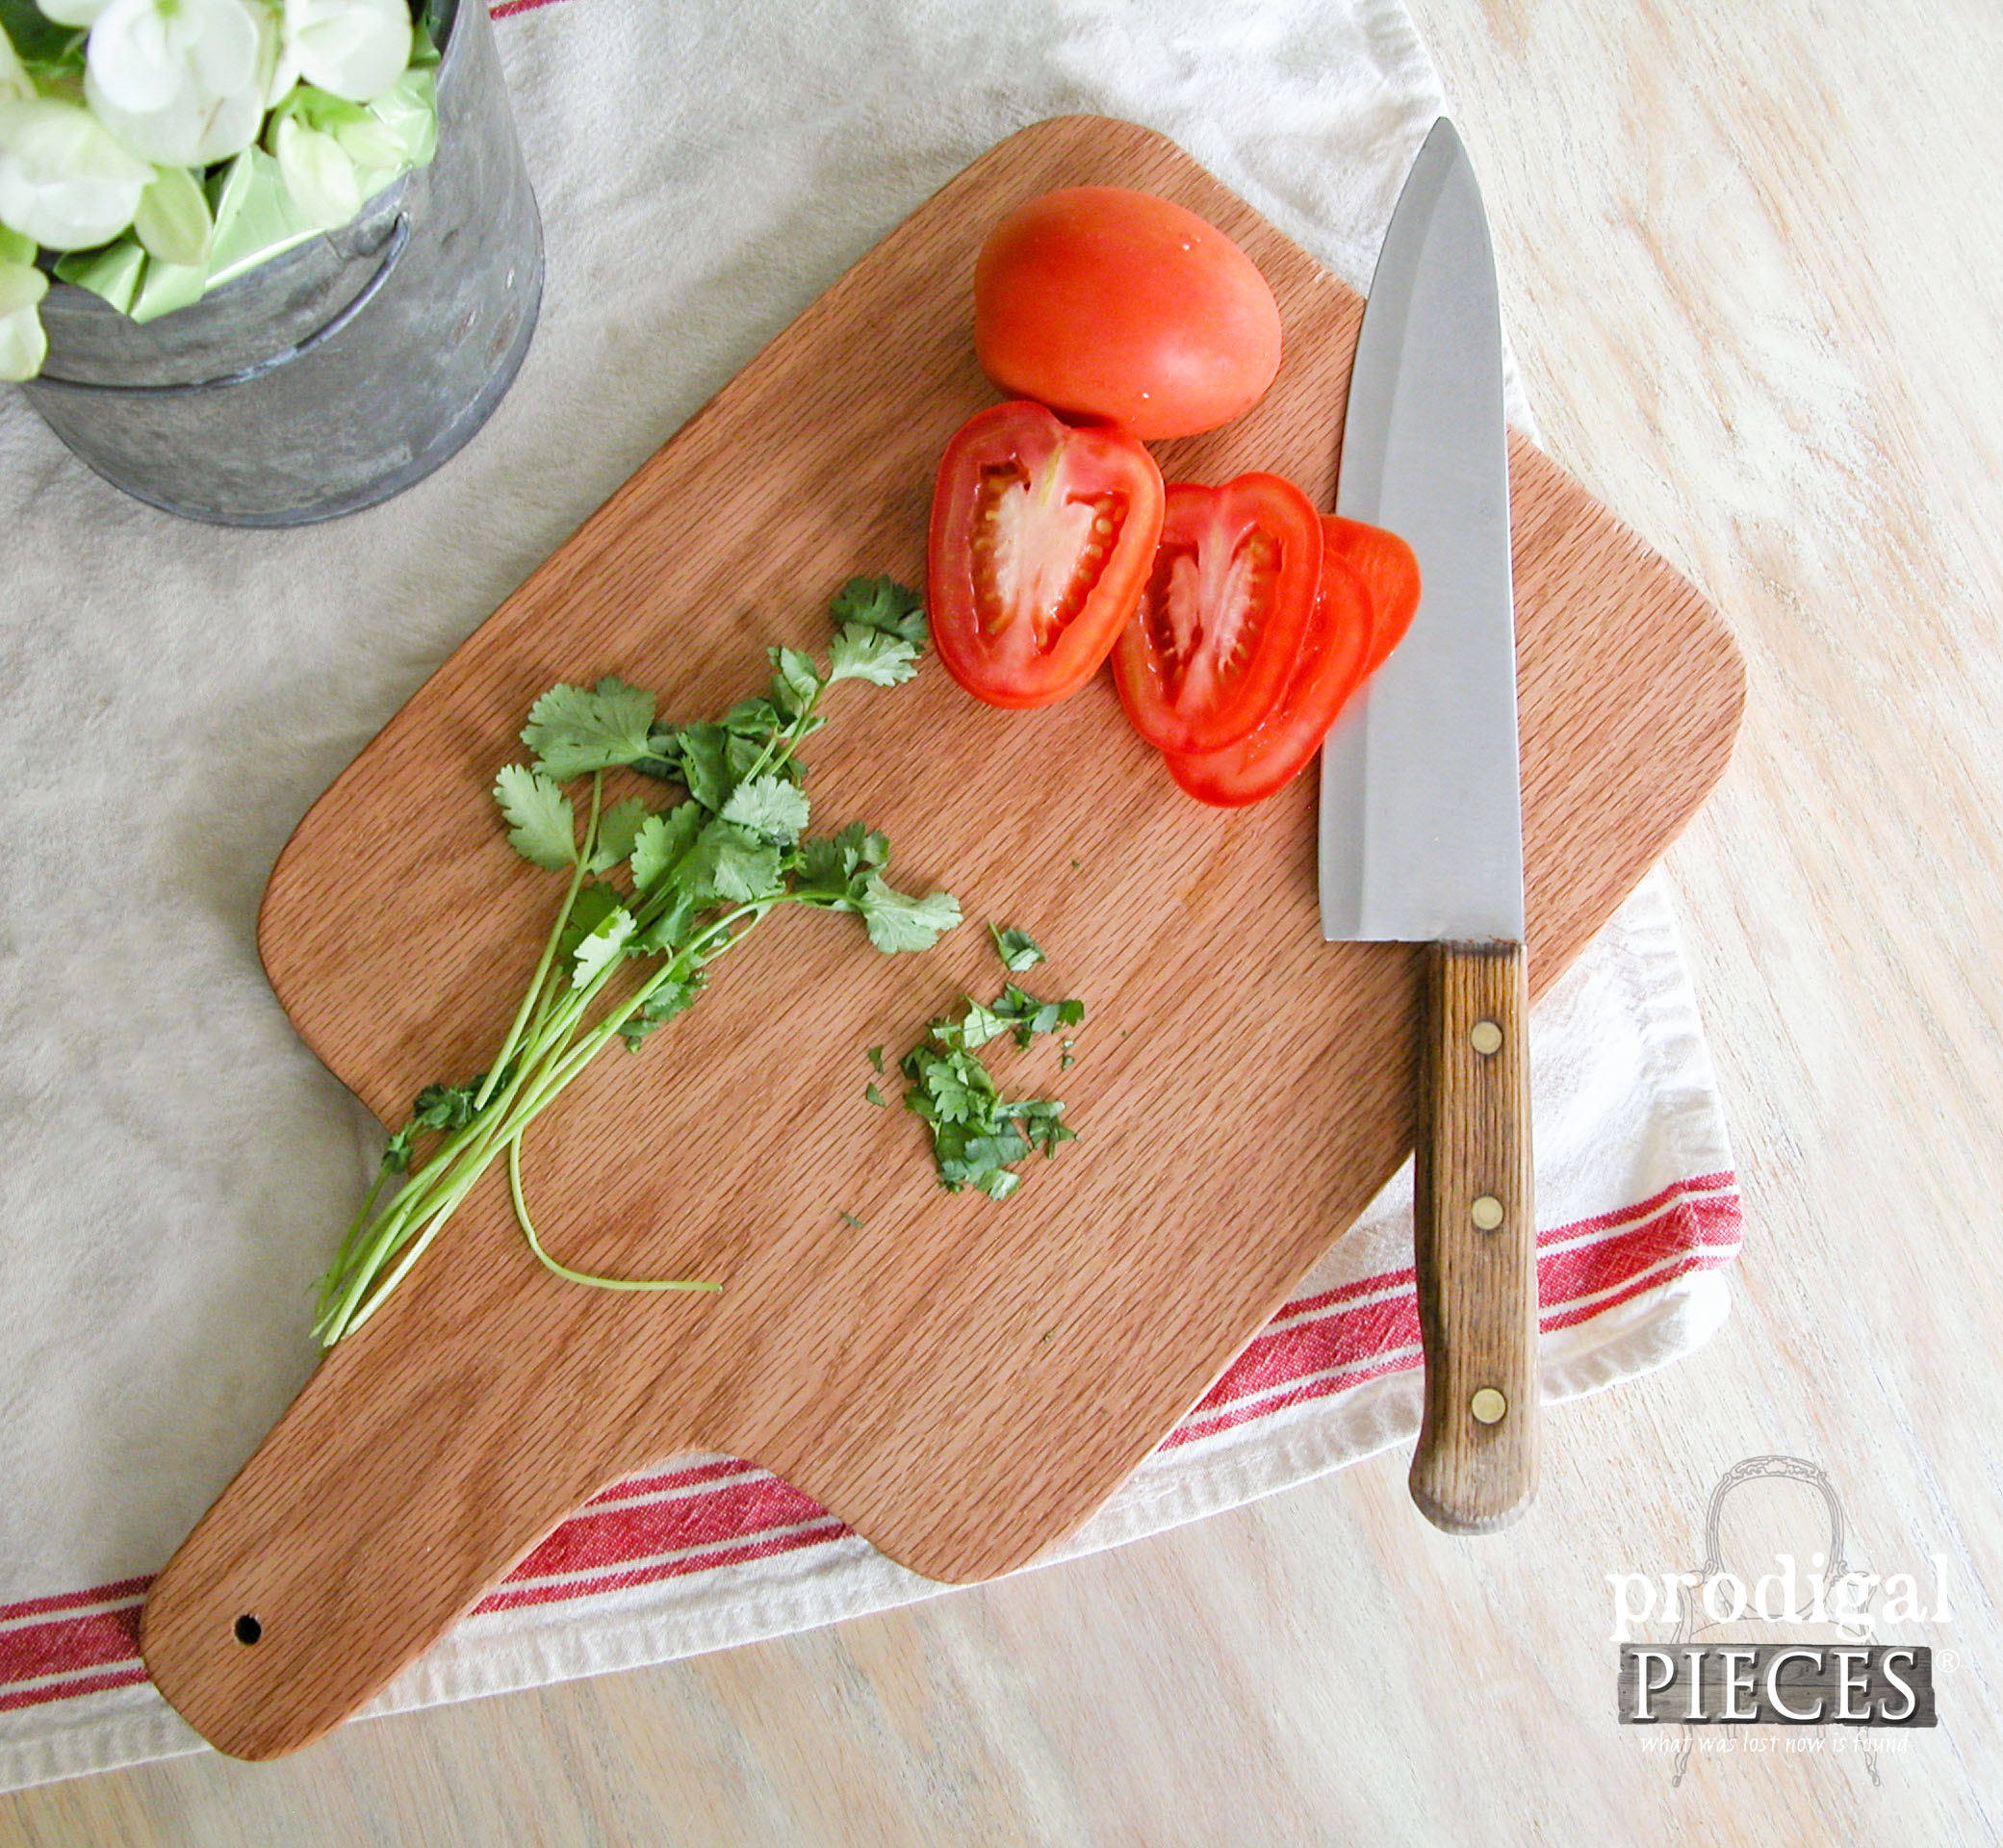
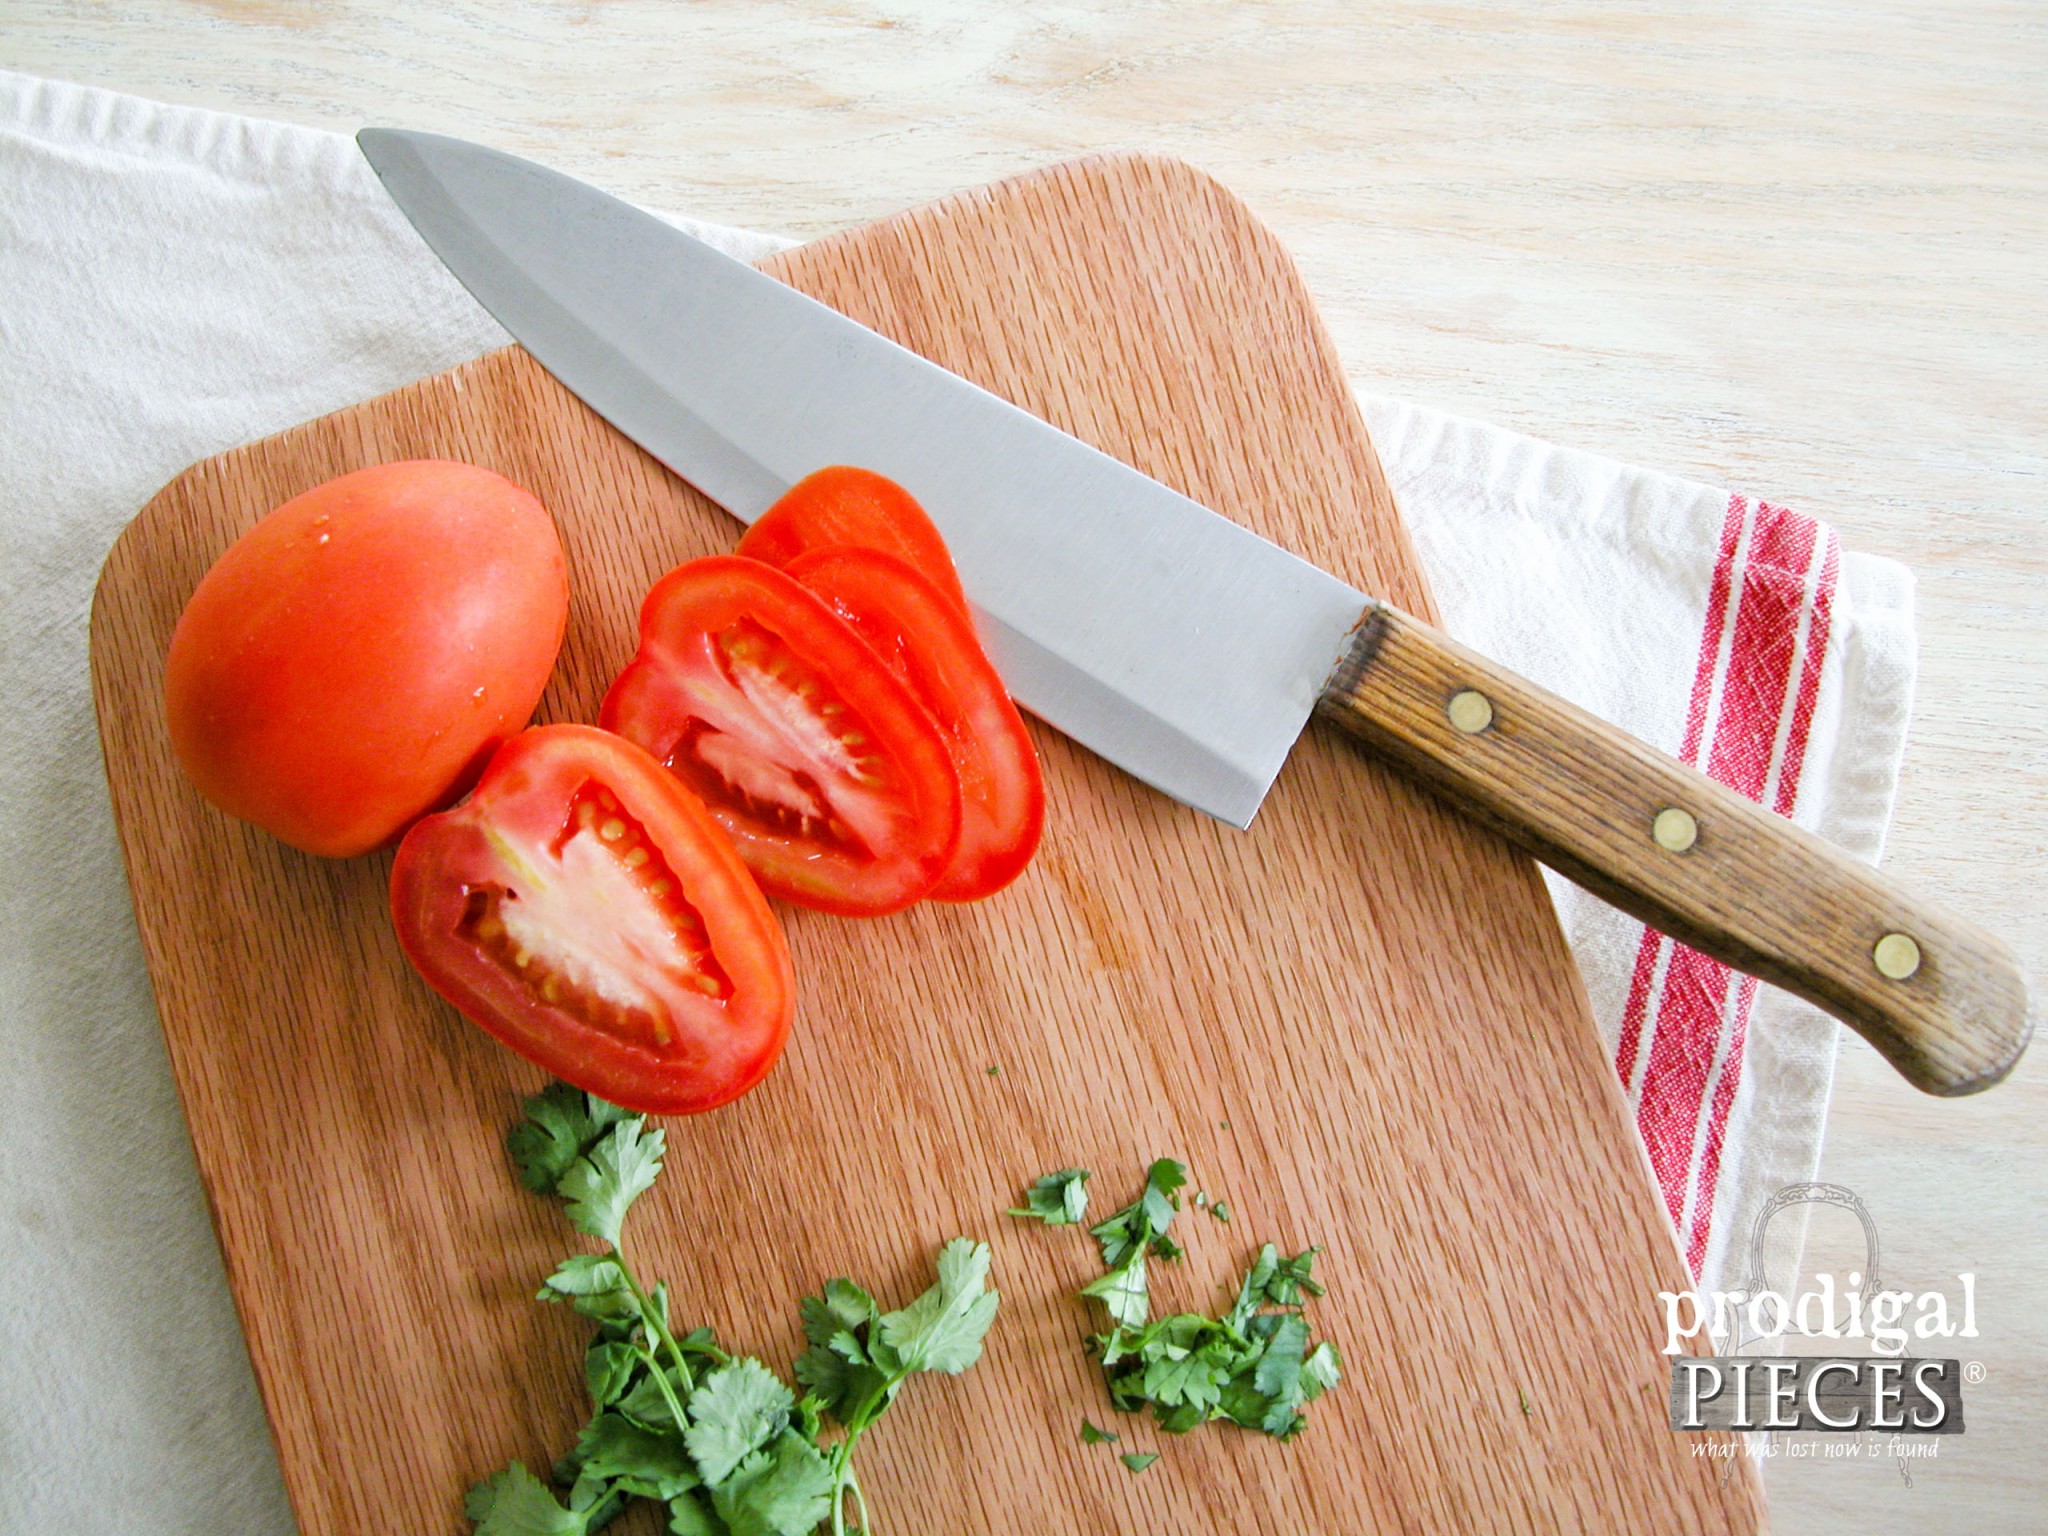
Creating our own kitchen style and decor doesn’t have to break the bank. I’ve got a functional and budget-friendly tutorial for you today. If farmhouse, cottage, or shabby chic are your style, then you know how coveted antique cutting boards can be. Not only do they tell a story of days gone by, but also remind us of our grandmother’s kitchen, and serve a purpose. Problem is, they aren’t always easy to get your hands on, or can be expensive when you do find one. Solution? Make your own farmhouse cutting board, of course.
With the help a few basic power tools and a little time, you can create your own rustic farmhouse cutting board (or cheese board – see below) for your kitchen. Not into DIY, I have a selection of these boards available ready for purchase in my onilne shop.
DIY TIME
Let’s get started!
I went to a local home improvement store and bought a 4′ section of solid oak board for less than $34. First, let’s start with the farmhouse cutting board and I will show you how to make use of the entire board later to make a collection.
Materials for Farmhouse Cutting Board:
- 1 – 1″ x 12″ x 16¼” oak or other hardwood board
- oil and/or beeswax for wood protection
- 12″ piece of leather lacing or twine (optional)
Tools:
- jigsaw
- orbital sander
- 150 and 220 grit sanding pads
- drill
- ¼” drill bit
- drill bit
- pencil
- protective wear
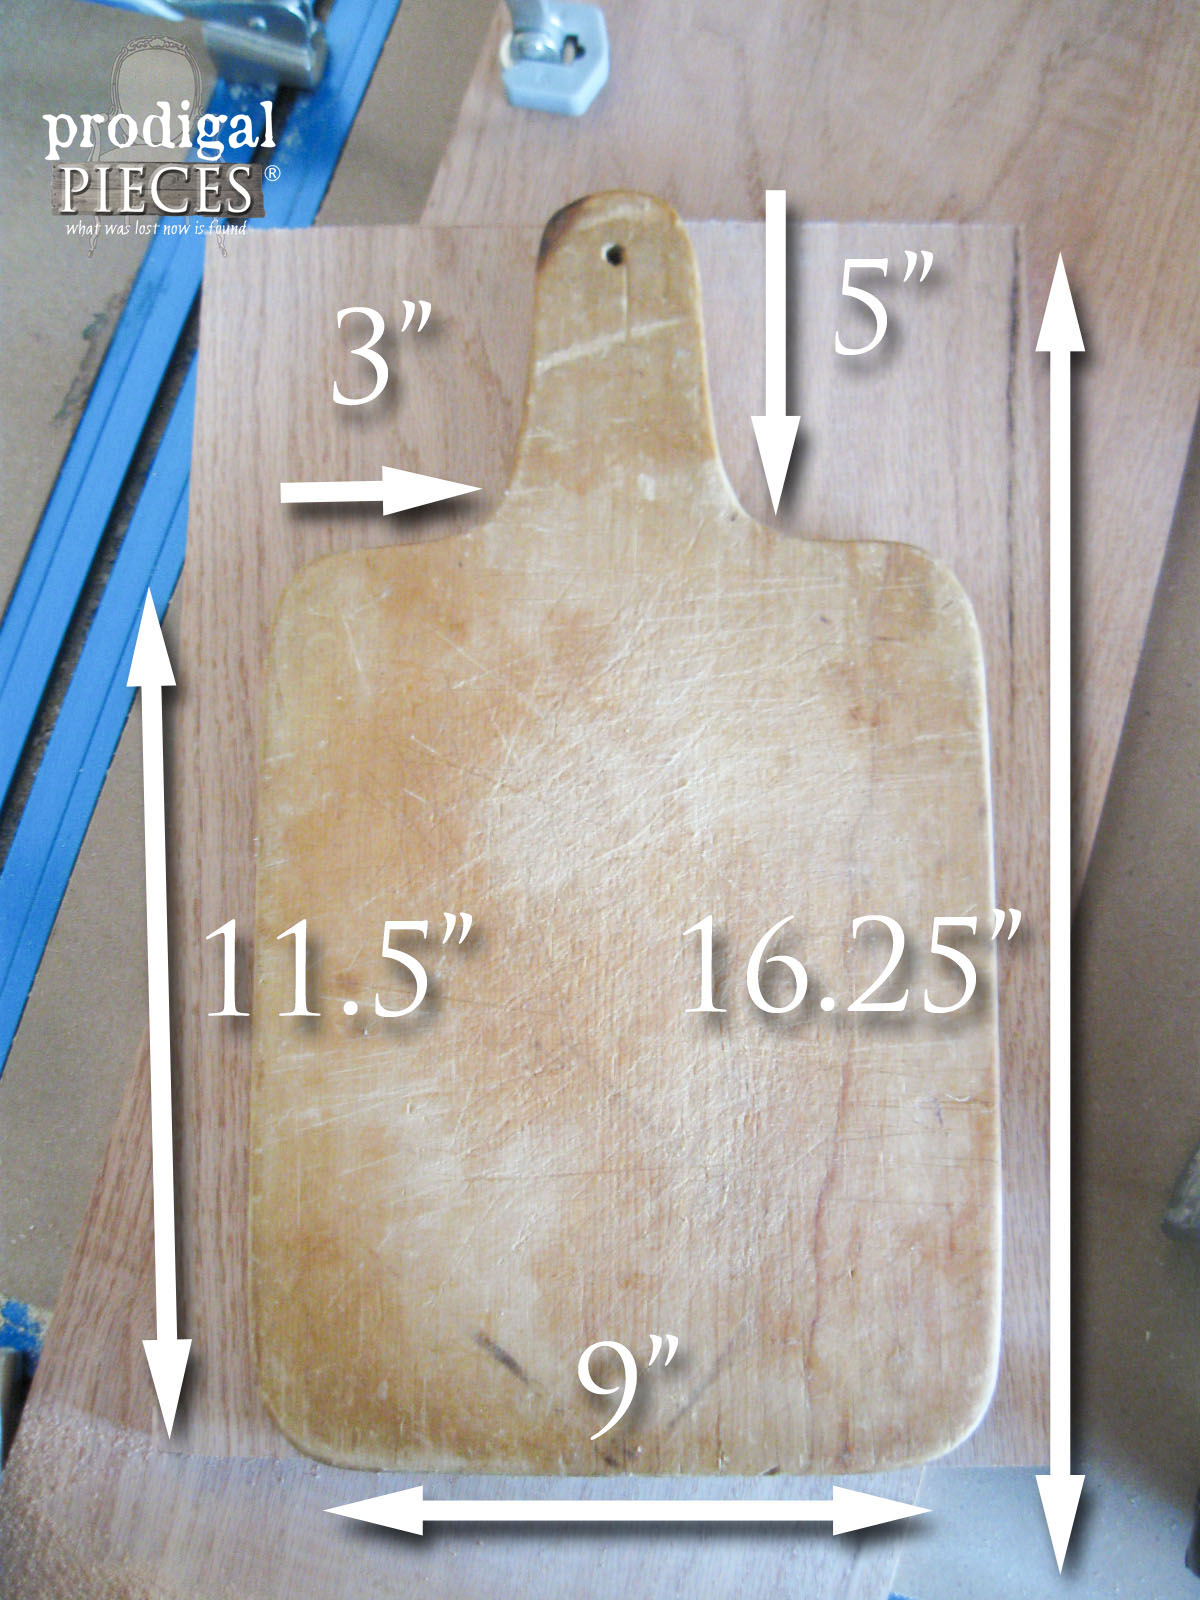
For this tutorial, I am using one of my antique cutting boards as the template.
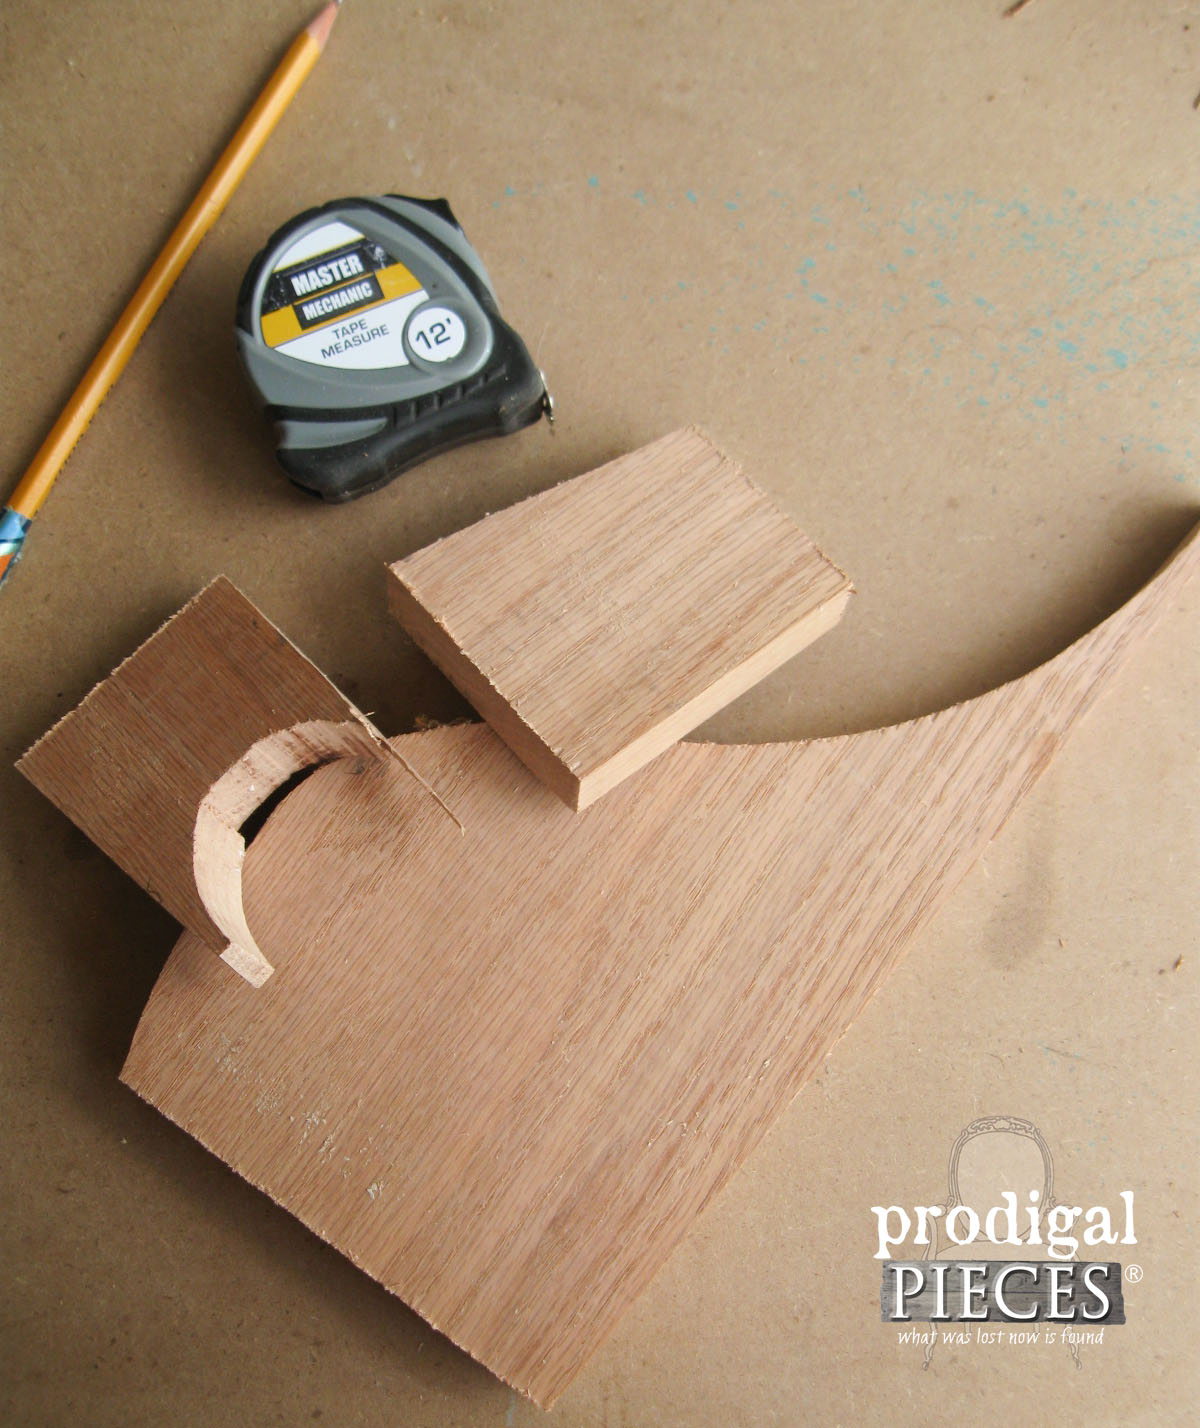
Here is the layout of your cuts:
- First, using the photo as a guide, create a rectangle that is 11.5″ long and 9″ wide on one end of your wood board. This will leave you with a blank space on one end for the handle.
- Then, to create the handle, find center of the 9″ end that has the blank board space above it (4.5″ in from either side) and mark. From that center mark, measure 5″ up and mark. On that 5″ mark, make a 2″ circle using a bottle lid, etc. or compass.
- Next, you will go back to the 9″ line and measure 3″ in from both sides, as shown, and mark. Connect the sides of the 2″ circle and your 9″ line using tapered and slightly curved lines as shown in the template photo. This is to be rustic, so don’t worry about perfection. Have fun!
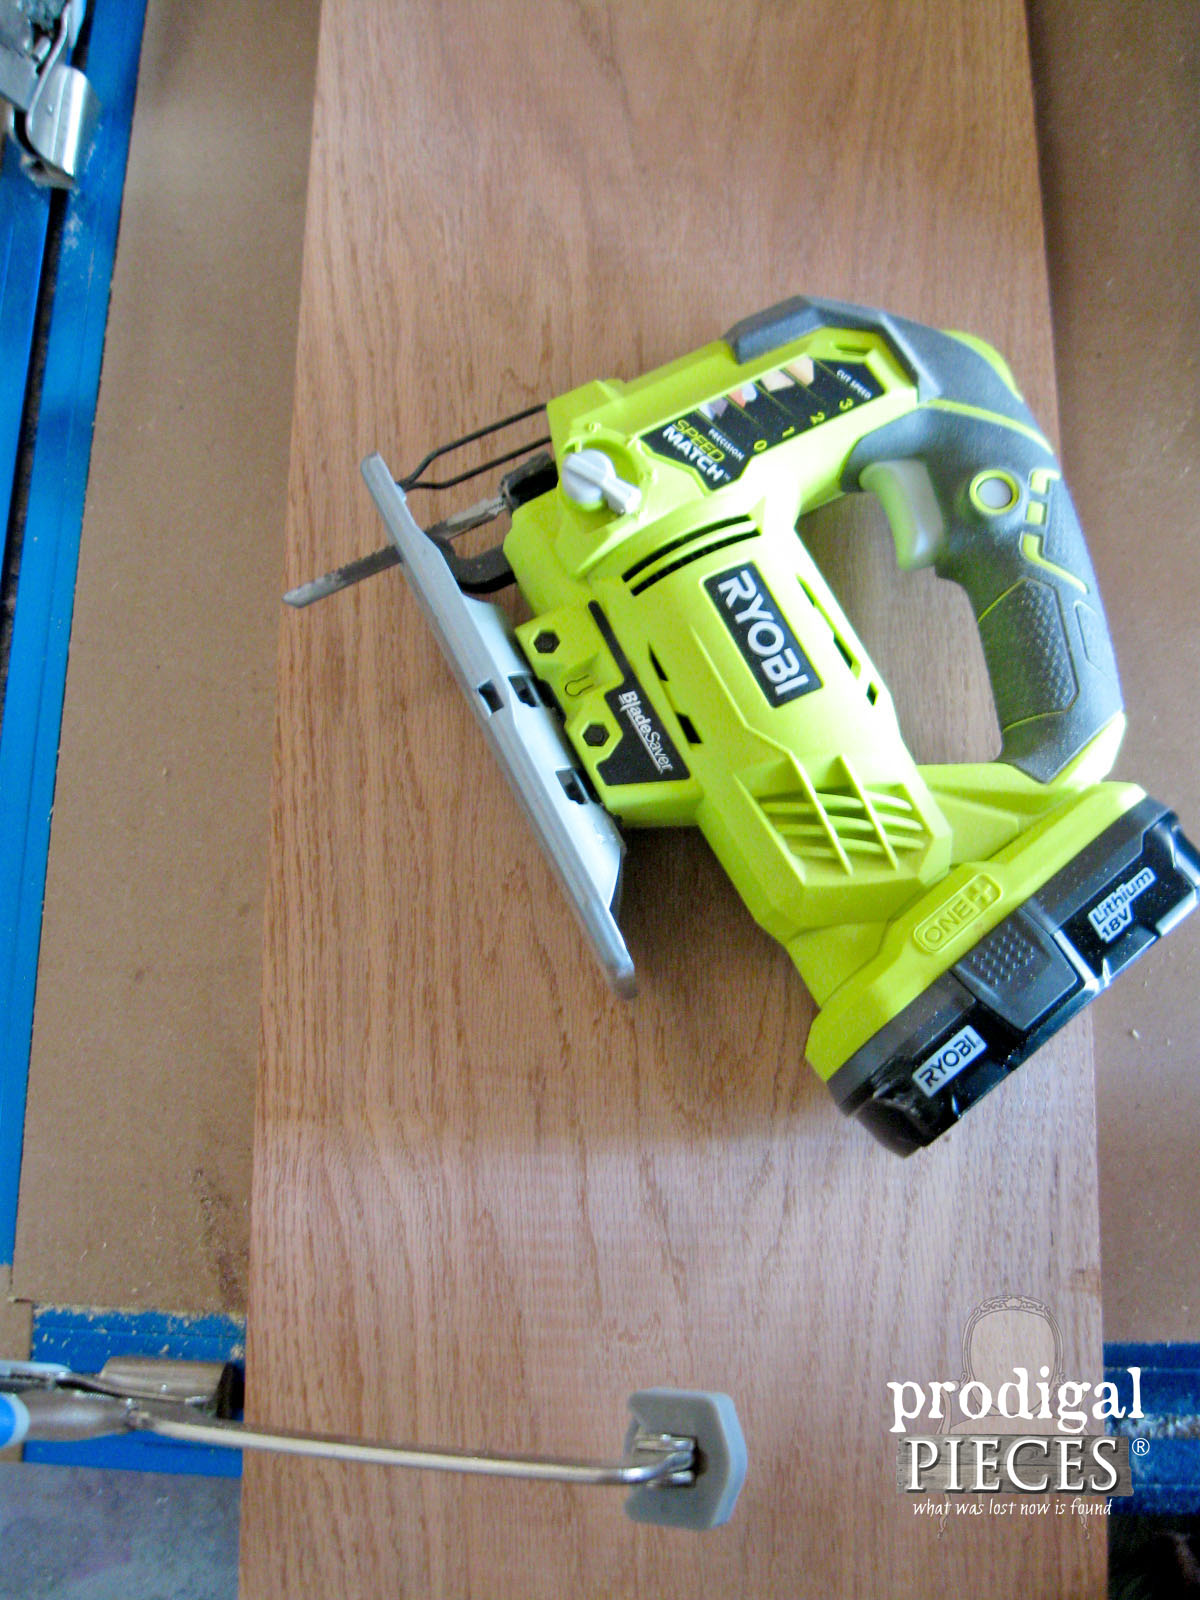
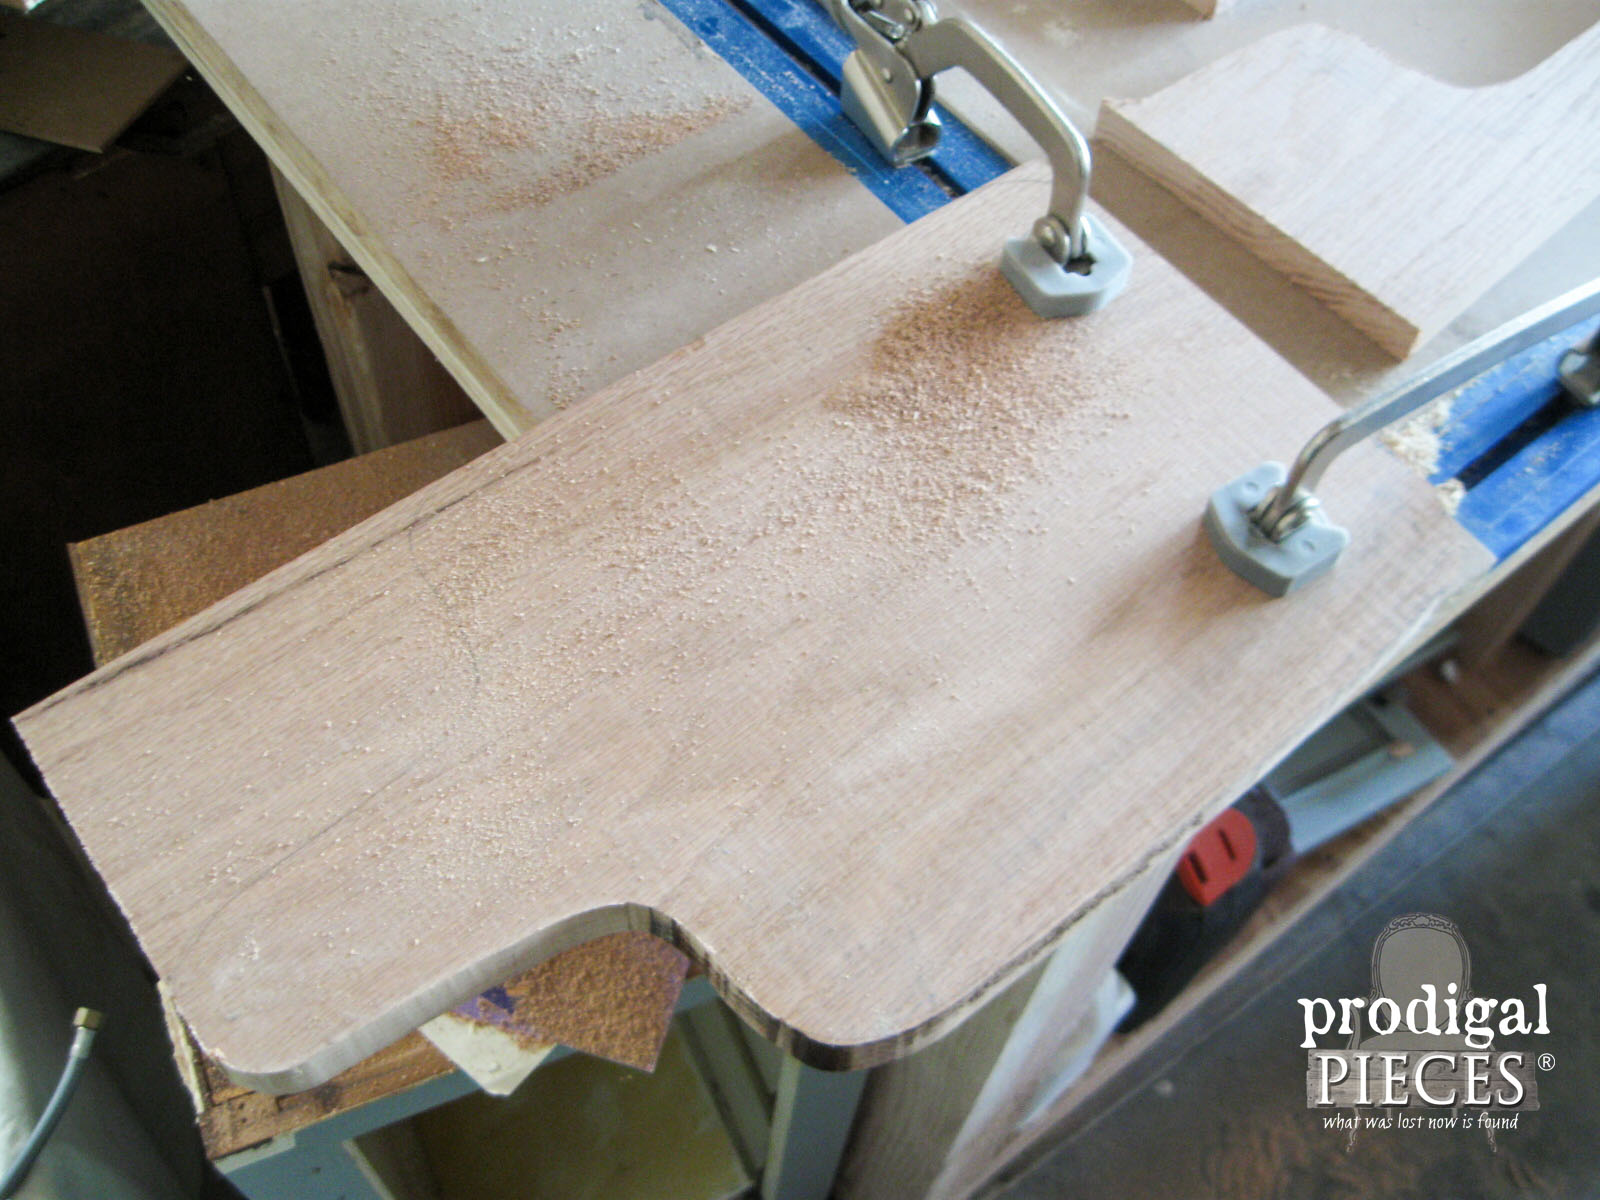
Now you’re ready to cut. Using your jigsaw with a fresh blade, cut out your shape.
I love to use my clamp track as it makes using the jigsaw a breeze and helps me keep my cuts straight.
Starting with you 150 grit sandpaper, sand the cutting board smooth and round over the edges. Finish with a 220 grit sandpaper, or higher, for a smooth finish.
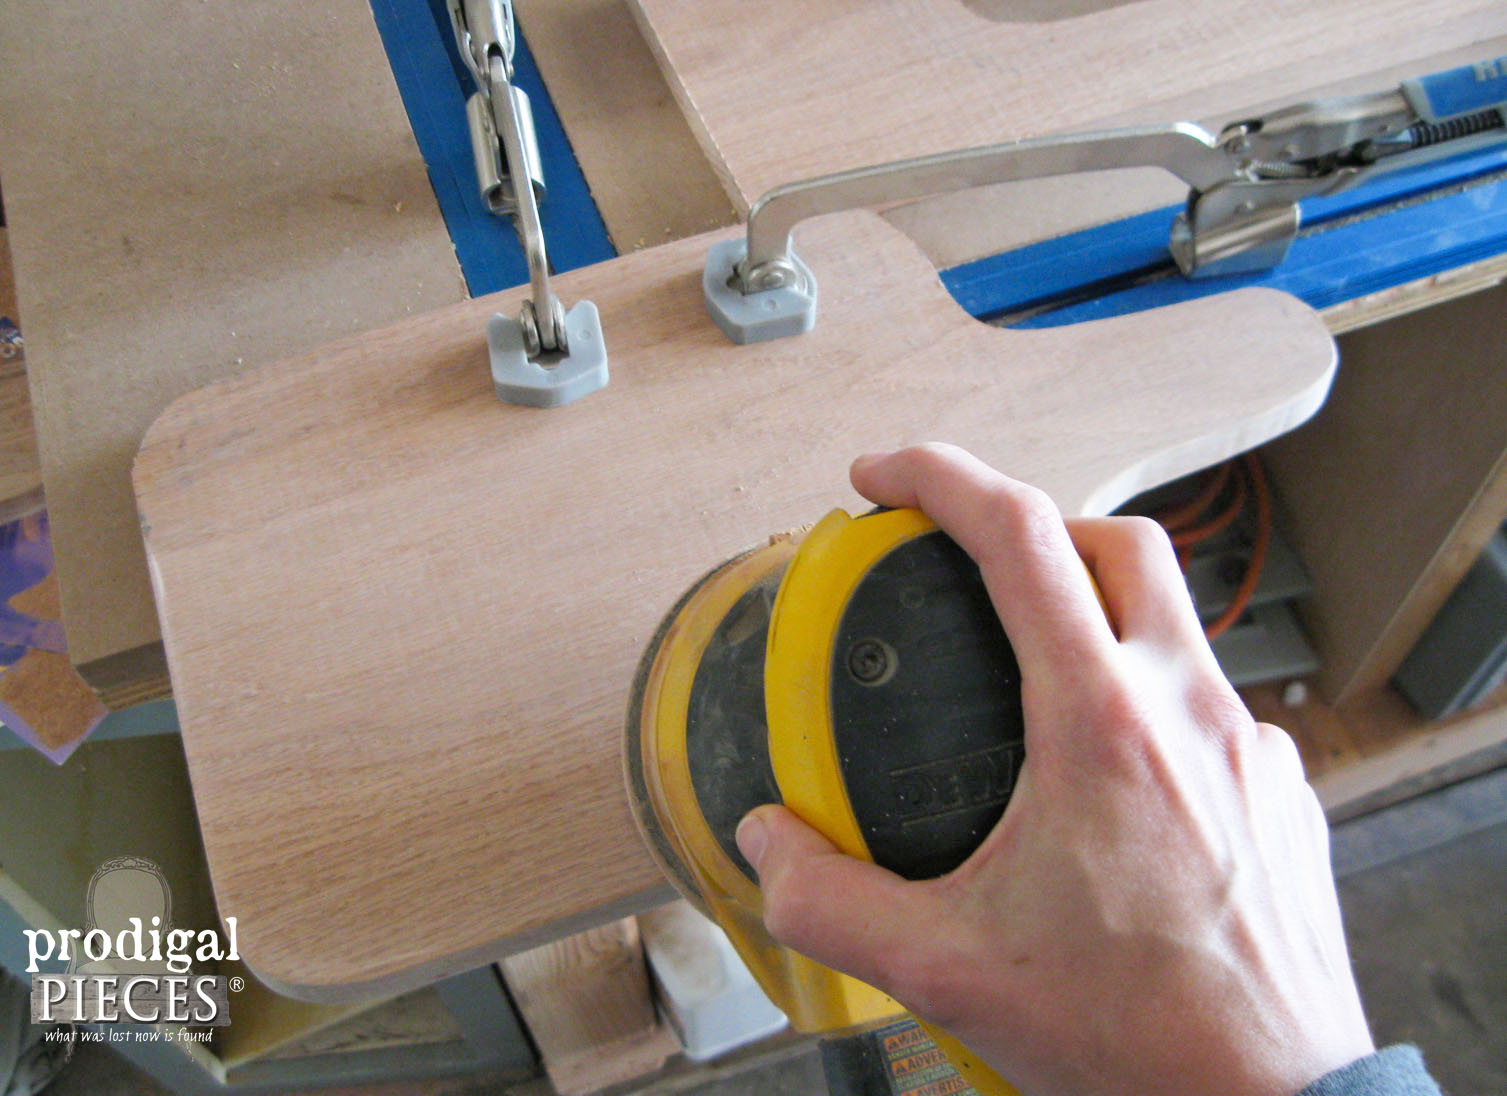
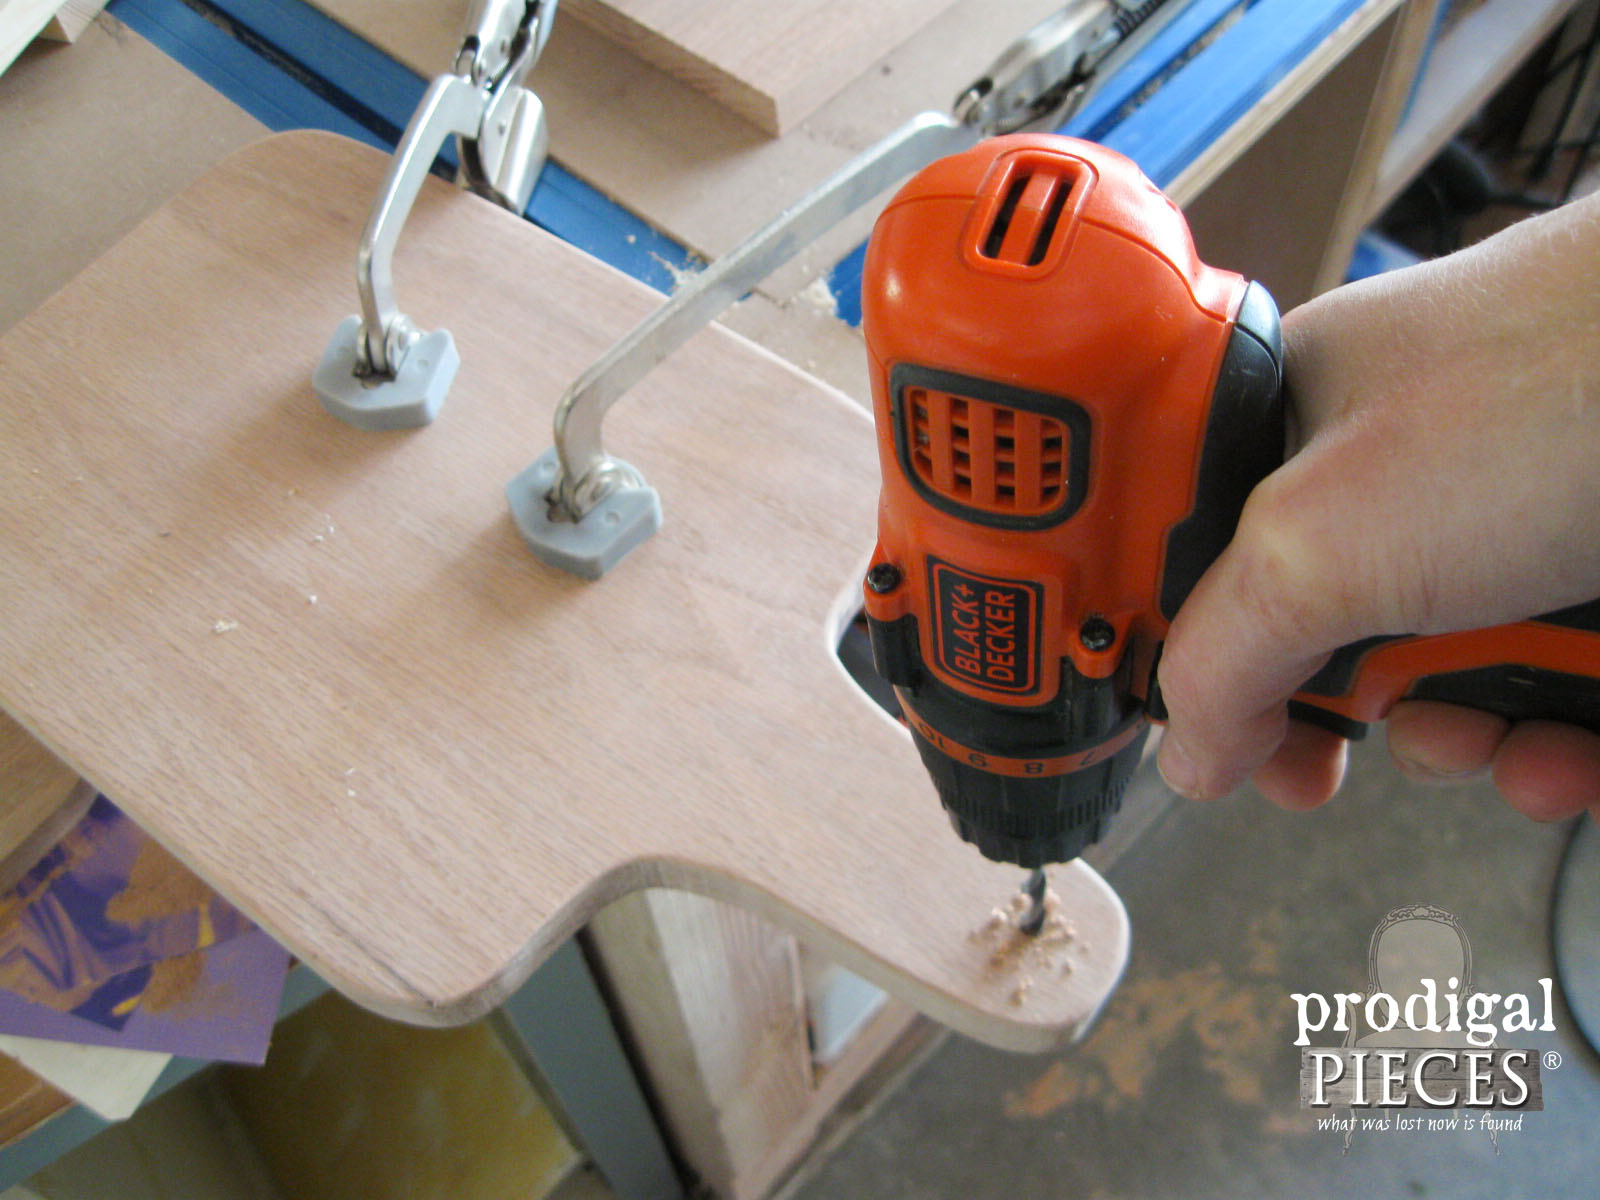
To make the board have a bit of function and charm, add a hole in the center of the tip of the handle using a ¼” drill bit and drill.
TOP FINISH
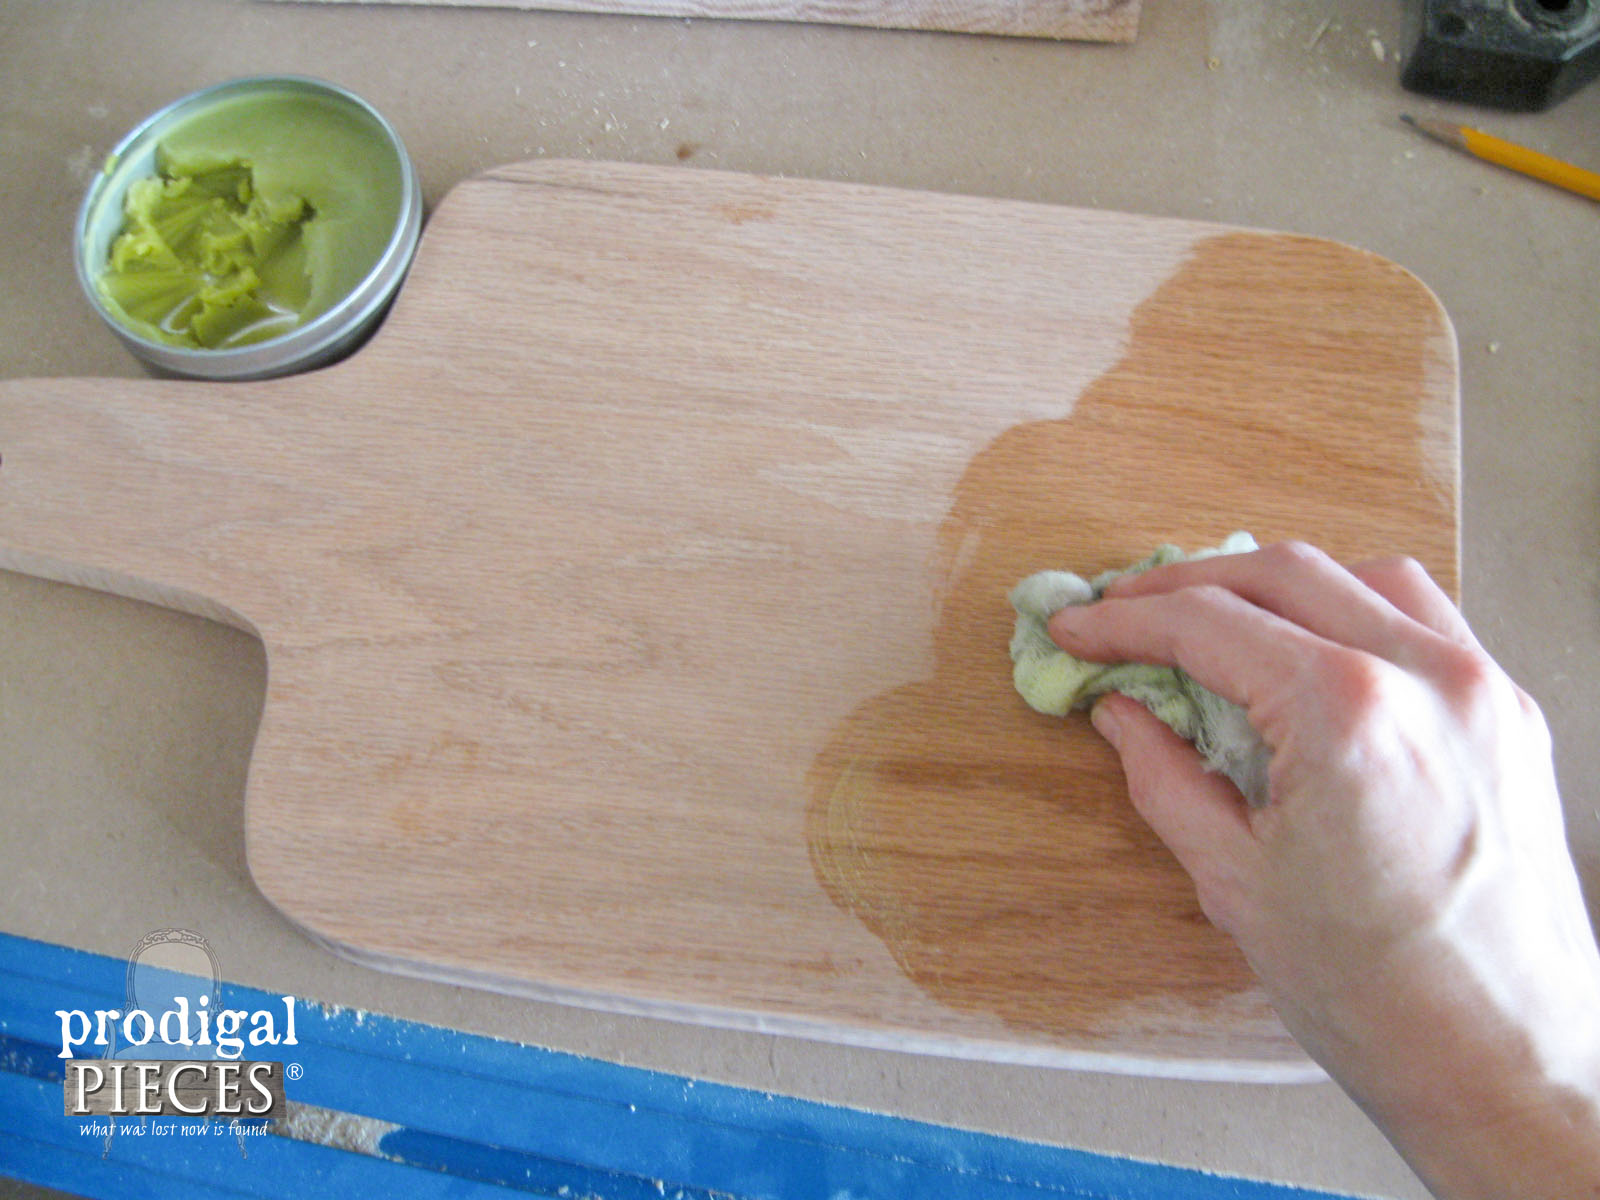
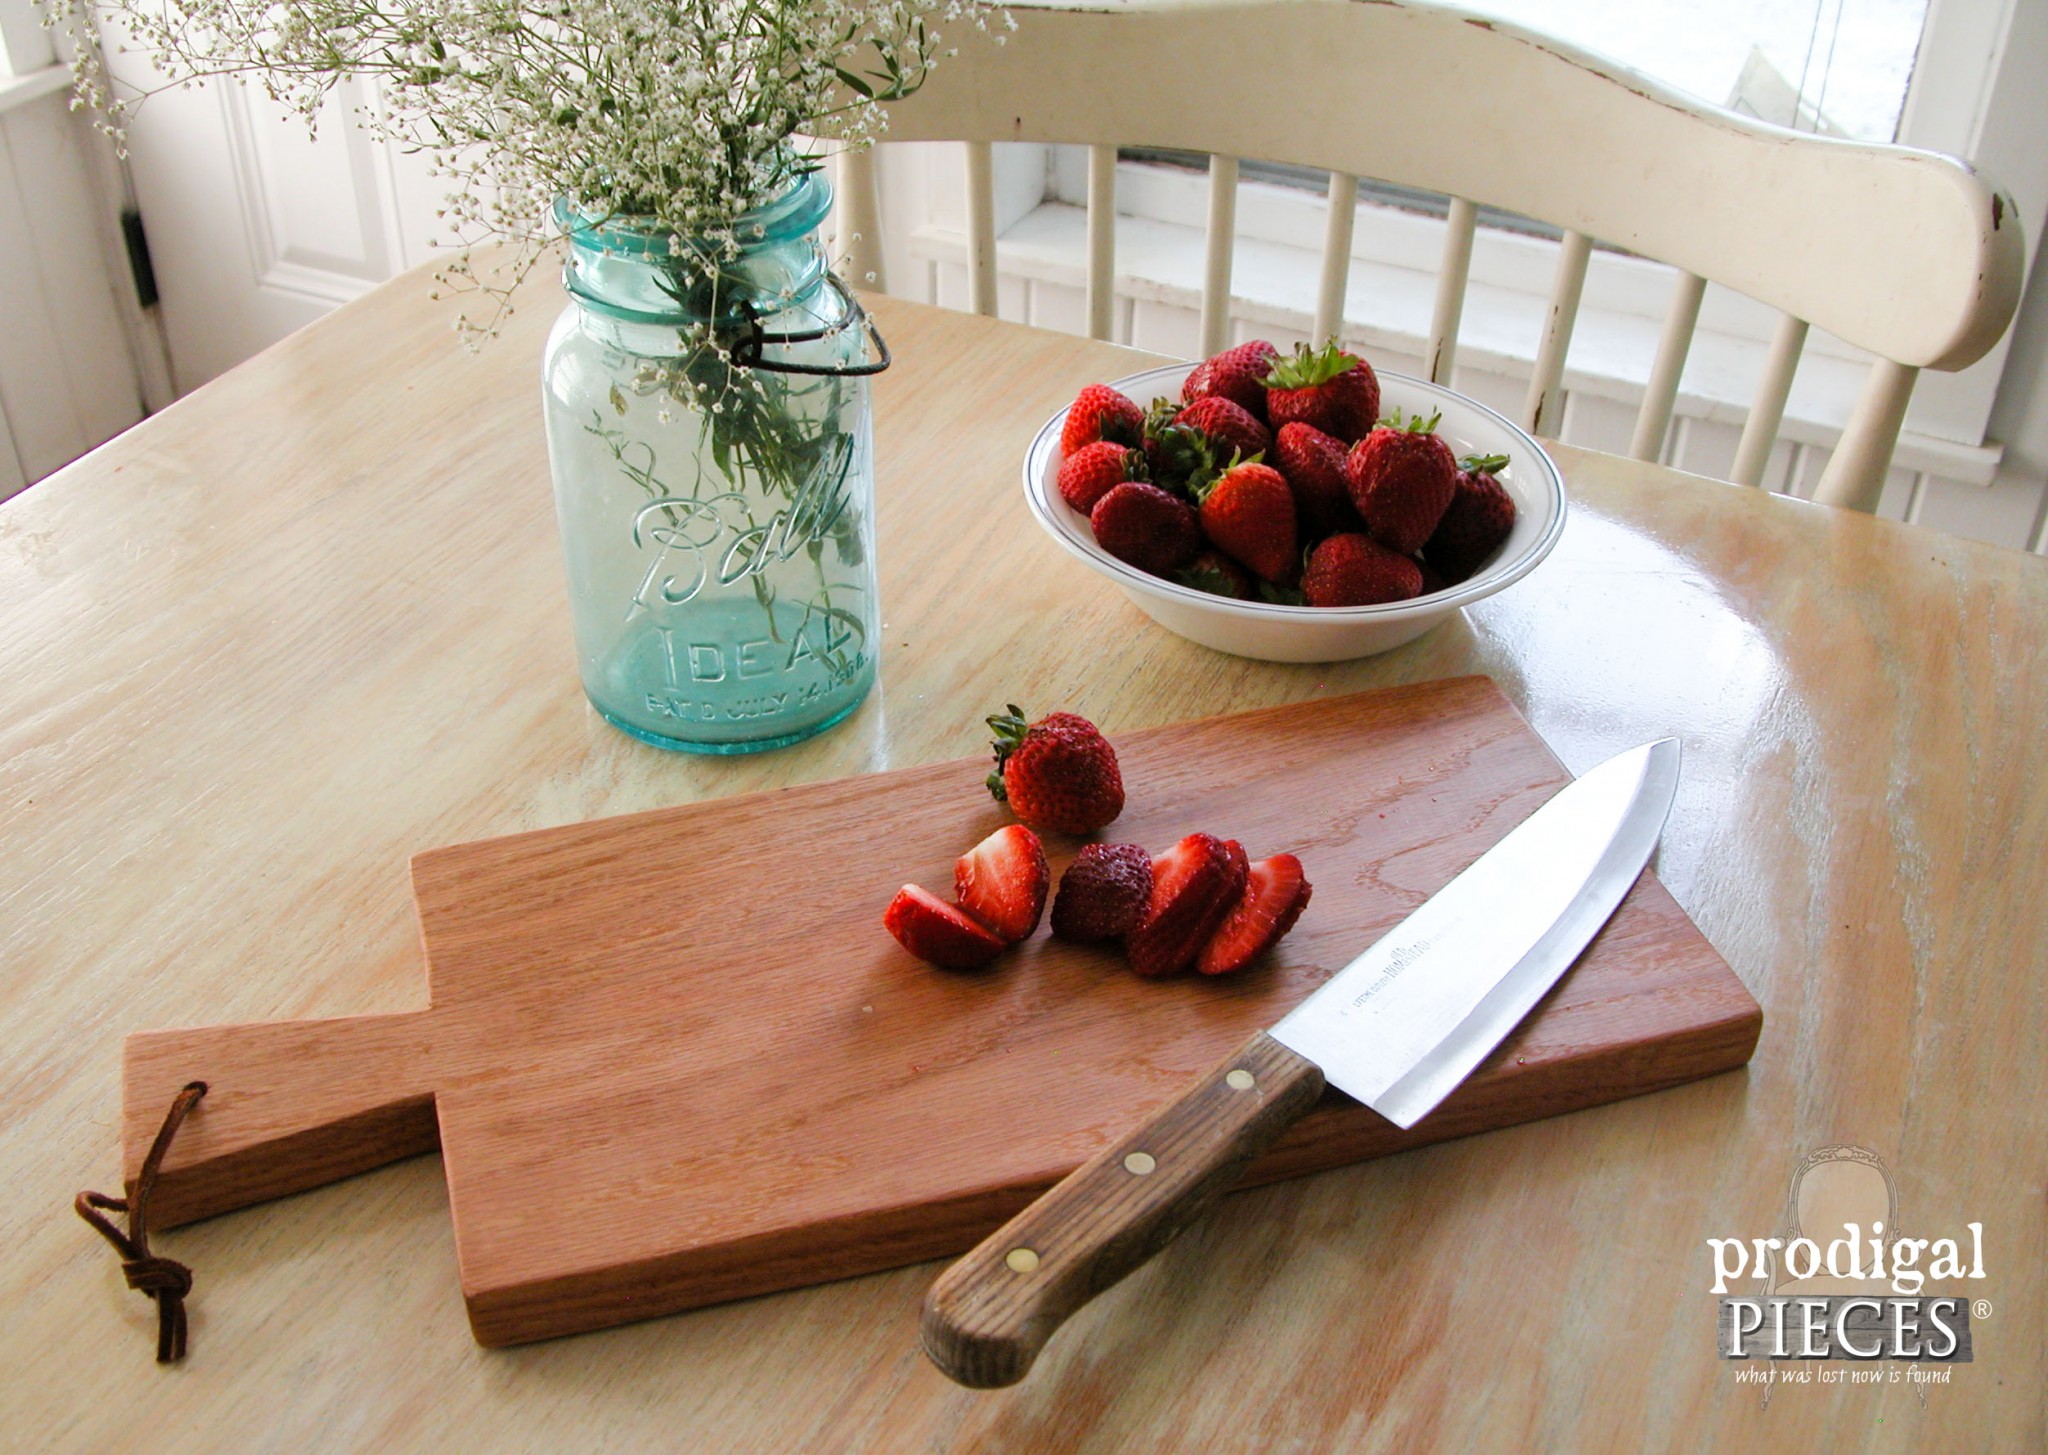
Creating the farmhouse cutting board is complete and now it’s time to finish. Use an air hose or brush to get the board clean. Then wipe down with a lightly dampened cloth to remove any leftover debris. Once dry, you can seal your cutting board using many options. Also, I prefer to use my furniture wax made of beeswax and natural oils.
It not only nourishes the wood, but also protects it. You can use a quality olive oil or hemp oil too. The butcher block finishes in the local home improvement store are made of mineral oil, which is a by-product of automotive oil. However, I personally would not use it on something that is going to be touching my food.
After rubbing with oil, buff to create the soft lustre we’re after. Likewise, maintenance is easy, just refresh the board with oil periodically and wipe clean with a damp cloth.
If you desire, add a strip of leather or twine through the hole in the handle and knot it off. Perfect for hanging for wall decor too. Your new cutting board is now ready for daily use in your kitchen. Yay!
Hang it on the wall for decoration, and use it to serve your guests in style.
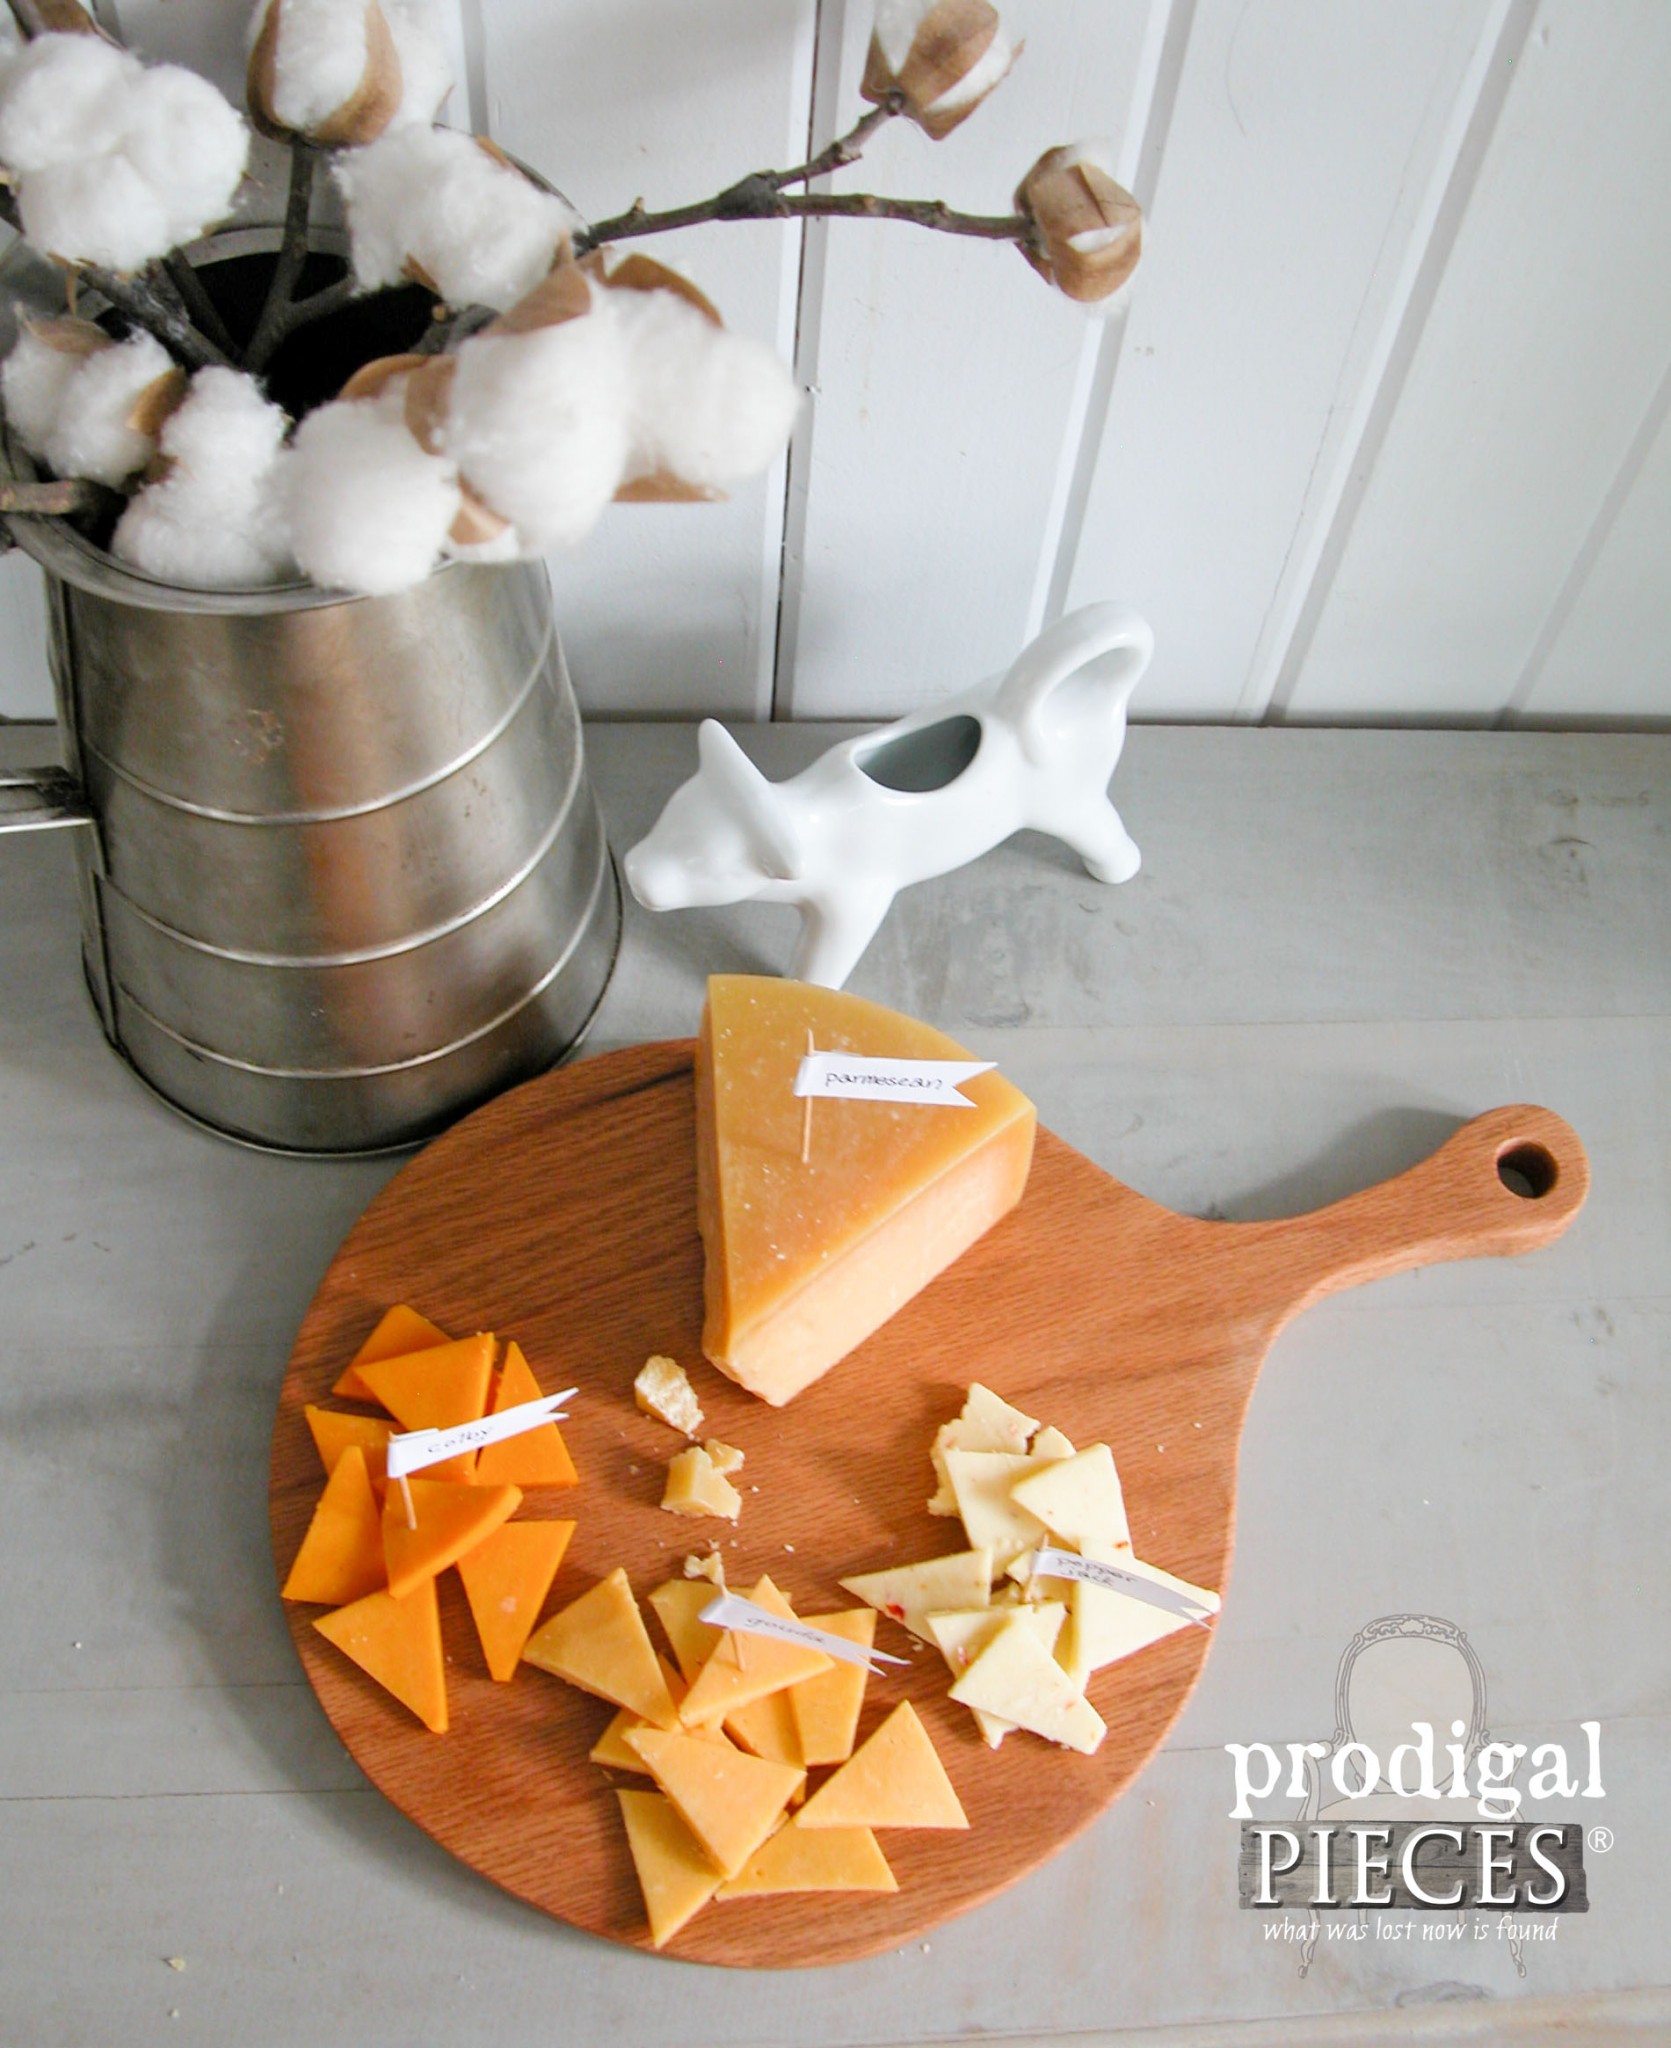
Now, just for fun, I’m going to show you how to also make use of the rest of your 4′ oak board by making a cheese board too. The only different steps is the cut-out. Stay with me here. (cheesy grin appears – pun intended)
This size and shape of your cutting board is completely open to interpretation and you can certainly use this tutorial to create bread boards, cheese boards, etc. once you get the hang of it.
DESIGN
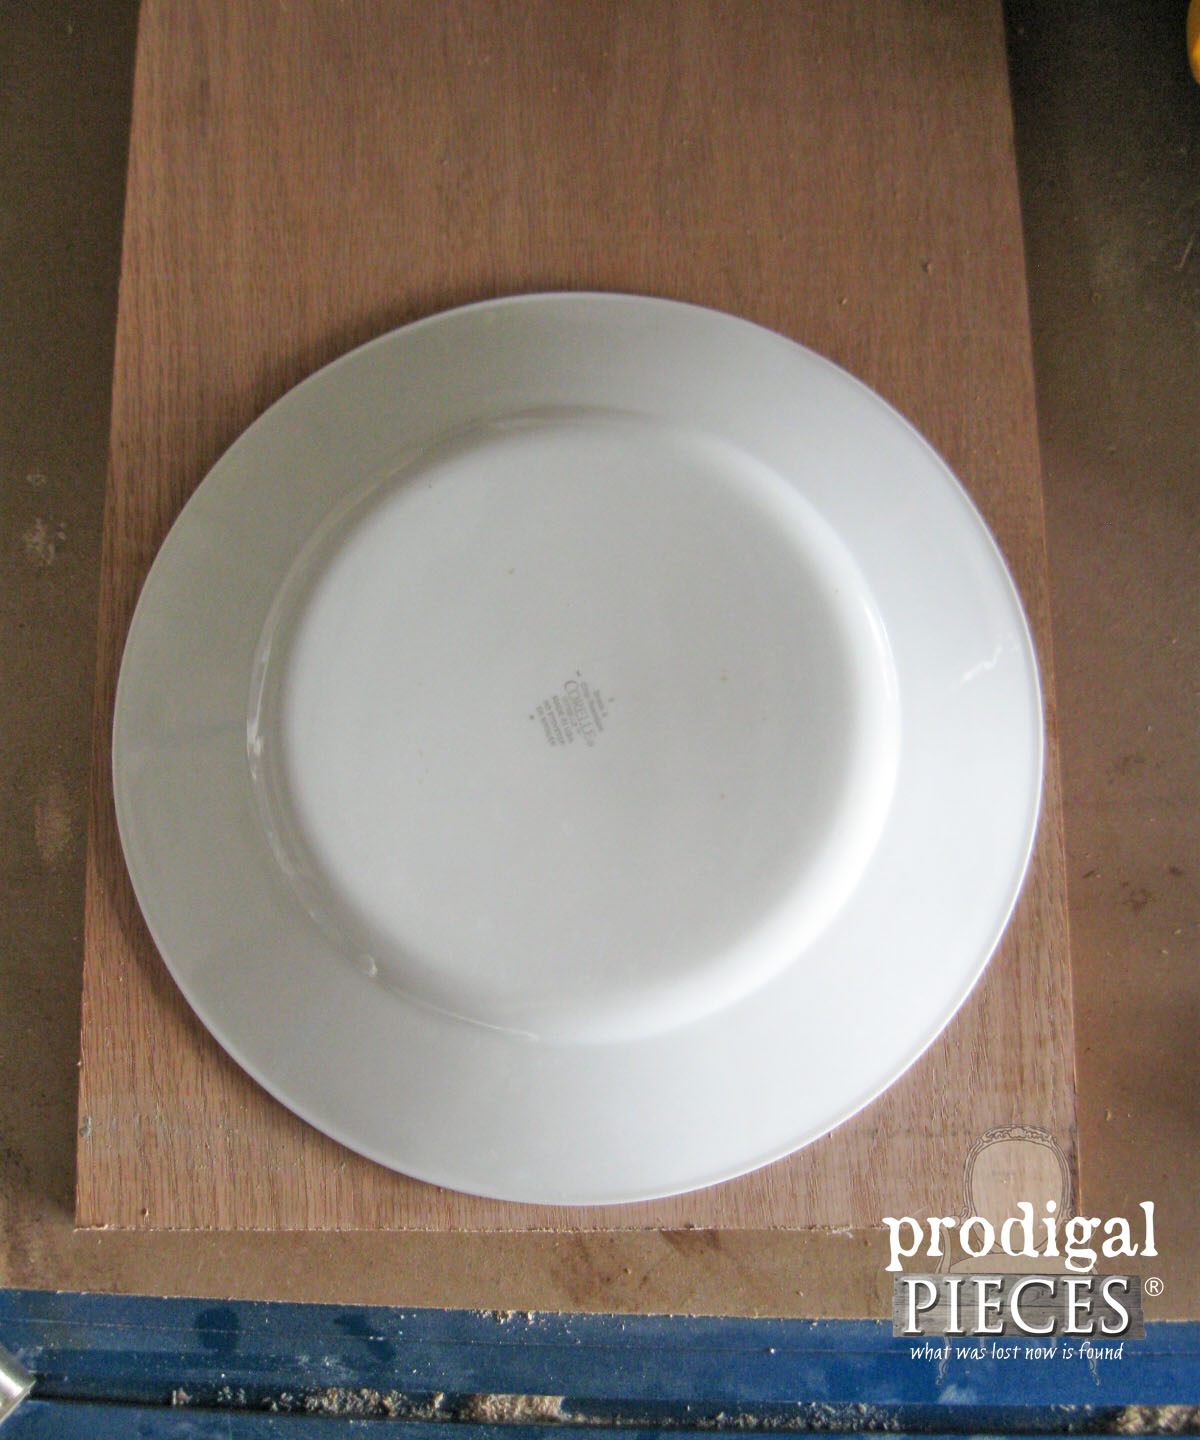
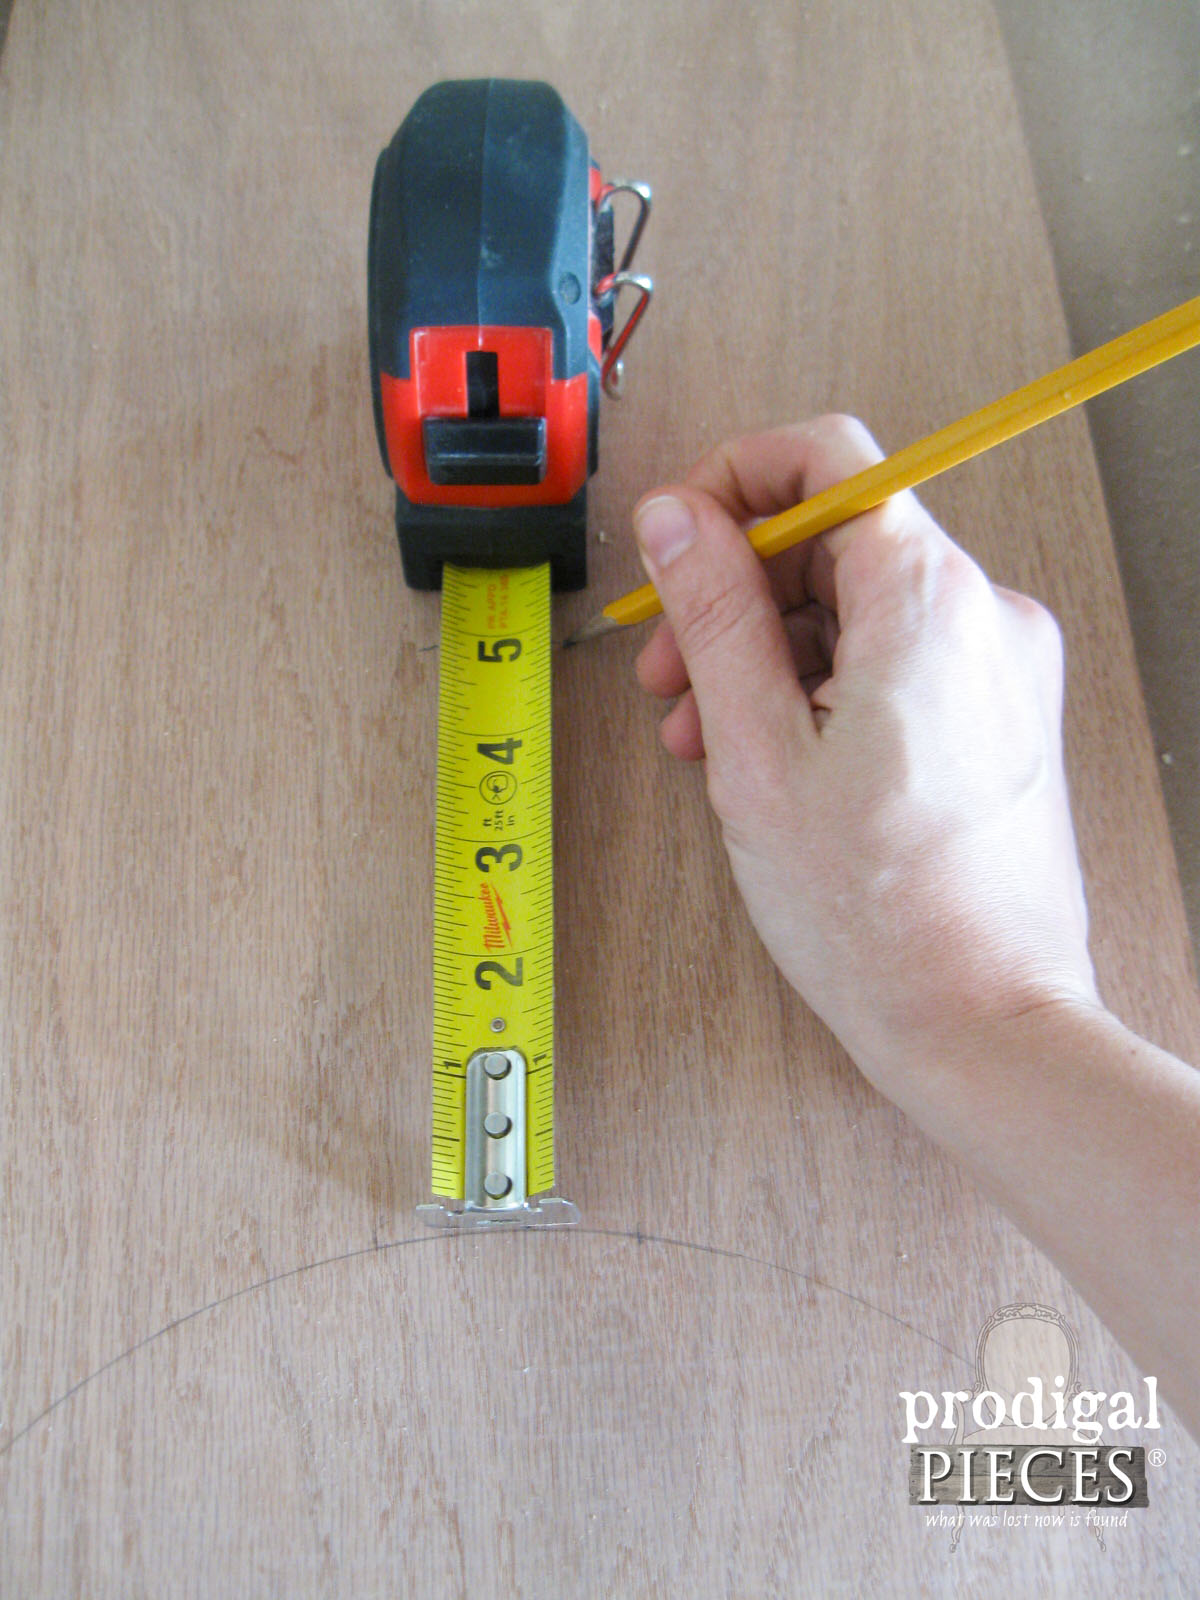
First, grab a dinner plate and trace it on your oak board.
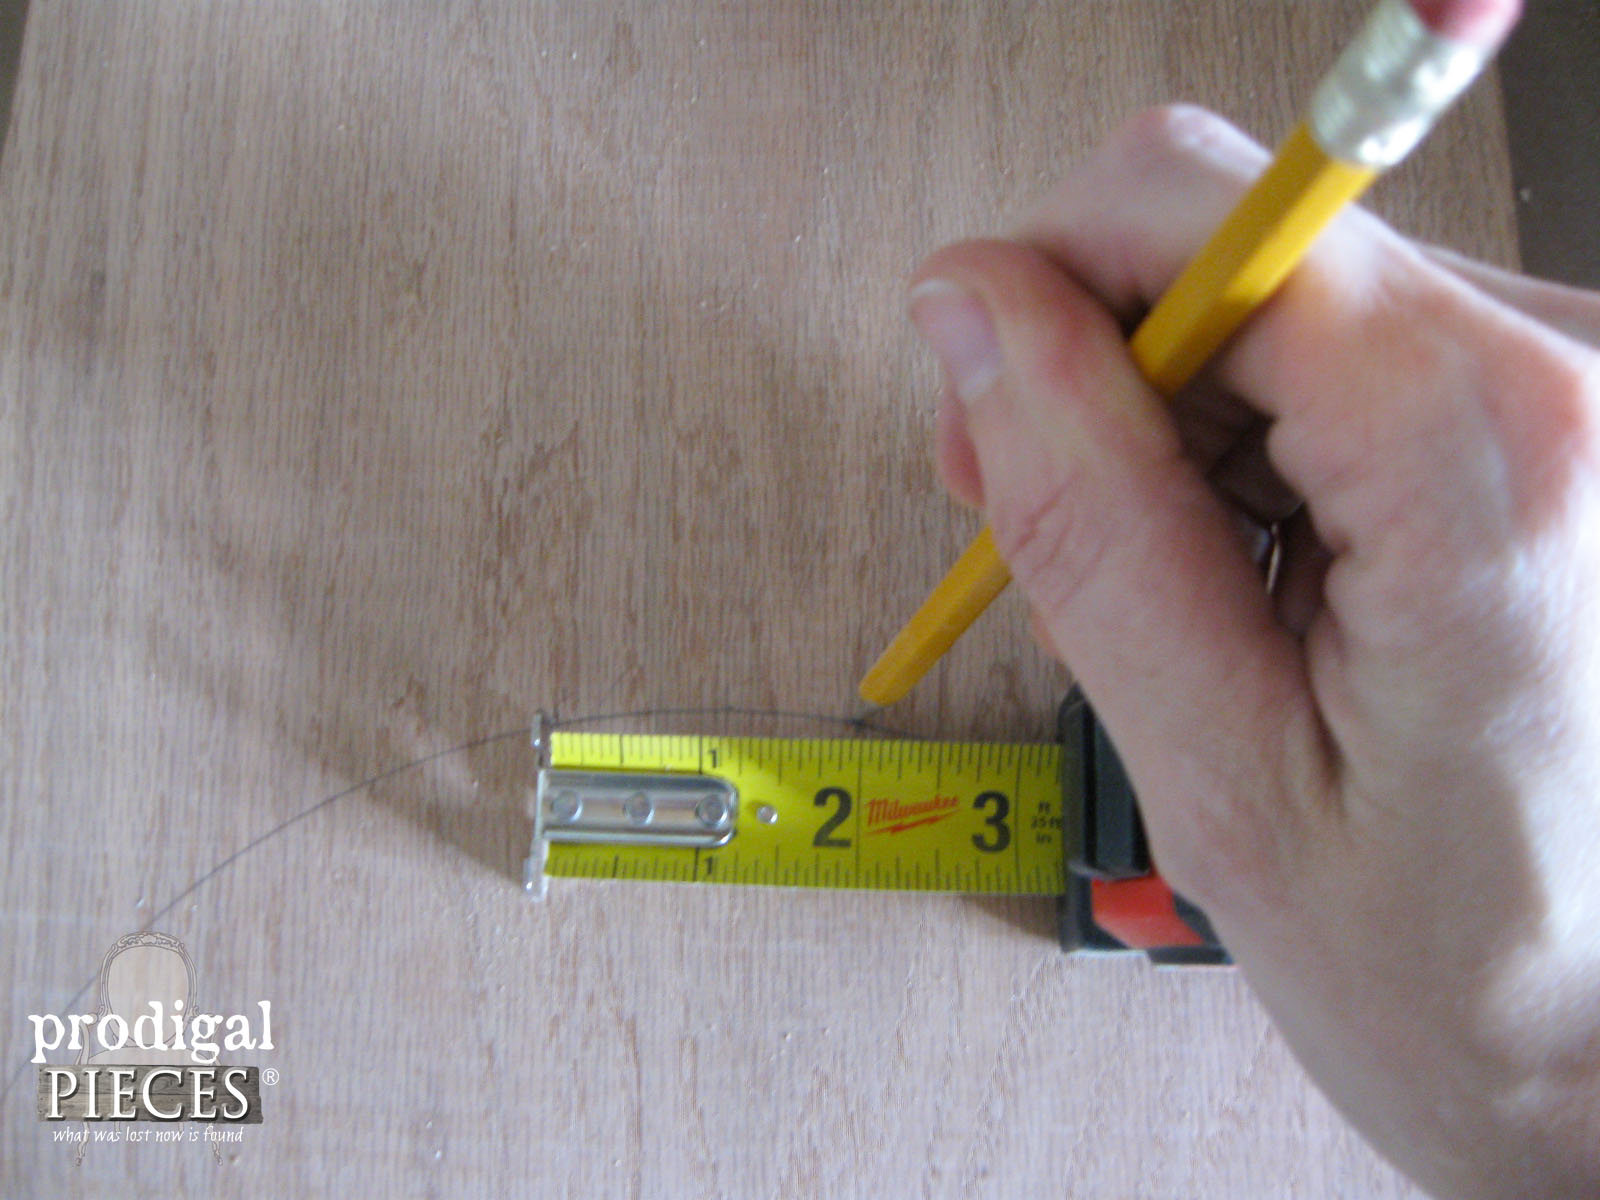
Next, at the “top” edge of your circle, measure a 2″ span.
Now measure 5″ up for your 2″ markings and make a mark.
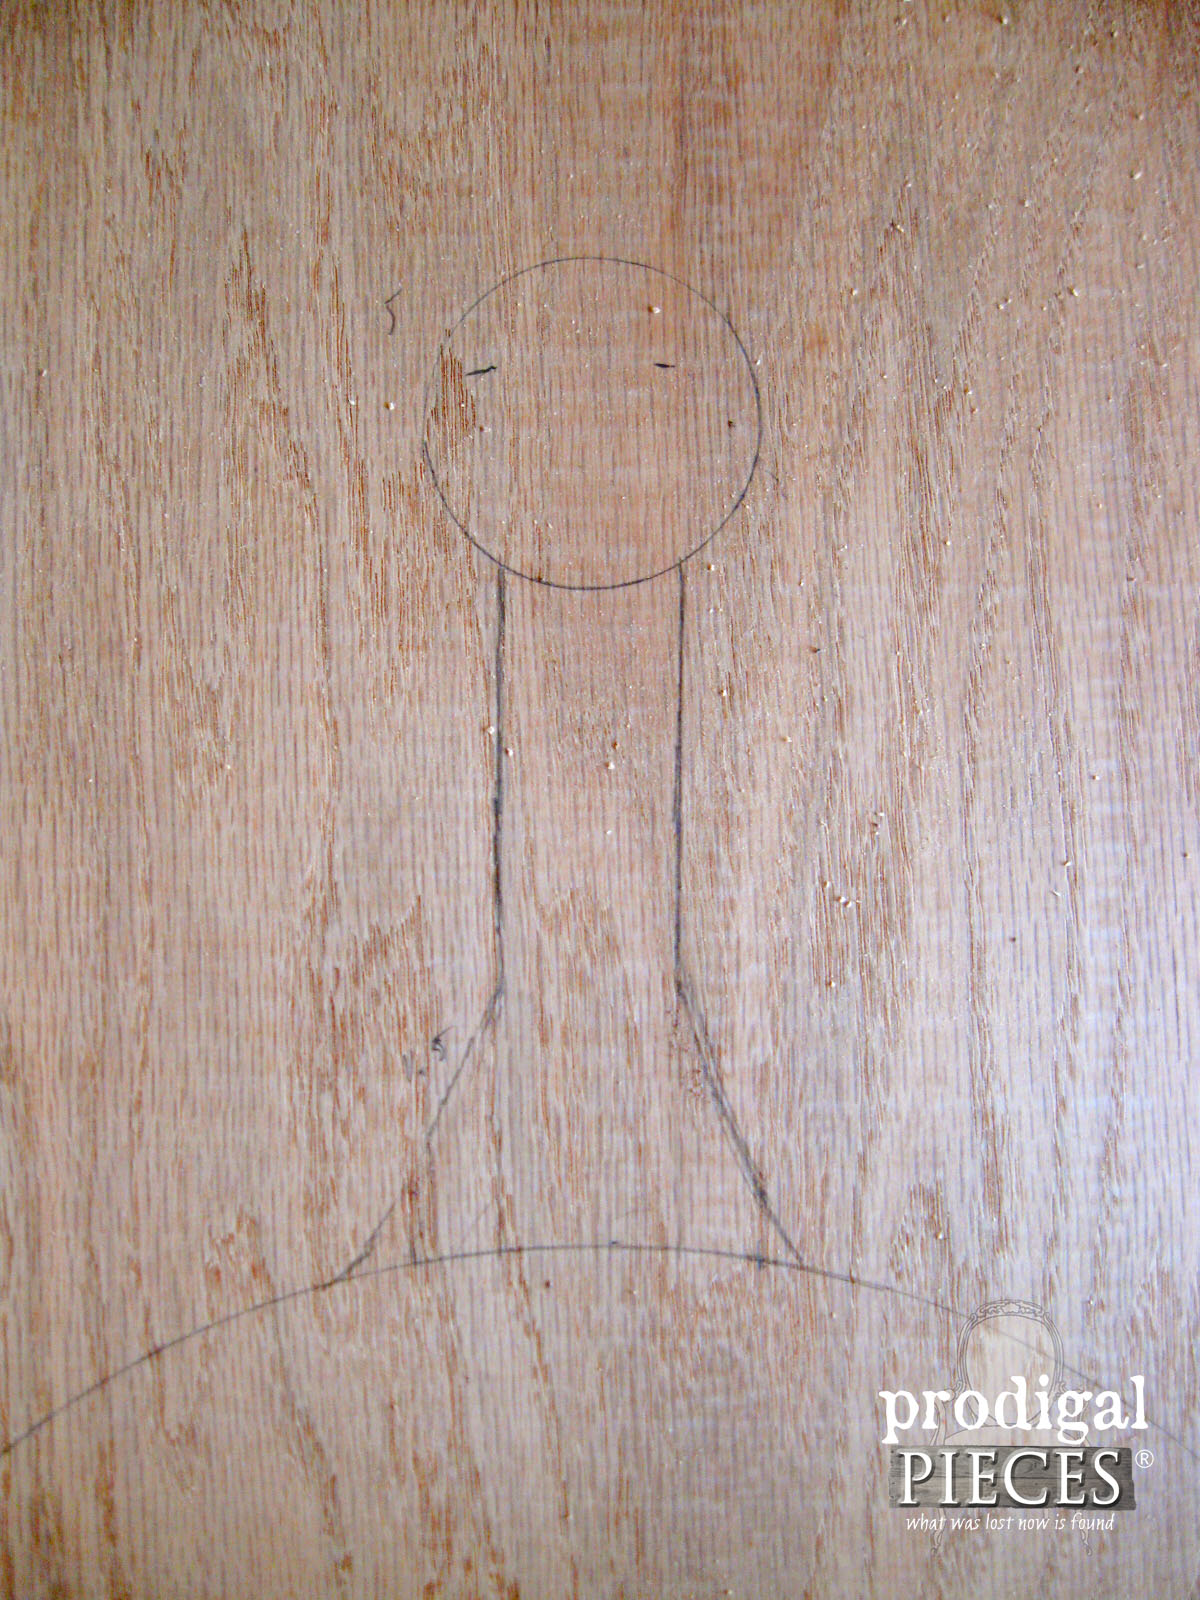
Then, use something that is about 2″ diameter or use a compass to make a 2″ circle at the top of your 5″ marking.
Connect the two circles using this layout:
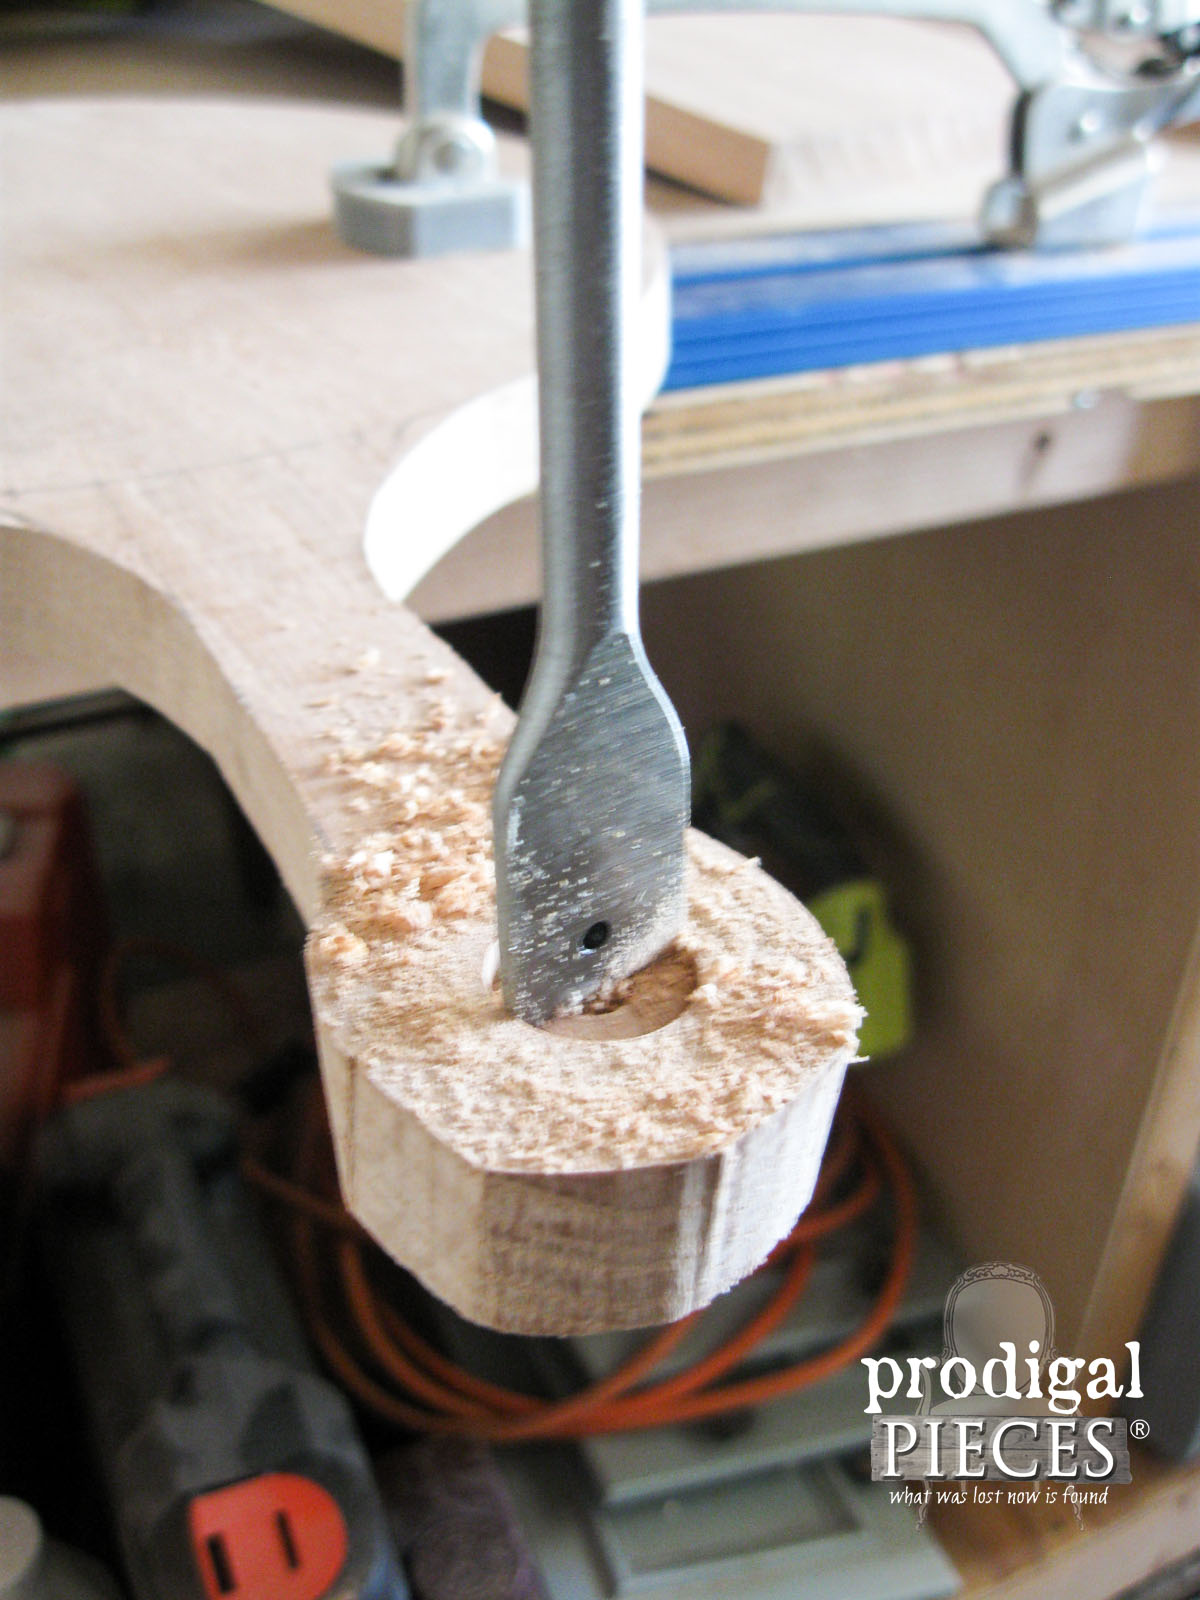
Then, just cut out with your jigsaw and then add a hole in the center of the handle using a ½” spade bit.
FINISHING
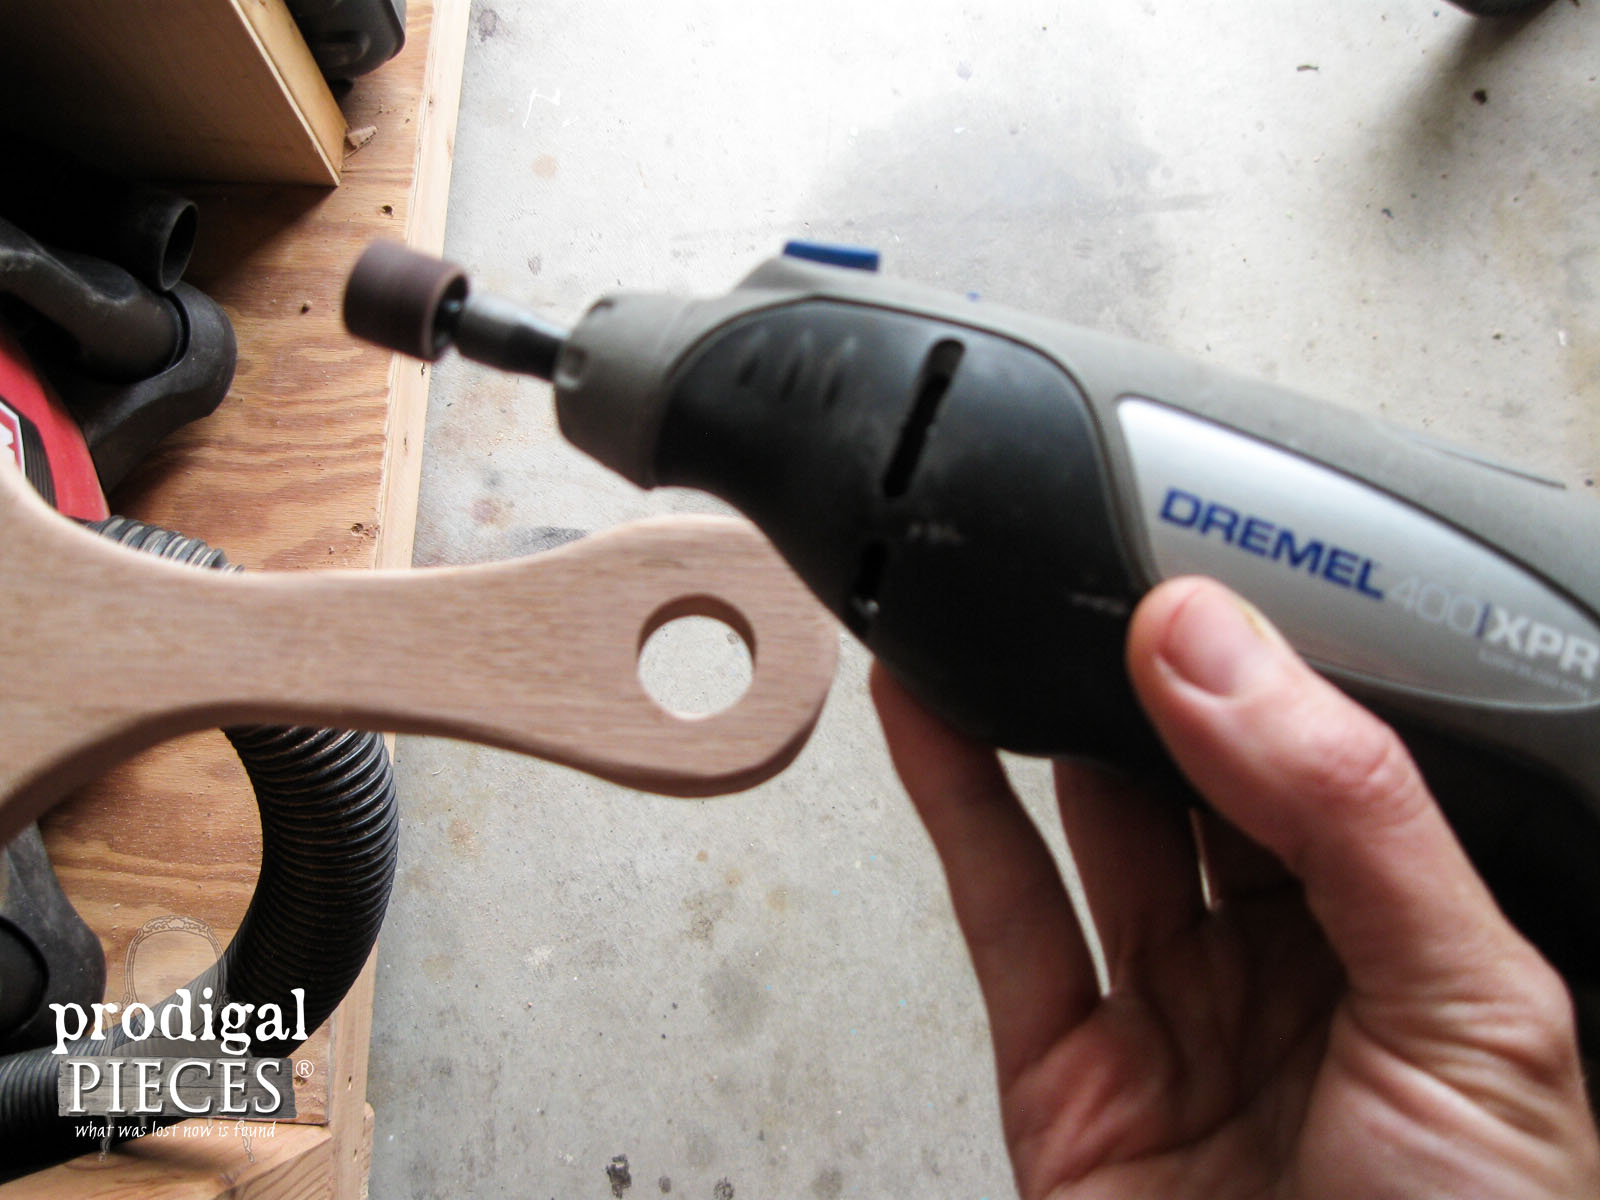
Sand it smooth and I even like to use Dremel with sanding bit to get the interior of the hole. You can also wrap a pencil with sandpaper for the same effect.
Finish in the same way with oil and/or wax and you’re done! Before waxing, you could even use a flat black paint, like I did on my repurposed mirror, to paint labels on the circle to create a cheese chalkboard for labeling.
THE REVEAL
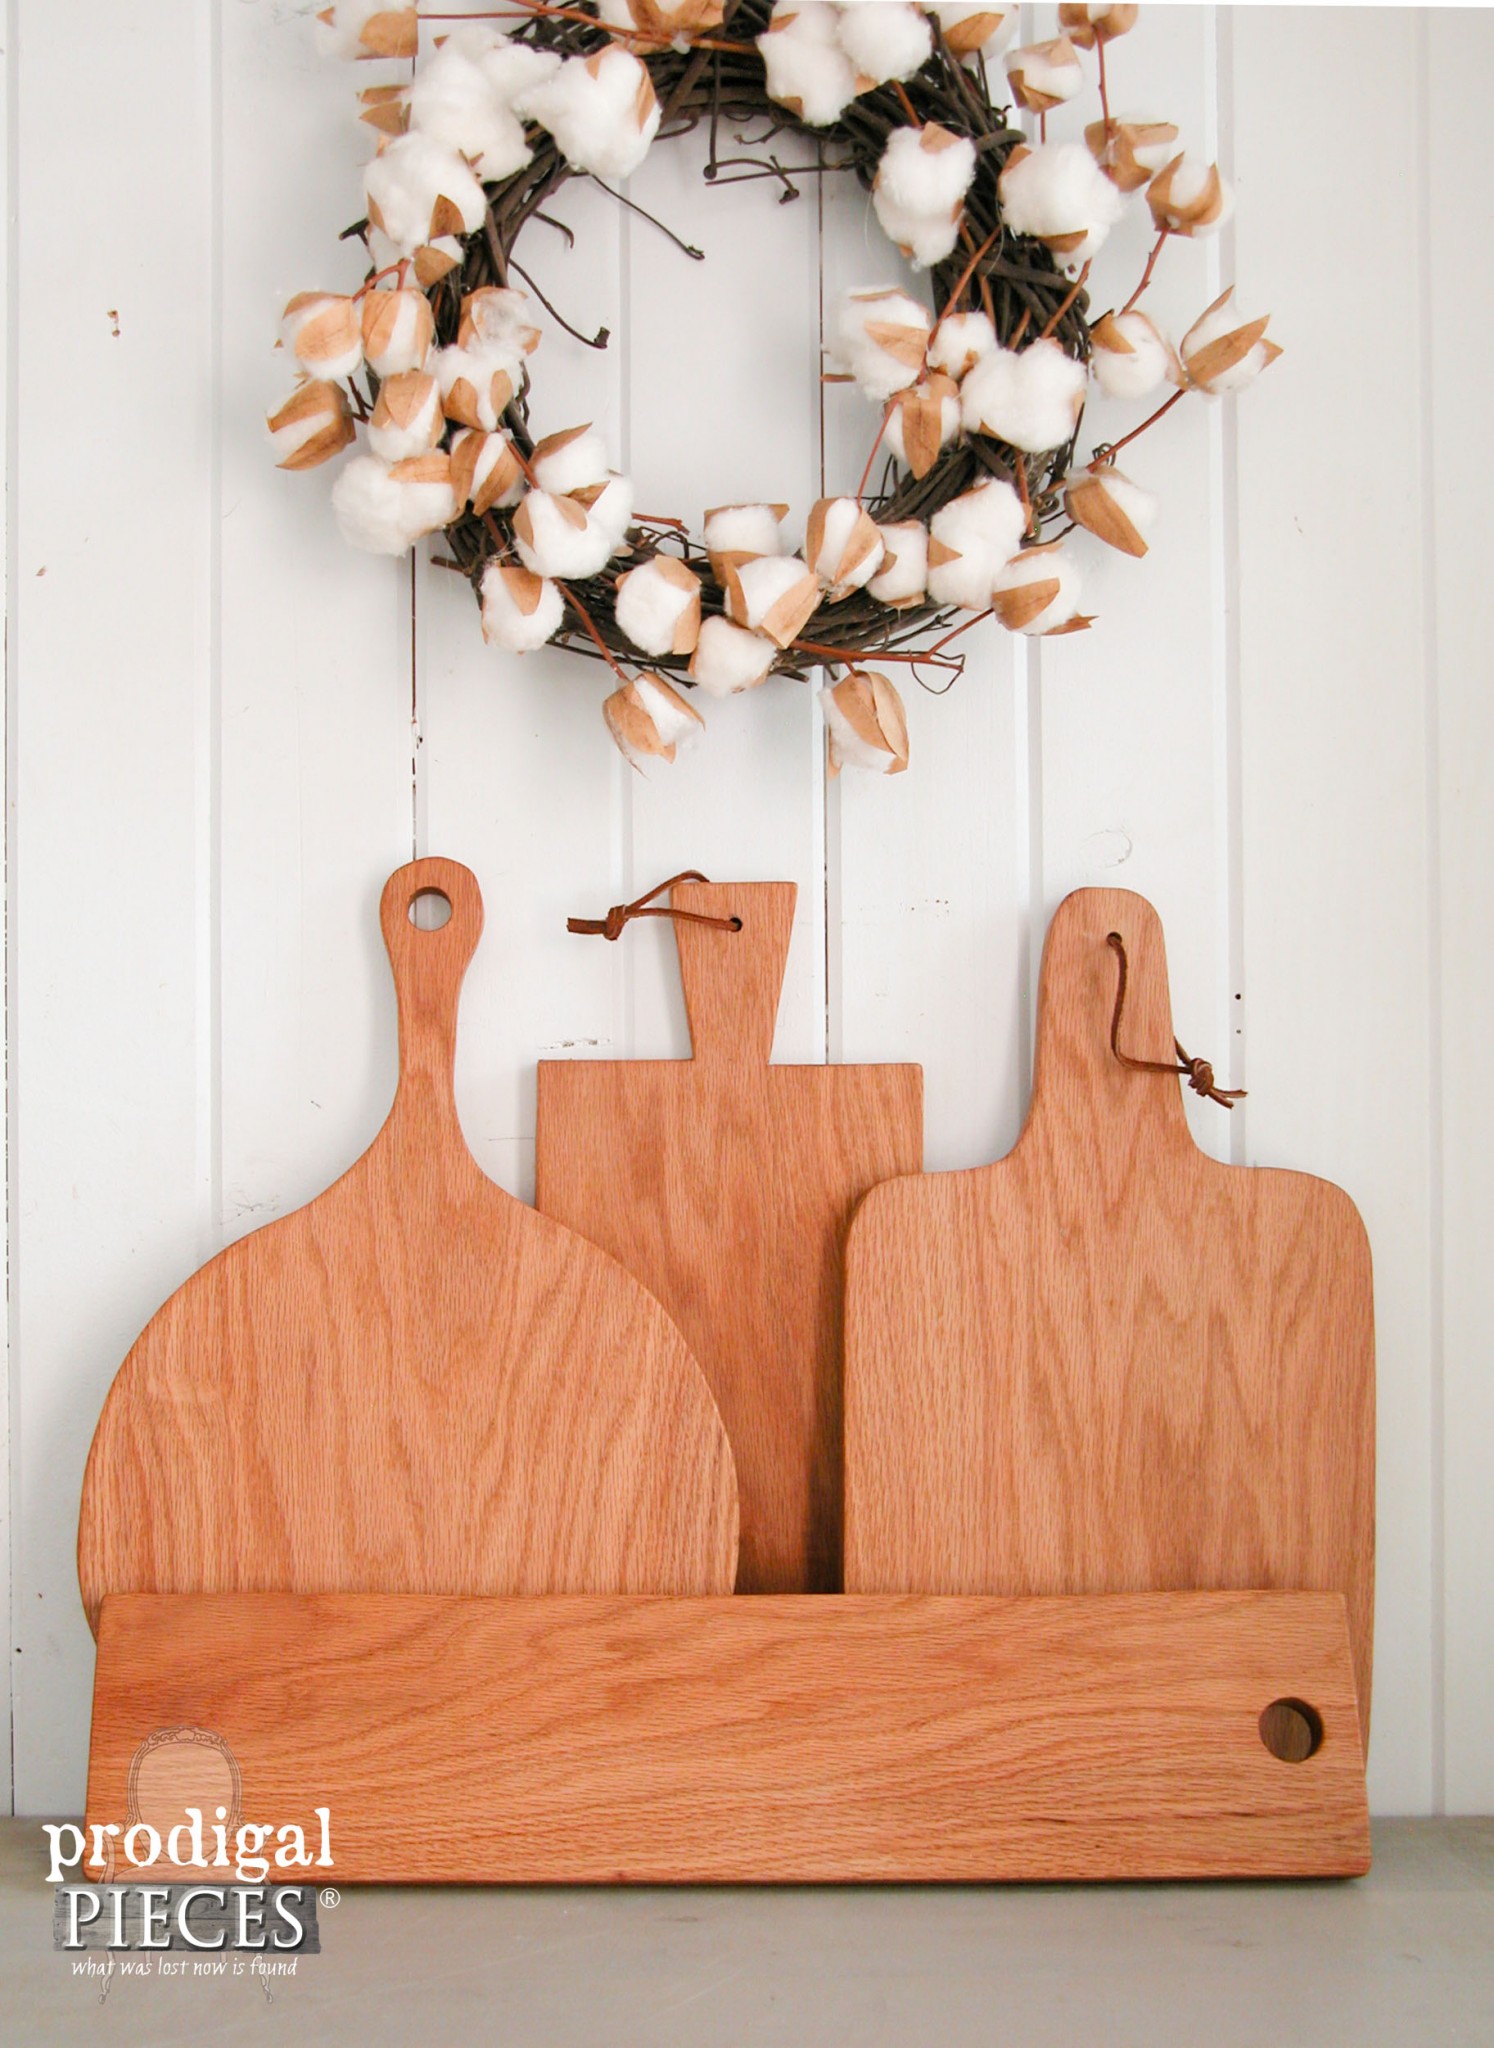
Which farmhouse cutting board is your favorite?
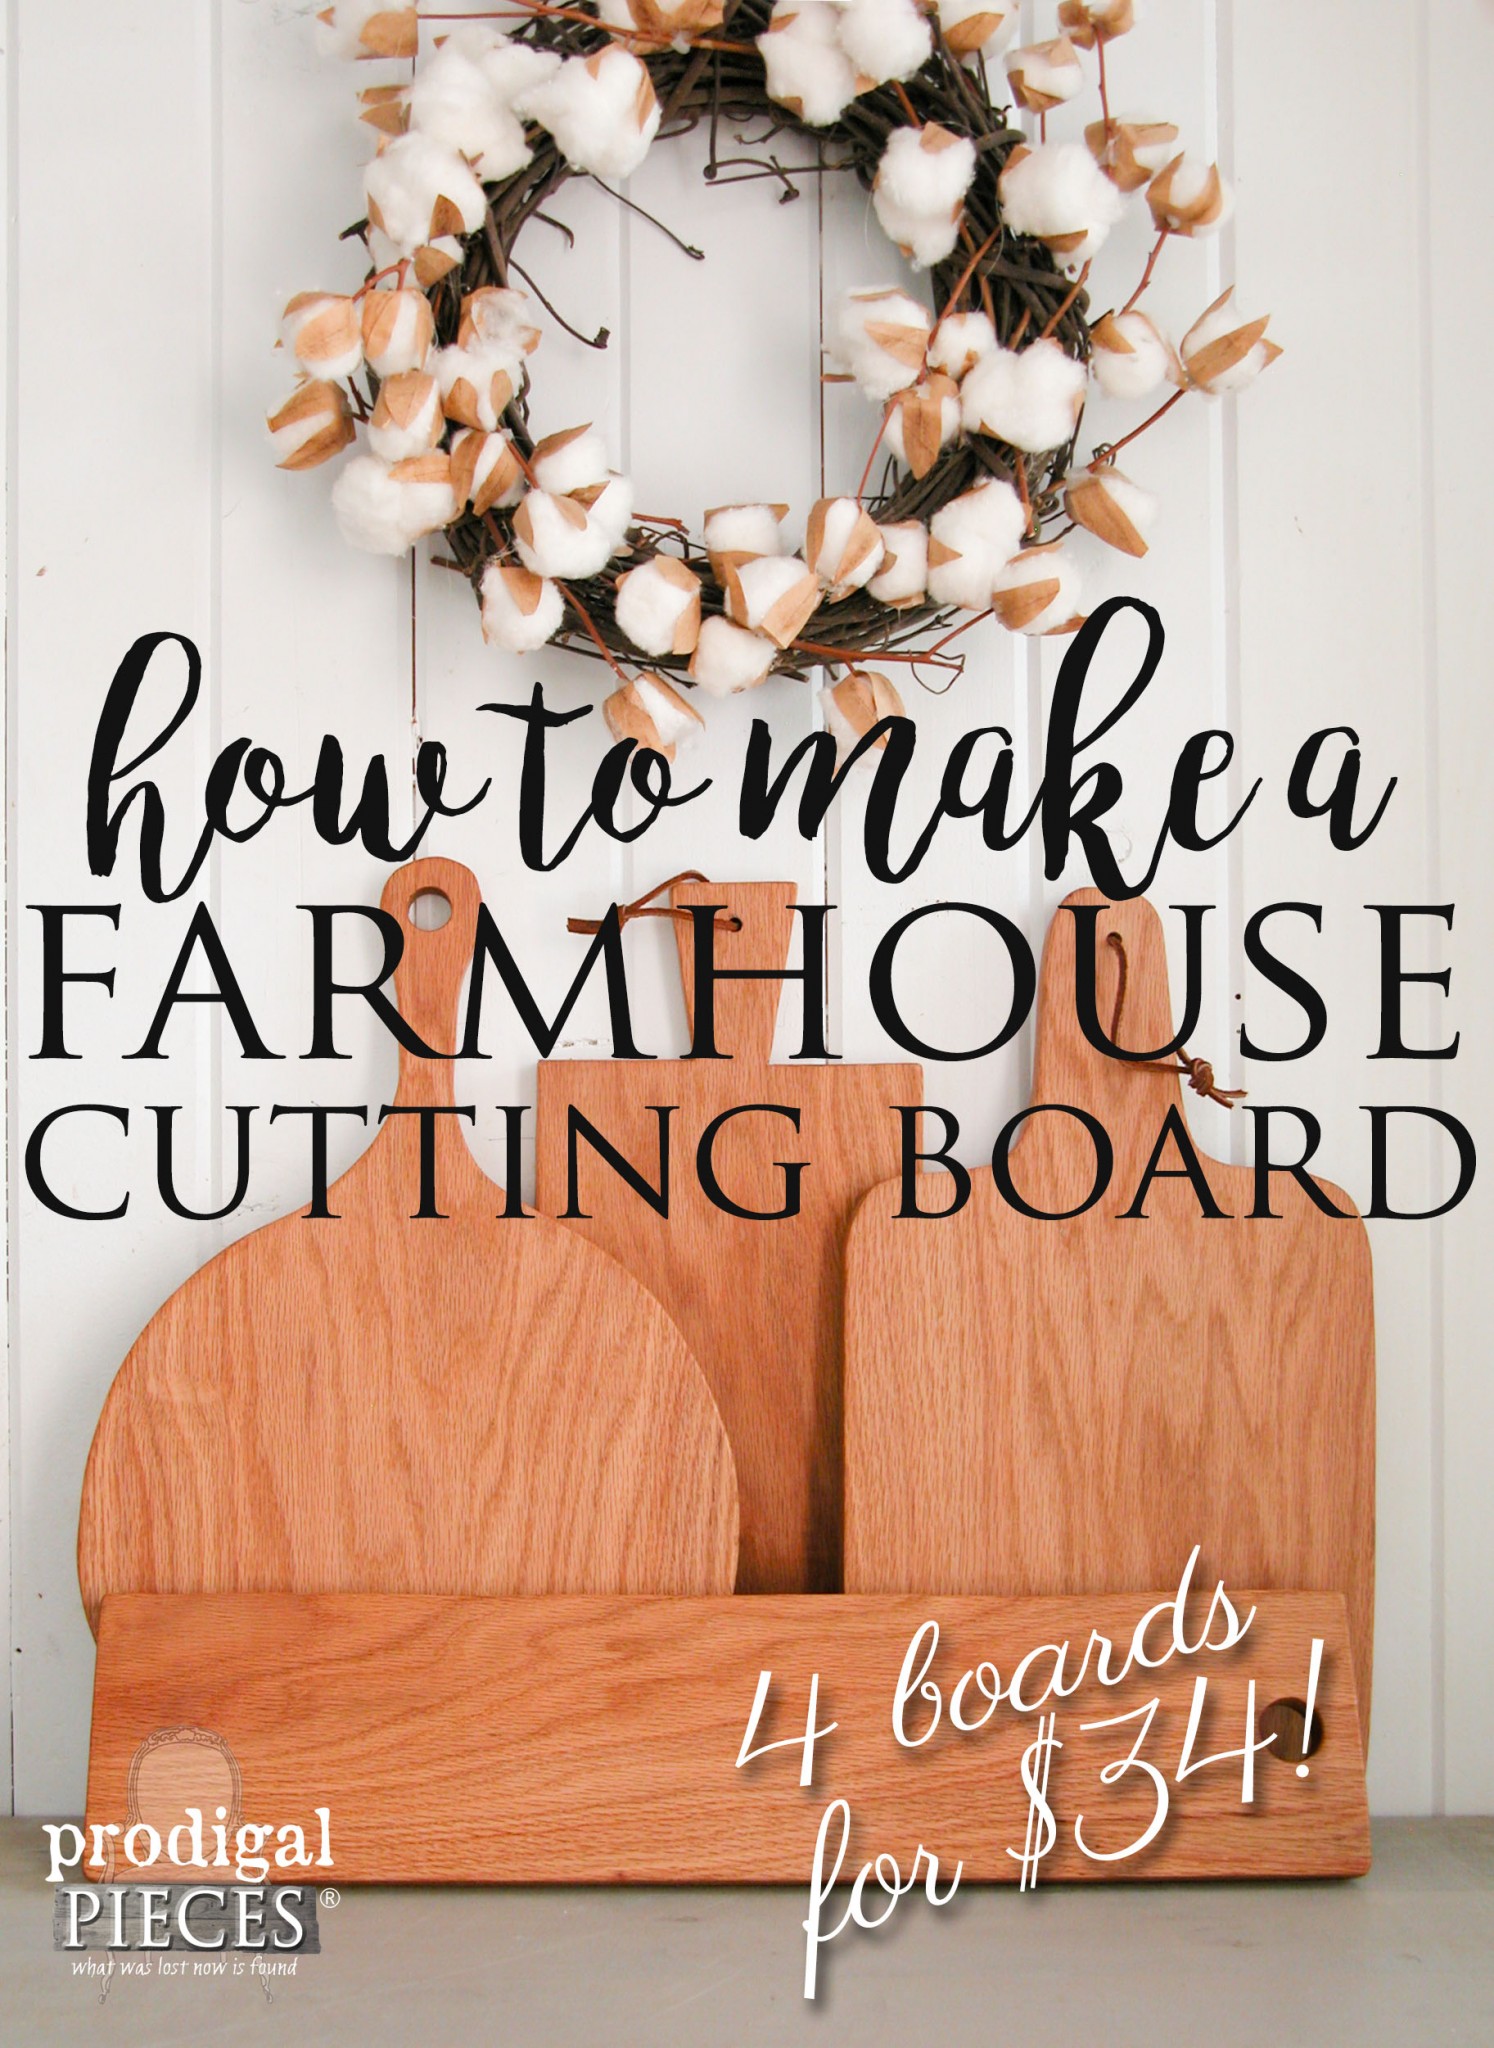
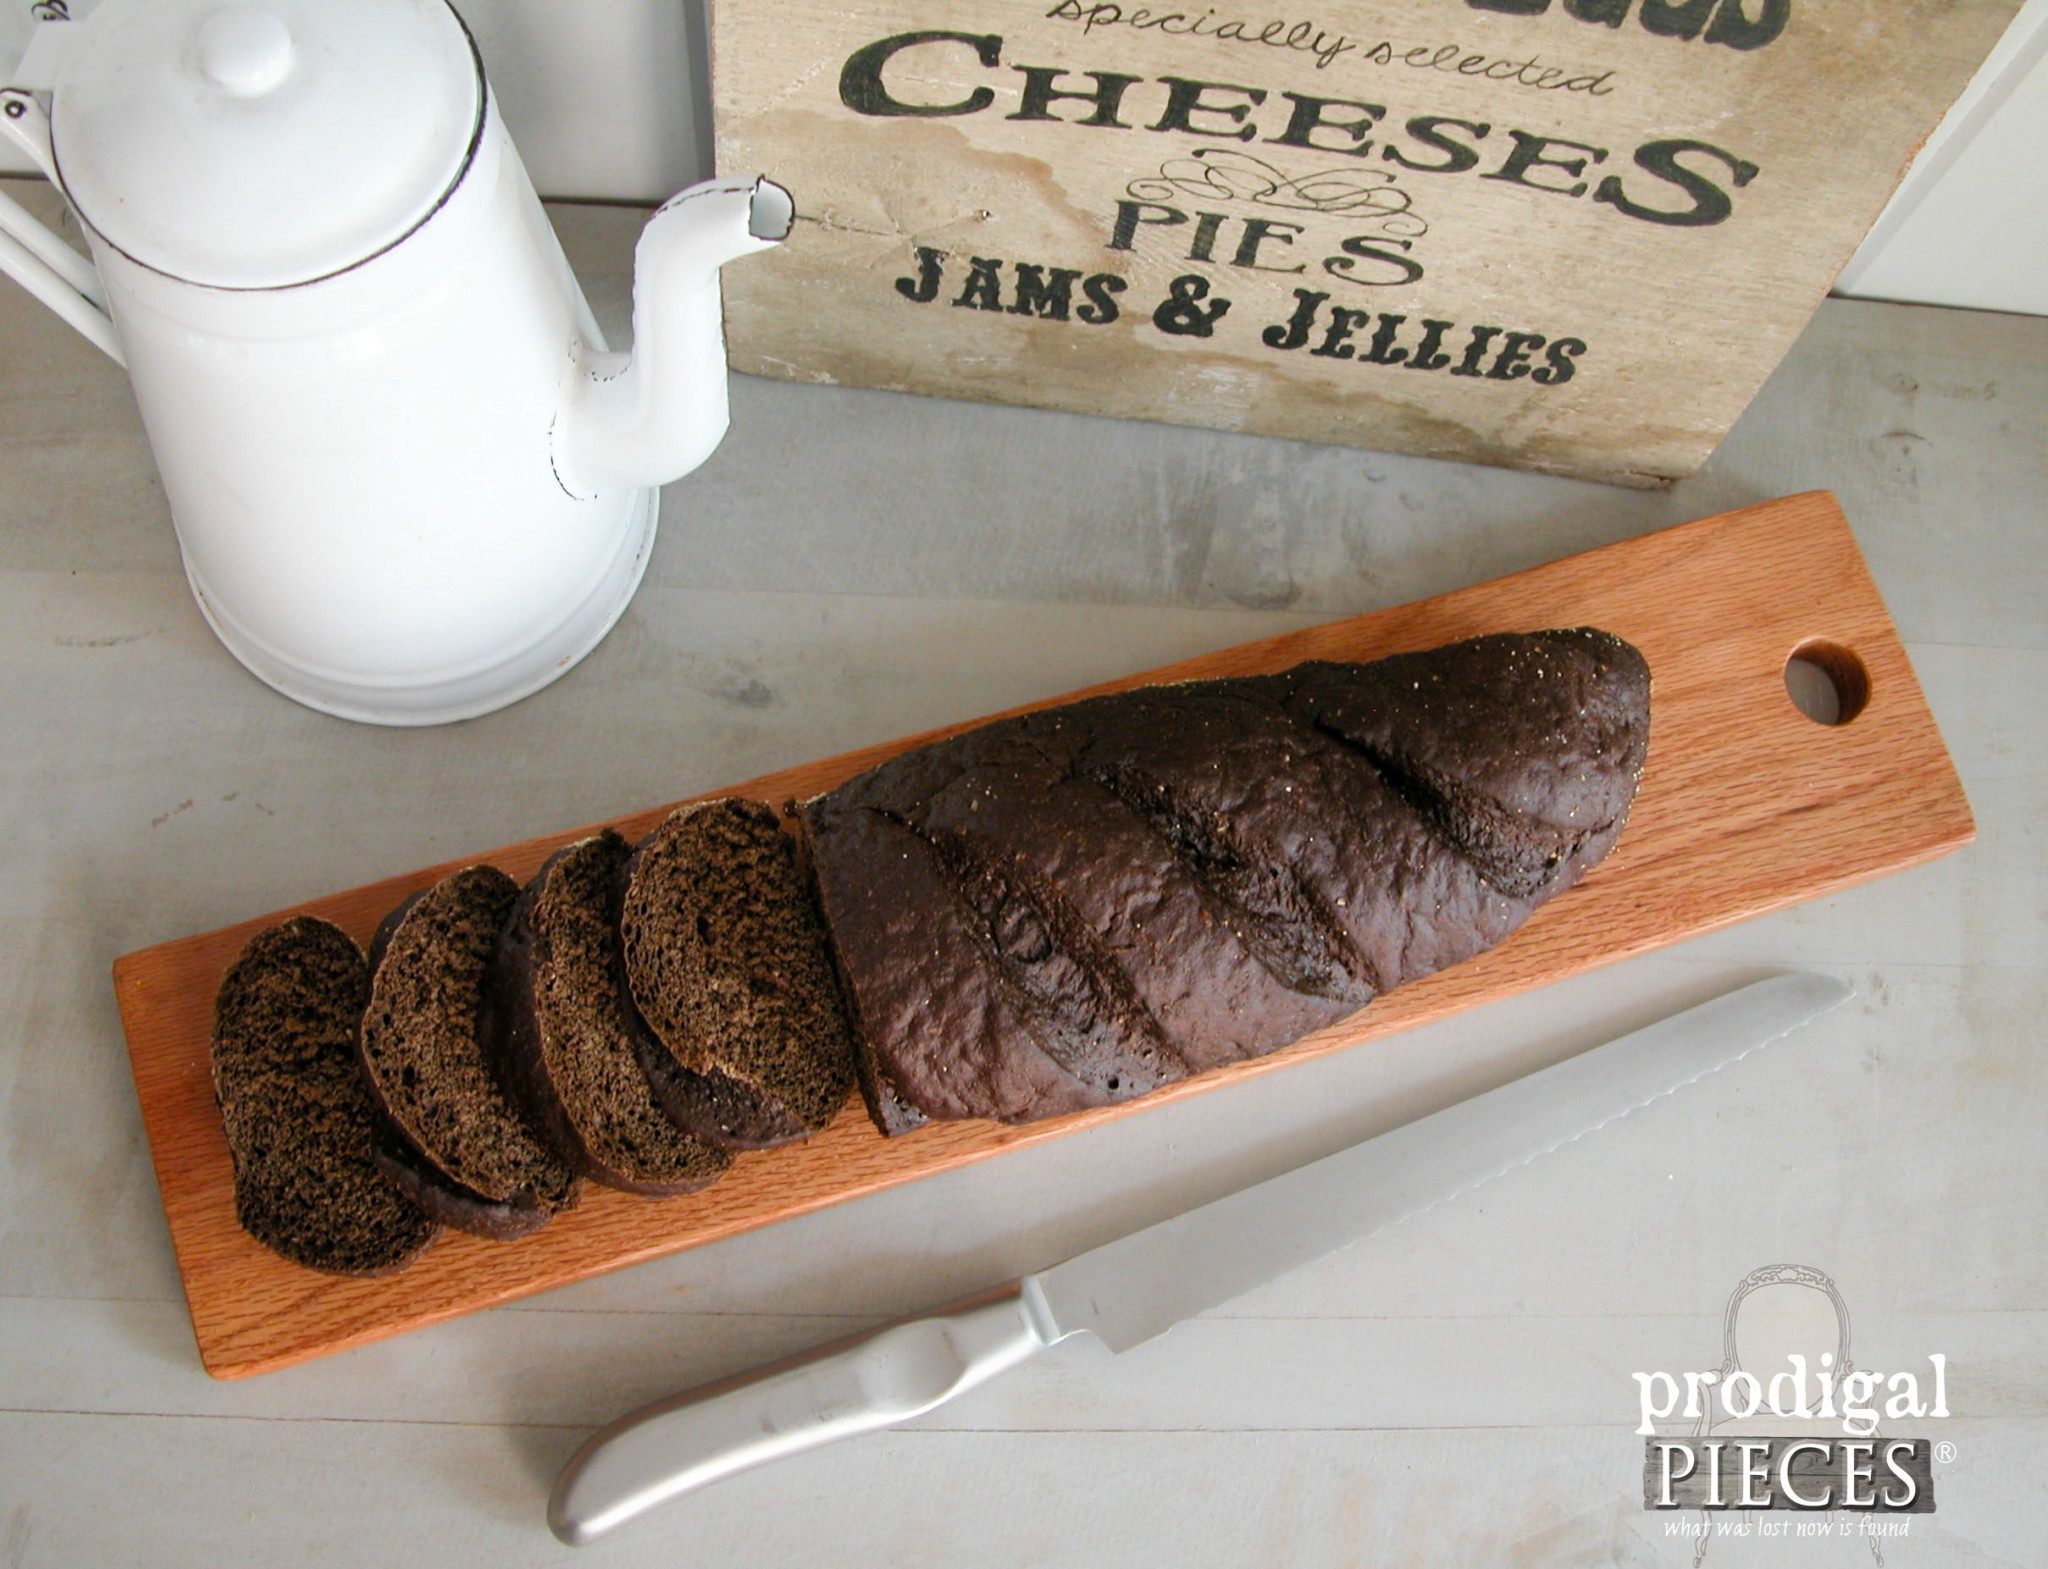
Finally, I went on to also make a bread board and different shaped cutting board. After making use of all the scrap, I have four cutting boards from my 4′ oak board.
And this is all that is left. Woot! I love to use these bits to make toys for my kids.
You get four for $34. You can’t beat it! Also, perfect for gifts and a treat to self.
Additionally, be sure to pin and share the love!♥
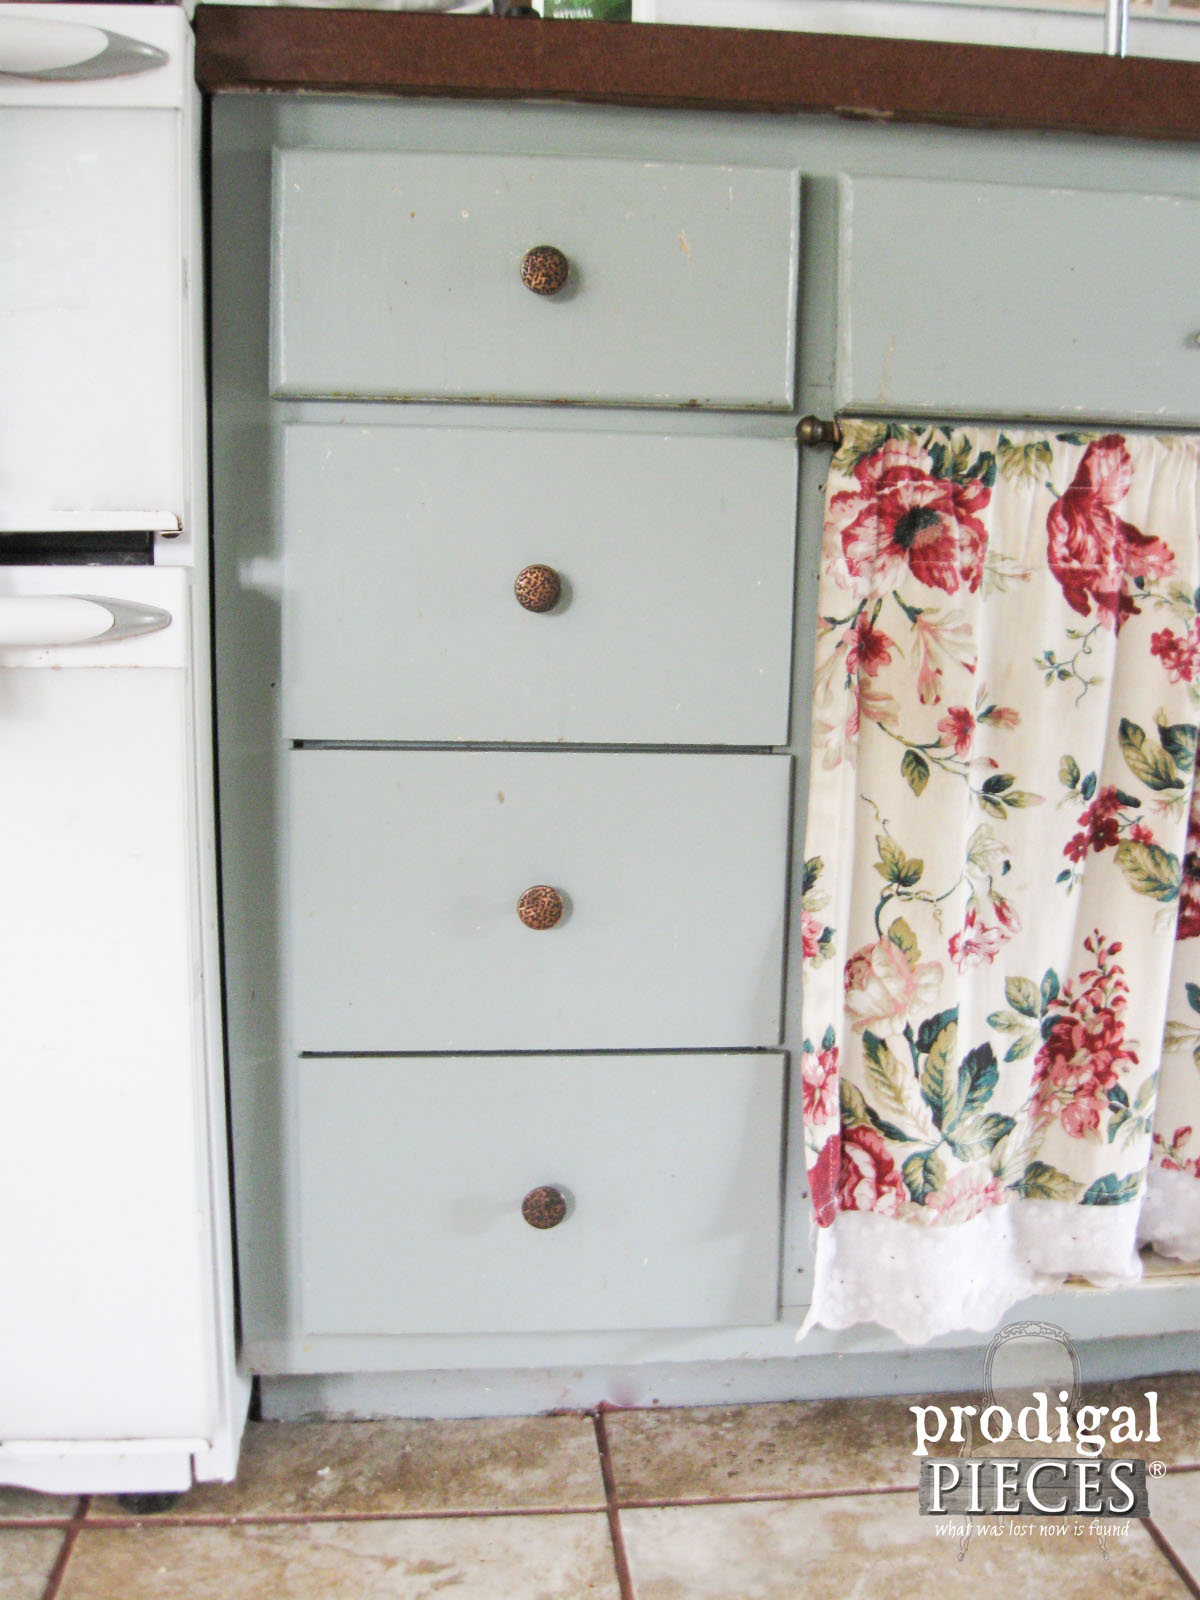
Likewise, later on this week I am super-excited to share with you a kitchen remodel update that includes my drawers. See their new look HERE.



Oh my gosh, I love this project. I have this on my project list for sure.
How fantastic?! Thank you, Debra.
I can’t even imagine where you find any time to make anything with 6 children you are truly amazing and I must say I love the things you do….ke it coming because you are also a headful of information 1.e. such as mineral oil on cutting boards I did not know that little fact Thanks
You are just too sweet, Lynne. I am blessed to get to do what I love and share it with you. The kids are my best cheerleaders too. Thanks so much! 🙂
Larissa, I linked to the post where you talk about using your $3 crock pot to melt beeswax, etc. Were you planning to share the complete recipe for your all natural finishing wax, or are the details your own trade secret?
Hi Marie, I am keeping that for my business as of now, but ya never know. 😉
Larissa what a great idea make your own cutting boards. Why not? The shapes are very cool.
I can’t wait to see the kitchen updates. That is one pretty color…. it’s not blue is it? 😉
I love these.
Thank you,
Thanks so much, Nancy. 🙂
Searched for these but couldn’t find them in your shop.
Hi Summer. I have sold out of them for now. 🙂