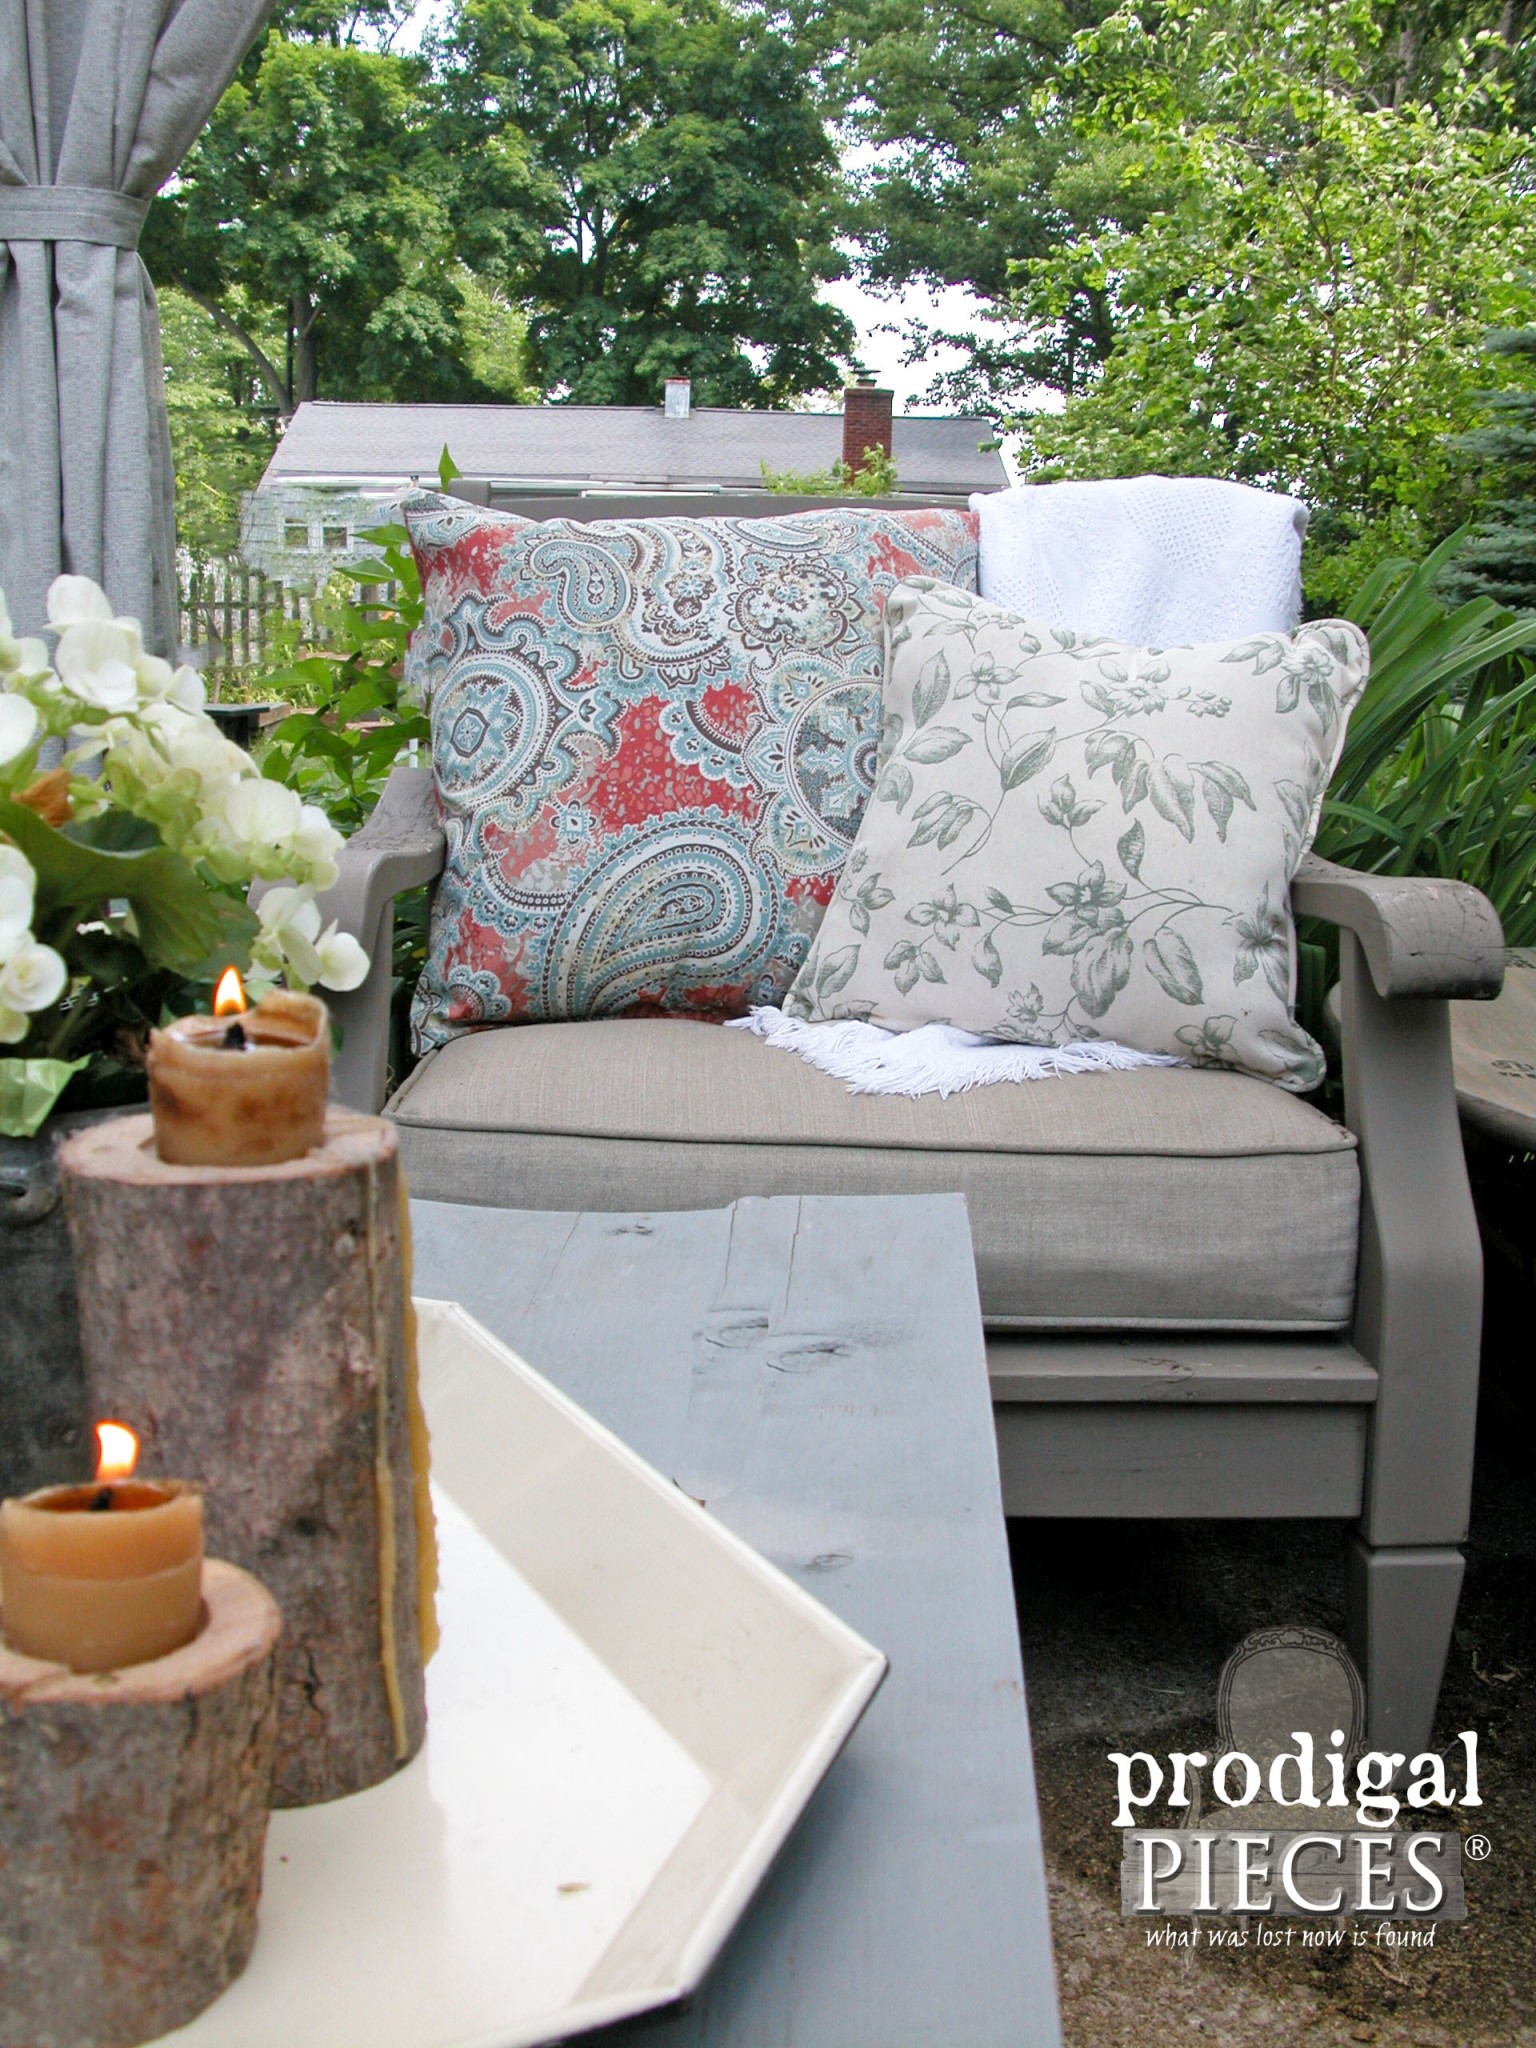
Last week I was sharing with you about creating your home outside of your home. Well, your outdoor decor can create just as much of a welcoming feeling as the interior of your home. What better way to do that than to create that cozy feeling in a budget-friendly style? You know that’s my thang. Many of you have asked about them, so I’m sharing how I made my DIY outdoor pillows from thrifted pillows.
*giveaway sponsored by DFOHome (see full disclosure)
Today we’re going to head to the thrift store today to find some cast-off pillows to turn into your own DIY outdoor pillows to accent our backyard decor.
Yes, we’re using thrifted pillows for our project because they are going outdoors and are so inexpensive compared to$20 for a solitary store-bought pillow. Or how about $10 for just a pillow form or bag of stuffing? That cost comparison doesn’t include the fabric, thread, or other notions you may want to add. My pillow project will cost you about $8 or less for each pillow. Score!
DIY TIME
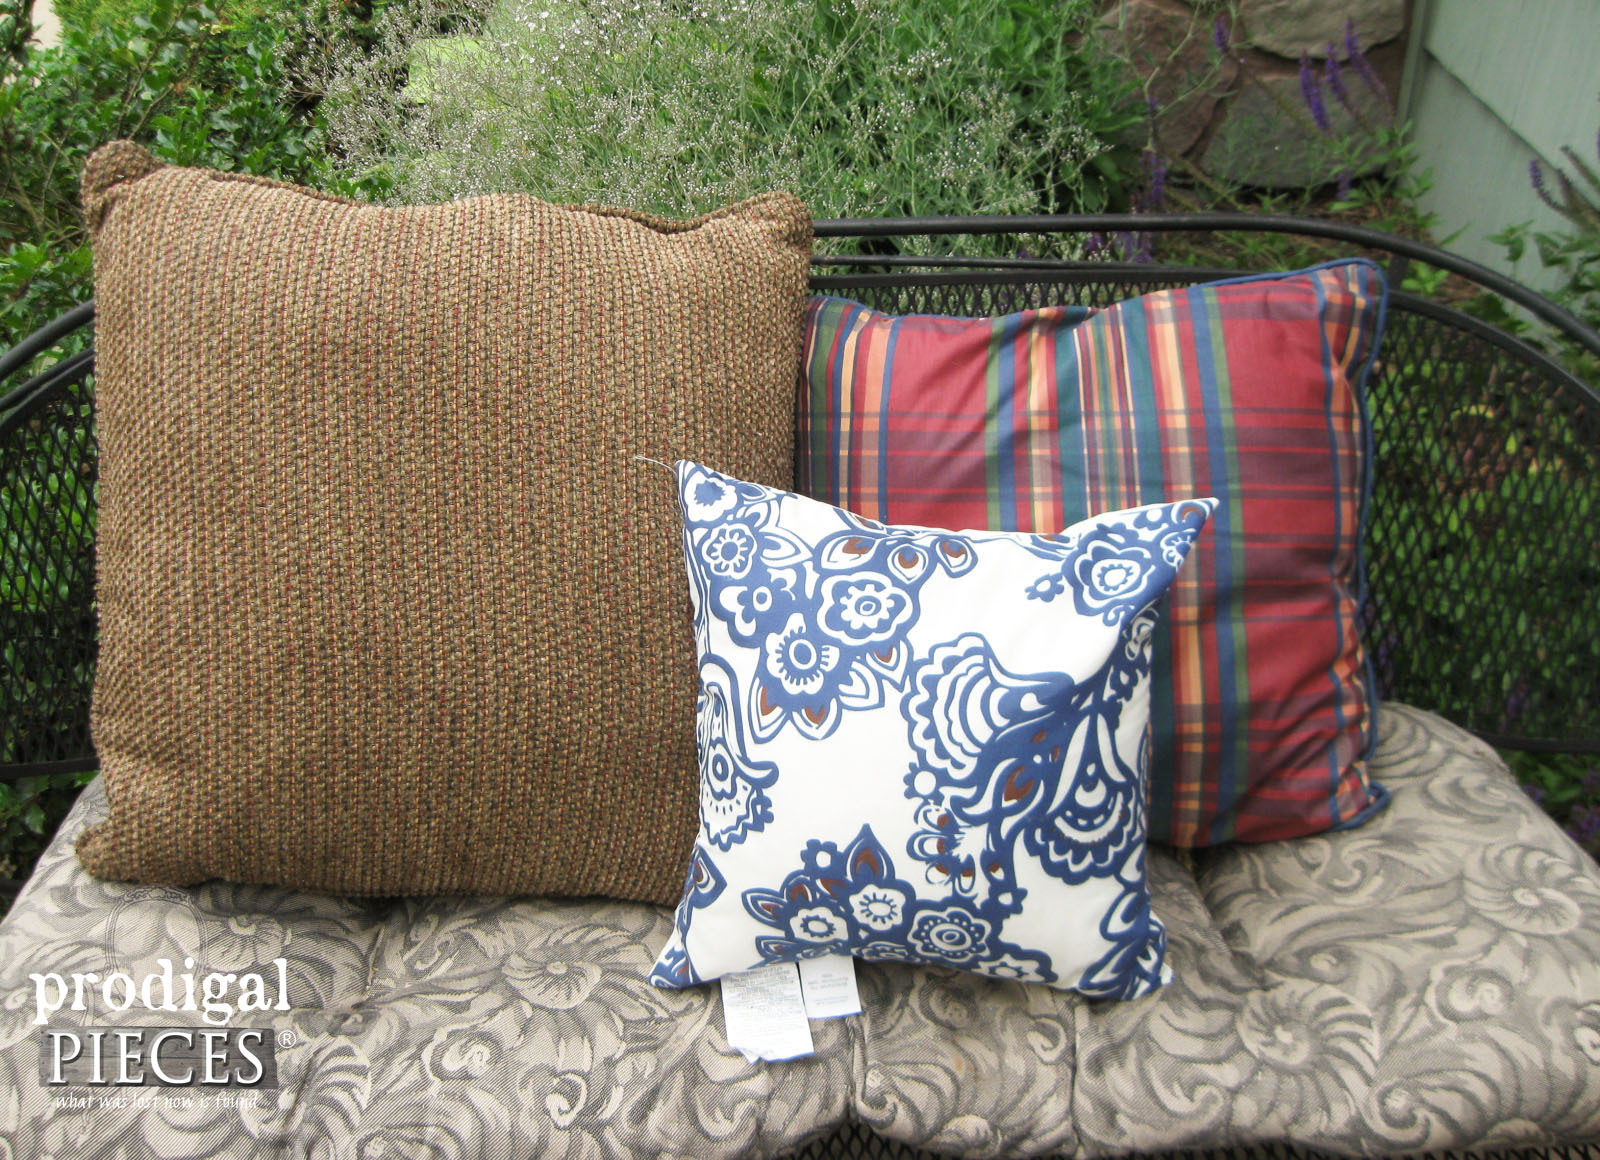
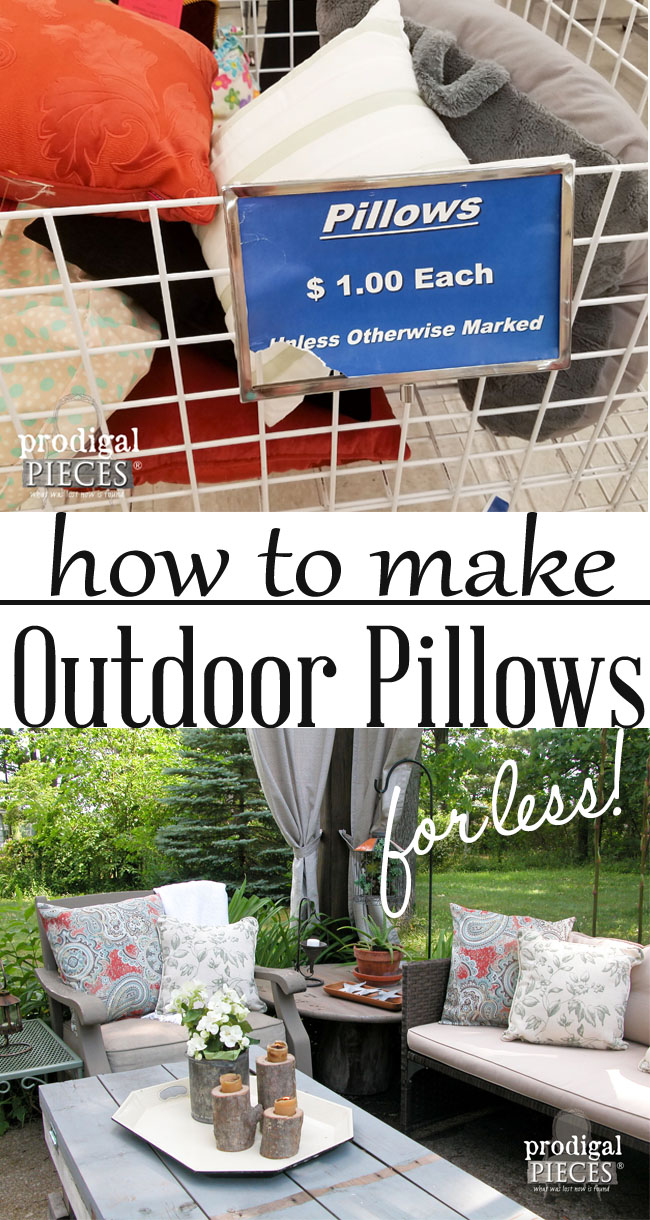
First, head to the thrift store and grab a few pillows to get this party started. You could even use your own worn-out pillows as well. Here are the three pillows I chose for my patio update.
Materials needed:
- outdoor fabric – enough to cover two sides of the pillow. (Measure pillow for dimensions, double it, and add 1-2″ for seam allowance)
- coordinating thread
- thrifted pillows
Equipment:
- sewing machine with standard needle
- sewing scissors
- hand-sewing needle
To get started, first launder your pillows. Once clean and dry, you can begin this project one of two ways. I choose to leave the pillows as they are with their original fabric intact, however you may want to remove the outer cover it would show throw your new fabric. I like to leave the covers on for stability in the pillow and easy use during our project. If you choose to remove the outer cover, wait until you have your new pillowcase sewn.
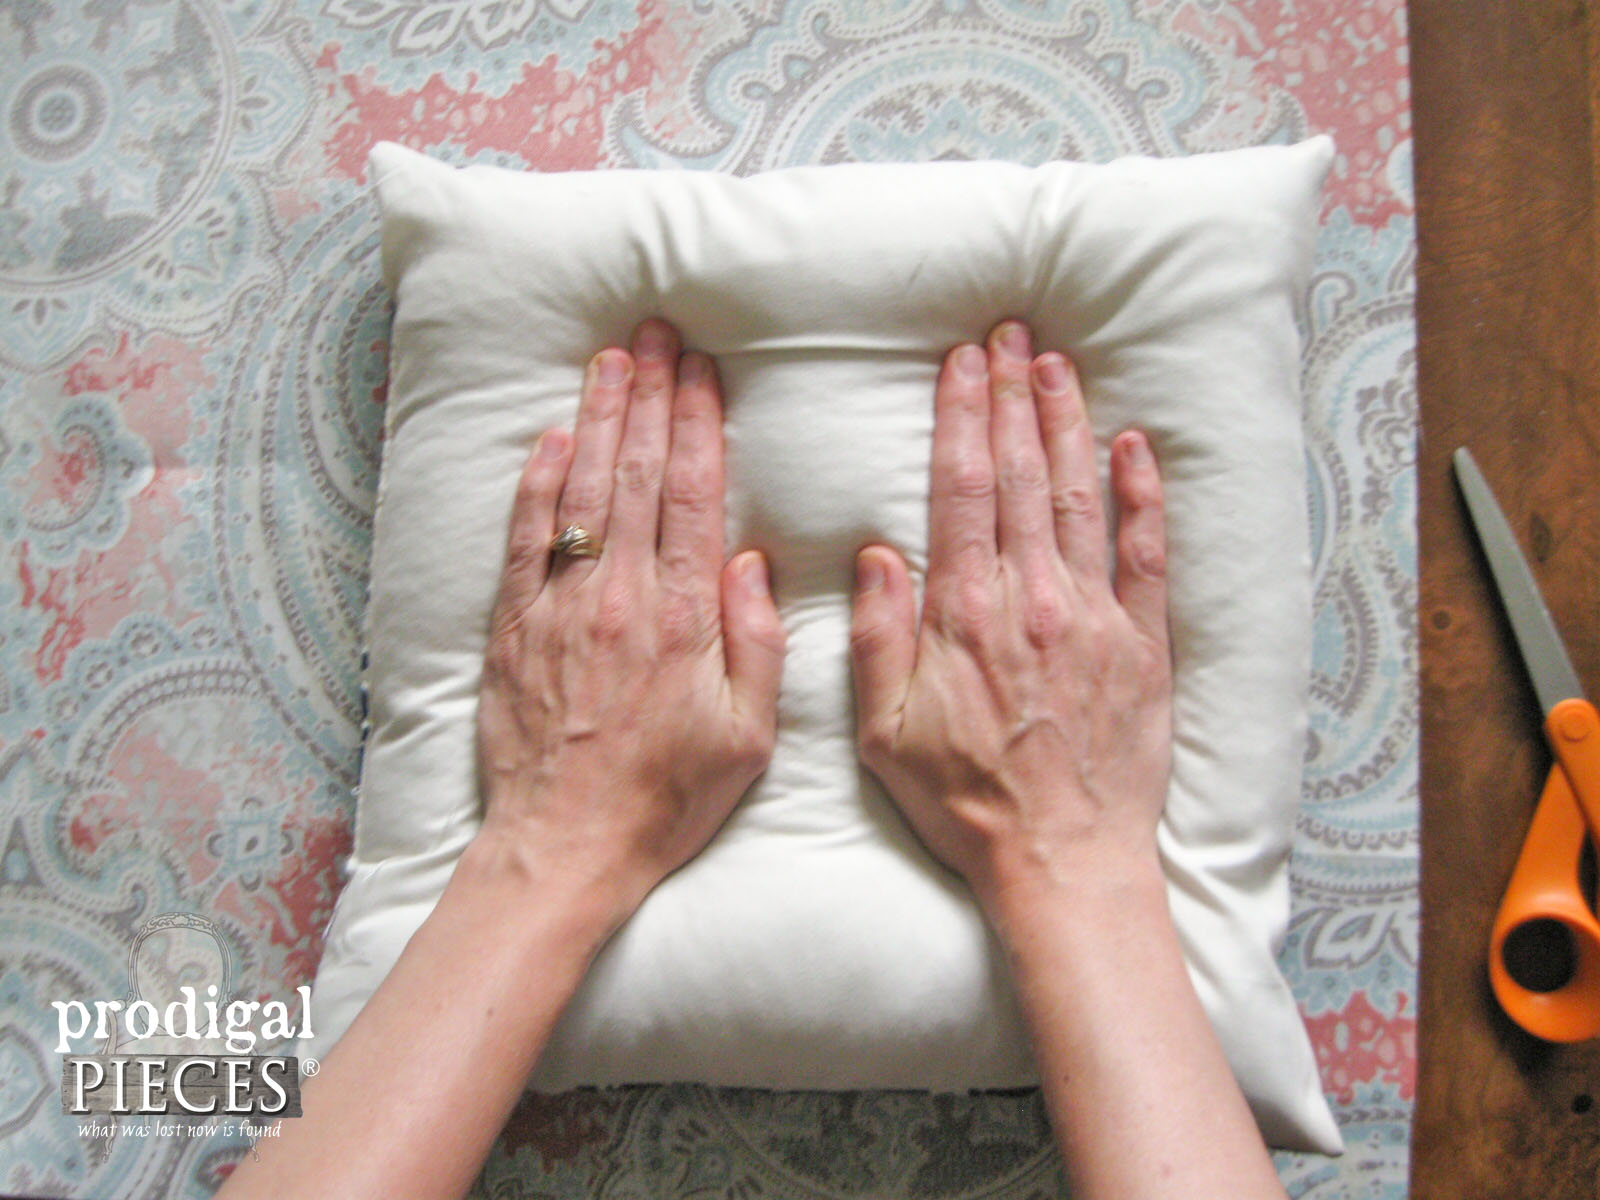
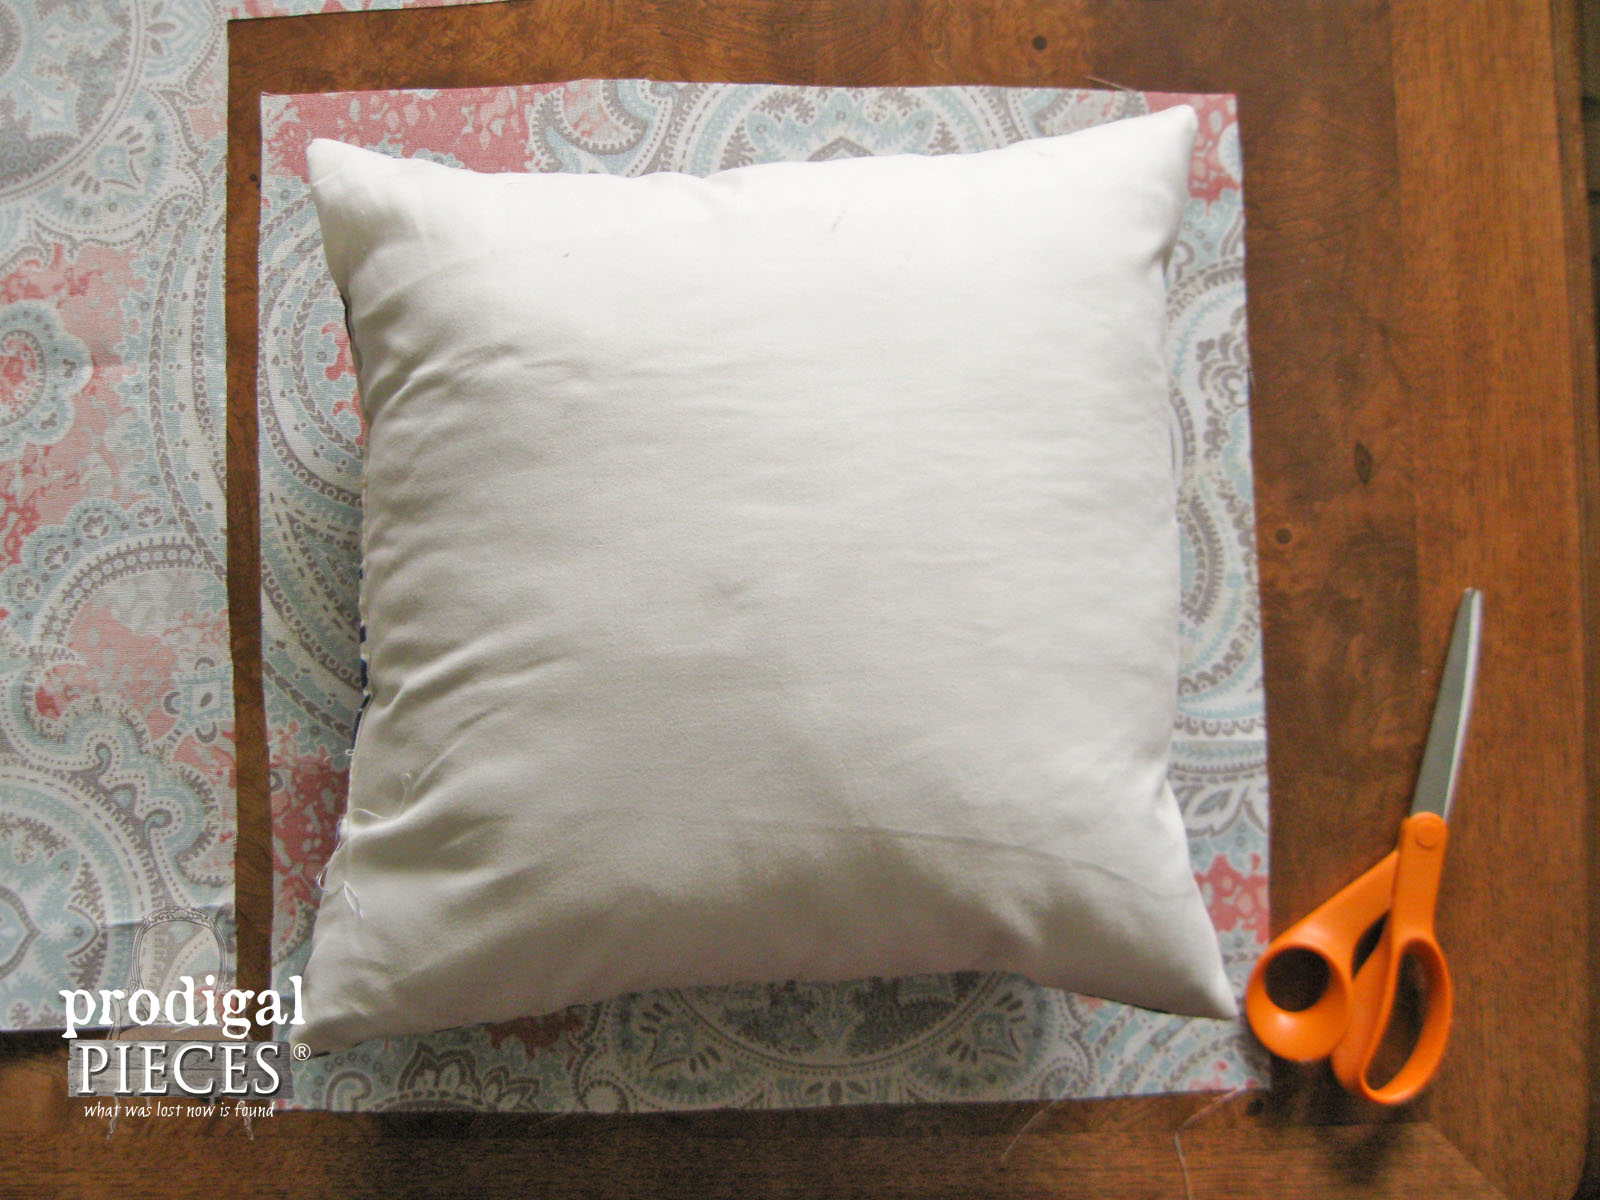
Lay your fabric right-side down and place your pillow on the fabric so that when you squish it down you have about an inch perimeter showing. We will be using a half-inch seam allowance.
Cut out your pillow shape, and then use that same square to create a second square.
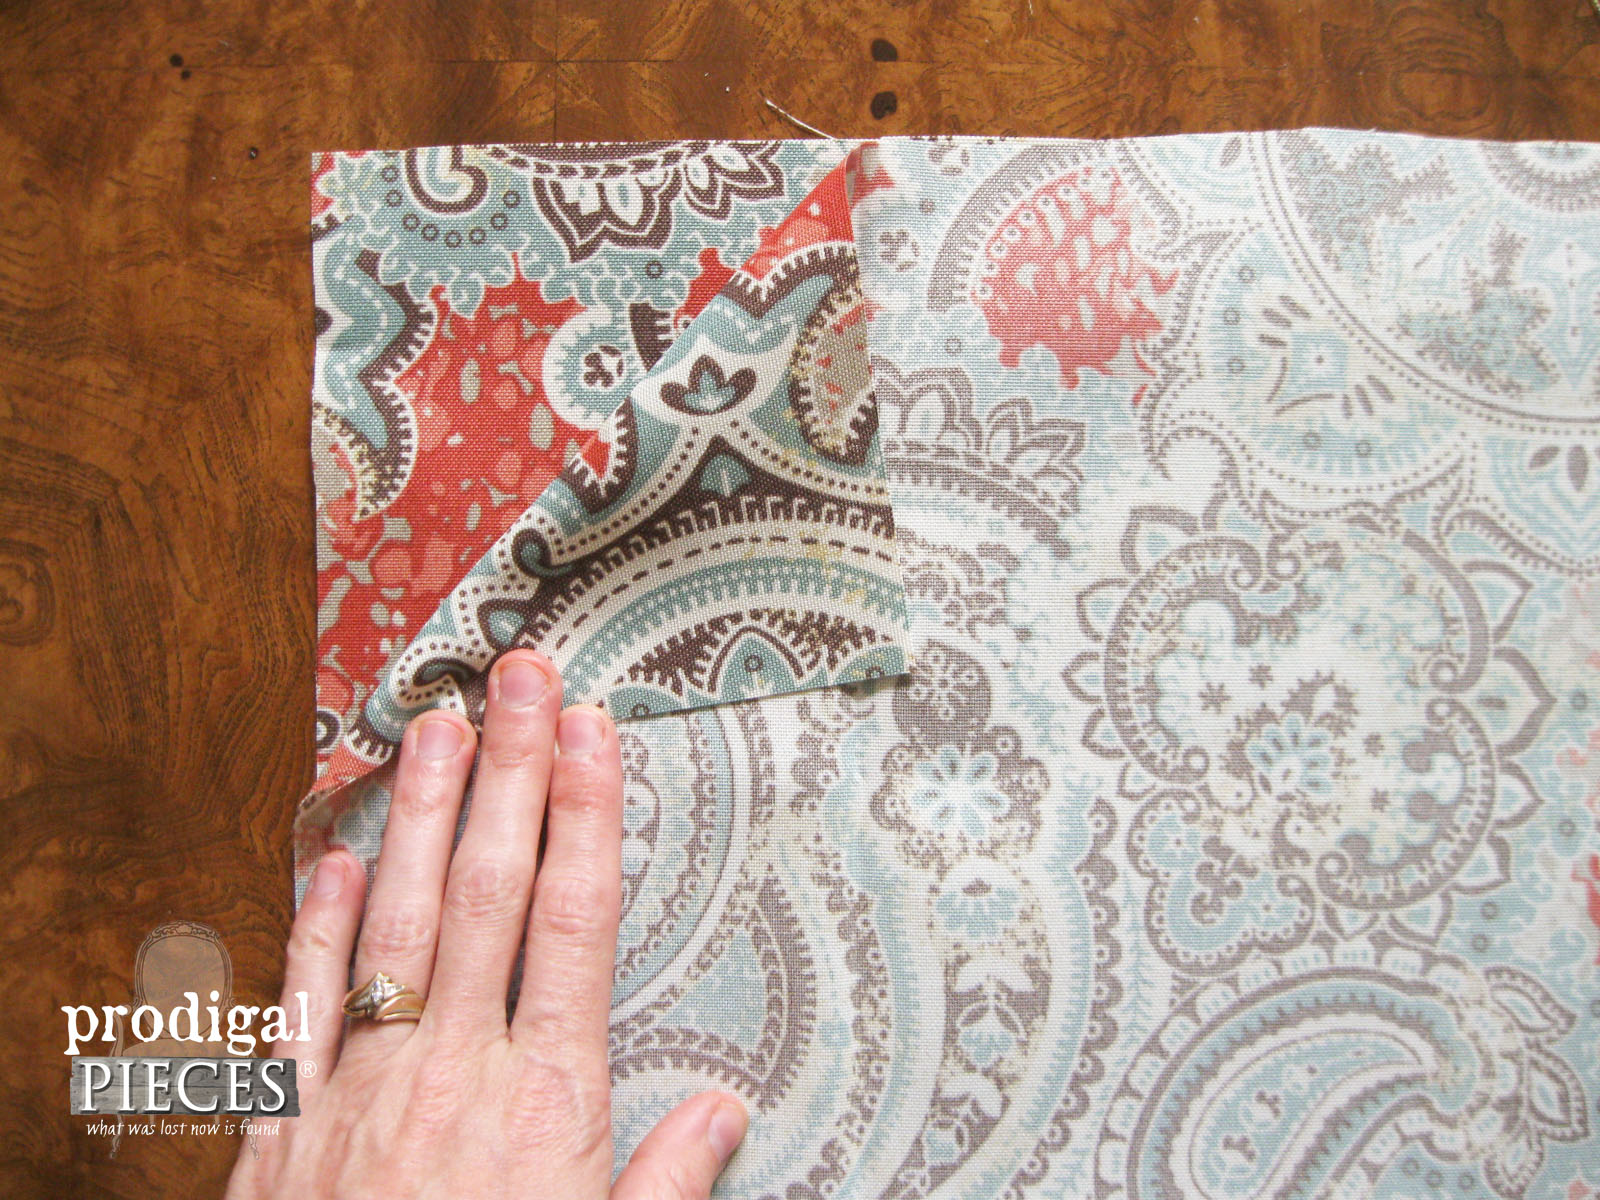
Lay your two square panels so that the right-sides are facing each other.
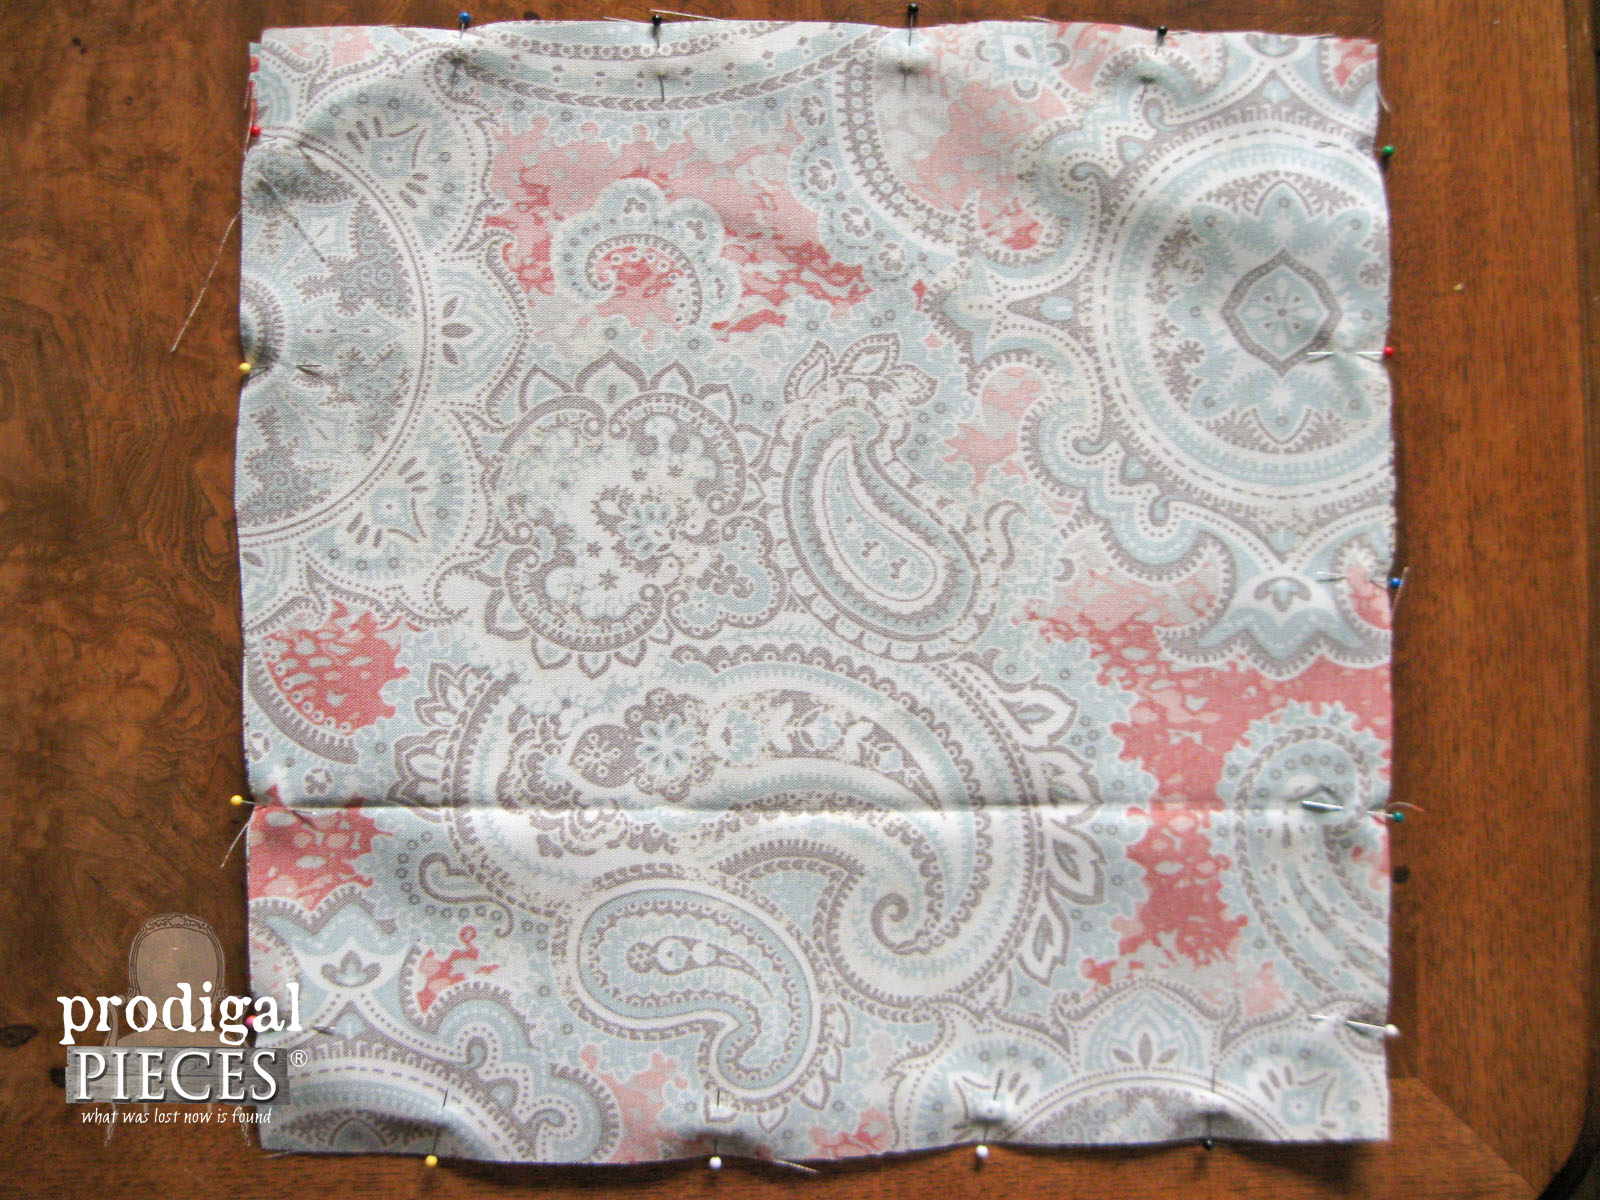
Pin the fabric panels together around the perimeter.
SEWING TIME
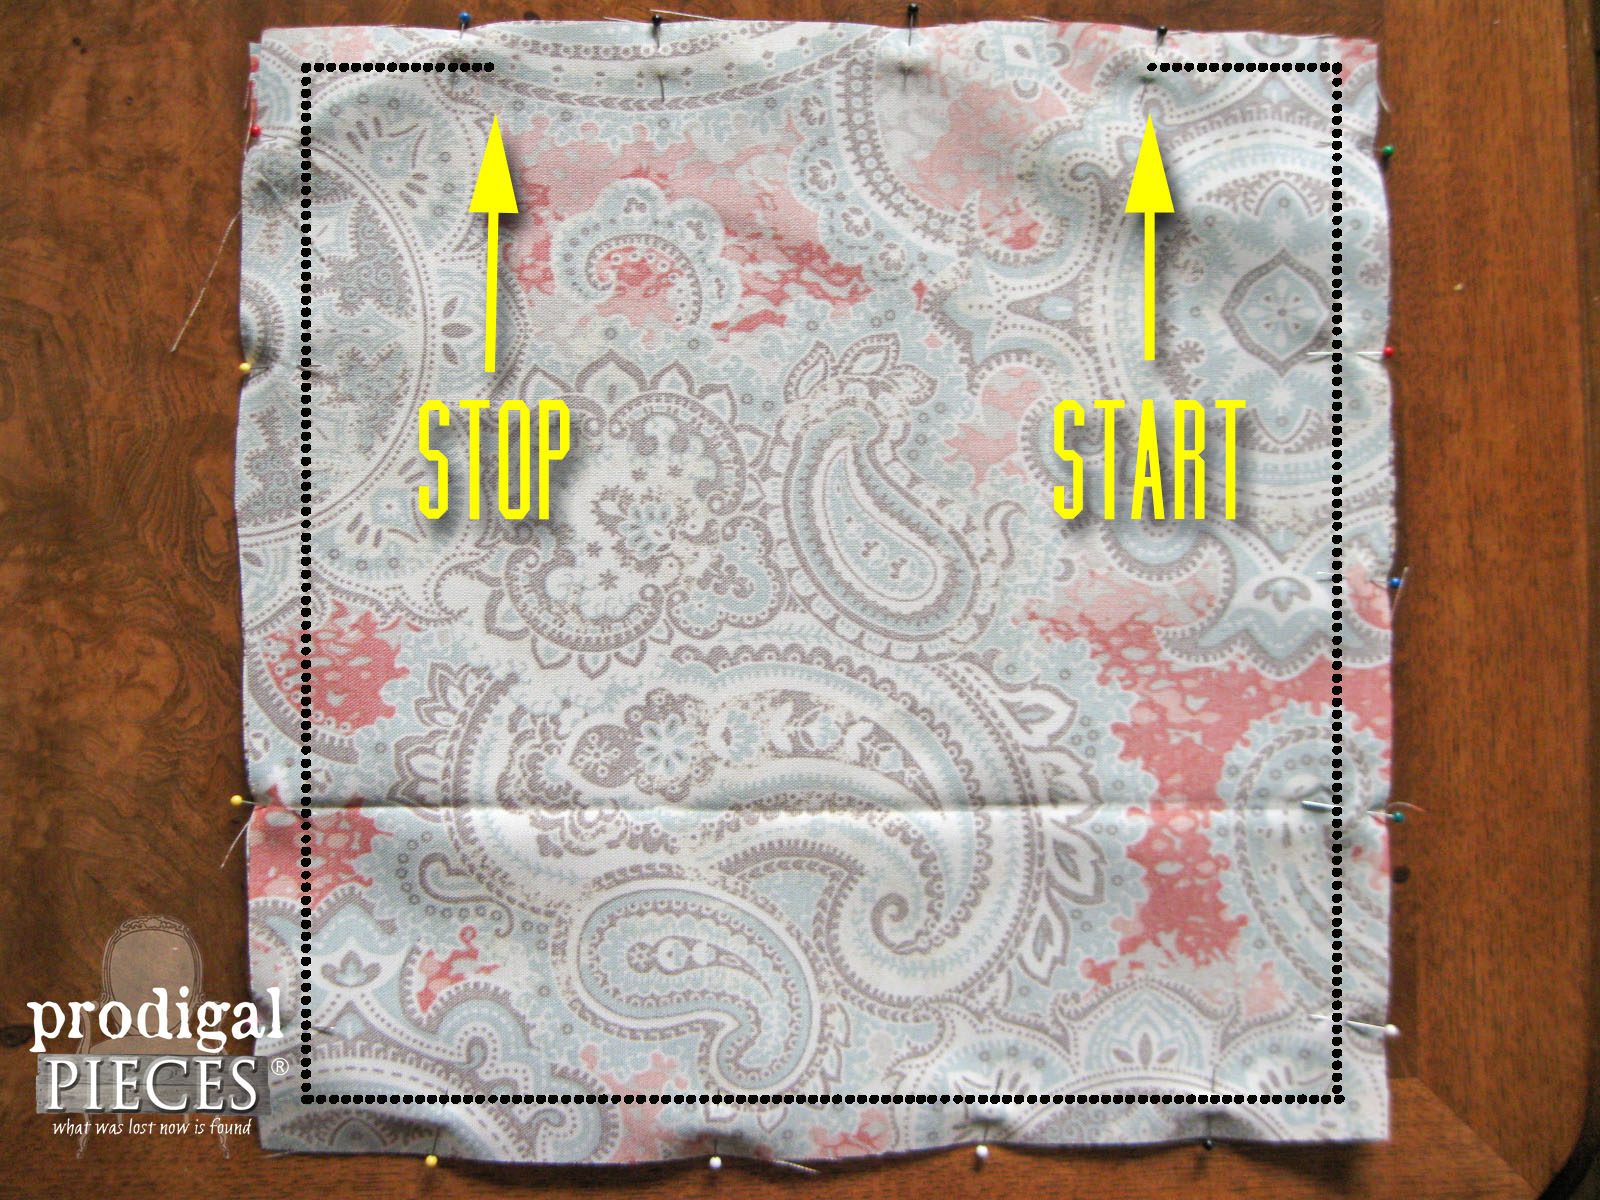
To begin sewing you are going to start approximately 2″ in from the right top corner and end 2″ in from the top left corner. This will leave an opening that you can turn the pillowcase right-side out and also be able to fit the thrifted pillow in.
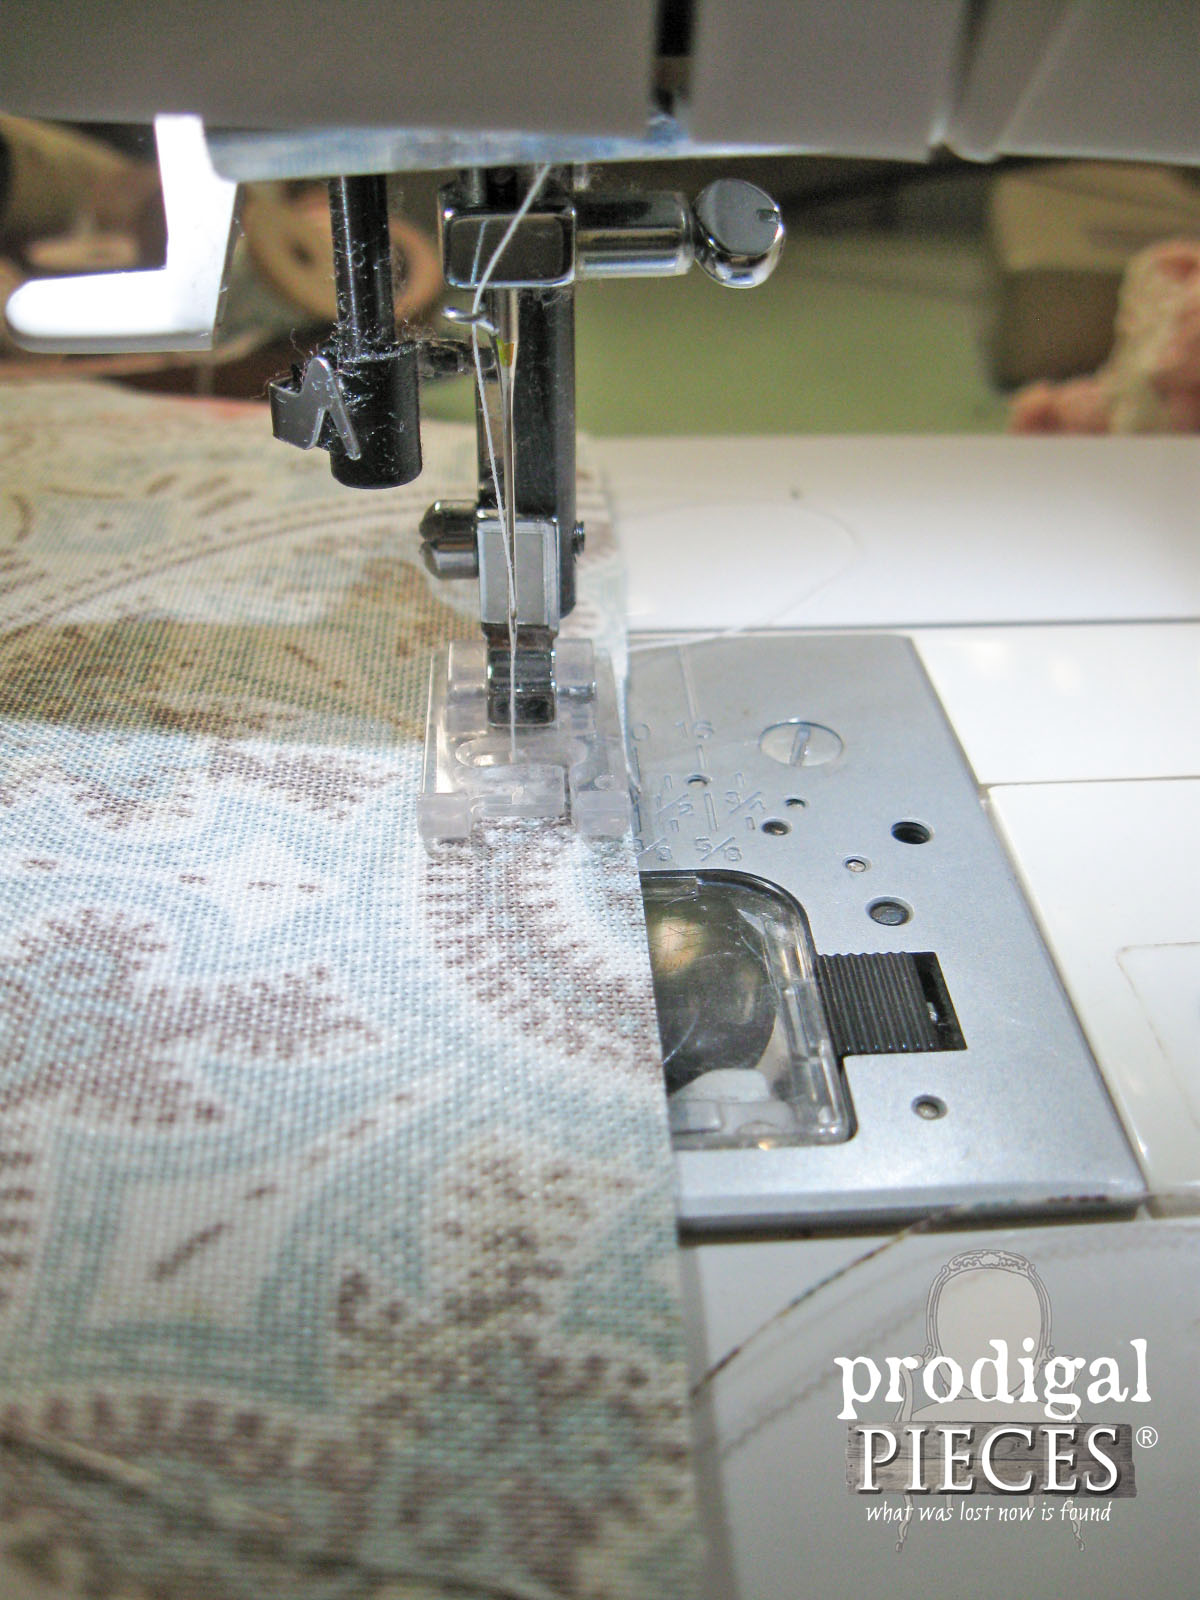
Set your sewing machine presser foot at the edge of the fabric. This will give you the half-inch seam allowance we are after.
Using a basic straight stitch, back-stitch to start, then sew around the pillow squares, removing pins as you go. Make sure to back-stitch again when you reach your stopping point. The backstitching reinforces your opening to allow the pillow to easily pass through.
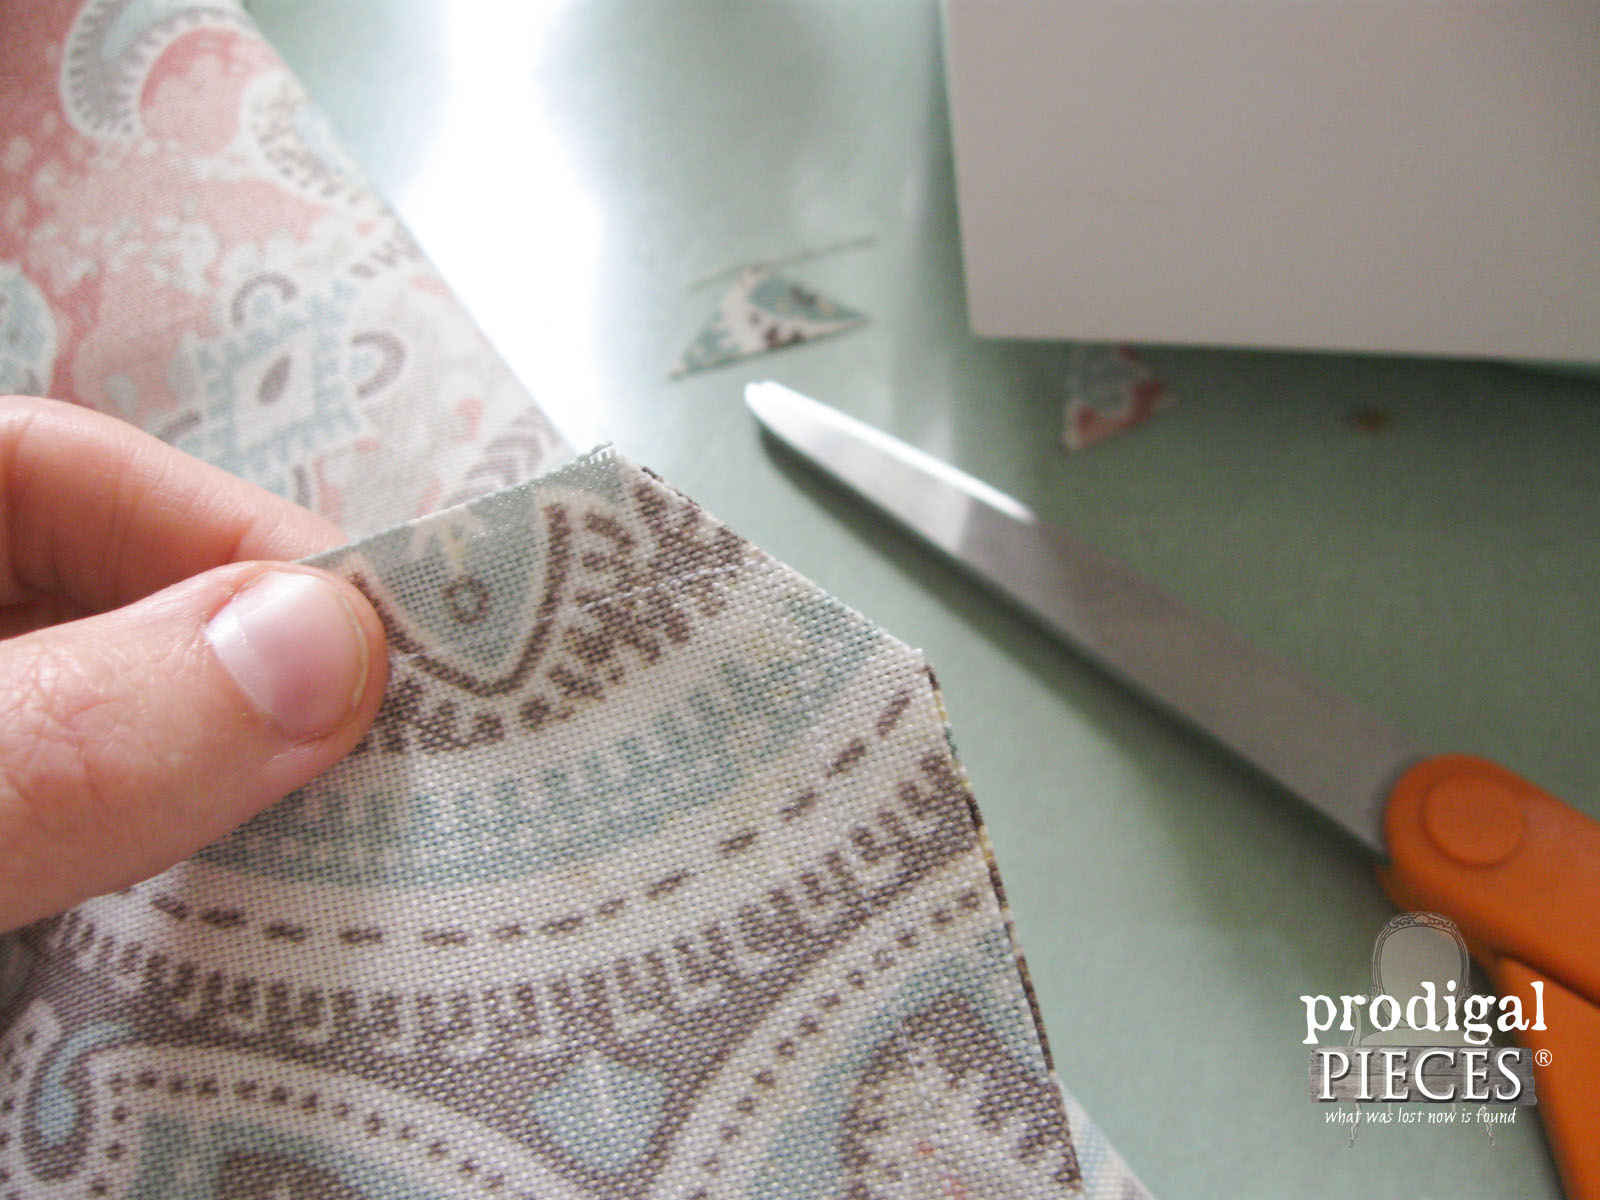
When you are done sewing, snip the corners as shown below. This will help make your corners nice and square when you turn the pillowcase right-side out.
ASSEMBLY
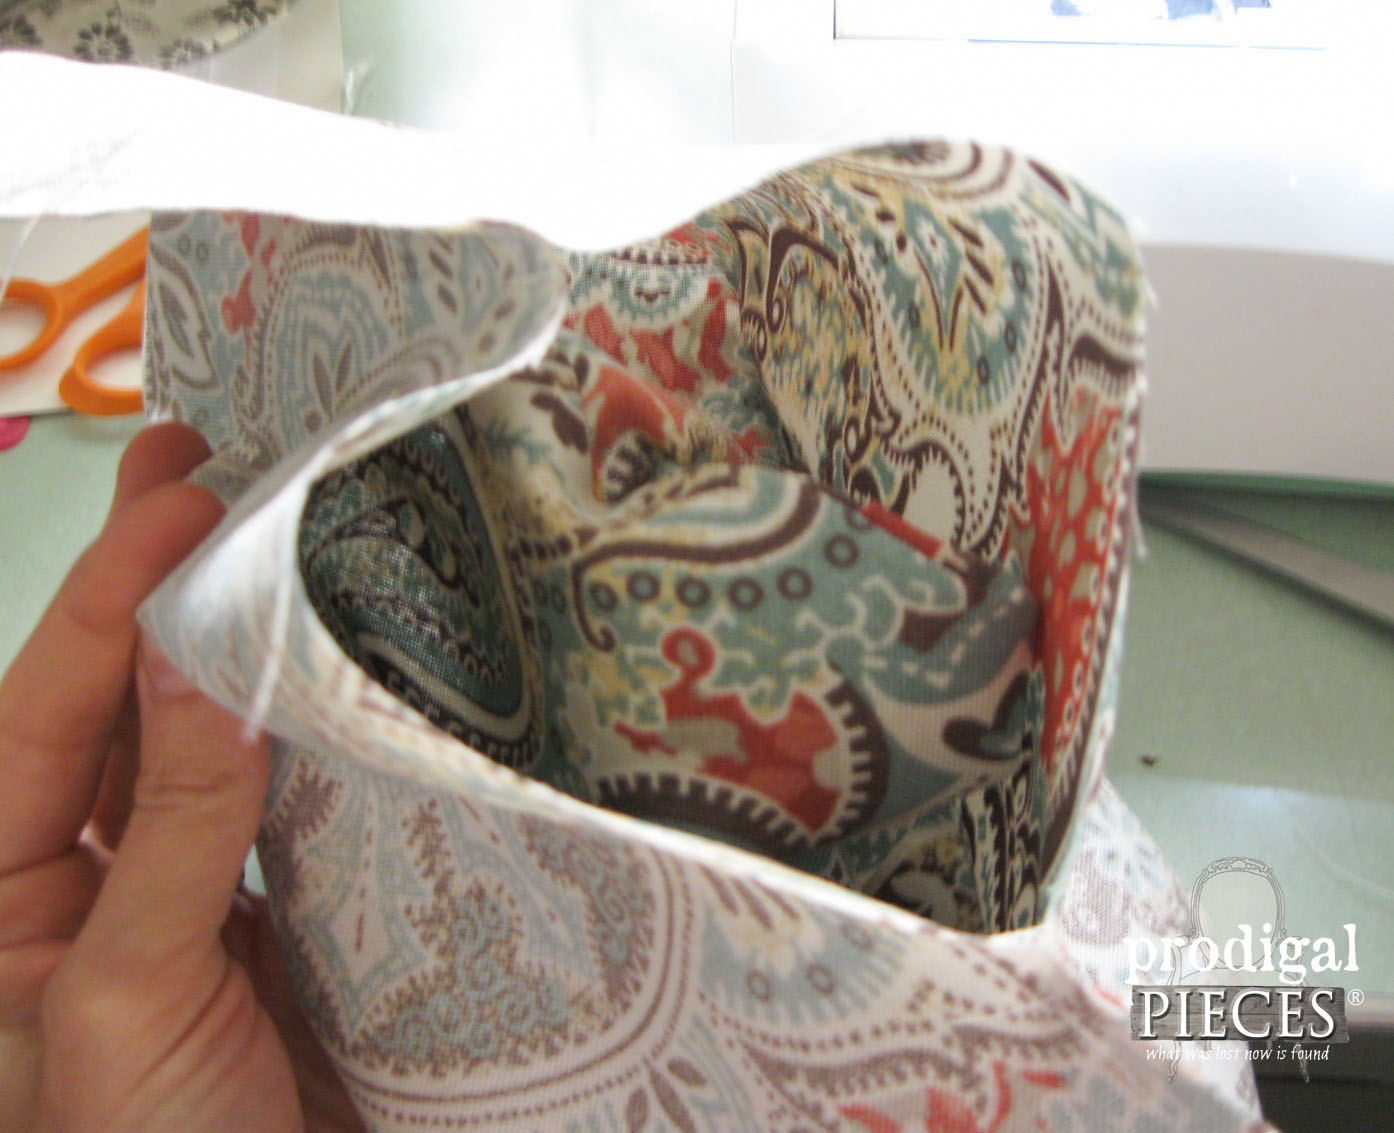
Turn your pillowcase right-side out. Using a blunt object, push the corners out from inside.
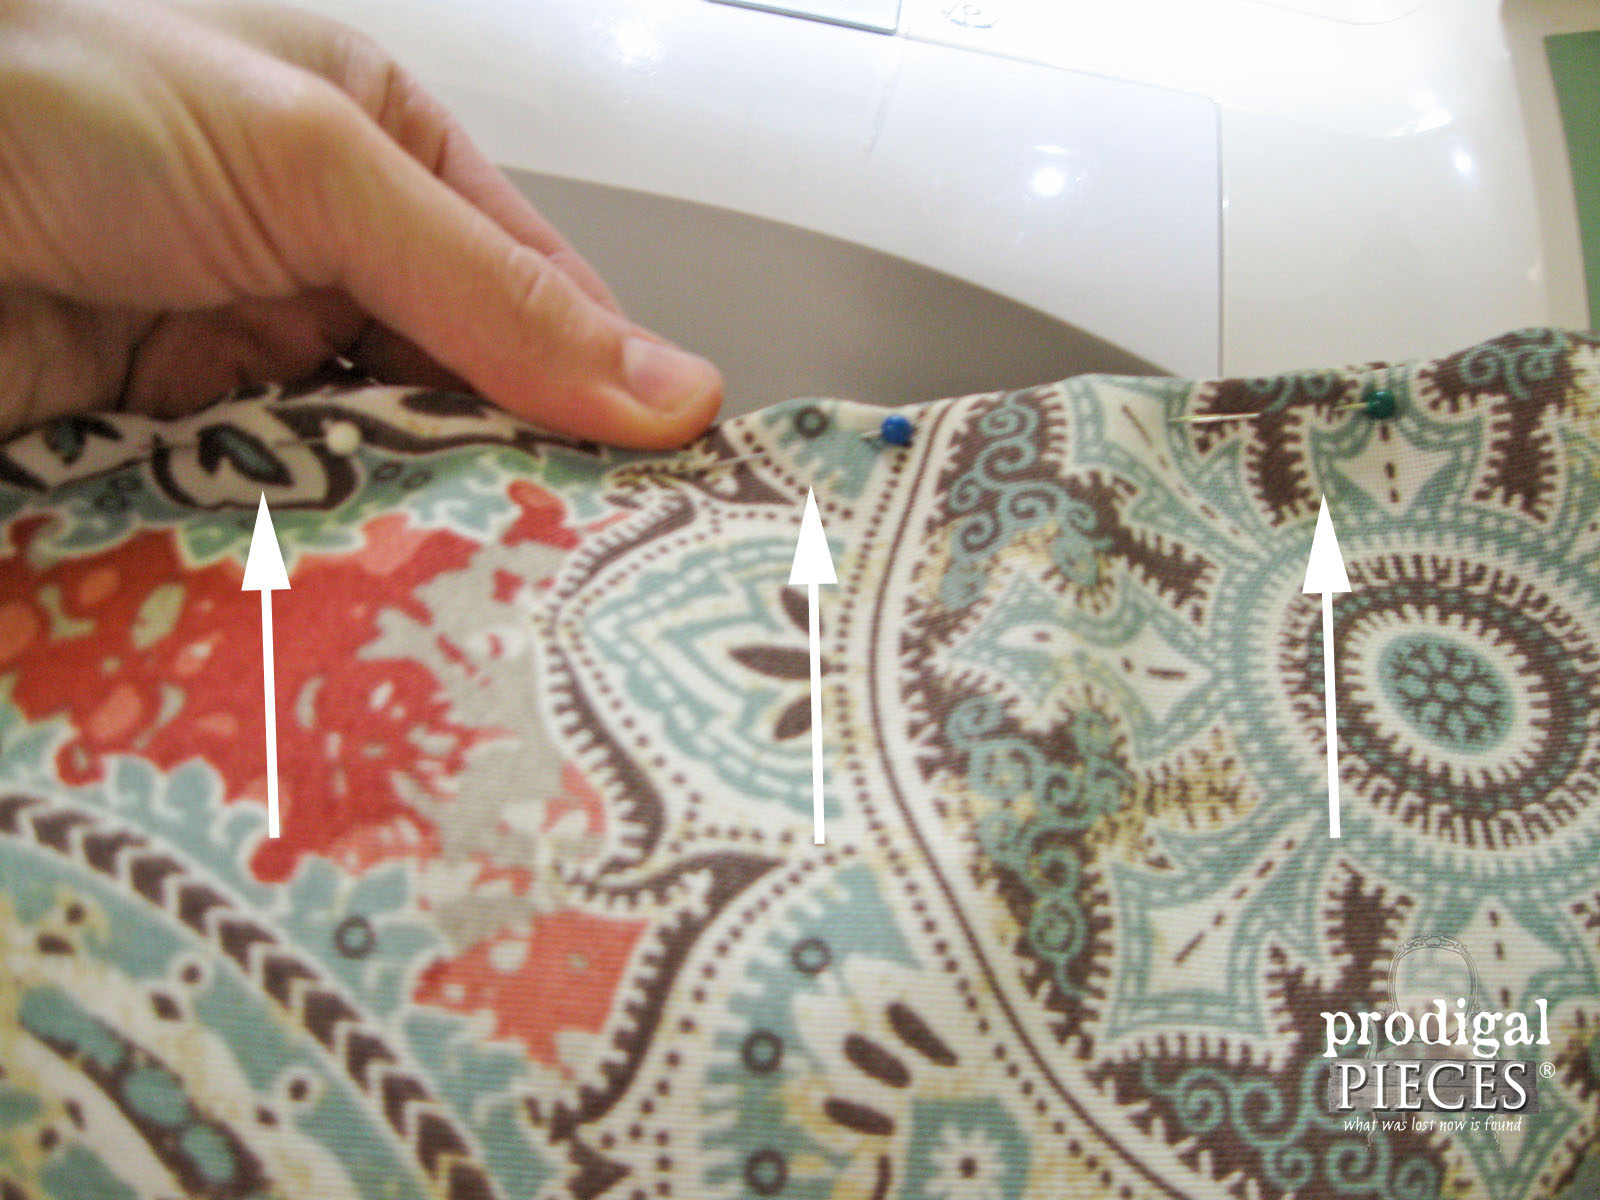
Insert your thrifted pillow. Pin the opening shut by folding the seam allowance into the opening and adding pins to hold it in place.
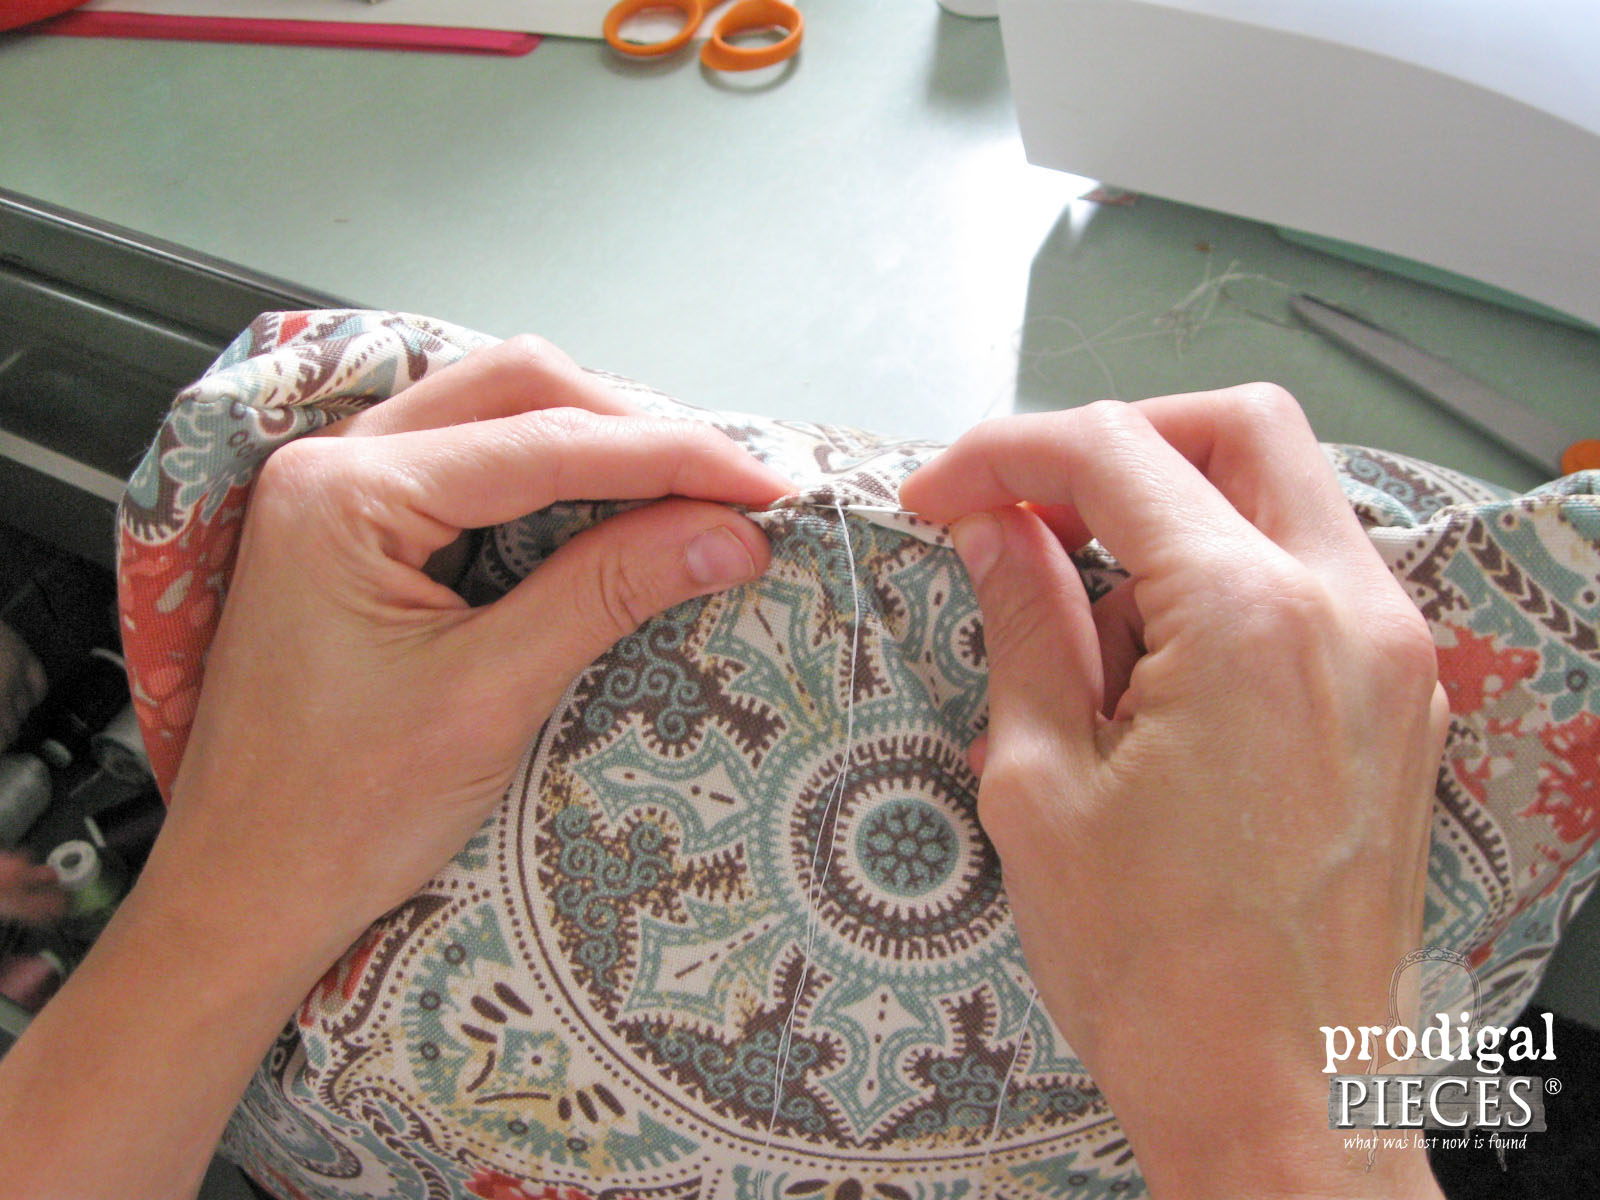
Lastly, using a hand-sewing needle and thread, use a blind ladder stitch to sew the opening closed.
THE REVEAL
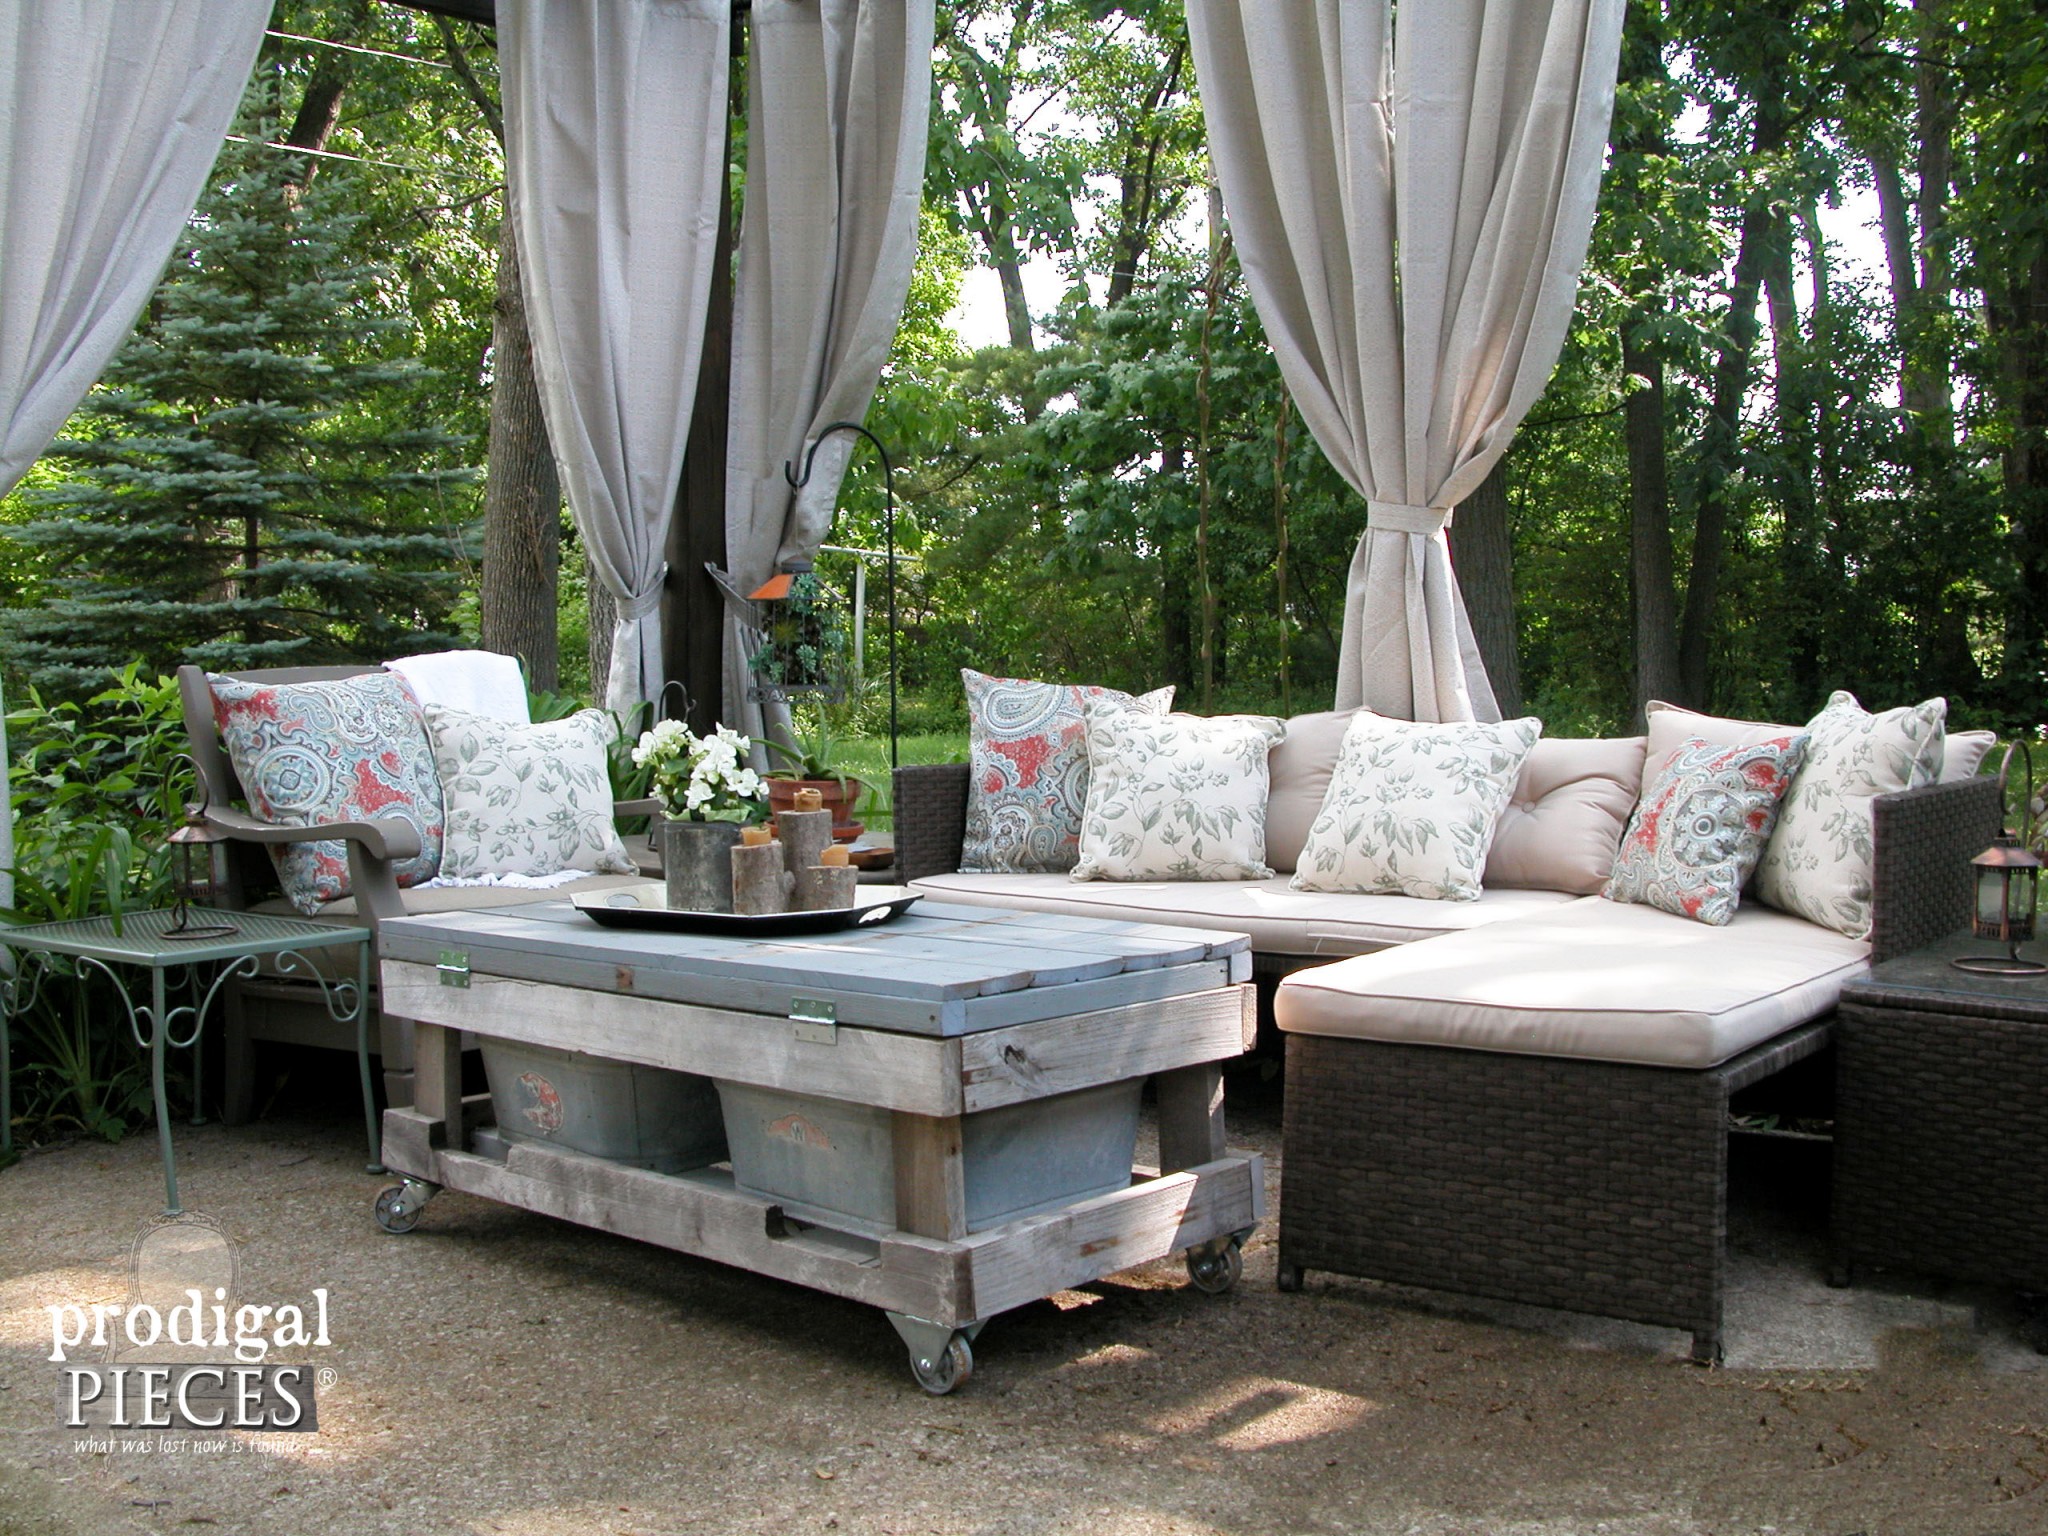
You’re done! Finally, you now have an awesome set of DIY outdoor pillows that are sure to please, and money in your pocket from being thrifty.
Once you get the hang of it, you can add welting, ruffles, etc. Feel free to mix it up and make them reversible with each side made of a different coordinating fabric. However, the possibilities really are endless.
Likewise, if you have questions about making these DIY outdoor pillows, please feel free to ask. In the meantime, do pin and share so others can learn how easy and budget-friendly creating outdoor decor can be. ♥
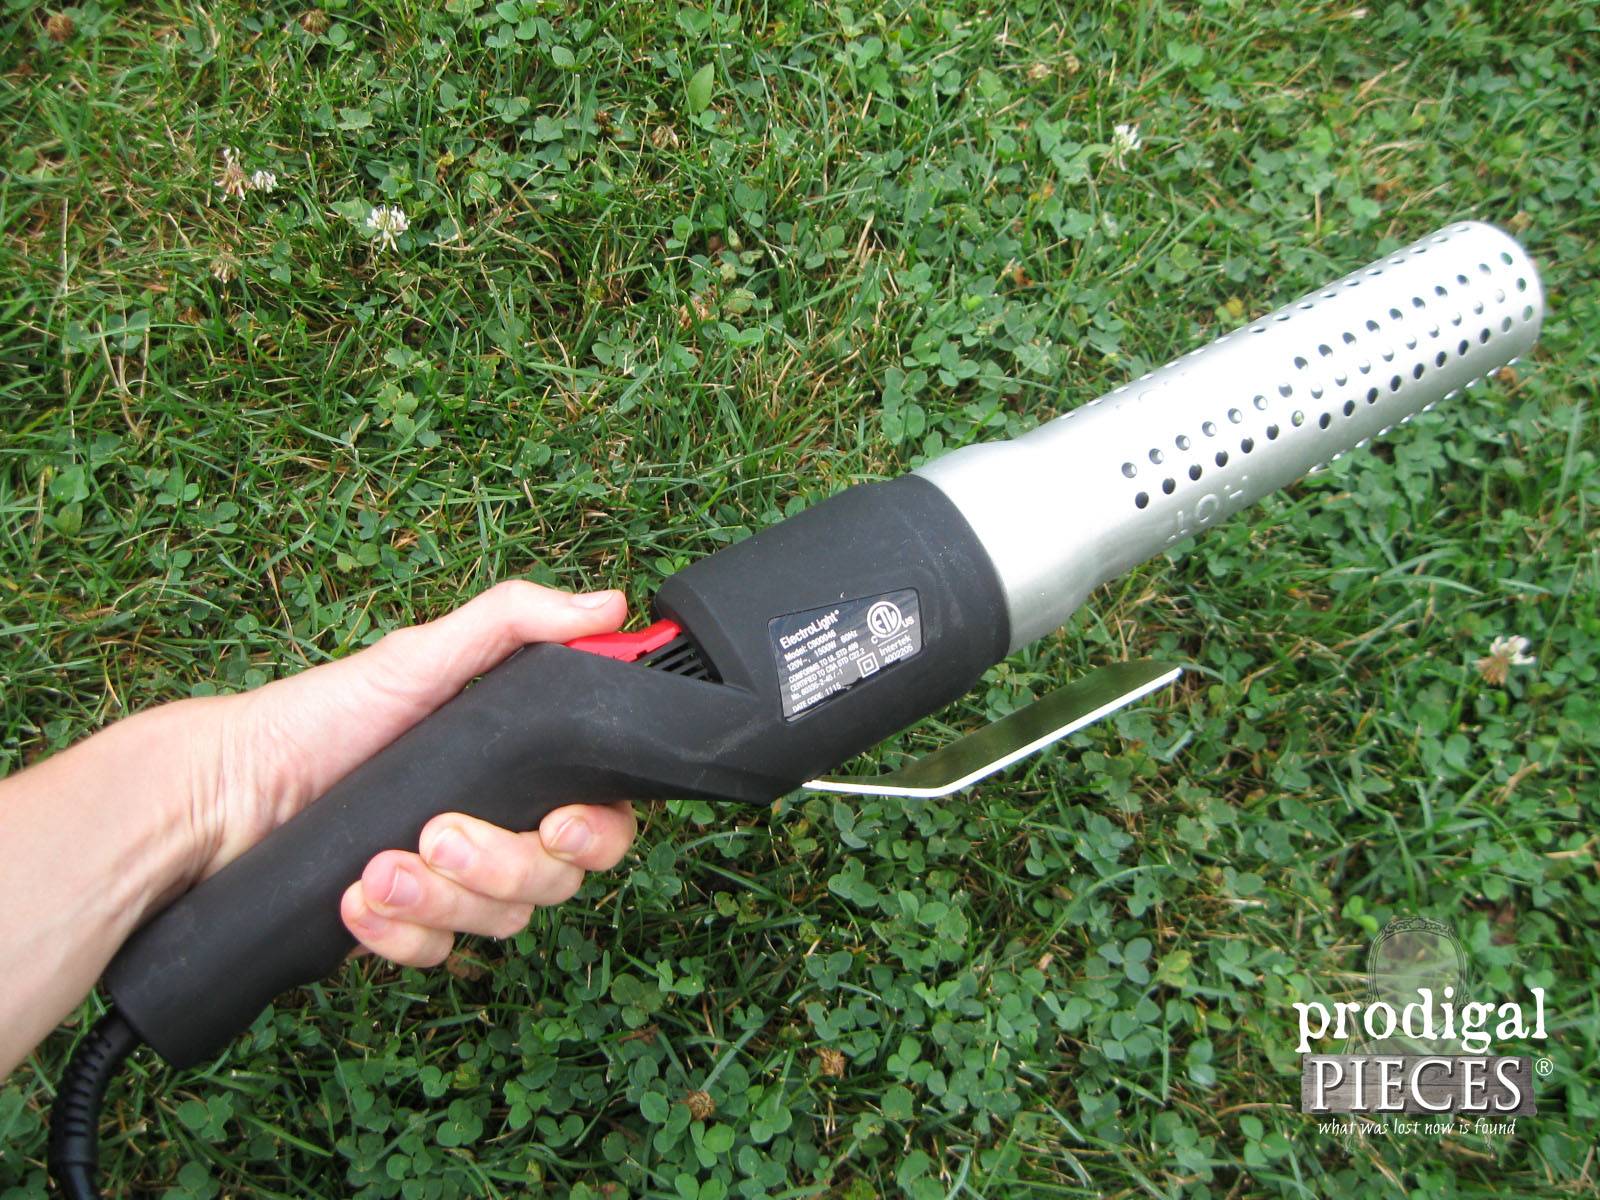
Additionally, for even more outdoor goodness, I have a sweet treat for you with the recipe of the month, and I’ll show you how it’s done by using this tool. Any guesses? Come on over and see!
Before you go, be sure to sign up for my newsletter. Until next time!




Love what you create and share!
Thank you, Ted!
Love, love, love! Ive purchased thrifted pillows and thrifted covers, washed and displayed but never thought to use the outdoor fabric to make my own. Im definately going to give it a go! I always just assumed the outdoor fabric would just be too expensive, or too thick fibered and tough to sew. (I see how expensive outdoor pillows and cushions are withSunbrella at home improvement stores. Yeowch)
I do that too, Holly. I especially love the crocheted ones! Have some stitchin’ fun, girl. 😉
Just as a quick aside to Larissa’s lovely idea – if you aren’t too picky on colors, etc. Walmart had some beautiful turquoise ones, plain and patterened, some with birds, and some other colors or $5.00 each! I couldn’t believe it and snatched up 6 for me outdoor table and chairs set! Looks pretty!
Sorry – “patterned”, “for” not “or” and “my” not me….. It’s a messy post – keyboard is acting strangely!
Well done Larissa! I can’t see spending money on pillows that will be out of style in a year. This way you are being friendly to the environment by upcycling old ones and you save lots of money! A win-win!
That’s exactly the idea, Mary. Thank you for getting it! 🙂
I just looked at pretty outdoor pillows $20-$100.each! I was shocked and went home empty handed.I will make my own.Great tutorial.
I just couldn’t fork out that amount knowing a bird could land and do his thing. Nope. I hope you get some made soon! 🙂
Do you have a tutorial on the pergola you all built?We want to tackle one for the summer.Thank you.
Hi Cheryl. I really don’t have one. We just built it according to our needs and used some similar tutorials online as guides. I have a pin board on Pinterest that has some of the tips HERE. Hope that helps!
Look at those pillows! You know i like the fabric.
Thanks, girl!
Can I leave these pillows out in the rain? It’s getting annoying to bring in my cushions each time it might rain! Help!
As long as you use outdoor fabric with a pillow filled with a poly material, not feather or cotton.