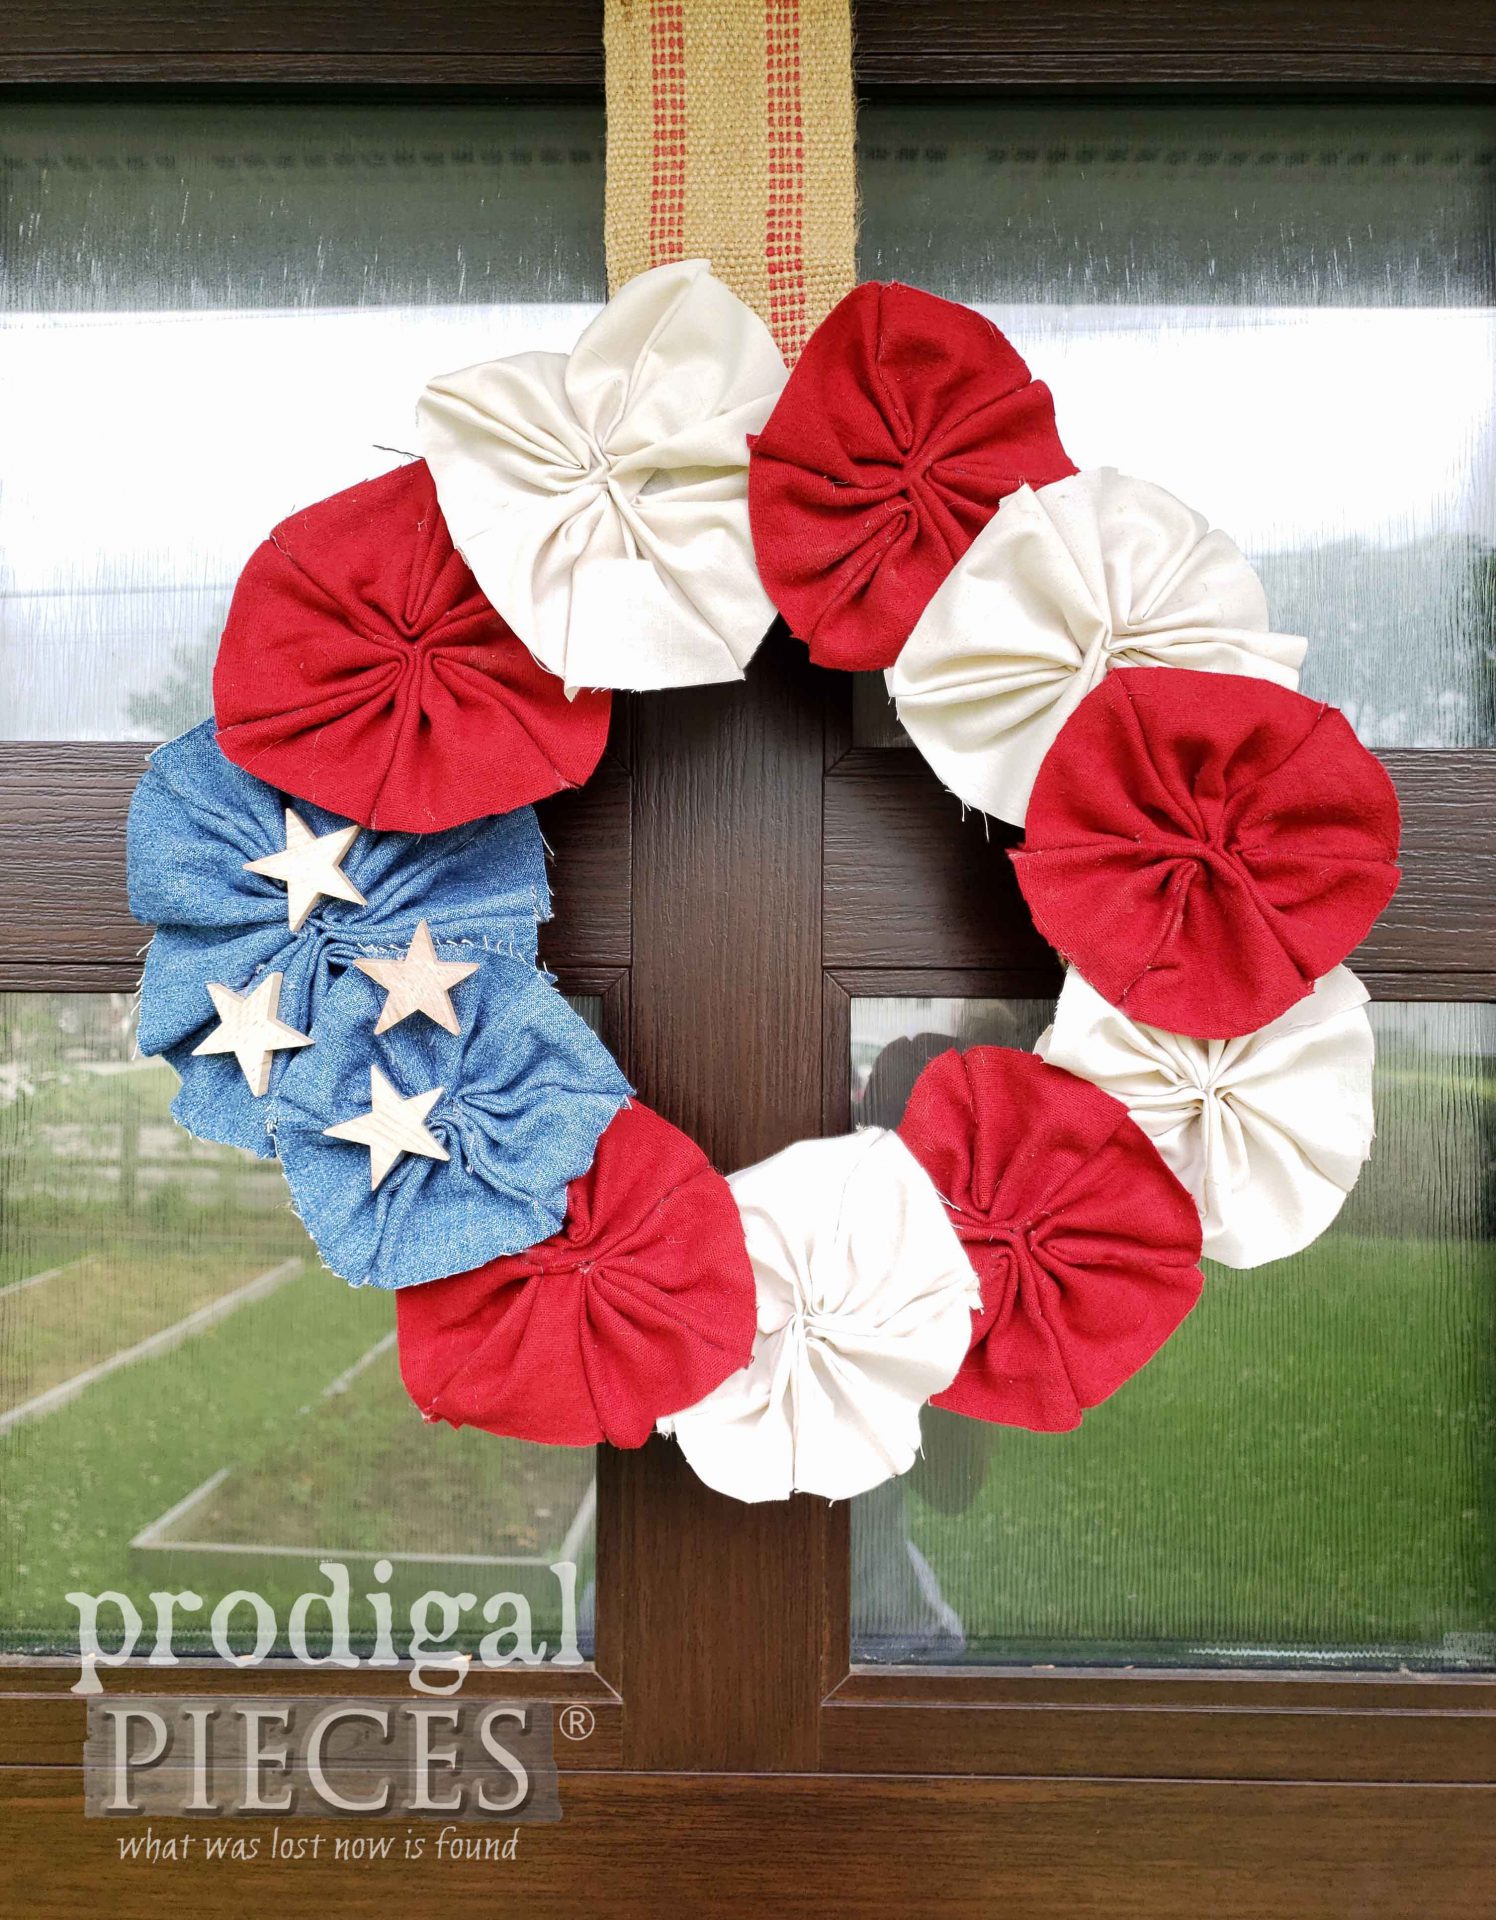
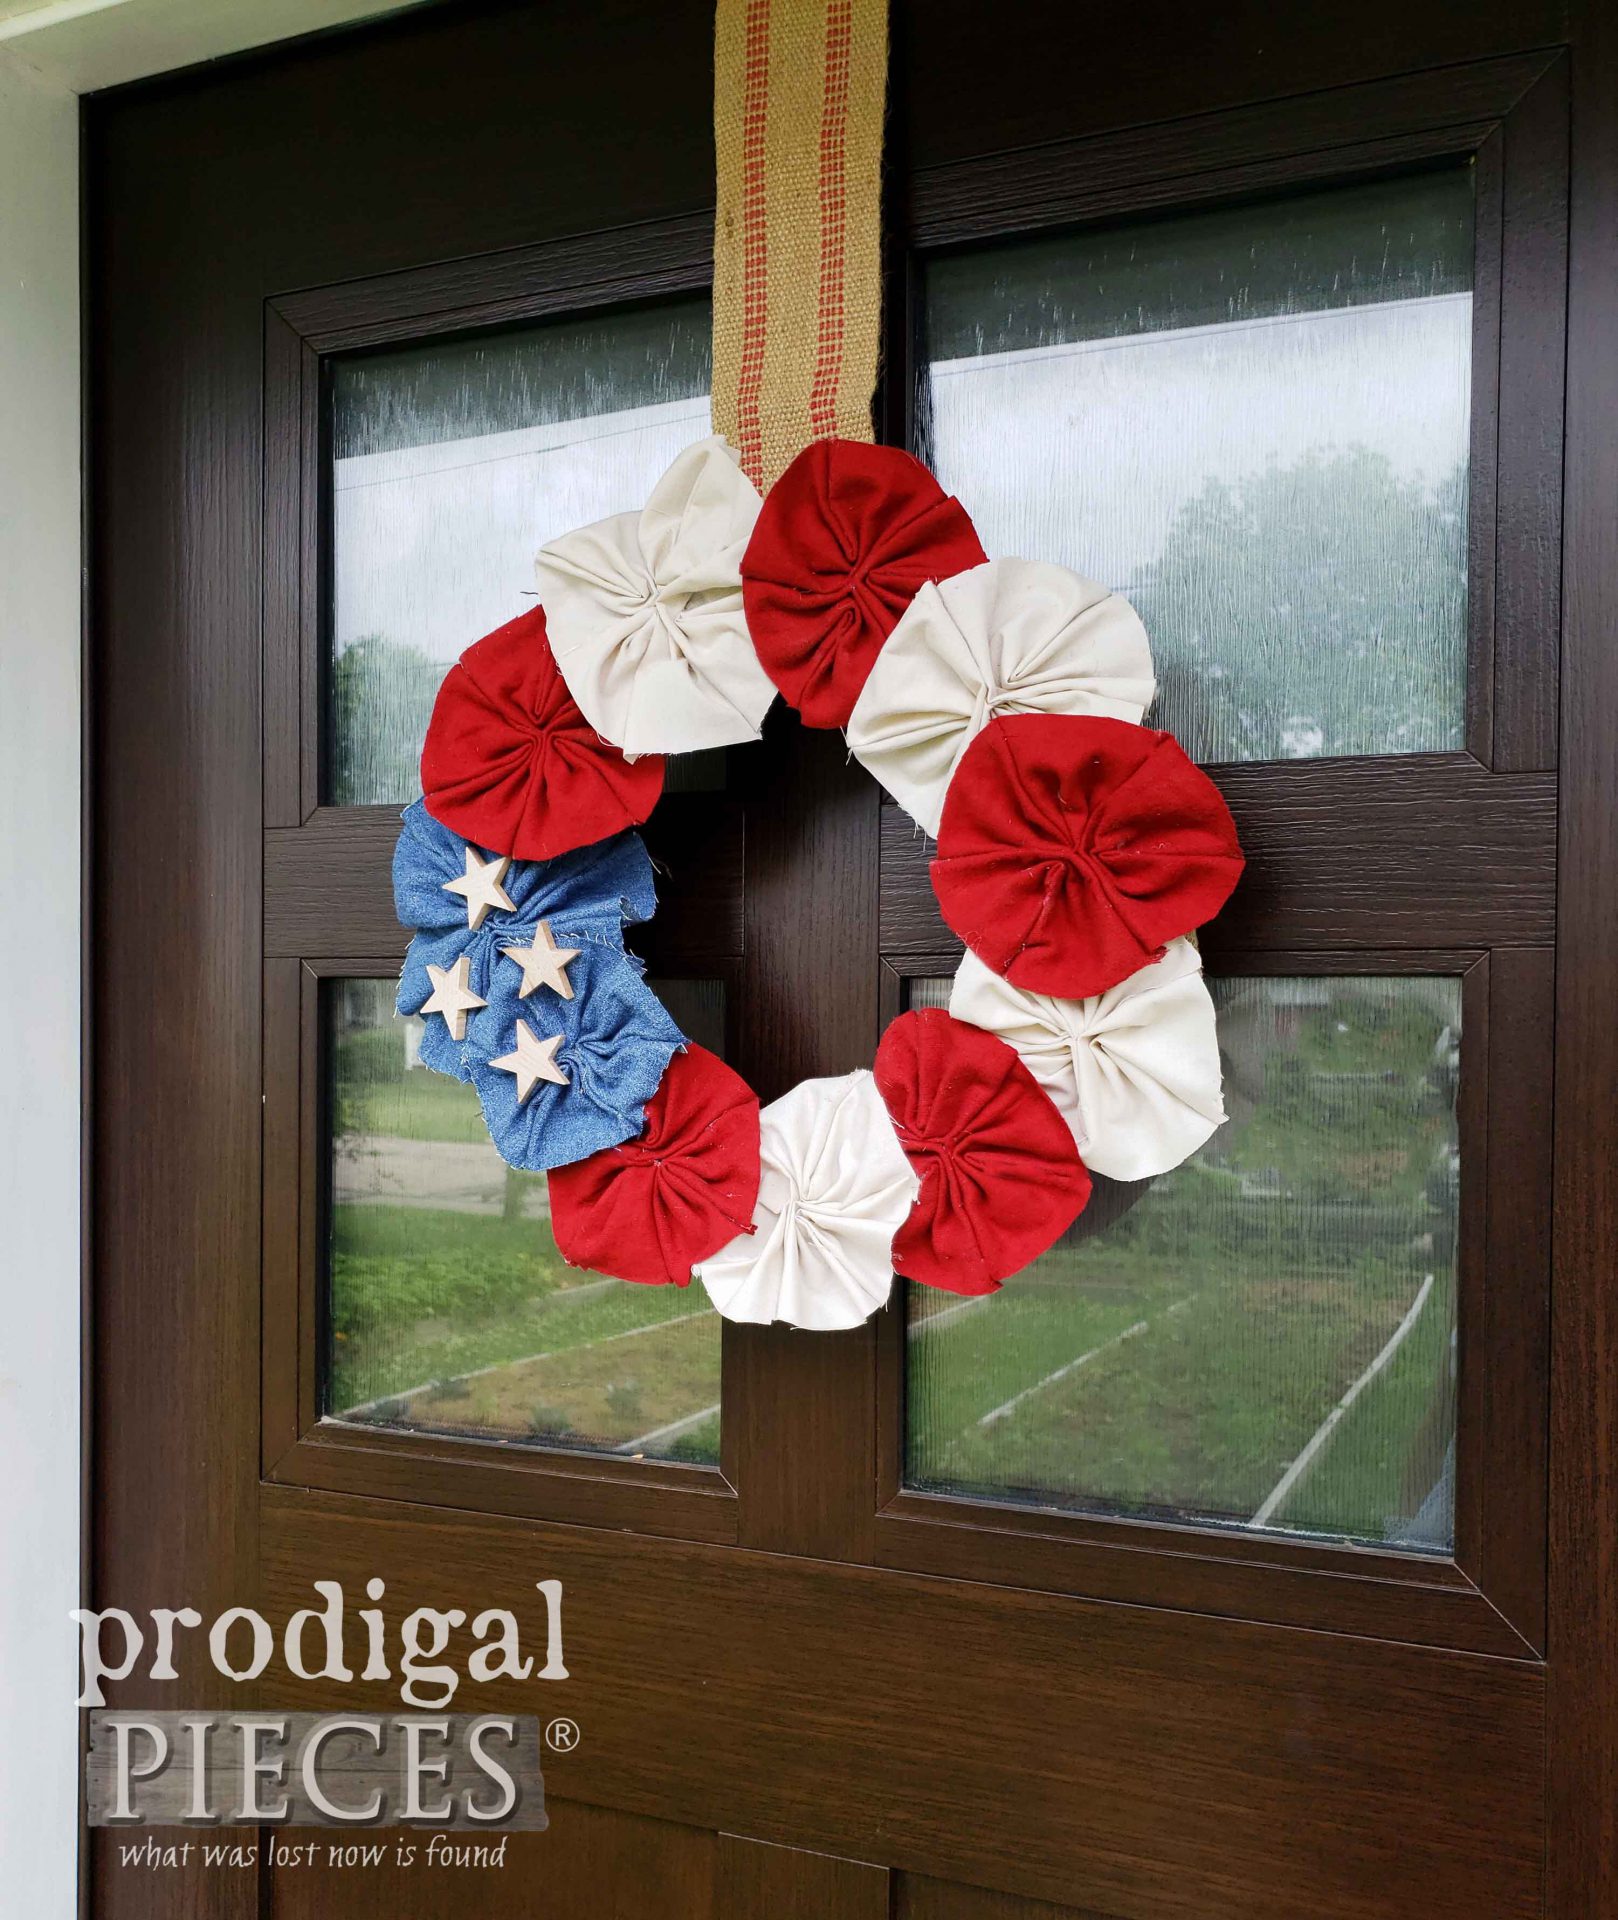
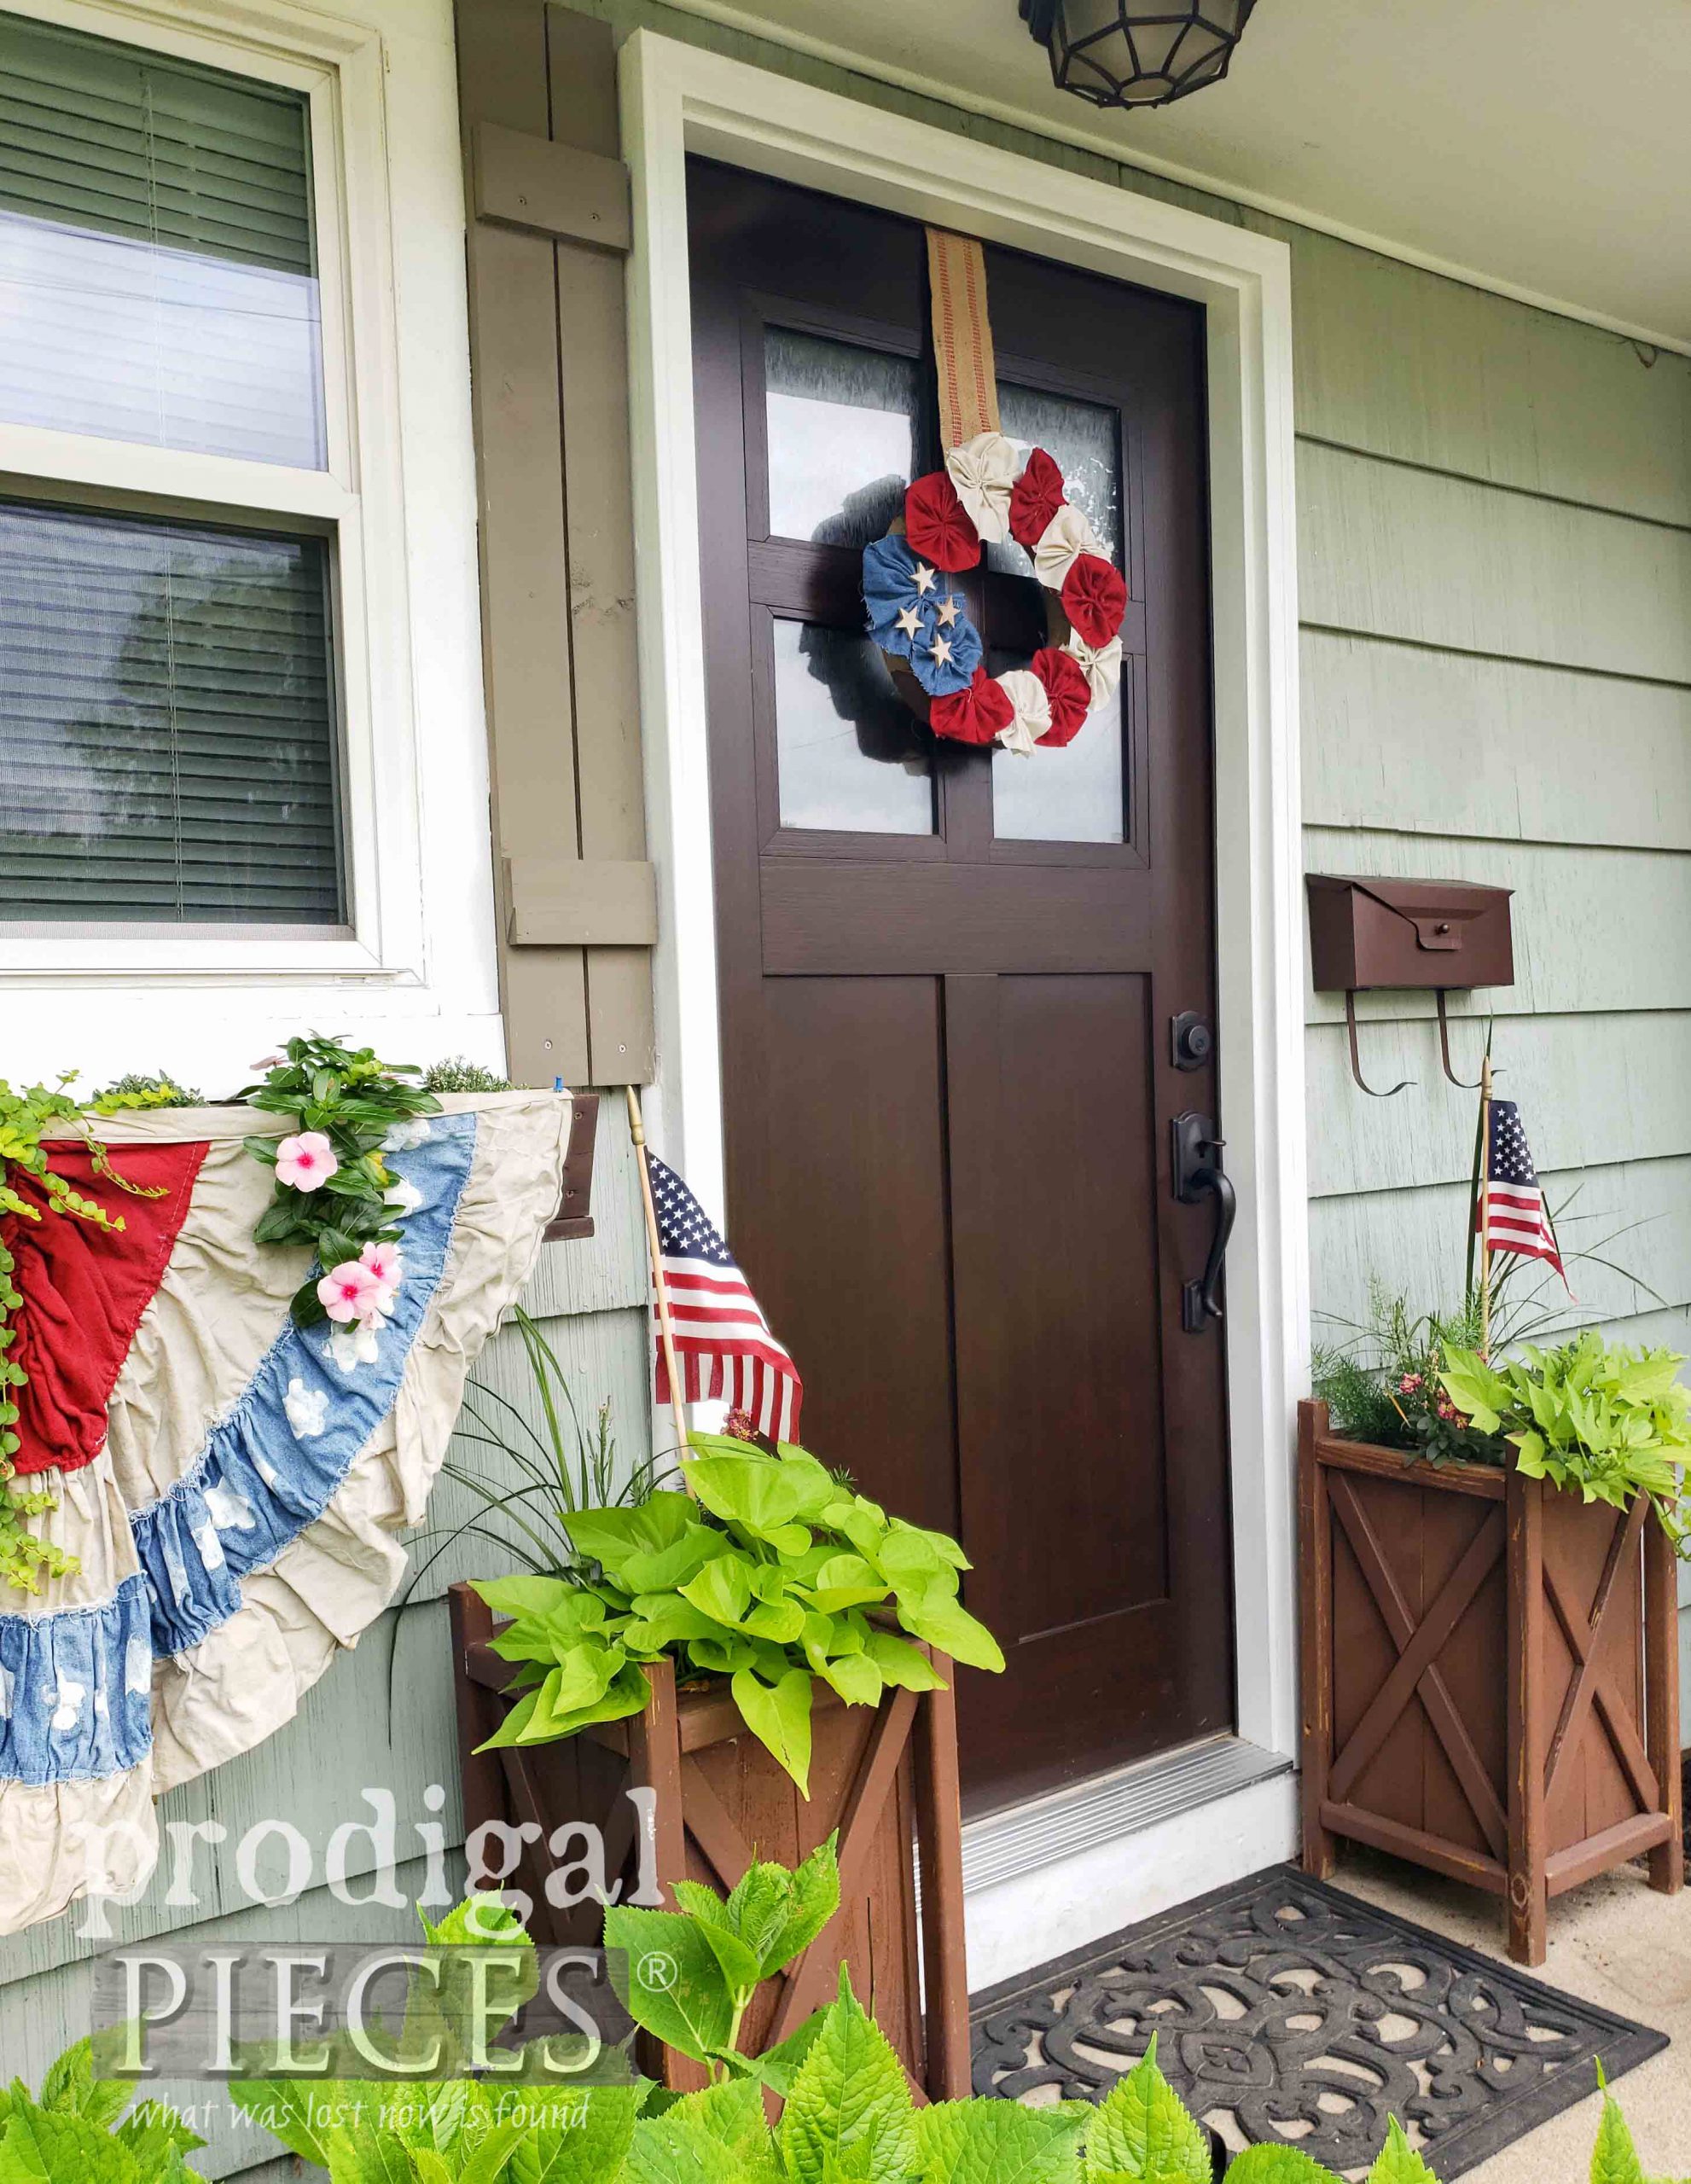
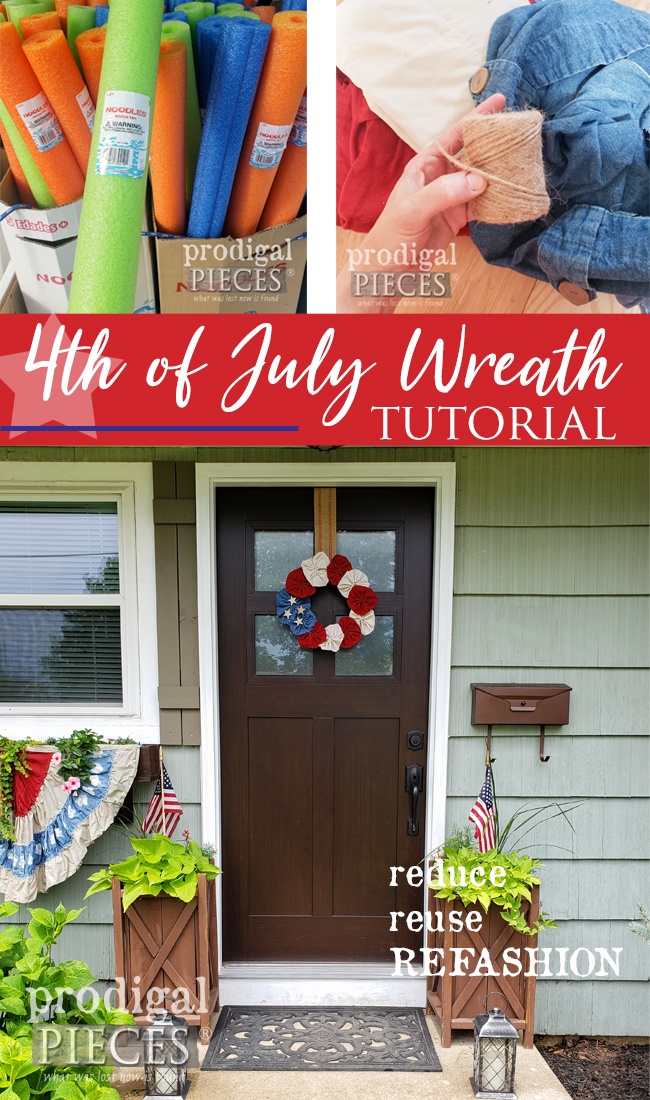
This time of year signifies true summer season in full swing – at least on this side of the globe. It also means that for us in the U.S.A. we celebrate the birth of our nation. It’s one of my favorite holidays. So, of course, in true Reduce, Reuse, REFASHION fun, I wanted to share with you this easy and simple DIY 4th of July wreath for Independence Day.
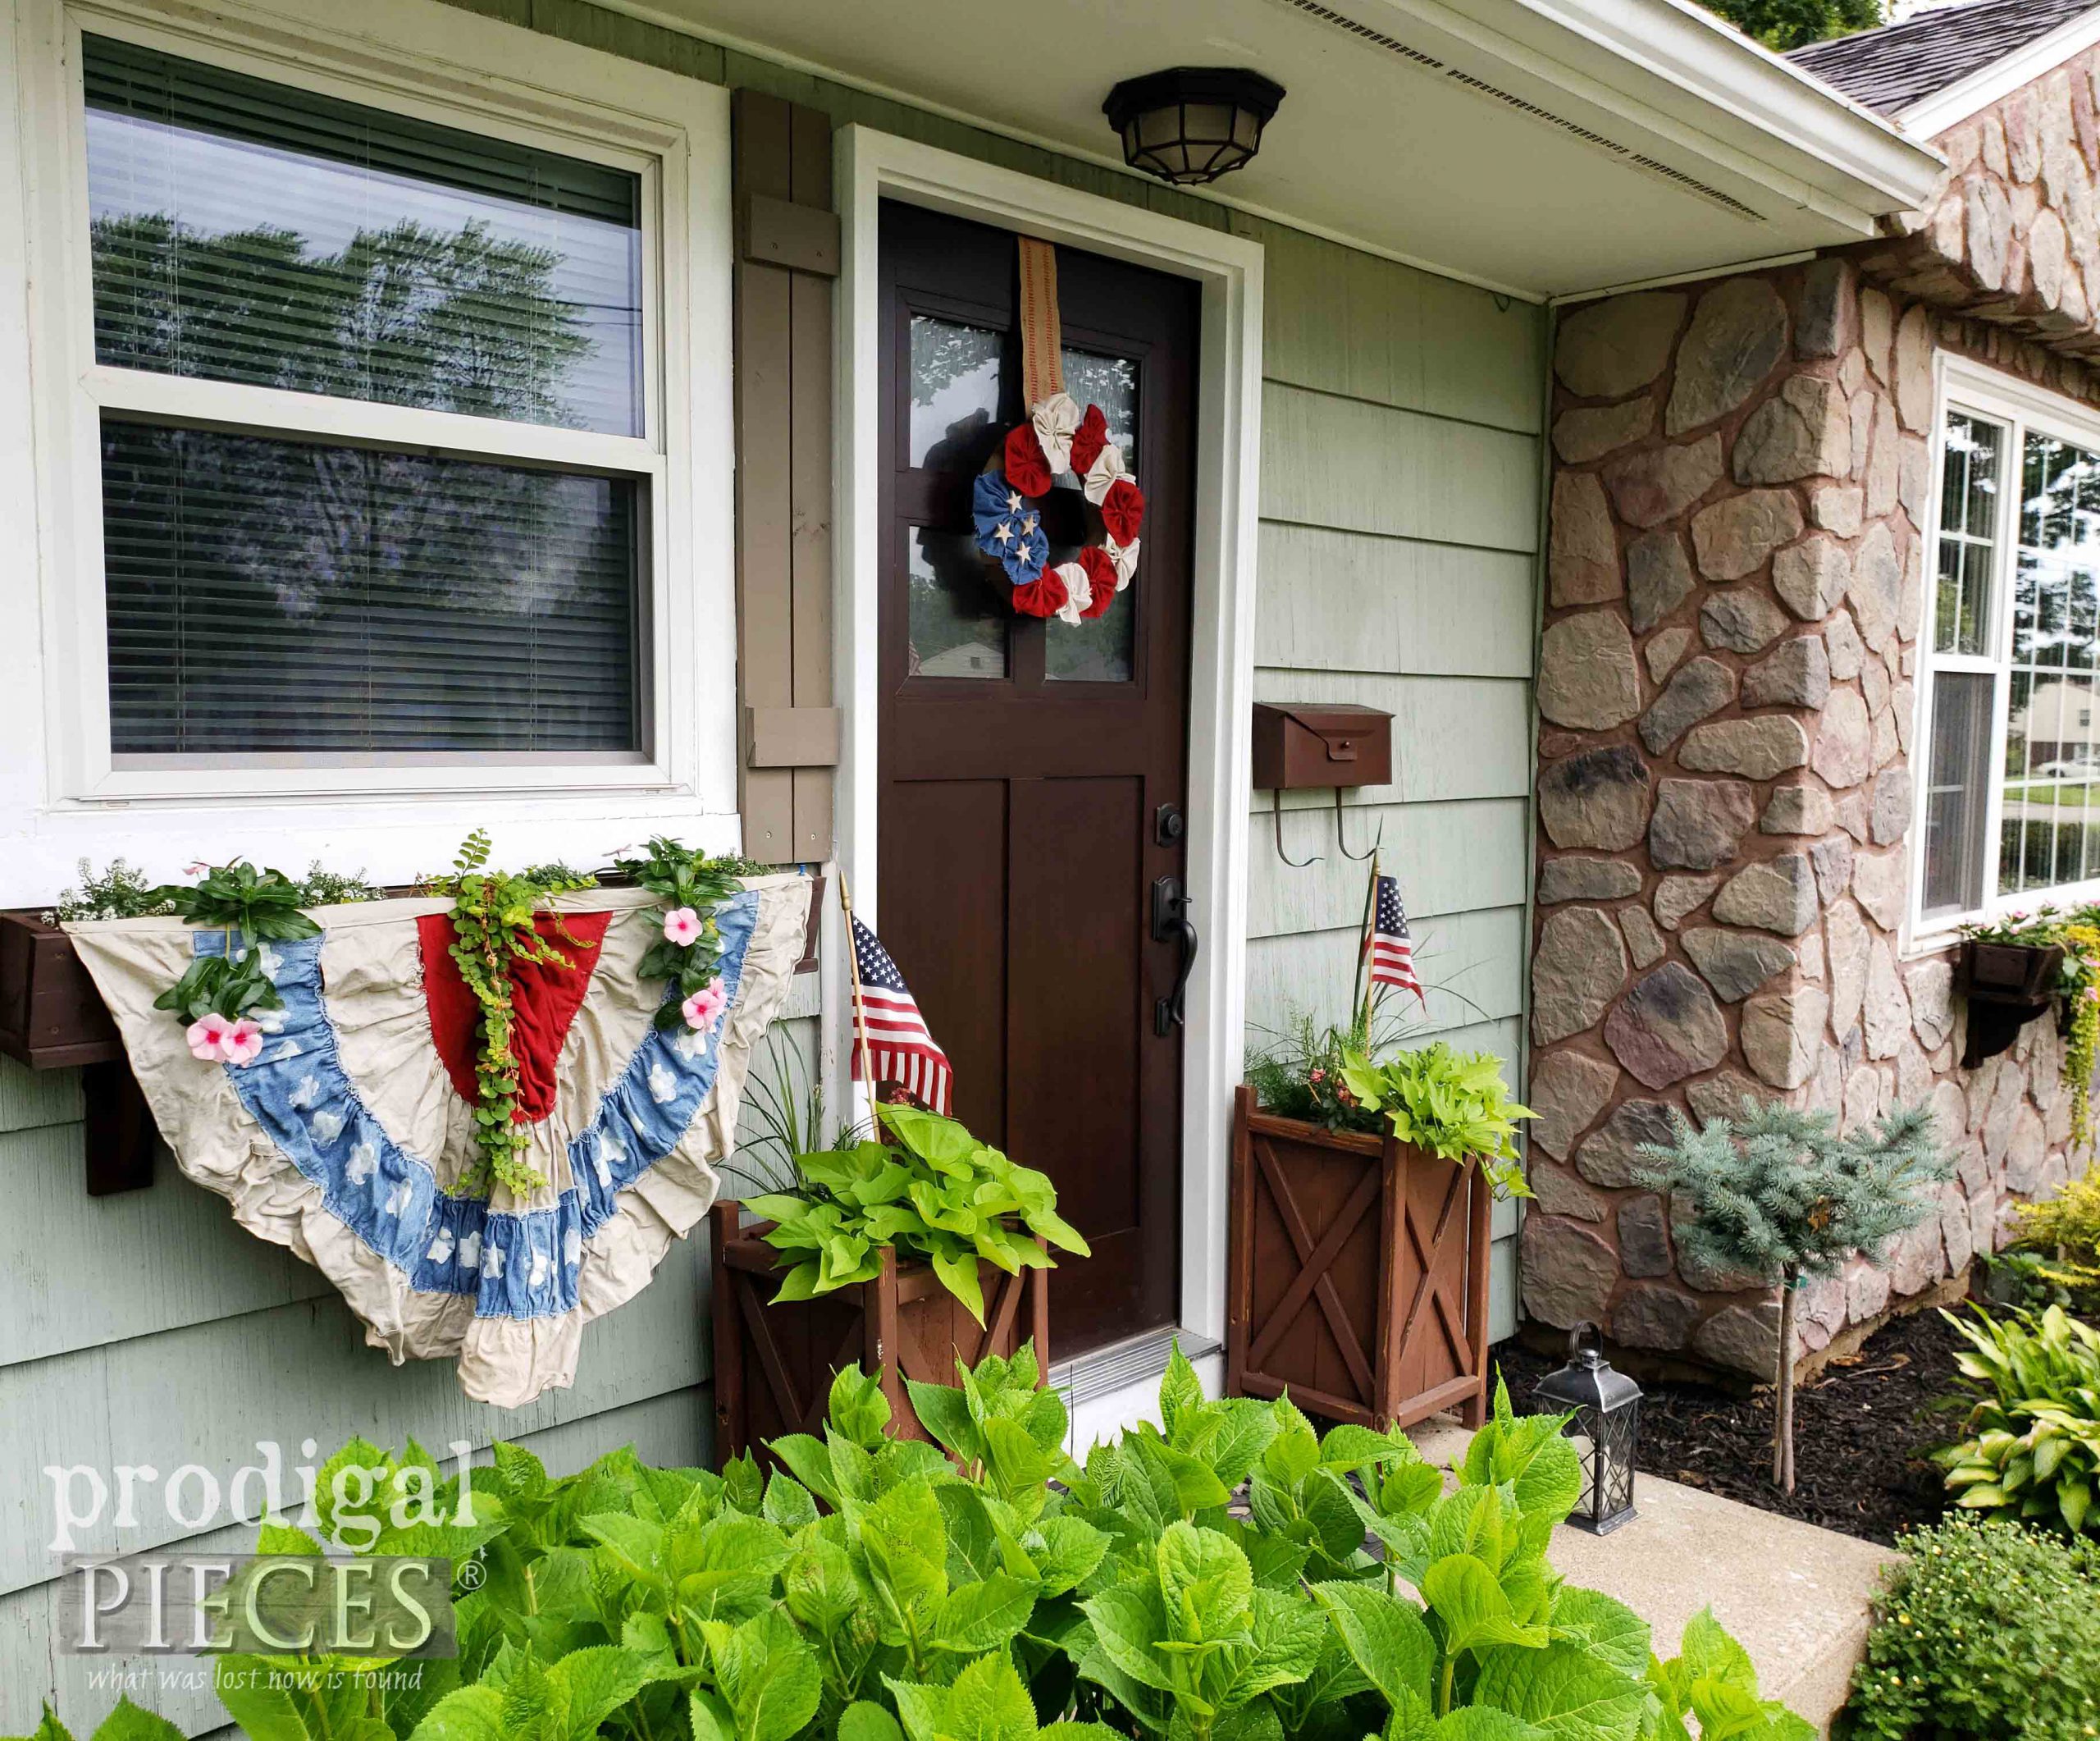
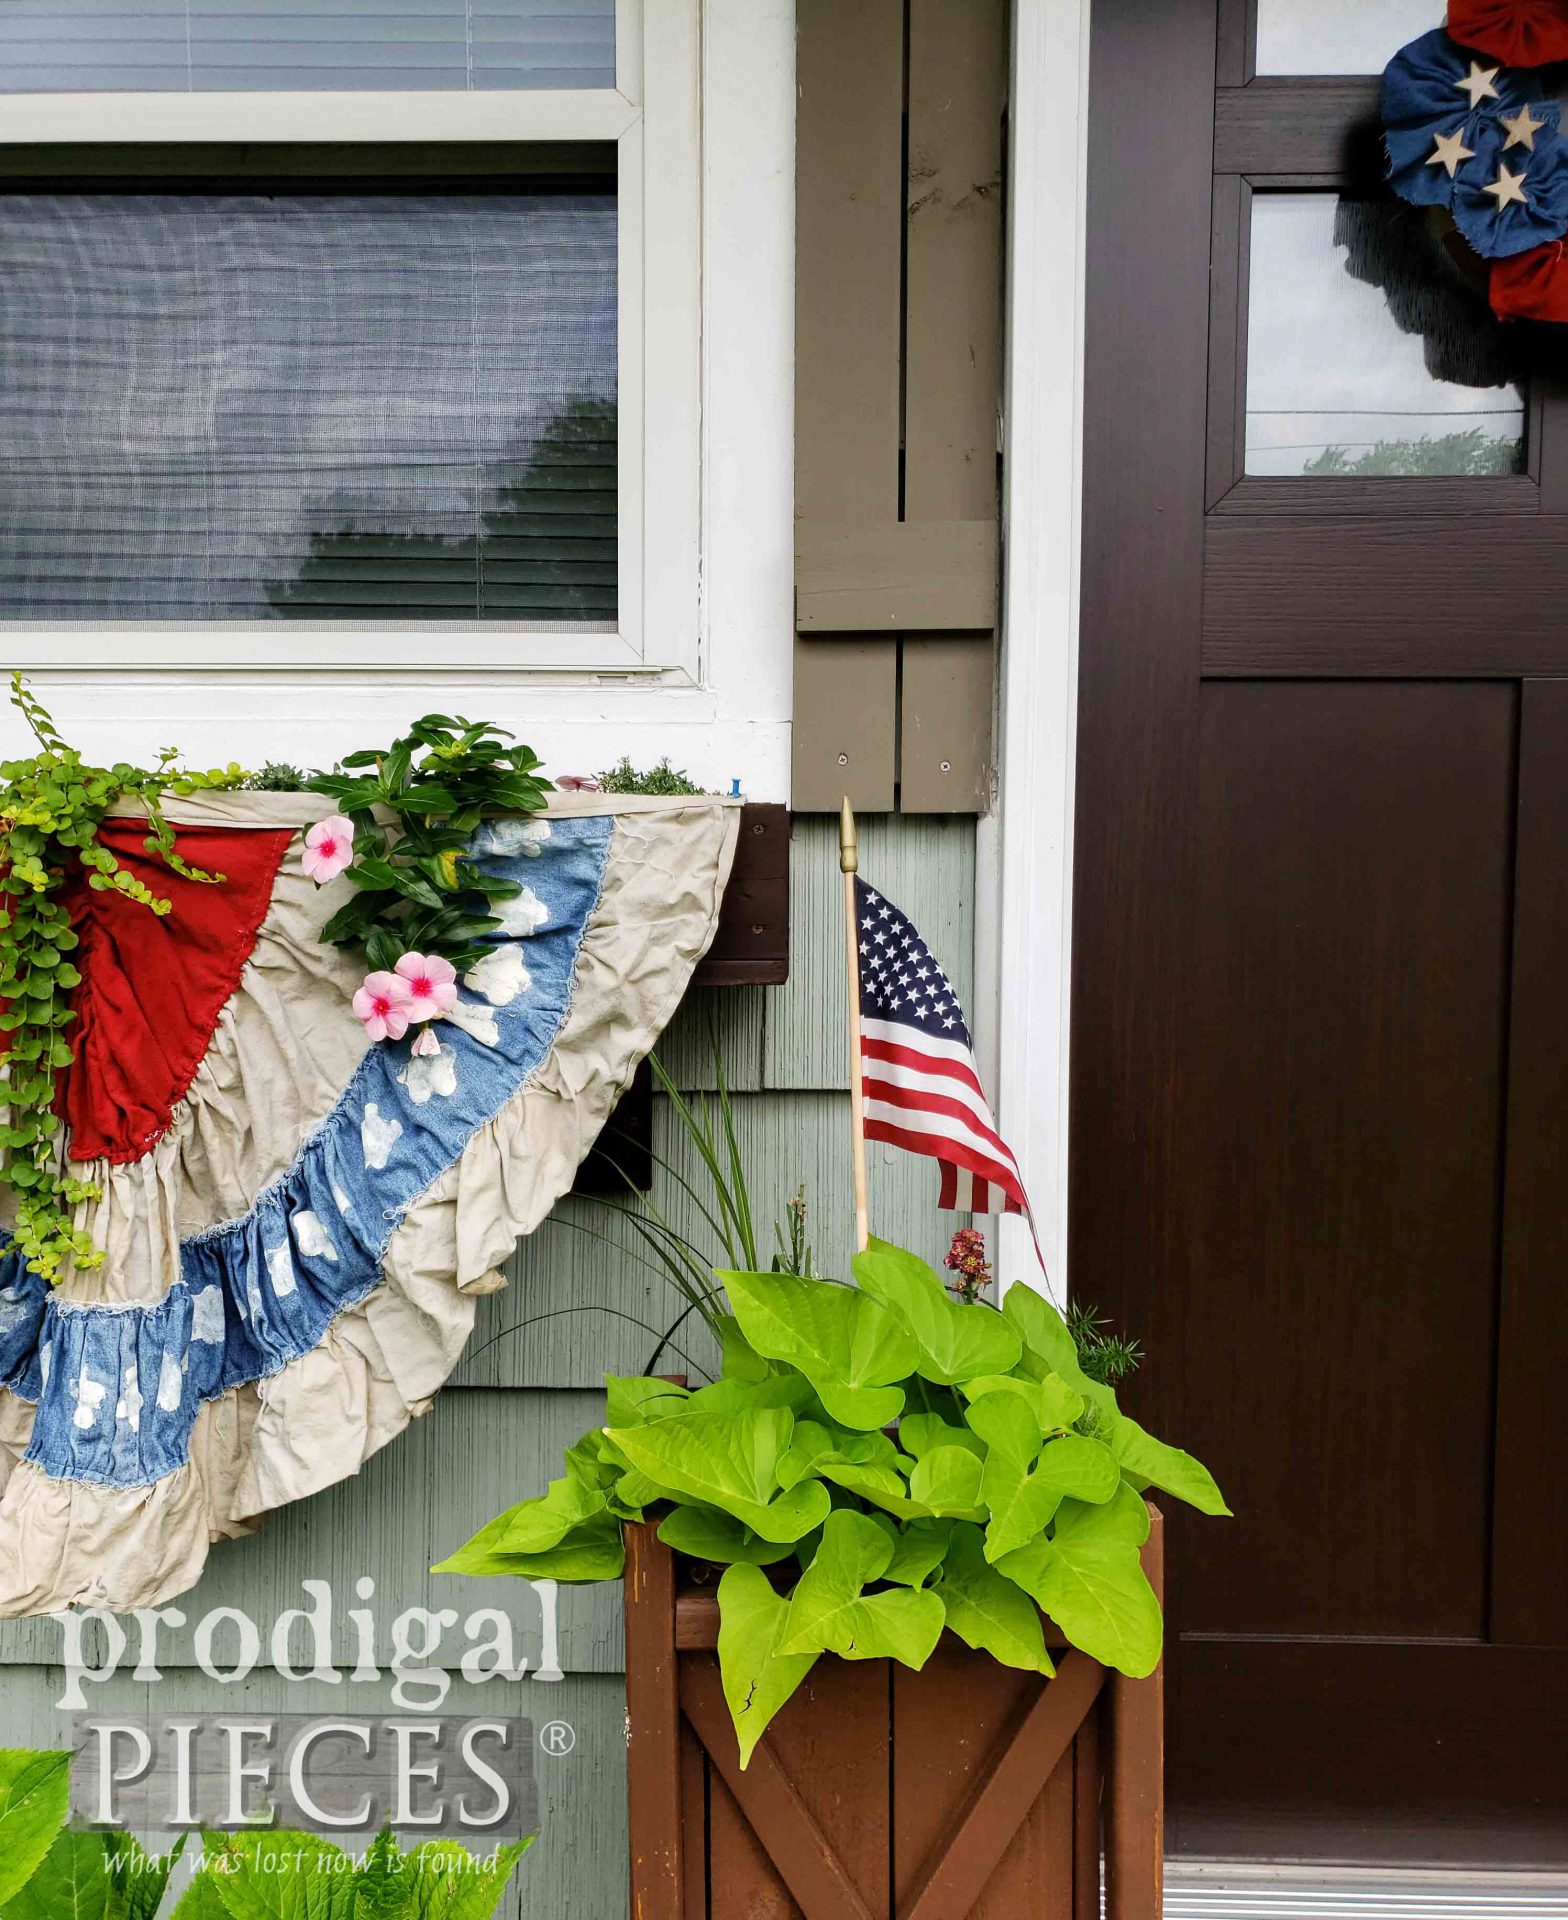
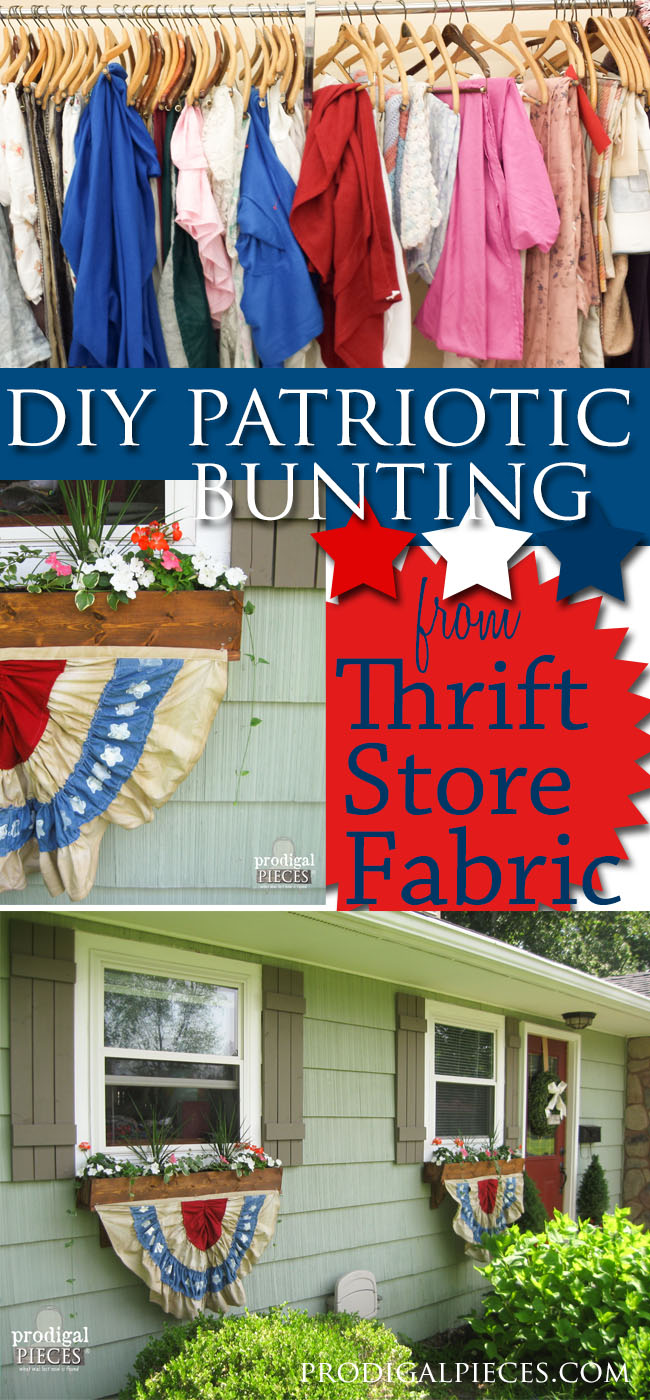
If you remember, a few years ago I made buntings from a denim curtain panel and two flat sheets. (tutorial HERE). I’ve been wanting to make a simple wreath to coordinate with those, so I thought today’s Reduce, Reuse, REFASHION Tuesday is the perfect time to get one done.
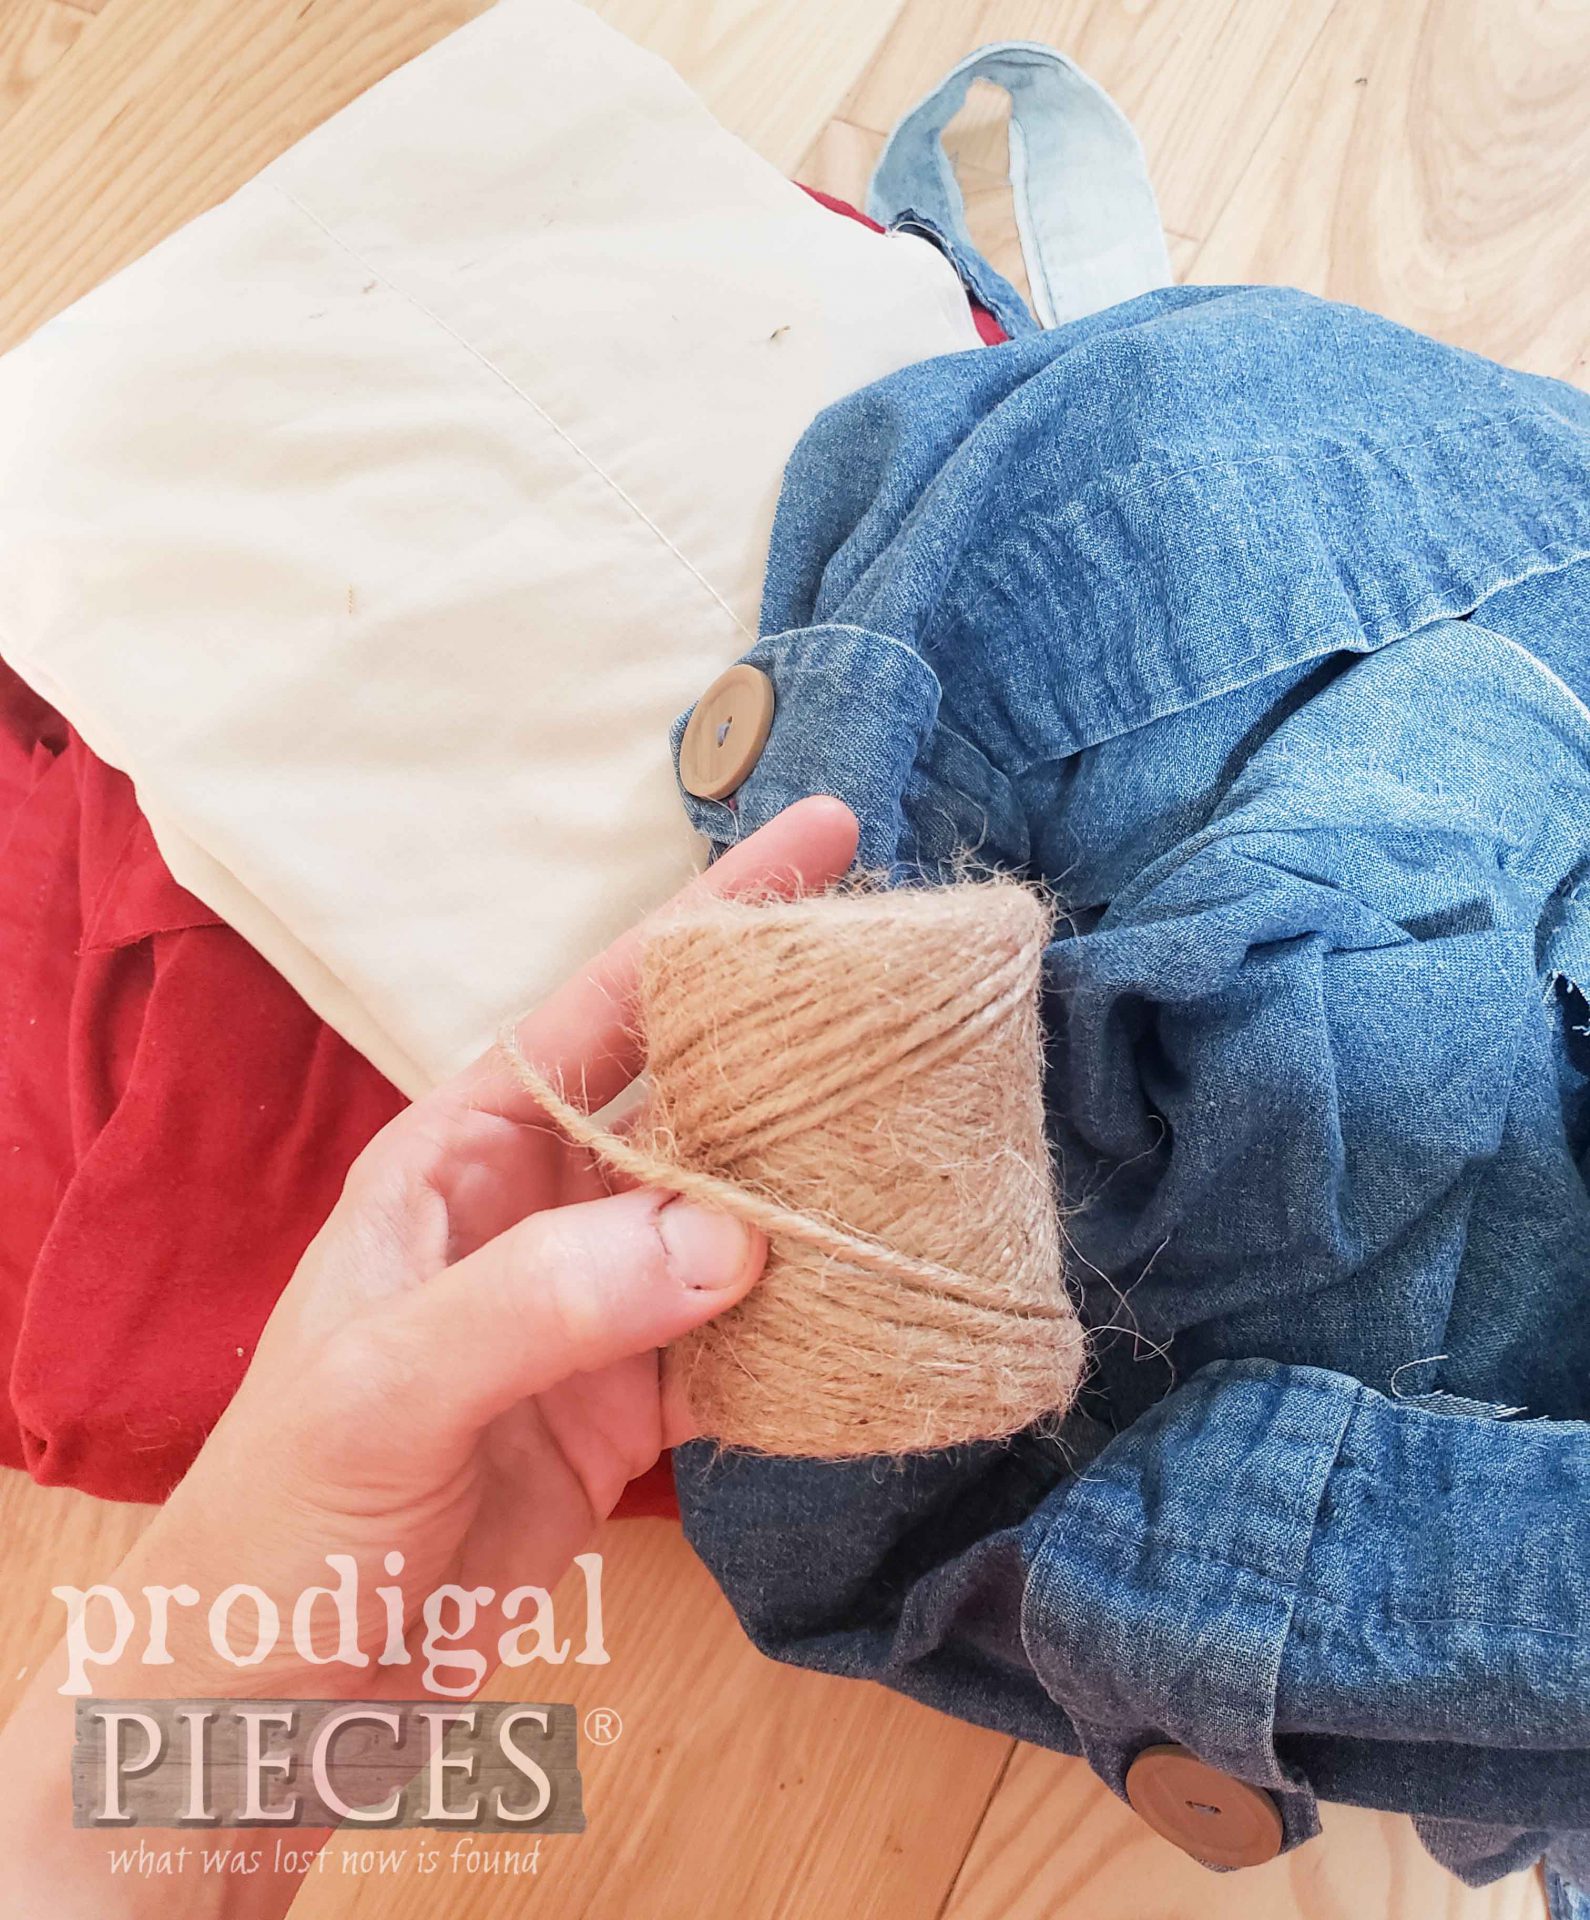
While you can make this 4th of July wreath in the same fashion I did, you can also make it in any color scheme for any holiday or decor situation. Here’s what you’ll need to make one too:
Tools & Supplies:
- red, white, and blue fabric scraps (shop your scrap stash or thrift store for useful items)
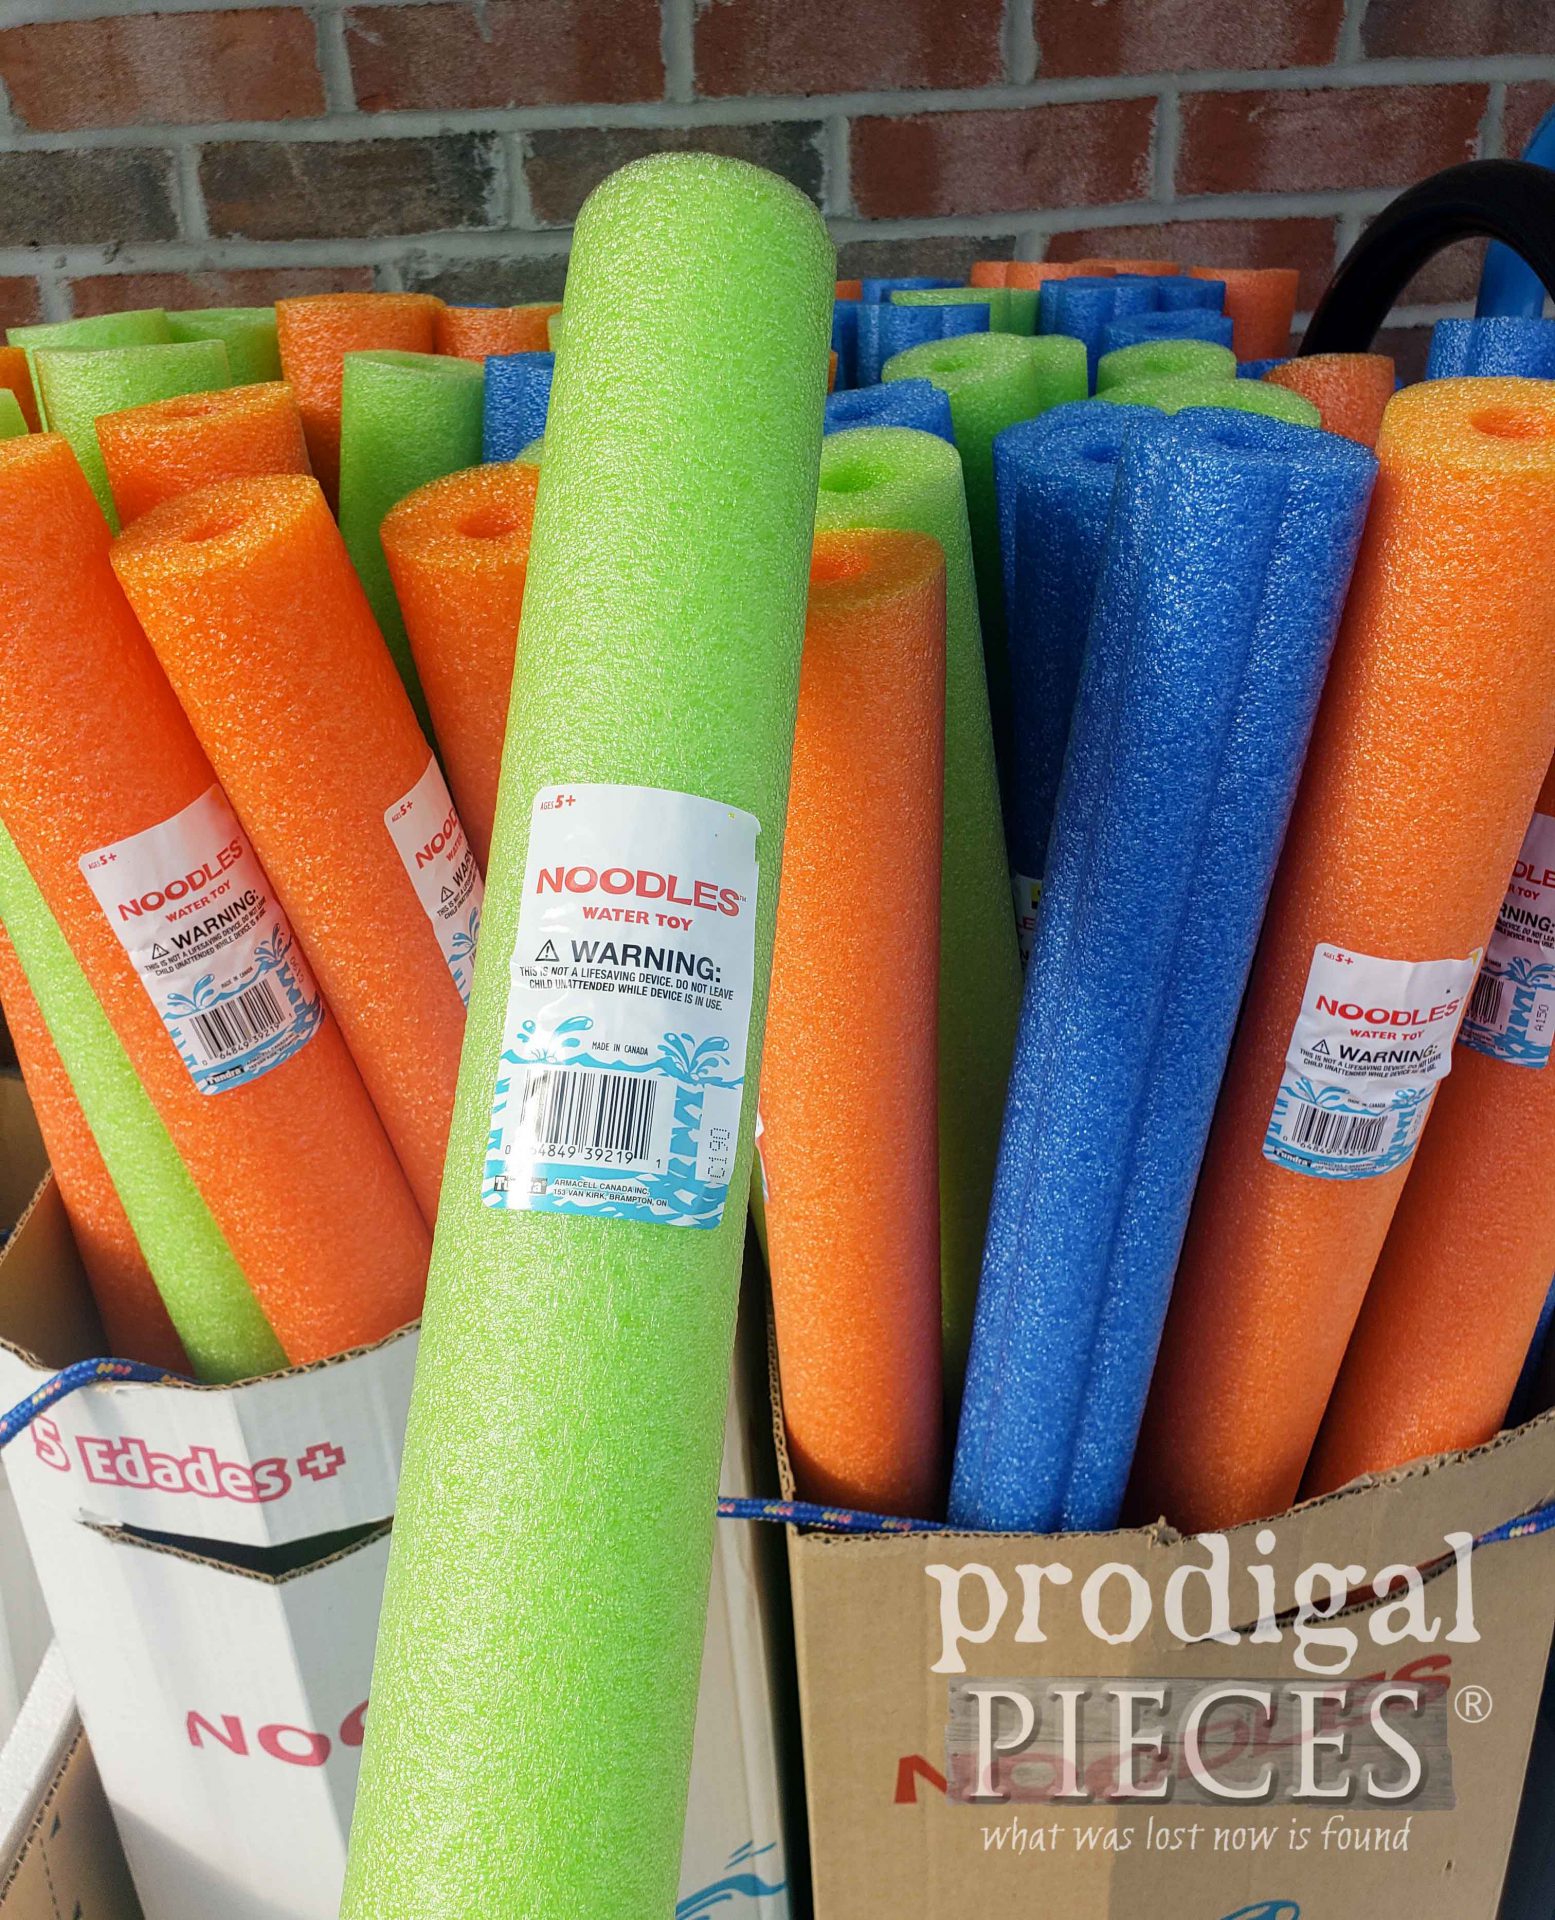
- pool noodle (I use the smaller diameter size, but you can use any you prefer)
- duct tape
- burlap or other scrap fabric
- sewing scissors
- hot glue gun
- hot glue sticks
- 1″ wooden stars (optional)
STEP 1
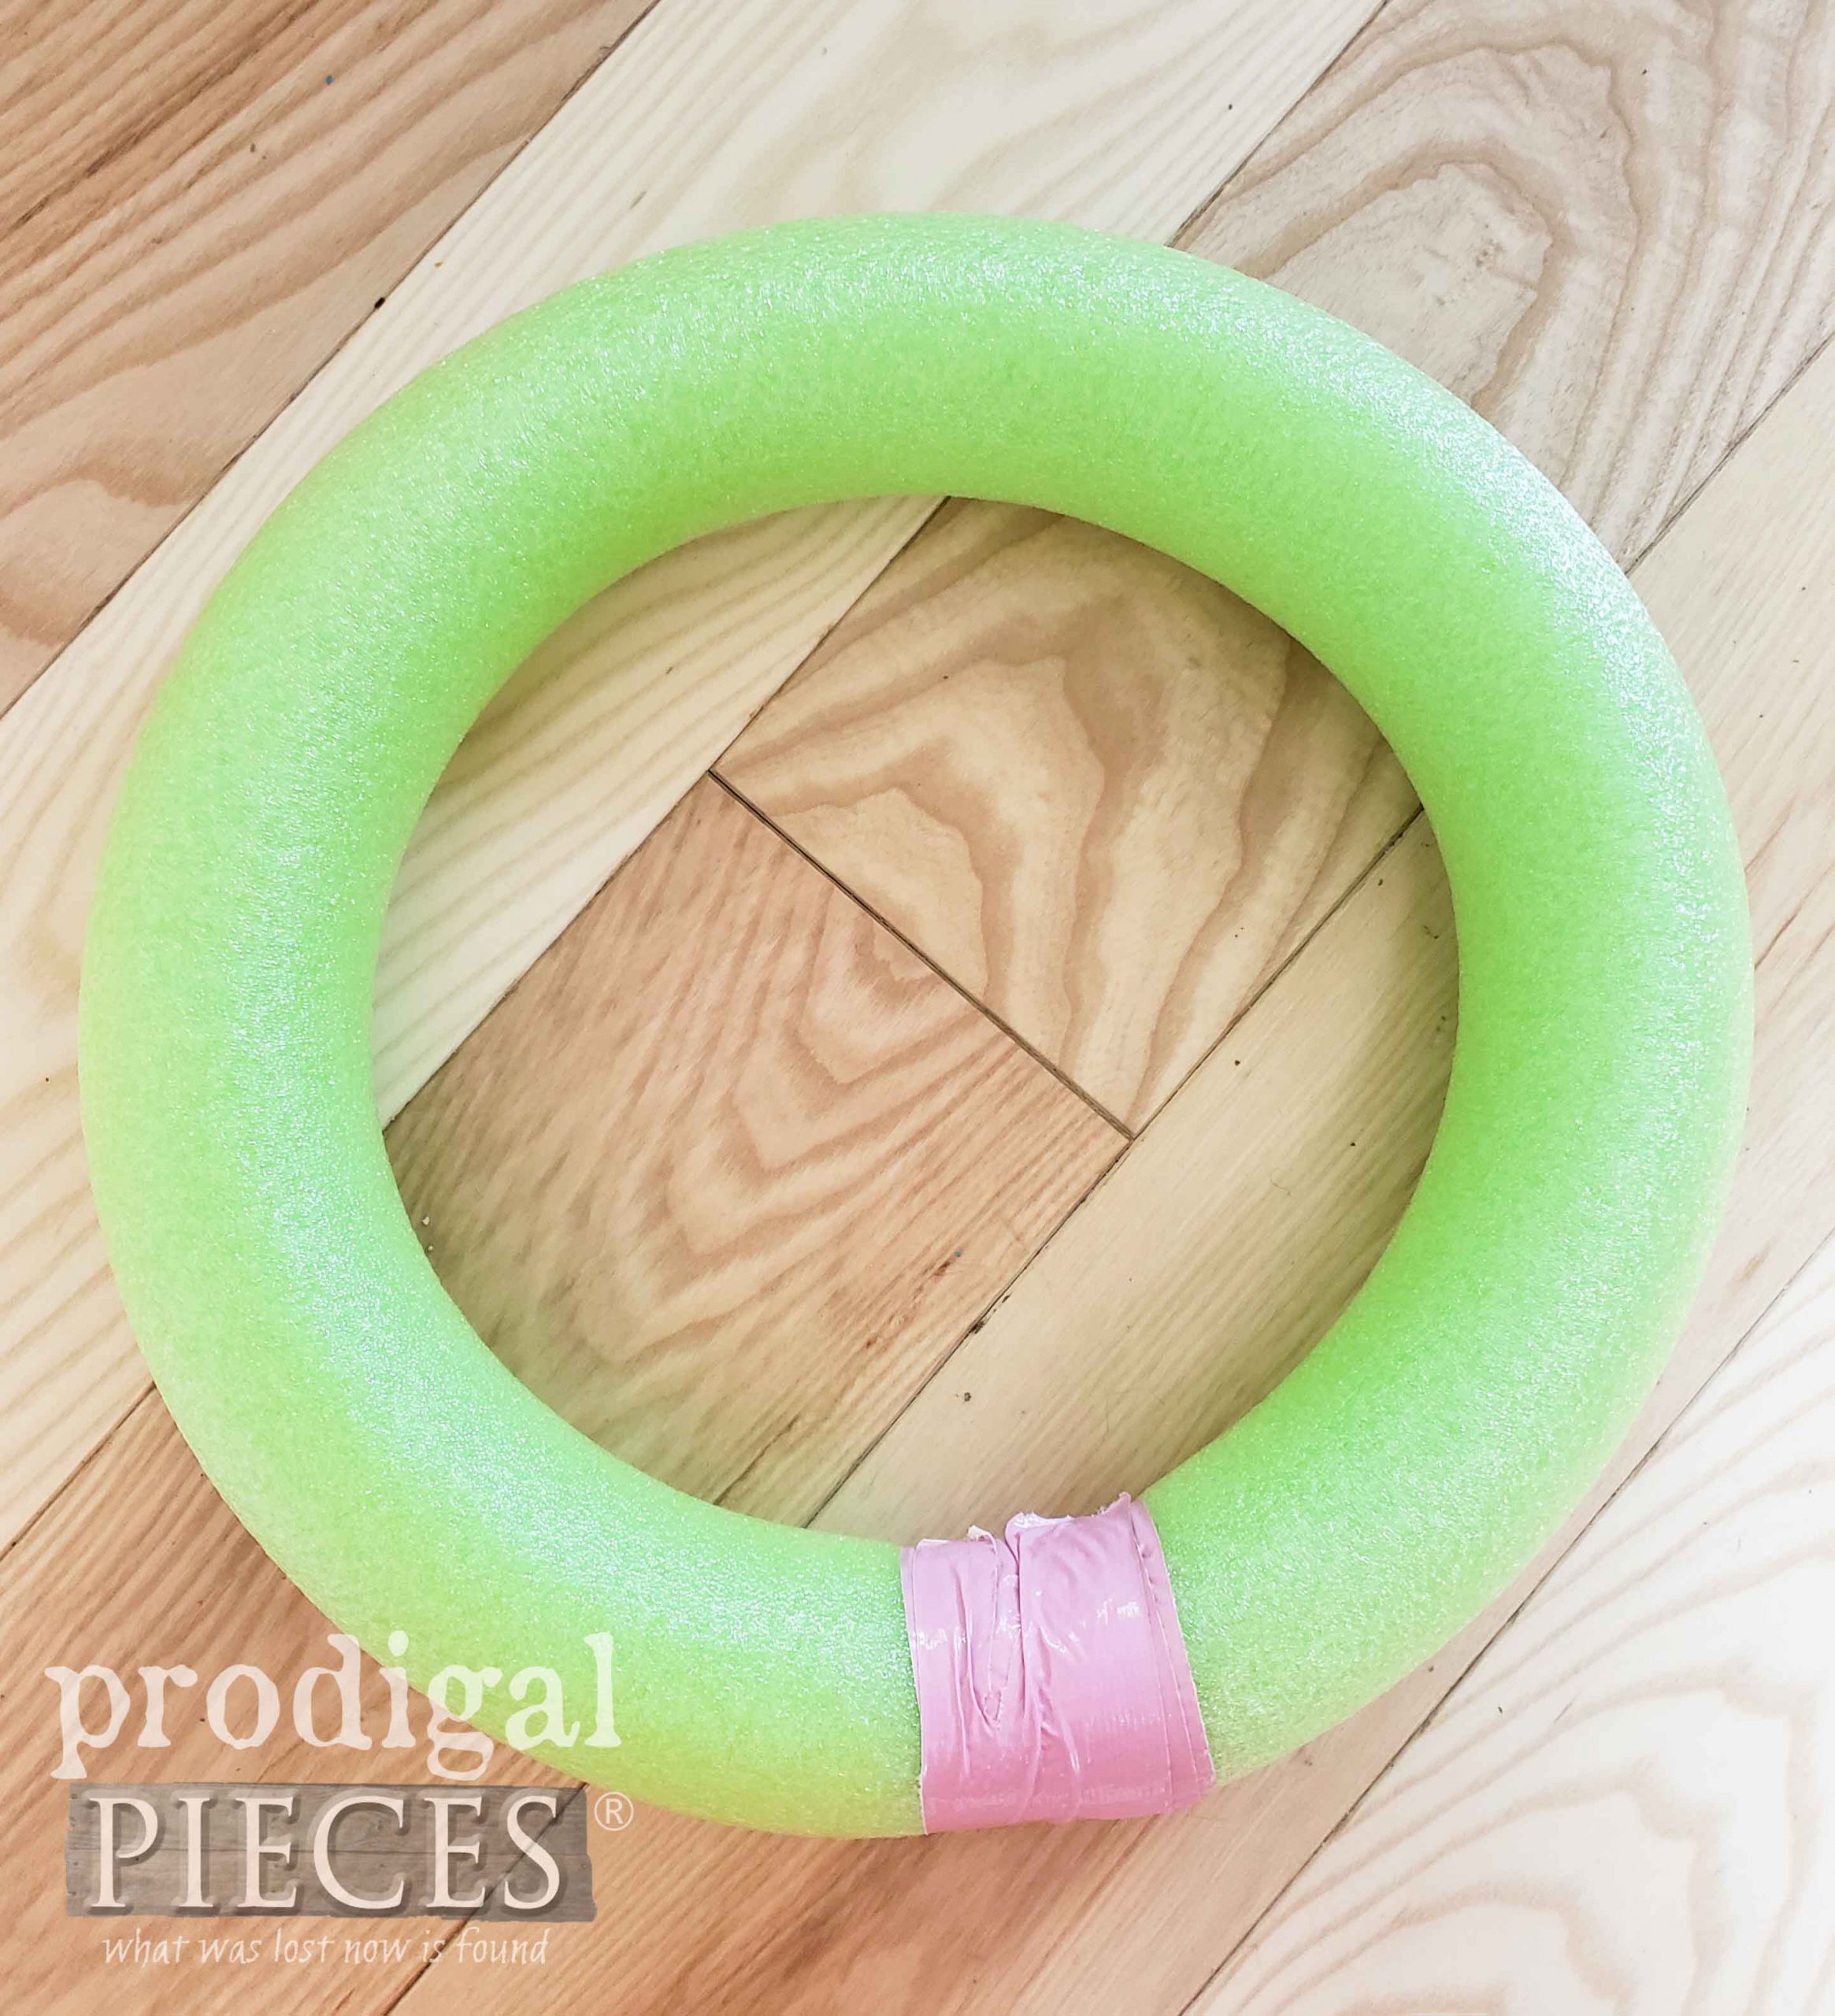
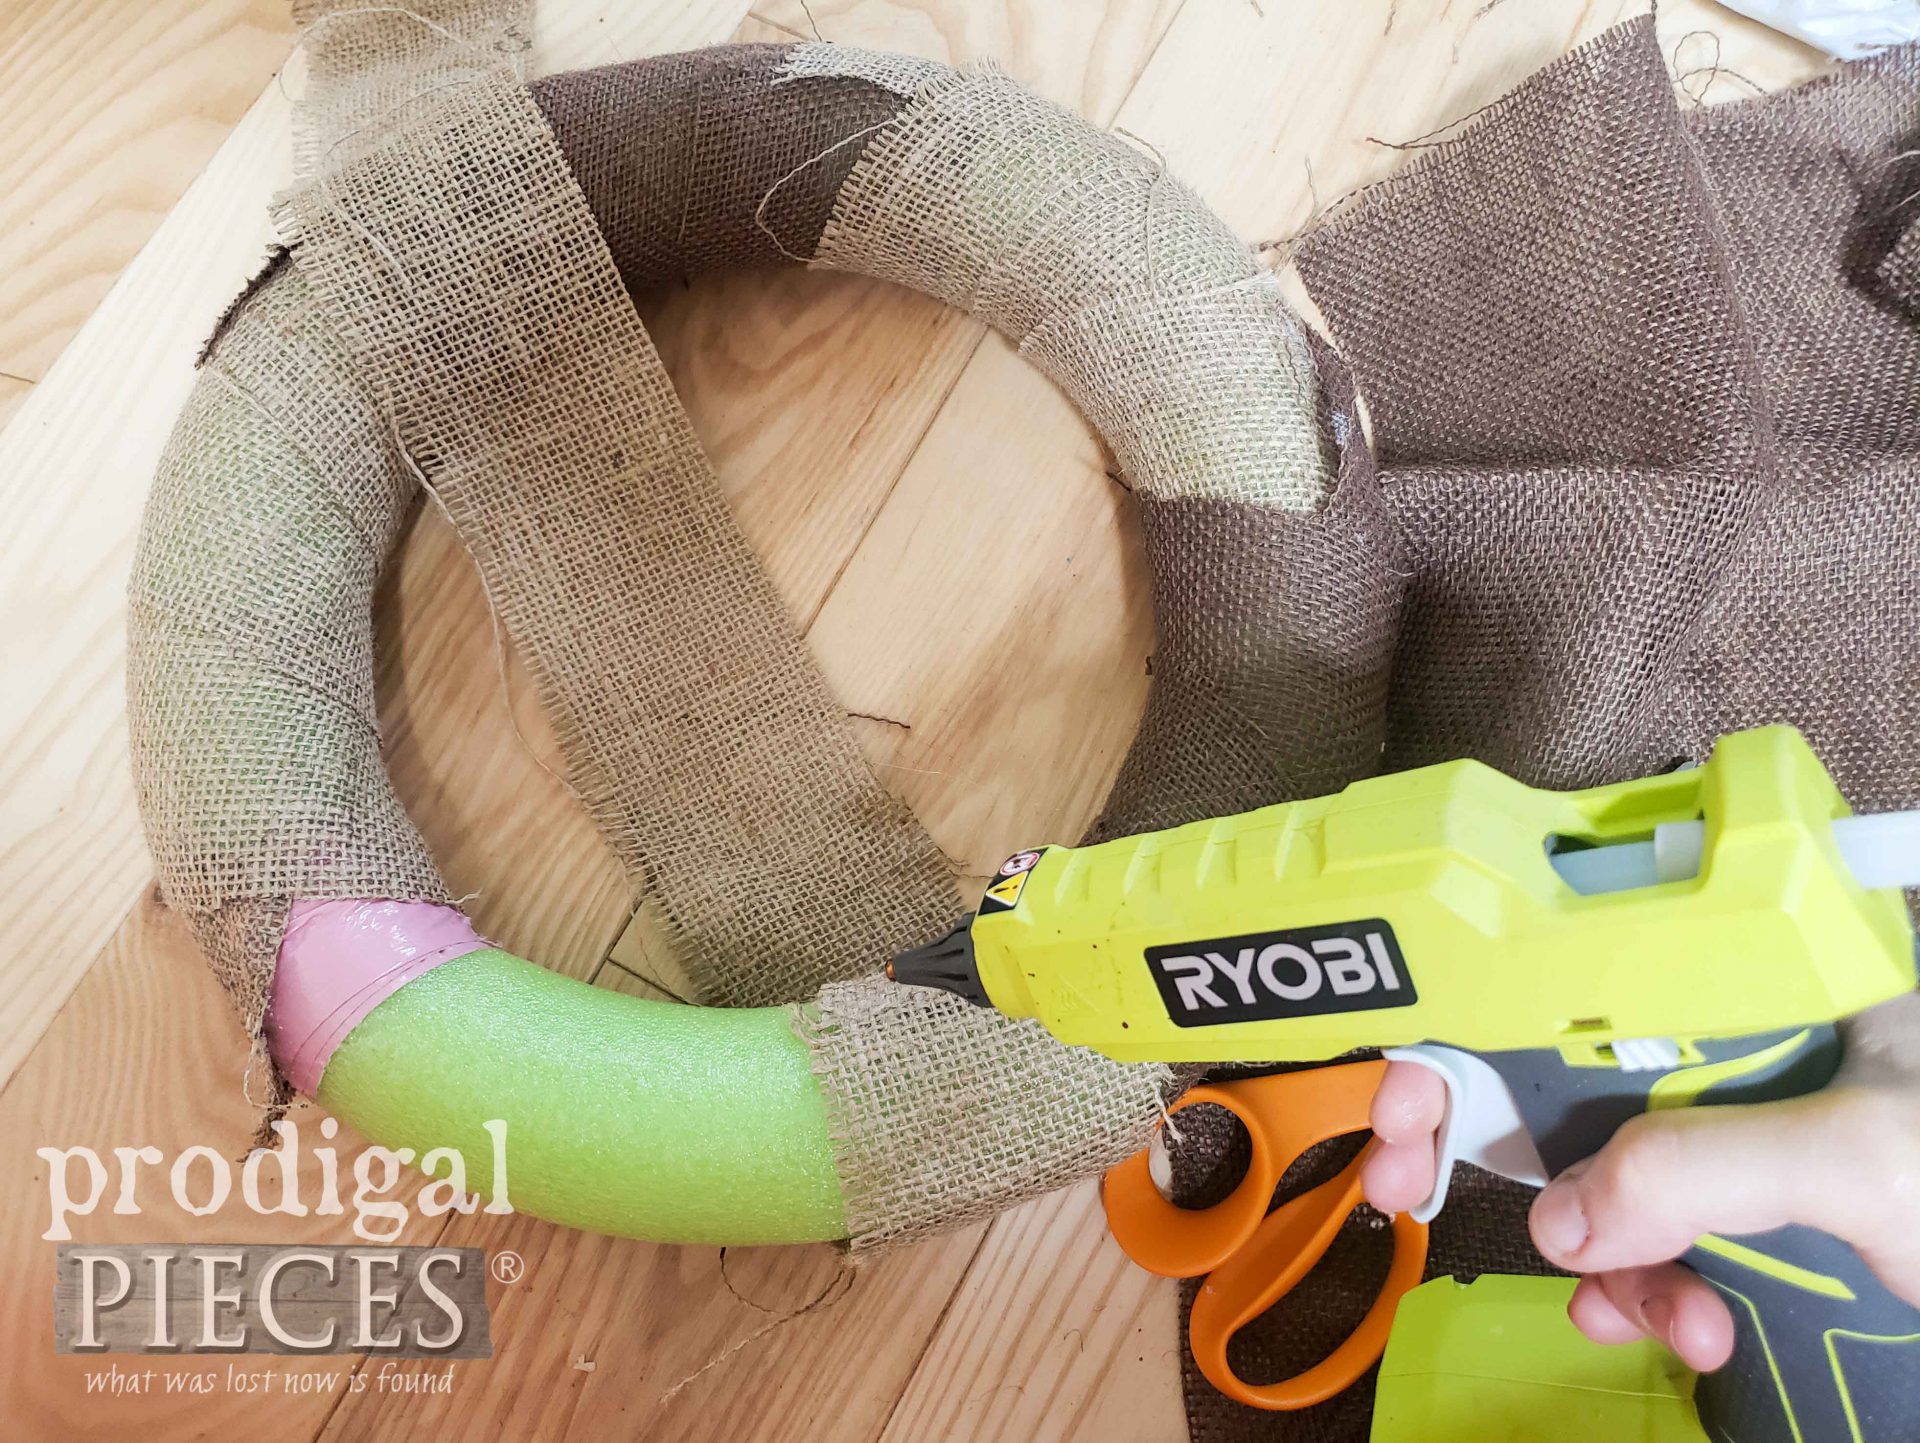
First, I take my pool noodle and cut it to make a 13″ diameter circle with ends joined. Tape the ends together flush. Feel free to make it any size you like. I’m just sharing what I did for mine.
STEP 2
Next, we take our burlap (or other fabric) and wrap it around the wreath. I cut lengths of 3″ width and as long as I could make each one. Because I’m using my scraps, I have two different colors of burlap that fit the job. Also, you could use burlap ribbon. This is just a more cost-effective option.
STEP 3
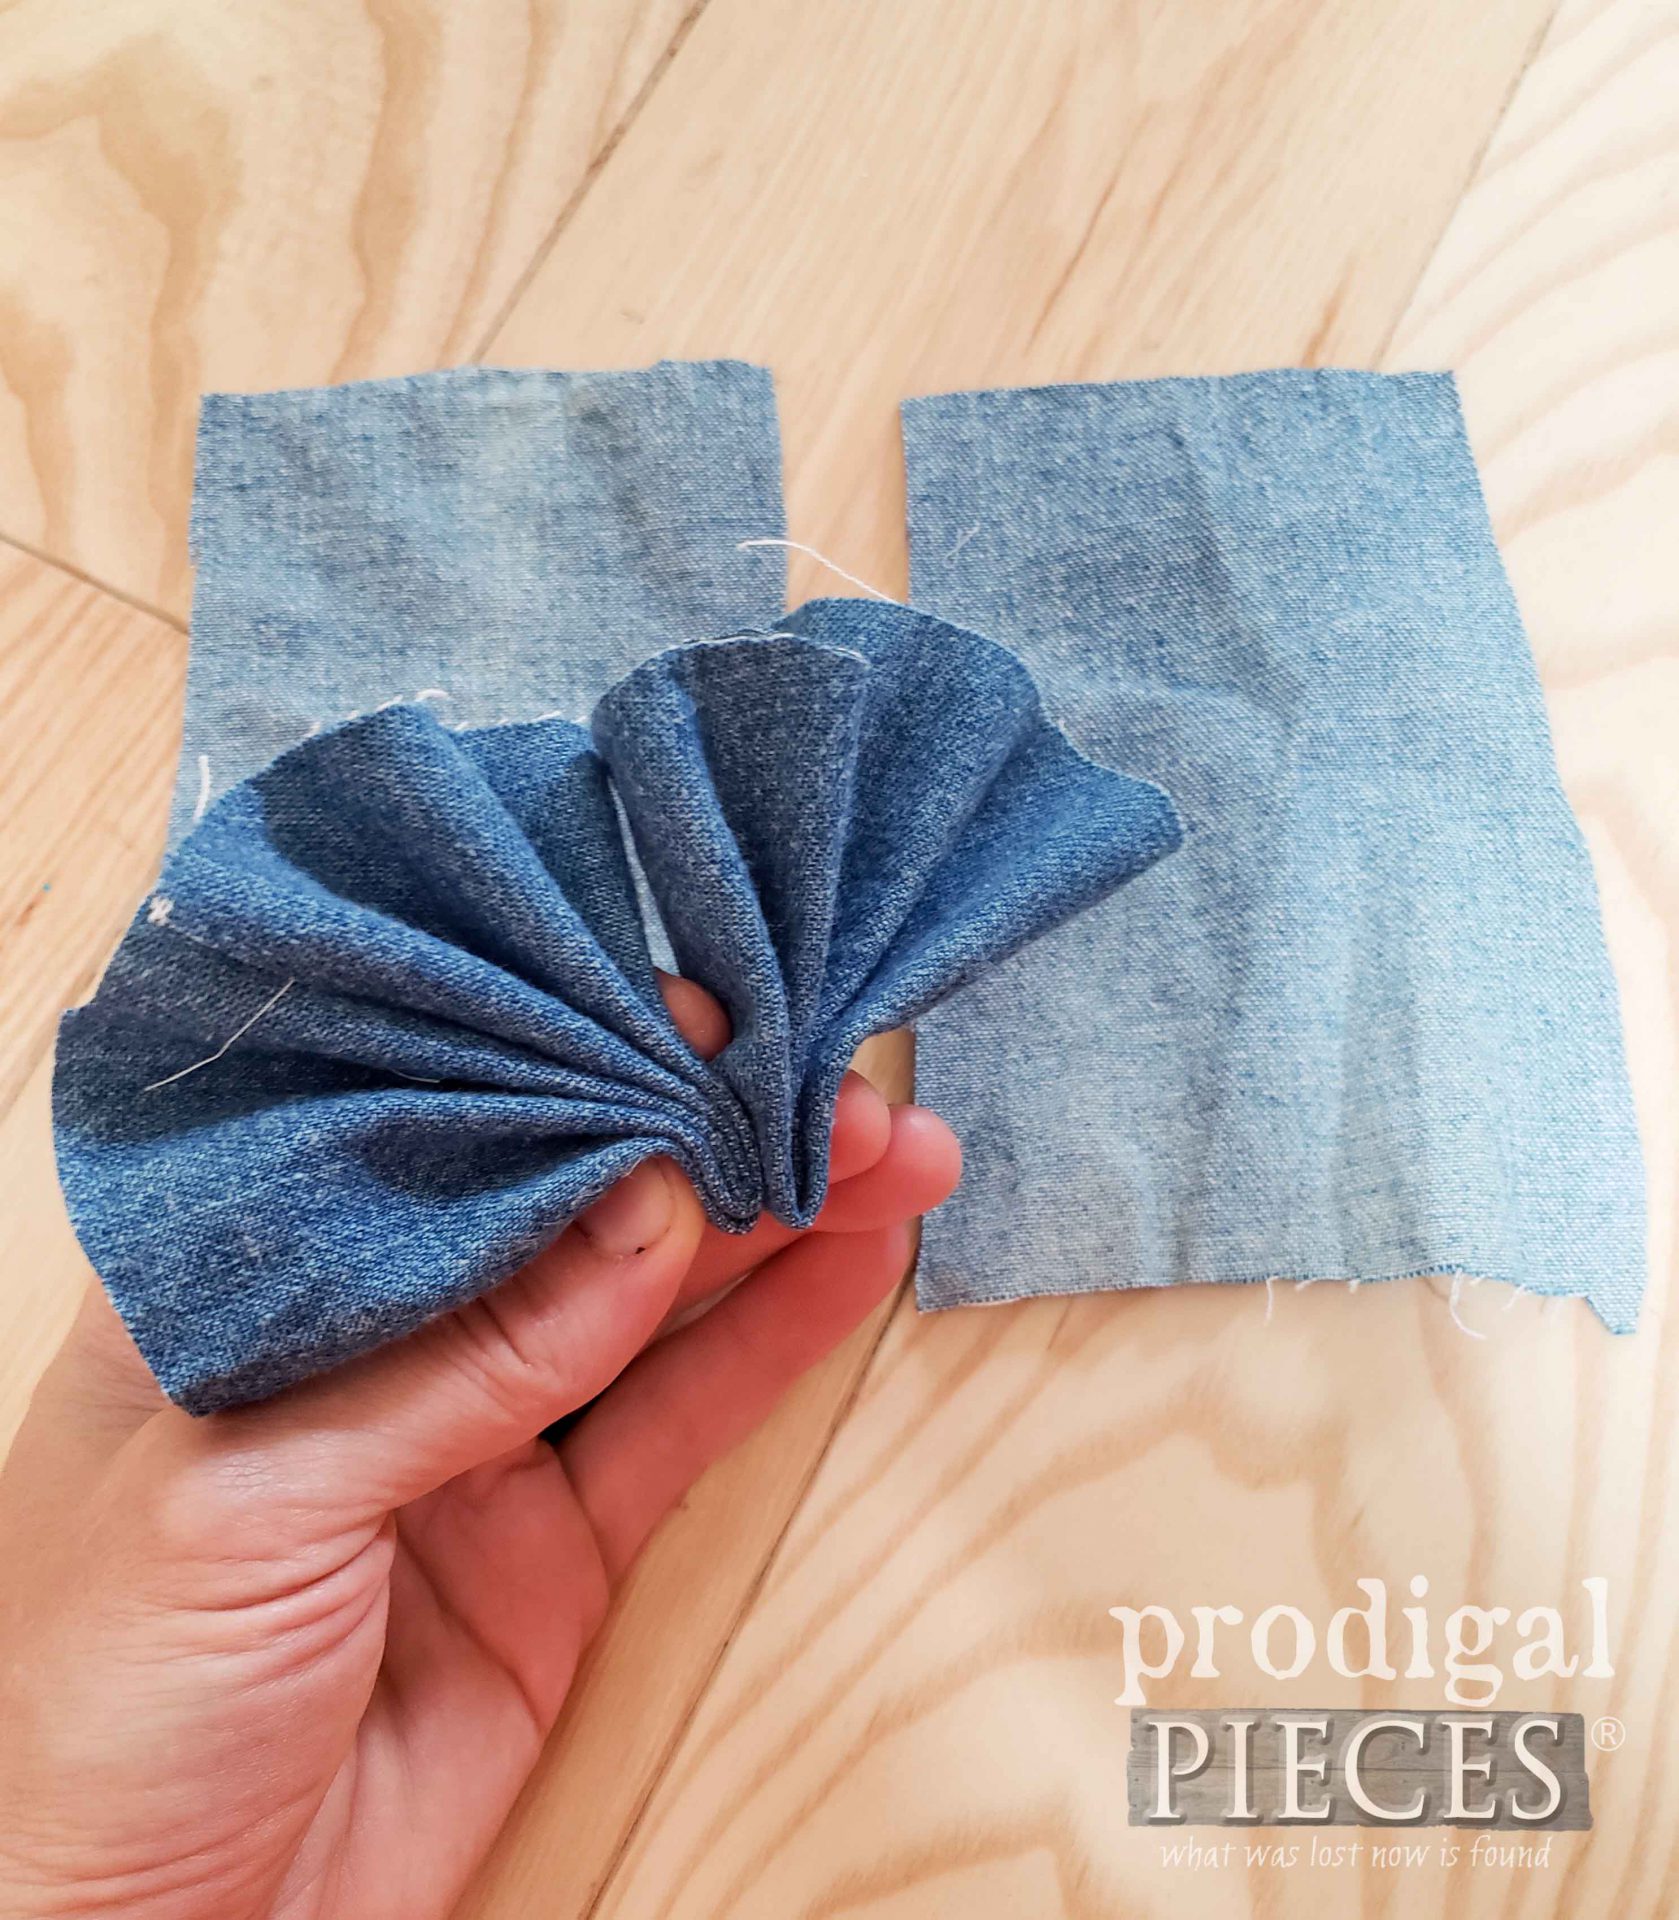
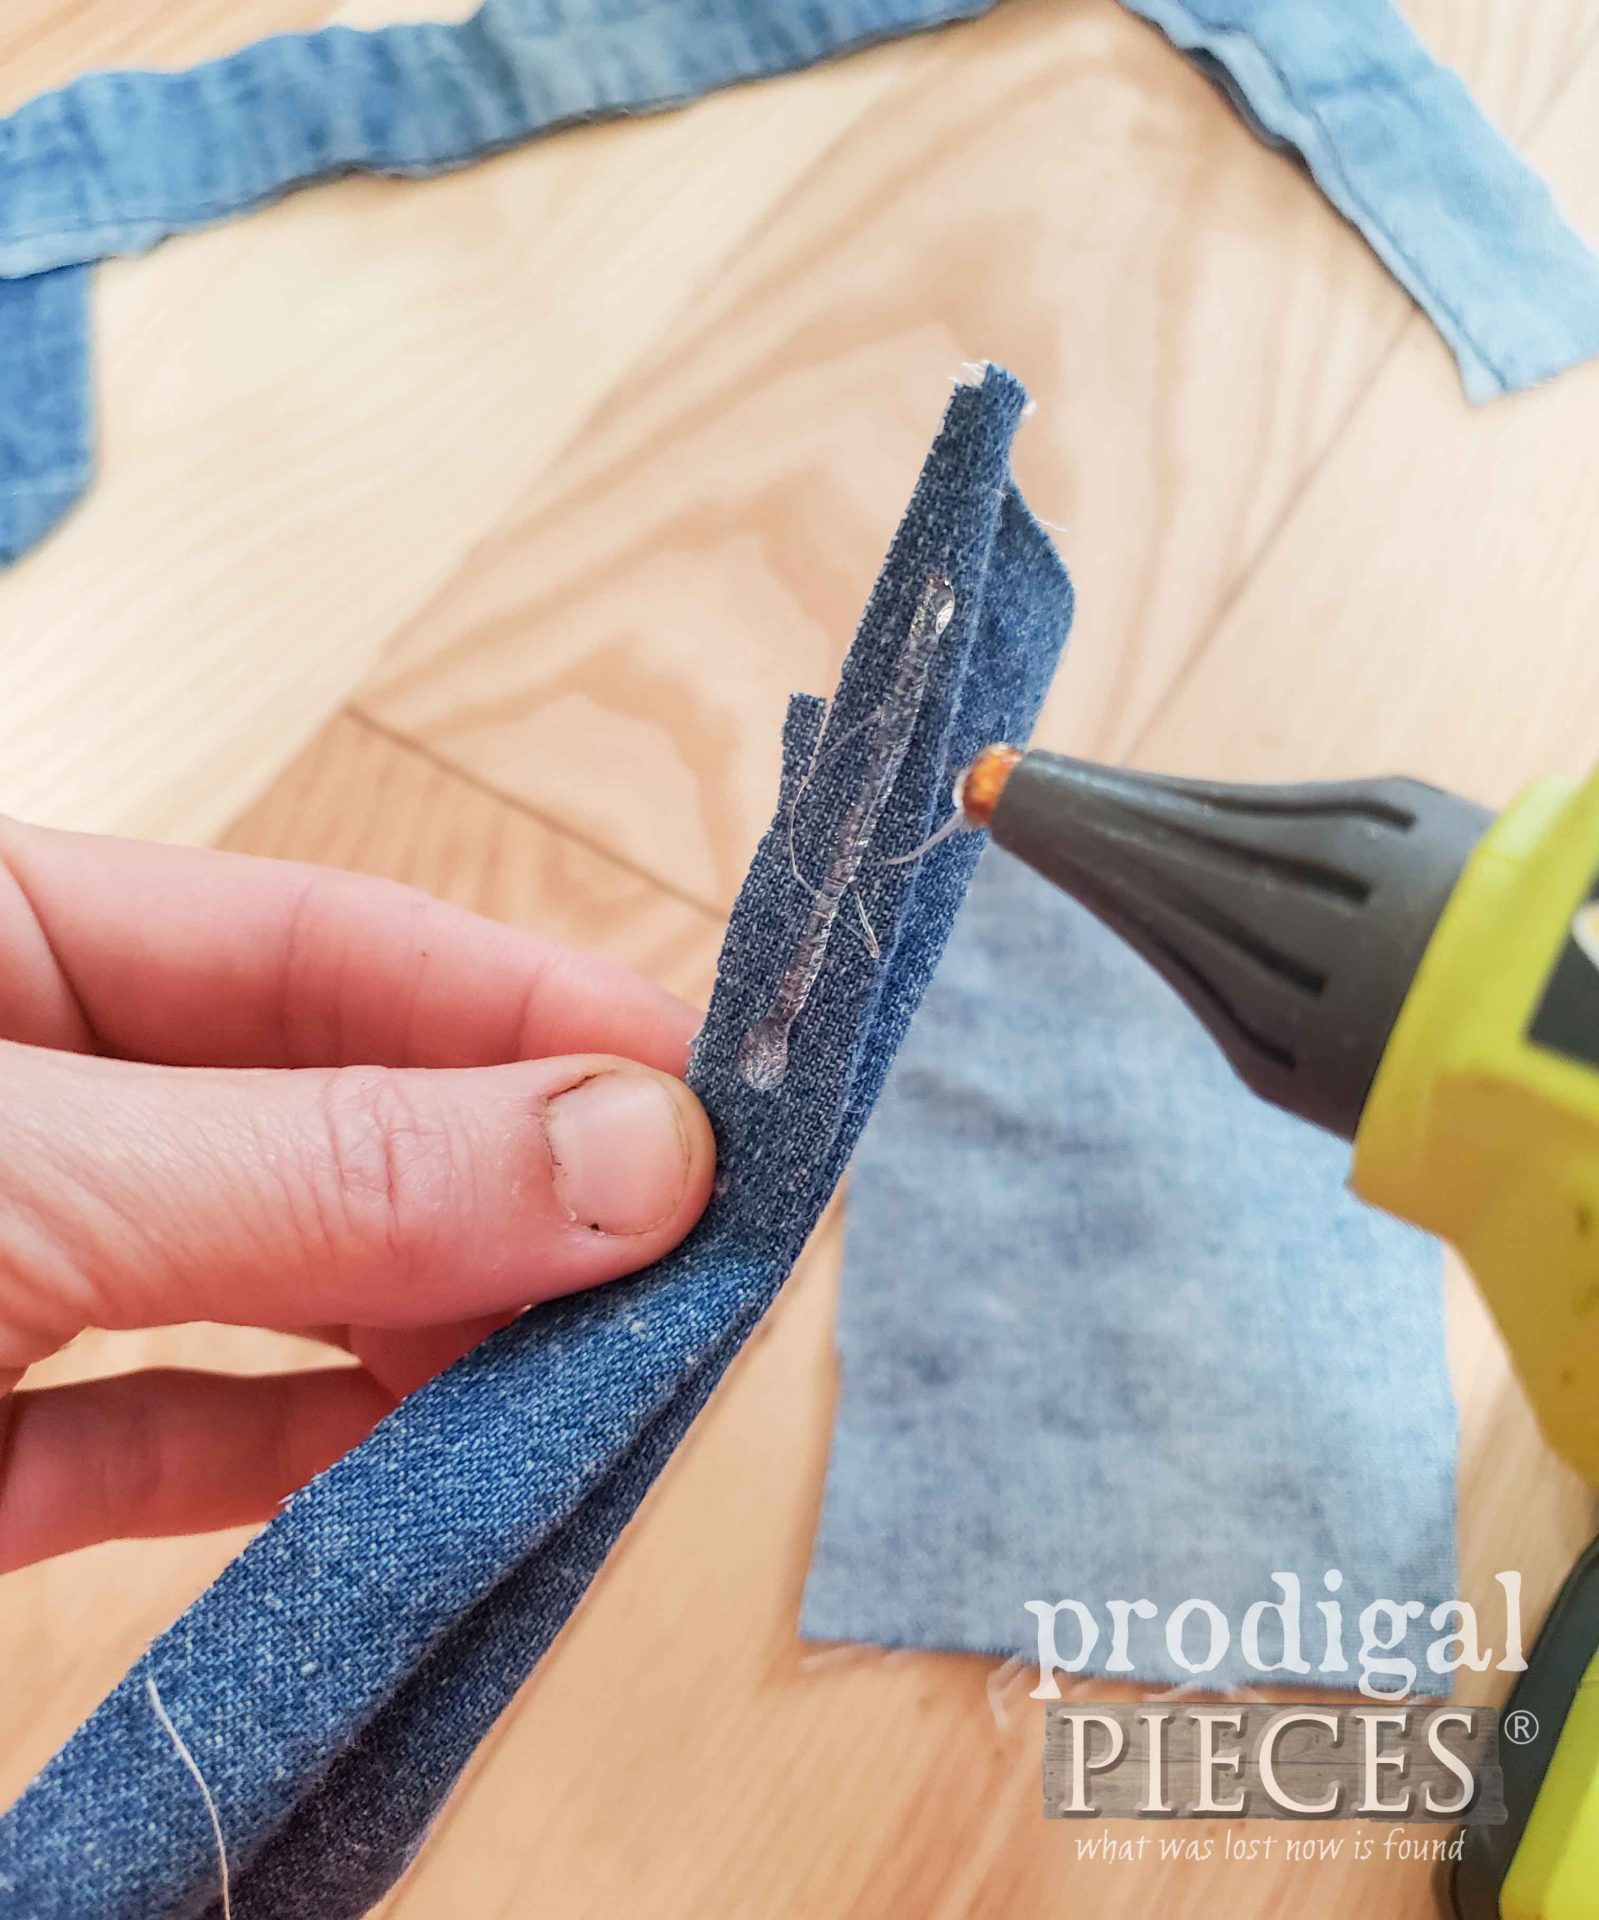
In this step we take our fabric choices and start to shape the wreath. I begin by cutting 4 pieces of denim approximately 3″ x 5″. Using a fan folding method, I take each piece, fold it in half on the long side, glue ends together.
Then, take each separate fanned piece and glue them together.
If you notice in the finished wreath, I made one large denim one, and then the rest were a bit smaller. For those cut sizes, I used pieces cut 2″ x 4″ and assembled in the same manner.
STEP 4
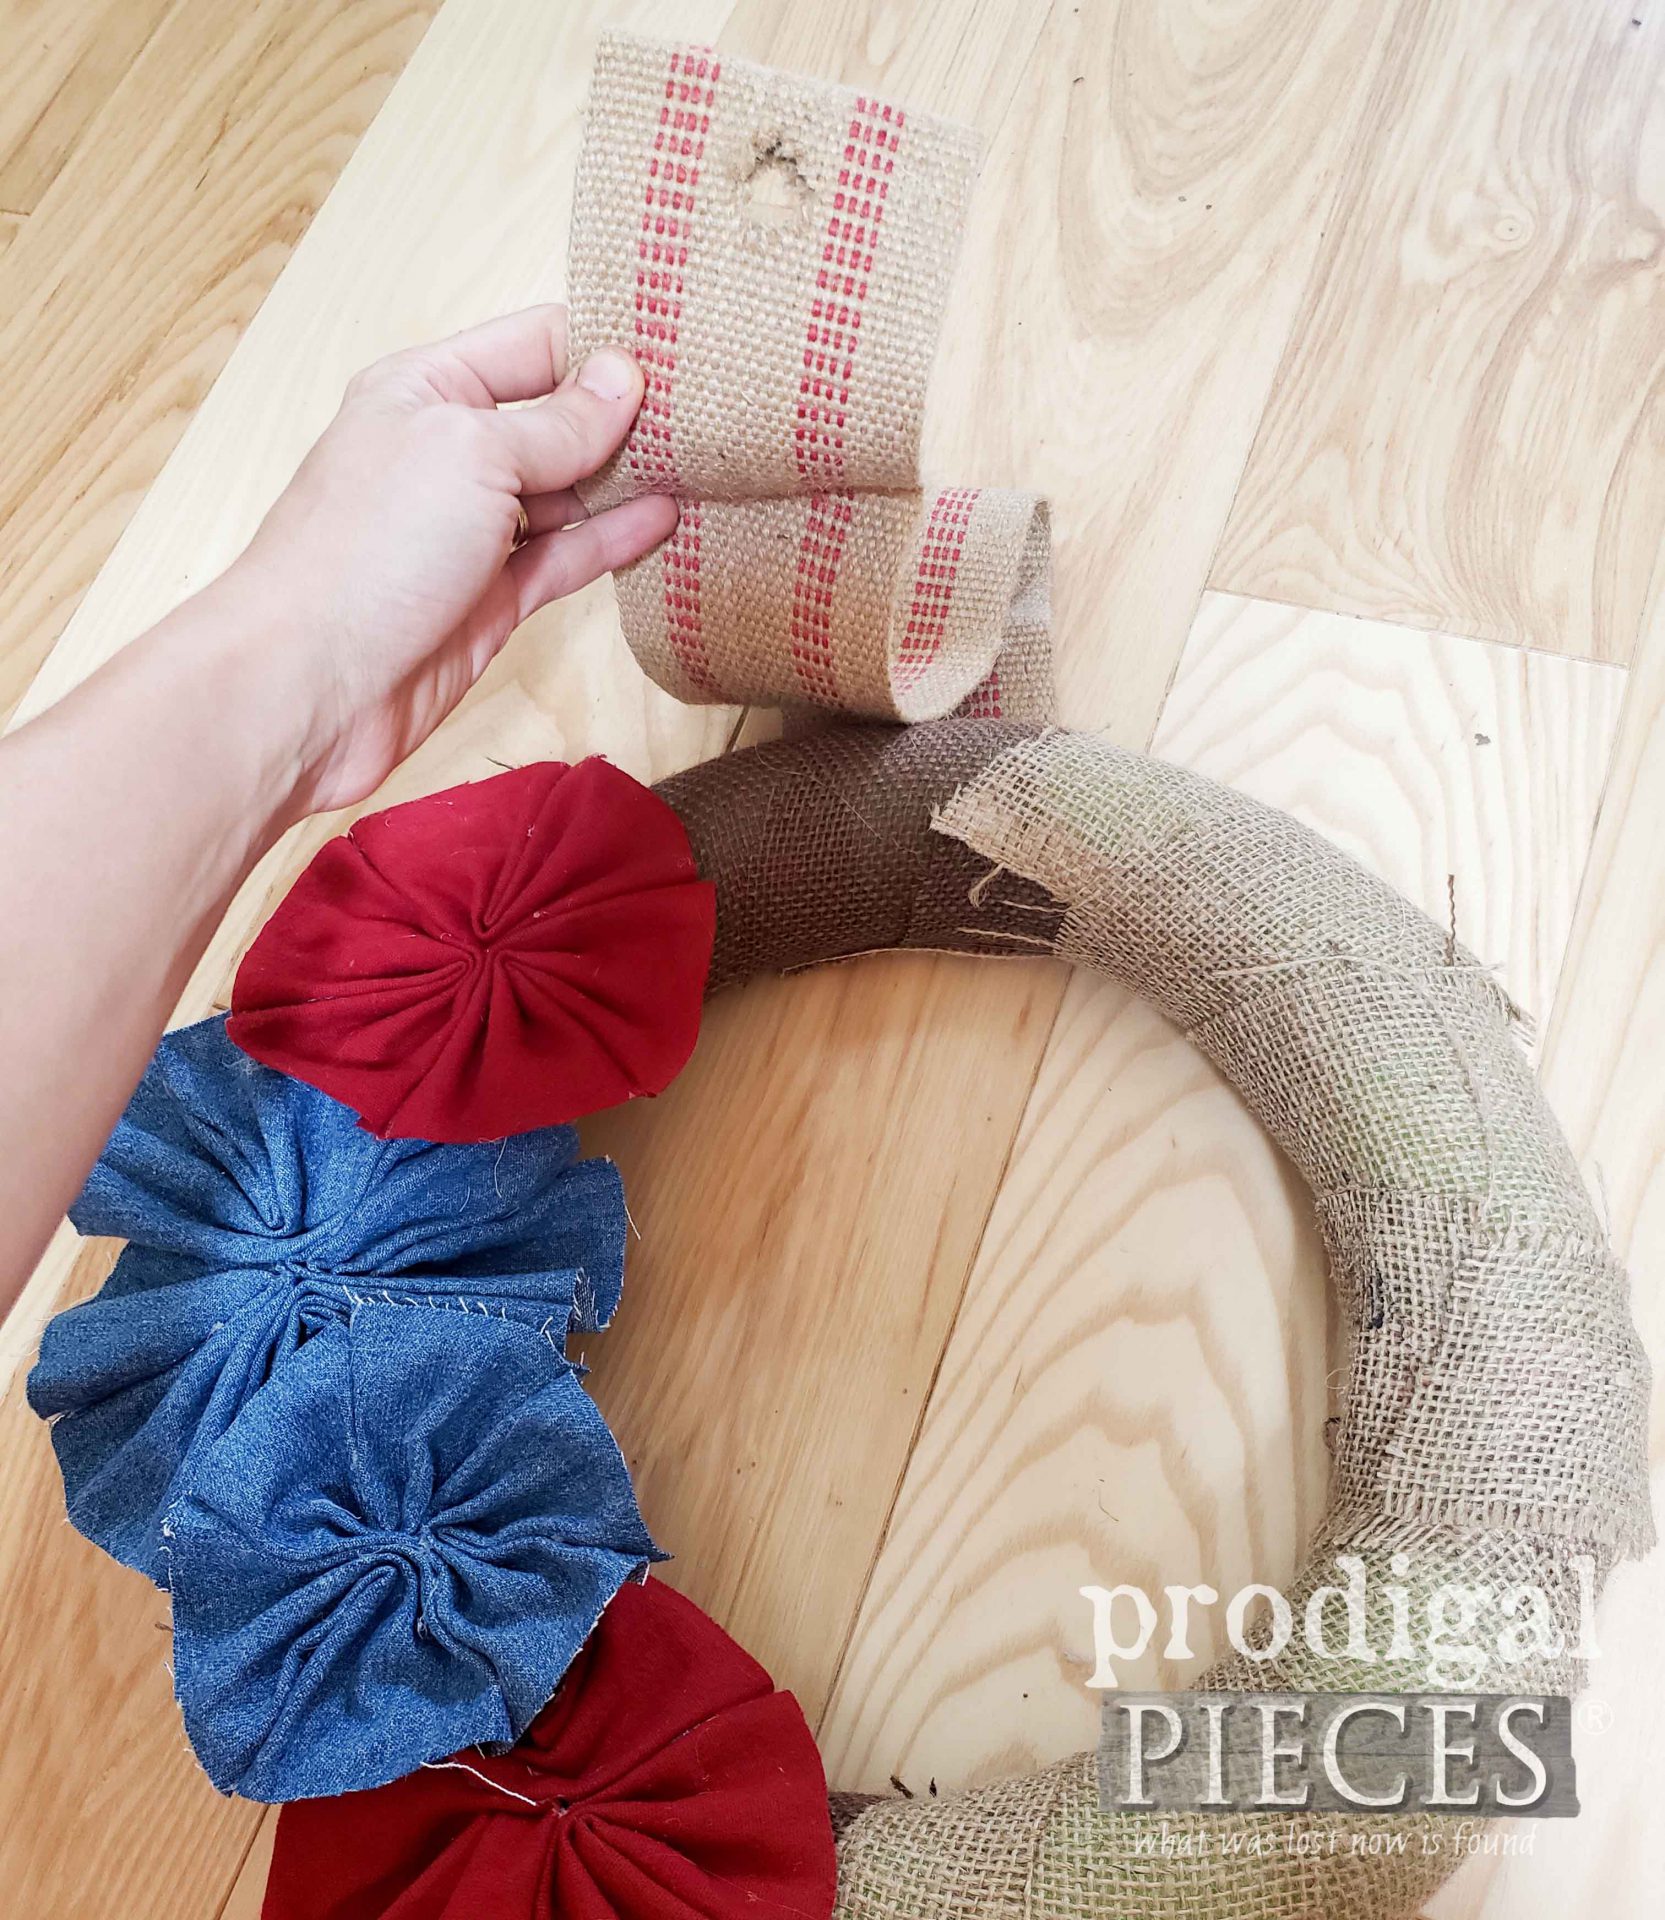
Now it’s time to add the florets we’re making to the wreath. Simply add a bead of glue to the back and let cool.
Then, continue to make florets and layer them around your wreath.
STEP 5
Either before you add florets, or before you get all the way around, add a hanger. I used upholstery webbing to make a hanger. Feel free to use whatever you like.
Last, but not least, add as many wooden stars as you like. Feel free to add other embellishments too.
WRAP-UP
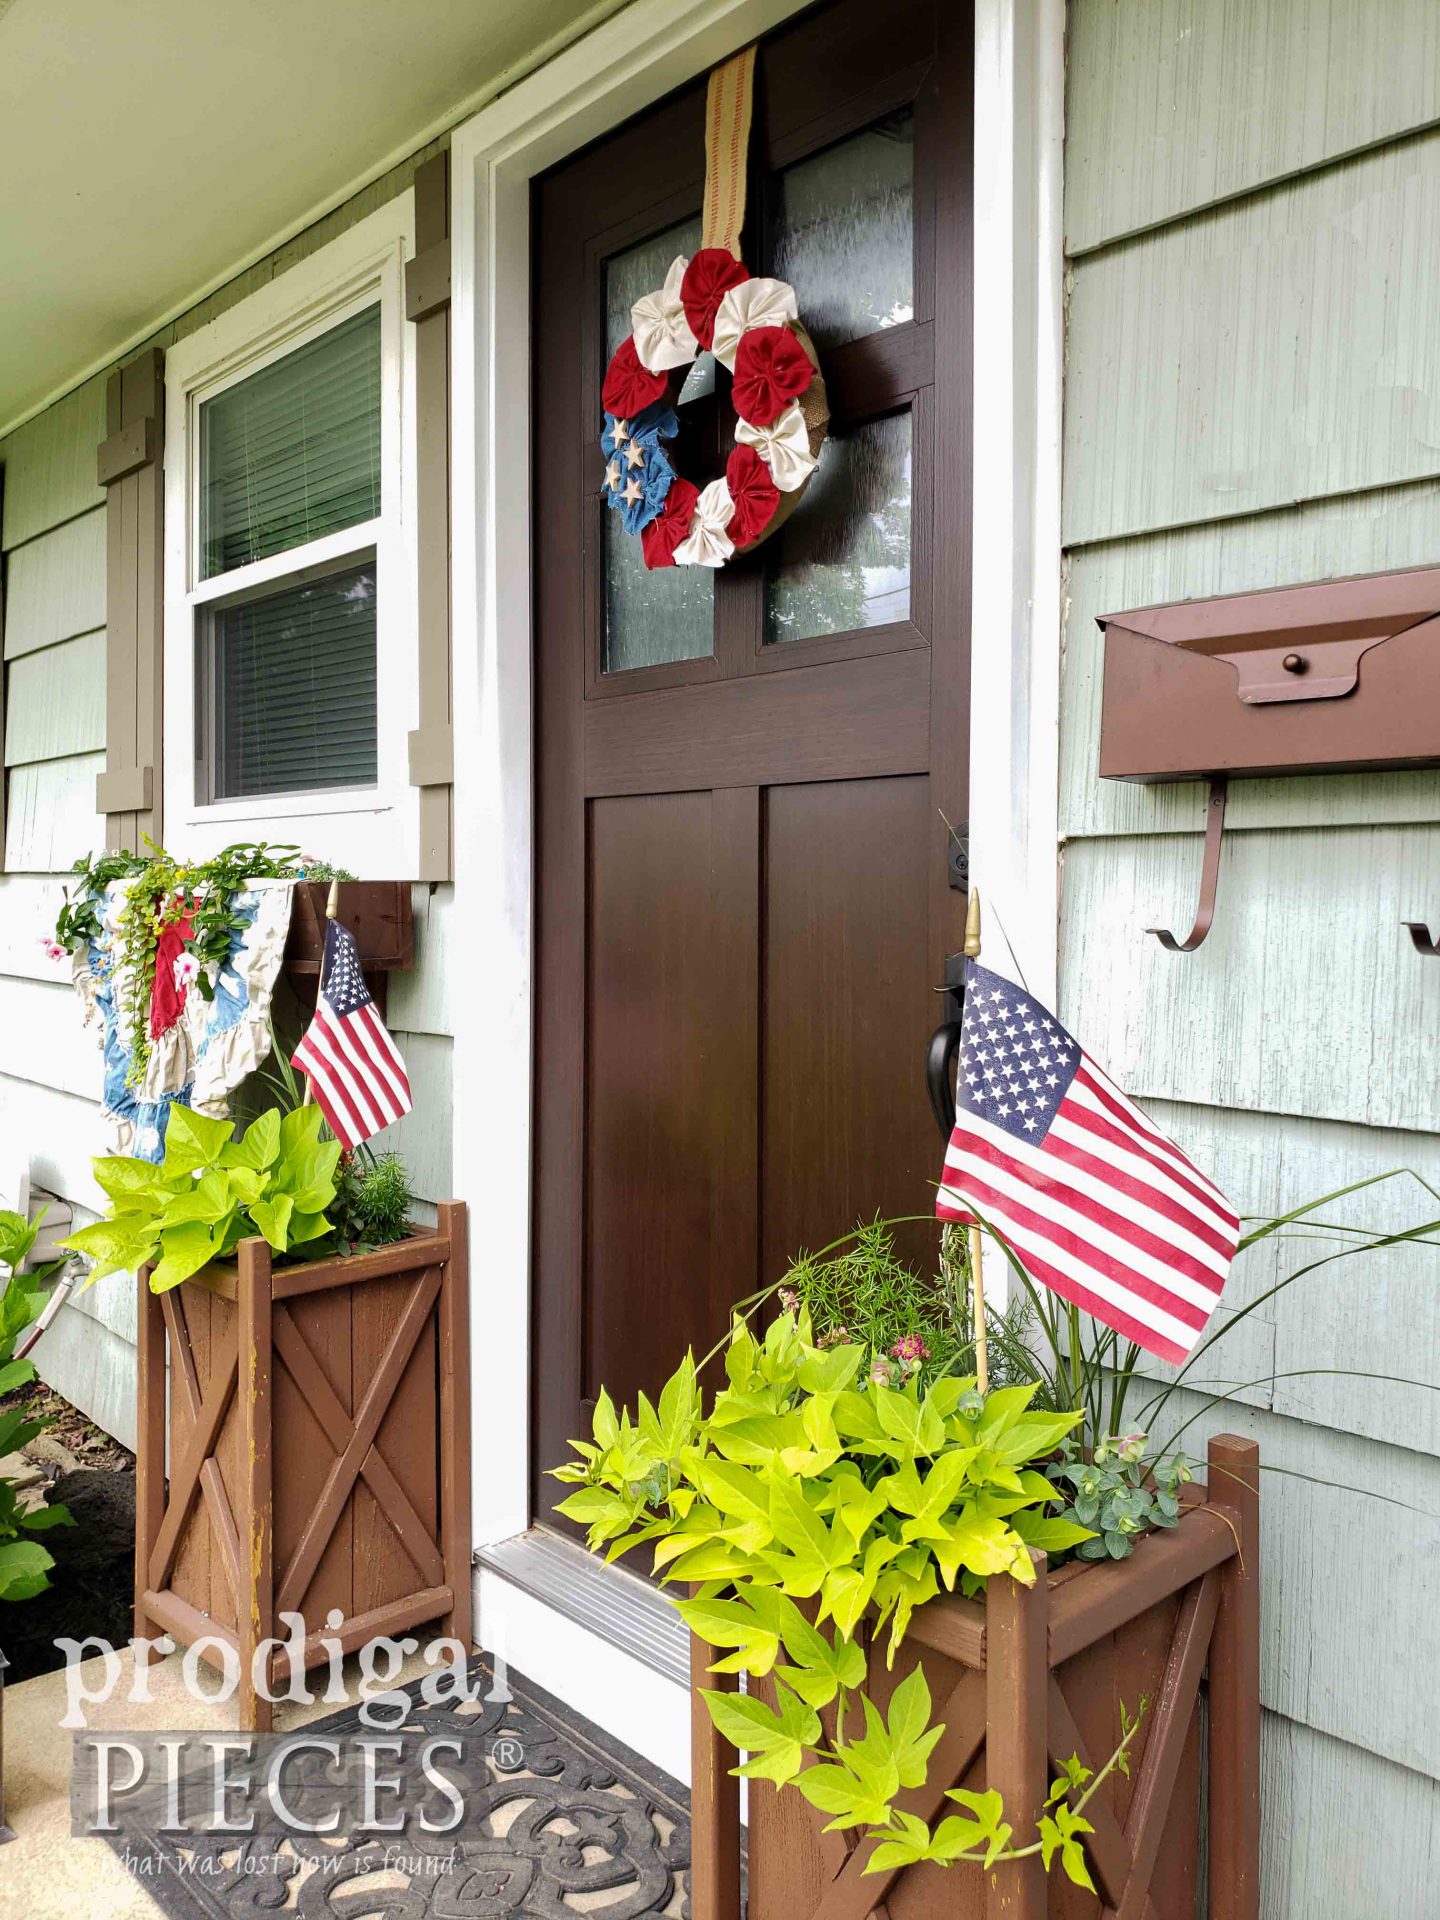
Our wreath is finished and ready to dress up any door, window, wall…you get the idea.
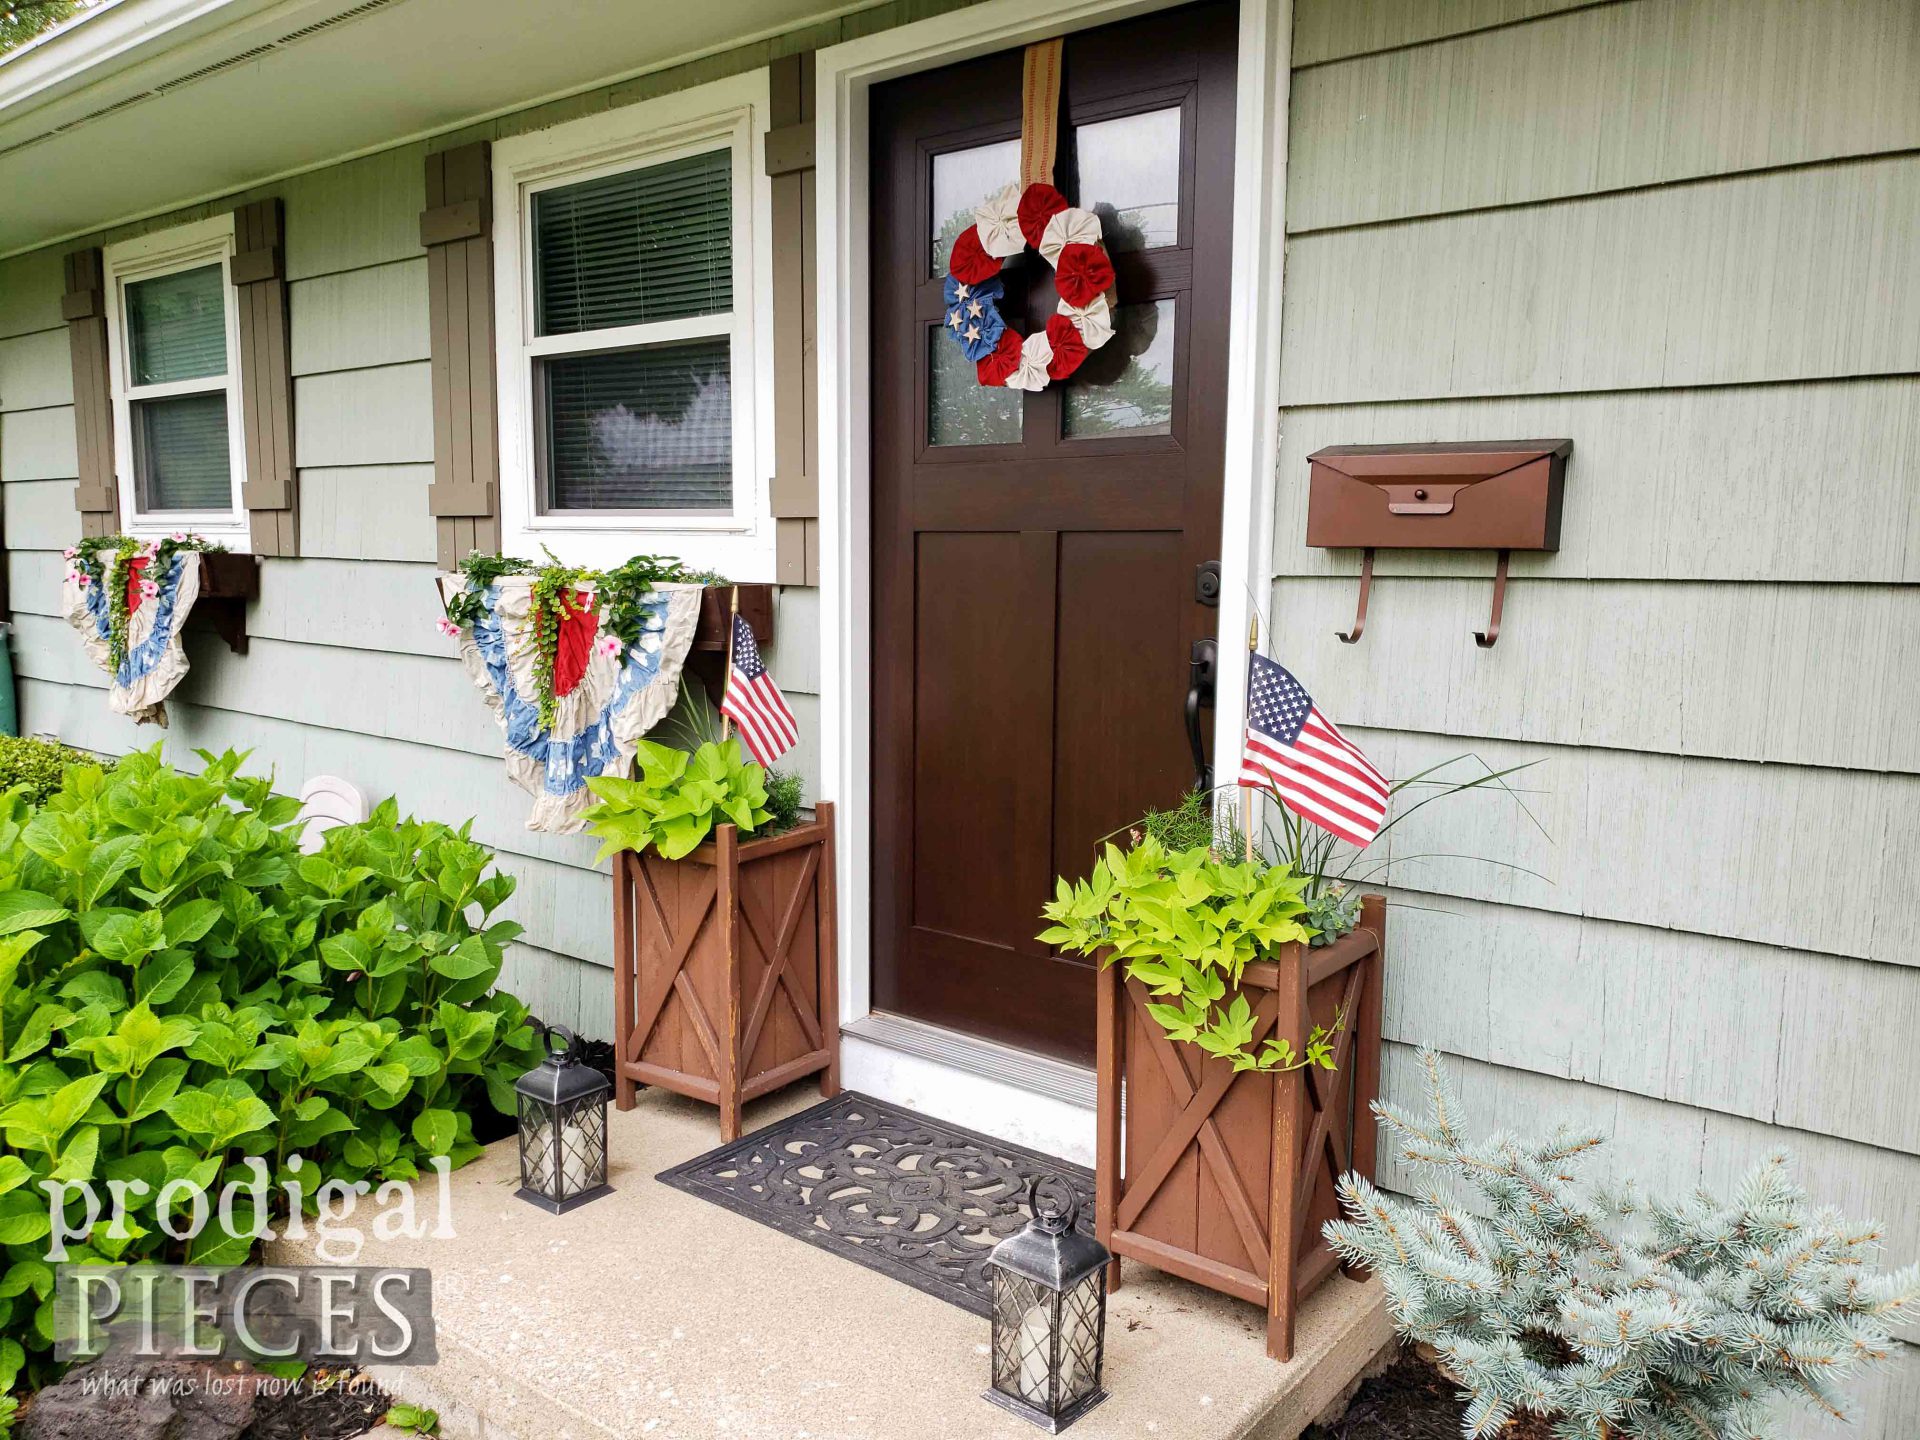
I’m stoked to have this 4th of July wreath to match my buntings, and help showcase our new front entry door.
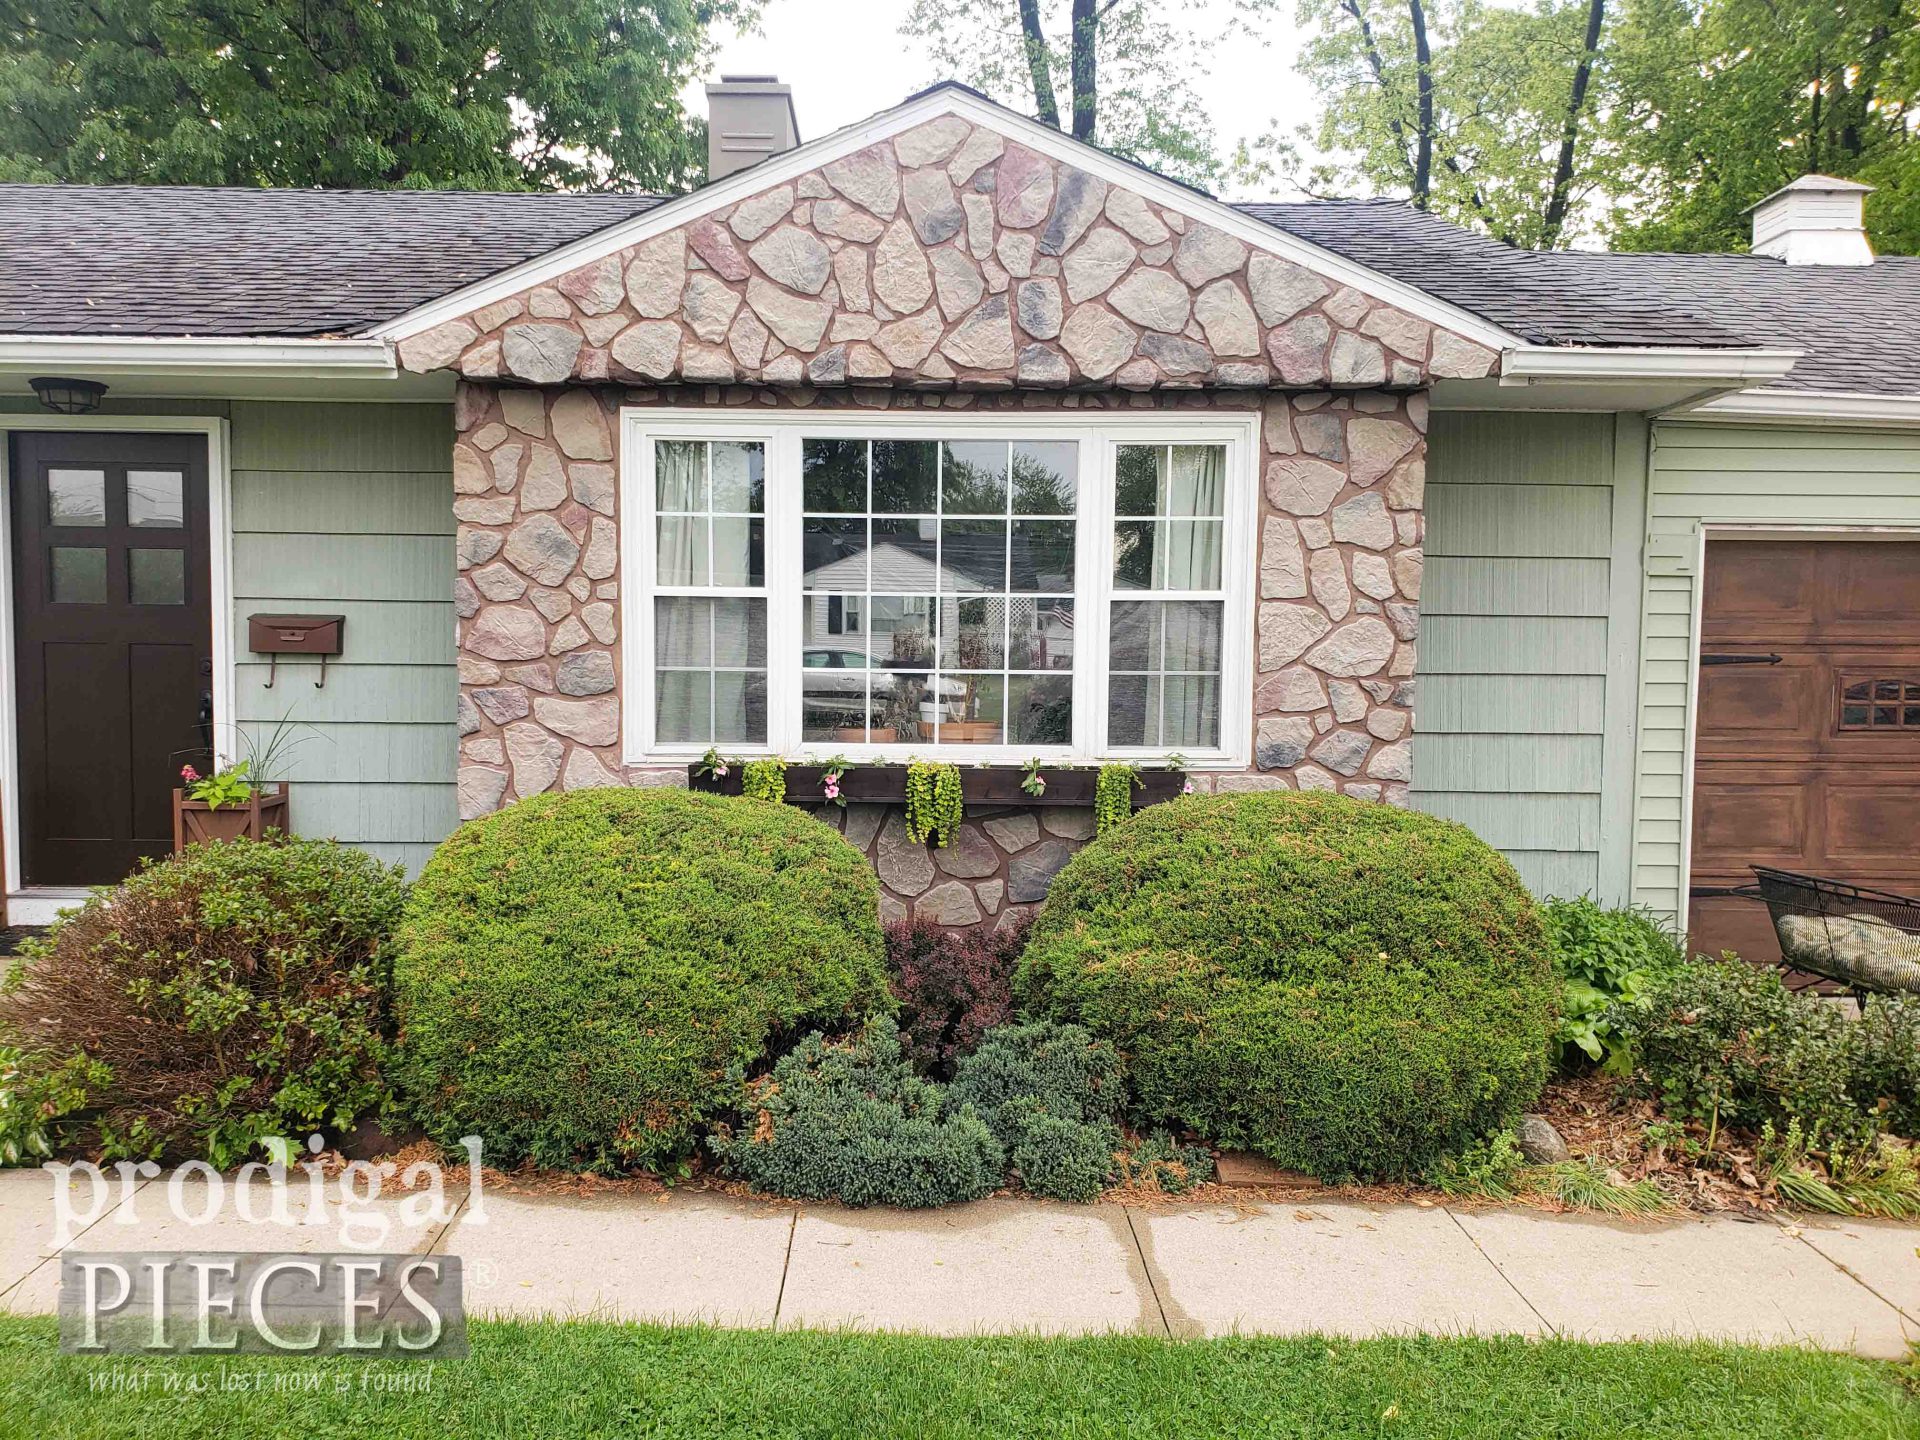
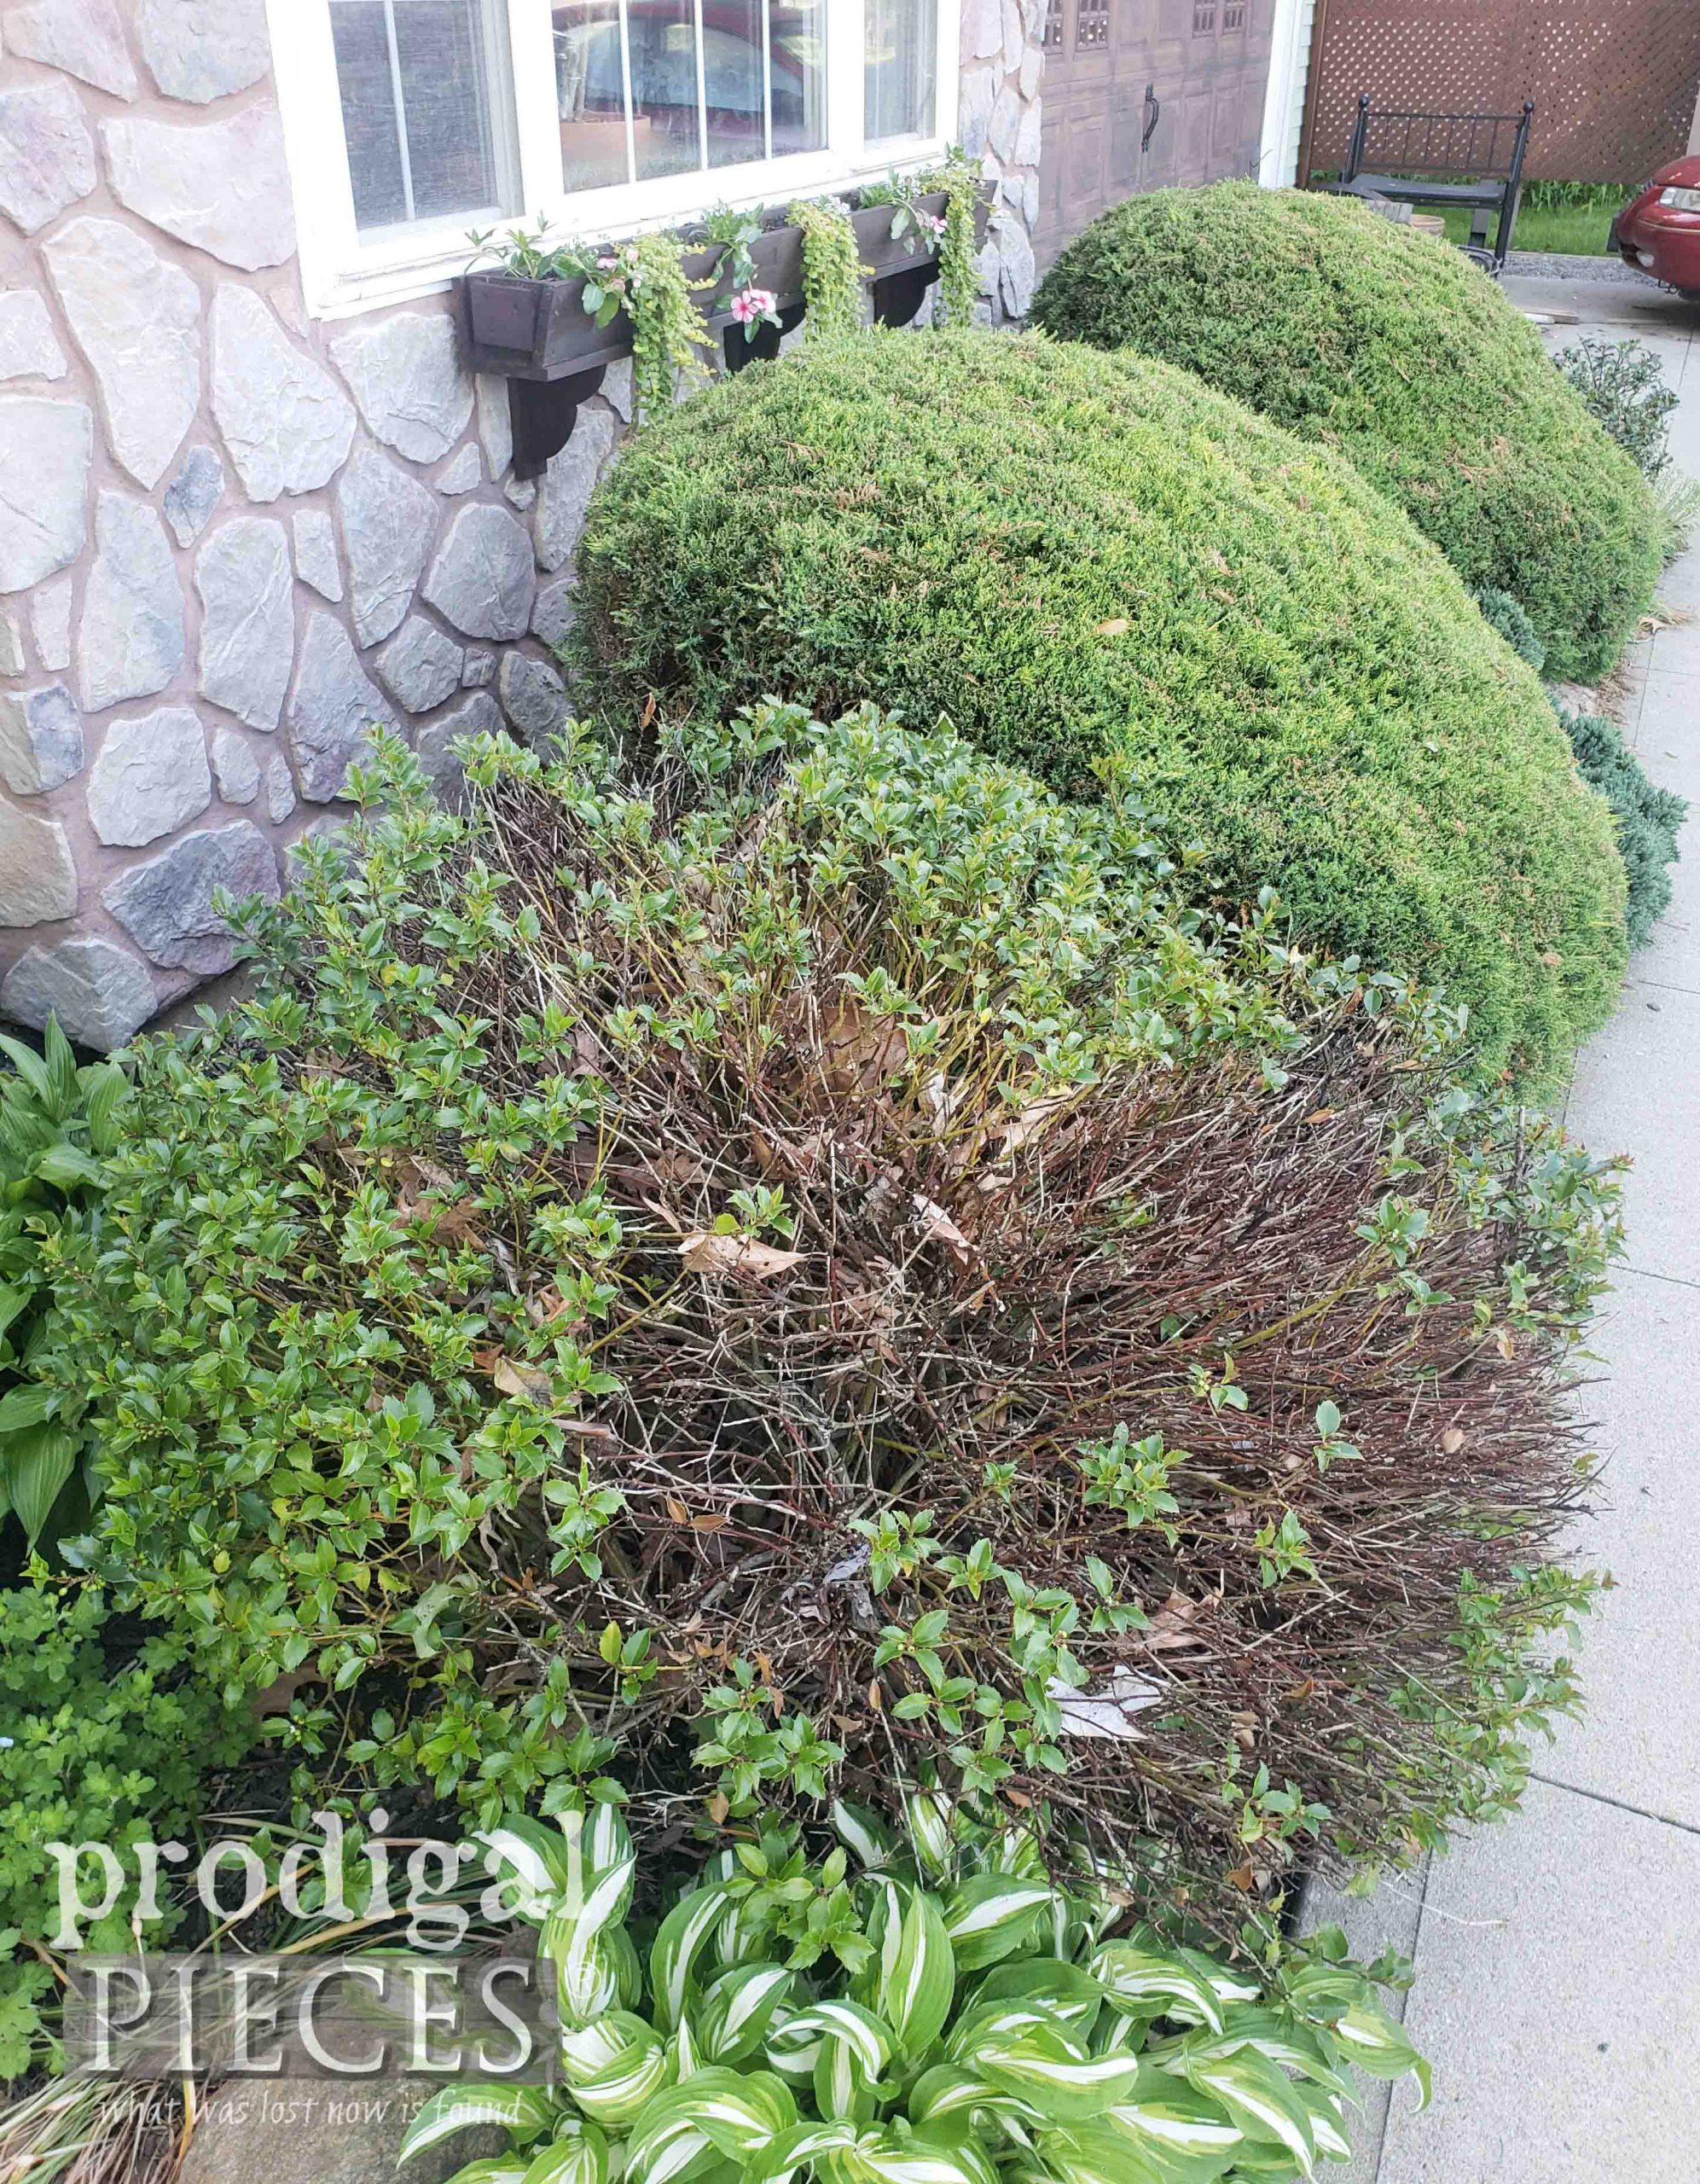
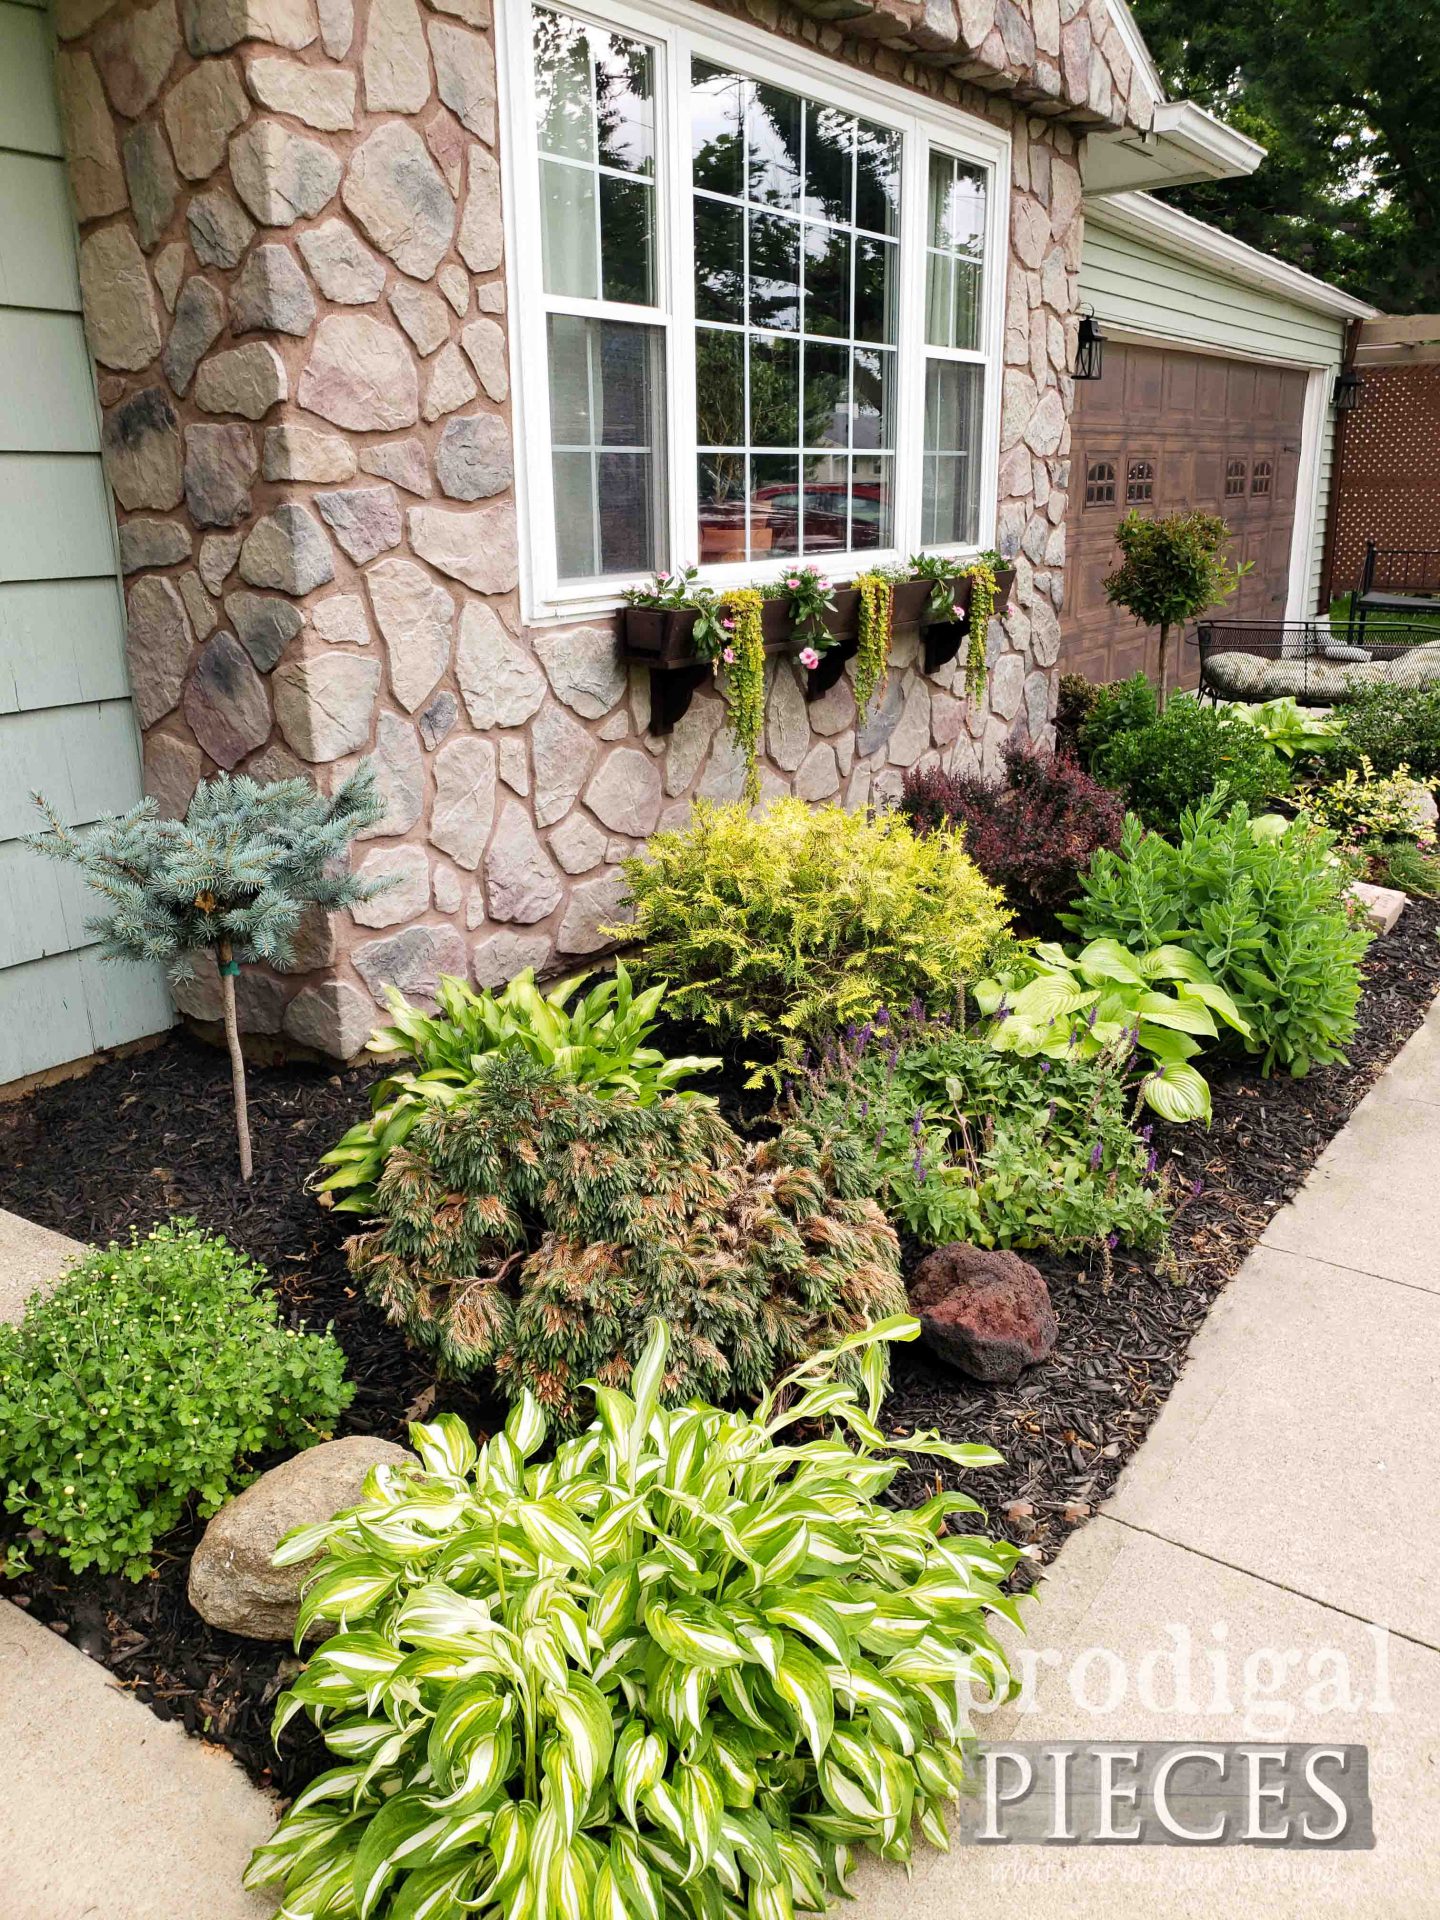
Also, I wanted to show you my gift to self for my birthday a few weeks ago in my blogger interview. I shared how I was yanking out the ugly pine bushes and dead holly bush that had been hiding the front of my house for years.
aaah….much better!
It will all fill in beautifully over the next few years. Not only does it open up the front of our house for wheelchairs, etc. to actually pass by on our sidewalk, but it really updated the feel of our home.
Also, you can enjoy my free planter build plans in this post. They are one of my favorite builds because they are versatile in many ways.
Are you inspired yet? I sure hope so! There are so many ways you can make your own home story with some DIY fun. The only thing limiting you is your willingness to try.
In addition to leaving me some love in the comments, do pin and share my 4th of July Wreath to inspire others to give DIY a try.
To get these DIY tips & tricks in your inbox, be sure to sign up for my newsletter. PLUS, you will get your FREE Furniture Buying Checklist and special discount to my shop. Until next time!




Your projects always look so polished!!! It looks amazing with the bunting!!! Did you also know pool noodles are at the dollar store? Wow! And your new landscaping is GORGEOUS!!! What curb appeal for when you are able to sell!! ?
Thank you for the sweet words, Rebecca. I just love celebrating our nation’s birth. Yes, I got my noodle at the dollar store. tee hee. 😀
Looks great and certainly not too hard! The front of your house looks wonderful! Bet that was a job and a half digging those big bushes out, YIKES!
K.I.S.S is my motto…or I try. Keep It Simple Silly. haha. Thanks so much for the love. Everyone kept telling us how hard they would be to get out, but I had them out pretty fast. For me that was an easy job compared to what I’ve been messing with. Yeehaw! Felt sooooo good.
You asked if I’m inspired yet…
Well YEA!
Don’t you know you are MY MUSE?
Blessings to you ❤️
Minnie
I could hug ya, Minnie! 😀 Thank you so much.
Love the simplicity of this wreath! Great idea with the pool noodles! Front of your house looks beautiful! Rena
You got what I was after. Thank you. I’m so happy with our new curb appeal.
The pool noodle idea is genius and what you did to the front landscaping is beautiful! Happy upcoming fourth of July, we celebrate Canada Day tomorrow.
Thanks! I’ve used them for so many things. Cheap and fun! 😀 Happy Canada Day!
Everything in this post is beautiful!
You just made my bad day brighter, Maria. Thank you!!
Happy 4th of July to you and your family, Larissa! Very cute patriotic wreath idea that could be modified for us Canucks to the north too. Love your budget-friendly tip for a wreath form too.
Thank you! And Happy Canada Day to you! Enjoy this special day. Hugs!!
Oh my word, that landscaping is Beautiful!!! I love All of this!! Is there anything you can’t do????????? Rock on, Larissa! Keep it coming
aww…Megan! You just made my day, Megan. I just love doing landscaping and almost studied to be a landscape architect in college. So fun! Thank you.