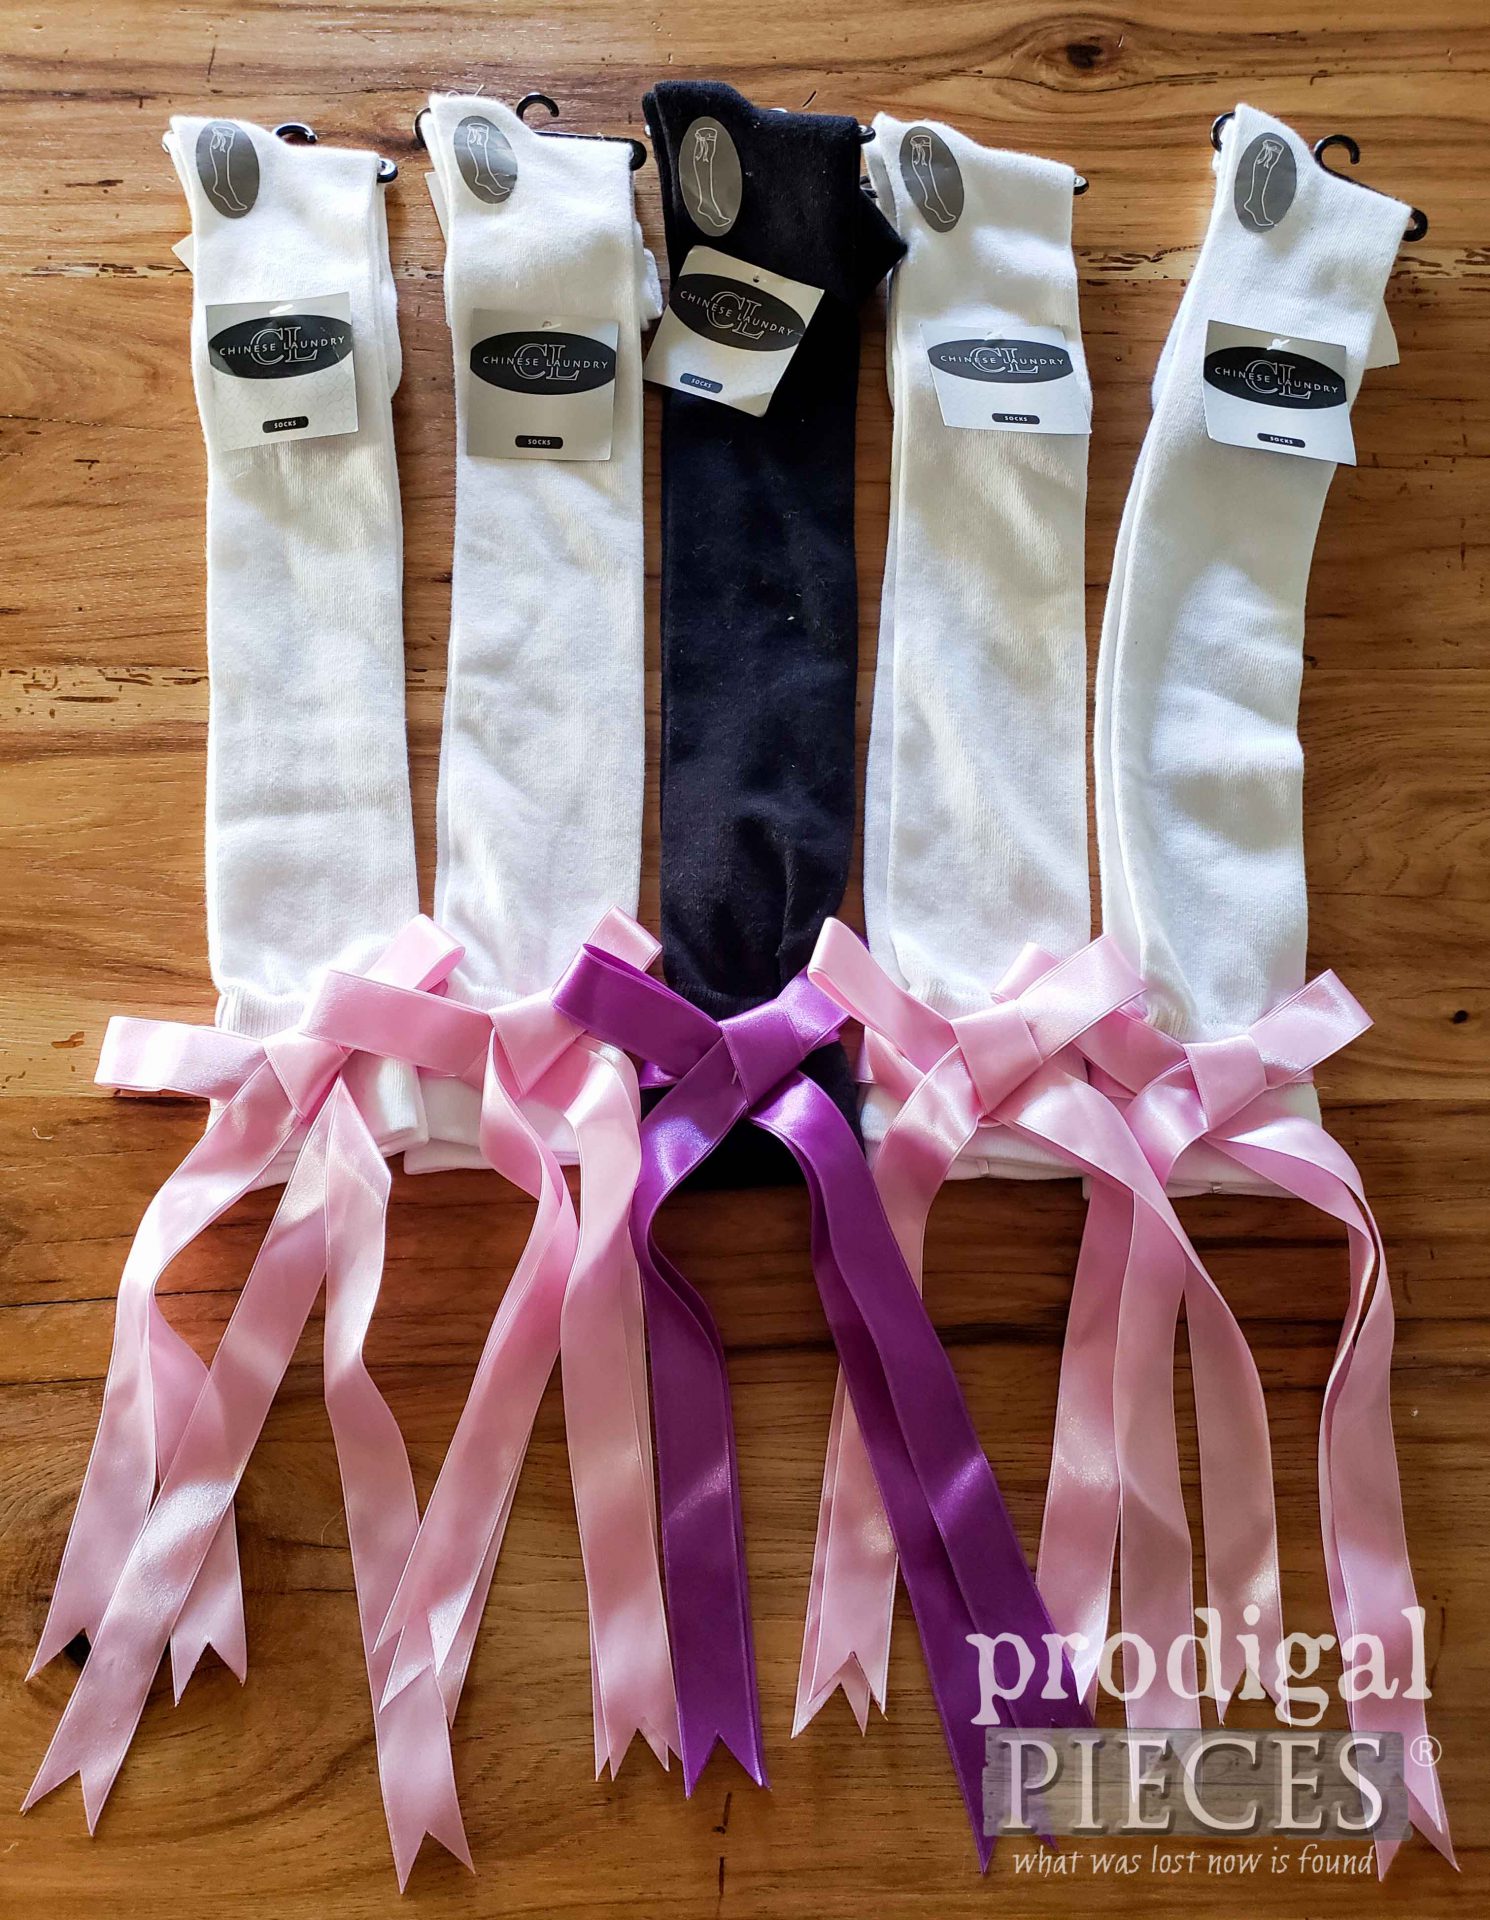
It’s that time again! I get so excited when I start to brainstorm about my Reduce, Reuse, REFASHION project for each month. If you didn’t know, that last Tuesday of each month is where I share a way to recreate your existing or found items into fashion, home decor and more. Today, I’m finally getting around to my vision for these brand new socks I found at the thrift store. I’m gaming to create some whimsical upcycled sock dolls and animals. woot!
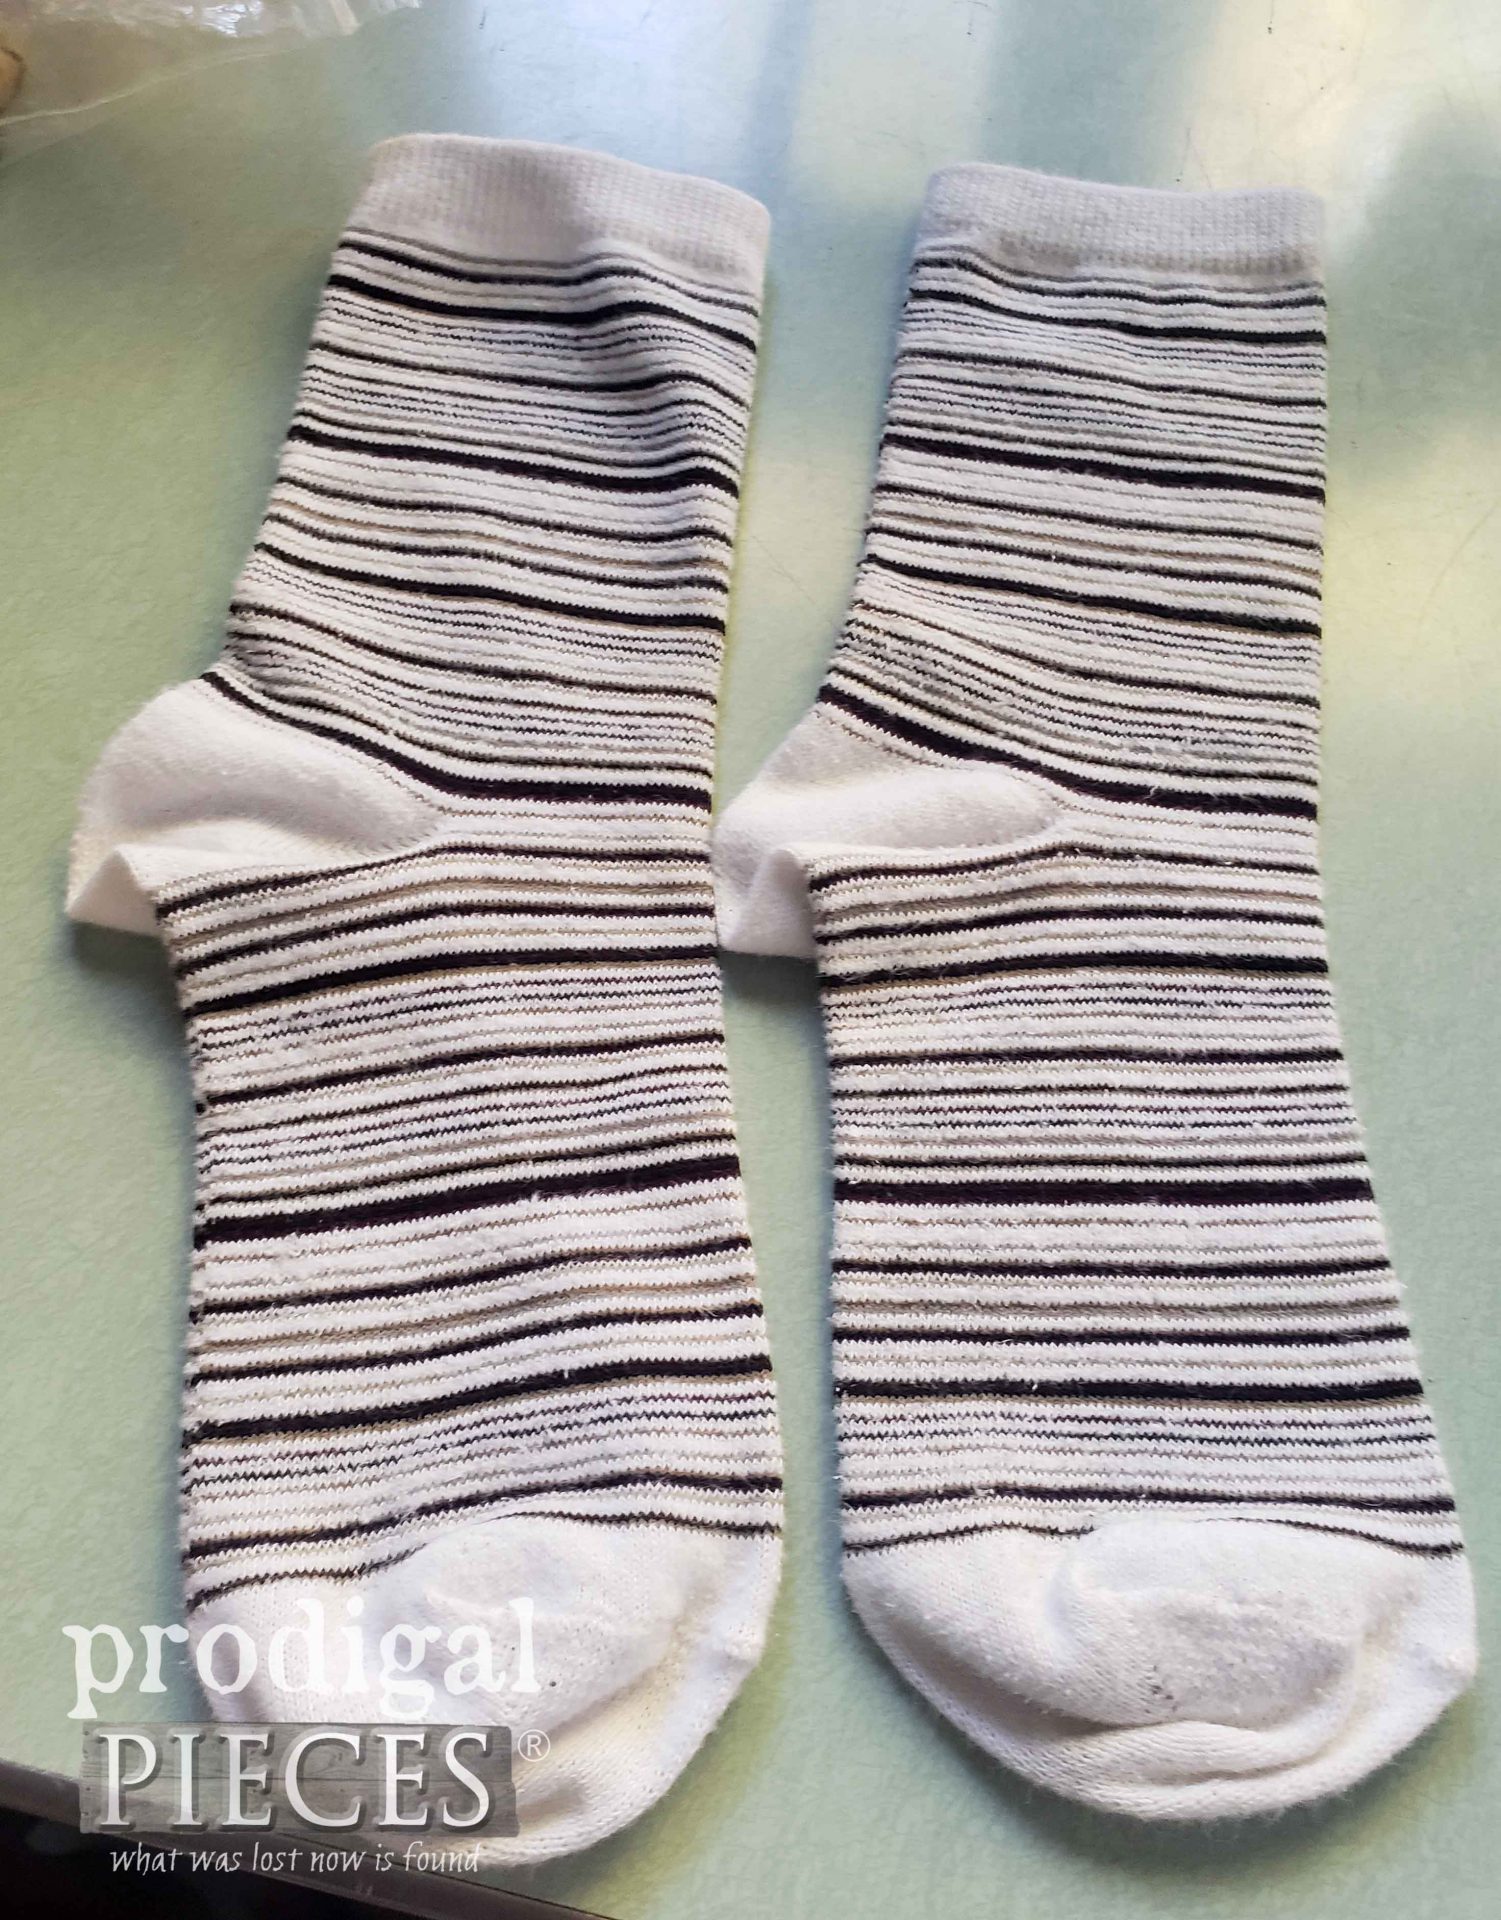
Now, I have to ask…would you have grabbed these? I debated on trying them on to show you just how HUGE these socks are. They are definitely some of the longest pairs I’ve ever seen. And because of that they totally drew my attention because I LOVE to make sock dolls.
First, let me say that making upcycled sock dolls is not a new idea by far. If you’ve been around for long, you have probably seen a sock monkey, or maybe a snowman. There are oodles of ways to recreate socks into art, particularly dolls and animals.
TODAY’S FUN
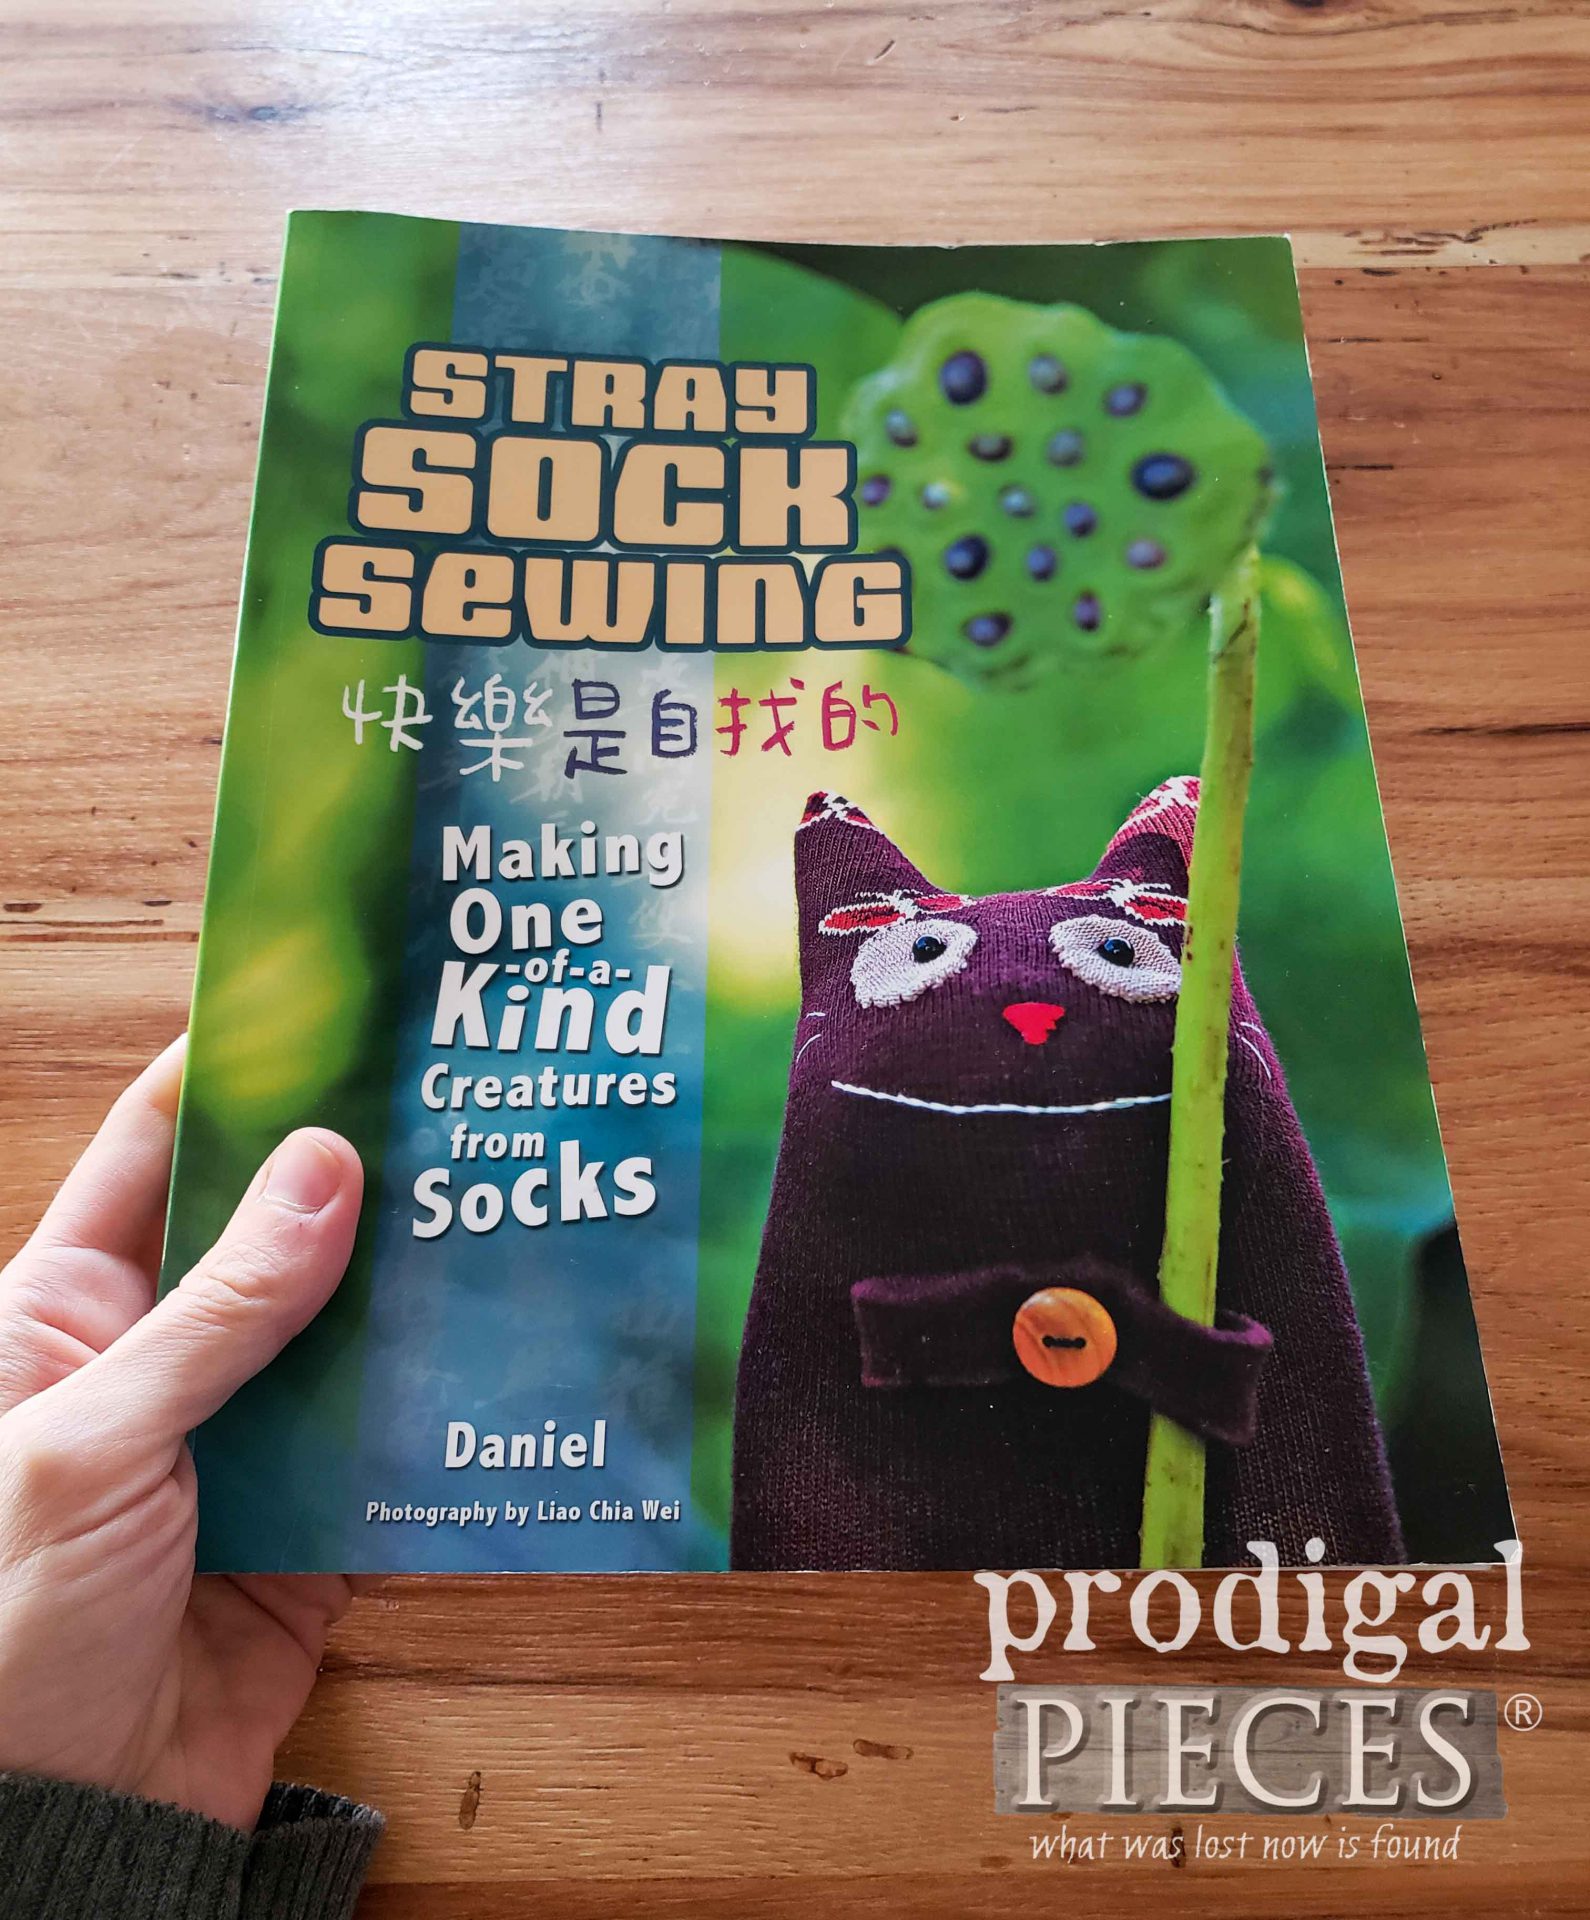
Now, my goal today is to get your wheels turning to think outside the sock. tee hee. I caught the sock doll bug back about 10 years ago when I found some books at the local library. One in particular has been a favorite, Stray Sock Sewing by Daniel.
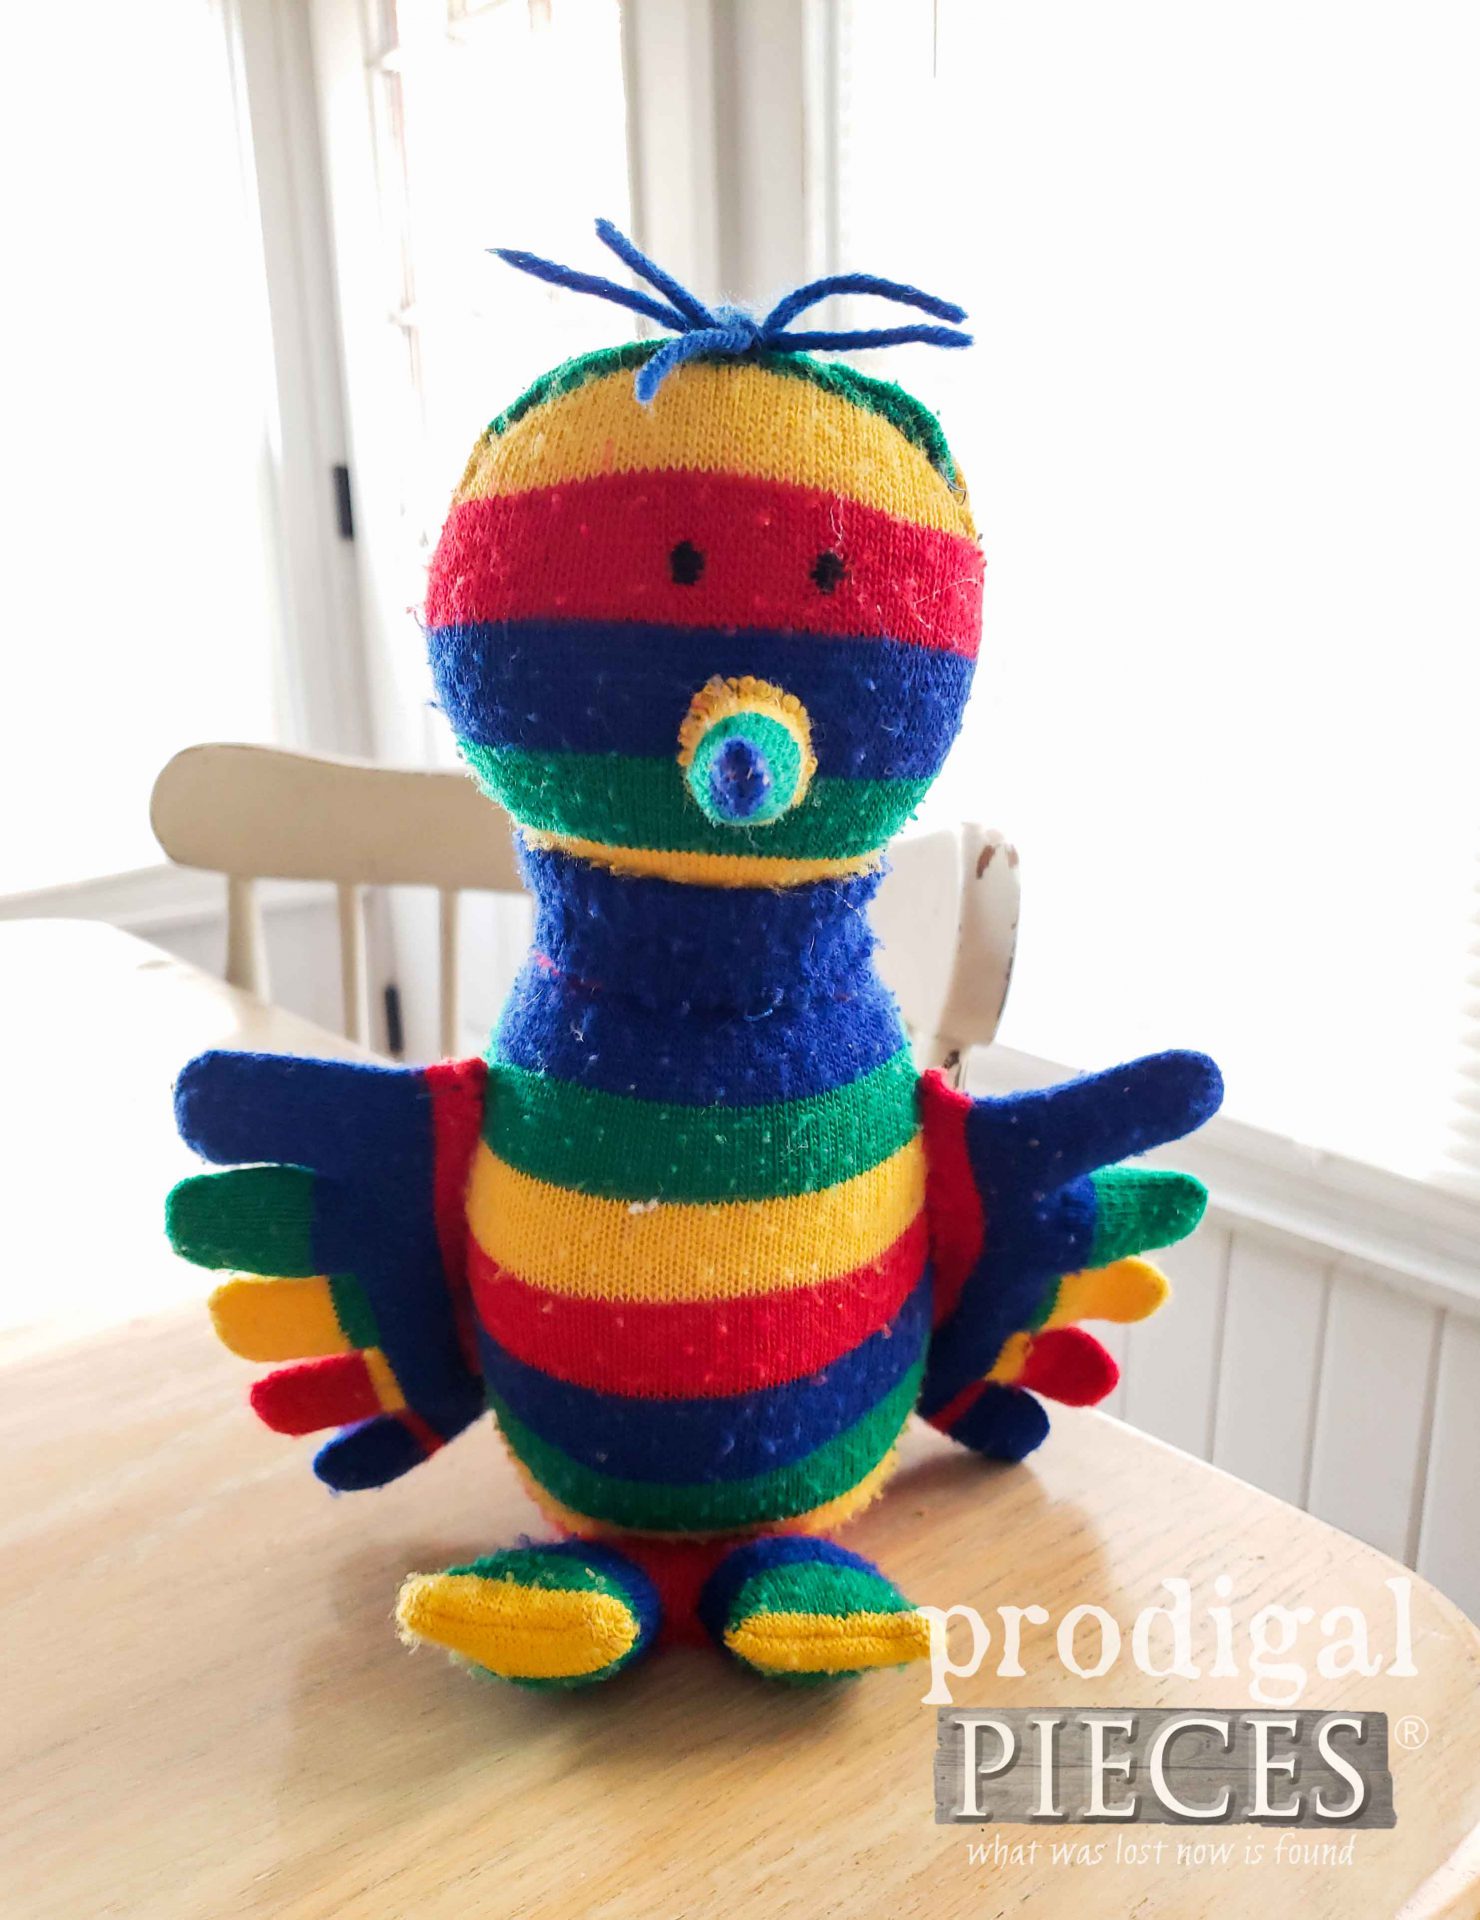
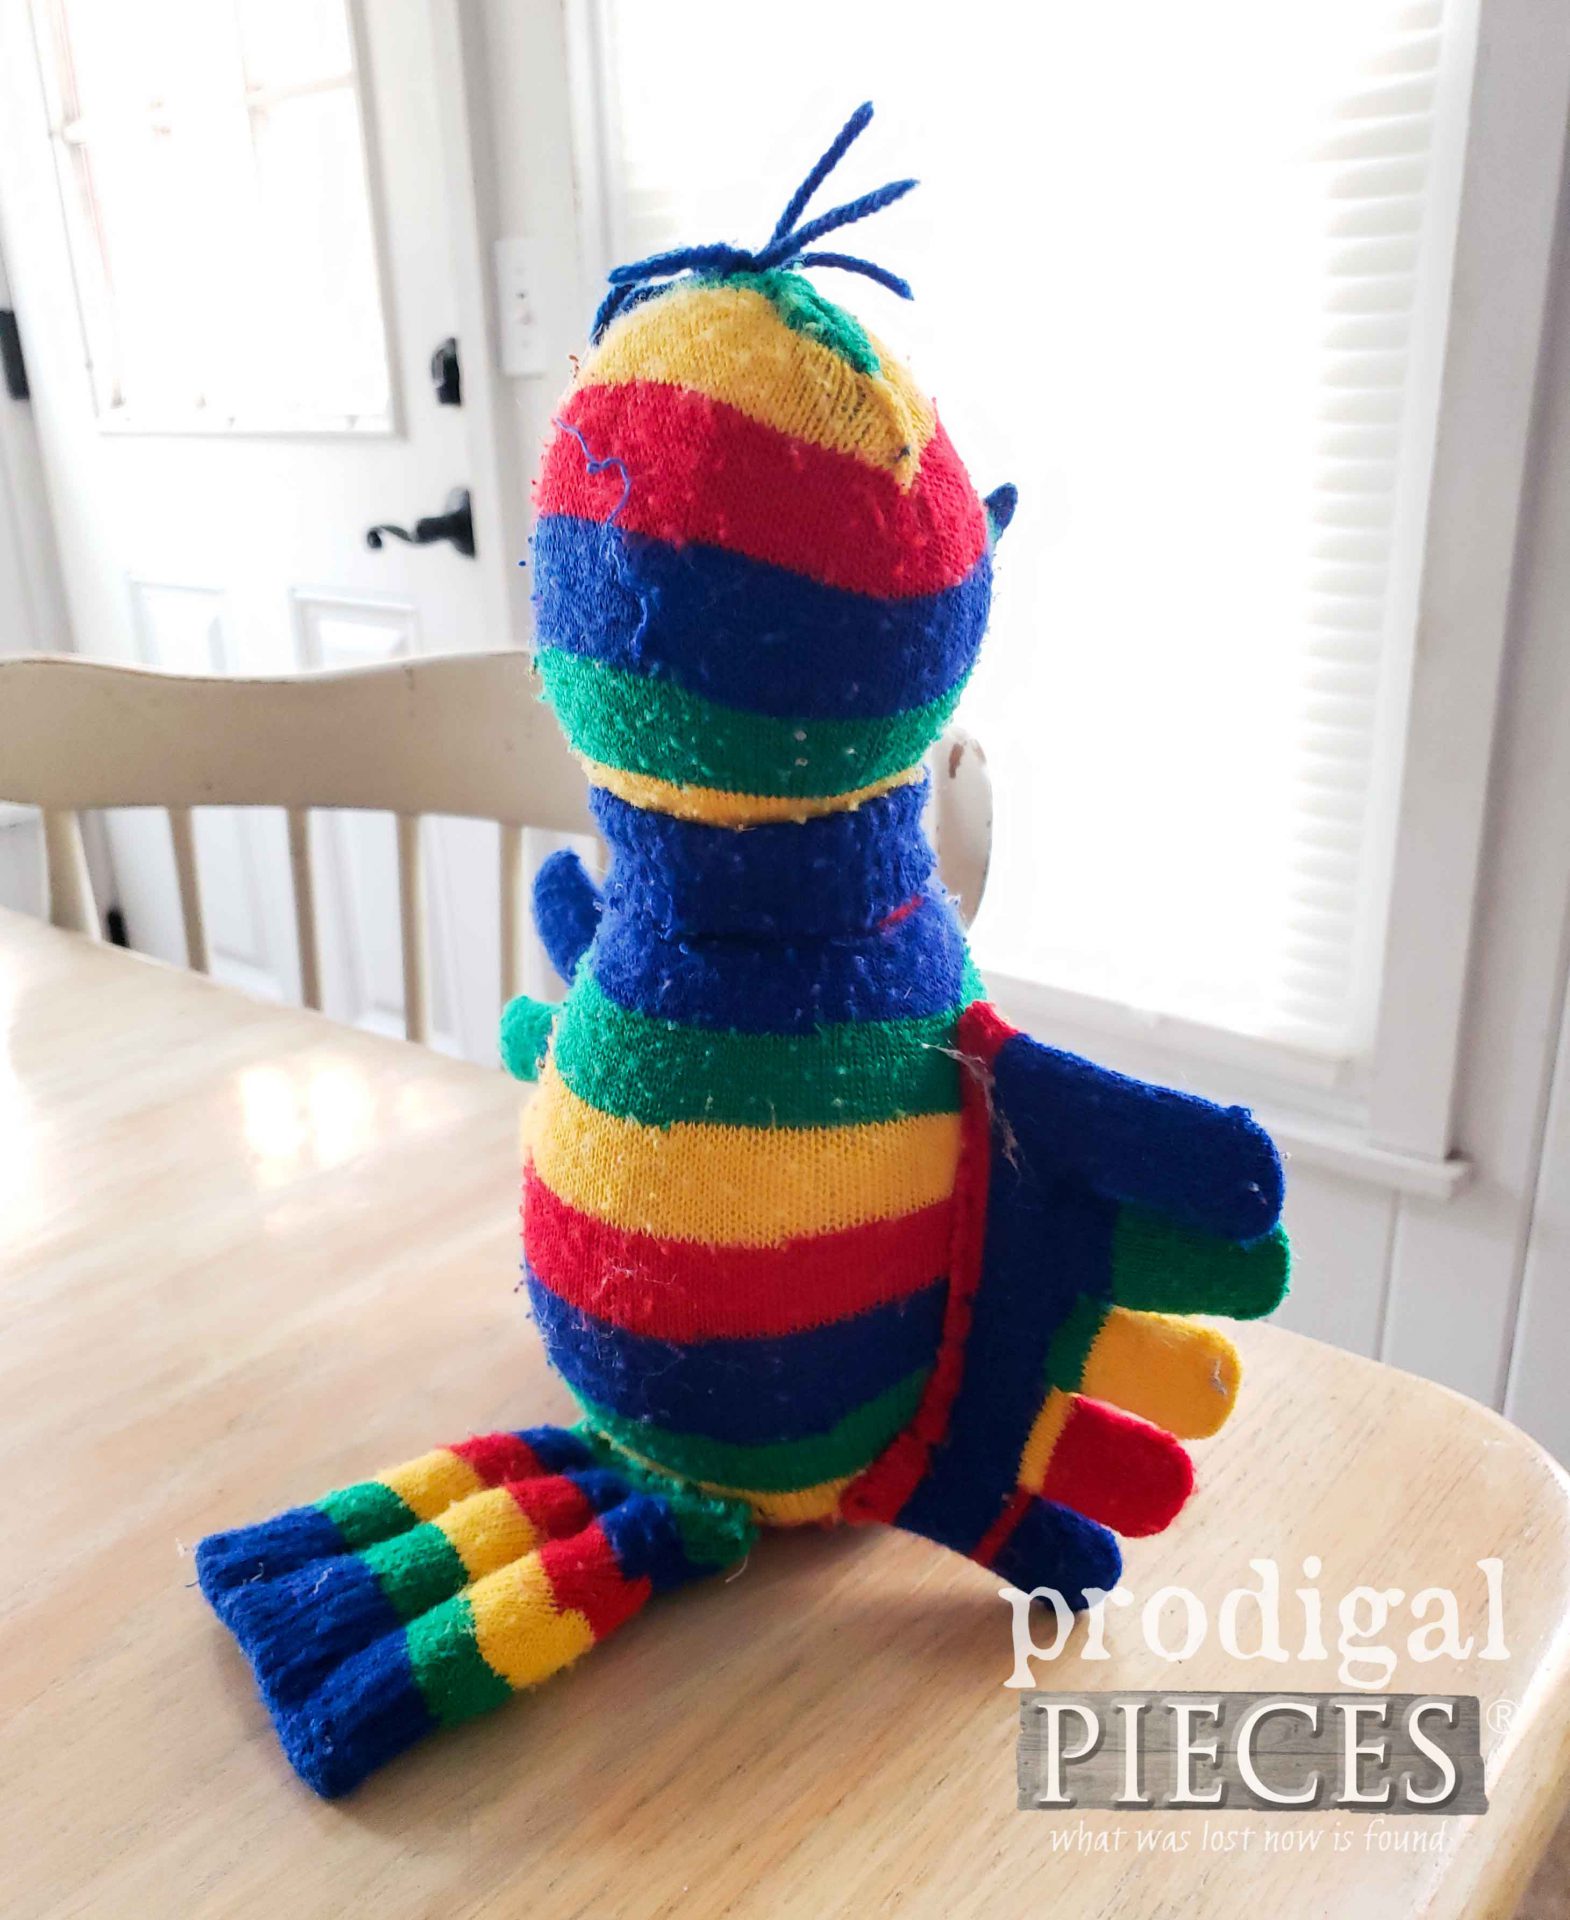
I have a list of other resources at the bottom for you, but this book is definitely a favorite of mine and my kids. In the past, I’ve created dozens of doll in various forms for family, and learned a great many tricks to the art. Plus, I first started my online shop with…you guessed it…dolls. Half of the fun is learning and experimenting, right? Here is an example of one my oldest daughter made many years ago for my youngest son using those silly toe socks.
Isn’t it cute? He’s definitely seen much love.
LET’S BEGIN
Okay, so I’m not going to reinvent the wheel here and give you step-by-step instructions since there are so many resources available out there (see below). However, my goal is to introduce (or re-introduce) the idea to you and hopefully inspire you. The best part about this is once you get started it’s addictive and you can figure out basic designs on your own. Yes, really!
TERMS OF USE: when you create these sock dolls and animals you agree to the following: it cannot be shared or distributed for monetary gain in any way, it may not be modified in any way, and you may not claim the work as your own.
MATERIALS & SUPPLIES
- socks – new/used of any size. It’s fun to take mismatches or socks from a childhood memory to create a memento to share.
- thread – basic white or color to match
- embroidery floss – if desired, for eyes and features
- needles – no sewing machine needed (unless you want to)
- basic hand-sewing needles
- doll hand needles
- fine point disappearing ink fabric pen, or pen, or pencil
- sewing scissors
- stuffing- wool is wonderful, but synthetic works too
- accessories: yarn for hair, buttons, fabric scraps, beads for eyes, etc.
RESOURCES:
- patterns on Pinterest
- other books I’ve gotten from the library:
- Stray Sock Sewing, Too: More Super-Cute Sock Softies to Make and Love
- Sock Doll Workshop: 30 Delightful Dolls to Create and Cherish
- Sew Cute and Collectible Sock Monkeys: For Red-Heel Sock Monkey Crafters and Collectors
- Sock and Glove: Creating Charming Softy Friends from Cast-Off Socks and Gloves
- Socks Appeal: 16 Fun & Funky Friends Sewn from Socks
Like most anything, knowing what you want your end result to be is key. If you’re new to this, then certainly try out a pattern or two before taking on your own design. Since socks lend themselves to many variations, the one thing to consider is how to make use of it all. Like our mothers used to say, “waste not, want not.”
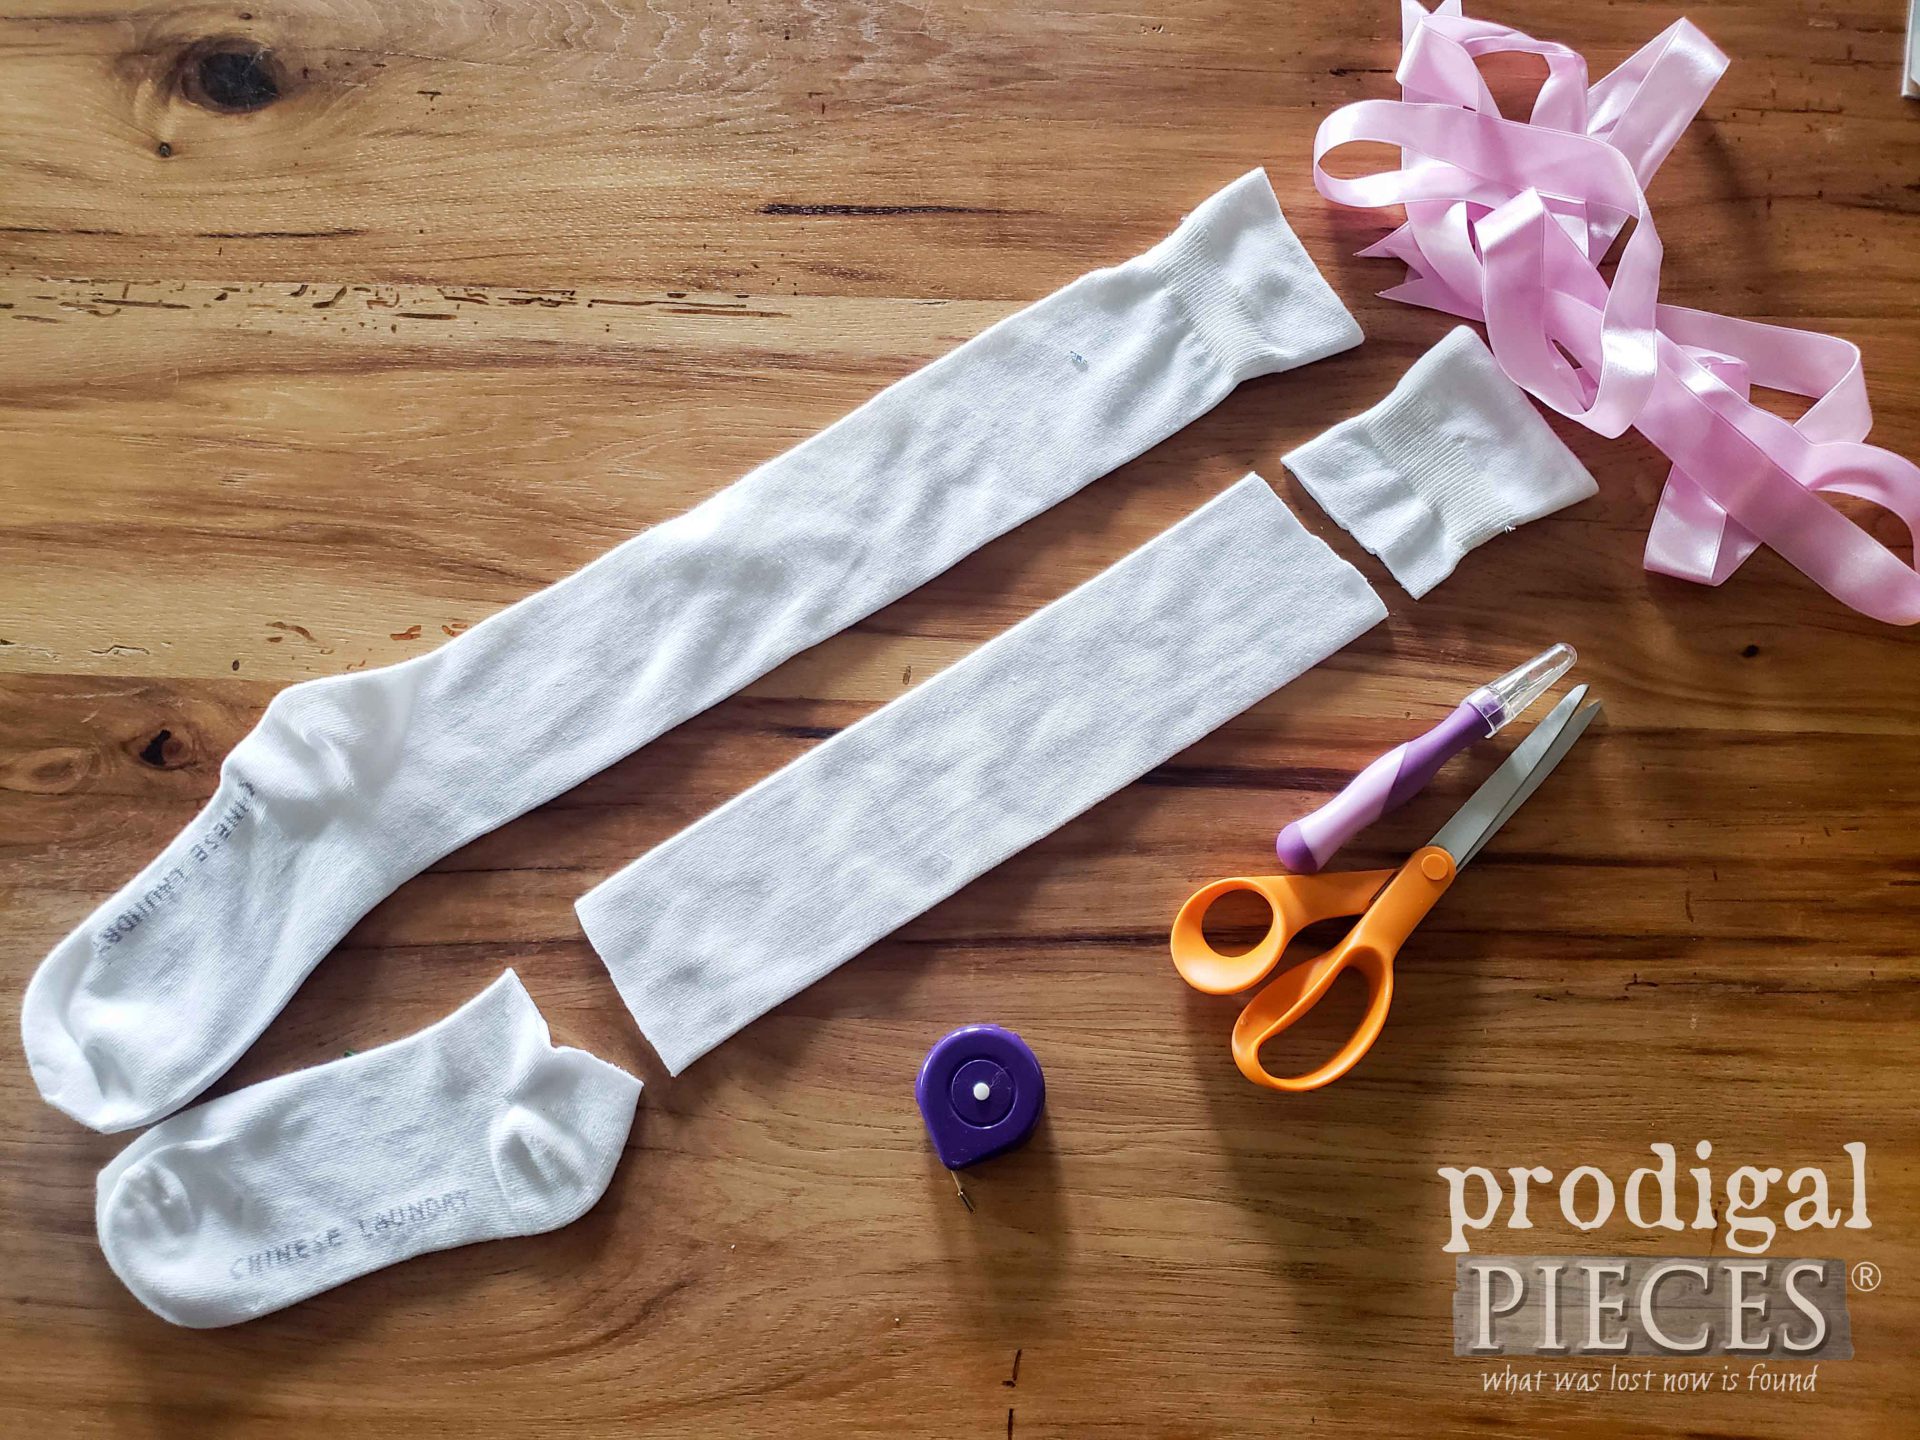
Here’s how I took these thigh-high socks apart. The top cuff can become a hat, the tube middle is a body, and the foot can be used for oodles of parts too.
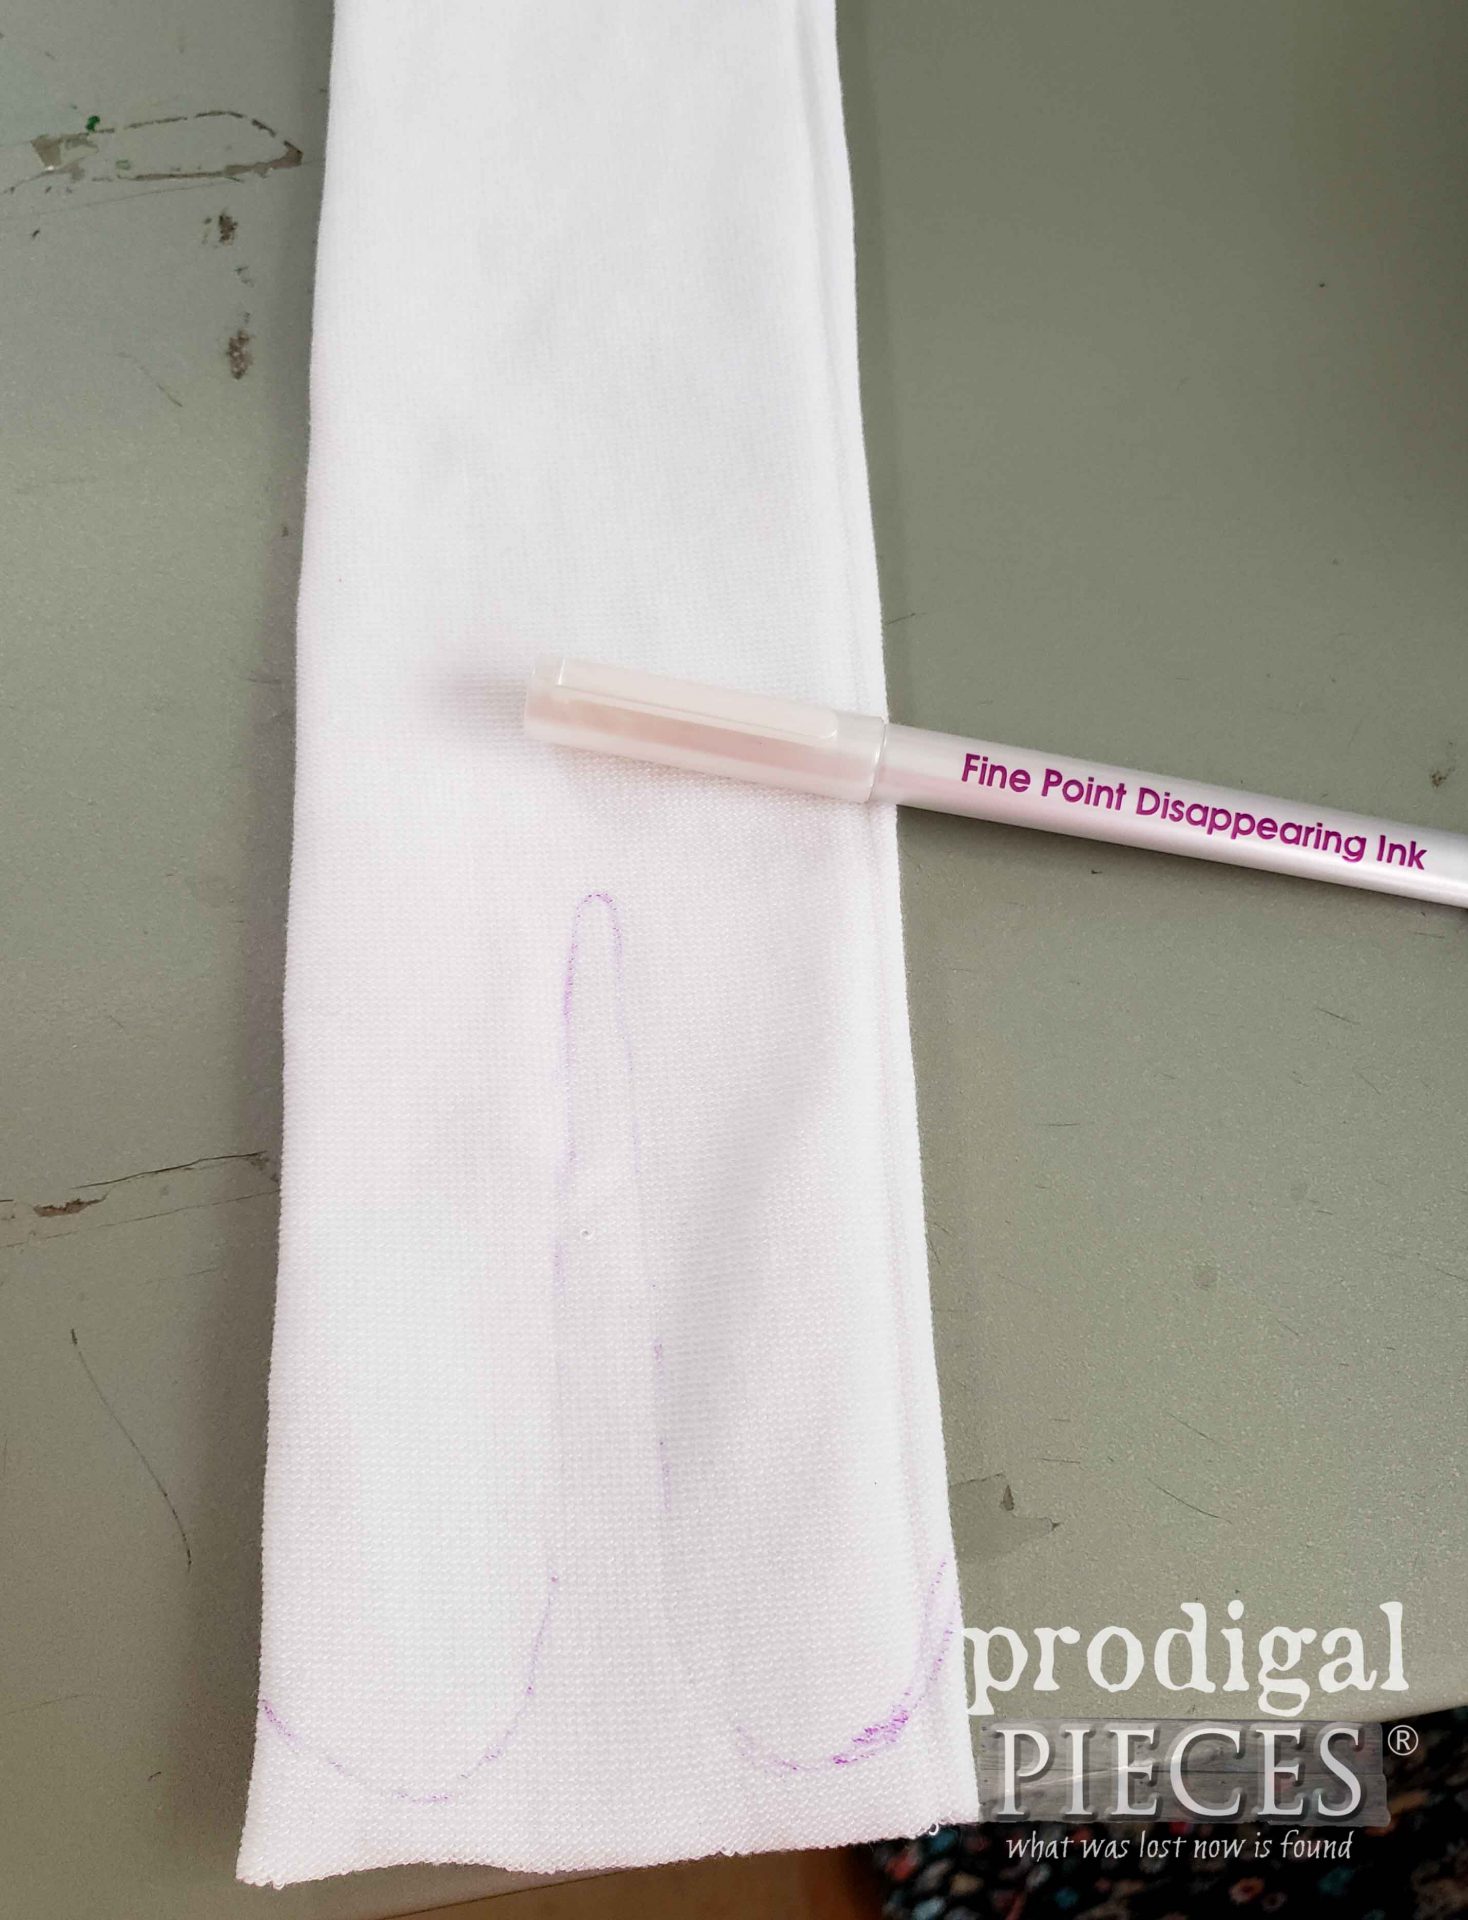
For this project introduction, I’m sticking primarily to the tube body. Turn the tube inside out and draw legs with your disappearing pen. You can use a regular pen, but beware of bleed-through, and a pencil will work too.
I prefer this pen, especially for drawing facial features so it will disappear when I’m done. You can also use the water soluble fabric pen so the ink stays around until you want it to leave. I’ve drawn long legs for a human-like doll, but go stubby for animals, or super long for fun.
TIME TO SEW
First, let me just say that I use a sewing machine in limited amounts for these projects. However, I do prefer to only use it when sewing legs, arms, etc. To create our body casing, I sew a basic straight stitch on my lines, and trim after they legs are sewn.
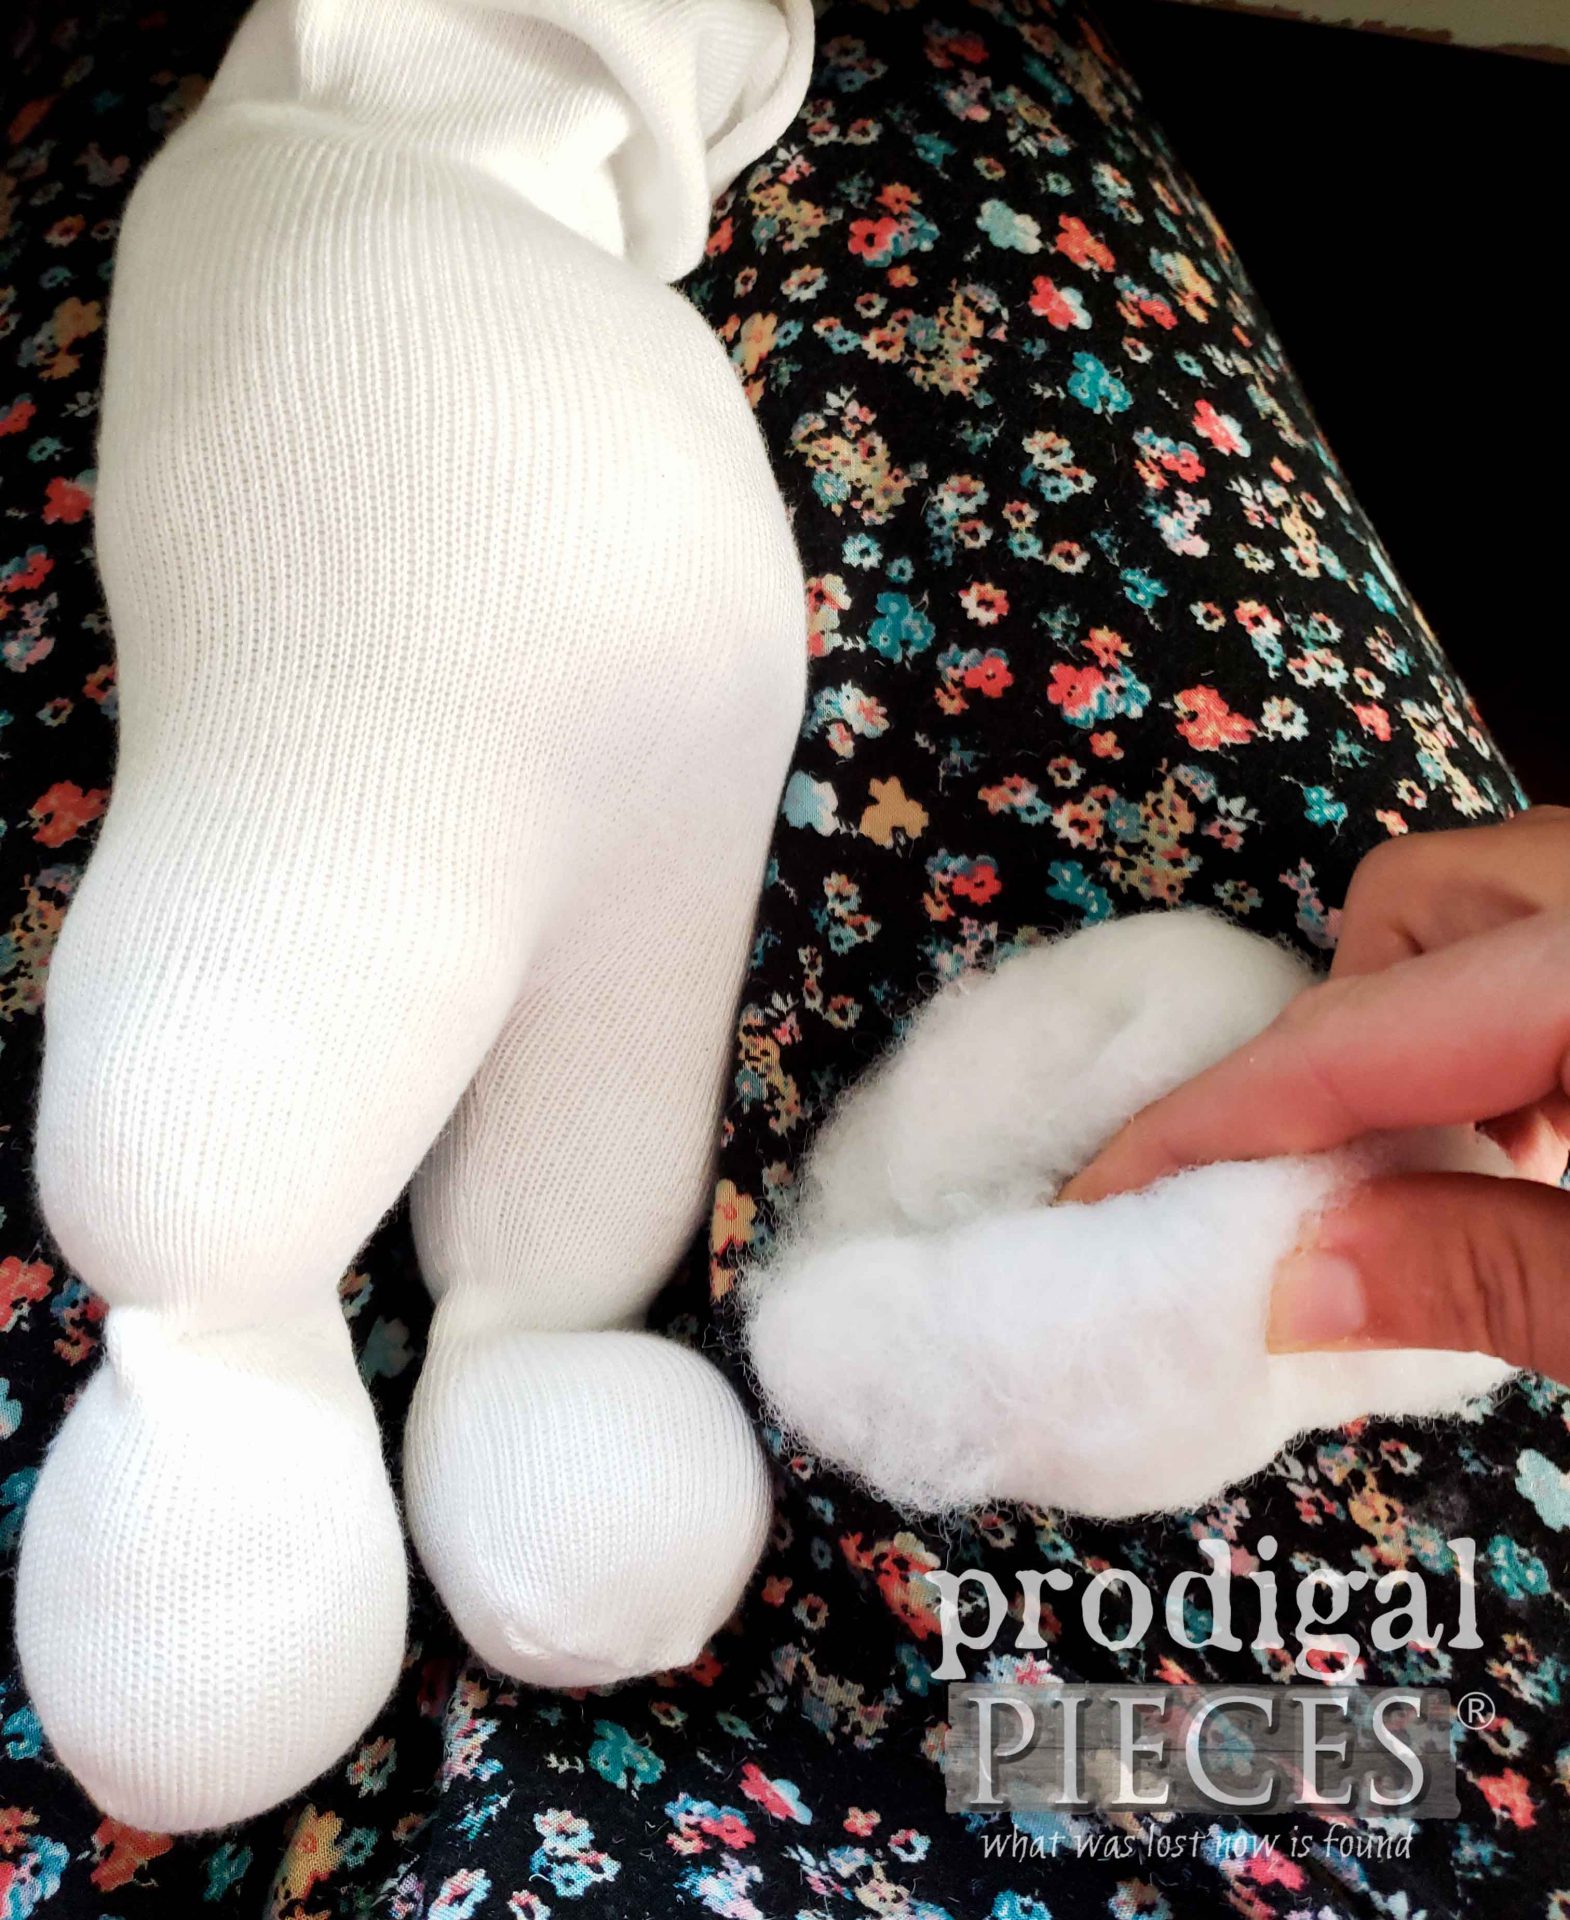
Then, it’s time to stuff! I like to make segmented legs for feet and hips. This allows the doll to sit. It drove me crazy as a kid to have dolls that stood up all the time. haha! Insert tightly bound stuffing balls into the feet, then hand-sew them off. Next, stuff the legs and hand sew the hip joints.
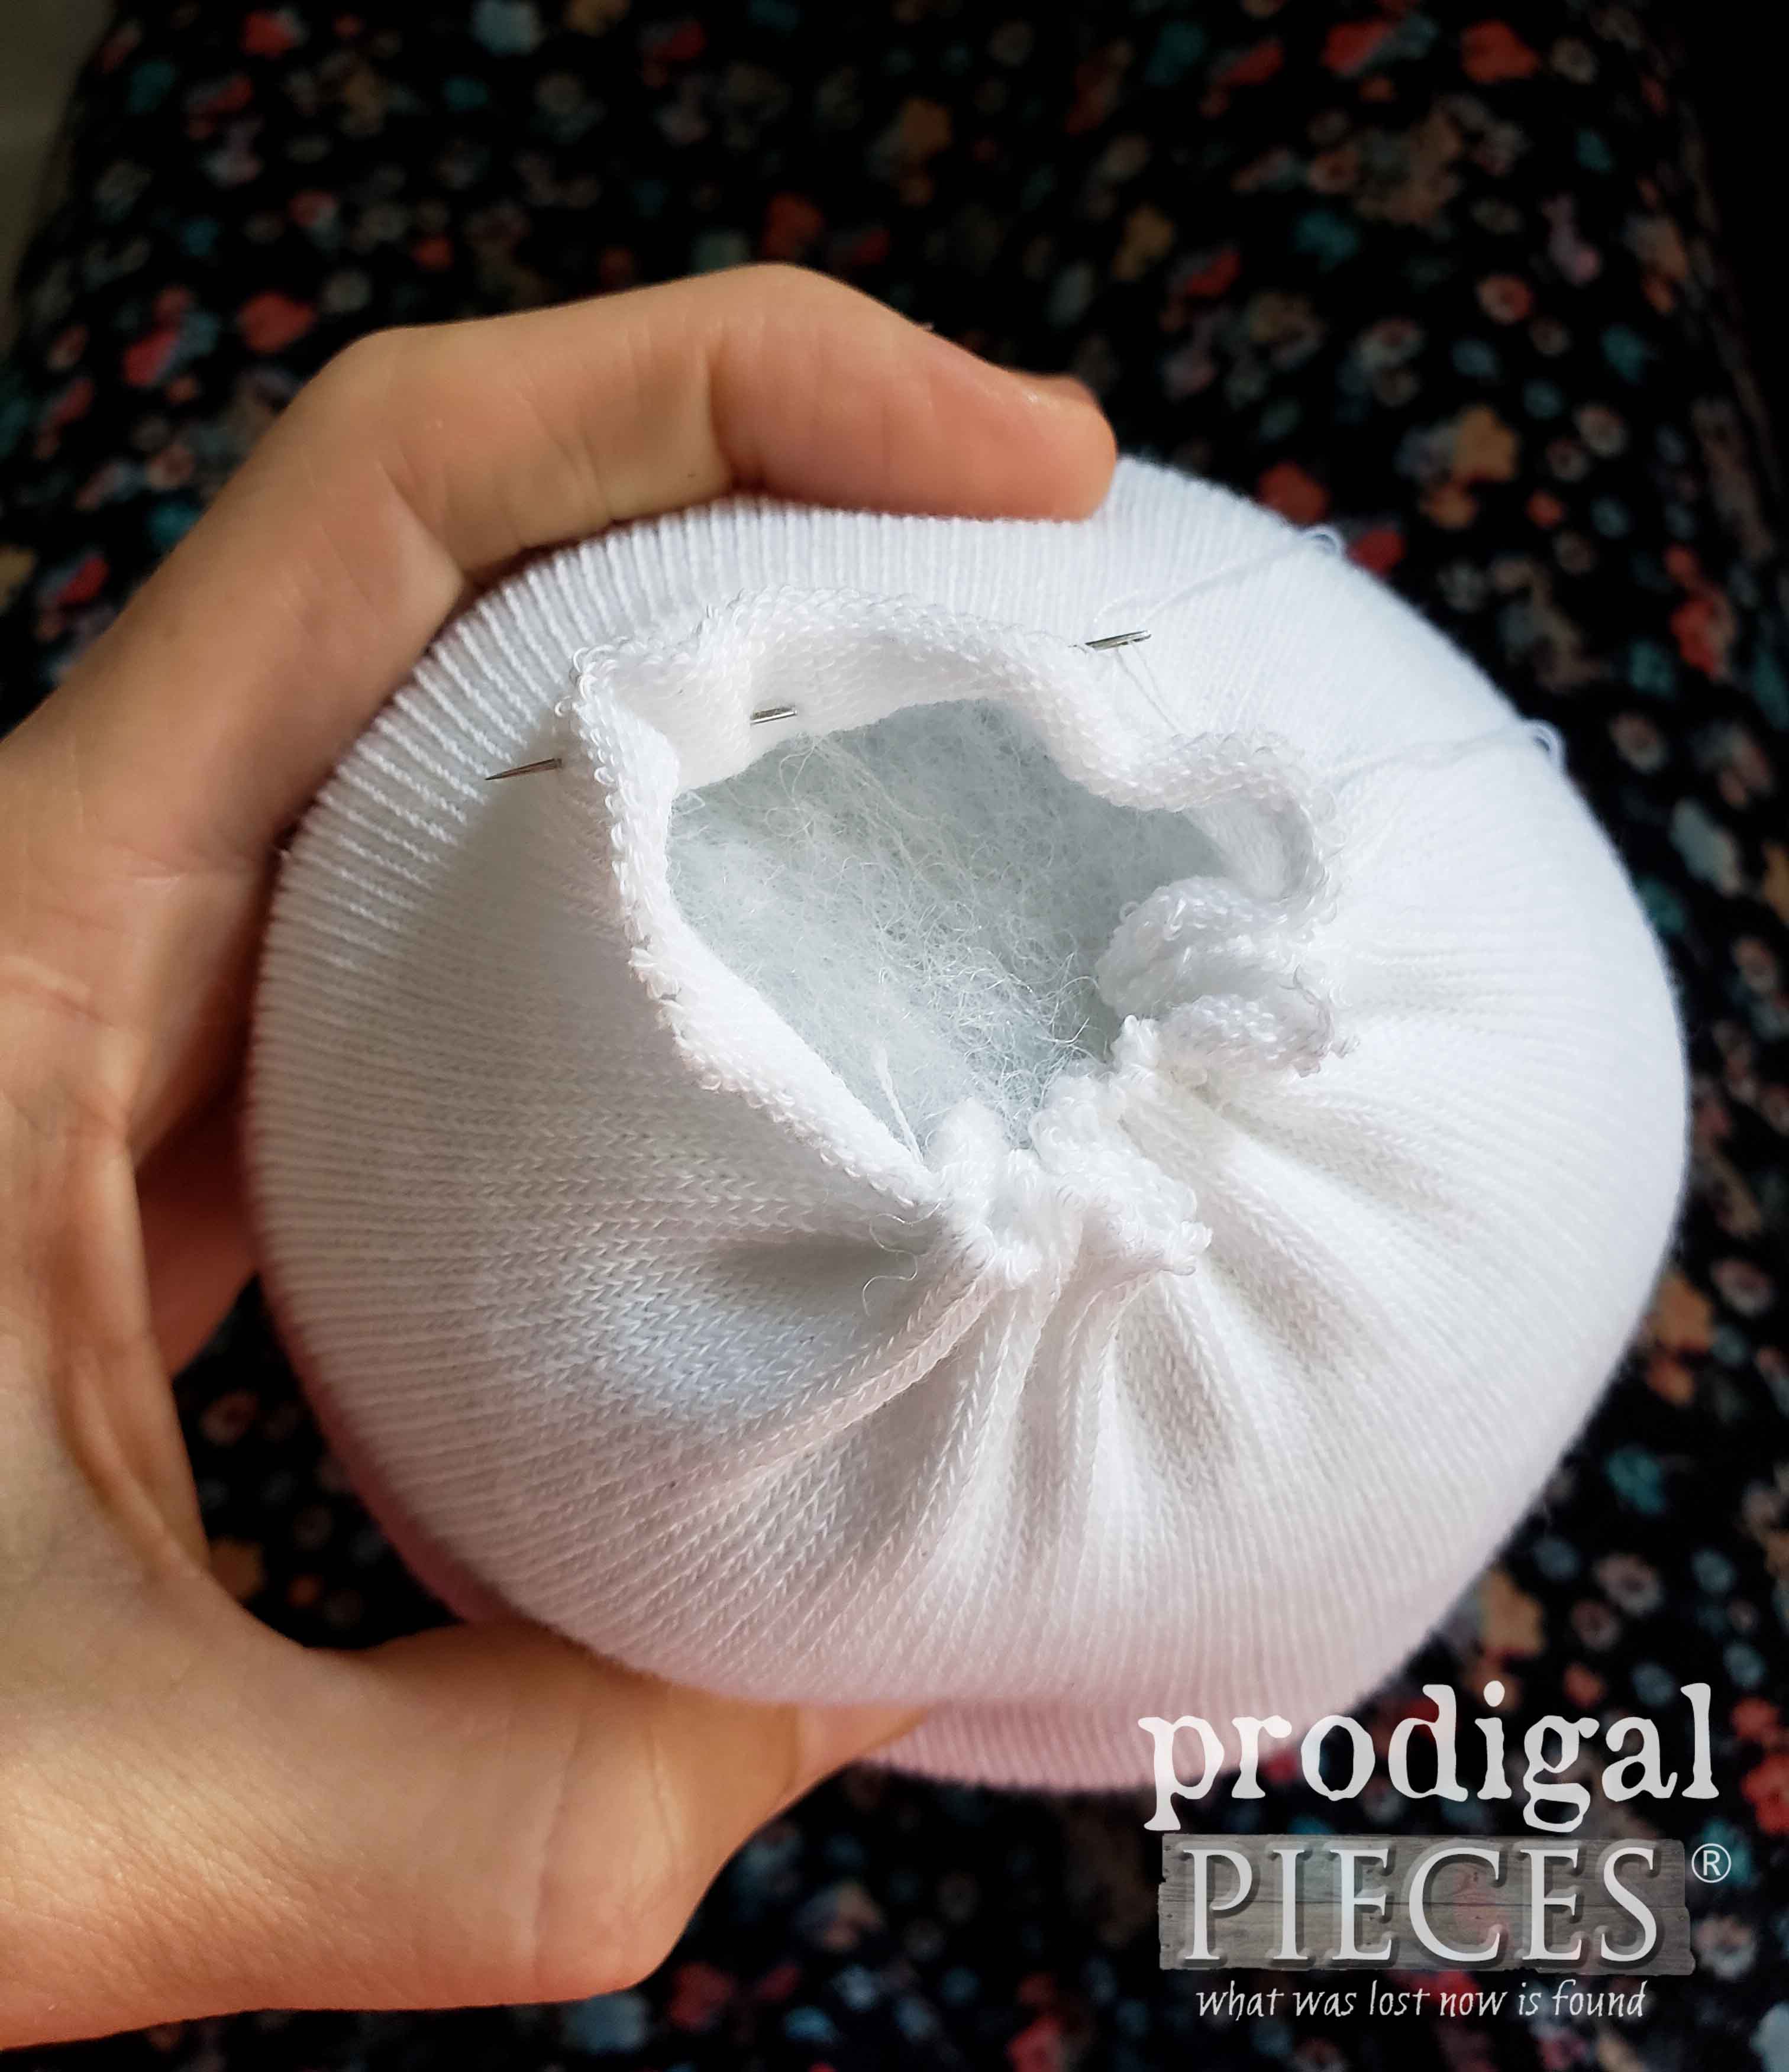
Add another larger ball for the body, and then the head. Gather the top of the tube to close it up. Now you have your basic doll form.
MIX IT UP
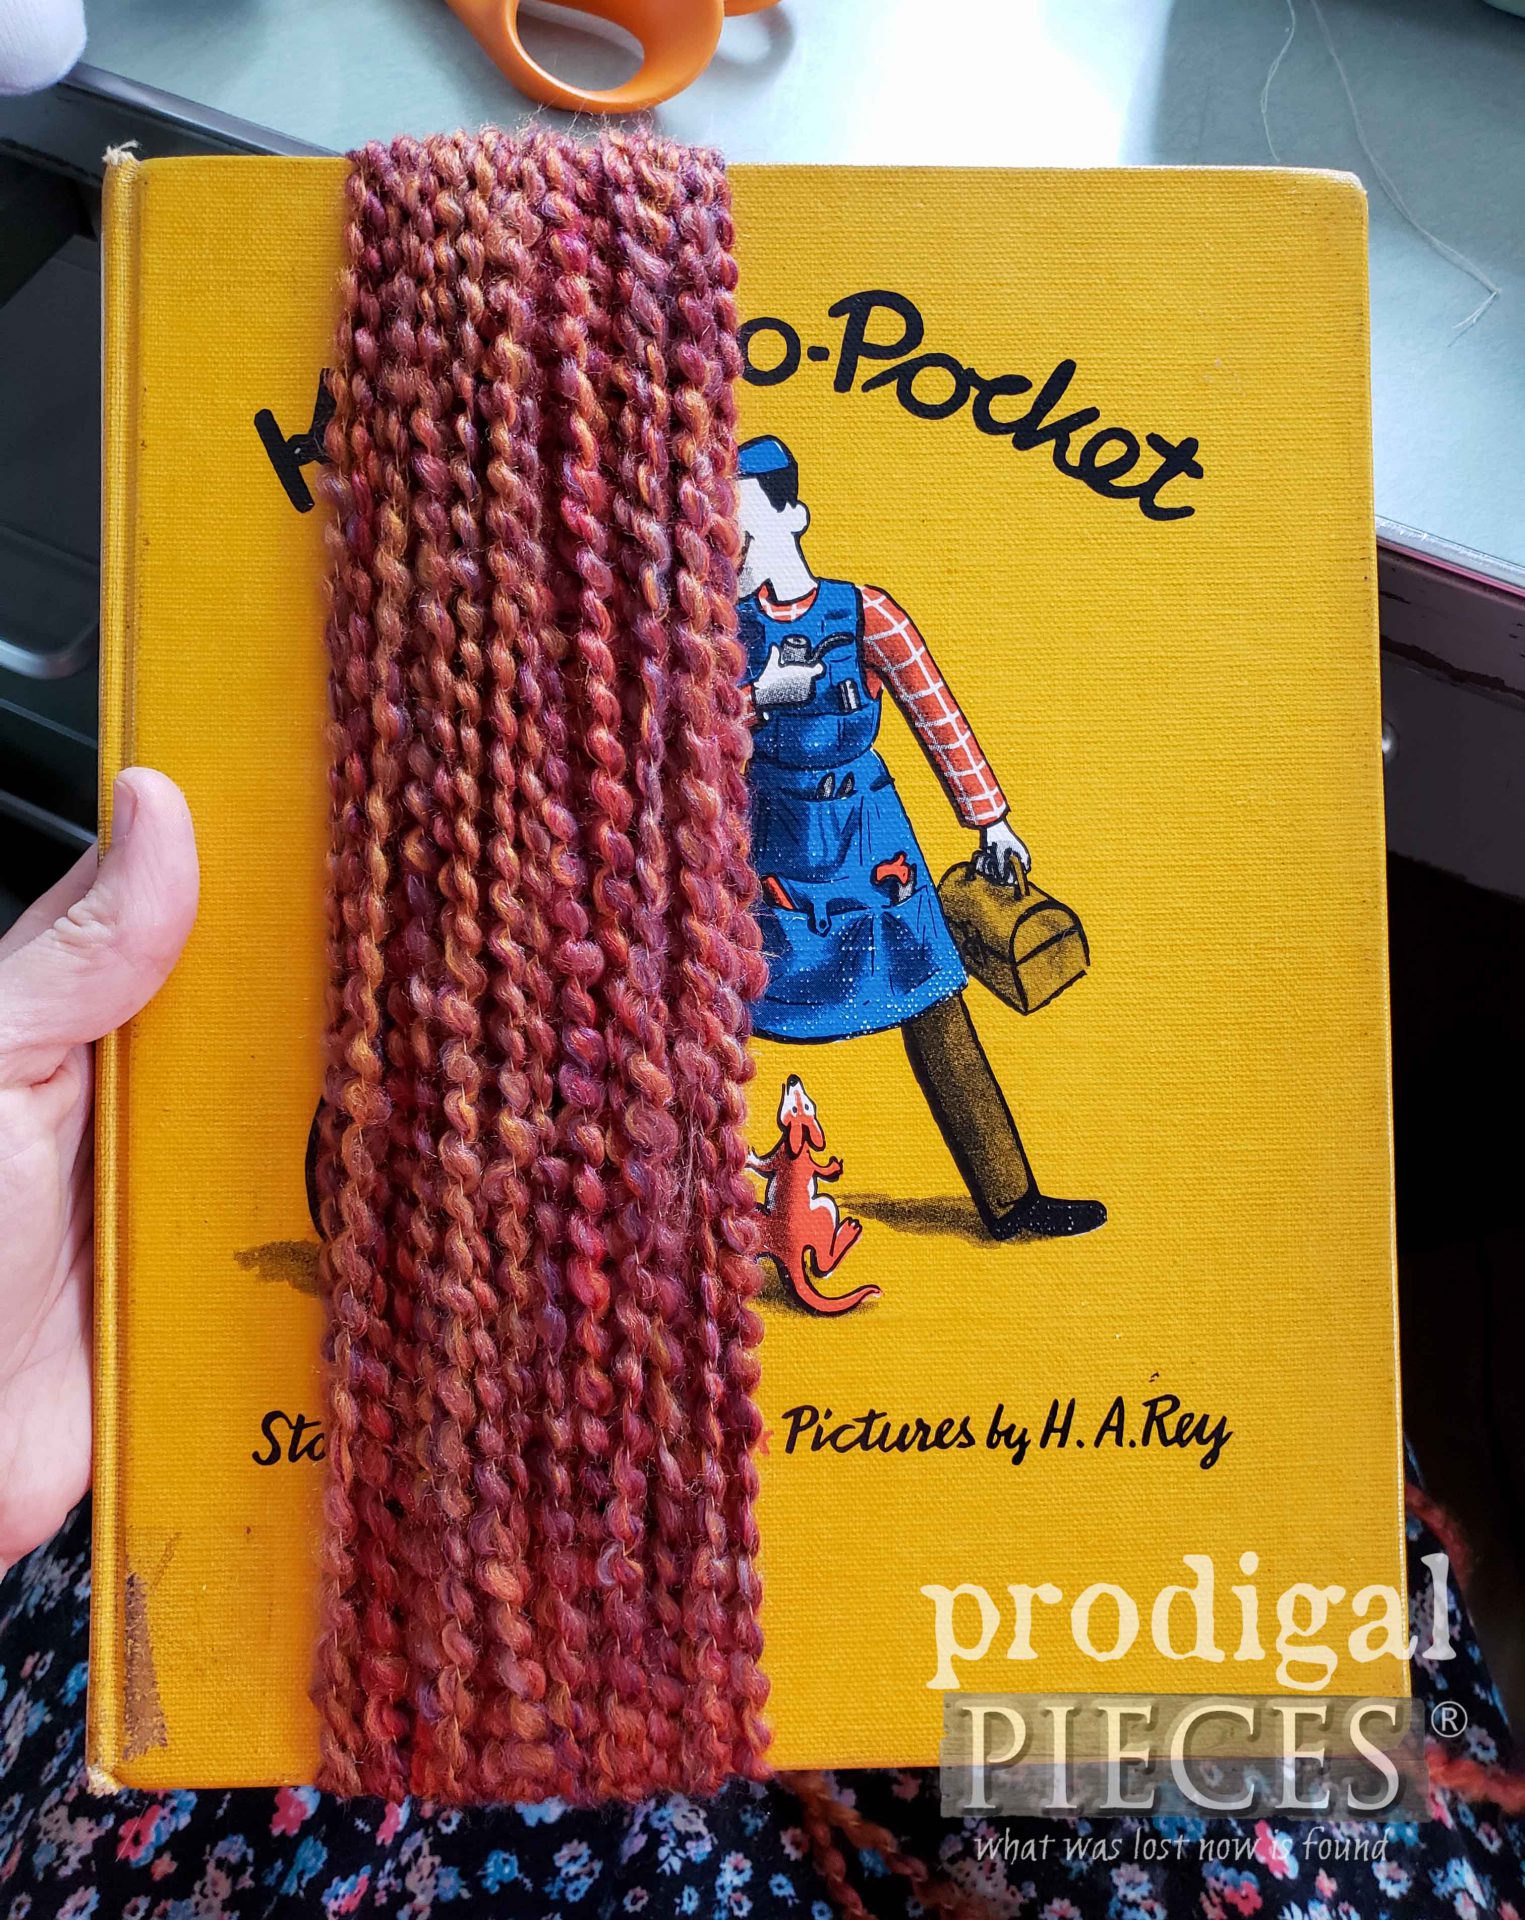
From this basic point, the sky’s the limit for what you can create. Since I am after a doll to begin, I use my stash of yarn to make hair. Using a book about the length of the same length I want the hair to be, I wrap yarn around it multiple times.
When you have it as thick as you like (always go thicker than you think you need), cut one end. You should have a center mark from the other end to know where the center scalp will be. At this point, you can machine sew it together with a loose running stitch, or hand sew with a back stitch.
I intend to put on a hat, so I’m not too concerned about the hair as it looks on the head as much as the fall. For my hat, however, that’s when I dive into my felted wool stash. If you haven’t seen my felted wool projects, they’re work taking a peek at HERE. Here’s a video project as well.
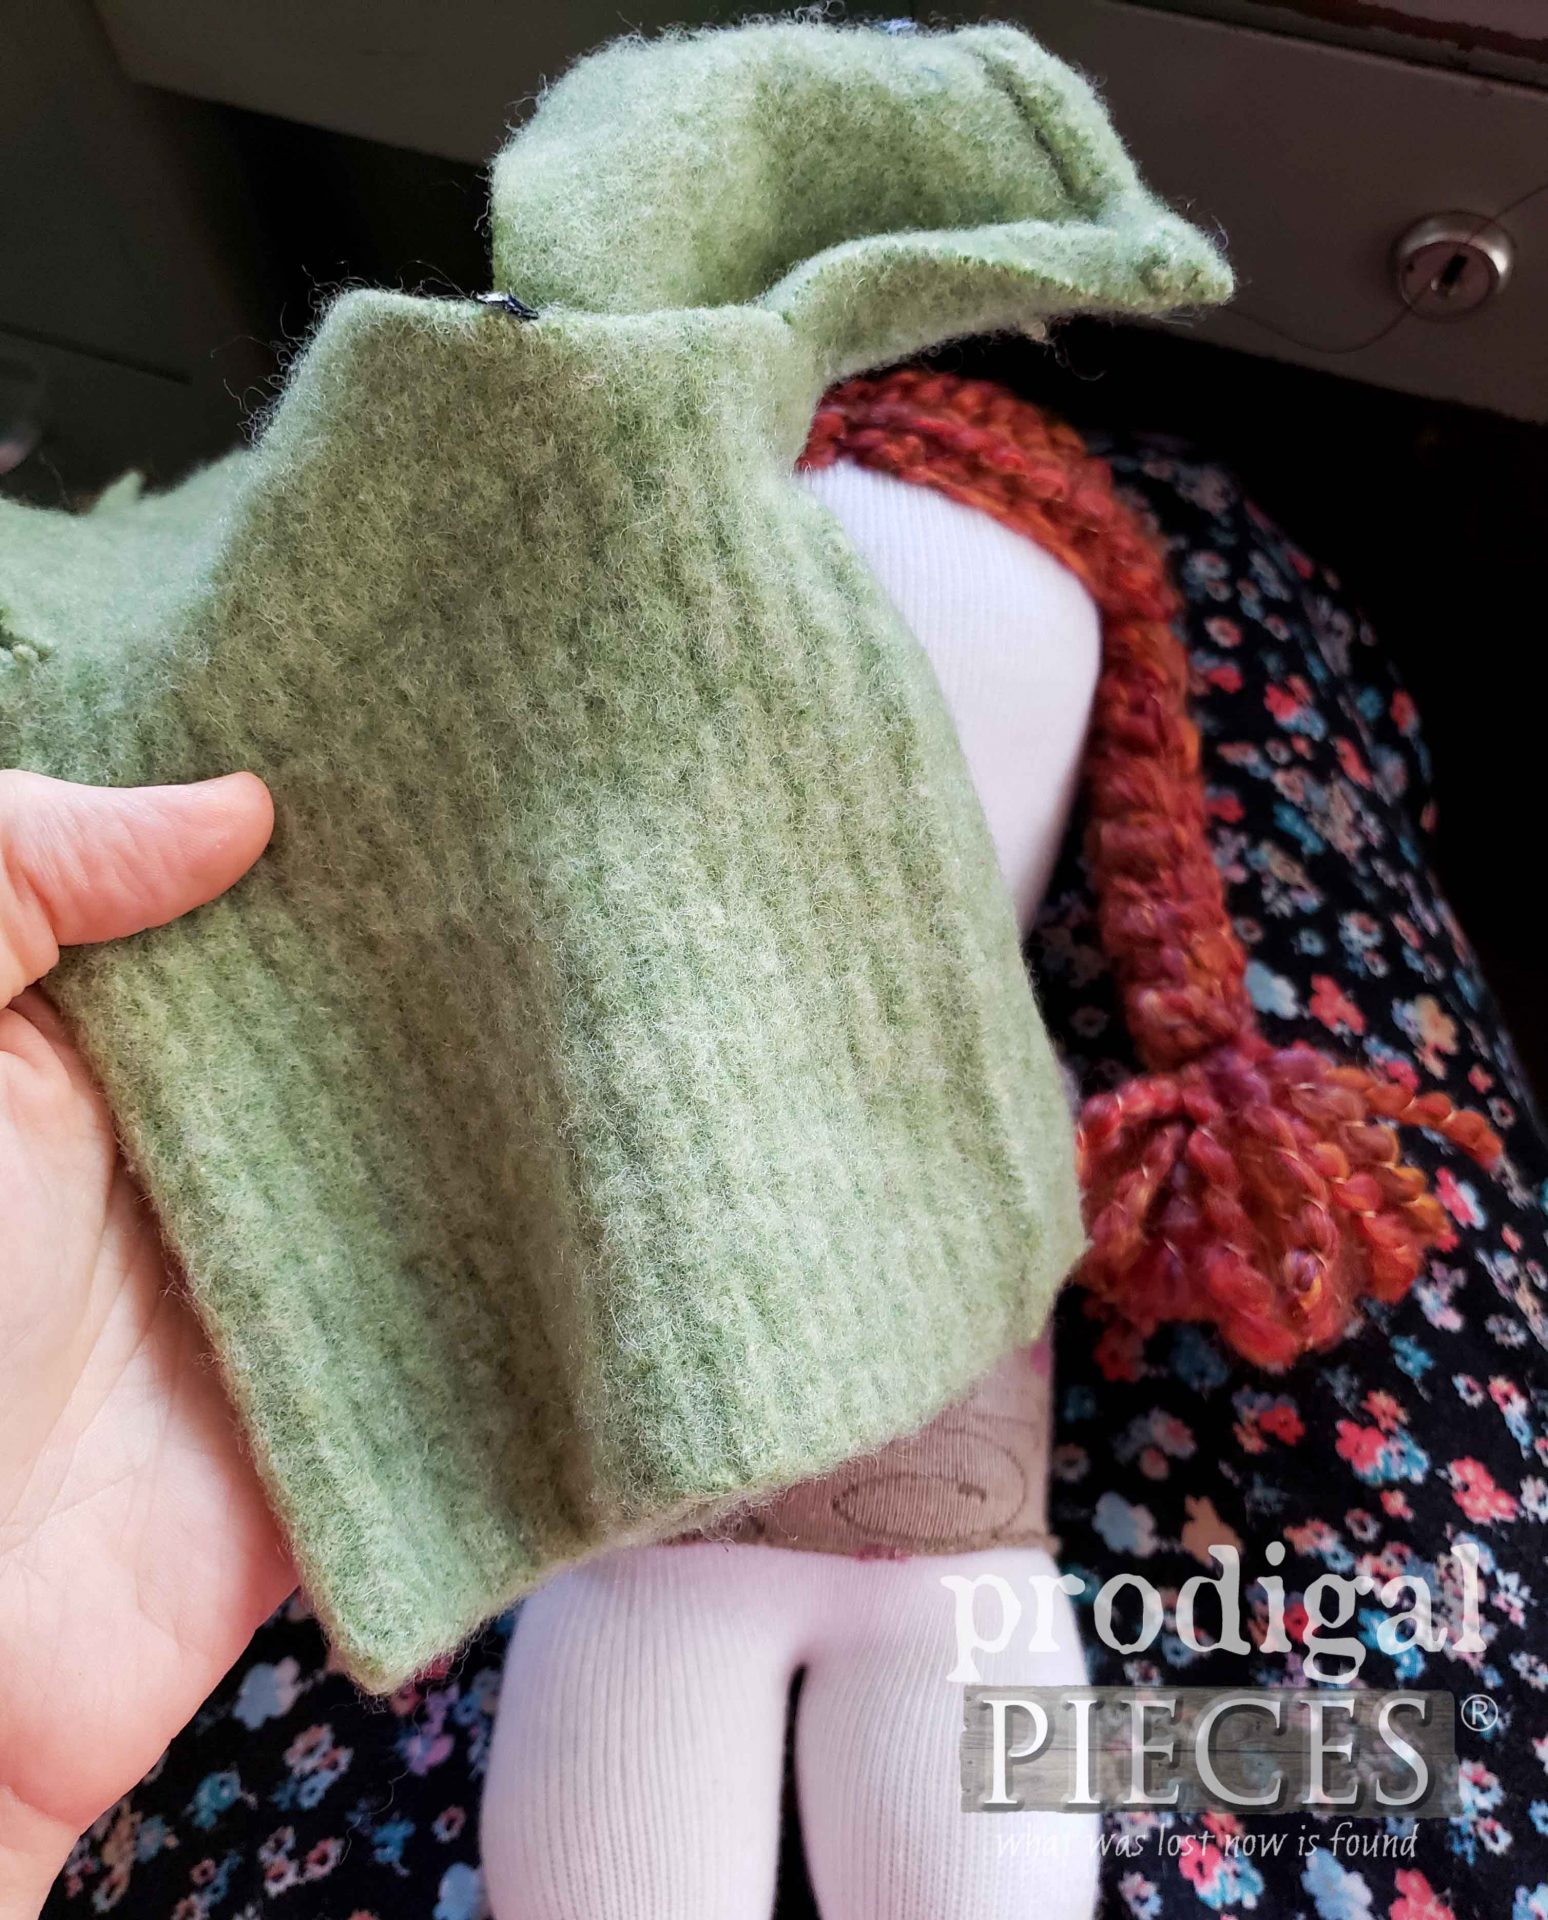
I find that sweater sleeve cuffs work create for hats. The ribbing on the end looks like a brim, doesn’t it?
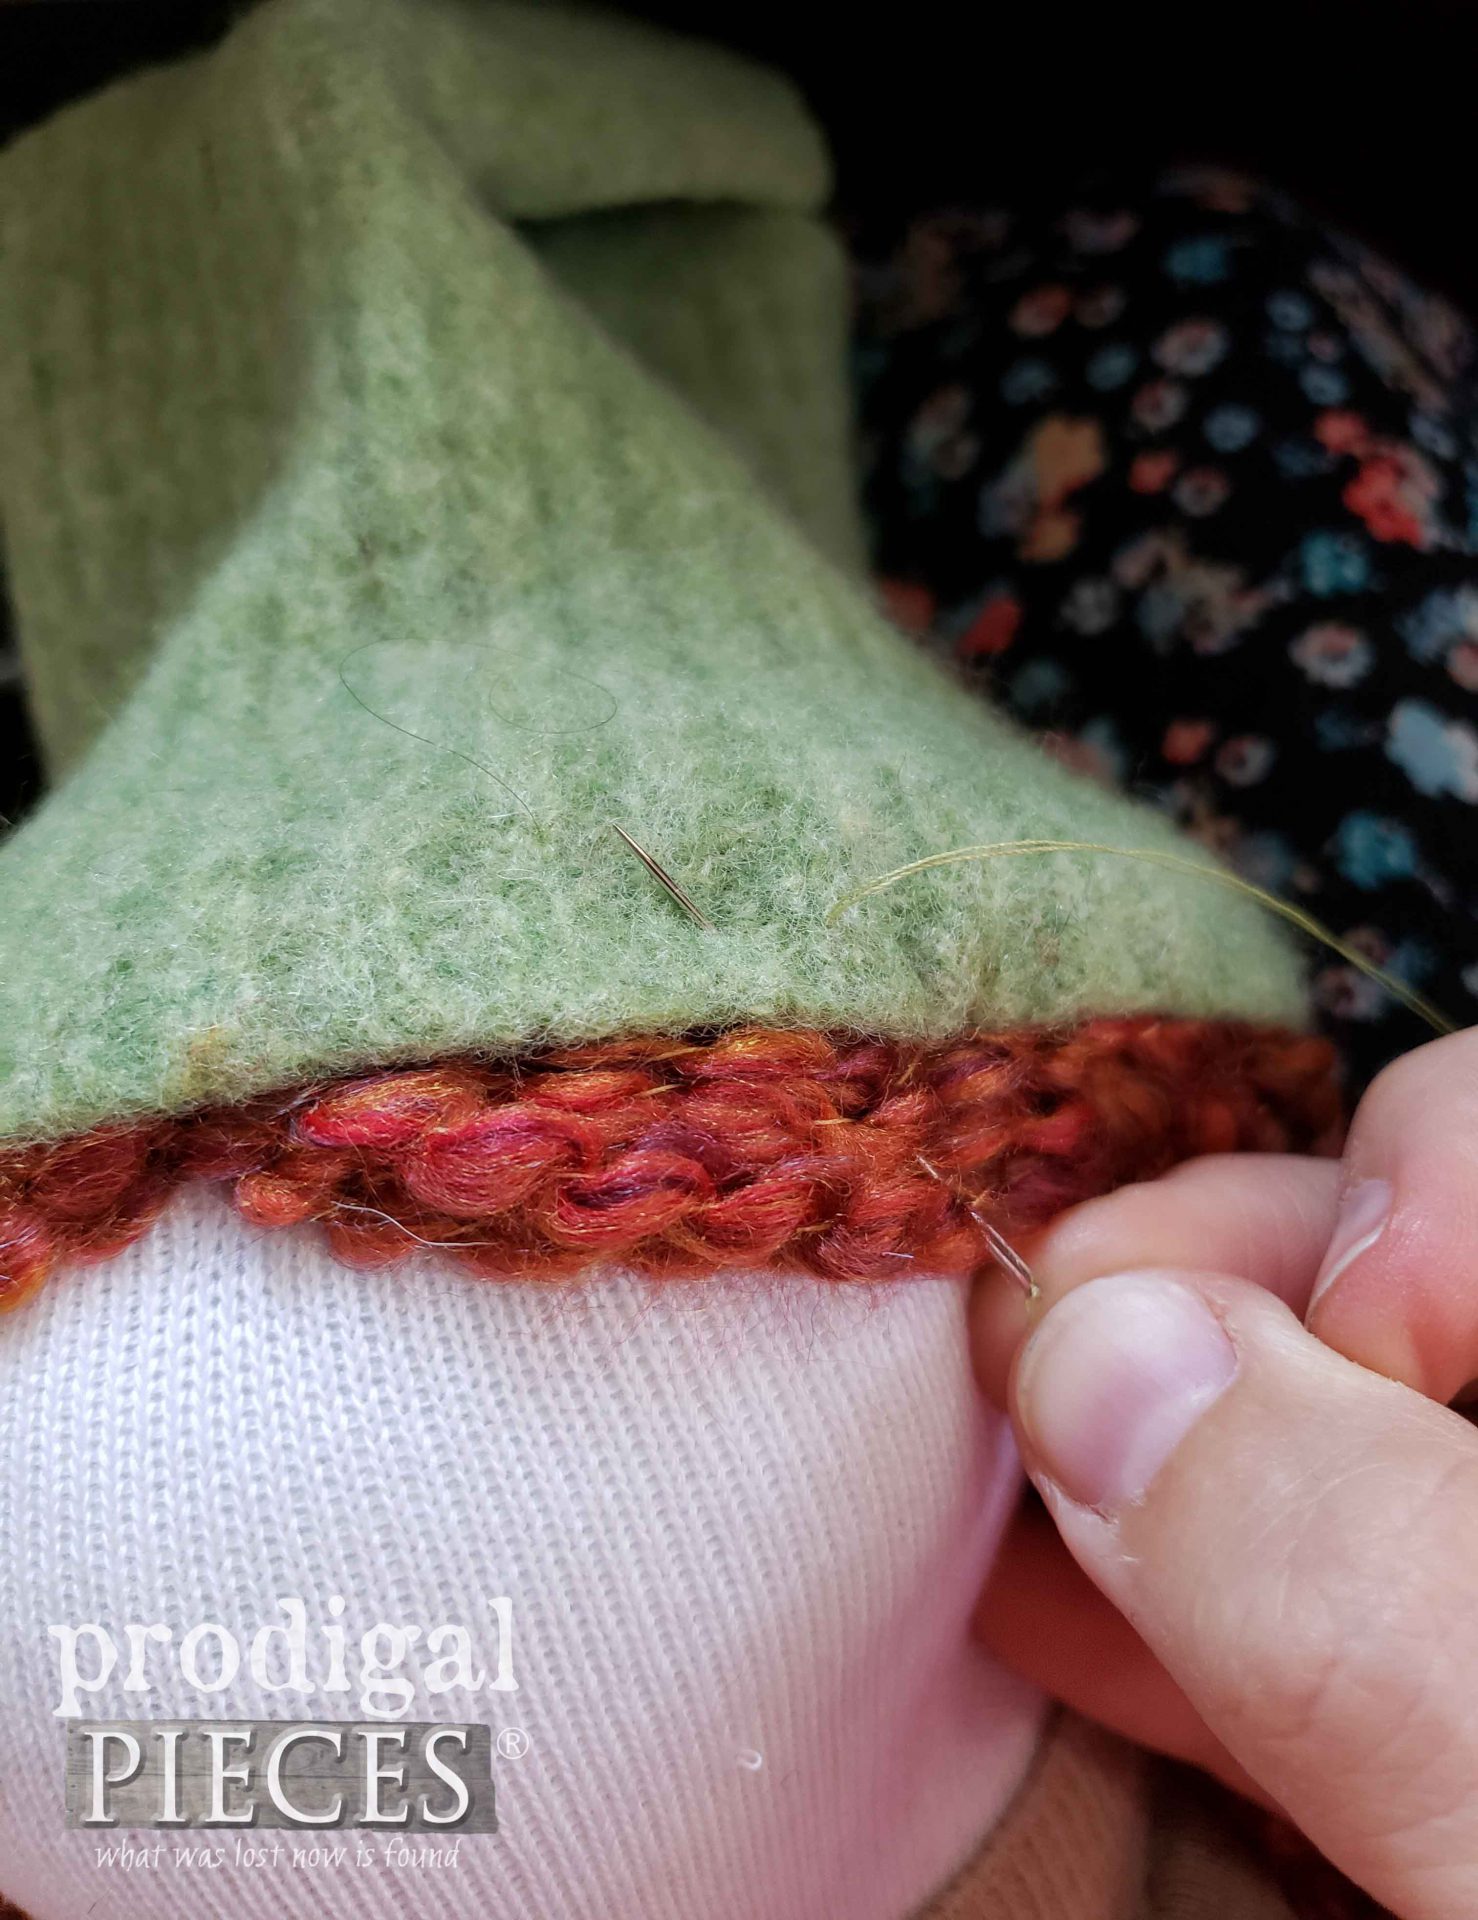
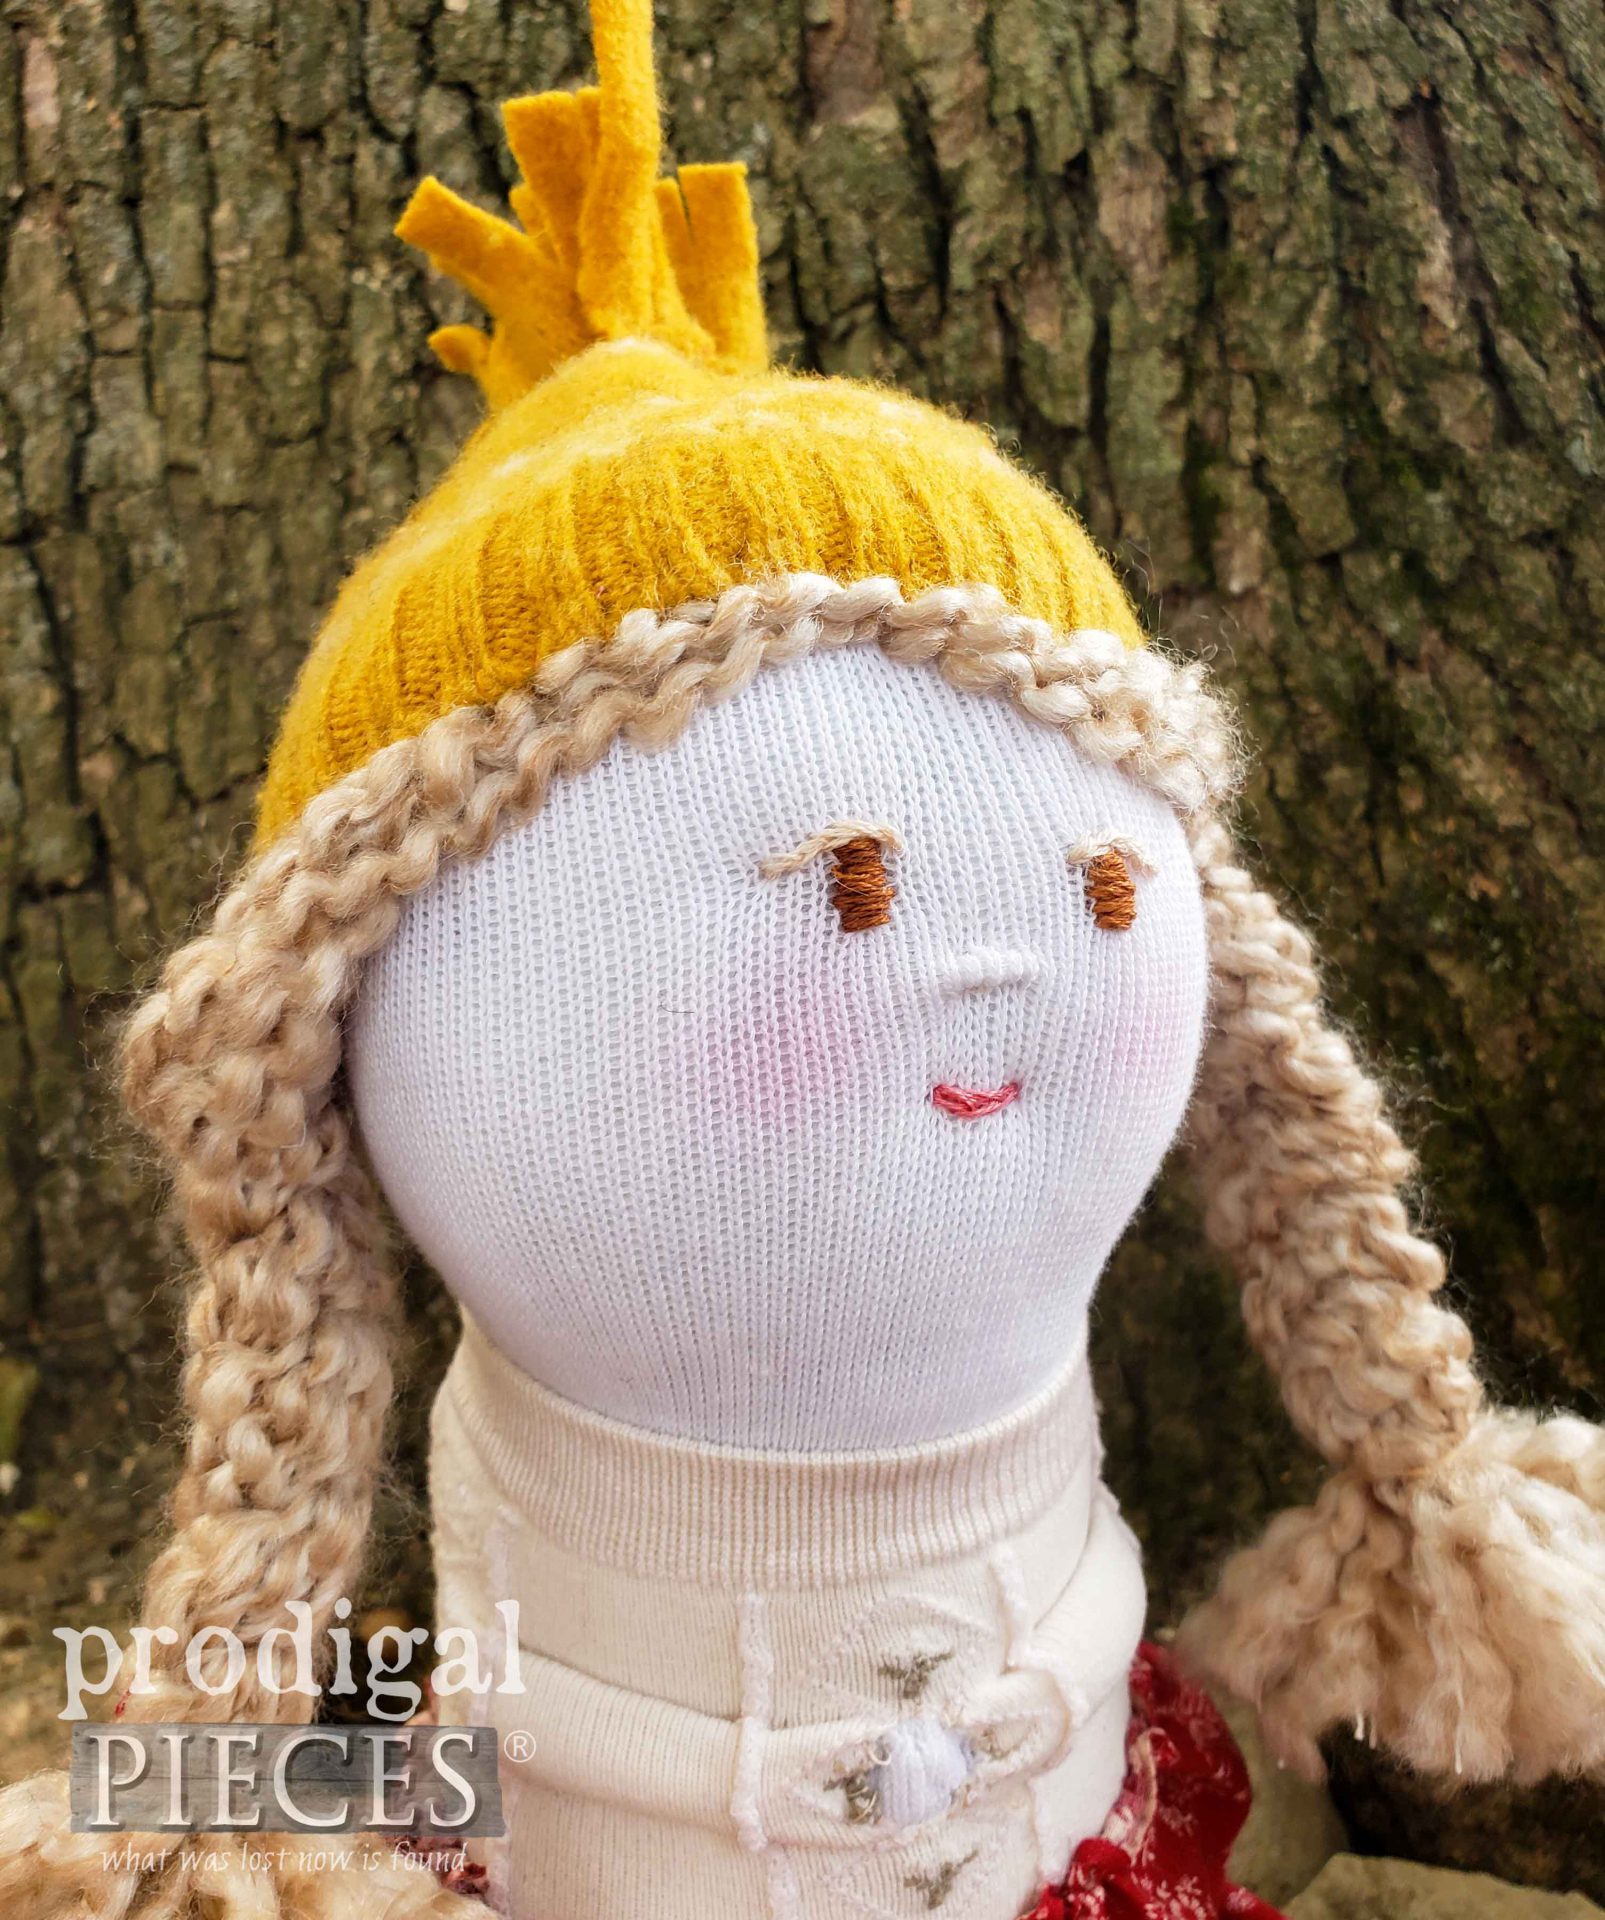
Since the cuff fits the doll’s head perfectly, all I need to do is use a whip-stitch to attach. You can see I attached another sock using the cuff as a neckline and it covers the bodice.
Making dolls is messy, but oh so fun!
And, you know I have to add my little marker somewhere. This is the prefect spot. Bottoms up!
THEY’RE DONE!
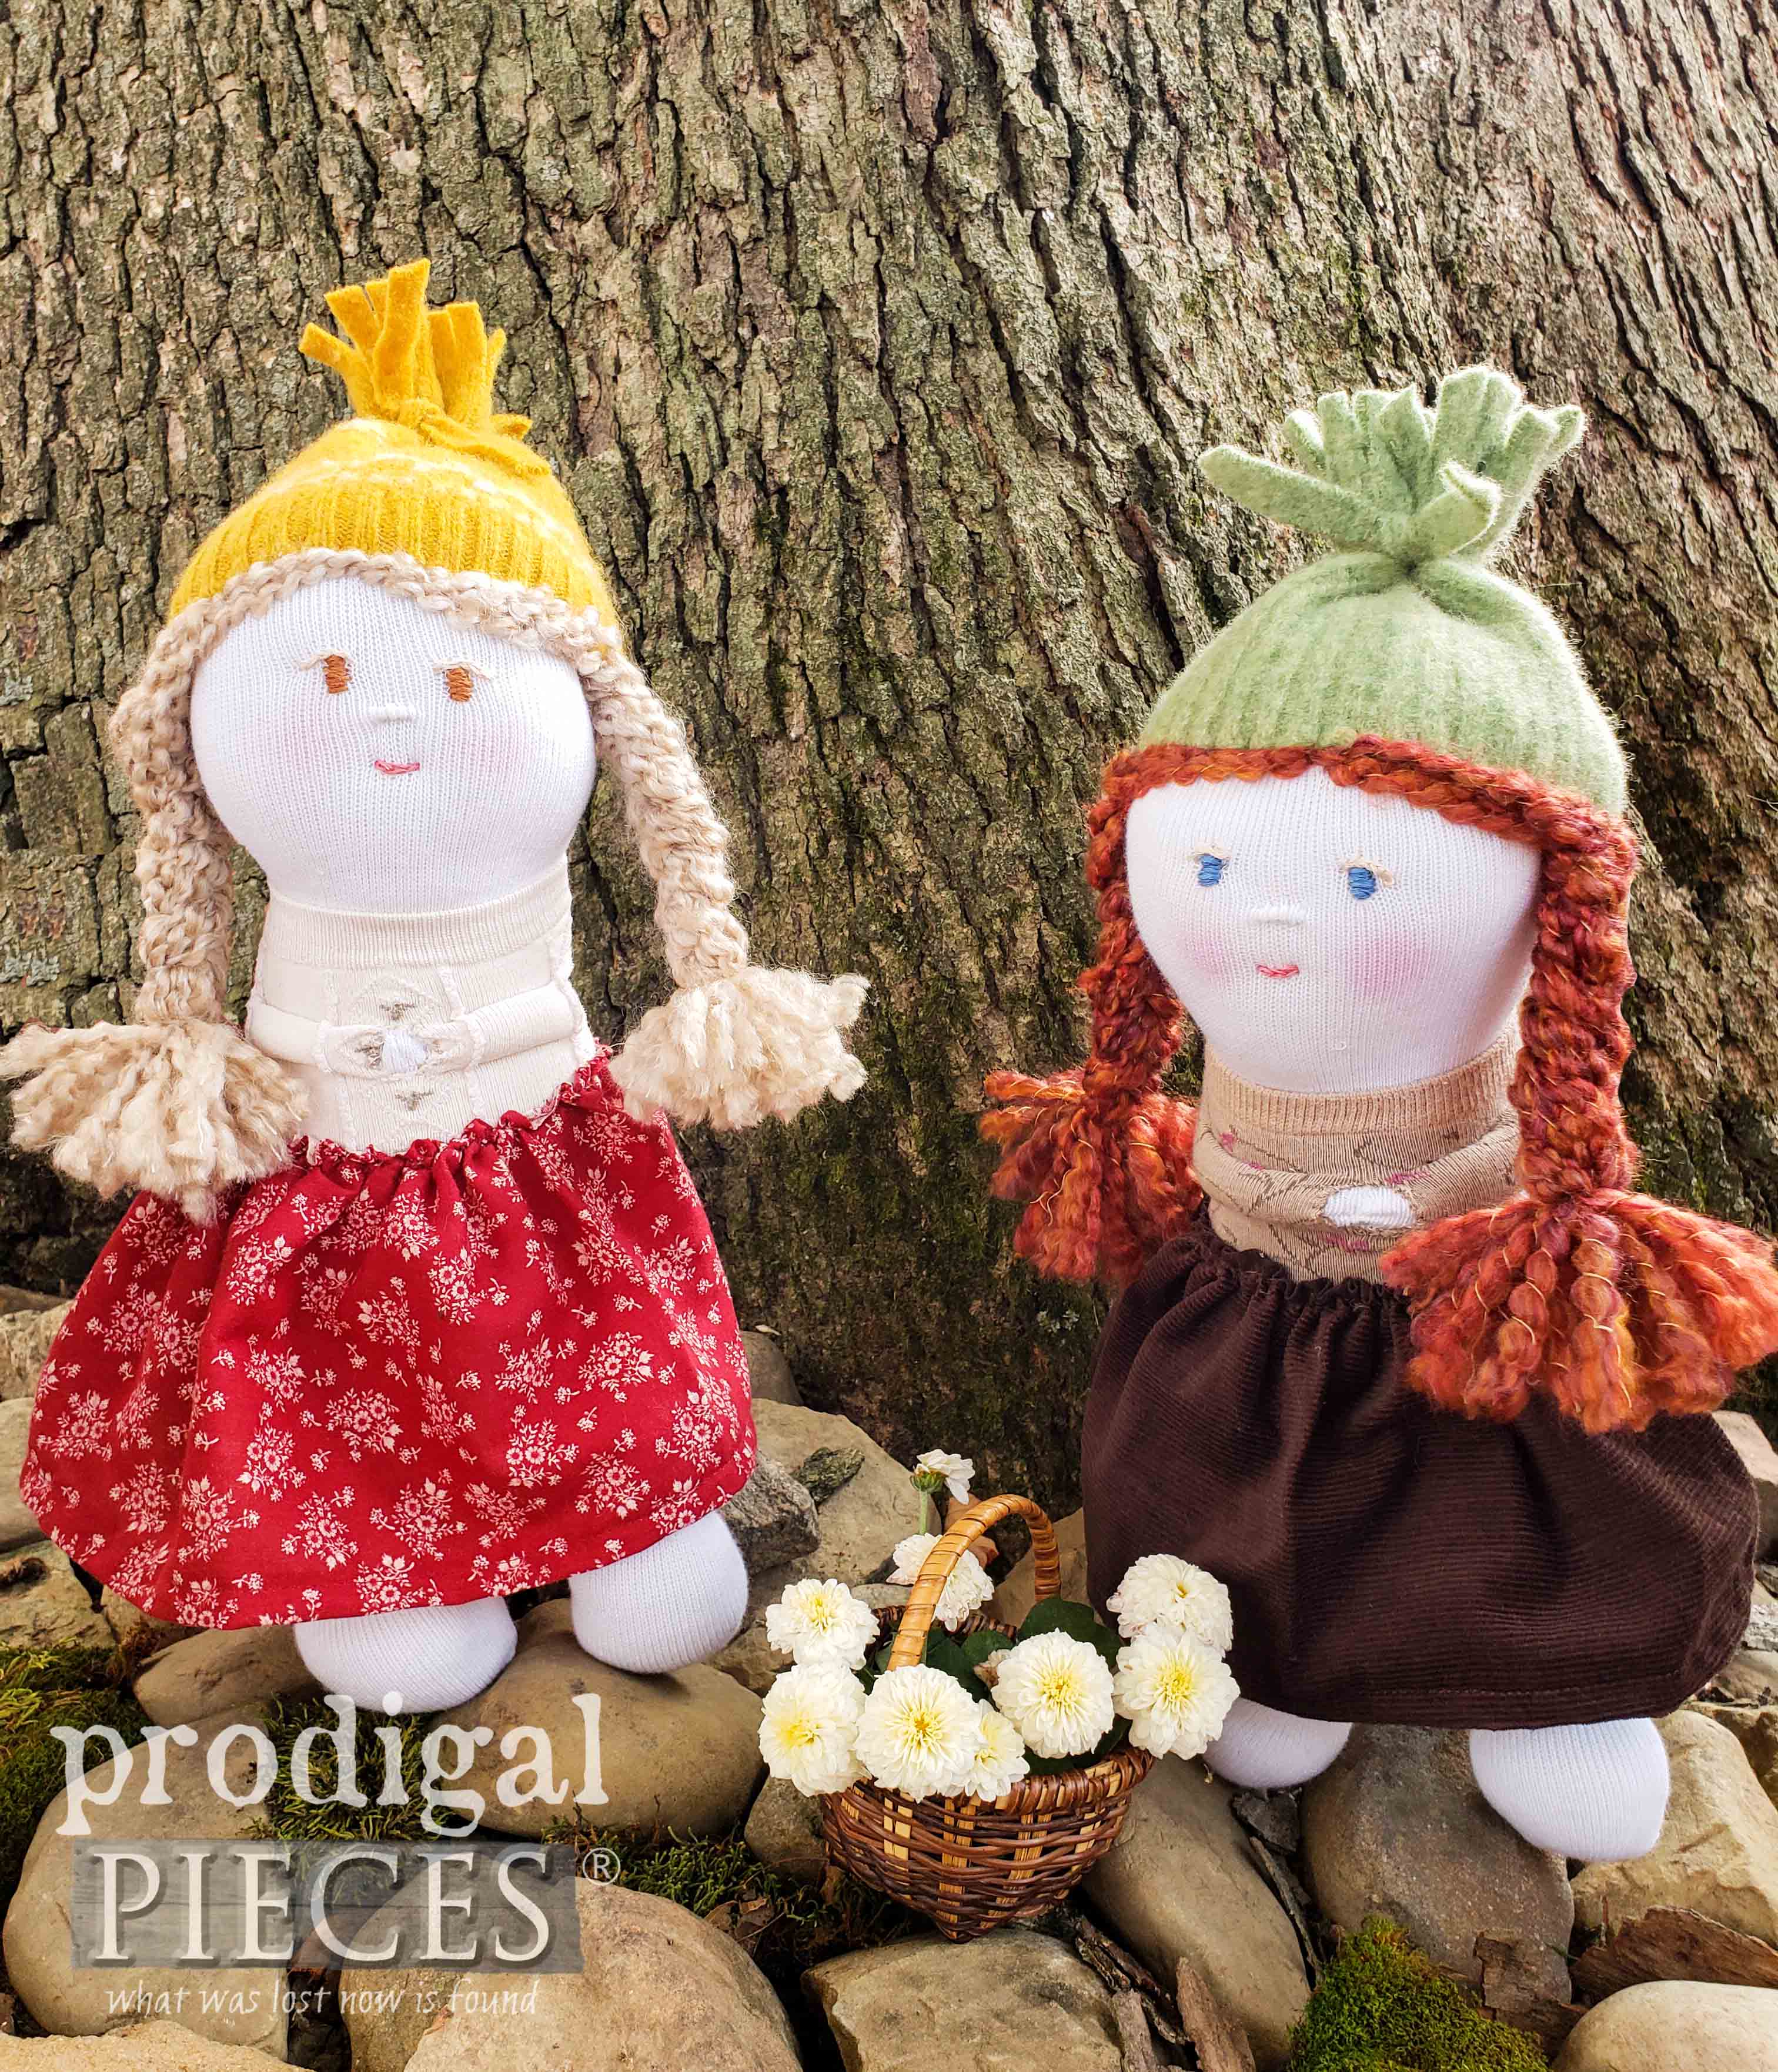
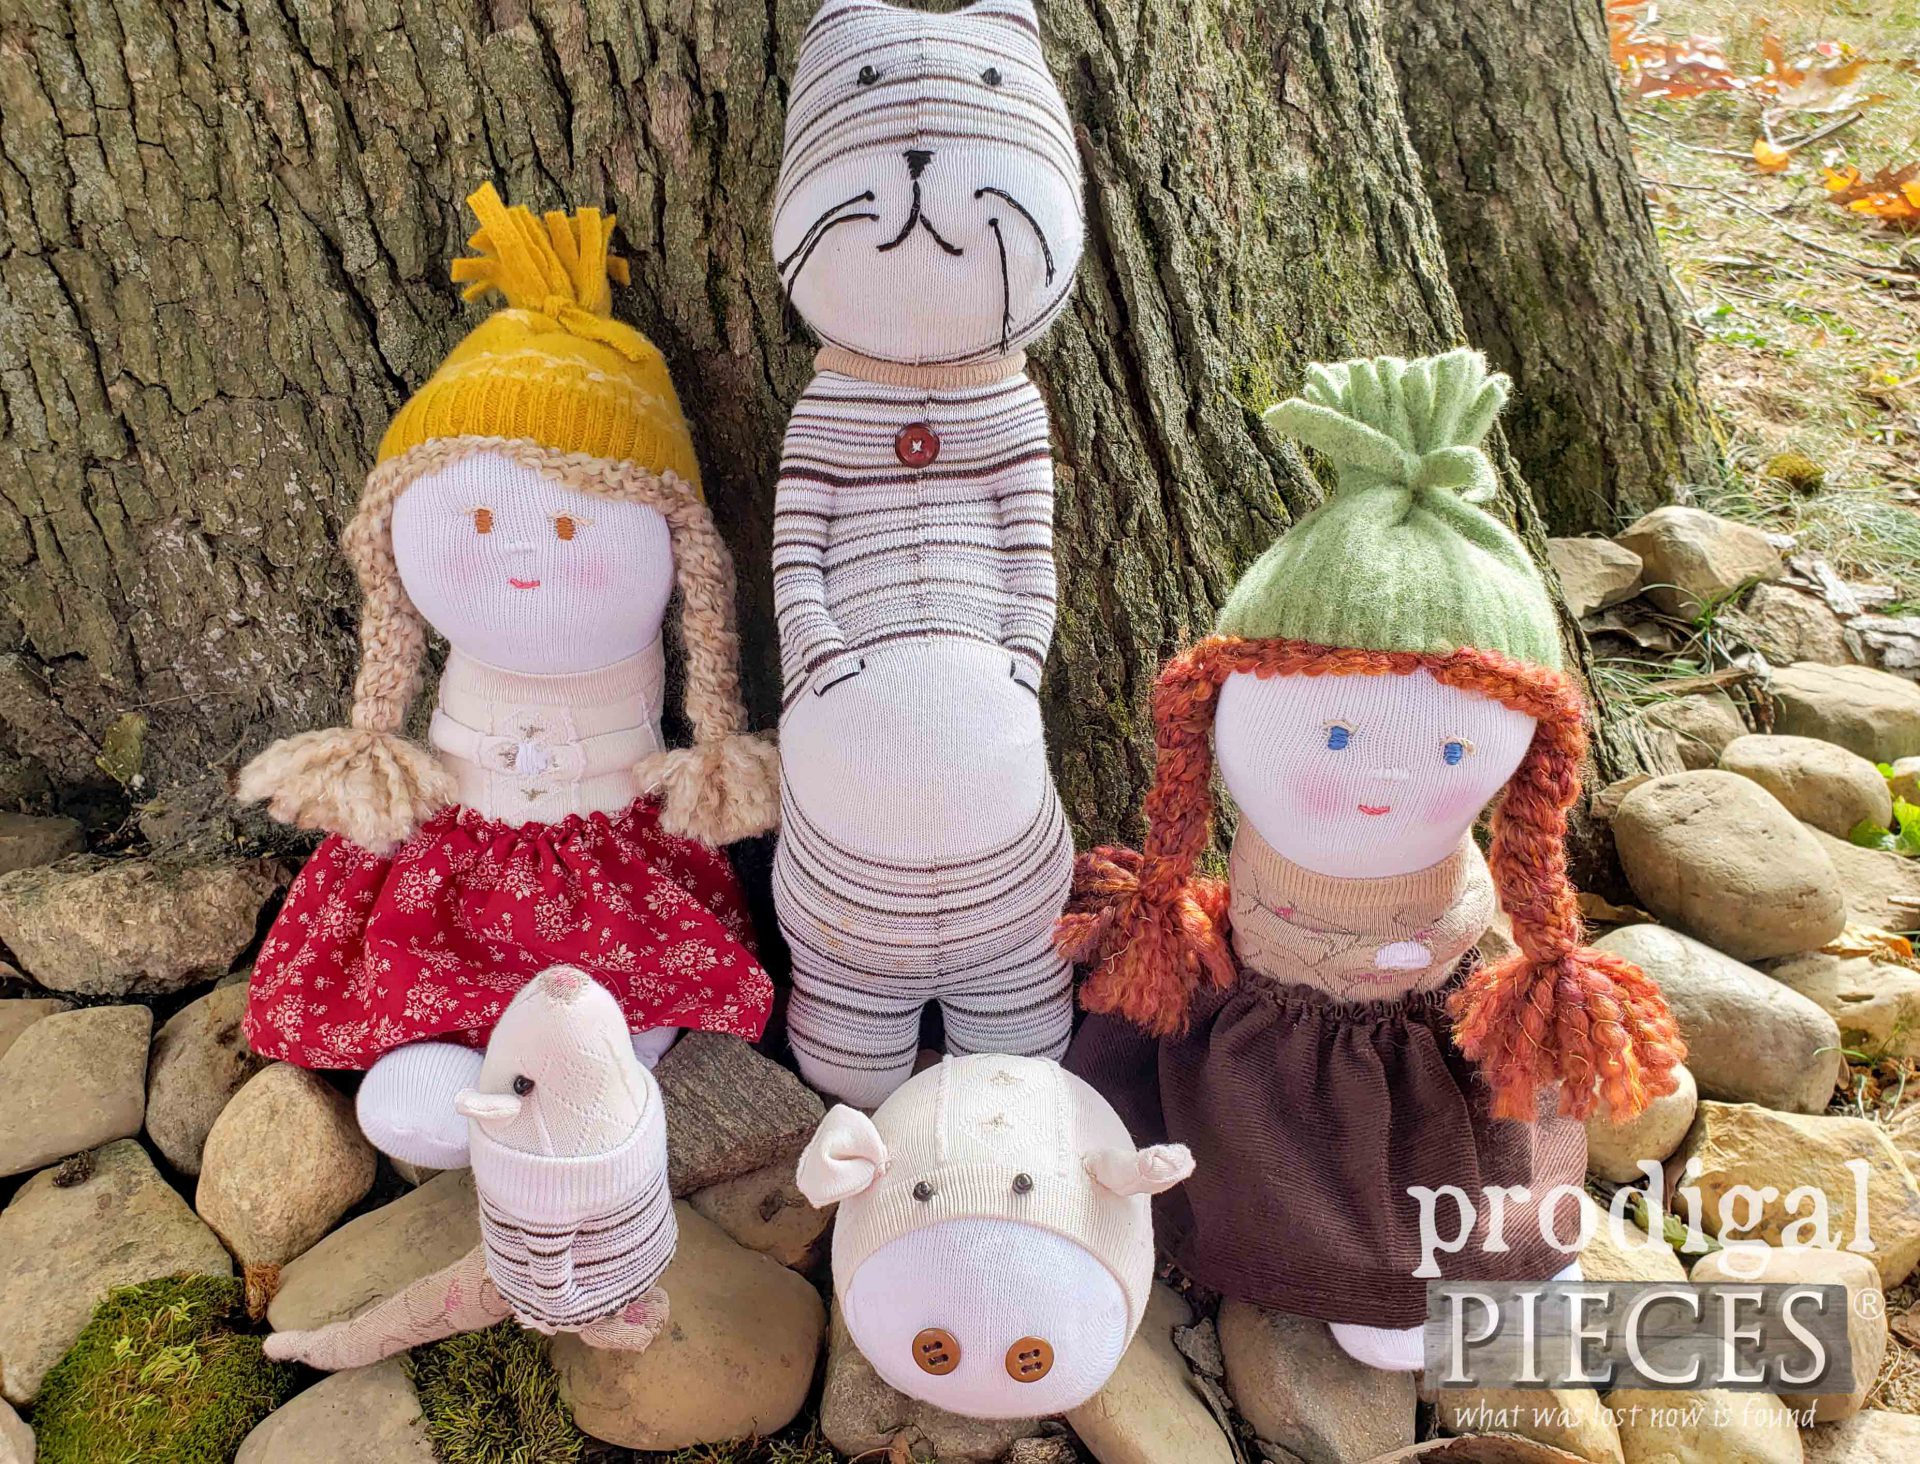
I will be honest and say that I could have kept going and going sewing up these upcycled sock dolls and animals. However, I’m sure you want to see proof of the fun I’m having, so here it is. Meet my latest creations…
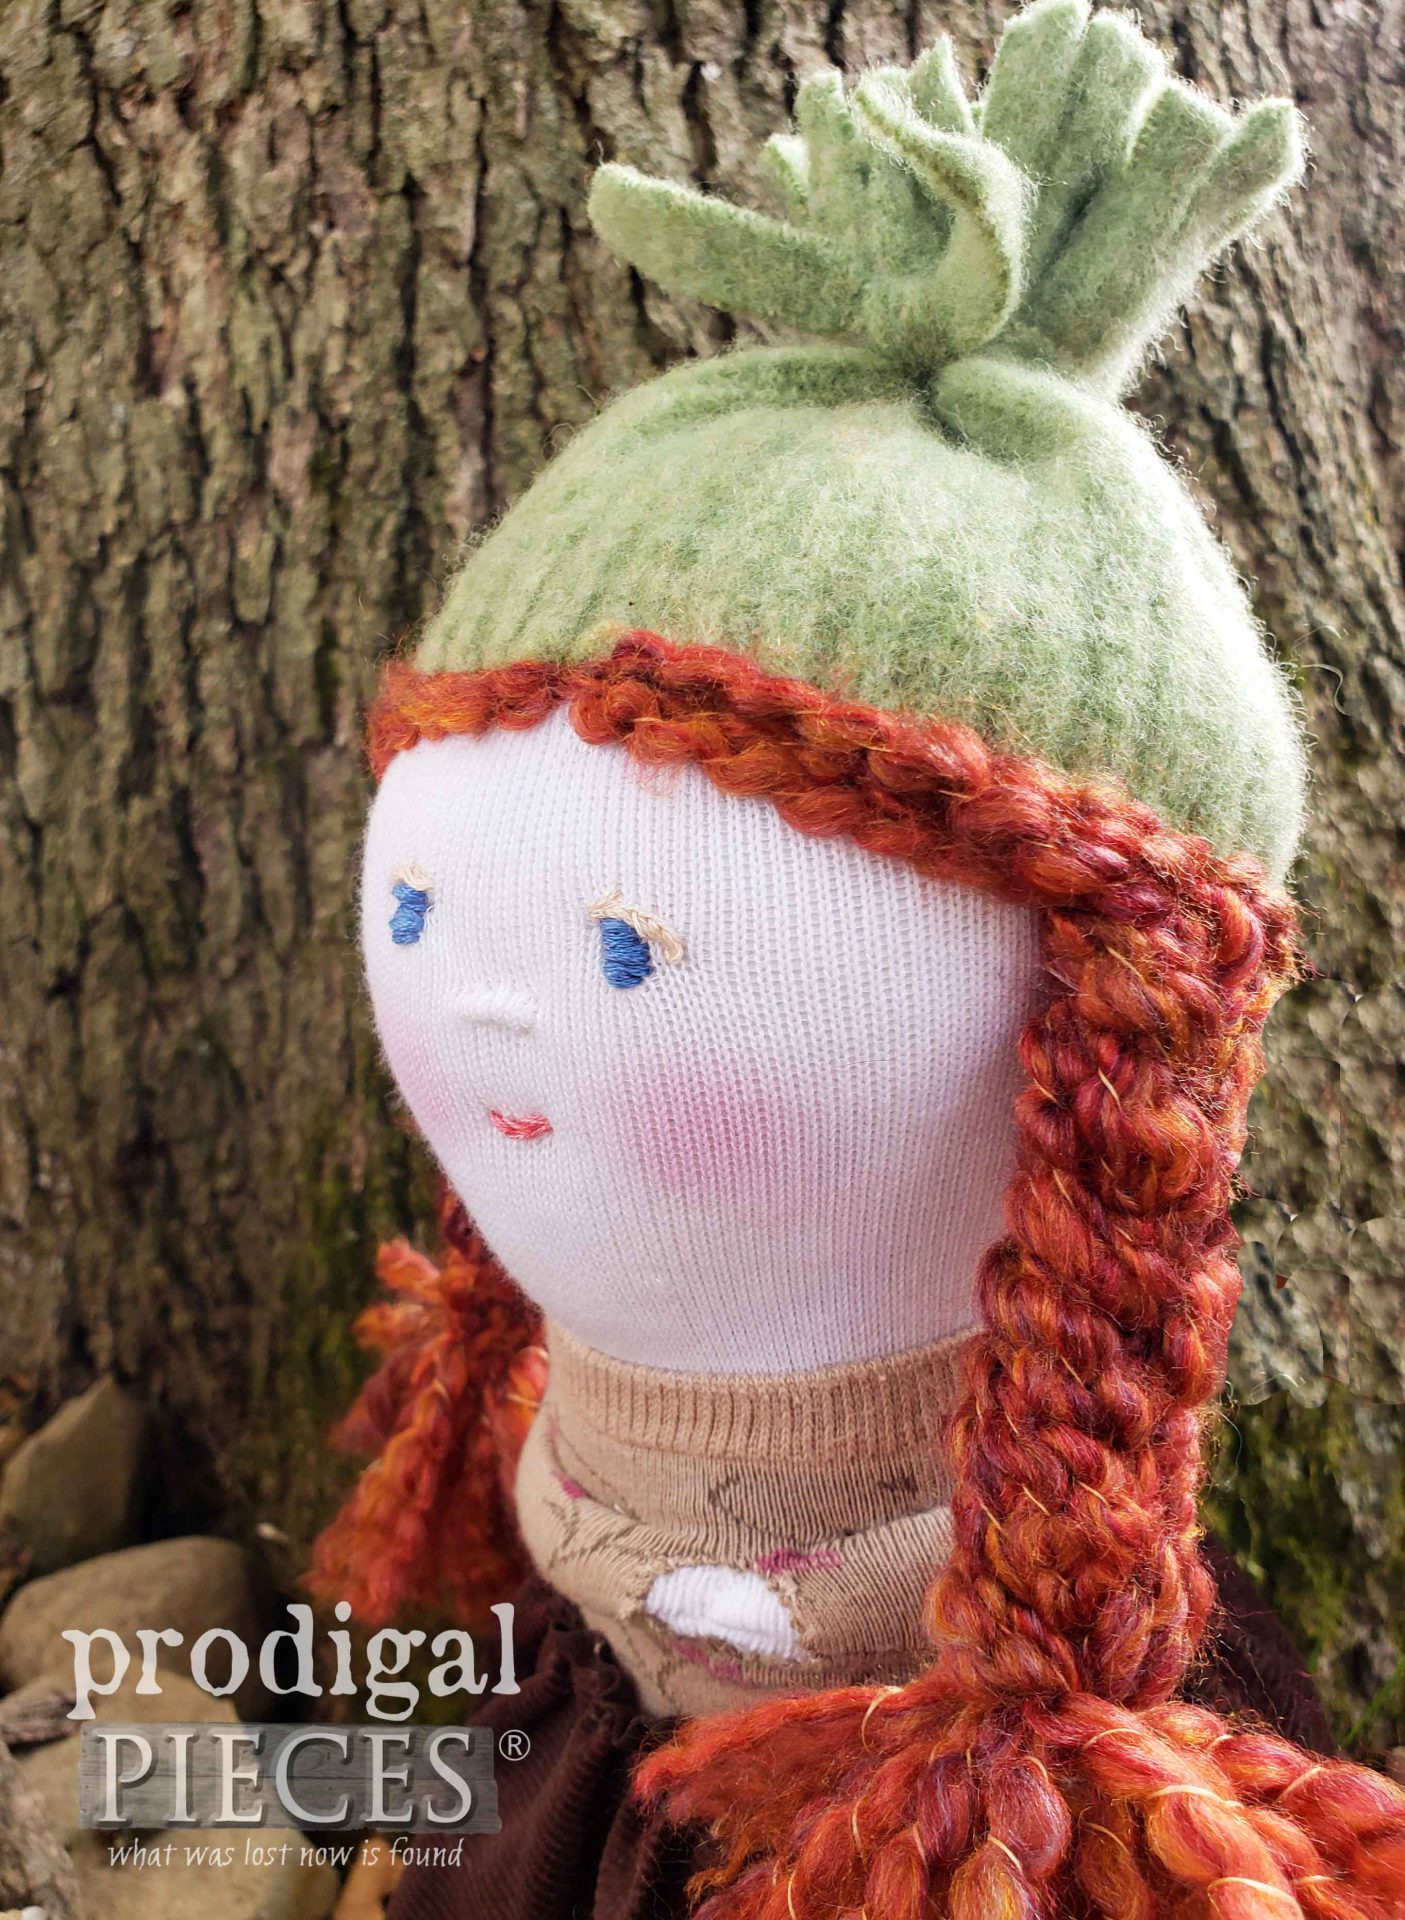
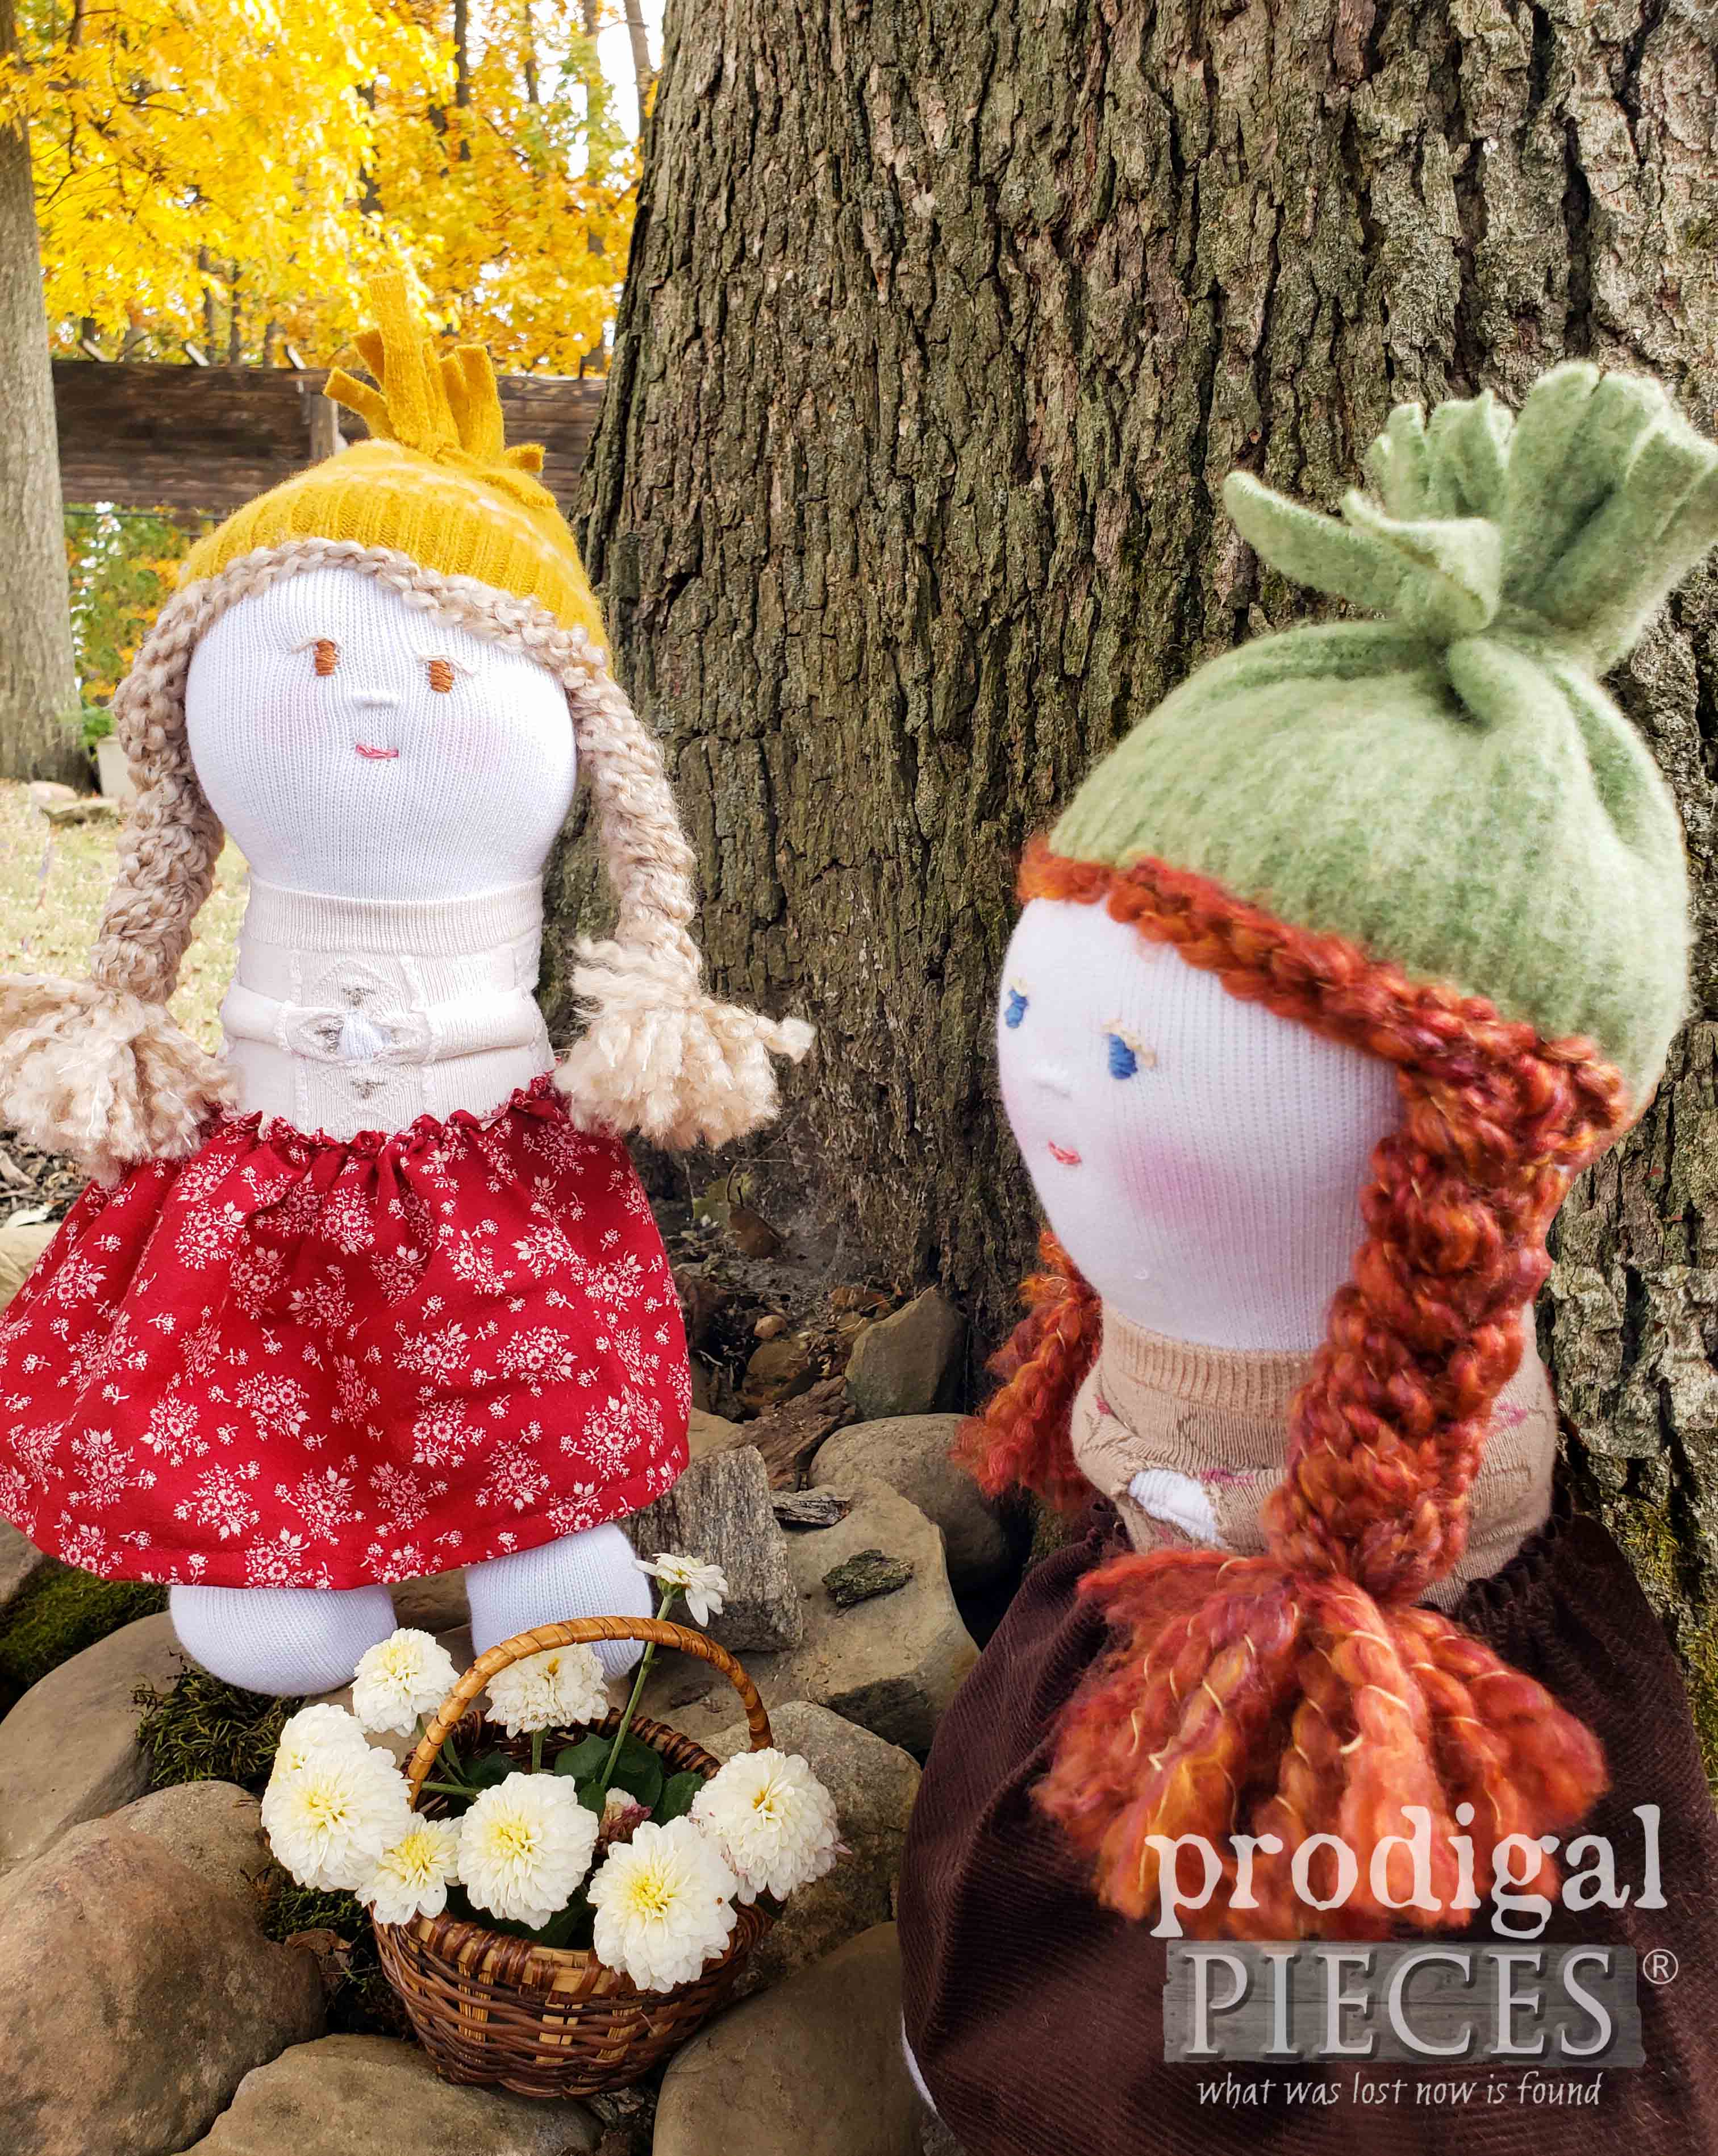
Out of just one of those loooong white socks came these two lil’ gals. I don’t have a favorite, but they’ve both stolen my heart.
Now, did I stop there…NO WAY! haha! Just too much fun to be had here. This is another pair of socks (I have many!) that came out to join in the fun.
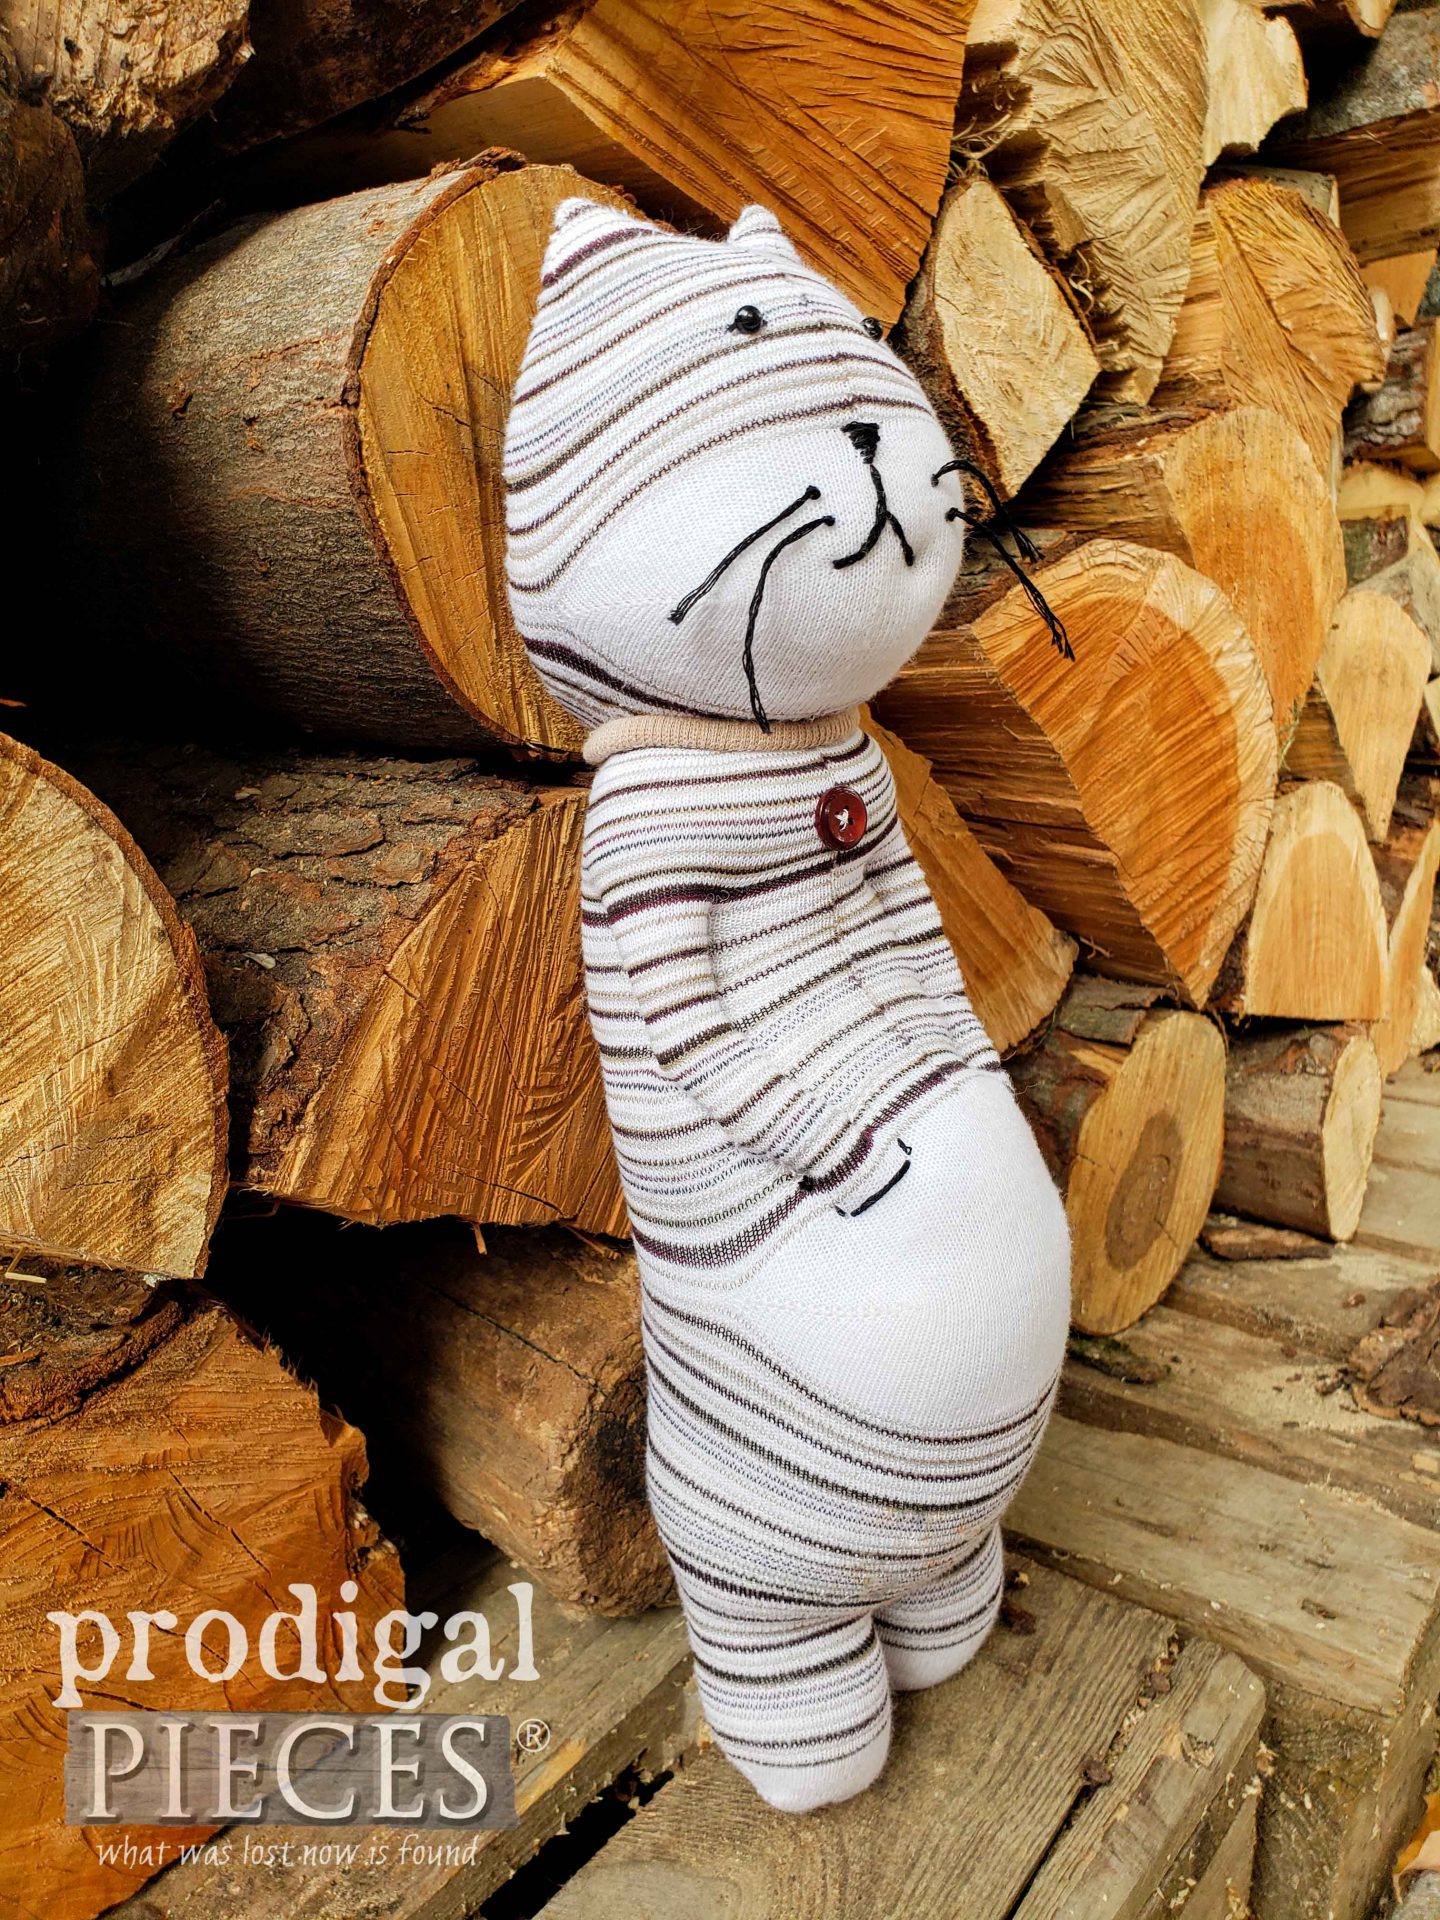
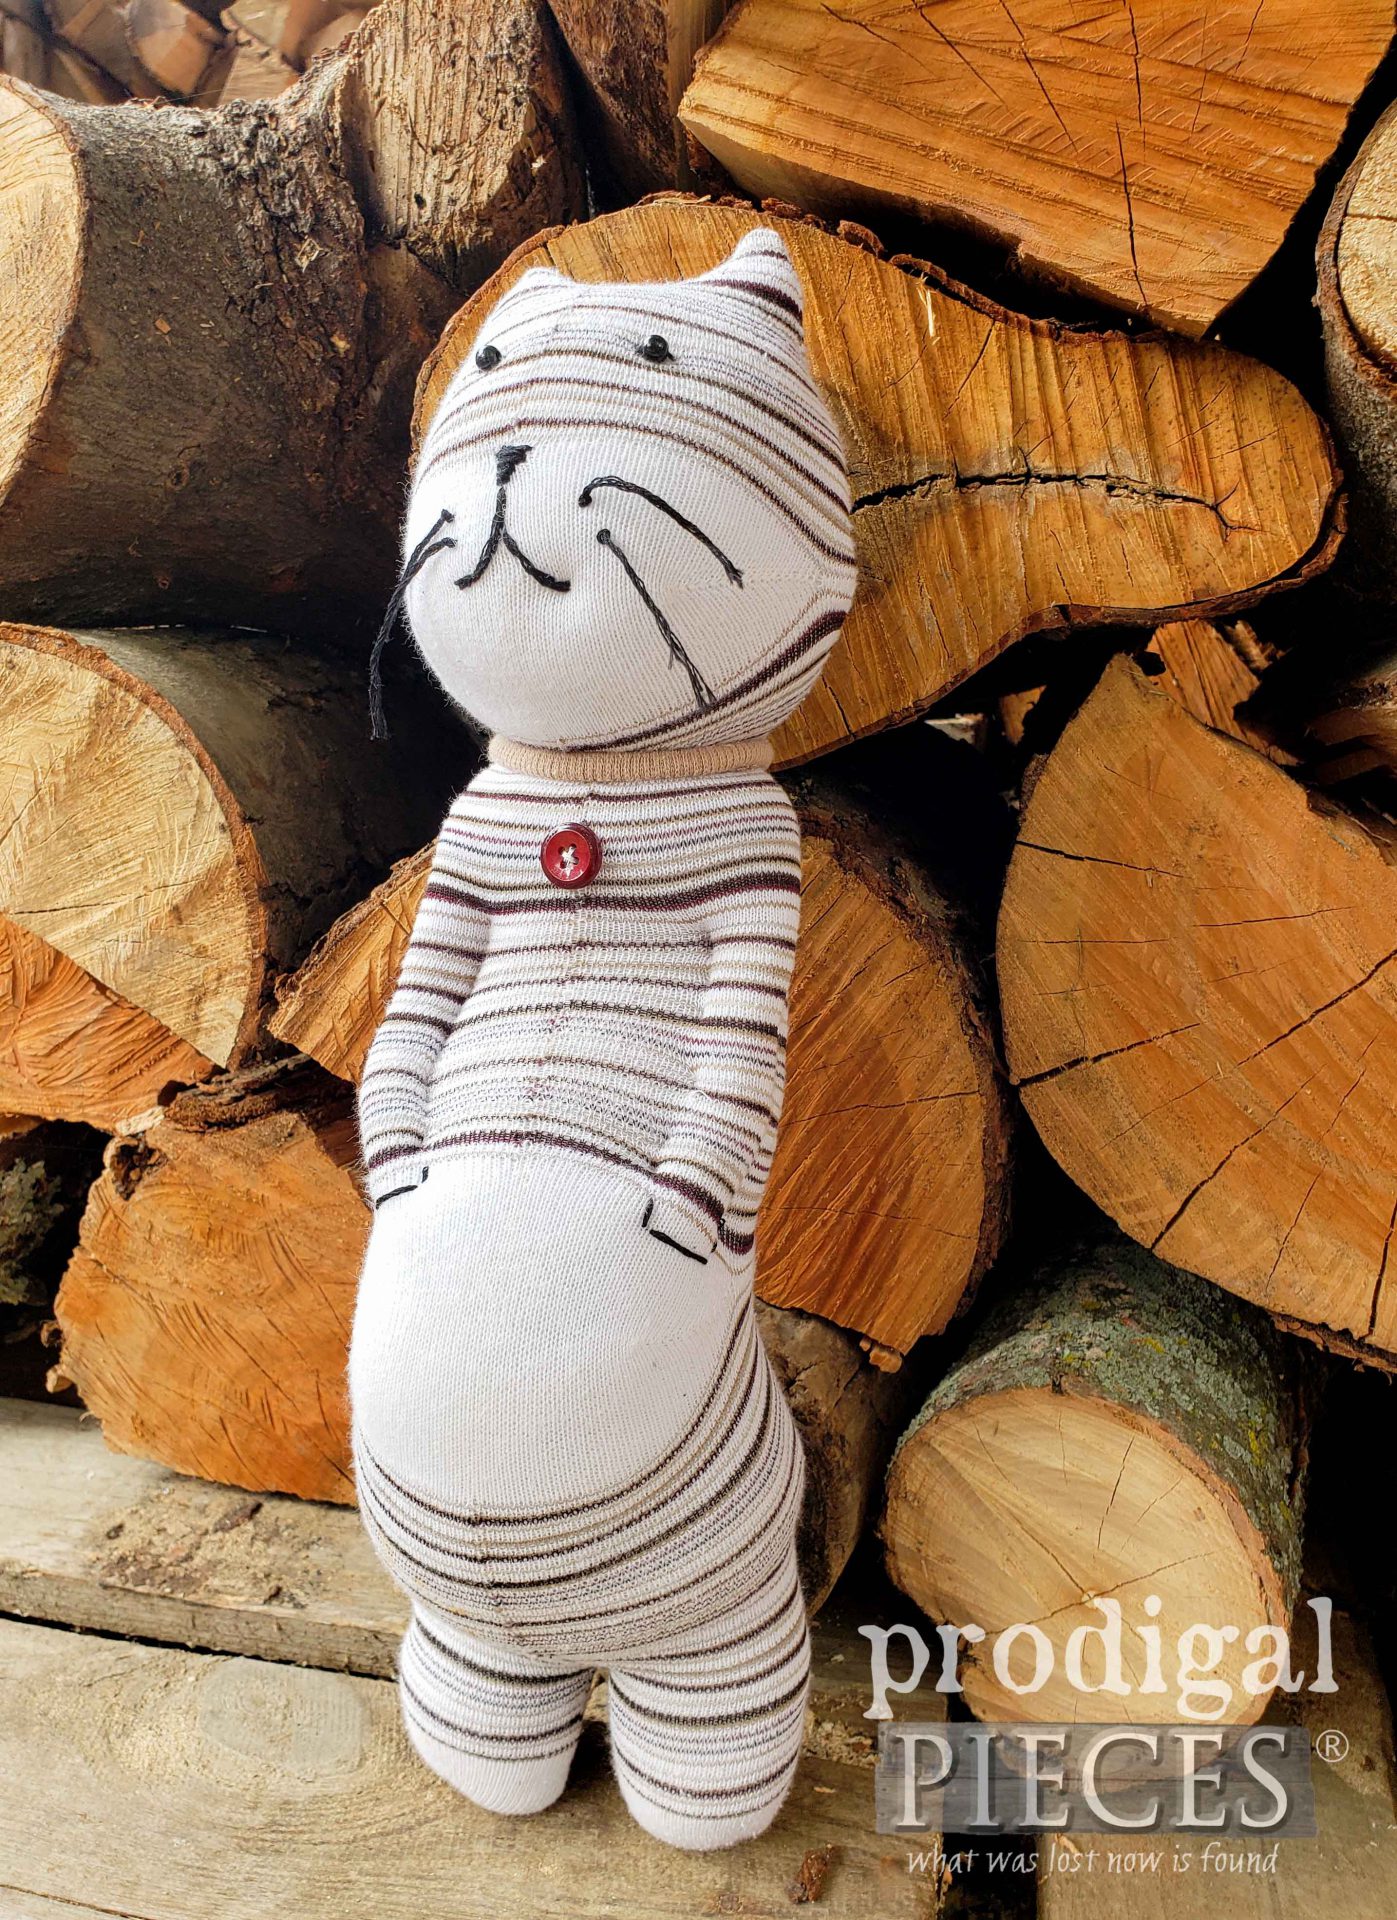
Instead of dolls this time, however, I saw something else. It is just like the ones I made for my sibs a few years ago and is one of my favorite designs in Daniels book. However, I tweaked it to make it my own, but still oh so fun.
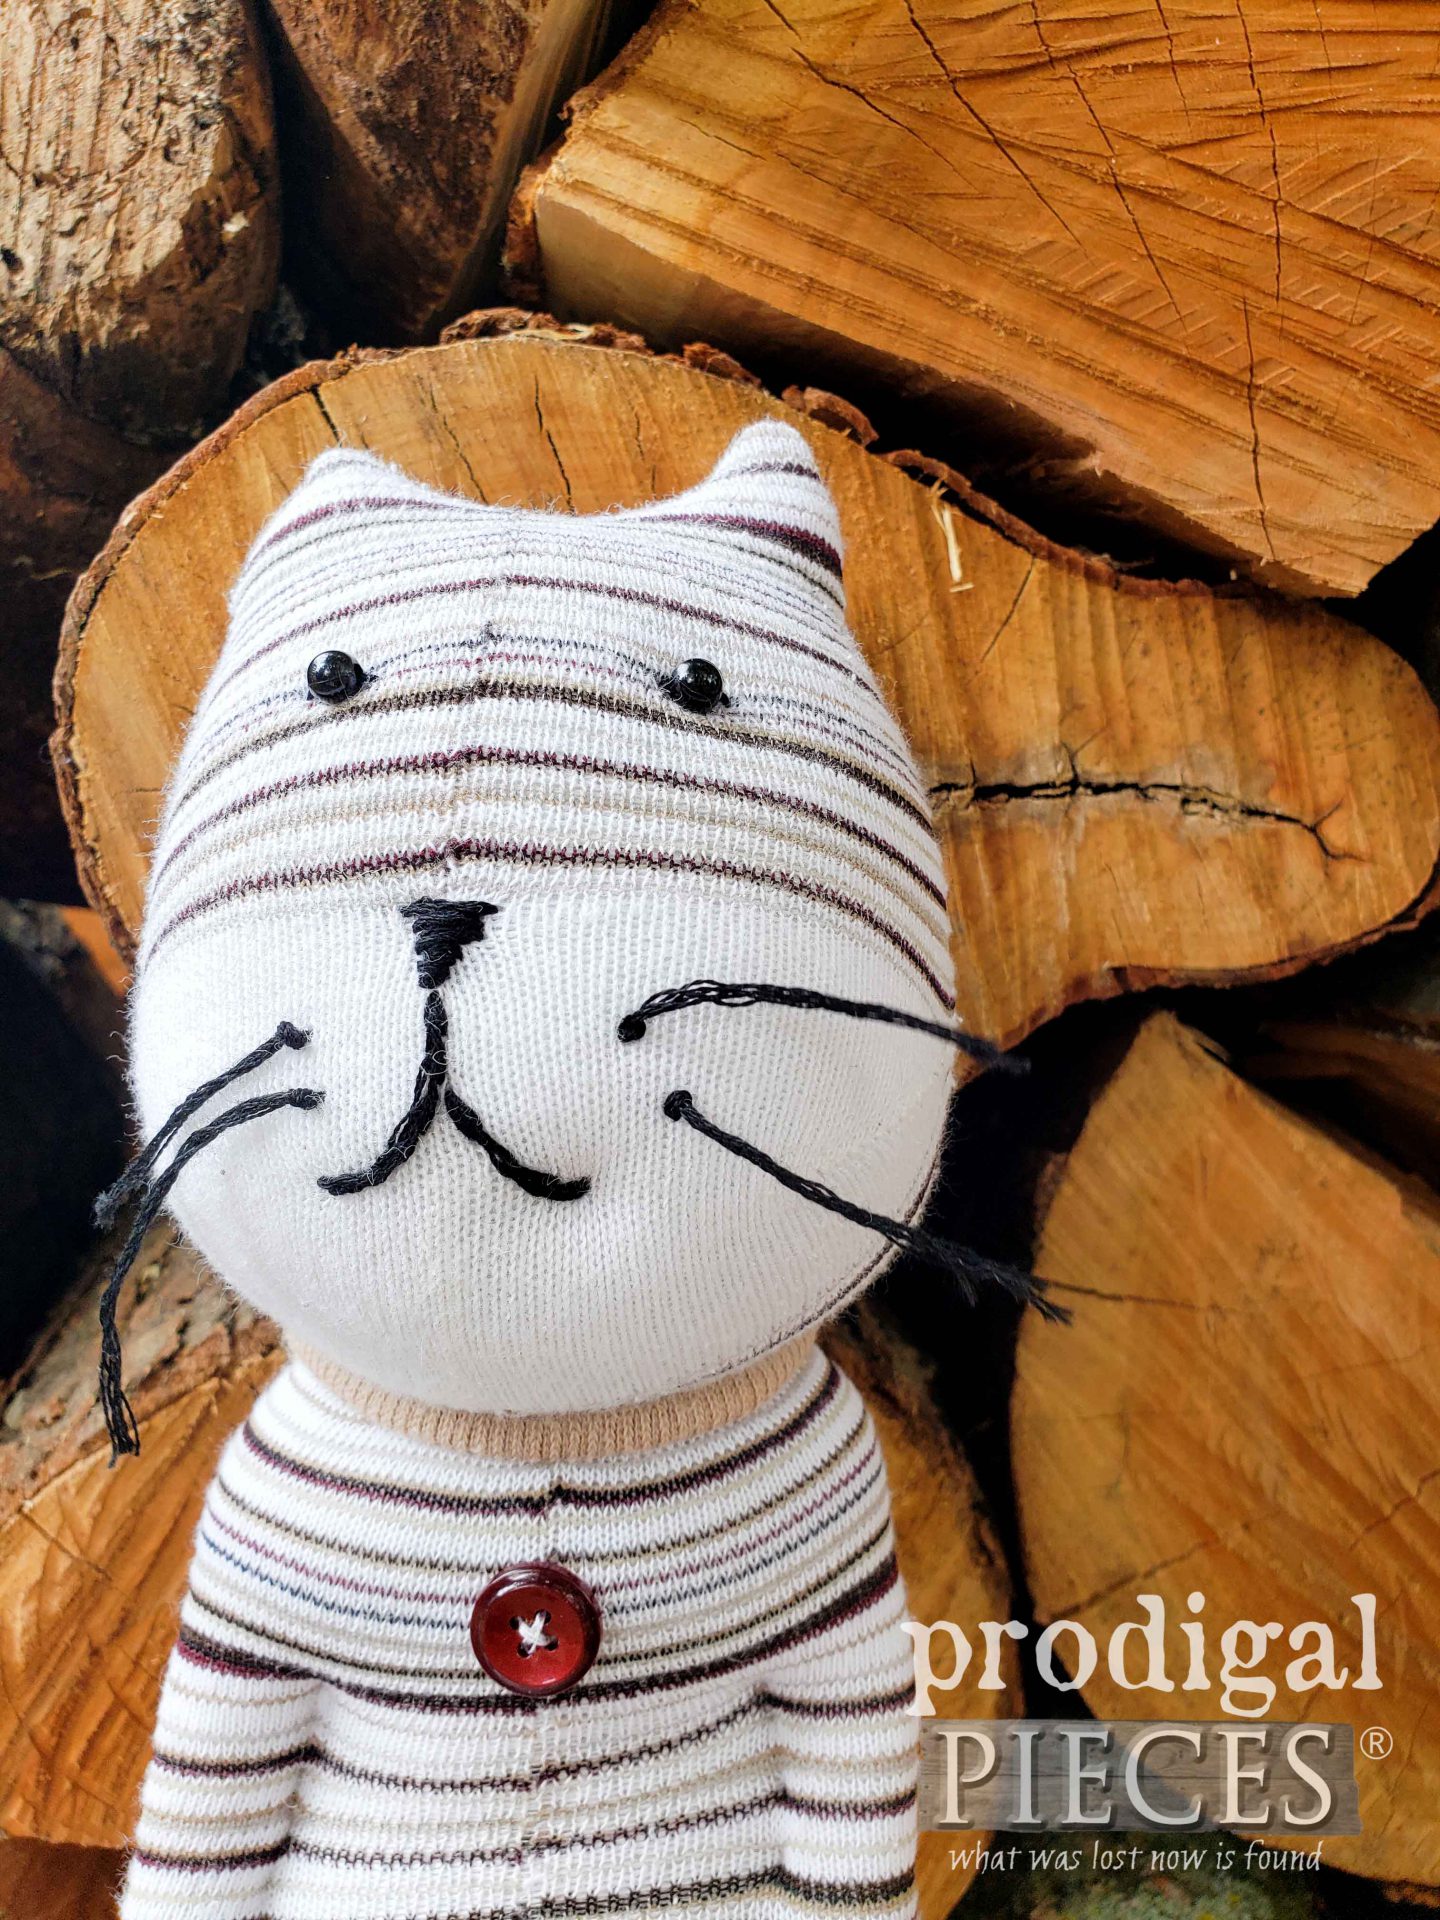
We’ve got a cat with a ‘tude…catitude. hee hee. Isn’t it fun?!?
LAST, BUT NOT LEAST
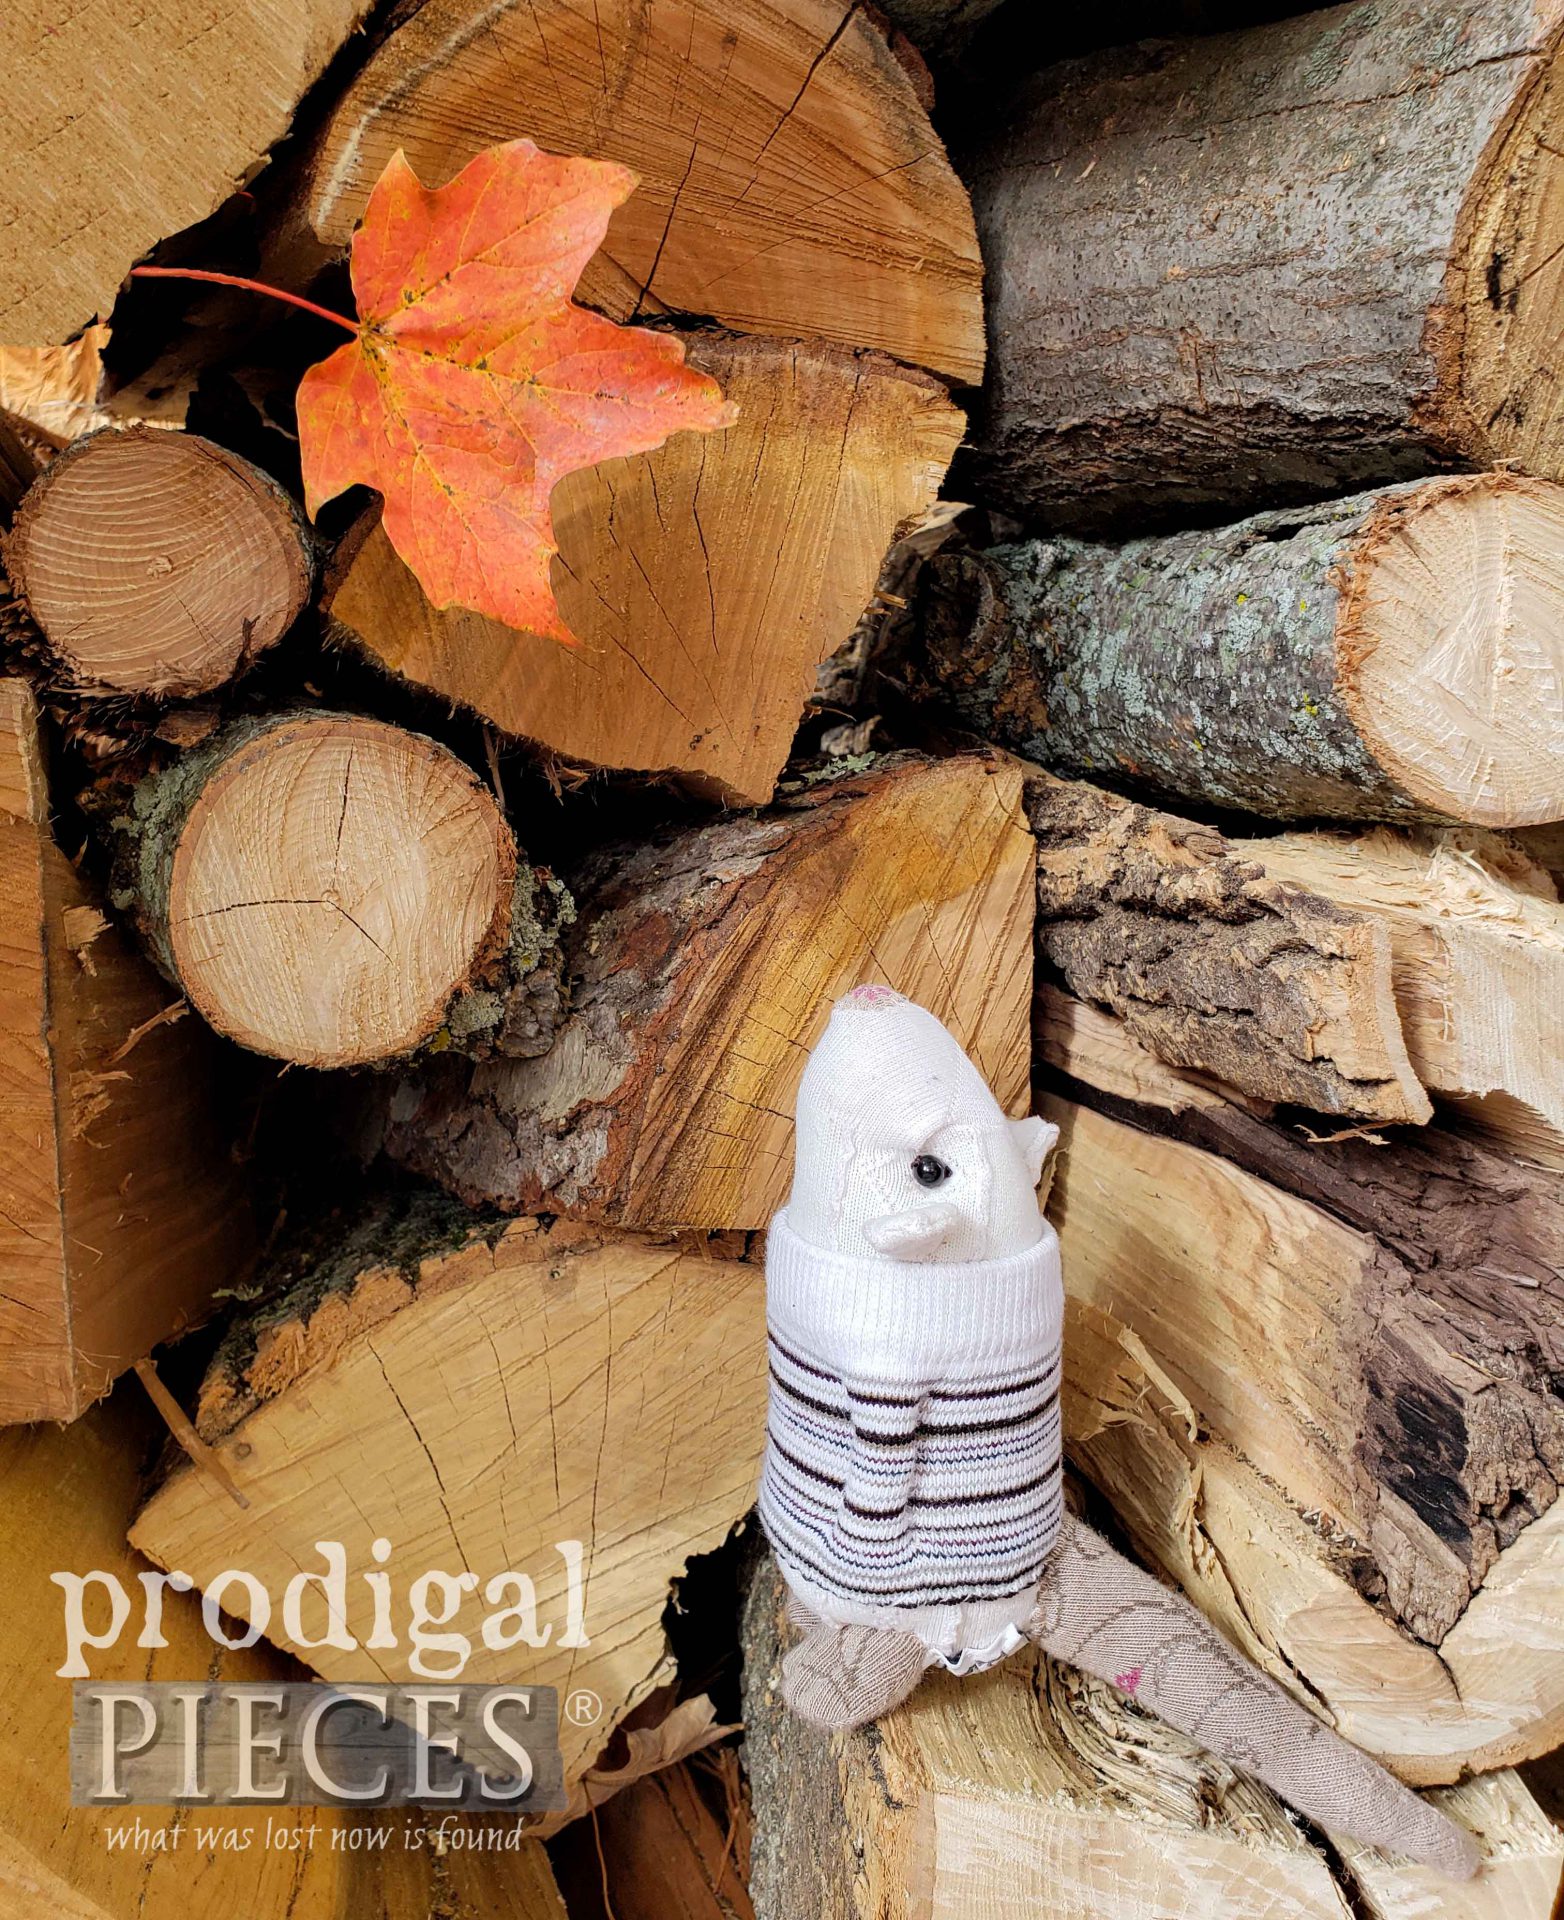
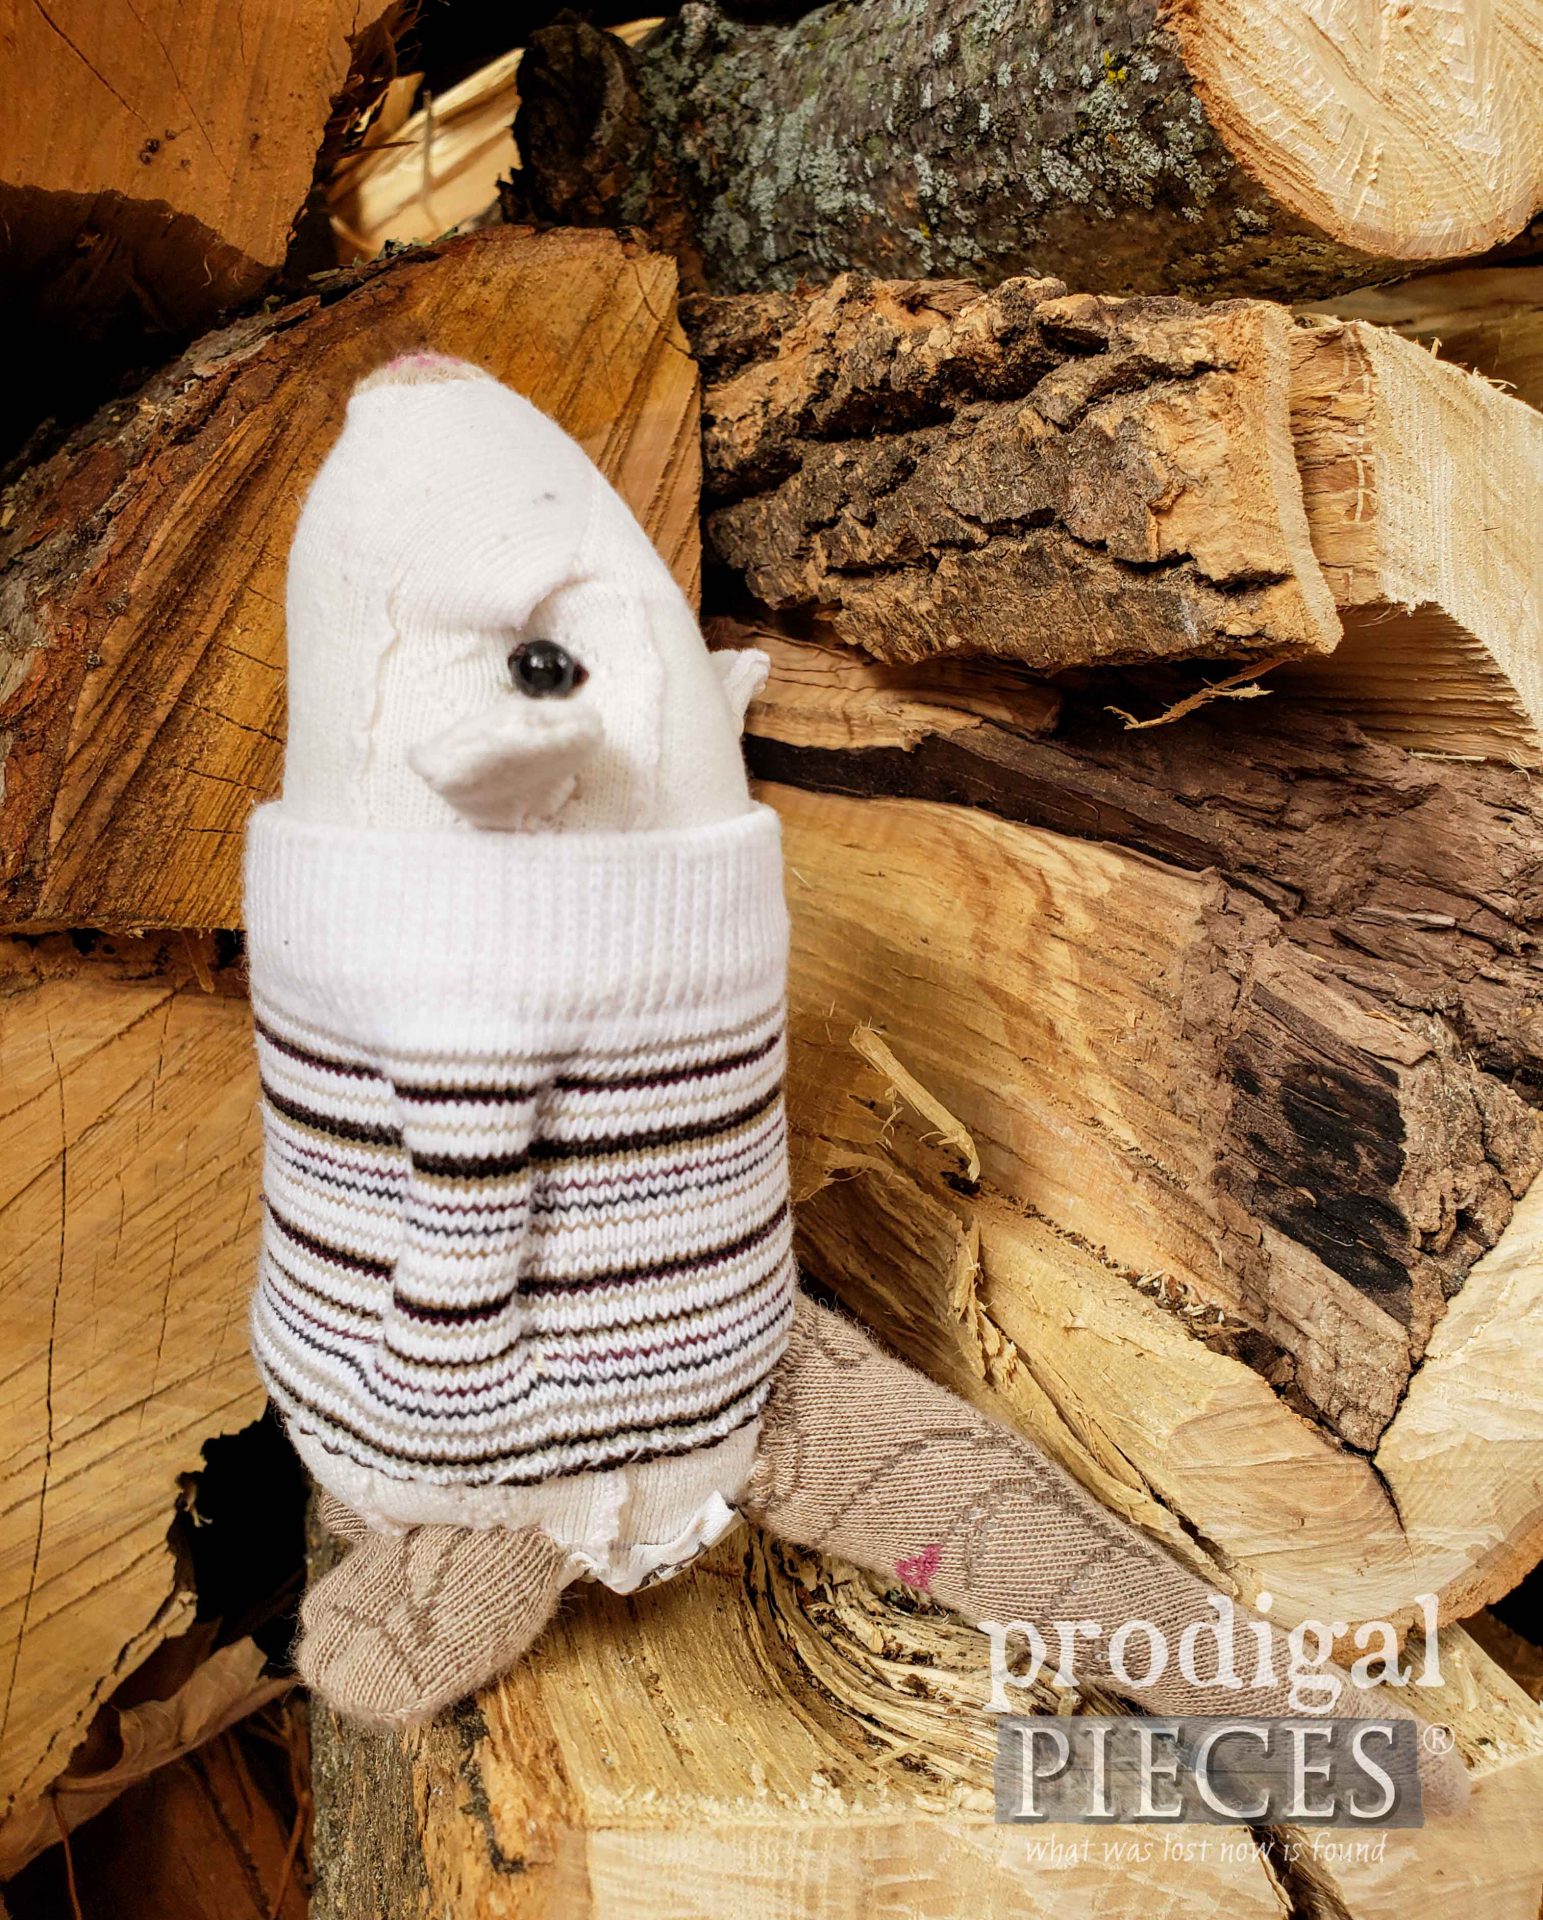
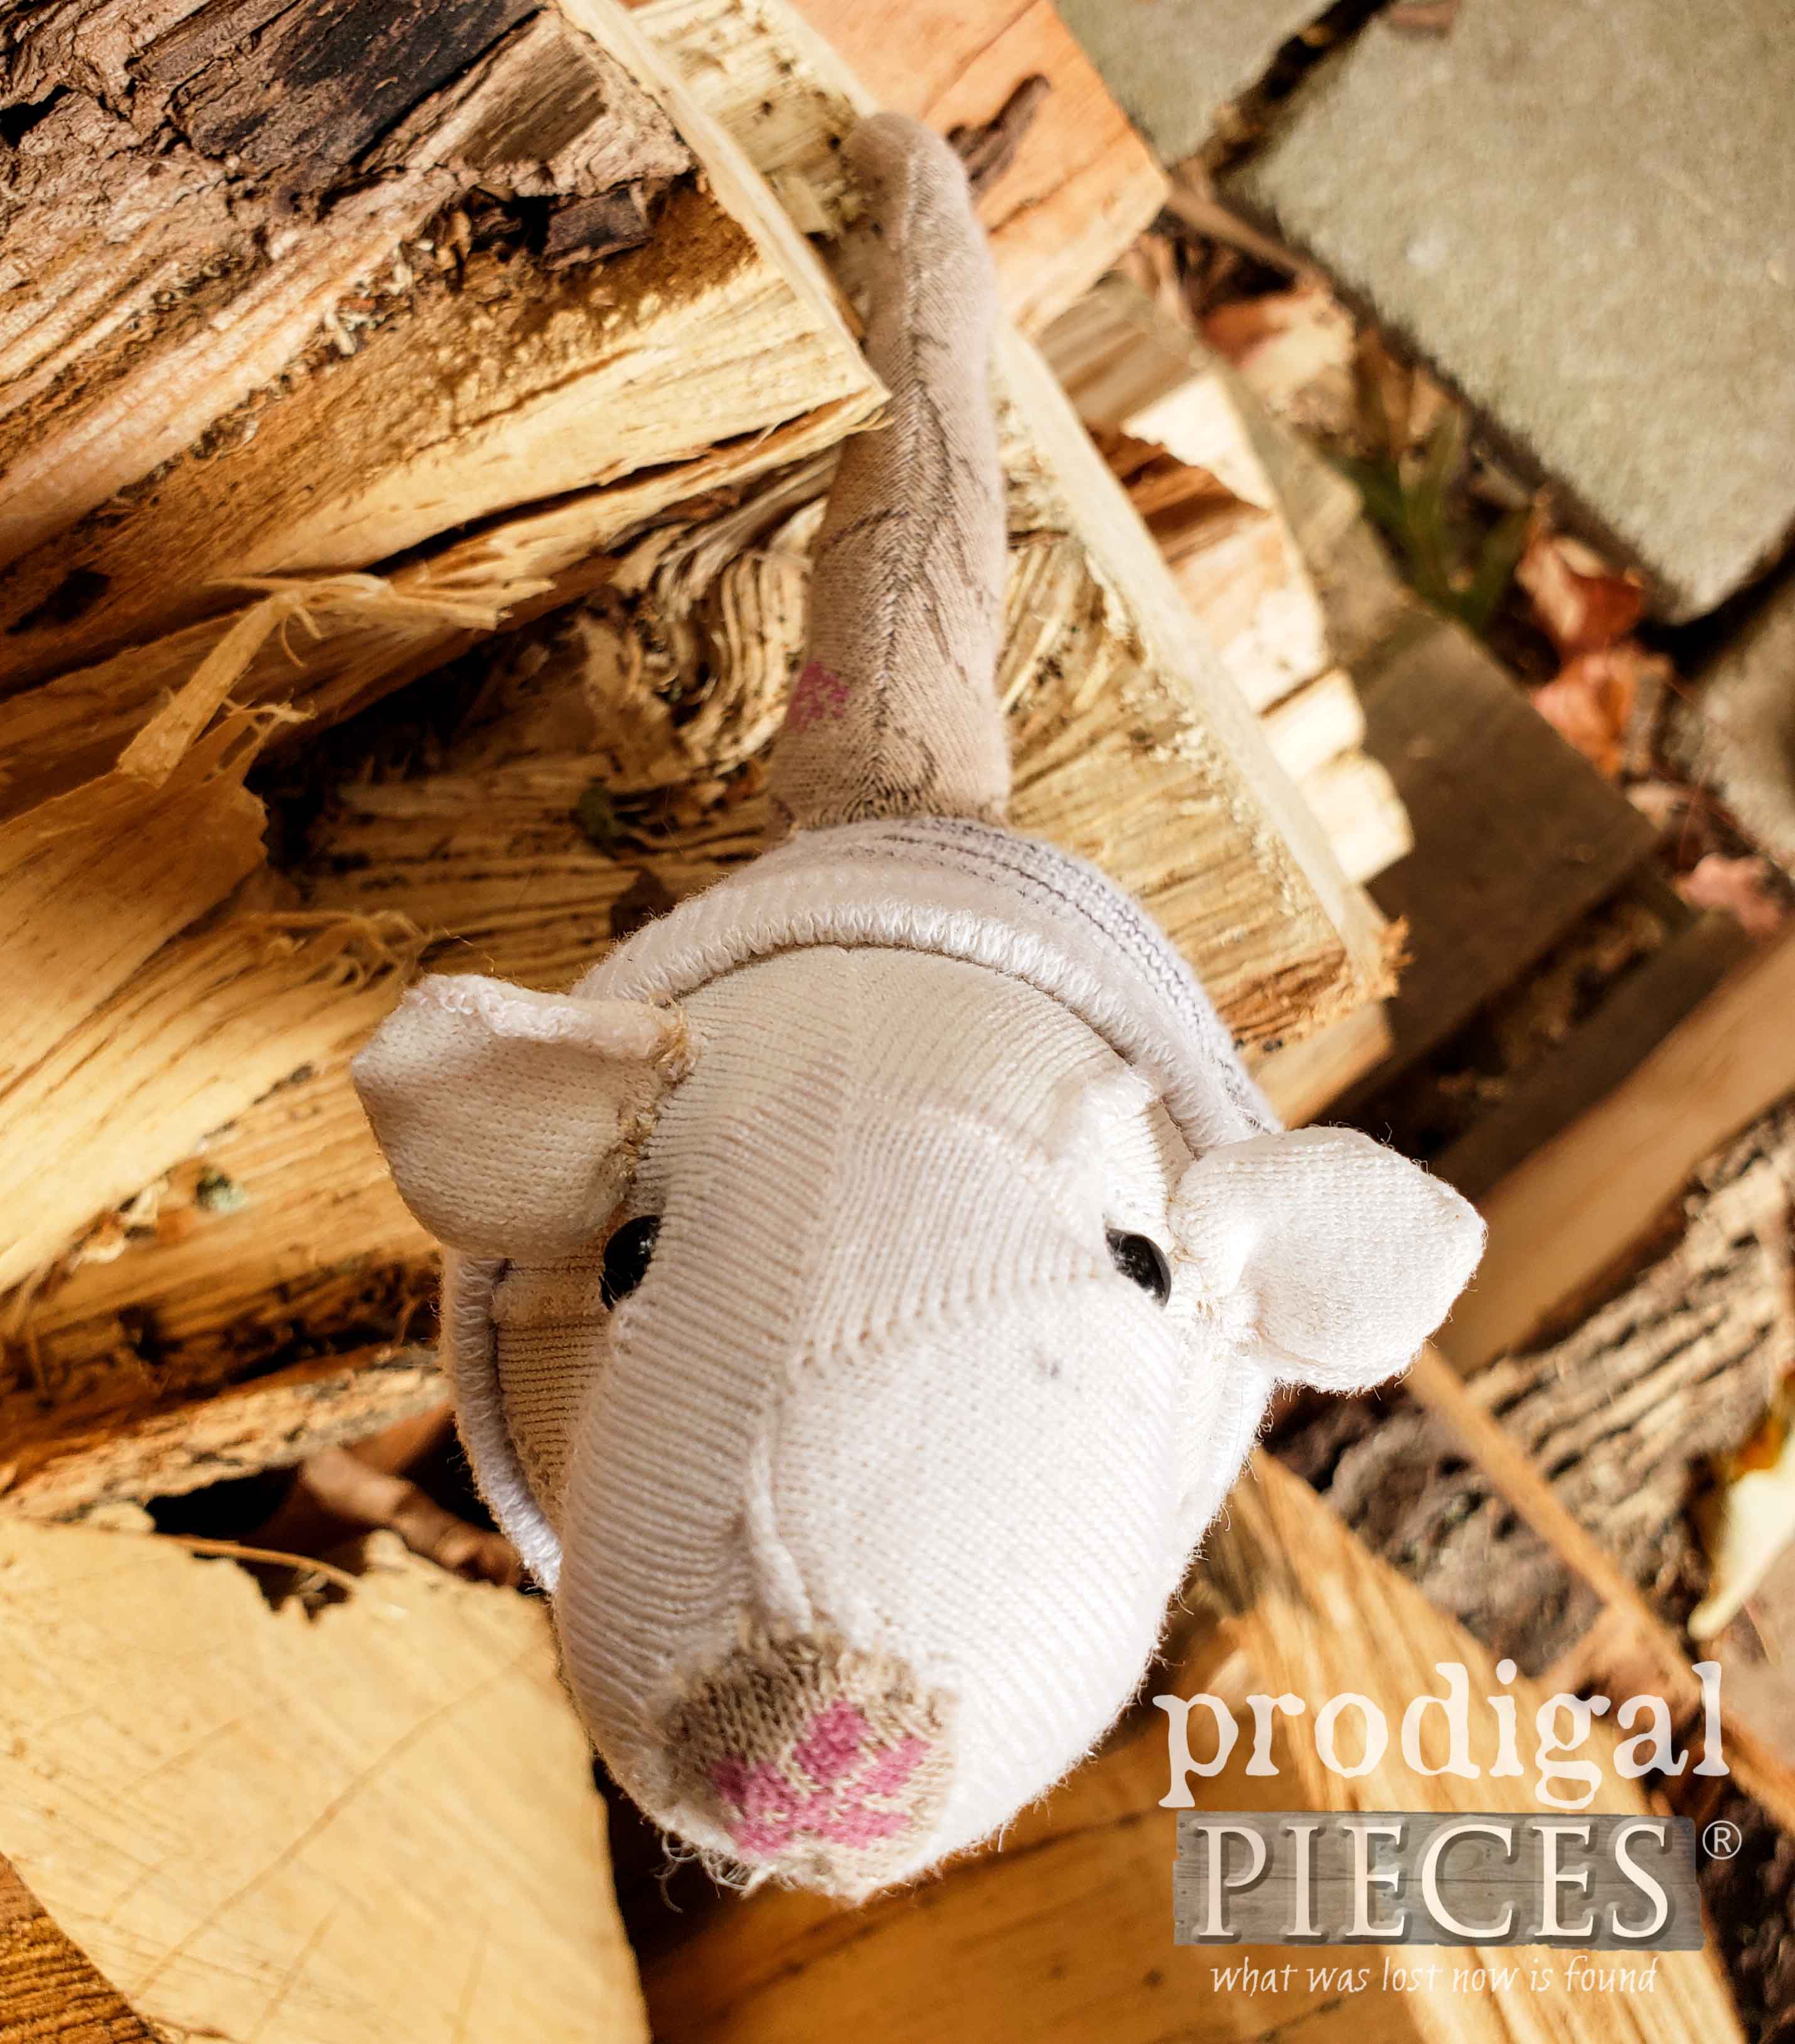
Once I had those created, I couldn’t resist showing you what could be made with the scraps leftover from those I just made. First, here’s a little fella who is too cute to not smile at.
This was inspired by a few designs I spied online, but also a combo of my cat above. Can you resist that face?
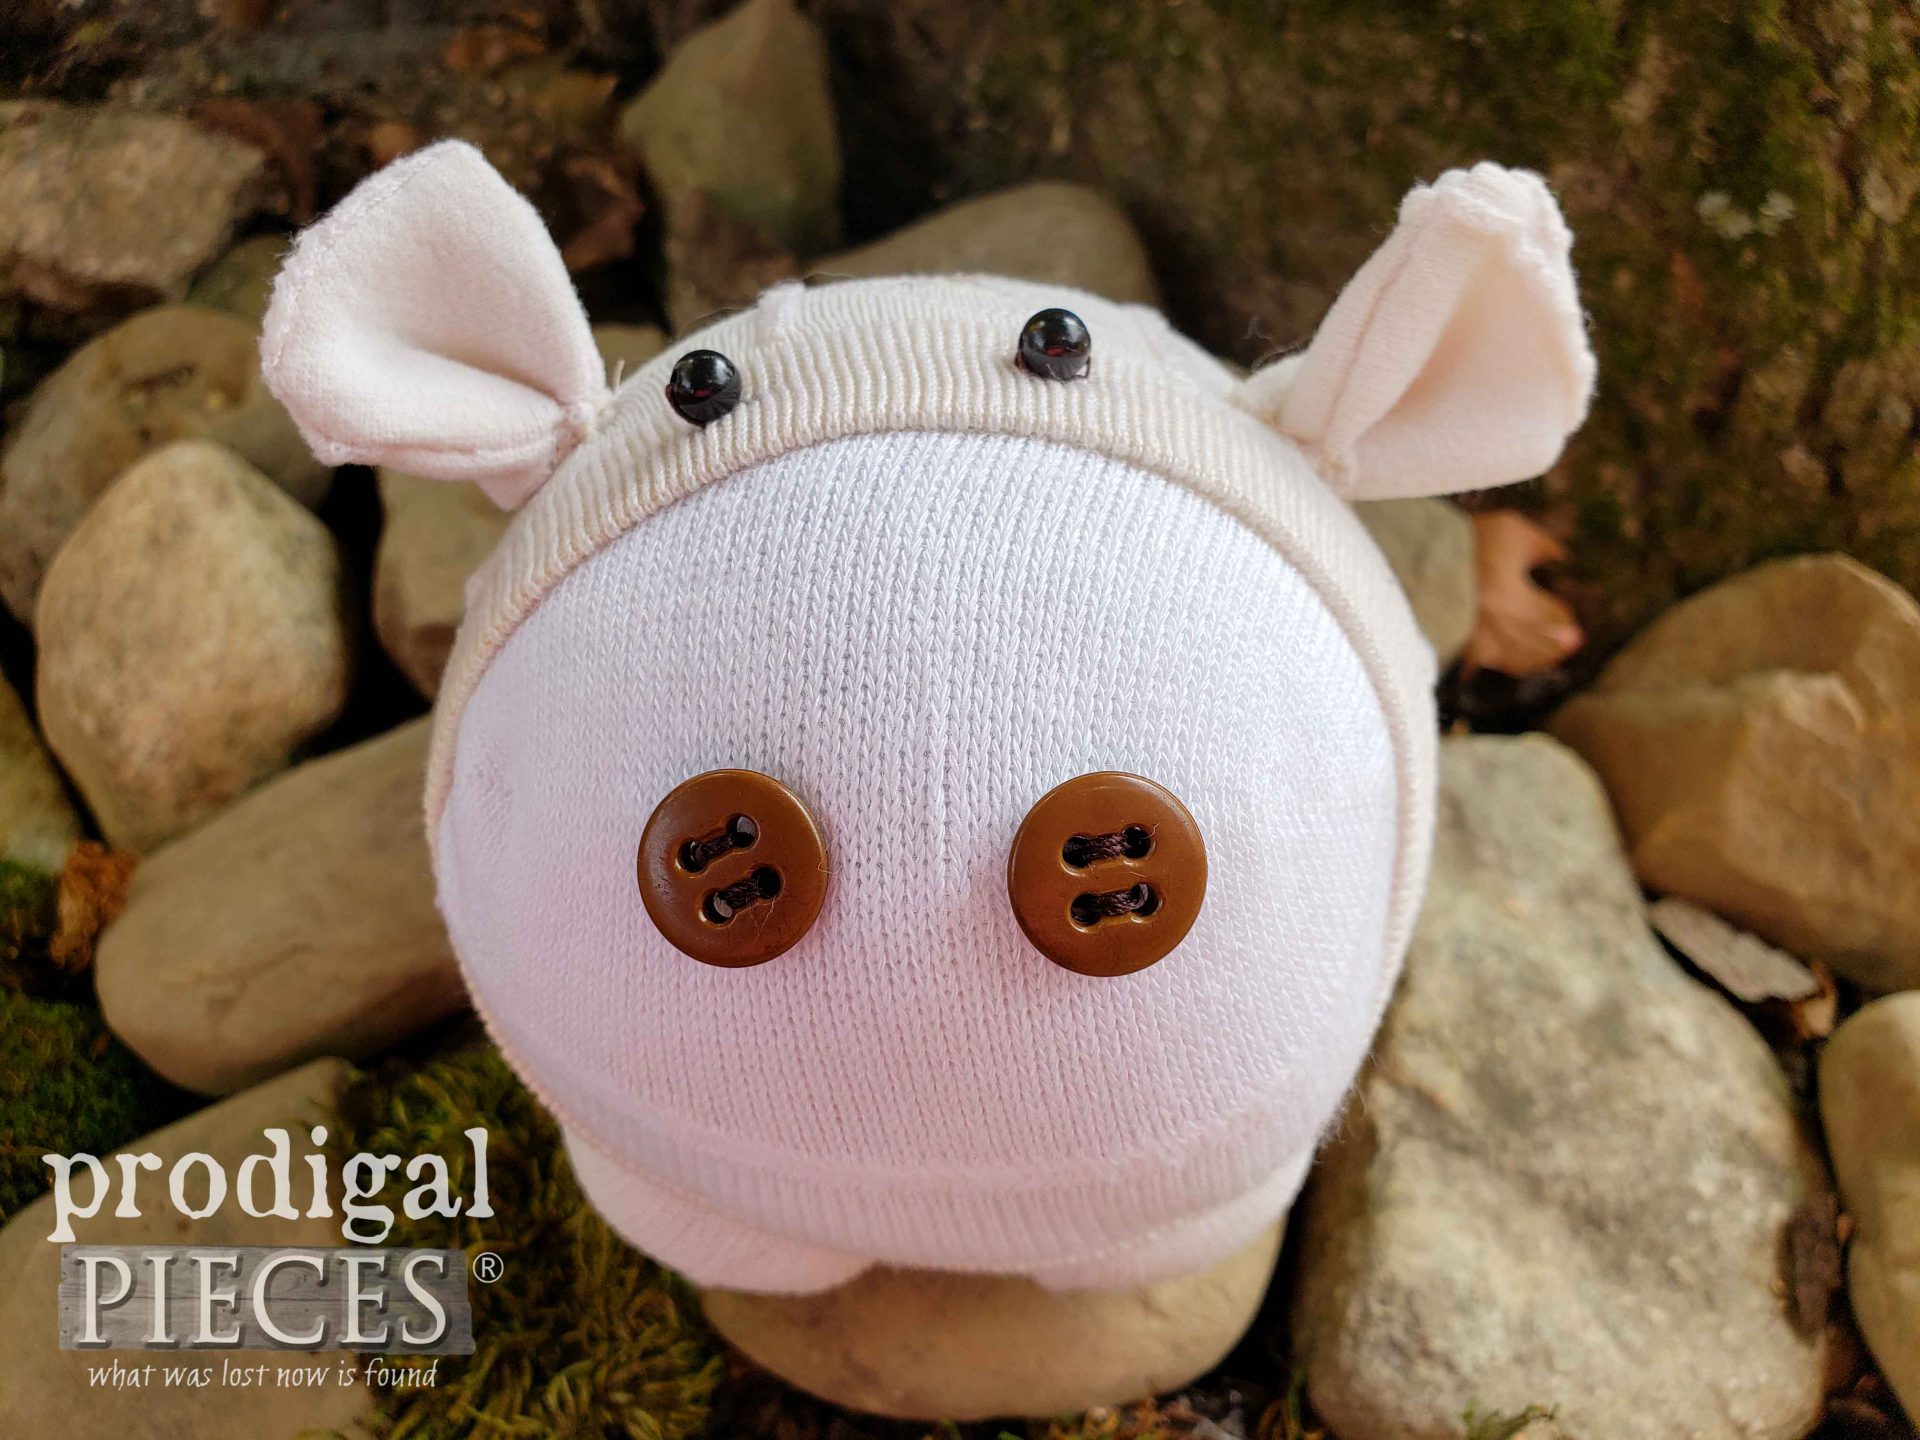
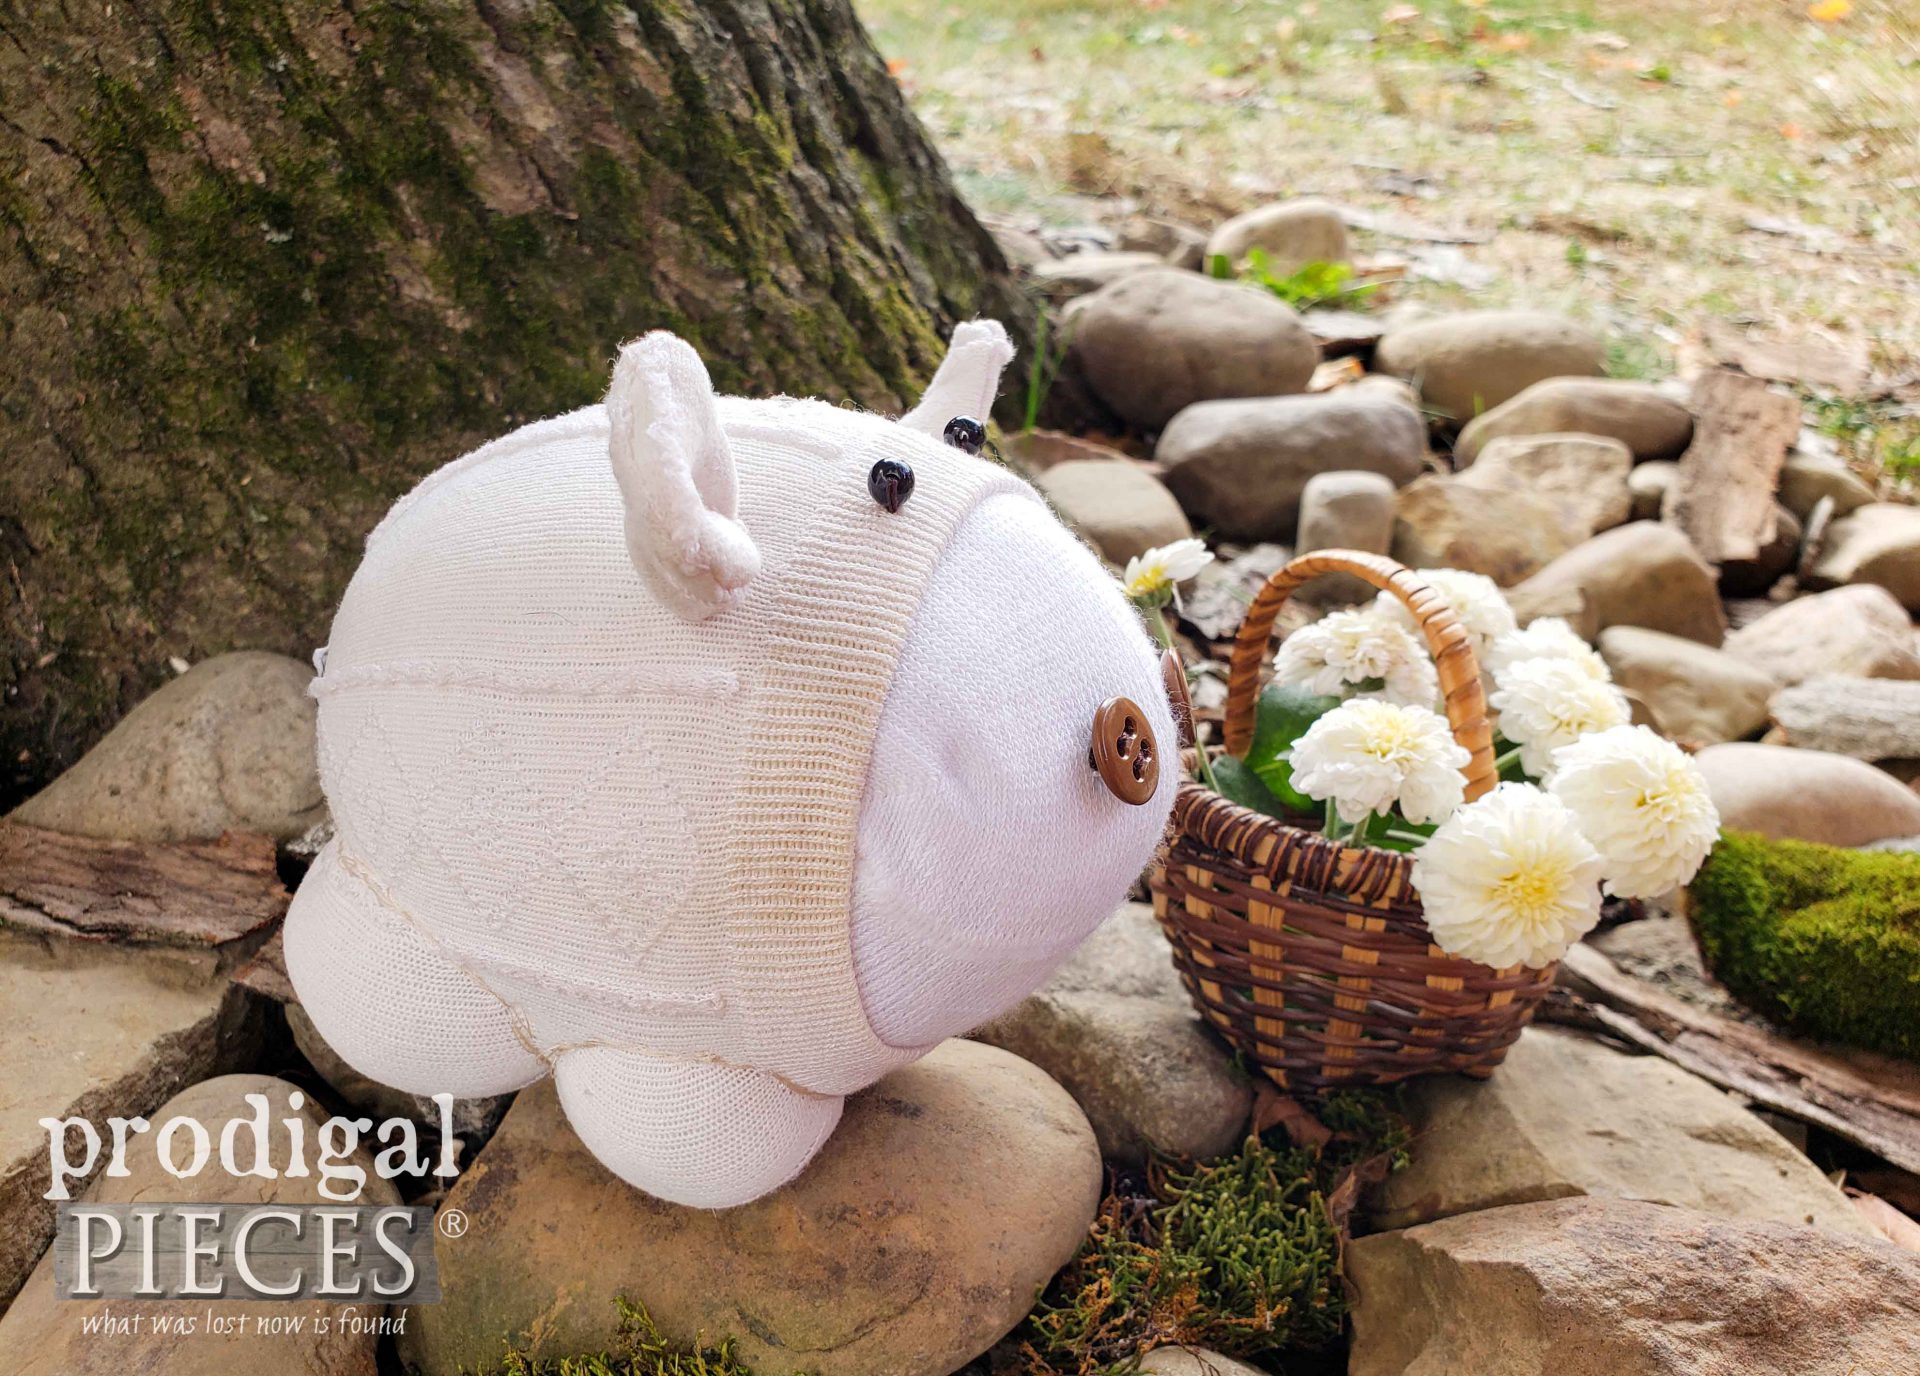
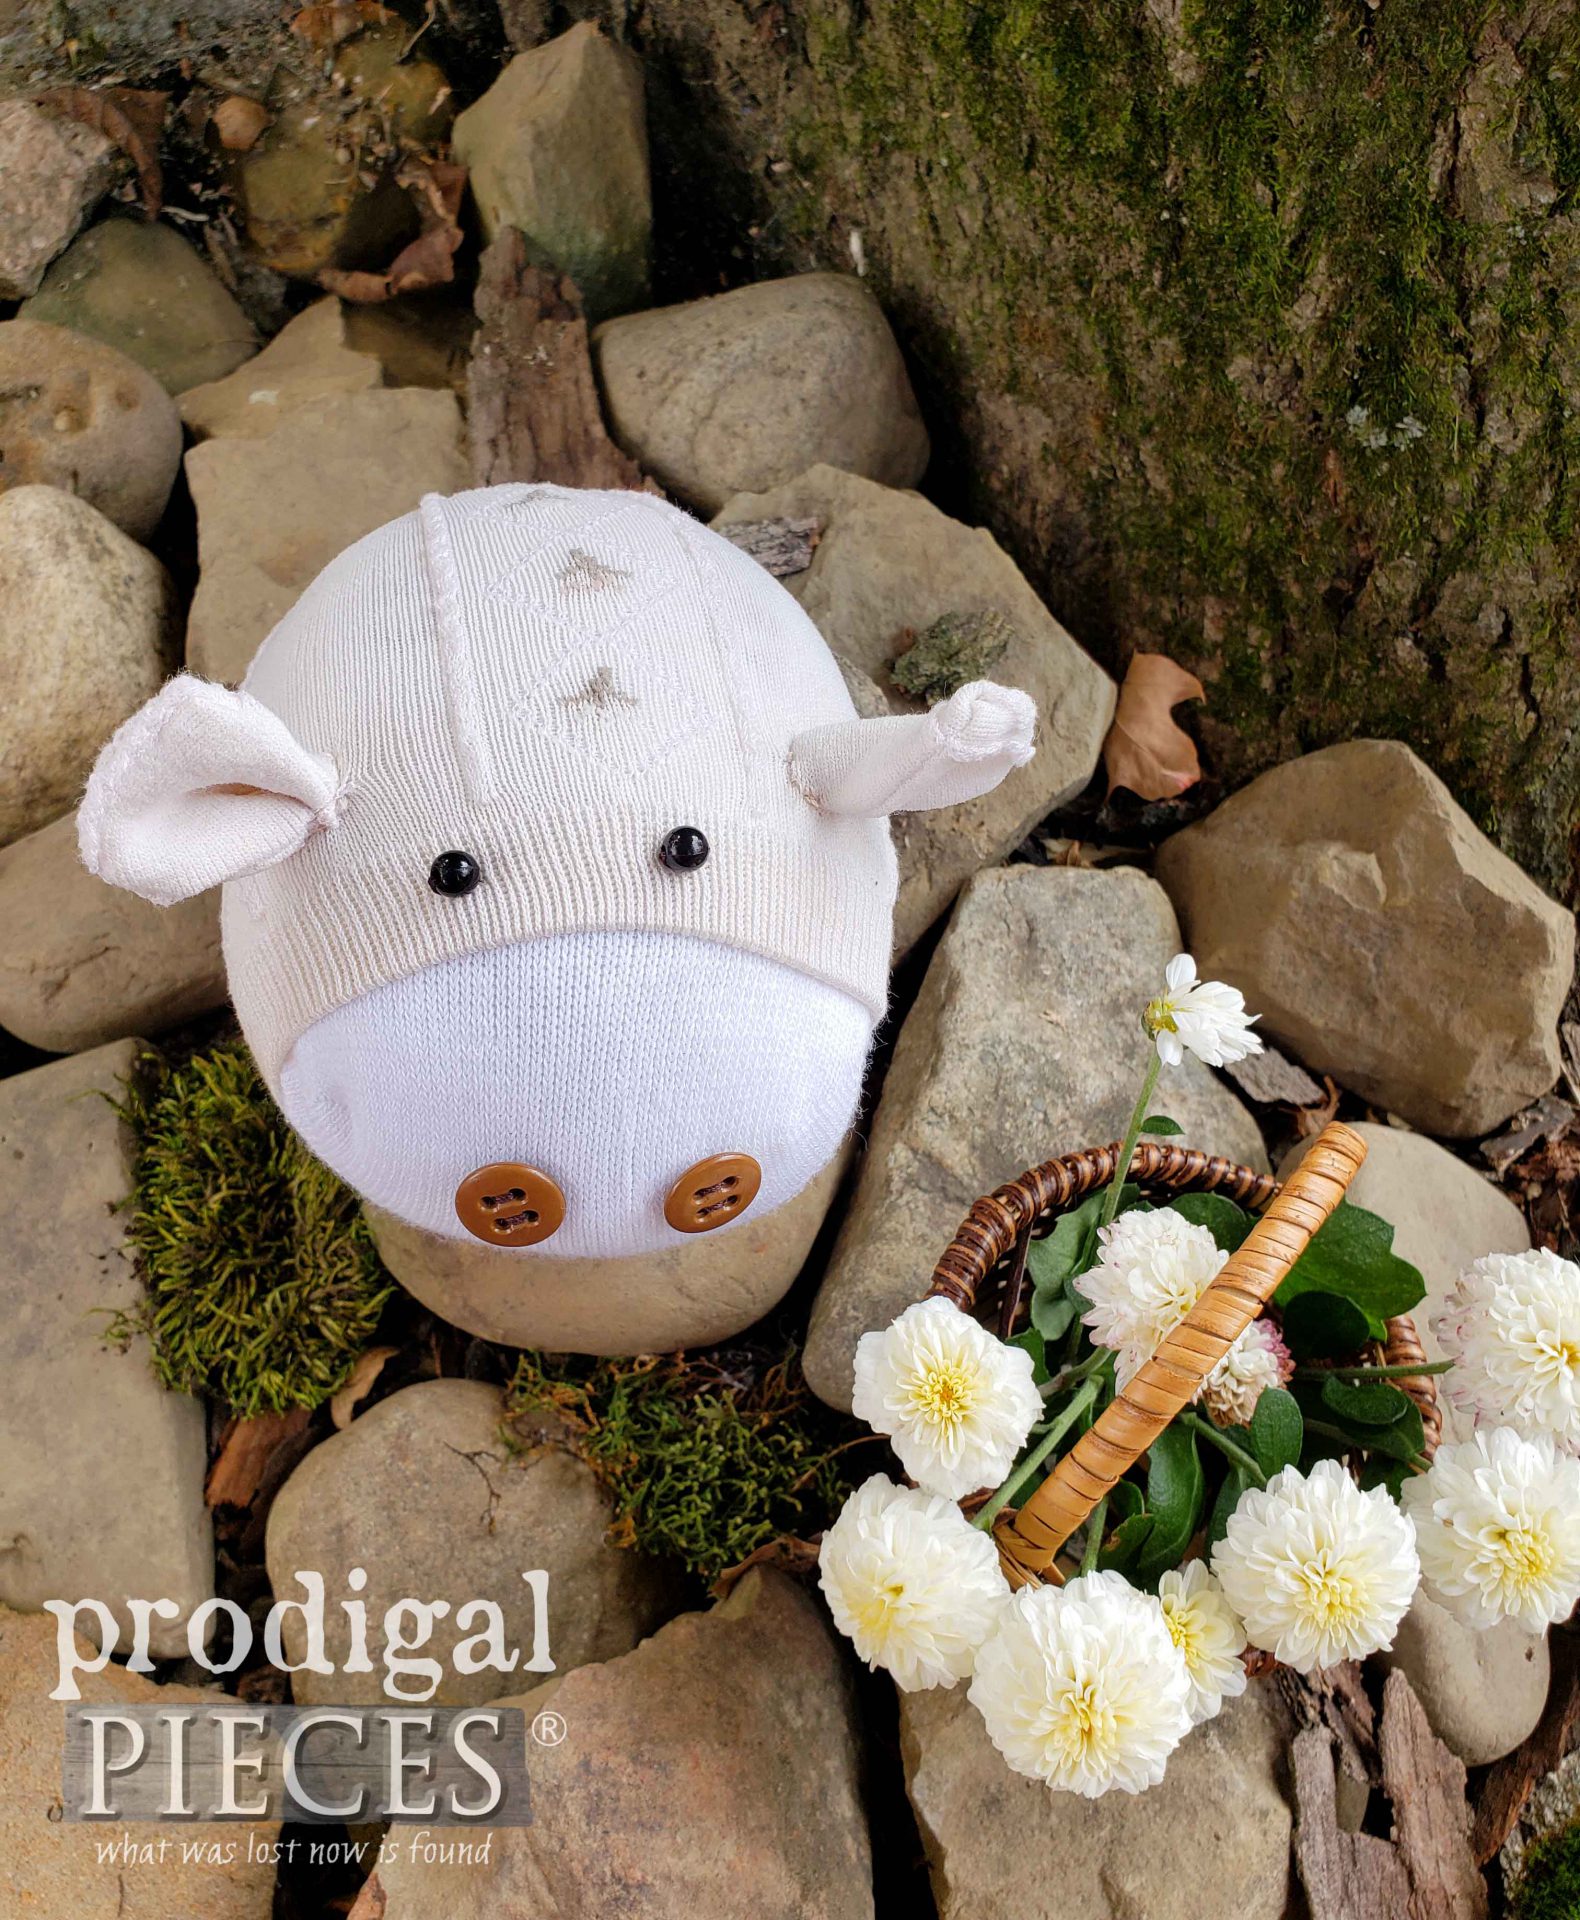
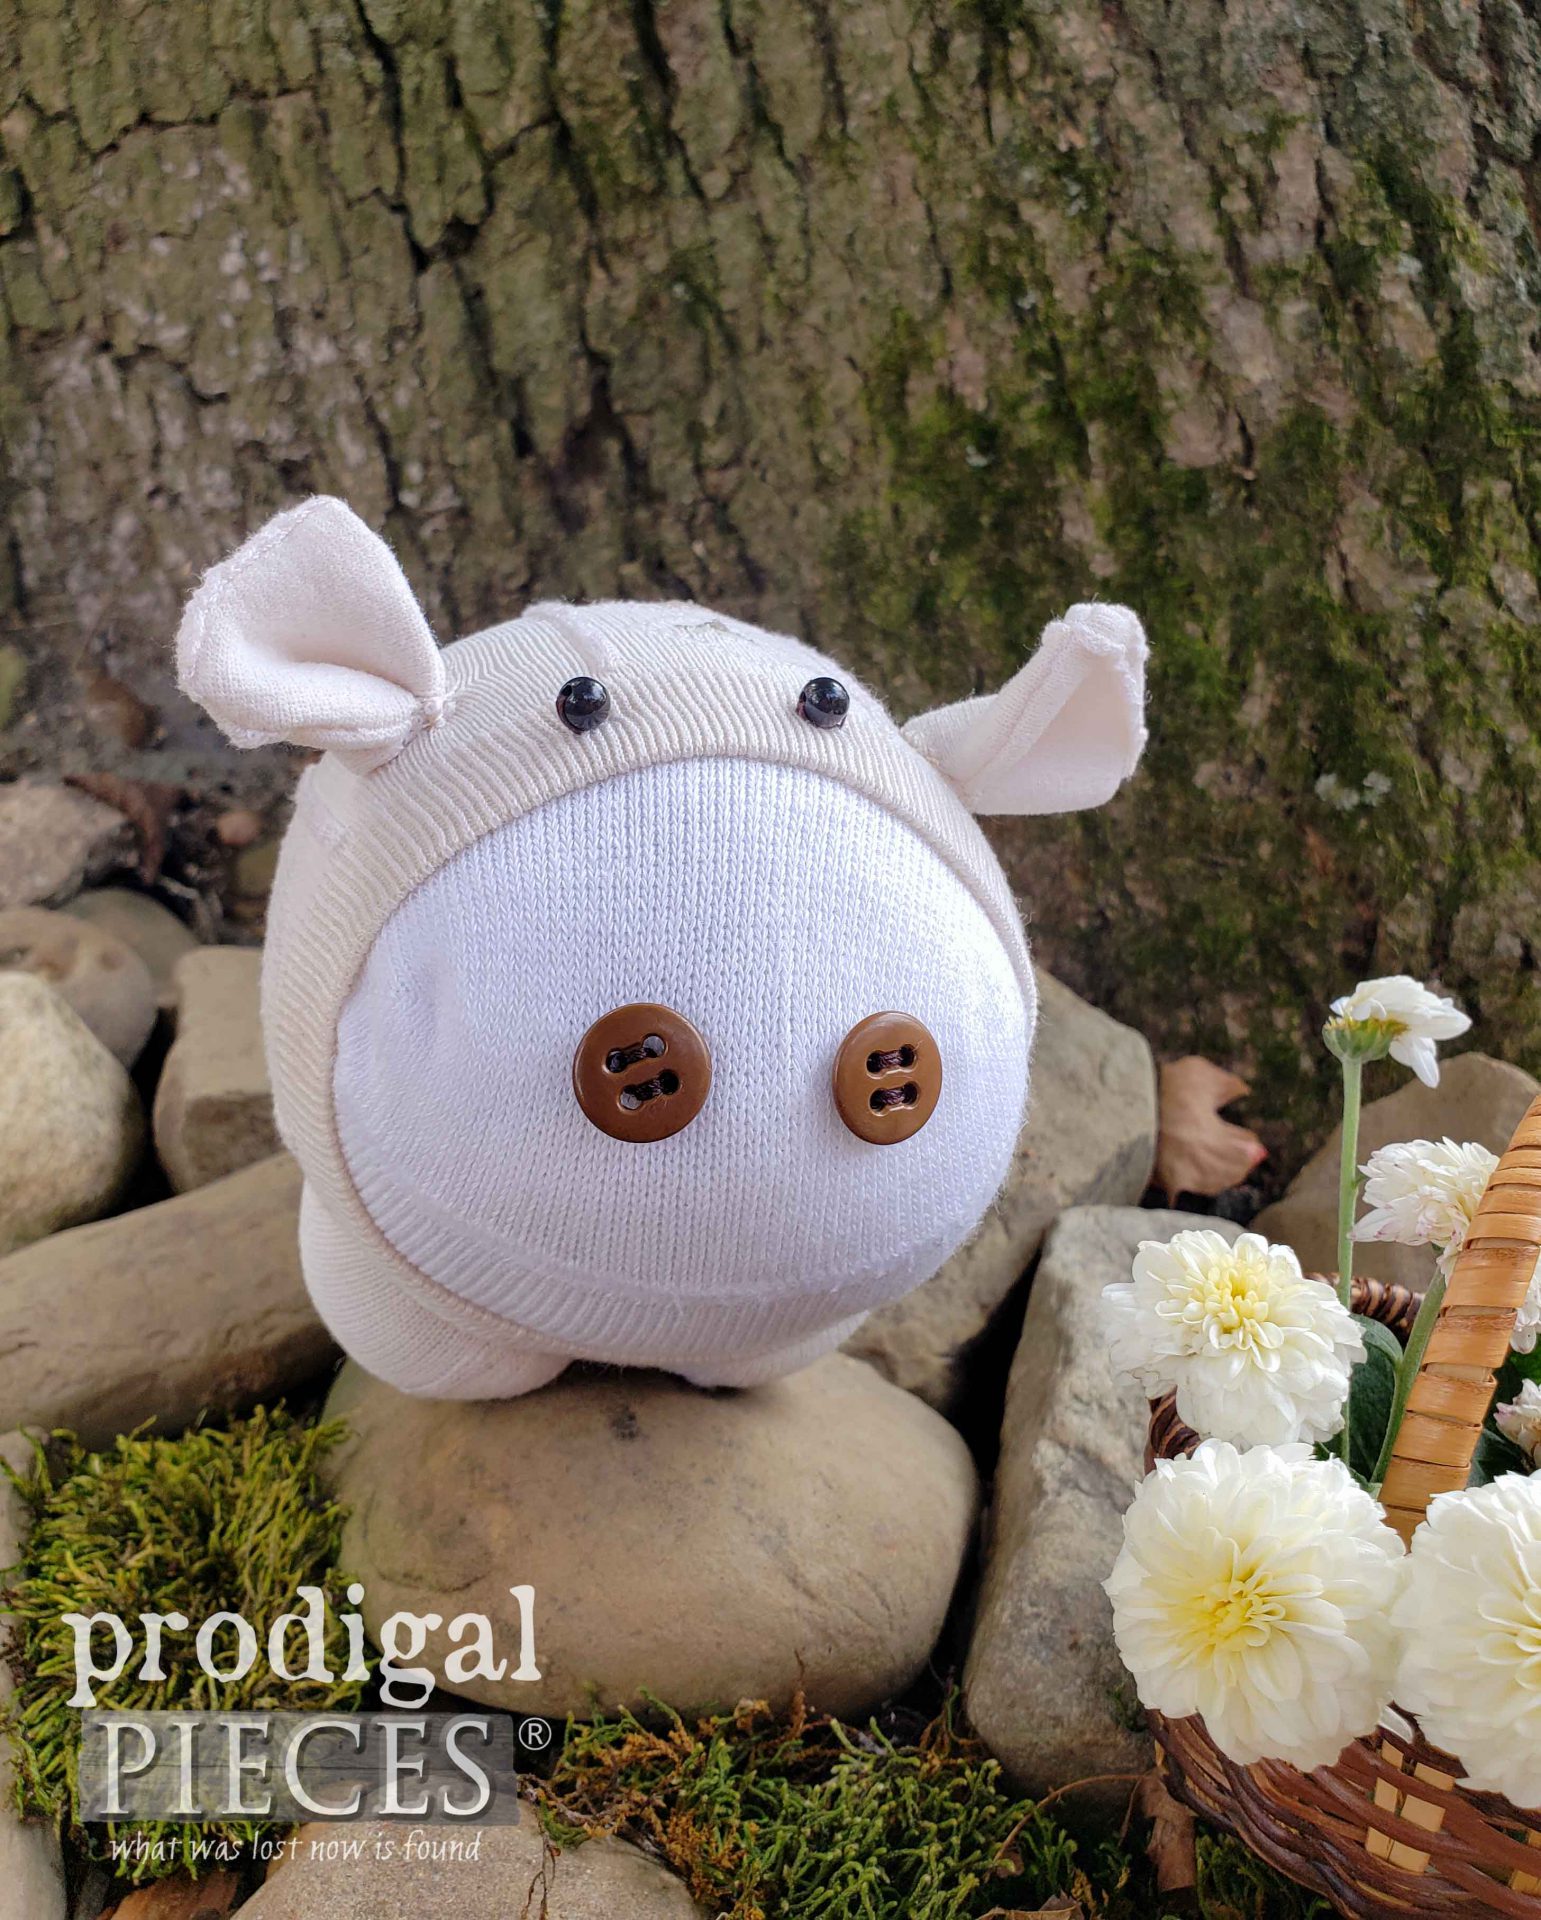
Next, as a fun finale of my scraps and sewing adventures, here’s my cutie pie pig.
She’s sassy and totally out to pull at your heartstrings. Likewise, this is also a upcycled sock dolls design by Daniel that helped me demonstrate to you how even the smallest remnant pieces can be used.
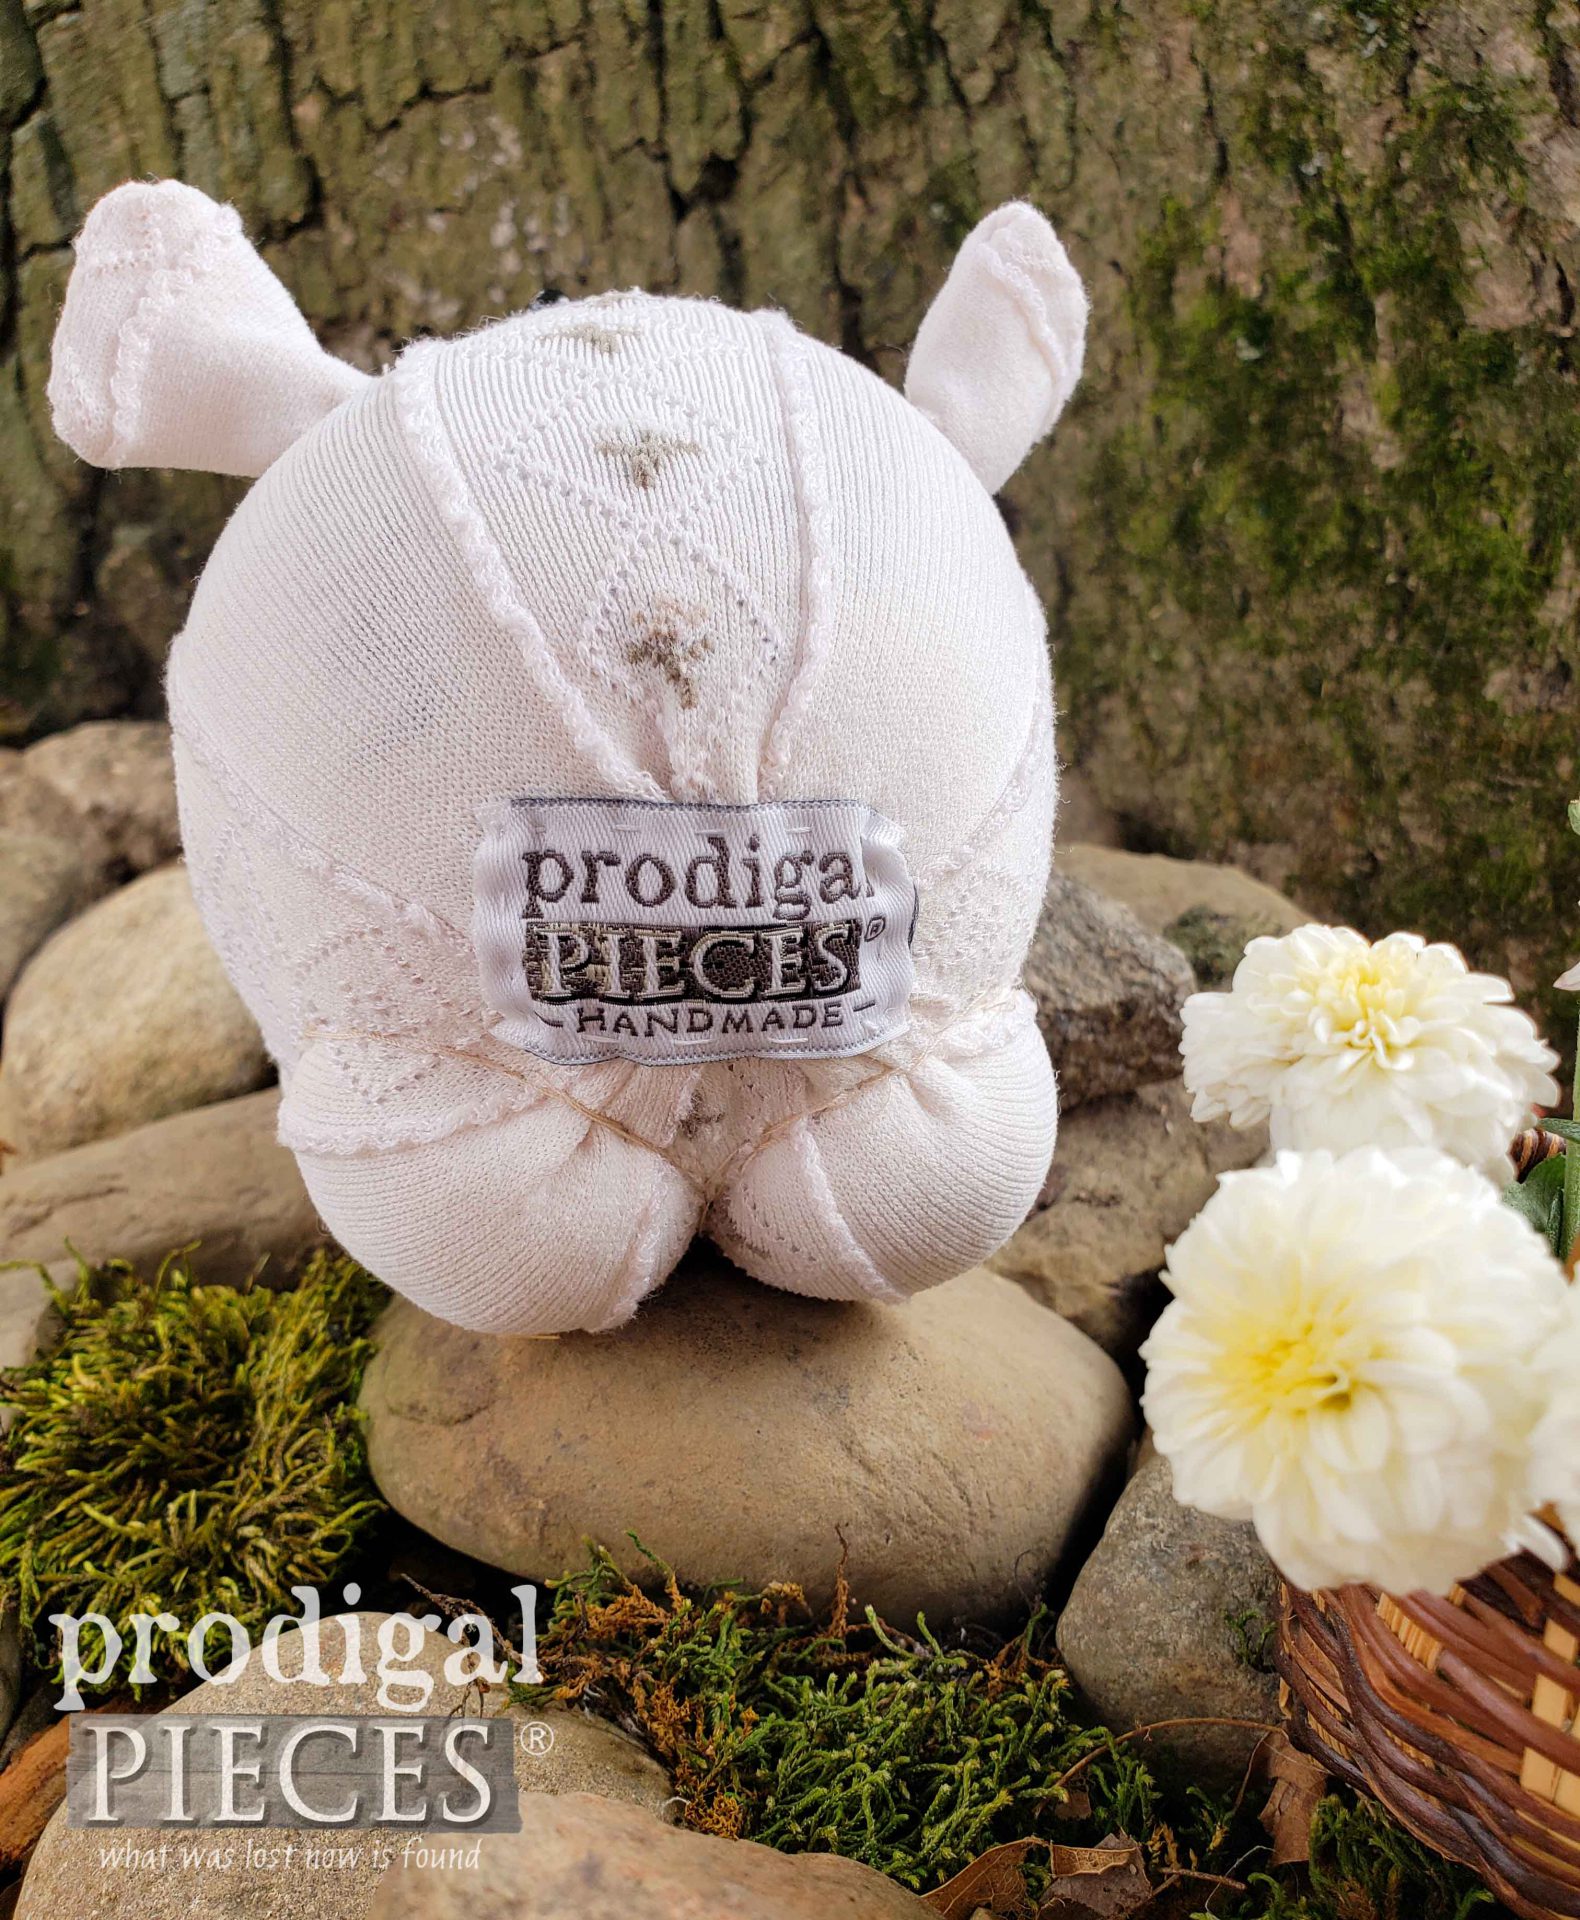
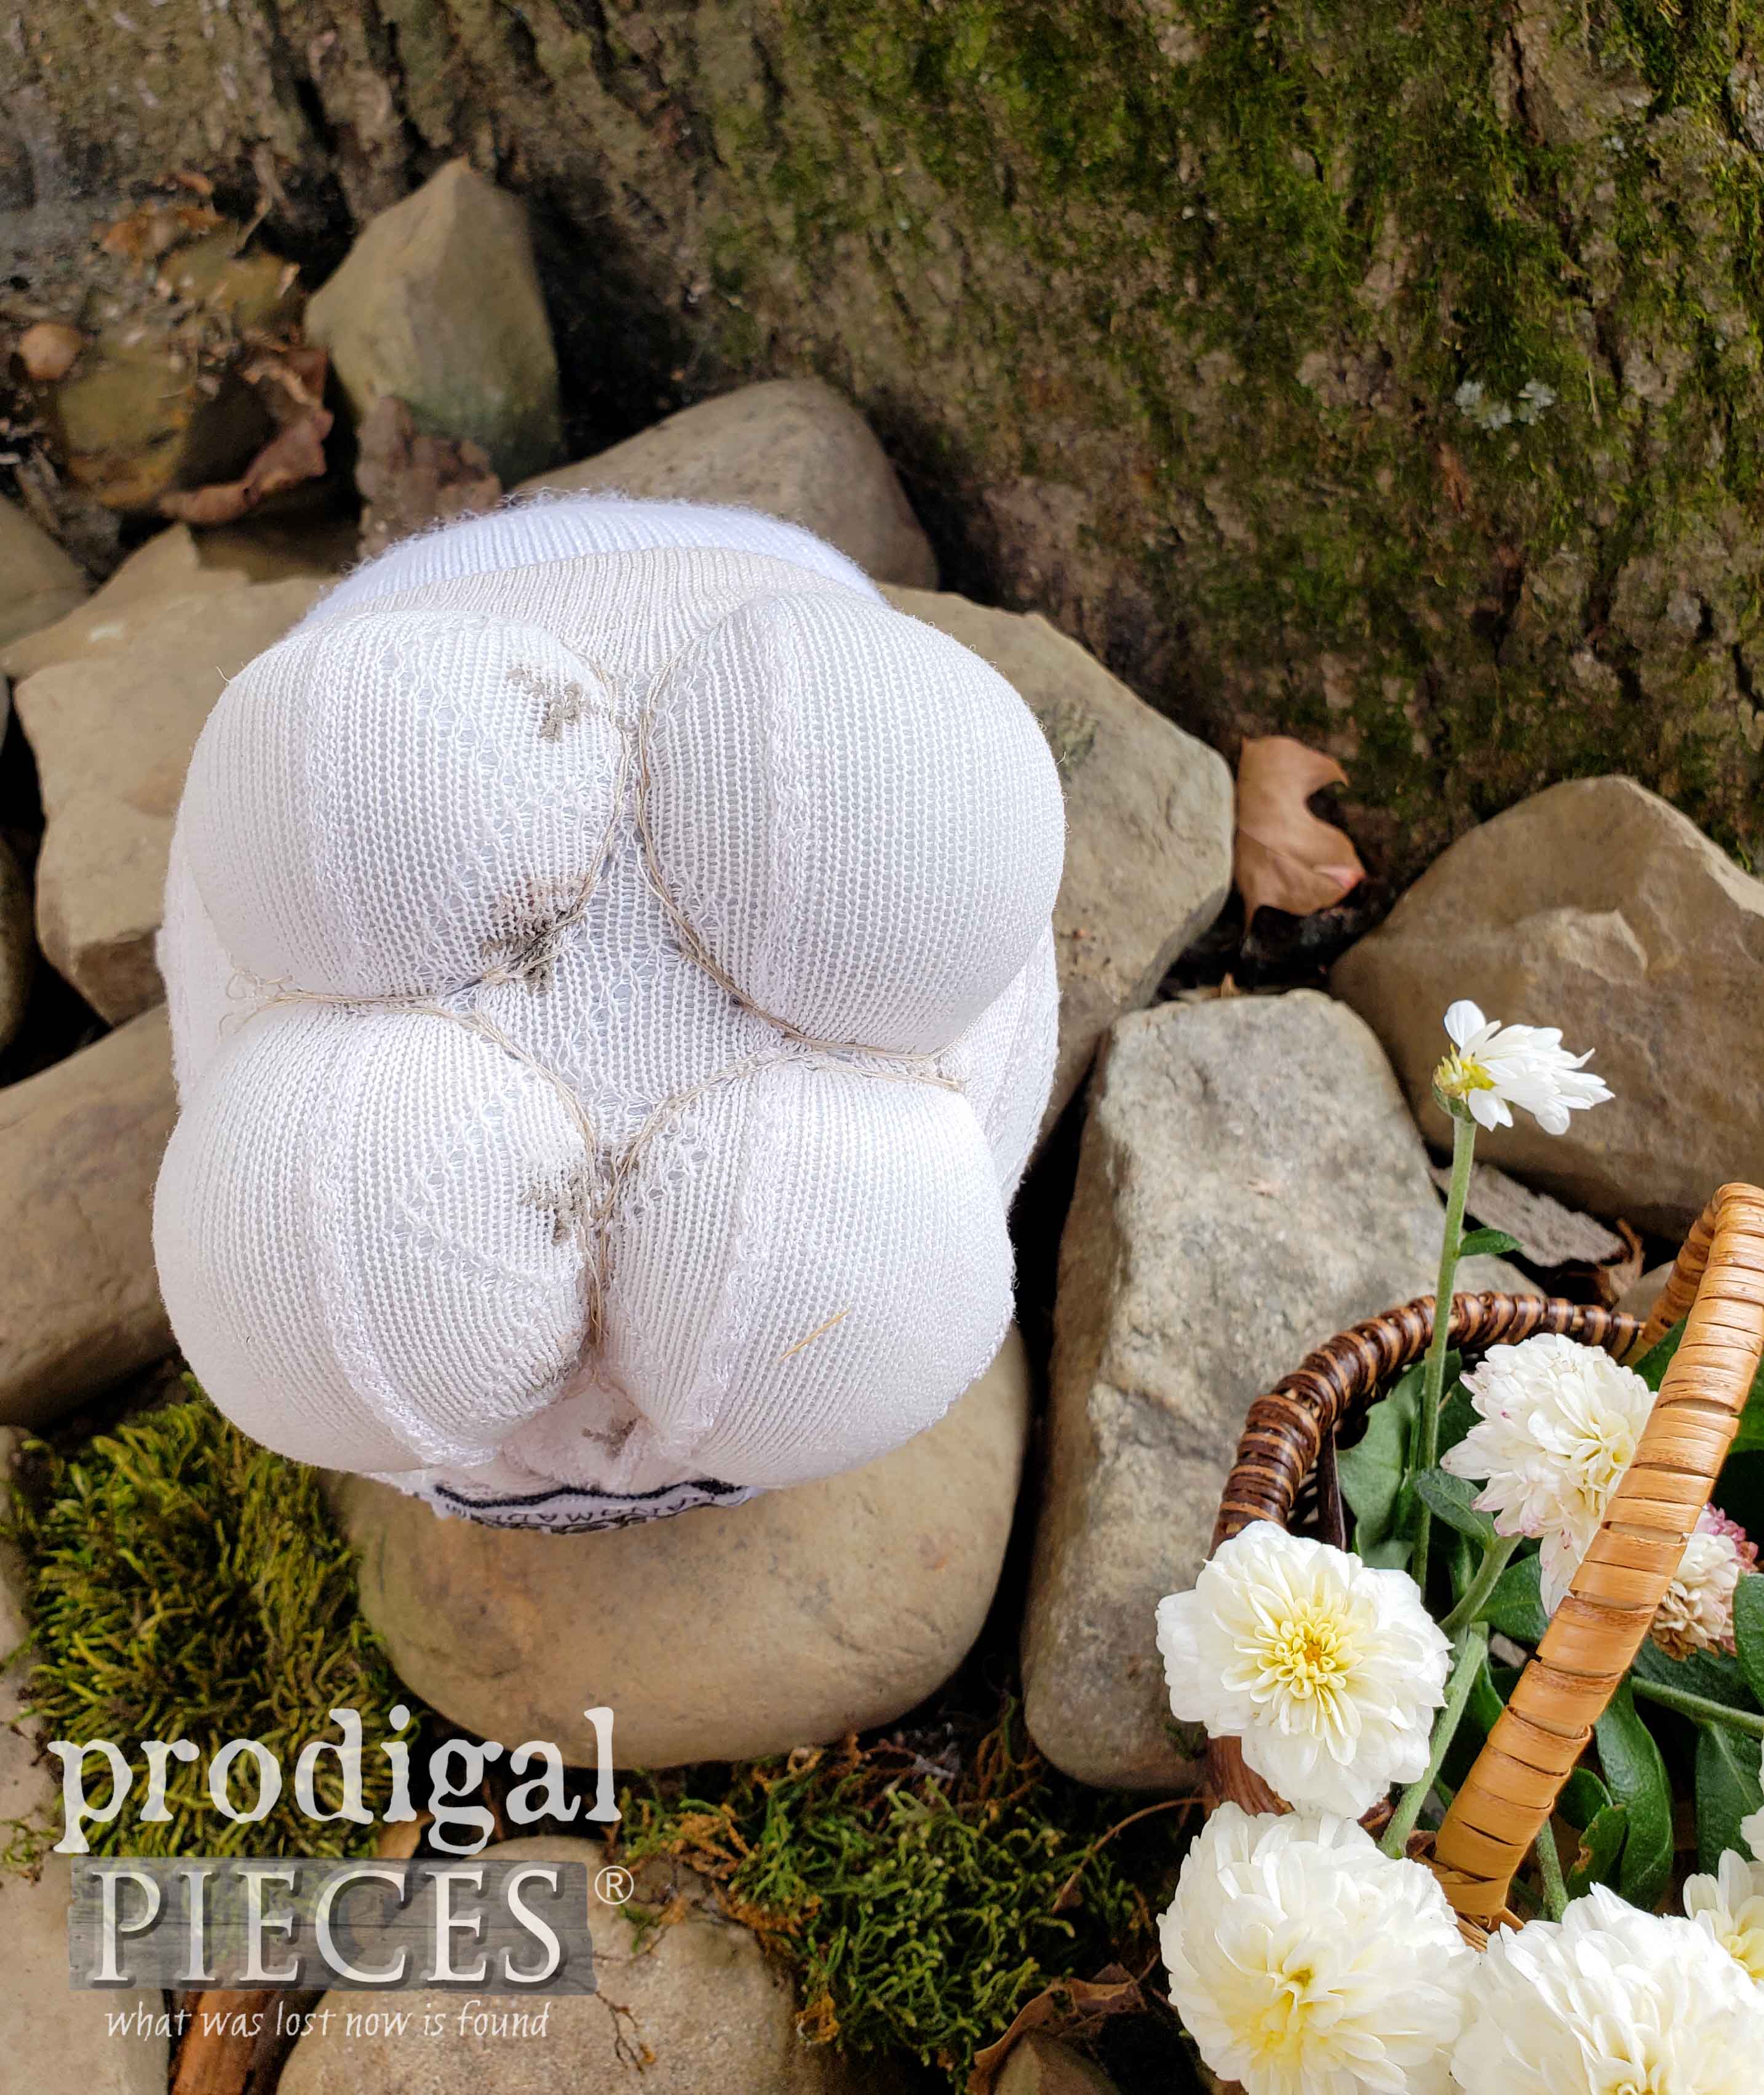
And from the backside and bottom so you can see the assembly of it all. Super easy, folks. This was made by using socks, buttons, beads, stuffing, and a needle and thread.
Well, I had a blast and hope you did too as you followed along. What would you create with your socks?
WRAP-UP
If you’re smitten with my dolls & animals, you can find some of them in my online store.
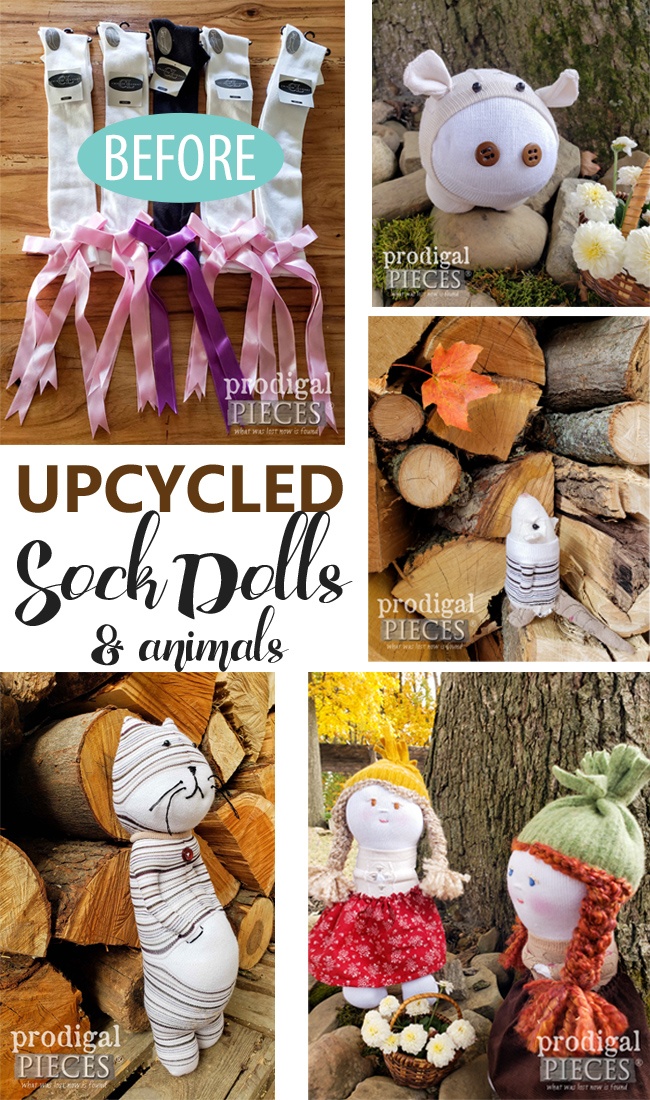
Additionally, pin and share my upcycled sock dolls & animals to inspire others to get their own creative juices going.
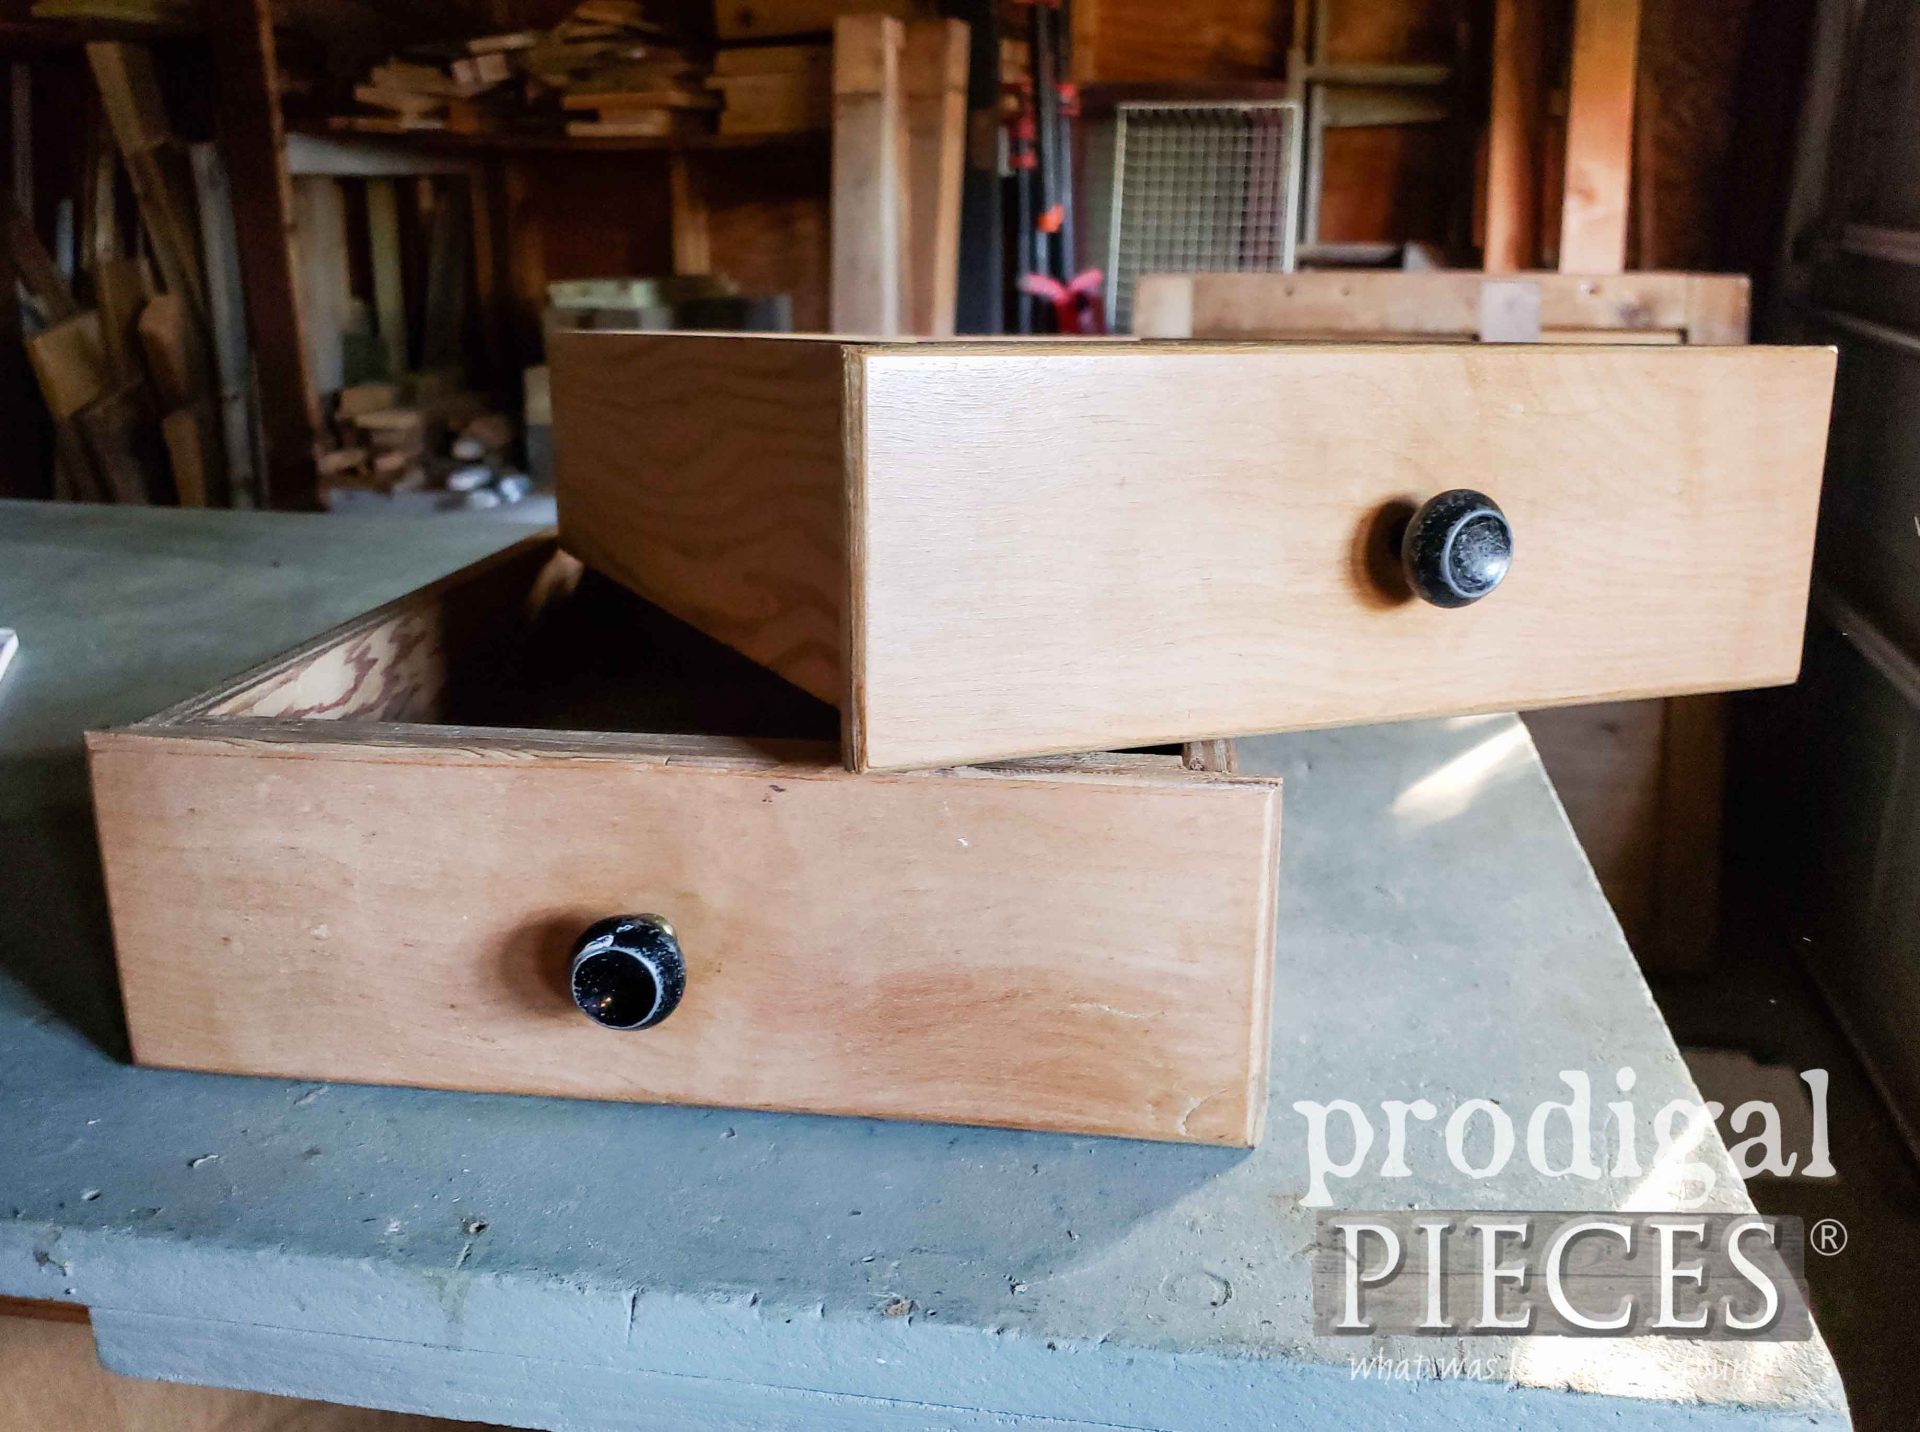
Up next, I’ll be sharing what became of these two drawers I found at the thrift store. Come see the now HERE.
Before you go, be sure to sign up for my newsletter. Until next time!




Adorable! You are a true artist.
I can’t say enough how fun this was. Thanks so much!
Oh my goodness, these are ADORABLE! That little belly on the kittie is just too cute for words. ❤️
Right? Looks like me after Thanksgiving…hahaha!! Thank you, Marie.
You are SO creative Larissa! I am always amazed at the stuff you come up with and the creative mind you have.
Aww…thank you, Jane. I truly had a blast and my goal is to inspire. Hugs!
Those are so cute, hope they sell in your store! I also hope you will be a grandma to MANY! Keep up the good work Larissa!
You just gave me the best compliment EVER! Thank you so much, Mary.
Hi Larissa, I am loving what you have created with socks! Oh my goodness they are just so cute, I love “Mr. Catitude” !
Have you ever tried to make some yourself? It’s addictive! 😀 Thanks so much, Kaycee
You are quite talented! These are too sweet and adorable!
Thanks for the smile, Gail! I had a blast, if you couldn’t tell. 😀
These are AMAZING! You should sell the look to a company…cuz all the little children should have a set of these. But seriously…that kitty…. cuteness overload!
You are too cute, Susie! Thank you for the giggle. 😀
You are amazing, I love them!
Aww…thanks, girl! My goal is to inspire and I hope I achieved that. 😀
Received my kitty purchased for my granddaughter…I couldn’t be happier..is the cutest little thing. Larissa you’re amazing so creative and talented. thank you so very much. God bless
aww…wonderful!! Thank you so much, Denise. I’d love to have your review on my shop listing if you ever get a minute. You can leave it here on the “Review” tab.