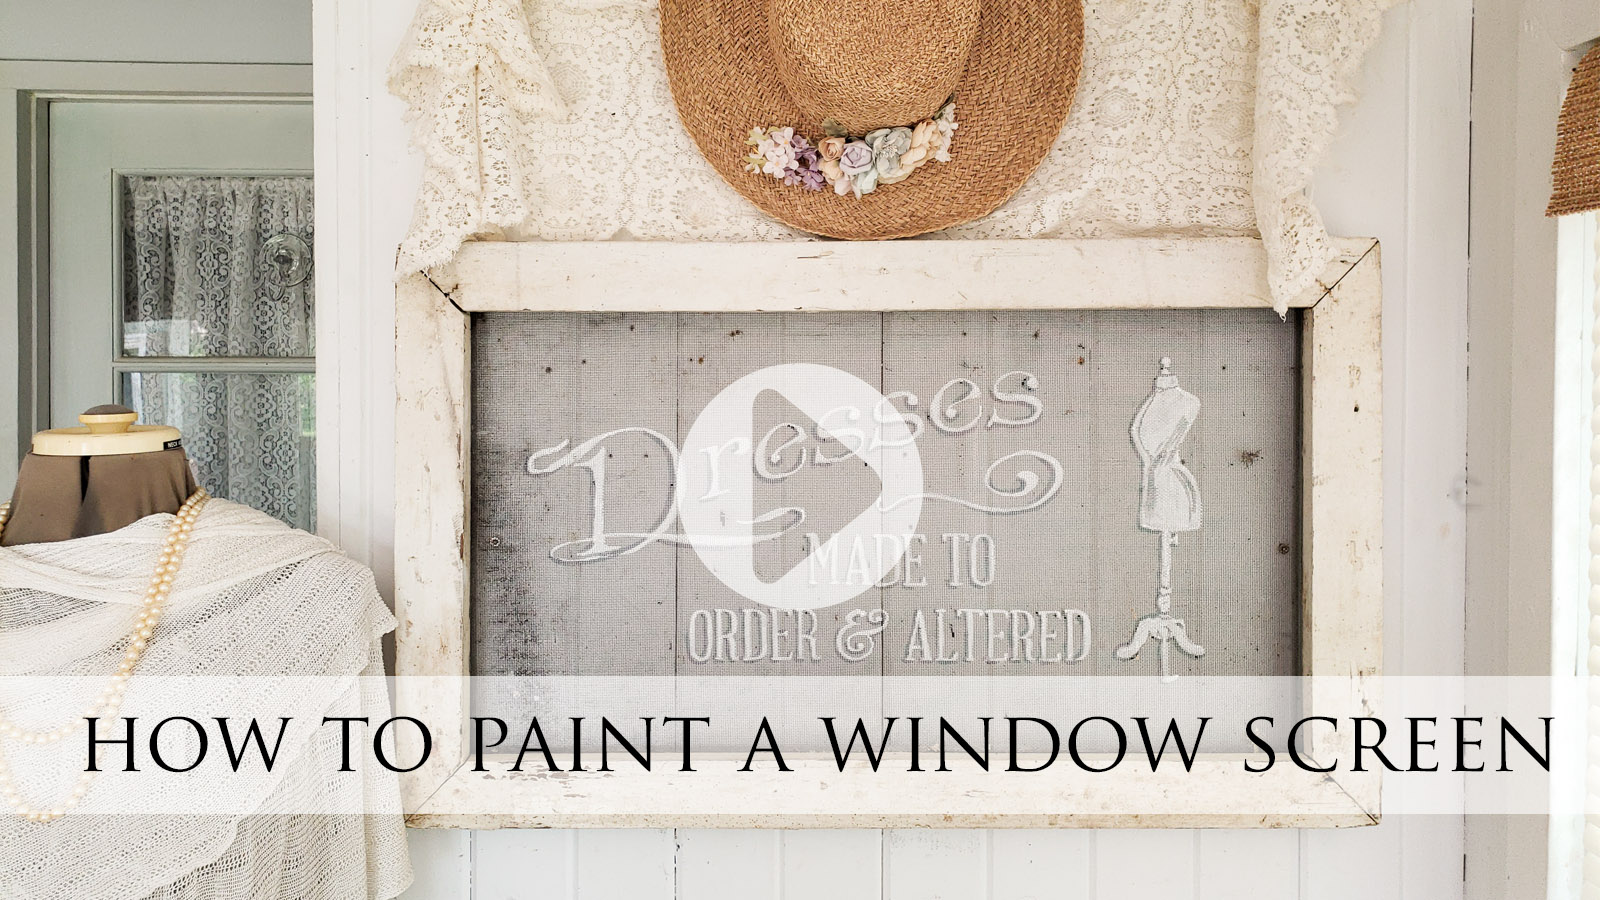
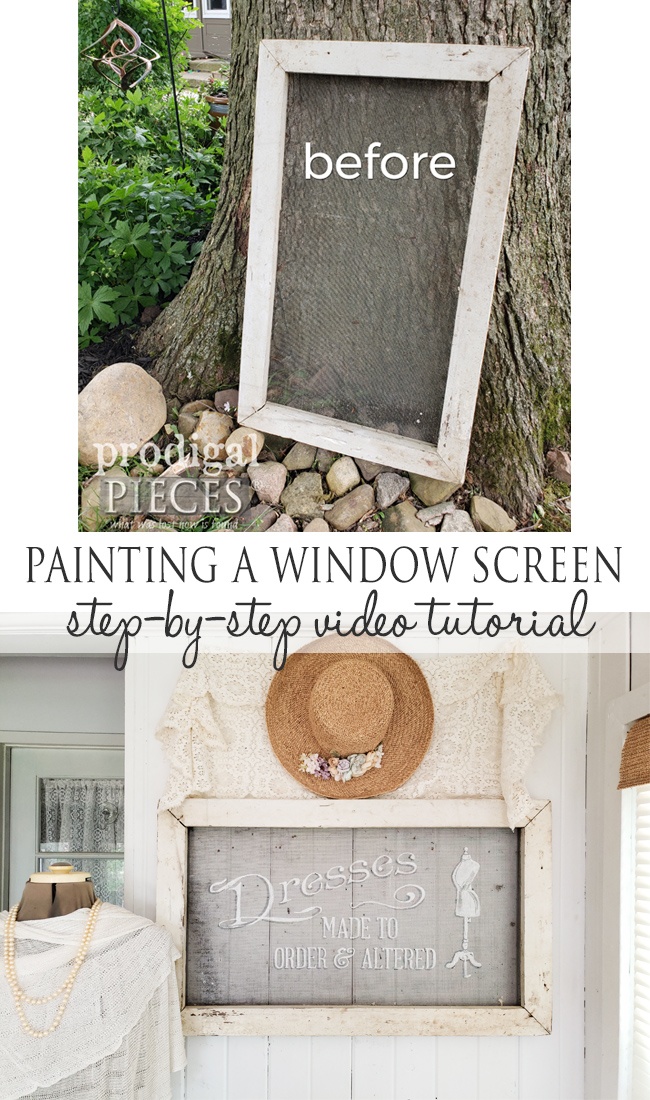
Oh happy day! It’s Trash to Treasure Tuesday, which means we have much inspirational goodness for you. I’m excited to share with you how I have been painting a window screen for beautiful art. Not only that, but I have a 3-step process and video for you too.
If you’ve followed me over the last few years, you’ll know that I already have a tutorial for this FOUND HERE. It was even featured in Country Sampler Magazine. While the original post is still valid, this time around, however, I wanted to update it. As a matter of fact, I have new photos, streamlined process, and video with this end result.
DIY TIME
Want to create one too? Let’s get started…
Materials & Supplies:
- window screen (new or old) this linked one can be separated into two projects
- keyhole hardware
- acrylic paint
- artist’s brushes
- tape
- image or template – see tutorial HERE how to make your own
TERMS OF USE: when you create a painted window screen you agree to the following: it cannot be shared or distributed for monetary gain in any way, it may not be modified in any way, and you may not claim the work as your own.
STEP 1
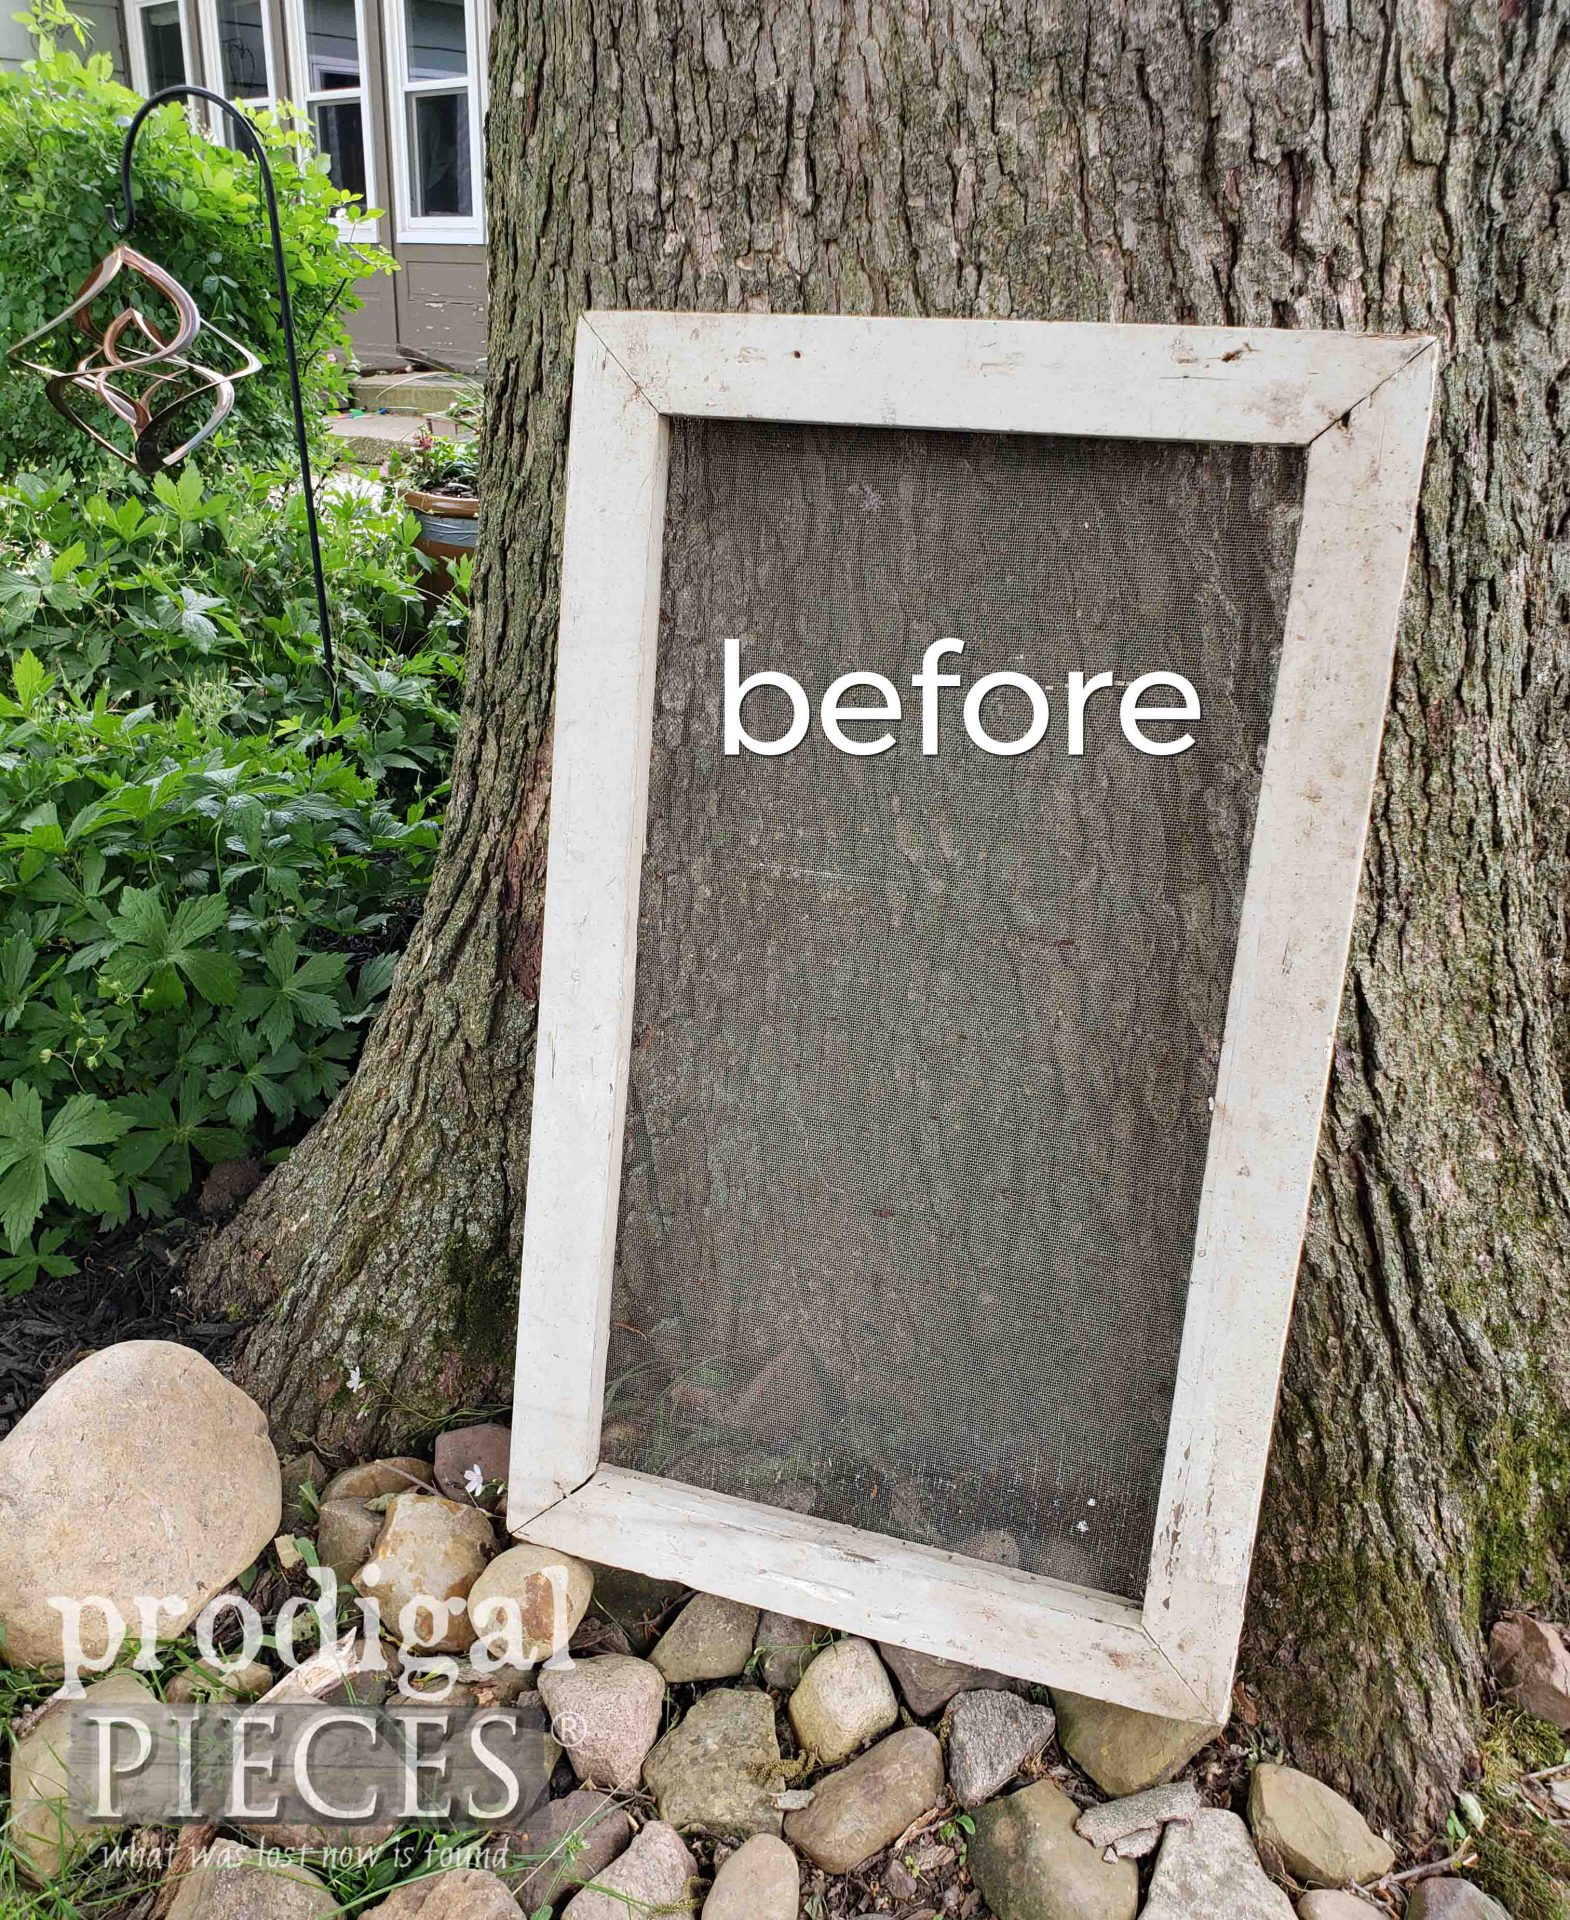
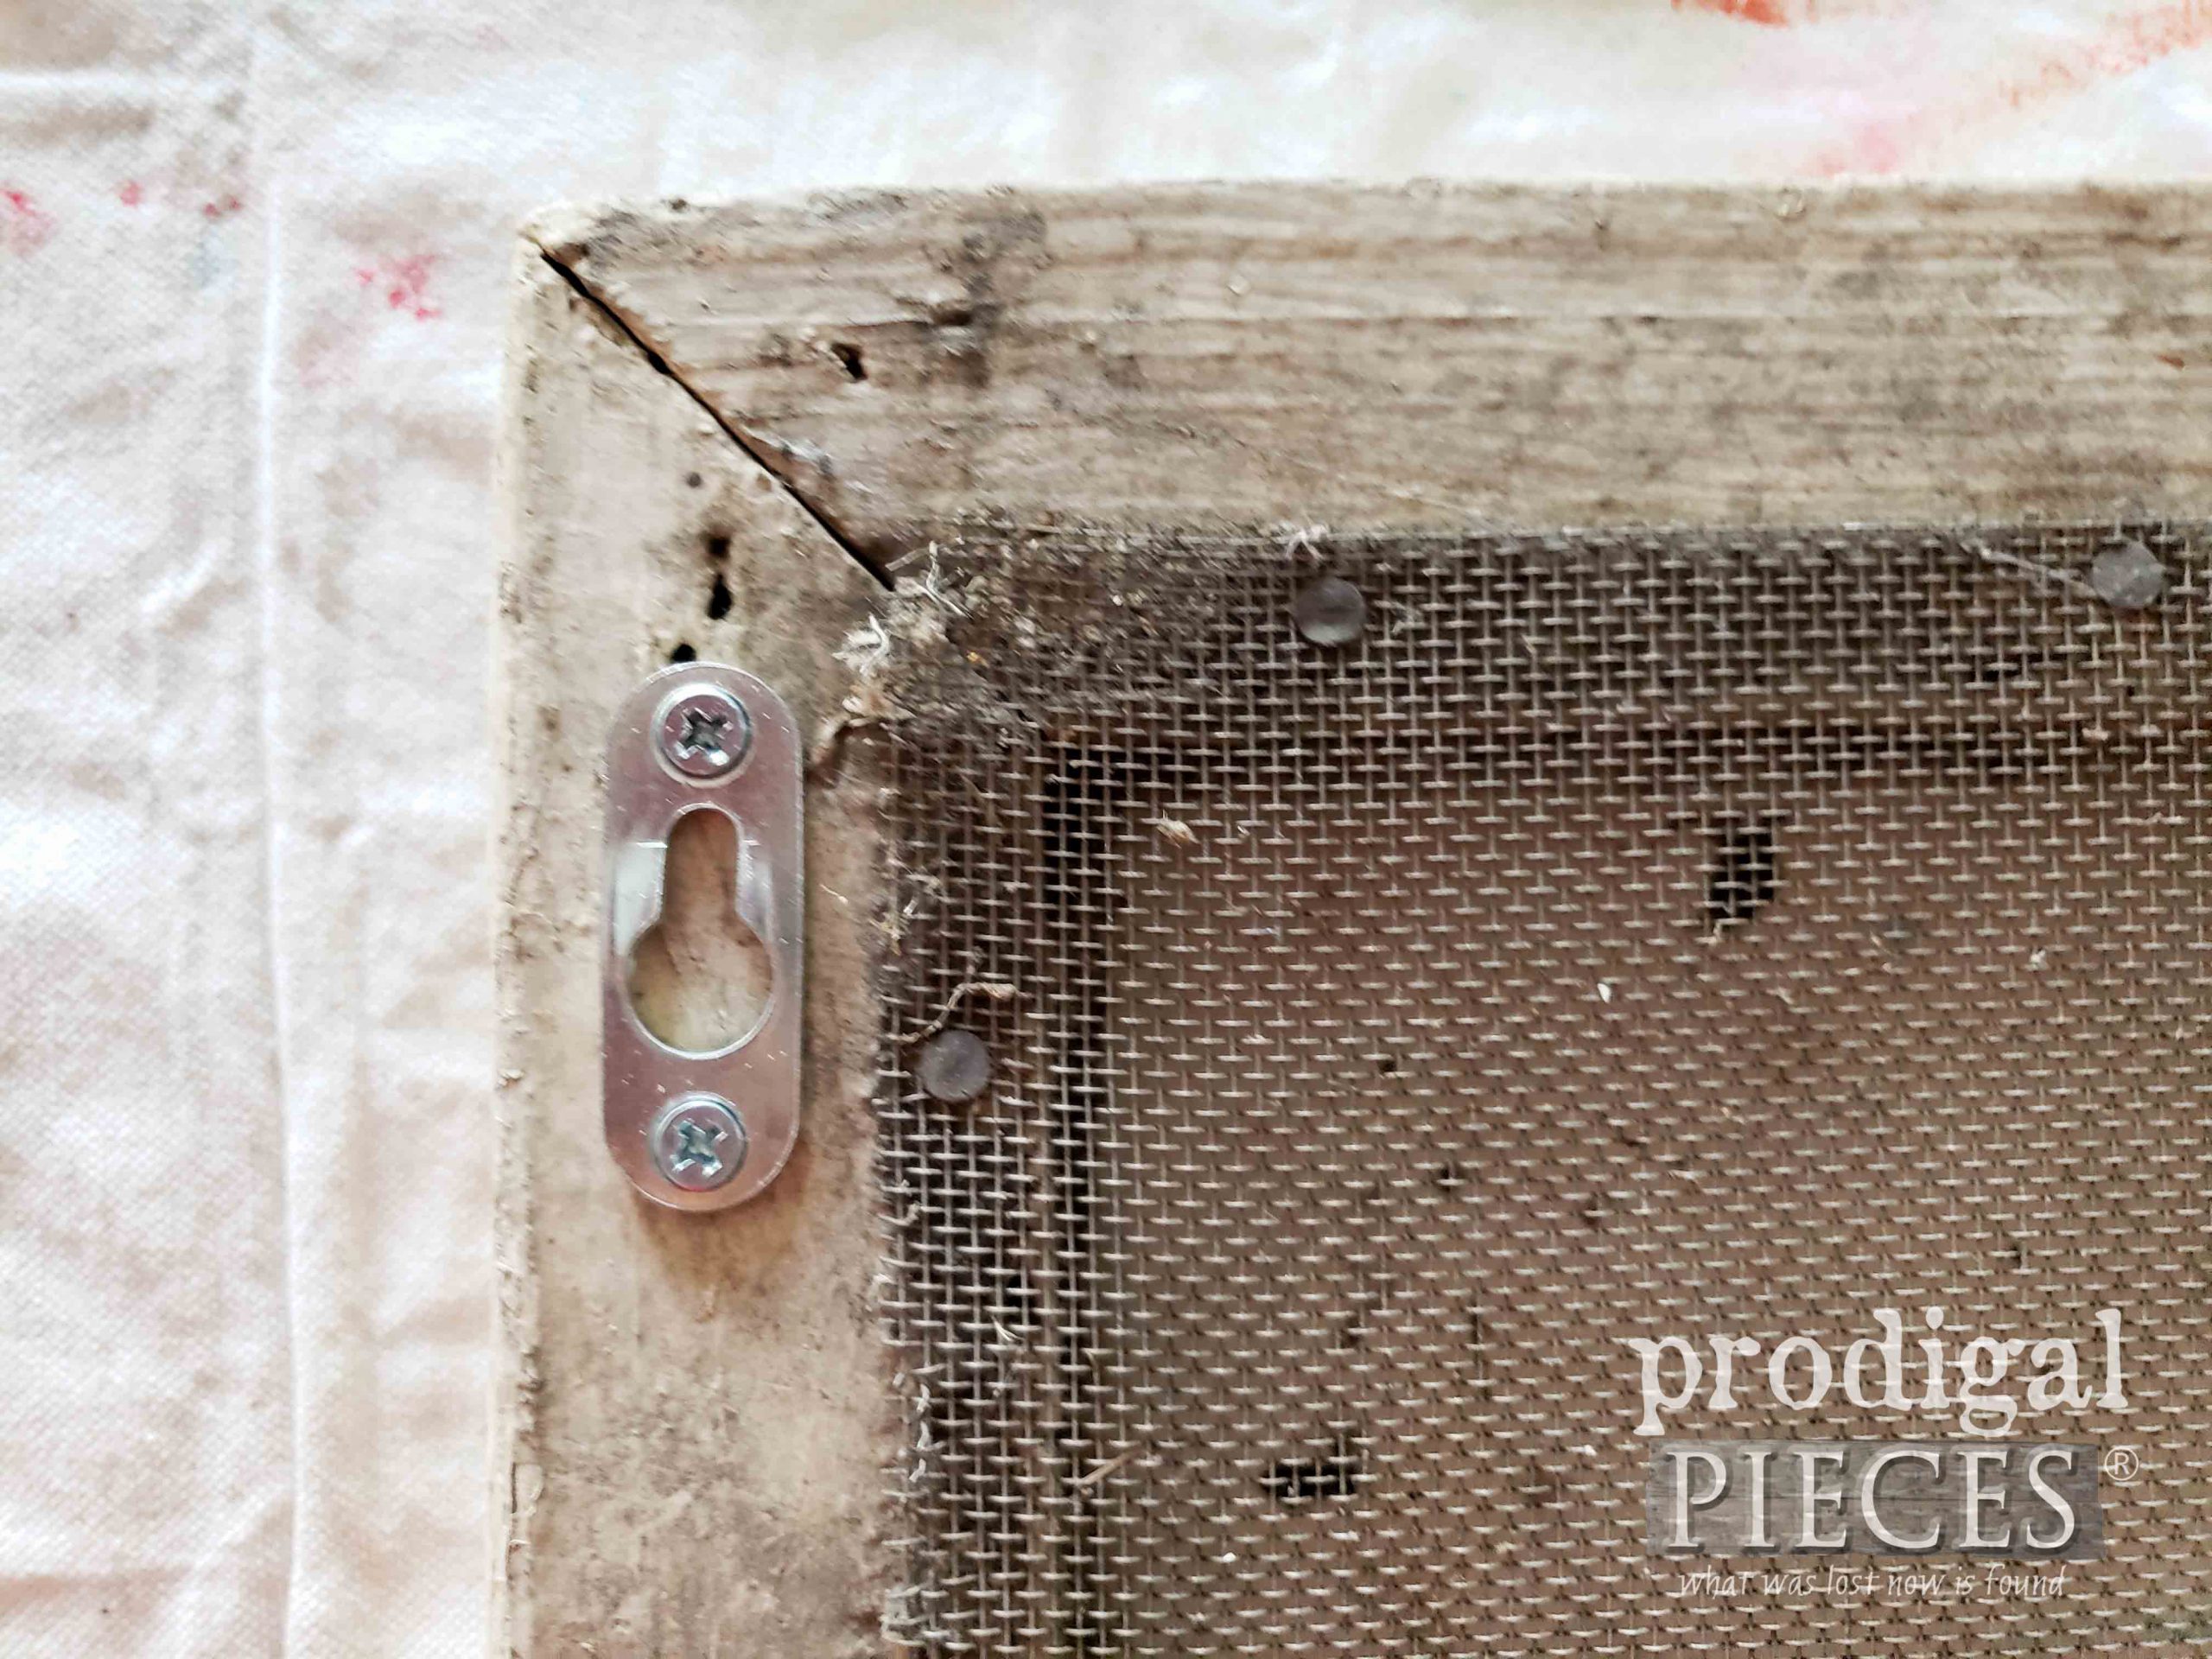
First, grab that old window screen you have tucked in your garage (or buy one too!) and give it a good cleaning. Then, we’re going to add keyhole hardware so we can mount it to the wall. However, if you prefer, you can leave it off and just lean the screen on your mantel, etc.
STEP 2
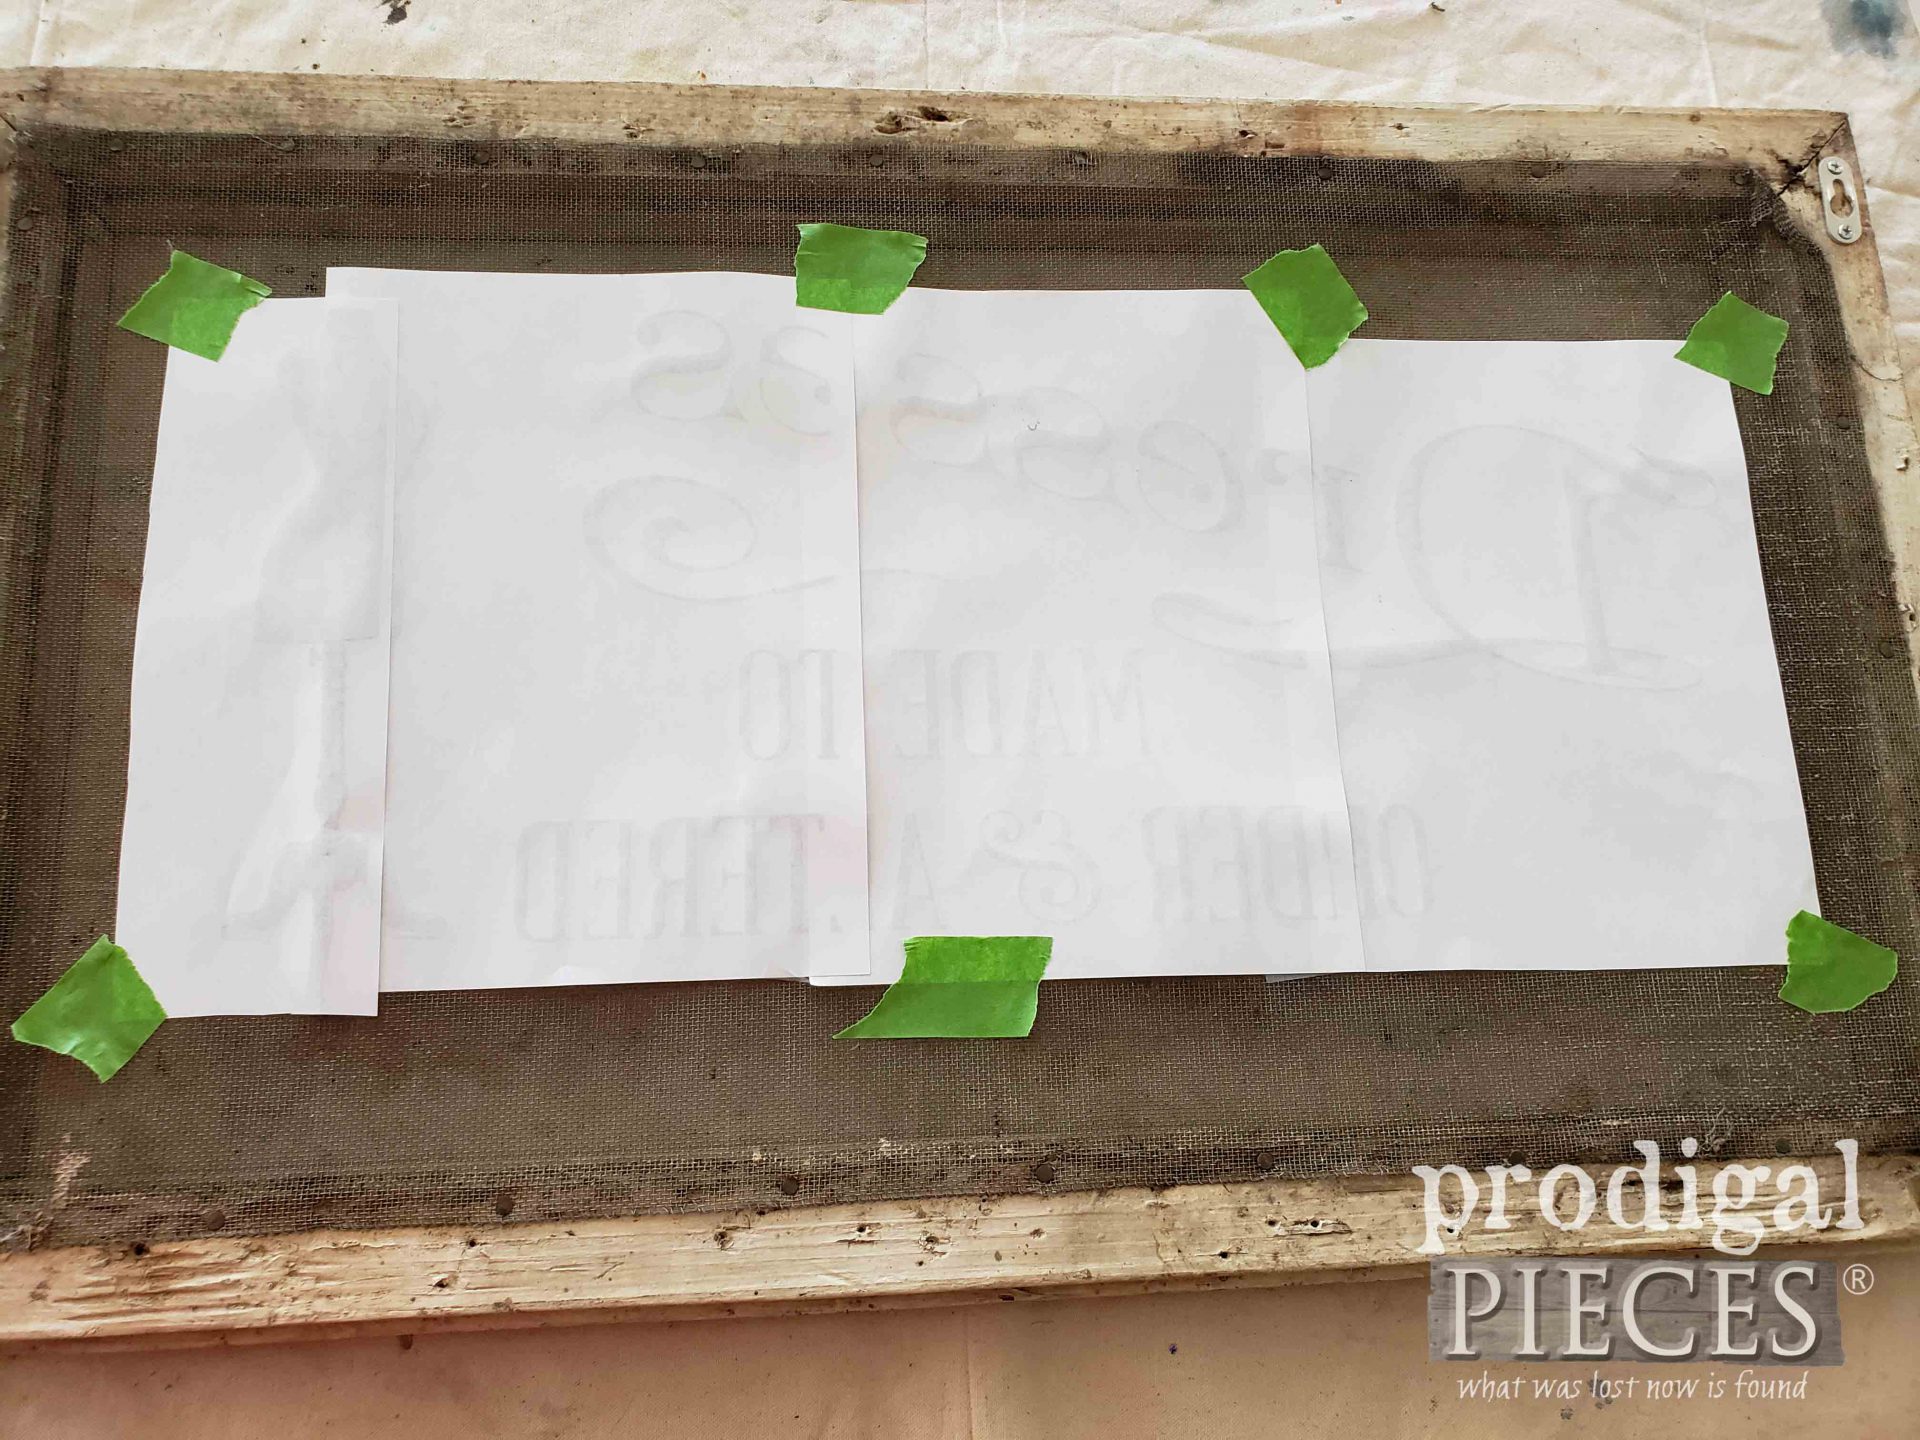
Next, it’s time to tape on our design to the back. This is the part where you can use something you found, you designed, or purchased. The sky’s the limit with this step. Have fun with it! After that, tape the design to the back and flip it over.
STEP 3
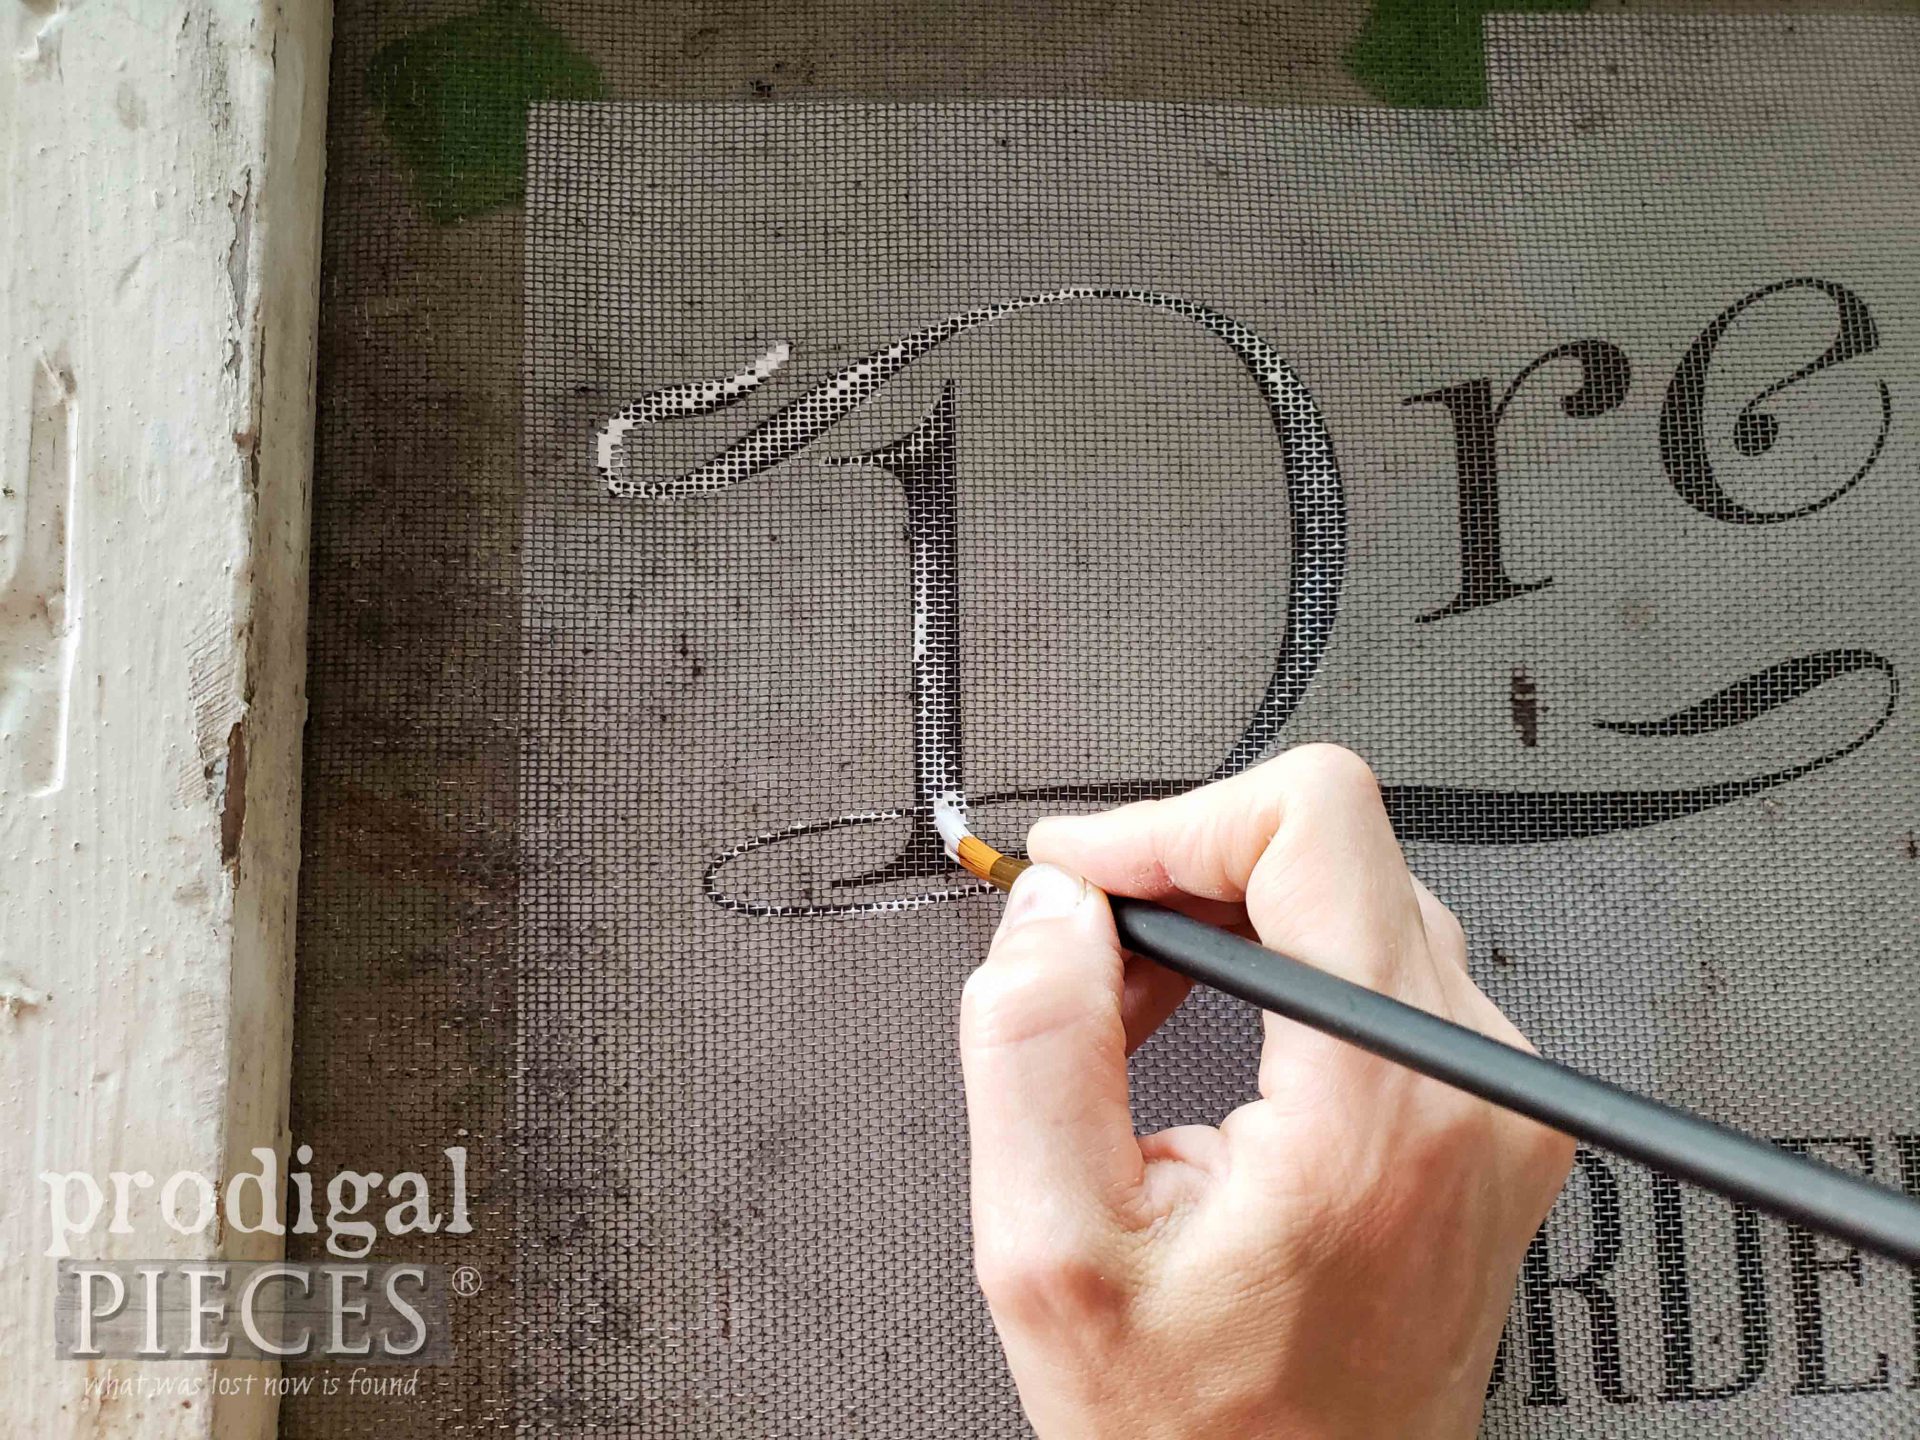
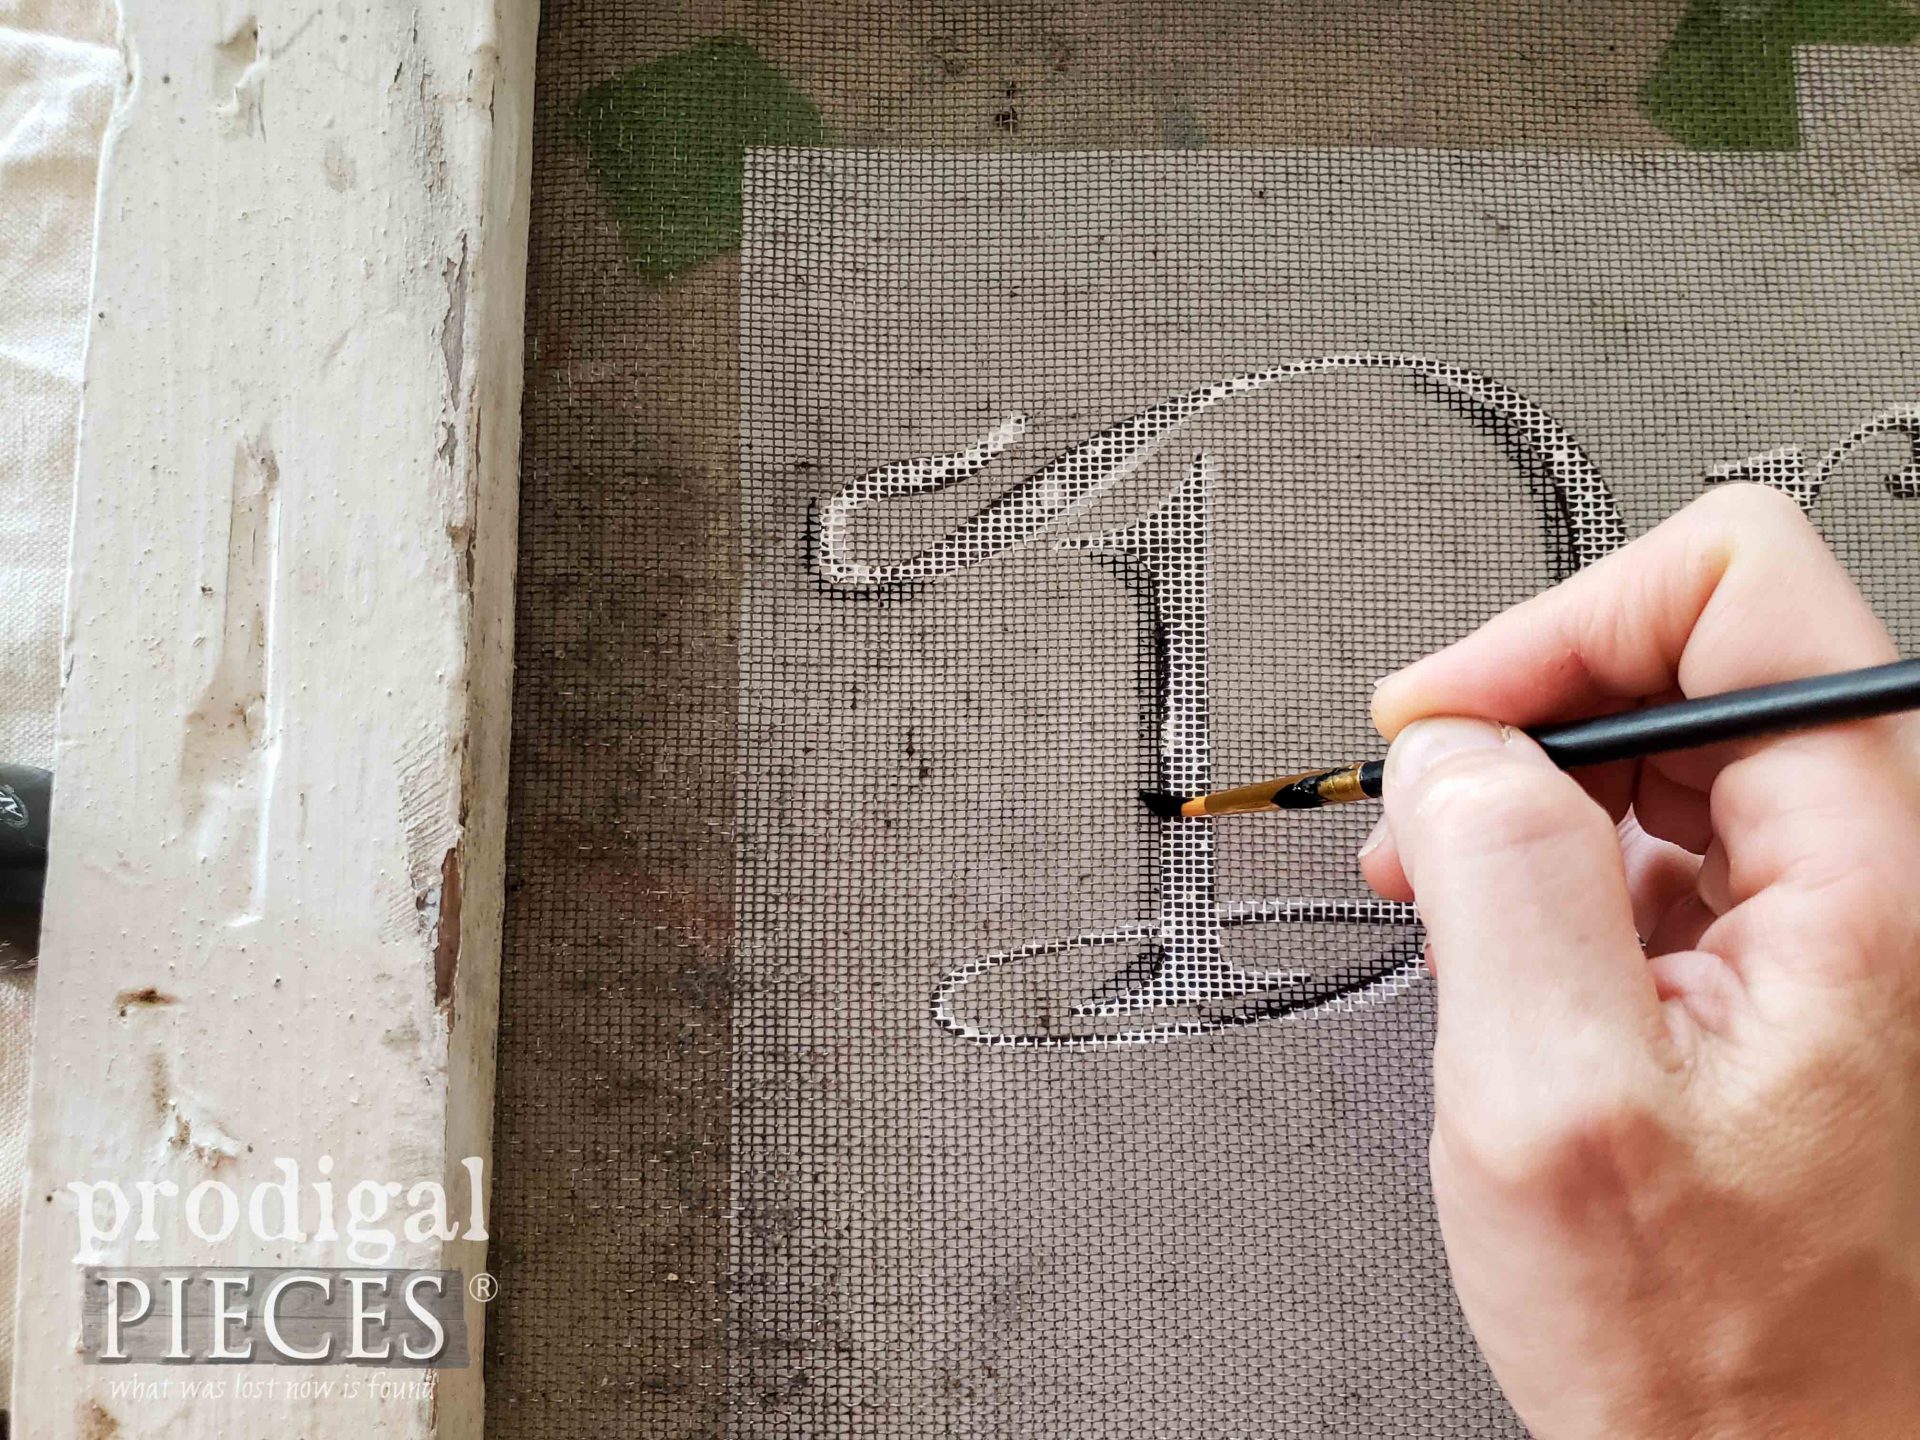
Finally, it’s time for paint. I prefer to use round brushes when I’m lettering or adding typography. Also, I use acrylic paint to add the design. While painting, be sure not to fill the screen holes. However, if that is what you prefer for a more solid look. feel free to have at it.
INFO BYTE: Did you know that back in the early 20th century, folks in Baltimore, Maryland would paint their home window screens? They needed ventilation on hot summer days but wanted more privacy. In order to do that, they would paint their screens with landscapes and murals to keep eyeballs out and let the cooling air in. Imagine a street lined with beauty in this fashion. eep!
I prefer to start with my lighter color, white in this case. As a matter of fact, two coats make a definitive enough contrast, so take your time and do two coats.
Then, once the white cures, I use a black to add shadows, accents, and depth.
THE REVEAL
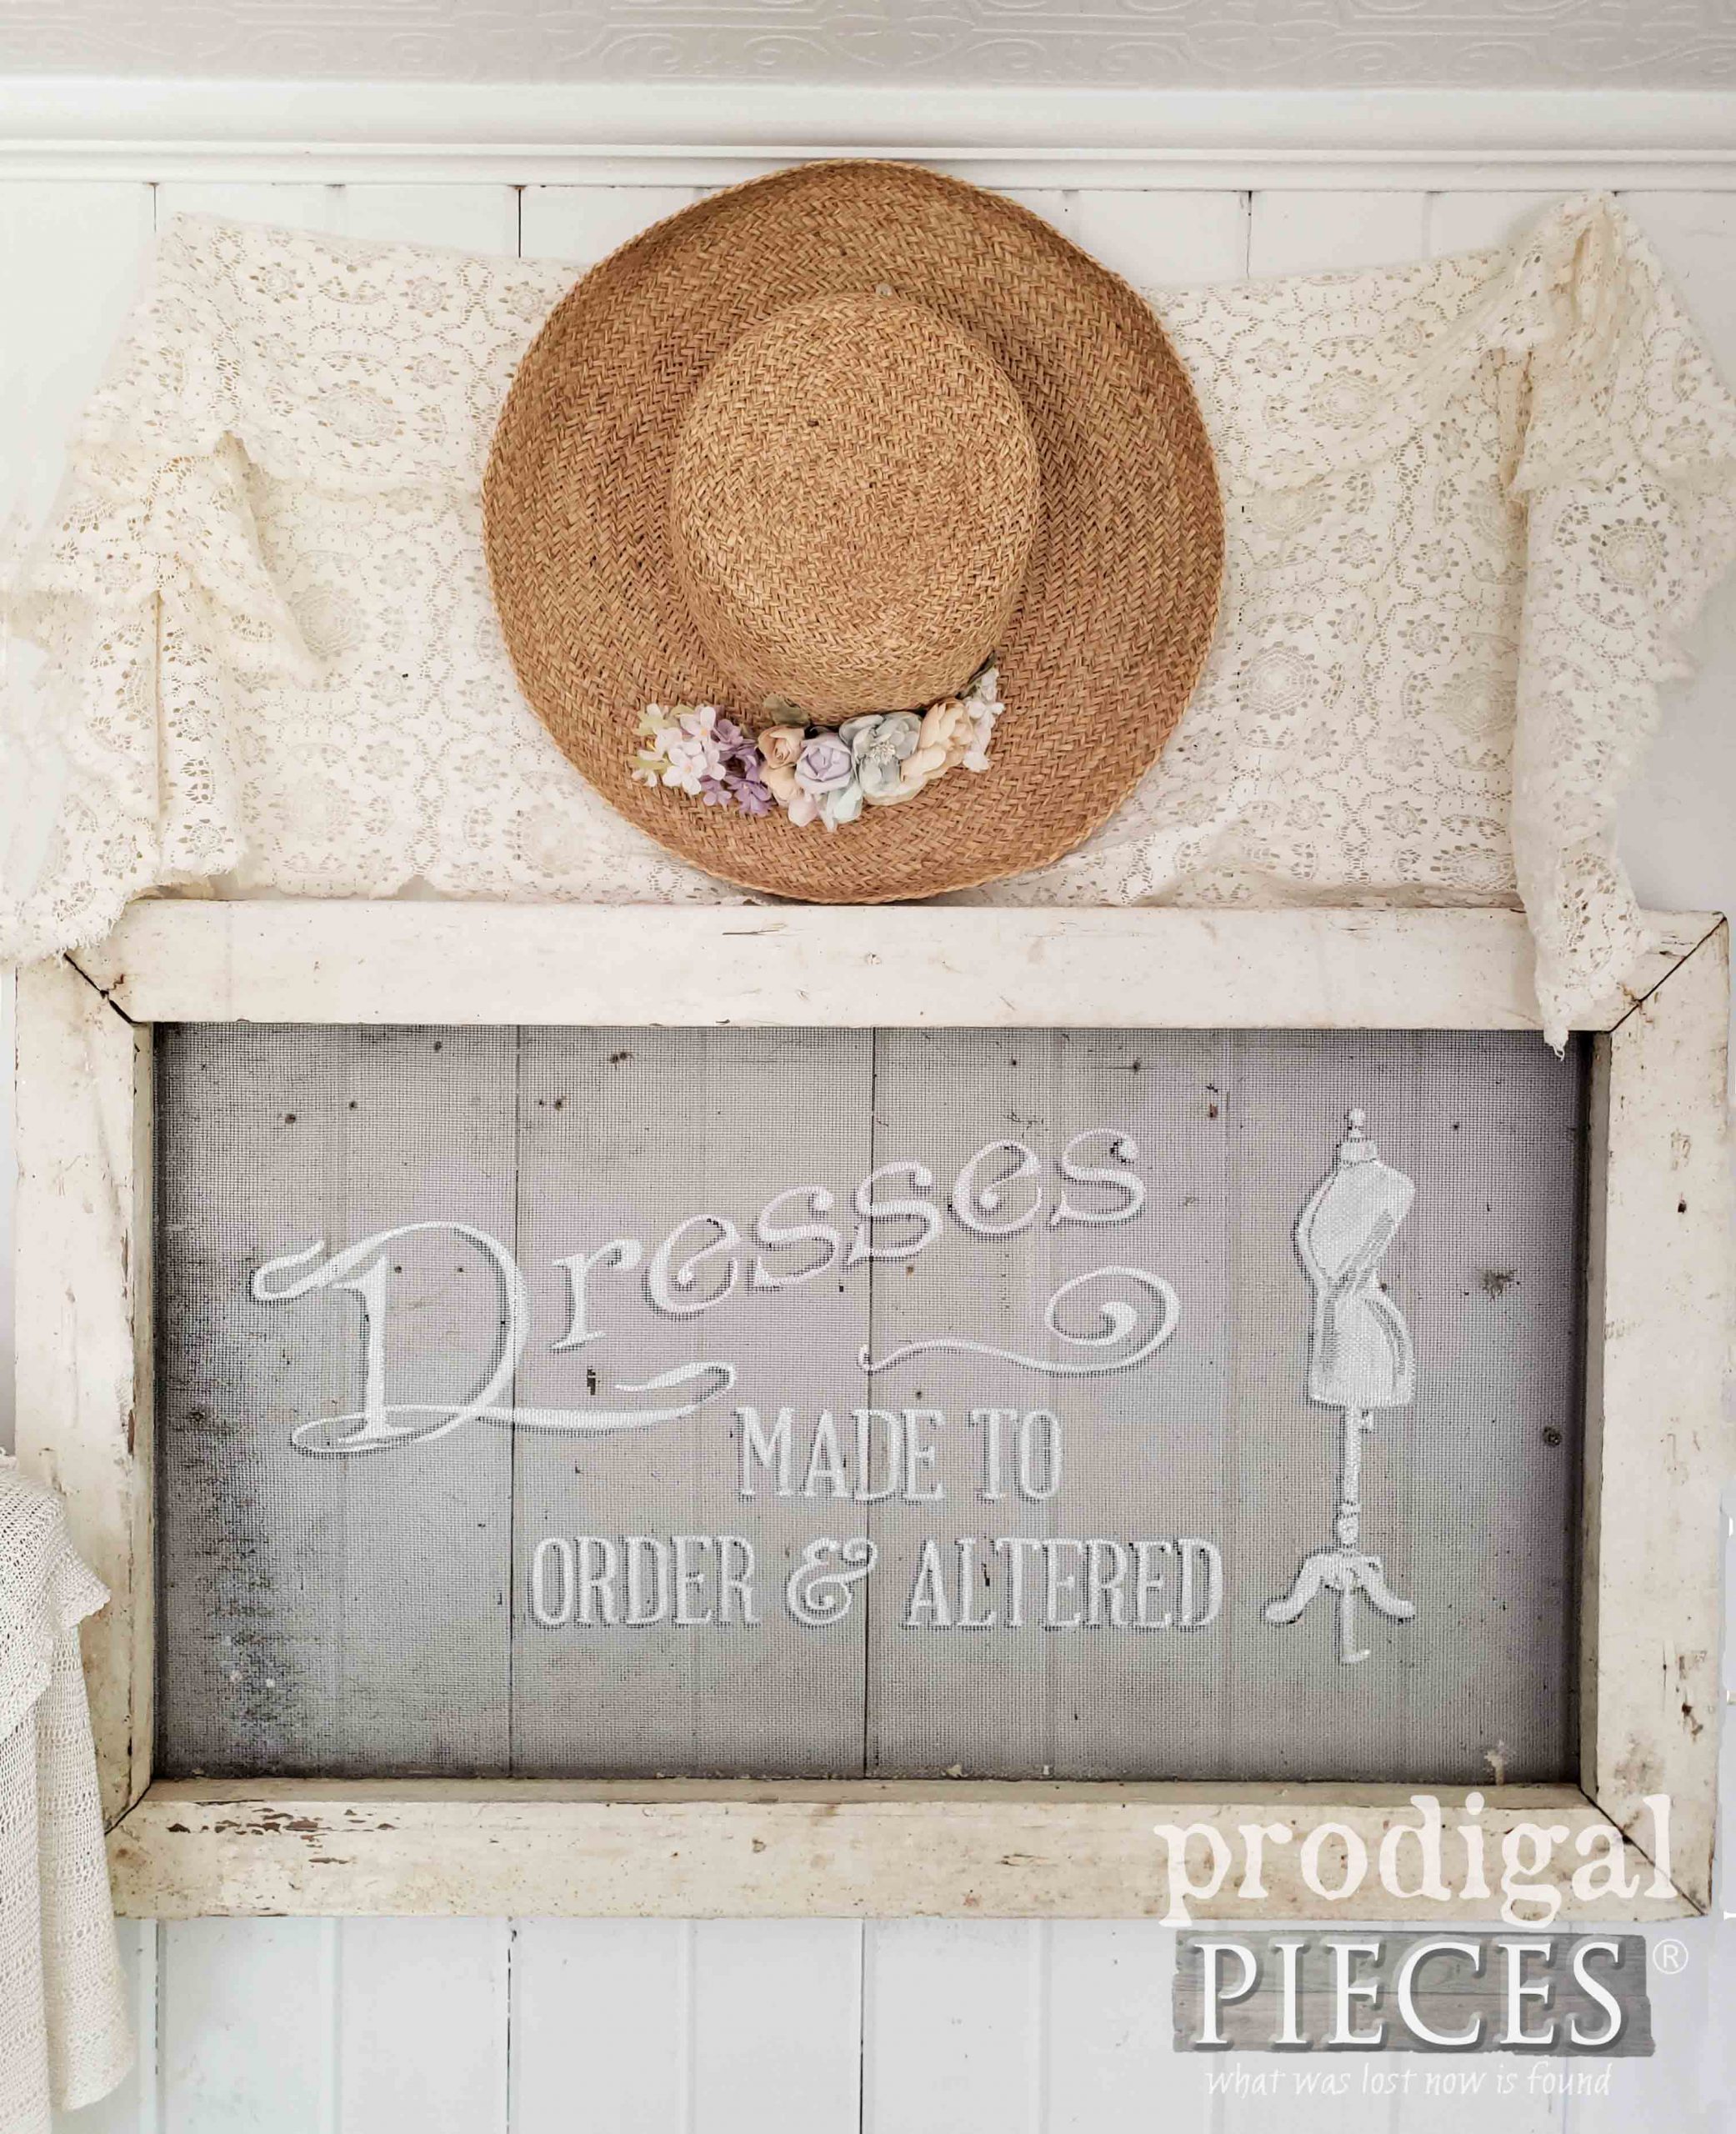
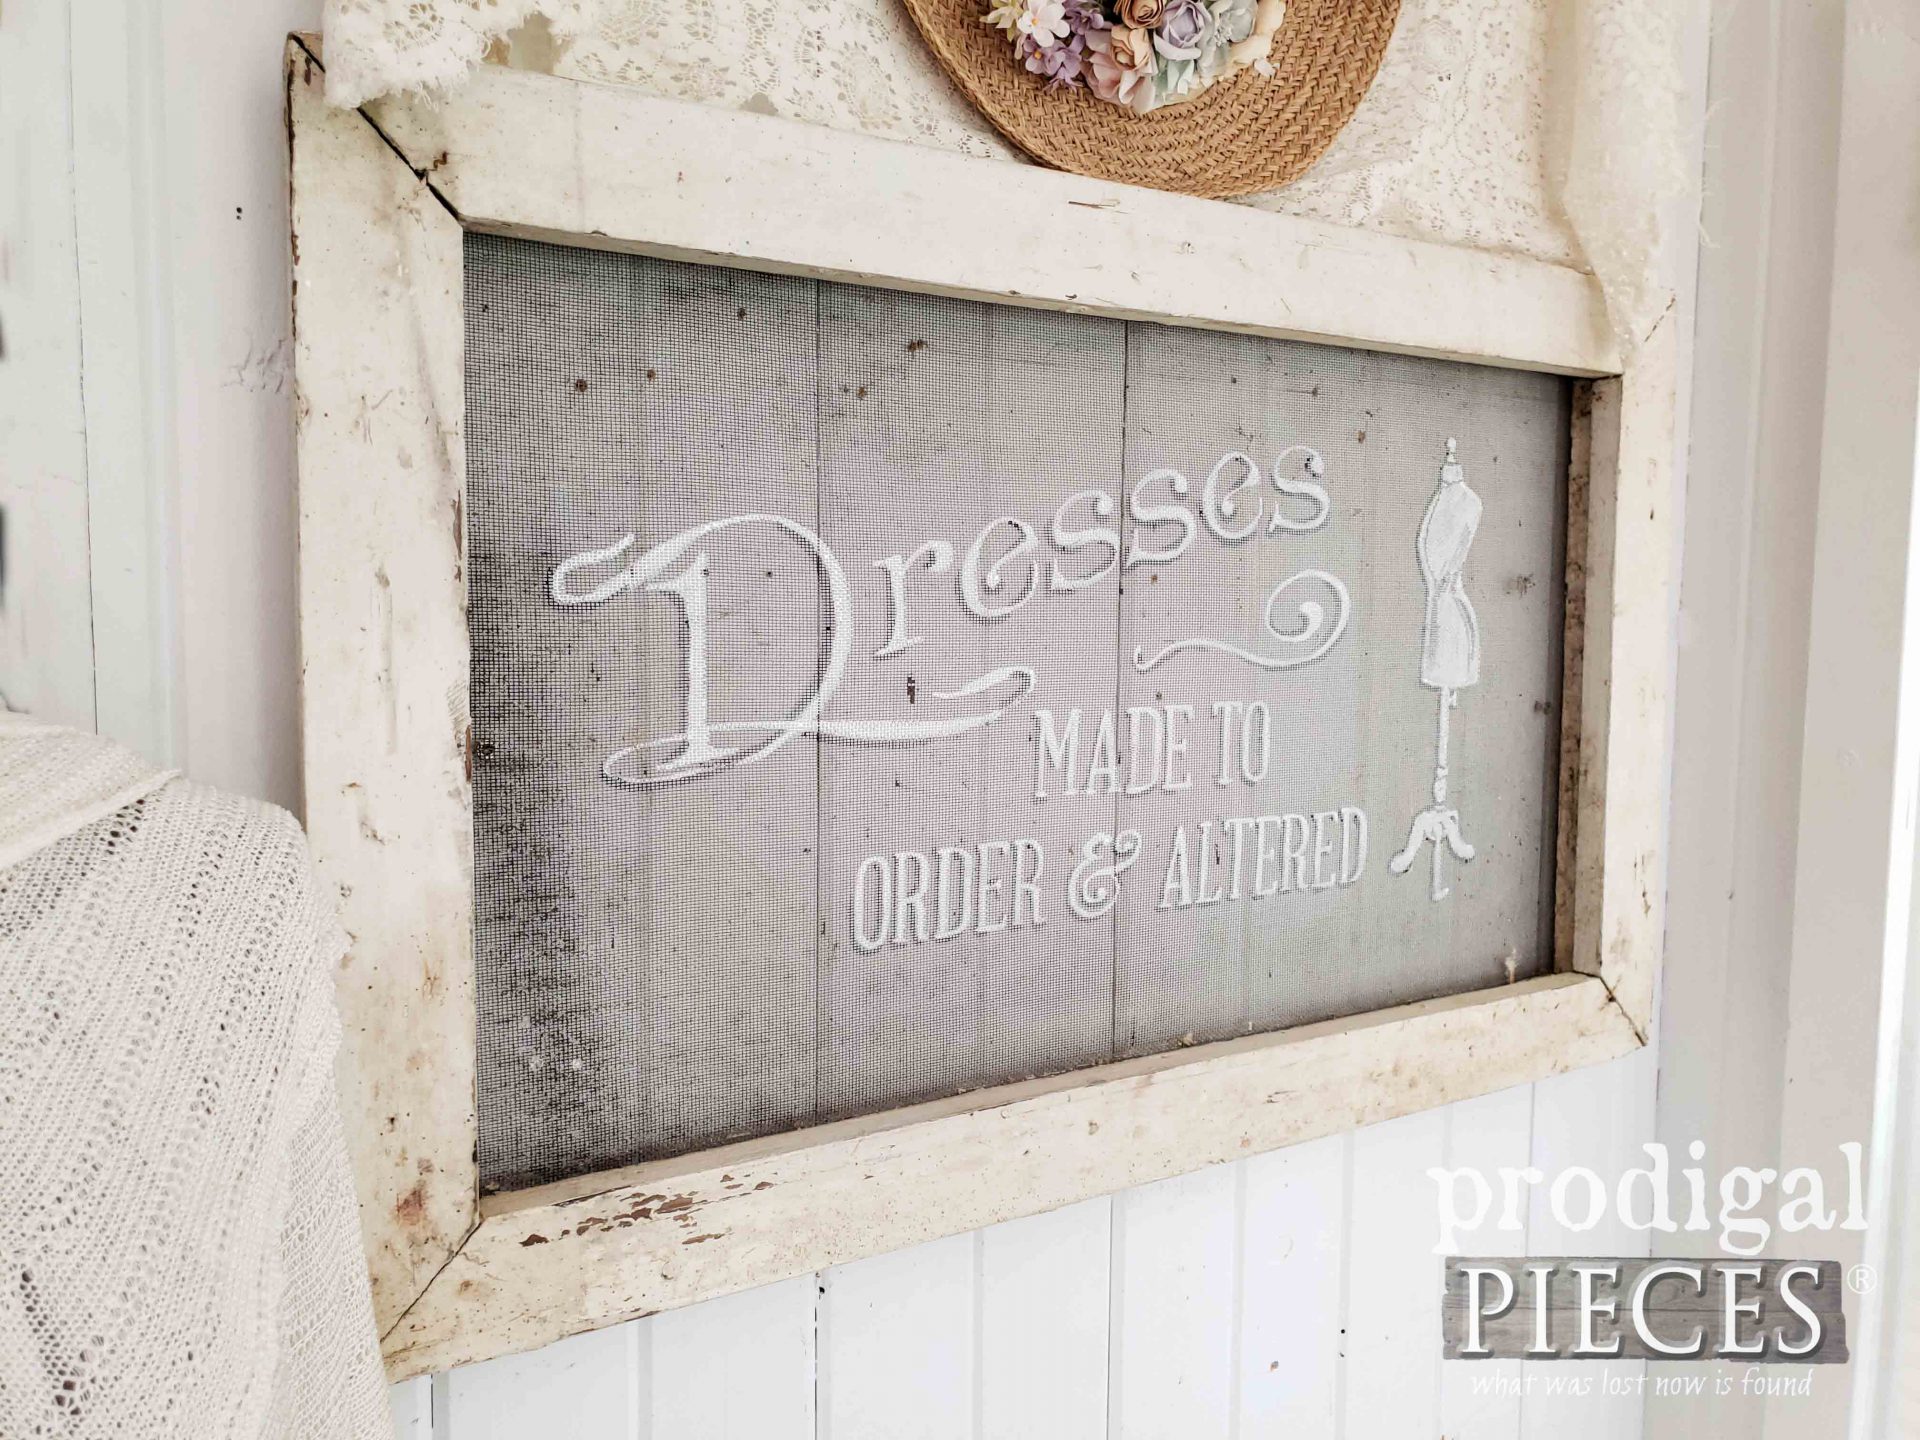
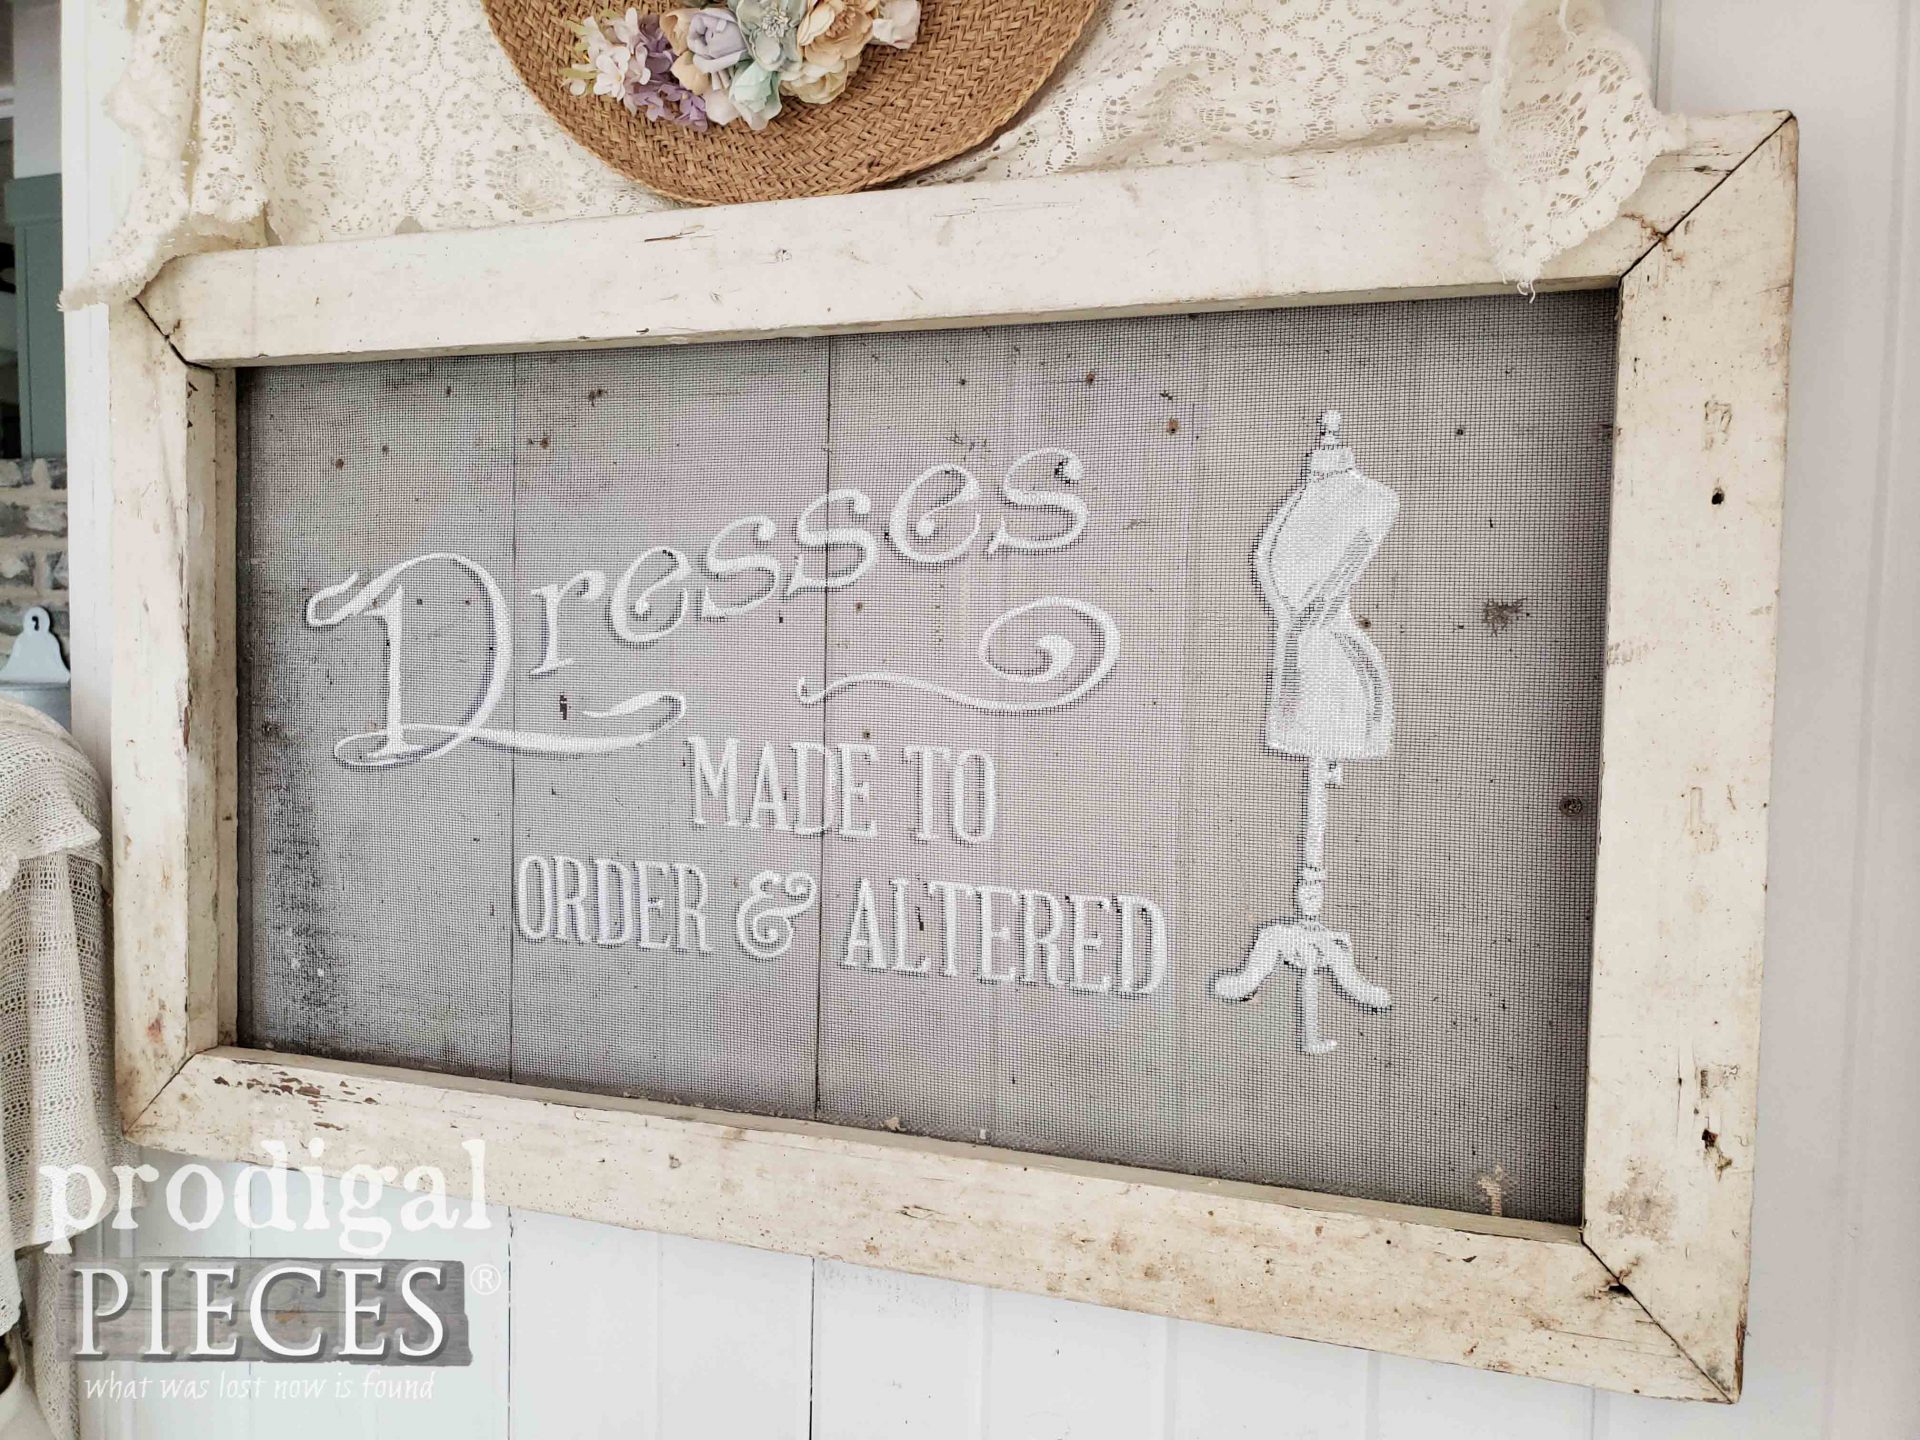
Finally, the painting a window screen project is complete. Wasn’t that easy? I know you can do it too!
Additionally, I kept my design simple, but you could always fill up the entire screen with art. Now, I’m curious…what would you paint on your window screen?
If you’d like to make this painted screen your own, you can find it available in my online shop.
Also, pin and share my painting a window screen tutorial to inspire others to give DIY a try. Likewise, don’t forget to check out my Trash to Treasure friends’ projects below.
With that in mind, get these DIY tips & tricks in your inbox and be sure to sign up for my newsletter. PLUS, you will get your FREE Furniture Buying Checklist and special discount to my shop. What is more, it’s time to see what my Trash to Treasure gals have for you below!
While you’re at it, check out these fun makeovers:





How incredibly clever!! You are sooo talented!!! It never ceases to amaze me at the variety of things you are good at! You’ve been blessed with real gift!!!!!
Girl, you sure know how to make a gal blush. Thank you so much! 😀
I love this project. Very inventive. My sister Denise directed me to your blog because she knew I would LOVE your style of makeovers. I’ve been following you for quite a while now. Everything you do is beautiful.
Well, I could hug your sister, Andrea. tee hee! Thank you!!
Juse gorgeous thanku…I’ve wanted to do this for ages and now I’m going to. Easy tutorial so thanks again. Love seeing what your up to and thoroughly enjoy my emails ?
How wonderful to hear, Kaz. Thank you!
I need a new name plaque for my new house and this will fit the bill. Outside friendly and cute! Thanks for the idea, Larissa!
Ooh…that sounds just perfect Gail. I’d love to see it when you’re done. 😀
Hi Larissa! I would have never thought of this. What a great idea!
You’ve gotta try it, Cheryl. So therapeutic to do.
Totally Awesome. You really do amaze me with all your clever ides along with you great inspiration.
You truly have been gifted with a great talent when it comes to very unique & easy projects.
To You, I say Thank You.
Have a great day and enjoy the remainder of the week and keep up the good work no matter what the projects may be.
What an amazing idea and so “out of the box”! And so clever to put the print behind so it can be traced. I’m in love!!
So cute ! The possibilities are endless.
Thanksfor sharing your creativity – and talent. 😉
p
Thanks! Totally a fun project to create. 😀
Hello Larissa,
What a beautiful screen project! I love the design you came up with, it is just so pretty.
Thank ya, Kaycee. My dressform, Vivian, told me to do it. haha.
I love this Larissa… and your video! I appreciate the history behind it too.! ??
Thank you, Denise. Totally fun to think of seeing these walking down the street.
Very cool! So… if I try this on the living room sliders, will my husband have me committed? ?
Only one way to find out! hahahaha!!
This is so pretty and your method is genius!! Love it! XOXO
Woot! Thanks, girl! 😀
Thank you for sharing this. Yesterday I was looking at an old screen in my garage and thinking about stenciling A fall design on it. Now I know it’s possible!
That’s so awesome! Have fun with it, Jerri. 😉
That is super cute!
I couldn’t wait to make it fun. Thanks, Abby!
Super cute project, Larissa!
Thanks, Jen. This is symbolic to me getting our shed done…finally. Yay!
Brilliant!! I love how you did this. xo
Thank you for the kinds words, Nancy. 😀
Ceaseless talent! Such a cute idea. I’m going to have to try this. Be blessed!
I hope you do, Kim. It’s fun and therapeutic. Thanks!