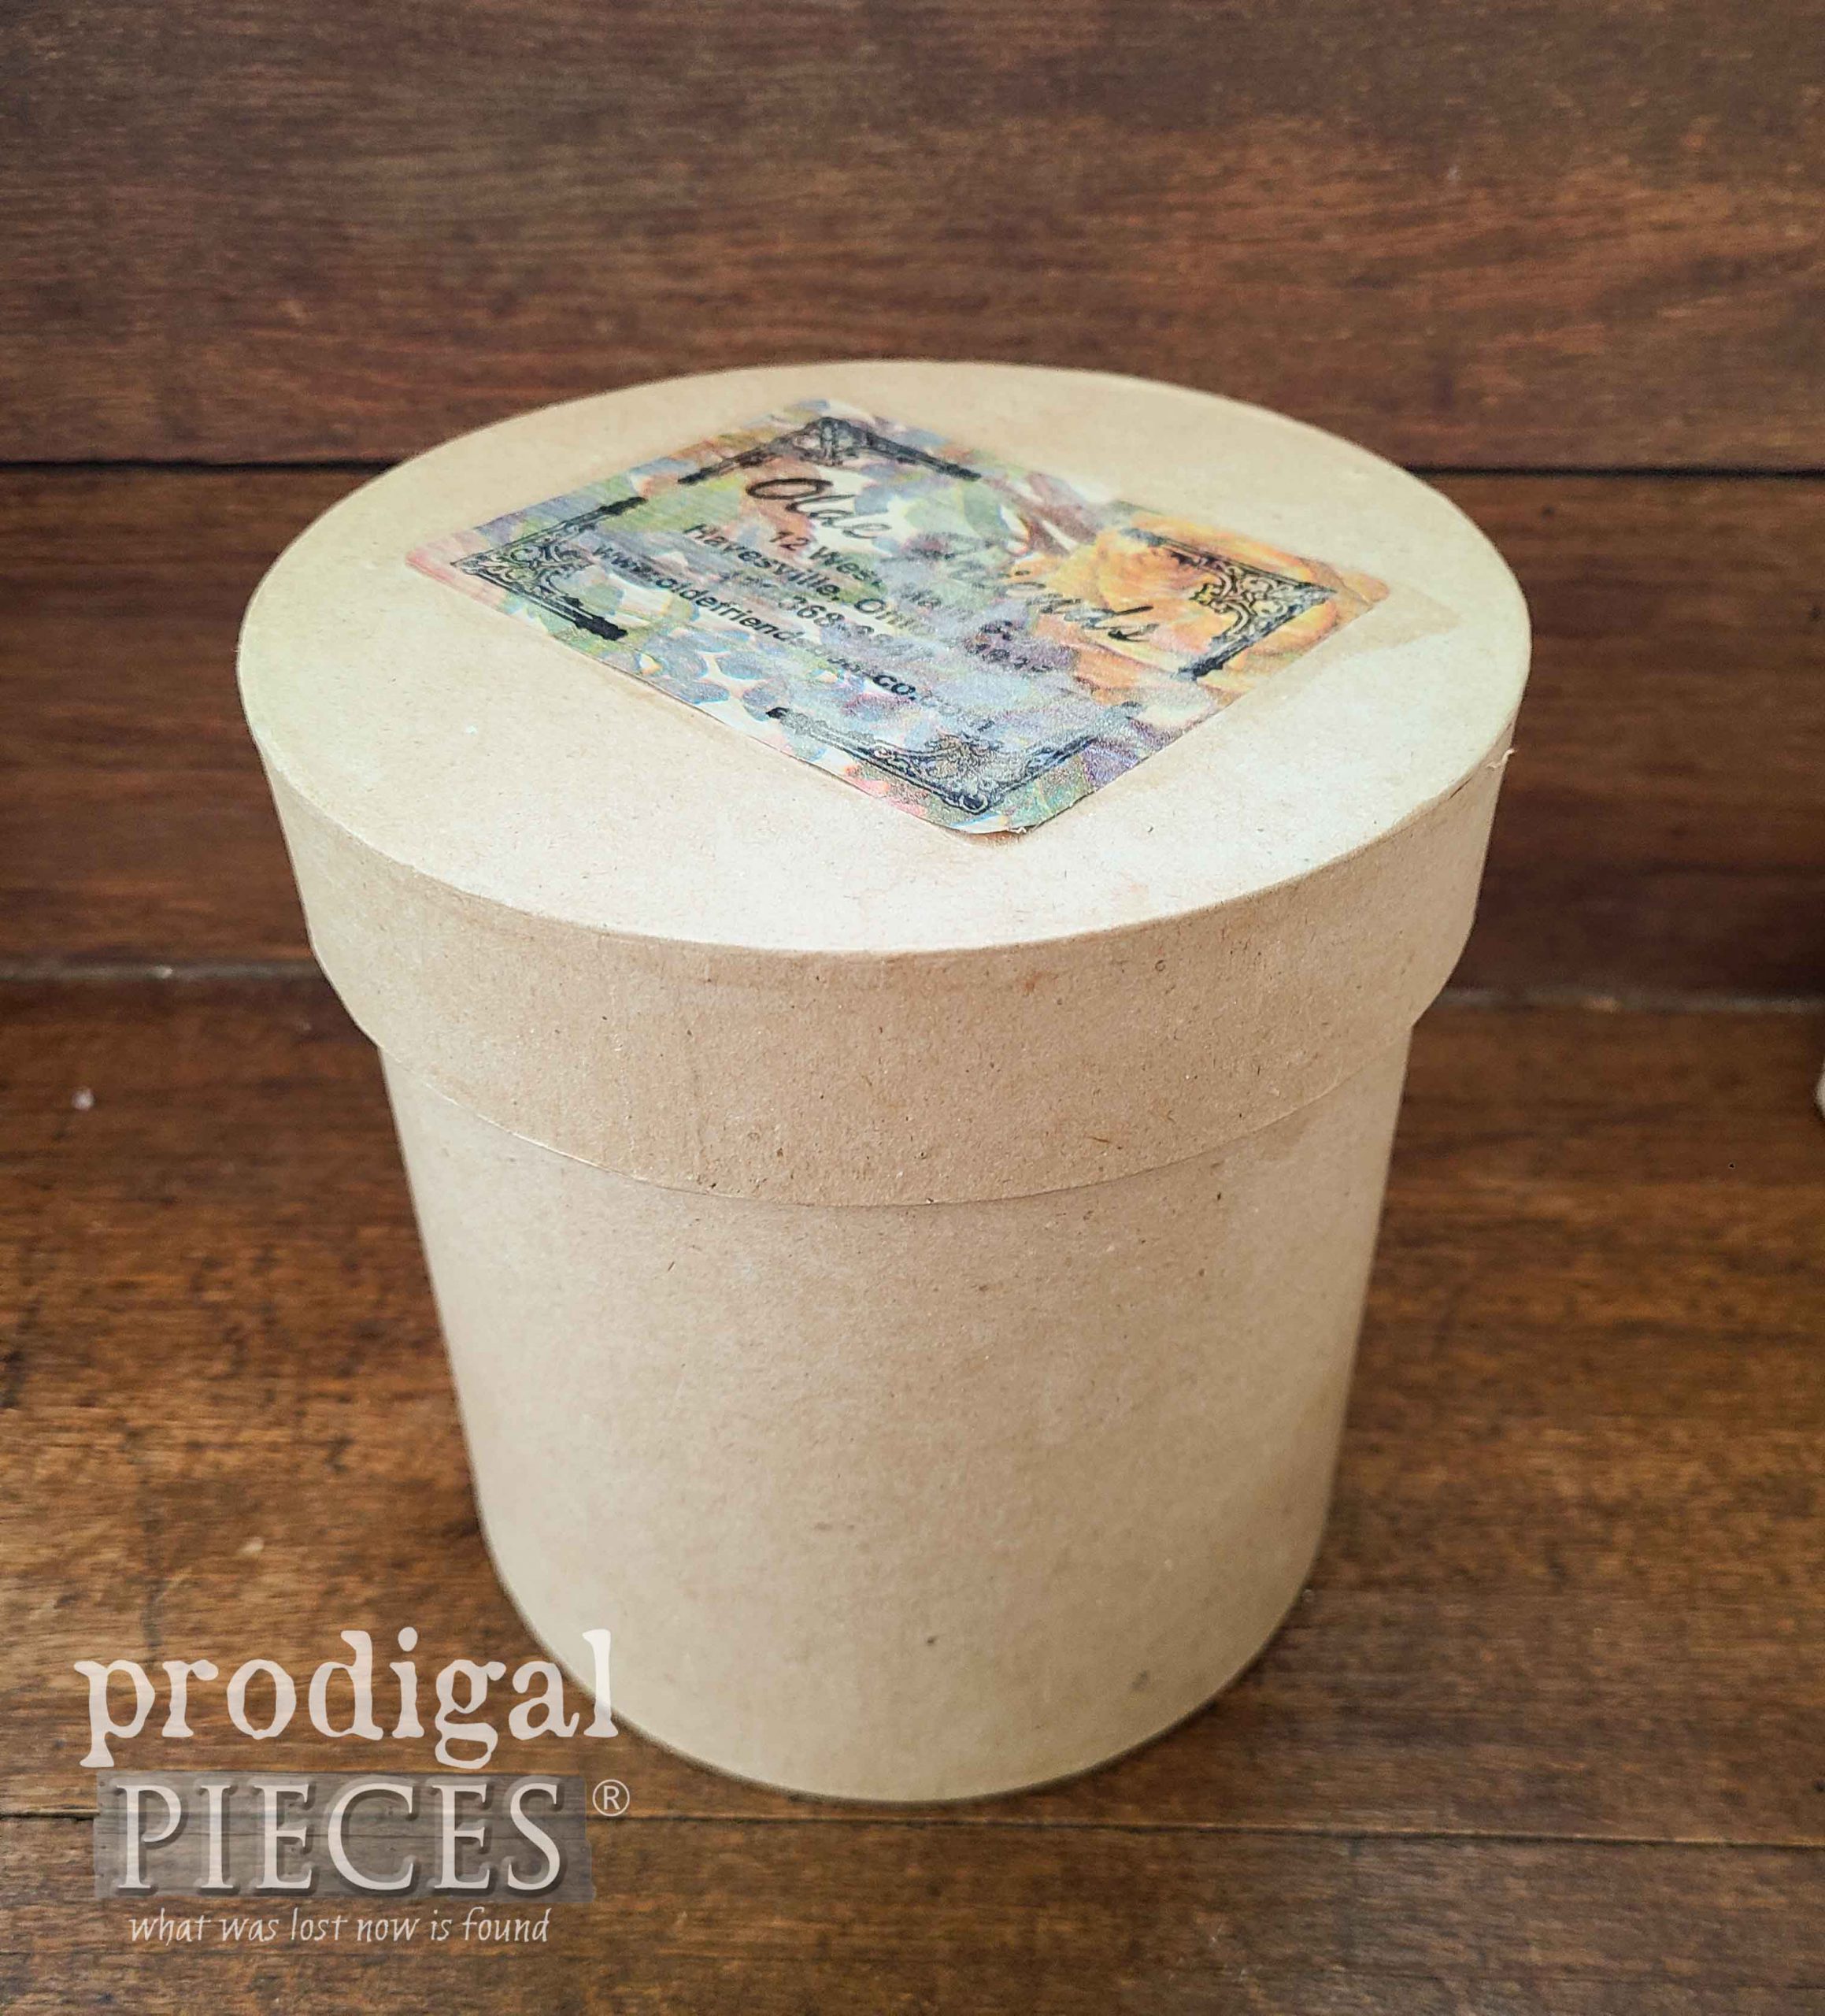
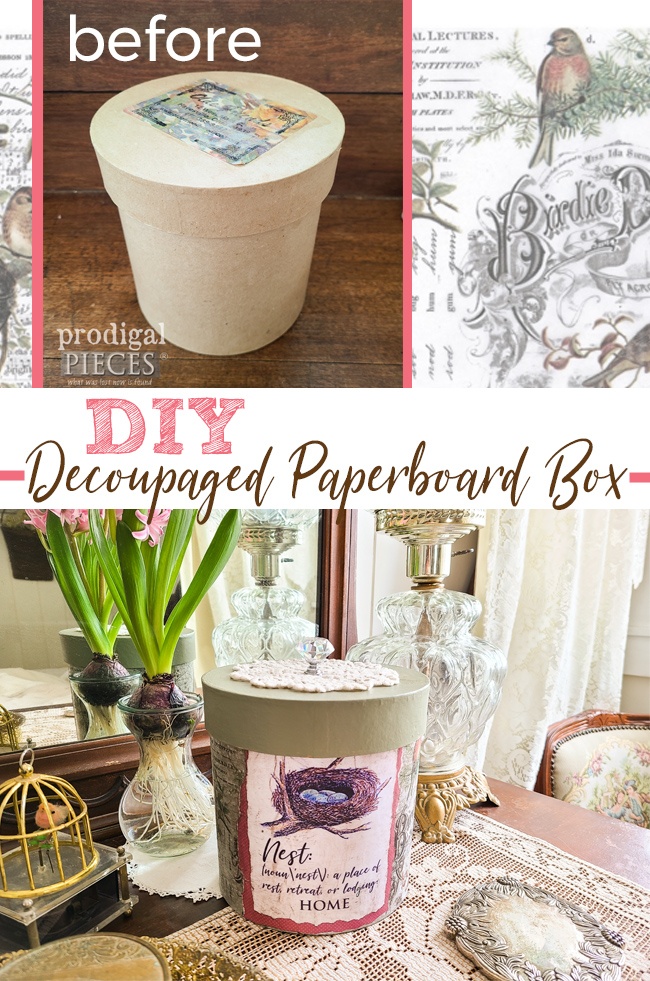
When a body shops second-hand, you start to see trends of what gets donated, what gets bought, and what gets left behind. One of those things I notice that meets all those qualifications are these crafty paperboard boxes. They’re used for many things, and this one’s previous use is as a purchase box. However, today I am going dress this one up. A DIY decoupage adventure is happening now. woot!
Why am I interested in this box? Well, do you see the blank slate it is? Remove the label and we’re ready to go.
DIY TIME
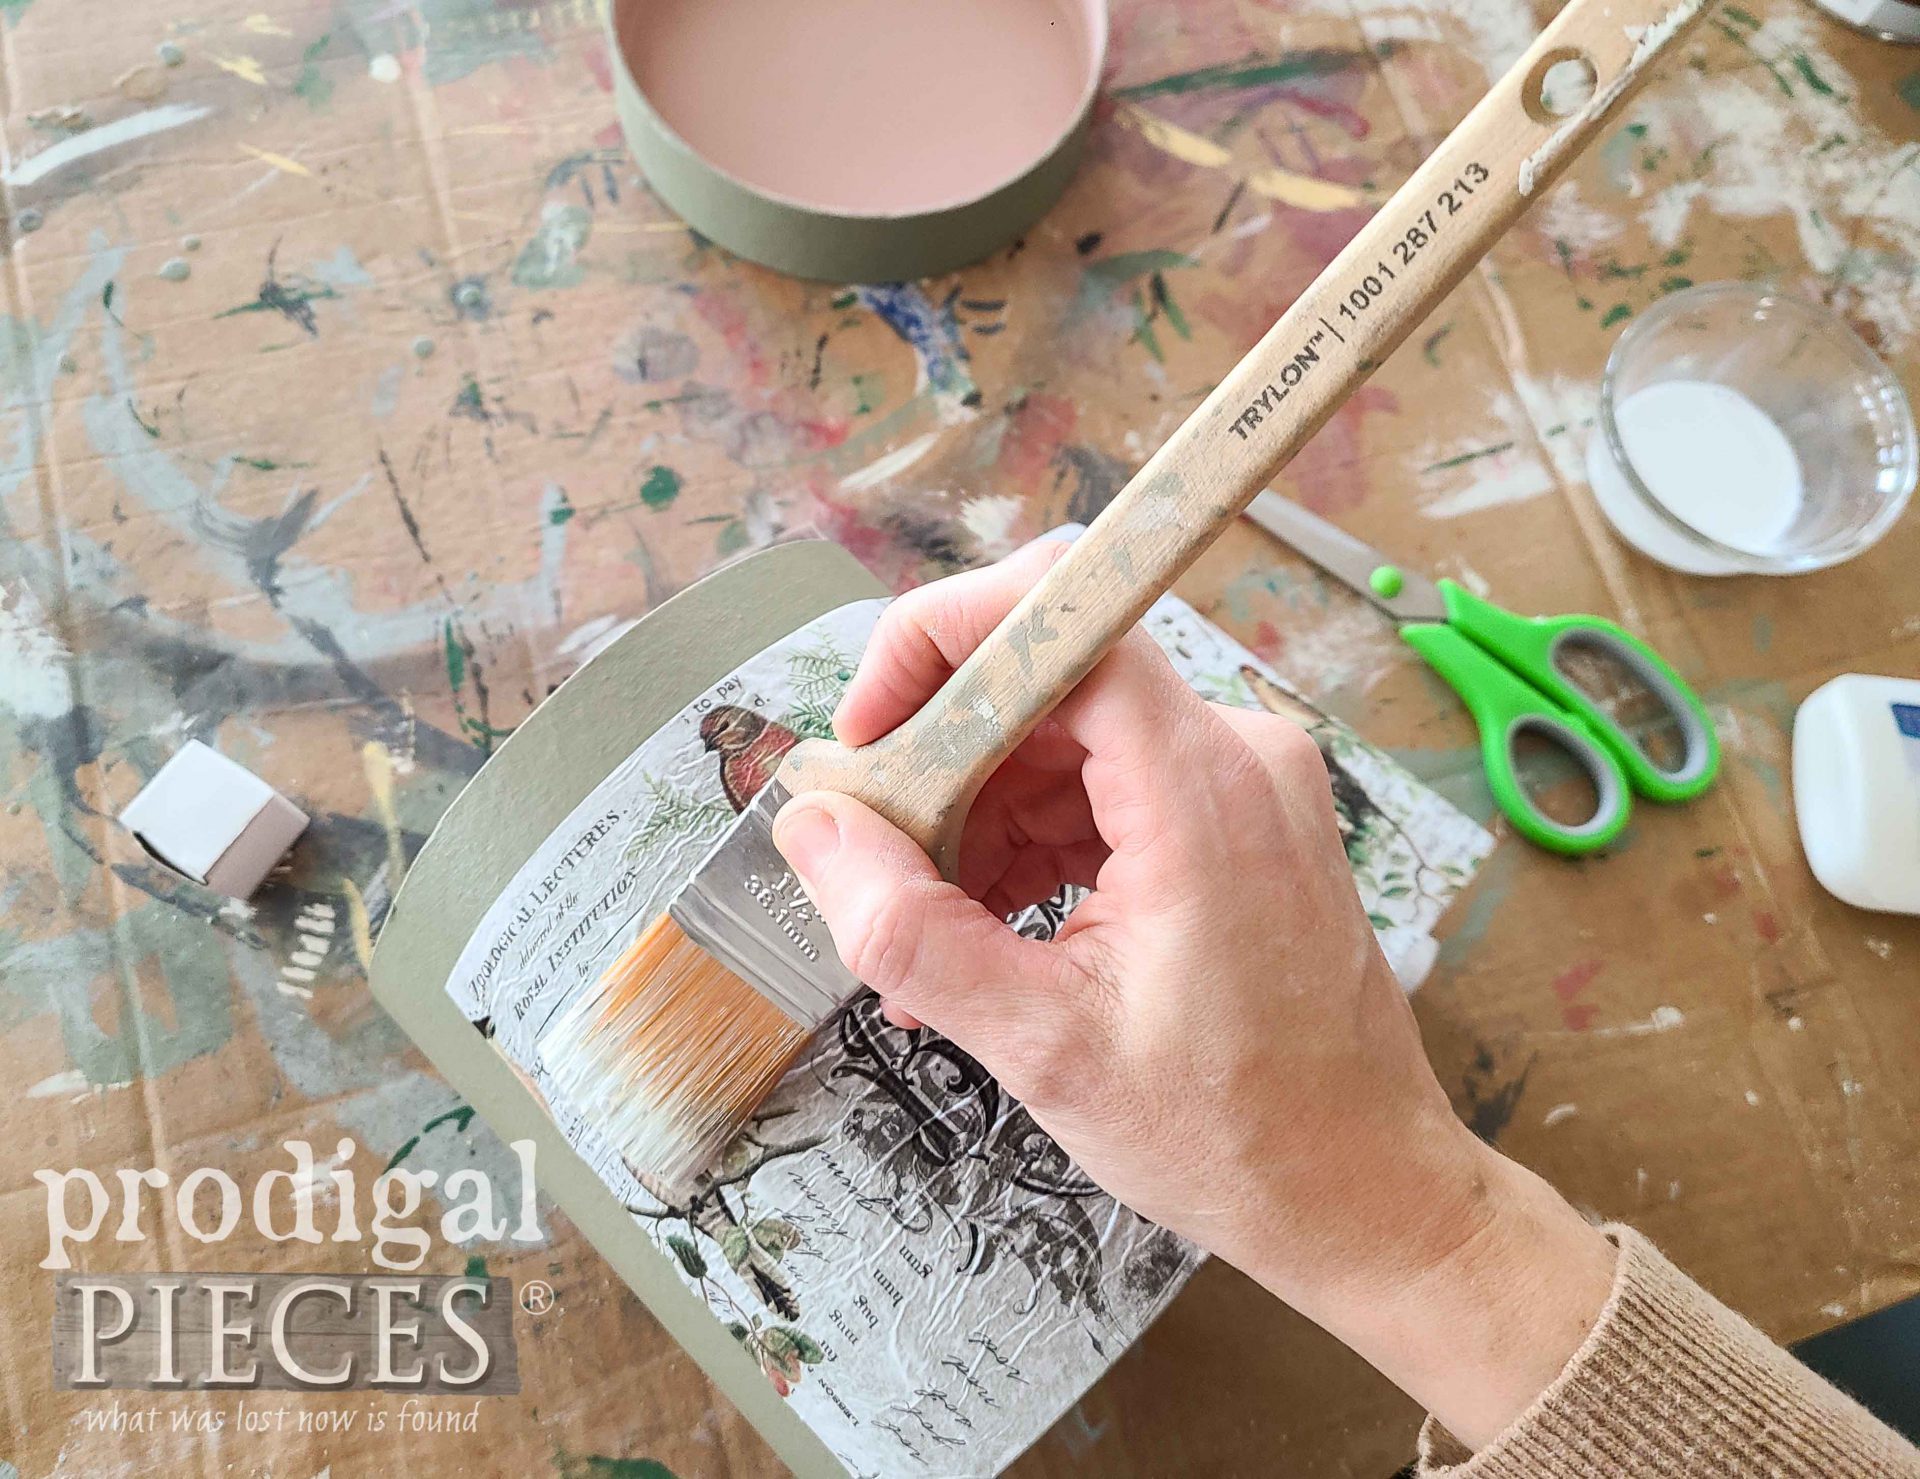
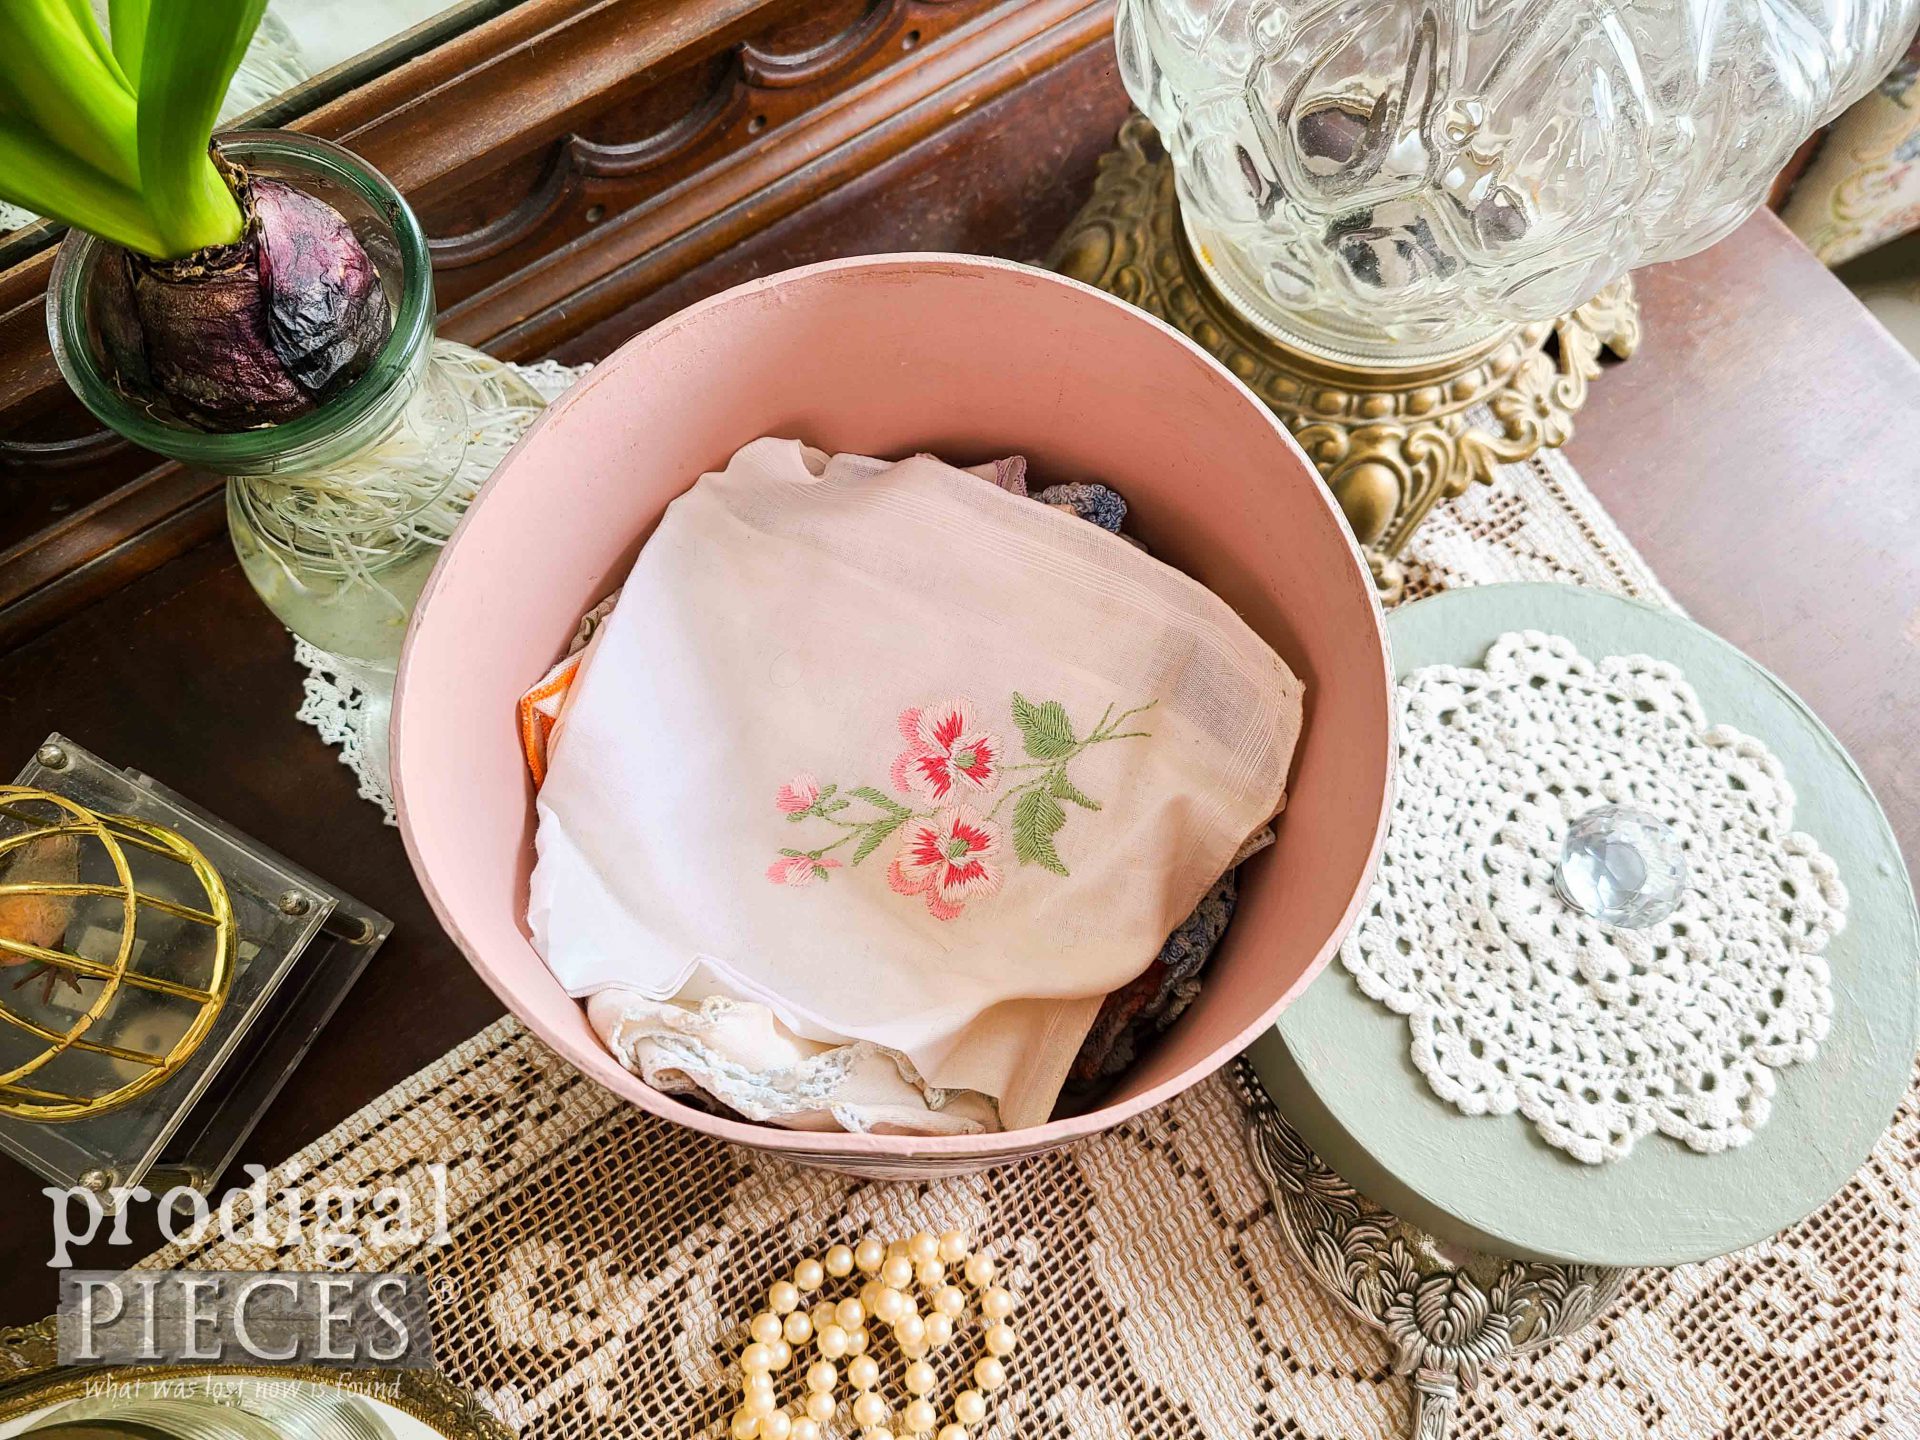
My first order of business is to give it a base coat of paint. I wanted to use a springy color, so this soft green works perfectly. It’s the same color I use on my salvaged chair decor in this recent post. Isn’t it pretty? The inside got a soft pink contrast.
Then, once the paint dries, it’s time to get the decoupage party started. I’ve used these gorgeous decoupage papers in a couple past projects, a goose turned swan, and a scrappy fun coat rack. I simply thin a bit of school glue, brush on a layer, lay the paper, and then brush over the paper.
THE REVEAL
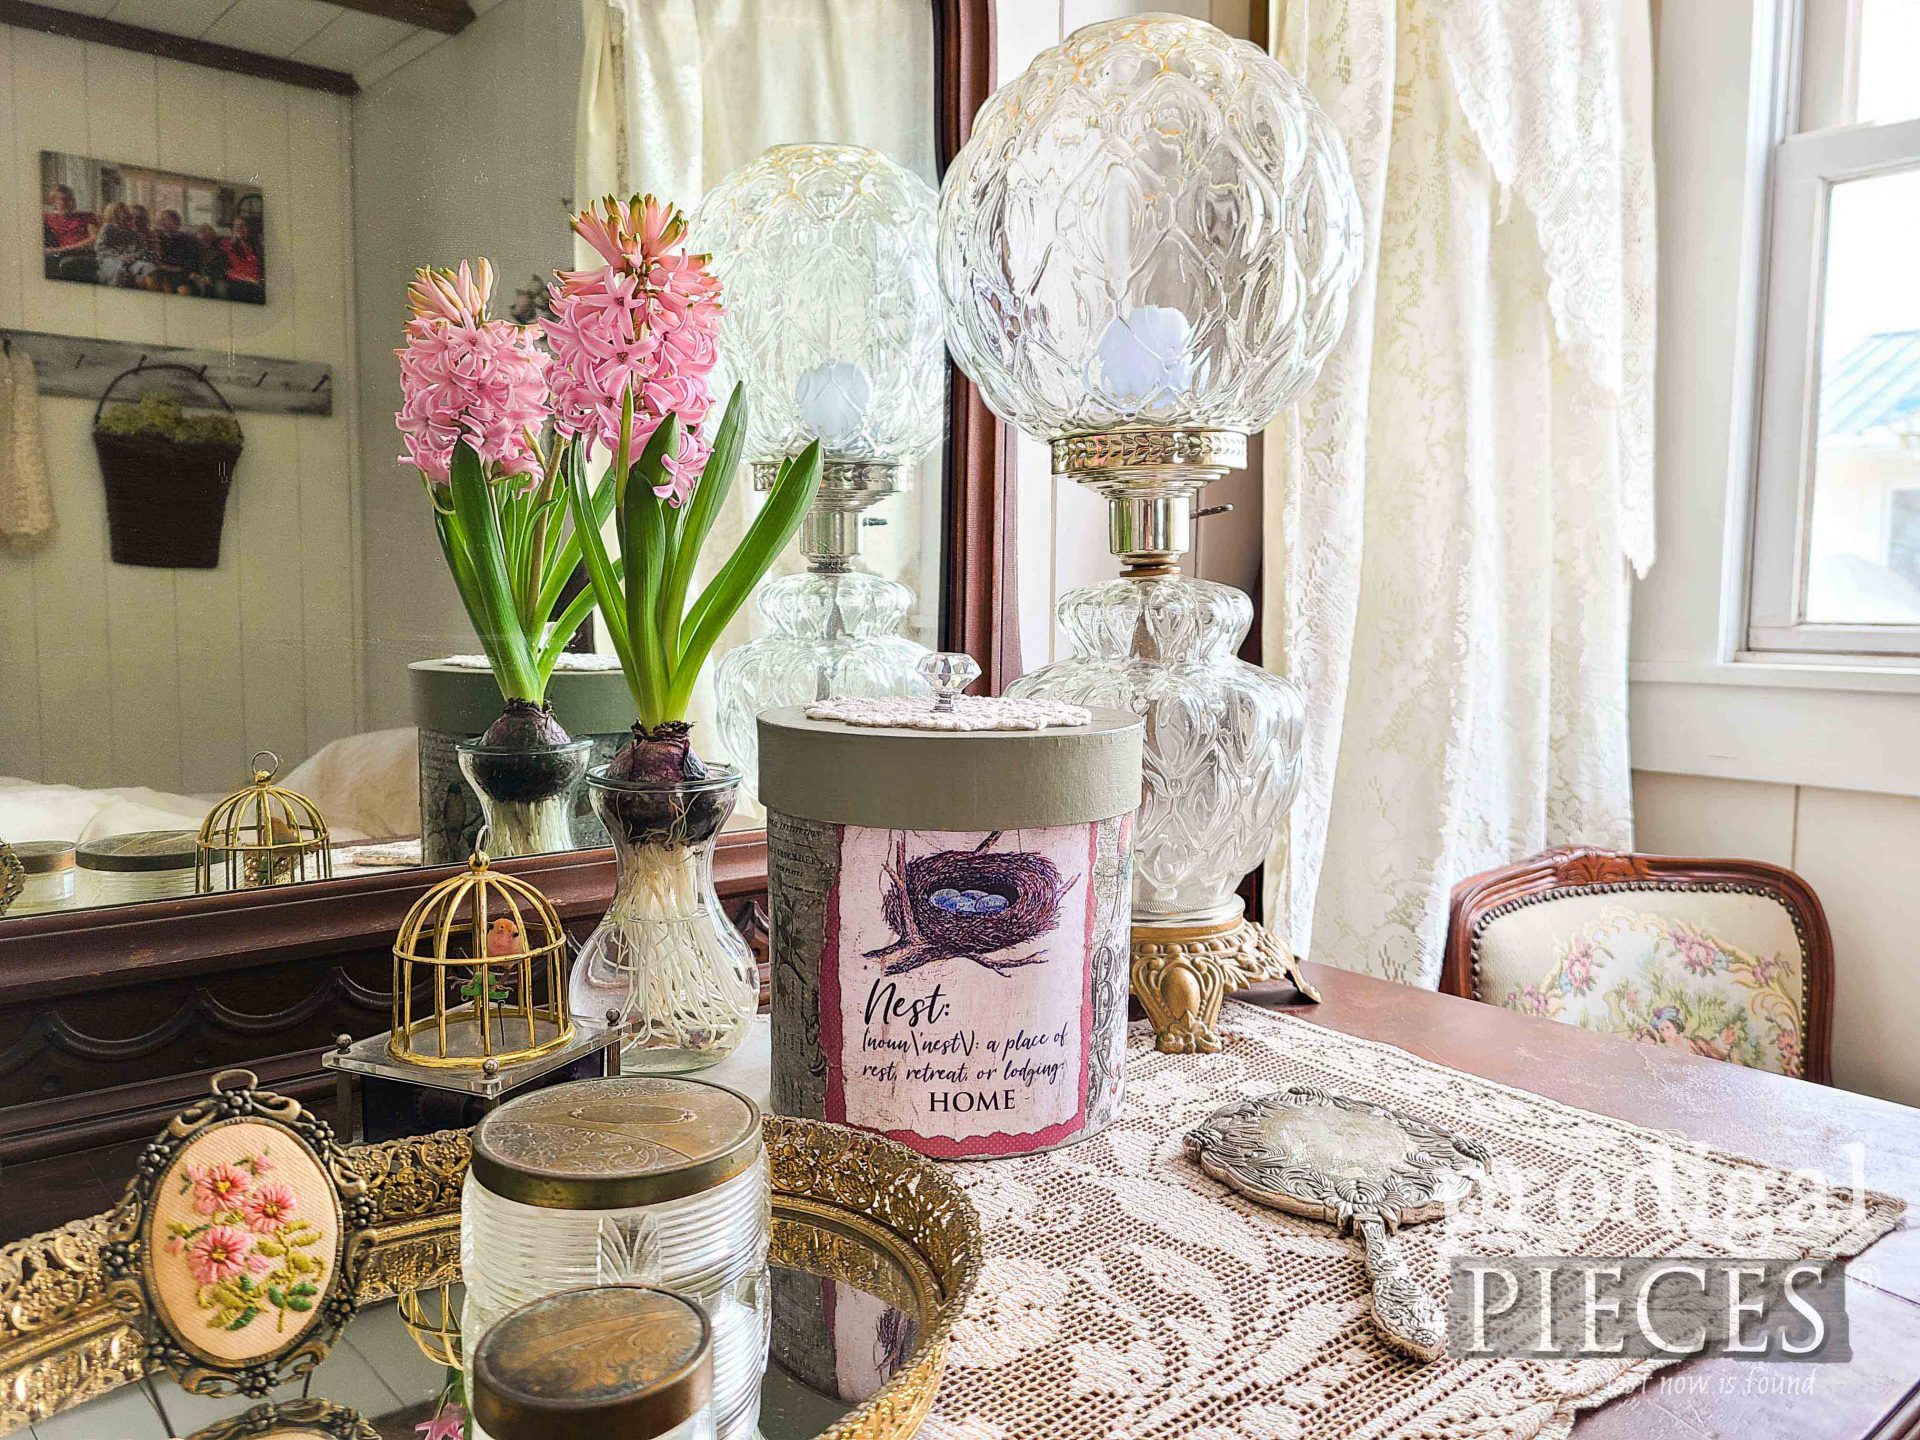
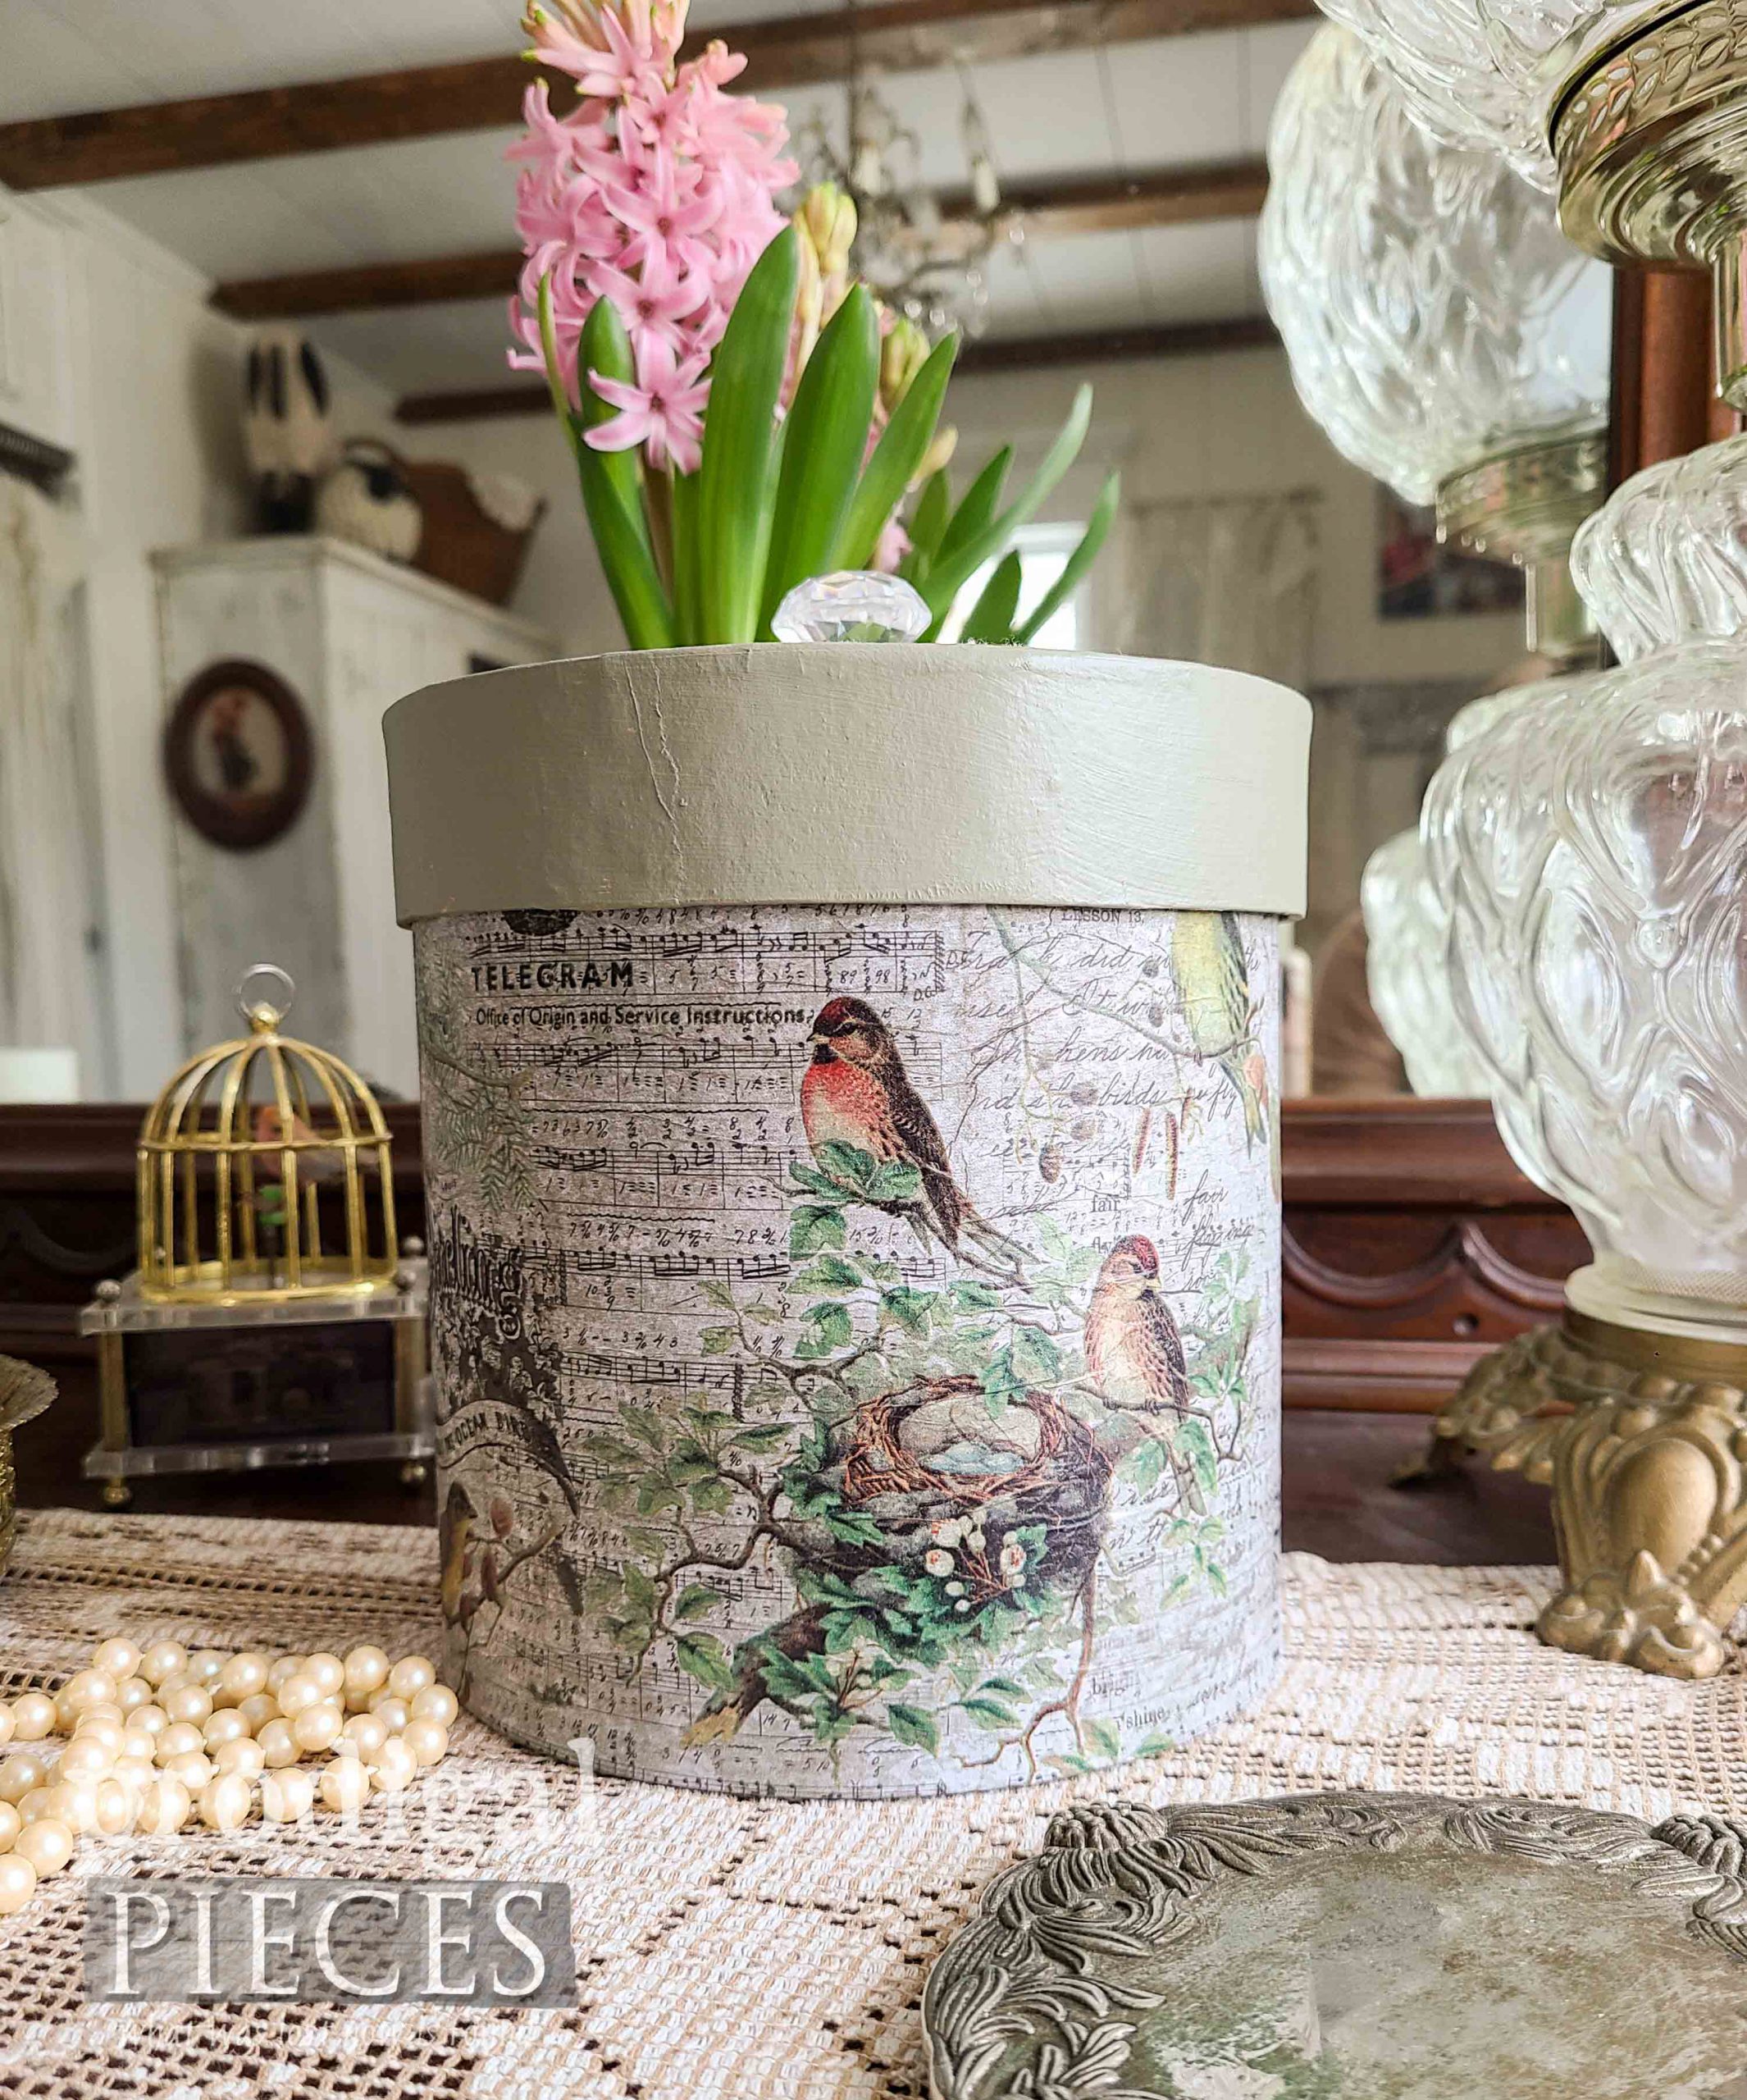
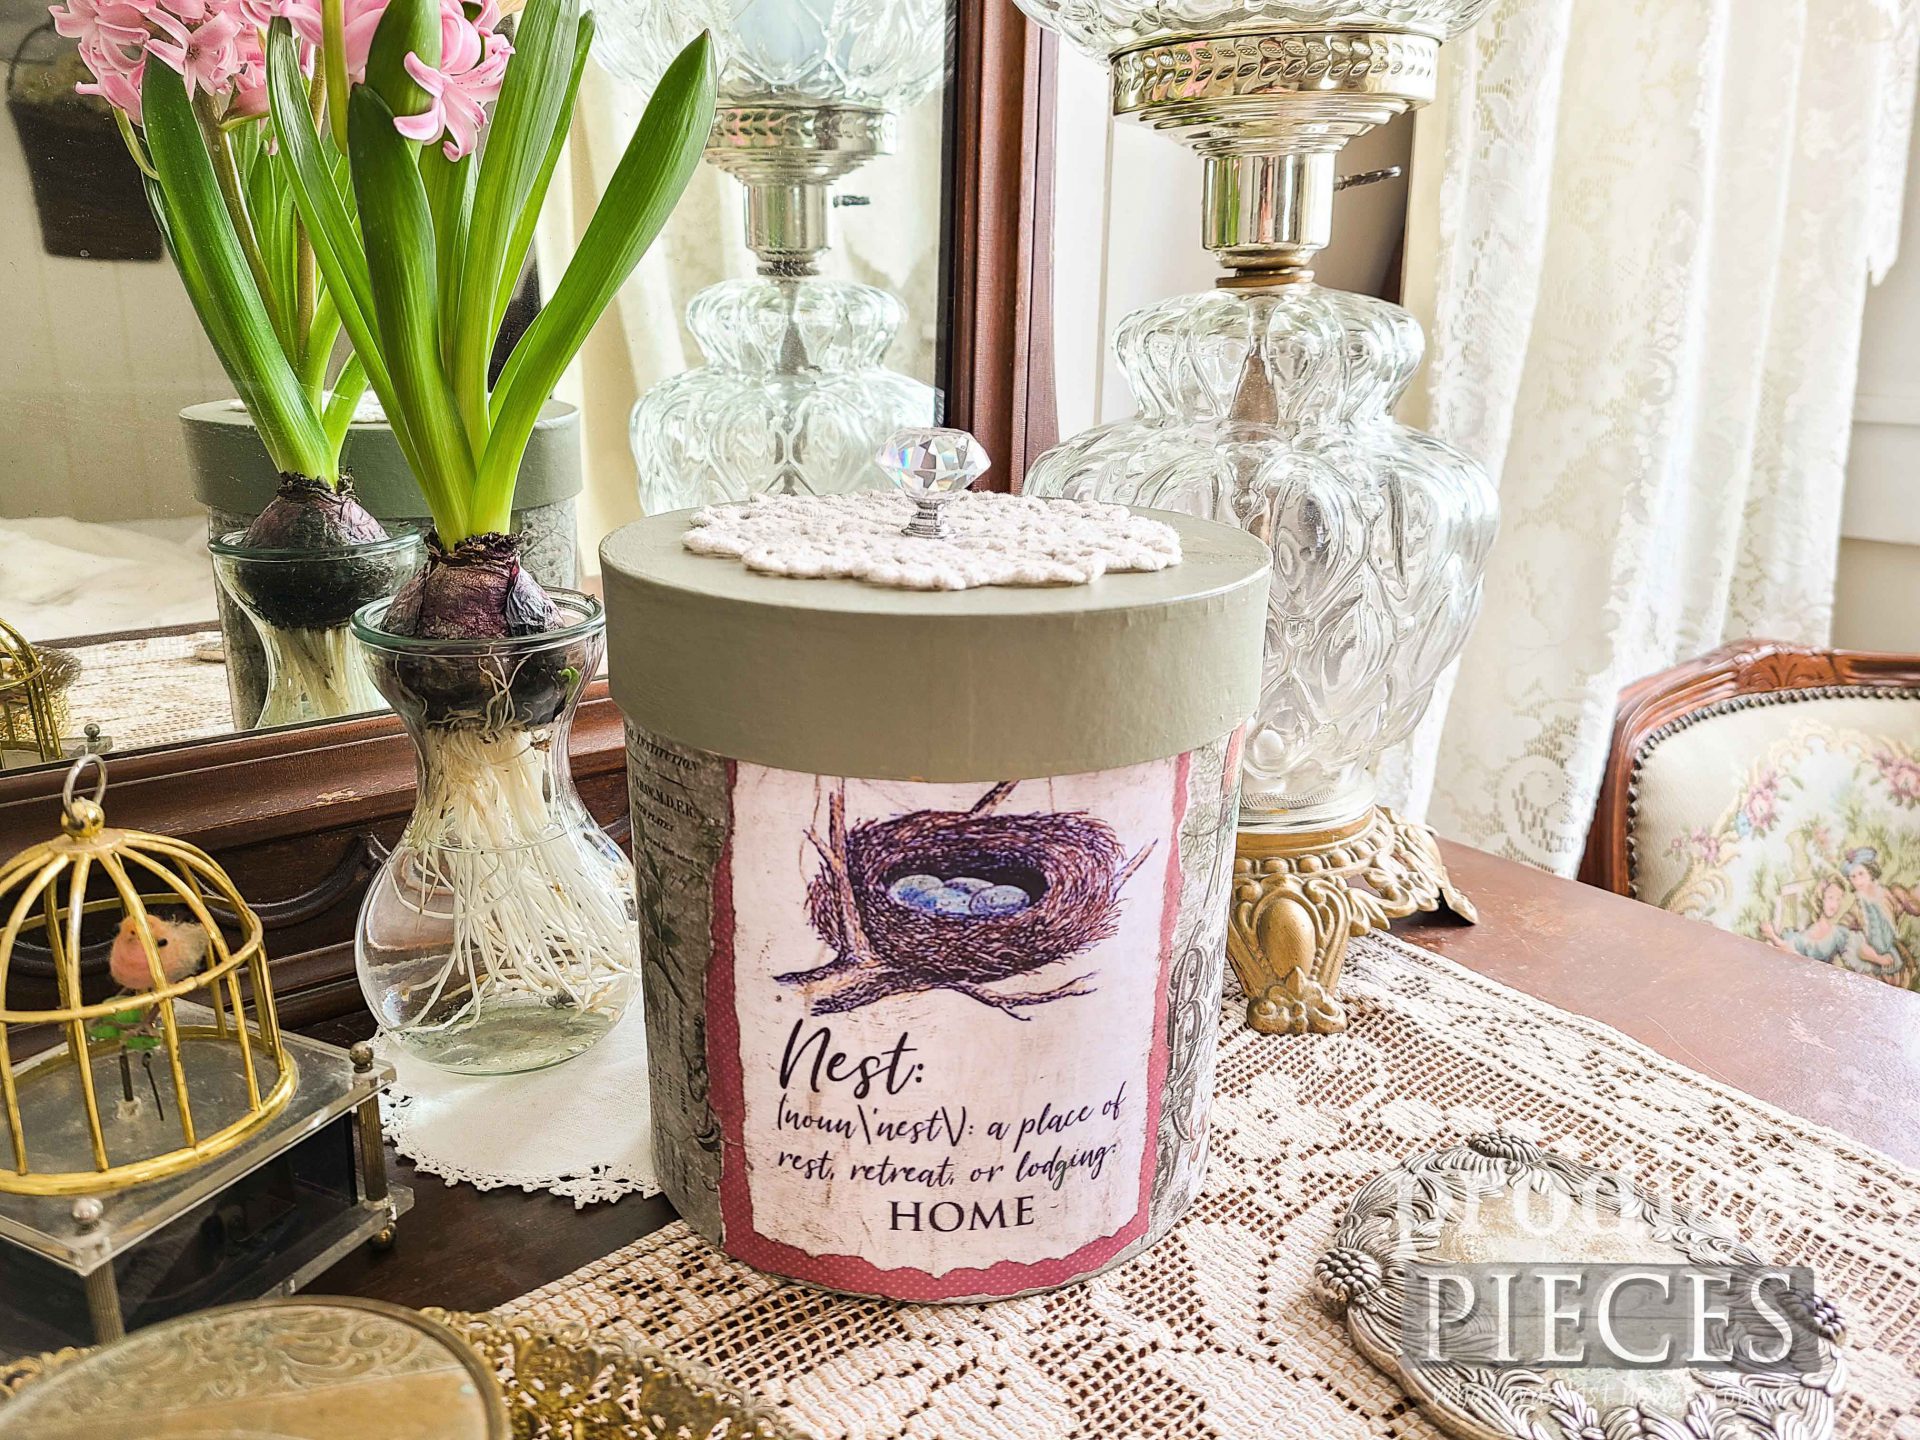
Here’s my simple reveal for this DIY decoupage project. It really made my heart happy to bring birds into this project…and a spring vibe.
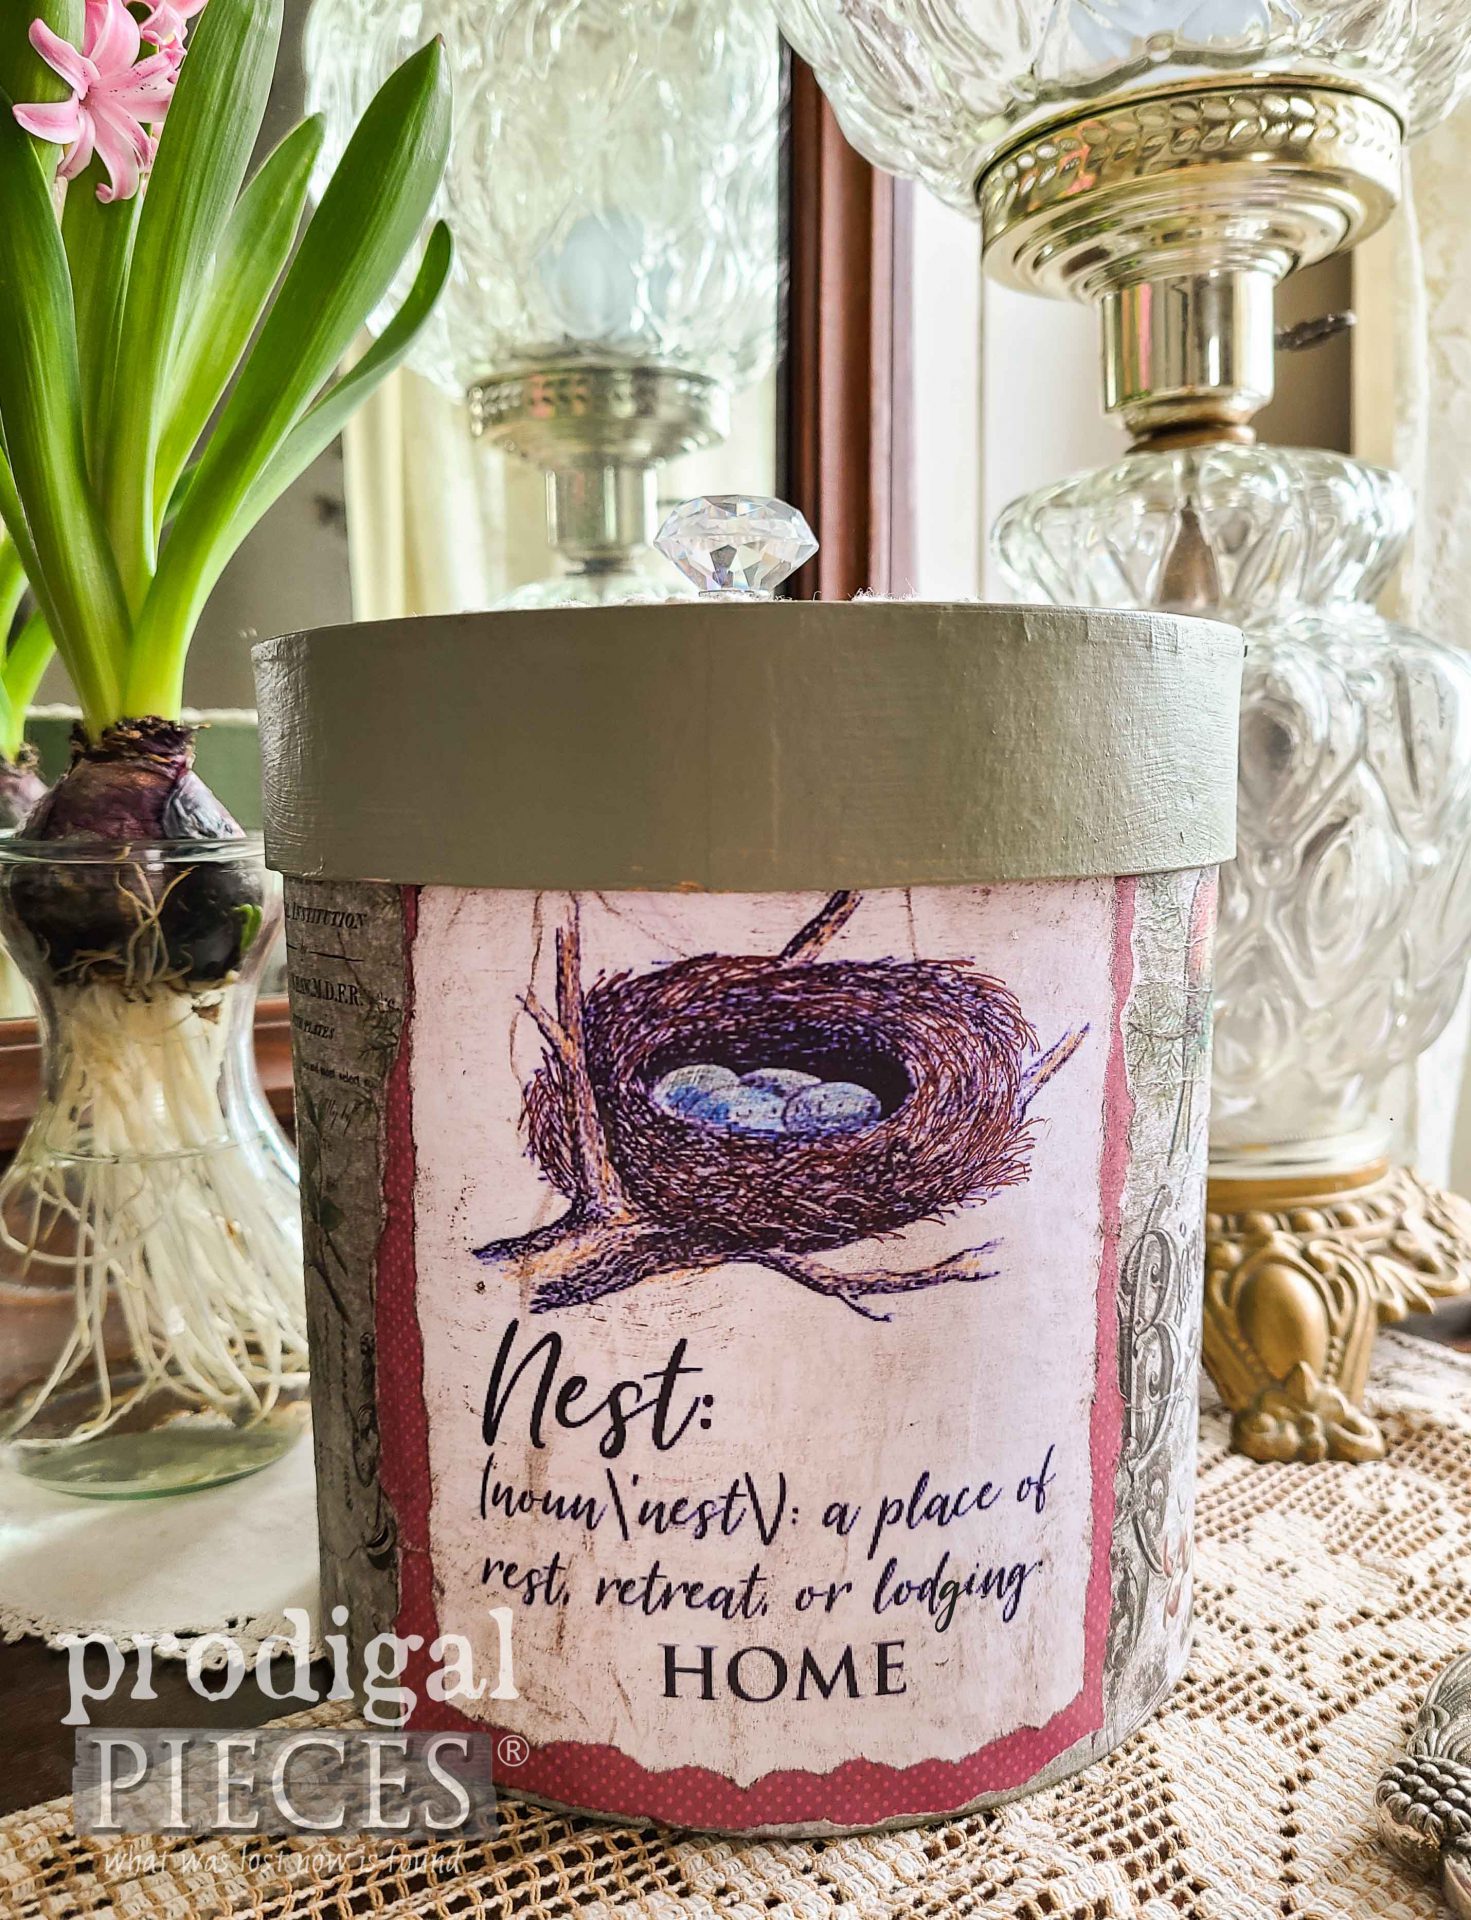
Nest: (noun\’nest\) a place of rest, retreat, or lodging, HOME. I love this definition. Not only is it so fitting for making your house your home, but also, the nest graphic suits it perfectly.
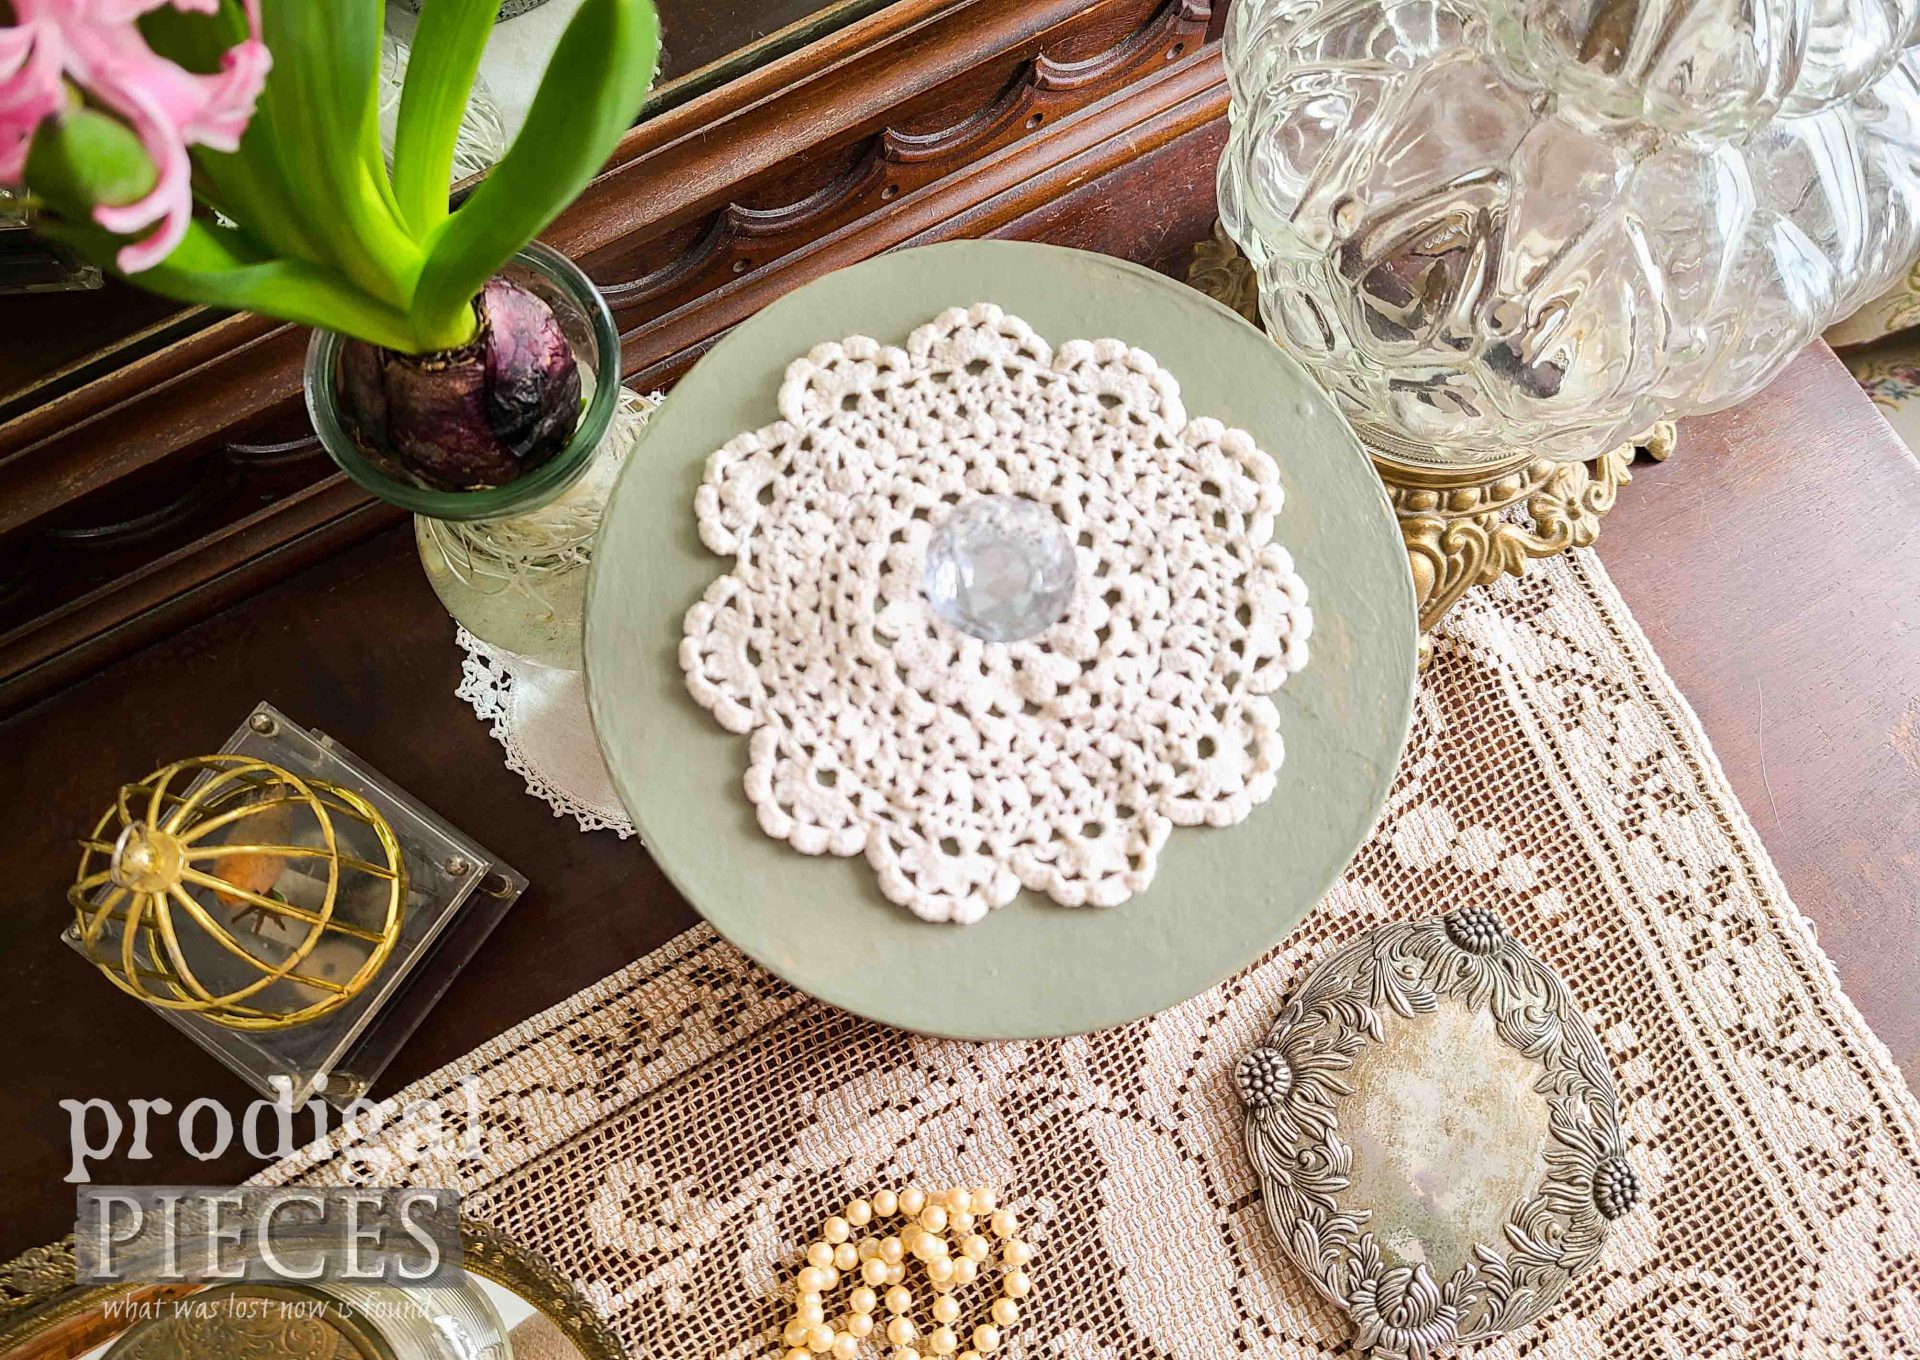
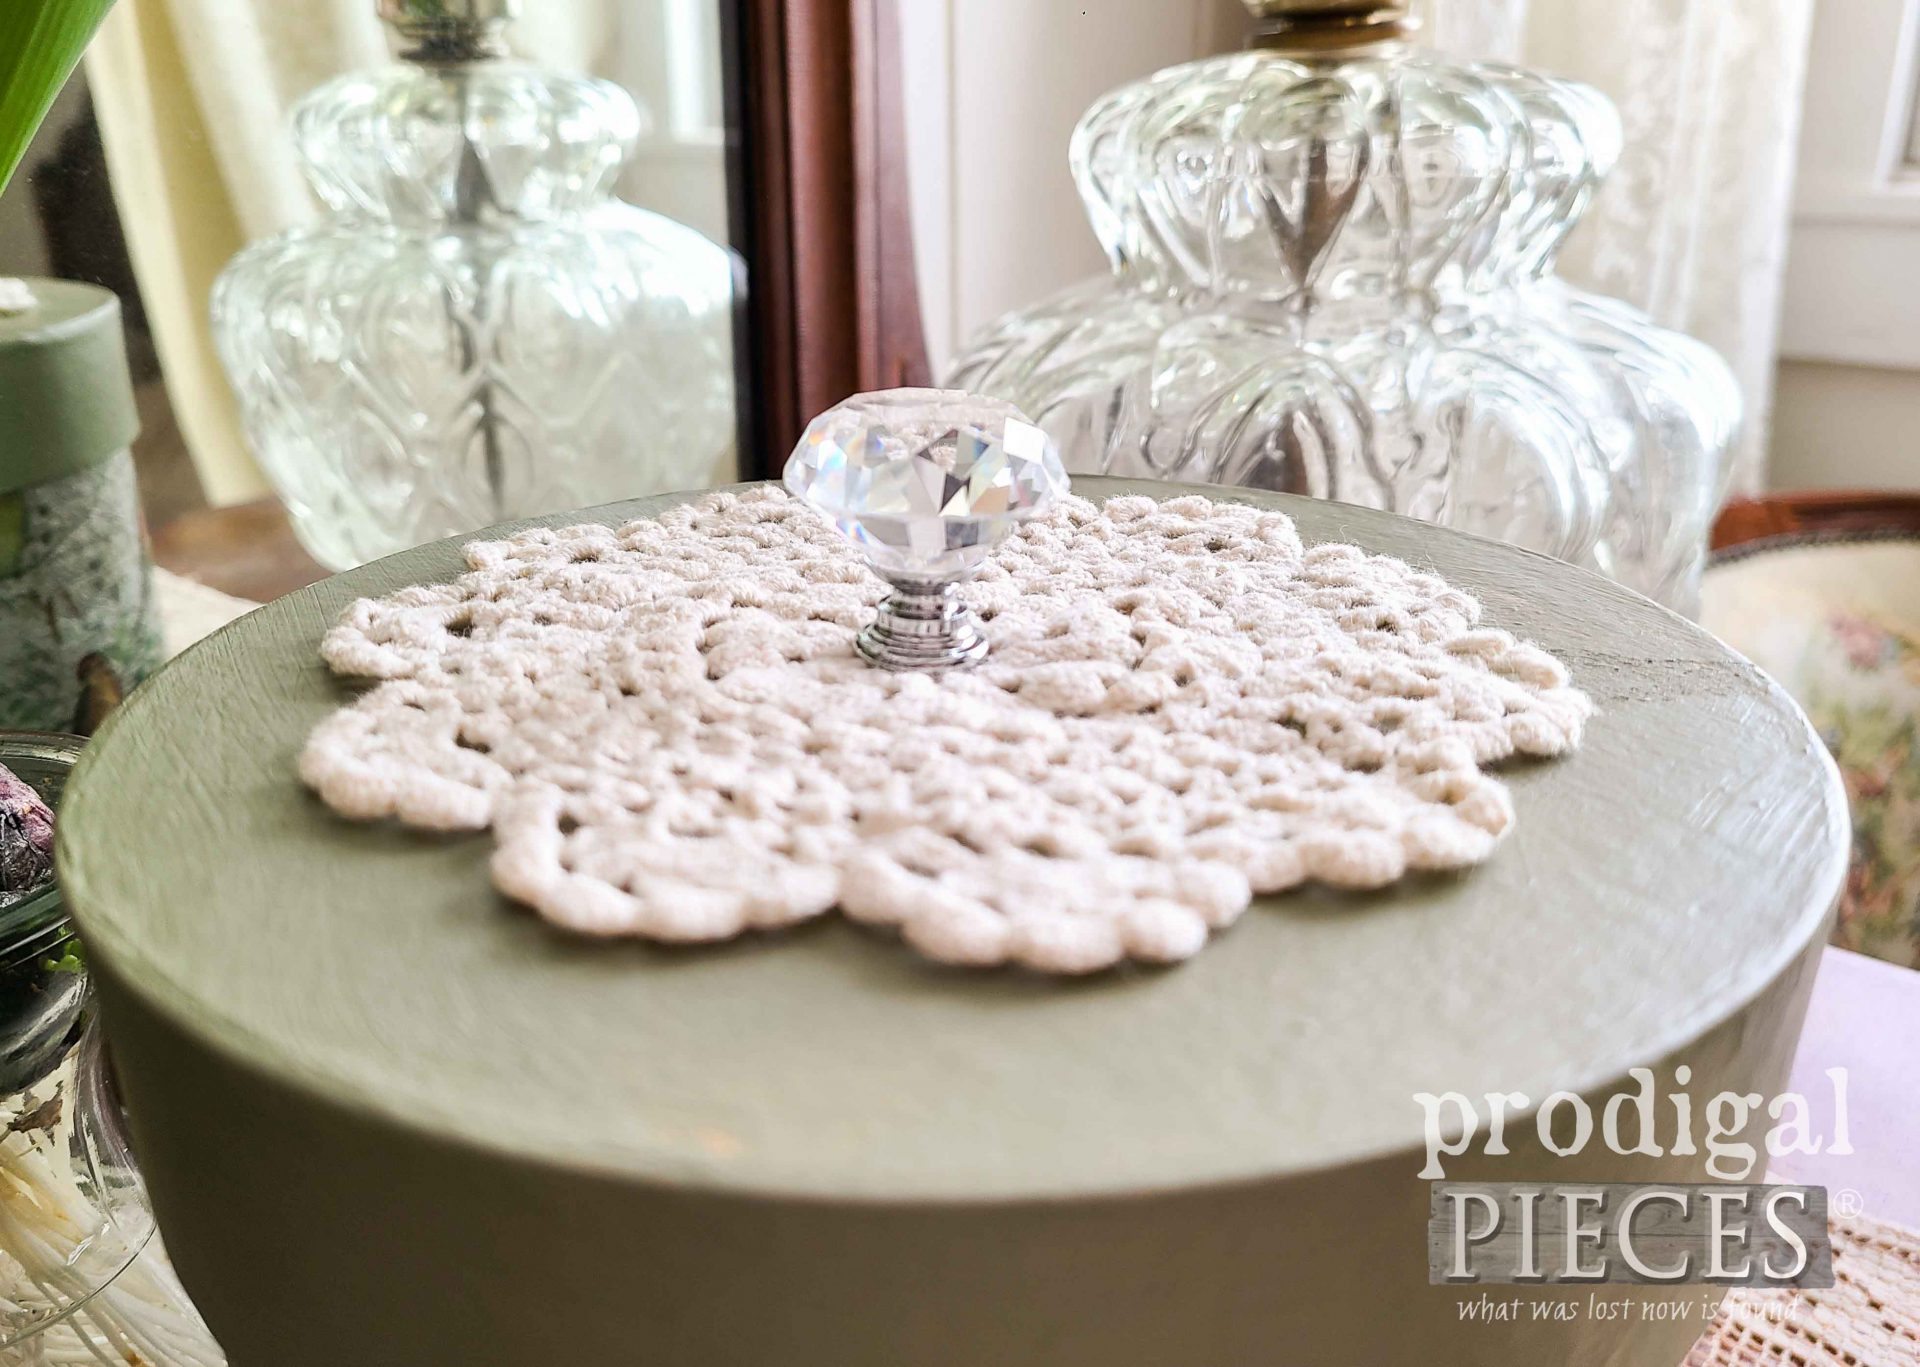
In addition, I wish I had smell-o-vision because that hyacinth is intoxicating! You can see what I like to do with those vases in this upcycling post. Next, for the top I had to add a bit of vintage topping. A vintage doily and a faceted glass knob does the trick perfectly.
Last, for the inside, I tucked in my stash of vintage embroidered hankies. You could tuck most anything inside here. Also, you can use it most any room too.
My goal…to inspire you to give DIY decoupage a try. Grab those thrifted finds and give them your own story.
Likewise, pin and share my DIY decoupage tutorial to inspire others too.
Before you go, be sure to sign up for my newsletter. Until next time!



Beautiful!! Are these special papers or can any type be used? You’re right, I see these all the time. Wouldn’t it be pretty to do a set for a dresser or vanity? Another one out of the park!!?
Thank you, Rebecca. You can use tissue paper (see HERE), napkins separated (see HERE), or pretty much any paper.
So pretty Larissa!? I love working with the boxes, all shapes and sizes. They are wonderful for gift giving. I fill them with granola, chocolates, pretty buttons or other little treasures. The possibilities are endless! I am always hunting for knobs for the lids. ?
You said granola…nuff said. haha. They’re fun!
This hits my love for bird decor – so pretty and nice save!
I was thinking of you. I miss my bird friends during winter. Though, thankful for cardinals, jays, etc. Saw our first robin!
so cute!
THanks, Dodie!
Love the tweet birds on your box. I think many pass them up at thrift stores cause they just don’t know what to do with them.
I have painted / decoupaged my share of these sort of boxes over the years. I used them mostly as gift boxes for birthday, anniversary, baby showers, Christmas. Decorated up for table centerpiece. These are real cute when decorated up for baby shower table decoration, etc.
So, so many uses for these boxes.
Have a great day and enjoy your weekend.
Thank you, Colleen. They sure are fun to dress up and gift. Enjoy your weekend too. We’re expecting unusually warm temps…I’m ready! 😀
I have Three of these Boxes, Tucked inside each other.
Now,! I know what I’m going to do with Them!
Thank You So Much
Sandi Hodge
Upper Peninsula of Michigan
Gwinn, Mi
That’s a funtabulous idea! 😀