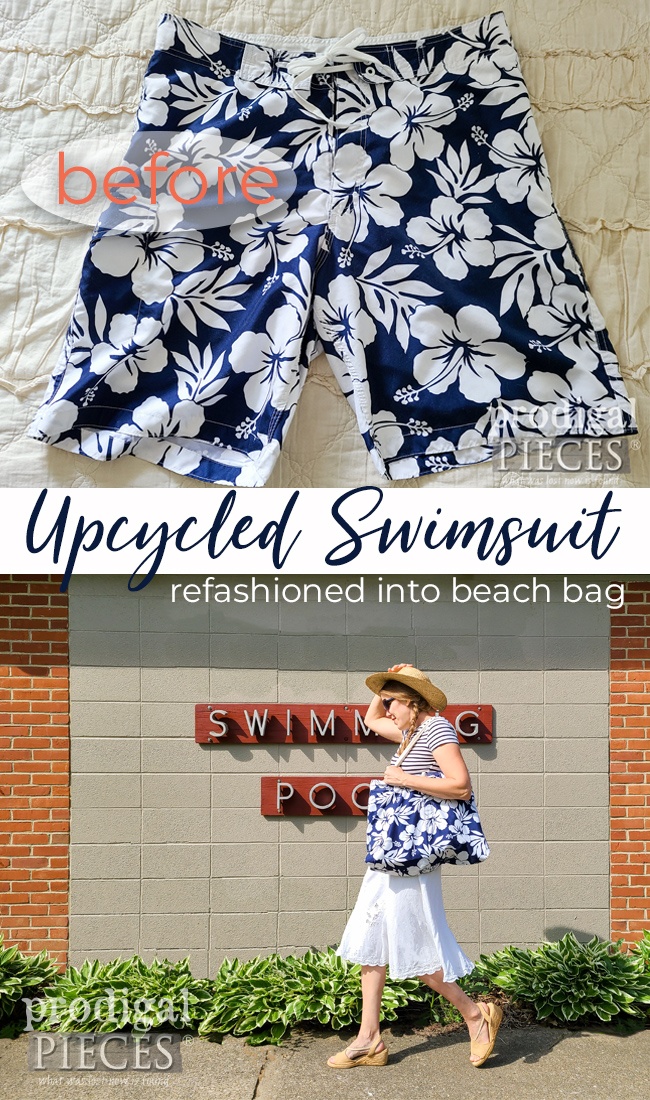
It’s always fun for me when the last Tuesday of the month rolls around. That means it’s Reduce, Reuse, REFASHION time. Each month I take something that is ordinarily deemed of no good use and turn it into something completely new. Today, my project is an upcycled swimsuit bag that is not only cute, but insulated too!
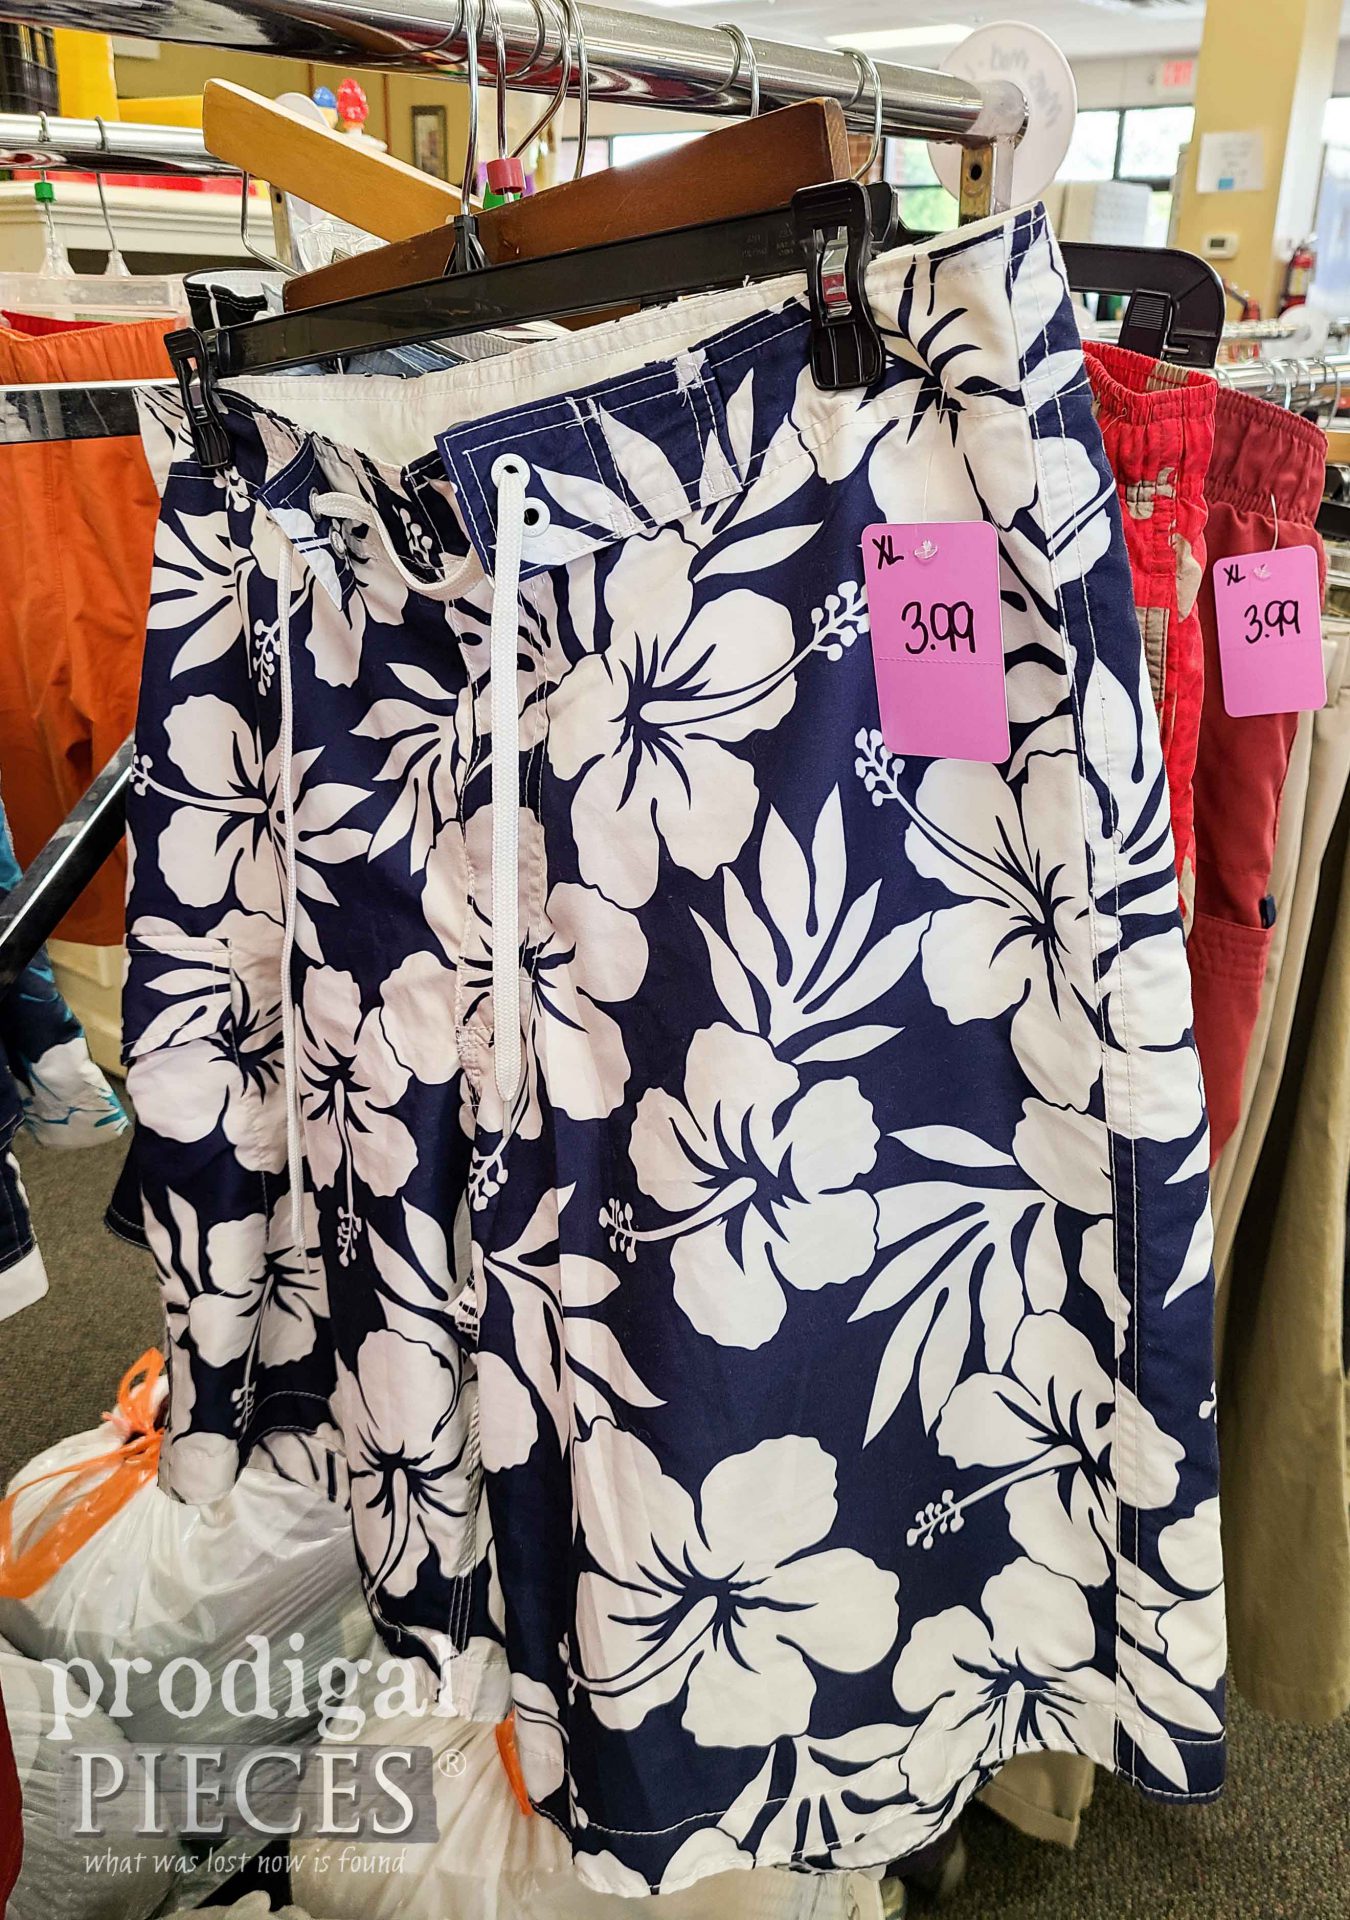
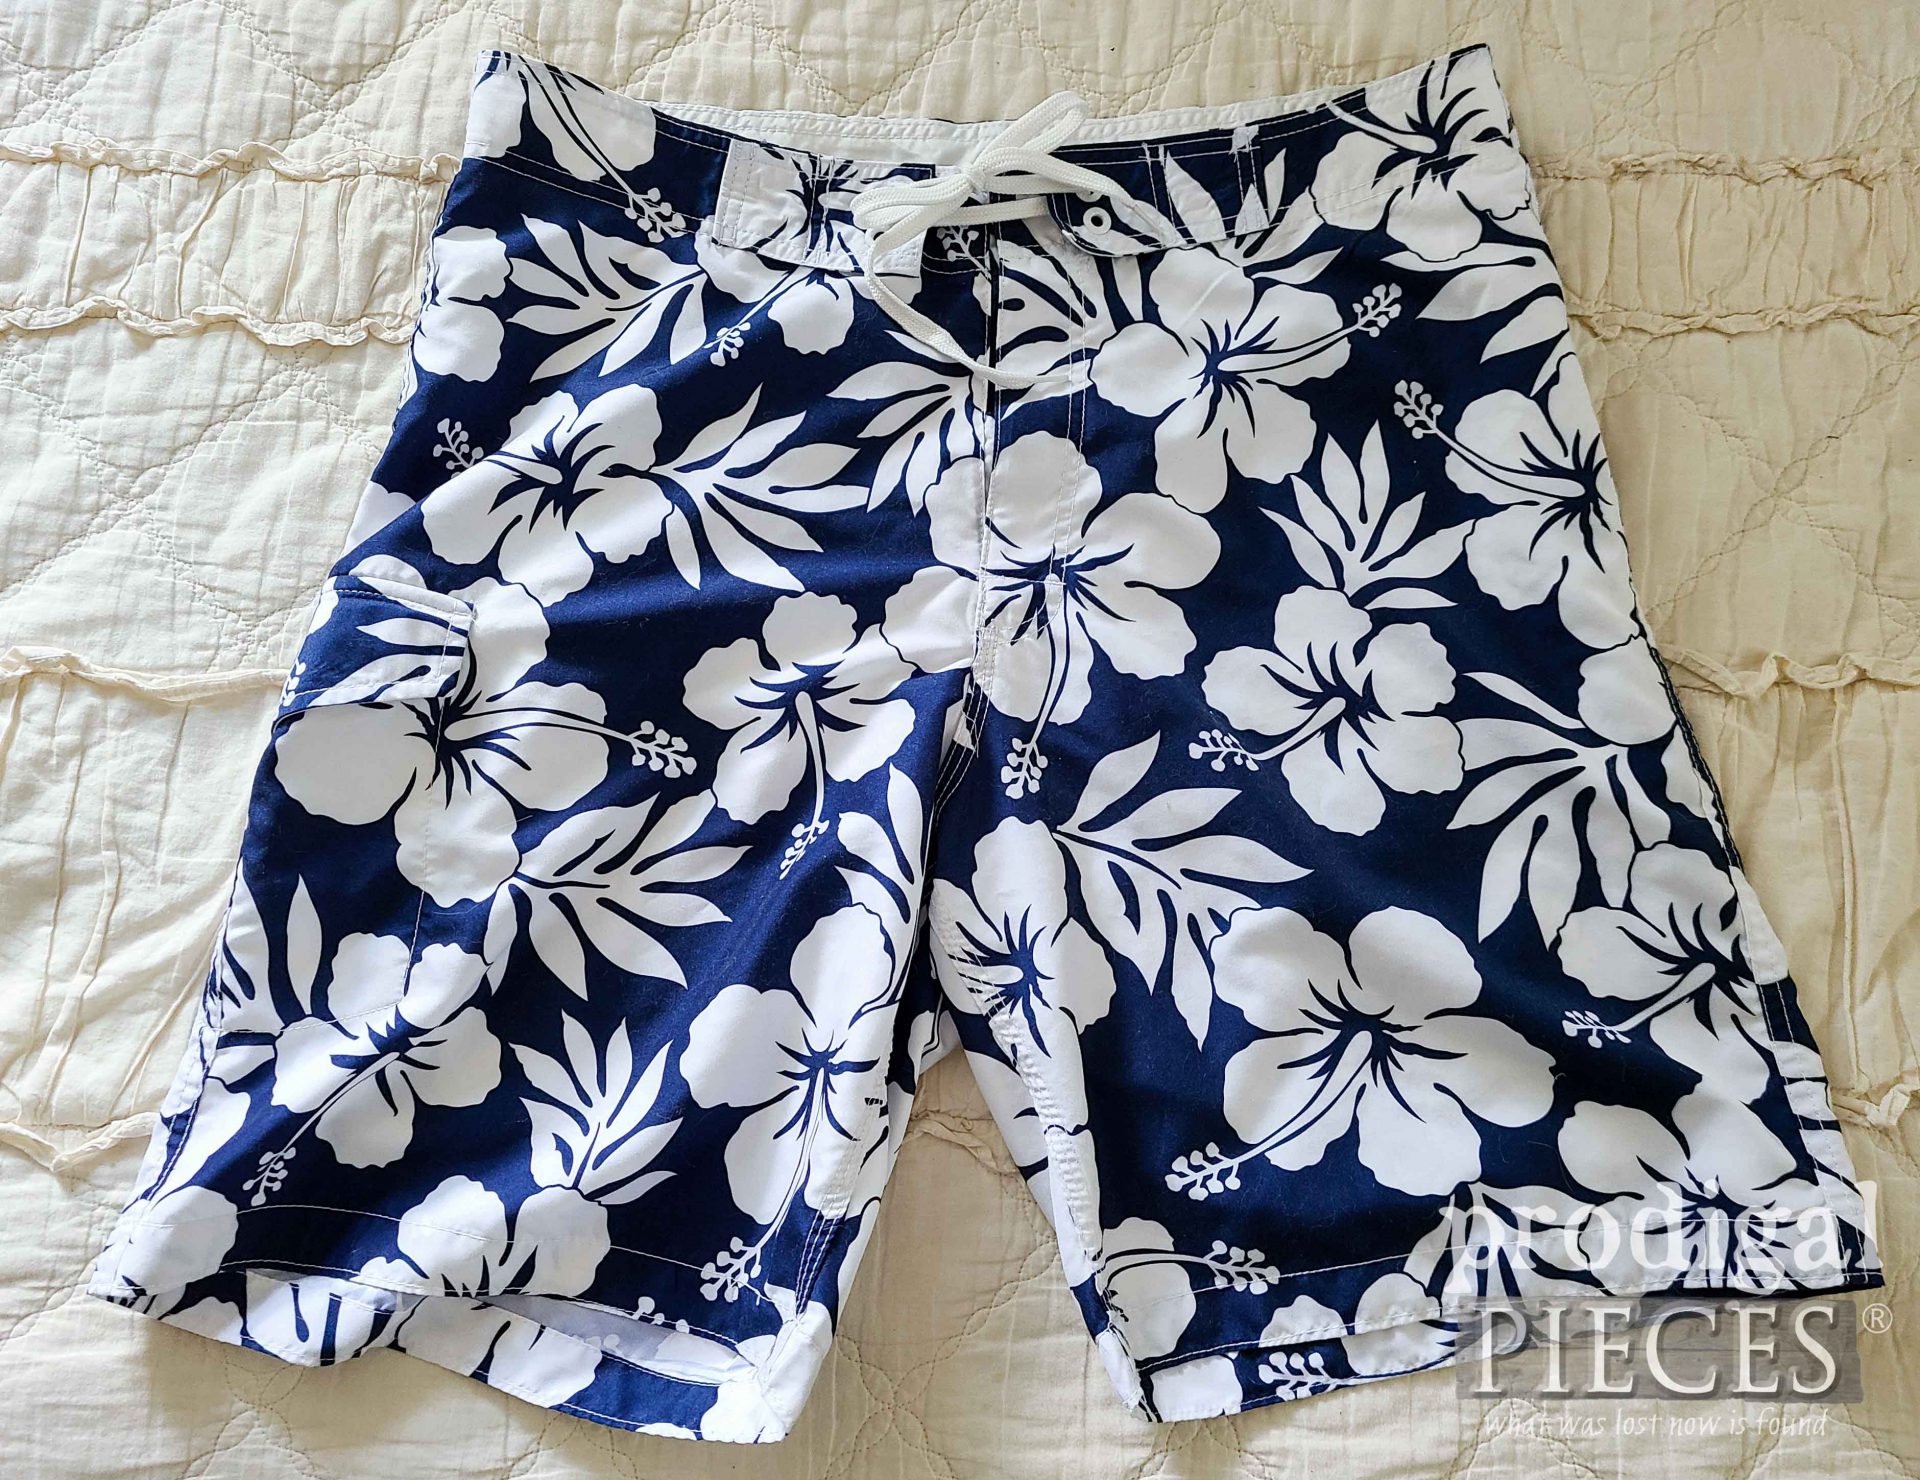
Many folks ask…how do you come up with these ideas? Well, my goal is to inspire you each month by taking the obvious outcasts and make them refashion them into new. When I’m at the thrift store I peruse the racks and shelves for things for me, but also letting ideas come as I tour. In these past posts I have demonstrated my addiction to baskets and bags. So, here’s a pair of men’s XL swim trunks perfect for the project.
REFASHION TIME
It’s time to grab our scissors and get started with our fun. While there isn’t an exact formula for making this bag, it’s pretty simple to adjust the steps to suit your swimsuit since you may have a different sized one. Here’s the basic supplies to make one of your own:
- swim trunks
- sewing machine or serger
- coordinating thread
- plastic webbing long enough to to span the bottom
- insulating layer (Insulbrite)
- lining layer (PUL – Polyurethan Laminate)
- cotton webbing (or similar) for straps
- measuring tape
- pins and sewing clips
- sewing scissors
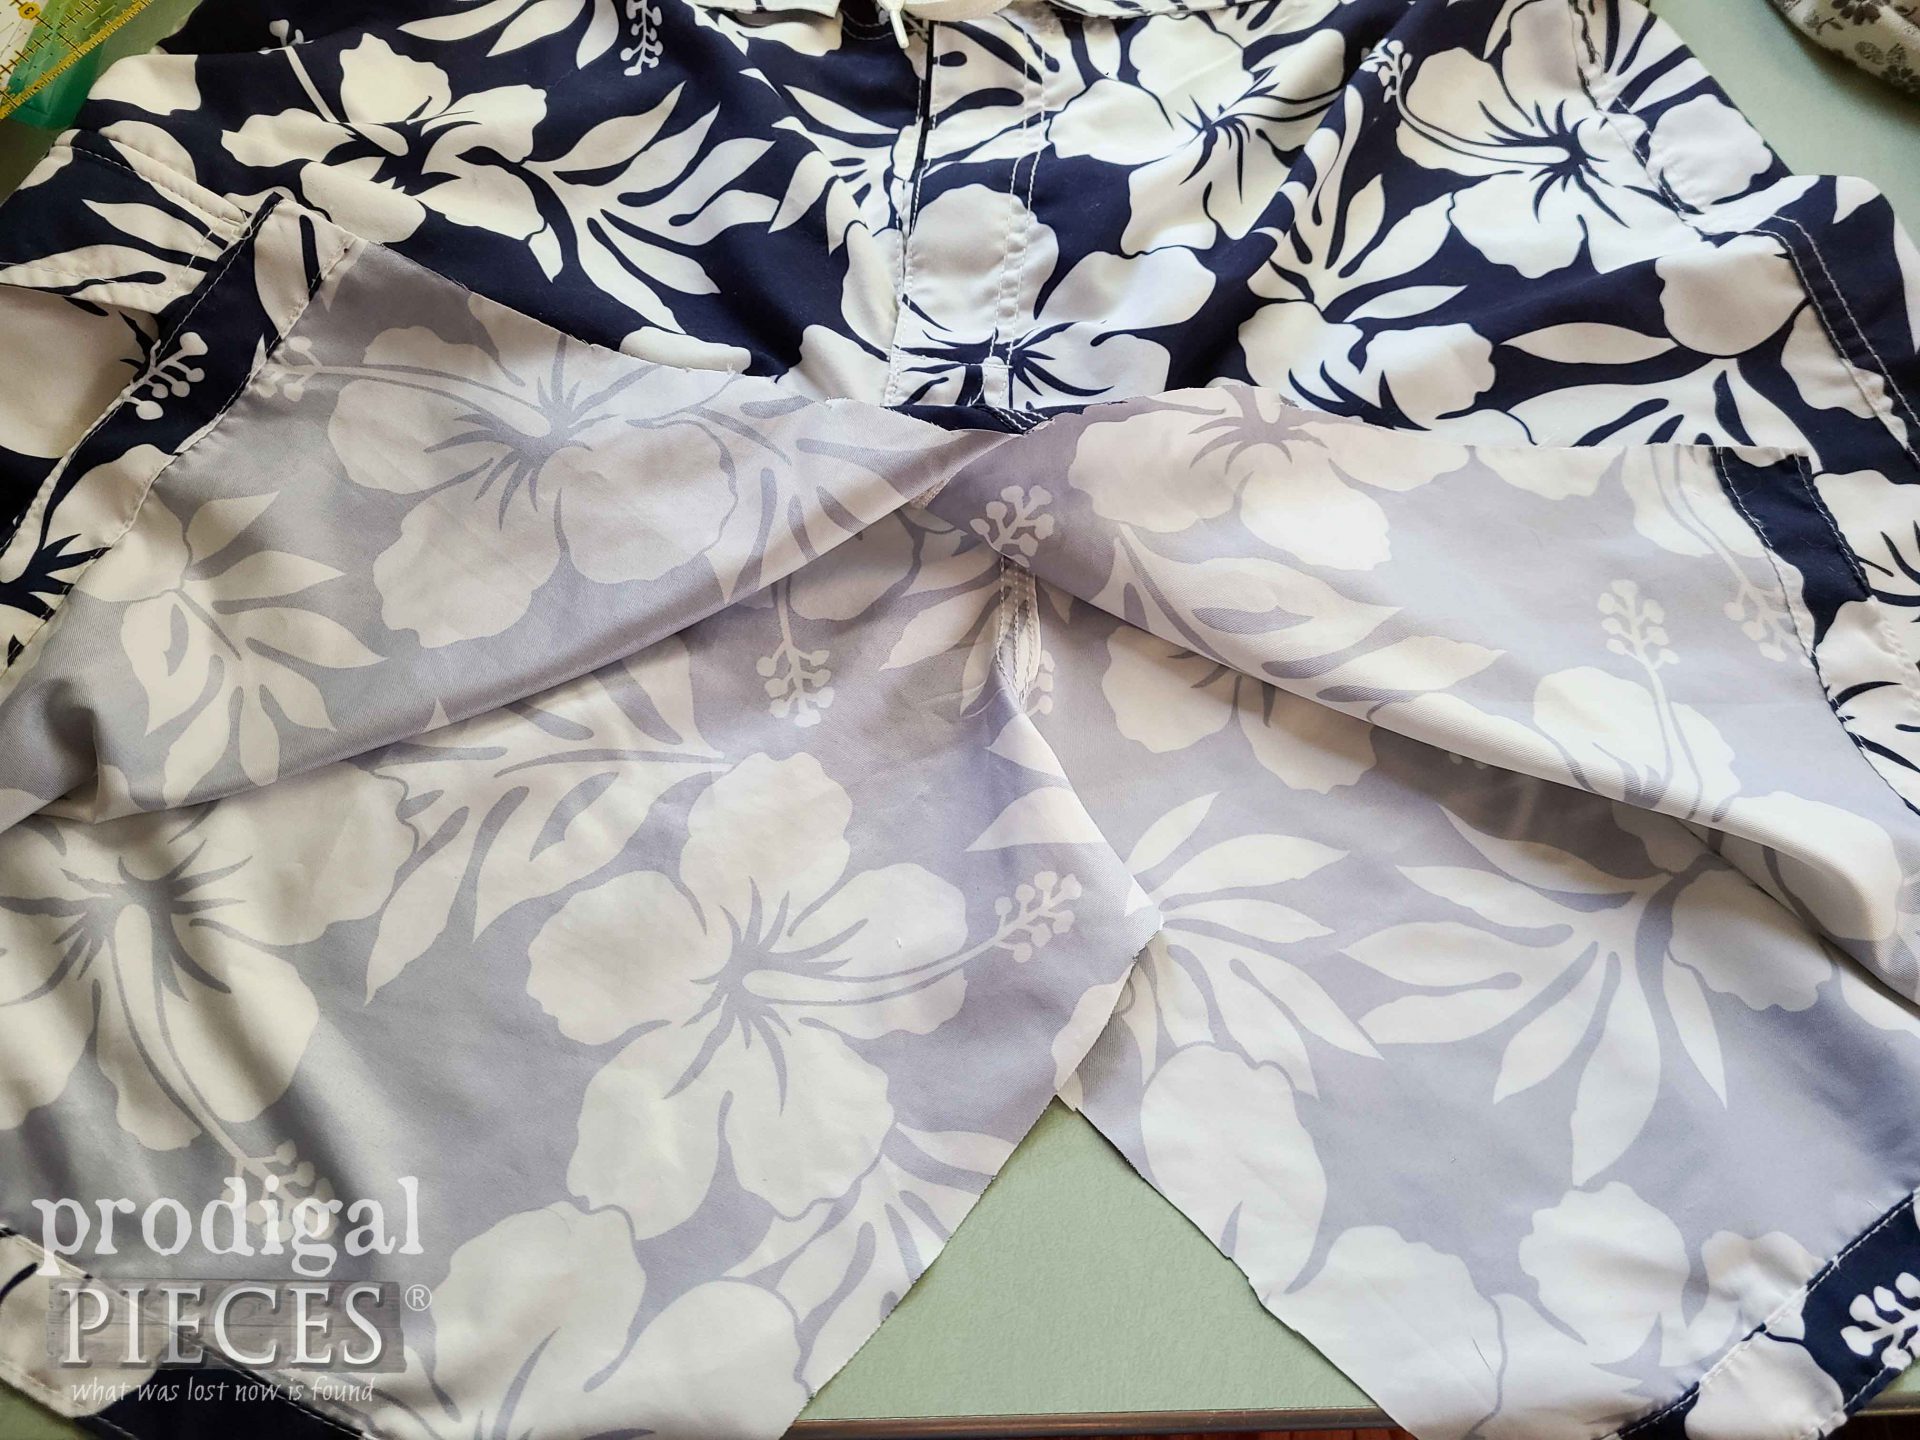
Time to sew! First, I cut up the inseam (crotch area) removing the seams.
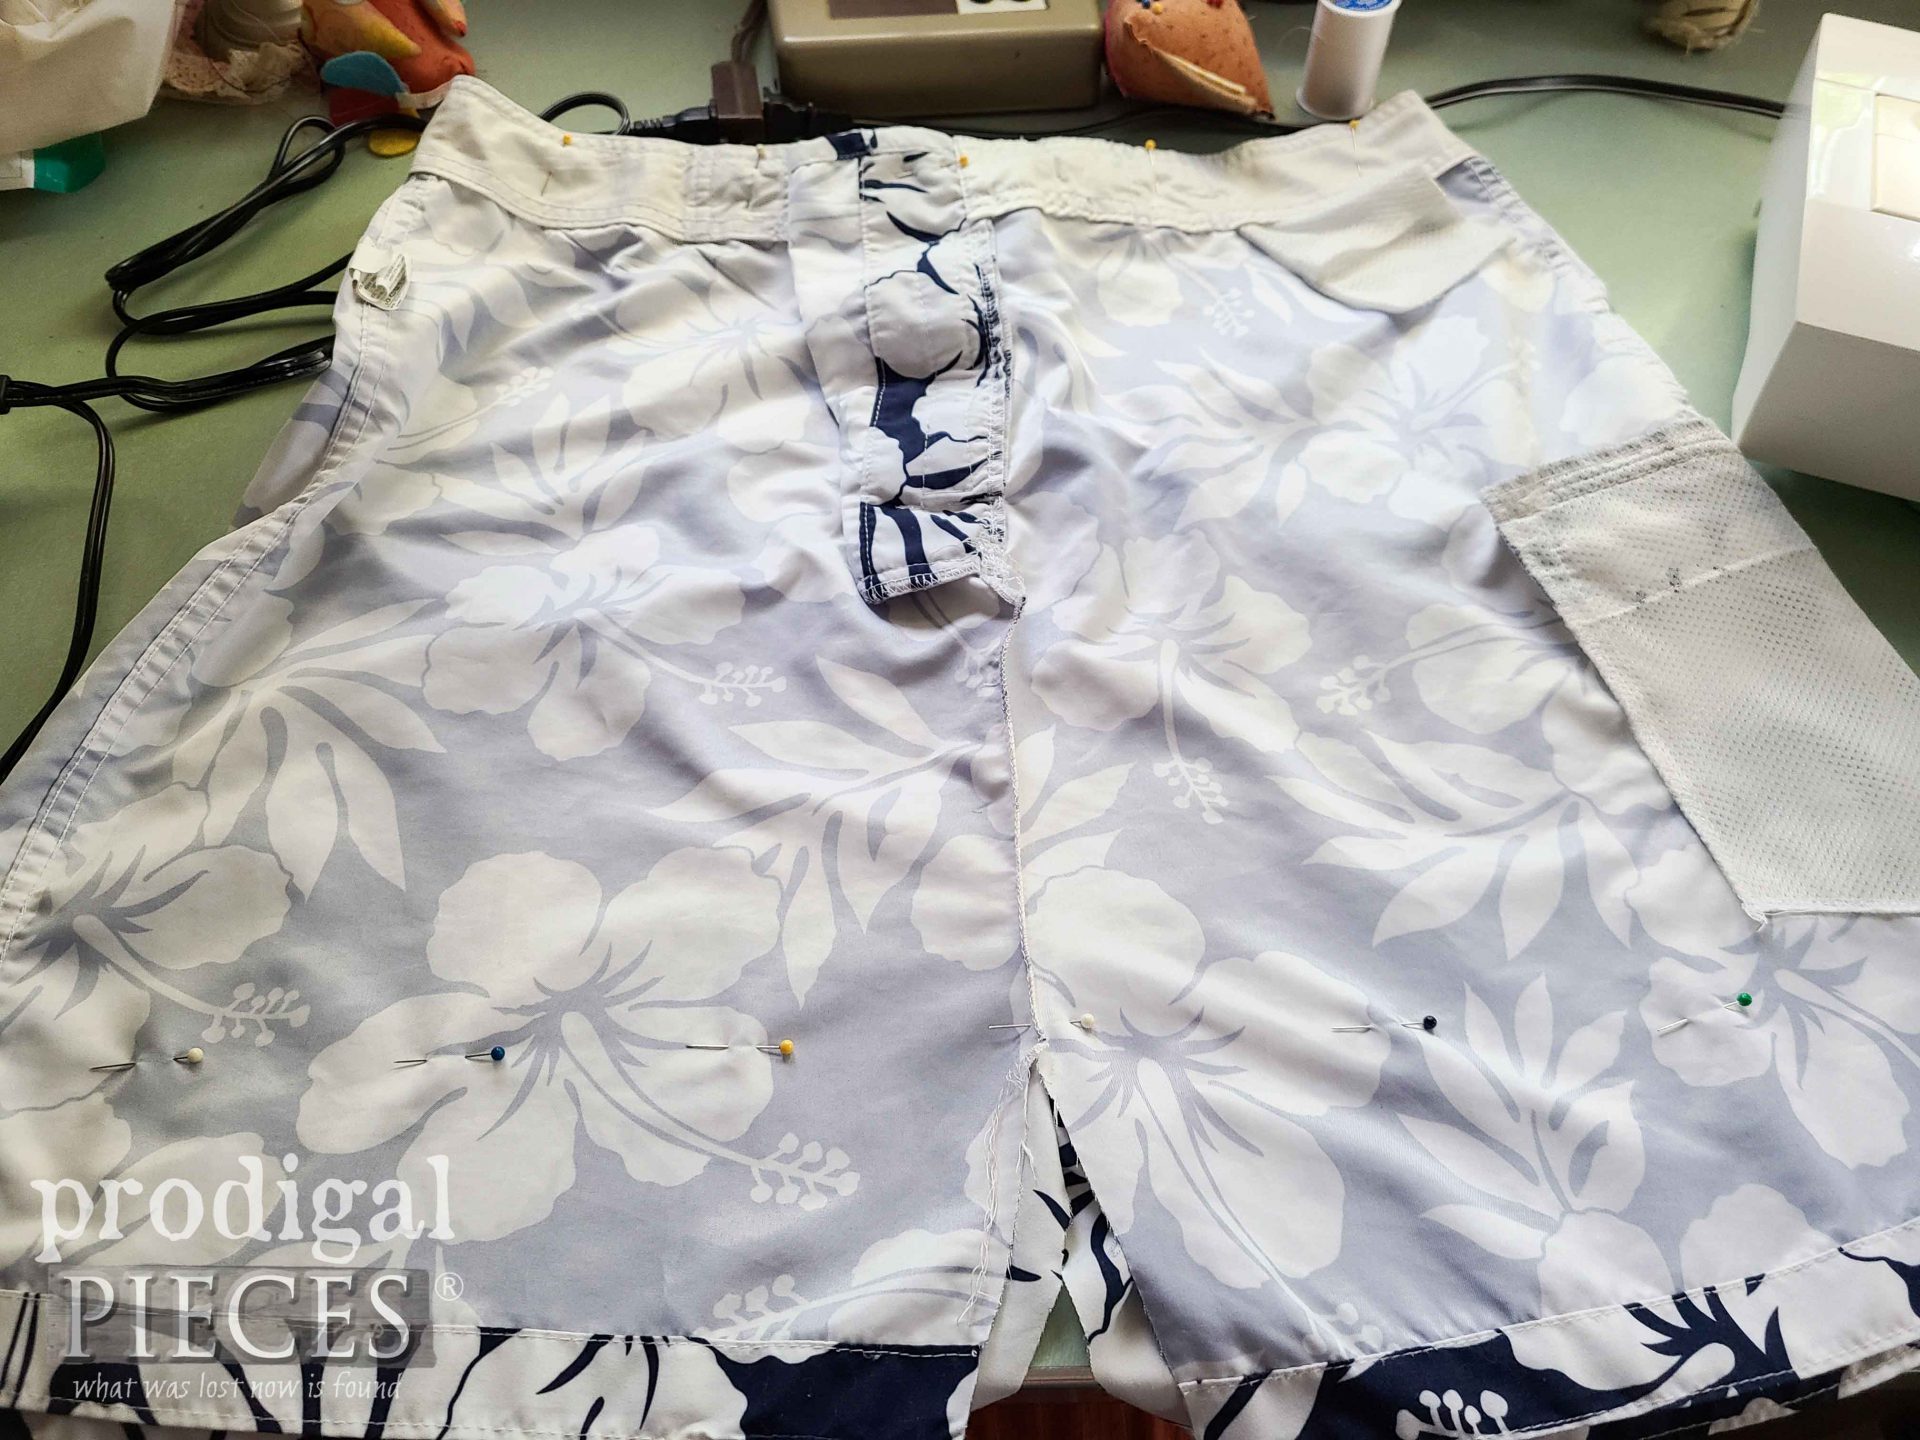
Then, I gather up the excess on both sides of the shorts with right sides facing and pin. After that, I serge the seam which removes the excess. You can also use a sewing machine to stitch down the excess and then trim it off.
Next, you can see that I serged the inseam together. Also, notice I have pinned across the bottom of the trunks at the lowest point possible to maximize use of the upcycled swimsuit.
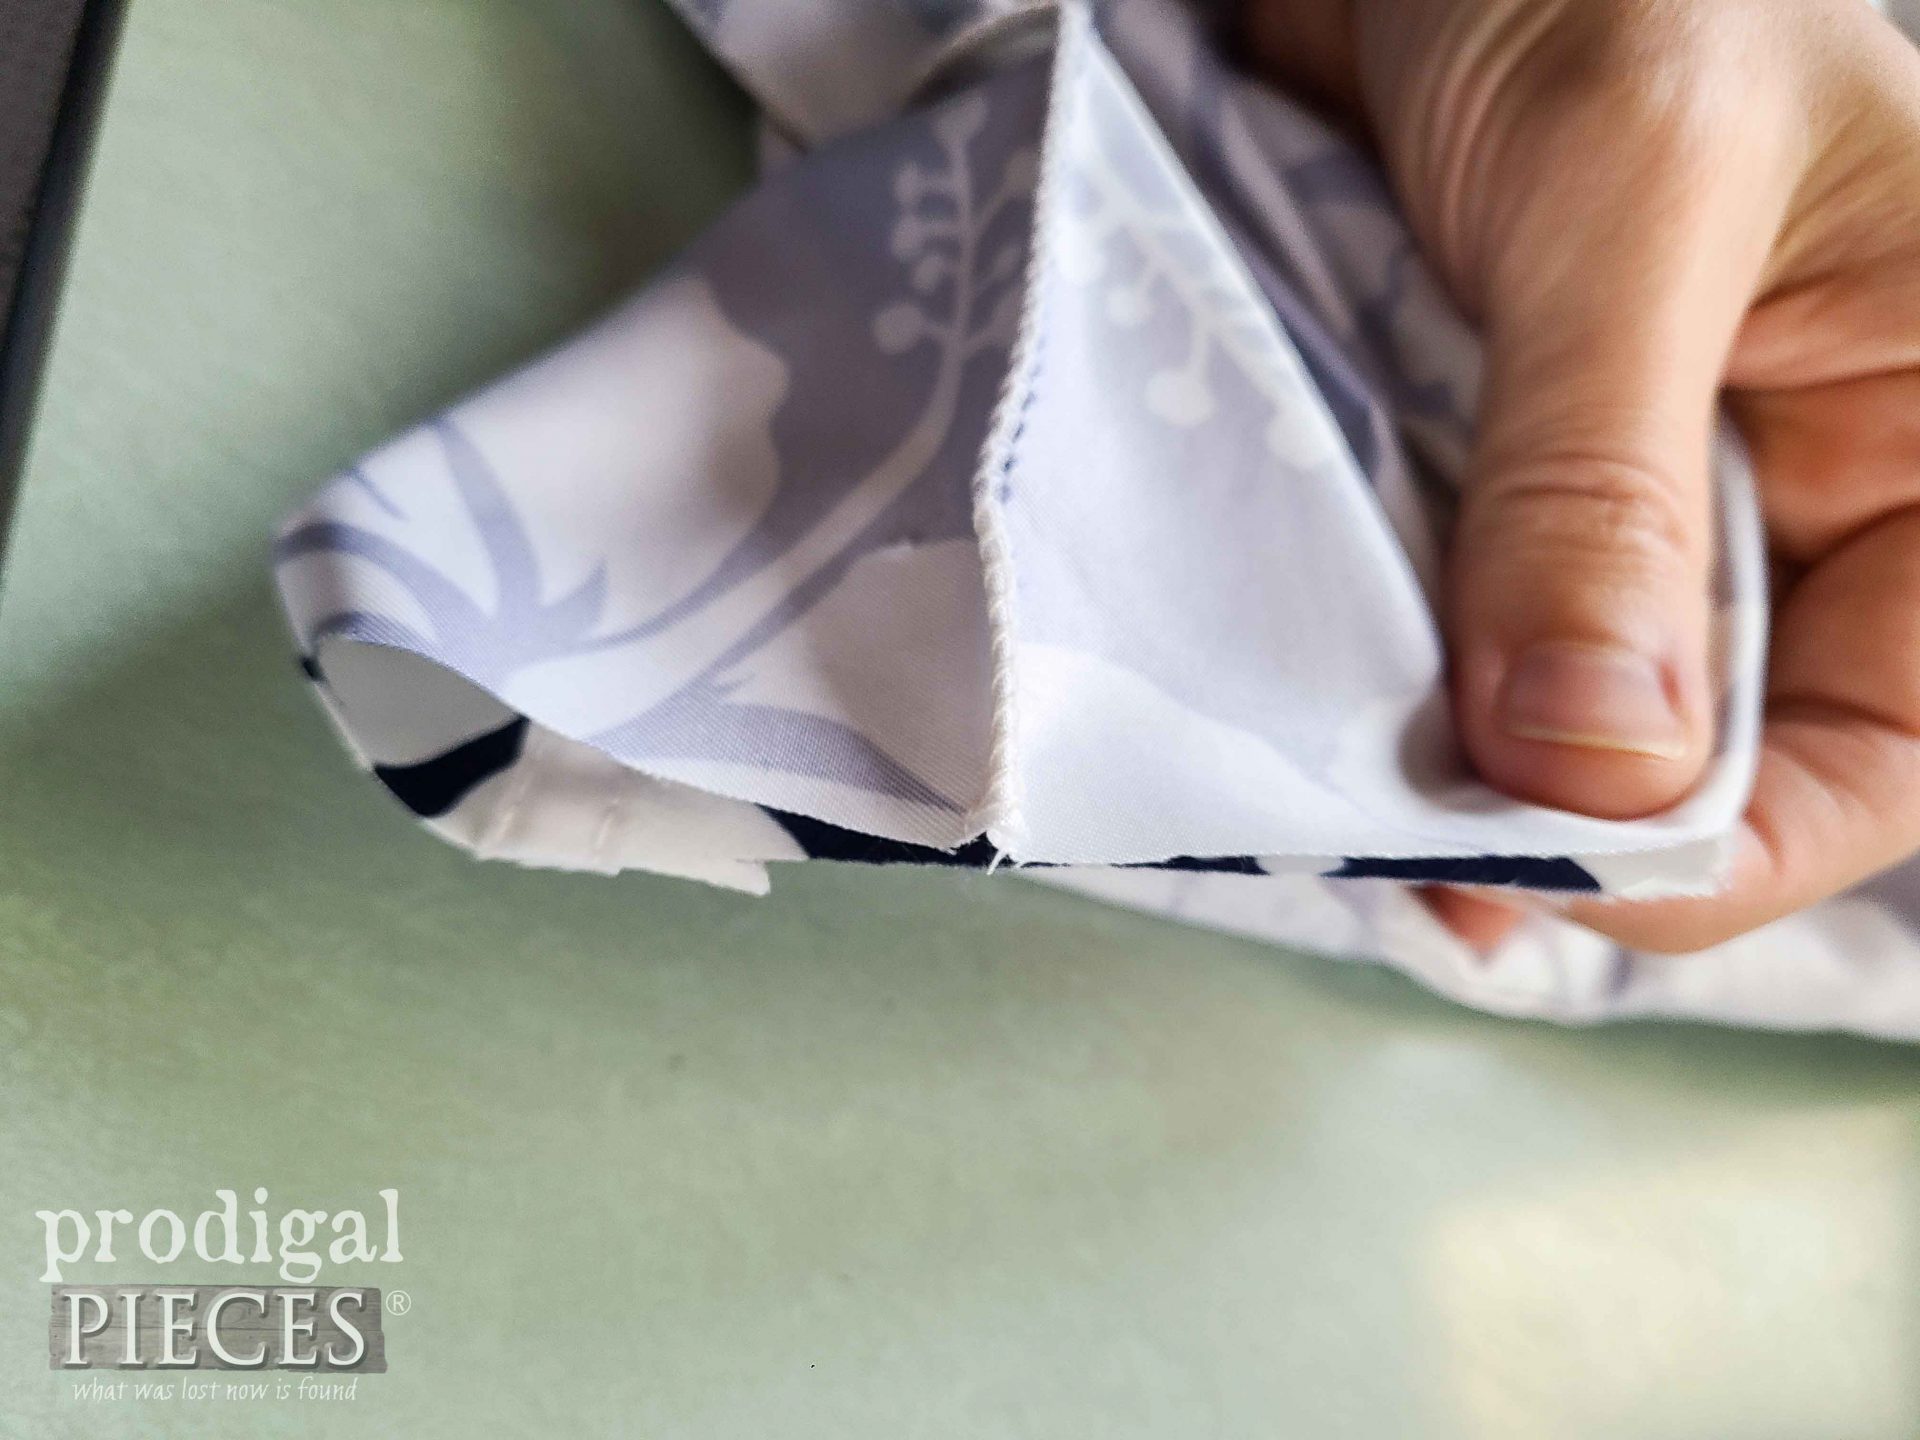
Again, I use my serger (or sewing machine then trim) to cut off the bottom and seal it up. You could stop here if you want a basic bag. However, I like to add more function by opening up the bottom with boxed corners. I’m aiming for a 4″ wide base, so that means I cut in 2″ from each edge.
Then, open up the box and make opposing edges meet, serge or sew across.
WEBBING
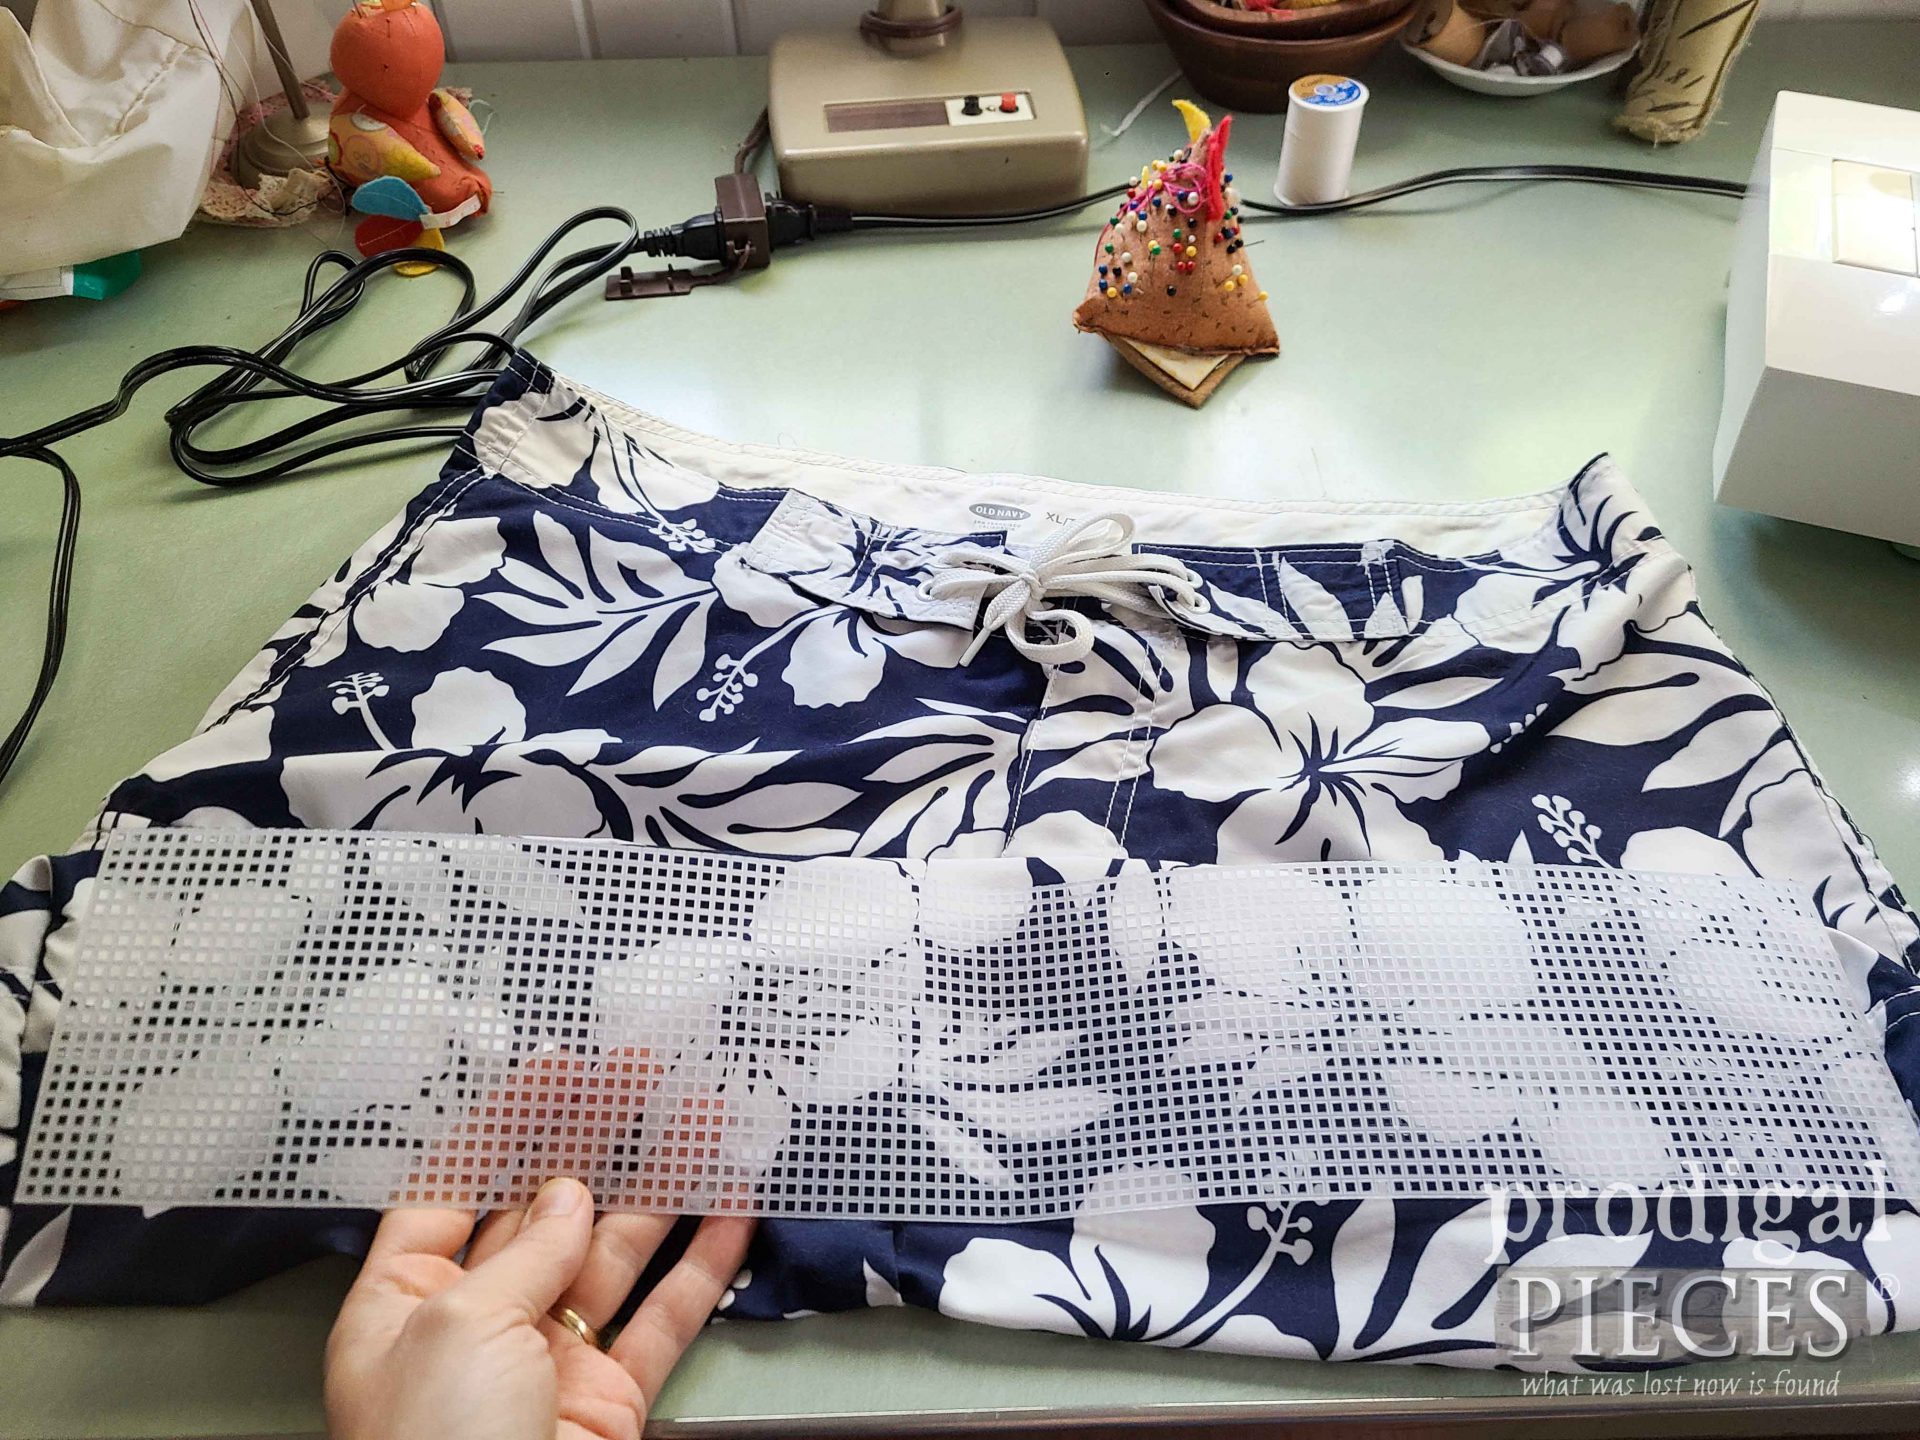
After the corners are boxed and stitched, we want to insert the plastic webbing for reinforcement in the bottom. I cut a piece the length of the bottom and 4″ wide.
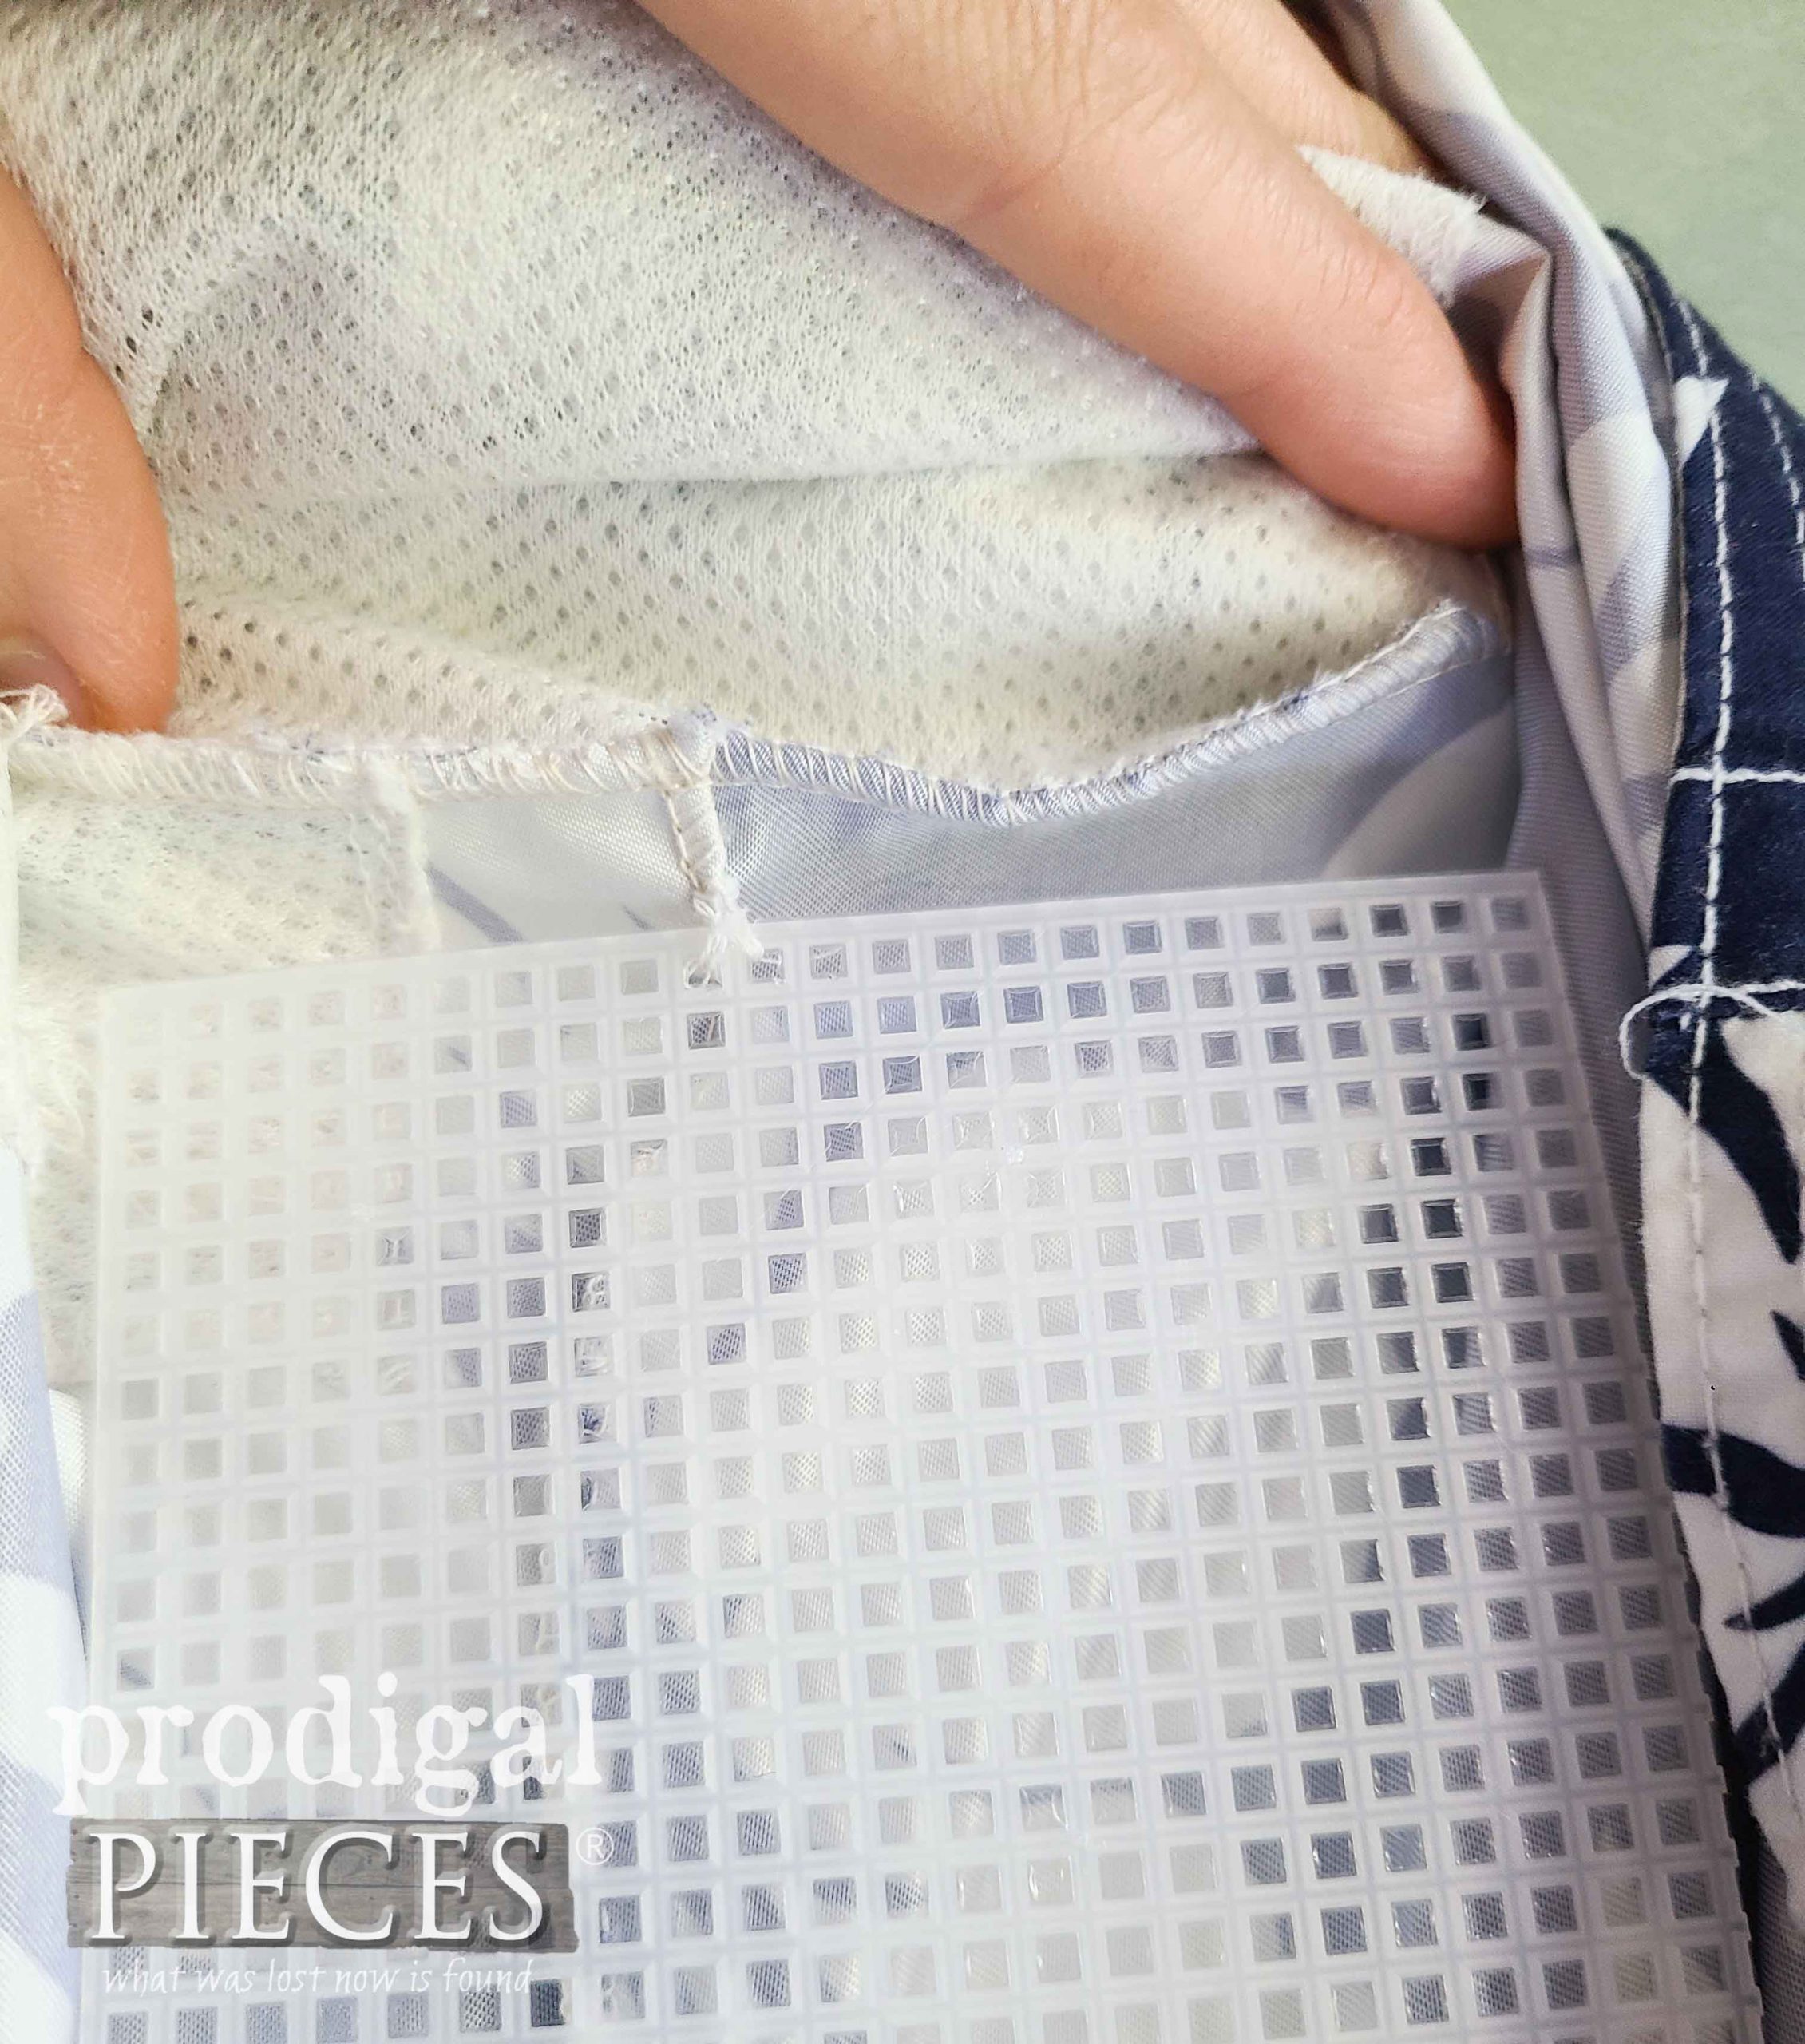
To anchor it in place, simply hand-stitch the webbing into the seam on both ends as shown.
NEXT STEPS
Last, in order to create our insulating layer, that also serves as a stabilizer, we need to cut our Insulbrite and PUL. I measured the width from seam to seam and top to bottom seam. My bag dimensions are roughly 21″ x 16 ½”. However, I add 1″ to each measurement for a ½” seam allowance on each side, and the same to the top edge for folding over. Cut and box the corners of each layer. Notice I cut my pieces on a fold so that I didn’t need to stitch up the bottom edge. You can do it any way you like. Also, consider adding Velcro, a zipper, an interior pocket, or any other additions at this point.
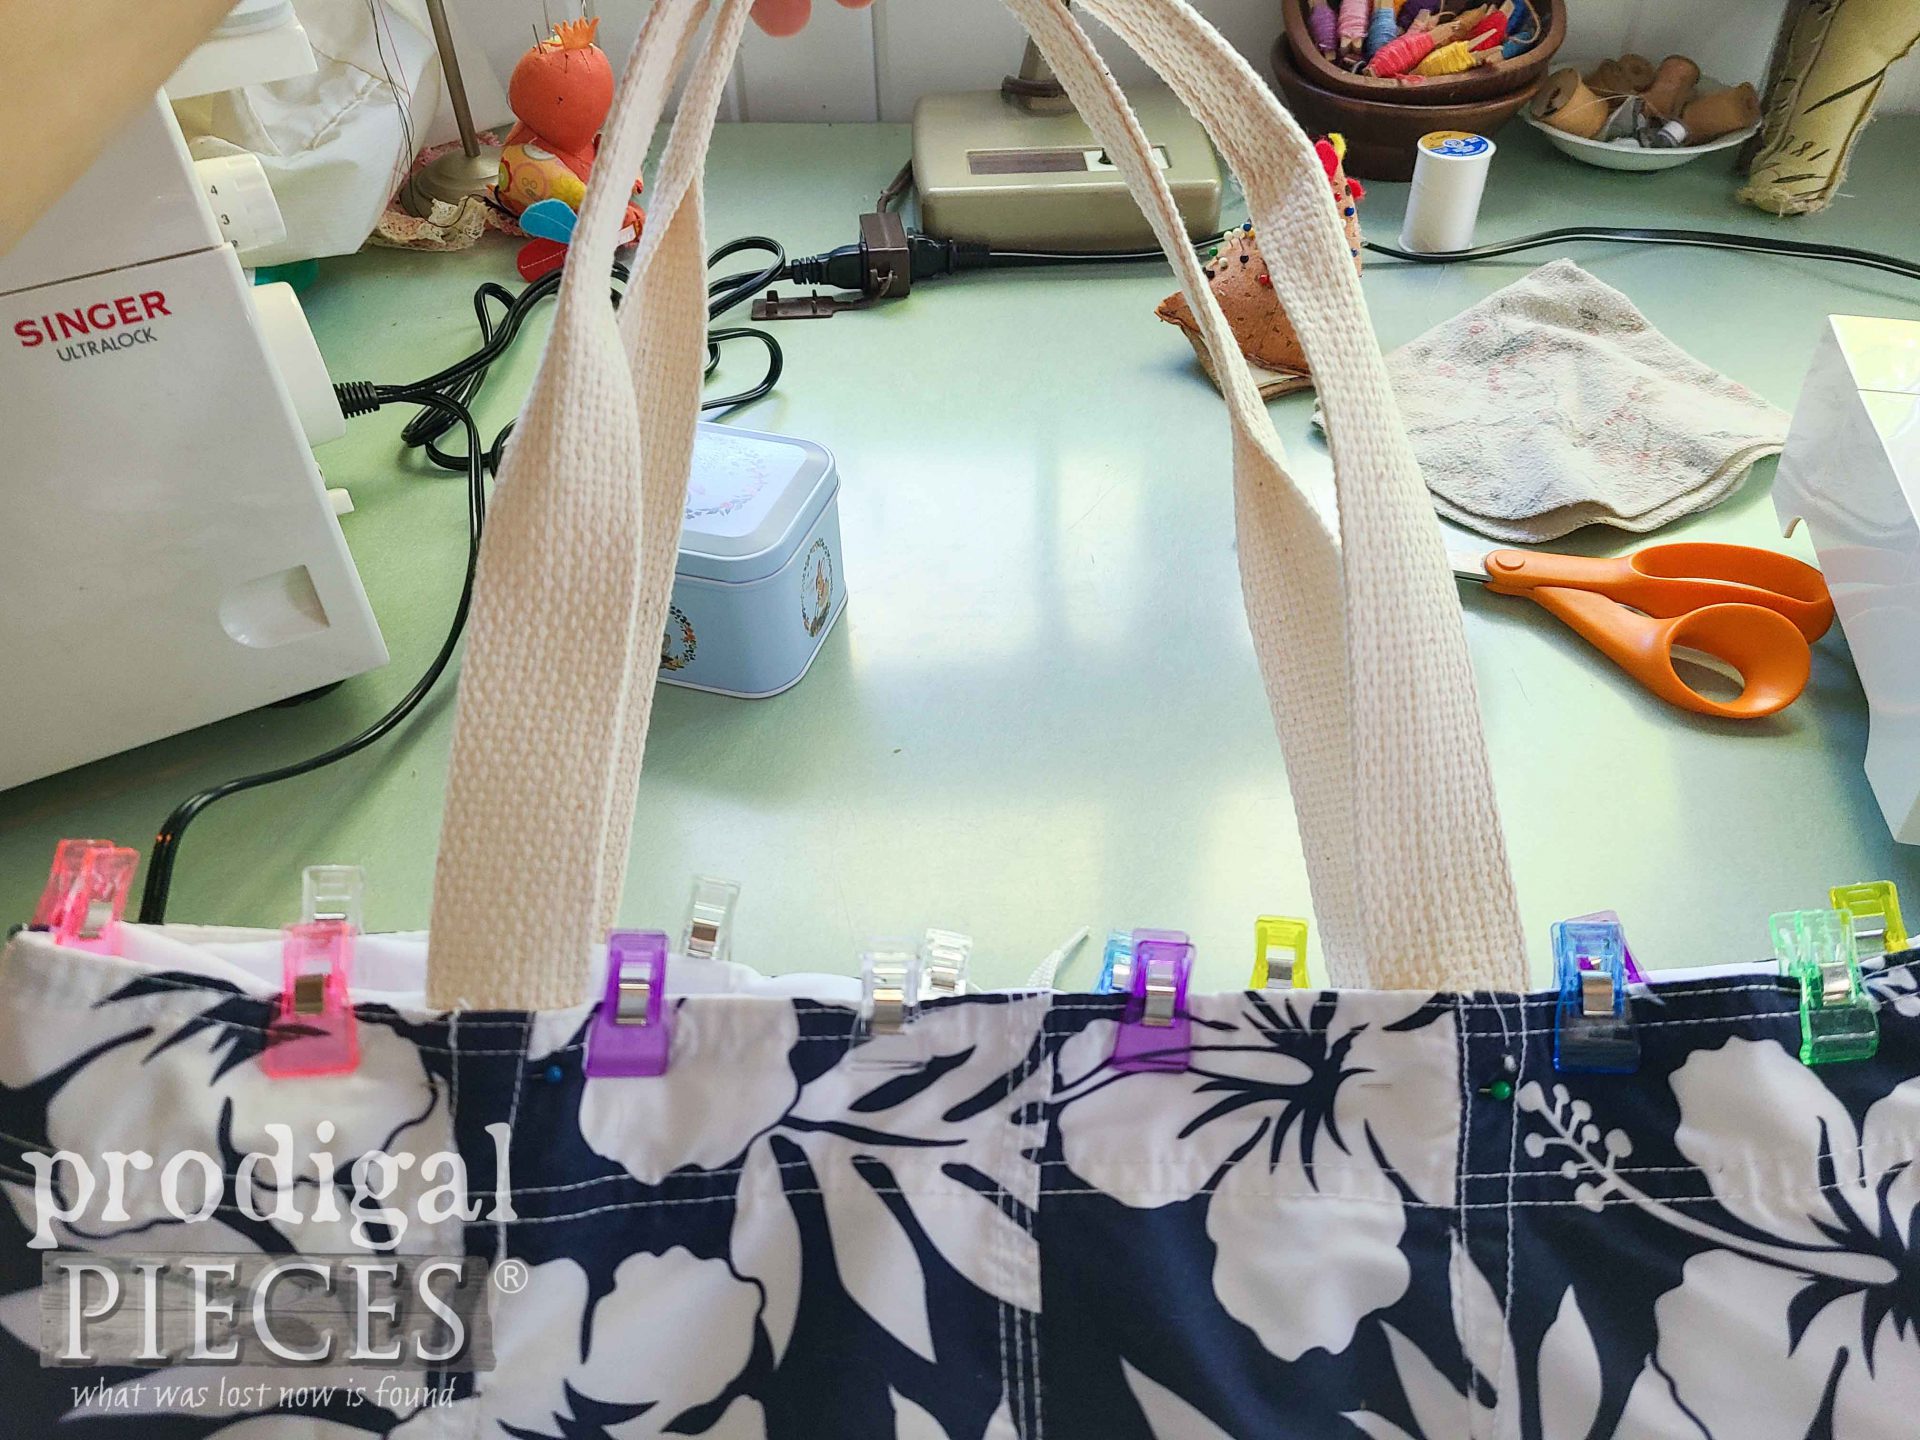
Then, I put in the insulbrite layer first, followed by the PUL inside the Insulbrite. Fold the top edge down to meet and place your straps in. Use clips to hold it all together.
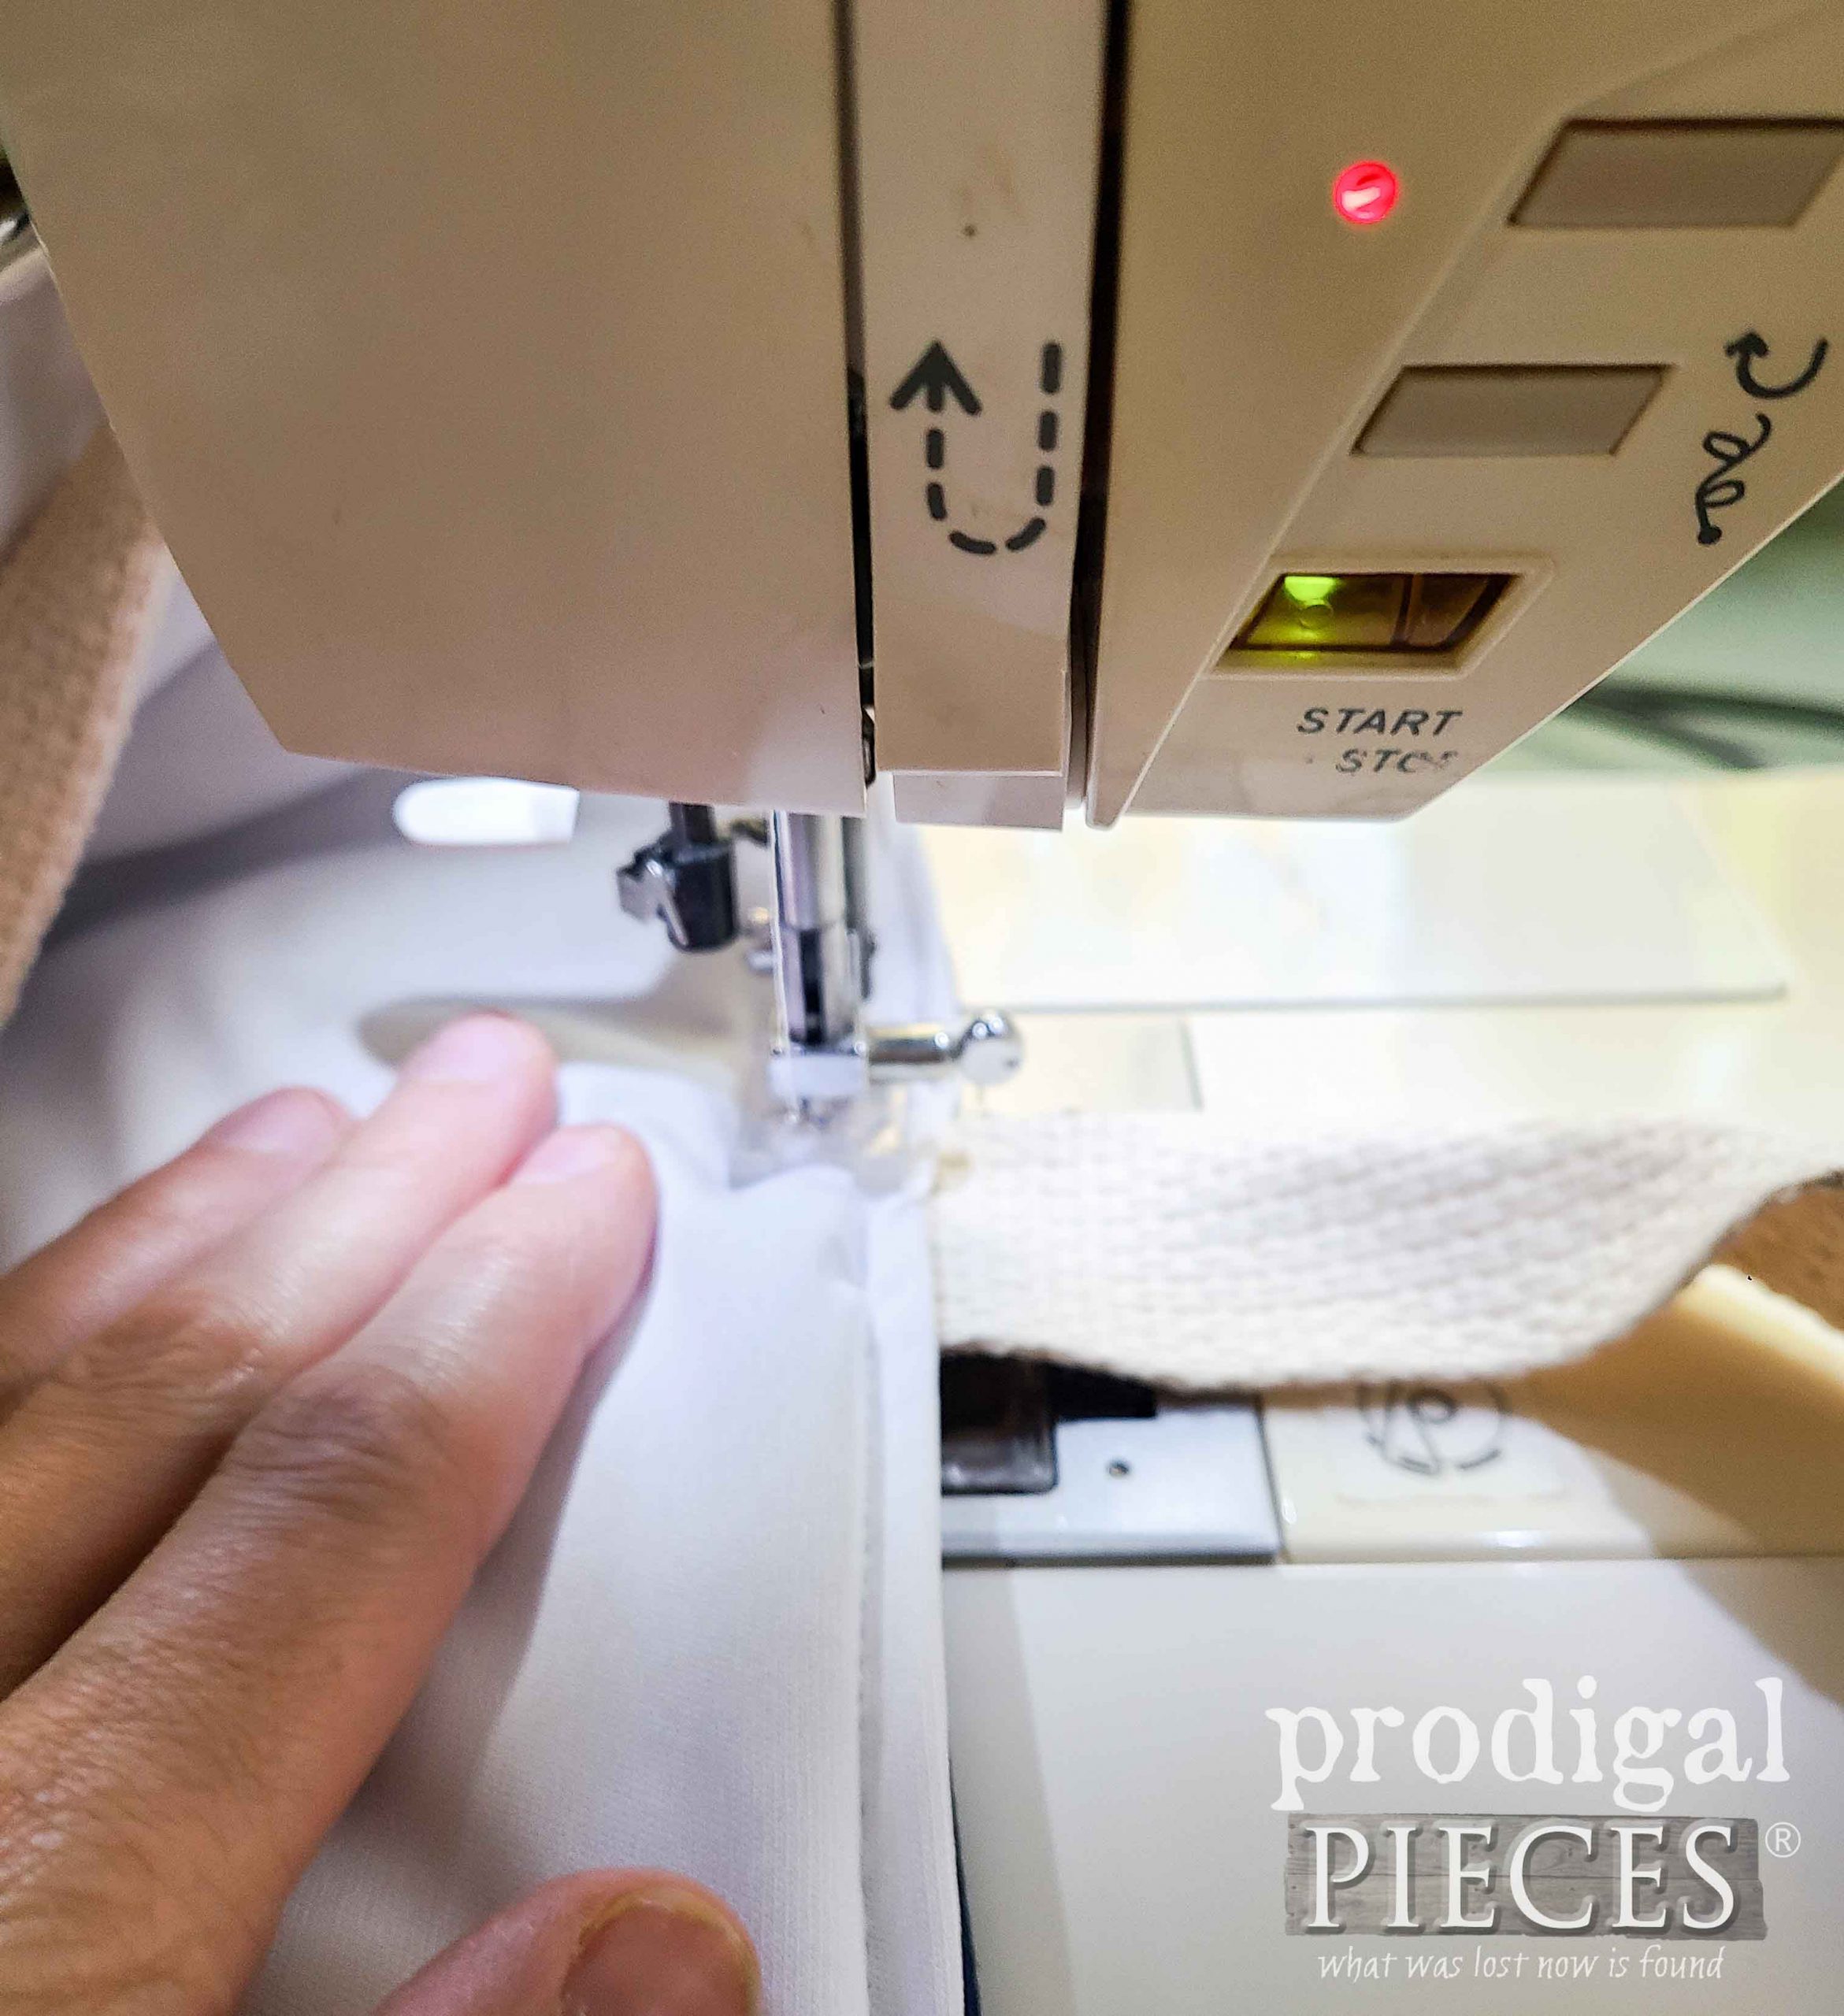
Next, double-stitch the top edge to finish and secure it all together. Just FYI, I measured my shoulder and made my straps to suit myself and my needs.
THE FINISH
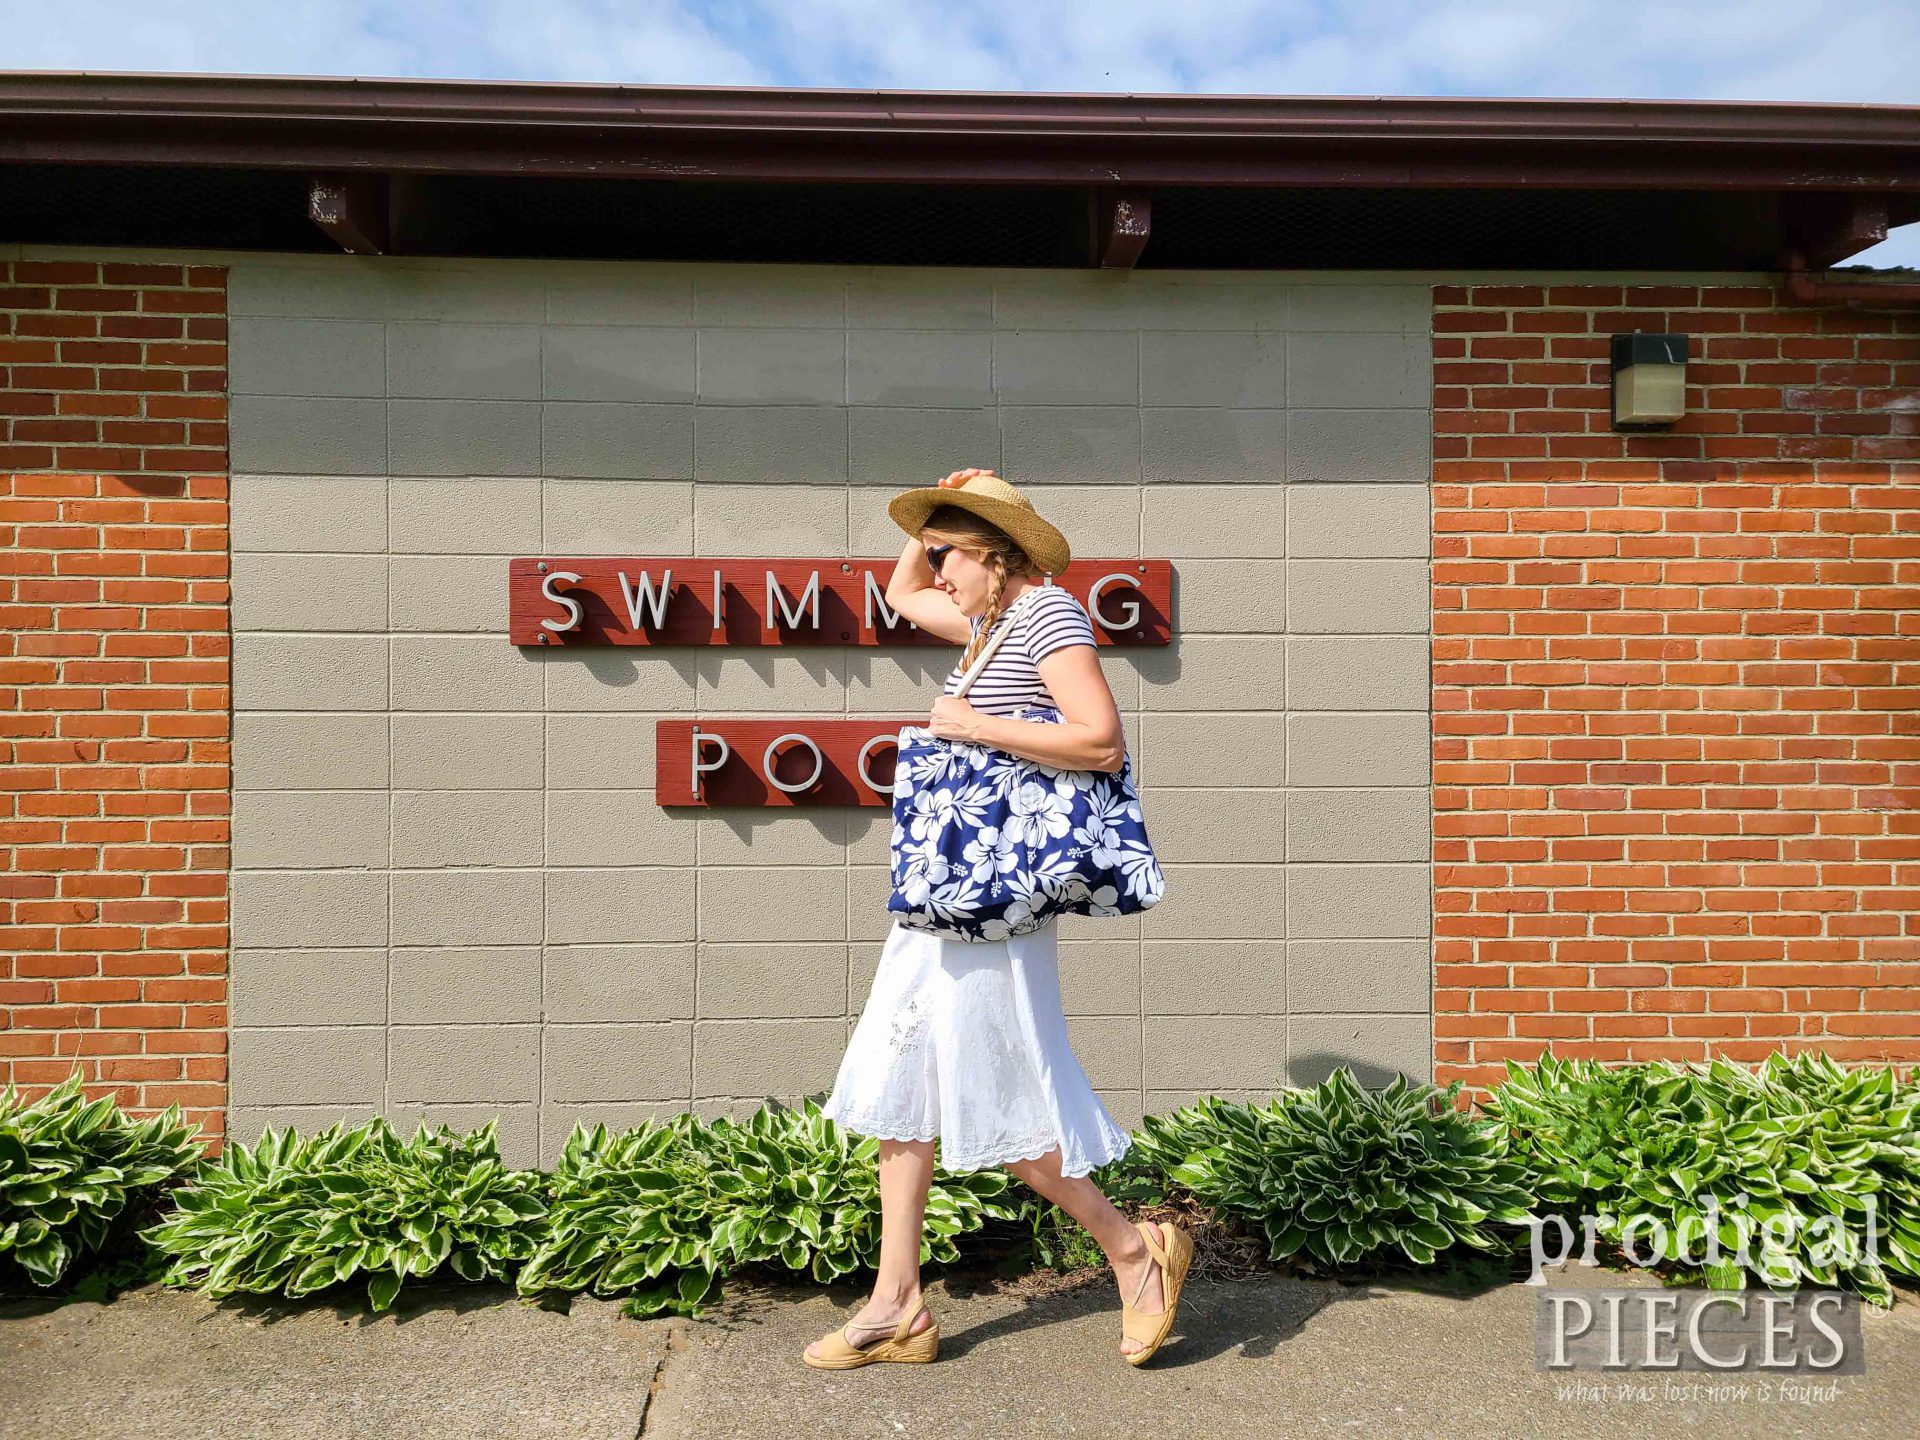
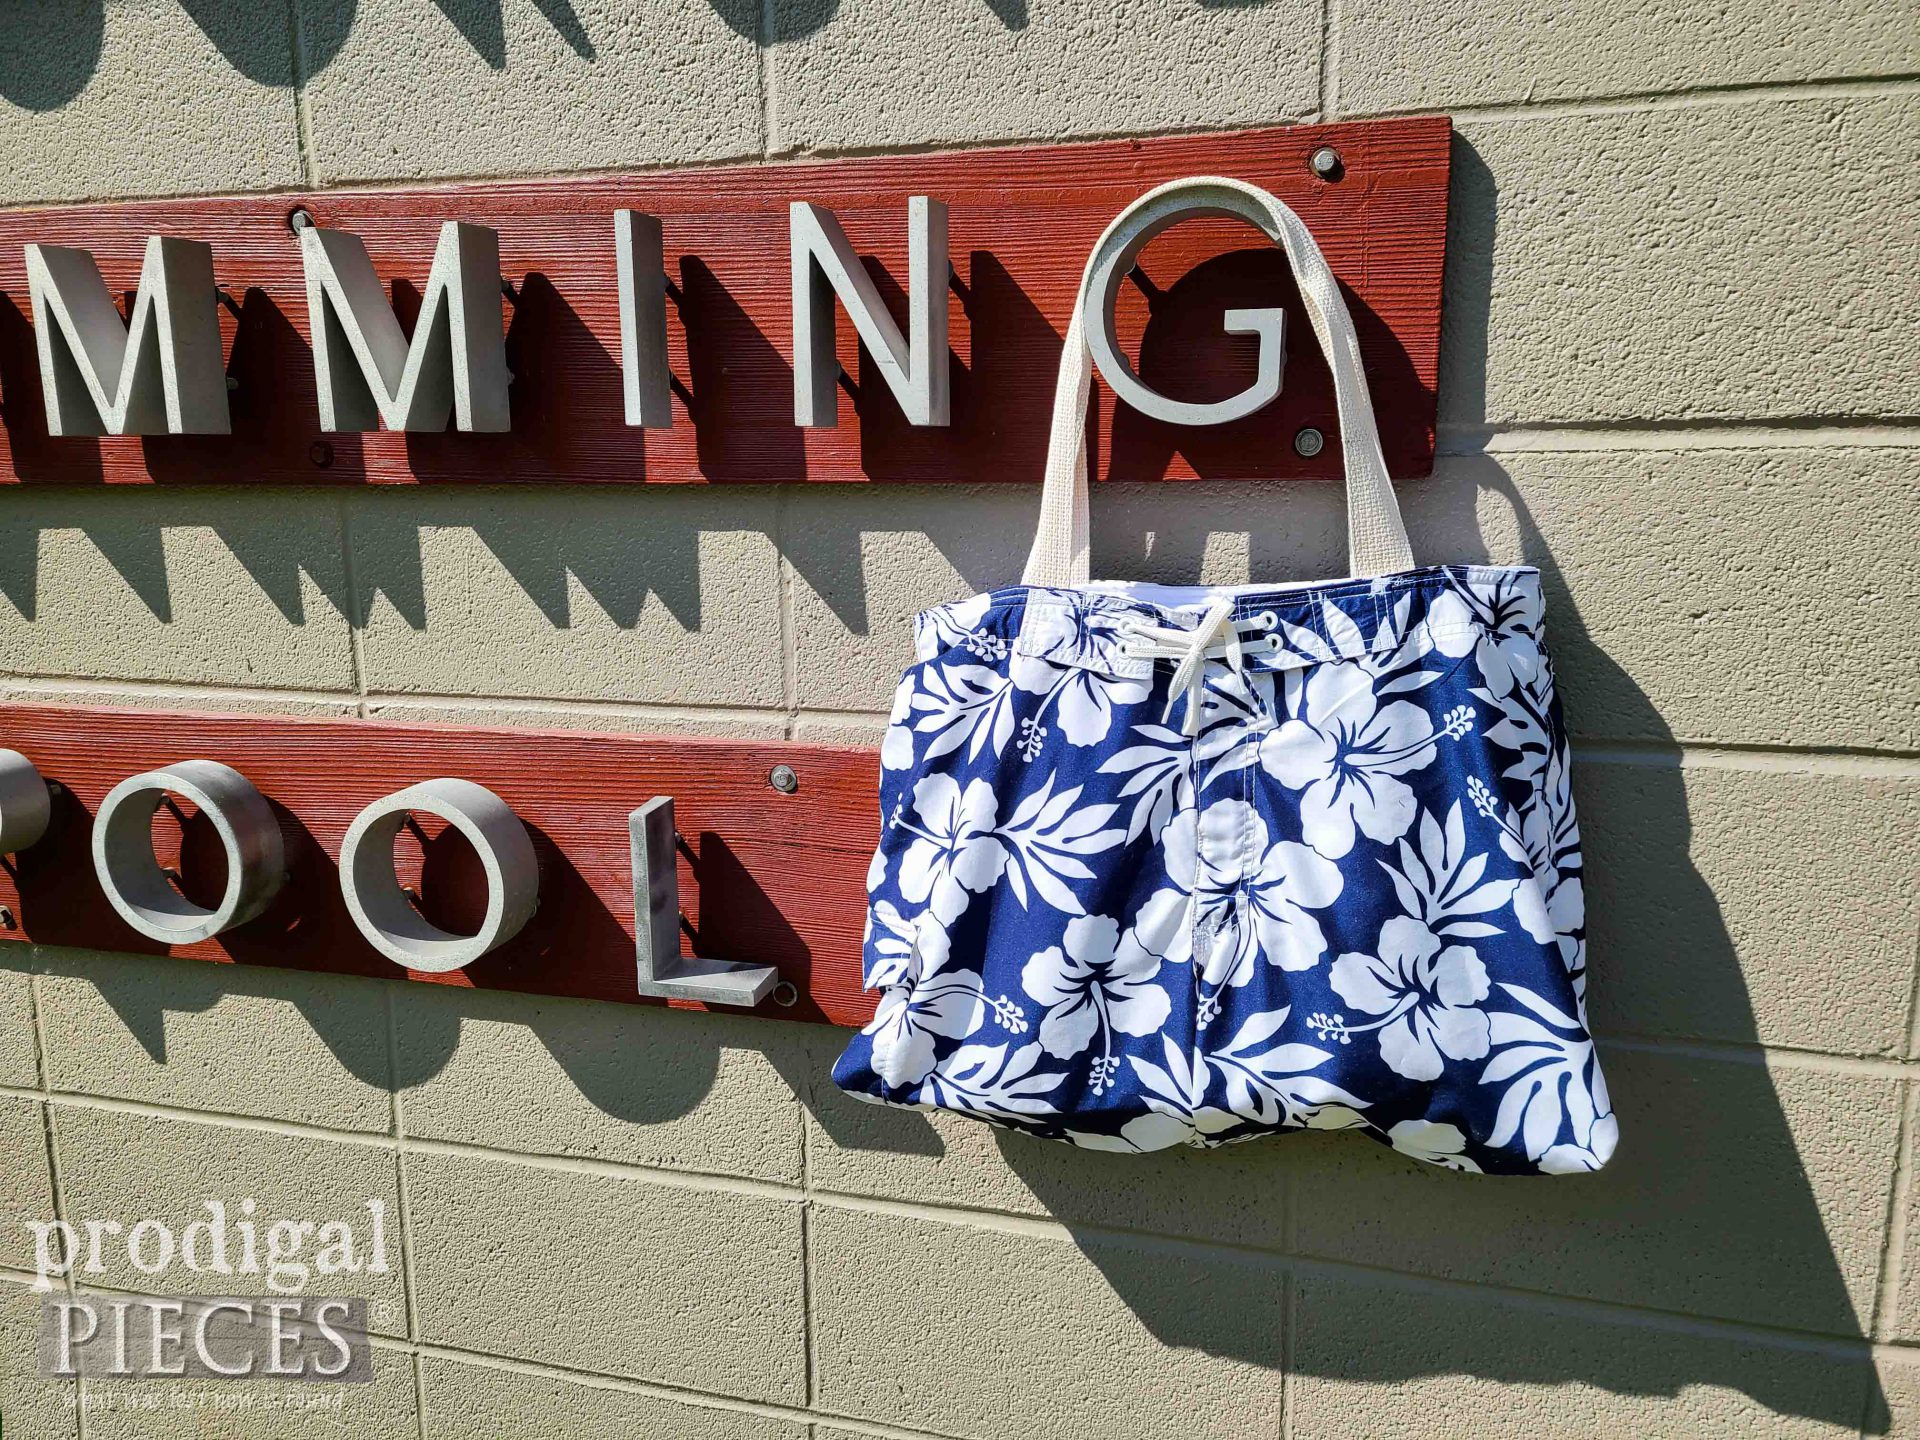
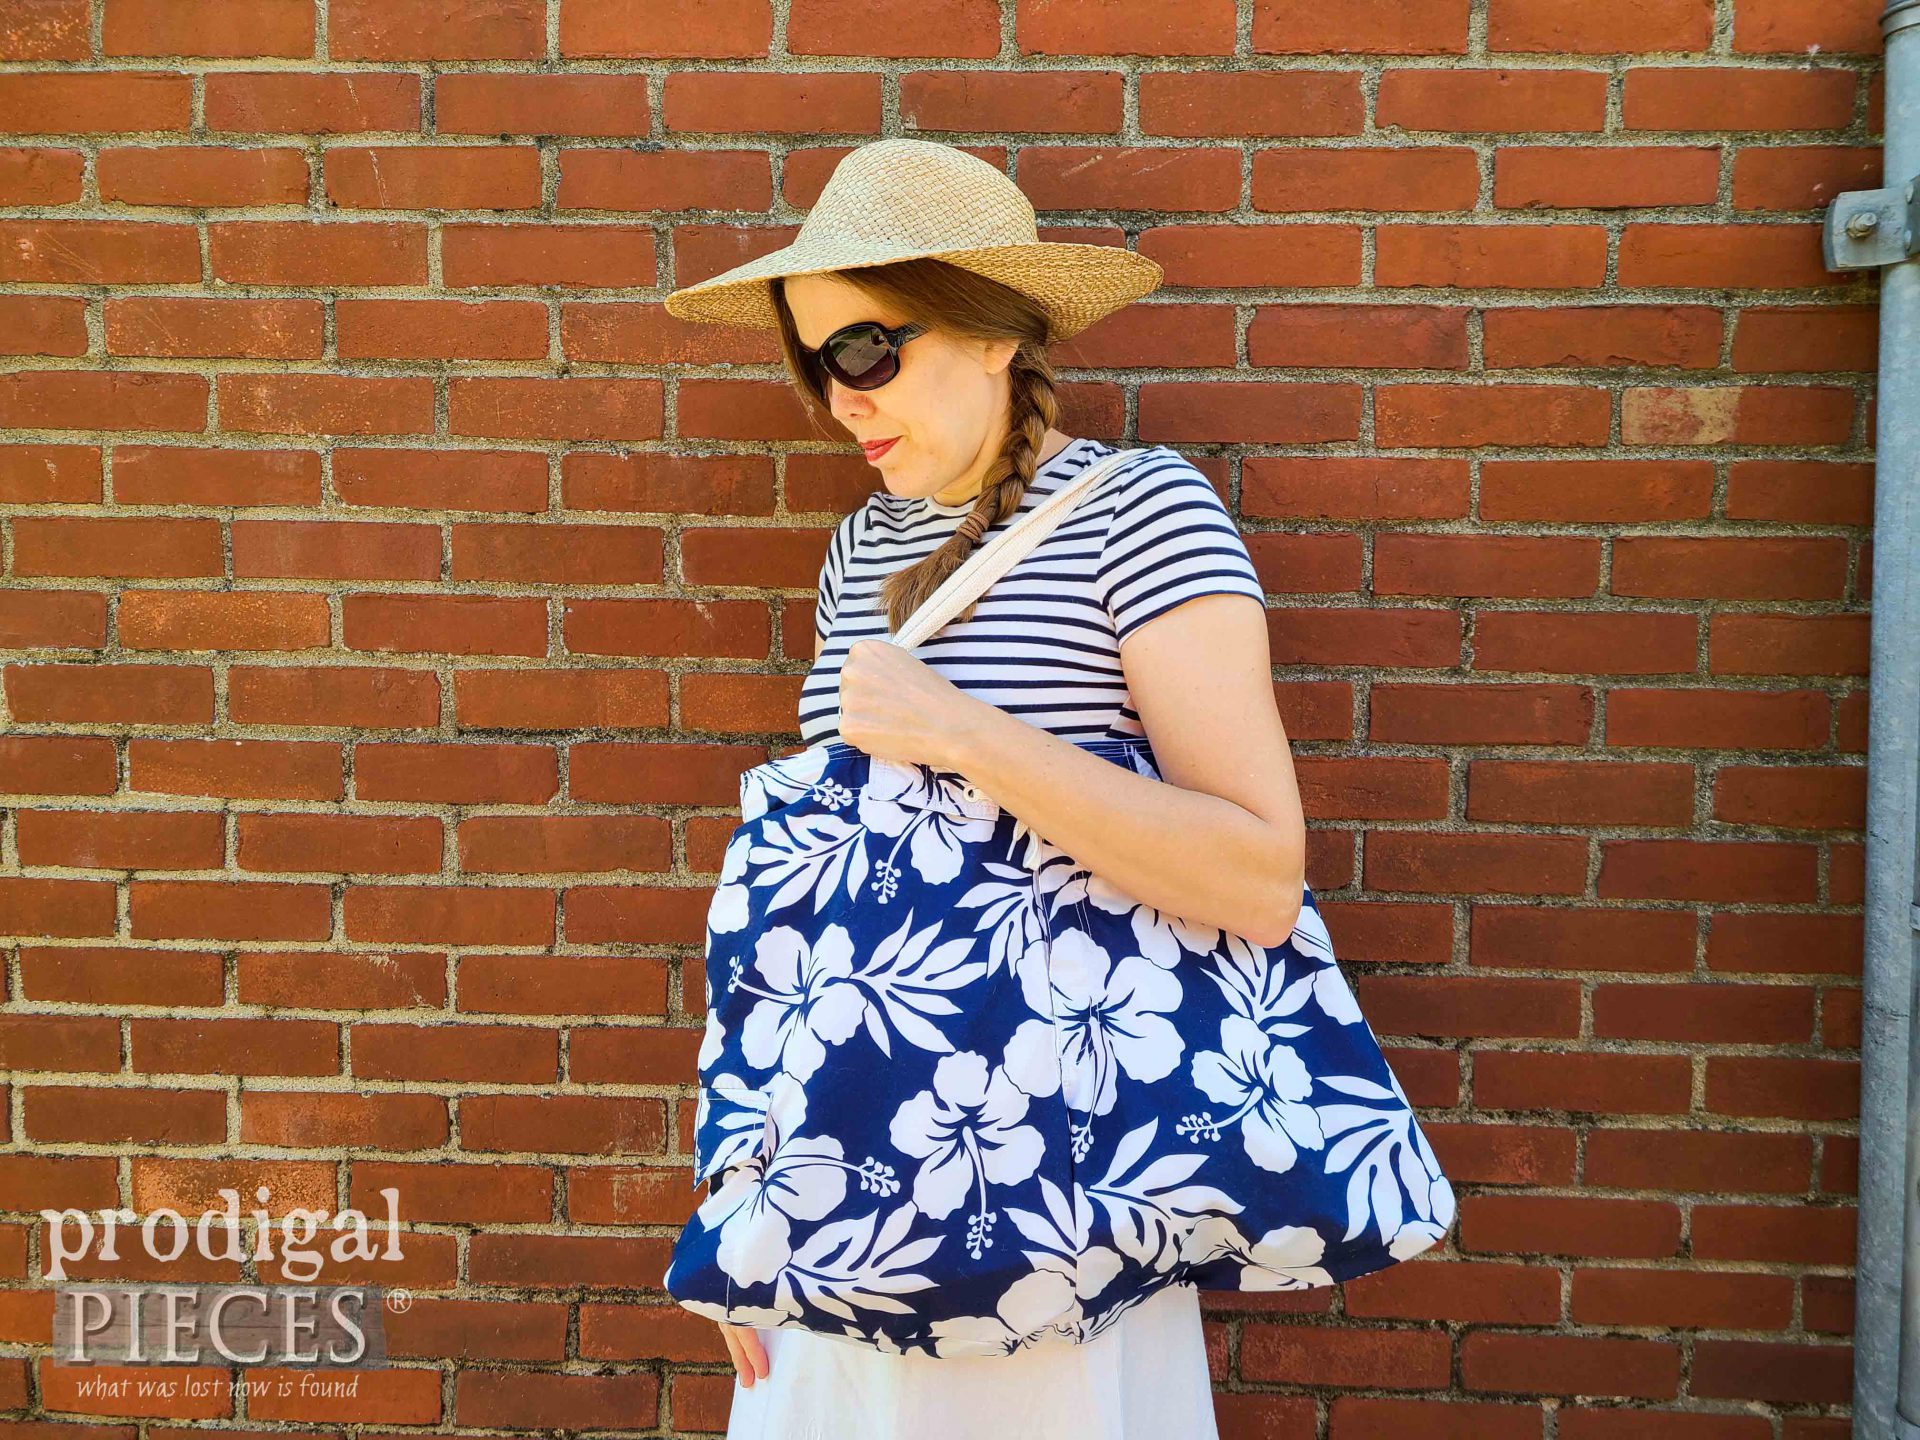
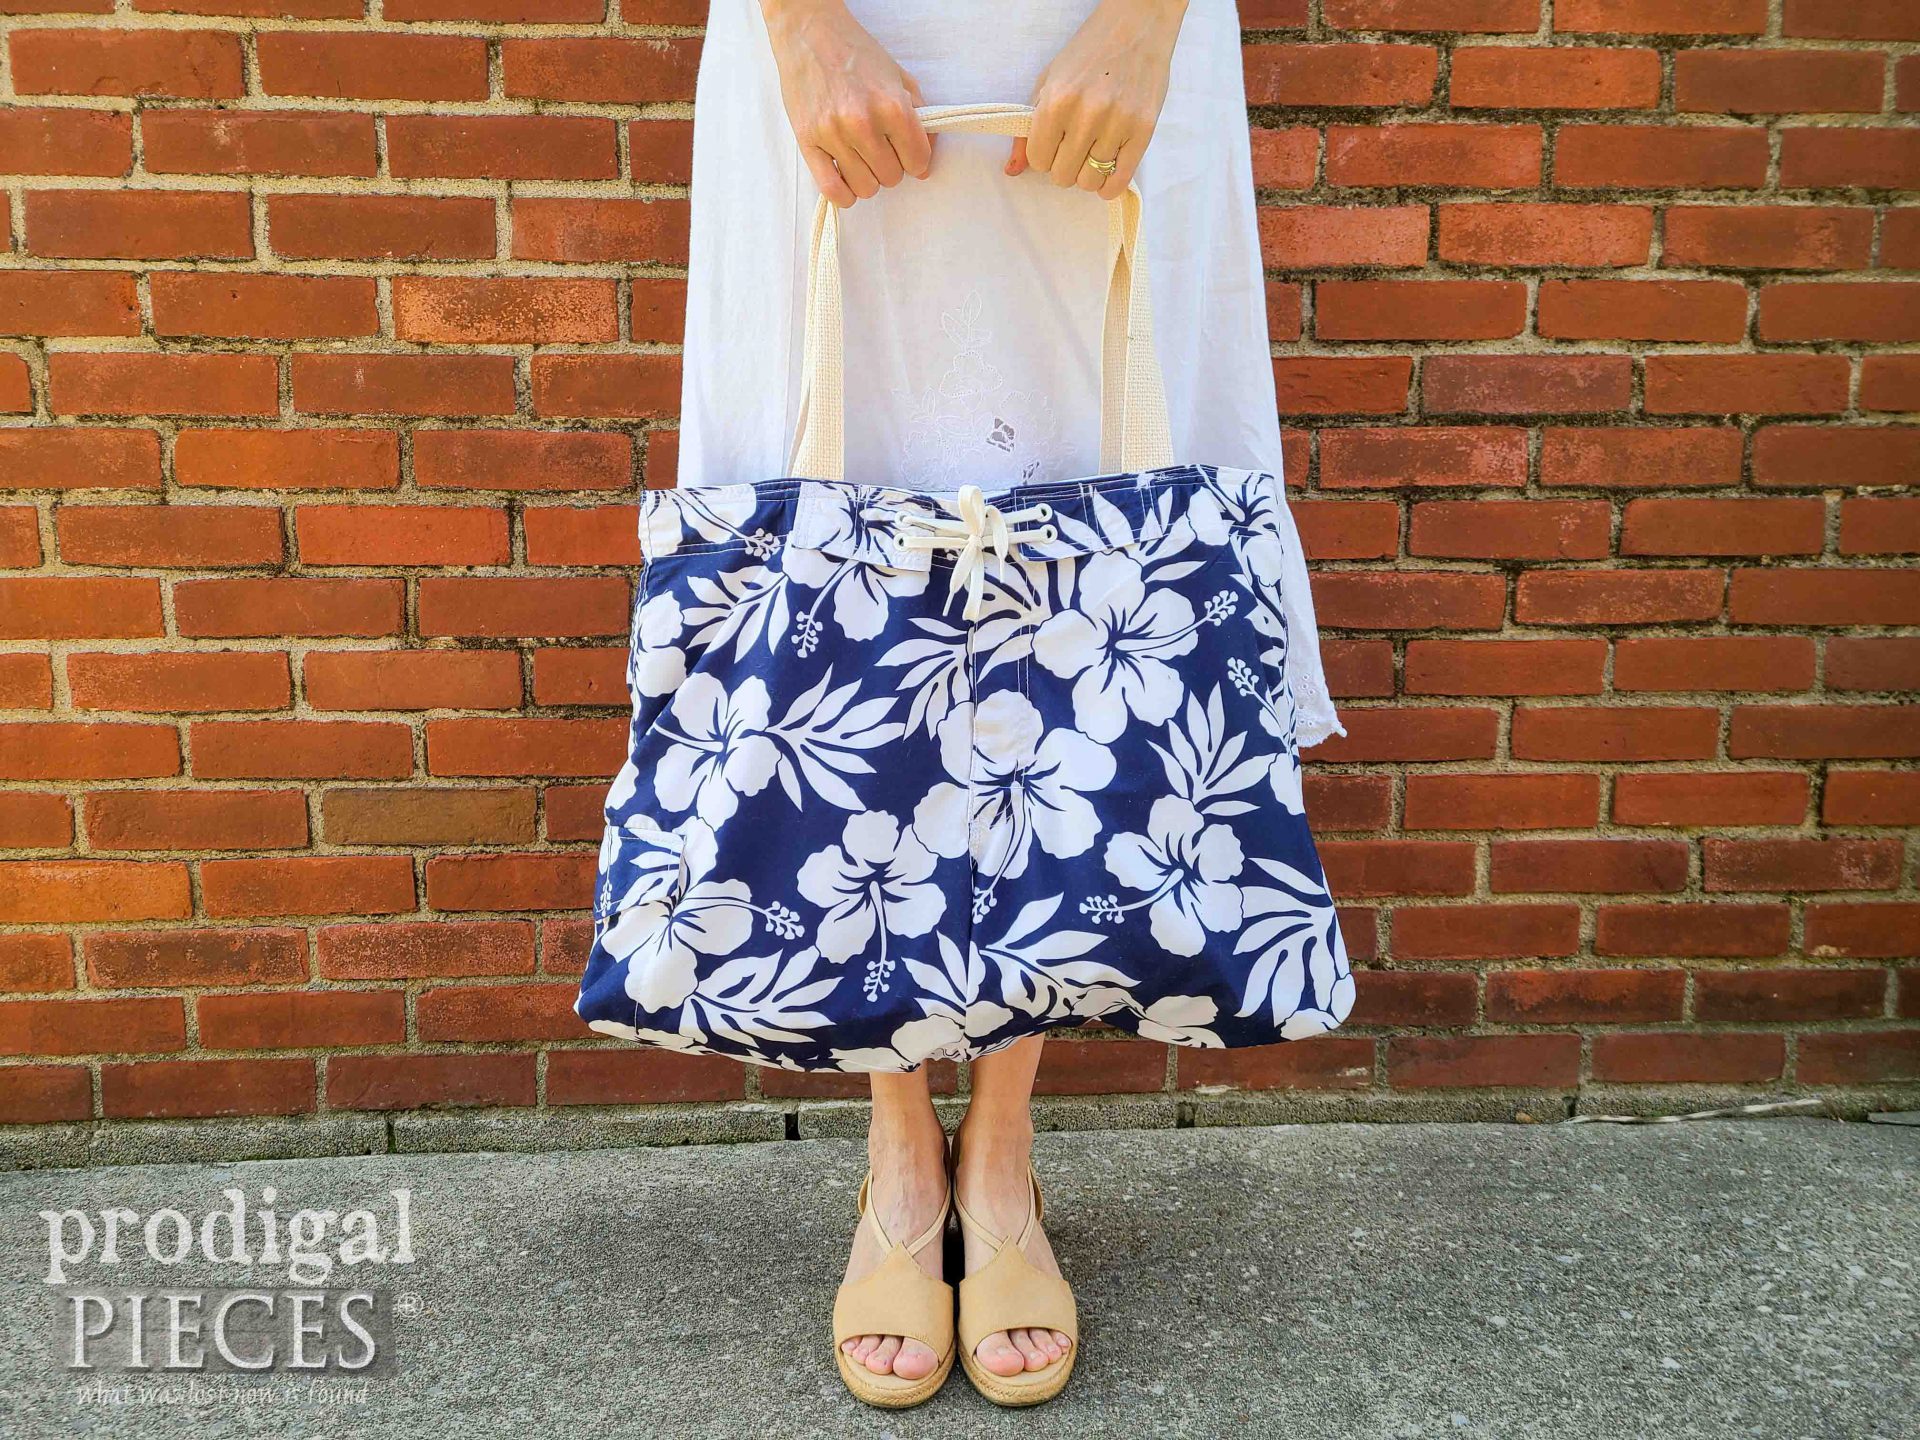
While it may not be the perfect weather yet for dunkin’ my feet in some cool water, I’m eager to hit the shores and pools with style. My insulated upcycled beach bag is ready to go!
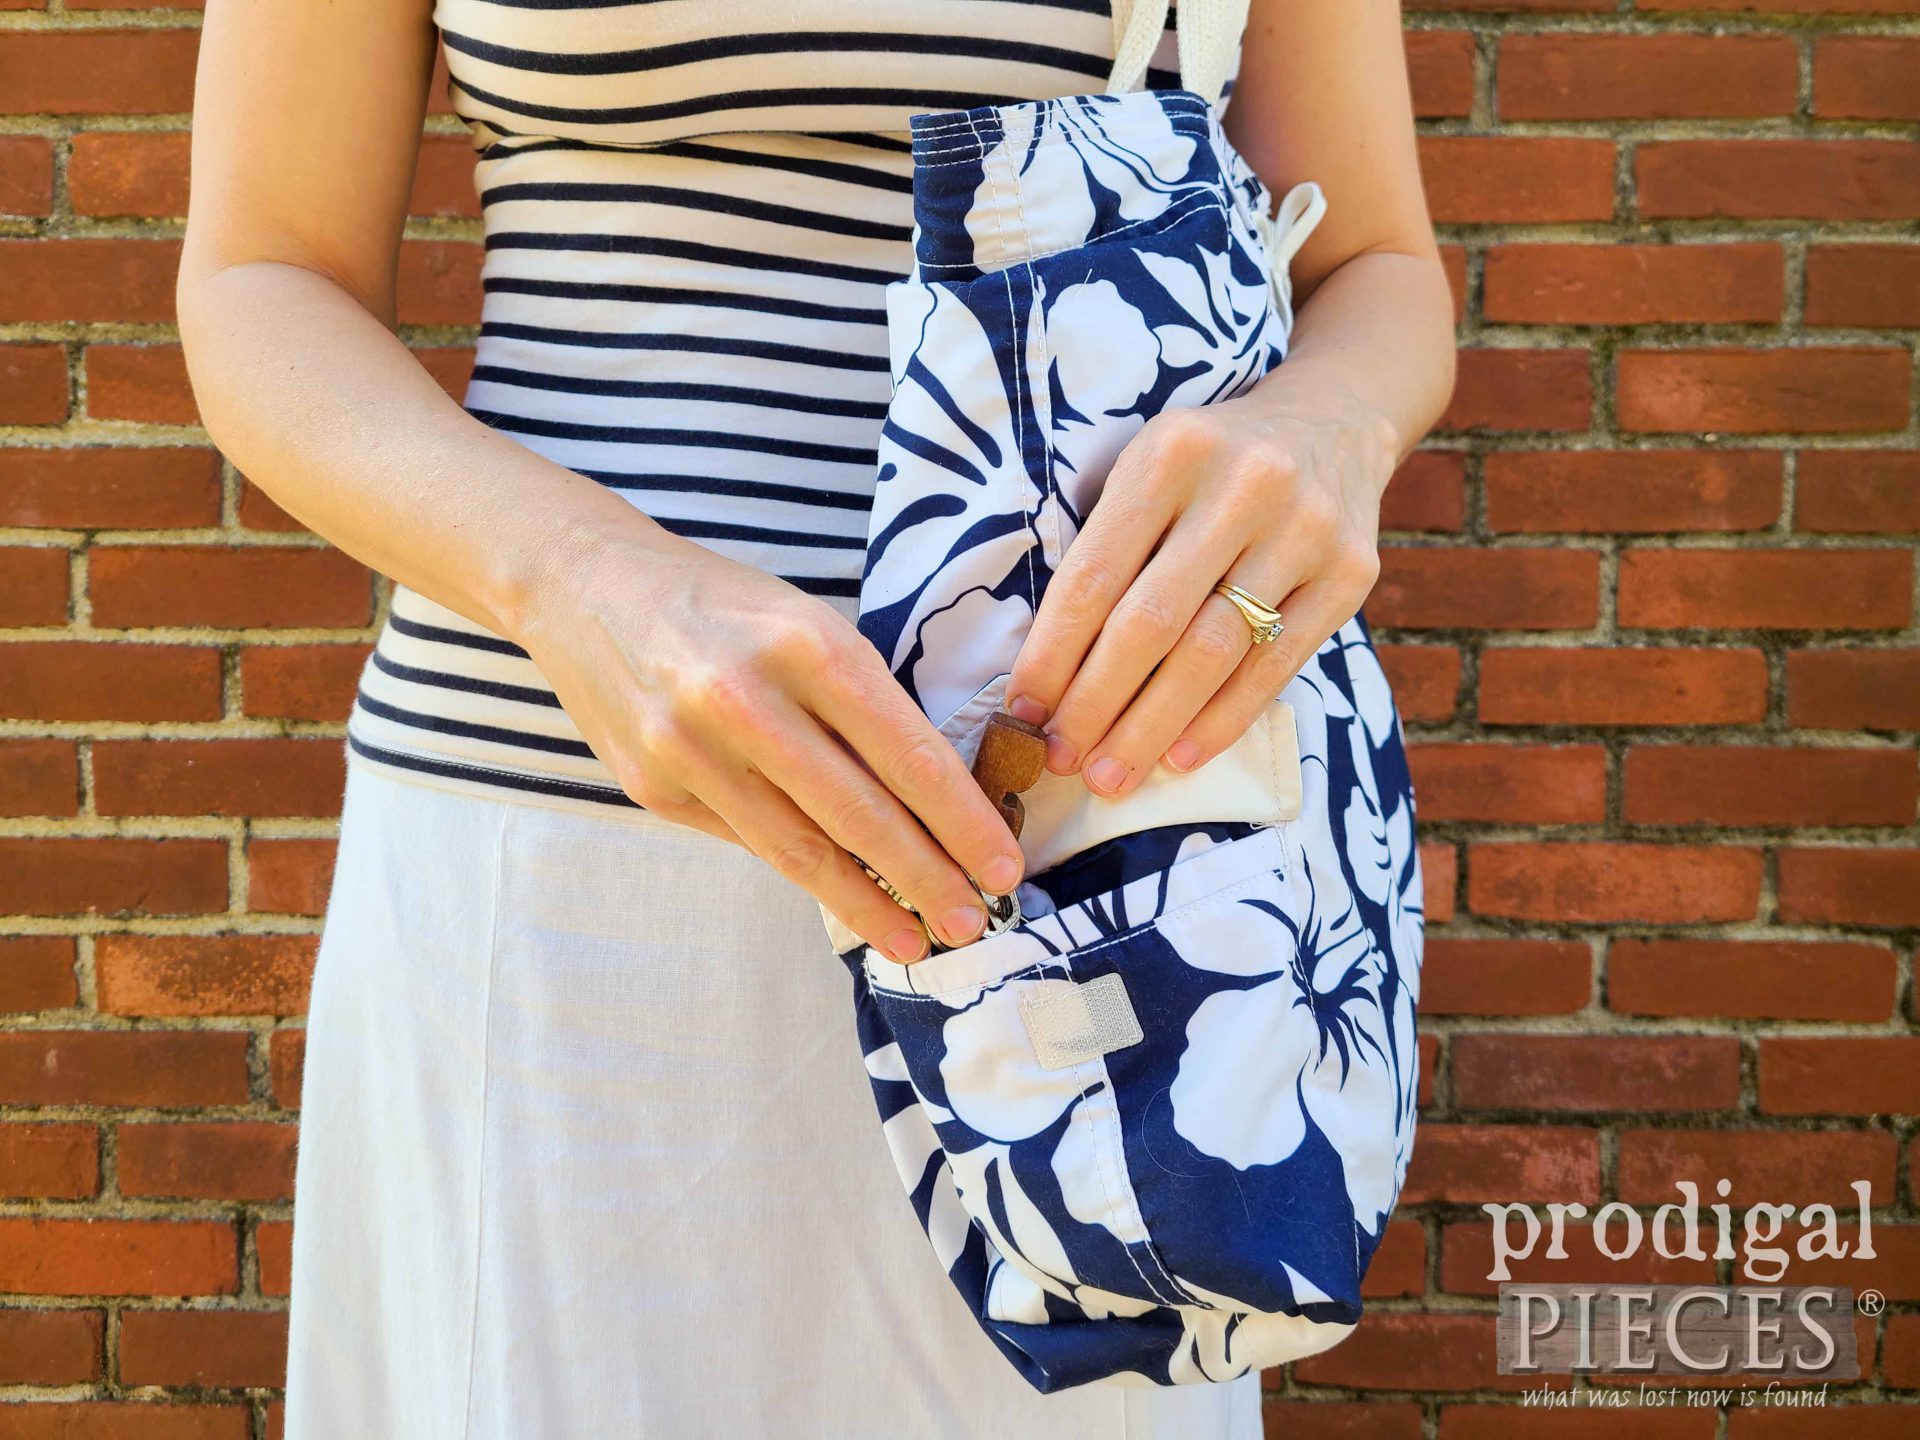
Who’d a thunk a pair of guy’s swim trunks would look so good? tee hee! I just love it! The already built-in pockets add for extra storage too.
So there you have it. You better be inspired! haha. I just have such fun creating for you. Let me know what you think and definitely if you have any questions. I’m happy to help. Think of how fun this would be to make for father’s day with dad’s old trunks filled with picnic goodies.
In addition, do pin and share to get this inspiration to others. Sharing is caring, right?
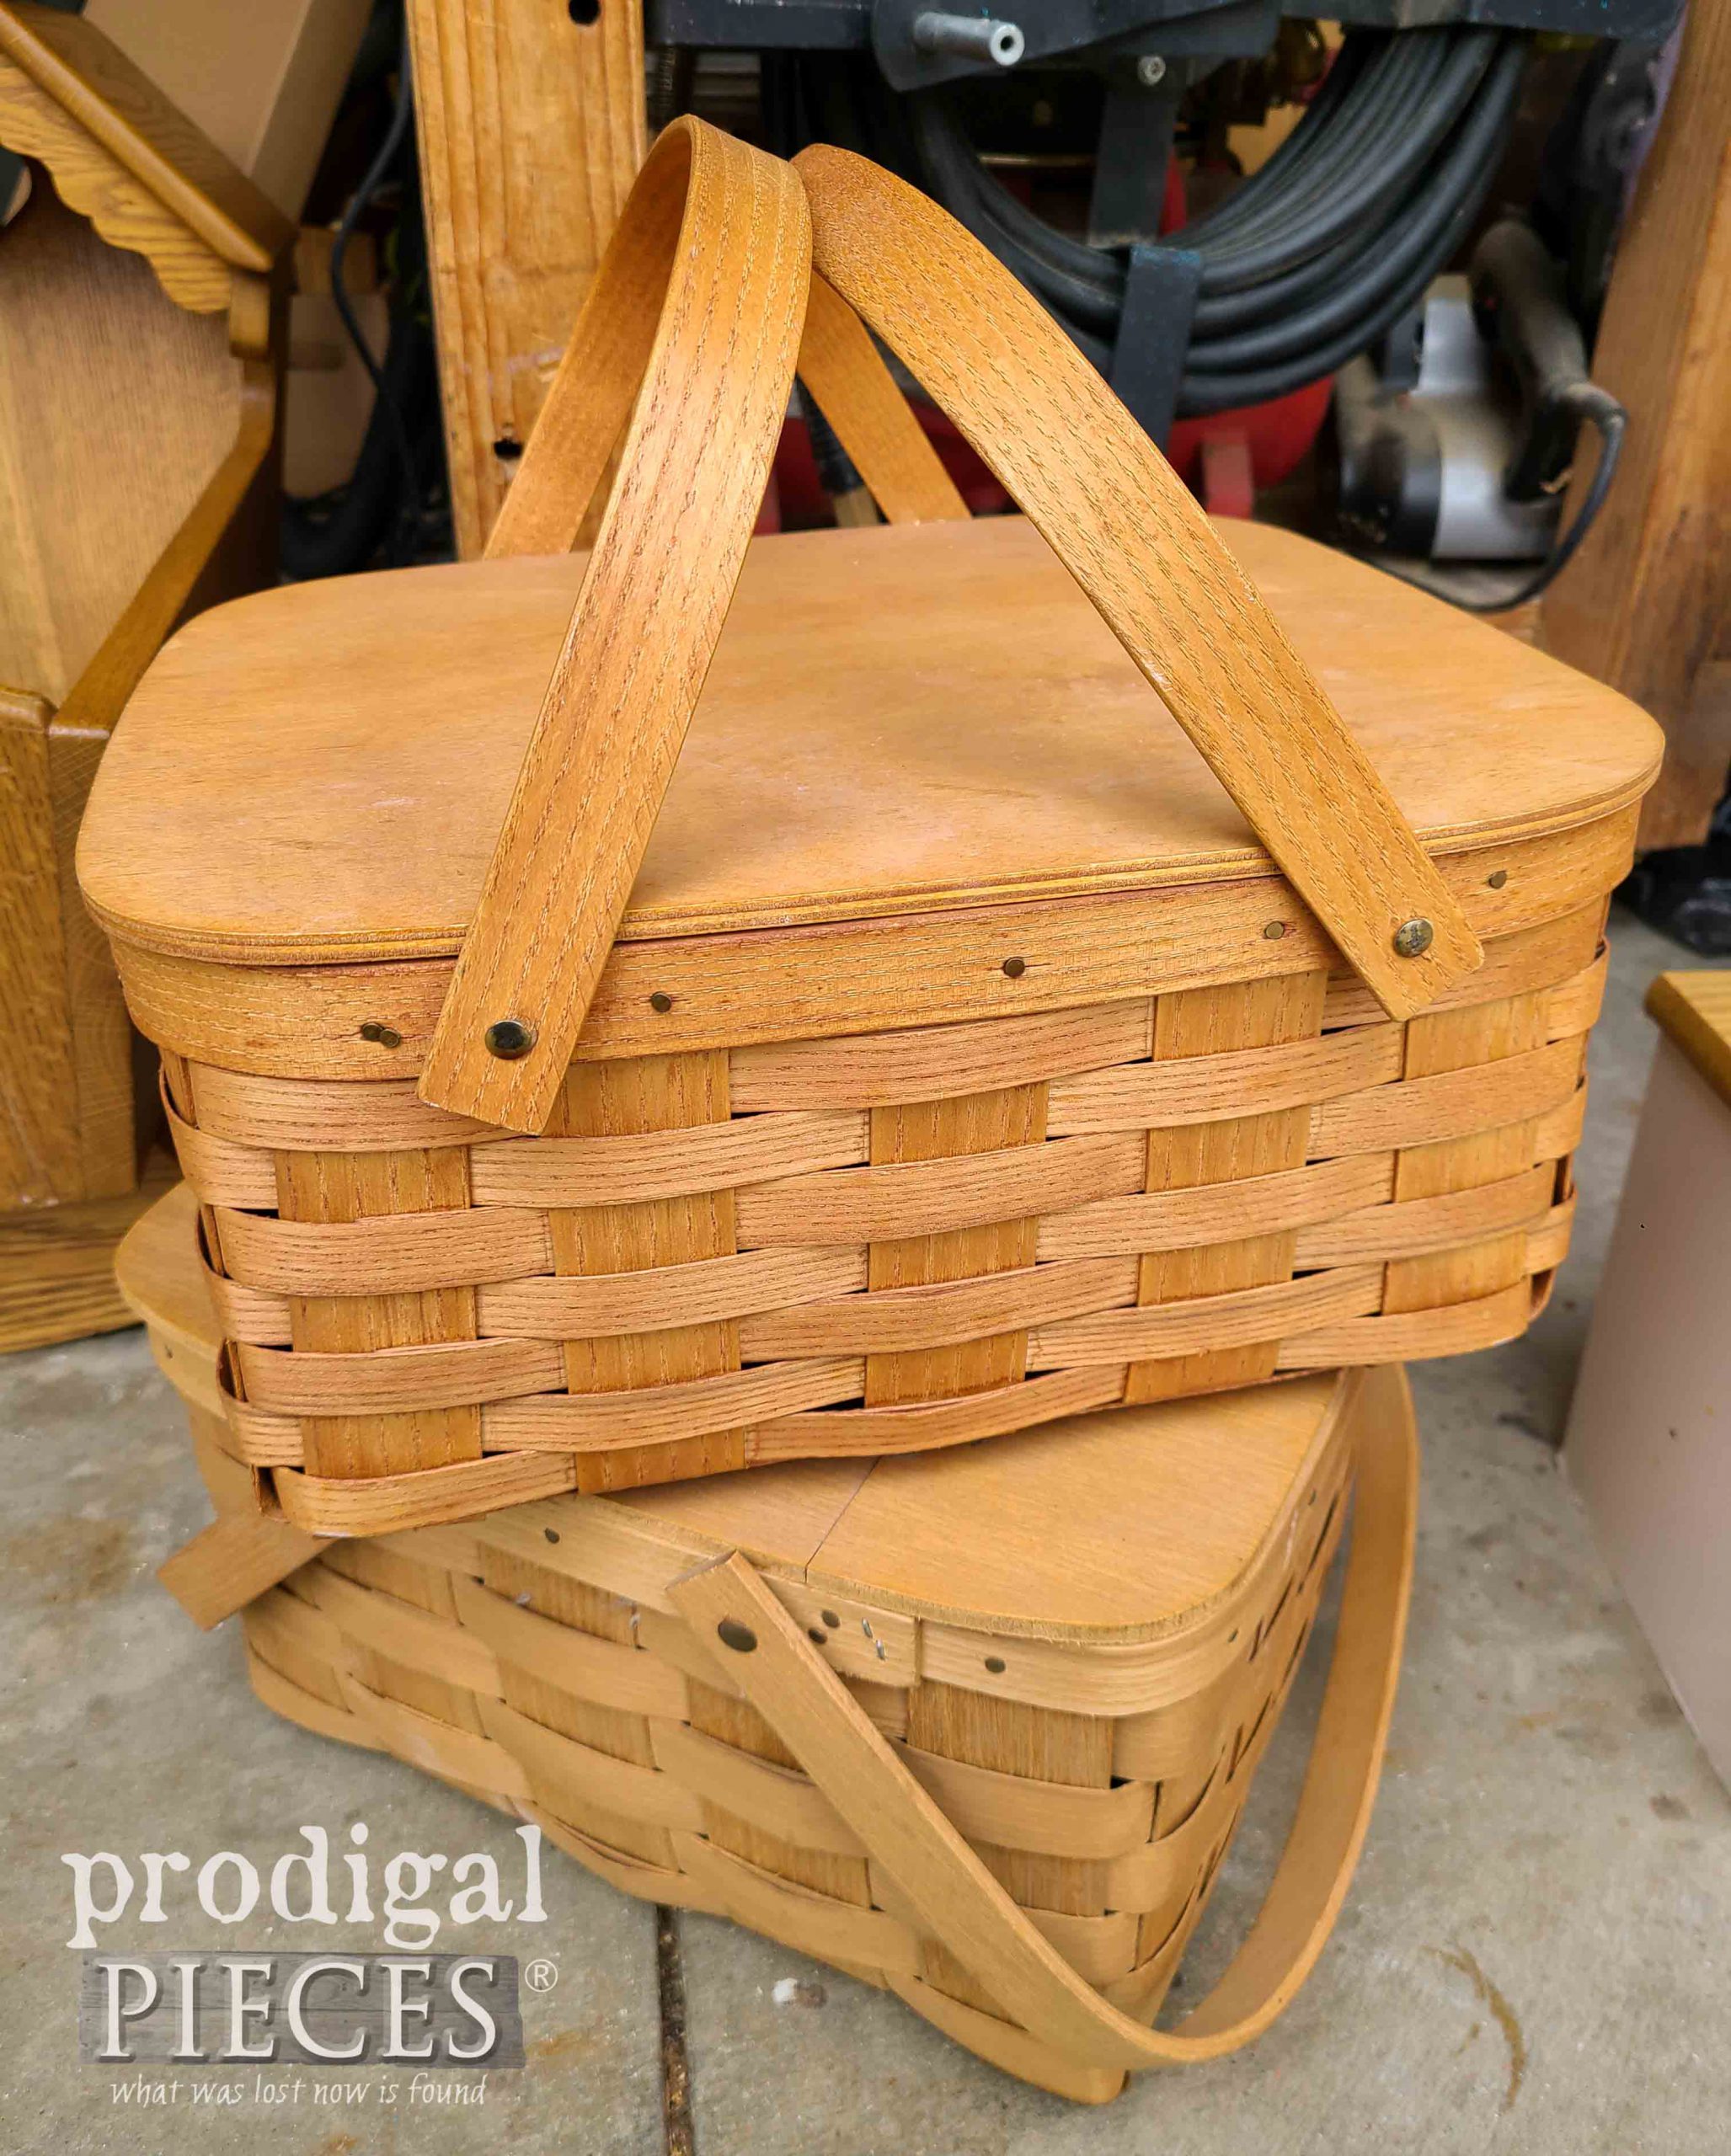
Up next, these two thrifted picnic baskets will be getting a fun new look. See their new looks HERE!
Before you go, be sure to sign up for my newsletter. Until next time!






Soooooo Clever!!!! I have tons of old swim trunks from our beach days and I’m going to definitely try this!! What great gifts!!!! ?
That’s the spirit, Rebecca! I kept hoping to find some fun retro pair. What a blast! 😀
That is super cute!
Awesome to hear. Thanks, Audra!
How clever and so useful, too. I love all your upcycle, repurpose ideas. Now, I’m off to the thrift shop to look for a swimsuit and do the same. Lovely gifts for friends at the beach. God bless!
Yahoo!! That just made my day, Jane. Thank you!!
My husband has these swimming trunks from a trip to Hawaii about 15 years ago. I now know what to do with them. lol
bwahaha…love that you still have them! 😀
Very clever idea for recycling swim trunks. I’ll remember this idea when Mr. Frugalista retires his current sets of swim trunks.
tee hee. Maybe if you do it quick he won’t notice. haha!
Very nice! I used to make old jeans into this kind of tote bag. I never thought of insulating, although I did put a mesh bottom in some for the sand to sift out of for beach use. ? Swim fabric is a very cool twist!
Love that idea! They are so handy.