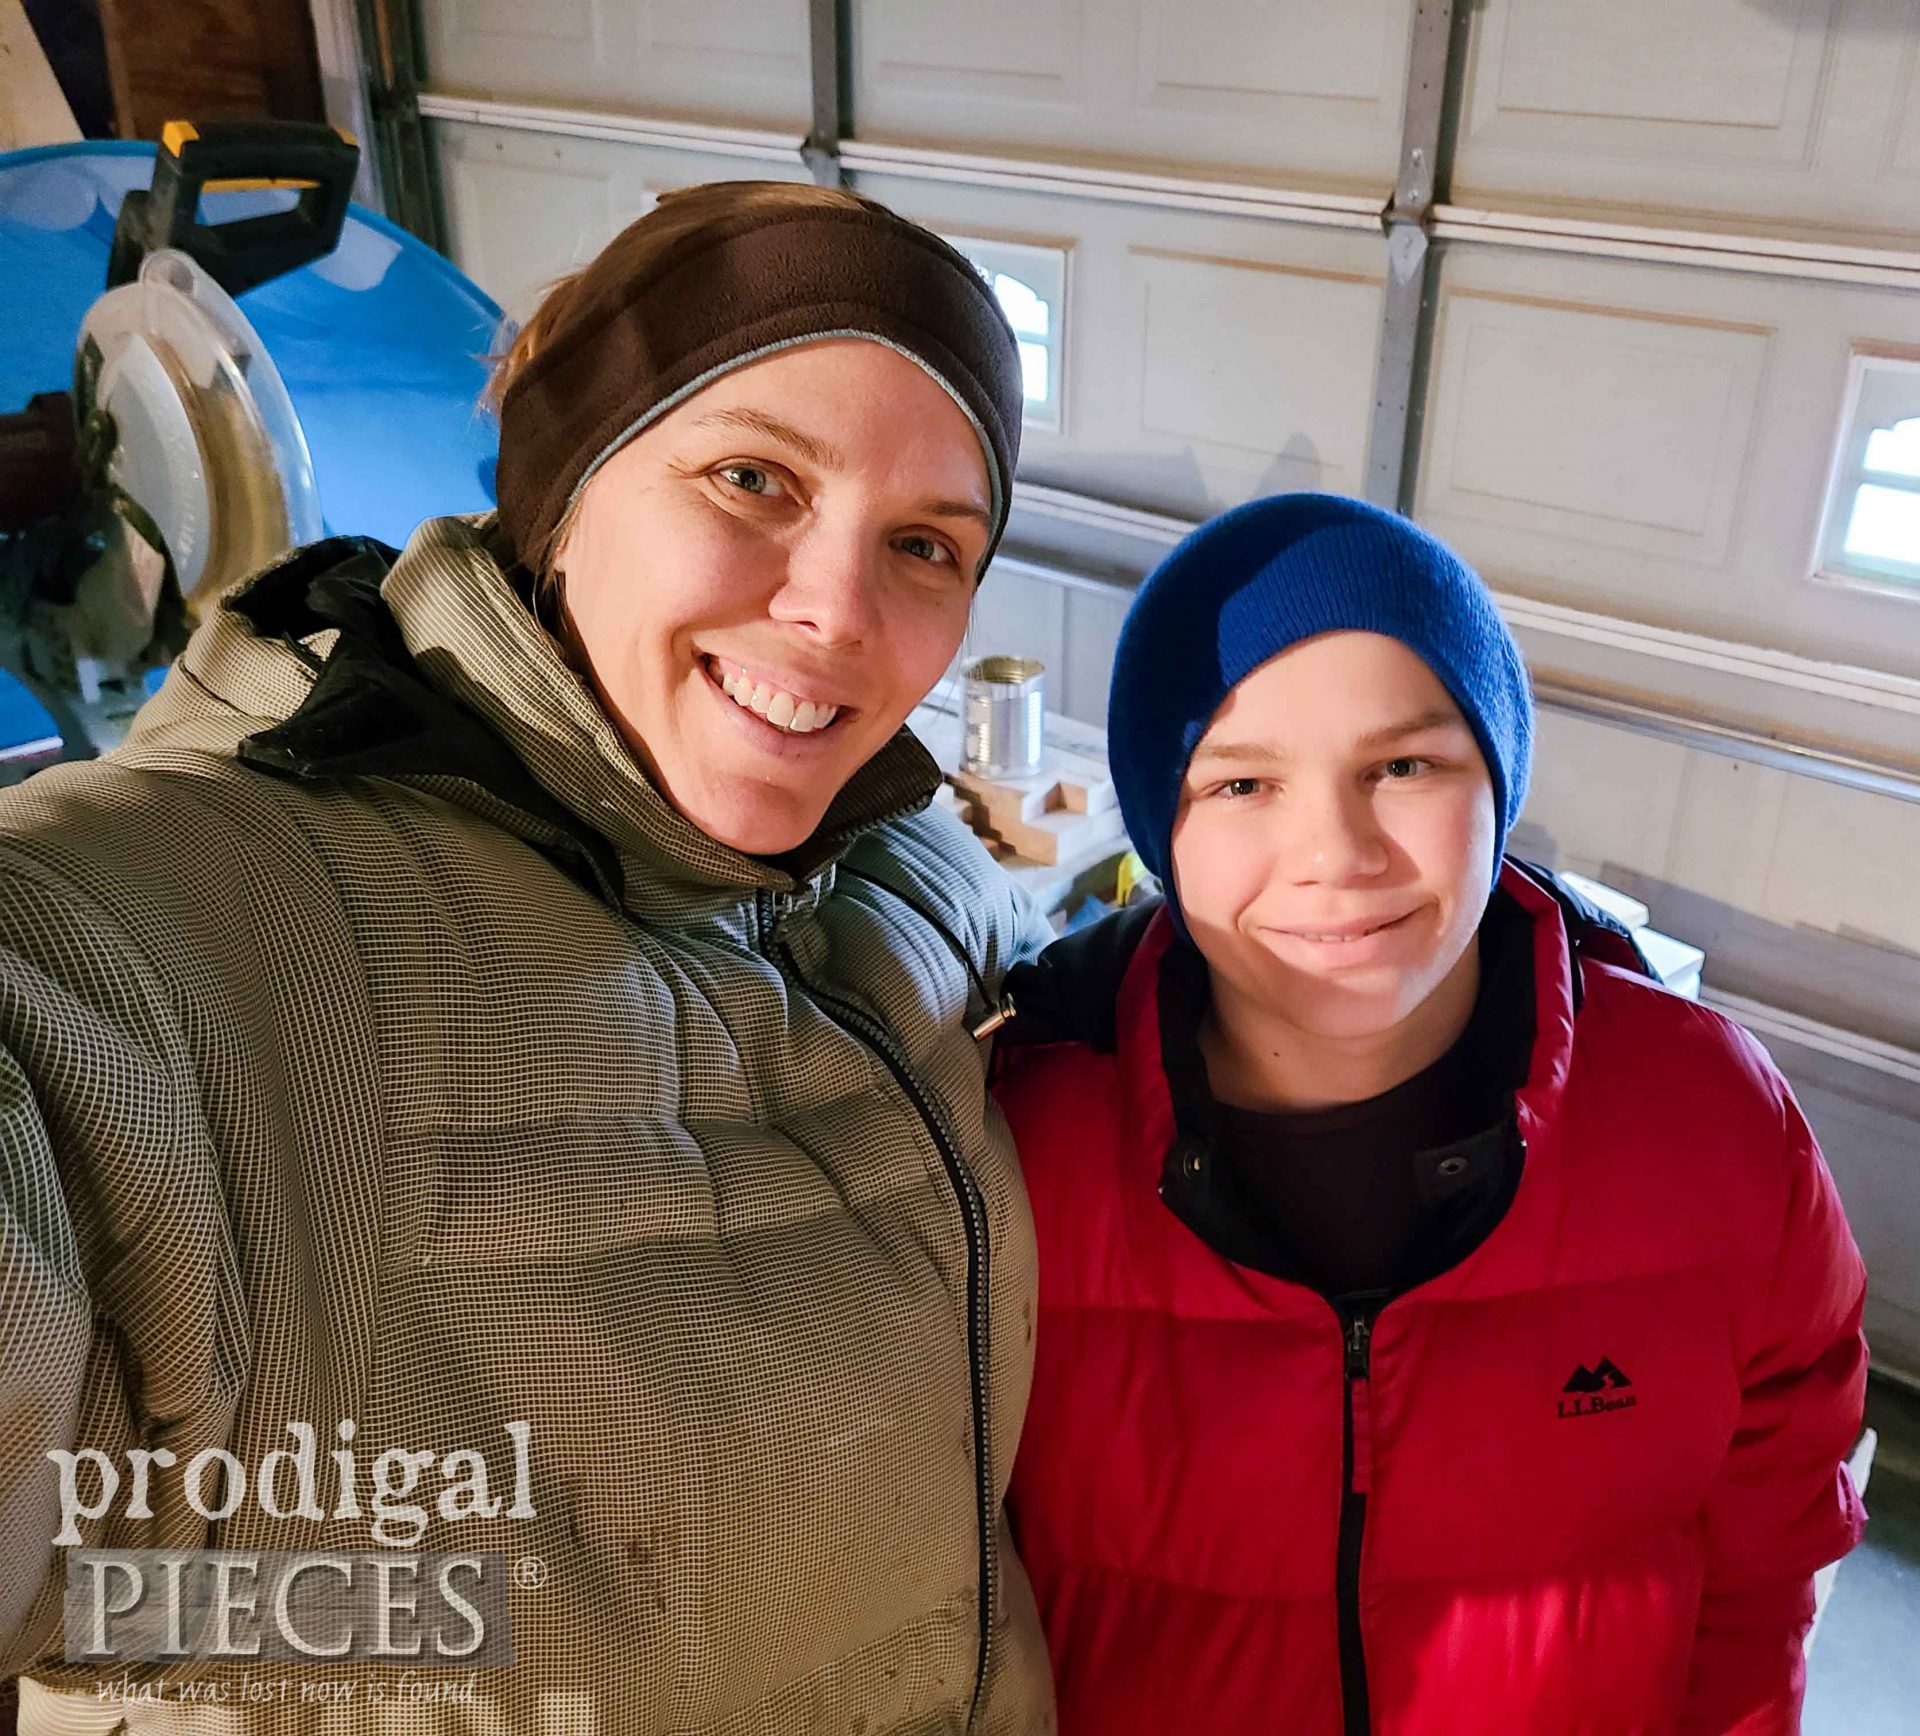
One of the fondest memories I have as a kid is working alongside one of my parents. Whether it was handing nails to my dad while shirtless as he built their log home, or gardening outside with my mom as I snitched raspberries like a hamster. Either way, it’s important to me to make time for my six children and share life skills to help them grow. Today is our Prodigal Pieces Kids CREATE. This time around we are creating a DIY birdhouse from scrap wood in my stash. Won’t you join us?
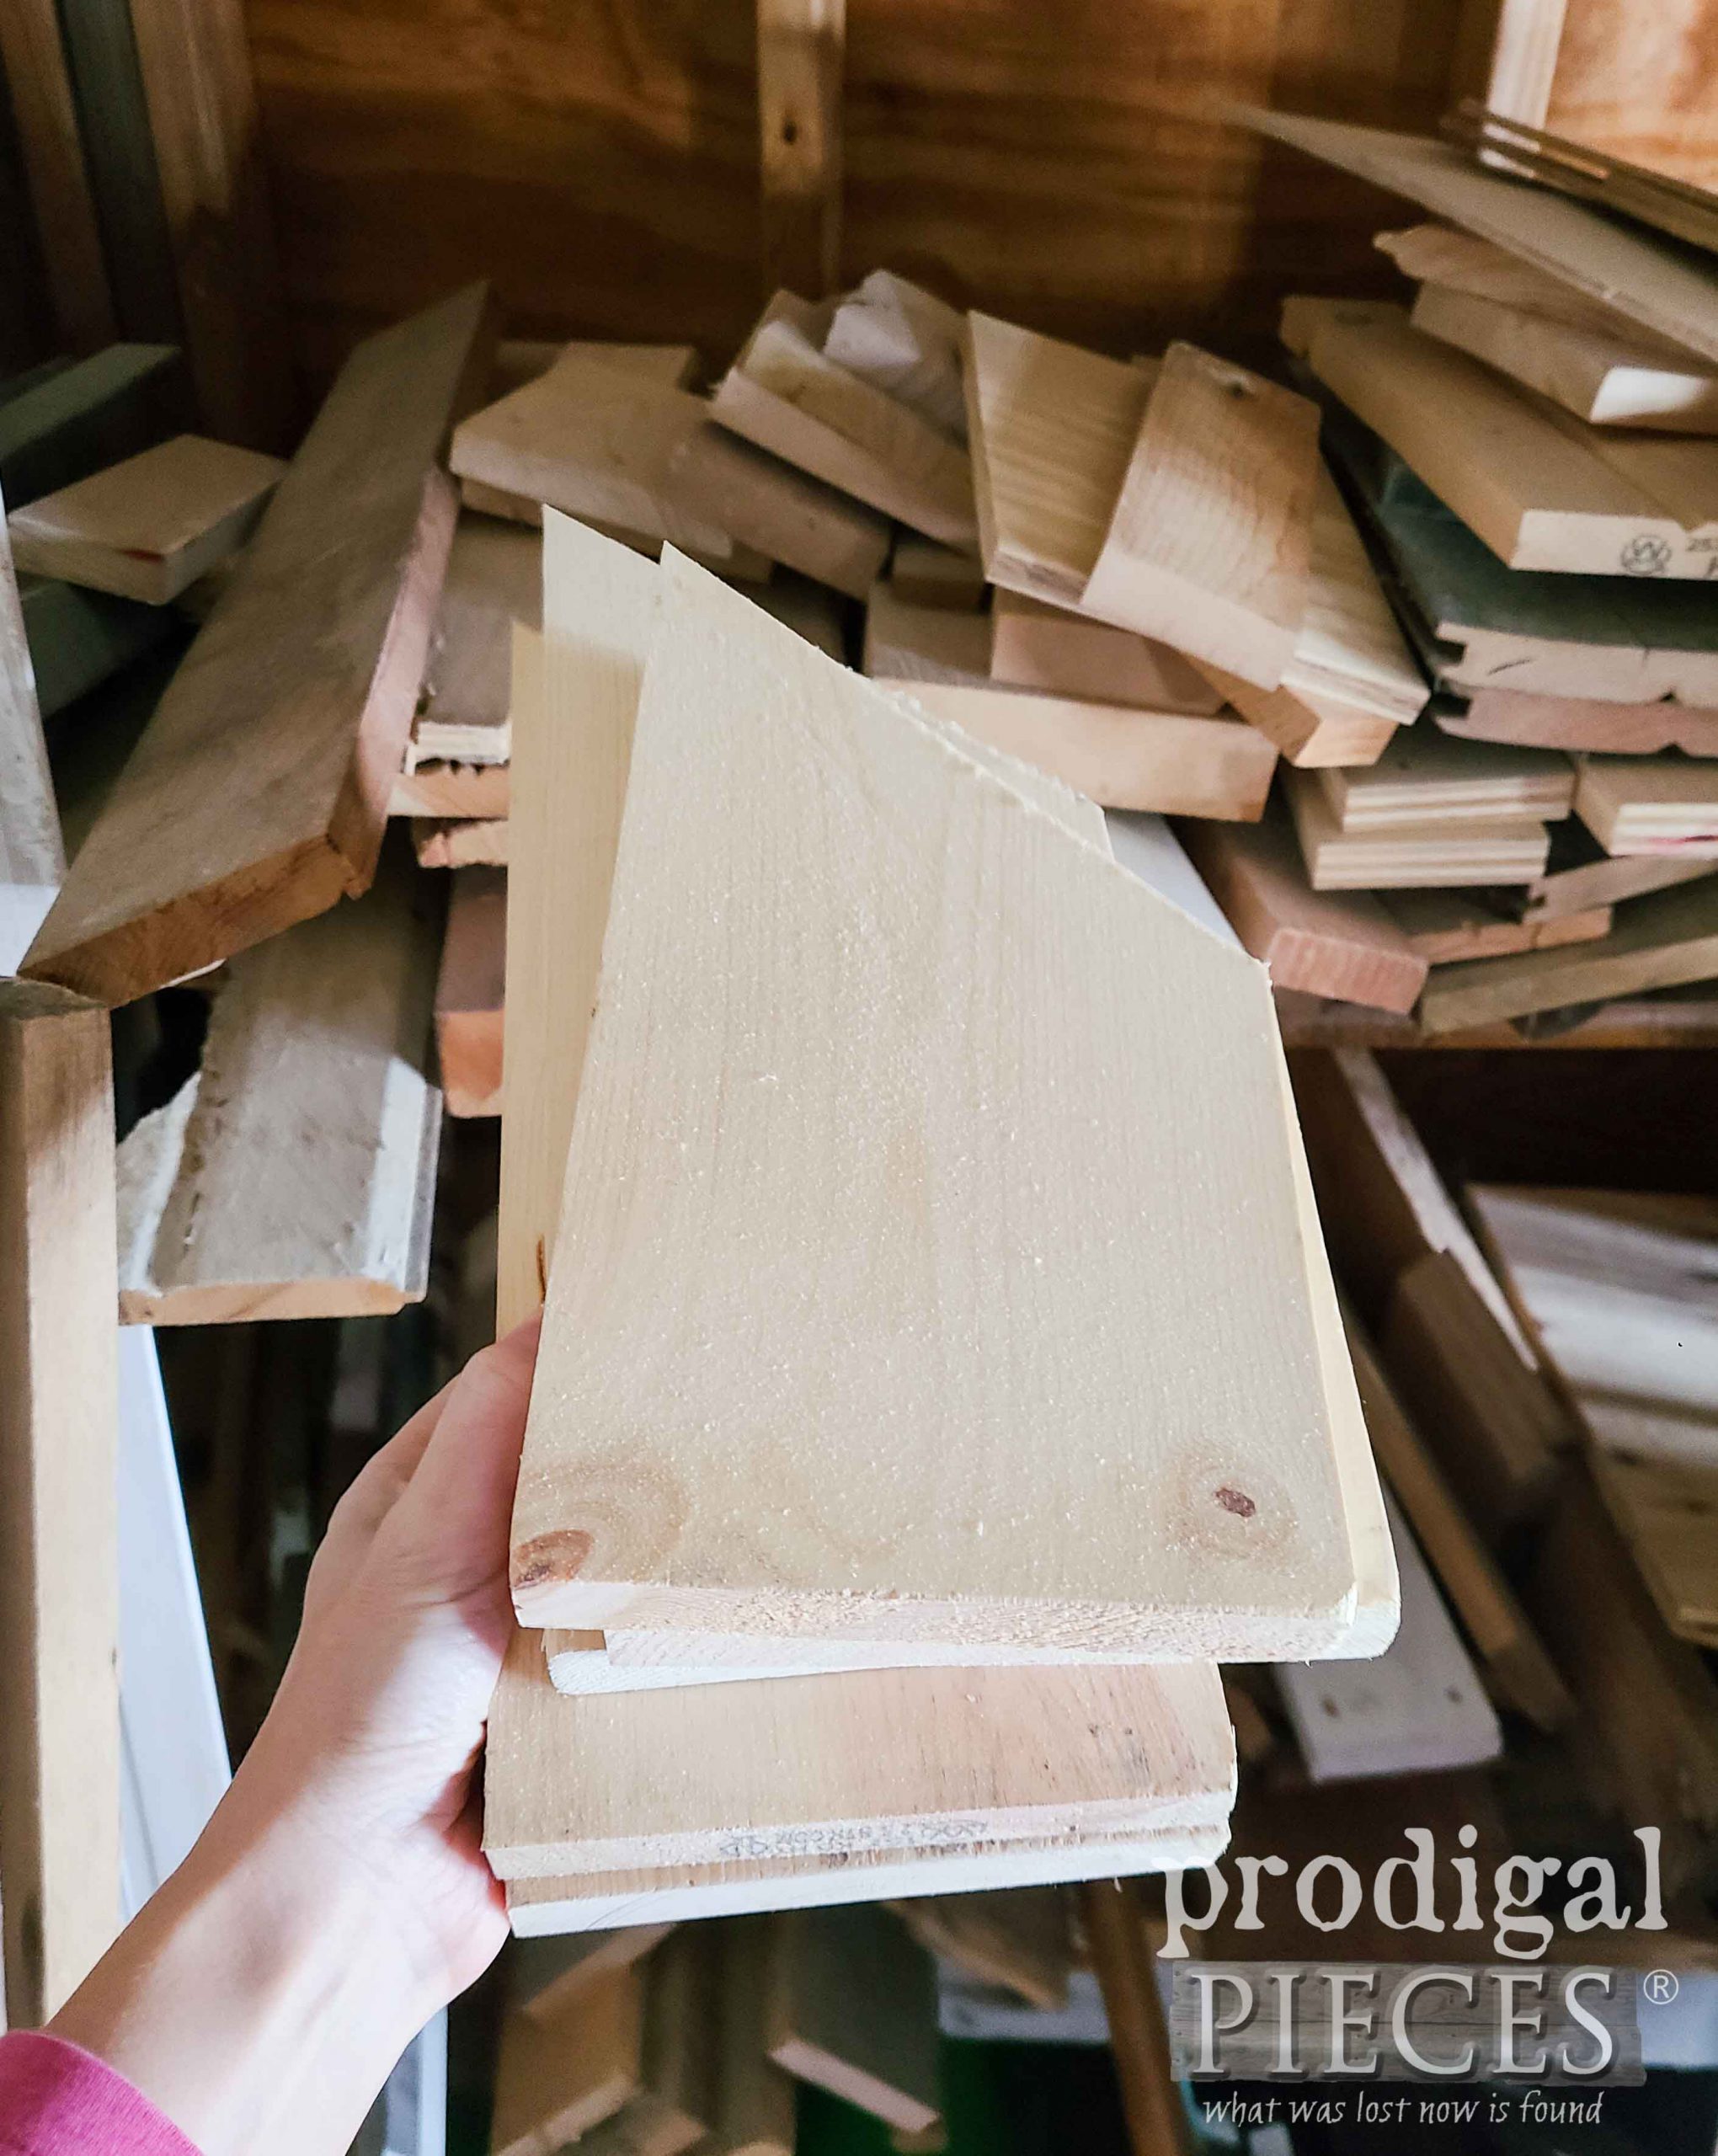
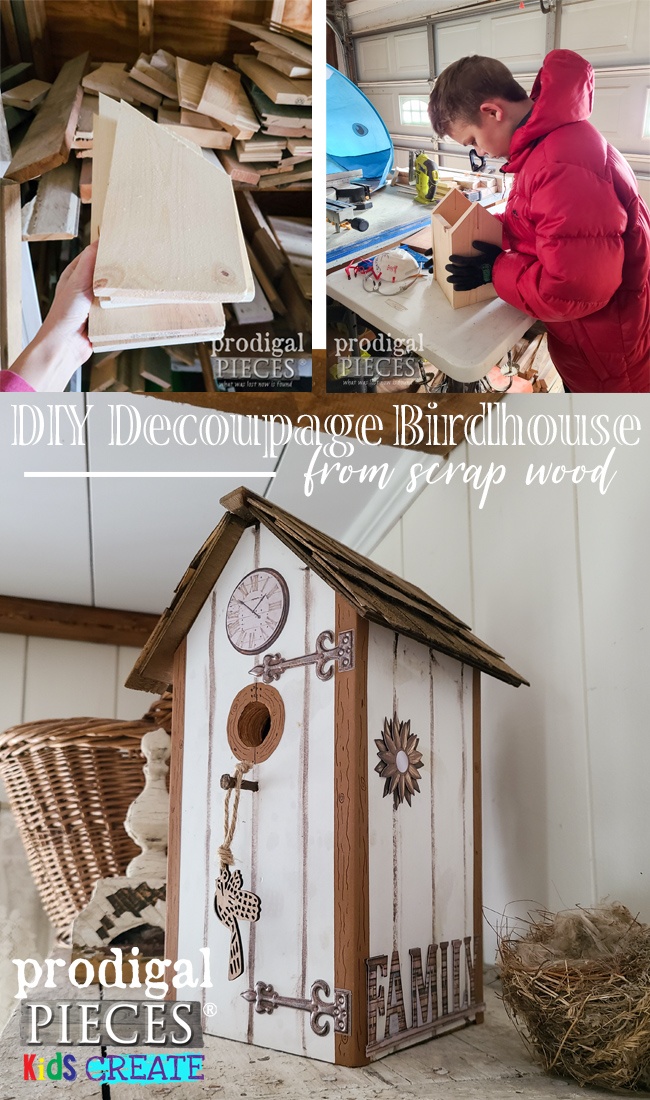
 What you see in my hand up there is a pile of 1″ x 6″ boards that are scrap left over from our current bedroom remodel for our four daughters. It’s perfectly good wood and perfect for a mama & me project. Mr. O is not new to this DIY thing as he’s had his own projects featured here in these past posts. With that, the two of us invite you to grab a buddy and create!
DIY TIME
First, Mr. O and I want to say that the sky’s the limit for this project. Not only are there no set dimensions, but also the finish is completely up to you. Our goal is to give you the basics and let you take the reigns with creating your own special gift. If you’d like to create your own DIY birdhouse, here are the basic guidelines along with the tools & supplies you’ll need. Also, this project can be used as a decorative item both inside your home or to decorate your garden.
TOOLS & SUPPLIES
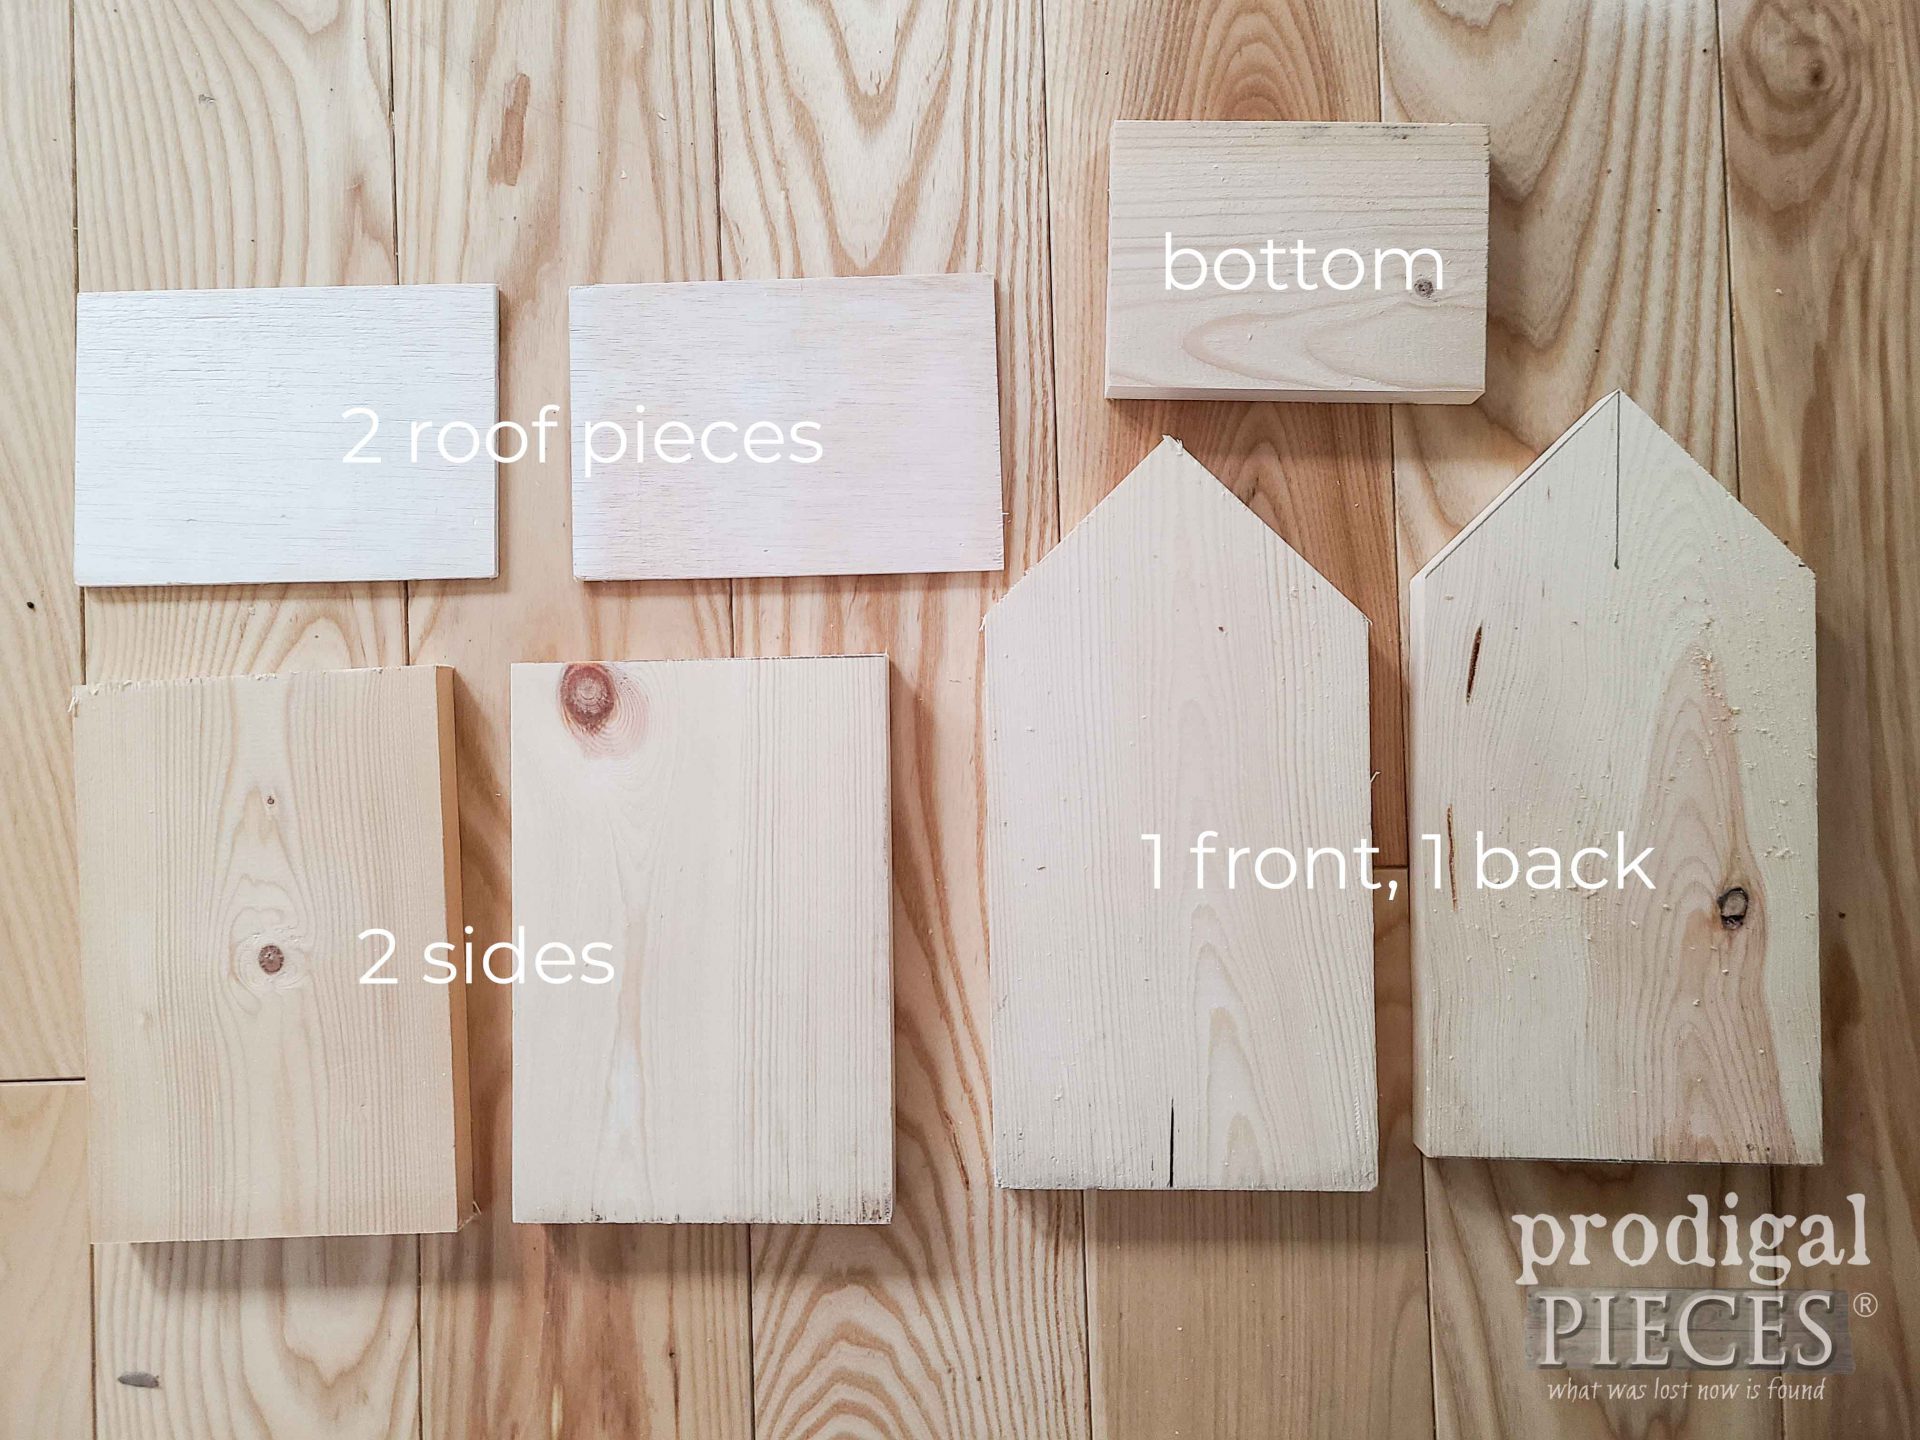
- scrap wood pieces – enough for front, back, two sides, bottom, and roof
- wood glue
- nailer or nails or screws
- saw – miter, jigsaw, table saw, circular saw, or hand saw
- drill
- 1″ forstner bit or spade bit
- builder’s square
- tape measure
- decorative accents – have fun with it! (paint, paper, stain, transfers, salvaged bits, stickers…you get the idea…)
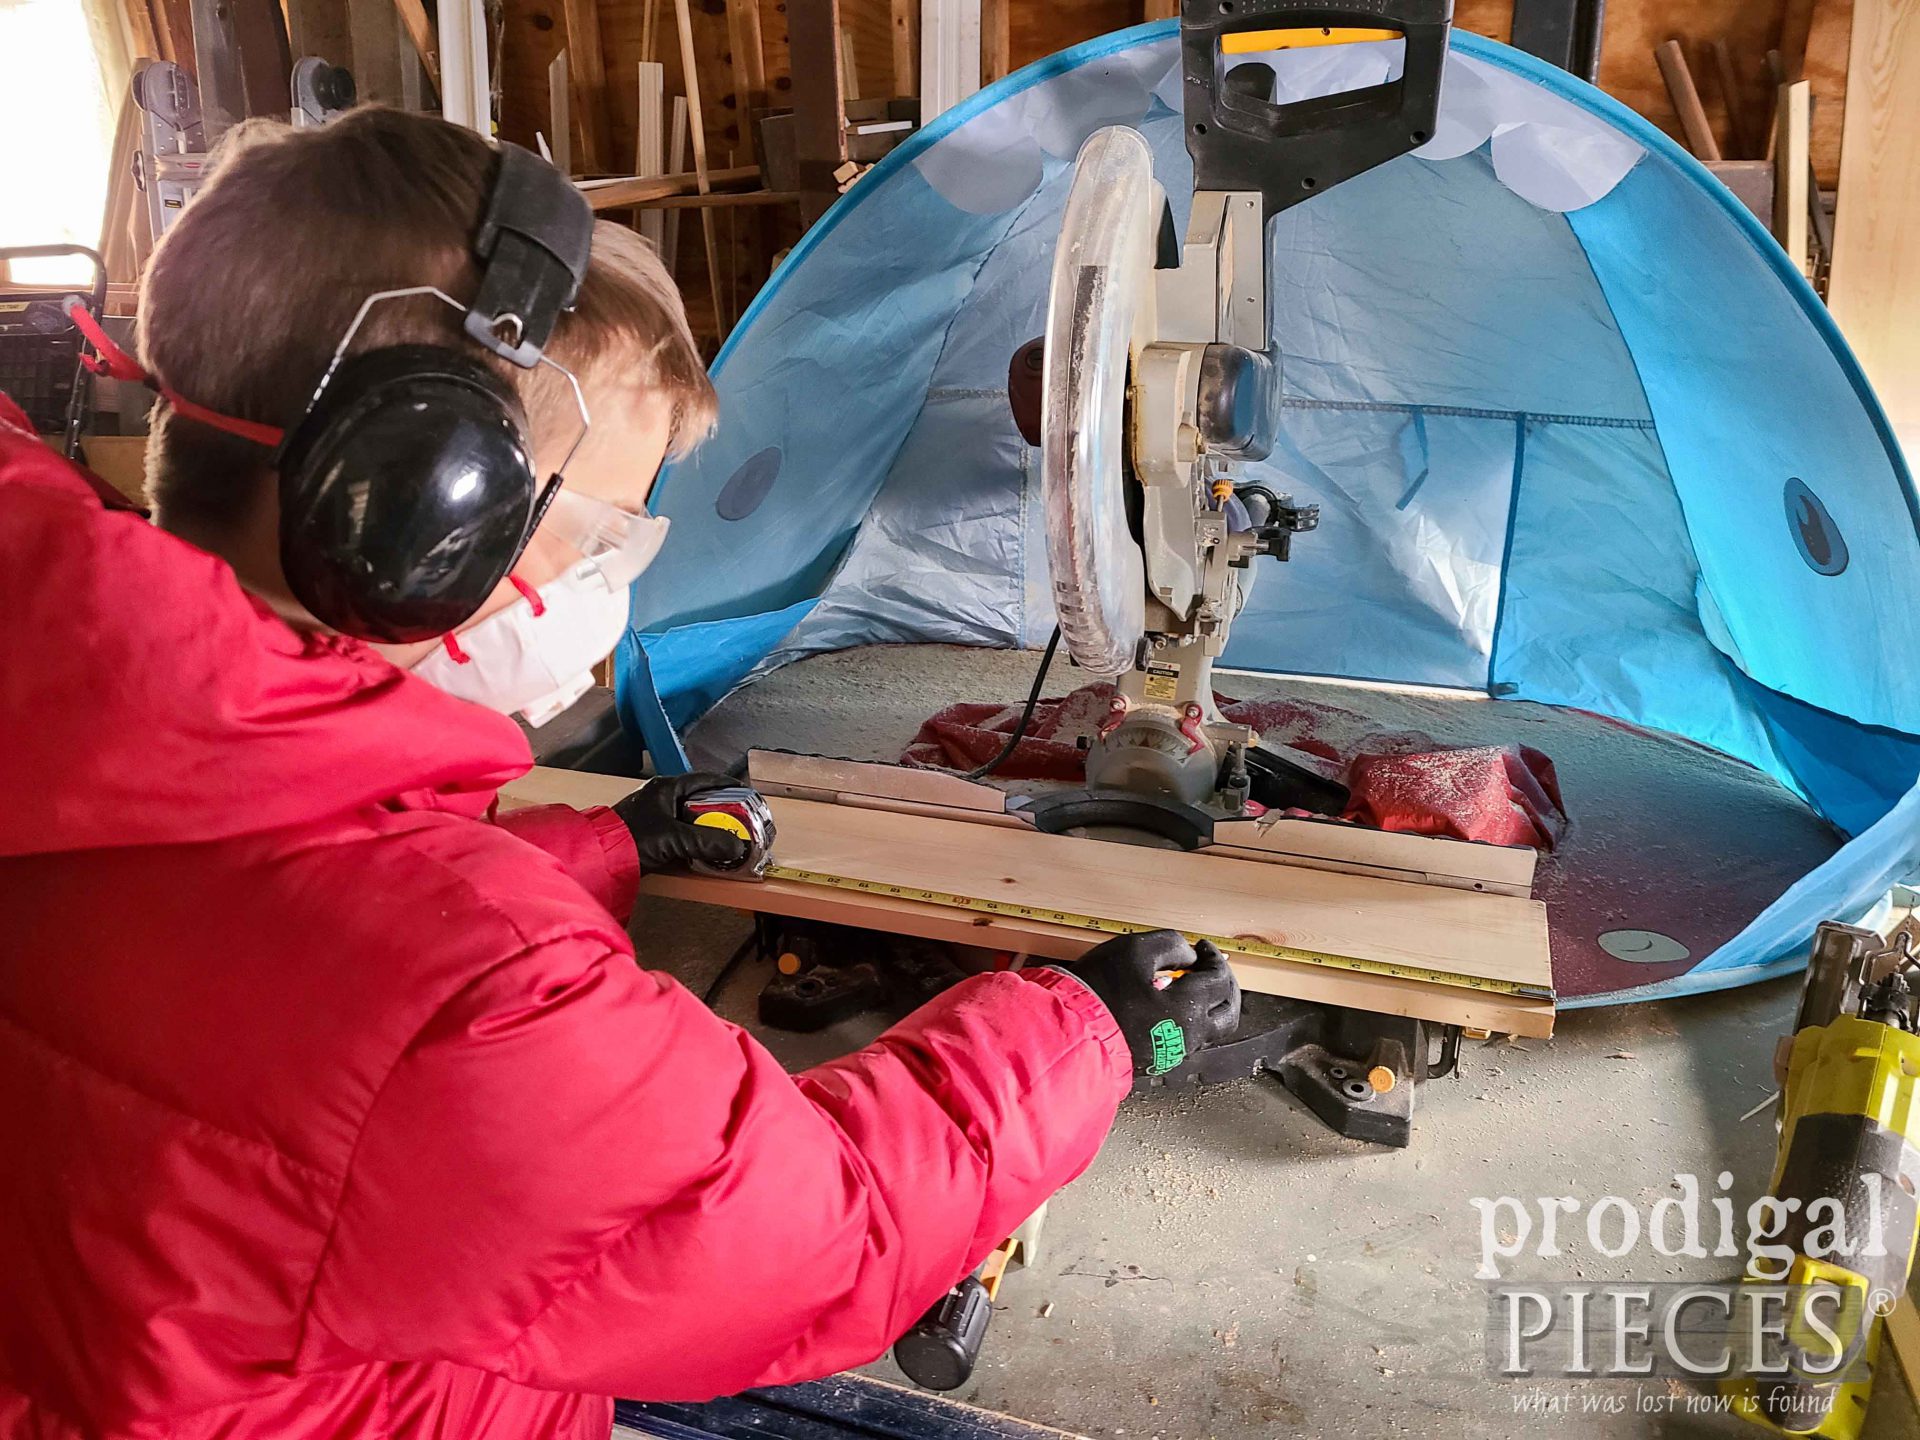
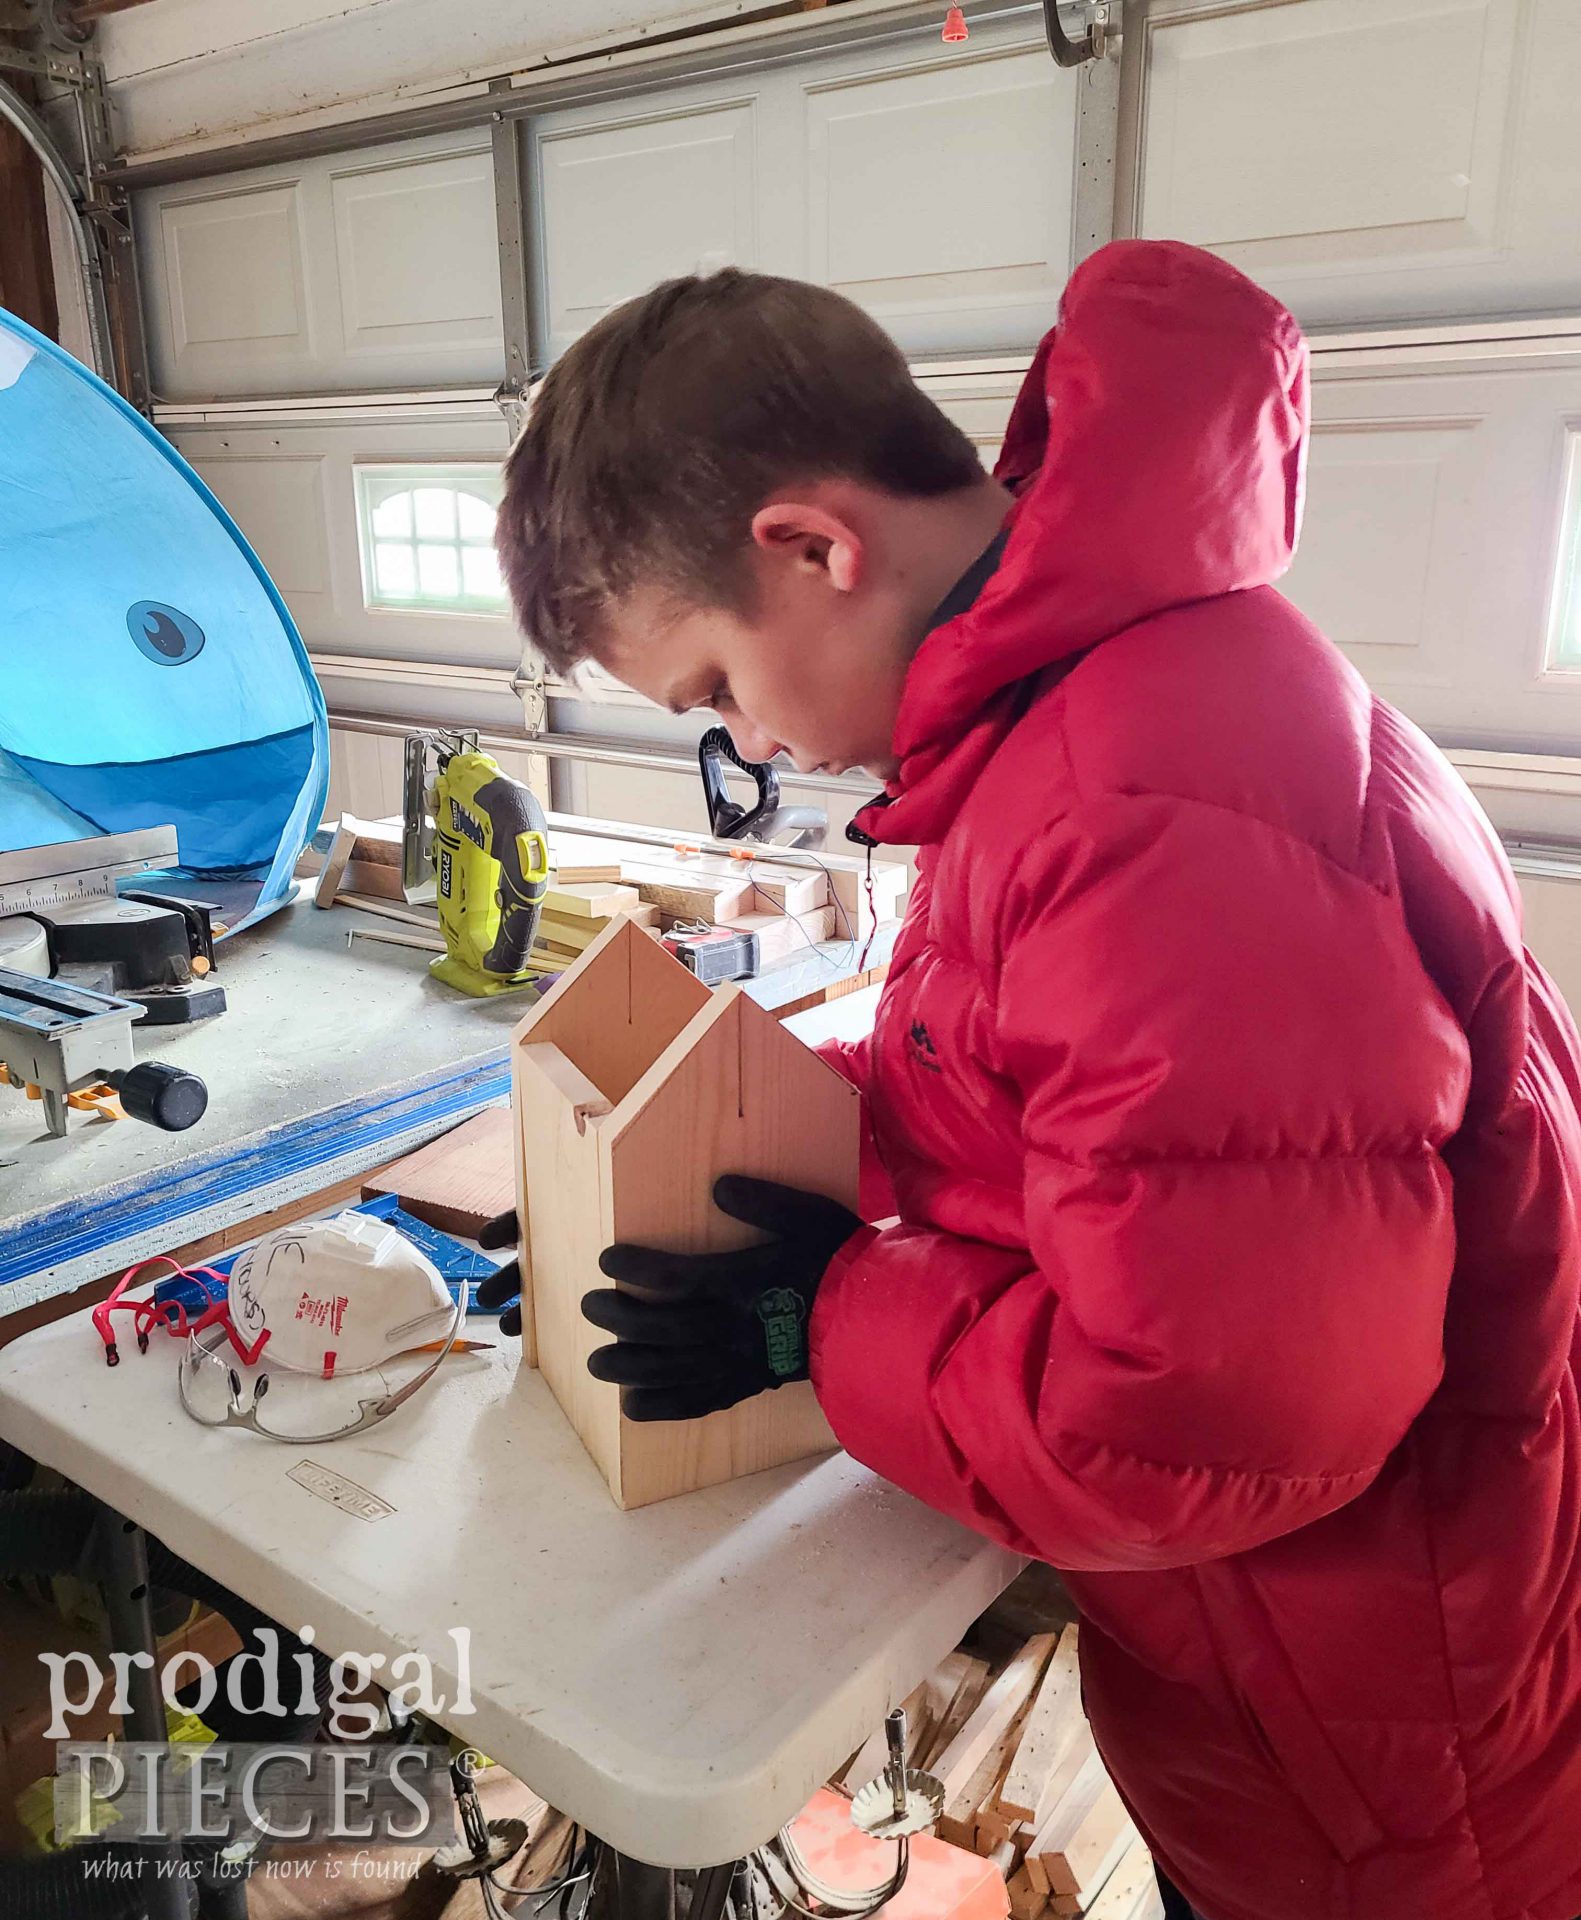
One thing to keep in mind when working with kids. There are many ways you can make the project accessible to even the youngest sidekick. For instance, you’ll see my son using the big boy tools. However, you can make the cuts ahead of time for those leery of noisy tools. Likewise, you can also have them watch with protective gear as you explain the cuts.
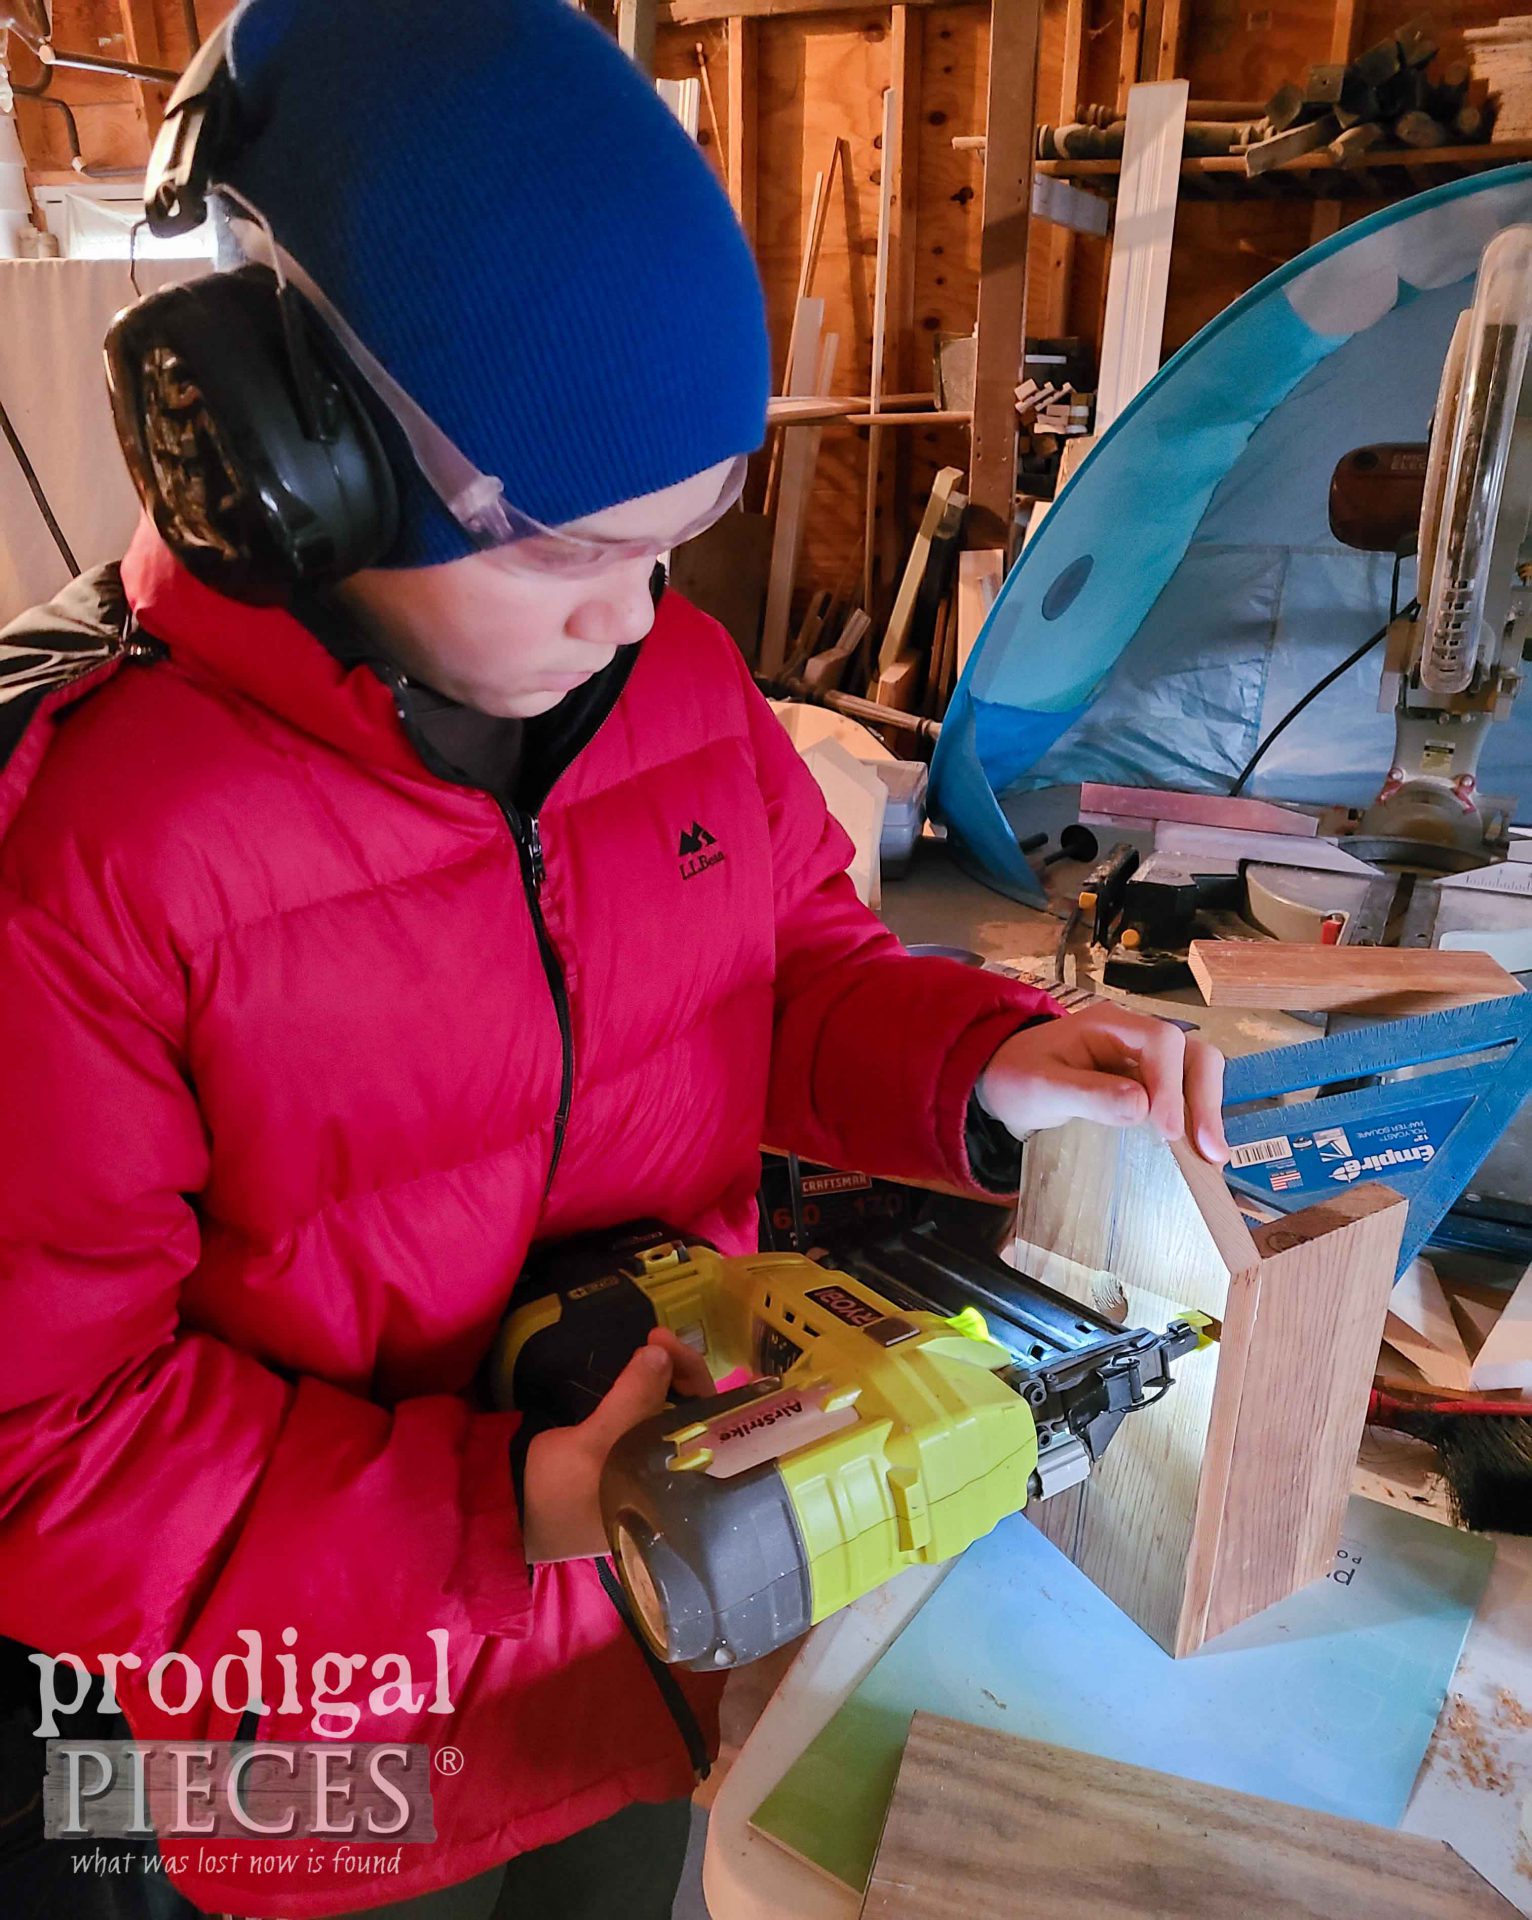
For assembly, you can use a nailer and glue, or pre-drill for screws or nails for a safer route. Either way, the kids can be involved as you like. Next, let’s build this thing!
BUILDING
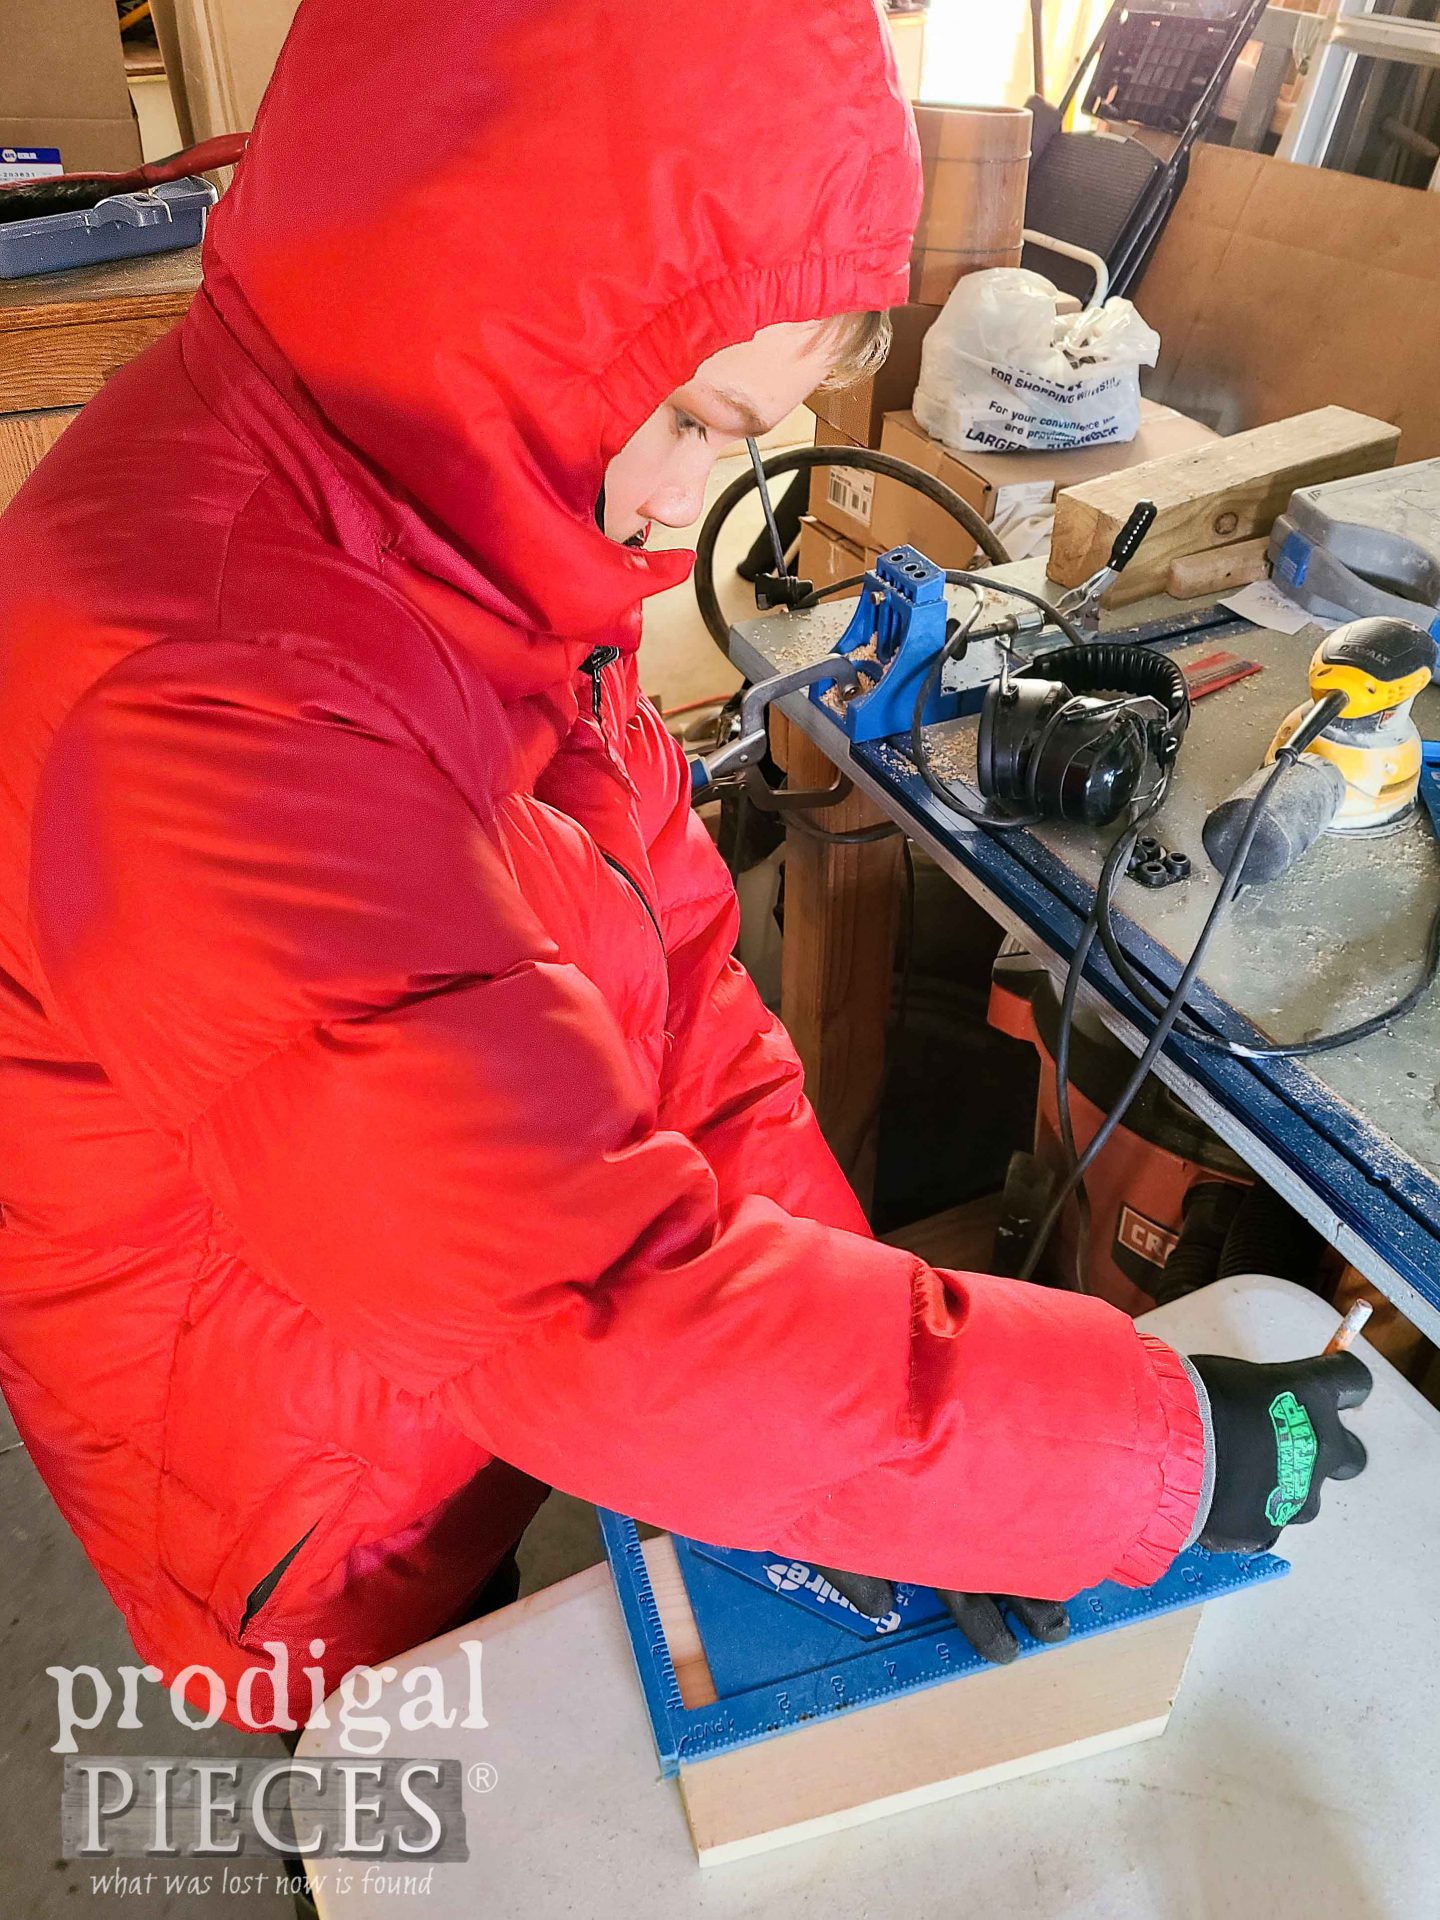
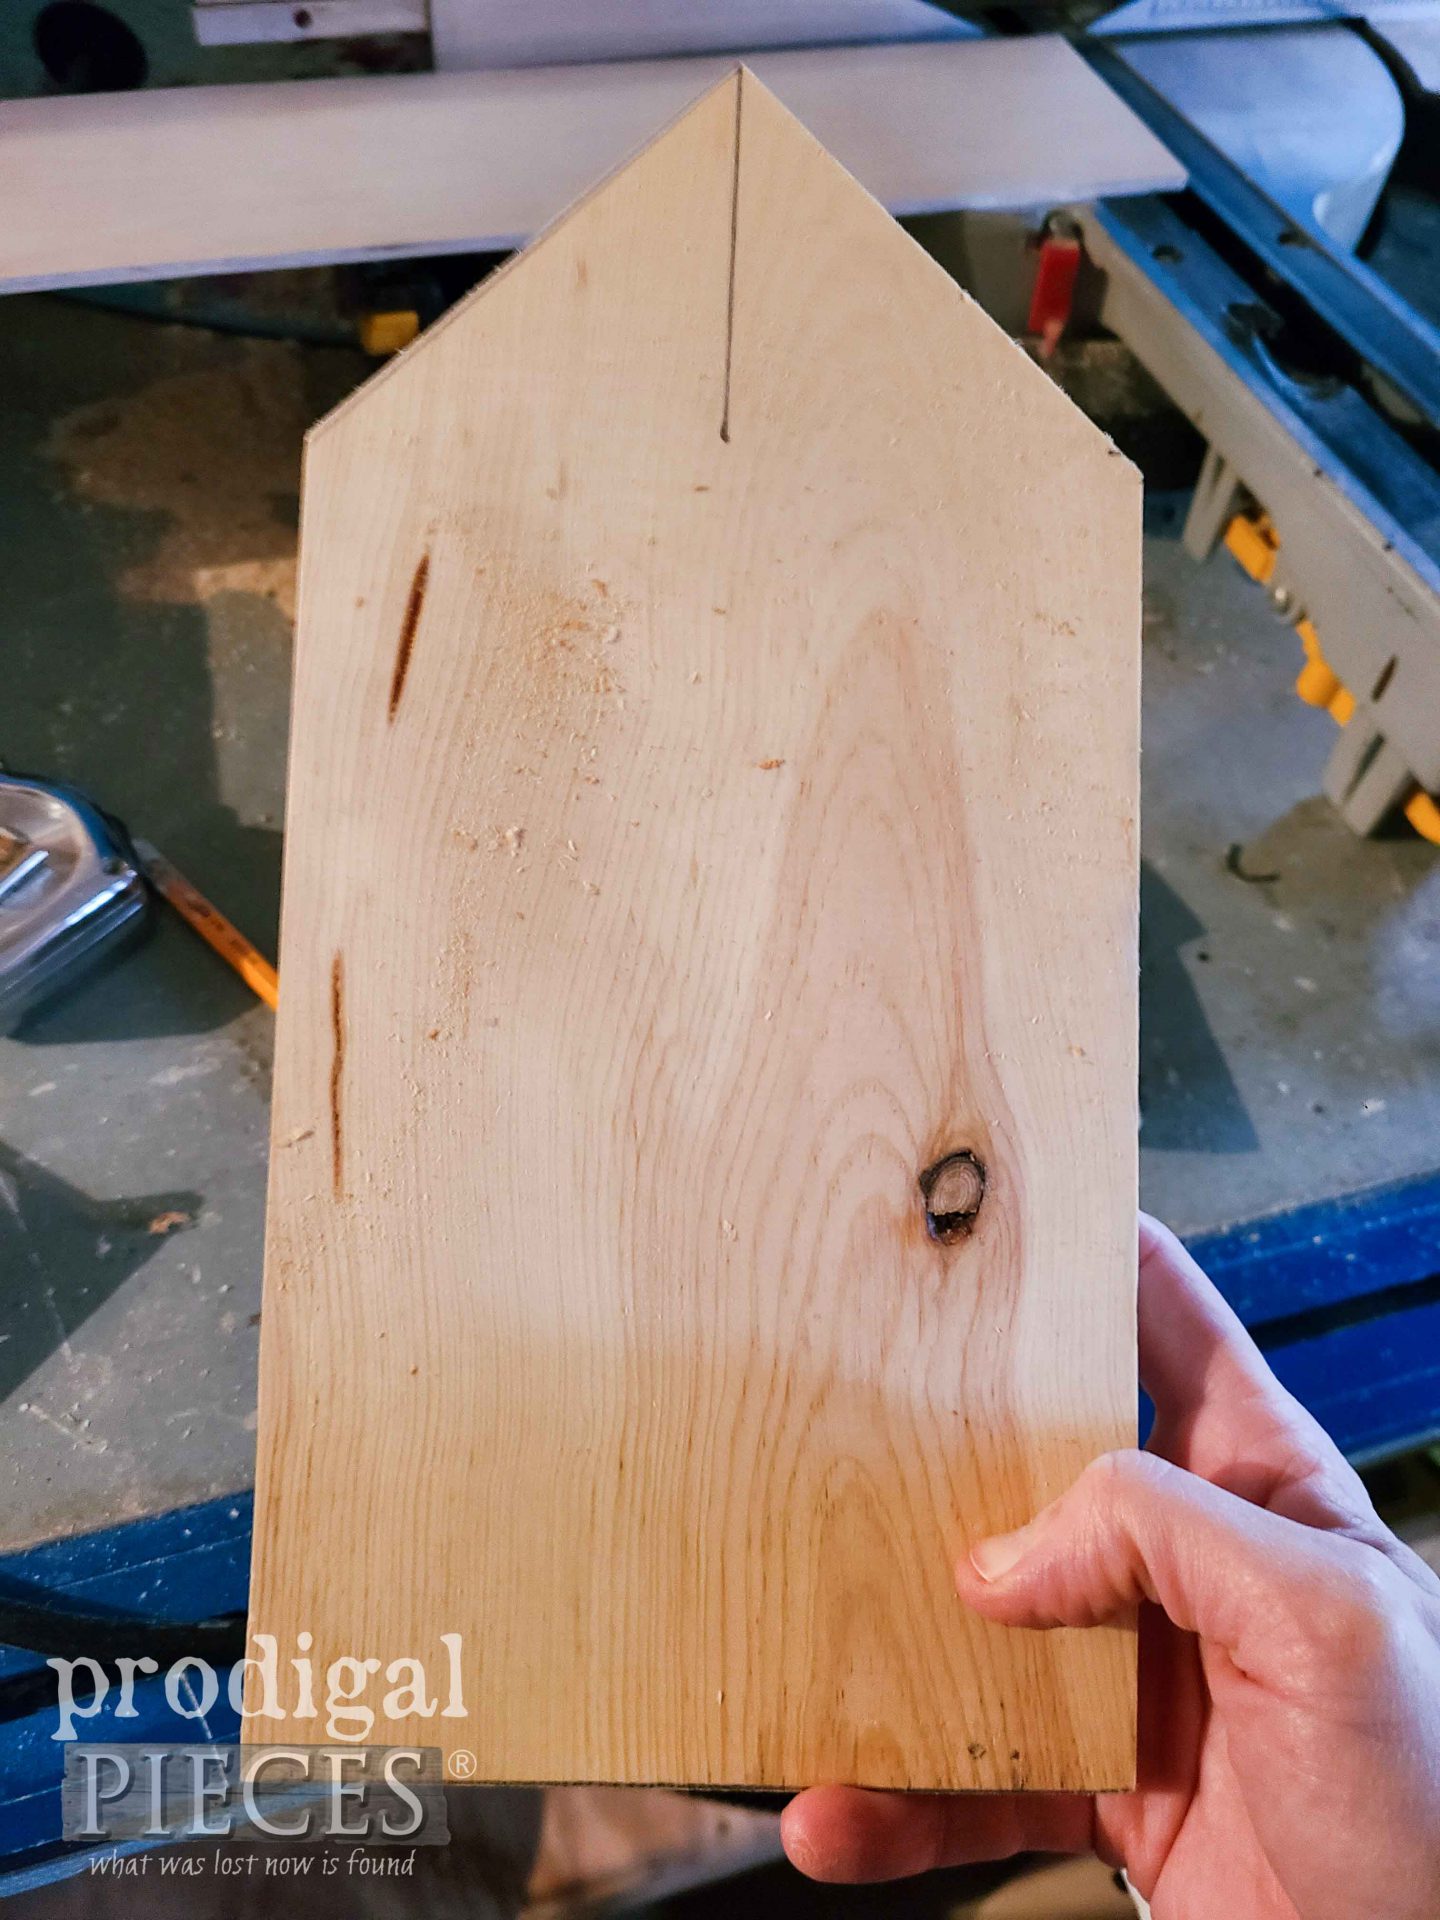
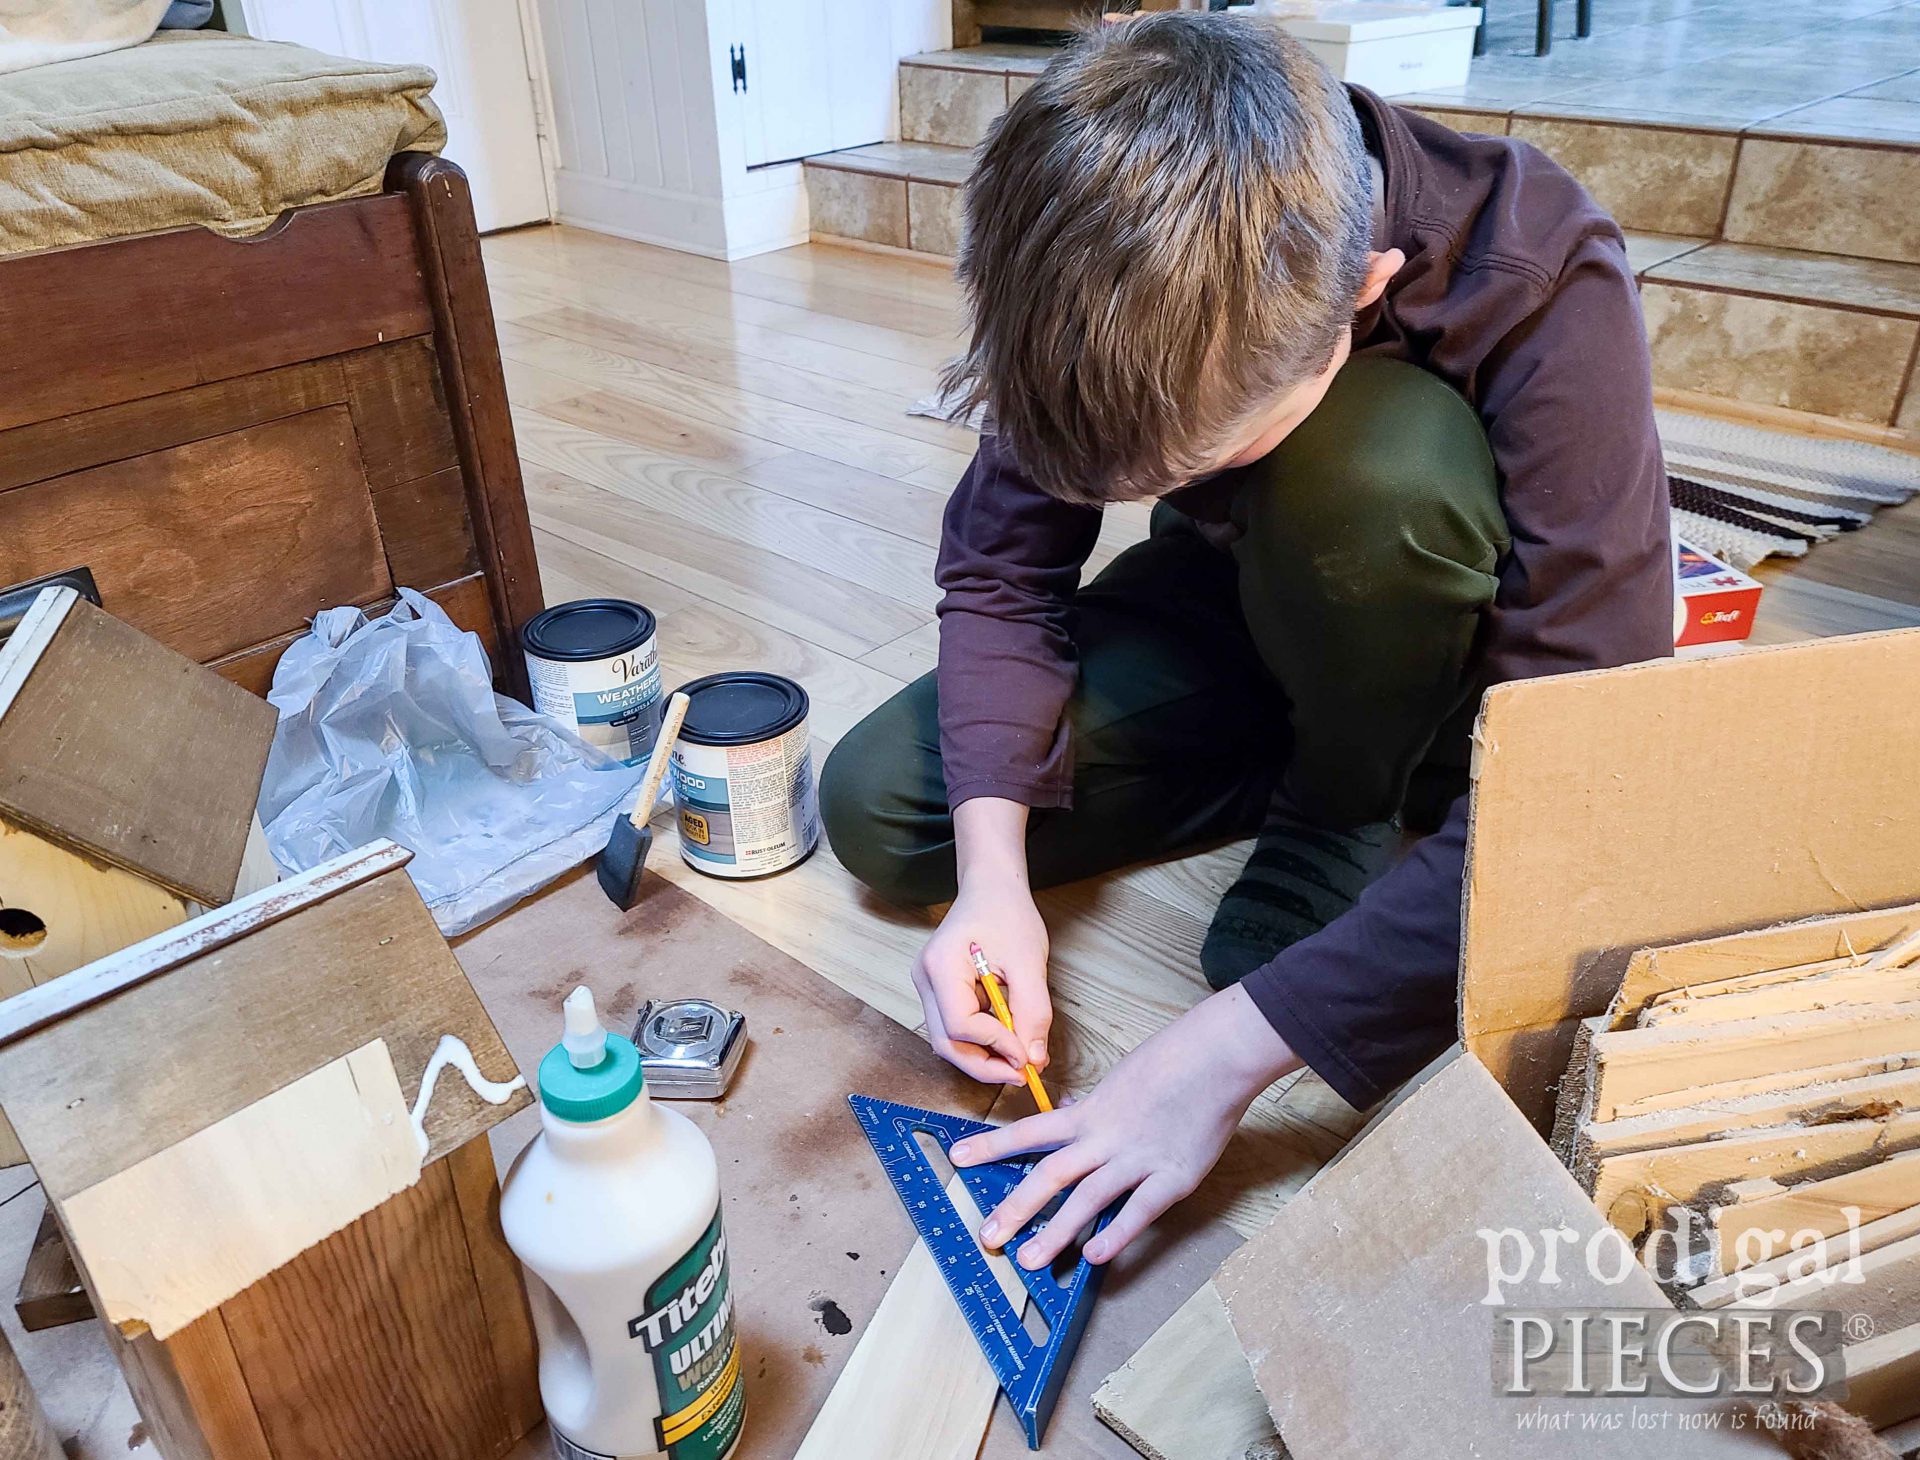
Mr. O and I begin by finding center of our board for the front and back of our birdhouse. Then, we use our builder’s square to mark miters for a pitched roof. Your roof can be square if that makes it easier for you. Again, the options are limitless.
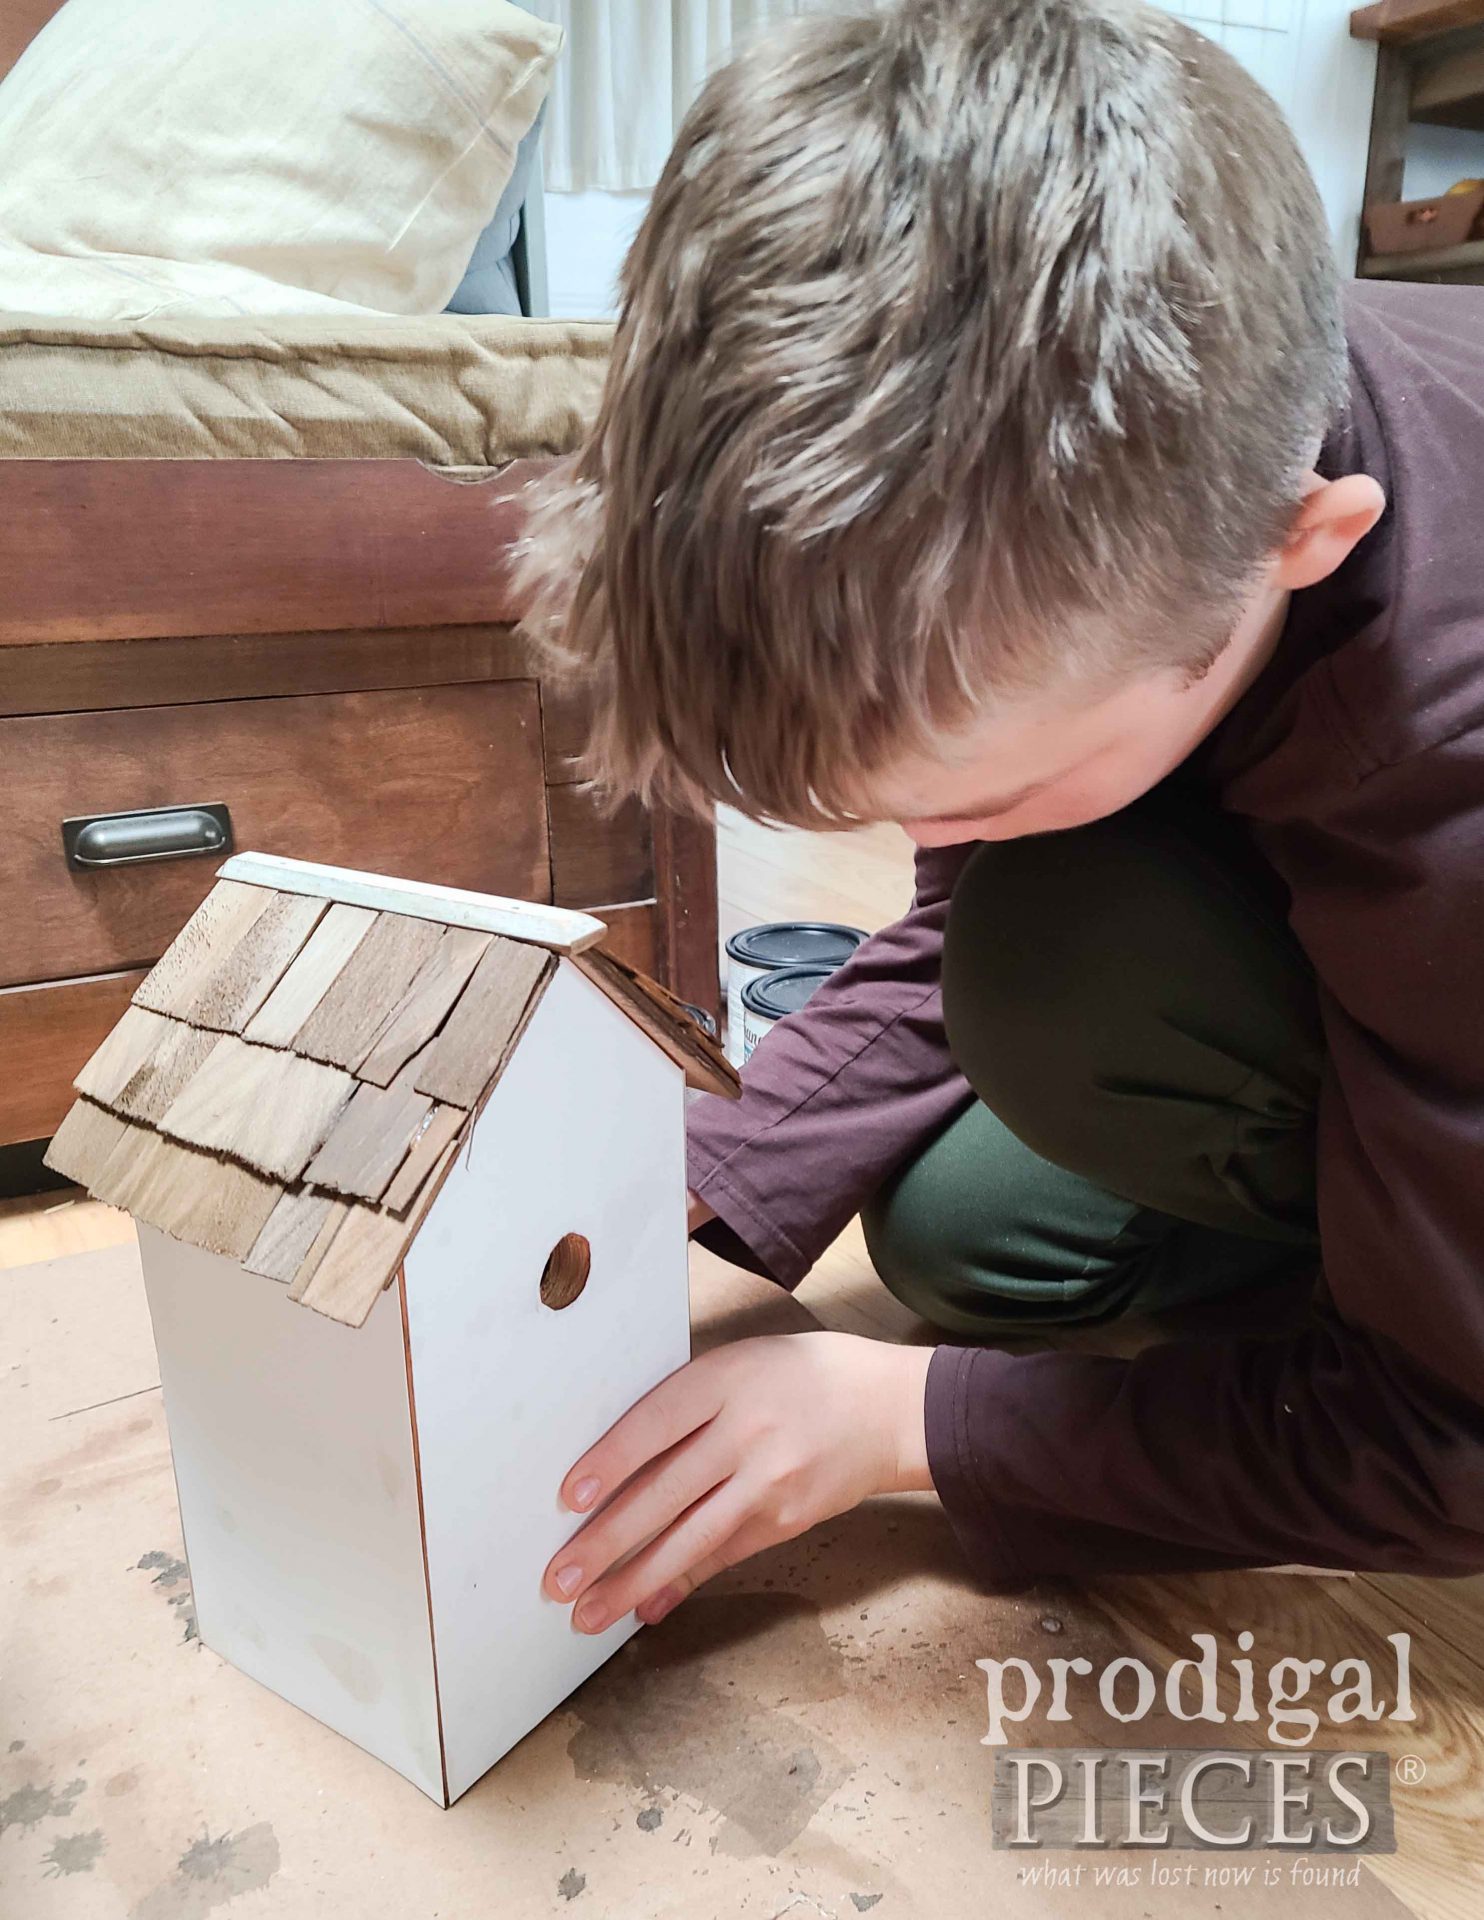
Before we attach the pieces to our DIY birdhouse, Mr. O uses a forstner bit and drill to make the 1″ bird hole (you can make your house hole any diameter at any point on the front). However, notice the sides we made square and measuring the height of the lowest pitch on the front. Then, assemble with a brad nailer and wood glue. First, begin by attaching the sides to the front or back. Finally, attach the other to the sides.
Last, measure the inside of the birdhouse to find the dimensions of your bottom piece. Cut the piece to fit, drop in, and attach with nailer (or screws).
NEXT STEPS
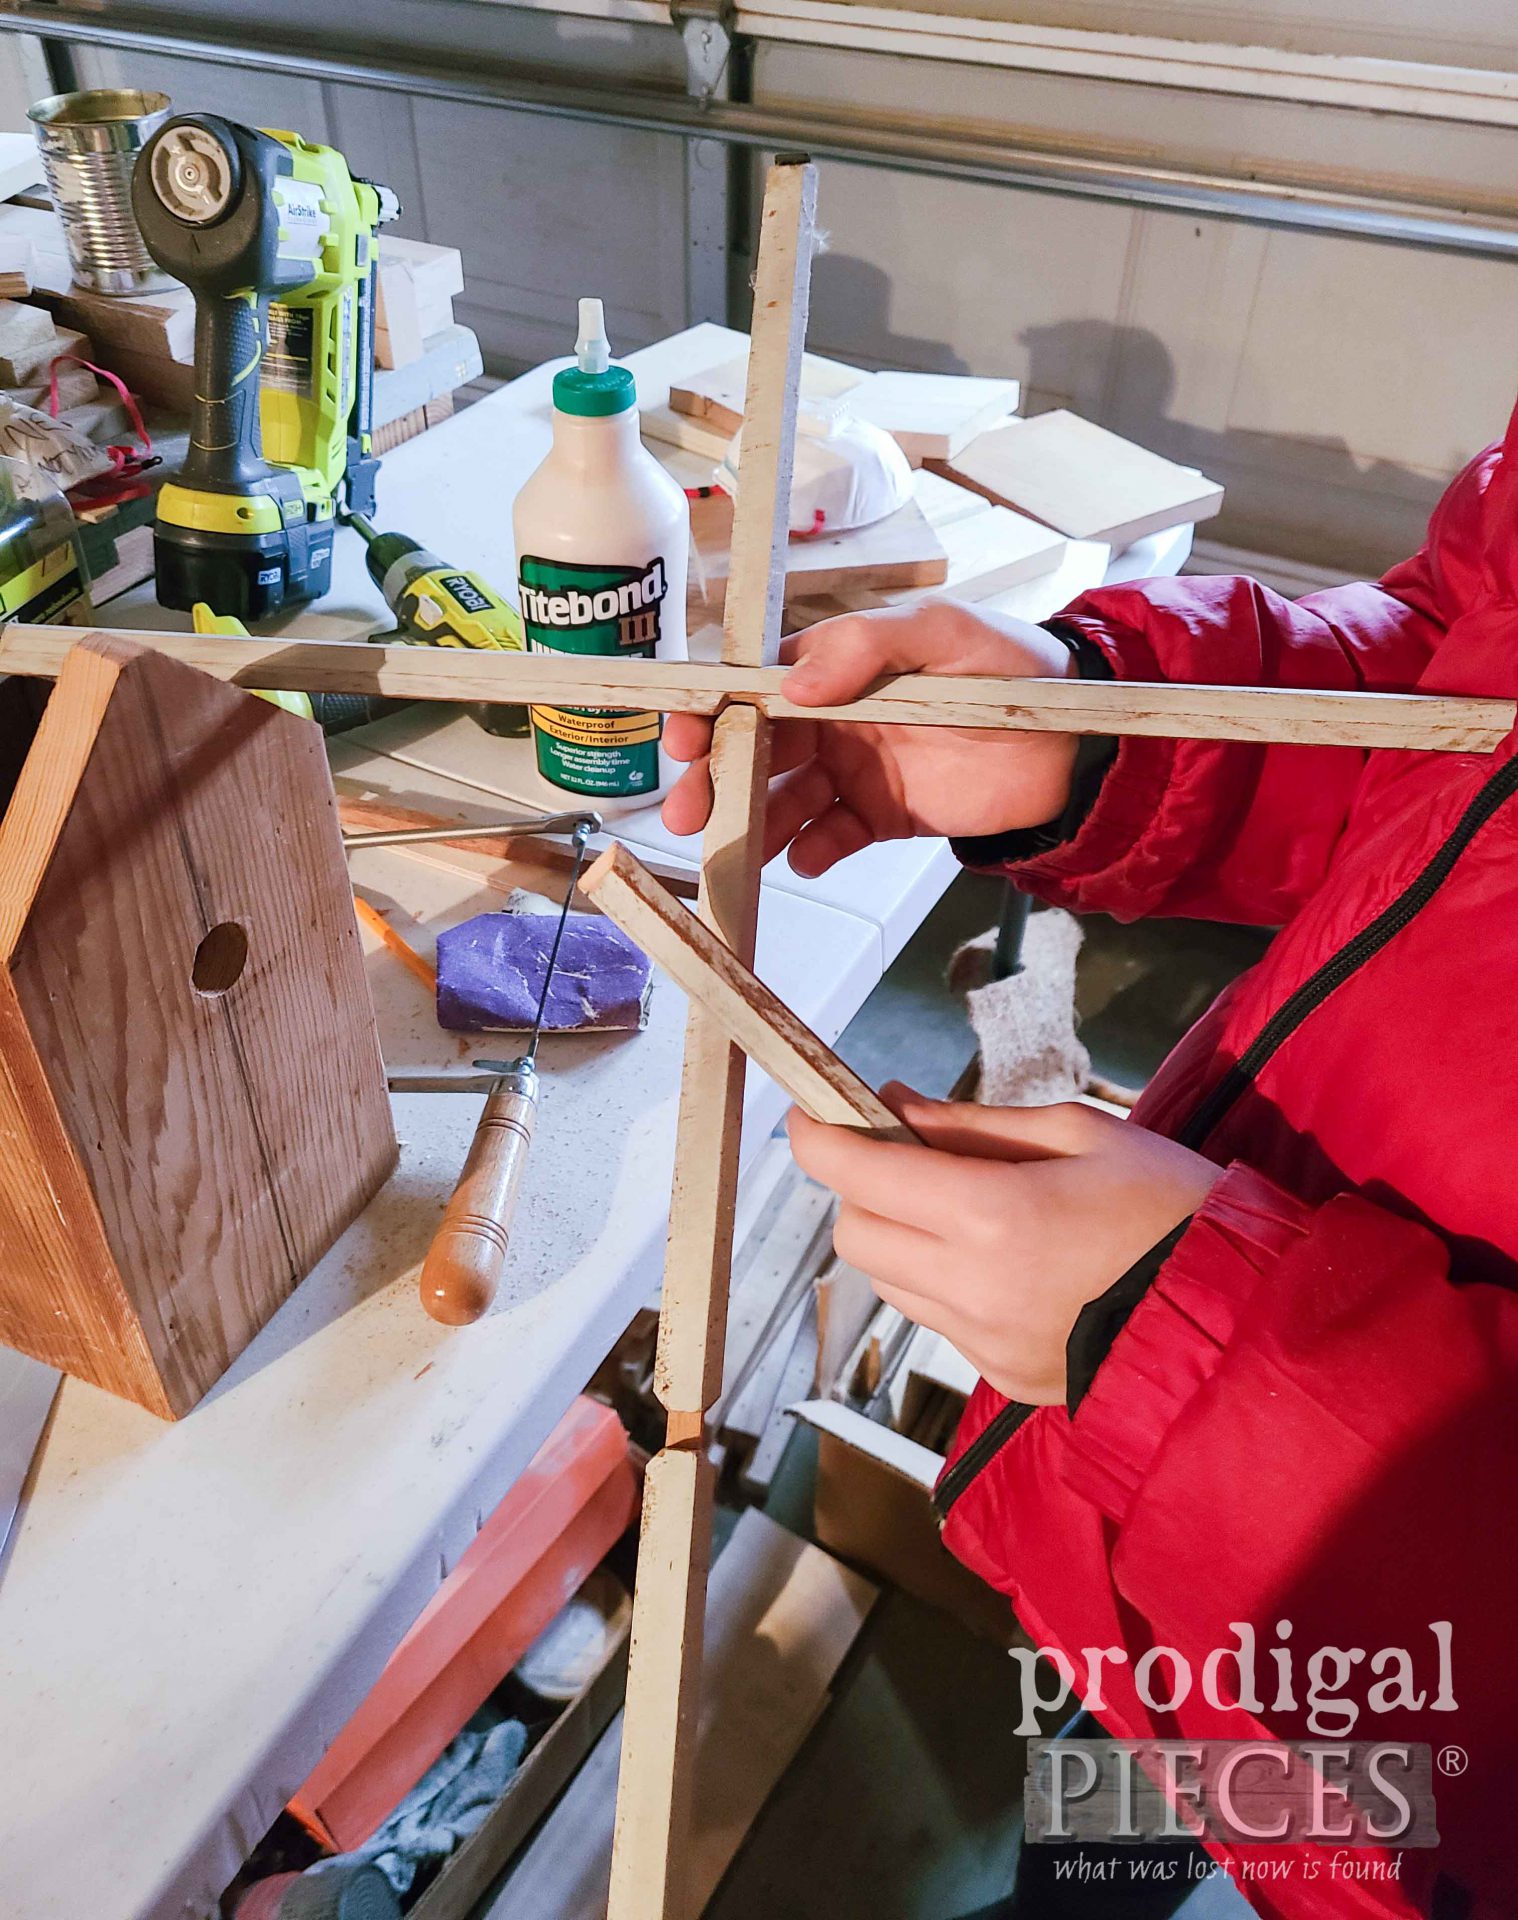
However, before we can call our birdhouse complete, we need to add our roof. Mr. O and I want to add a basic thin luan (also scrap from our bedroom remodel) as a roof base. Feel free to use it as a roof or use something completely different. Additionally, we are making use of this busted mullion my dad saved for me. Thanks Dad! (Grandpa!)
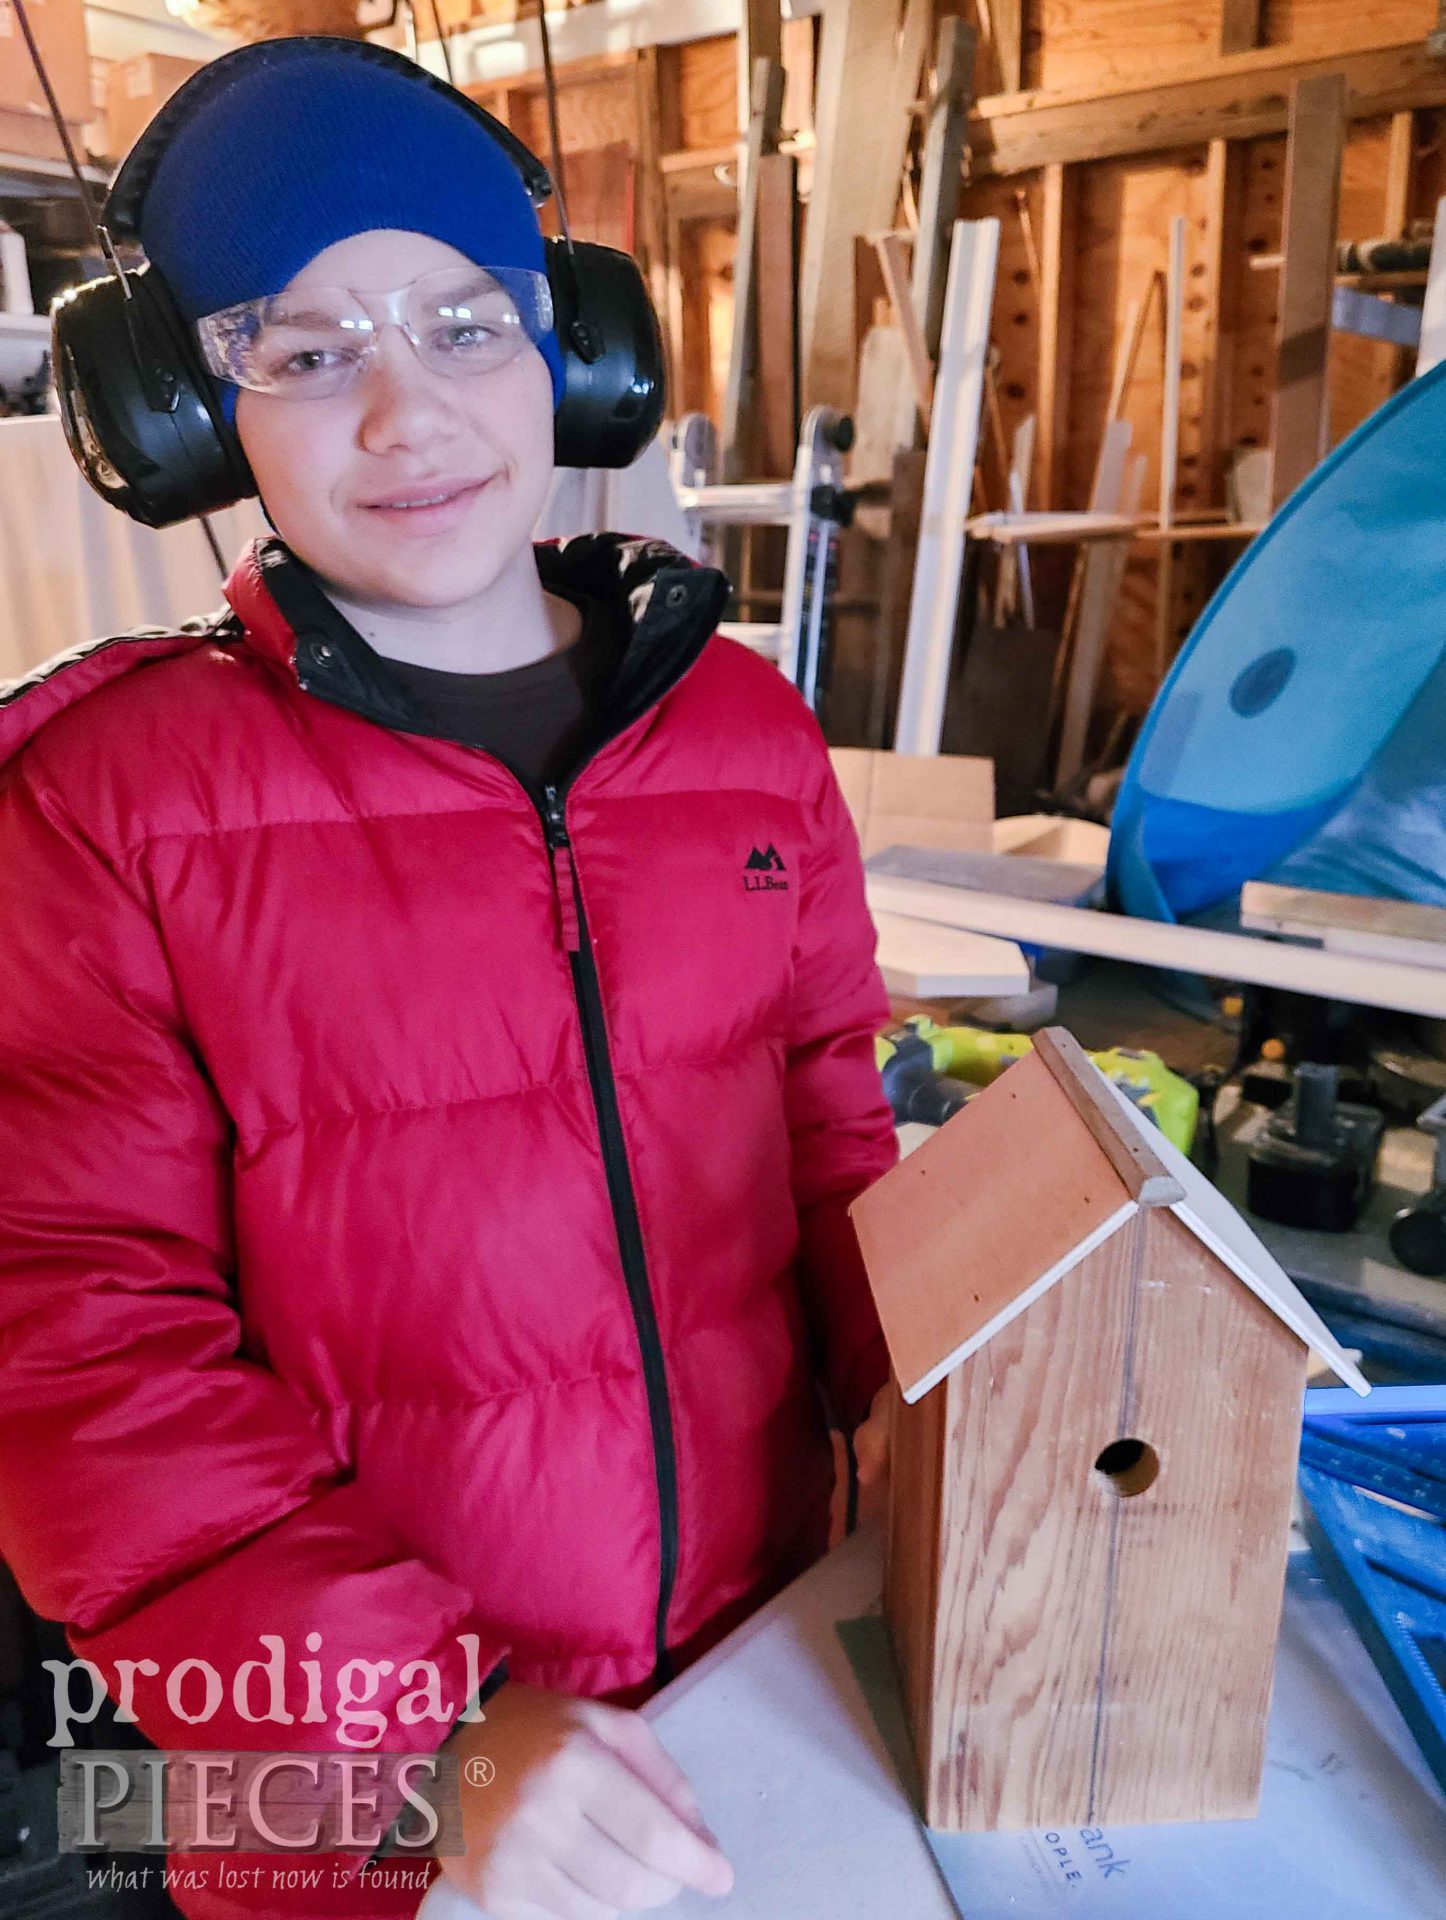
My guy is proud of his first solo build and so am I. Bravo Mr. O!
Finally, it’s time to decorate. Also, I made a couple extra birdhouses just for fun to mix it up. Mr. O wanted to go the rustic farmhouse route, so we grab my leftover cedar shakes from our garden shed remodel and cut to fit.
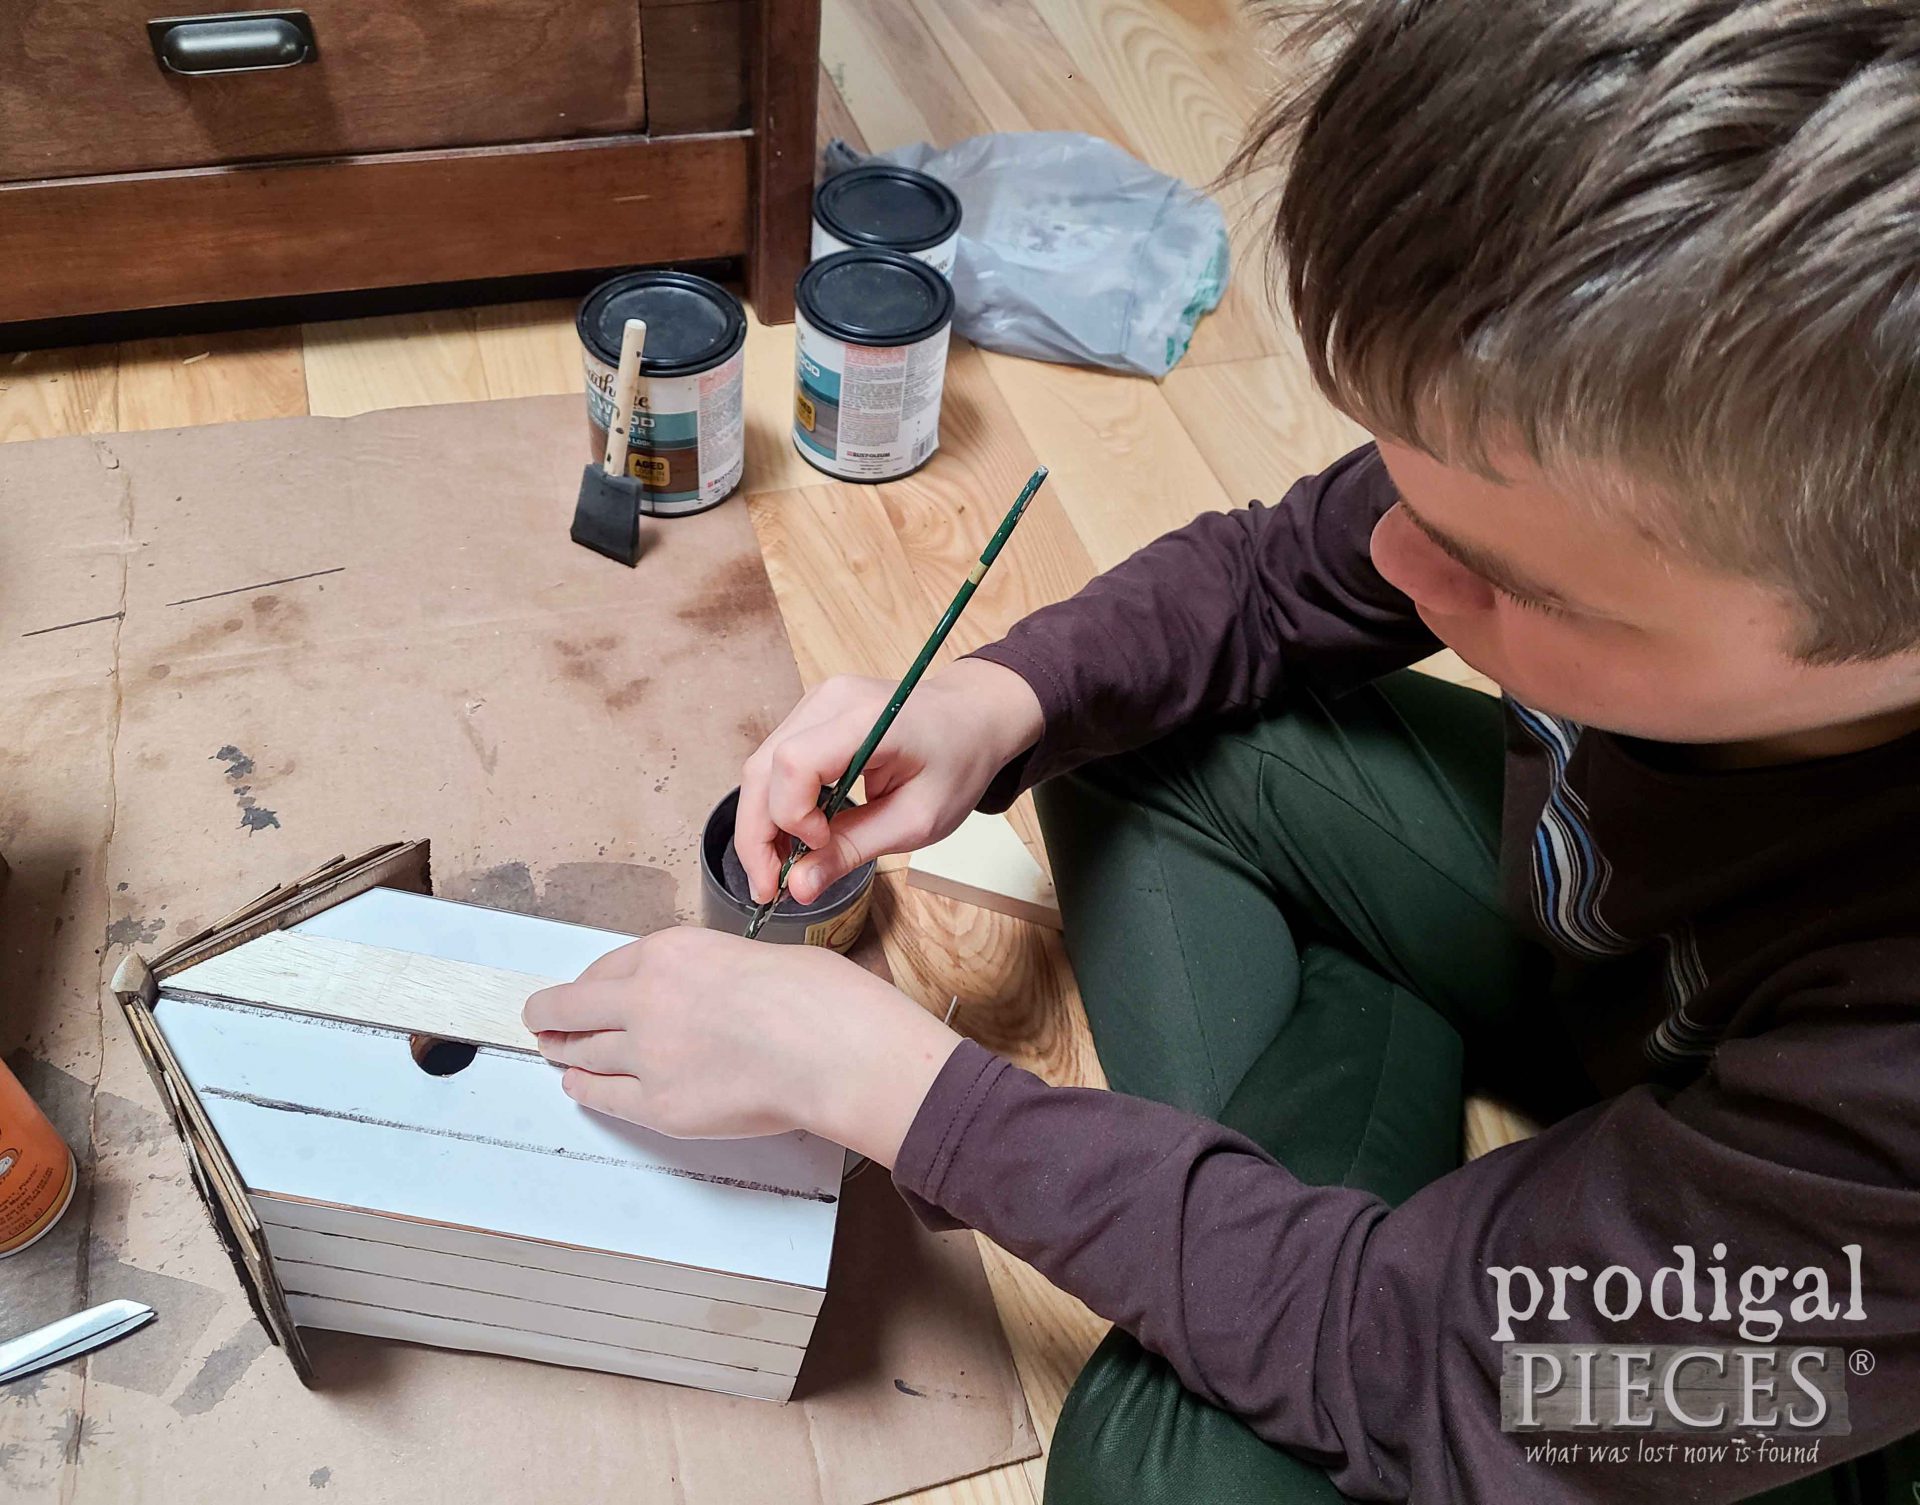
After that, we add paper to the sides and few decorative accents. Also, keep in mind that you could make this suitable for outside use if you finish it in a different fashion.
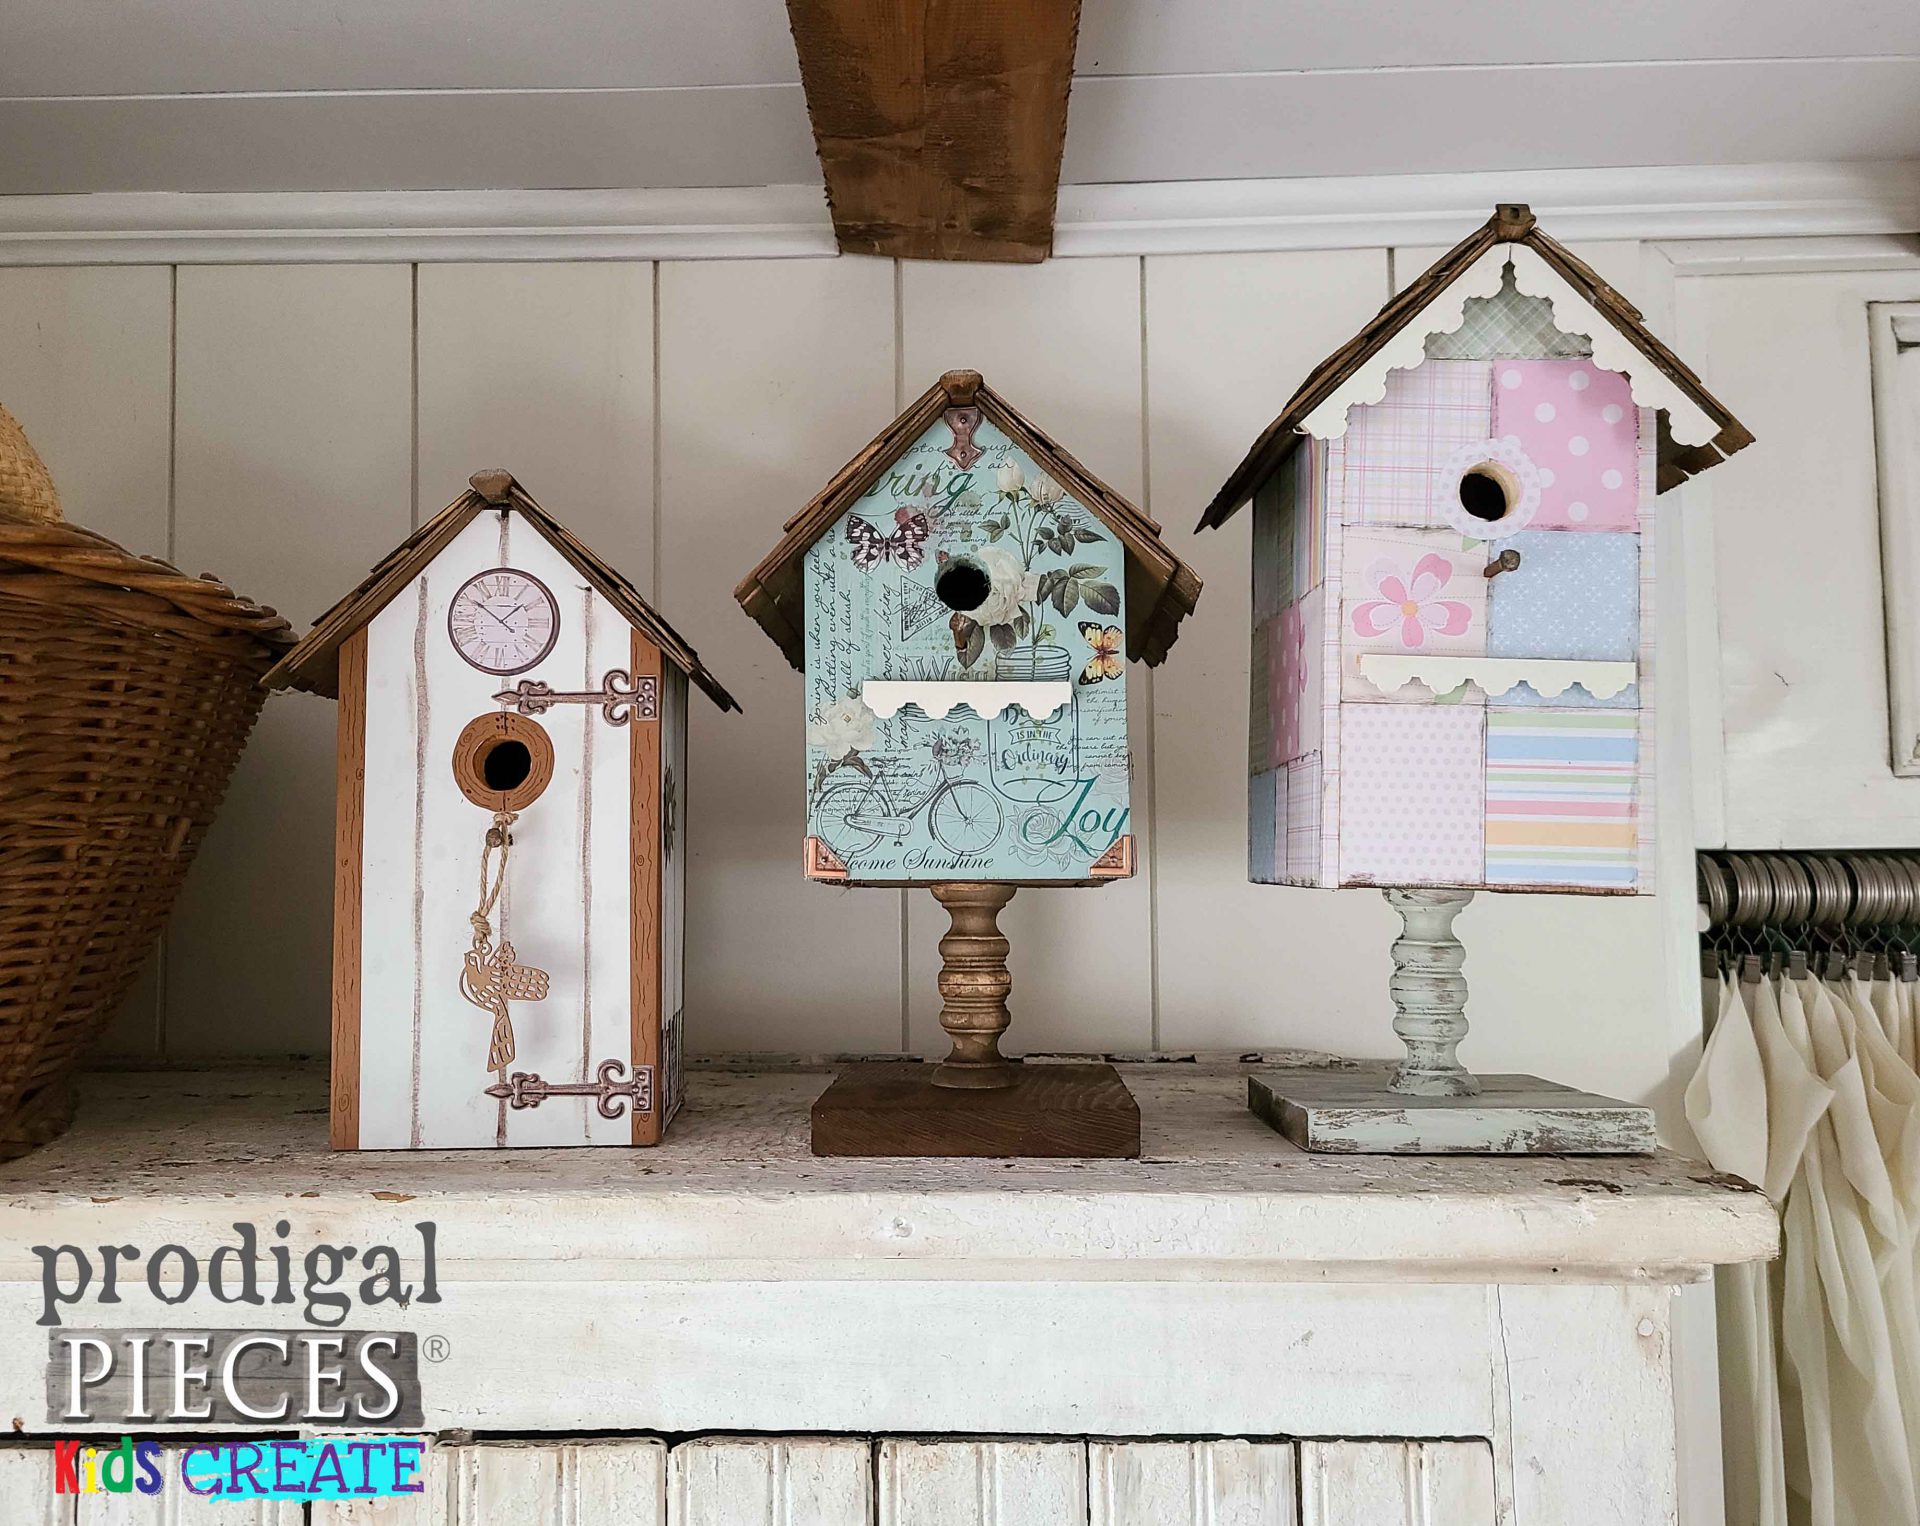
THE TRIO REVEAL
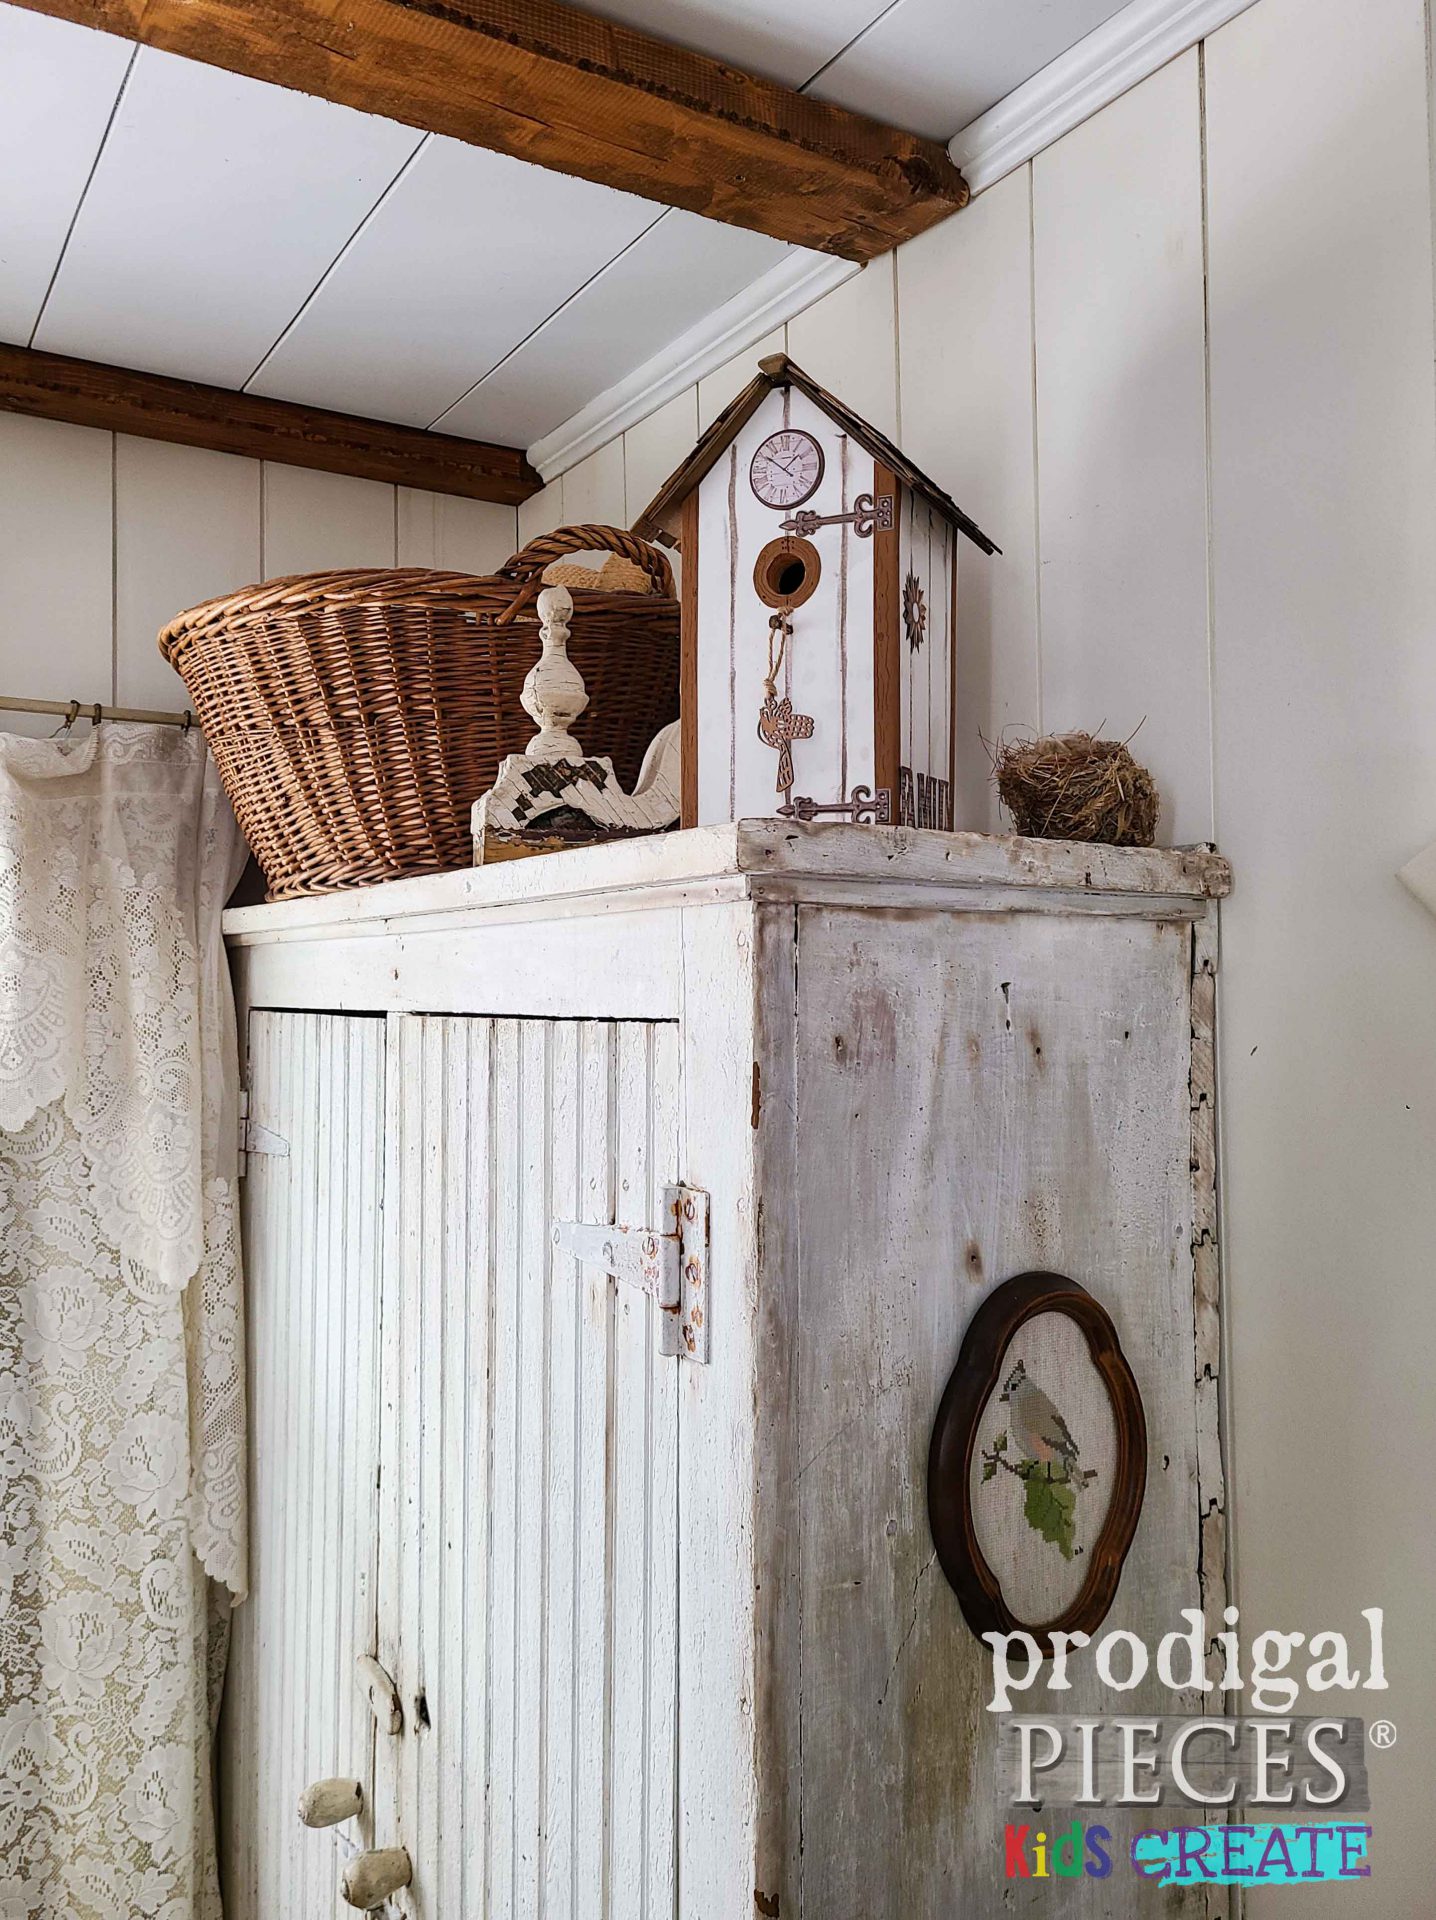
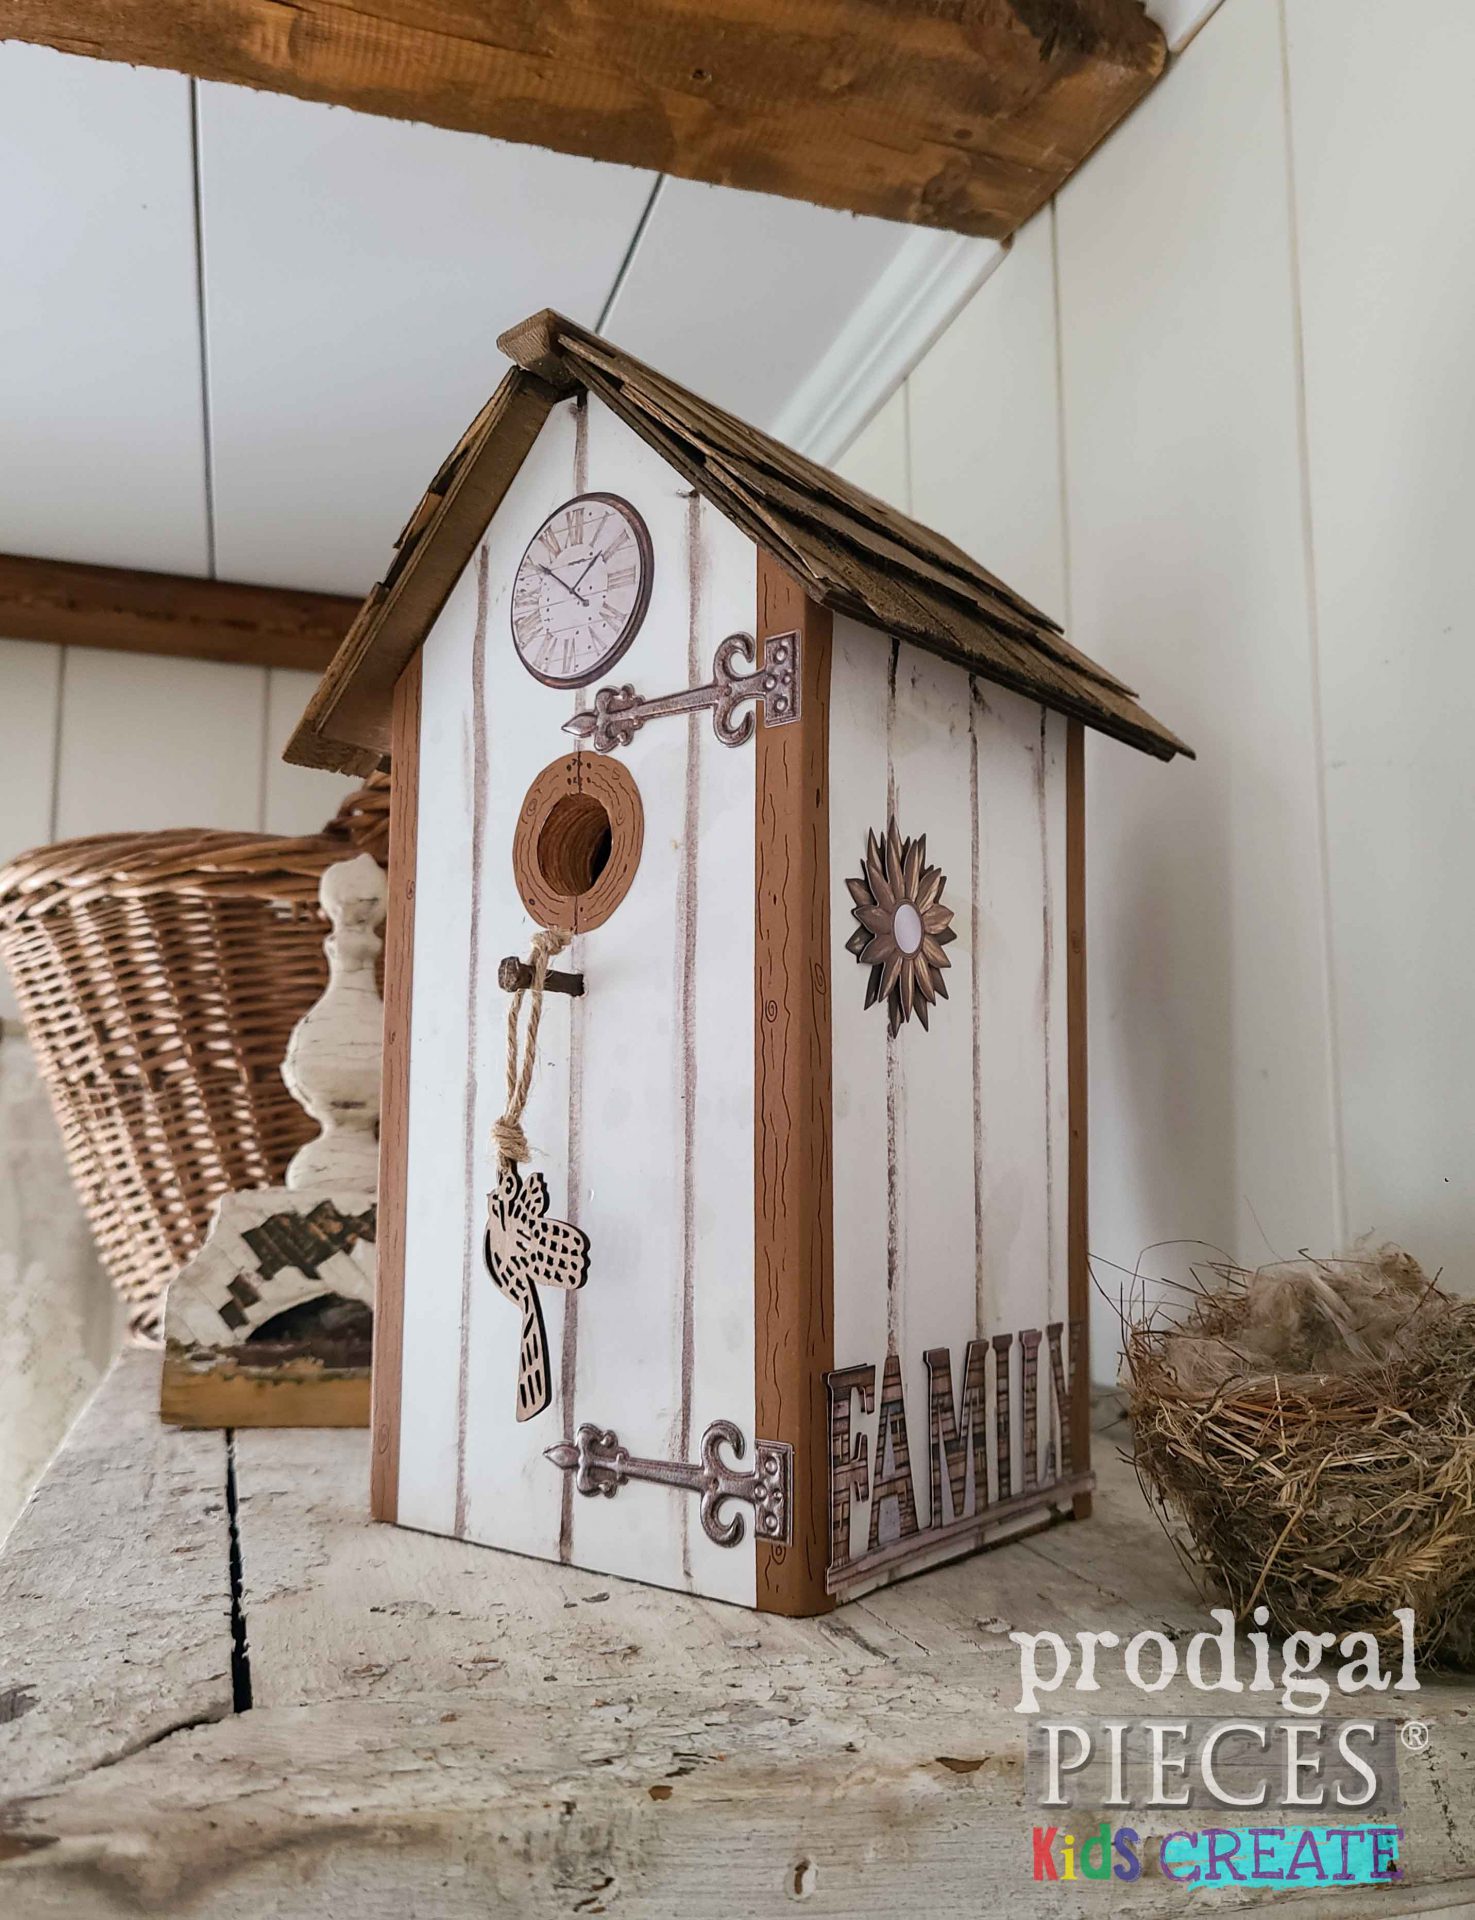
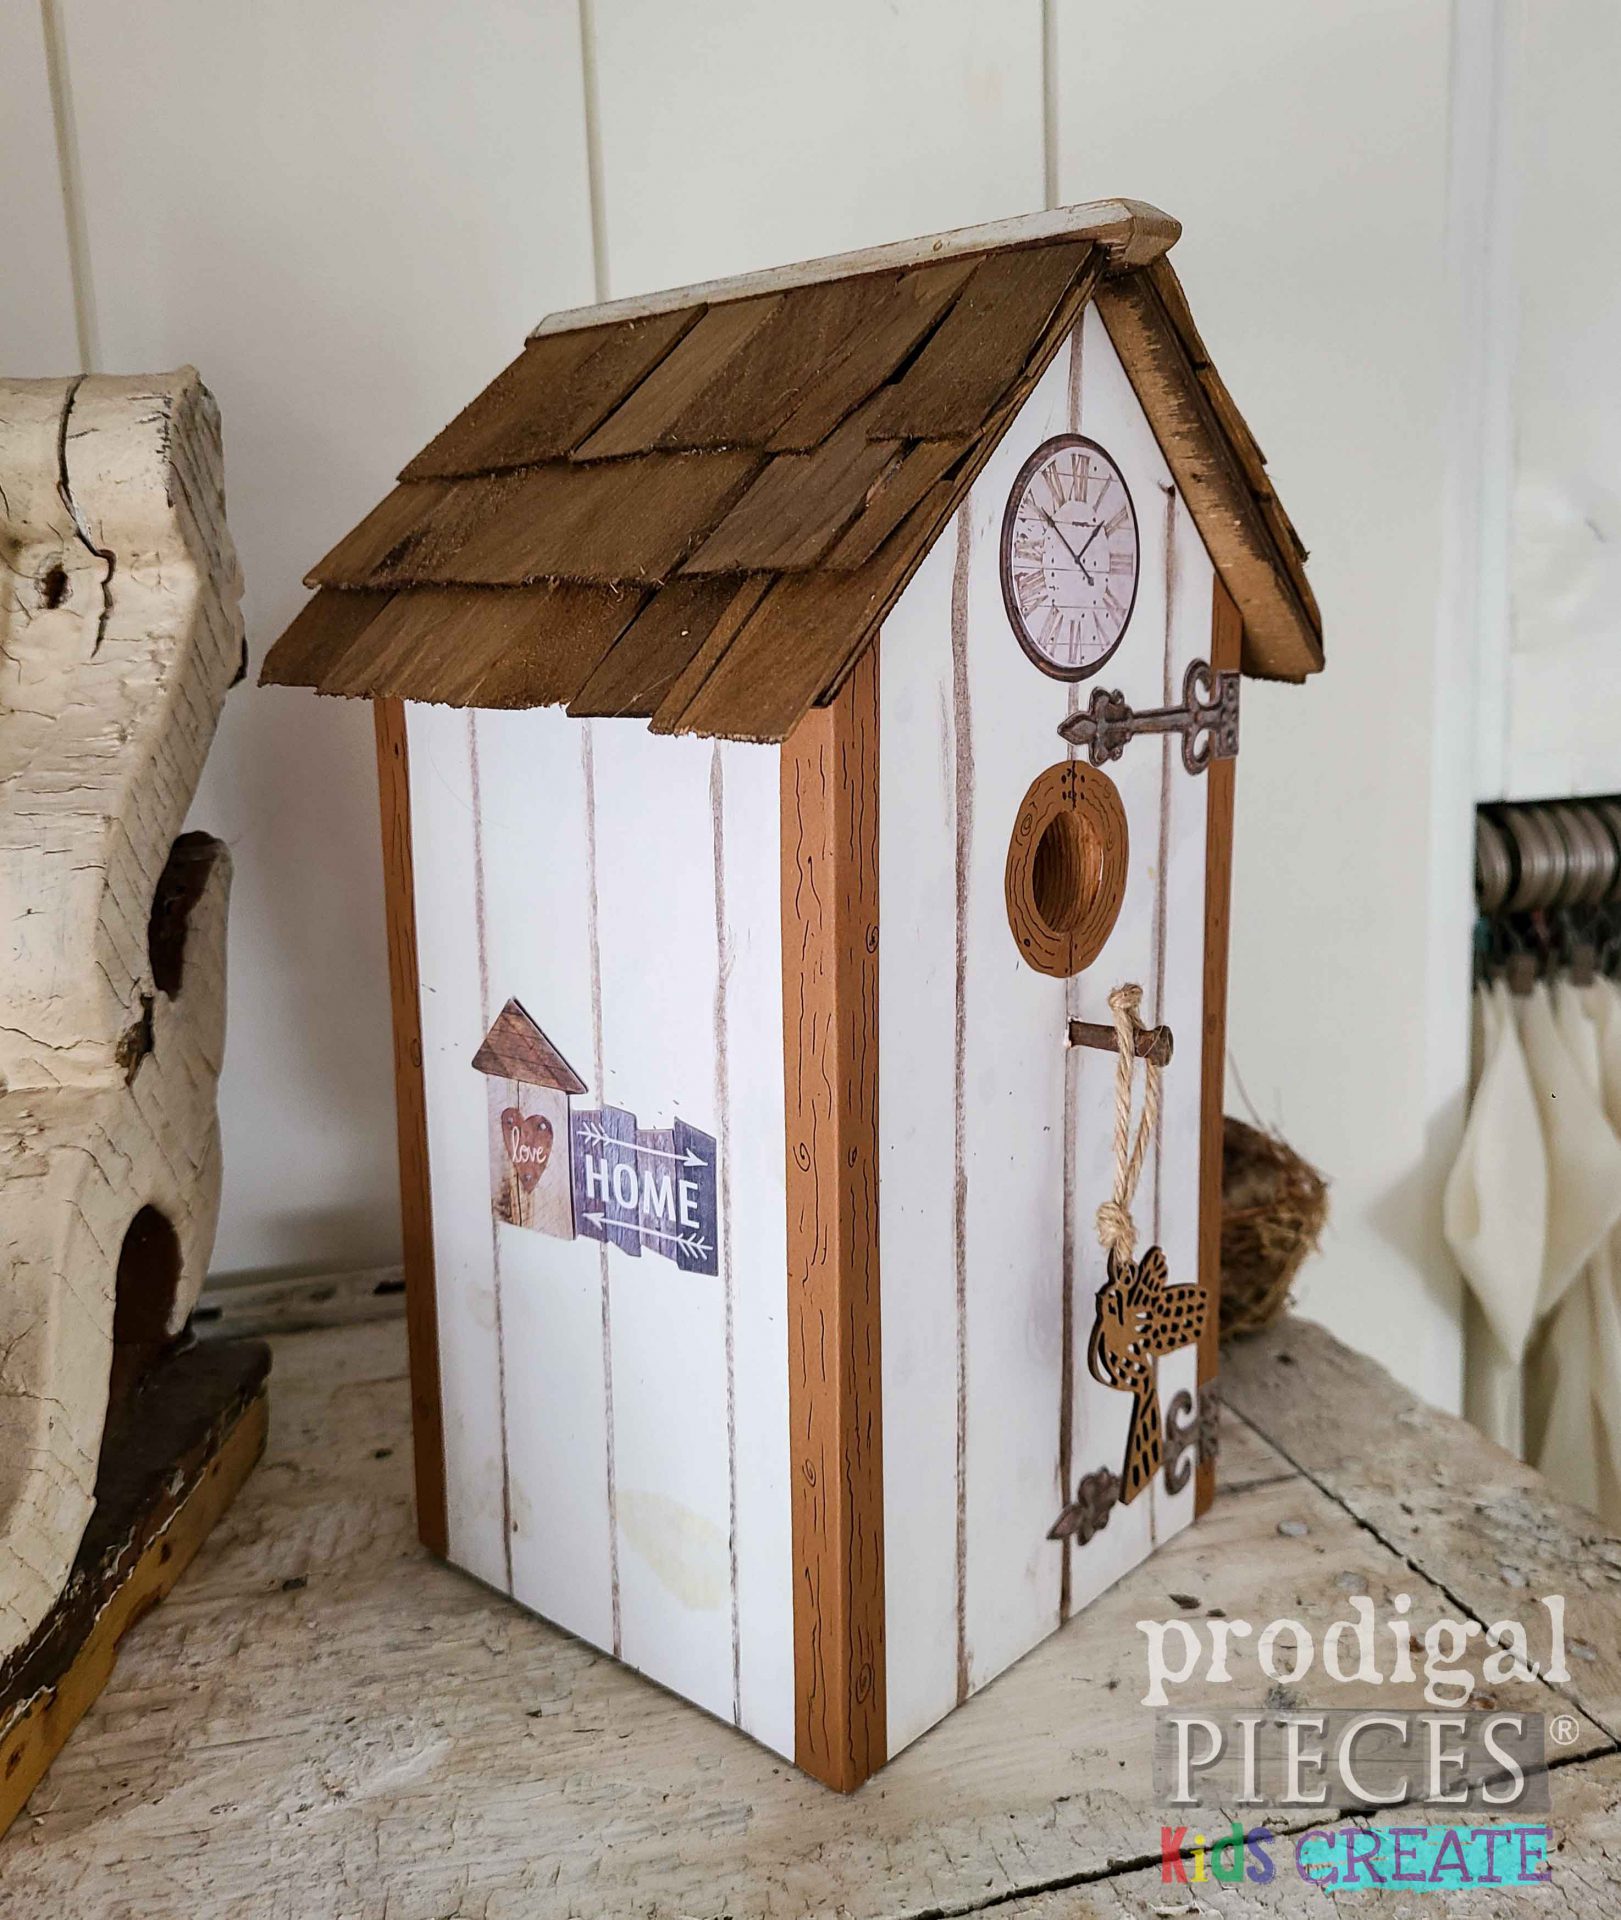
Finally, to start us off, here’s my guy’s birdhouse ready to go to add charm to your home story. Isn’t it sweet?
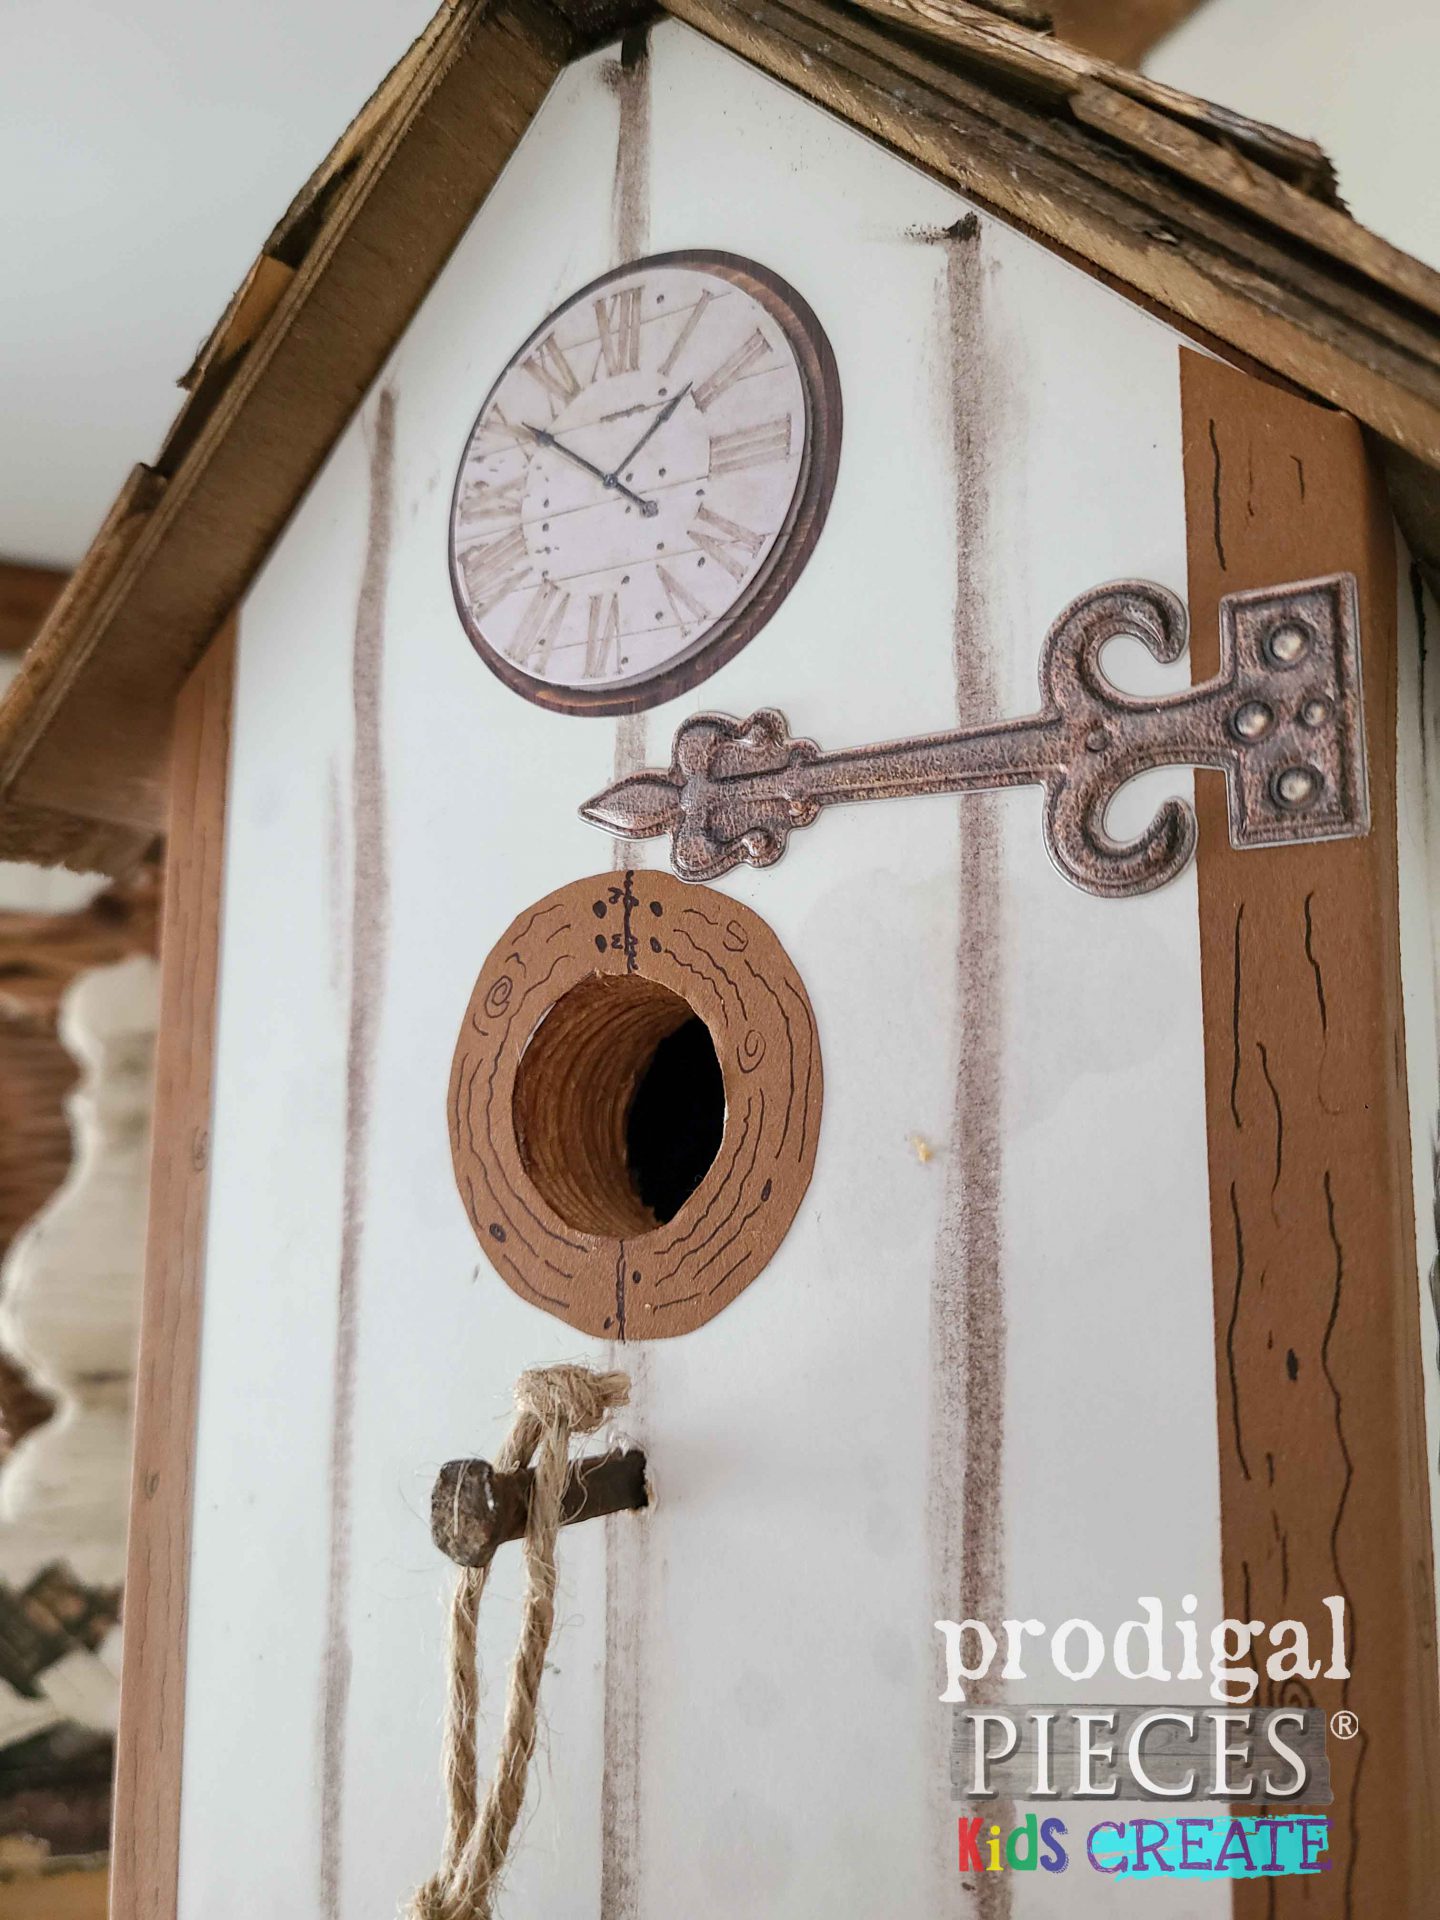
Mr. O added such fun elements that make me smile. With the family vibe, any old bird will love to roost here, don’t ya think? He even drew the wood grain on himself. Additionally, the roost is made from antique hand-forged nails. I love it!
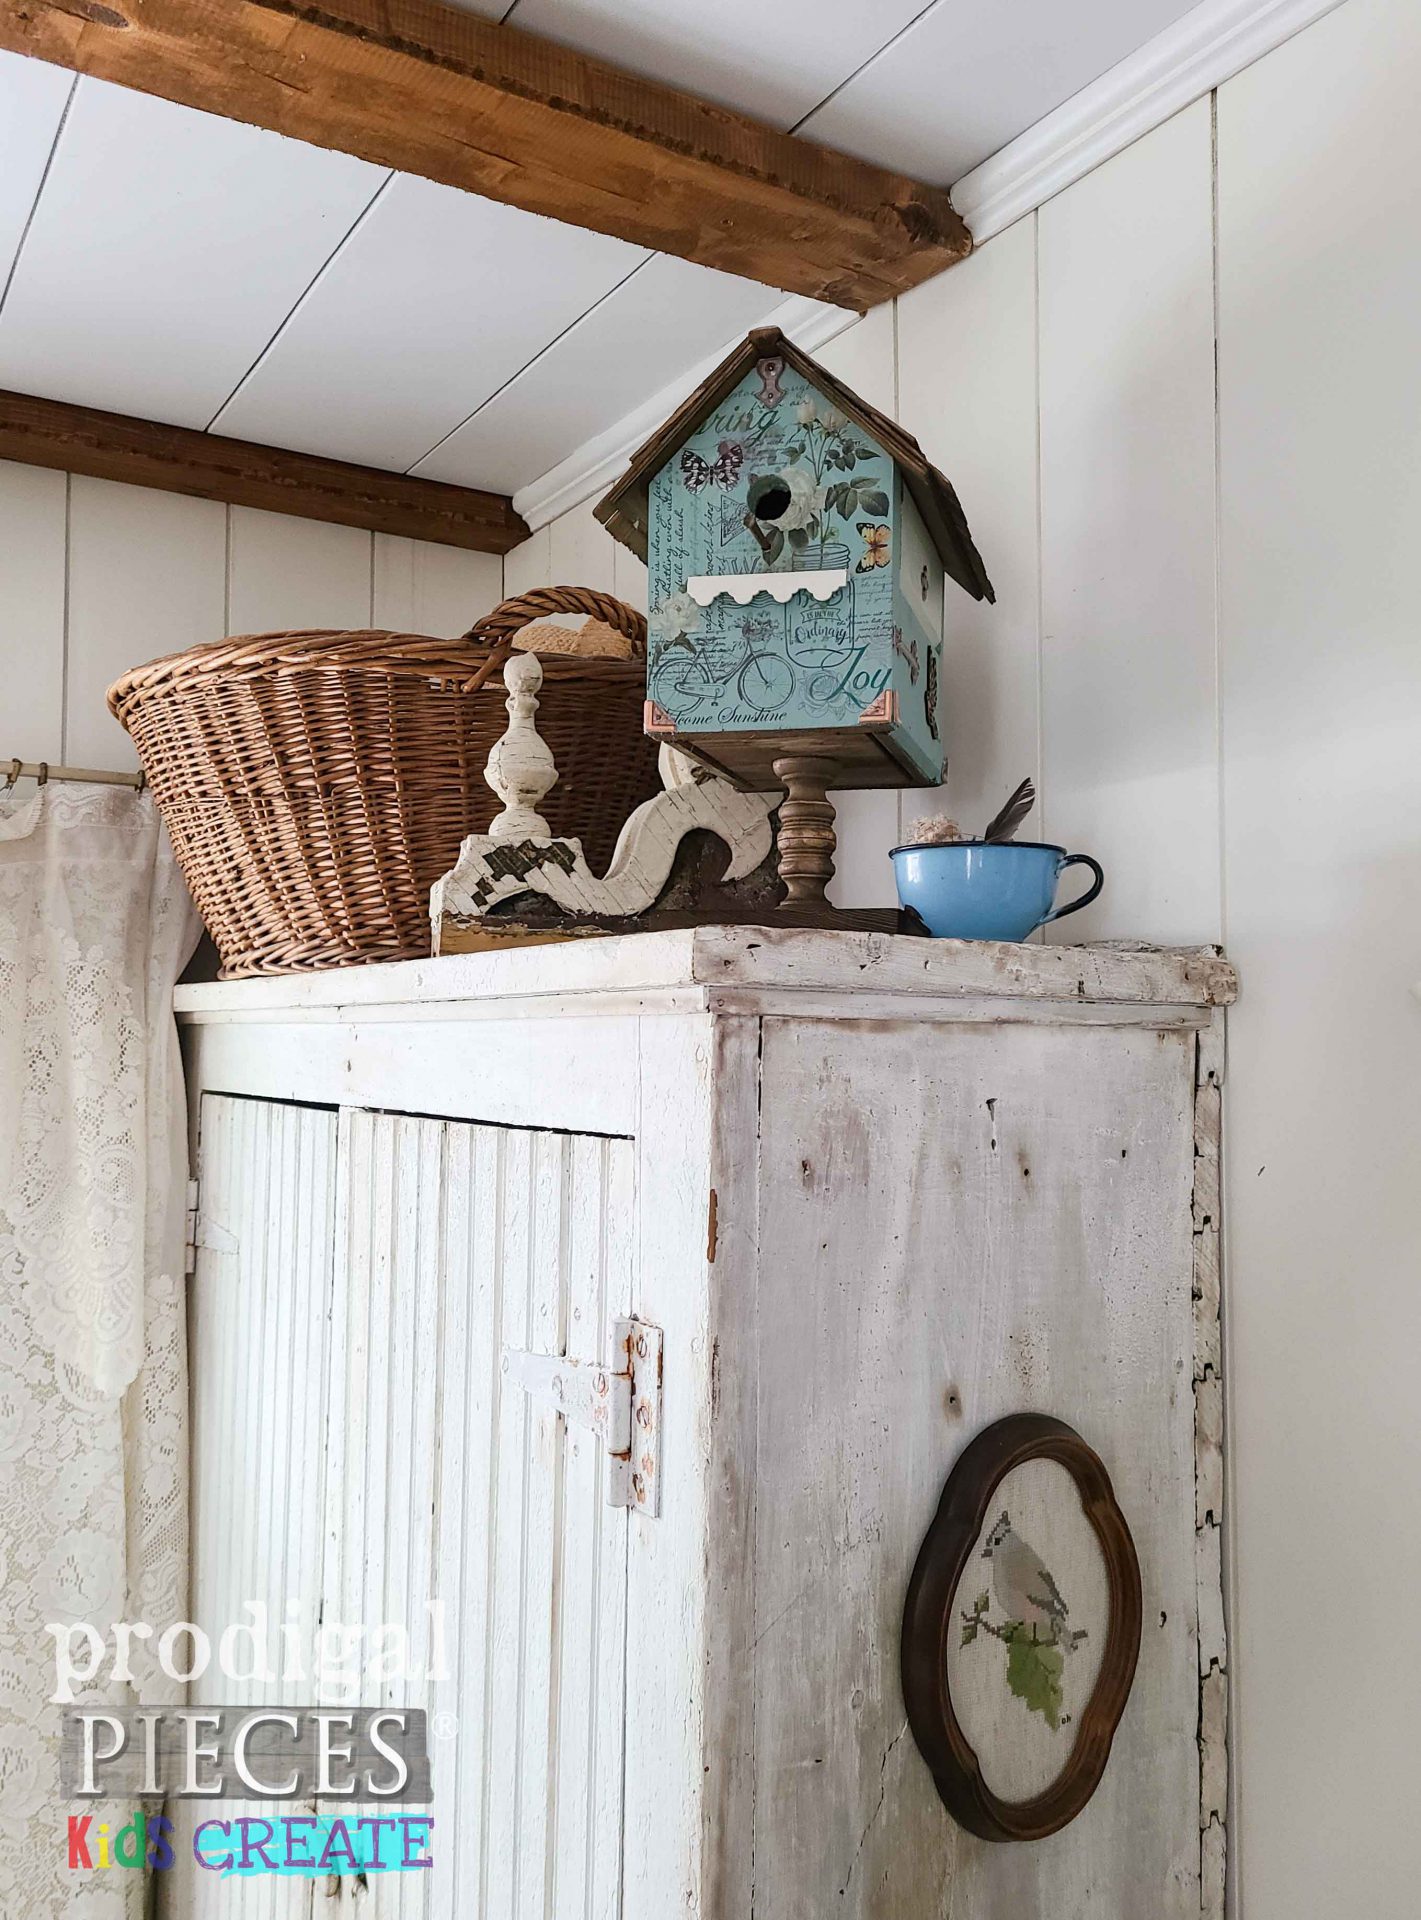
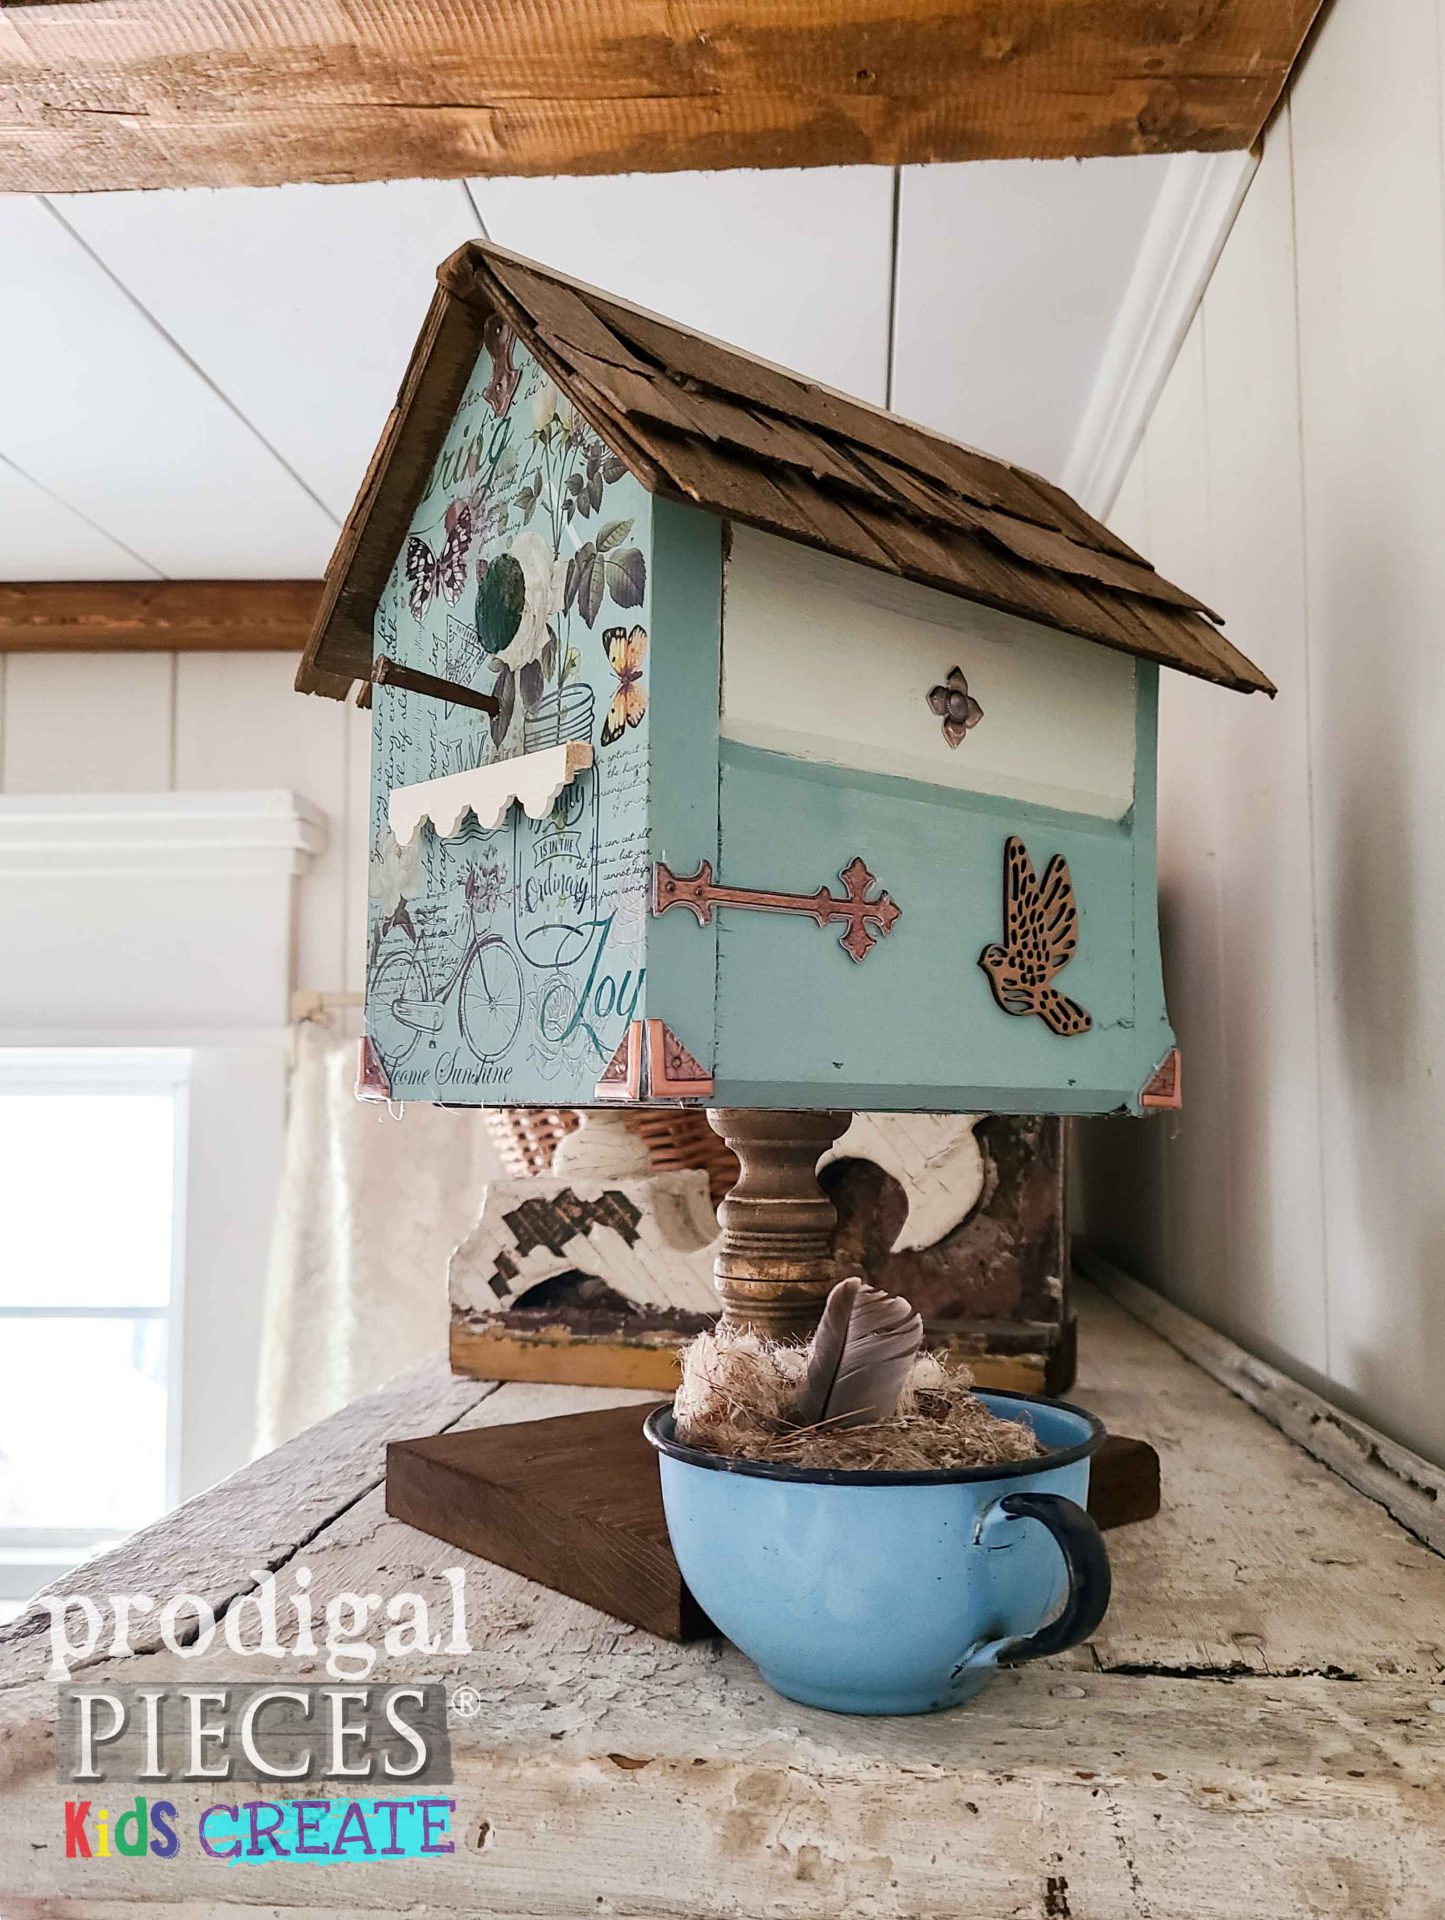
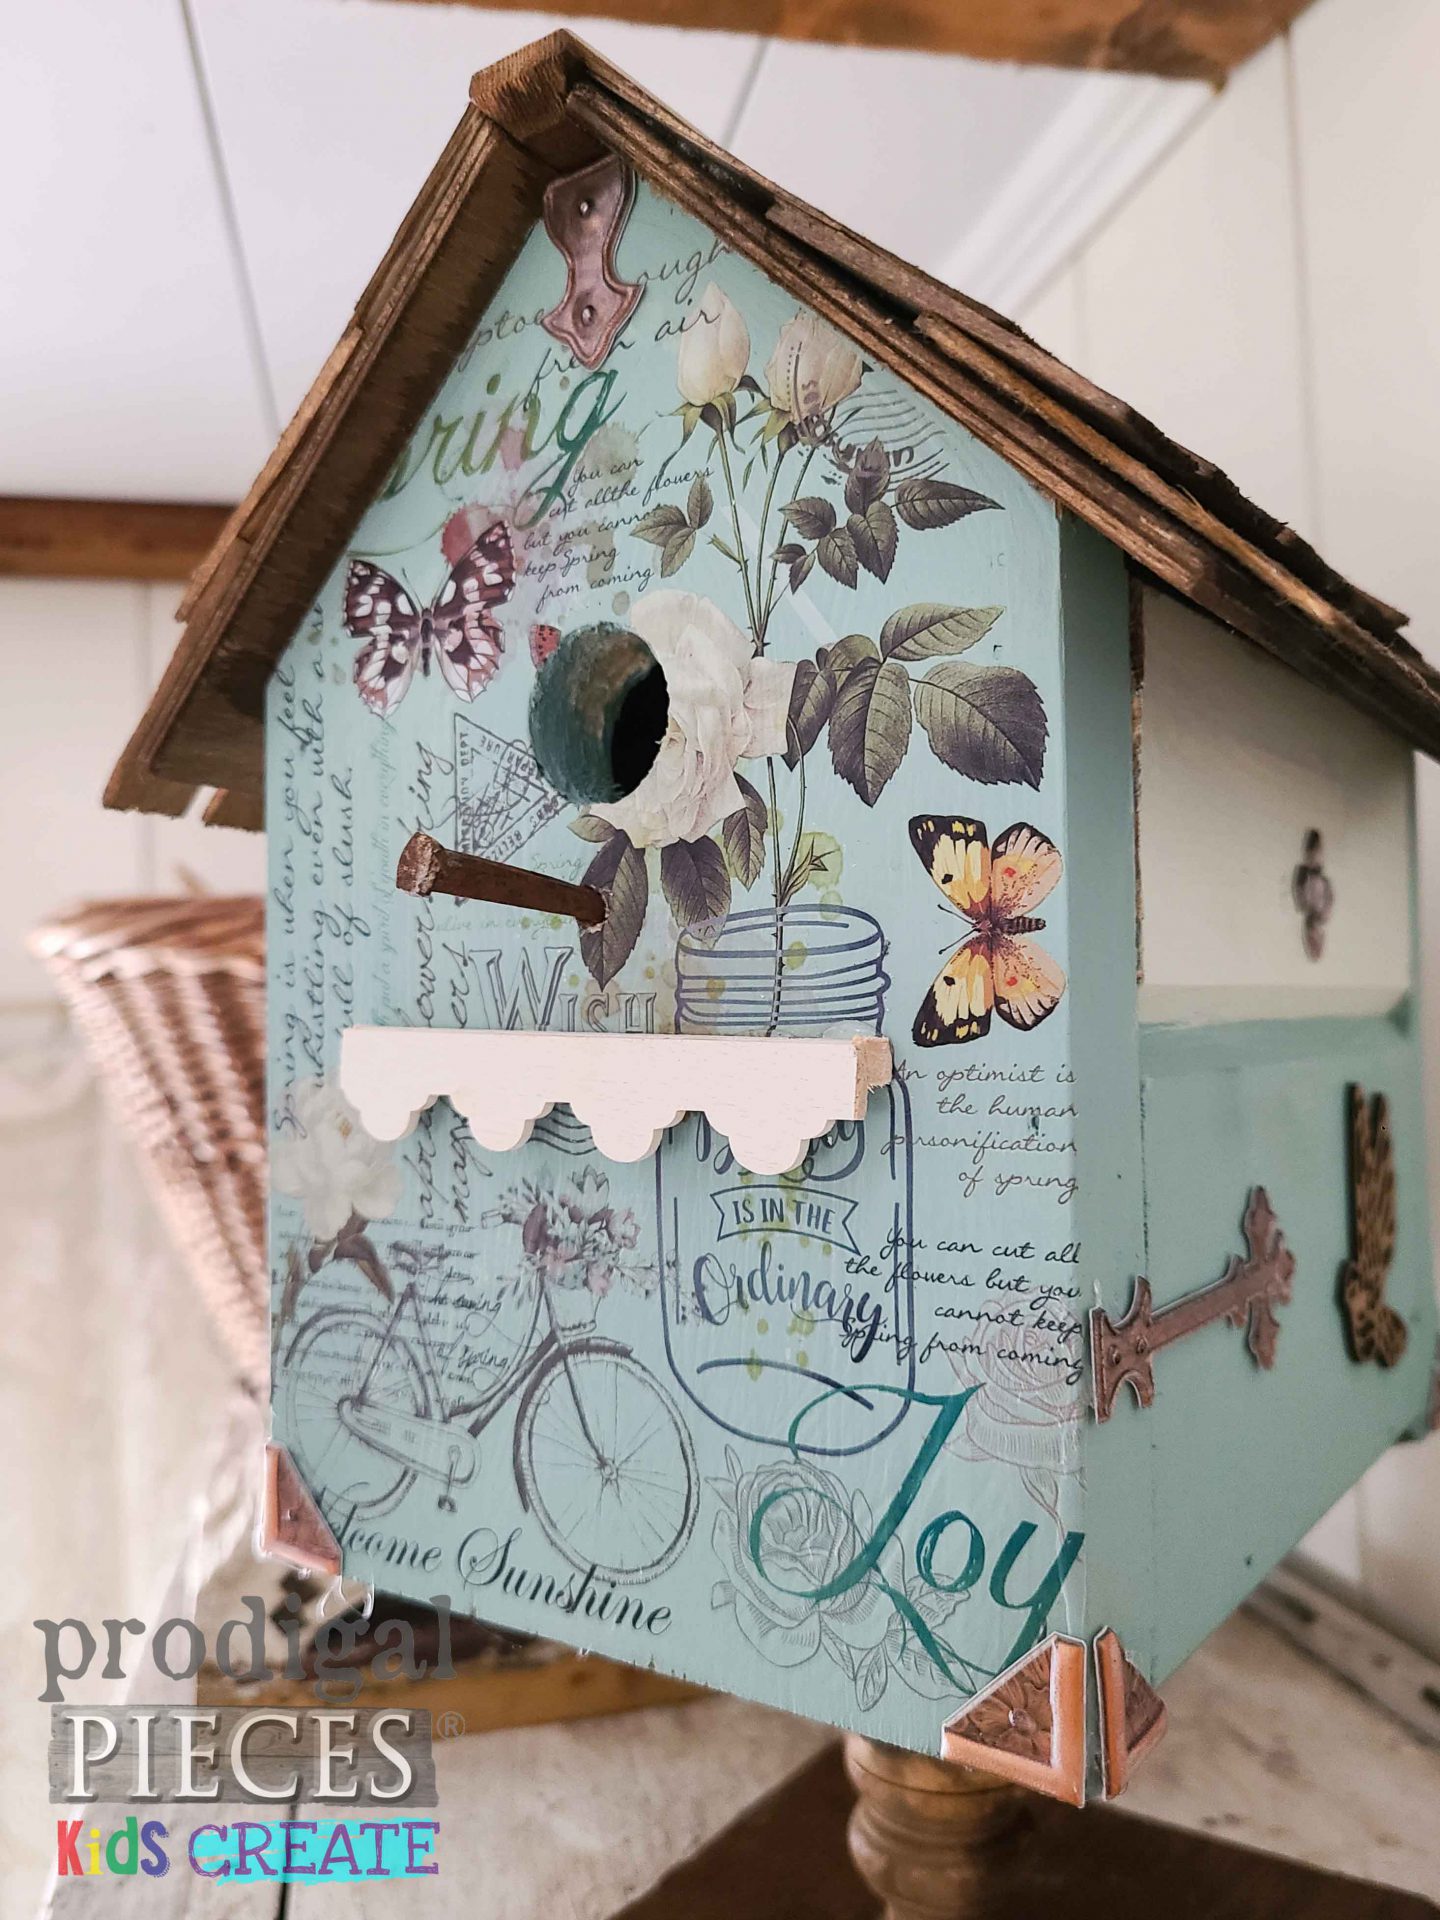
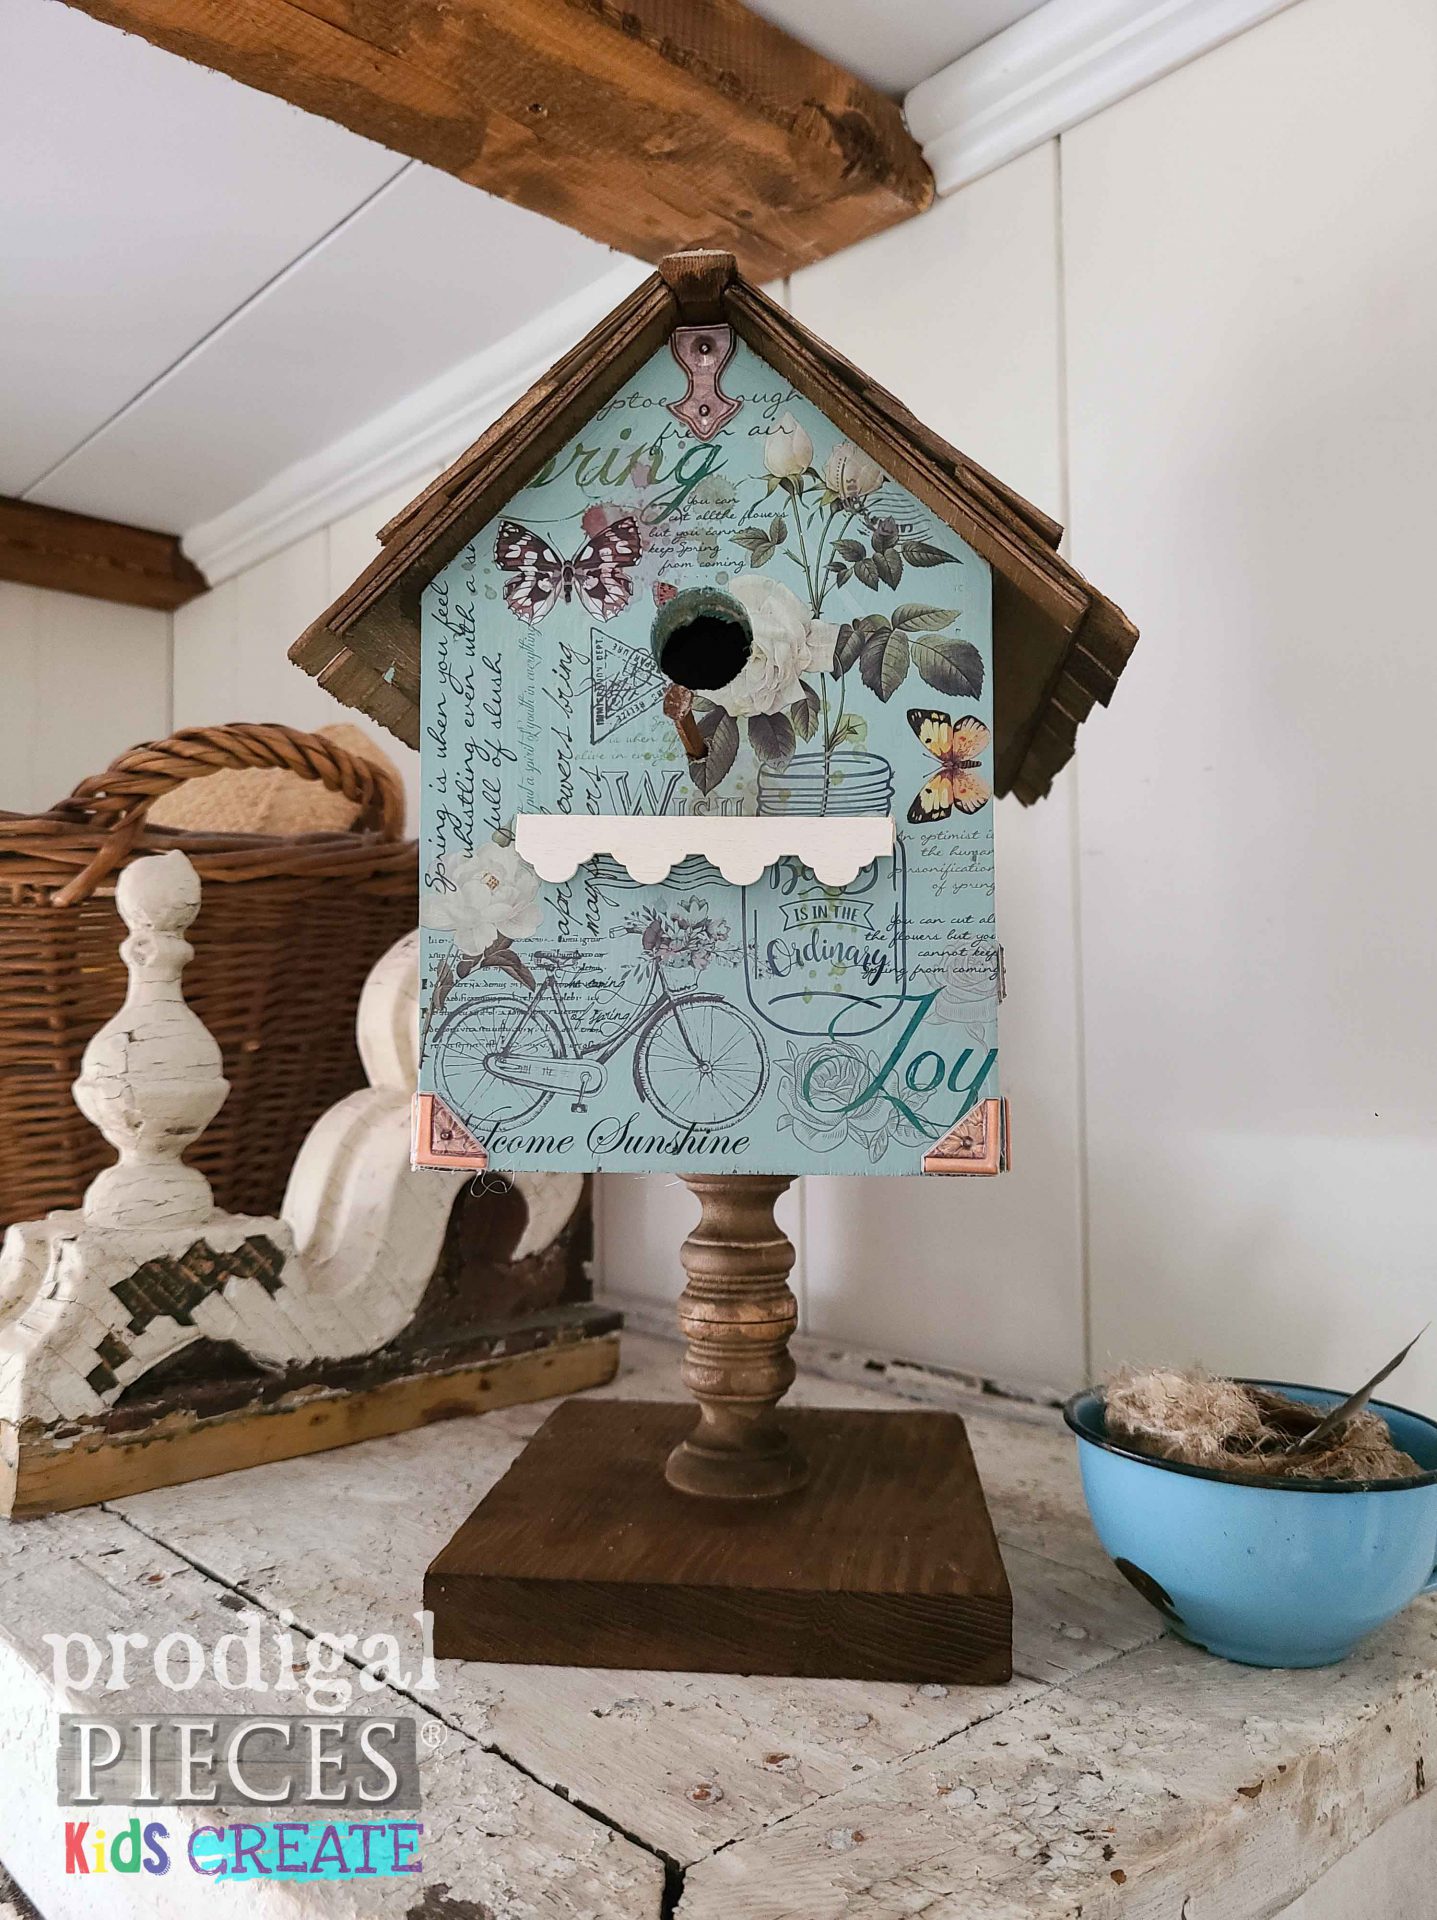
Then, for some more fun, here’s a couple of pedestal style houses that I built on two wooden candlestick bases glue together.
Also, this cottage-y one has a fun transfer on the front with a few decorative elements as well.
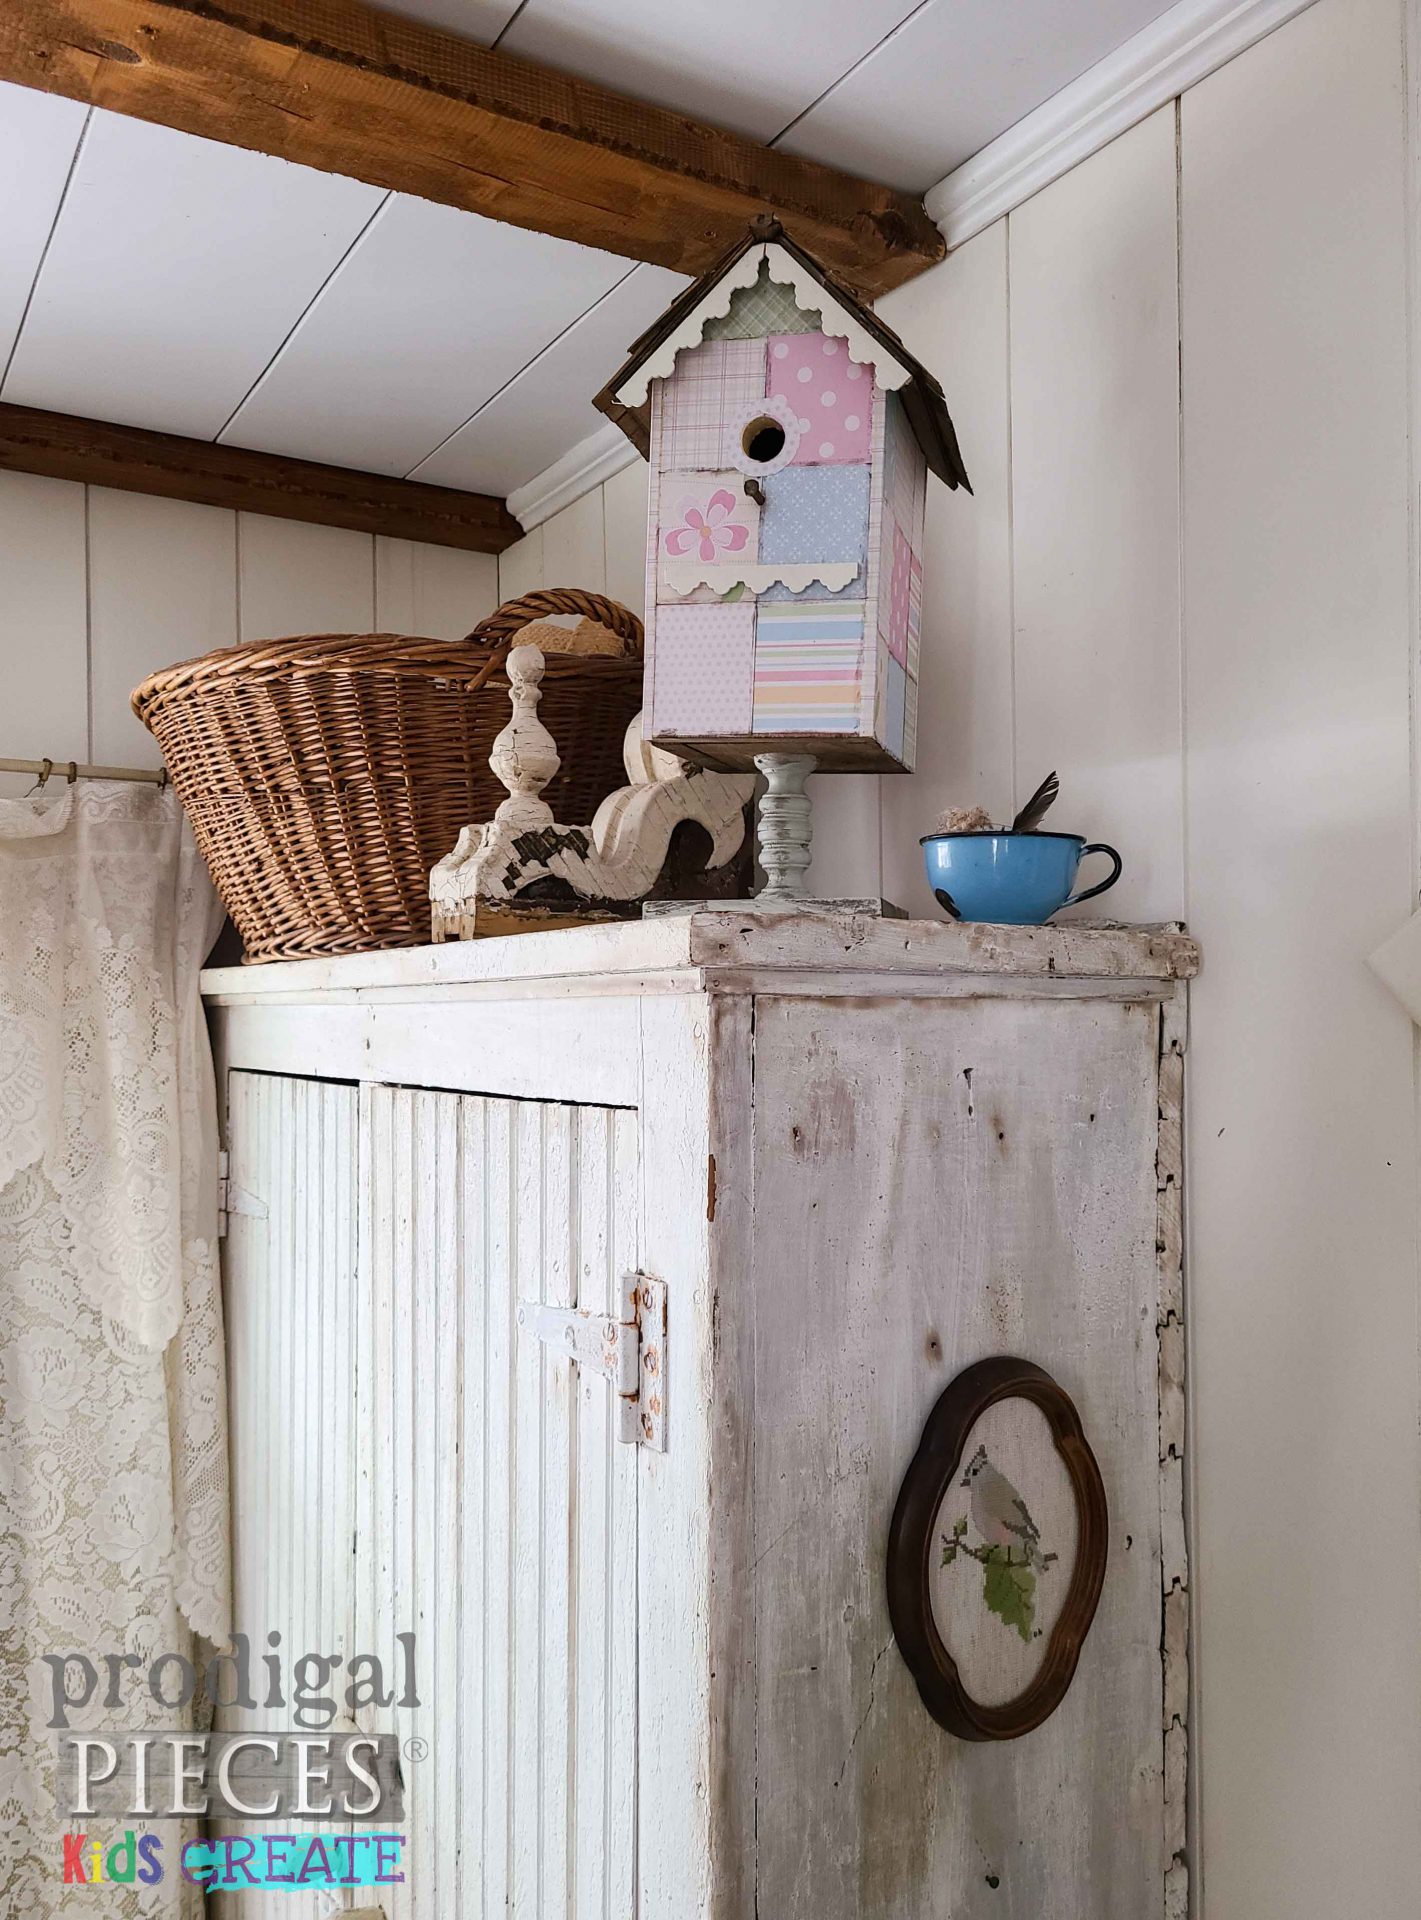
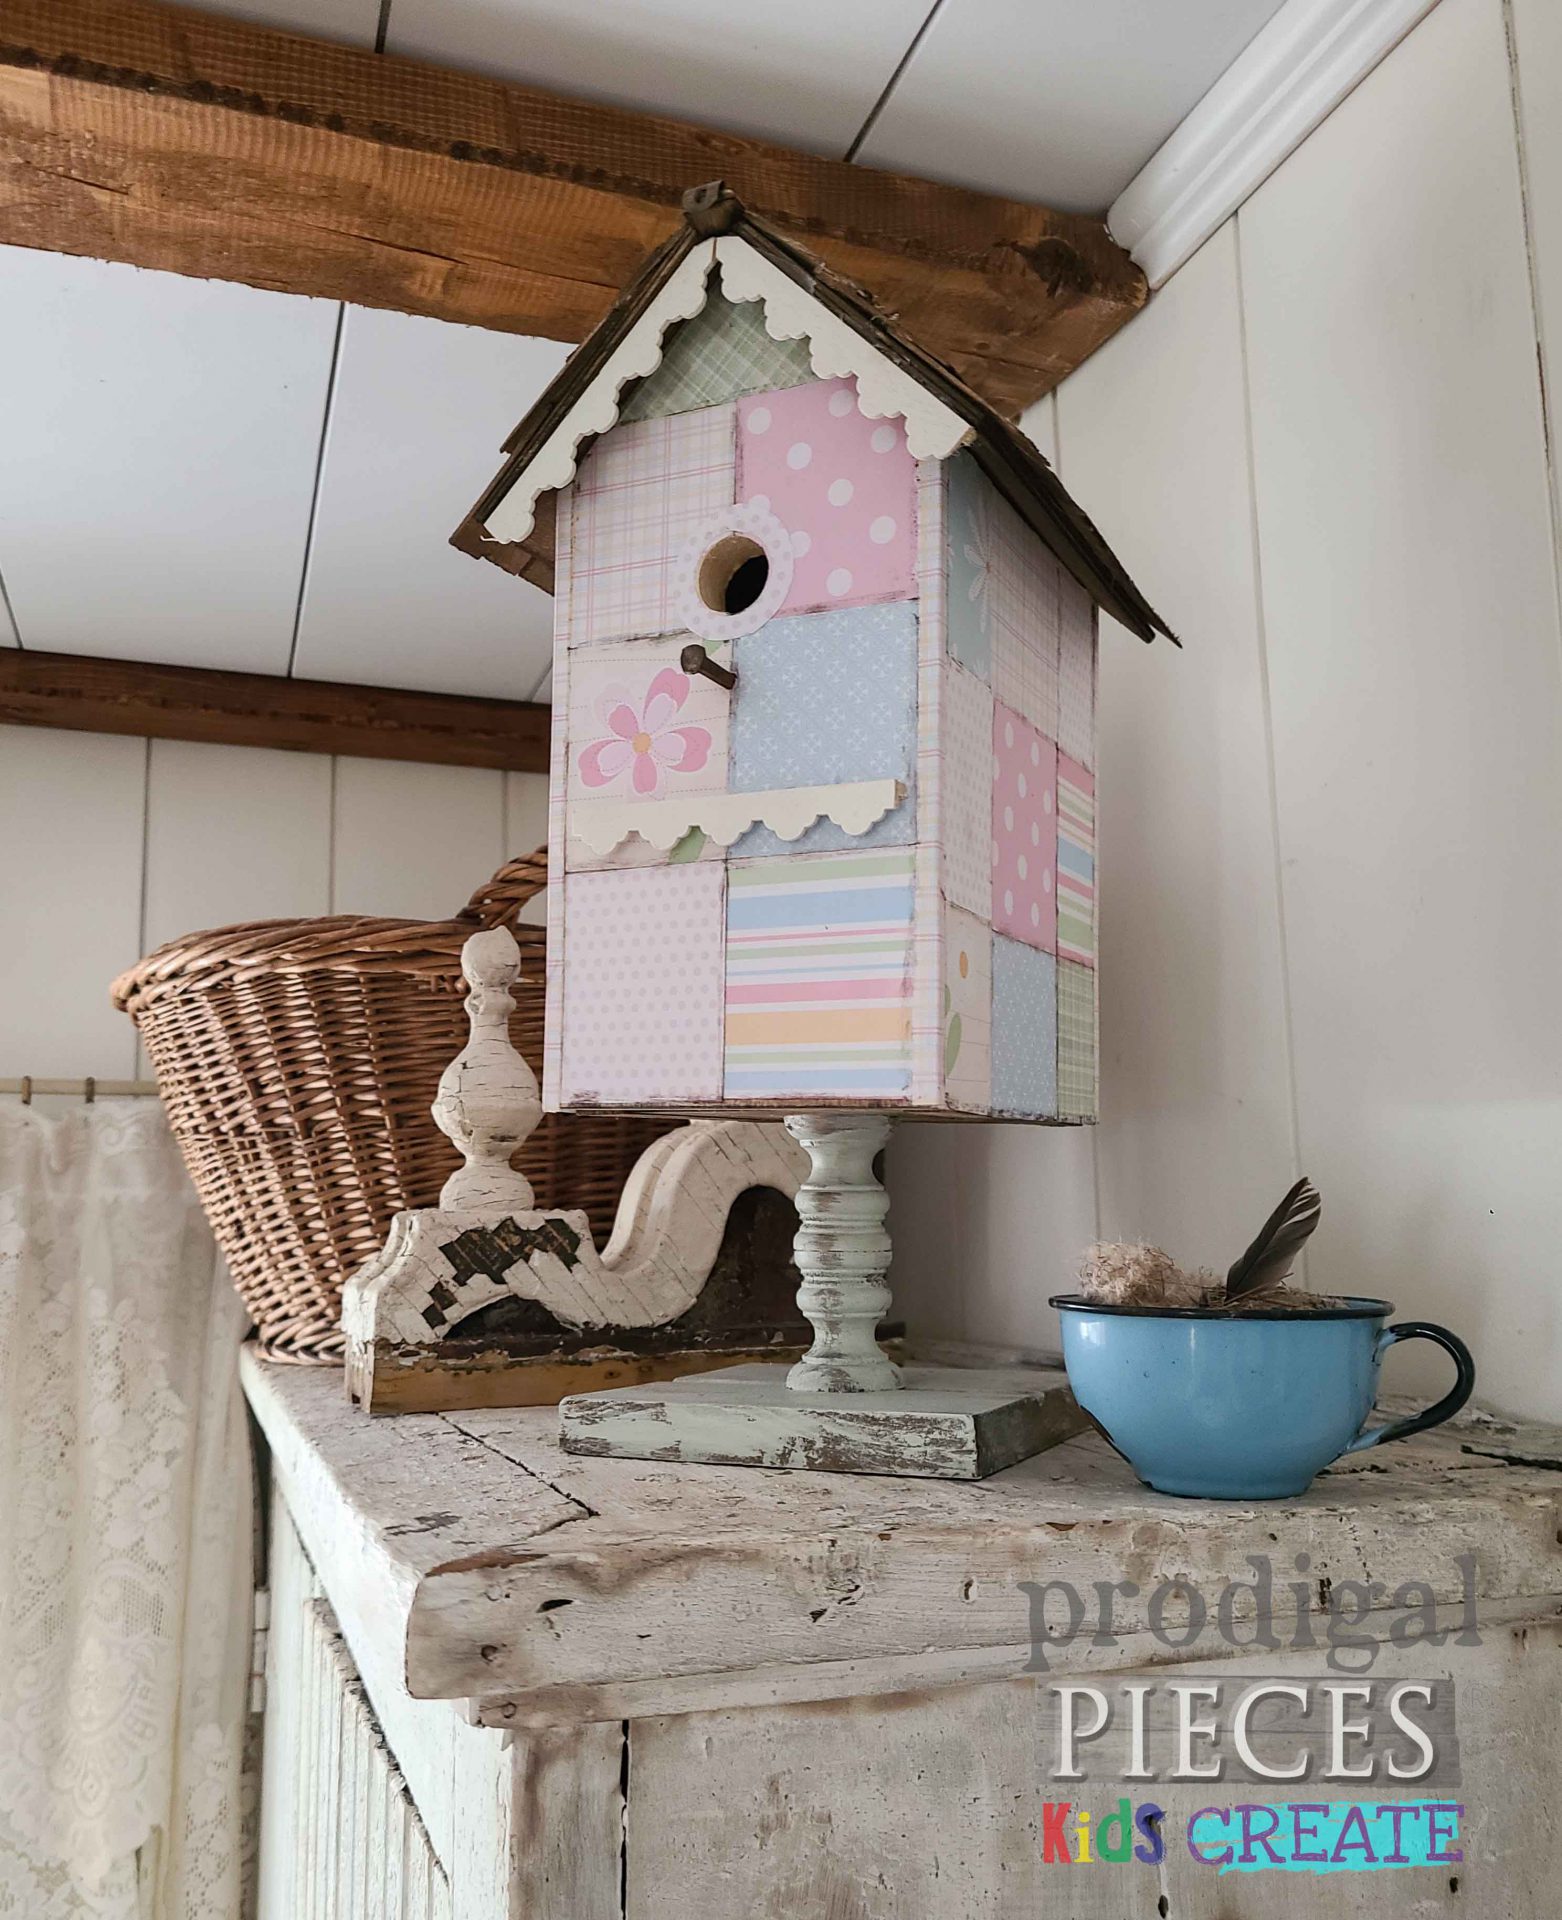
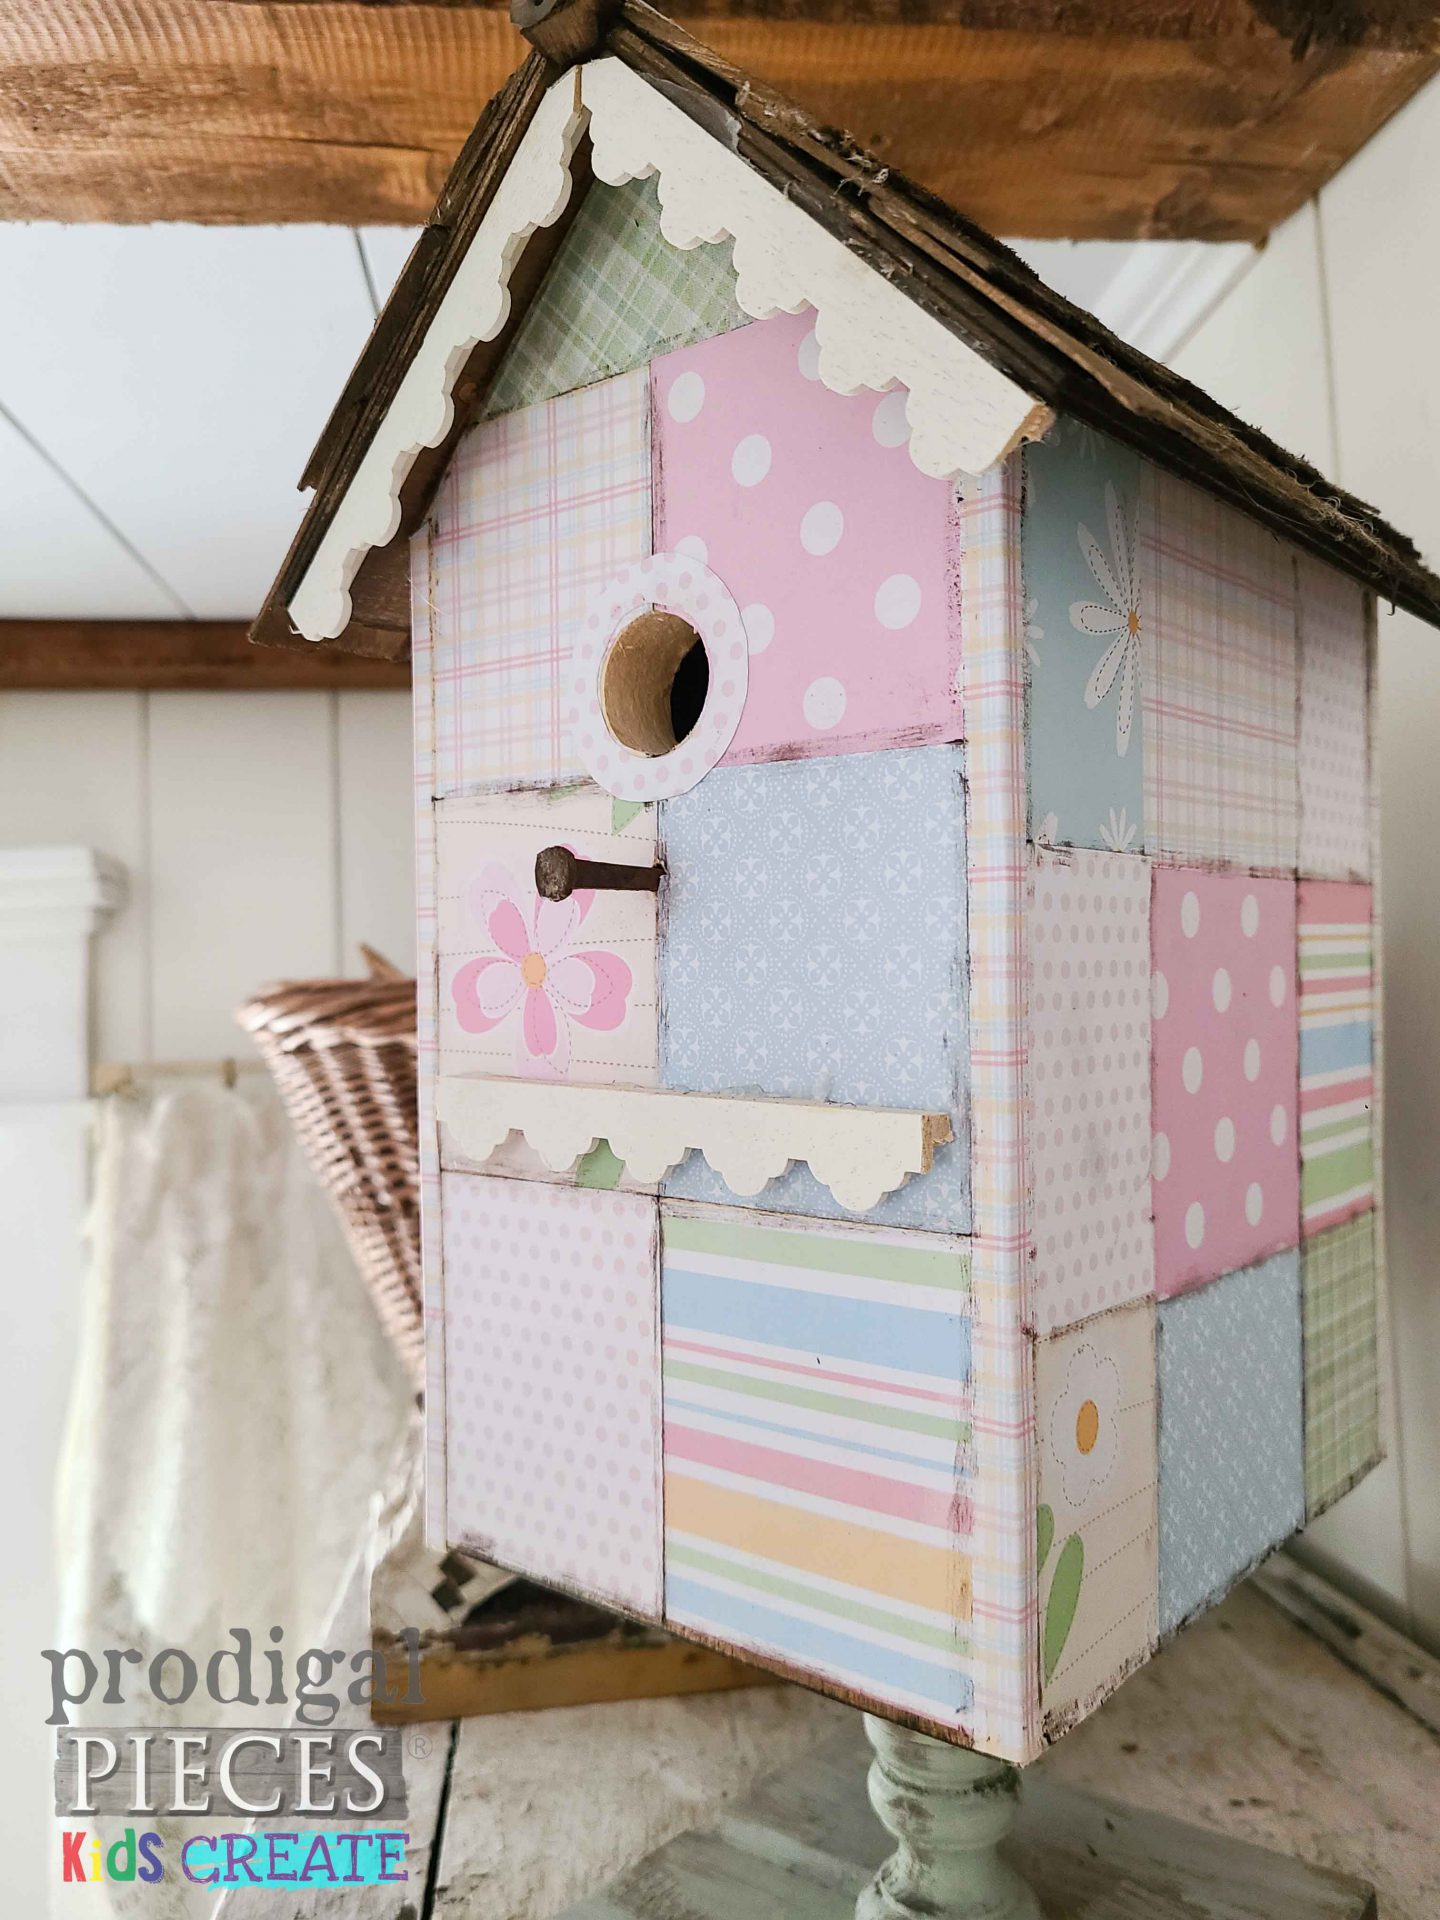
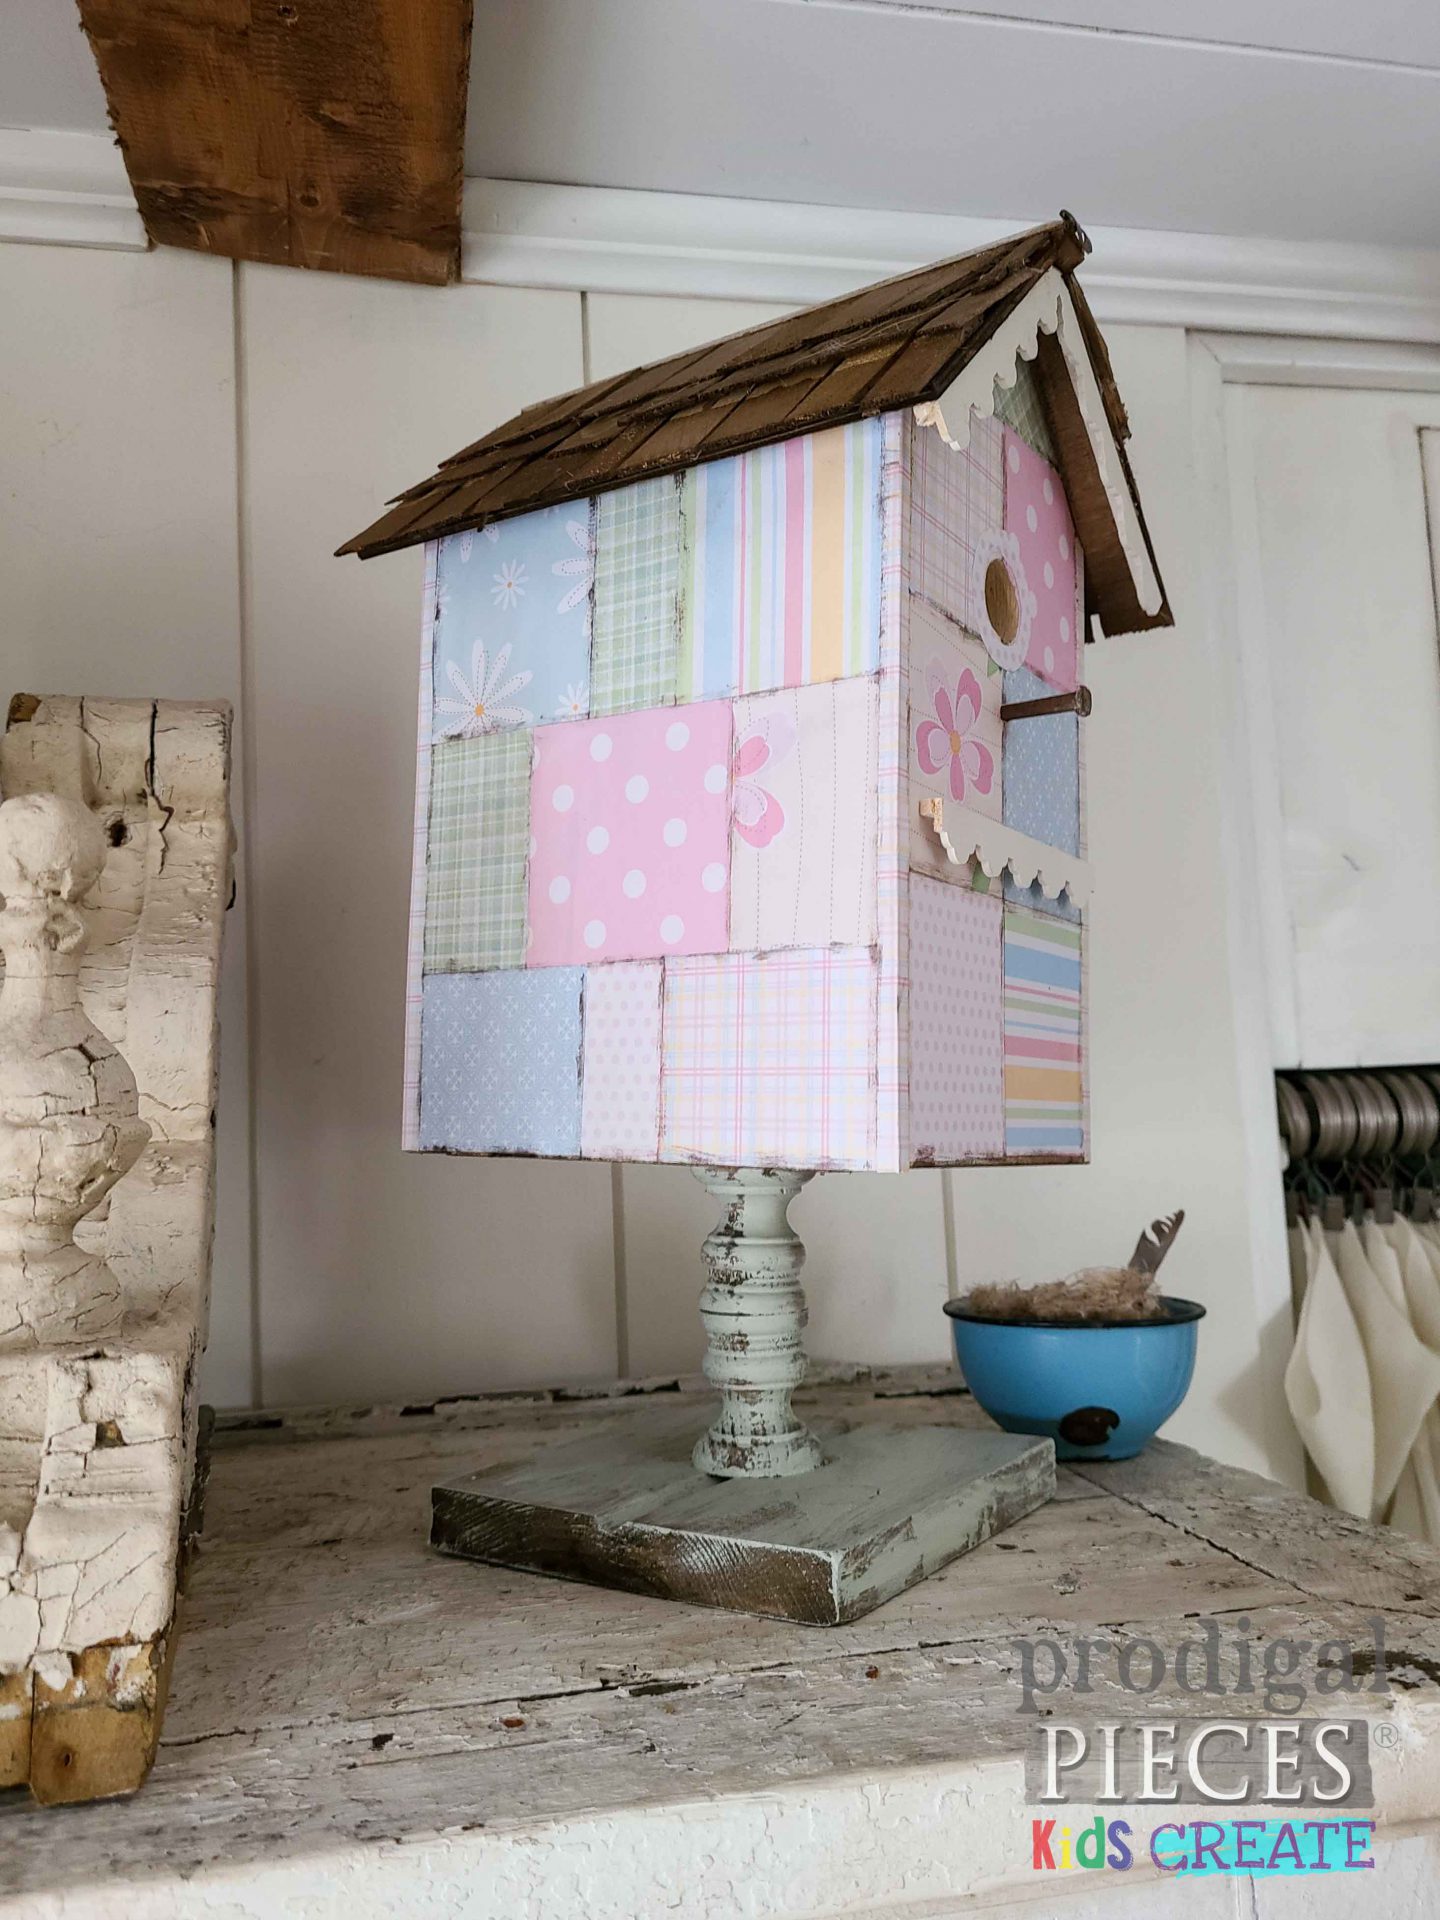
And, last, but not least, here is one with a quilted vibe using scrapbook paper squares and leftover gingerbread from the dollhouses we built for our daughters. Gotta love scraps!
Also, if you look close, you can see I use a dark wax to accent the square and add dimension for an aged appeal. This one makes my cabin fever heart happy.
Last, we’re curious which one suits your fancy. All have the handmade touch and made with love. Likewise, all are available for purchase in my online shop so you can add them to your own home story.
SHARE
In addition to leaving a comment below on which DIY birdhouse is your favorite, also pin and share to inspire and encourage other to join the family and friends in a fun build.
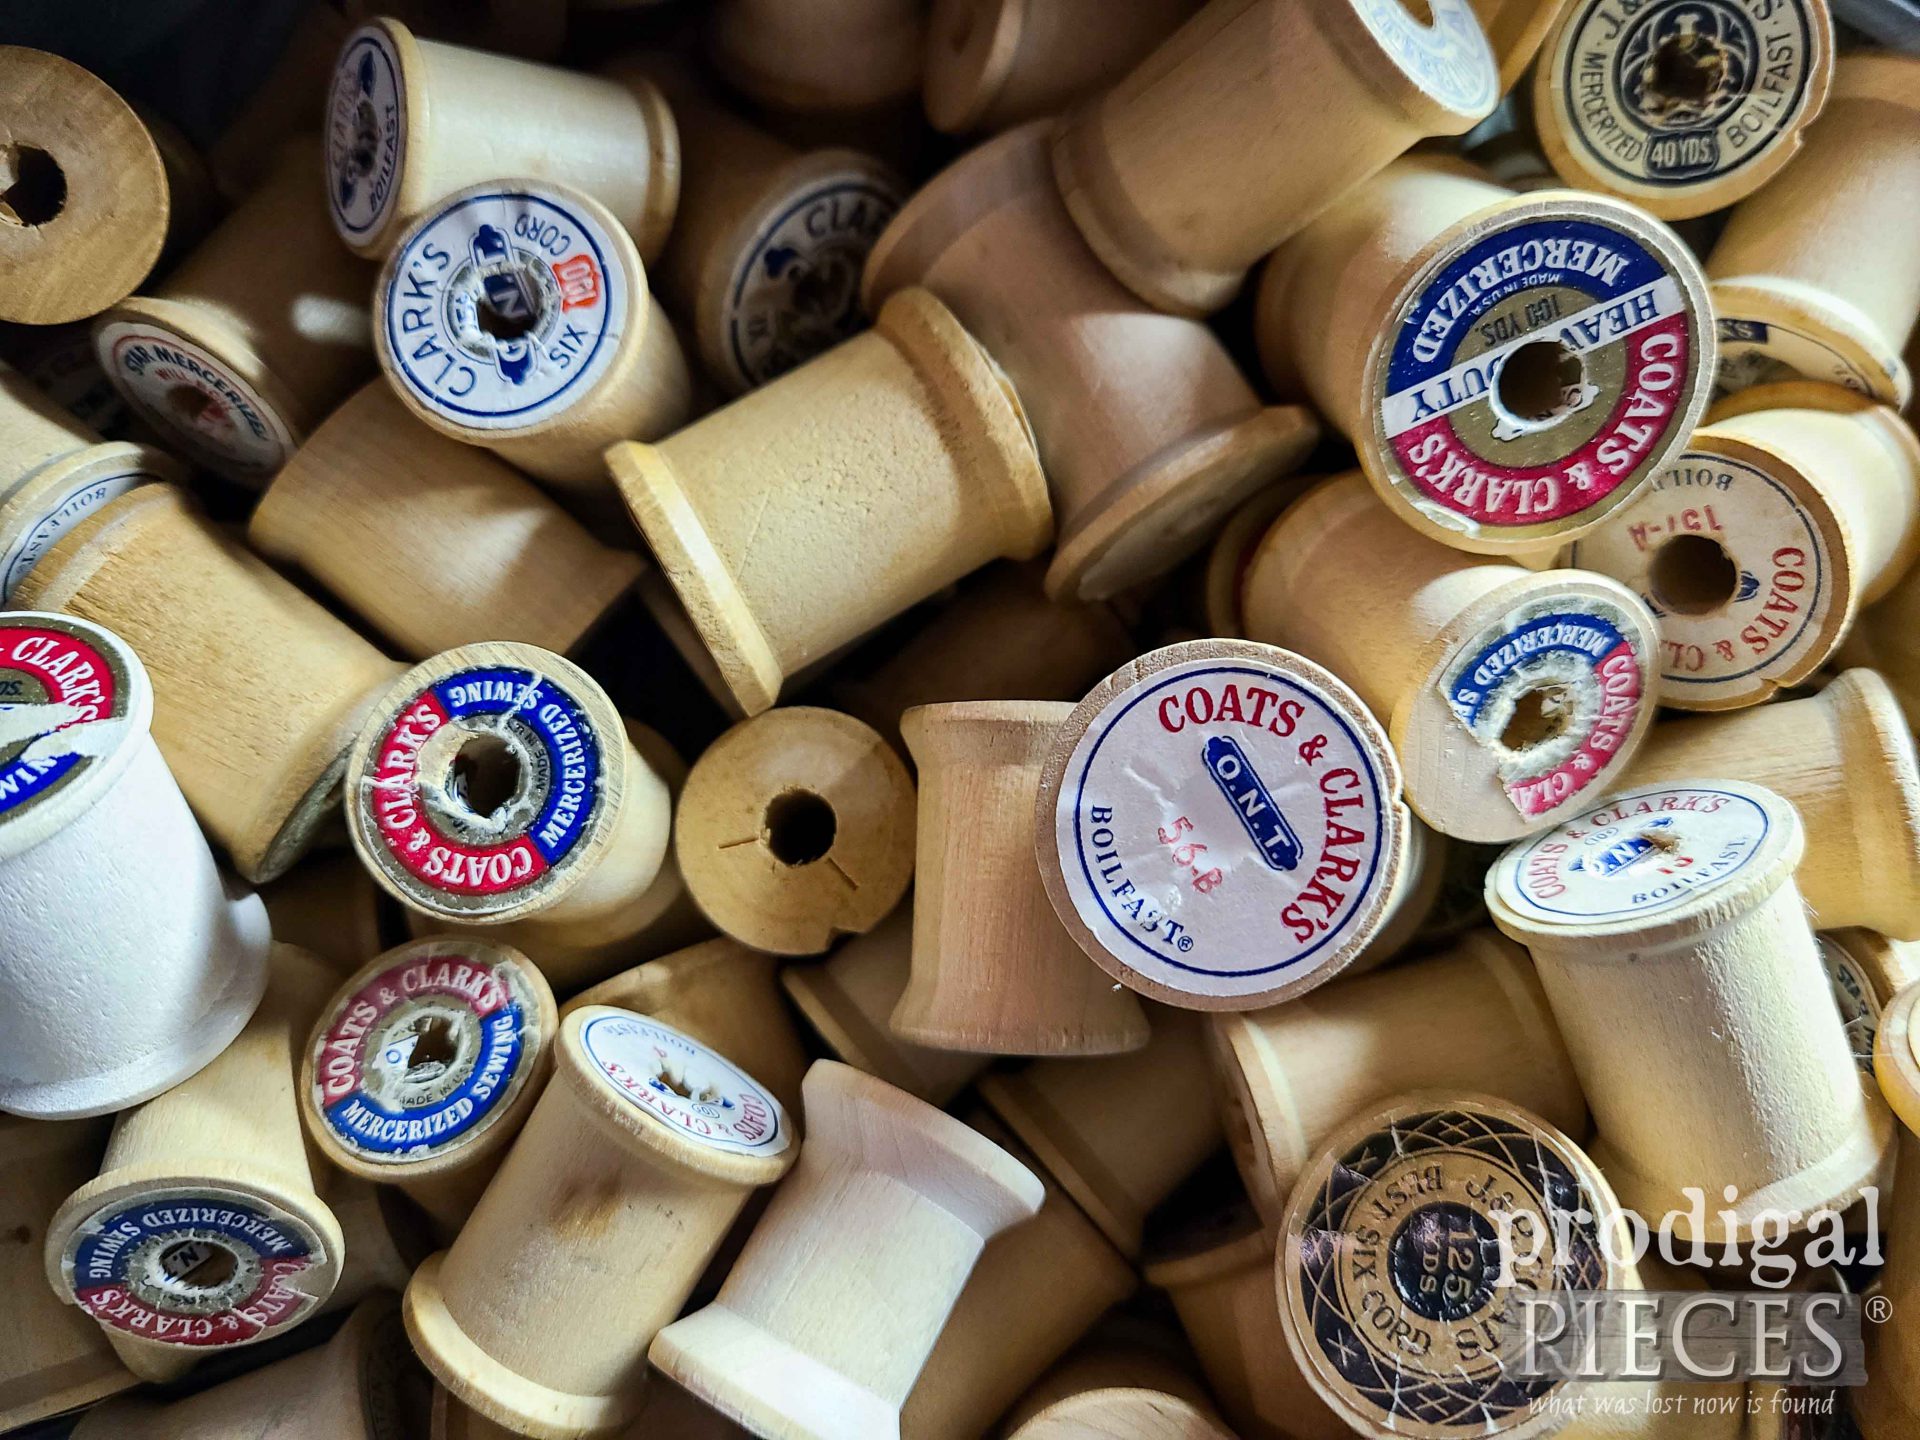
As a matter of fact, does anyone else have a grocery bag full of vintage wooden thread spools? I’m making something with mine! SEE THE DETAILS HERE.
Stay tuned by To signing up for my newsletter. PLUS, you will get your FREE Furniture Buying Checklist and special discount to my shop. Until next time!




What a great reminder to take time to create with our kids!! Memories of those times growing up are my most precious. I know your kids will look back and recall a childhood full of wonderful experiences!!! ? And keep the faith… Your country home will happen when you least expect it!! ?
It’s the best spent time ever. Thanks, Rebecca! And yes, it most likely won’t be a surprise as I’ve been waiting 20 years. haha. 😉
Oh my gosh! LOVE, LOVE, LOVE THEM! What a great project! And I’m so impressed with Mr. O! Looks like he has your imagination! And I have to say his is my favorite ?. Can’t wait to see his future projects!
I’m so proud of him. Thank you, Susan! 😀 He is always creating and it’s hard, at times, to keep up with him.
I’m so very impressed with the sweet and sturdy end product of Mr. O’s creation!
I especially love the cedar shake roof and other decor, but it’s the professional quality of square seams and even cuts he made which really makes me say “Wow!”
Keep up the good work Mr. O!
That made his day that you noticed, Shelley. He’s used the miter saw only in tidbits before, but this time I encouraged him to do more. He kept saying, “that’s so cool”. haha. Yes!
He is precious!
What a blessing for a mama.
You bet! All my kids are my treasures. 😀 Thank you, Stephanie.
Wowza! What a fantastic piece Mr O created! I wasn’t sure what to expect, but wish you could have seen my eyes bug out when I saw his finished product ? Nice! He could win first place with this in a contest, for sure. 🙂 You have taught him well and encouraged his natural talents. You two make a great team!
How fun to hear, Mary! Thank you from us both. Yes, he is always wanting to tear apart old phones, tvs, and create with whatever he can. It’s a blast to watch him go.
Love, love, love these!! My favorite is your son’s!!
Great job!
Thanks so much from the two of us. It’s fun to work with a like-minded creative soul. 😀