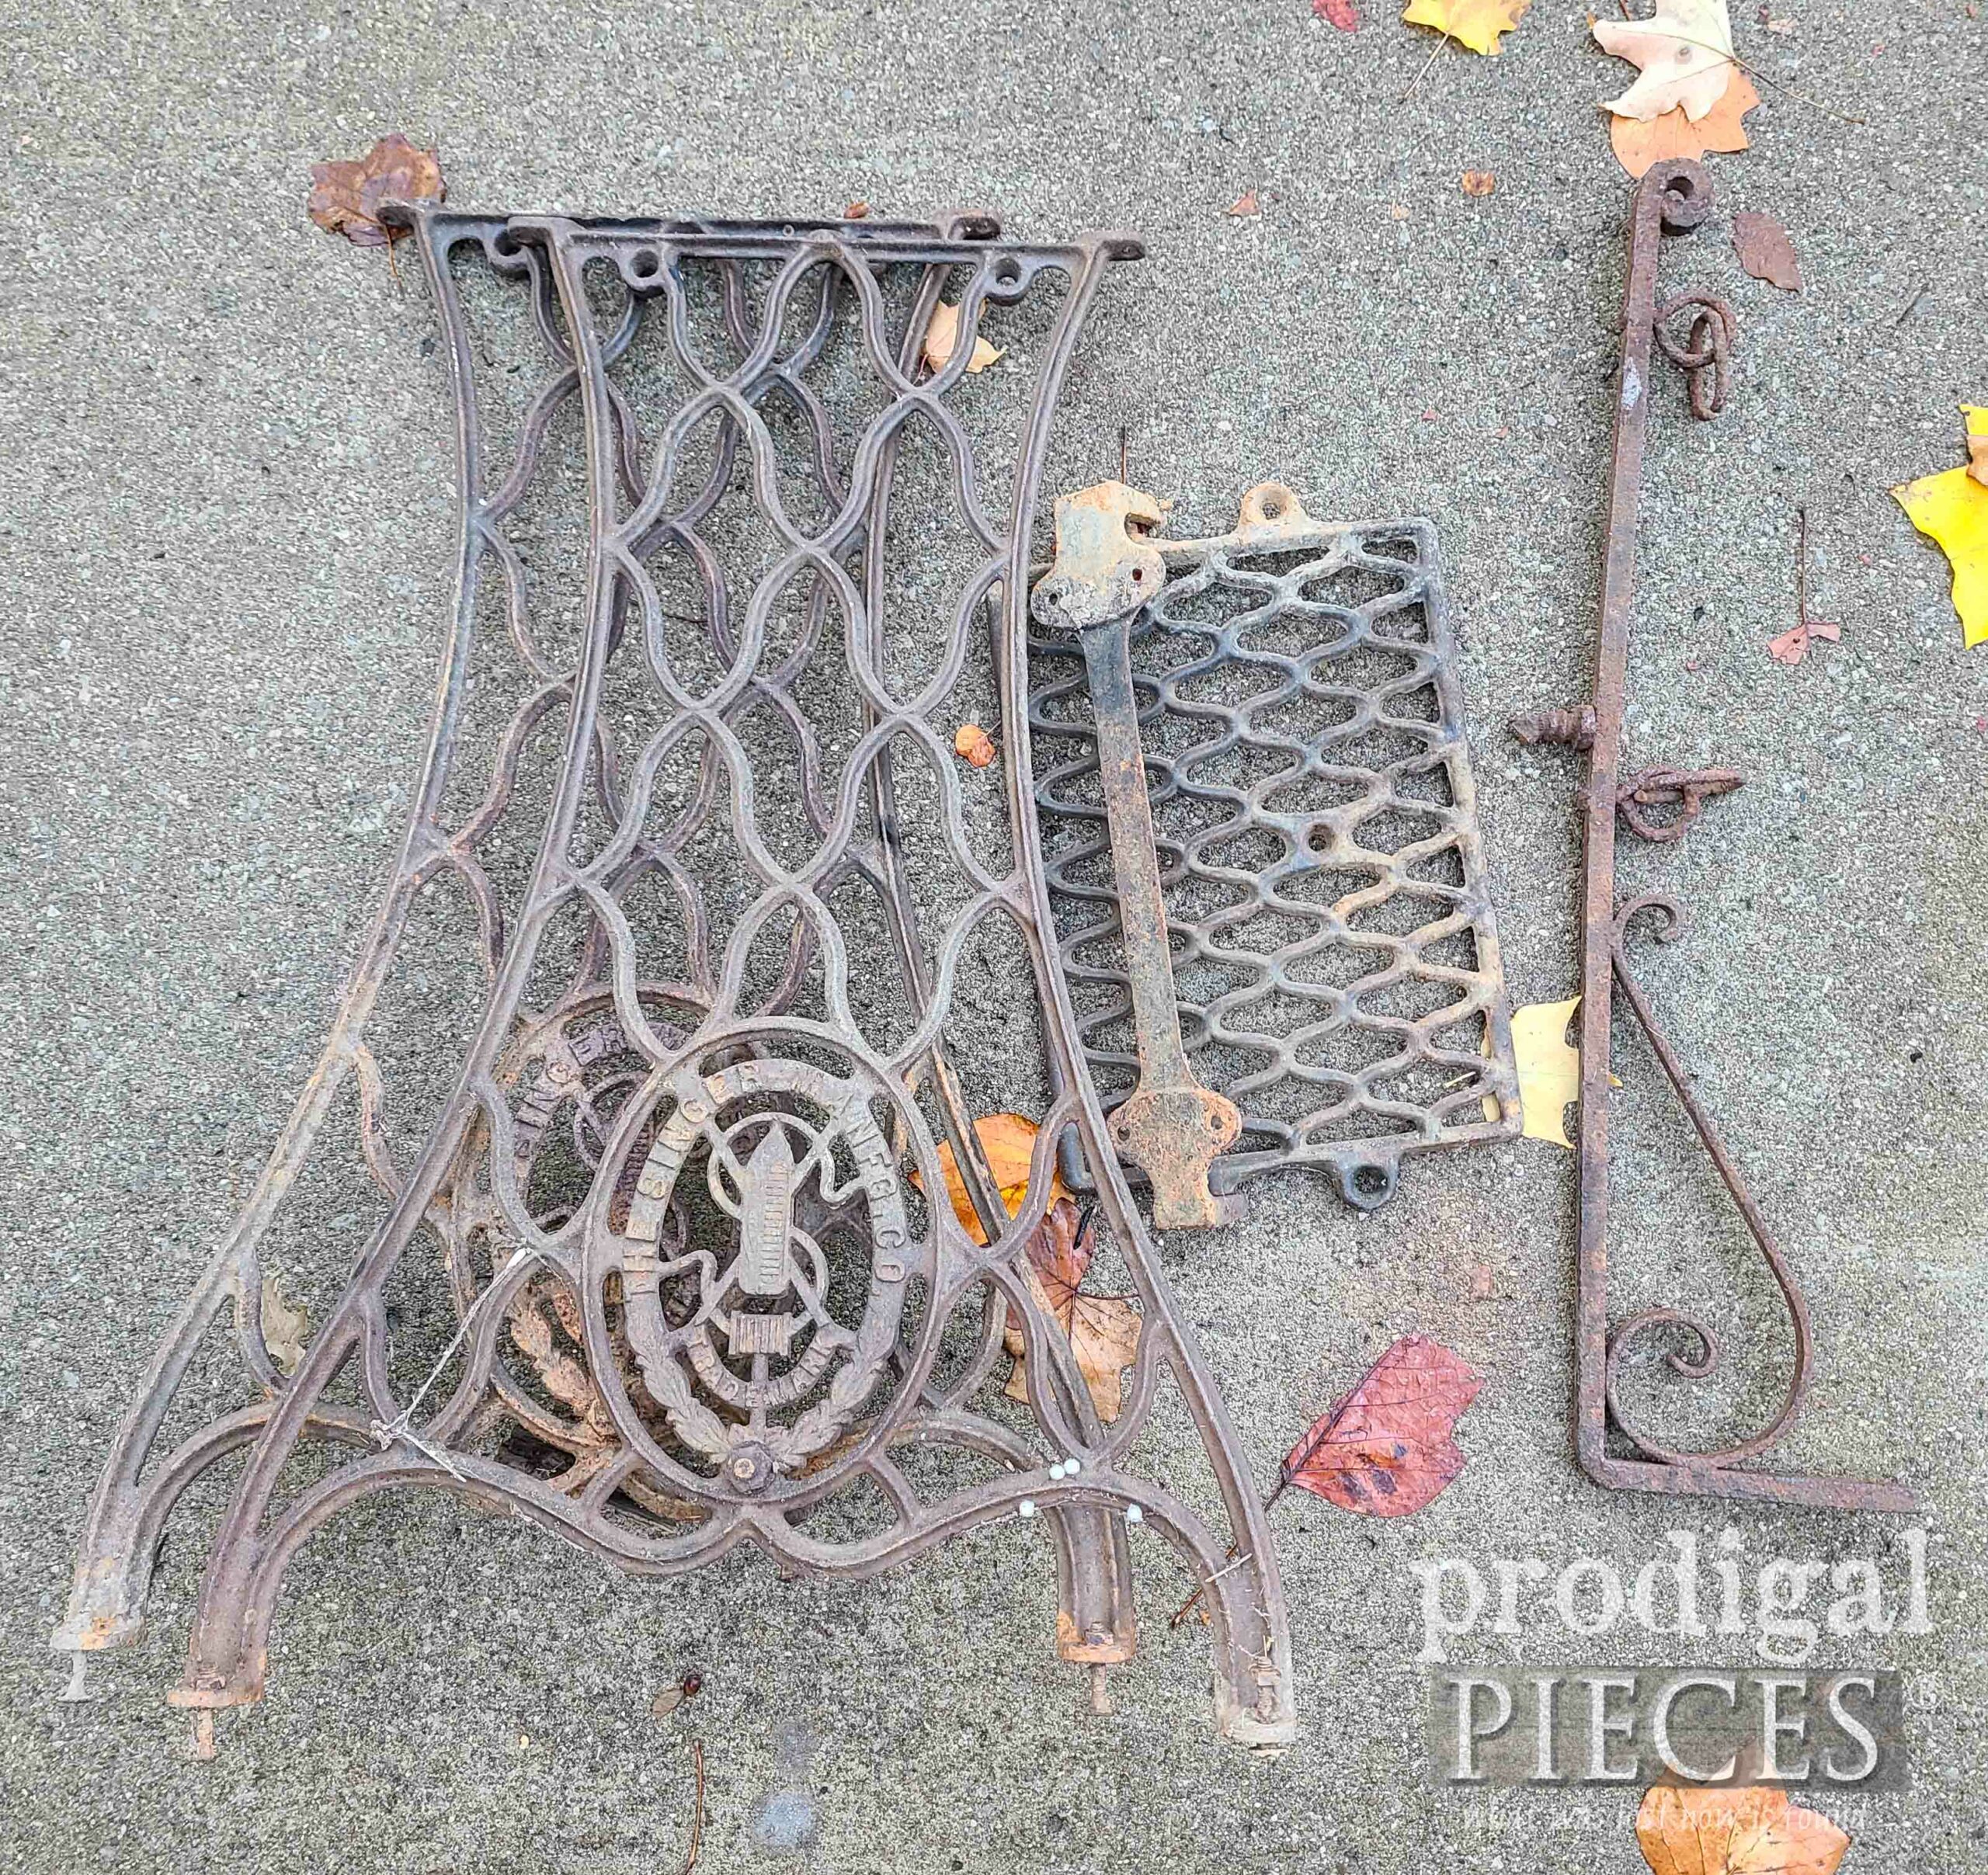
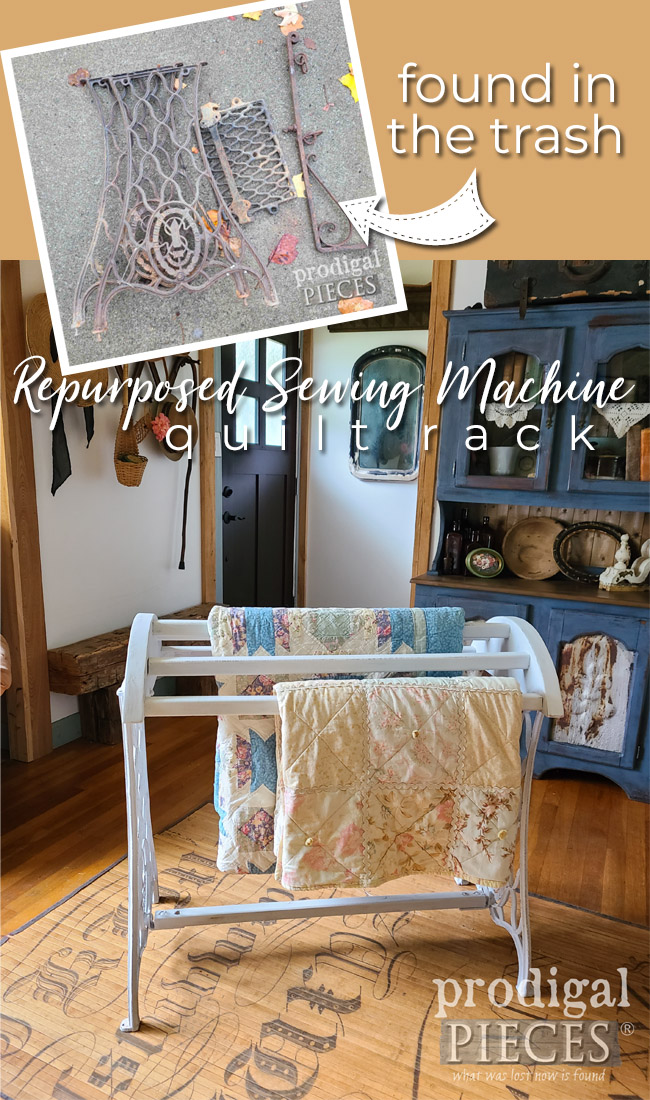
While you’re on walks in your neighborhood, do you find #trashure? It seems like when I’m out, I can’t help but peek at what a neighbor sets out. Thankfully, this time around, a person was sharing their unwanteds at the curb hoping someone would nab them. Enter in me…ahem. Would you leave those laying there? I did initially. However, I obviously came back because I want to create a reclaimed sewing machine project for Trash to Treasure Tuesday. What is more, you’ll be seeing what my T2T friends will be sharing with you in a bit as well.
Truth be told, there were more items that just this treadle sewing machine base and plant hanger. I got a roll of copper mesh, a like-new shower head with sprayer (to donate), and a few other items that I can donate to a local ministry. Originally, I went by this as I was walking Loula and told my friend about it. She wasn’t able to pick it up and I wrote it out of my mind. However, in the next couple of days, I had to drive by there and saw the stuff still out. So, of course, I had to stop by and pick it up so it won’t go to the landfill or land with a scrapper.
As you can see, it’s an antique treadle sewing machine and I also grabbed that rusty hook (more on that later). It only has the side supports and the treadle platform, so I’ll have to see what I can do. You can see what I’ve done with past sewing machines in these posts:
- Reclaimed Sewing Machine Table
- Upcycled Antique Sewing Machine Top
- Upcycled Sewing Desk Top
- Art Deco Sewing Desk
- Sewing Machine Table Upcycled
- Repurposed Sewing Machine Table Top
DIY TIME
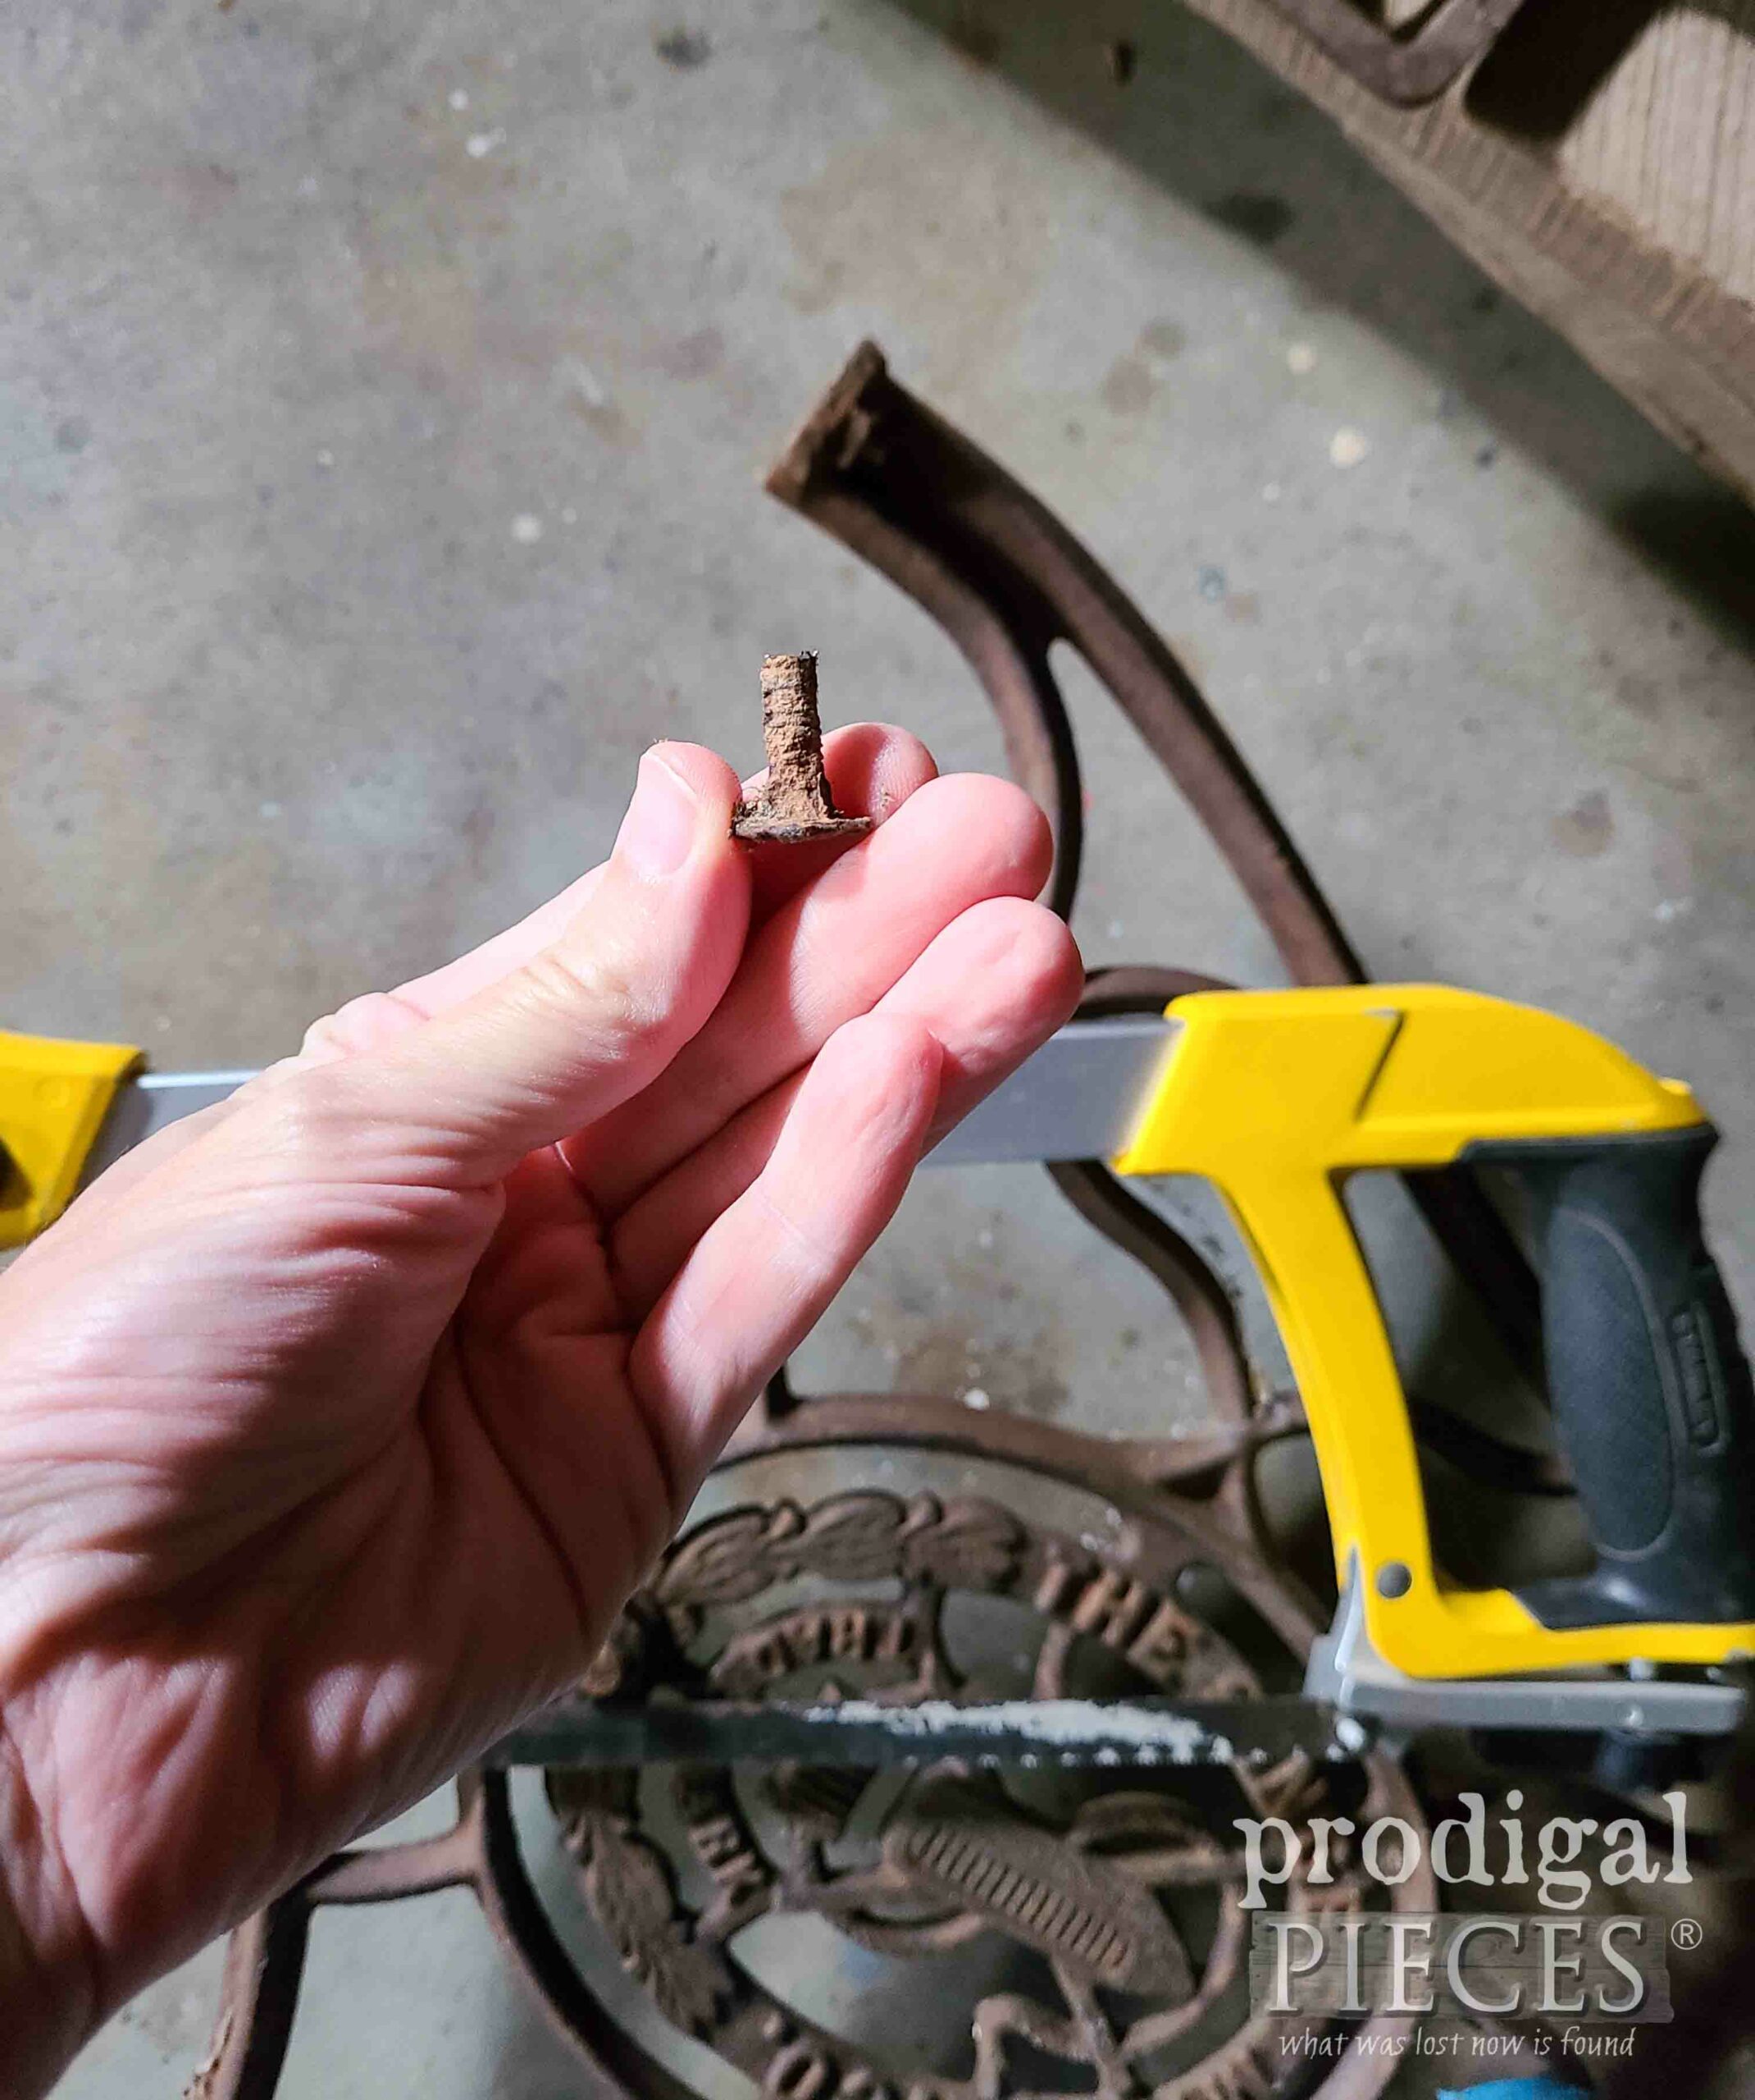
As always, I take a minute or two to turn it over and assess the status it’s in. First, I notice I have rusted and fused bolts in various spots that I’ll need to cut out. Much like the vintage laundry cart I upcycled, I use my hacksaw and cut them out fairly easy.
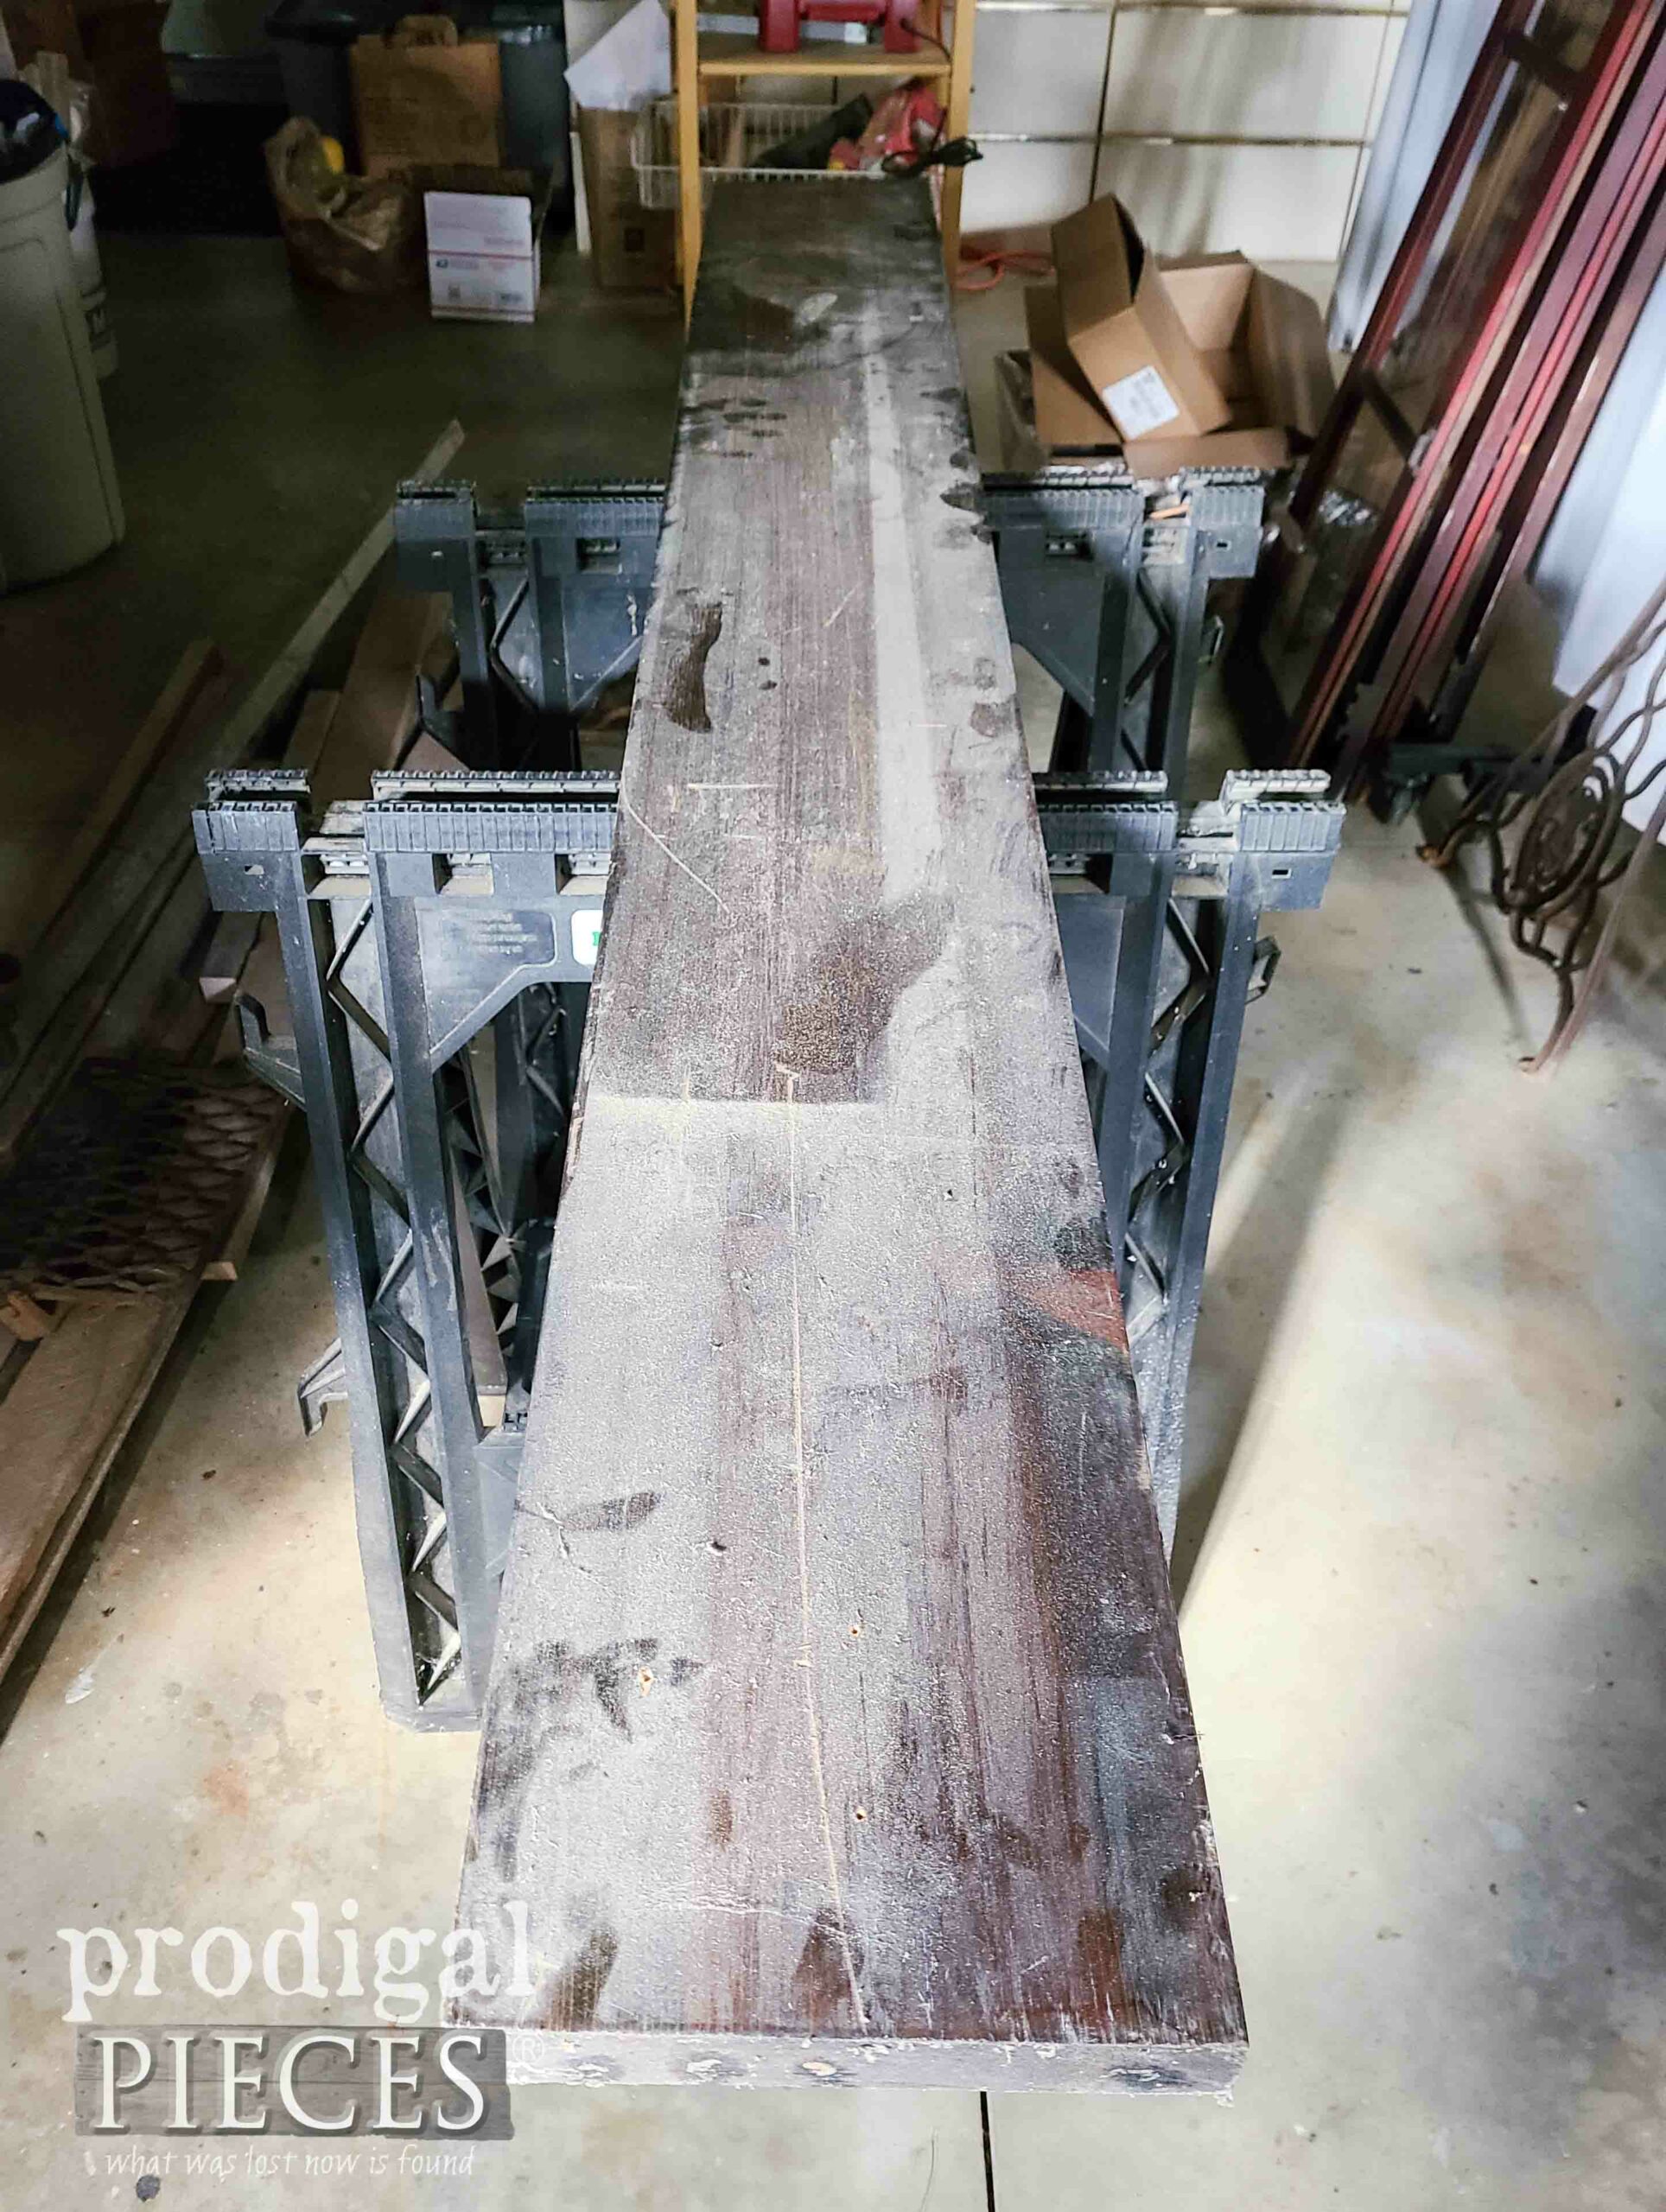
Then, I dig into my wood stash and pull out this remnant of a waterbed frame I originally pulled off the curb in this post. Most of it I used to make:
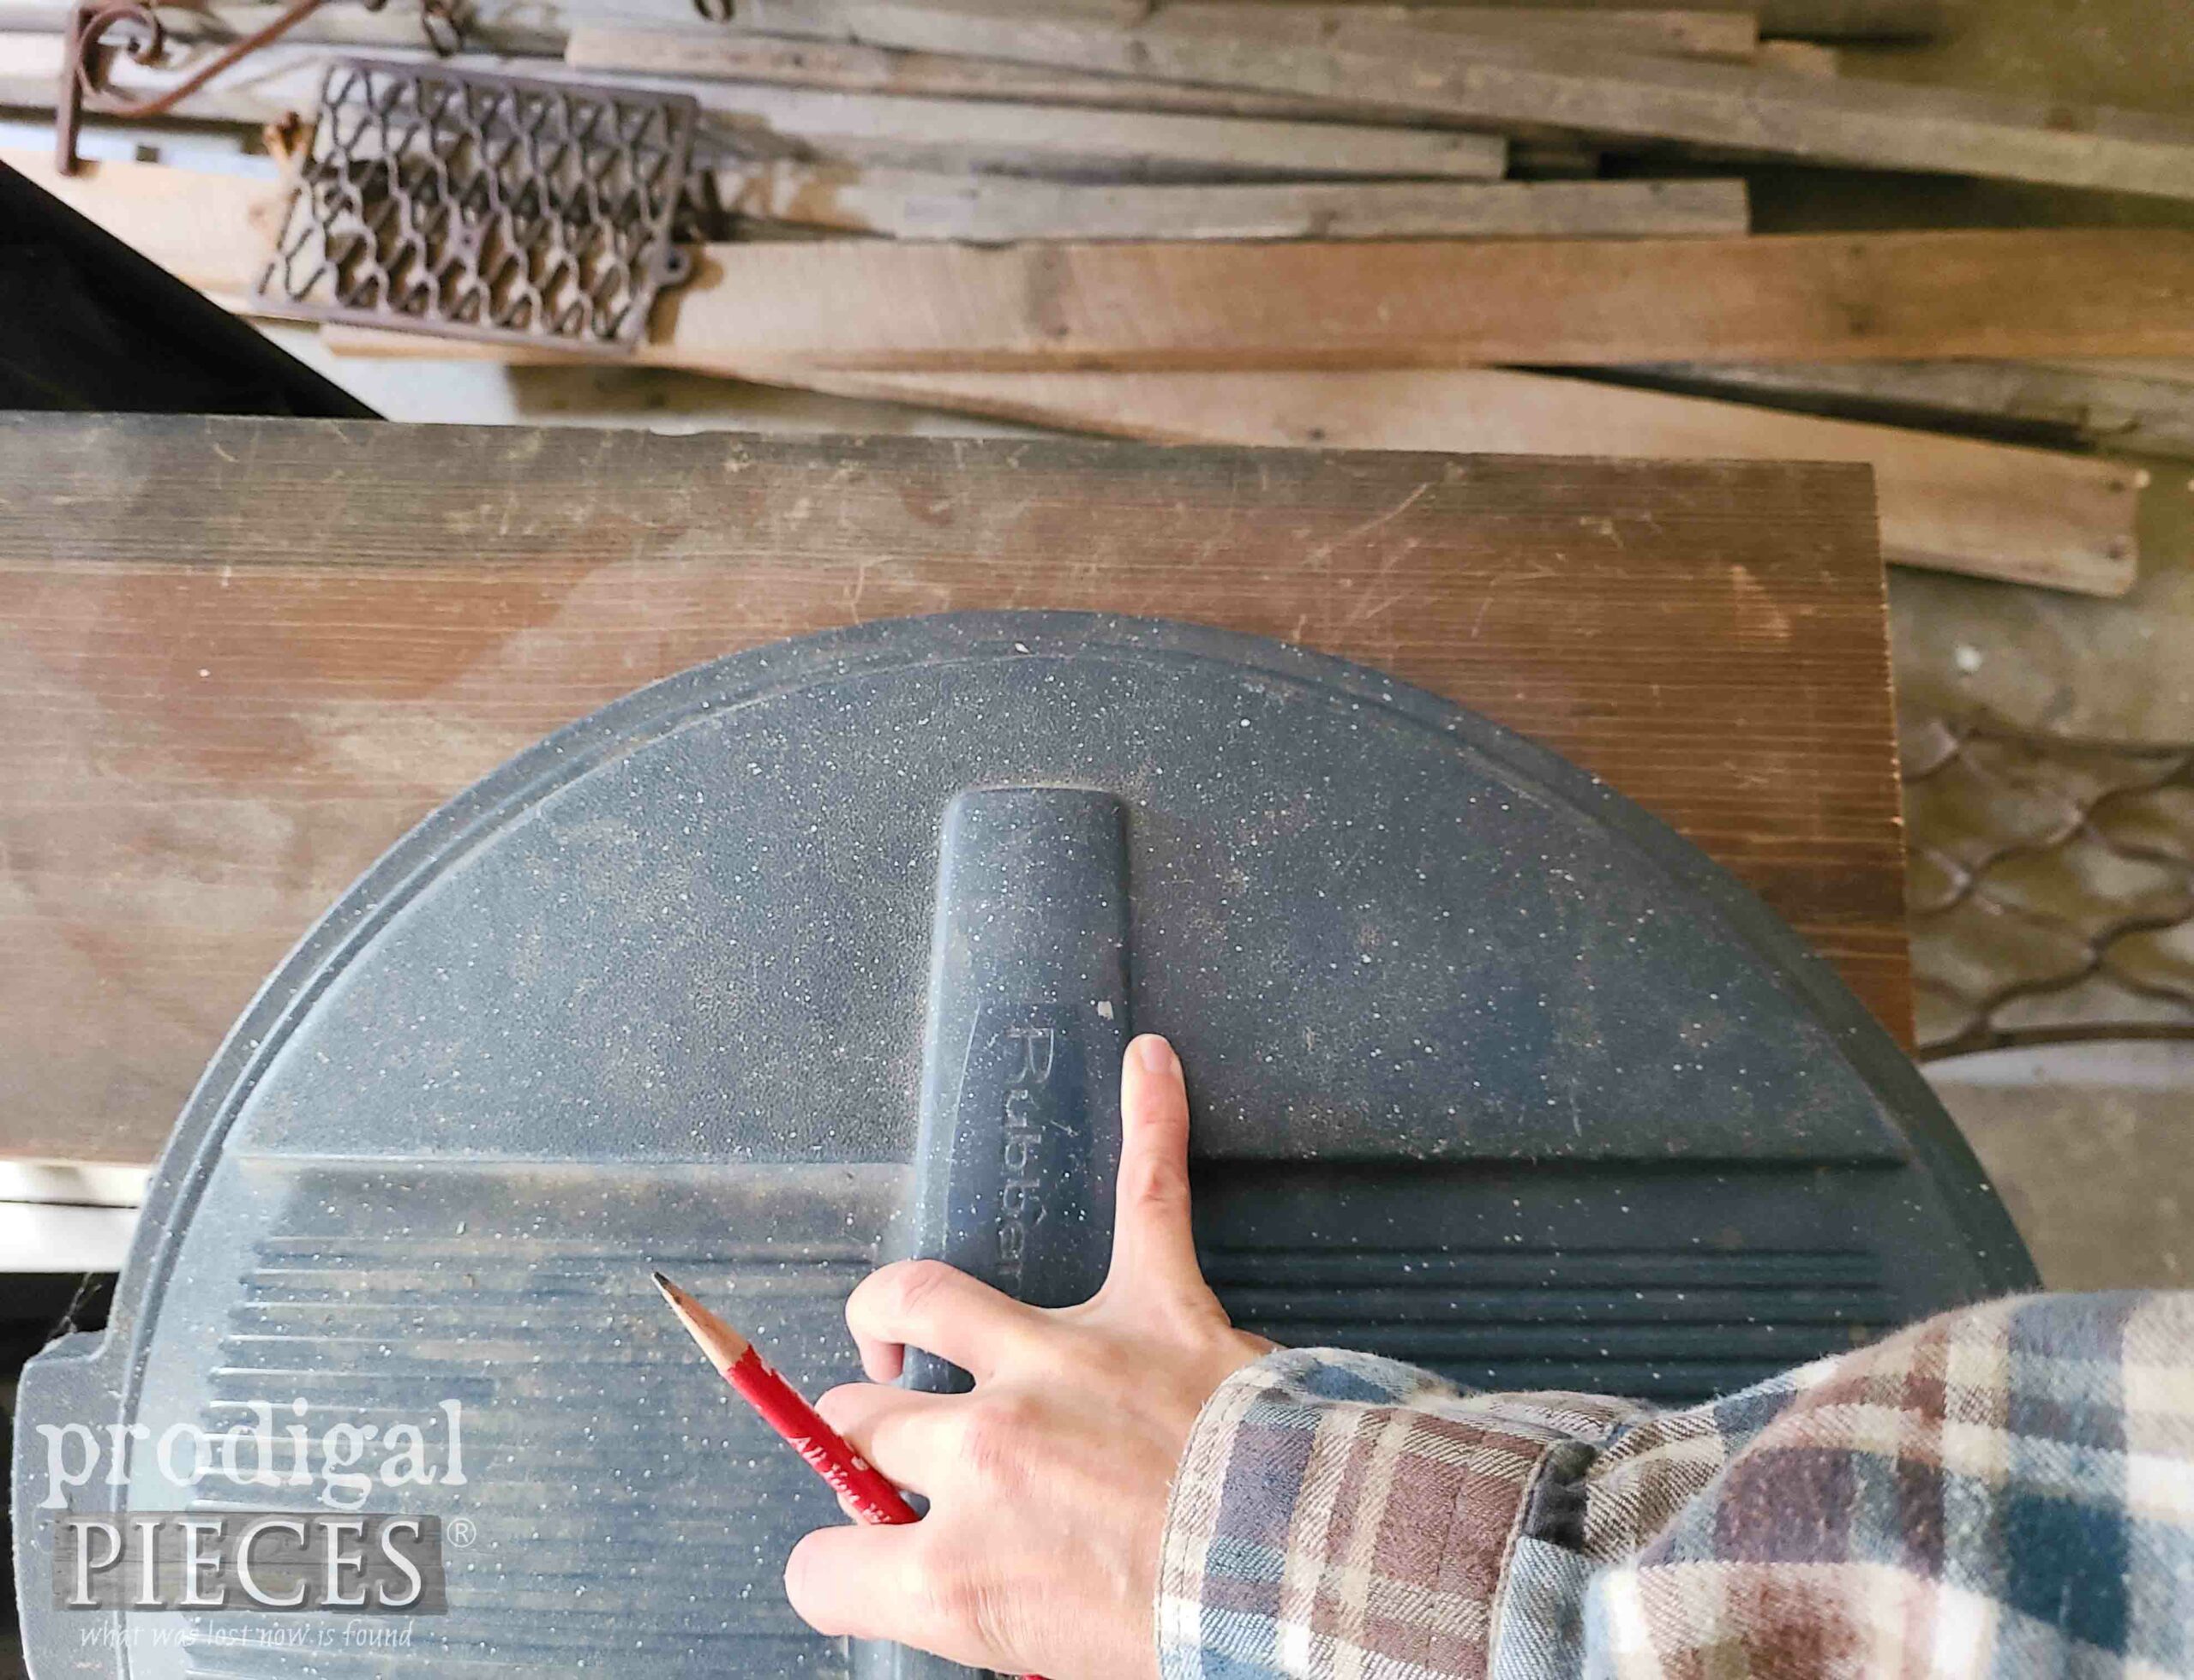
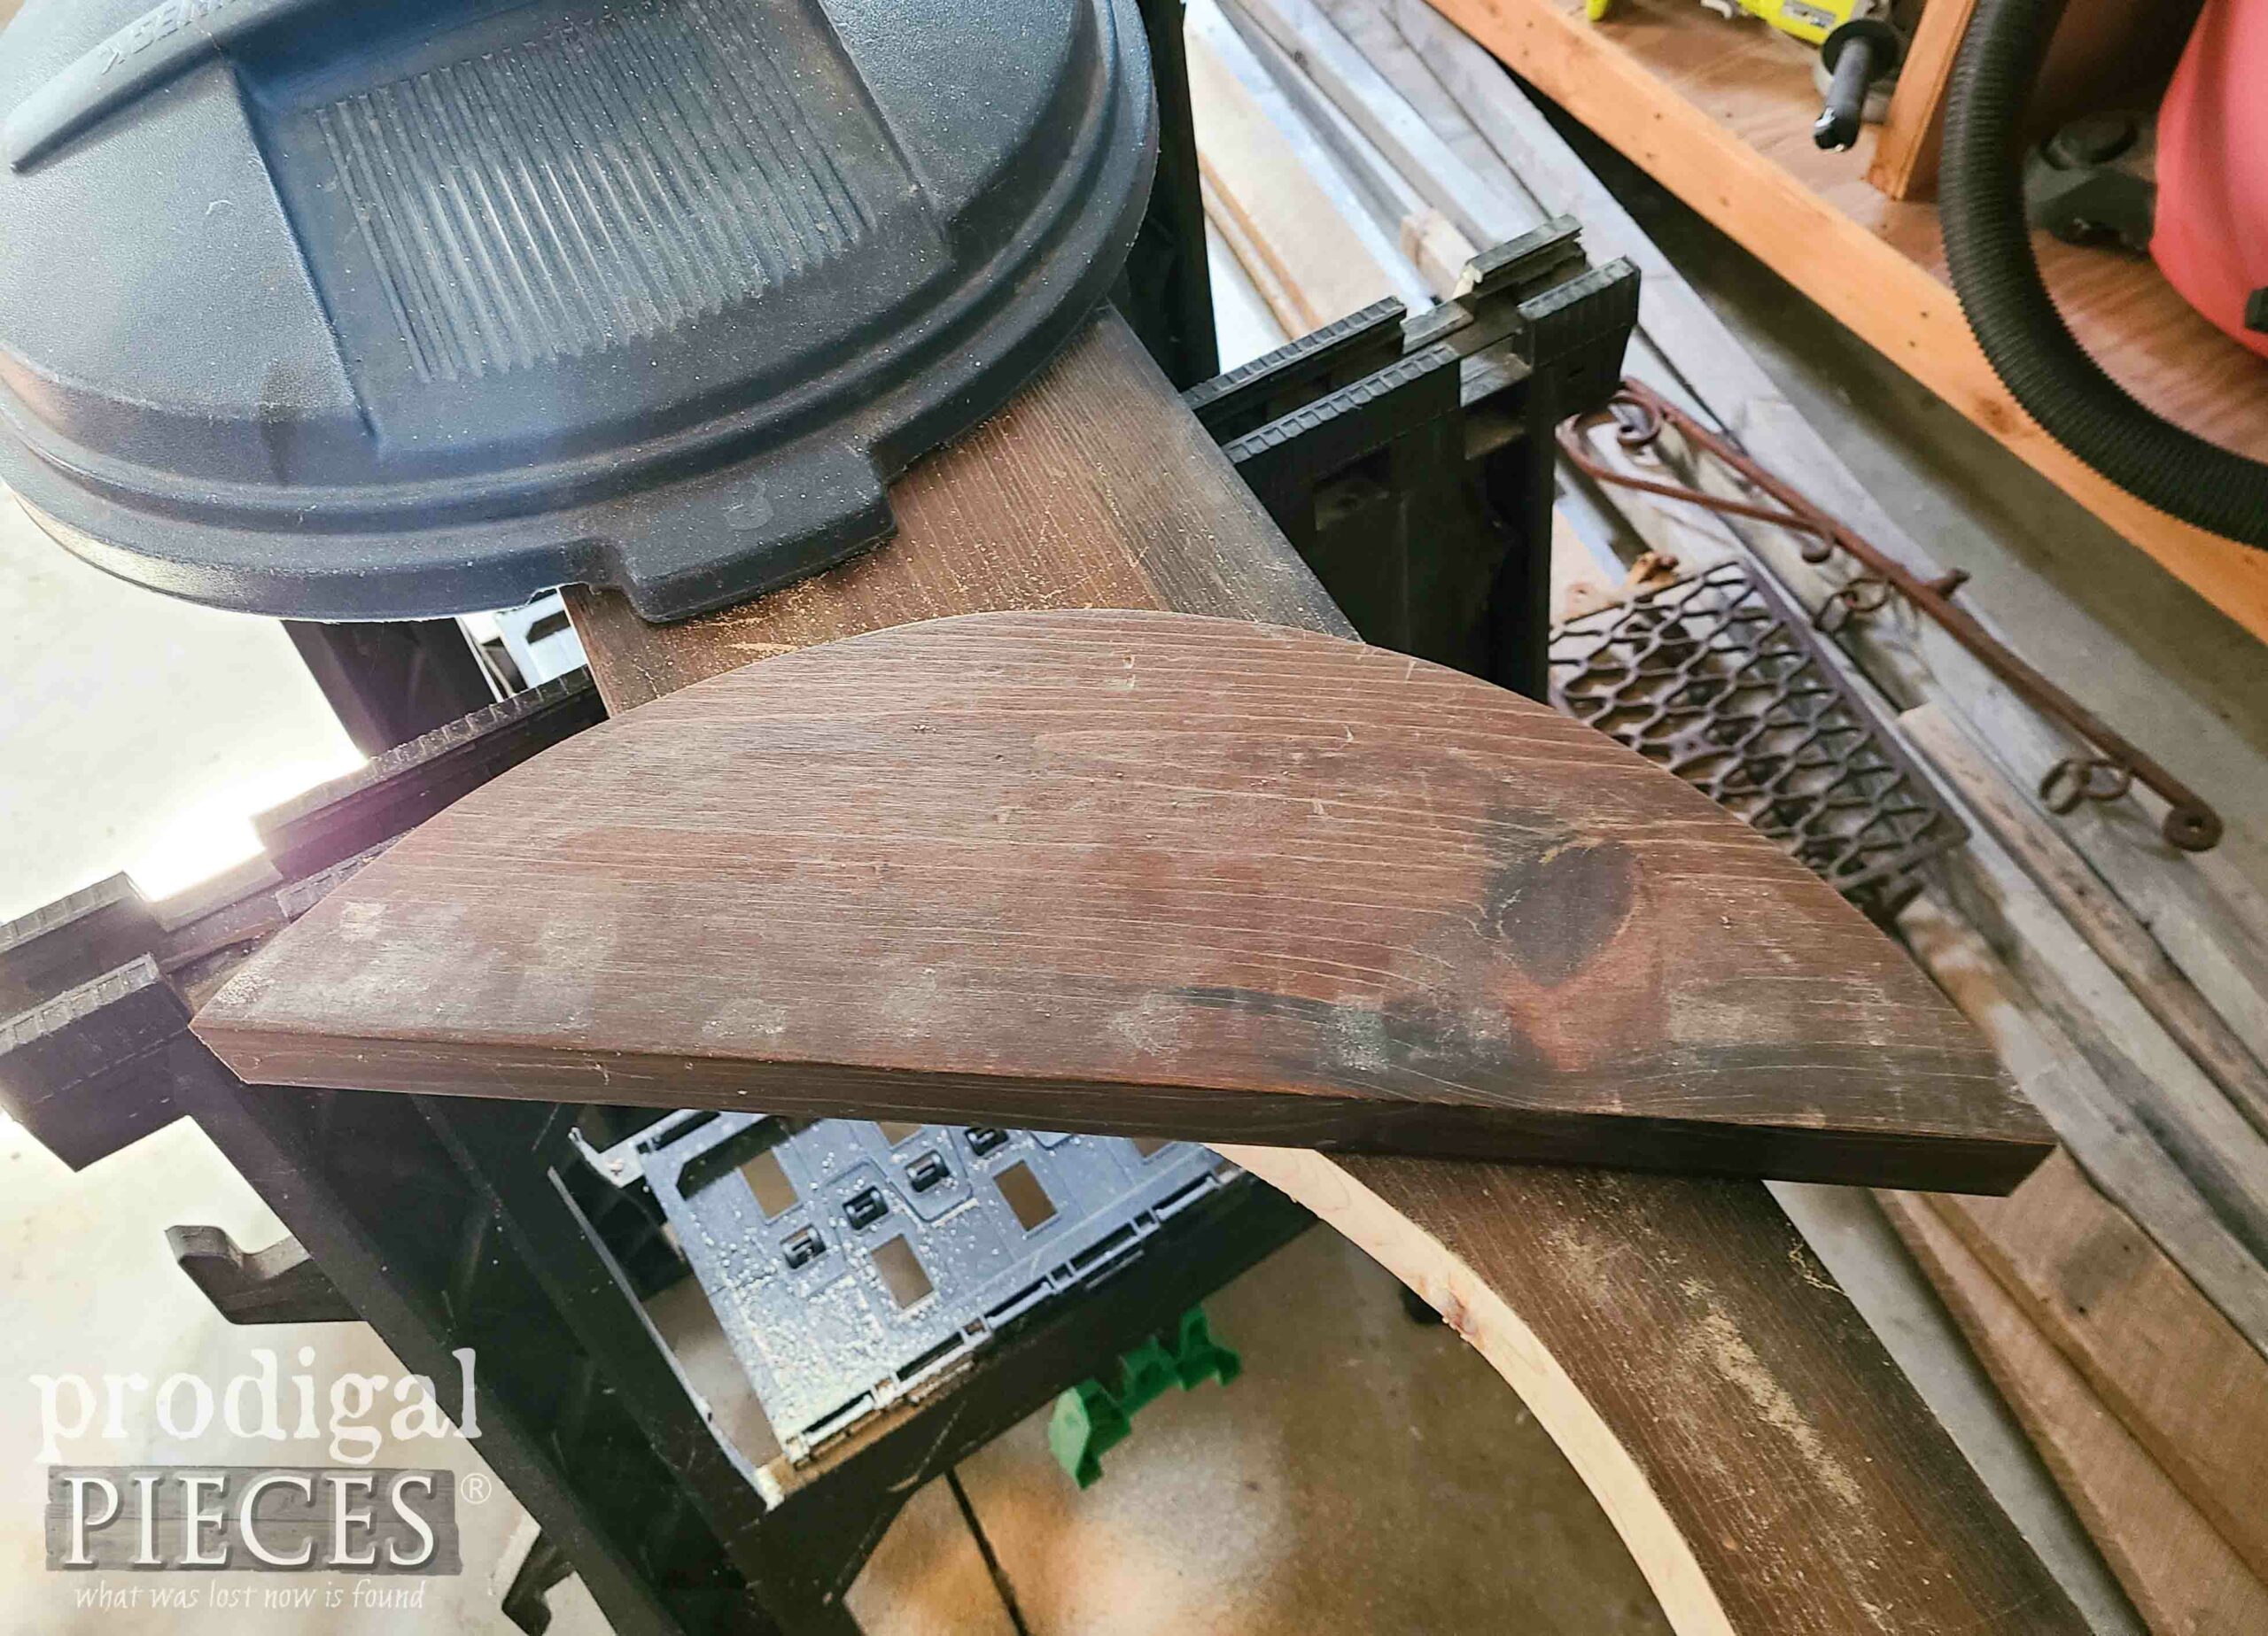
While I won’t use it all, but I’m using up half of this board. I want to create two arches, so I grab my trash can lid. hee hee. We’re talking #trashure today, right?
After that, I use my jigsaw and cut two arch pieces out.
MORE PREP
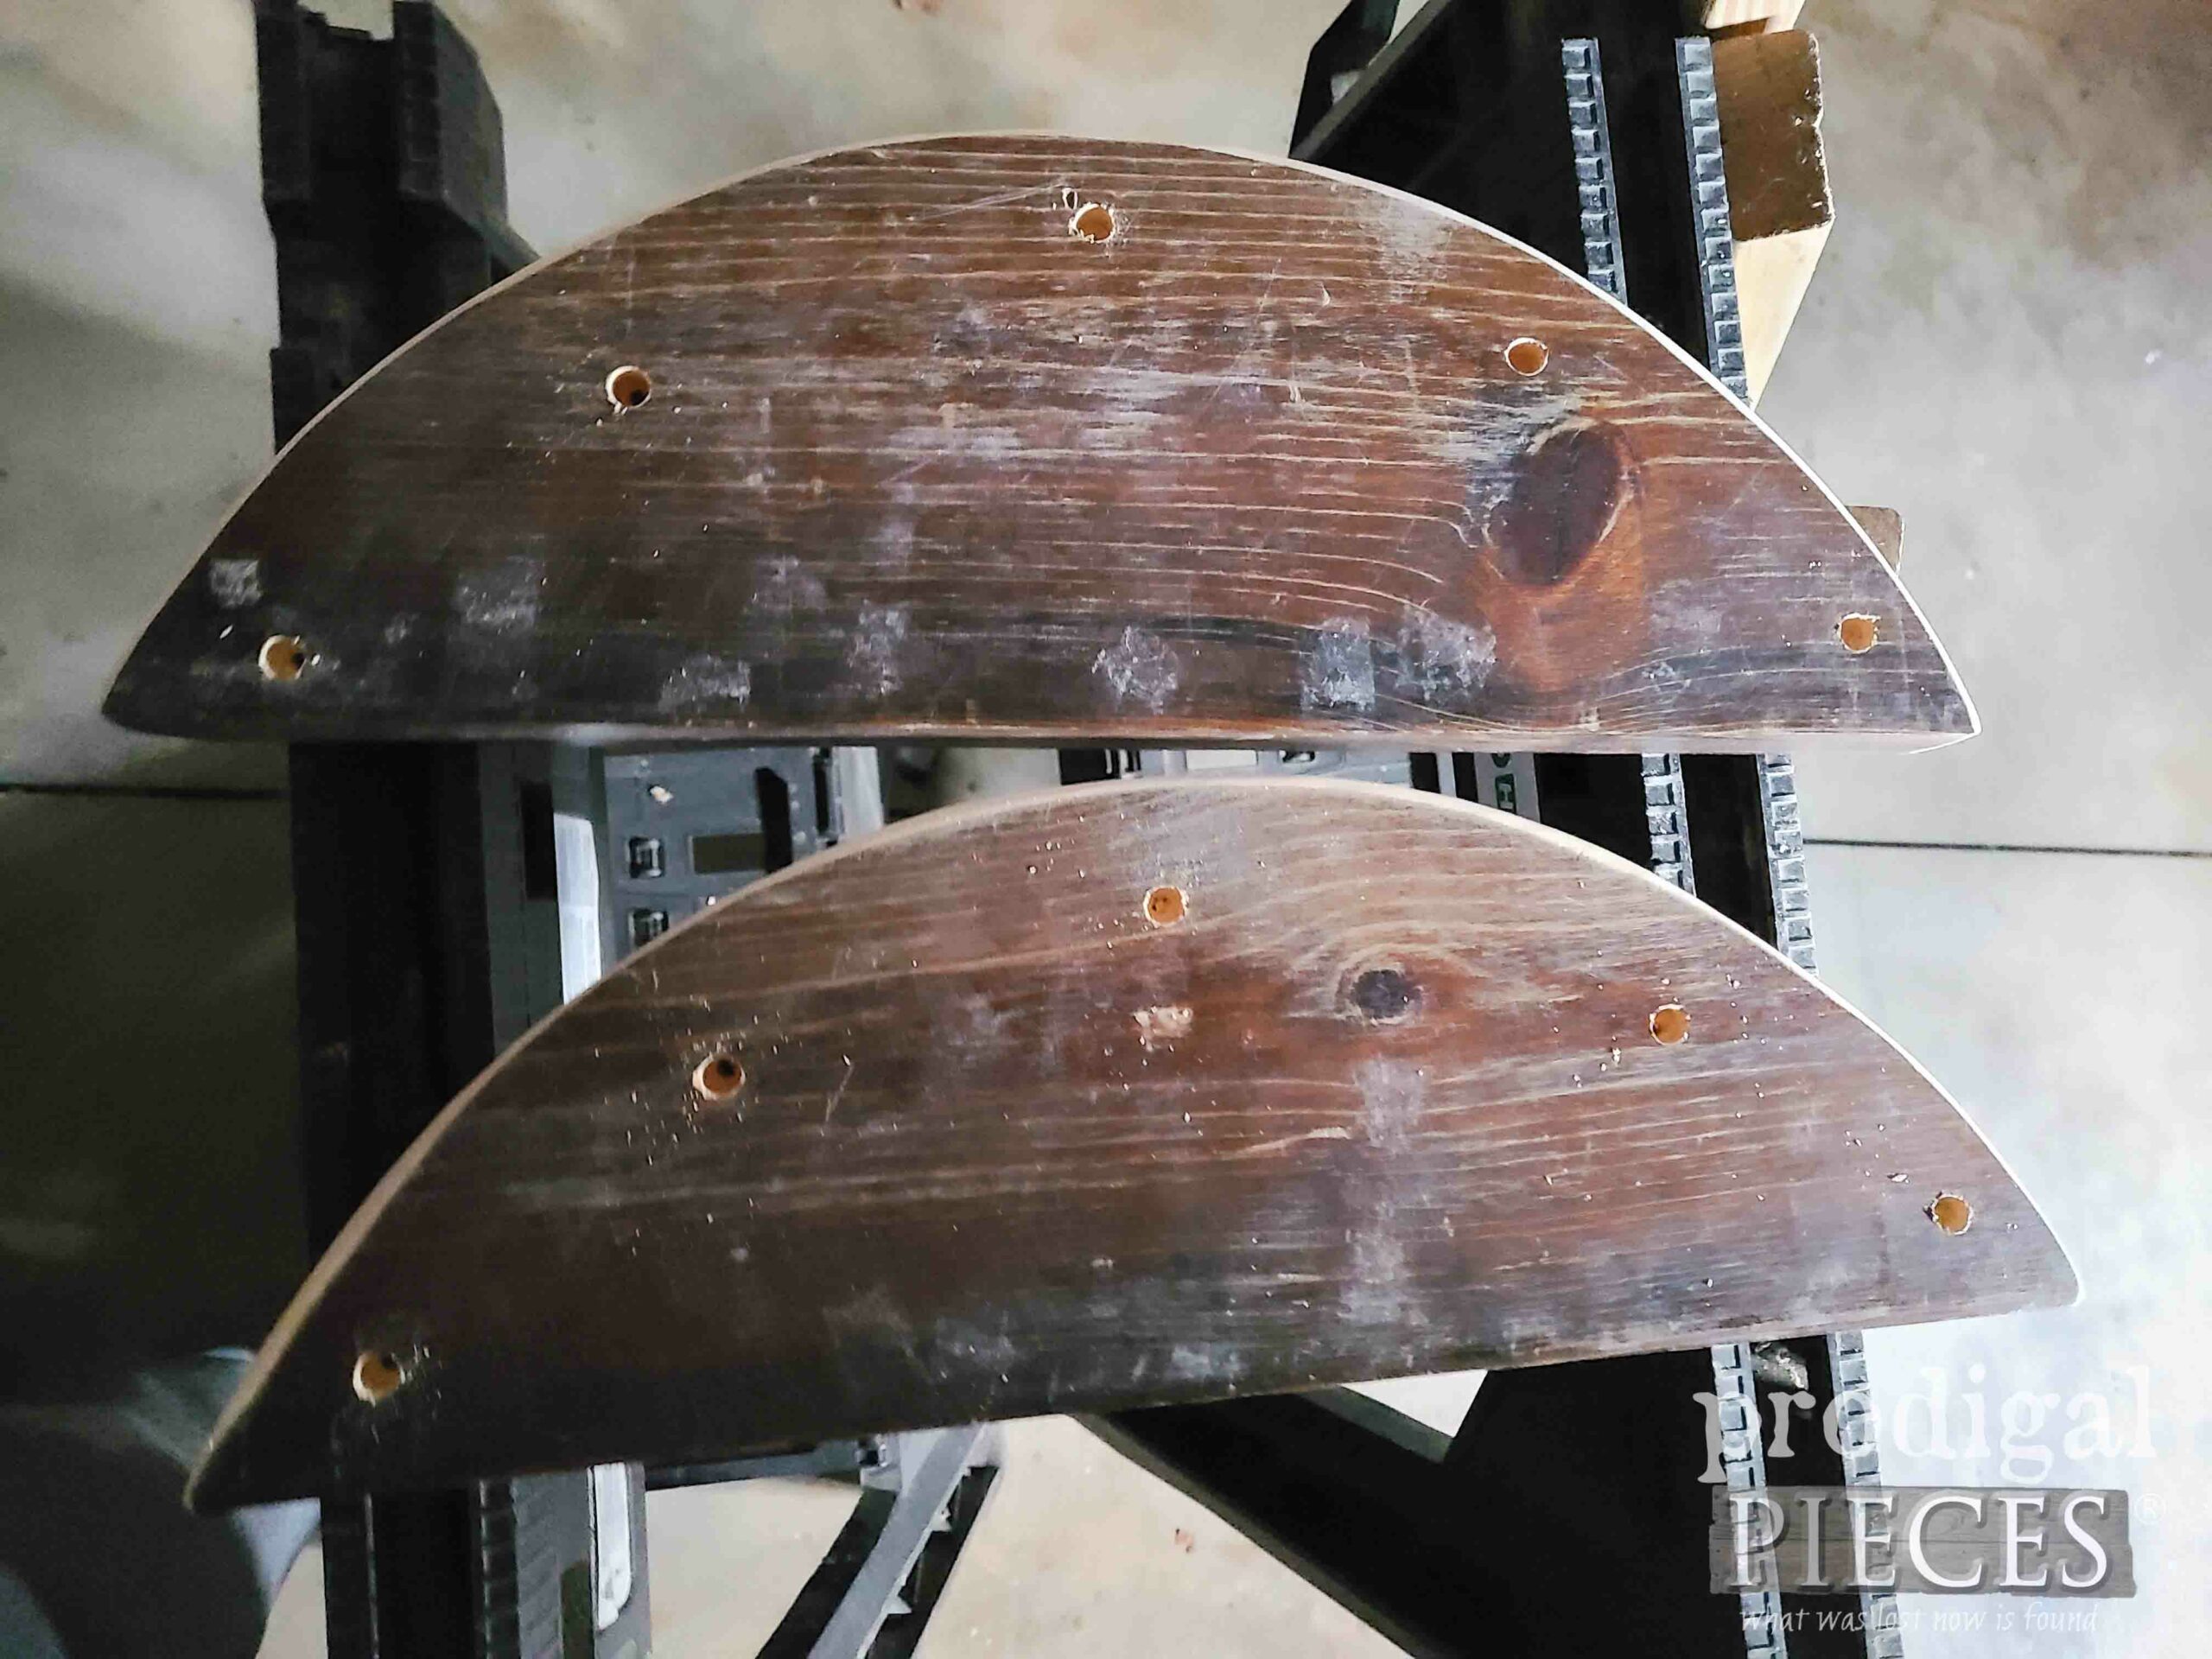
My arches are nearly ready, however, before I can attach them, I need to drill pilot holes as well as countersink holes, so my screw heads are hidden.
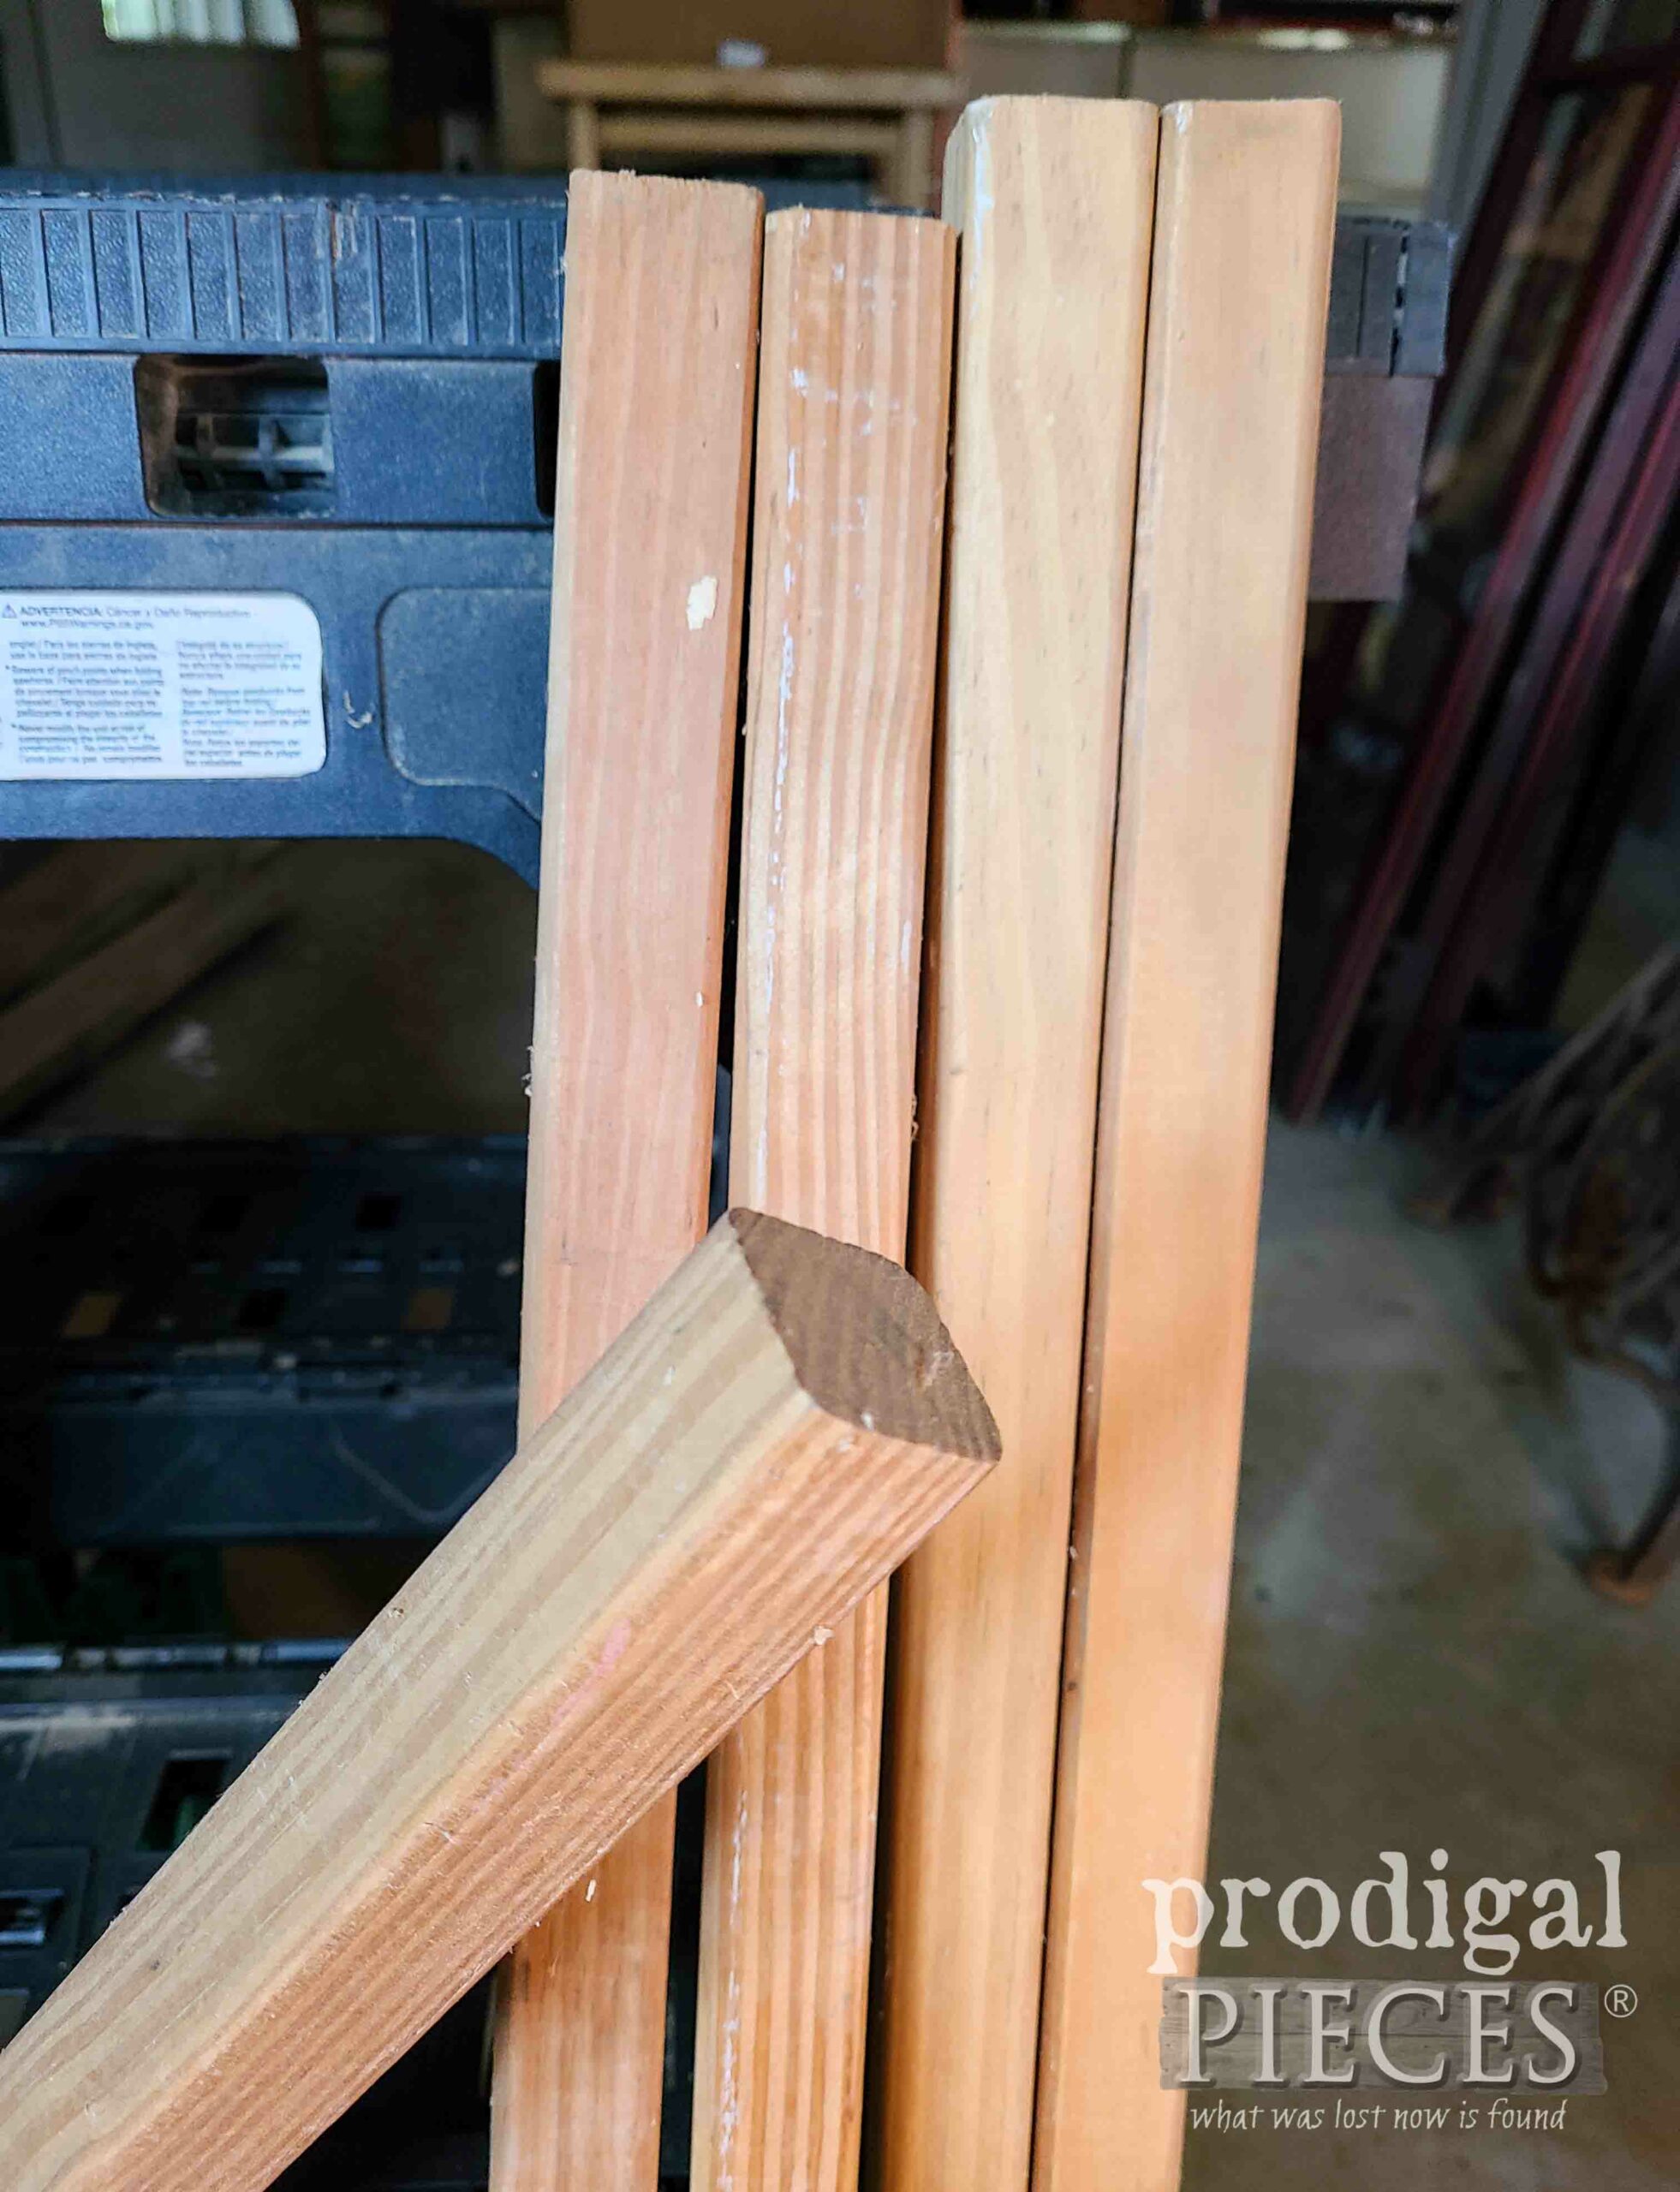
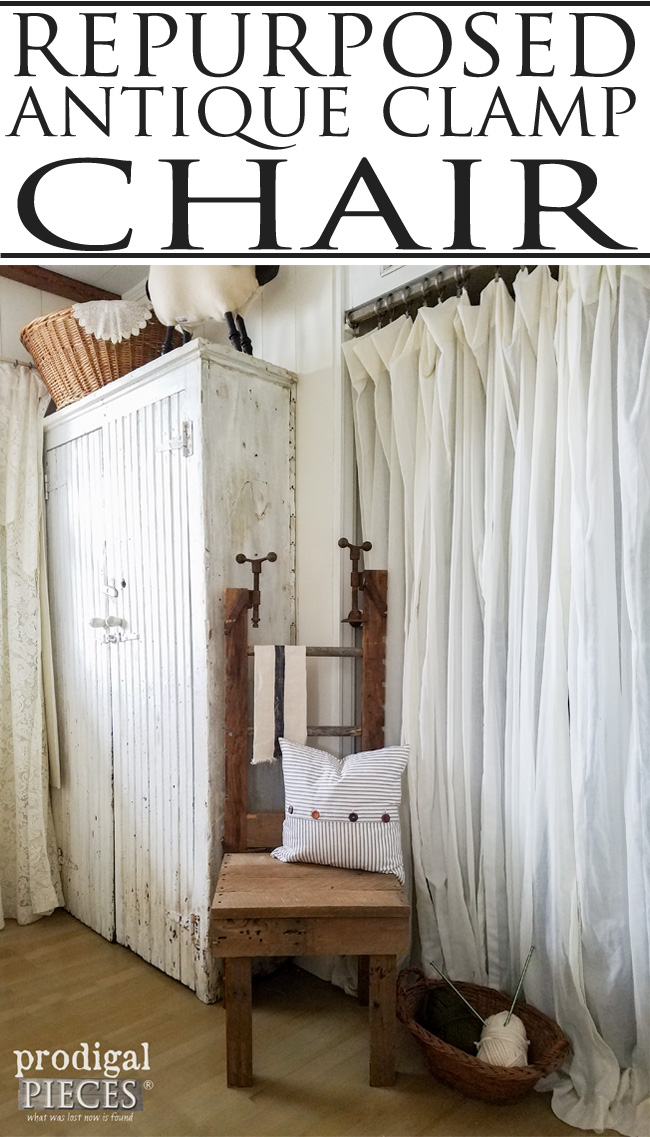
Also in my wood stash, I have these pieces left over from my custom-build planters (free build plans HERE). They’re already cut to length and are 1.5″ x 1.5″.
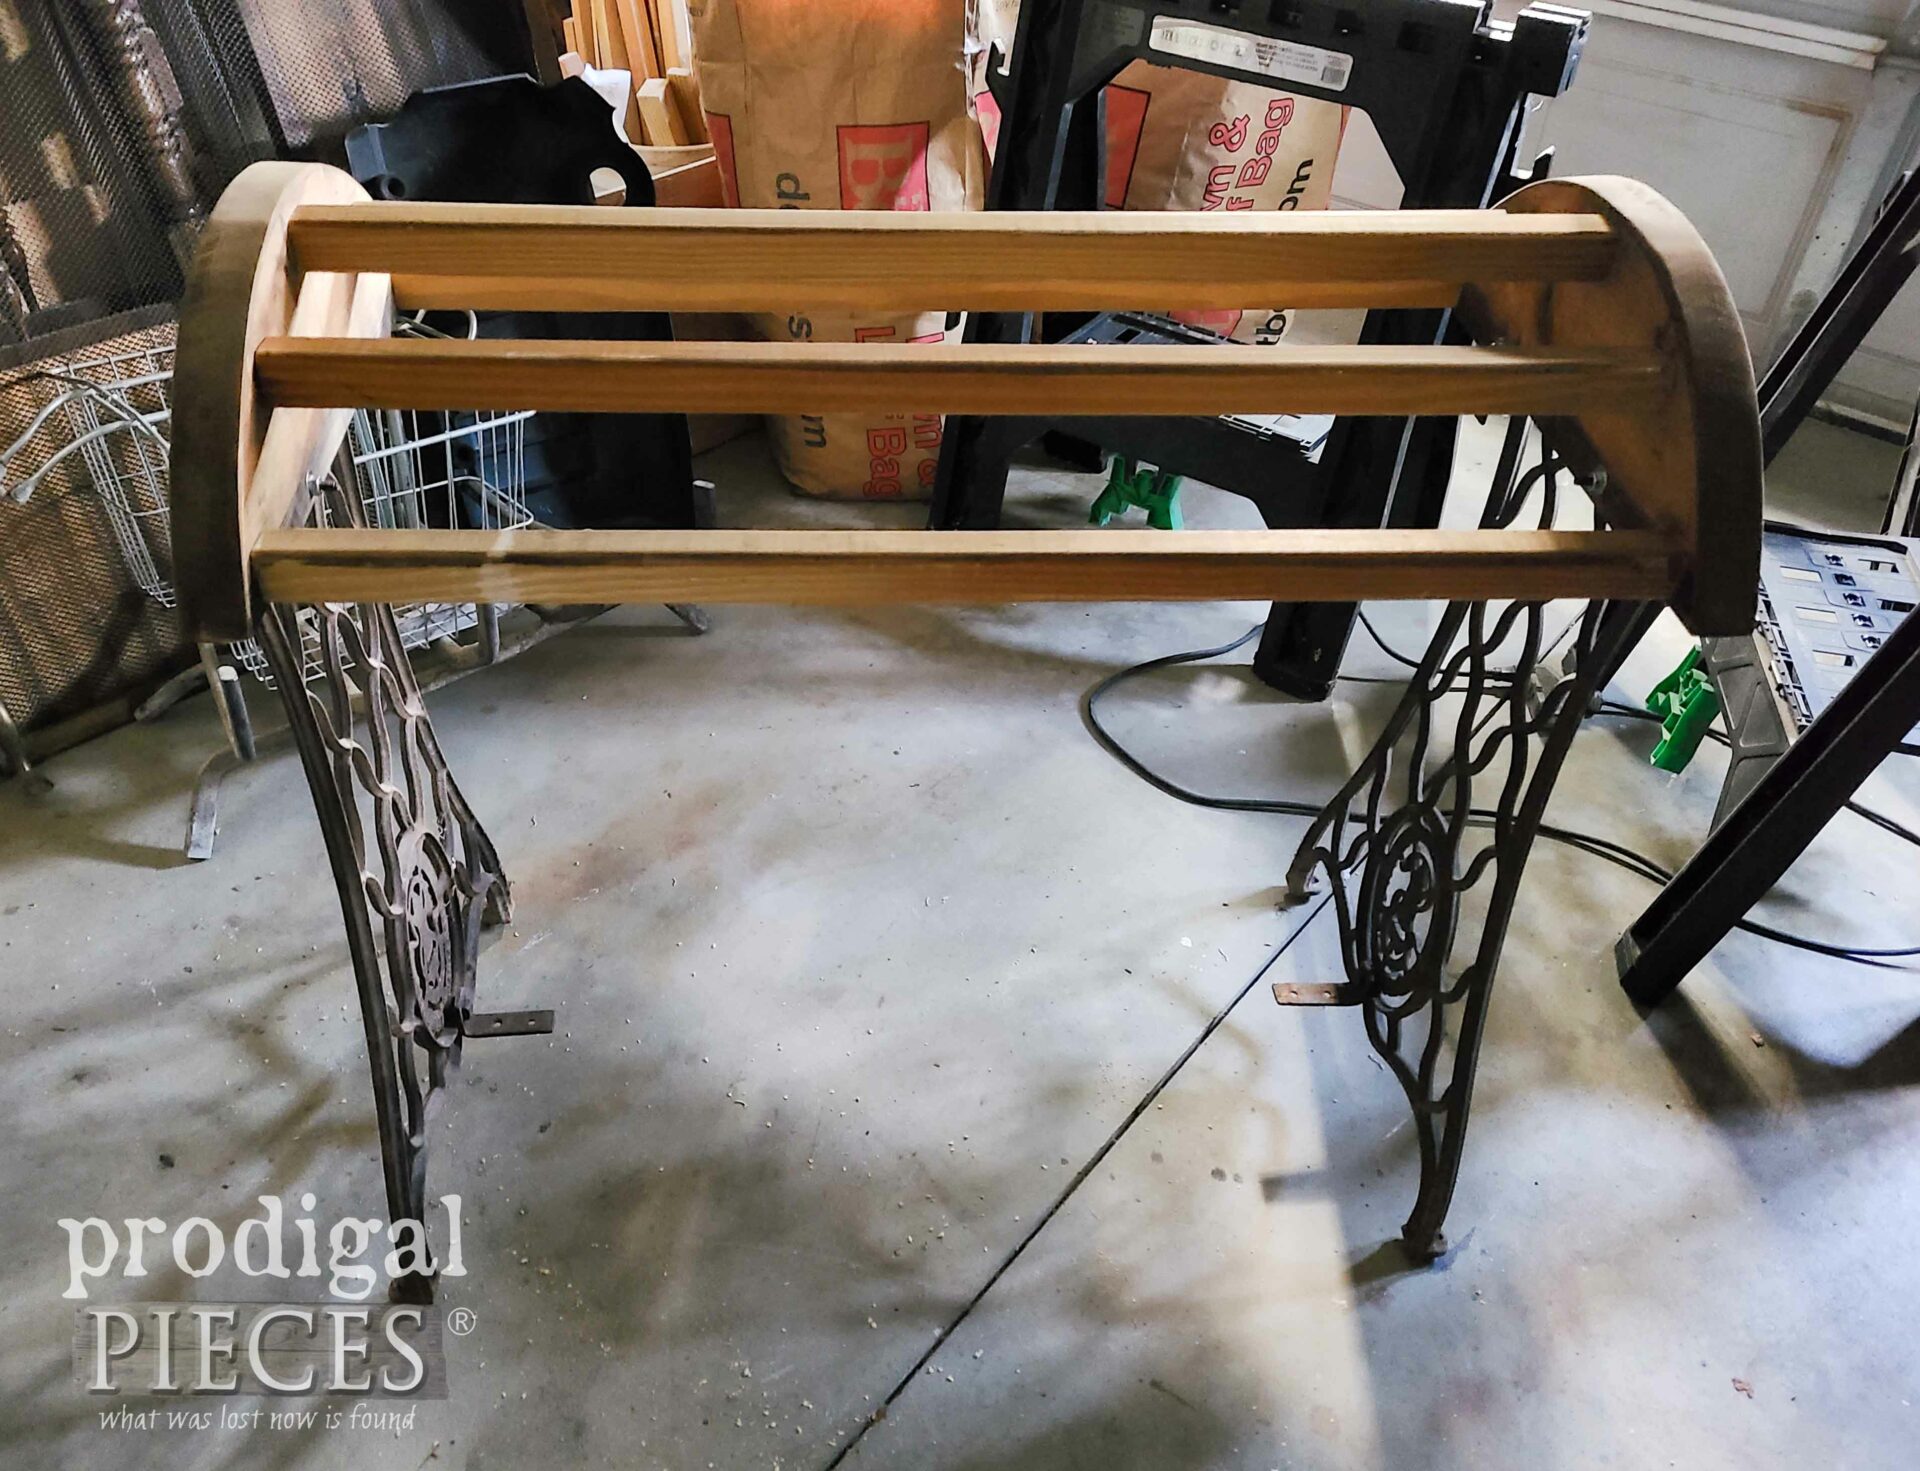
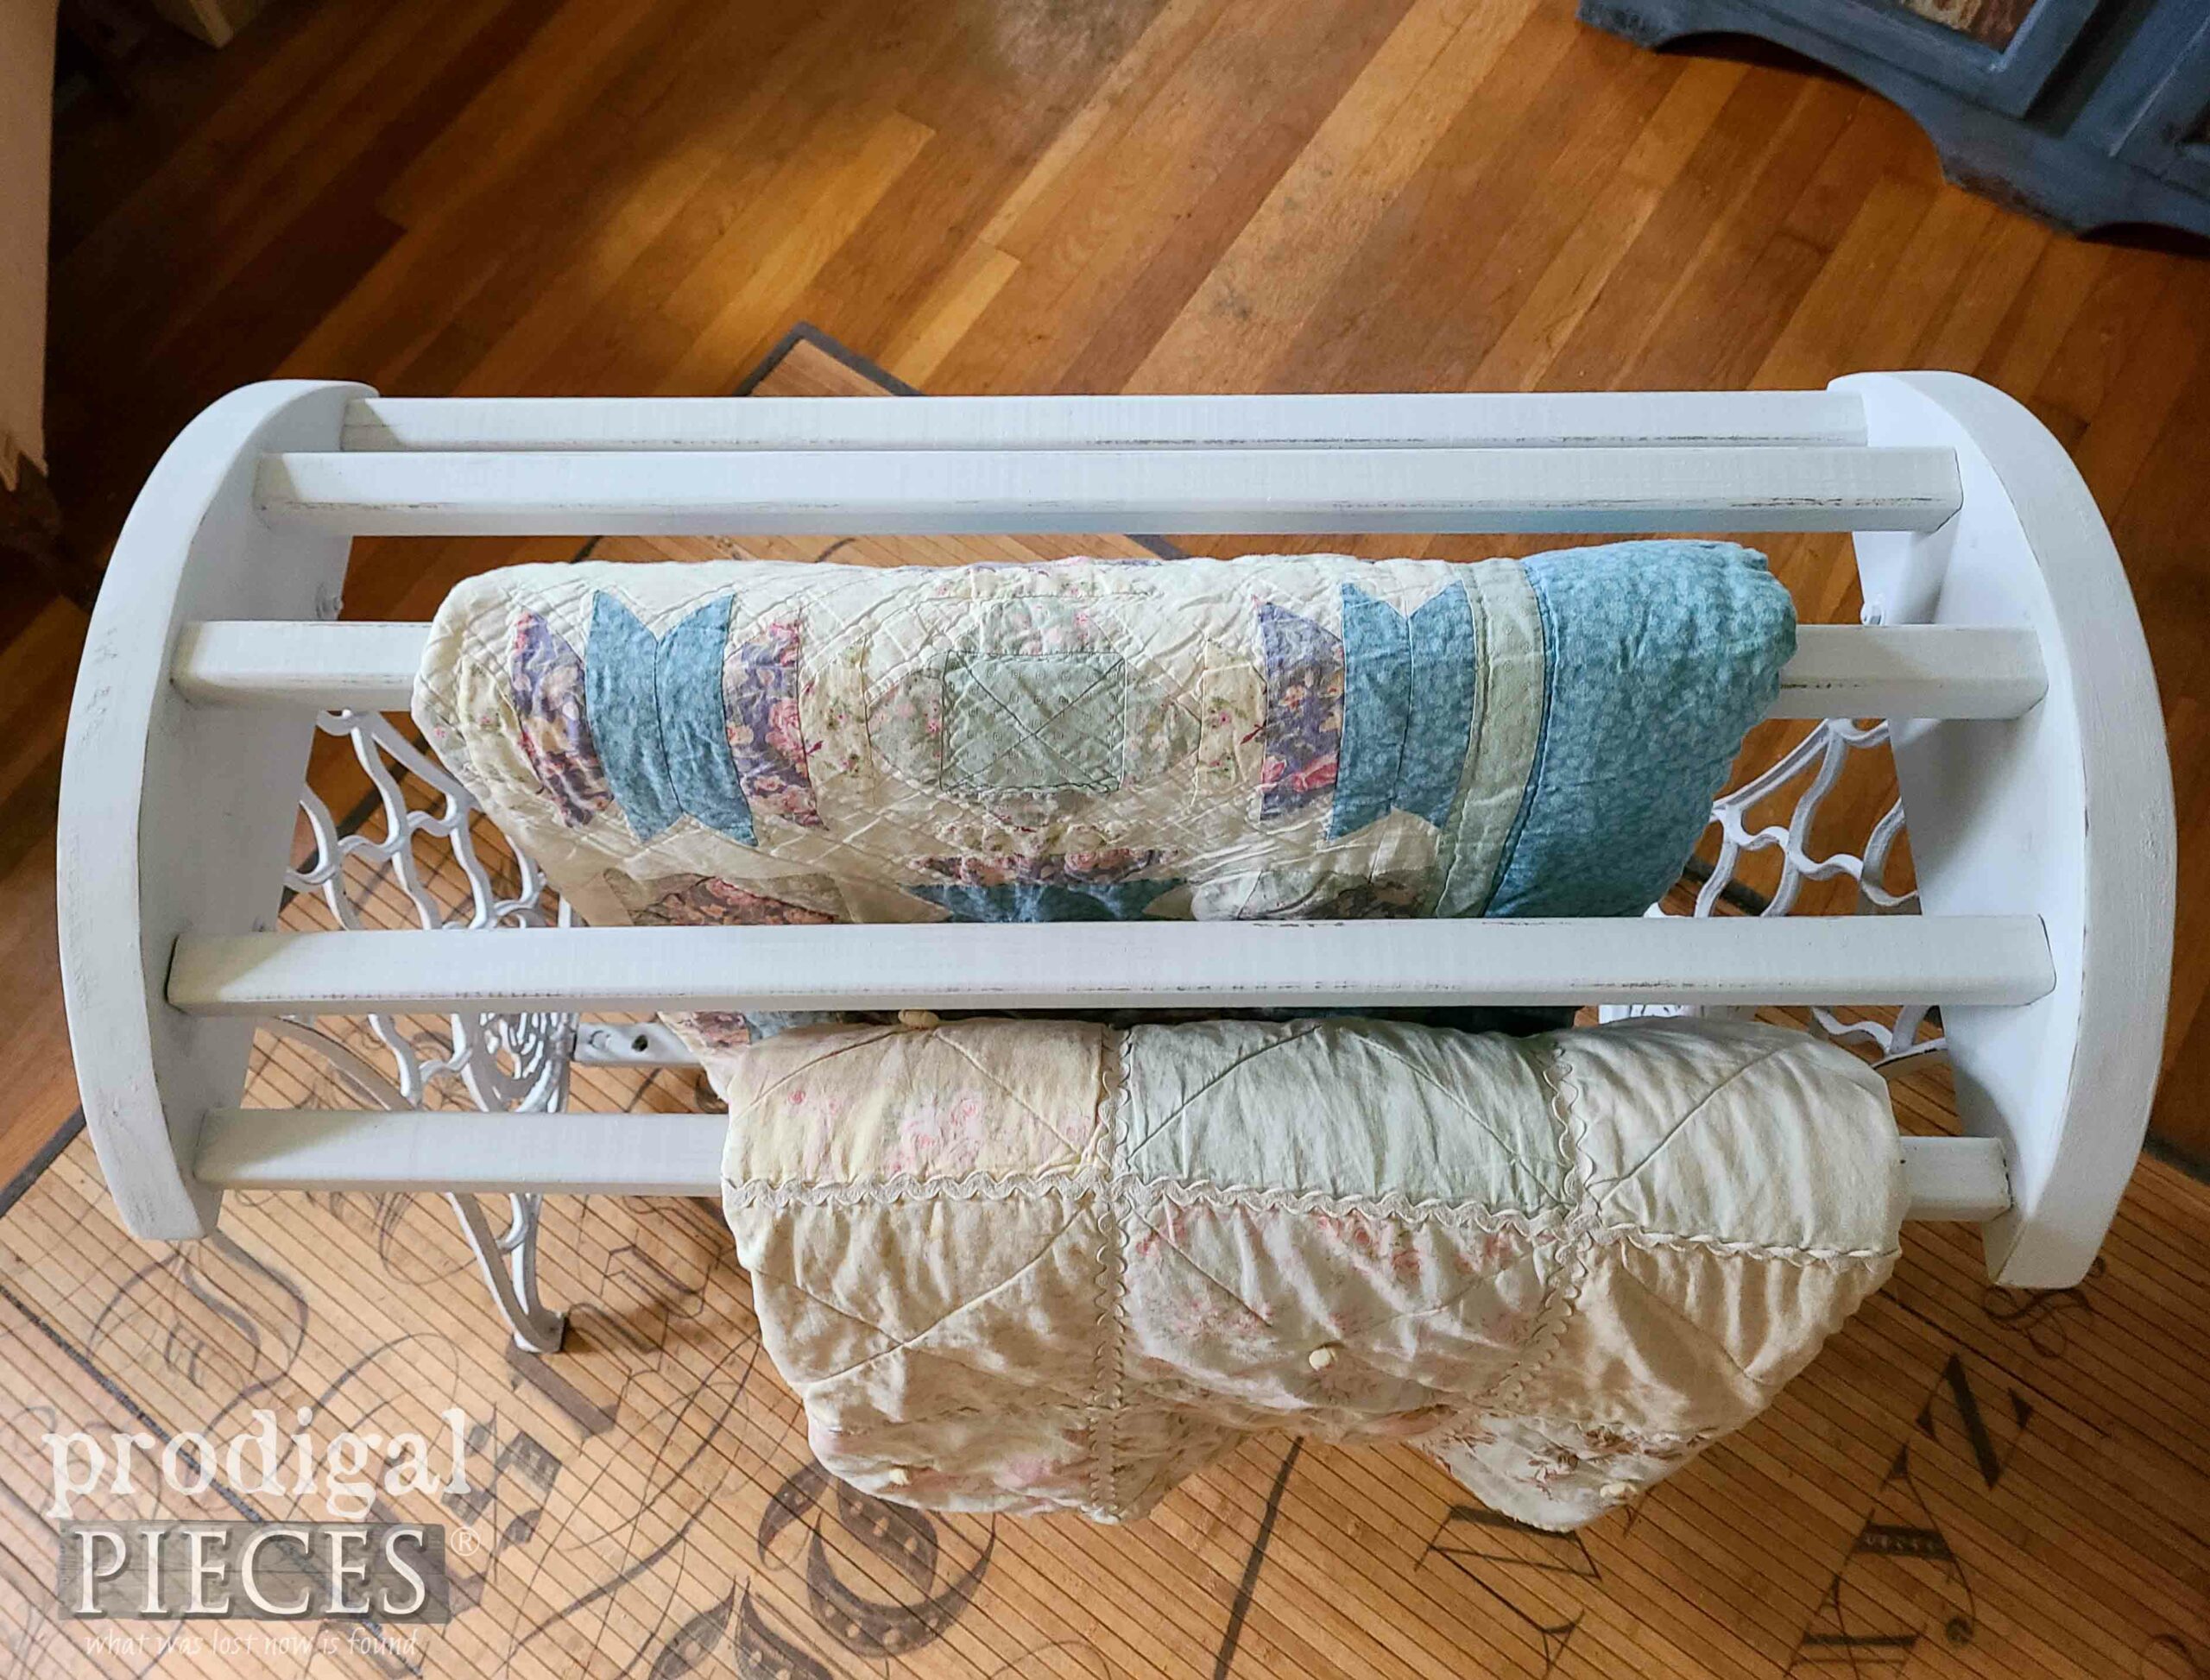
Here is the top to my DIY quilt rack using the repurposed sewing machine base. I don’t have the spreader in yet at this point, but I’ll have it cut and installed in a jiffy. In addition, you can see another quilt rack I built HERE or another quilt rack I repurposed HERE.
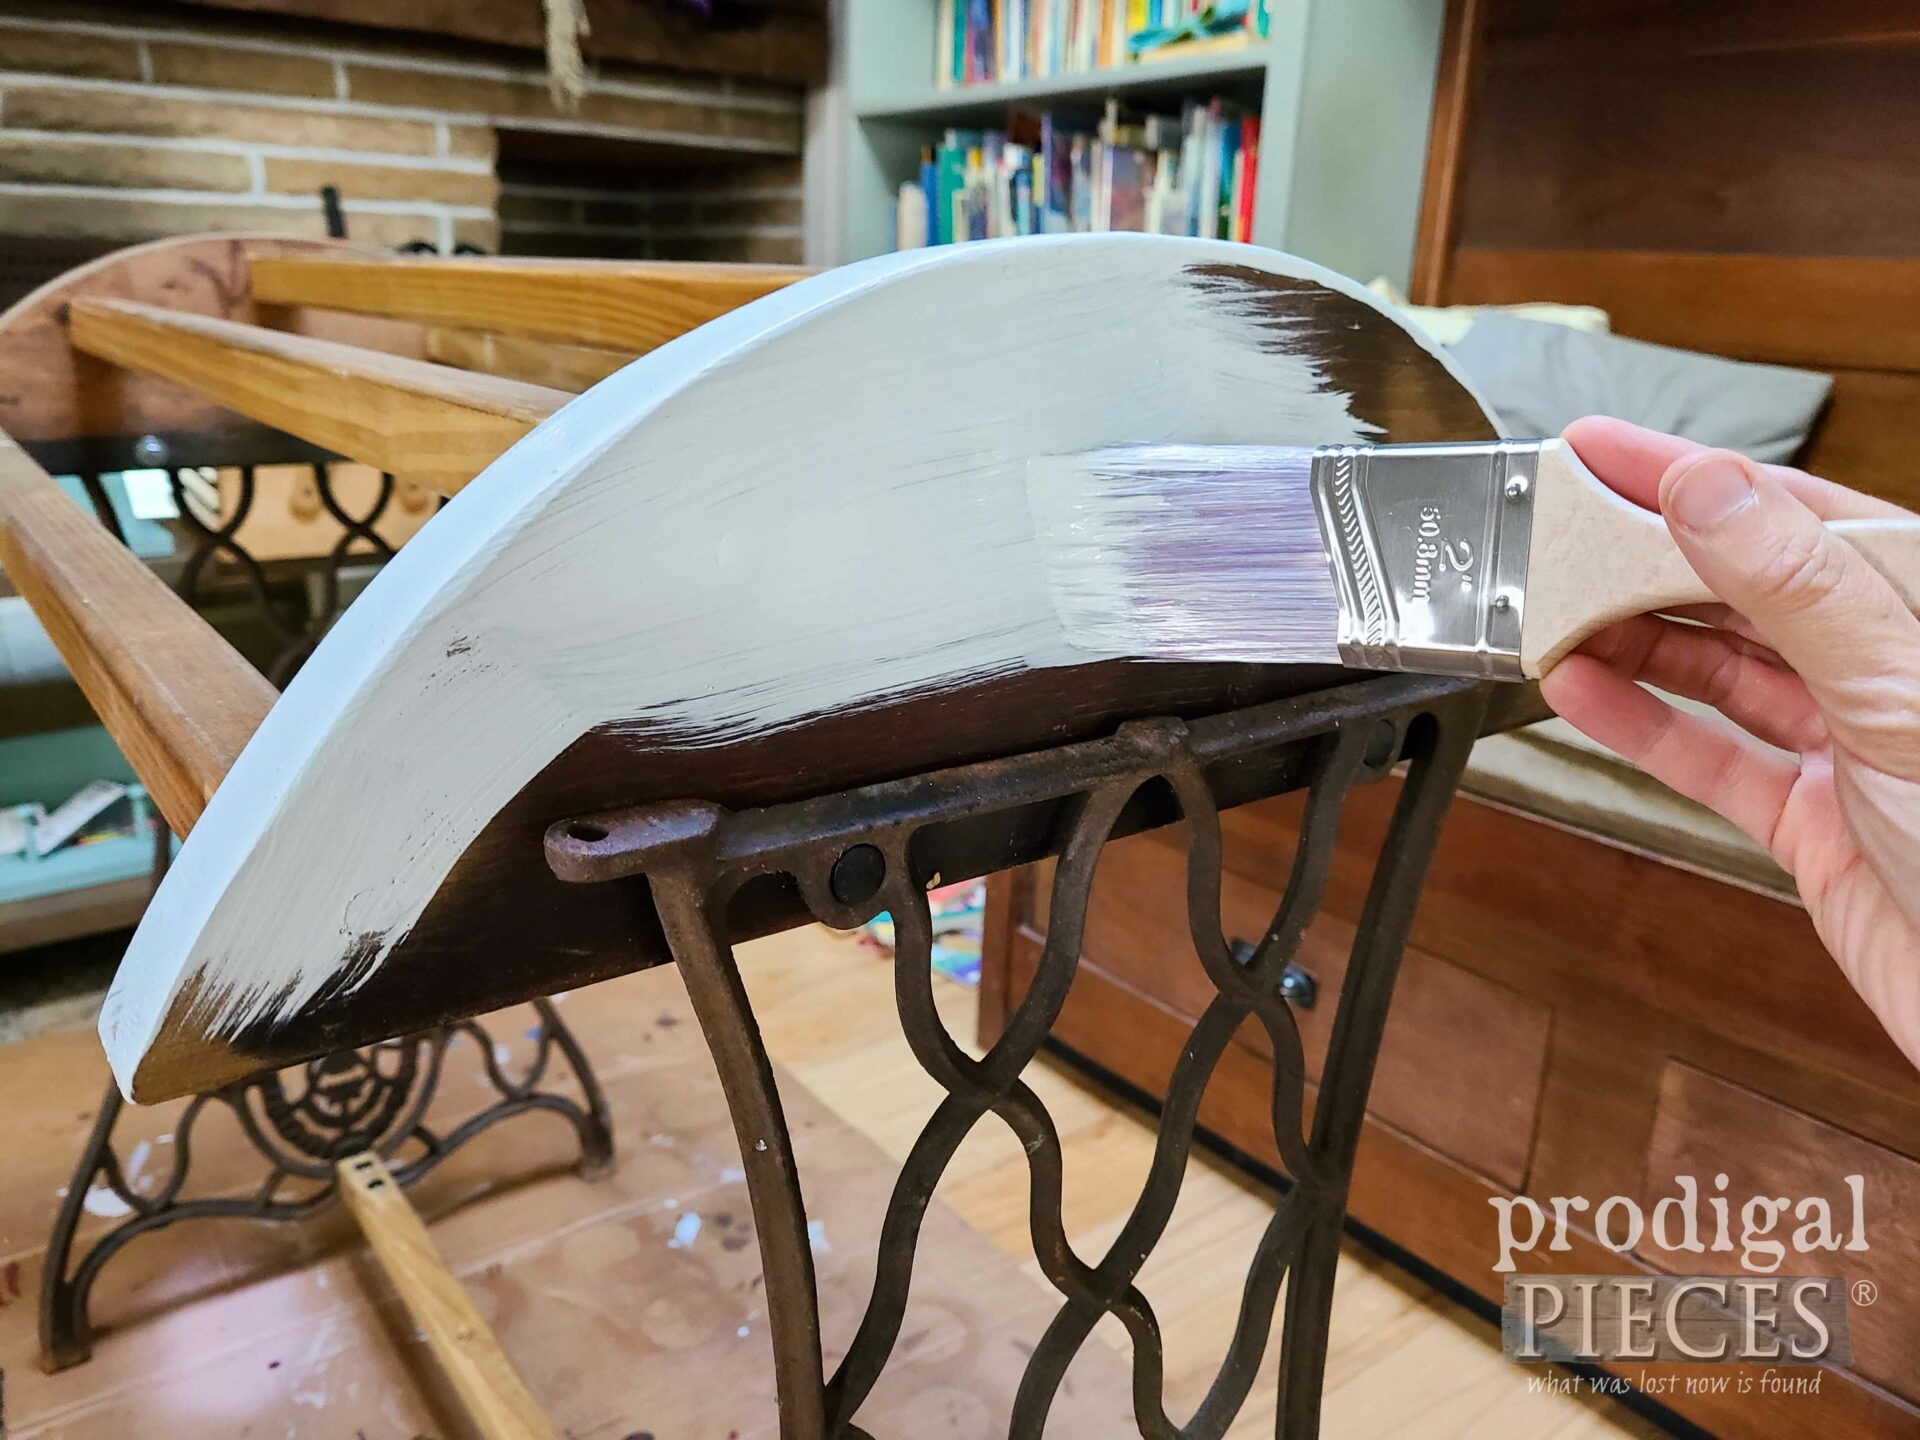
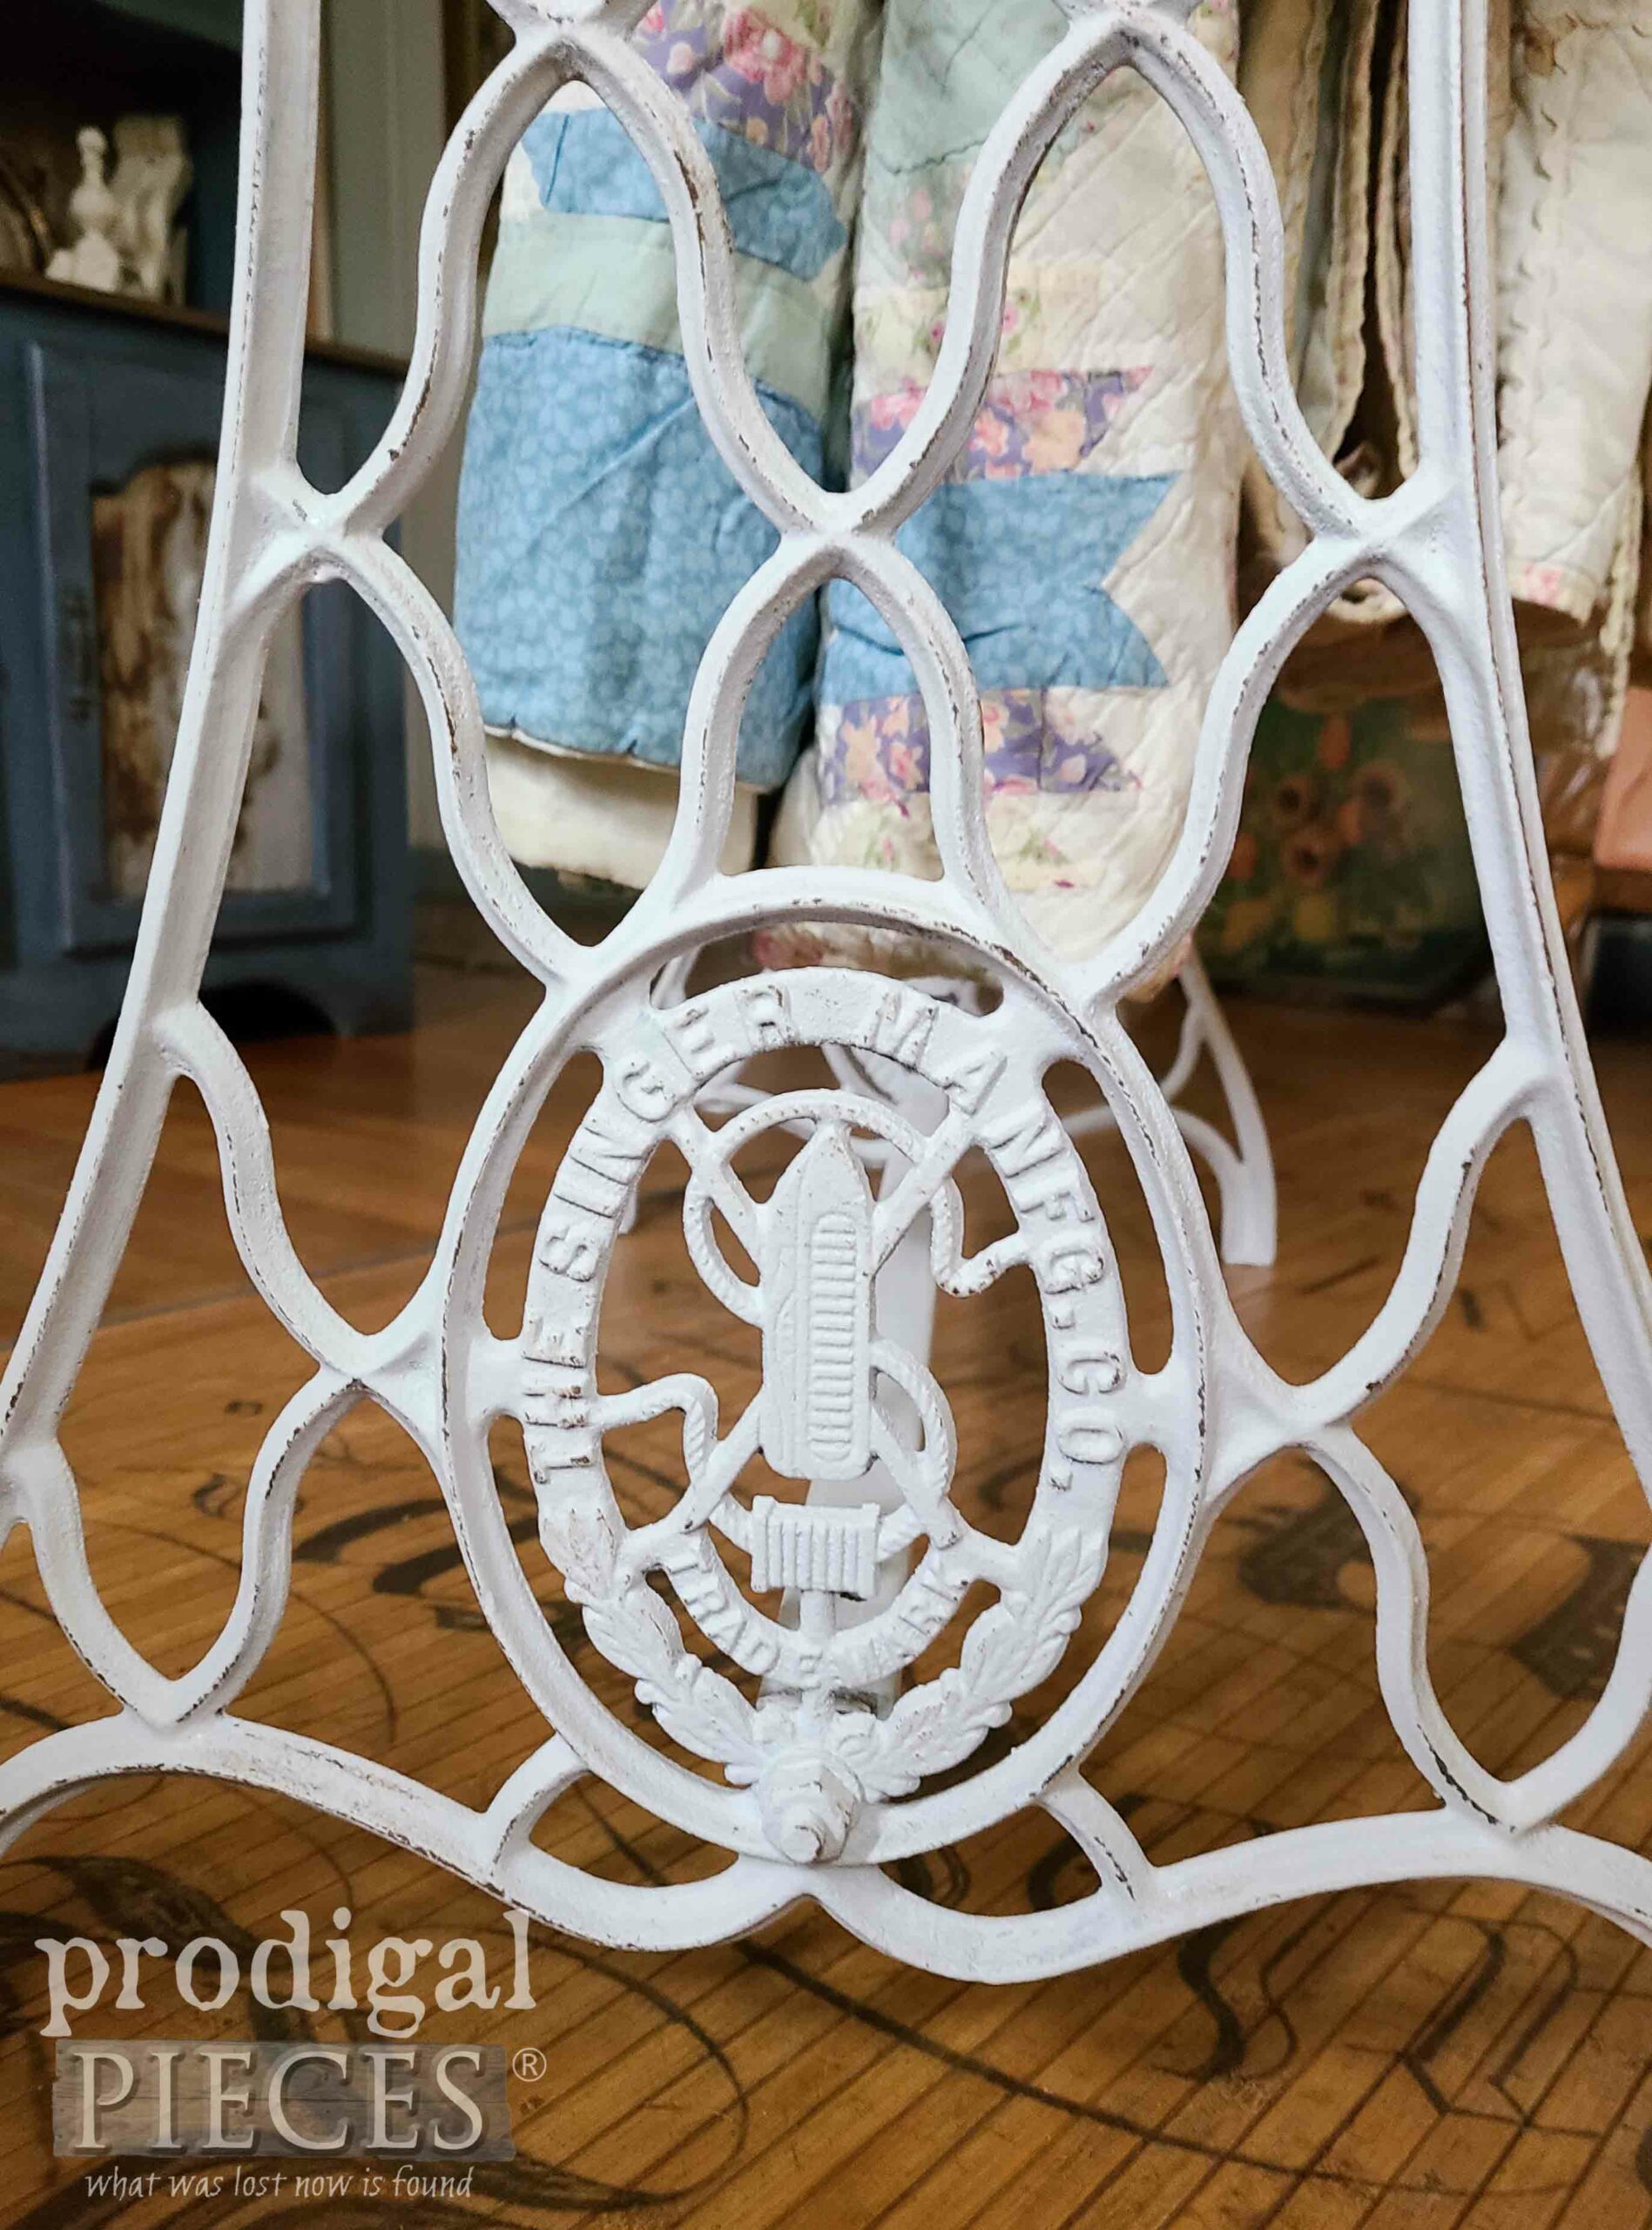
Last, but not least, in order to make this all cohesive, I apply two coats of a milk paint called Classic White. This will not only make it all gel, but eventually the patina in the sewing machine will peek through the paint giving it an even more wonderful, aged vibe.
STORAGE & STYLE
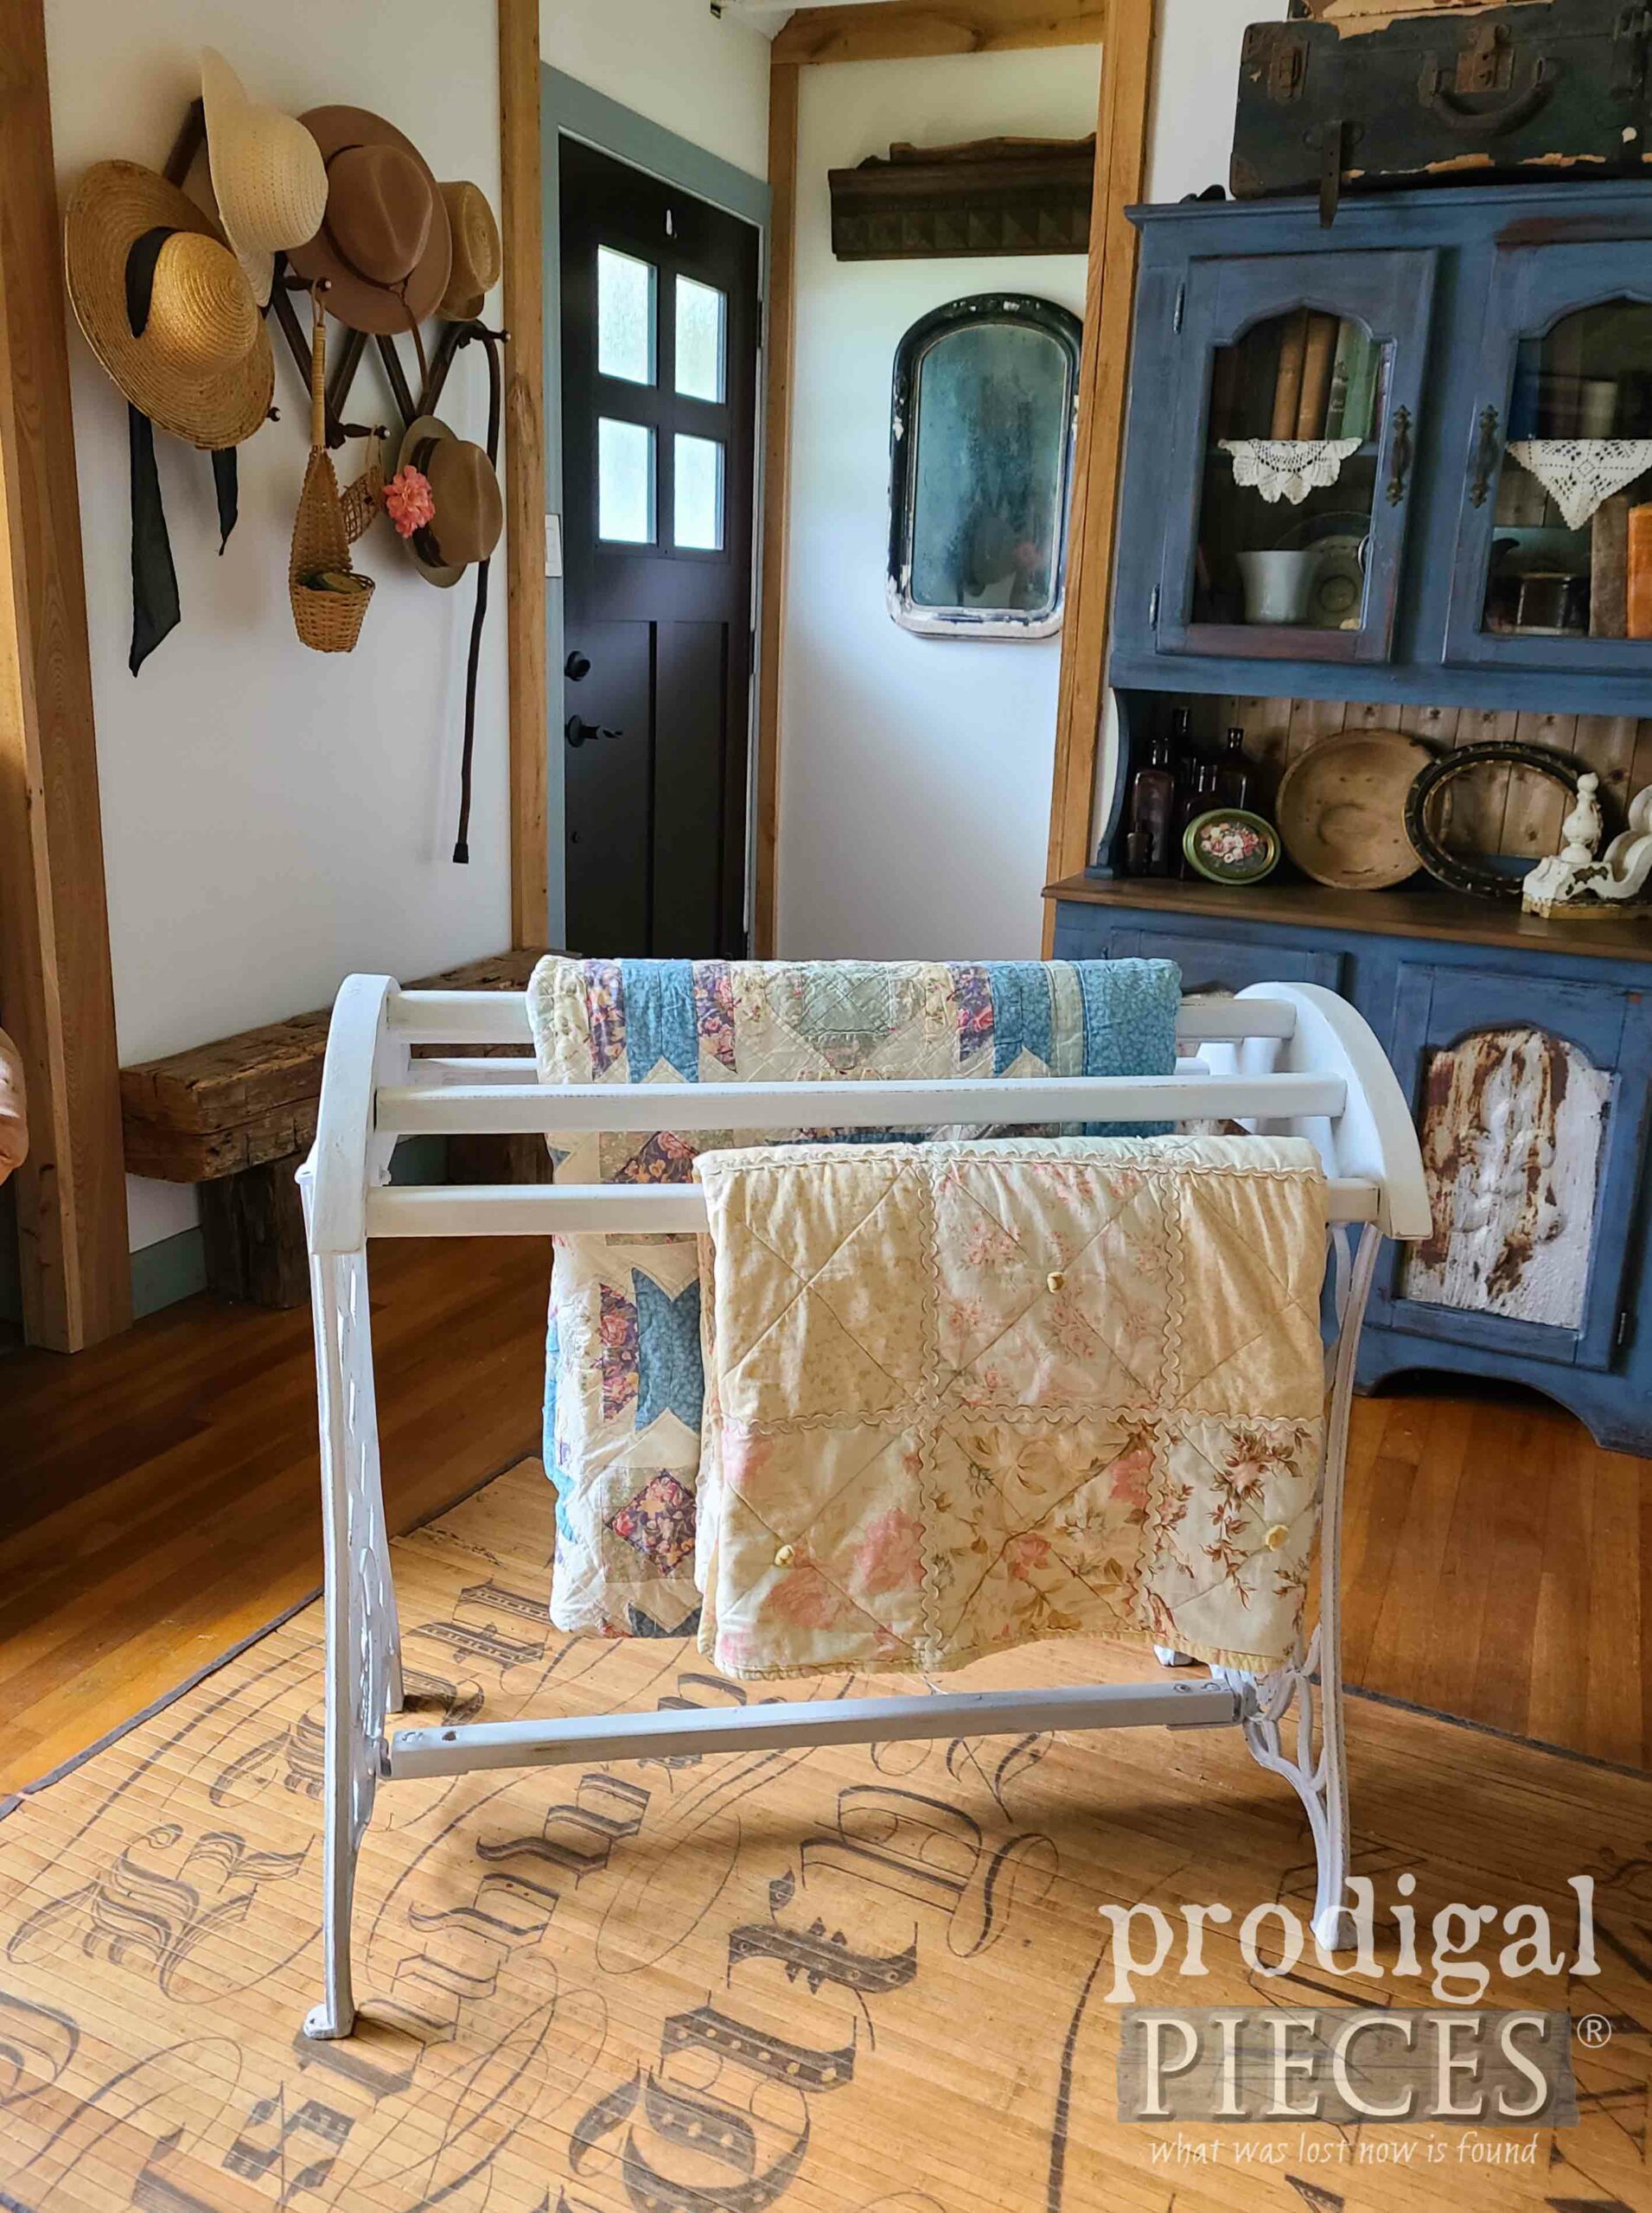
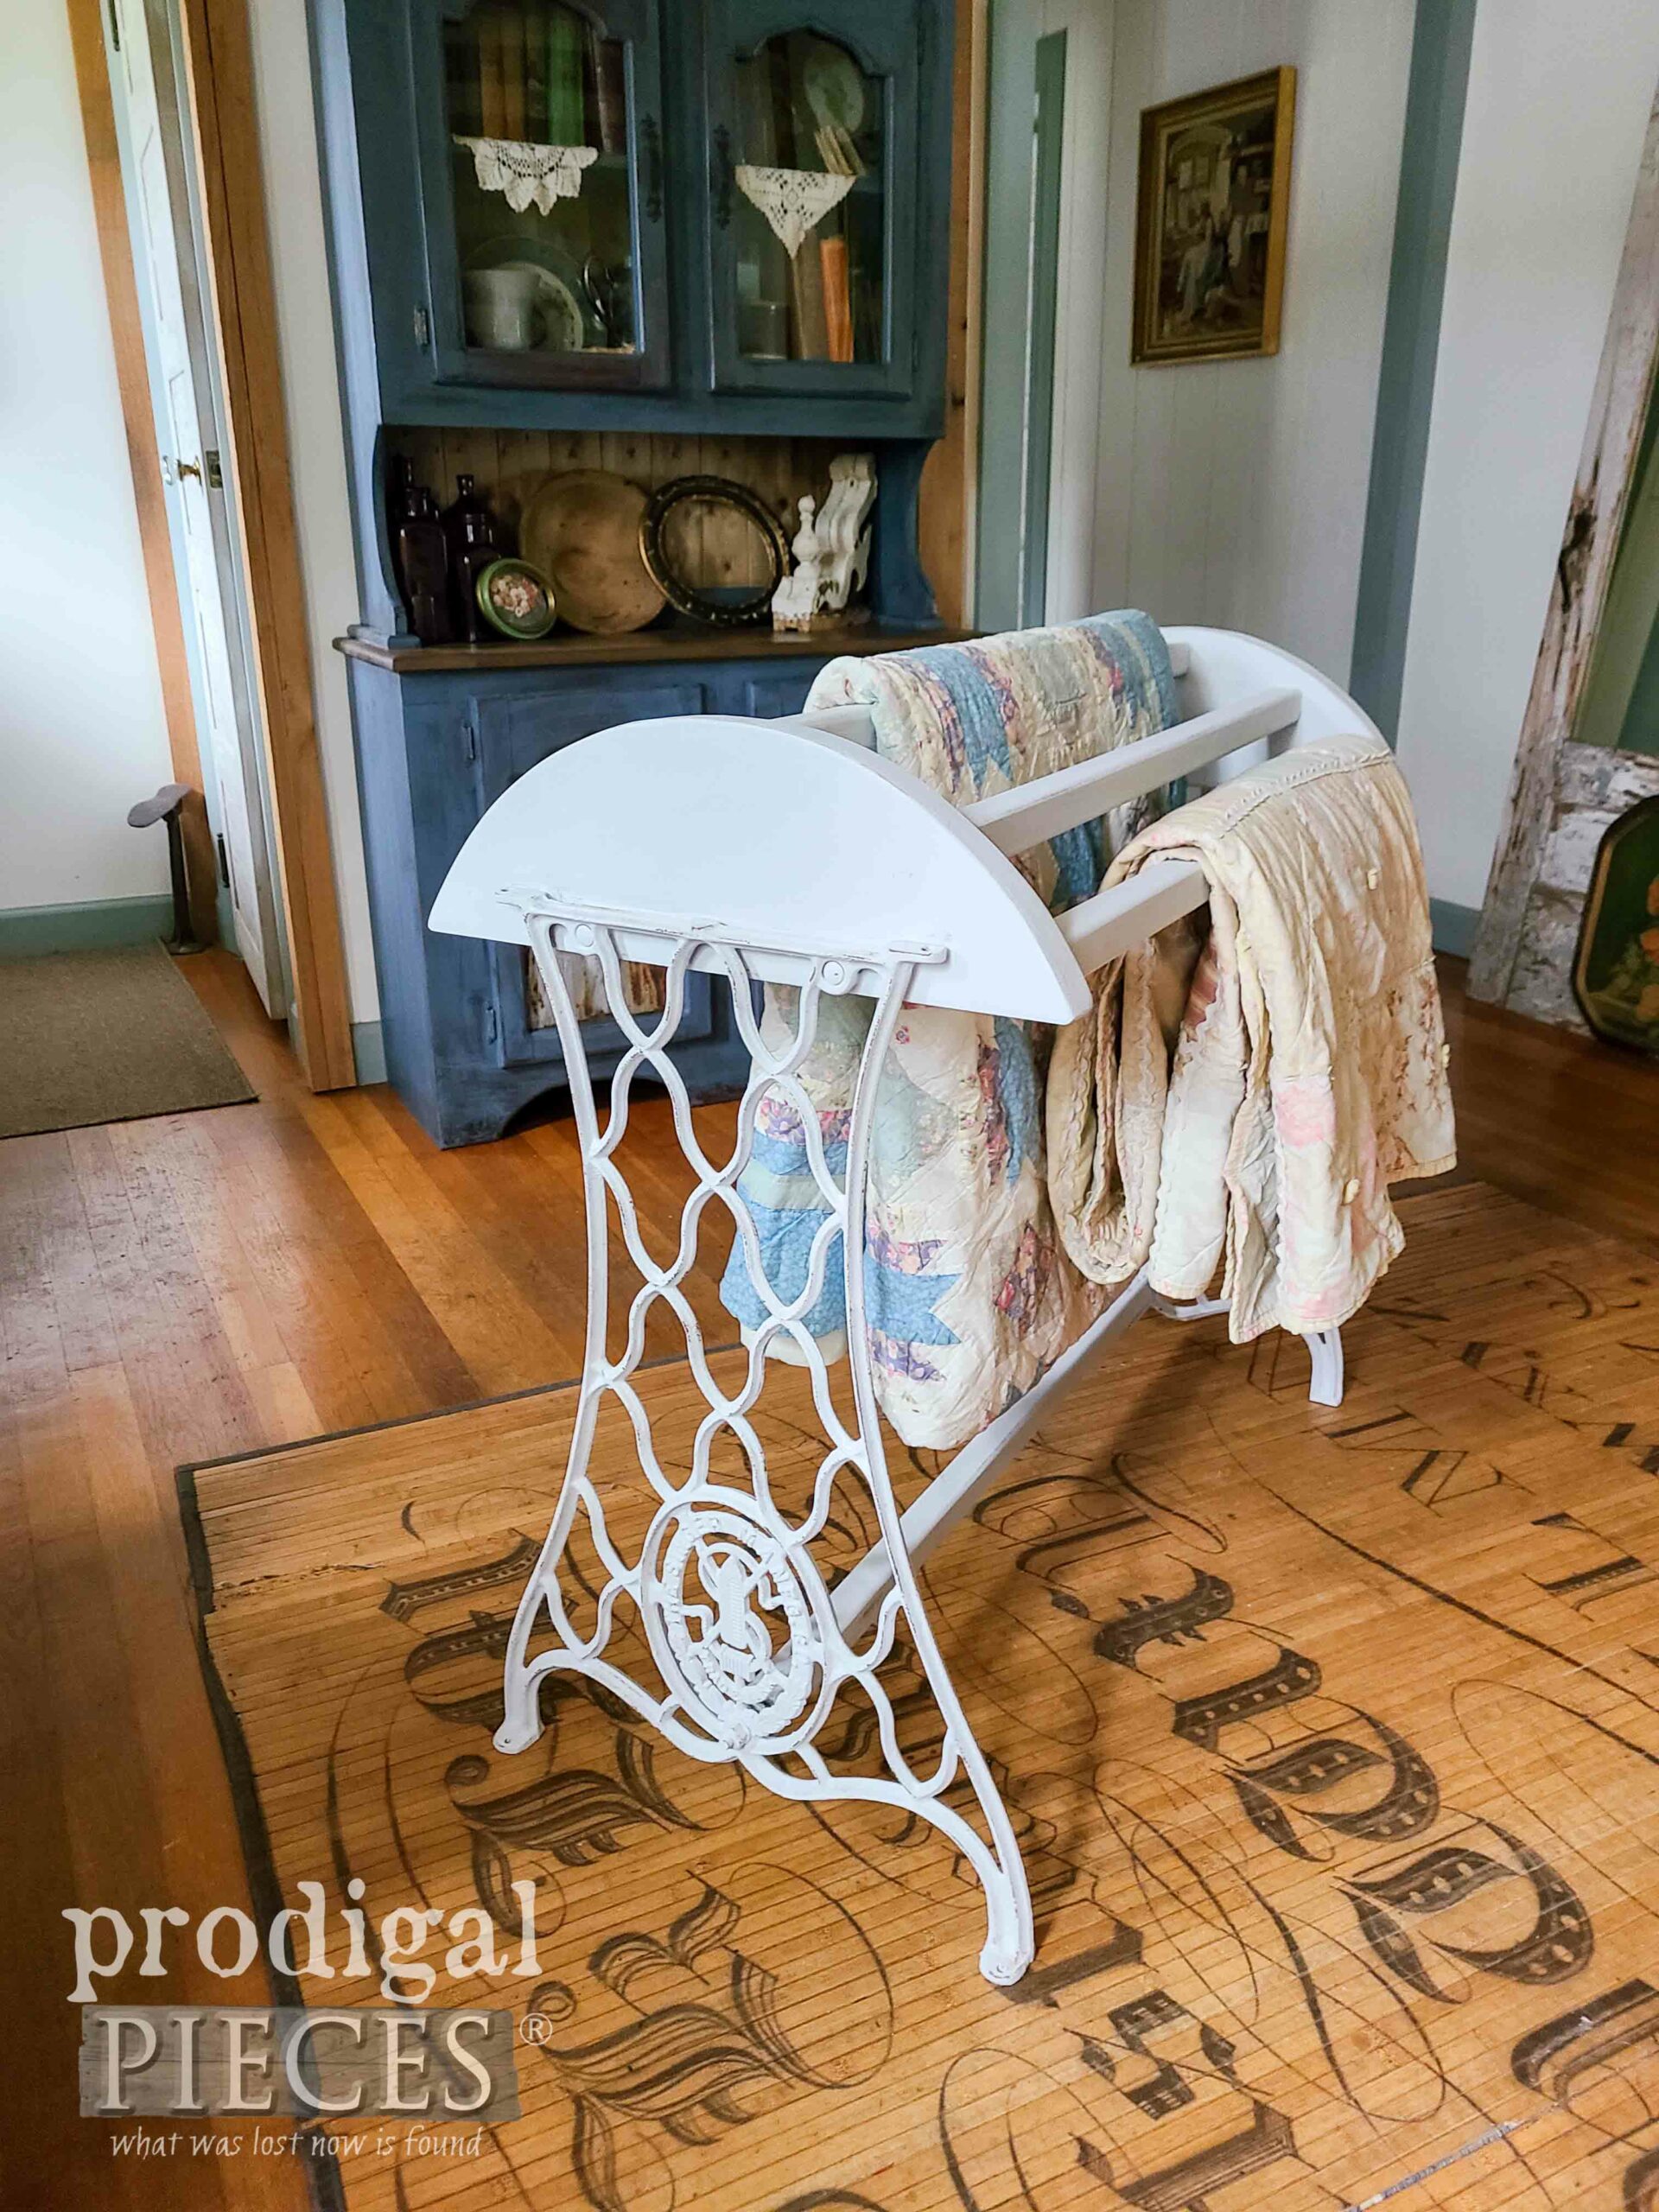
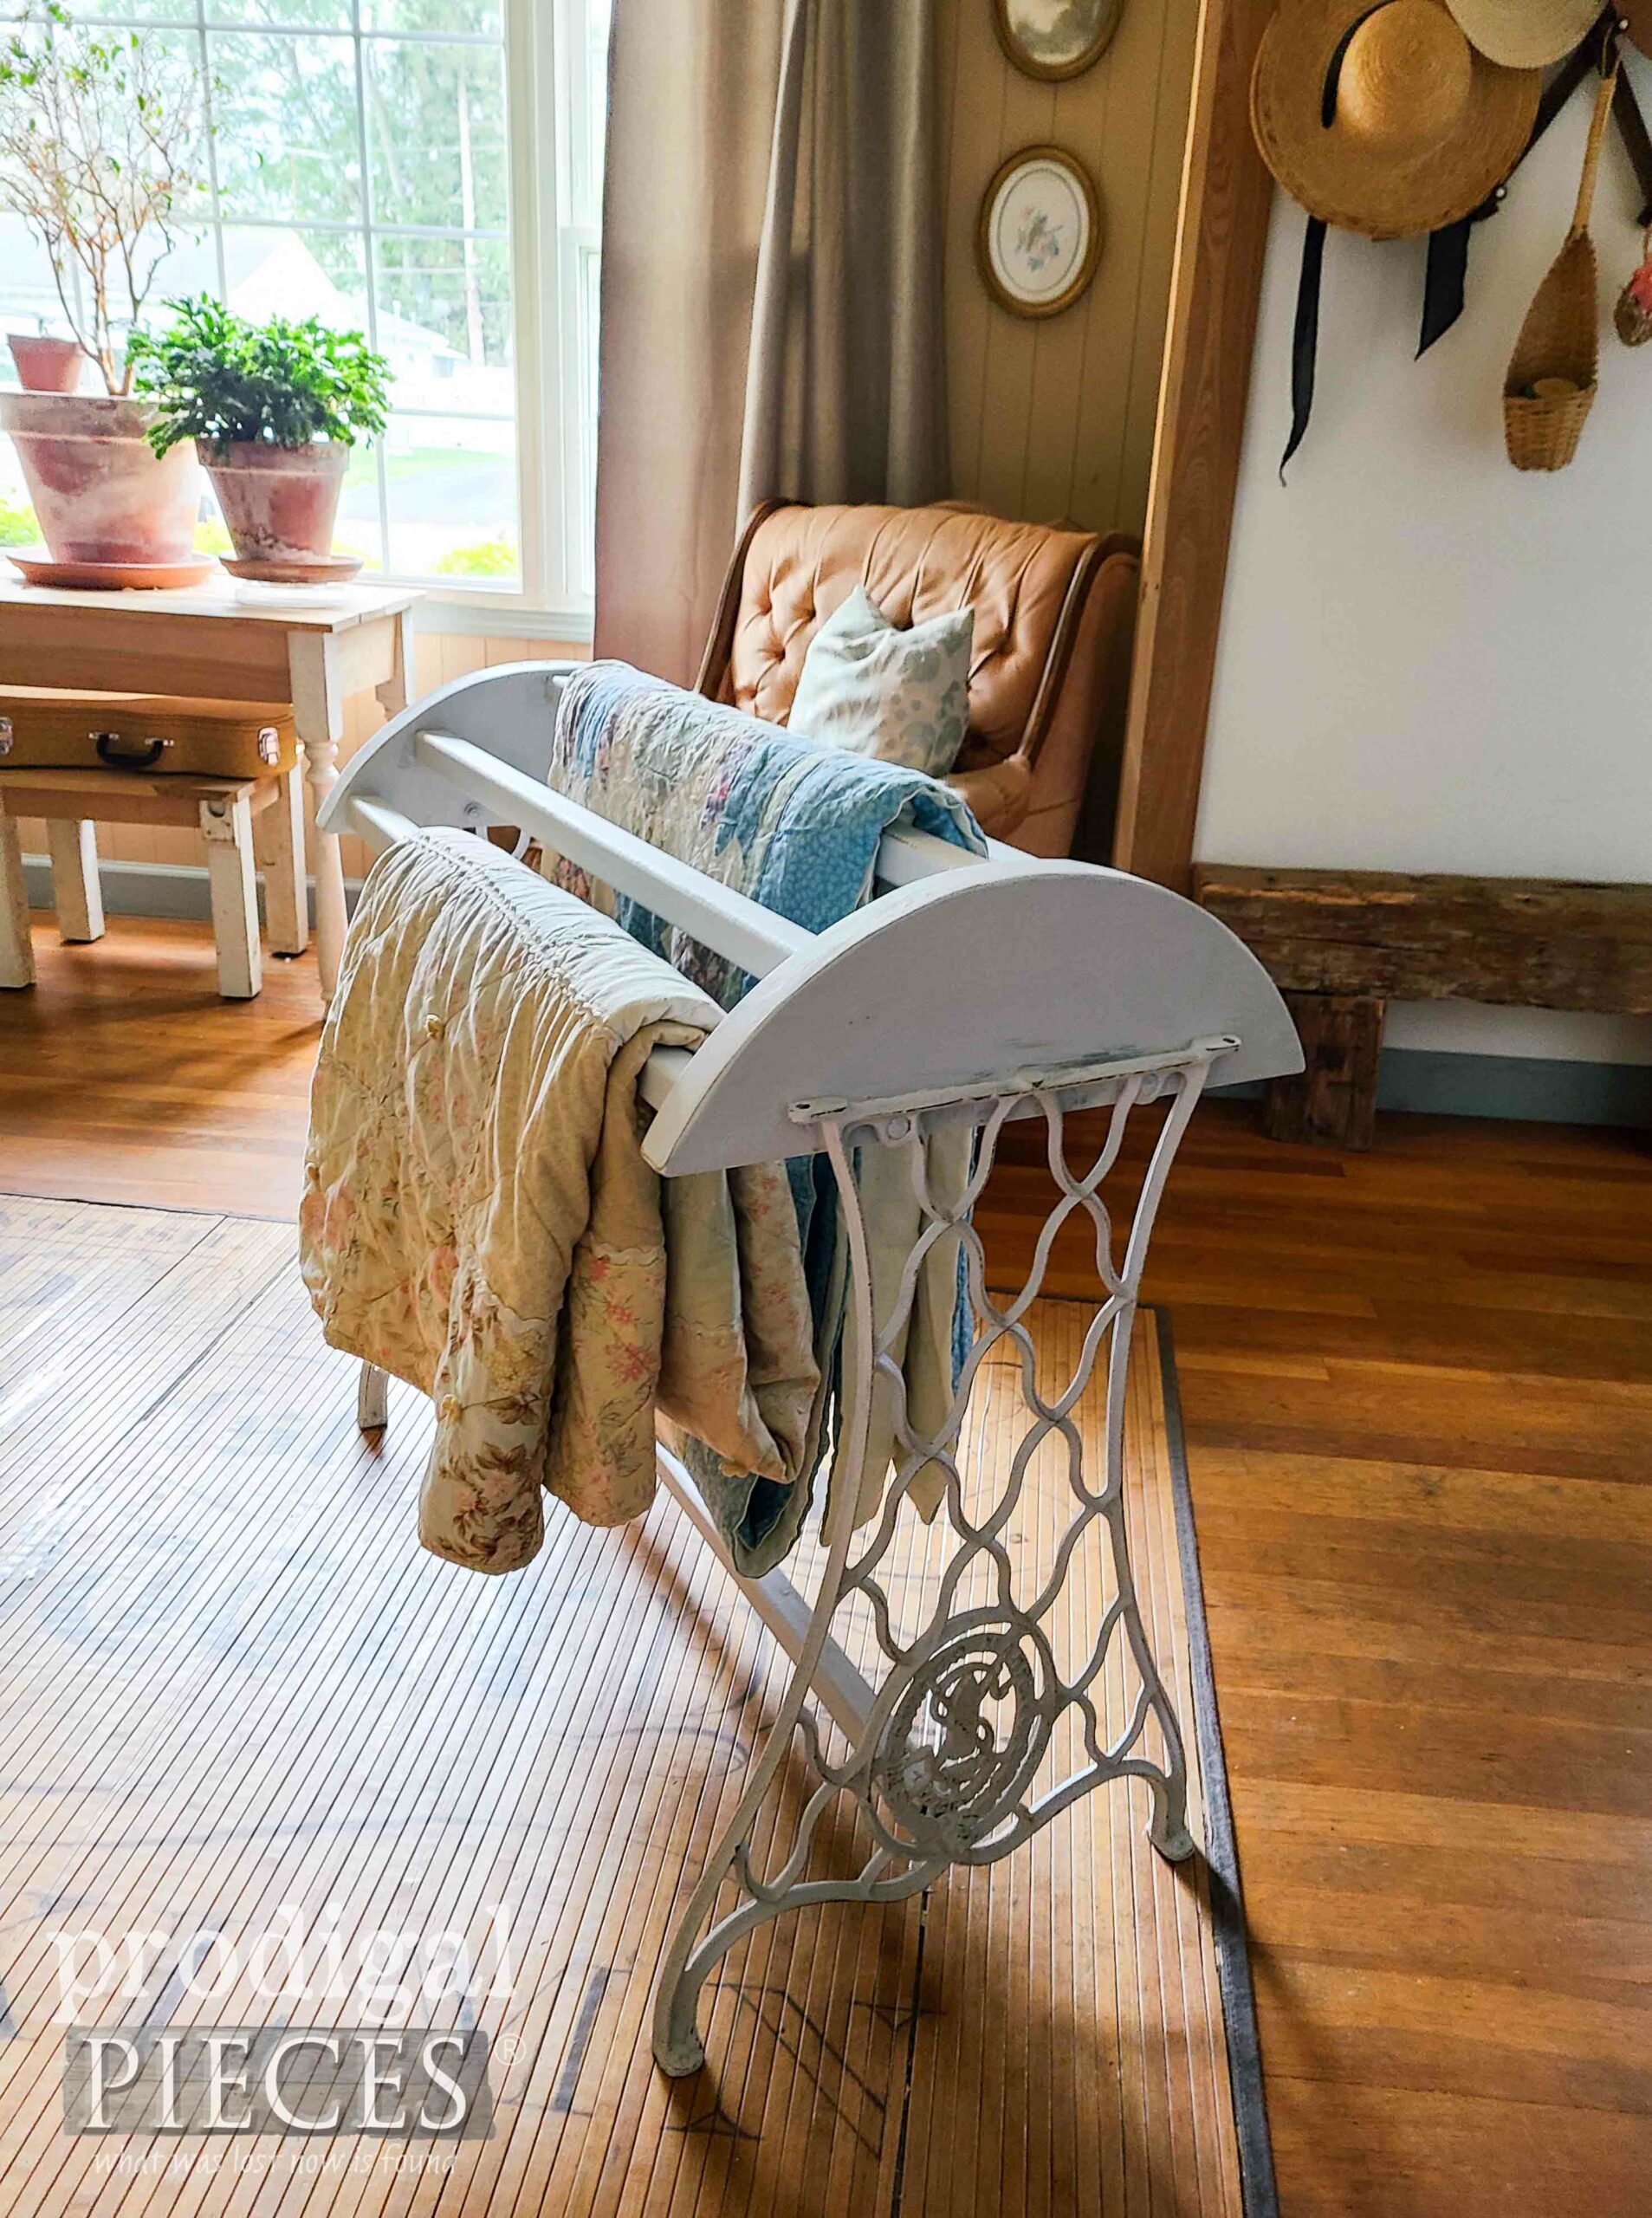
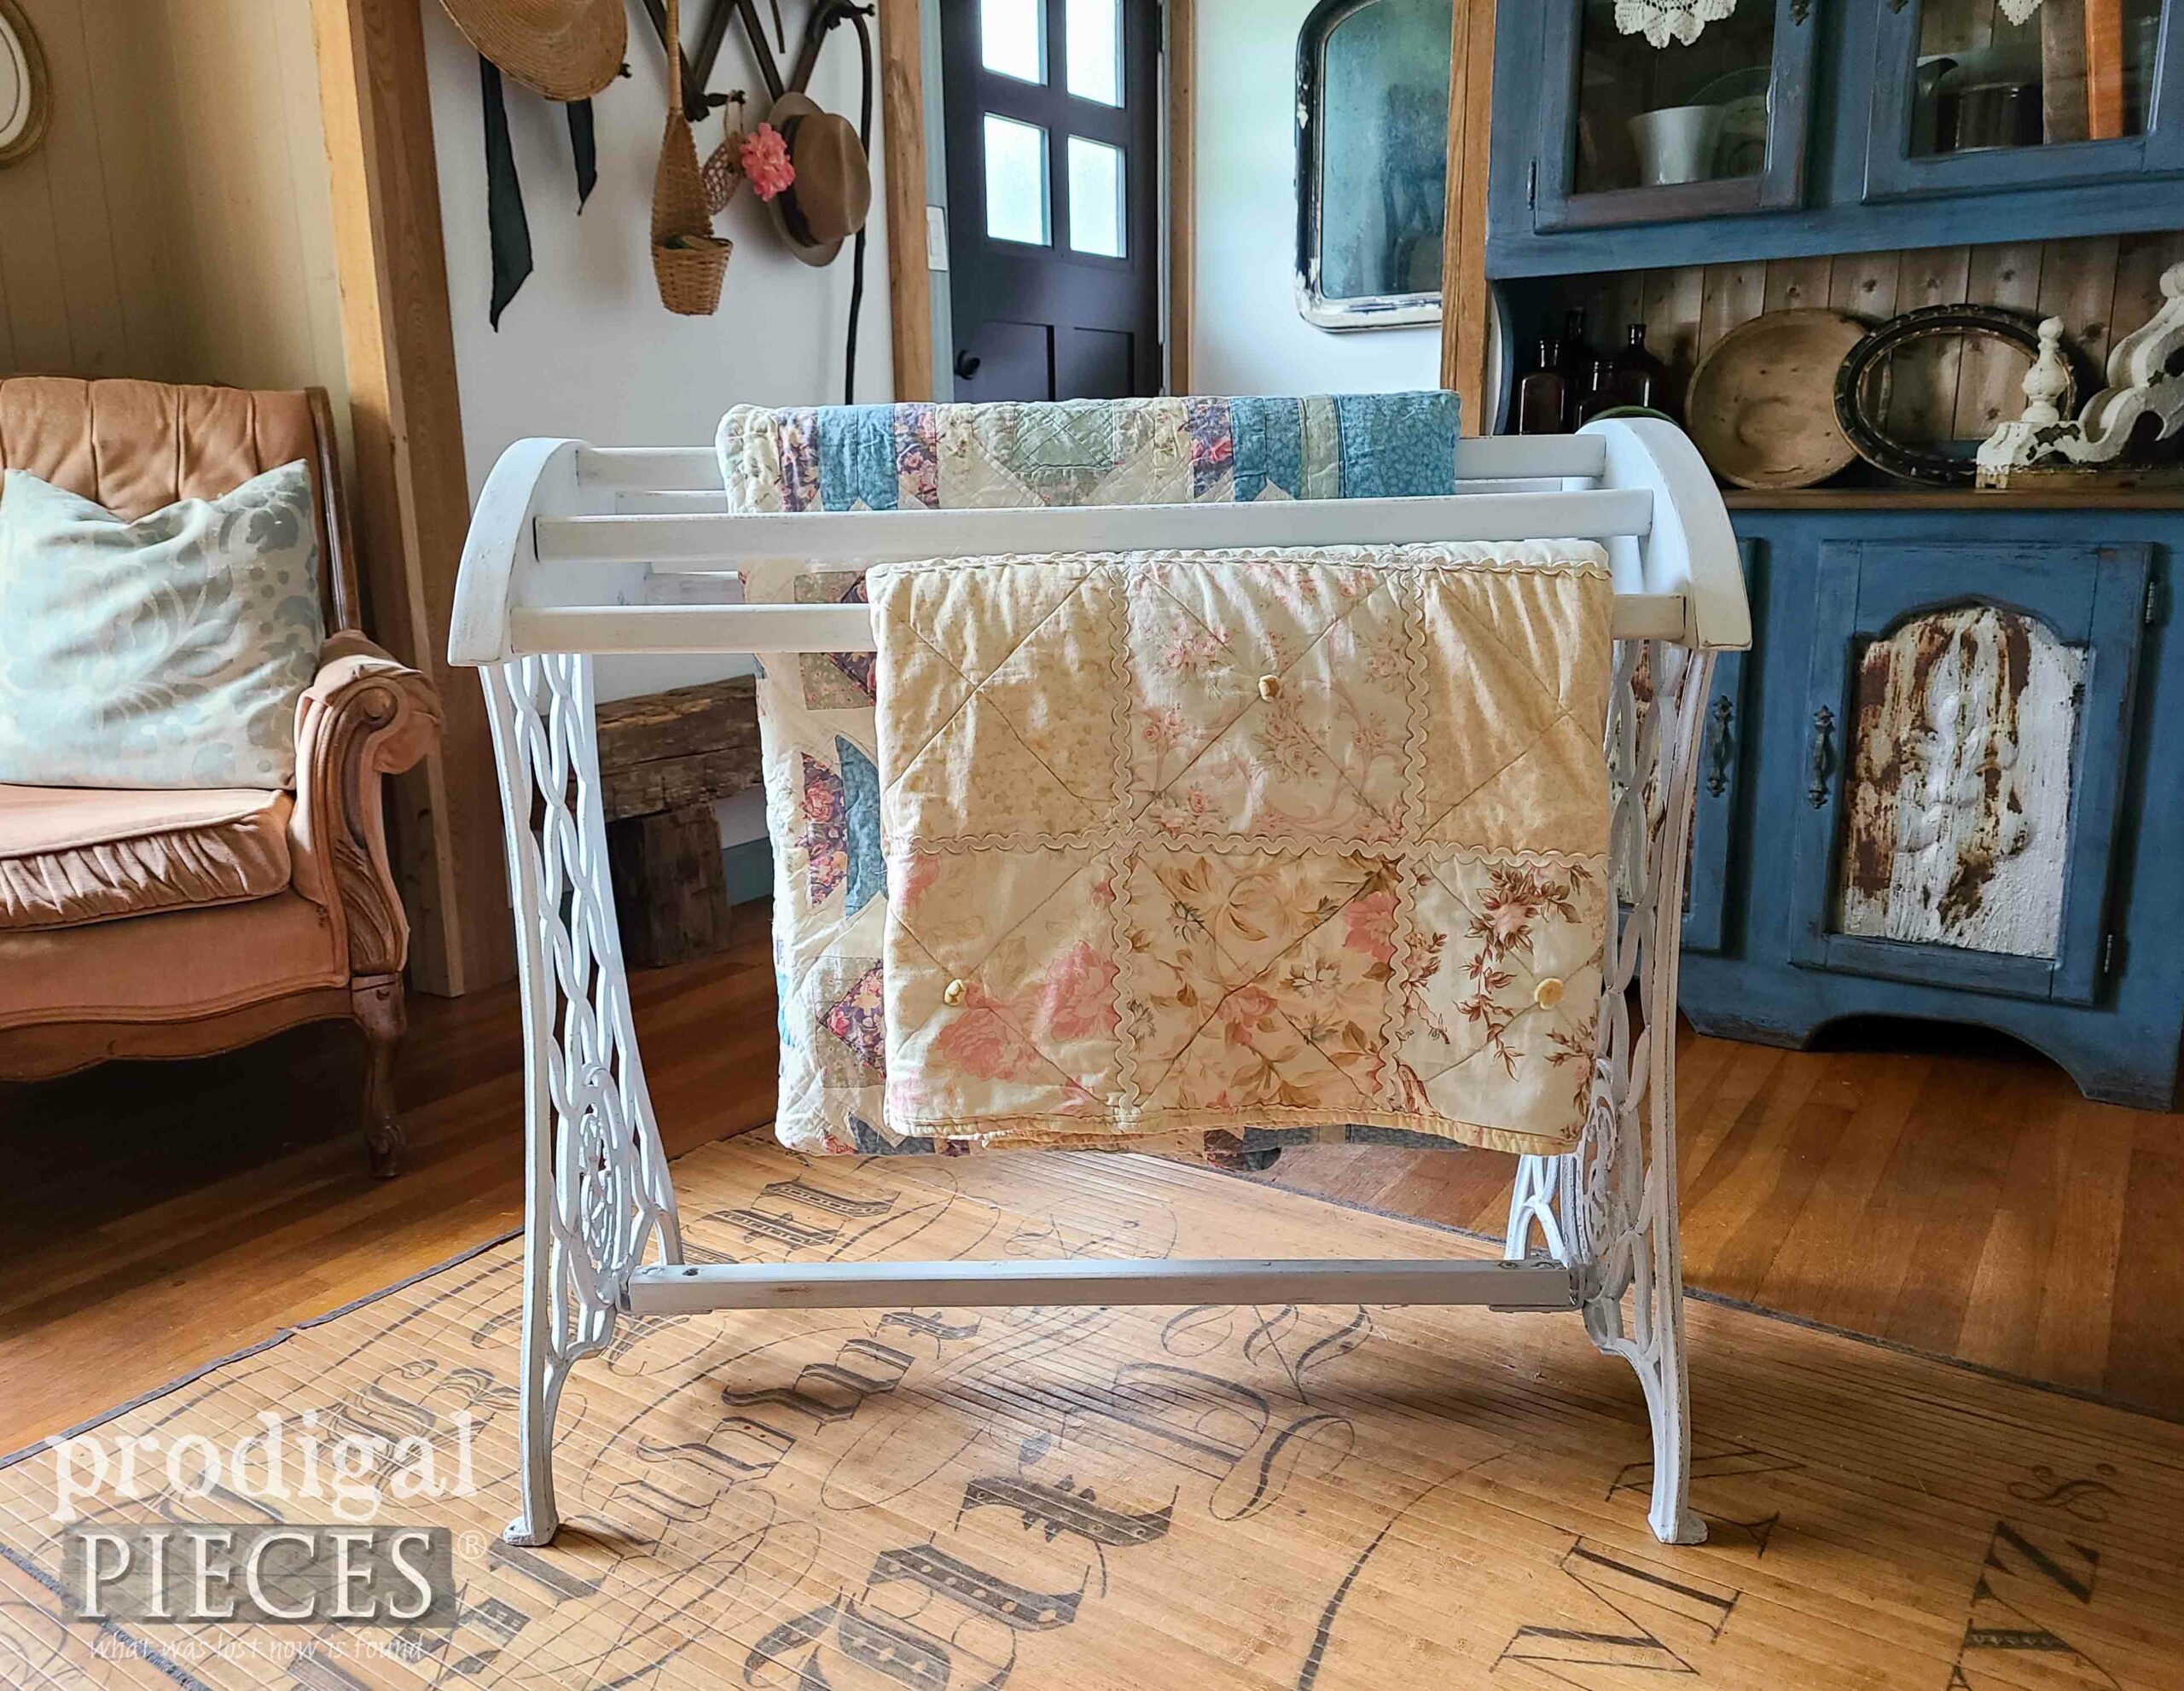
Finally, here is my reclaimed sewing machine turned DIY quilt rack ready for many years of function while adding charm to your home.
I’m smitten with the outcome and happy to save I have oodles of quilts for something like this. Of the two you see here, one is handmade by my great aunt, and the other is one I made for one of my four daughters. Quilts are something like an eternal hug from those you love.
Have you ever made a quilt? I’ve made several and even a few wall ones (to hang up) and they’re always fun. Likewise, I was invited by my Mennonite friends to sit in on a quilting bee – wouldn’t that be amazing?
So, tell me, what would you have done with this #trashure find? Would you have picked up the sewing machine base in the first place?
While I’d love to keep this, I just don’t have room, so if you’d like to add it to your home story, you can find it and more in my online store. By the way, there’s a discount for newsletter subscribers!
SHARE
After you take a minute to leave me some comment love, do pin and share so that others can be inspired by trash. haha. It’s fun and makes for a great story-telling home!
Before you go, be sure to sign up for my FREE newsletter so you can see what becomes of this next thrifty find. See the end result HERE.
Now, it’s time to see what my Trash to Treasure galfriends have for you!



I can see why you’re smitten with this makeover Larissa – it’s absolutely FABULOUS! What an amazing upcyle! XOXO PINNED!
Yeehaw! hee hee. Thank you, Denise. I definitely had to get them off the curb. The hard part was deciding what to do with them. Now to make use of the rest!
That was a brilliant idea!!
whew! I totally love these things, but they’re hard to come up with new ideas. I wanted to build a chair, but my sick ol’ self didn’t have the energy. Maybe next time! Thanks for the smile, Joan. 😀
Girl, I never could have imagined this new purpose for these pieces…you are amazing! So very well done! XOXO
My lack-of-oxygen-brain from coughing actually allowed me to pull this off! haha! Thanks so much, Christy.
Ok, I’m pretty impressed with your vision and execution!! Wow, that’s awesome! xo
Thanks! I love that I know my “stash” enough that I can go right to it and it all works out. It helped with my lack of time and energy this time too.
Great project for those discarded pieces, Larissa!
Thank you, Jen. Just glad it worked out and I can start to feel better.