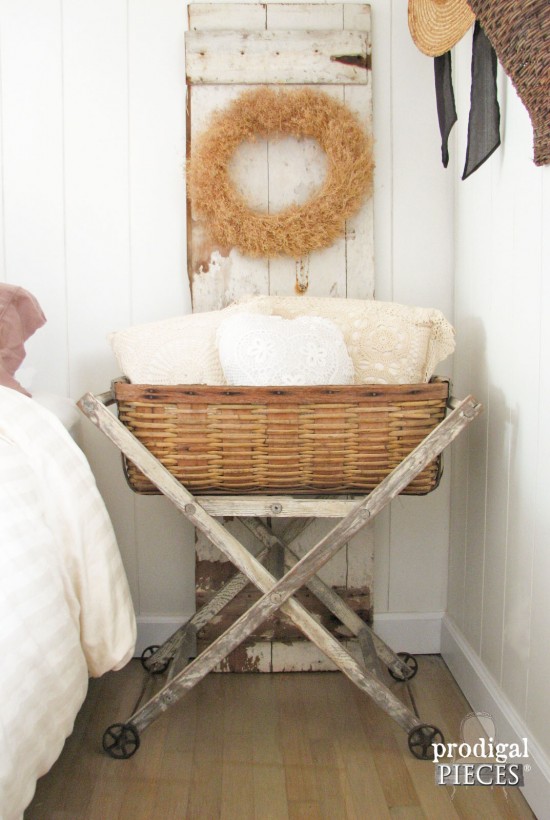
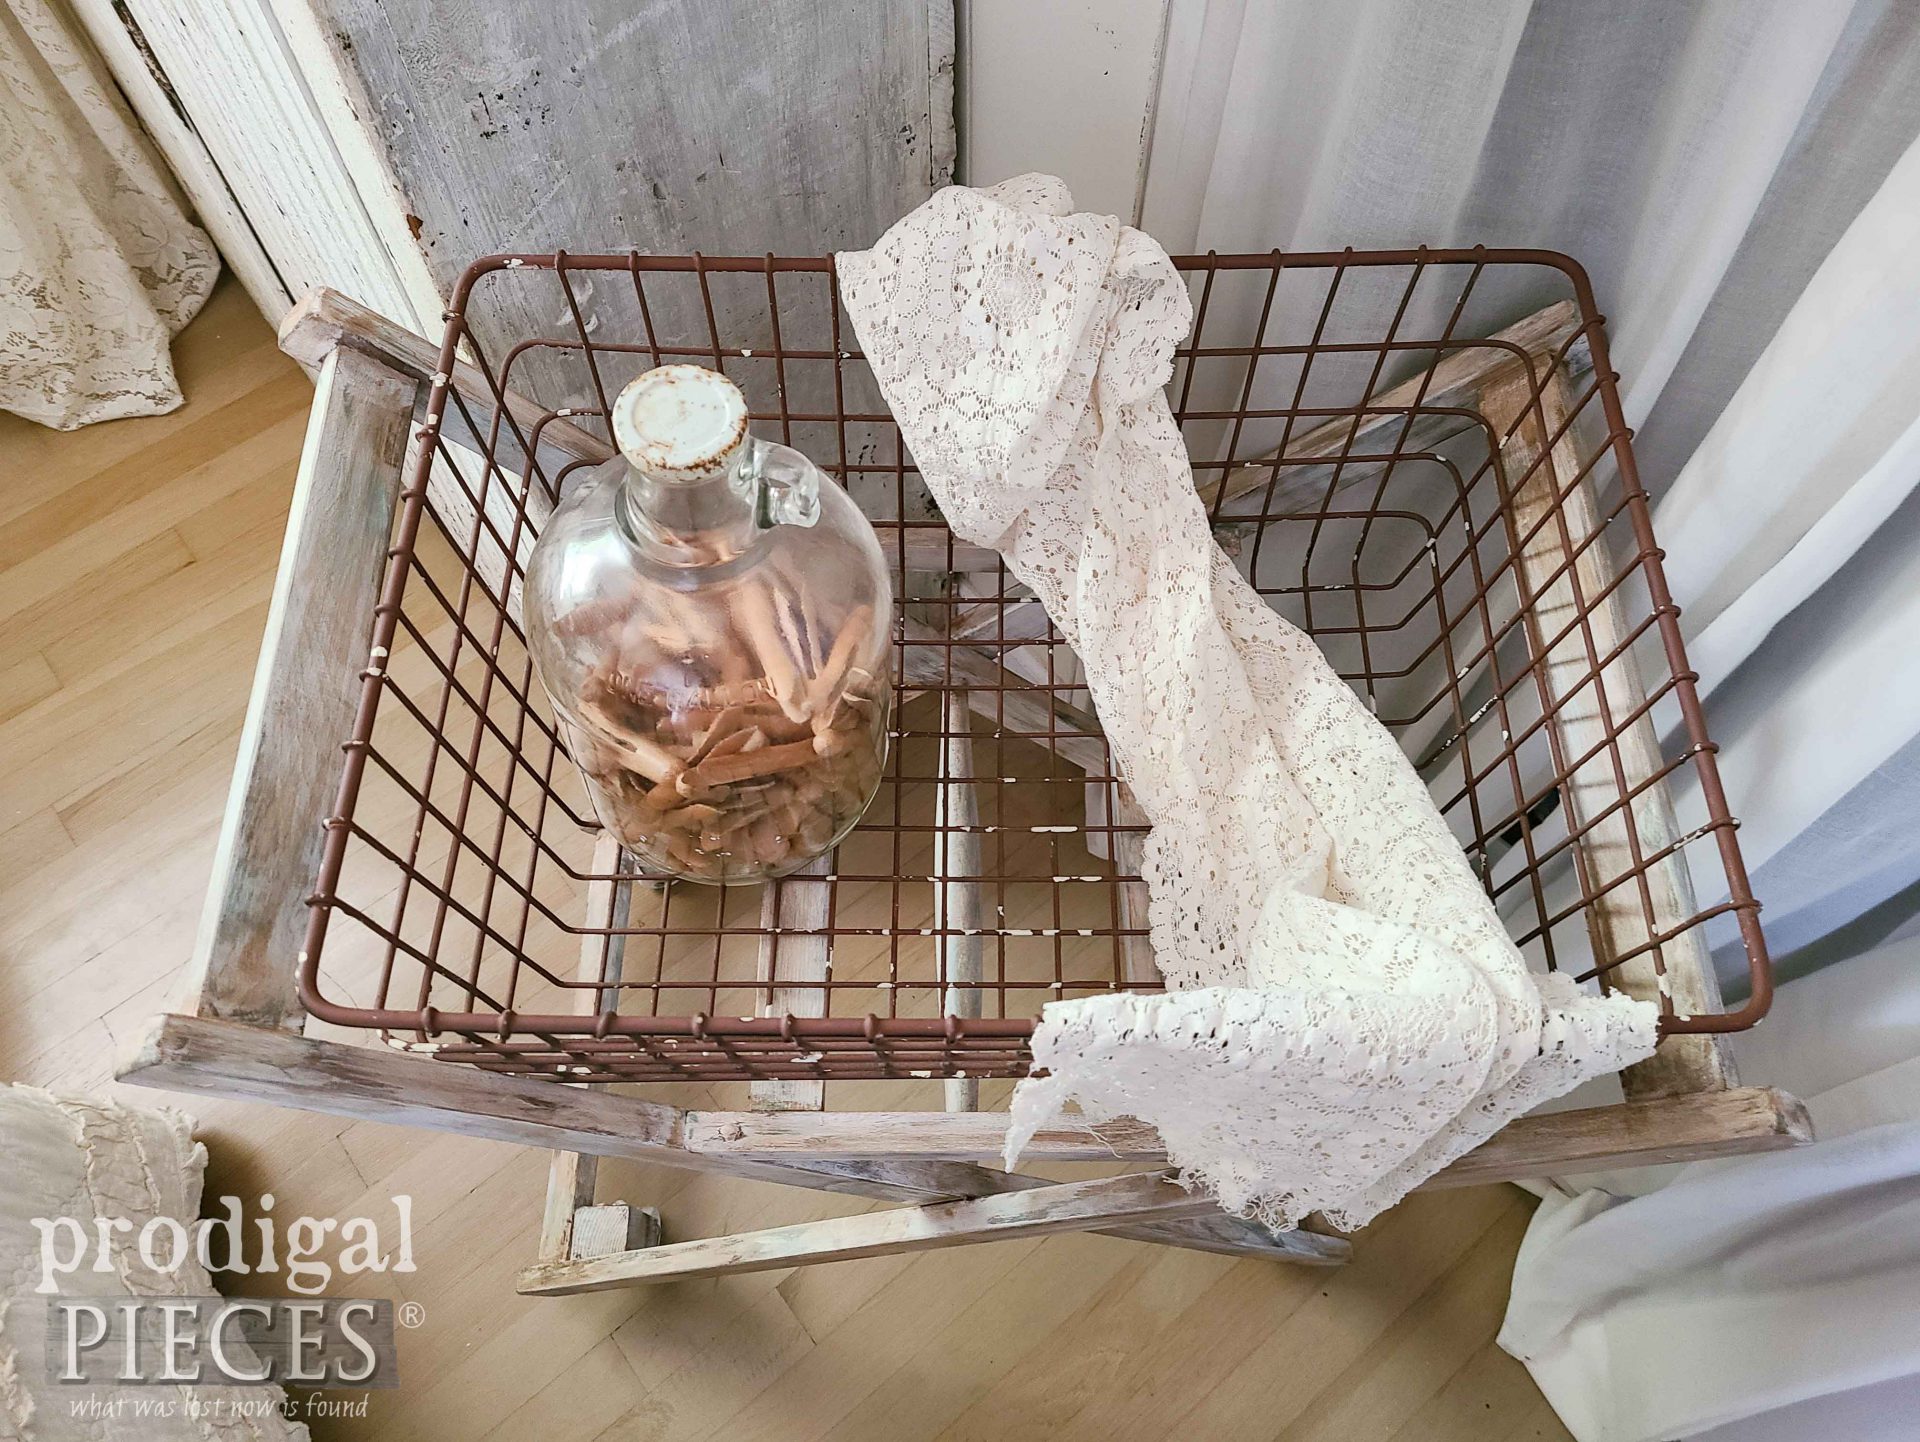
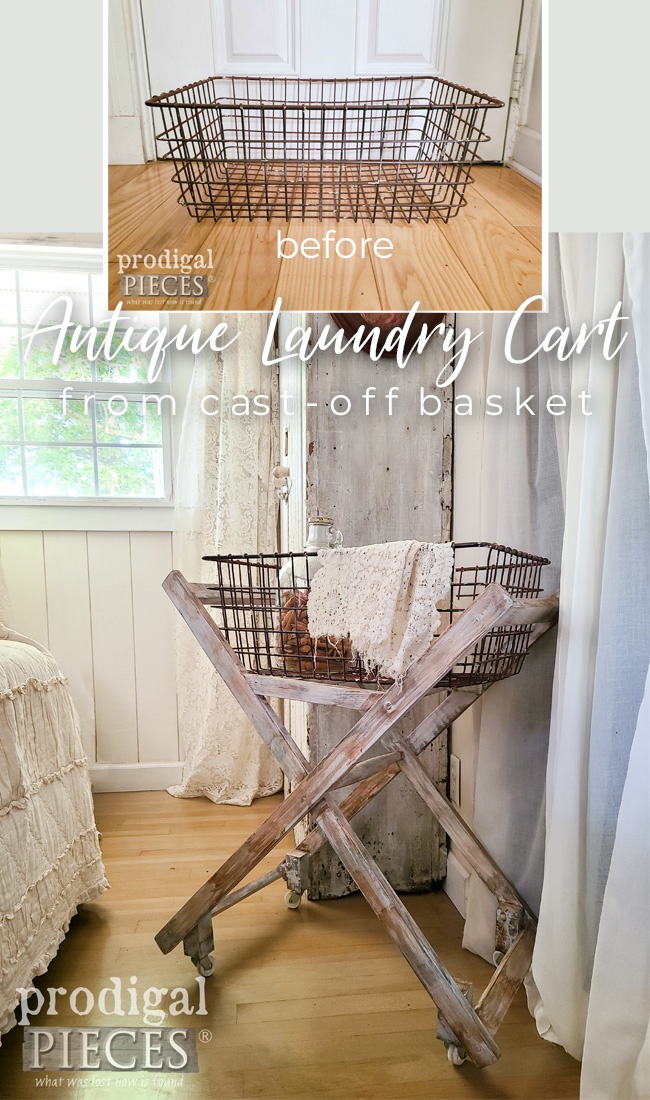
It’s always fun when I get a text or call from my dad asking if I want this or that. Honestly, my acceptance of such things depends on the space I have available and whether or not it sparks an idea in my noggin. This time around, I am able to visit him on location as he’s working on a remodel with a few leftovers laying about. This vintage wire basket caught my eye. hmmm…would it make you think of an antique laundry cart? Yeah, I’m kinda fun like that. tsk.
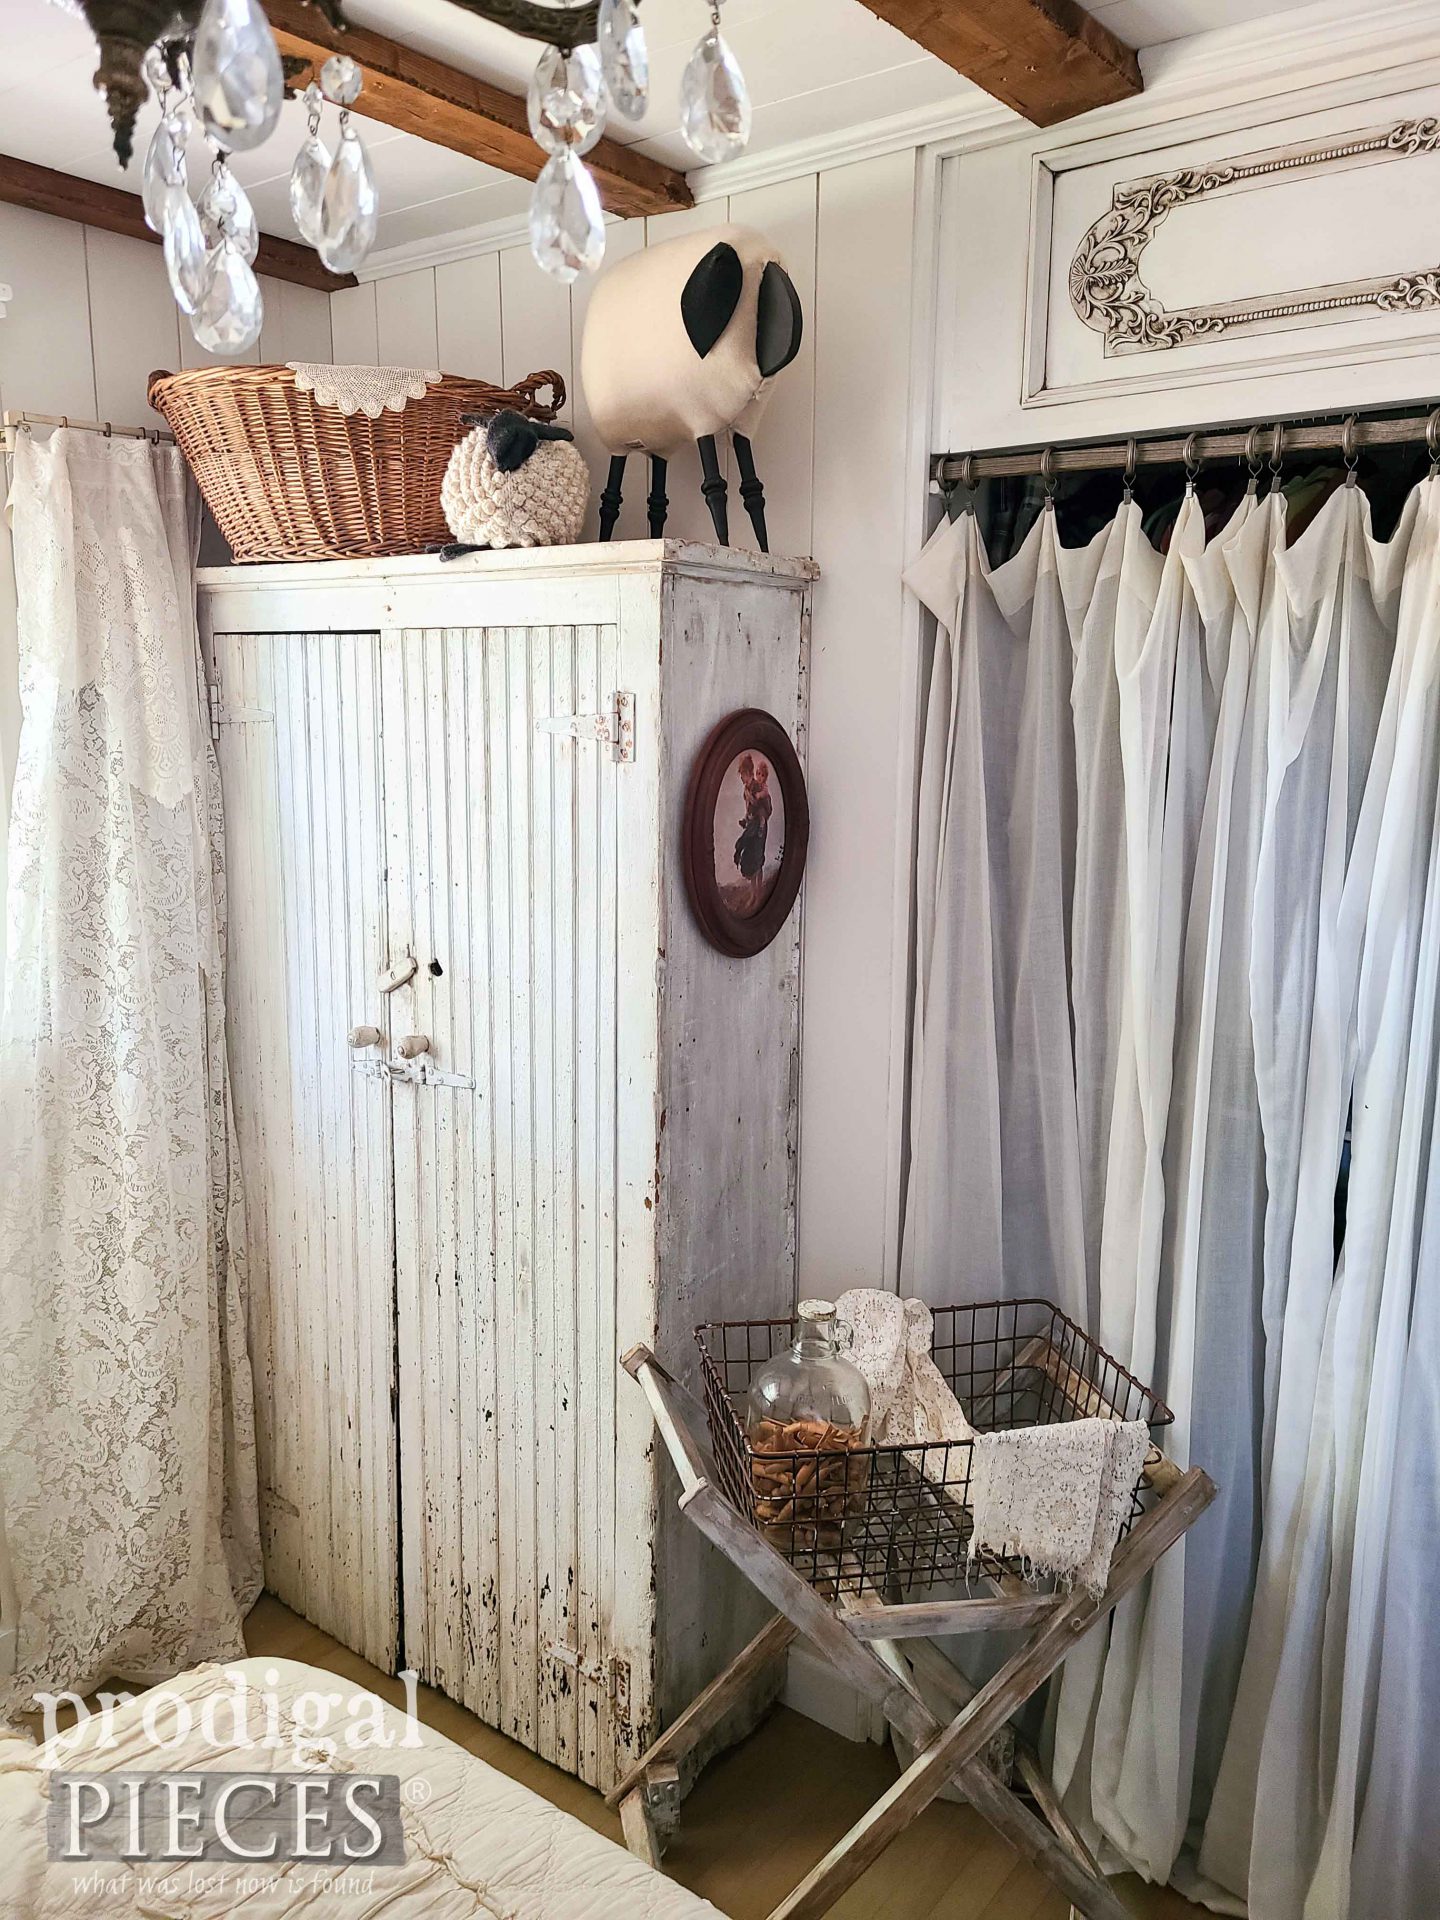
In my defense, I’ve sold many laundry carts in my online shop and I even own one that I adore.
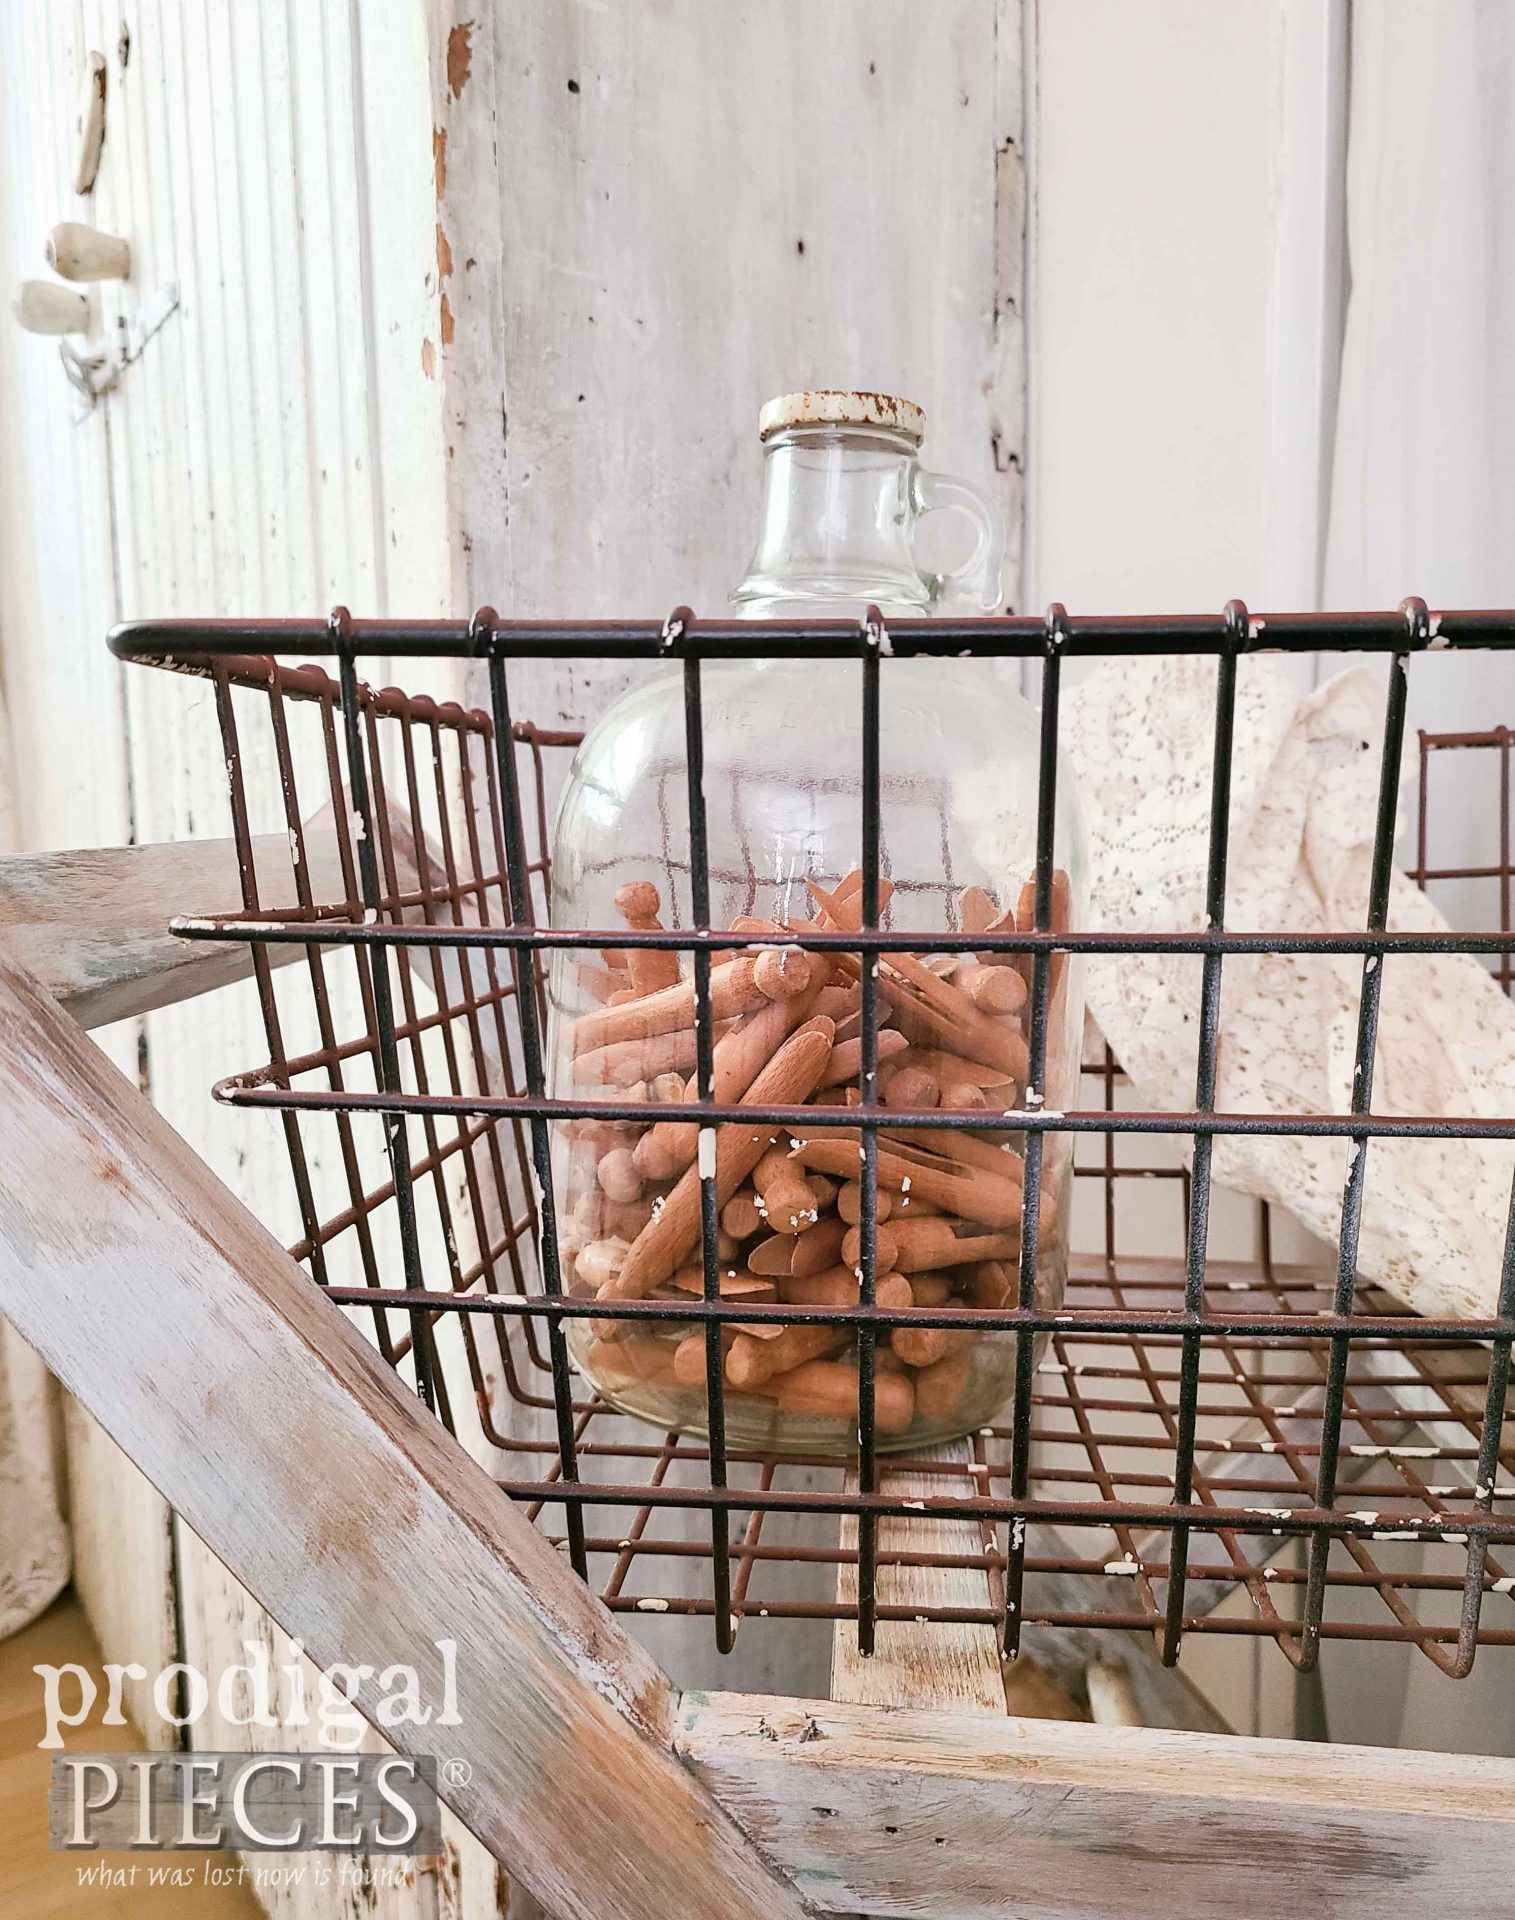
Okay, so now do you see where I’m head with this? The basket has a brown paint over white that I kinda like because it shows natural age. Now to get the cart part of this project built. Let’s get this DIY party started!
STASH DIGGIN’
First, as you can imagine, I’m eager to dig into my lumber stash to see what I can come up with. I’ve recently been working on remodeling my space and am eager to share updates as soon as I can. Thankfully, I find just what I need (of course…tee hee) and start measuring. I come up with two 1″ x 4″ boards that I rip in two and then cut to length. That leaves me with four longer supports and four braces for those supports.
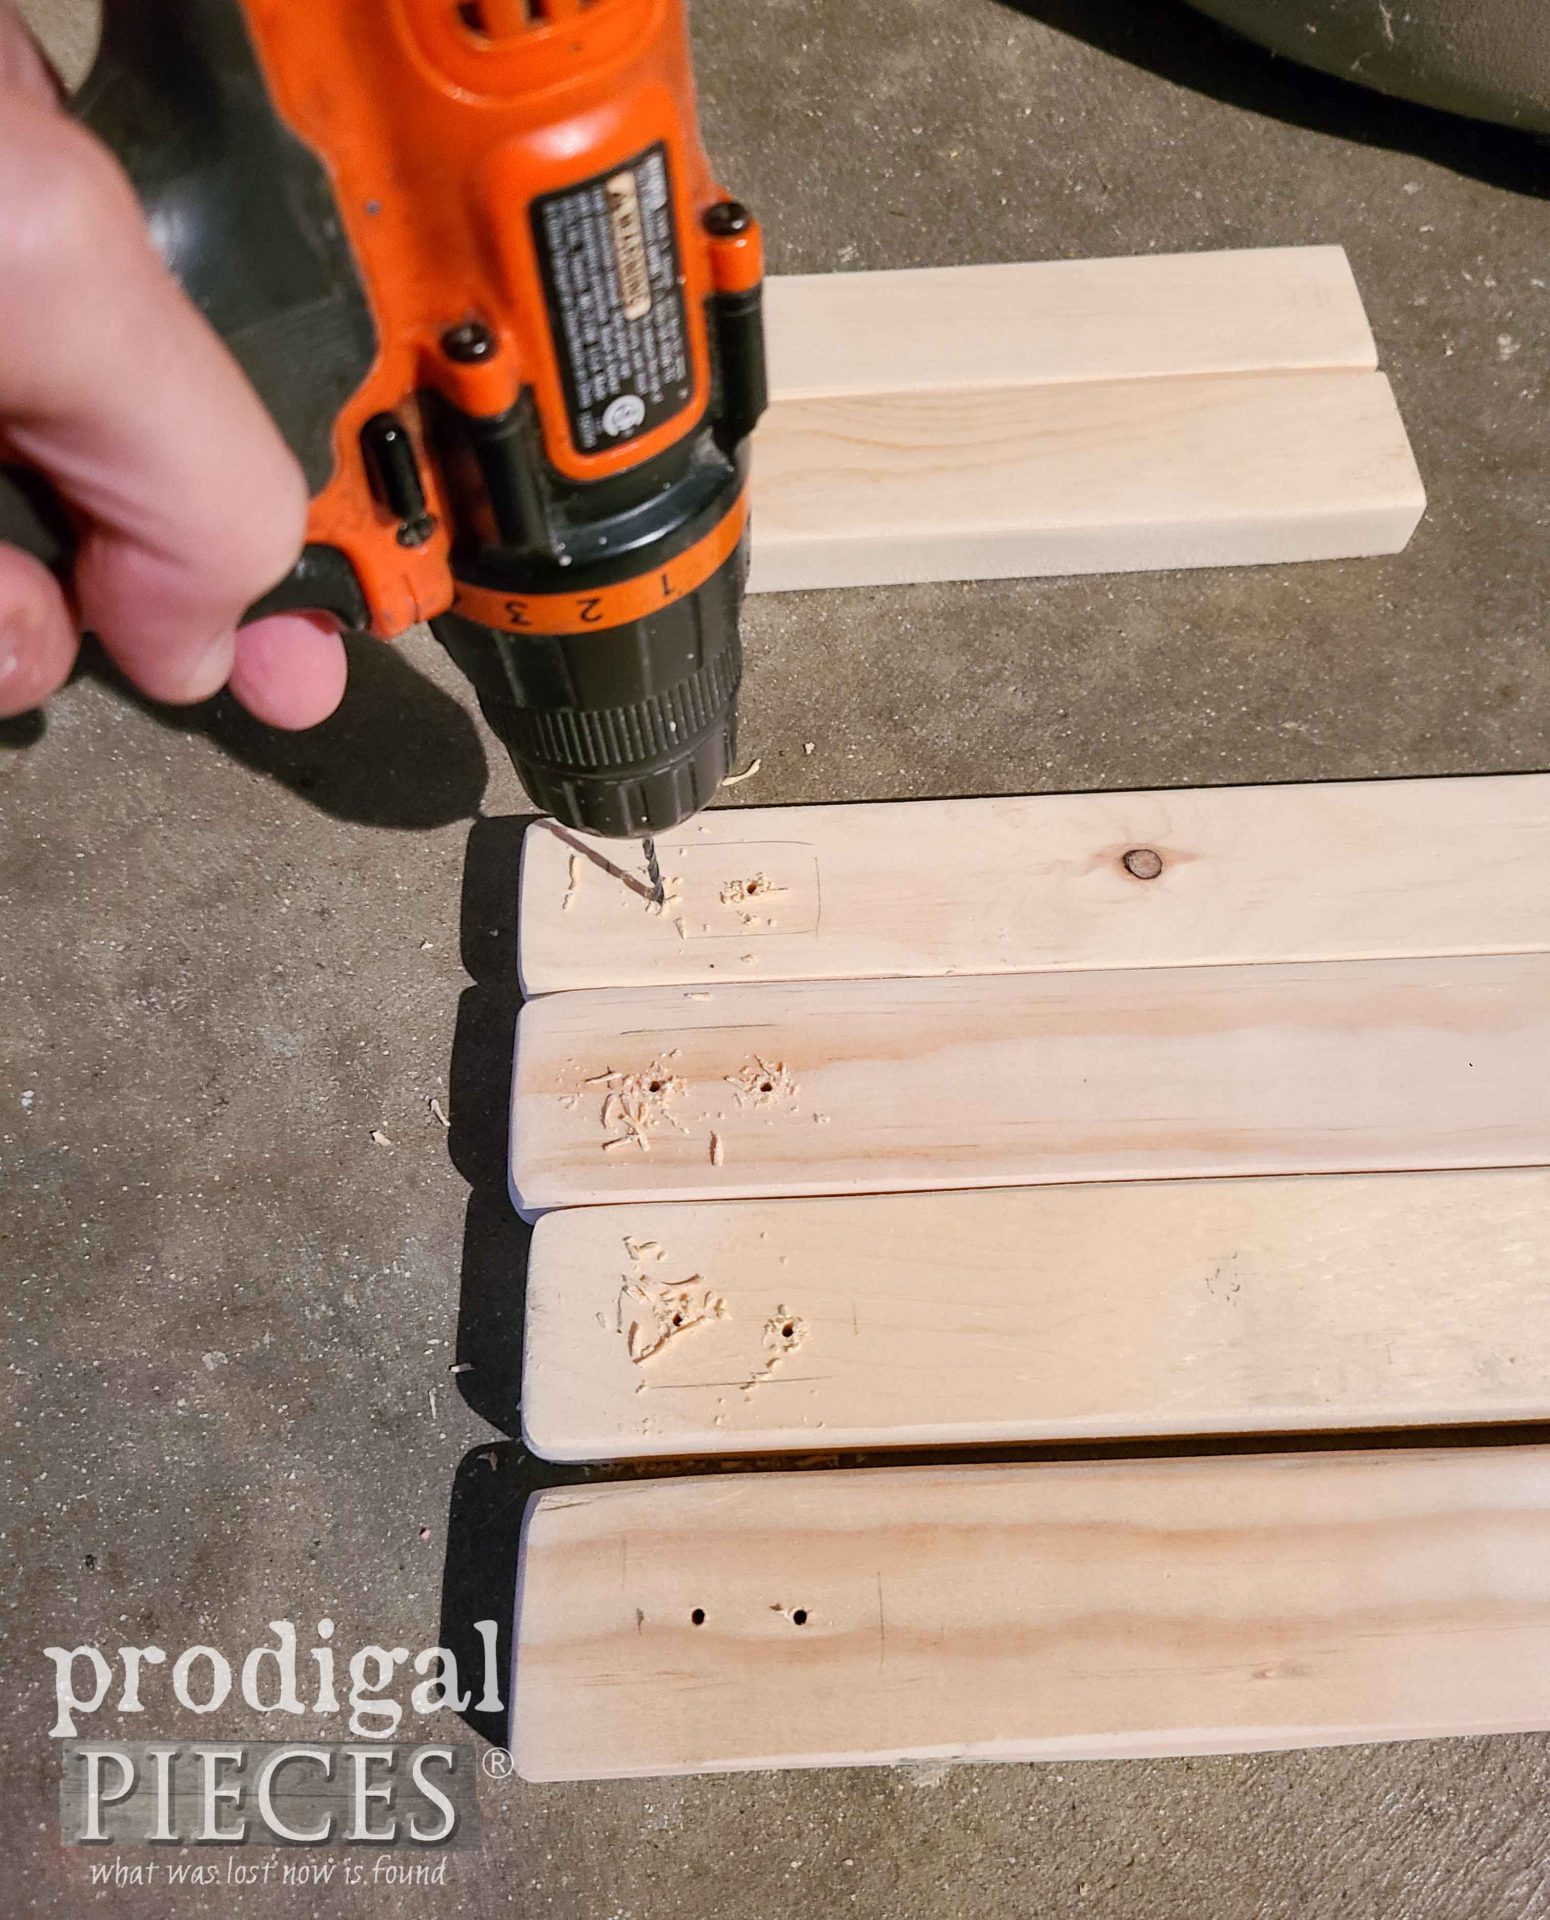
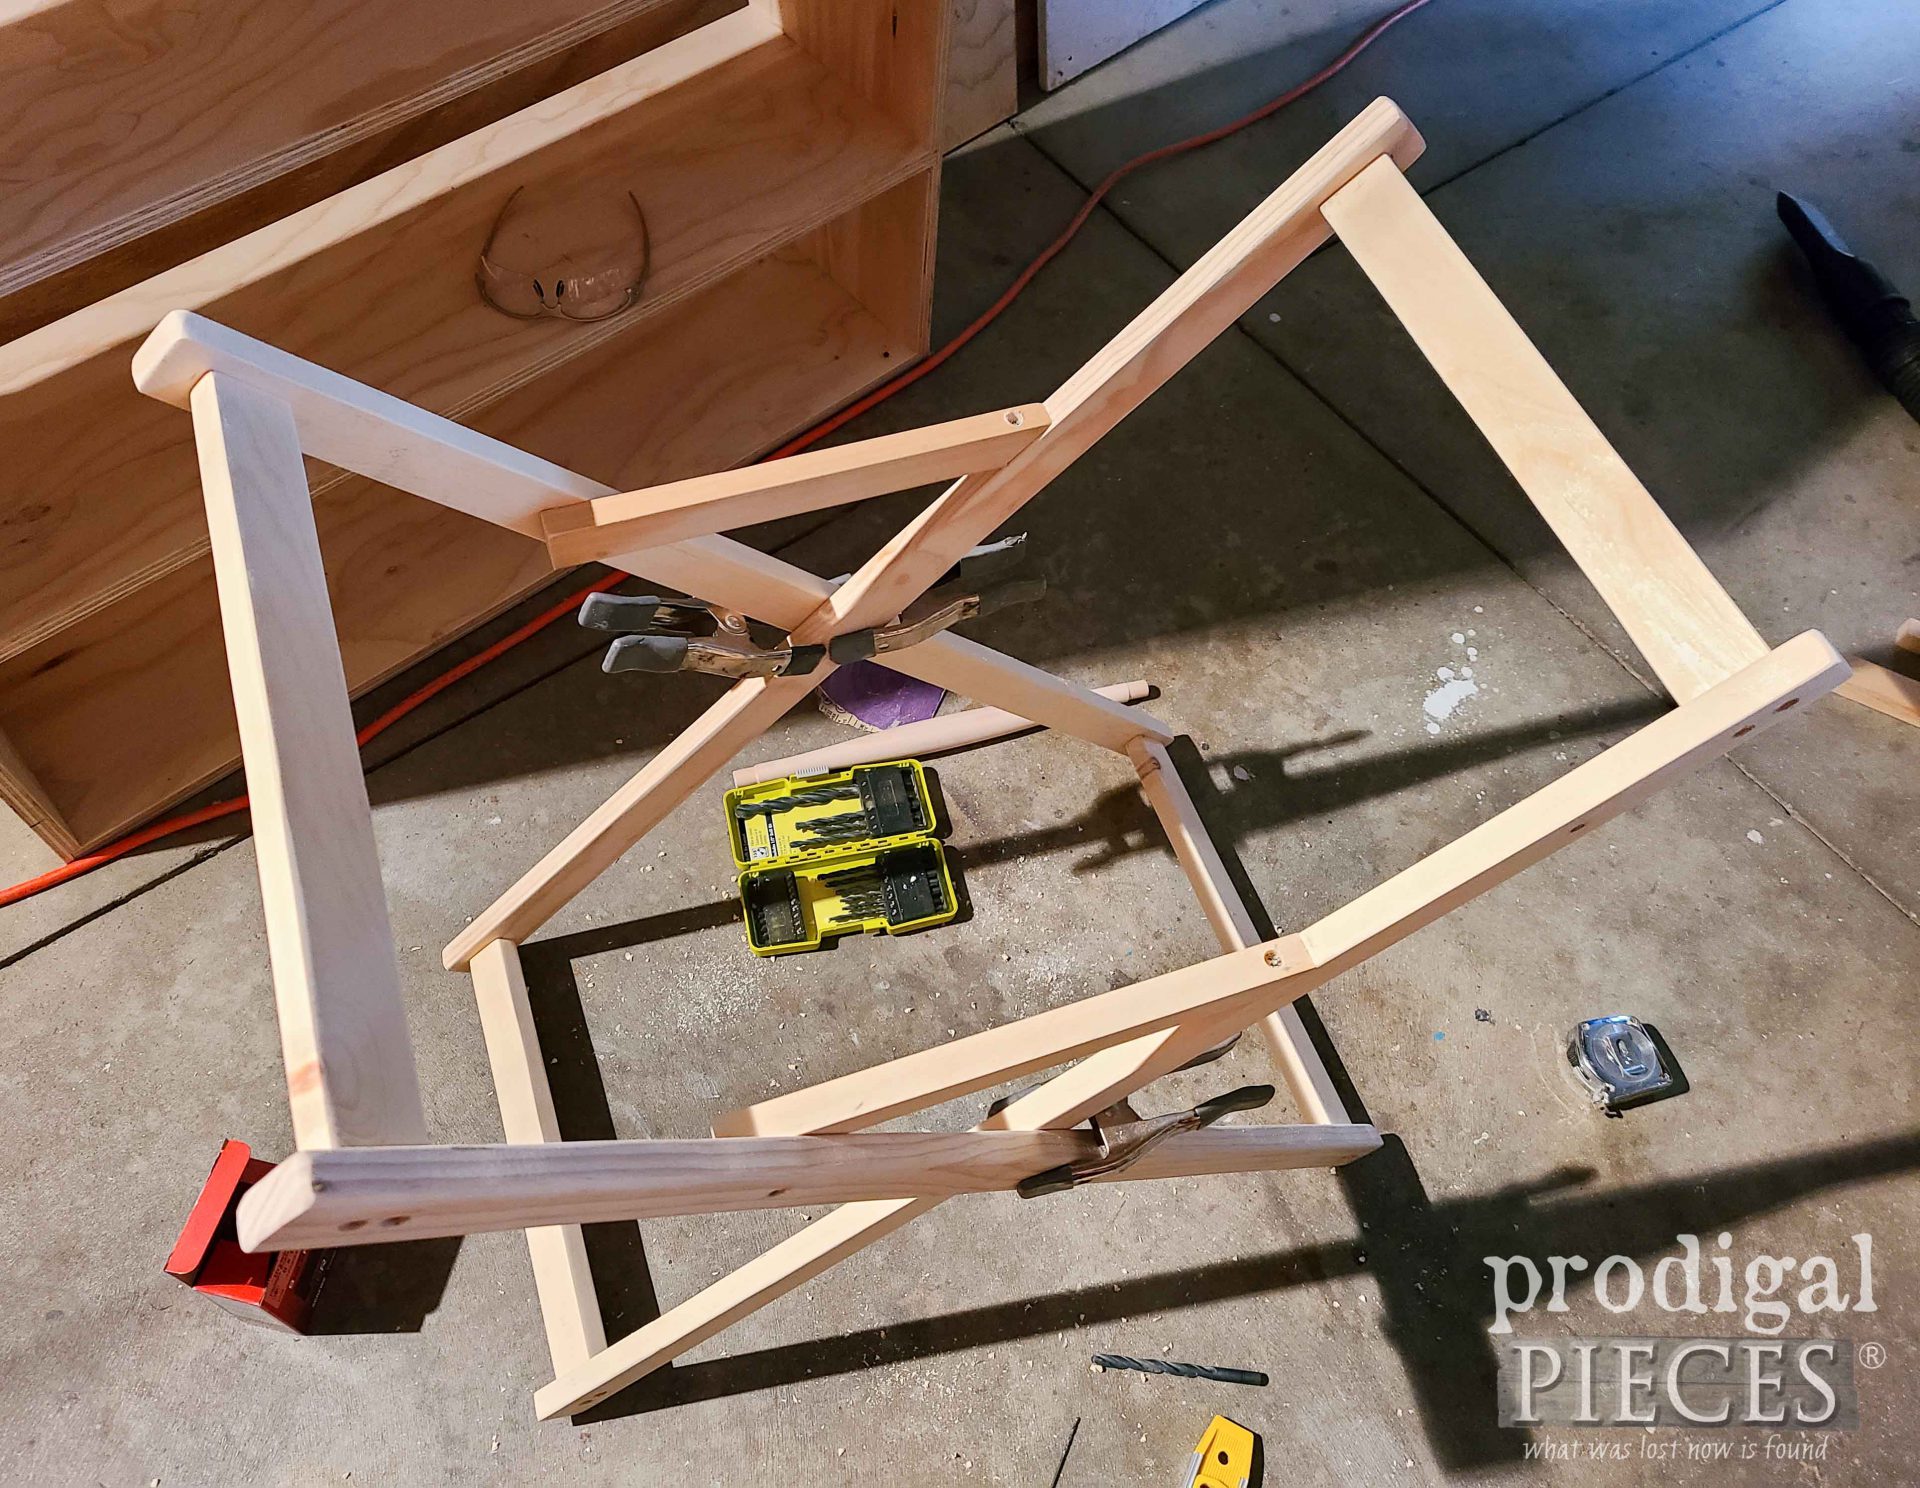
Next, I pre-drill the long supports with my drill and bit.
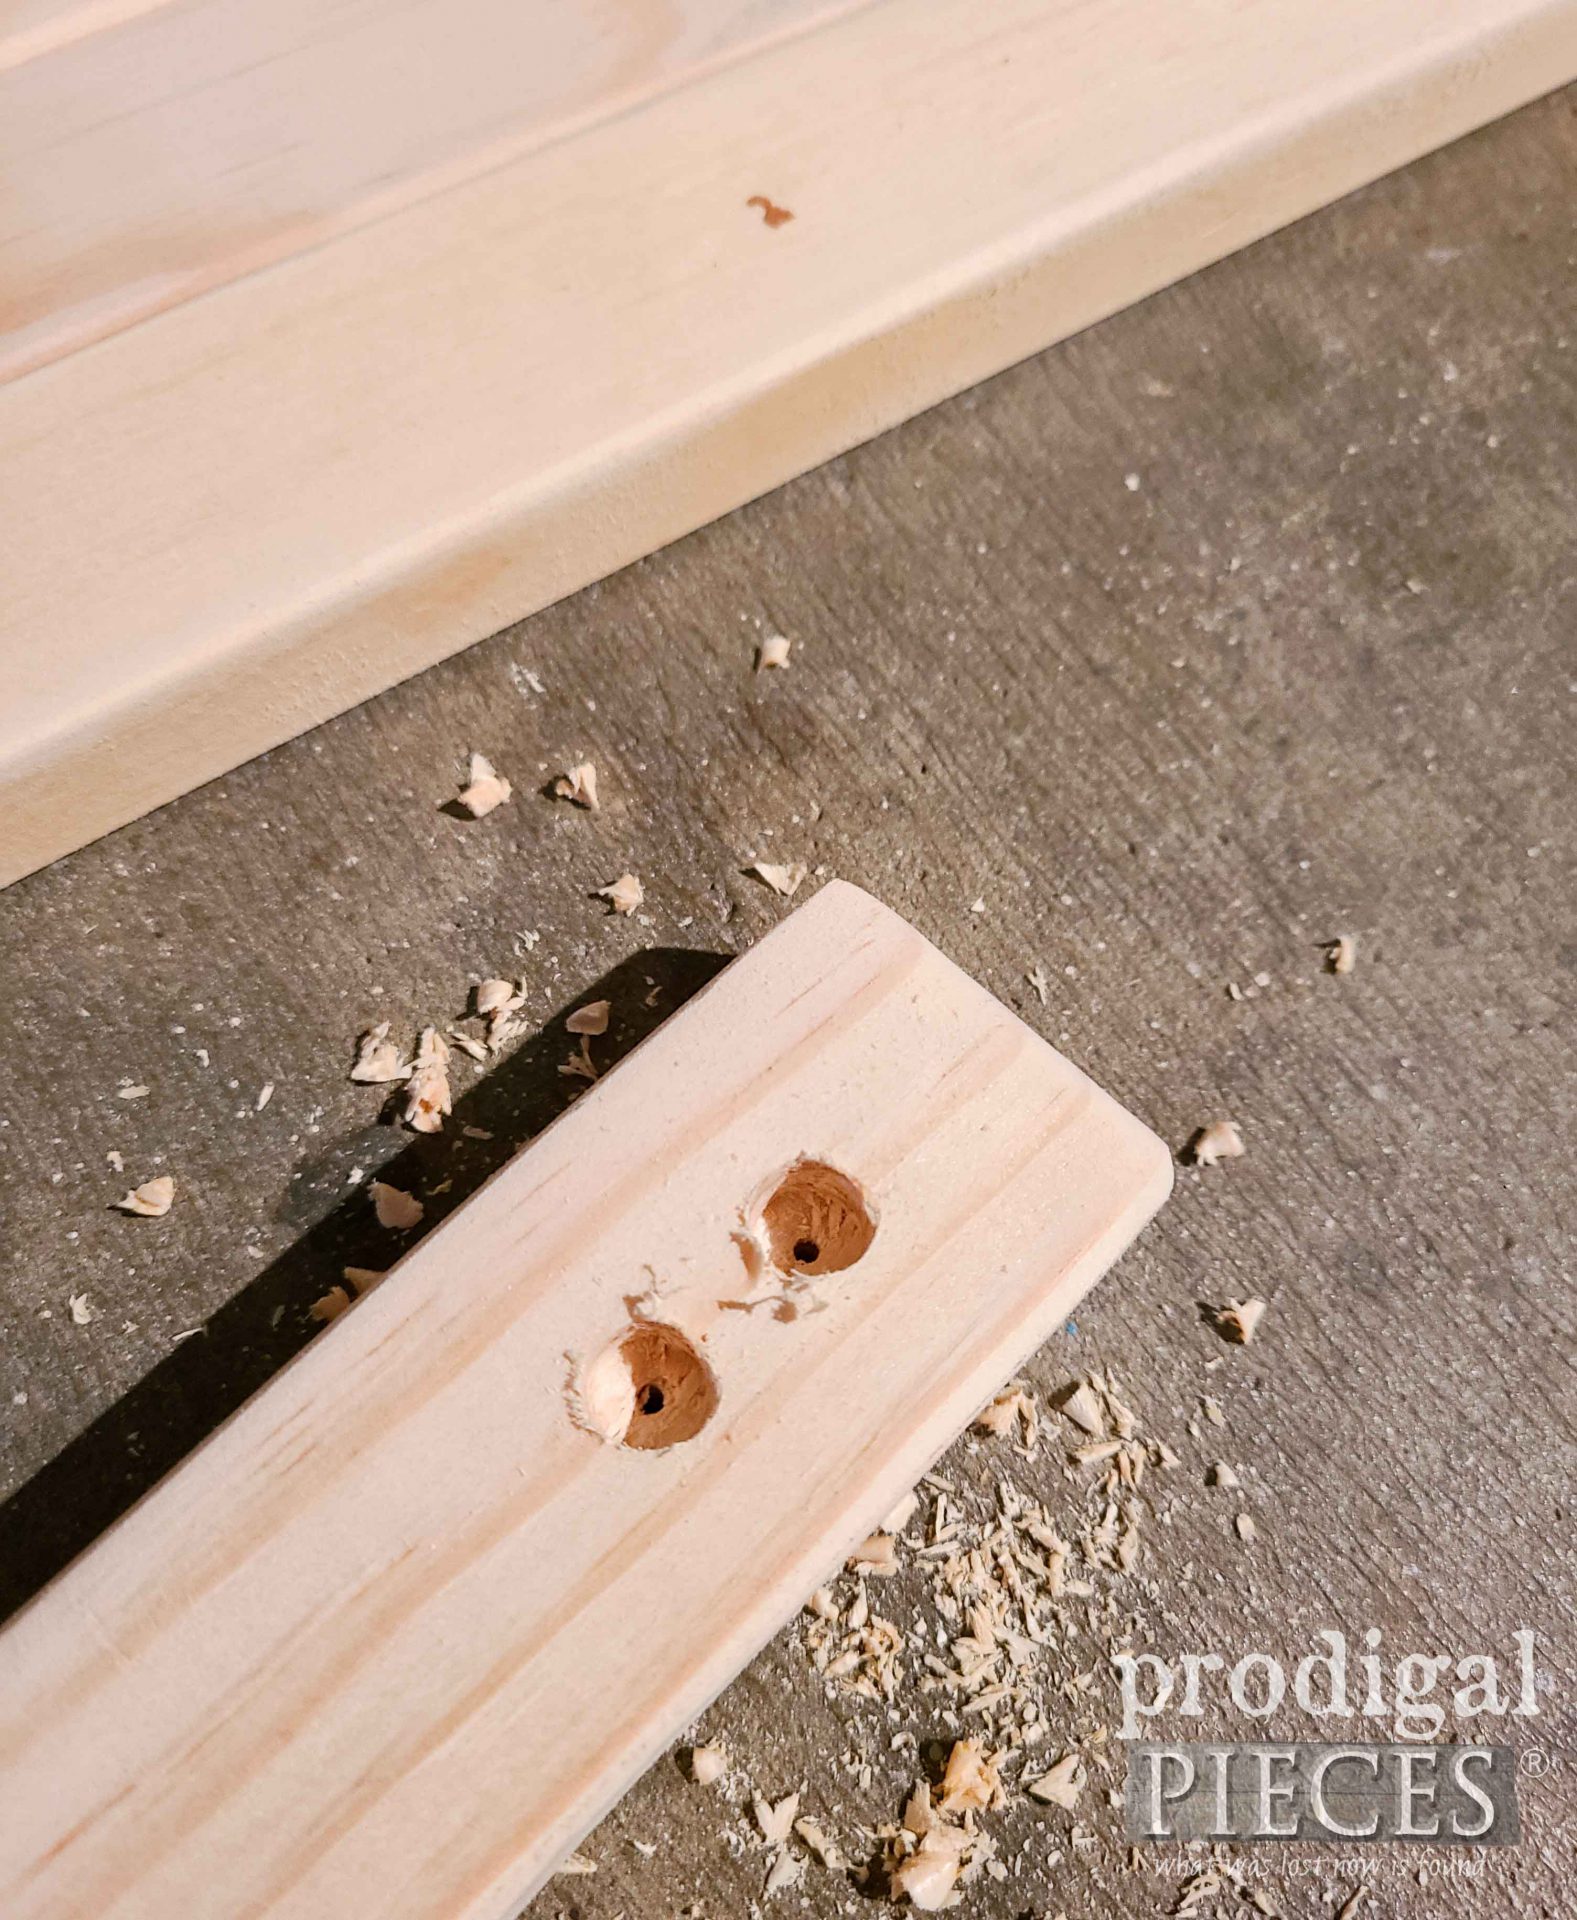
After that, I use a larger bit to make counter-sink holes so I can hide and plug my screw holes.
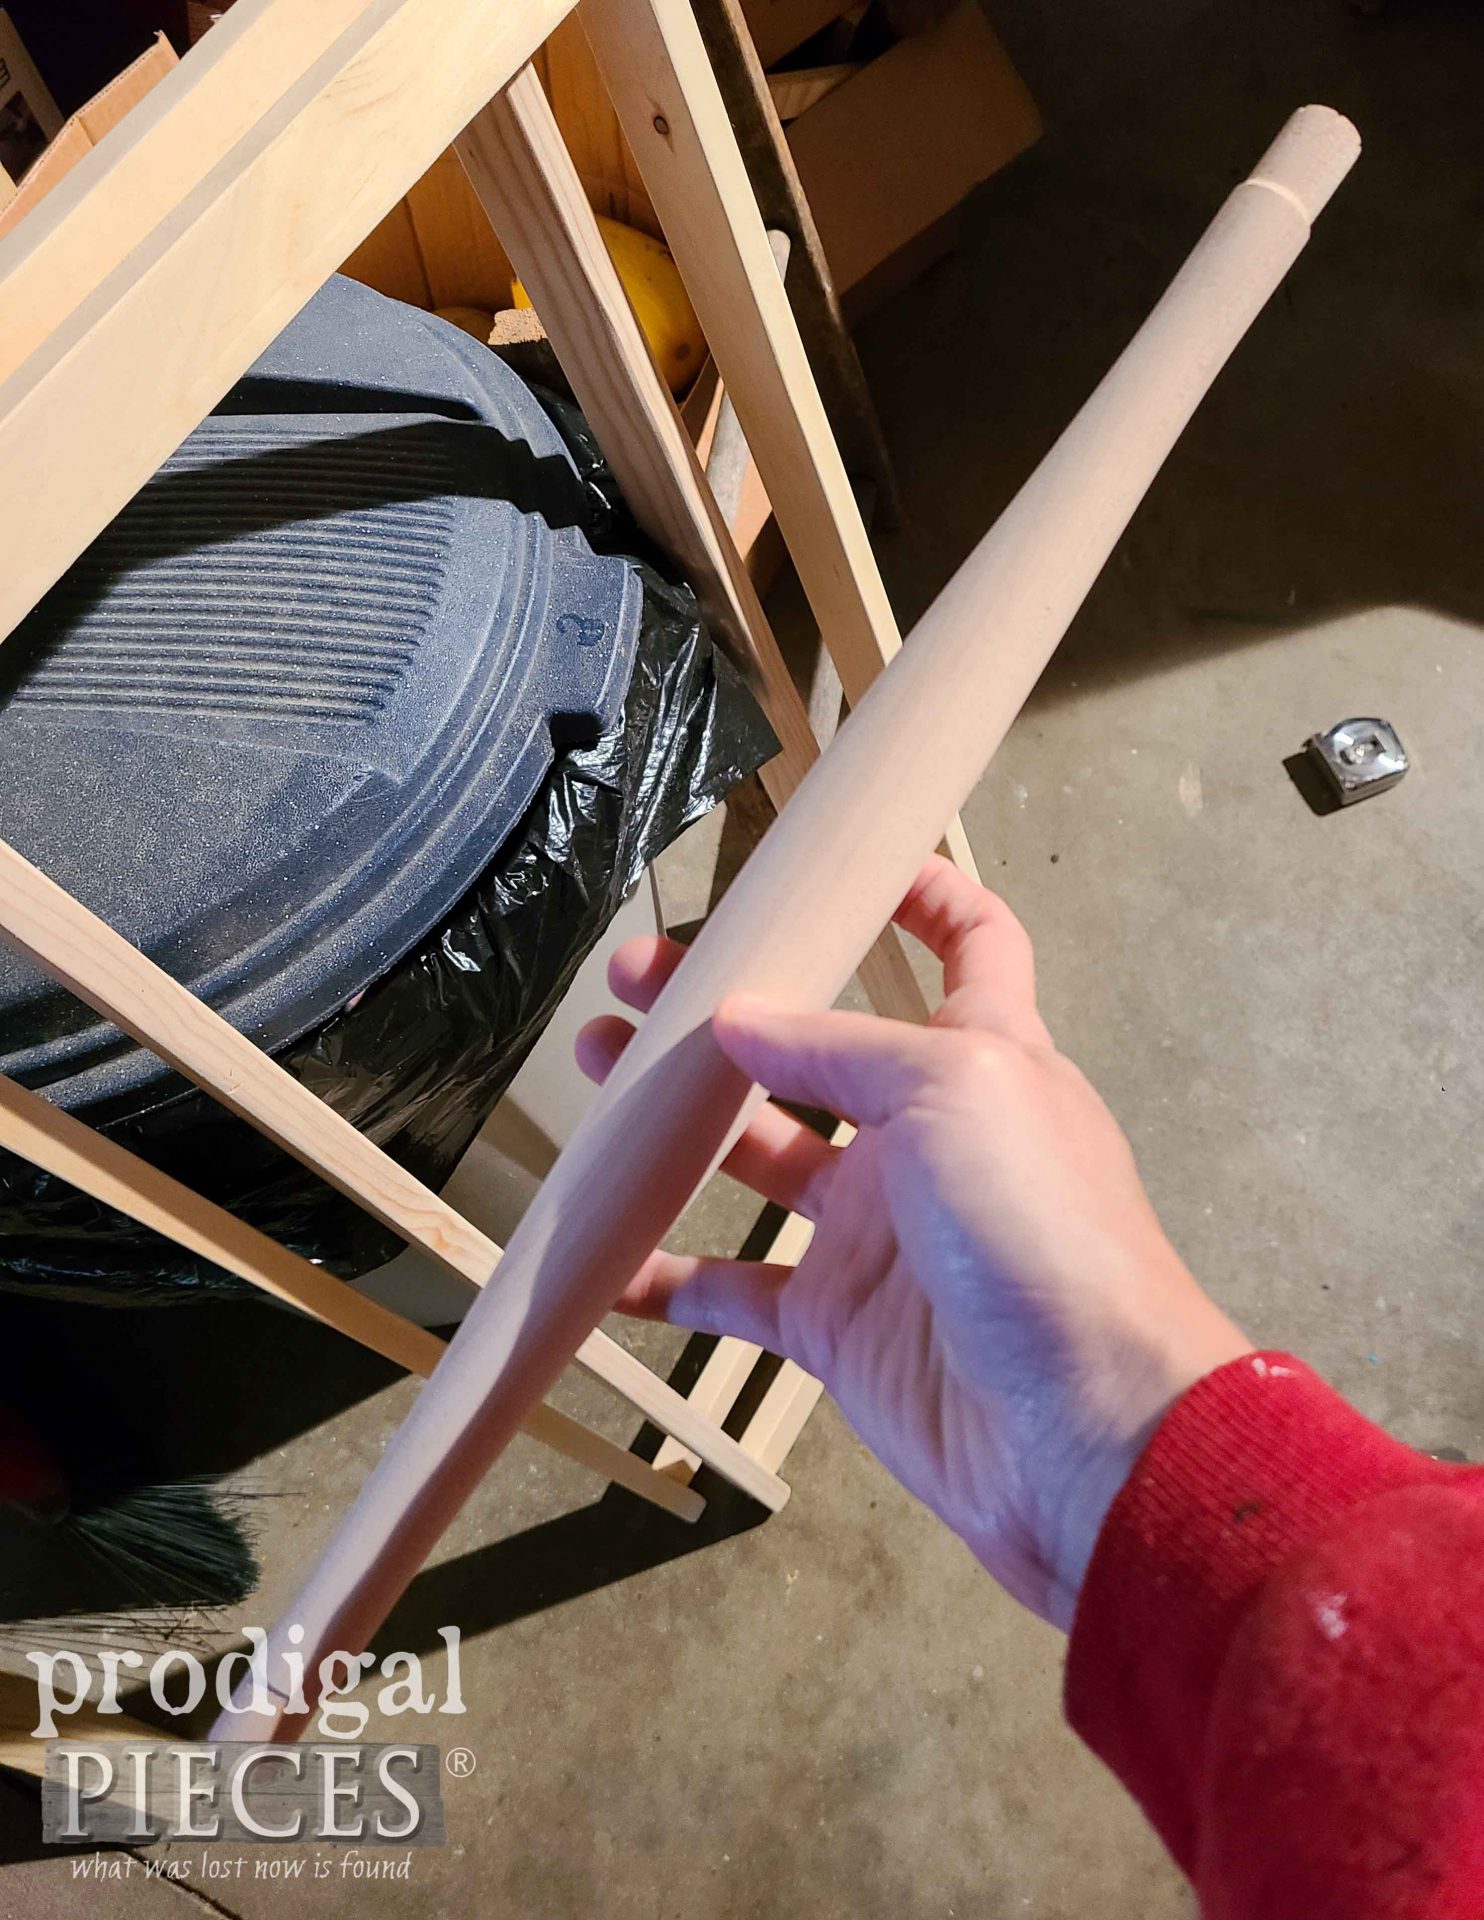
Check this out…I have this extra chair spreader (aka. spindle) from this farmhouse table set rescue from the curb.
This will function as the middle support of my antique laundry cart. Then, I assemble the long side to the short sides and begin to search my stash for more pieces. I miter two pieces to go between the “X” supports. Now, I need to add the center spreader to hold it all together.
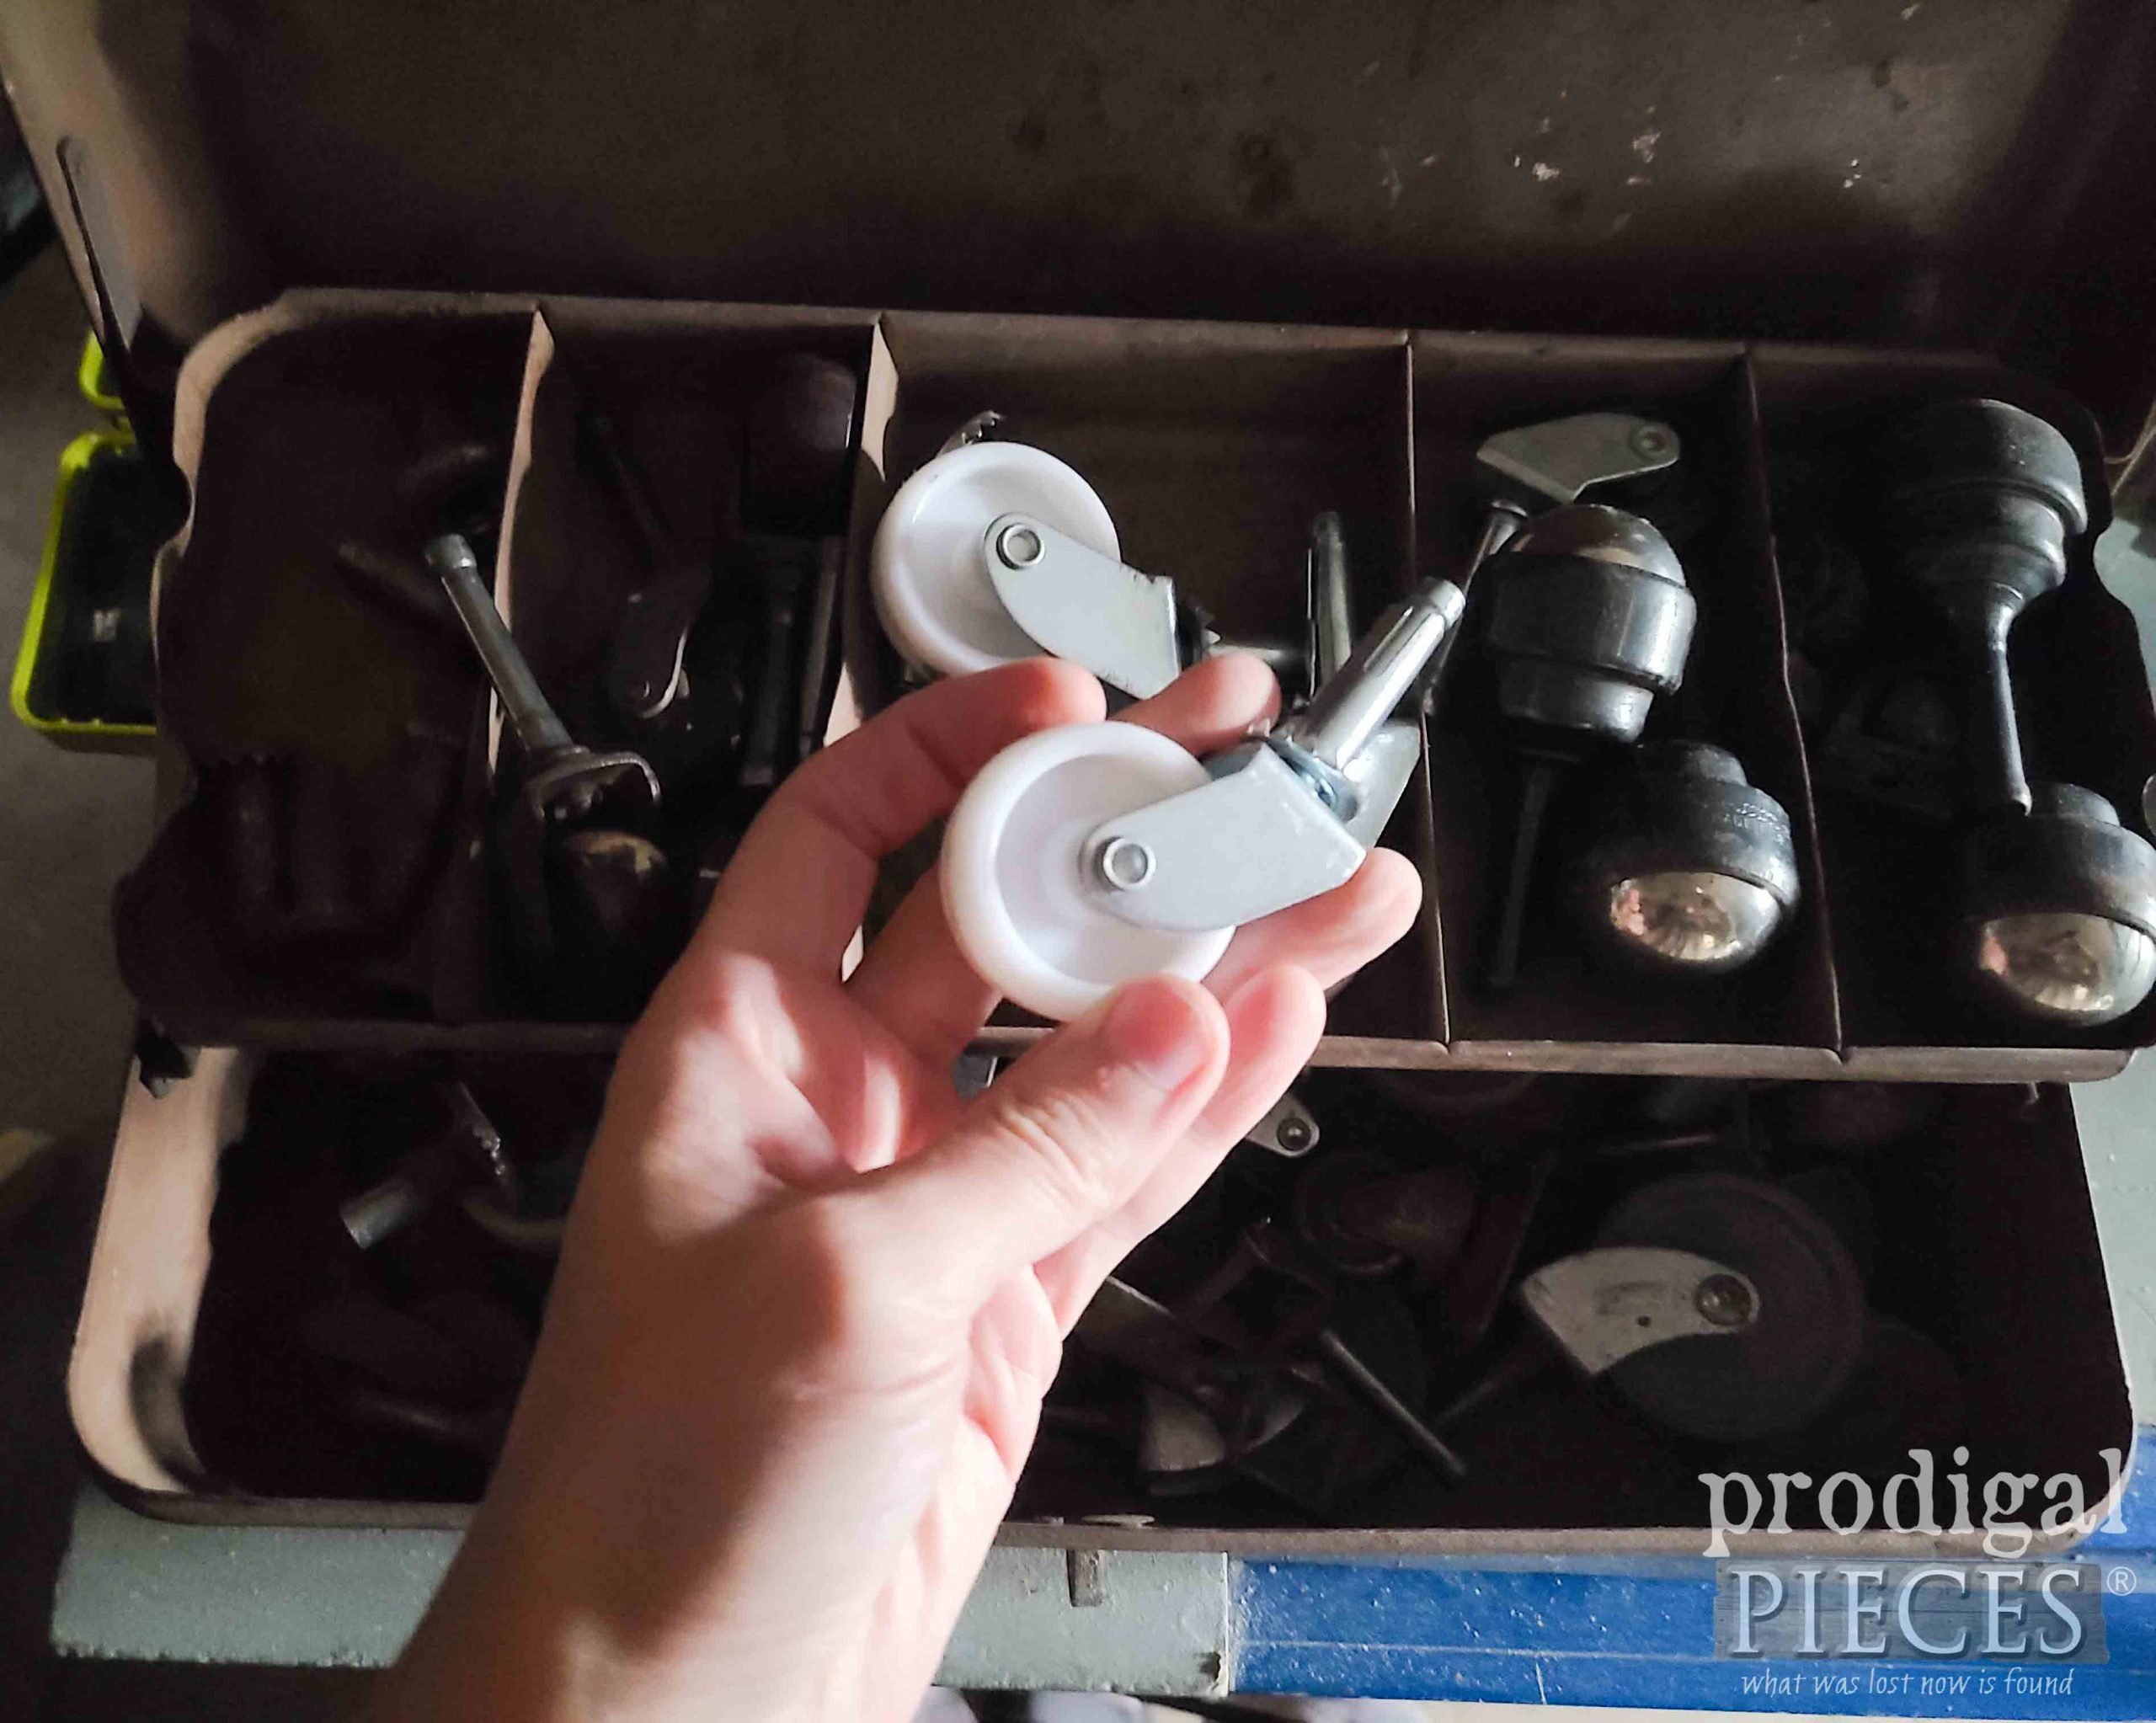
Last, I take some reclaimed ash to make supports for these casters I have in my stash that was gifted to me many years ago with this antique chest of drawers. Our cart has to have wheels, right? I’m definitely a sucker for casters in all shapes and sizes.
FINISHING TOUCHES
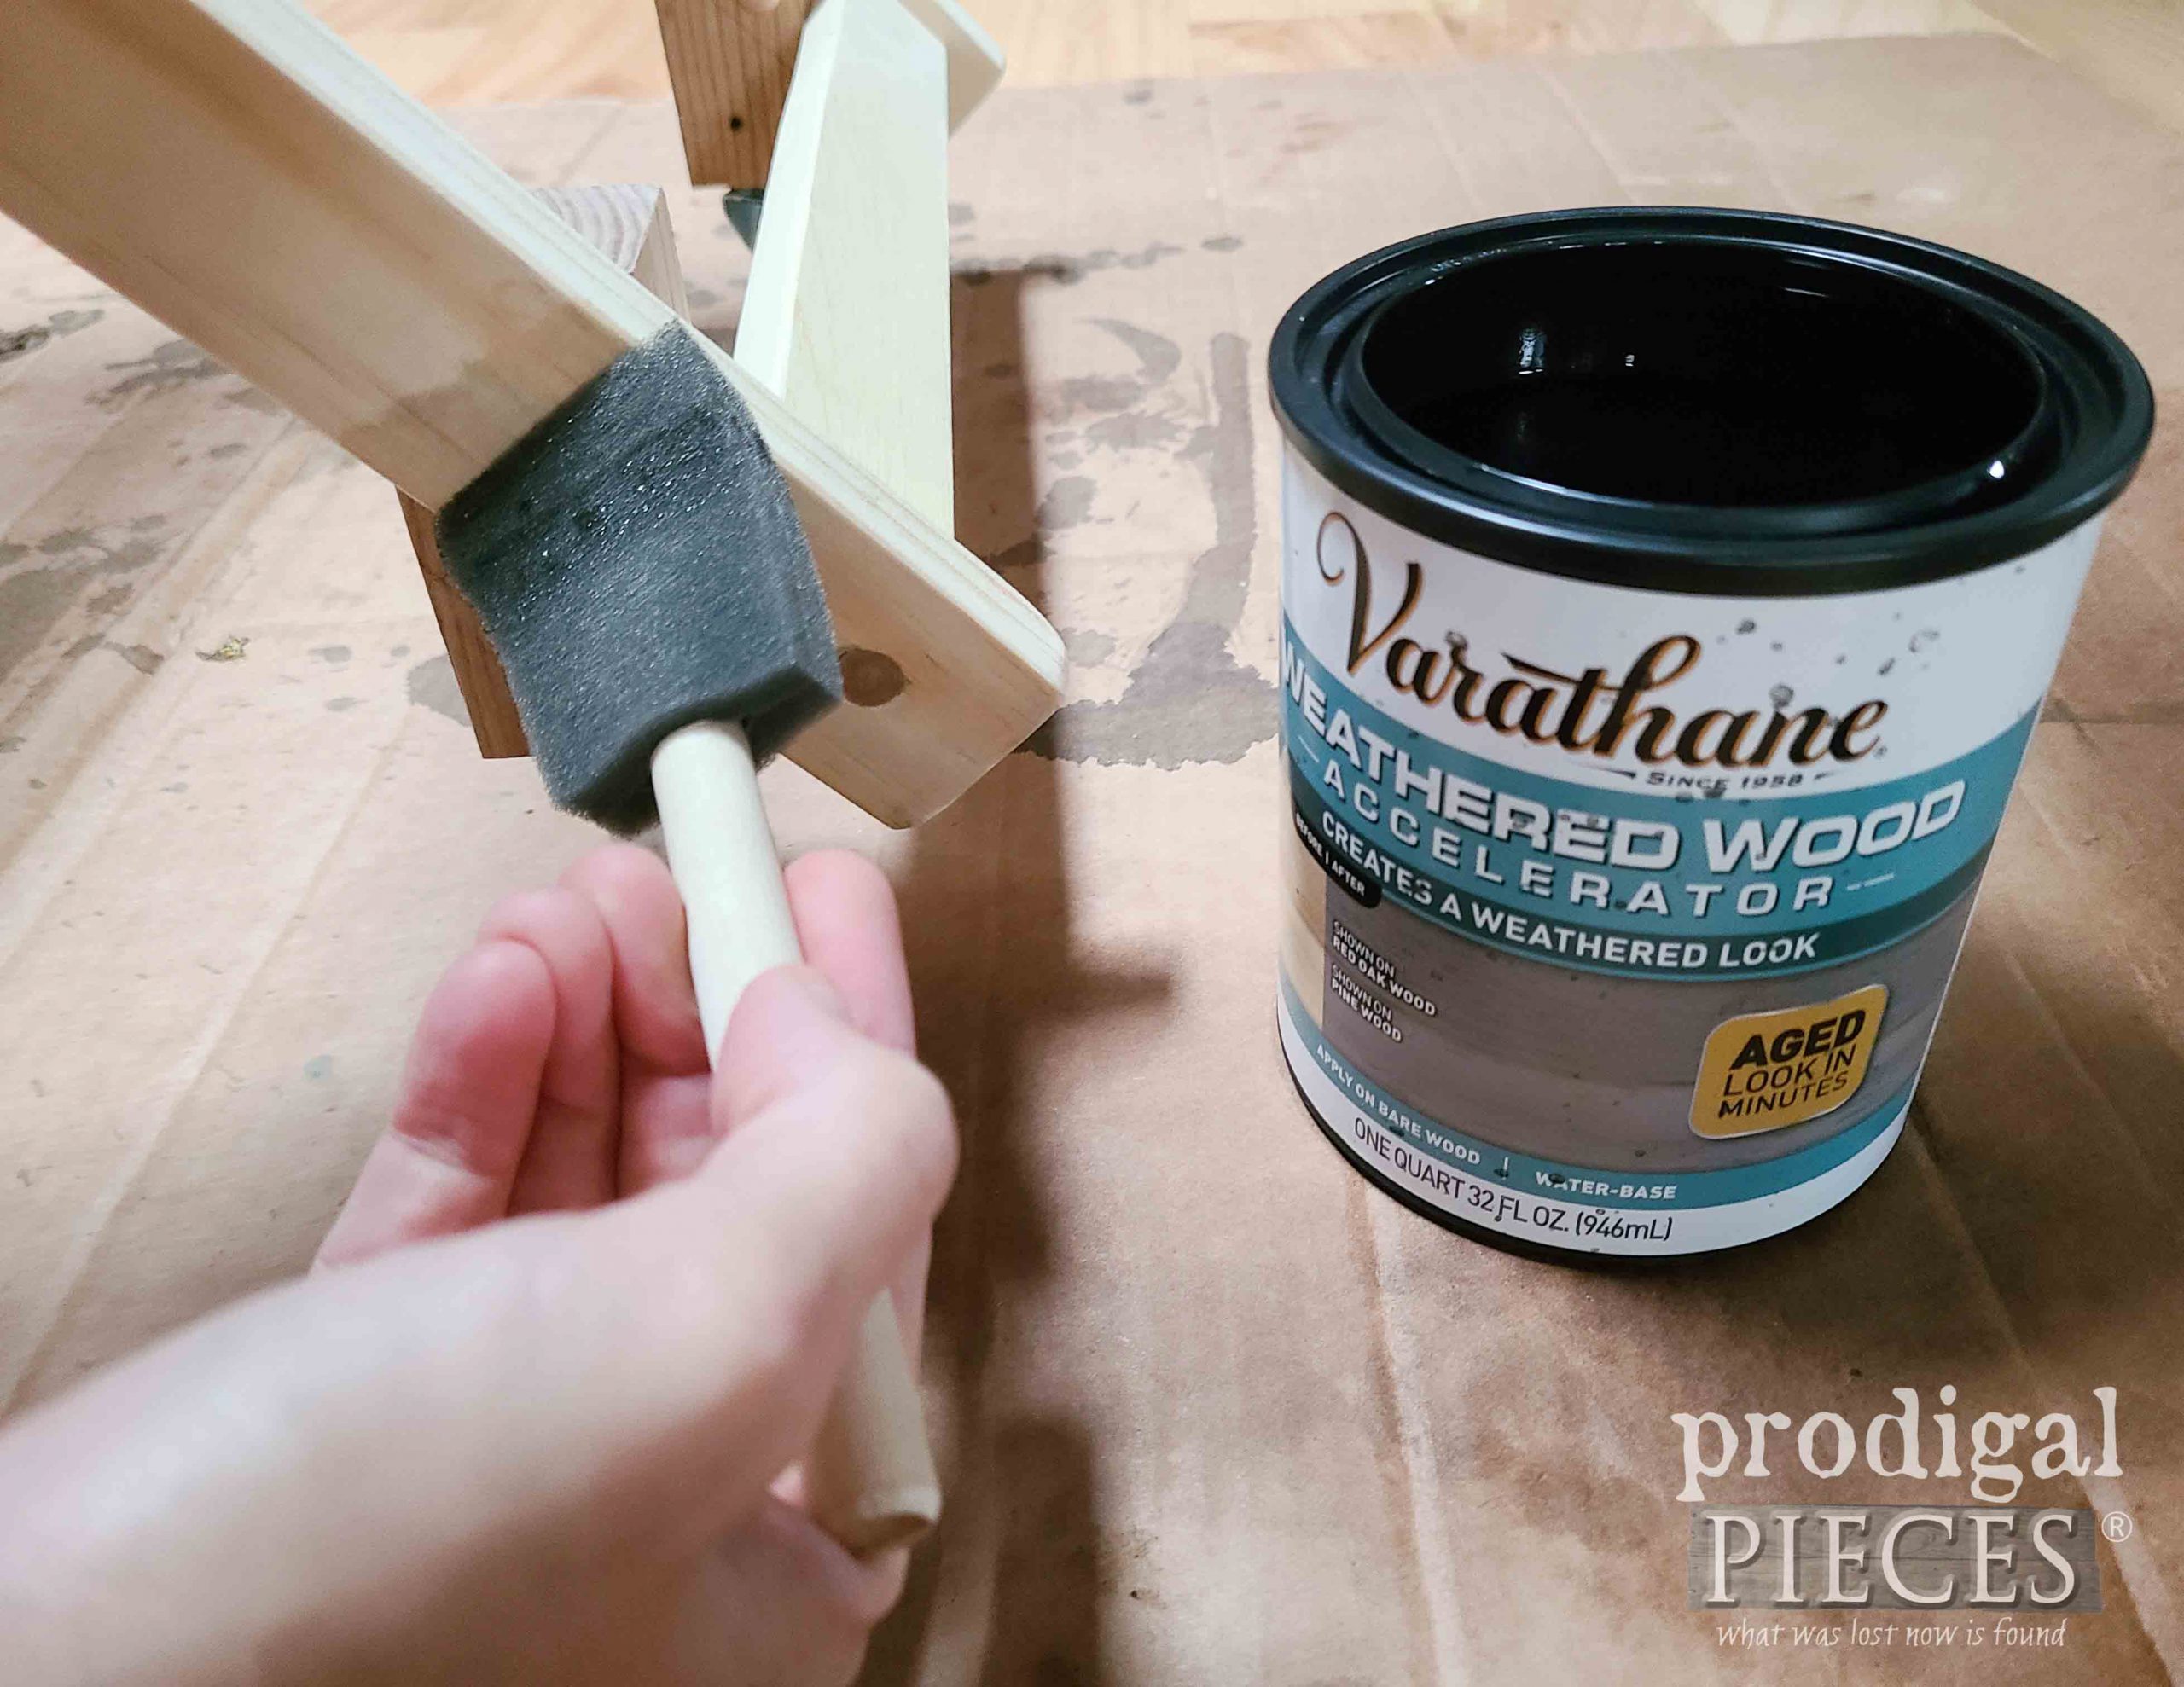
Finally, I can put the finishing touches on this build. Isn’t it crazy that a random wire basket set me on a build to make an antique replica? Yeah, I’m cool like that. I love a good challenge! To start, I use this reactive stain to naturally age the wood using the tannins already present in the lumber. This particular stain will make the wood gray. You can see the other ways I’ve used the other colors in these past posts.
Not only is this stuff awesome because you can watch the aging happen right before your eyes (see video below), but also because there’s no wiping and mess after the stain is applied.
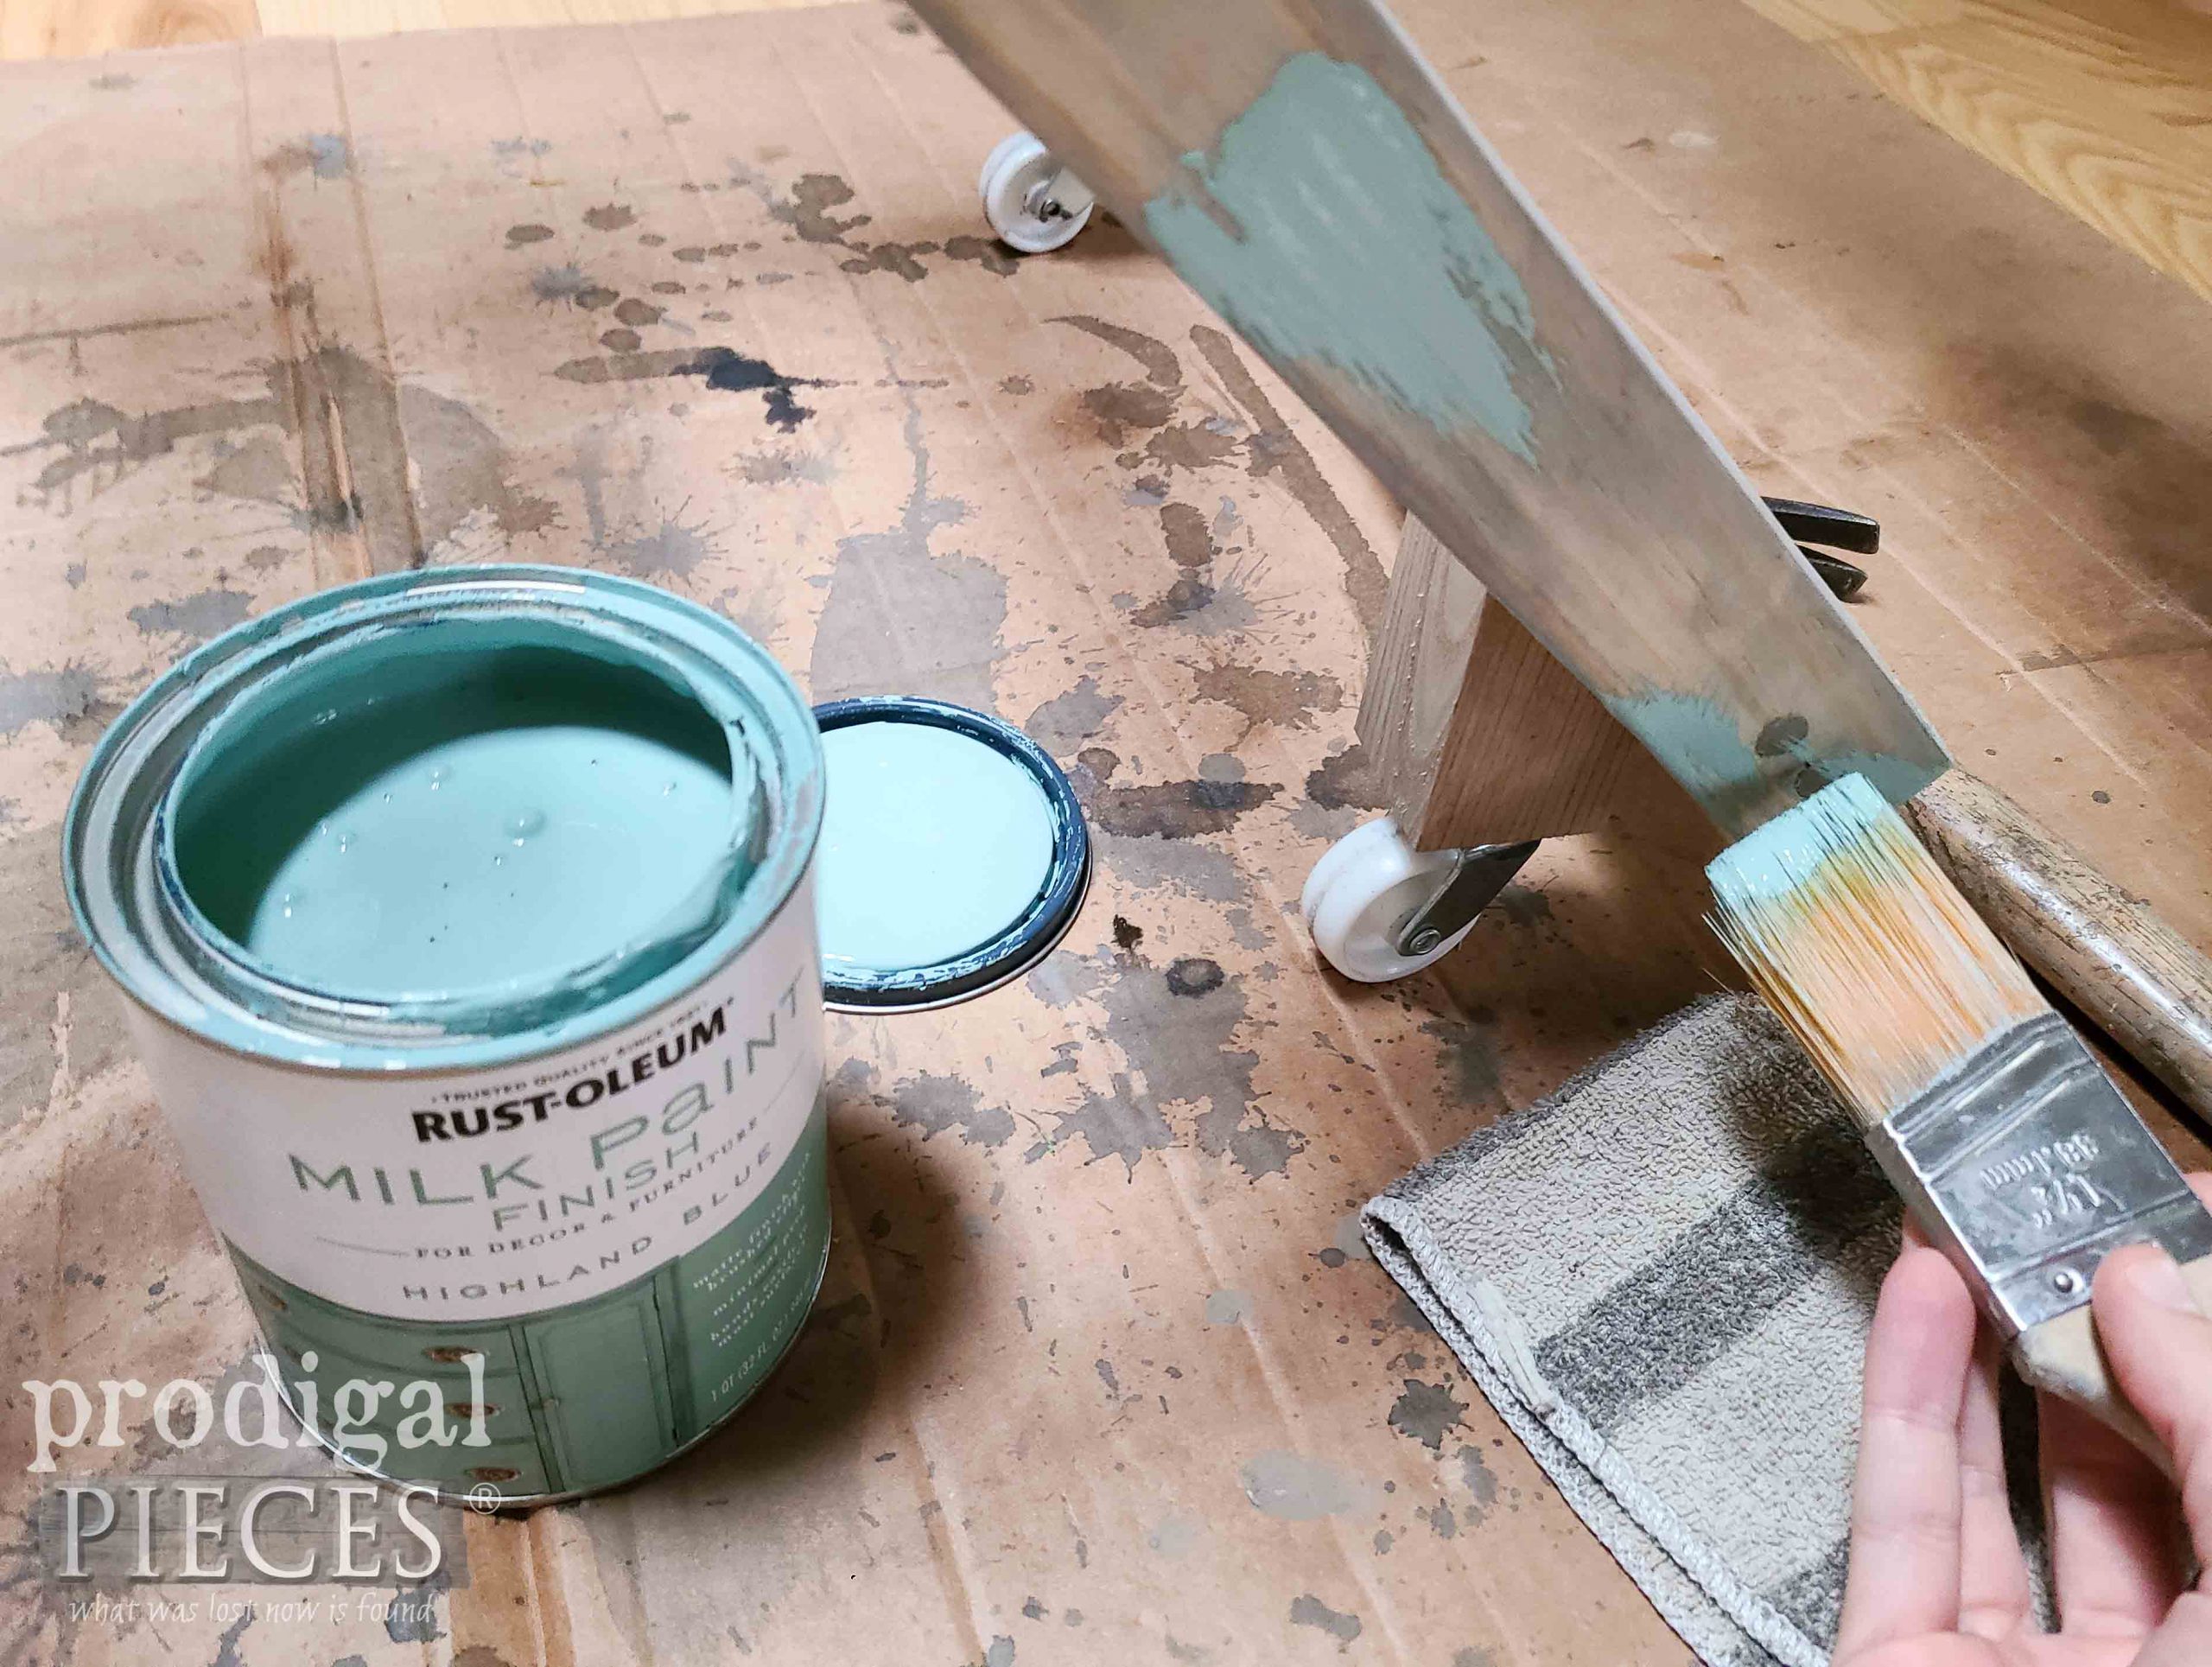
Then, after the stain cures, I am creating a layered paint look. First, I use this blue to just touch in spots so that it can peek through.
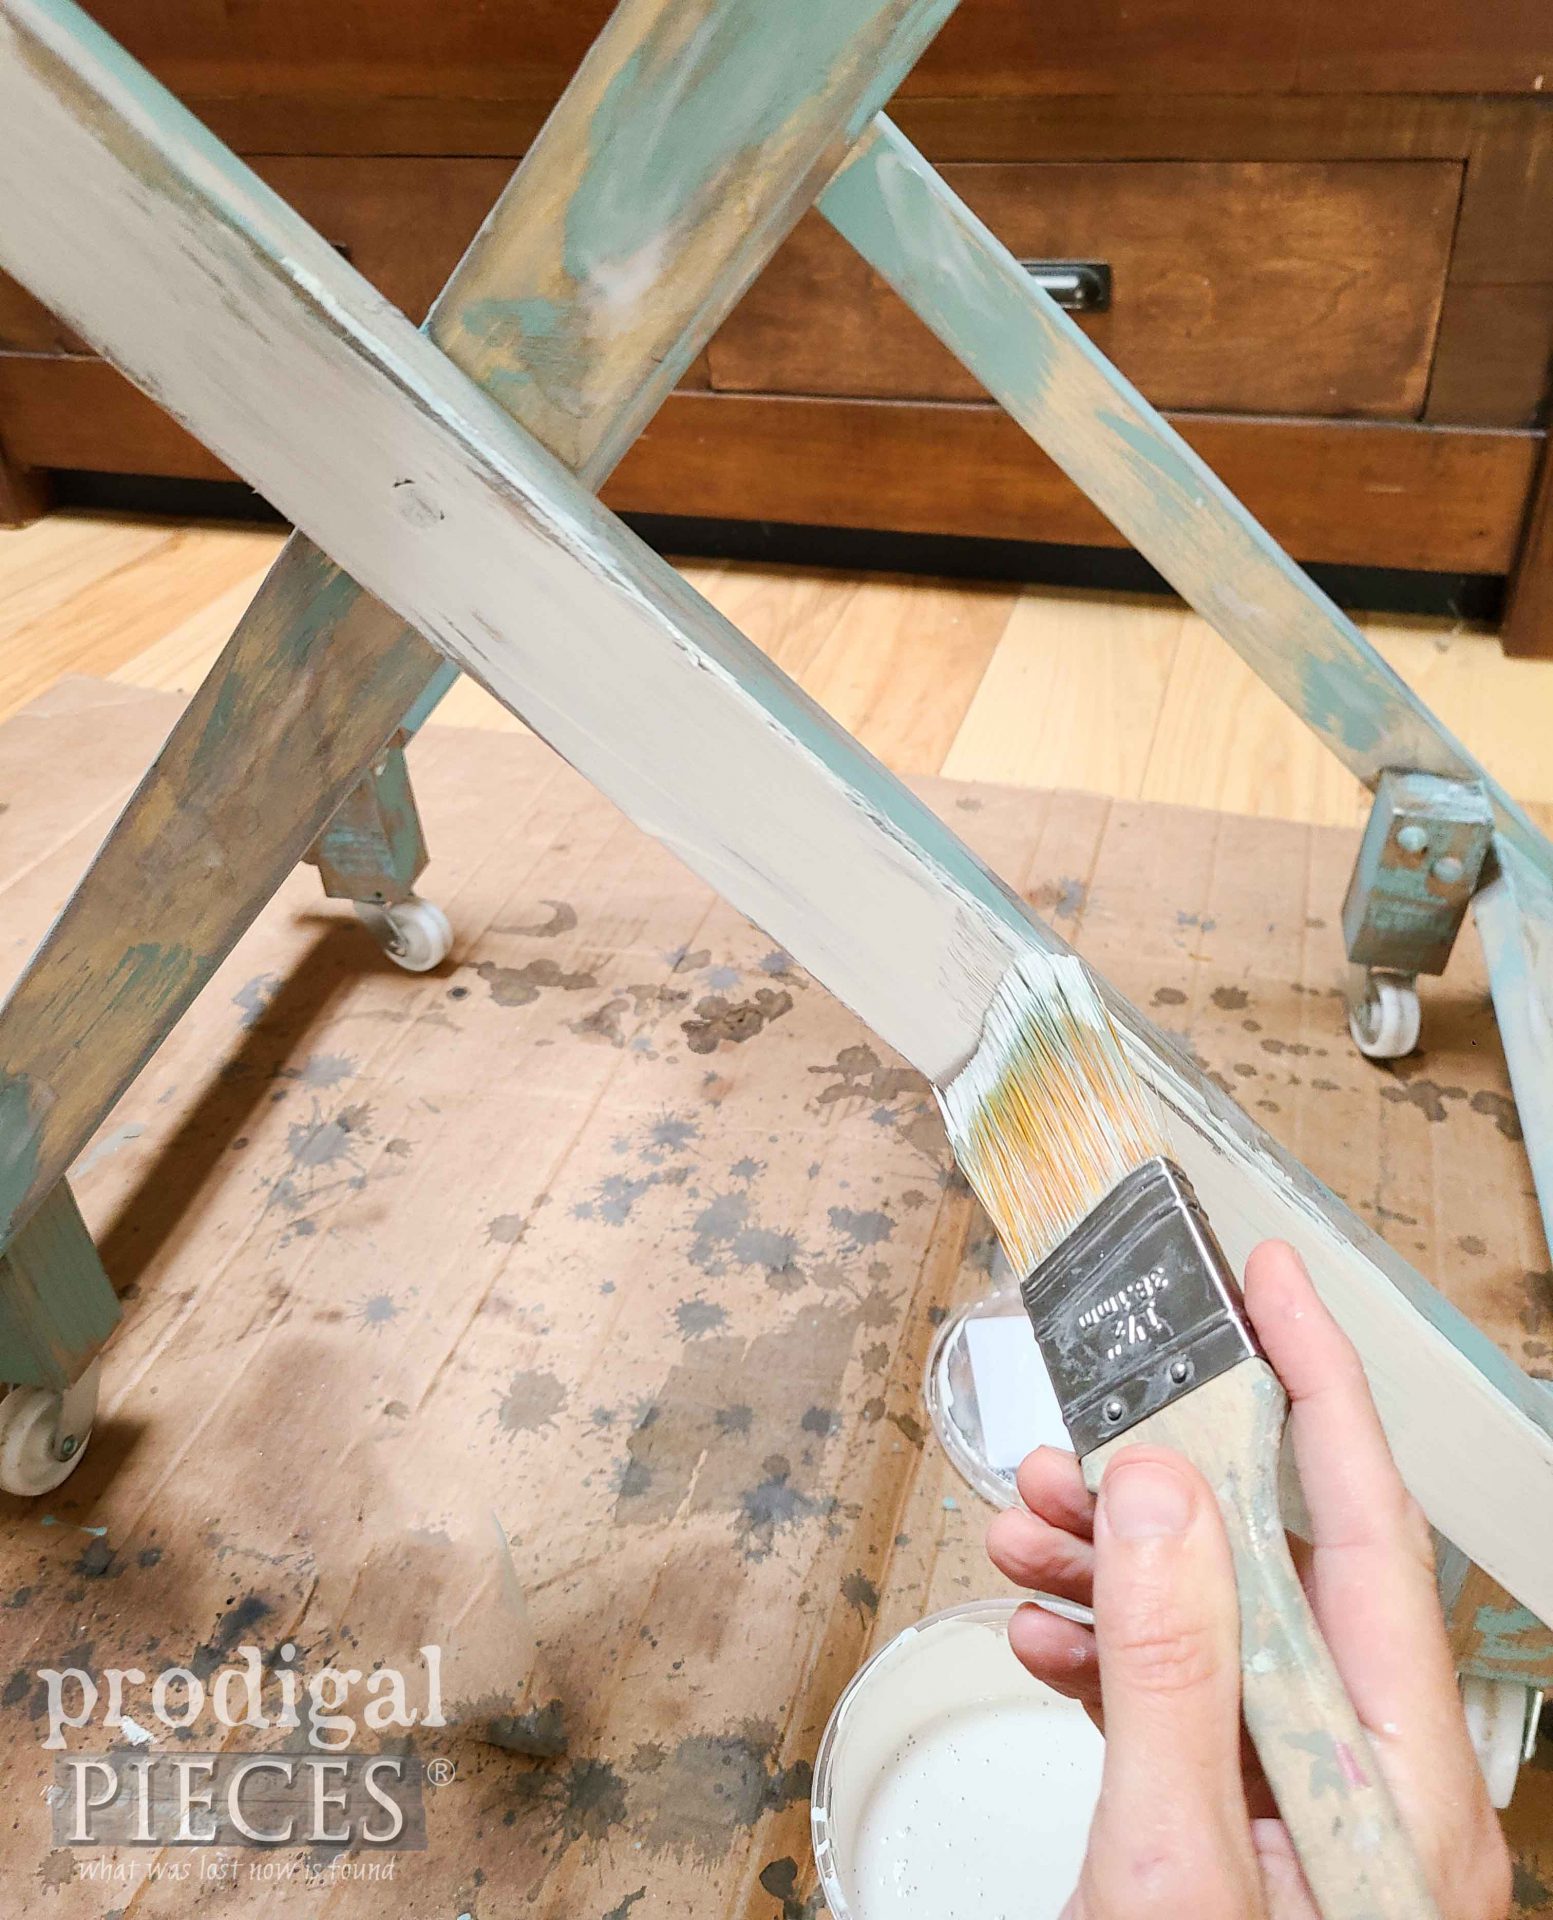
As soon as that blue cures, I use a custom-mixed antique white to create a wash over the whole piece.
Additionally, I lightly distress the whole cart and then add a layer of a brown wax for even more time-worn appeal. Are you ready to see my antique laundry cart build complete? I am!!
LAUNDRY TIME
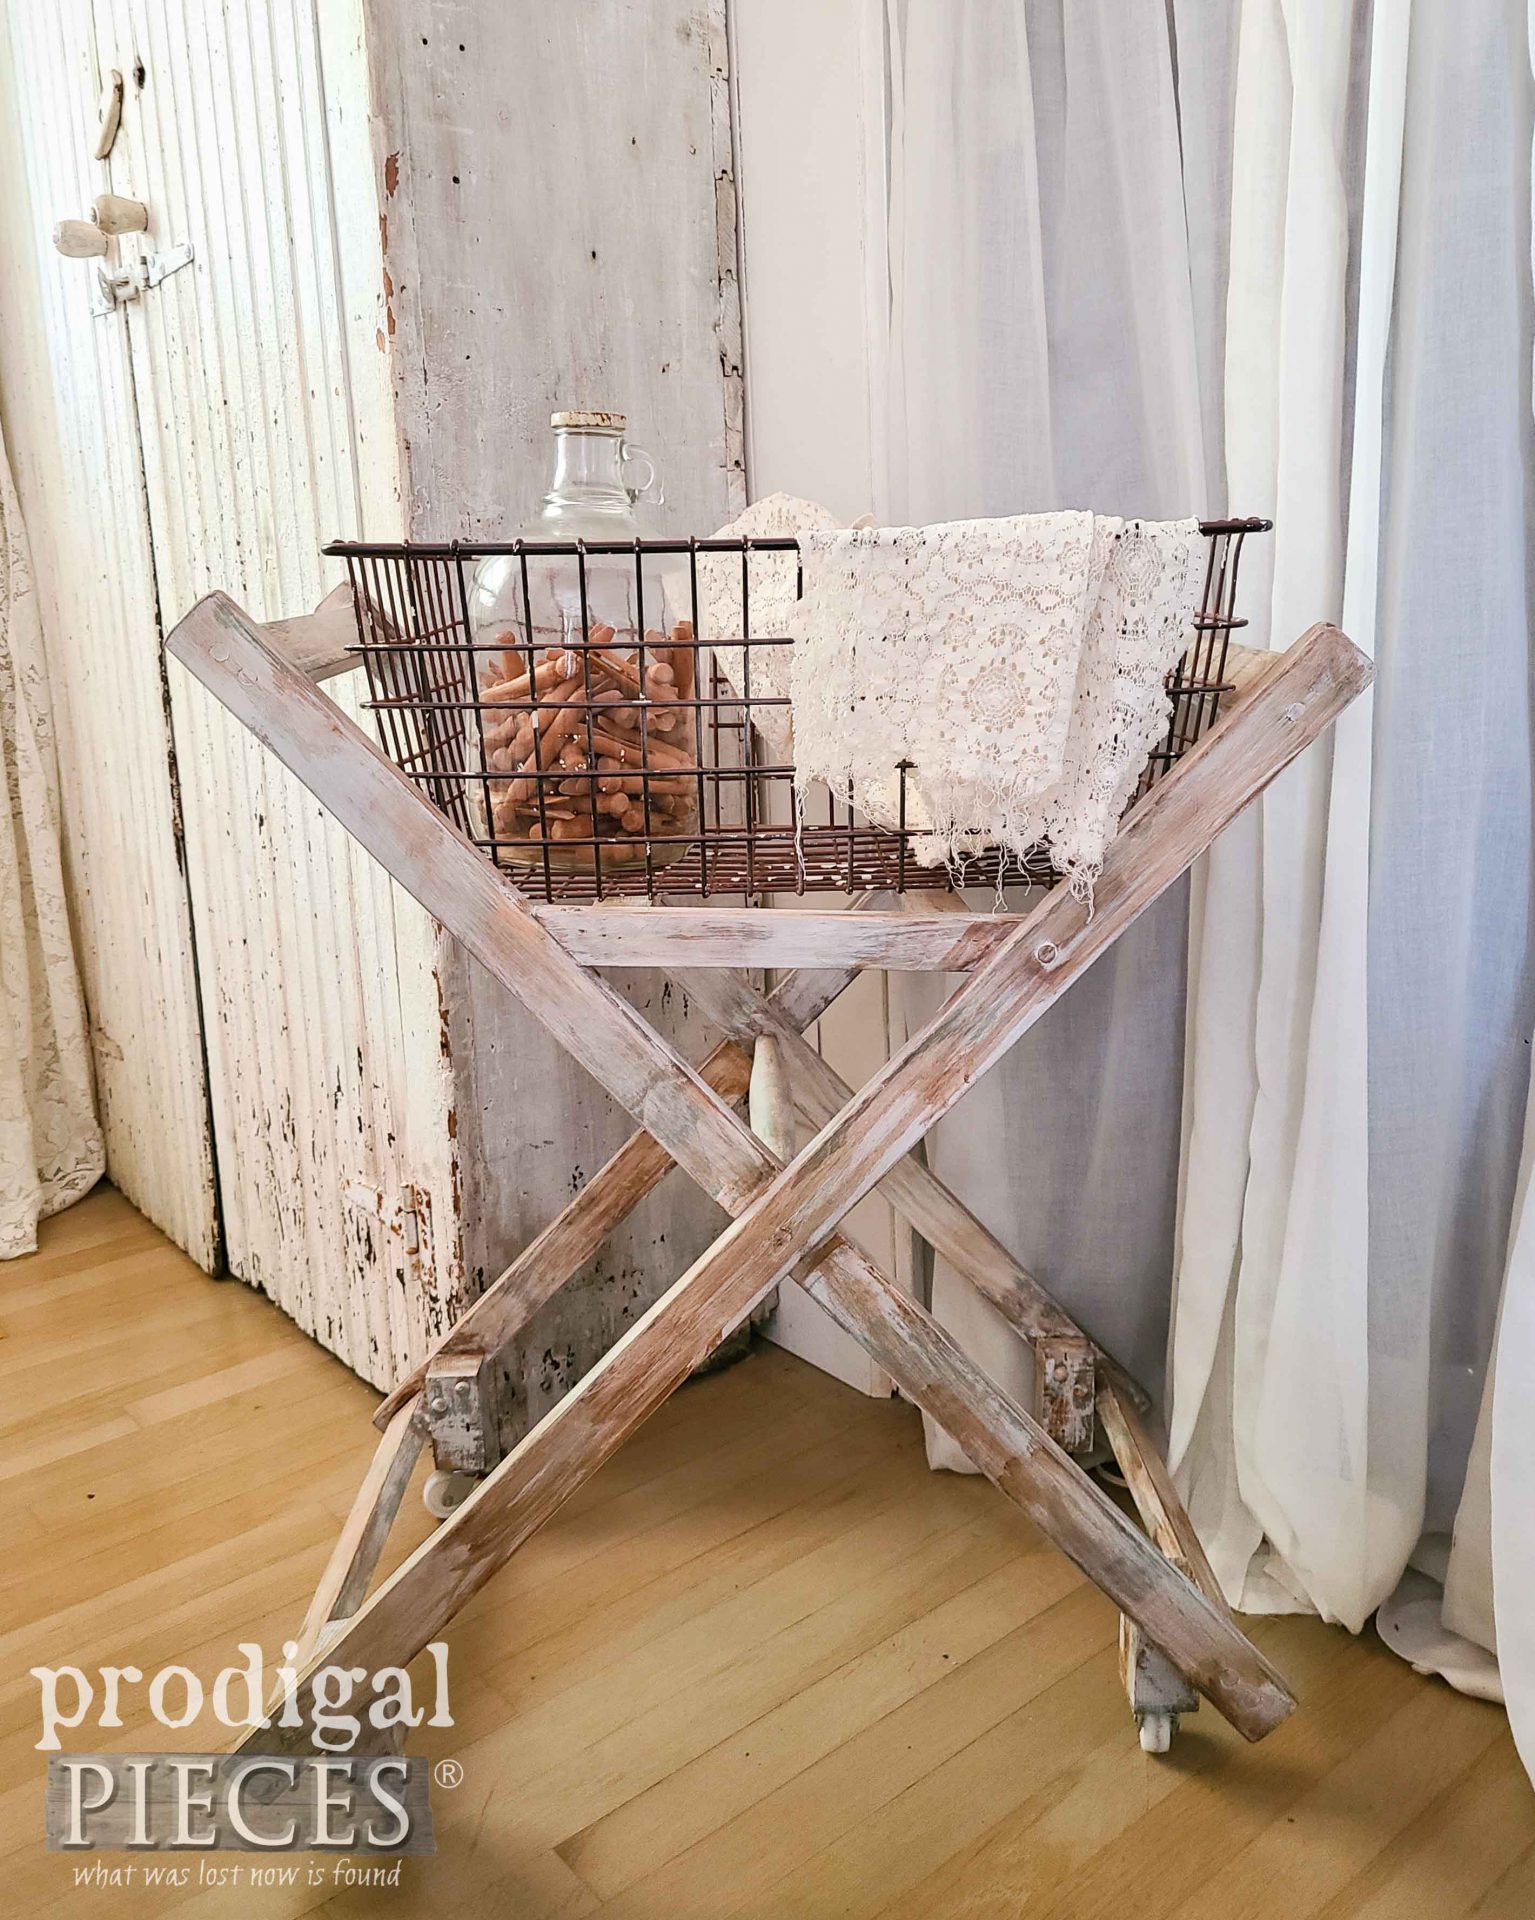
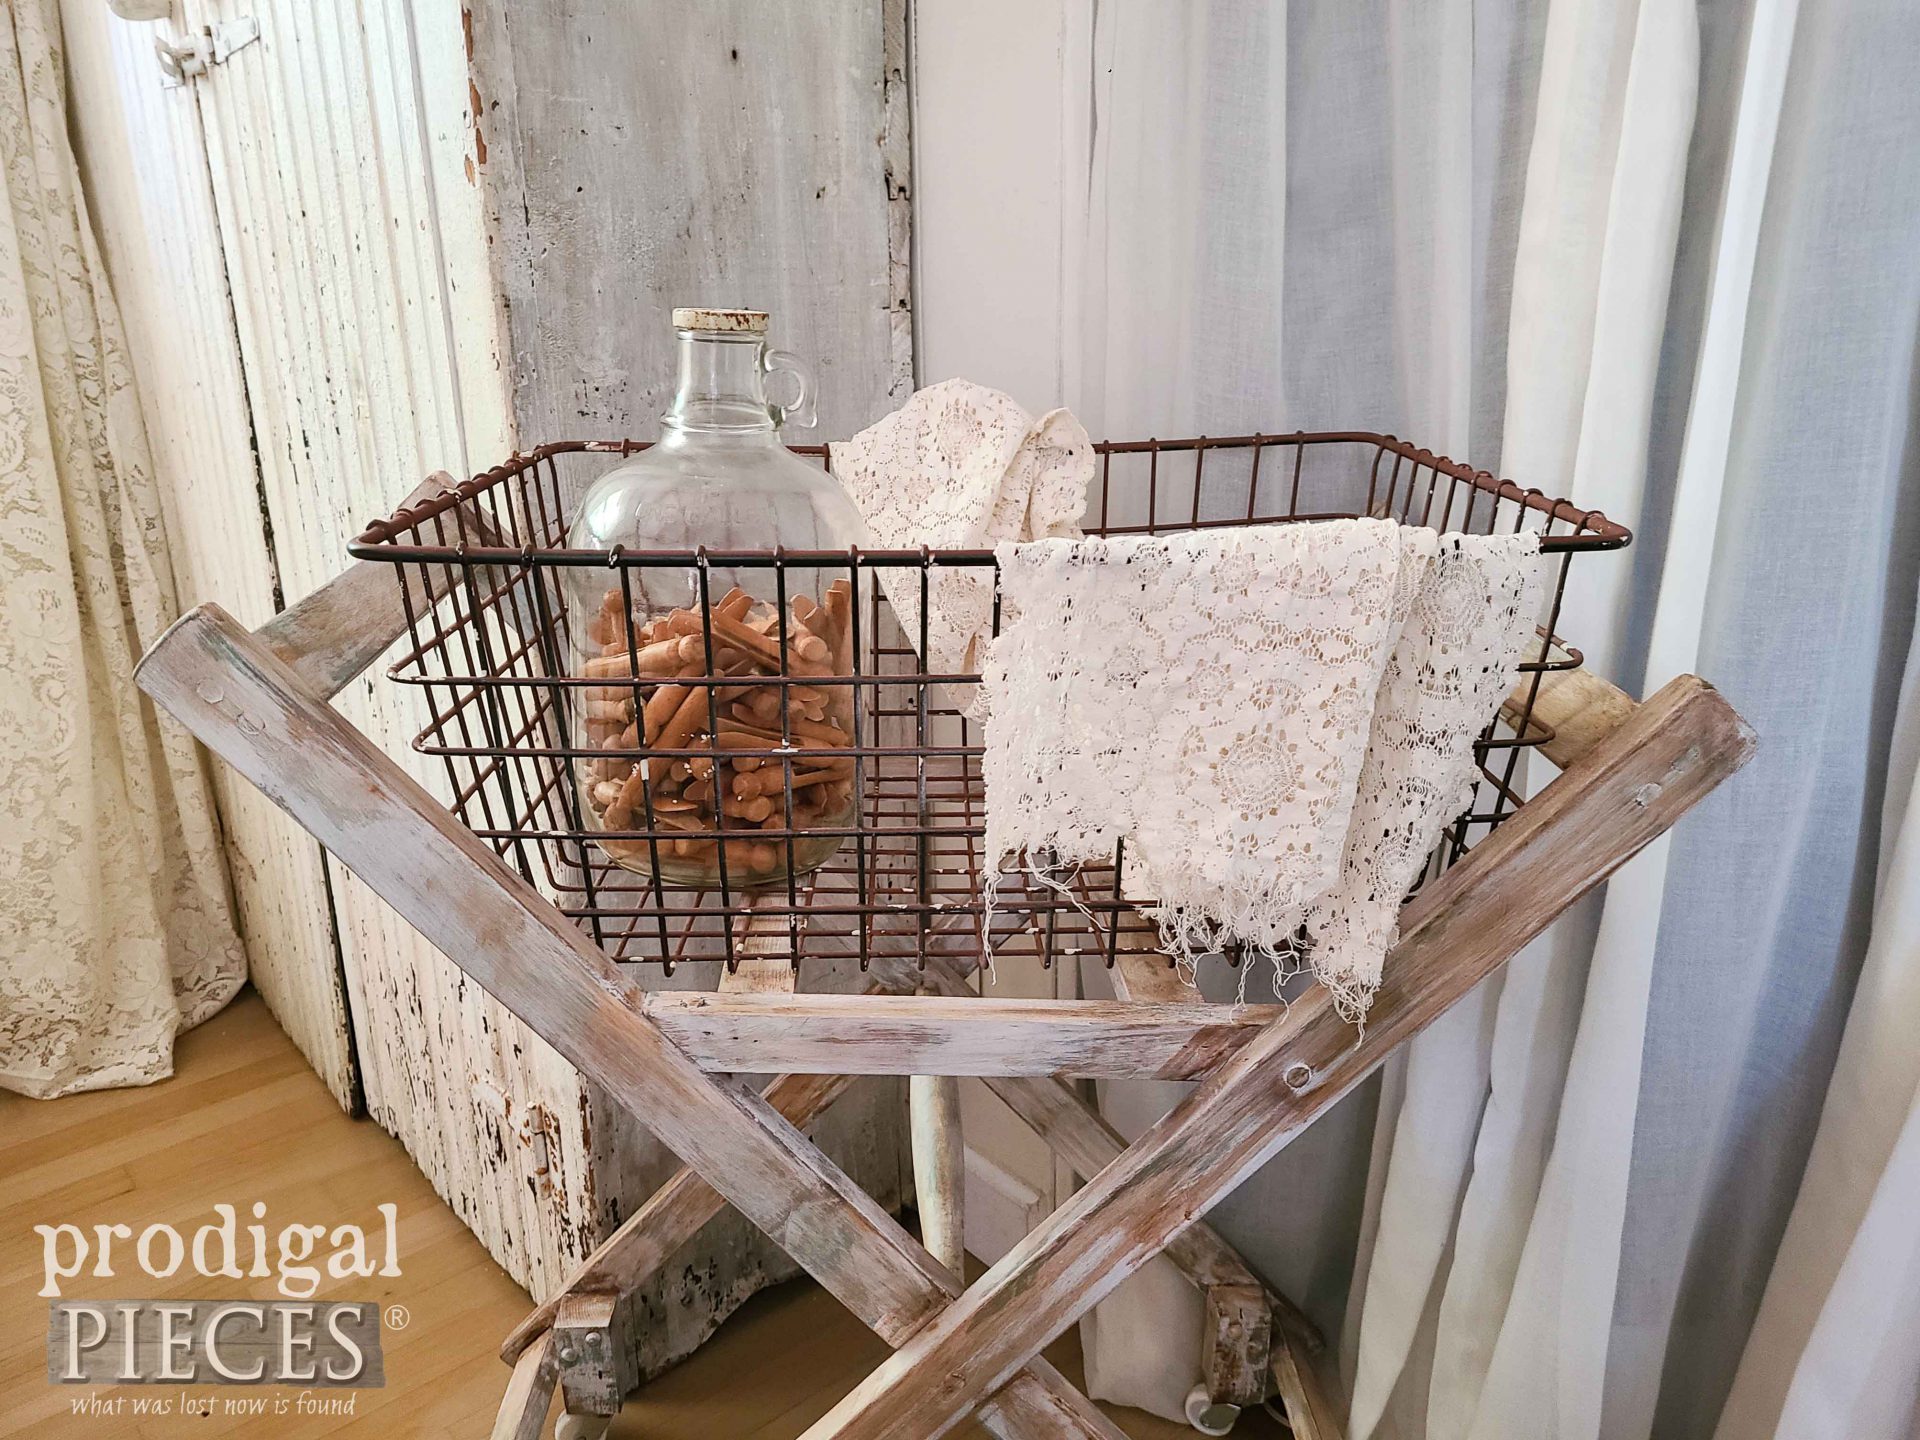
Break out the soap and clothespins and let’s have some fun with this farmhouse creation of mine. wahoo!!
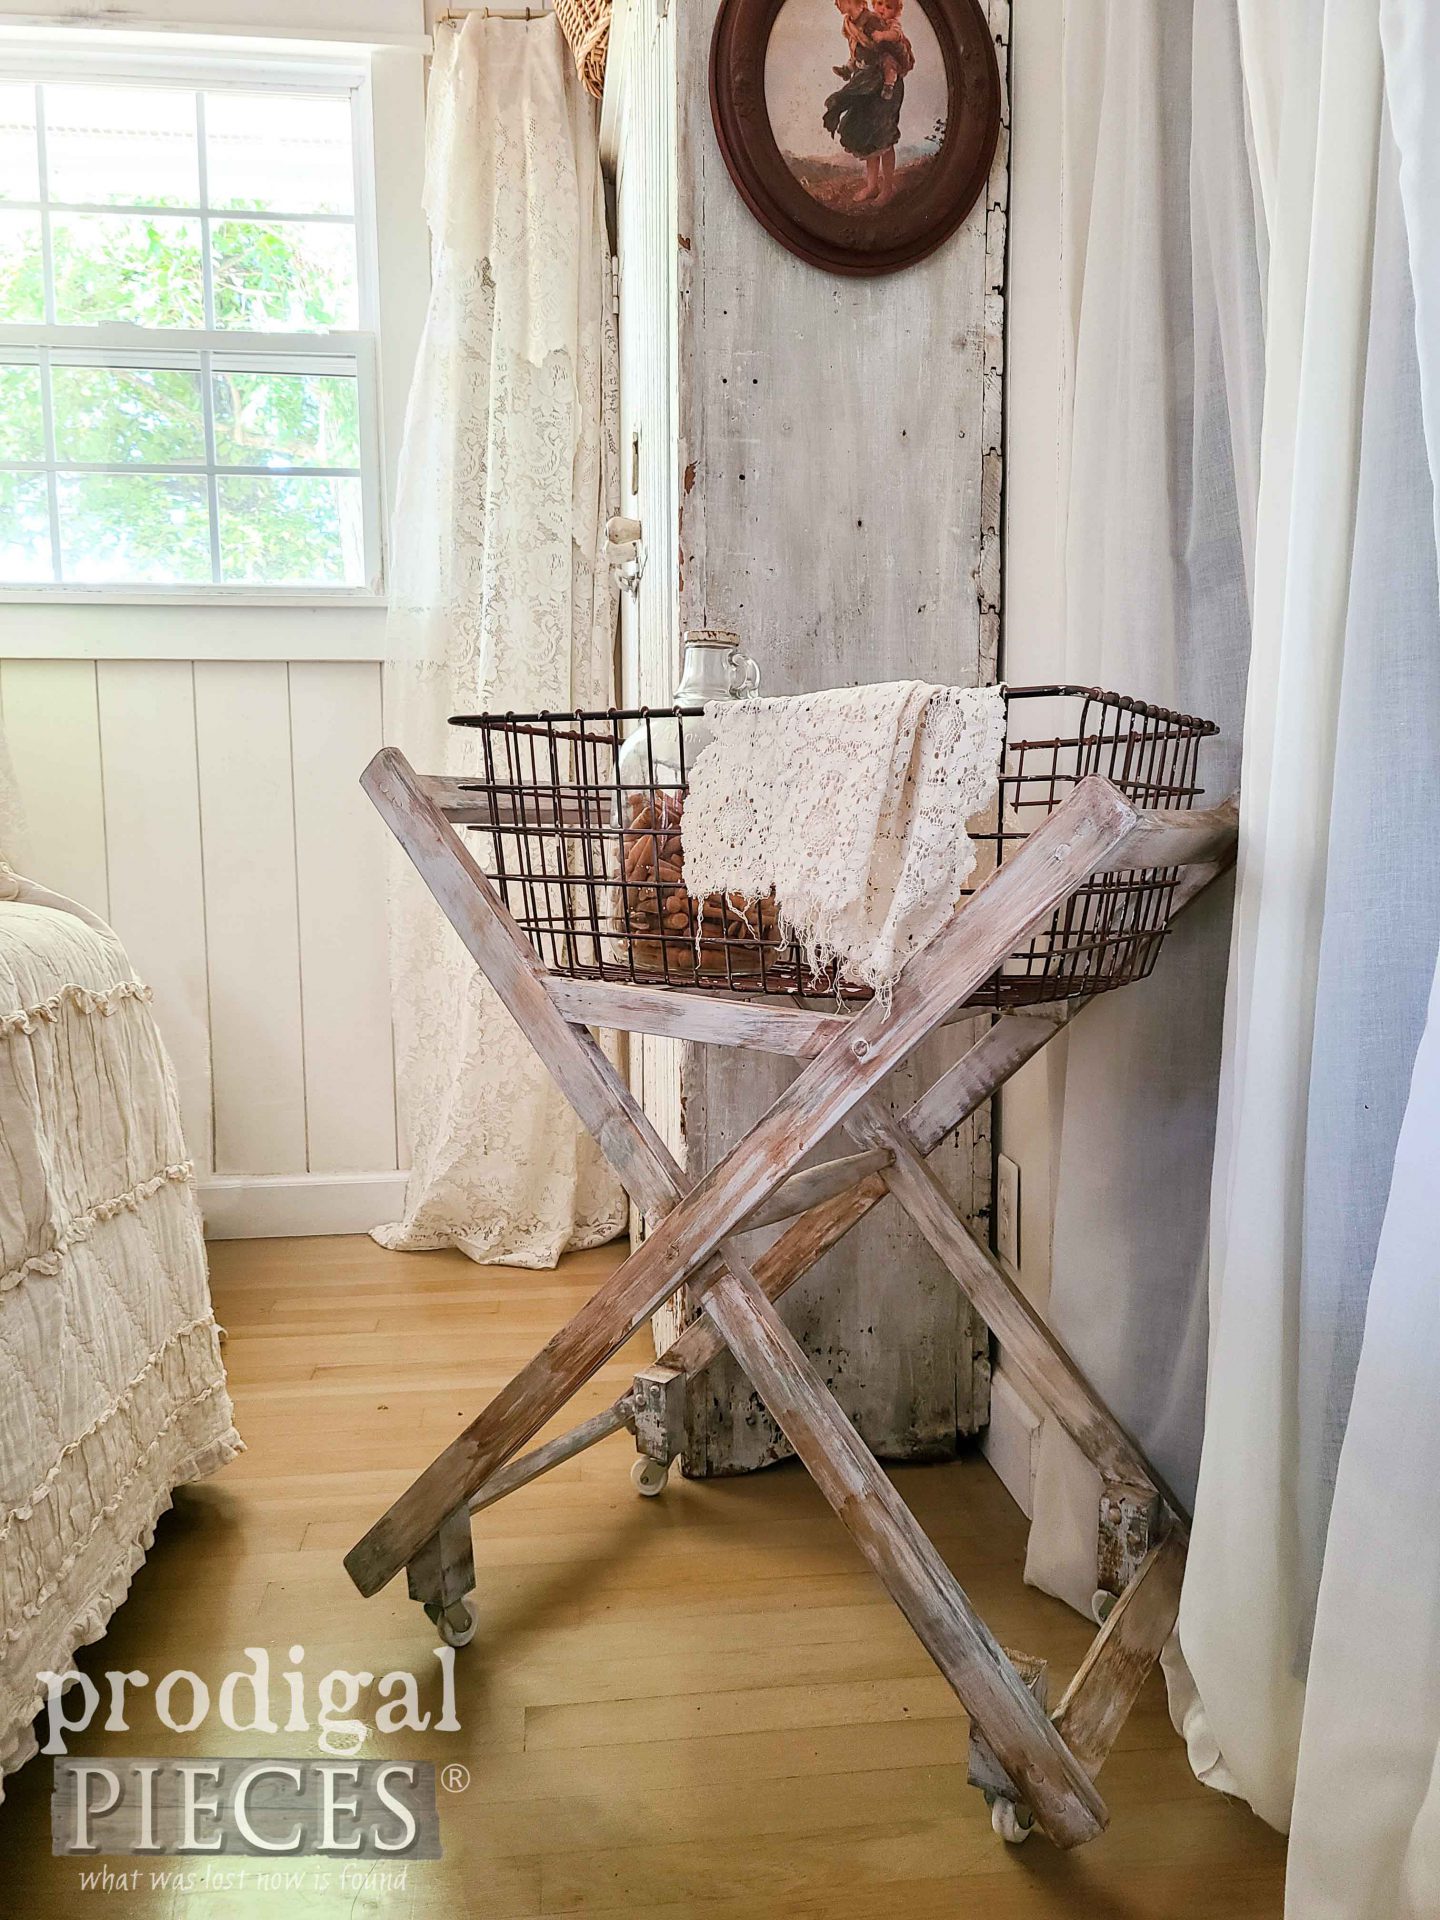
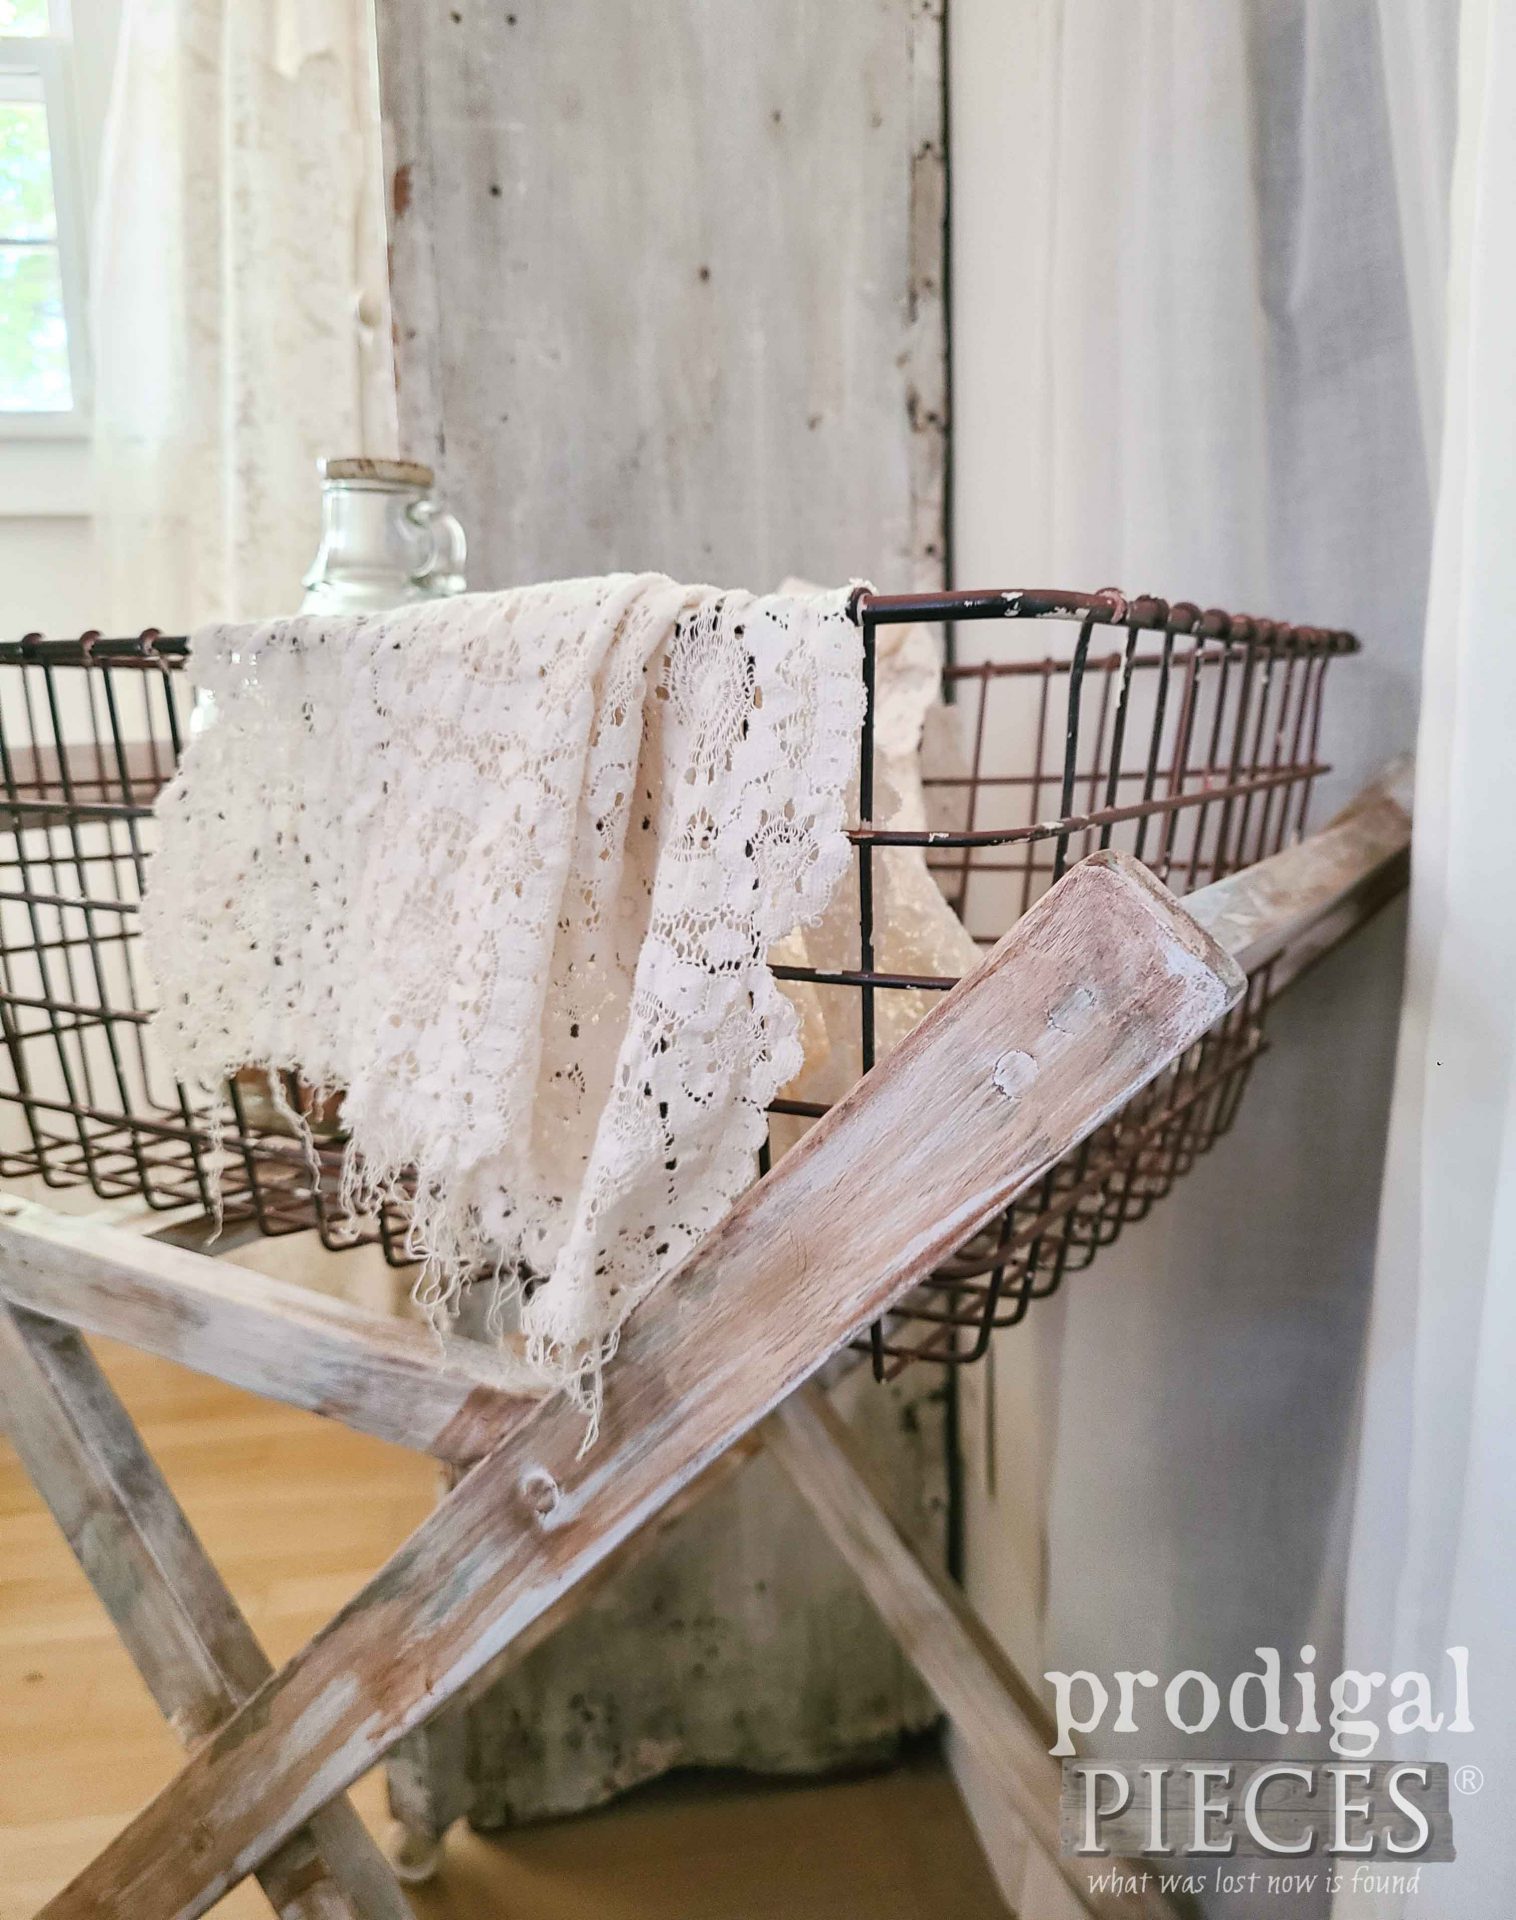
Because I loved the wear on the basket it already had, I left that alone. However, the cart portion is definitely more fun because of paint, stain, wax, and more stain.
While it’s not a literal antique (100 years old or older), it sure mimics the vibe that my true antique has in the photo above. Do you think my dad will think I’m cray-cray for seeing beyond this basket? haha. I doubt it as I’m long-since diagnosed with that.
Furthermore, if you’d like to make this antique laundry cart part of your home story, you can find it and more available in my online shop.
SHARE
In addition to leaving some comment love below, do take a minute to pin and share to inspire others. Who knows if someone out there also has a random basket just taking up space. ahem.
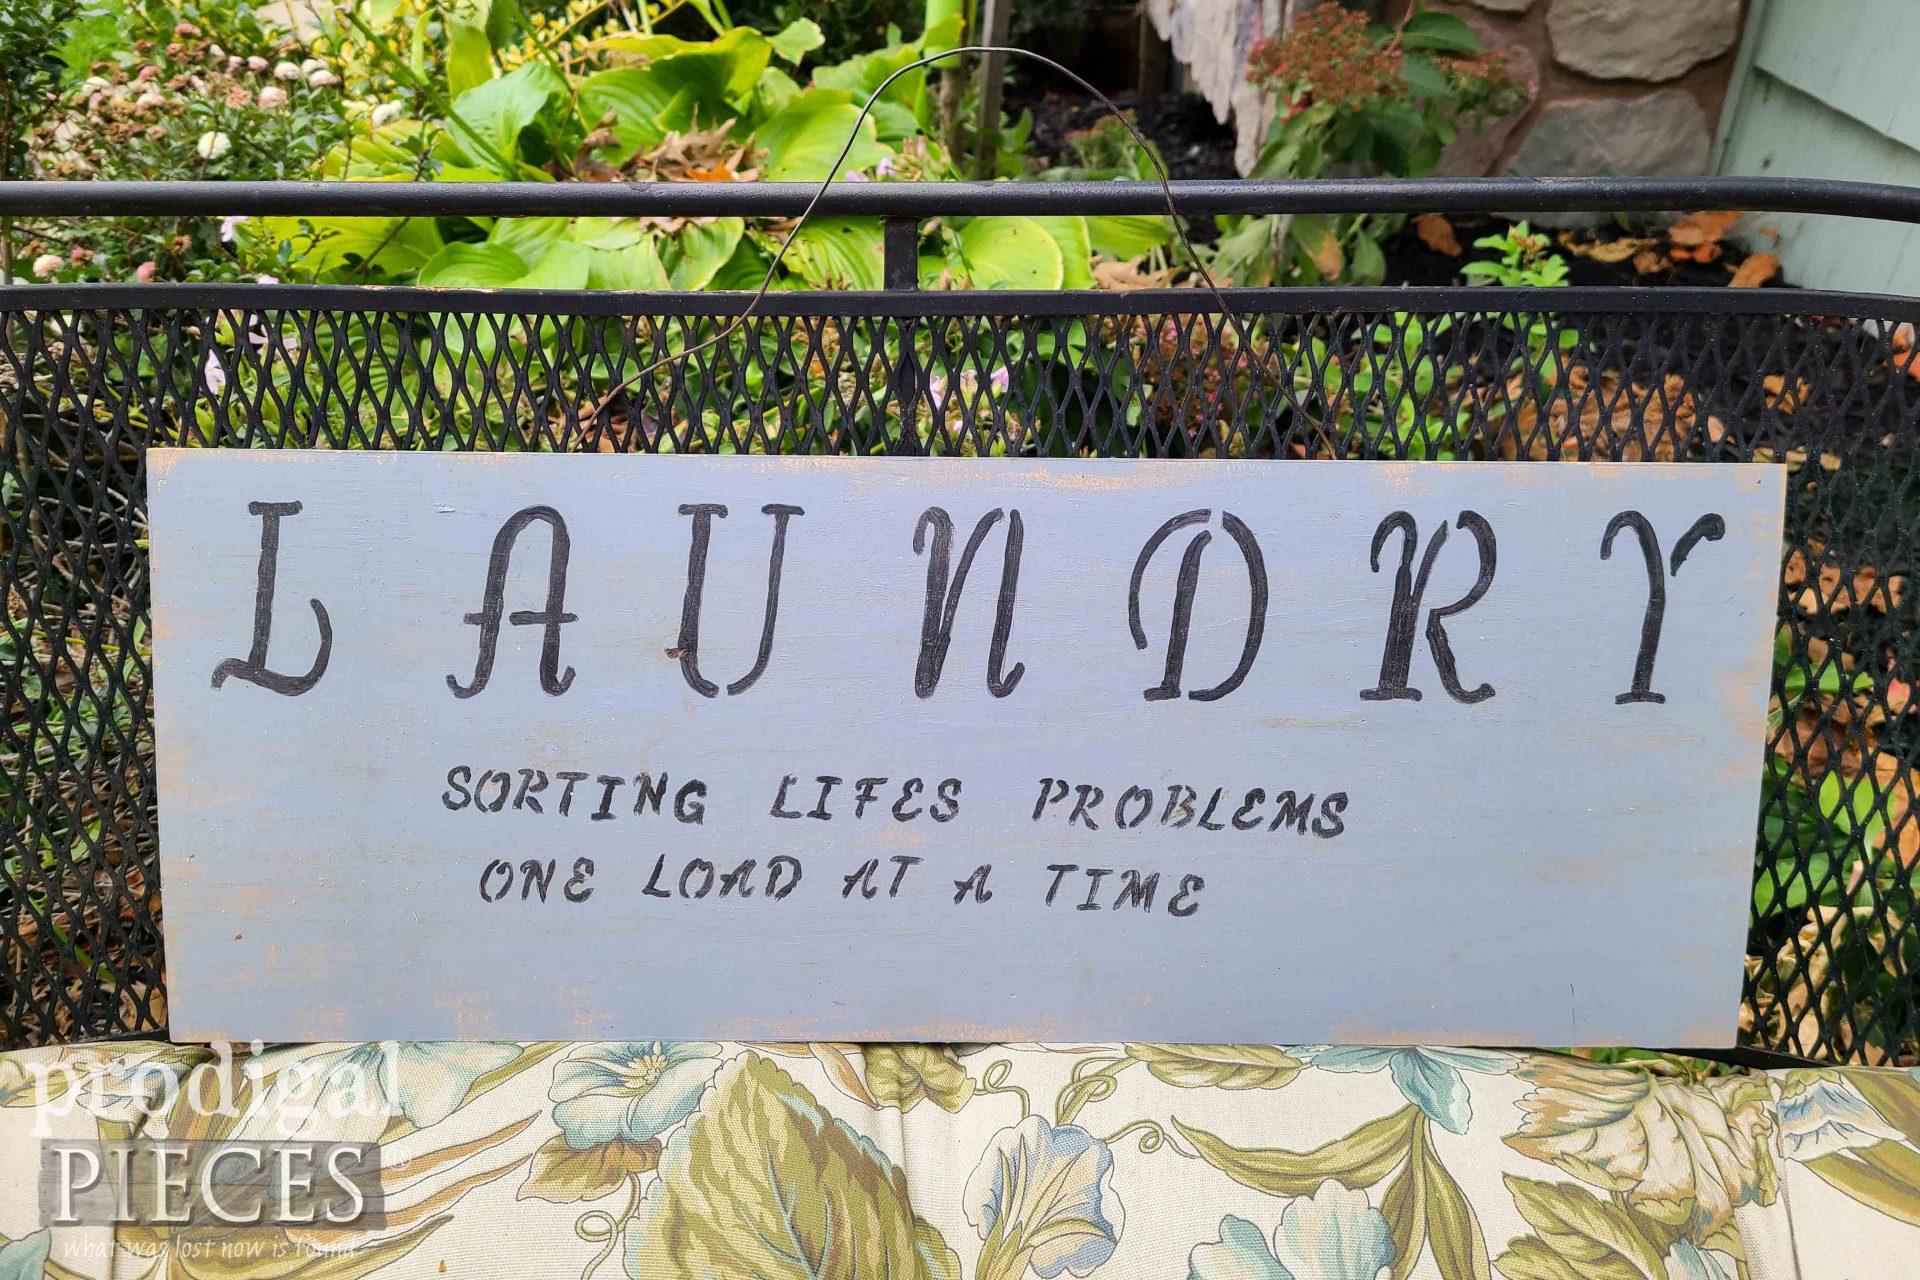
Likewise, be sure to sign up for my FREE newsletter to see what becomes of this once-DIYed sign that I’m going to amp up a bit. Notice a theme here? HEAD HERE to see!




How fun Larissa! I can picture someone using this outside, hanging sheets for the last time of the season. Or – beside a comfy chair as a side table with a good book and a pumpkin spice chia latte sitting in the basket waiting to welcome someone! Fall is in the air and the crispness is uncharacteristically soothing. We’ve had some rainy days lately, and though normally gloomy/dreary these days have given me peace.
I love the way you think, Niki, minus the pumpkin spice part. tee hee. It sure is a beautiful time of year.
I wish I had your talent. I always wanted to do Carpenter things. But it didn’t work out.
Blessings
It’s never too late to try! I had no idea how to do this, but managed to figure it out as I went. Thanks!
This is adorable. I love rescuing things too. You did a great job “weathering” it.
Thanks so much, Regina. It’s always fun to hear from a kindred spirit.
WOW!!! That’s really something, Larissa! You are so clever.
You just made my day, Michele. Thank you!