How many times do we give up a beloved piece of furniture because it has damage? Probably more than we like to admit. Maybe we just don’t want to fuss with it, or maybe we just don’t know how to fix it. I want to show you a simple damaged table top repair that will allow you to save that lovingly worn piece and maybe even grab the next one you see at the thrift store.
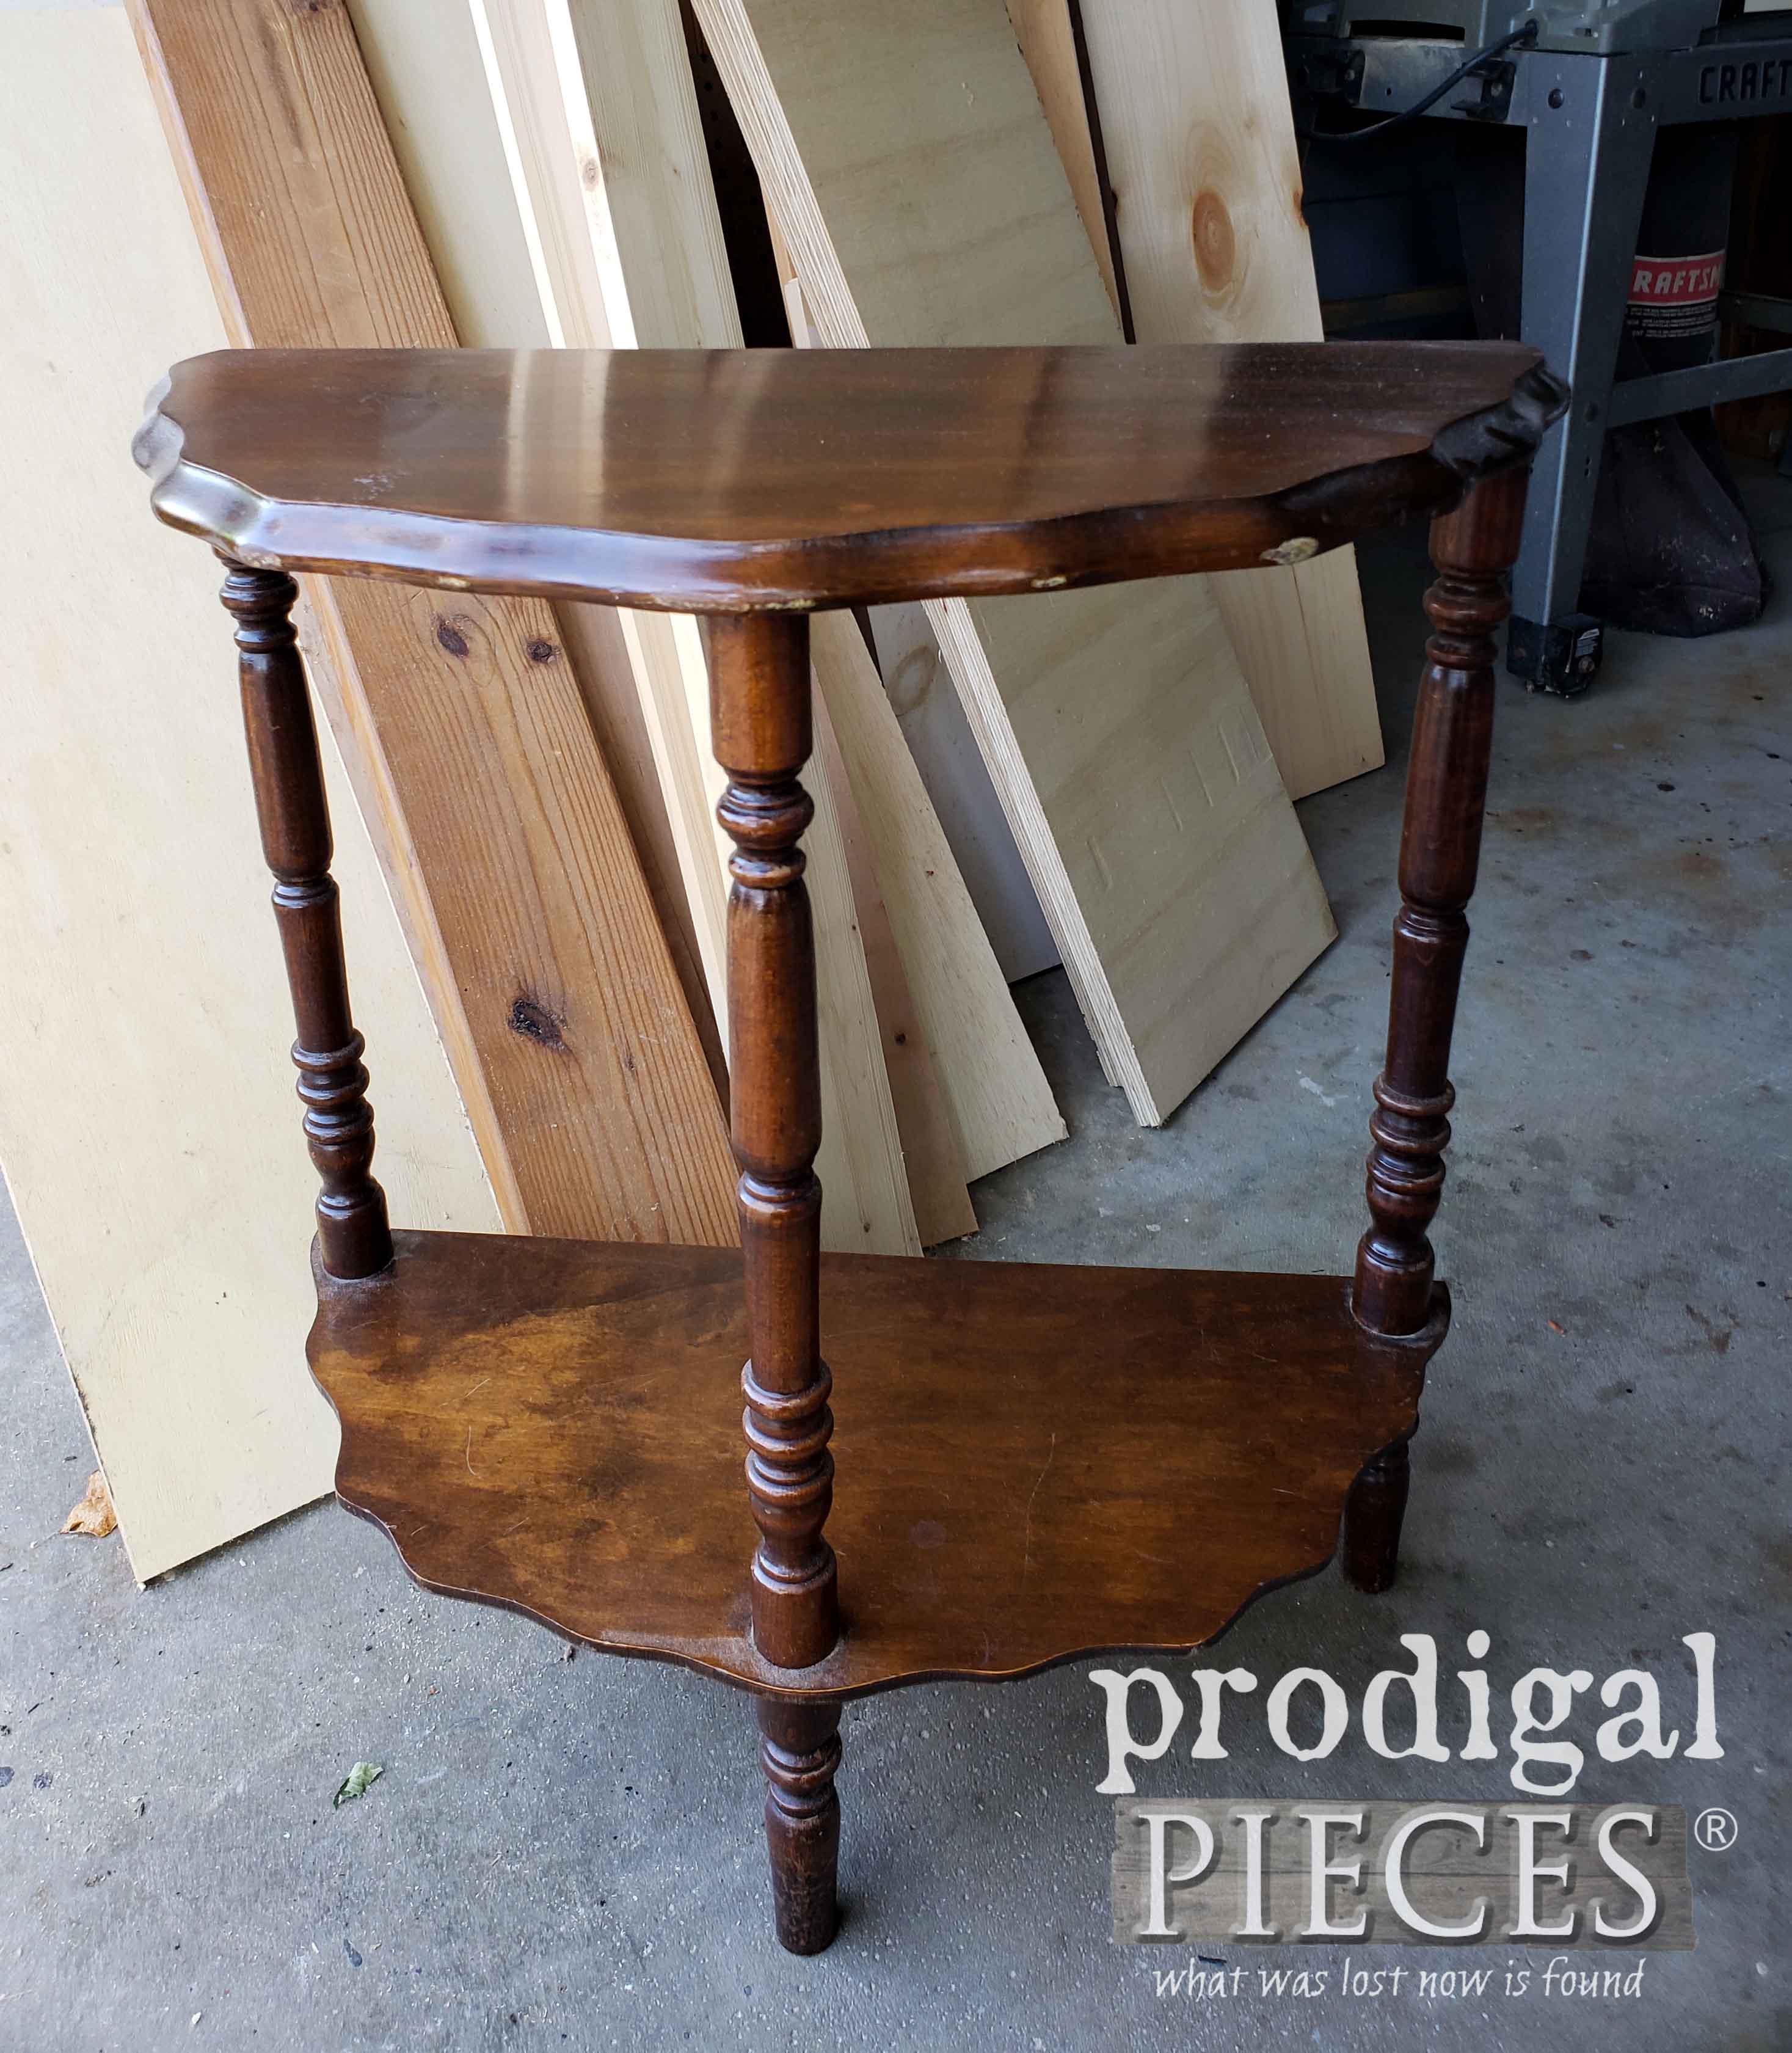
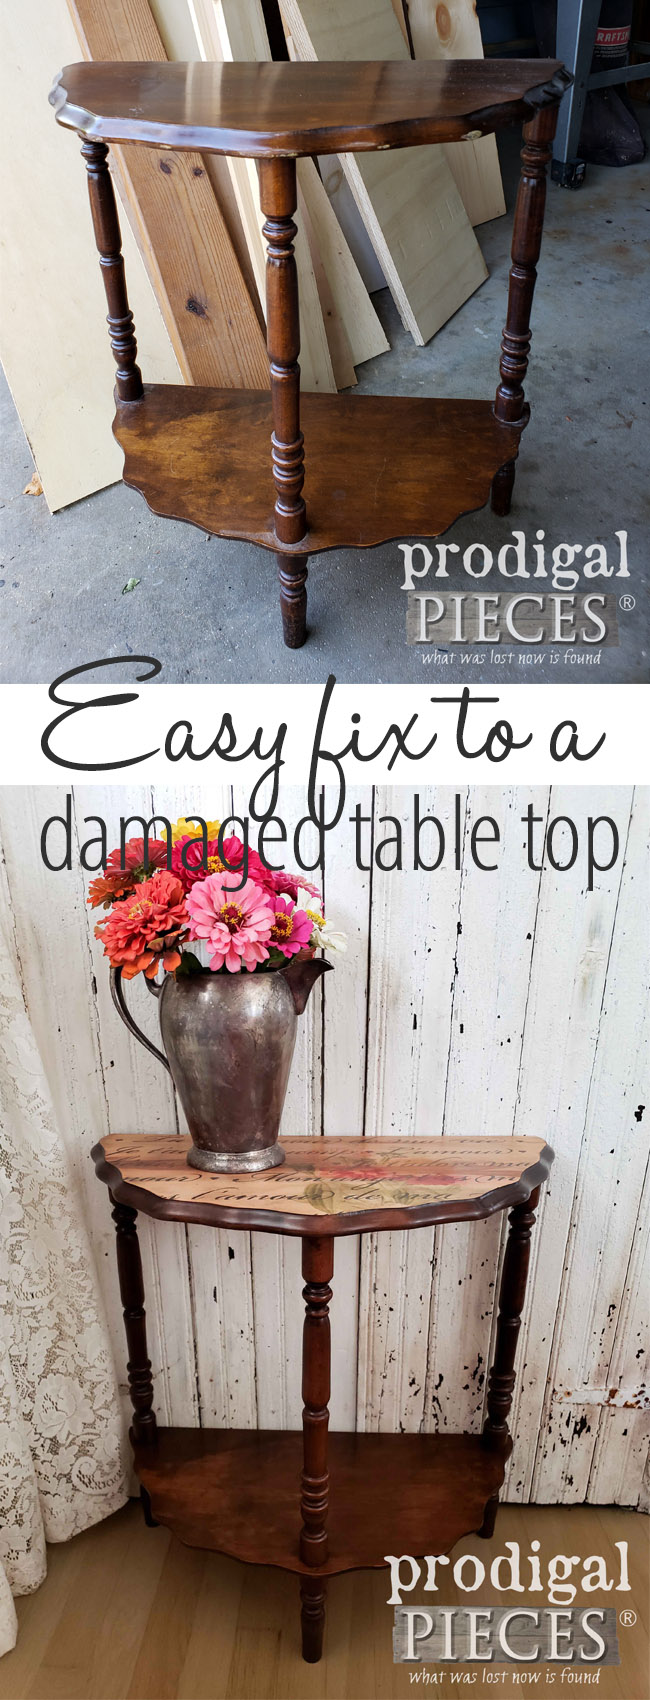
Take this small half-circle table I found, for instance.
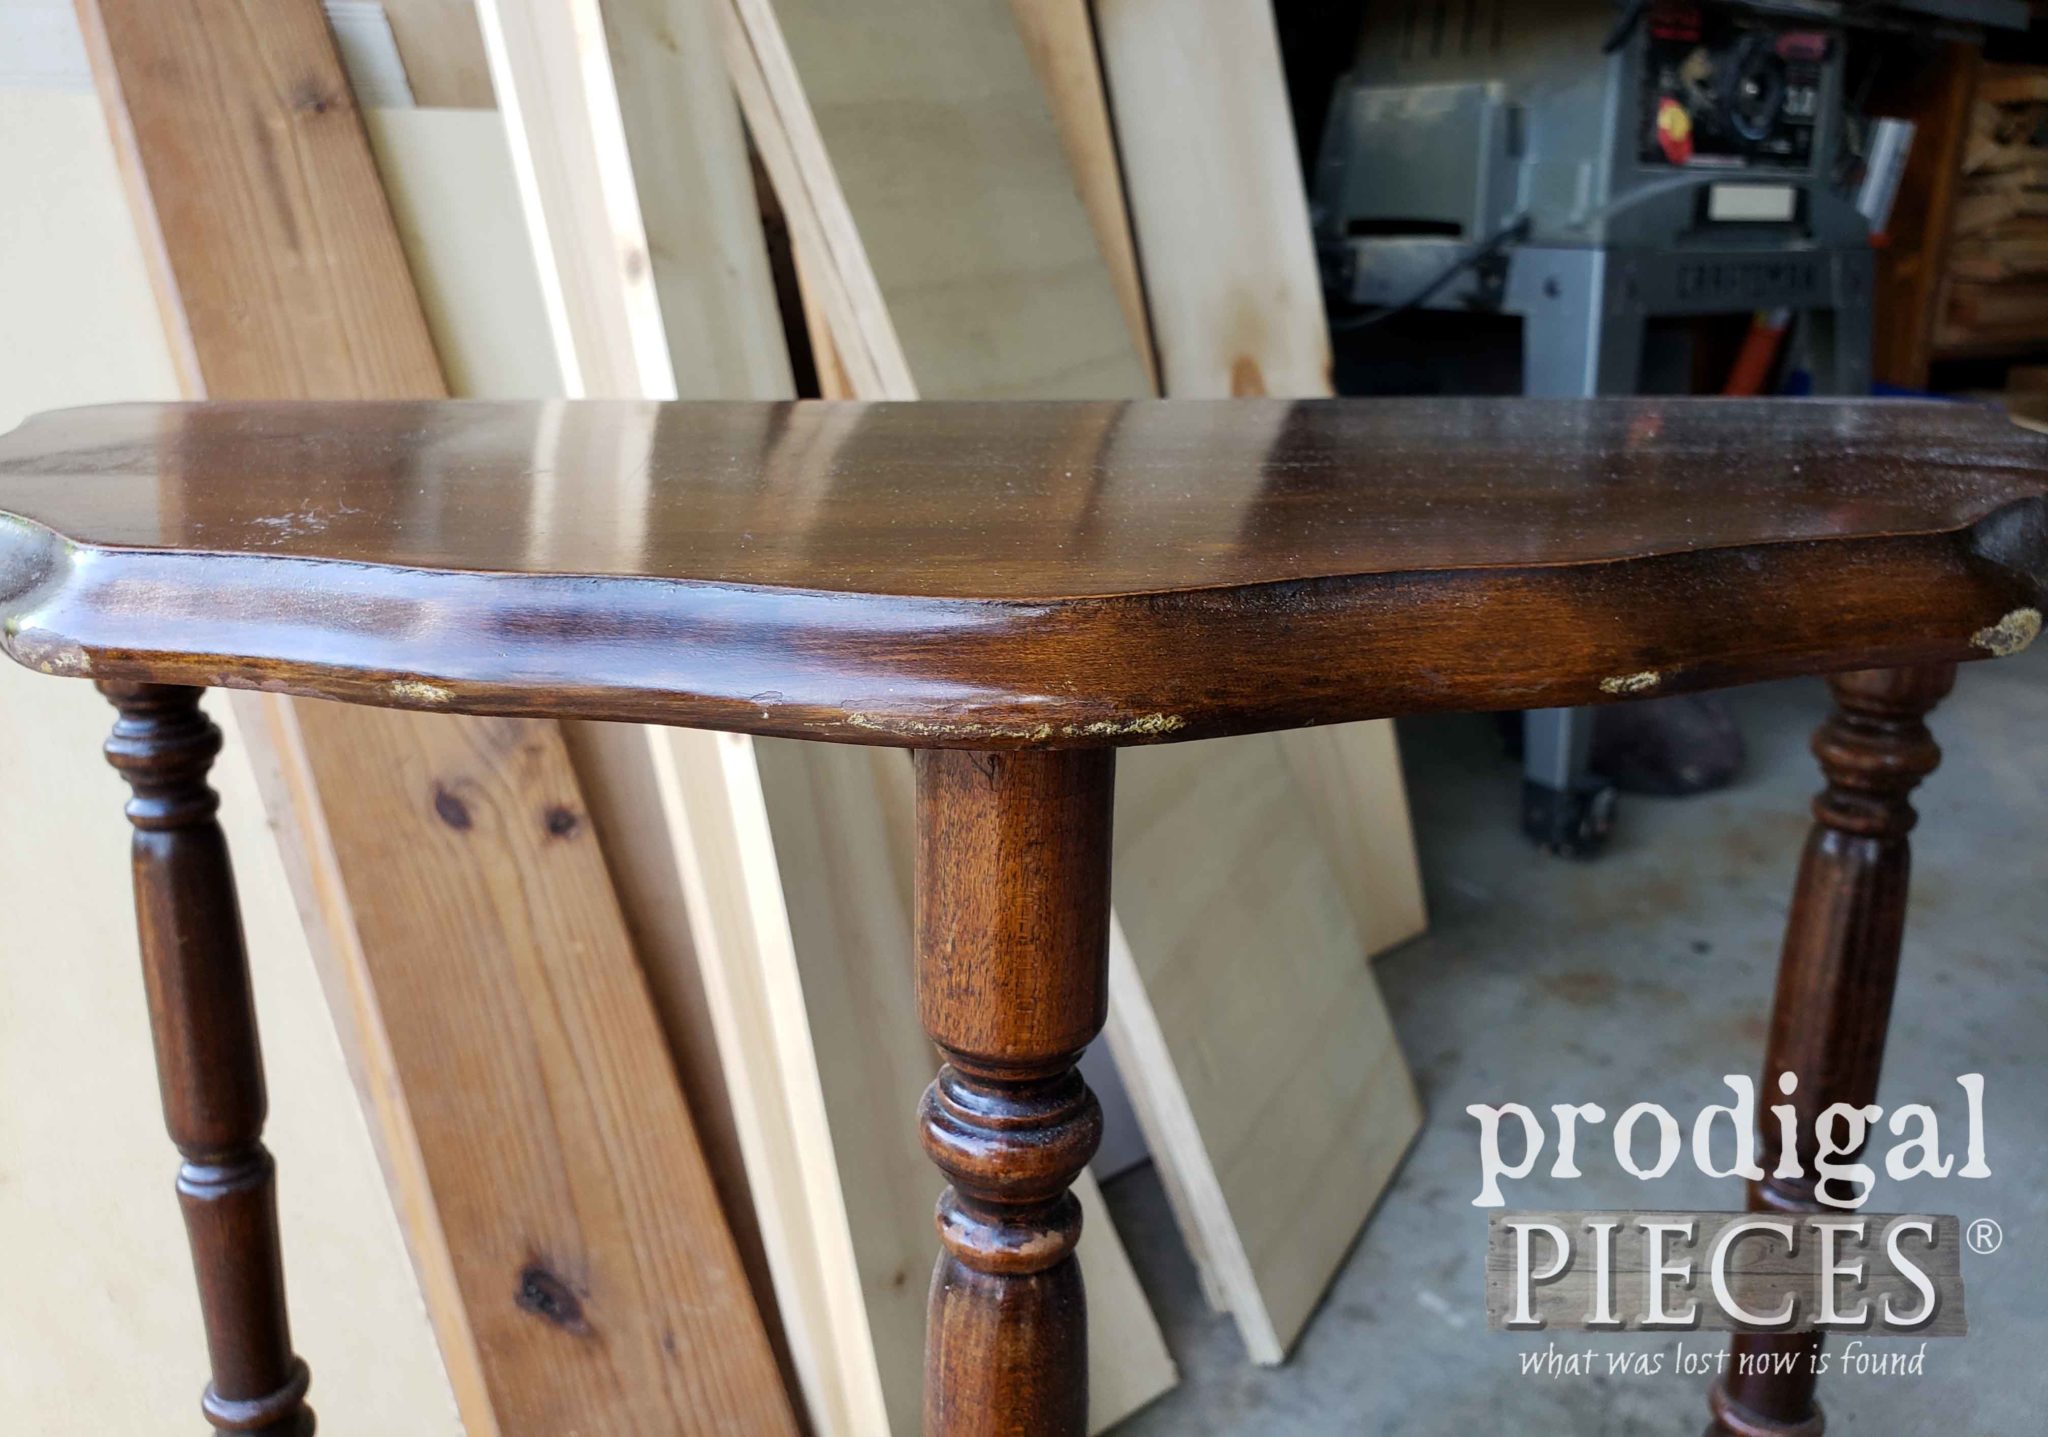
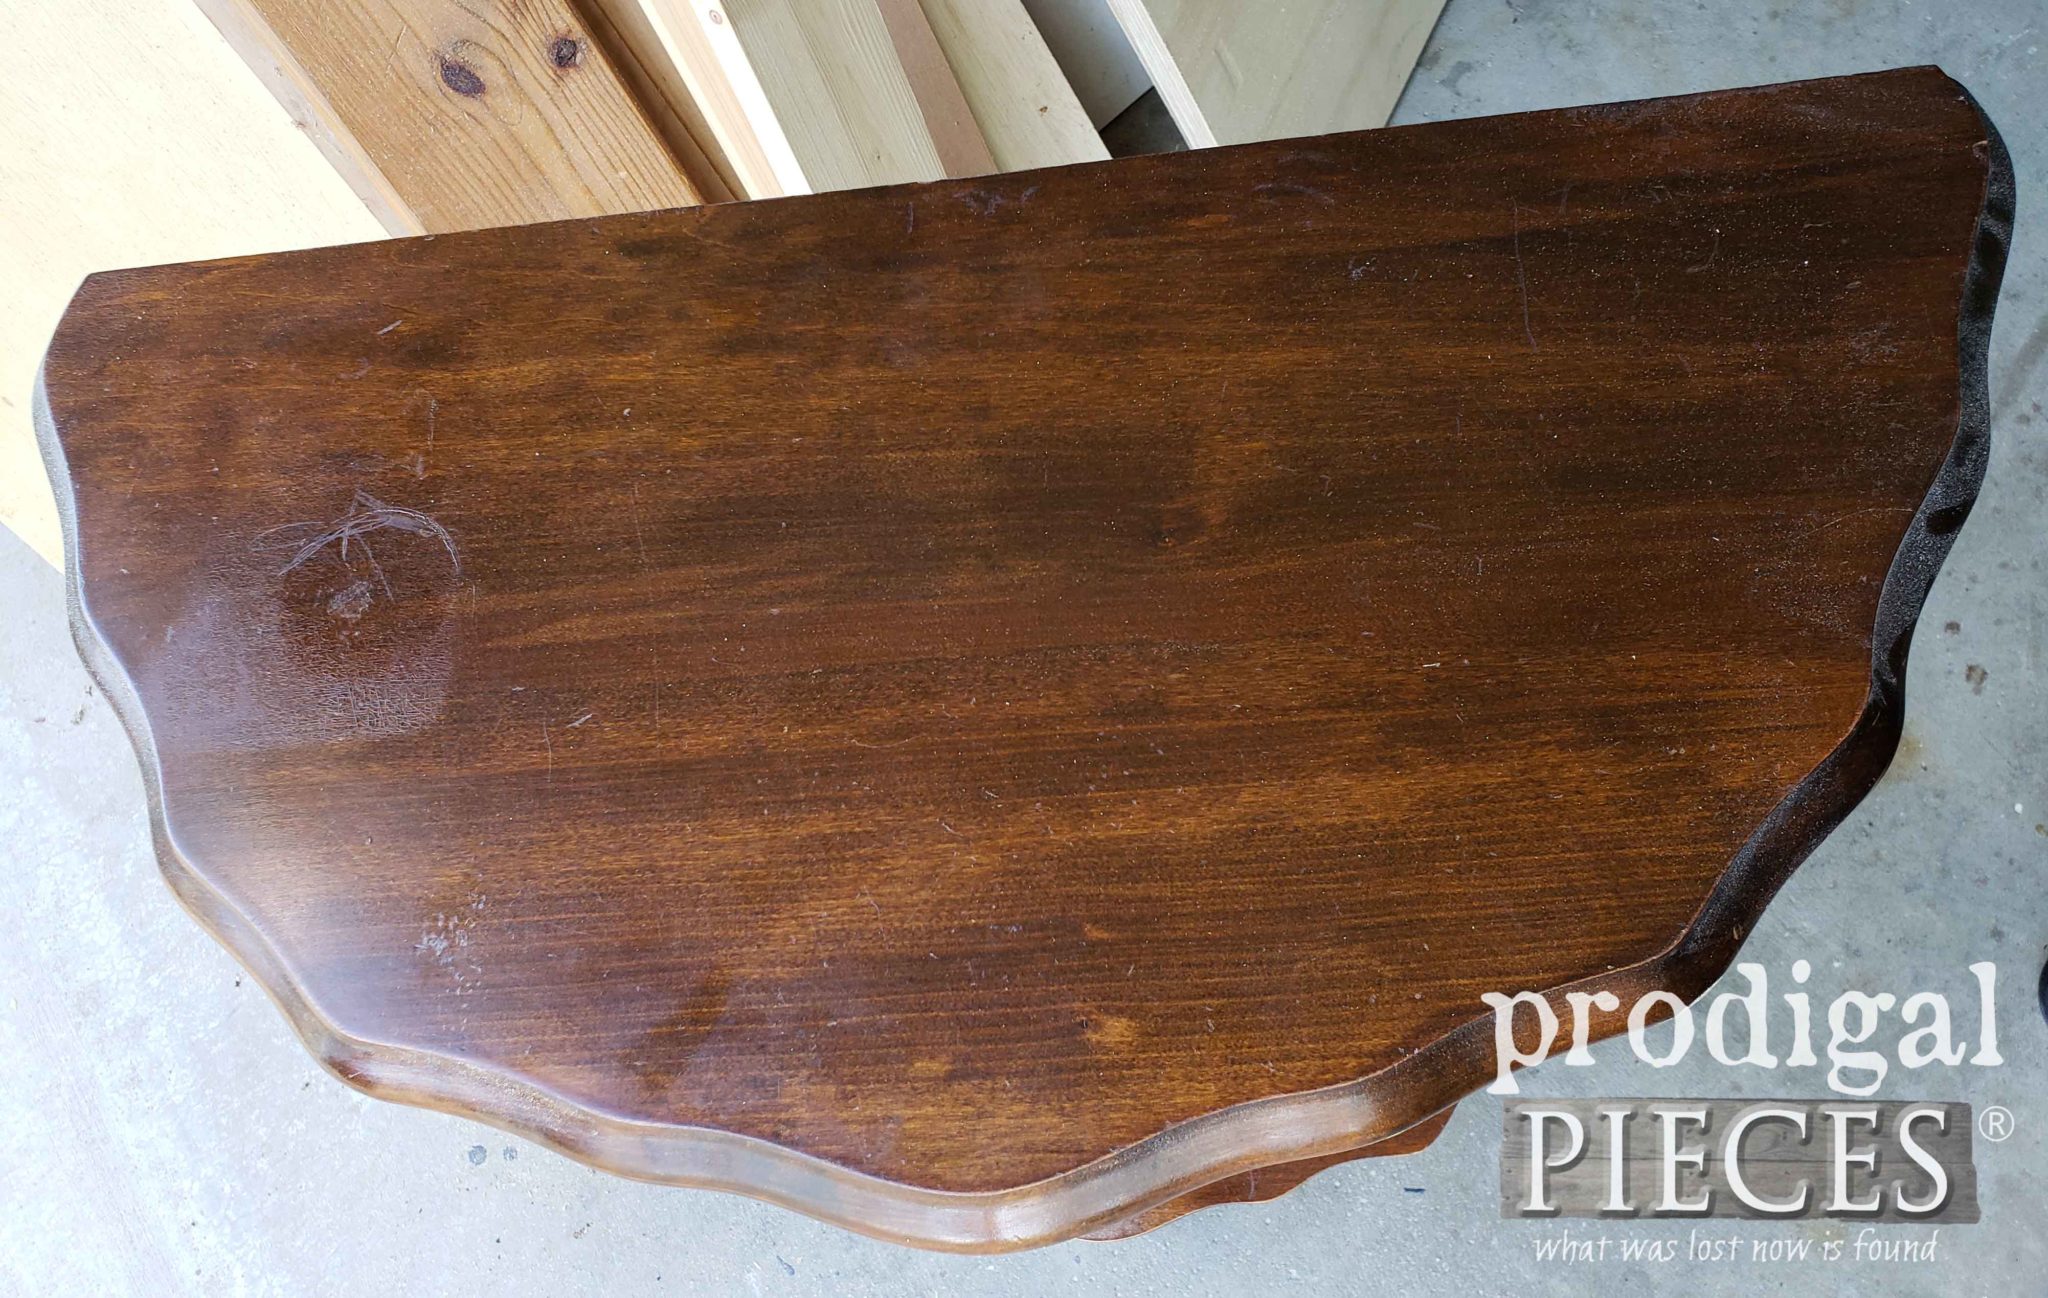
At first glance it sure is cute and looks in great shape. The wear is primarily to the top with heavy scuffs on the edge and water damage and scratches to the top.
However, the bottom is in fair shape and it’s a sturdy little stand. I’ve bought many tables just like this that were in similar condition. I figured that many of you would like to know a simple way to handle this damaged table repair without painting the entire thing or stripping it down. We all know spindles can be no fun to tackle either.
I like to try to retain as much original character as possible in these pieces, but also update them so they don’t have to have doilies on them to cover up the damage.
DIY TIME
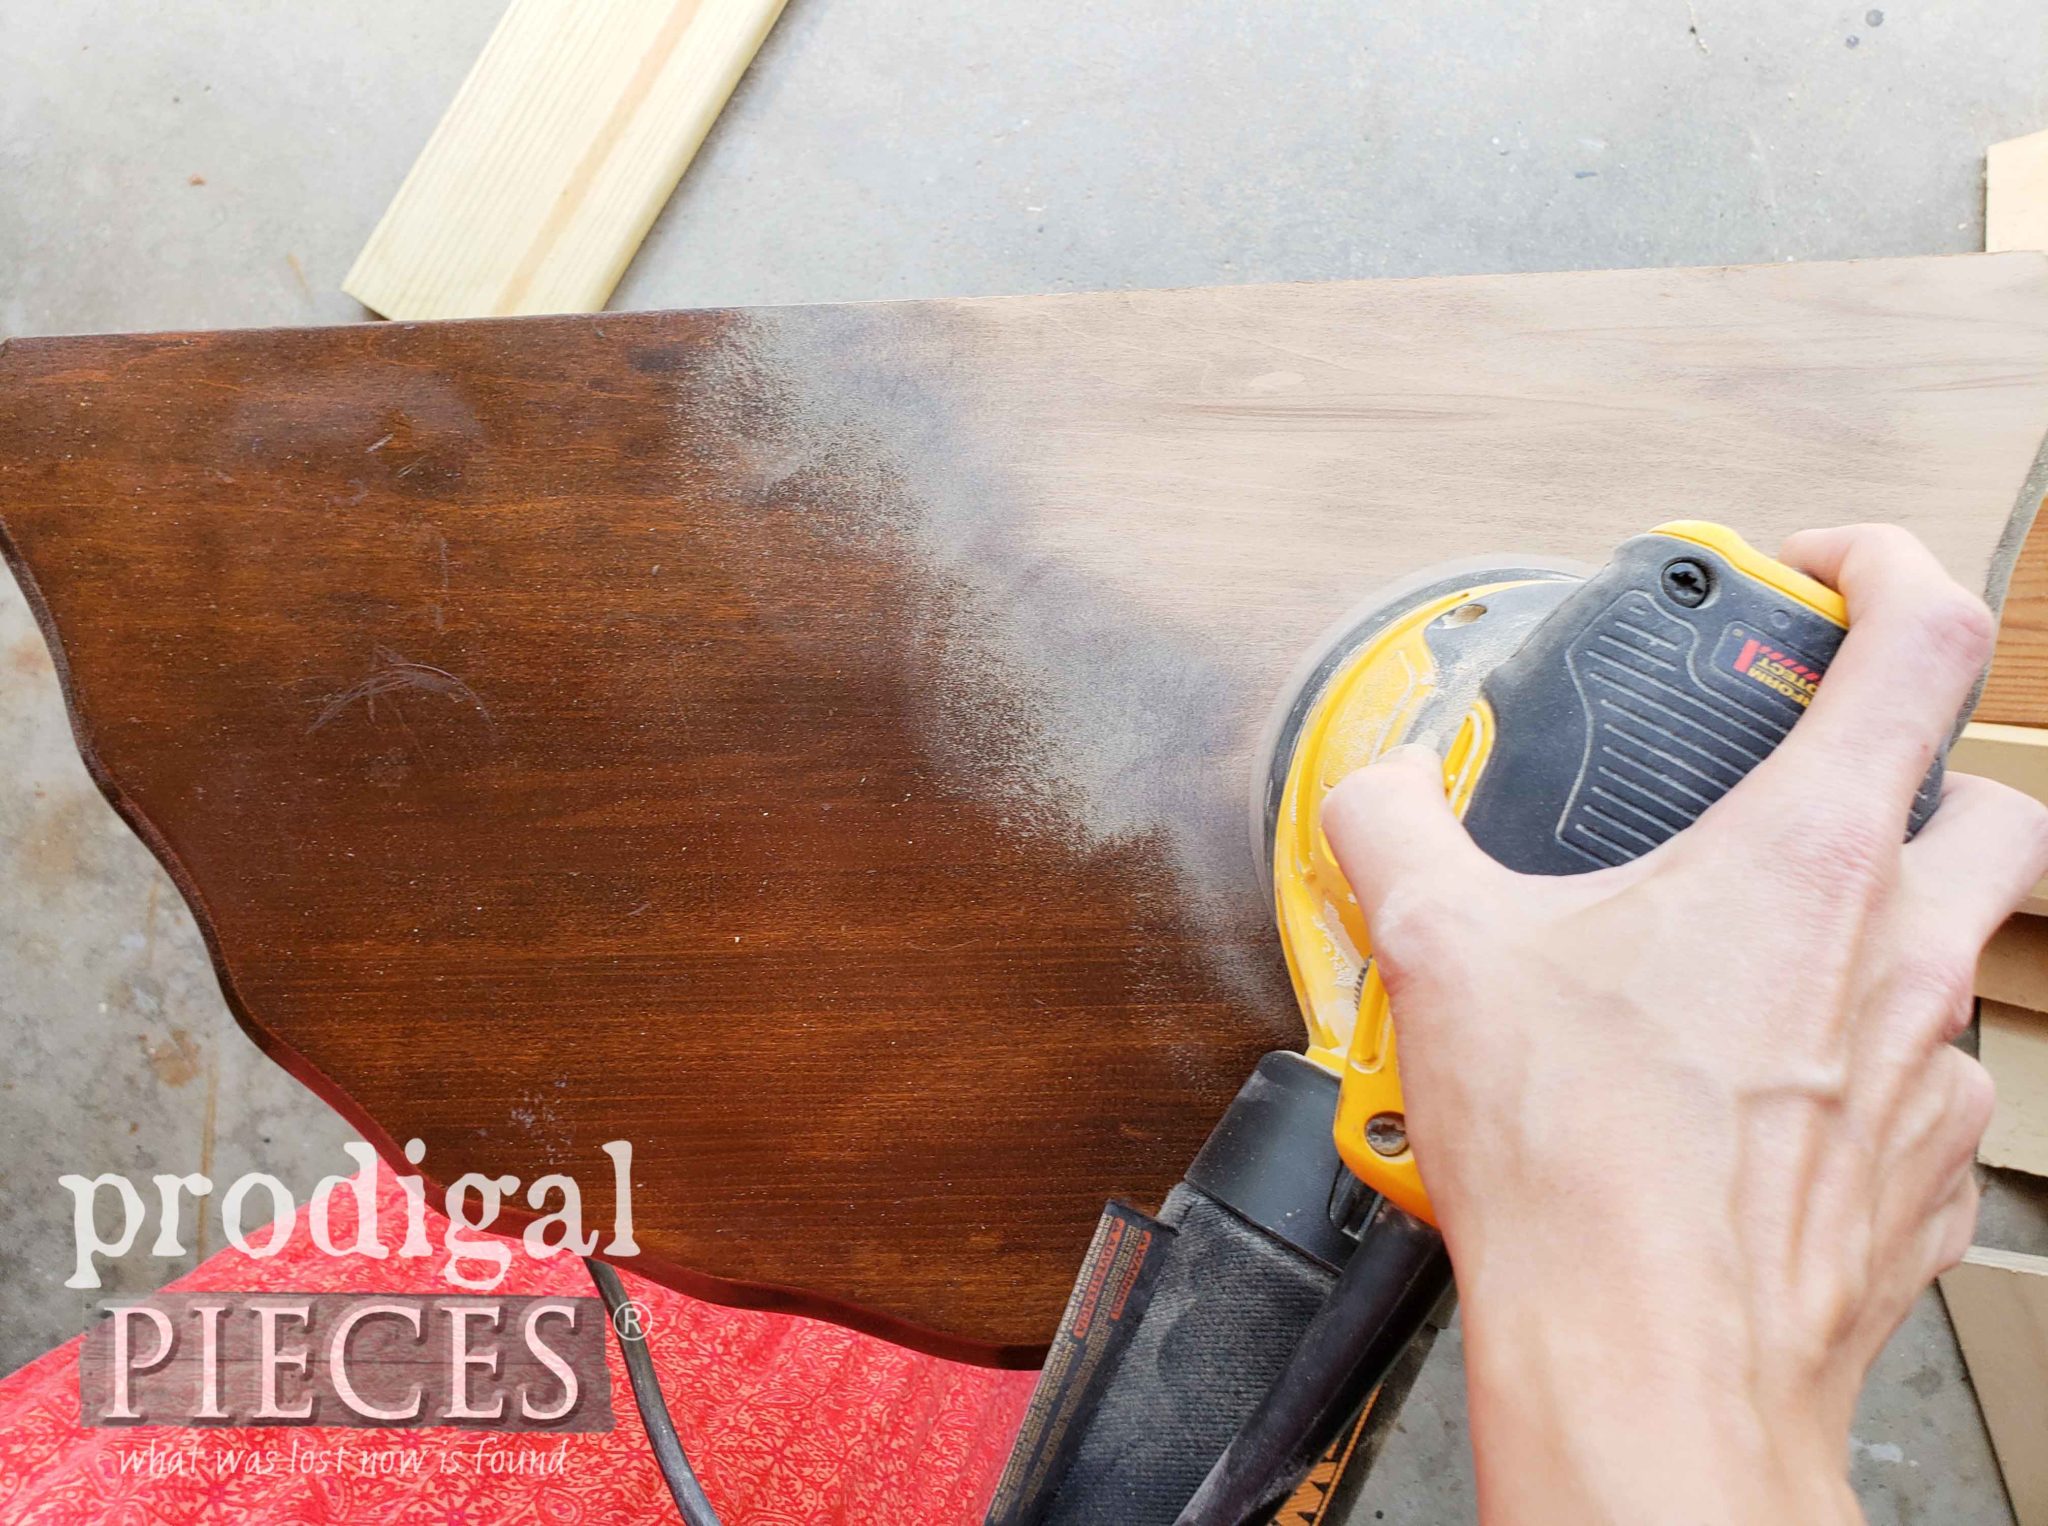
First, I sand off the top finish with my sander and 120 grit paper. Just enough to get the finish off and get rid of the gouges. If you don’t have a sander, you can use a sanding block or a piece of sandpaper stapled around a block of wood.
Be sure to take your time and be gentle, especially if your table has a veneer top. You don’t want to run through it. After your 120 grit, use a 220 grit to smooth it all out.
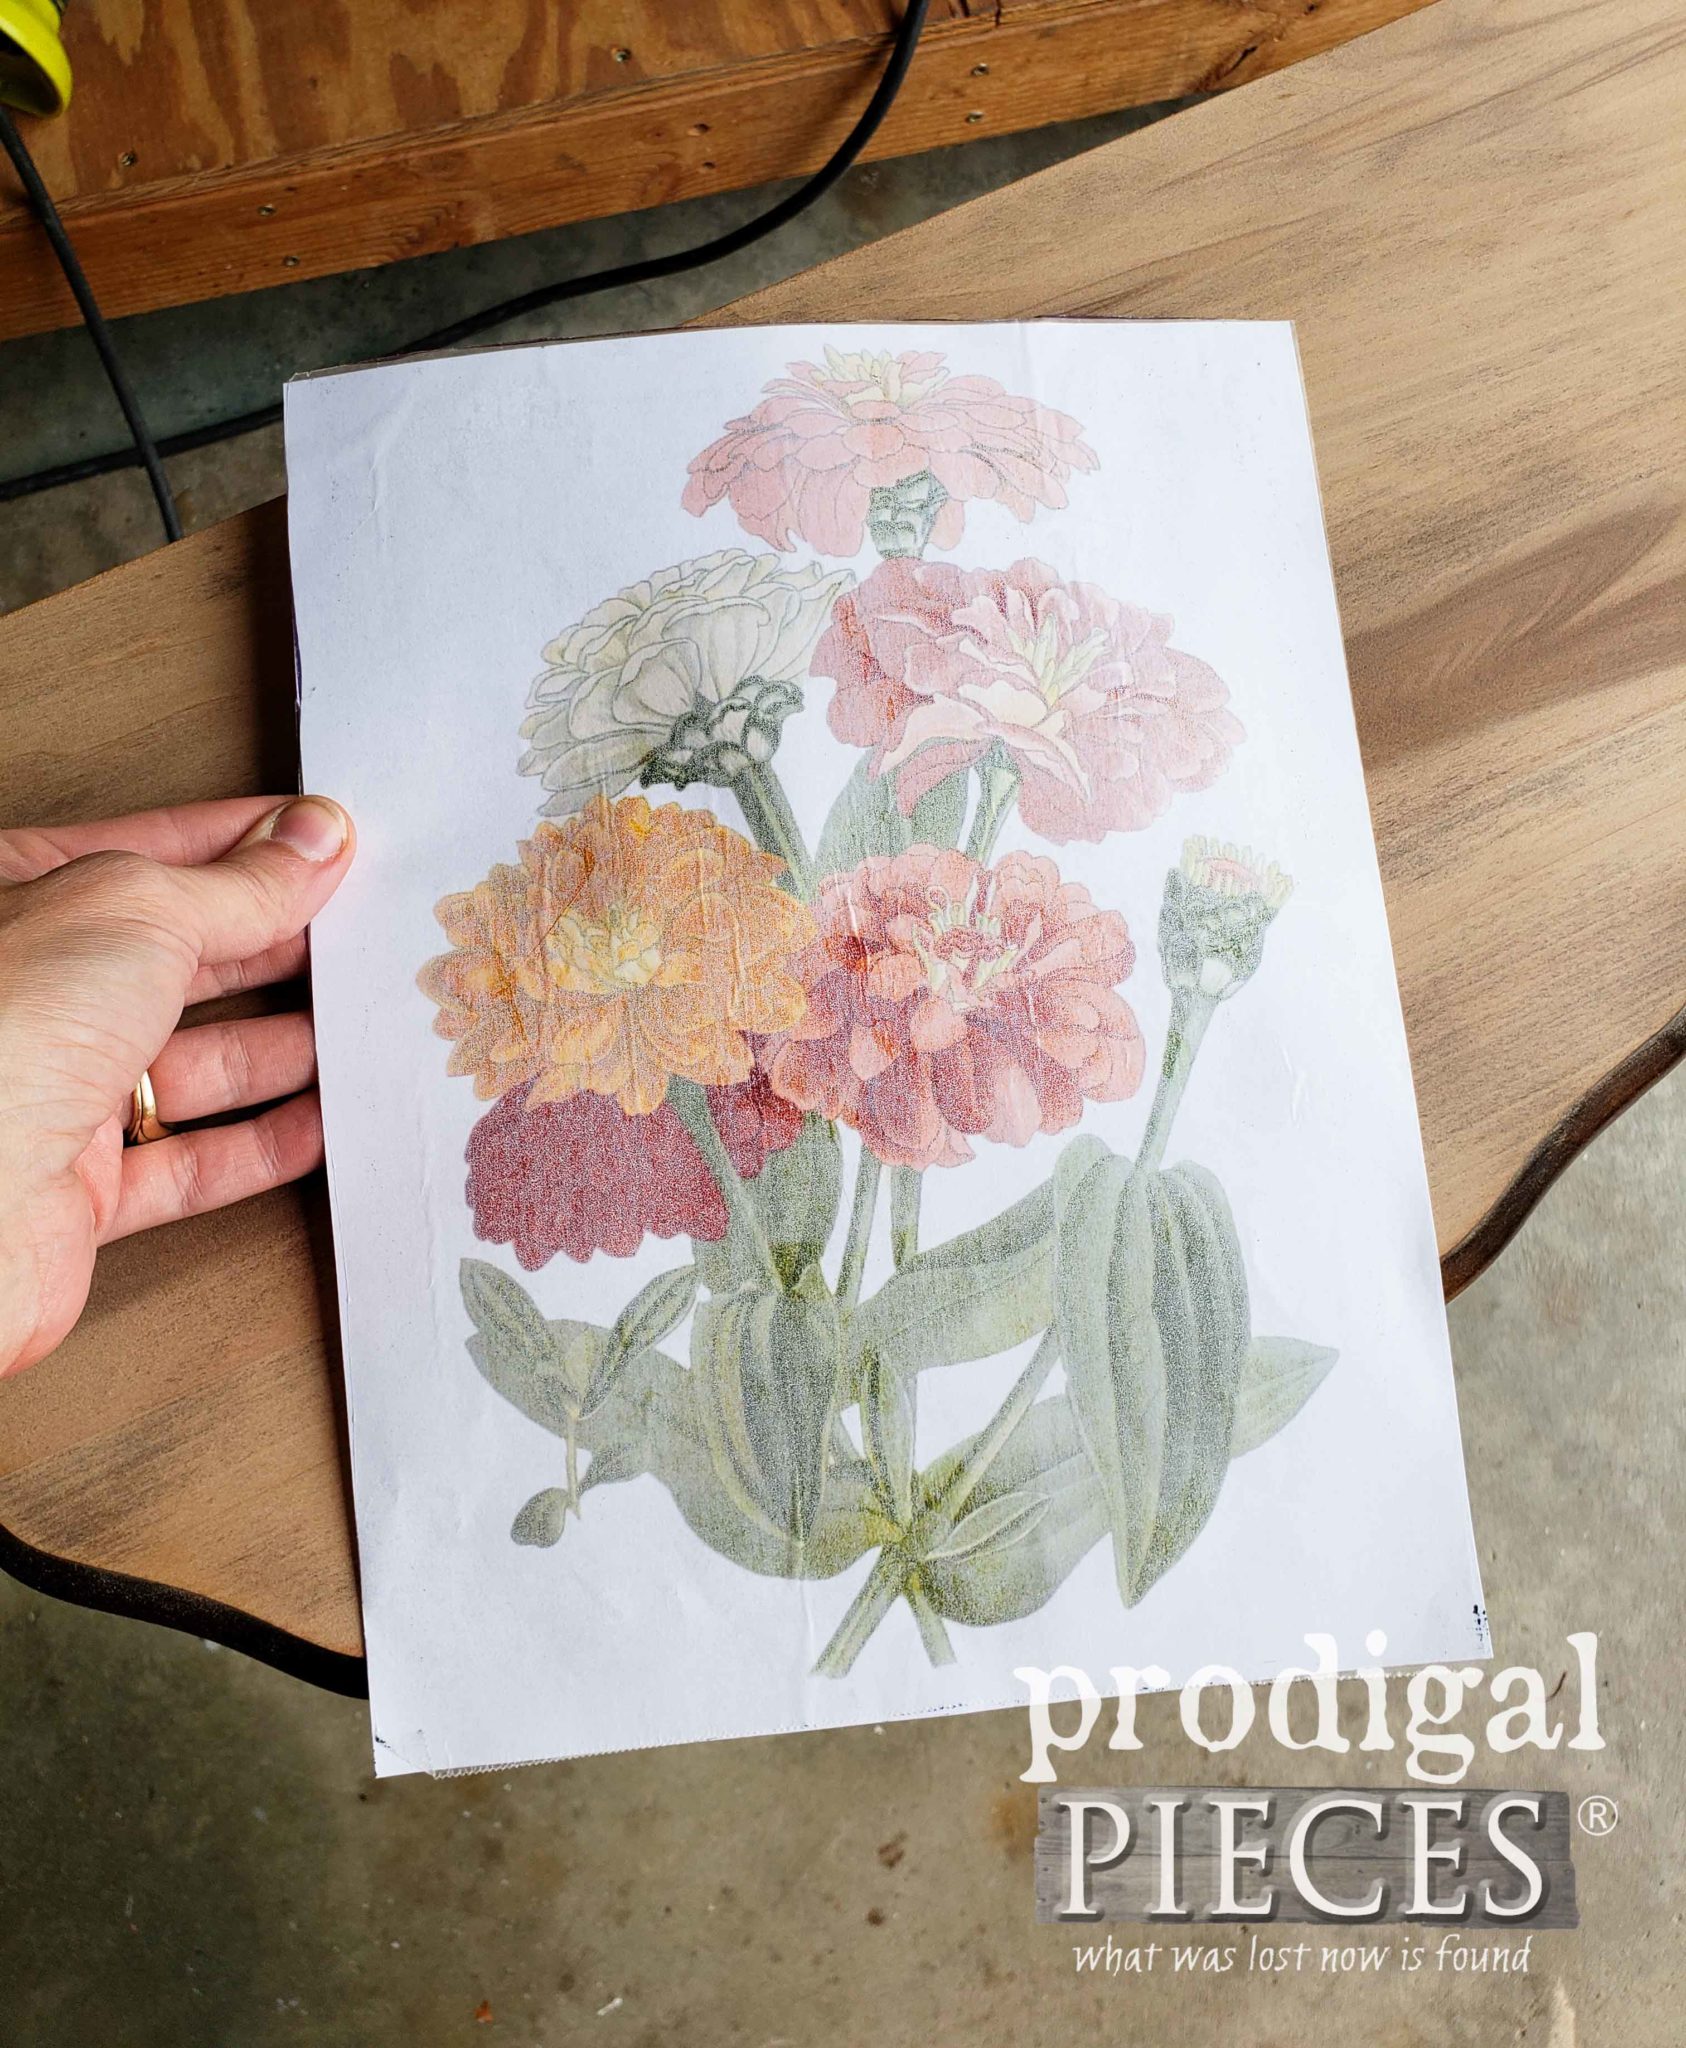
Next, choose or design a graphic that you would like to use. I am after an aged appeal, so I picked out a vintage graphic of zinnias to apply to my table. Make sure to reverse the image since you will be turning it over onto the table top. Cut a piece of wax paper the size of a sheet of office paper. While many of these tutorials tell you to feed it into your inkjet printer as-is, mine never works that way. It gets stuck and causes such a mess.
I found it much easier when I used spray adhesive and lightly sprayed a piece of paper and applied the wax paper to the office paper. The printer grabs it perfectly and your print doesn’t get messed up. You can even print on the back of printable adhesive sheets as those are slick like wax paper and work well.
ADD WHIMSY
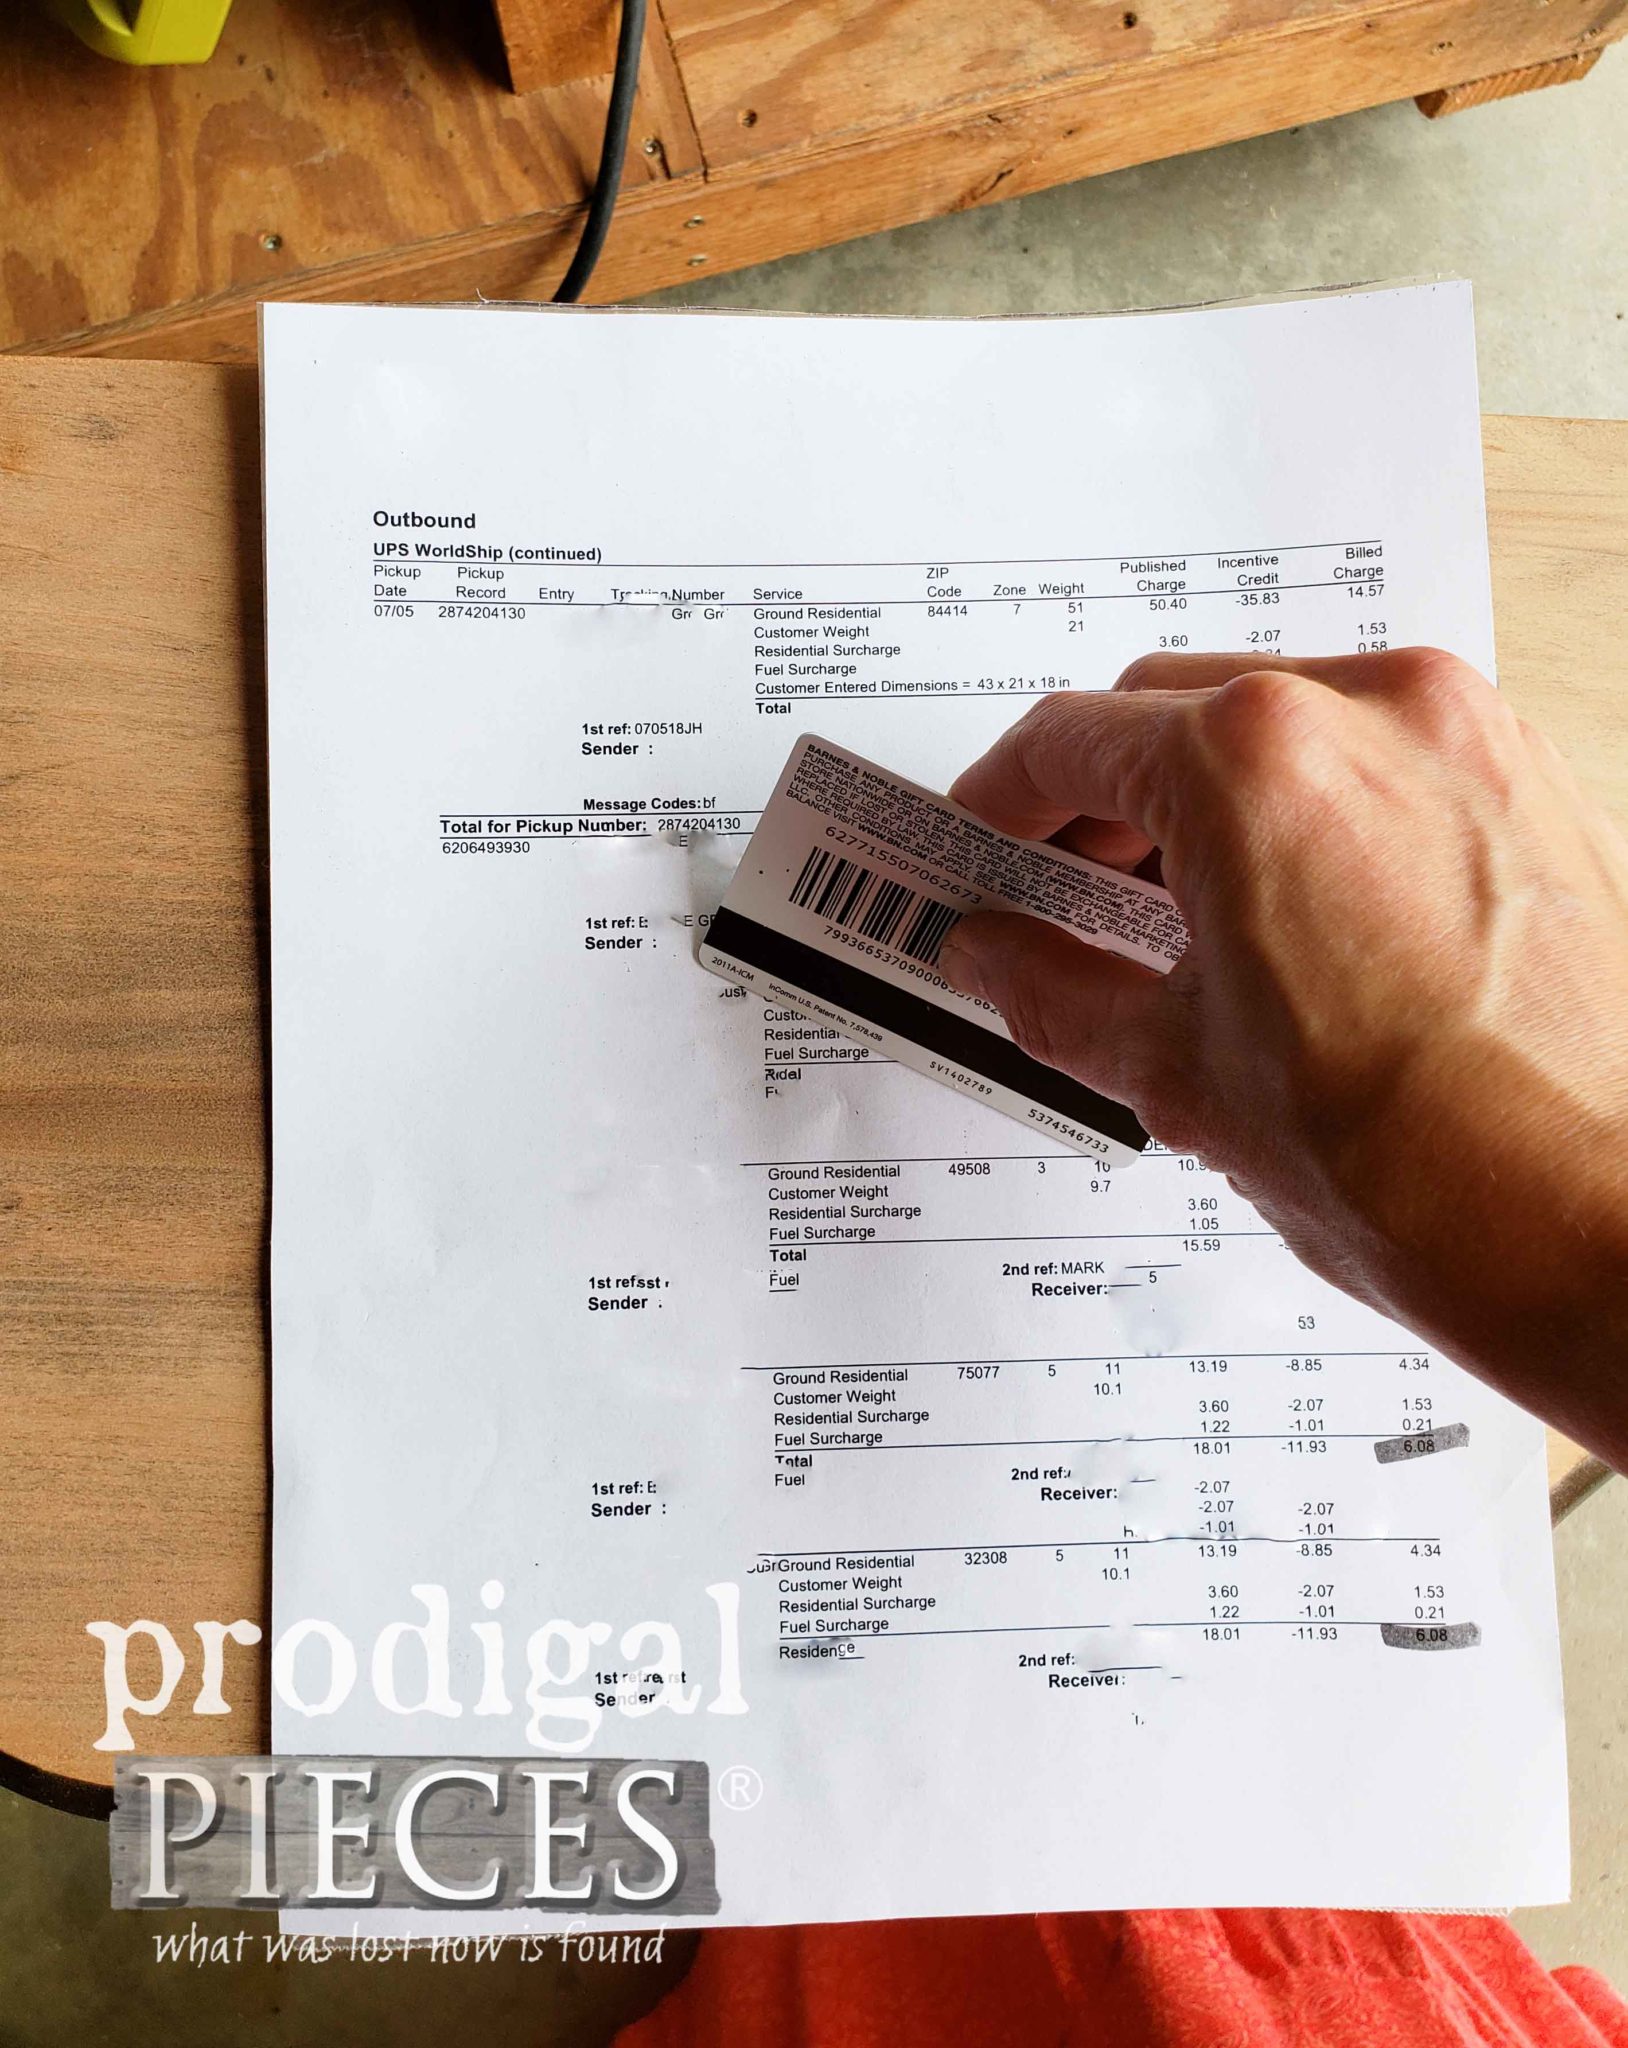
When you’re ready to apply your graphic, flip the paper over and hold it in place with one hand while you use a gift card/credit card to rub it on starting in the center and working your way out. Yes, I used a scrap piece of paper to attach my wax paper to – recycling is always cool.
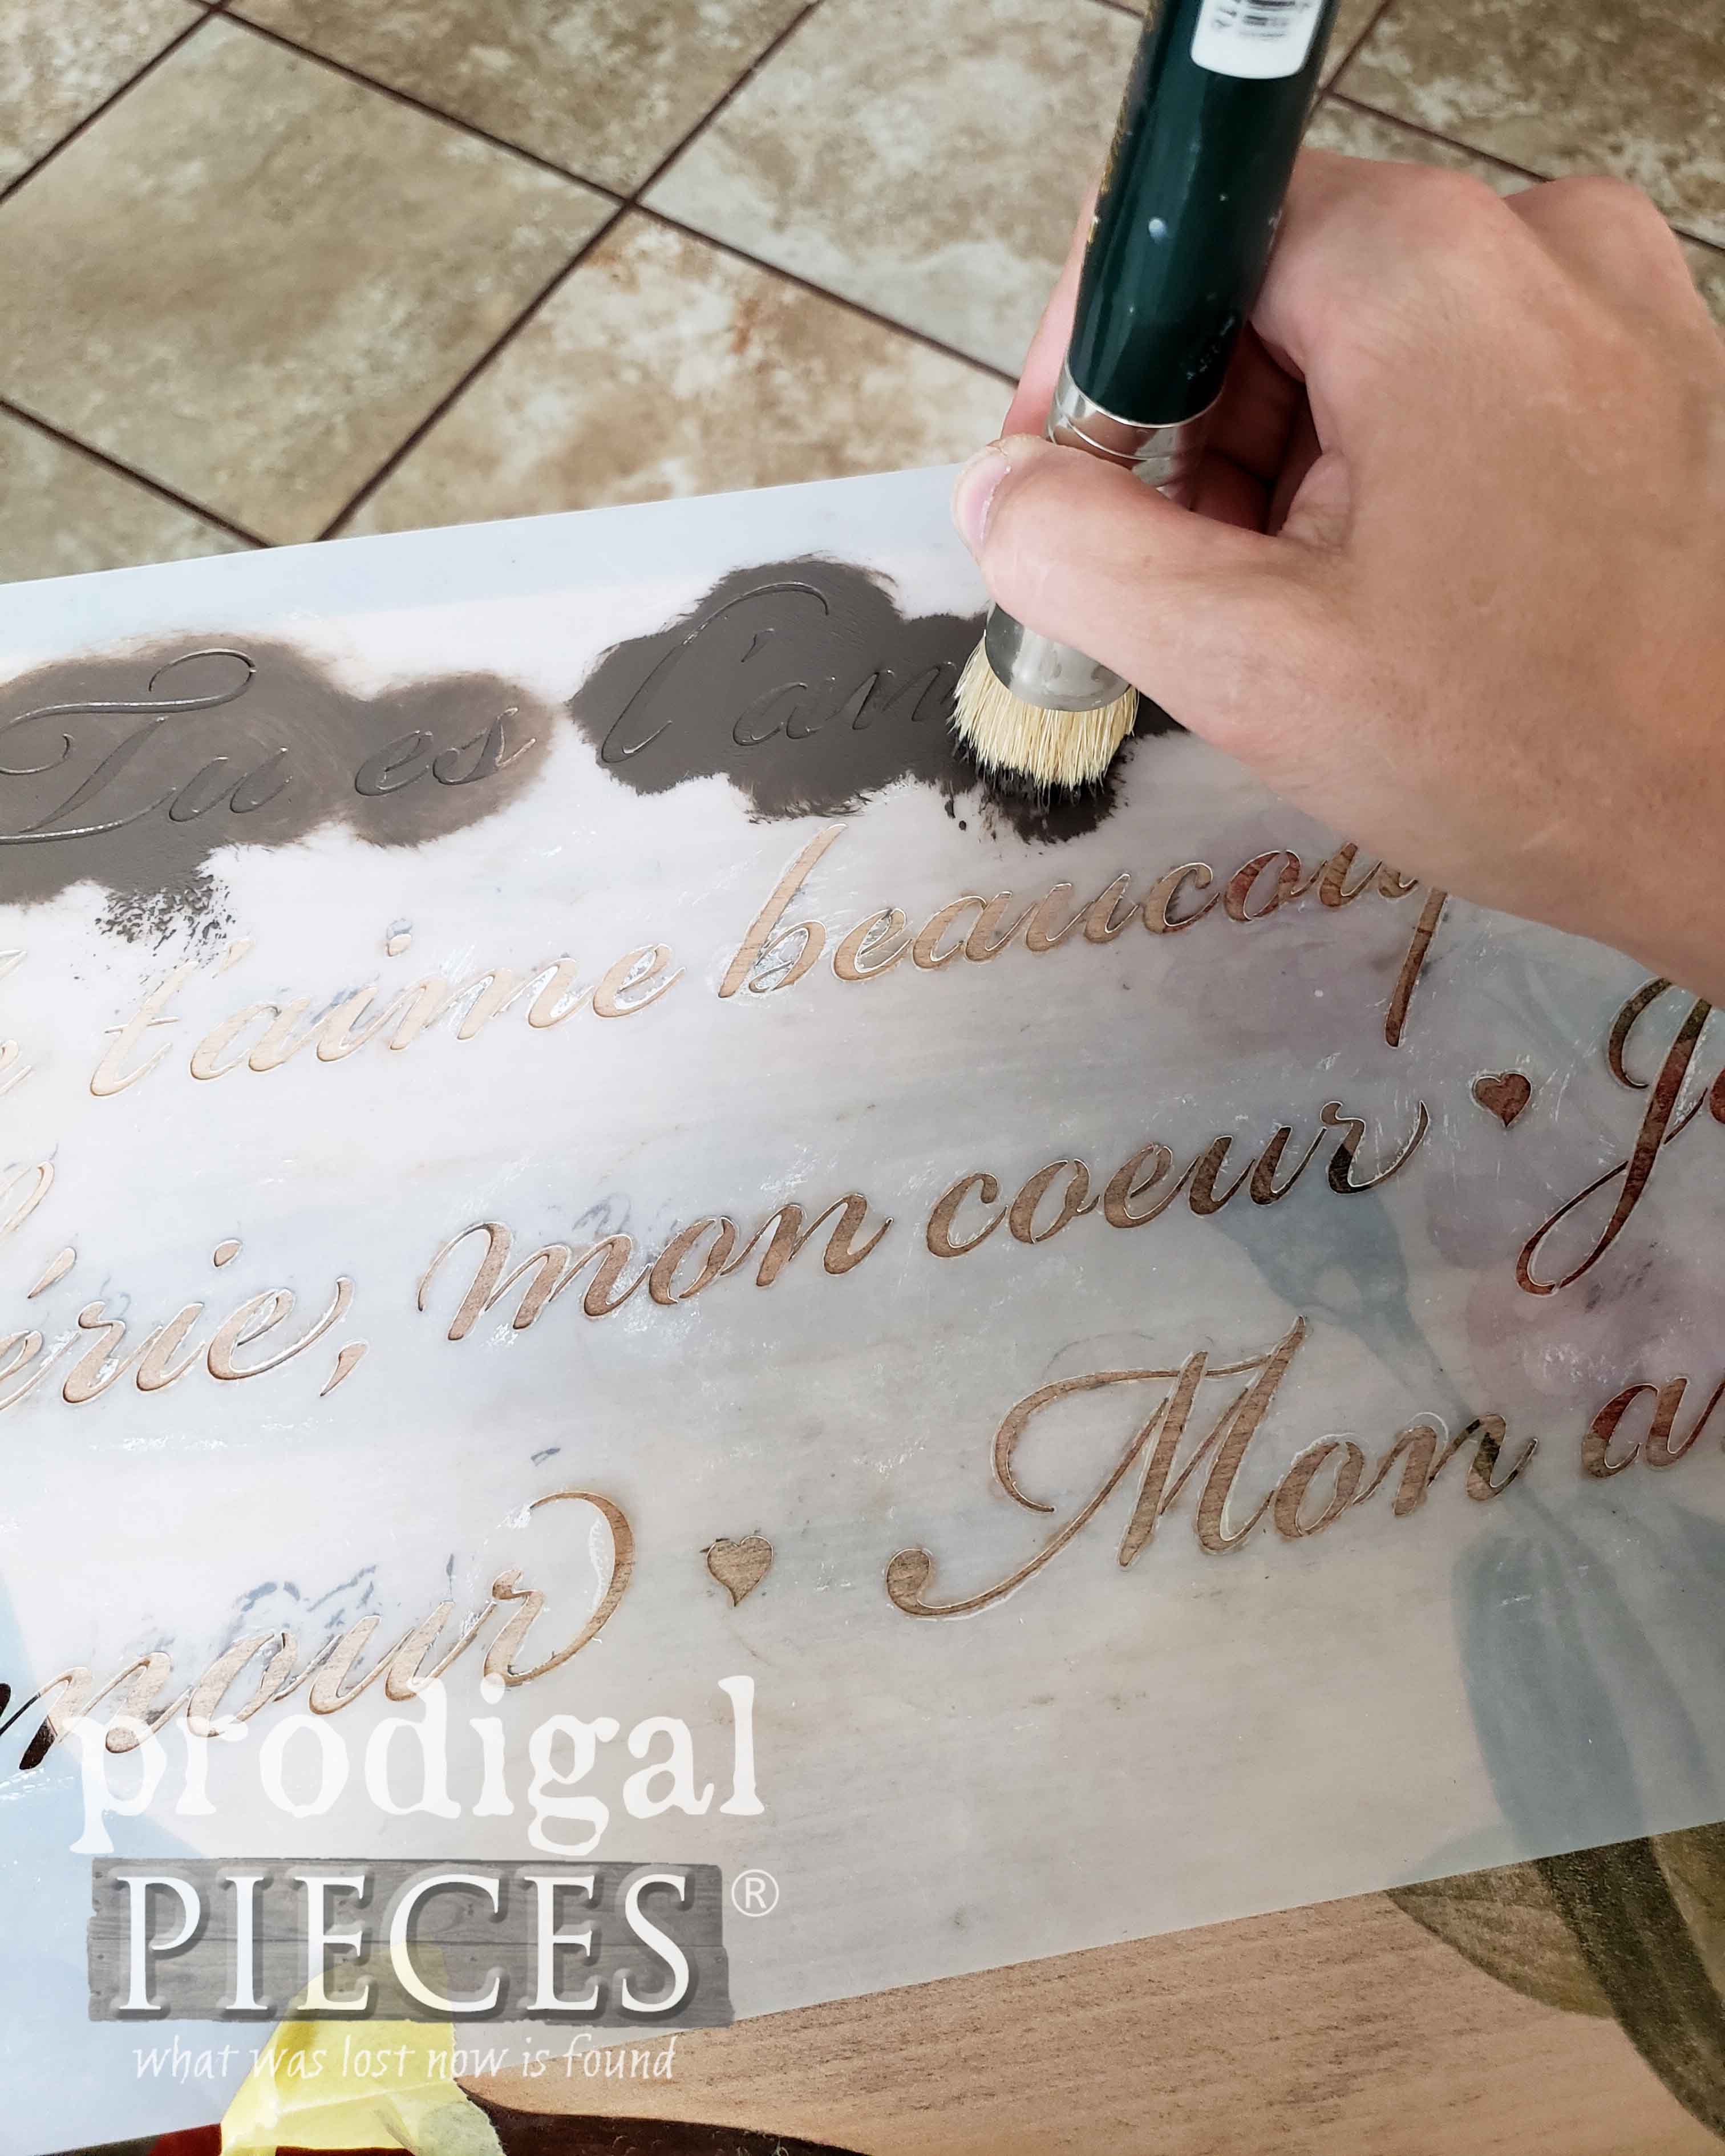
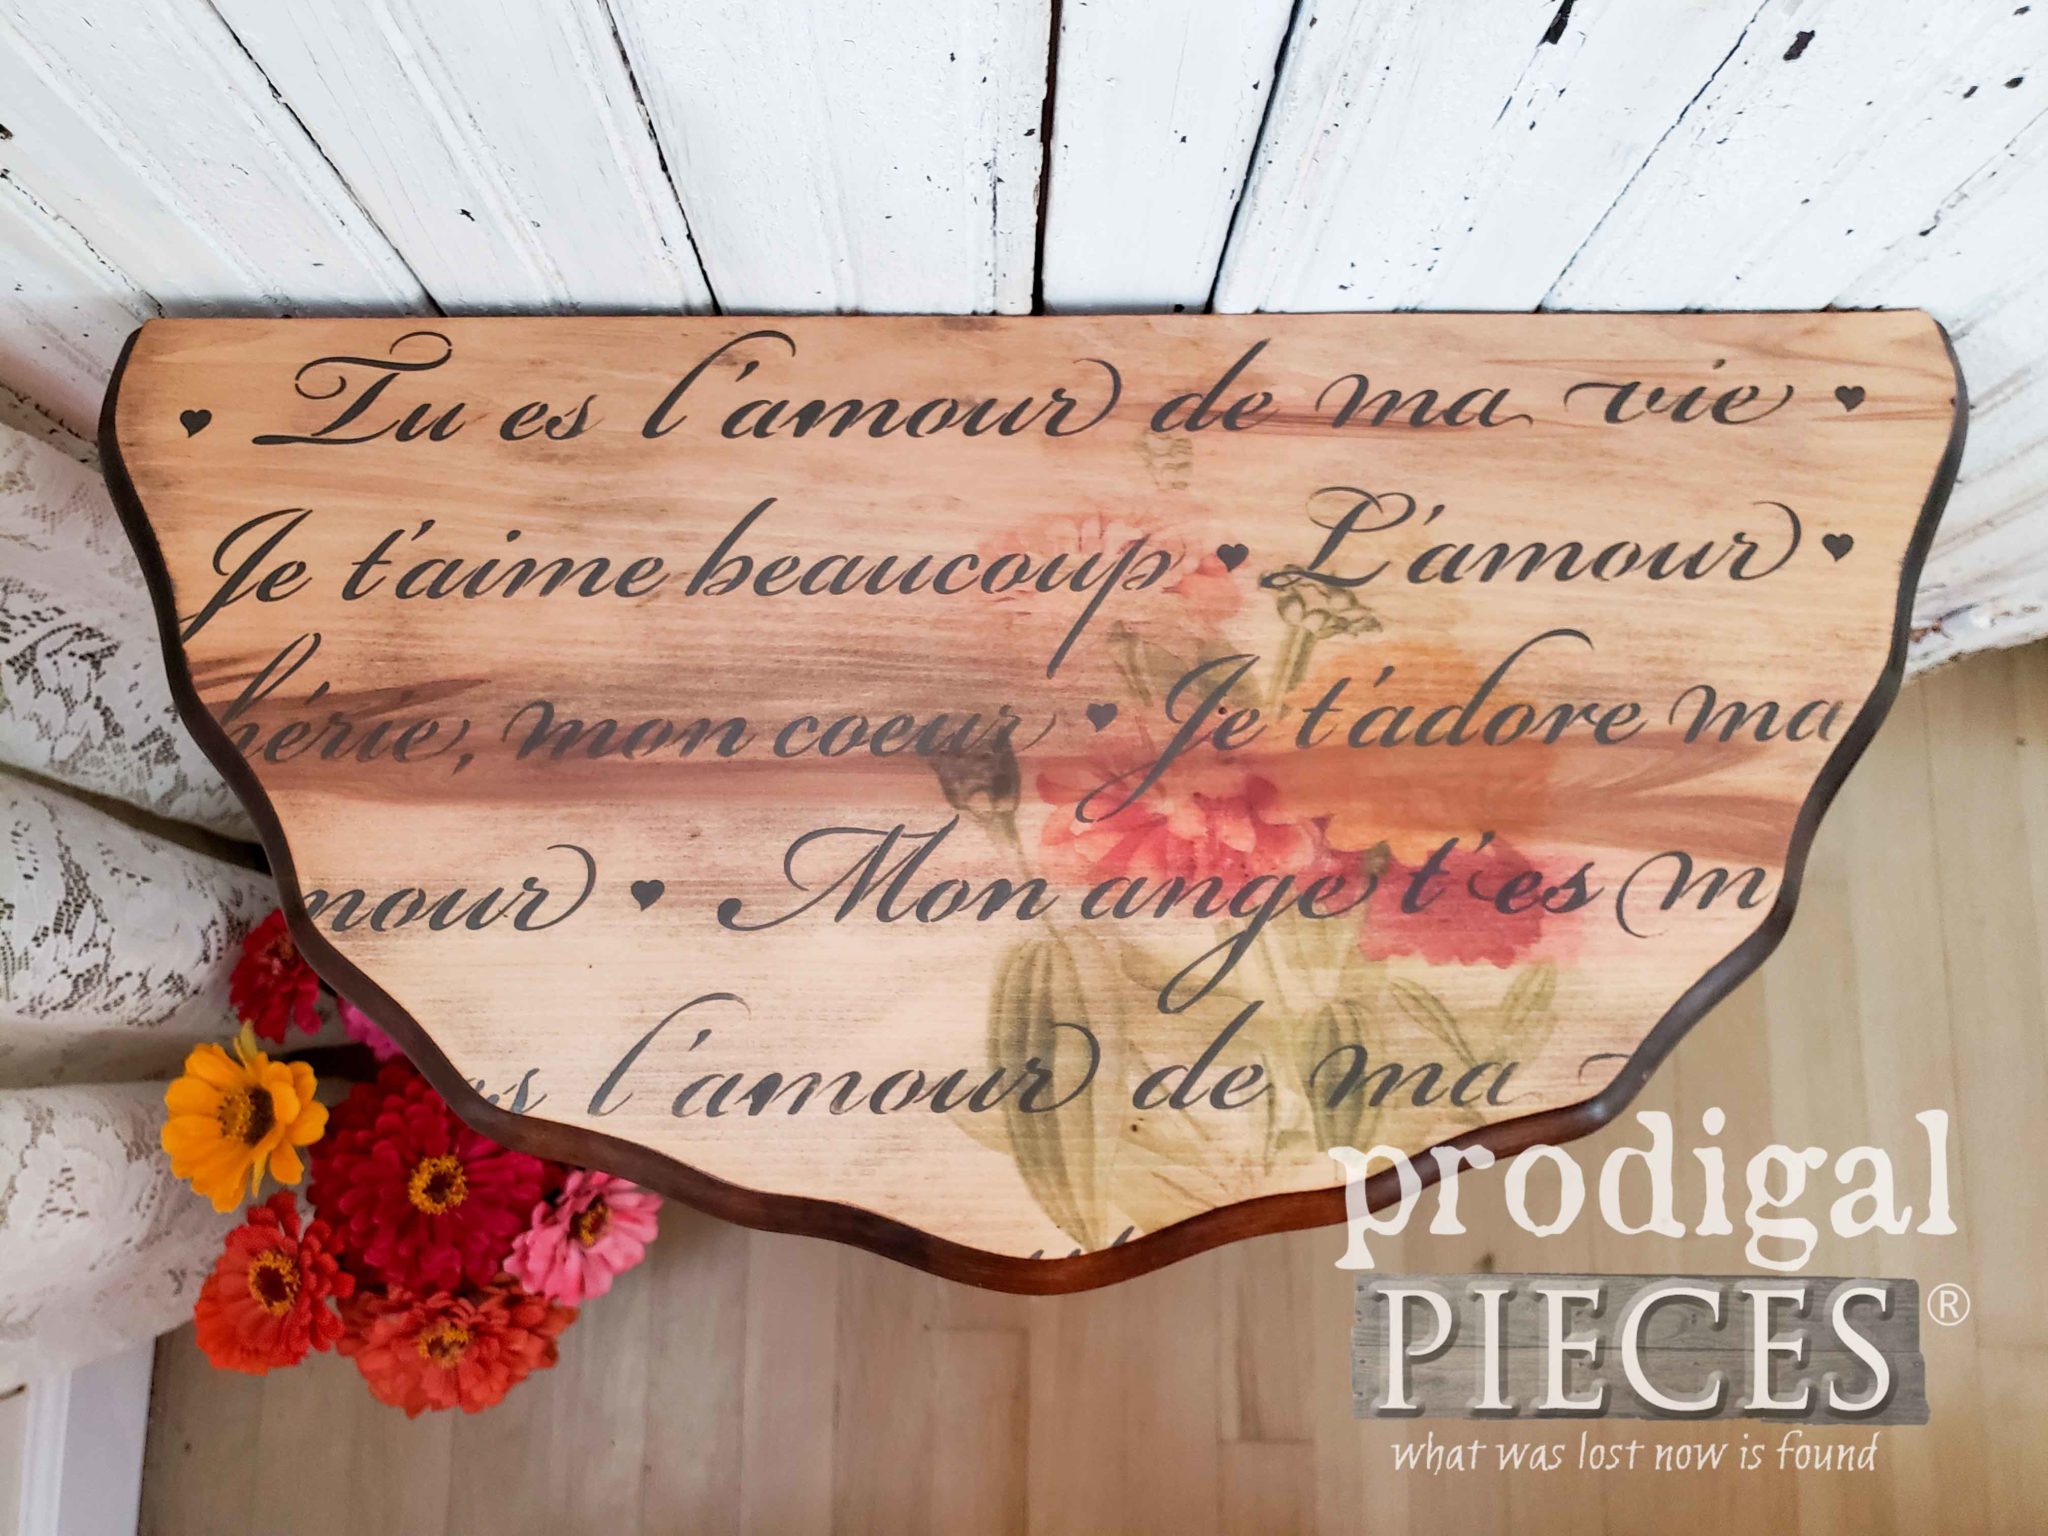
Now your image is on and time to add a little more dimension. For my table, I chose to use a French script stencil that reads:
I adore you my darling, my heart
I love you very much My angel, you are my love
You are the love of my life
Love
You can see how I’ve used it on other past pieces of furniture in these posts. I chose to use a soft brown latex paint that would compliment the color of the stain used on my table. The trick to good stenciling is to measure to line it up level, tape it down with FrogTape, and keep in mind less is more when picking up your paint. I like to get a bit of paint on the end of my stencil brush, dab it off on some scrap cardboard, then gently swirl my brush to fill the stencil, making sure to hold the stencil flat and still.
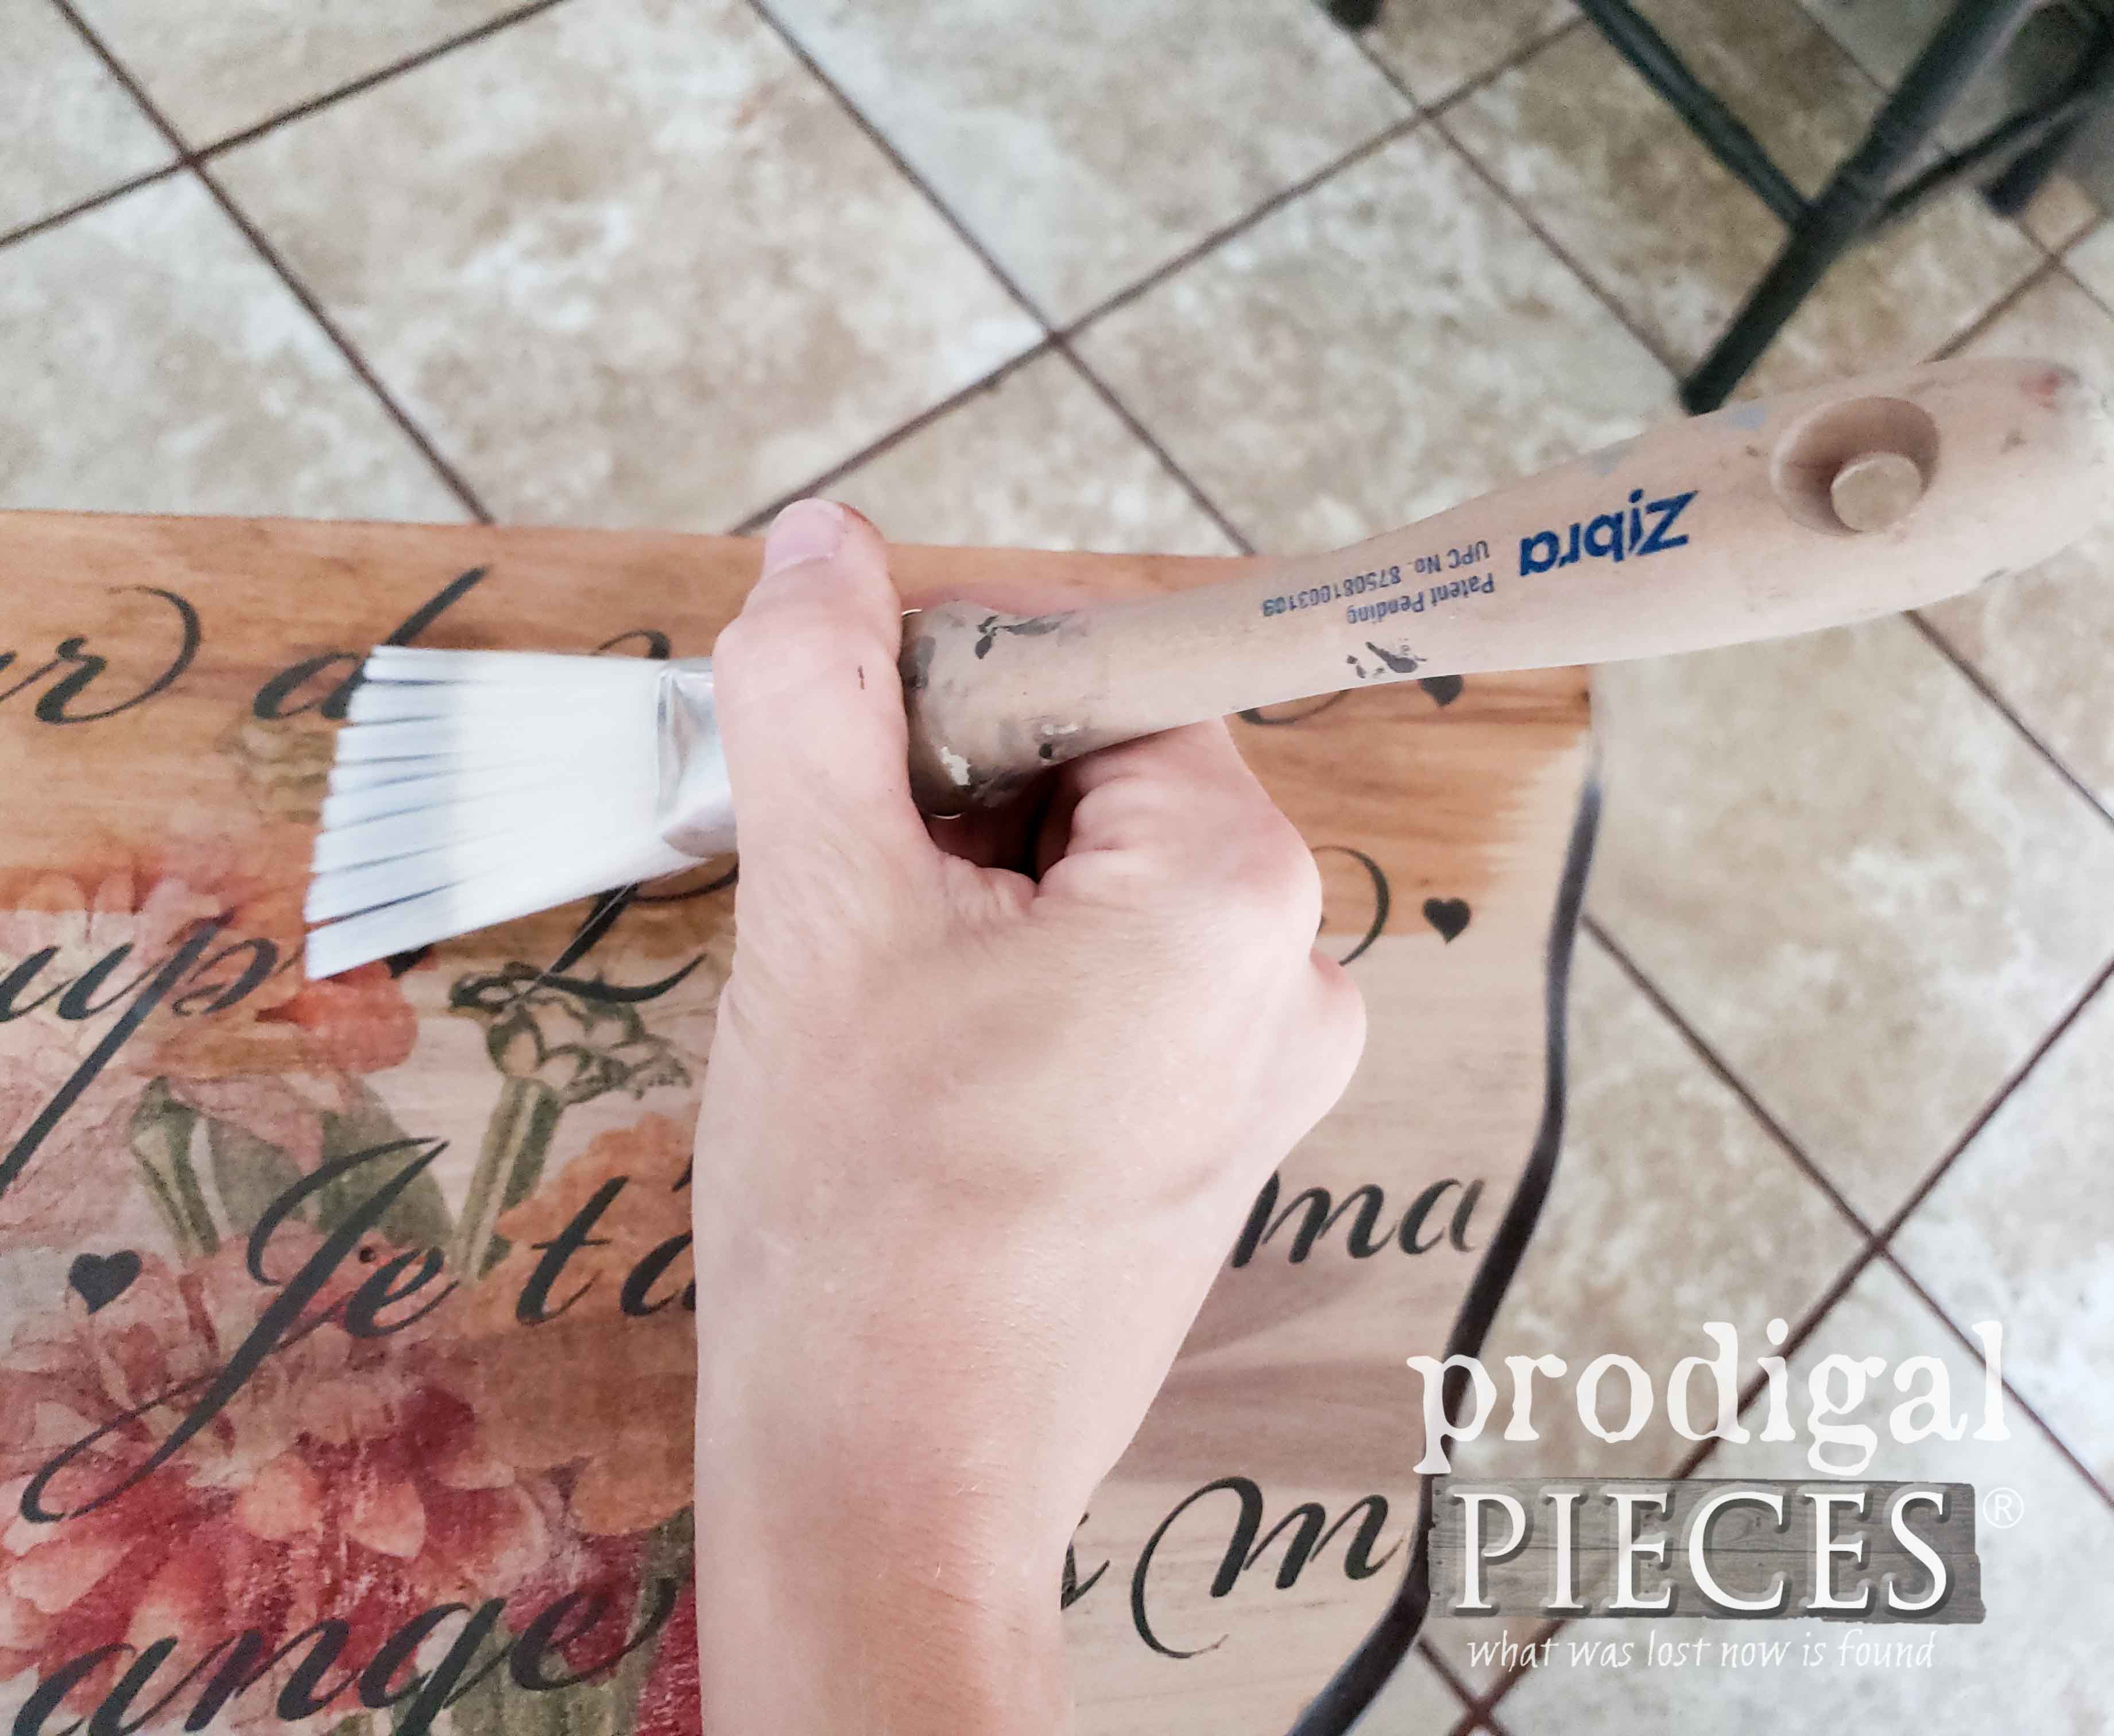
Now your stenciling is done and cured for about two hours, and it’s time to add the topcoat. For my project I used two coats of a satin poly with my paint brush (click to see all 8 styles available). Between each coat I let it cure for two hours. Before applying the second coat I used steel wool to lightly sand it to promote adhesion.
GARDEN FUN
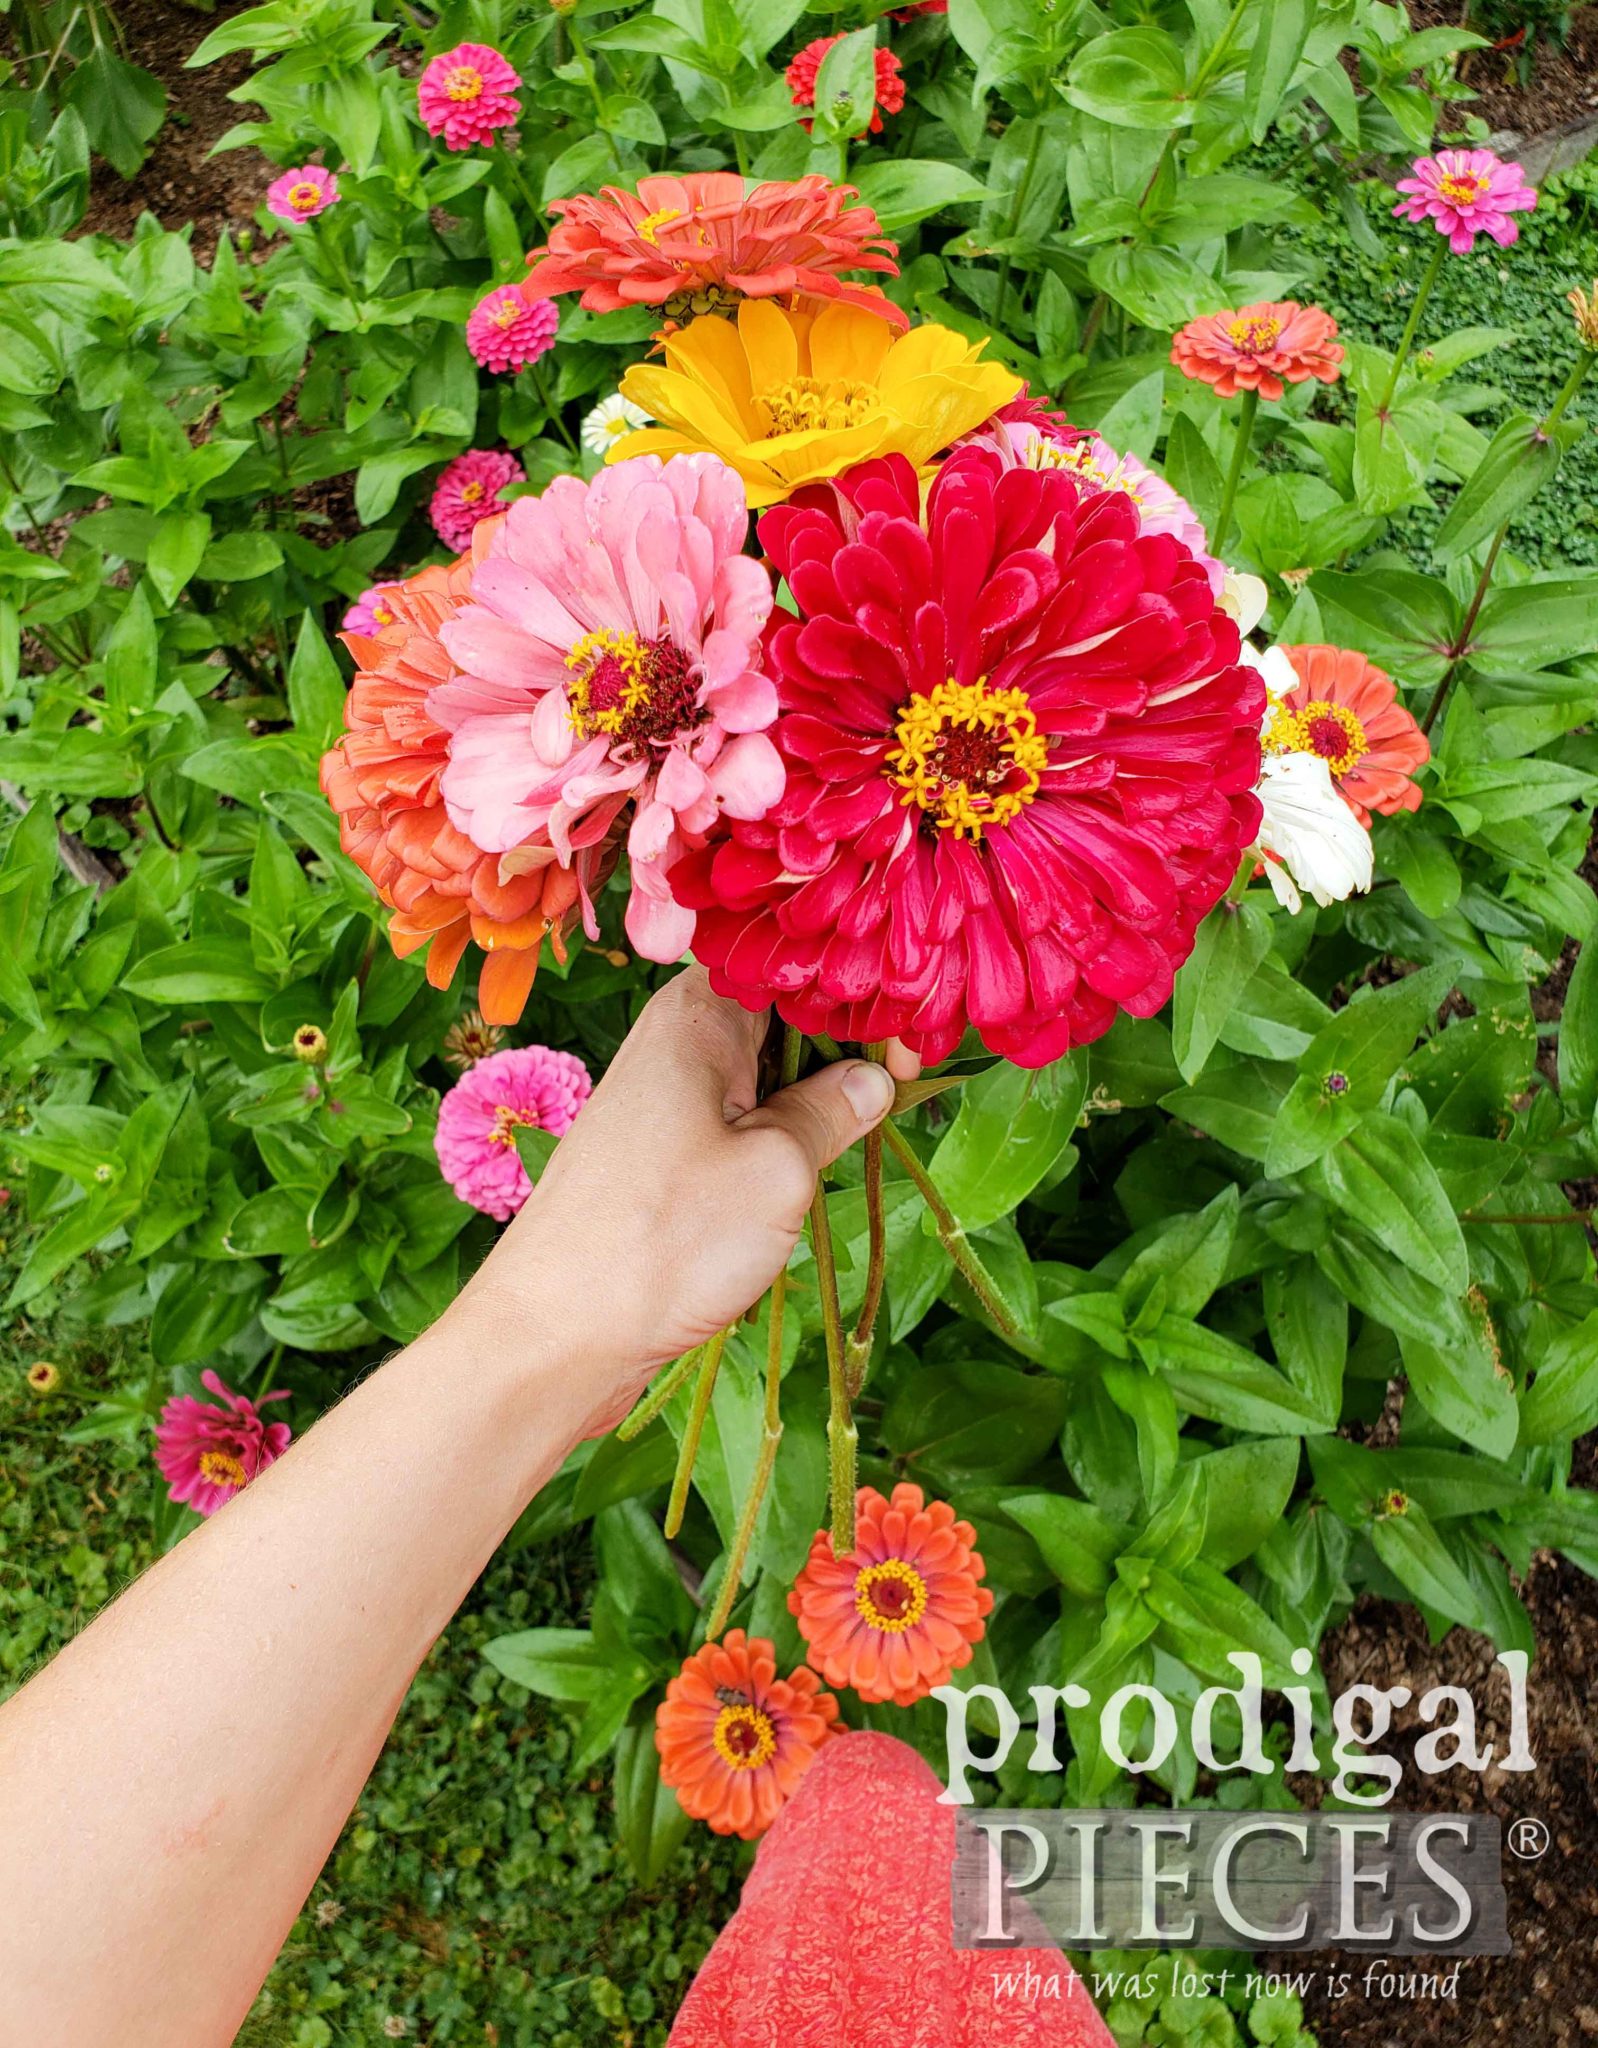
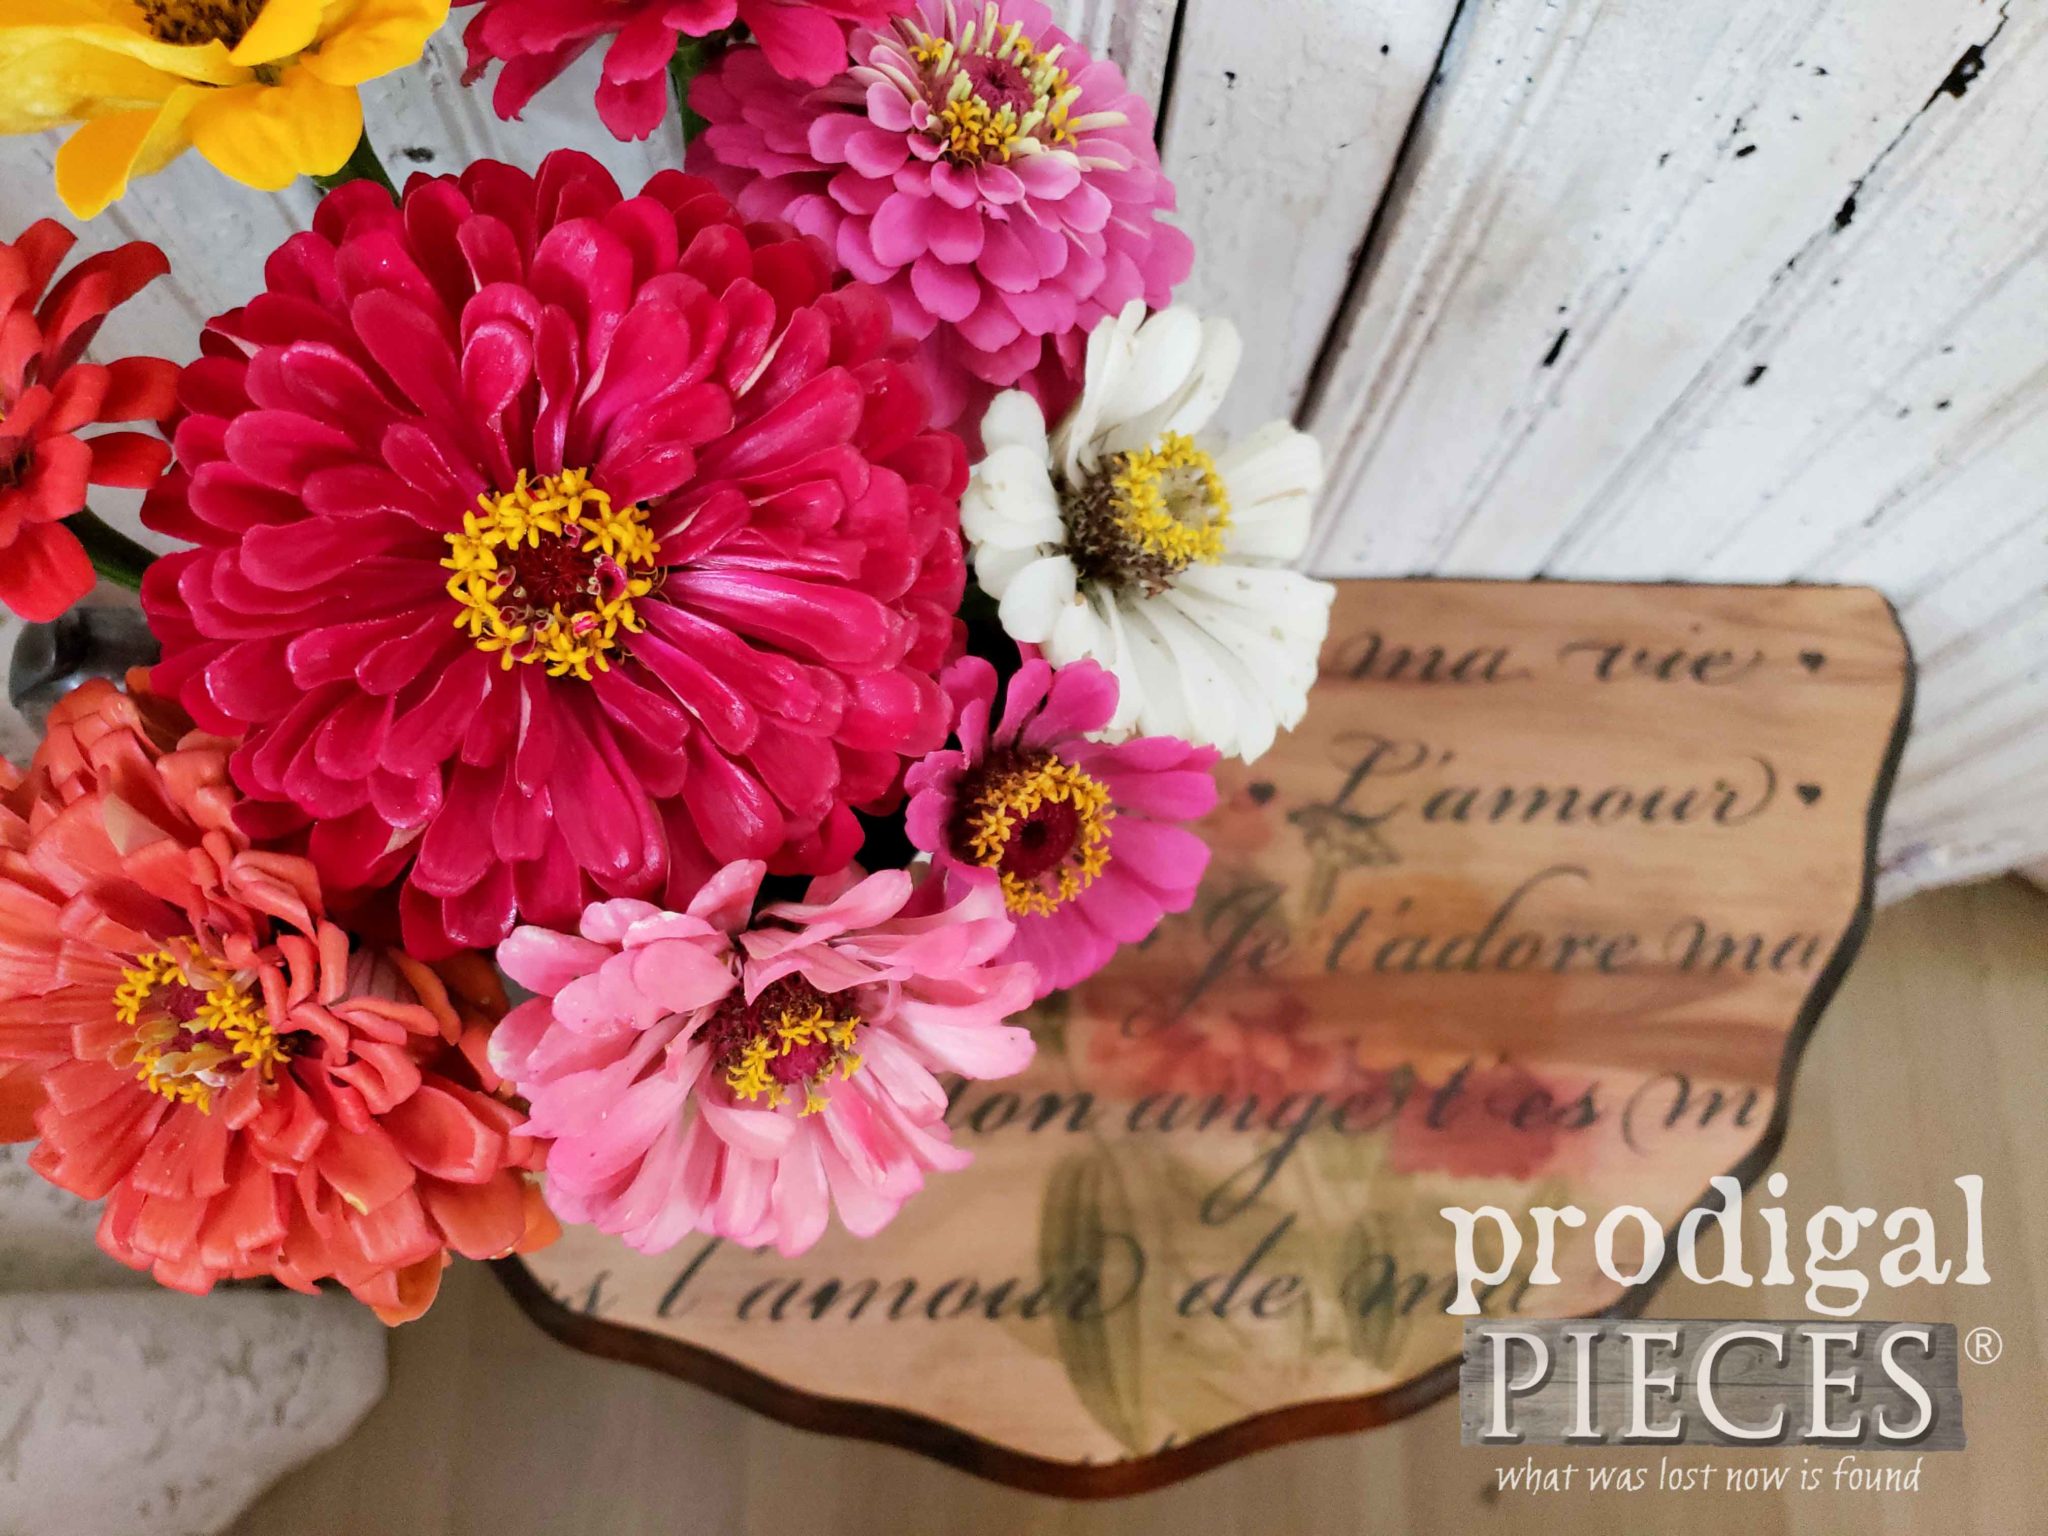
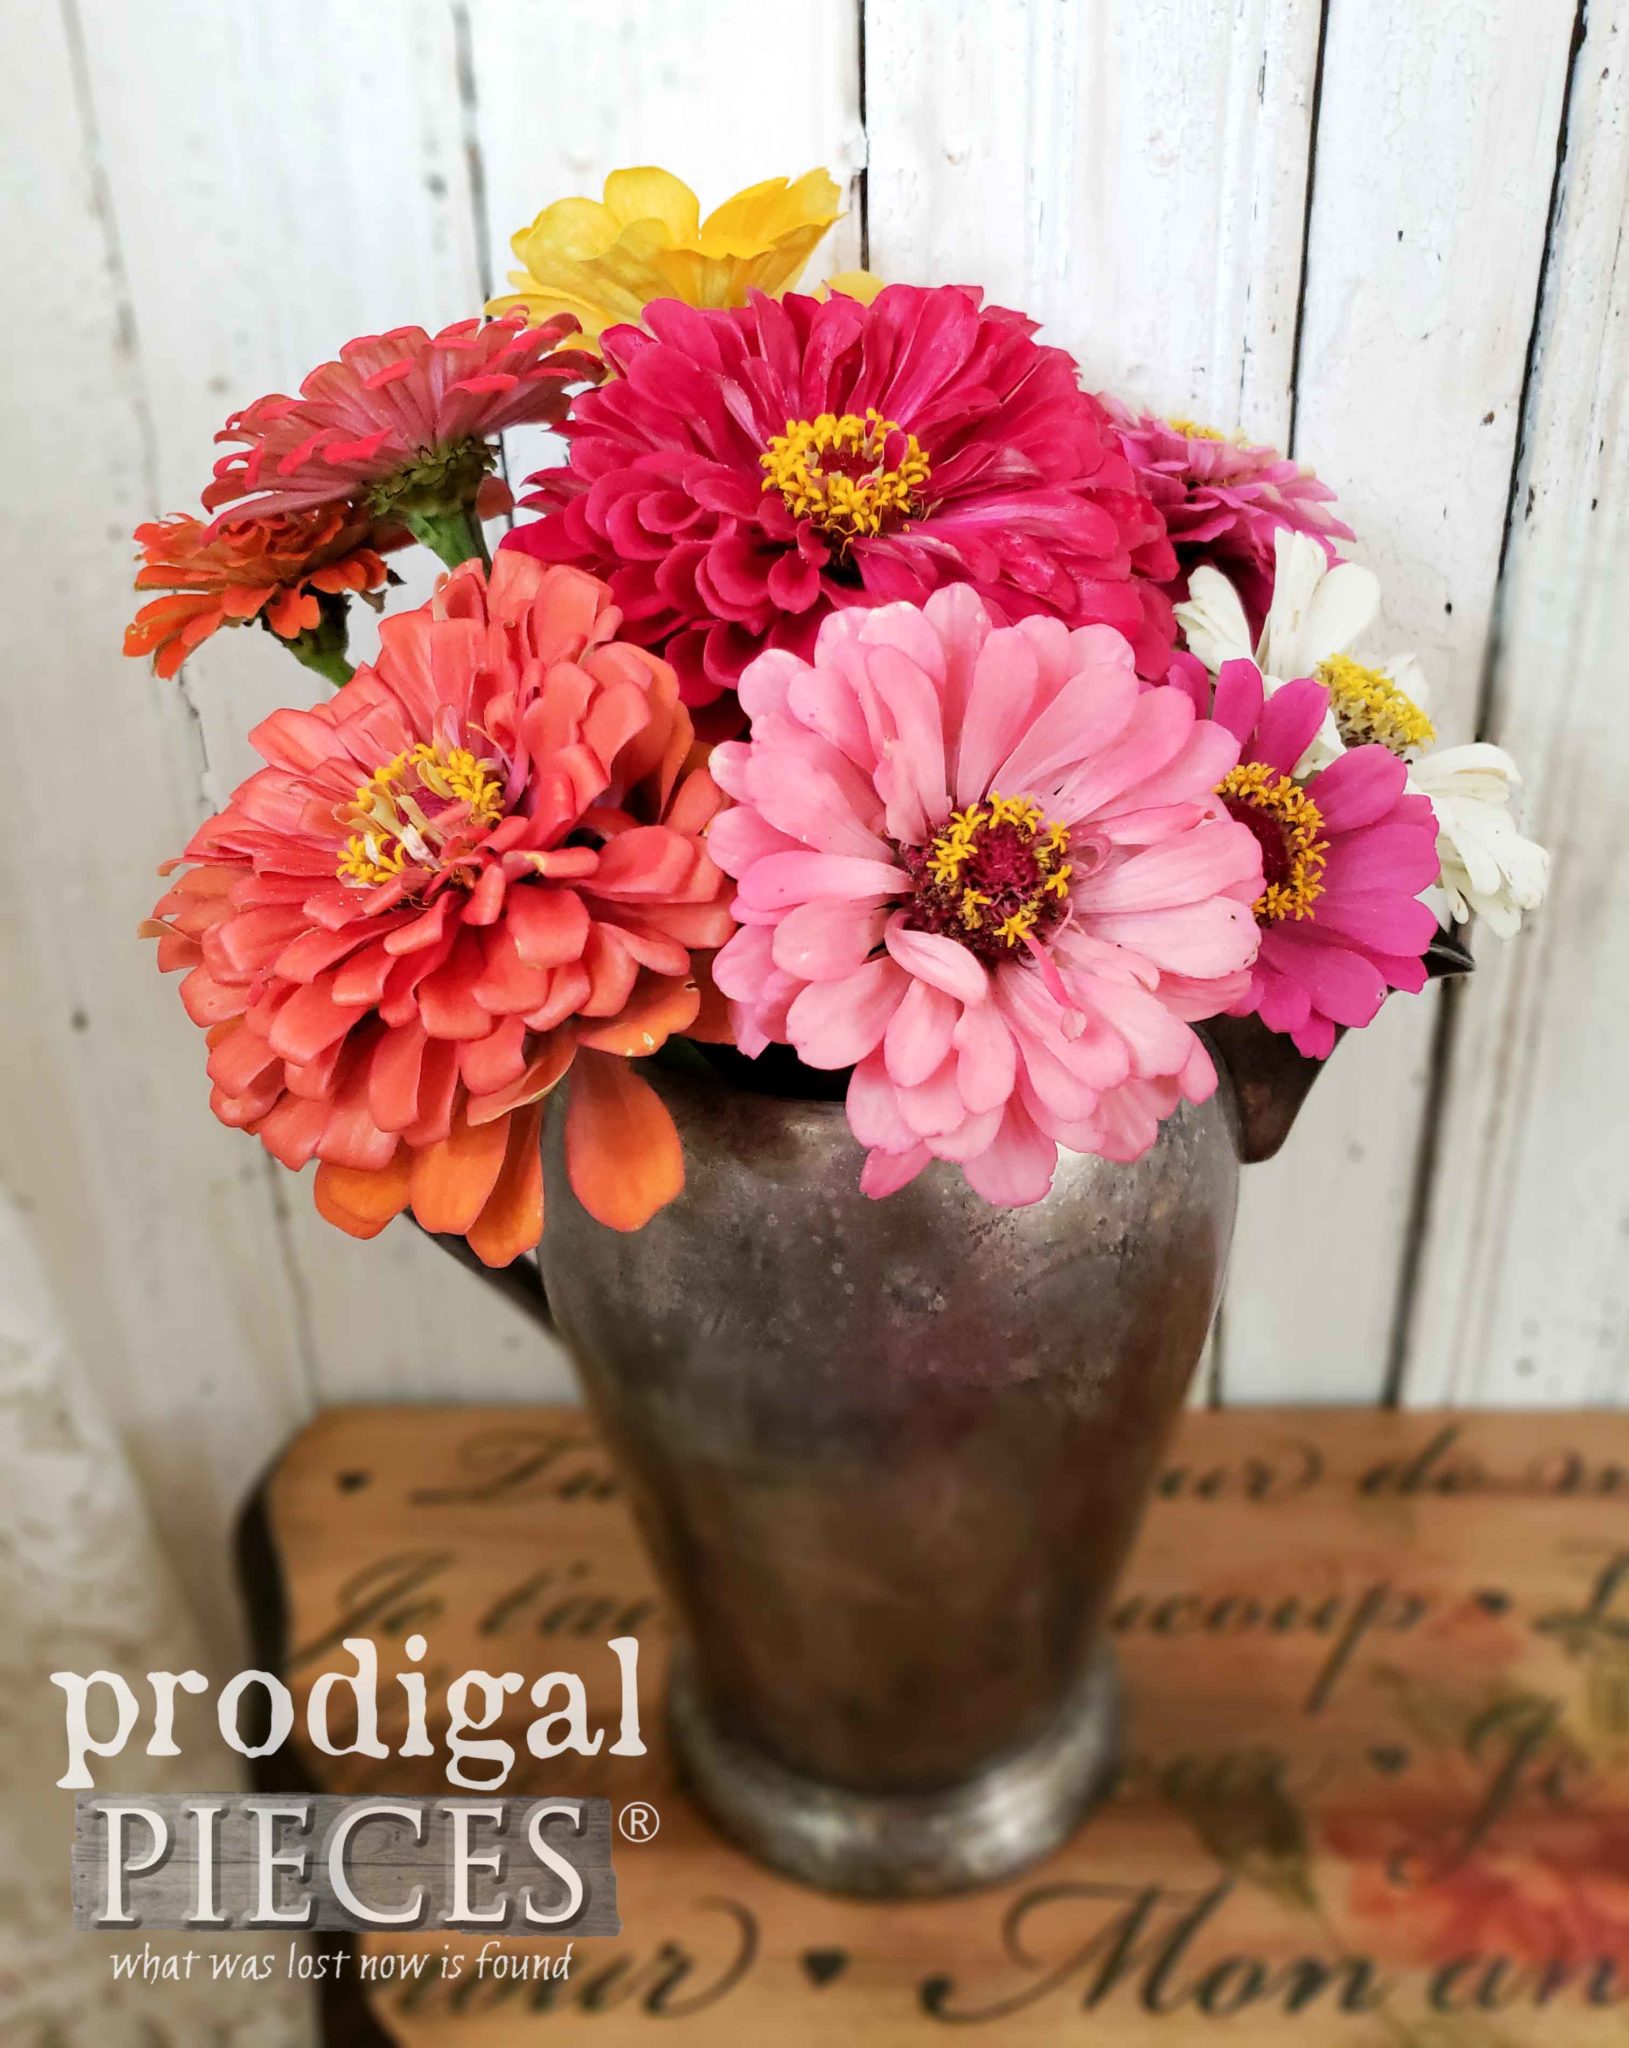
While my table is curing, I head out to my garden to pick a few of my zinnias to stage with the table. It never ceases to amaze me how spending time in the garden can make all your woes go away…at least for a time.
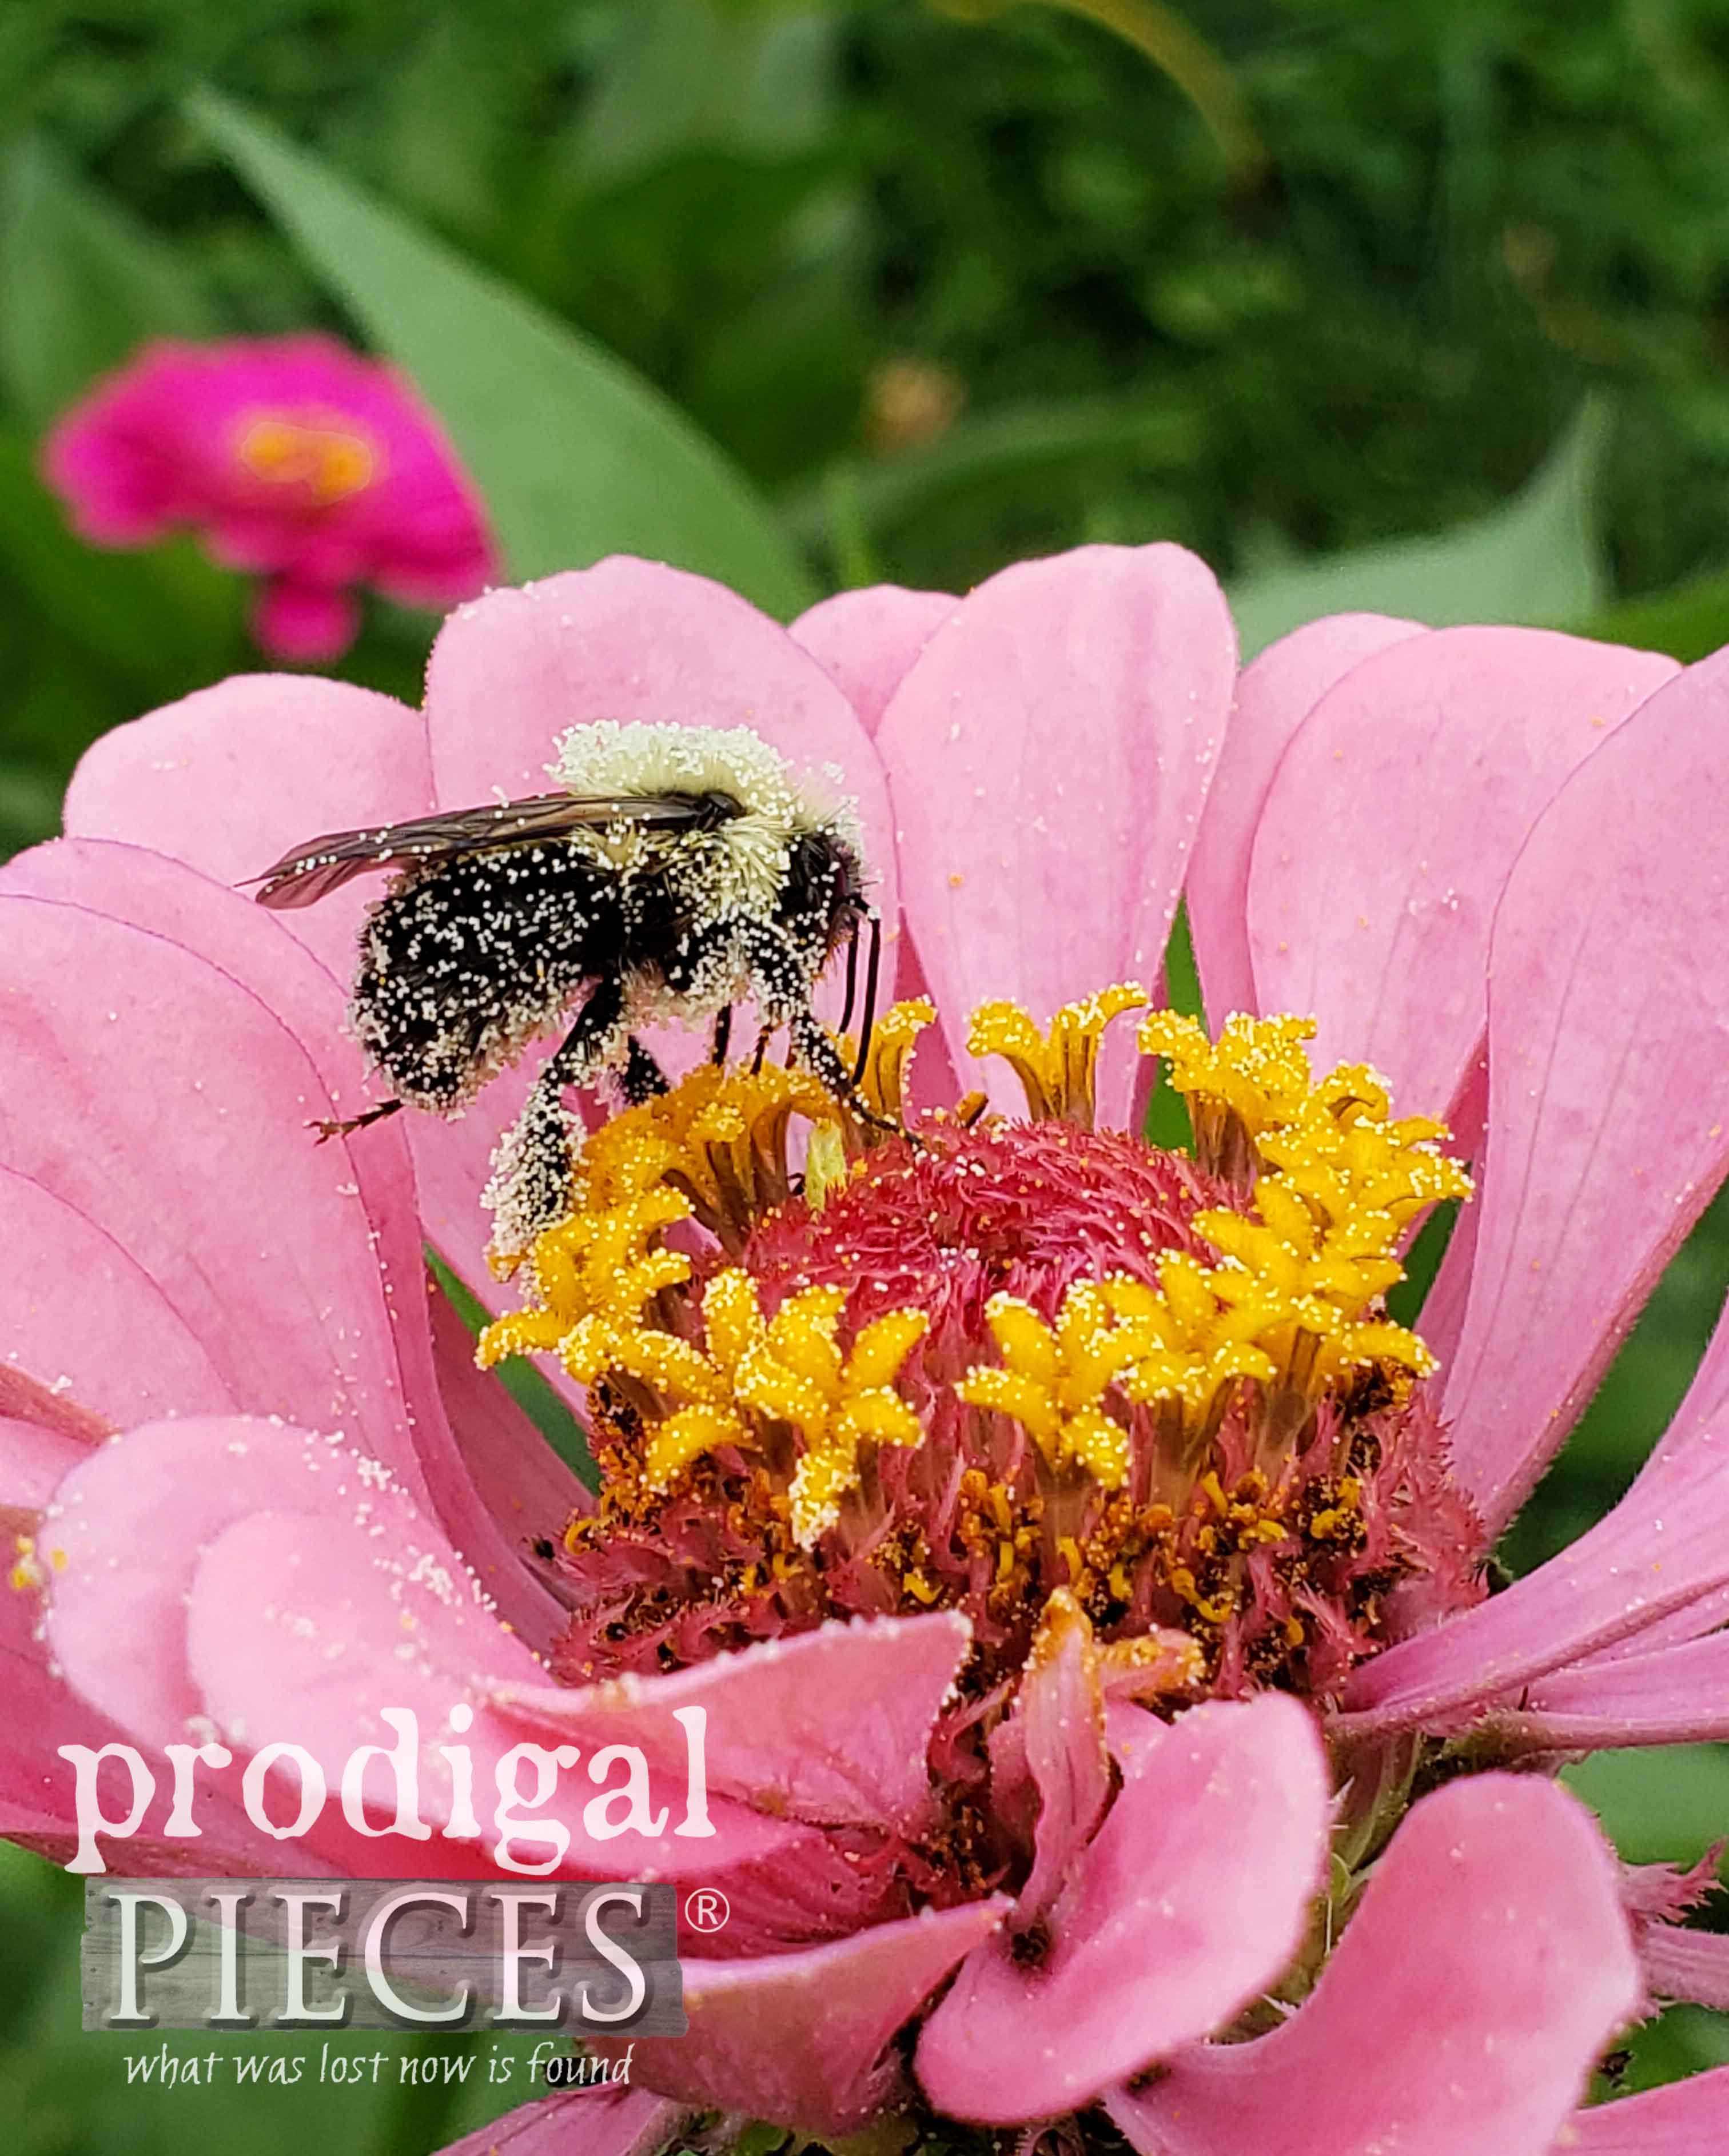
Even this little fella stopped by to put on a show. I love how he is so about his business that he didn’t even notice me. So cute!
Ready to see this damaged table top repair come full circle (or should I say half circle)? I am!
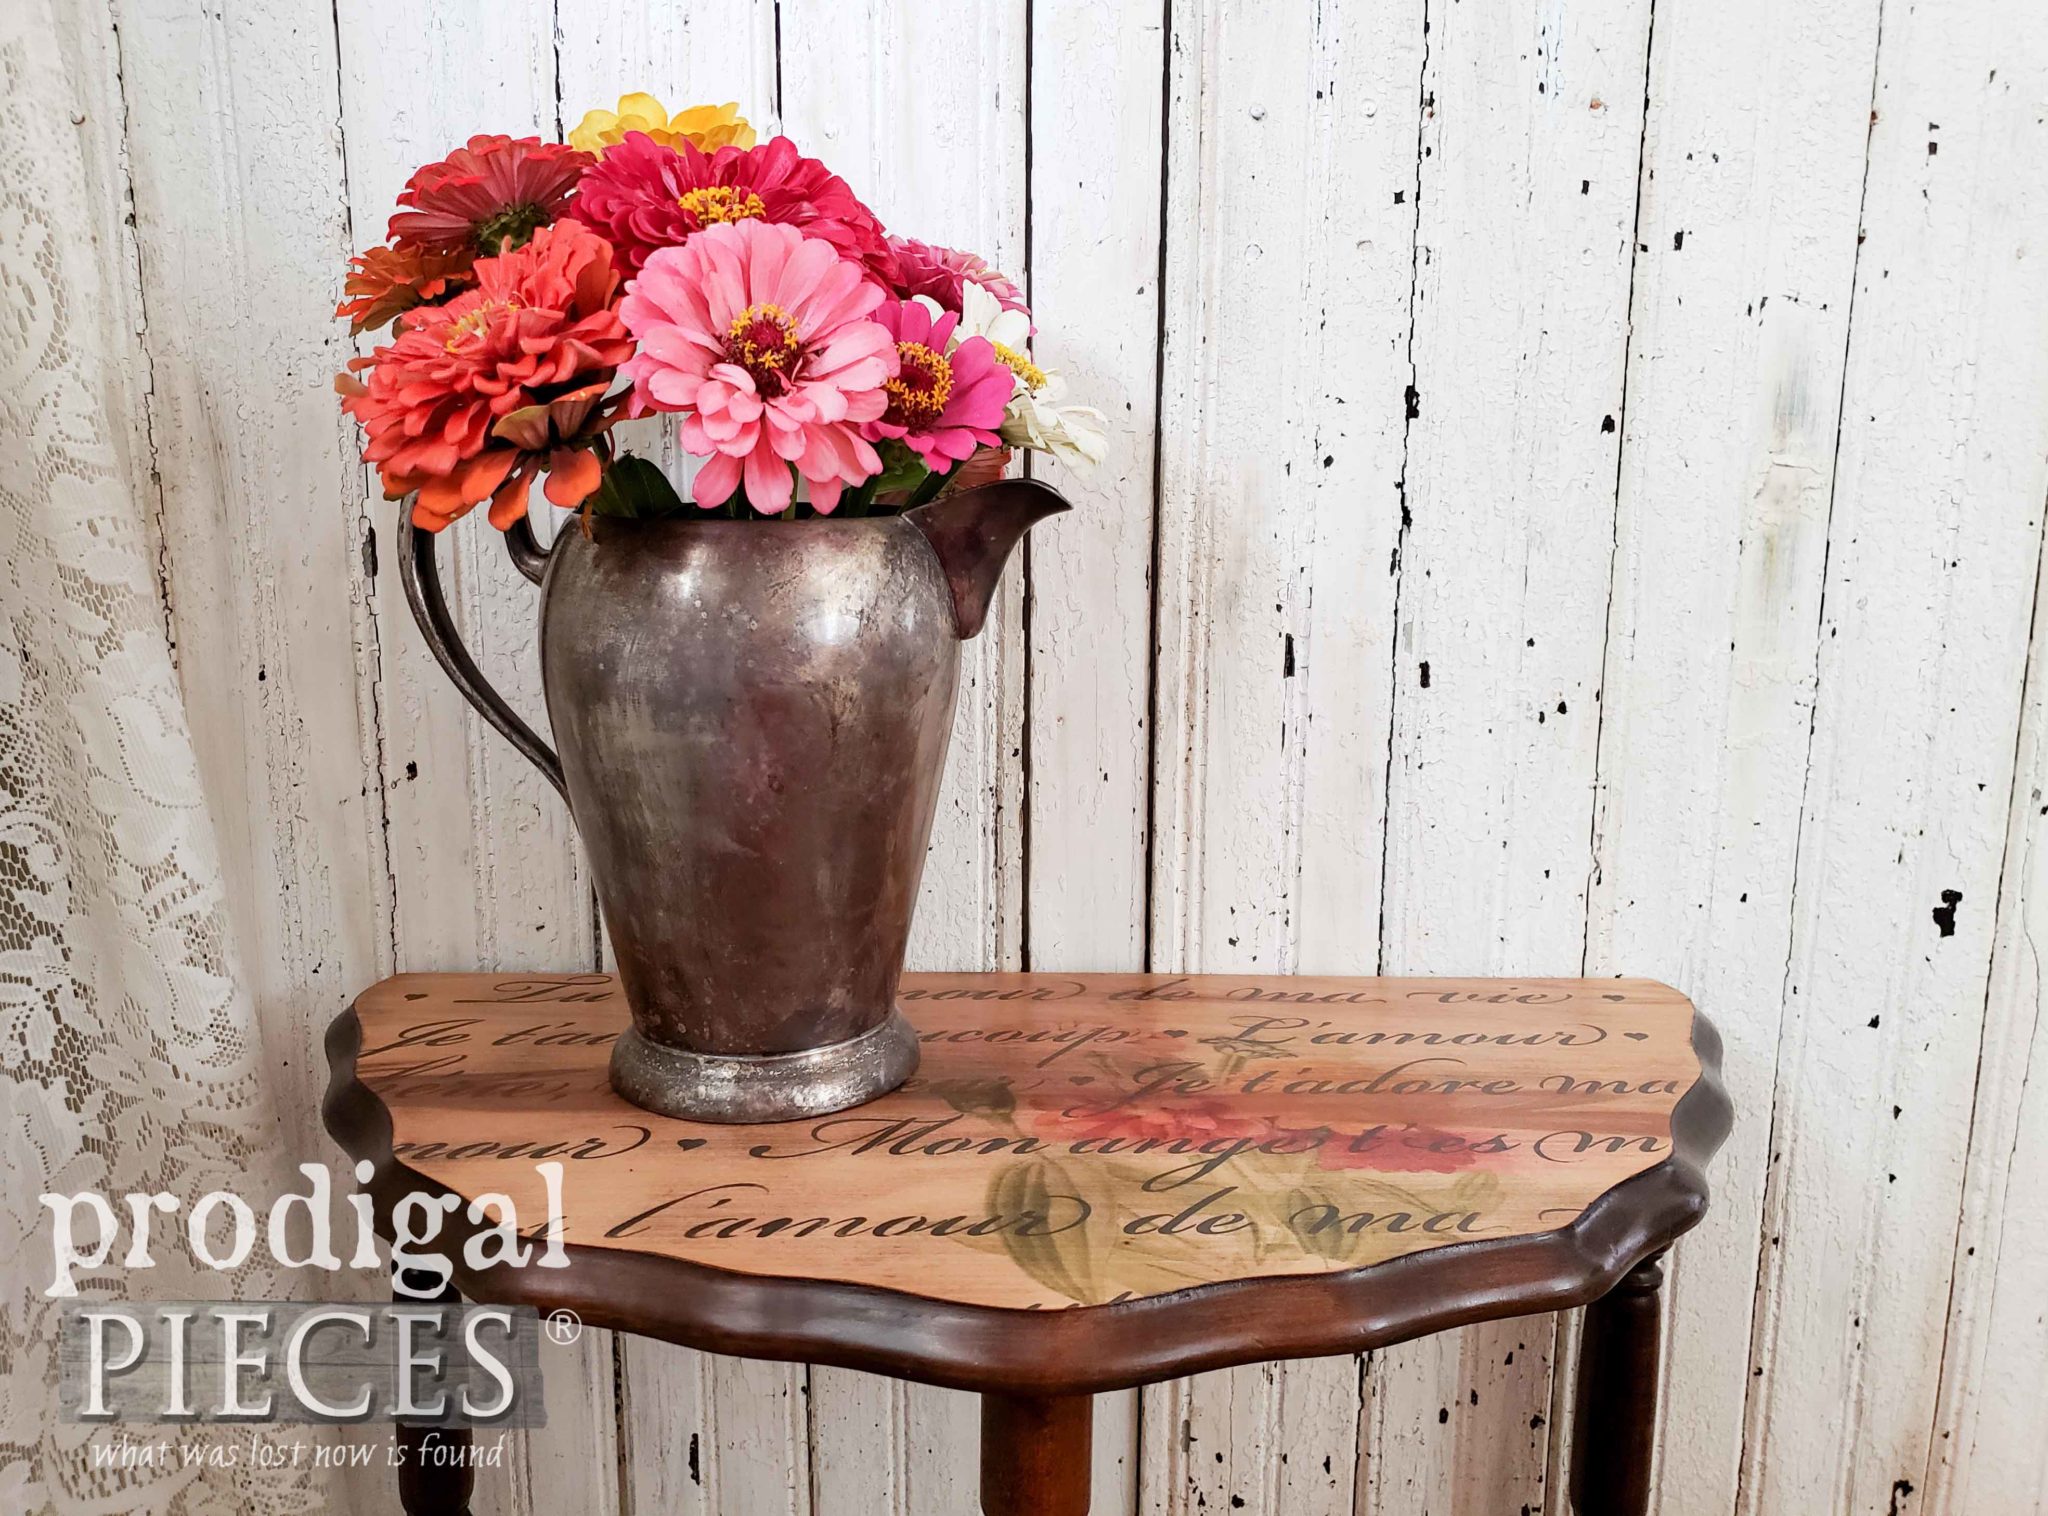
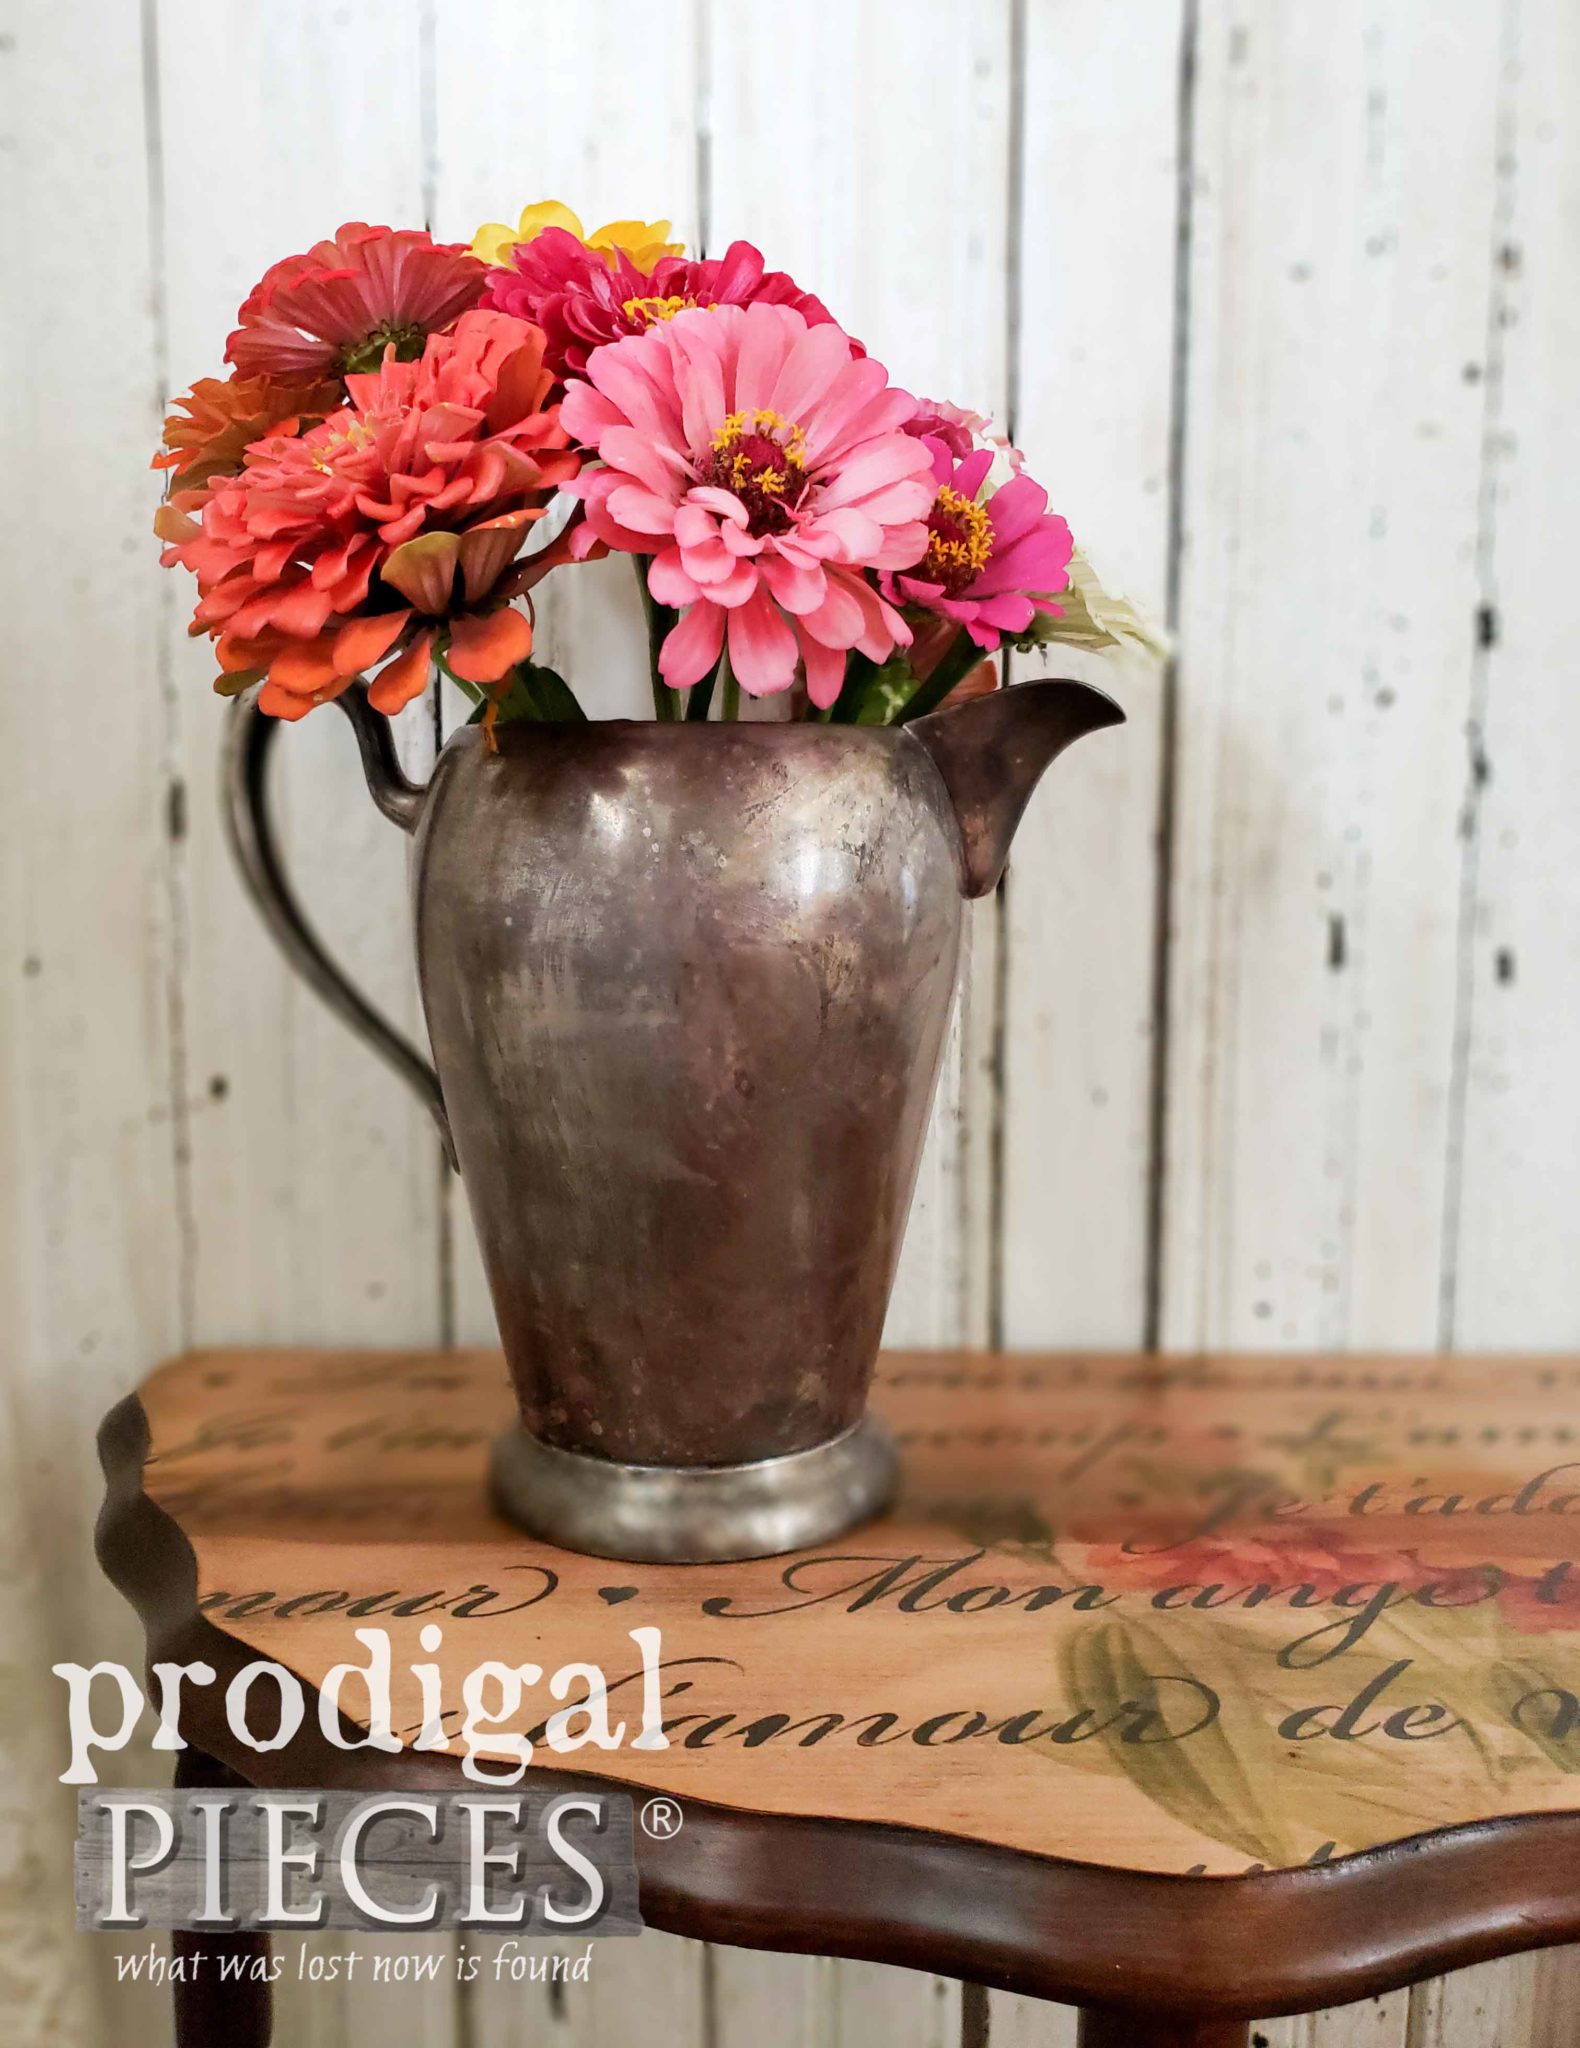
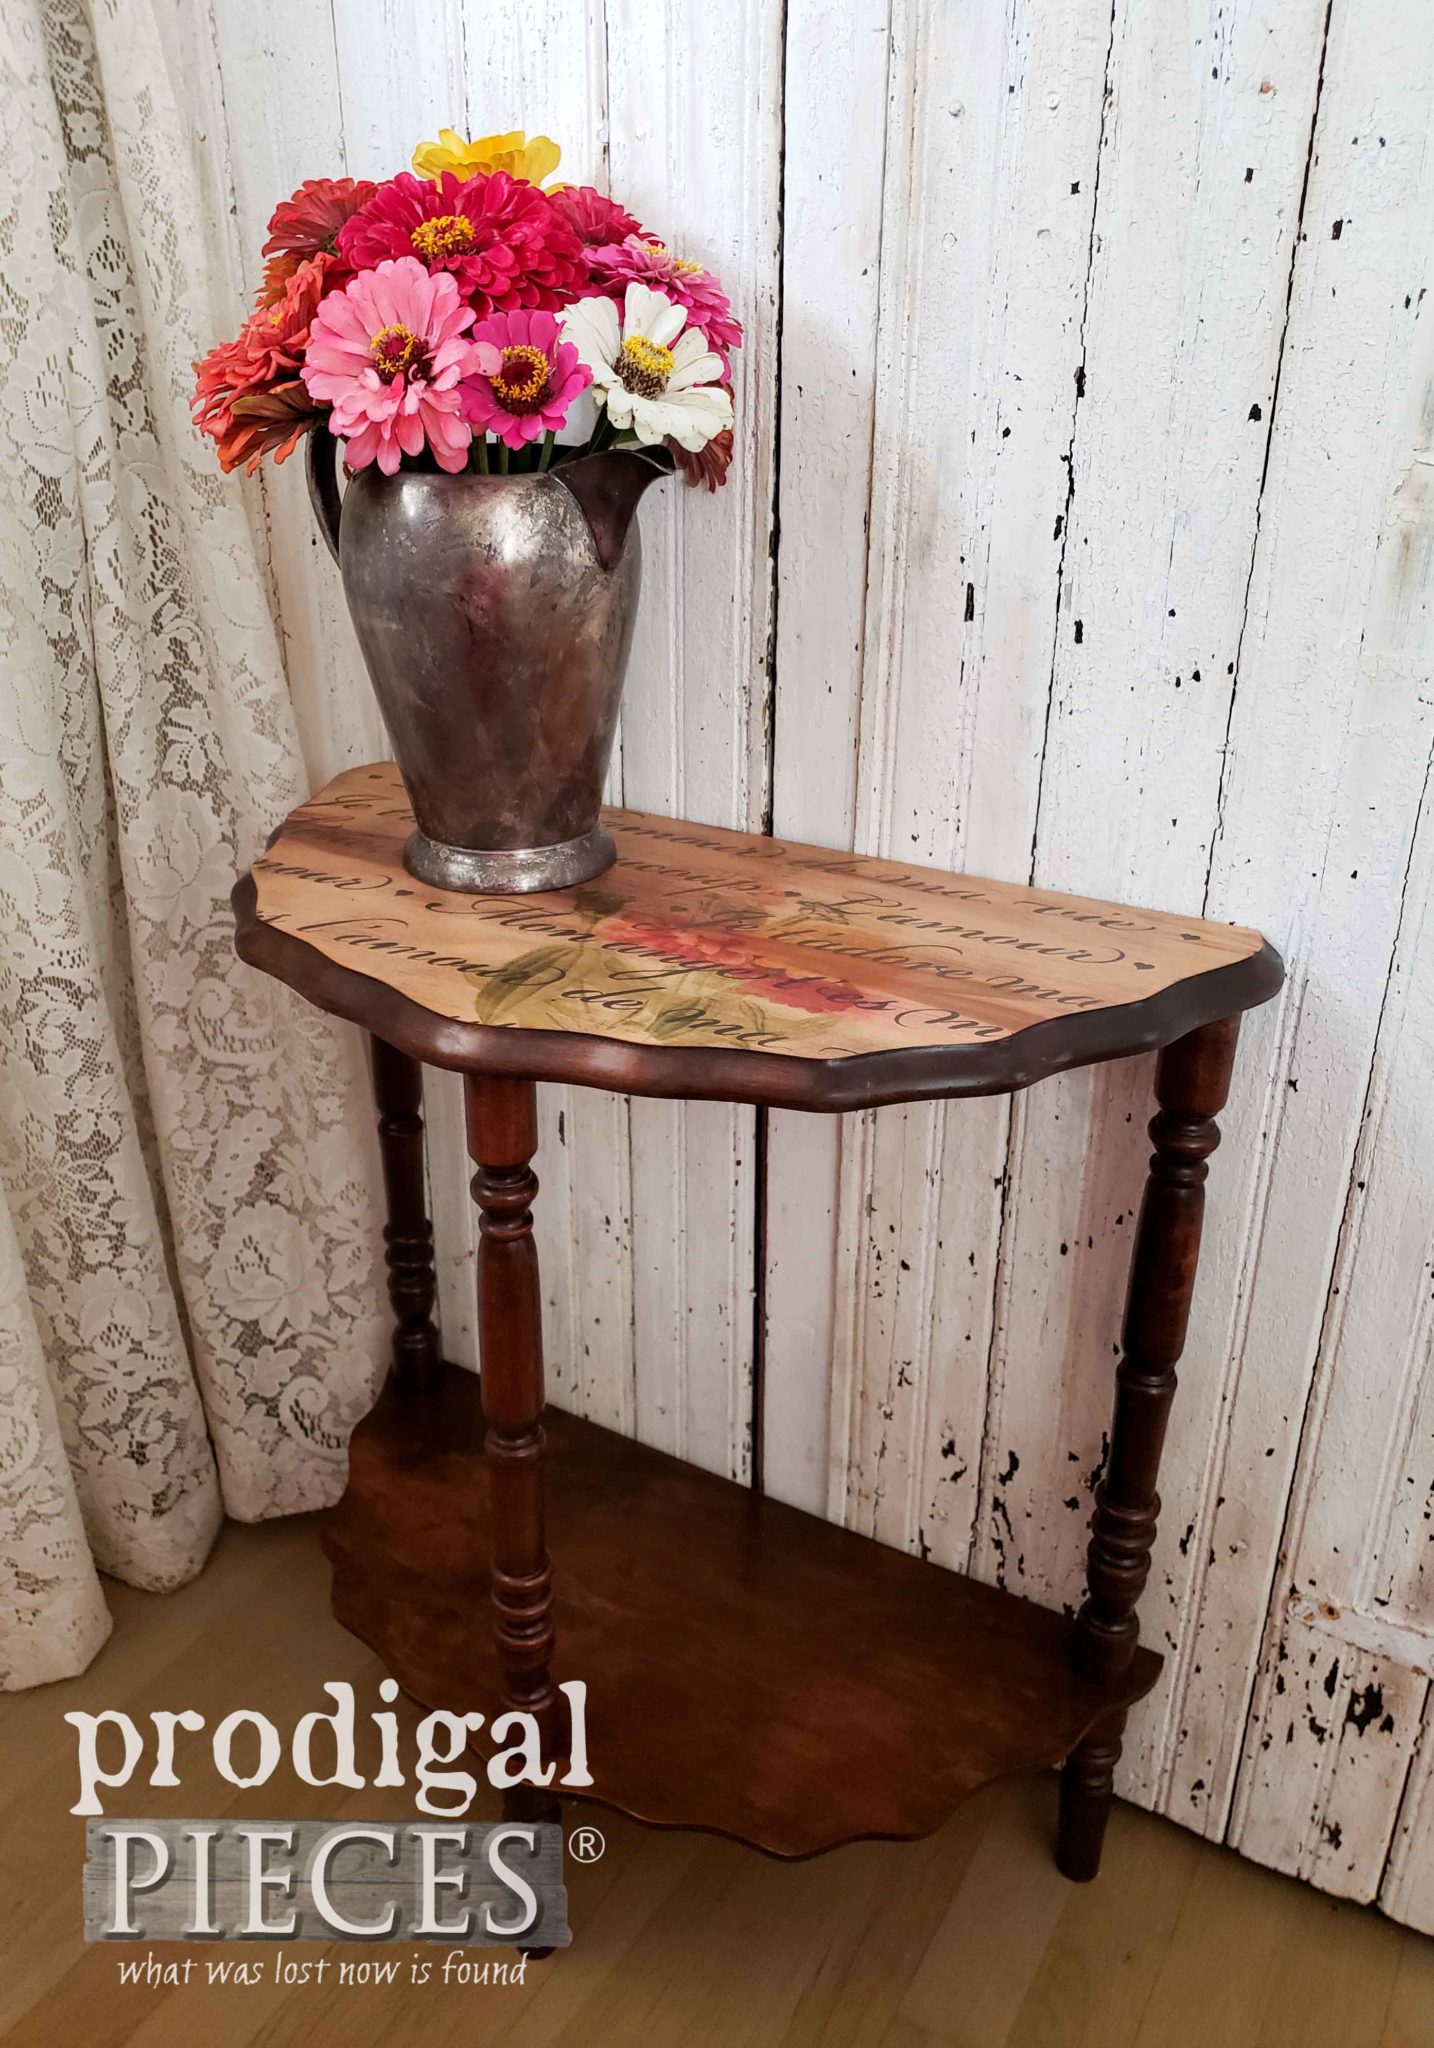
Here’s what my little gem looks like now…
FINISHING TOUCHES
If you remember, I lightly sanded the top edge to remove the scuffs. Then, I used a bit of matching stain to refresh it and wiped it clean. I even went over the light scratches and scuffs around the table to freshen it up. Pretty simple, right?
Then there’s our fun top. I must say my zinnias are kinda stealing the show and I’m quite smitten!
So there you have it. The damaged table top repair is not only complete, but I think looks even better than the original. It’s ready to shine again in someone’s home and I’m eager to see where it ends up since it’s available for purchase in my online shop.
Feel free to ask any questions on my process. I sure hope you’ve enjoyed this simple makeover and are inspired to save those once-loved pieces. It’s these kinds of things that can make a budget-friendly home refresh possible. You definitely can have the look you want for less.
In addition, pin and share these tips on damaged table top repair because you know there is someone out there ready to toss that perfectly good table…right?
Up next is Furniture Fixer Upper time! I can’t wait to show you what this chunky cutie looks like now. See it HERE.
Stay tuned by signing up to get these DIY tips & tricks in your inbox. Be sure to sign up for my FREE newsletter. PLUS, you will get your free Furniture Buying Checklist and special discount to my shop. Until next time!



You turned it into a pretty little table.
Thank you, Debra.
Larissa, I absolutely love how this table turned out! Can you tell me though, do you have an ink jet or laser jet printer? Timewise, do you have to move the print directly to the wood ? I’ve been wanting to try this method but am a bit nervous about it!
Sweet to hear, Melanie. Thank you. I mentioned using an inkjet printer. As for time, just let it rest a couple of minutes out of the printer and then apply it. You can do it!
Larissa: Love at first sight and couldn’t resist this sweet table! Can’t wait to have it in my home.
Diana
You are so fun! Thank you, Diana. We will have it on its way! 😀
Beautiful!
Thank you, Michele.
Beautiful. ❤️
Thank you, Laura. 🙂
WOW! I have been wanting to try the transfer method for awhile and I have a table almost like this one. I painted a few years ago but am seriously thinking of redoing it like yours. Thanks for all your inspiration ❤
I’m happy to hear you like it. They sure are fun little tables to have. Enjoy!
I love this table! I have one shaped EXACTLY like this, however the whole table is painted green.
Maybe I will re-do just the top, as you did.
I’ll definitely need more info on how this was done. Mainly getting the stencil from the printer, onto the table.
I’ll contact you if I get stuck, and hopefully it’ll be picture-worthy to share with you!
Ooh… I love green too! Sounds like you will have some fun. Just let the ink set of a minute out of the printer, then place it on (don’t let it move), and press as I described in my post. You can do it! 😀
Larissa, This table looks so new and fresh! Your zinnias are amazingly beautiful too!!!
I’m having some fun over here! Thank you so much, Kaycee.
Why do you use wax paper instead of parchment paper? Just wondering. Love the look! I have almost that exact same table. Mine has cross bars underneath as opposed to an extra shelf. These are hard to come by out here! Where did you get your stencil?
I use parchment for ironing on designs. It’s just one of those things I prefer. I have the link to the stencil in my post. Sounds like we have twins! tee hee!
Beautiful makeover! And I love your zinnias in your flower garden!
I’m a happy gal in my garden! Thank you for the love, Debra.