We hear the phrase, “time flies” and often agree because when we live each day we never get the chance to live it again. I’ve kinda taken a different look at life as each day goes by. One thing is for sure, I’m a determined sort that once I set a goal I work hard towards it. Do I always succeed? Nah. However, regretting never trying is worse than never trying at all. With that, I introduce you to an achieved goal that has transformed my dining room ceiling. woot!
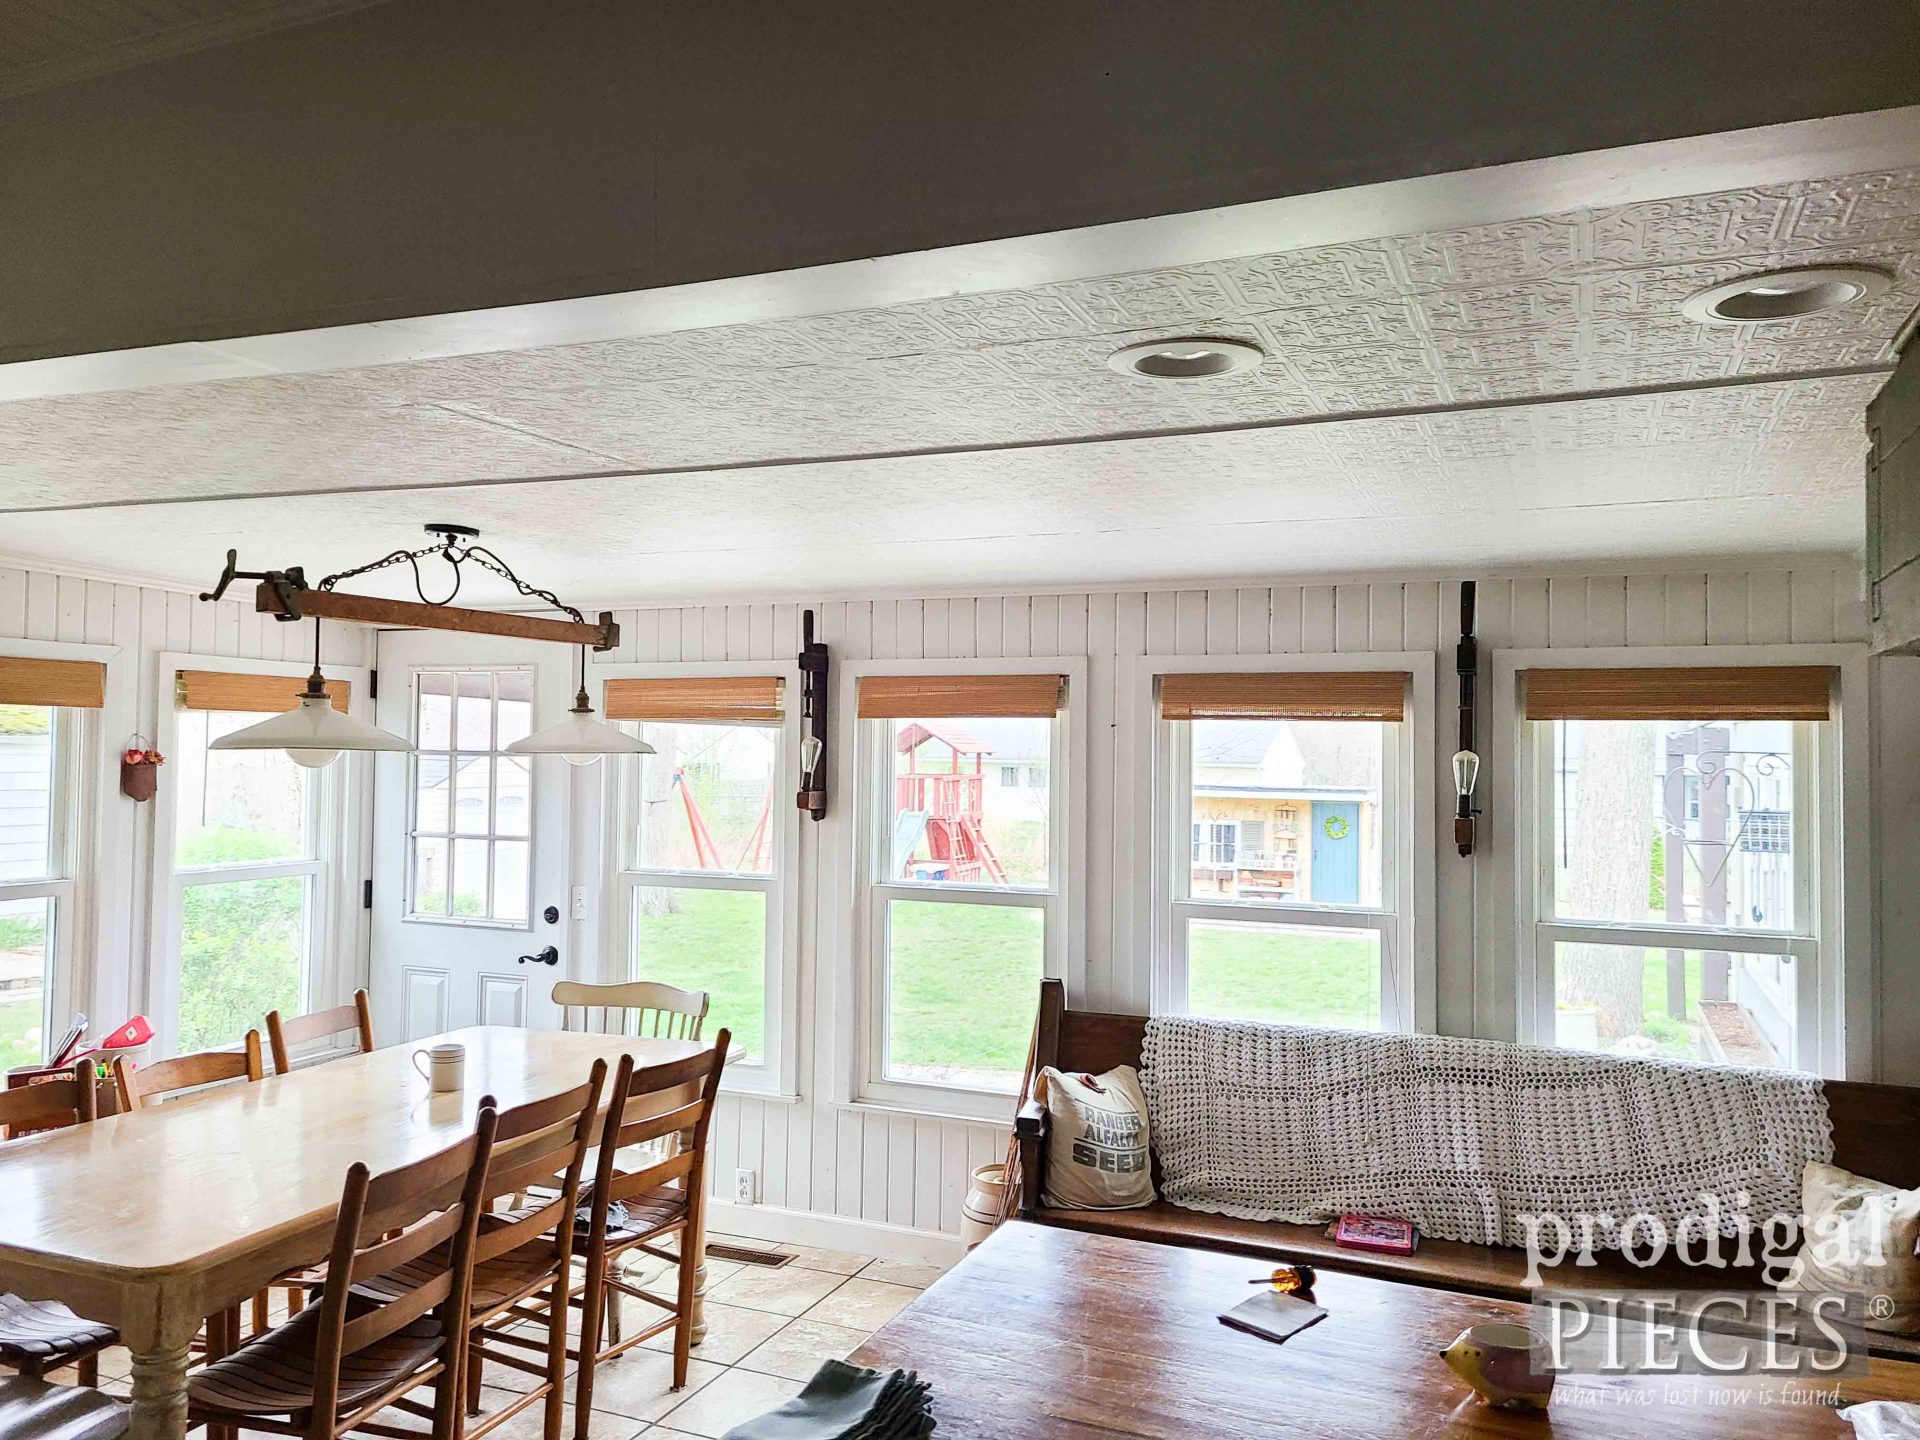
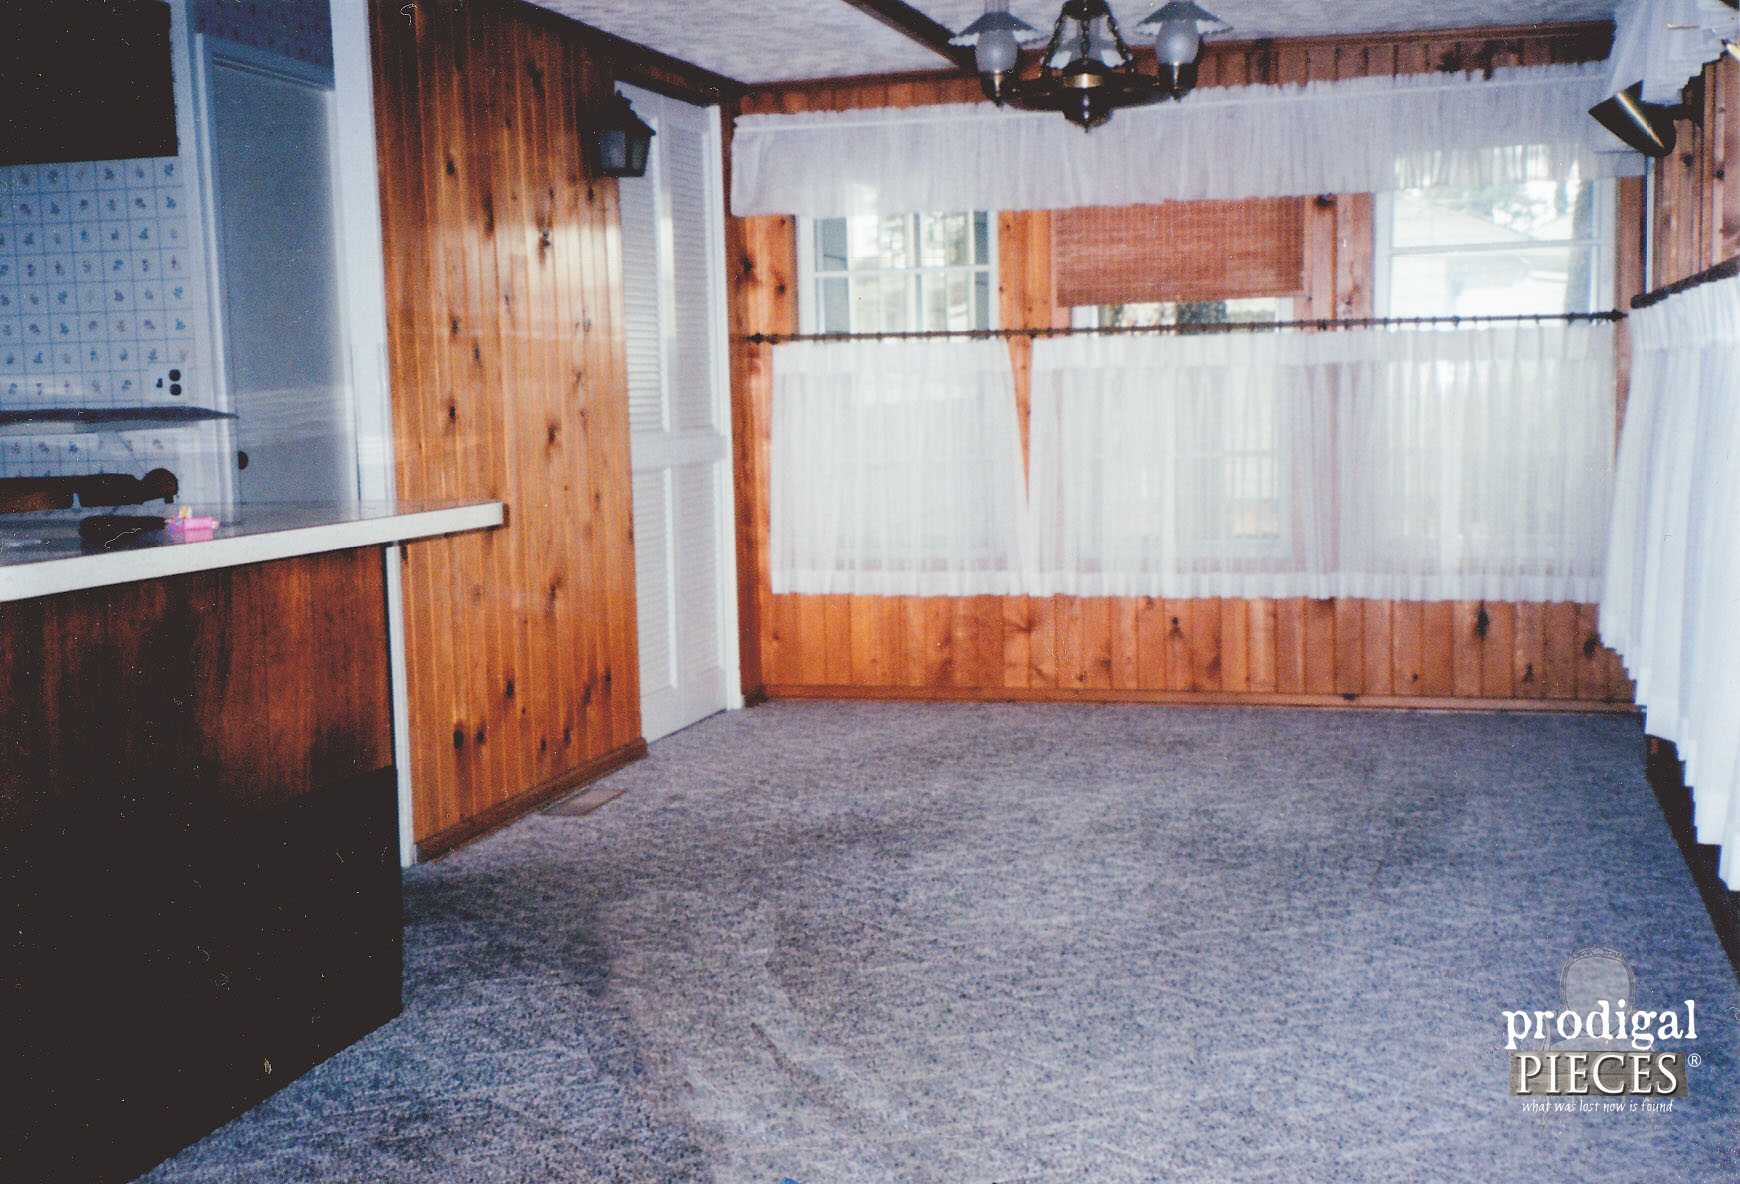
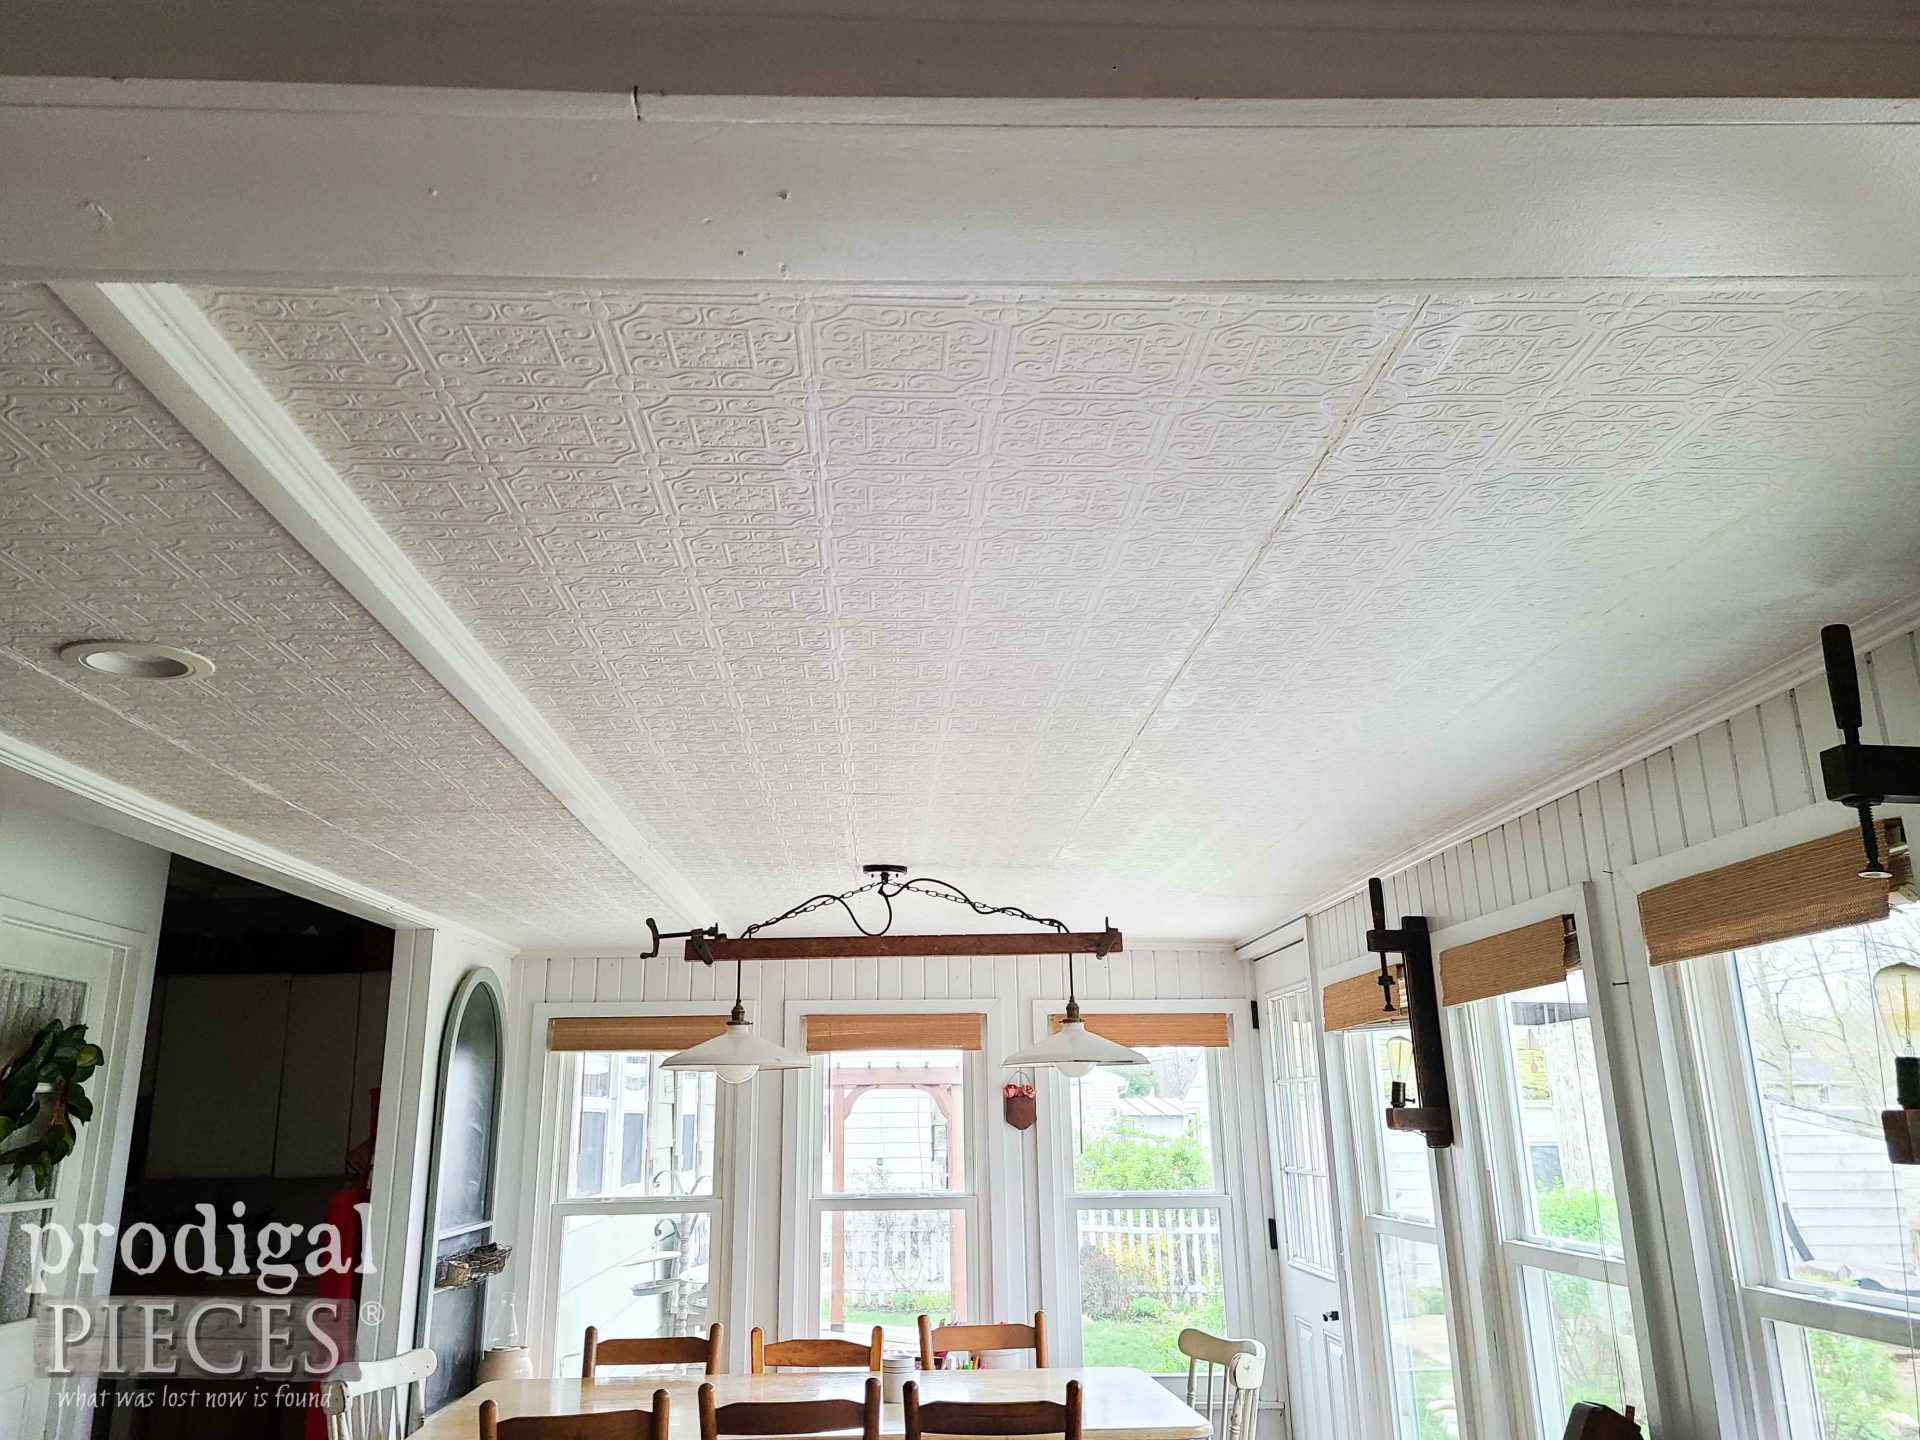
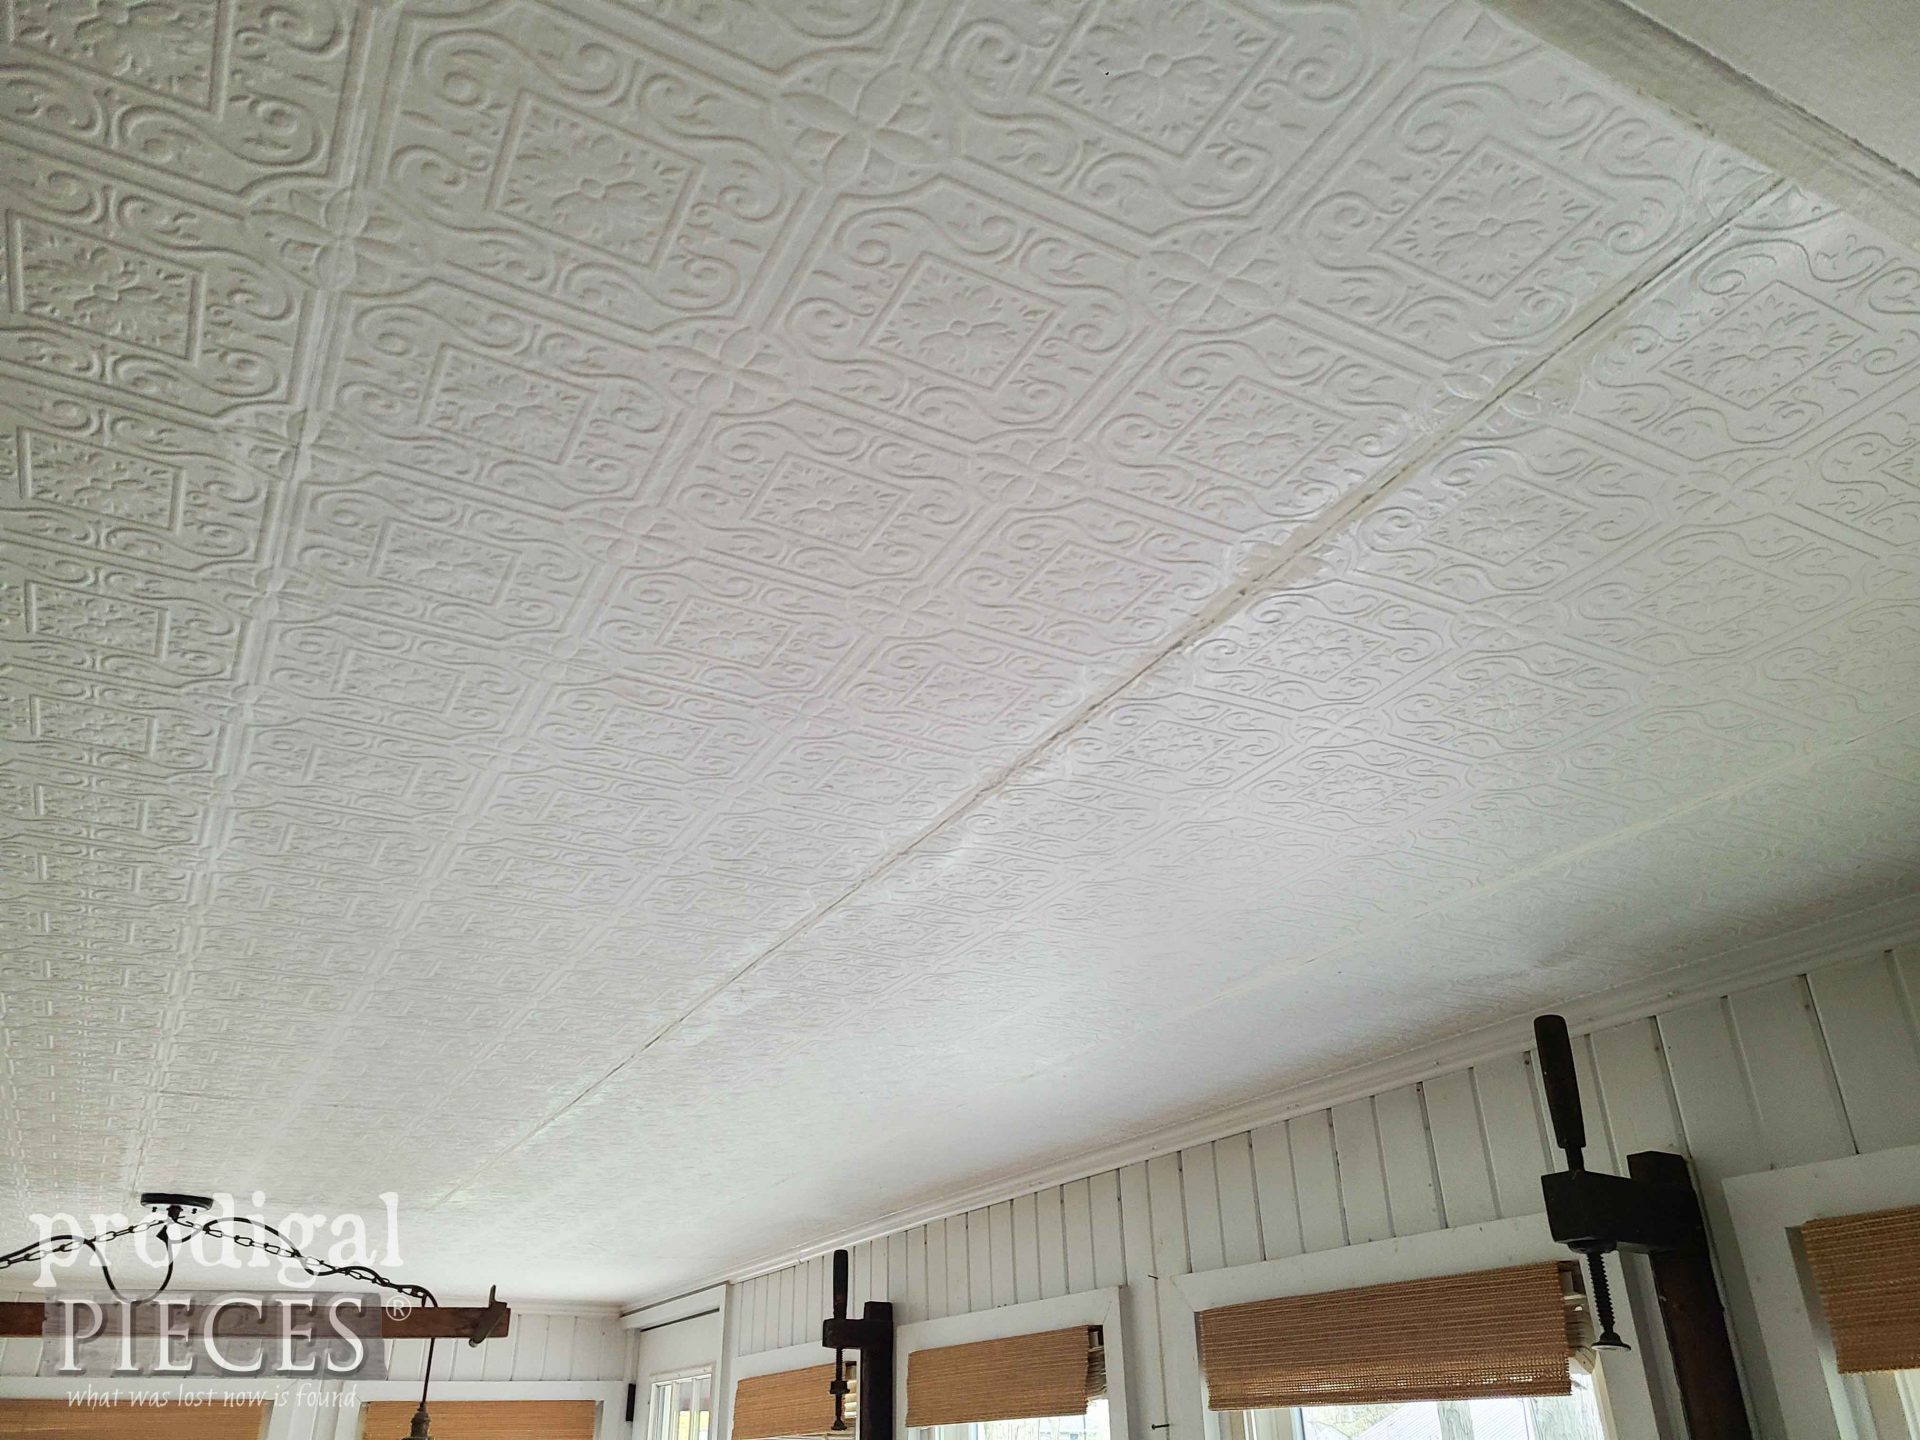
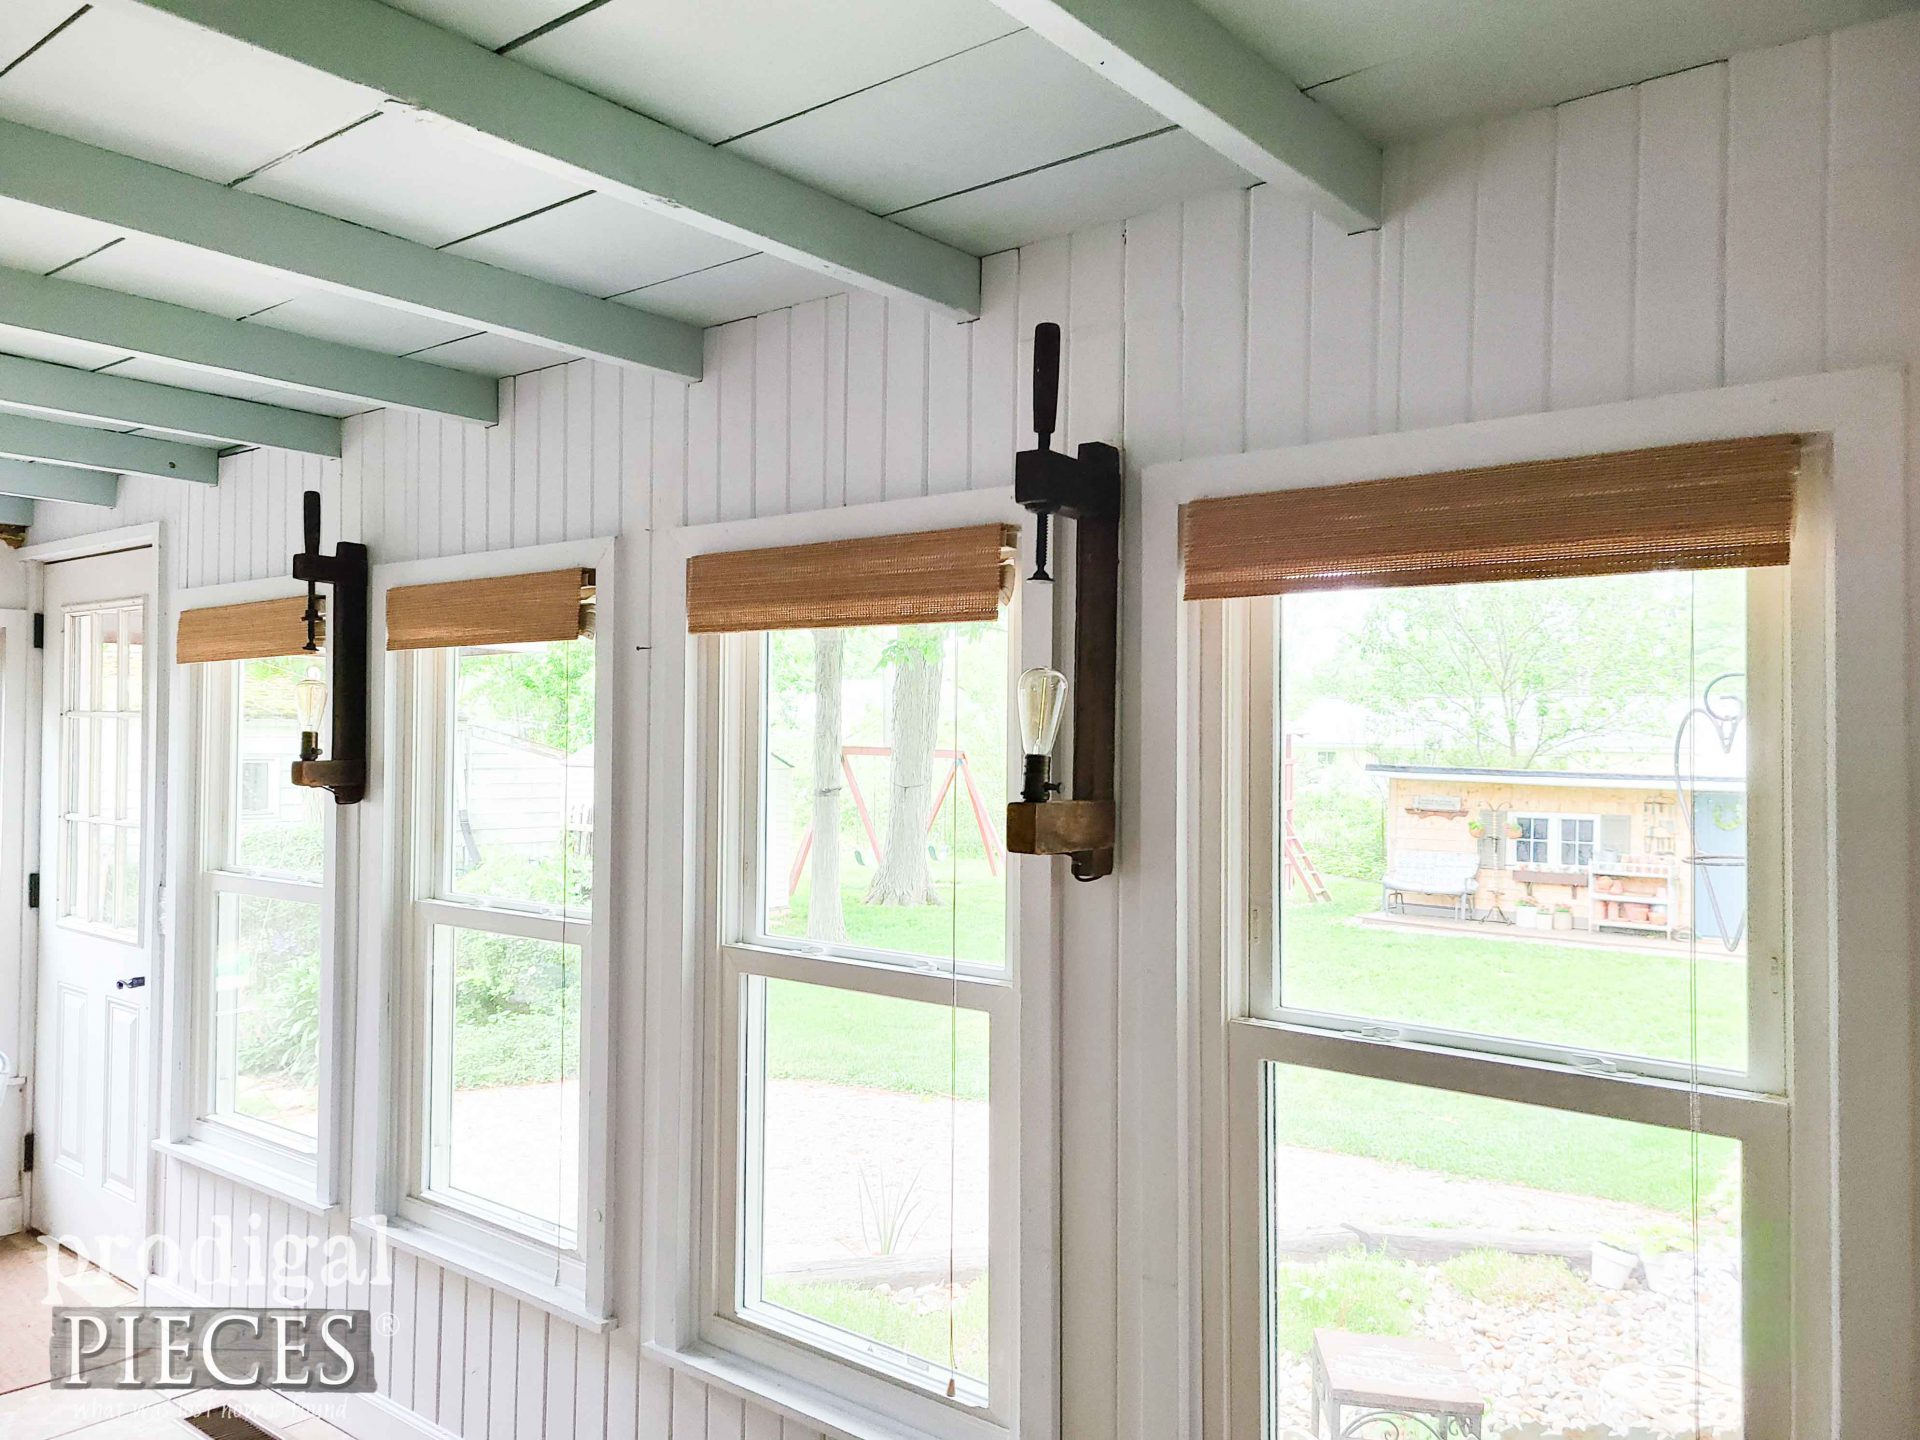
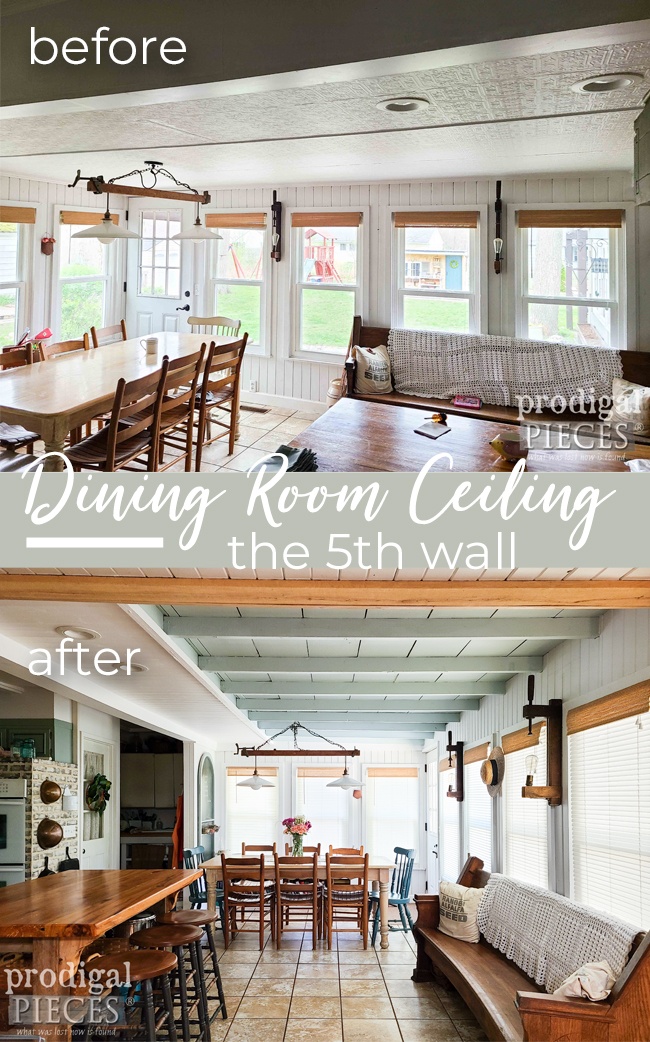
Just a note: this remodel was completed about nine months prior to this writing. This is our dining room ceiling in a sort-of after state since we’ve moved in nearly twenty years ago. When we moved in, this area was already remodeled from a porch into the dining room. However, there was a wall that we removed and also took out the carpet as well as replaced the windows and door. Also, I painted, replaced the lighting with antique clamps (DIY HERE). If you look close in the picture below, you can see the ceiling tiles.
If you would like to see the full remodel, you can start HERE or watch the video summary below. It’s been a trip, for sure!
INITIAL REMODEL
After our initial remodel, I didn’t want to take out of the budget to replace the ceiling at that time. So, as a quick fix, I put wallpaper over it that is a textured wallpaper with faux tin tiles. It worked perfectly for many, many years. However, it’s always been a burr in my side that I never got it done. Now is that time. Over time, the paper would start to sag and the seams opened up. Again, a quick fix is to caulk the seams and re-glue the paper back on.
After we tried to sell our home, (read that story HERE) I am ready to make changes. Funny thing is that during our inspection while selling, the inspector said we tried to cover damage. Ummm…no. That was the last straw. My husband was even there during inspection and the inspector could have asked. The inspector didn’t know there were tiles under there in perfect condition. Don’t get me started…meh.
DEMO TIME
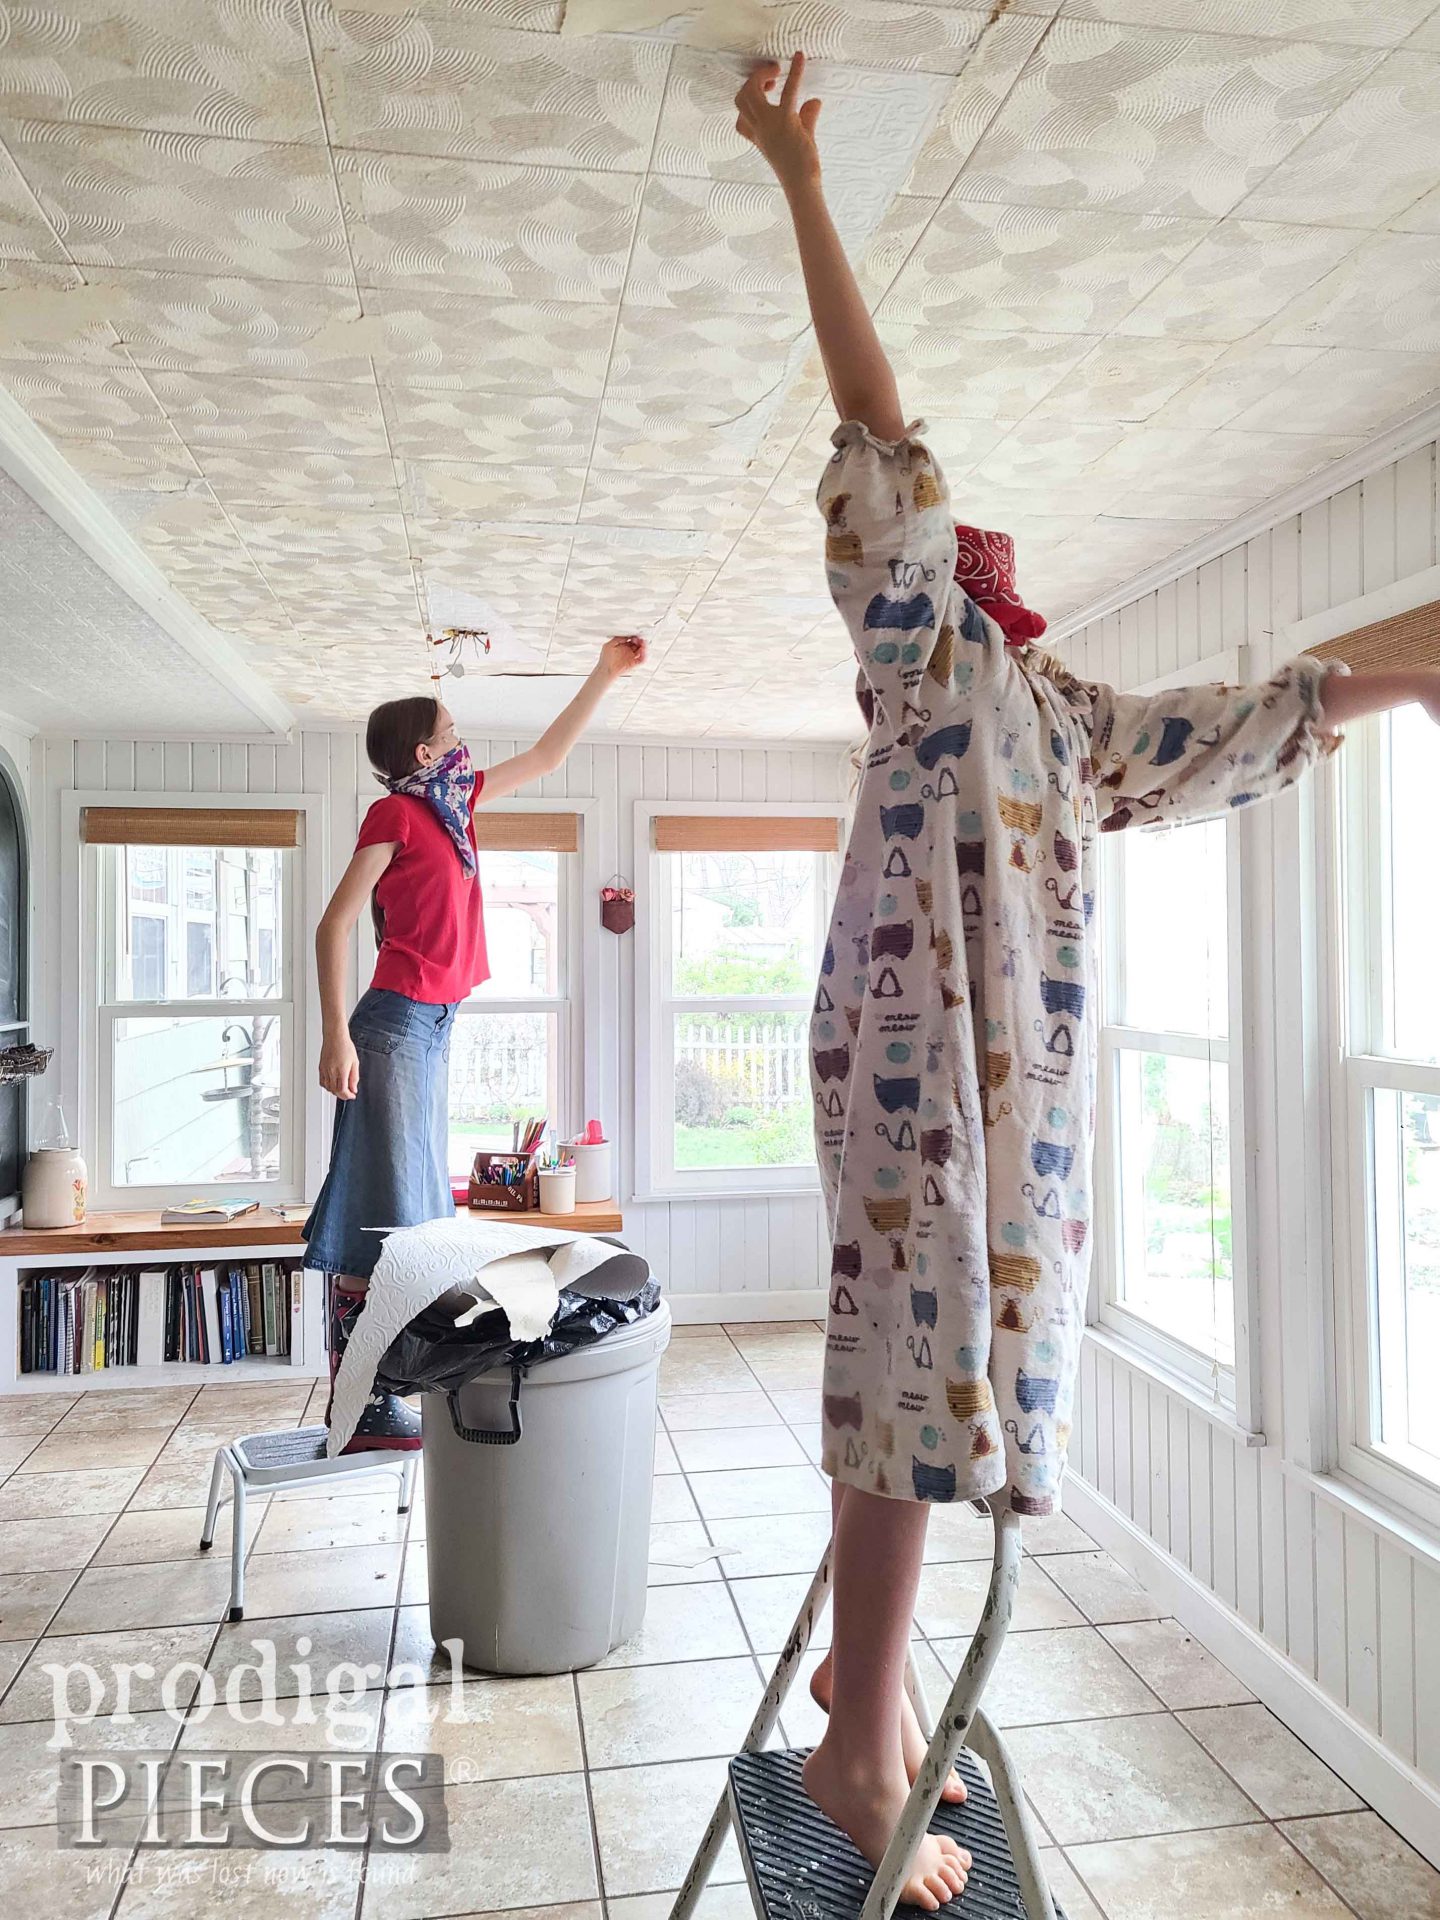
Even my kids were ready to see this stuff come down as they knew how much better it was when I tore down and rebuilt our family room ceiling with barn roof tiles. Thankfully, they are eager and willing, and that the paper comes off fairly easy.
After that, I had the most awesome job of pulling down those tiles that are stapled onto a grid. Let’s just say mouse poo hairdo is not my thang. blucky.
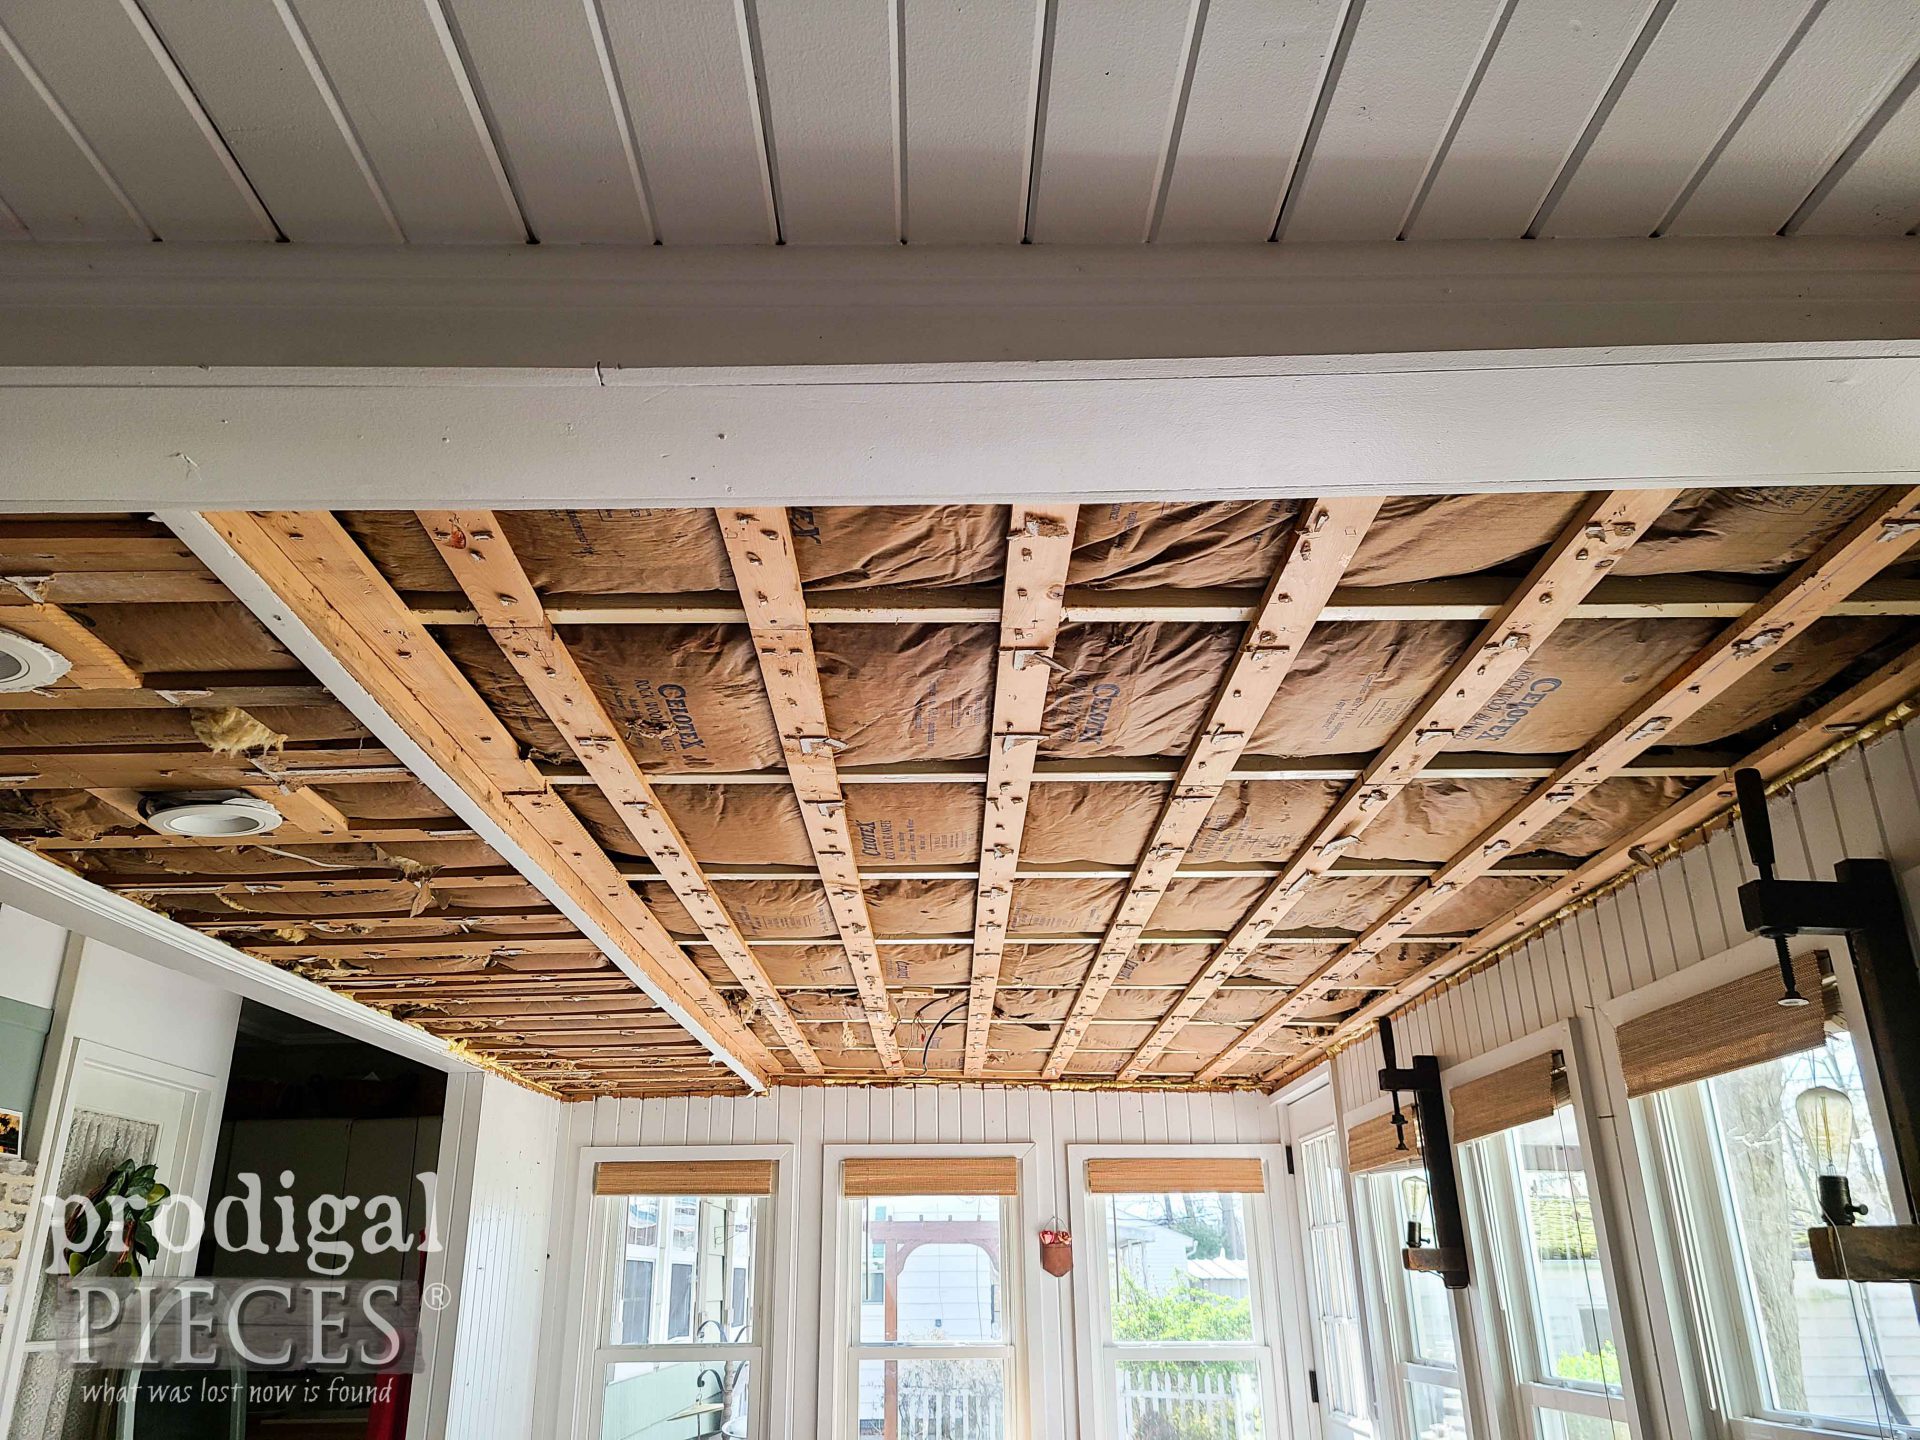
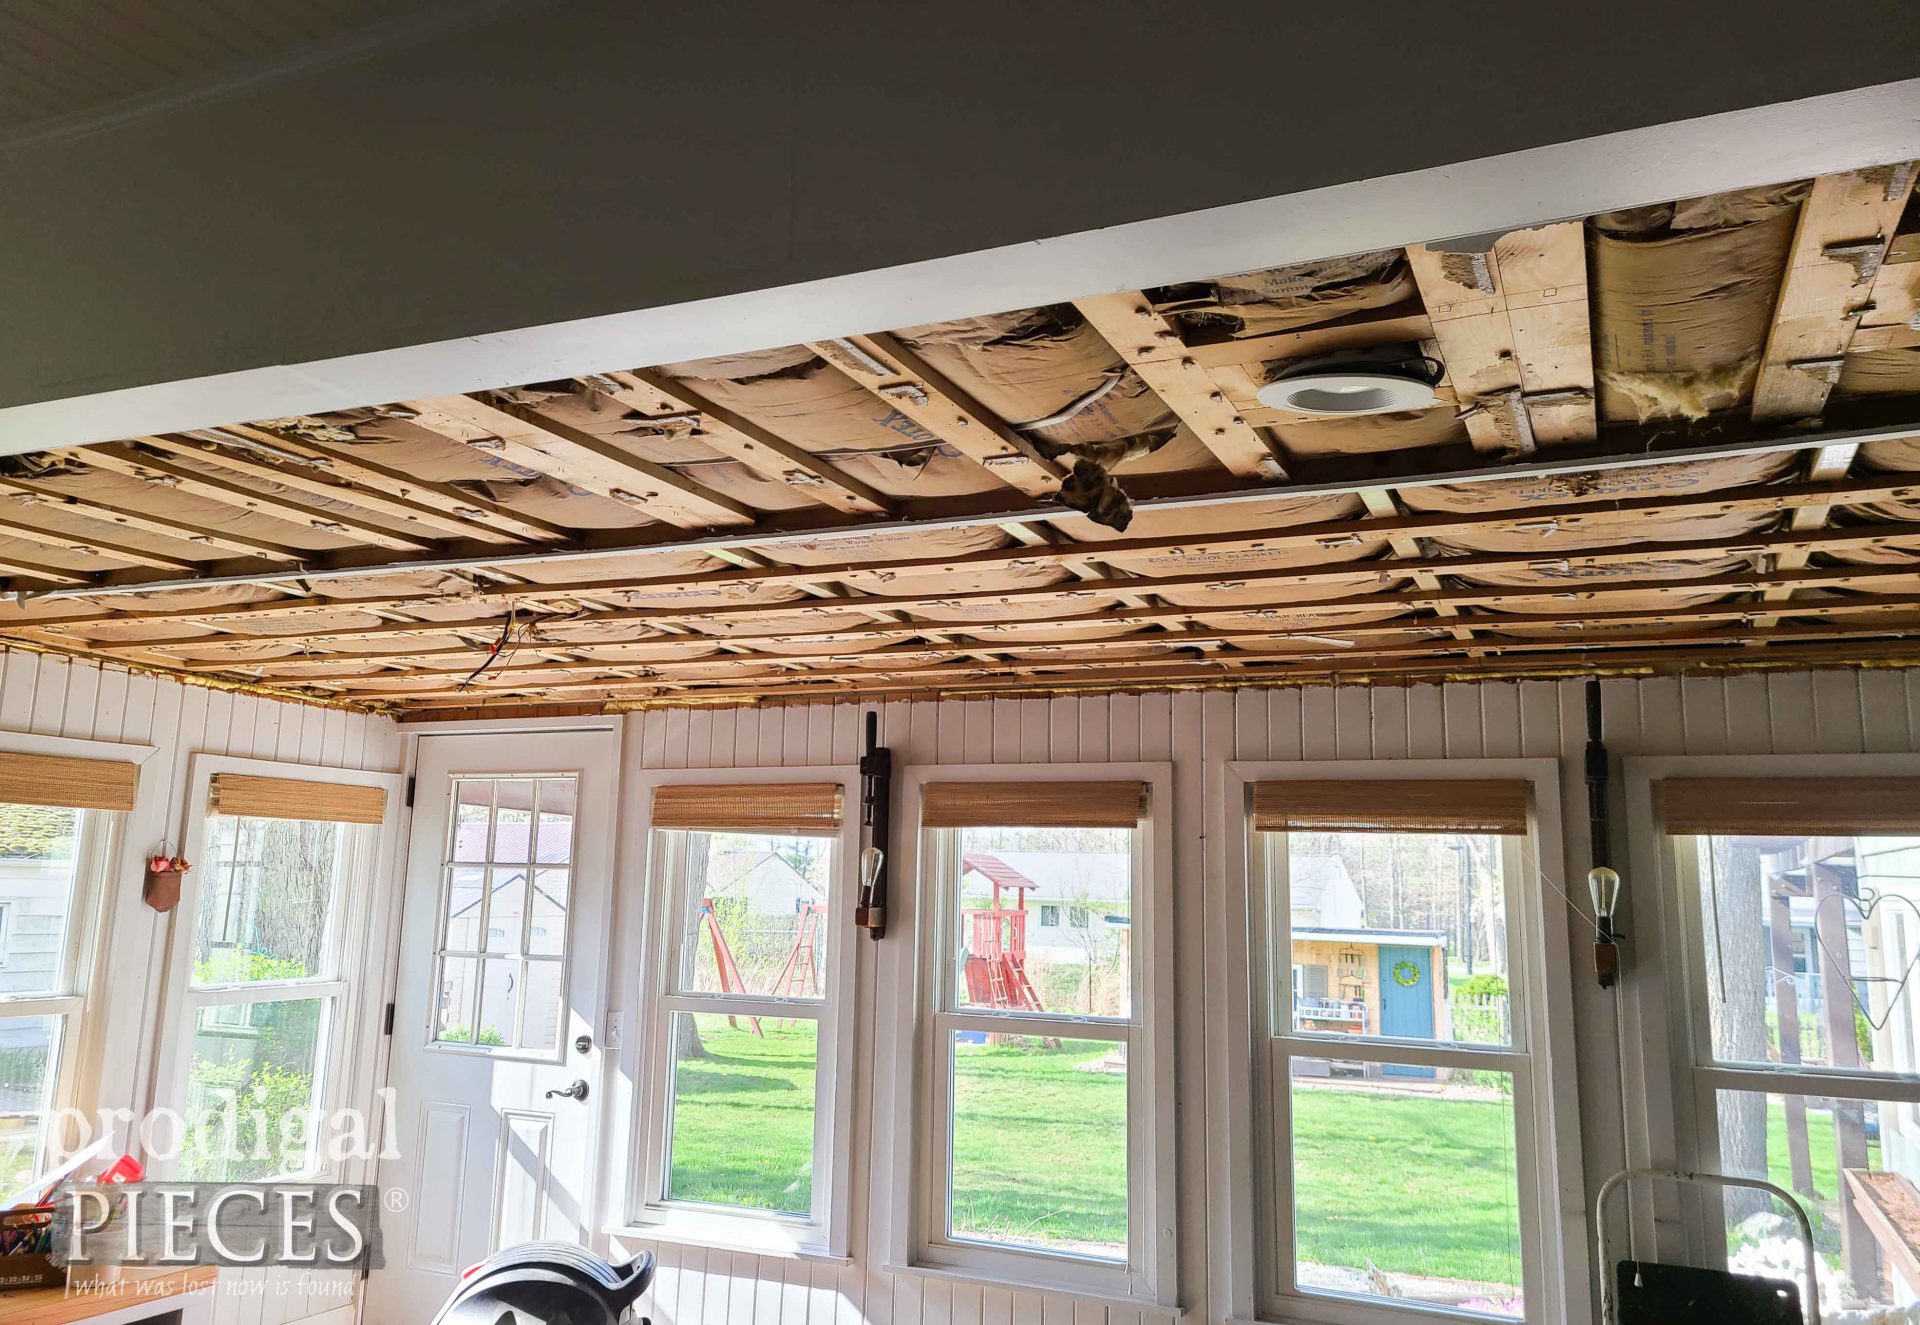
At this point, I have to tear down that grid, insulation, and see what I’m facing. This aftermath is the most beautiful sight to behold.
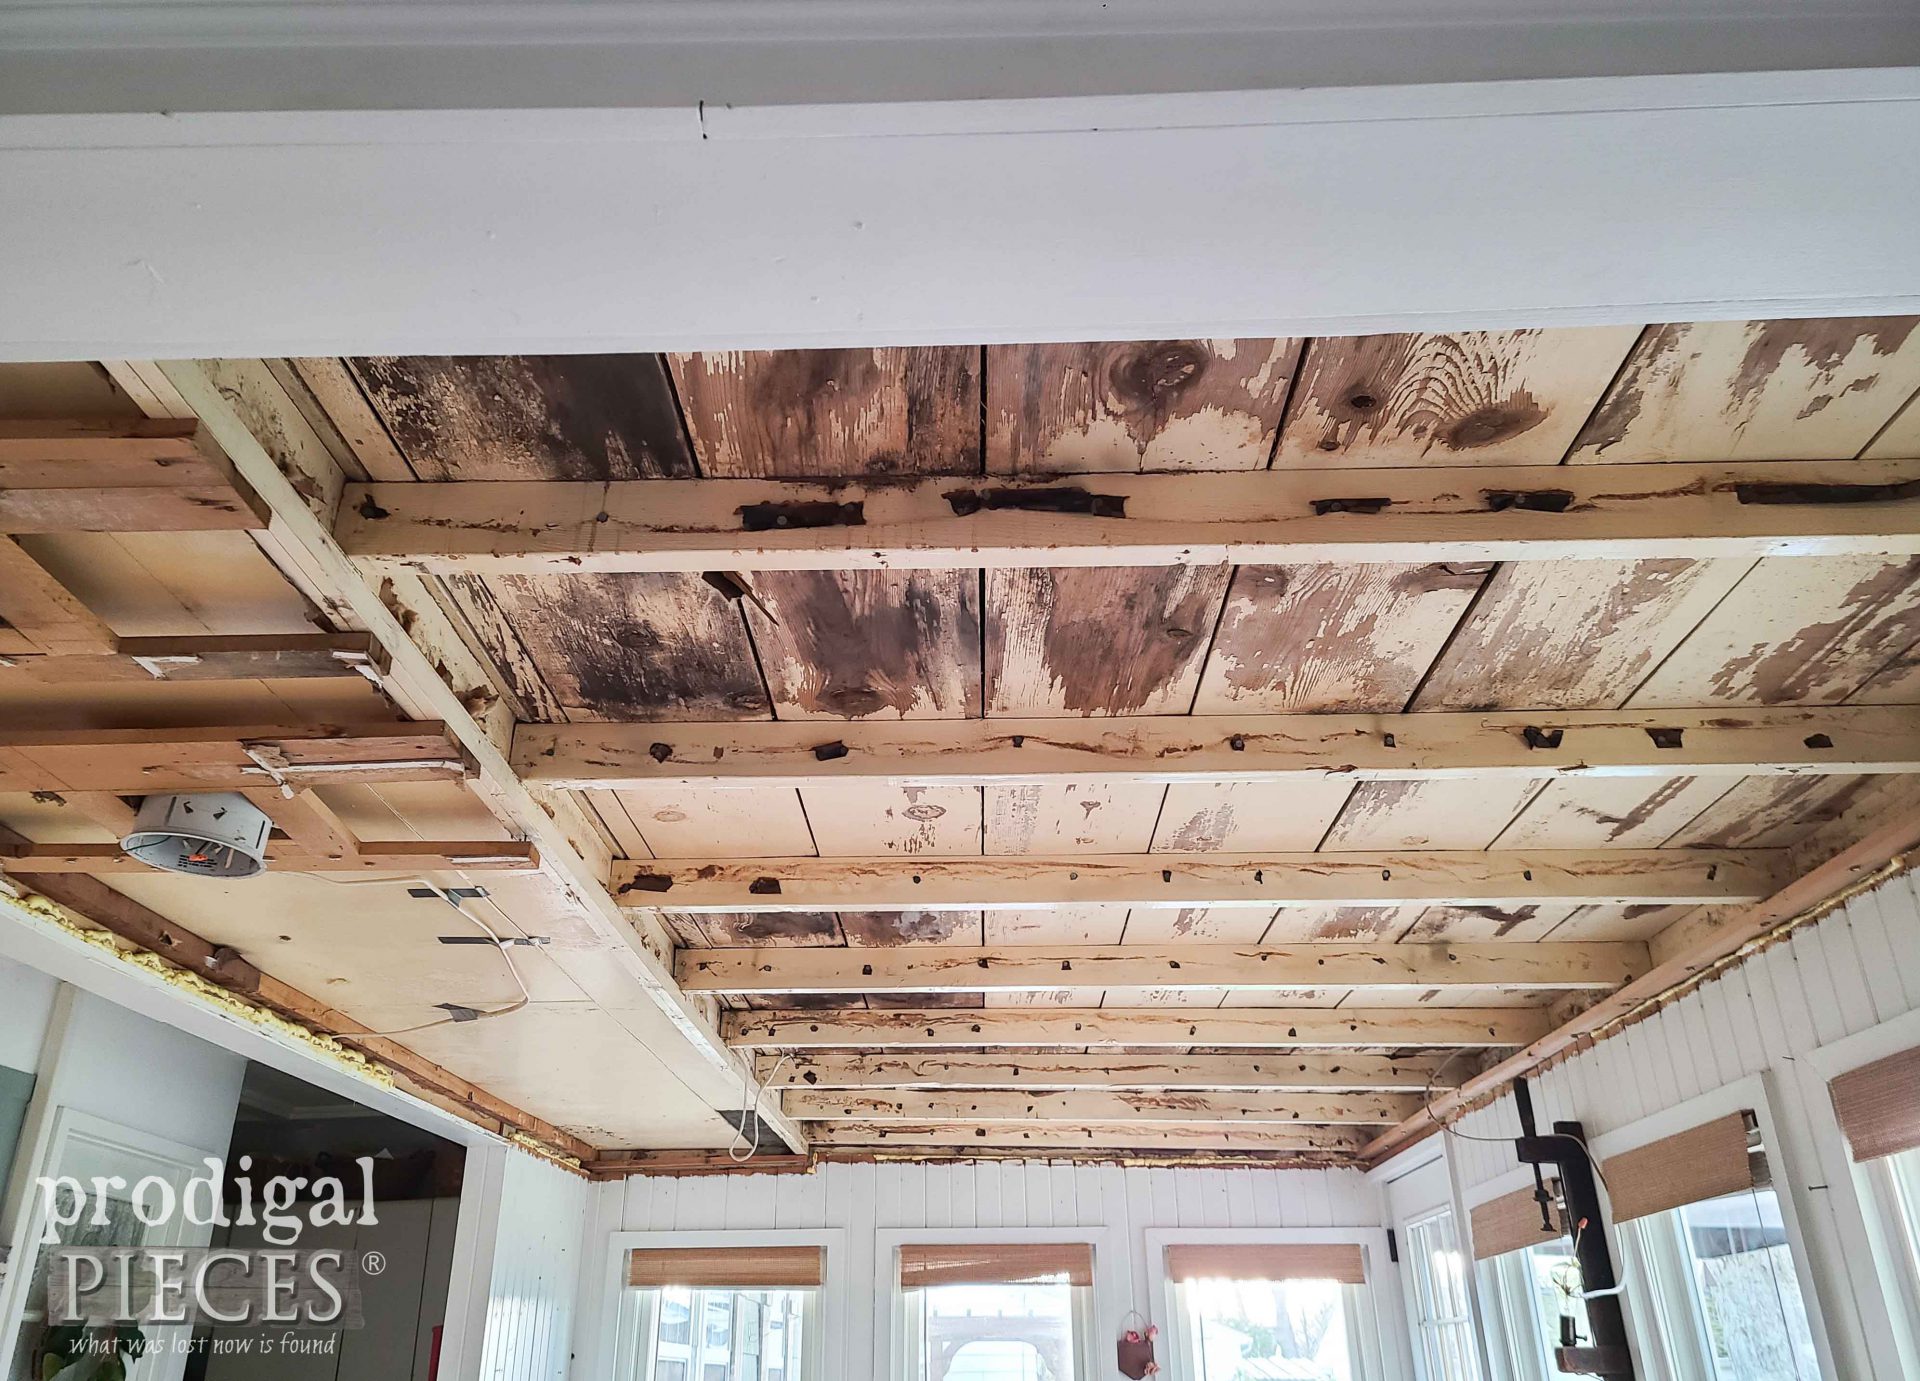
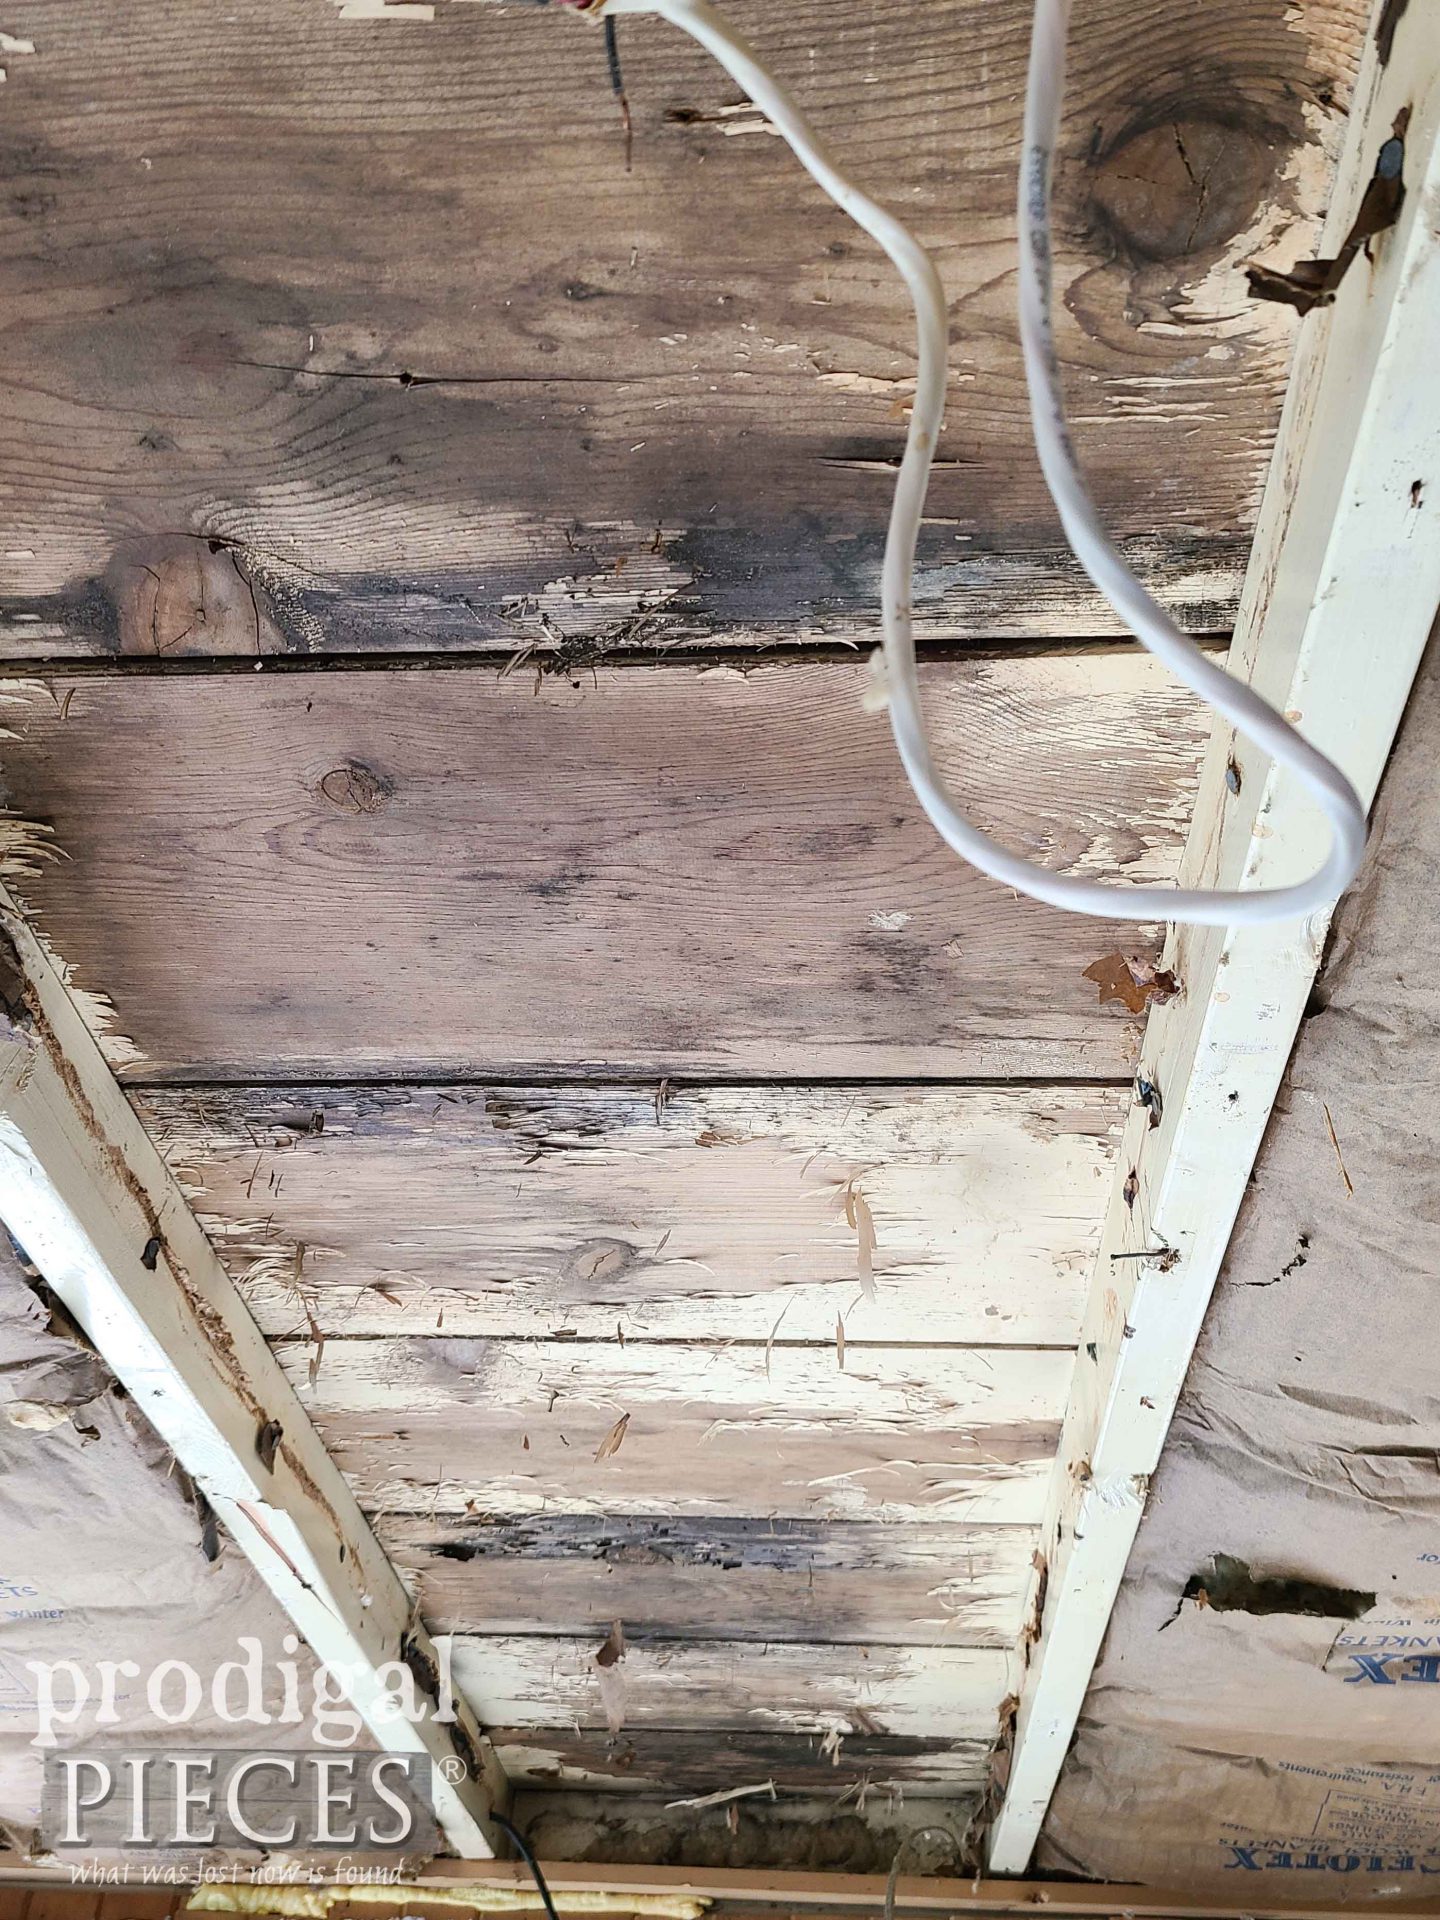
Yes, I actually put wood out for city spring clean-up. No worries. I actually took it back in and built THIS HERE. haha. Unfortunately, under that insulation here’s what I found. Oh boy… Notice the faux beam at the top of the picture. More on that soon.
There wasn’t any water damage from leaks, but just condensation built up over time under the insulation. Above the boards is unknown at this point, but on top is a rolled roof.
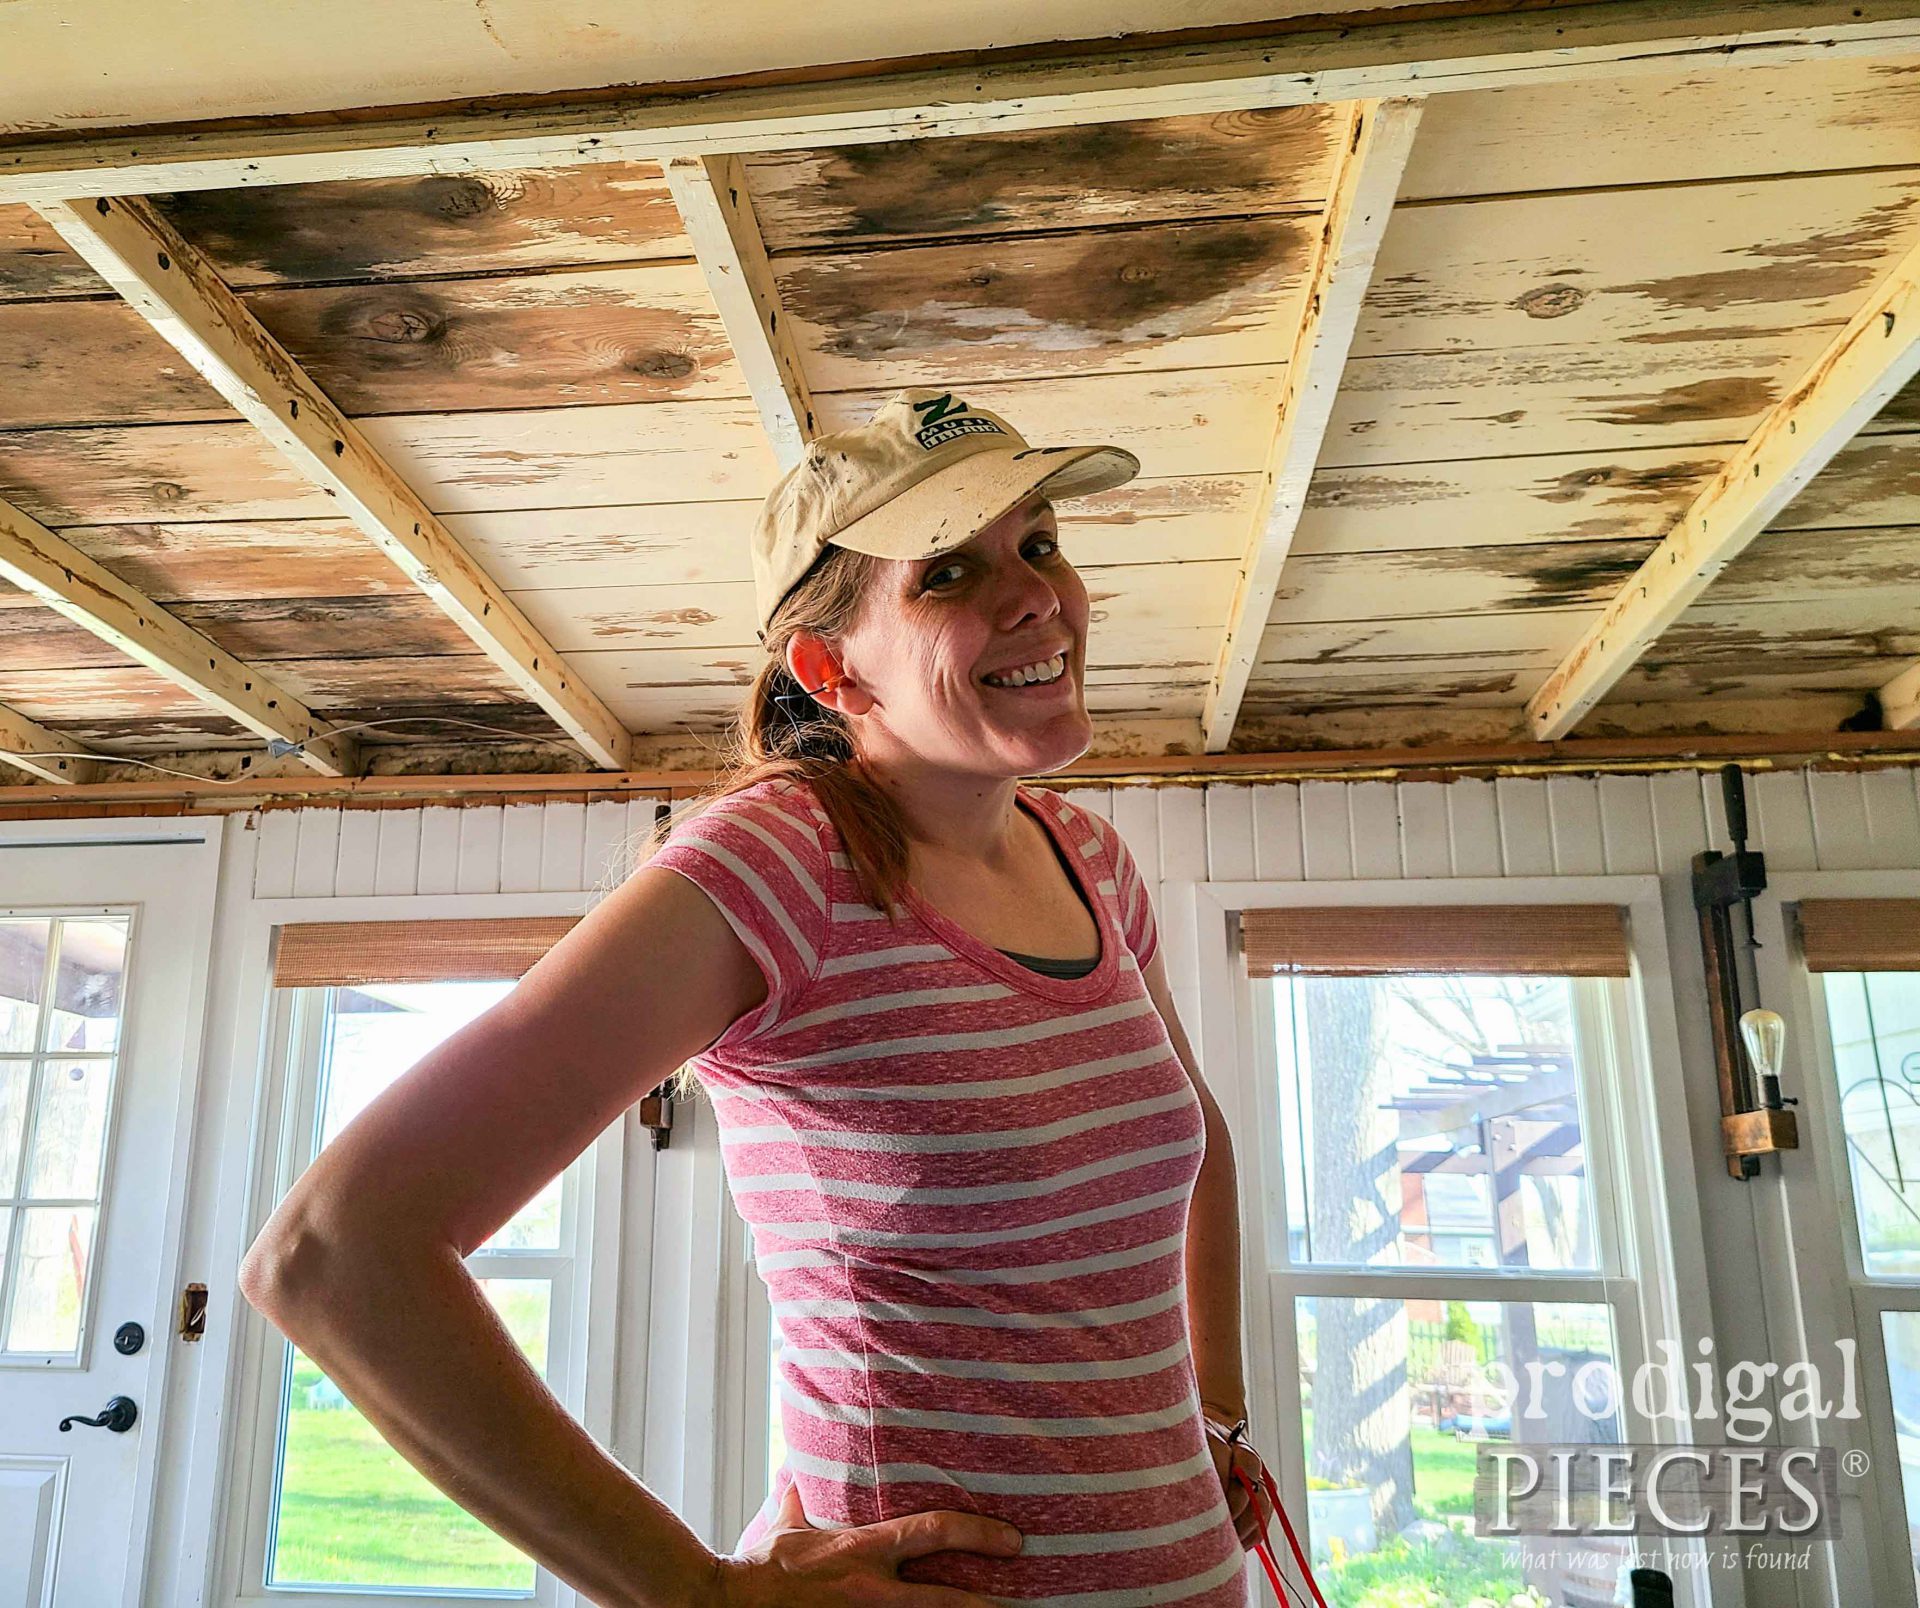
This look on my face is…umm…what did I get myself into. Time to pull up my big girl panties as I always do. My husband kept telling me to put insulation back up and cover it with a bead board or similar. Mind you, he hasn’t helped thus far, so I’m thinking if I’ve done this much I might as well finish it.
MORE FUN
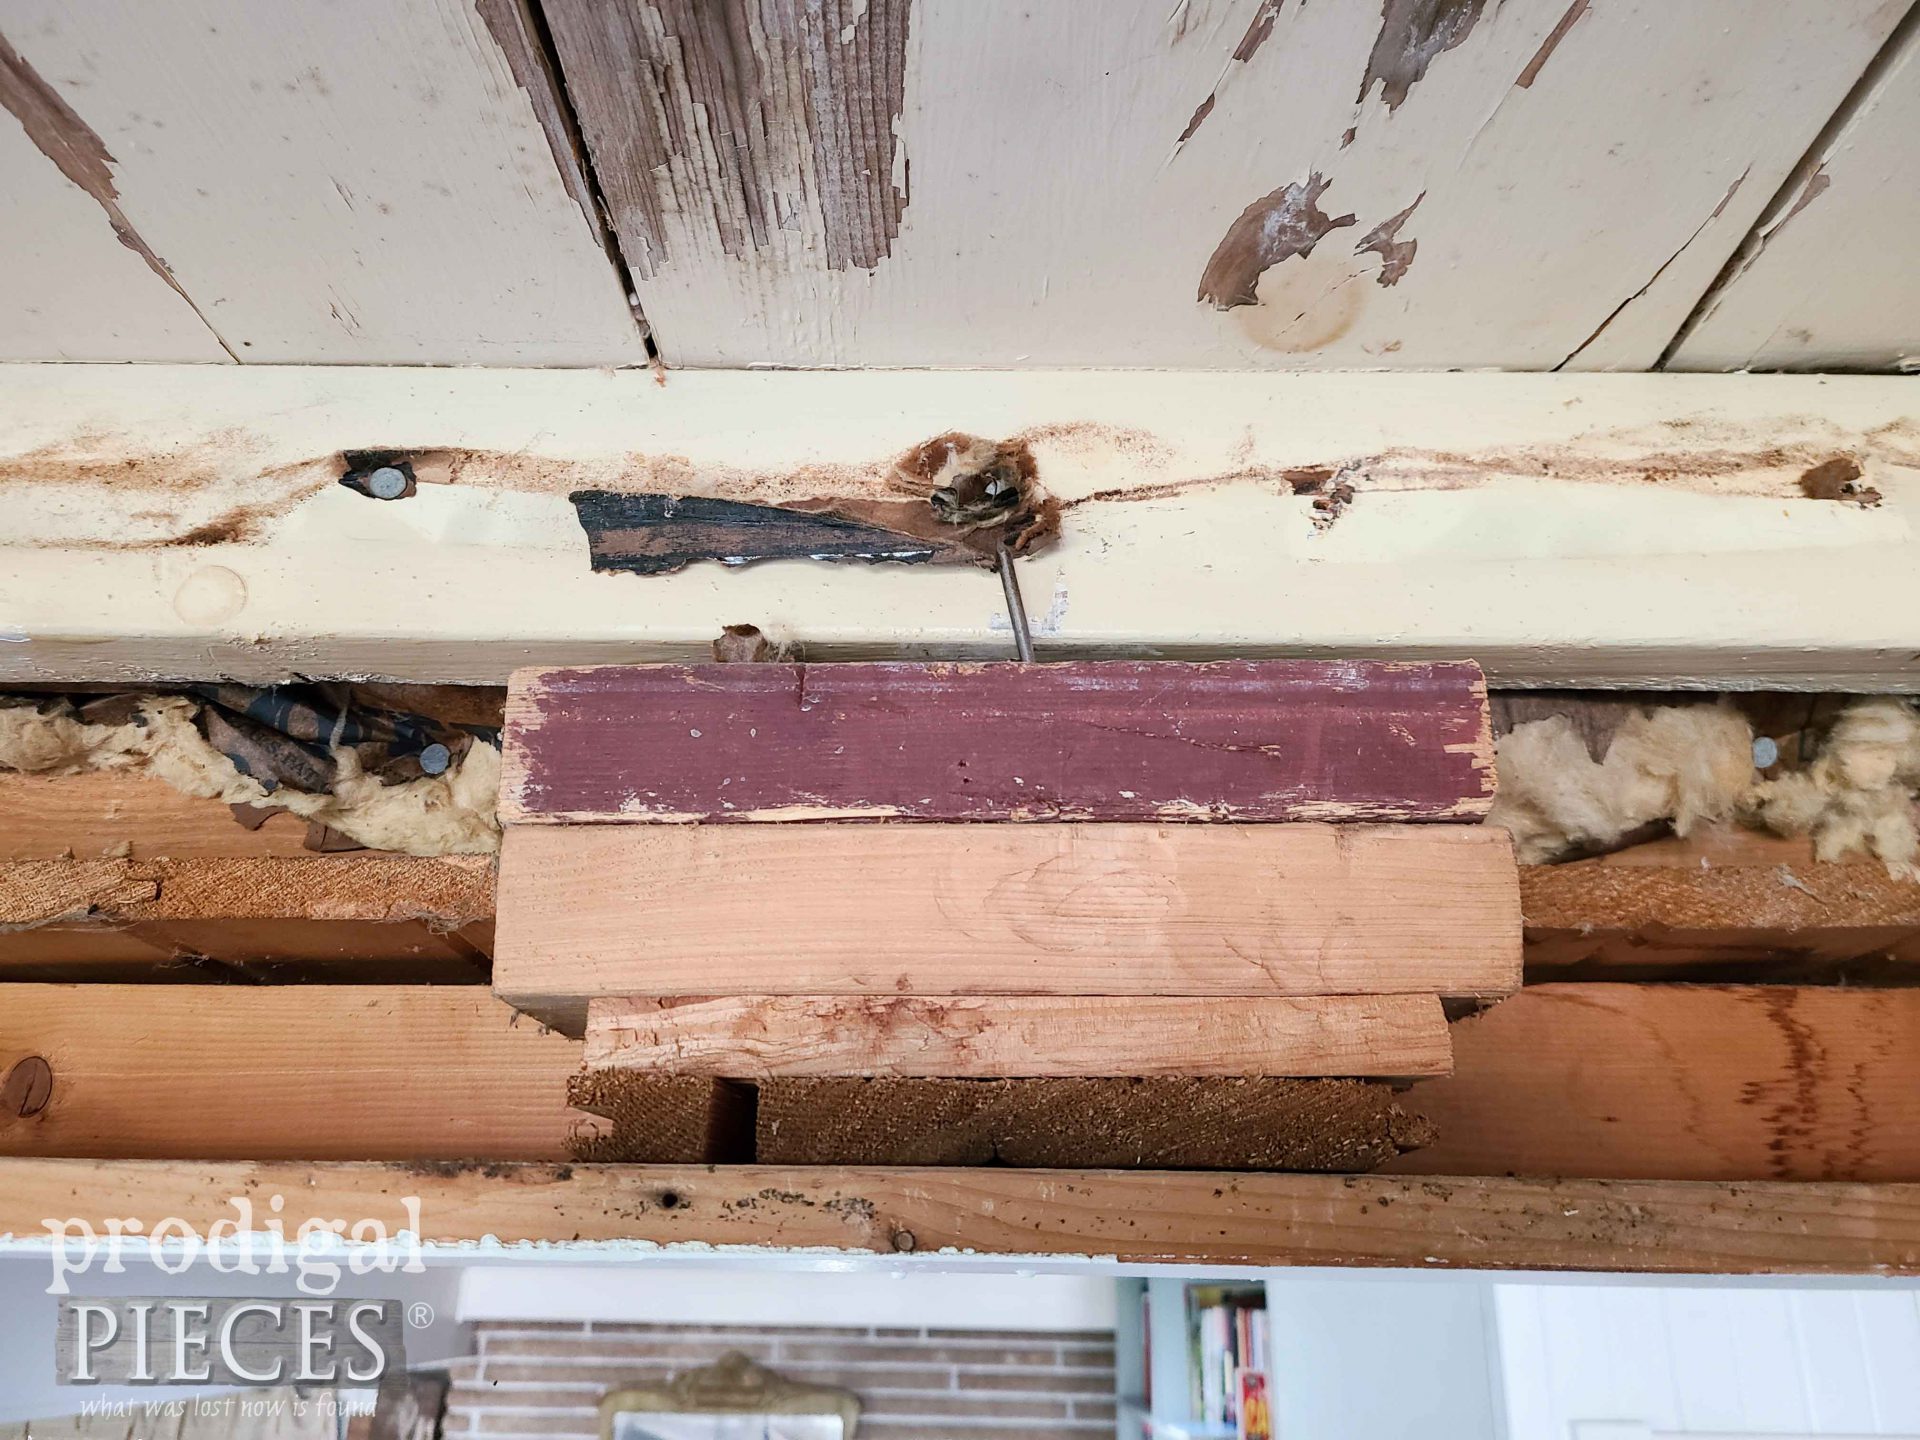
At the same time, I have to see what’s behind the 1″ x 4″ used as a transition into our family room. When I pull off the boards, I see this…
What in the DIY is that?!? I have often called our home the half-wit house. Not because of who currently lives in it, ahem, but because of who built it. It’s not unsafe, but just has a whole bunch of half-wit errors. haha. Now that we’ve remodeled most of it, we’ve remedied those issues. Someone literally stacked scrap to create a faux beam. It works but is NOT the best idea.
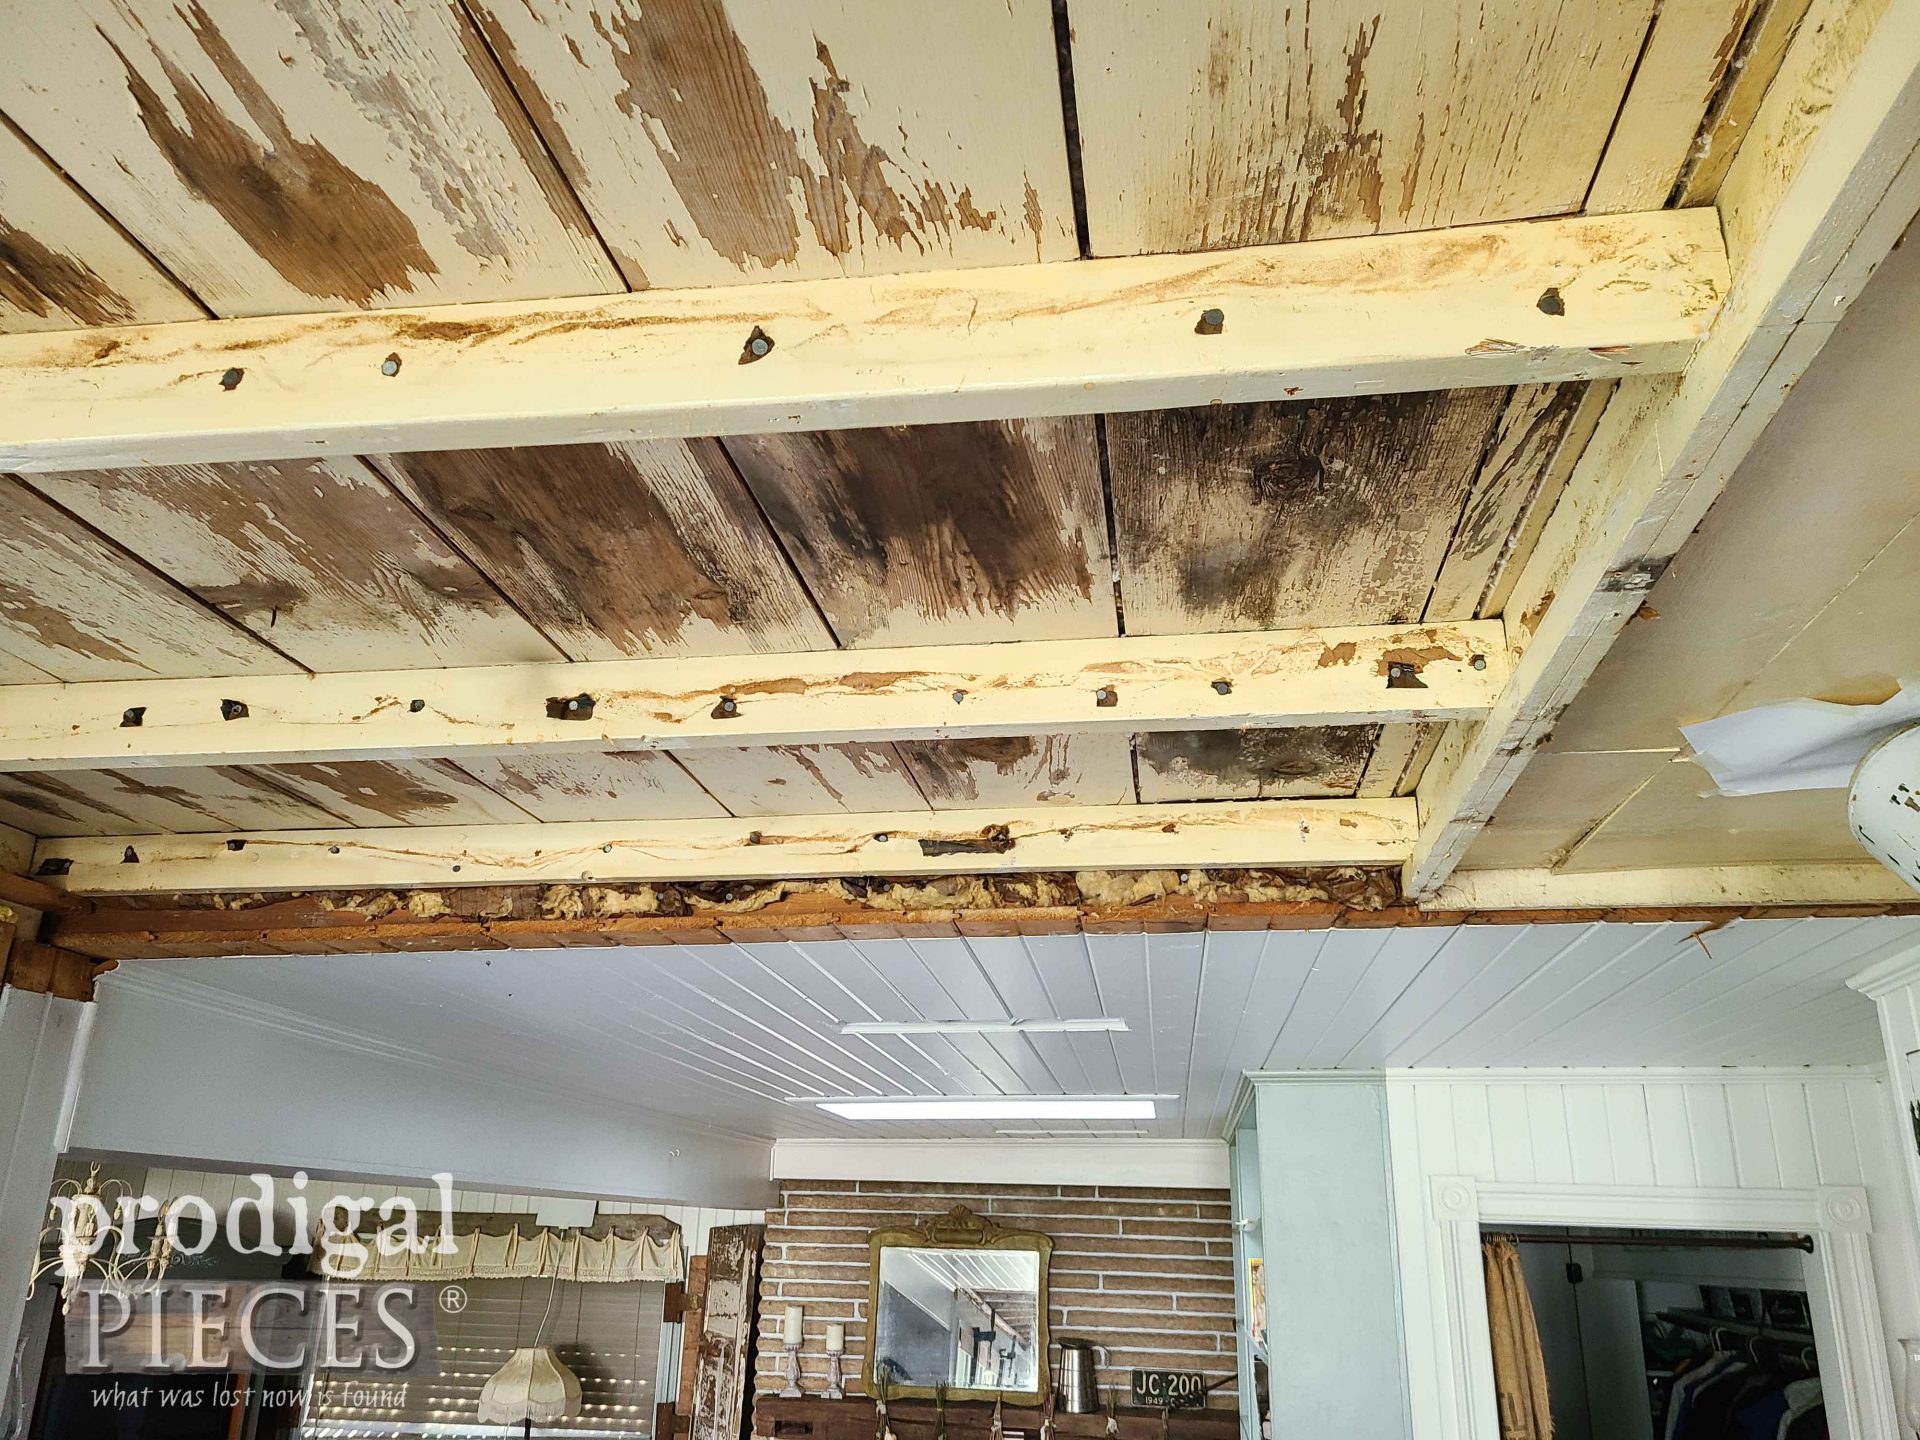
Here is the transition after I take down the faux transition beam. I now have more headspace and a smoother spot to work with. In addition, see all those nails that held the insulation? Guess who got to dig all those out. My inner joy abounds with my sarcasm.
OVER AND OUT
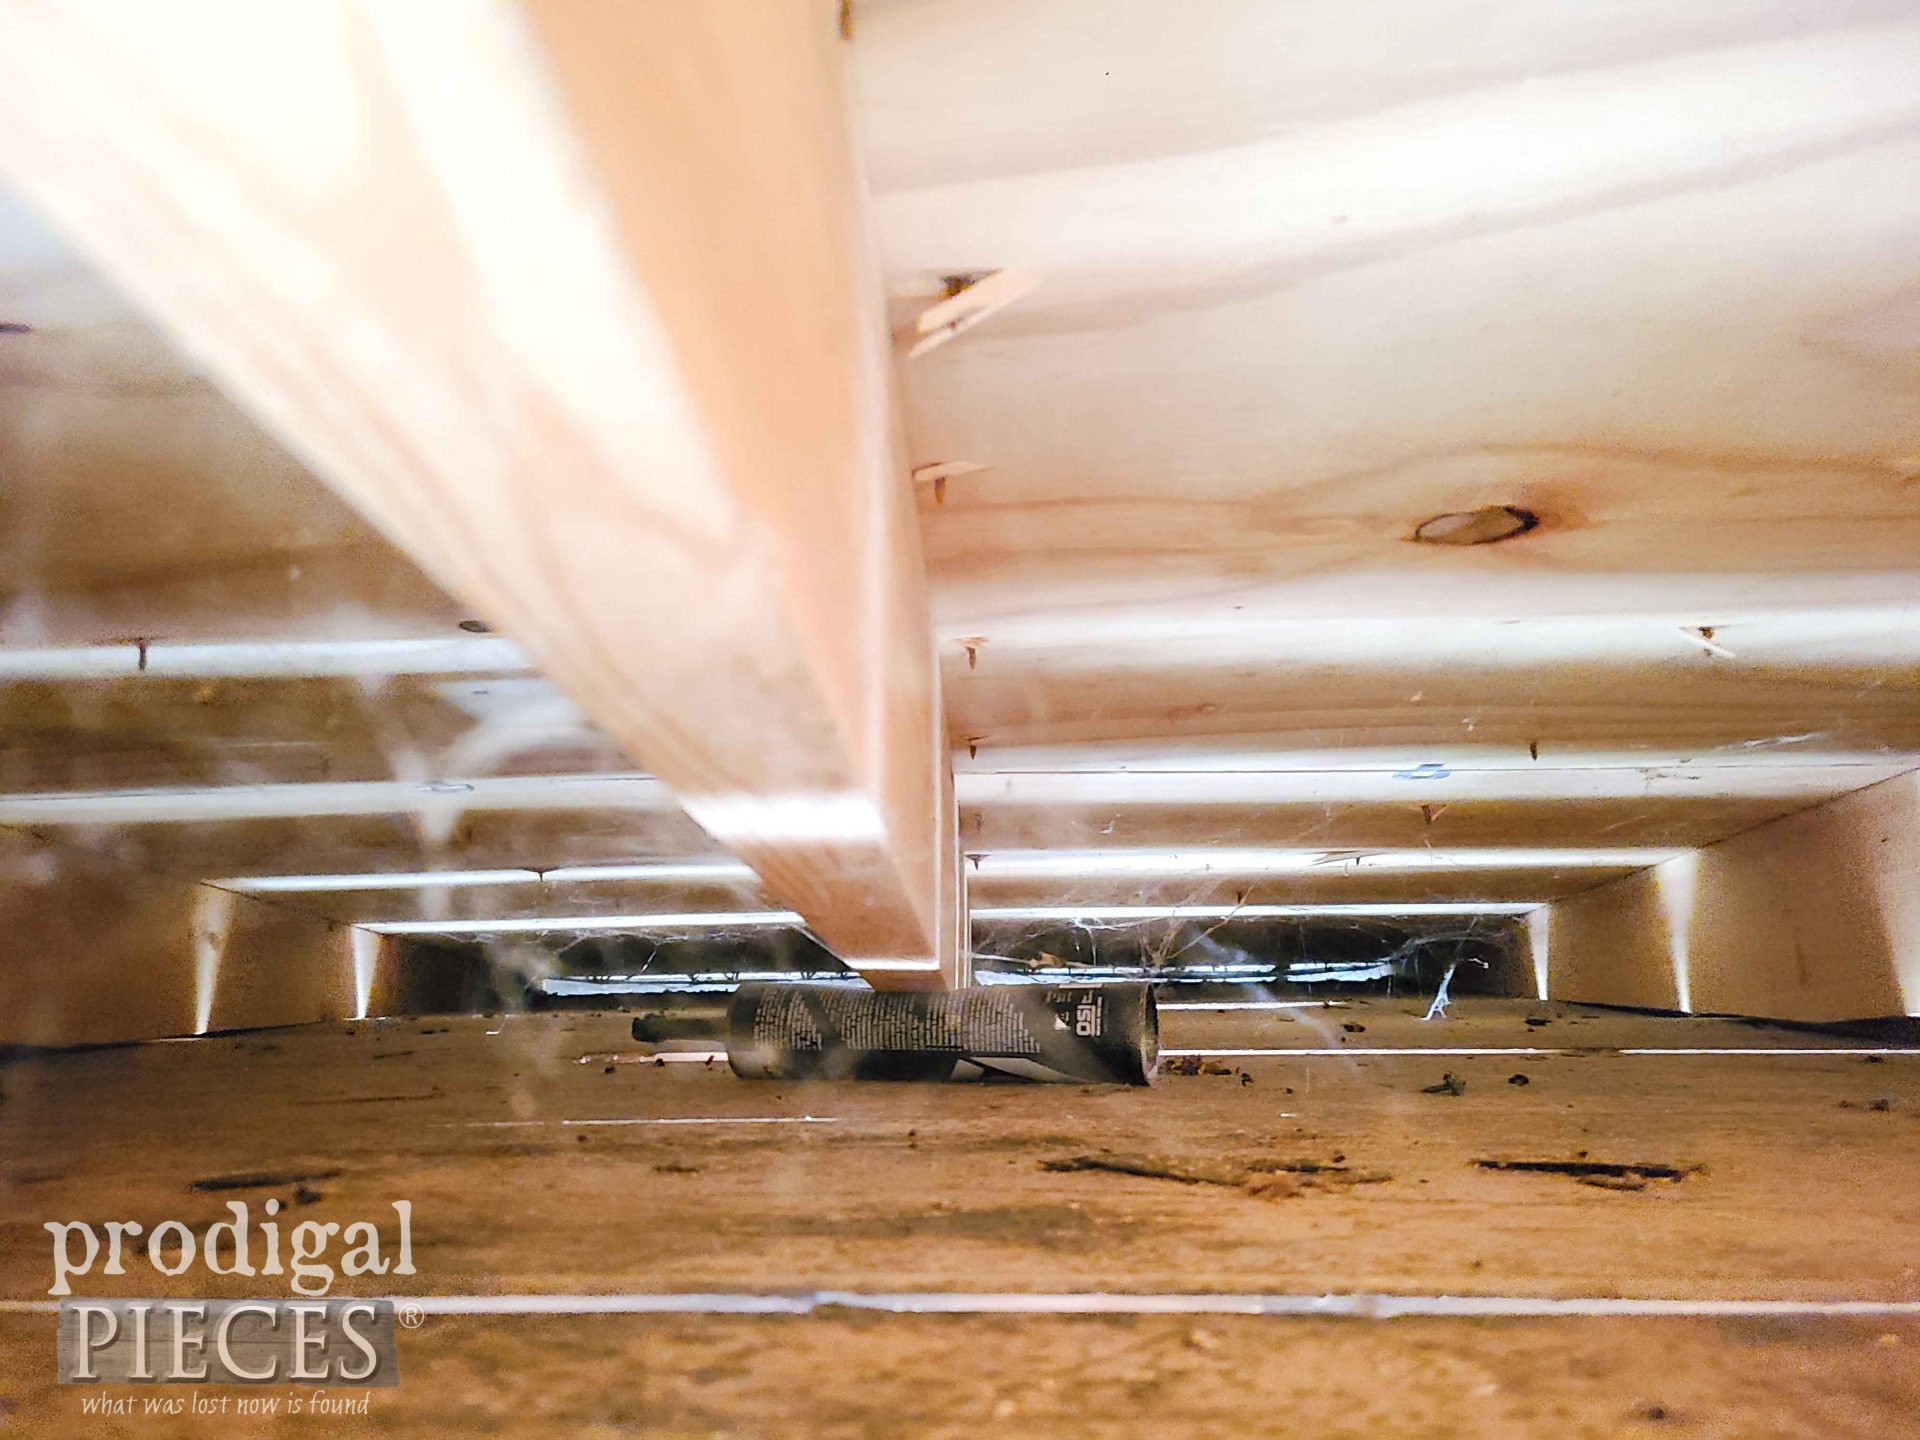
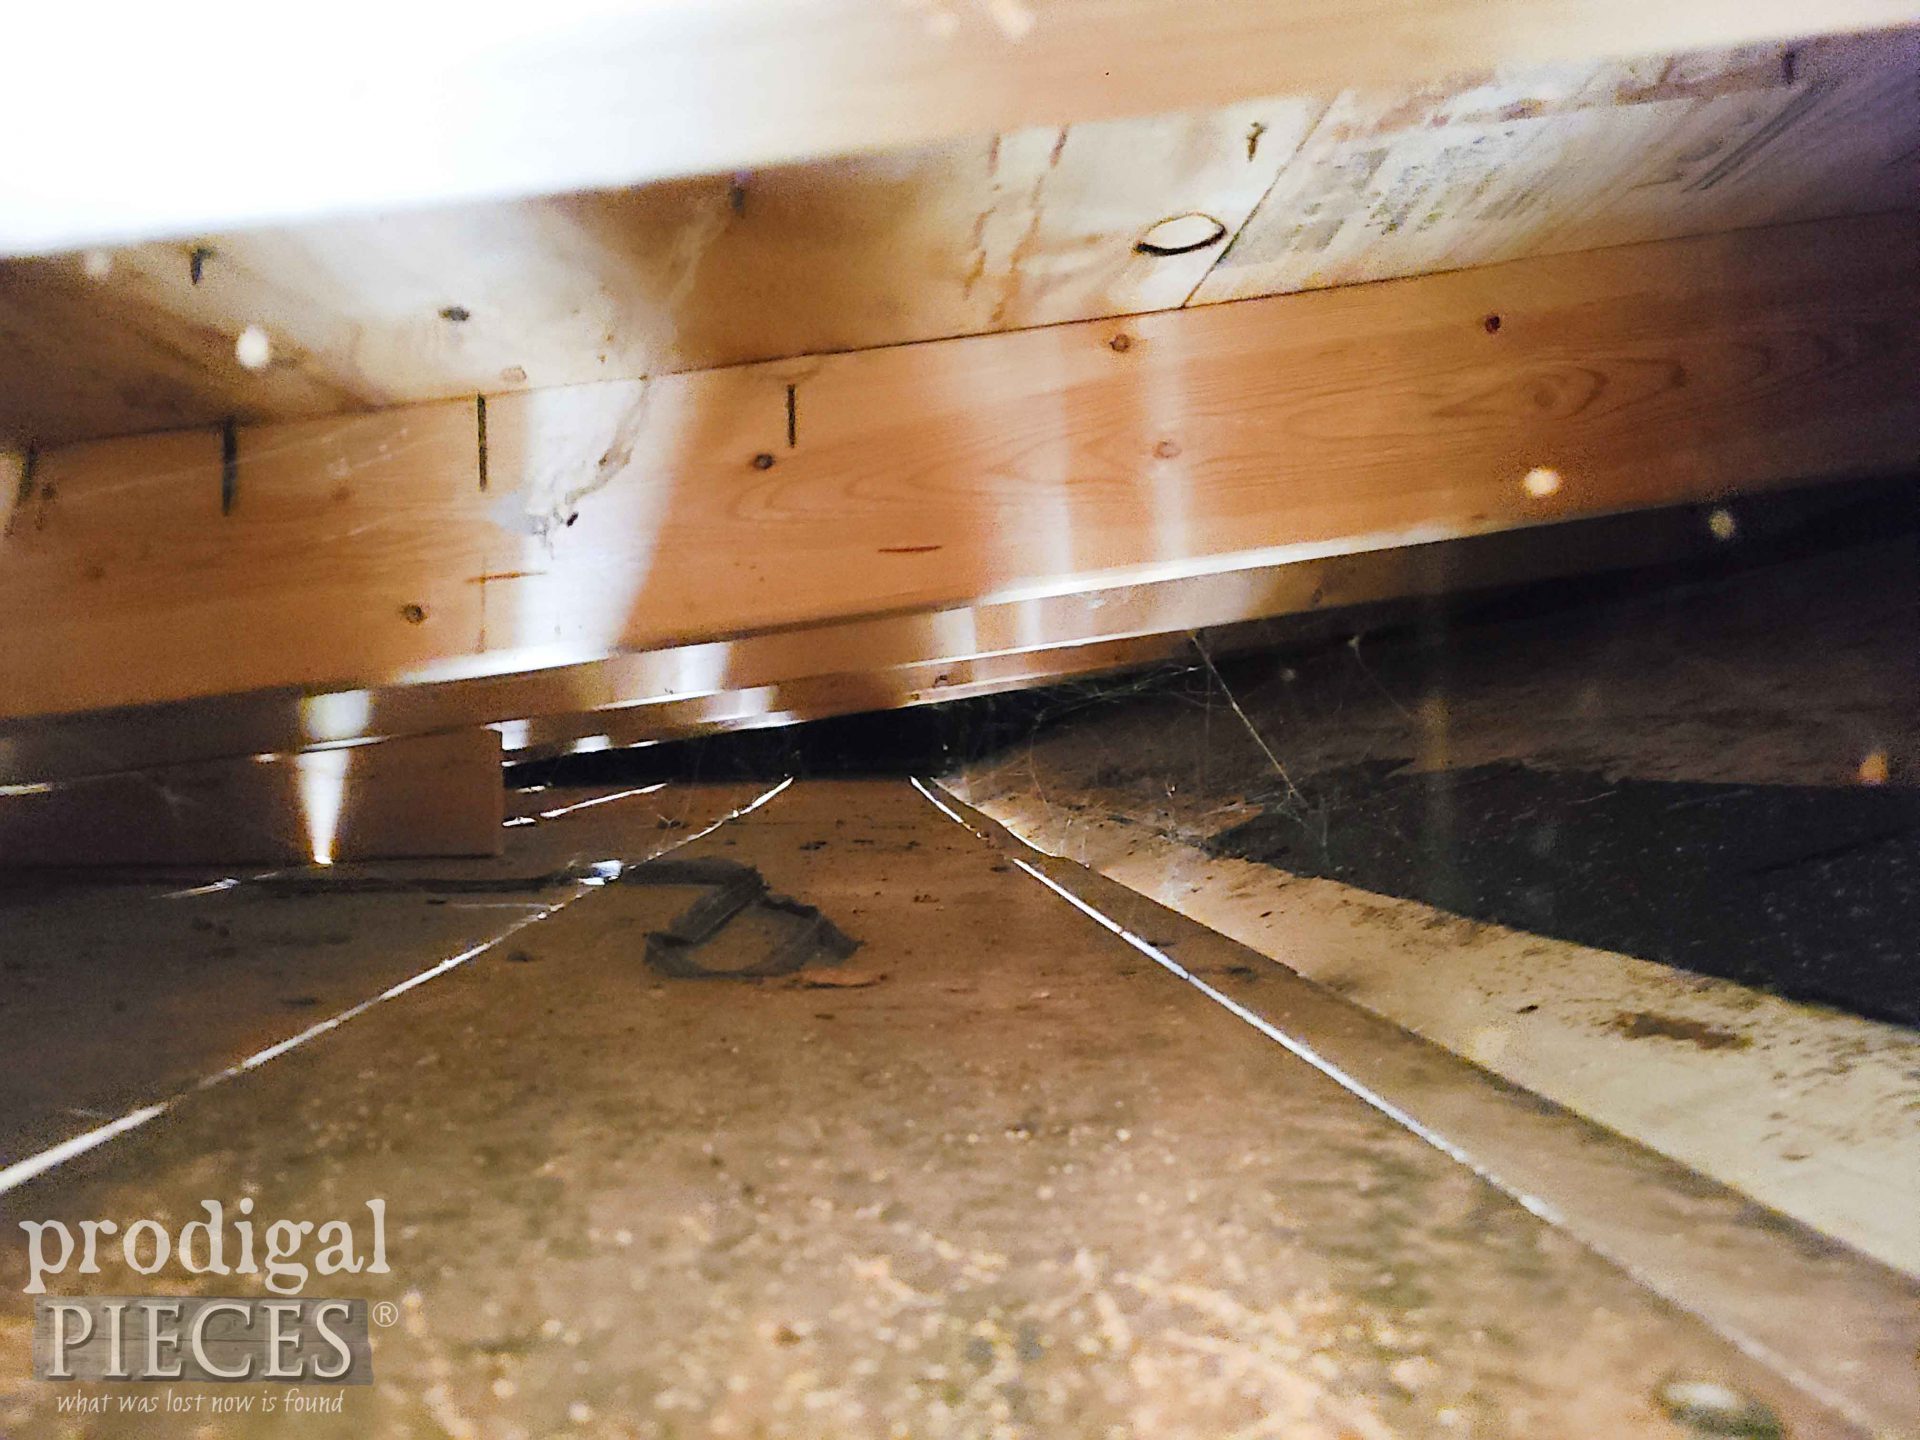
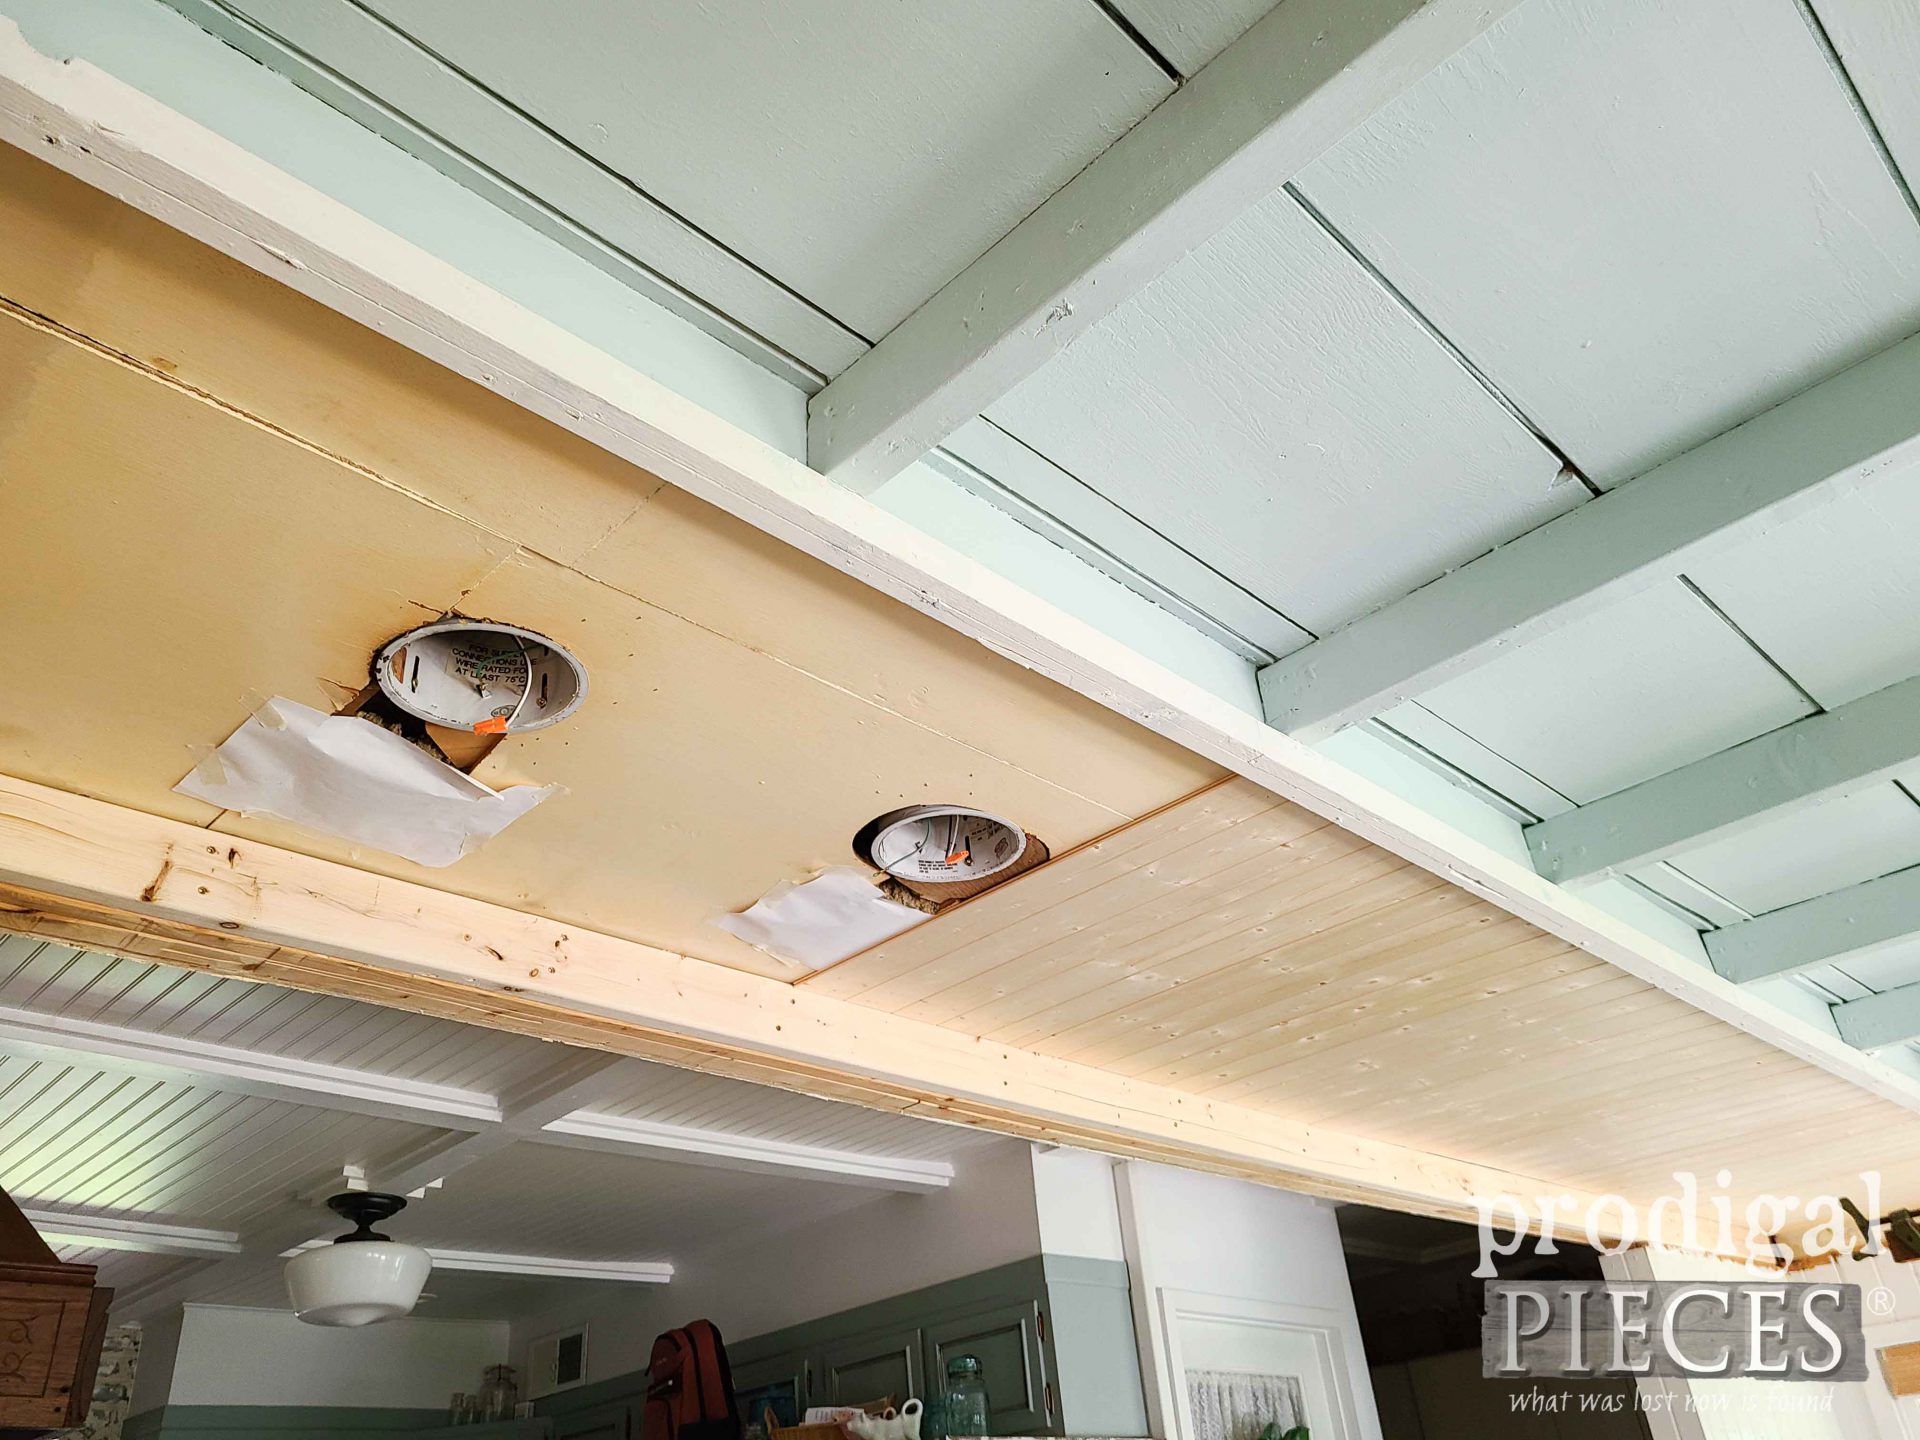
However, I need to find out if I can insulate above the planked ceiling. We have no access from the attic since this was just a porch originally. In order to do see what I have to work with, I use a cutter tool to cut two boards at an angle so I can push them up in and later reinsert them. After cutting away, here is what I see…
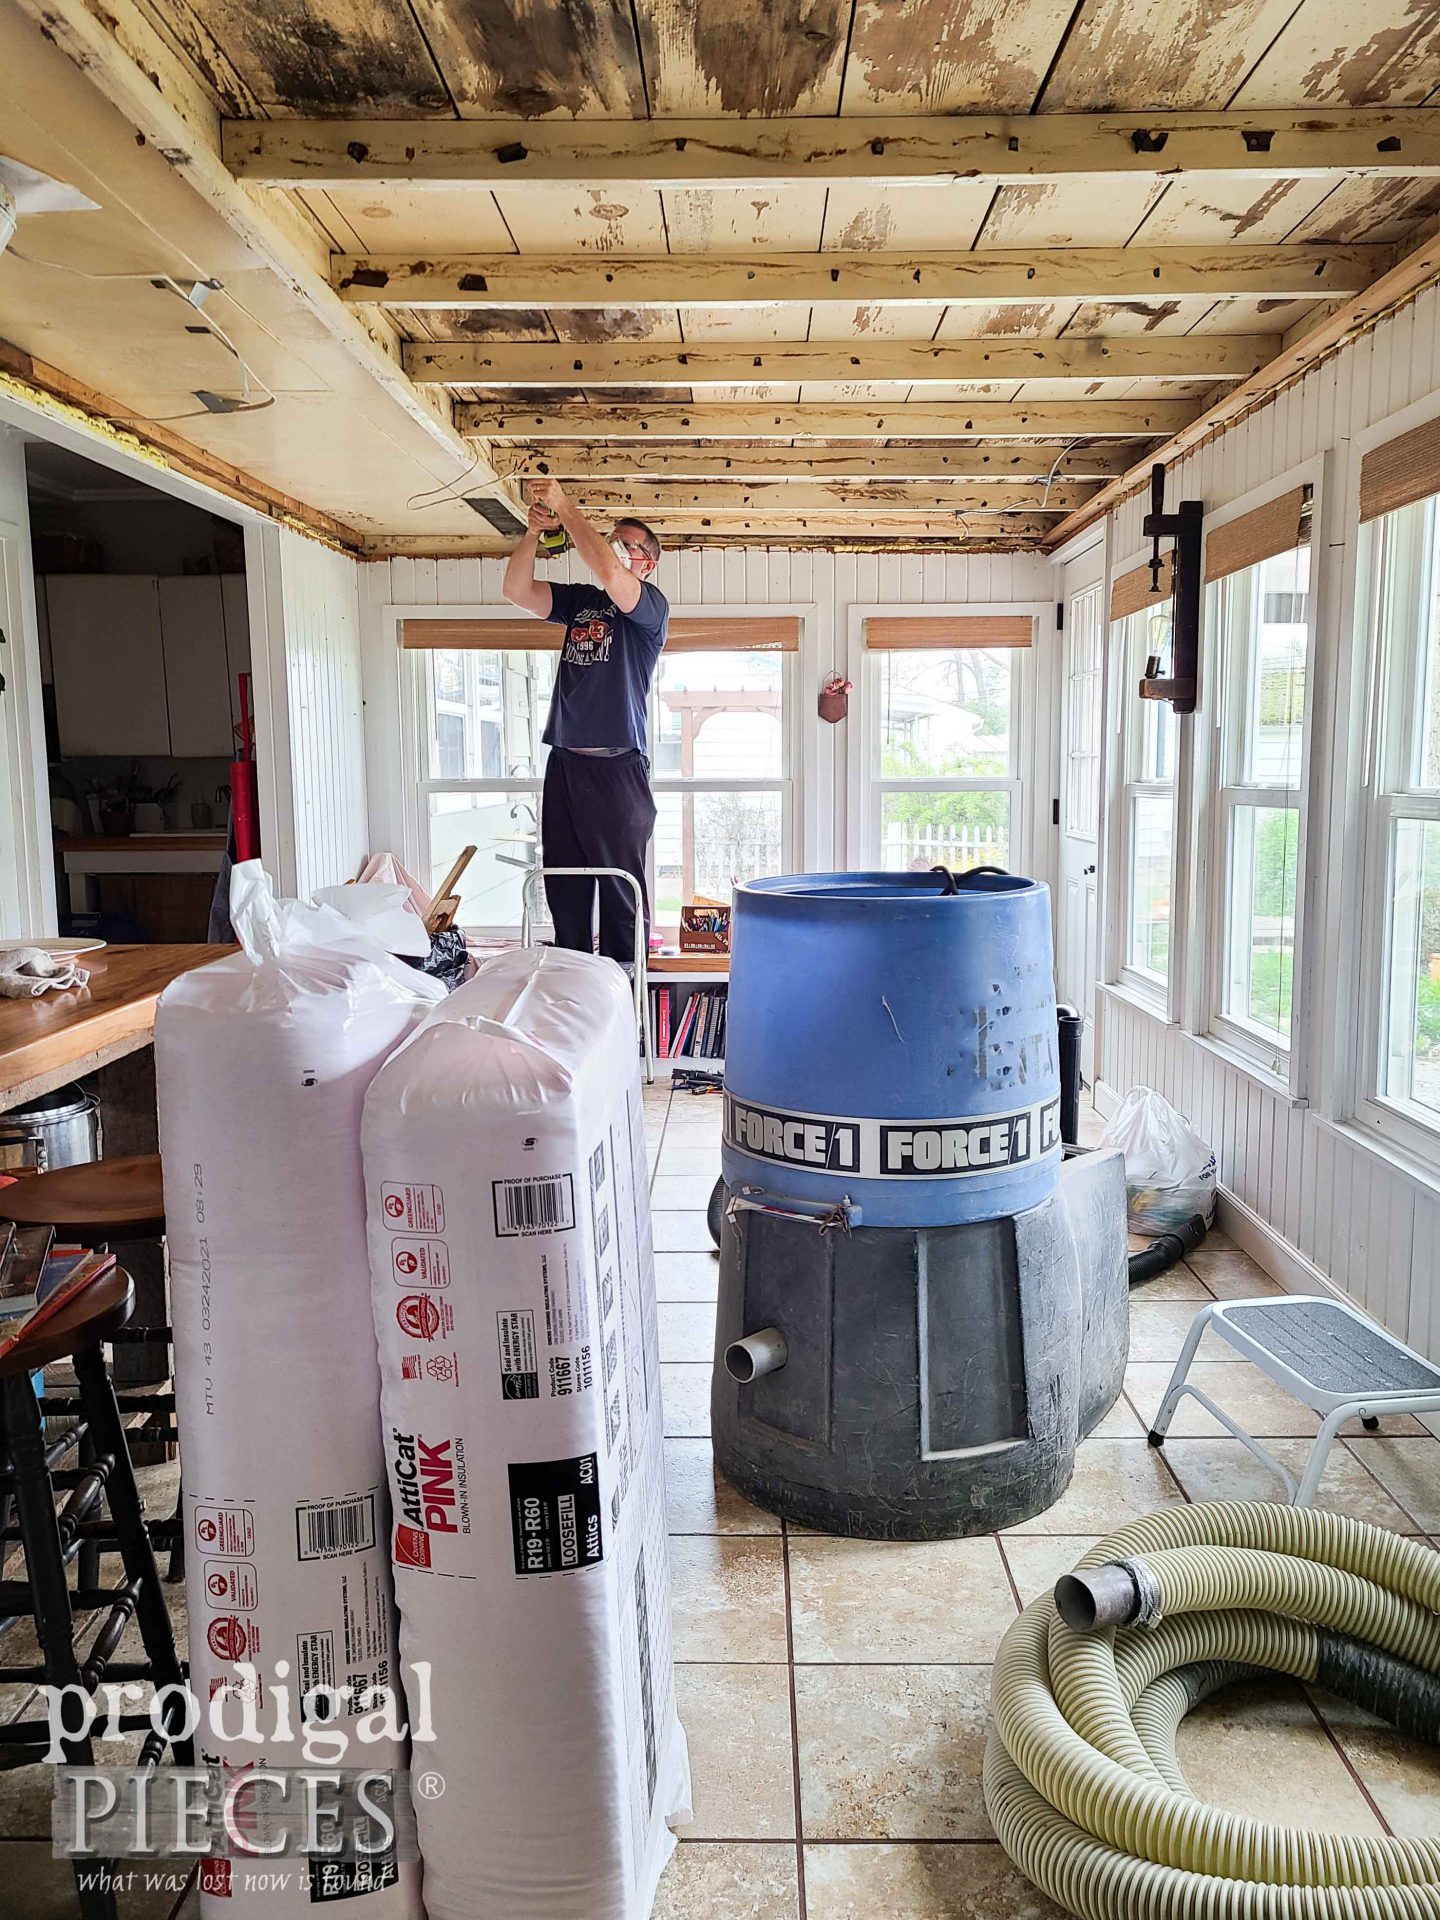
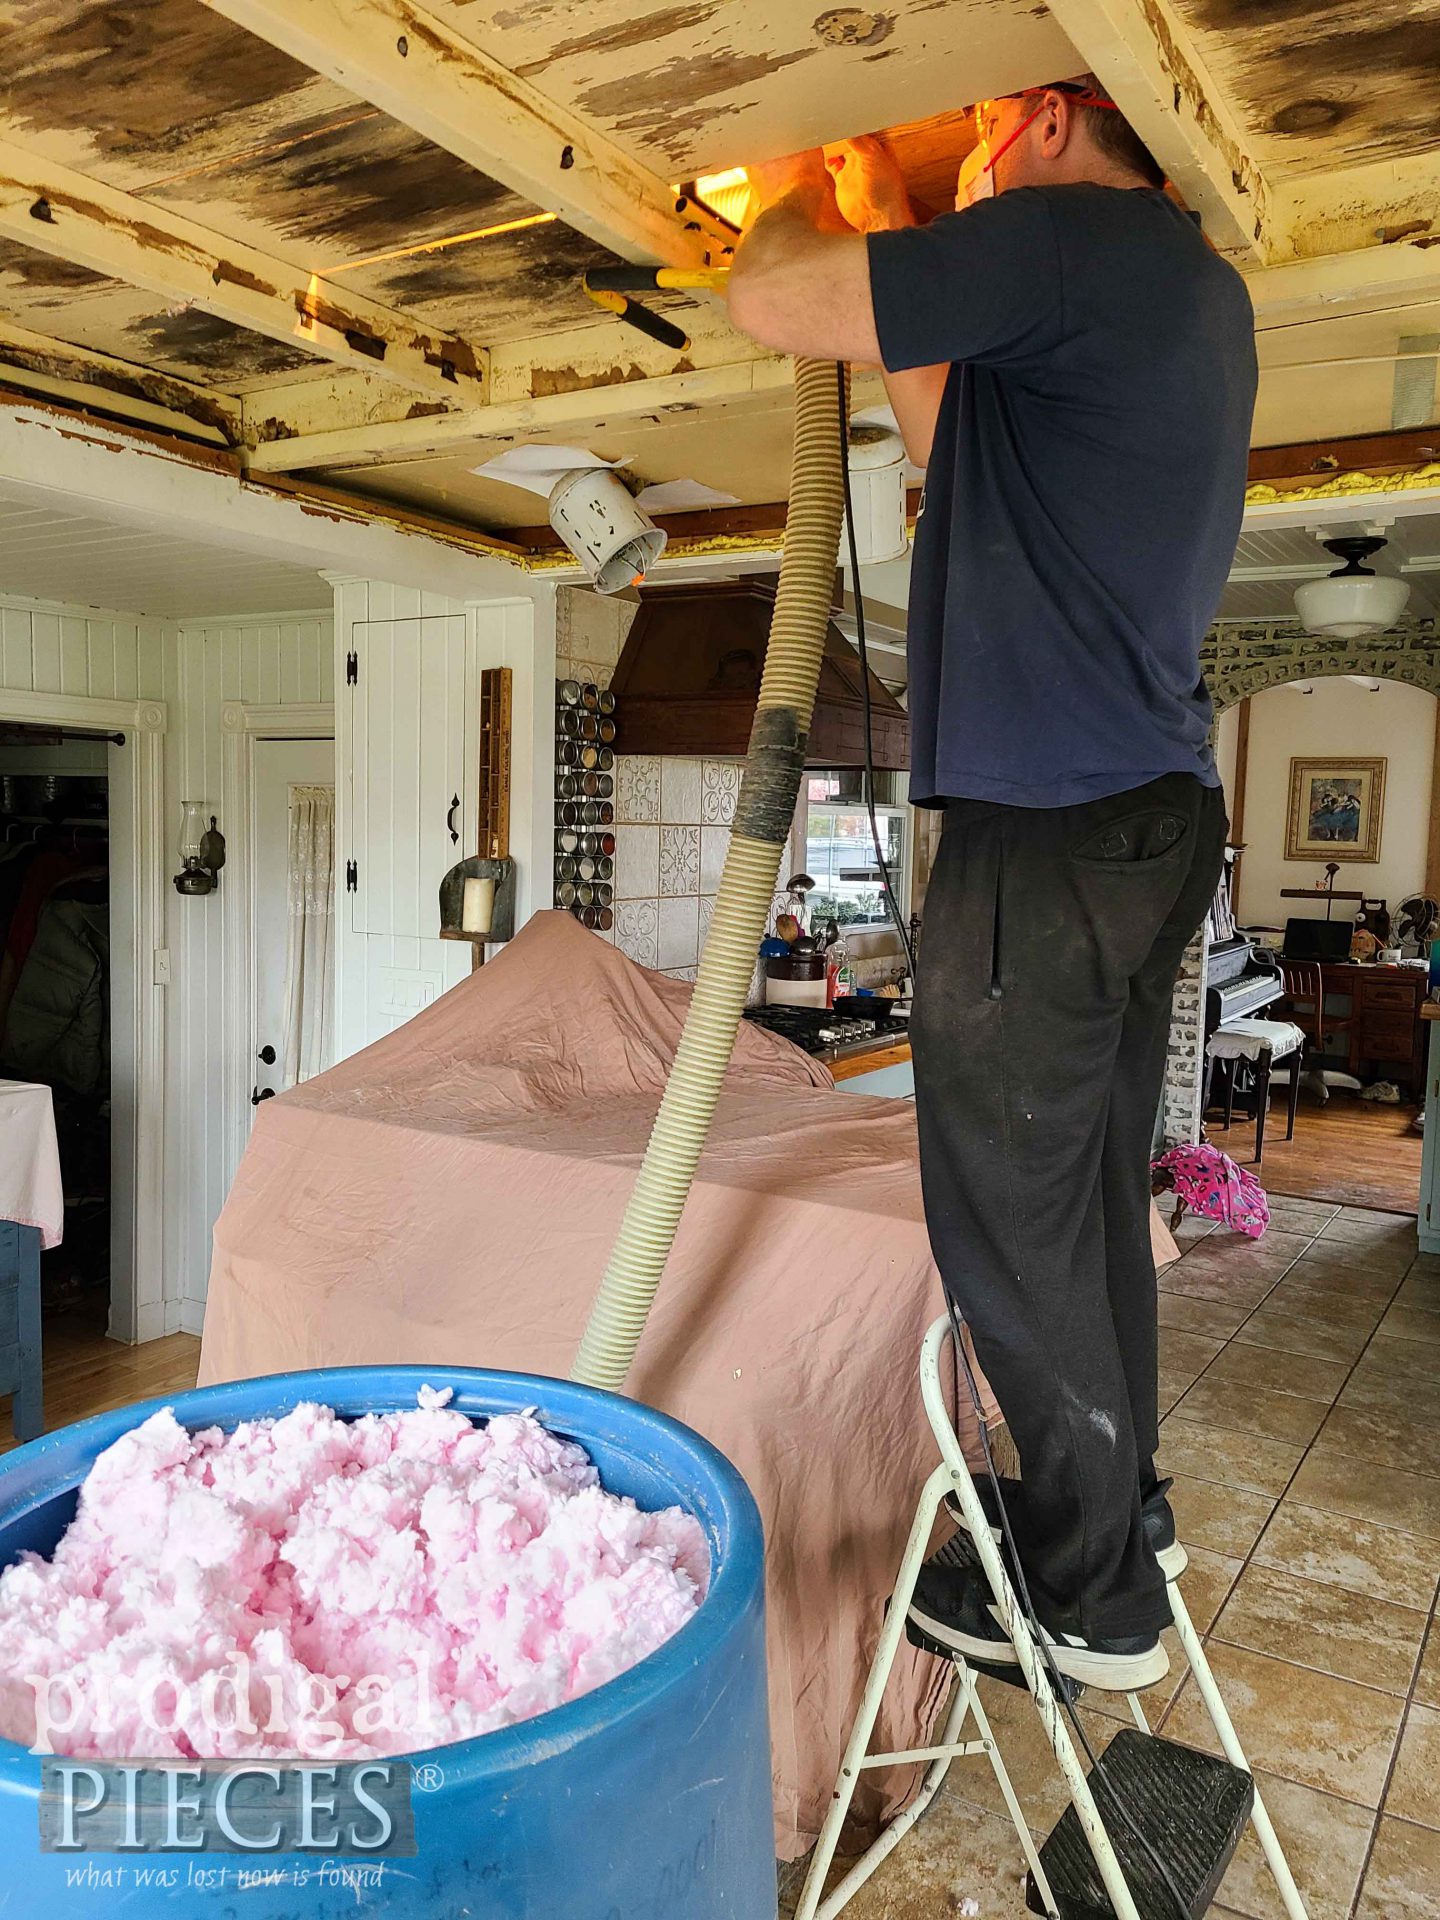
Not only can you see where the house roof transitions into the porch (aka. dining room ceiling) roof, but also a lazy person left a tube of caulk. sigh. Thankfully, we have room to add blown insulation and my project can continue as I’d hoped. Next, we rent a machine that allows us to easily fill the space.
What’s interesting is that when we cut one of the ceiling boards near our family room, we find that the entire space above our fireplace is empty…as in no insulation. Dare I repeat…half-wit house. Mind you, I insulated the coffered ceiling when I tore it down, but we had no access to this part of the ceiling. With that knowledge, we not only insulated our dining room ceiling, but also half of our family room ceiling as well.
STRIPPER…NOT ME
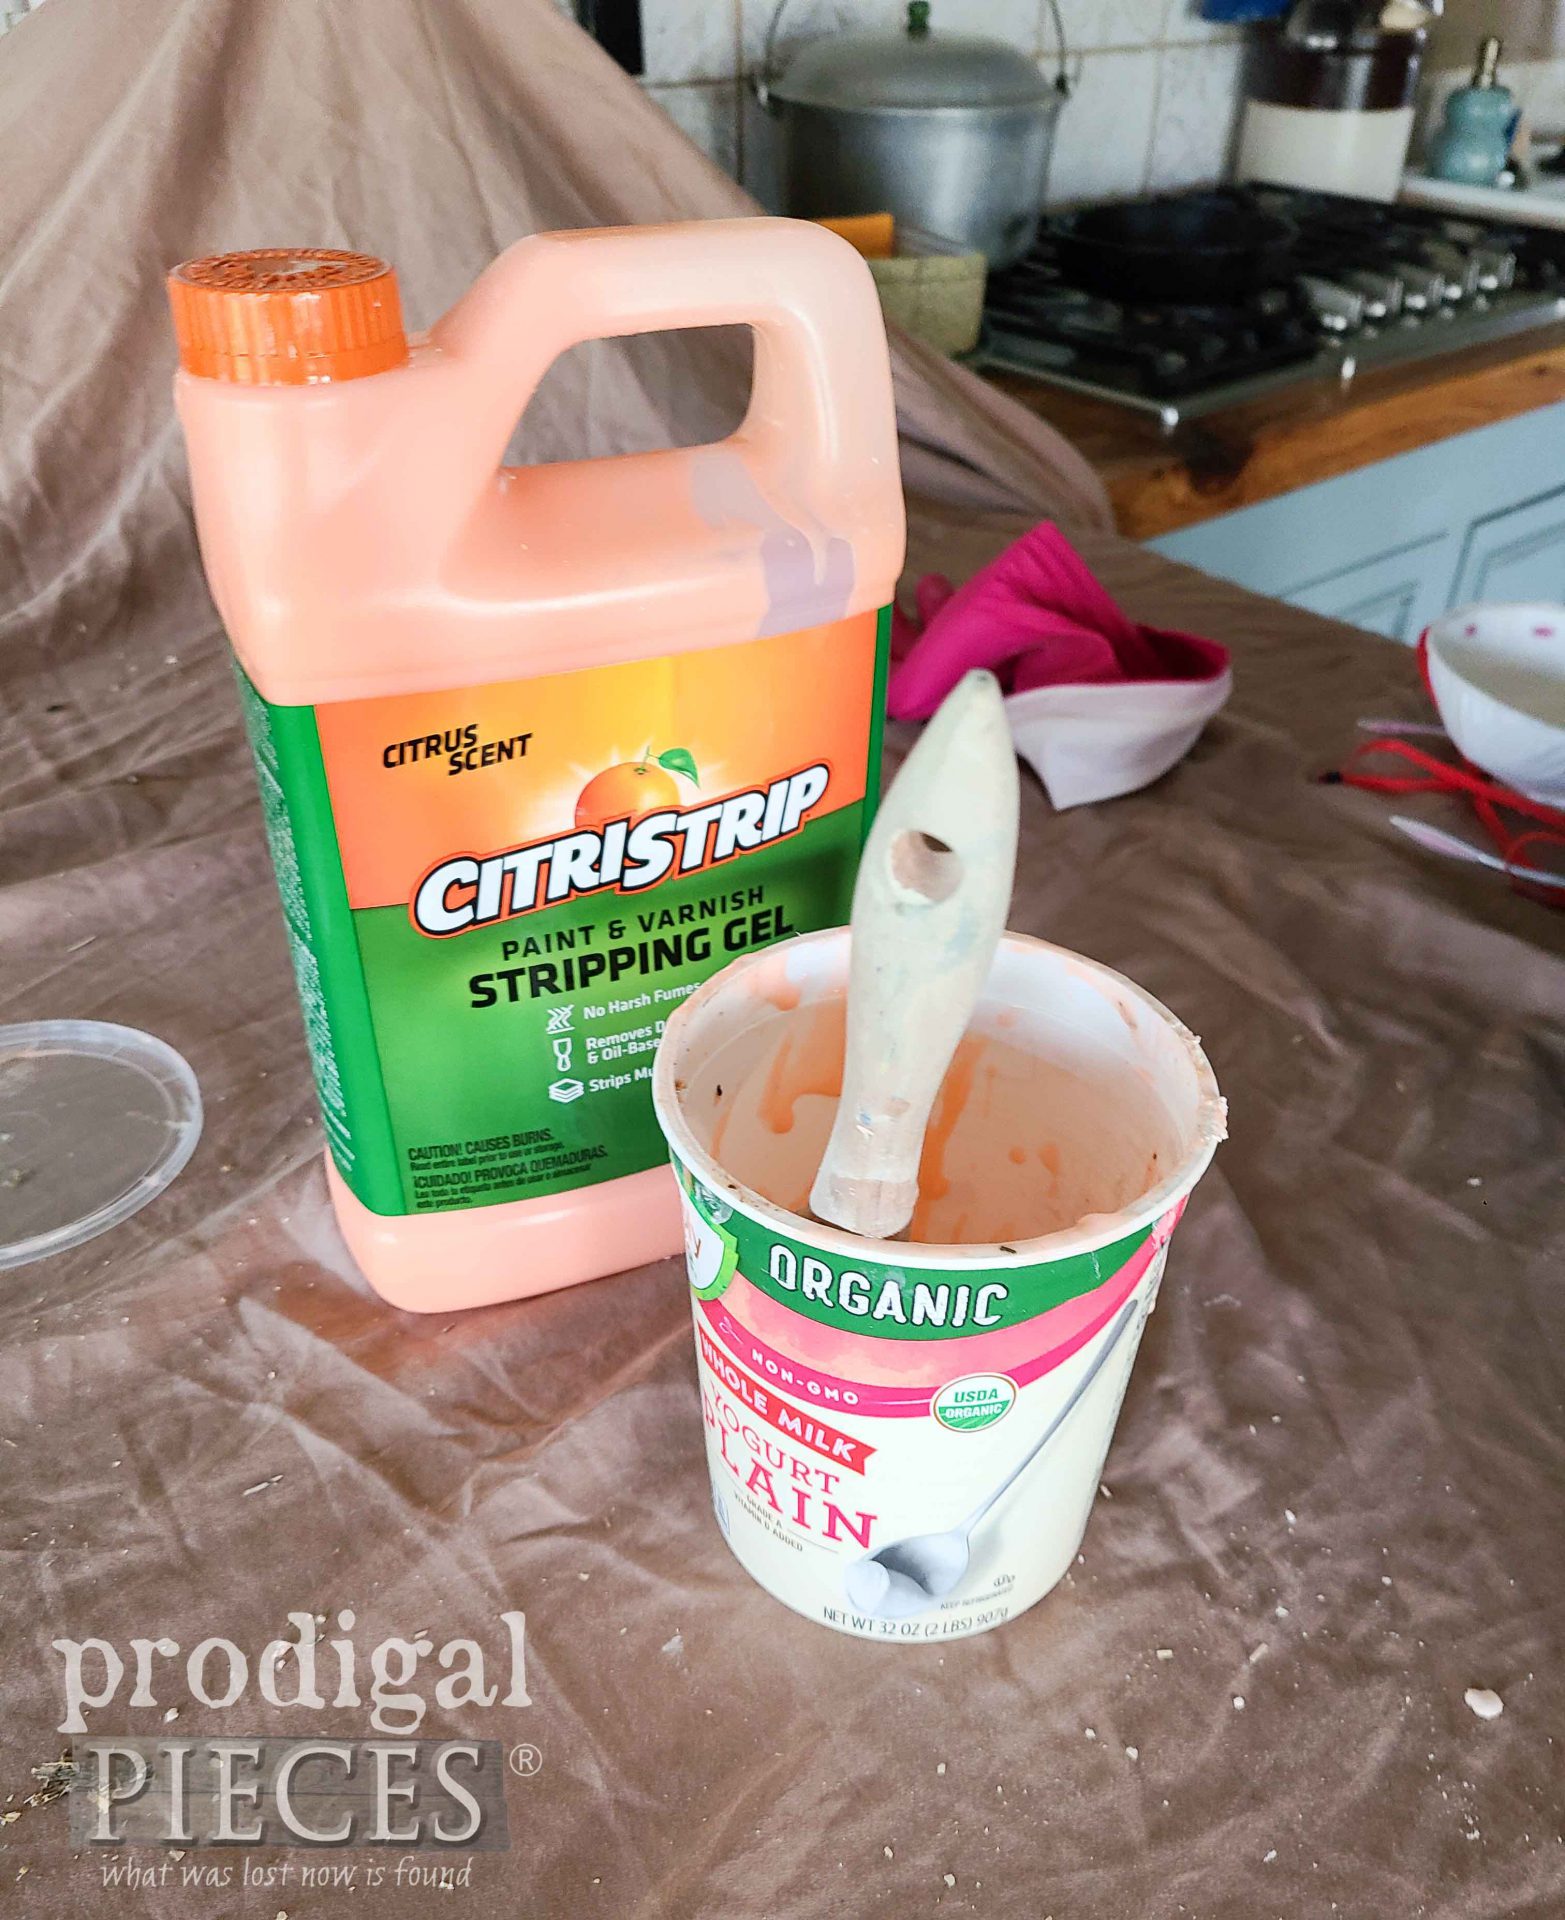
Once we finally have the insulation in place, it’s time for me to become a stripper…of the paint kind. I did a lead test, and it is positive. So, I need to remedy that issue by removing any loose or peeling paint. In order to do that, I use this natural stripper as I’ve used in these past posts.
I brush it on in small sections so it can work a bit, but not dry up. My goal is to remove all loose and bubbling paint, but not necessarily all of it. Talk about a huge pain in the fanny!!
Finally, once all the steps are taken to fill holes, make repairs, and clean, I’m able to apply a Zinsser BIN primer that will hide any and all stains, but also seal in the lead paint leftovers. You can see how I’ve used it in past posts to also block out smoke odor on furniture.
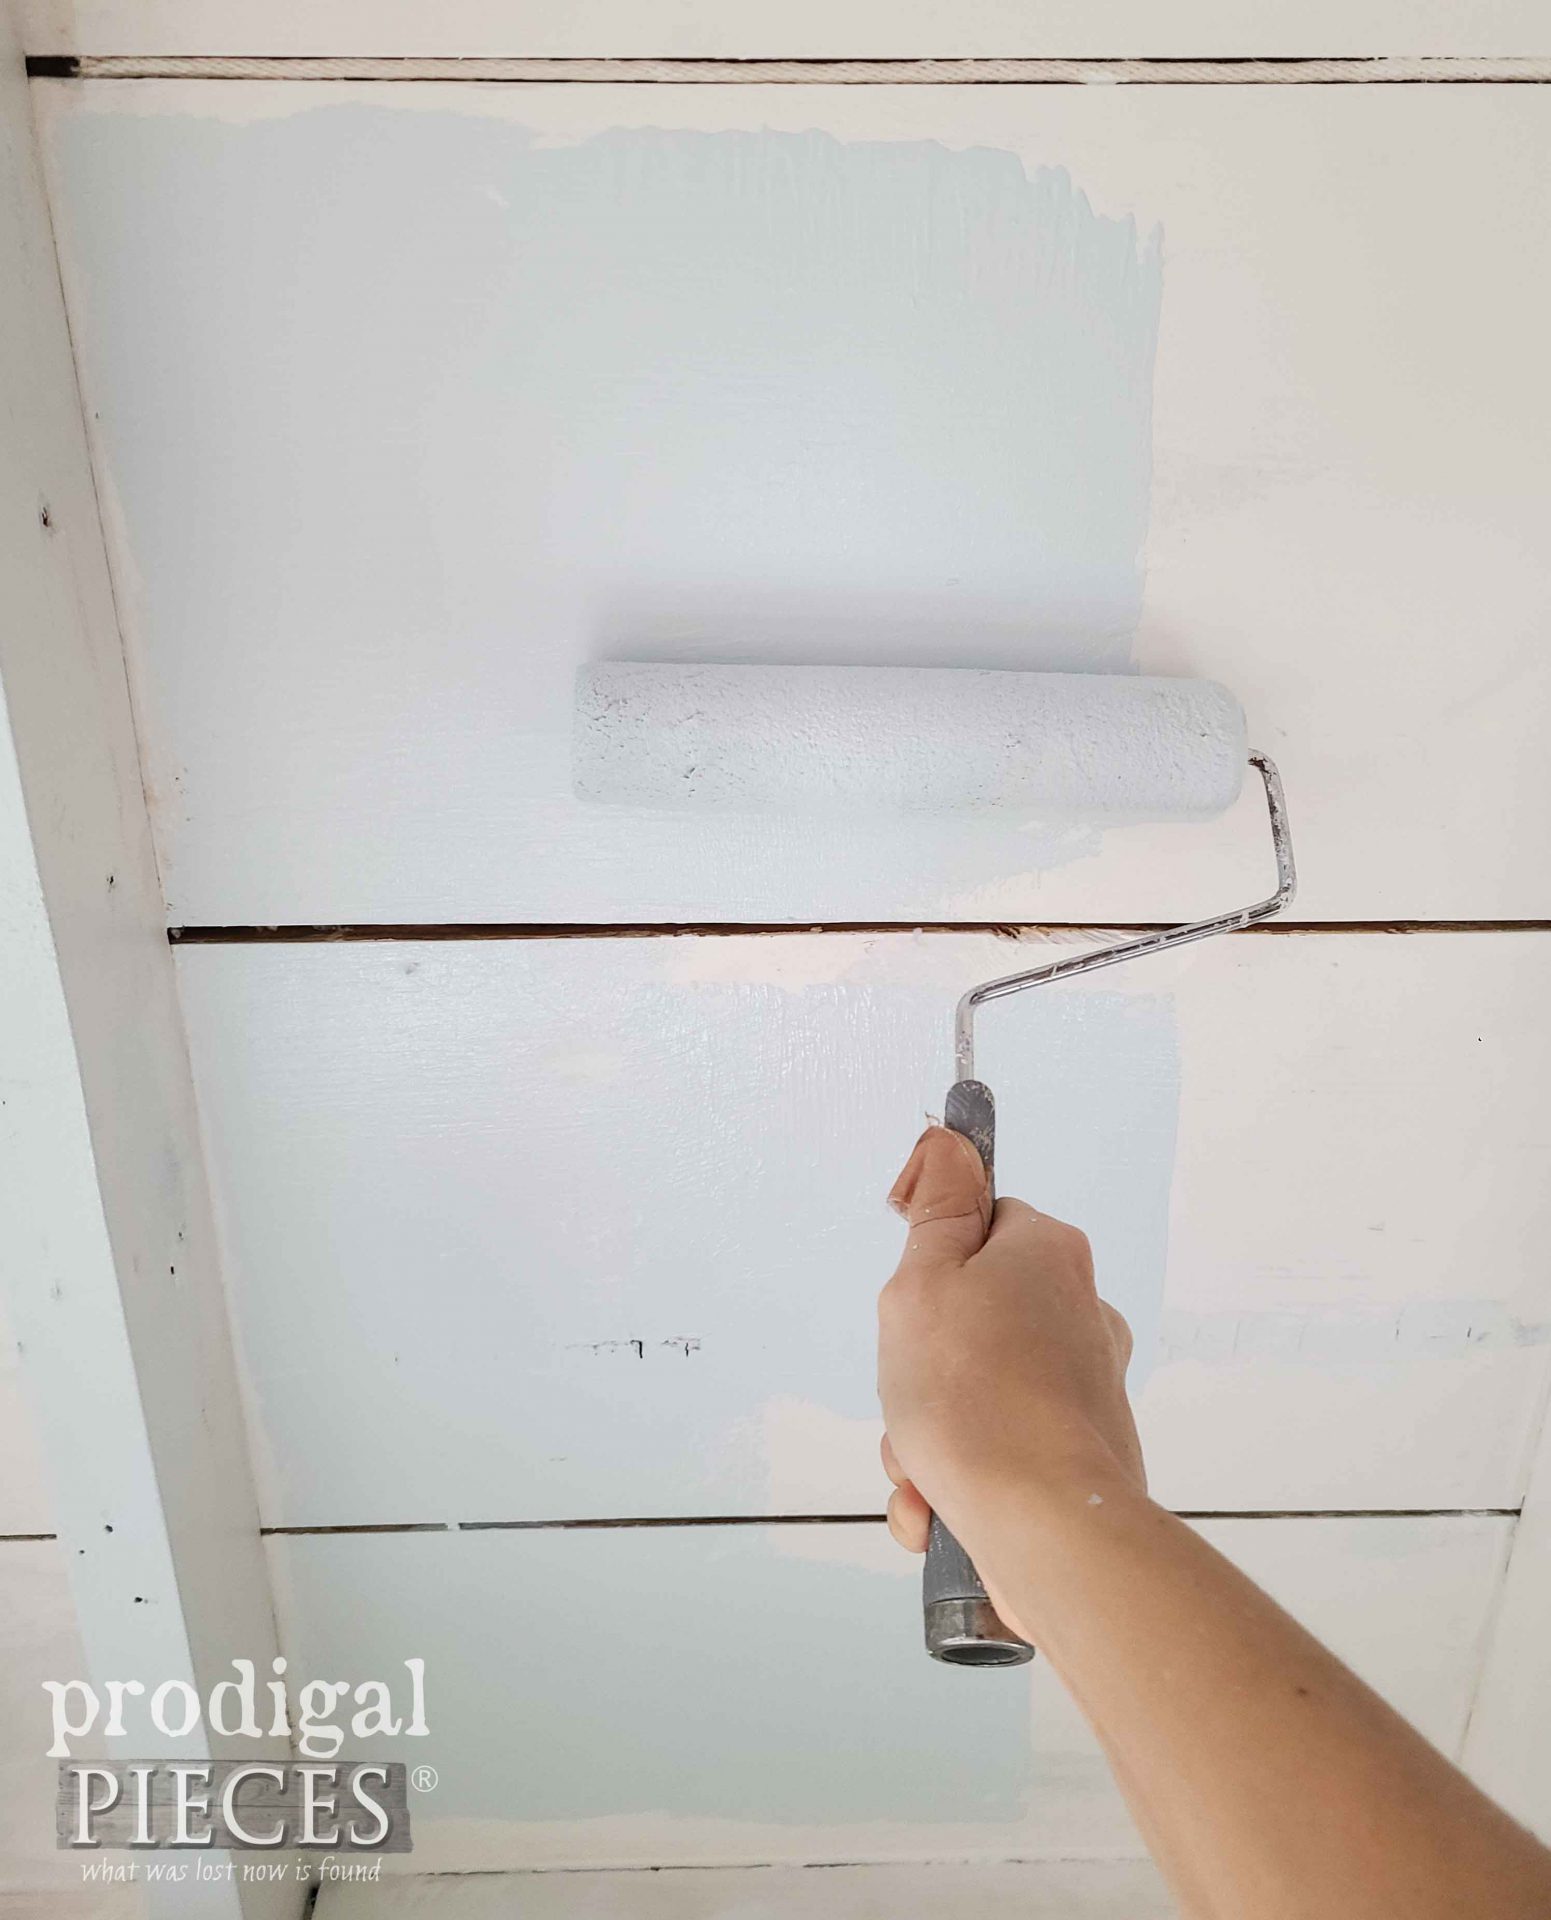
Then, I pick a sky blue color to paint so that it feels like outdoors is in. I’ve always said God knew this house would suit me while I’m in city living (longing to return to country all the while) because of all the windows.
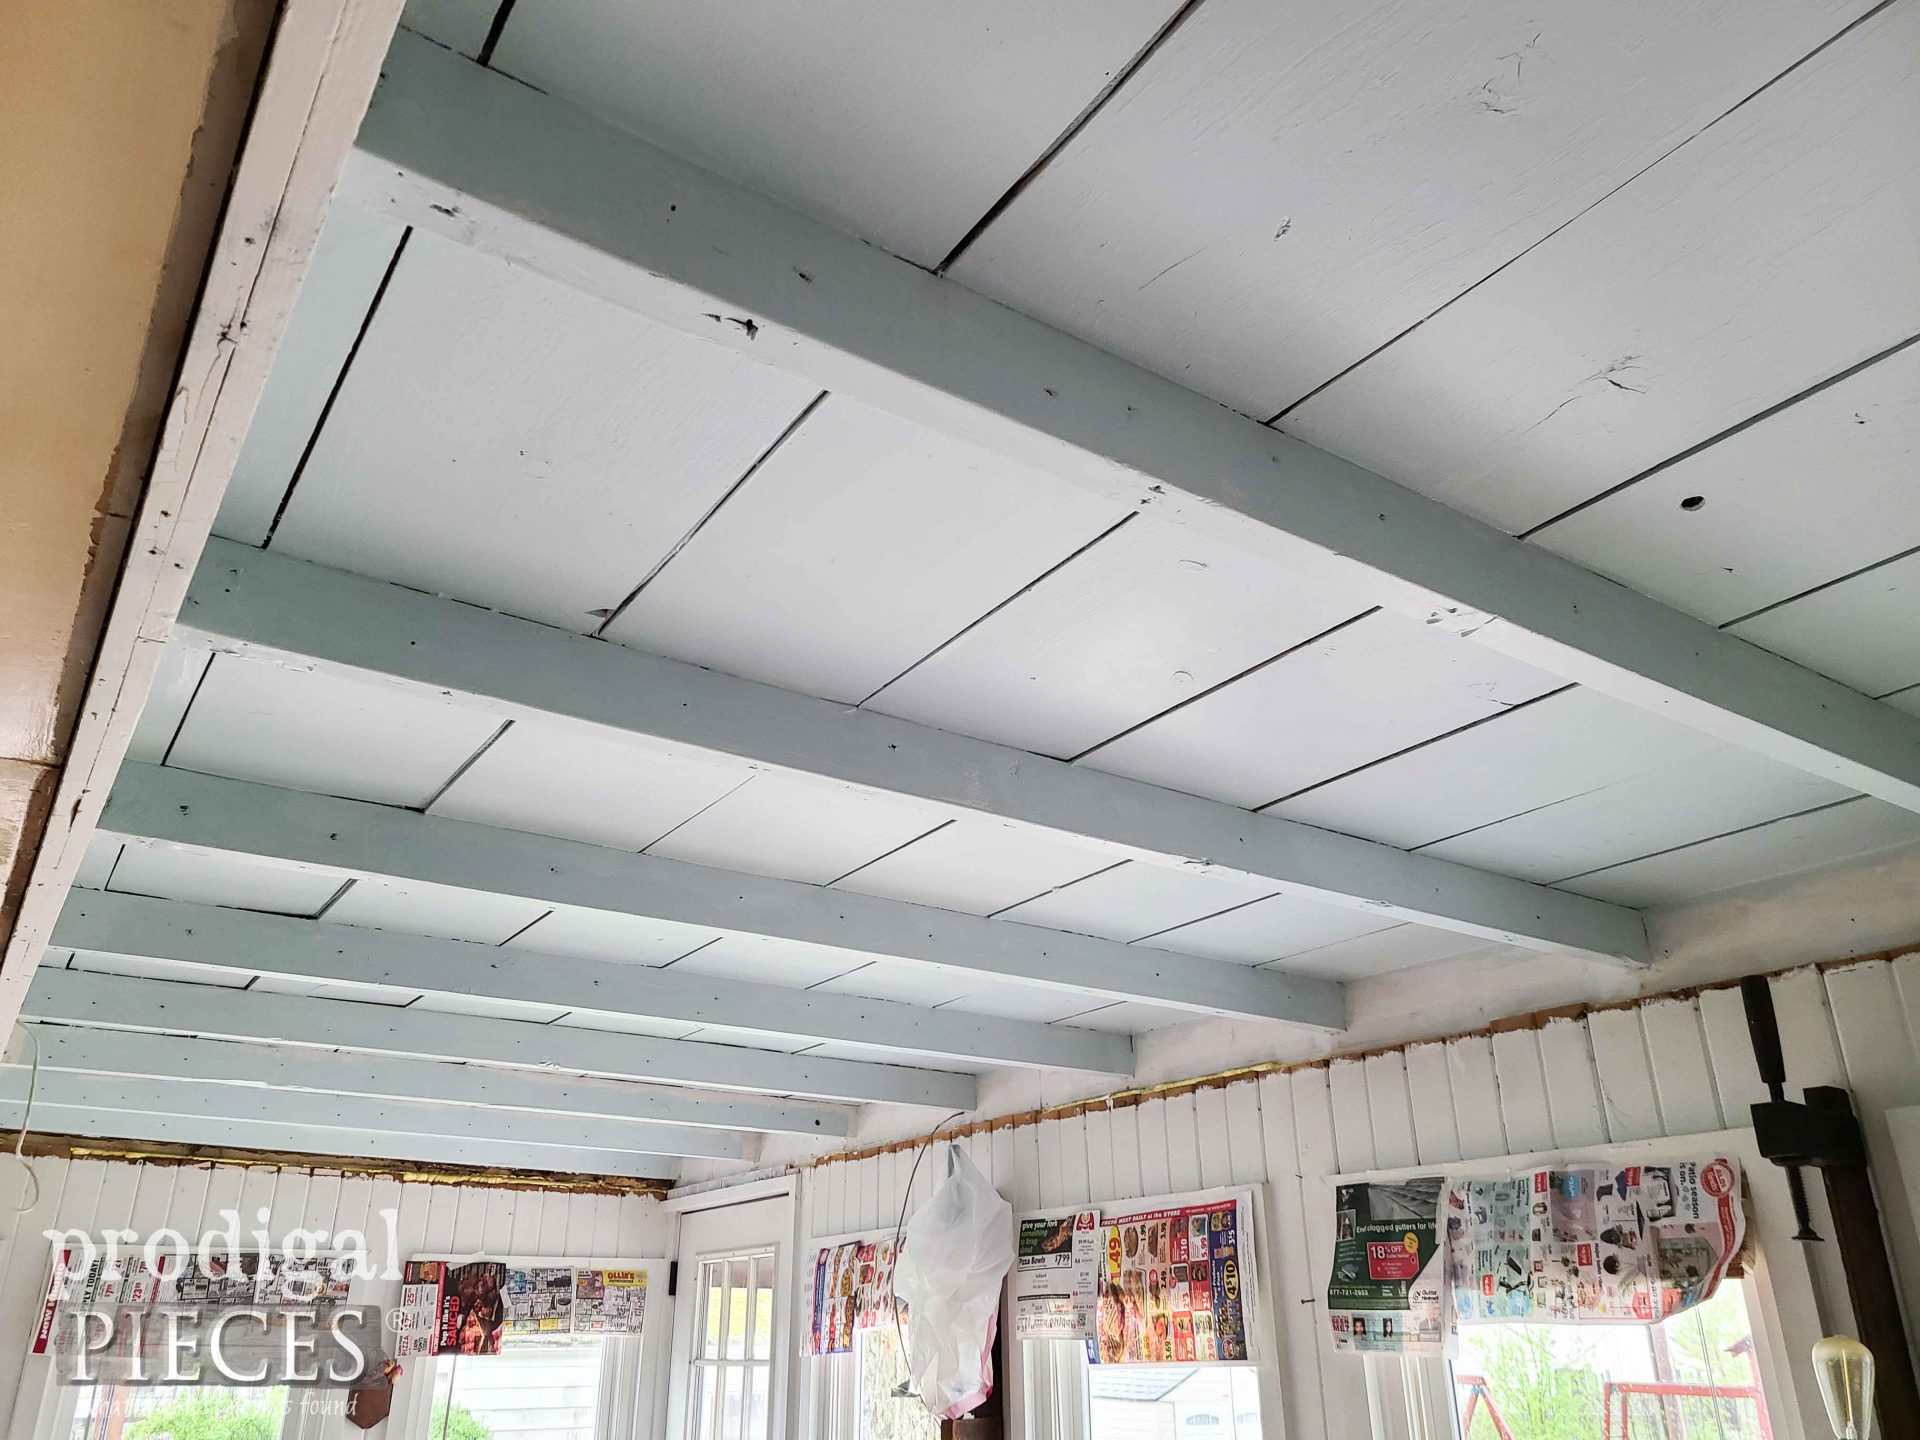
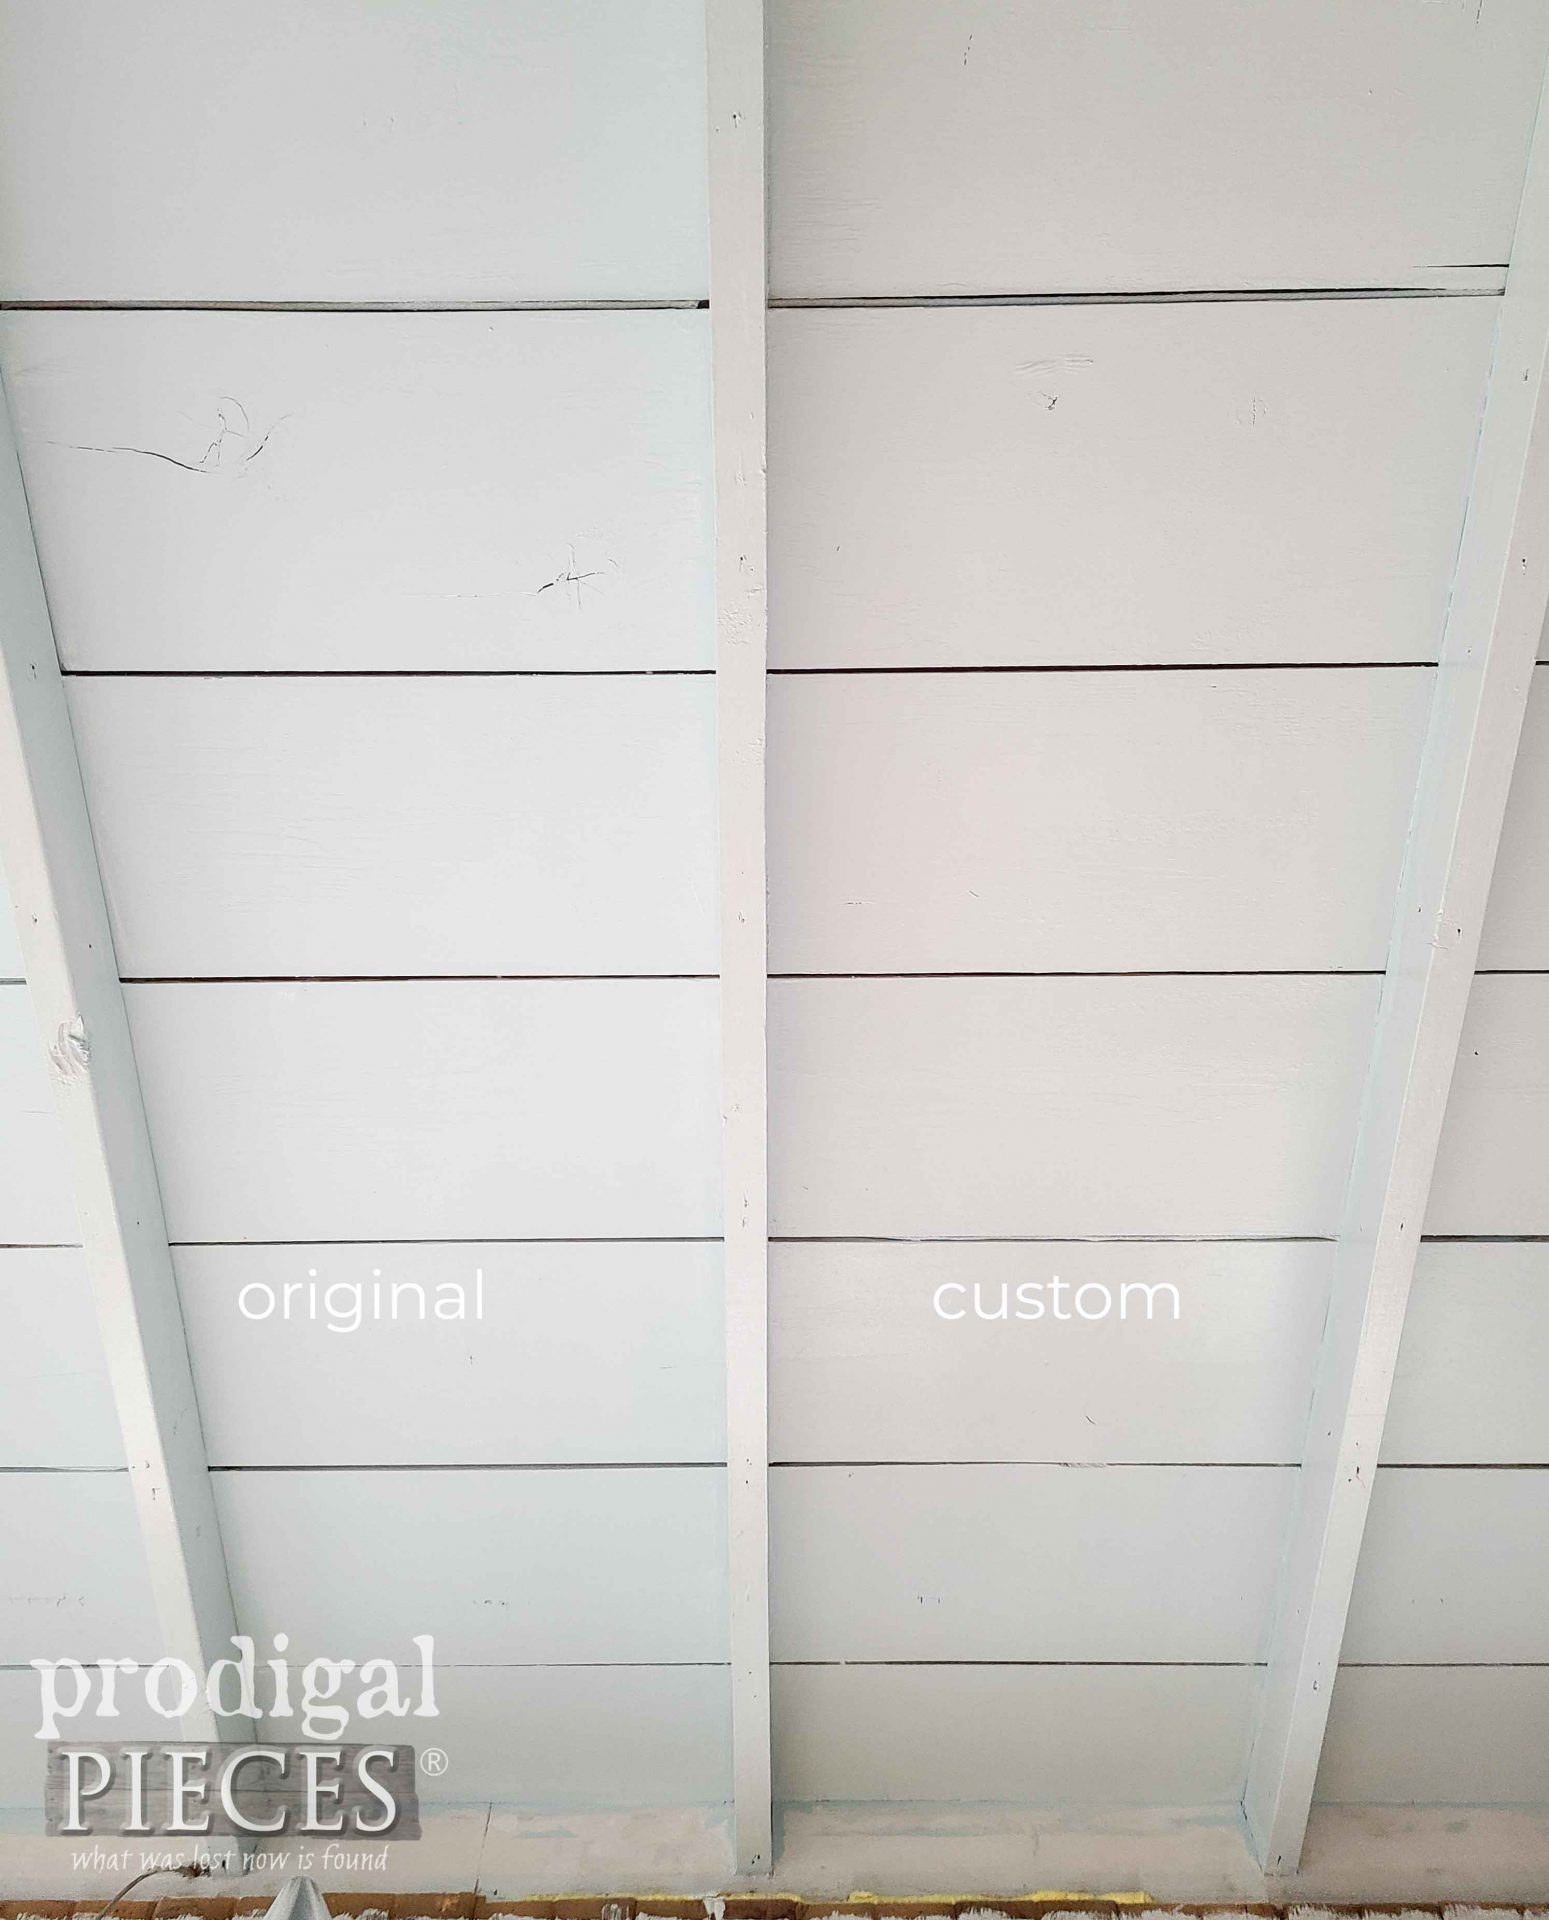
Unfortunately, the blue is a bit too bright for my liking, so I custom mix it to a softer color. Do you see the difference below?
The new color has a slight cast of my kitchen cabinets which makes the space more soothing. In between coats curing, I begin to use the same tongue-and-groove paneling we use in our boys room remodel.
WORKING UP
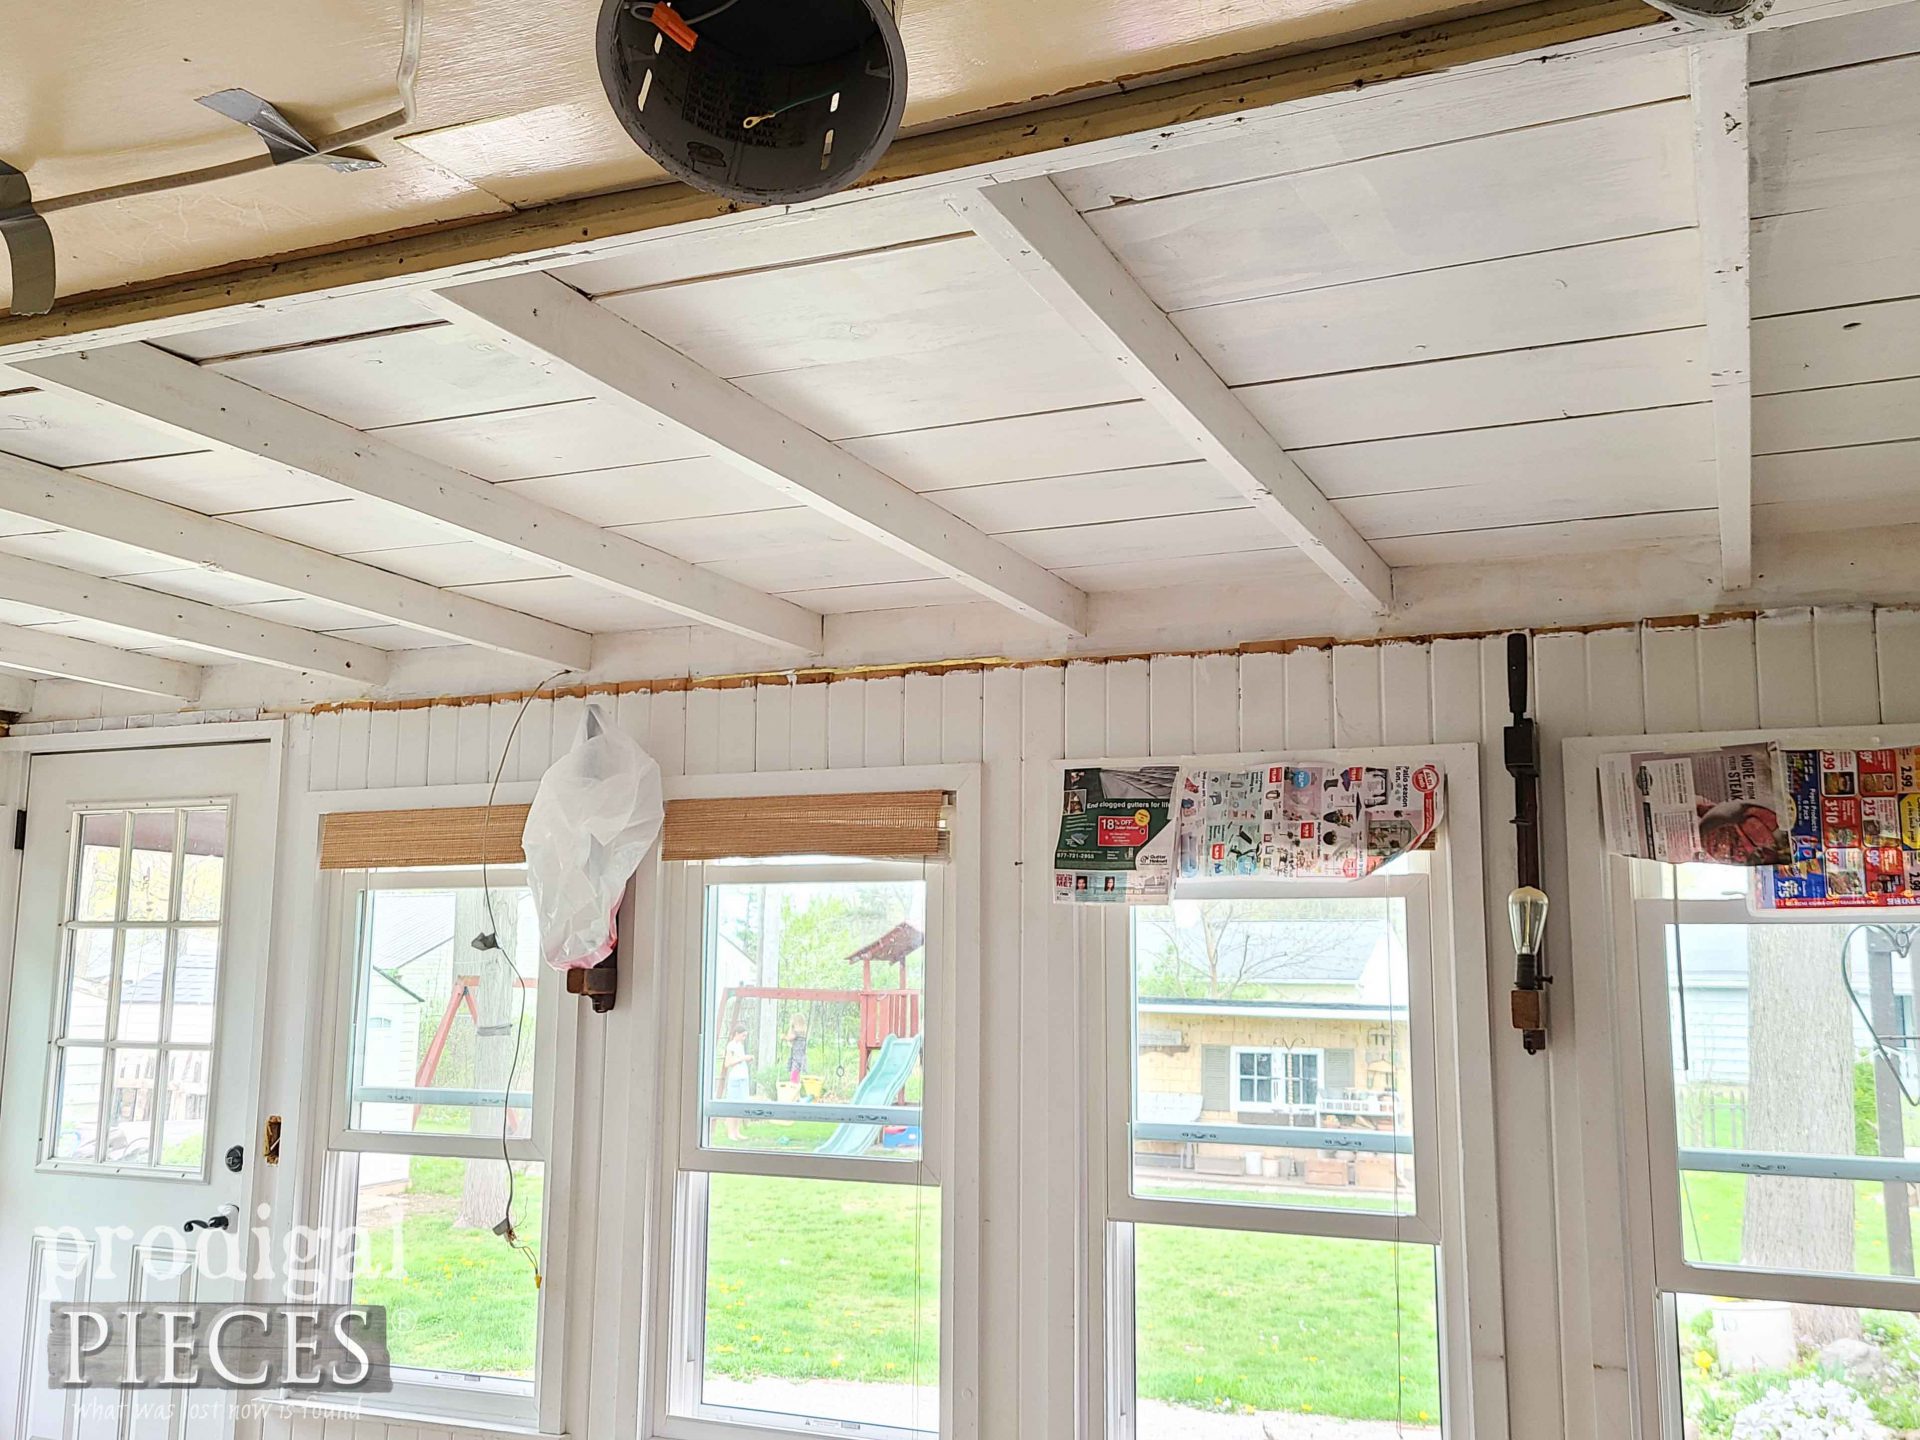
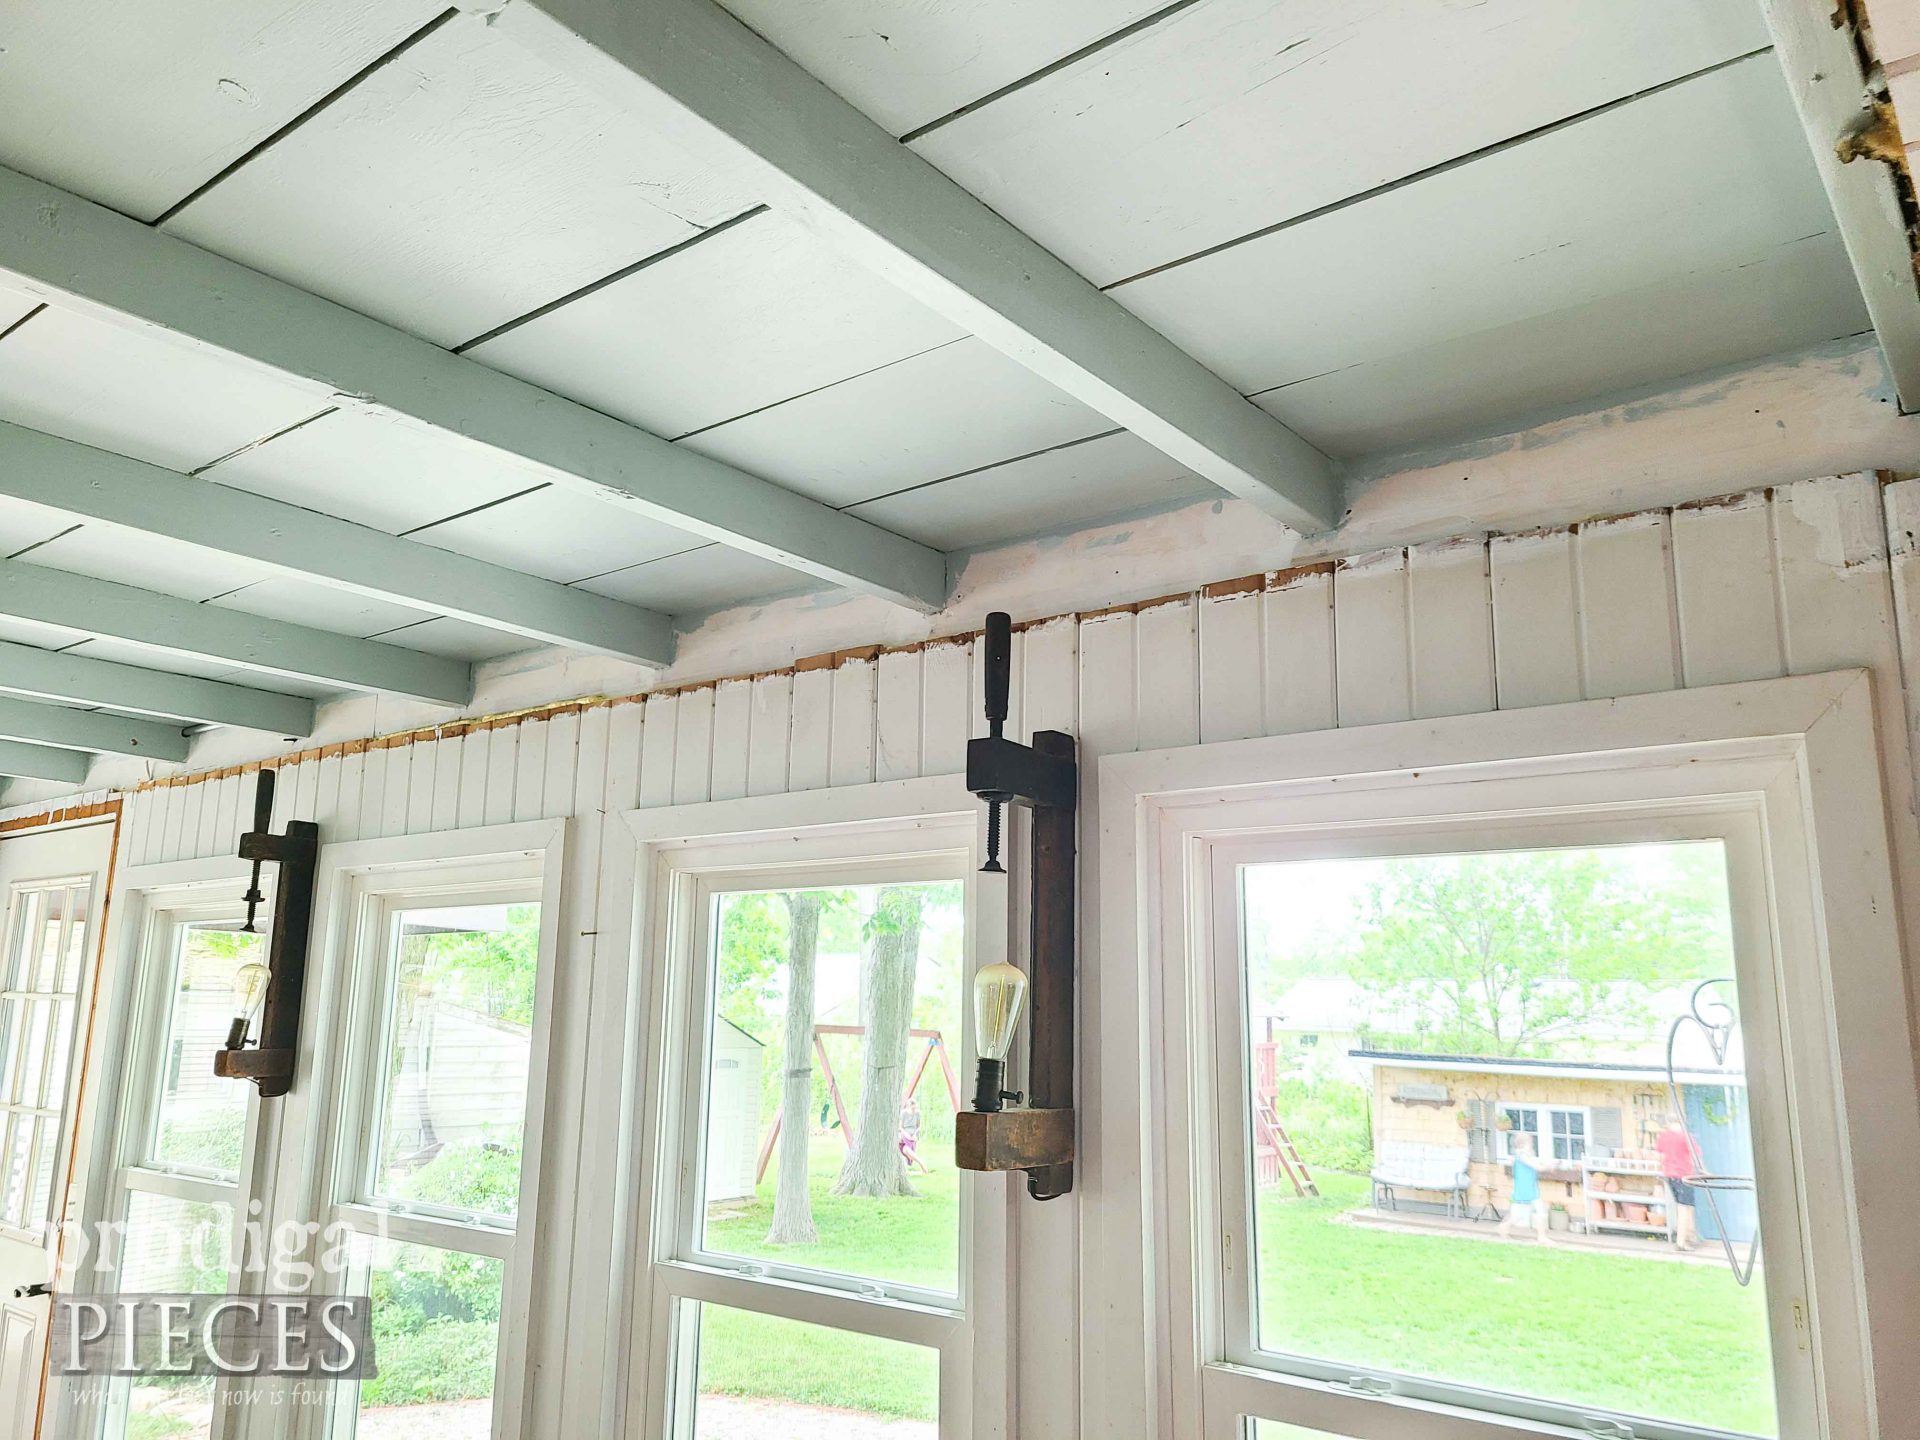
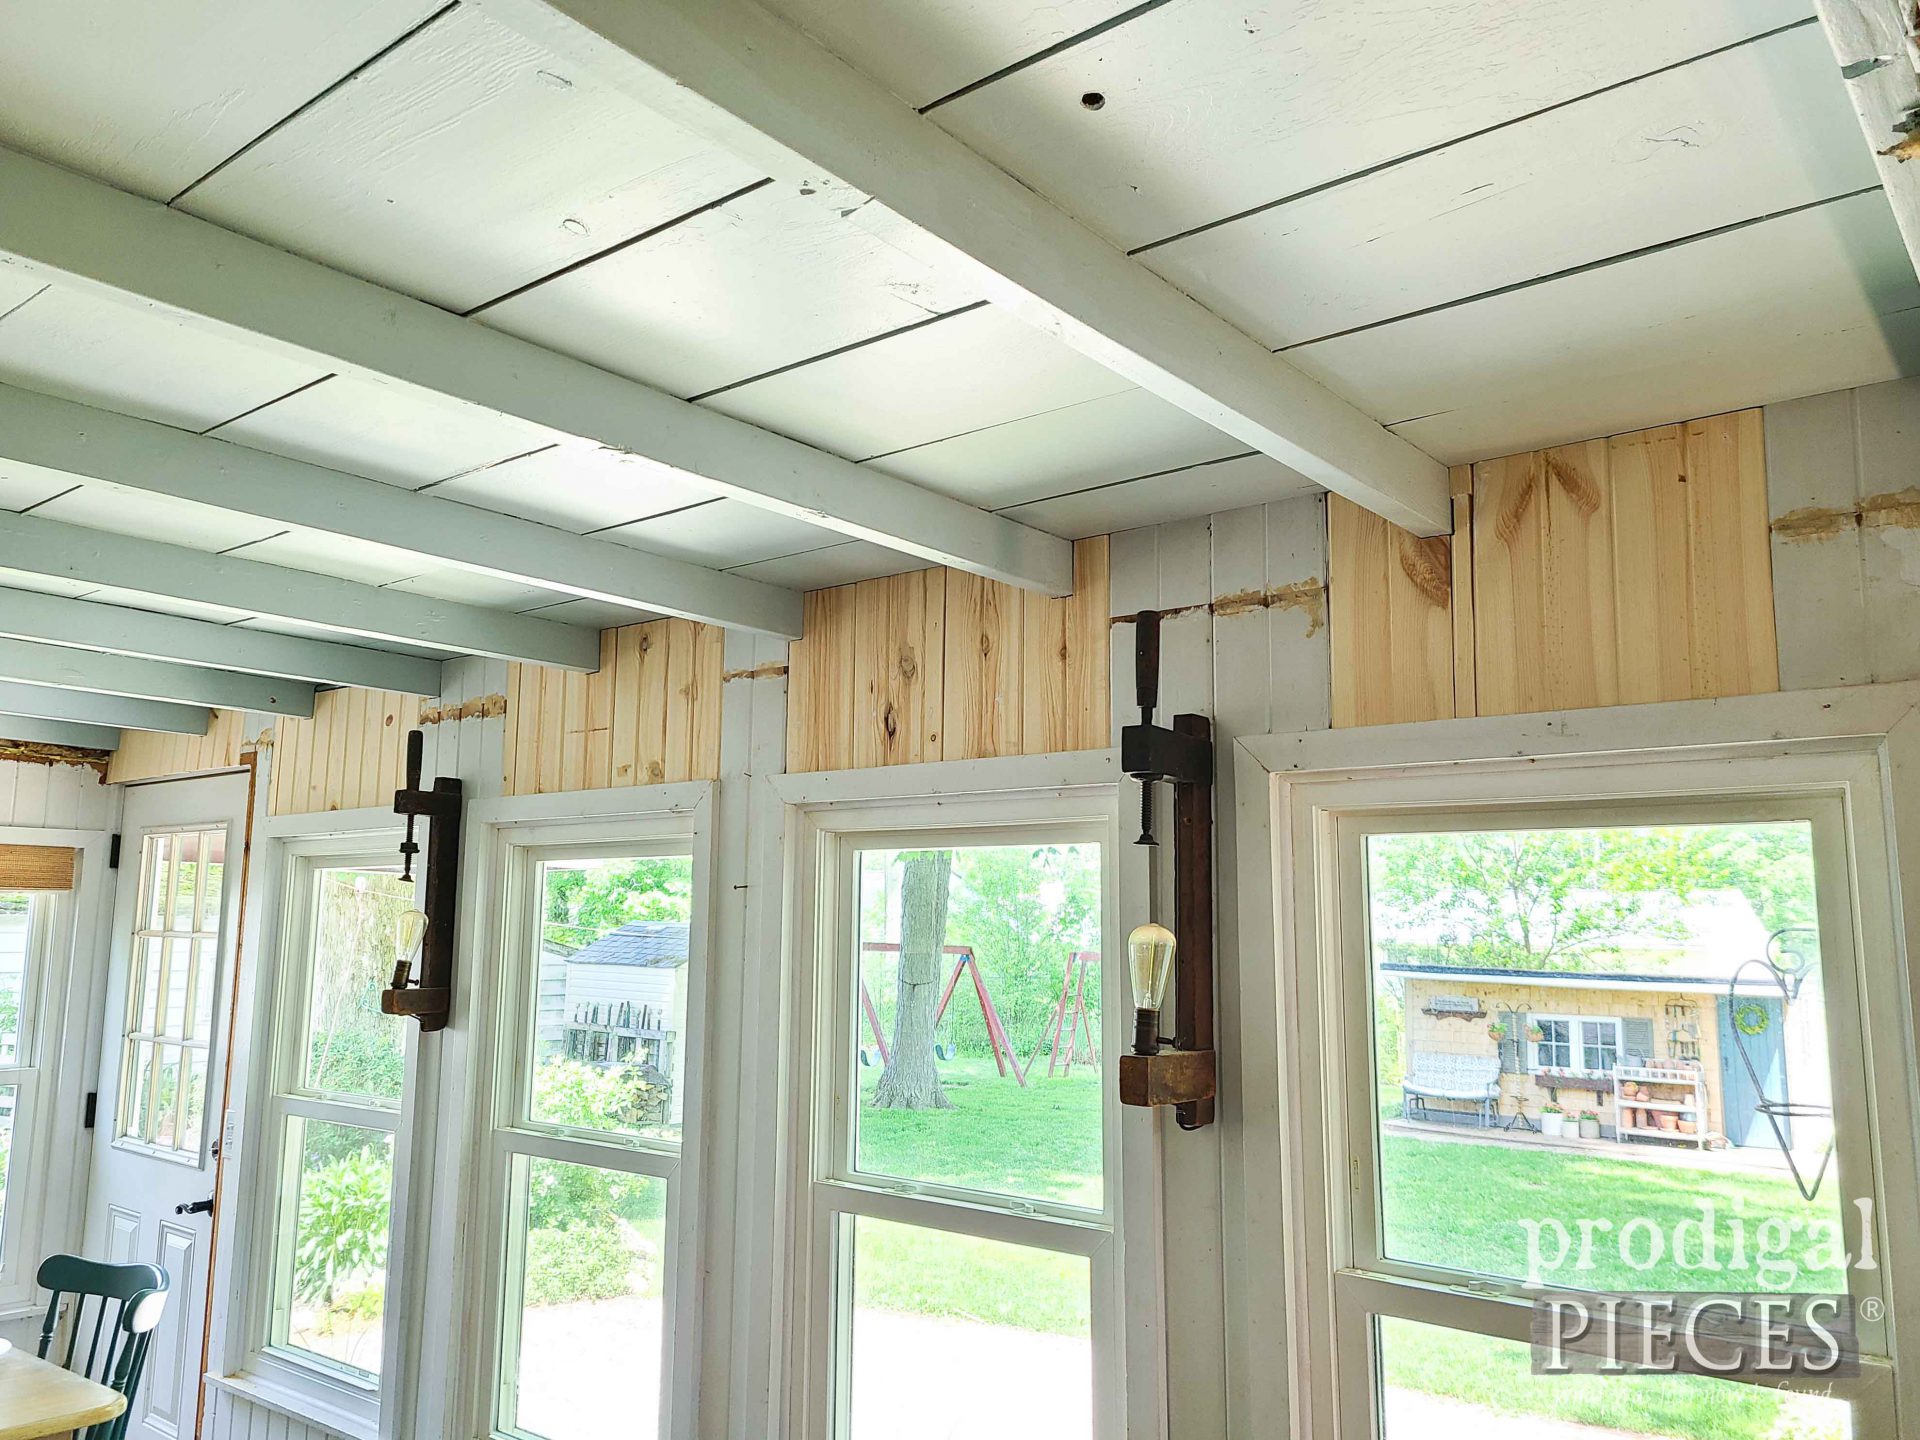
Okay, so ceiling paint is on and it’s time for finishing touches…my least favorite part. Notice below that when I take down the tiles my wall pine planking doesn’t reach the ceiling. Well, I obviously have to address that matter. Problem is this is from the 80’s and the modern planks aren’t as wide.
After oodles of measuring I am able to use scrap mixed with new planks to fill in spots.
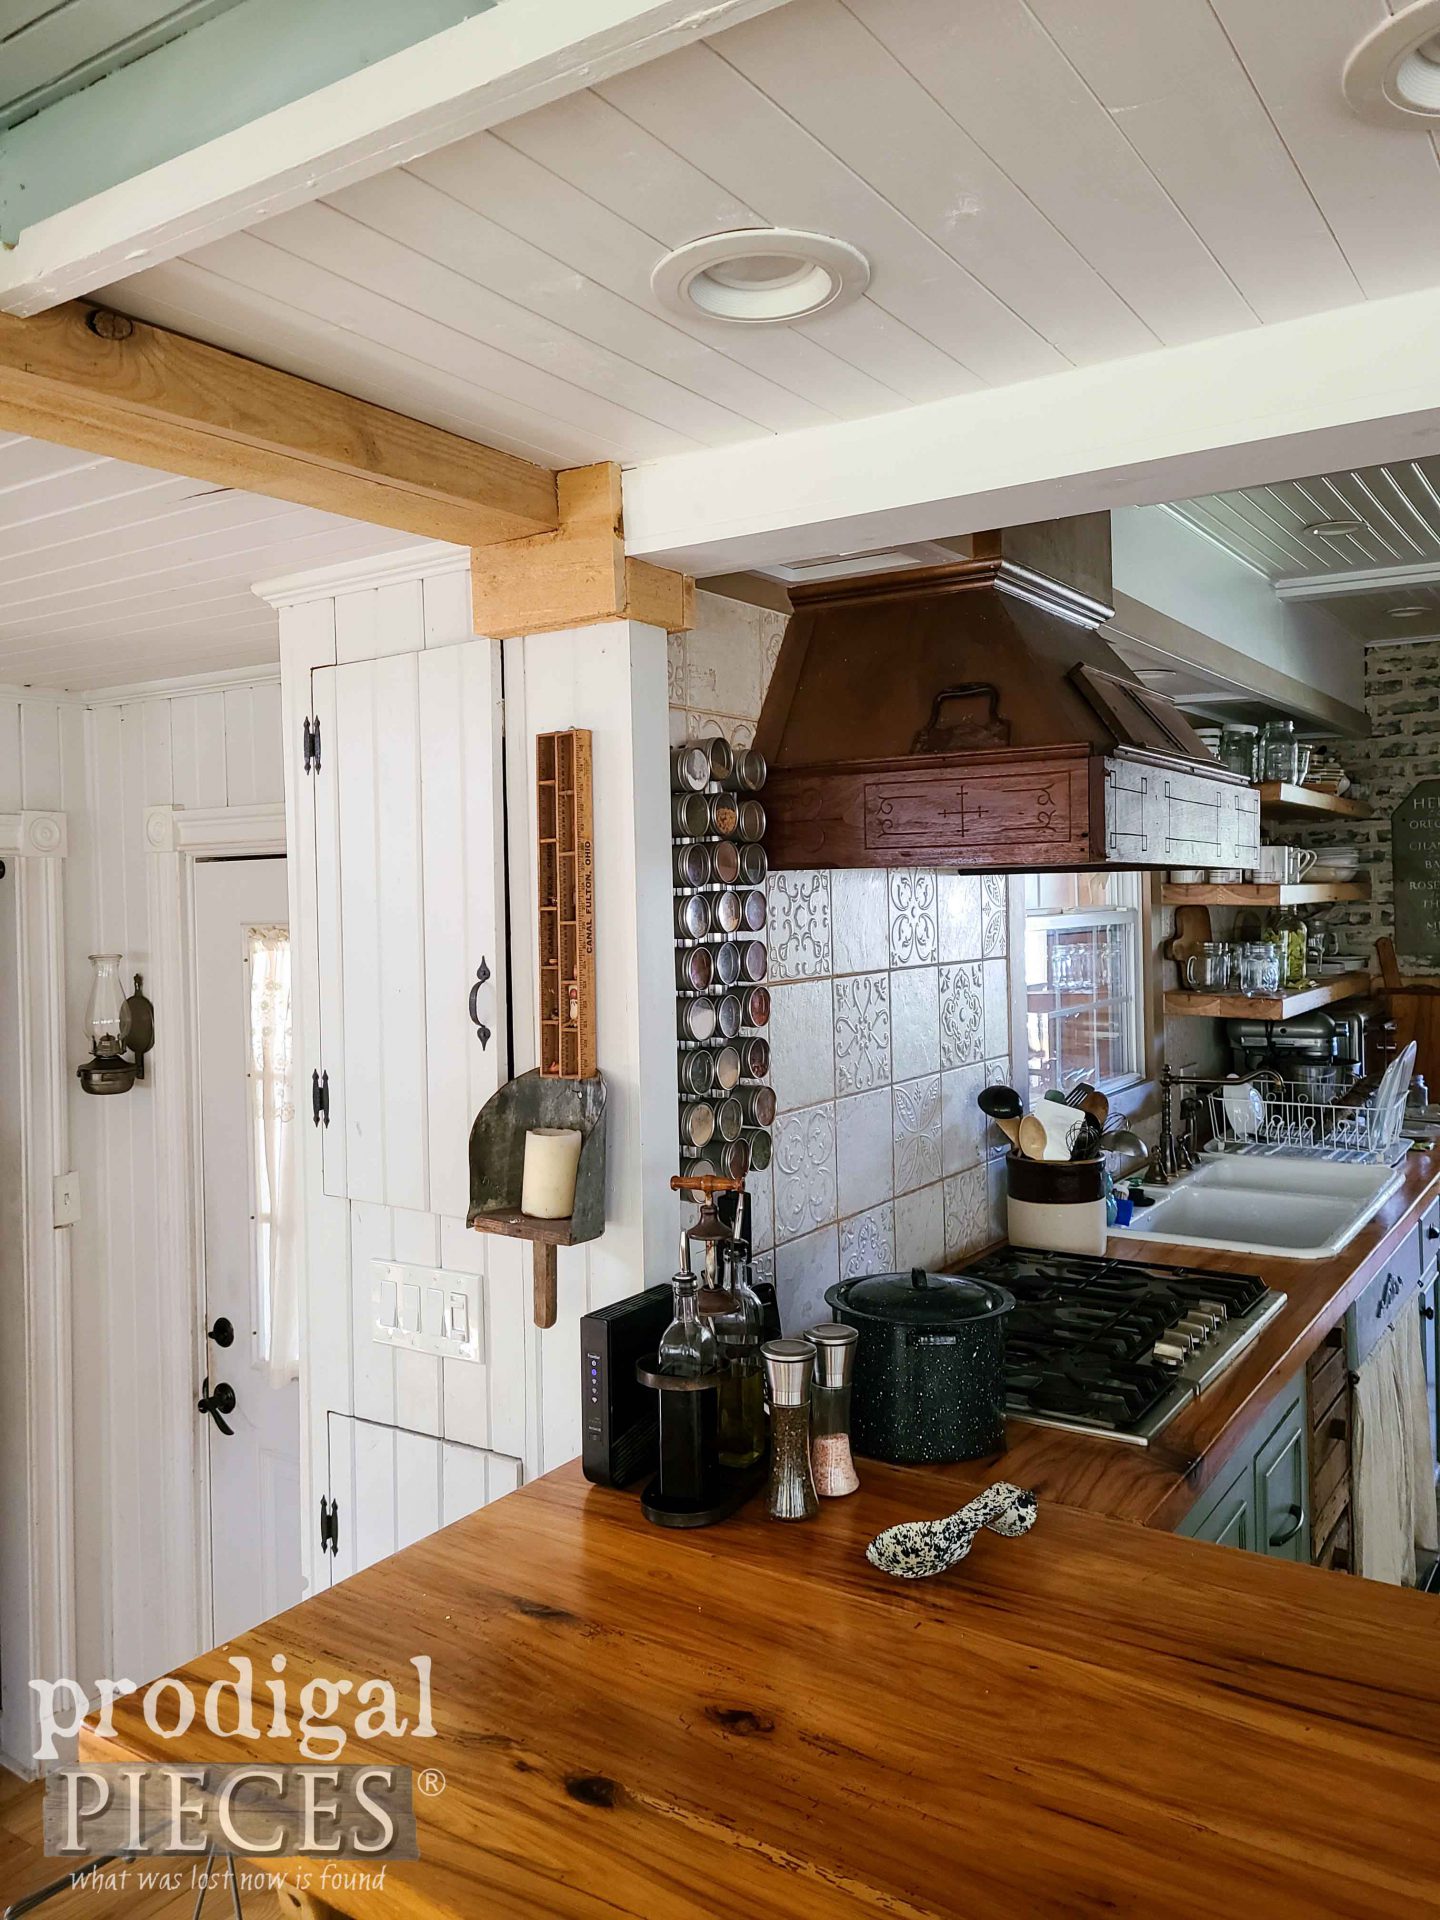
Now for that odd transition where our dining ceiling meets the family room. We also in recent times remodeled our living room and I have yet to show you. I’ve been so busy and am finally able to slow down, so I’m taking it easy (er). In our living room, we sourced reclaimed beech to use on the ceiling and walls. Thankfully, we have just enough left to make another faux beam that really dresses up the space.
ONE MORE THING
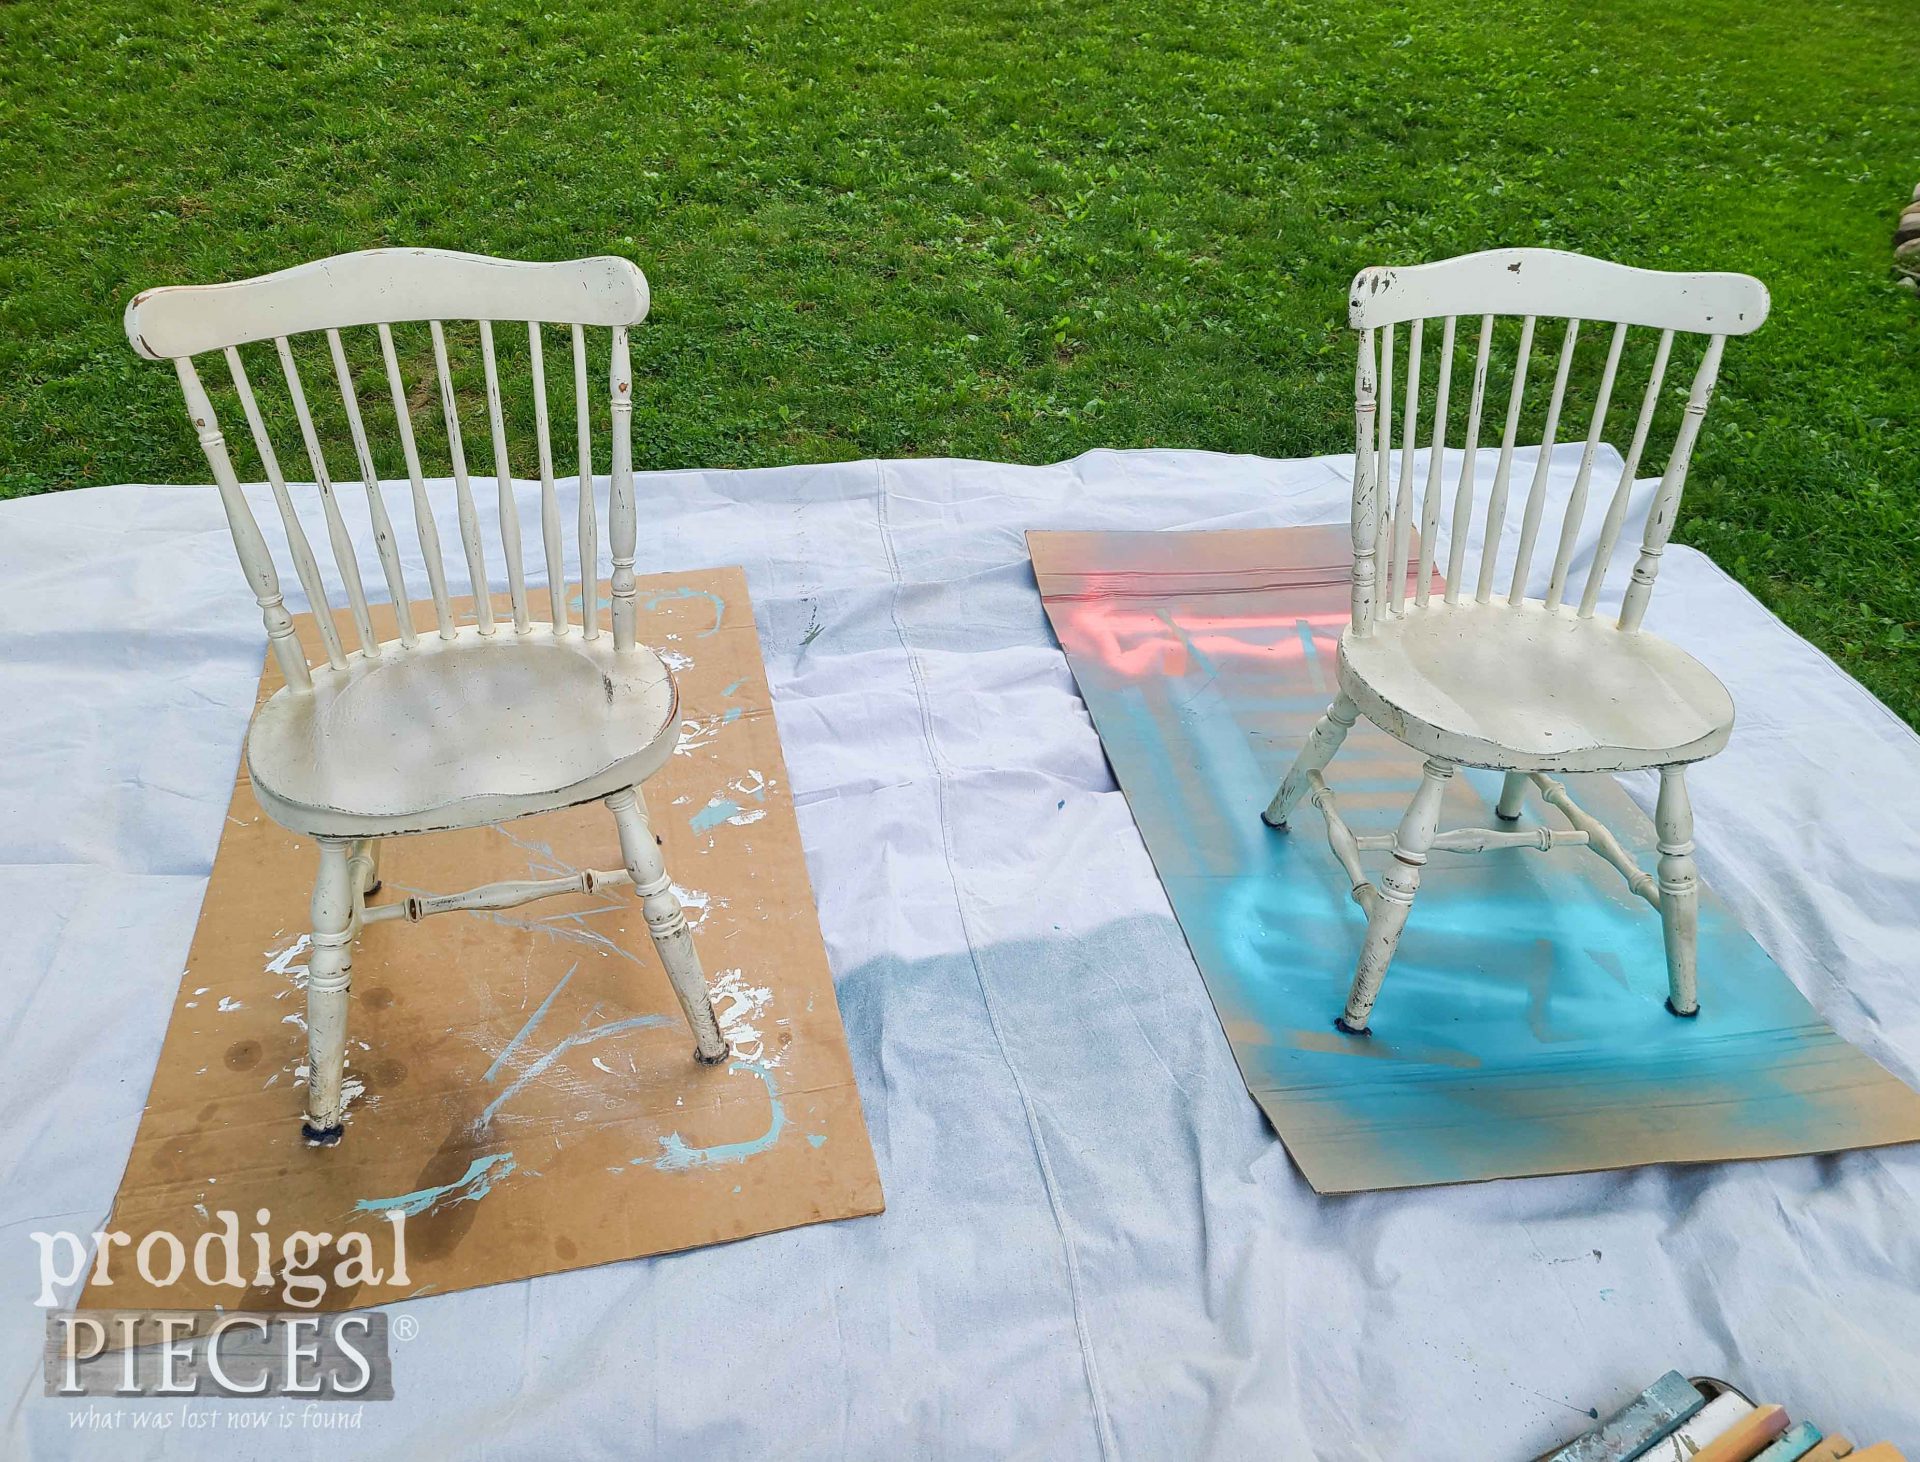
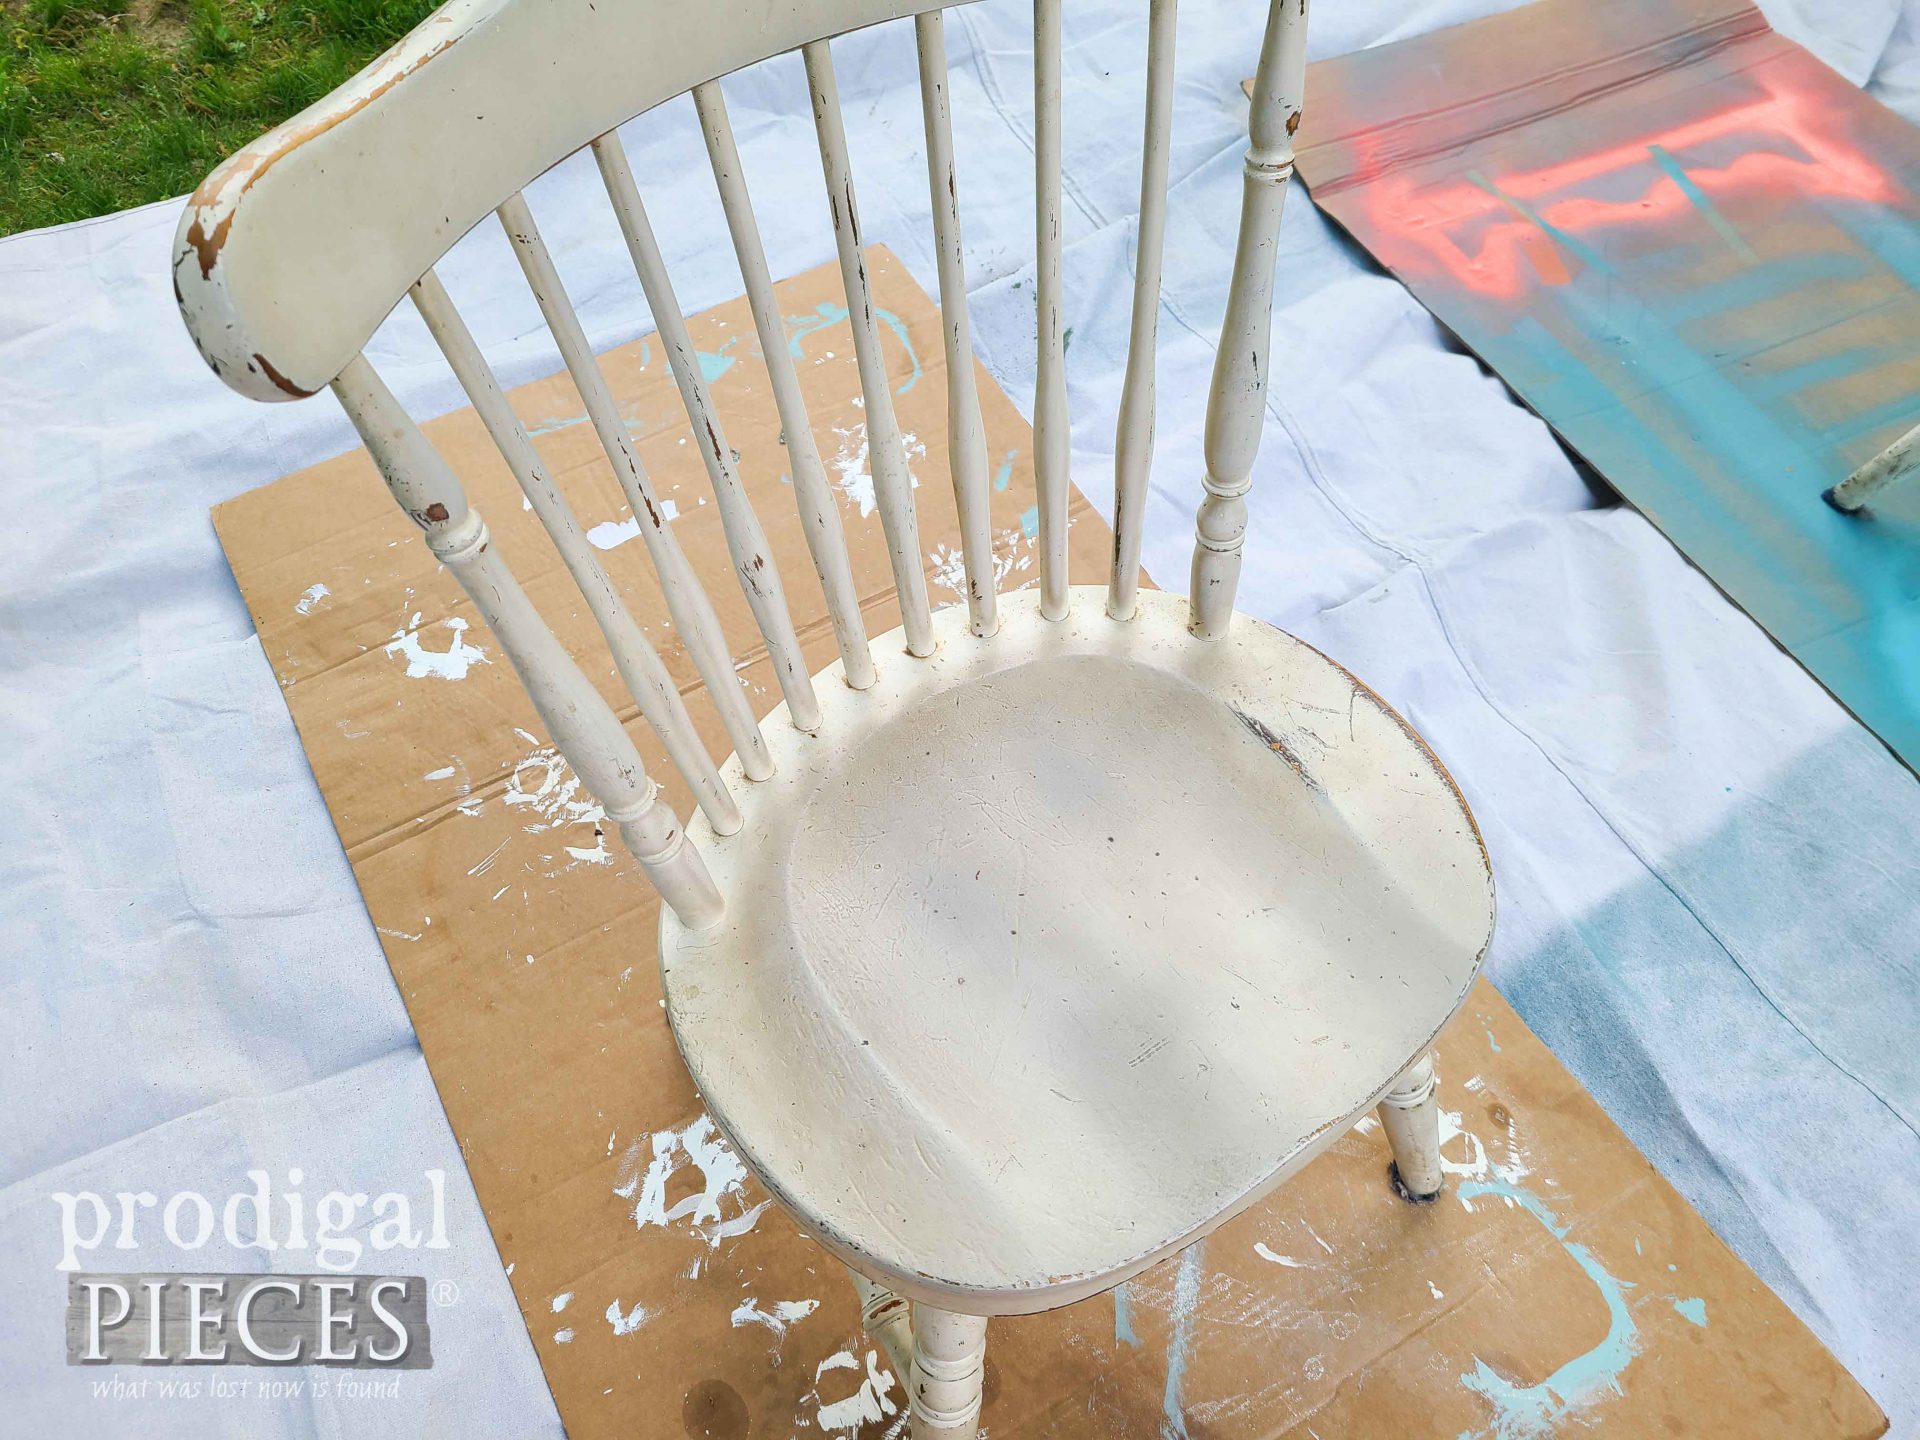
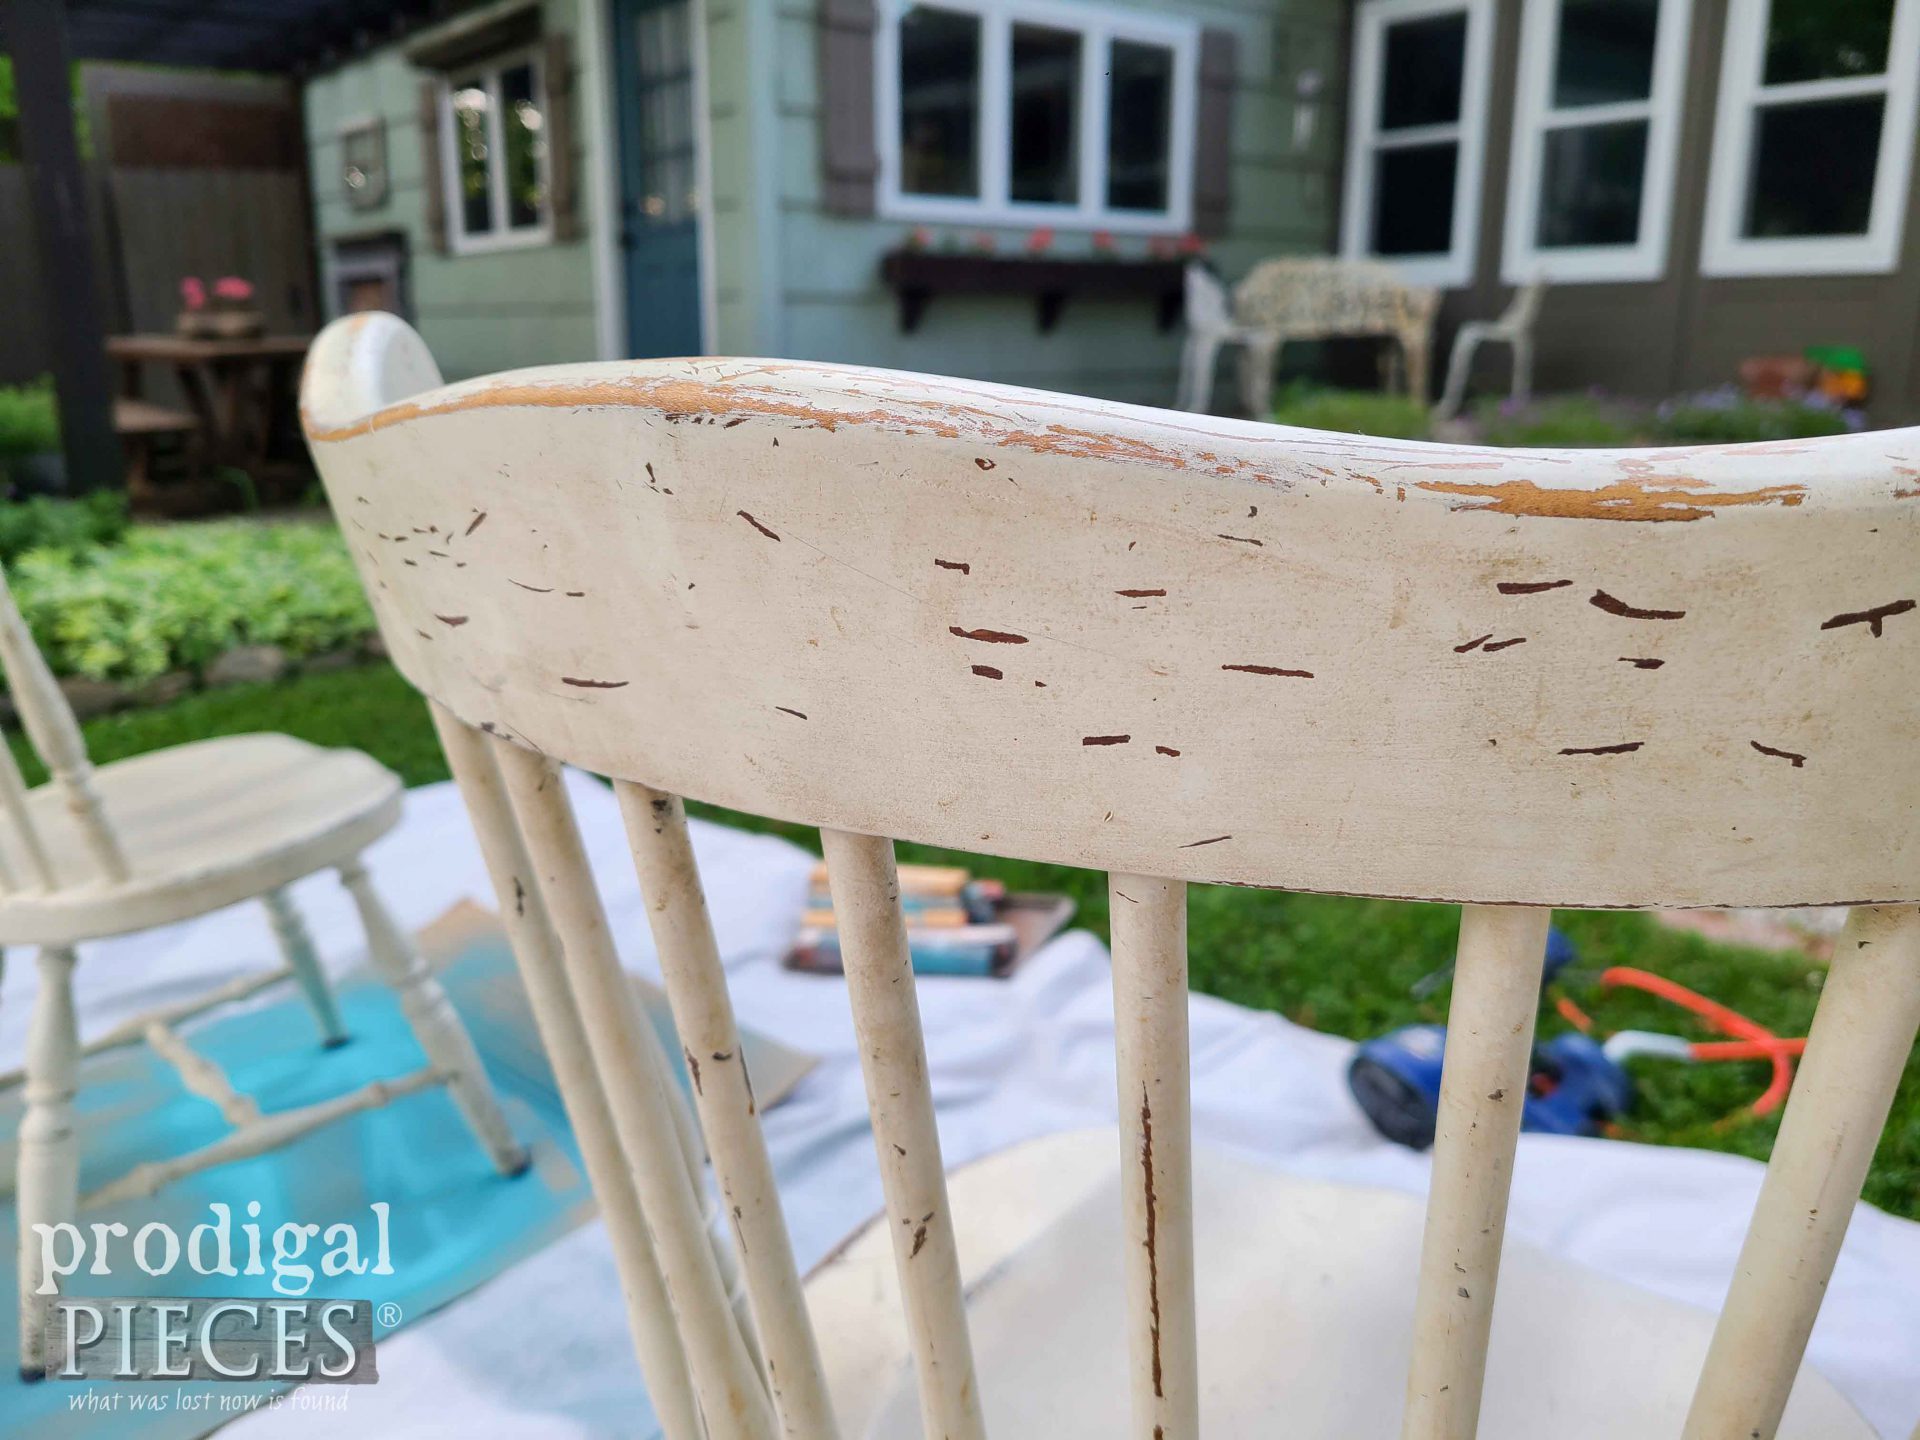
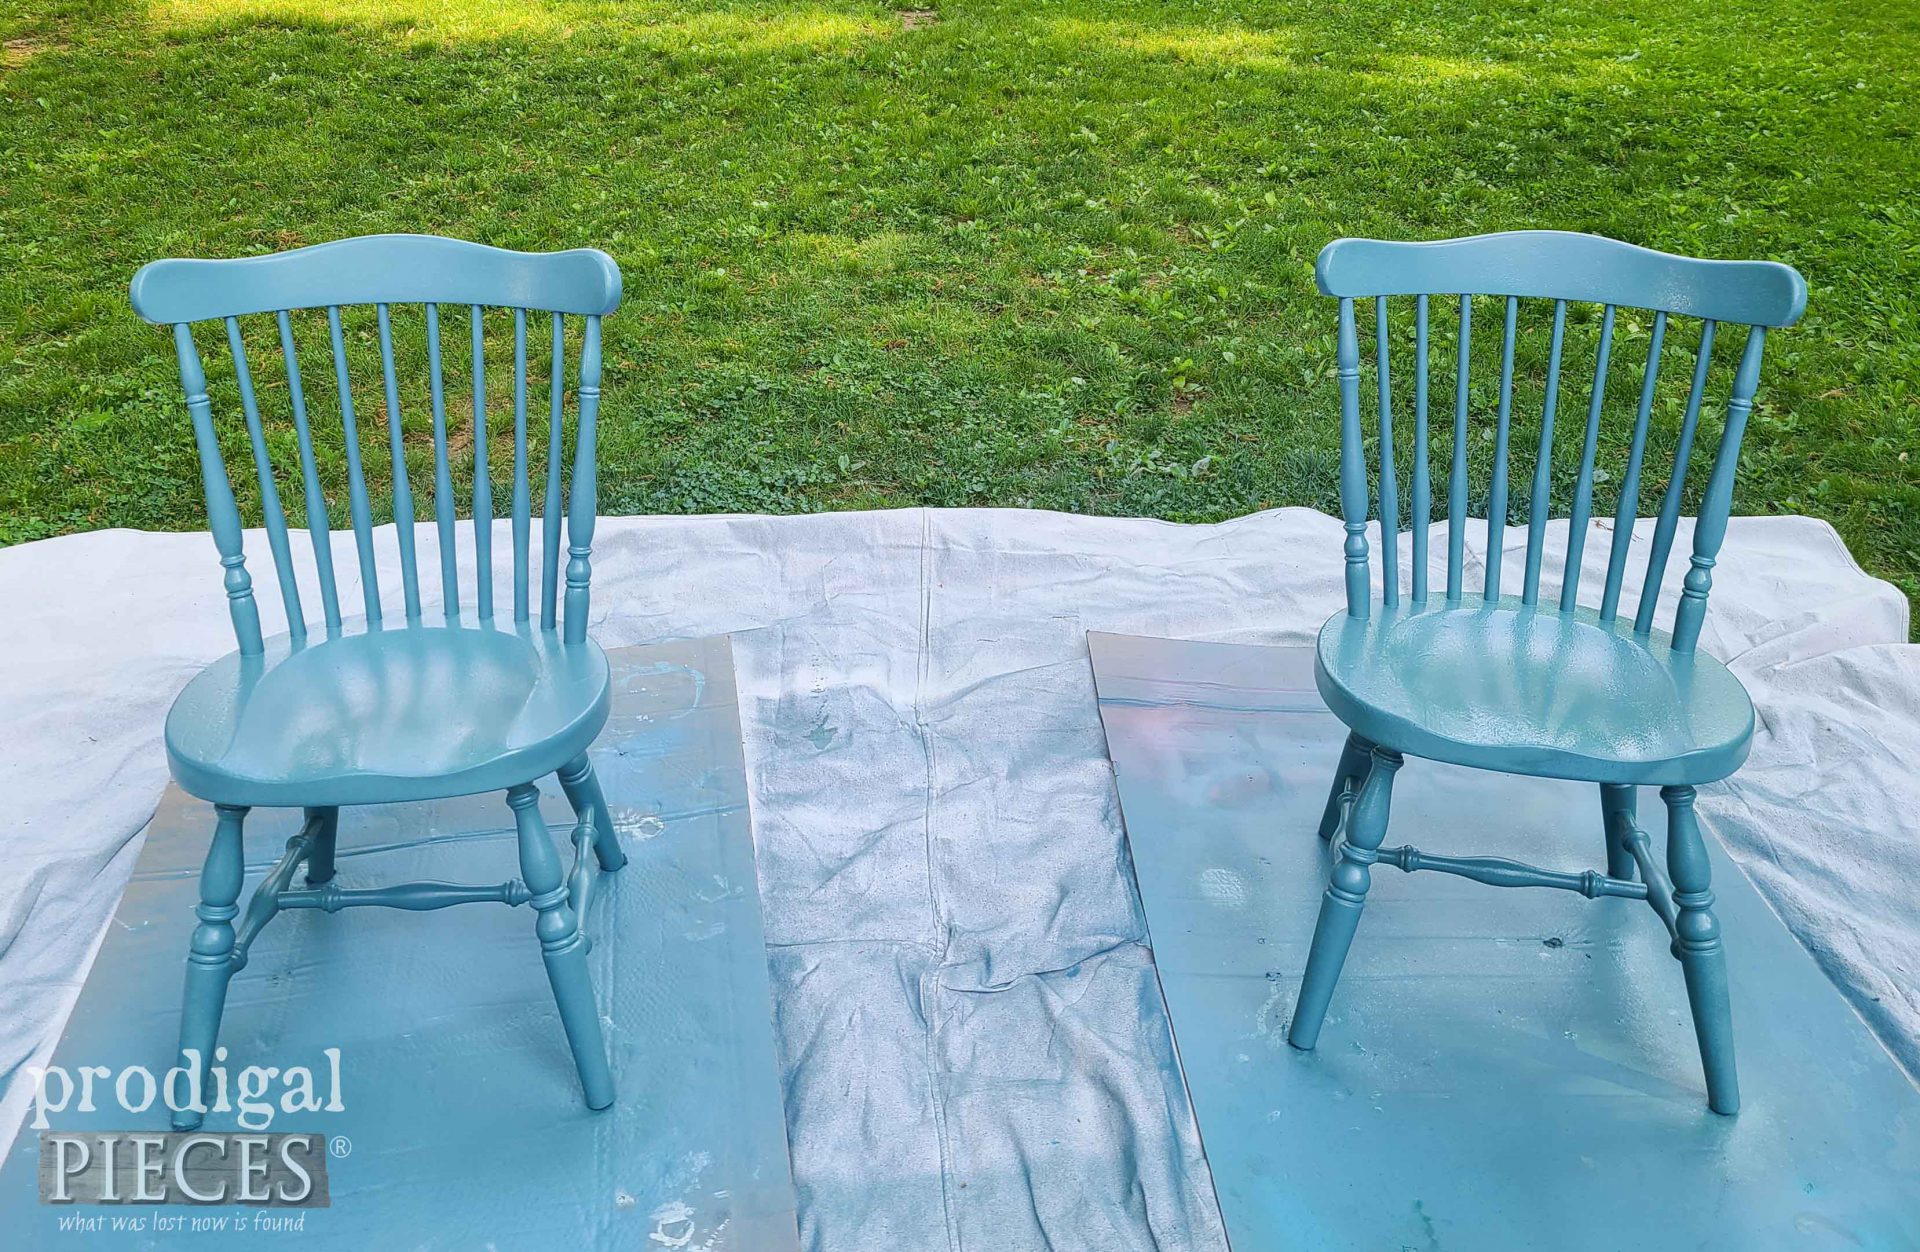
Before I call this remodel complete, I want to add one more pop of color to my space. Blue always has my fancy, so I want to add a bit more. If you recall, several years ago I redid our dining chairs into a distressed off-white. They need a little love, don’t you think? Especially after my daughter enjoyed picking the back off when younger. ugh.
This time around I’m using the same blue I recently used on my exterior doors. It’s got a tint of gray/green which also accents my cupboards.
That’s the color wet, so it dries a more muted blue. Anyhoo…are you ready for the dining room reveal?
CEILING LOVE
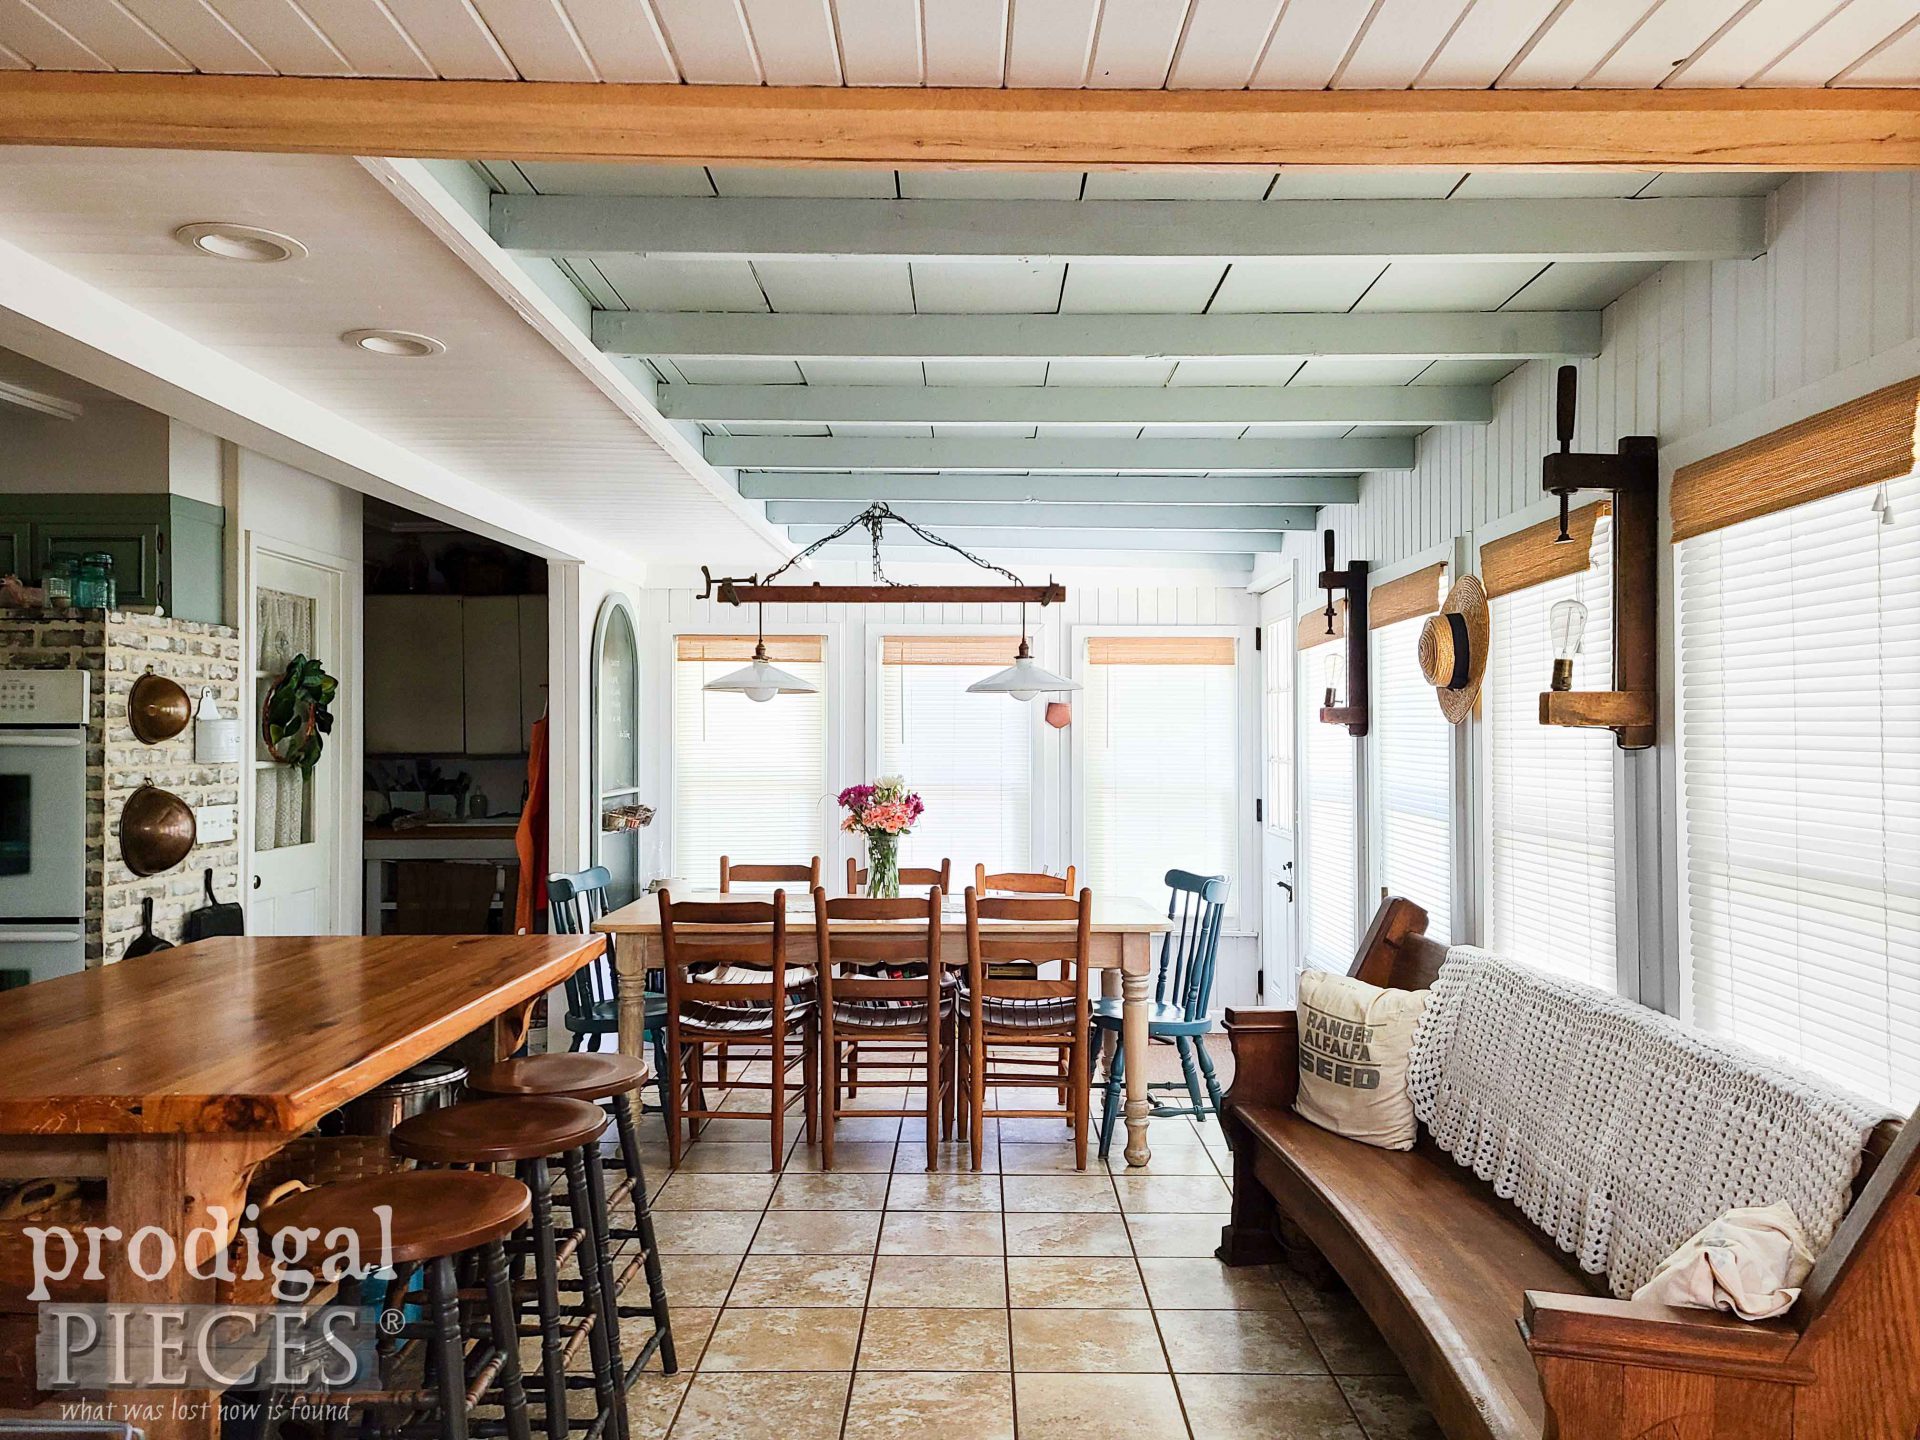
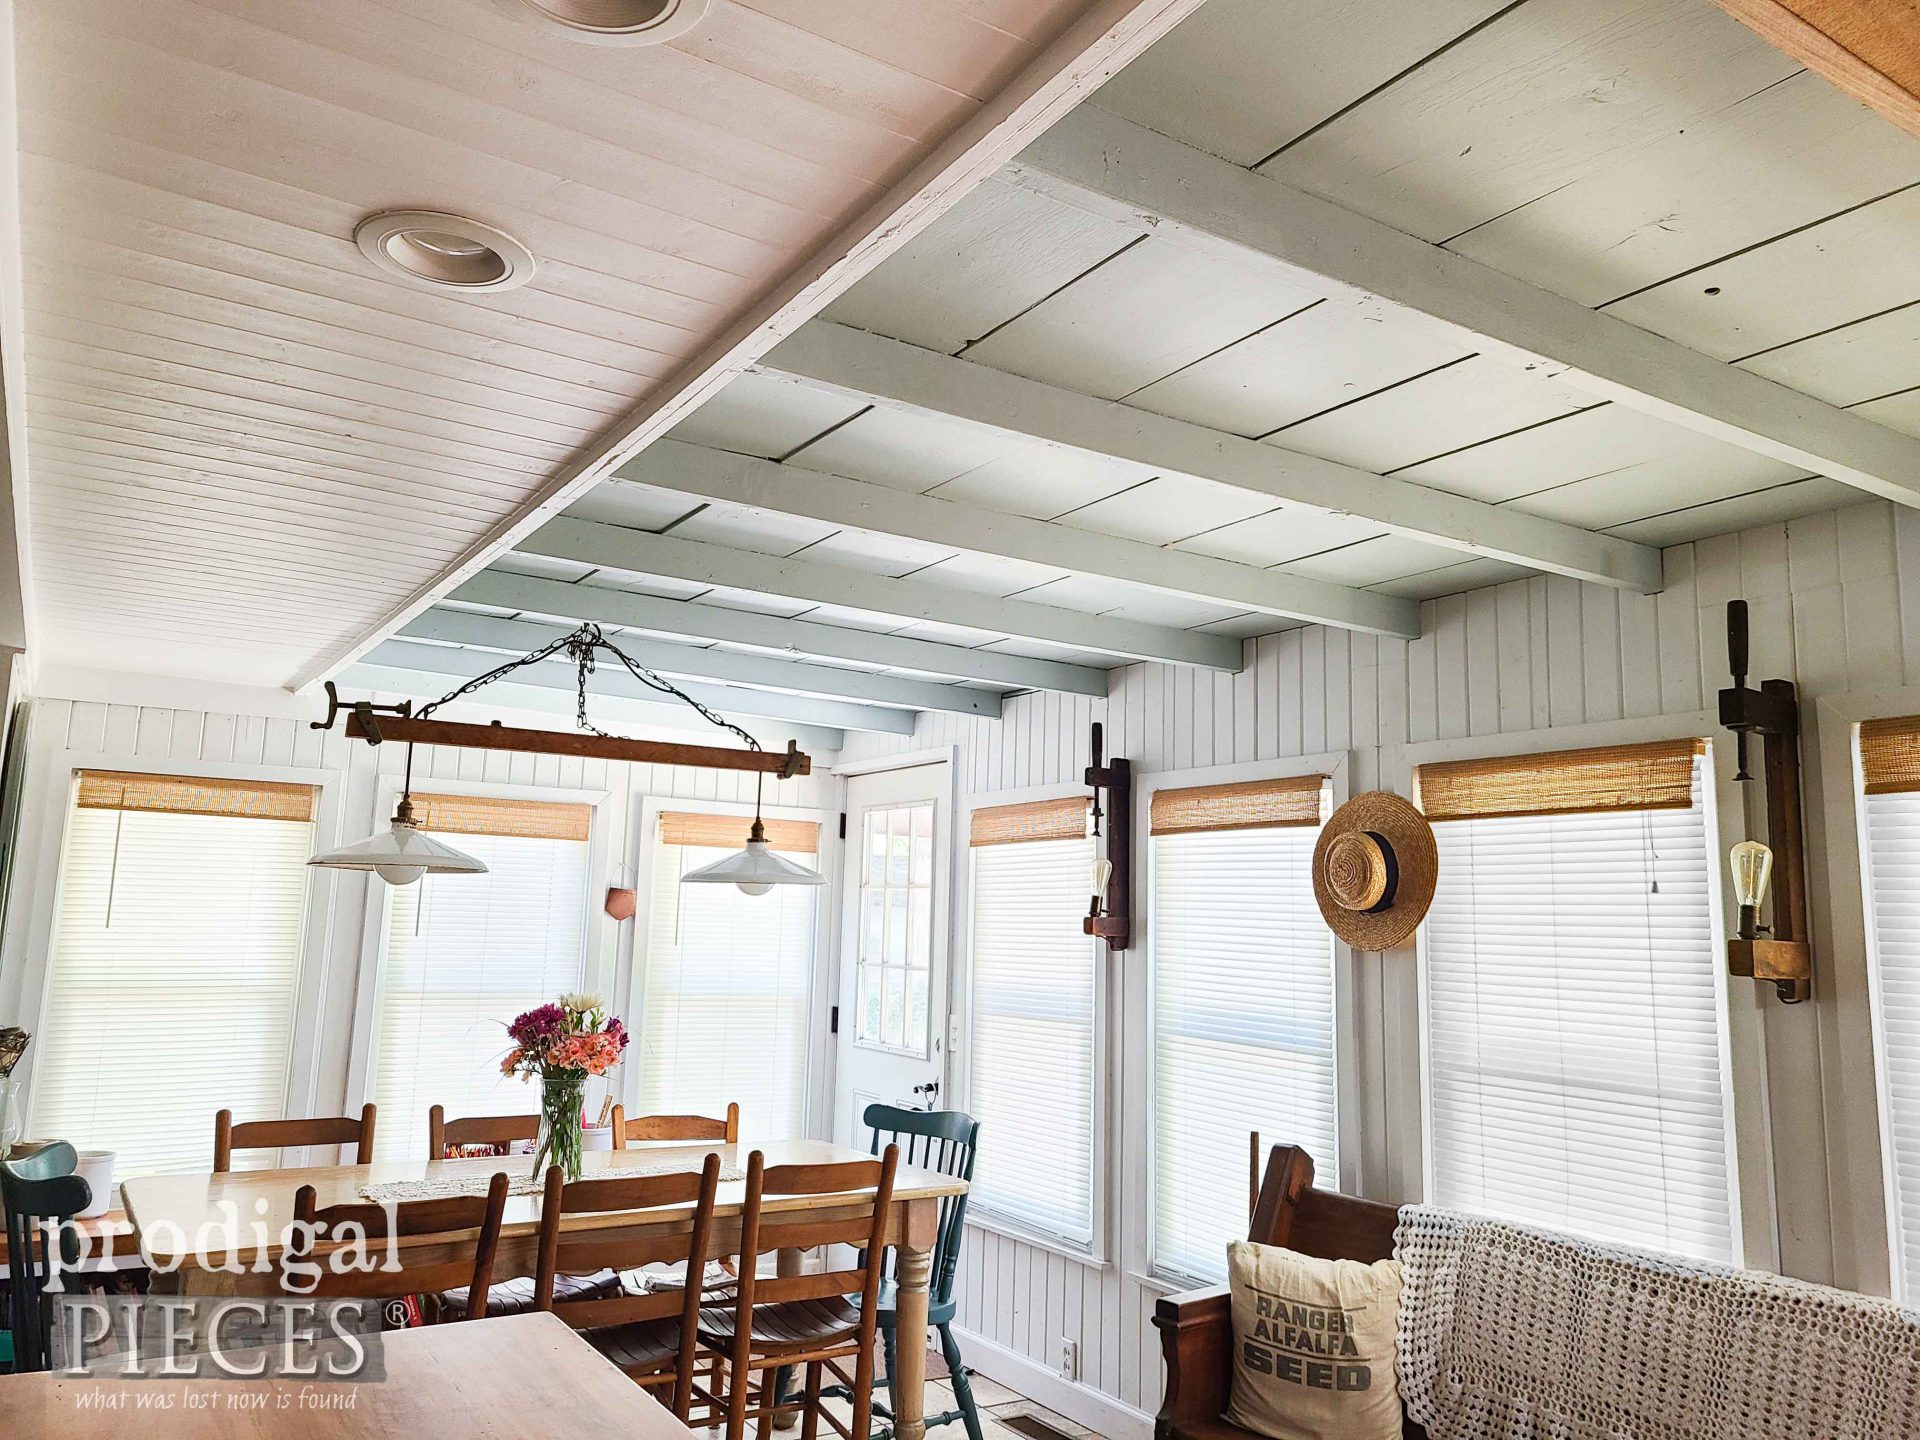
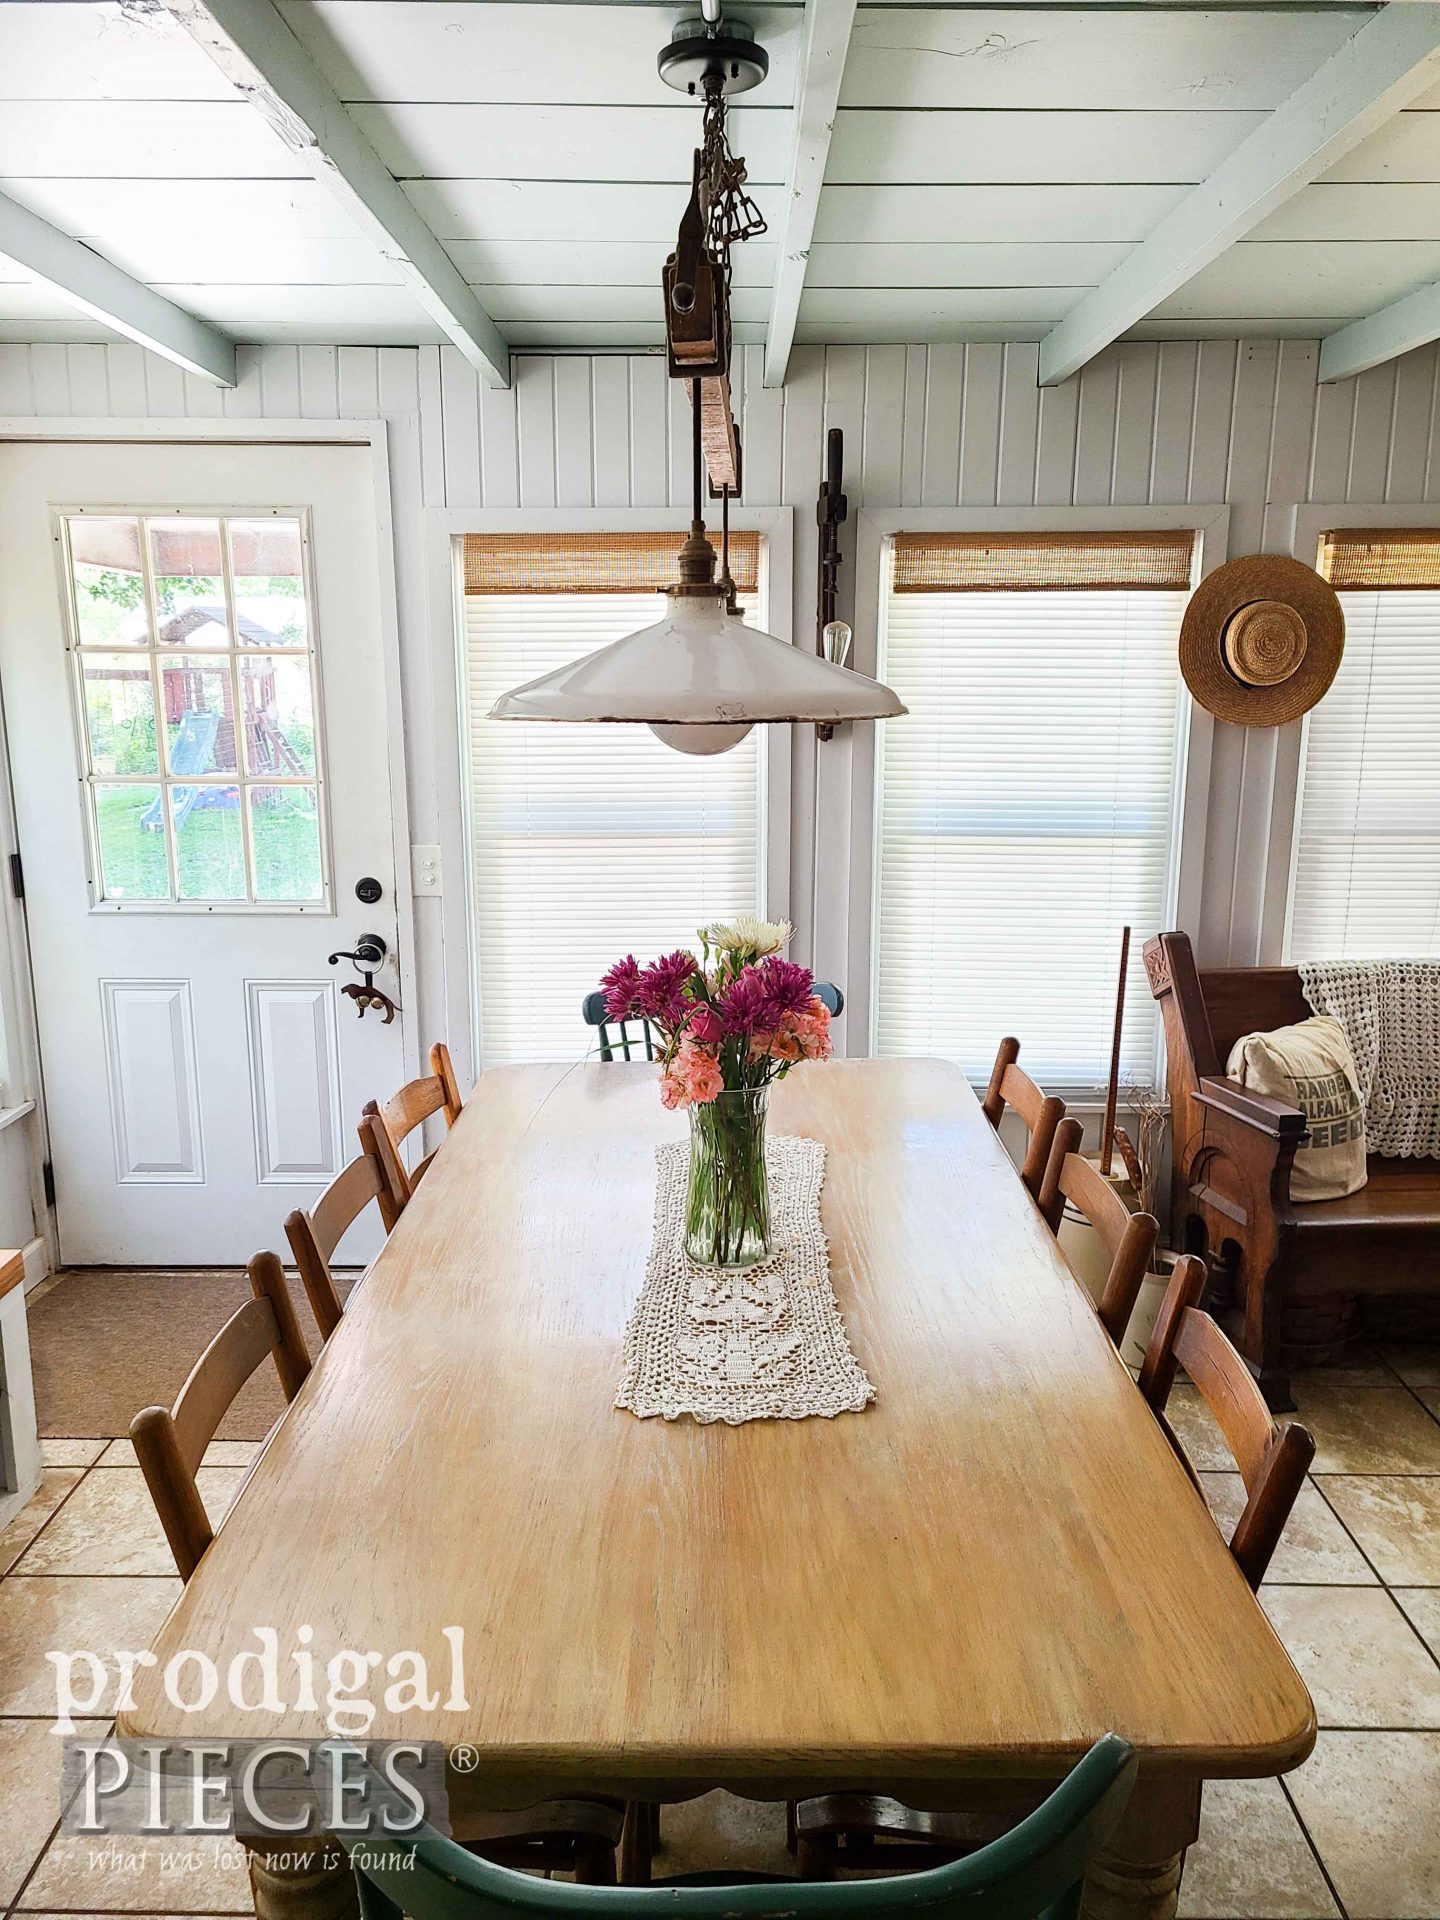
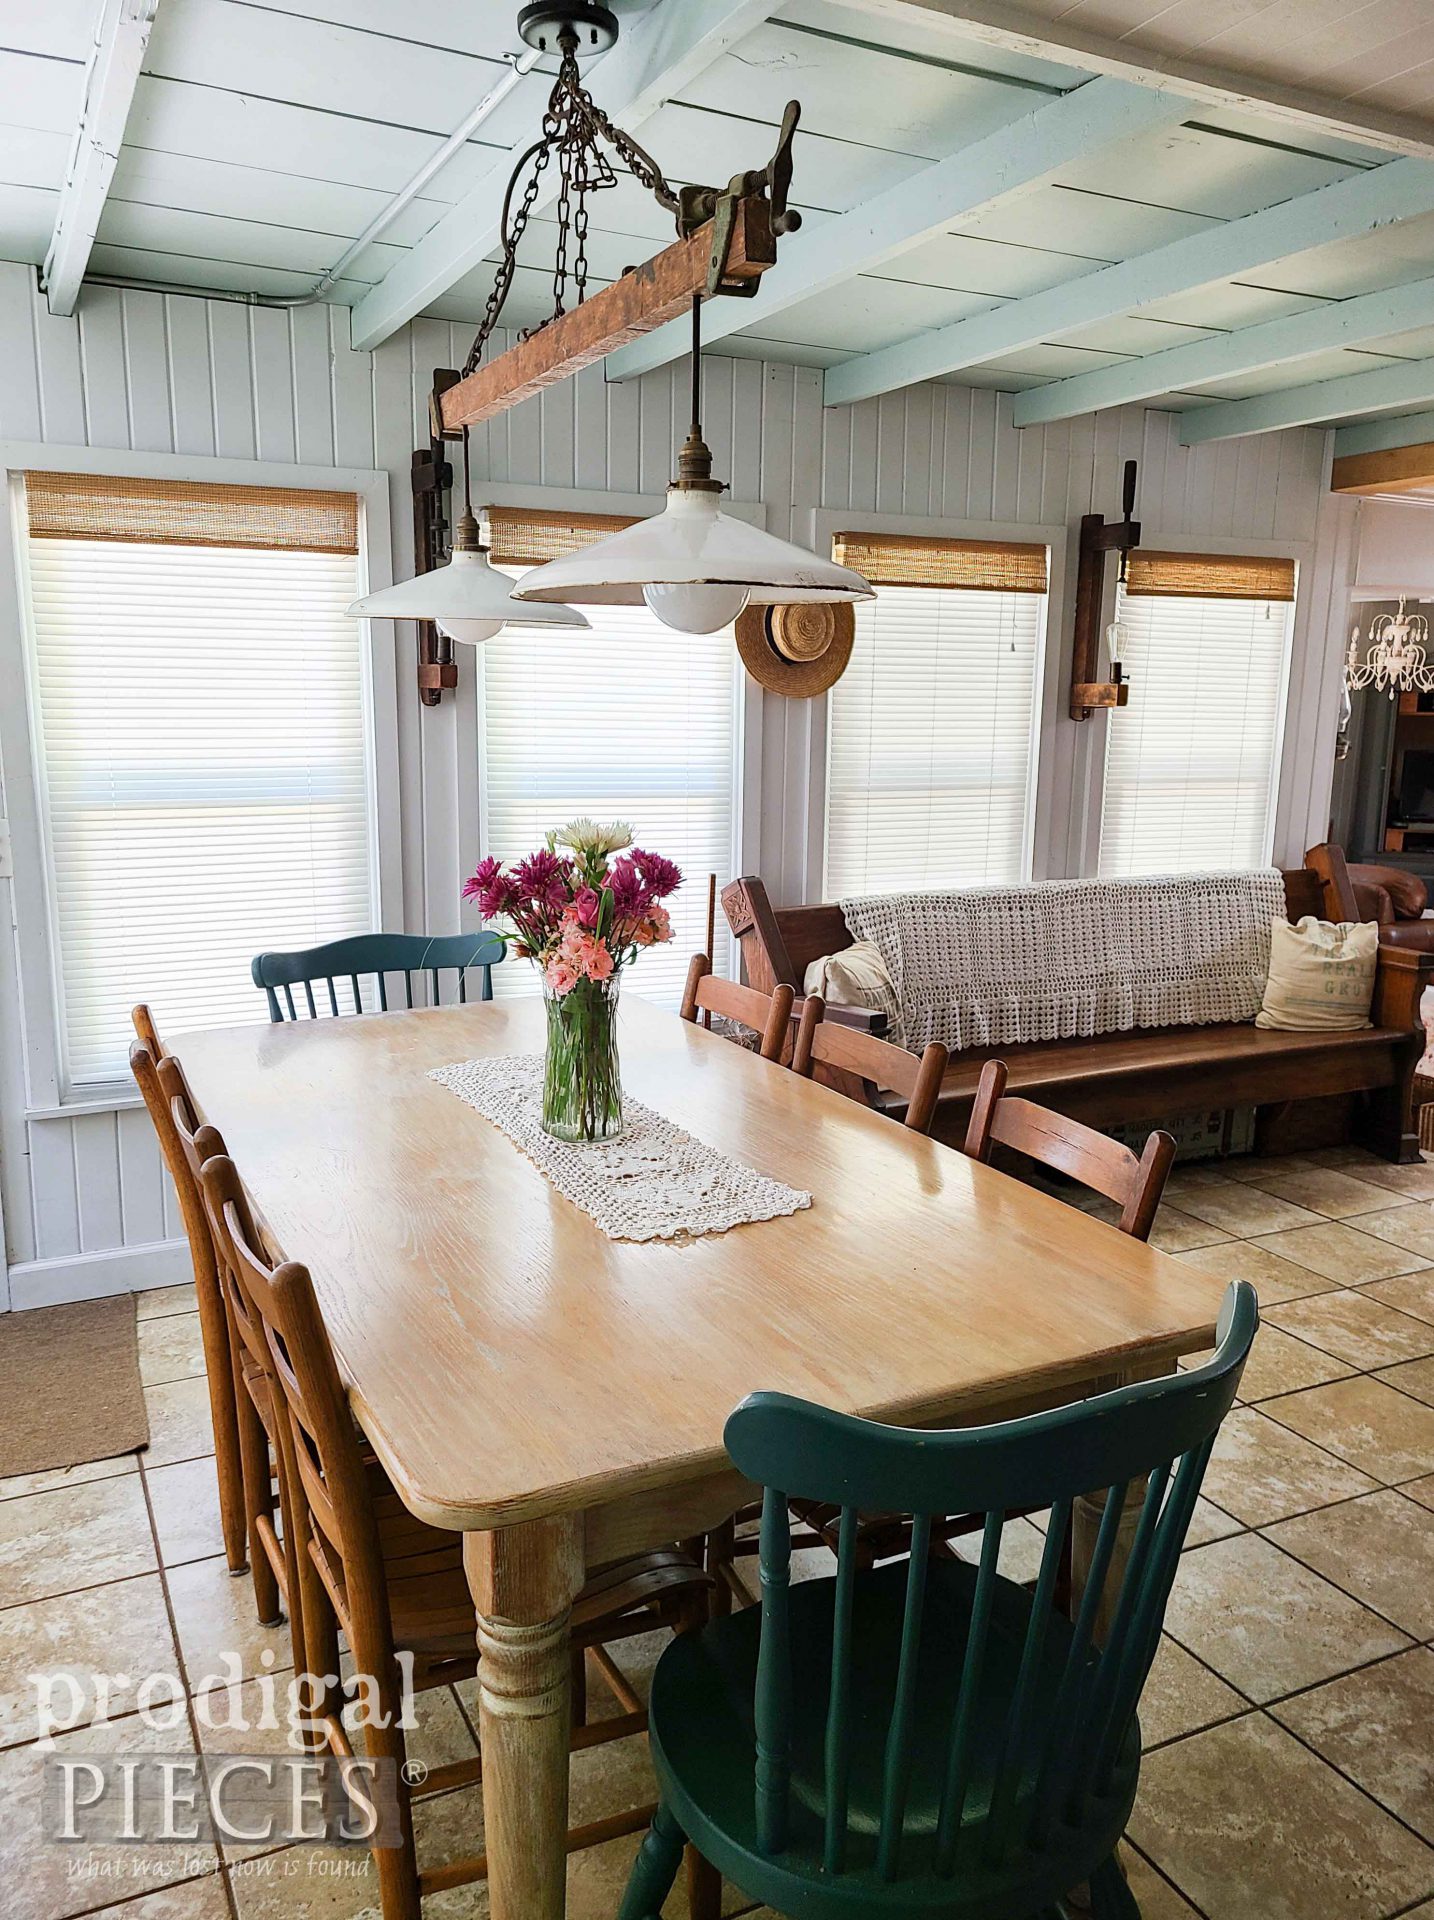
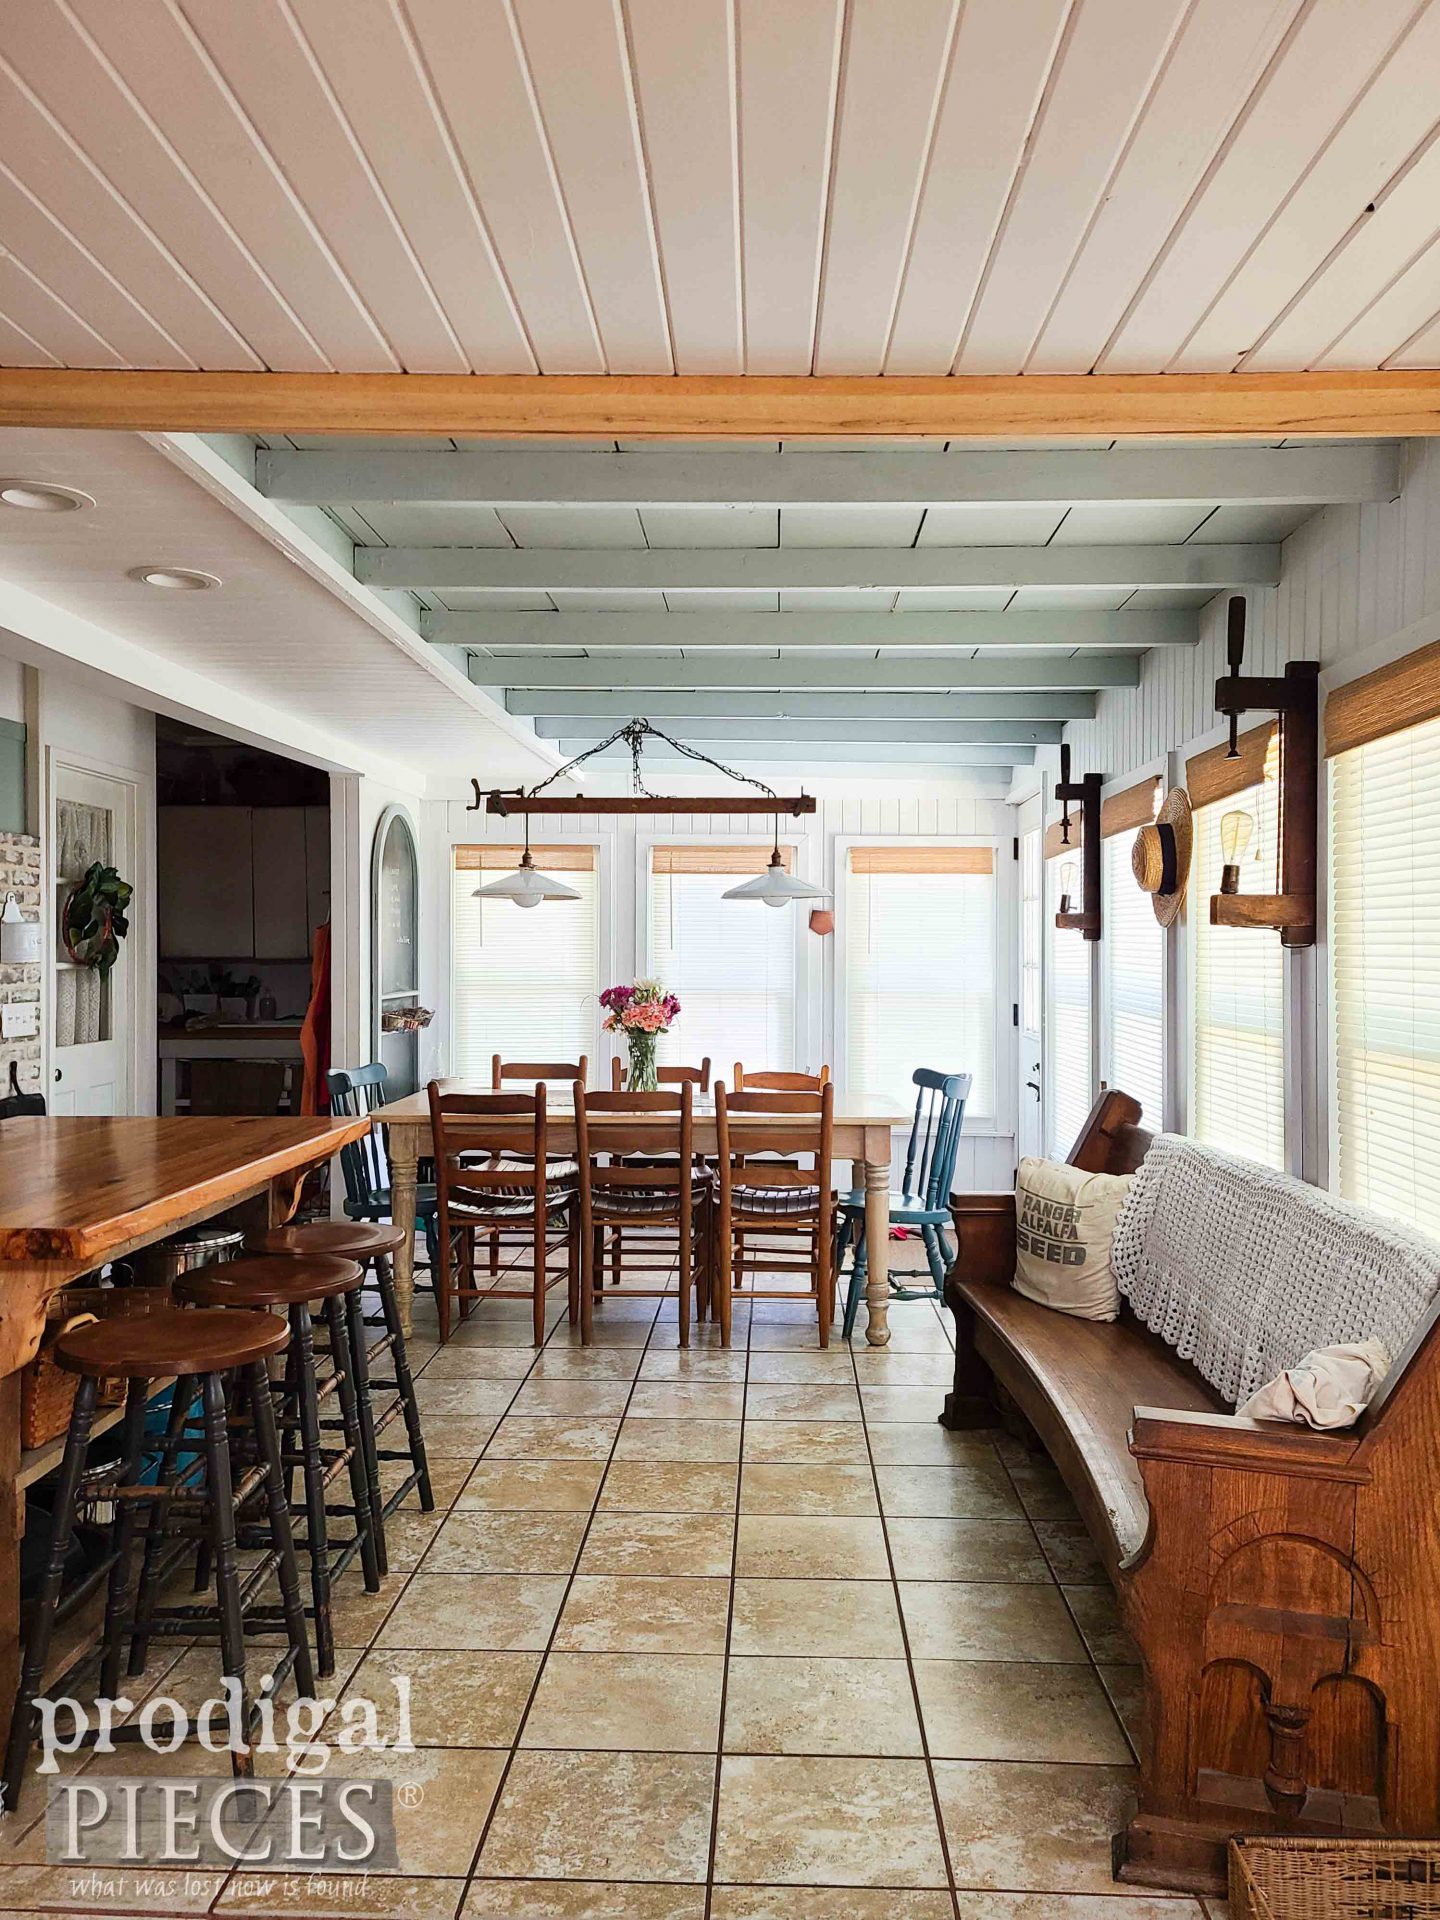
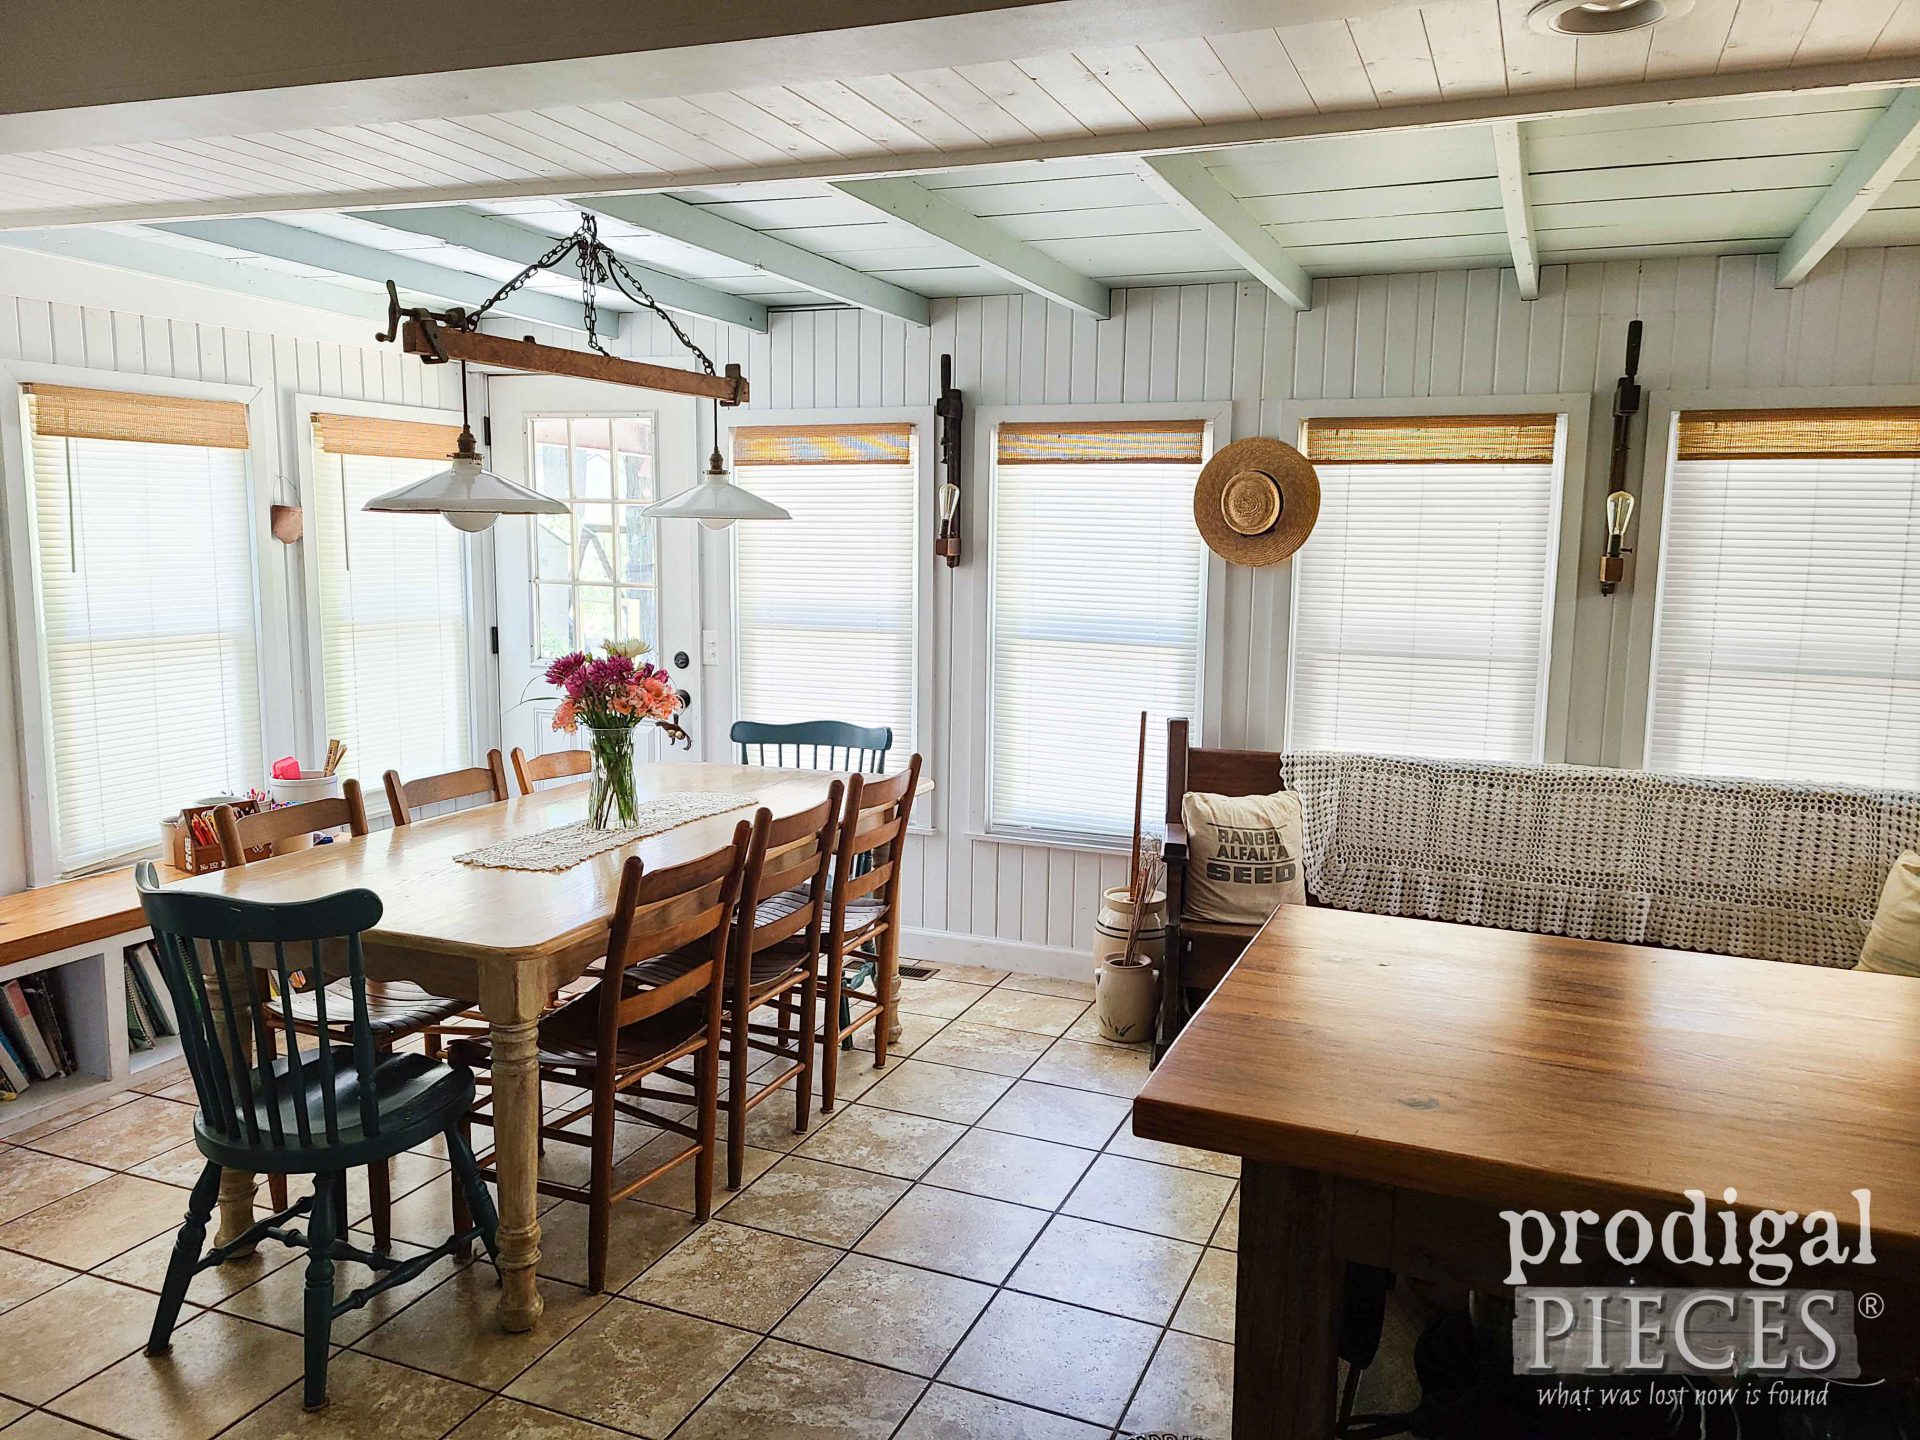
After waiting for so many years staring up at the wallpapered ceiling, I can finally sit back and feel like this space is complete.
The space feels clean, fresh, and more inviting than before. Plus, we’ve made it cooler/warmer depending on which season we are in. And…I didn’t go broke, just got sore muscles. woot! In addition, another half-wit fix we did was to finally make the two switches in the room actually have a 3-way function. It wasn’t wired properly originally and drove me nuts.
Likewise, the blue chairs add a bit more spunk to my space without breaking the bank either. Are you a blue fan too? Don’t forget that faux beam we add to cover that transition. It suits the space and works with our other rooms in the home as well.
Are you feeling inspired? I hope so because, as always, my goal is to encourage you to give DIY try. Go ahead, make your house your home by creating your own story. I’m not a cookie cutter designer and prefer making my own way. It’s fun!
SHARE
In addition to leaving some comment love, check out the related links below as well as pin and share this dining room remodel to inspire others too.
RELATED POSTS
- Kitchen Flooring
- DIY Valances
- DIY Farmhouse Lighting
- Faux Crate Drawers
- Family Room Remodel
- Painted Bar Stools
- Limewashed Dining Table
- Screen Door Chalkboard
- Faux Brick Treatment
- My Antique Pew
- Reclaimed Wood Counters
Additionally, sign up for my newsletter to see what becomes of this broken antique sewing rocking chair. See it NOW. Until next time!






STUNNING!!! You are absolutely the most amazing woman!!! You’ve taken DIY to a whole new stratosphere!! I would have been sitting on the floor looking up with tears flowing….. But, you didn’t let it knock you down!!! What an inspiration !!!!! ???
Rebecca, you are my most wonderful cheerleader and it means SO MUCH! 😀 I wish I could hug ya. Thank you for the pat on the back and then some. I’m delighted to have this space complete. happy dance!!
Larissa my arms hurt just looking at this project. I think anything having to do with ceilings is a pain in the arms. You did an incredible job and now the space looks fresh and the ceiling is in keeping with the style of the house. I also think that beautiful shade of blue is perfect!! Now you need a rest from all that work!!
Right?!? That and my neck. haha! Thank you for the encouraging words. So glad it’s done and my home is nearing completion.
Larissa, you are truly amazing and such an inspiration! The transformation of your dining room is stunning, and the soft blue ceiling is perfection. We have a blue ceiling on our front porch and it’s one of the most favorite details on our home. I have such appreciation for all your hard work and your problem solving skills. You deserve a long rest after this project!
Thank you bunches, Sheryl. 😀 I’m so glad you have a space like that to enjoy. Those kinds of details truly make a house a home. A vacay would be awesome!
So pretty!! I wish I had your energy so I could fight more with our “half-wit” house, ha. We have made a lot of improvements, but it is still in great need of help. I love your blue colors, especially the blue ceiling. Thanks for the inspiration!
hahaha!! Right?! We are working on the last room in our home that was supposed to be done in March…ahem. Well, we’ll get there sooner or later. Thanks for the smiles! 😀
Hi Larissa! You are AMAZING!! The difference is jaw dropping gorgeous. When you mentioned the lead paint I wondered if that might have been the reading for your health issues previously. Lead paint is toxic. Well anyway, it is beautiful and bright and cheery now. Amazing job!!
Thanks, Cheryl! Yeah, the lead wasn’t my issue, rather a= spinal alignment and vitamin deficiency/ Besides, the lead paint was under many layers of ceiling for years.
I think you need your own TV show. You’re such an inspiration. and a delightful person.
haha. Funny you should say that because Country Living wrote an article about me saying the same. 😀 Thanks!! https://www.countryliving.com/life/entertainment/g3645/bloggers-who-should-be-on-hgtv/
I’m pretty sure that we could move into each others houses and feel like we never left our own…..So much better is the soft blue open joist ceiling I like that your house looks lived in. It is magazine worthy but still comfortable and not cold and uninviting. Great job Larissa. We are working on flooring and hopefully painting in two of the three bedrooms this week. Uuuugghhhh it never ends.
haha! Great designer minds! 😀 Your words mean so much. Thank you! Yes, never-ending, though I will say that we are on the last room and hoping I can take it easy from there. Here’s hoping!
Larissa, as always you blow me away with your energy, can-do spirit, and DIY talent. My neck hurts just reading this huge undertaking. What a difference!
Call me nuts, Marie, because only a nut would do this. haha!! I’m glad I did, though, as the alternative kinda put us back right where we were. Thanks so much for the love!
You are inspired.Me,I am just tired!!I also love blue,love that color on the chairs. I need to paint the kitchen and the bath. Can not make up my mind as to the color for the kitchen.i swing from sky blue to aqua to a butter yellow. My kitchen is in a gray blue over paneling. It is so dark under the cupboards. We have only been here 10 years.Where did the time go. The spirit is willing,but the old flesh(70) is decidedly weak love ya
God bless you.
You are such fun, Charleen! I’m tuckered, trust me. We’re working on one last room then I’m done with this place. I want to move and my soul longs for country living. One day! I hope you have fun working on making your space yours too. Hugs!
Wowza Larissa! What a difference a ceiling can make 🙂 I love that blue…it really makes the table and the other woods in your rooms “pop” and Love that beam you put in too.. it draws my eye up and also out to the other woods in the room; on your blinds, countertop, furniture, etc. Didn’t notice them before with the white ceiling. Hmm… It really brought cohesiveness to the spaces. Just awesome! My hubby and I are just finishing up sheetrocking our 10 foot garage ceiling so I can attest to the neck and muscle aches. 🙂 We didn’t think we could do it, and were waiting for a much younger nephew to help, but his life too busy so, one day I said, let’s do this! And out of the blue a neighbor loaned us a sheetrock lift and well the rest is history 🙂 Thank you for inspiring me/us! (He is reading your blog with me more often these days 🙂 🙂 Now we give things a go that we thought were too “big” before…so far so good! Bless you! You do need your own show! We would watch every episode, for sure! 🙂
Mary, you’ve brought tears to my eyes…thank you for getting why I do what I do. Many have suggested I get an agent, but for now my focus is on my kids. They’re growing so very fast and I’m already able to let go and let them do things so I cherish the time dearly. And you…WOW! I can’t imagine the work you are putting in. What a blessing for that lift too!
Wow Larissa! That was a ton of elbow grease! It’s so, so pretty though. I love it!
Green is my v=favorite colour, but blue is close second. 🙂
It totally was…ugh! haha. 😀 Thanks so much, Kim. Yes, me too with blue and green. That’s why I love my cabinet and ceiling color because they have slight shades of both. Great minds!
It looks beautiful!! The blue looks so soothing.
Thank you, thank you, Sandra!
Wow… ceiling work is H.A.R.D! Women’s muscle structure isn’t made to do that! You are amazing! Well done!
Thanks! I’ve only known hard work, so I carry on. 😉