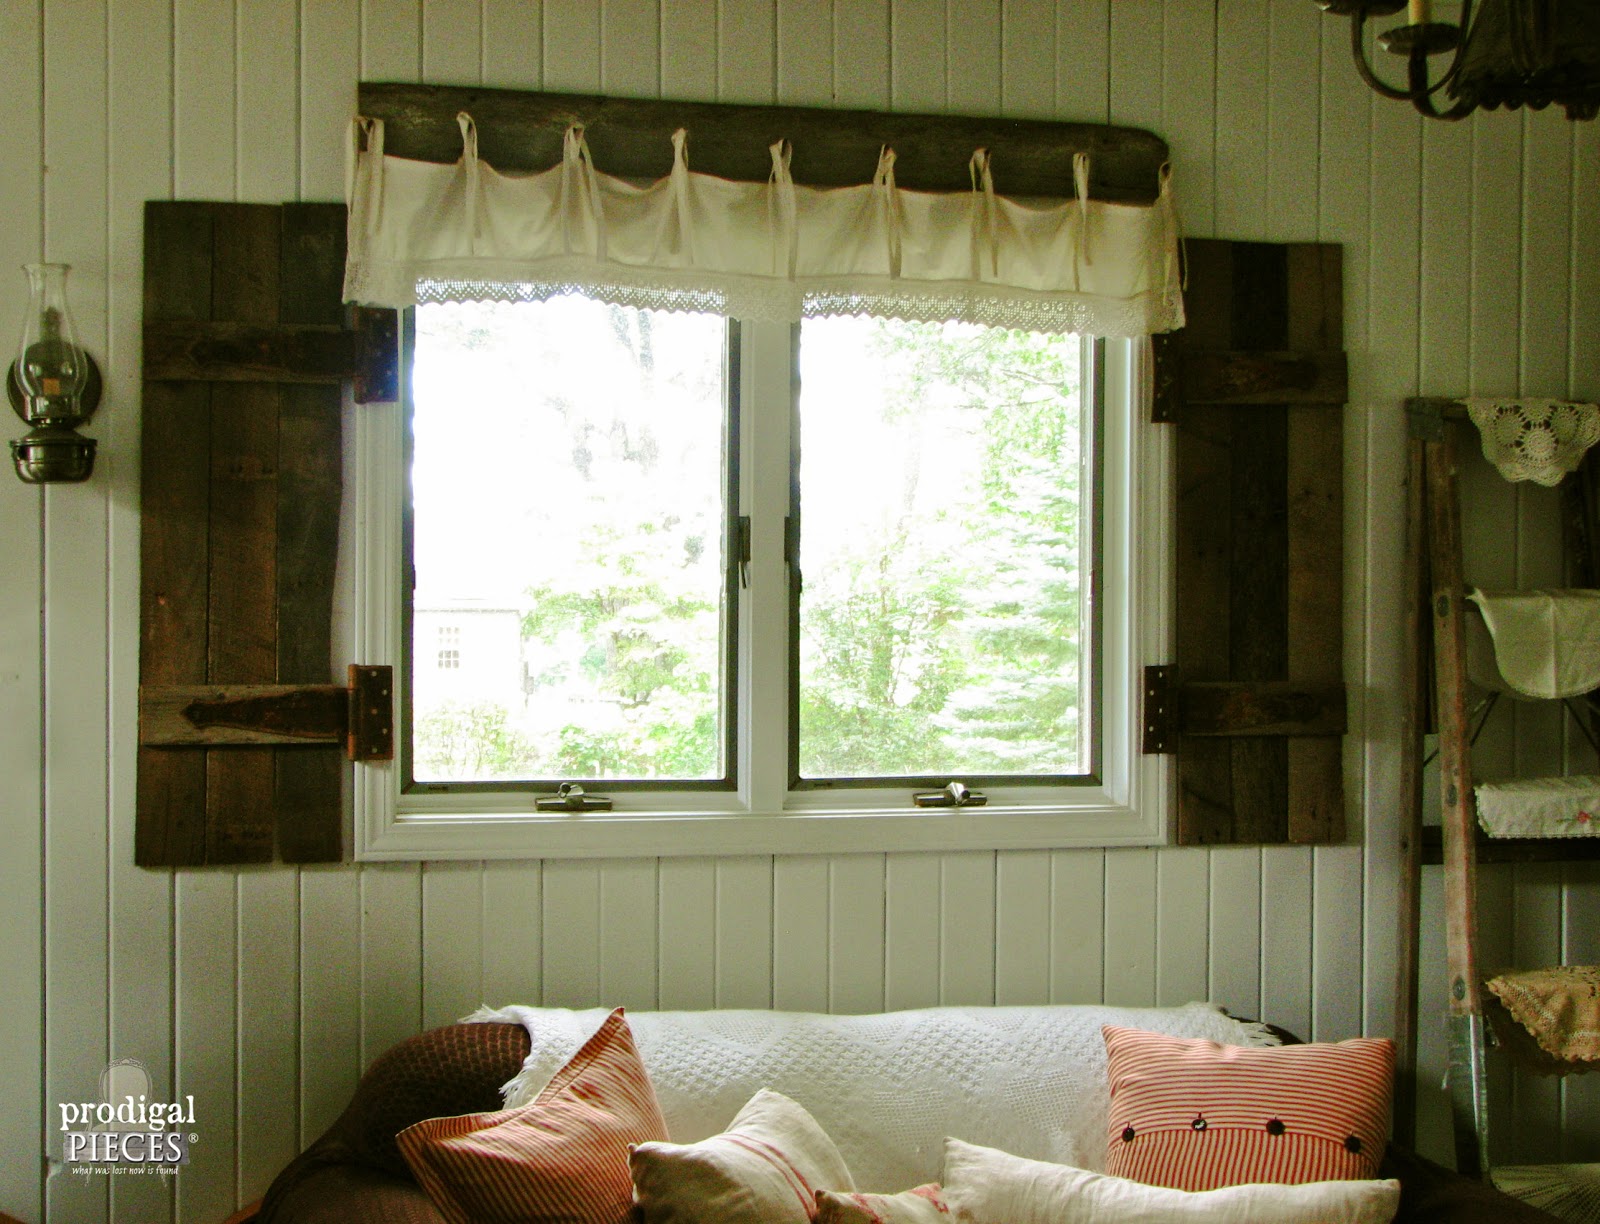
Do you crave the rustic appeal of barn wood in your home decor, but lack the barn? No worries, because I will show you how to take a weathered old shipping pallet and turn it into fabulous rusty, crusty shutters. No one will know they came from pallets once you’re done. (wicked smile appears…hee hee hee)
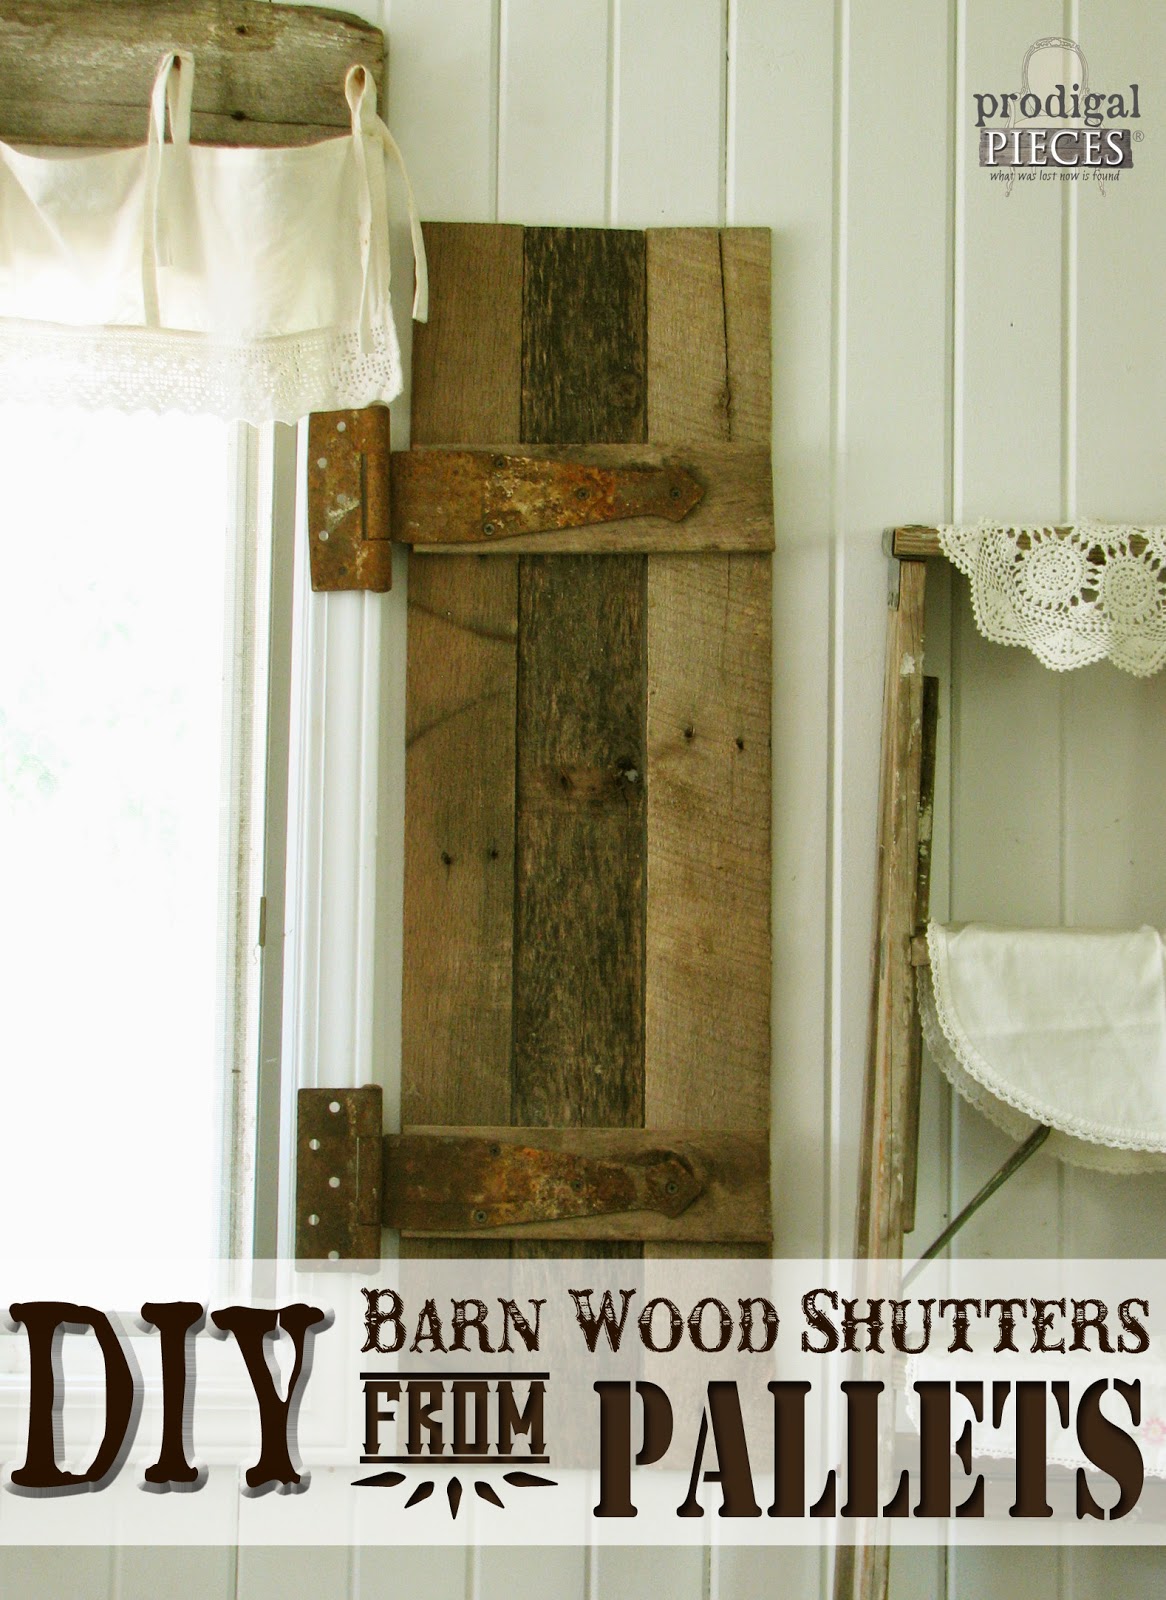
Seriously though, shipping pallets are one of the most versatile cast-off items you can get your hands on. You can build just about any piece of furniture with them, assuming you have basic tool knowledge. My treasure came via Craigslist, where I was able to acquire some weathered pallets that had an awesome gray patina and ready-made defects, which was just what I was after, for free – yes!
side note: Speaking of patina, I’ve got to share with you what one of my younger daughter, 5 yrs. old, said to me the other day. We were looking at the cat carrier we were given for our new kitten, which has a some rust on the door, and she said, “Ooh, I love the rusty look, how pretty!” Ha! She’s seeing beauty where most people wouldn’t – rust. Love it. Back to story…
When one is desiring to acquire pallets, one must have a truck (aka accomplice). So I called up my mom (owner of said truck) and she happily came over to follow my kids and I on a treasure hunt through two huge piles of wood, pallets included. (Don’t worry, my kids stayed clear of the mess and had fun picking flowers instead).
Let me tell you, I not only got pallets, but scored an awesome blue chippy antique ladder, some railroad ties, and a garden trowel. SCORE! I love treasure hunts…sigh.
Before jumping into pallet disassembly, I do suggest you read this article about pallets found here. I also have some pallet safety related pins on my Pinterest pinboard found here.
Okay, back to said project.
It is totally possible to use a hammer, gloves, and safety goggles to do the work of disassembling. I’m sure my neighbors loved seeing me vent on the pallets. It does take a little elbow grease or a happy-to-please husband to dismantle one of these. (note: gift to self was a Sawzall at later point). You can also find an awesome dismantling tutorial here.
To get started on building, first you will need the height dimensions of the window you are going to be mounting the shutter next to. I included the trim in my measurement, but you can make it any size you like.

My window measured 38″ high. So, I cut three pallet slats 38″ long for ONE side of my window. Don’t forget! You will need to build two sets of shutters per window, so keep that in mind when counting how many slats to cut.
For one window set you would need 6 slats.
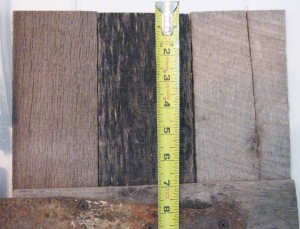
Next, I measured the width of the three pallet slats laying side by side, which gave me 11.25″. Just a note: If you want to build exterior shutters using this same method, add 1/8″ gap between slats to allow them to flex with the temperatures.
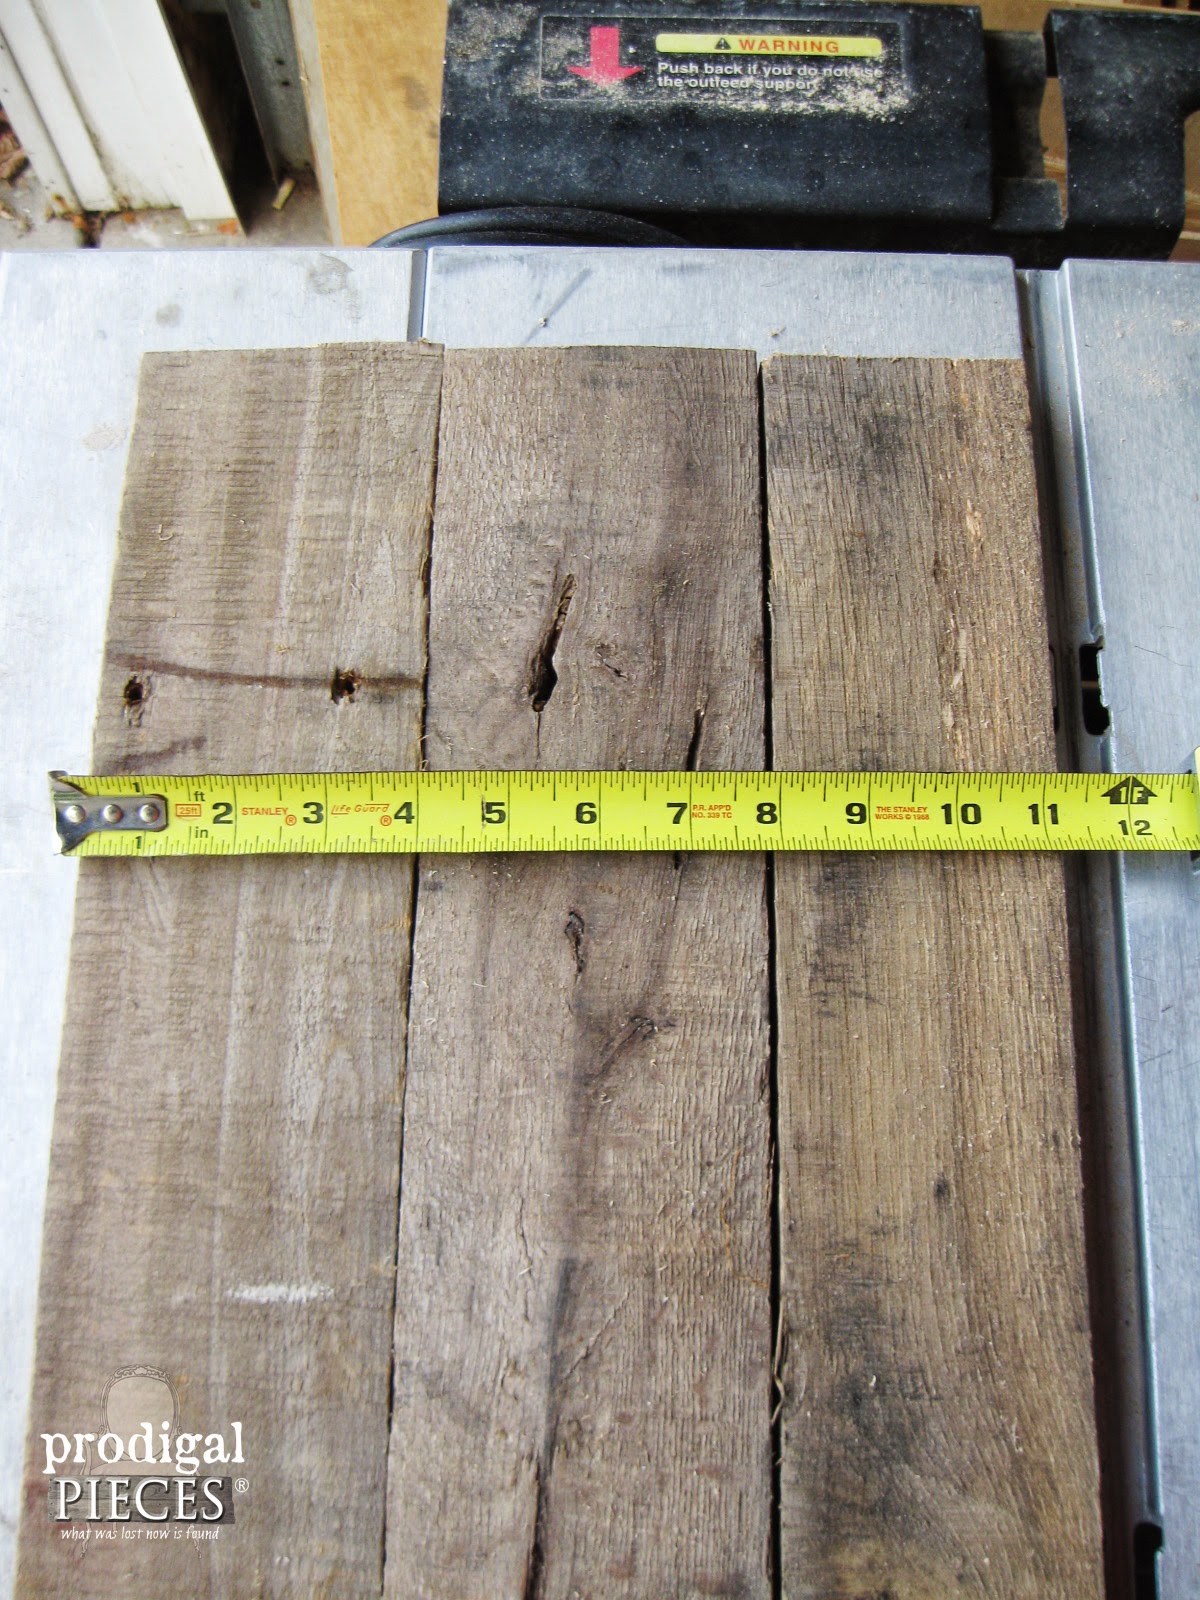
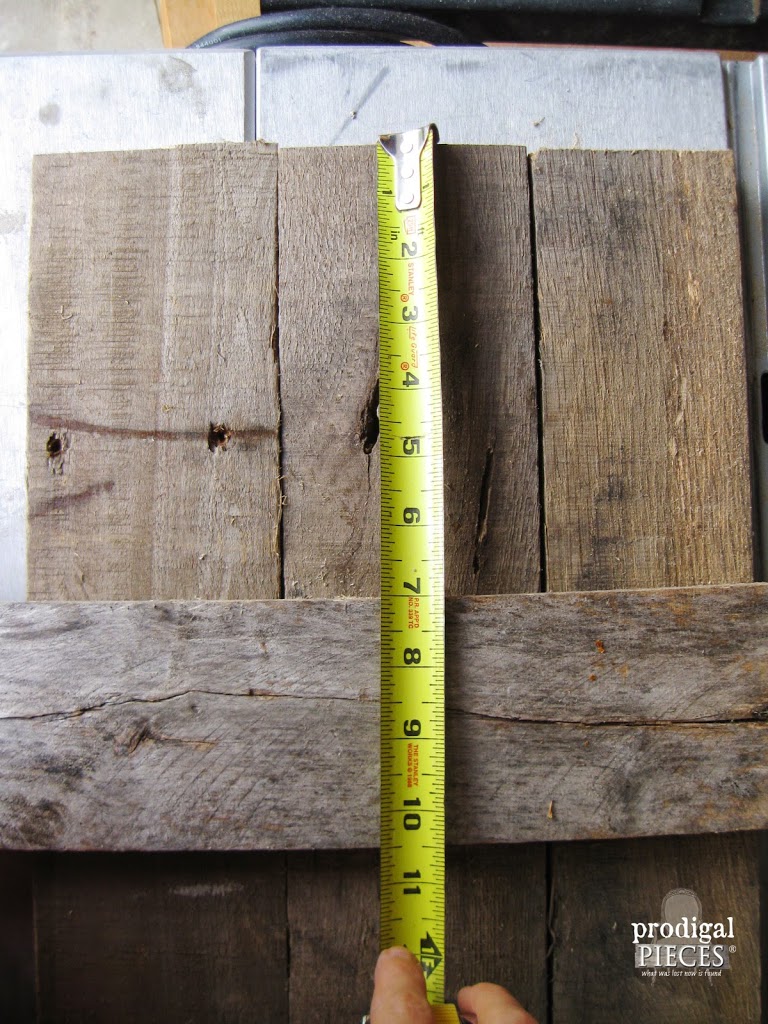
Then, to hold the longer slats together, I cut two small slat pieces per shutter (you would need four of them for a complete window set) measuring 11.25″. These smaller pieces are the crosspieces to hold the shutter together.
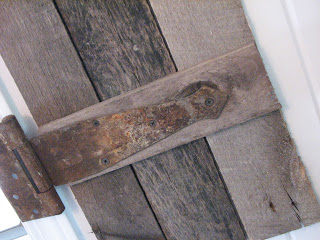
Last, lay the longer three pallet slats on the ground and position the two crosspieces 7″ in from both short ends. Attach them using a zig-zag screw pattern being sure to catch all three slats if you are not using a hinge, otherwise use the holes the hinge provides.
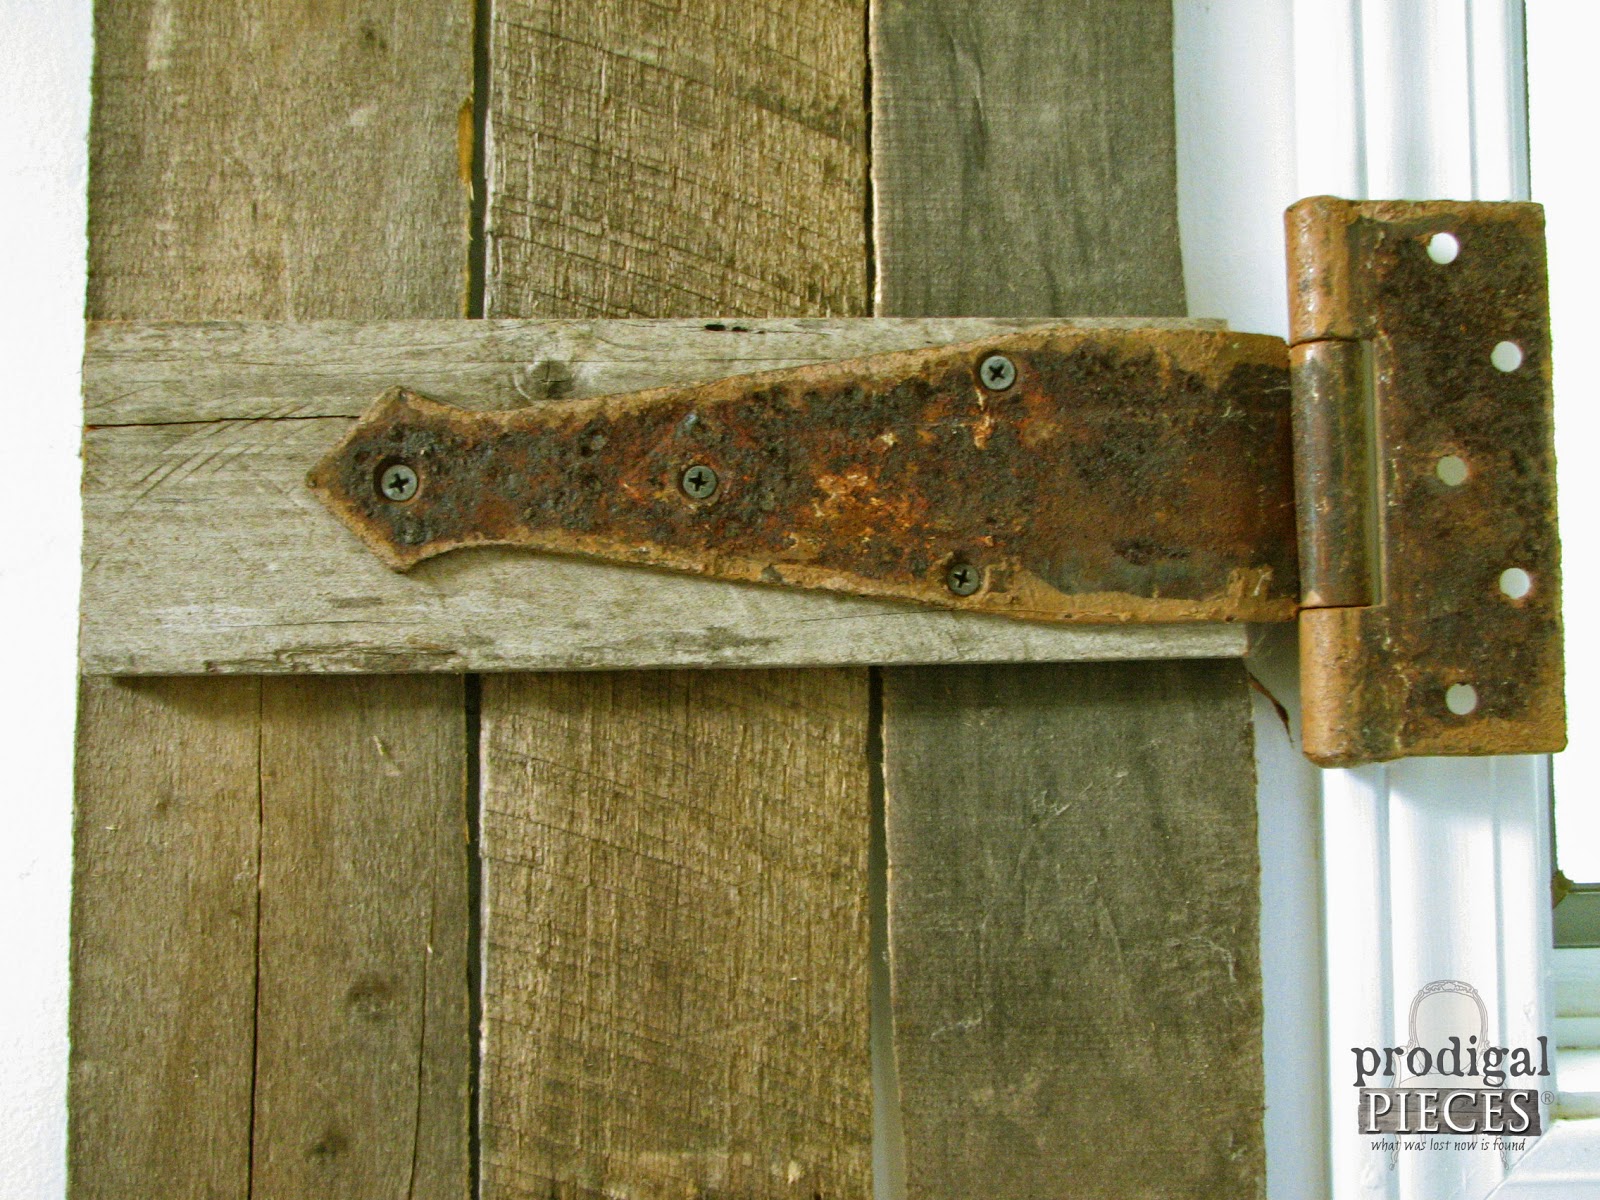
I left a couple blank screw spots in my hinge on my shutter so that when I attached my shutters to the wall, I could use a longer screw so there weren’t any extra screw heads showing.
note: If you don’t like the fresh cut color showing at the ends of your slats, just mix up some gray and brown paint with a touch of water to create a “wash”, and touch up the ends to make them blend in.
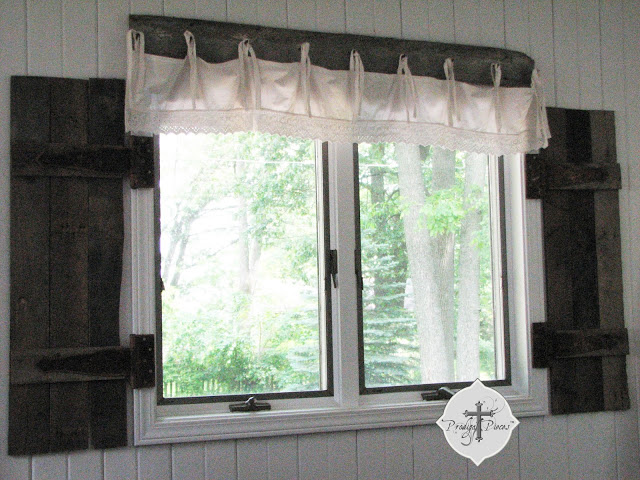
Last, mount your shutters to the wall and stand back in awe!
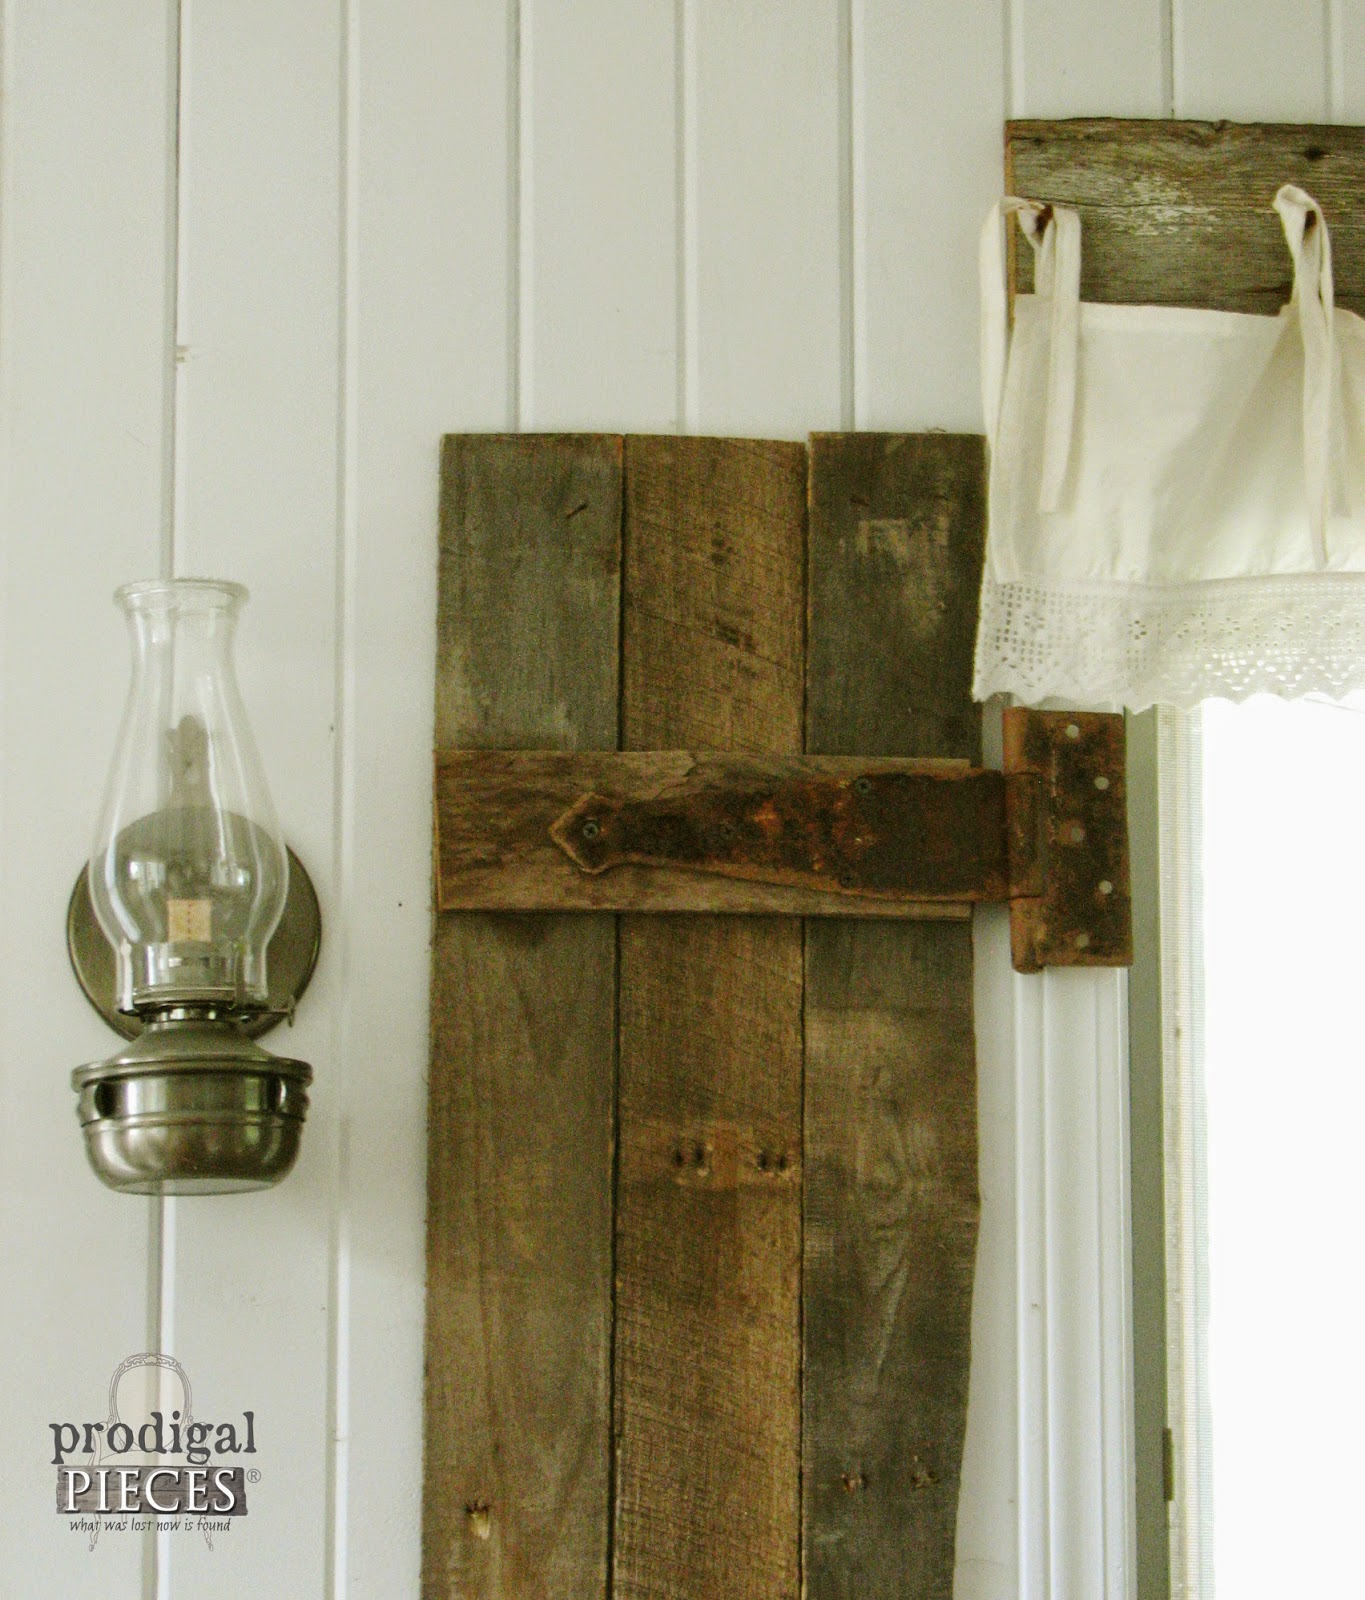
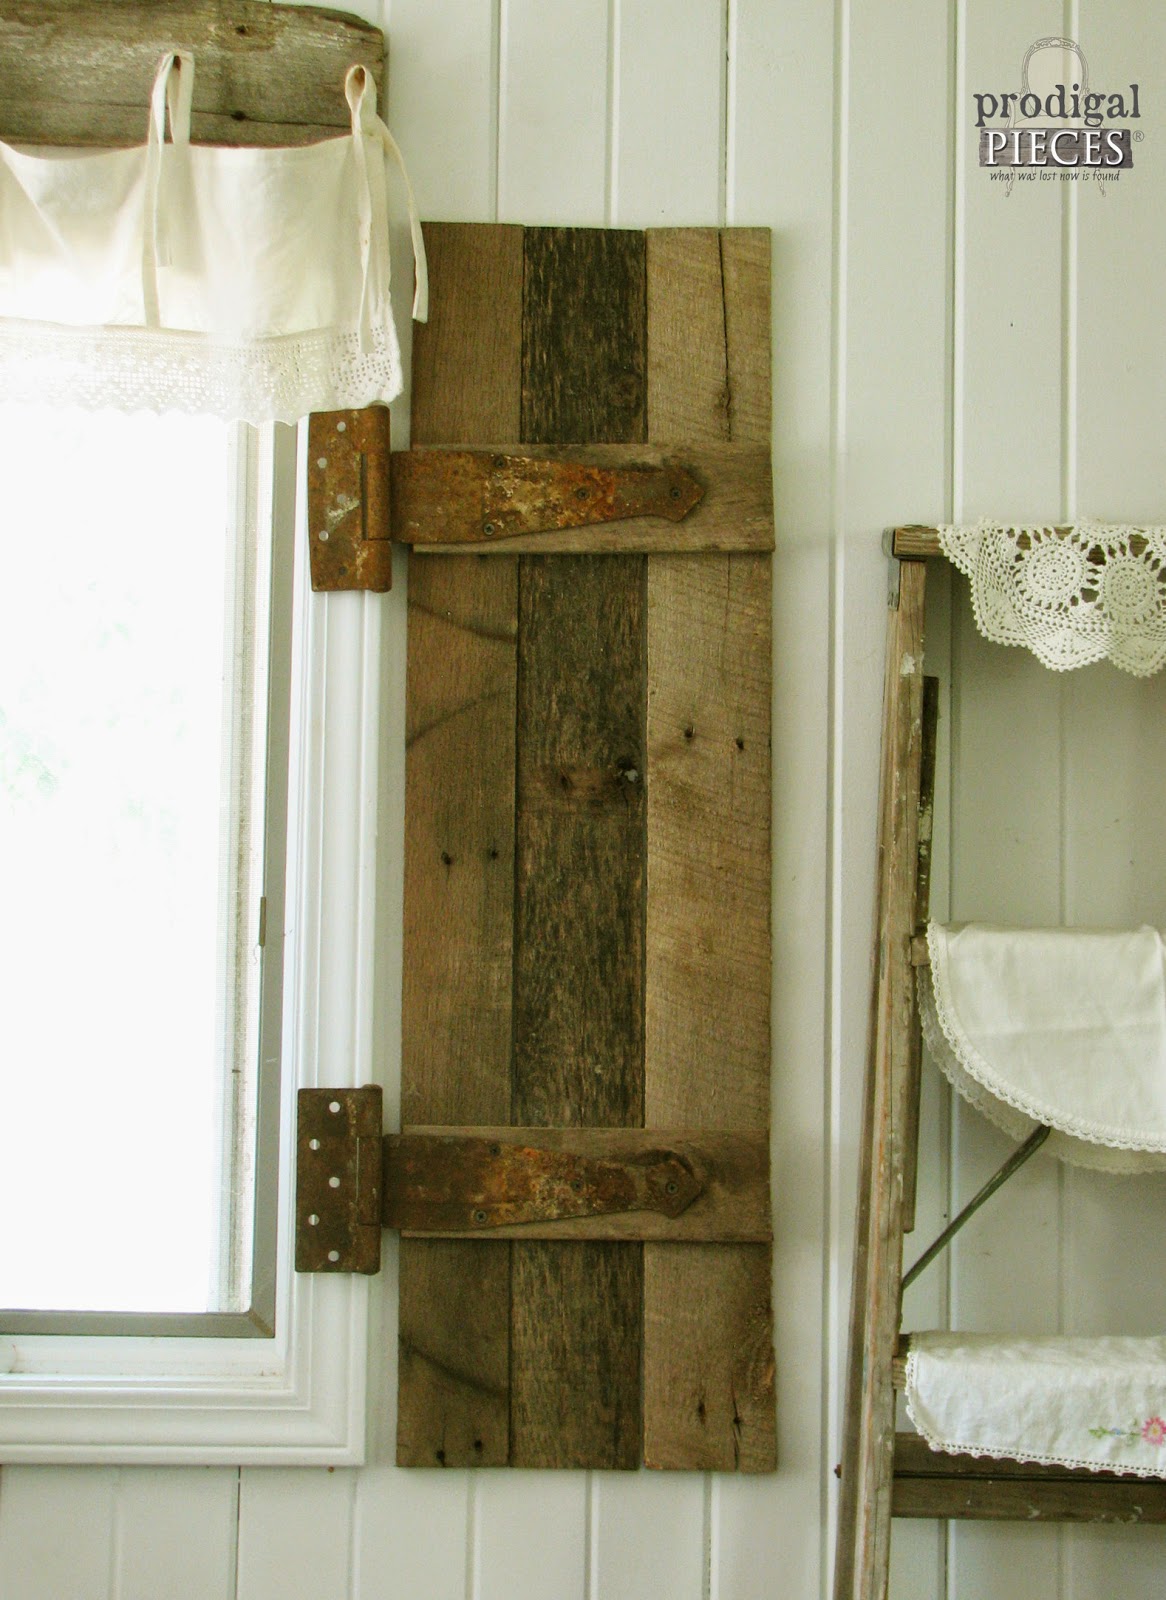
If you want to do like I did and rustify (like my new word?) them by adding antique barn hinges, just check ebay. Can you believe I found an entire lot that had just the right number of hinges I needed for less than $20?! God is good!
Viola! Not only did I help a local merchant clean up an unsightly pile, but was also able to create a lovely rustic touch to my home The best part was to teach my kids to be resourceful with all that we are given.
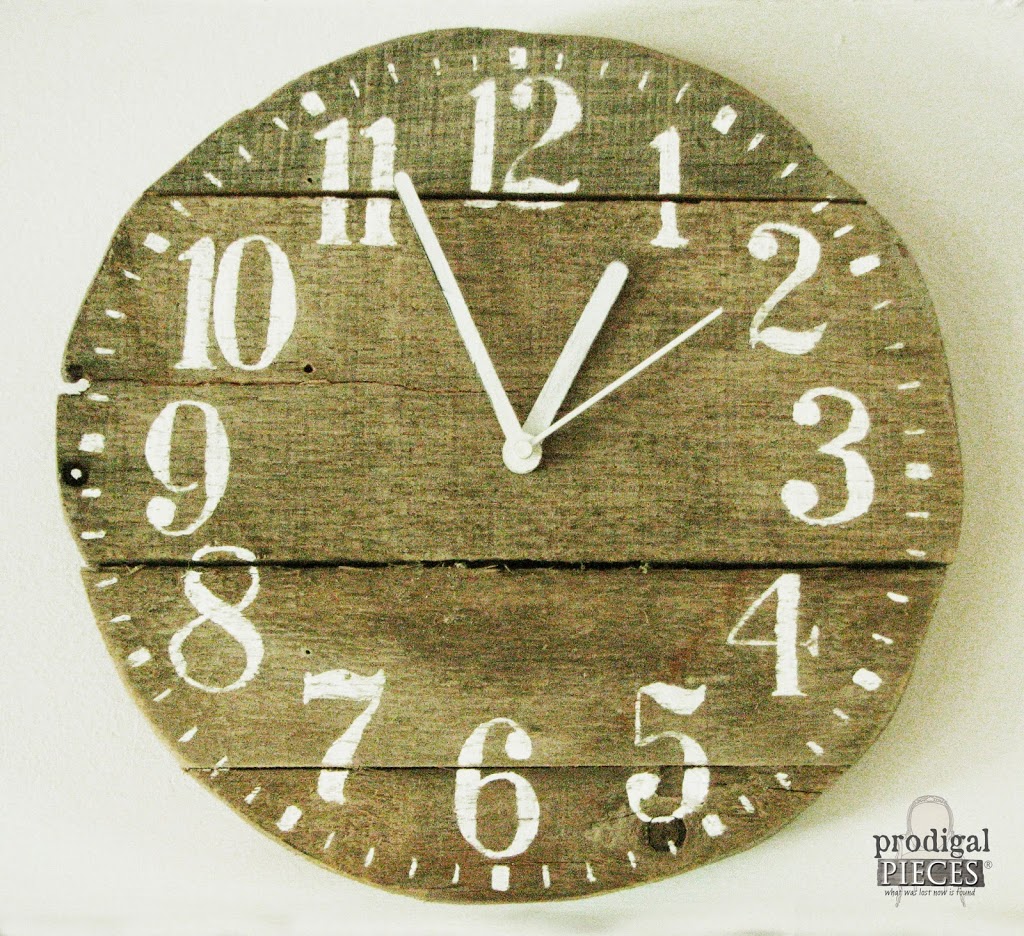
Even today I am still using some of that pallet wood to build more projects, like my table centerpiece, a plate rack, and my rustic clock found here.
Want to see how to make the valance too? Go to this post: DIY Barn Wood & Bedskirt Valance.
In the meantime, I’m using the same idea to make some shutters for the exterior of my home, which are painted and come from newer wood. Just think of what you could do with this is a very versatile project.
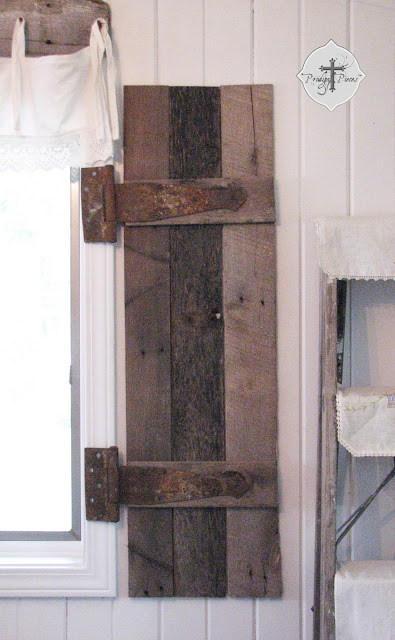

Your shutters are FABULOUS!!! And those rusty iron hinges…Perfect! Love the character the shutters add to the window.
Mary Alice
Thank you! They were a fun addition to my ever-changing room. :o)
Ooooh. I love the look! Would it be okay to share a pic and link to your tutorial on my facebook page? And, you had better watch out if your 5-year-old is already loving the rust! haha So sweet. What a steal on those hinges too! xo Jami
Thanks! Absolutely you can share it! I hope it inspires some to give it a try or experiment with their own ideas. You wouldn’t believe how much my kids are picking up just watching me…it’s so great!
Love those shutters Larissa! Yay! A new use for pallet wood…I have a bunch!
Thank you! We can never have enough pallet wood, eh? :o)
These are beautiful, Larissa! Great Job!
Thank you!!
Wonderful shutters! Great job!
Thank you, Monica!
Fabulous pallet project. I love those hinges.
Thanks Betsy!! I was so excited to get them in the mail. tee hee. :o)
wonderful, and love how you pulled it altogether with board across top for holding curtains.
be blessed
barb
Thank you Barb! You can check out how to make the valance in my other post here:
http://www.prodigalpieces.com/2013/07/diy-barnwood-bedskirt-valance.html
The is one of my favorite pallet projects I’ve seen! Thanks for sharing these at Knick of Time Tuesday – I’ll be featuring you next week at the party and I shared this on my FB page as well – https://www.facebook.com/pages/Knick-of-Time-Interiors-Classics-from-Yesterday/173323379356457?ref=hl
Wonderful Angie!! I had just discovered your blog and love what you do. Keep up the beautiful work! :o)
Love the shutters, and the hinges are wonderful!
Jeanette
Creating a Life
Thank you! Upfront I told my husband if we ever sell our home, the shutters (& valance) are coming with me! :o)
LOVE theses. I have a salvage place that carries all sorts of hardware including hinges! Pinning:) I posted DIY Doily Jacket this week:)
Ooo! To have a salvage place nearby….I think I’d be broke before long. A friend and I always talk about when our kids are grown opening up a salvage store. :o)
Thanks for stopping by DIY Vintage Chic’s Friday’s Five Features and Fun Festivities. Don’t forget to stop back by this Friday!
FUN…love the rusty hinges 🙂
I love the rustic look of your shutters!! They look fabulous!
Beautiful, love the natural texture, great job! Happy to feature you at the Inspiration Exchange on Sat:). Jen-City Farmhouse
sweet job!!!
They’re gorgeous, Larissa!
veyr cool. i need to give this a try! happy grey dey!
Dear Larissa
your shutters are wonderful – I take my hat off to you – great DIY skills!
Oh I smiled when your 5yr old said she loved ‘rusty’ – like mother/like daughter!!
Wooden pallets can be used for so many great projects.
Hugs
Shane
Oh little shutters how I love thee, let me count the ways. Or let me pin you so I remember.
Is pallet wood that long? You said you cut to 38″? What if you need longer shutters like 48 “?
Thanks
Yes, there are all sorts of size pallets out there. You can just cut them to fit your window. 🙂
Probably a silly question, but do the hinges make the shutters functional as well as beautiful, or are they purely decorative?
They are there just for texture and fun. They could be used, but I chose not to.
These look fabulous! Love them.
Thanks! We’ve enjoyed them for a decade now and I will take them when I move. haha!
Great minds think alike
I purchased washed palette wood from Etsy
Having my Decorative shutters made on Monday can’t weight to see them in place . Hope they look as stunning as yours so excited
How fun! I would love to see what you end up with. 🙂