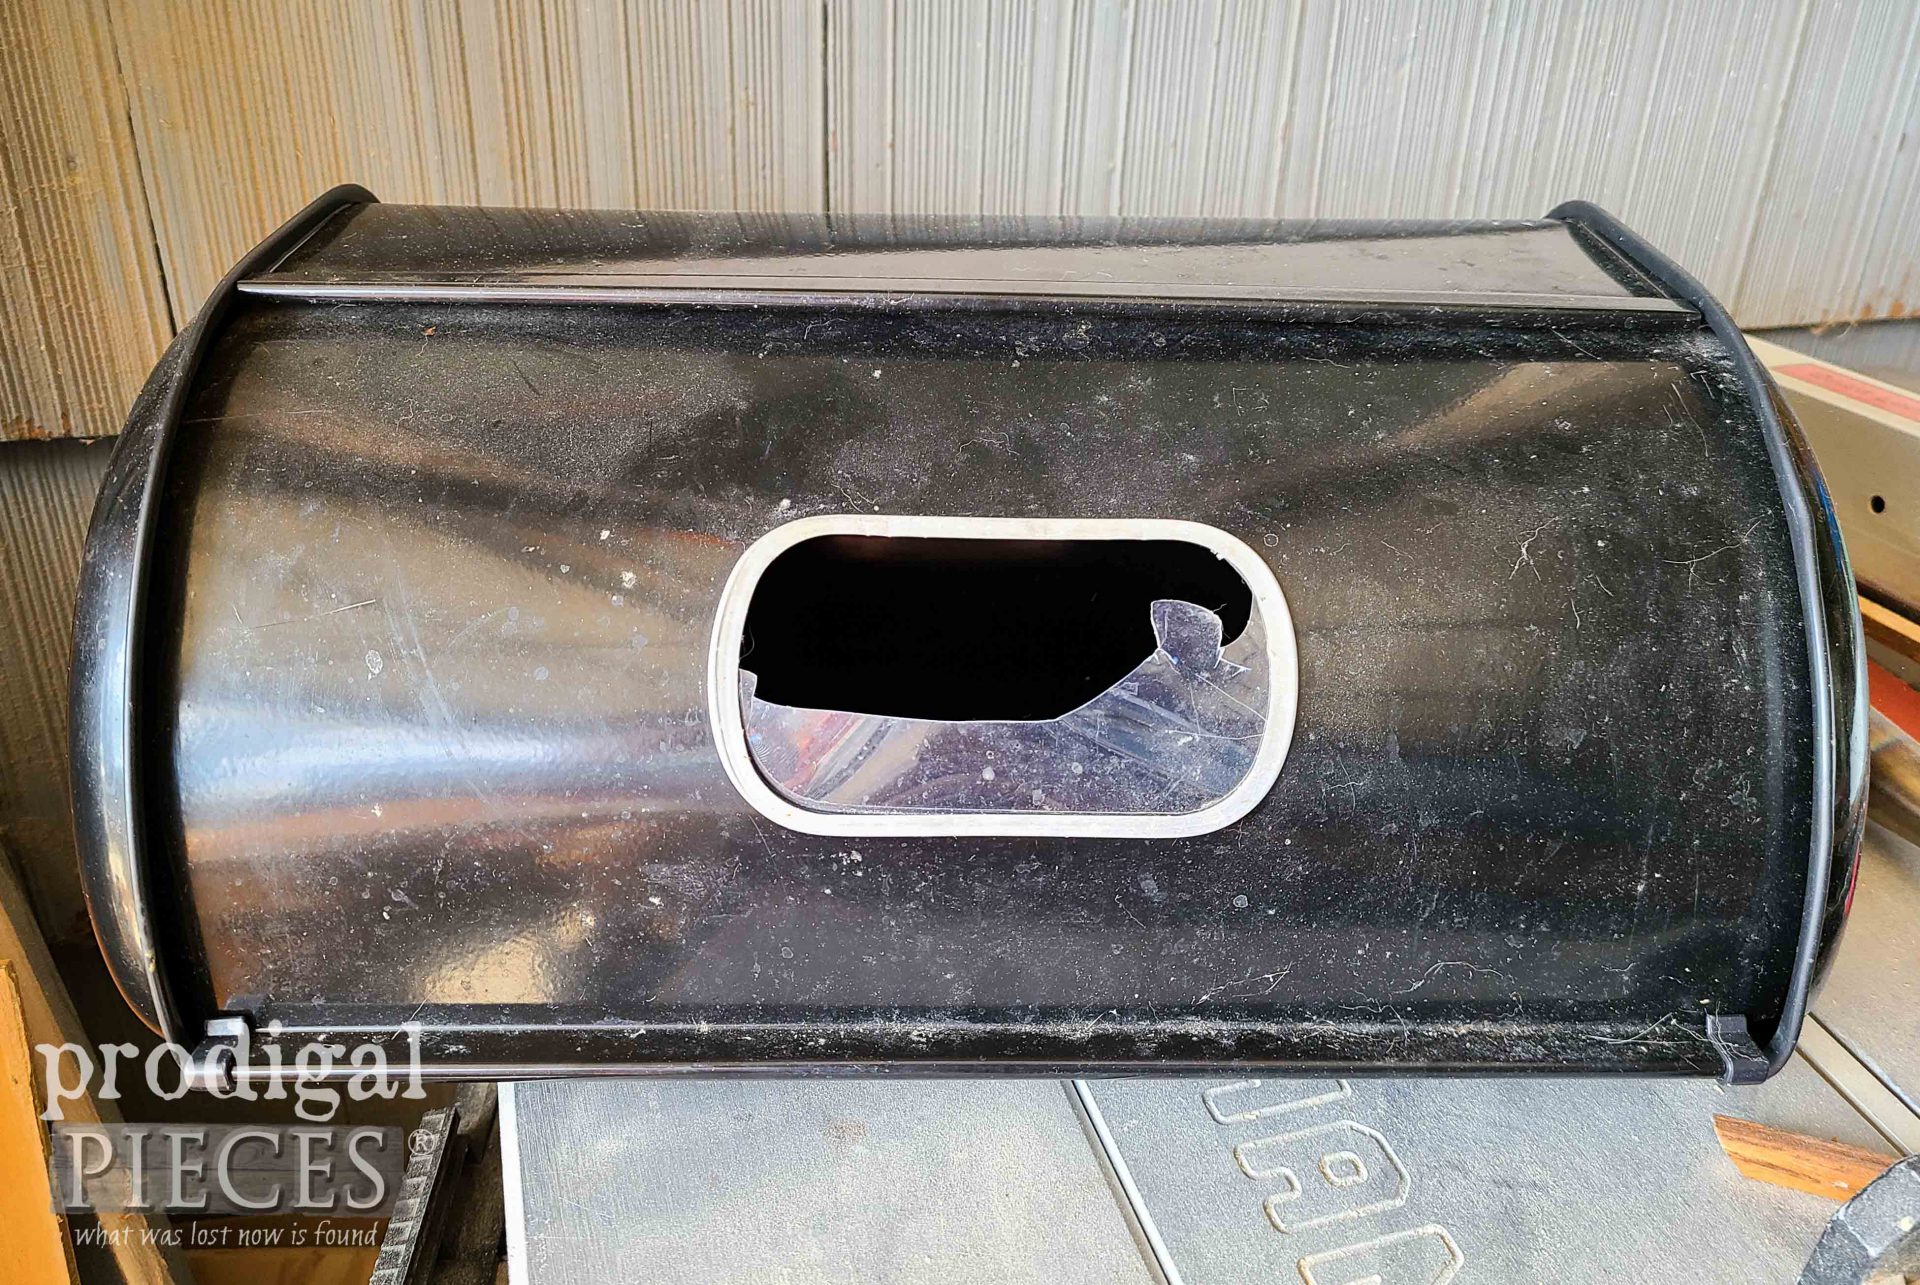
Do you ever get yourself into a pickle and then you ask yourself, “Why did you do that?!” I can definitely say that has happened more to me than I like to admit. Good intentions lead to work, and work leads to me sucking it up, and then…here we are. So, as a bloody do-gooder, I was out during city spring cleanup gathering things for a ministry for just plain saving things from the dump and posting them so someone could make use of them. That’s when I grabbed this…my DIY bread box makeover. ahem.
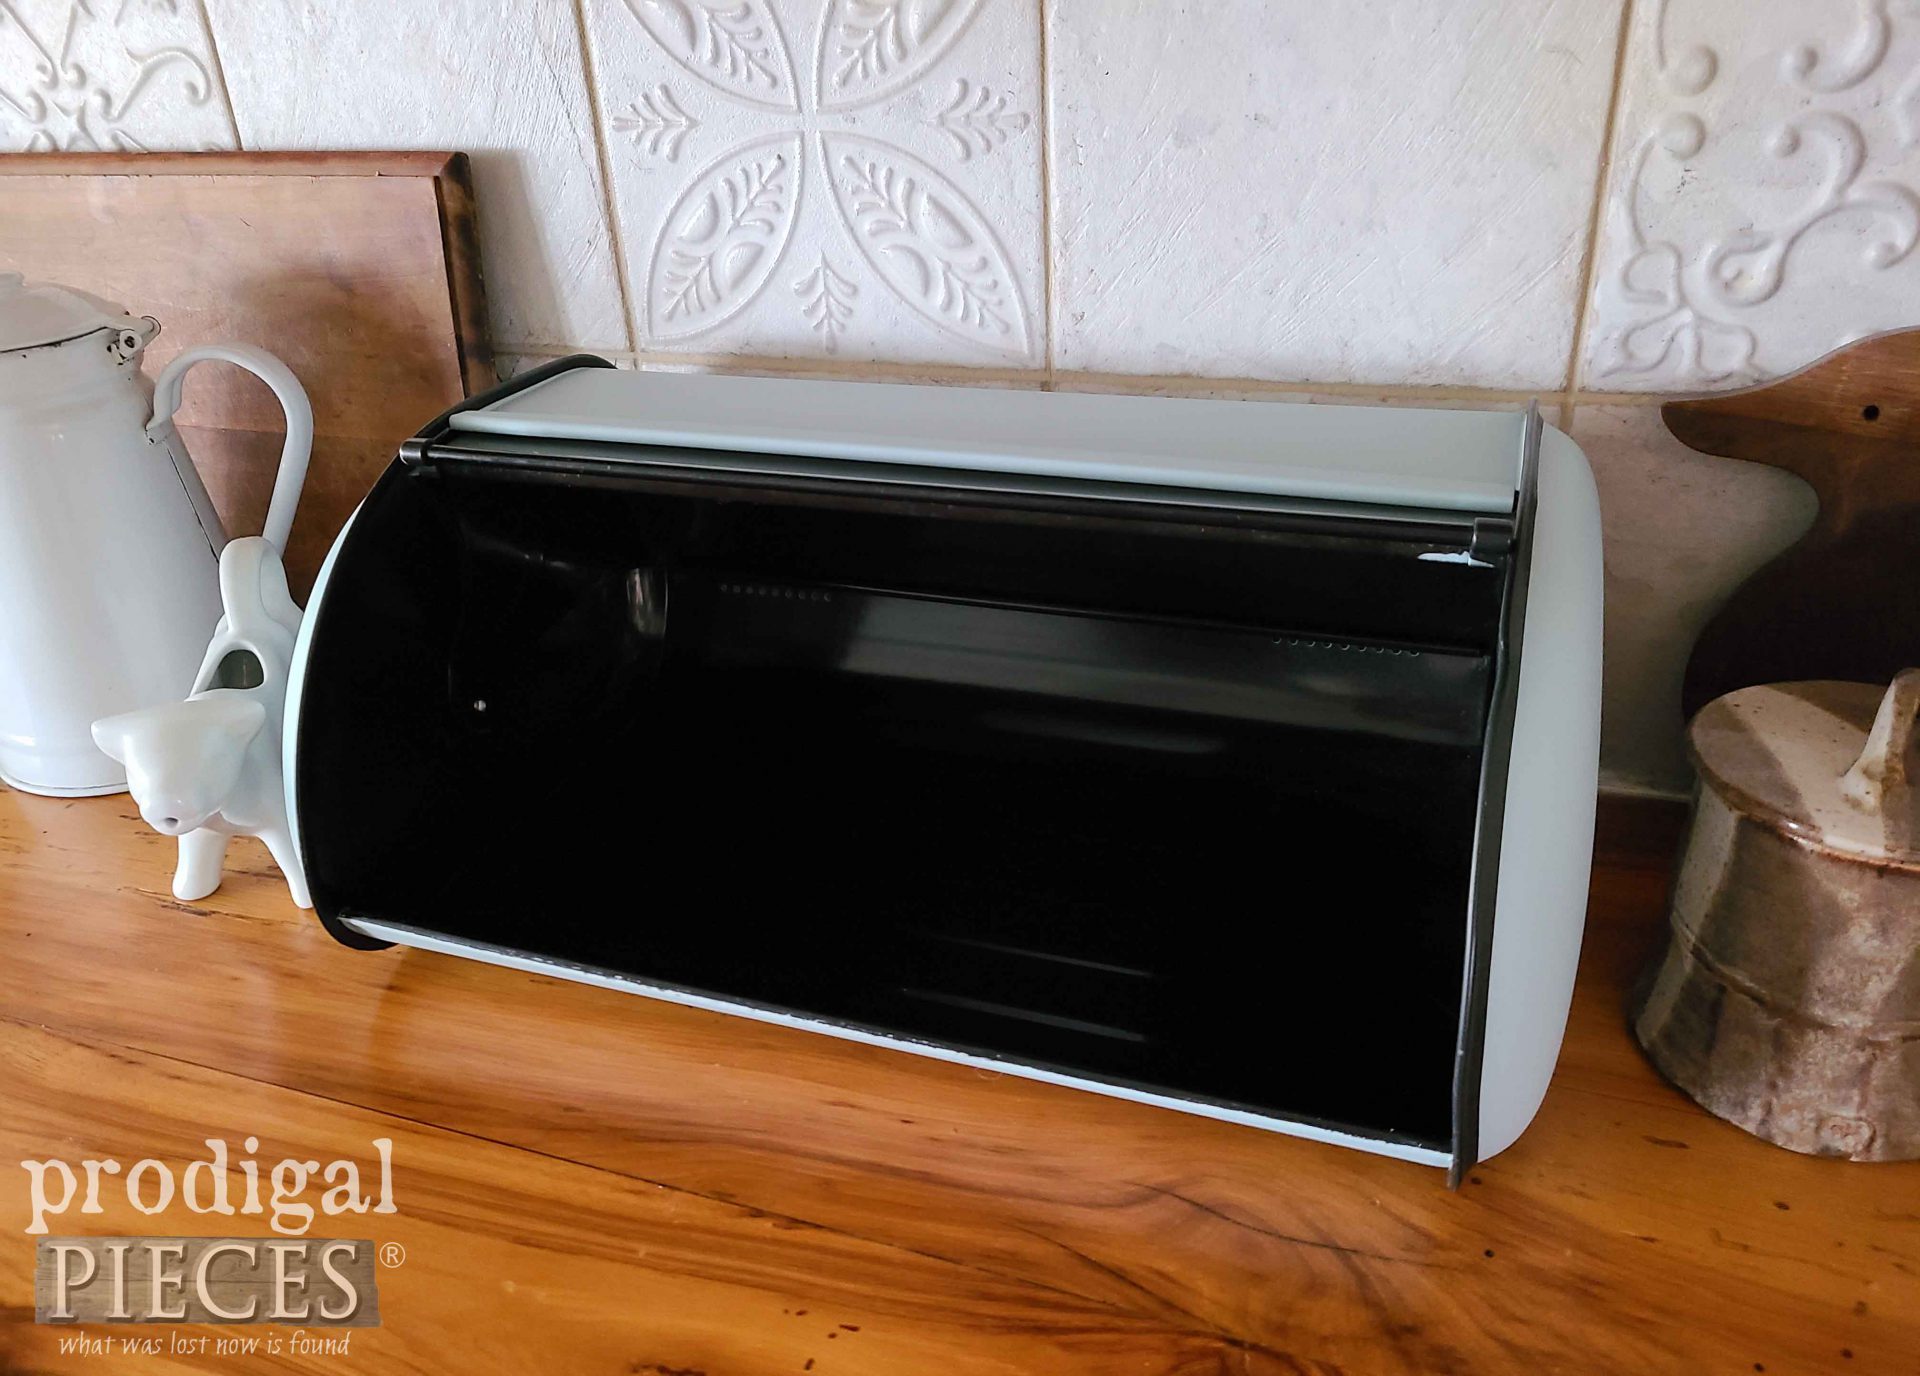
To be honest, when I grab it, the door is up and I had no idea that window is broken until I get home. Ah well…I try! Actually, I had intended to something similar with it like this one turned pretend play grill.
What’s a girl to do? Pull up her big girl panties and fix this silly thing like a BOSS. Are you ready?
FIX IT
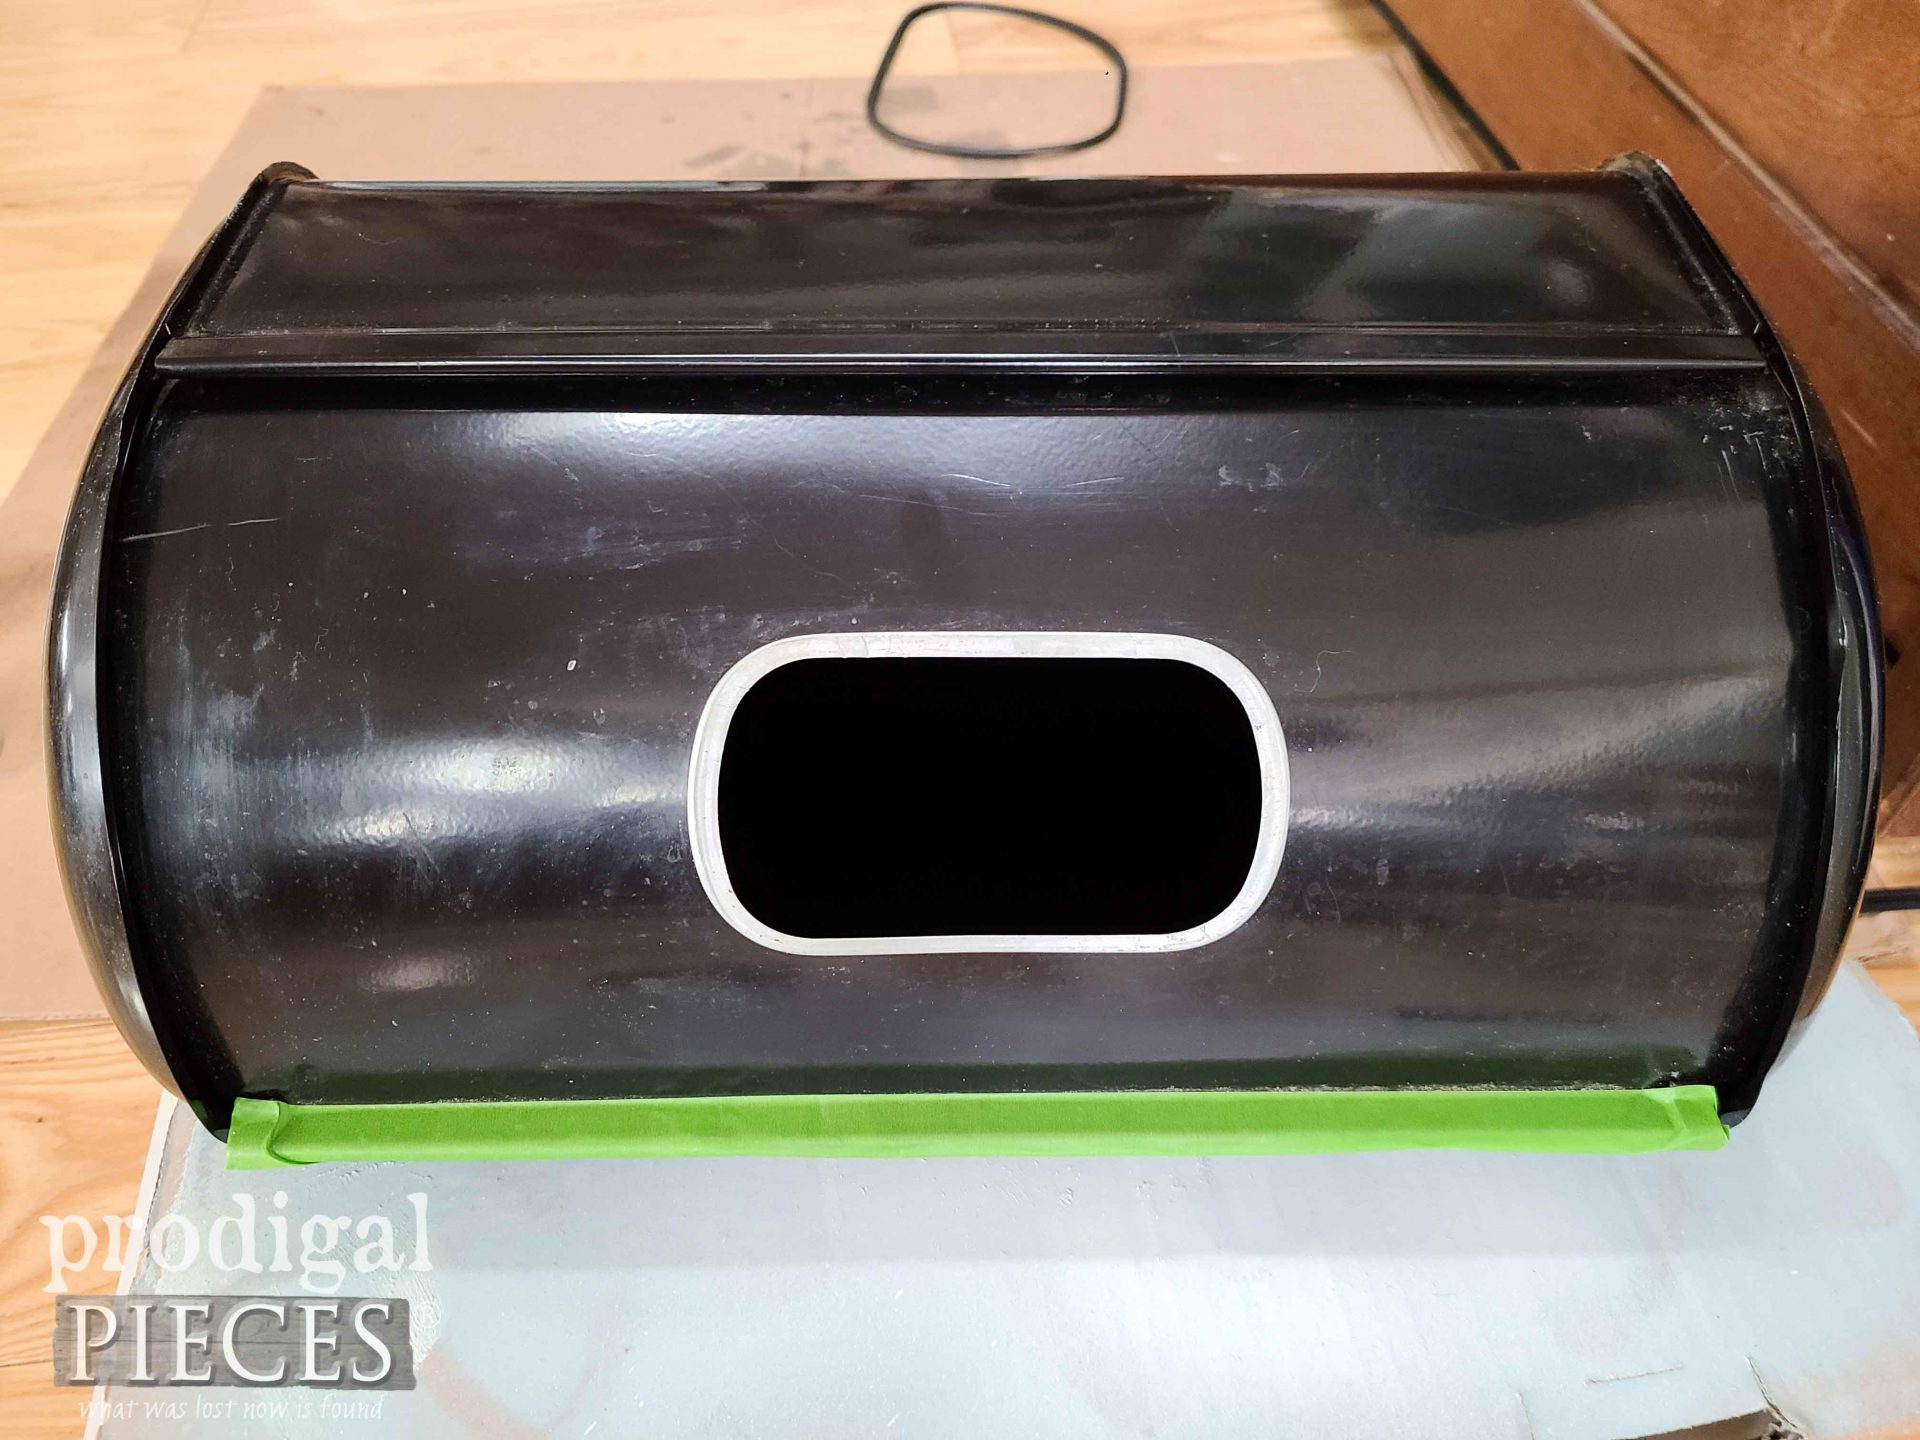
Okay, this isn’t going to be brain surgery, but obviously someone didn’t want to put in the effort. Not that I blame them, but definitely this is a super easy fix. First, I wipe it all down with rubbing alcohol to clean and removed any residue.
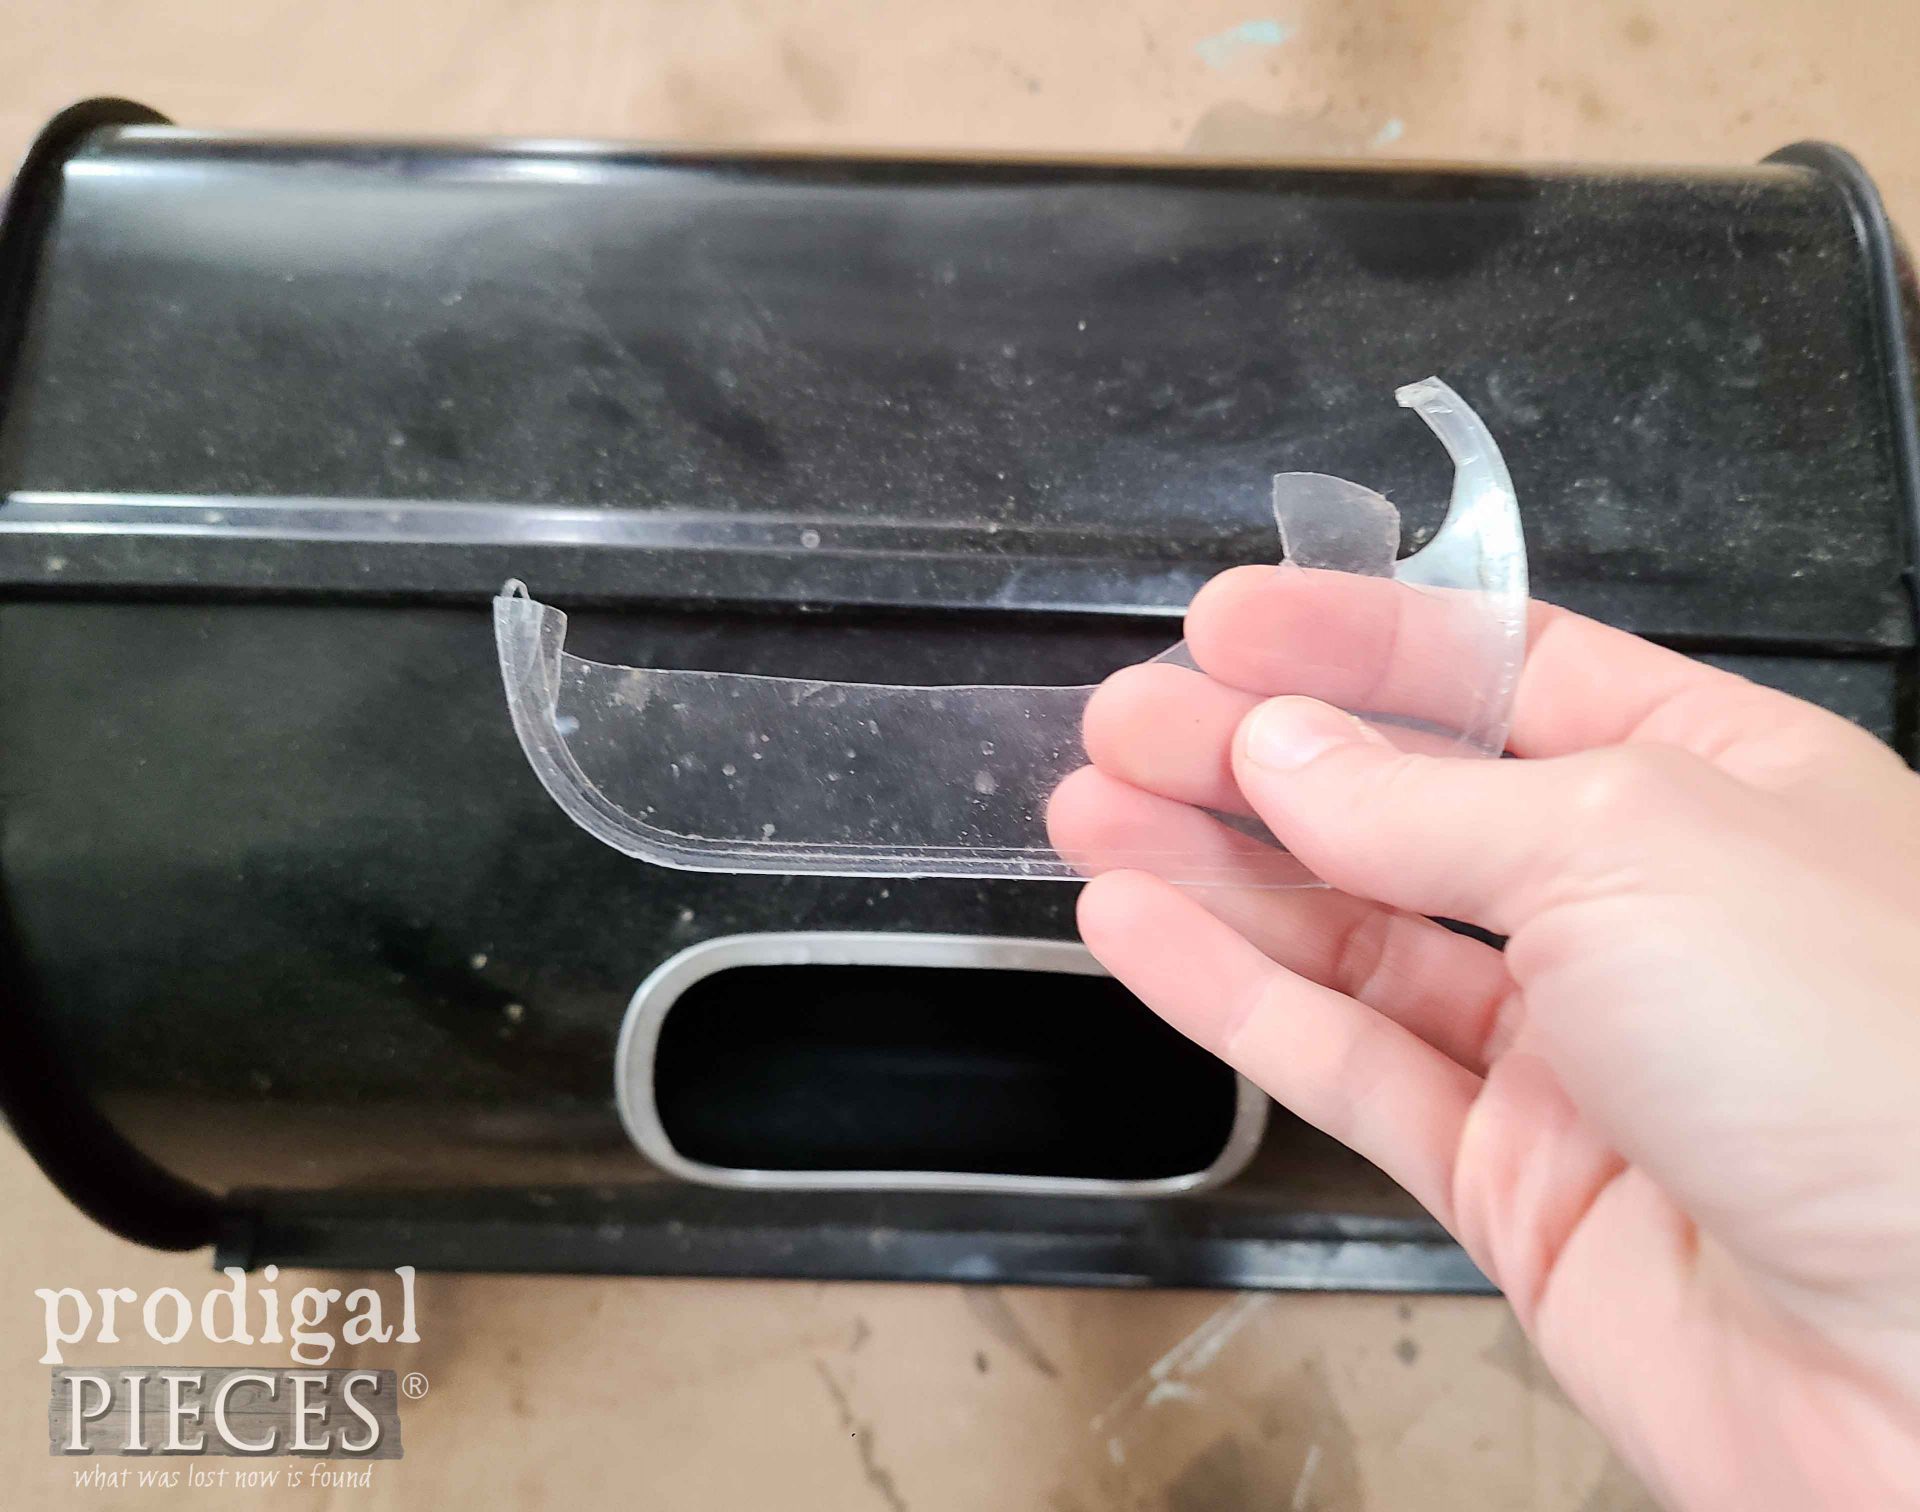
Then, I take off the rubber edges that protect the side edges. You can see one laying in the background. Next, I tape off the handle and the silver metal opening.
Finally, once everything is ready, I use a soft blue spray paint to give it two coats and letting cure in between. Ready to see it?
IT’S NOT TOAST
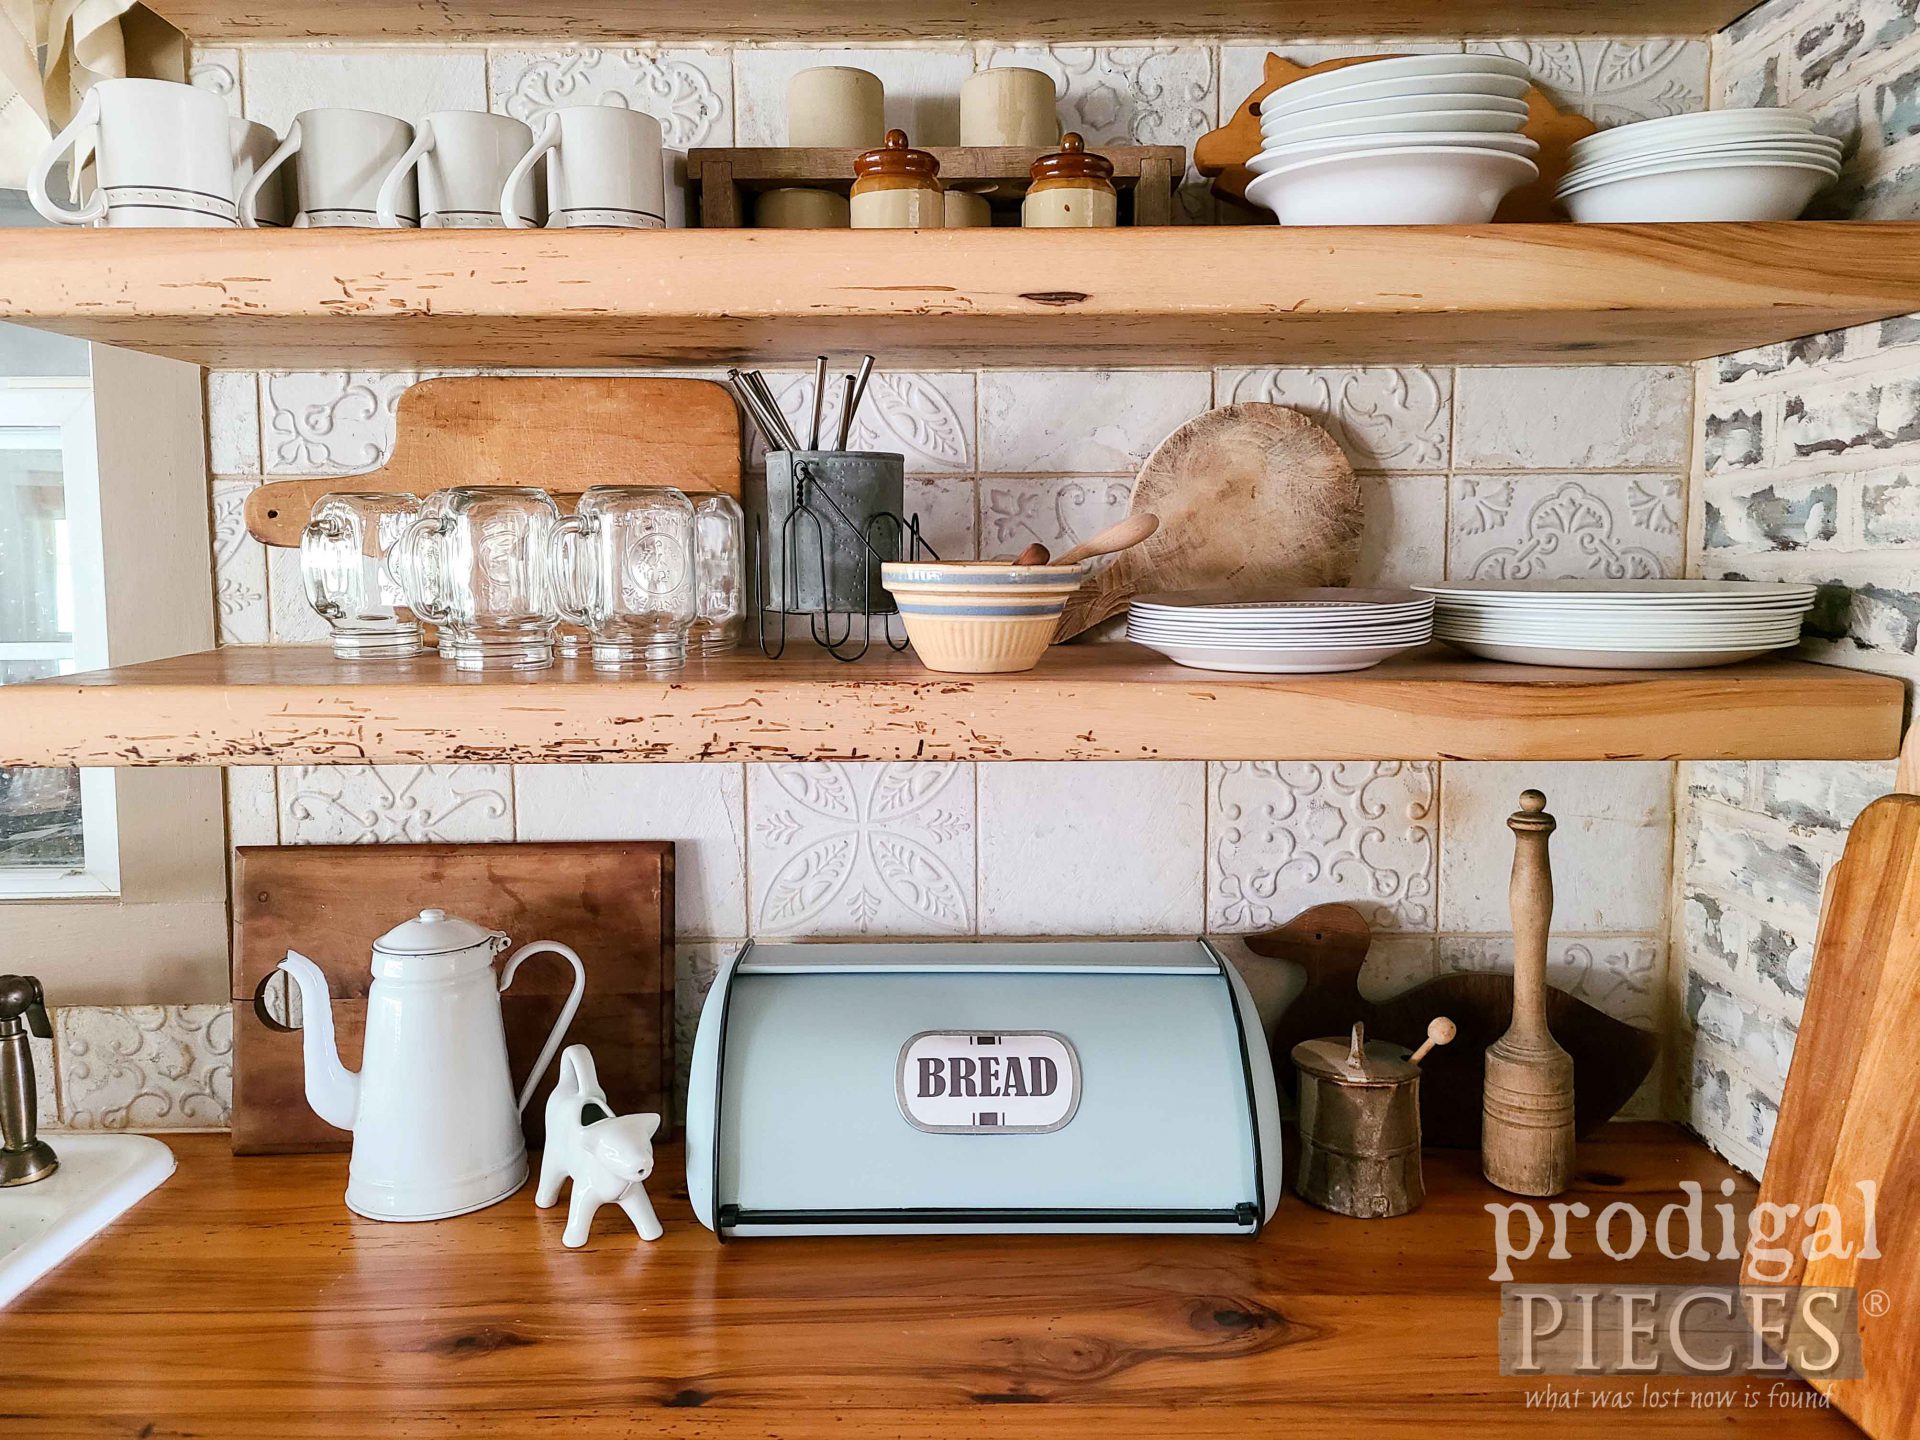
See, I told ya that thing is not toast (aka. trash). tee hee – pun intended. It just needed someone to see the potential in the broken – much like our Savior sees us.
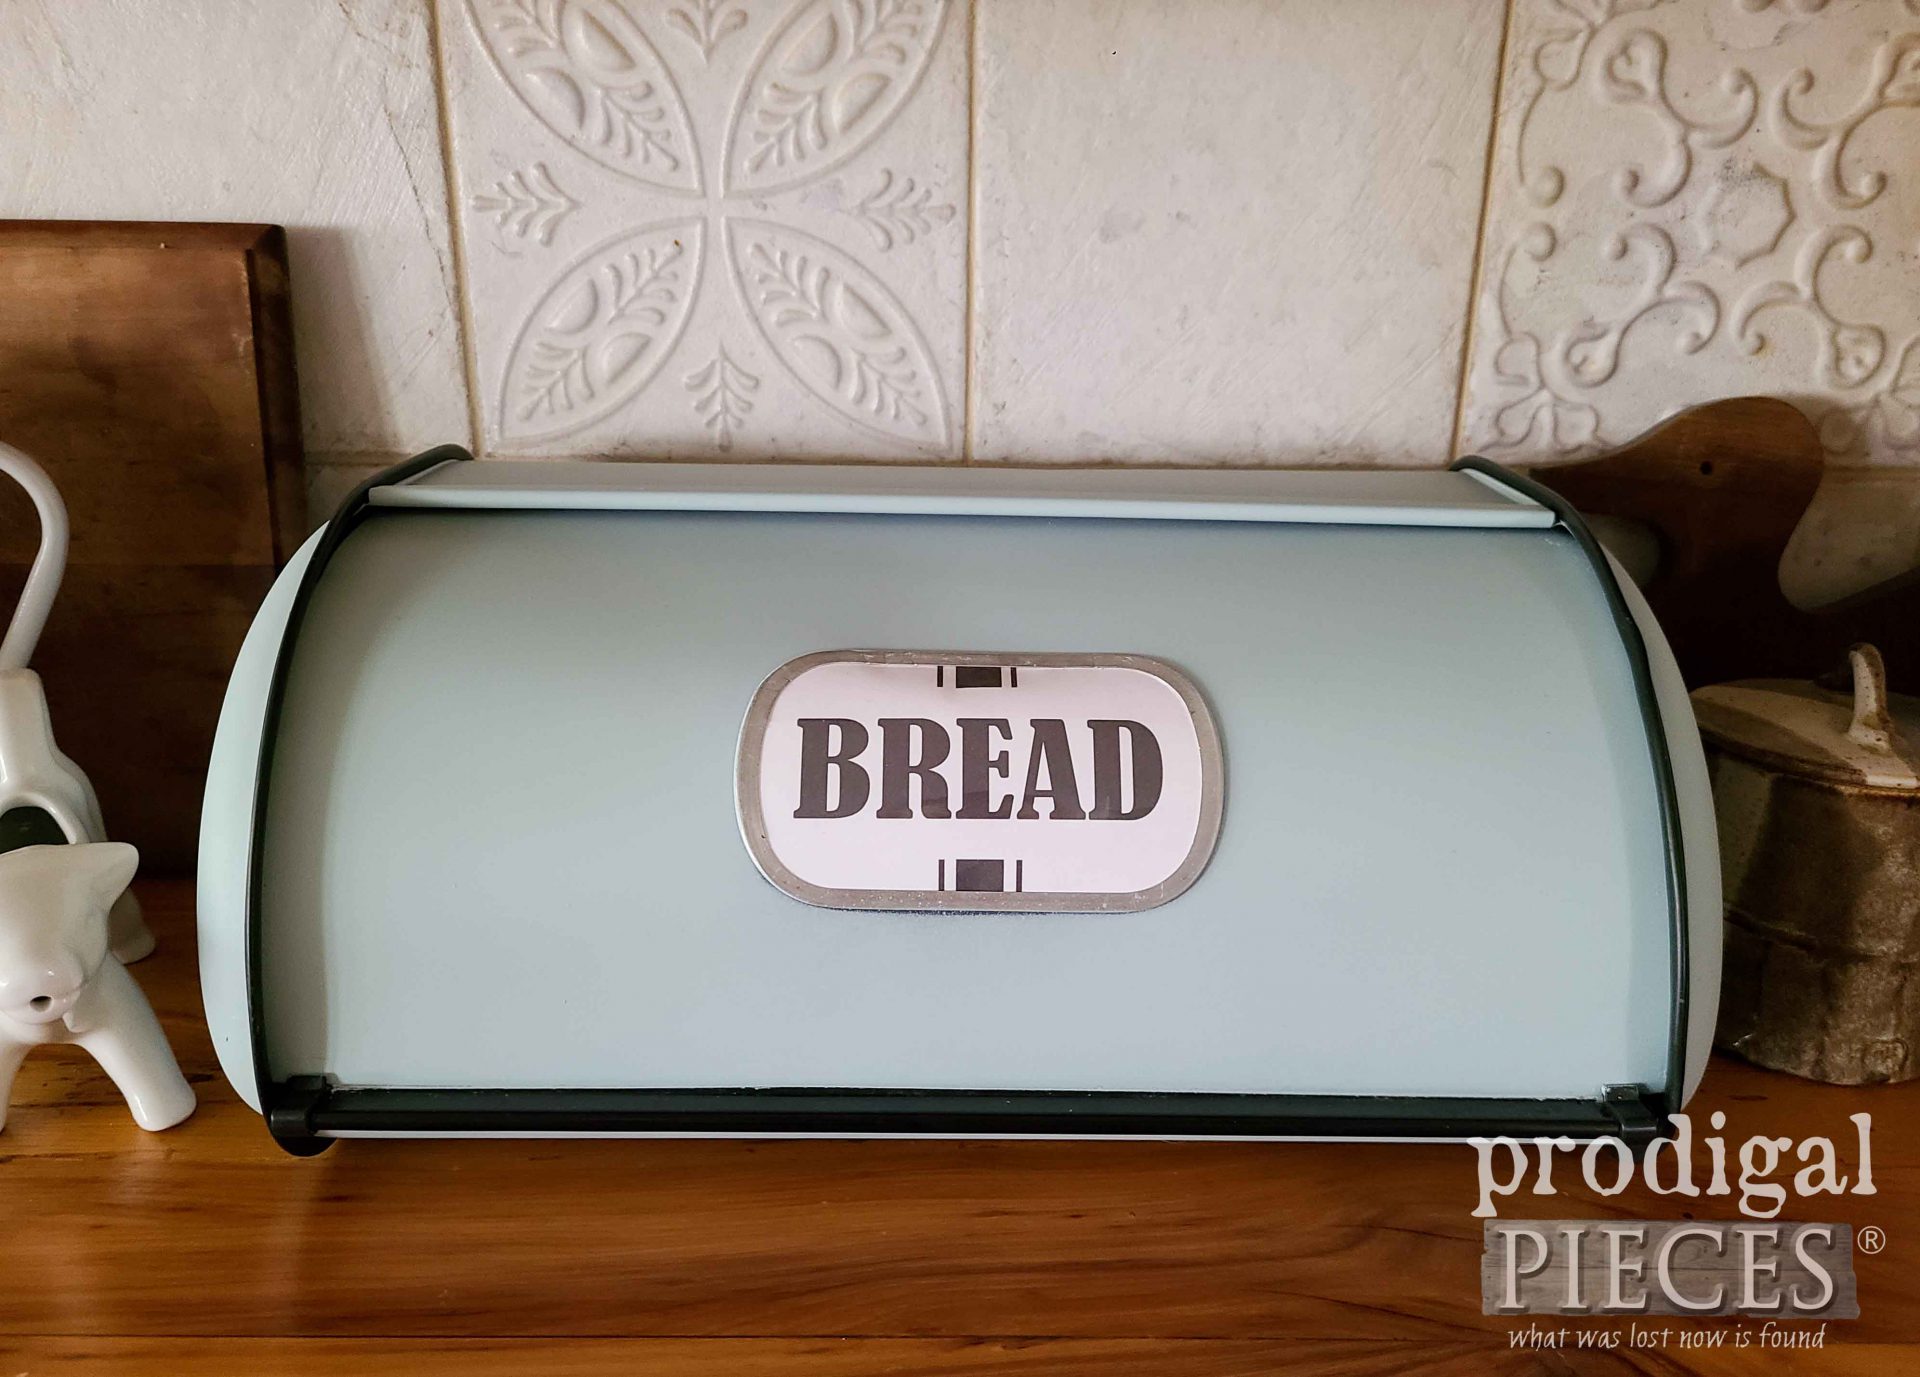
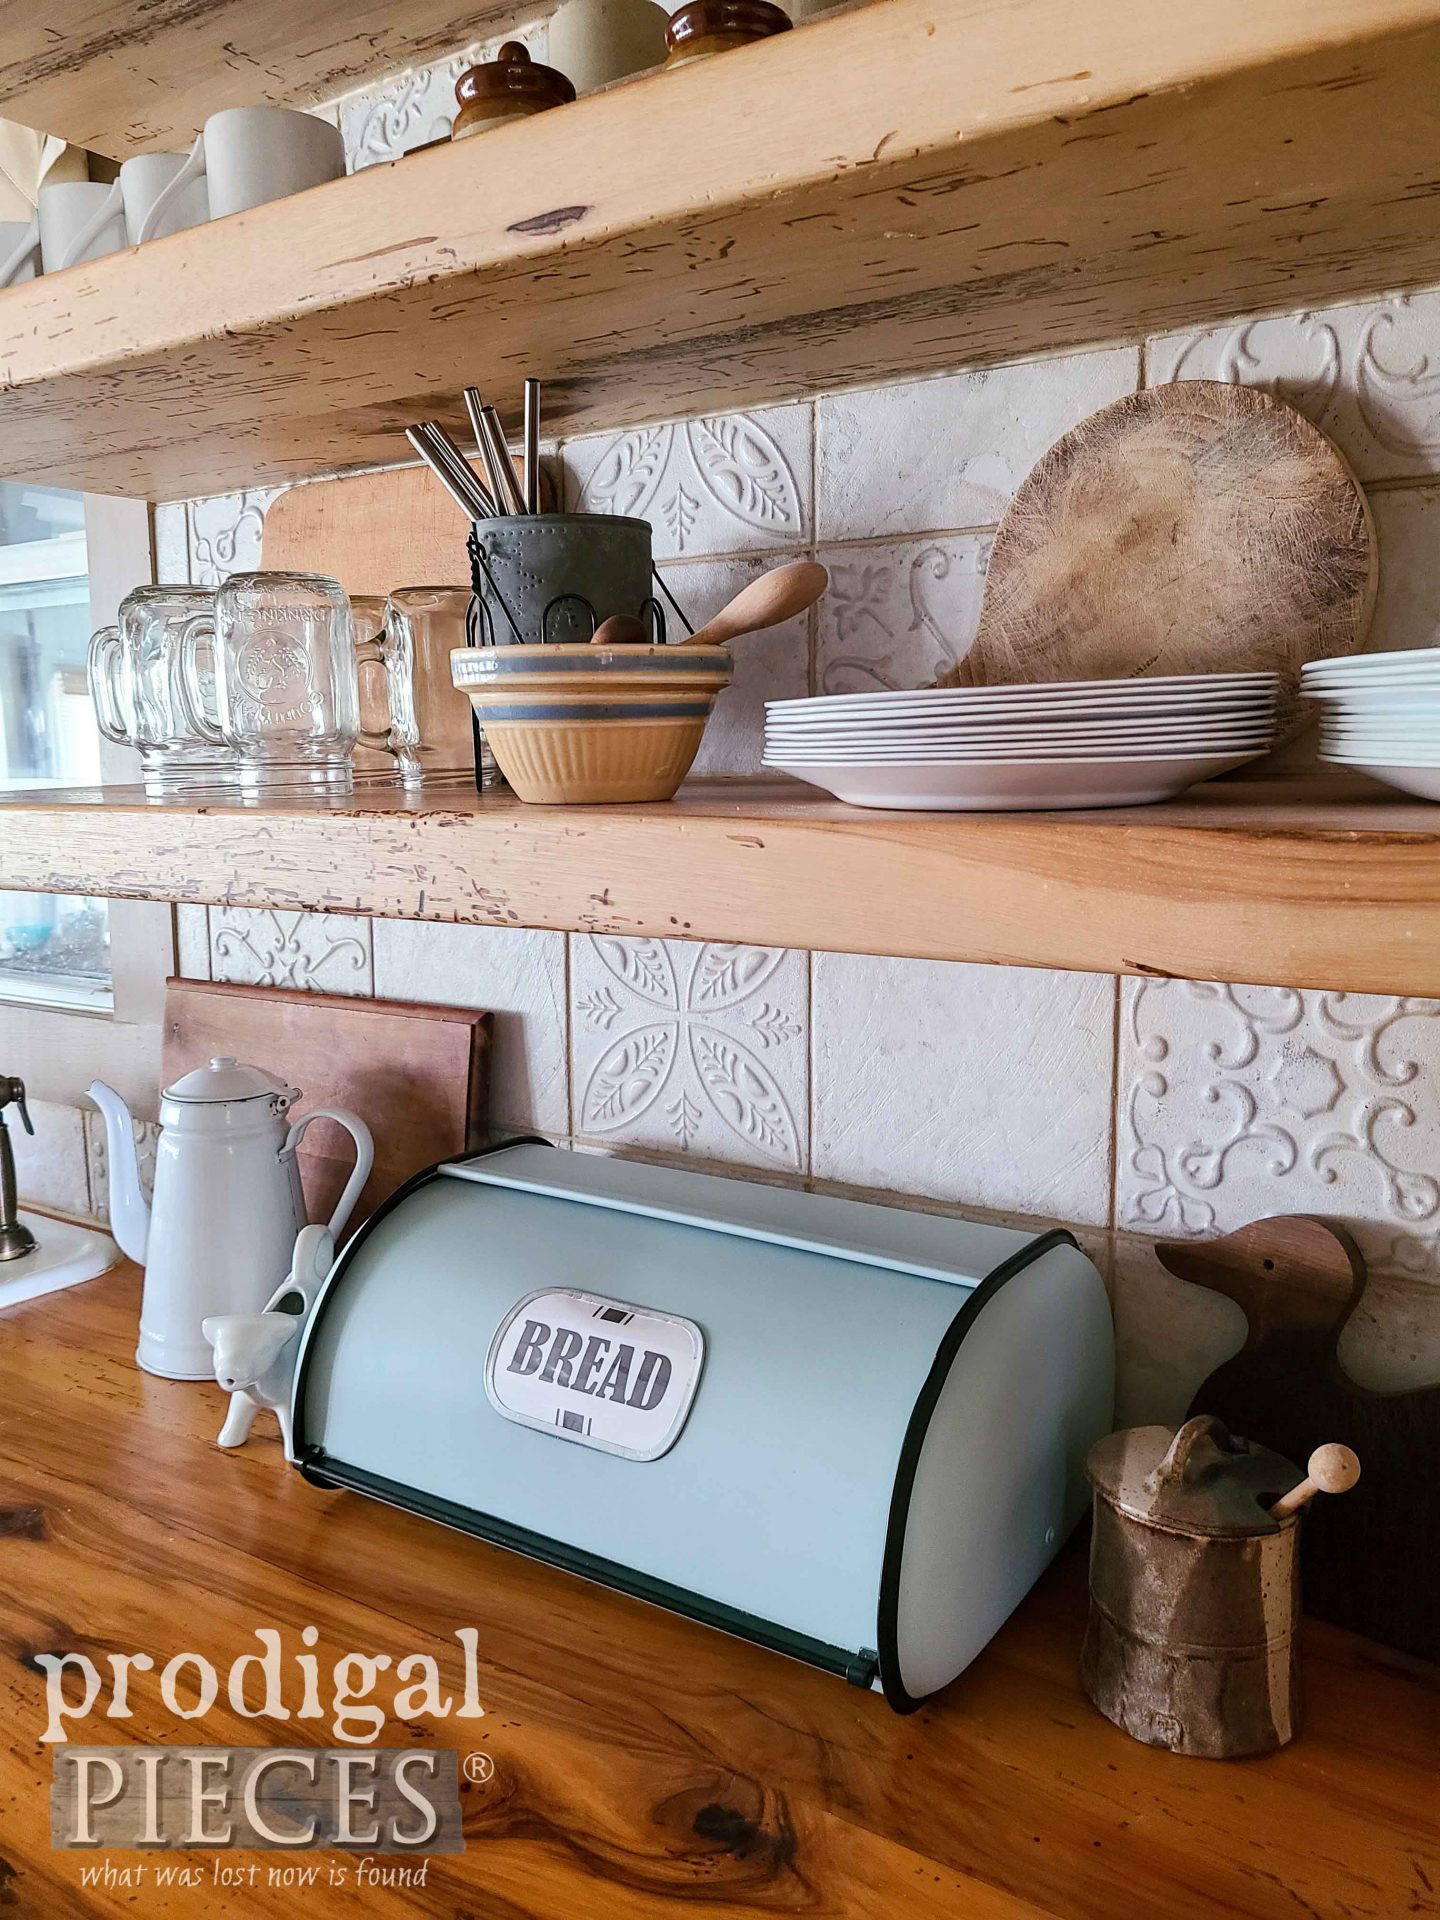
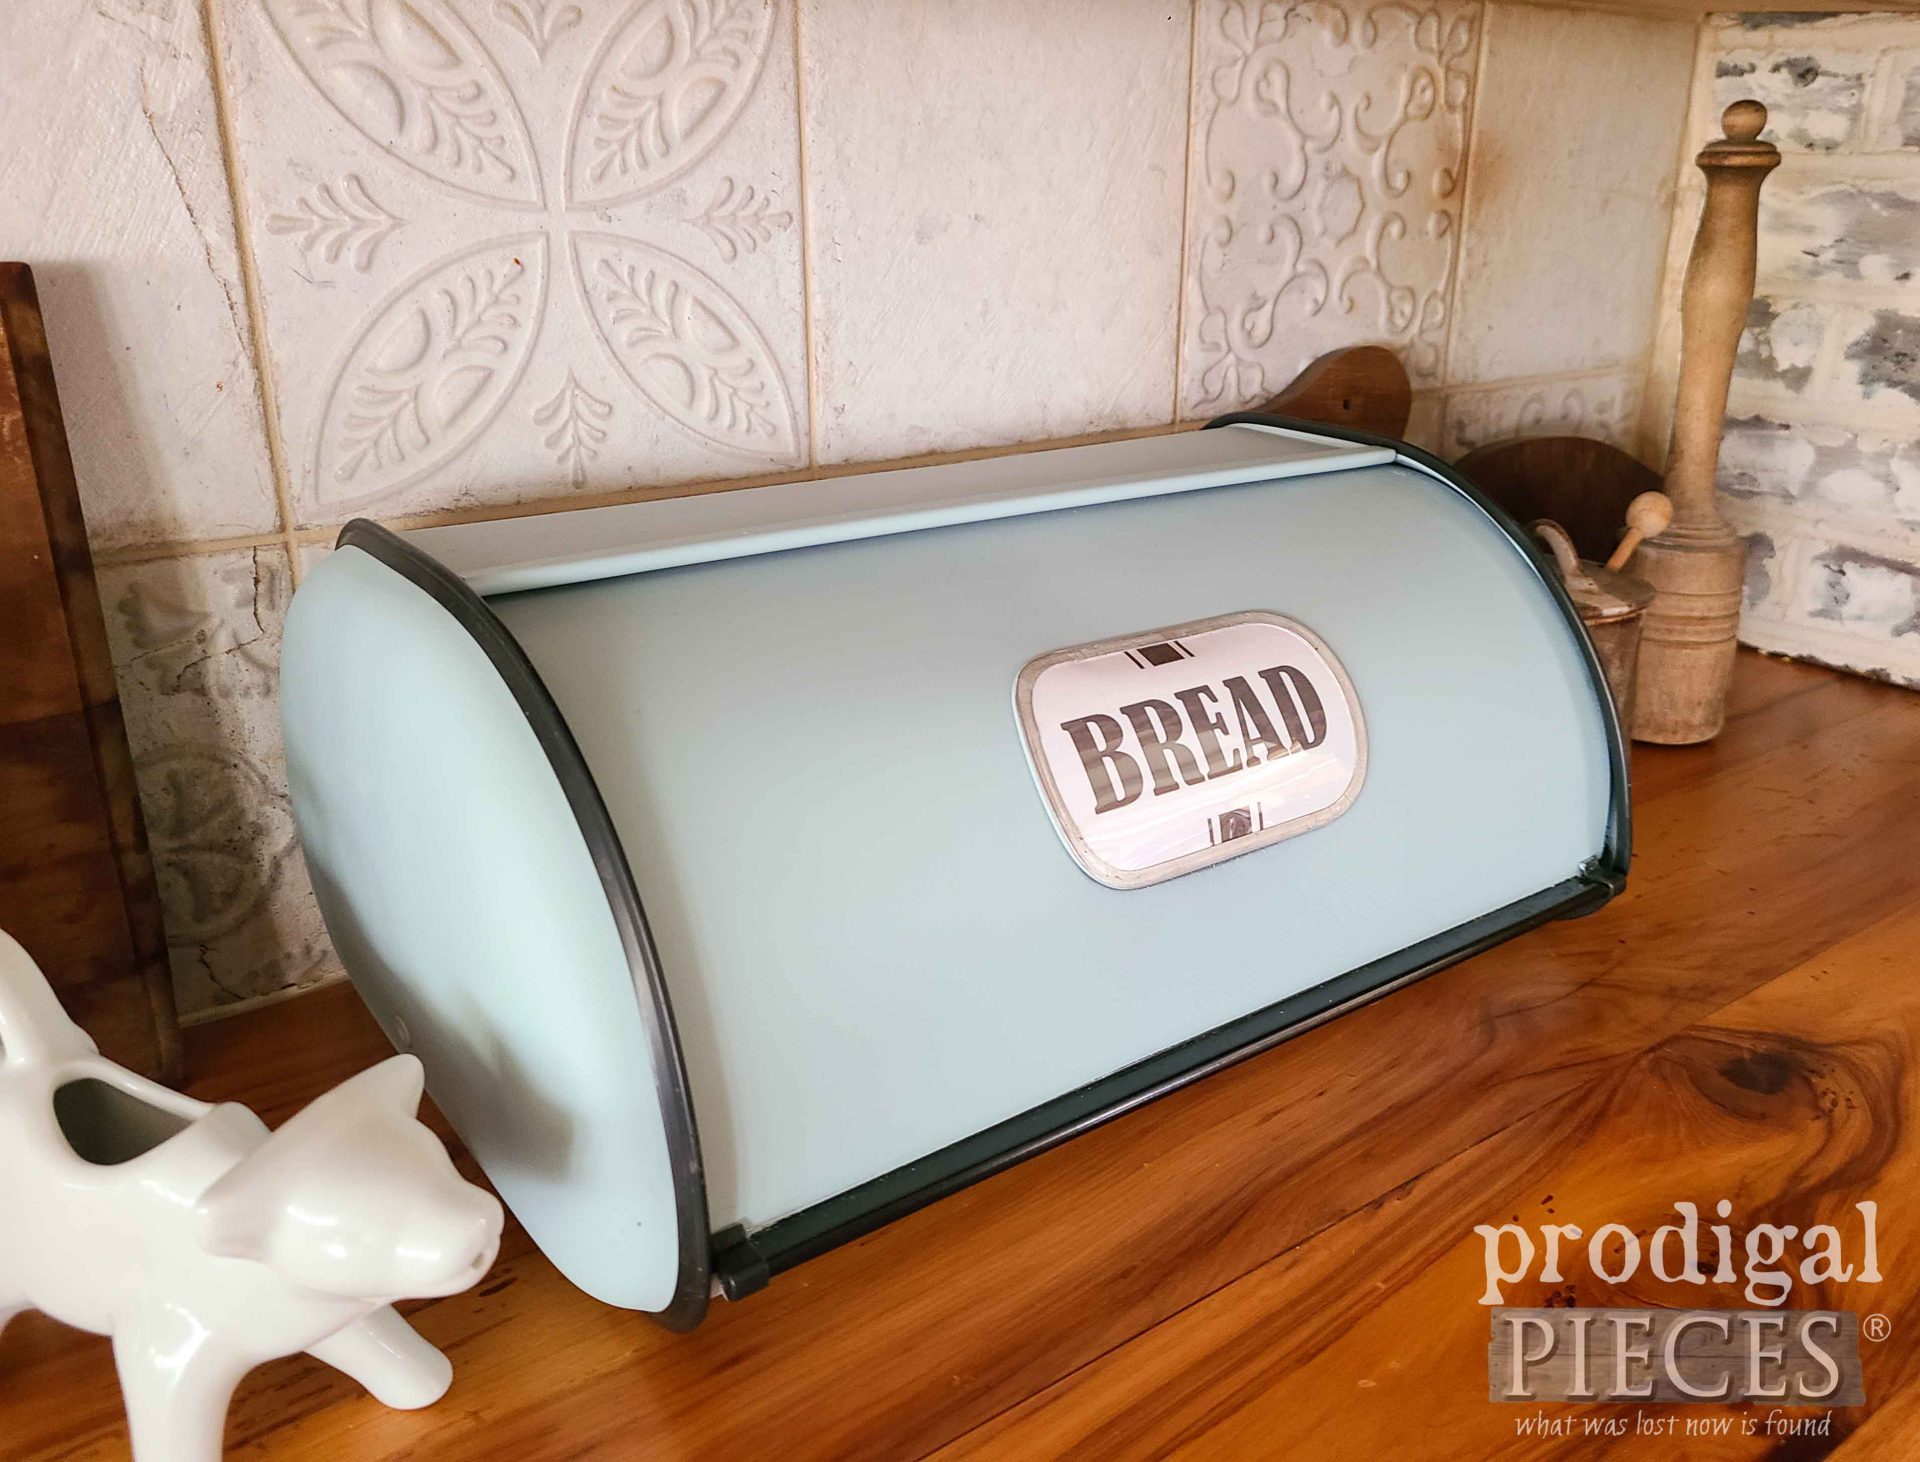
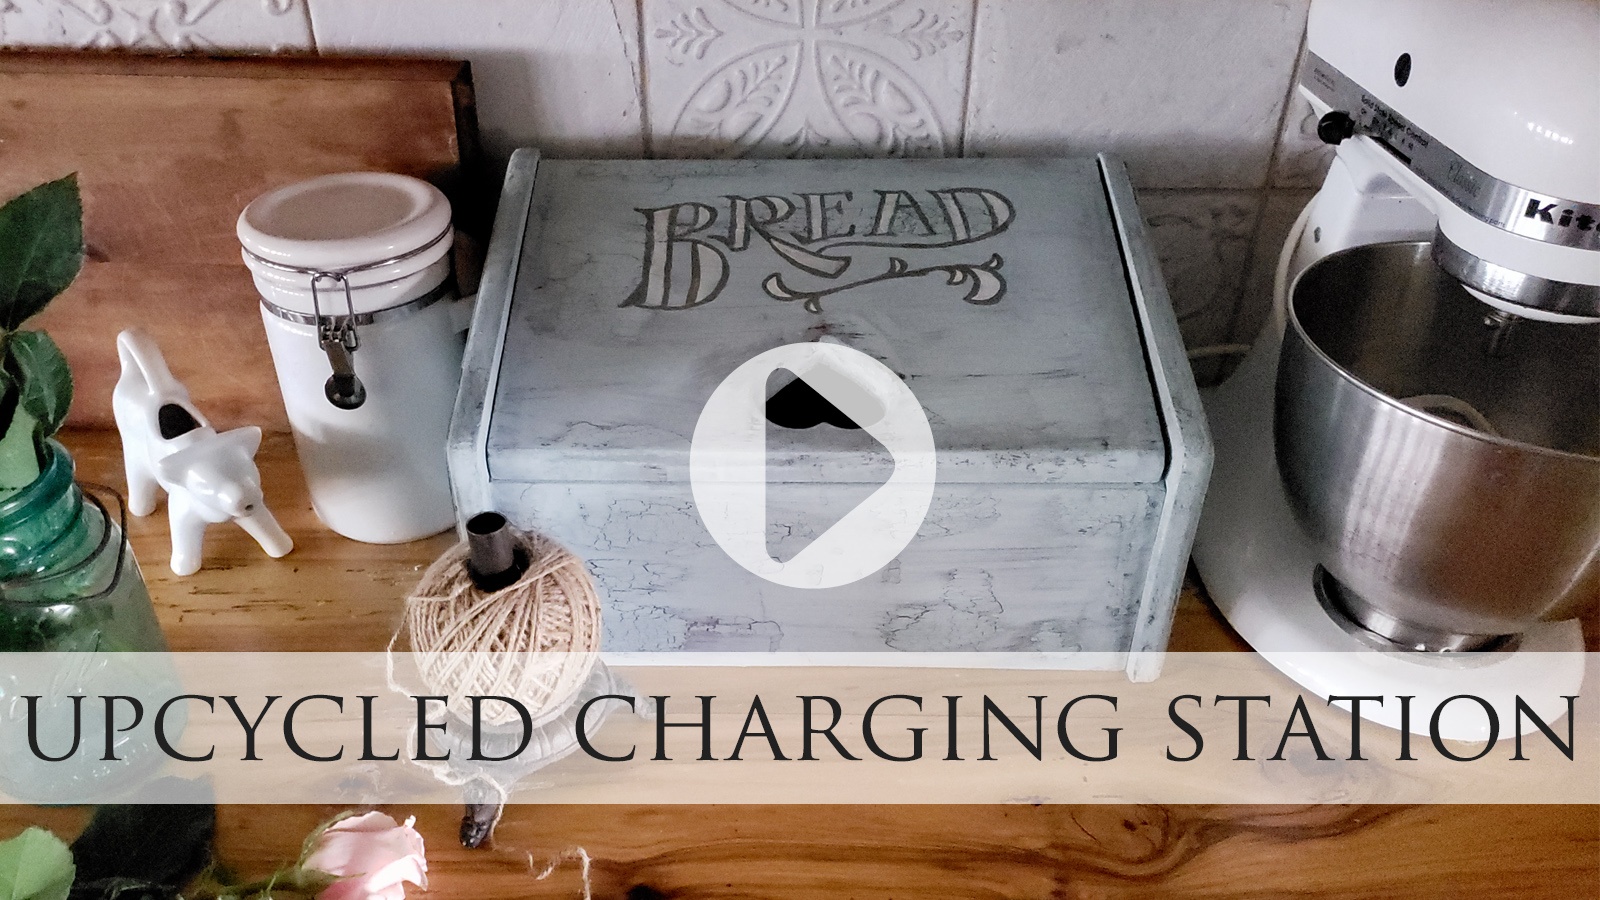
Would you guess it’s the same one? I think this DIY bread box makeover is a not only repaired, but improved. Yeah, baby!
The color is a favorite of mine called Serenity Blue in a spray chalk paint. Meanwhile, the opening is filled with a heavy plastic and card-stock to replace the original broken one. Also, funny thing is, I didn’t have any bread to stage this with because we don’t really eat bread except when I make my no-knead recipe. haha. However, it still looks fantastic empty and is ready for many more years.
In addition, you can see what I do to other bread boxes in this video below:
If you’d like to add this to your kitchen arsenal, you can find it and more in my online shop.
SHARE
Additionally, let’s inspire others with this DIY bread box makeover and pin and share. Likewise, you know there are more perfectly useful items that need rescued…am I right?
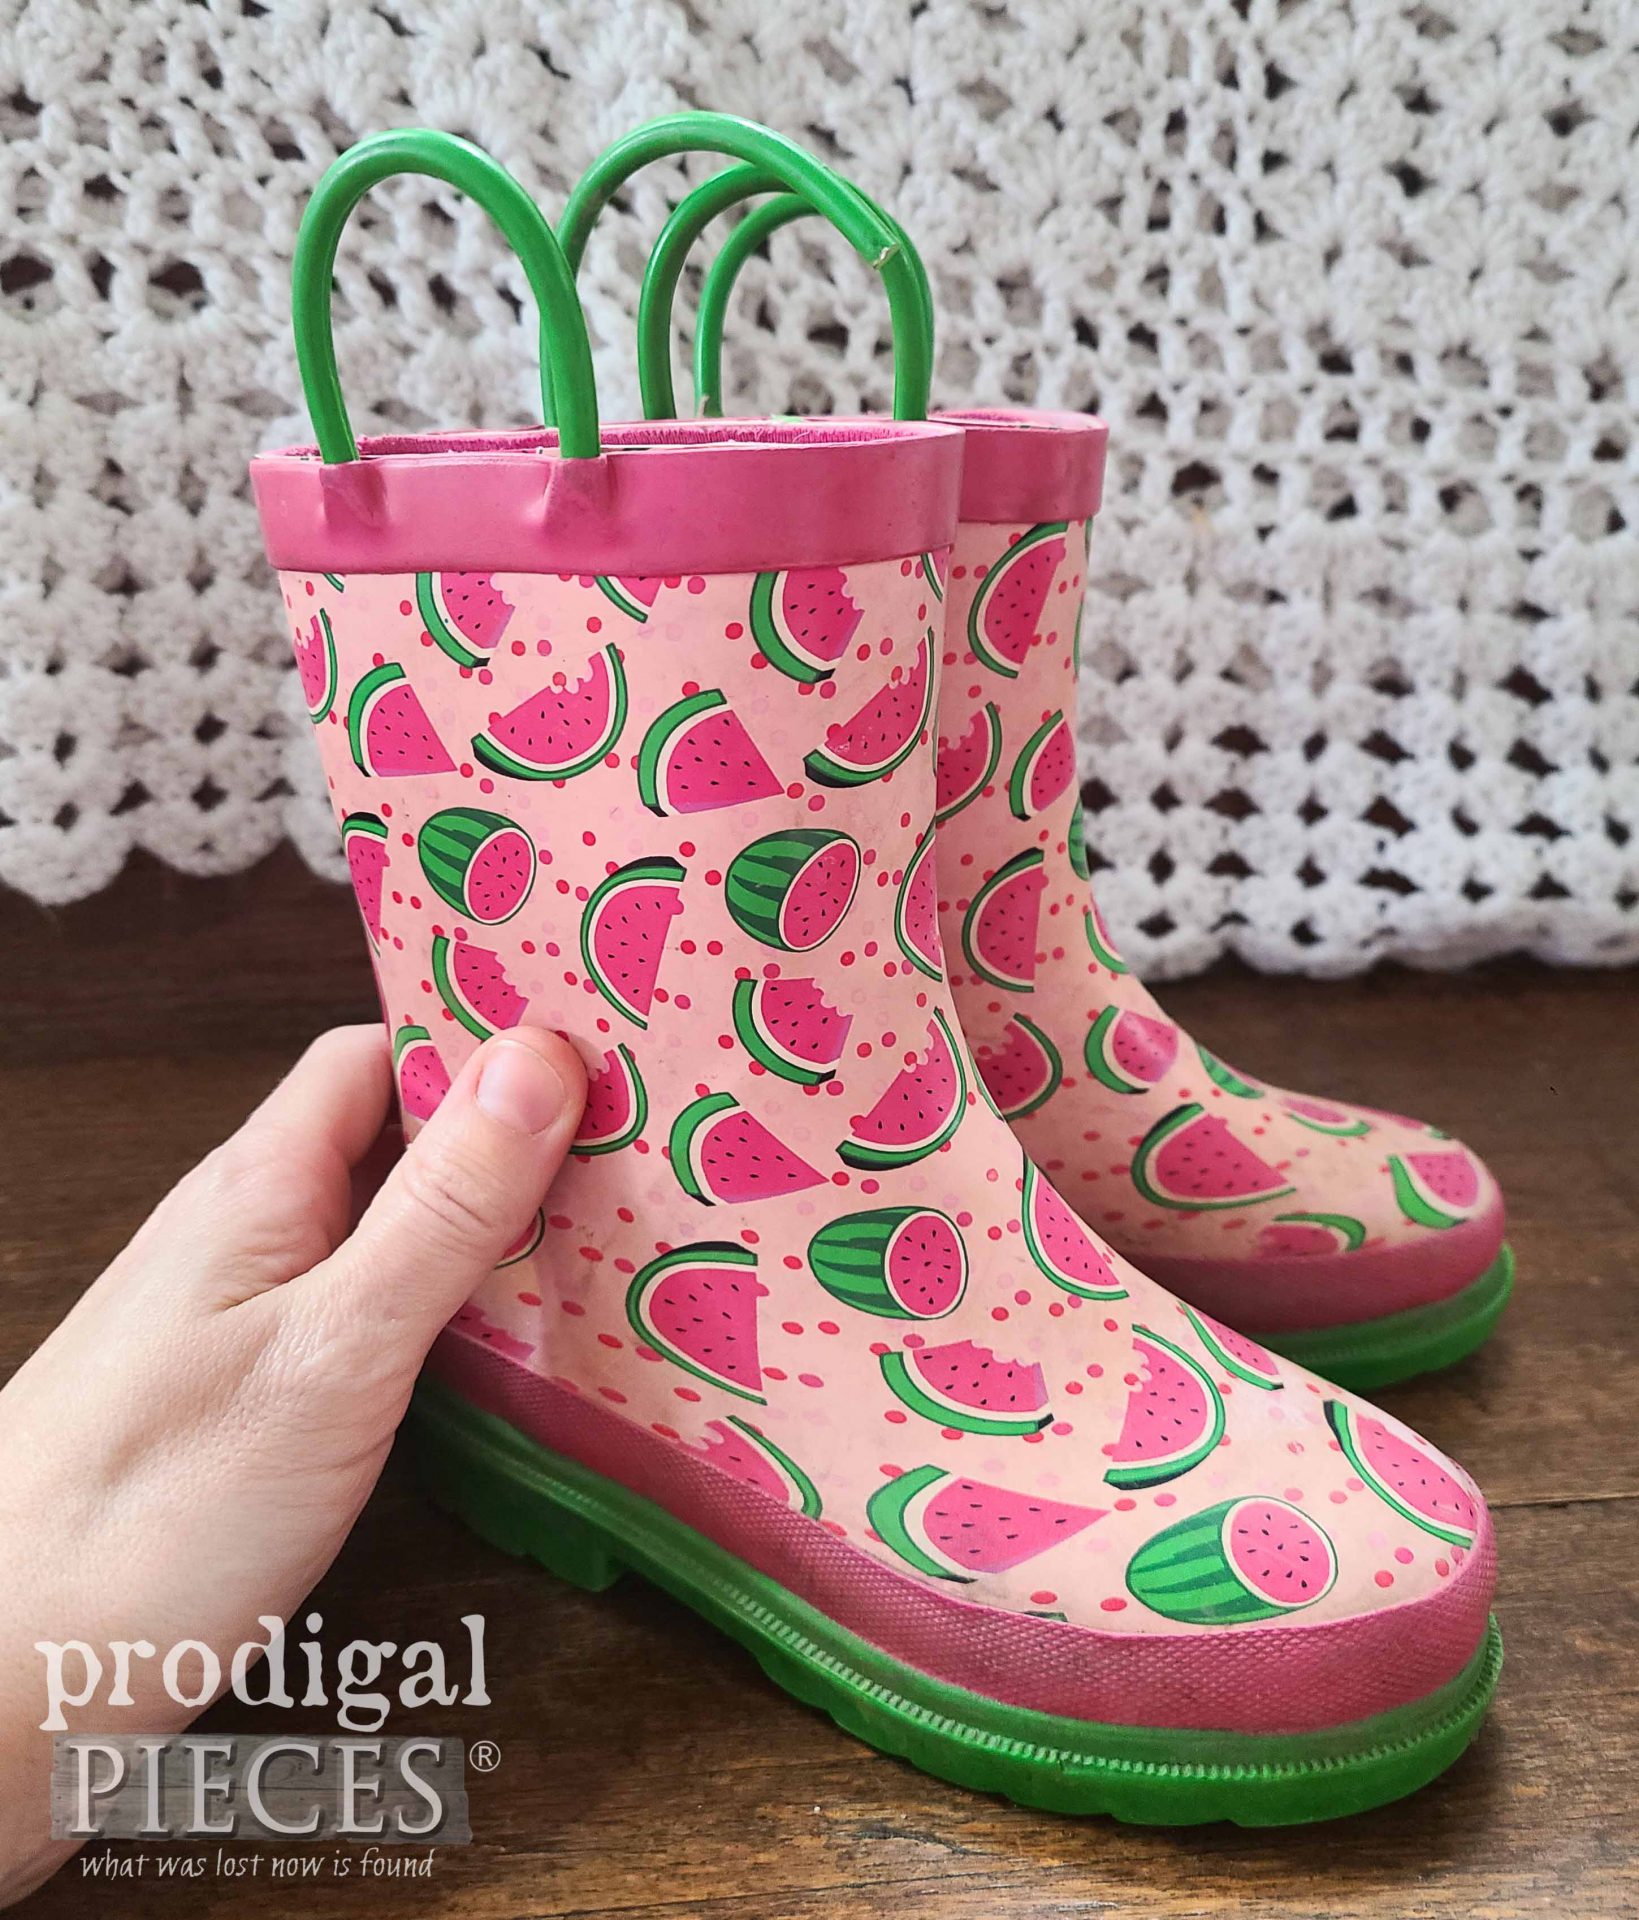
In addition, up next is Reduce, Reuse, REFASHION time! You don’t want to miss what I’ll be creating for this month’s fun with these sweet rubber boots below. Just be sure to sign up for my newsletter. Until next time!




That turned out to be soooo ADORABLE!!! You are truly the Professor of recycling. This is even better than the original and a one of a kind!!! Go to the head of the class!!! ????❤️
And you are the best at giving me warm hugs! (albeit online…haha). Thanks so much, Rebecca!
Wow what a great job you did on that breadbox! It looks so pretty! That’s my favorite color too!
Yay! Thank you, Patti. You’re such a kindred spirit. This was so fun for me and I’m actually glad I grabbed it broken and all.
Turned out awesome! And, I love the added inspirational thought to go along with it! Thank you for sharing- it’s a great way to start the morning!
Thanks so much, Jill. 😀 I know He sees us so worthy.
Well, THAT looks 149% better! ? Amazing!
Yahoo!! That’s so fun to hear, Becky. Thank you for the needed smile. 😉
Good save Larissa!! I admire you wanting to keep things out of the landfill. We are a wasteful throw away culture ?♀️.
Thanks! Yes, it’s truly sad what people think they NEED one day, and the next toss it out. We can do better.
What a beautiful Save Larissa! It does look better than if it were brand spanking new! Love the color…wowza! Great job! It won’t last long in the shop 🙂
I’m so delighted to hear that, Mary. Thank you!